


Eureka Crate (from parent company KiwiCo) is a subscription box for teens and adults ages 14-104. It arrives every month with all the materials and instructions needed to create a functional, lasting object with a focus on engineering. The goal of these projects is to use science and math to solve real-world problems while inspiring the recipients to become creative innovators.

KiwiCo offers boxes for a variety of different age groups:
- Panda Crate for 0-24-month-olds,
- Koala Crate for 2-4-year-olds,
- Kiwi Crate for 5-8-year-olds,
- Atlas Crate for 6-11-year-olds,
- Doodle Crate and Tinker Crate for 9-16+-year-olds,
- Eureka Crate and Maker Crate for ages 14 and up. There really is something for every age with this company.
This review is of the $29.95 a month Eureka Crate, for 14-year-olds and up.
This box was sent to us at no cost for review. (Check out the review process post to learn more about how we review boxes).
About Eureka Crate
The Subscription Box: Eureka Crate
The Cost: $29.95 per month + free shipping. Save with longer subscriptions.
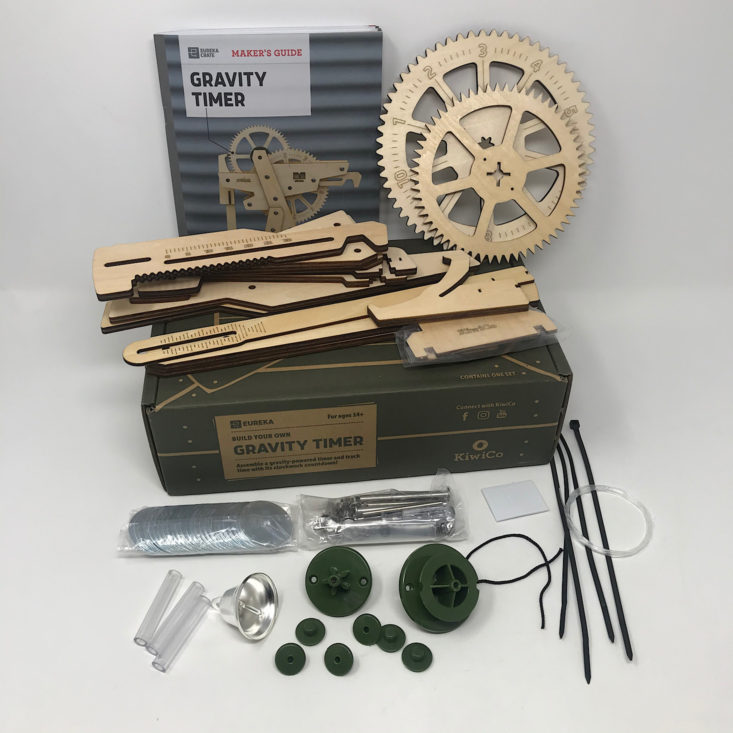
The Products: Detailed instructions and all of the high-quality materials needed to create a unique, lasting, and functional engineering project as well as a Maker's Guide that explains the science and technology behind it.
Ships to: The U.S. for free, Canada for $3.95 per month, and worldwide from $4.95-$6.95.
KiwiCo Eureka Crate "Gravity Timer" Review - April 2020


1 of 9

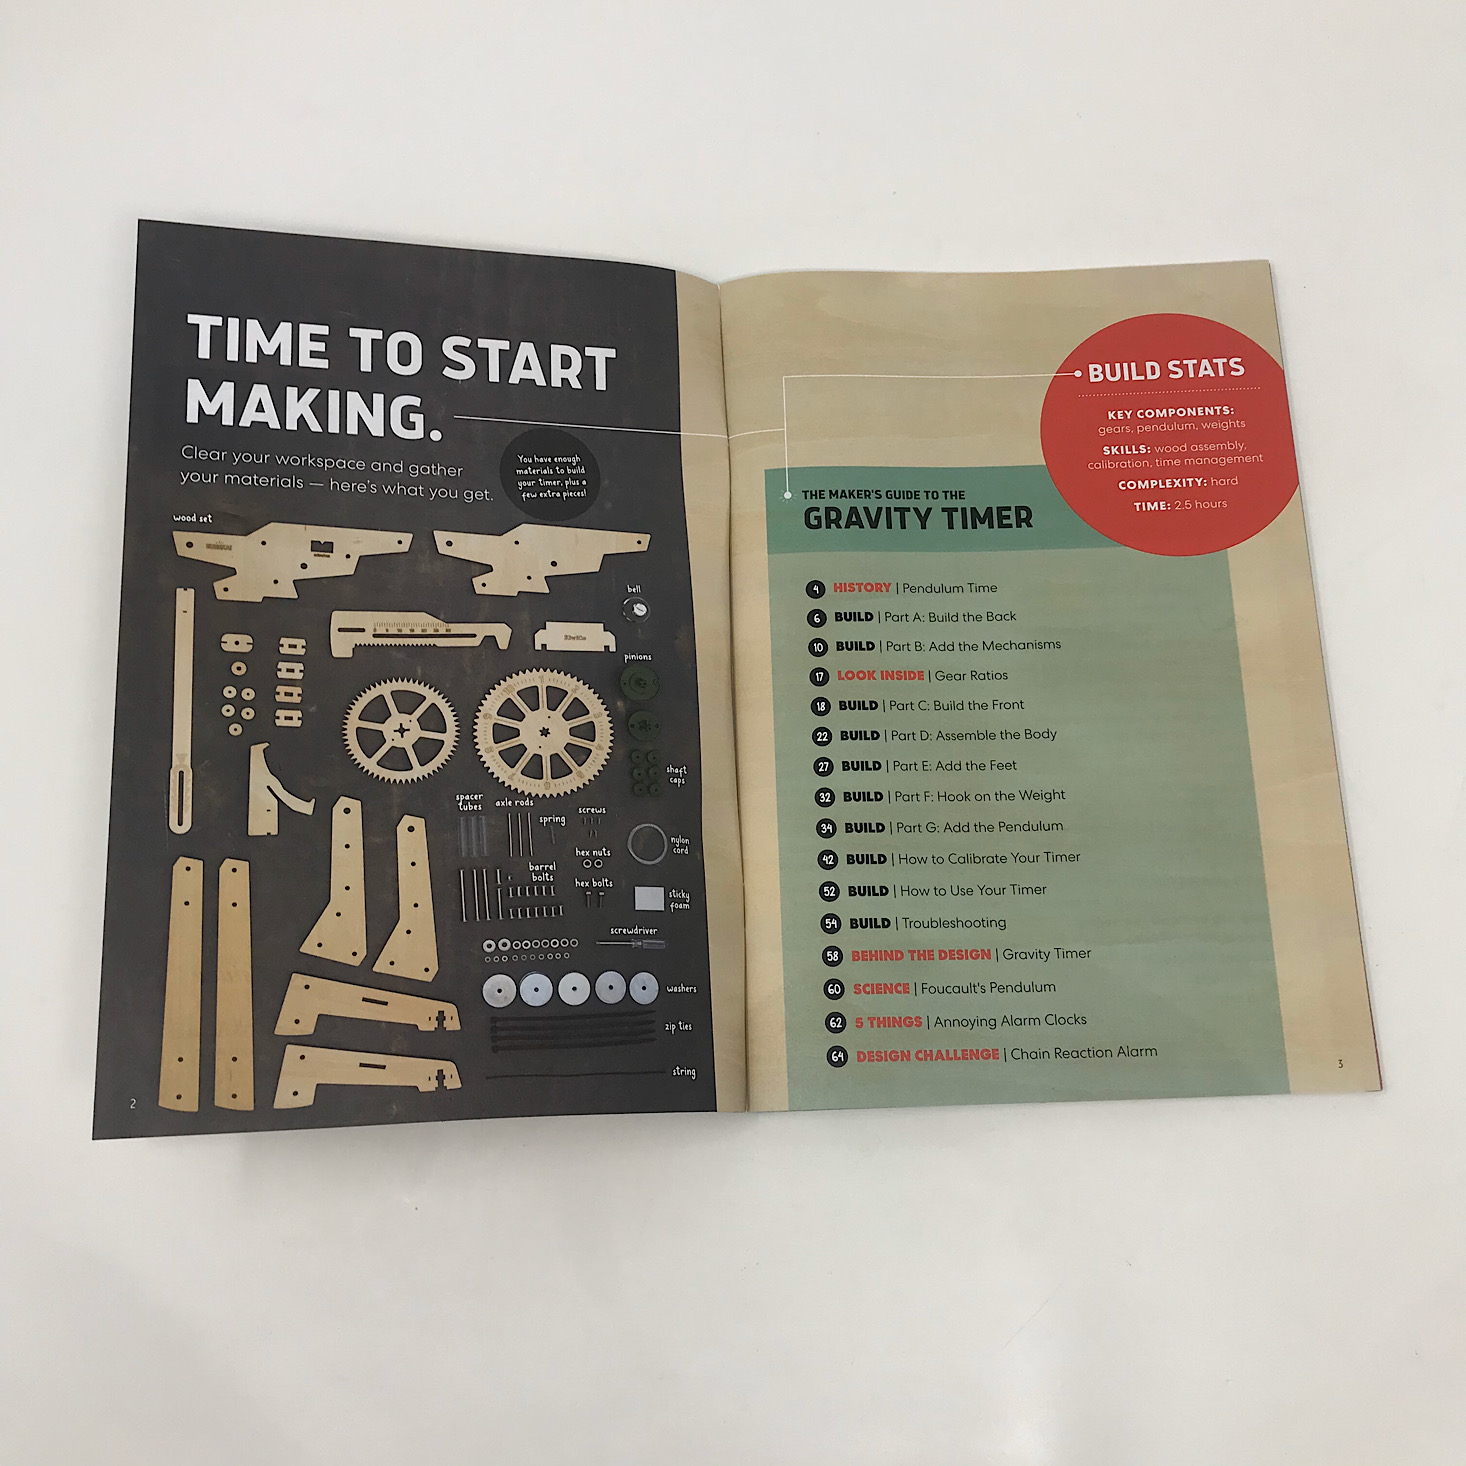
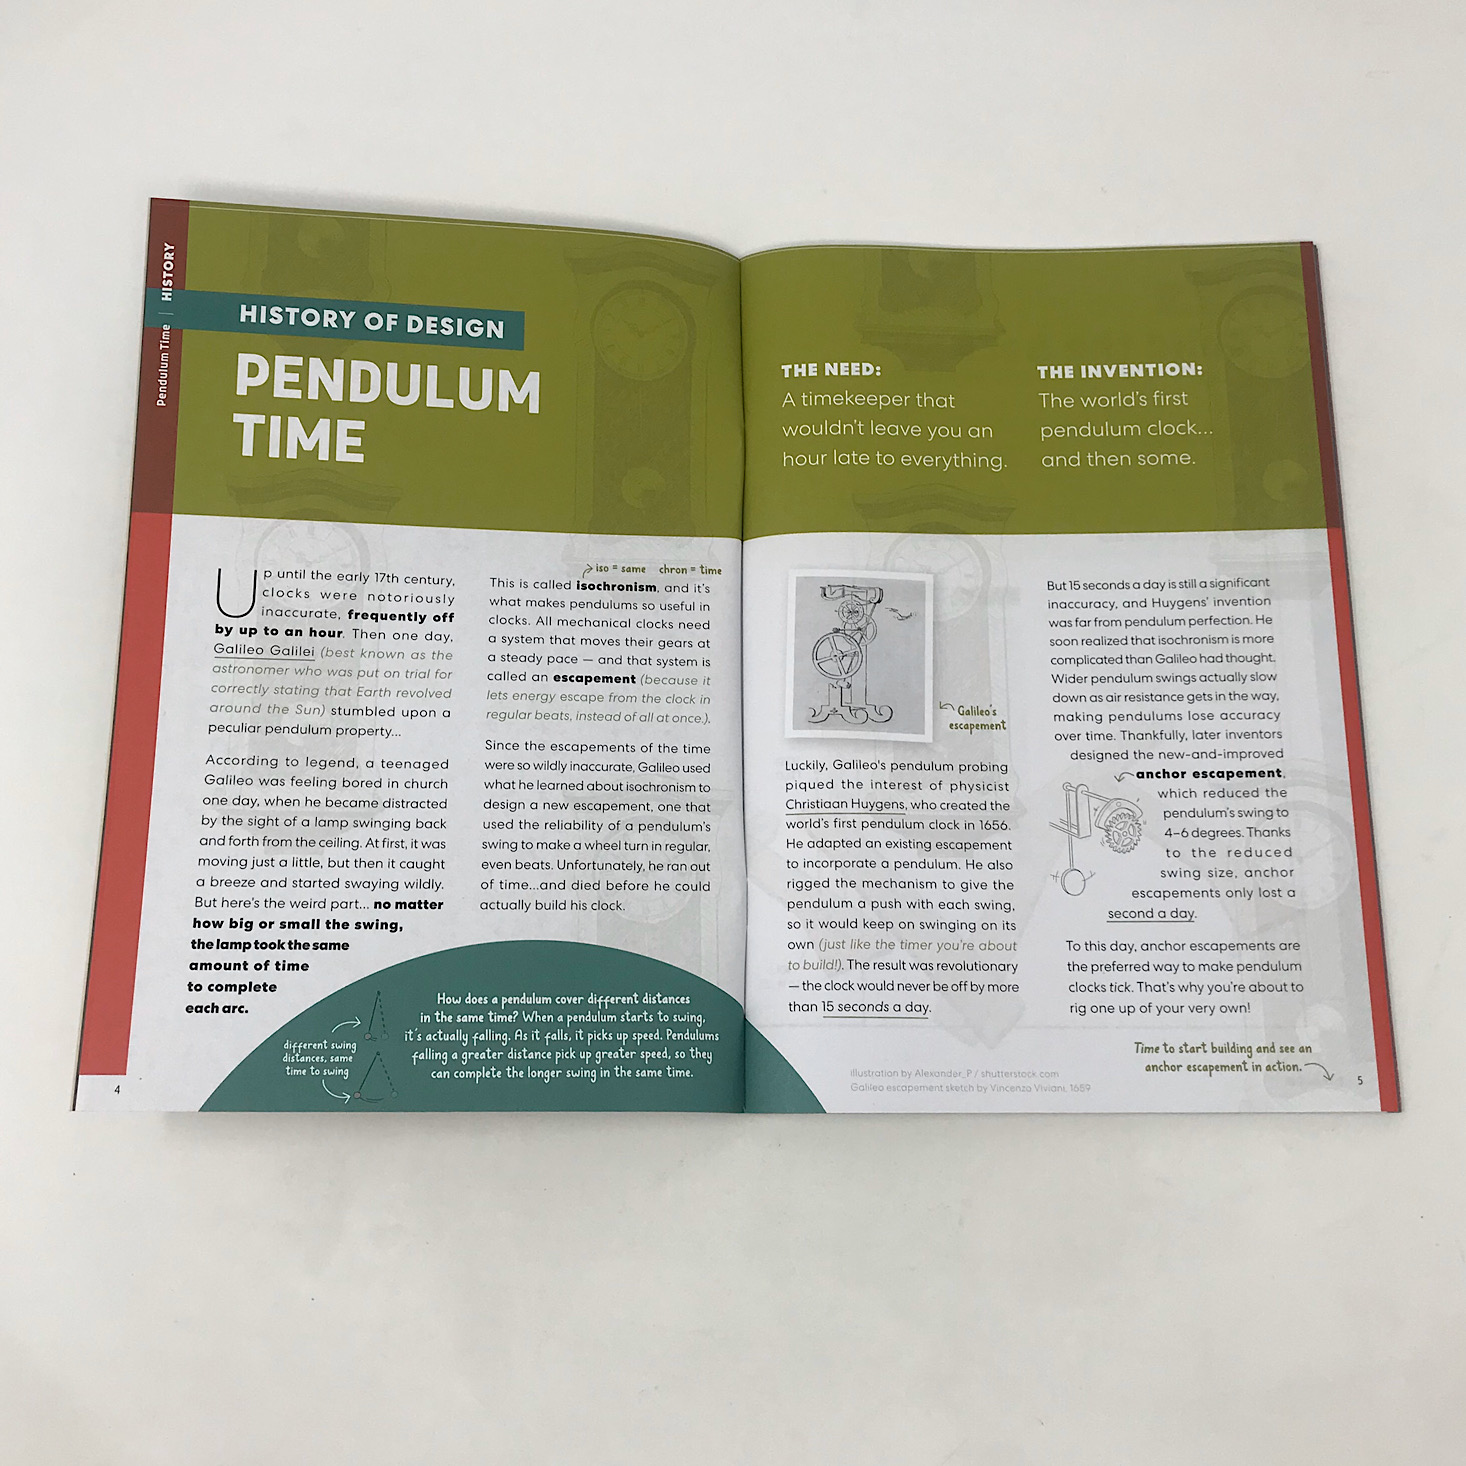

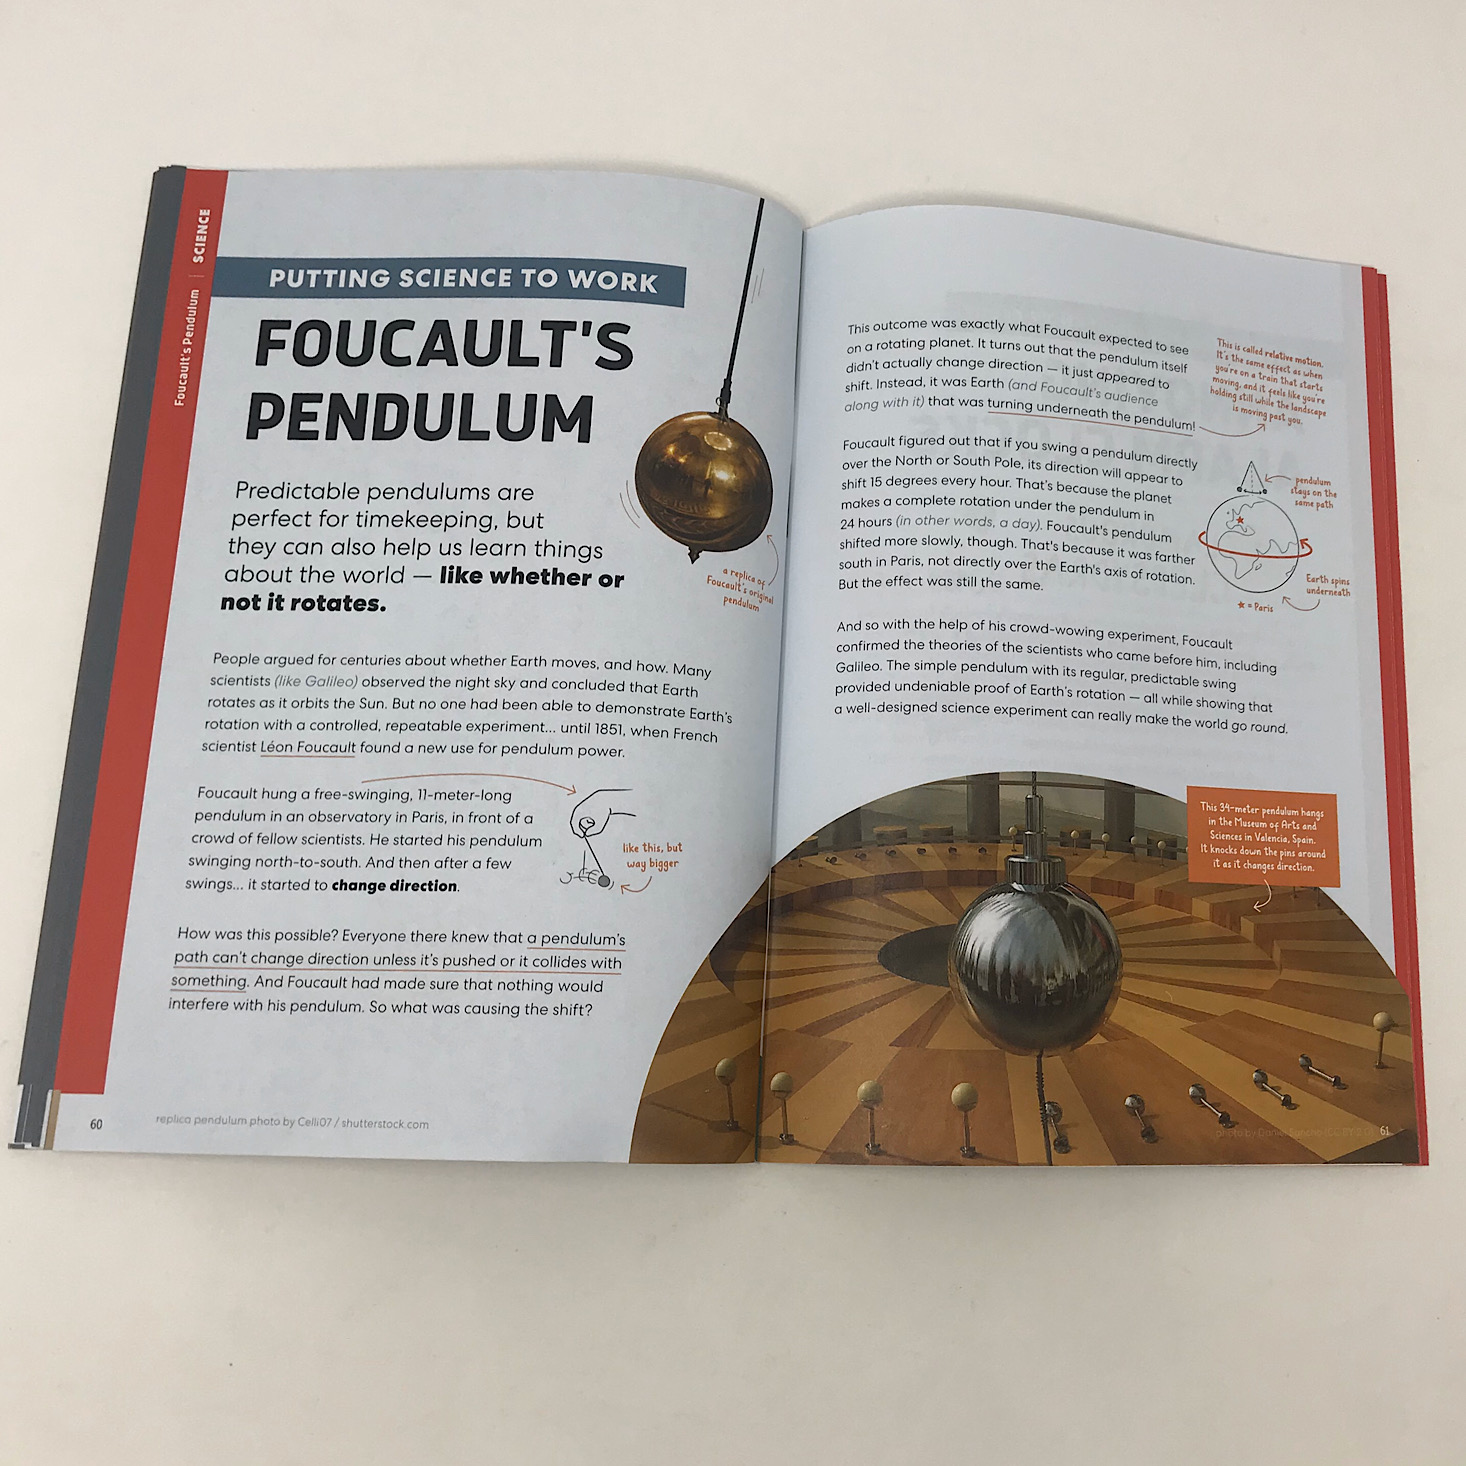

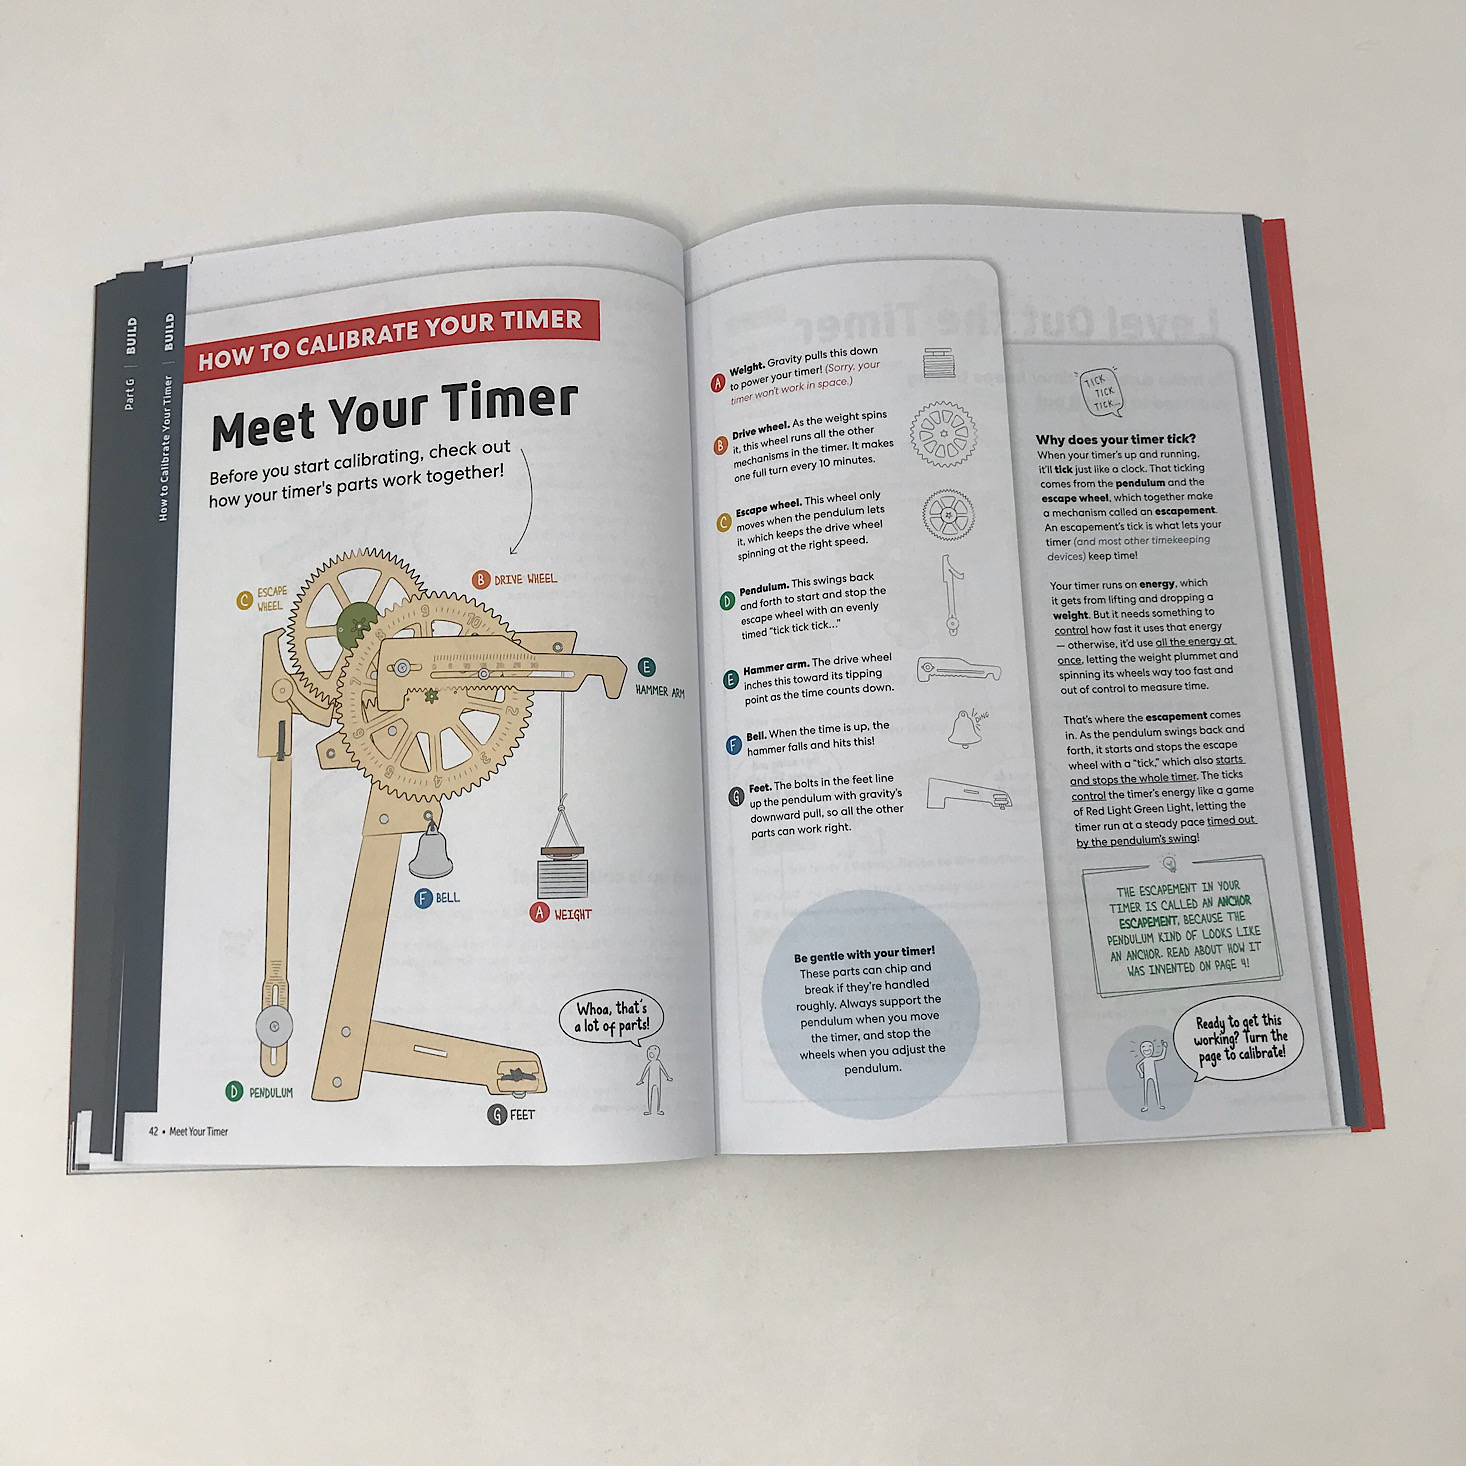
The project for this month was to make our own Gravity Timer. We received this Maker's Guide which is full of helpful information related to our project along with the directions. This month they included some information about pendulums and alarm clocks with some more educational information strewn throughout our direction pages. My favorite section is the "Behind the Design" page where they go into detail about their own process in creating this month's project. This design took them 31,200 minutes and they startled 4 co-workers in the process with the sound of the bell!

1 of 8


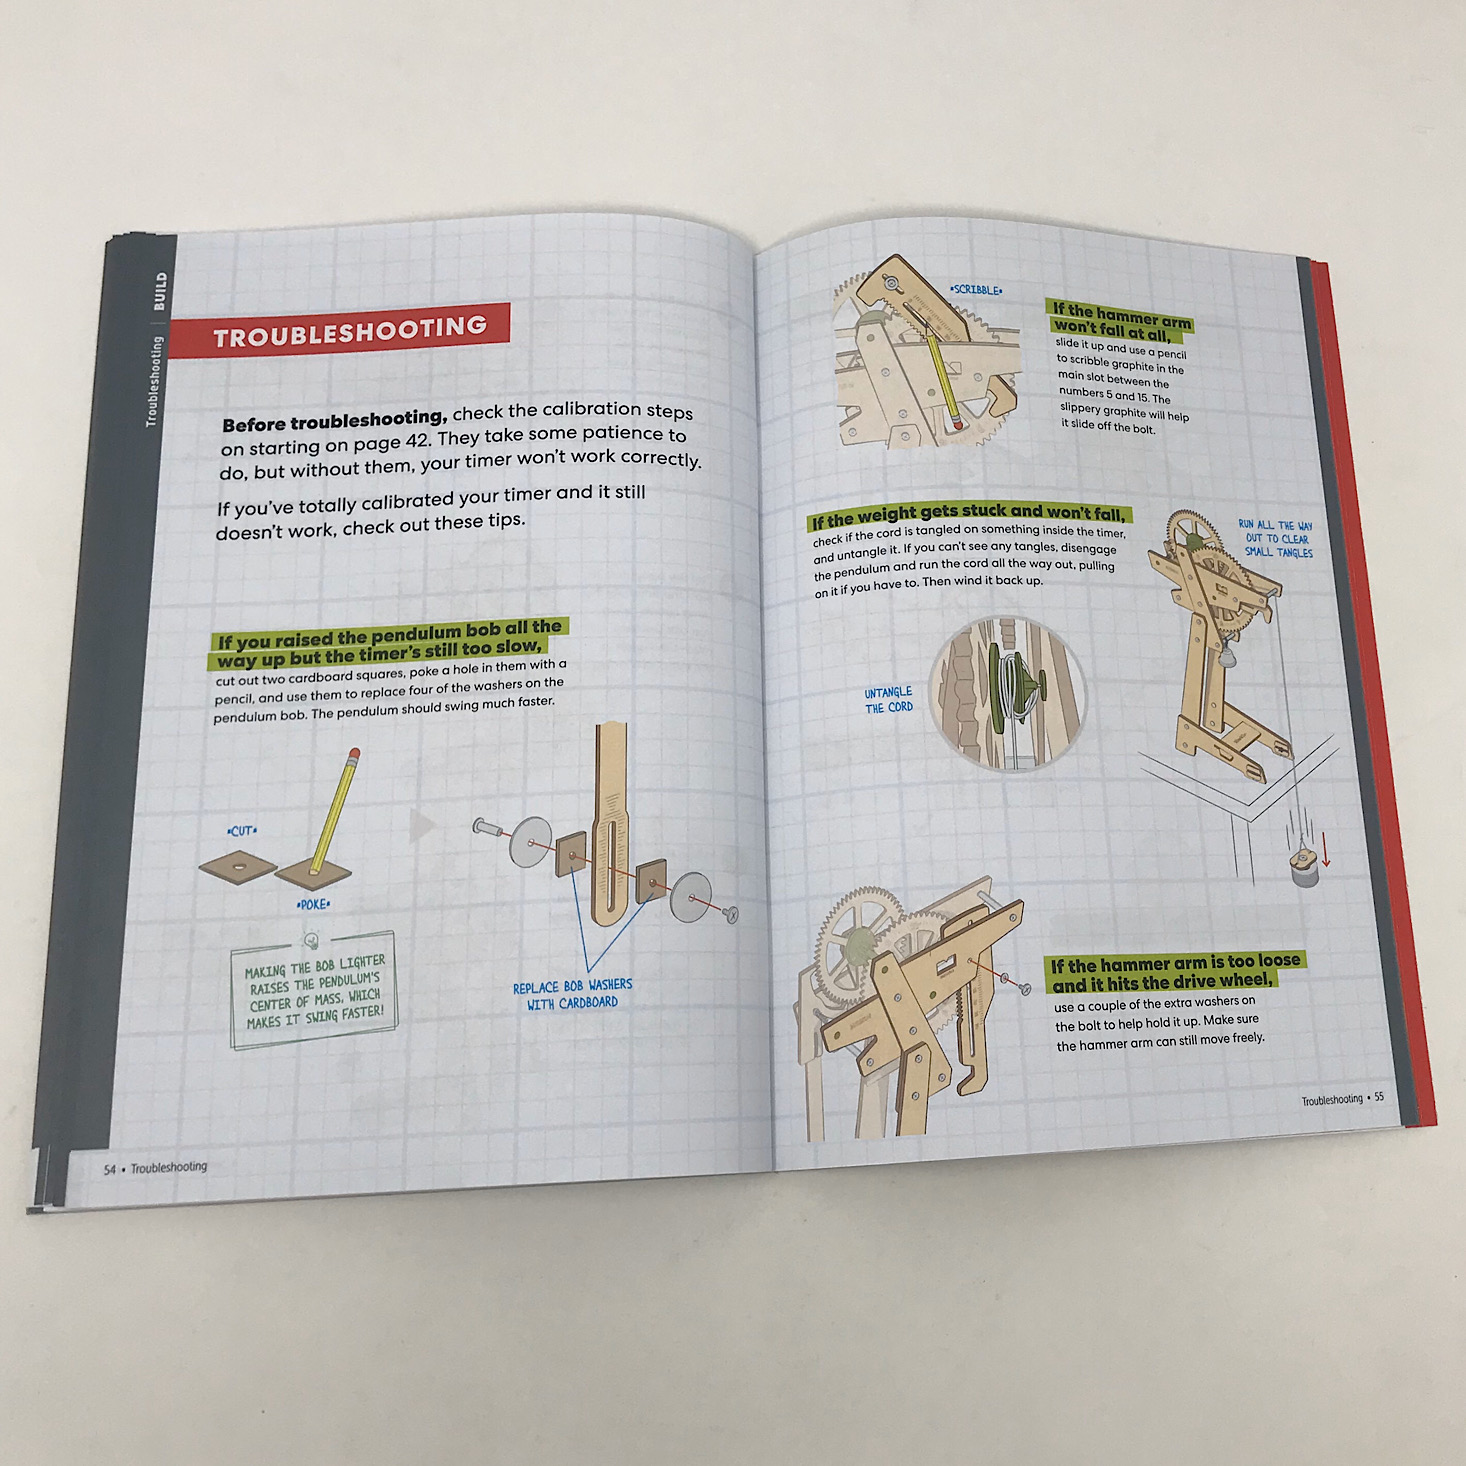
Our directions are separated into various sections which makes it so much easier since it breaks it down into smaller, more manageable tasks. The instructions are always clear and easy to follow with detailed, colorful pictures to reference. They even include information on troubleshooting, which can be very helpful!
Part A: Build the Back
1 of 3
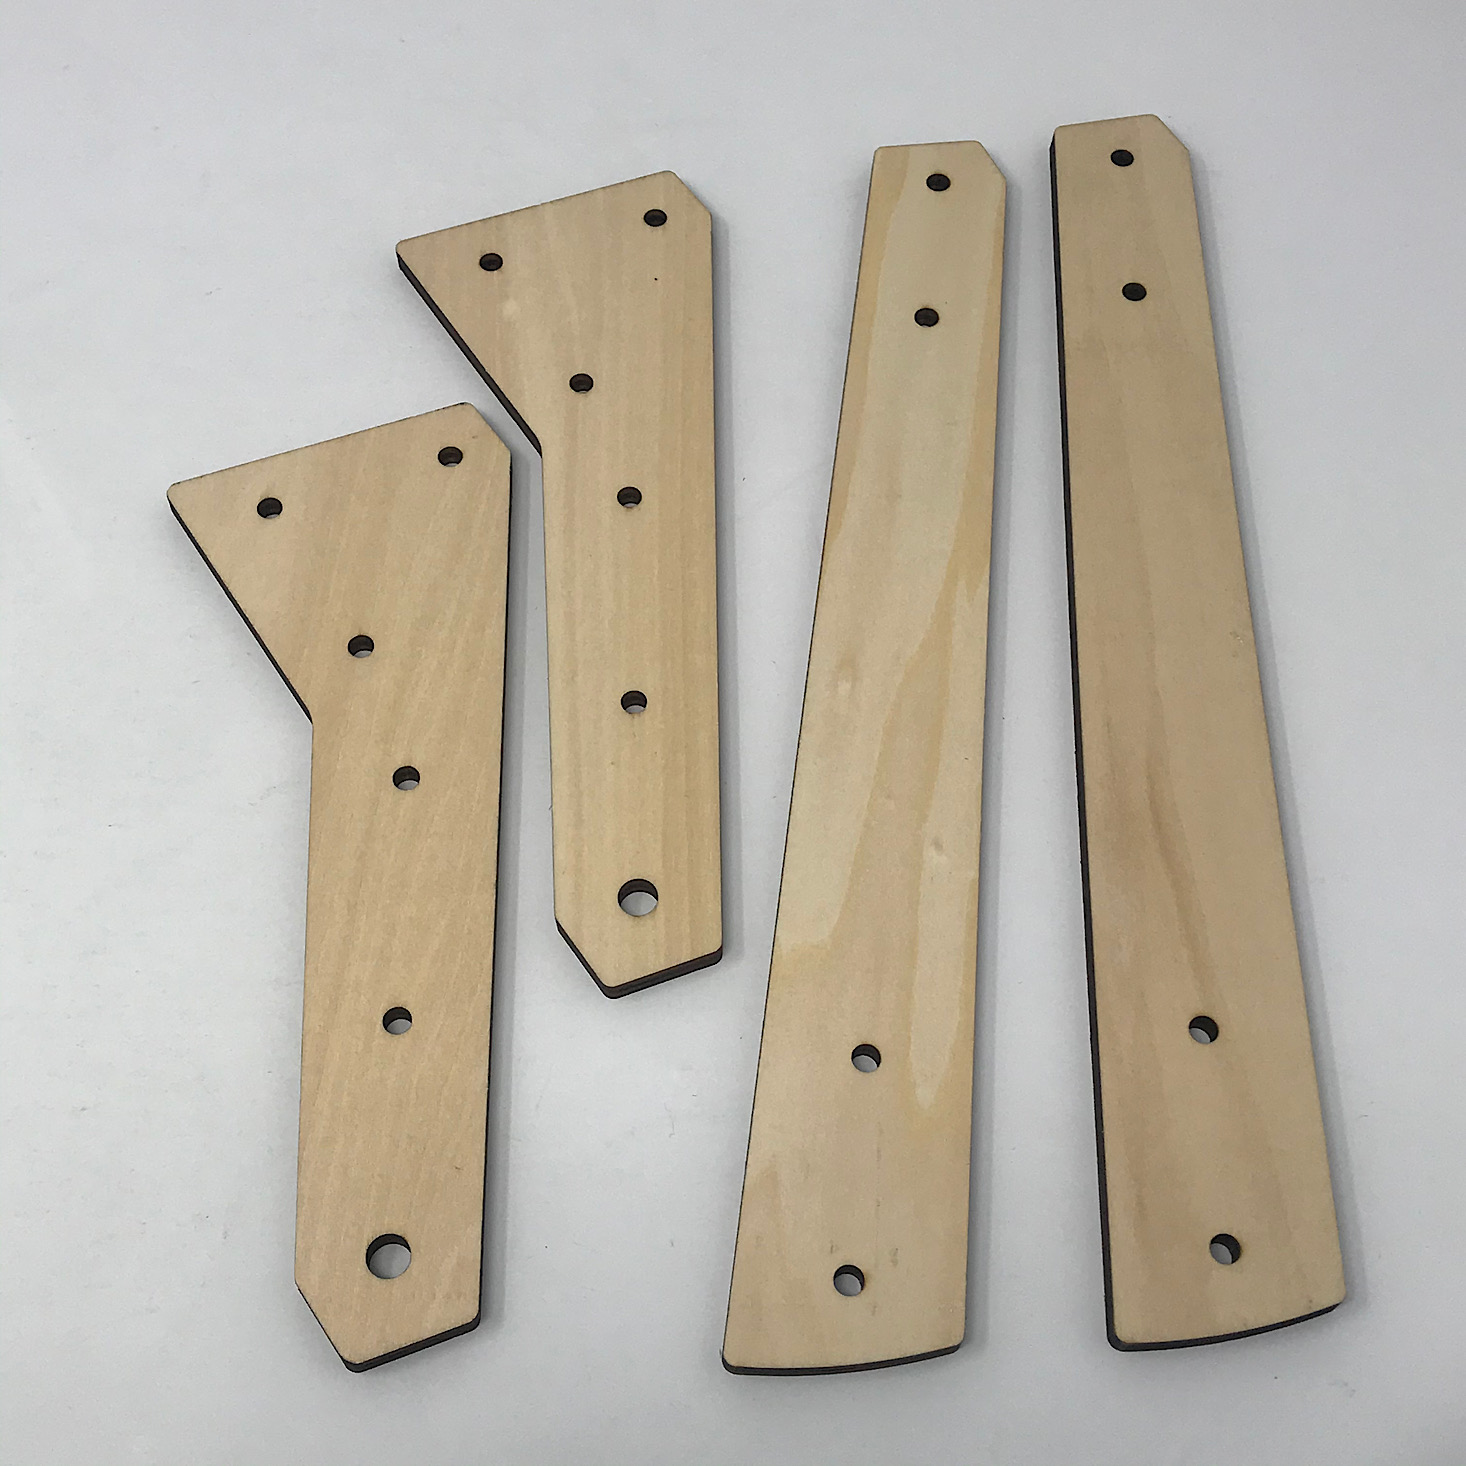
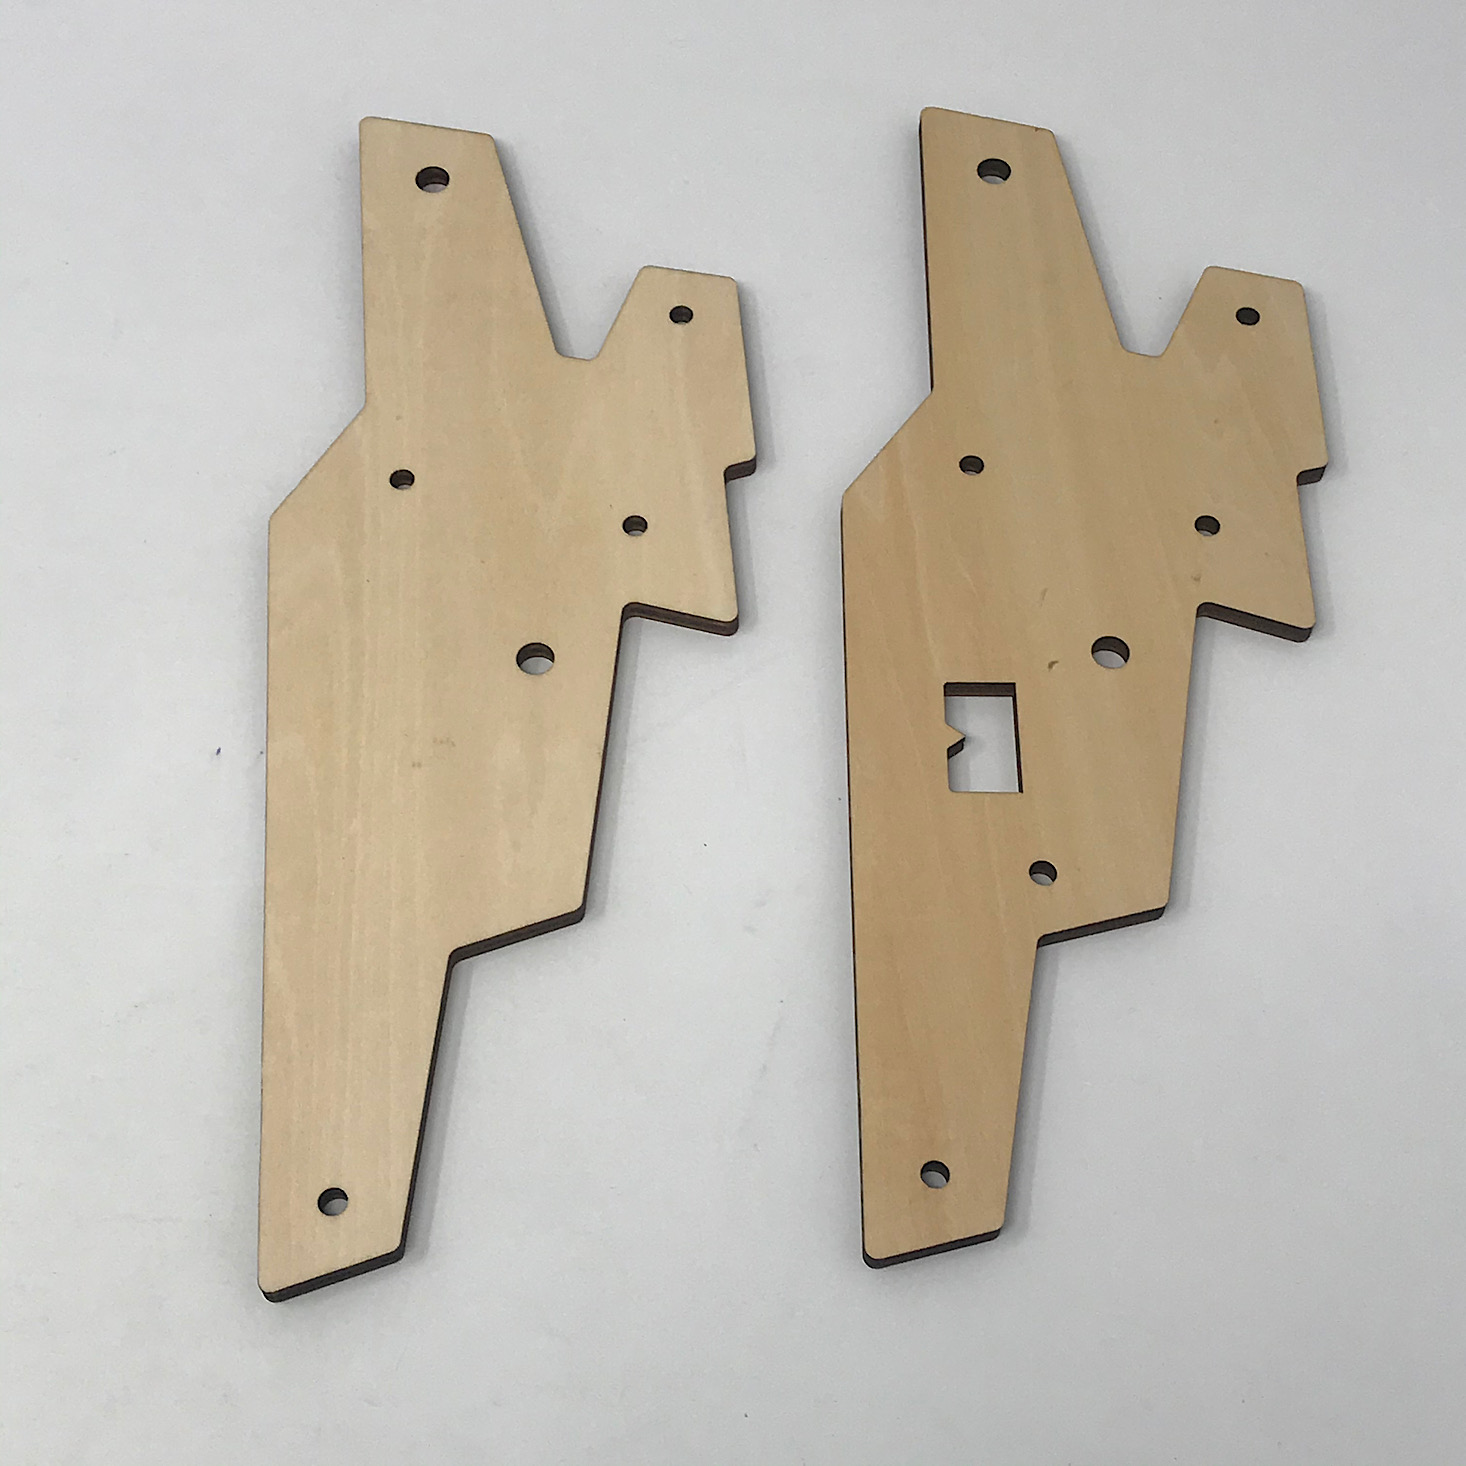
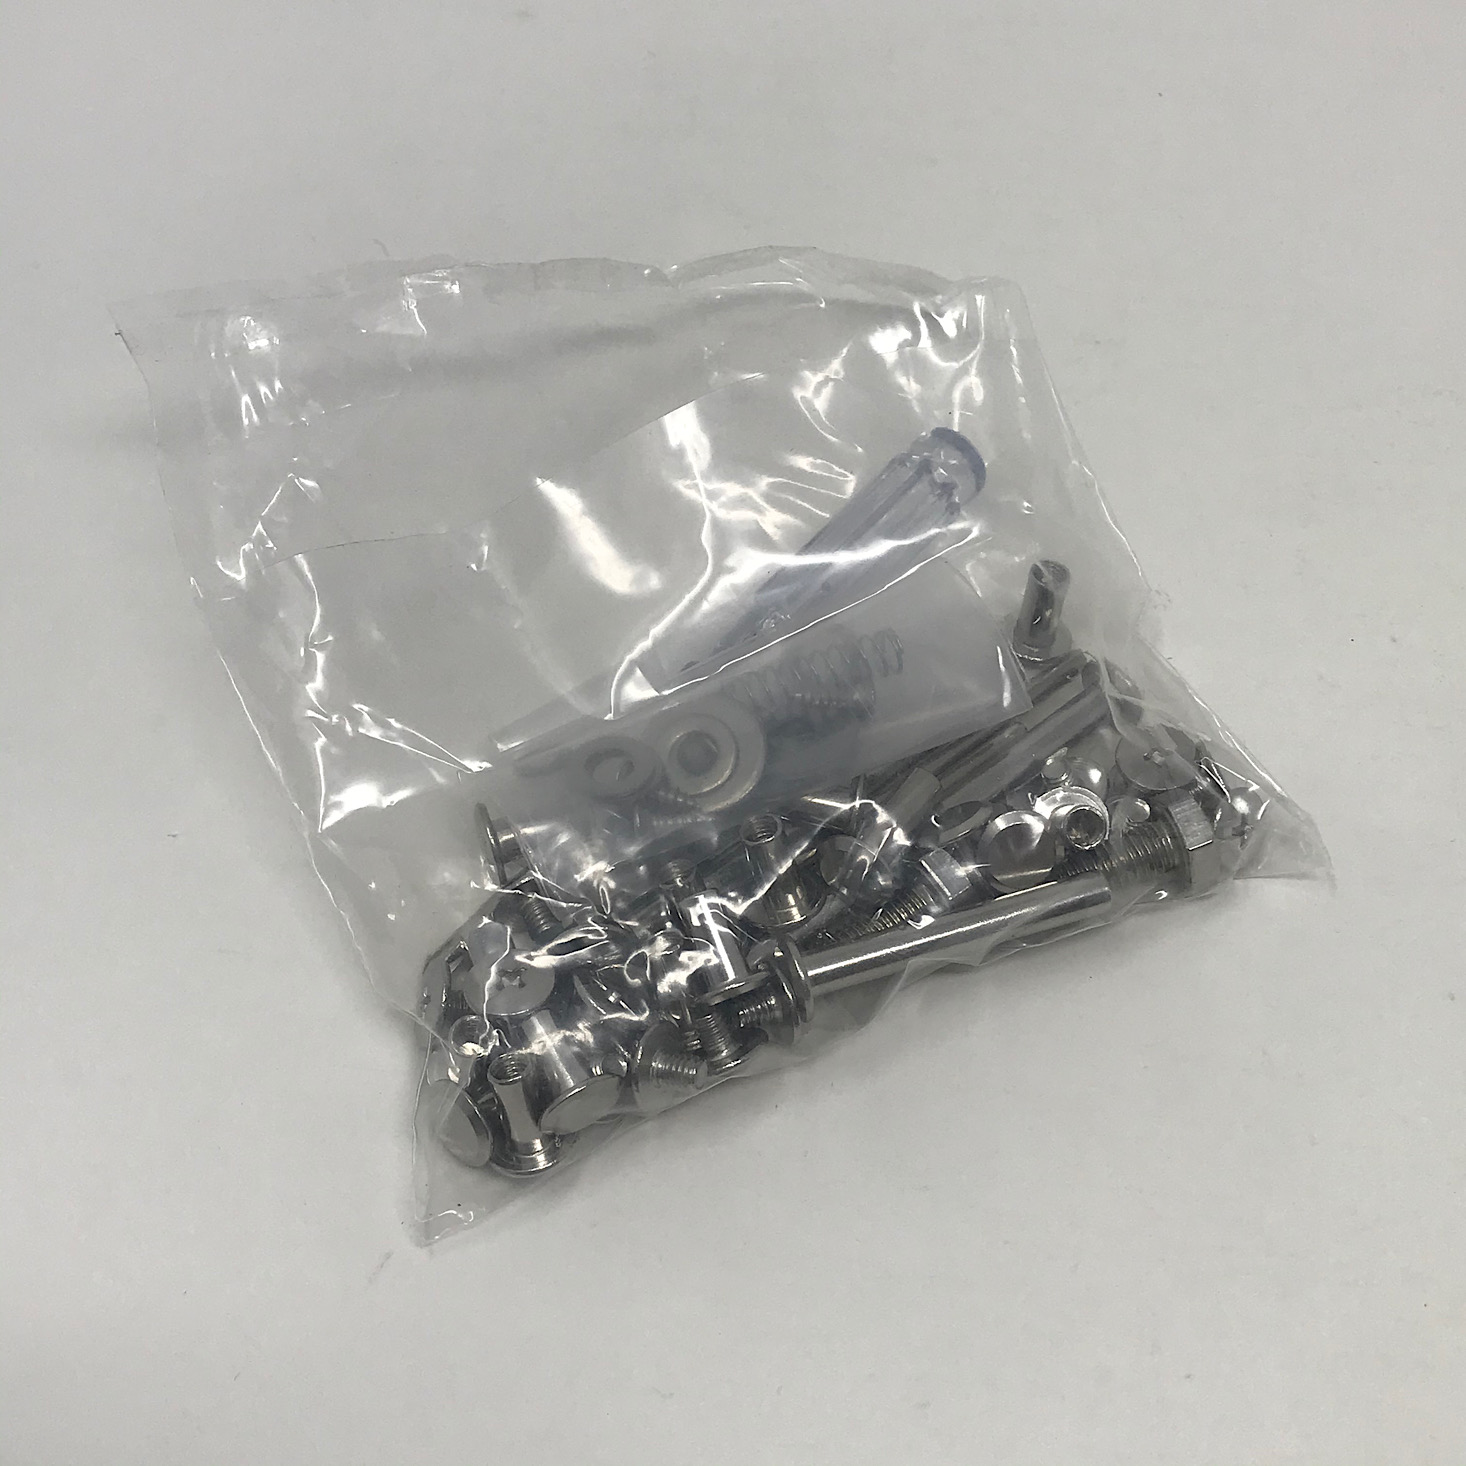
The first thing I did was get organized and I located the wooden pieces I needed to start with along with a pack of hardware.
1 of 2
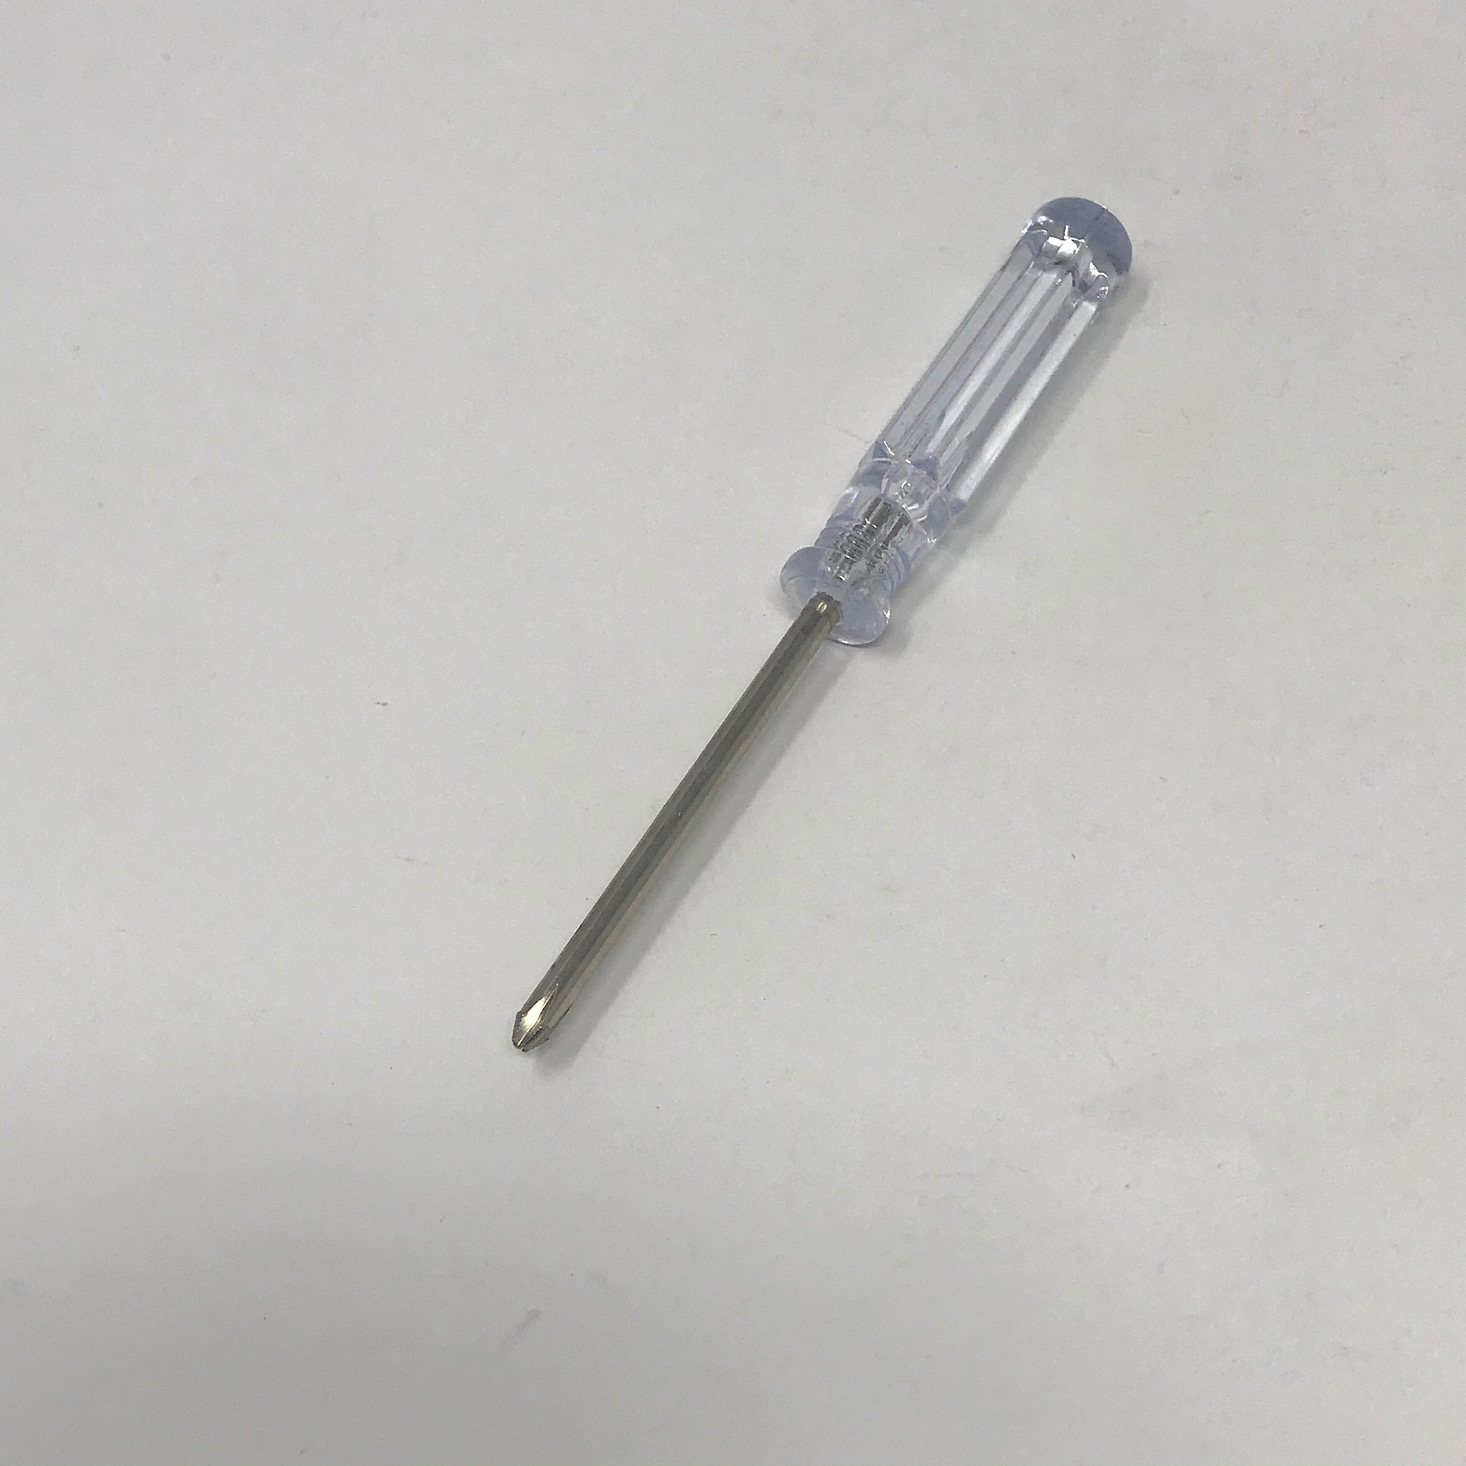
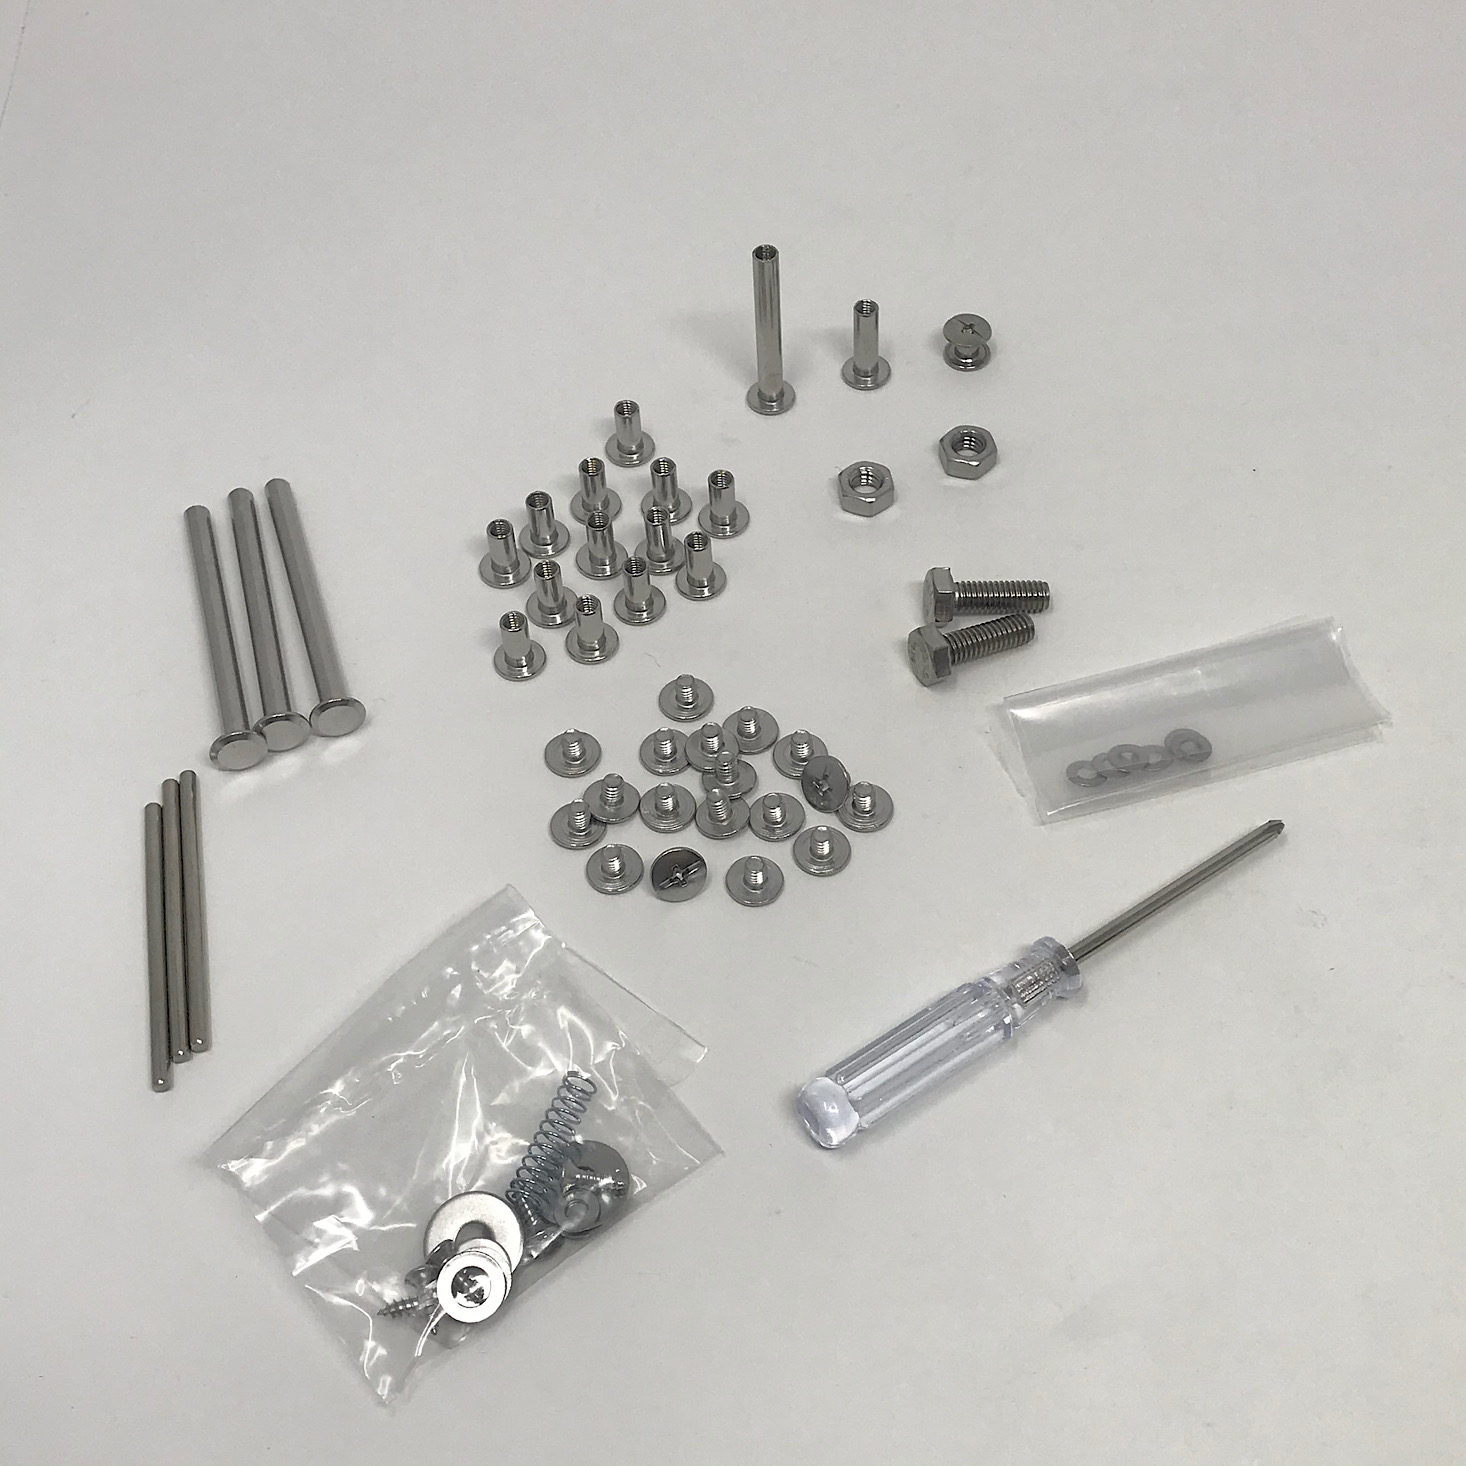
They provided a mixture of metal pieces and a mini screwdriver for us to use. There were several different sized bolts, screws, and washers that I sorted out before beginning. Since there were so many sizes, this was the only thing I had to be wary of when putting various pieces together.

1 of 2
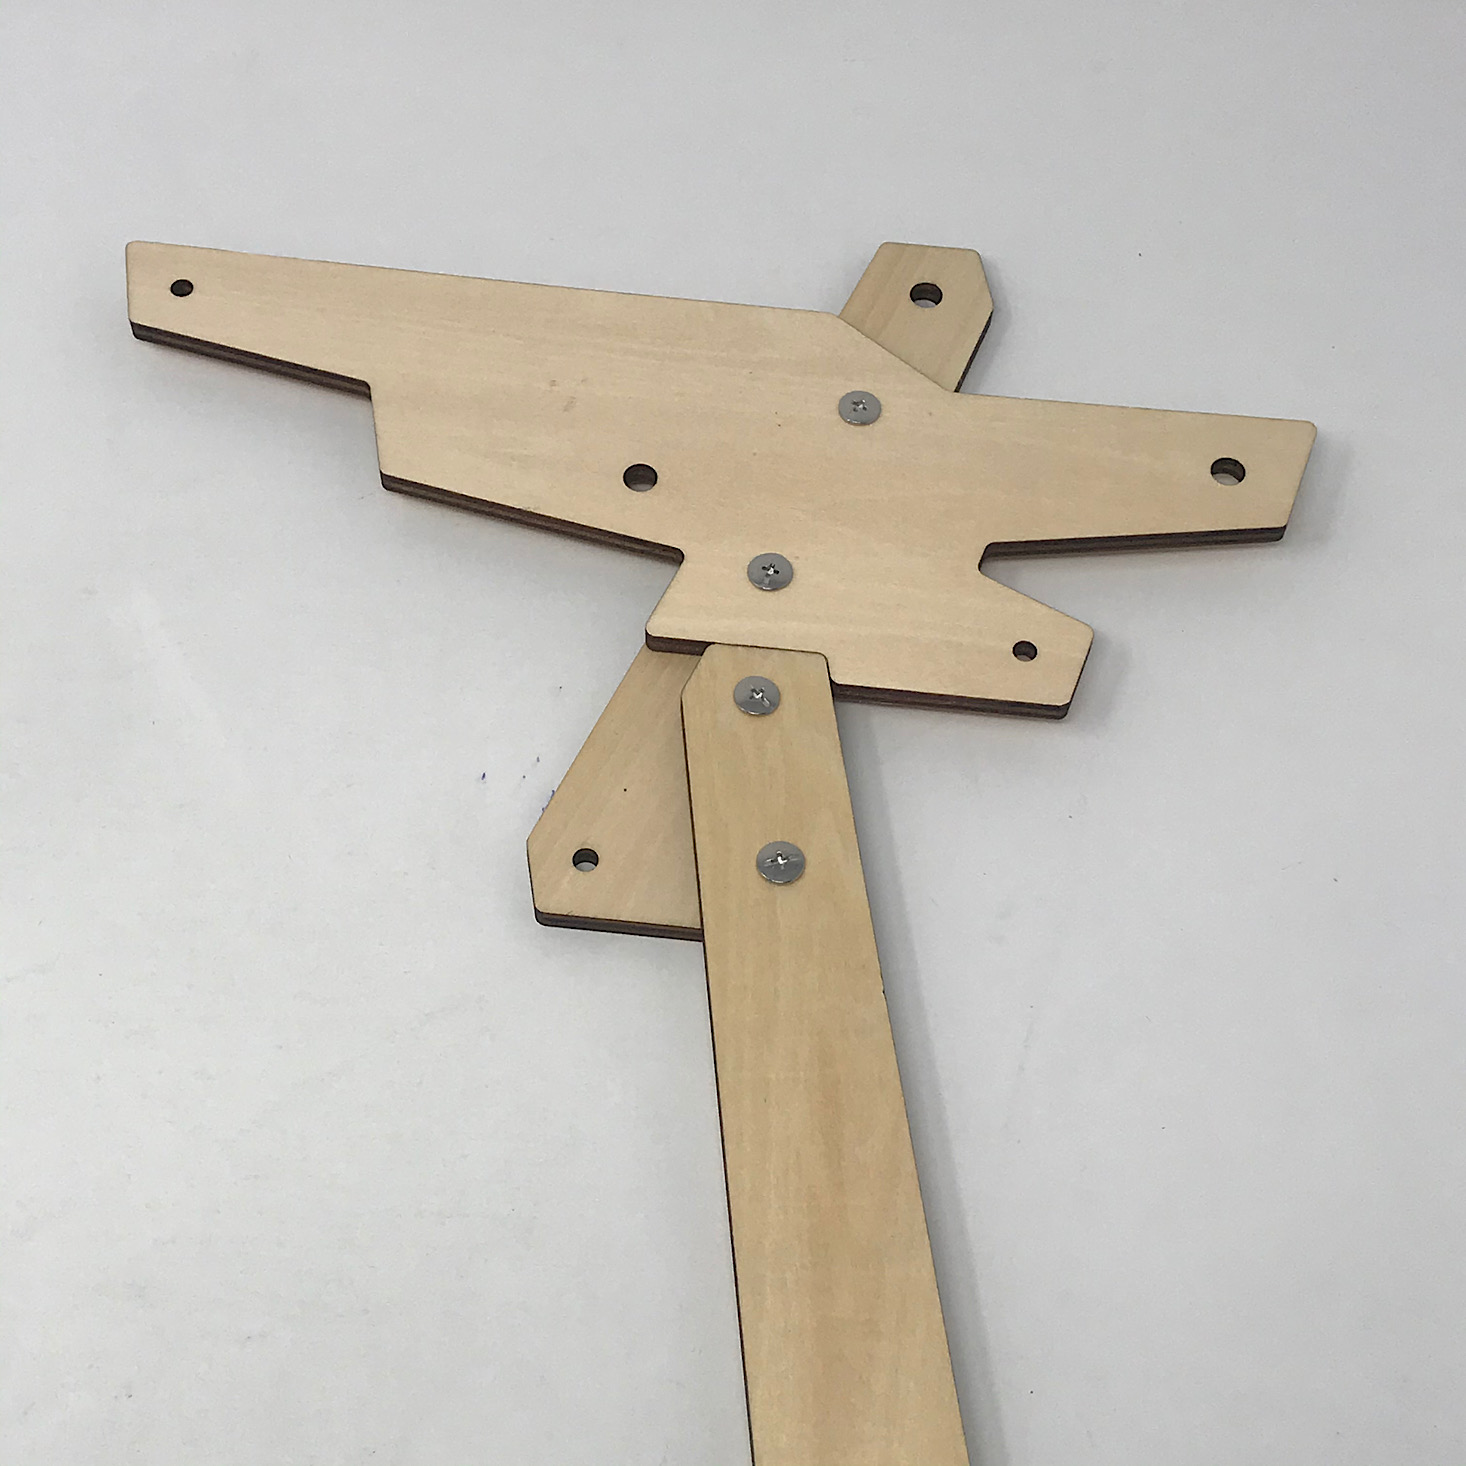
To get started assembling the back, I simply matched up the pieces as shown in the instructions and used the bolts and screws to secure it all.

1 of 3

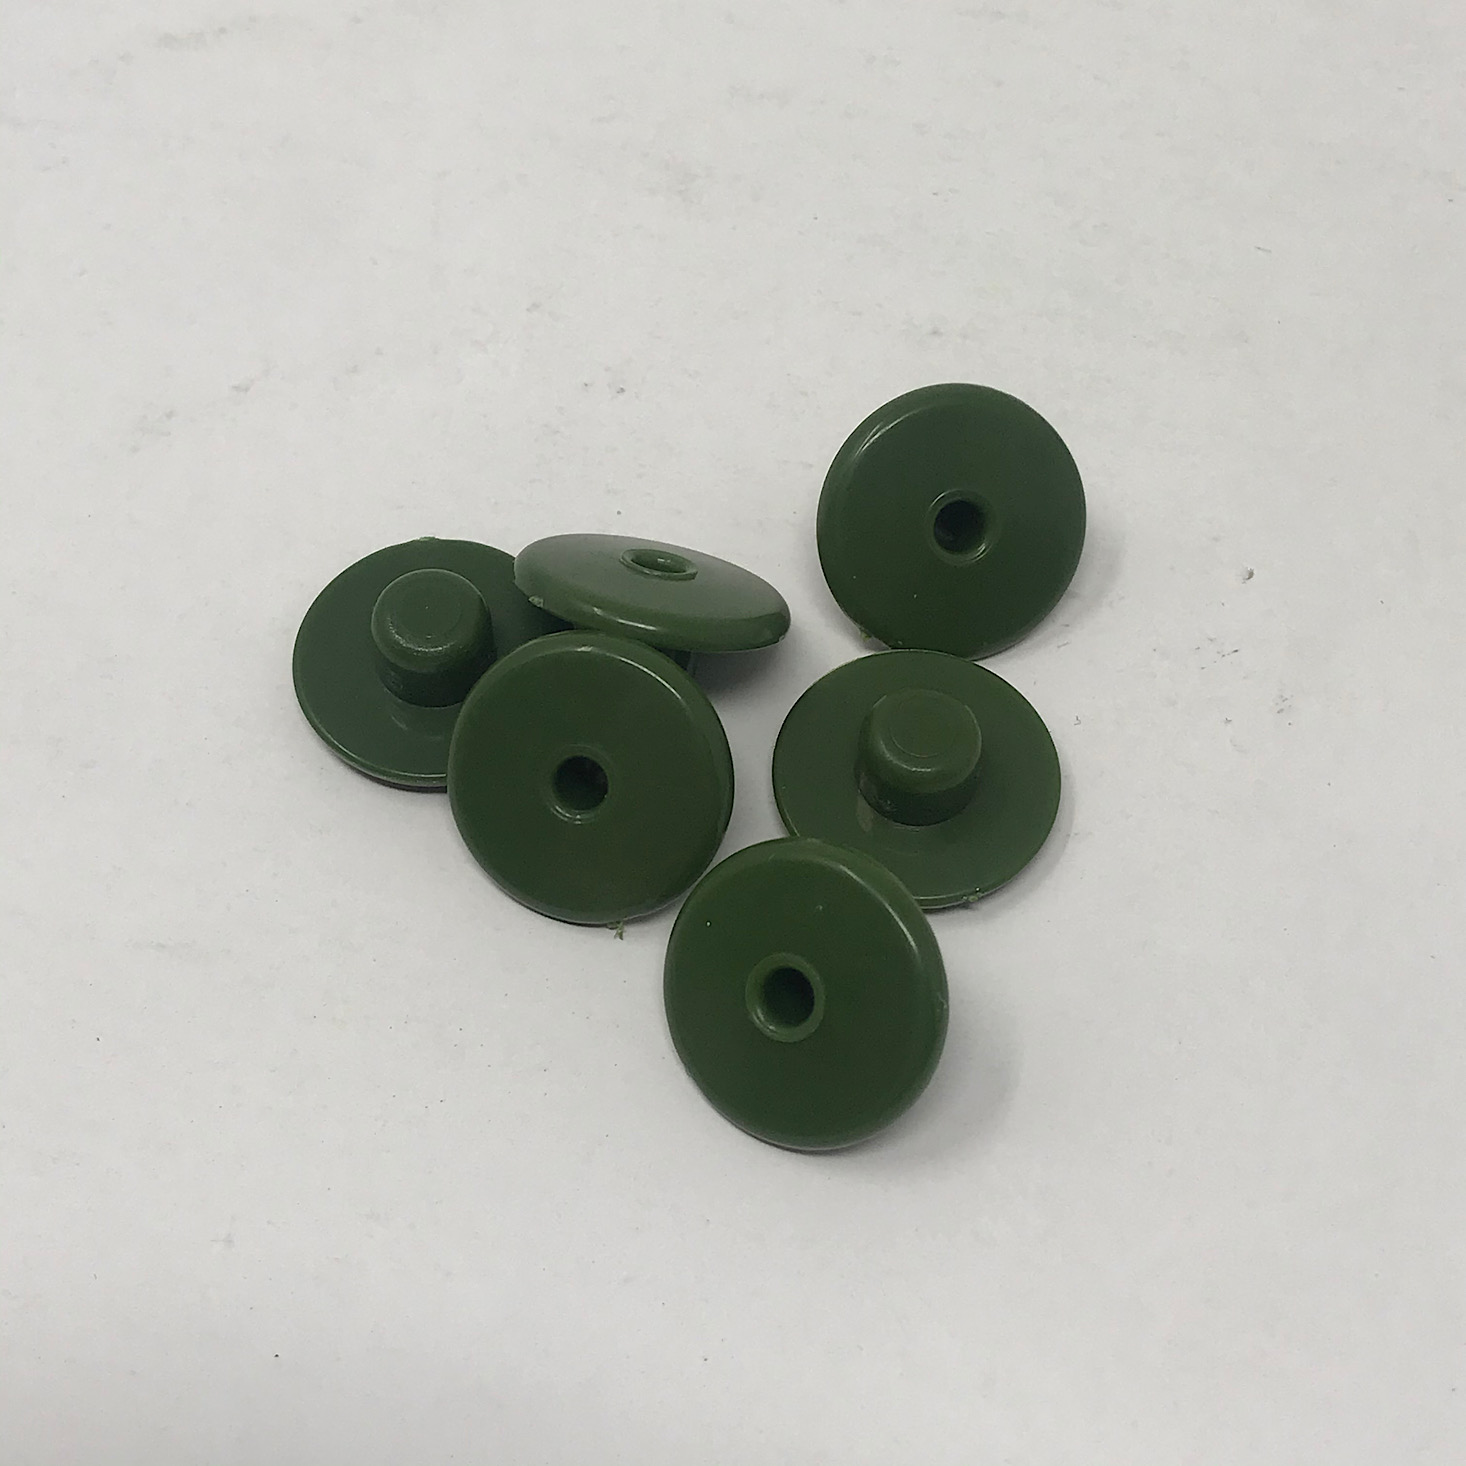
Then I slid the green plastic pieces into the remaining large holes and added steel pins to the center of them.
Part B: Add the Mechanisms


1 of 4

For the mechanisms, I first screwed this green pinion into the center of the escape wheel (the smaller wheel) which fit perfectly into the notch in the center. Then I added that to the center pin that was on the back piece.


1 of 5
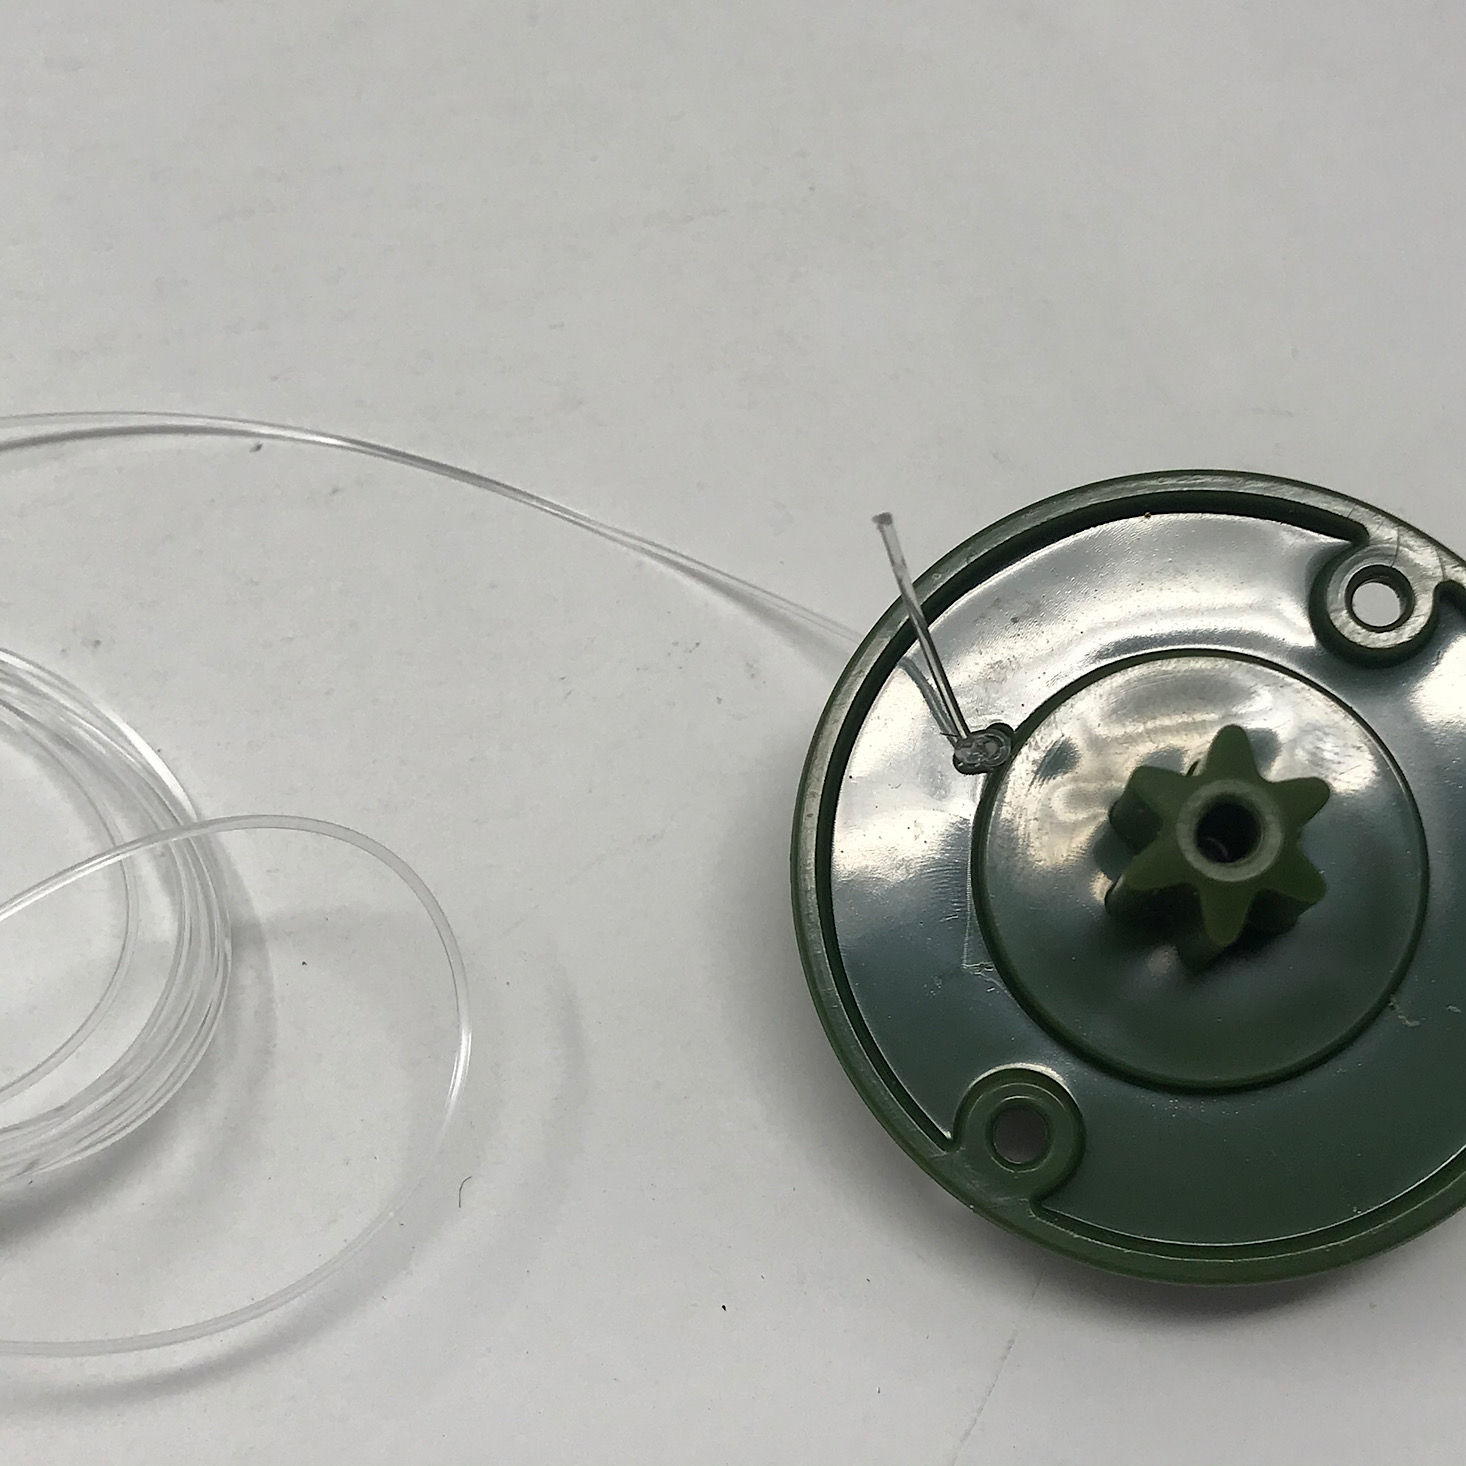


Next, I tied an adjustable knot into the cord they provided and then tied that to the larger green pinion with a spool before screwing it onto the center of the larger, numbered wooden wheel, the drive wheel.
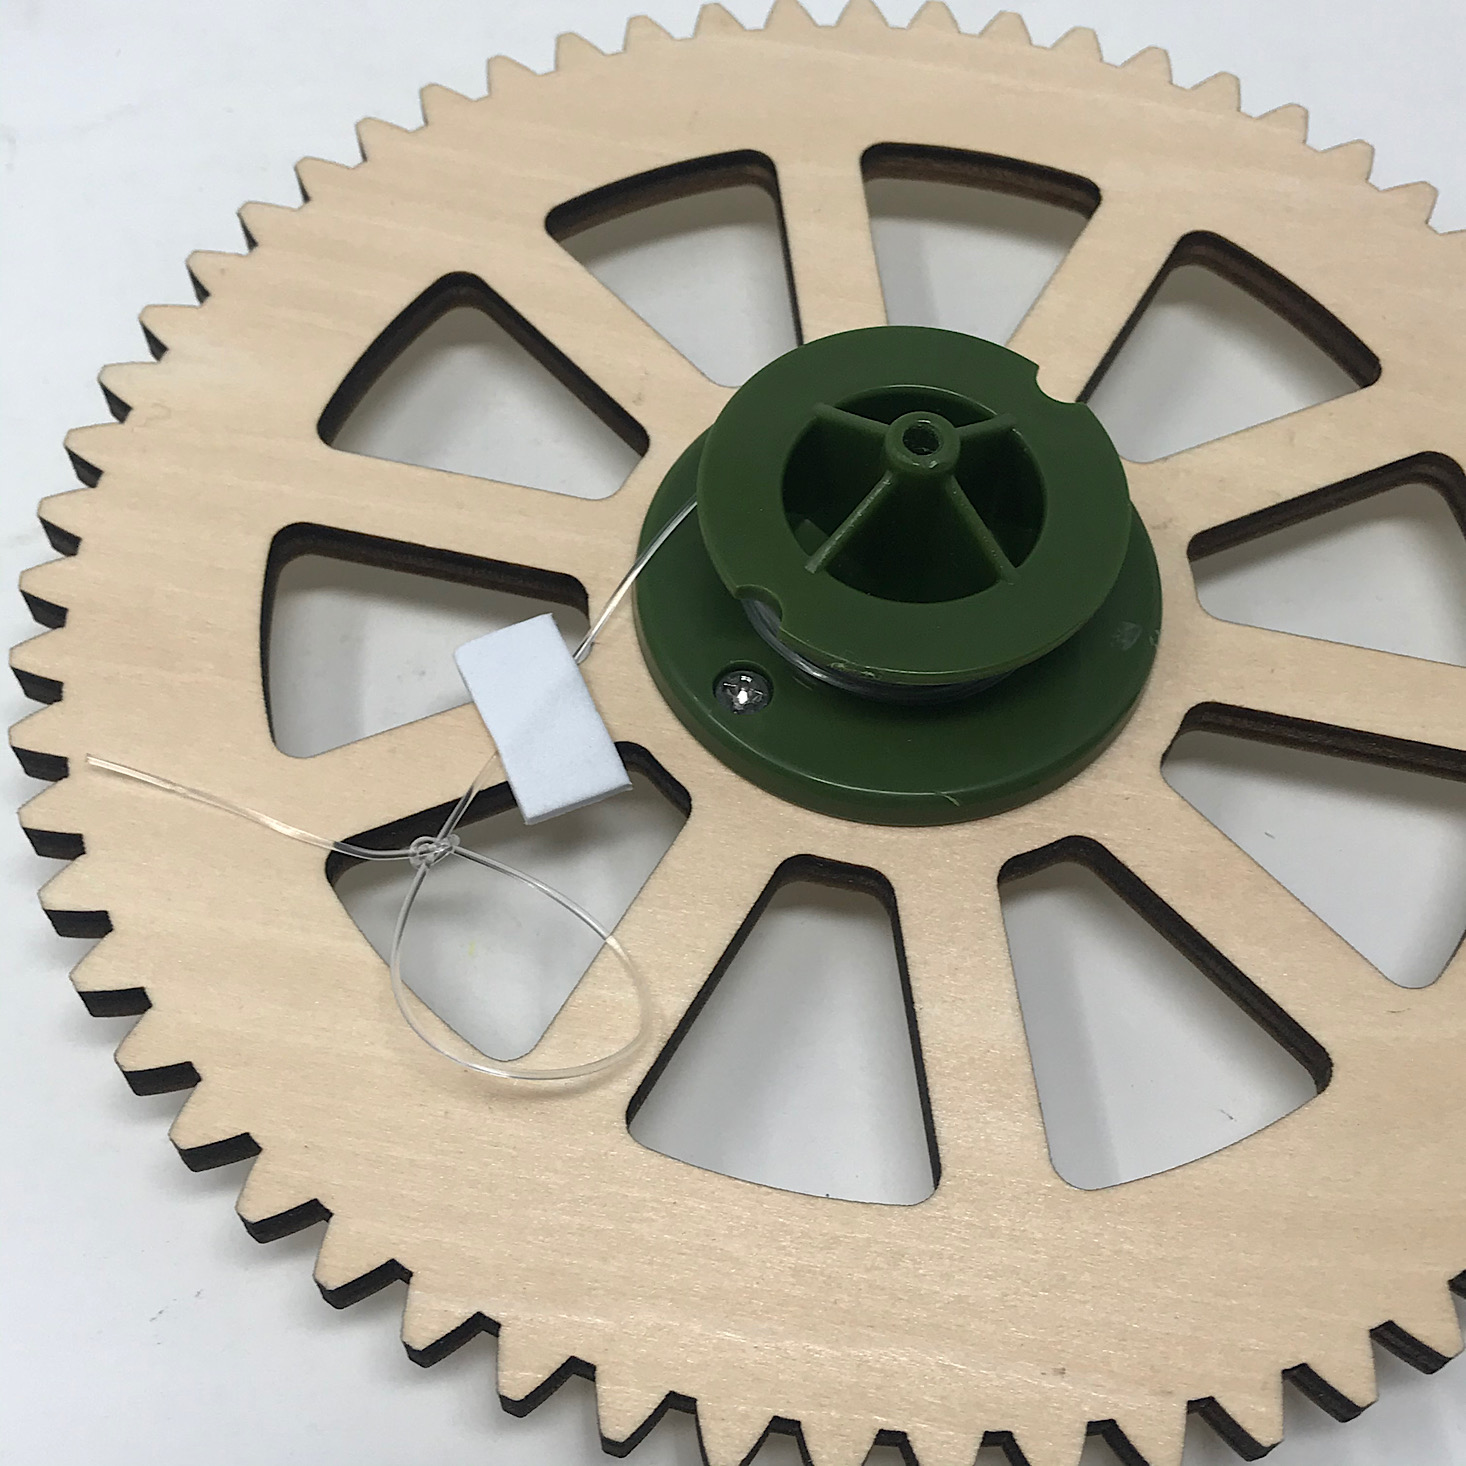

1 of 3
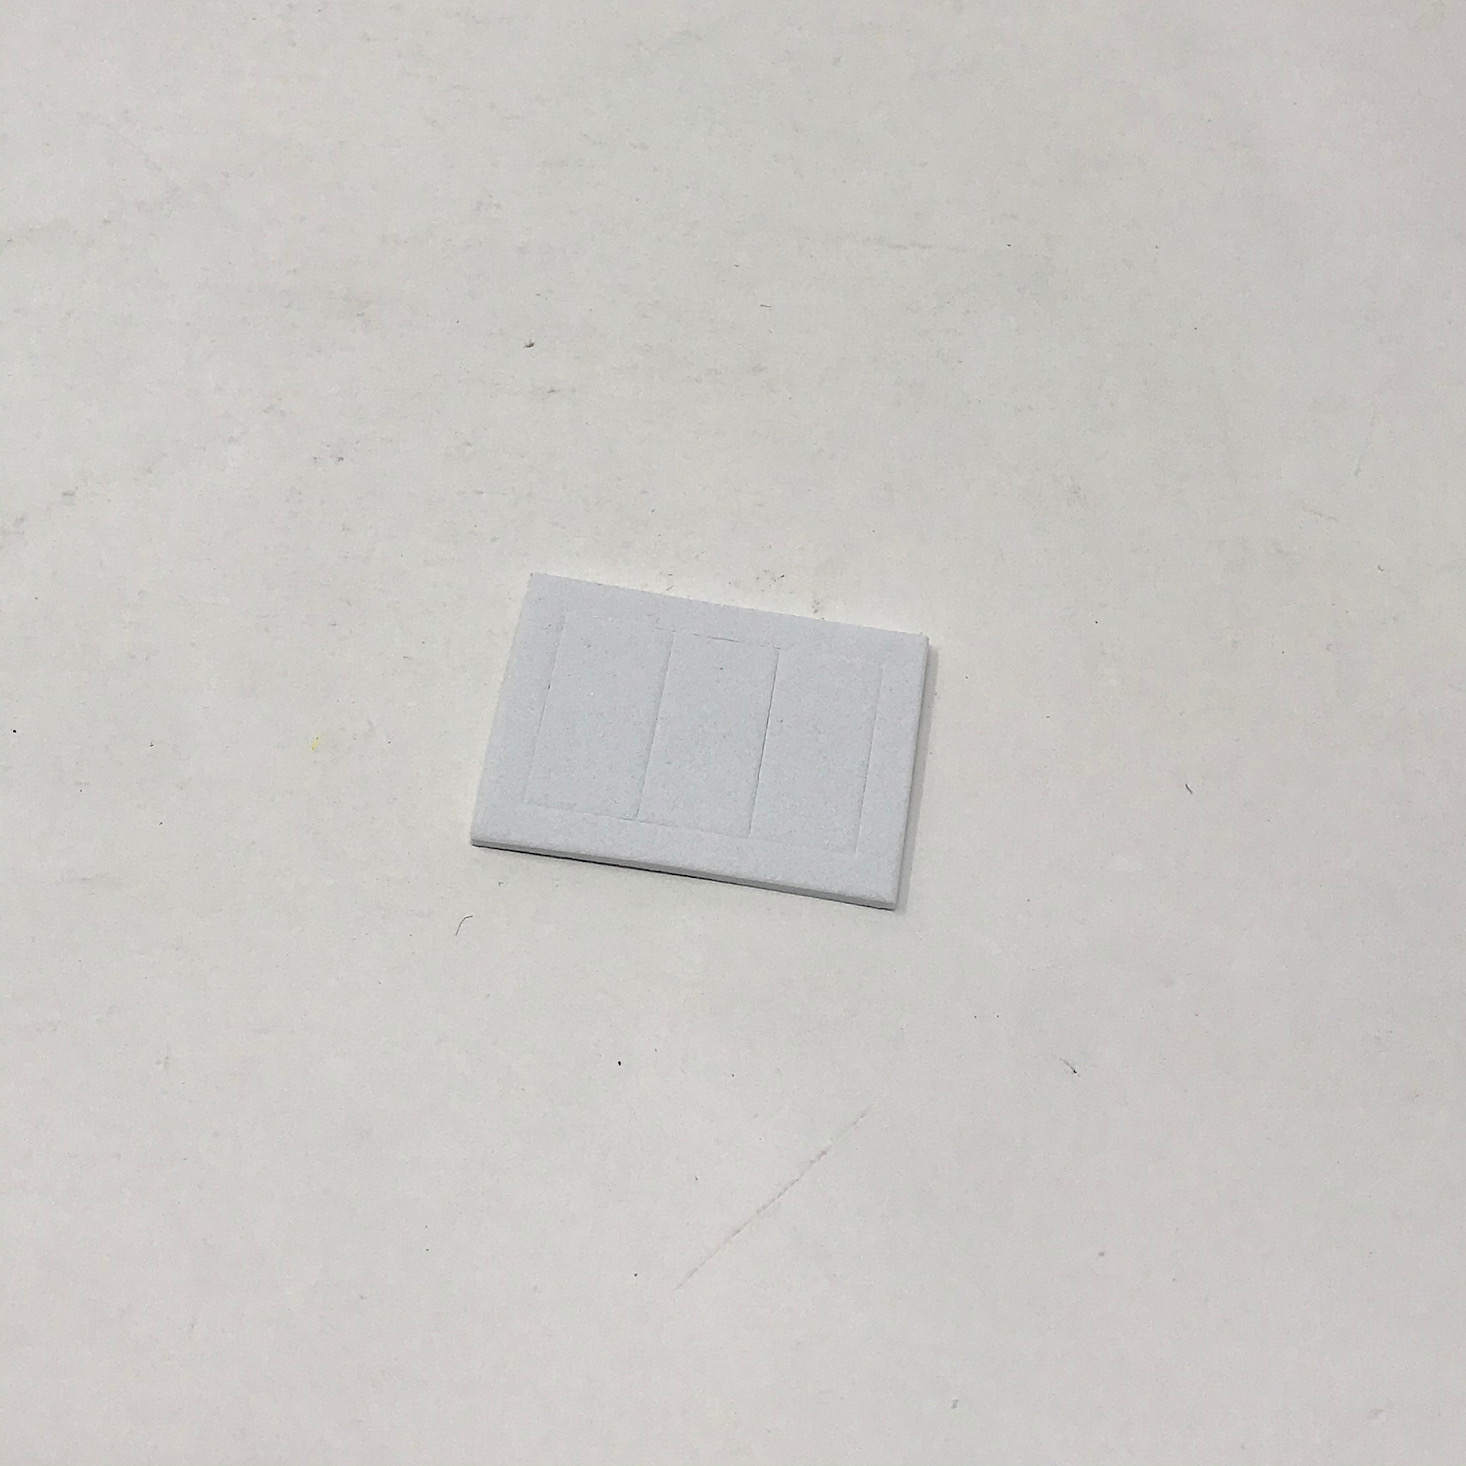
I wound the cord around the green piece counterclockwise and then held it in place with a sticky piece of foam.

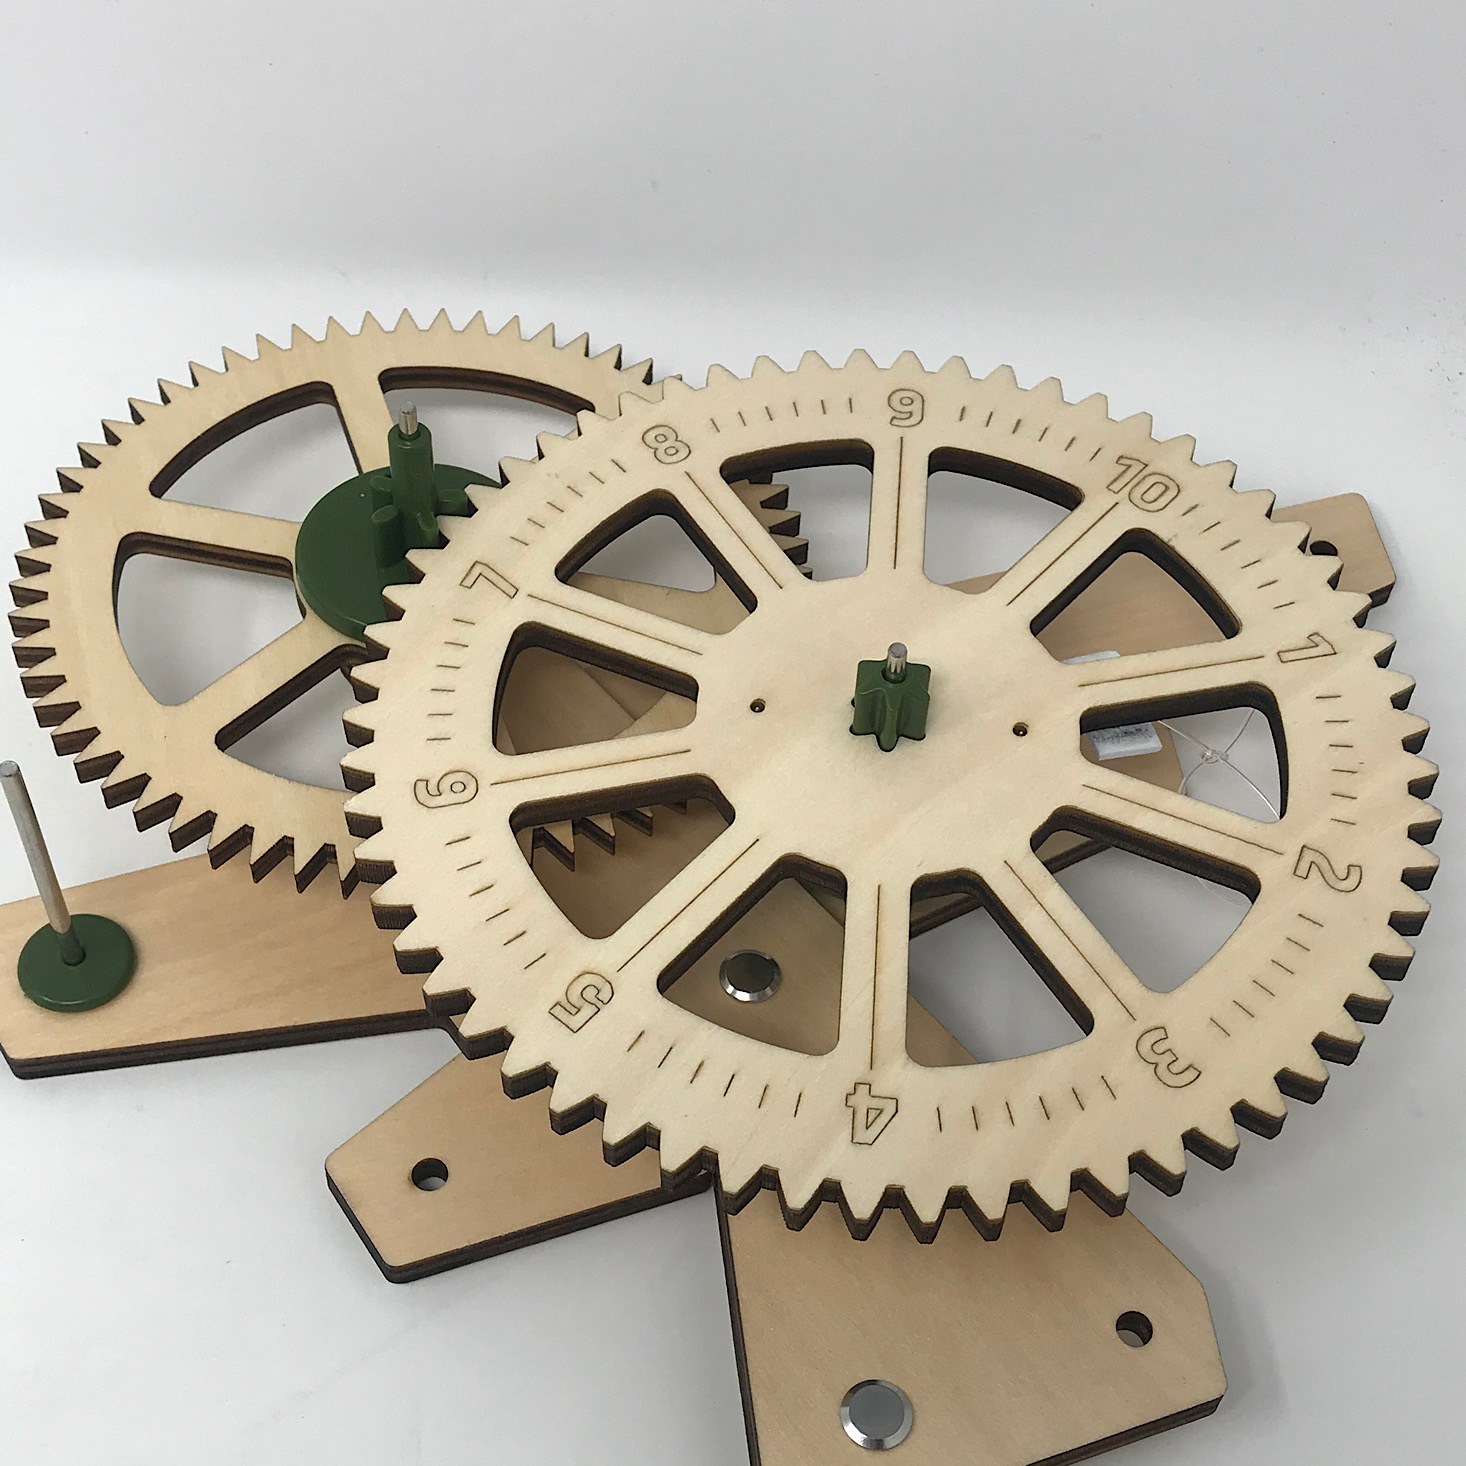
1 of 3

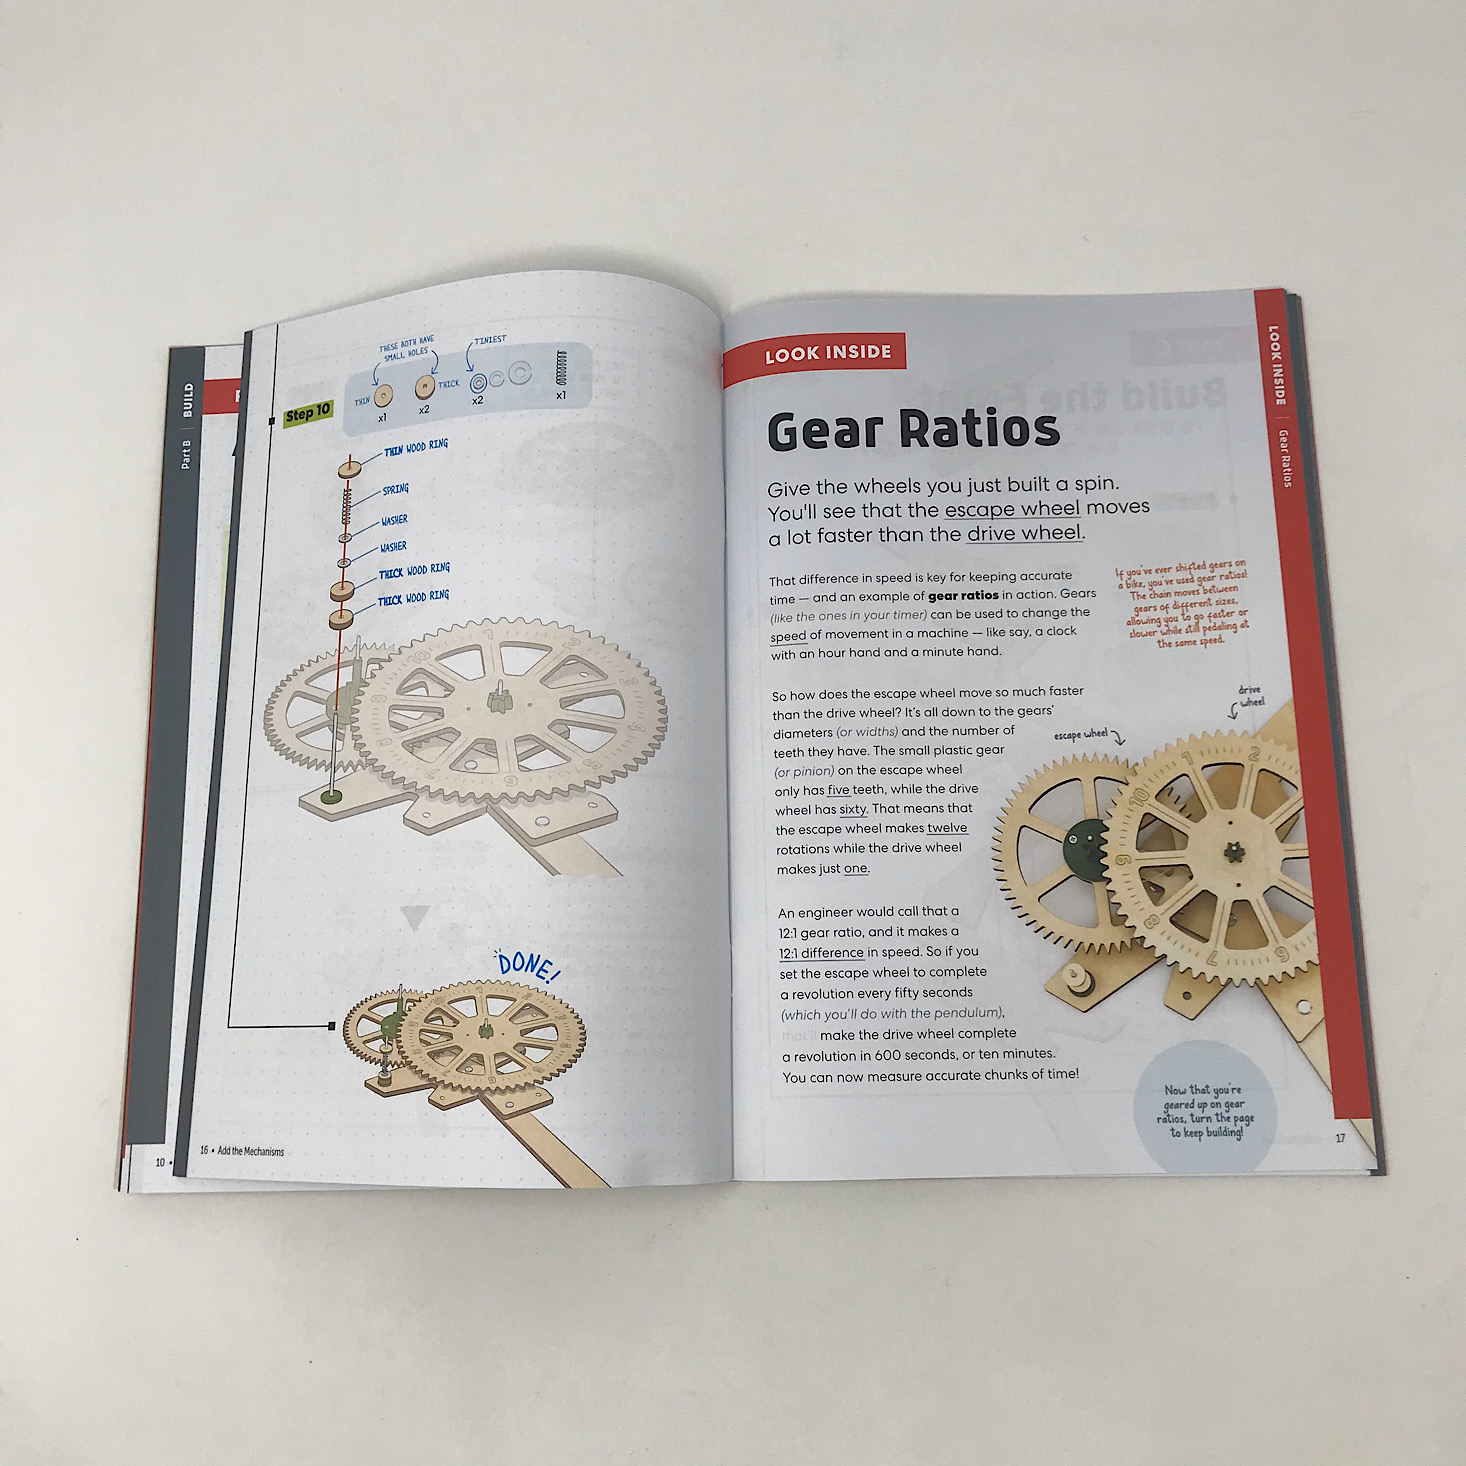
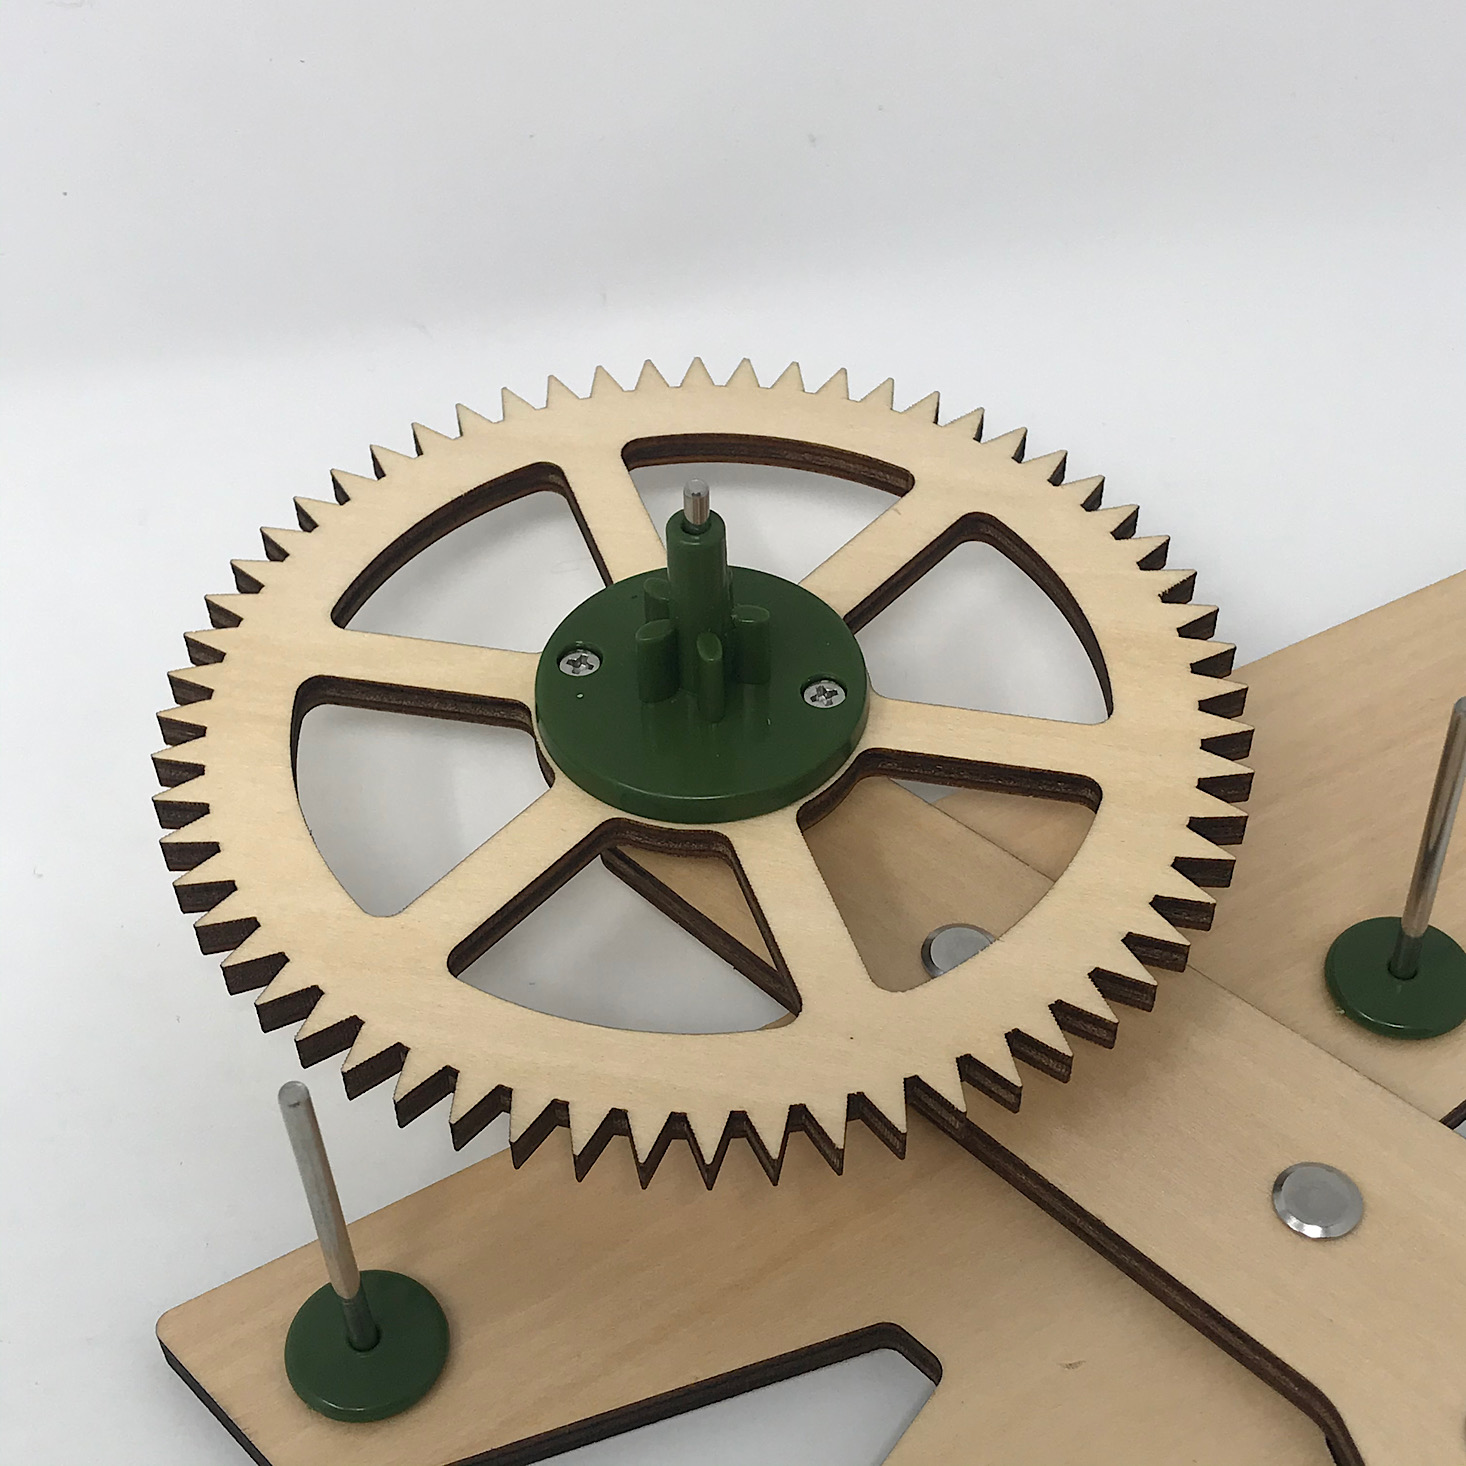
Then I added the large drive wheel to the middle pinion making sure to fit the teeth together with the pinion of the escape wheel. I love that they provided little bits throughout the book for us to refer to other pages to learn more. In this case, they referred us to the page that told us exactly what the drive wheel is and what it does.

1 of 4


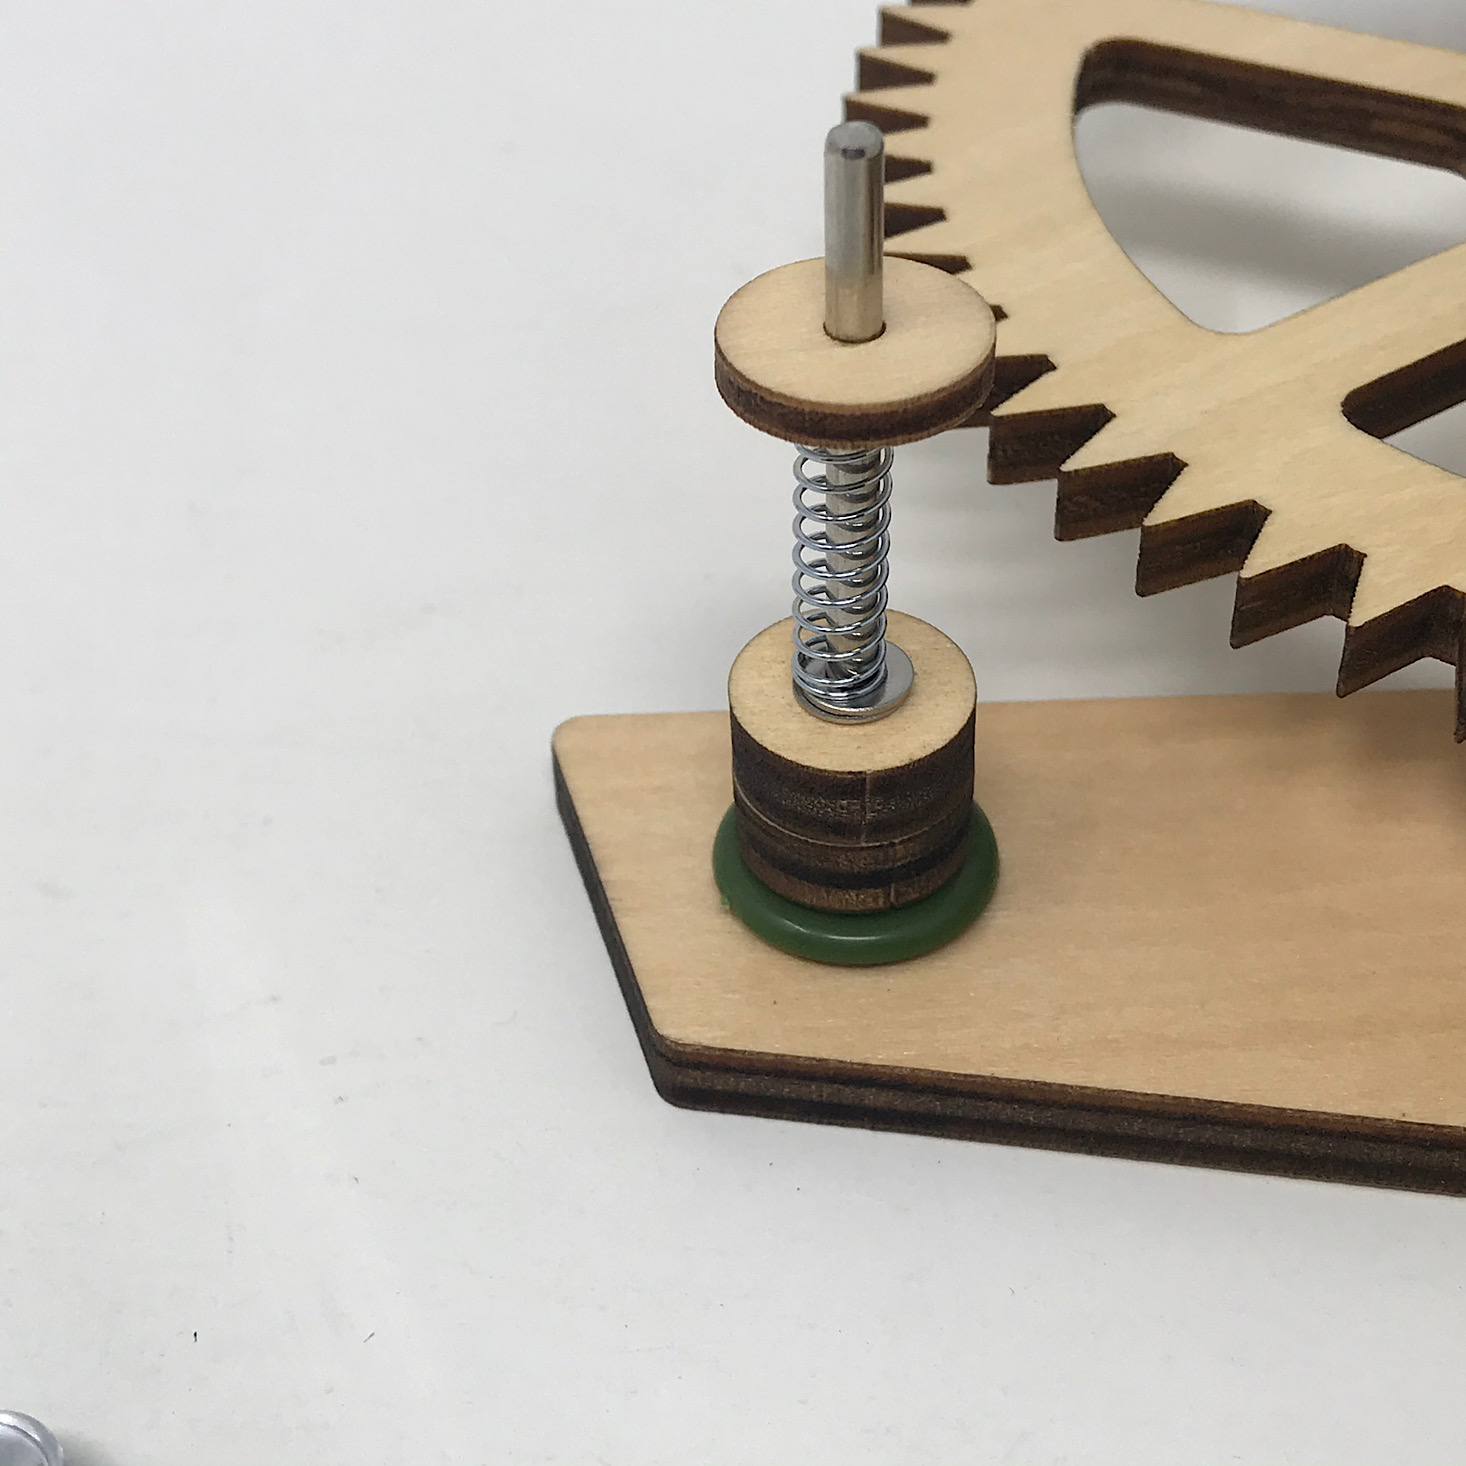
The last step was to layer several wooden rings, metal washers, and a spring onto the last metal pin.
Part C: Build the Front
1 of 3

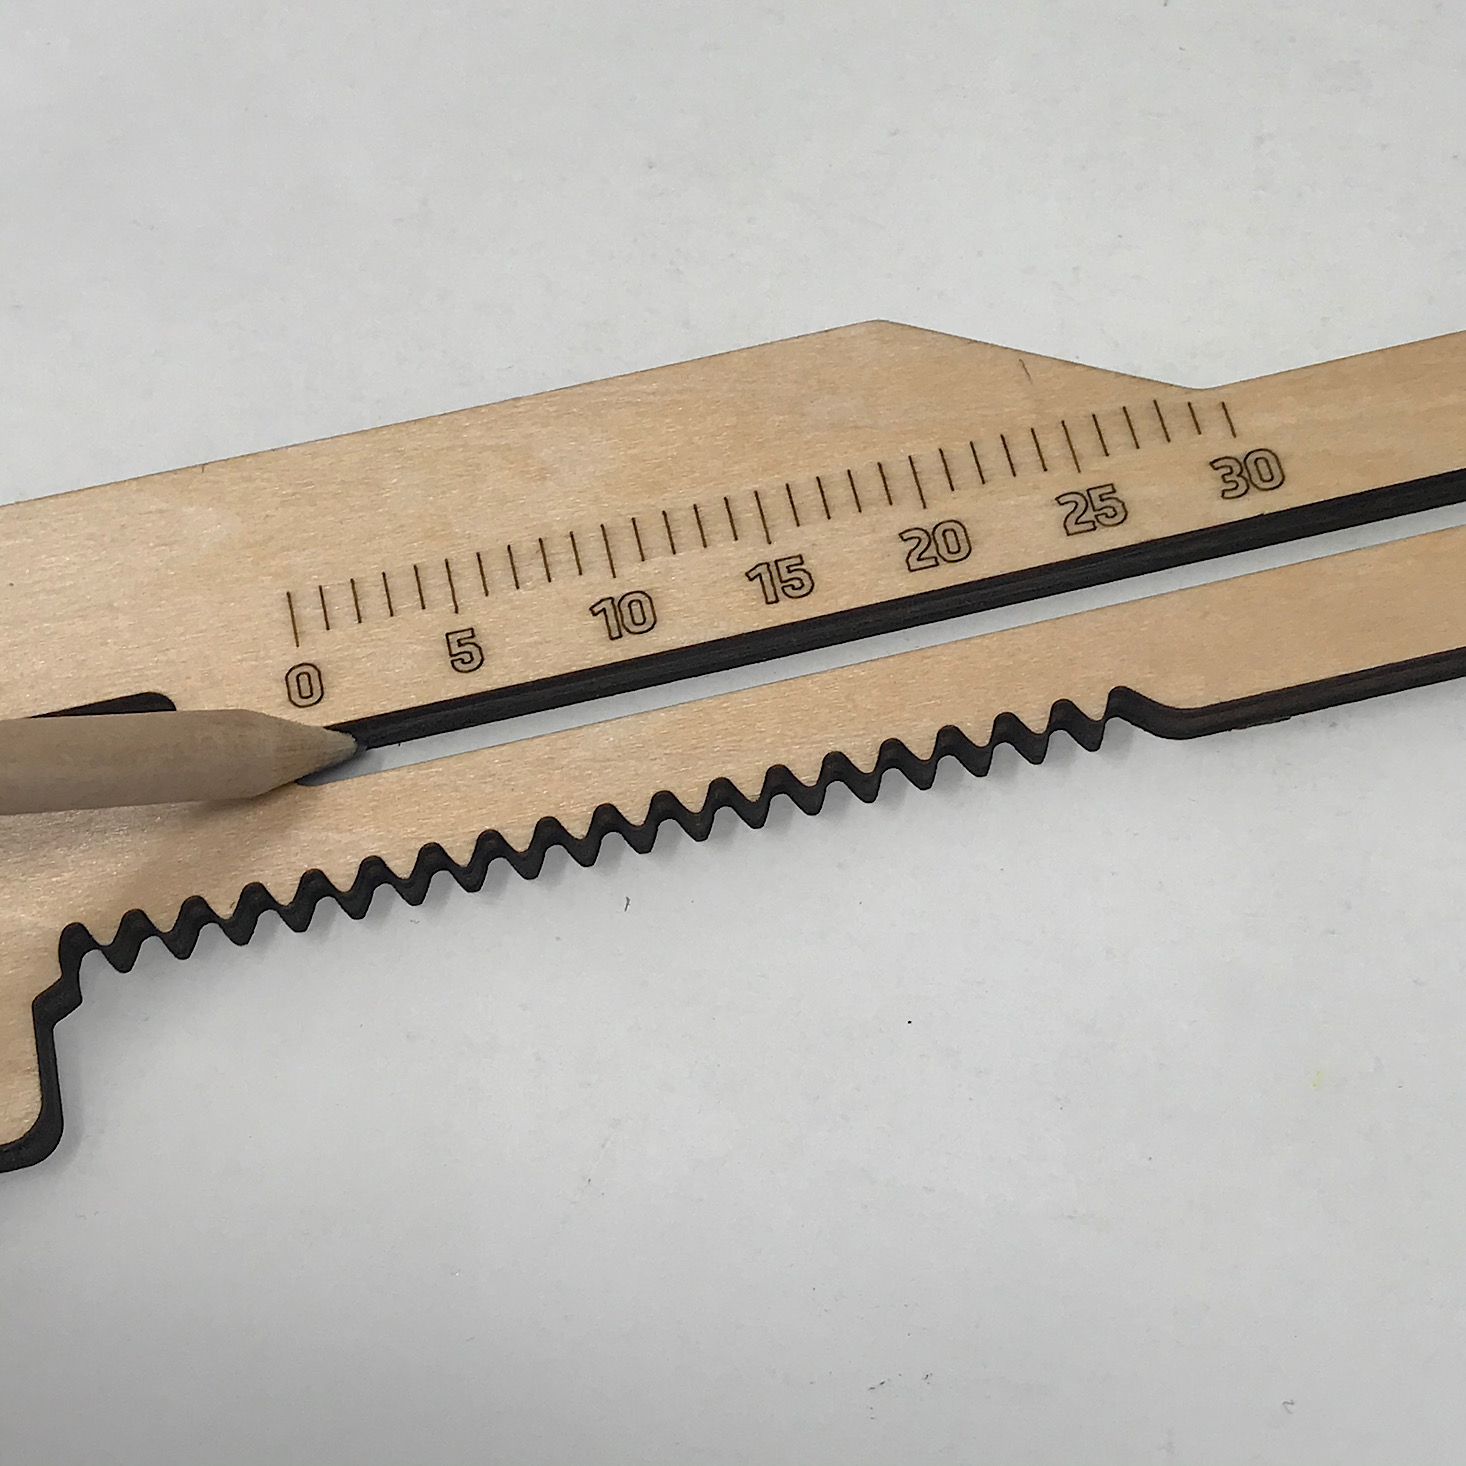
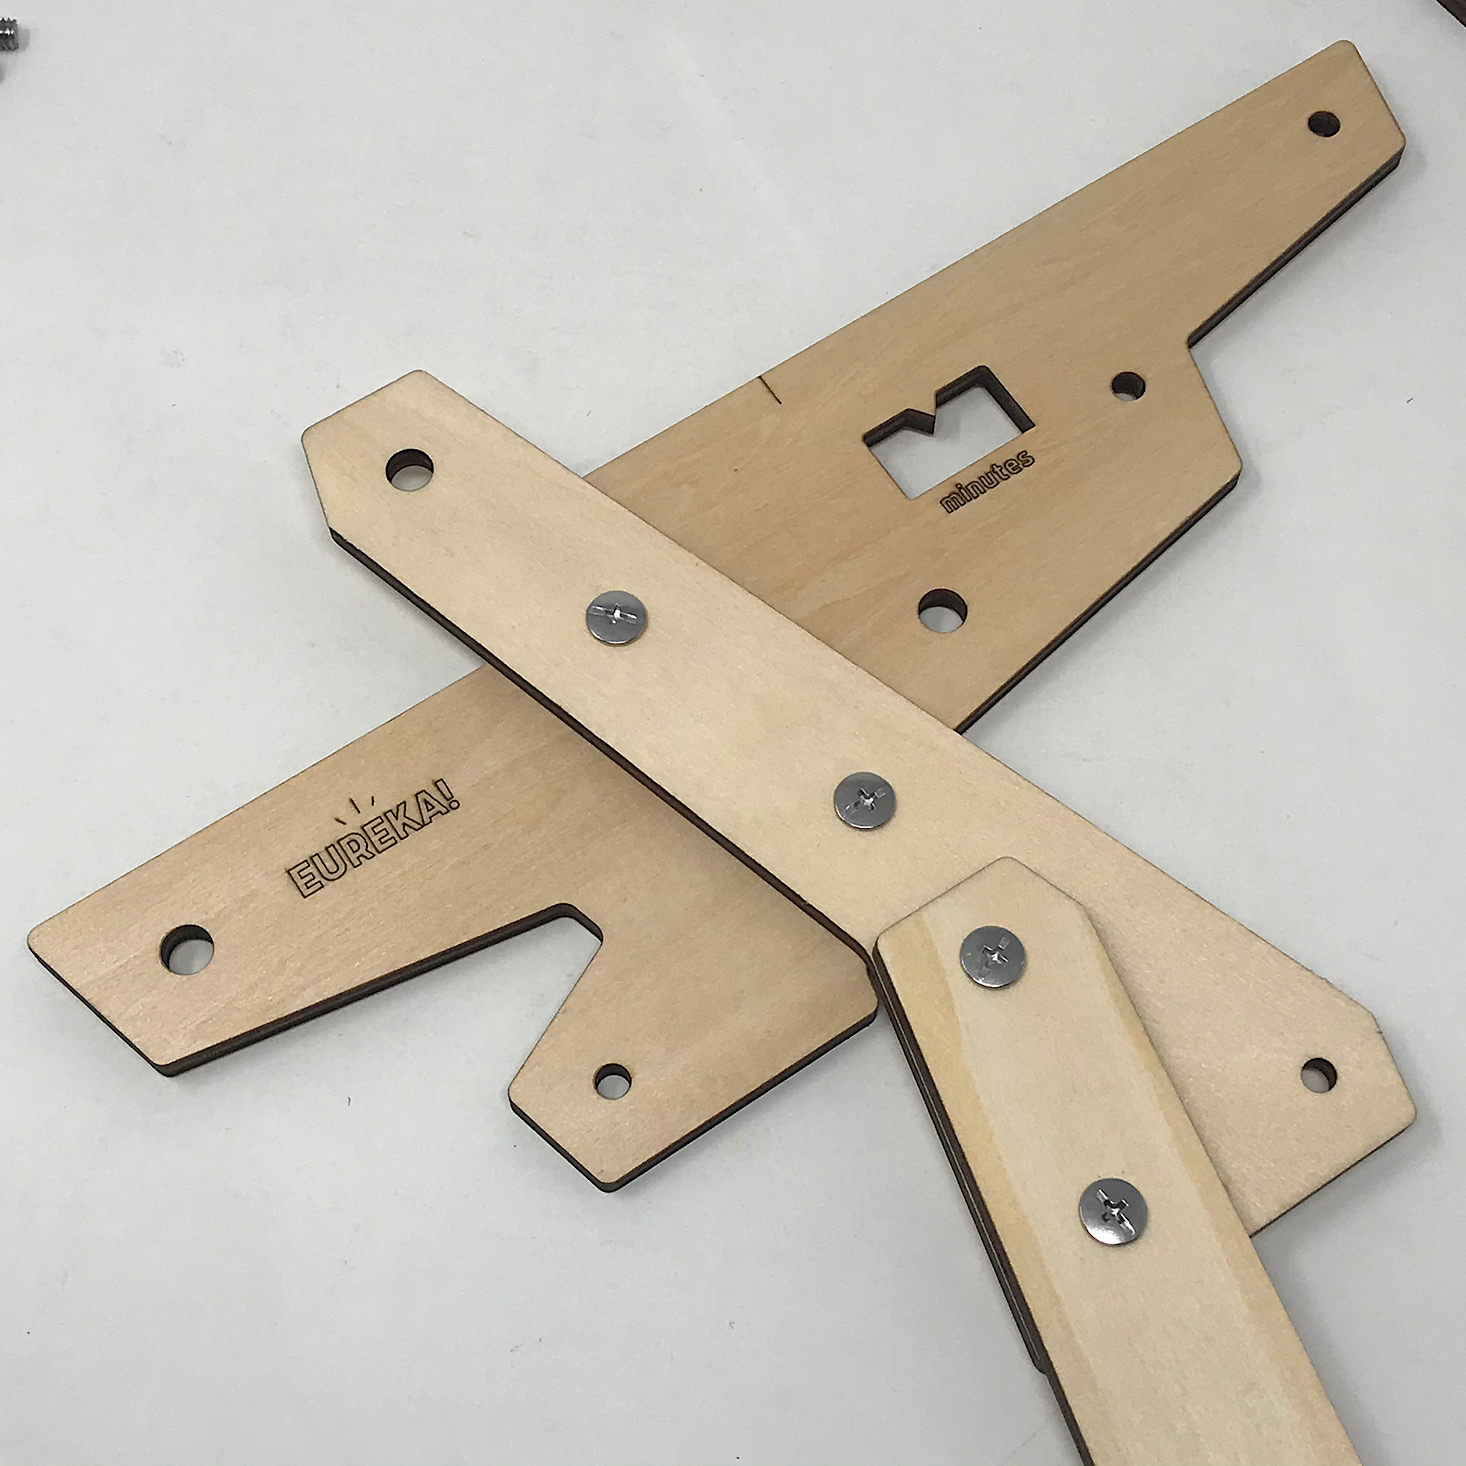
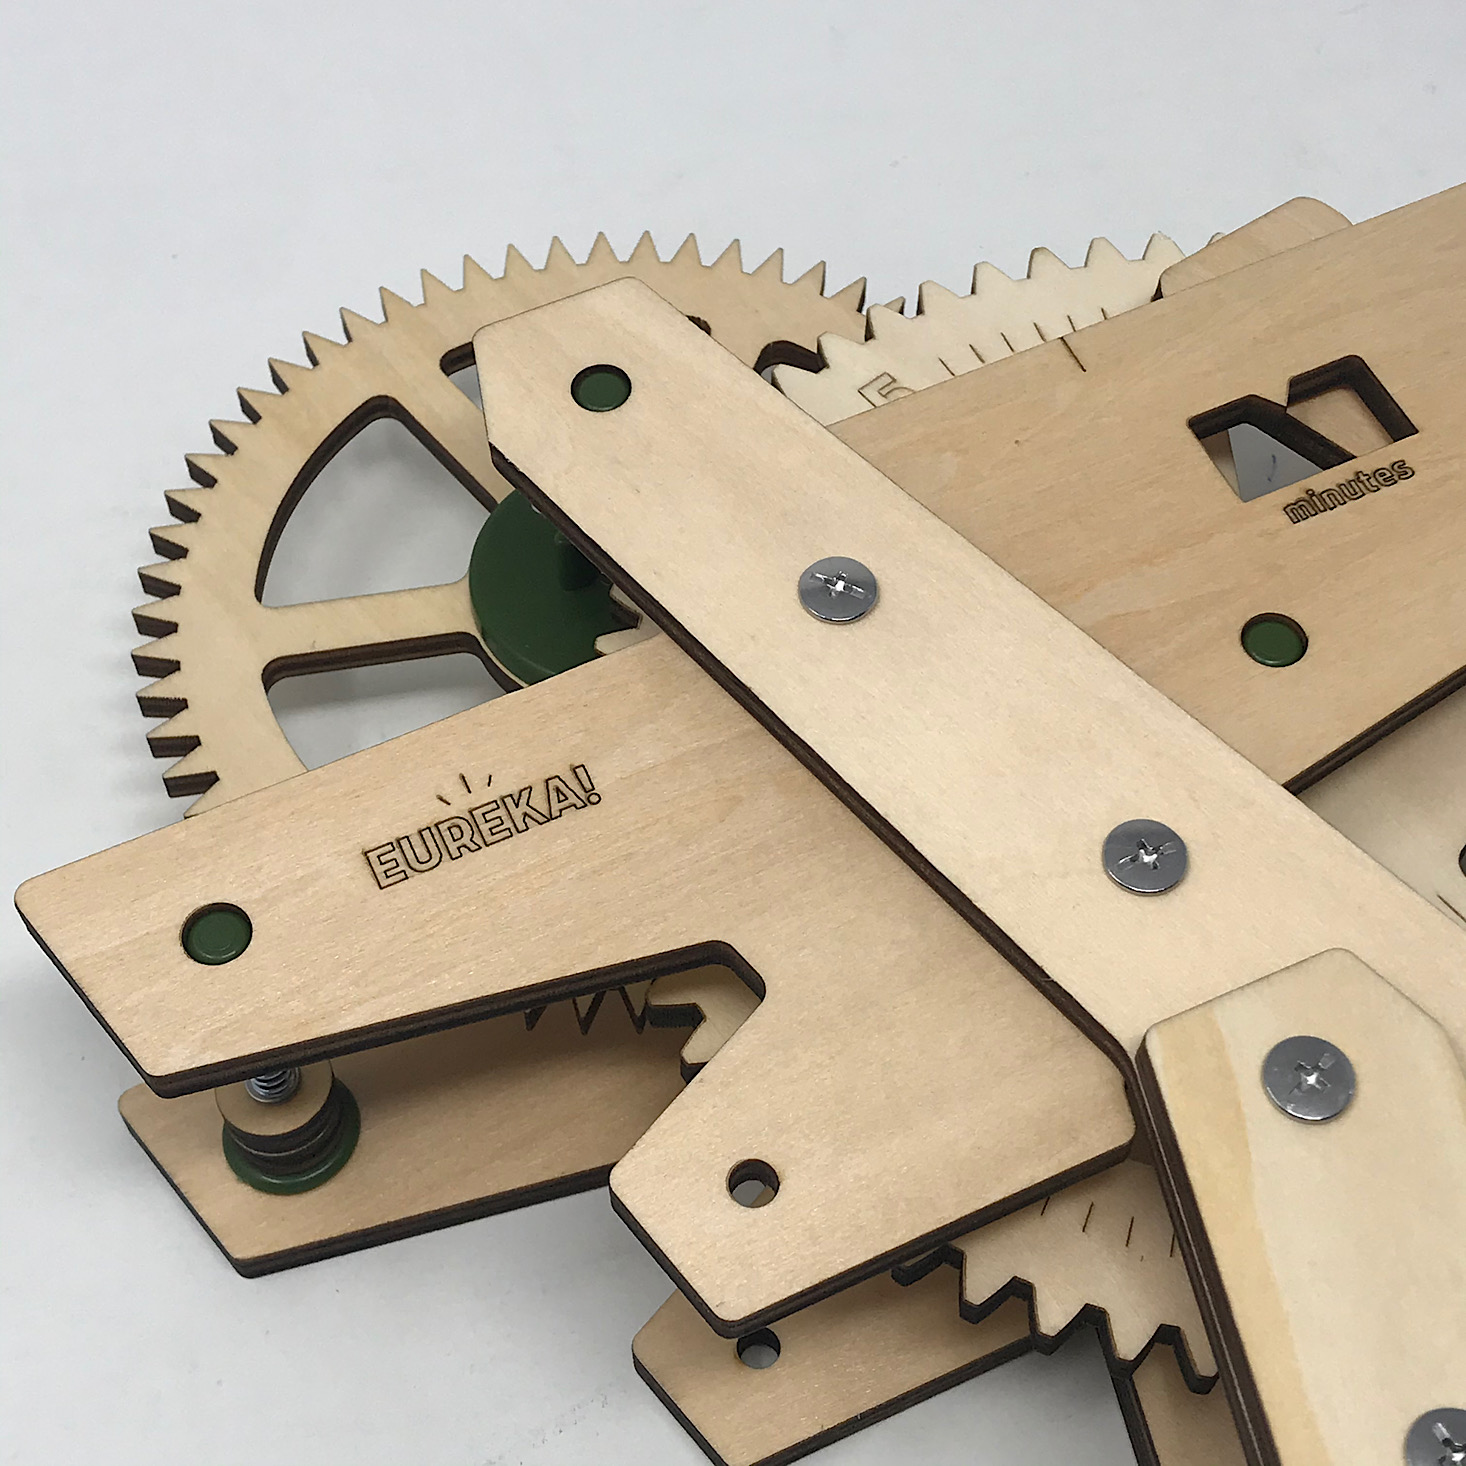
For the front, I first built the main piece just like I did with the back by screwing the three wooden sections together with bolts. Then it was time to get the hammer in place. First, I had to line the inside of it with graphite so that the bolt would slide easier. Then I added a small bolt and screw to the smaller section before adding a longer bolt and several metal washers to the numbered slide section.

1 of 2
Then I added the front piece I had assembled over the top of it and finished with a screw into that bolt.
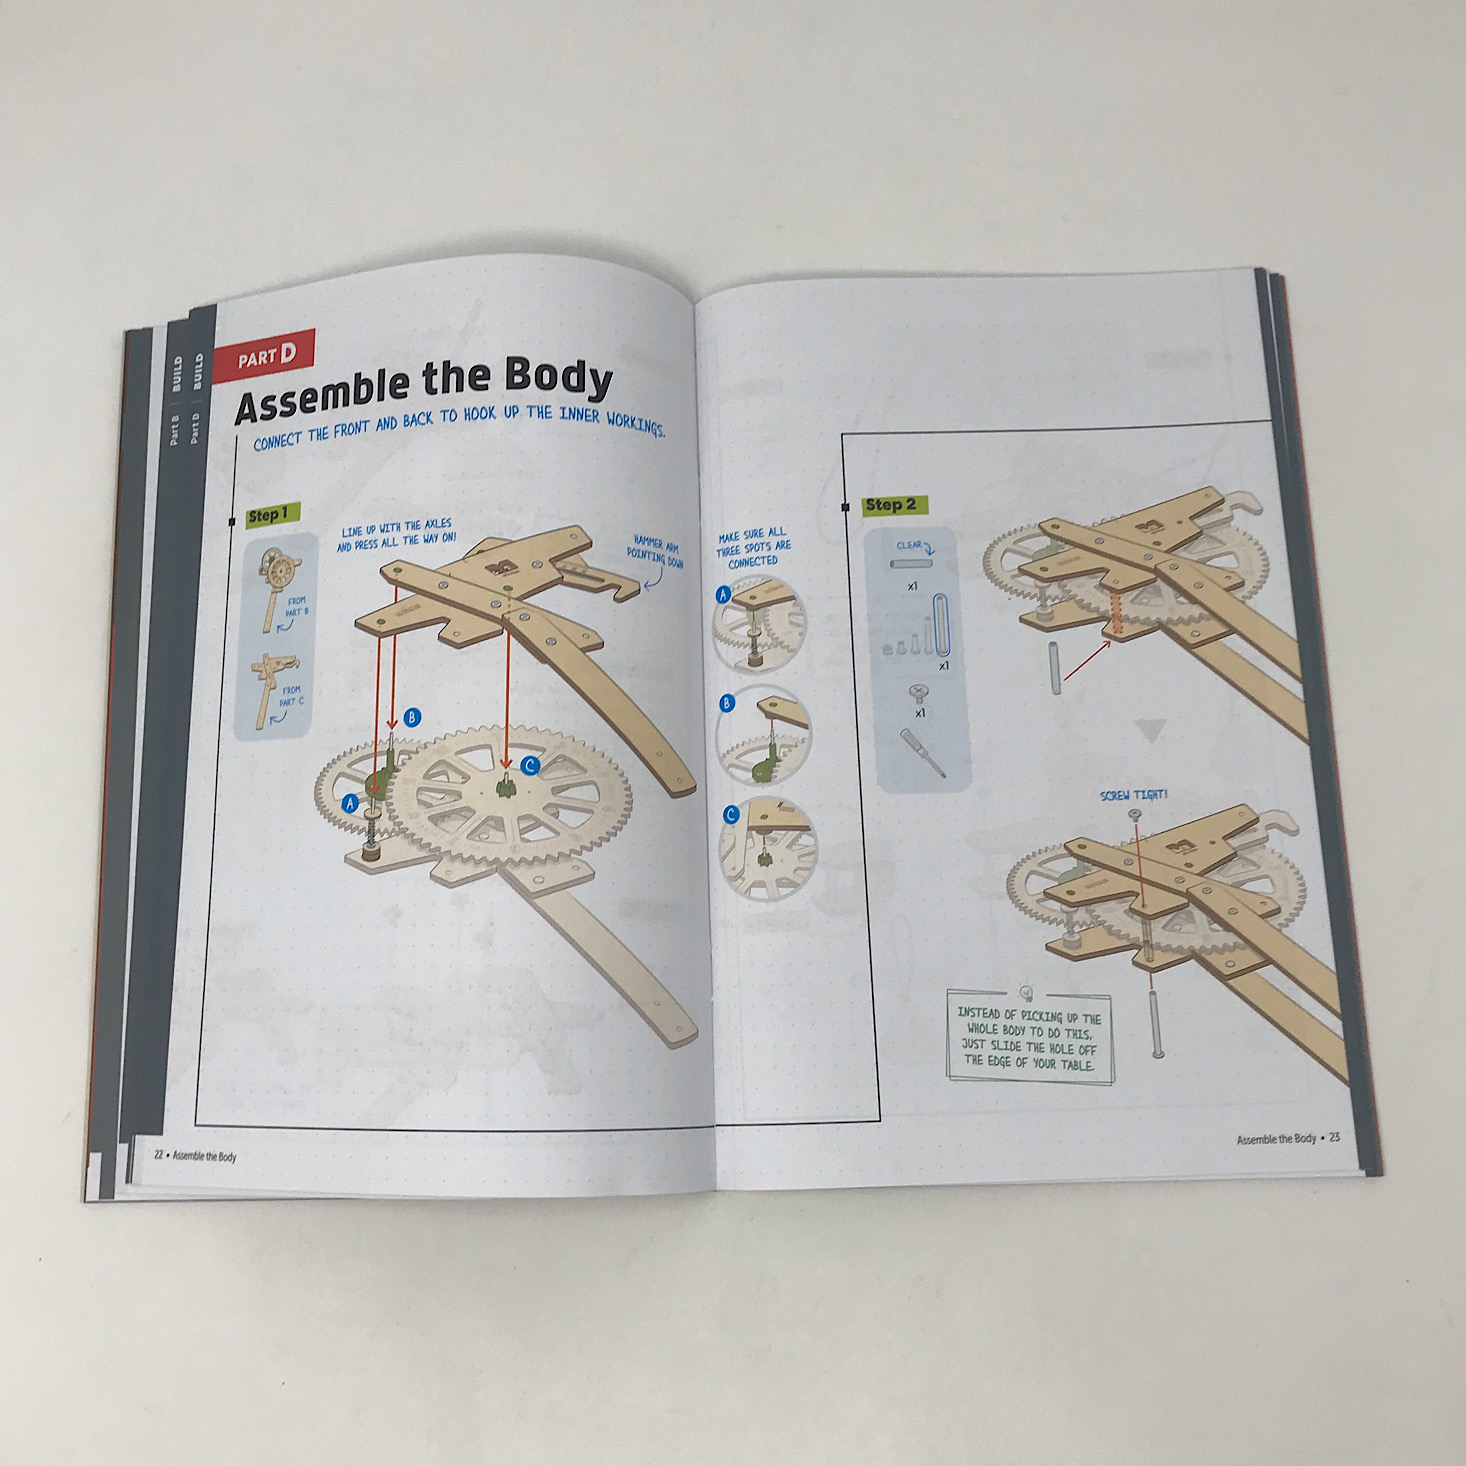
Part D: Assemble the Body

1 of 2
I added the remaining green pieces to the large holes in the front piece. Then assembling the body was simply a matter of lining up the front and back so that the steel pins were firmly in the green pieces on either side.

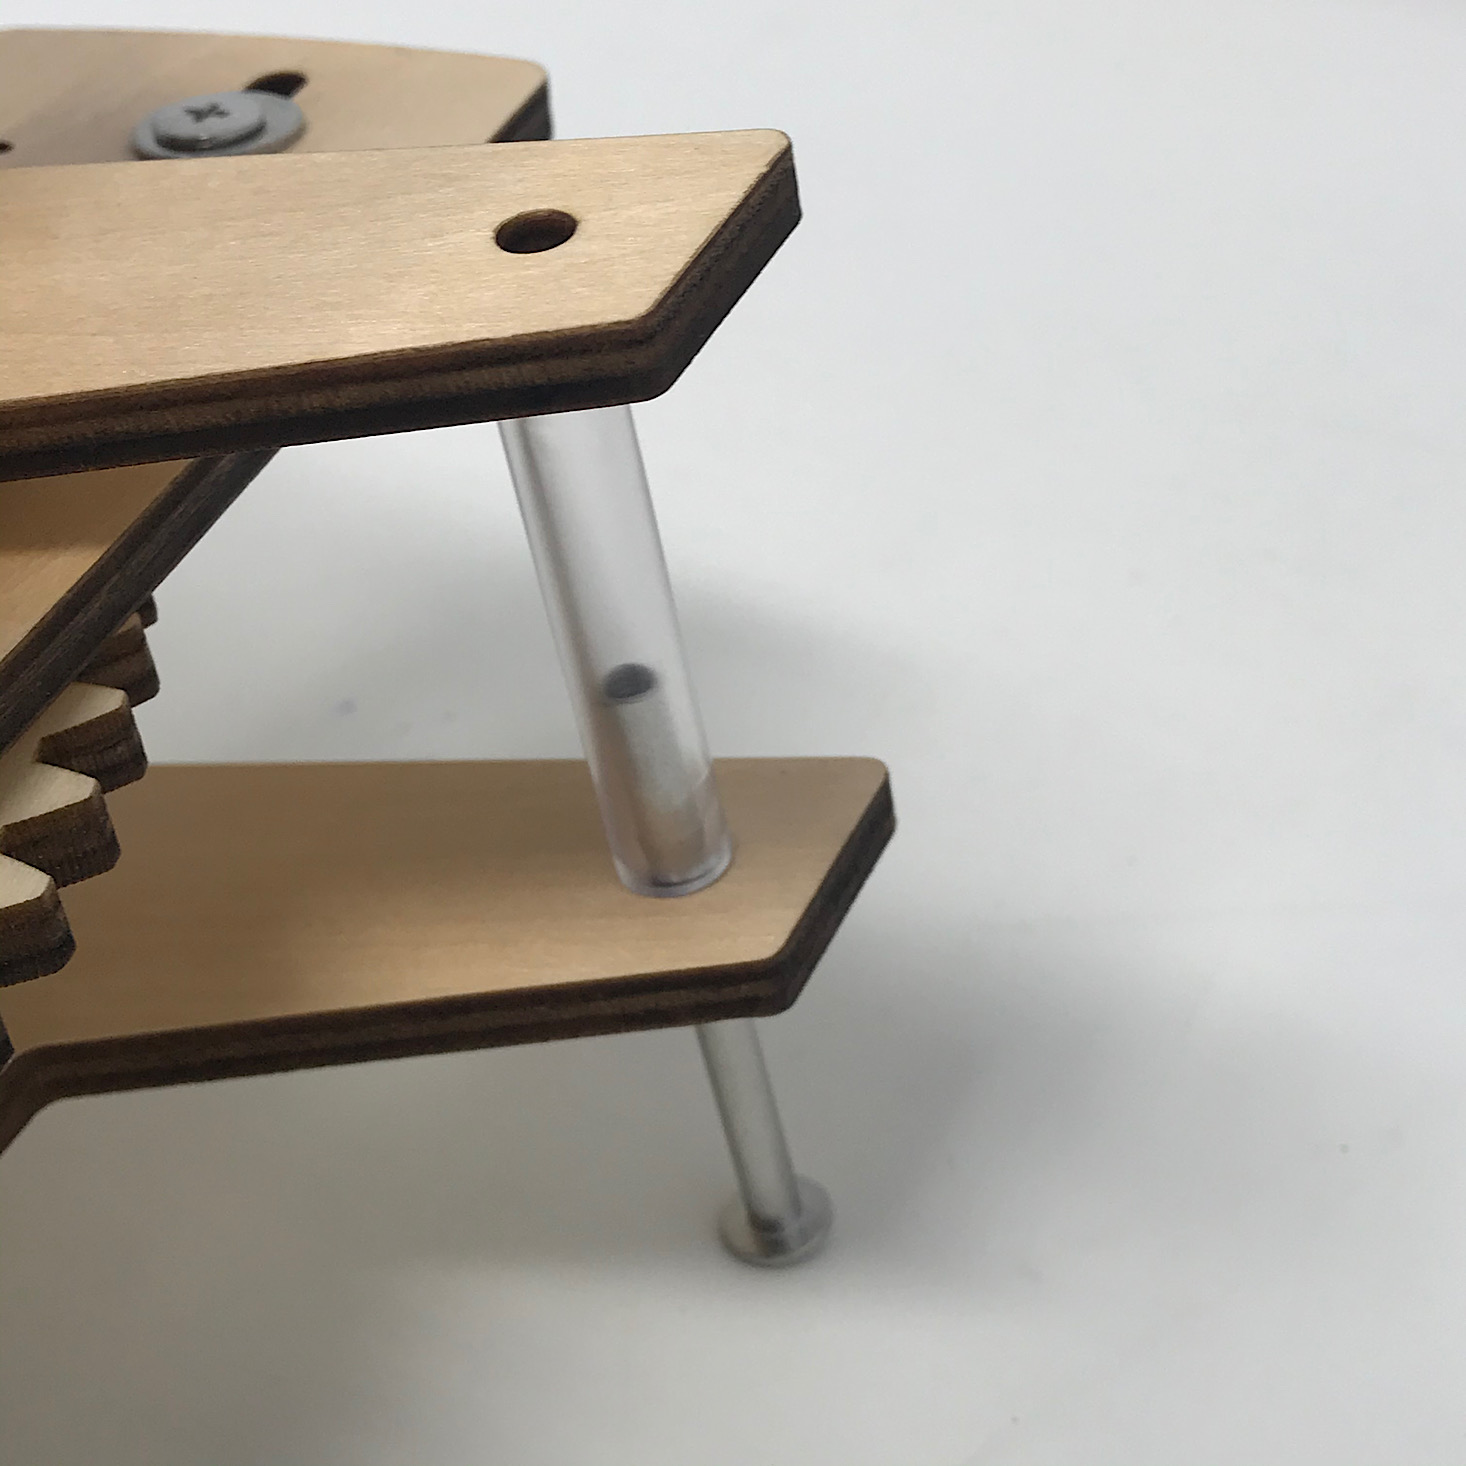
1 of 3
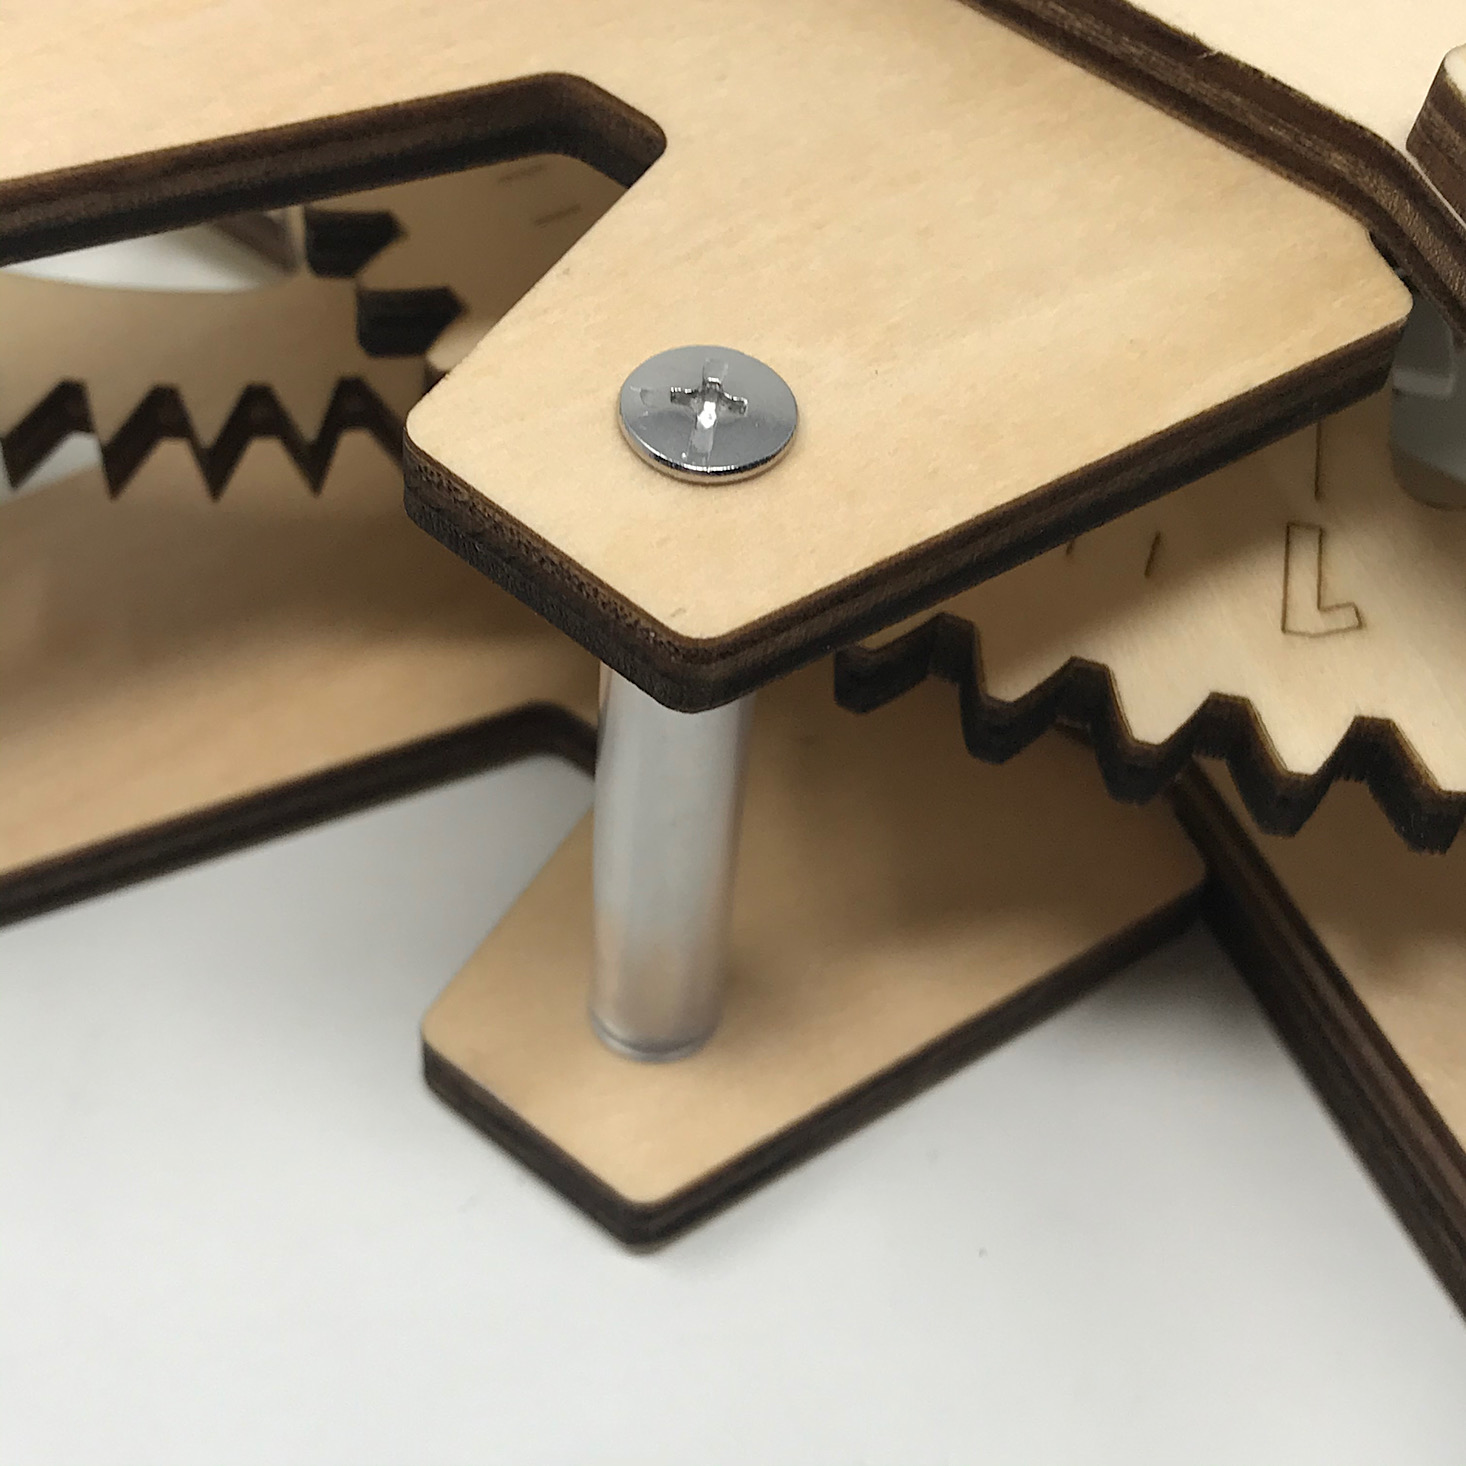
Then I added the plastic tubes in two different areas around the body between the front and back. I slid a bolt into them and secured that with a screw to hold it all together.

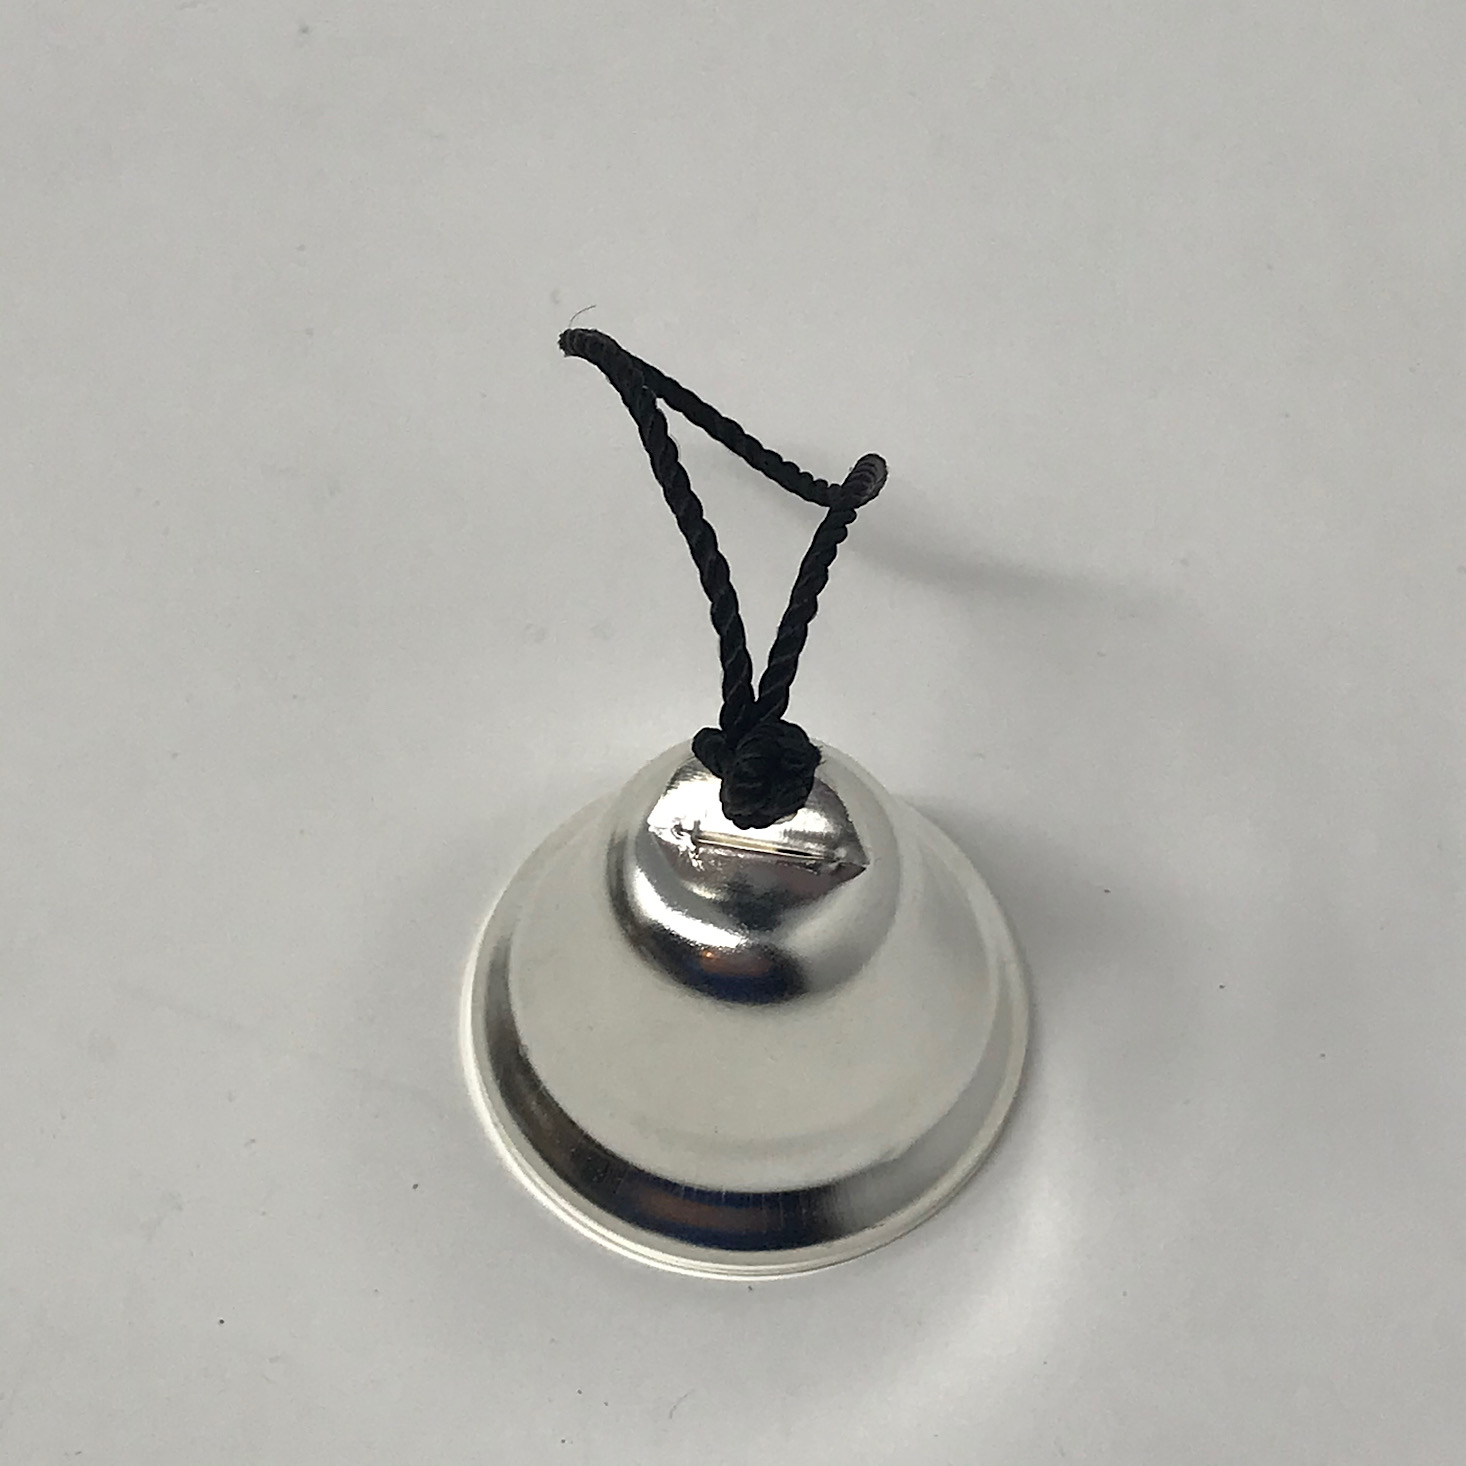
1 of 5
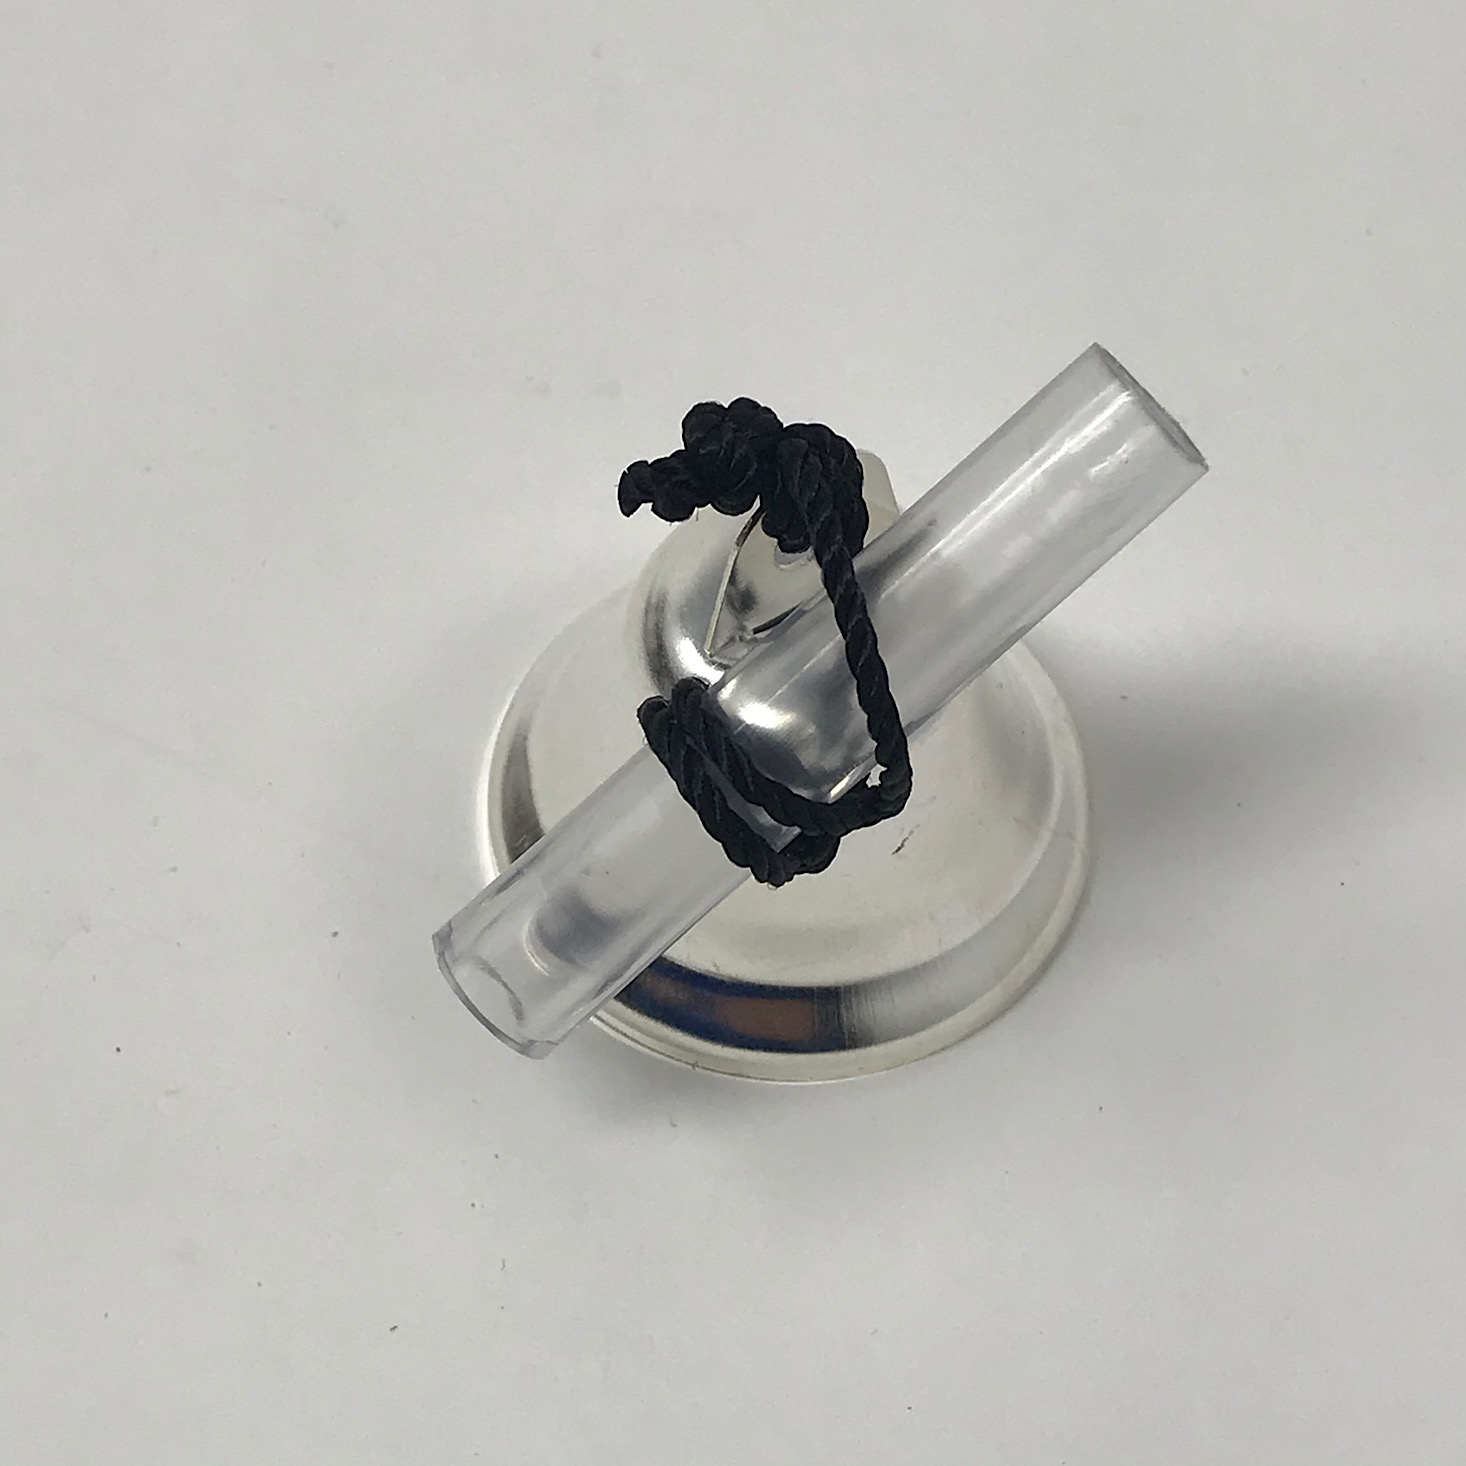
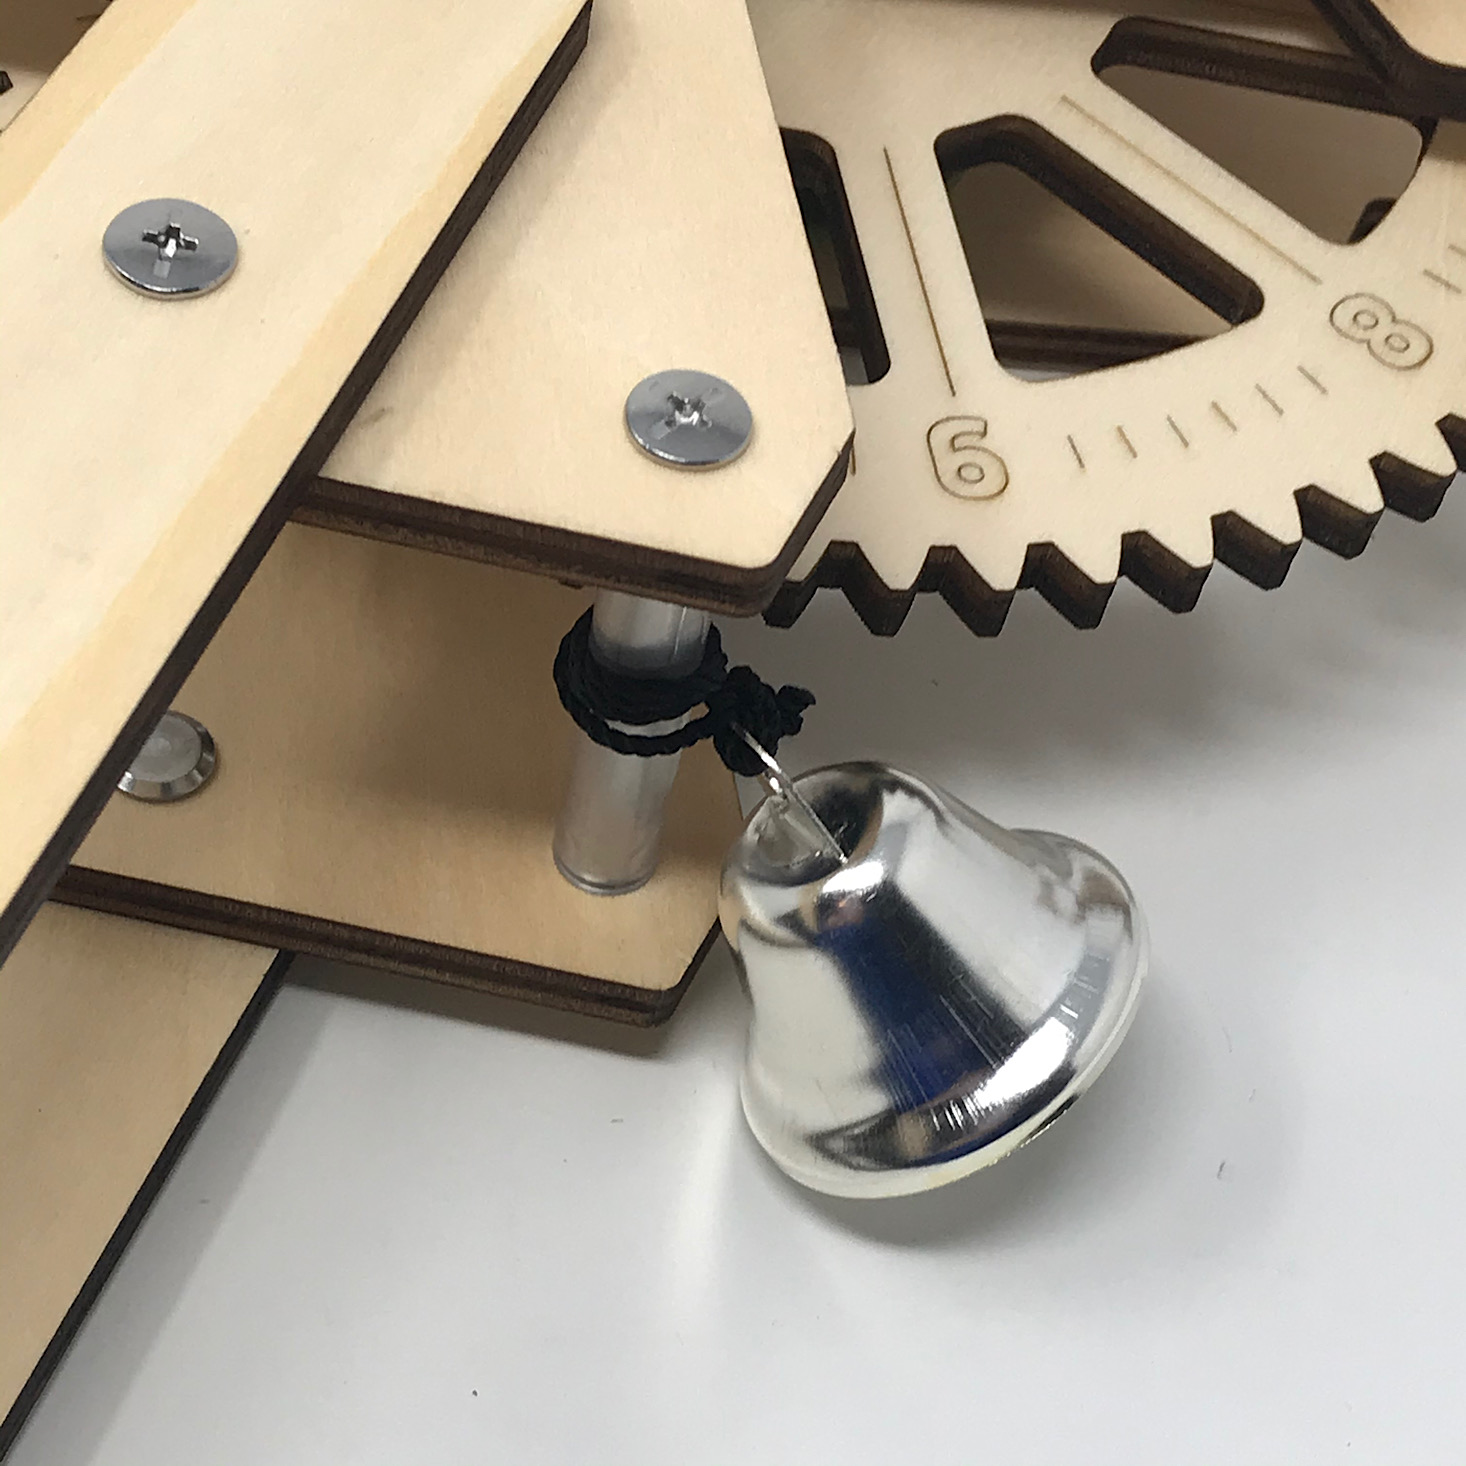
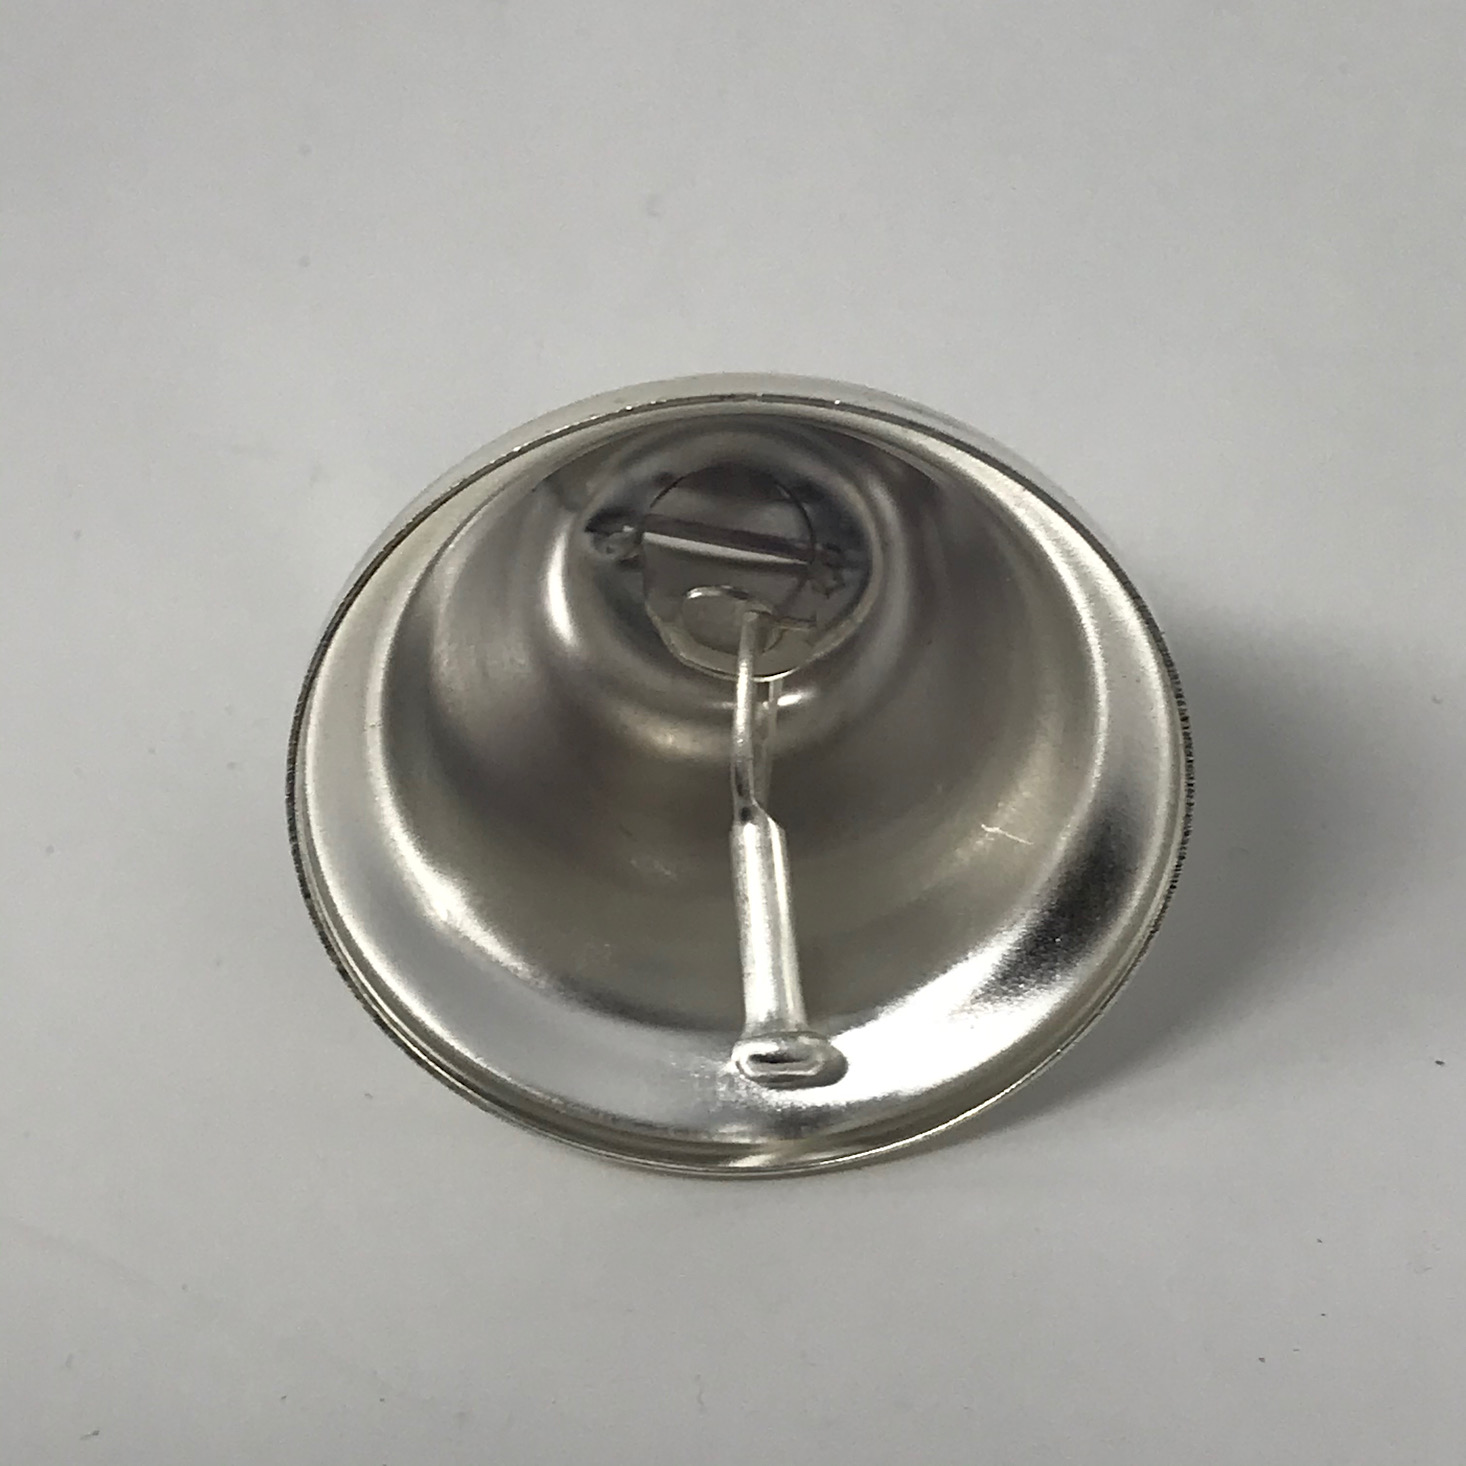
Then it was time to add the bell. I tied the cord into the hole of the bell and then wrapped it around the remaining plastic tube piece several times before securing it into place on the timer with a bolt and screw just like the others.
Part E: Add the Feet


1 of 2
Next, we had to add the feet. To build the feet I slid a nut into the notch of each wooden piece.
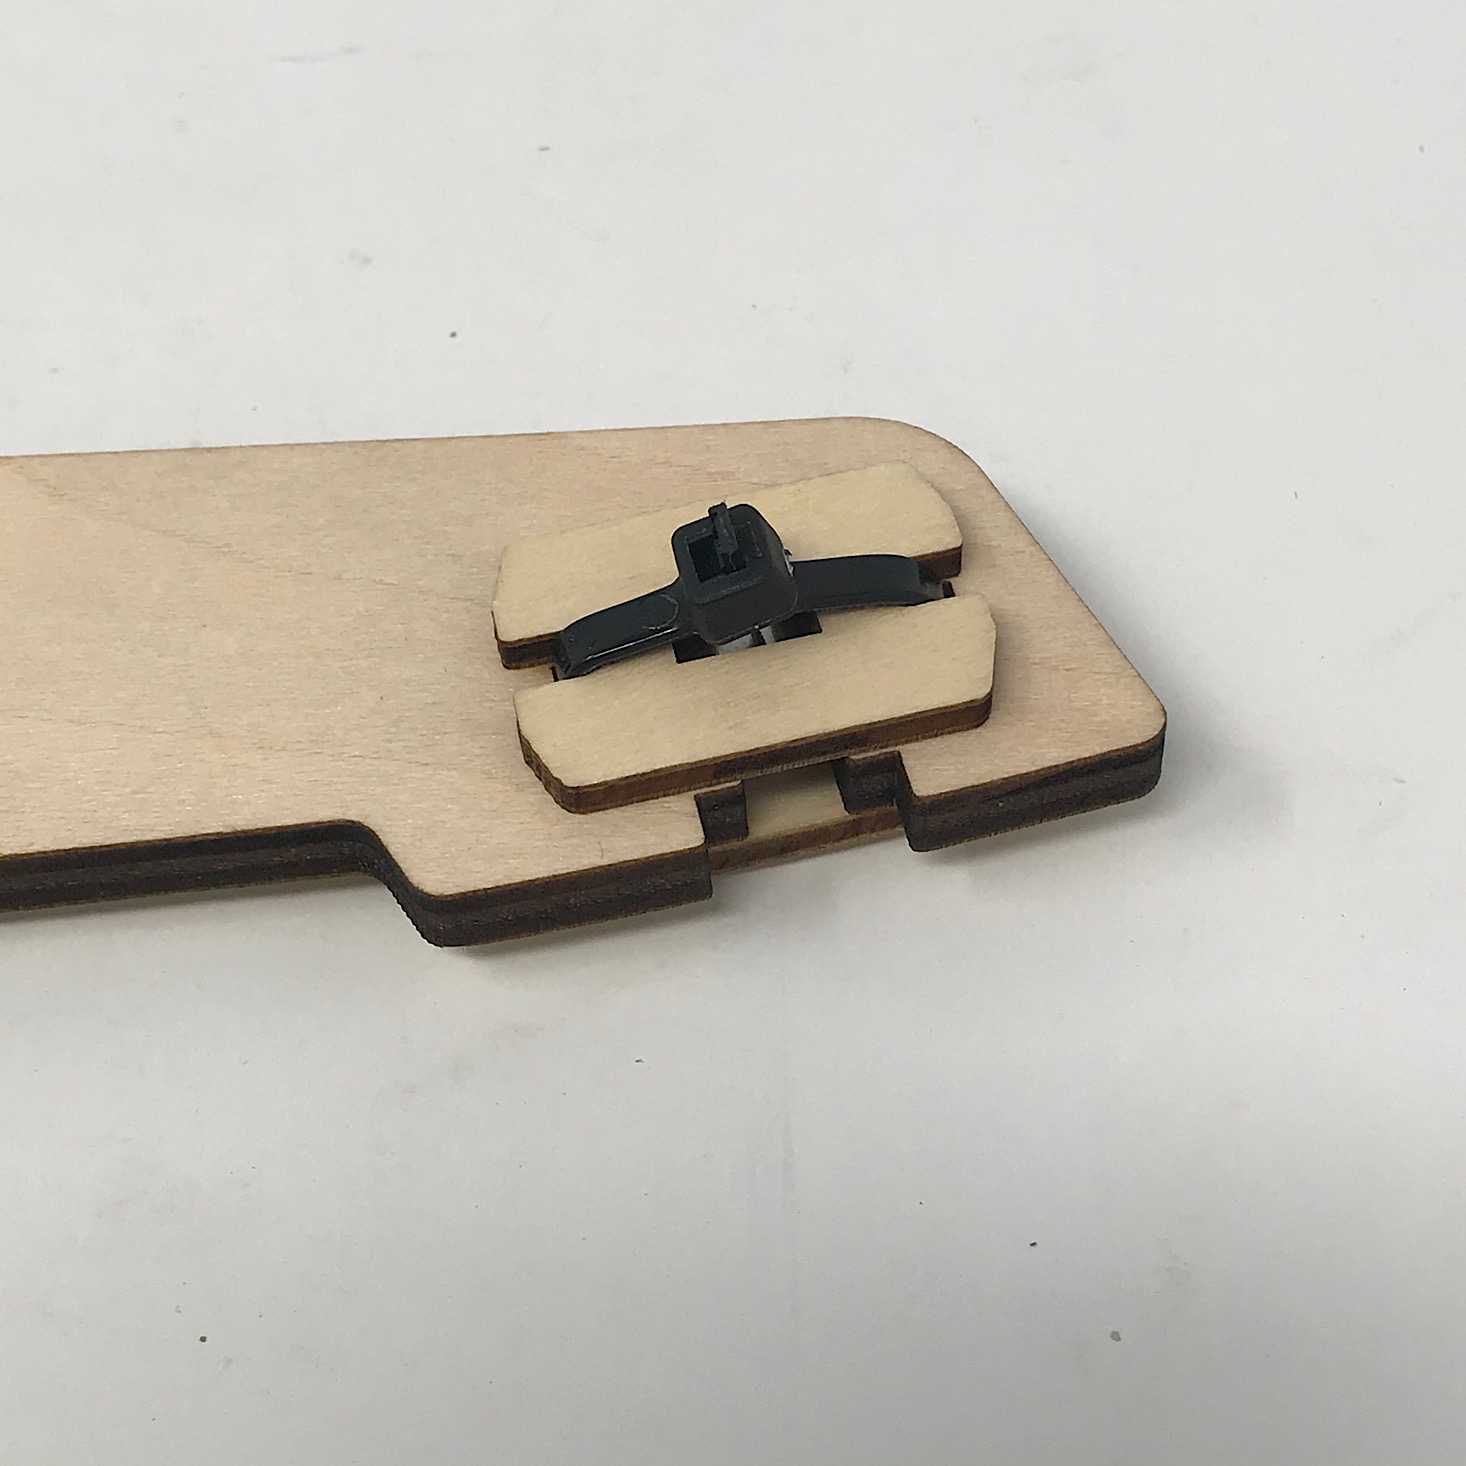
1 of 3

Then I added the smaller wooden pieces to either side of the foot and fit them snugly against the nuts. Next, I threaded a zip-tie through and trimmed it after tightening it. The final step was to stick the bolts into the nuts and twist them into place.
1 of 3

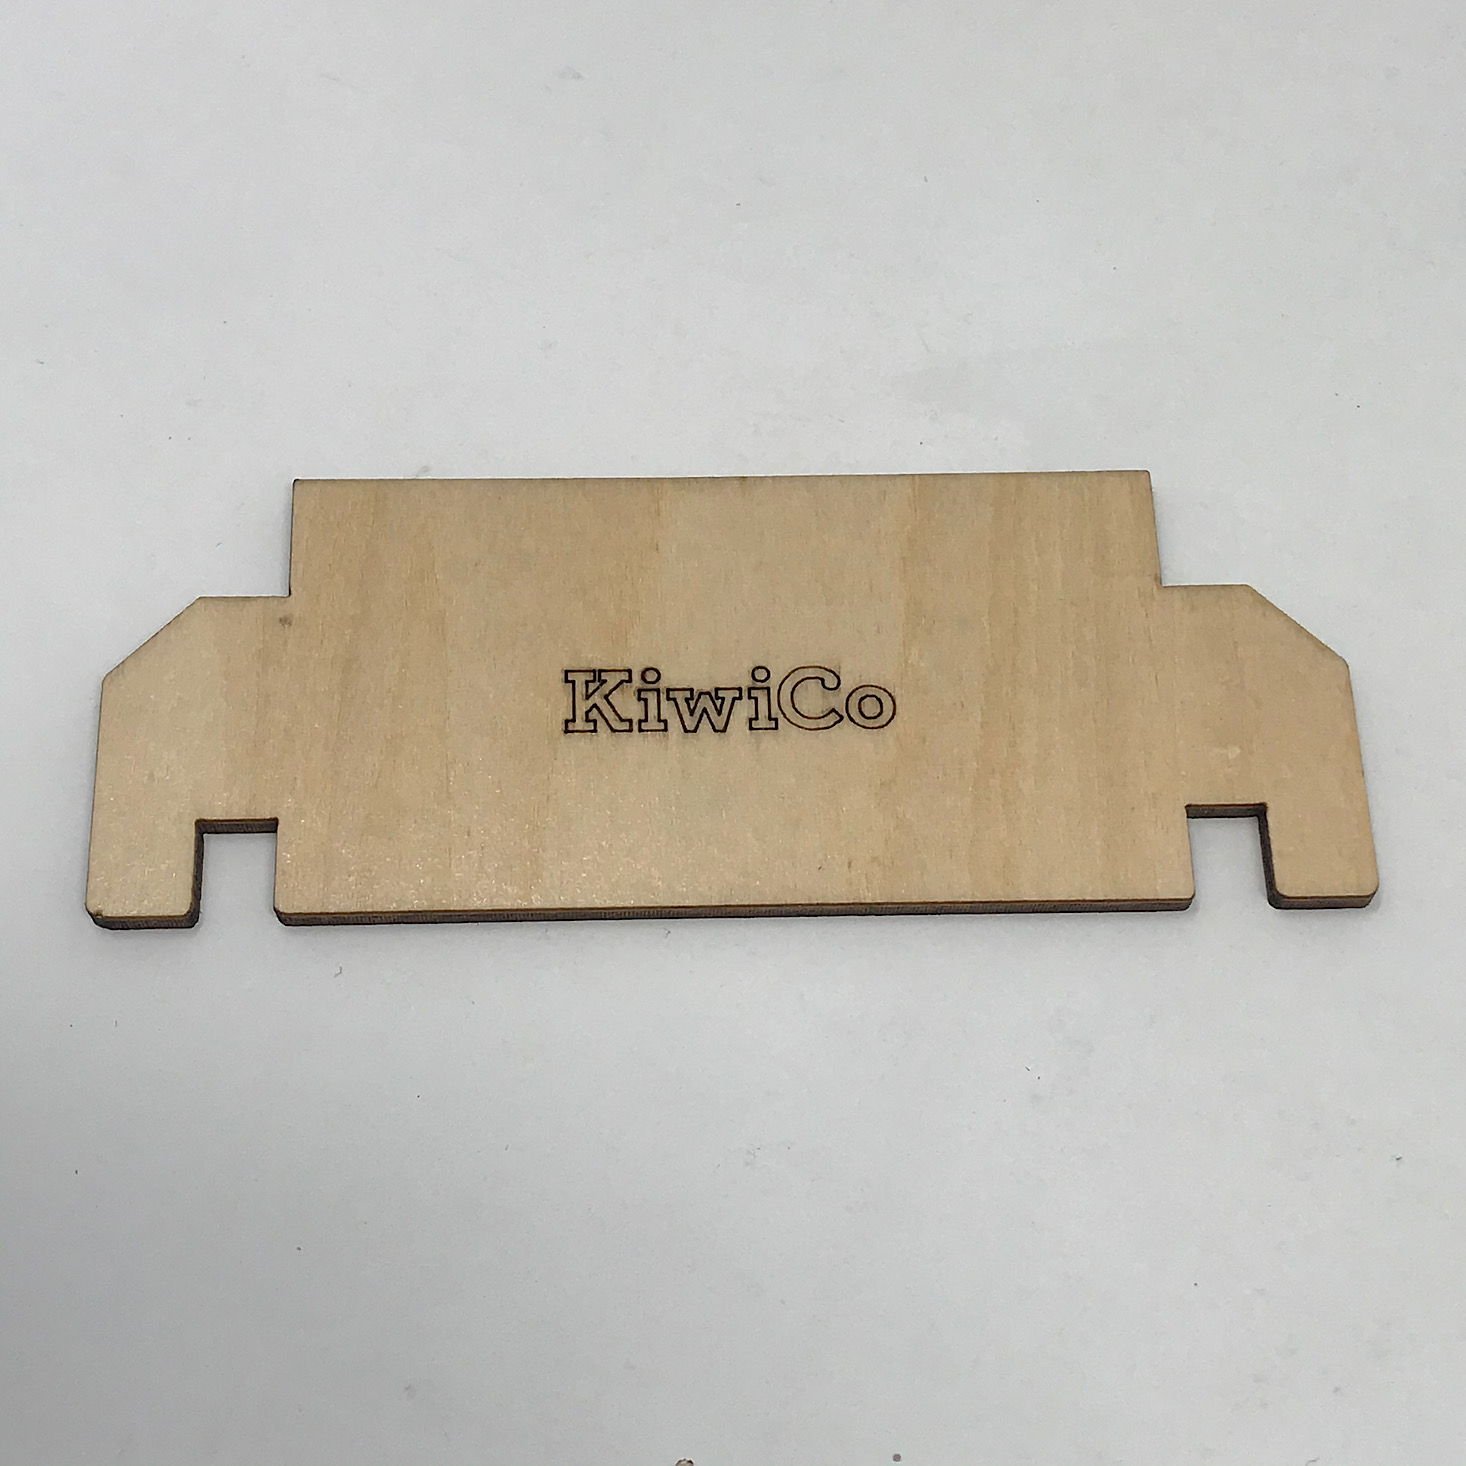
I added foam stickers to the KiwiCo piece and then stuck it in the center of the two foot pieces to hold everything together.


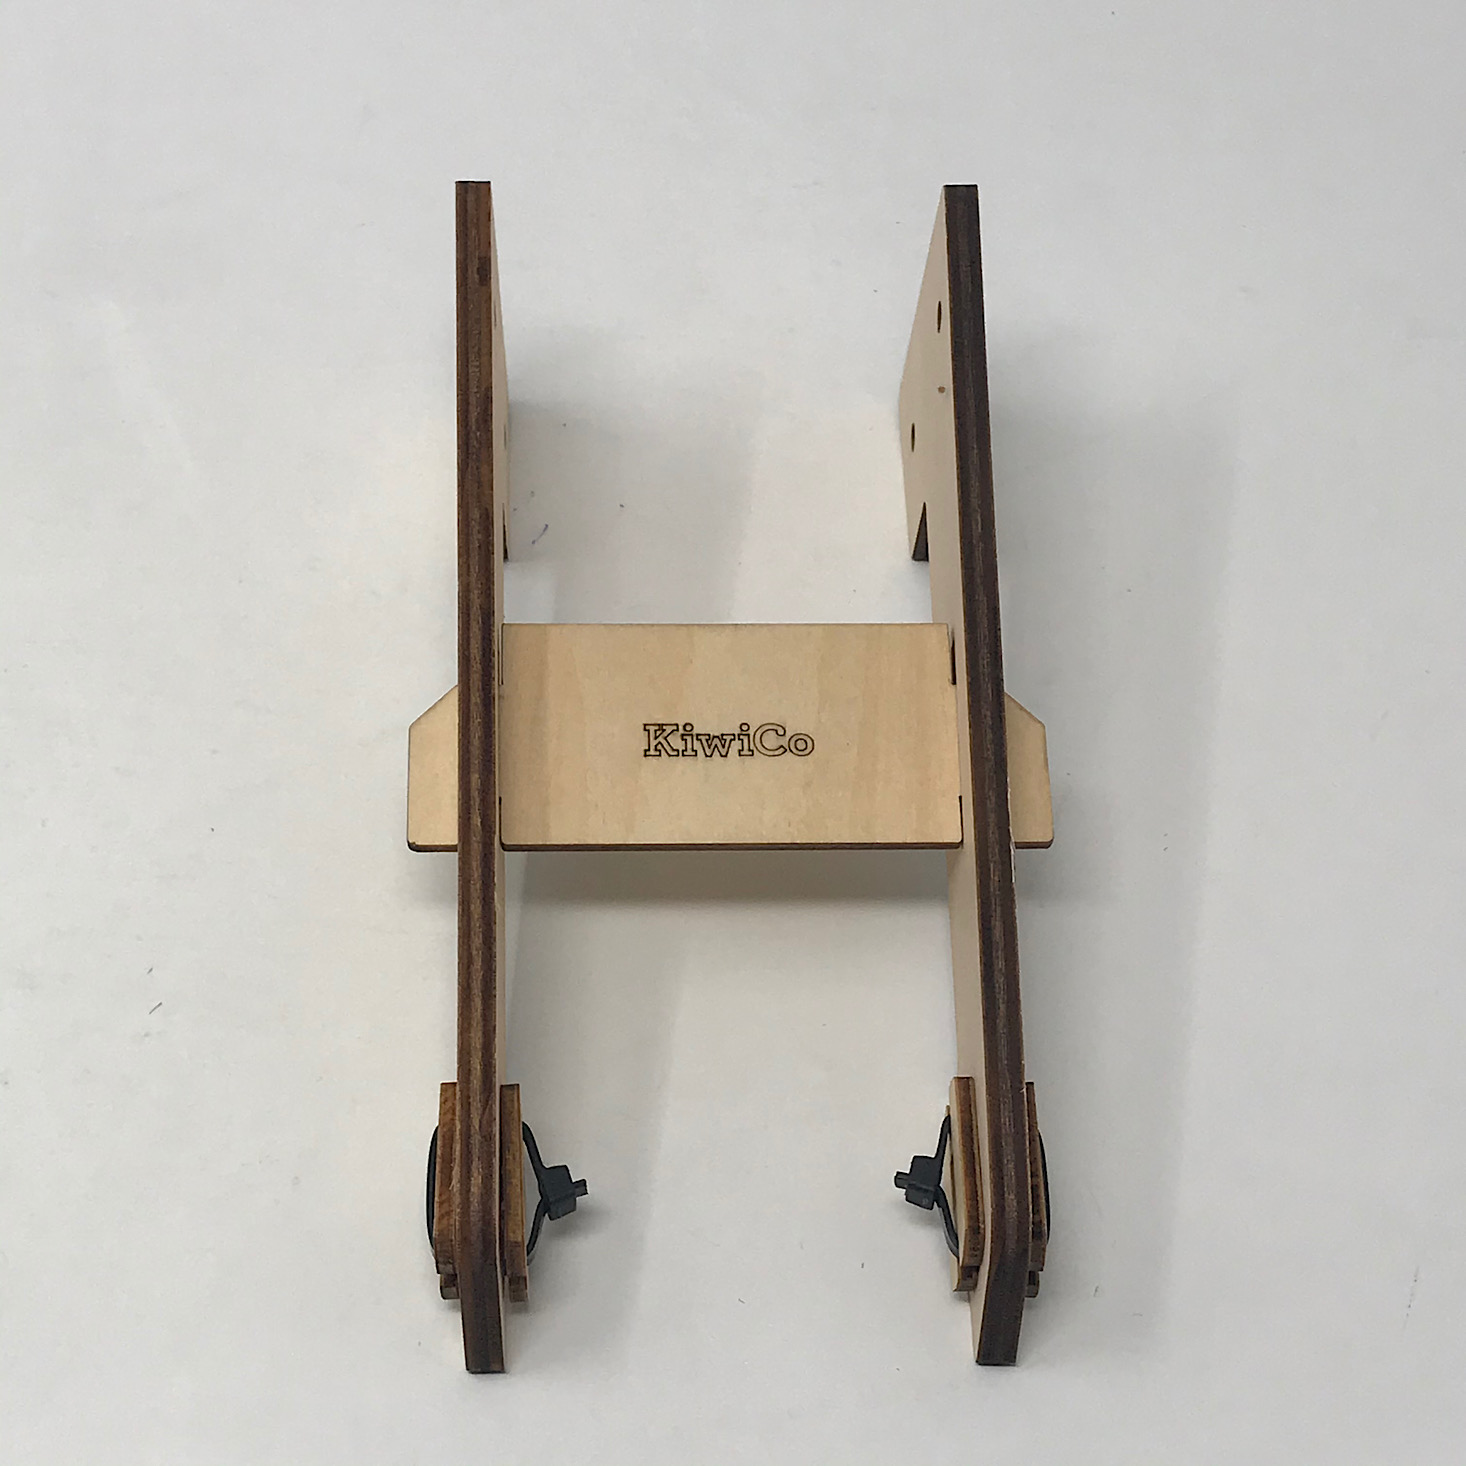
1 of 3

I used more bolts and screws to add the feet to the top portion of the timer. Then my timer was able to stand up on its own.
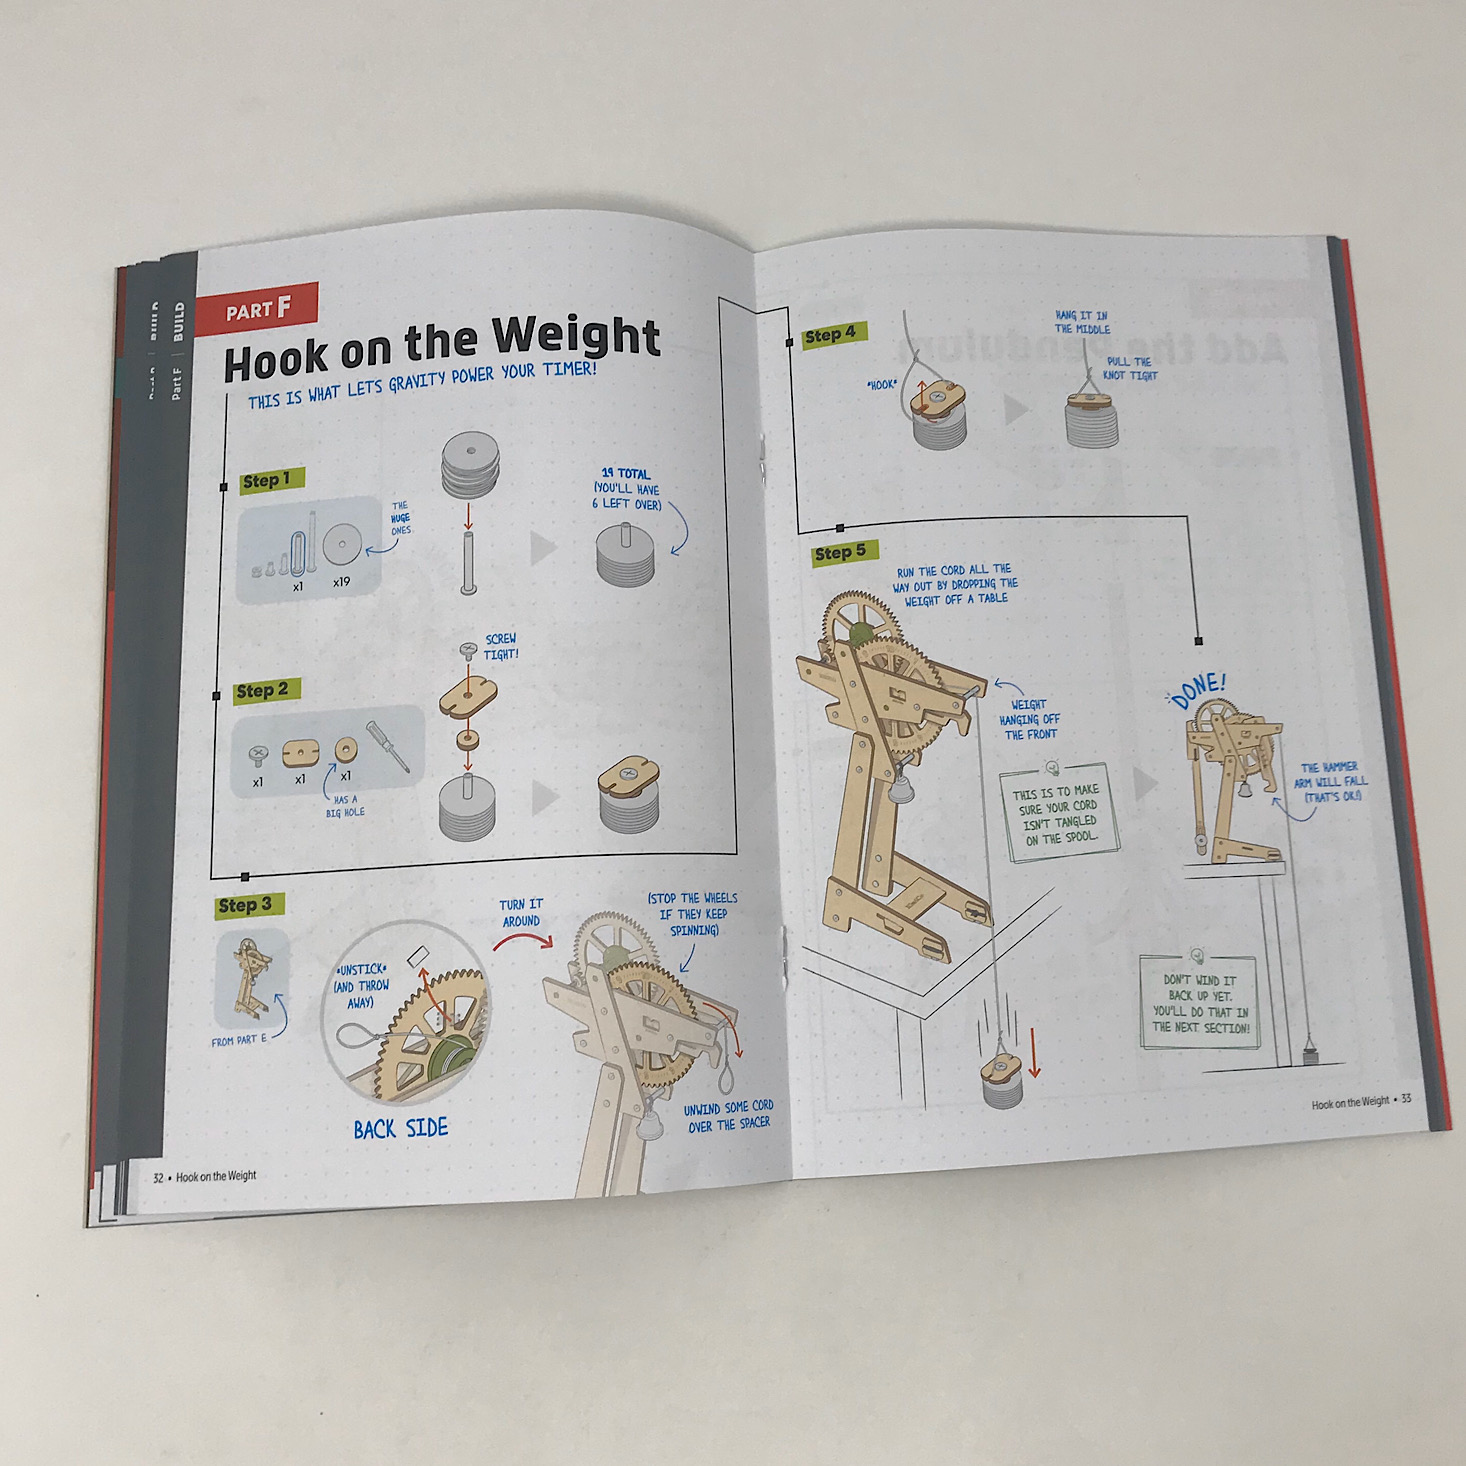
Part F: Hook on the Weight


1 of 3

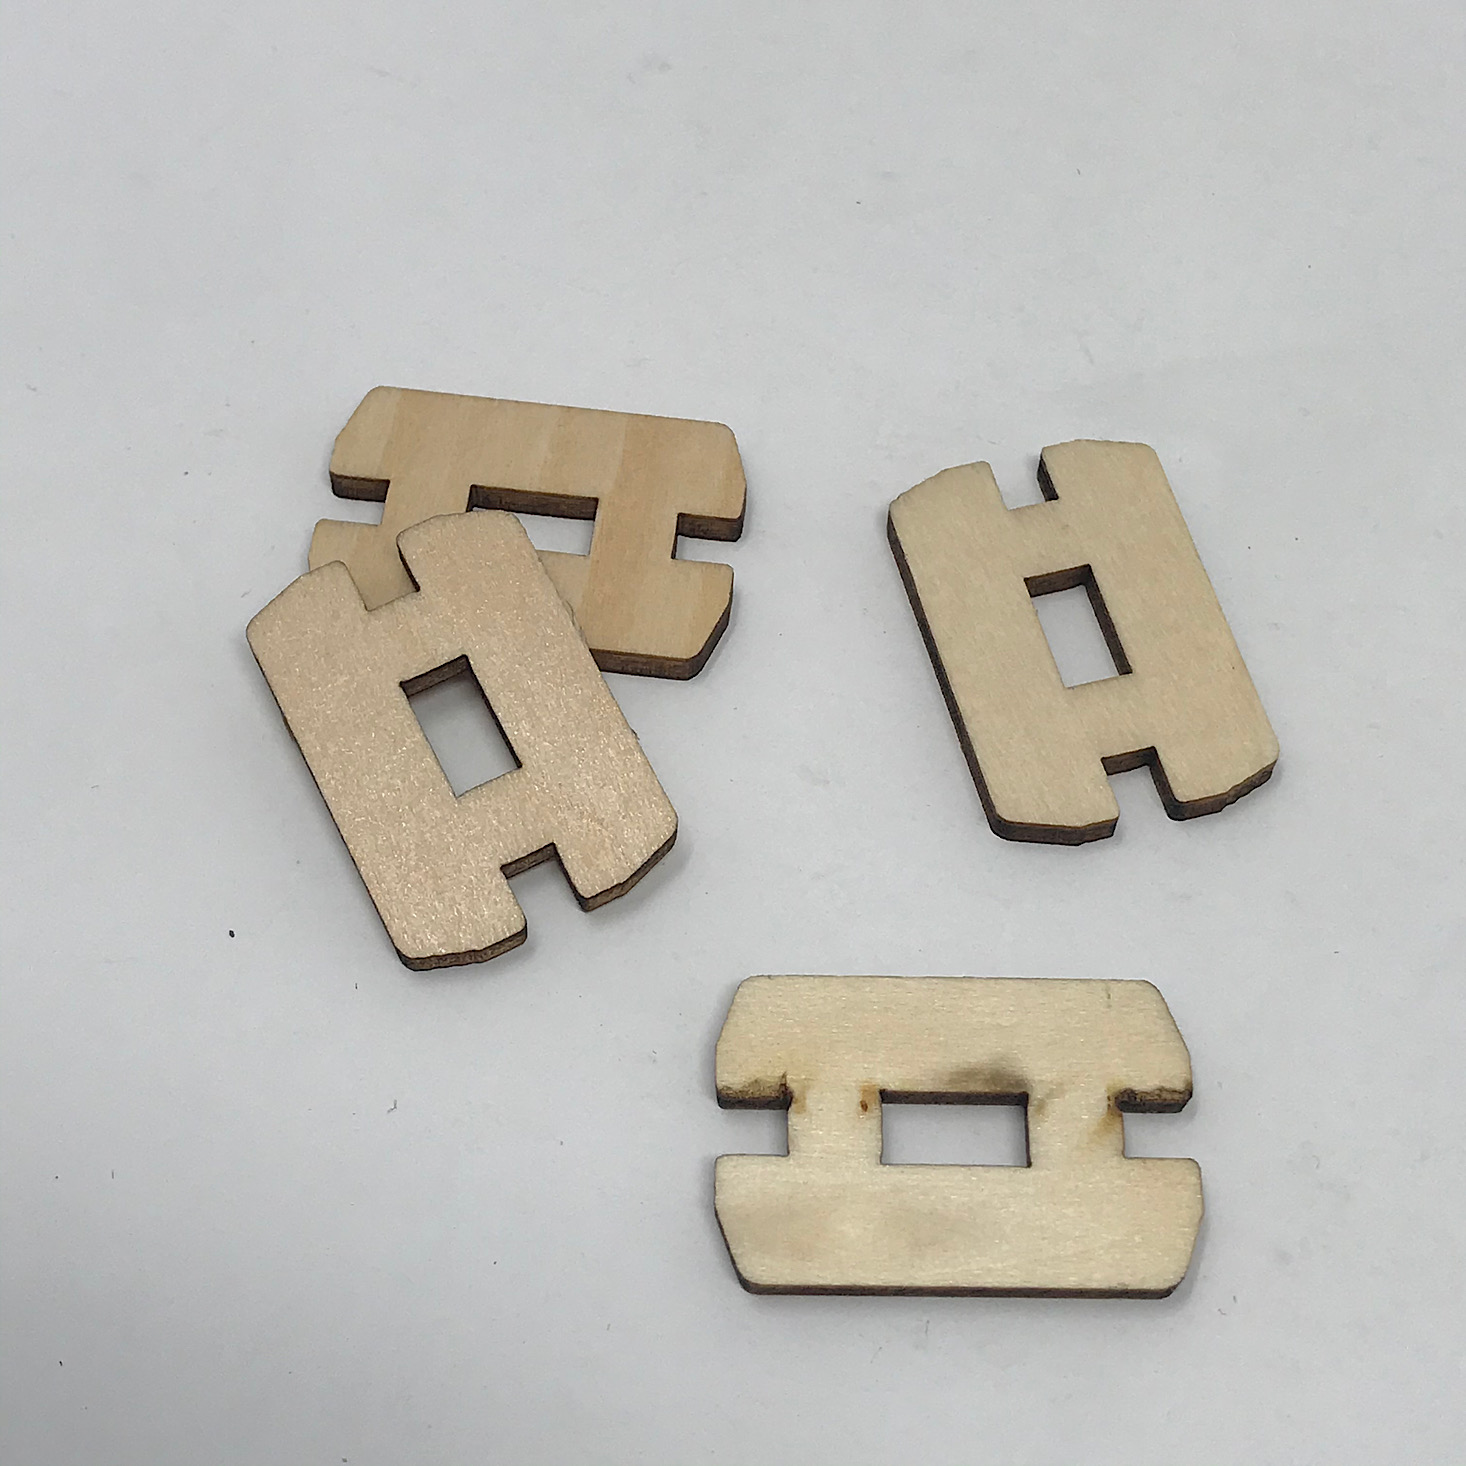
To build the weight, I simply stacked up the 19 metal discs on top of the second tallest bolt and then added a wooden washer and this wooden piece before screwing the stack altogether.
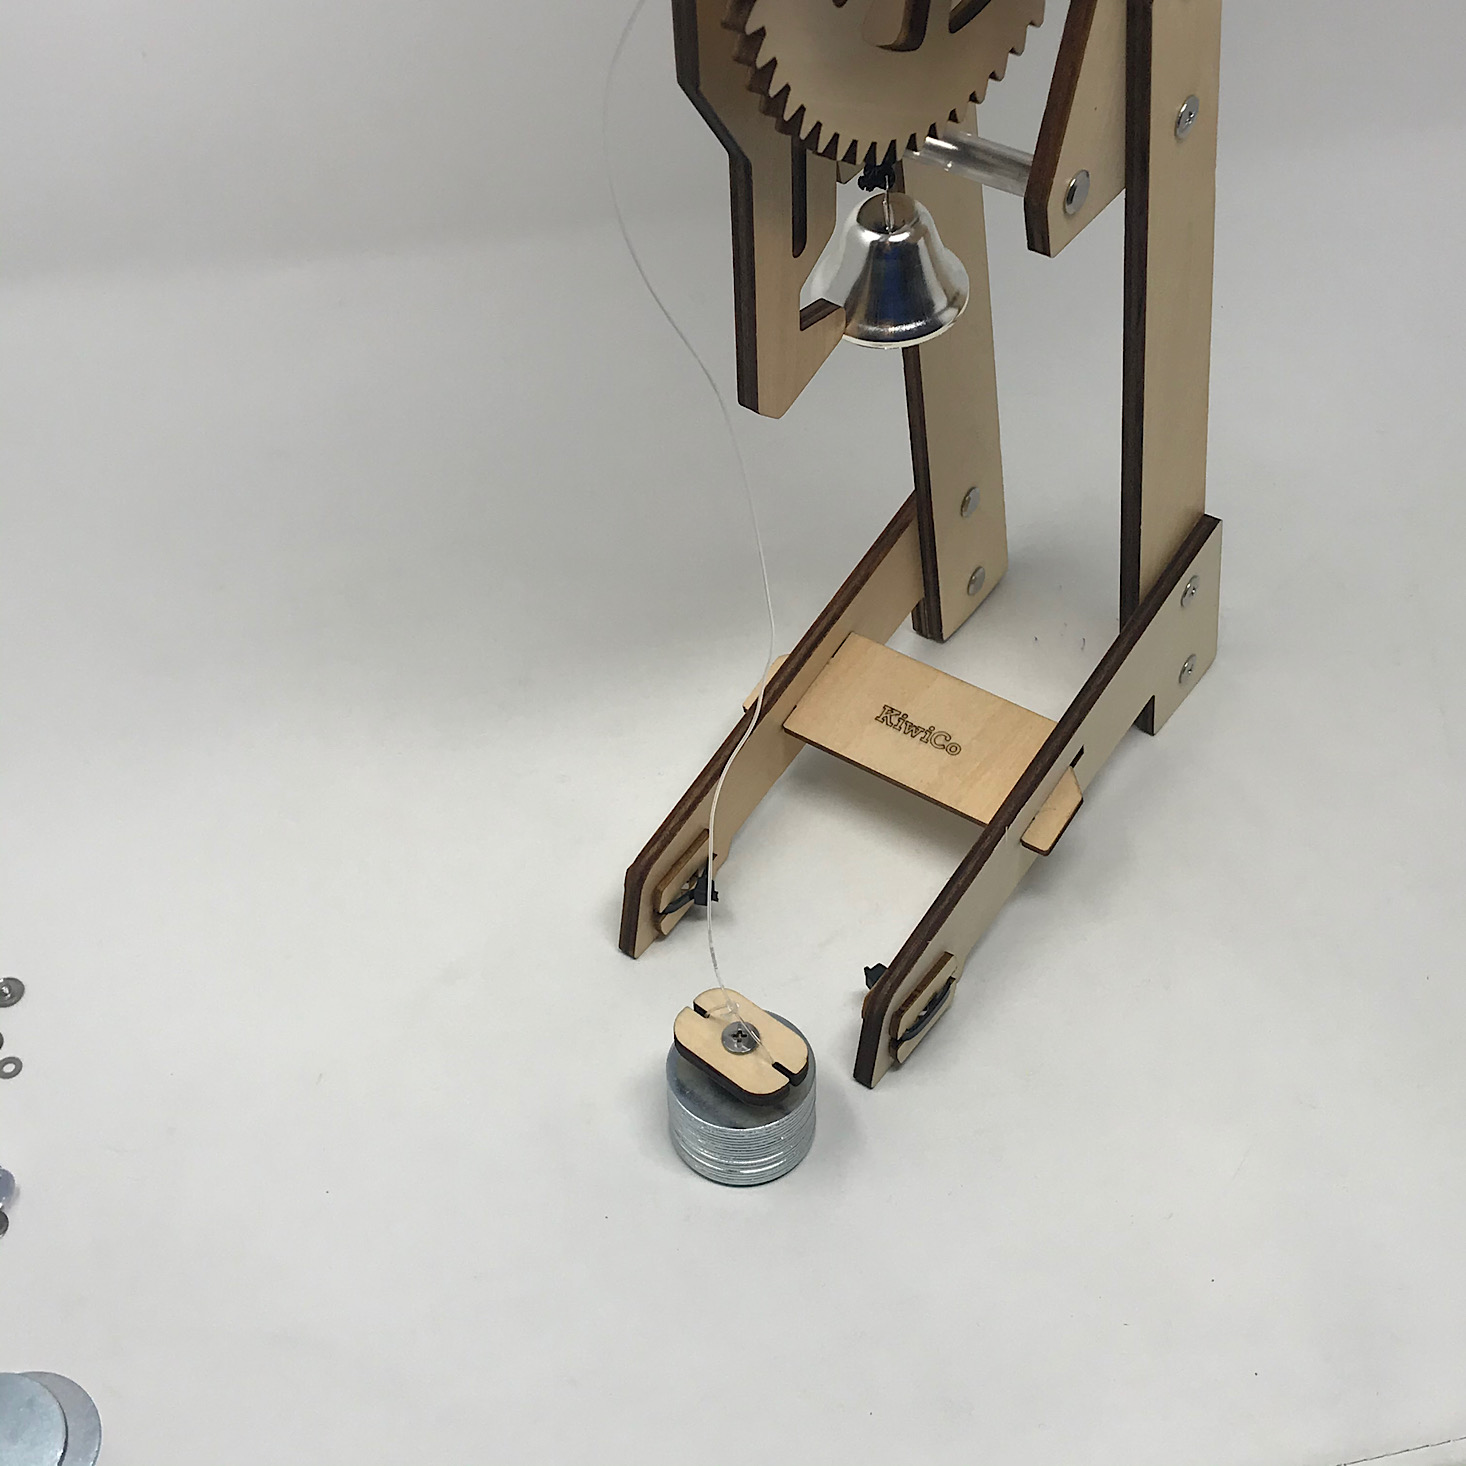

1 of 2
Then I secured it to the cord by wrapping it around the cutouts in the wooden piece and pulling the knot tight. Gravity would cause the weighted stack to drop down for our timer.
Part G: Add the Pendulum


1 of 3

The pendulum was pretty simple. I had to use a zip tie to secure the two wooden pieces together and then at the bottom, I added the remaining six metal discs with a bolt and screw.

1 of 2
To add the pendulum to my timer, I had to get it lined up with the teeth of my escape wheel and slide it down onto the bar in between the two metal washers. It was a little tricky since you had to be very gentle with it, but once in place, it slid right down.
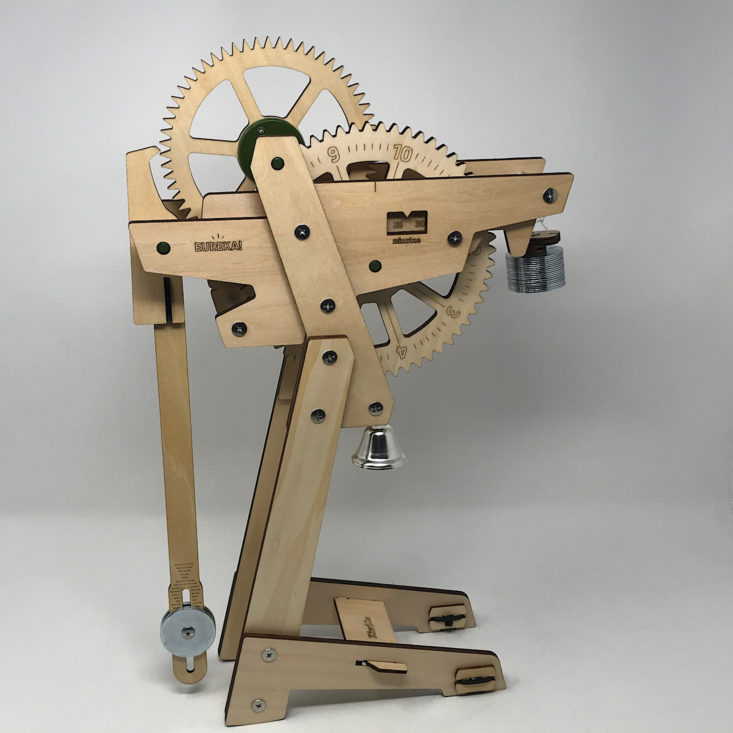
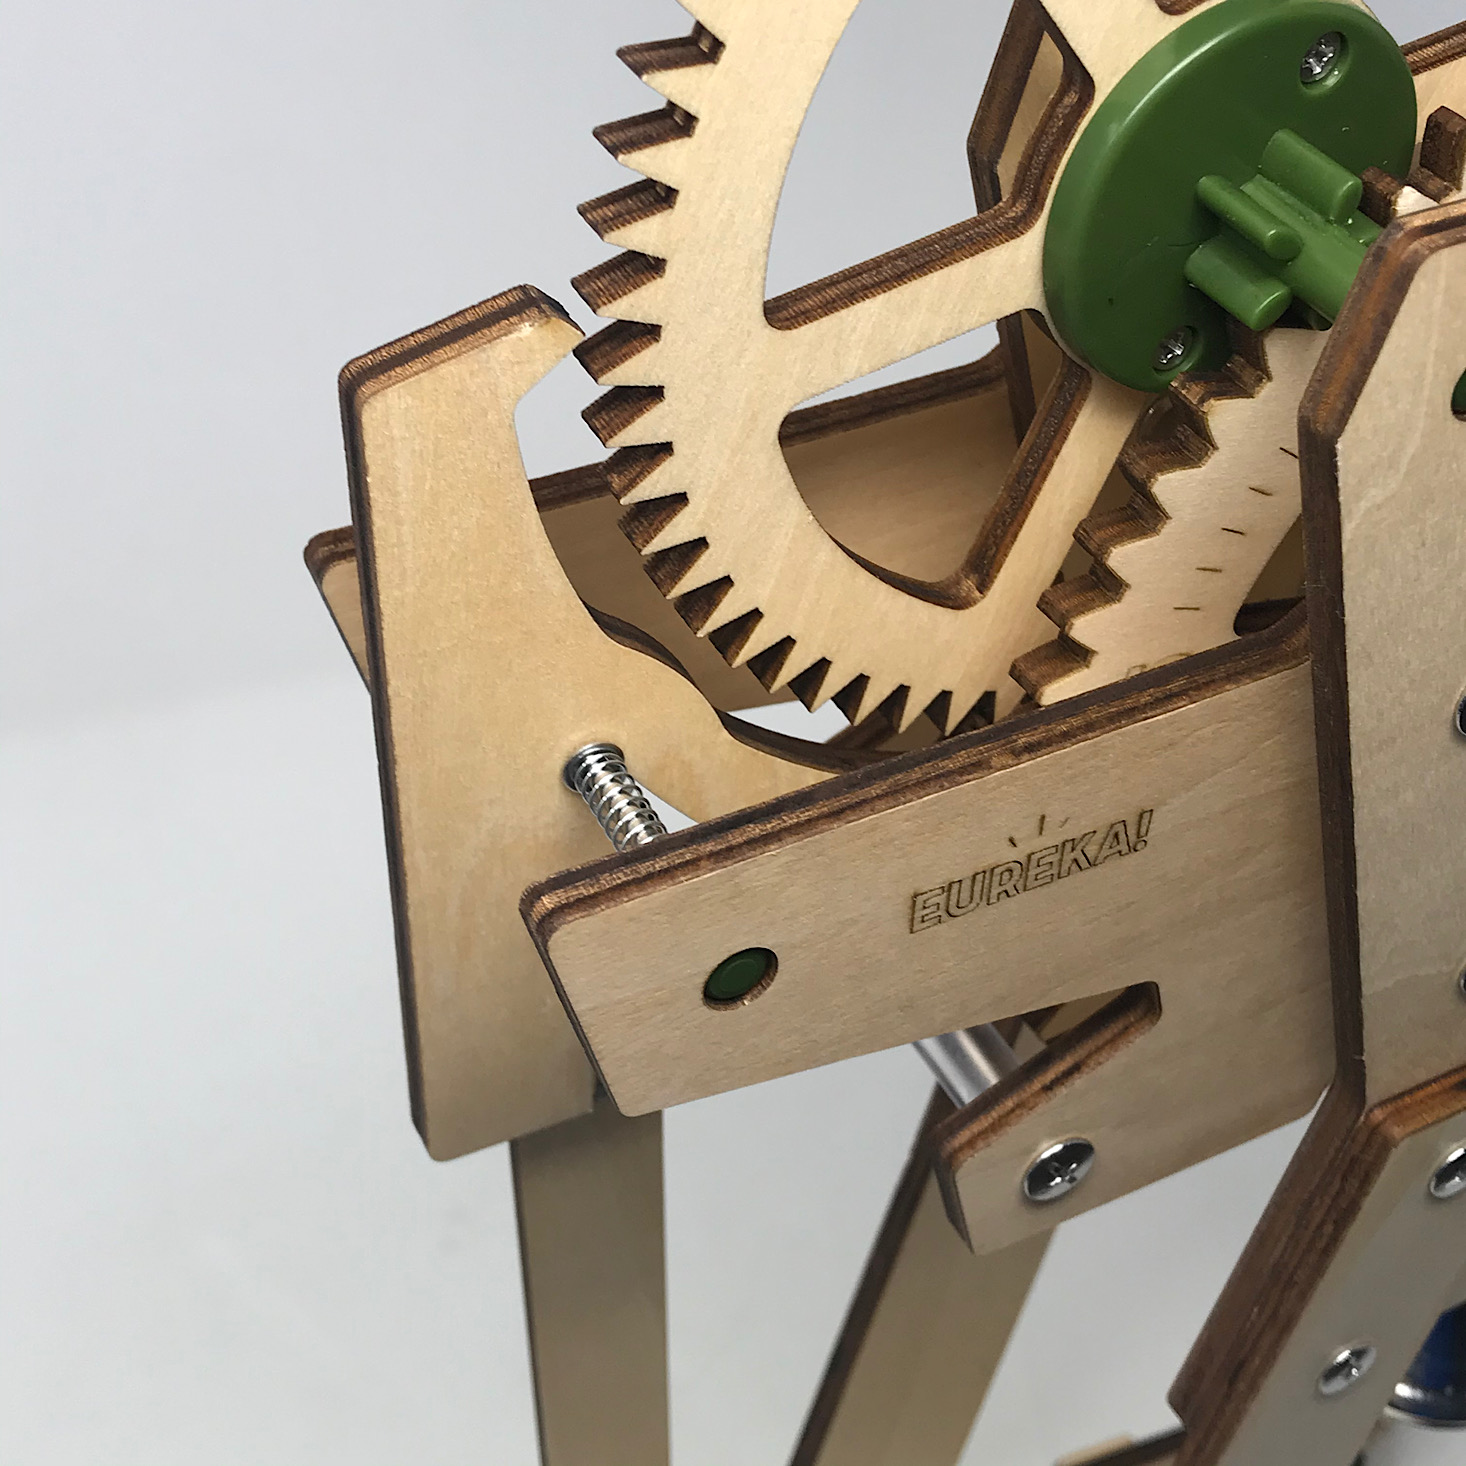
Here is the timer with all of the pieces in place, almost ready to go!

1 of 3
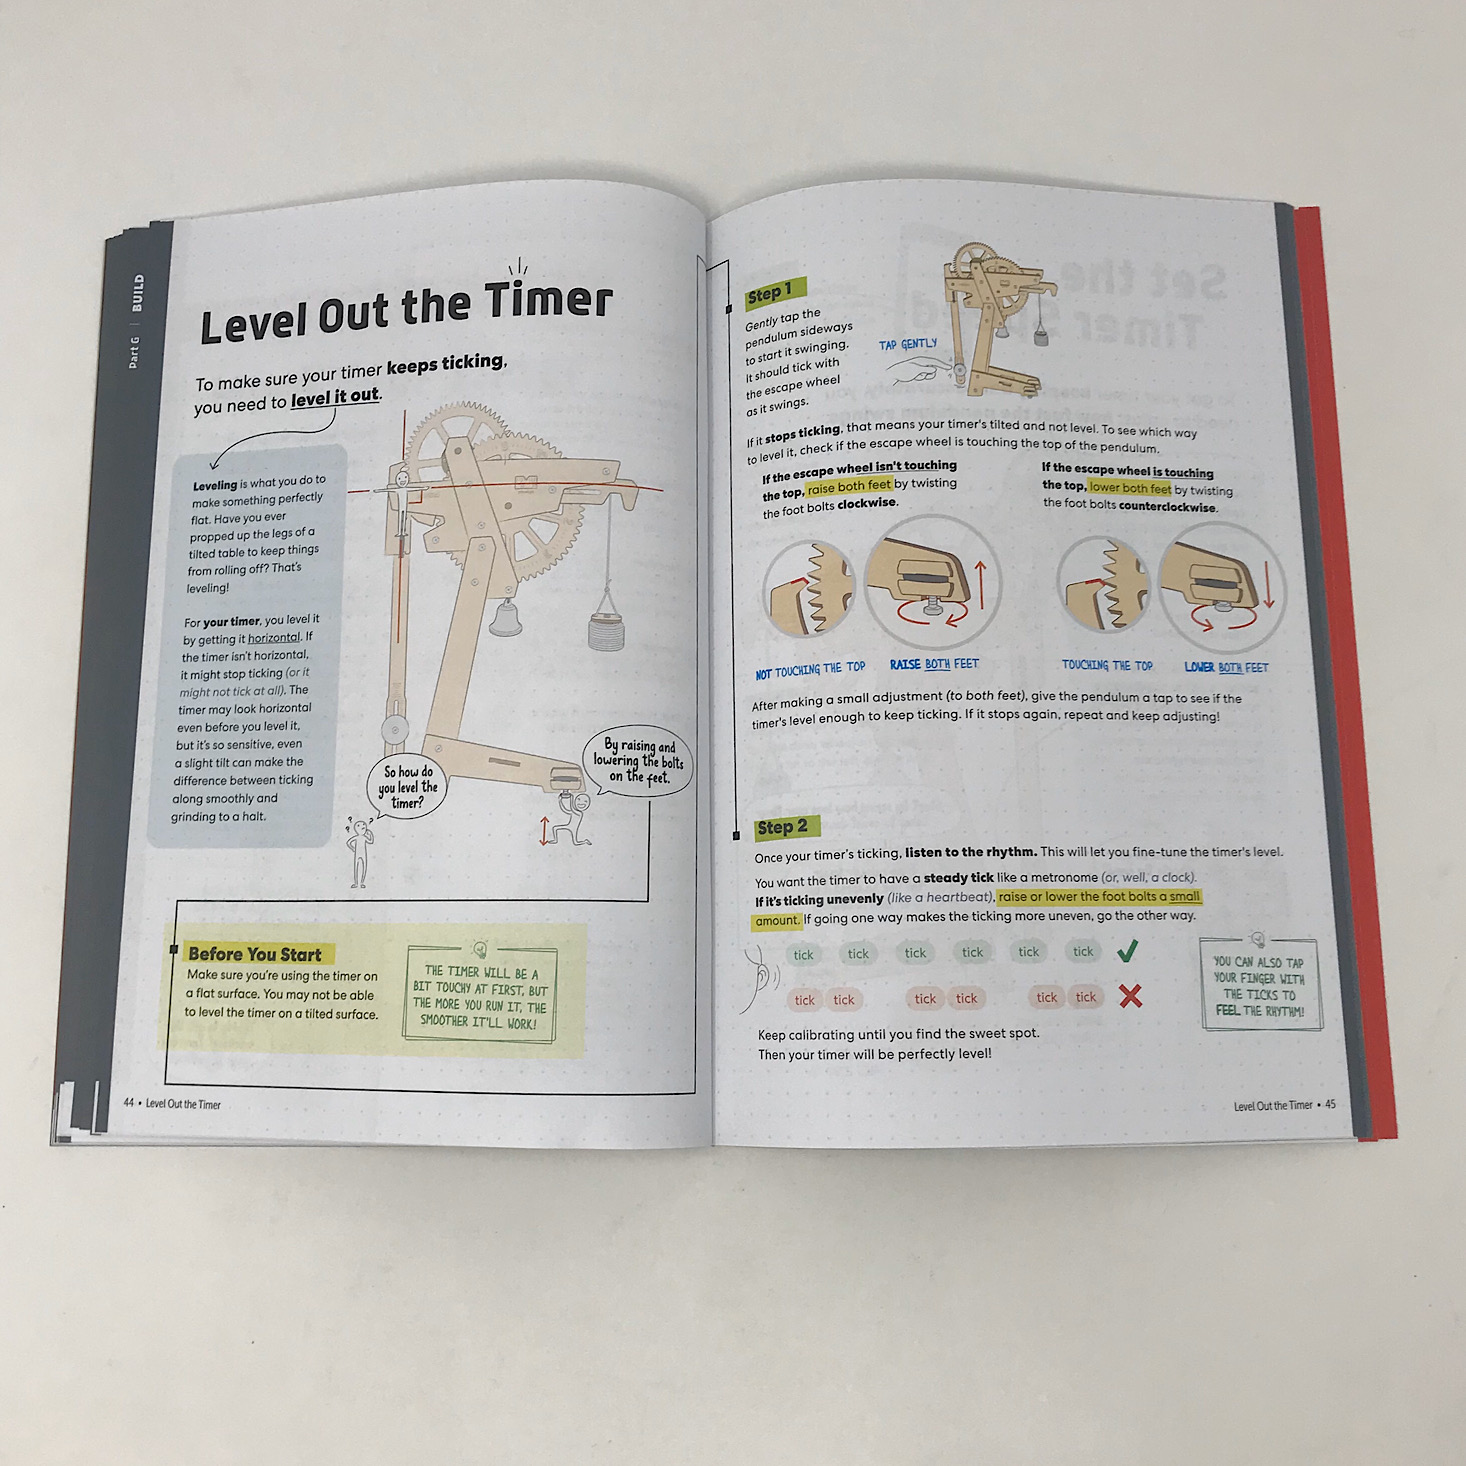
Now that my timer was built, it was time to calibrate it. The first step was leveling it out. This step took me the longest, by far! My pendulum would tick a few times and then just stop. To level it, I had to add the bolts to the nuts I had set into the feet and then raise and lower them until it was just right. This was a bit frustrating at first, but once I finally got it ticking, I was pretty happy to see it working!

1 of 3
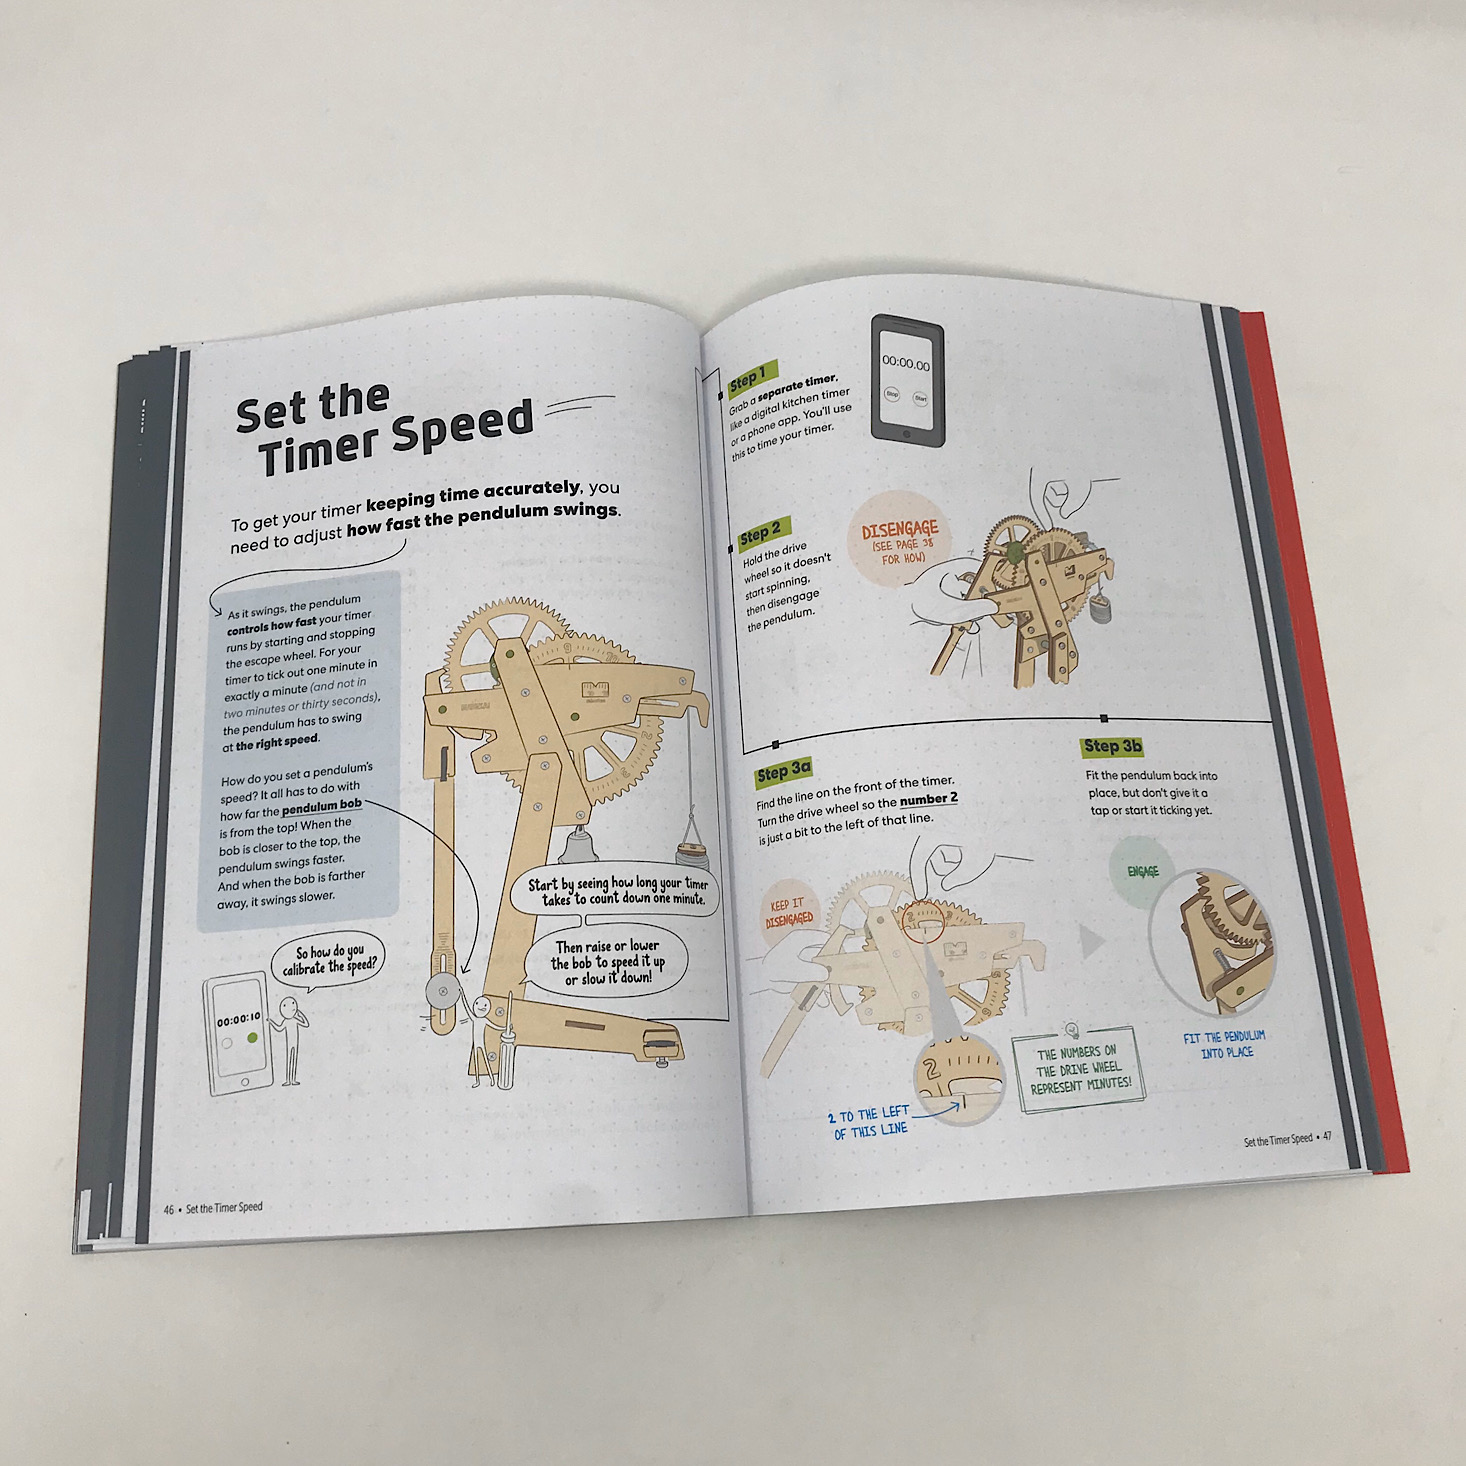
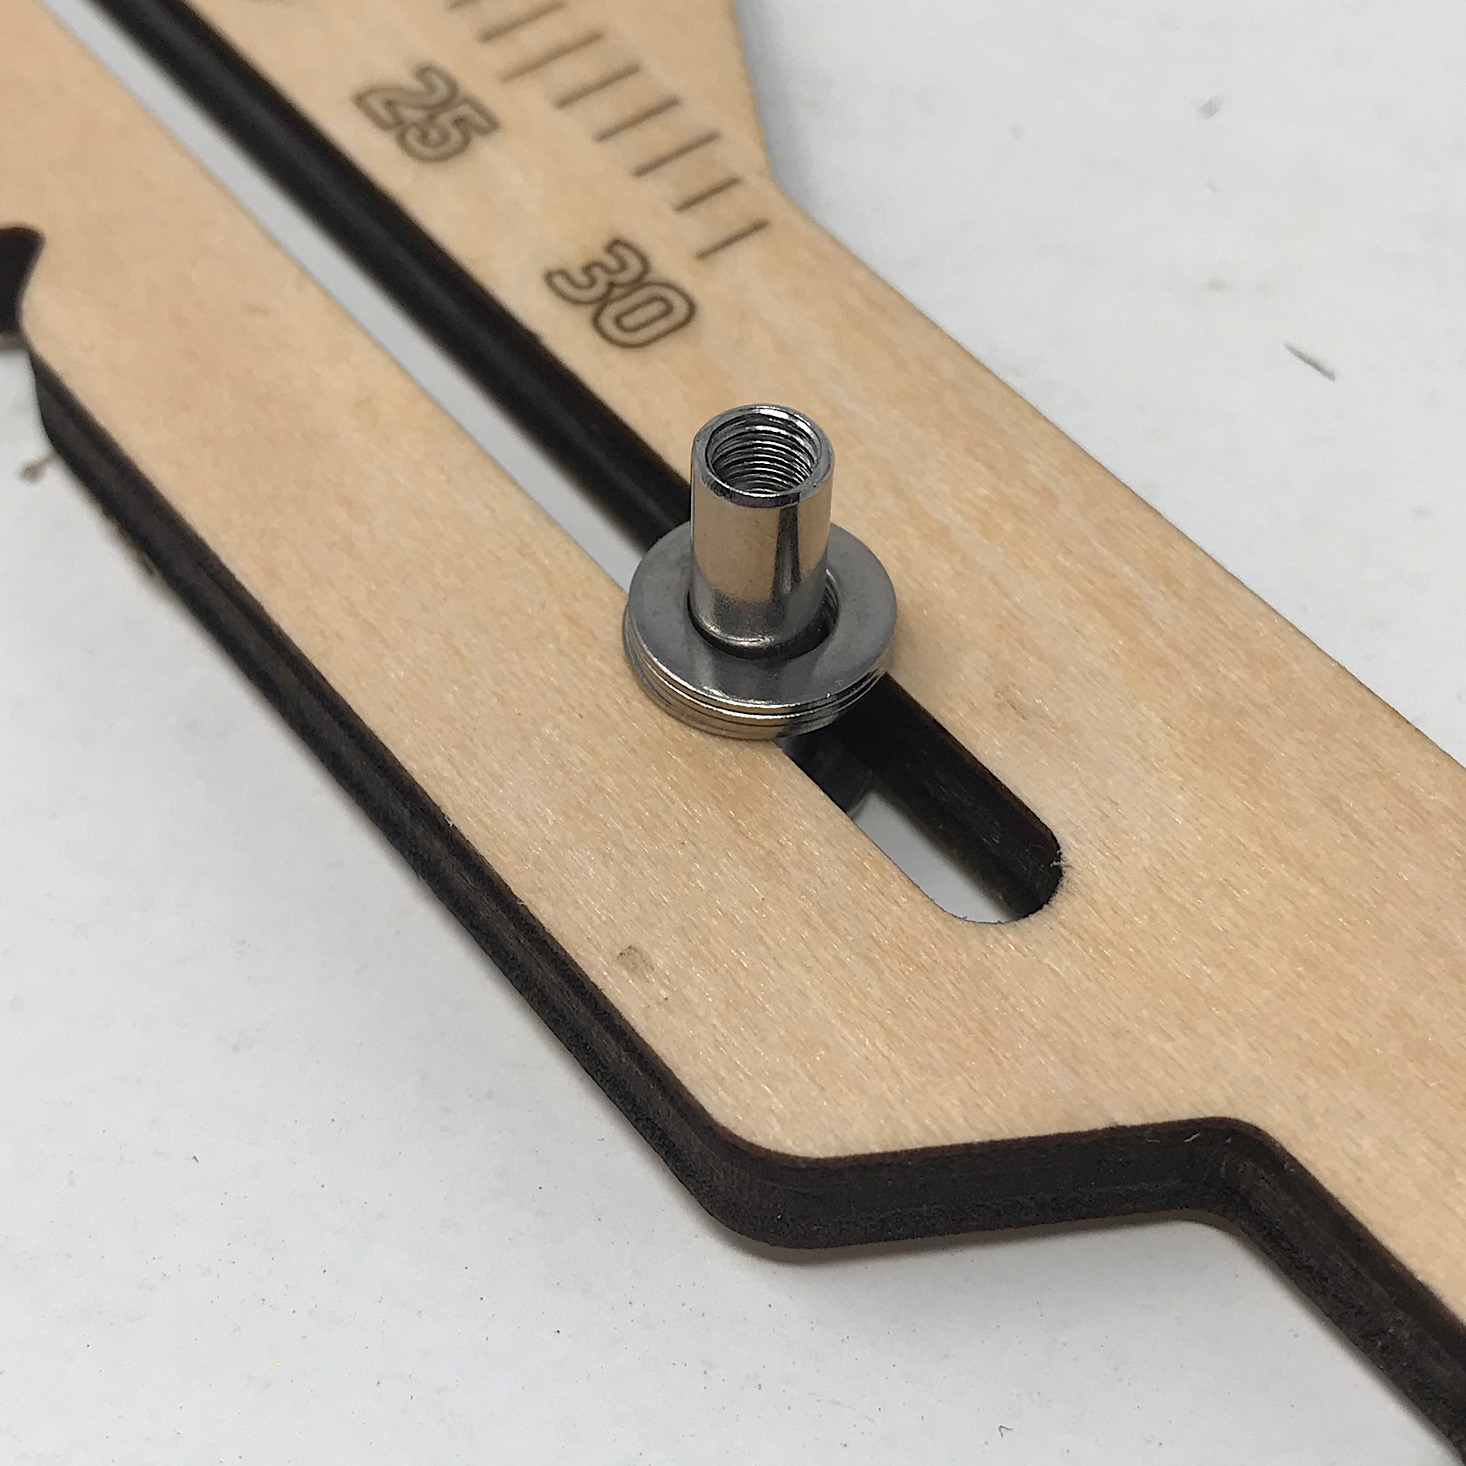
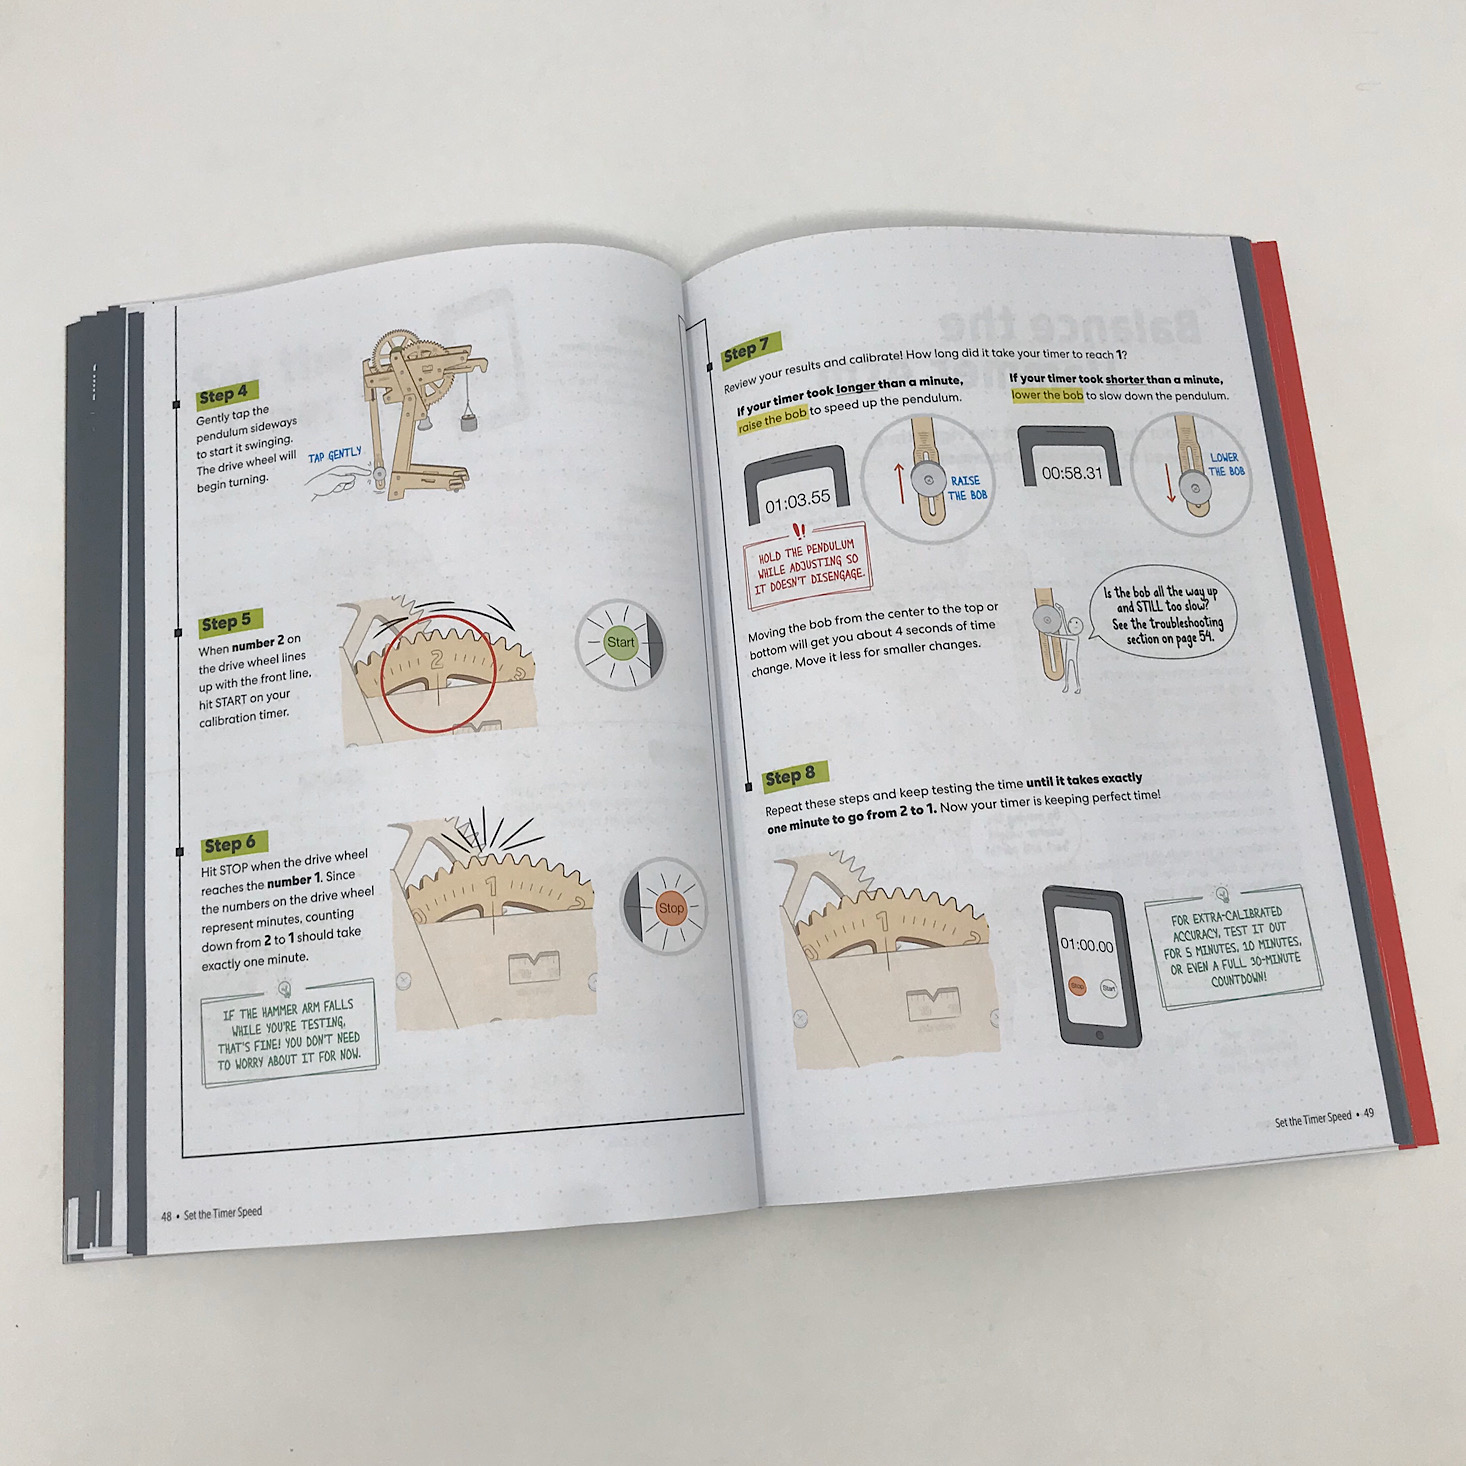
Next, we had to set the timer speed. This involved disengaging the pendulum and then turning the drive wheel to 2. Then I set my timer for one minute and timed how long it took to get from the 2 down to the 1. If it took longer than 60 seconds then I had to raise the bob (silver discs) on the pendulum, but if it was sooner, then I had to lower it. Mine was just a little bit slow so I raised it and then the timer speed was good.

1 of 2
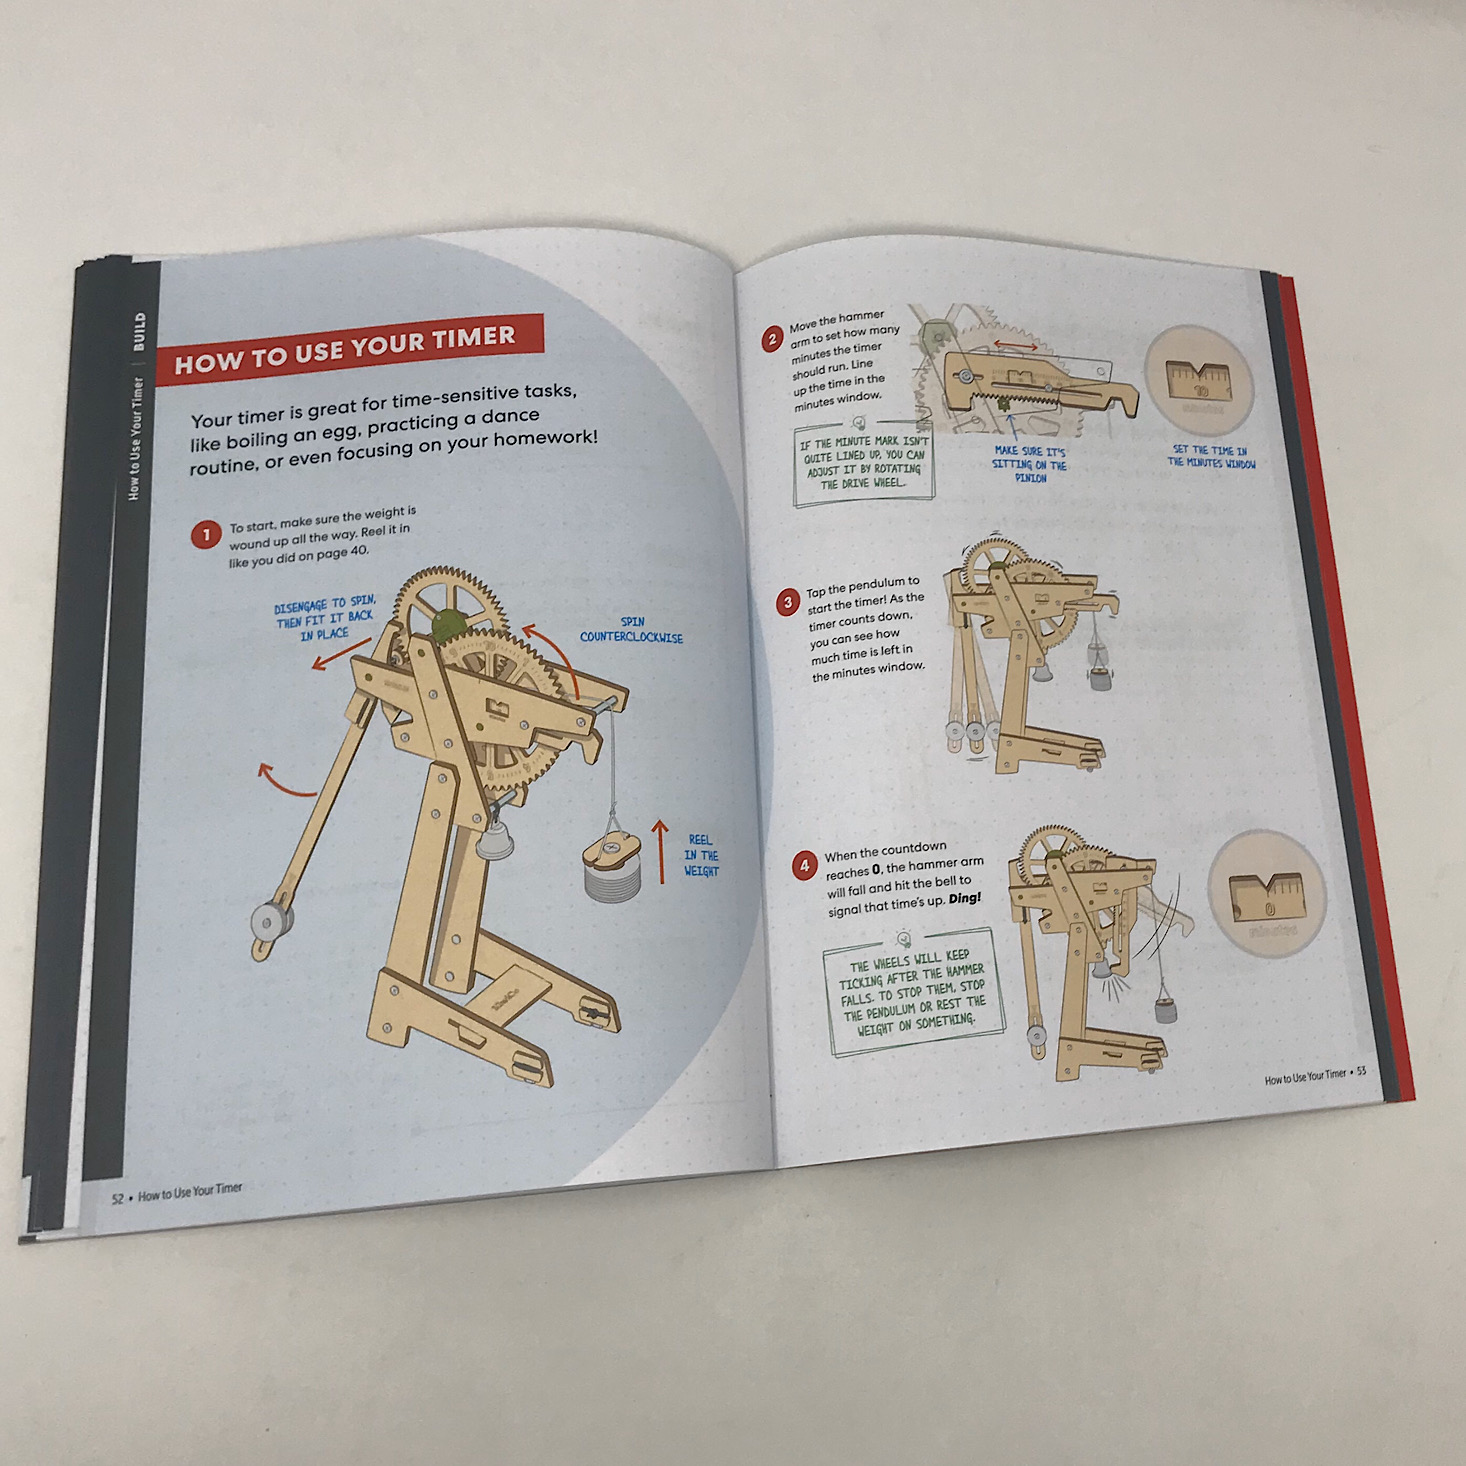
The last step was to balance the hammer arm which would operate the bell. When the time is up the hammer should drop and hit the bell. We had to slide the little bolt along the arm to get the timing just right. They also provided instructions for how our timer works and gave some ideas of tasks we can use it for. It has a maximum run time of 2.5 hours, but using it on a tabletop gives it a run time of about 30 minutes.
Here is my timer finally calibrated and working. I didn't quite have the bell hammer timed right yet, but after a quick adjustment, I got it to ding on time!

In our booklet, there is usually a design challenge section like this one which is always a great extension of the project. This month they recommend making a chain reaction alarm clock and I think there are definitely some ways to have fun with that!
Verdict: This month's gravity timer project from Eureka Crate was pretty challenging! The build itself wasn't too difficult since they always do such a great job explaining it and breaking down the process, but getting my timer level and calibrated was no easy feat. This just added to my sense of satisfaction though once I finally got it working properly. I think this was a great educational challenge and I enjoyed it. It's also great that we have a useful timer as our finished product!
To Wrap Up:
Can you still get this box if you sign up today? It is possible you might get this crate, but it is not a guarantee. From KiwiCo:
Crates are assigned each month based on availability and your crate history - not all subscribers receive the same theme each month.
Check out all of our KiwiCo reviews and the best boxes for teens!
Keep Track of Your Subscriptions: Add this box to your subscription list or wishlist!
What do you think of Eureka Crate?
Please do not enter your email address in the Name field or in the comment content. Your email address will not be published. Required fields are marked *. Remember to post with kindness and respect. Comments with offensive language, cruelness to others, etc will not be approved. See our full comment policy here.