

Tinker Crate is a subscription box for kids and tweens ages 9-16+ created by kids subscription box company KiwiCo. Each monthly Tinker Crate contains all the materials and instructions needed to create innovative, hands-on STEM projects, as well as a "Tinker Zine" full of educational information and additional activities.

KiwiCo offers boxes for different age groups:
- Panda Crate for 0-24-month-olds,
- Koala Crate for 2-4-year-olds,
- Kiwi Crate for 5-8-year-olds,
- Atlas Crate for 6-11-year-olds,
- Doodle Crate and Tinker Crate for 9-16+-year-olds,
- Eureka Crate and Maker Crate for ages 14 and up.
There really is something for every age with this company!
This review is of KiwiCo's Tinker Crate (for ages 9-16+), which costs $19.95 per month.
This box was sent to us at no cost for review. (Check out the review process post to learn more about how we review boxes.)

About Tinker Crate
The Subscription Box: Tinker Crate
The Cost: $19.95 per month + free shipping
The Products: Innovative hands-on STEM projects for kids, plus the materials and detailed instructions your child needs to complete them. You'll also get a "Tinker Zine" full of educational information and additional activities.
Ships to: The U.S. for free, Canada for $3.95 per month, worldwide from $4.95-$6.95
KiwiCo Tinker Crate "Bubble Lamp" Review


1 of 9


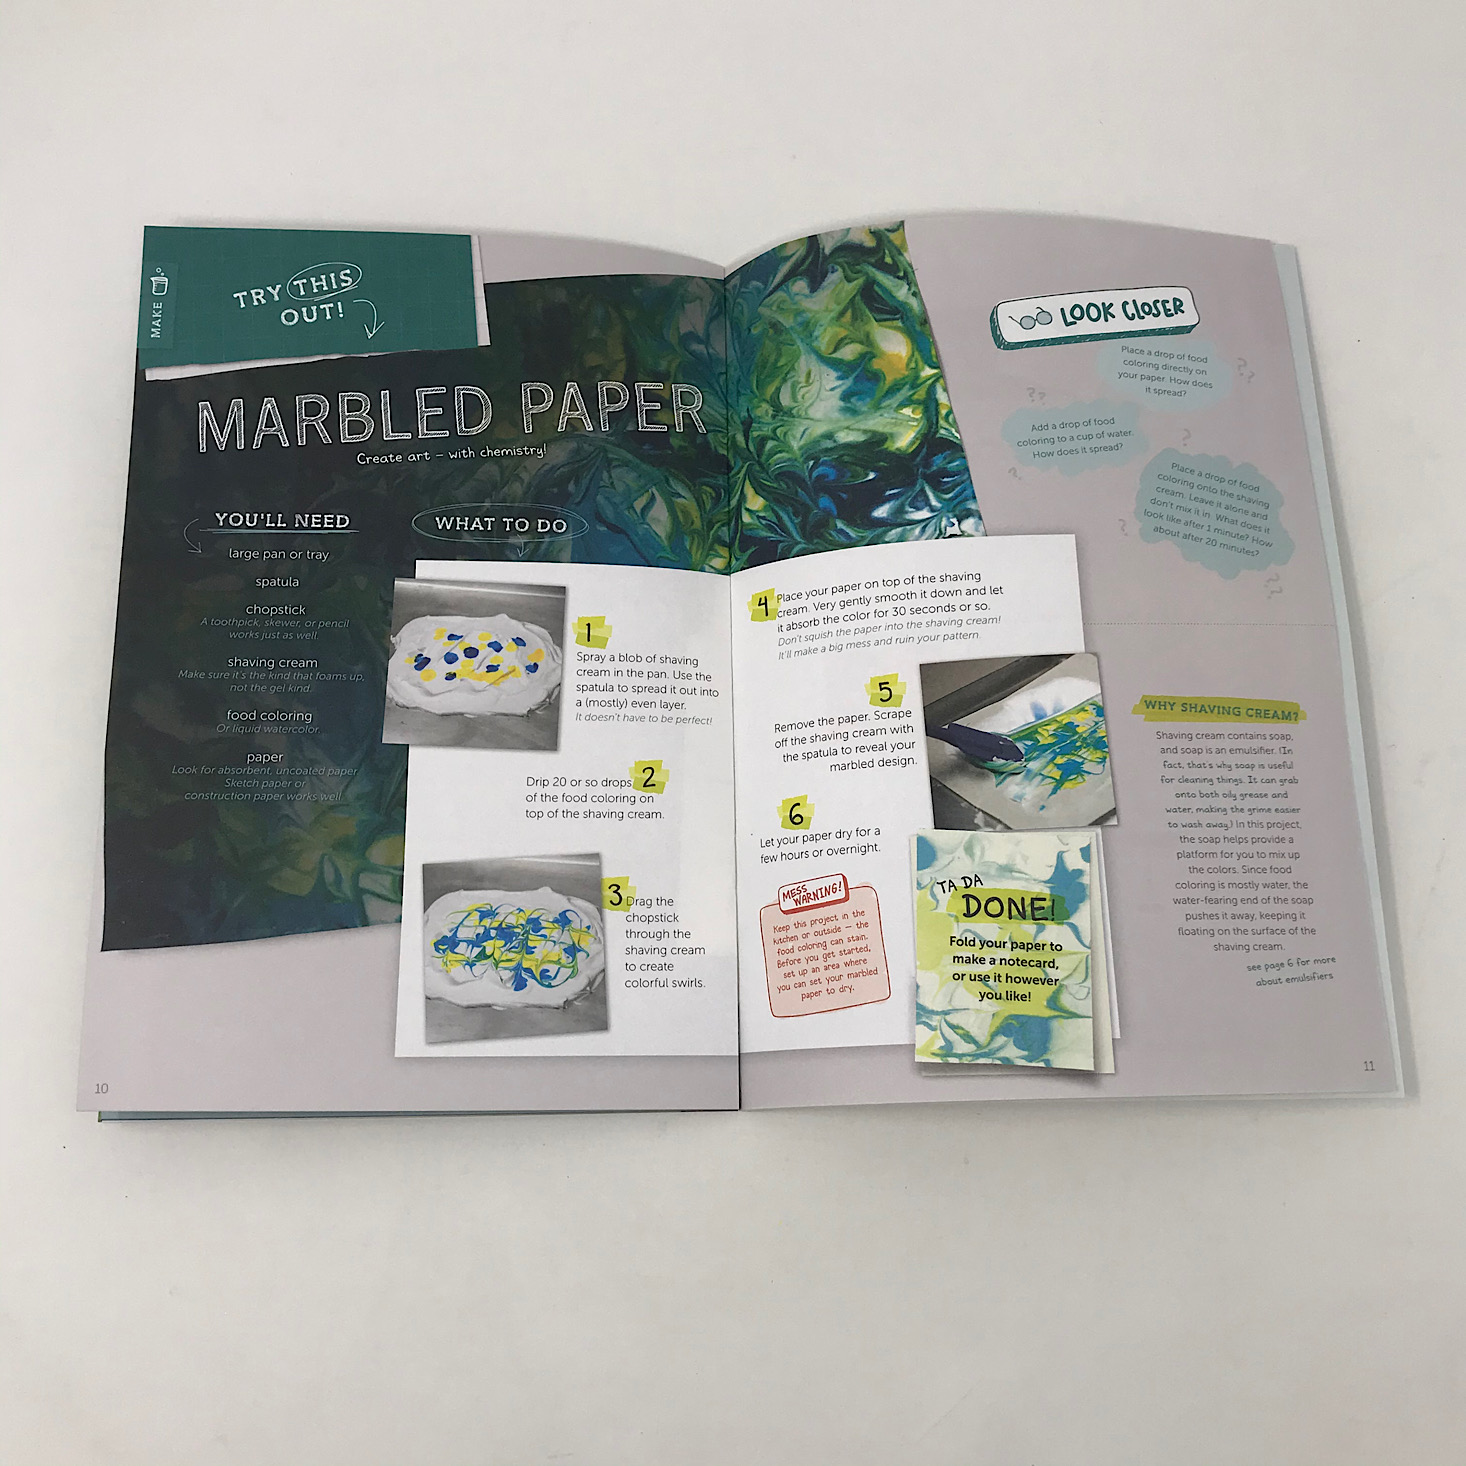

The theme of this month's Tinker Zine is "Oil and Water" to go with our bubble lamp. This zine is full of educational information about density and emulsions along with some fun art ideas and even some edible emulsion recipes. These are great ways to see the concept at work in everyday life!


1 of 5


Our instructions come on a separate sheet and they include detailed directions along with color pictures for each step. They even included some tips for launching.
Part A: Fill the Lamp

1 of 2
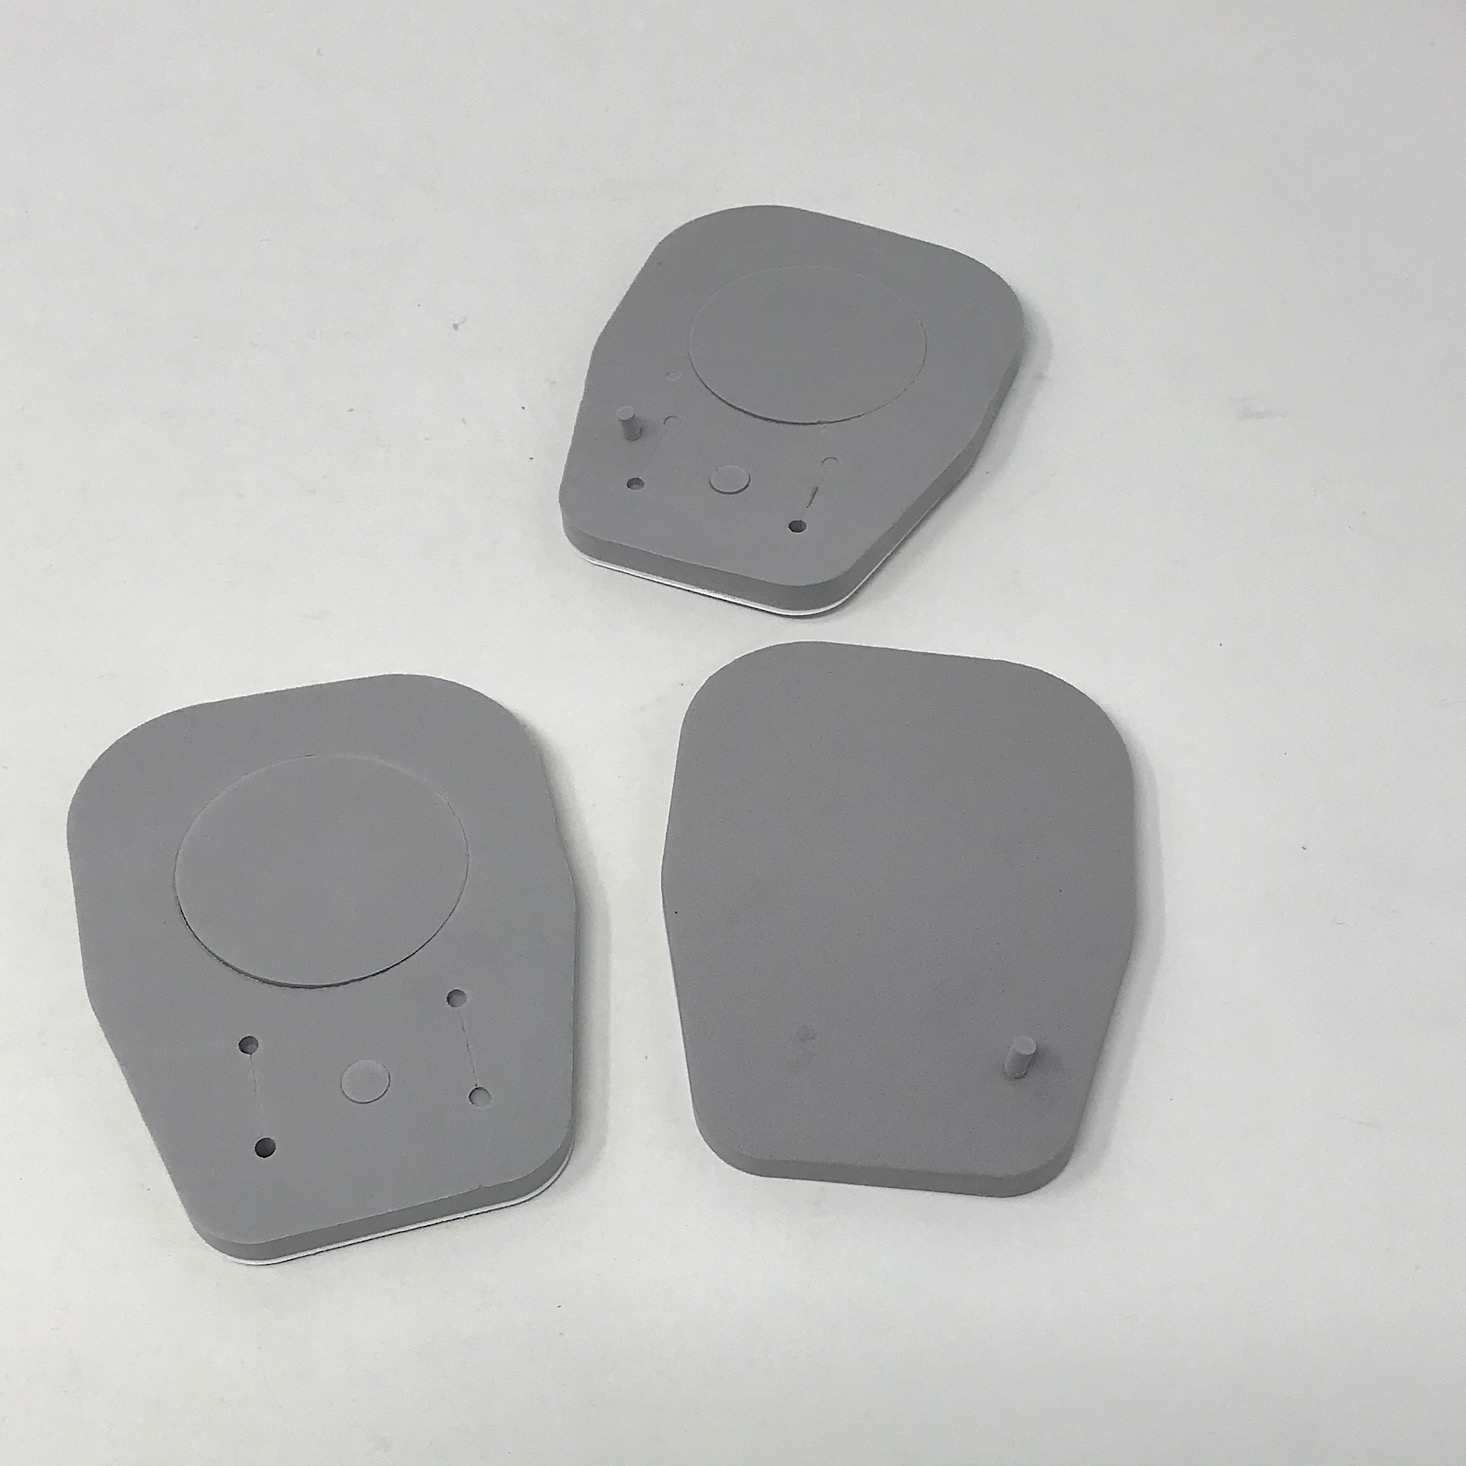
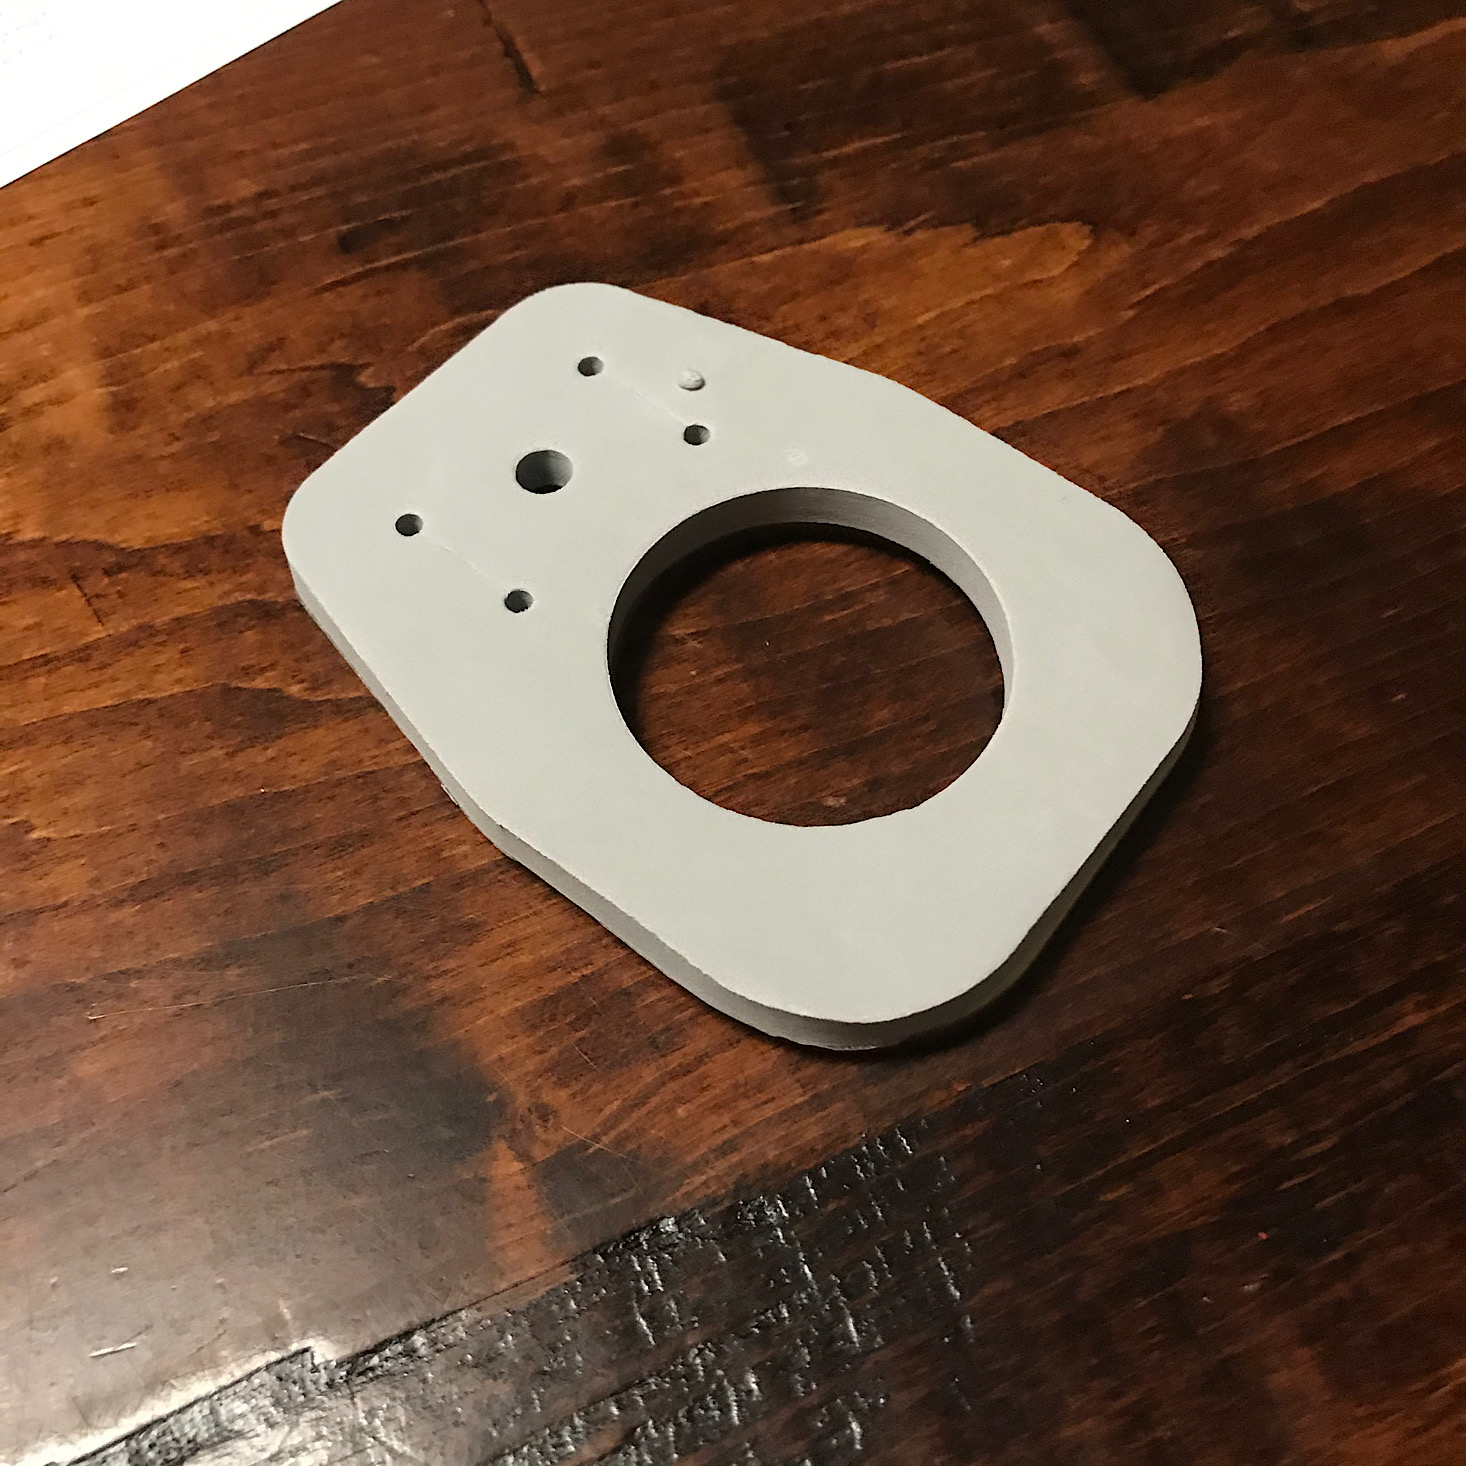
The first step in our project was to punch out the holes in these gray foam pieces and then stick the solid one to the one with holes.

1 of 2
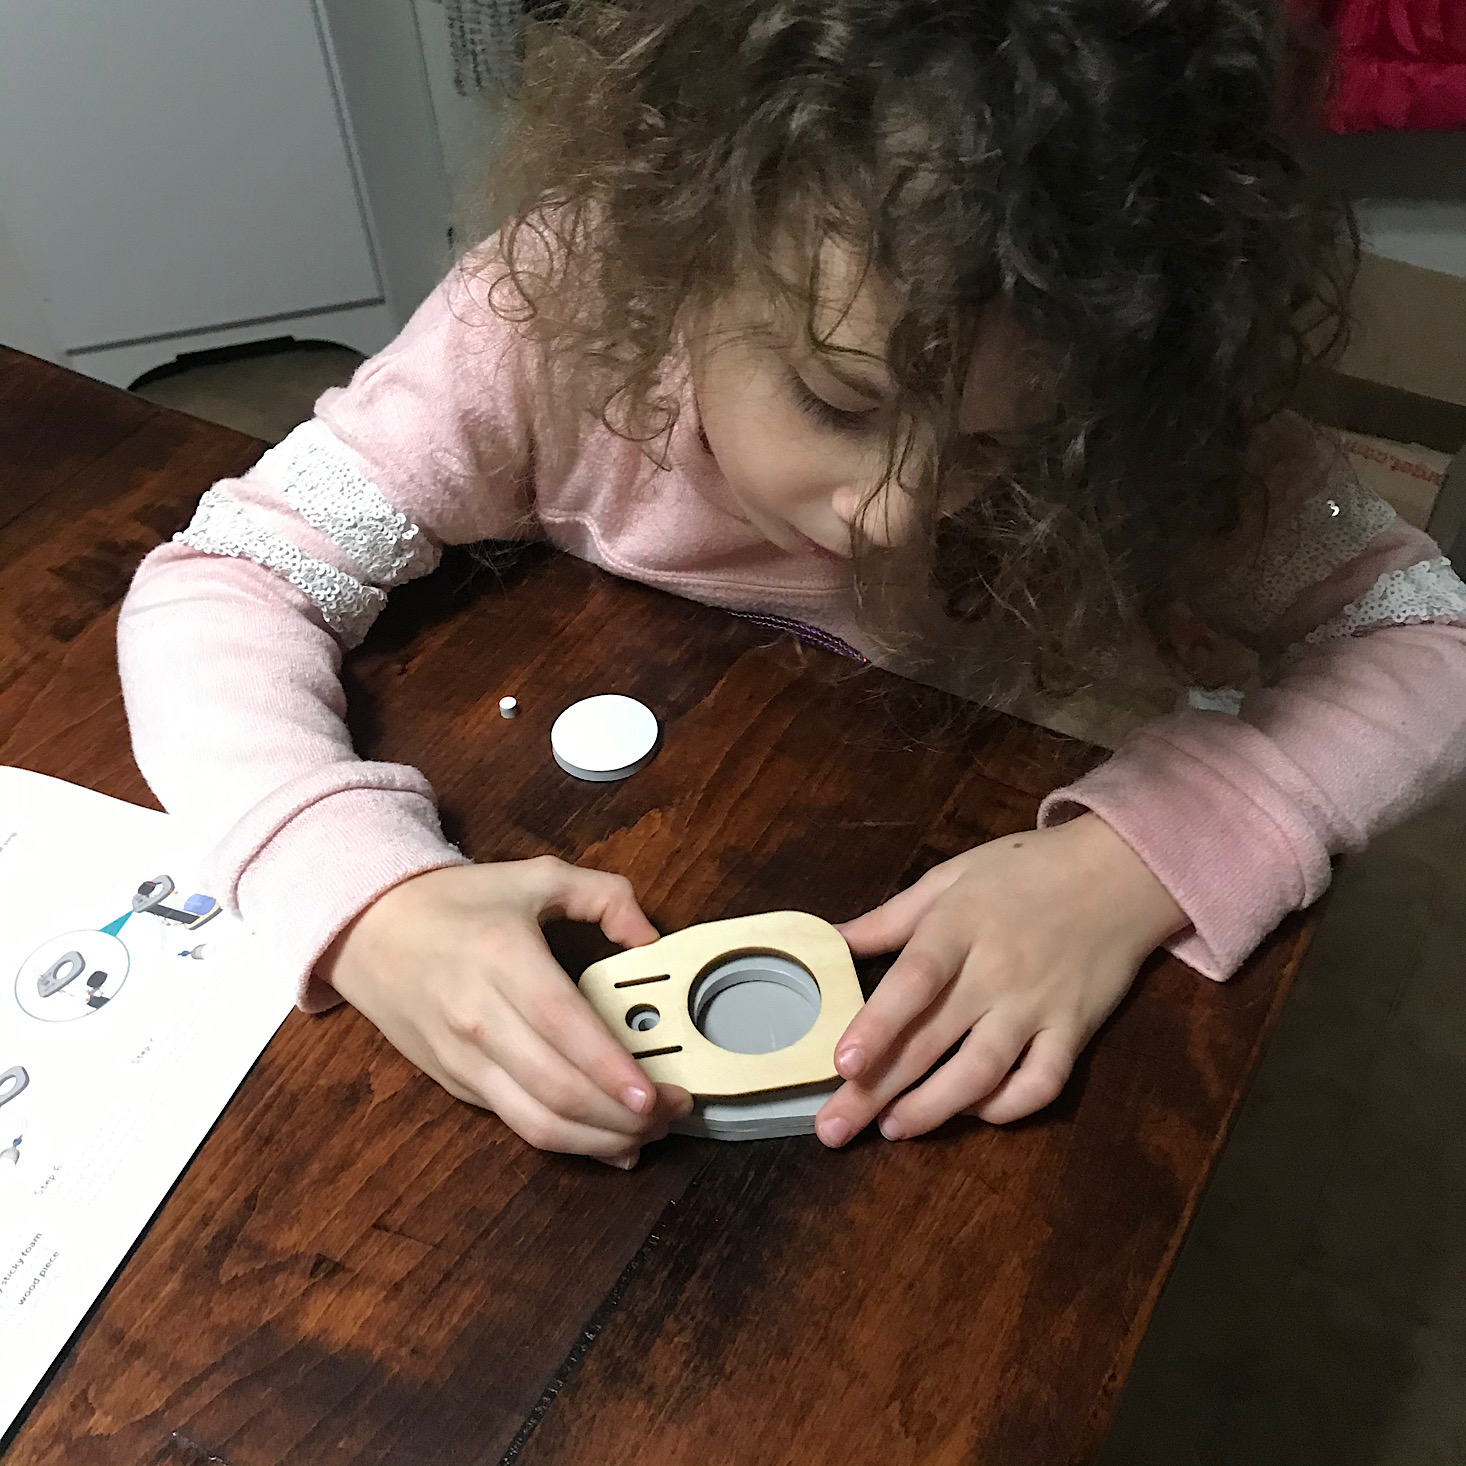
Then my daughter layered those two foam pieces with one of these wooden base pieces.


1 of 2
My son stuck our plastic bottle into the hole in the base and pushed down to make sure it was secure.


1 of 5


Next, I poured in the bag of vegetable oil and the liquid watercolor then topped it off with water using our cap to measure how high to fill it. They warned this could be messy, but since I did this myself, we didn't experience any real mess!


1 of 4


Lastly, we added the rubber piece with a hole and our cap to the top of our bottle.
Part B: Wire the Lights


1 of 3

The first step in wiring our lights was to add this wired cap to the top of our 9-volt battery.


1 of 3

Our battery then went inside this black cardboard piece after we folded it in along the creases. My daughter stuck the wires through the hole so we could access them from the other side.

1 of 4


They included this LED strip which would match up with our battery wires. My daughter peeled the backing off.


1 of 3

She then placed the LED strip right onto the gray rectangle that was marked on the white sheet. Then we folded it in along the creases and stuck it inside of the black cardboard piece before sliding it into the base piece using the tabs and slots.


1 of 3

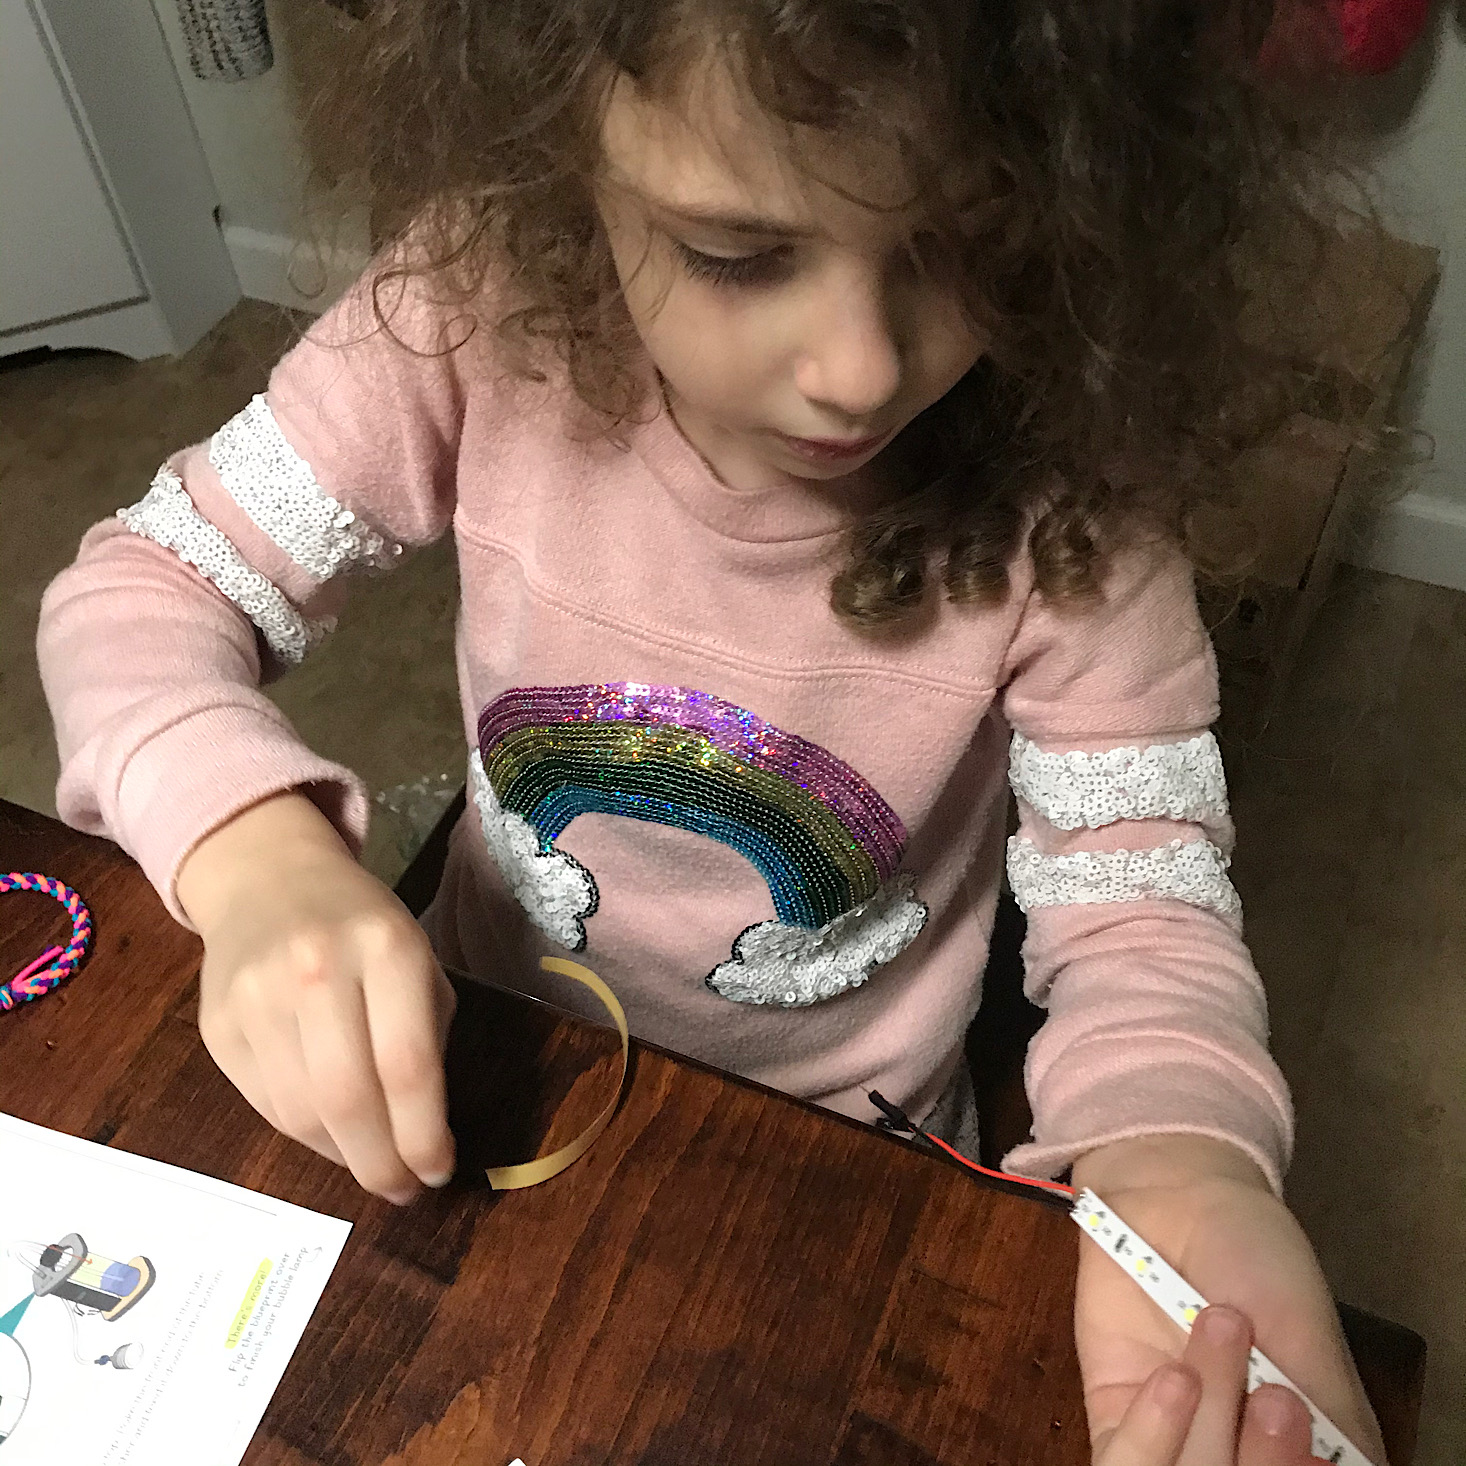
My daughter knew exactly what to do next thanks to our history of wiring with these boxes so she matched up the red to the red and the black to the black to get our LED strip working.


1 of 3

They included these three little translucent sheets in different colors for us to place behind the bottle and in front of the LED strip so that we could swap out the colors. This is a great way to customize it a bit!
Part C: Build the Bubble Pump


1 of 4

The first step in building the bubble pump was to attach this hose to one side of this blue piece. My daughter had a little trouble with this since it was such a tight fit, so I did have to help her.


1 of 3

I measured using the little diagram in our instructions booklet and cut off the hose where it was marked leaving just a little piece behind. Then my daughter connected the longer remaining piece of hose to the other side of the blue piece.


1 of 4


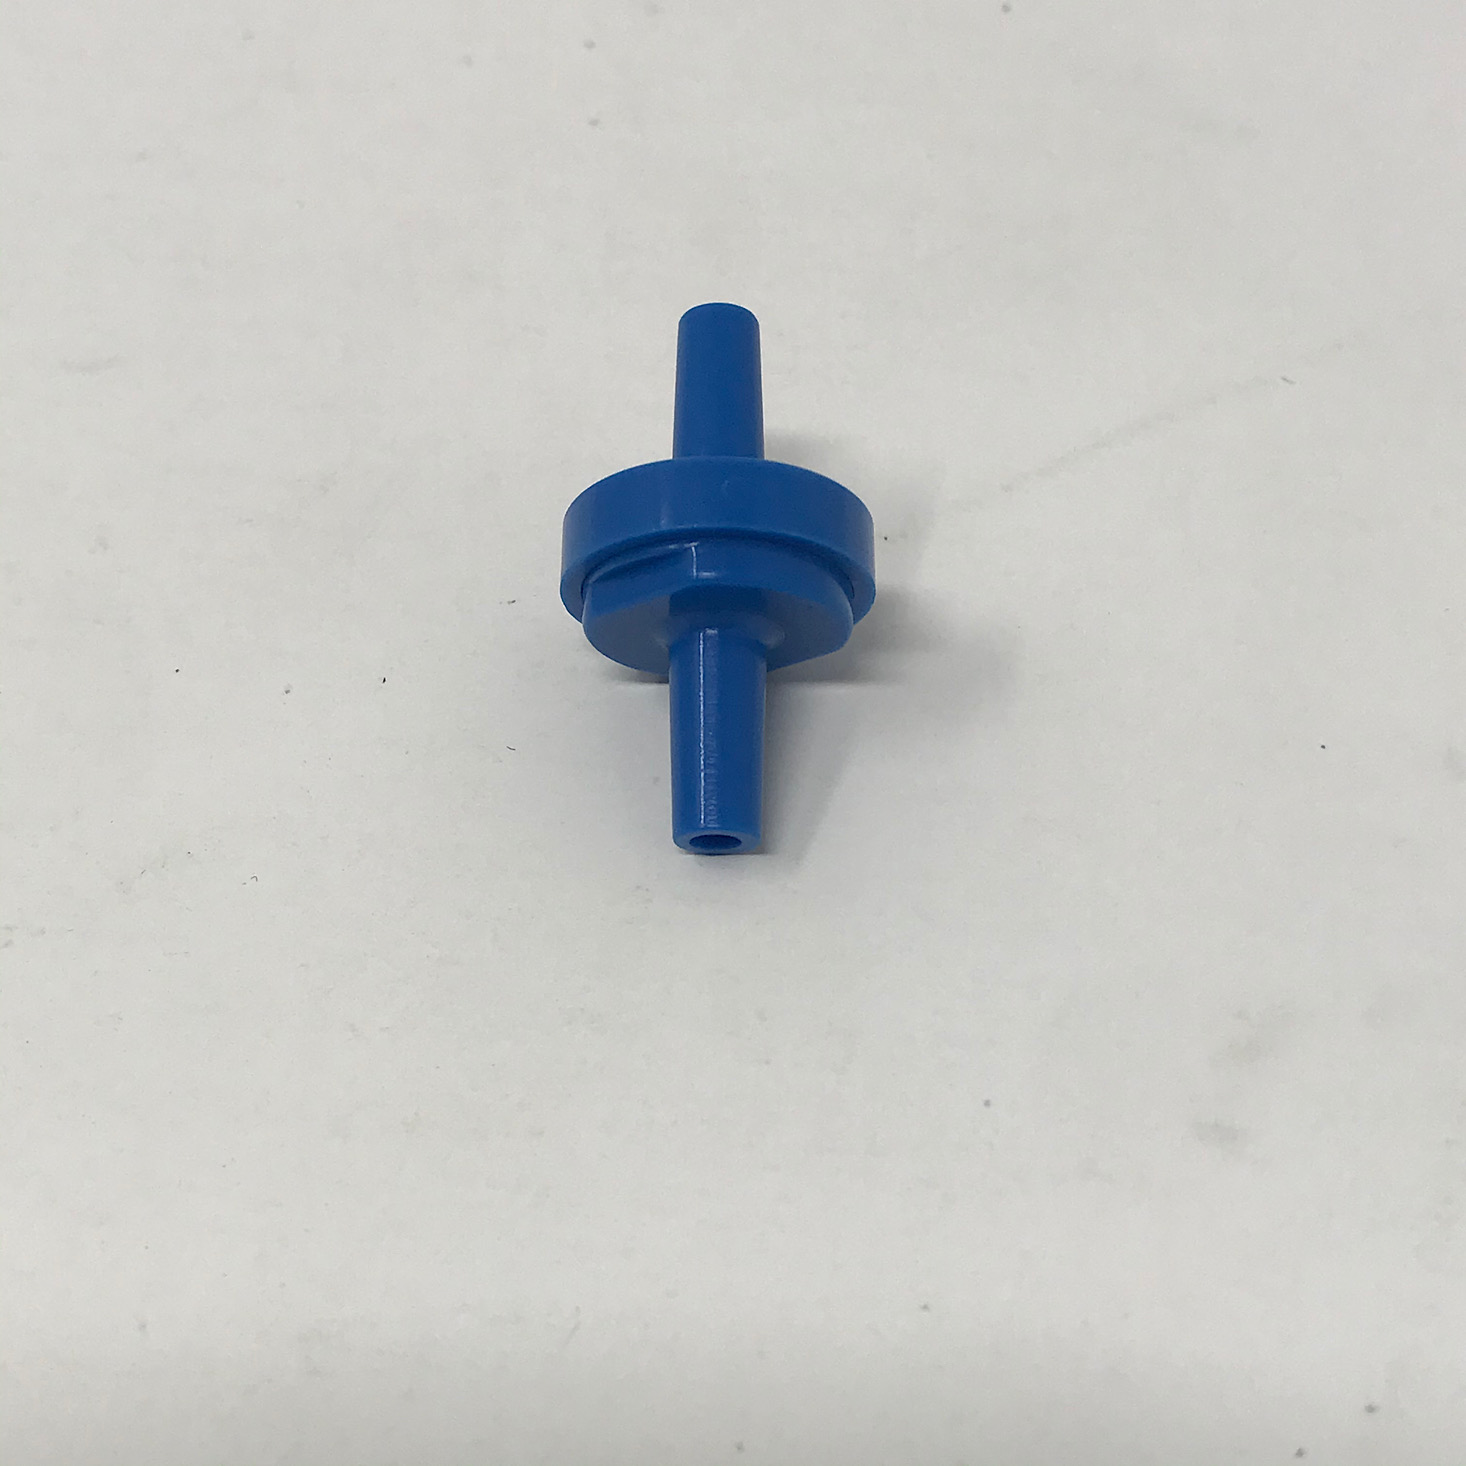
I used the pin they provided to poke a tiny hole in this pump and then attached it to the shorter end of our hose piece.

1 of 2
Then we added another foam sticker to the remaining wooden piece and slid that over the top of the bottle. The hose then went up through the hole and into our bottle.
Part D: Finish the Lamp


1 of 4


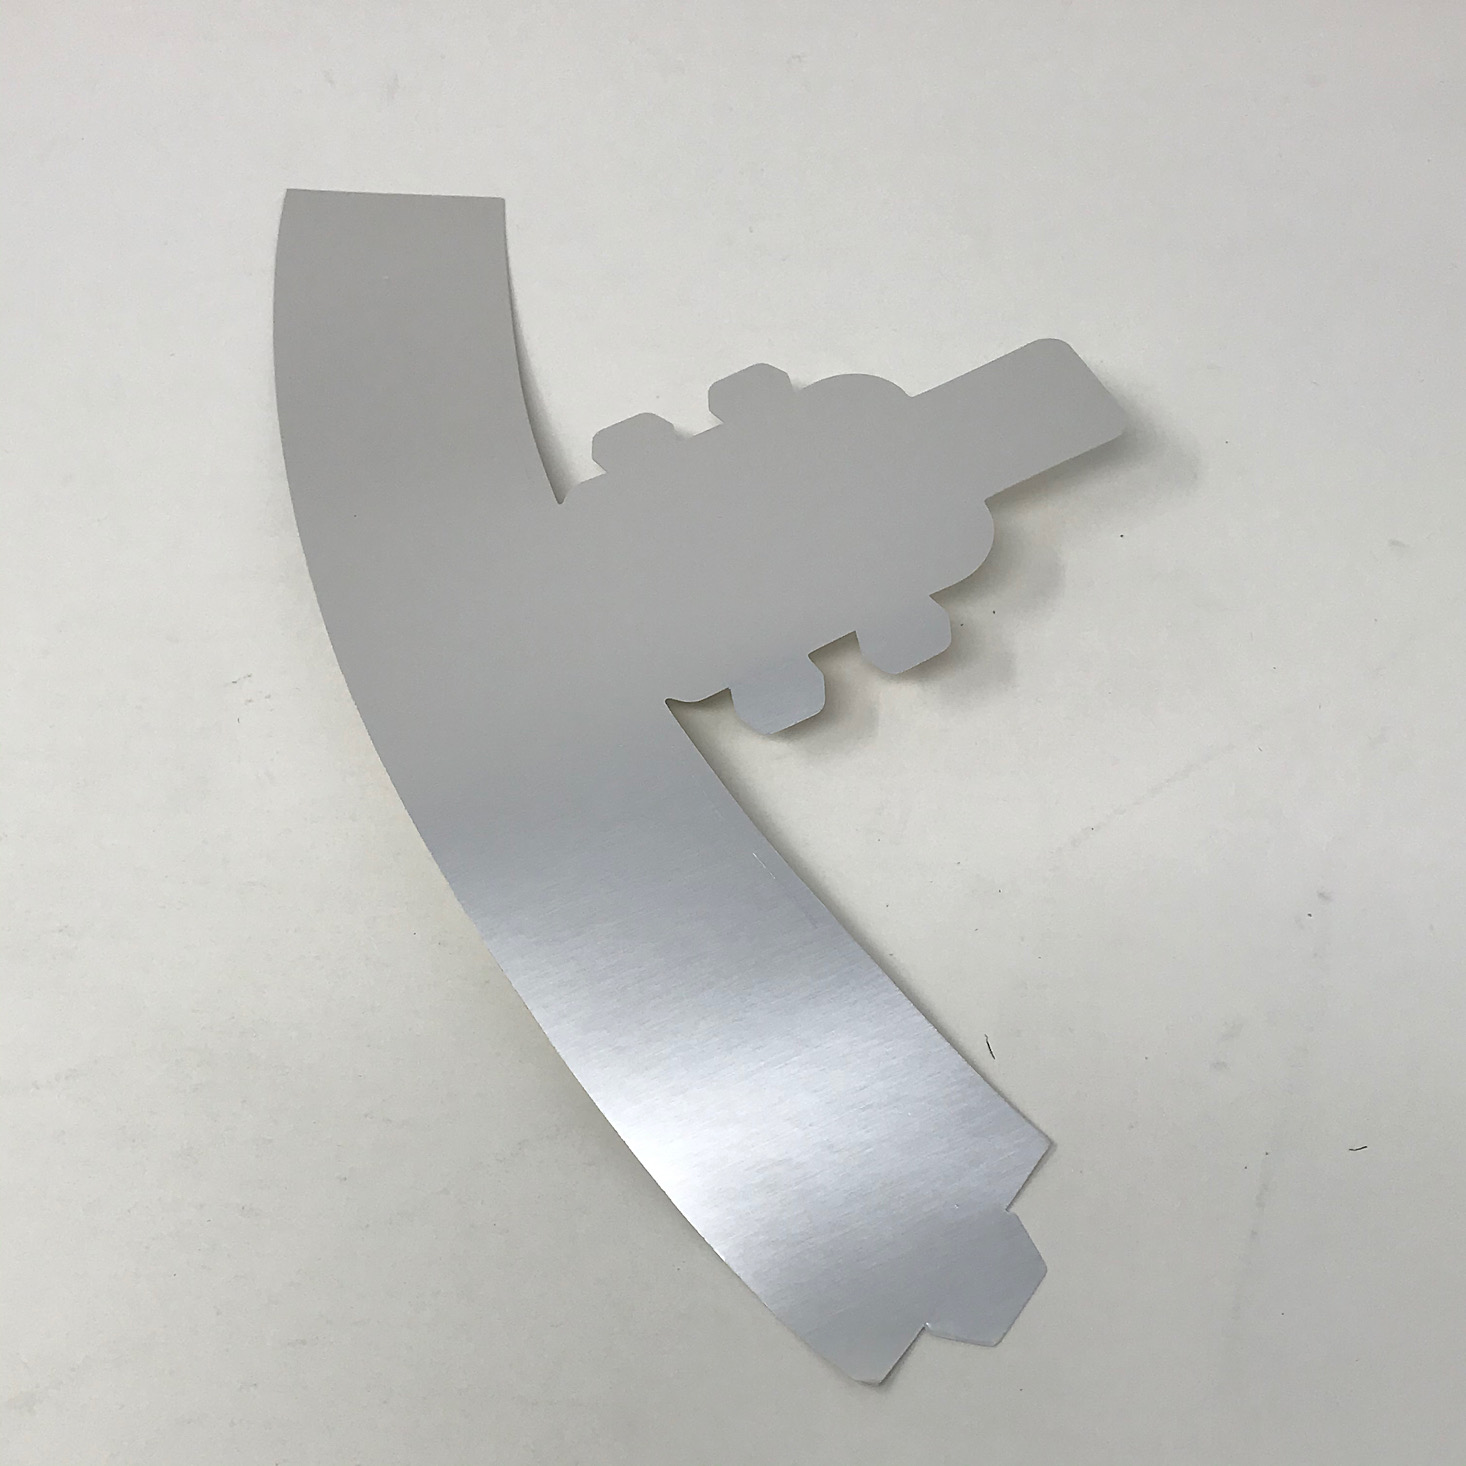
To make our lamp look a little more official, we added some sticky squares to the ends of this silver strip and wrapped it around the base of our lamp to hide the wooden forms.

1 of 3

We folded up the top which was so simple since there were slots for each of those little tabs to slide into. Then we just pushed it over the wooden top and it fit snugly.


1 of 4

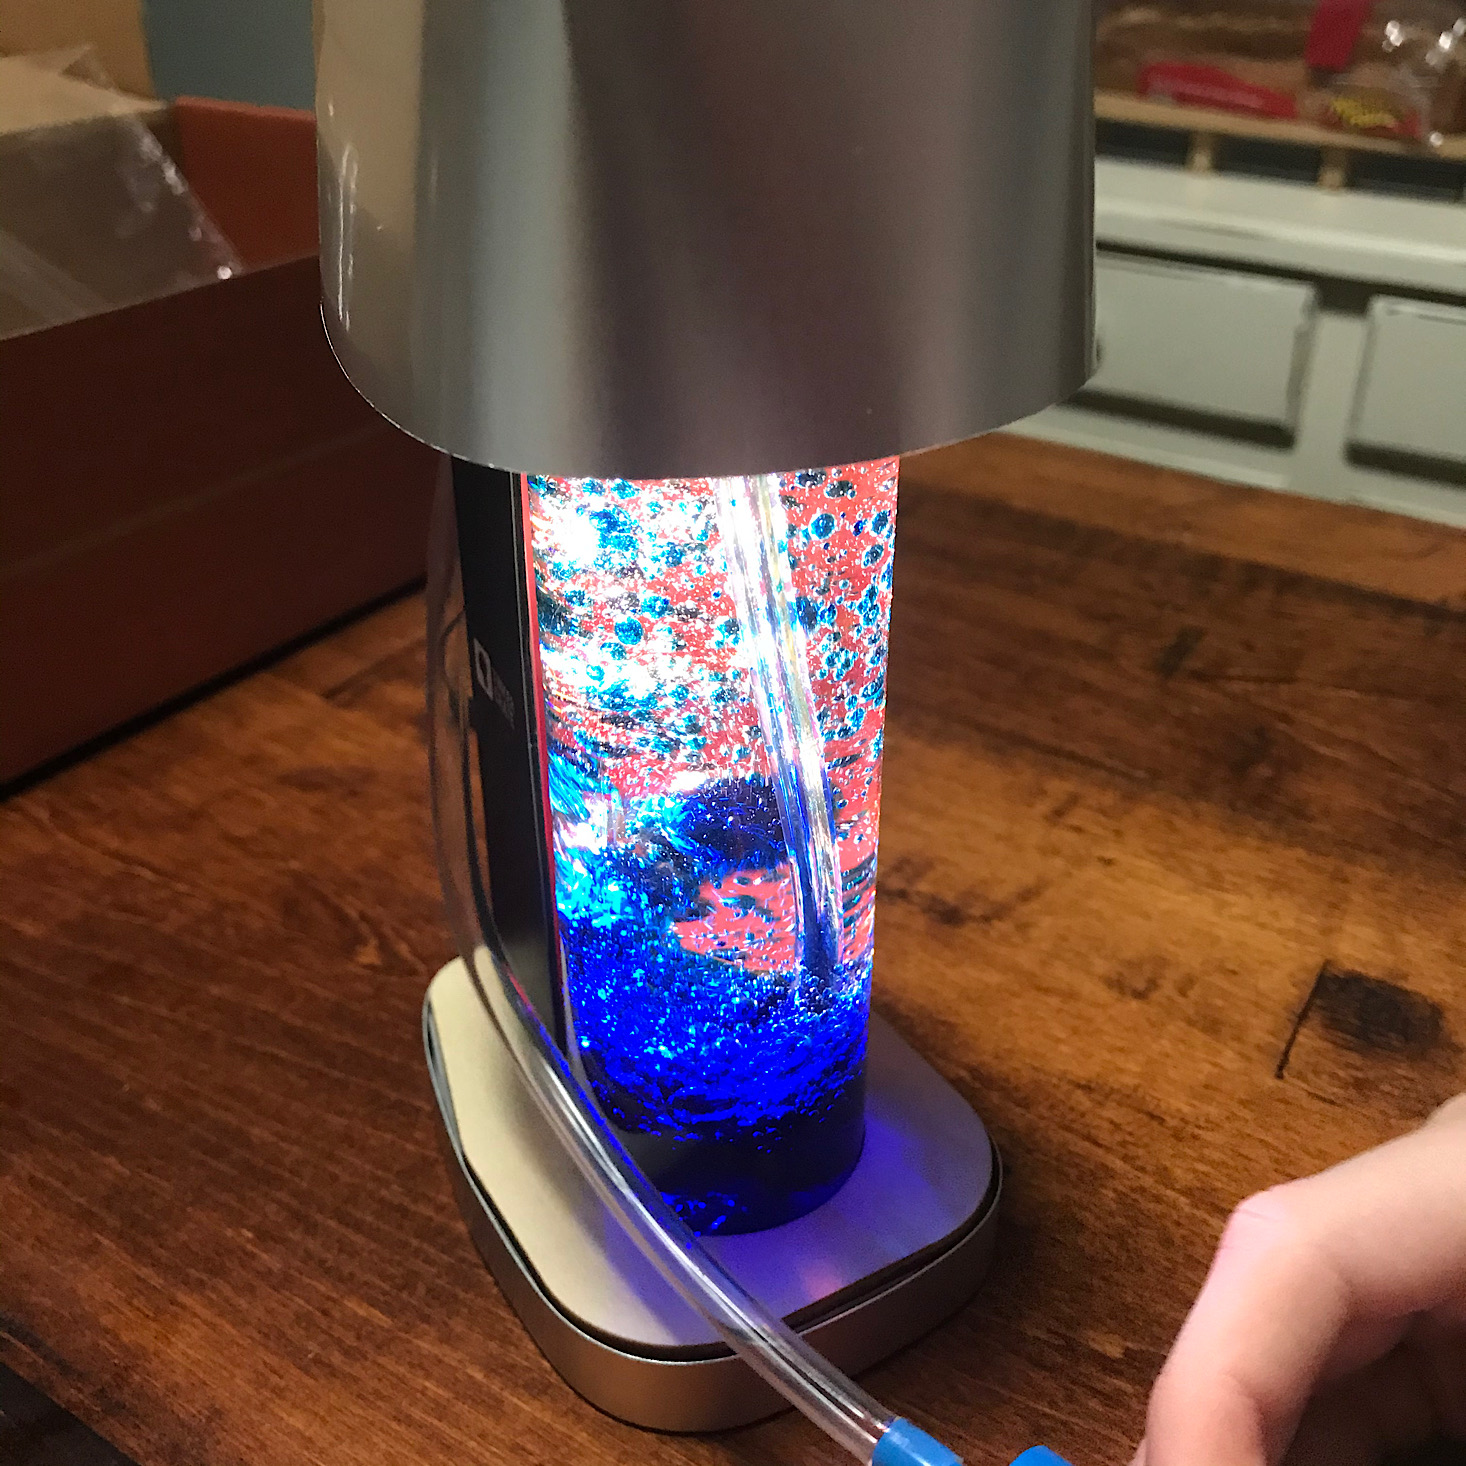
Here is our finished bubble lamp. You can see it with each of the colorful sheets behind it, which were fairly easy to swap out, although we did have to carefully remove the lid each time. We liked the green best!
Here you can see how it works! So fun and mesmerizing!
Verdict: How fun is it that we got to make our own lava-style bubble lamp with Tinker Crate? It is so much fun to push that pump and watch the bubbles form and even cooler that they sent three different color slides we can use to customize it a bit. In 2016, Anna actually reviewed this same box, but the lamp was made a bit differently and she mentioned it being a bit of a mess. One of the things I love about KiwiCo is that they do go back and update their projects and are continually working to make sure you have the best experience. I don't think our lamp is messy at all, and I think the new model does a great job of keeping the oil contained while still being functional and especially fun! It also looks a little nicer than their previous model, too. This was another winner for the $19.95 + free shipping cost of this box!
To Wrap Up:
Can you still get this box if you sign up today? It is possible you might get this crate, but it is not a guarantee. From KiwiCo:
Crates are assigned each month based on availability and your crate history - not all subscribers receive the same theme each month.
Check out all of our Tinker Crate reviews and the best subscription boxes for kids!
Keep Track of Your Subscriptions: Add this box to your subscription list or wishlist!
What do you think of this month's Tinker Crate?
Please do not enter your email address in the Name field or in the comment content. Your email address will not be published. Required fields are marked *. Remember to post with kindness and respect. Comments with offensive language, cruelness to others, etc will not be approved. See our full comment policy here.