


Eureka Crate (from parent company KiwiCo) is a subscription box for teens and adults ages 14-104. It arrives every month with all the materials and instructions needed to create a functional, lasting object with a focus on engineering. The goal of these projects is to use science and math to solve real-world problems while inspiring them to become creative innovators.
KiwiCo offers boxes for different age groups: Tadpole Crate for 0-36-month-olds, Koala Crate for 3-4-year-olds, Kiwi Crate for 5-8-year-olds, Atlas Crate for 6-11-year-olds, Doodle Crate and Tinker Crate for 9-16+-year-olds, and Eureka Crate for ages 14 and up. There really is something for every age with this company.
This review is of the $29.95 a month Eureka Crate, for 14-year-olds and up.
This box was sent to us at no cost for review. (Check out the review process post to learn more about how we review boxes).

About Eureka Crate
The Subscription Box: Eureka Crate
The Cost: $29.95 per month + free shipping
The Products: Detailed instructions and all of the high-quality materials needed to create a unique, lasting and functional engineering project as well as a Maker's Guide that explains the science and technology behind it.
Ships to: U.S. for free, Canada for $6.95 per month
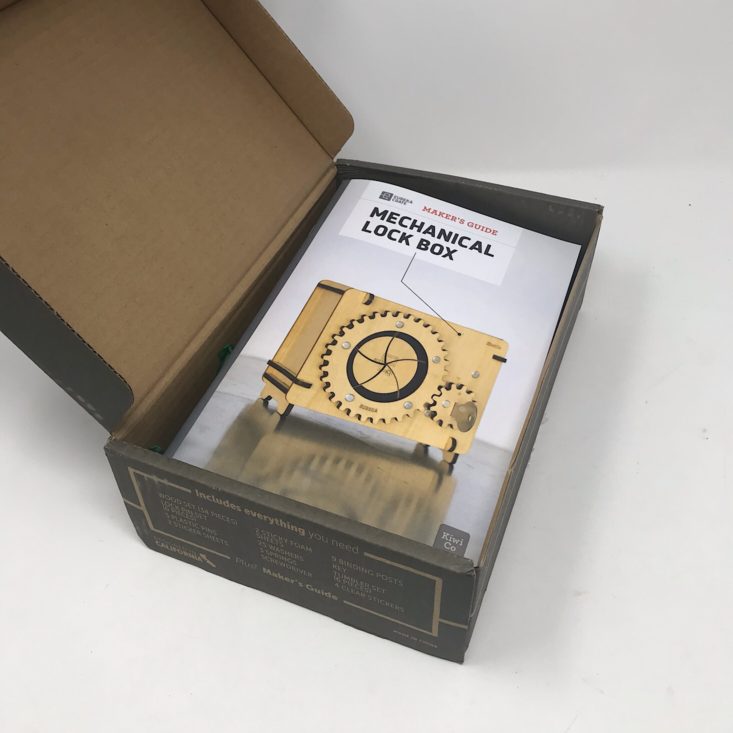
KiwiCo Eureka Crate "Mechanical Lock Box" Review


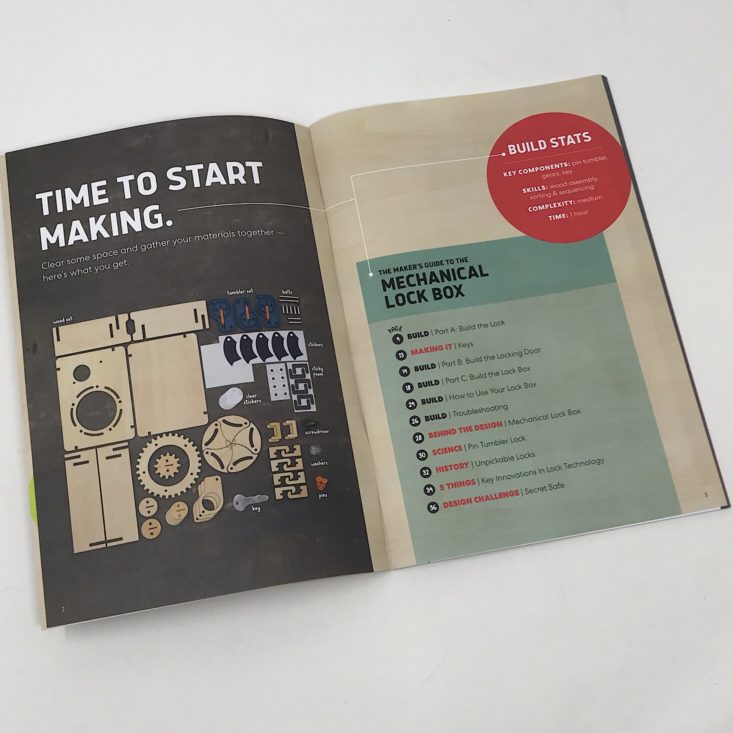
The project for this month is to make our own Mechanical Lock Box. I'm always amazed at what unique and interesting projects they come up with! This was the included Maker's Guide that provided detailed, step-by-step instructions as well as information about the design and science behind it. The booklet was fairly thick and in color with a lot of helpful information and images. There was also a great little bubble at the top that provided information on the key components, skills, complexity and time to complete, which was 1 hour, and it took me just under that. For the Build pages, they were separated into various parts, which was great for breaking it down into smaller, more manageable tasks.

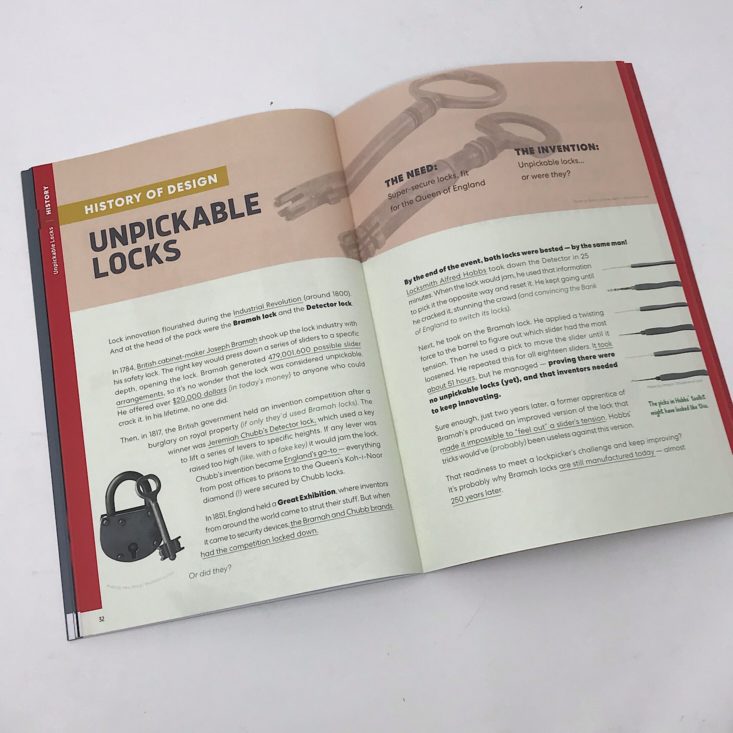

The booklet always includes some great information on the history of design and this month they highlighted some unpickable locks. They also included a page on some interesting facts about lock technology, but my favorite page is always the Behind the Design section where they provide some insight into how they designed our project for the month. They included some details about why they chose a large lock, and how many keys they broke during testing, which was 13. It really lets you see how much time and effort goes into these projects!
Part A: Build the Lock


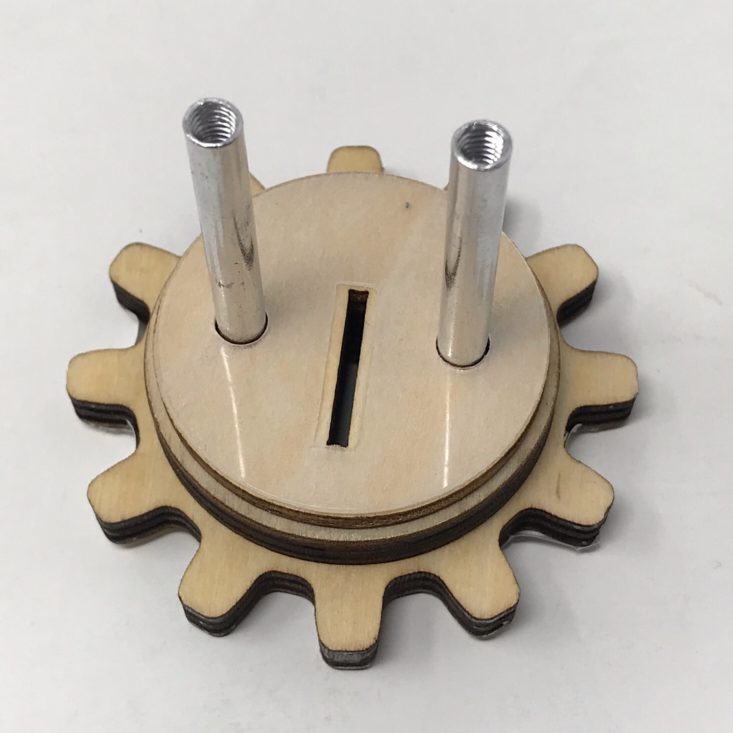
The first step was to build the lock. There were so many pieces this month that I couldn't fit them all into one photo! These are all of the wooden pieces which make up our lock. They are nice and sturdy and cut just right to make our pieces fit together perfectly.


They provided several different sized metal rods with screws in the end which I unscrewed and set aside.


Then I stuck them all the way through the smaller wheel using the stickers to hold them in place.


Next, I layered a thick circle and a thin circle on top of the lock and then added a clear sticker on top of those.


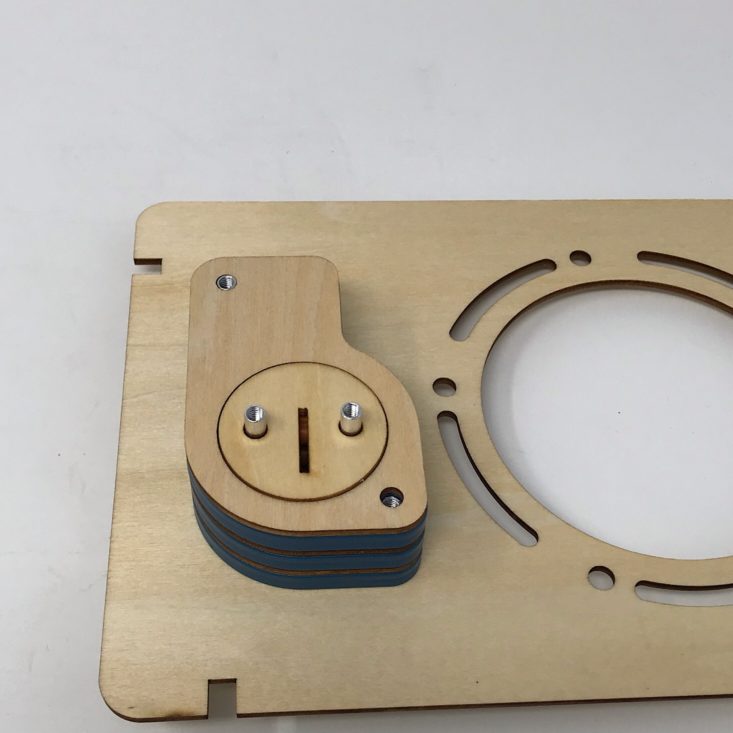
Then I added two medium rods to the wooden face of the lock box.

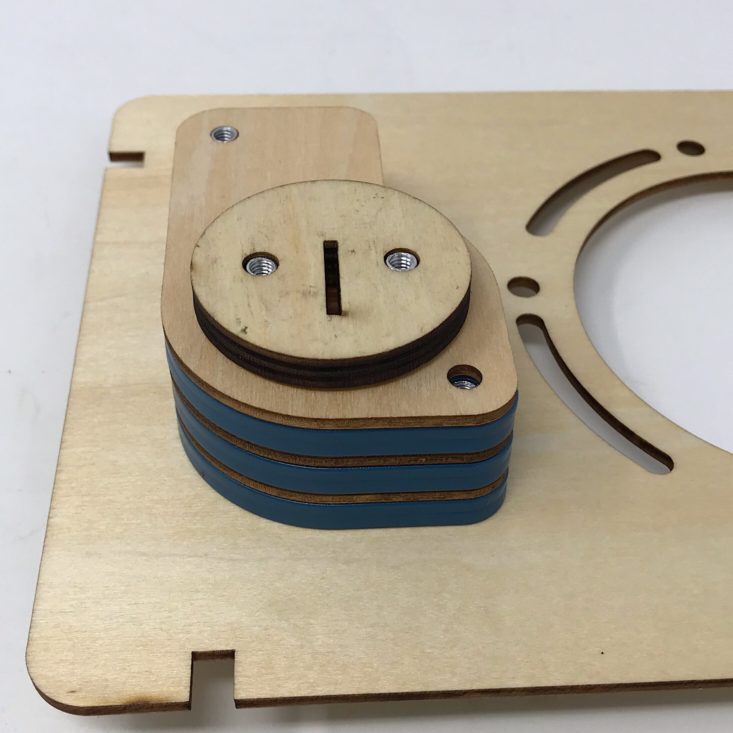
I added my whole lock piece to the hole in the front of the lock box.


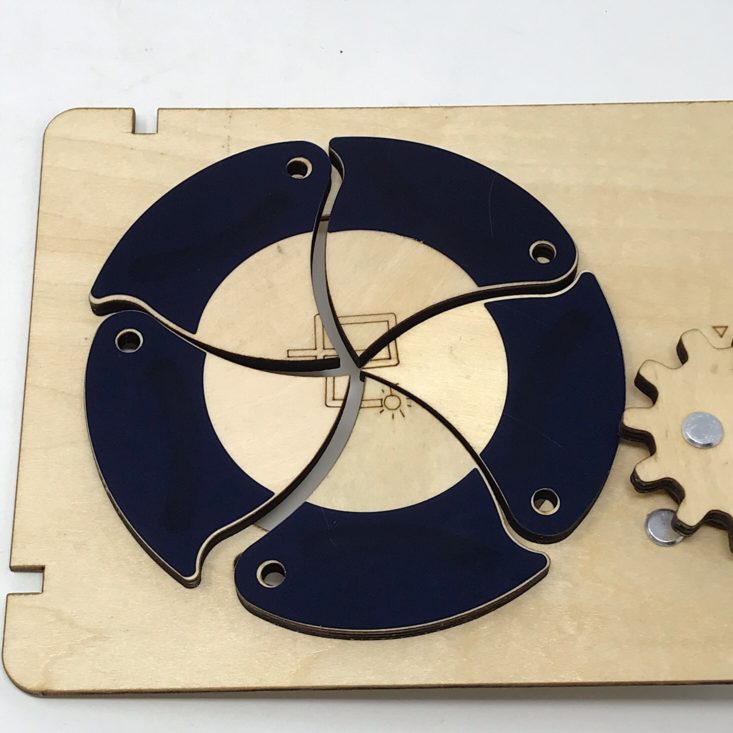
These plastic pieces are the three layers for our lock. I added one of the larger pieces and one of the circles to the inside of our lock box making sure to line up the holes in the center.
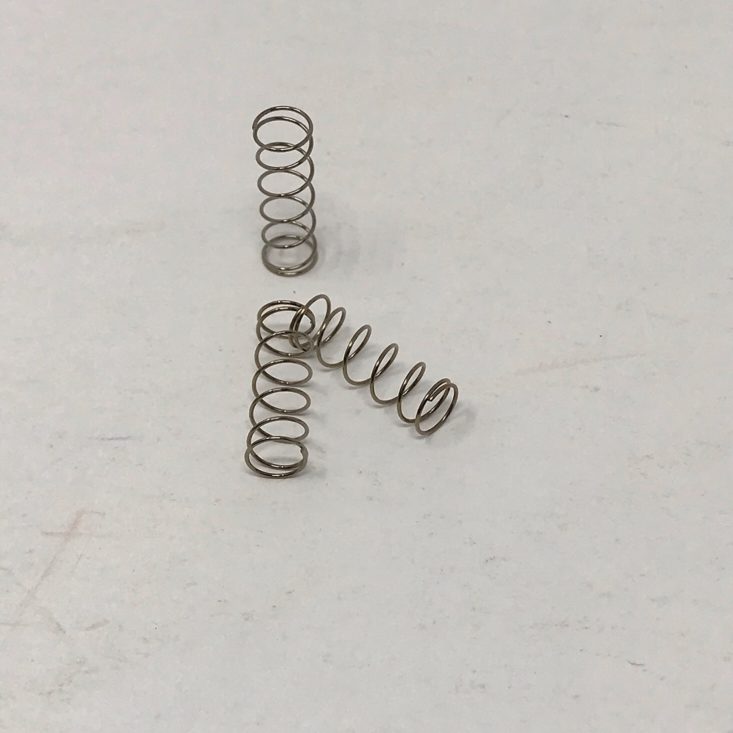


Then I added a spring and one of these orange pegs to the inside of the blue pieces.
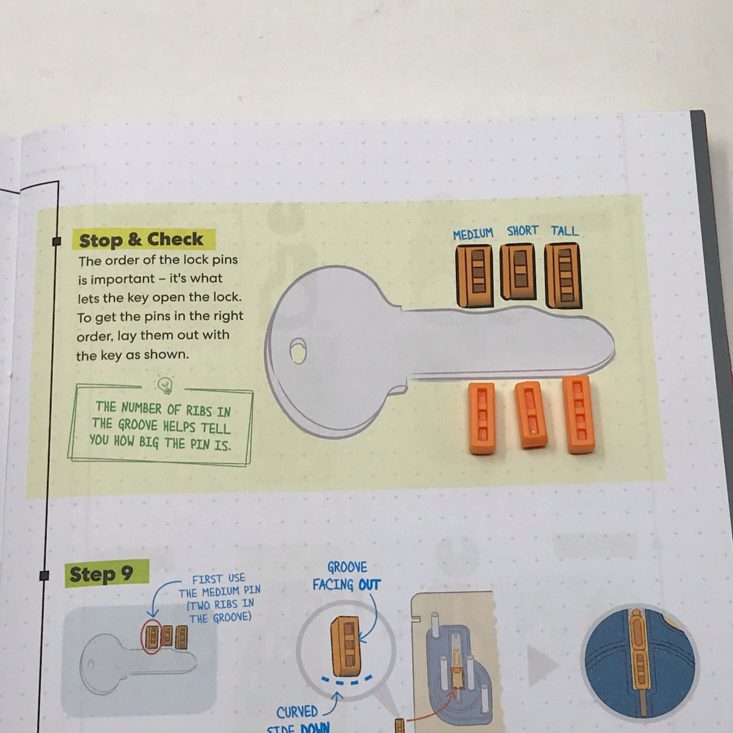

Underneath the orange peg, I placed one of three grooved orange pieces. There were three different sizes and they clearly explained how the order was important so that it would match up with the bumps on our key.


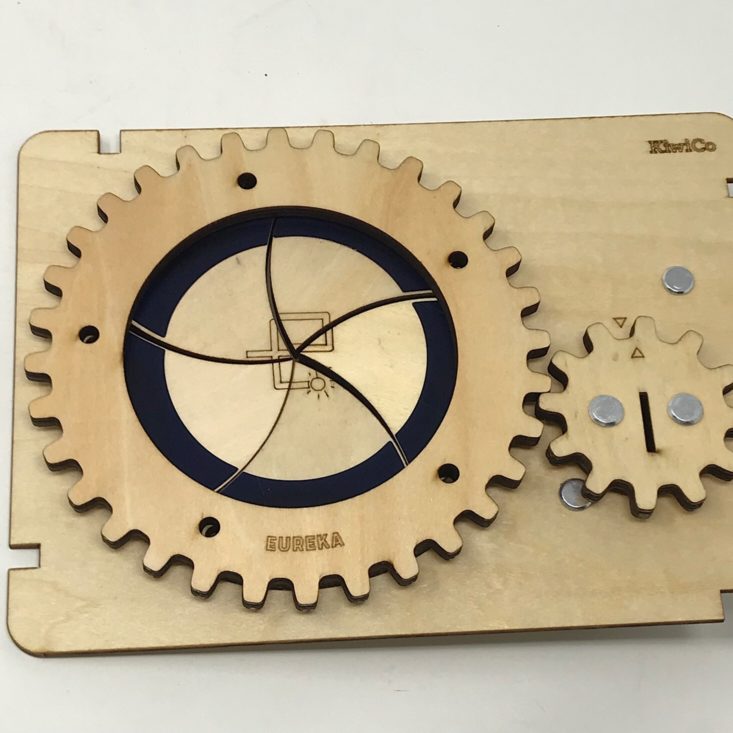
Then I added a wooden piece and a circular wood piece on top of those.
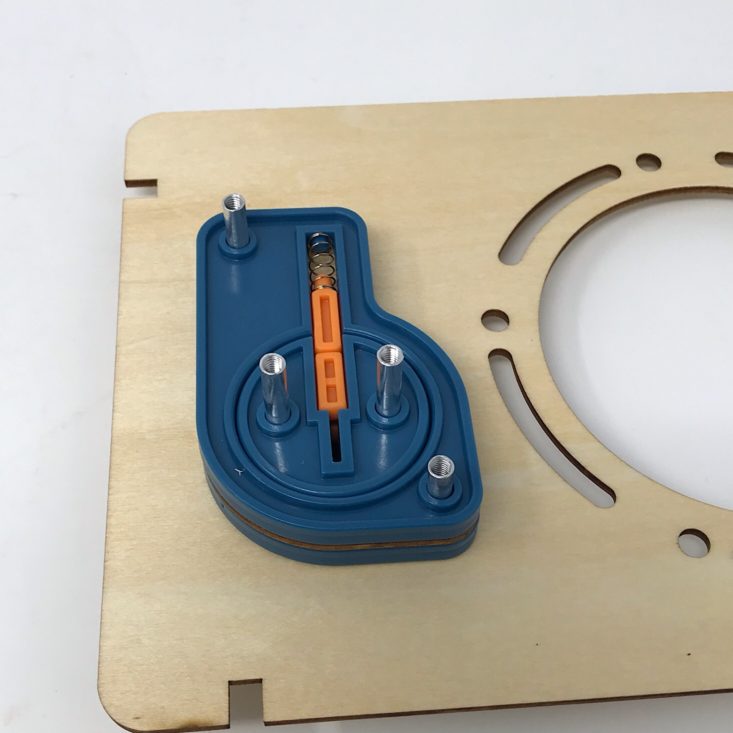


I continued to layer the pieces until I had all three layers of the lock together.
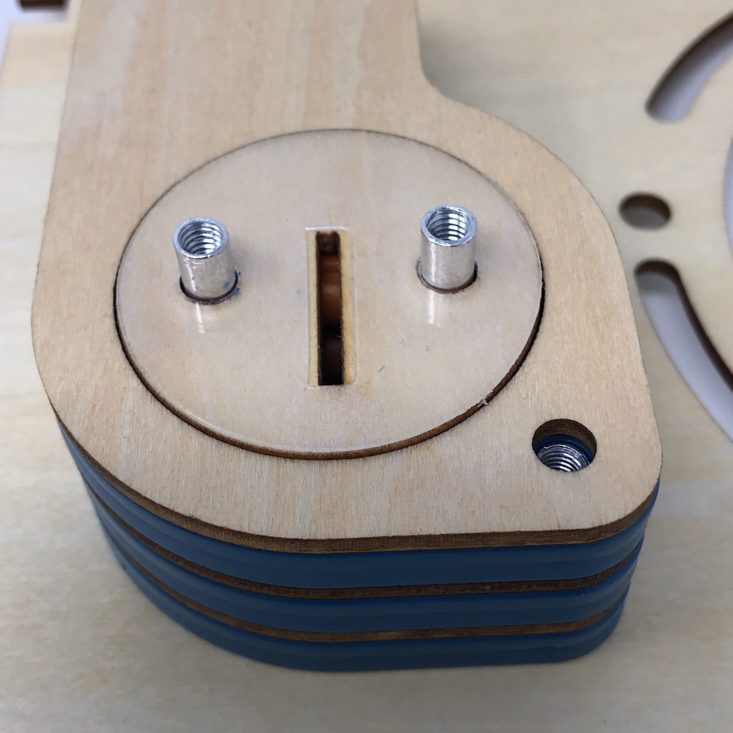
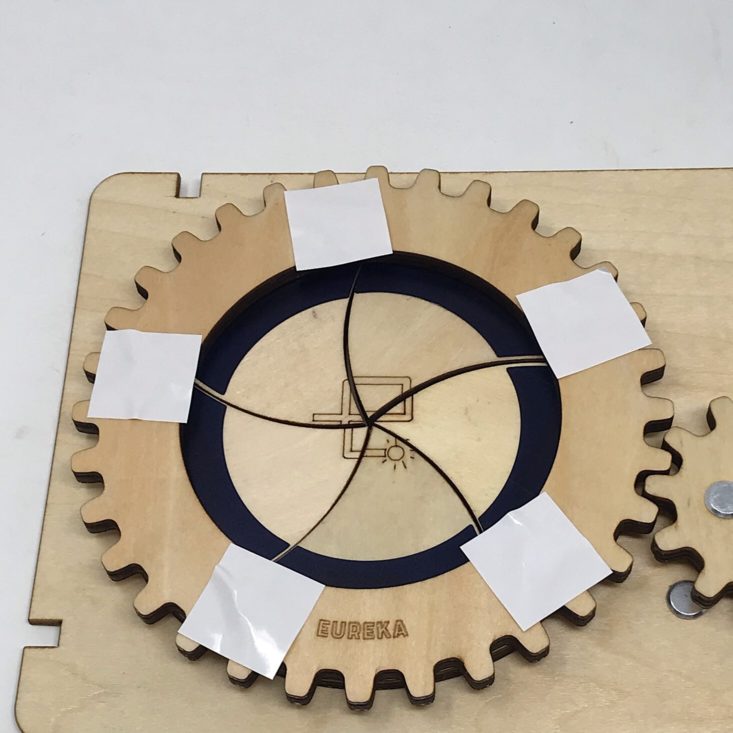
I added one more wooden layer, then a clear sticker and topped it off with a thick circle.


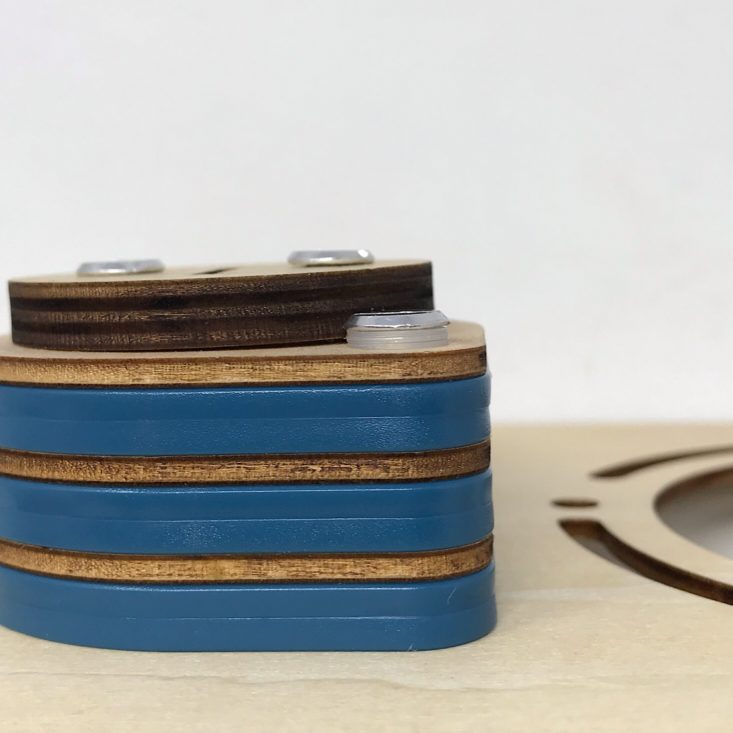
Then I began to add the screw tops to the metal tubes using the mini screwdriver they provided. The lock was a bit wobbly, so I added some of these clear washers to a few of them to ensure a snug fit.


Now that they were all screwed in it was time to test our lock. I inserted the key and turned it and everything worked like it was supposed to. I love that they even provided some information about the metal key that they provided us with.
Part B: Build the Locking Door
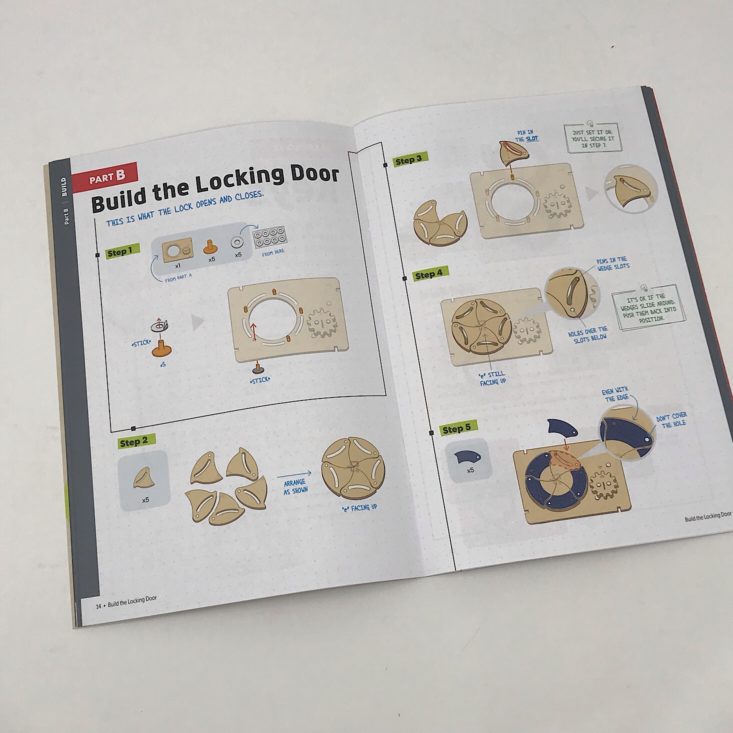
Next, it was time to build the locking door.


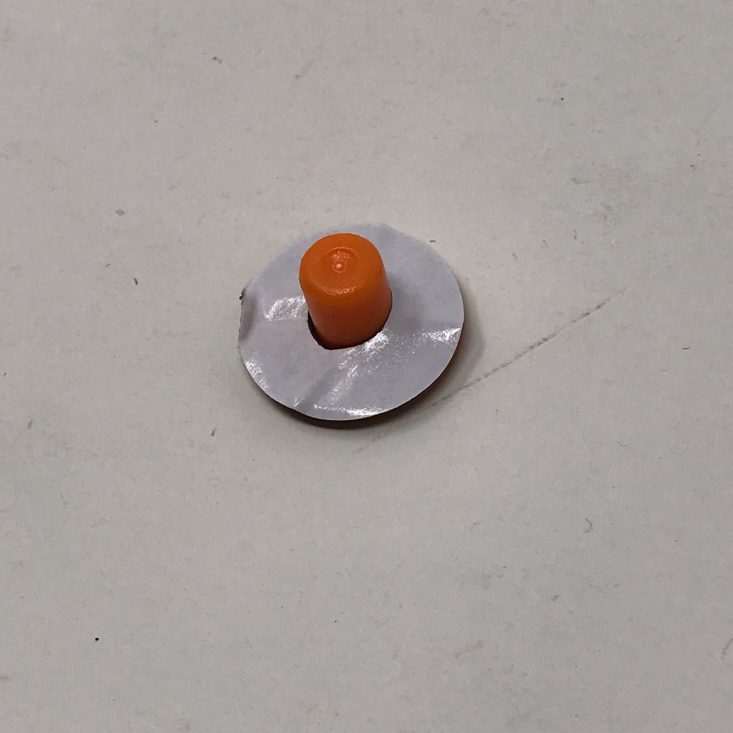
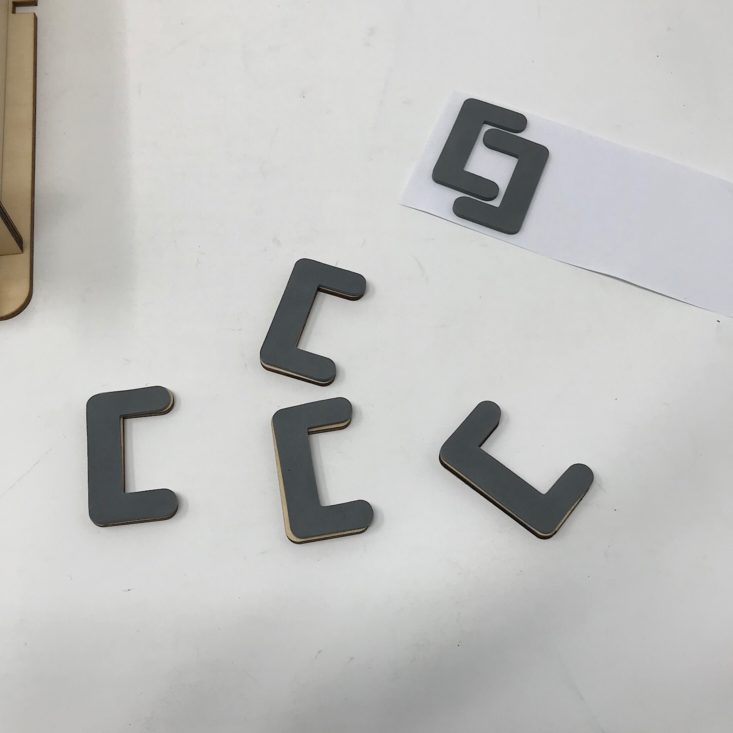
First, I added some foam adhesive circles to these little orange pegs.


Then I pushed them into the holes on the front of the lock box and made sure the adhesive was secure.

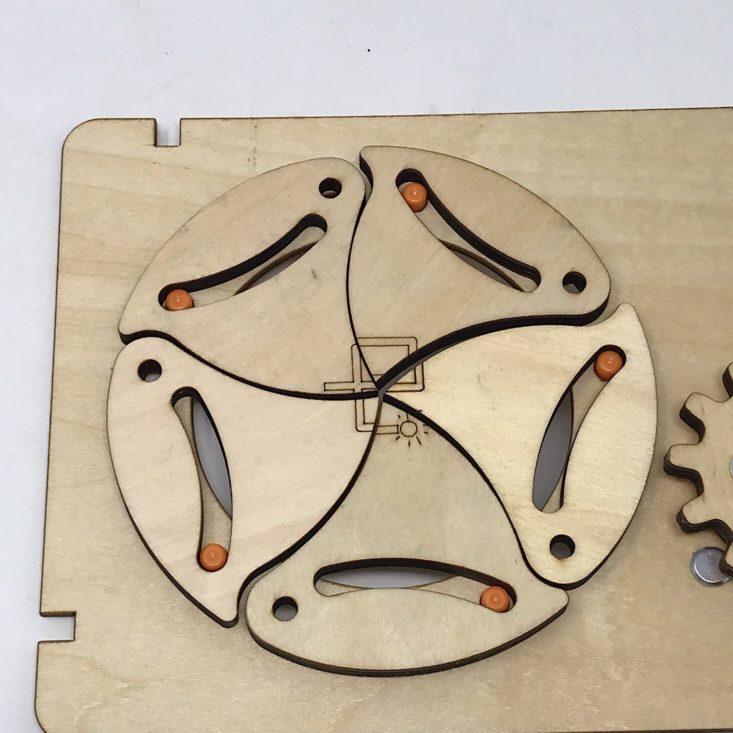
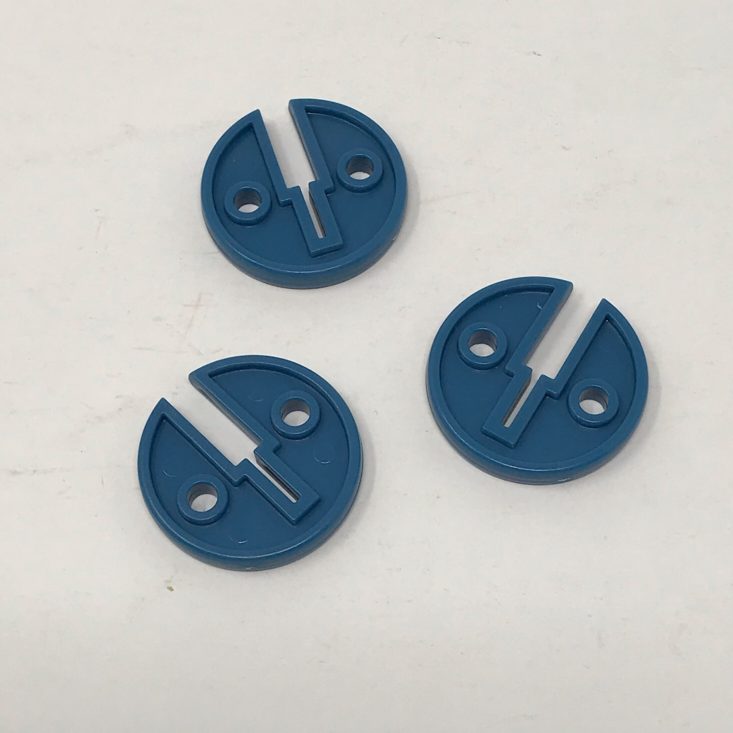
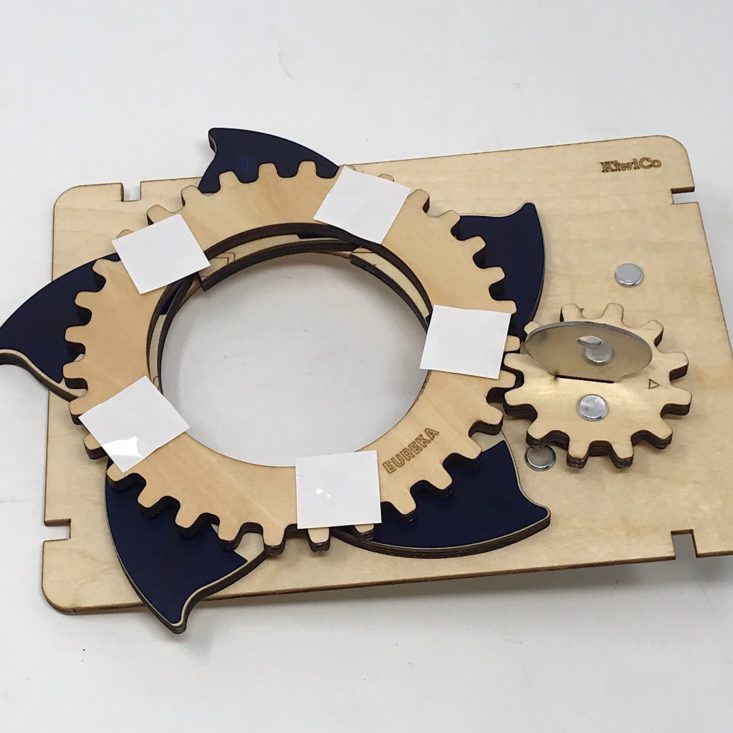
Next, I had to put these pieces together so that the shape in the center lined up correctly. Then I placed them on top of the orange pegs.
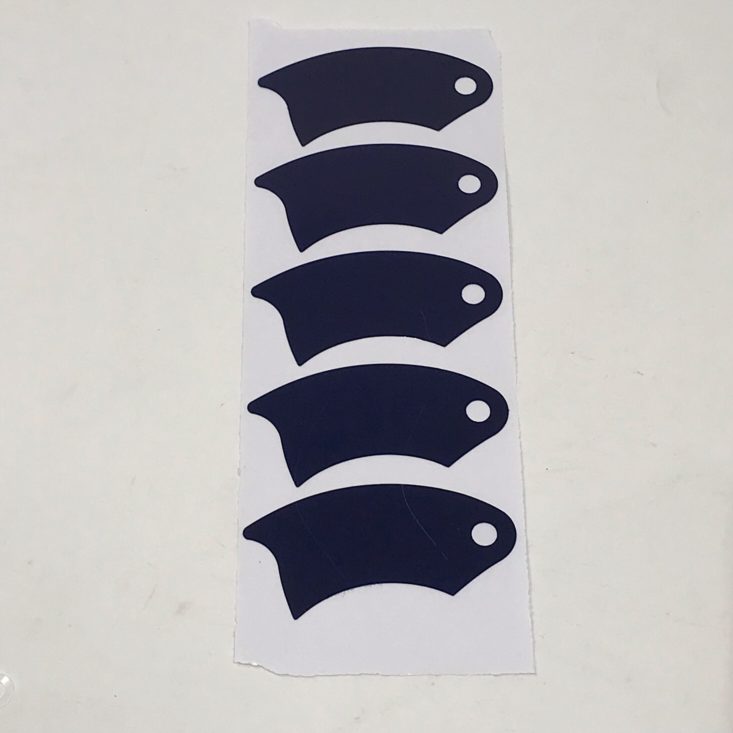
I added these blue stickers to each piece making sure that the holes lined up.

I placed this larger wheel on top of the door pieces and made sure I had the holes lined up again.


I added the small pins to secure the wheel to the lock box face using the stickers to hold them in place before tightening the screws.


Then I tested out the key and turned it to make sure the doors would open. Success!

I removed the stickers and our lock was complete!
Part C: Build the Lock Box
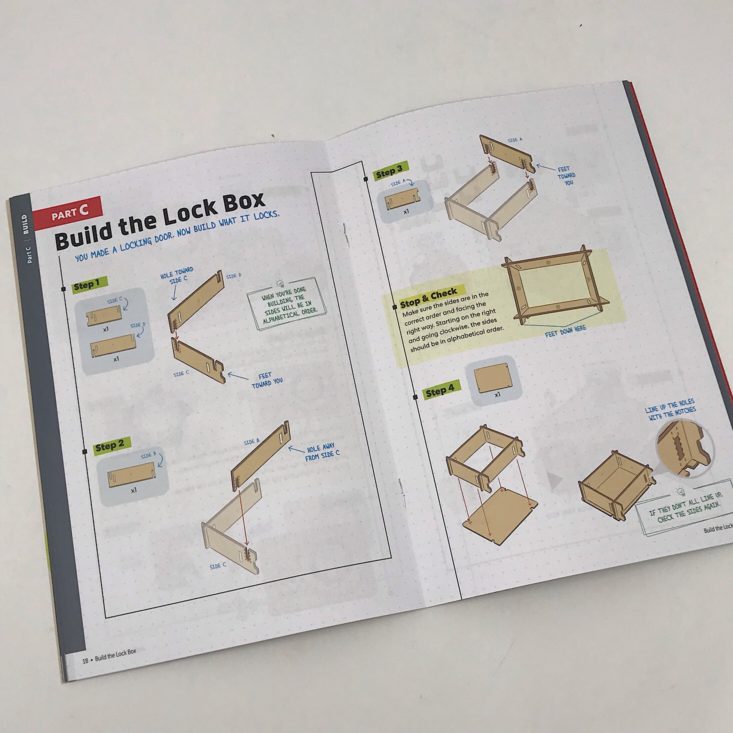
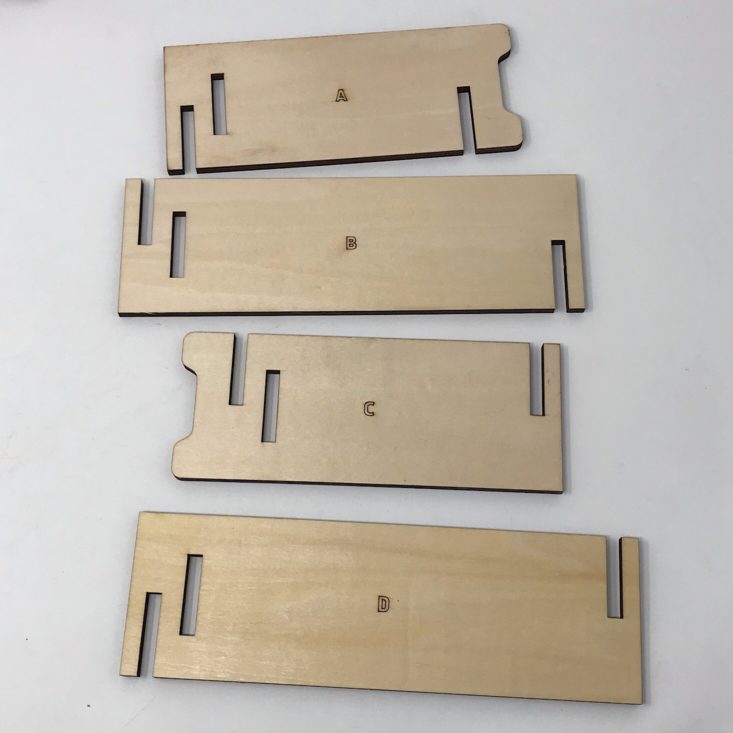
The final part was to build the actual box for our lock box. The parts were clearly labeled A-D.

Then it was just a matter of fitting the pieces together using the cutouts. The pieces went in alphabetical order so you could easily place them.

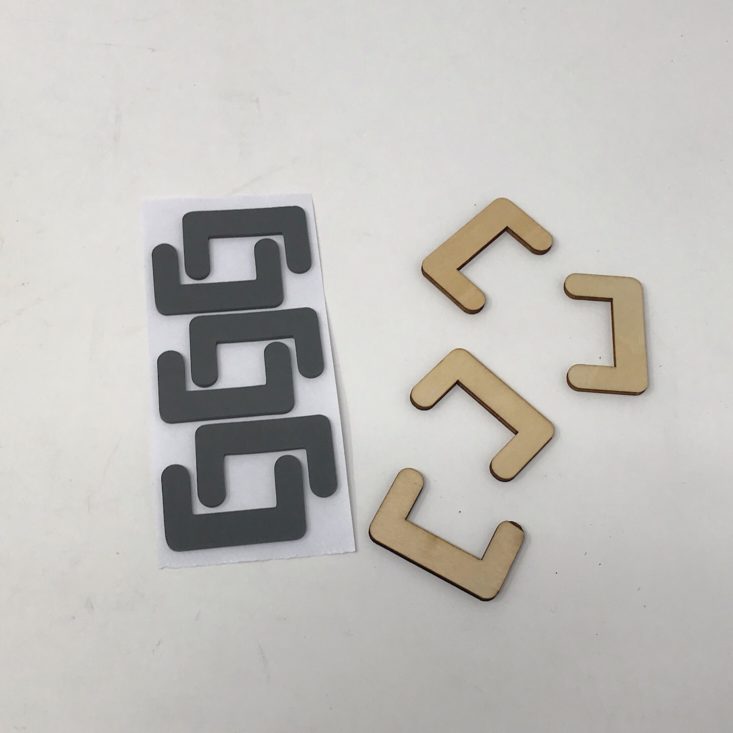
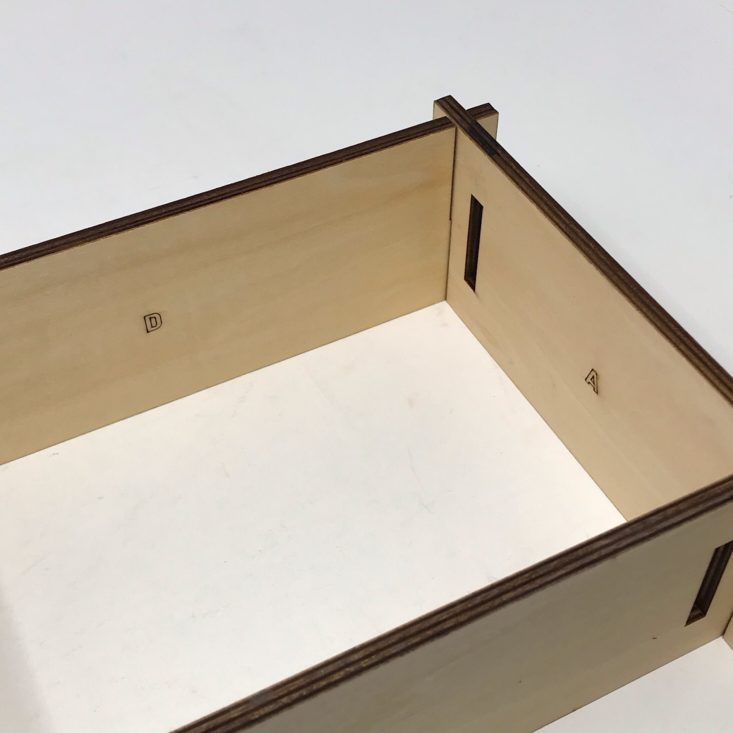
Then I set the lock box onto the back piece and prepared my next pieces by adding some adhesive foam to these wooden pieces.


To secure the back to the box I put two of these small wooden pieces together and slid them into the holes.

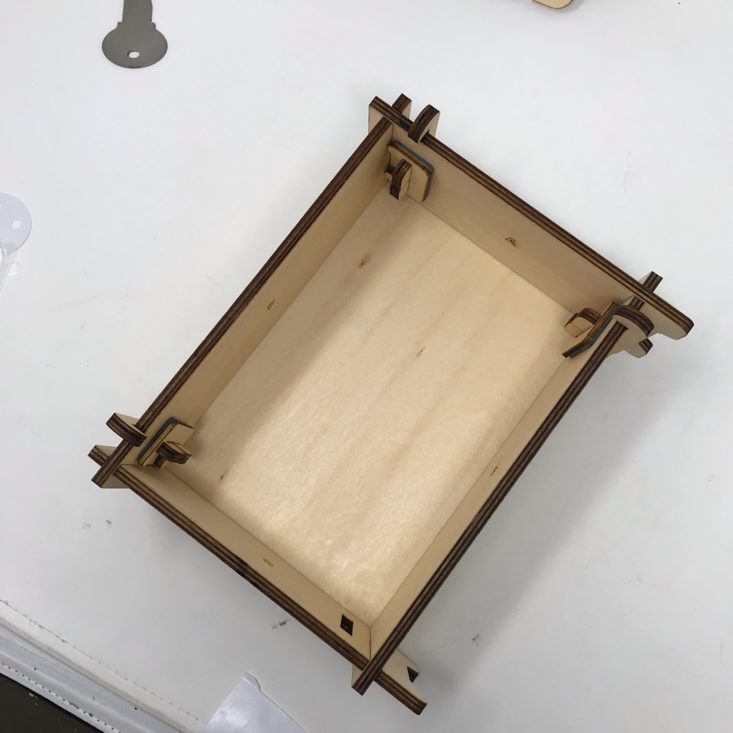
To hold those into place I slid my foam wooden pieces across the ends of the pieces that stuck into the box leaving one open so that we could slide the face on top.


I placed the face on top at an angle and then slid it around until it was in place.


I then added the last pieces for the final corner and opened the doors so that I could secure it with the last foam piece.
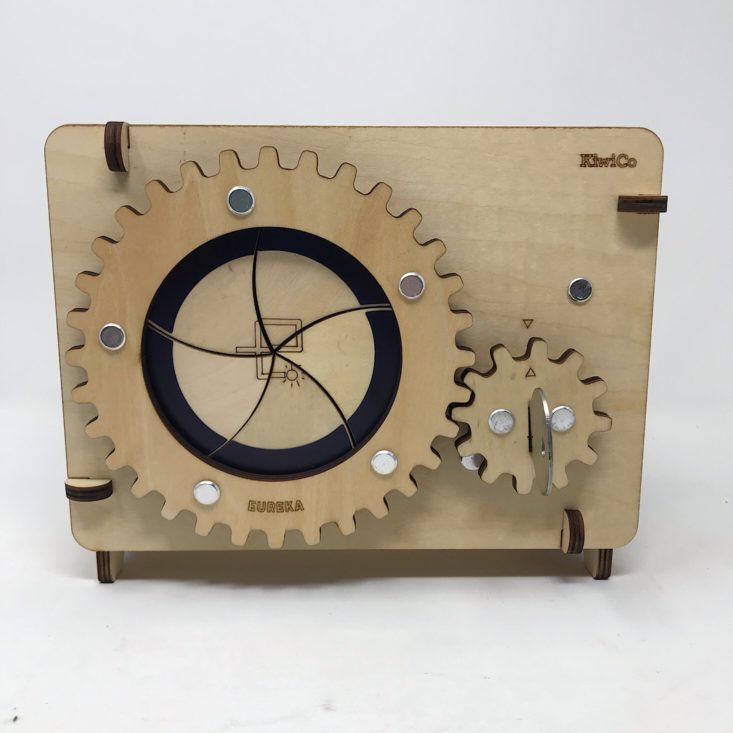
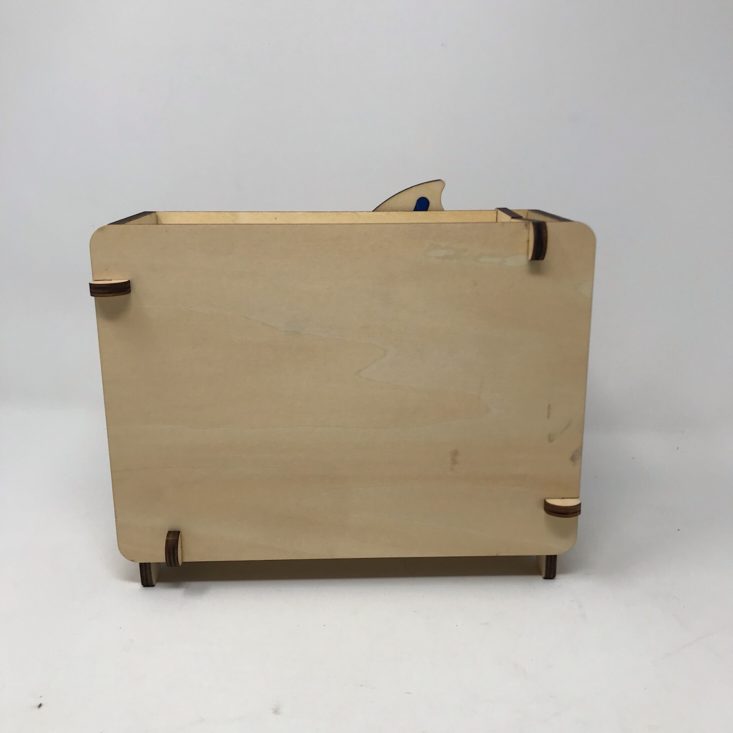

Here is the finished lock box! It's pretty narrow and not too large, but it will definitely hide and protect some special kid-sized treasures or anything else you might need to keep safe!


I really love the design of the door and how it opens. It's very pretty visually and very fun to watch!
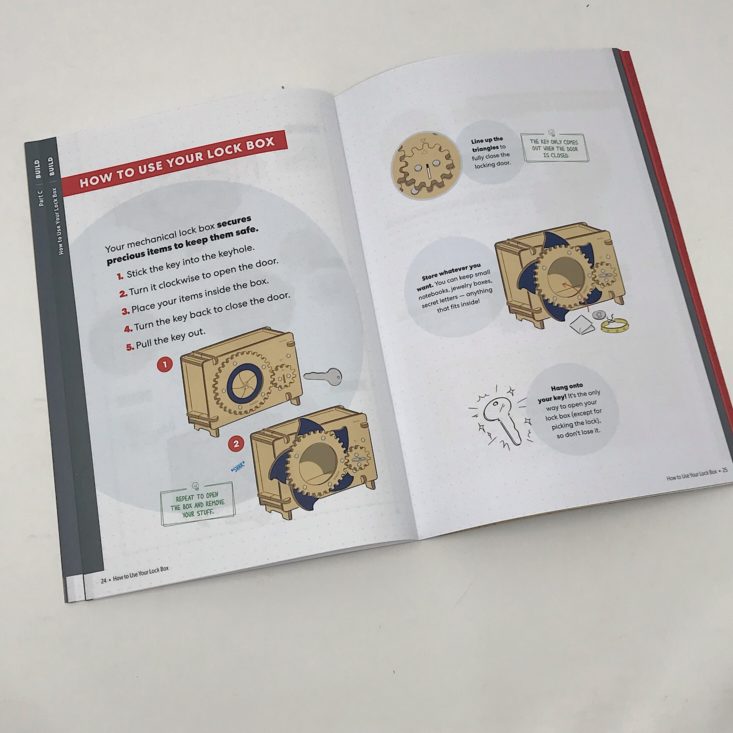
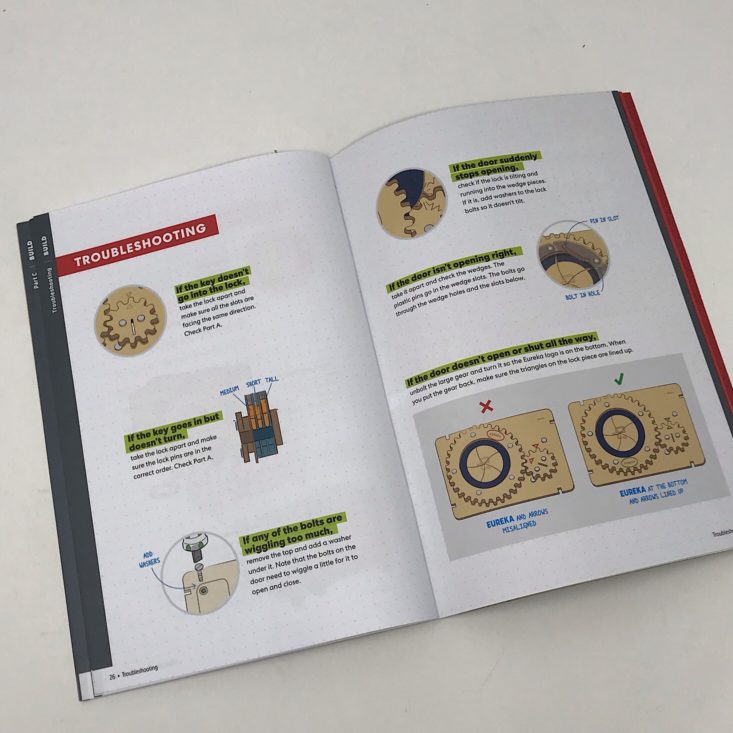

At the end of our booklet, they provided a page on how to use your lock, a troubleshooting guide, and a page that explains how our pin tumbler lock works. I thought these were all very informative and helpful!
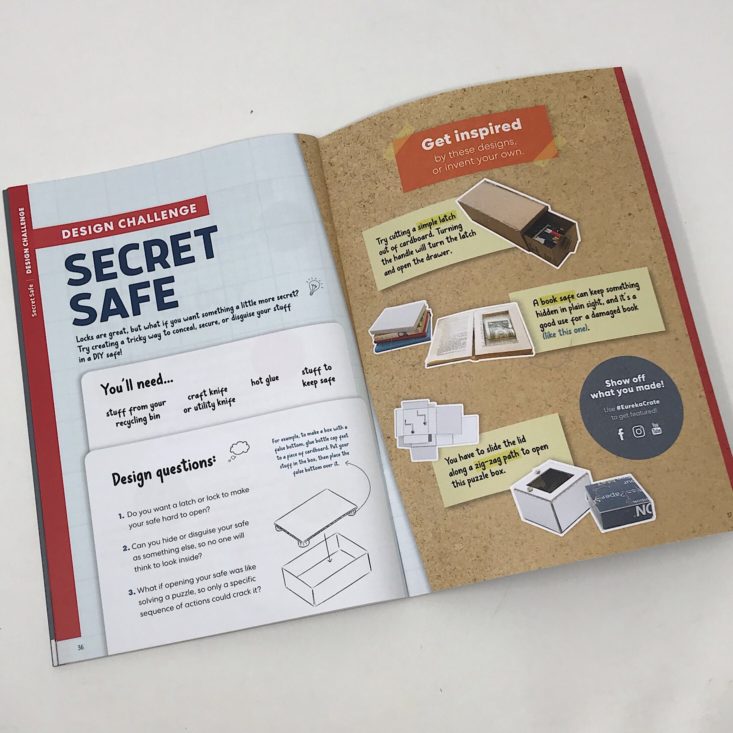
Another nice thing that they include in the booklet is this Design Challenge section. This time they encourage you to design a secret safe using the designs they came up with as inspiration.
Verdict: This month's Eureka Crate project was pretty cool! I really enjoy the sense of accomplishment I get after completing these projects and now we have a fun lock box that I think I'll let my kids use to keep their "treasures" in. I love that they make it so easy to complete these projects independently thanks to their well-planned designs and clear instructions. The booklet is also full of great information that really helps to develop and explore STEM skills in a unique and fun way. I always enjoy this box and feel like it is worth the $29.95 + free shipping cost of the box!
To Wrap Up:
Can you still get this box if you sign up today? It is possible you might get this crate, but it is not a guarantee. From KiwiCo:
Crates are assigned each month based on availability and your crate history - not all subscribers receive the same theme each month.
Check out all of our KiwiCo reviews and the best boxes for teens!
Keep Track of Your Subscriptions: Add this box to your subscription list or wishlist!
What do you think of Eureka Crate?
Please do not enter your email address in the Name field or in the comment content. Your email address will not be published. Required fields are marked *. Remember to post with kindness and respect. Comments with offensive language, cruelness to others, etc will not be approved. See our full comment policy here.