

Eureka Crate (from parent company KiwiCo) is a subscription box for kids and adults ages 14-104. It arrives every month with all the materials and instructions needed to create a functional, lasting object with a focus on engineering. The goal of these projects is to use science and math to solve real-world problems while inspiring them to become creative innovators.
KiwiCo offers boxes for different age groups: Tadpol Crate for 0-36-month-olds, Koala Crate for 3-4-year-olds, Kiwi Crate for 5-8-year-olds, Doodle Crate and Tinker Crate for 9-16+-year-olds, and Eureka Crate for ages 14 and up. There really is something for every age with this company.
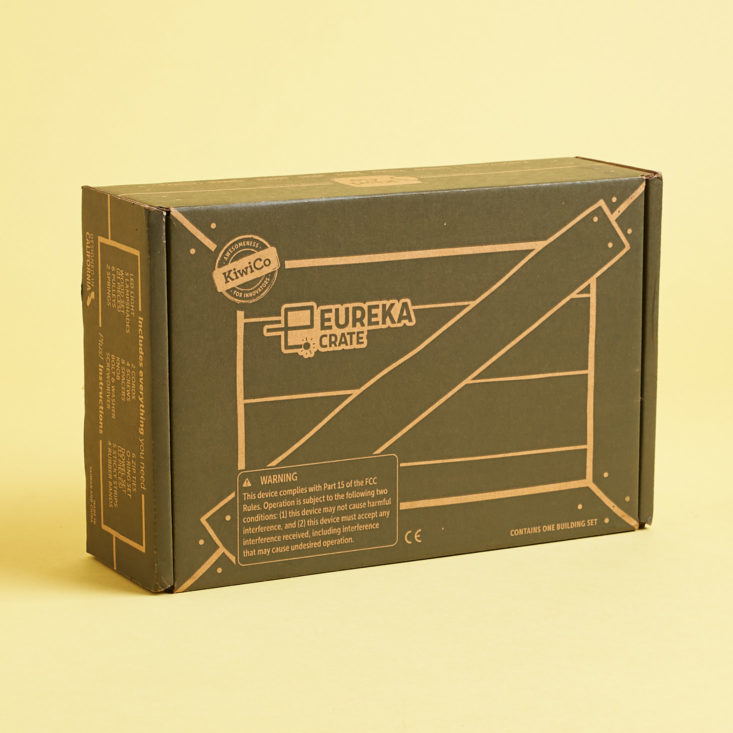
This review is of the $29.95 a month Eureka Crate Articulated Desk Lamp box, for 14-104-year-olds.
This box was sent to us at no cost for review. (Check out the review process post to learn more about how we review boxes).

About Eureka Crate
The Subscription Box: Eureka Crate
The Cost: $29.95 per month + free shipping
LIMITED TIME DEAL: Save 60% off your first month! No coupon required, just use this link
The Products: Detailed instructions and all of the high-quality materials needed to create a unique, lasting and functional engineering project as well as a Maker's Guide that explains the science and technology behind it.
Ships to: U.S. for free, Canada for $6.95 per month
KiwiCo Eureka Crate "Articulated Desk Lamp" Review
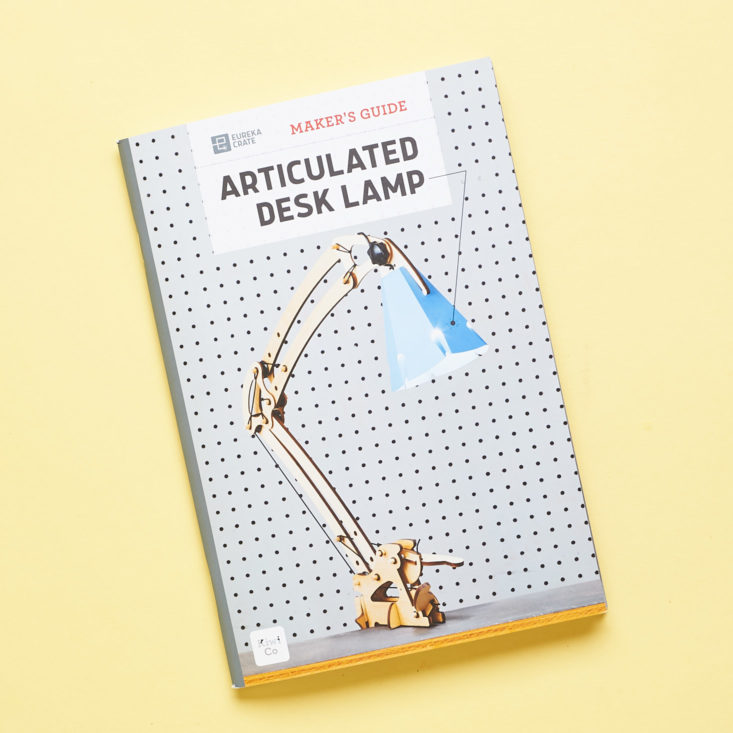

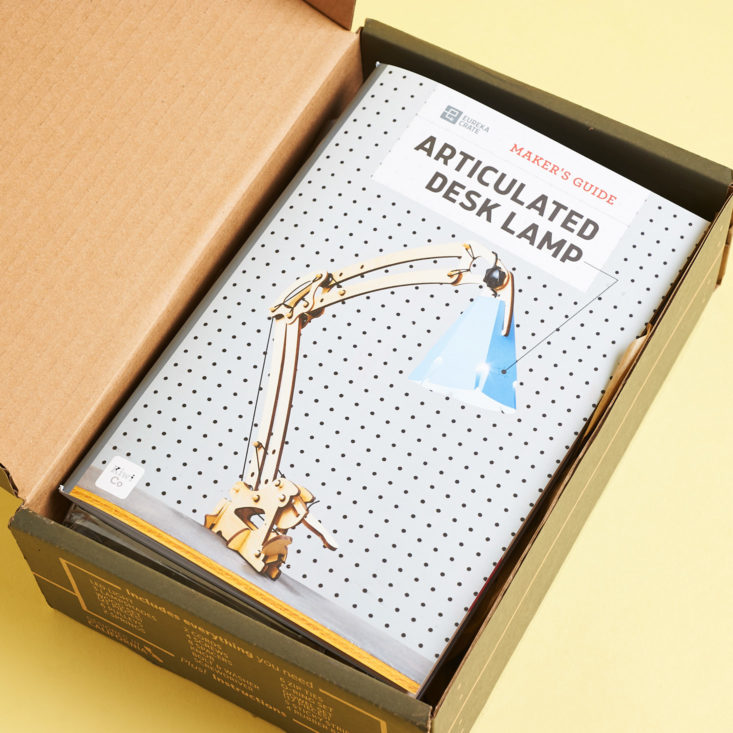
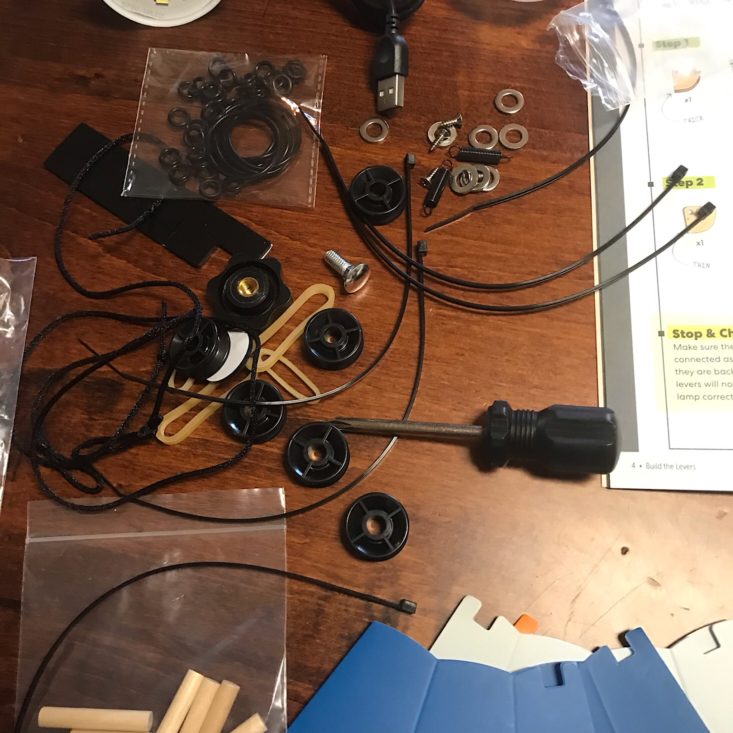
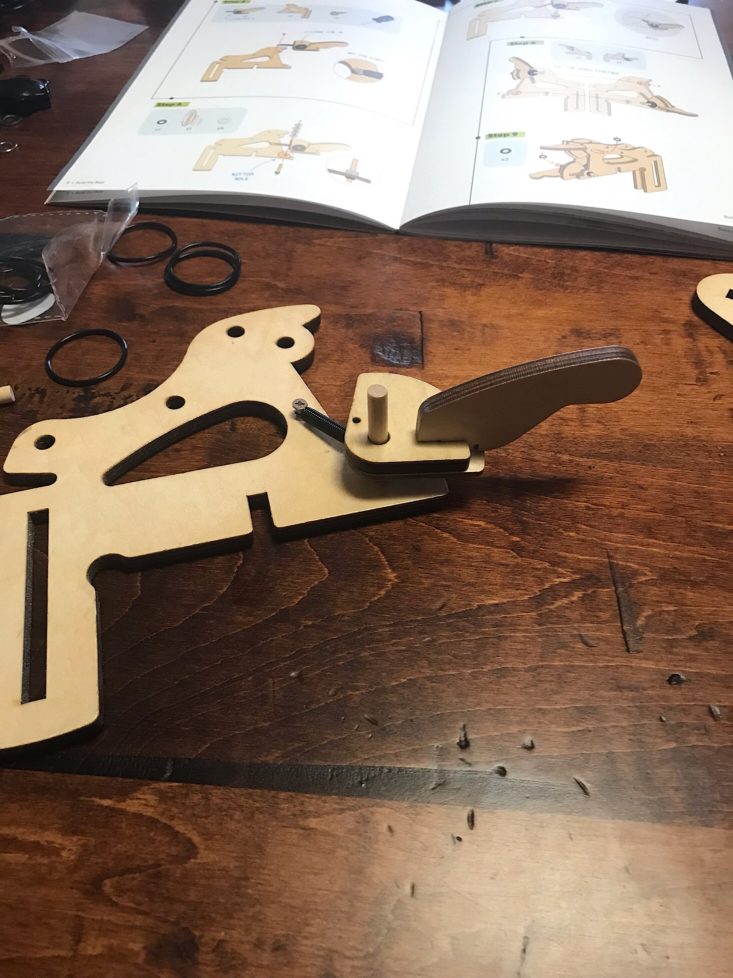
The project for this month is to make an Articulated Desk Lamp. This was the included Maker's Guide that provided detailed, step-by-step instructions as well as information about the science and engineering history behind our project. The booklet was fairly thick and in color with a lot of helpful information and images.
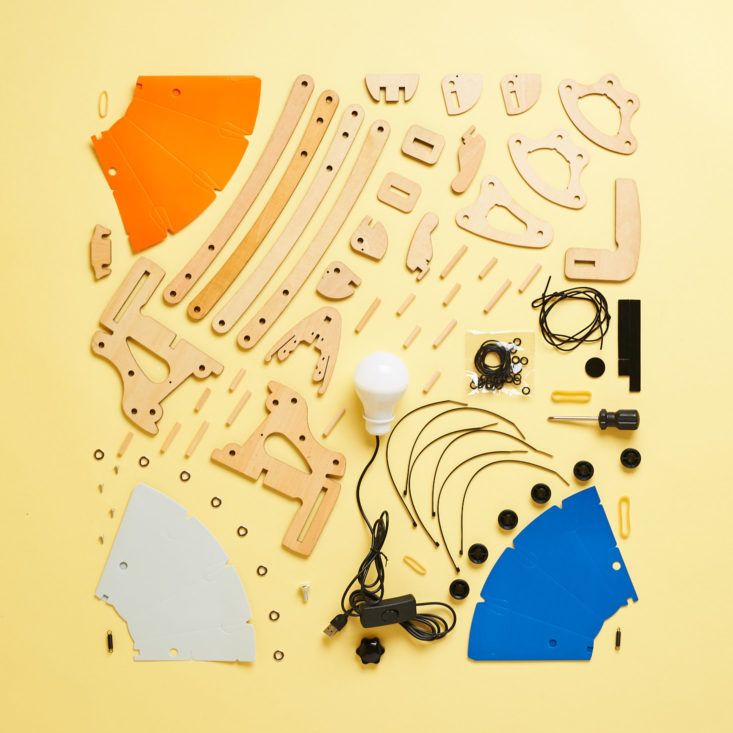

I was slightly overwhelmed at first because there were so many pieces, but since I am familiar with this company, I knew everything would be well organized and easy to follow, so that put me at ease! There was a table of contents at the beginning of the book that stated what type of page each was, for example, several were Build pages and other titles included Making It, Science, and Design Challenge. There was also a great little bubble at the top that provided information on the key components, skills, complexity and time to complete, which was 1-1.5 hours. For the Build pages, they were separated into various parts, which was great for breaking it down into smaller, more manageable tasks!
Part A: Build the Levers


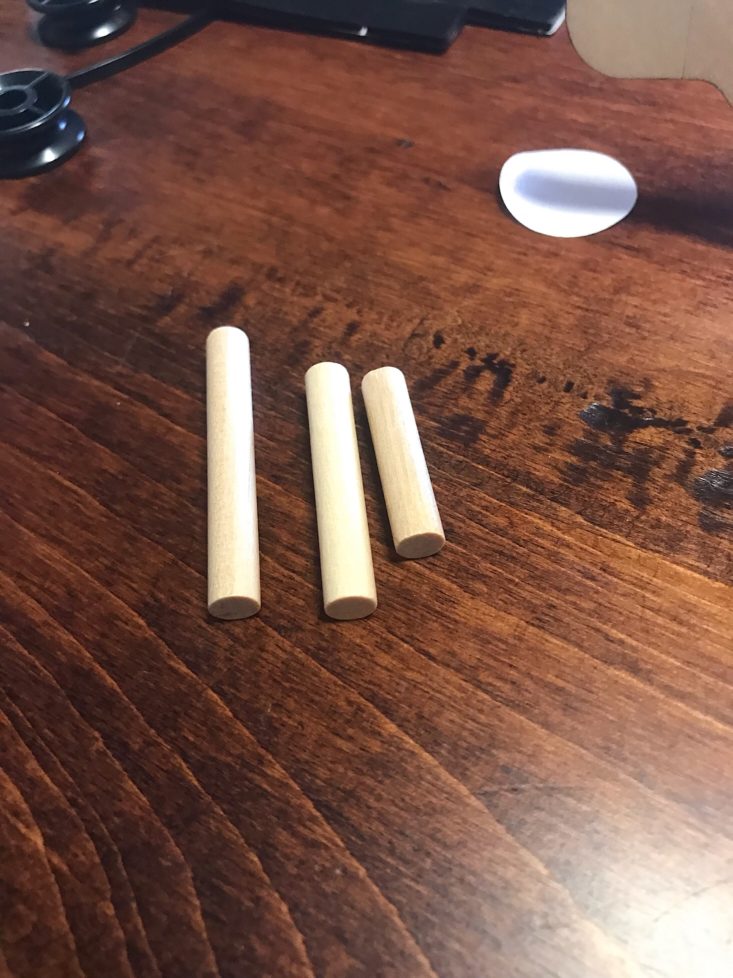
The first step was to build the levers that would move our lamp arm. The pieces are all made of nice, sturdy wood and they were cut in such a way that they would fit together perfectly which makes it so simple to create with these projects! They divide it into steps, include detailed pictures, and even provide several checkpoints for you along the way.

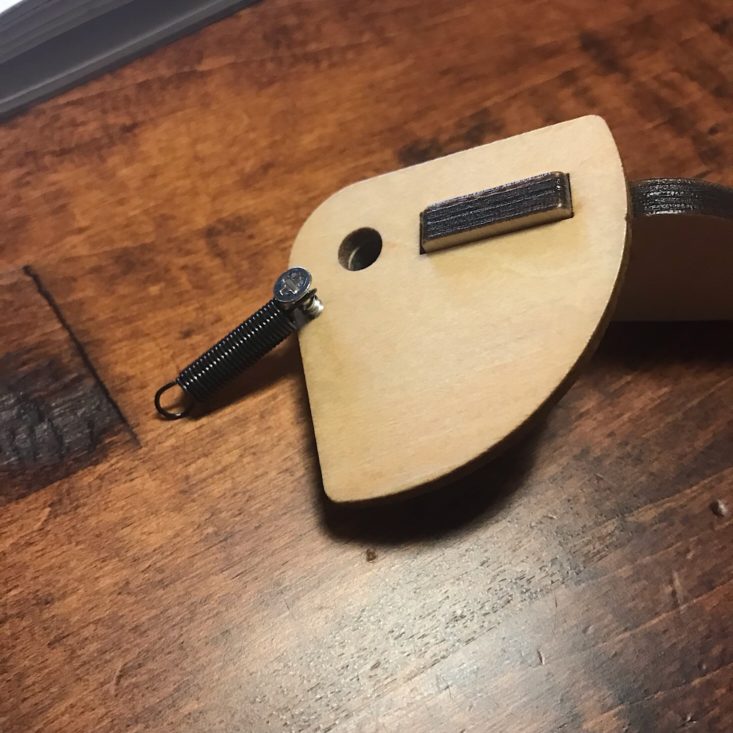
Once I slid the first two pieces together, then I had to use the mini screws and the included mini screwdriver to add a spring to the piece.
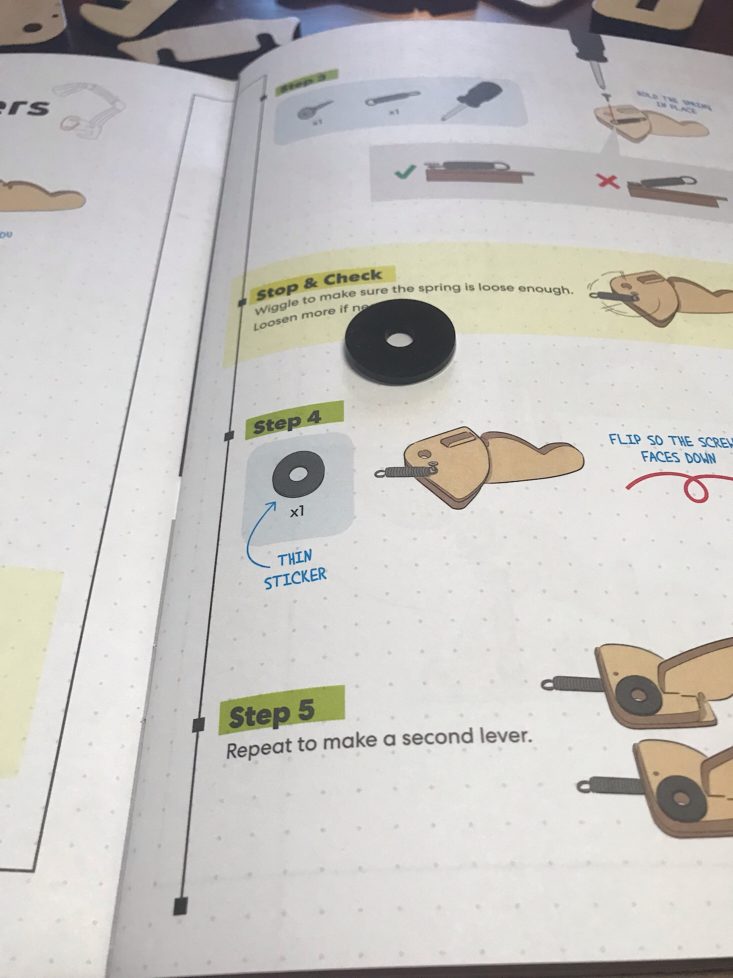
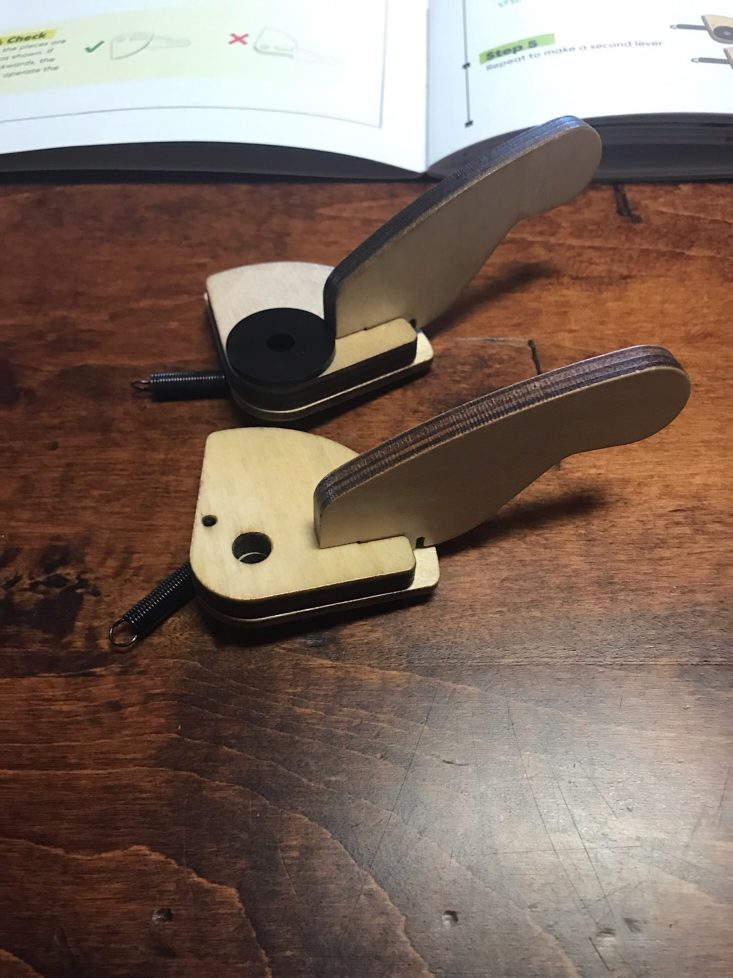

I repeated this step to make a second lever but going the opposite way. I was supposed to stick a thin sticker on either side, but I only received one of these stickers and mine felt pretty thick. Since it seemed like it wouldn't affect the entire design, I decided to continue on without it. That was all for Part A, which was very simple and quick!
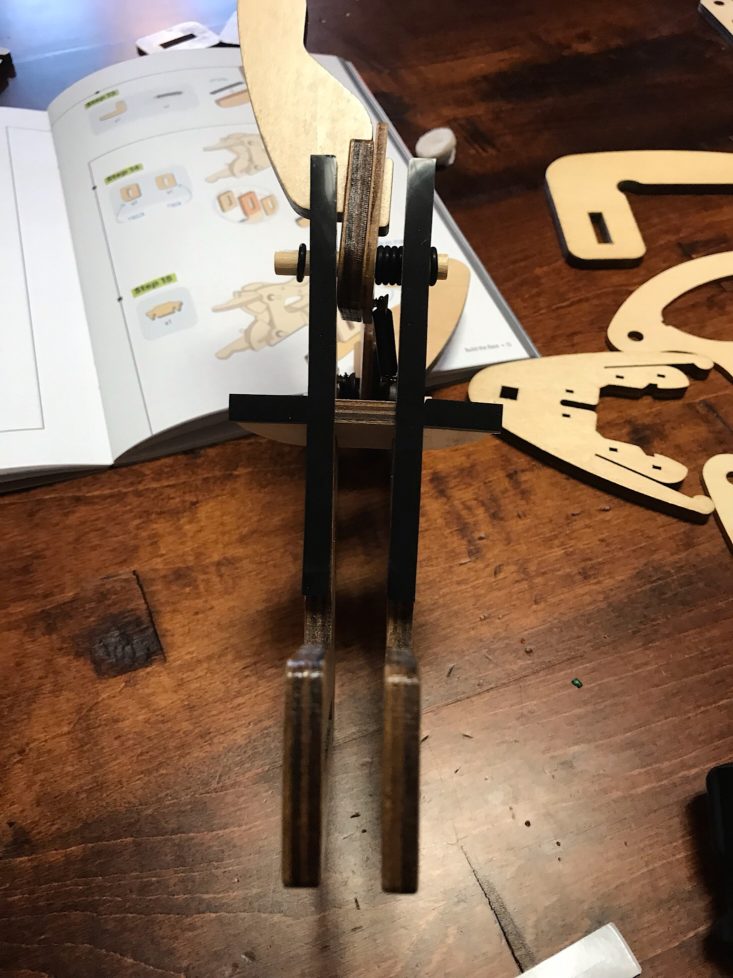
Part B: Build the Base
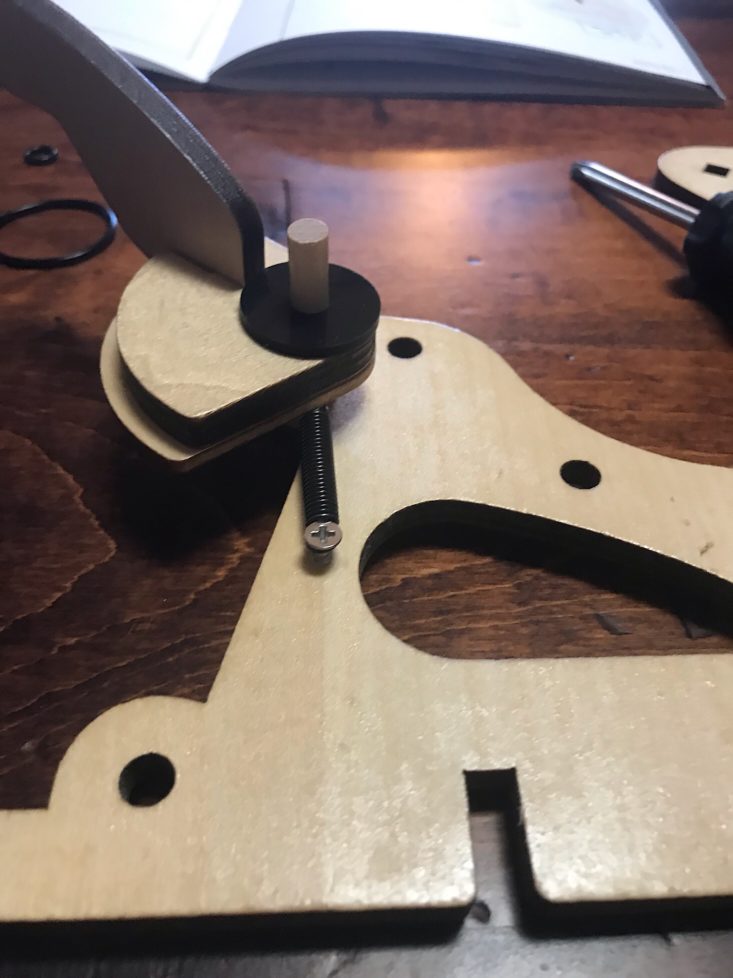
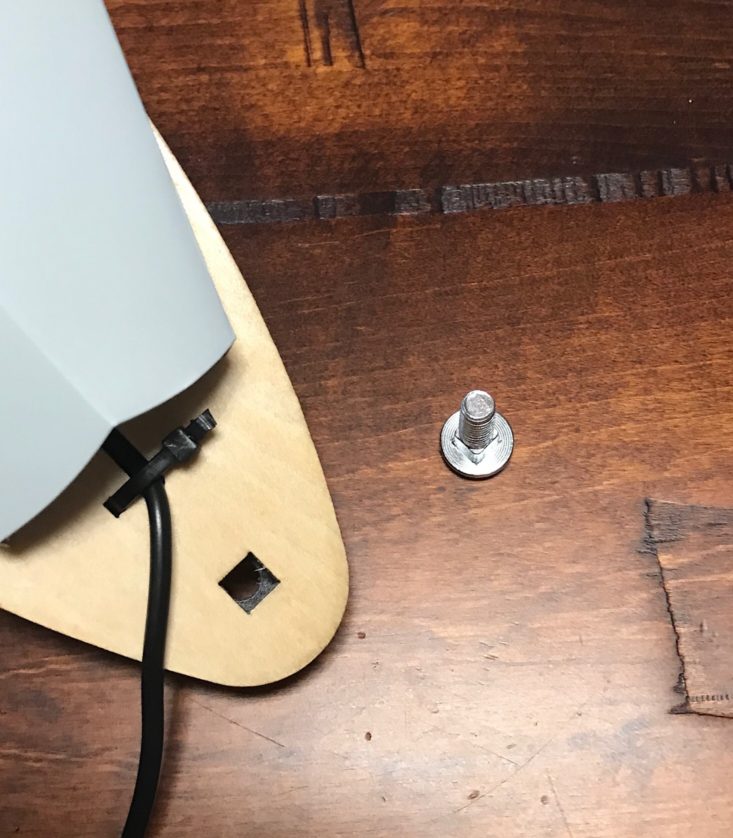
To build the base, we had to screw the other end of our spring to this larger piece. Then using the larger dowel and a small o-ring, we attached the actual lever to the piece. You can't see it in this piece, but I actually was supposed to add four washers underneath the top wood piece before the dowel went through the larger bottom piece.

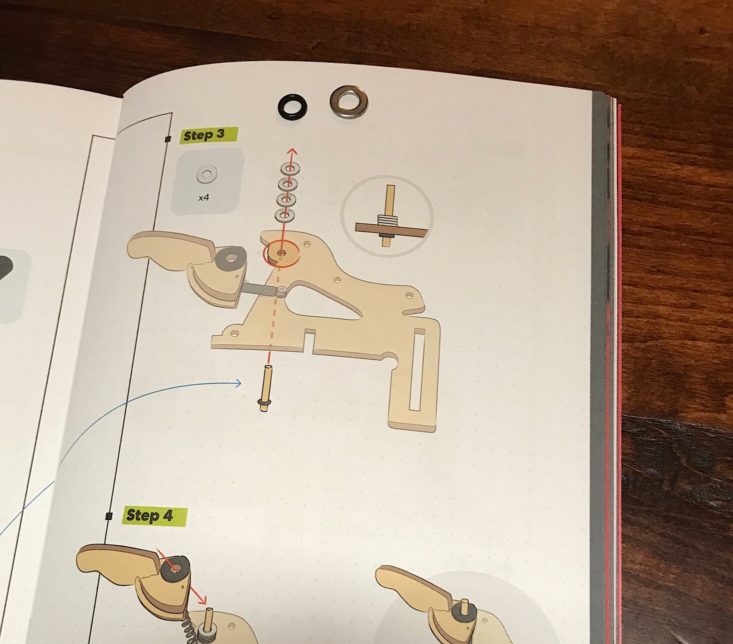
Since I was distracted over not having that sticker that I needed, I actually added four o-rings instead, which really didn't seem to affect anything other than me having a bunch of washers at the end that I hadn't used. This was an easy fix though that I was able to correct after my lamp was completed.

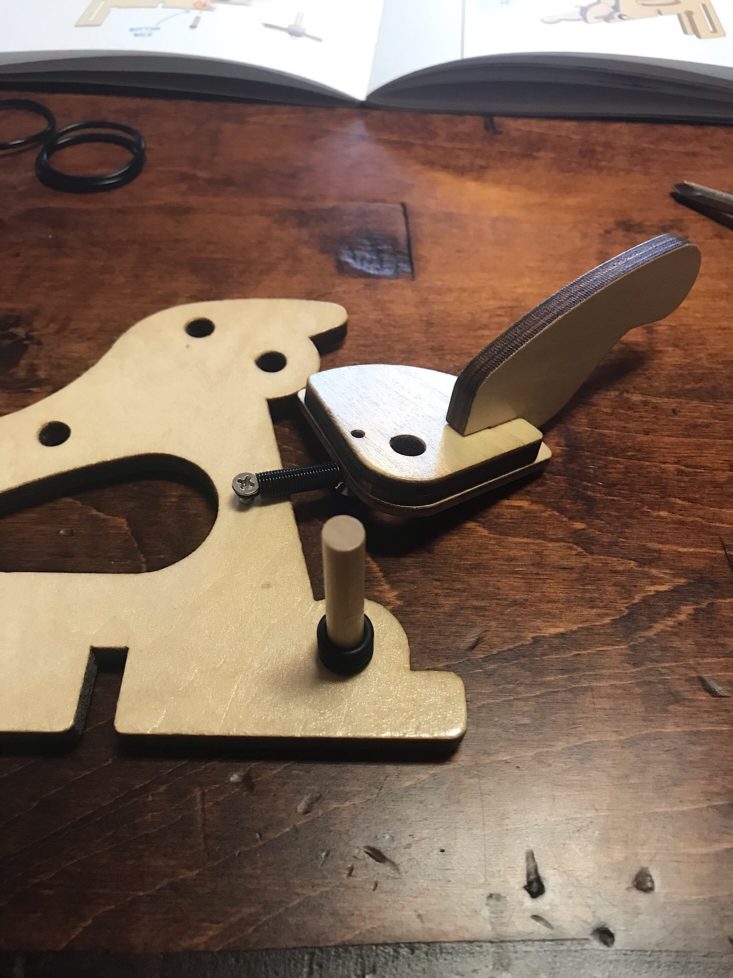
Next, I repeated those steps to add the other lever on the opposite side.
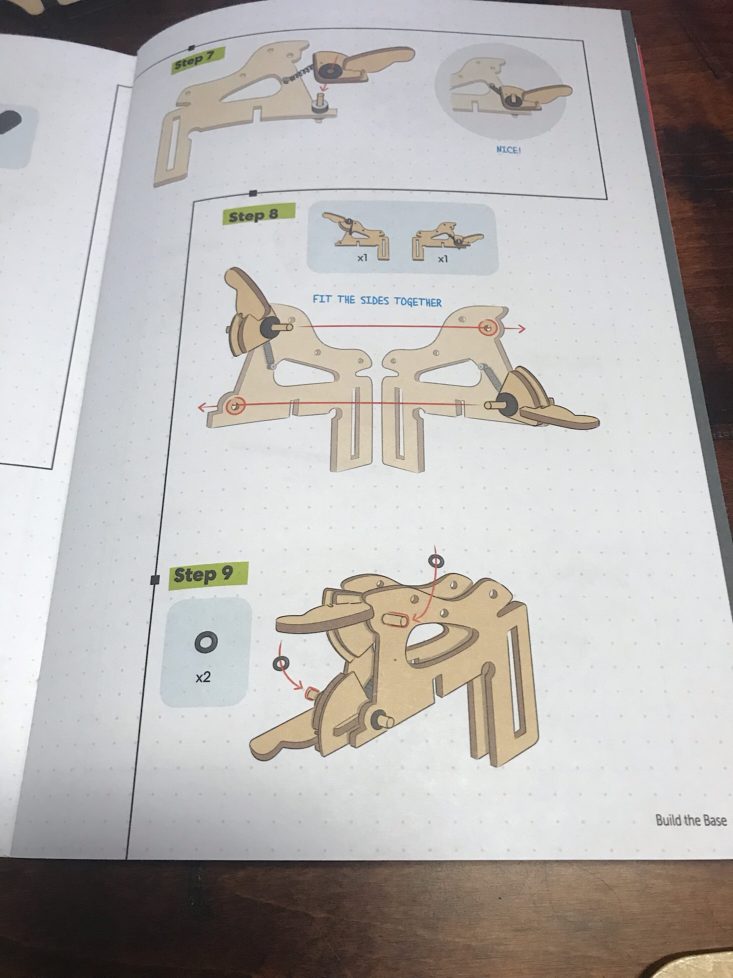
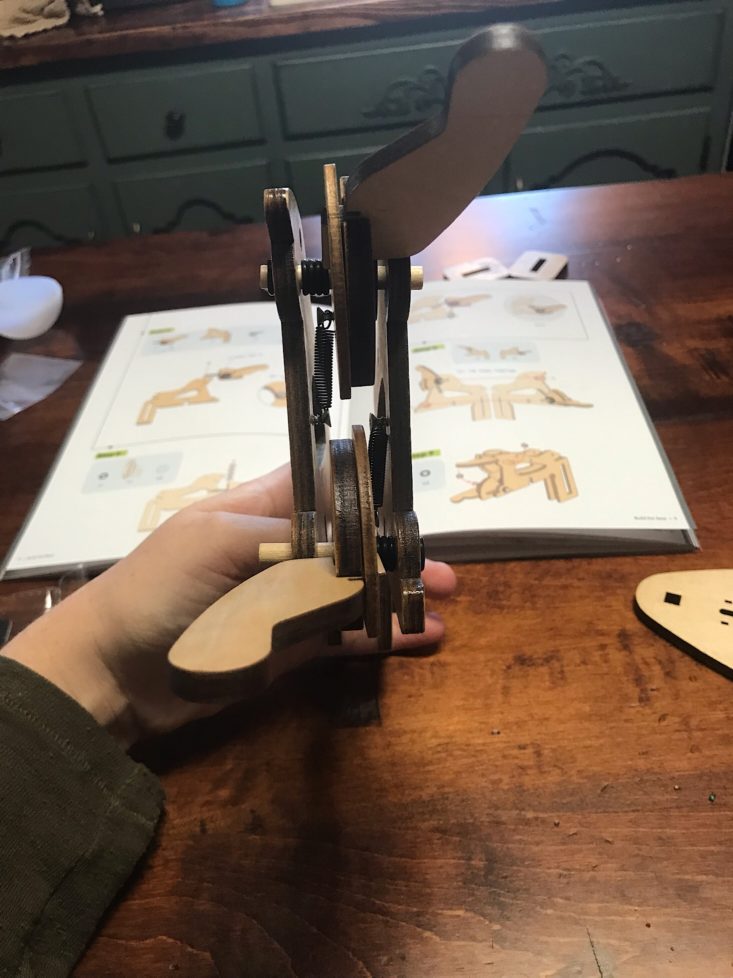
Then it was time to put the two sides together. The dowels just slid into the holes and were secured simply with o-rings on the outside.
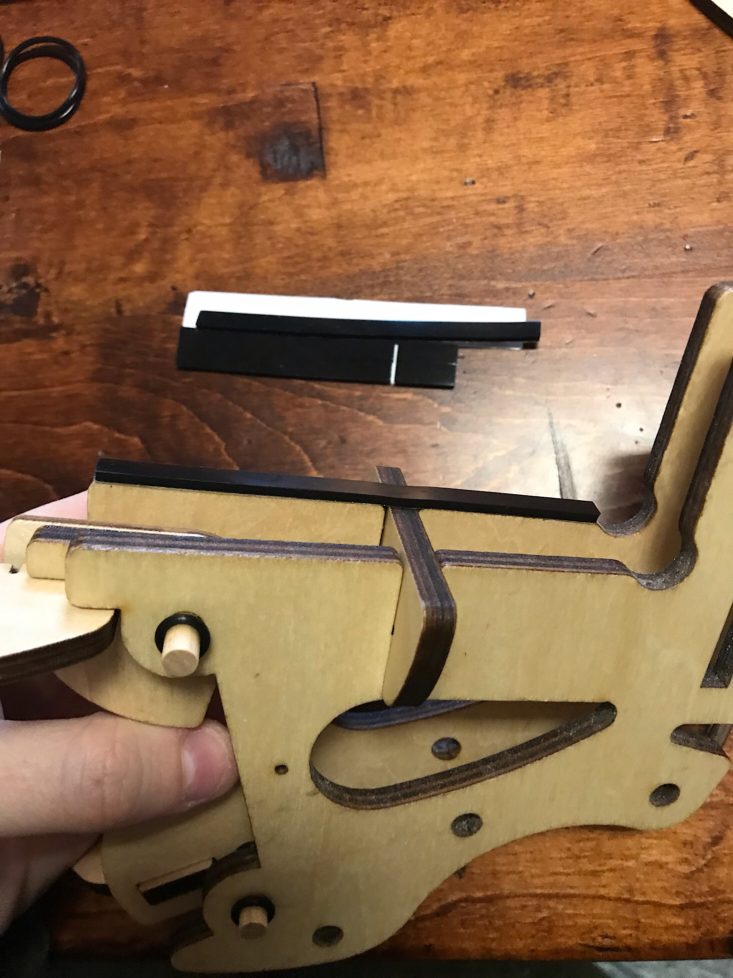
The underside had several flat edges and they provided silicone strips with adhesive on the back for us to cover them with.
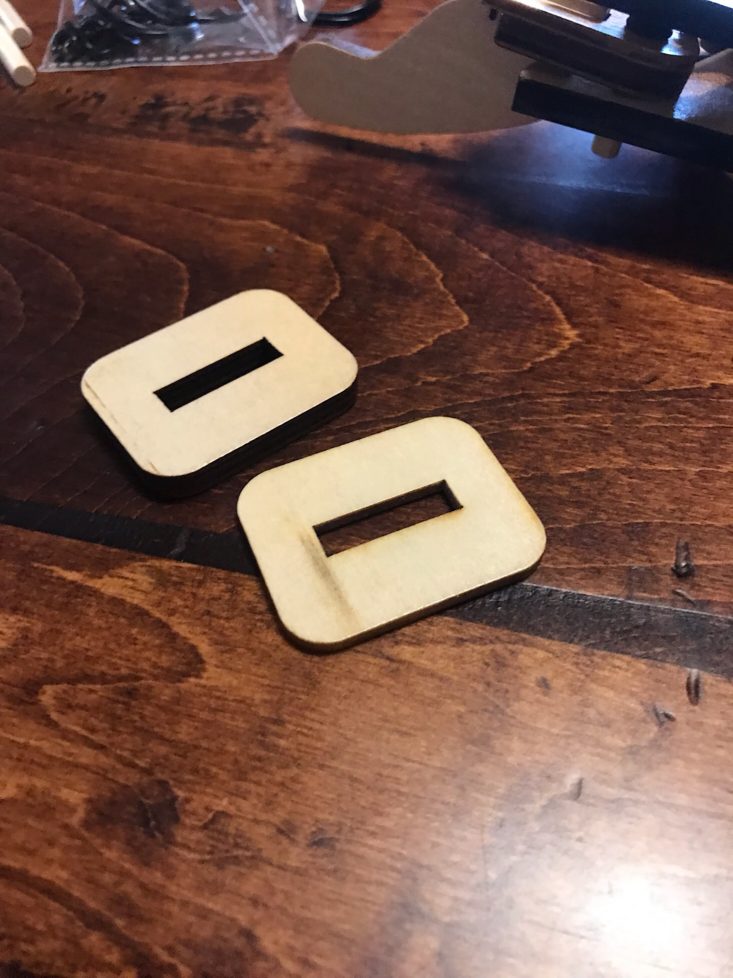

Next, I added these two wooden squares into the space between the wooden base piece and lined up the holes.

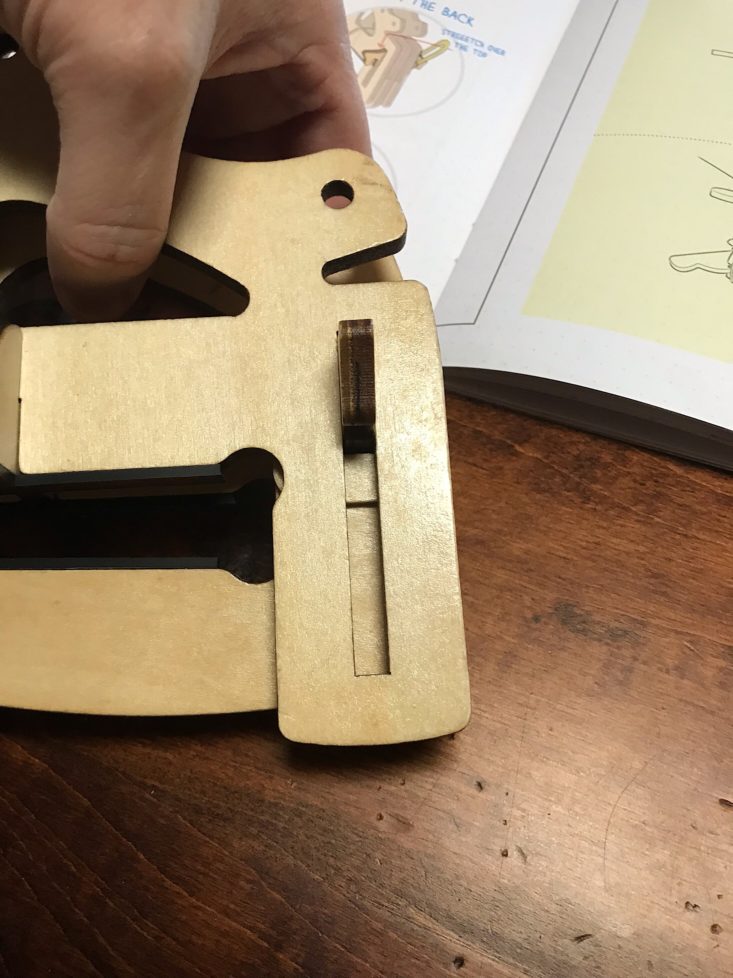
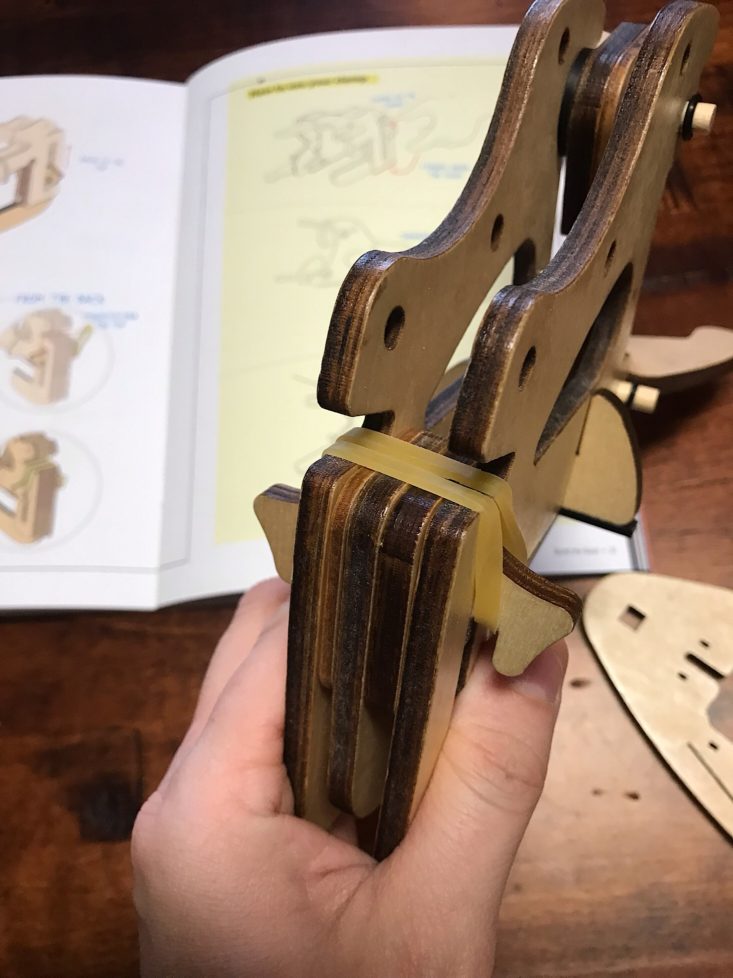
There was a wooden piece with two notches in it that I slid into the center of the lined up holes. I was able to slide it all the way up and then added one of the rubber bands around it and over the top, then around the other notch to secure it.
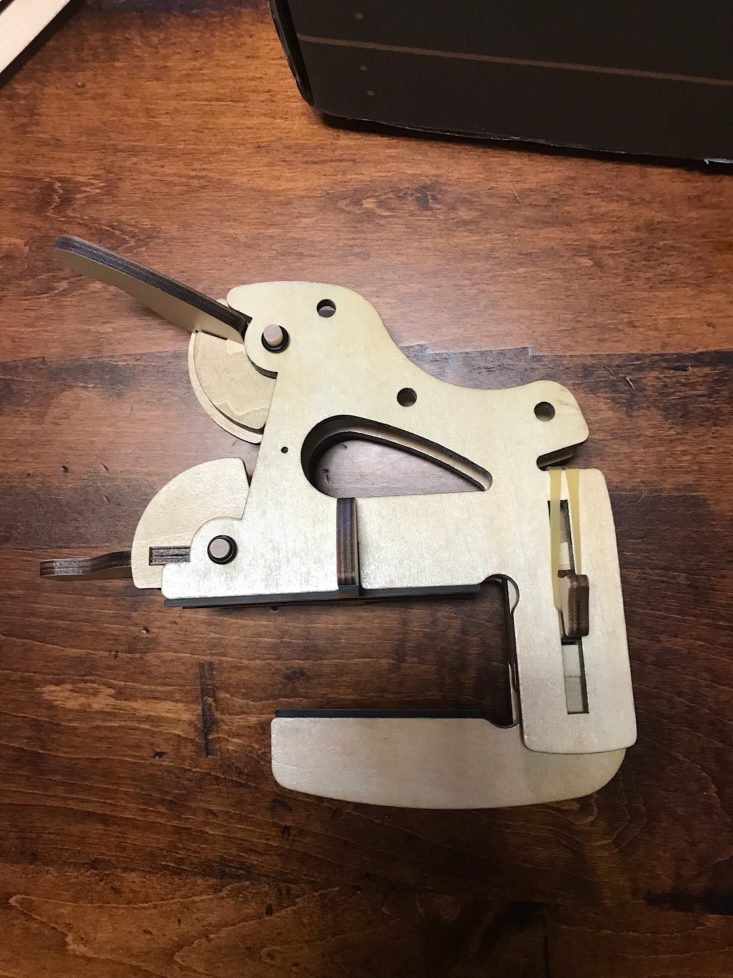
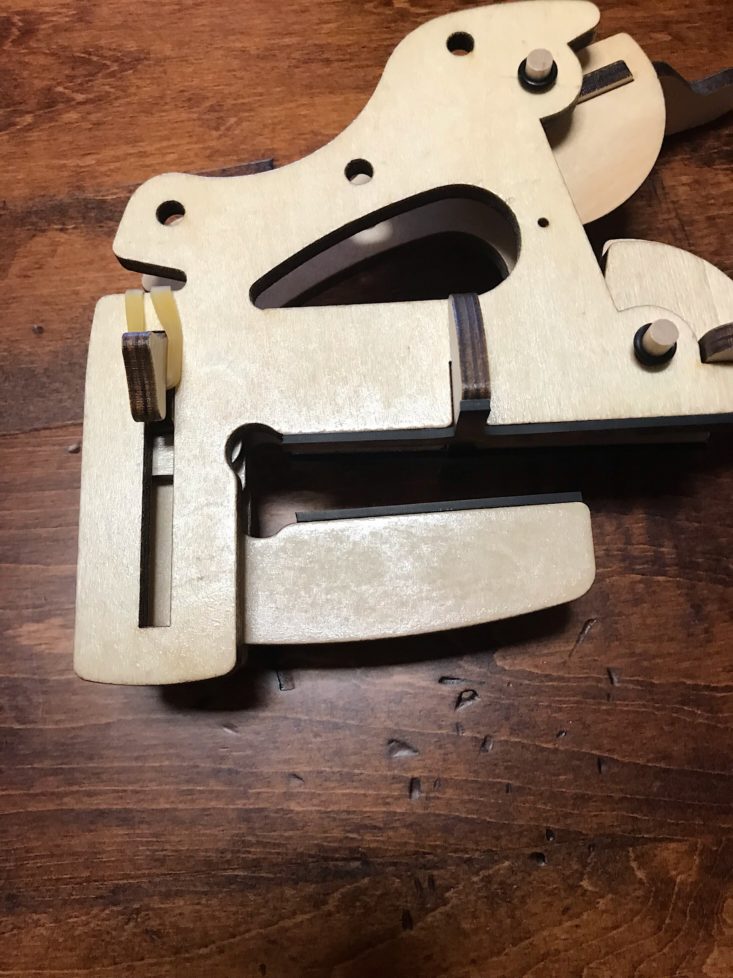
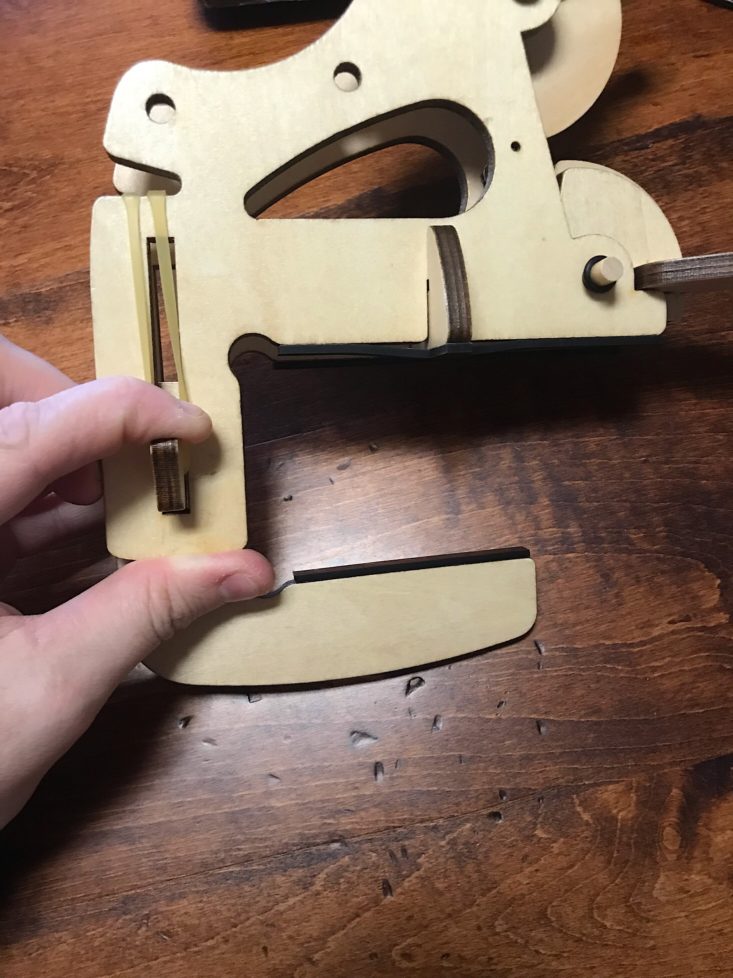
Then we had our finished clamp. We pushed up on the rubberbanded lever we just added to close it and pulled down to open it.

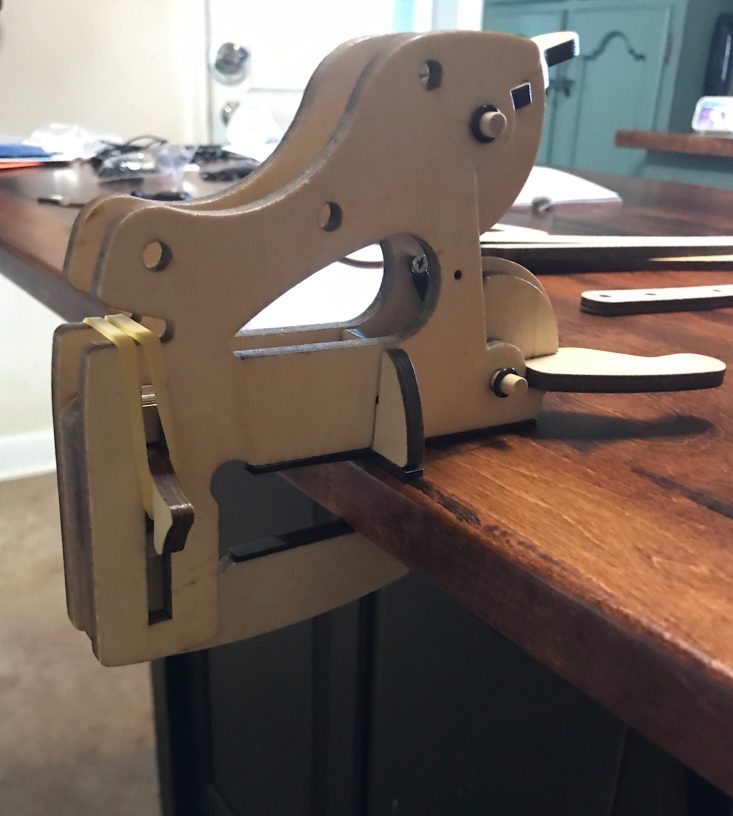
They even included instructions and images to help provide direction for how to use our clamp. It actually extended pretty wide and those silicone strips we had added are what gave a nice grip.
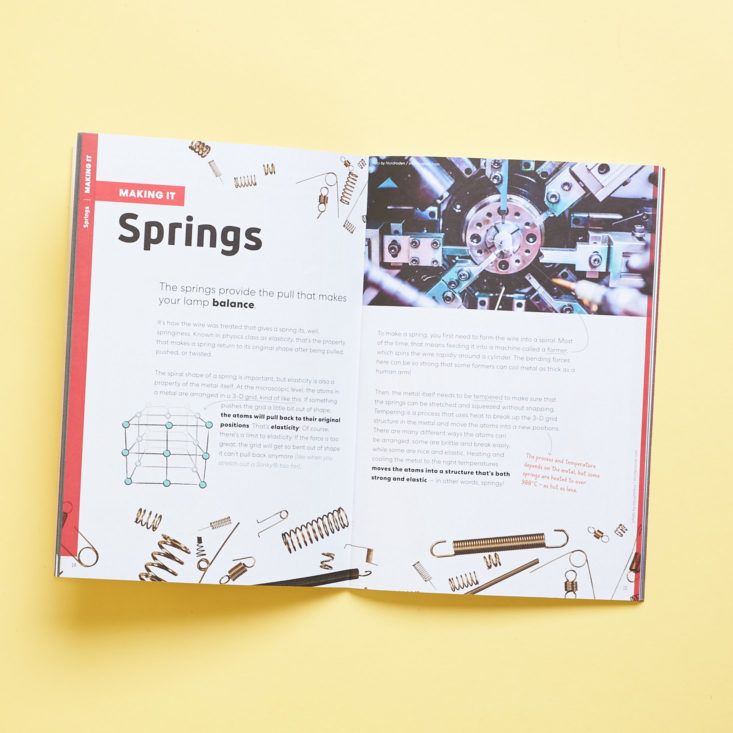
After building the clamp, there was a nice break up in our booklet with this Making It section that explained all about how springs work and even how they are formed, which was very informational and a nice way to add some interesting educational tidbits before beginning the next step in our project.
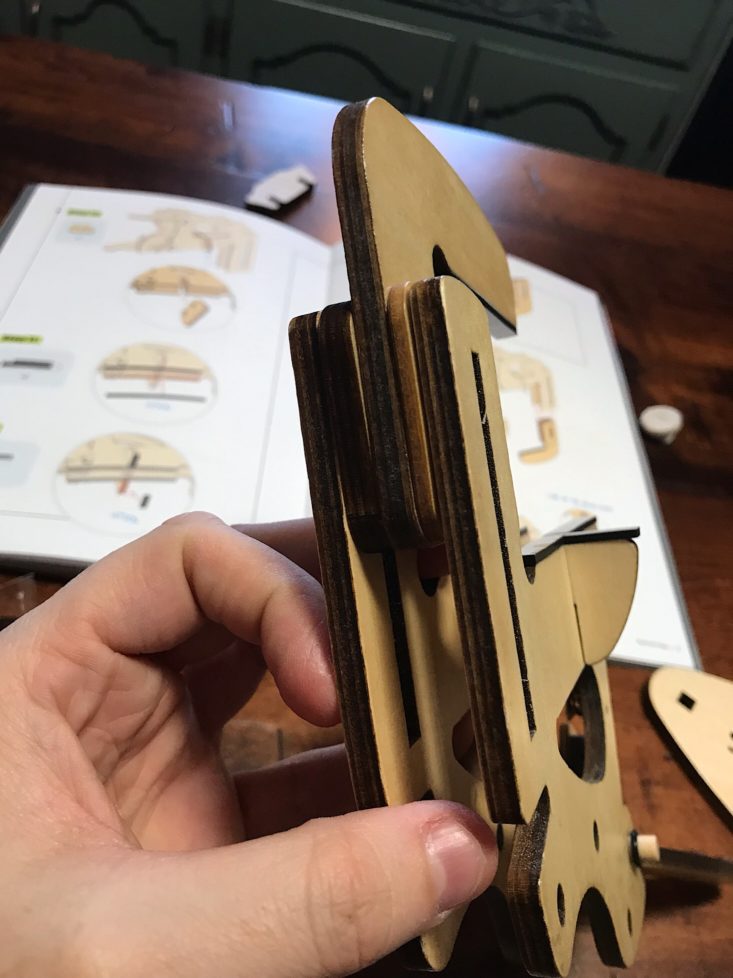
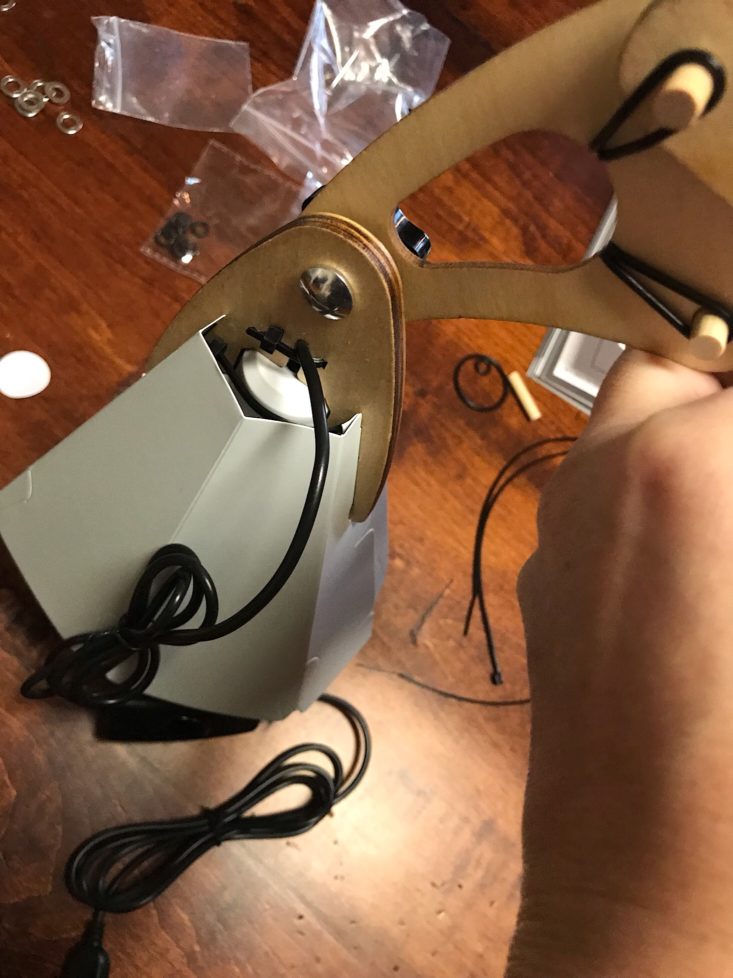
Part C: Build the Arm


During the building of the arm is when I realized I was actually missing several silicone circle stickers and not just one! Customer service will be sending out a replacement, but fortunately, I was still able to make a functioning lamp without them.
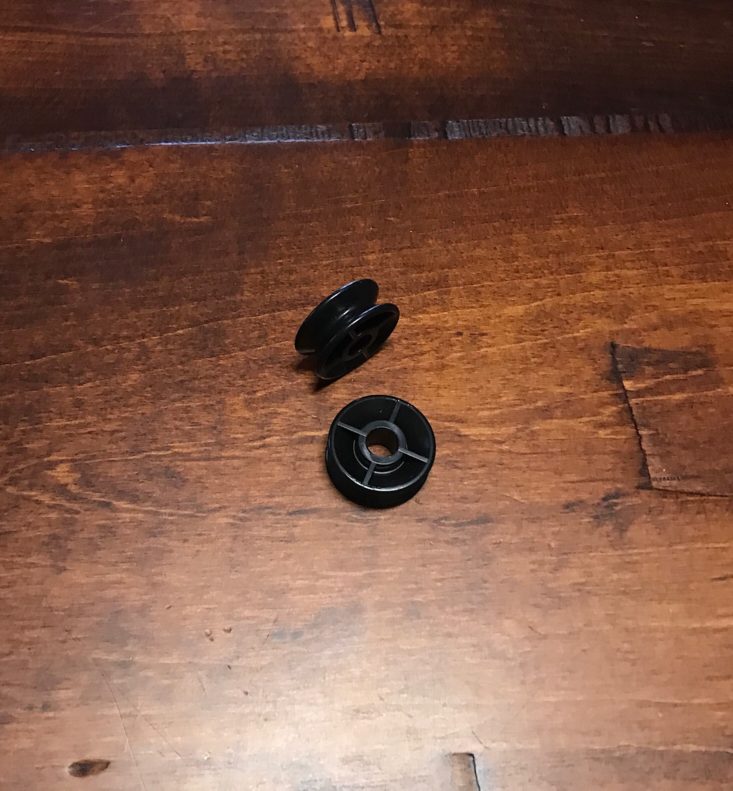
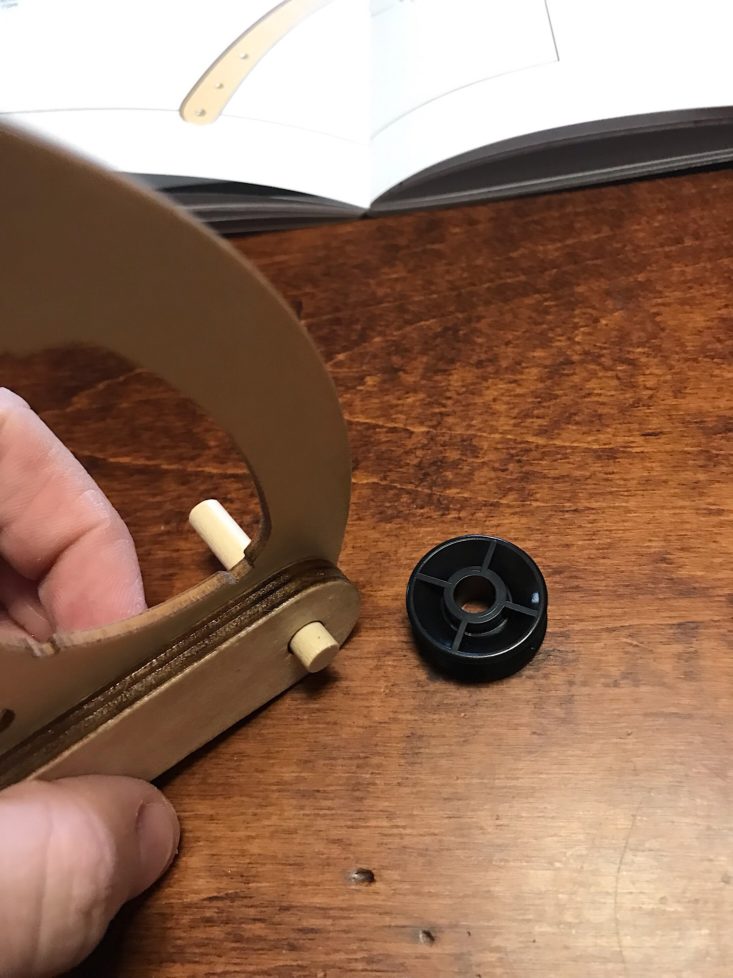

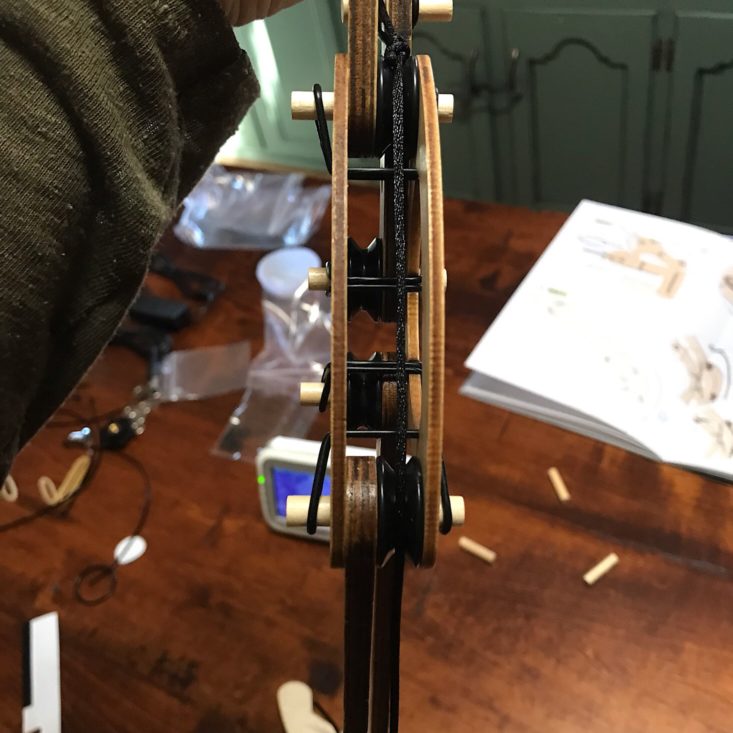
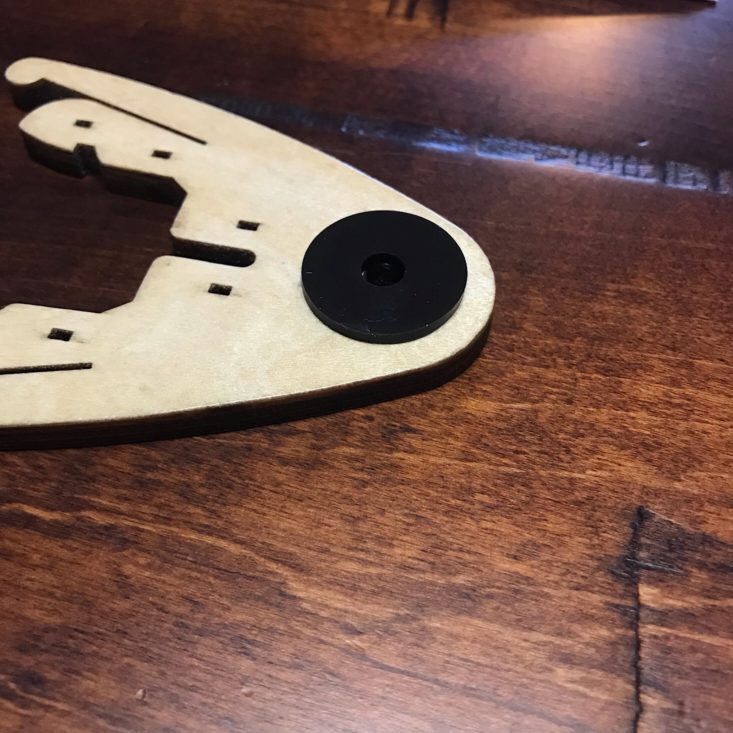
We received several of these little plastic pulley pieces, which reminded me of mini spools. I added them to the pieces using dowels.


I used the larger o-rings to stretch over the piece so that it went through the notches and attached to both ends of the dowels.


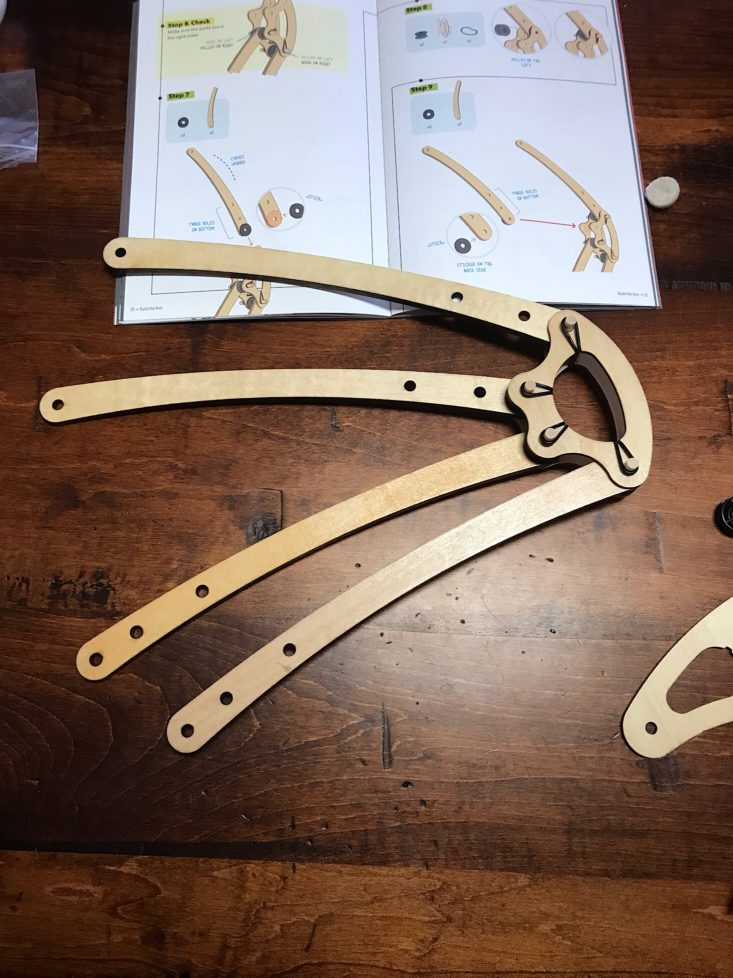
After completing this step several times for each of the holes, we had a nice four-piece arm for our lamp.
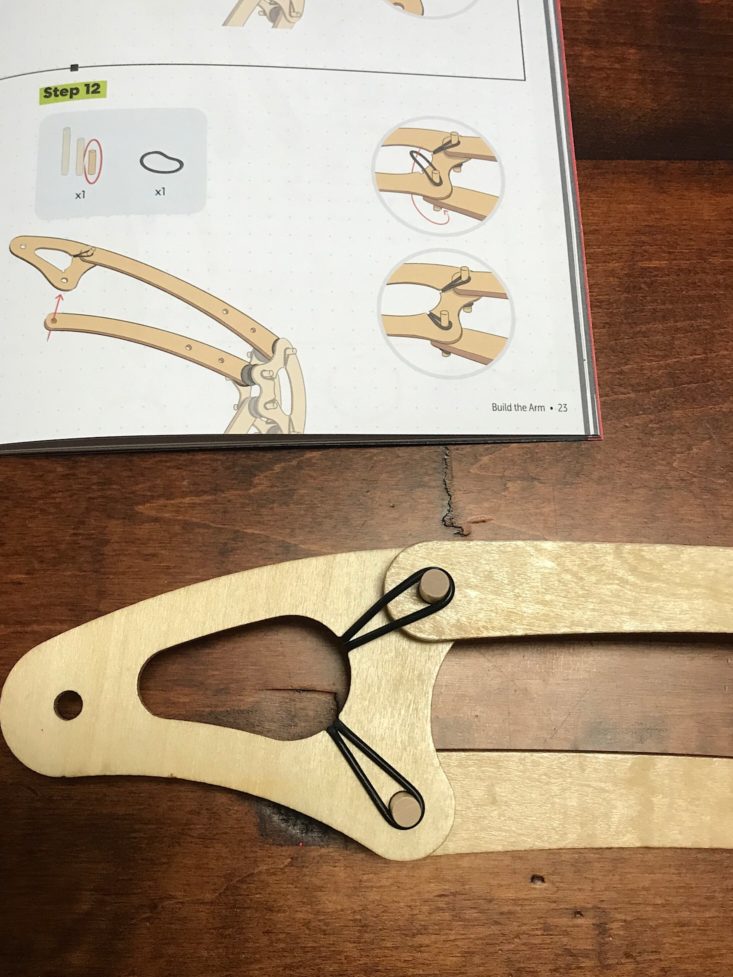


Then I used more dowels and large o-rings to add this triangular wooden piece to the end of the top two pieces of the arm. There were helpful directions with checkpoints so I made sure I had the right holes each time.
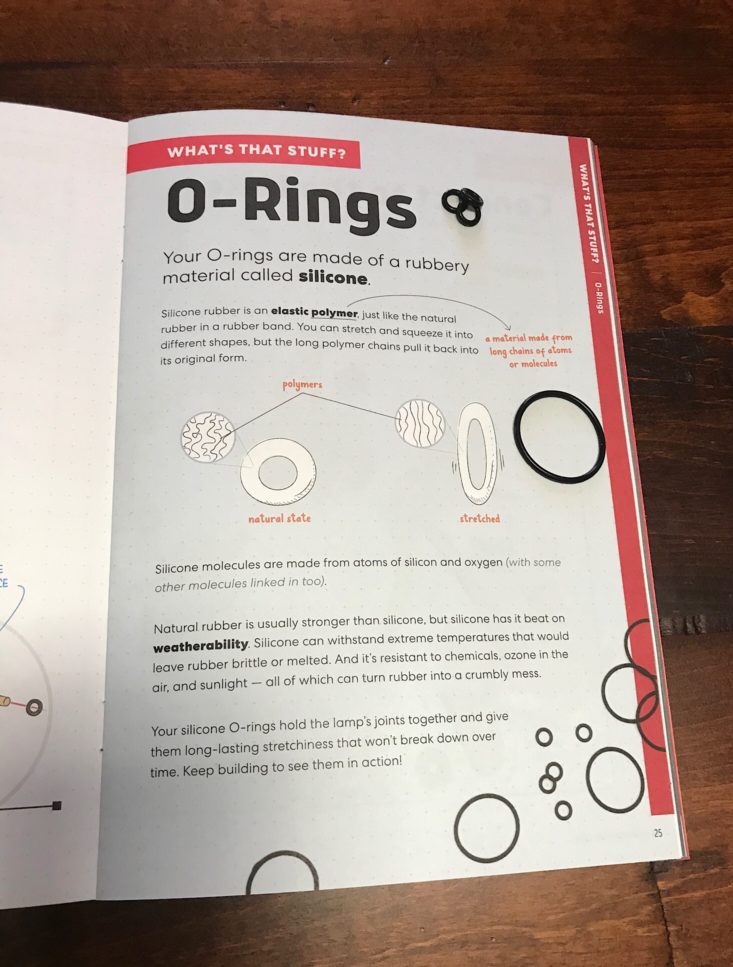
Our booklet provided another little break with this detailed page on o-rings and what they are.
Part D: Connect to the Base
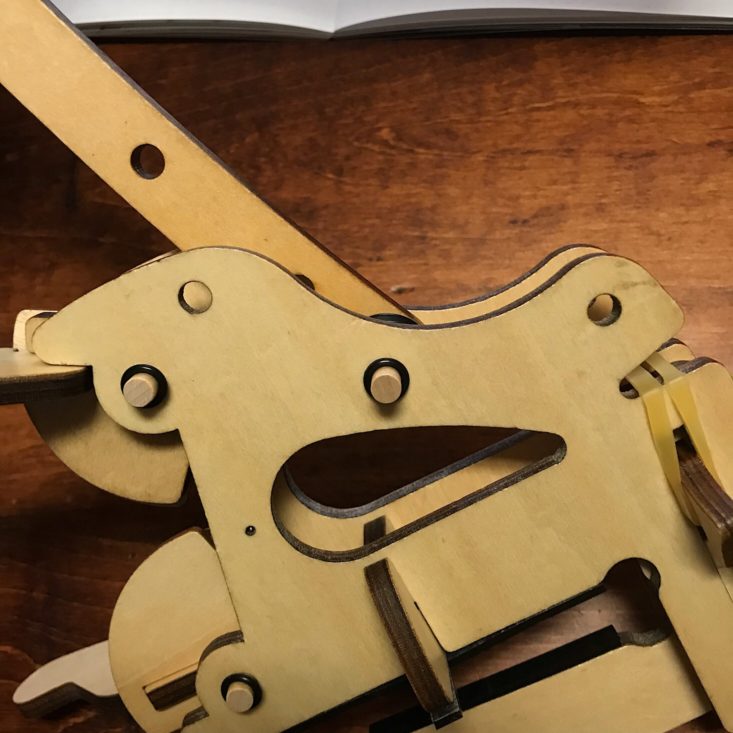


Connecting the arm to the clamp base was actually fairly easy. I just inserted the dowels into the correct holes, added some pulleys and secured them with more o-rings.
Part E: Attach the Cords
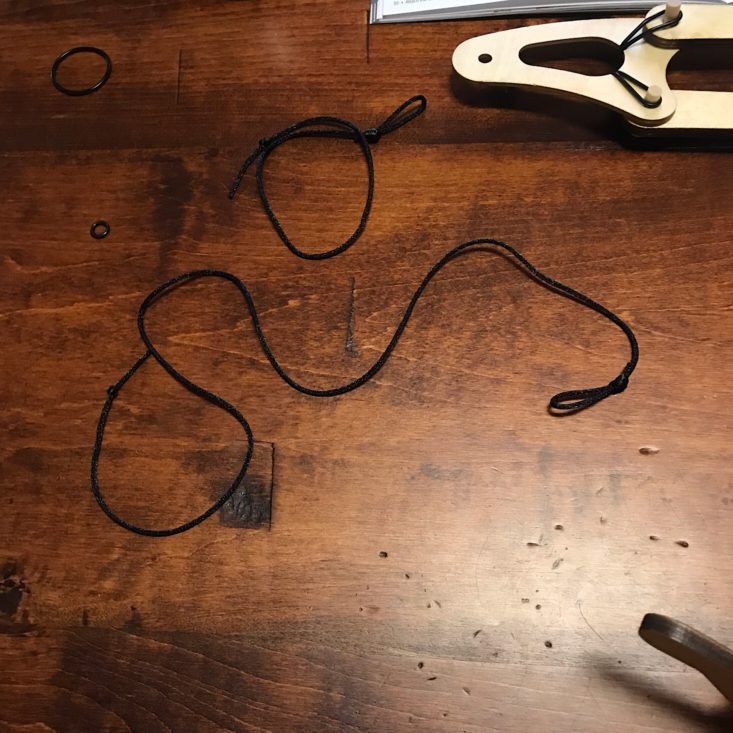
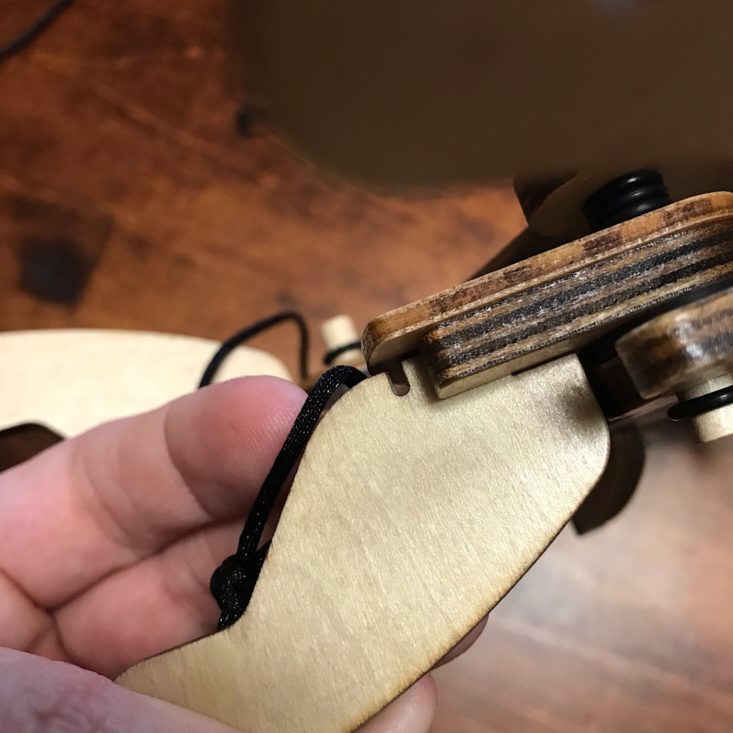

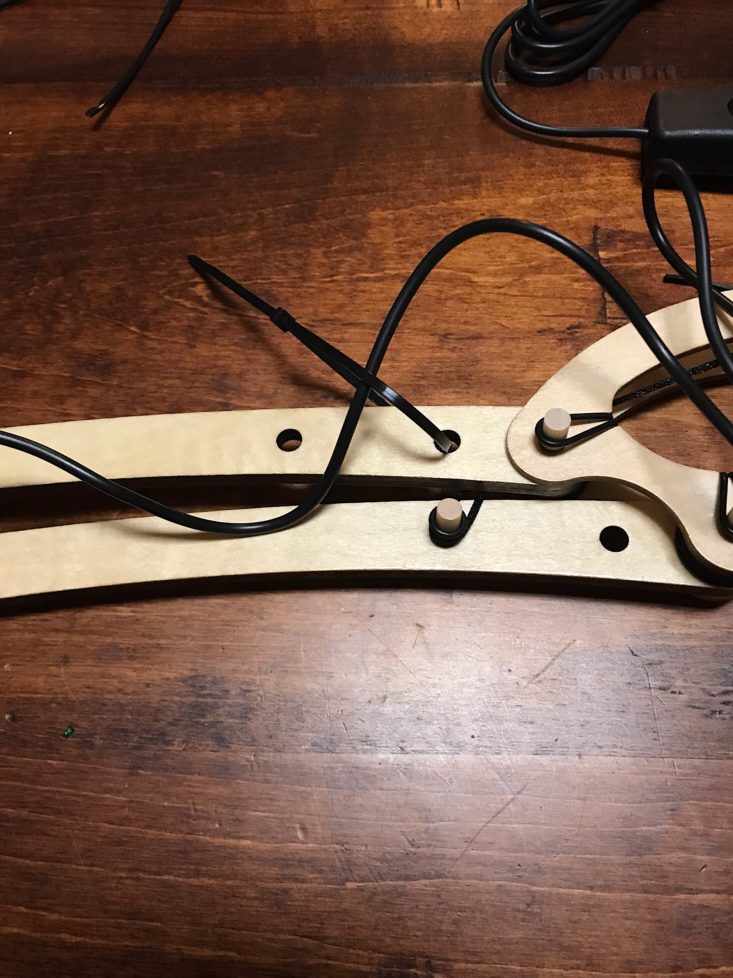
I received a short and a long nylon cord, each with a knot on one end and a loop on the other. First, I secured the knot into the notch that was already created in the wood on the lever and then threaded it through the center of the base.
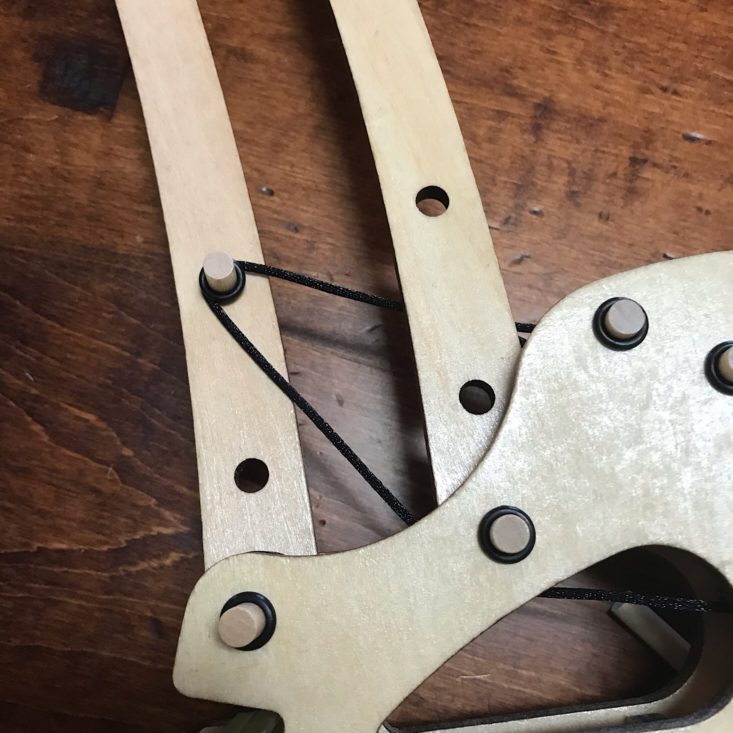
Then, I attached the cord by securing the loop end around one of the dowels on the base. This helped to lean the arm back and forth.

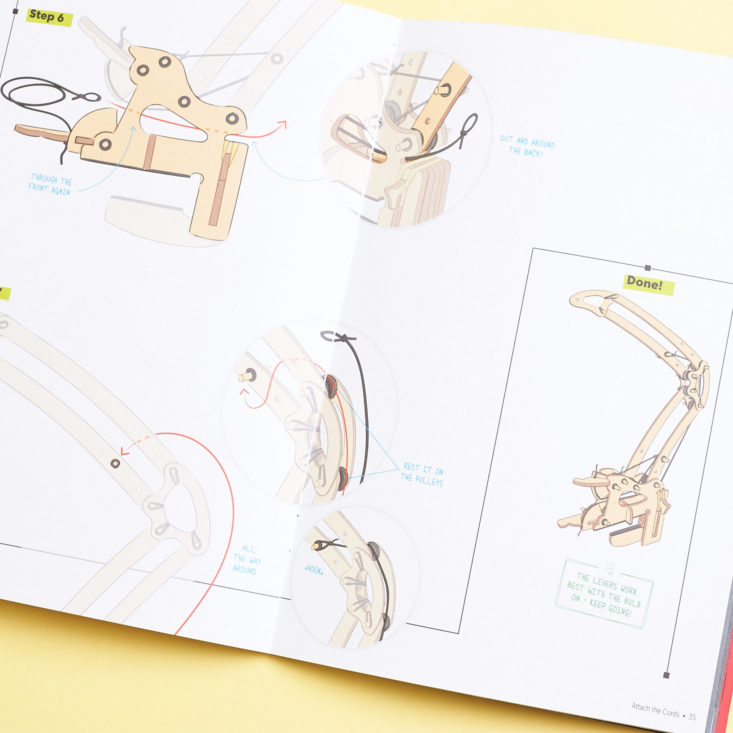
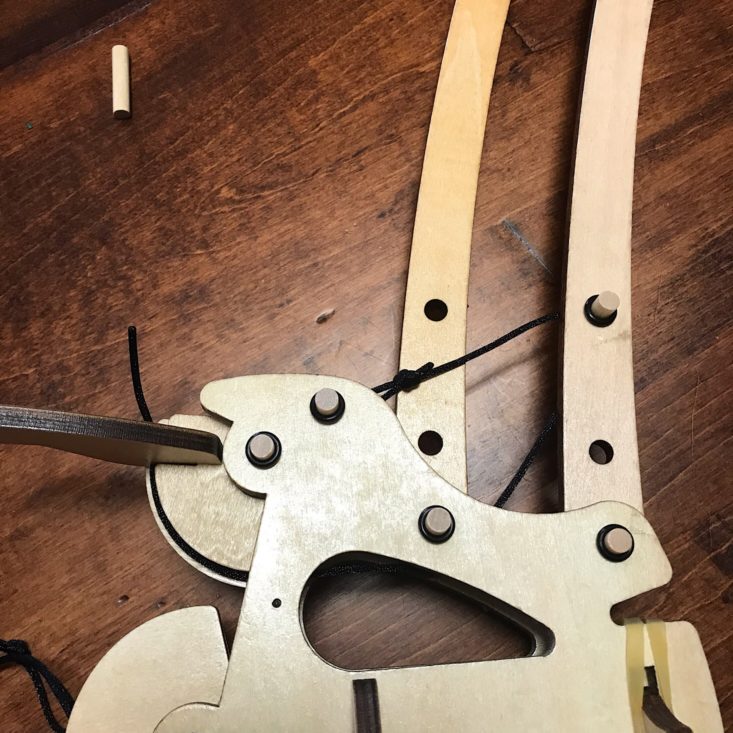
Next, I used the long cord and secured the knot in the notch on the other lever and threaded the cord through the base and this time went all the way up to the top of the arm to secure it around a dowel. This is how the top part of the arm would raise and lower. While this could have been tricky, the directions made it so easy to follow and the detailed pictures helped a lot.
Part F: Attach the Bulb

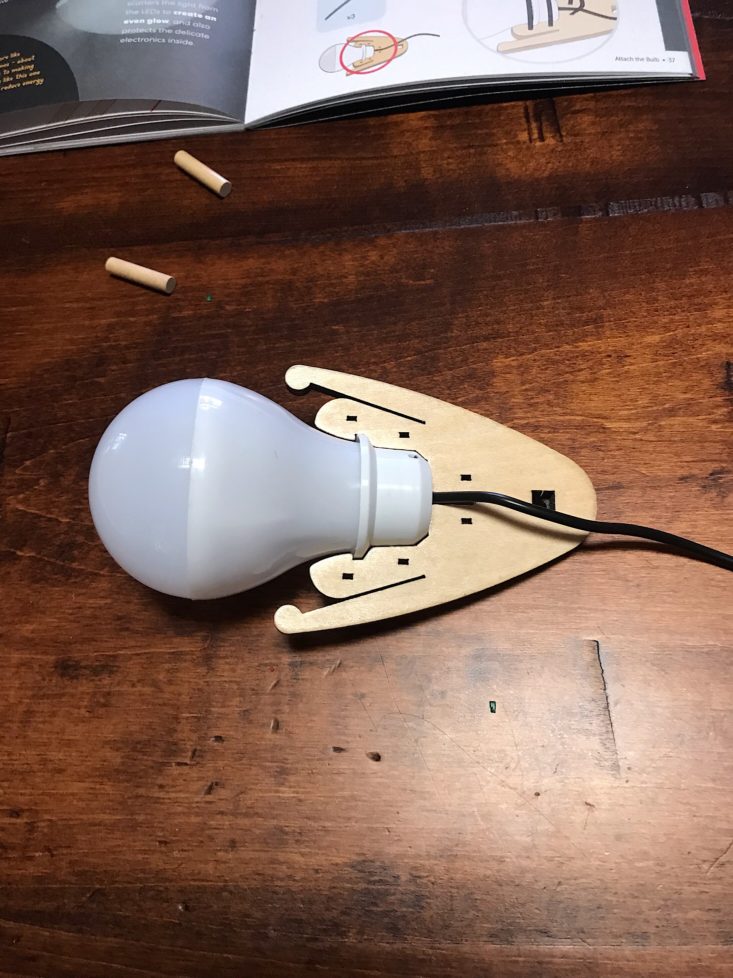
There was a full page that described the LED lights in our lightbulb (which is plastic by the way!) and I thought it was actually really interesting! This is the part where we needed that thick sticker that I had originally used in the first part of our project. I decided it was probably best to use it for its intended purpose so I added it to the wooden piece and then added my lightbulb, fitting it into the designated slot.
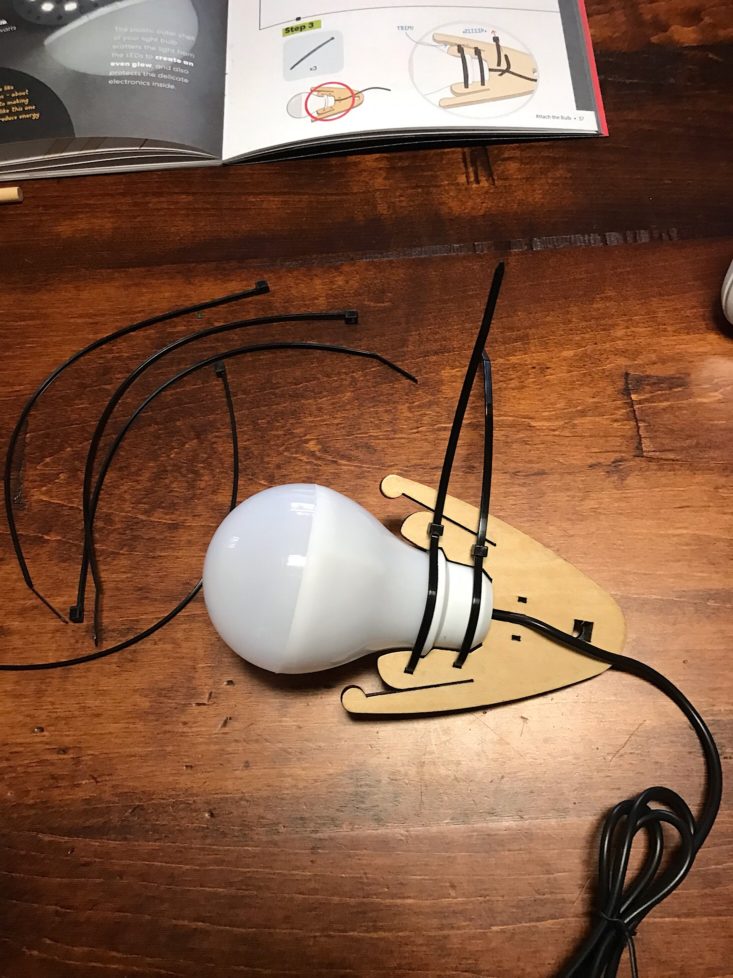

To secure our lightbulb we used zip ties and inserted them into the pre-made holes and wrapped them around. Then I trimmed the ends once they were tight. It seems sort of odd to use something so basic for securing it, but I actually loved that we used a non-traditional household item because I think it teaches kids to be resourceful and think outside the box!
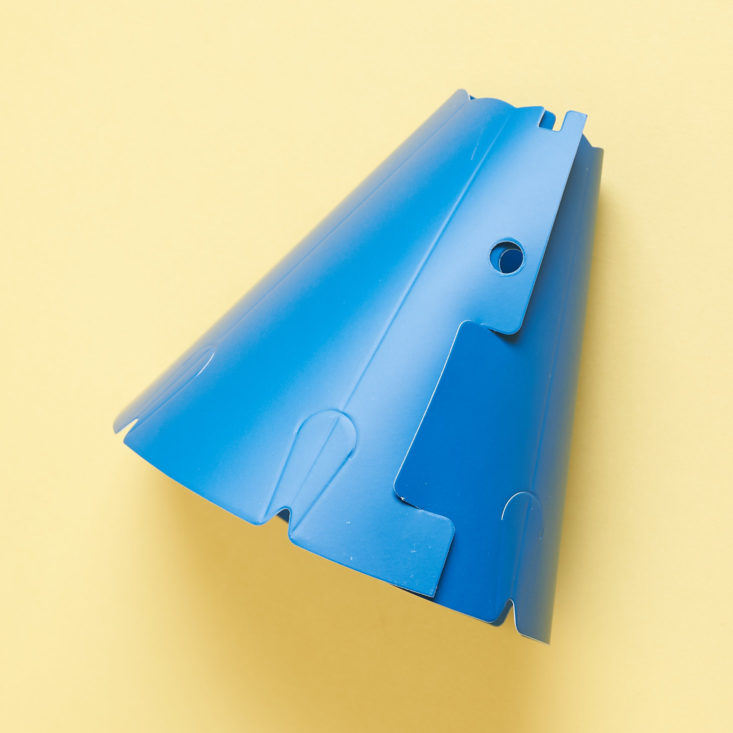
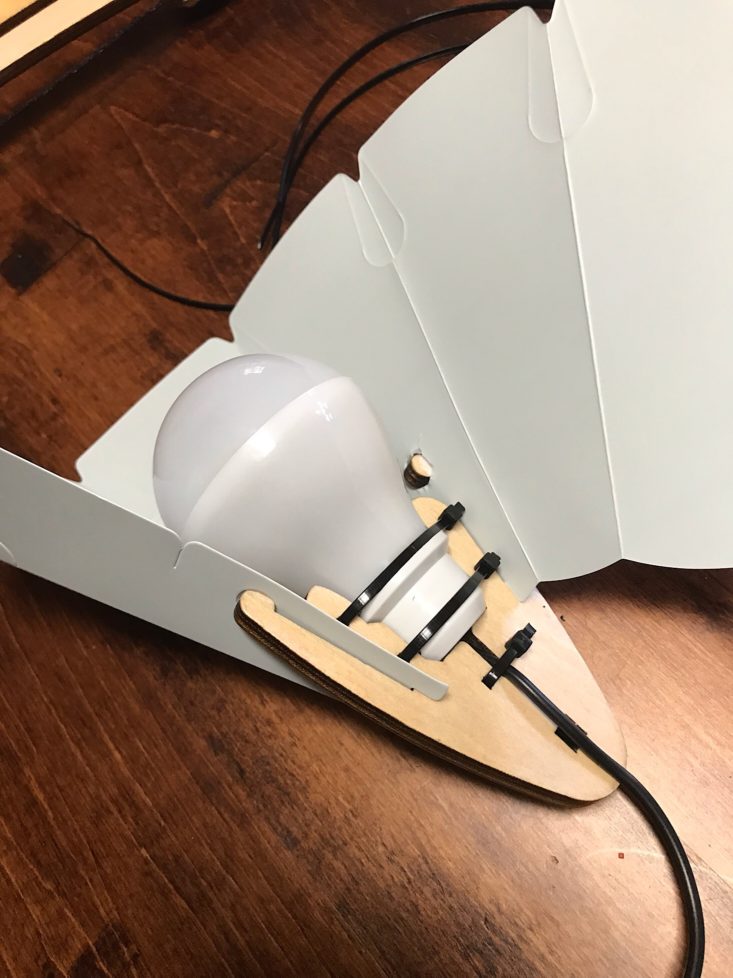
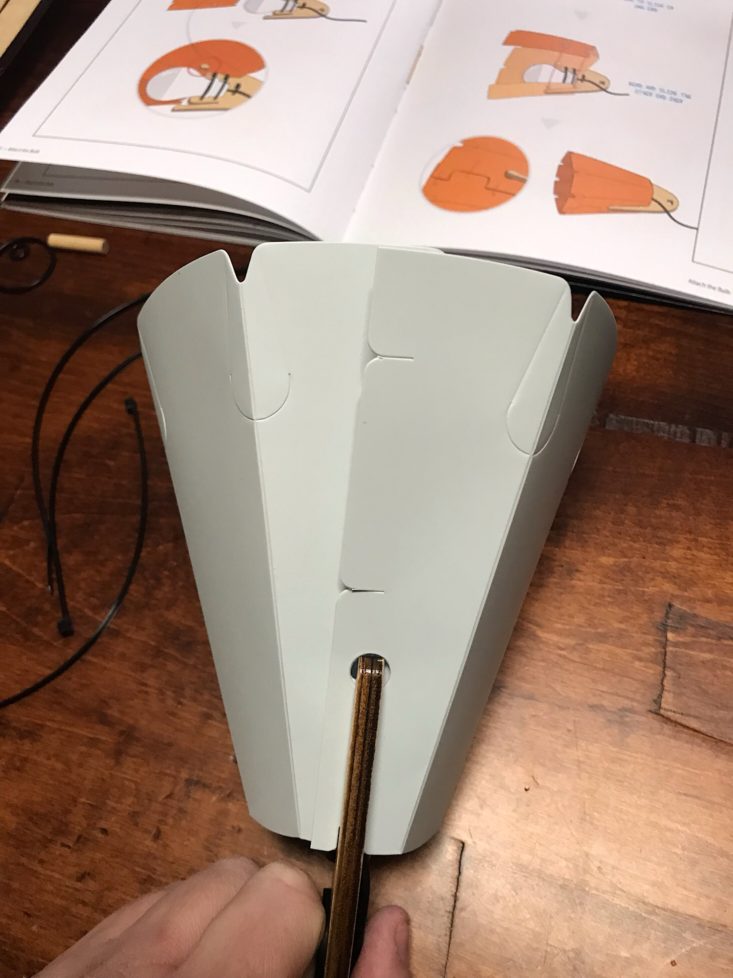
We received three different lampshade options in a blue, orange and this greyish green color that I thought would be nice to put just about anywhere. They also had a "classic" and "fancy" option for the design of our shade which simply involved bending in those little areas you see on the ends for the "fancy" option. I opted for a classic look, but it seems like I could easily change it up at any time! To add the shade I simply folded it on the pre-folded lines and slid the notches of the shade into the matching notches on the wood. Foolproof!
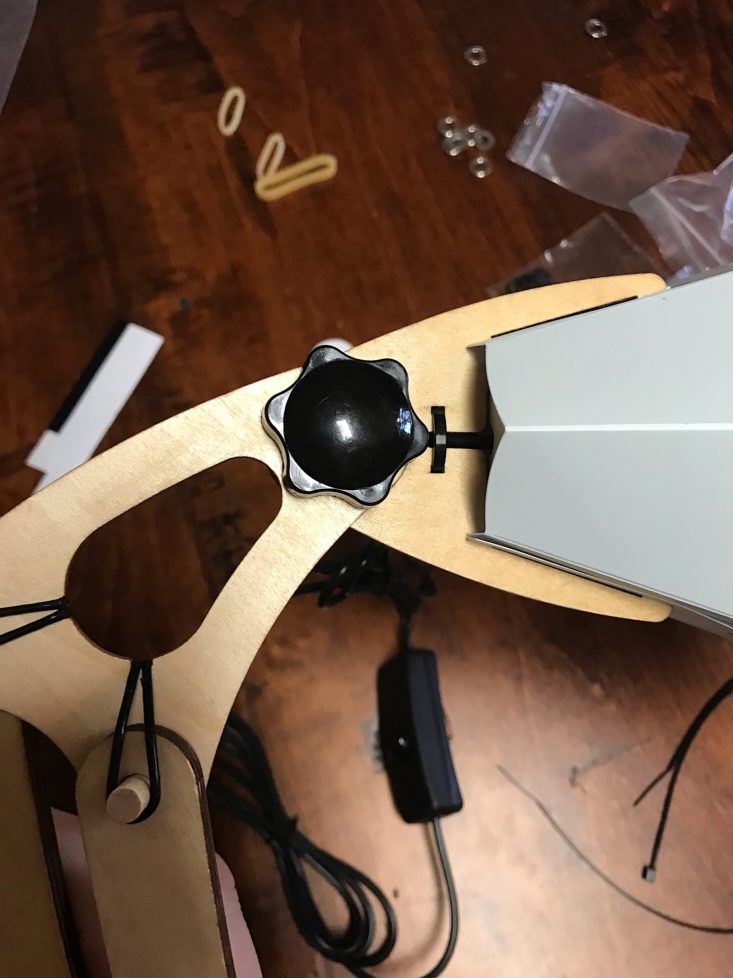
To secure the shade and bulb to our arm there was a screw that fit right into the square on the end of our wooden piece and then a knob that twisted onto the opposite end to hold it in place. We could also loosen it and tighten it as needed to tilt the head of the lamp.

The bulb was attached to a cord which led to a built-in switch followed by more cord and then ending at a USB plug. I secured the top part of cord to the arm with a zip tie and then it was ready to go. Since we have adapters all over our house for various electronics, it was easy to plug it into one of those, but we could have easily used a computer or other power source.


There were helpful pages on how to use the lamp and even a troubleshooting guide.
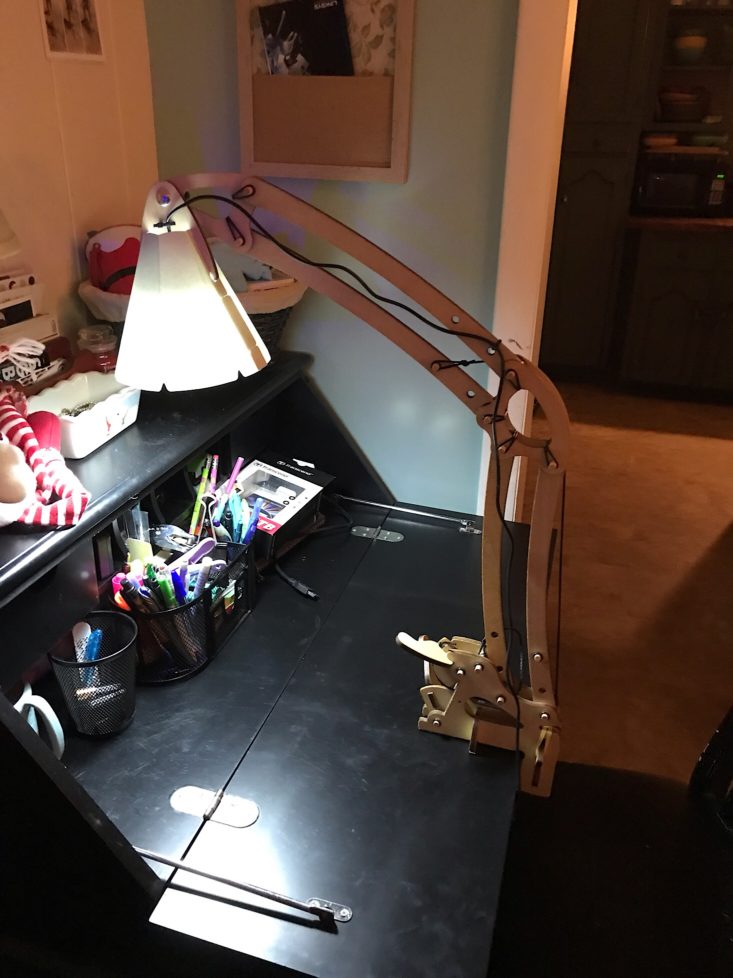
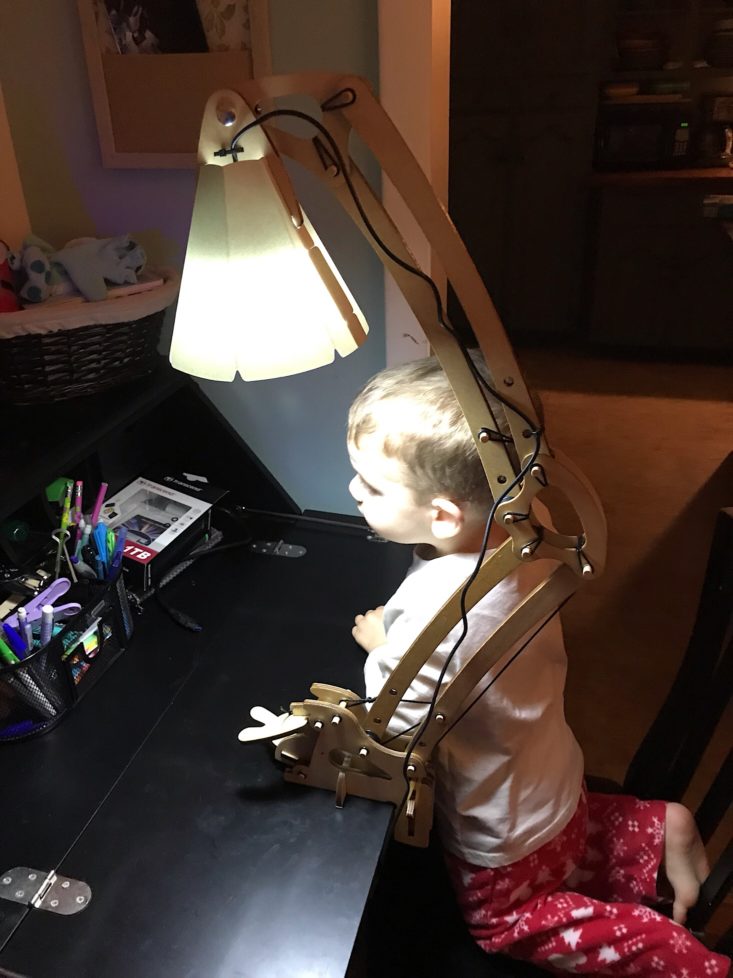
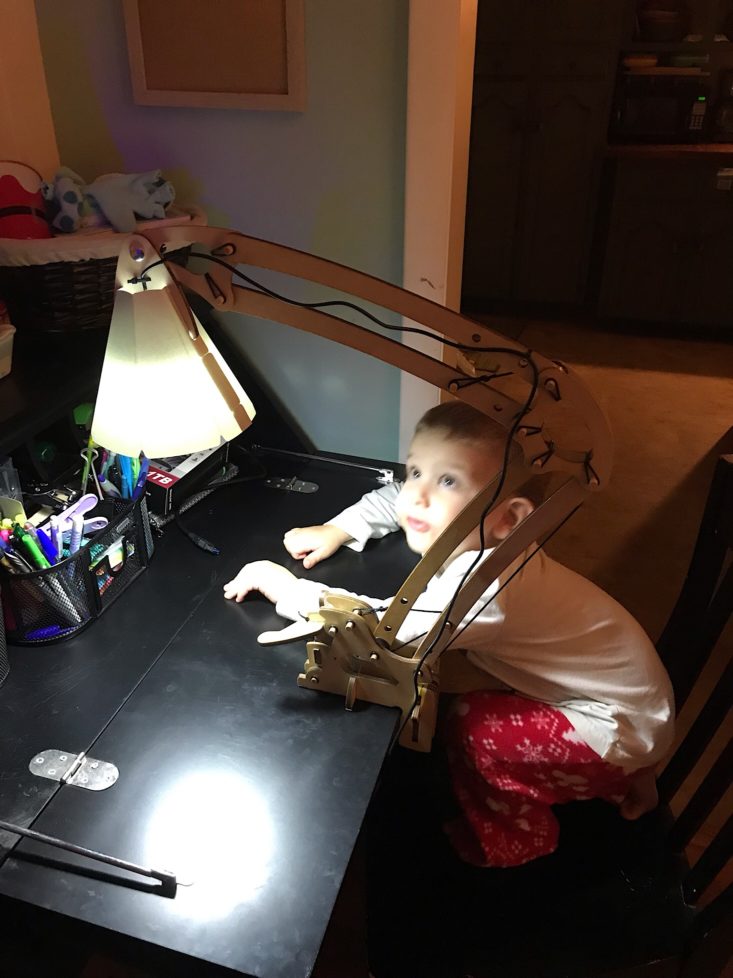
I clamped our lamp to our desk and tried out a few angles. As you can see, my son was pretty interested in how it worked! I love the industrial look of it and how easy it was to achieve different positions for lighting the surface underneath.
I'm operating it with one hand here, but you can see how easy it was to move the levers to change the position of the lamp. There were so many different positions, too which make this lamp an excellent task light!
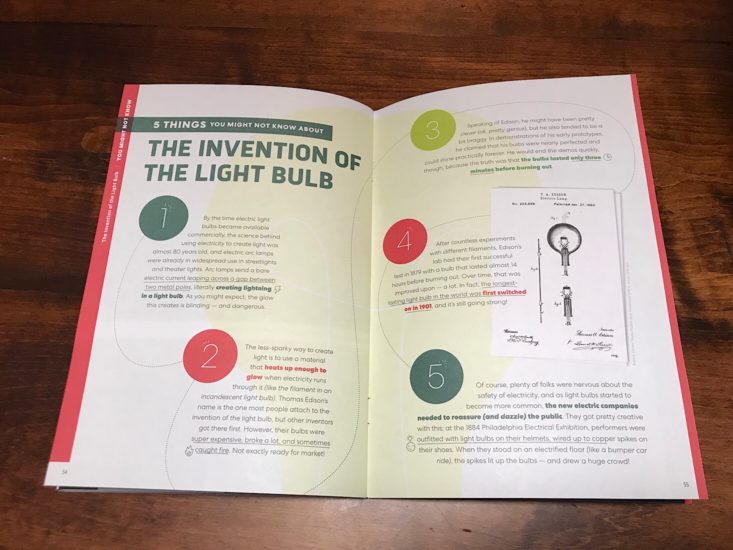

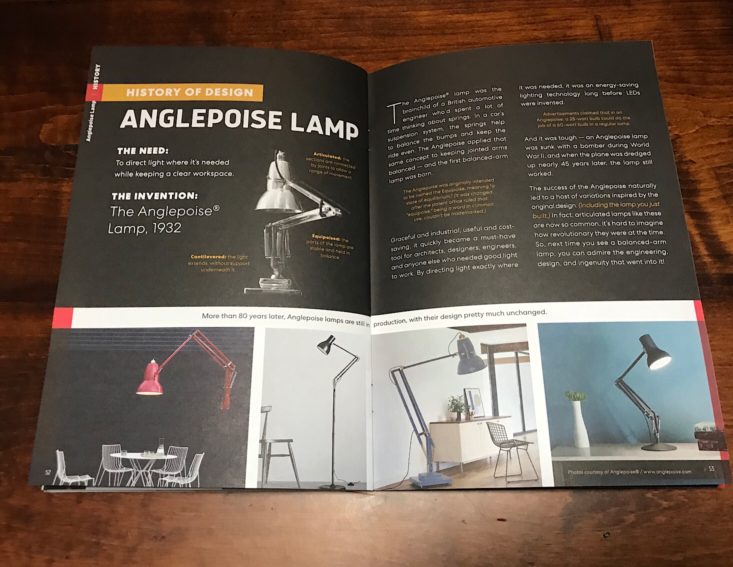
Here are some of the great educational pages that were perfect for reading after the lamp was completed. They shared a lot of information about the design and the science behind it.
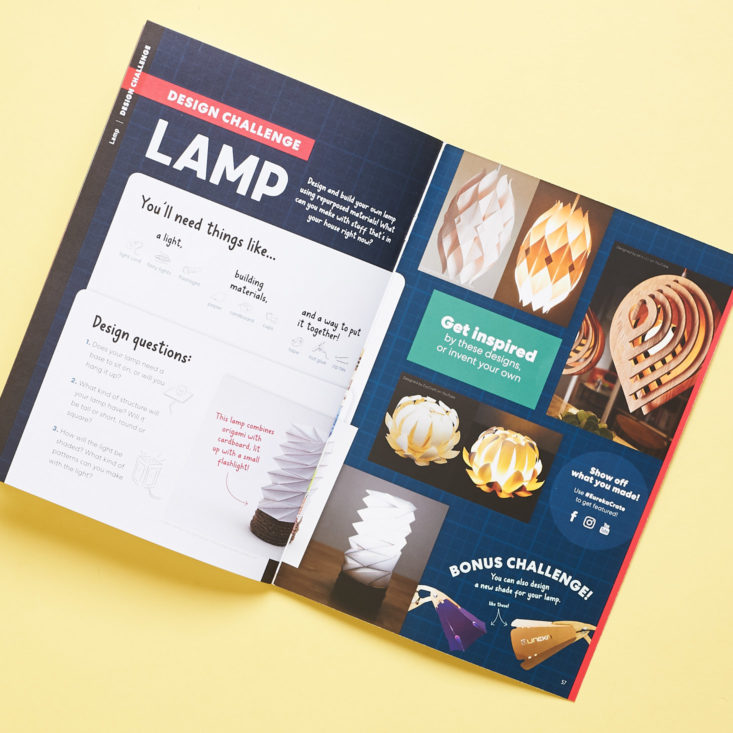
There was even a design challenge page that allows you to explore the topic further and create different styles of lamps using what you learned.
Verdict: This was my first time checking out Eureka Crate and I was impressed with how thoroughly they explored the engineering and science behind the project. I love that I created something that is actually functional and useful, and it definitely gave me a sense of pride at having completed this on my own. My daughter is only 4, but she thought it was awesome that I created this and was proud of me, which is a great lesson in itself - teaching her that she can do things like this on her own one day! Plus, the lamp actually held up to her using it and she has been successfully operating it by herself since I set it up at our desk! This felt like such a complete lesson and it would be an amazing addition to a homeschool classroom or as extra practice for someone who might be struggling in the areas of STEAM. It might give them a confidence boost in their abilities since this approach is so hands-on and easy to follow with its step-by-step instructions. This would also be a great gift for anyone who just likes to tinker and create on their own. This box costs $29.95 + free shipping and I think that's a pretty great value for such a thorough lesson and a fully functional product!
To Wrap Up:
Can you still get this box if you sign up today? It is possible you might get this crate, but it is not a guarantee. From KiwiCo:
Crates are assigned each month based on availability and your crate history - not all subscribers receive the same theme each month.
LIMITED TIME DEAL: Save 60% off your first month! No coupon required, just use this link
Check out all of our KiwiCo reviews and more boxes for ages 14+ in the Tweens Subscription Box List!
Keep Track of Your Subscriptions: Add this box to your subscription list or wishlist!
What do you think of Eureka Crate?

Please do not enter your email address in the Name field or in the comment content. Your email address will not be published. Required fields are marked *. Remember to post with kindness and respect. Comments with offensive language, cruelness to others, etc will not be approved. See our full comment policy here.