

Maker Crate is a subscription box for kids ages 14+ from the parent company KiwiCo. Each box includes high-quality materials and instructions to explore new art techniques and complete hands-on arts and crafts projects.
This review is of KiwiCo's Maker Crate (for ages 14+), which costs $29.95 per month.
This box was sent to us at no cost for review. (Check out our editorial guidelines to learn more about how we review boxes.)
First Impressions
Wow- this box came with so many supplies! It definitely looked like it included everything I would need for making paper mache creations.
What's Inside This Box

1 of 5


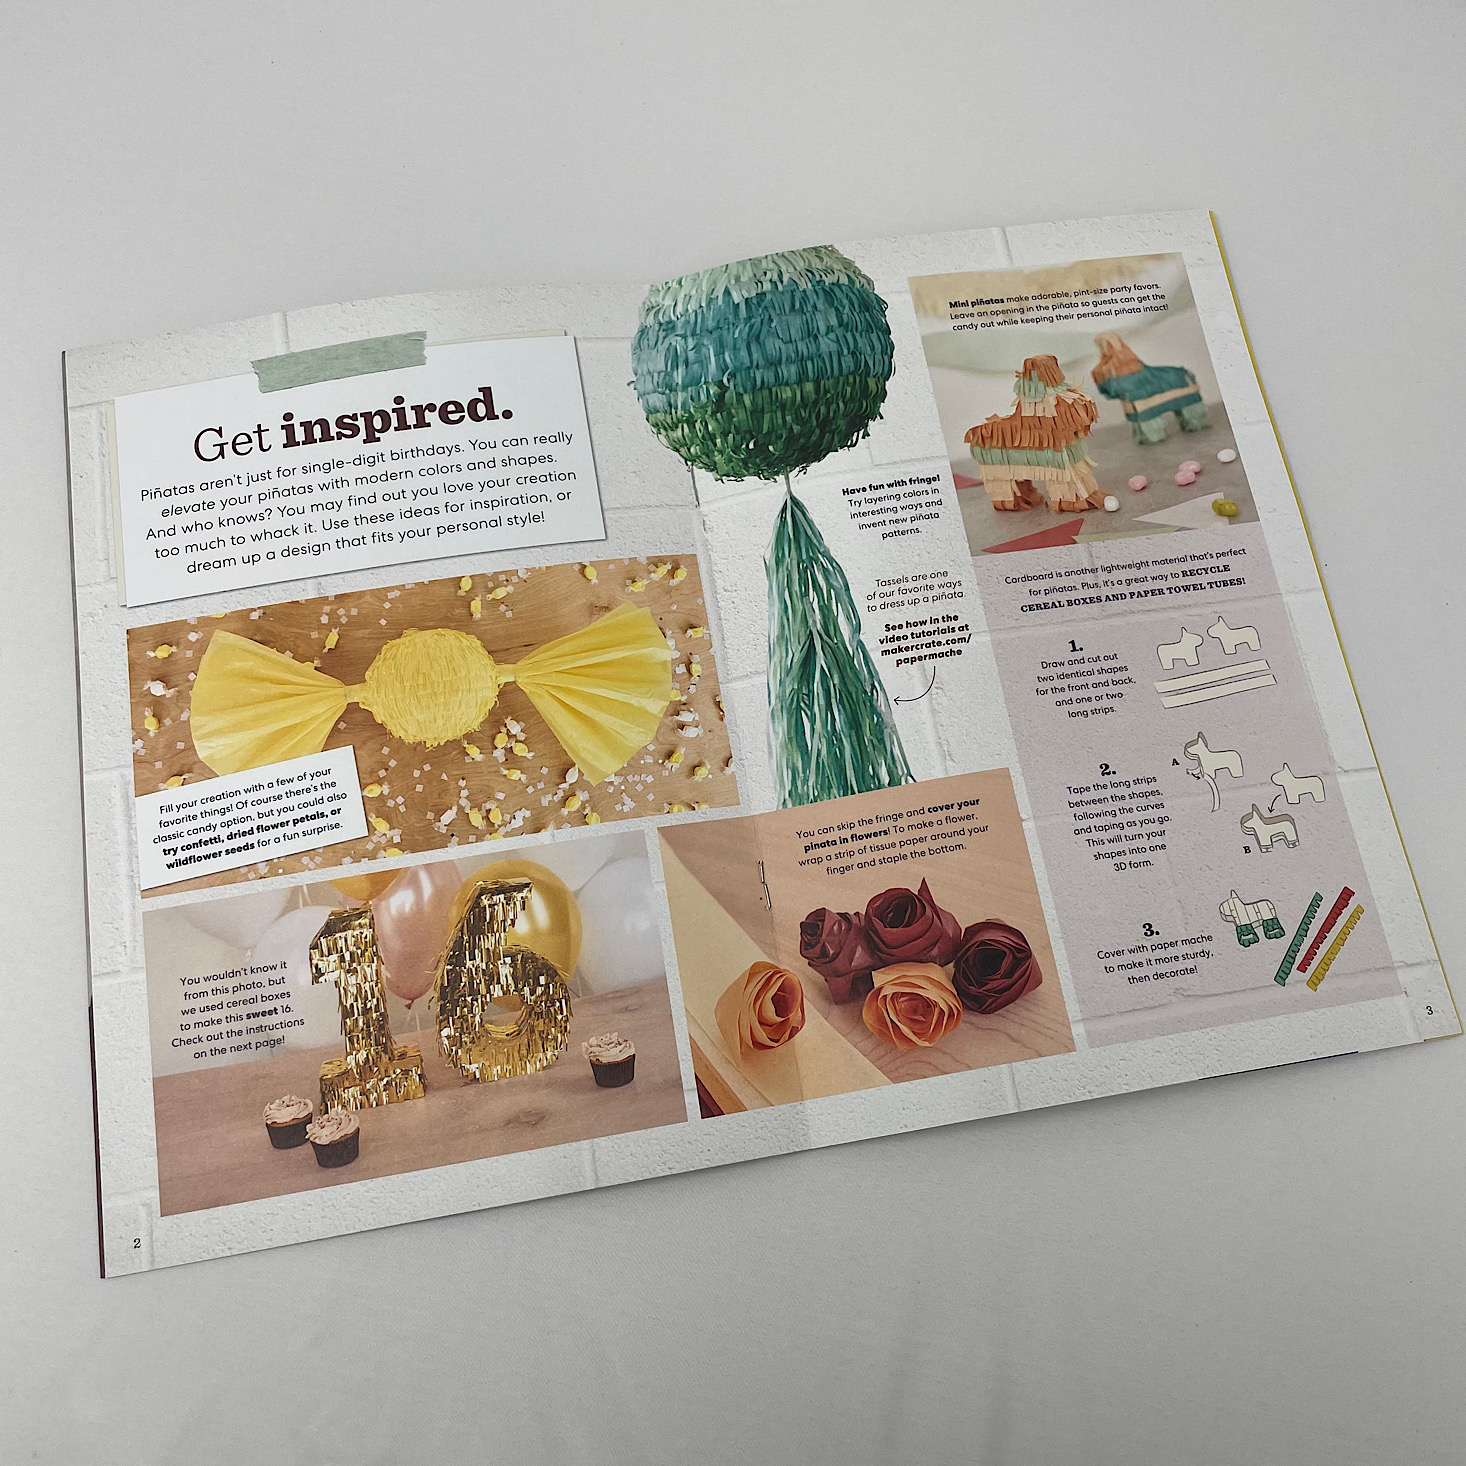
Inside your box, you will receive a Maker’s Guide which provides the QR code for accessing your instructions. The pages had some information about the history of paper mache and a few ideas to inspire us!


1 of 3

Since these projects are a bit more complicated than the boxes for their younger ages, they provide online video tutorials for you to watch. While I definitely appreciate this, I'm also a big fan of having the instructions laid out in front of me on paper so I do miss that aspect. However, the videos themselves are very helpful and include some great tips.


1 of 2
The website also includes this guide to what is in your crate, so you can locate everything and ensure you have all the pieces you need. Now let's check out the materials we received:


1 of 3

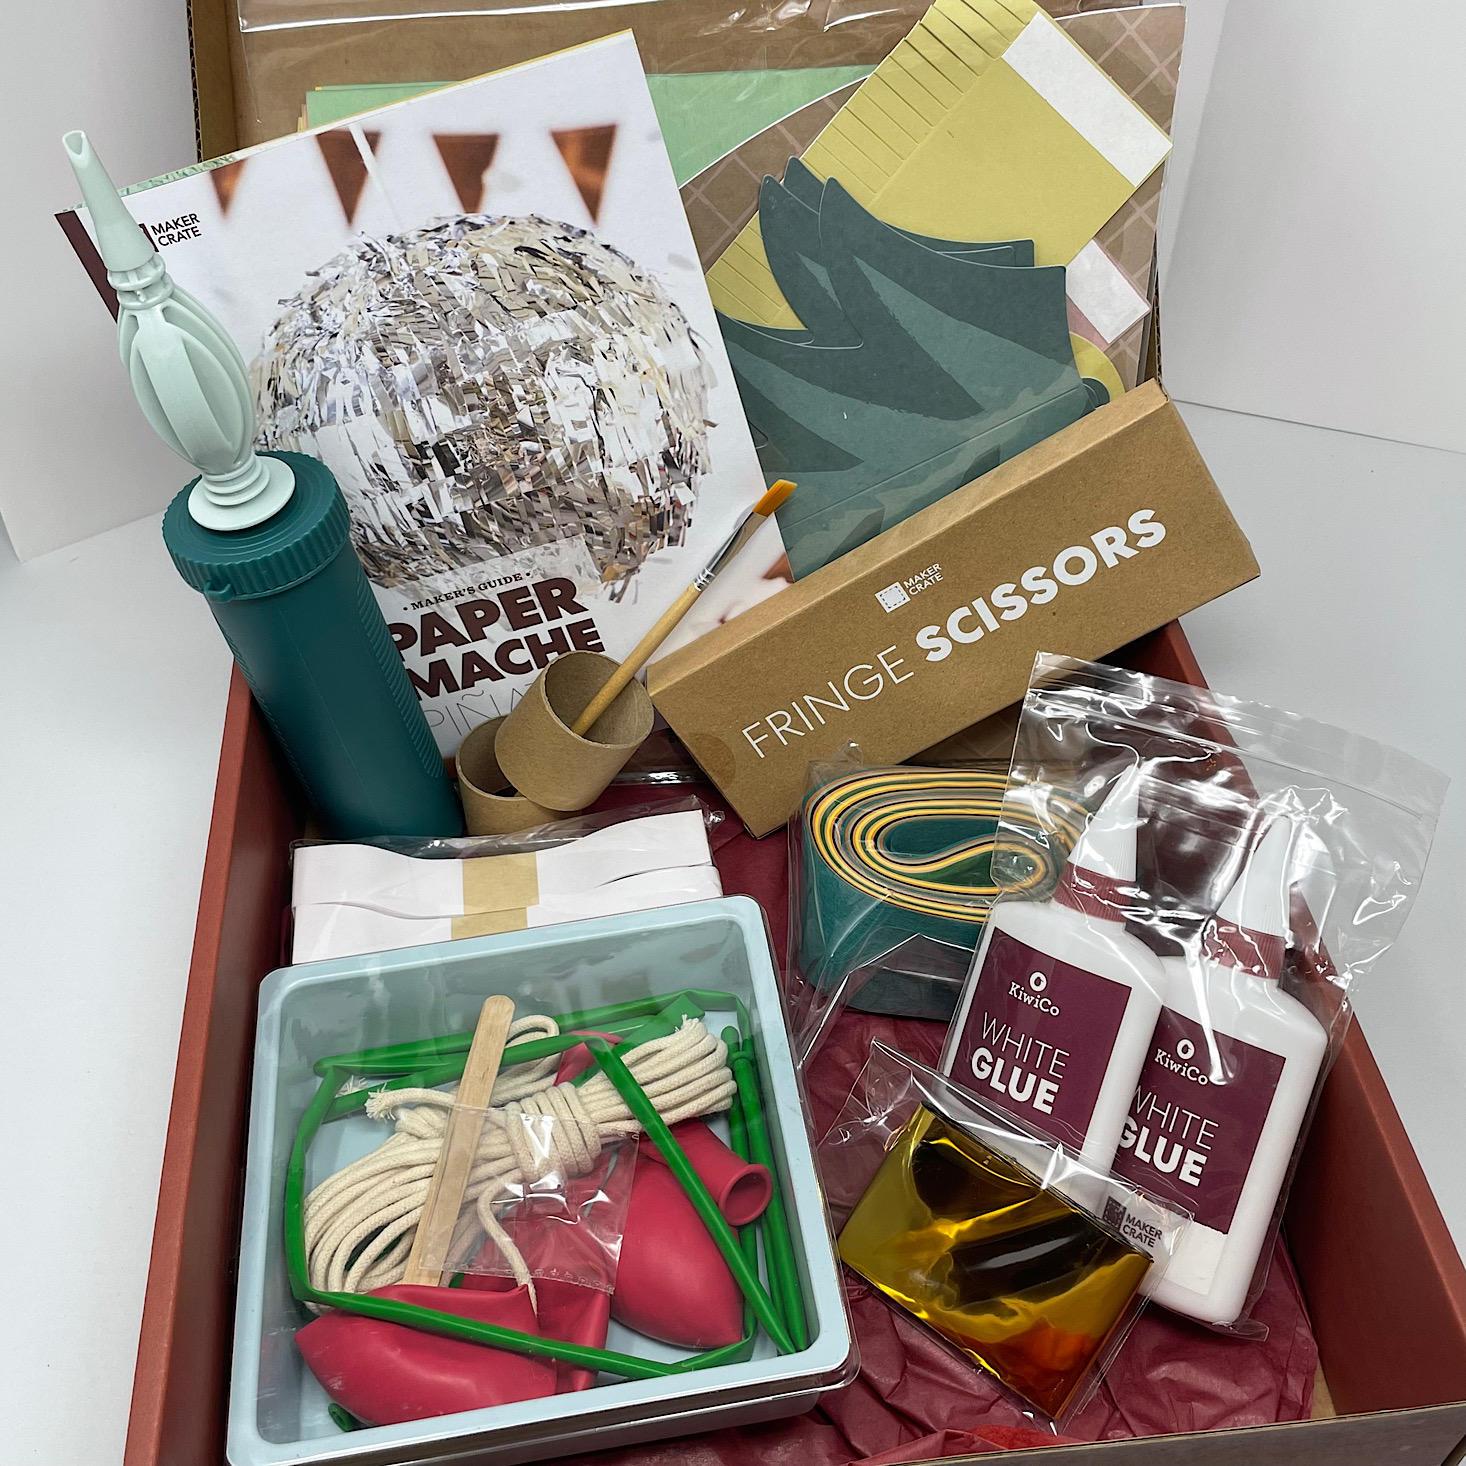
We received some mess mats, large sheets of tissue paper, strips of tissue and newspaper, some cardboard tubes, two bottles of glue, a plastic tray, a pushpin, and a paintbrush. Tucked inside our tray were some balloons and rope.


1 of 4


There were some paper shapes for accenting our pinatas, some fringe scissors (which looked cool!), and a balloon pump which I thought was a very considerate inclusion! It looks like we had just about everything we needed with the exception of water.
Now, let's get to our project!
Part 1: Pick a Pinata Design
1 of 2
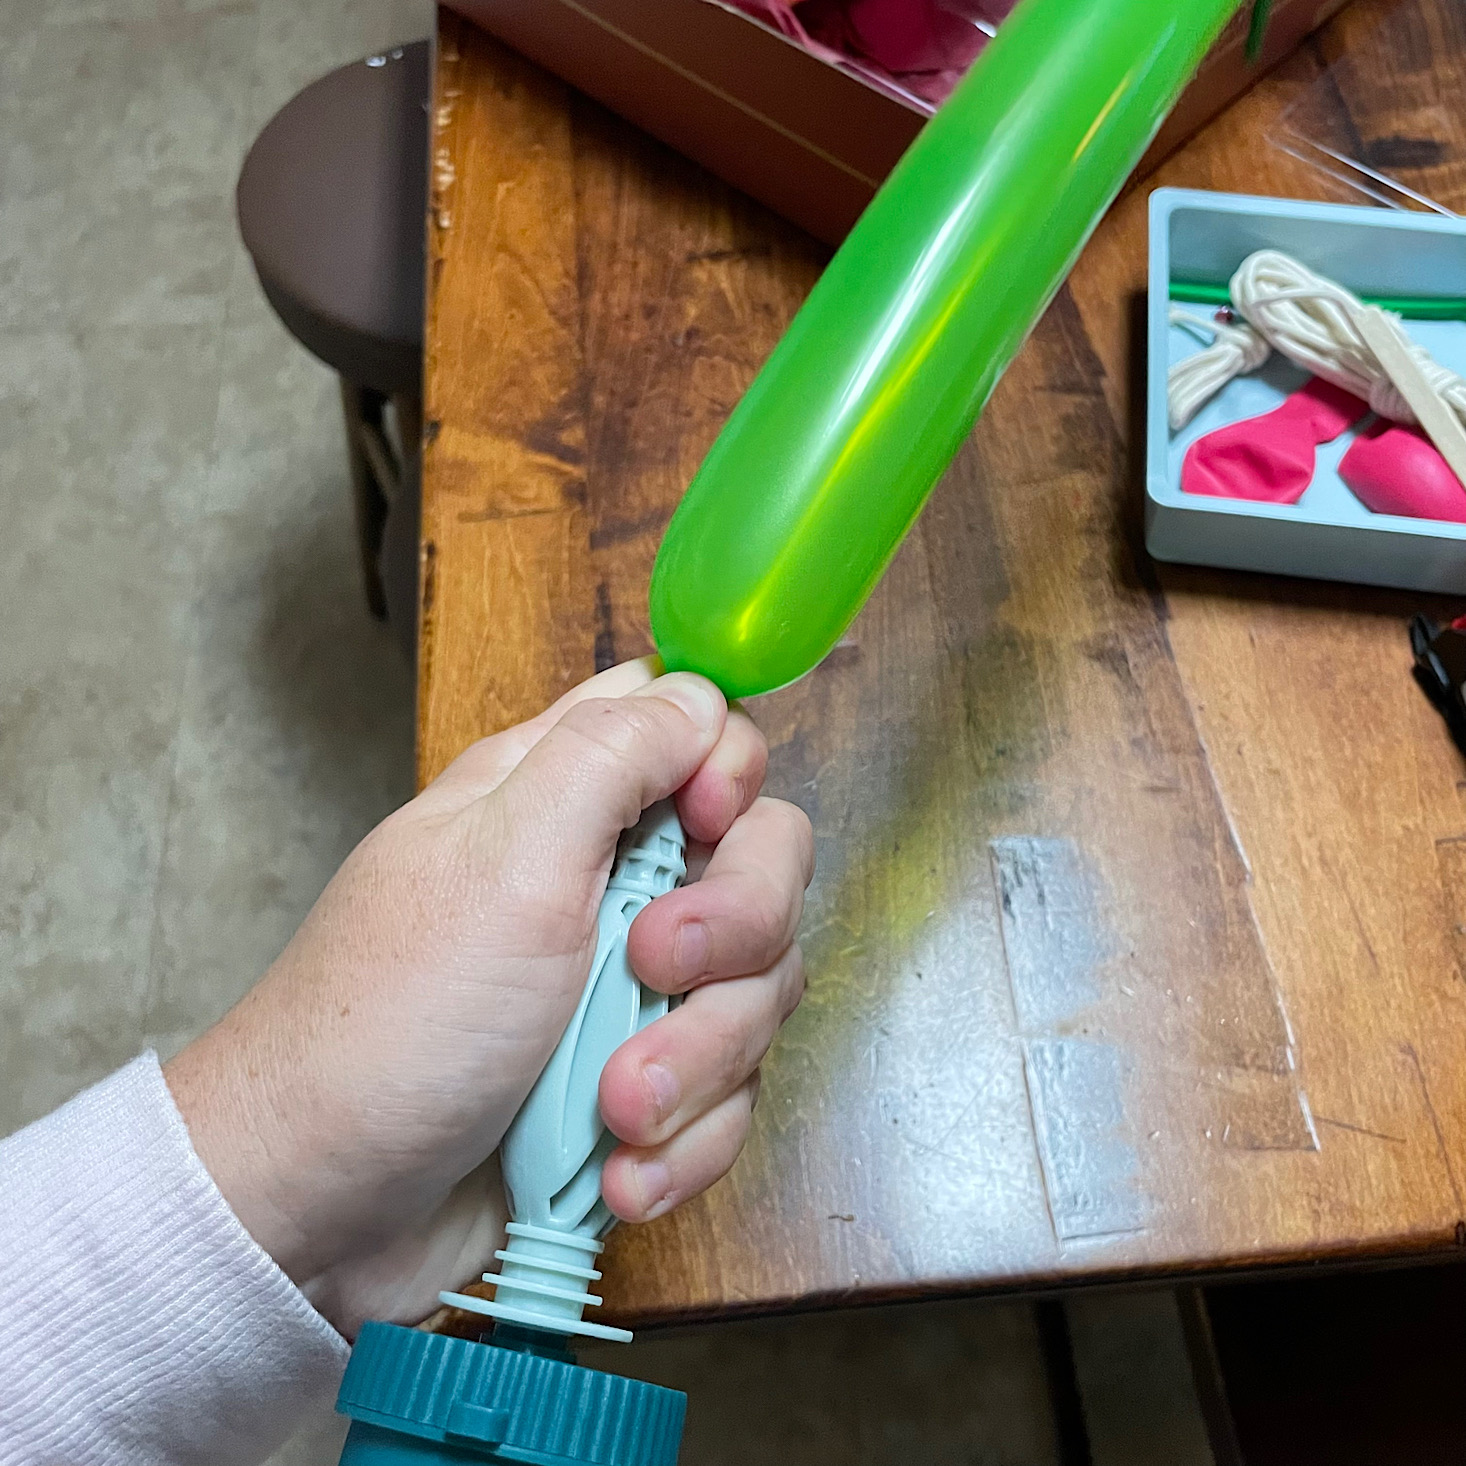
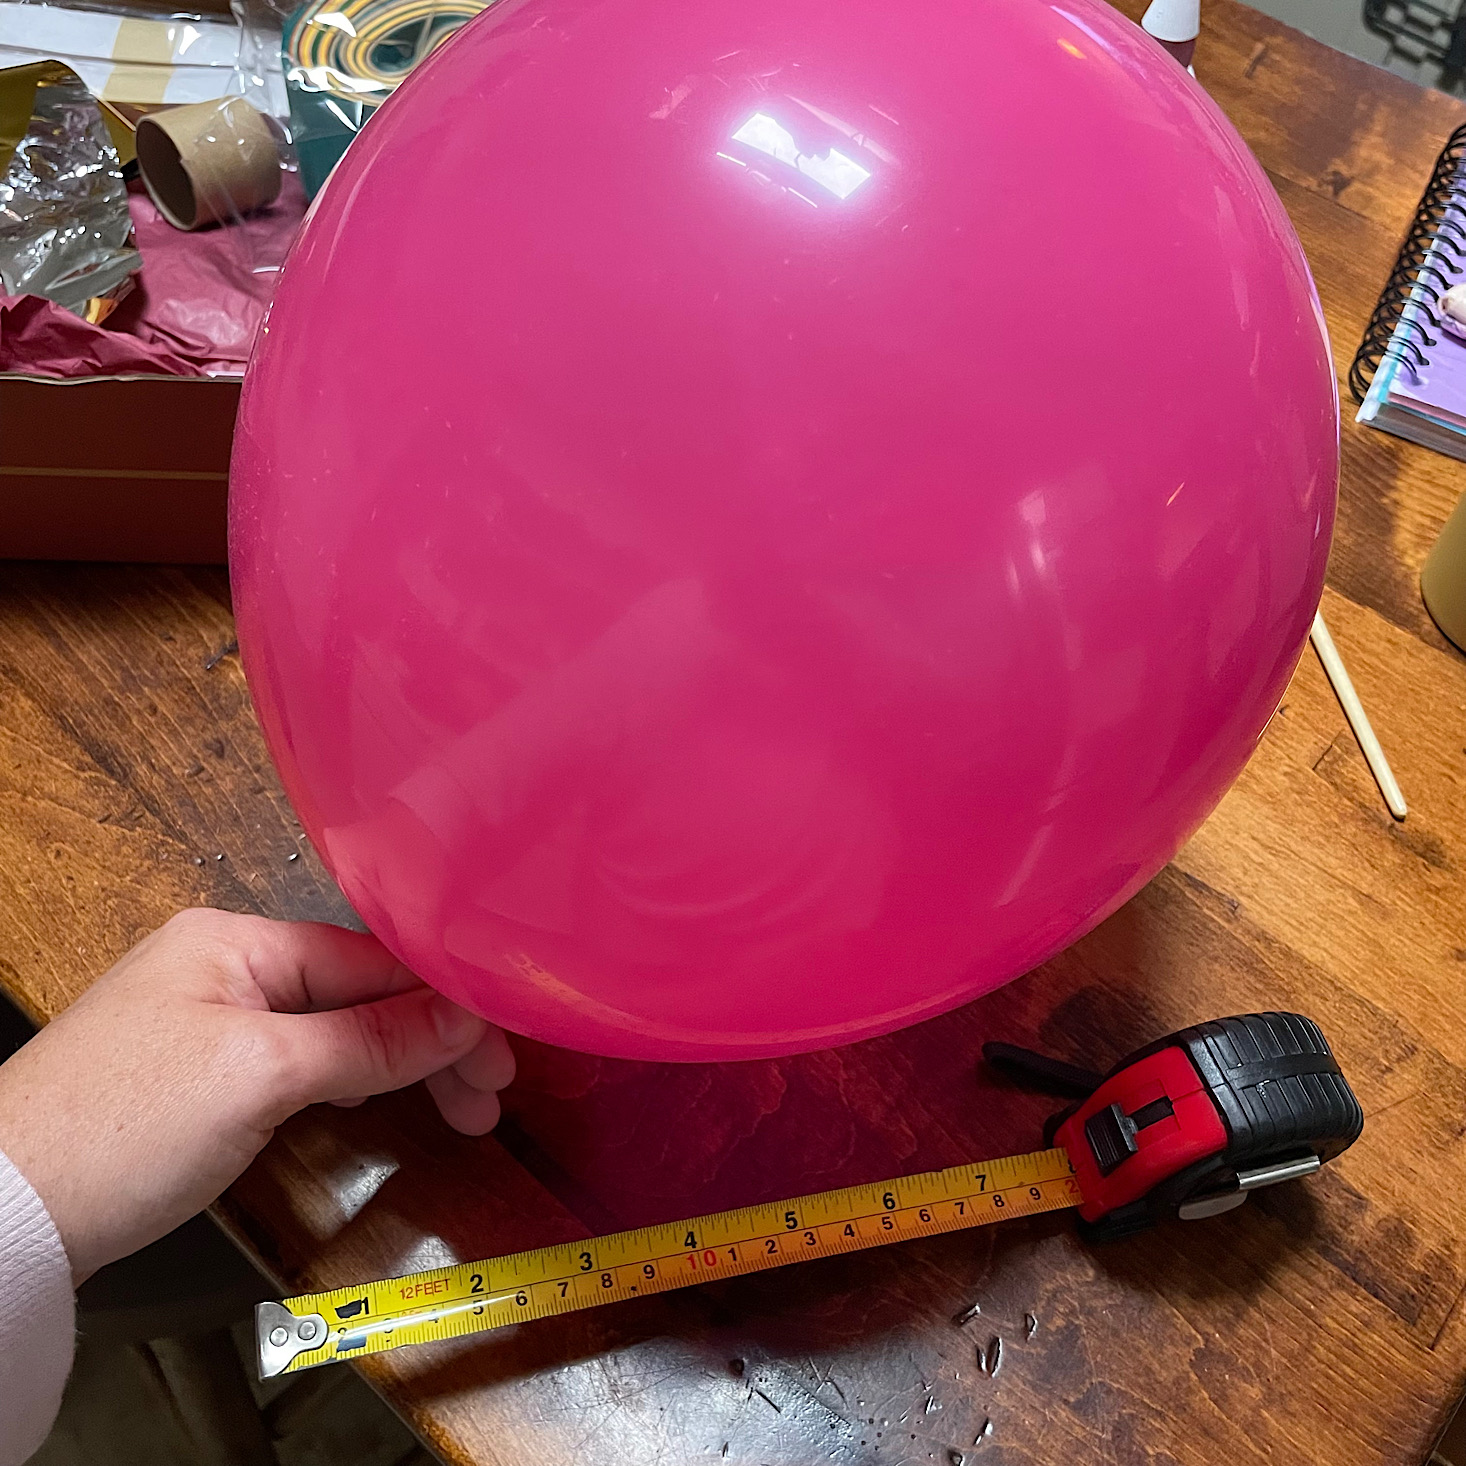
The first step was actually super easy. I just had to pick my pinata design (a pineapple) and then blow up my balloon the old-fashioned way. If you were using one of the long balloons, the balloon pump they included was super helpful for blowing that up!
Part 2: Paper Mache Your Pinata


1 of 5

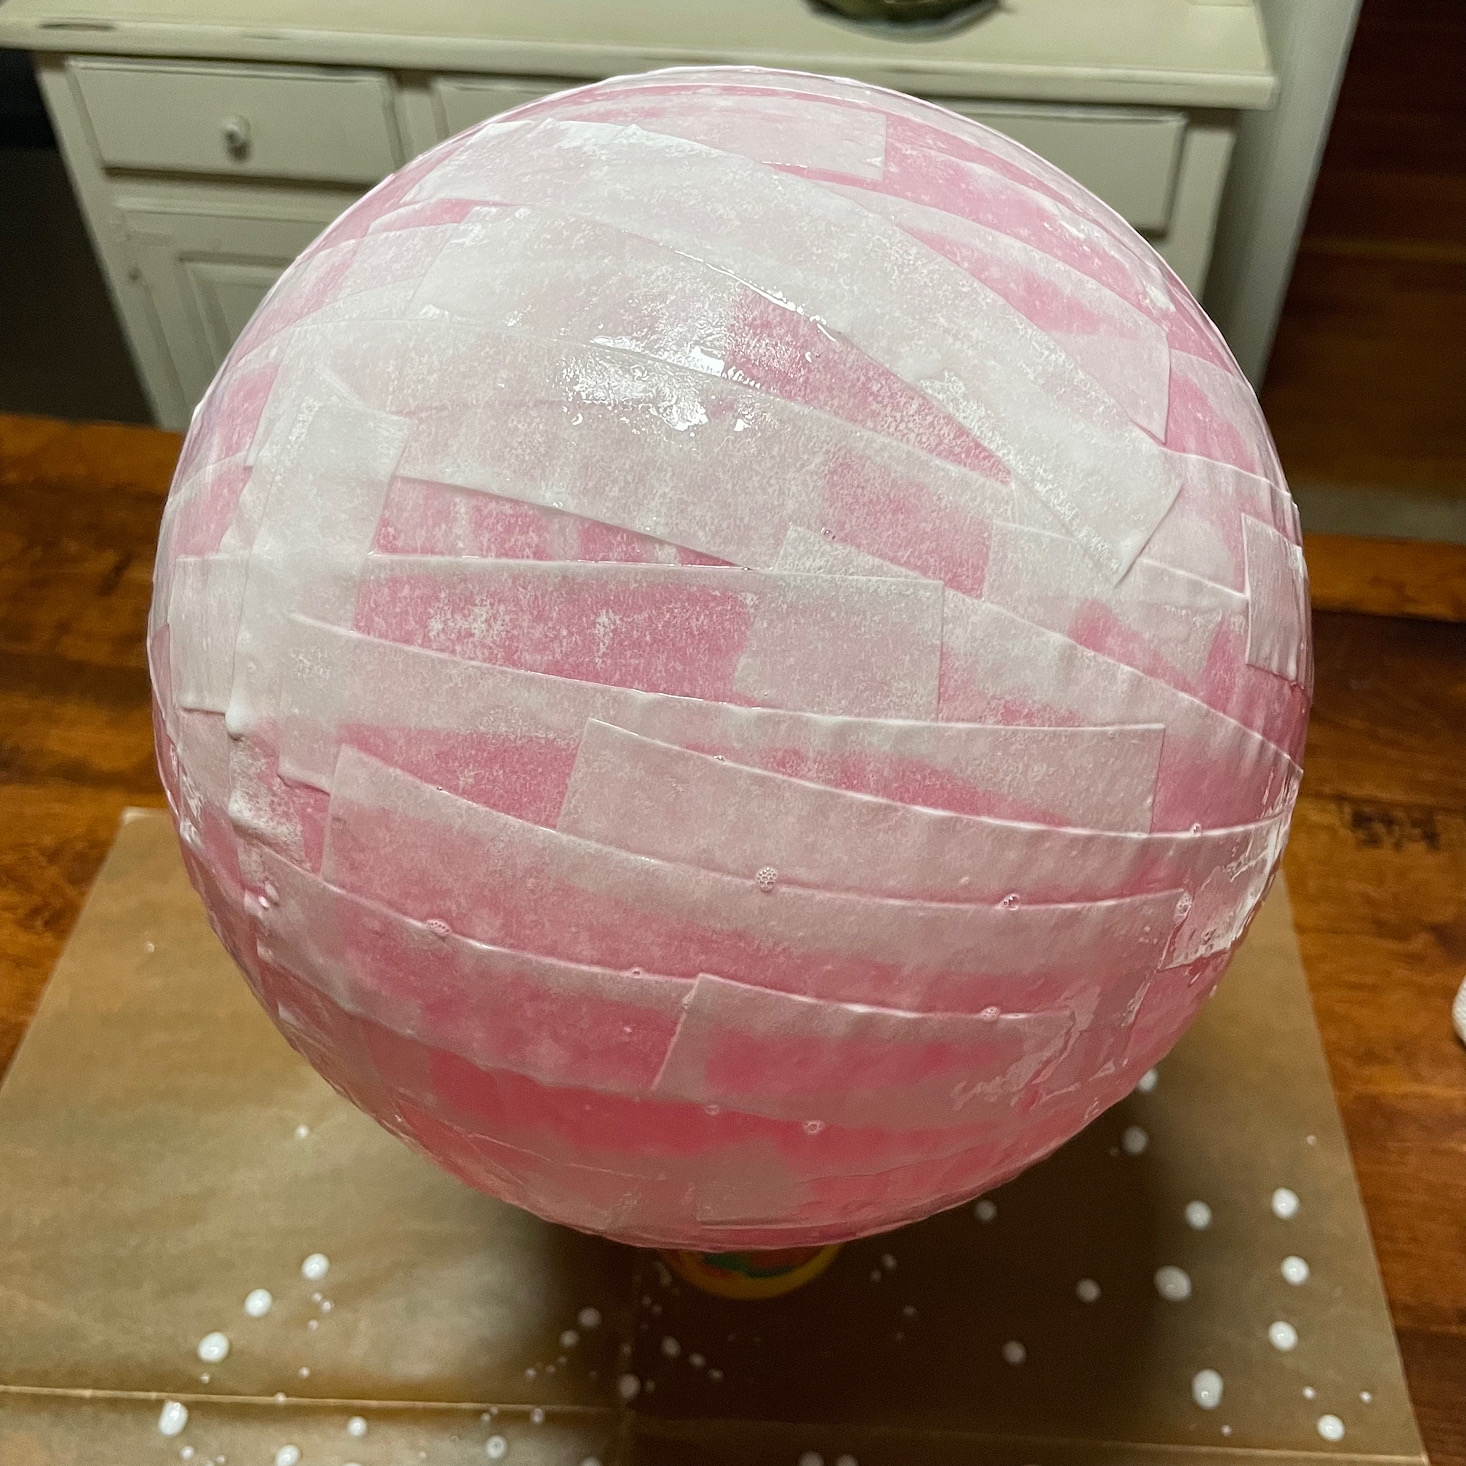

The next part is where it got messy. In case you aren't familiar with paper mache, it is simply layering paper strips that have been dipped in glue everywhere. The first step was to add some glue to our tray and mix it with water. Then I dipped a paper strip into the mixture, ran it through my fingers to remove the excess glue, and started covering my balloon making sure to overlap my pieces and not leave too many gaps. I did a total of three layers making sure that each layer was dry before beginning the next one.


1 of 4
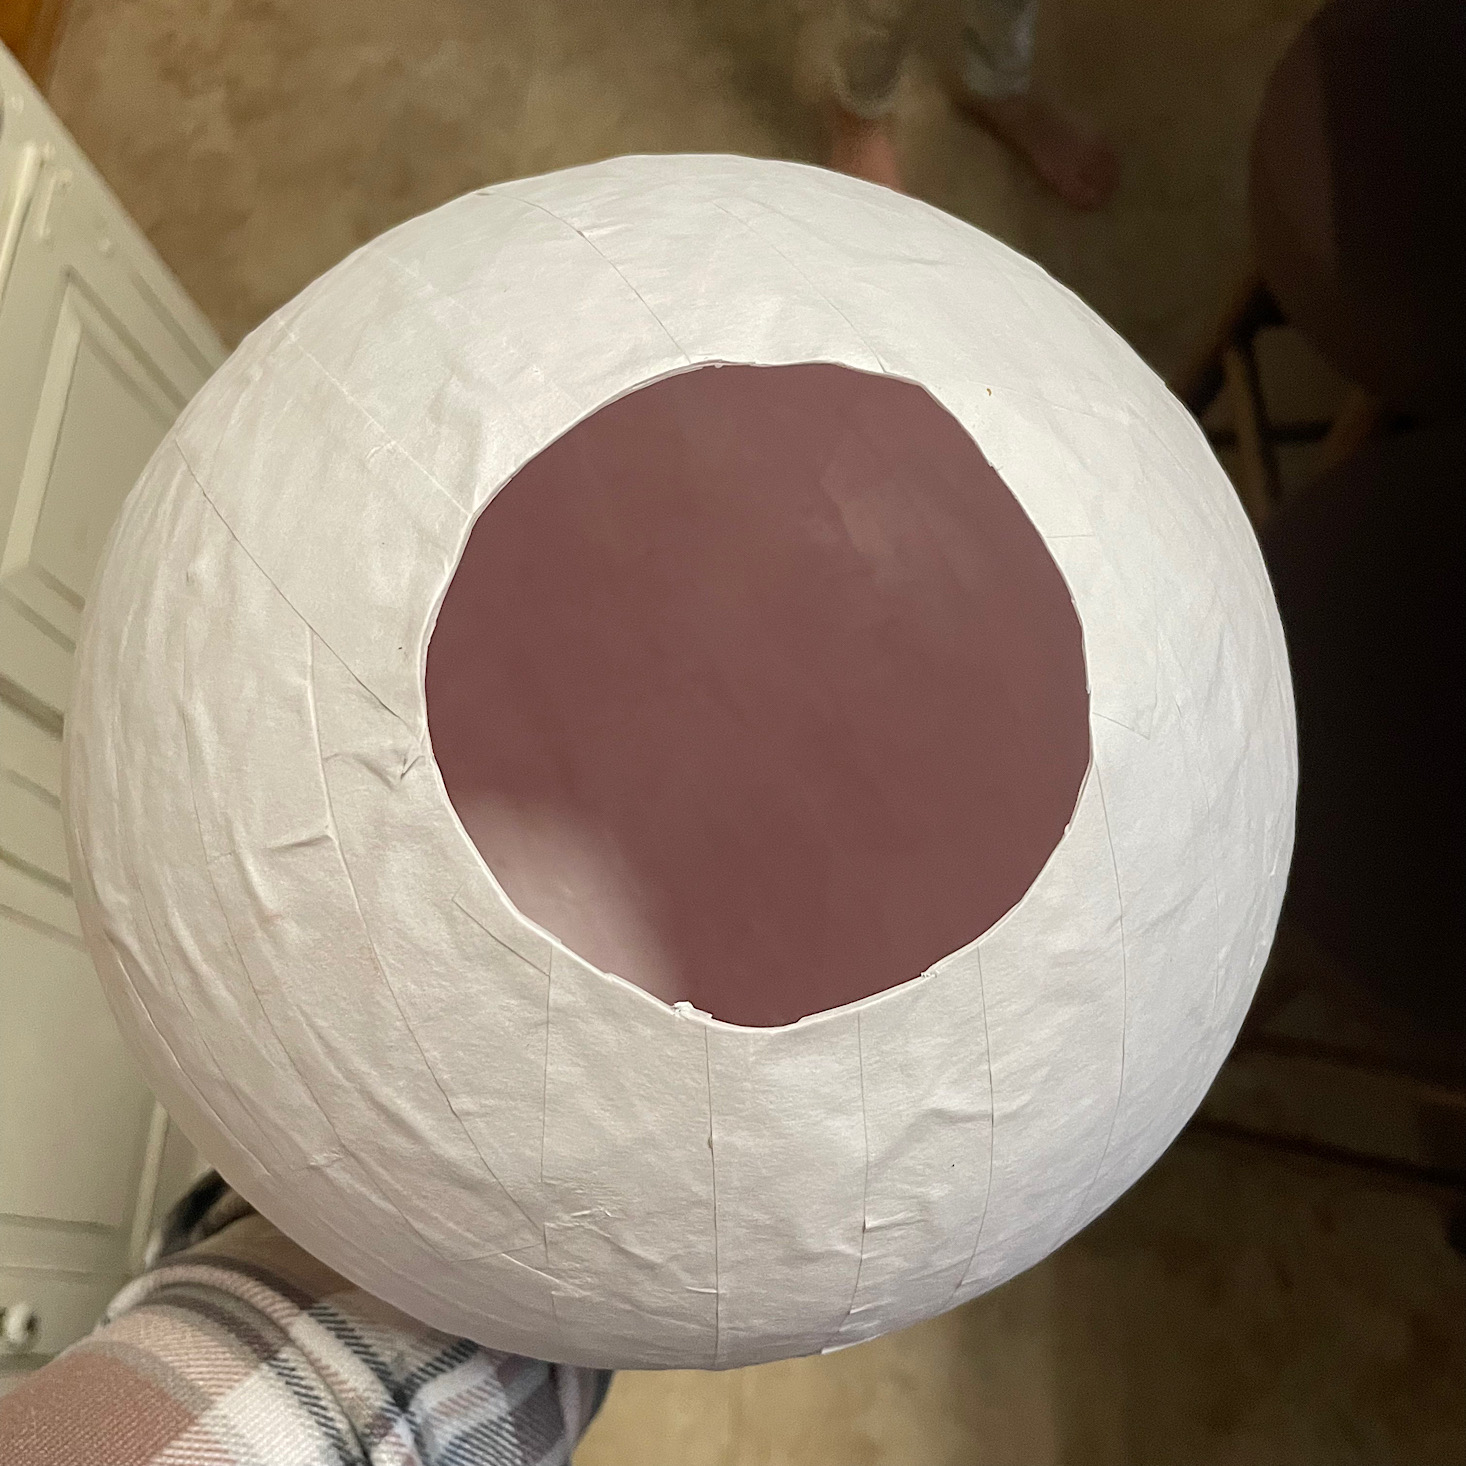
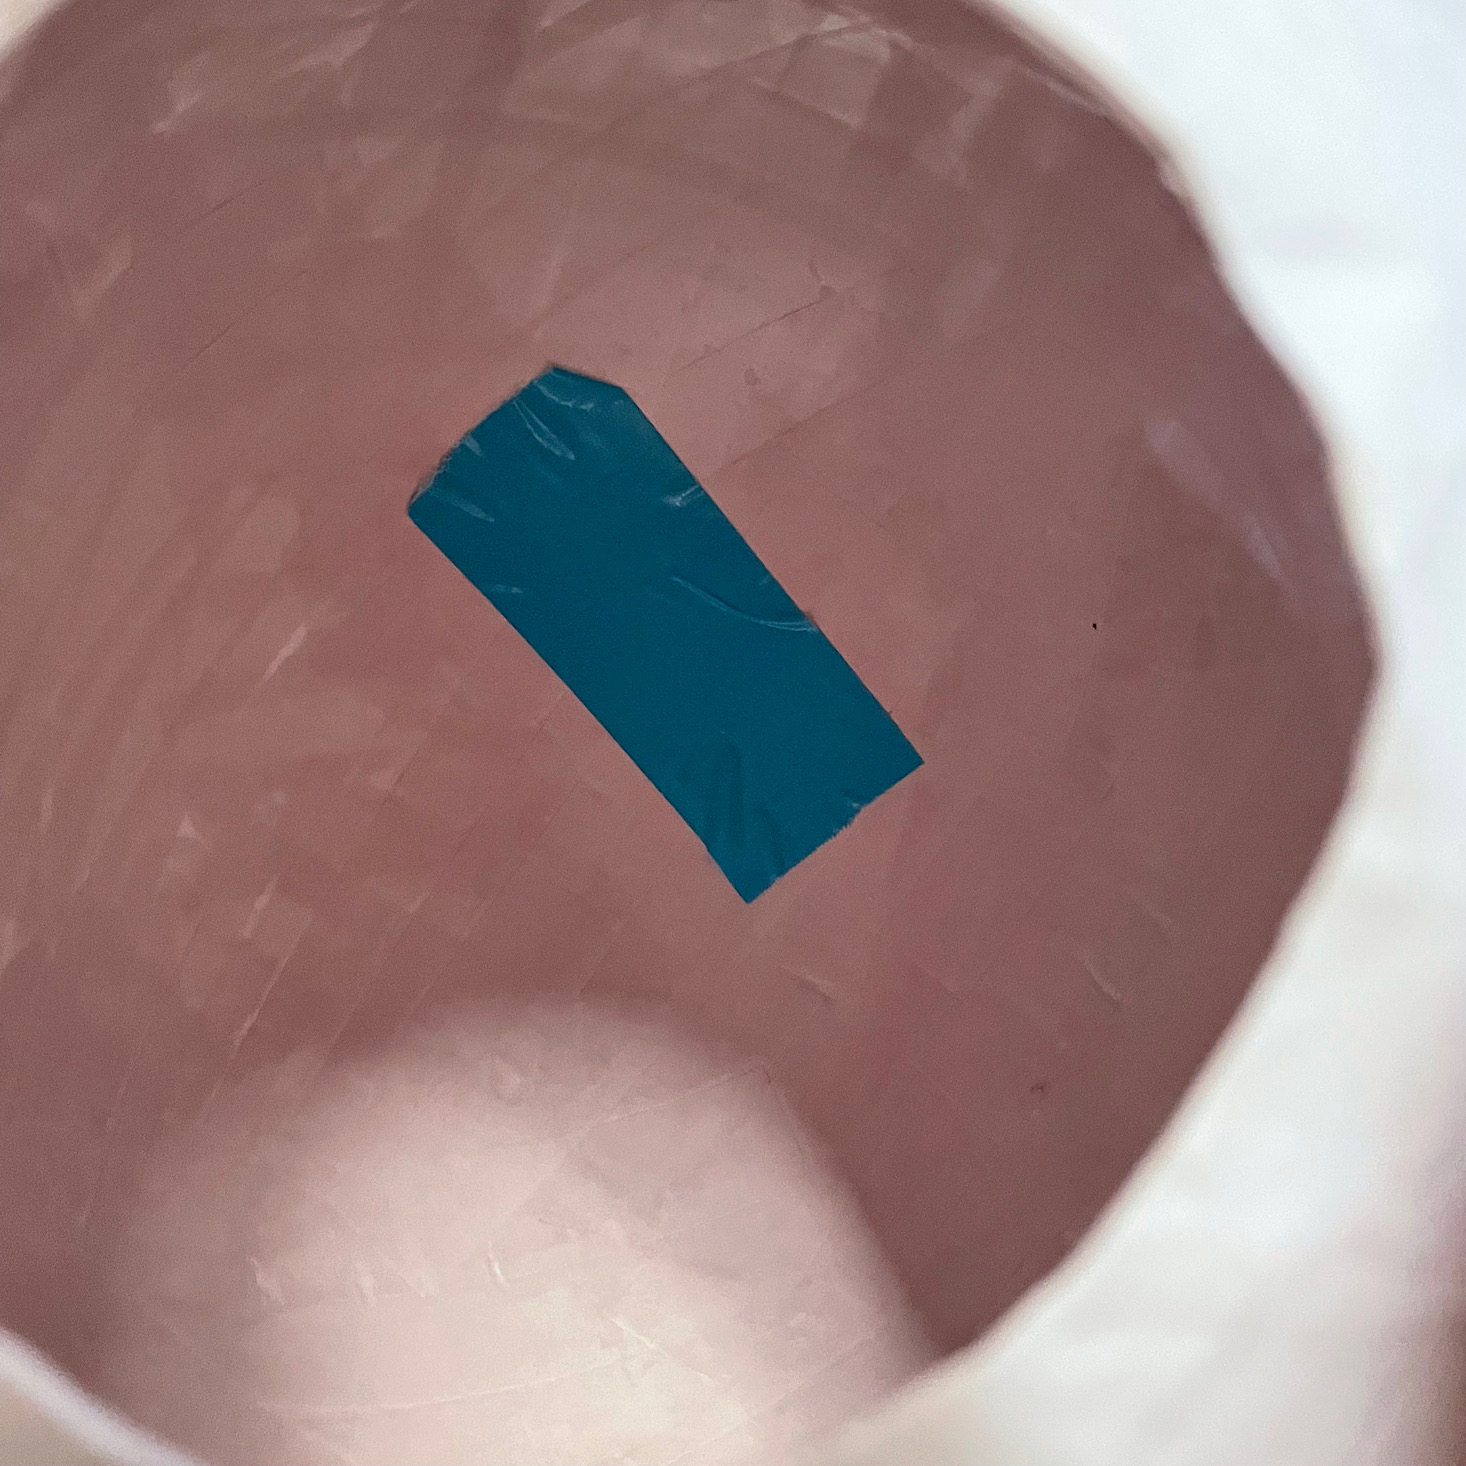
Next, I used the balloon pump to mark two dots on the end of my pinata, then I popped the balloon and removed it once deflated. I then cut open the hole a little more so that I could add a piece of duct tape underneath the marks to reinforce it before poking holes into it. Then I added the string and tied it so that the pinata could be hung up.

Lastly, I filled it with some goodies! These were for my daughter's birthday party and we filled it about halfway with somewhat heavy items. Then I used more paper mache to close the hole back up. I was a little worried about how it would hold up, but so far, so good!
Part 3: Decorate Your Pinata

1 of 2
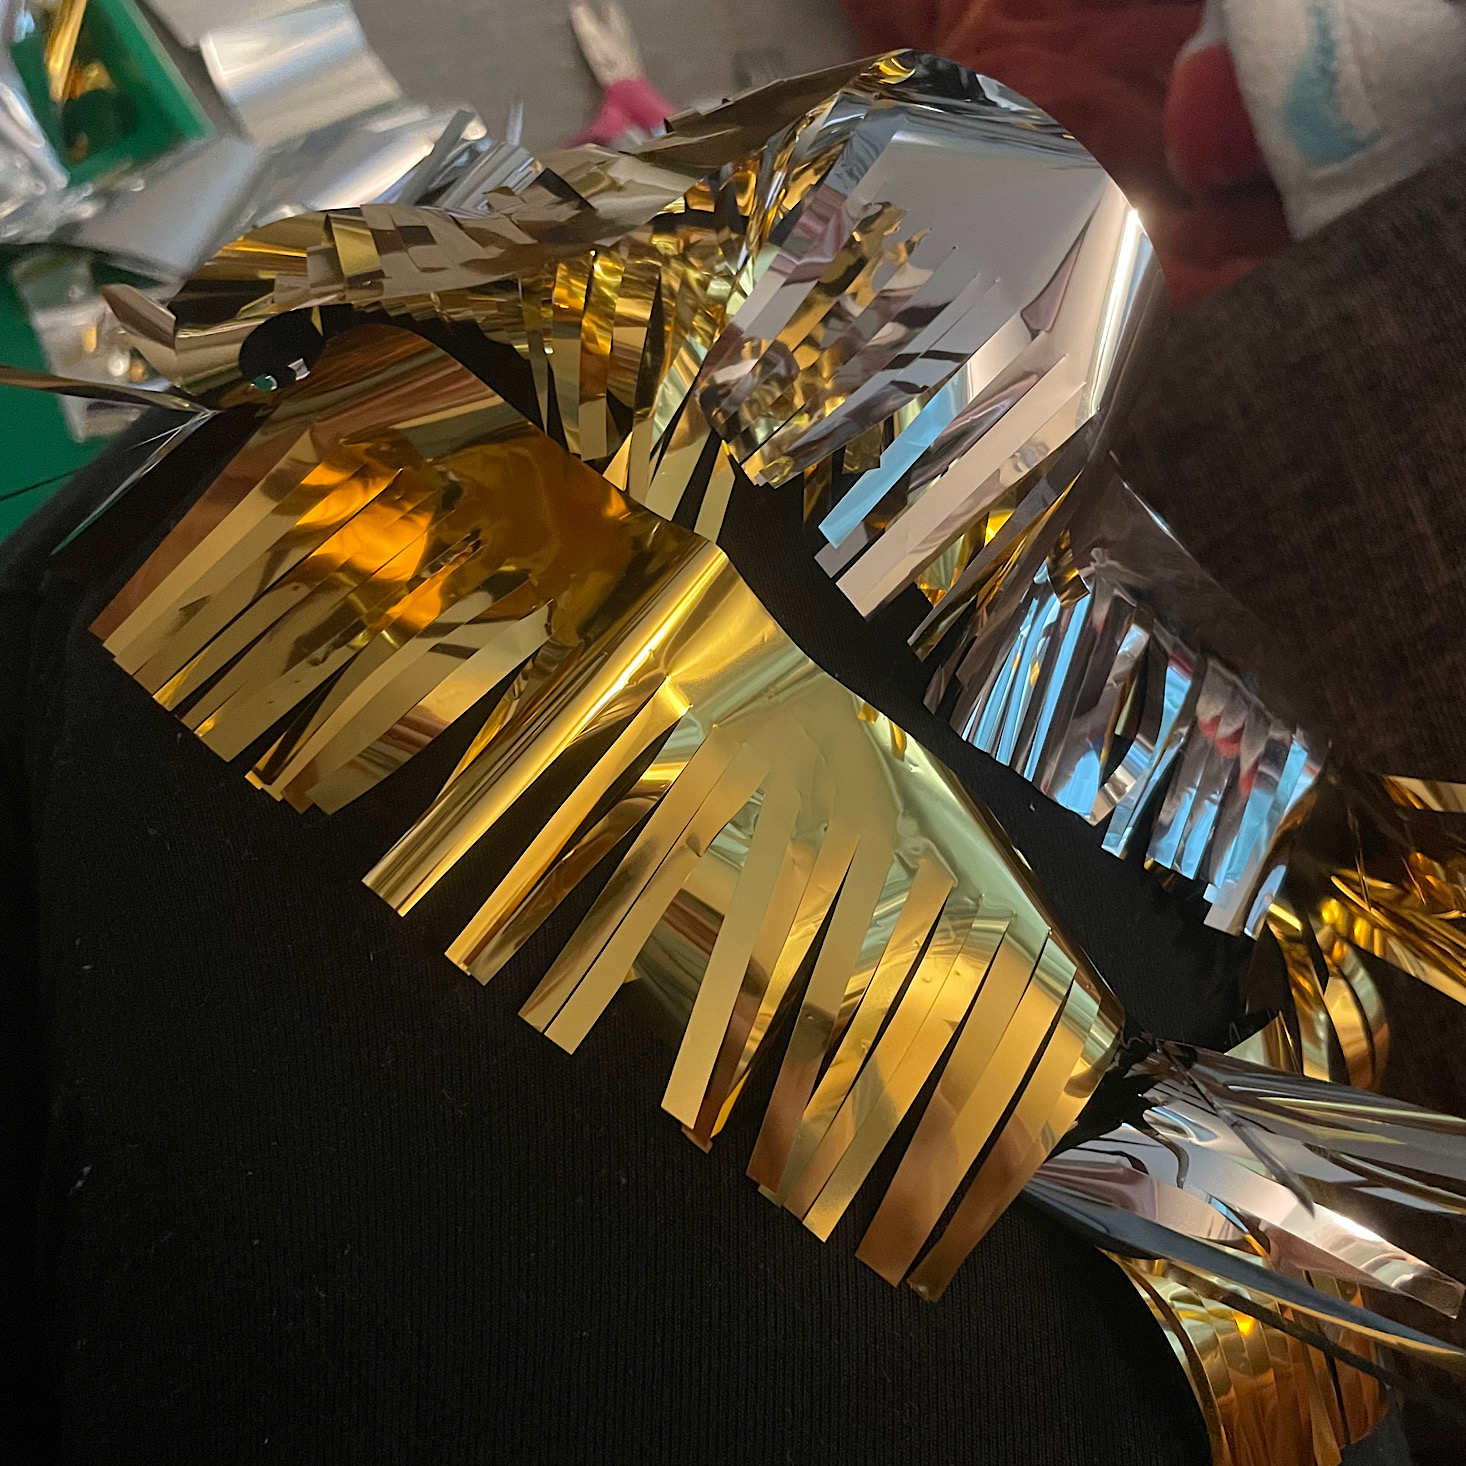
Now it was time to decorate our pineapple! My daughter opted for the gold strips of paper and while the fringe scissors worked wonderfully (so fun and we will be using them all the time!), the material was a little difficult to work with! I did my best, applying the fringe pieces in layers starting at the bottom and working my way up while the pinata was upside down so that any white areas would be covered with fringe when it was flipped.


1 of 3

Once my balloon was covered, the last step was to add the top of the pineapple. This was super easy and just involved folding the pieces and sticking them together using the adhesive backings. Then it went right on top using the adhesive tabs and it was done.
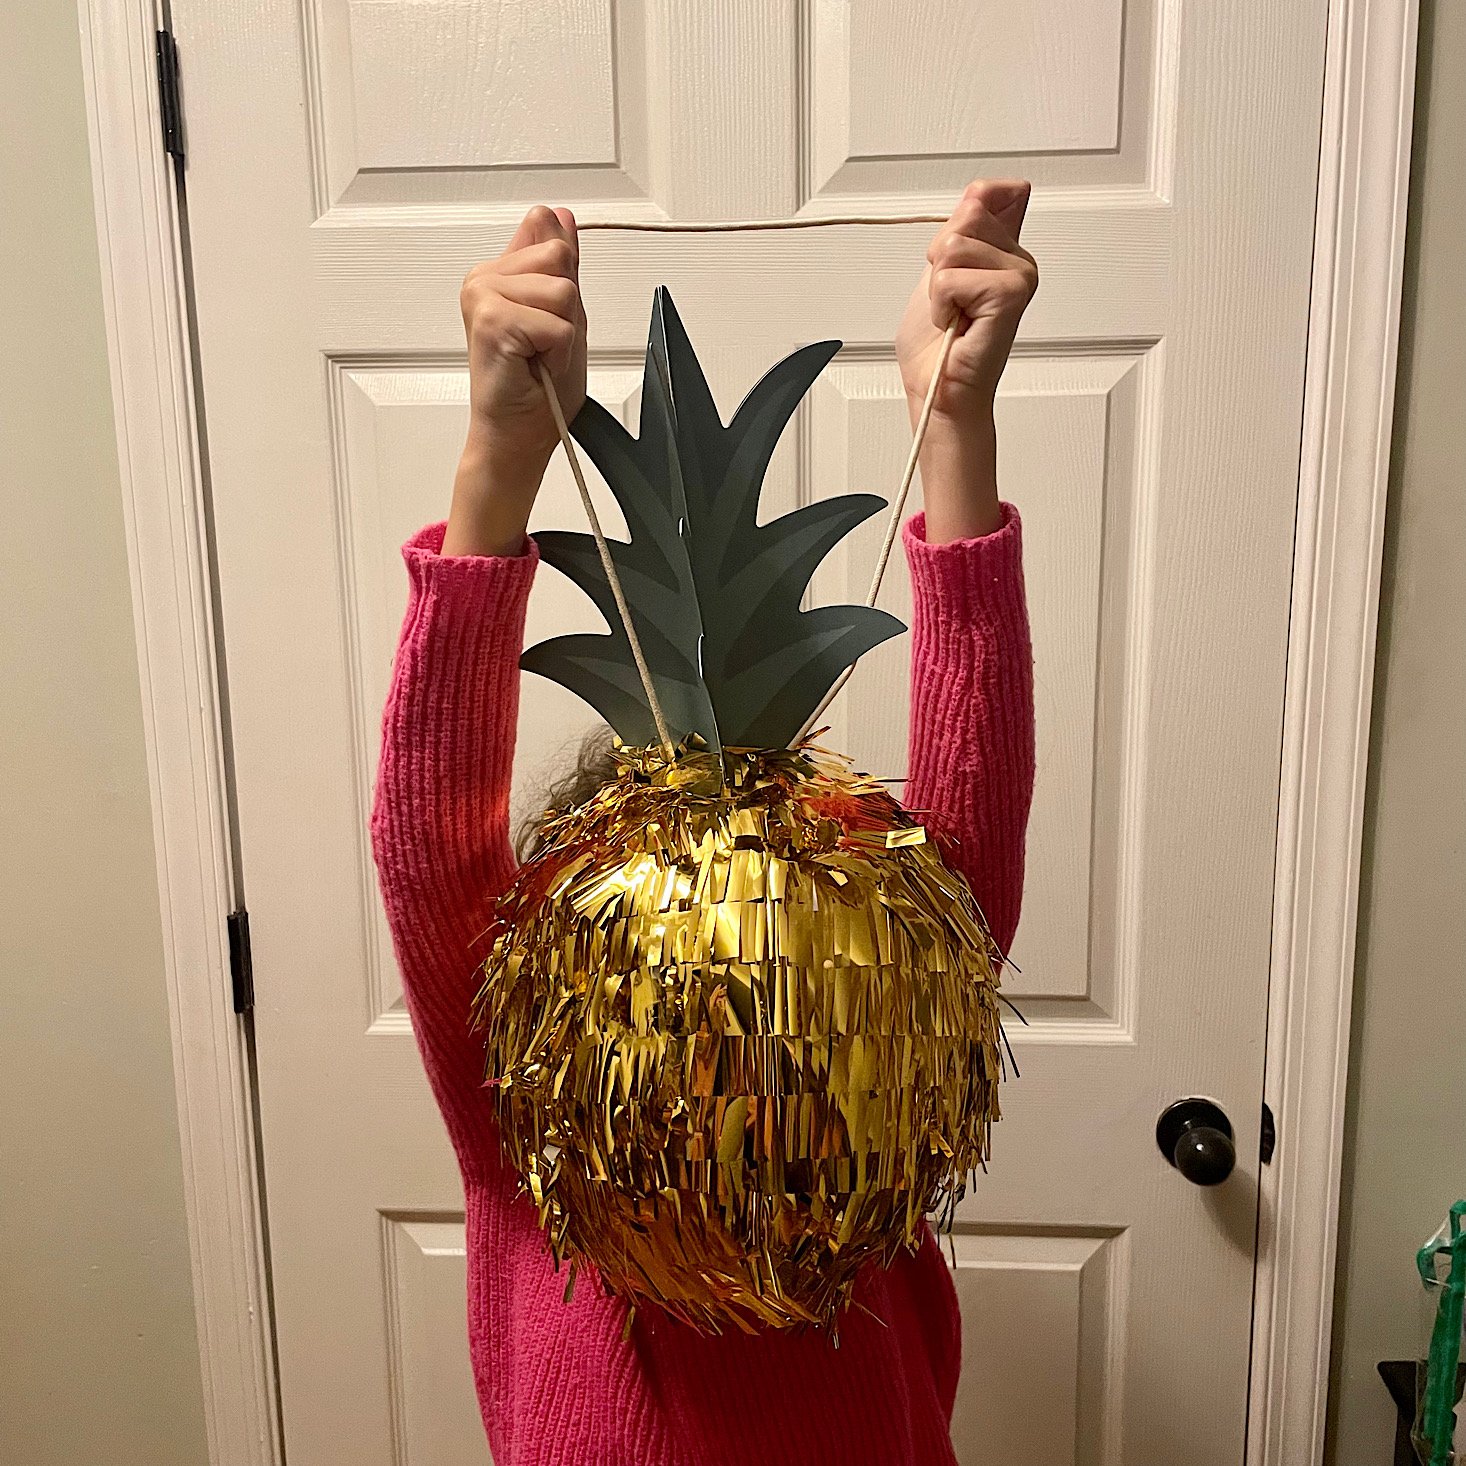
The finished project:

So my fringe is a bit chaotic, but sometimes with 4 kids, including an 8-month-old trying to grab the shiny gold fringe, you do the best you can at that moment! My daughter loves it, and it's ready to go for her party, which is about all that matters.
Part 4: Make a Balloon Dog Pinata
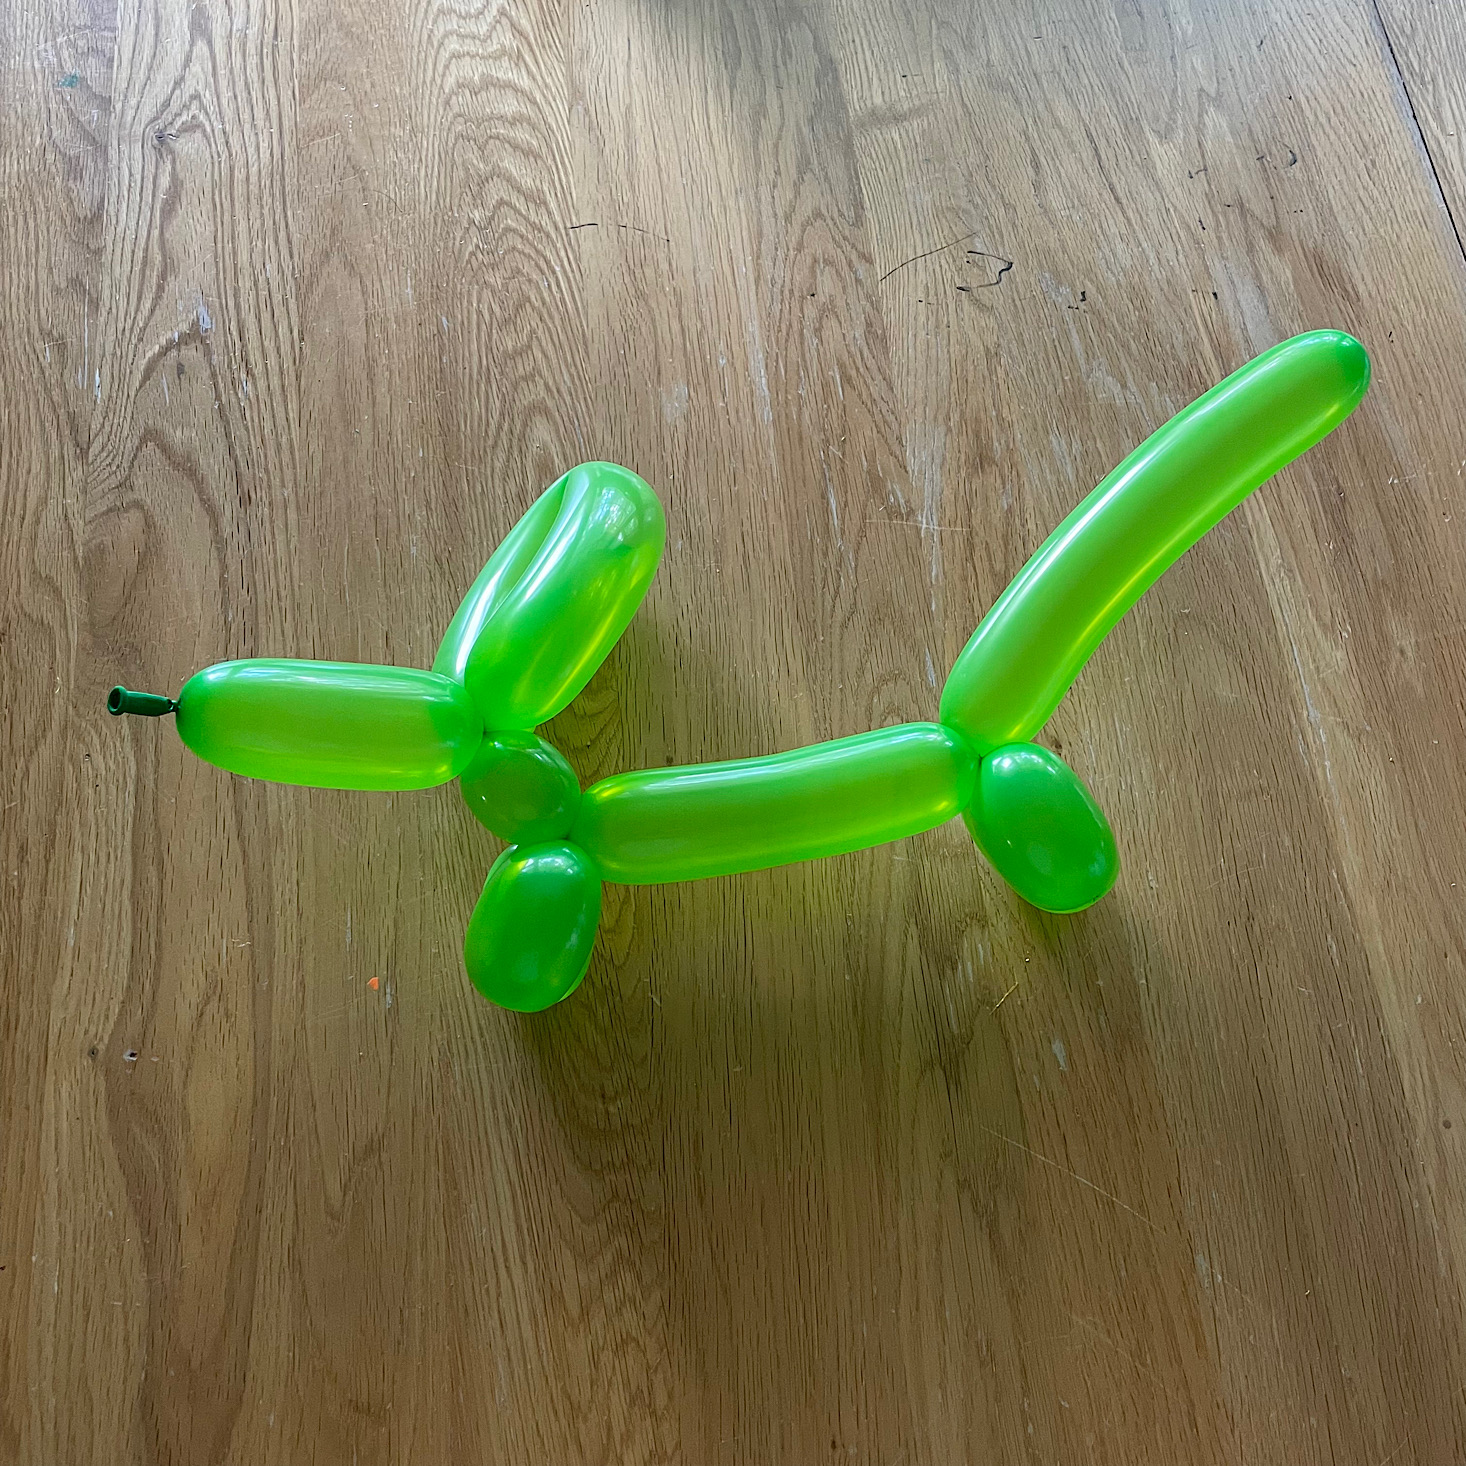
With my pineapple pinata complete, the last video showed me how to make a balloon dog pinata. While making two separate pinatas was not within my capabilities this week, I was successful in my attempt at making a balloon dog!
Value - Was This Box Worth It?
The Cost: $29.95
I thought this box included a great number of quality supplies and even after I use up all of the paper, glue, and decorations, I still have a balloon pump and some cool fringe scissors to use for other art projects! I think this box was definitely worth it!
Key Takeaways
This was a fun and creative Maker Crate and I love that it turned out to be somewhat practical, too since we now have a pinata for my daughter's birthday party!
Keep Track of Your Subscriptions: Add this box to your subscription list or wishlist!
To Wrap Up:
Can you still get this box if you sign up today? It is possible you might get this crate, but it is not a guarantee. From KiwiCo:
Crates are assigned each month based on availability and your crate history - not all subscribers receive the same theme each month.
What do you think of Maker Crate? Click below to write a review!

Please do not enter your email address in the Name field or in the comment content. Your email address will not be published. Required fields are marked *. Remember to post with kindness and respect. Comments with offensive language, cruelness to others, etc will not be approved. See our full comment policy here.