


The Crafter's Box is a monthly maker subscription box:
As a member of The Crafter's Box, we'll send a lovingly kitted box of tools and materials to your doorstep on a monthly basis. Each month we feature a new expert maker and that maker has built for us a unique, grown-up, on-trend project that reflects their artistic style. In addition to the monthly box, our featured maker has created an educational, digital workshop to teach their crafting medium and to offer their tips and tricks.
The best part of this model is the ability to revisit workshops in the future to create again and again. Happy making!
This review is of the Crafter’s Box subscription at $65 for a month to month subscription with free shipping.

My Subscription Addiction paid for this box. (Check out the review process post to learn more about how we review boxes.)

About The Crafter's Box
The Subscription Box: The Crafter's Box
The Cost: $65 per month + free U.S. shipping (save with longer subscriptions)
The Products: A shipped kit of curated tools and materials + a new digital workshop by the featured maker of the month
Ships to: The U.S. for free and internationally for varying rates
Good to Know: The featured project for the month is announced on the 1st and subscribers have until the 8th to pause, skip, or swap that month. Projects are designed to be for ages 18+.
The Crafter's Box December 2020 Review
The Crafter's Box is an artisan craft subscription box that features a different, unique craft each month that is designed with the crafty adult in mind. The boxes are thoughtfully curated with high-end materials so that your finished products are modern and luxe. There's also an accompanying video workshop led by the featured artist that introduces you to the craft and provides you with detailed instructions to complete the project.
Let's take a look inside December's box - the craft this month is the Finnish ornamental art of Himmeli!

1 of 4


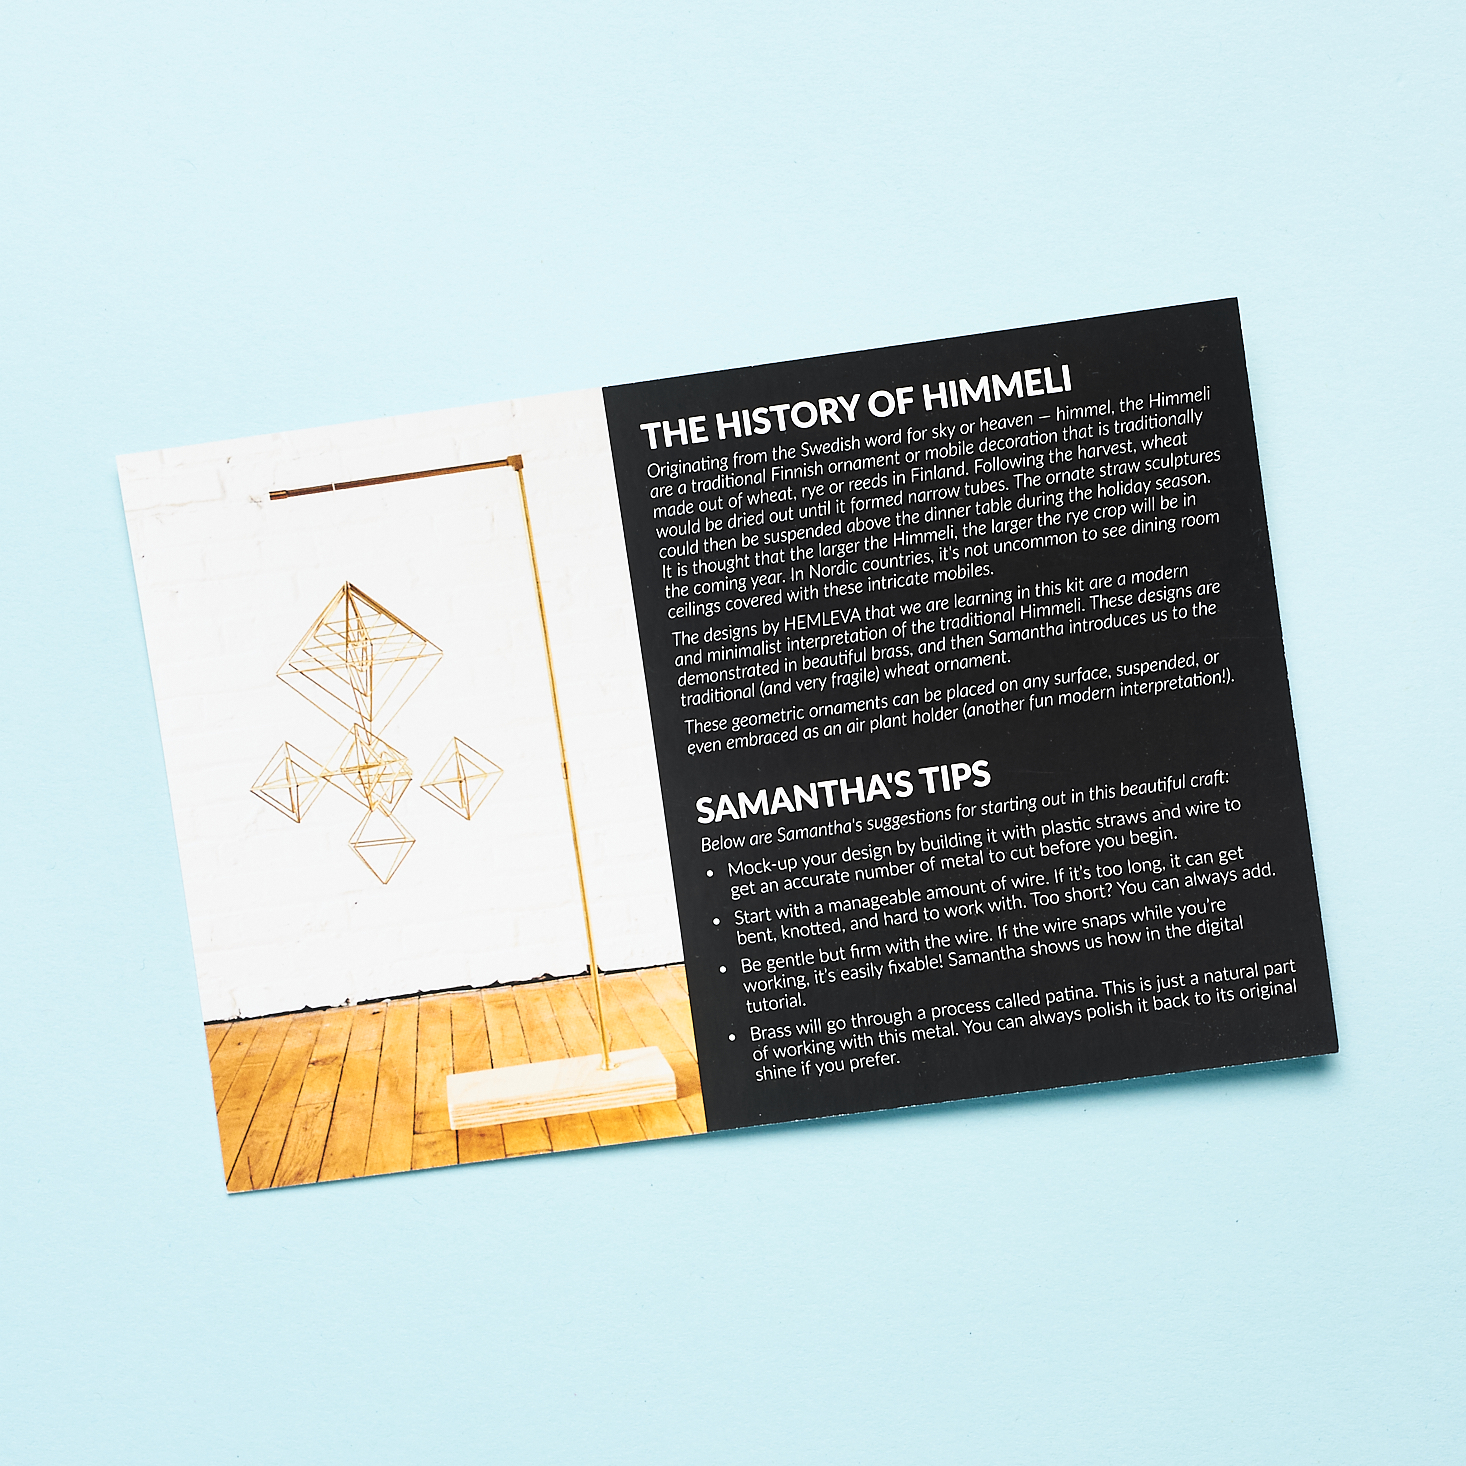
We received two info cards this month detailing information on what's included in the box, as well as a short bio on the featured maker this month, Samantha Leung of HEMLEVA. Himmel is the Swedish word for sky or heaven and Himmeli is a traditional ornament or mobile decoration traditionally made out of wheat, rye, or reeds in Finland following the harvest. So, it's the perfect, cozy winter activity. In this workshop, we're working with brass instead and we can choose to make a complex mobile or 5 decorative ornaments.
Now, onto the items!


1 of 2
Brass Tubes
We're crafting Himmeli with these shiny brass tubes. There are just enough tubes to make either Project 1: Complex Mobile or Project 2: Five Ornaments. Samantha has worked out exactly how to cut the tubes for each of the projects, so you have to decide what you're making before getting started.


1 of 3
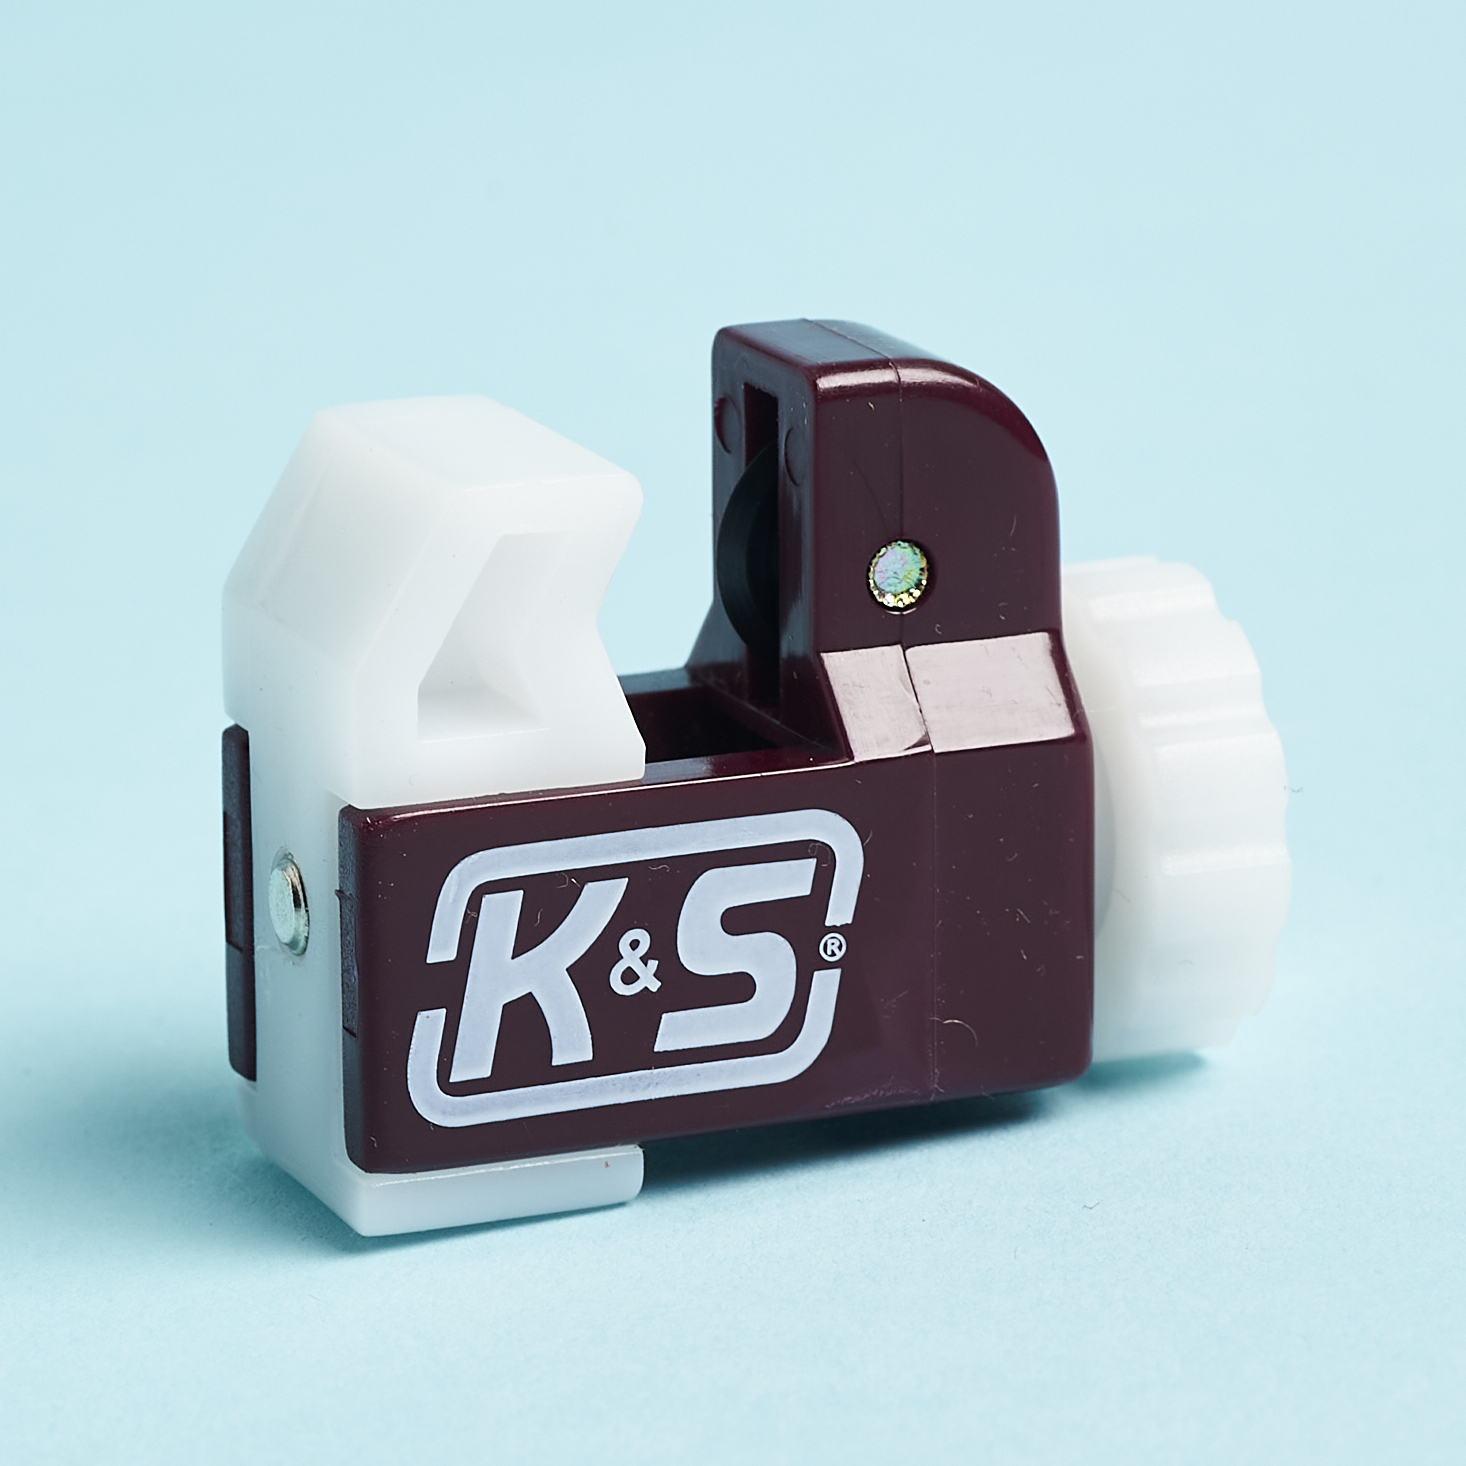
K&S Tubing Cutter
This is the tool we're supposed to use to cut our brass tubes. After marking up the tubes to the appropriate cut lengths, you place one tube in the white groove and secure it by turning the knob. Then you spin the entire tool around and around until you cut through the tube.
1 of 2
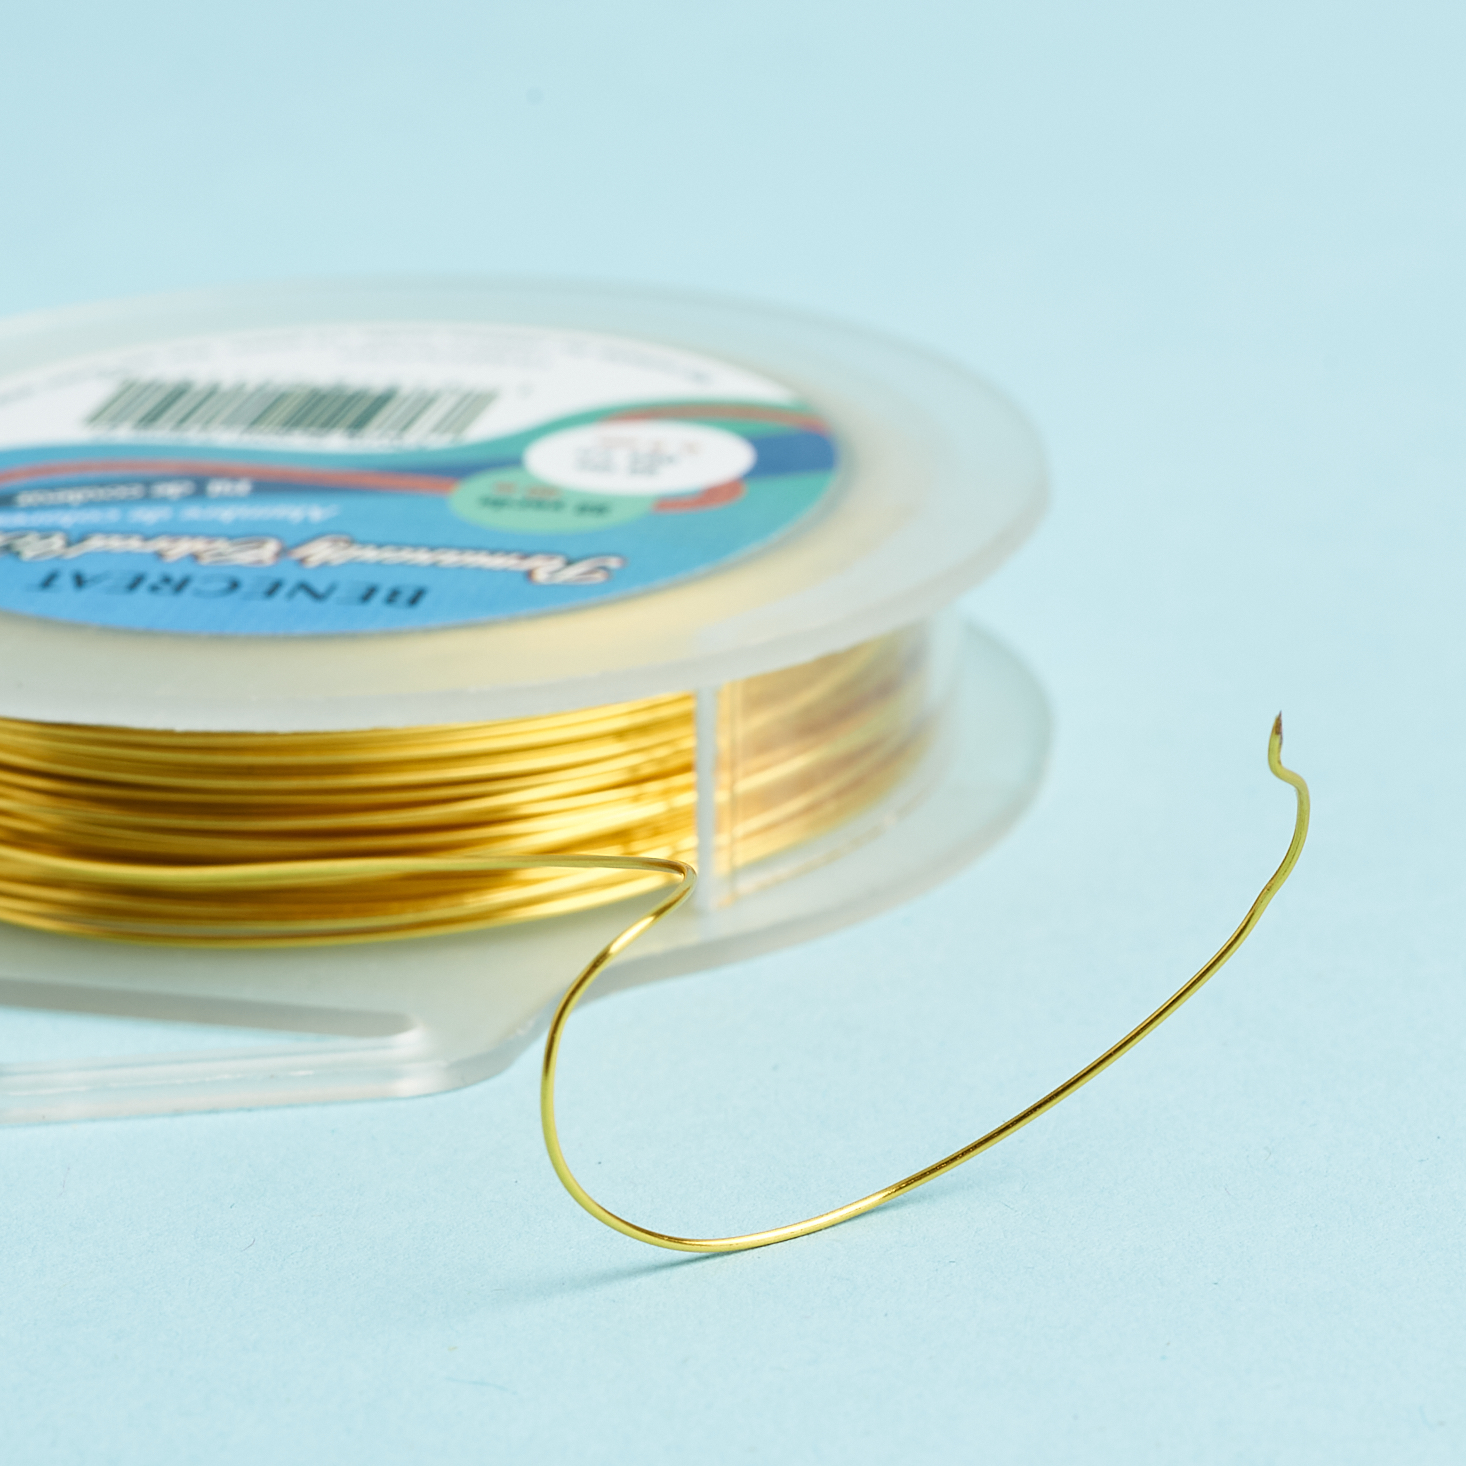
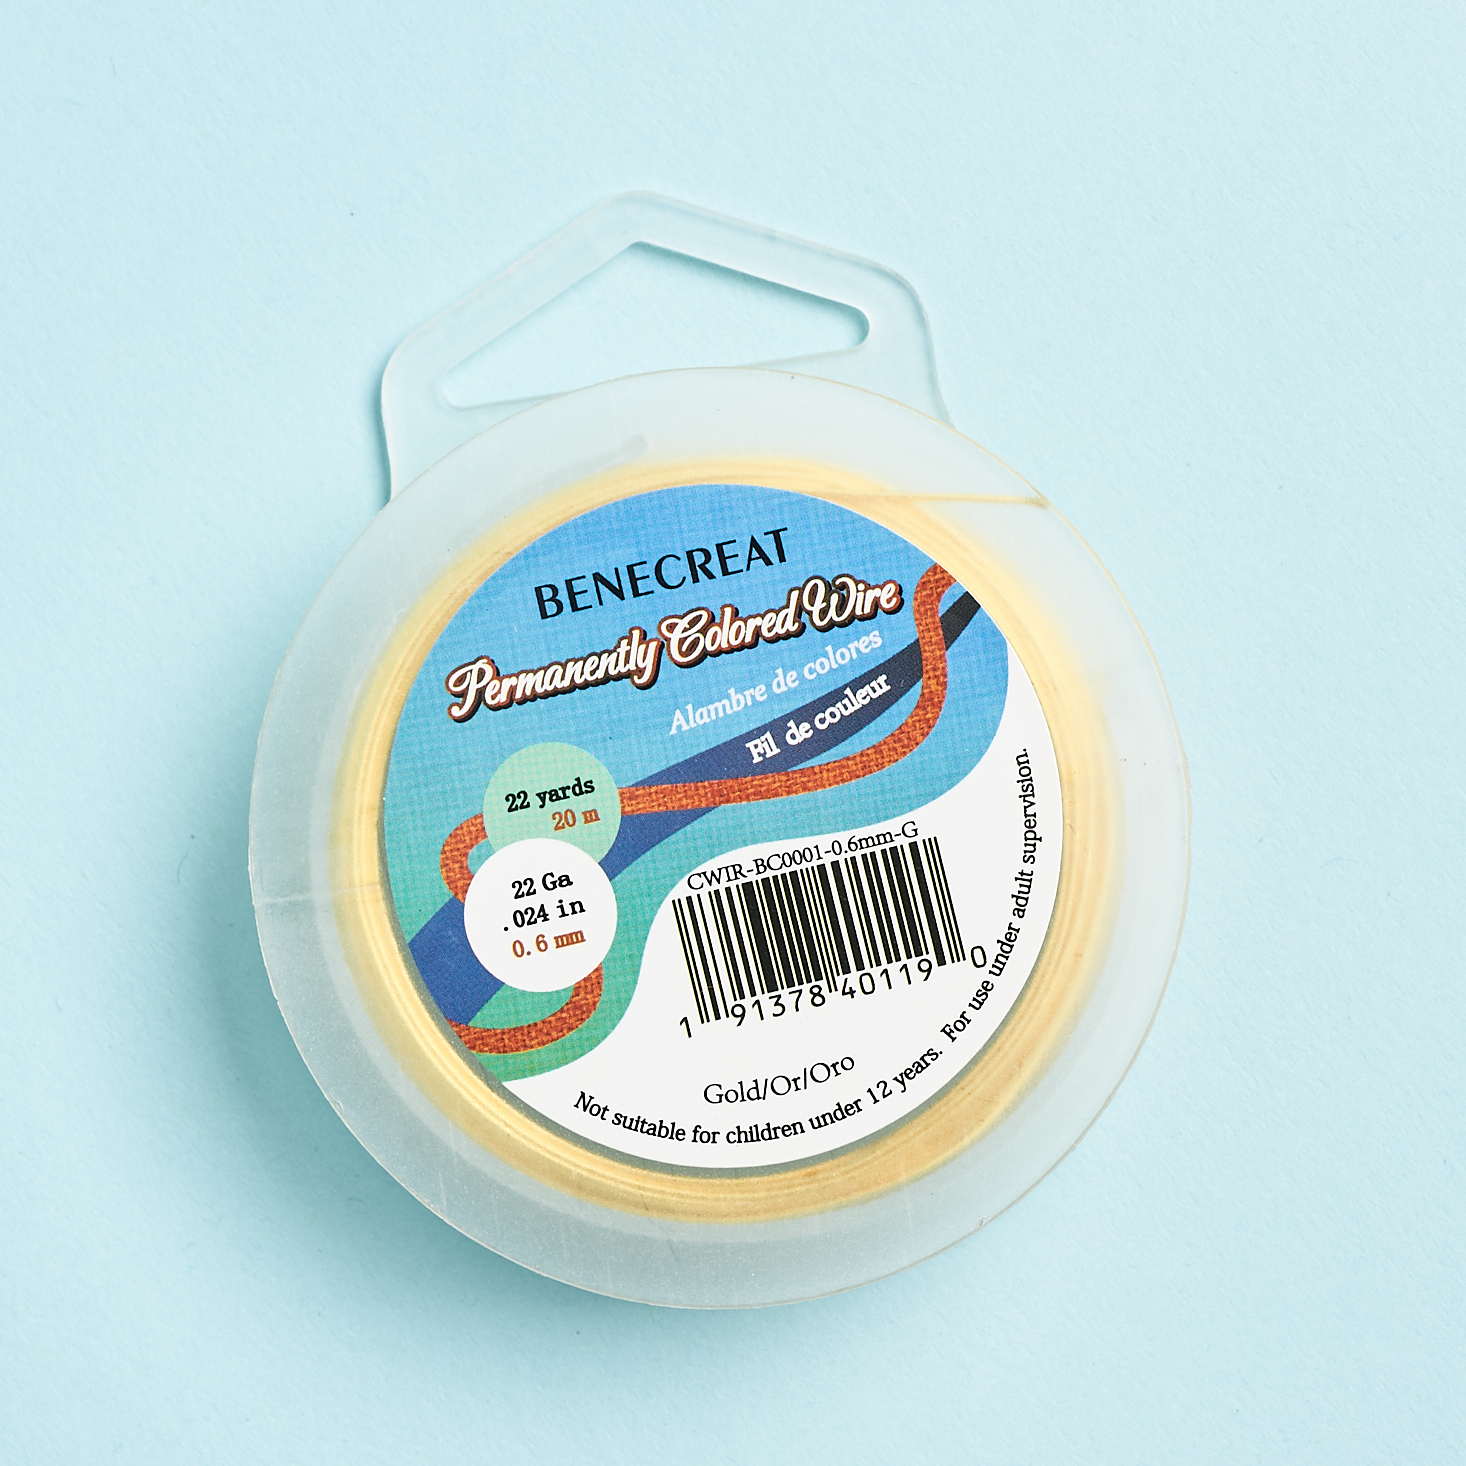
22 Gauge Gold Wire
We're threading our tube pieces with this bendy gold-colored wire.


1 of 4


Wire Cutters & Round Nose Jewelry Pliers
The wire cutters are for cutting the gold wire and we will use the pliers to twist the wires and thread the ends in when we finish a shape.


1 of 3

Sharpie Fine Point Pen & 10/2 Mercerized Perle Cotton Yarn in White
I like that the Crafter's Box includes basically all the items you would need for a project, even something like a Sharpie. This pen was perfect for marking up the brass with its super fine point. The yarn is used for stringing up the mobile. You could attach it to the ornaments too if you wanted to hang them or any of the shapes you make.


1 of 2
Precious Metal Polishing Cloth
We received this little piece of cloth to polish the brass if we wanted to but the brass tubes we received were shiny enough already.


1 of 7


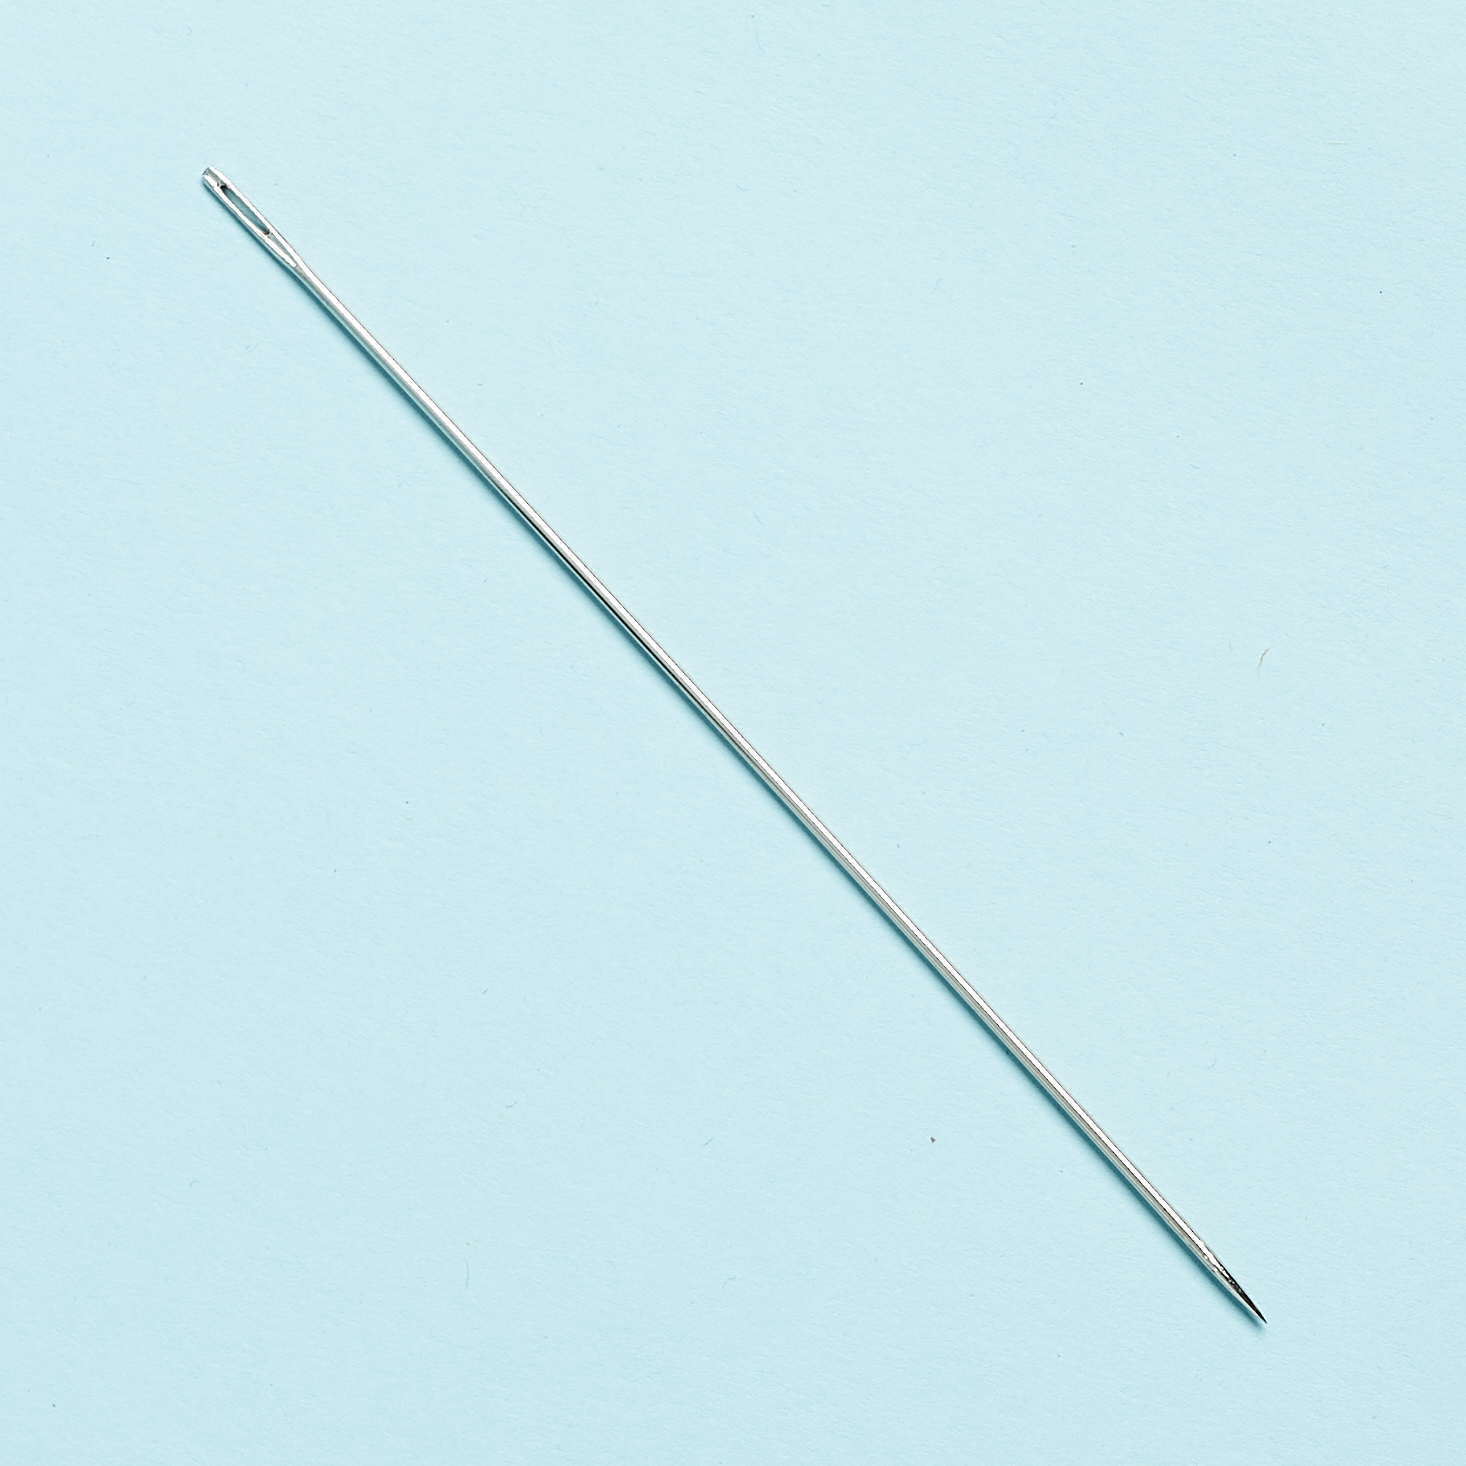

Wheat Straws & 6" Upholstery Needle
These fragile wheat straws were included for a bonus project if we wanted to try making Himmeli with traditional materials. You would need the upholstery needle to thread the wheat straws but the brass tubes are threaded by hand on the wire.

Pattern Booklet
We also received a booklet with instructions for the two projects for this month but I relied more on the video tutorial. The first project is the "Complex Mobile" but it's actually the easier, beginner level project and not difficult at all. The second project is to make five ornaments, which is the intermediate level project. You're only given enough brass to create one of the two projects, so you have to choose which one you want to do before you begin cutting the brass. You could also create your own design or customize the projects a bit to your liking but you'll have to work out for yourself how you should cut the brass so you'll have enough to work with. If you just follow the projects exactly, Samantha has already done all the math for you.
Now, let's get crafting!


1 of 3

The first step was to mark up our lengths of brass tubes. It was a little annoying that each tube was 11.75" long, so that meant when we were cutting 2" lengths, we'd have an off-cut of 1.75". Samantha tells us to keep the off-cuts for future projects of our own design. Even more annoying was the K&S tubing cutter. I was able to cut one 2" piece with the cutter but it took a really long time, probably 15 minutes to cut a single piece. You have to keep twisting the cutter around and around before it cuts through. Samantha did say that marking and cutting the tubes would be tedious but I found the tubing cutter to be impossible to work with.
Maybe the tubing cutter would work better for others and Samantha was able to demonstrate the tool working in the video but it would have taken me days or even weeks to cut all the tubes this way, so I actually ended up using the wire cutter and pliers to prepare my pieces. Be warned: cutting the tubes with the wire cutters will press the ends shut, so you have to pry them back open with the pliers but this method seemed infinitely faster than using the tubing cutter.

1 of 4


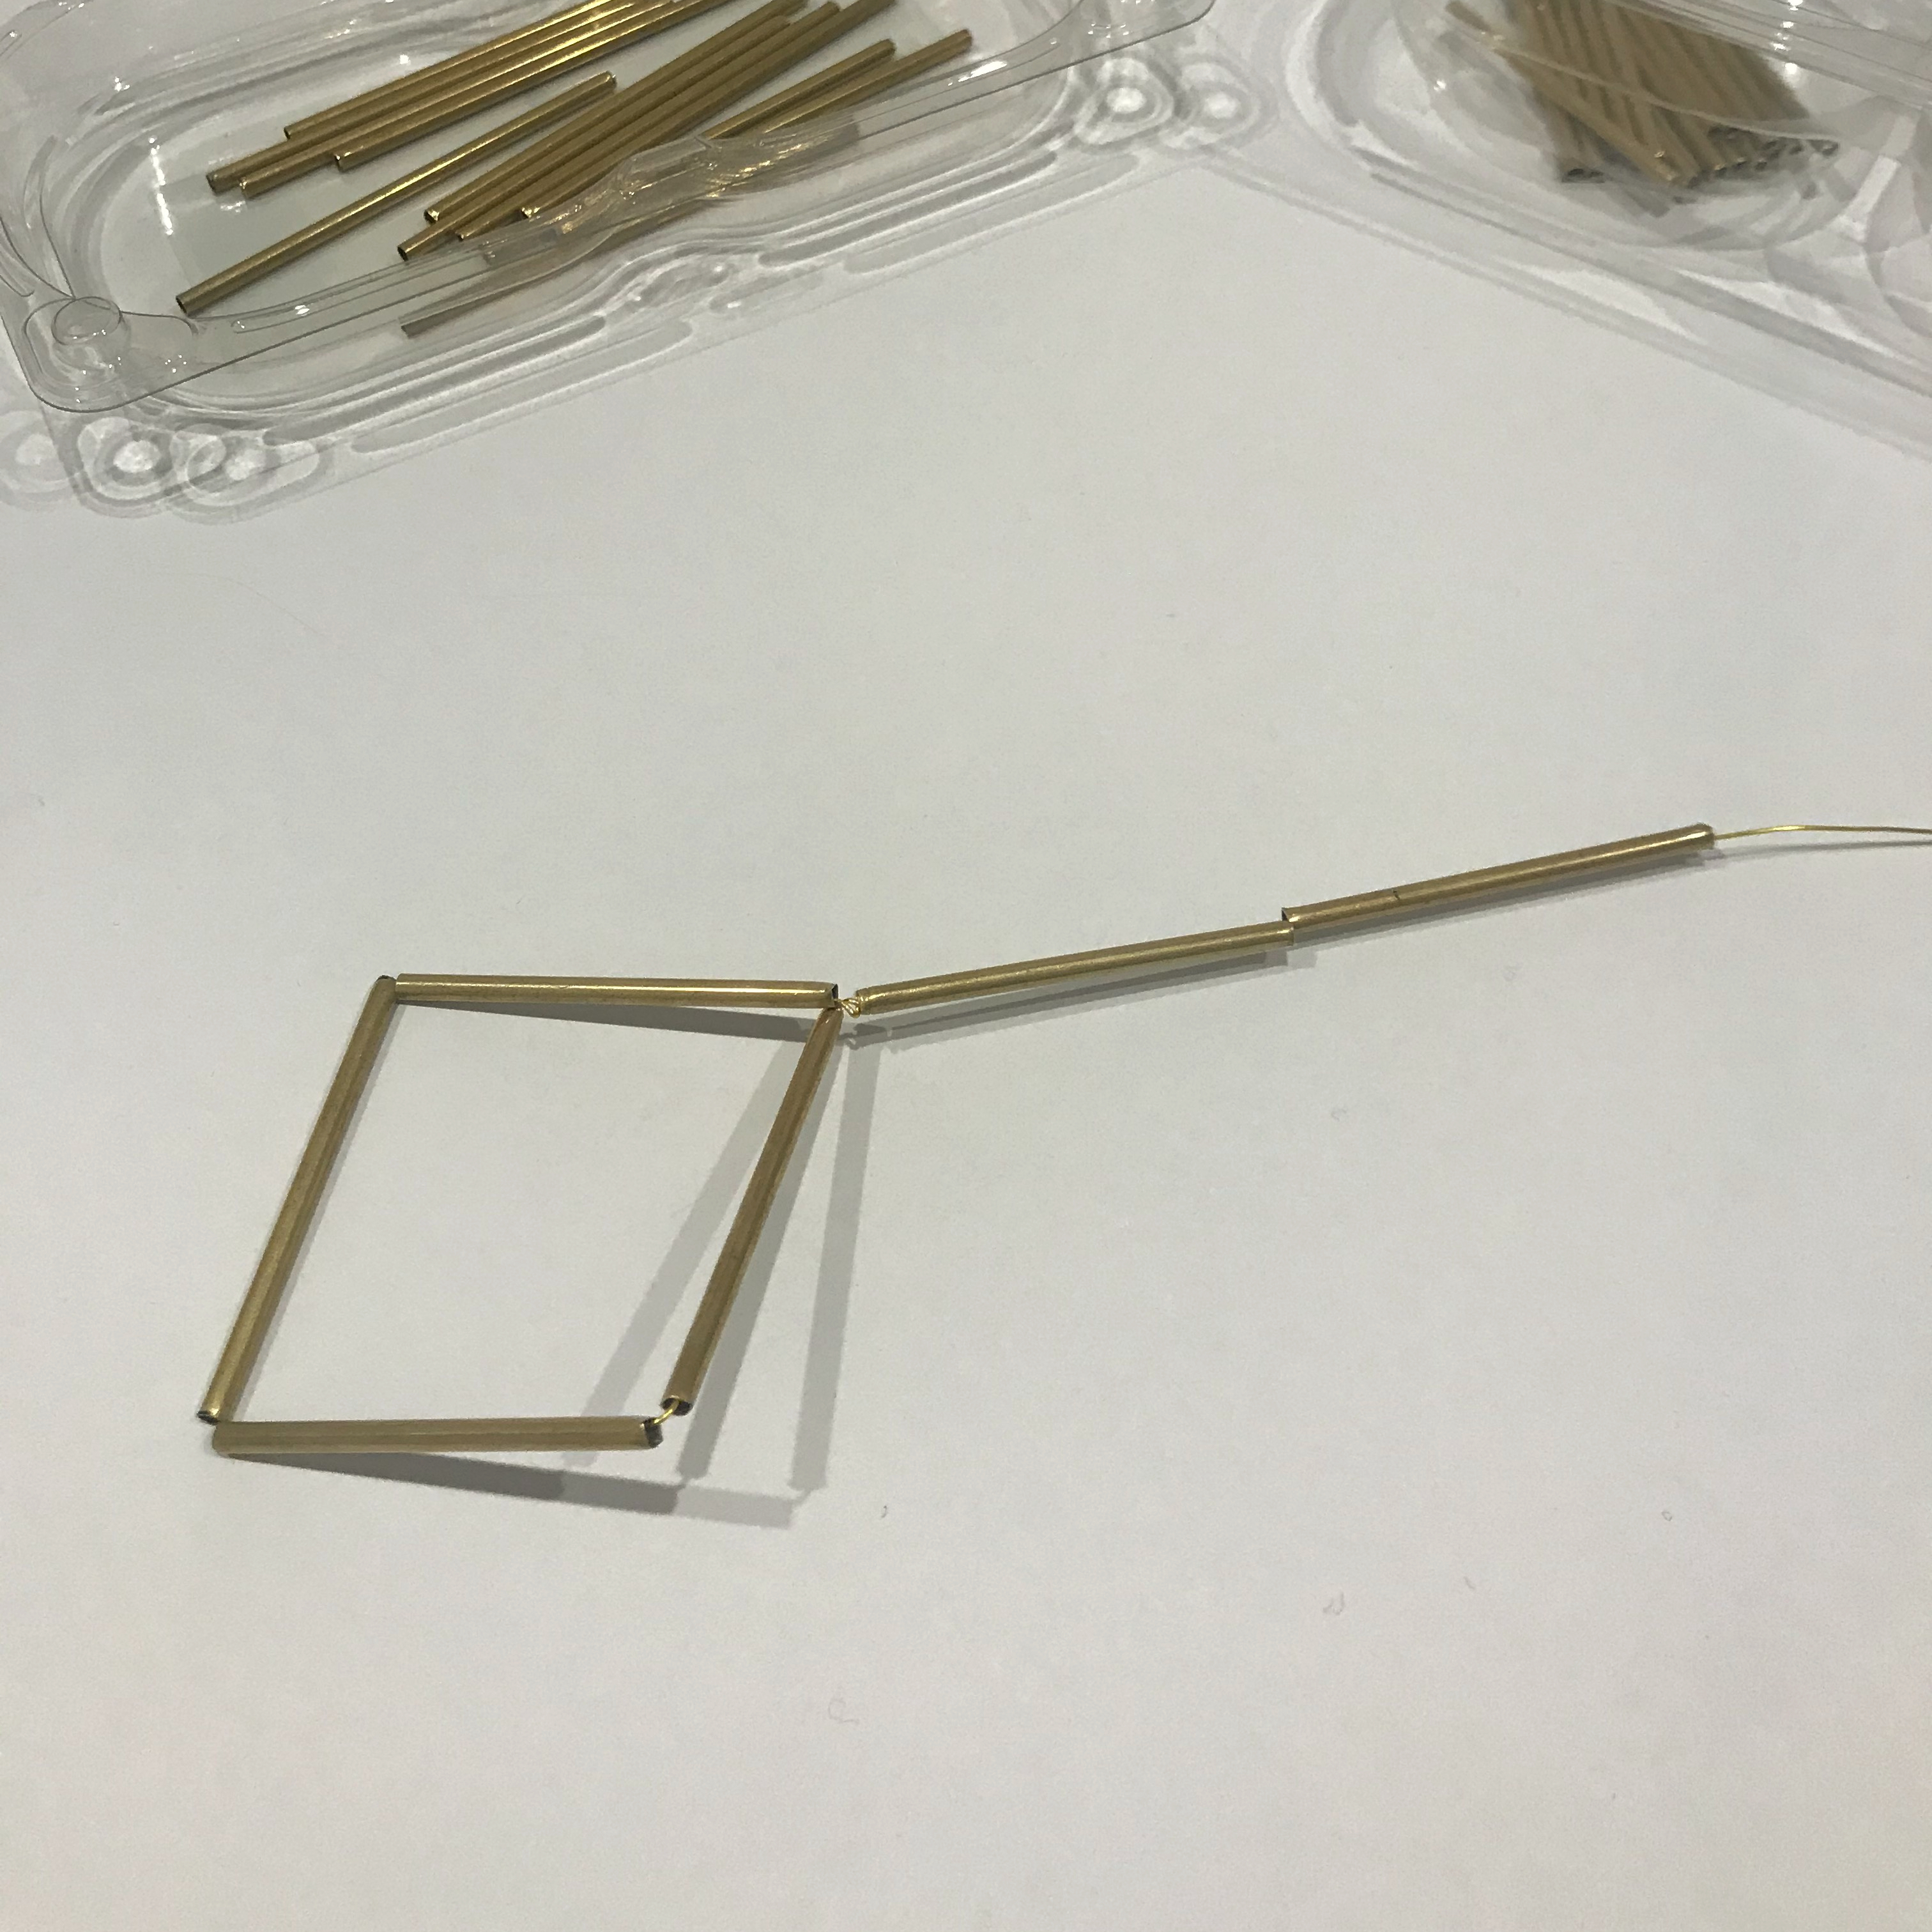
After you've cut your pieces, you're ready to make your first shape. Start with cutting an arm's length of gold wire. You want the length of the wire to be manageable and you can keep adding more wire as needed. For the first cube using 2" pieces, you thread four pieces onto the wire then twist them into a diamond shape. Then you thread two more pieces, making sure you're tucking the tail end of the short wire into the first tube.


1 of 5


You twist the two tubes around the opposite corner then thread two more pieces and twist them around the diagonal corner. Then you start adding just one piece at a time until you complete your cube. This part is quite intuitive, so try not to overthink it. To finish the shape, you trim and tuck the wire end into one of the tubes with the pliers.


1 of 4


Ta-da! My first cube was completed and I immediately tried placing an air plant into my finished cube. You can place these cubes on a surface and use them as air plant holders or string them up to make a hanging ornament or hanging air plant holder. Once I finished one cube, it was easy to make more! Samantha also suggested that you could string these cubes up in a garland for your window.


1 of 5


To continue with the Complex Mobile design, we need to make a bigger cube with 3" pieces. You follow the exact same process but before finishing the cube, you place the smaller cube inside before sealing it up.


1 of 4


Repeat with 4" pieces, 5" then 6" until you have four cubes inside your largest cube made of 6" pieces. To create a hanging mobile, use the yarn to connect the cubes at the top, and create a hanging loop for your mobile. The Complex Mobile design consisted of the main shape with a constellation of 2" and 3" cubes hanging from each corner of the main shape. But Samantha mentioned that the main shape by itself works just as well as a hanging ornament and I actually prefer the cleaner design, so I stopped here. Plus I wanted to keep the 2" cubes as air plant holders.


So, this is my finished project. I made three air plant holders, a large hanging ornament, and a table ornament featuring a 2" cube inside of a 3" cube. I have enough brass tubes leftover to make one of the project 2 ornaments and more air plant holders to gift to friends.
Verdict: I was really excited about this The Crafter's Box because I've been looking for an air plant holder for some time now and couldn't find any that I absolutely loved online. These air plant holders turned out beautifully and they let the air plant breathe. I also like the mobile a lot and the table ornament makes me smile when I look at it. These ornaments were fun and easy to put together and look like something I would buy in a store.
For $65, we received the materials and tools to create some beautiful brass ornaments. I'm really impressed with the quality of the materials provided and that resulted in a professional-looking finished product. I love that I was introduced to a new craft and I can see how addicting creating more Himmeli could become. I think with a box like this, you're paying for the experience of learning a new craft and a fun night of crafting but in this case, I think the finished products would add up to the value of the box as well.
To Wrap Up:
Can you still get this box if you sign up today? No, you'll receive the upcoming Woodland Botanical Embroidery workshop but you can purchase the Himmeli and other past workshops as a single box for $75.
Check out our other reviews of The Crafter's Box and the top-rated craft subscription boxes!
Keep Track of Your Subscriptions: Add this box to your subscription list or wishlist!
What did you think of The Crafter's Box for December 2020? Let us know in the comments!

Please do not enter your email address in the Name field or in the comment content. Your email address will not be published. Required fields are marked *. Remember to post with kindness and respect. Comments with offensive language, cruelness to others, etc will not be approved. See our full comment policy here.