


Doodle Crate, by KiwiCo, is a subscription box targeted to older children, aged 9-16 that delivers a monthly art project. They describe themselves as a “studio for hands-on creativity delivered every month" and they're one of our favorite art boxes for kids!
KiwiCo offers boxes for different age groups:
- Panda Crate for 0-24-month-olds,
- Koala Crate for 2-4-year-olds,
- Kiwi Crate for 5-8-year-olds,
- Atlas Crate for 6-11-year-olds,
- Doodle Crate and Tinker Crate for 9-16+-year-olds,
- Eureka Crate and Maker Crate for ages 14 and up.
There really is something for every age with this company!
This box was sent to us at no cost for review. (Check out our review process post to learn more about how we review boxes.)

About Doodle Crate
The Subscription Box: Doodle Crate
The Cost: $19.95 per month. Save with longer subscriptions.
The Products: Instructions and supplies for children aged 9-16 to create one new art project each month.
Ships to: The U.S. for free, Canada for $3.95 per month, worldwide from $4.95-$6.95.
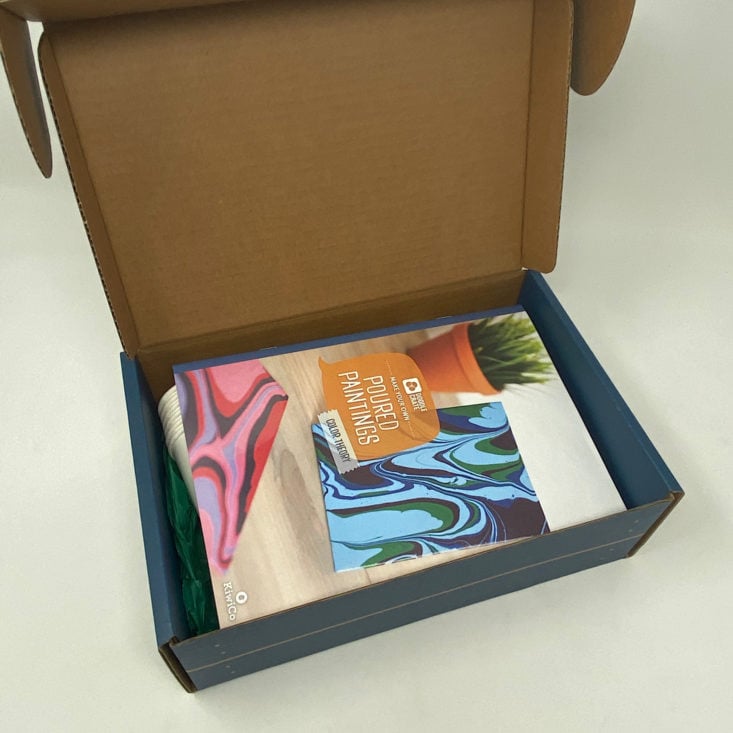
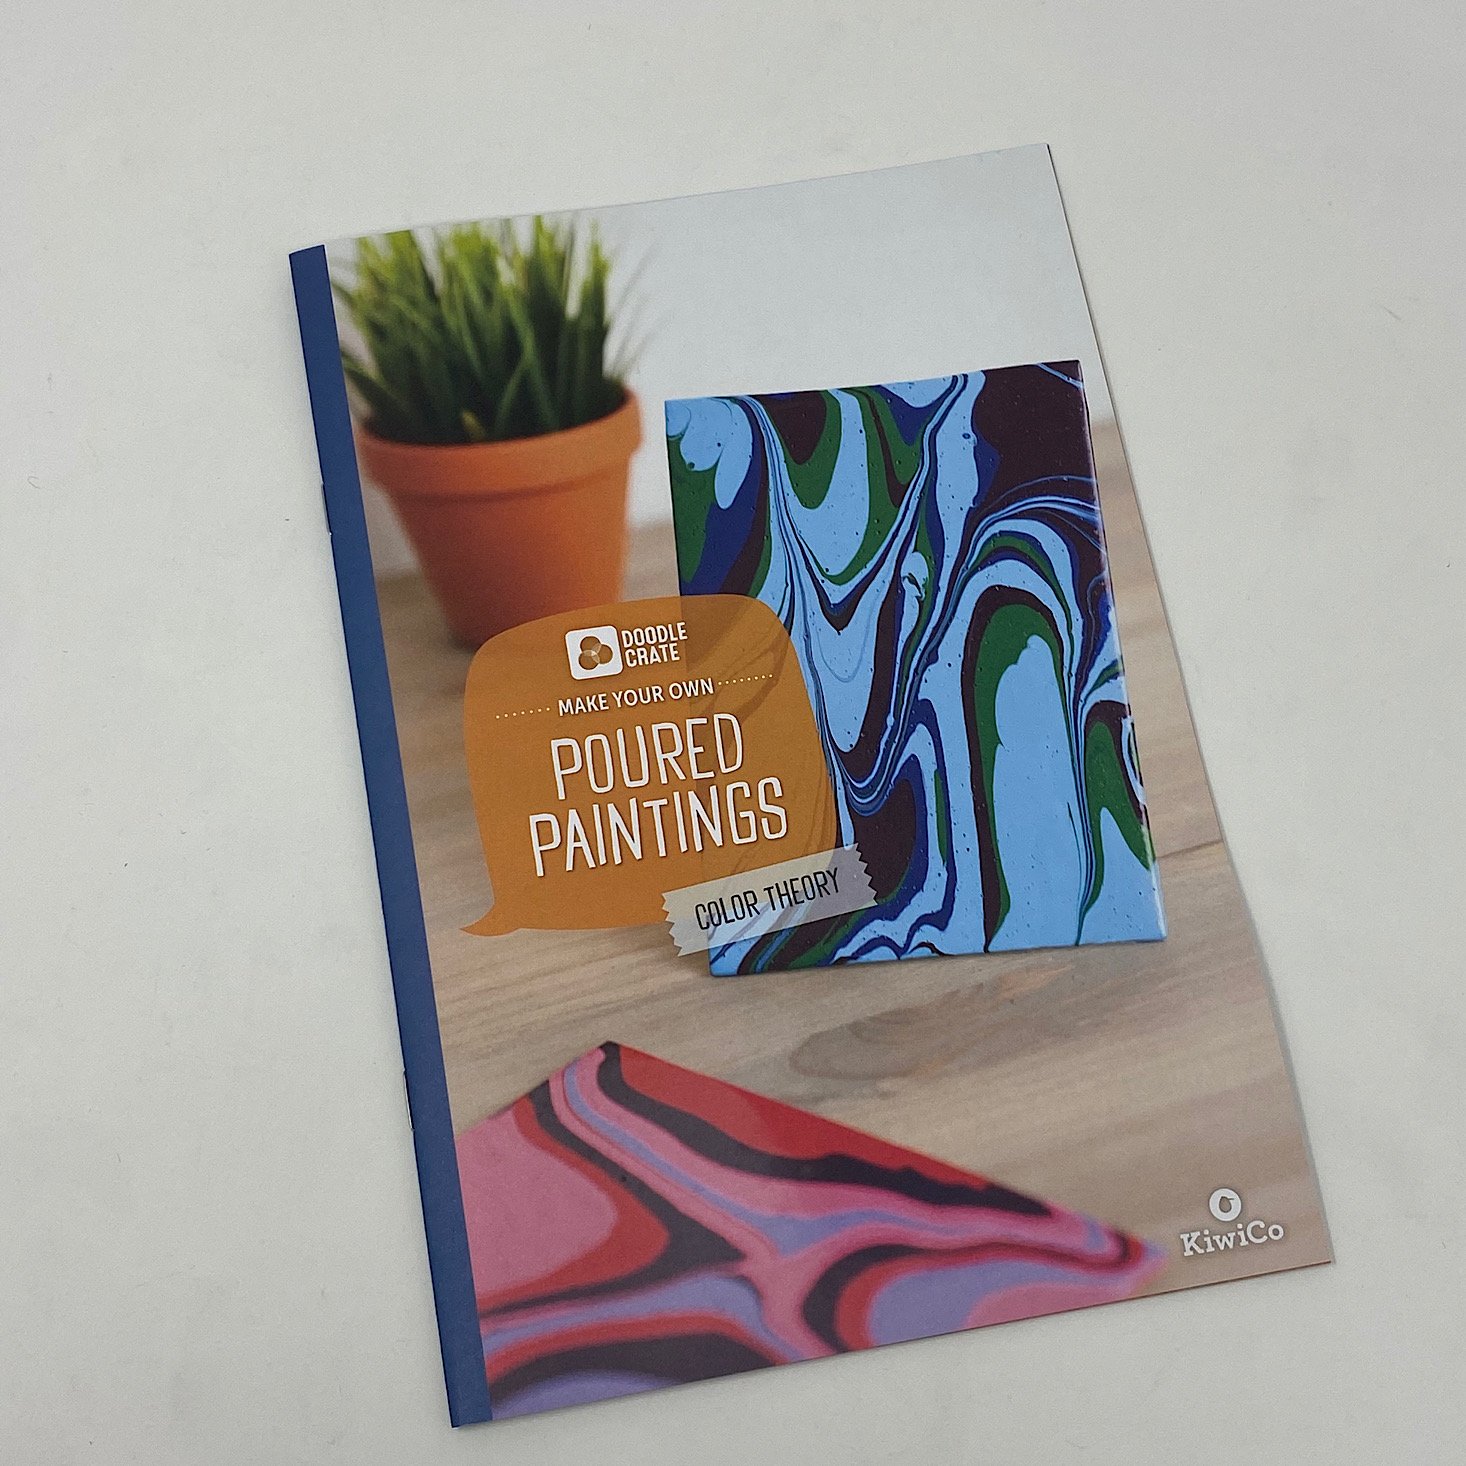
Doodle Crate Poured Paintings Review October 2020

1 of 7

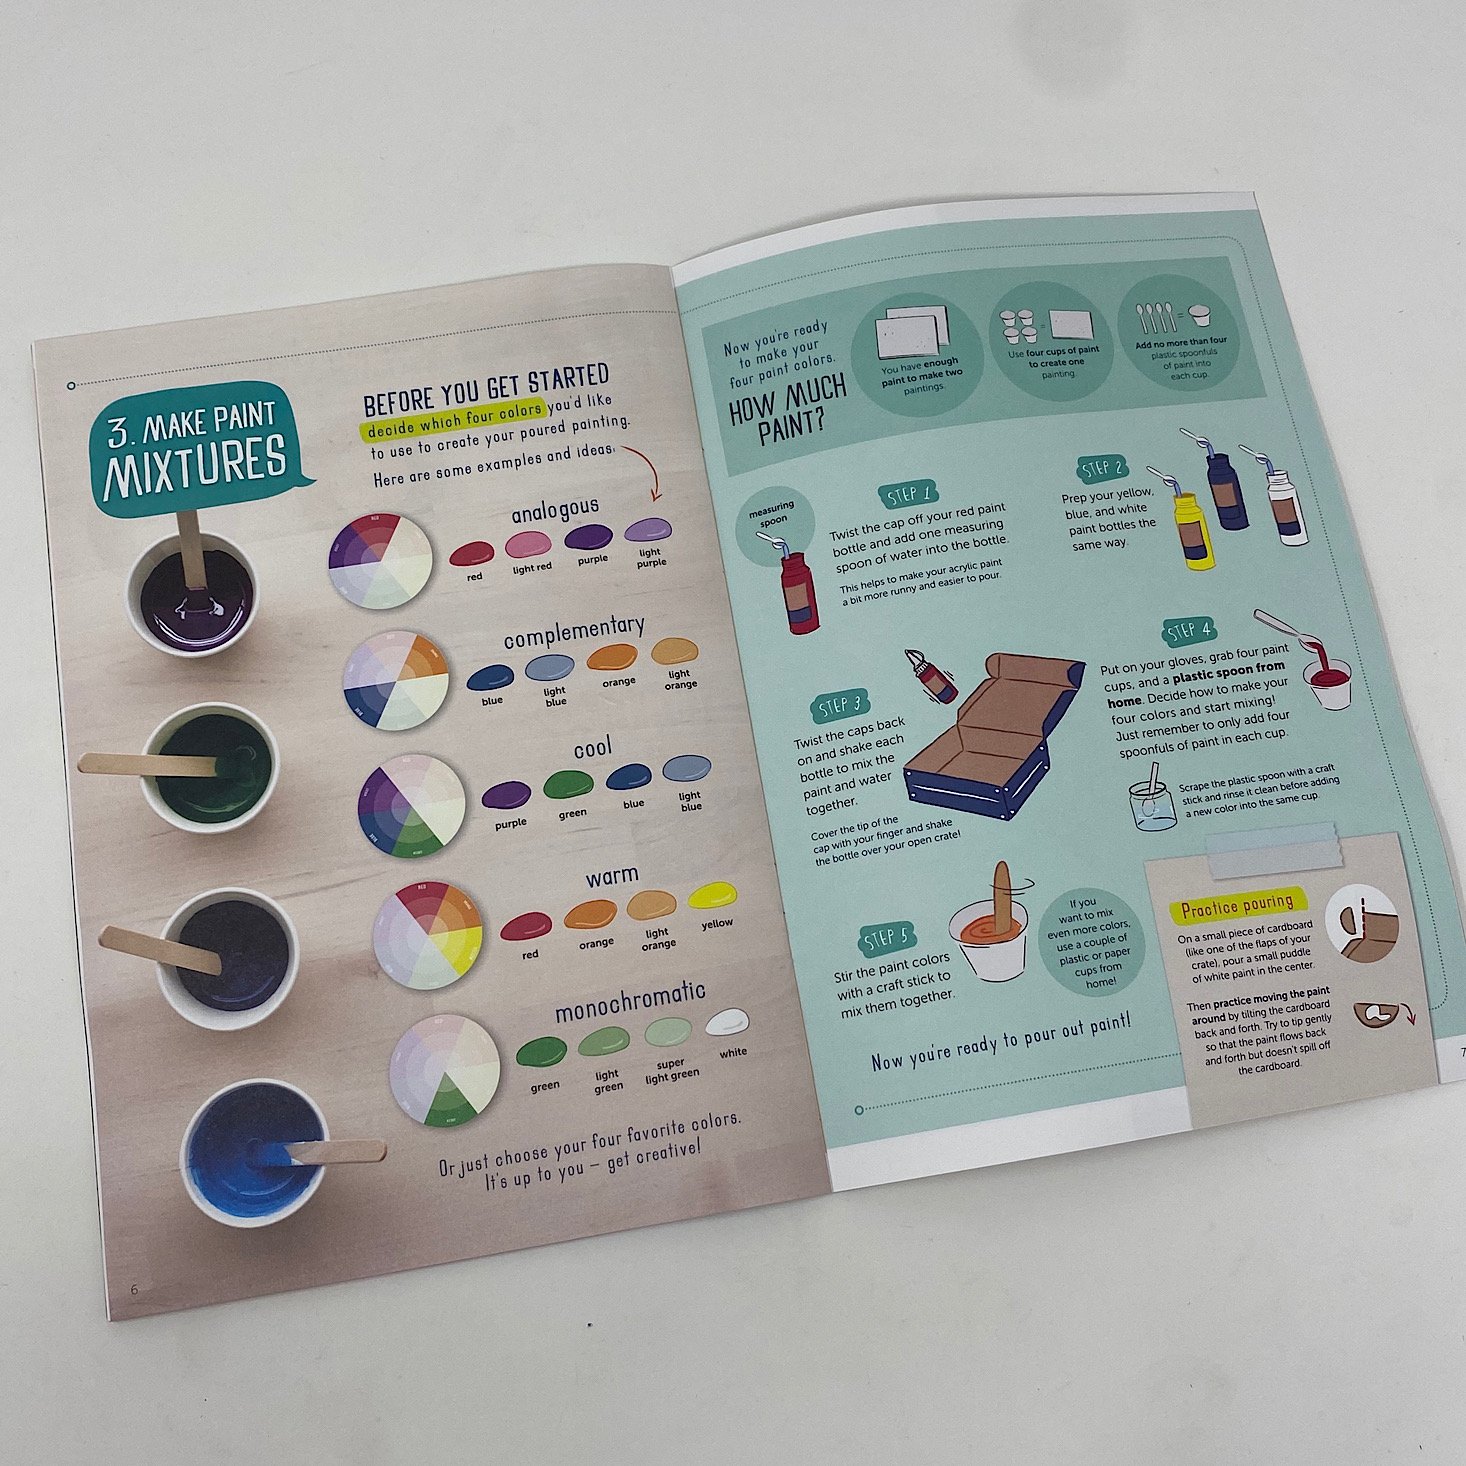
Our project this month is to create two poured paintings. This booklet provides a section all about color mixing along with our directions for the project which are broken down into steps making them easy to follow.
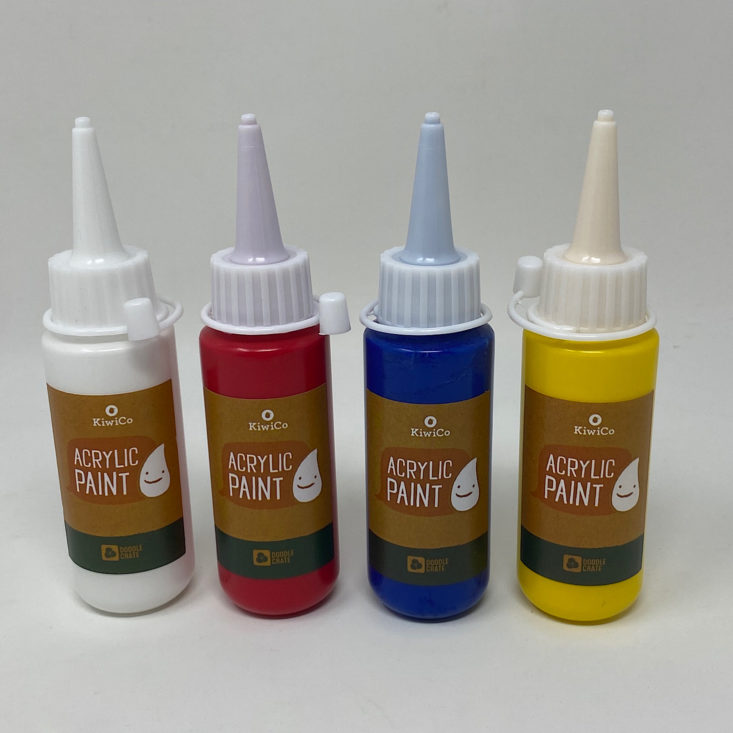
We received four bottles of acrylic paint in the primary colors, plus white. (FYI - this paint will stain clothing!)

1 of 3

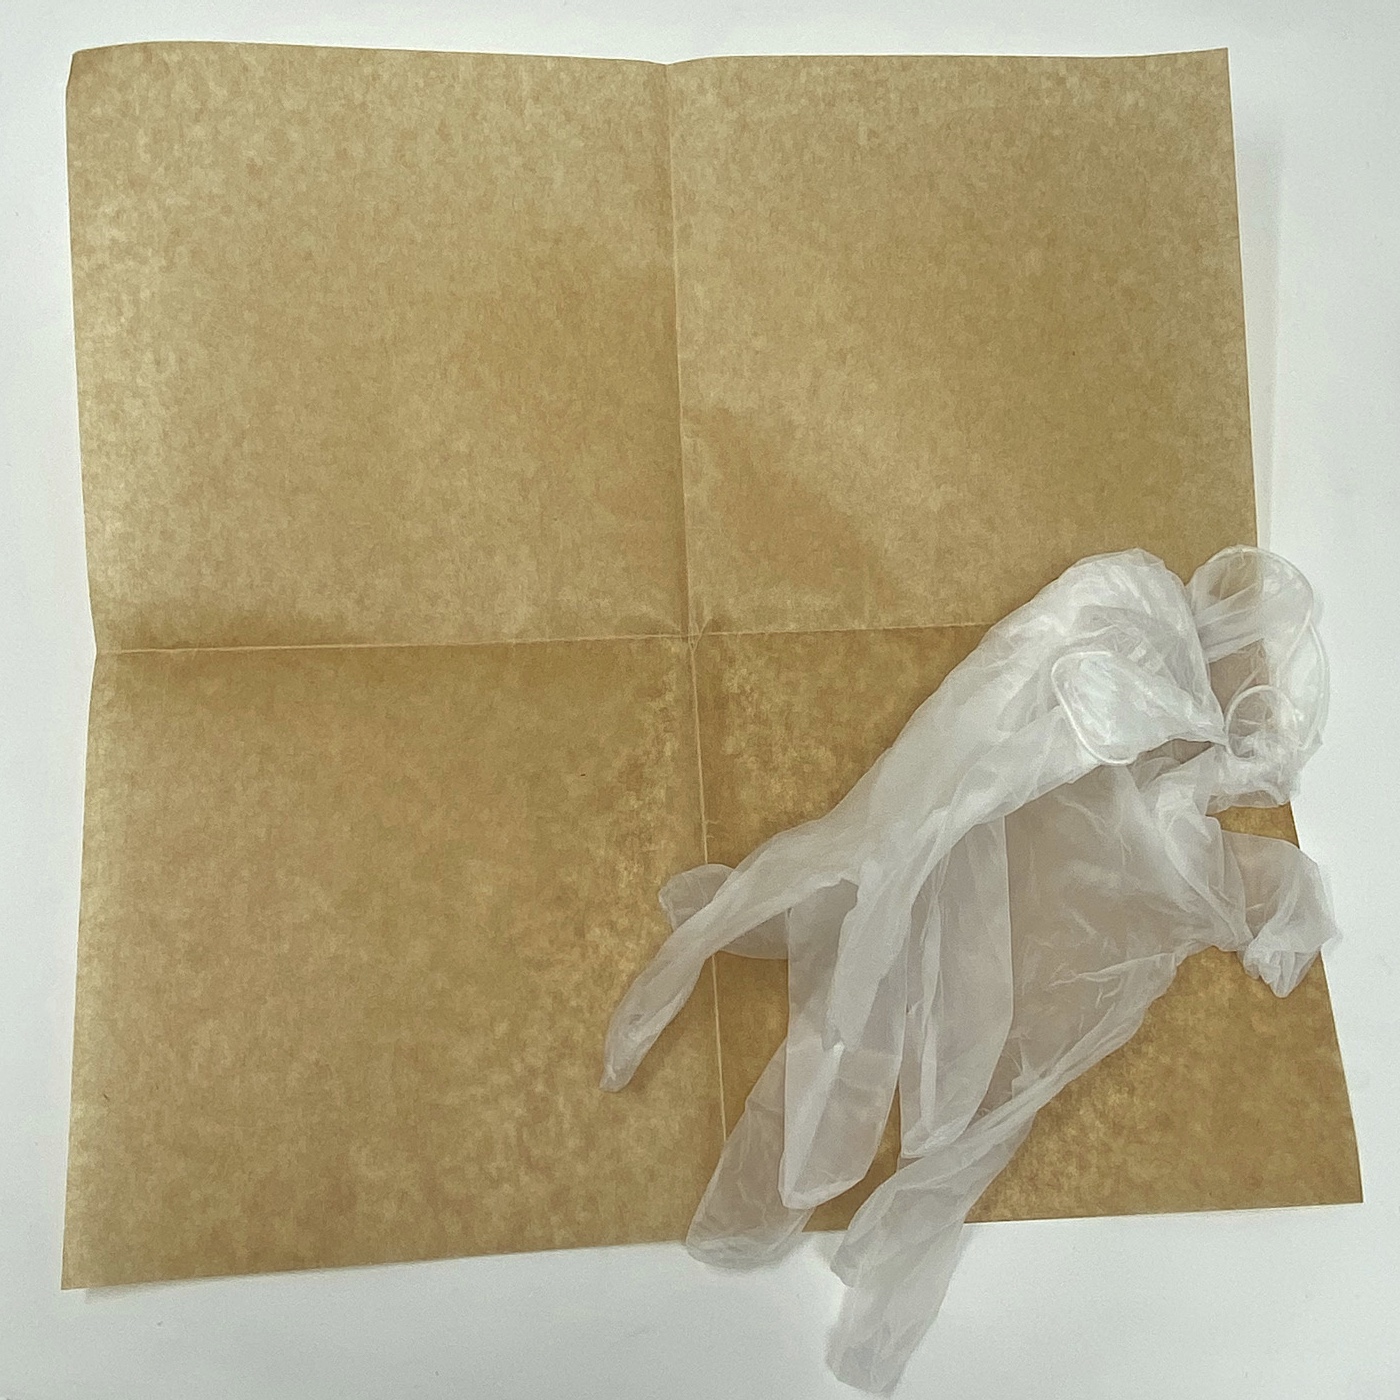
We also received a paper palette, a paintbrush, a small scoop, several paper cups, several wooden sticks, some clear stickers, and a piece of paper to work on along with some gloves to help minimize the mess.

We received two small canvases to create our paintings on.
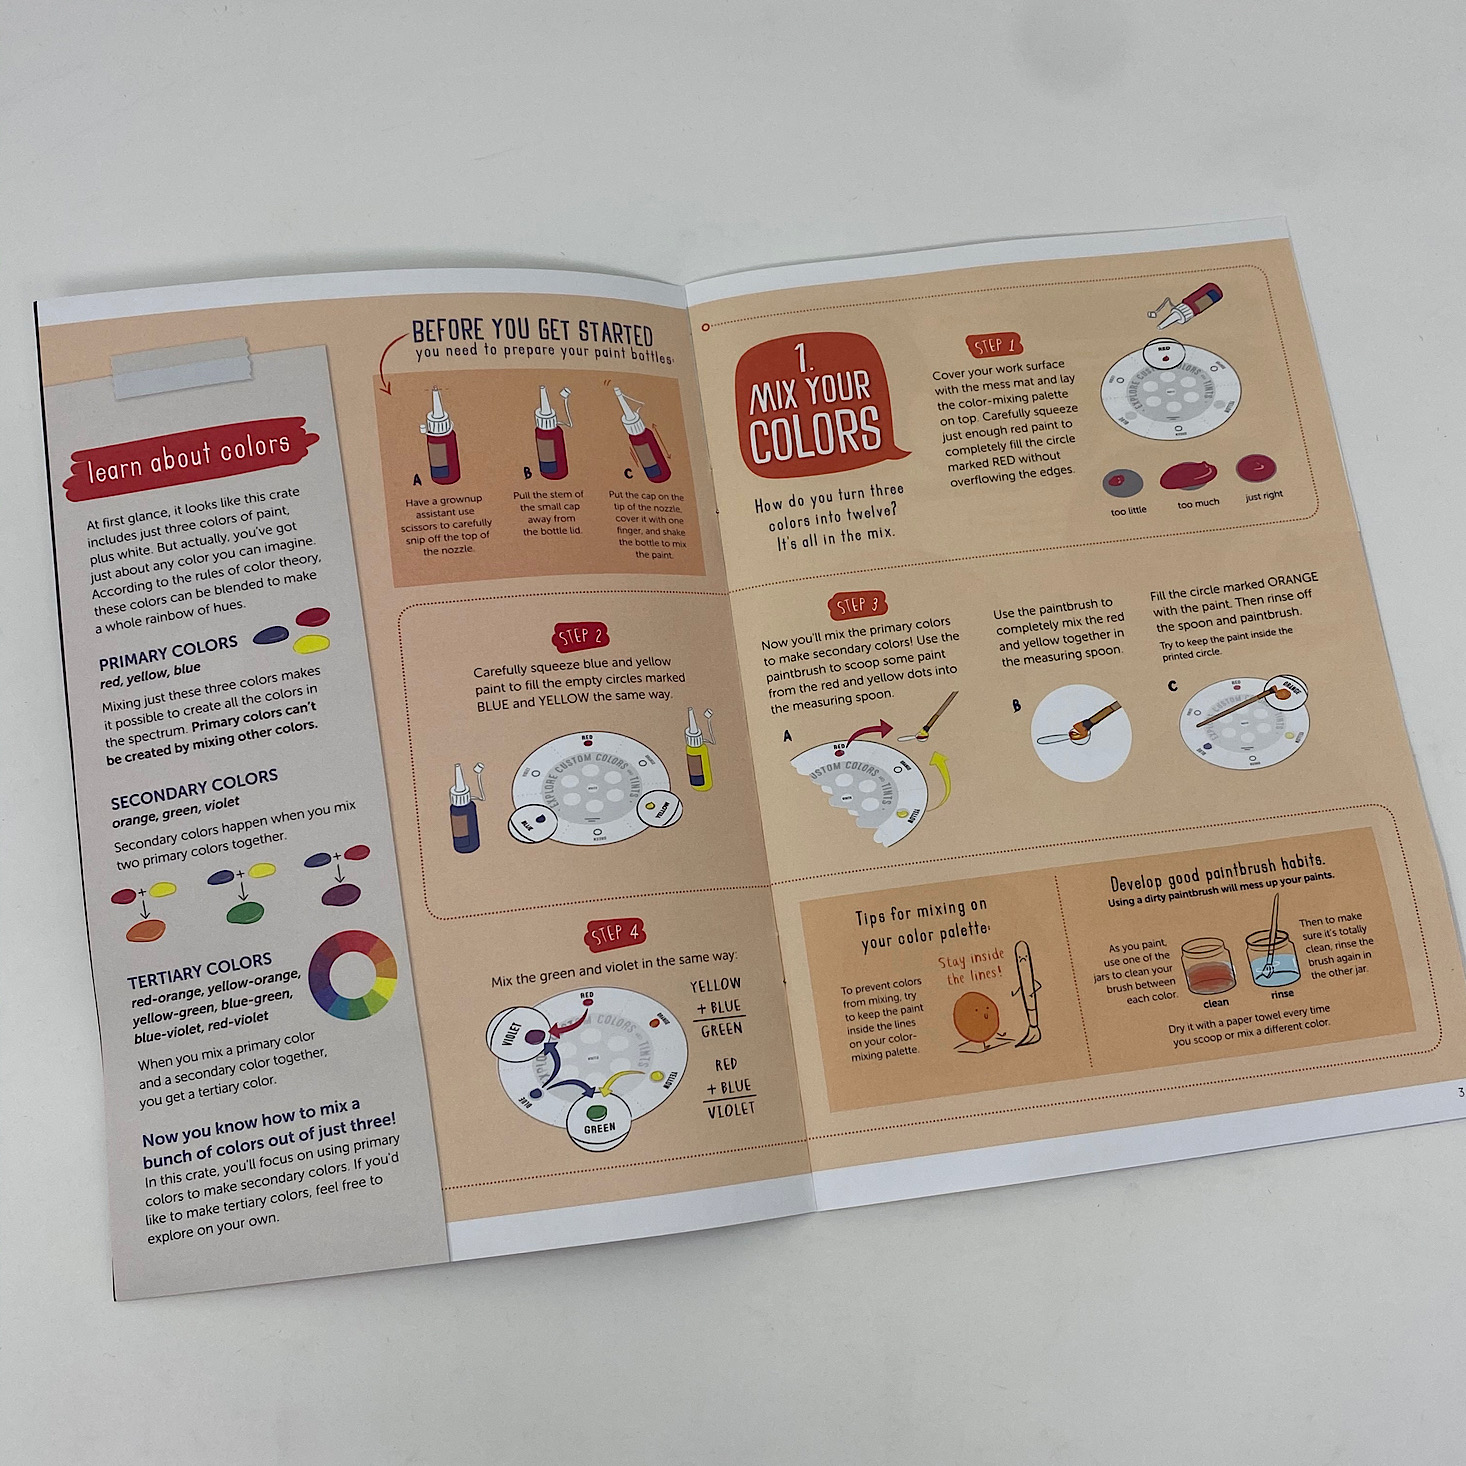
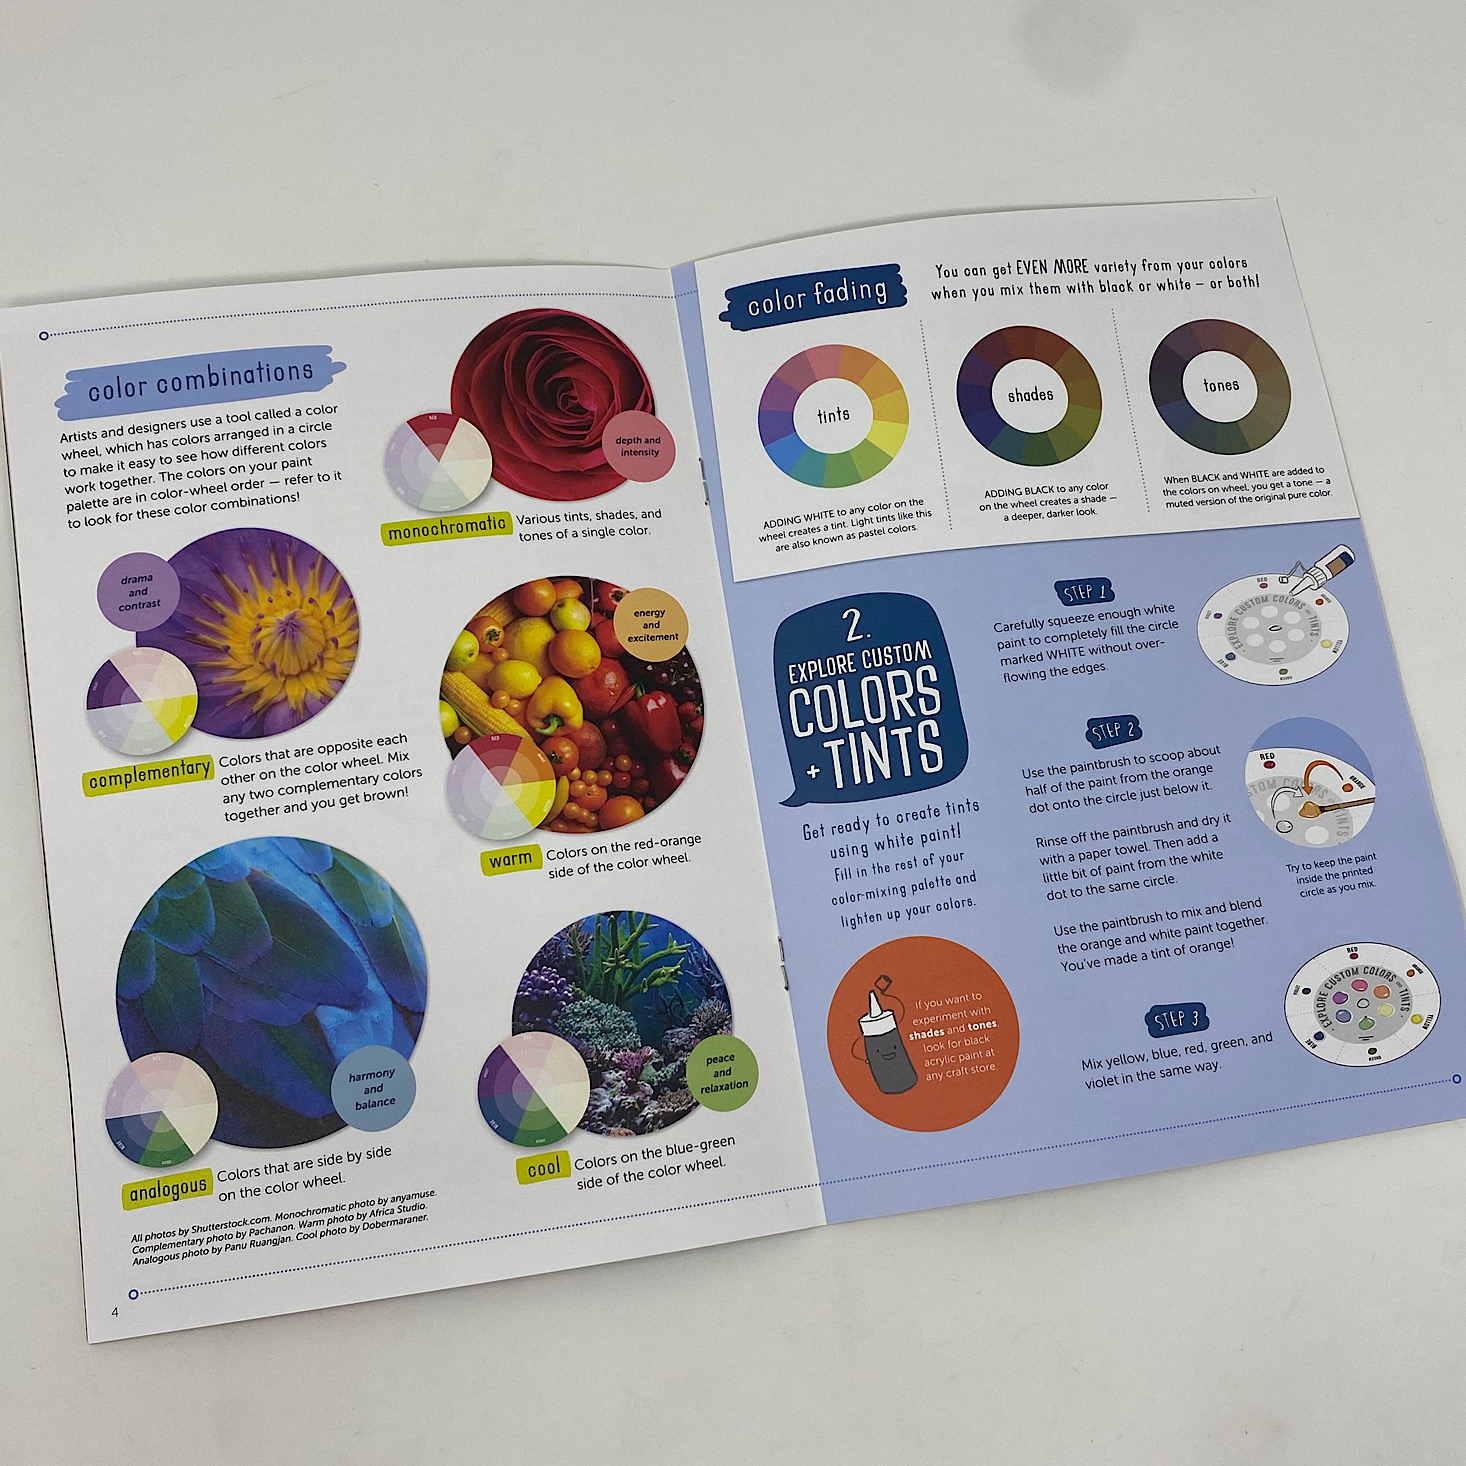
Part 1: Color Exploration

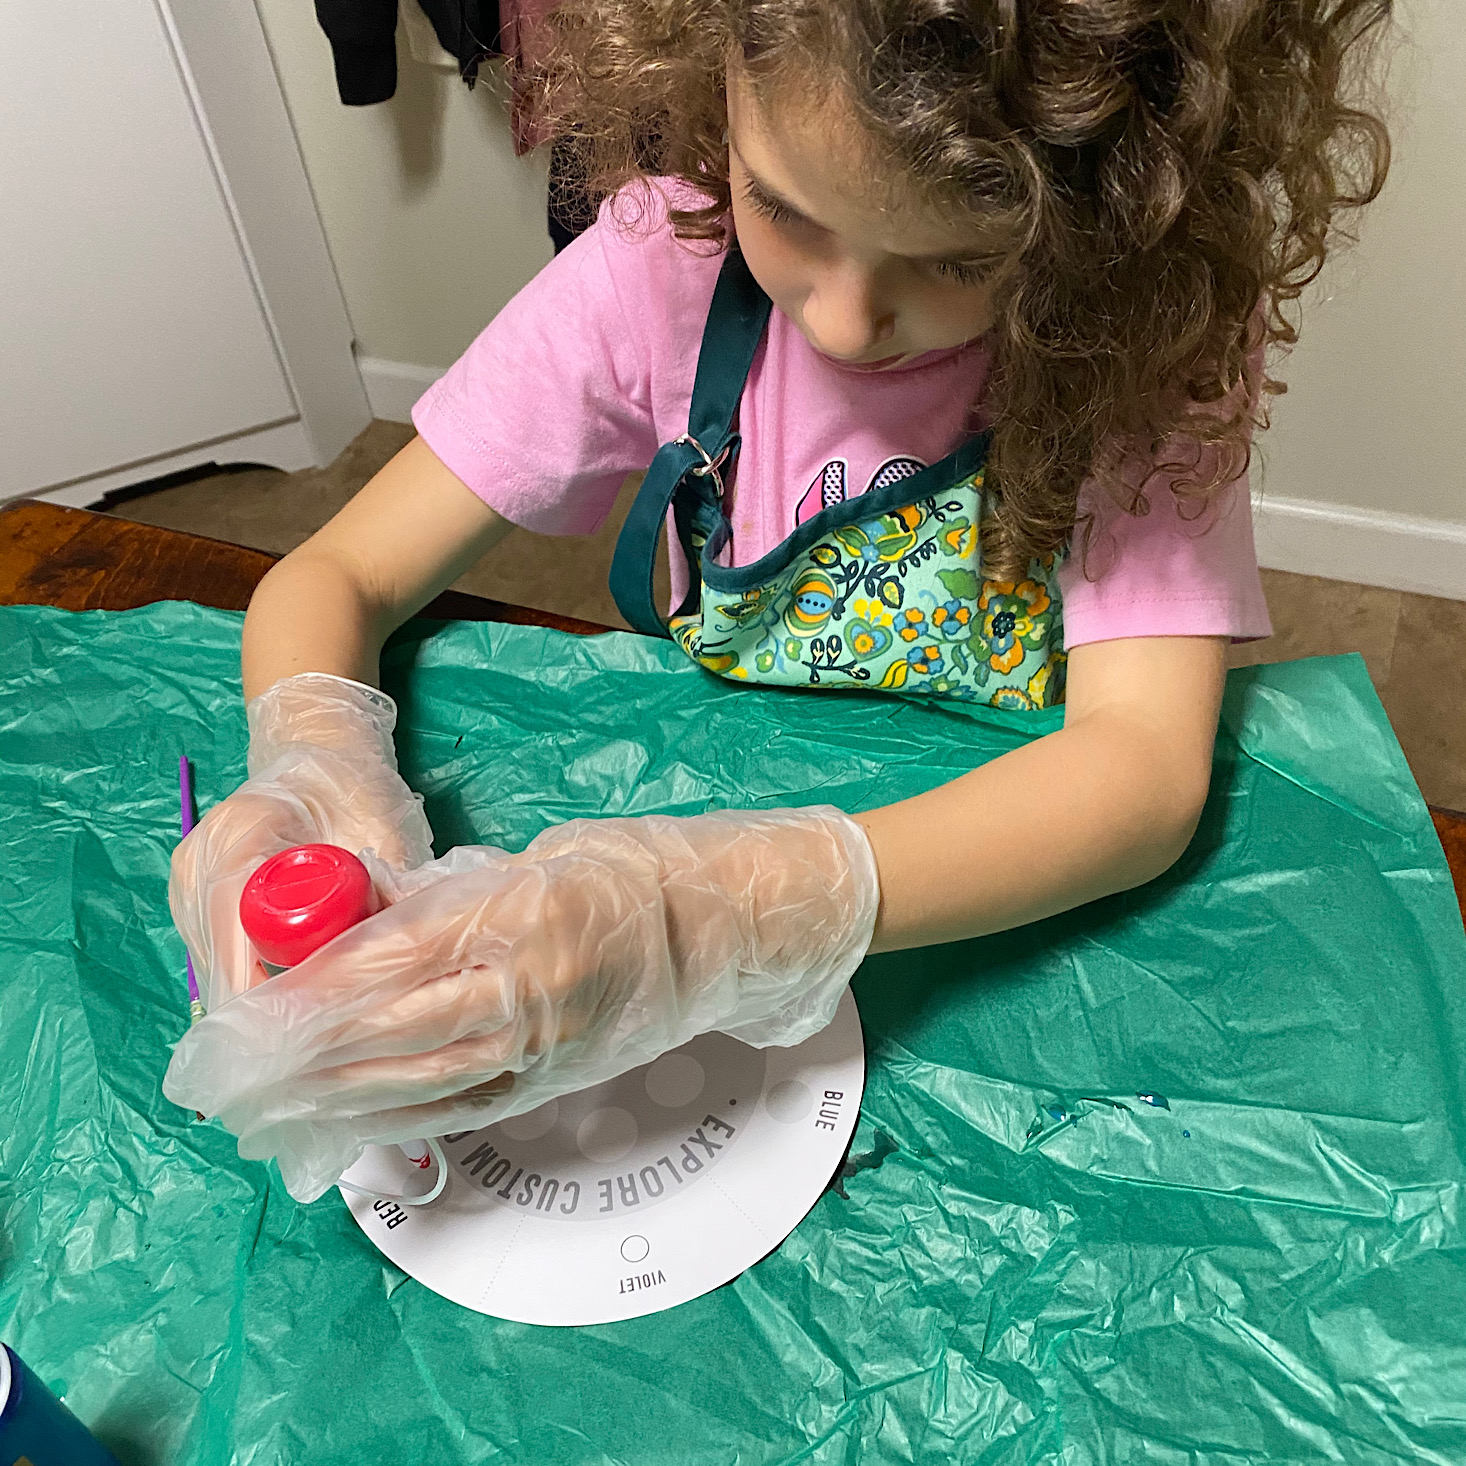
I spread out some extra paper for us to work on by using the packing paper from our box. Then I cut off the tips of the paint bottles (not as easy as I thought it would be, resulting in paint on my shirt - oops!) and then my daughter shook the bottles up for us.


1 of 2
Then she began adding paint to the marked spots on the palette. While I like that the palette is labeled and it was on thicker paper, I feel like it wouldn't have been too much to spring for a plastic palette in this box. A reusable palette would have been nice to have and easier to work with!
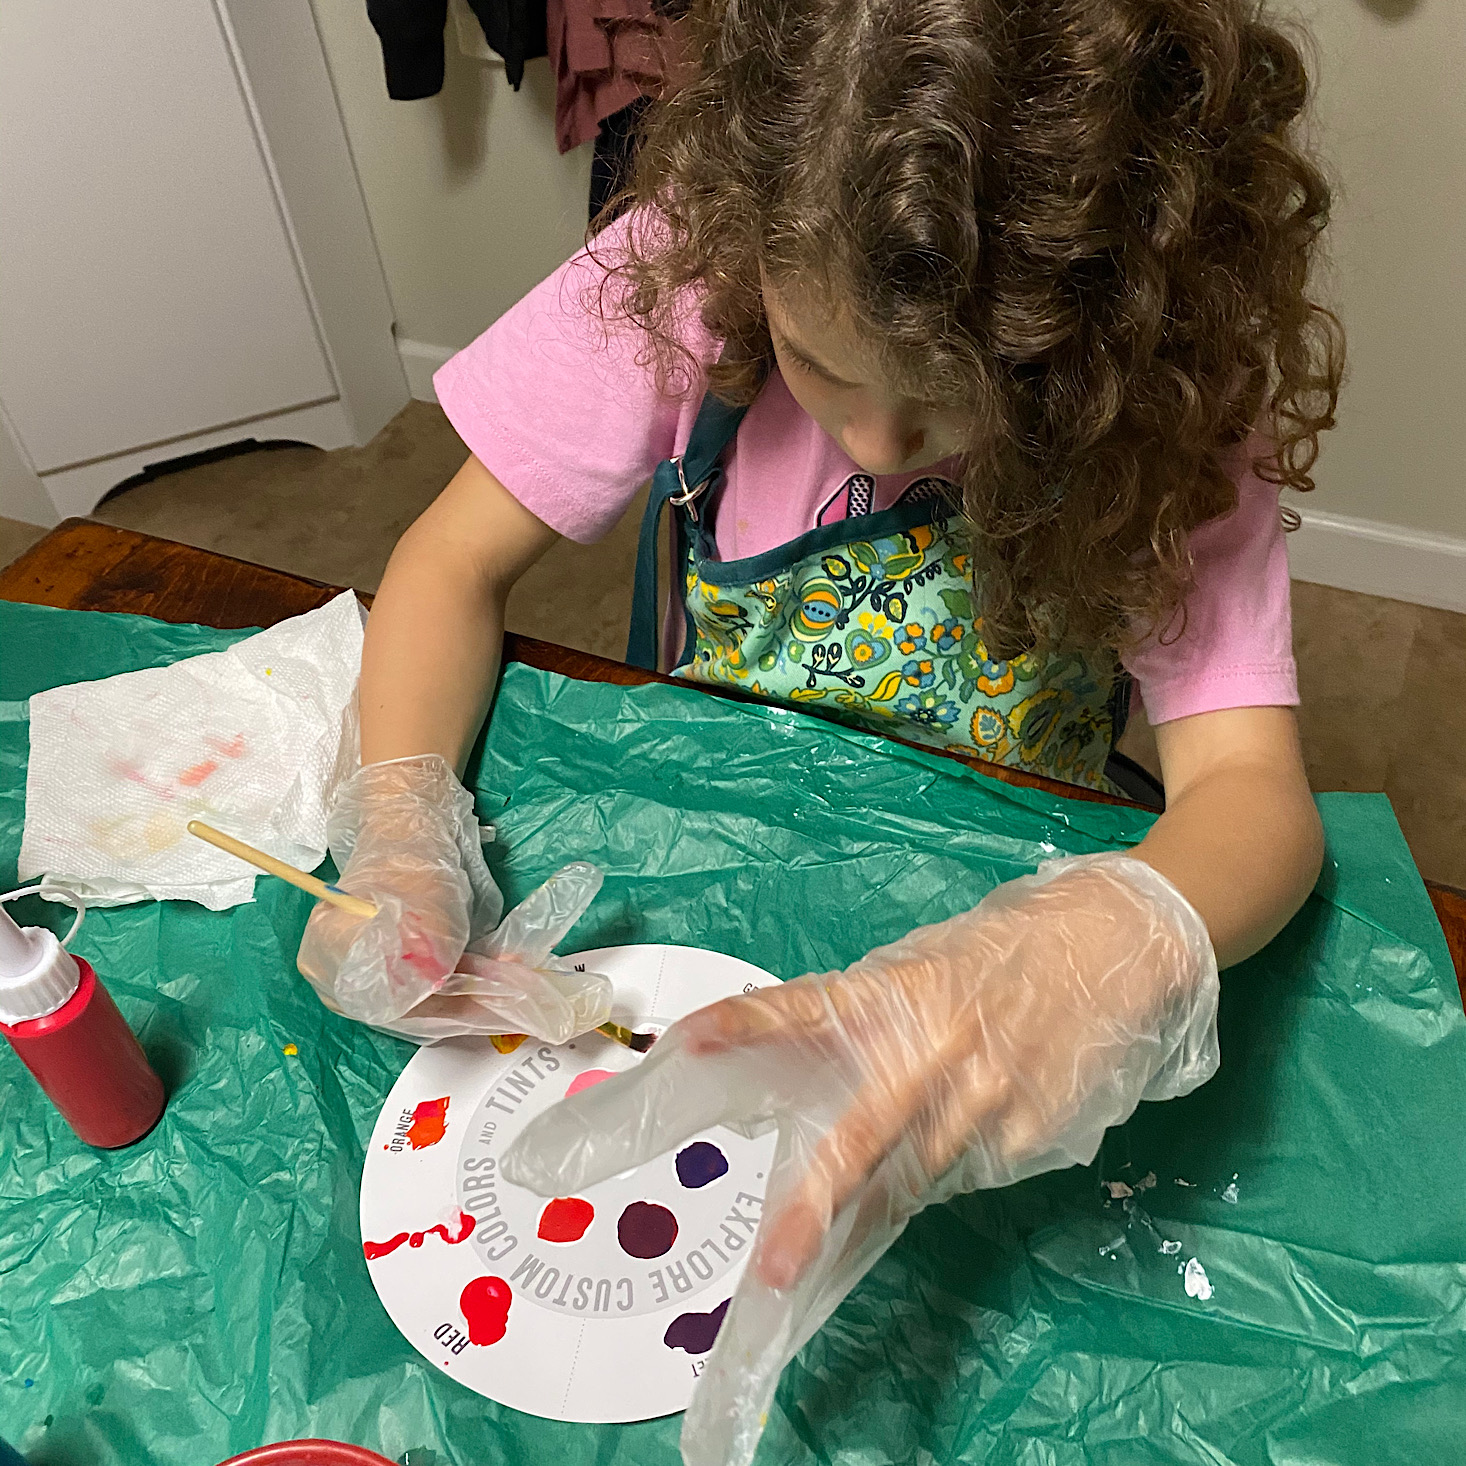
1 of 3
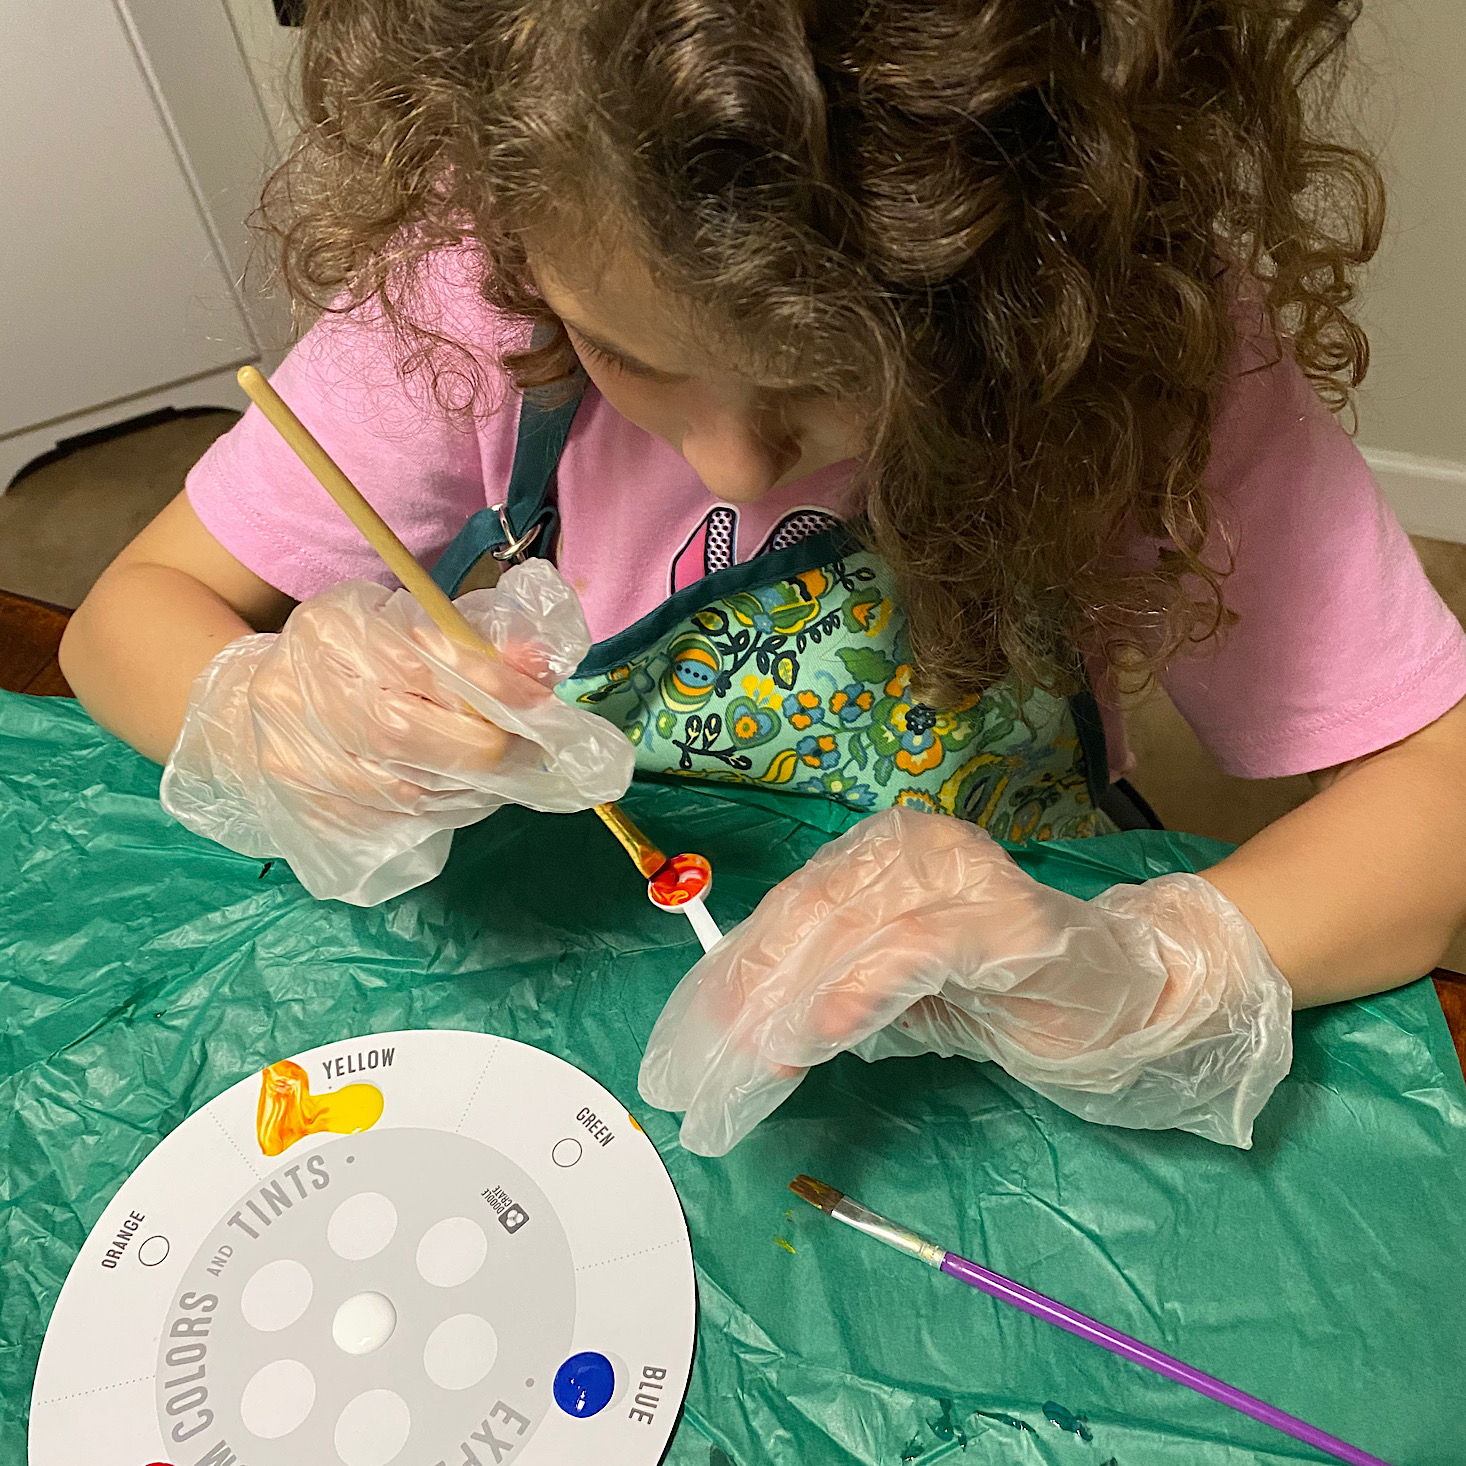
From there we began to use the little scooper to mix our primary colors to make secondary colors. As a former art teacher, I've already drilled this concept into my children's heads, but this would be a great lesson or refresher for those unfamiliar with color mixing. We then talked about tertiary colors and mixed some more before adding white into the mix and exploring the idea of tints. After that, I just let her have at it and she went crazy playing around with the colors and mixing them all to make new ones.
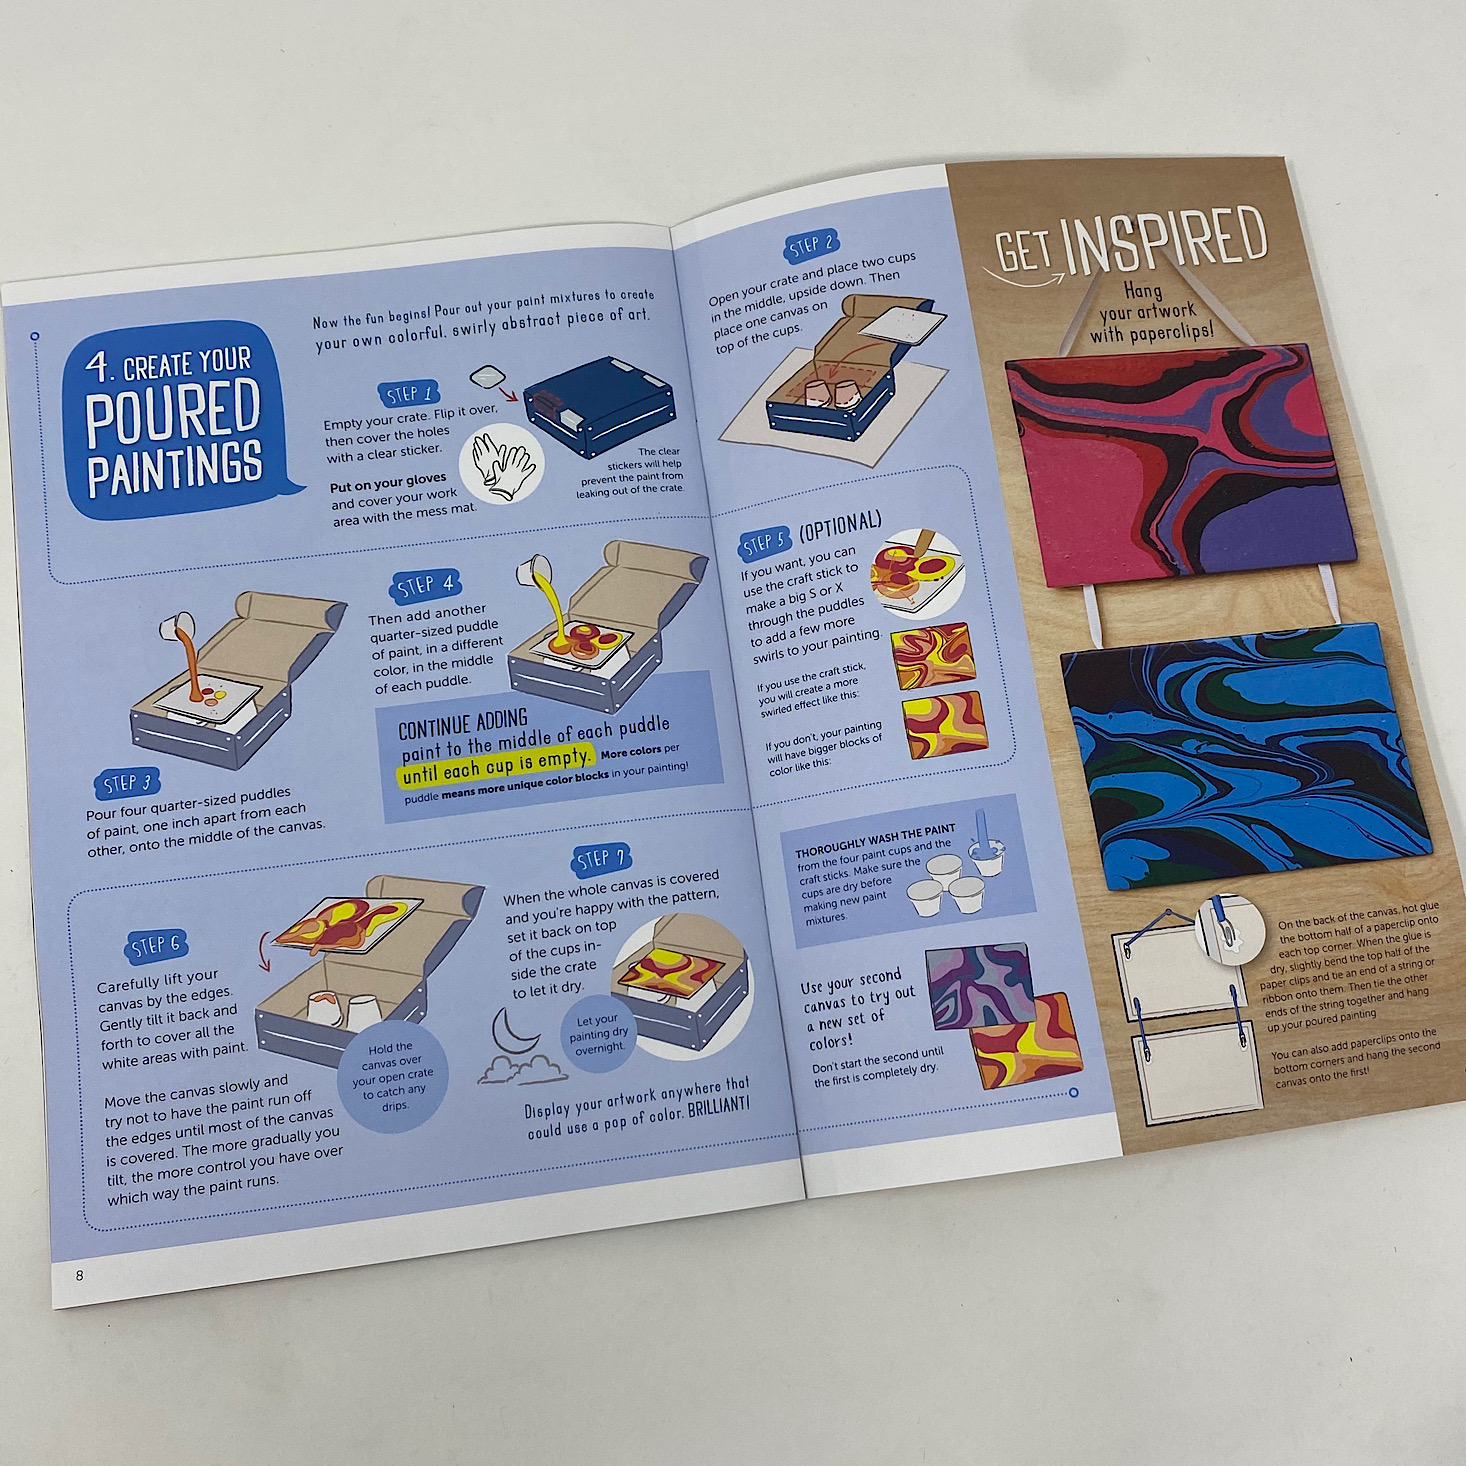
Part 2: Poured Paintings

1 of 2
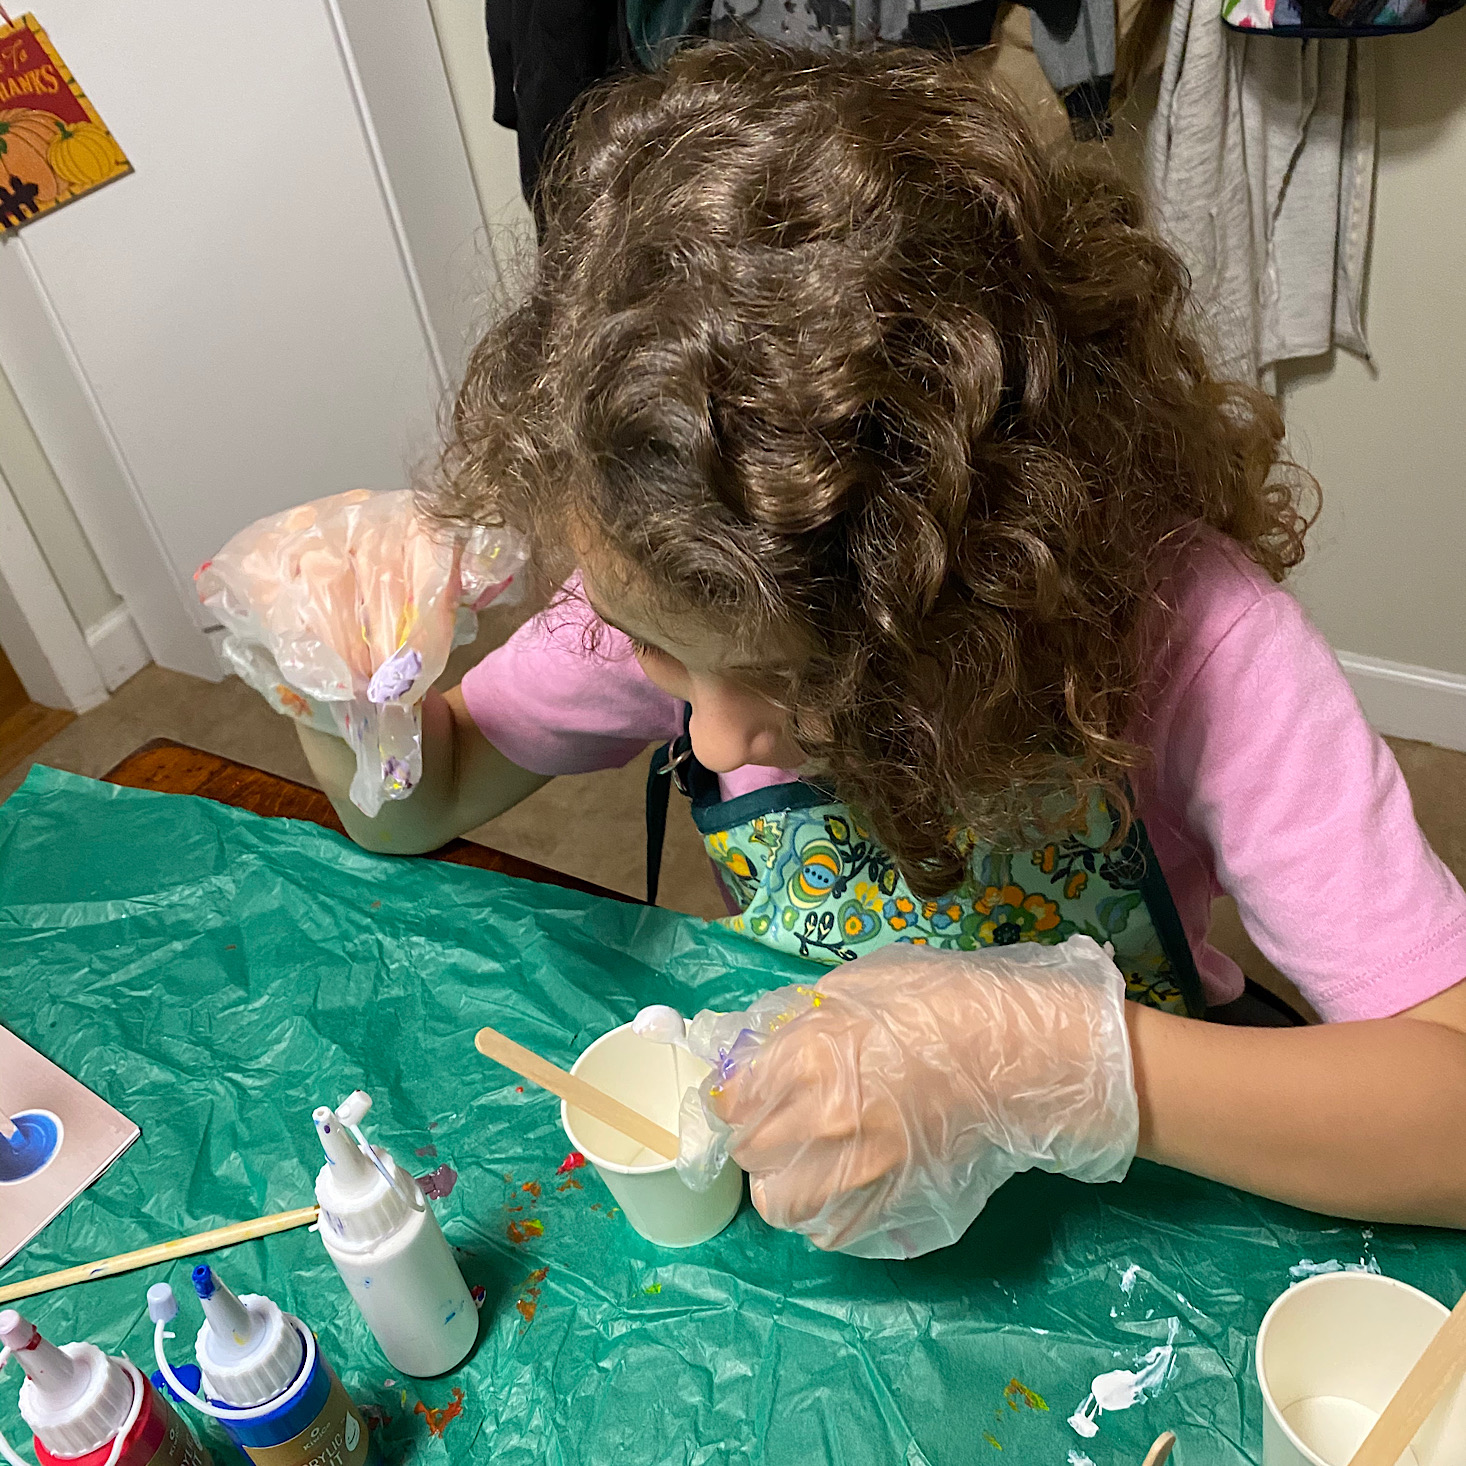
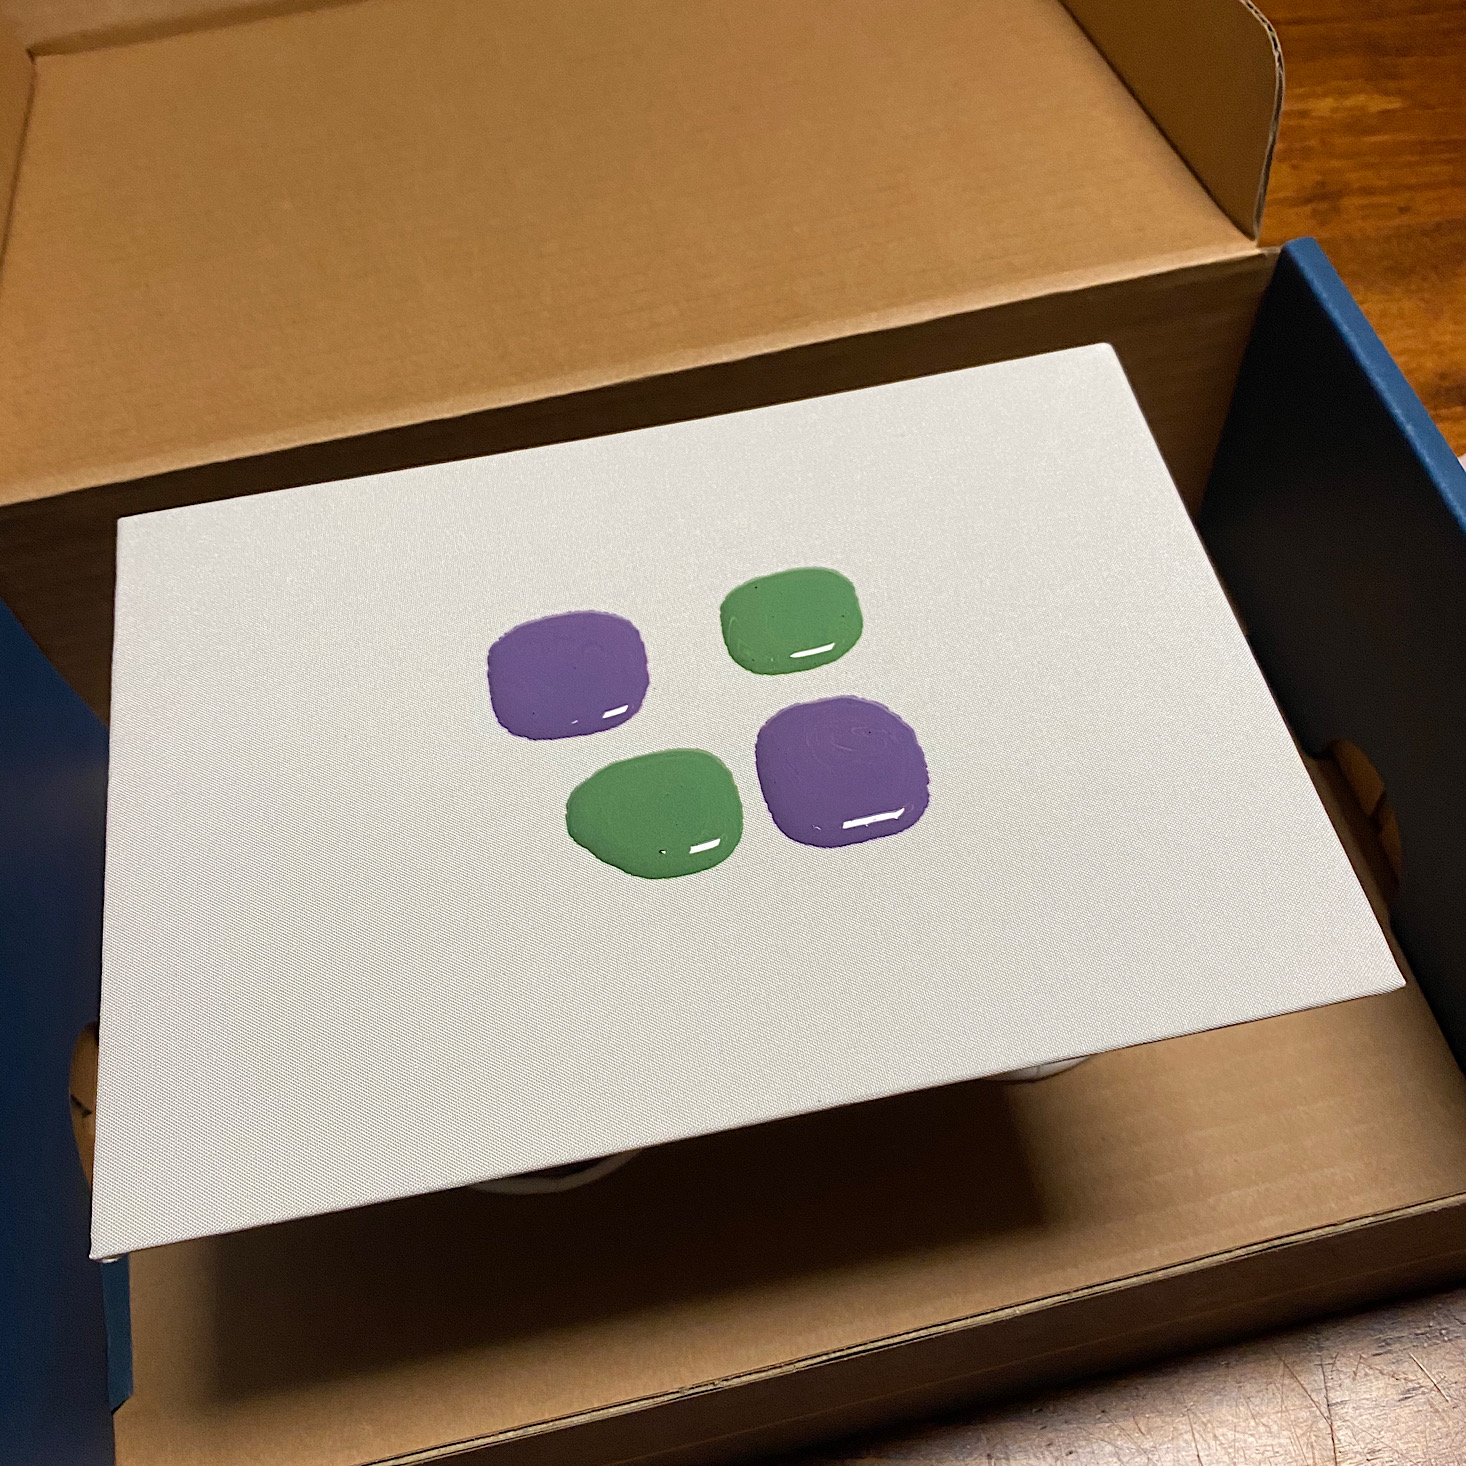
I don't have many process photos here because as I said, this was pretty messy! I added a scoop of water to each of the bottles and then we shook them up again to get the right consistency. Now we were to make four different cups full of paint for our paintings. They said not to use more than four scoops of paint in each cup, but I felt like this was hardly enough. My daughter had fun measuring her colors and adding the scoops of paint to create them. It was cool to see her working through the process of what colors she needed to get to the one that she wanted.
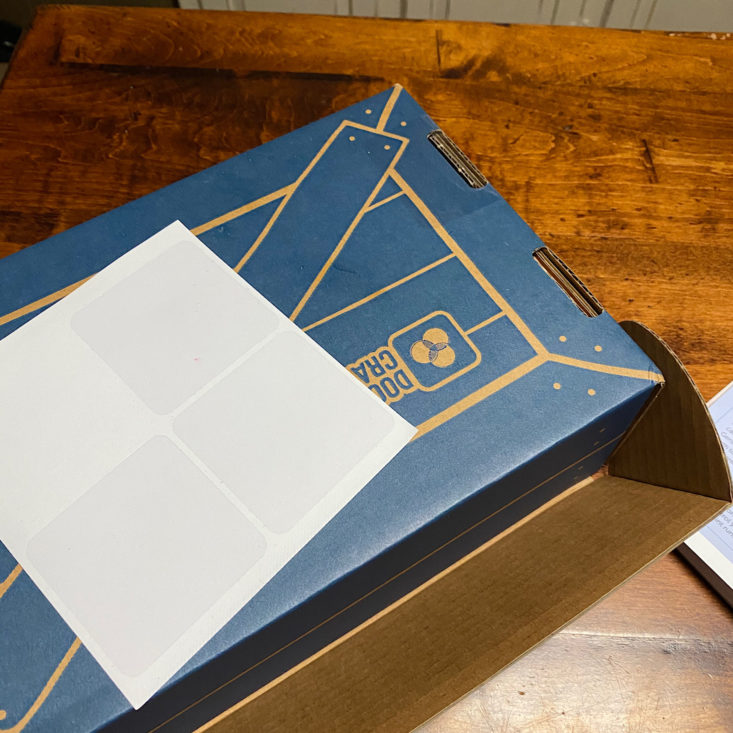
I prepared our box by adding stickers to the holes at the bottom. Then we placed two cups upside down in the box and set our canvas on top of that so that the paint would stay in the box.
1 of 2
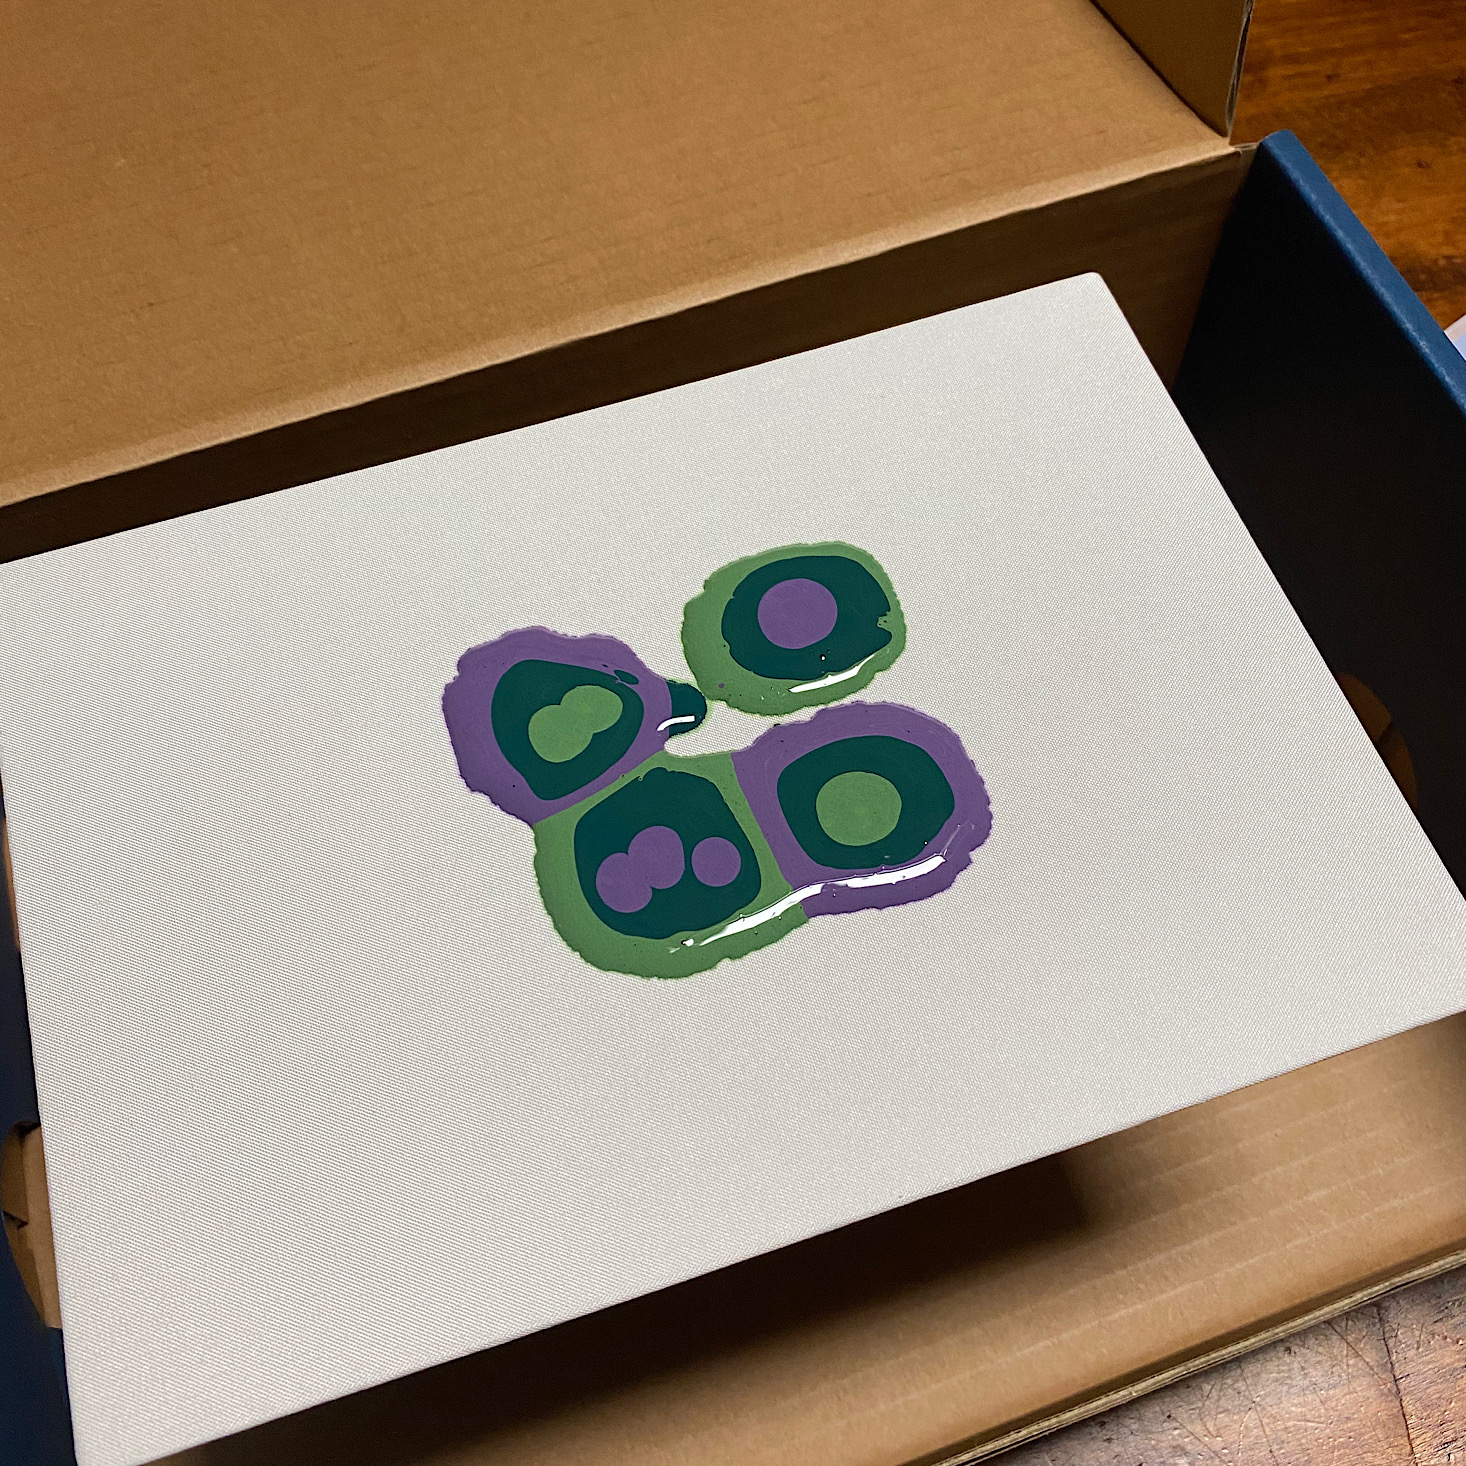
We added the four quarter-sized puddles to the center of the canvas and then slowly added more paint until each of our four cups was empty.

1 of 2
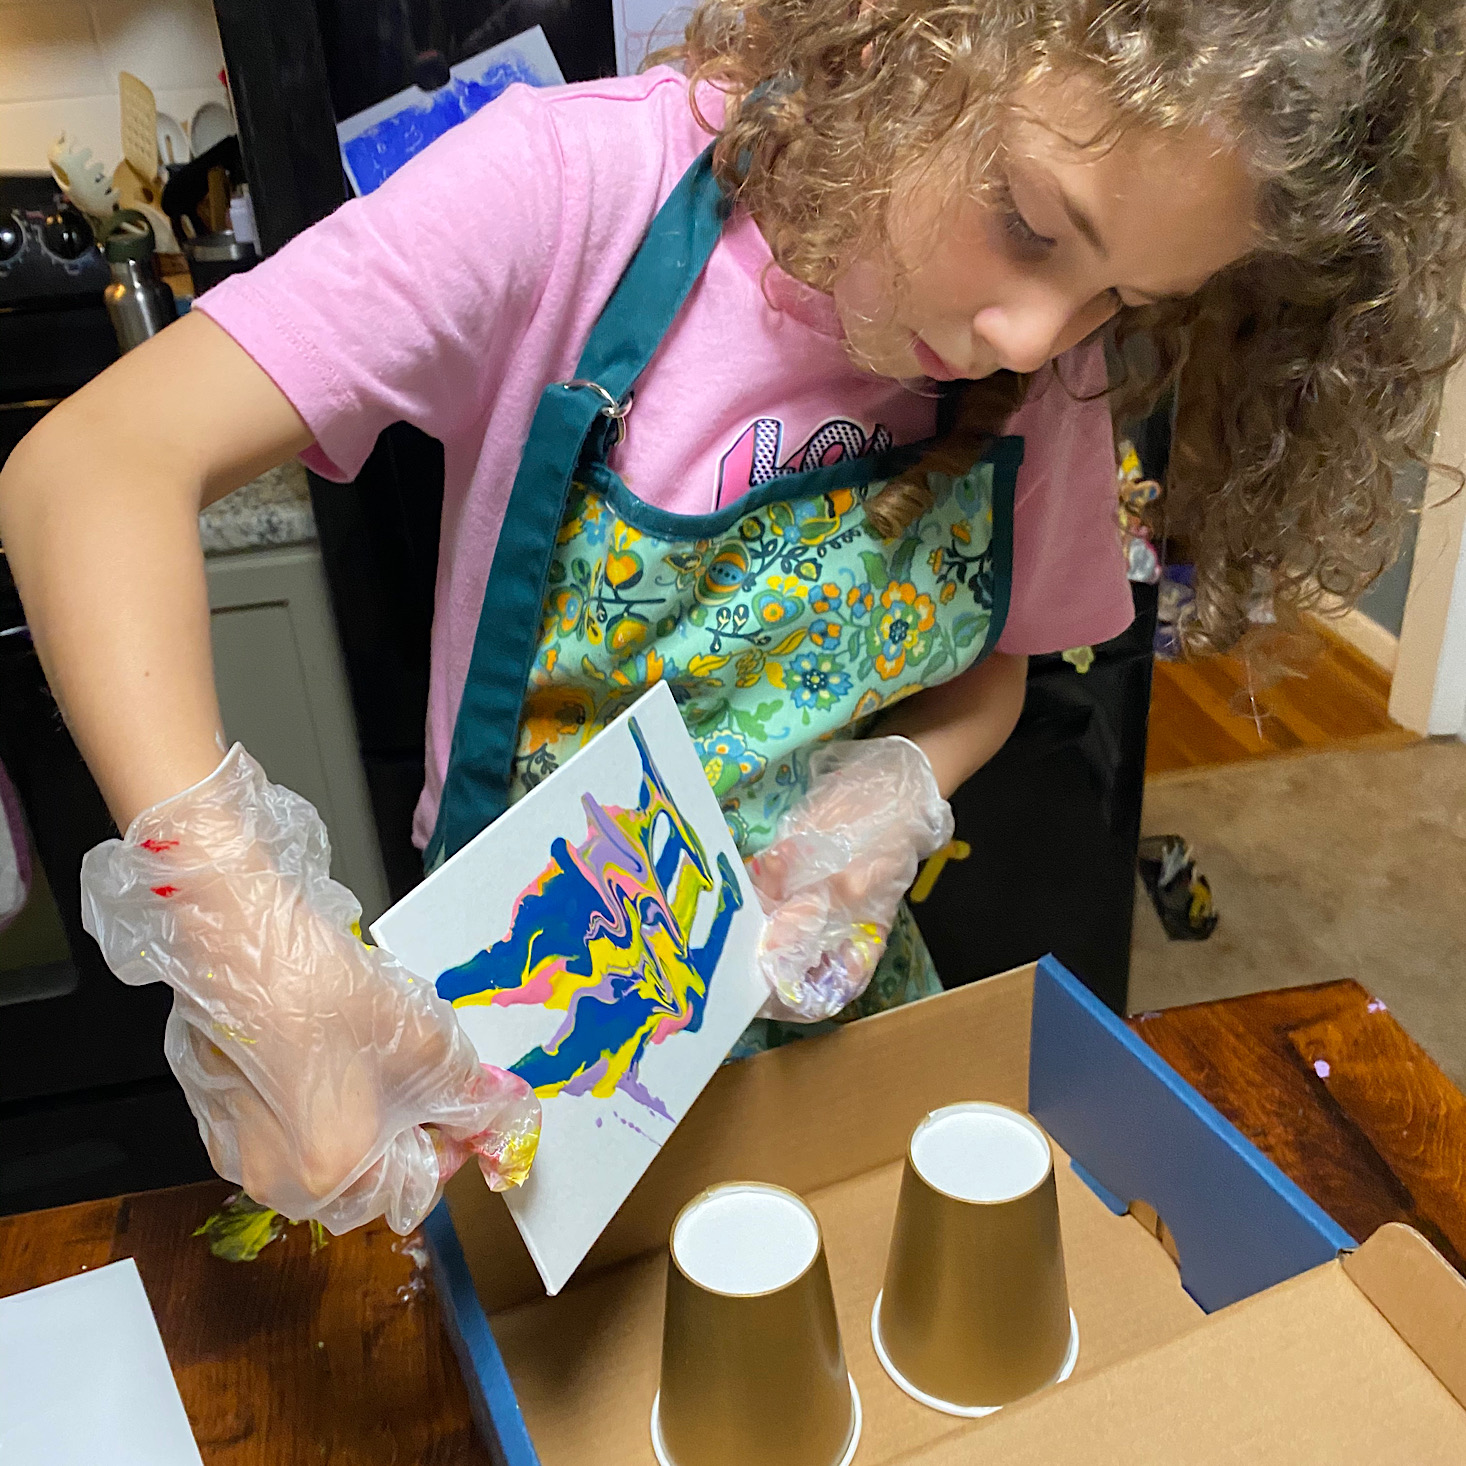
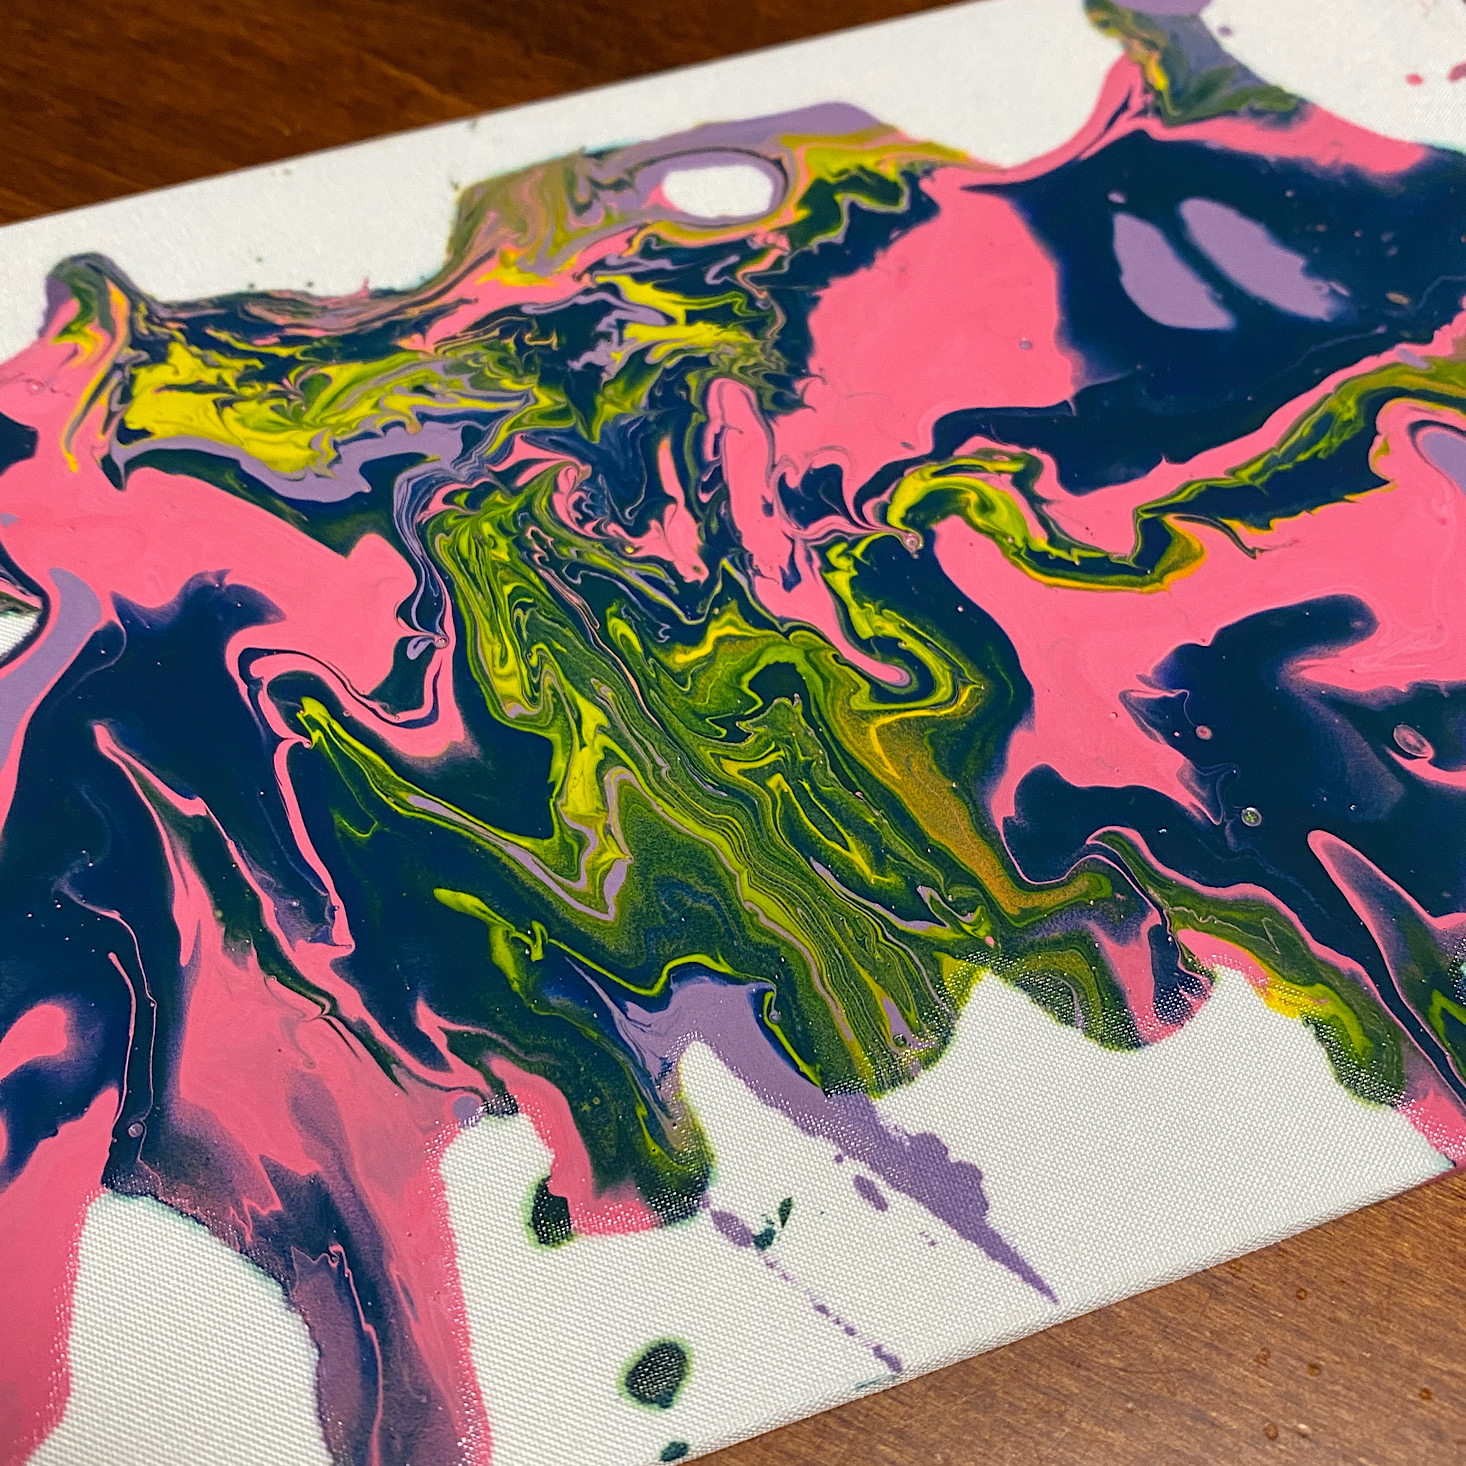
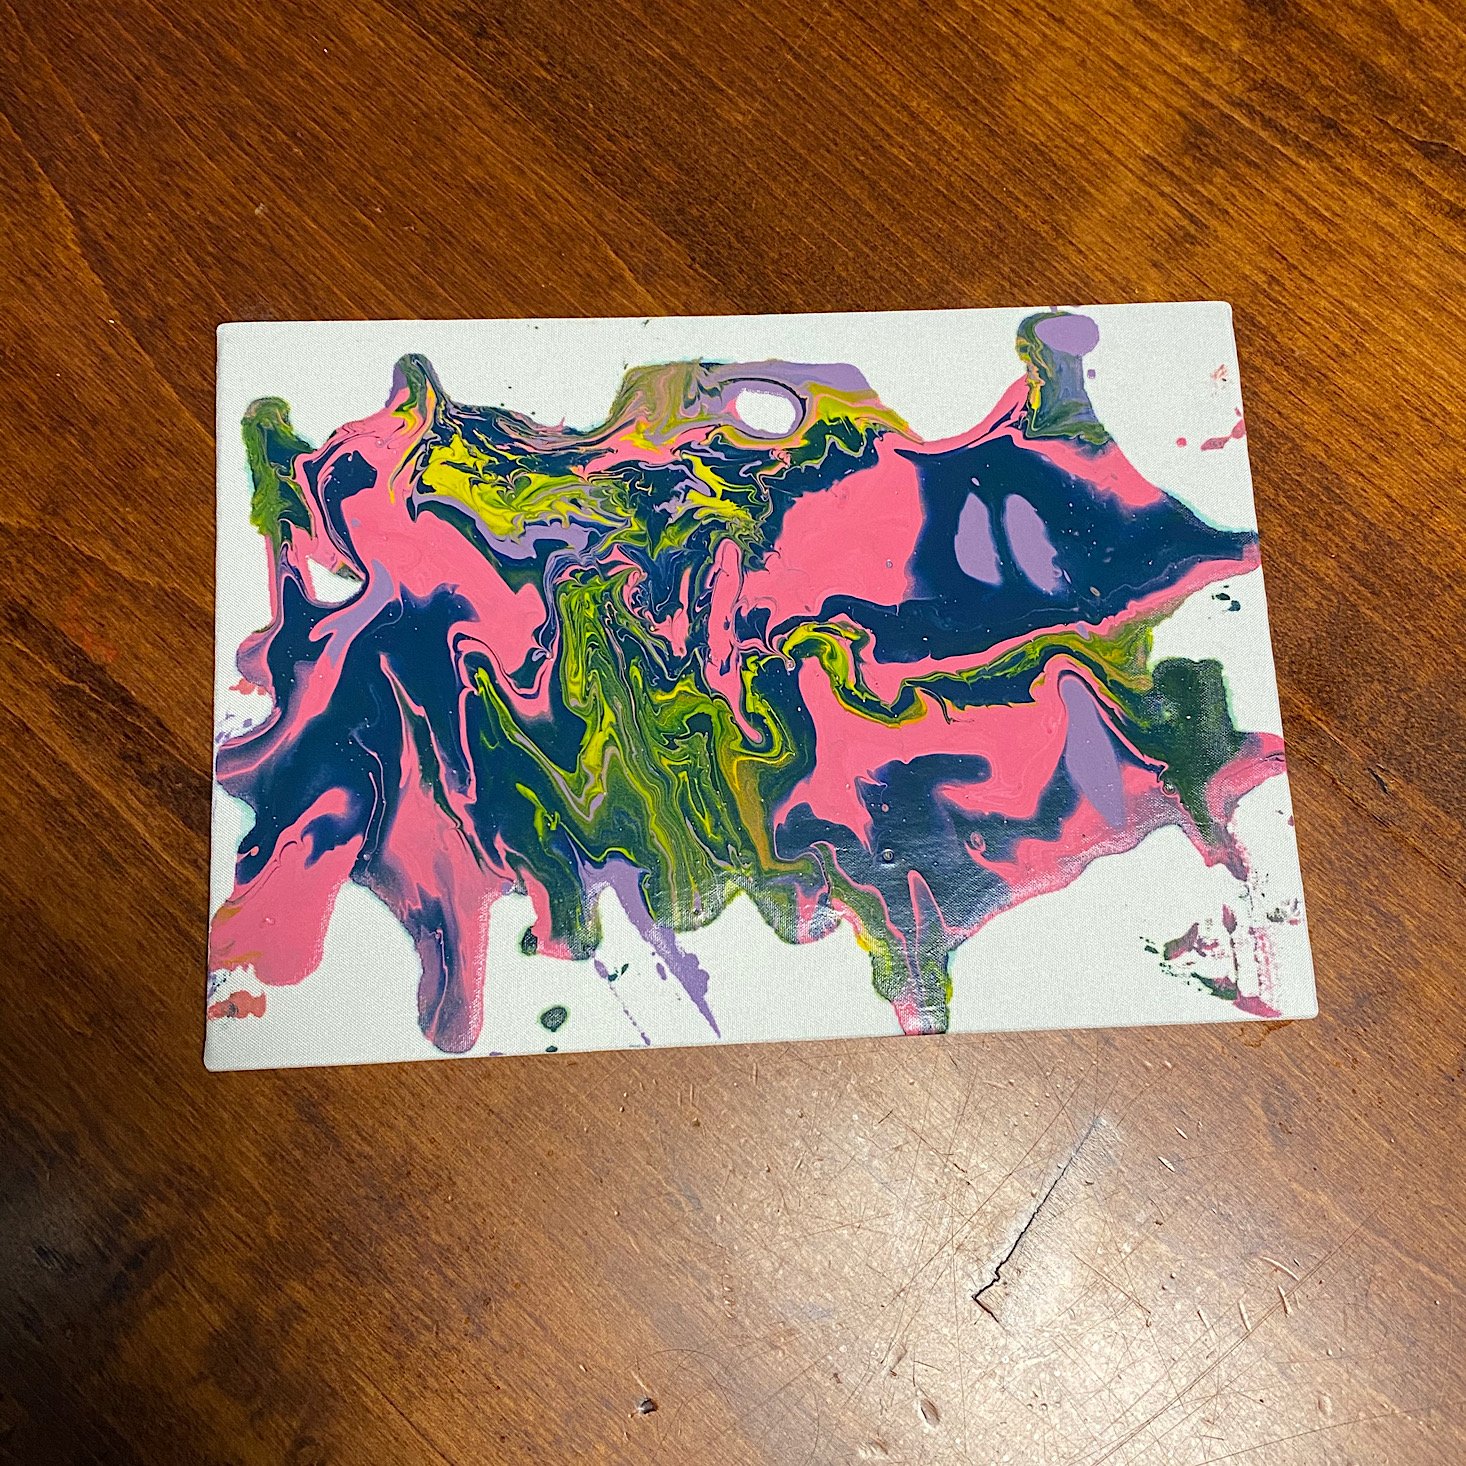
Then we began to rotate our paintings so that the paint would spread around our canvas. It definitely looked really cool and was a very fun (albeit, messy!) process. My daughter and I both enjoyed this part.

The issue was that our paint was not the right consistency for our canvas. It had sort of a fabric texture to it and since our paint wasn't super runny, it clung to the canvas and absorbed it instead of spreading around the edges as it should have. This meant we had to keep adding more paint because at a certain point it just wouldn't spread out to the edges, which was a little frustrating.
1 of 2
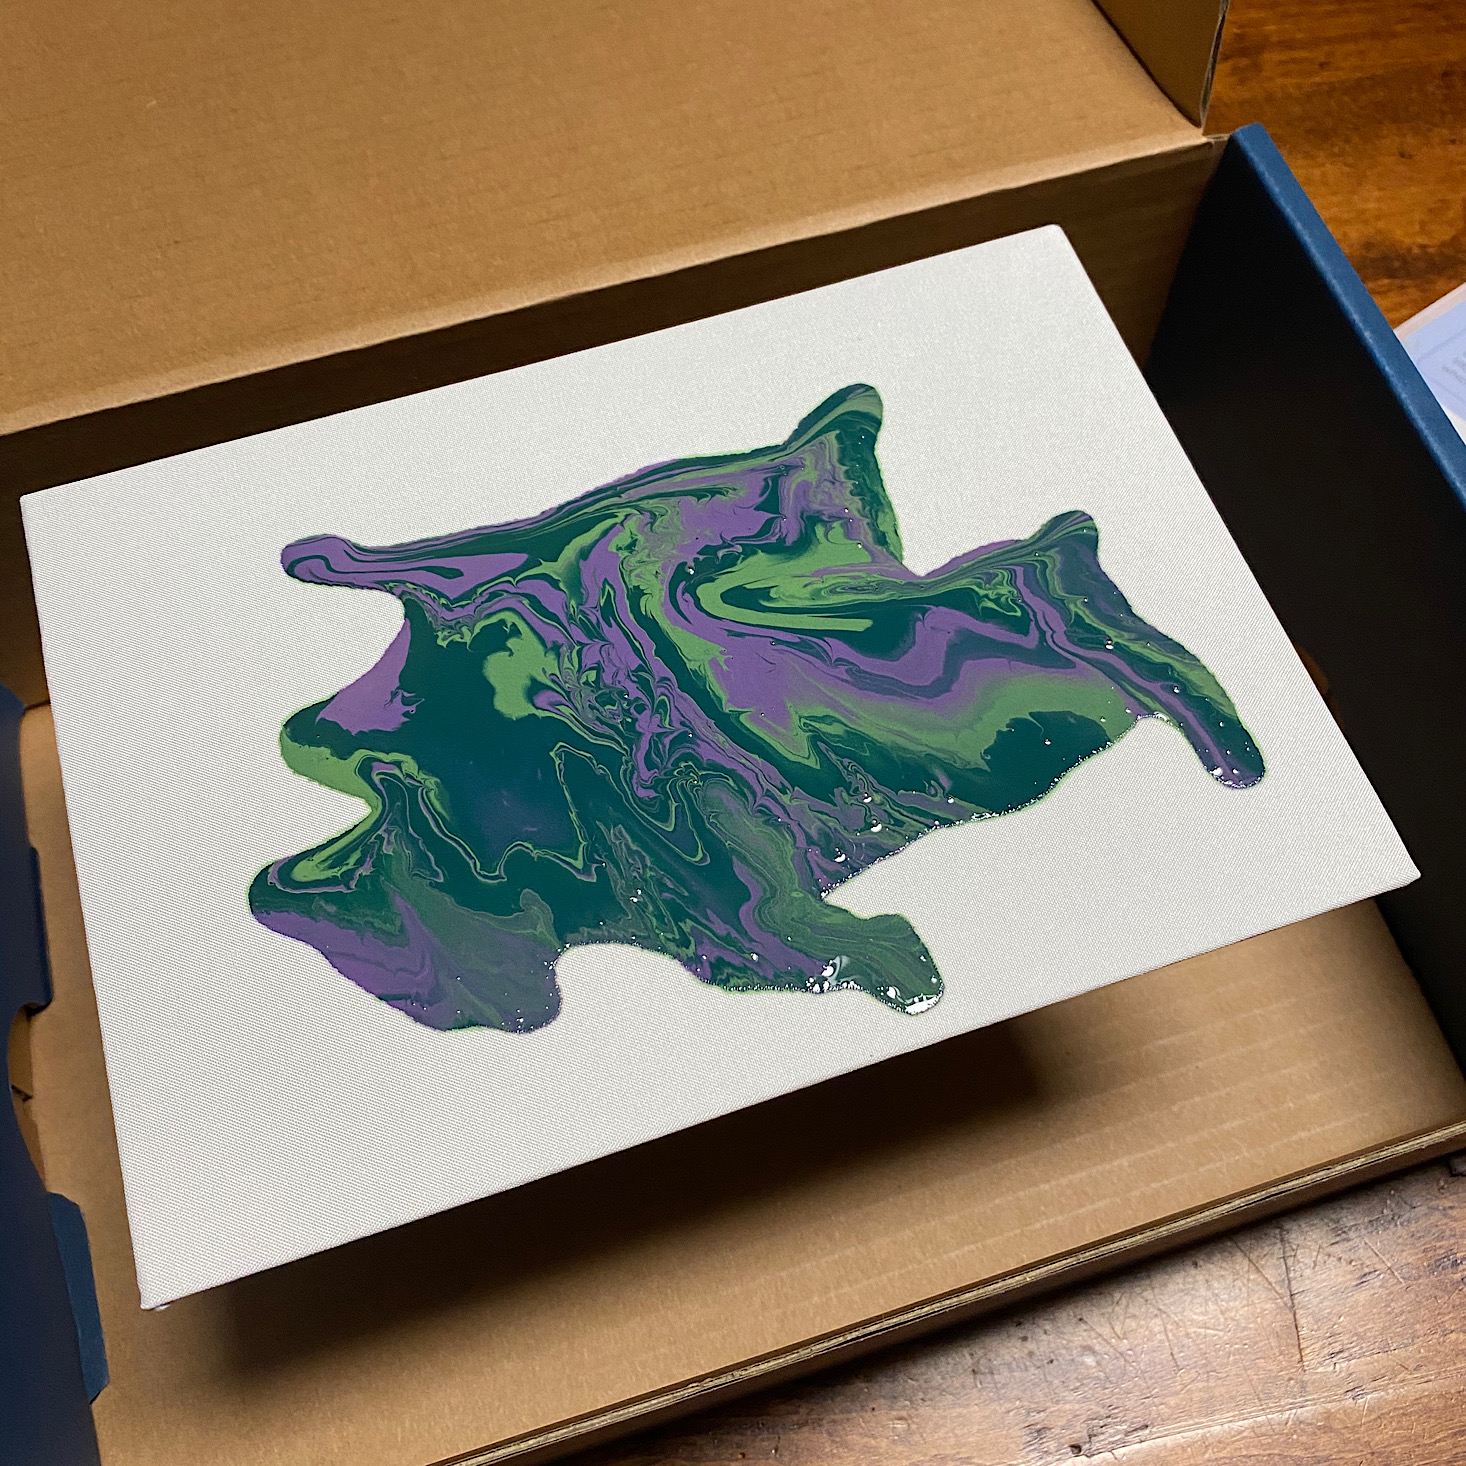
This is my painting in progress. You can see it just seemed to stay there in the center and didn't really spread much. If we hadn't worked together to do both of our paintings at once, I probably would have done it much differently for our second painting by adding more water and using a lot more paint in our cups. The process was messy either way, so a little extra paint wouldn't have made a difference and we did have plenty of it leftover in the end.
1 of 2
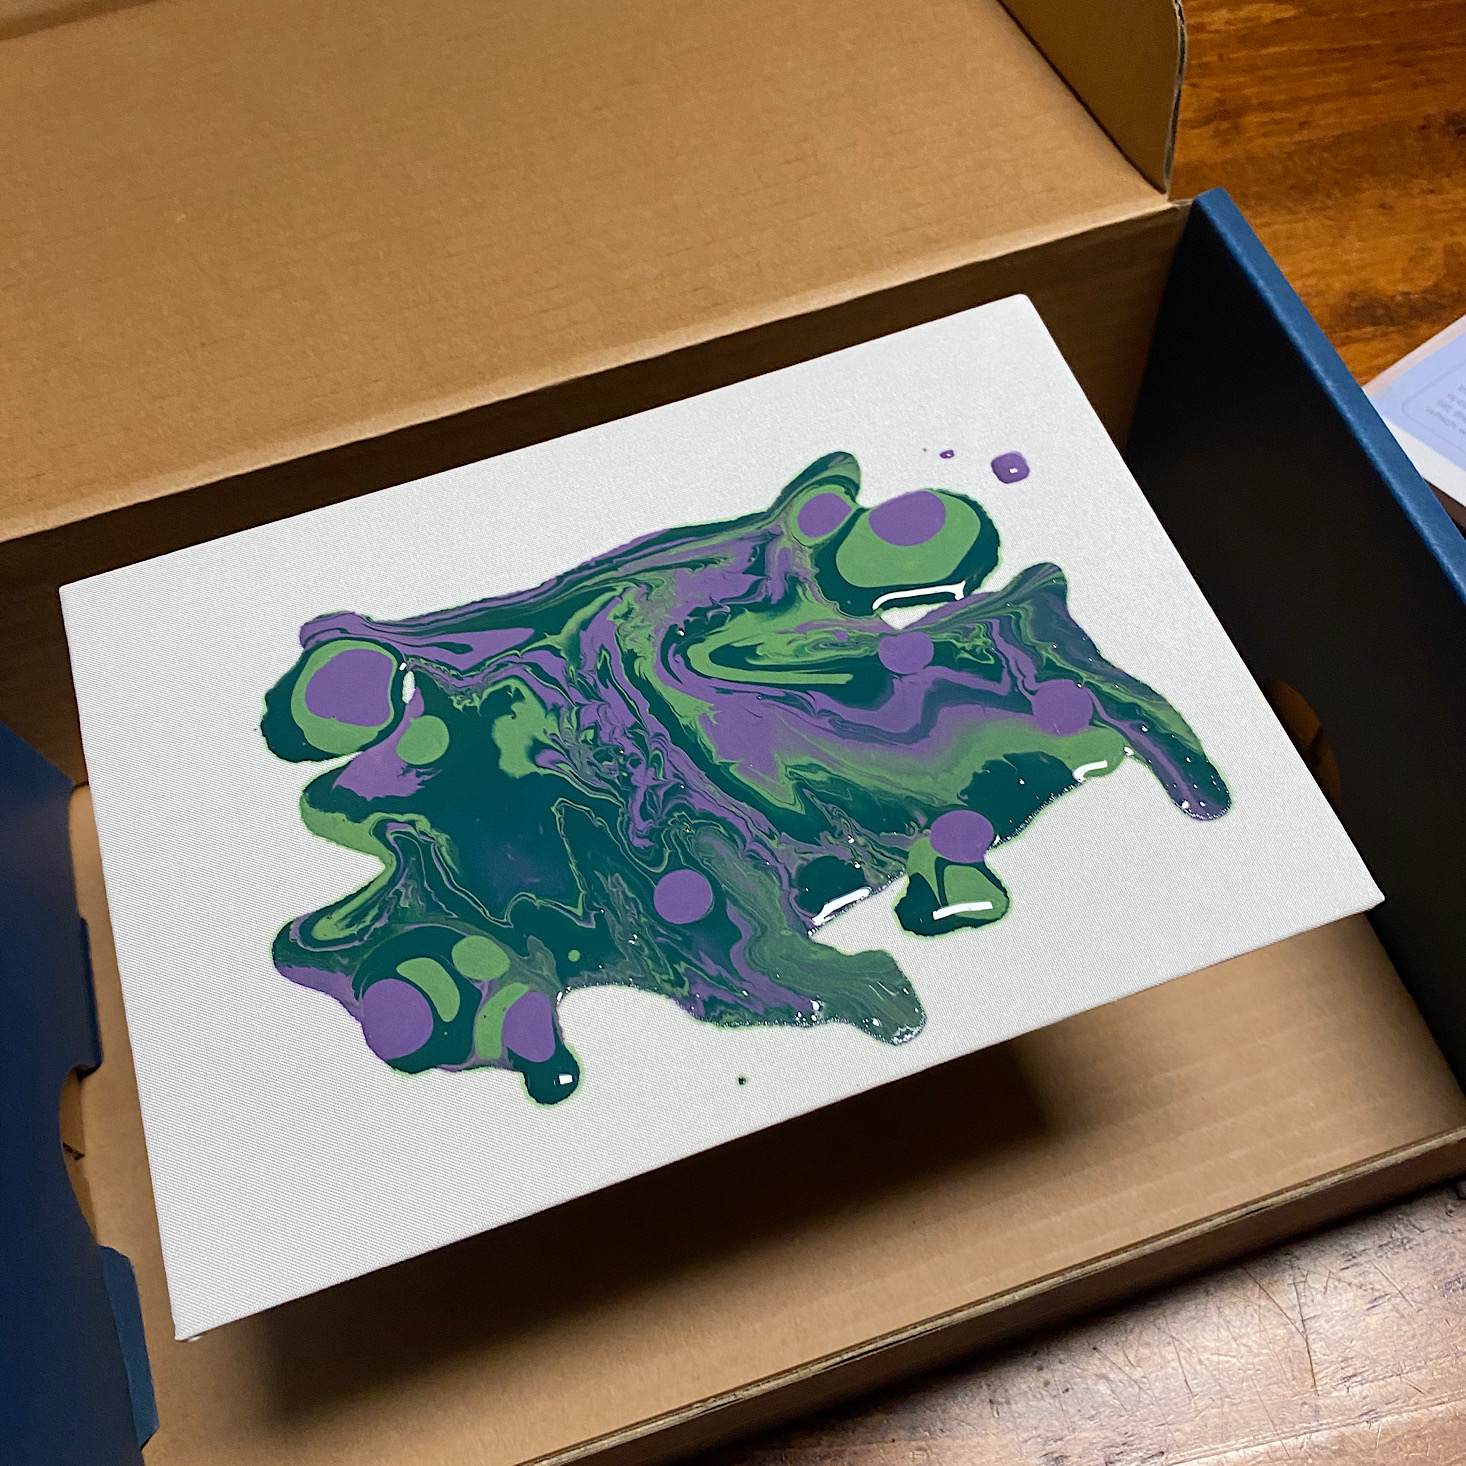
Here is my daughter's design.


1 of 2
This one is mine. They still turned out cool, but it would have been more effective if the entire canvas was covered.
Verdict: This month's Doodle Crate project was a great concept. I really loved the color mixing that we did before beginning the project and felt that it was an educational and fun way to explore color. As for the poured paintings themselves, I feel like it could have used a little less structure, honestly, because that little scooper didn't seem to provide the right measurements for the amount of paint nor for the amount of water that this project needed. This is so surprising to me because usually KiwiCo boxes are so well thought out. If I had to go back and do this one again, I would have simply eyeballed it and mixed the paint directly in the cups without measuring and just embraced the messiness! We still had fun and created something cool, but it definitely could have been a smoother process.
To Wrap Up:
Can you still get this box if you sign up today? It is possible you might get this crate, but it is not a guarantee. From KiwiCo:
Crates are assigned each month based on availability and your crate history – not all subscribers receive the same theme each month.
Check out all of our Doodle Crate reviews and the best subscription boxes for tweens and teens!
Keep Track of Your Subscriptions: Add this box to your subscription list or wishlist!
What do you think of the Doodle Crate project?

Please do not enter your email address in the Name field or in the comment content. Your email address will not be published. Required fields are marked *. Remember to post with kindness and respect. Comments with offensive language, cruelness to others, etc will not be approved. See our full comment policy here.