

The Crafter's Box is a monthly maker subscription box:
As a member of The Crafter's Box, we'll send a lovingly kitted box of tools and materials to your doorstep on a monthly basis. Each month we feature a new expert maker and that maker has built for us a unique, grown-up, on-trend project that reflects their artistic style. In addition to the monthly box, our featured maker has created an educational, digital workshop to teach their crafting medium and to offer their tips and tricks.
The best part of this model is the ability to revisit workshops in the future to create again and again. Happy making!
The Crafter's Box offers three different subscription models:
- Individual Membership: $65.00 per month for a kit of curated tools and materials + a new digital workshop by the featured maker
- Crafter's Night: $60.00 per person (minimum of 3 people necessary) per month for a group kit of the curated tools and materials sent to one host + individual video access for each person
- Video-Only Access: $20.00 per month for access to the digital workshop created by the featured maker (no tools or materials included)
This review is of the Individual Membership for $65.00 per month.

1 of 2
My Subscription Addiction paid for this box. (Check out the review process post to learn more about how we review boxes.)

About The Crafter's Box
The Subscription Box: The Crafter's Box
The Cost: $65.00 per month + free US shipping (other plans available from $20.00 per month)
The Products: A shipped kit of curated tools and materials + a new digital workshop by the featured maker of the month
Ships to: The US for free and internationally for varying rates
Good to Know: Membership enrollment is open between the 10th - 20th of each month. Subscriptions automatically renew on the 15th. Projects are designed to be for ages 18+.
The Crafter's Box May 2020 Review
The Crafter's Box seems to be what my crafting subscription box dreams are made of! Each month they feature a different, unique craft that is designed with the crafty adult in mind. The items you get to create are thoughtfully curated and created with high-end materials so that your finished products are modern and luxe.
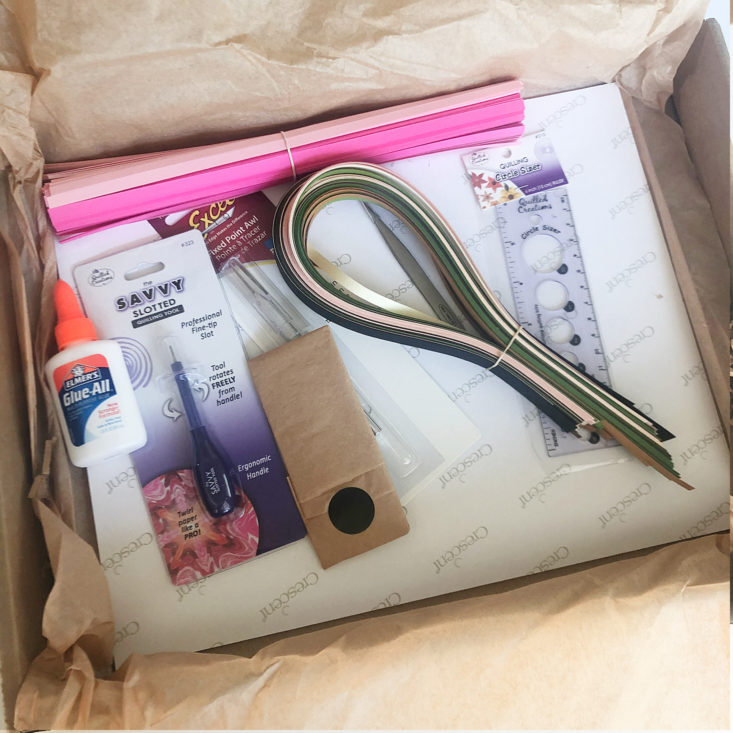
Let's take a look inside May's box - the craft this month is Modern Paper Quilling!


1 of 4


We have two informational cards showing what we received in our box this month. The first one has some information on the featured maker this month, Zahra Ammar. We also have a card listing all of the supplies included in the kit, and showing examples of finished paper quilling projects.
Now, onto the items!

1 of 3

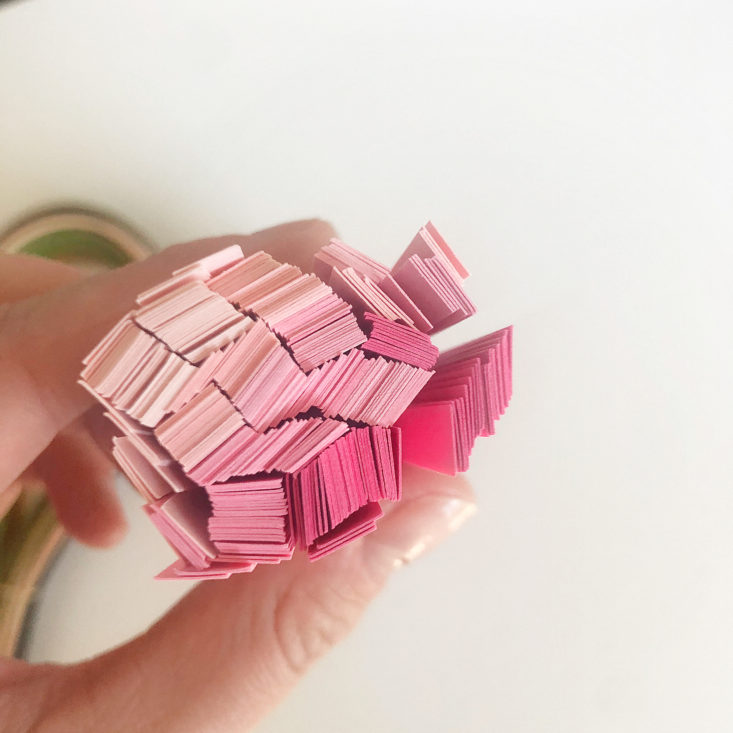
Quilling Paper Strips
We received quite the bundle of different colors of paper strips in two different lengths to use in our projects - one pack of shorter strips in varied shades of pink, and one pack of longer strips in greens, tans, blush pink, and brown.
I learned in the video tutorial that the most important quality to look for when choosing quilling papers is to choose a paper that is core dyed - meaning that the color runs through the entire thickness of the paper. That way you still see the color on the side of the strip, and you don't just see white. This is something I wouldn't have thought about prior to learning this new craft!

Art Board
We also received an 11" x 14" artboard to complete our final project. I also learned in the tutorials that you have to choose a thick backing for your project since you are using so much glue to attach your quilled pieces. You wouldn't want to use something thin like cardstock, as it wouldn't hold up to supporting your final work.


1 of 4


Fine Point Awl
In the videos, Zahra refers to this tool as her "needle t0ol." The fine point is used to apply glue to your quilled pieces.


1 of 2
Elmer's Glue-All
I love that we always receive absolutely everything required to complete the craft in these boxes, and this month is no exception! A mini bottle of Elmer's glue was included. This glue is bright white when it is wet (handy for knowing where you are placing it), but dries clear.


1 of 3
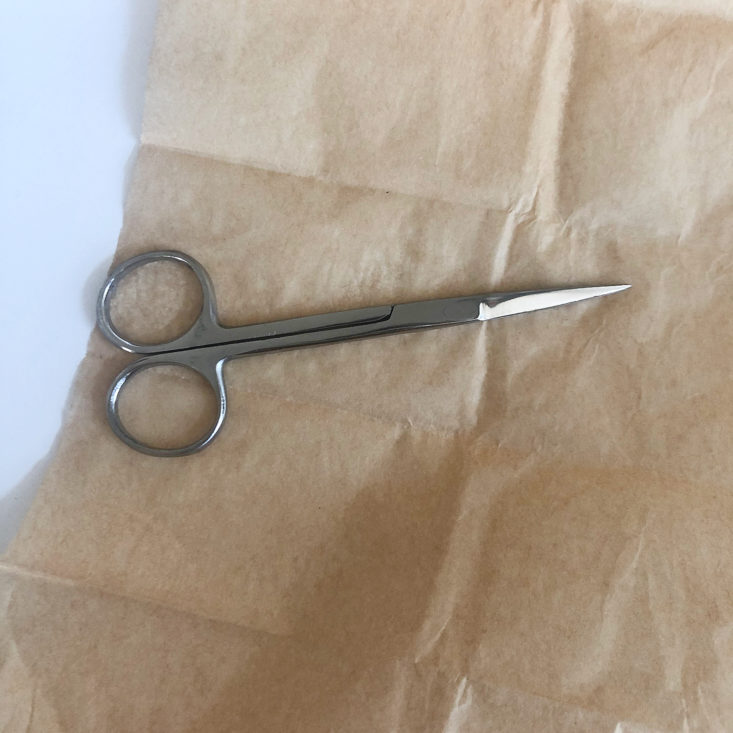
Scissors
We also received a pair of small embroidery-like scissors. The tips are slightly curved, and I was wondering if that was intentional or not. I found that it was difficult to cut my paper strips with straight edges because of the curve of the scissor tips, and also these scissors were pretty stiff and didn't have ease of opening and closing. I ended up ditching these halfway through my project for my trusty Iris surgical scissors - but your mileage may vary because I'm someone who is rather particular about my scissors!

1 of 4


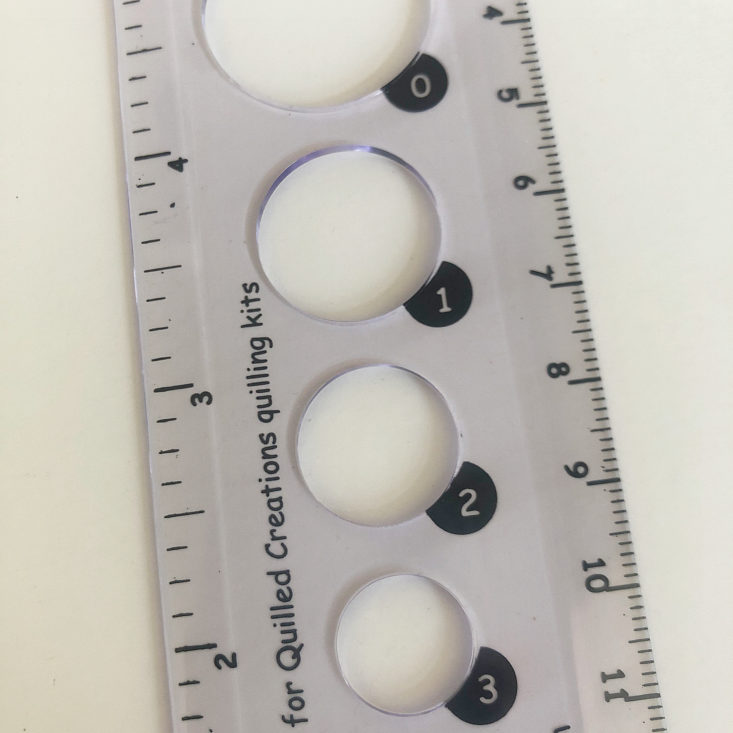
Quilling Ruler
This is a handy little ruler and sizer tool all in one. The different sizes of holes in the ruler are used so that you can vary the sizes of your quilled circles, and also so you can achieve multiple quilled pieces that have the same finished size. This ruler was my one big complaint of this box because the ruler/sizer that Zahra is shown using in her tutorials is not the same as this one. The sizer we received only has 7 diameters of circles to use, while hers had over 20. She also kept referring to which size to use for different parts of the project, and it was frustrating to have to guess which circles in my ruler corresponded close enough to the ones in hers. I wish the box would have either sent us the bigger, better sizer or had made sure the creator had the same sizer as we did when she was doing her tutorial!


1 of 4


Slotting Quilling Tool
This is the tool that creates the magic! This handy little tool has a slot in the metal tip where you insert your paper strip, and then the base of the tool turns freely so you can create your spiral. This tool worked very easily for me, and I found that the handle glided very smoothly.


1 of 2
Fine Tip Tweezers
The last item in the box is a pair of fine-tip tweezers. I like that they came with a protective cover! These are used to pick up and set your finished quilled pieces onto your art piece.
Now, let's get quilling!
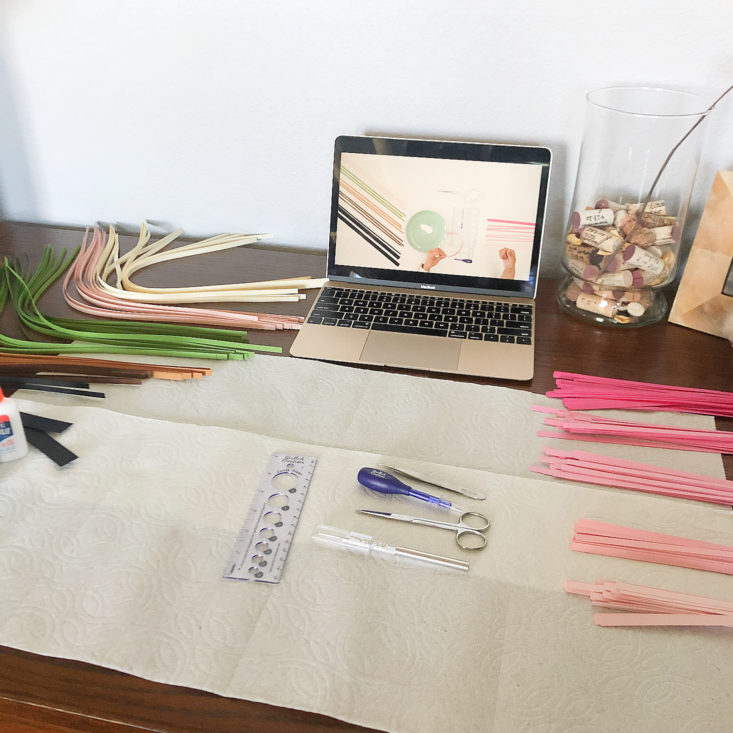
My first step was to set up my quilling station. I wanted it to be easy to grab the color of paper that I wanted, so I spent some time sorting through the strips that we received and setting them out into separated piles.
I don't always watch the video tutorials all the way through before starting the projects, but since this was a brand new craft to me, I wanted to get an idea of where we were headed before I started working. I wanted to mention that although all of the video tutorials from The Crafter's Box have been really wonderfully produced, this month's video stood out to me as being extra well-done! Zahra was extremely clear and concise in her instruction, which I really appreciated. She gave us tons of really neat tips and tricks to achieve professional-looking quilled pieces, and she had a lot of creative suggestions for how to show our personal style. I feel like a lot of what you are paying for with this box is the in-depth instruction from these videos, and Zahra really knocked it out of the park with her video!


1 of 8


To start out with our first quilled pieces, we learned how to make a simple spiral circle. All the quilled pieces will build upon this basic shape, so I really liked that we got to practice making circles of different sizes to start!
Before you begin spiraling the paper, you want to make sure the paper is relaxed so it will curl up neatly. We learned how to use the side of the needle tool to run along the length of the paper to do this - the motion felt like how you would run wrapping paper ribbon along the side of scissors to make it curl.


1 of 11


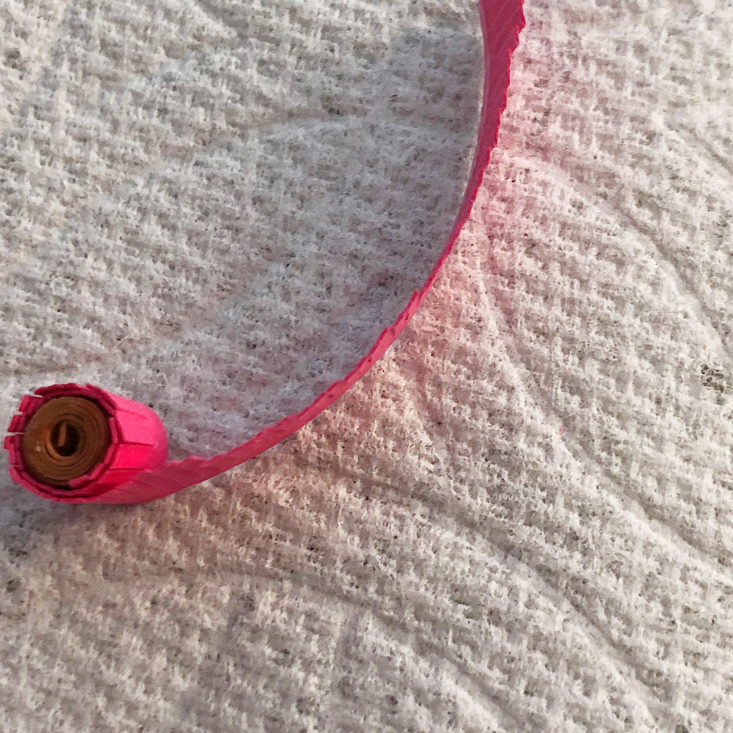


Now that we have mastered making circles, we moved on to making our first flower shape - a cherry blossom flower. We started with a tiny brown center and then added a hot pink layer around it. We also fringed the hot pink strip before wrapping it, which gives a fluffy effect to the finished centerpiece. Next, we made petals for the cherry blossom by squishing the end of a quilled circle to create a teardrop shape. I found the teardrops kind of hard to glue to the centers - it worked best to overlap one long edge of the teardrop onto the center, instead of trying to glue just the point of the teardrop shape to it.
I made several of these flowers in three different shades of pink paper.


1 of 2
The next flower is the dogwood flower, which is made by creating lots of green circular centers and heart-shaped petals with two colors. Doing a two-toned spiral wasn't as hard as it looks - you glue a strip of pink to one end of the strip of beige, and then quill the whole long strip as one. We created the heart shape by first pinching the end to create the teardrop shape as before, and then pushing the opposite inwards.
For these flowers, we didn't glue the petals onto the centers - we will just glue them down together for our finished art piece.


1 of 6

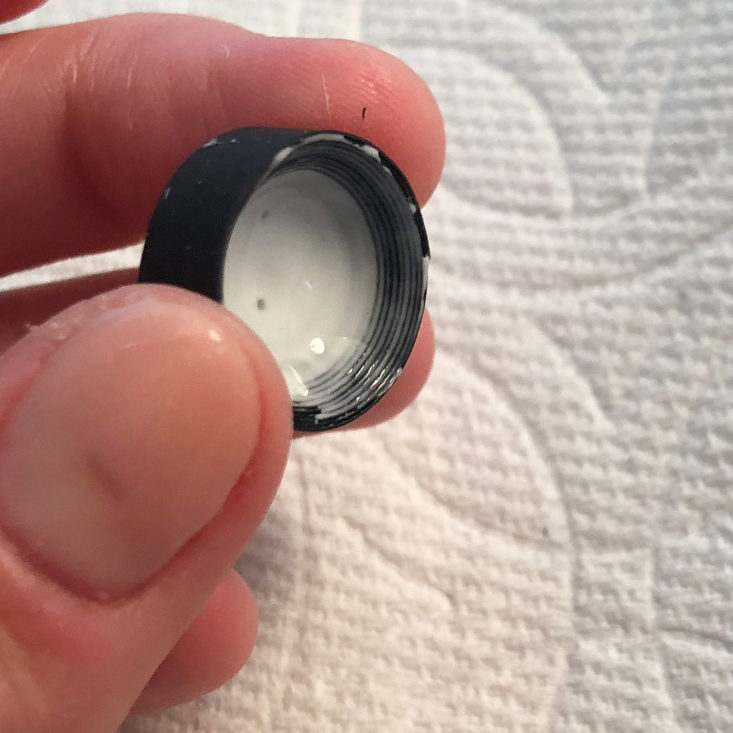


Next, we started creating the center flower, which is the focal point of the finished piece. The black center is created by making a large, tightly quilled circle, which you then push up from the back of the middle to give it a three-dimensional shape. We learned how to keep this shape by painting the entire inside of the circle with glue and letting it dry before touching it again. We then fringed a wider strip of black paper and wrapped that around our center to give a really fun pop of a center for this flower.


1 of 3

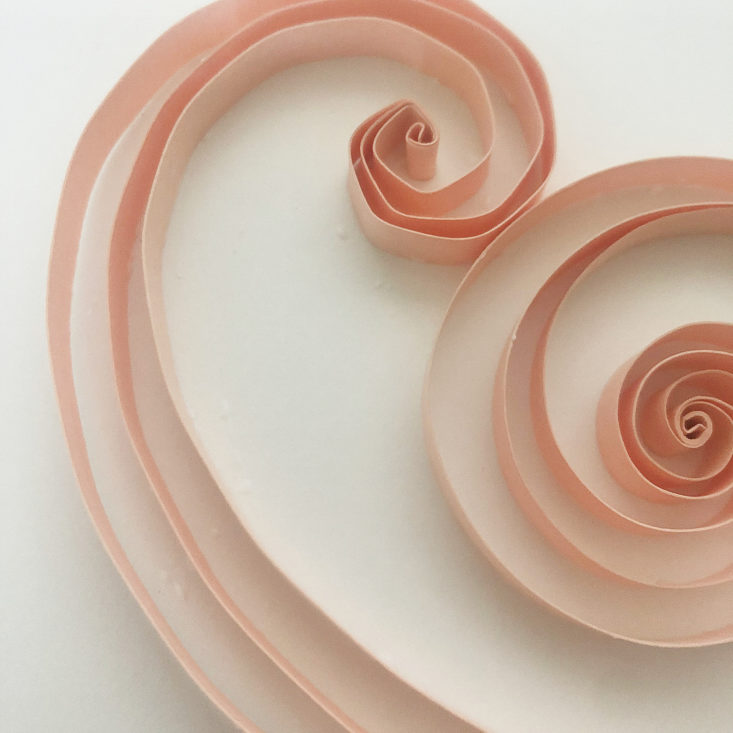
For the main flower's petals, we glued three strips of blush pink paper together at the same edge before quilling all three together. I learned that you want to stagger the edges of the three strips, as shown above since the quilling tool can only fit the thickness of one piece of paper into the slot.
We then gently relaxed the spiral so that you can see space between all three of the strips. Instead of gluing the end of the spiral to the body of the rest of the paper, like we have done for everything else so far, we left these spirals open and simply glued the ends of the three strips together into a point.


1 of 3

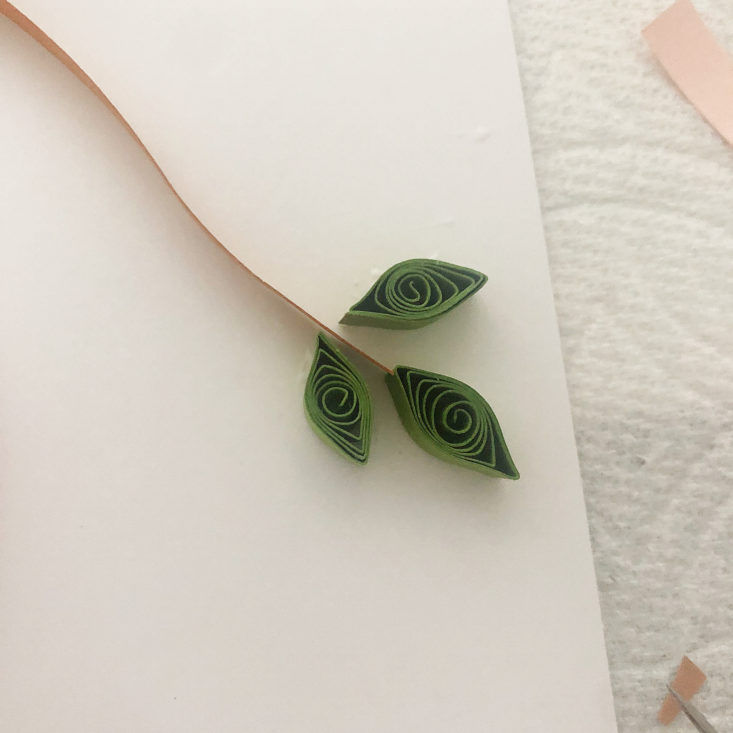
Next, we made some leaves! To make the leaf shape, we first pinched one end to make the now-familiar teardrop shape and then pinched directly opposite of that. Zahra suggested making leaves in a multitude of sizes so that your finished branches have an organic, natural look, but since I was limited in what I could choose from my ruler sizer, I ended up making leaves in three different sizes.
Now that all of my parts have been assembled, let's attach them all to my artboard!


1 of 4

The first step was to establish the center focal-point flower. I stuck my black center down in the middle of my board and played around with the pink multi-strip petals until I got a final look that I liked.
To affix the quilled pieces to the artboard, you dip the side of the paper into the glue and then press it down onto the board. I was messier at this than I thought I would be, but luckily I learned a really handy trick - while the glue is still wet, use a Q-tip to remove any stray bits of glue from around the edges of the paper. Even though the glue will dry clear, you would still be able to see the texture of it if you didn't take care to clean up the extra bits.

1 of 4


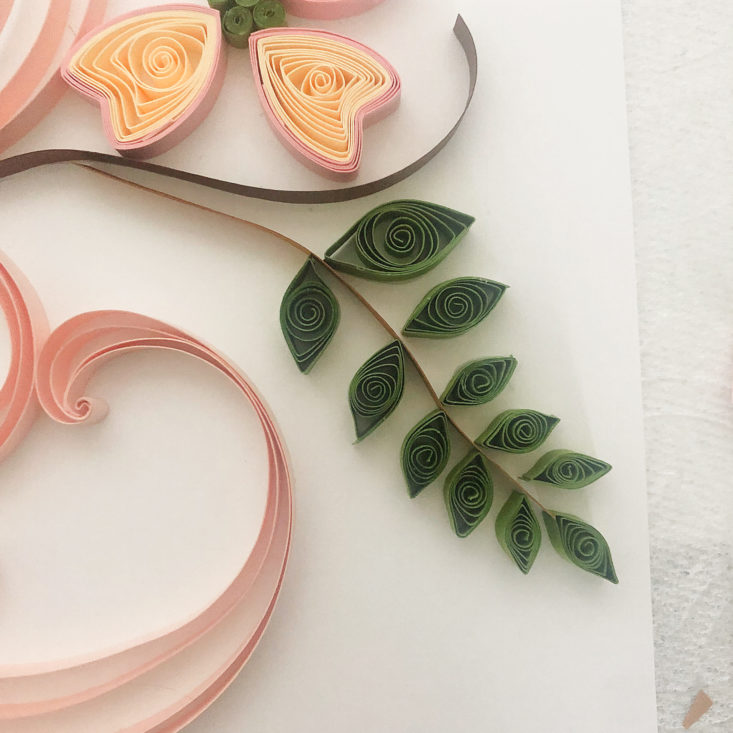
Next, I glued down brown branches (unquilled strips of brown paper on their sides) and I assembled my dogwood flowers.

1 of 6


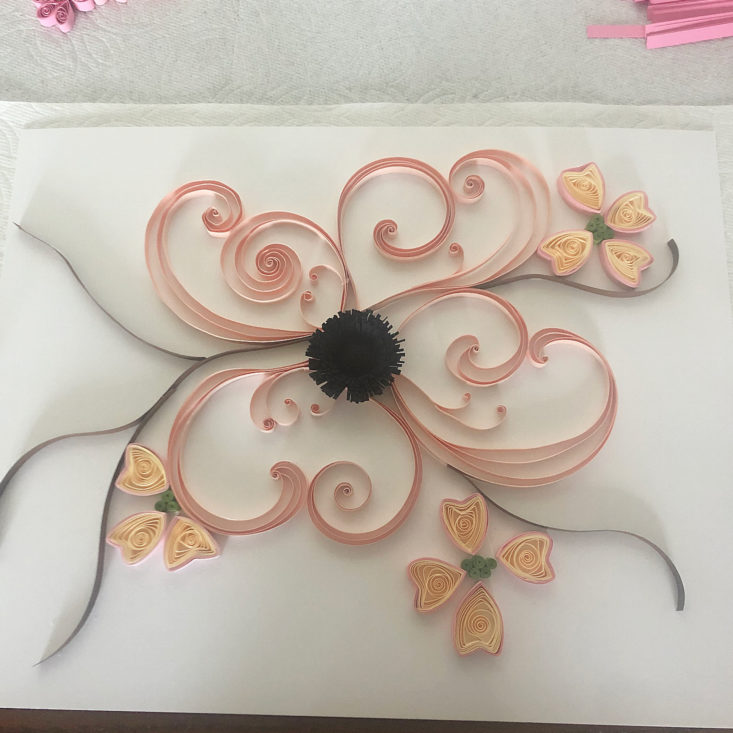
From there, we added in more branches, the leaves, and placed the cherry blossom flowers and the rosebud circle flowers from our very first step. Although I tried to replicate Zahra's finished piece as closely as I could, there was still a lot of variation in the small details, based on how it all came together.


1 of 5
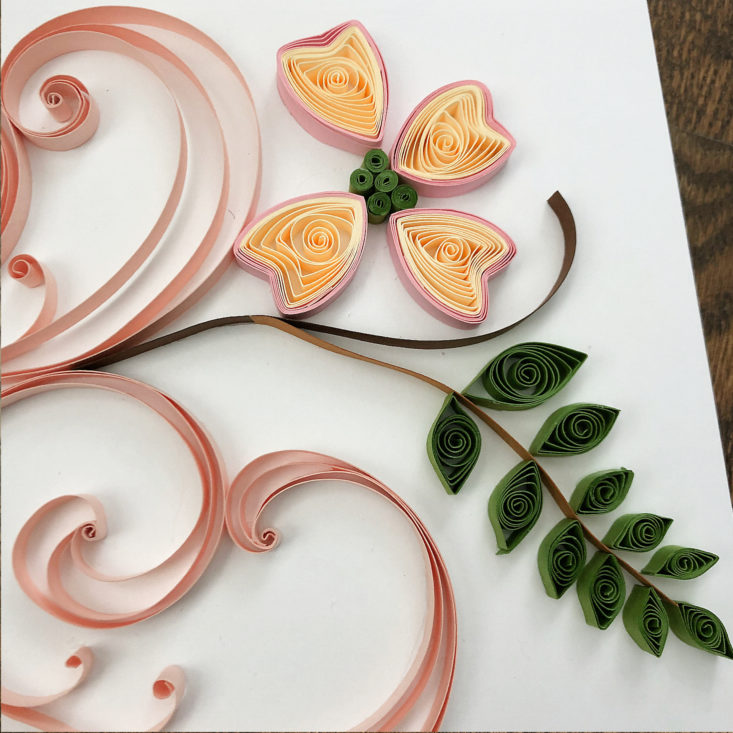


Here's my finished piece! I'm really happy with how it turned out! I love the layered textures, and I think the three-dimensional aspect of the final artwork is what gives it such a cool look. We had tons of paper left over after completing this project, so I can make more quilled paper projects in the future.
Verdict: The Crafter's Box is usually my favorite box I get each month, and this box was no exception. I wasn't as excited as I have been in the past when I saw the craft announced, but I ended up really liking the meditative process of quilling, and I feel like I was able to make a really good-looking final project! The presentation is lovely, and I thought it was great how the box includes absolutely everything you need to do the project. I like that The Crafter's Box showcases more unique types of crafts than a lot of other craft subscription boxes, and I love that I was able to experiment with a new craft to me. I also really appreciate the modern, upscale vibe that I get from this box - it feels like I'm making and creating for a purpose, rather than just crafting to craft.
For $65.00, we received tools and supplies to make a paper quilling art piece. The box has a very careful curation and extremely well-made video tutorial content. The video tutorial was one of the best I've watched, and I really enjoyed learning tips and tricks on how to get the best final product. We also were given way more supplies than we needed to create this one art piece, so the potential to make many quilled paper pieces is included.
To Wrap Up:
Can you still get this box if you sign up today? No, you will receive the July 2020 box (if you sign up between June 10th - 20th).
Check out our other reviews of The Crafter's Box and the top-rated craft subscription boxes!
Keep Track of Your Subscriptions: Add this box to your subscription list or wishlist!
What did you think of The Crafter's Box for May 2020? Let us know in the comments!

Please do not enter your email address in the Name field or in the comment content. Your email address will not be published. Required fields are marked *. Remember to post with kindness and respect. Comments with offensive language, cruelness to others, etc will not be approved. See our full comment policy here.