


Tinker Crate is a subscription box for kids and tweens ages 9-16+ created by kids subscription box company KiwiCo. Each monthly Tinker Crate contains all the materials and instructions needed to create innovative, hands-on STEM projects, as well as a "Tinker Zine" full of educational information and additional activities.

KiwiCo offers boxes for different age groups:
- Panda Crate for 0-24-month-olds,
- Koala Crate for 2-4-year-olds,
- Kiwi Crate for 5-8-year-olds,
- Atlas Crate for 6-11-year-olds,
- Doodle Crate and Tinker Crate for 9-16+-year-olds,
- Eureka Crate and Maker Crate for ages 14 and up.
There really is something for every age with this company!
This review is of KiwiCo's Tinker Crate (for ages 9-16+), which costs $19.95 per month.
This box was sent to us at no cost for review. (Check out the review process post to learn more about how we review boxes.)
About Tinker Crate
The Subscription Box: Tinker Crate
The Cost: $19.95 per month + free shipping
The Products: Innovative hands-on STEM projects for kids, plus the materials and detailed instructions your child needs to complete them. You'll also get a "Tinker Zine" full of educational information and additional activities.
Ships to: The U.S. for free, Canada for $3.95 per month, worldwide from $4.95-$6.95
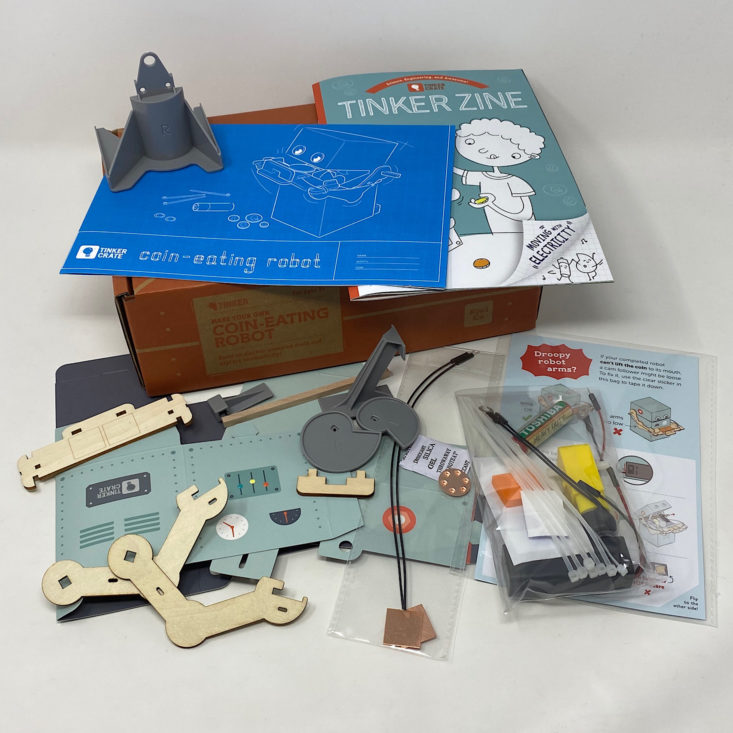
KiwiCo Tinker Crate "Coin-Eating Robot" Review
1 of 9
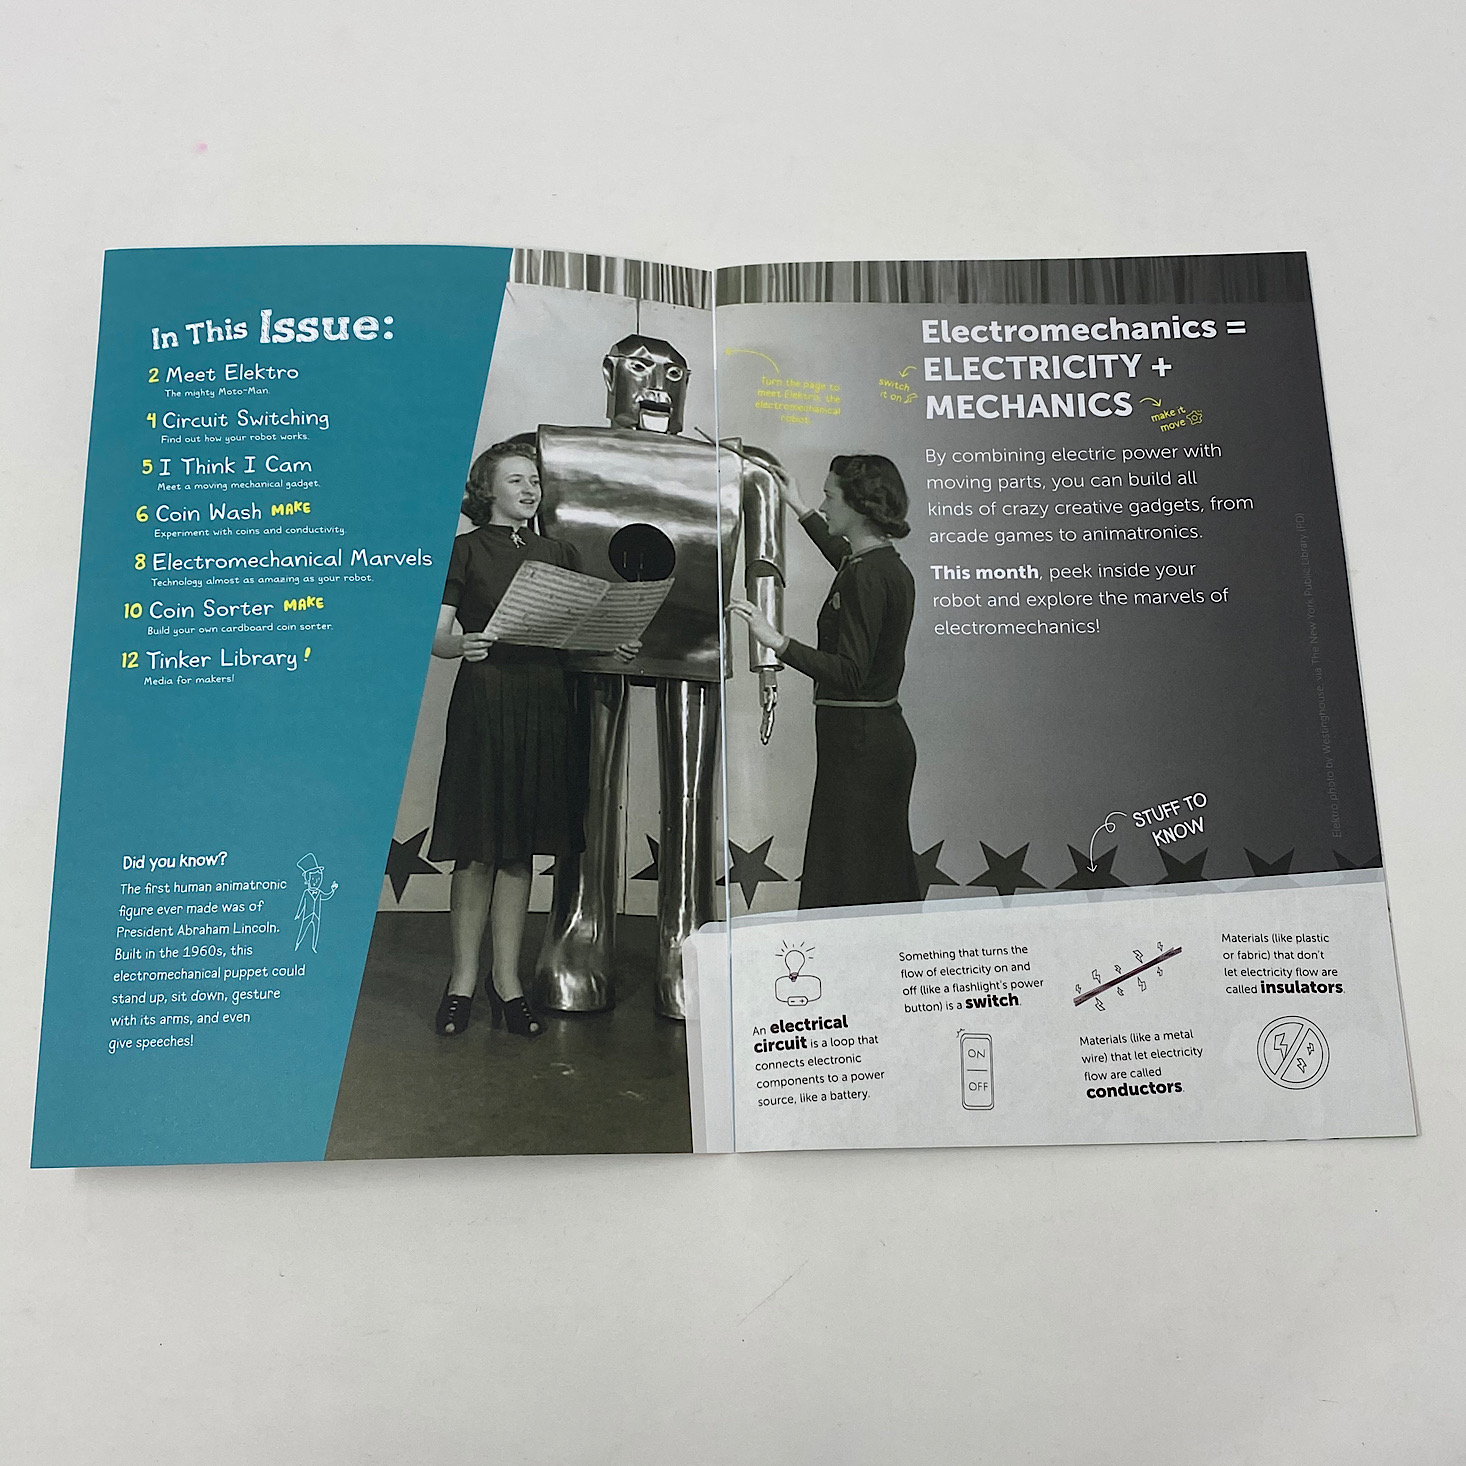

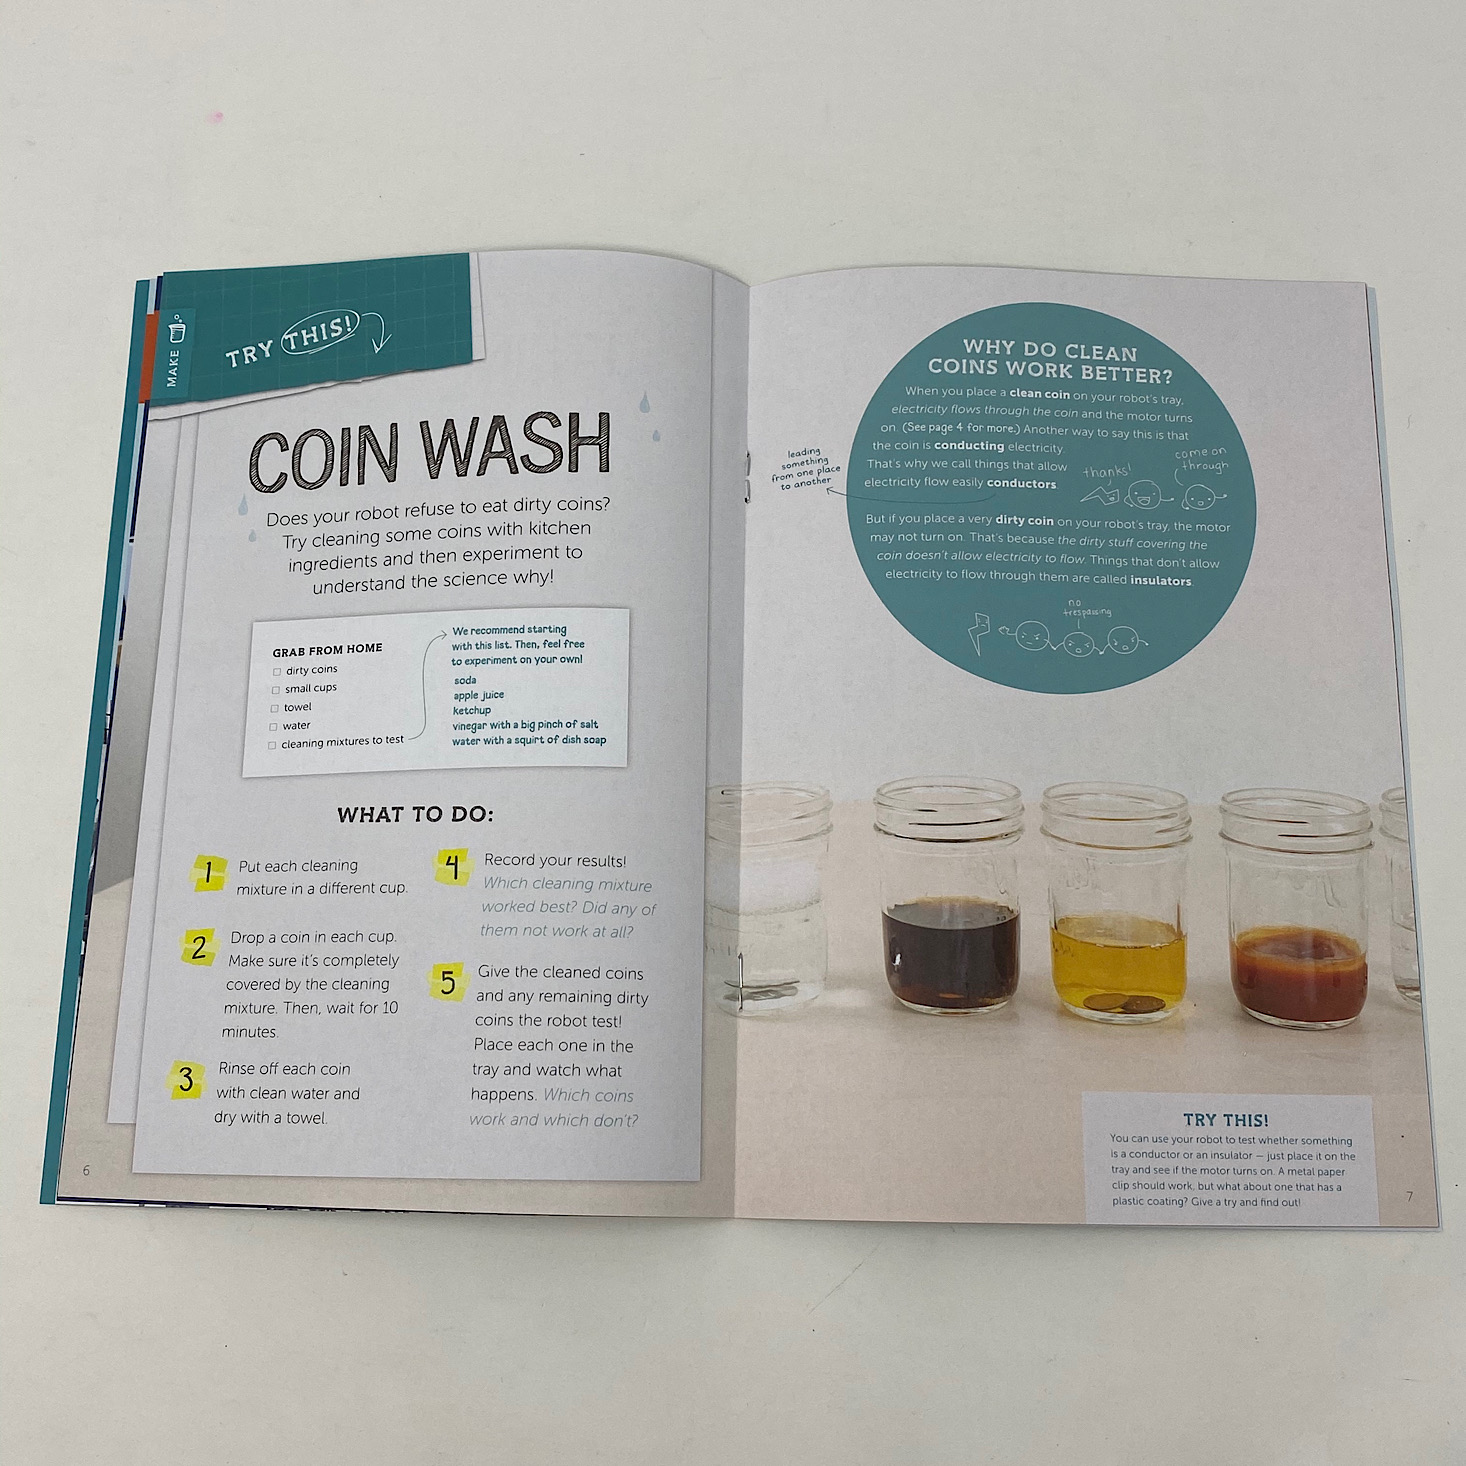


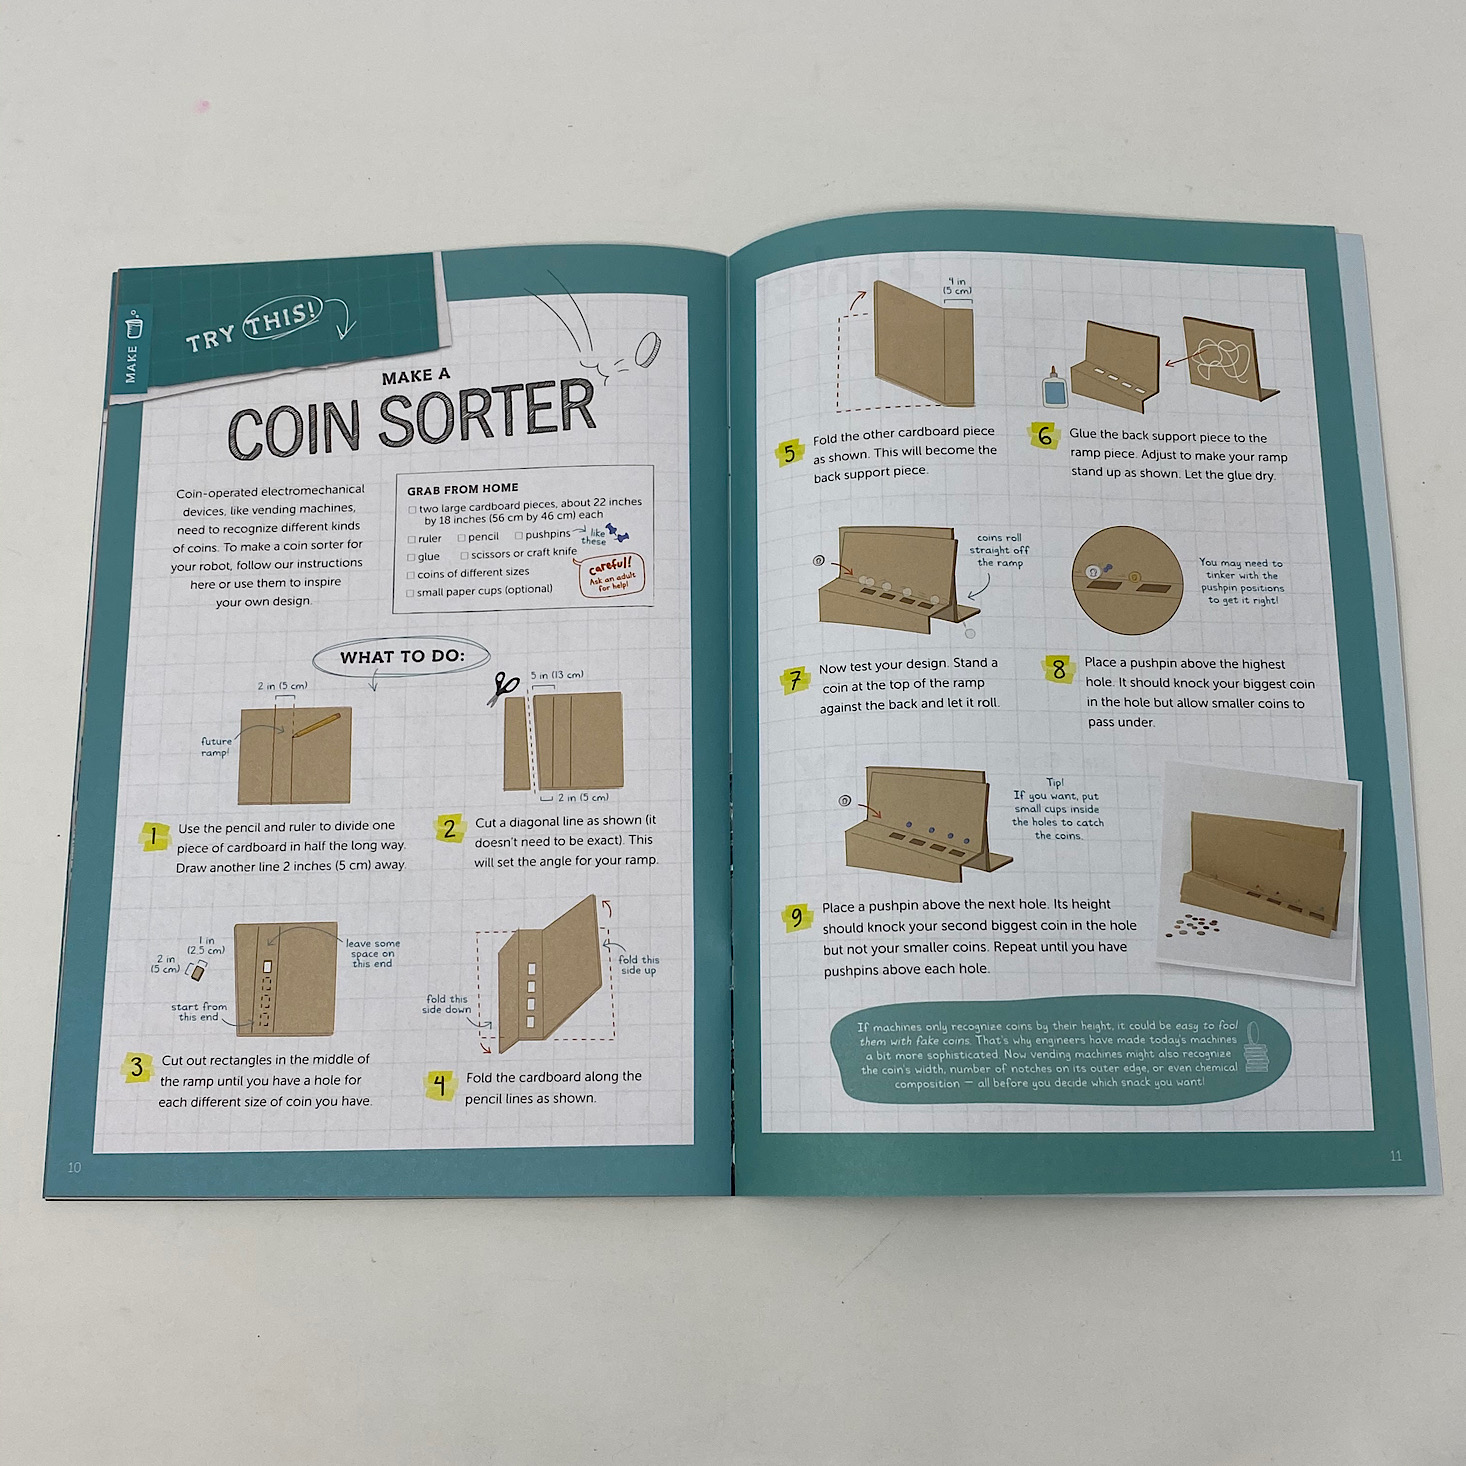

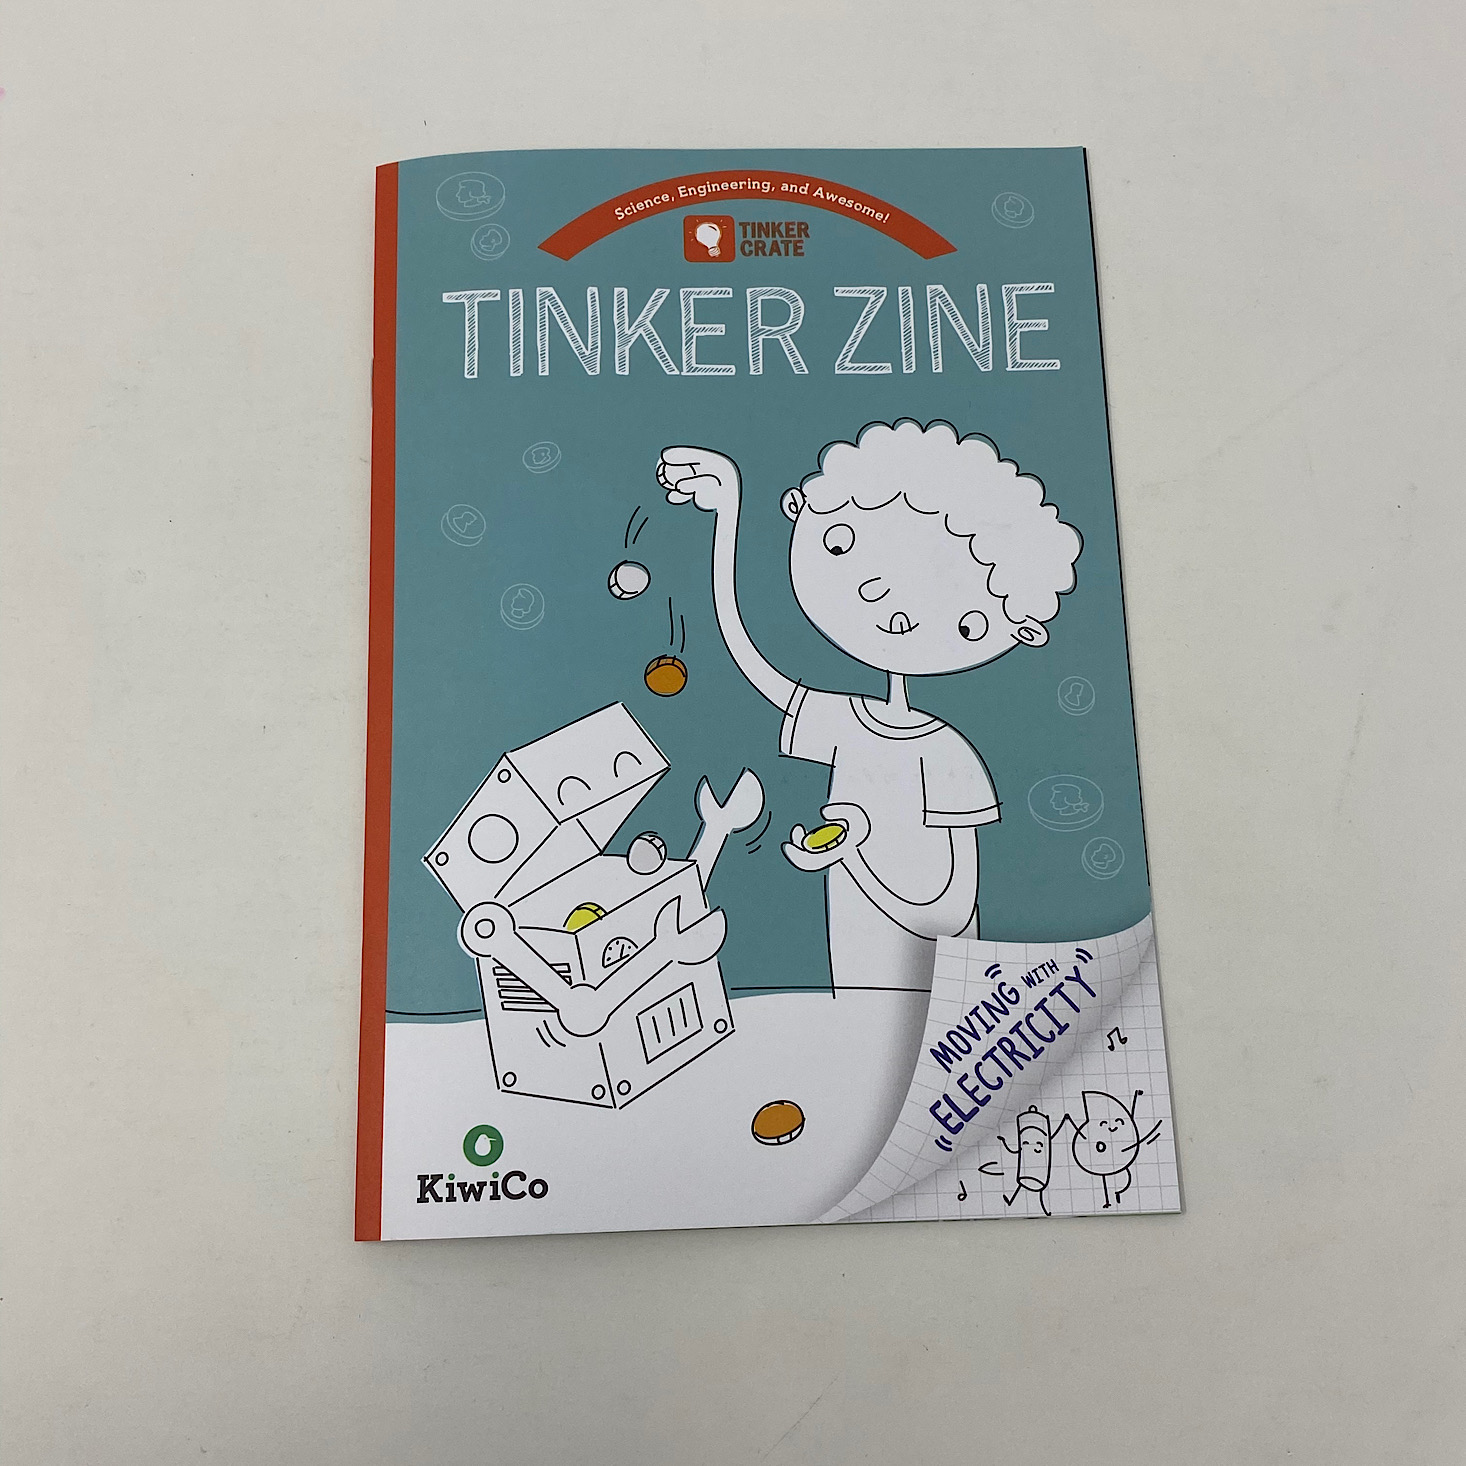
The theme of this month's Tinker Zine is "Moving With Electricity" to go with our robot. This zine is full of educational information about electrical circuits and electromechanical along with some extension activities such as a coin wash and directions for how to make a coin sorter. They also have a section with suggested reading materials for further engagement!

1 of 5

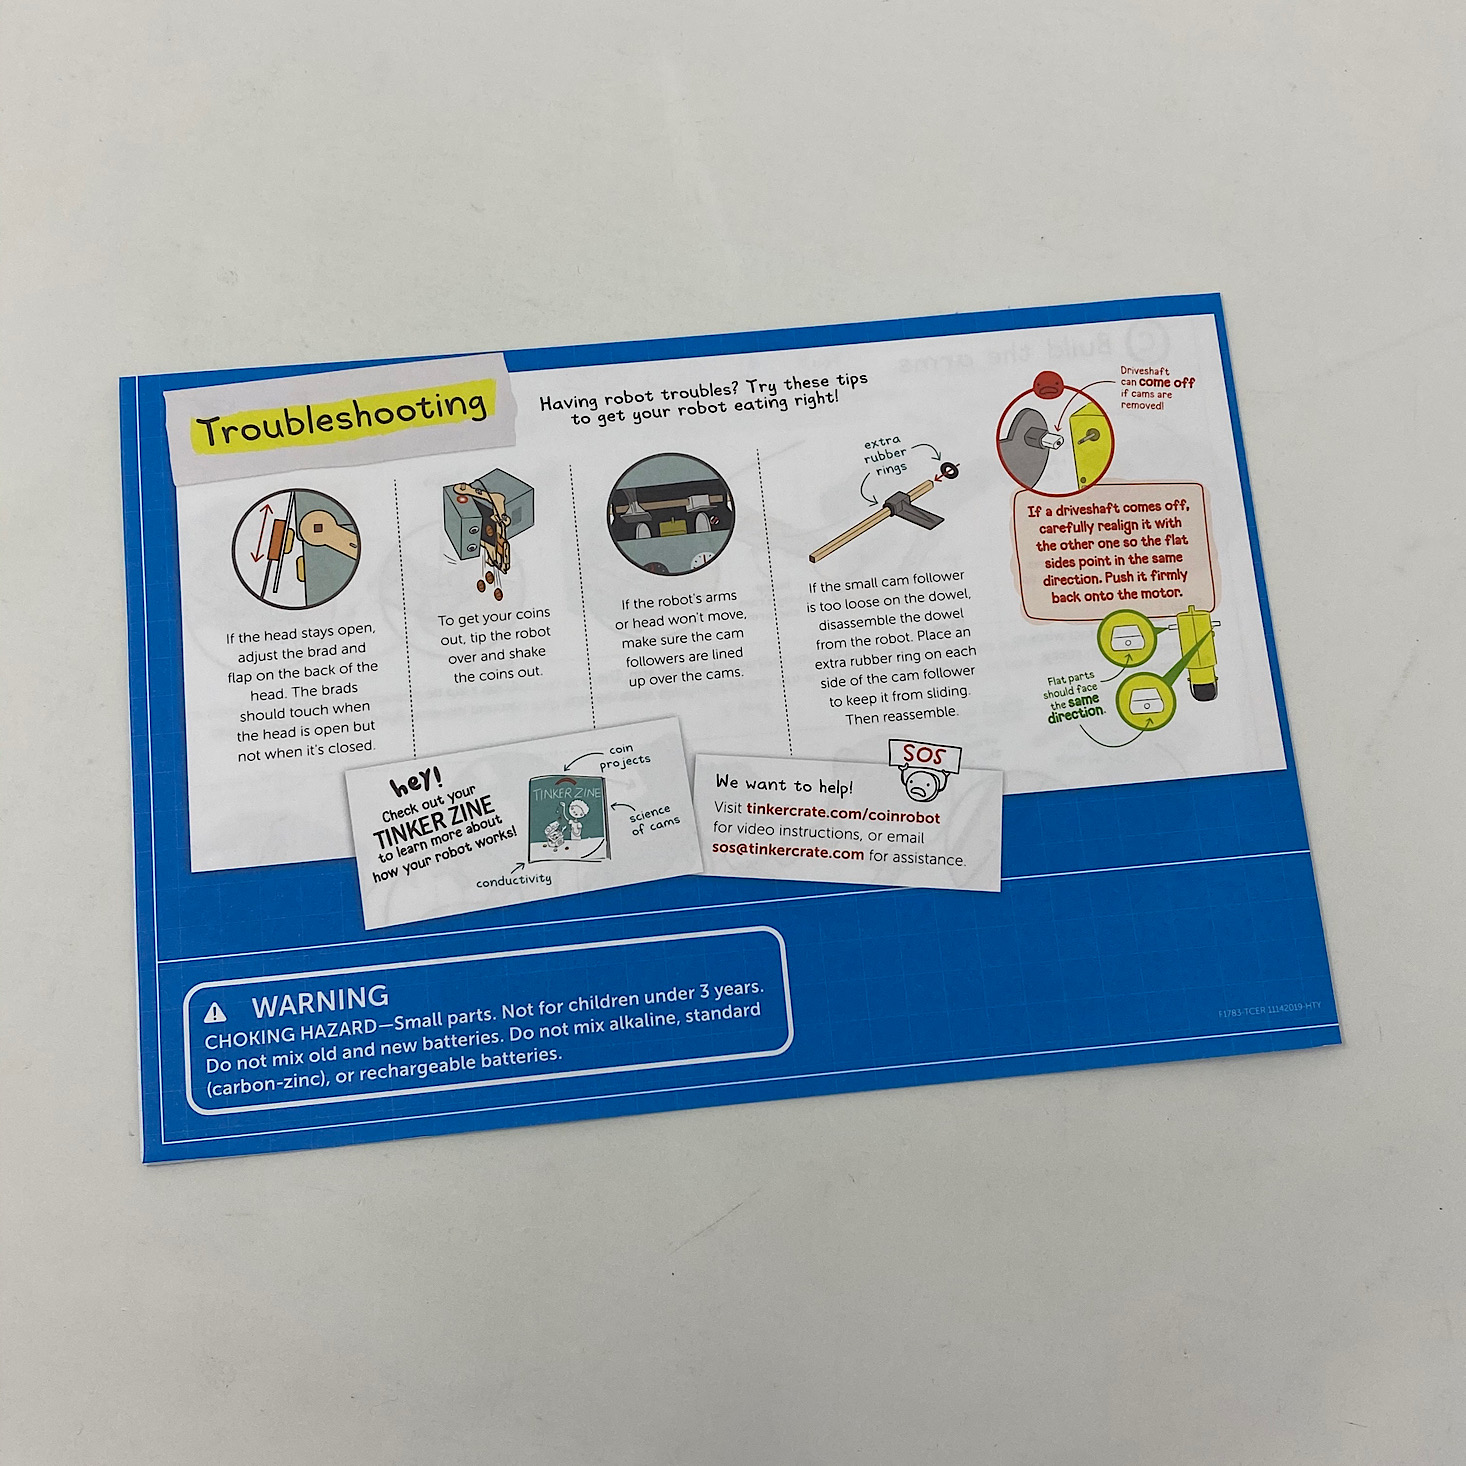
Our project instructions come on a separate sheet and they include detailed directions along with colorful illustrations for each step.
Part A: Build the Body

1 of 5
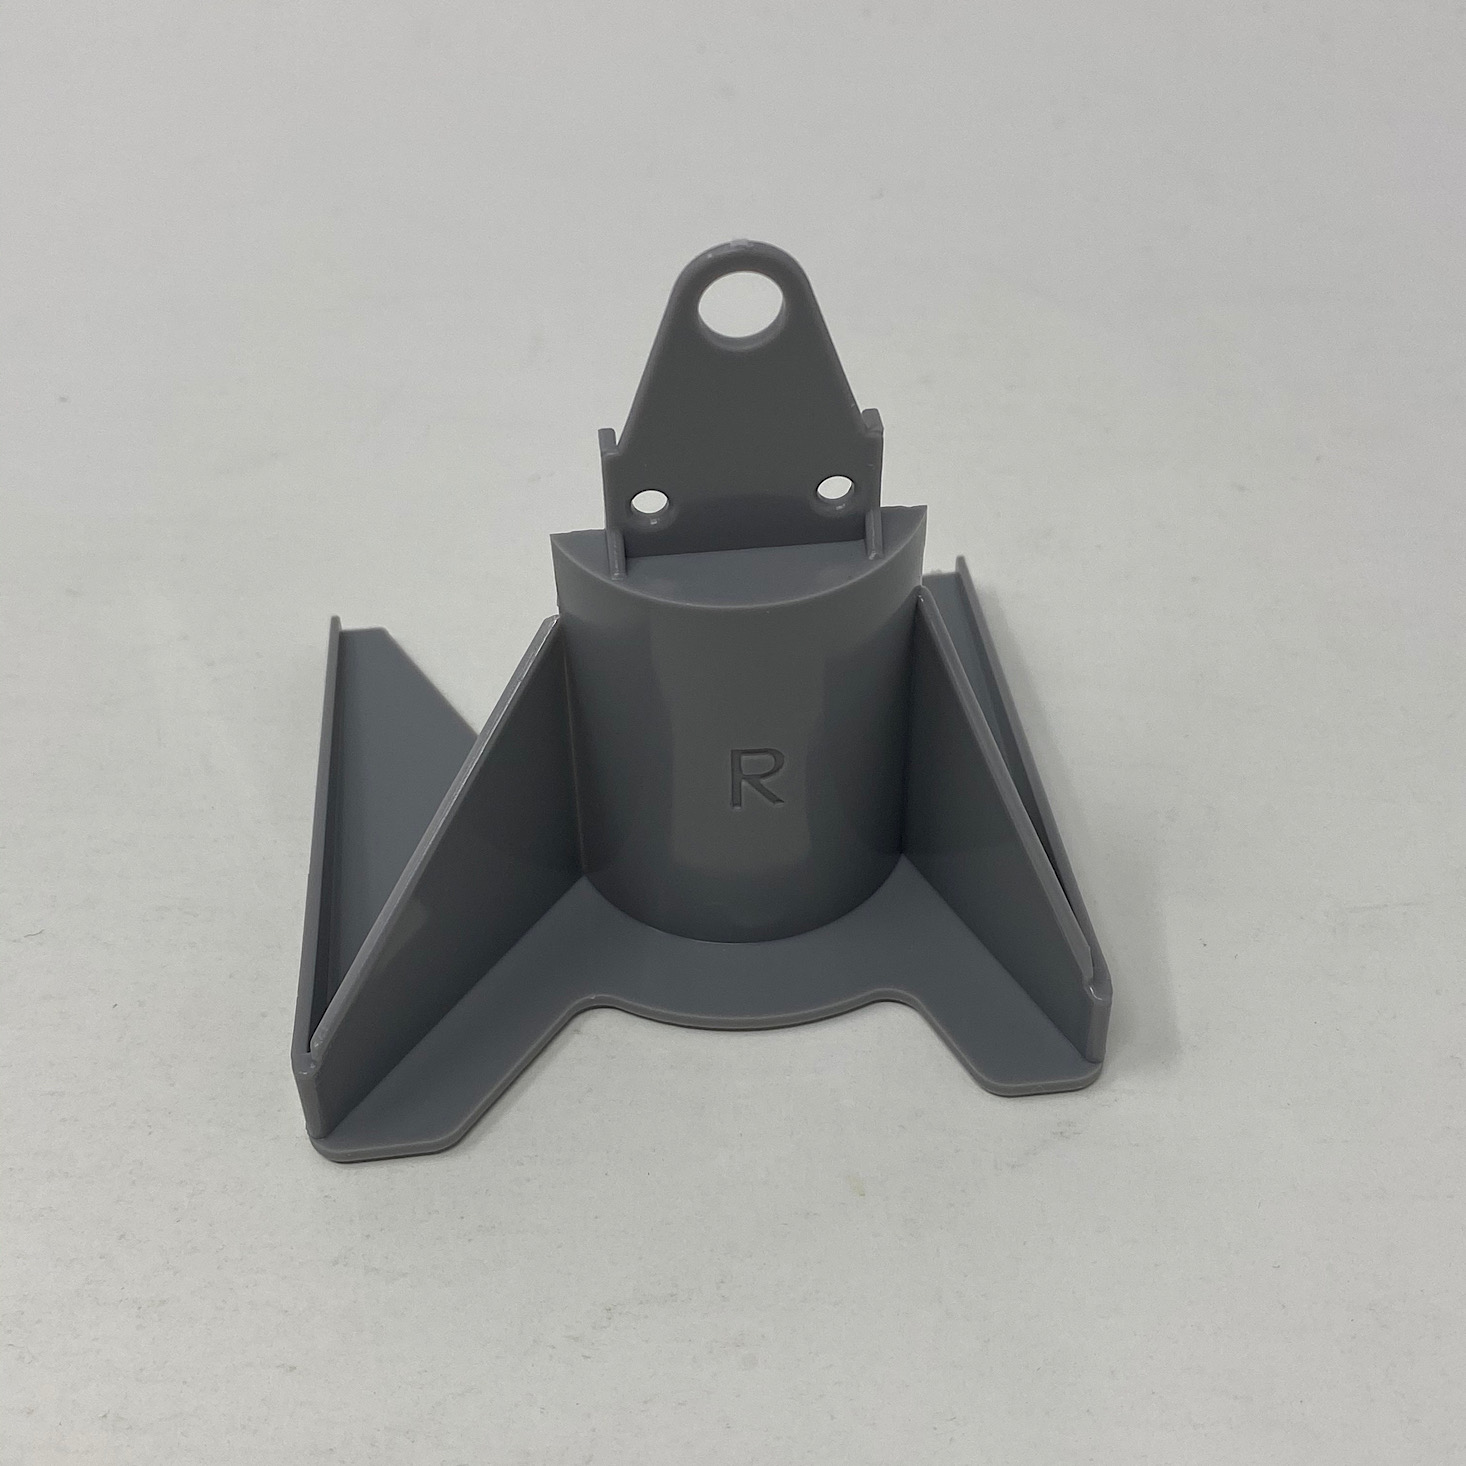

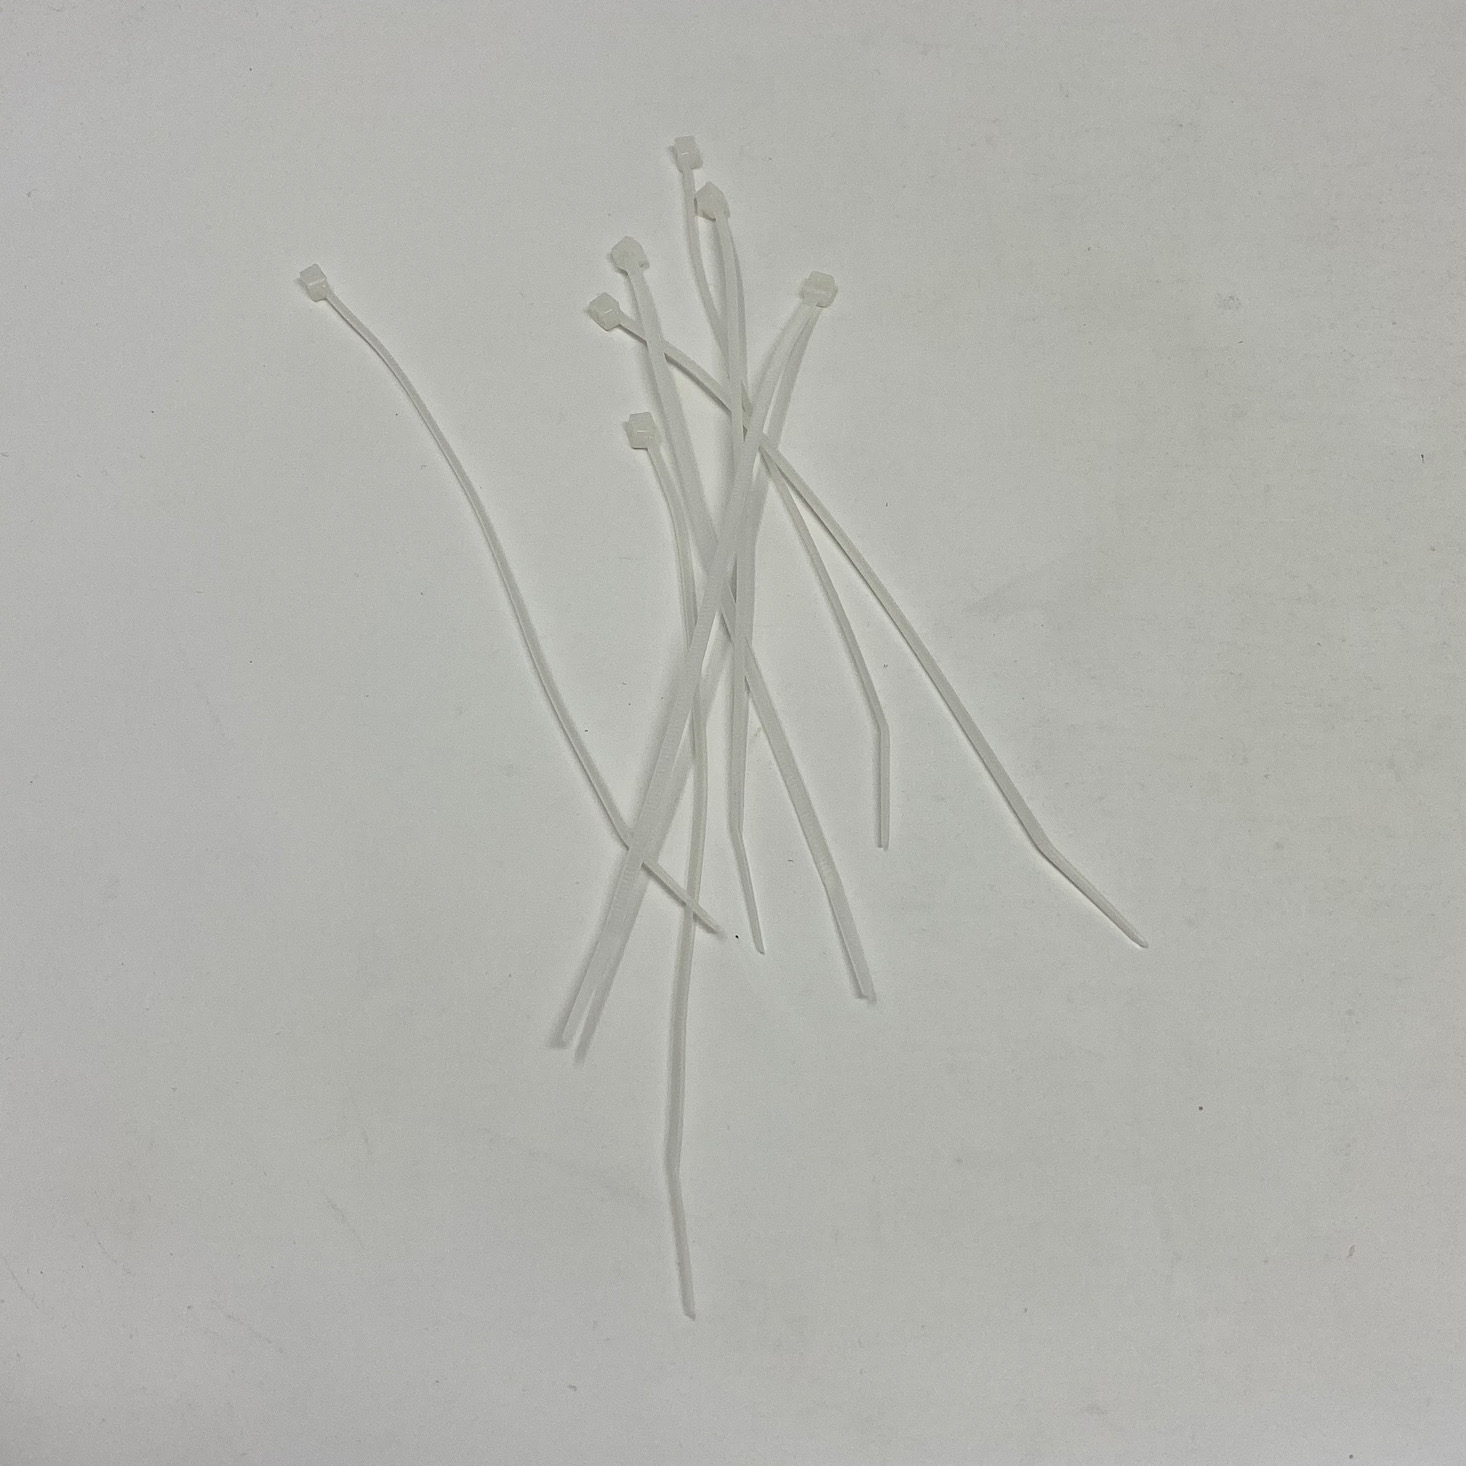
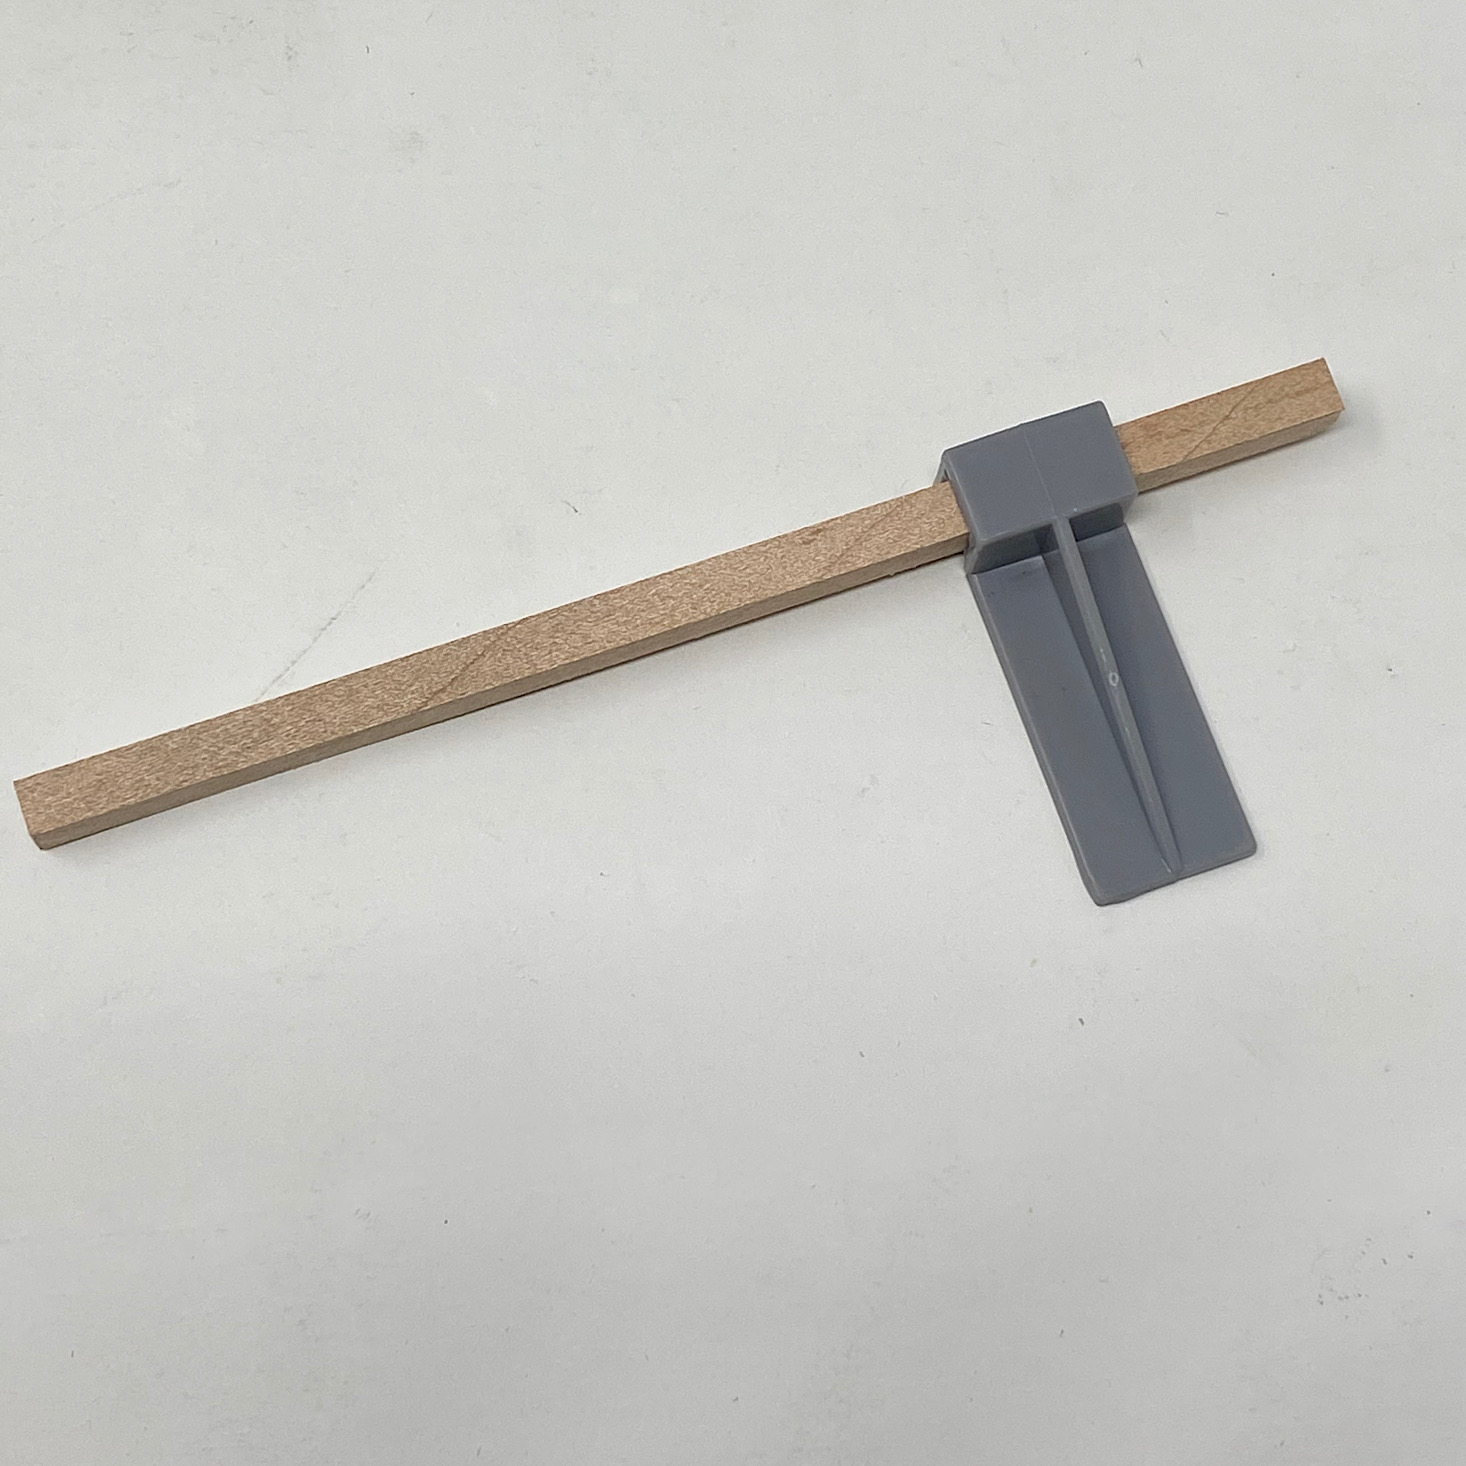
The first step for building the body of our robot was to insert the motor into the gray motor stand and secure it in place with a zip tie.

1 of 2
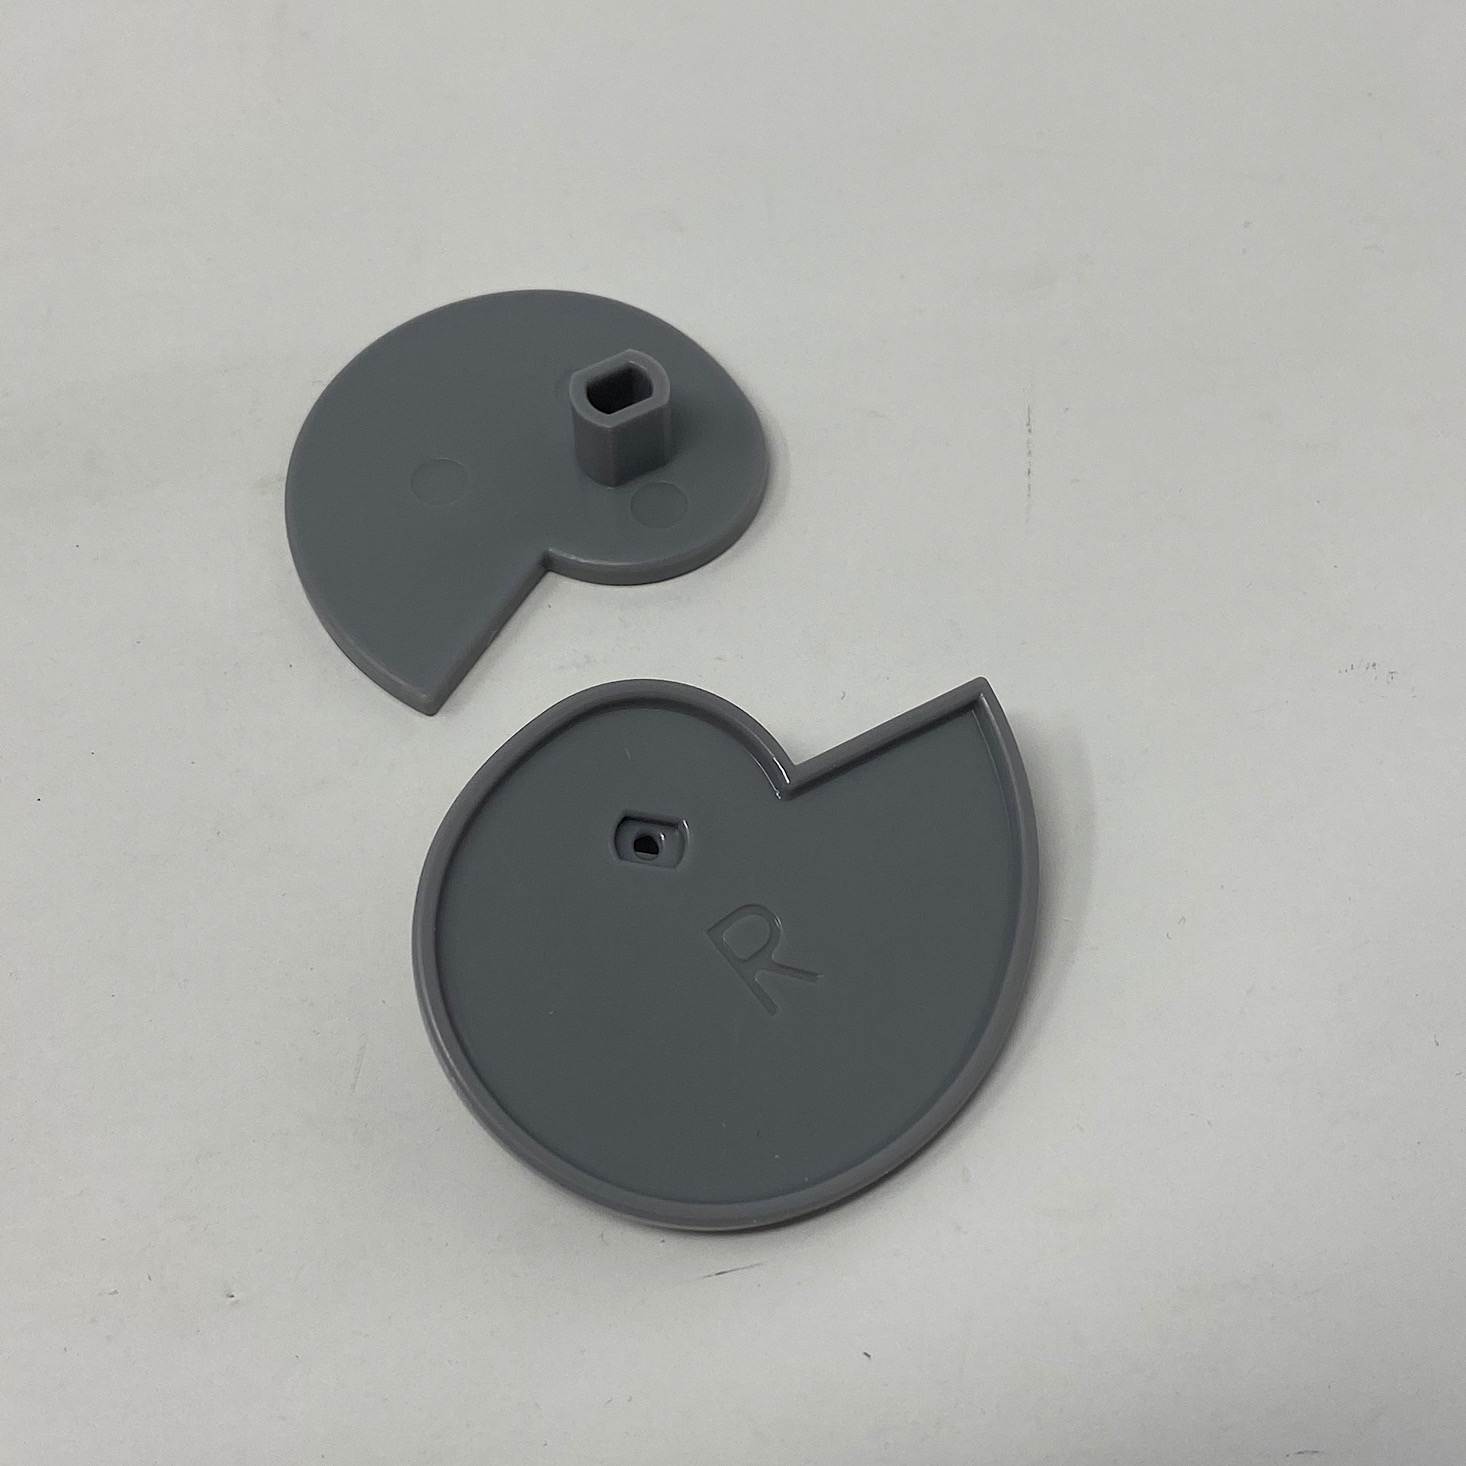
Then I added a cam to either side of the motor which was easy since they were marked with an R and L to show which side they belonged on.
1 of 4


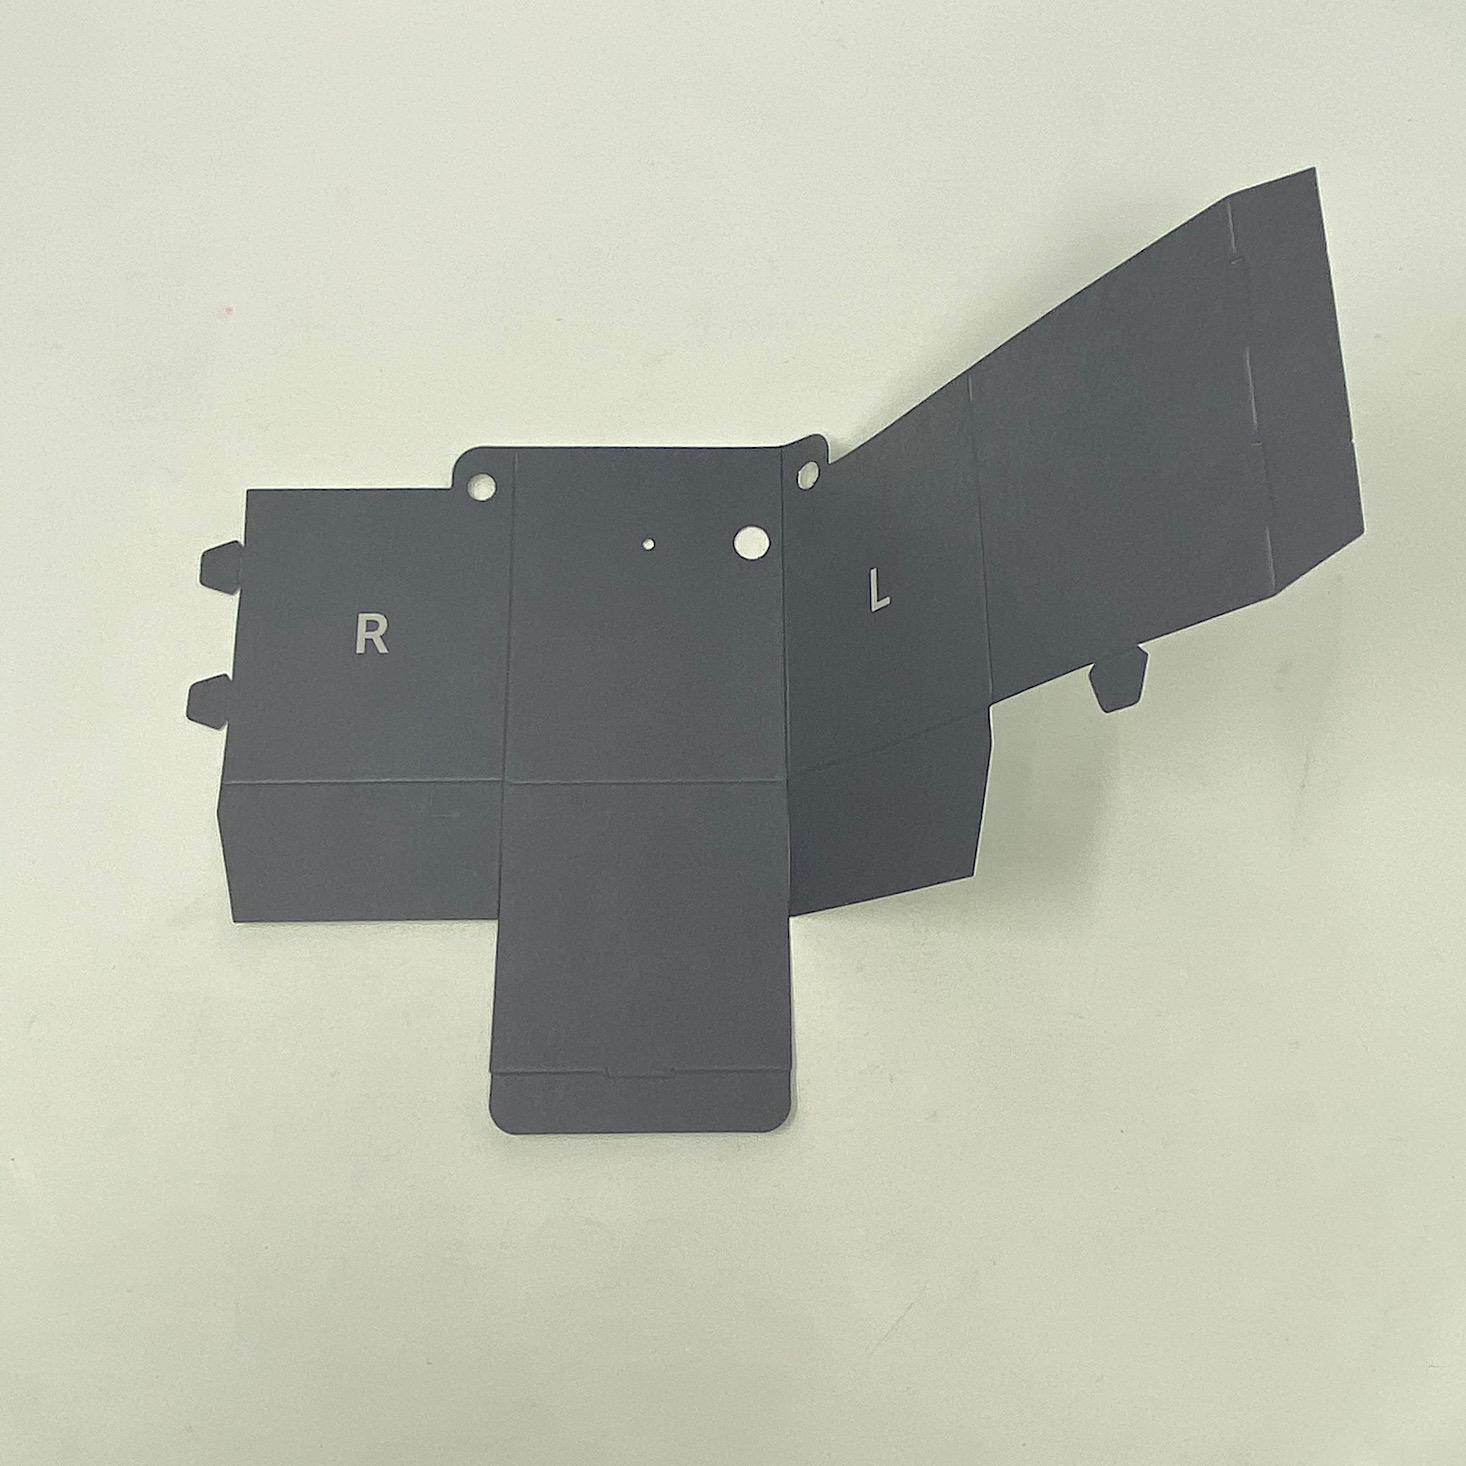
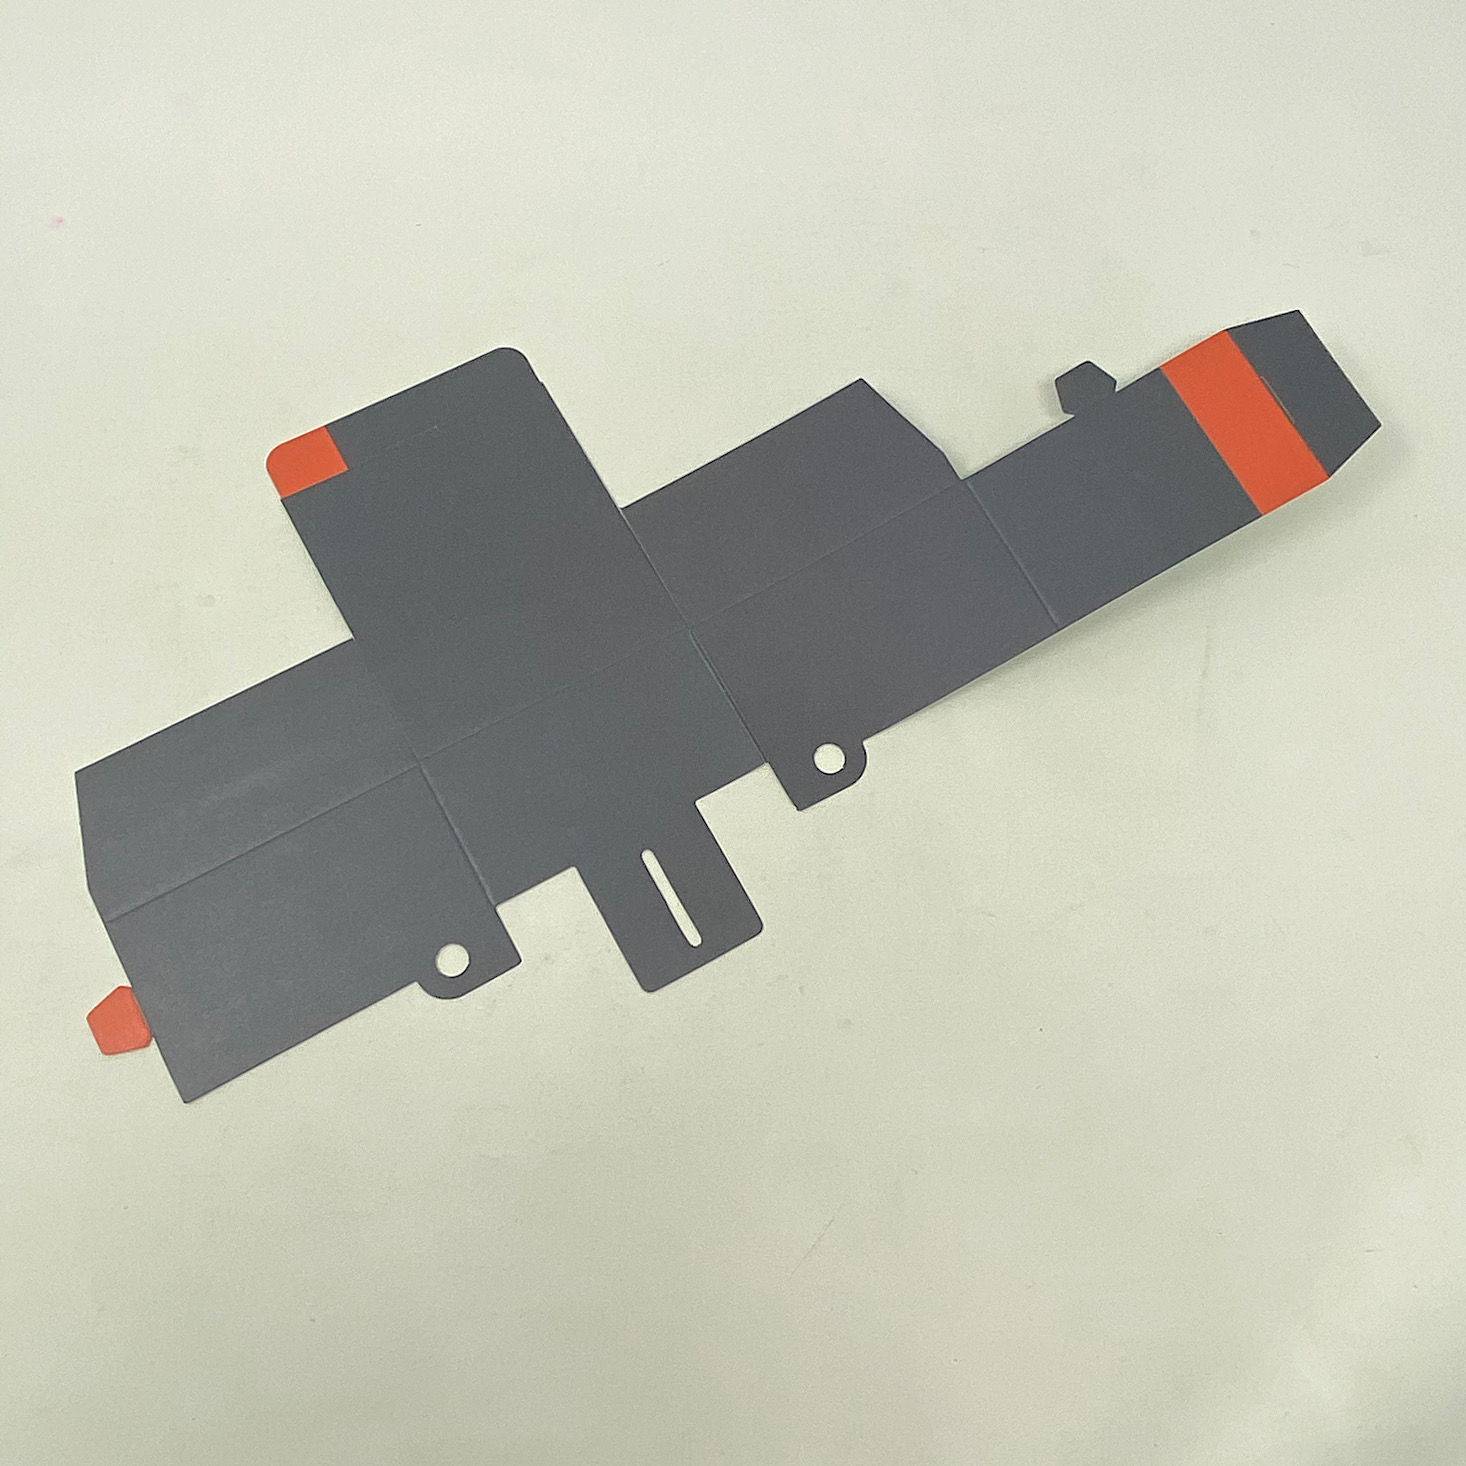
Then I followed directions for folding up the body piece and tucking the tabs into their slots to hold it in place.


1 of 2
Next, I peeled the backing off the bottom of the motor stand and stuck it inside the body piece and threaded the wires through the hole in the back.

1 of 3
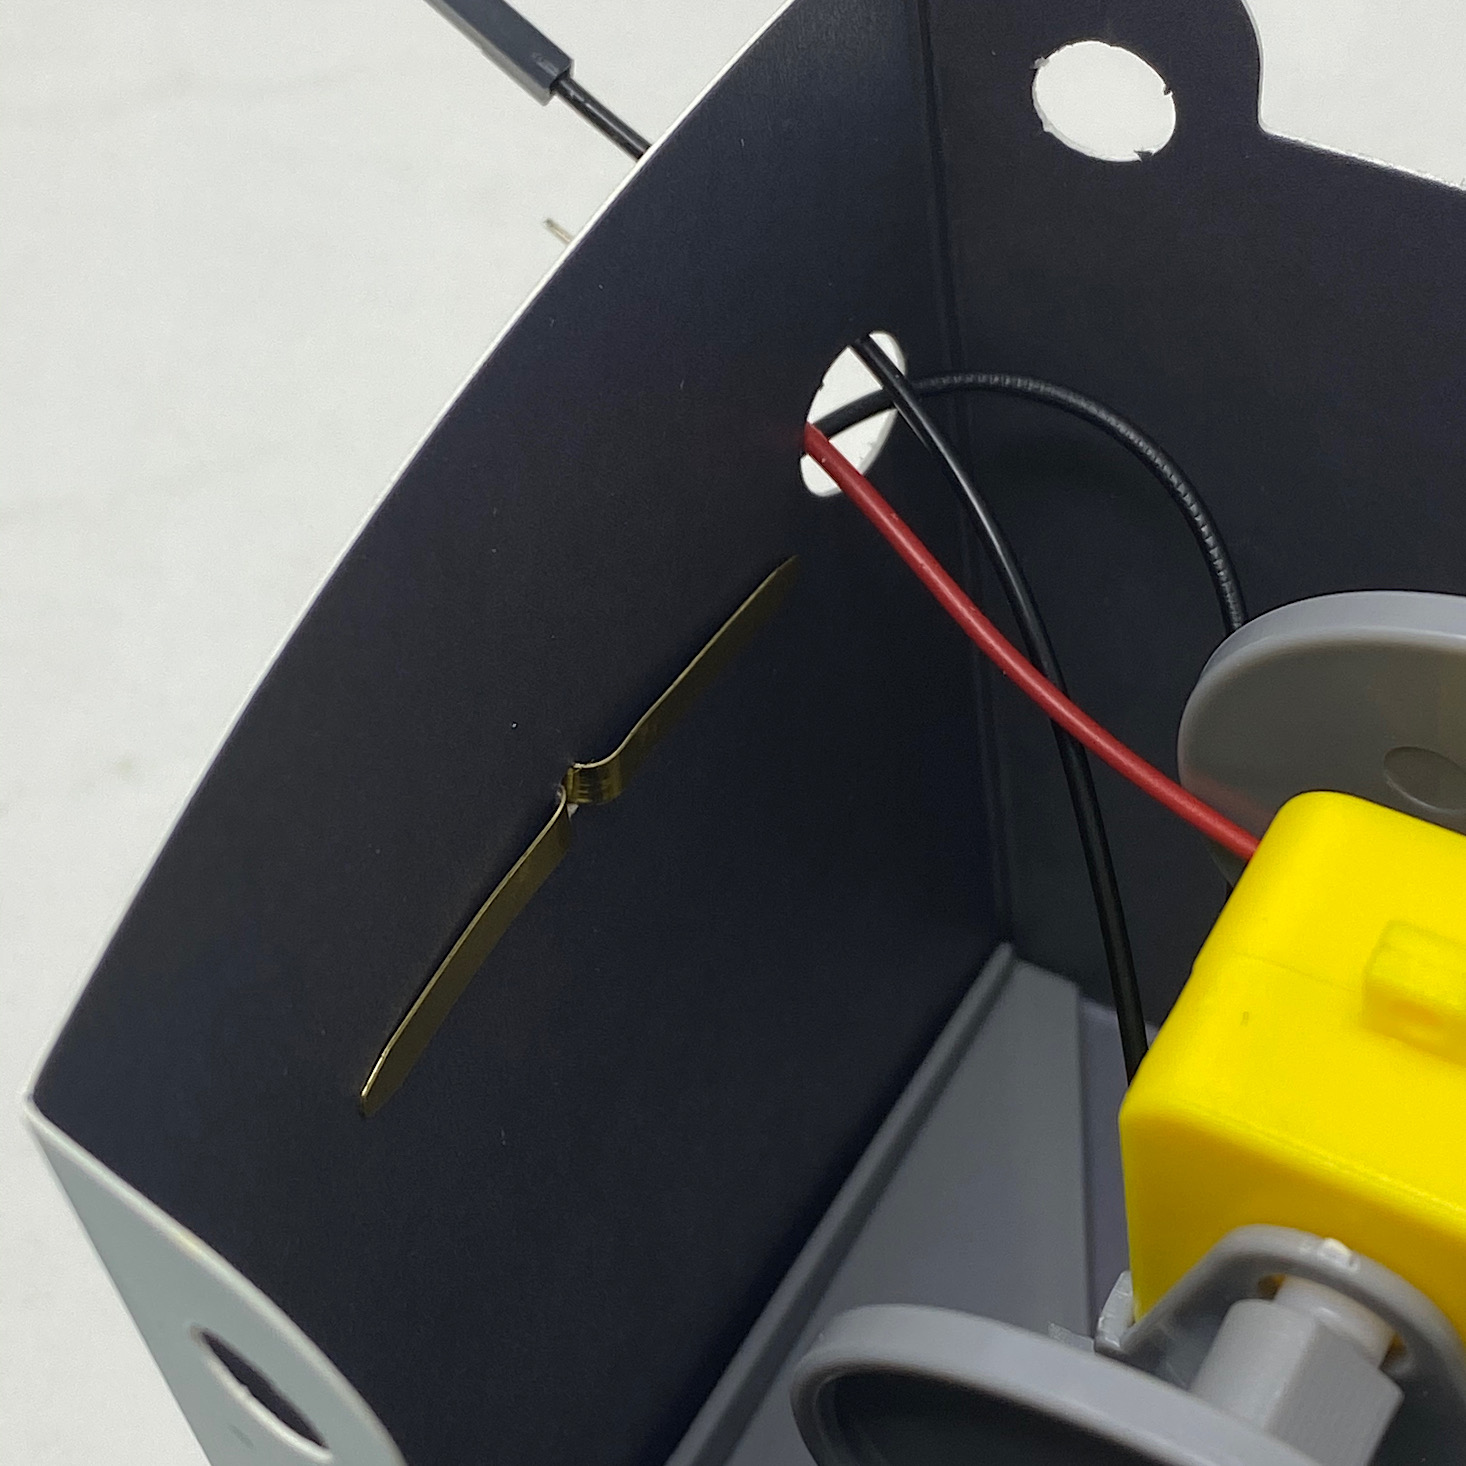
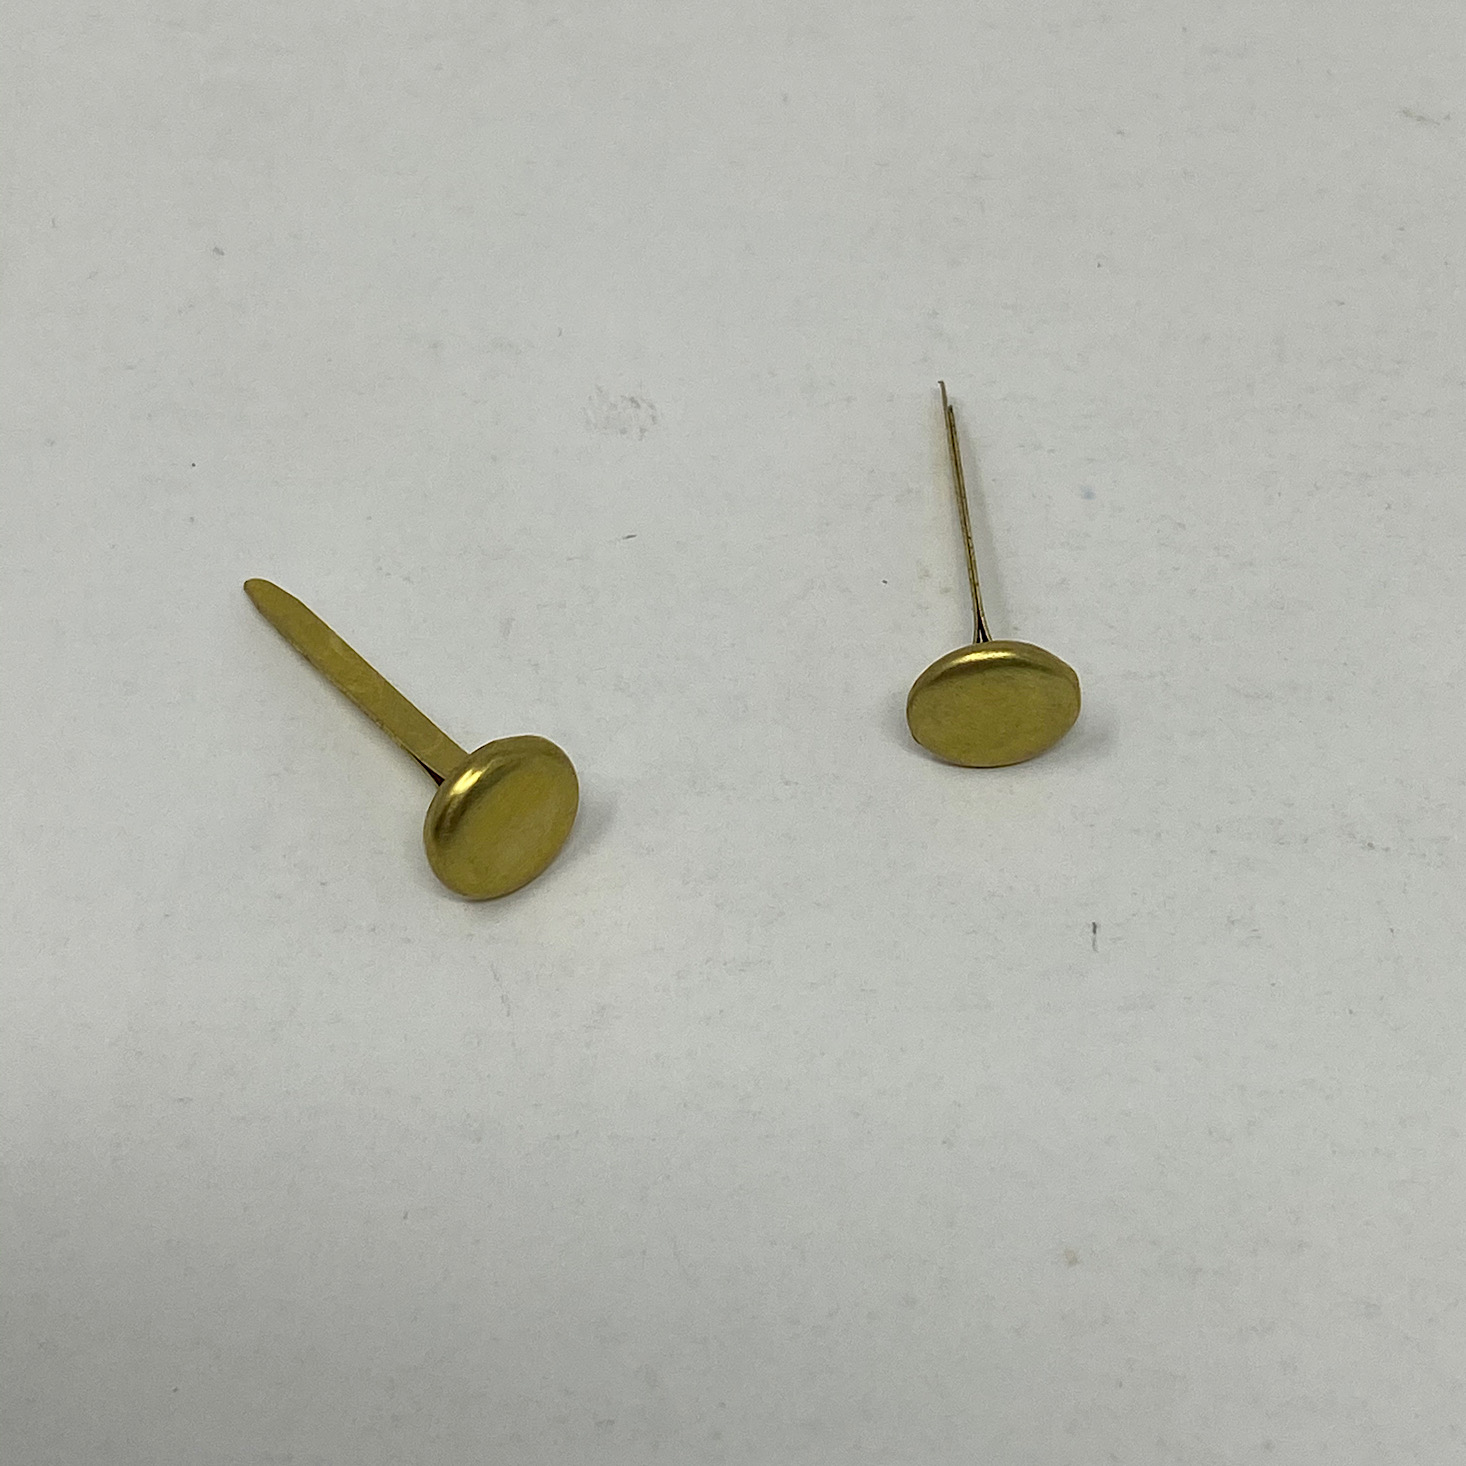
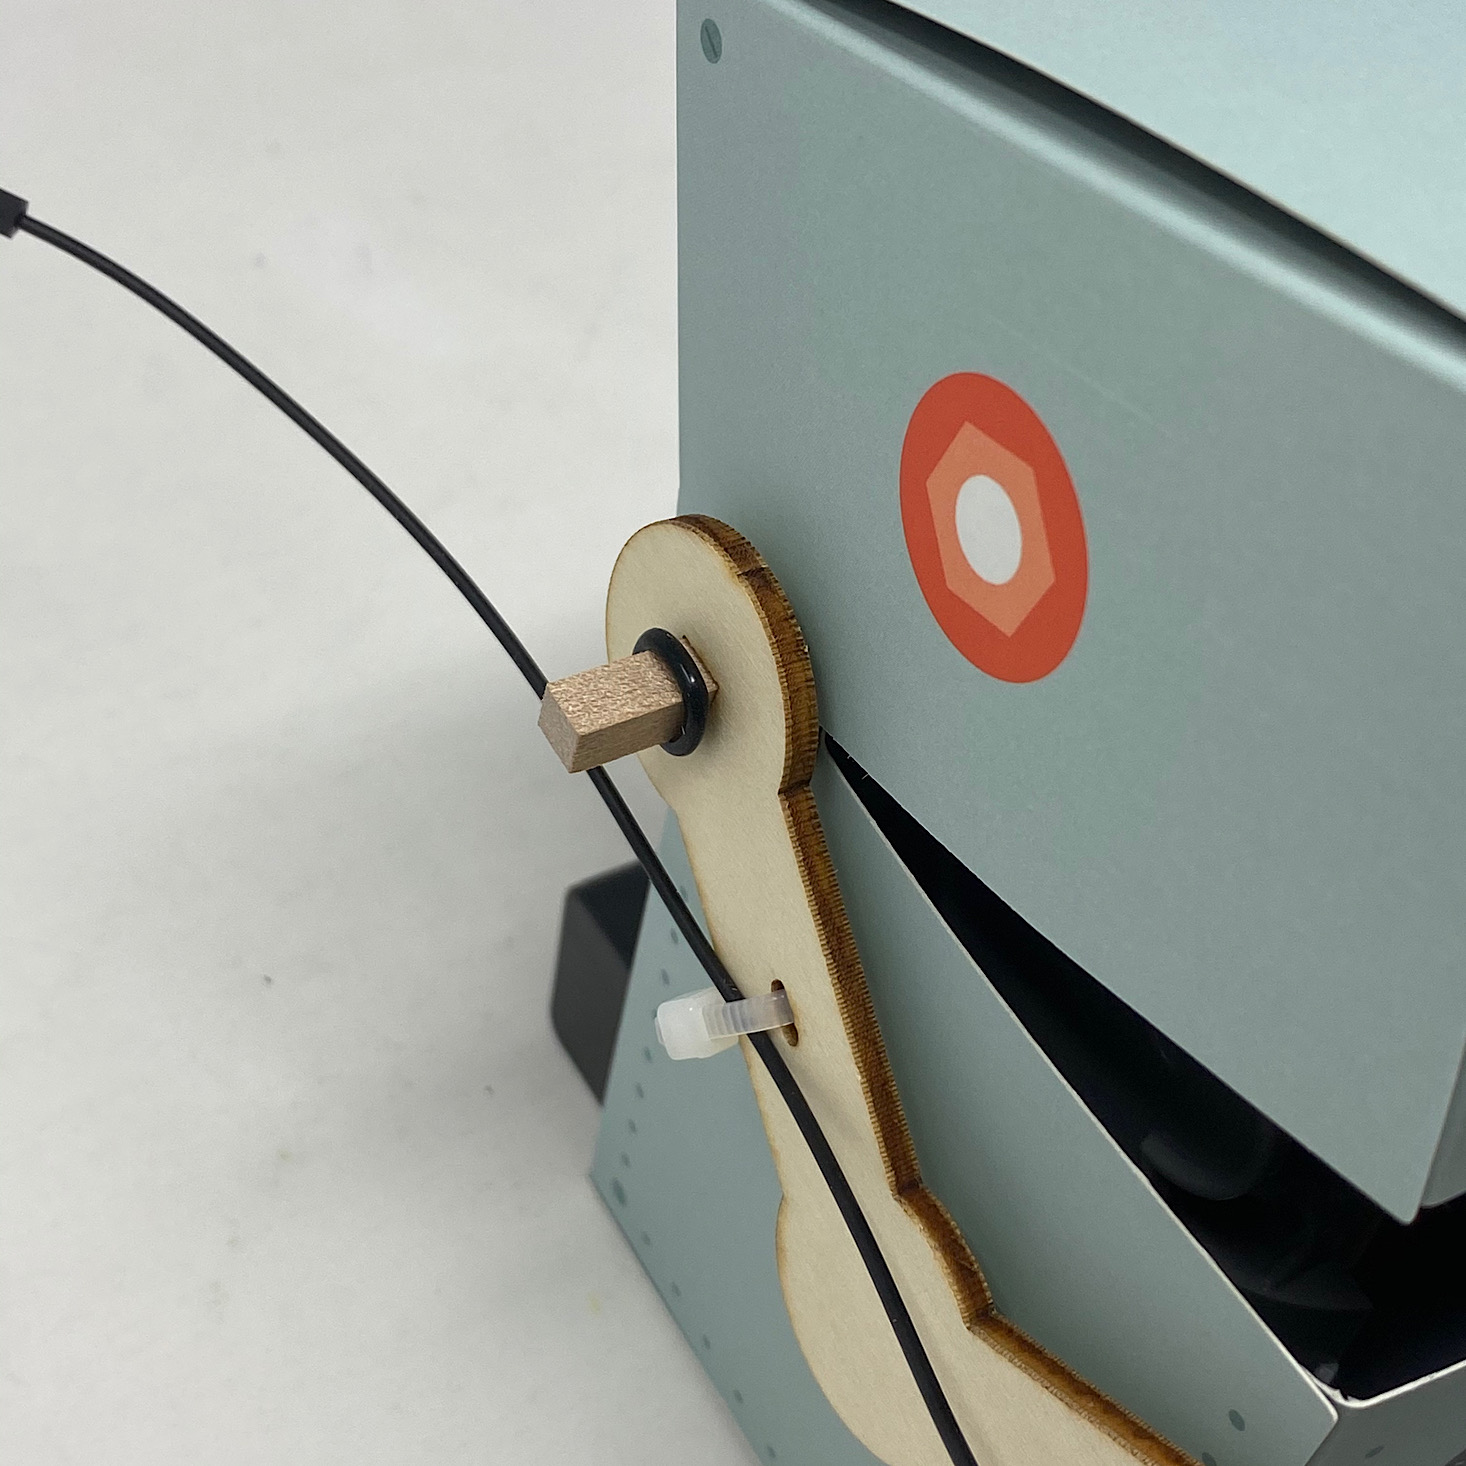
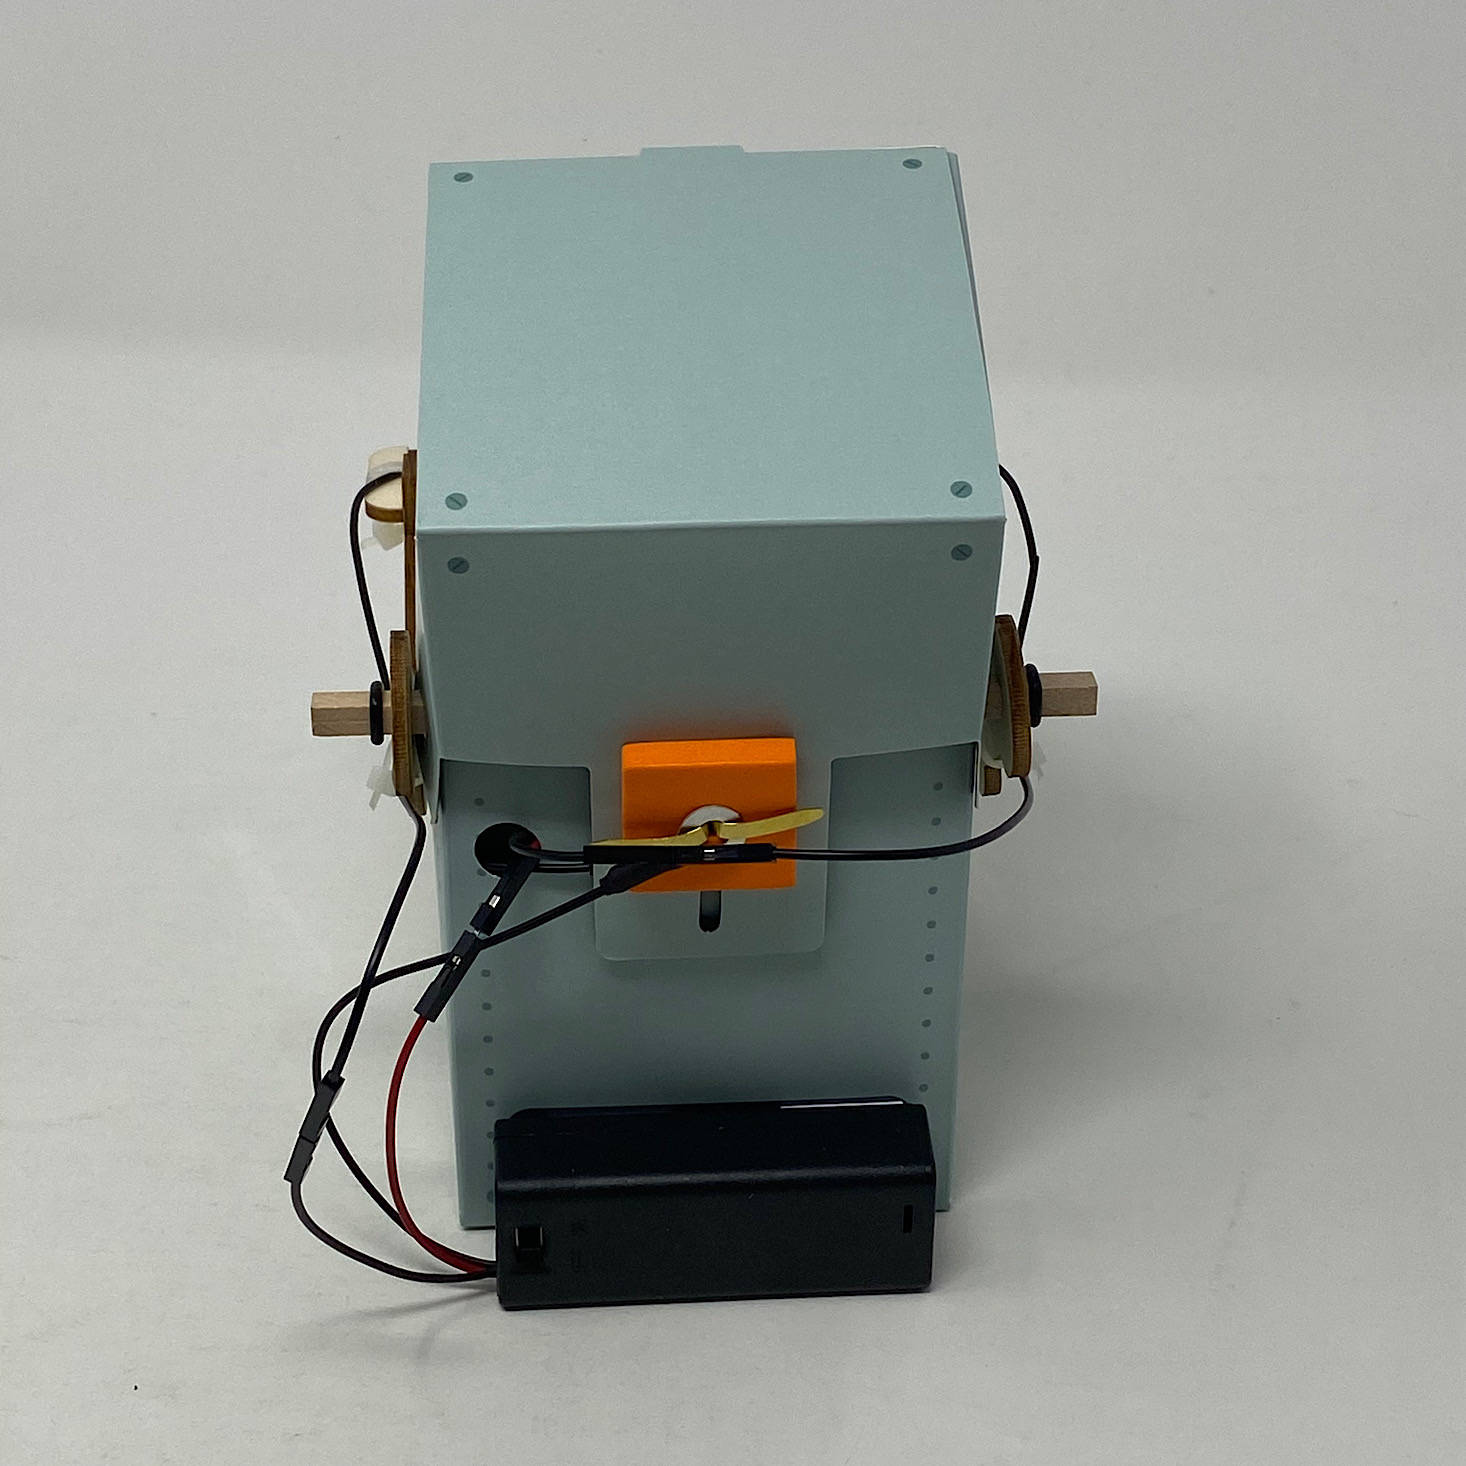
Then I used one of the brads to attach the ring wire to the back of the body piece.


1 of 5
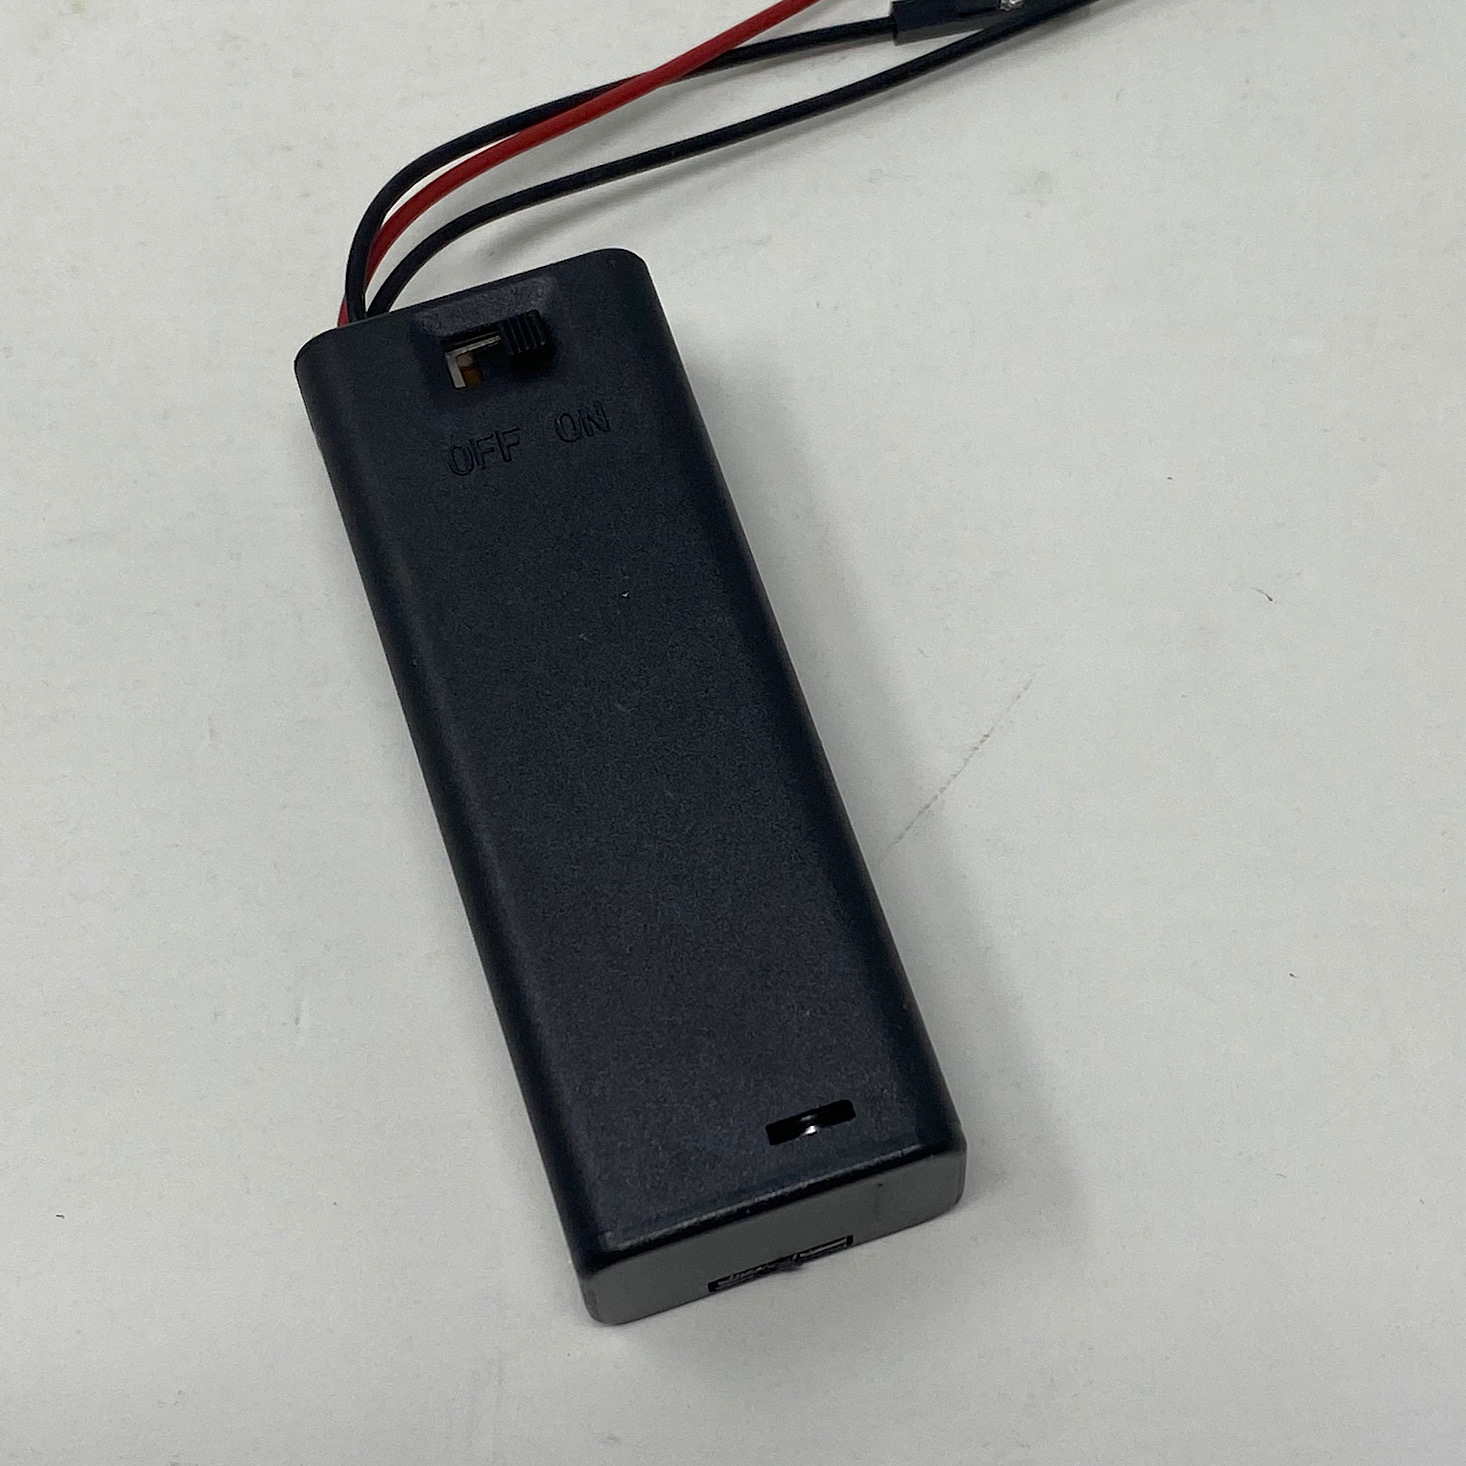

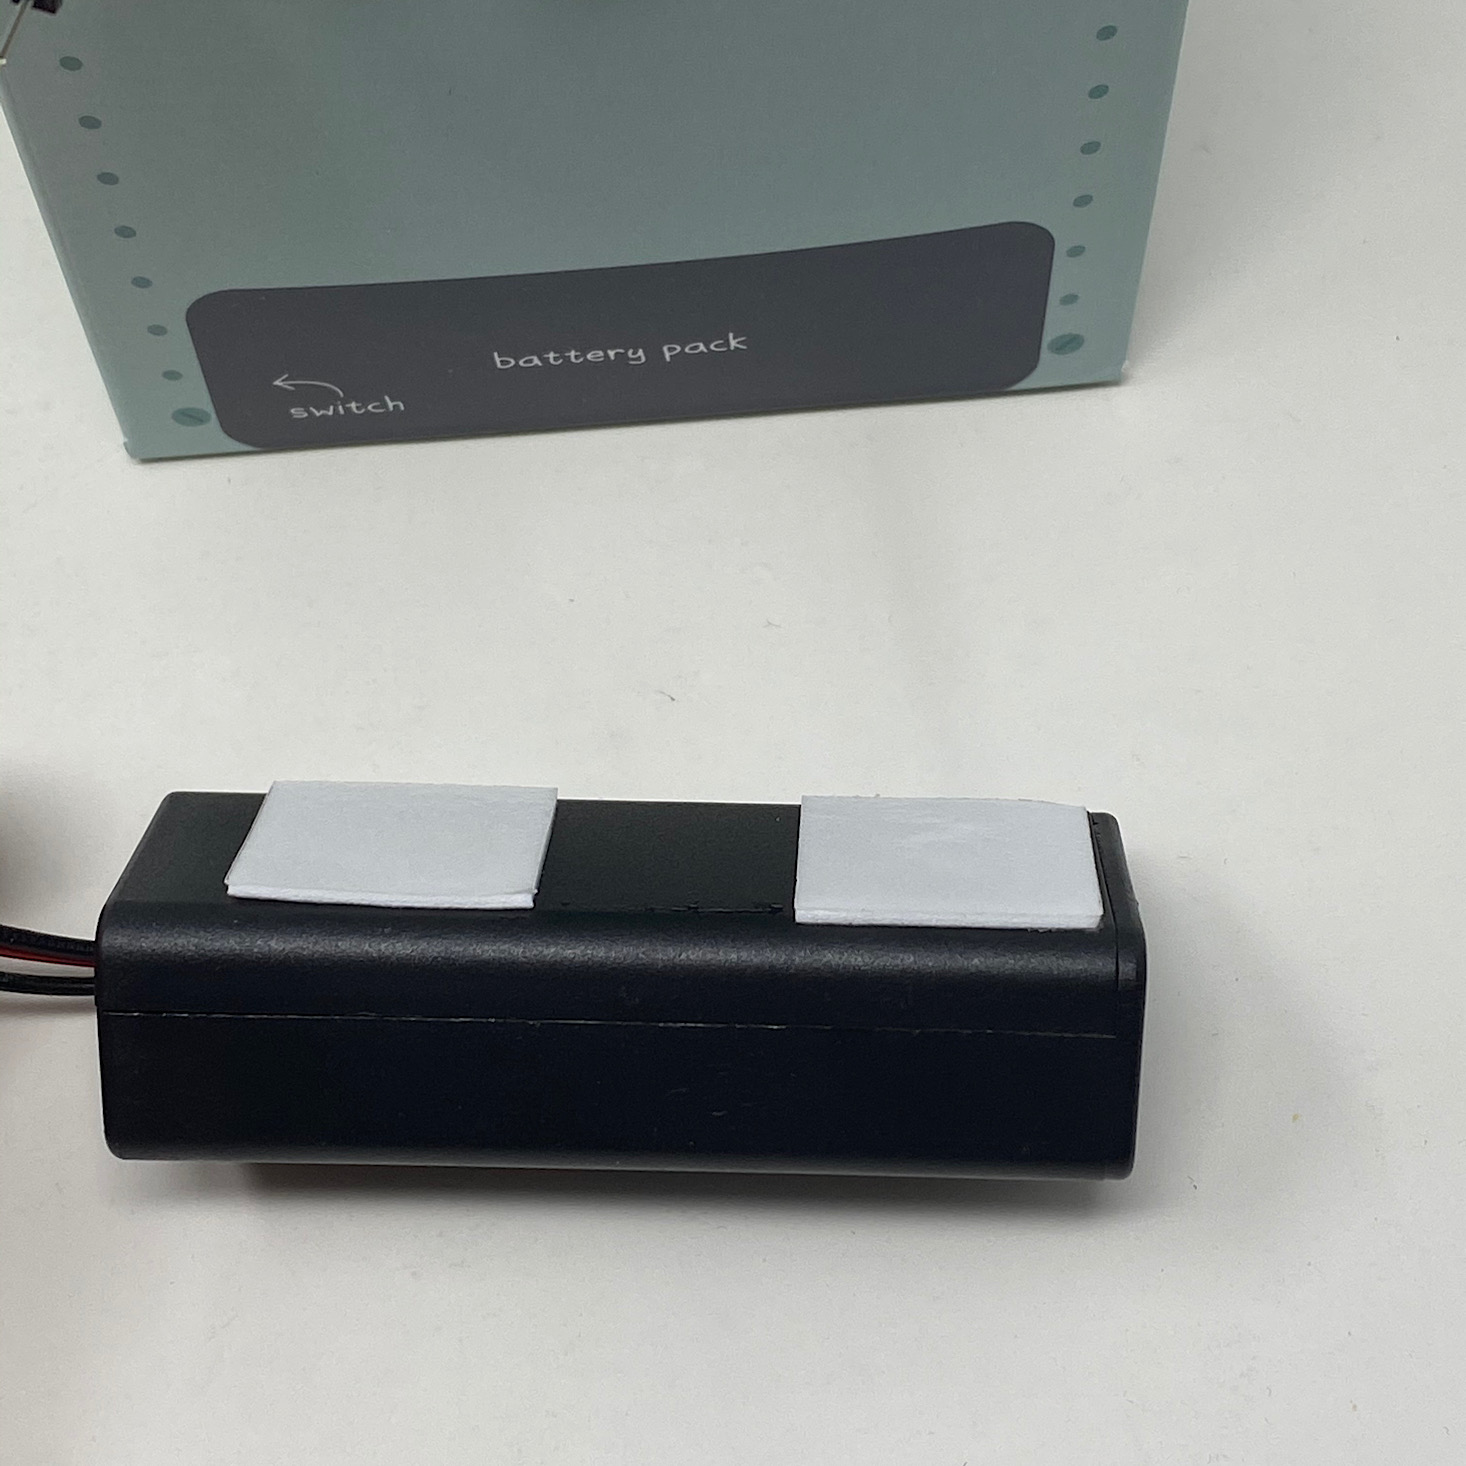
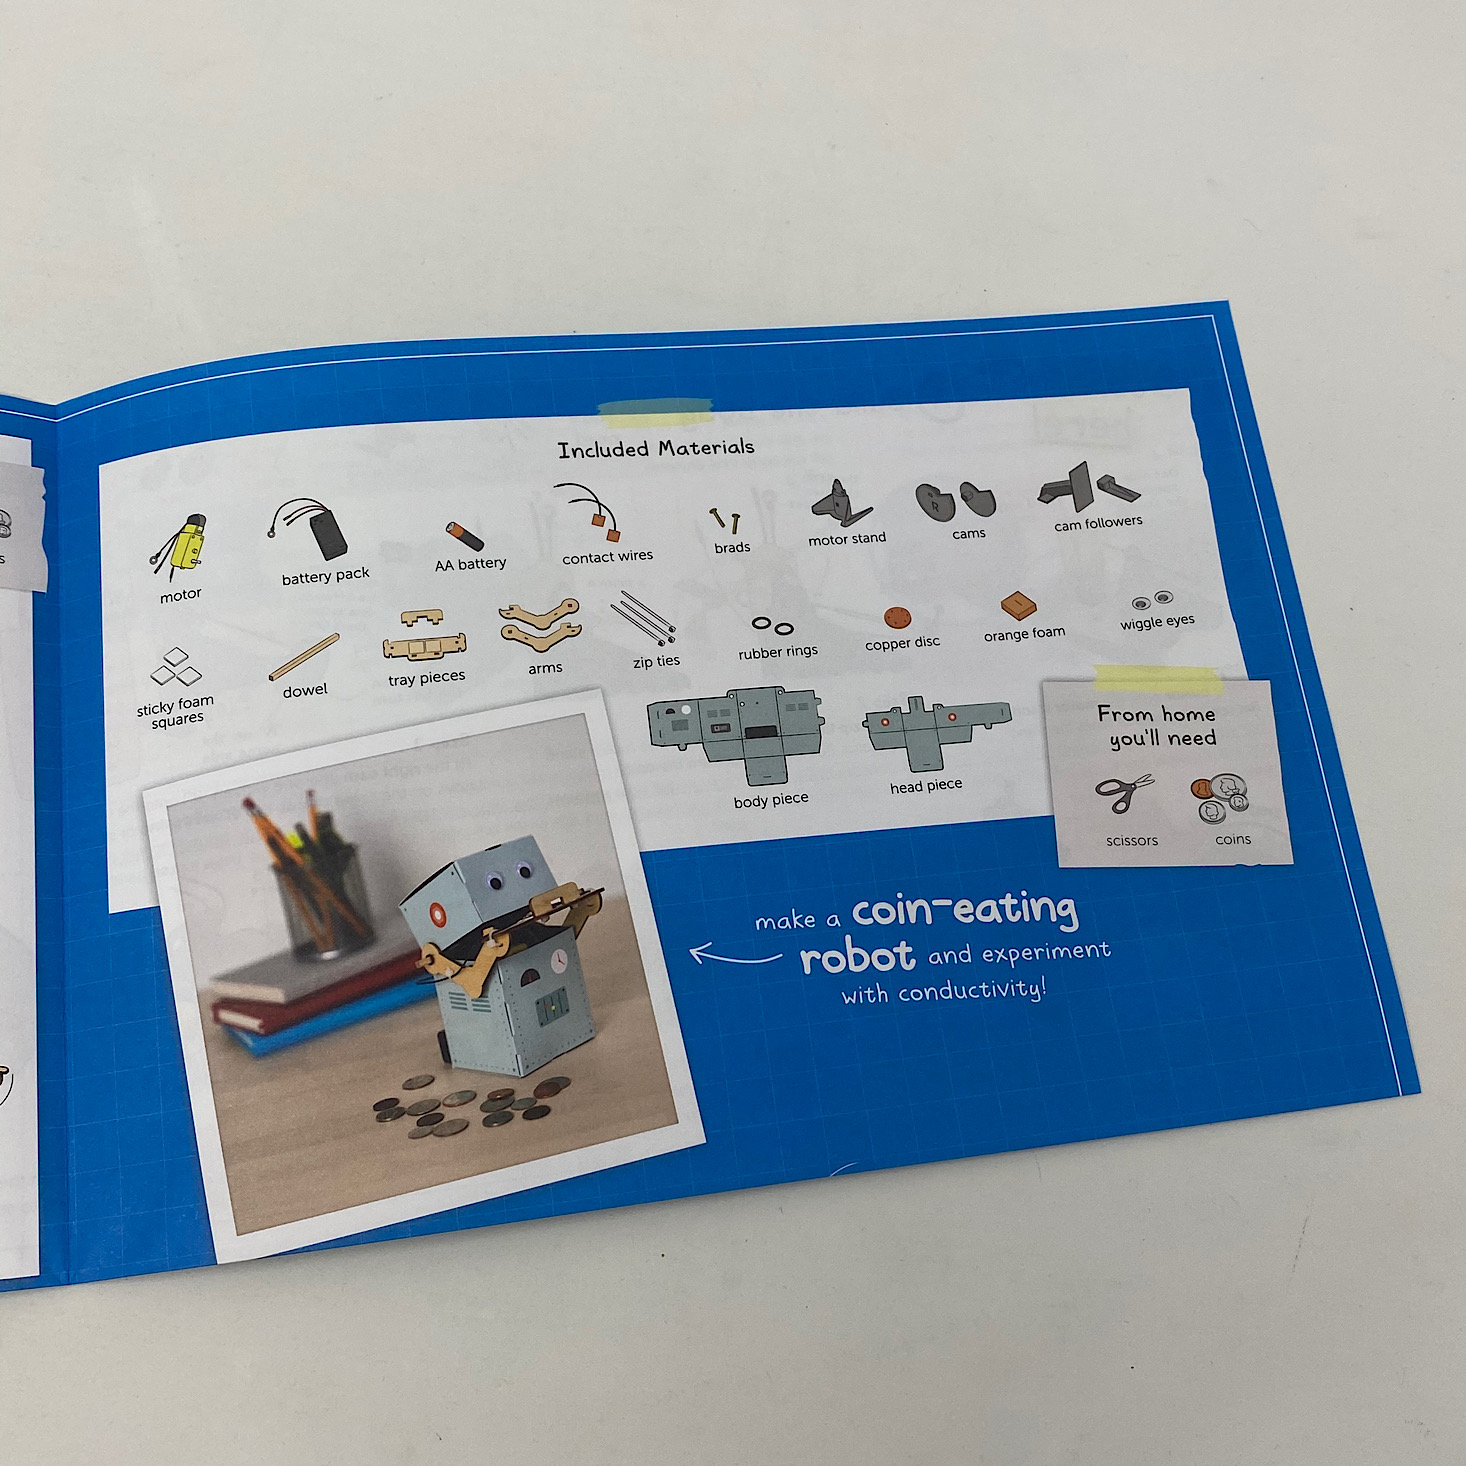
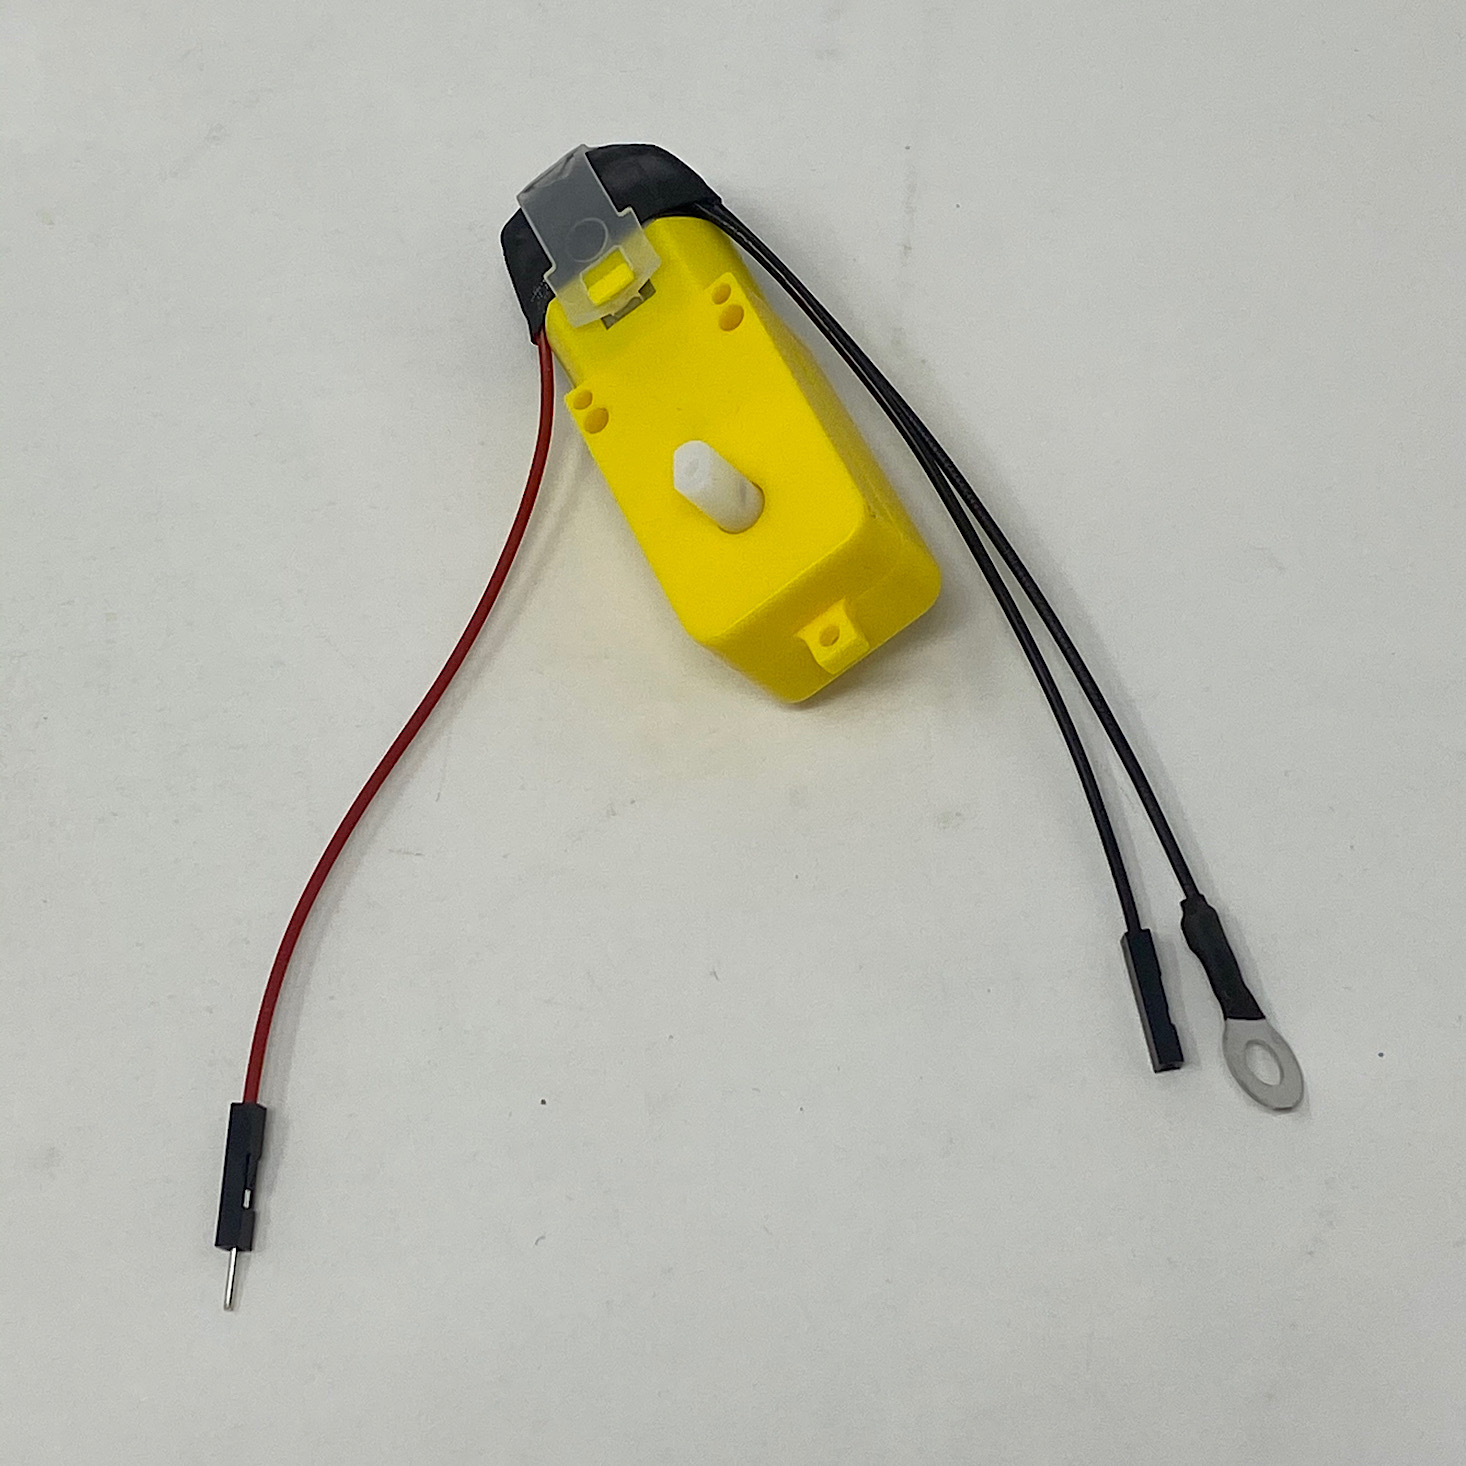
They provided a AA battery and a battery pack for us which I stuck to the marked spot on the back of the body using some foam adhesive squares. Then I connected the red wire from the battery to the red wire from the motor and the body was complete.
Part B: Add the Head

1 of 3

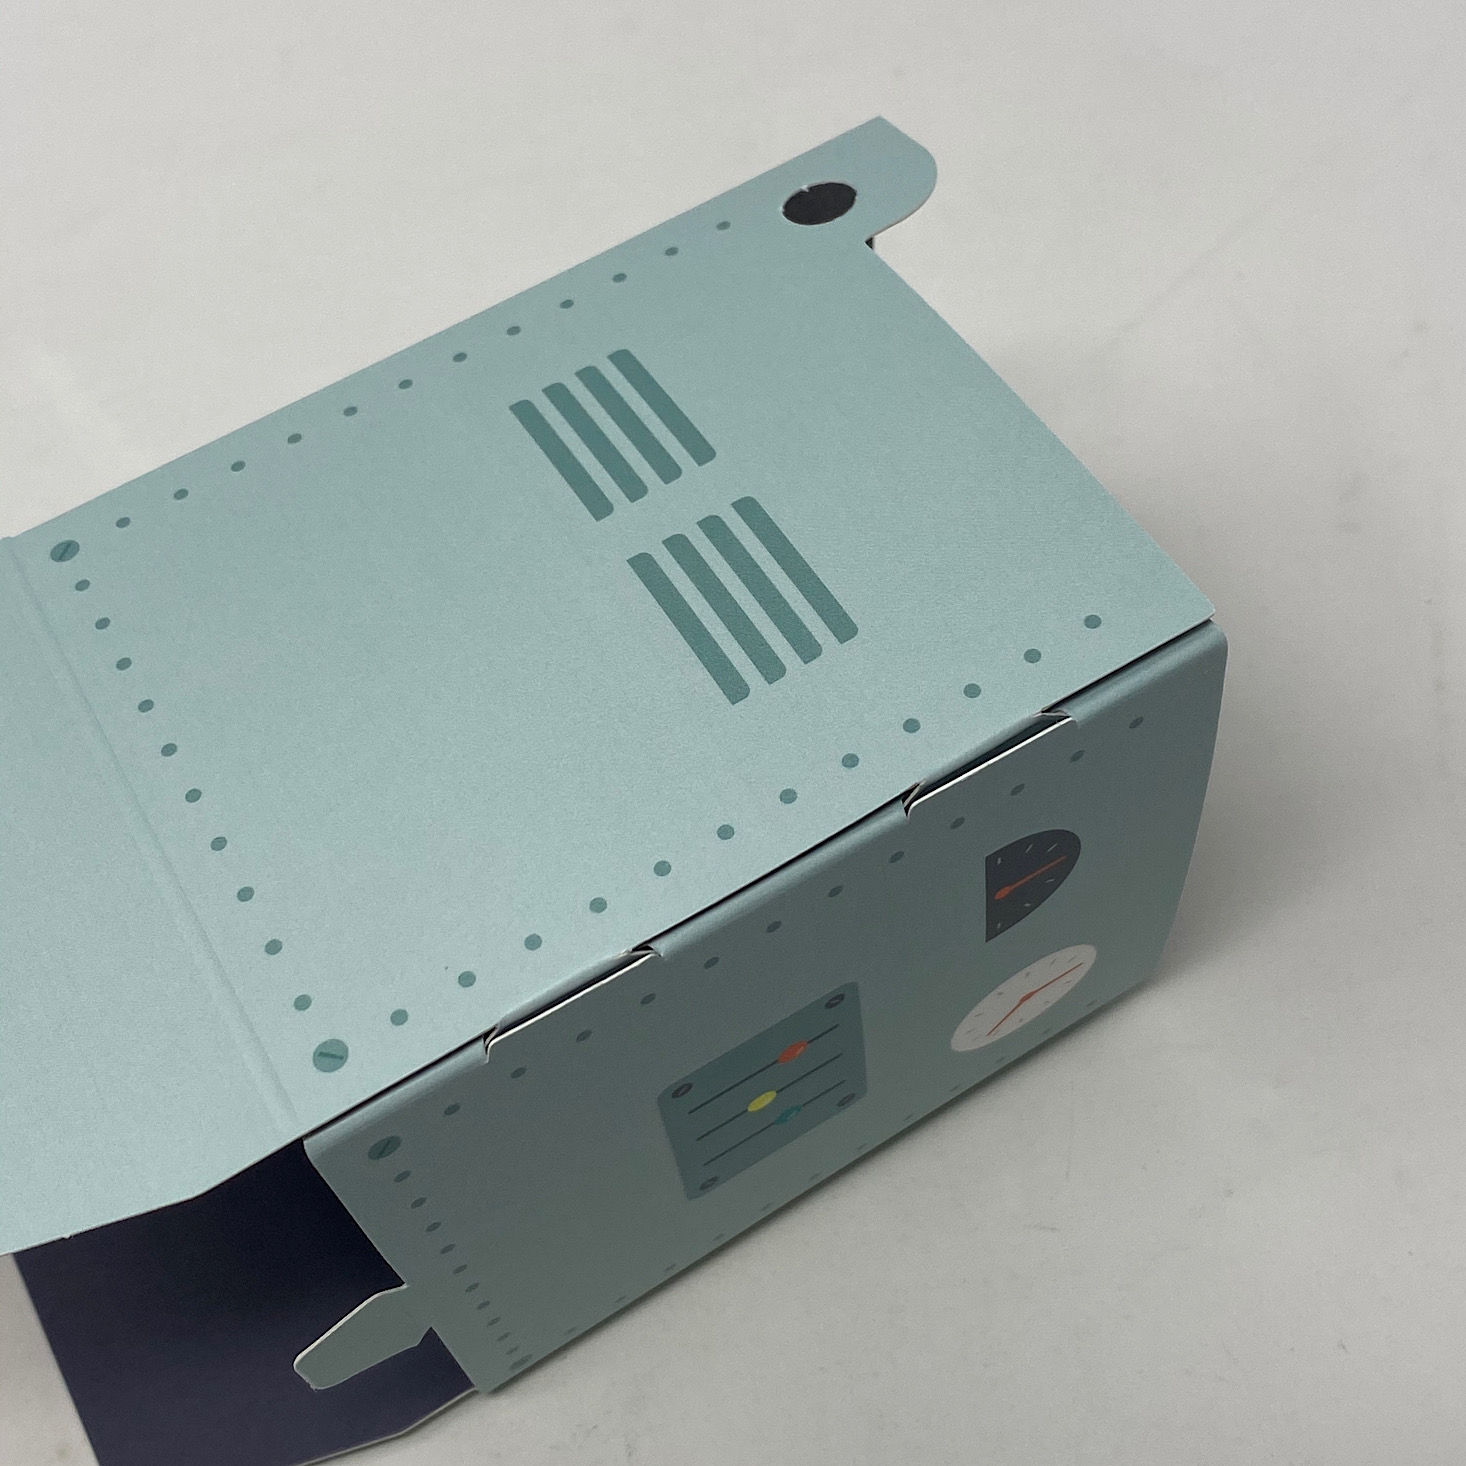
To start the build of the head, I folded up the head piece according to the directions and stuck the tabs in place to secure it just like I had with the body.


1 of 2
Then I used another sticky foam square to stick this large plastic cam inside the head.

1 of 3
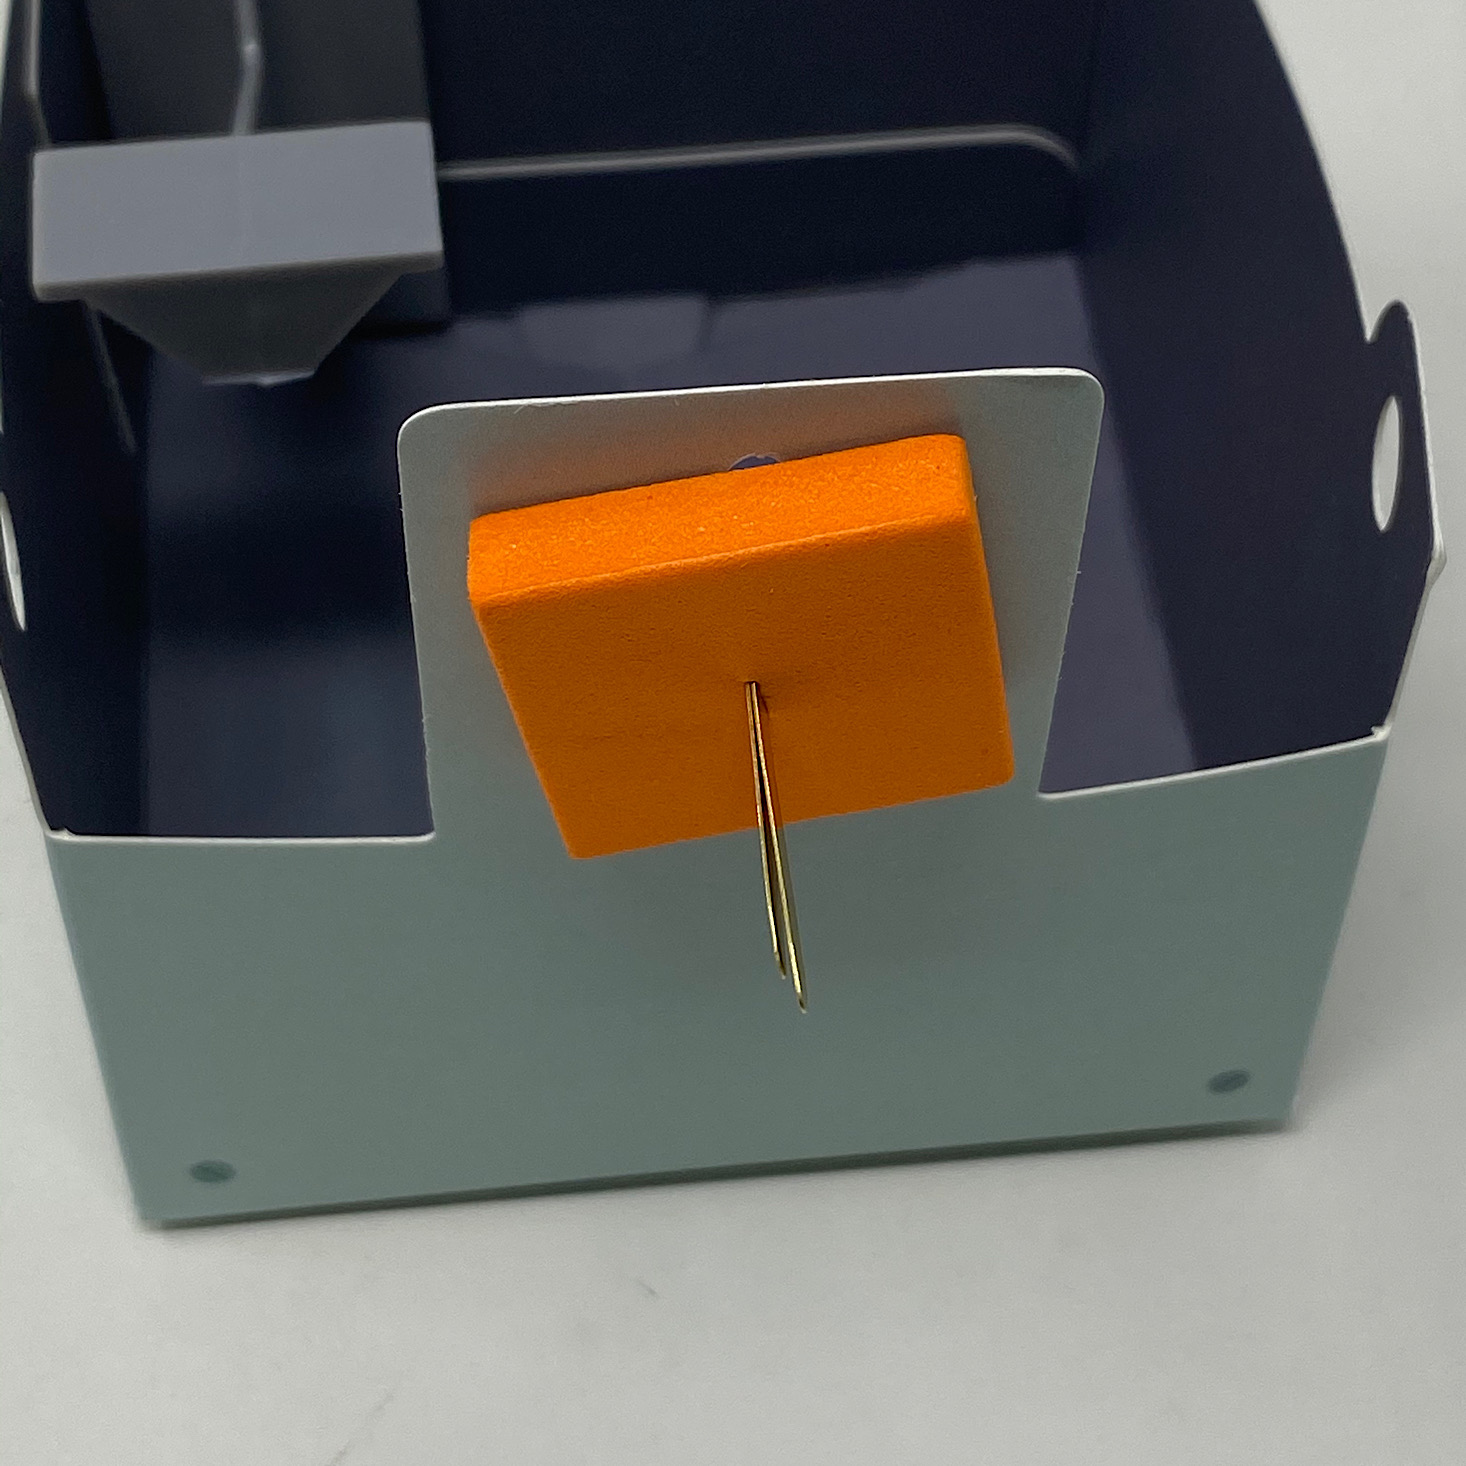
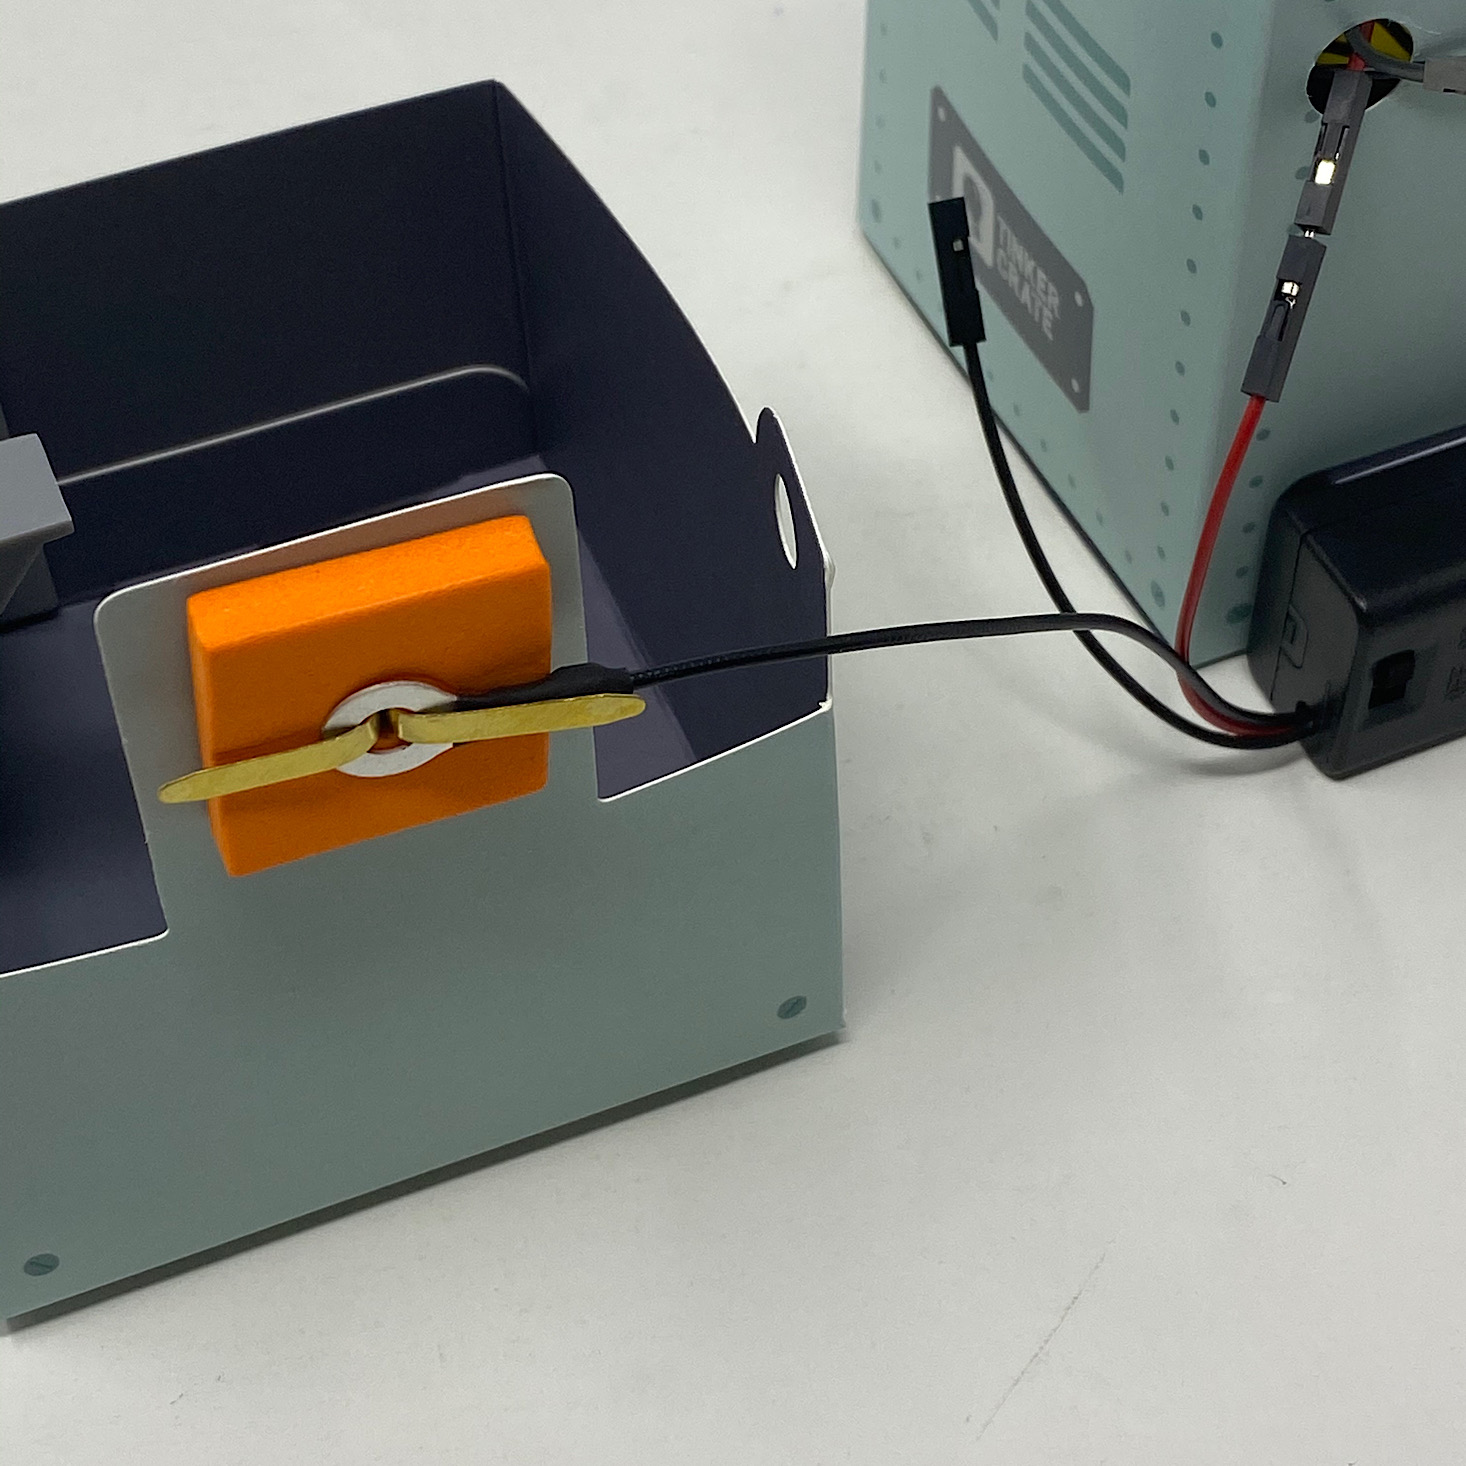
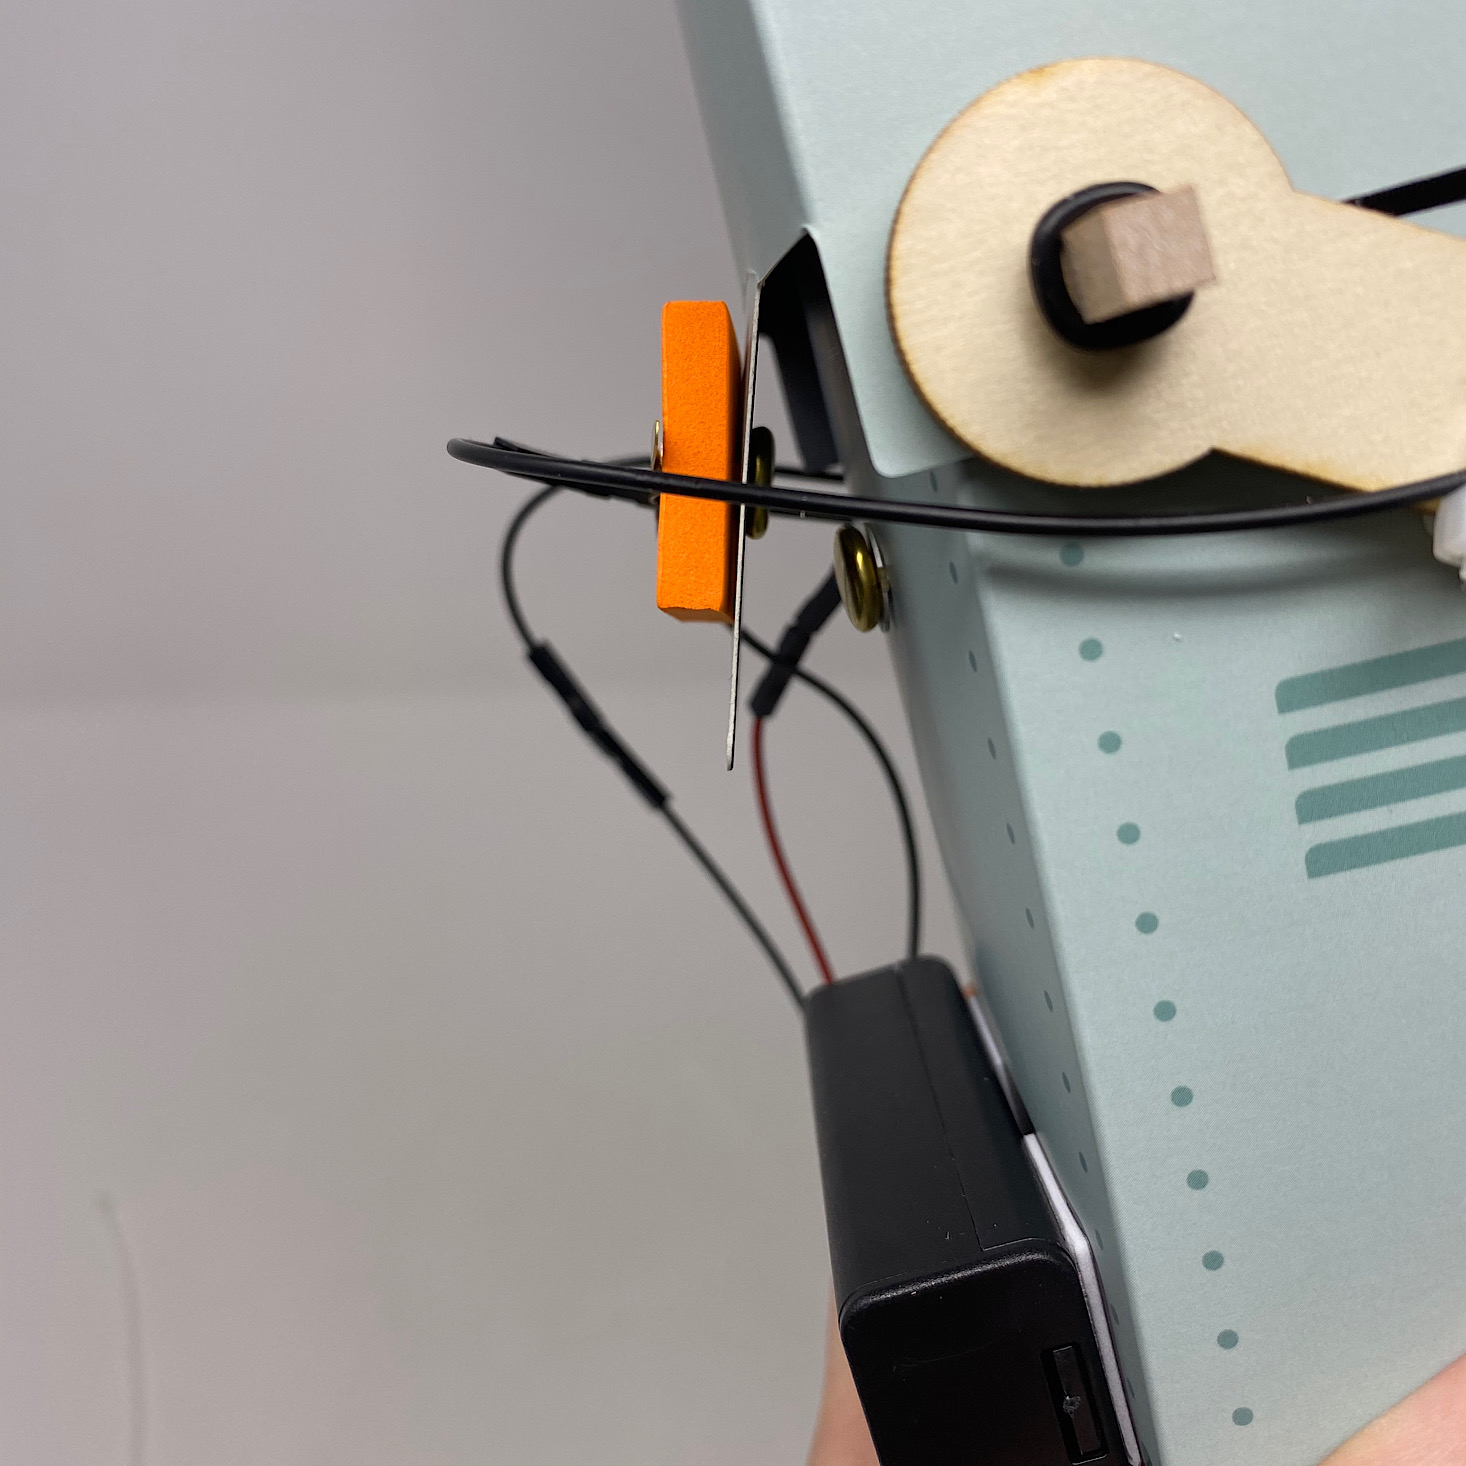
I used another brad to stick this orange foam square to the back of the head and hooked the ring wire from the battery pack onto the brad before opening the arms.
1 of 3
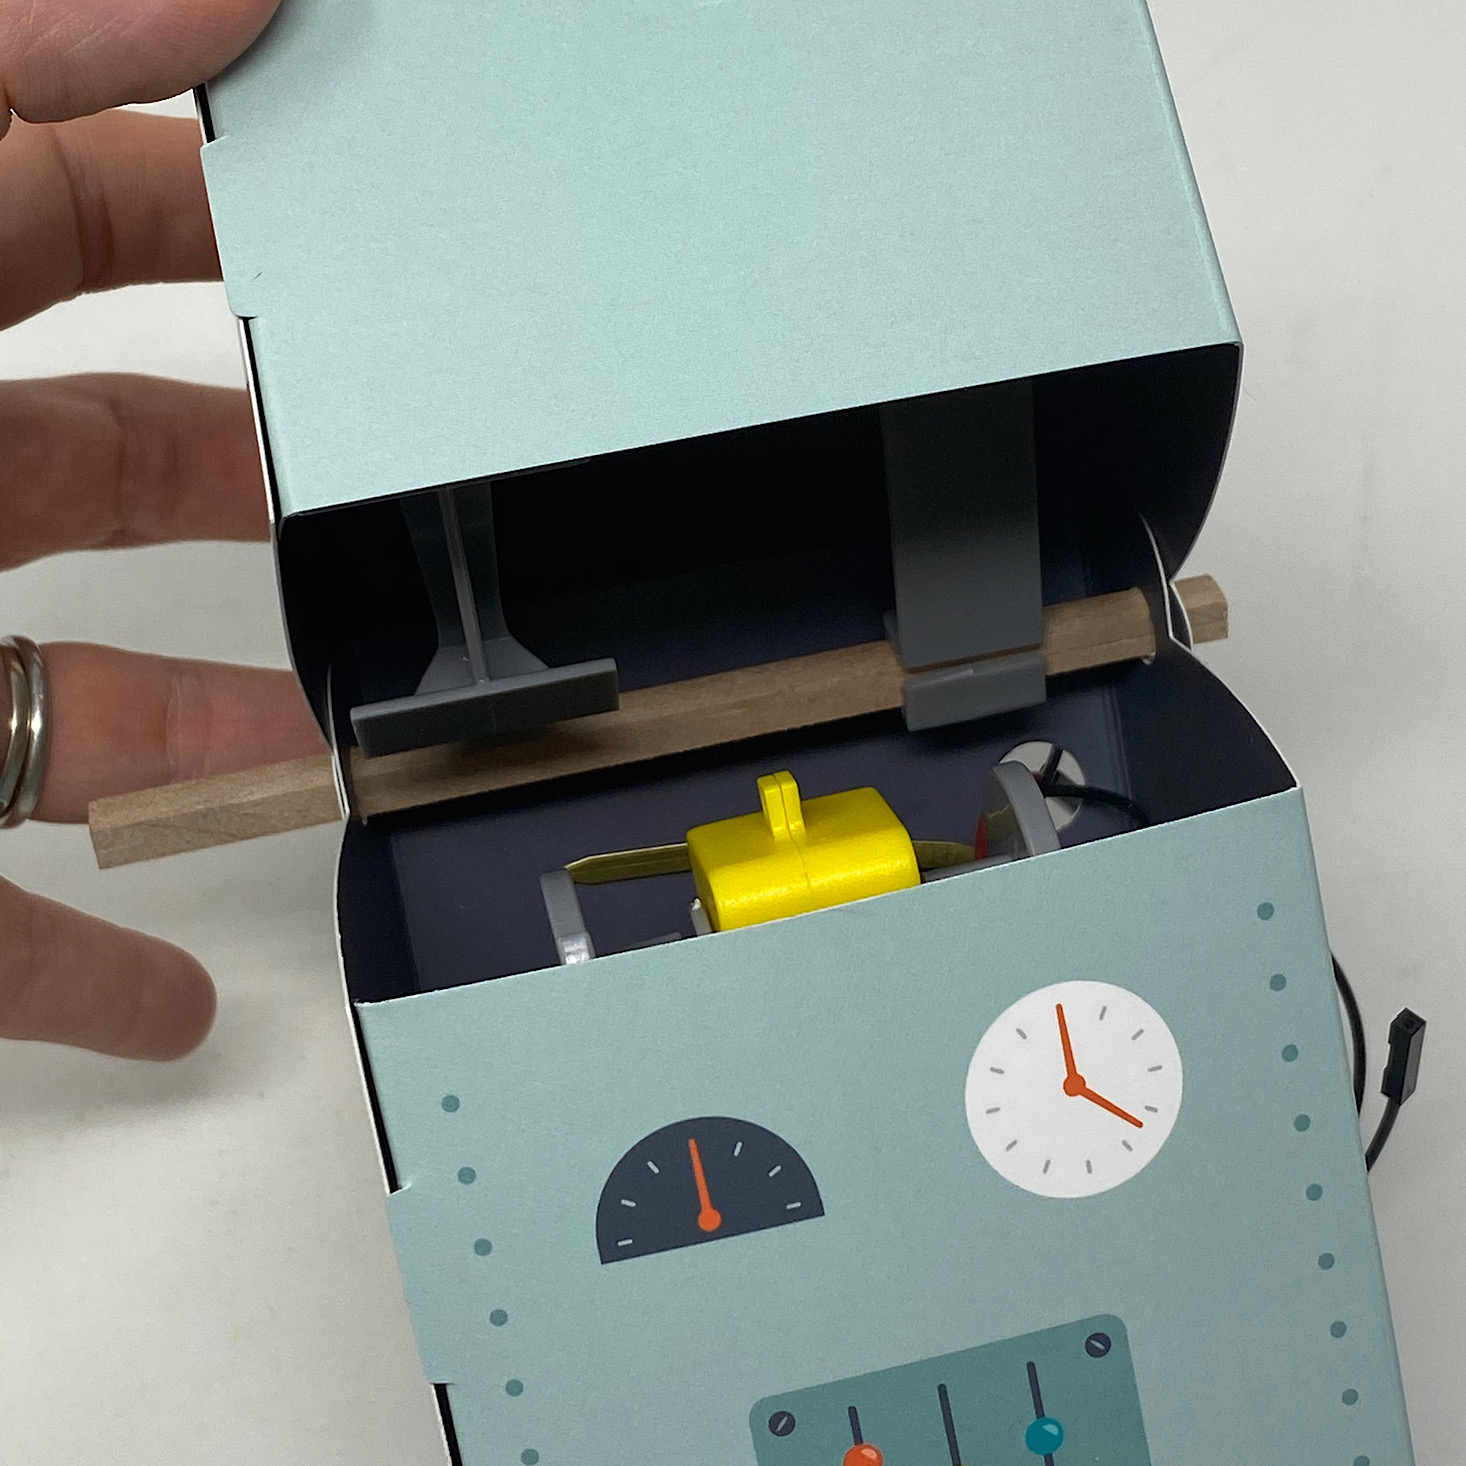
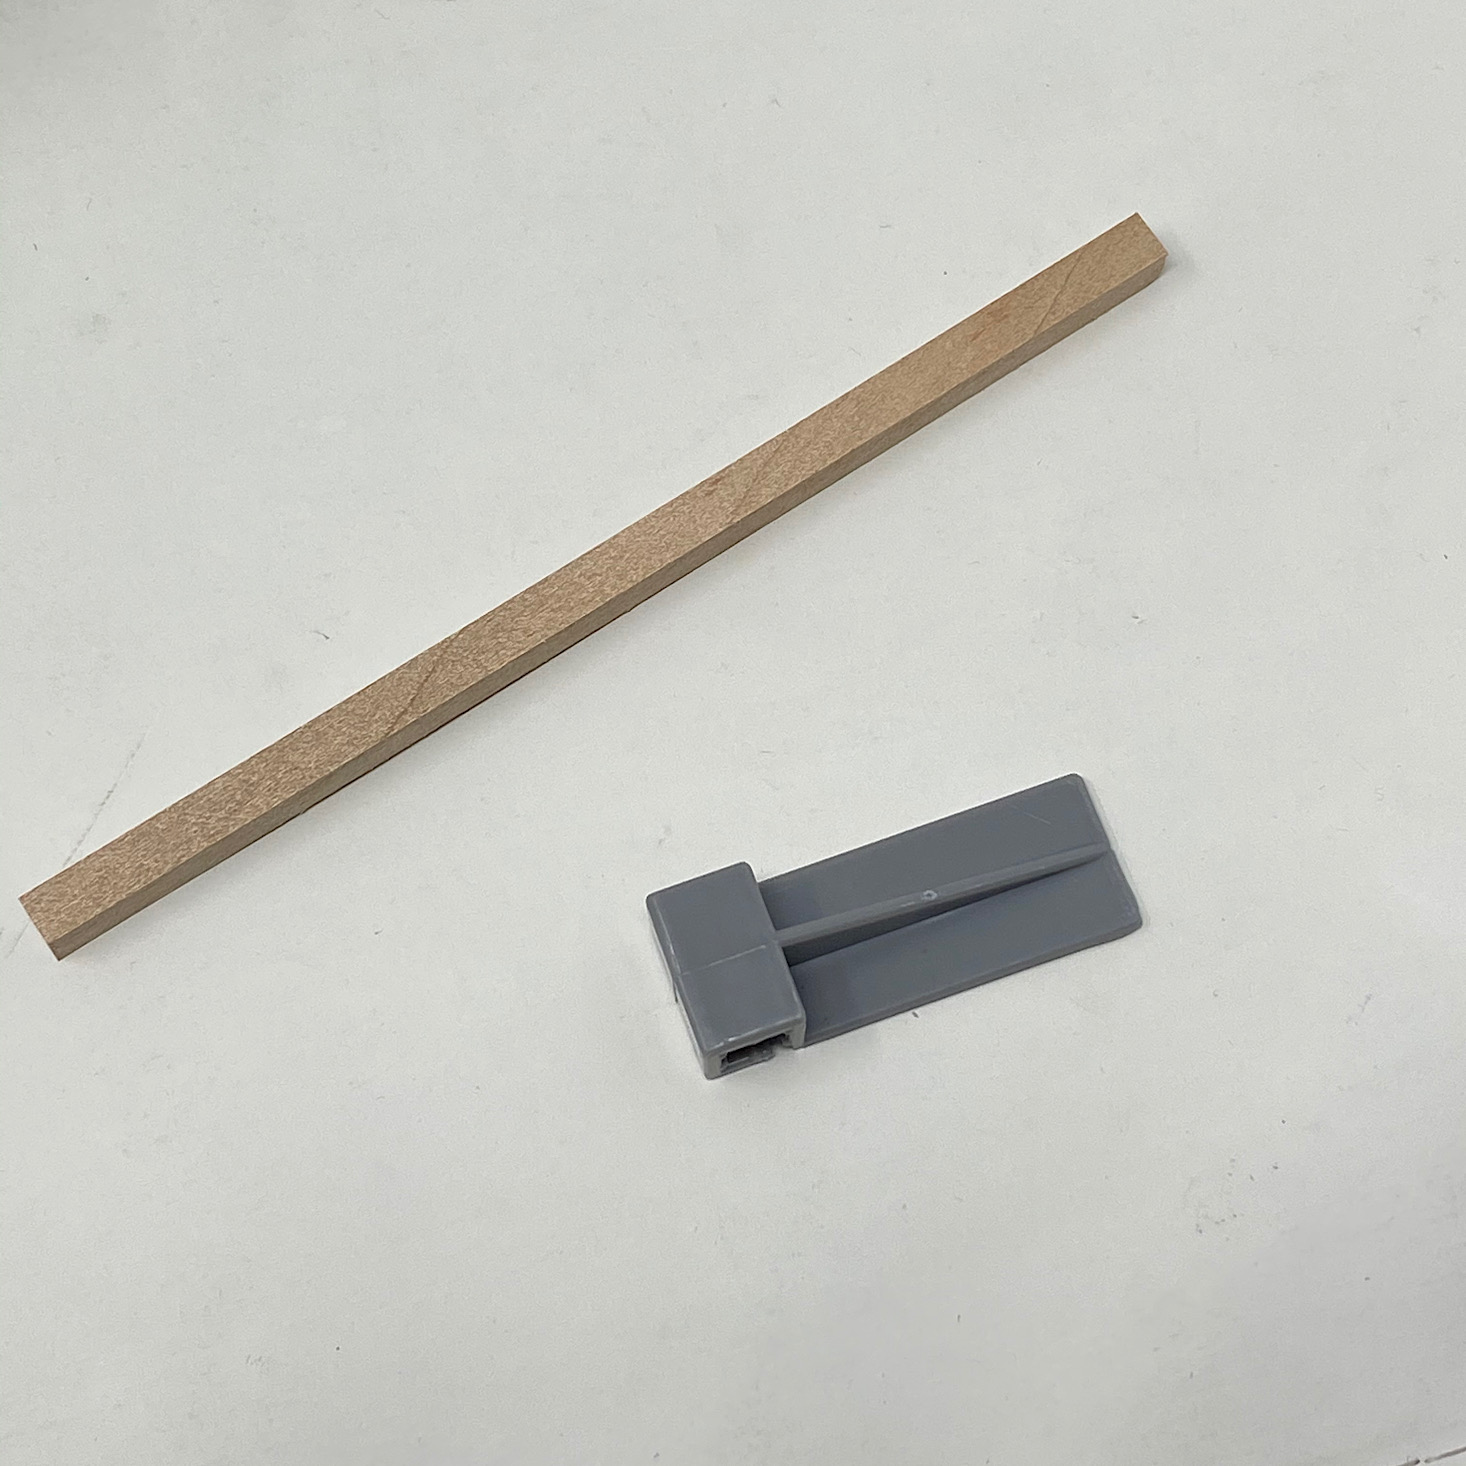
Then I added the small plastic cam to the wooden dowel and used the dowel to connect the head piece to the body. Then I made sure the cams on the head lined up with the cams on the motor of the body.
Part C: Build the Arms


1 of 3
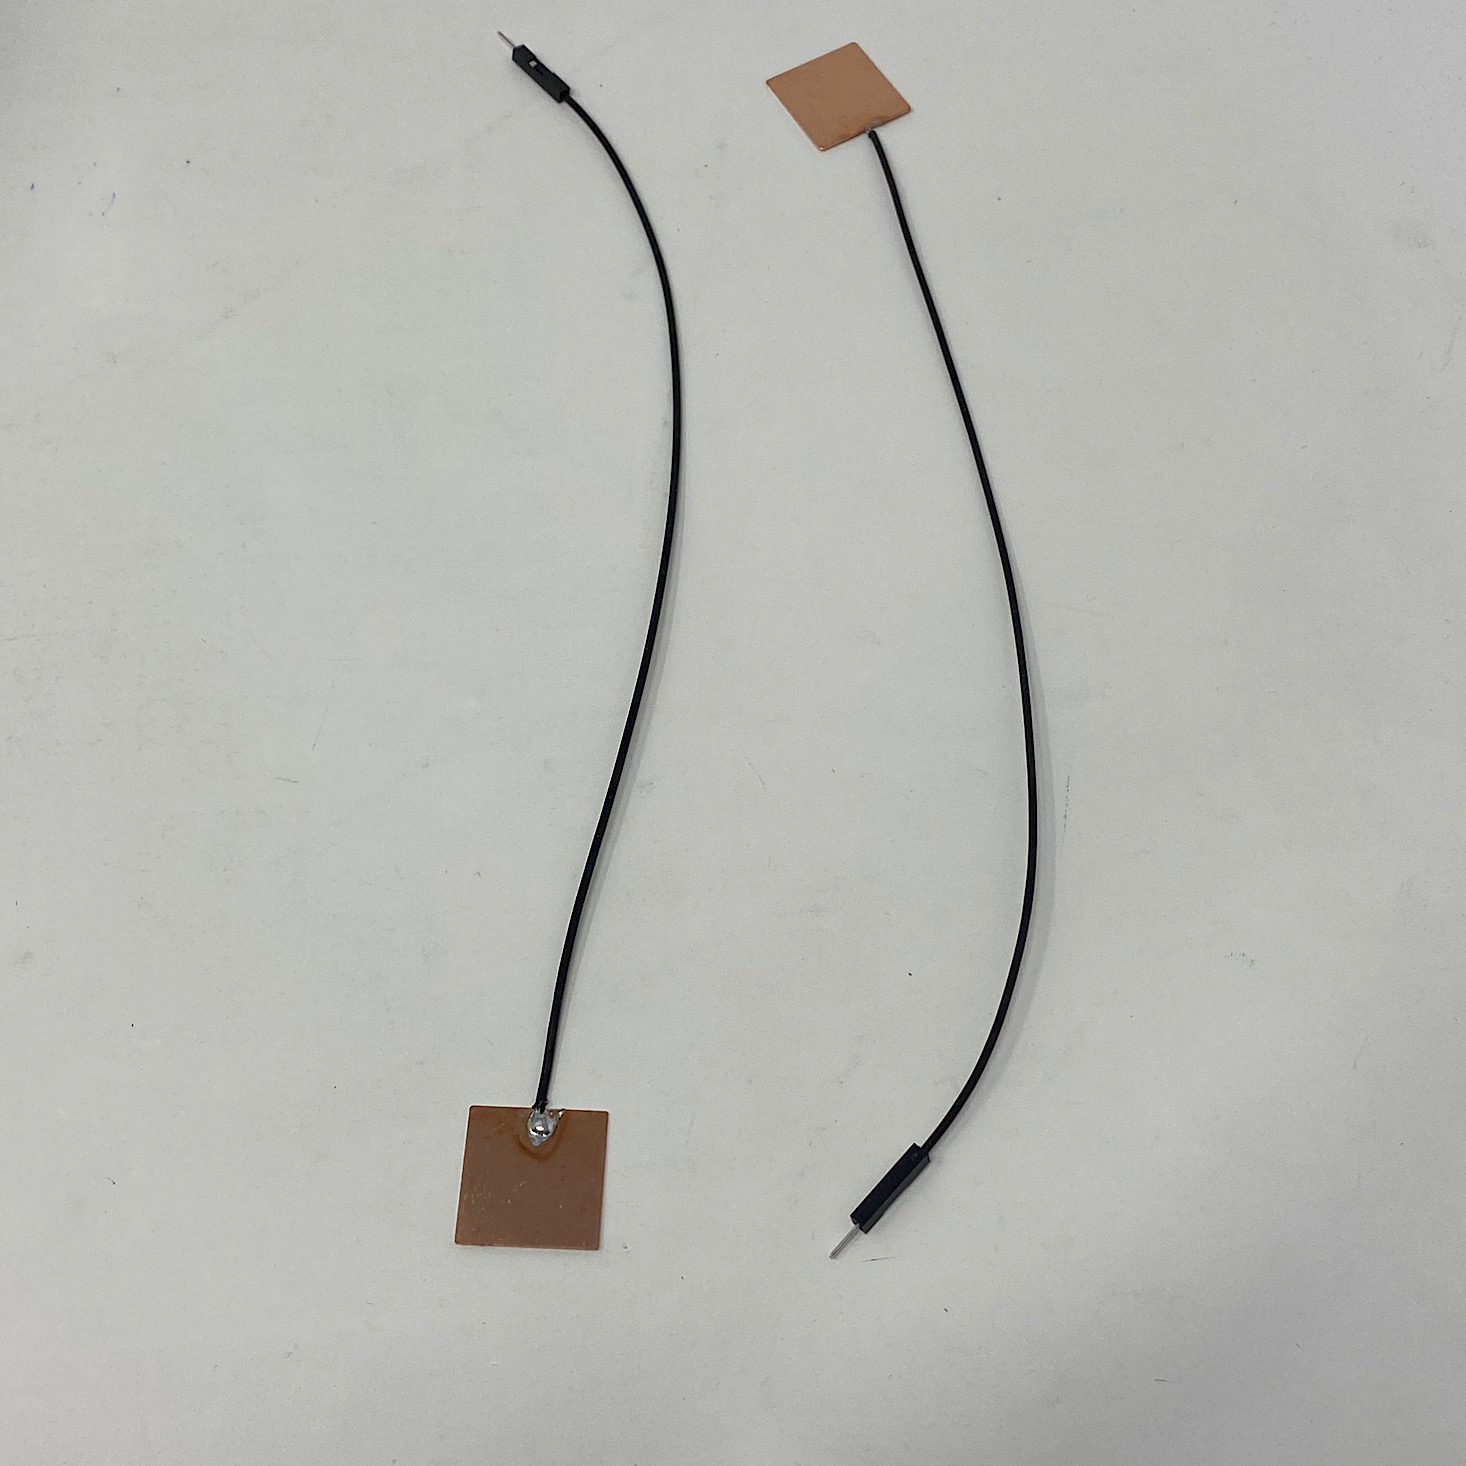
Now it was time to build the arms. I stuck these two contact wires to the wood tray with more foam adhesive squares.

1 of 4

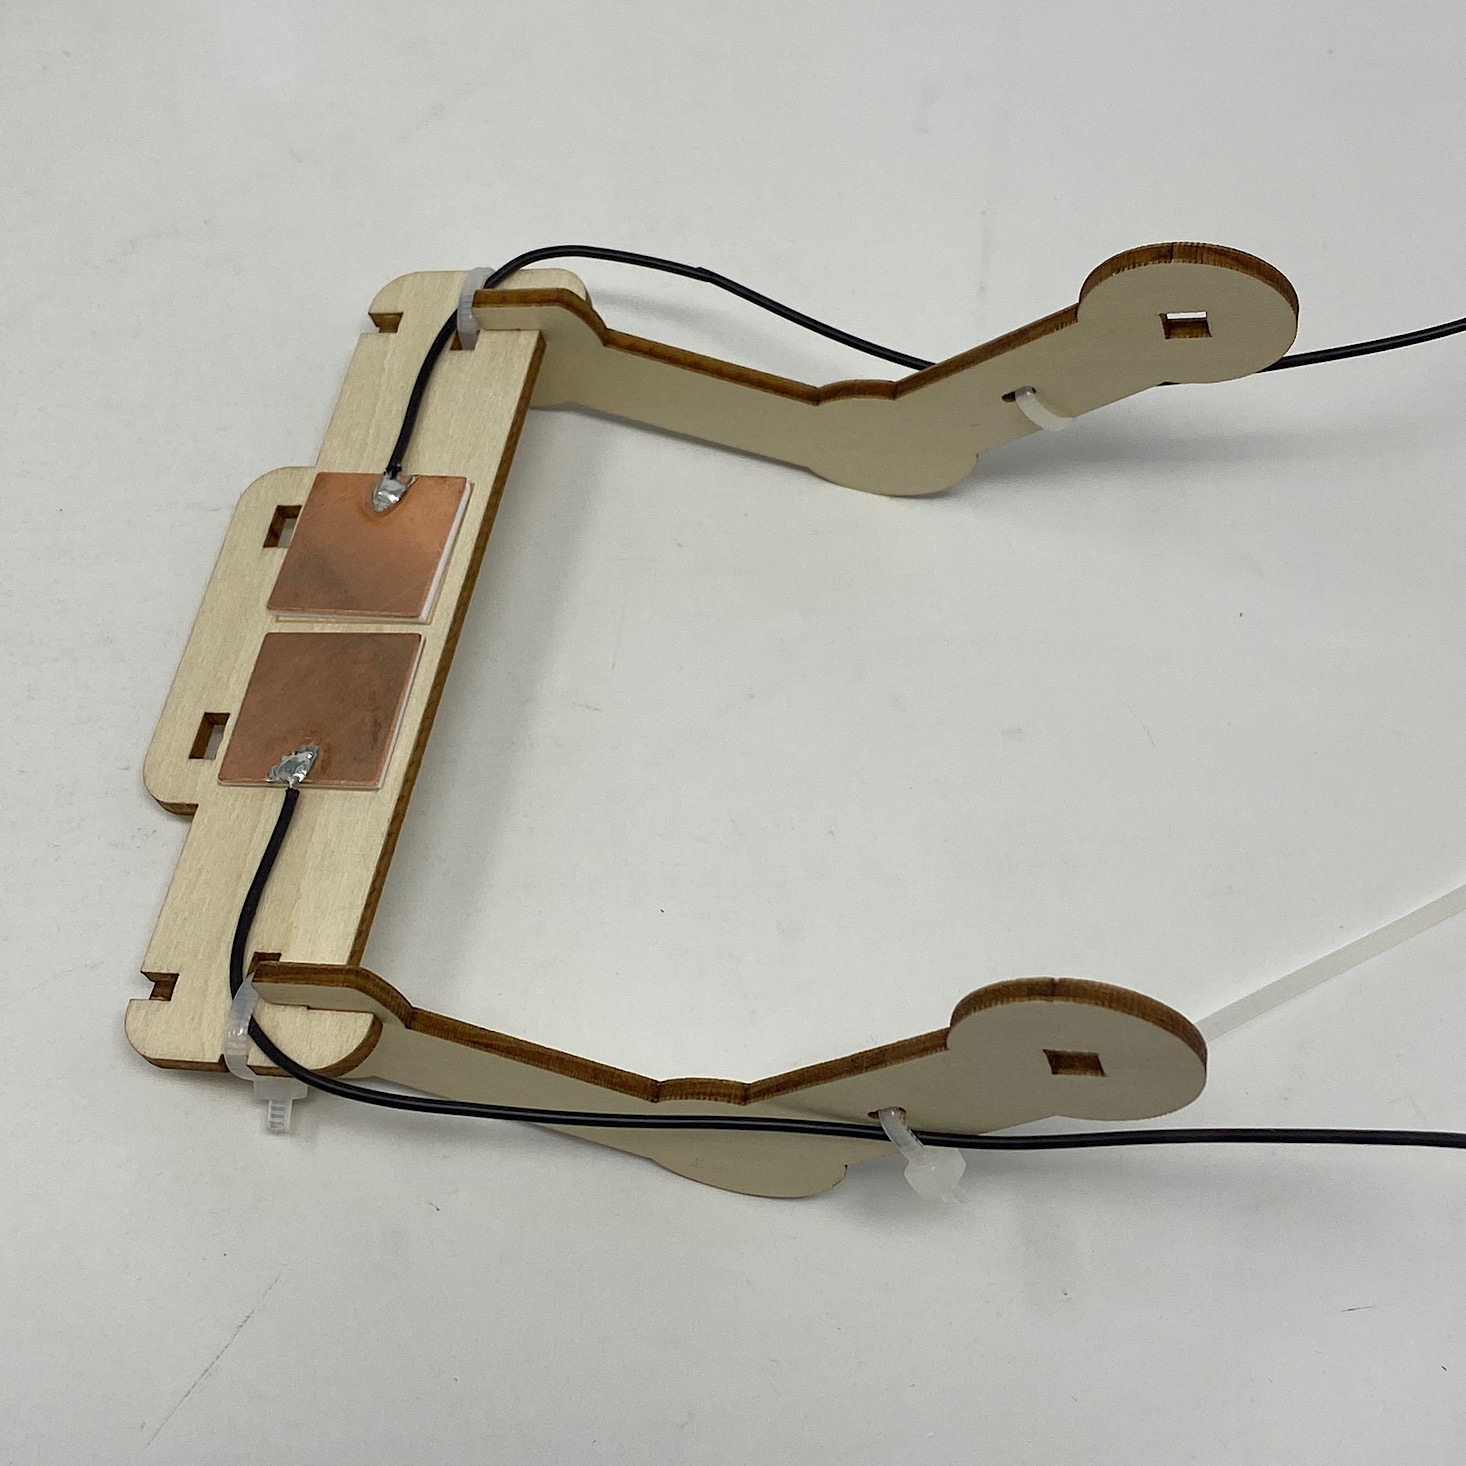
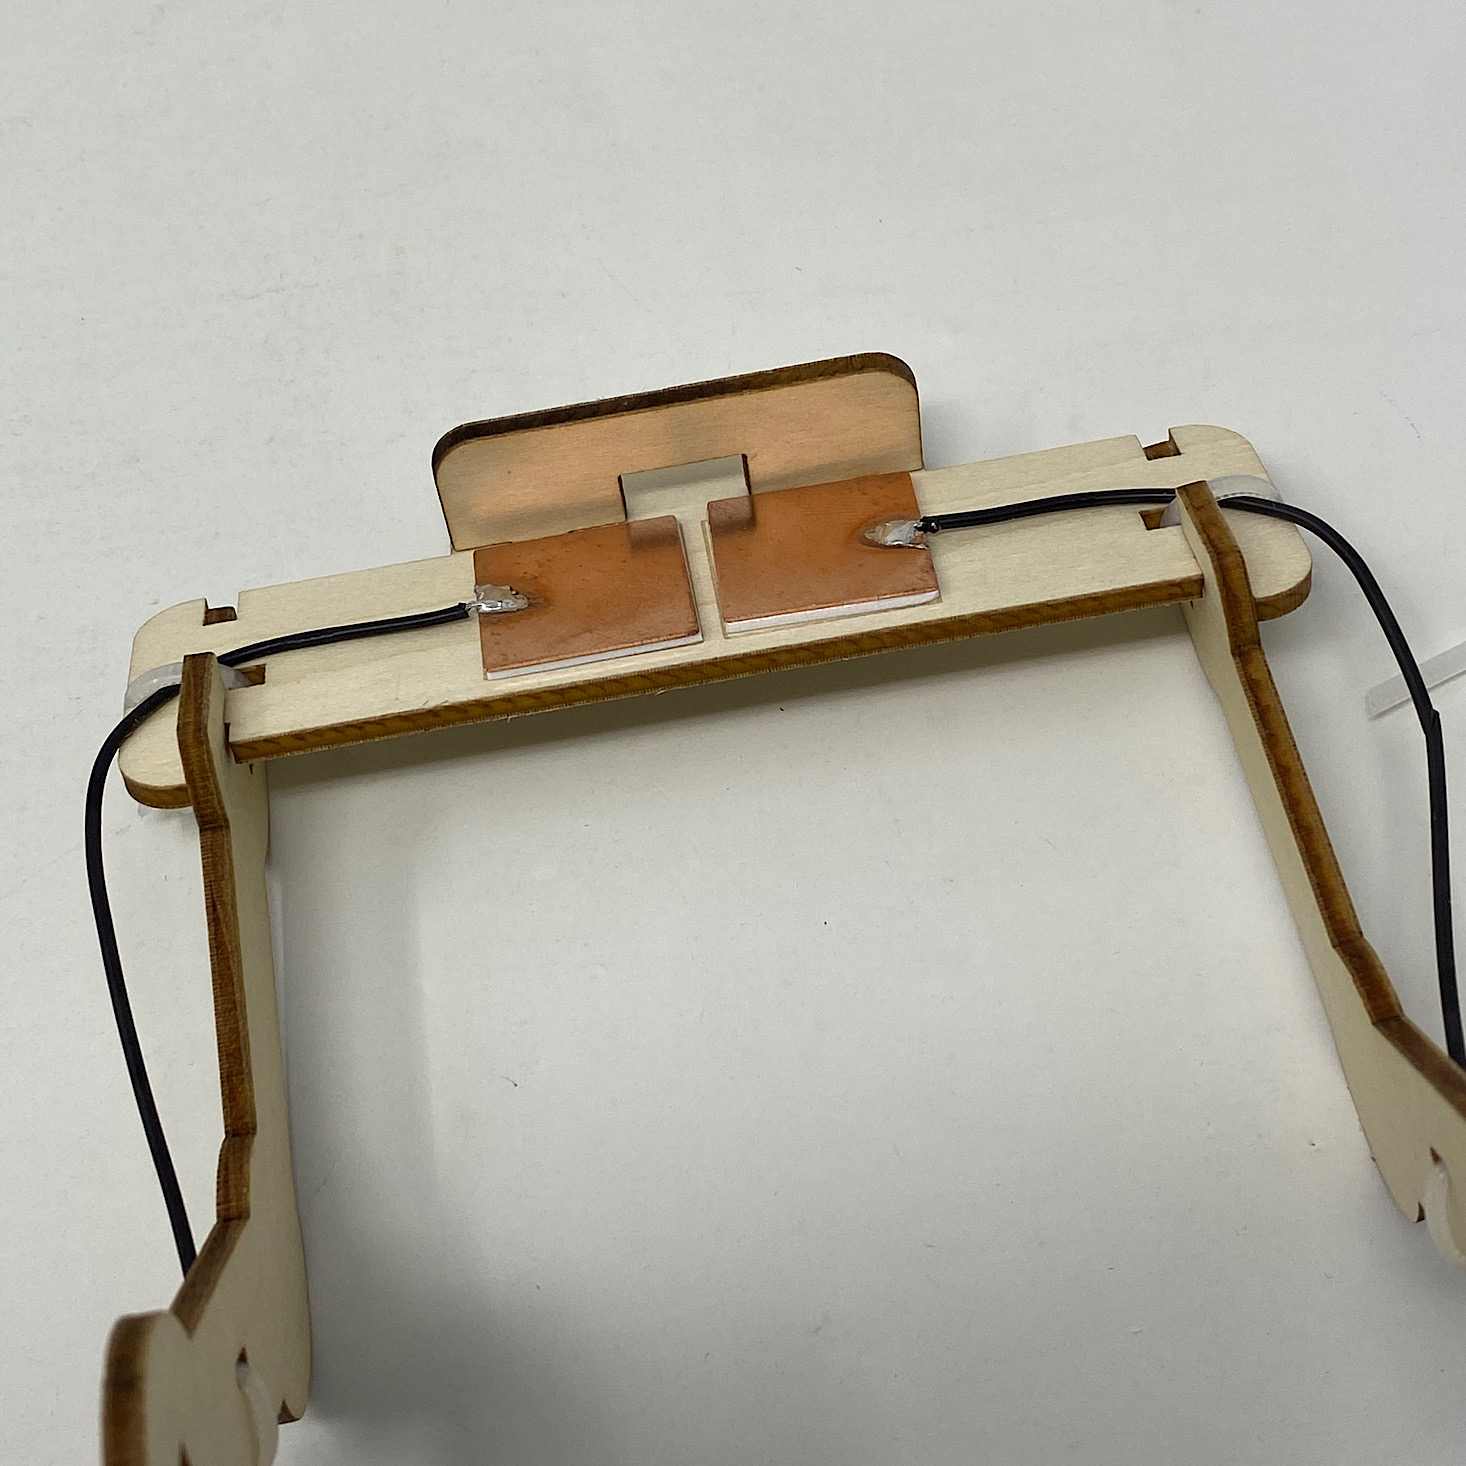
Then I connected the wood arms to the side using zip ties making sure to stick the wire underneath of the zip ties to keep them close to the wooden arms. Then I slipped the small wood guard into the holes in the center behind the contact squares.
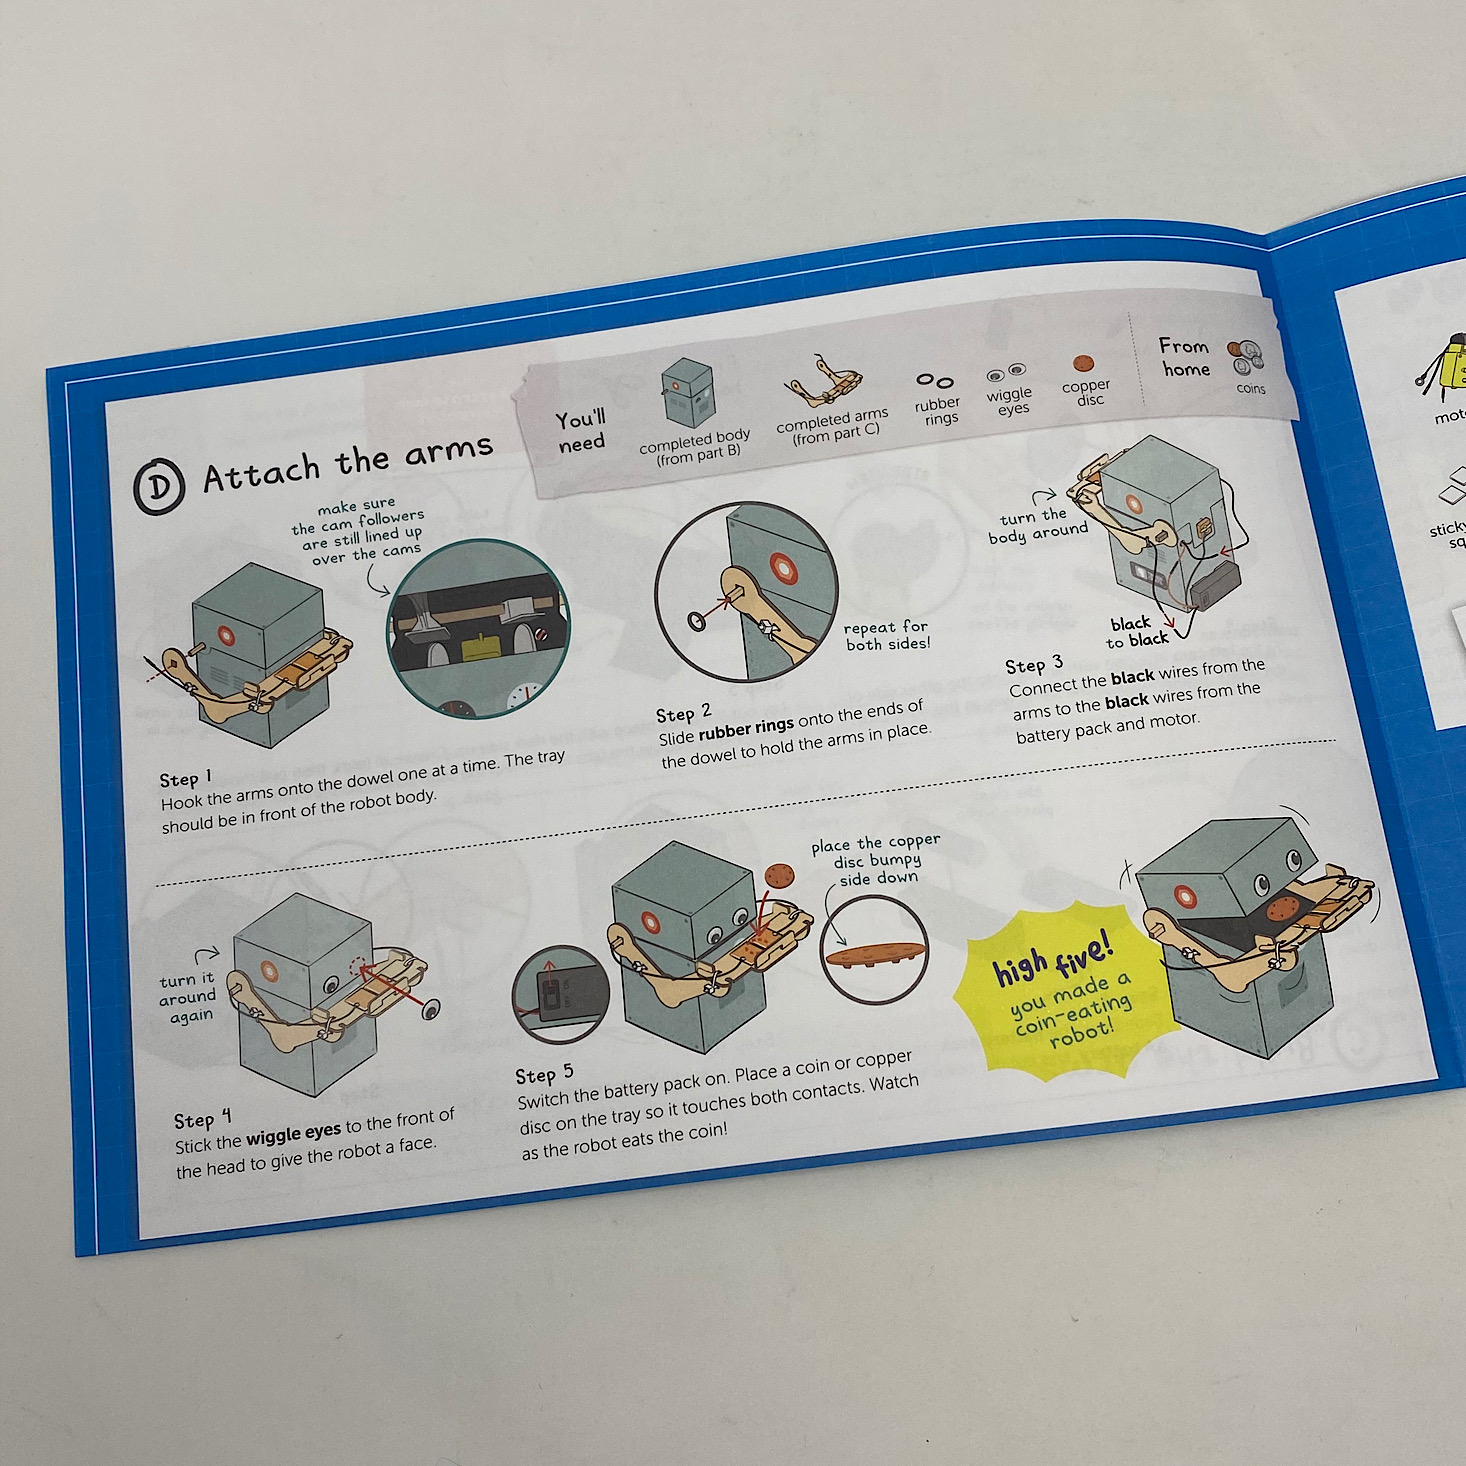
Part D: Attach the Arms
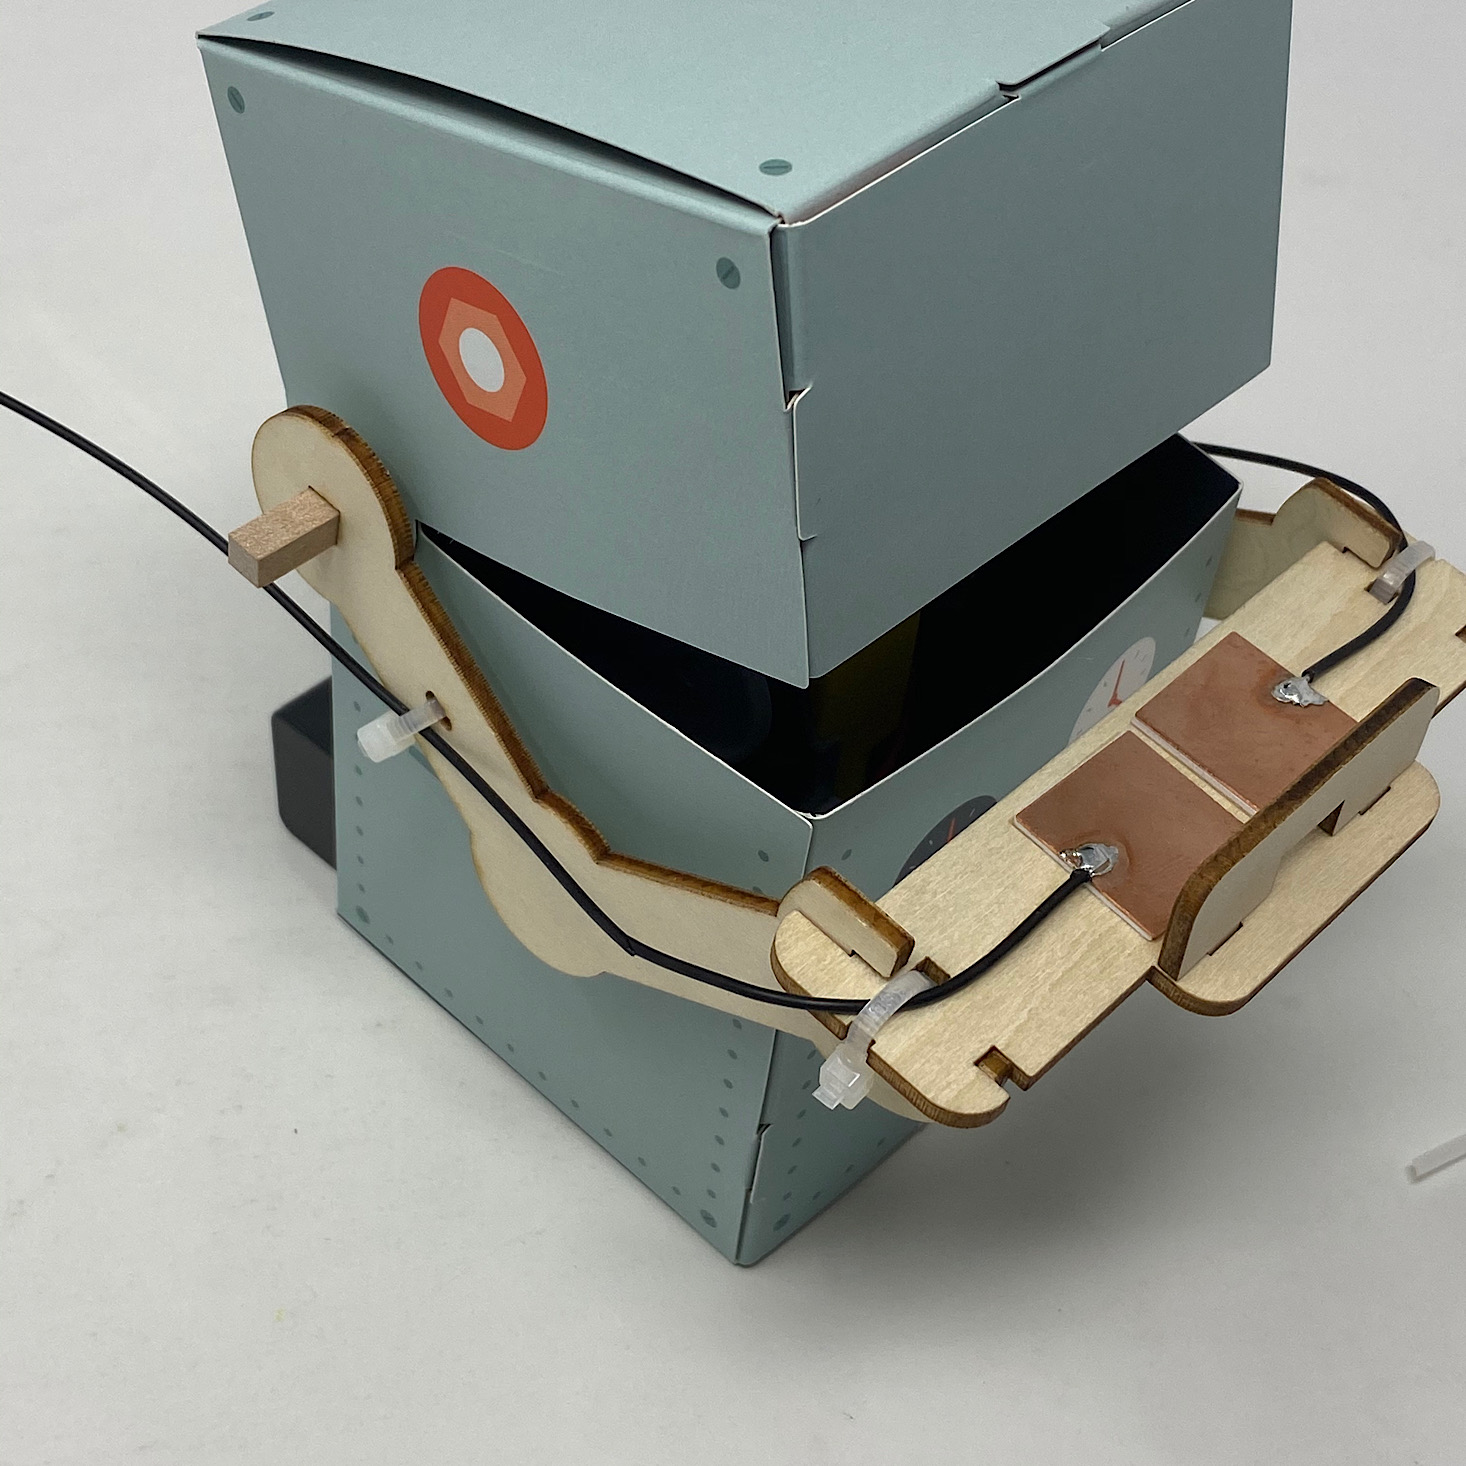
1 of 3
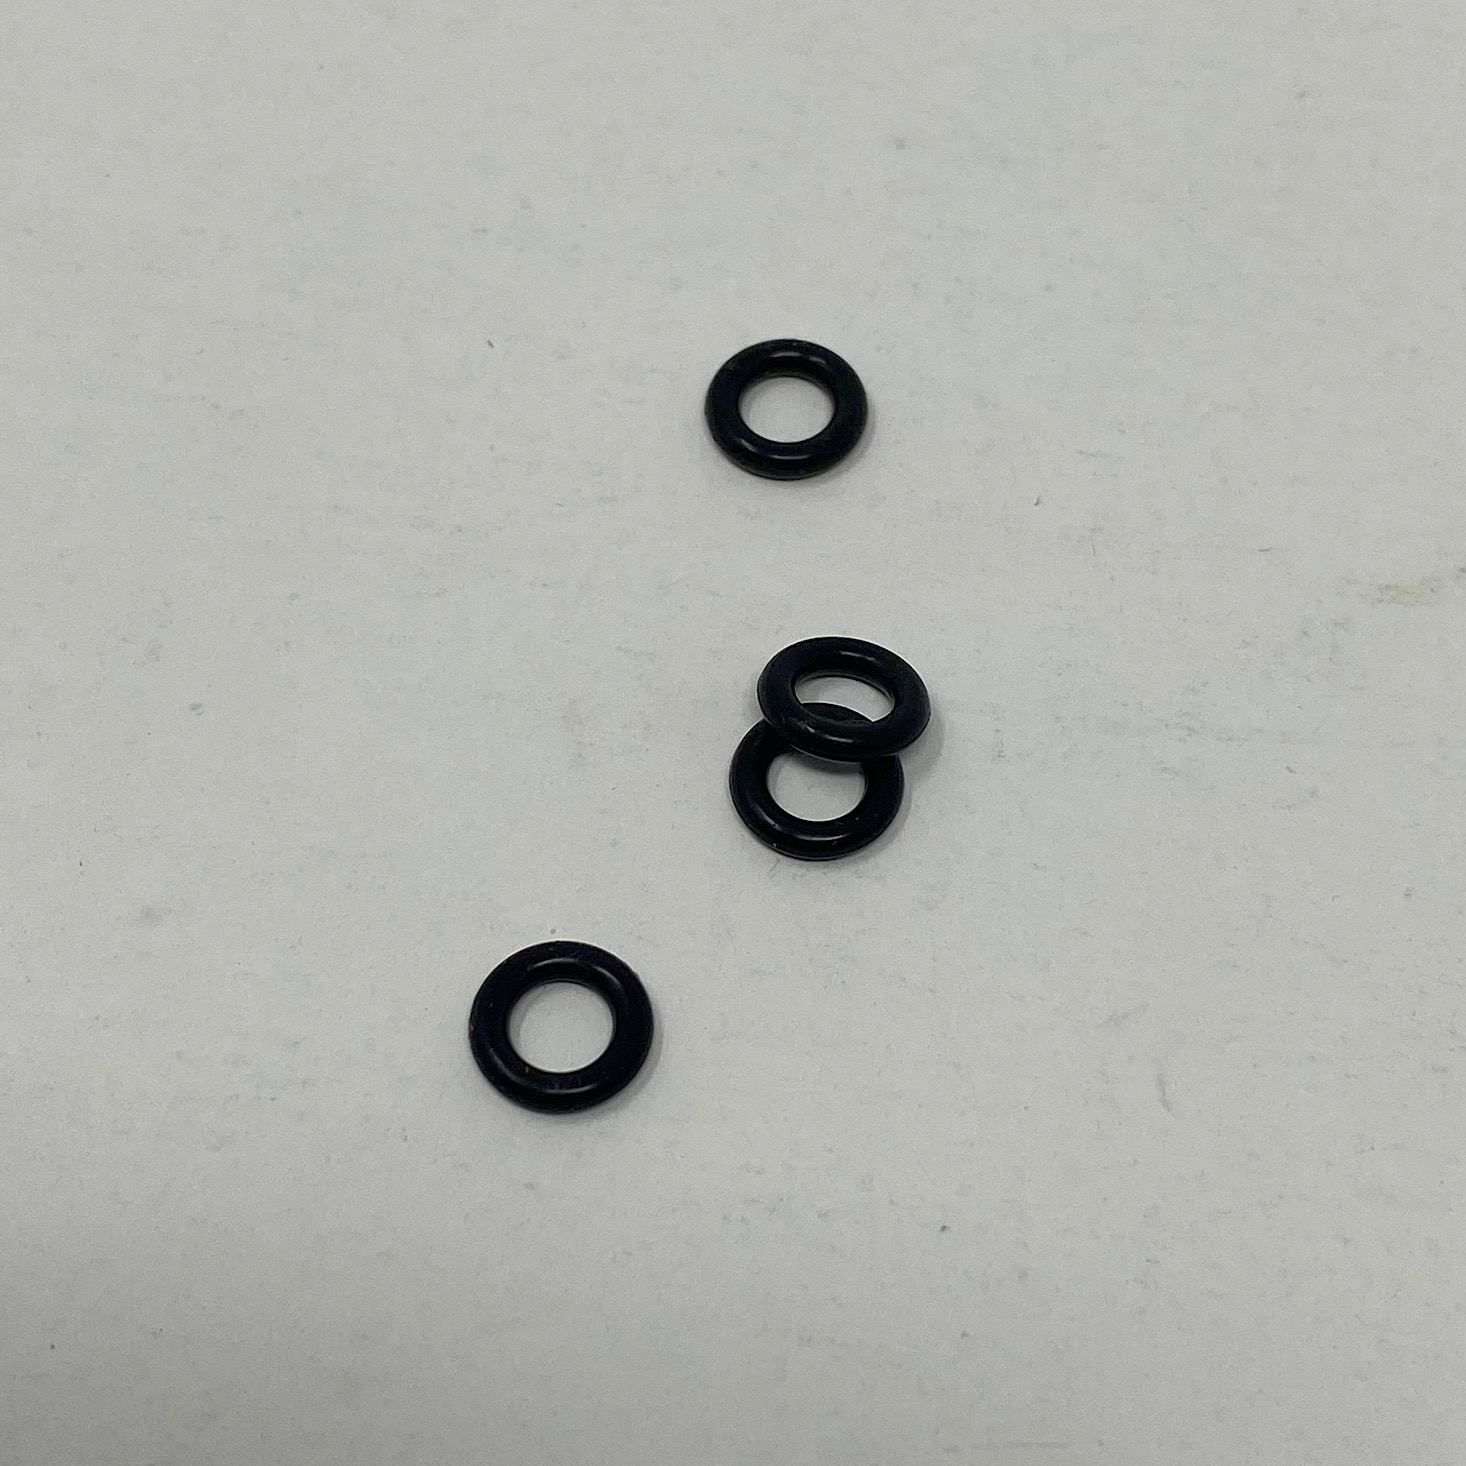
To attach the arms I just stuck the holes of the arm through the dowel ends on the side of the robot and used O-rings to hold them in place.

1 of 2
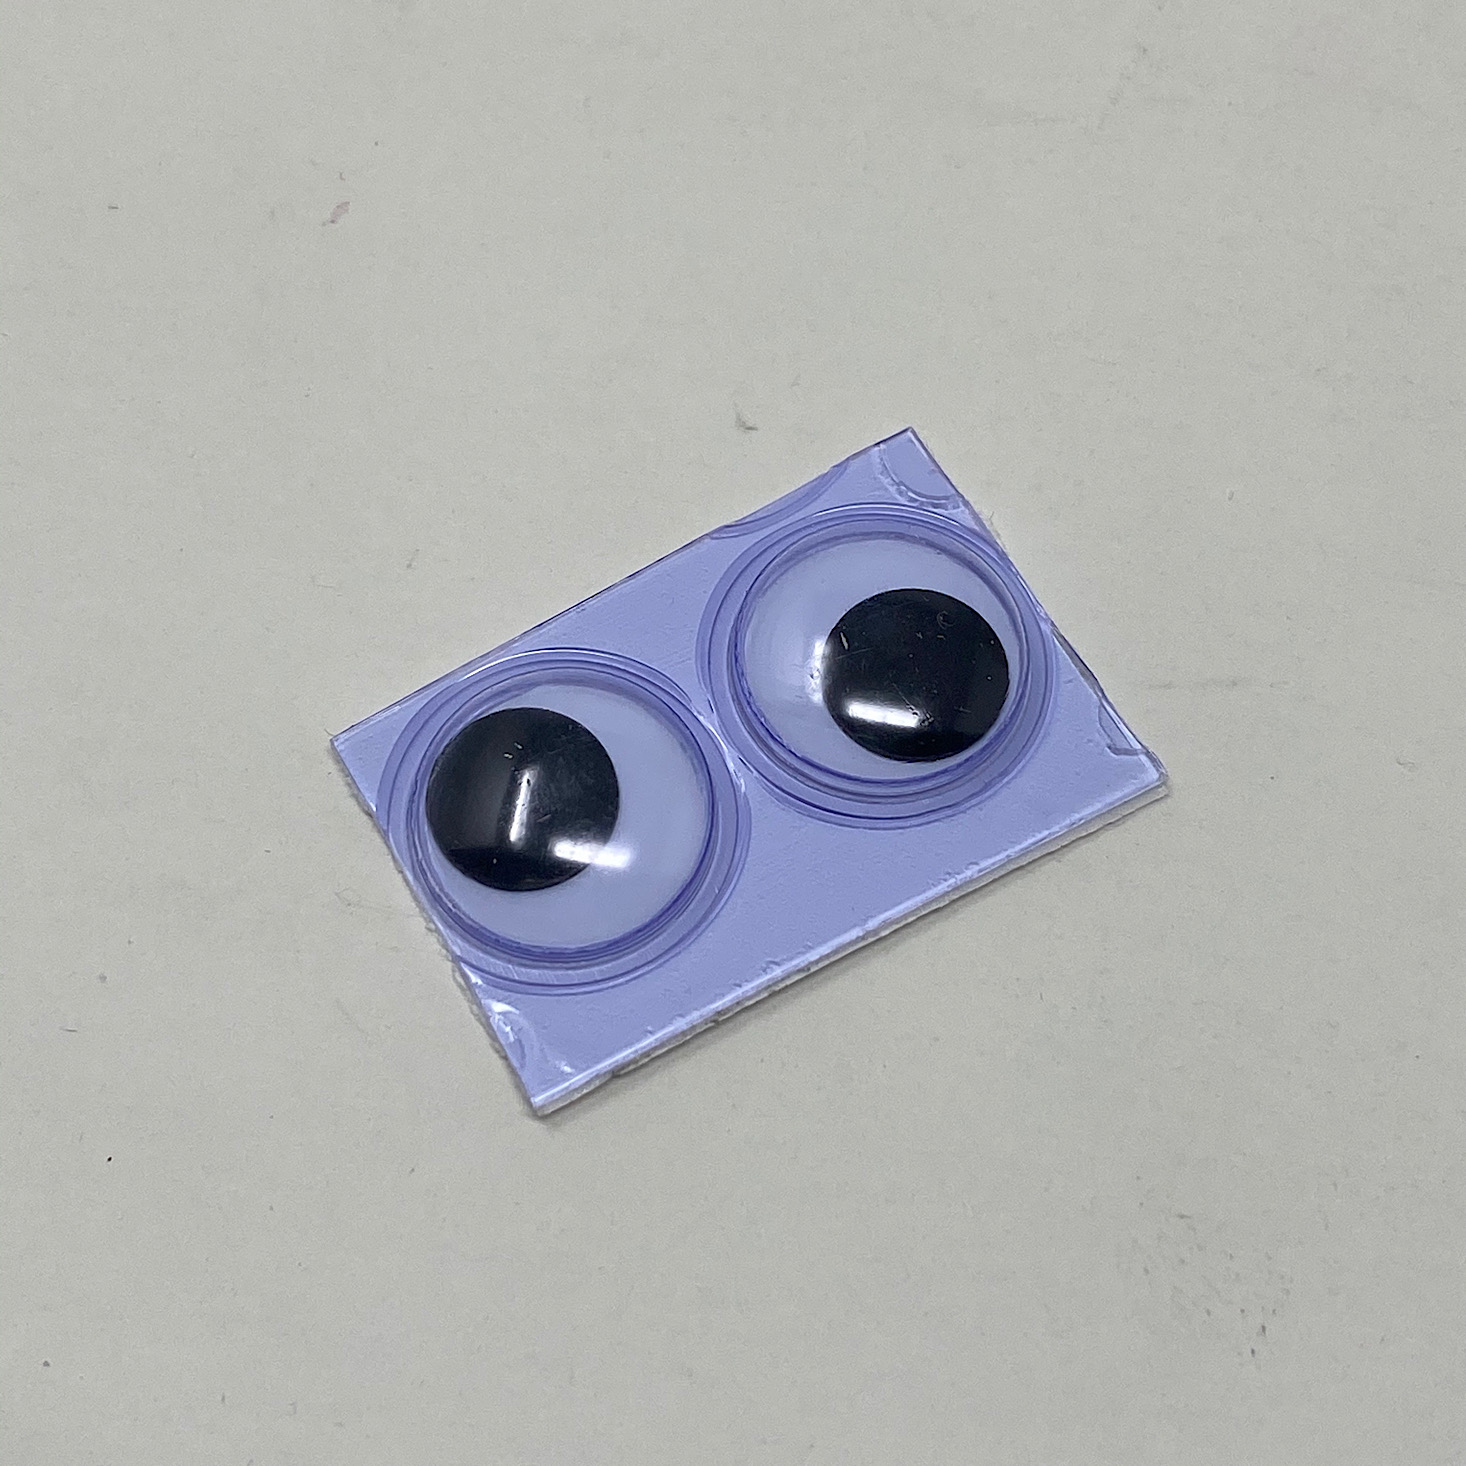
Then I connected the remaining wires at the back and added the set of googly eyes to the front.

1 of 3
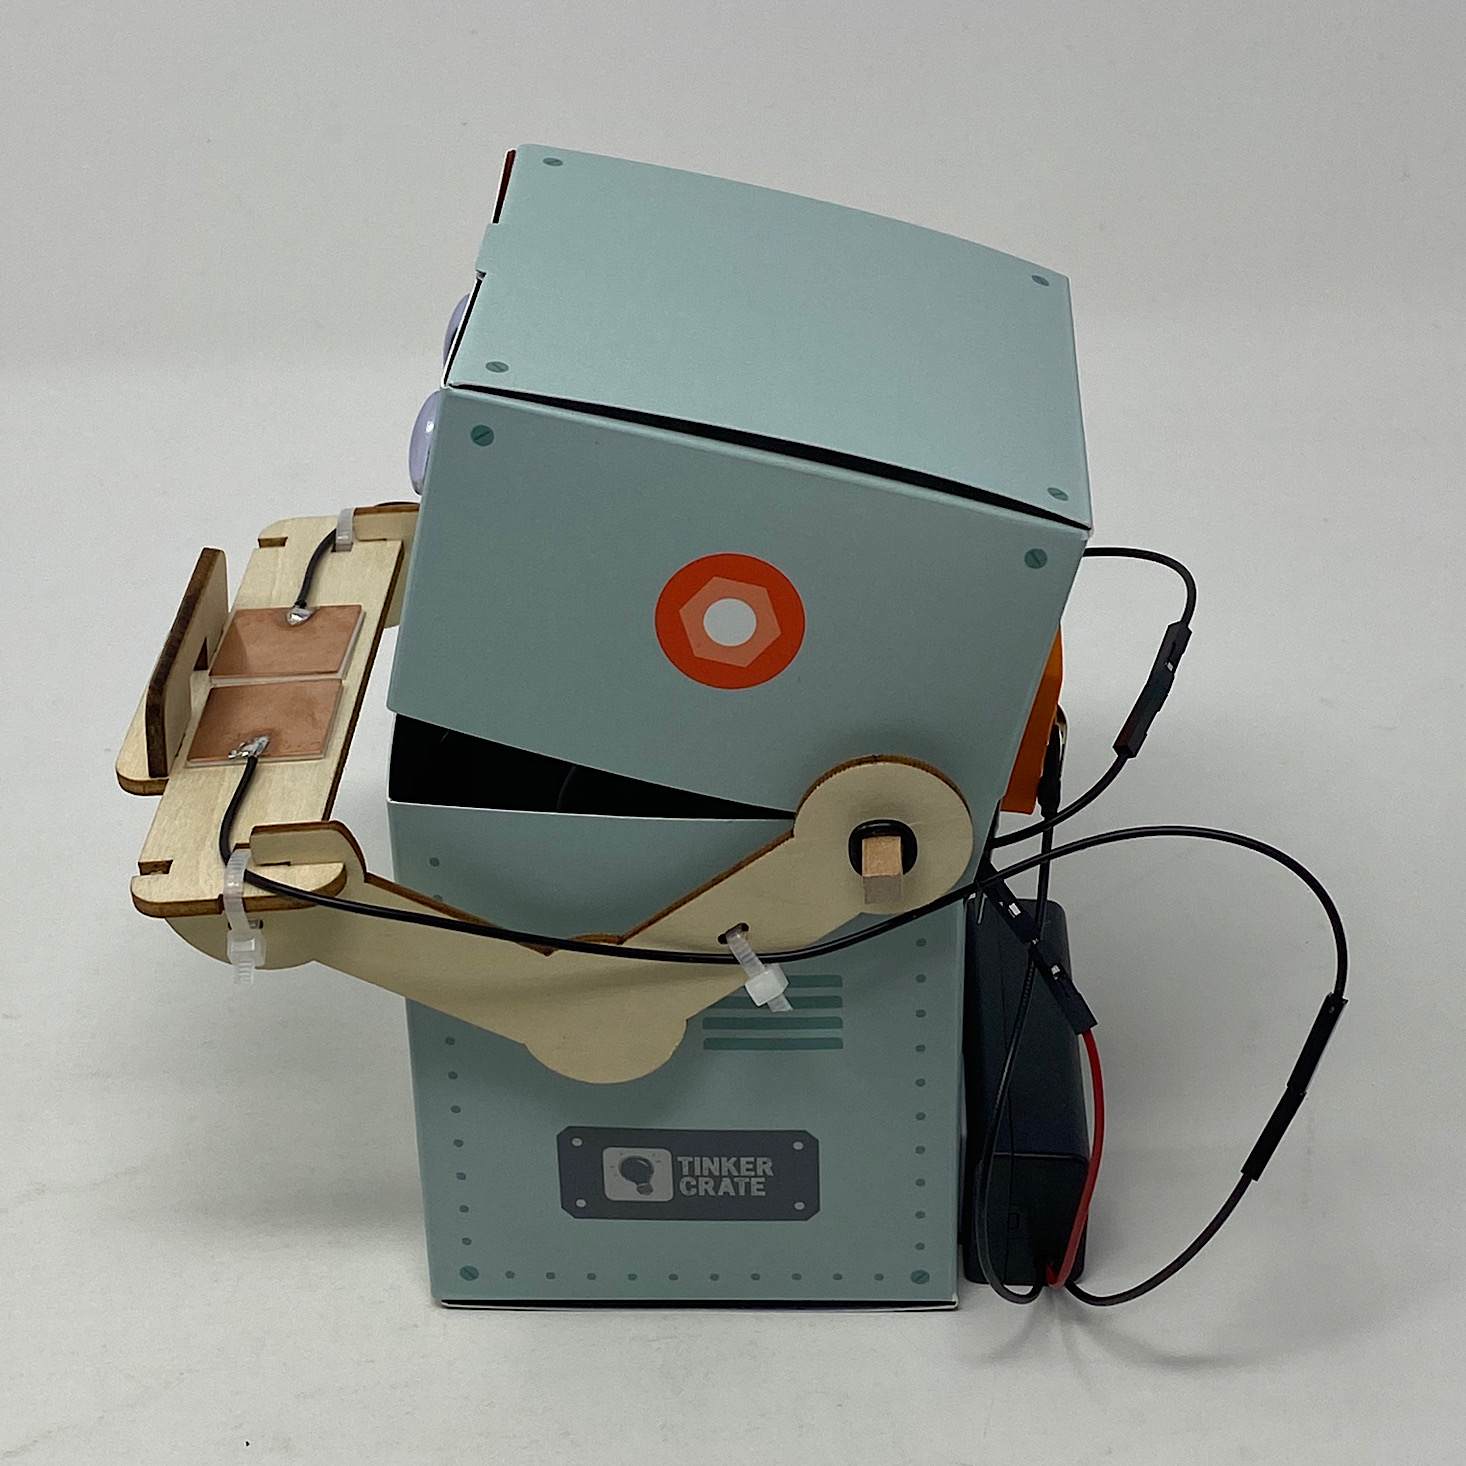
Here is my completed robot. I think he's pretty cute!
1 of 2
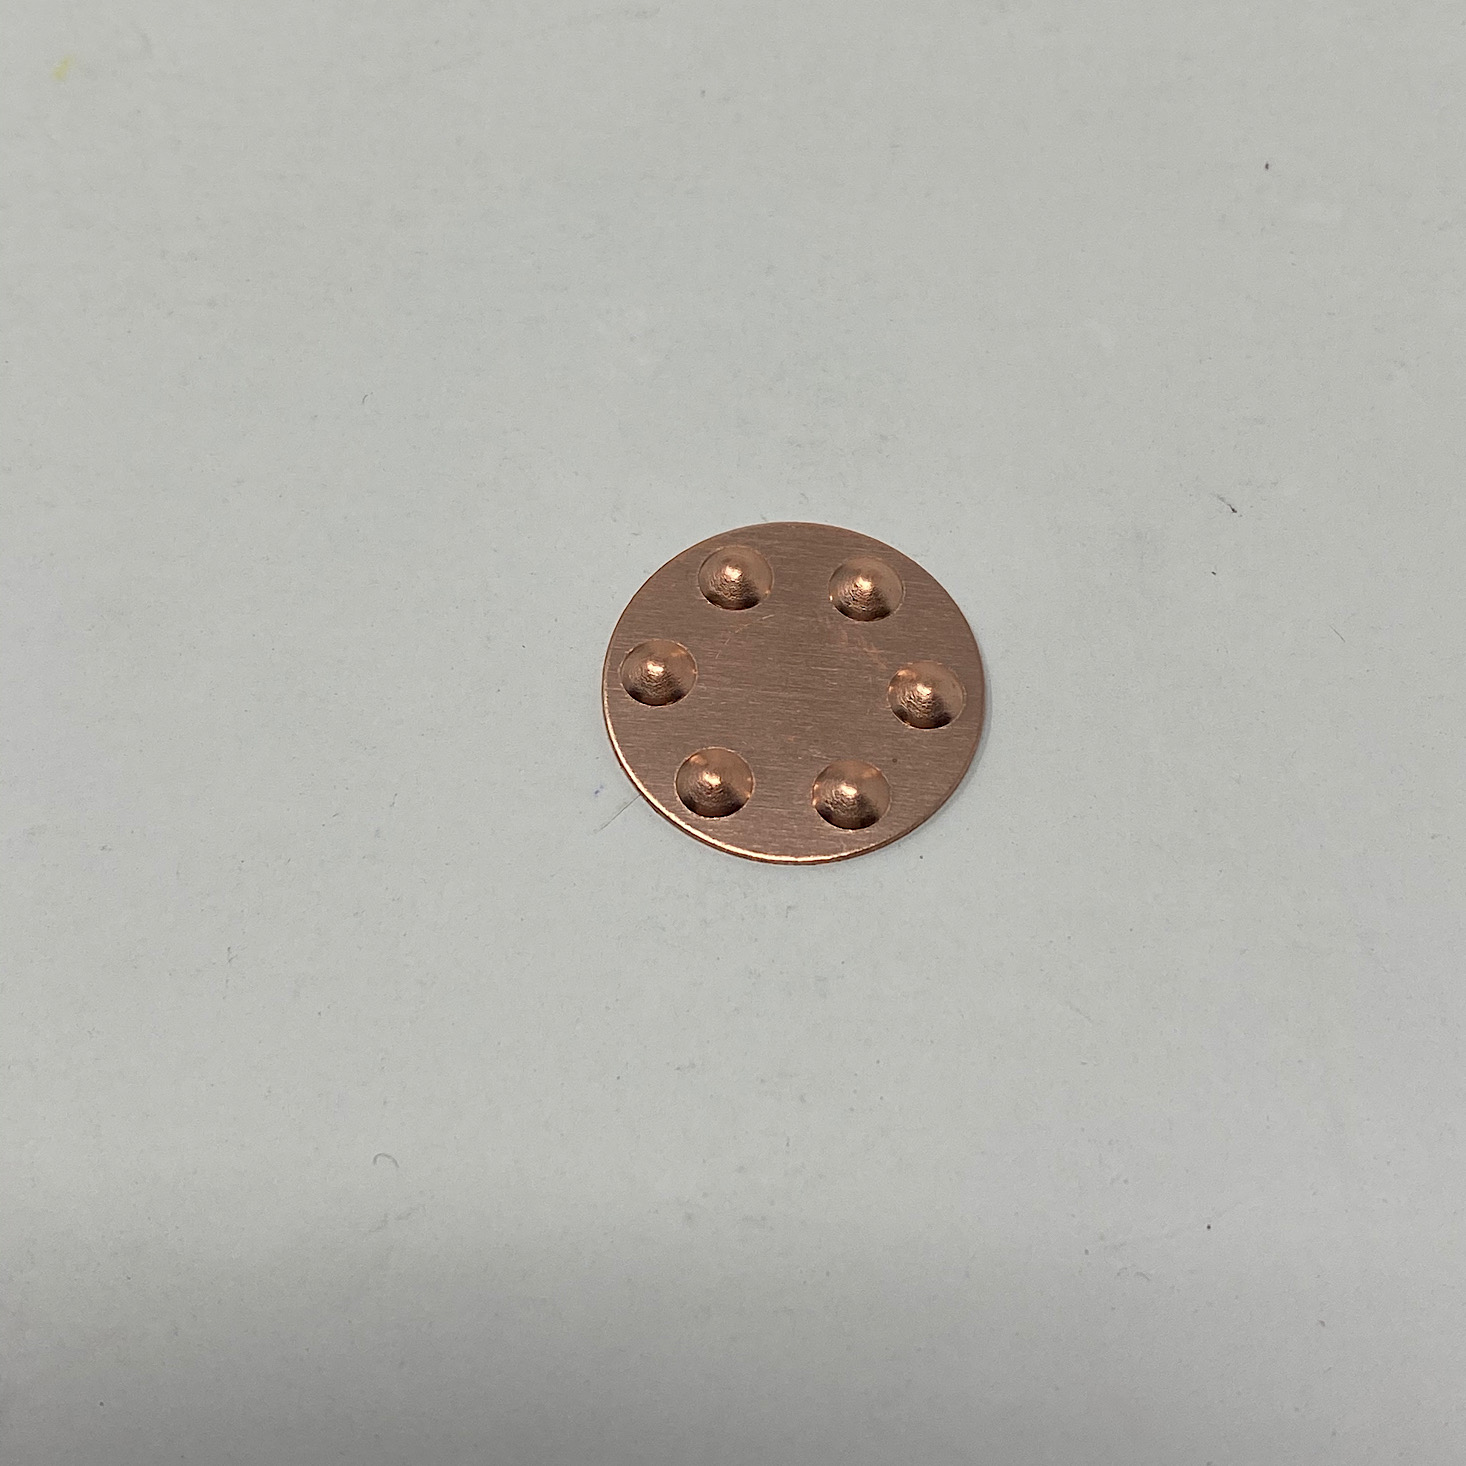
They provided this little copper disc for us to use to test him out with. I simply placed it on the two copper squares in the center of the arms and then his mouth would open and the two brads at the back would make a connection.
My robot didn't work as well as I had hoped. He had a lot of trouble getting the coin in at times and then sometimes he seemed to stop a little too soon and his mouth stayed open and arms stayed up instead of returning to the bottom. I was able to get him to work better by manually adjusting the brads at the back, though, but he didn't run as smoothly as I had hoped.
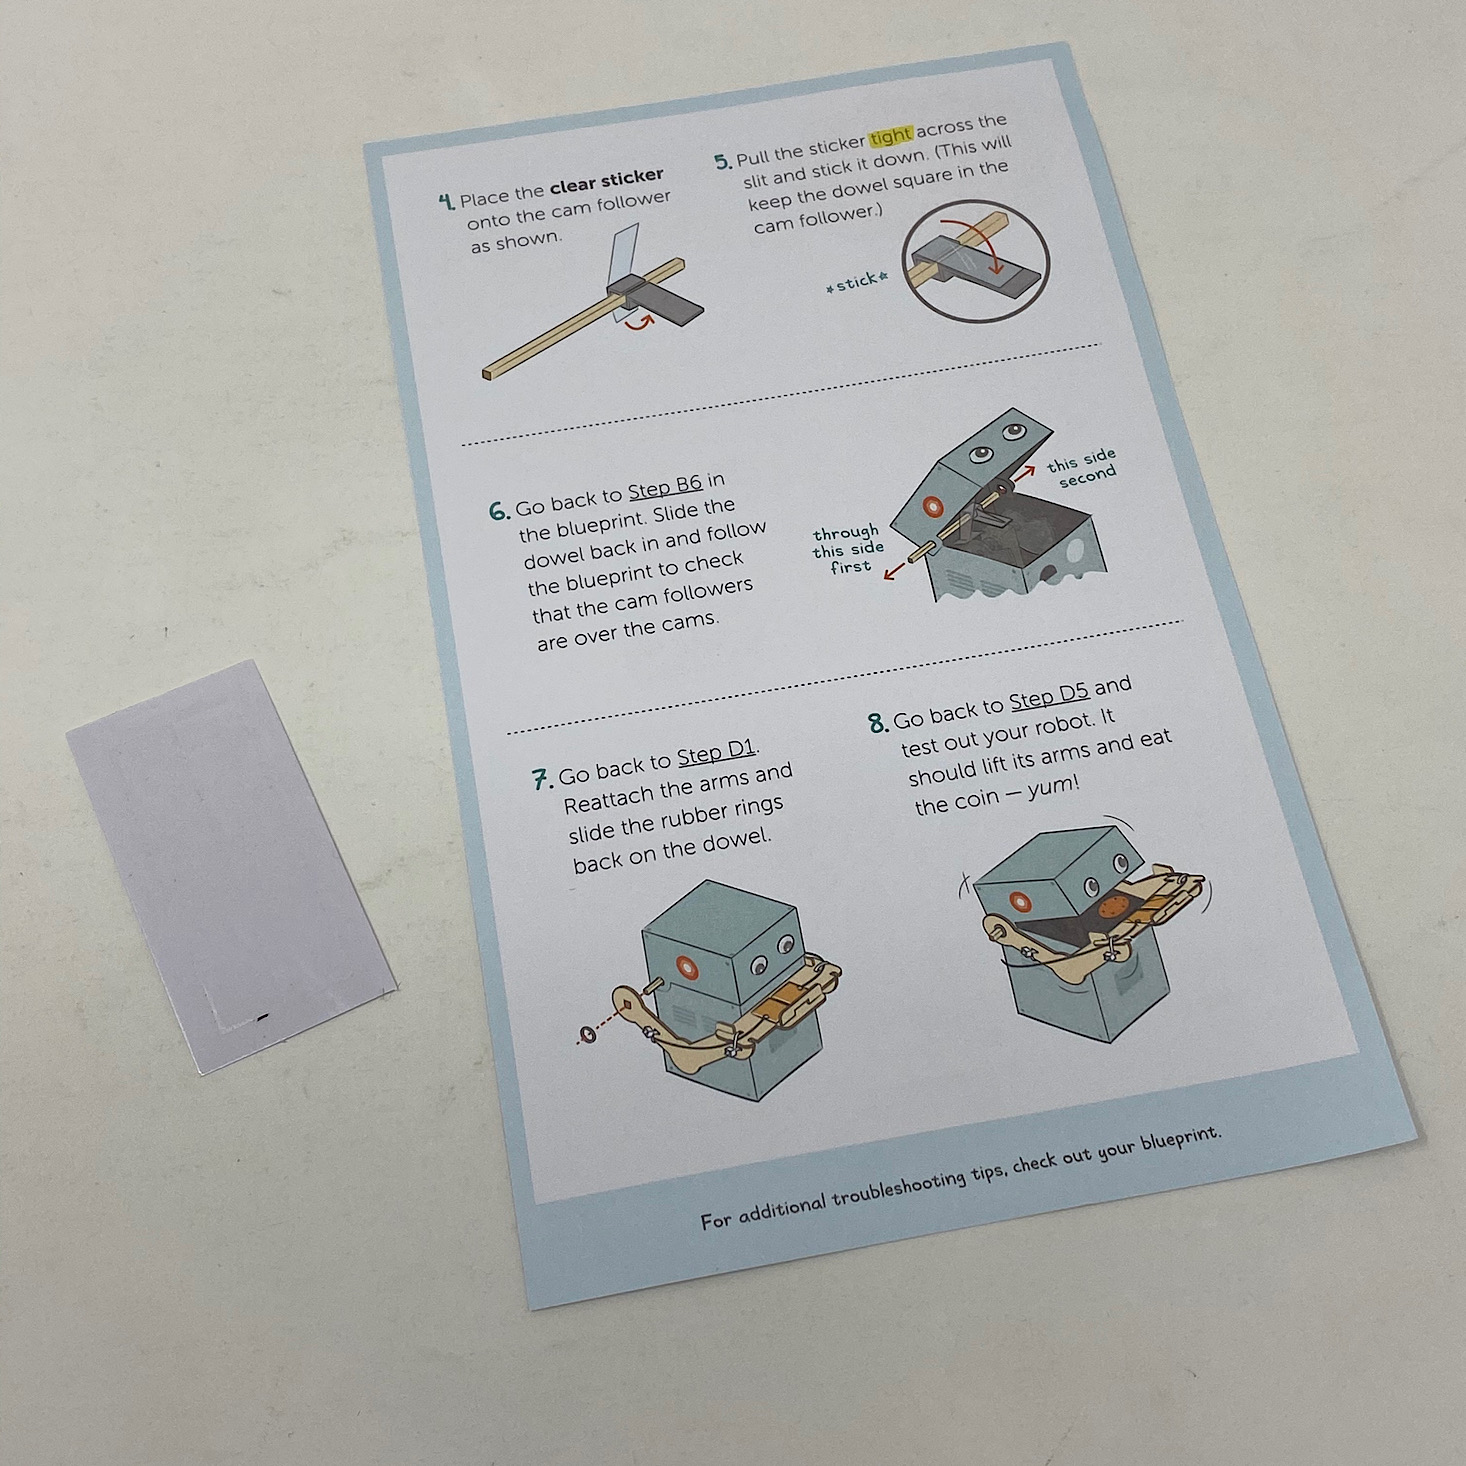
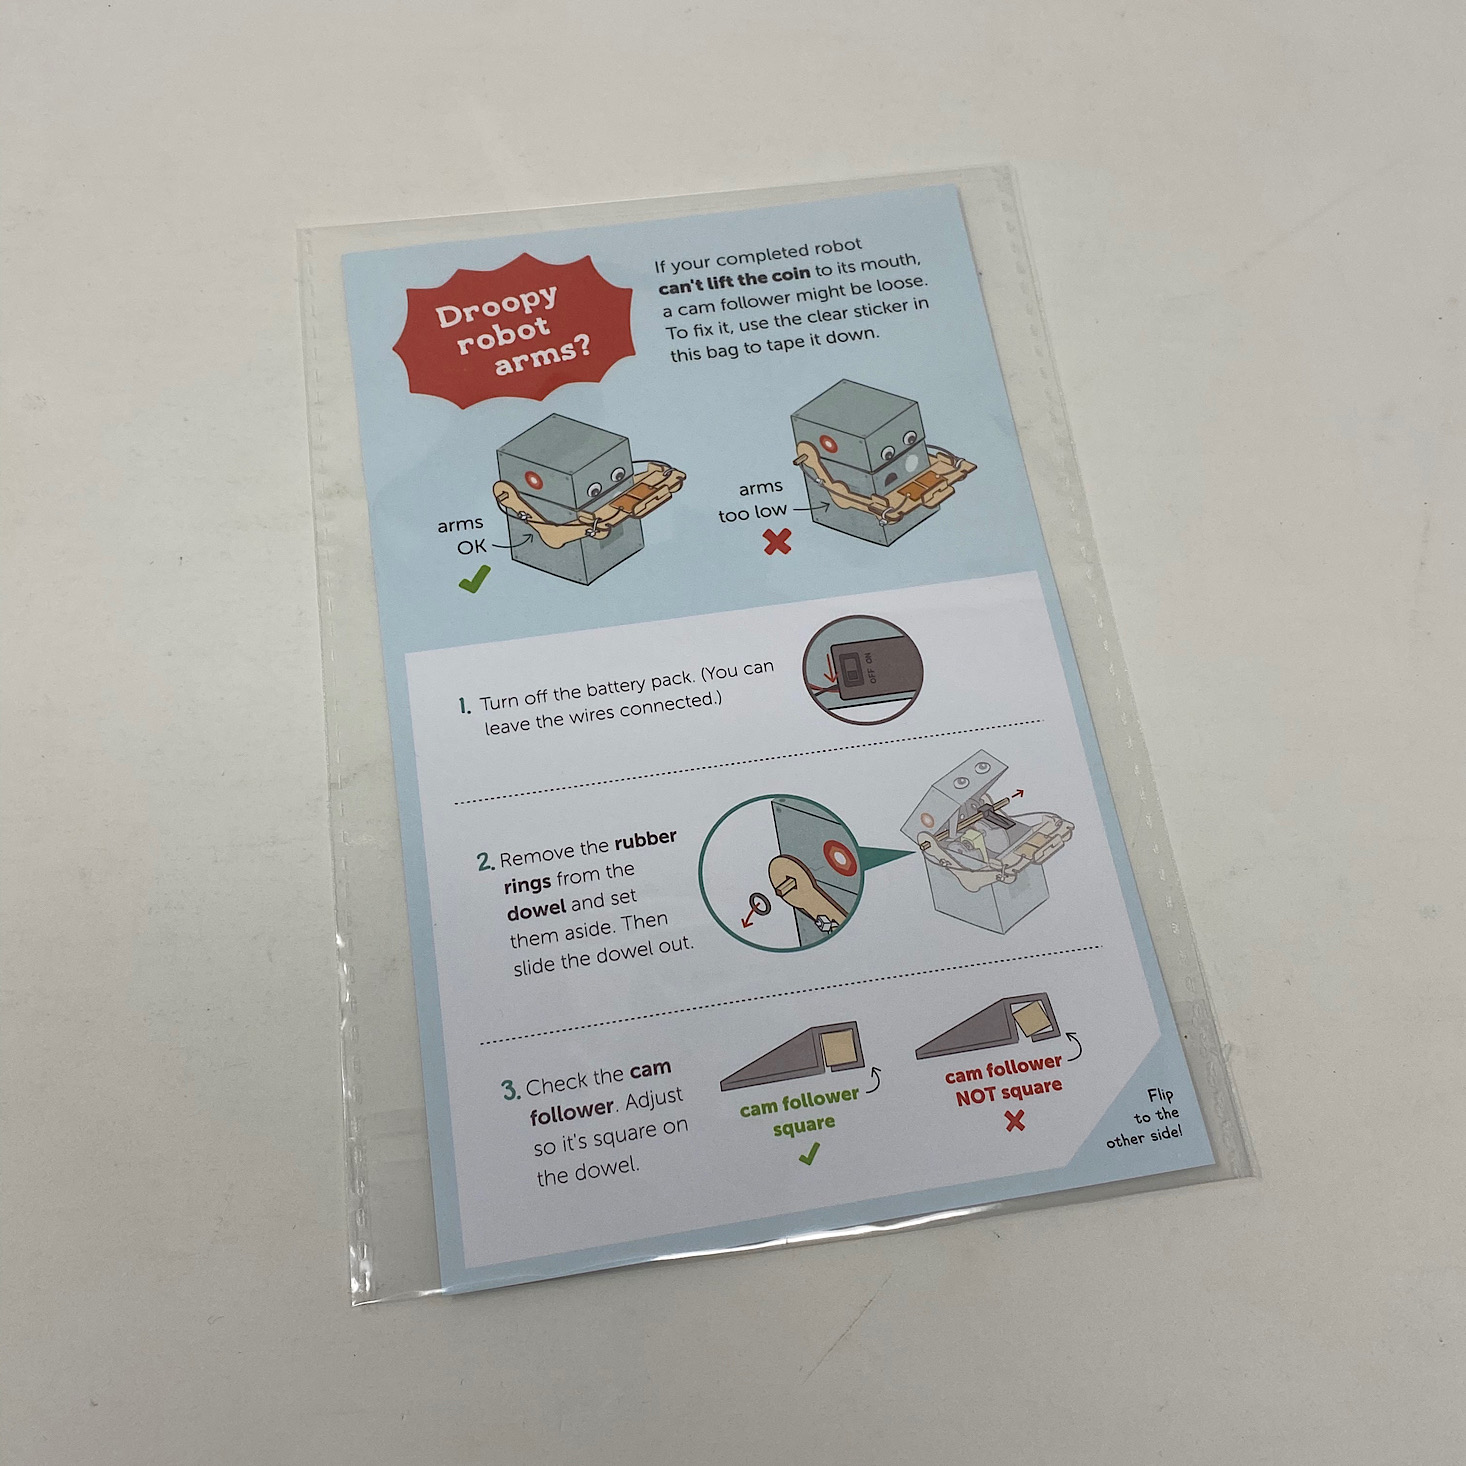
1 of 2
They did include this extra little set in case your robot's arms were drooping, although that didn't seem to be an issue with mine but I may just add the stickers to see if it helps anyway!
Verdict: This little coin-eating robot was a cute Tinker Crate project this month, although I have to admit this wasn't really my favorite. He just didn't seem to run as well as I would have liked him too, and I also am not really sure what I should do with him now? Usually there's a bit more to do with your project once it is built, but this isn't quite as open-ended as some of the other projects. I still think there was a lot of great educational material and I enjoyed the building of the actual robot, so it was still a decent box overall, but compared to some of the other amazing projects from them, this one fell a bit short for me!
To Wrap Up:
Can you still get this box if you sign up today? It is possible you might get this crate, but it is not a guarantee. From KiwiCo:
Crates are assigned each month based on availability and your crate history - not all subscribers receive the same theme each month.
Check out all of our Tinker Crate reviews and the best subscription boxes for kids!
Keep Track of Your Subscriptions: Add this box to your subscription list or wishlist!
What do you think of this month's Tinker Crate?
Please do not enter your email address in the Name field or in the comment content. Your email address will not be published. Required fields are marked *. Remember to post with kindness and respect. Comments with offensive language, cruelness to others, etc will not be approved. See our full comment policy here.