

Tinker Crate is a subscription box for kids and tweens ages 9-16+ created by kids subscription box company KiwiCo. Each monthly Tinker Crate contains all the materials and instructions needed to create innovative, hands-on STEM projects, as well as a "Tinker Zine" full of educational information and additional activities.
KiwiCo offers boxes for different age groups:
- Panda Crate for 0-24-month-olds,
- Koala Crate for 2-4-year-olds,
- Kiwi Crate for 5-8-year-olds,
- Atlas Crate for 6-11-year-olds,
- Doodle Crate and Tinker Crate for 9-16+-year-olds,
- Eureka Crate and Maker Crate for ages 14 and up.
There really is something for every age with this company!
This review is of KiwiCo's Tinker Crate (for ages 9-16+), which costs $19.95 per month.
This box was sent to us at no cost for review. (Check out the review process post to learn more about how we review boxes.)

About Tinker Crate
The Subscription Box: Tinker Crate
The Cost: $19.95 per month + free shipping
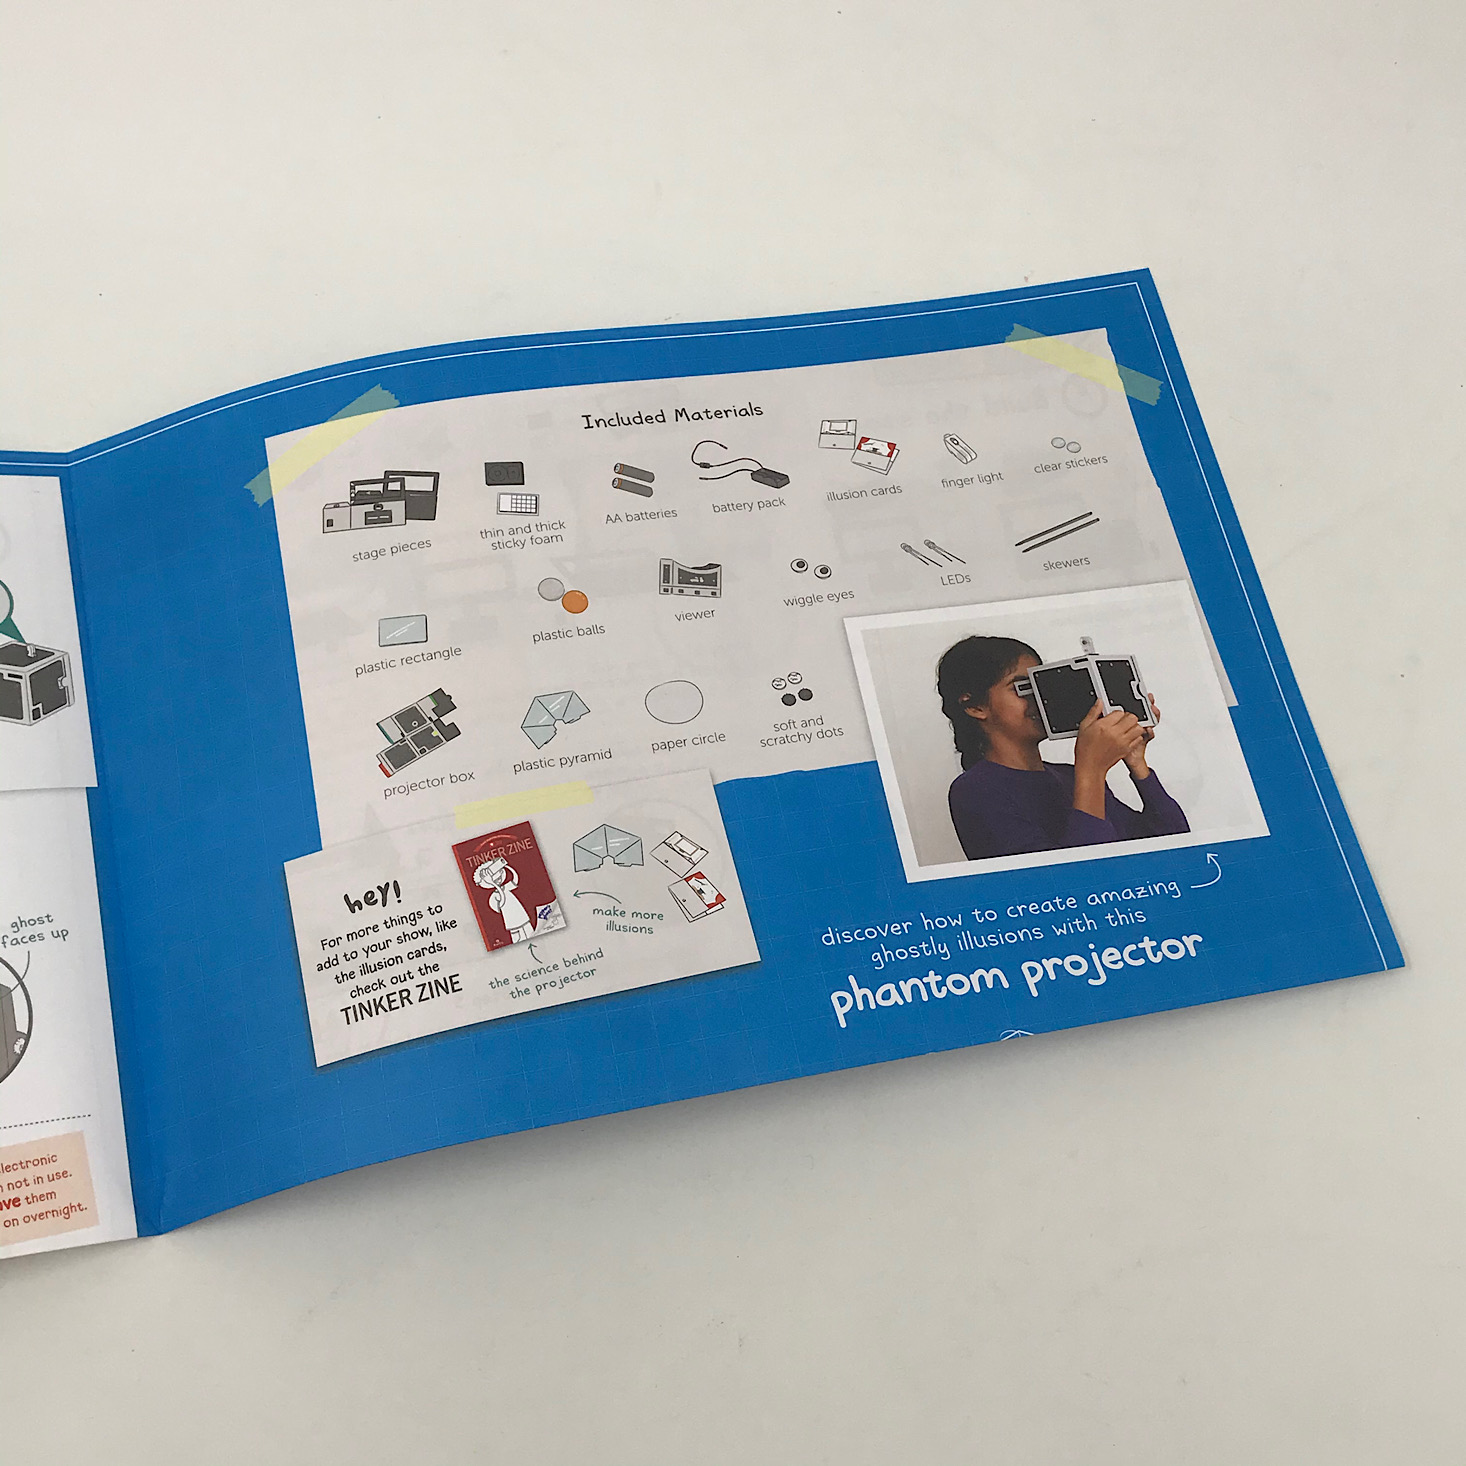
The Products: Innovative hands-on STEM projects for kids, plus the materials and detailed instructions your child needs to complete them. You'll also get a "Tinker Zine" full of educational information and additional activities.
Ships to: The U.S. for free, Canada for $3.95 per month, worldwide from $4.95-$6.95
KiwiCo Tinker Crate "Phantom Projector" Review

1 of 9


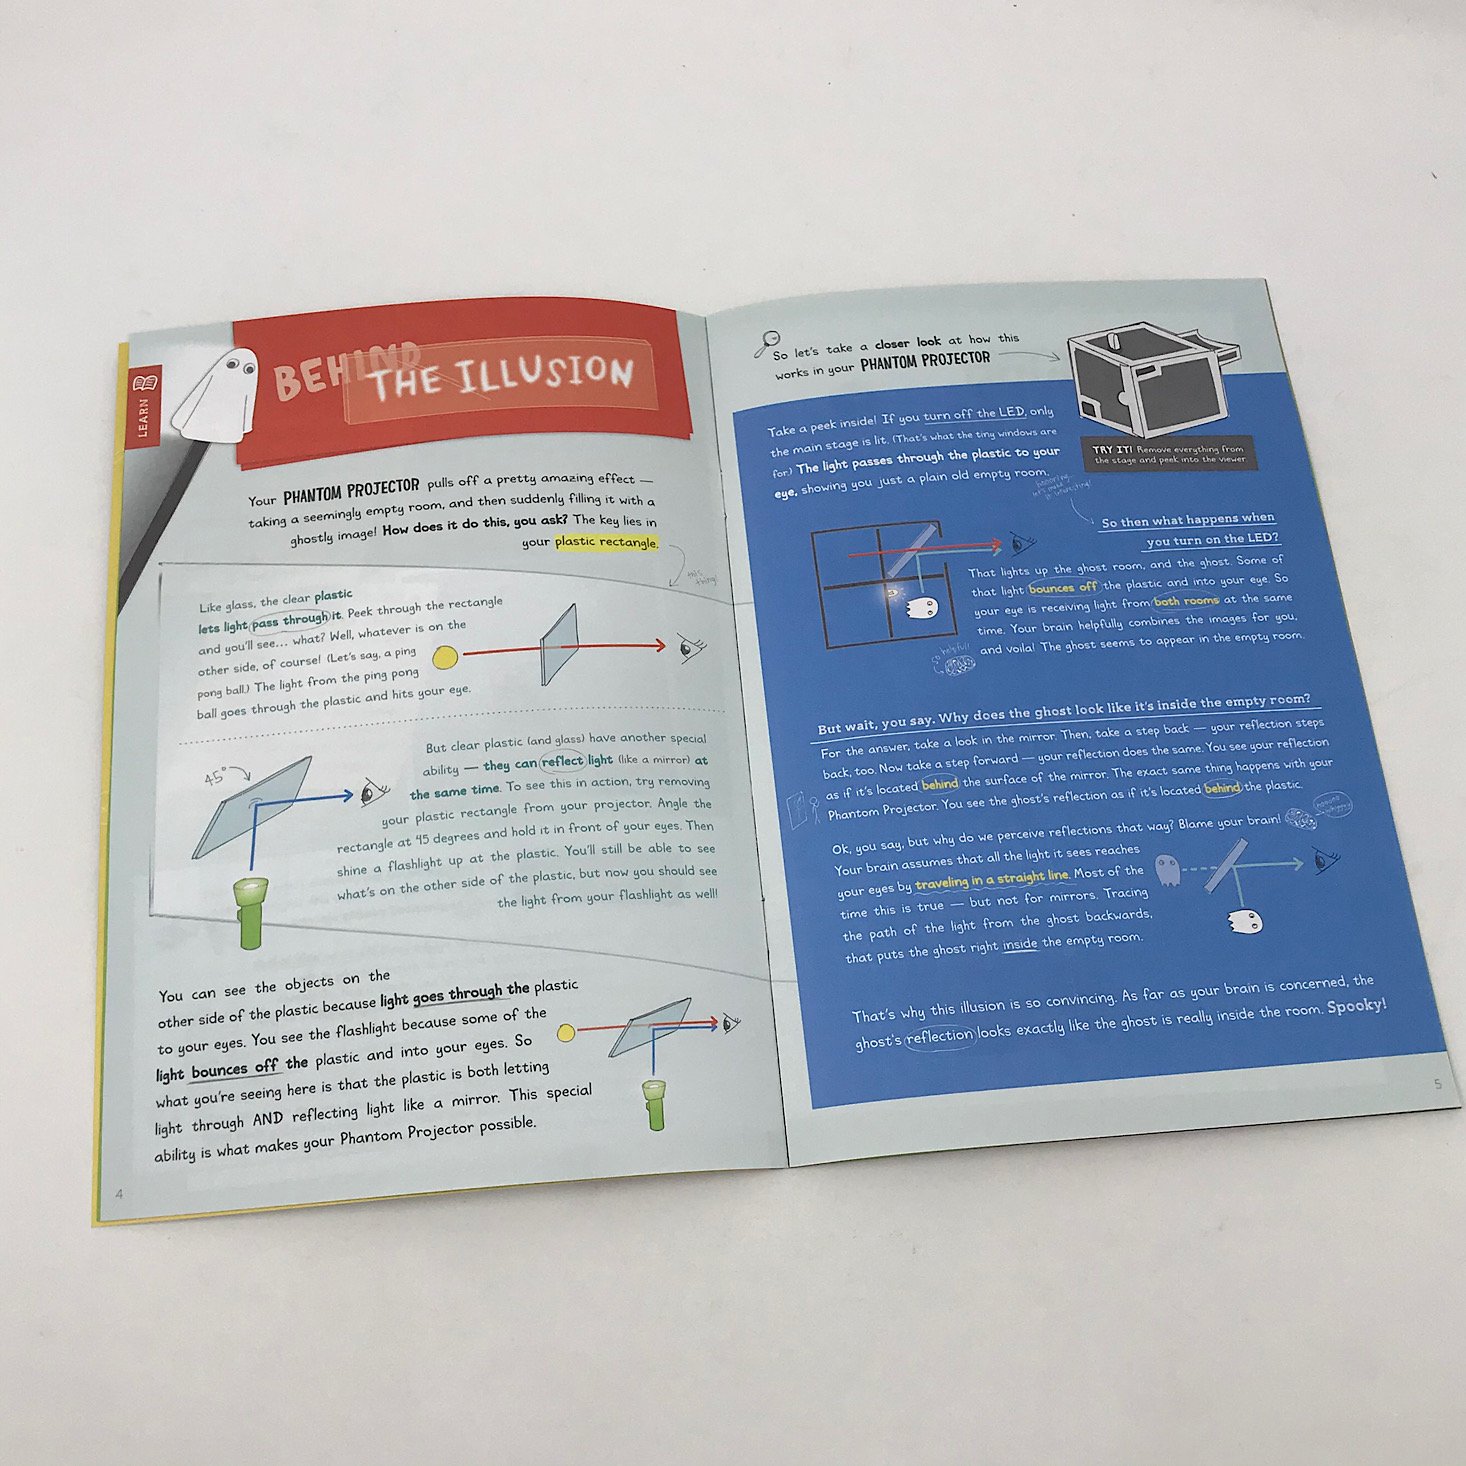
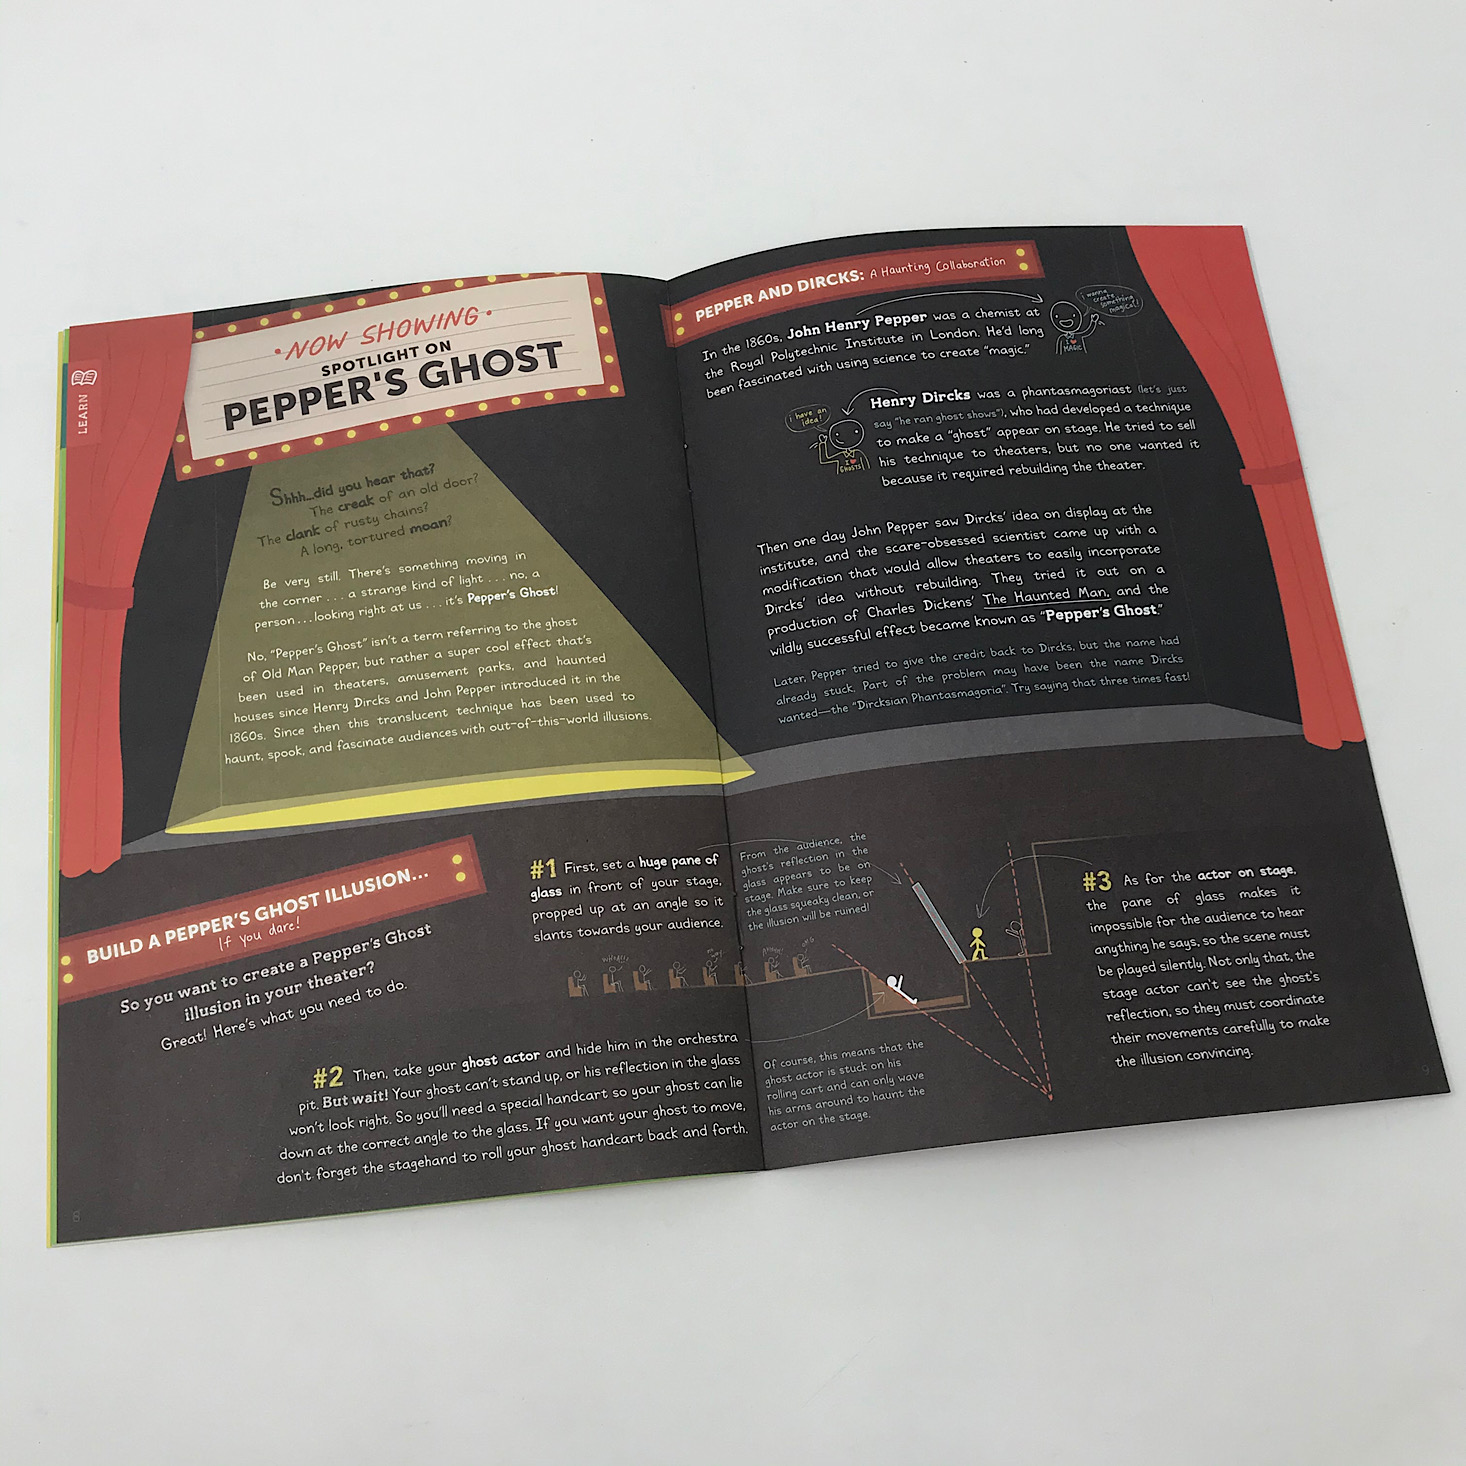

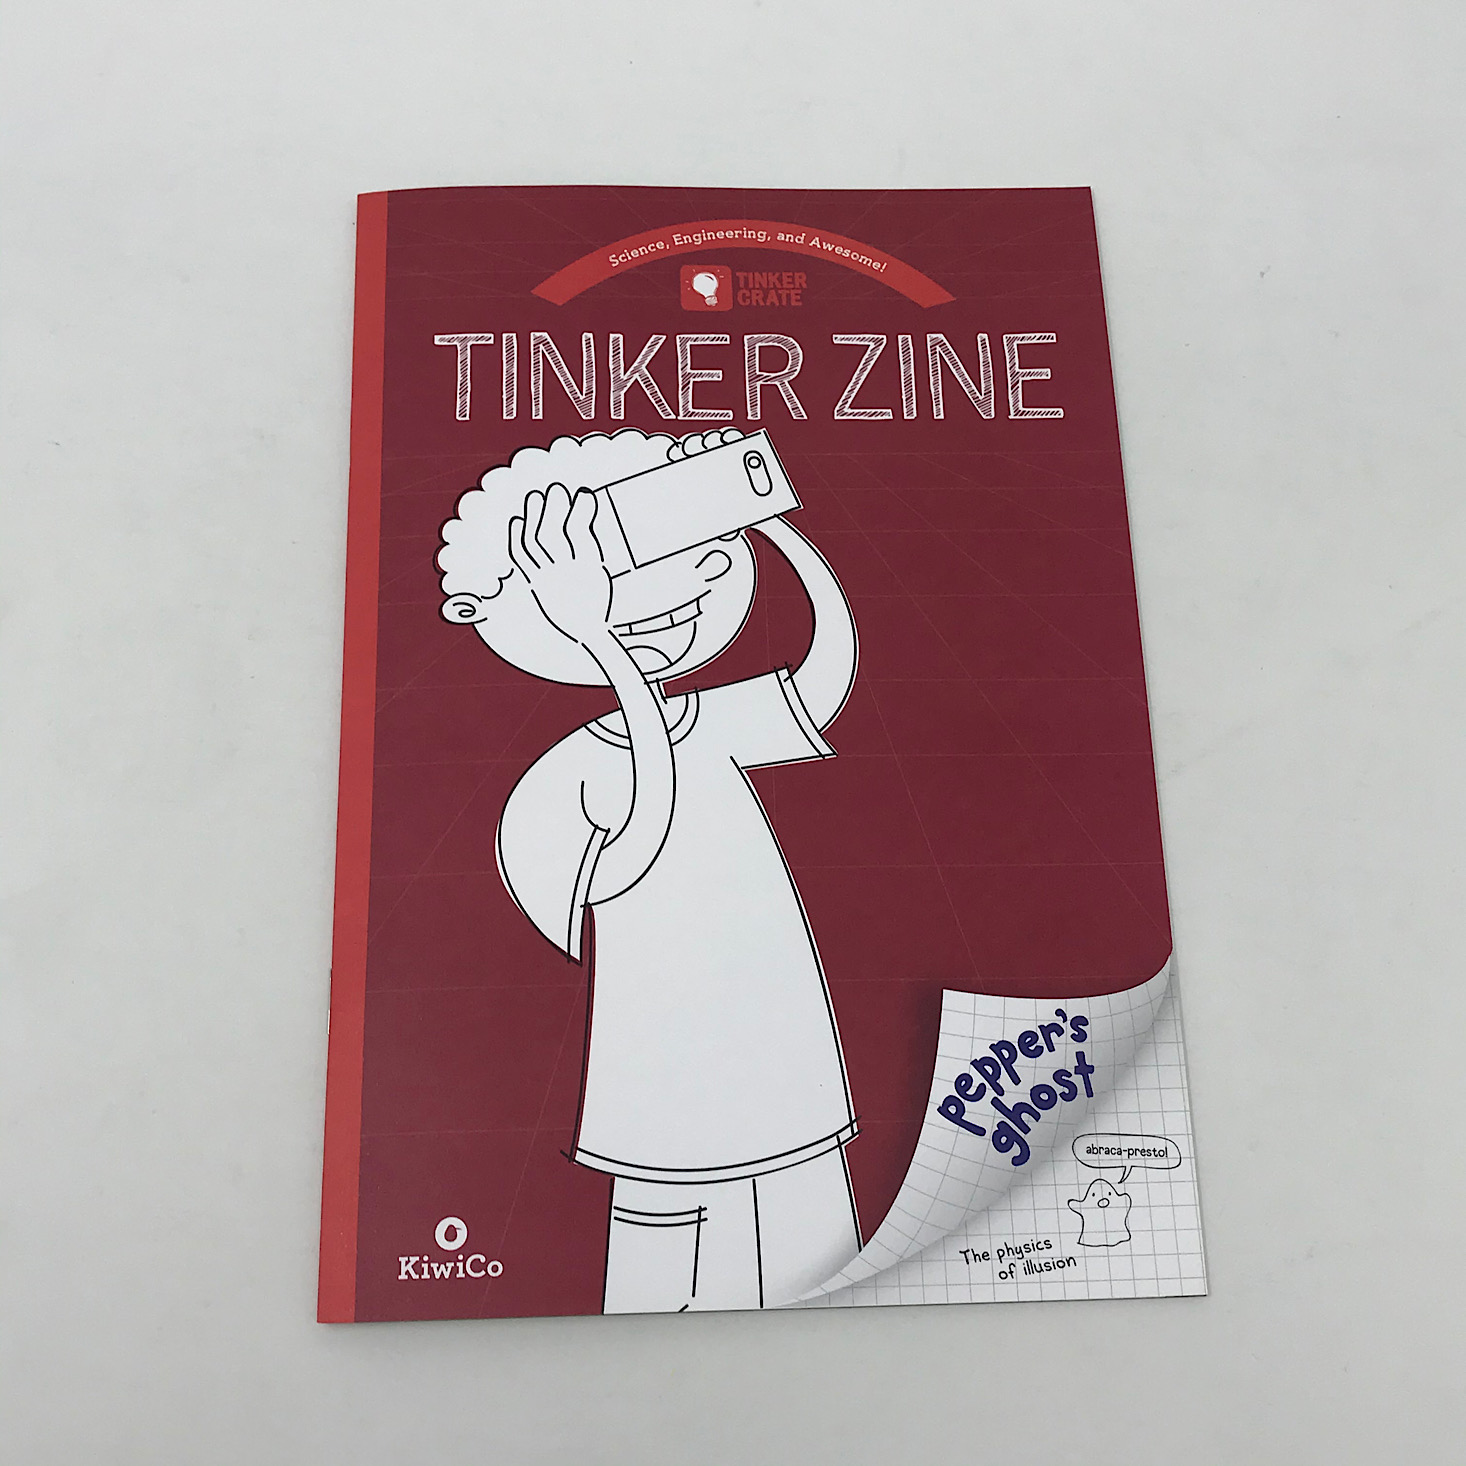
The theme of this month's Tinker Zine is "Pepper's Ghost" to go with our phantom projector. This zine is full of educational information about various optical illusions and the trick that is Pepper's Ghost. These are cool ideas and should definitely appeal to kids!
1 of 5

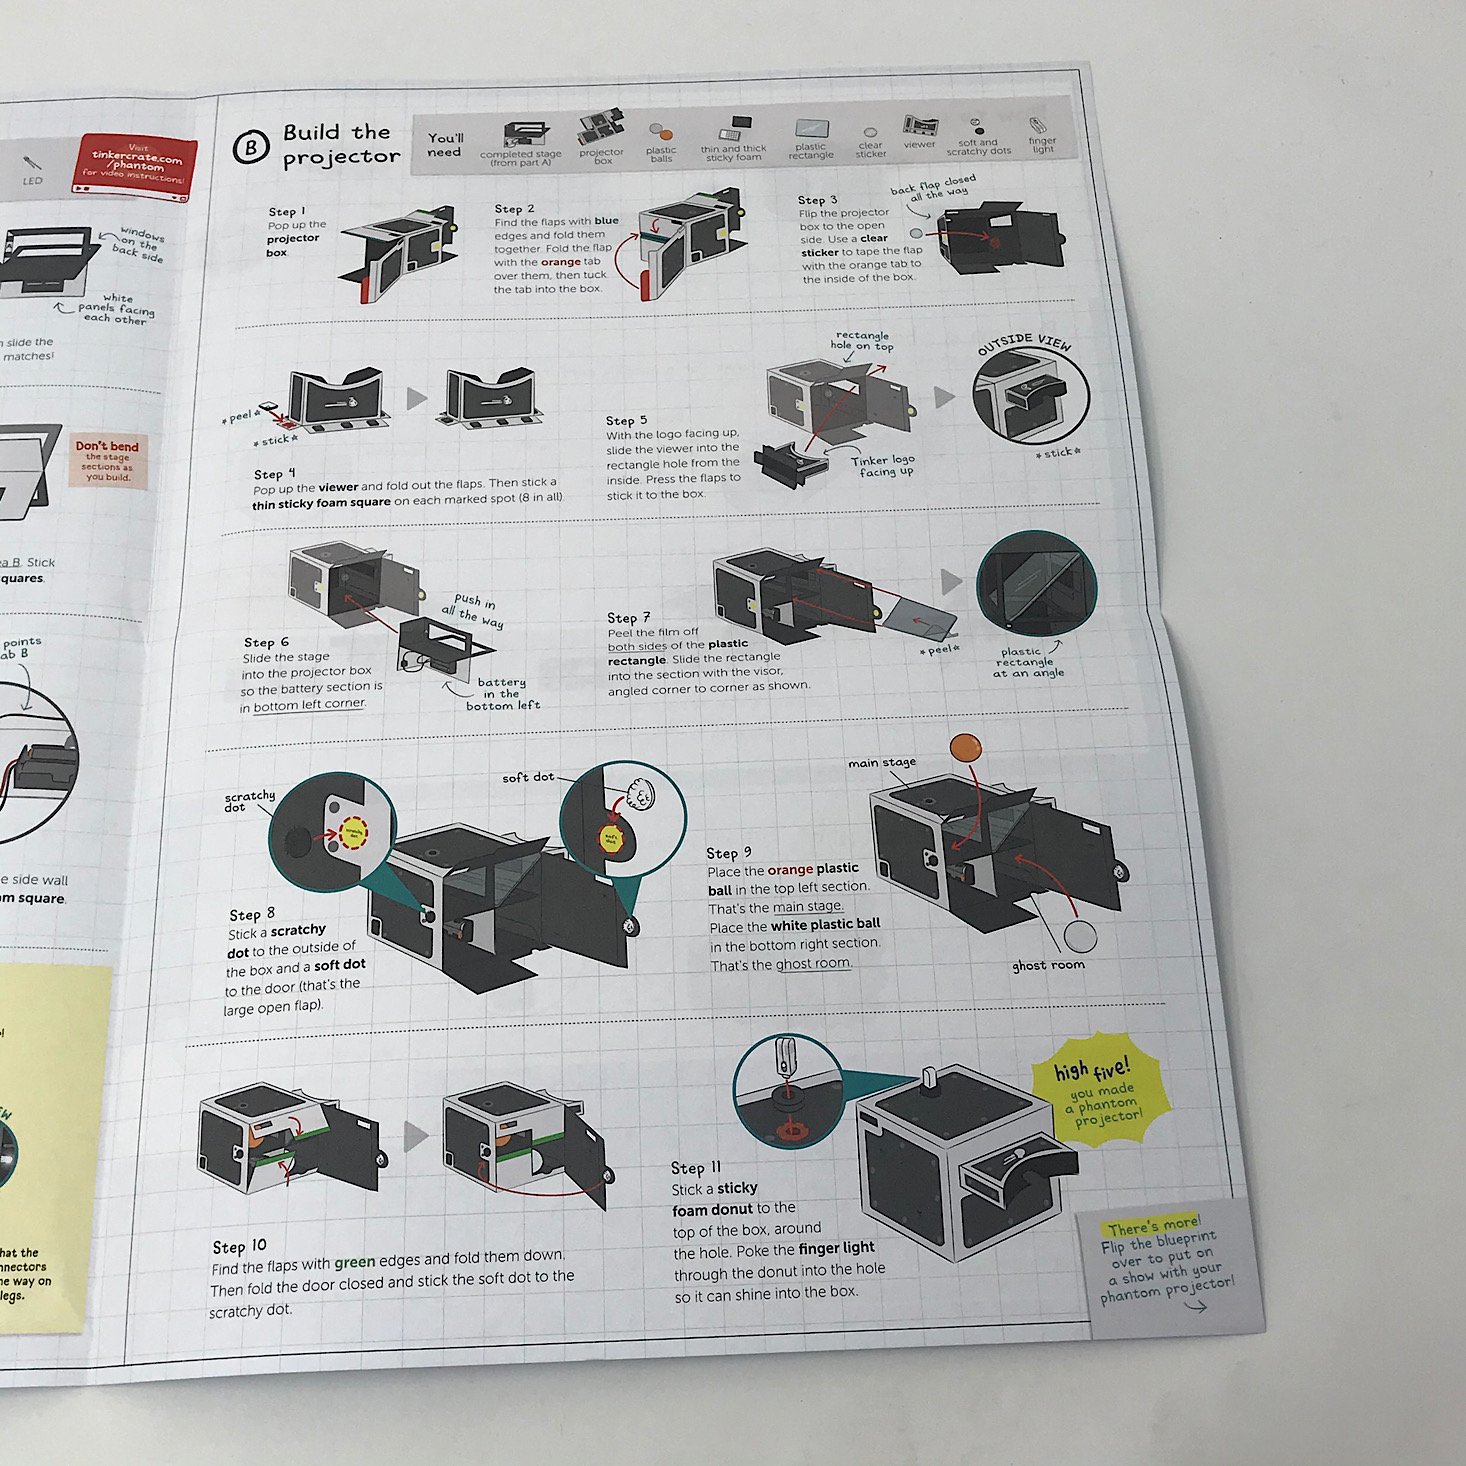
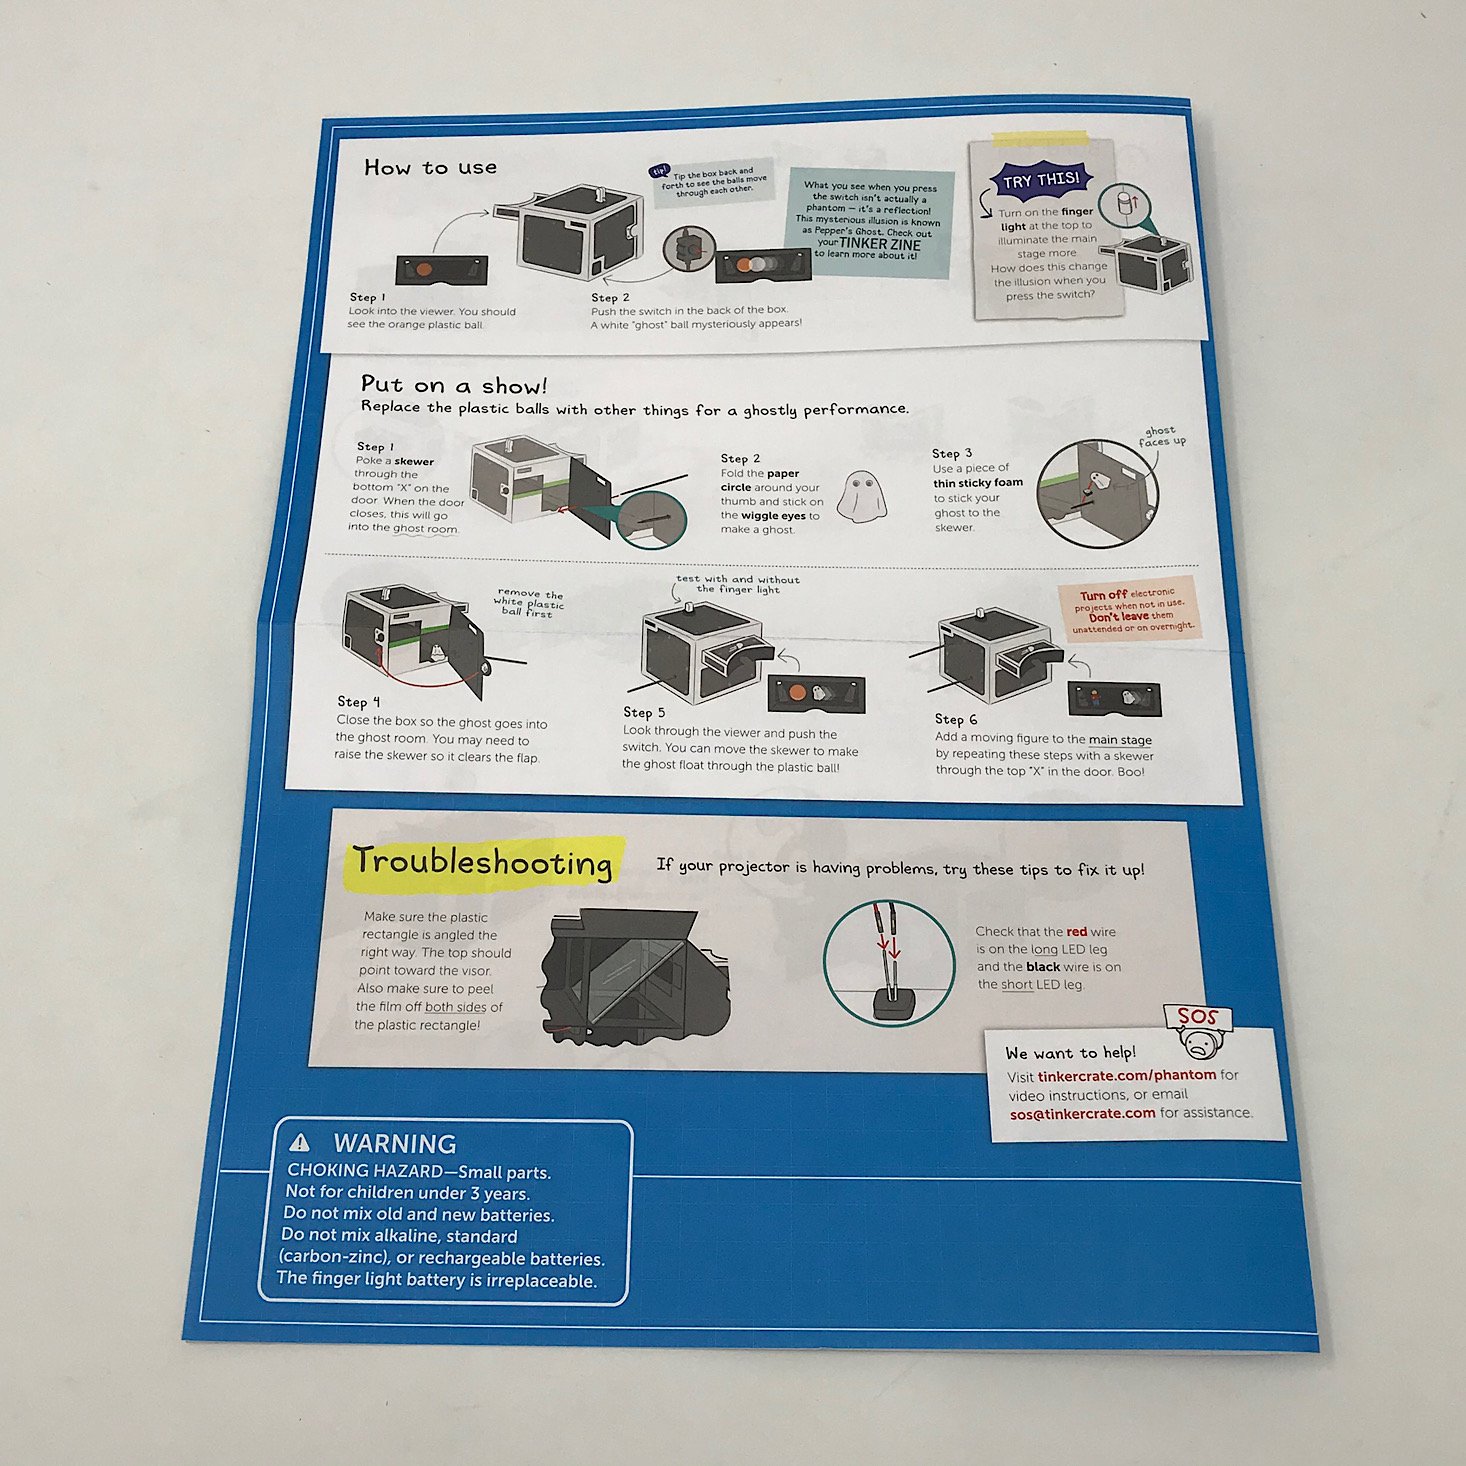
Our instructions come on a separate sheet and they include detailed directions along with color pictures for each step. They even included a helpful troubleshooting section for us.
Part A: Build the Stage

1 of 4

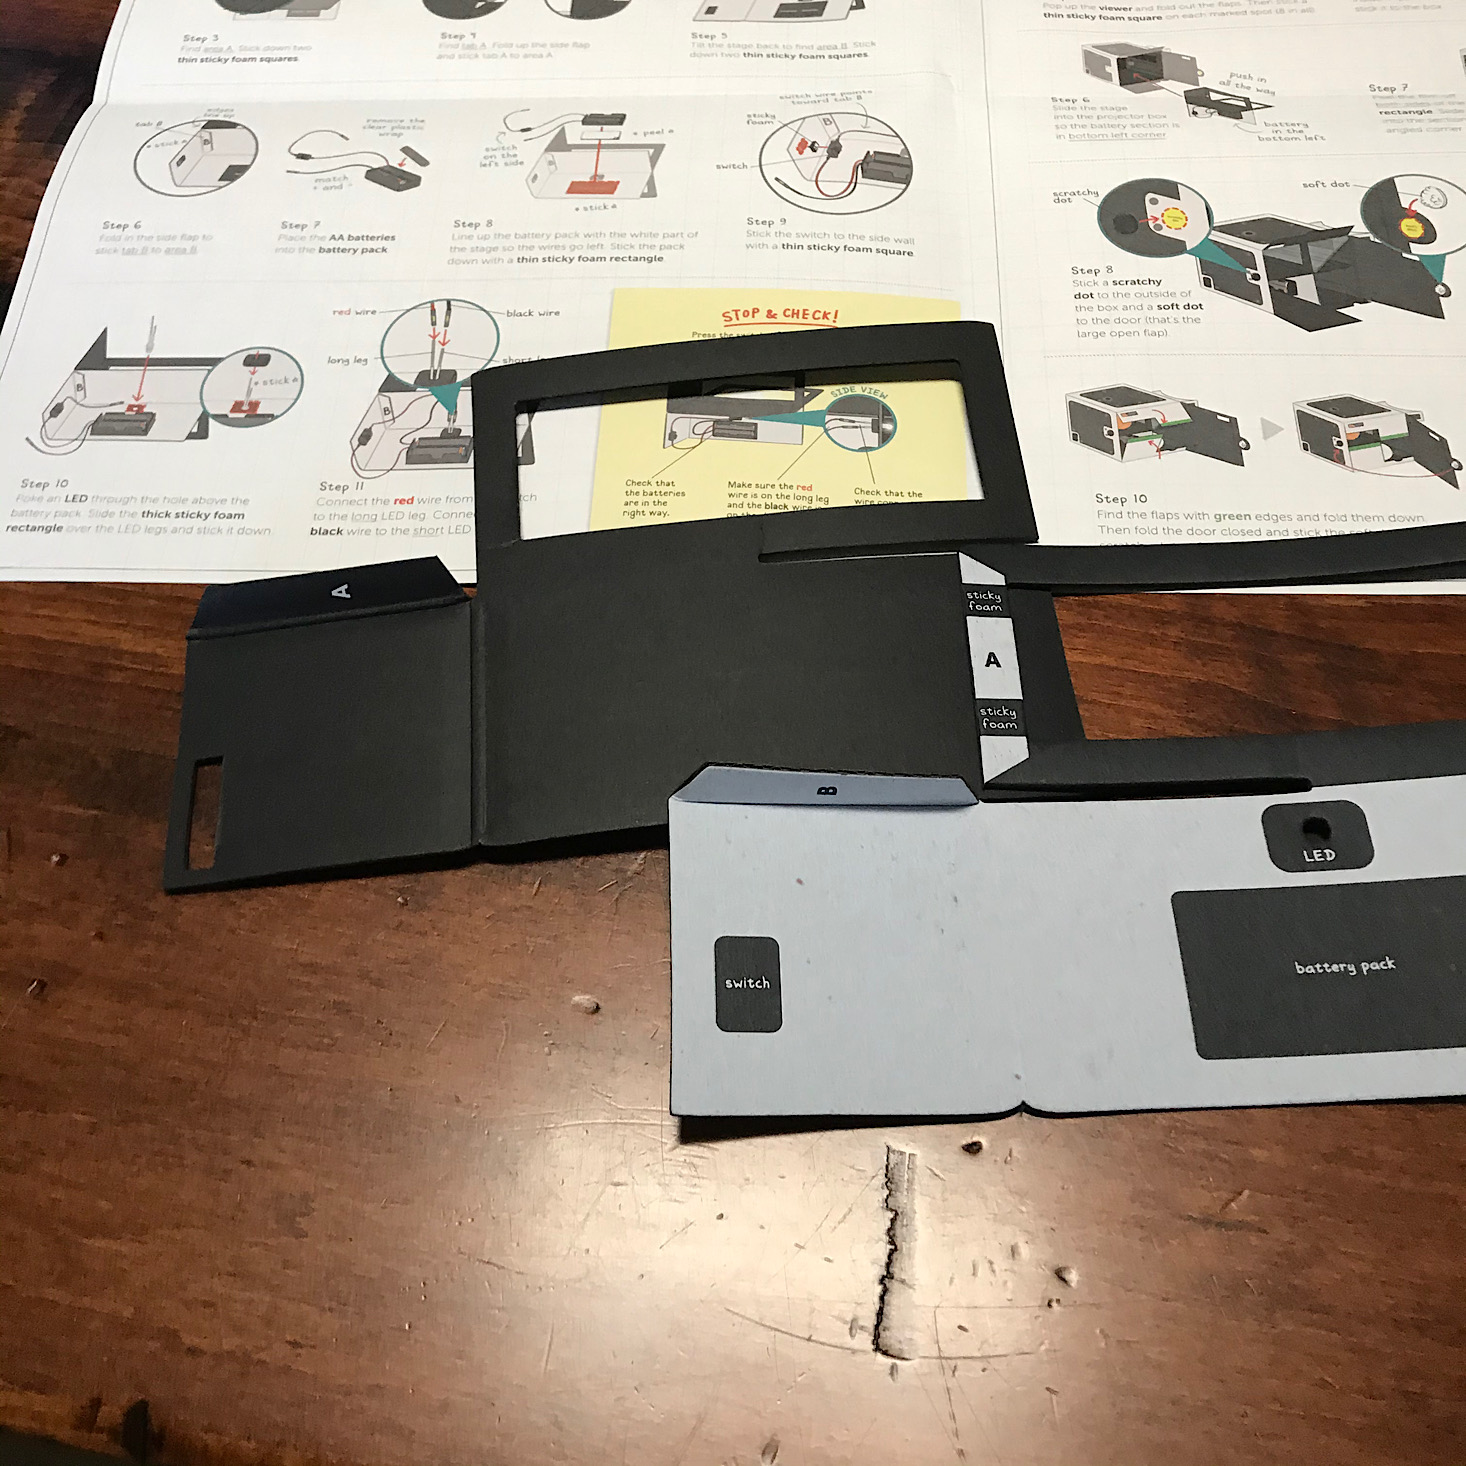
The first step in our project was to line up these two pieces marked A and B.
1 of 3

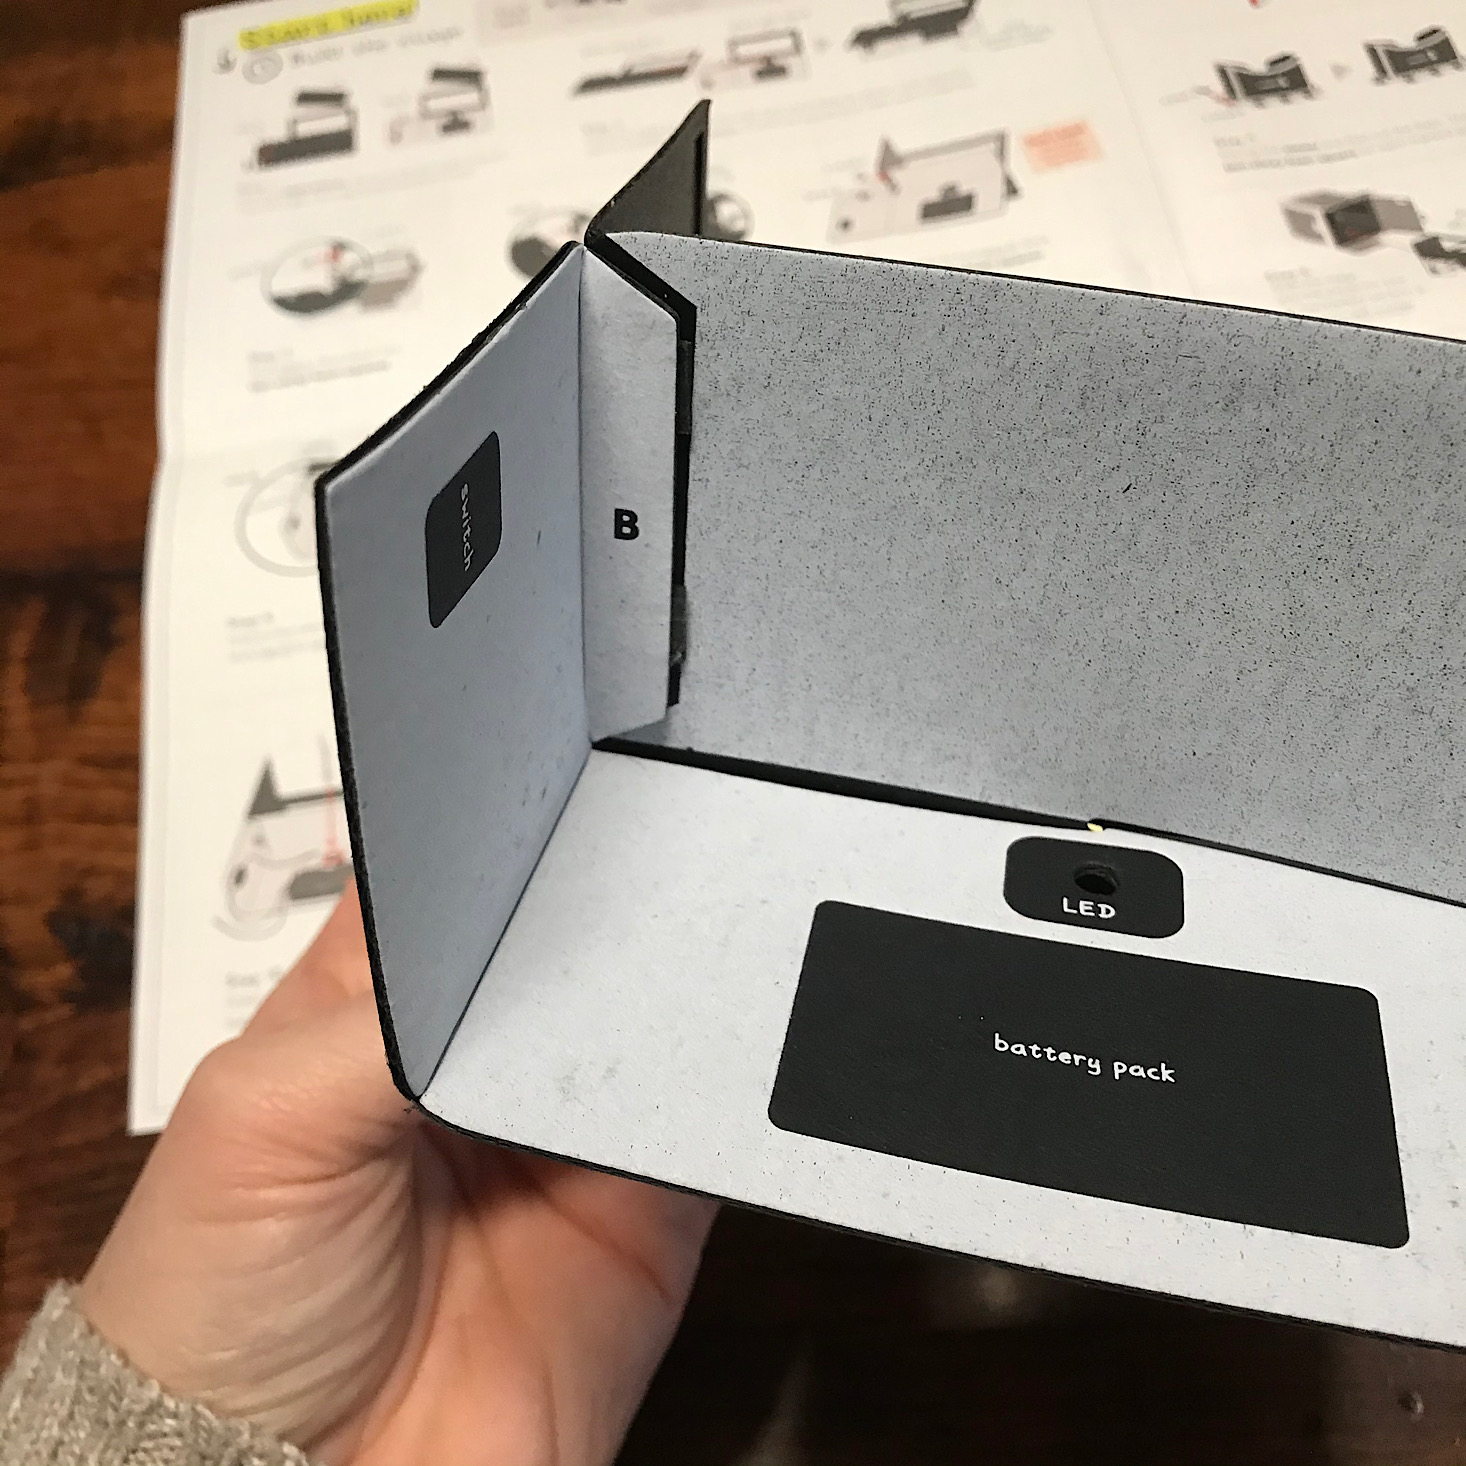
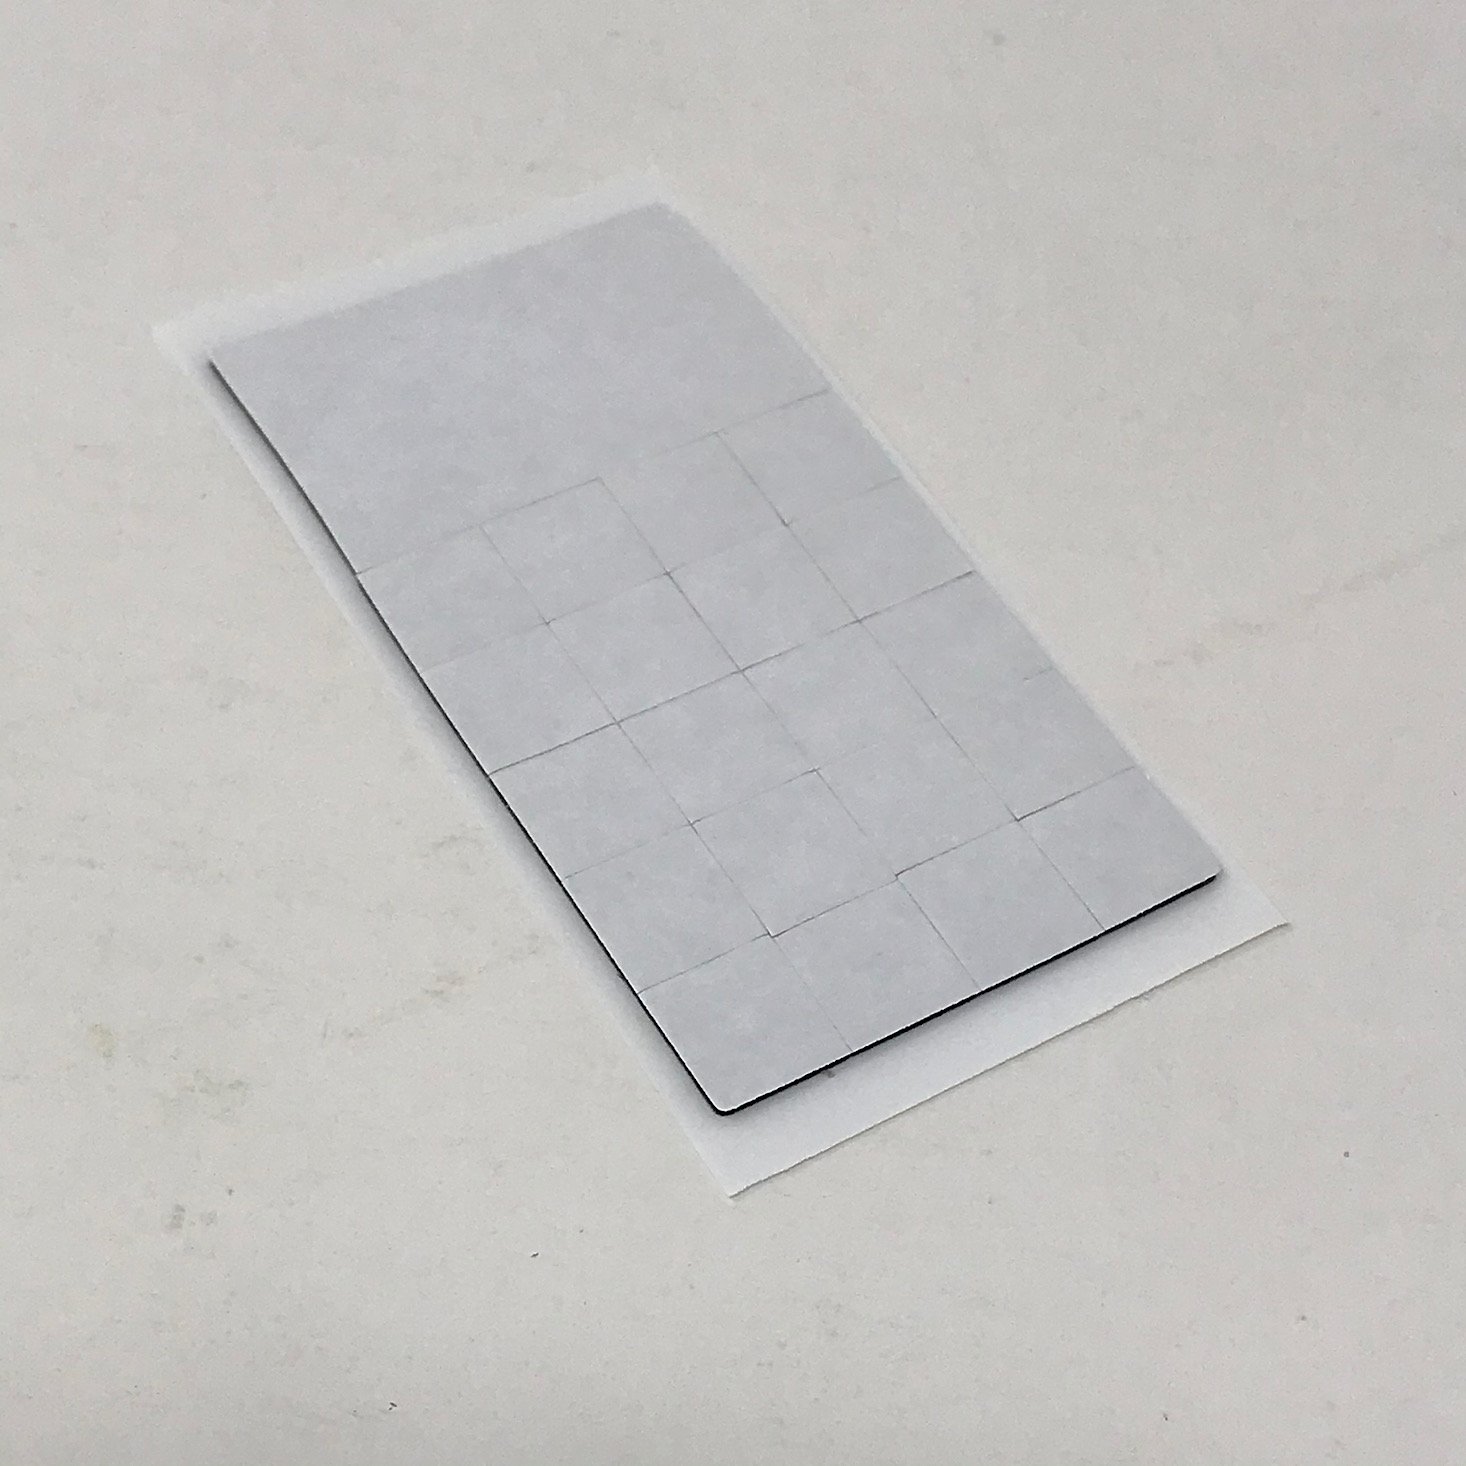
We added sticky foam squares to the marked spots and then stuck the coordinating lettered sections together to form the shape.

1 of 3

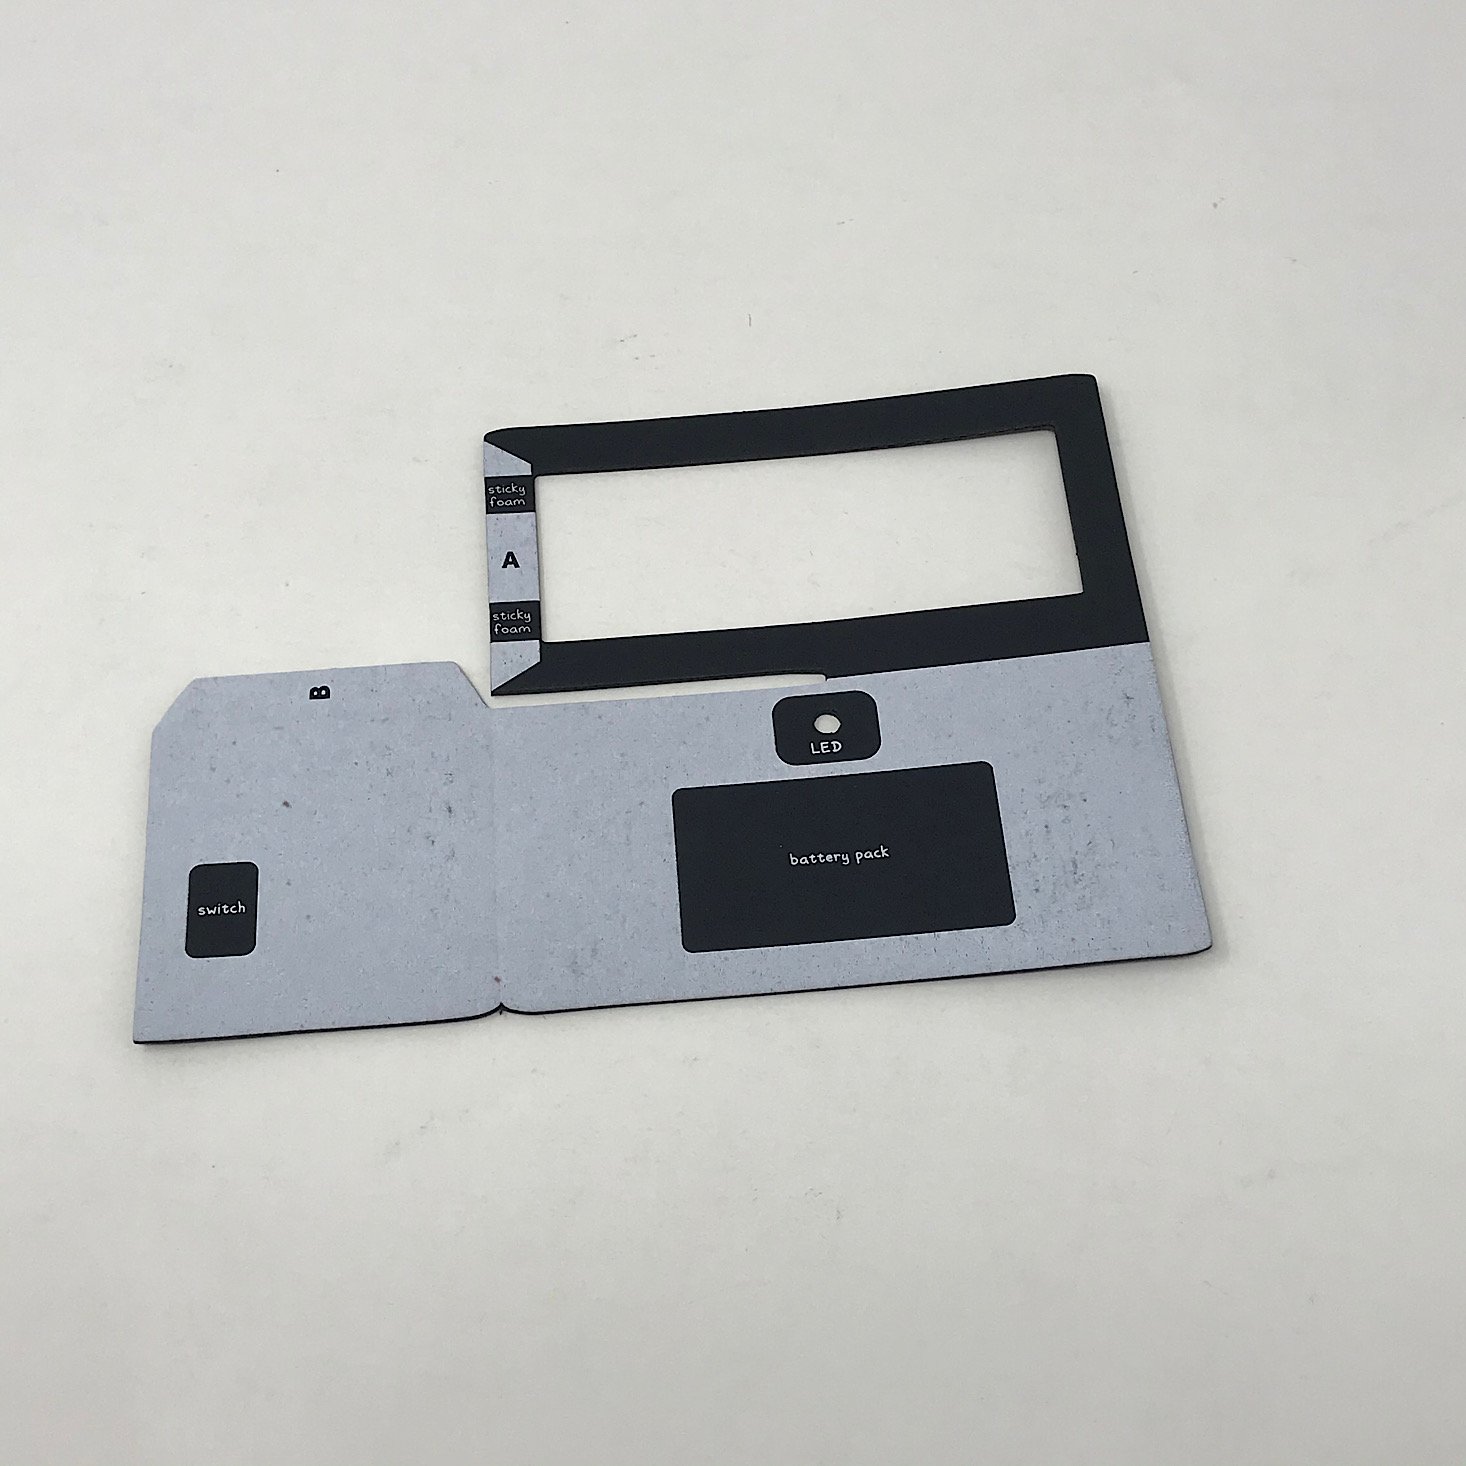
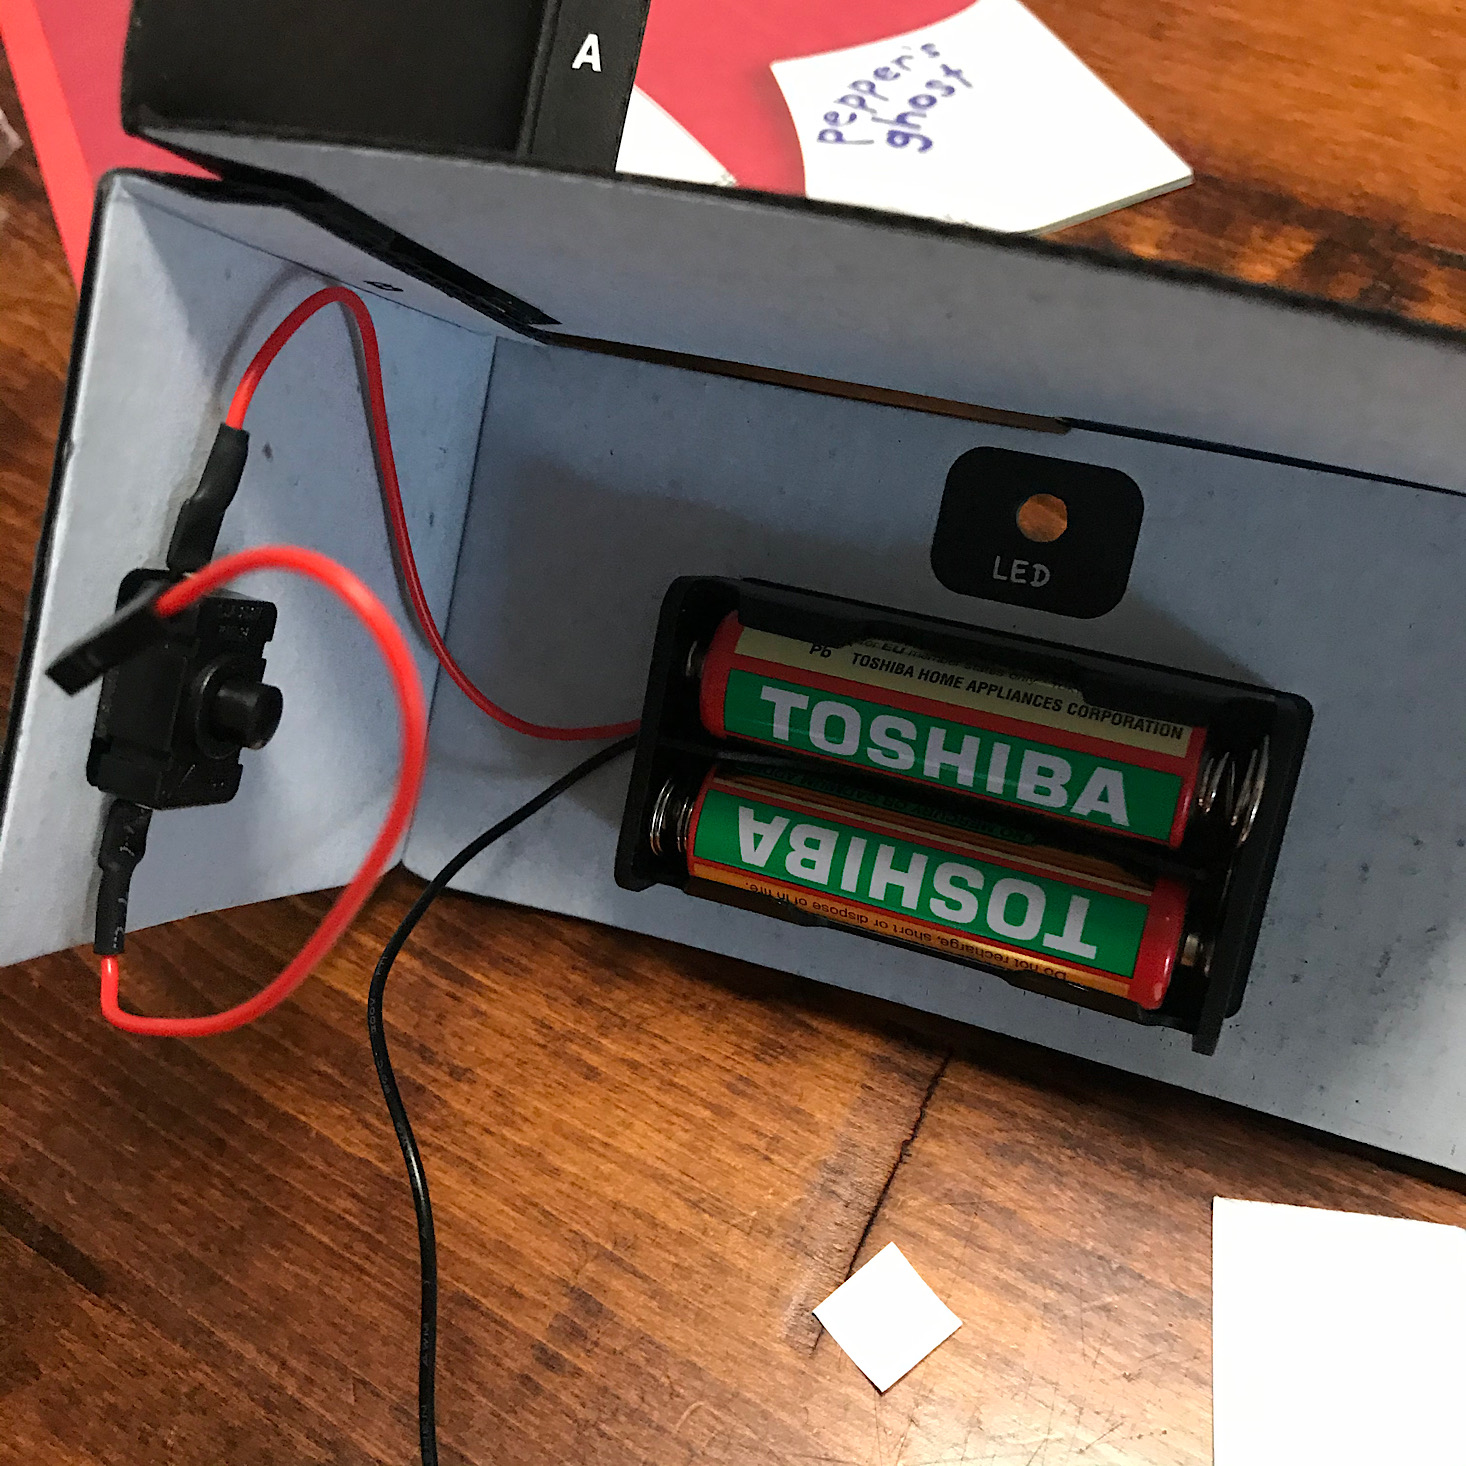
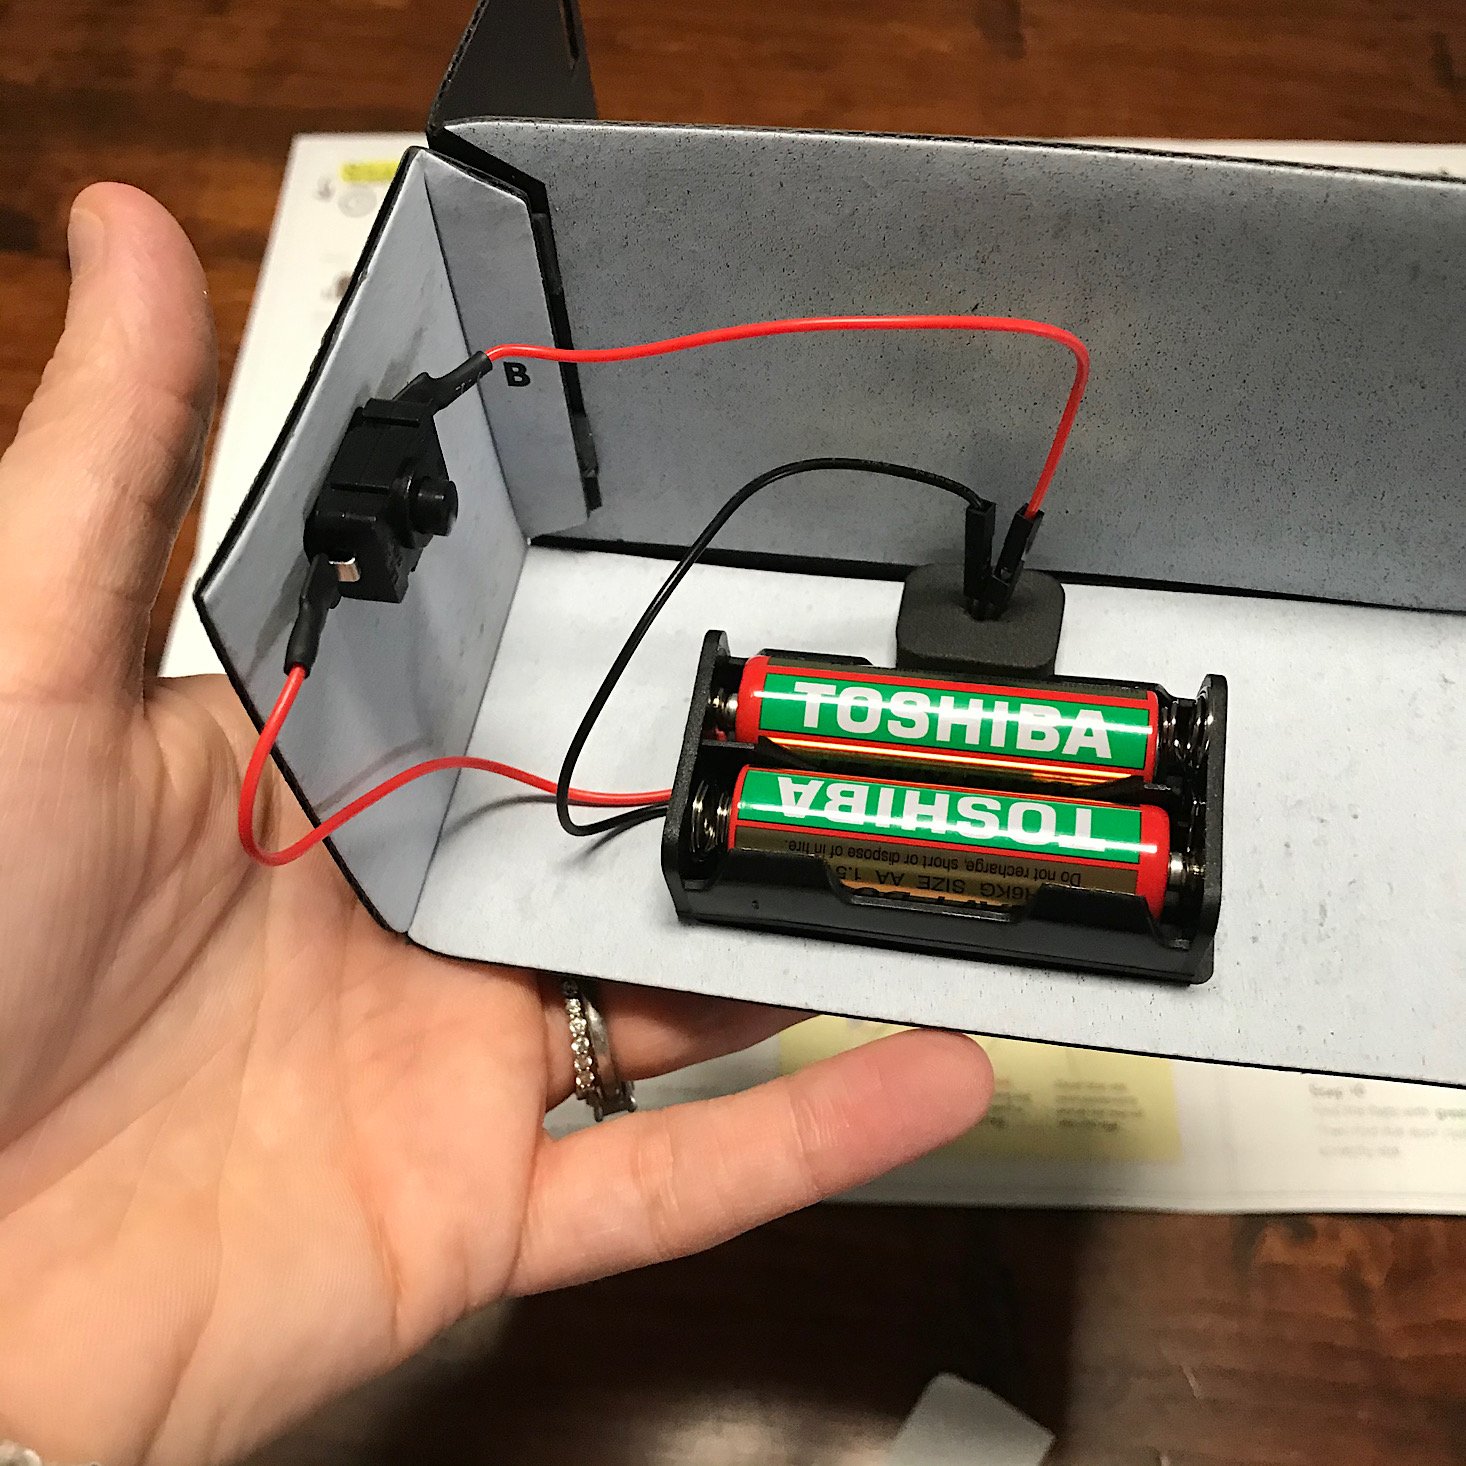
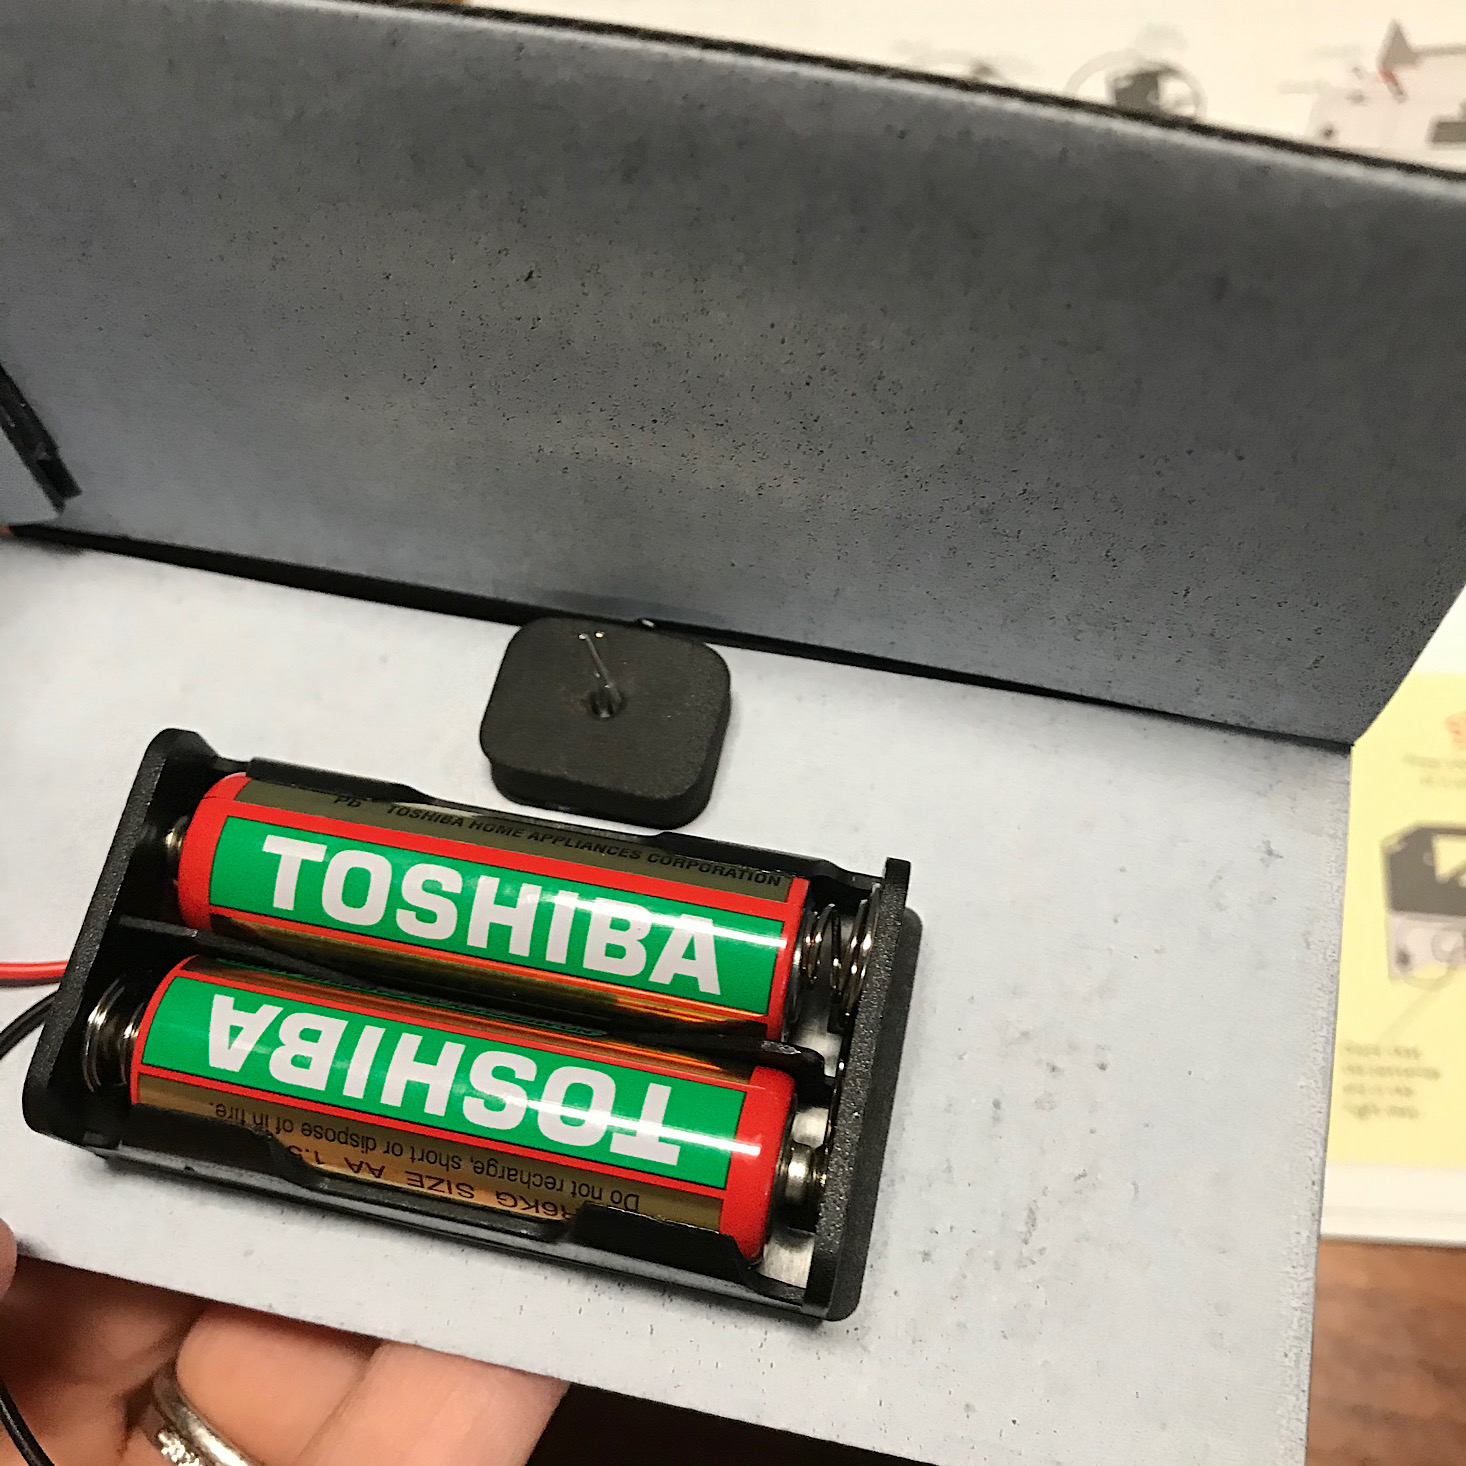
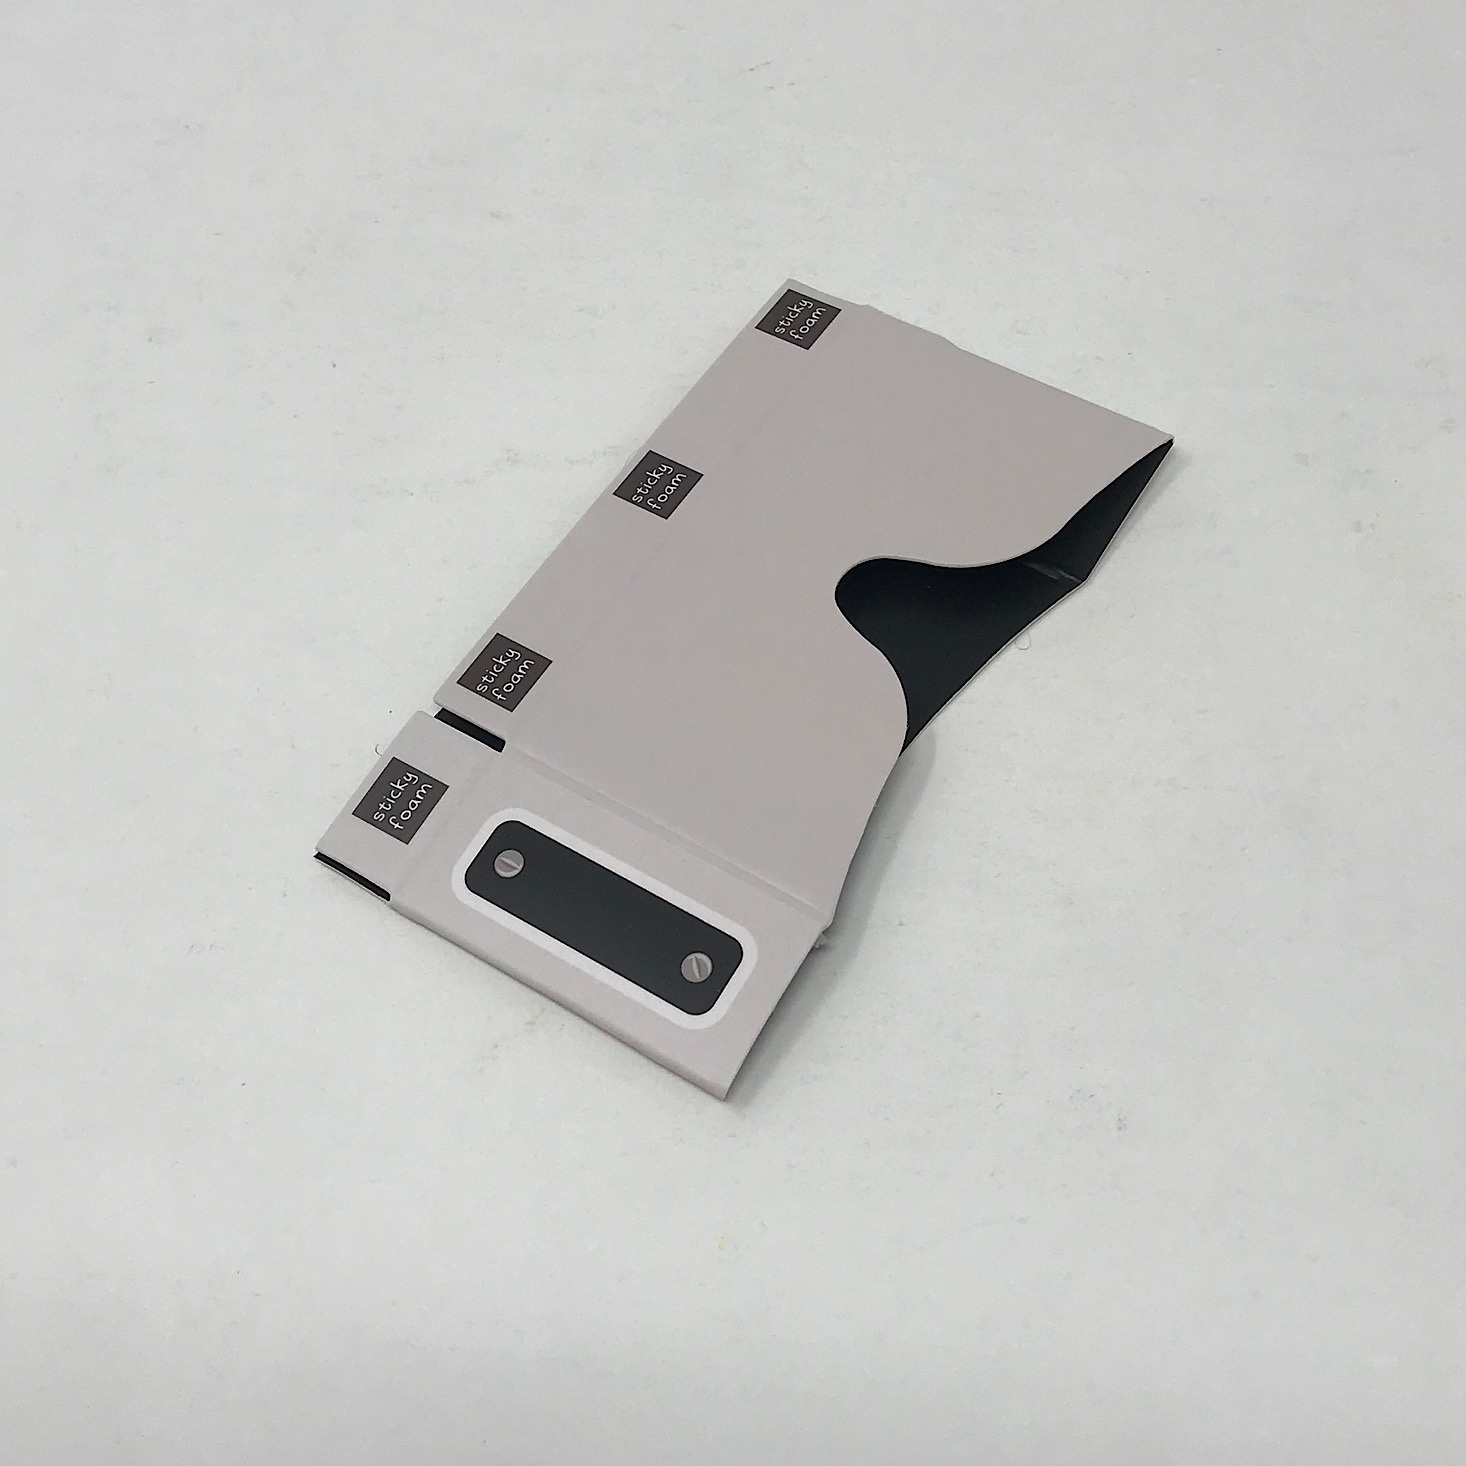
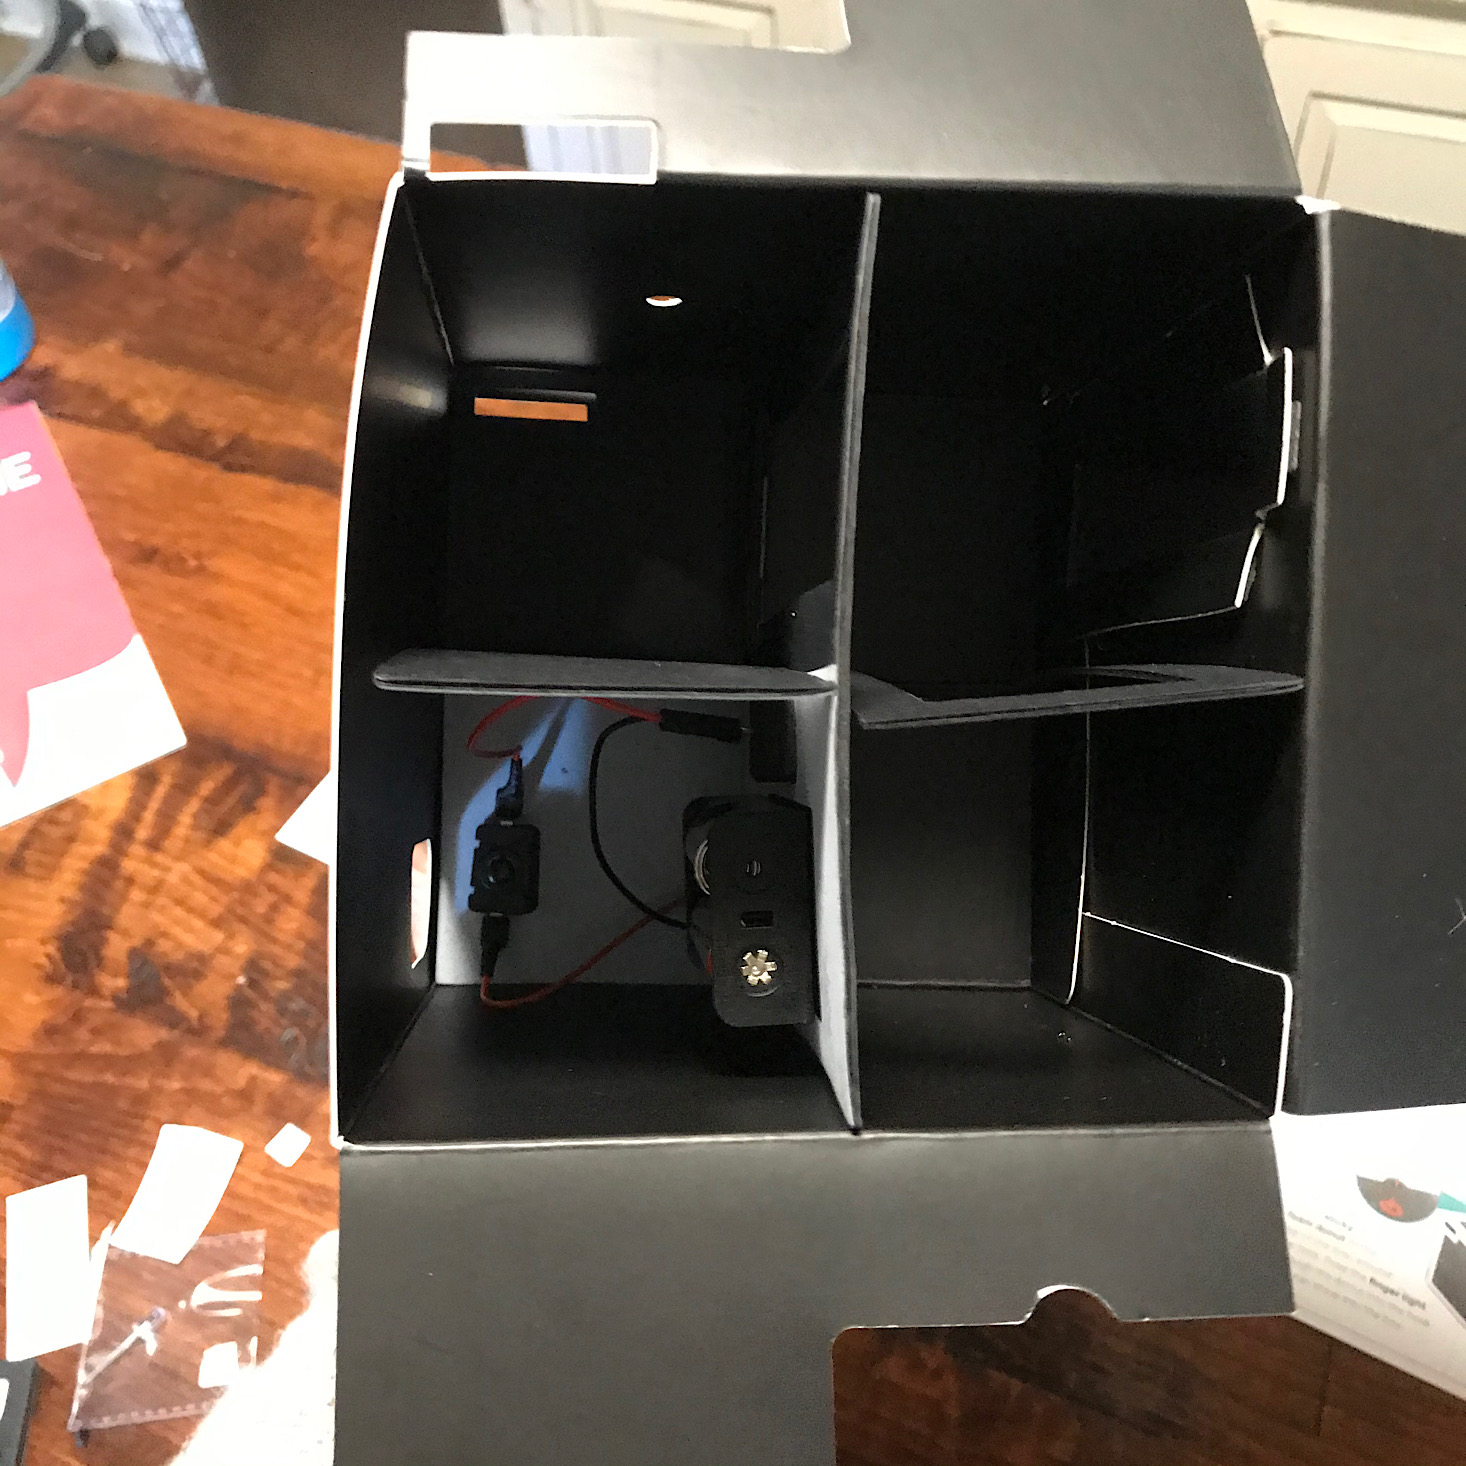
Next, I added the batteries they provided to our battery pack and then used the sticky foam to adhere it to our cardboard piece. I also stuck the button to the marked spot on the side using more sticky foam.

1 of 5
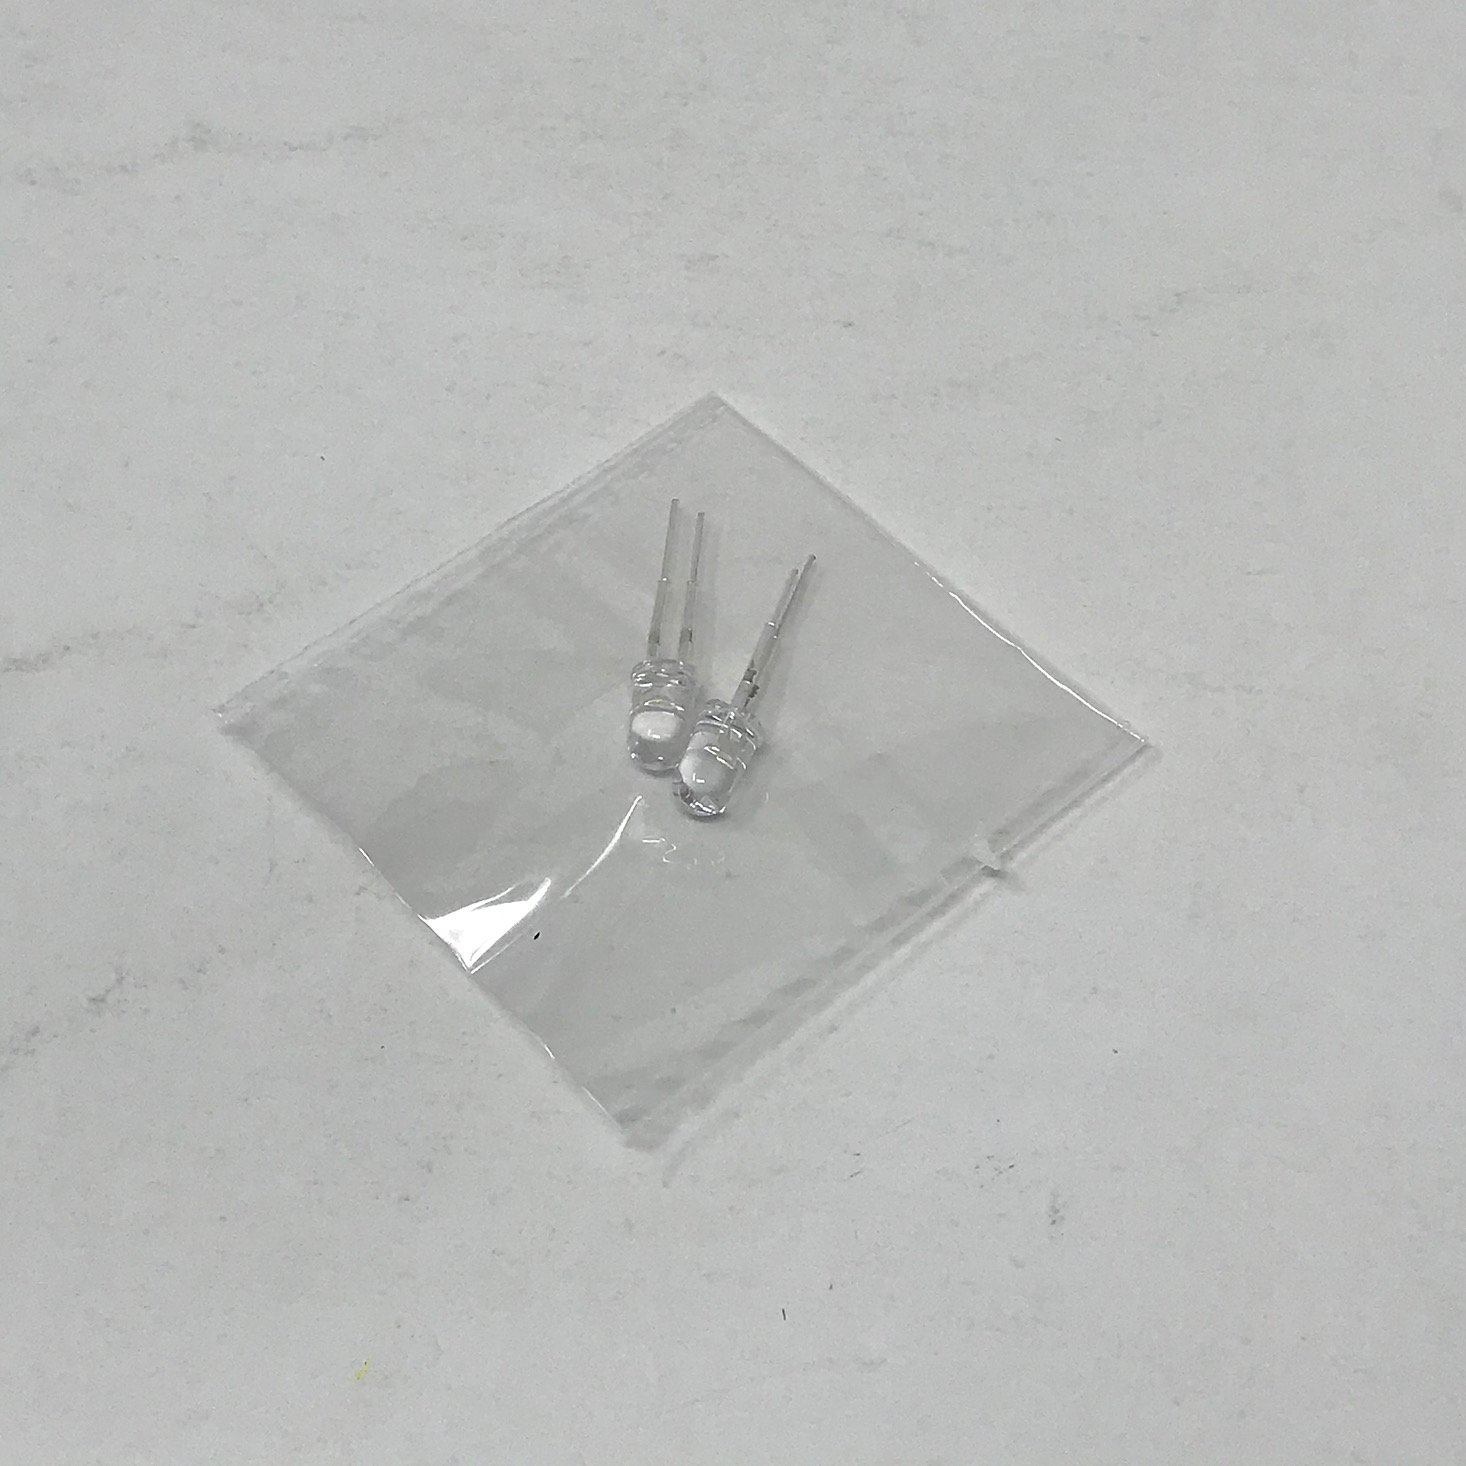

Then I added an LED light to the hole and stuck a foam sticker on top of that before attaching the wires from the battery and button to the ends of the LED light.
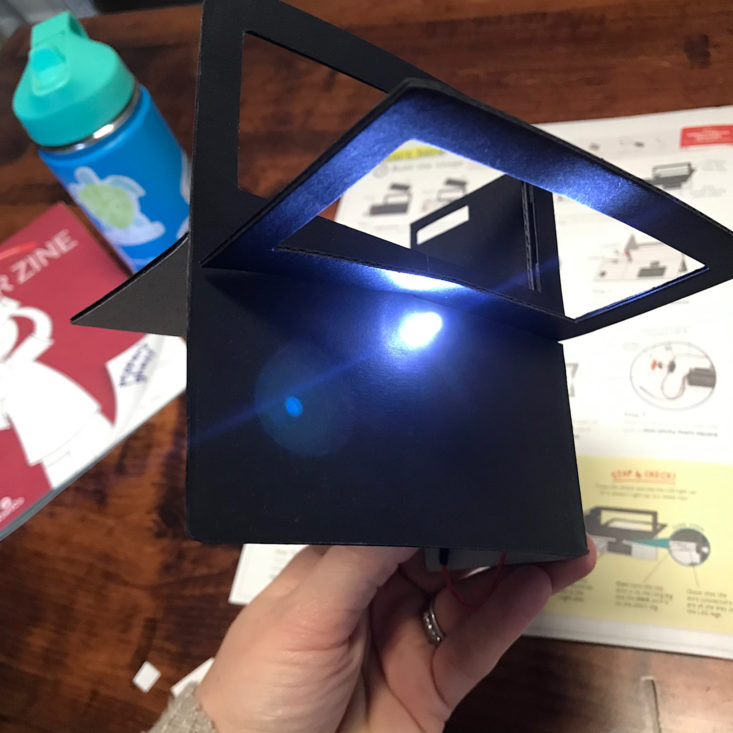
I tested it out to see if it worked and then began to assemble the larger outer portion of our projector.
Part B: Build the Projector


1 of 3

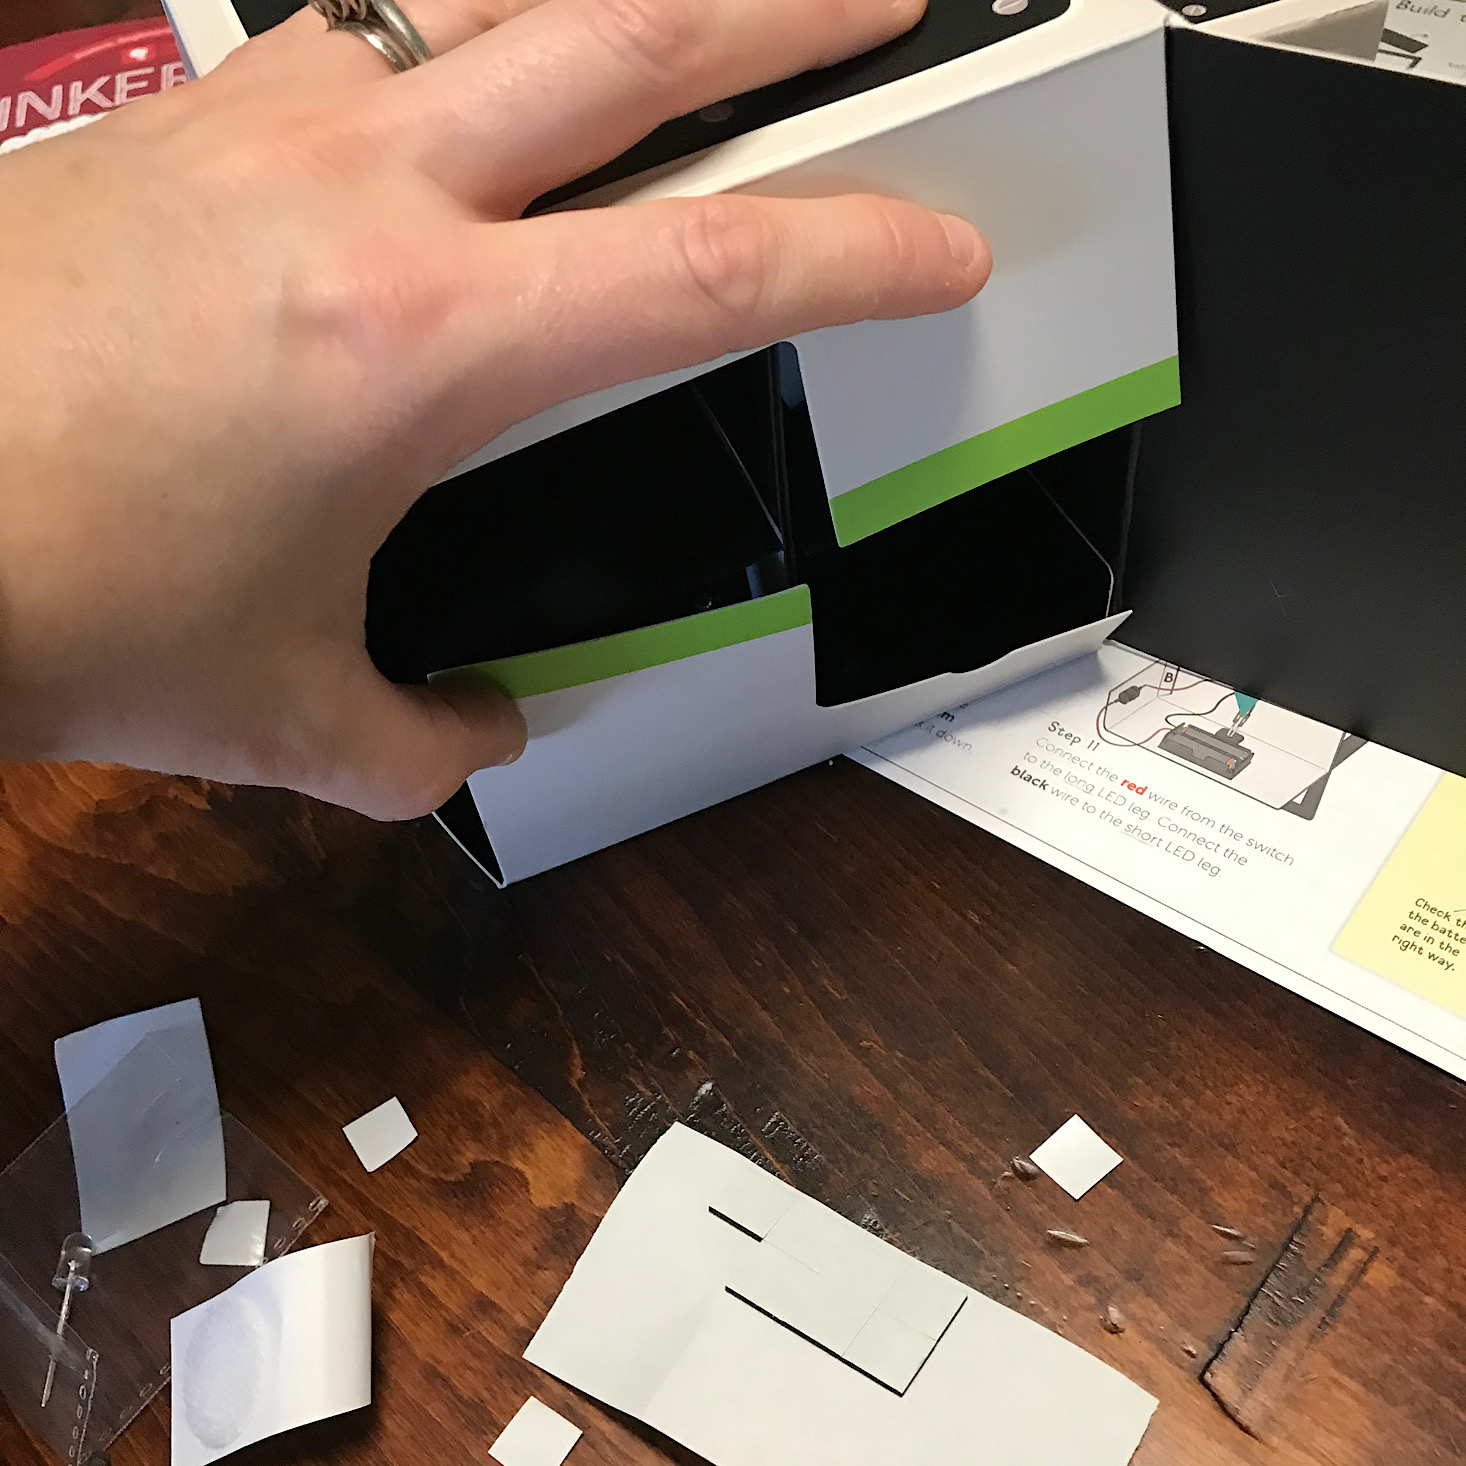
The first step was to open up this piece into a box shape for our projector.
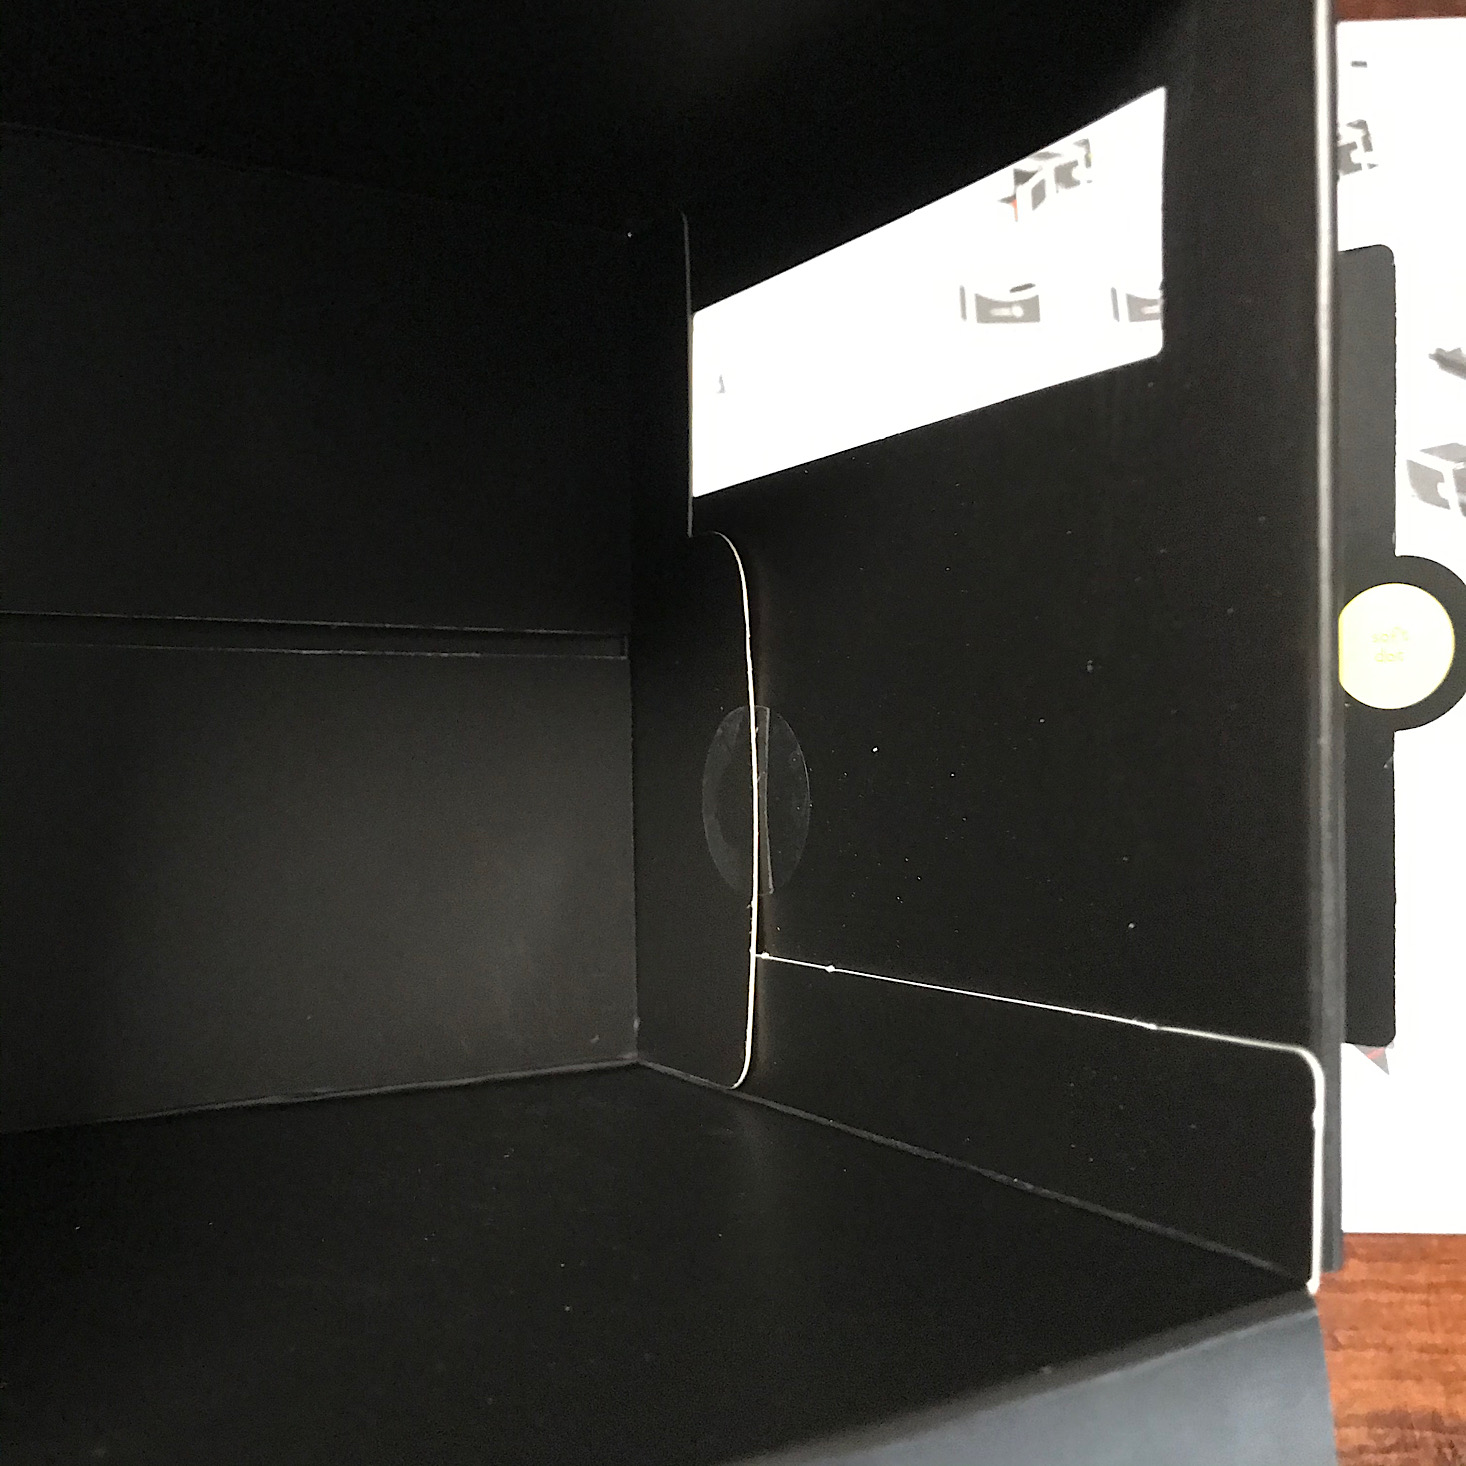

1 of 4
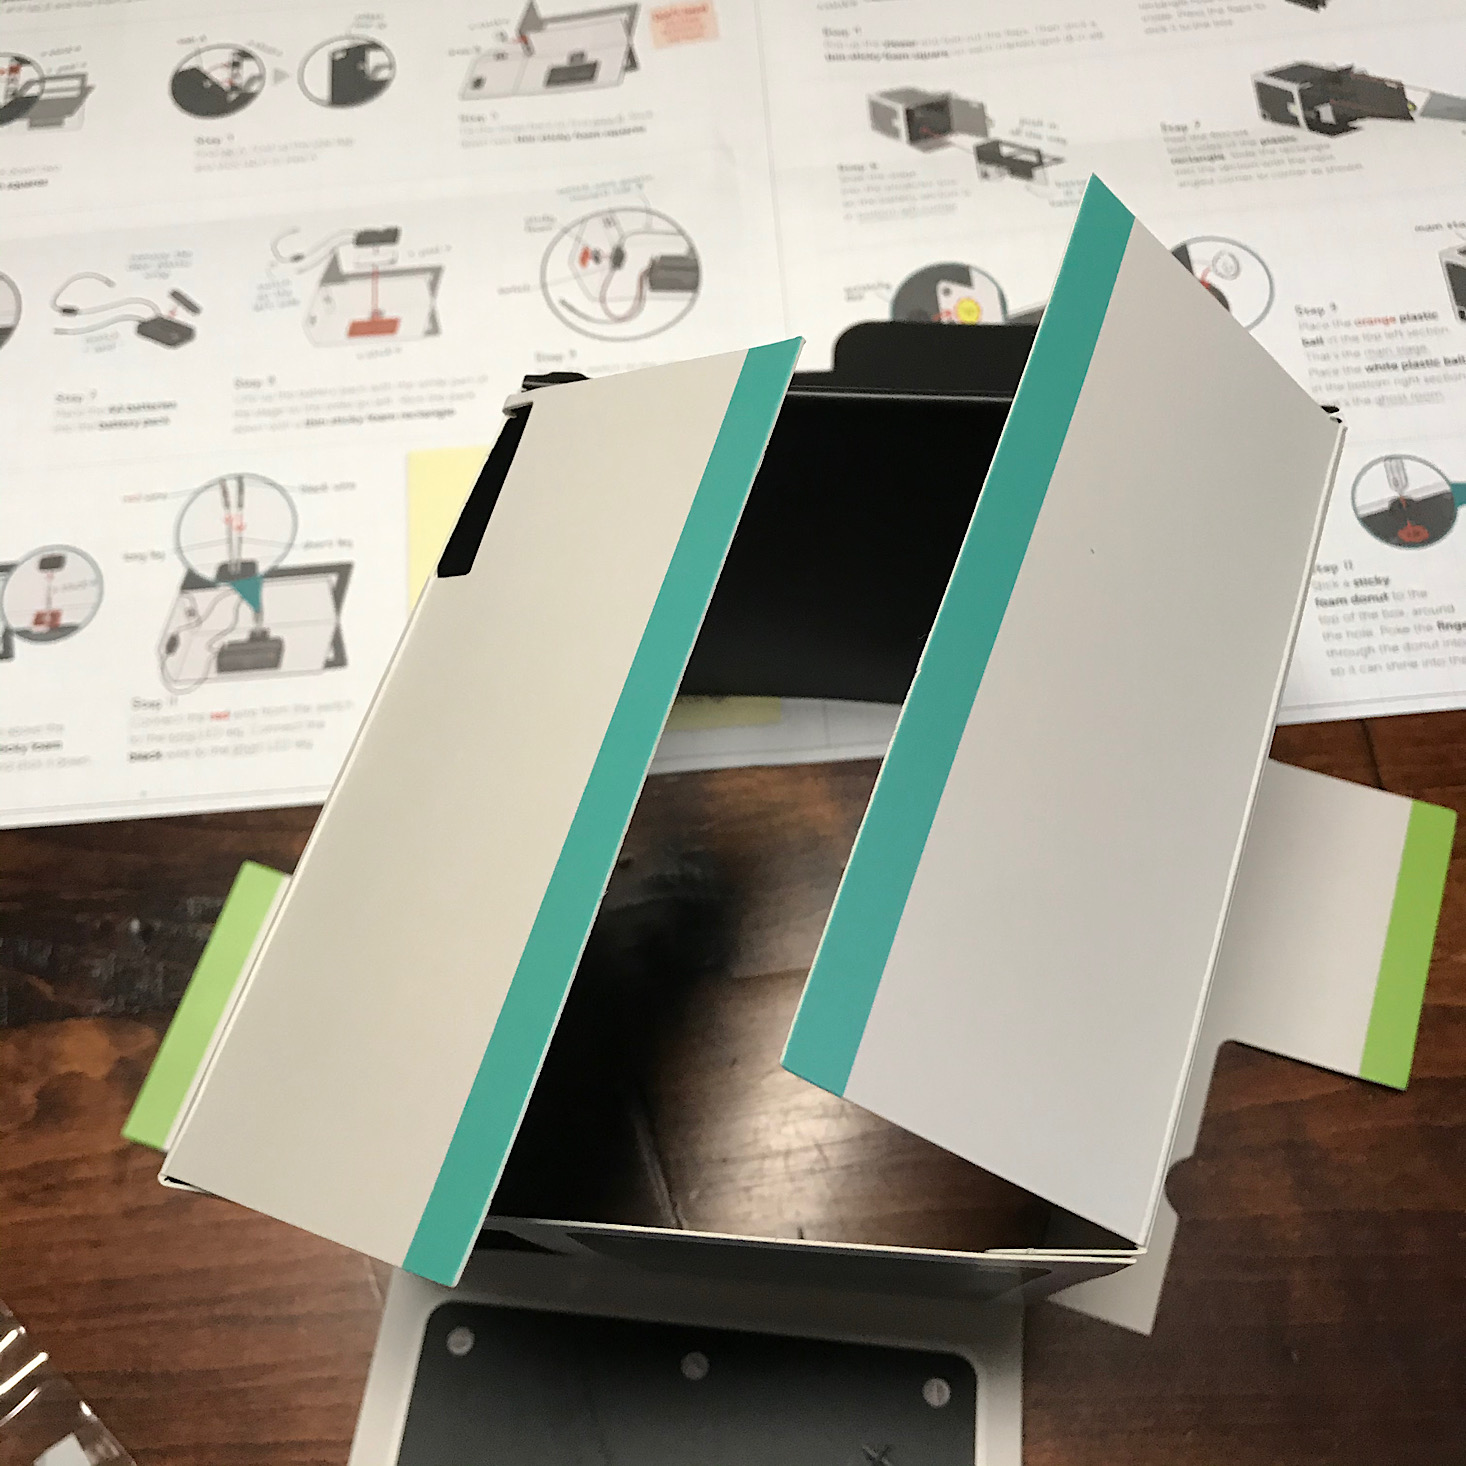

The tabs were all color-coded so it was easy to follow the directions and fold everything into place. They provided some clear stickers to help secure the tabs and keep its shape.

1 of 3

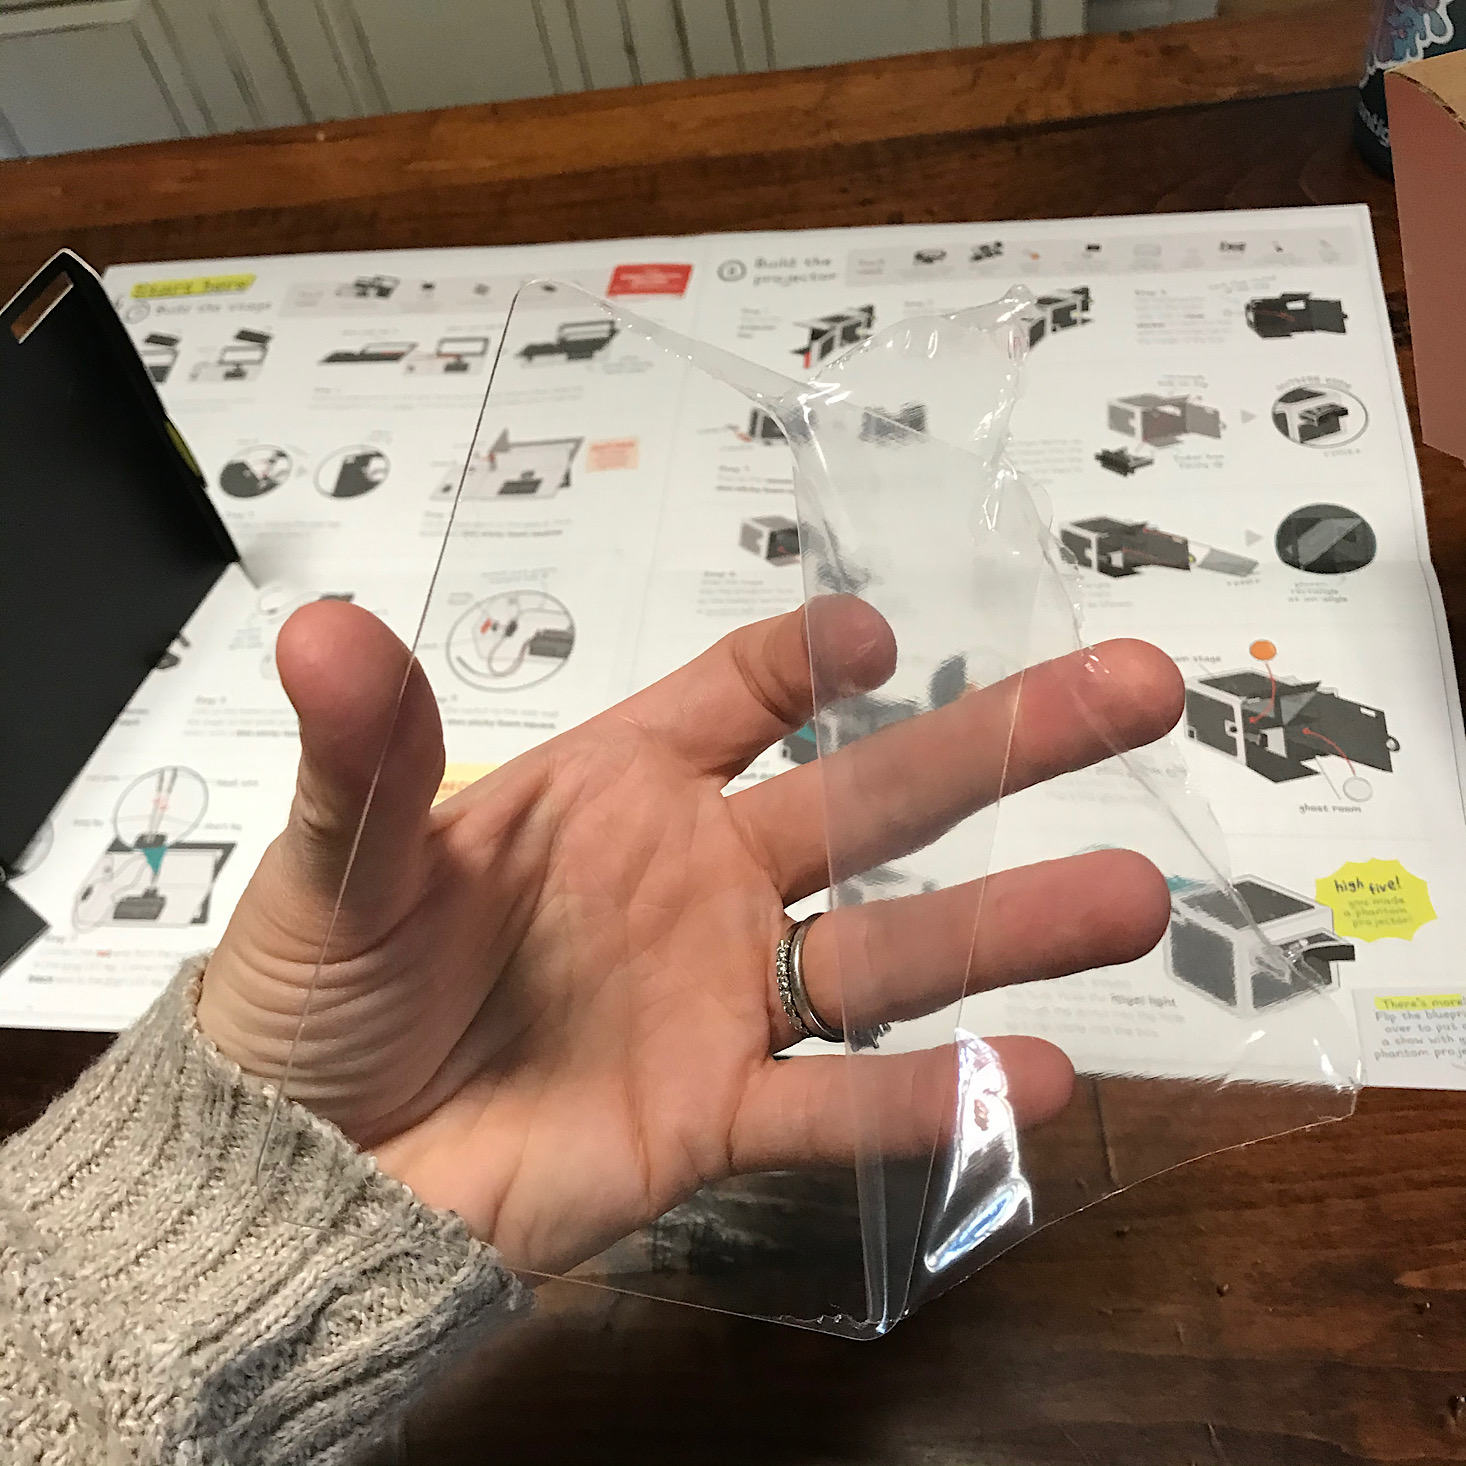
I unfolded the viewer piece and then folded out the sides and added sticky foam squares around the outside of it. Then I slid it through the hole in the side of the projector box sticking the edges to the inside so that it was secure.
1 of 3
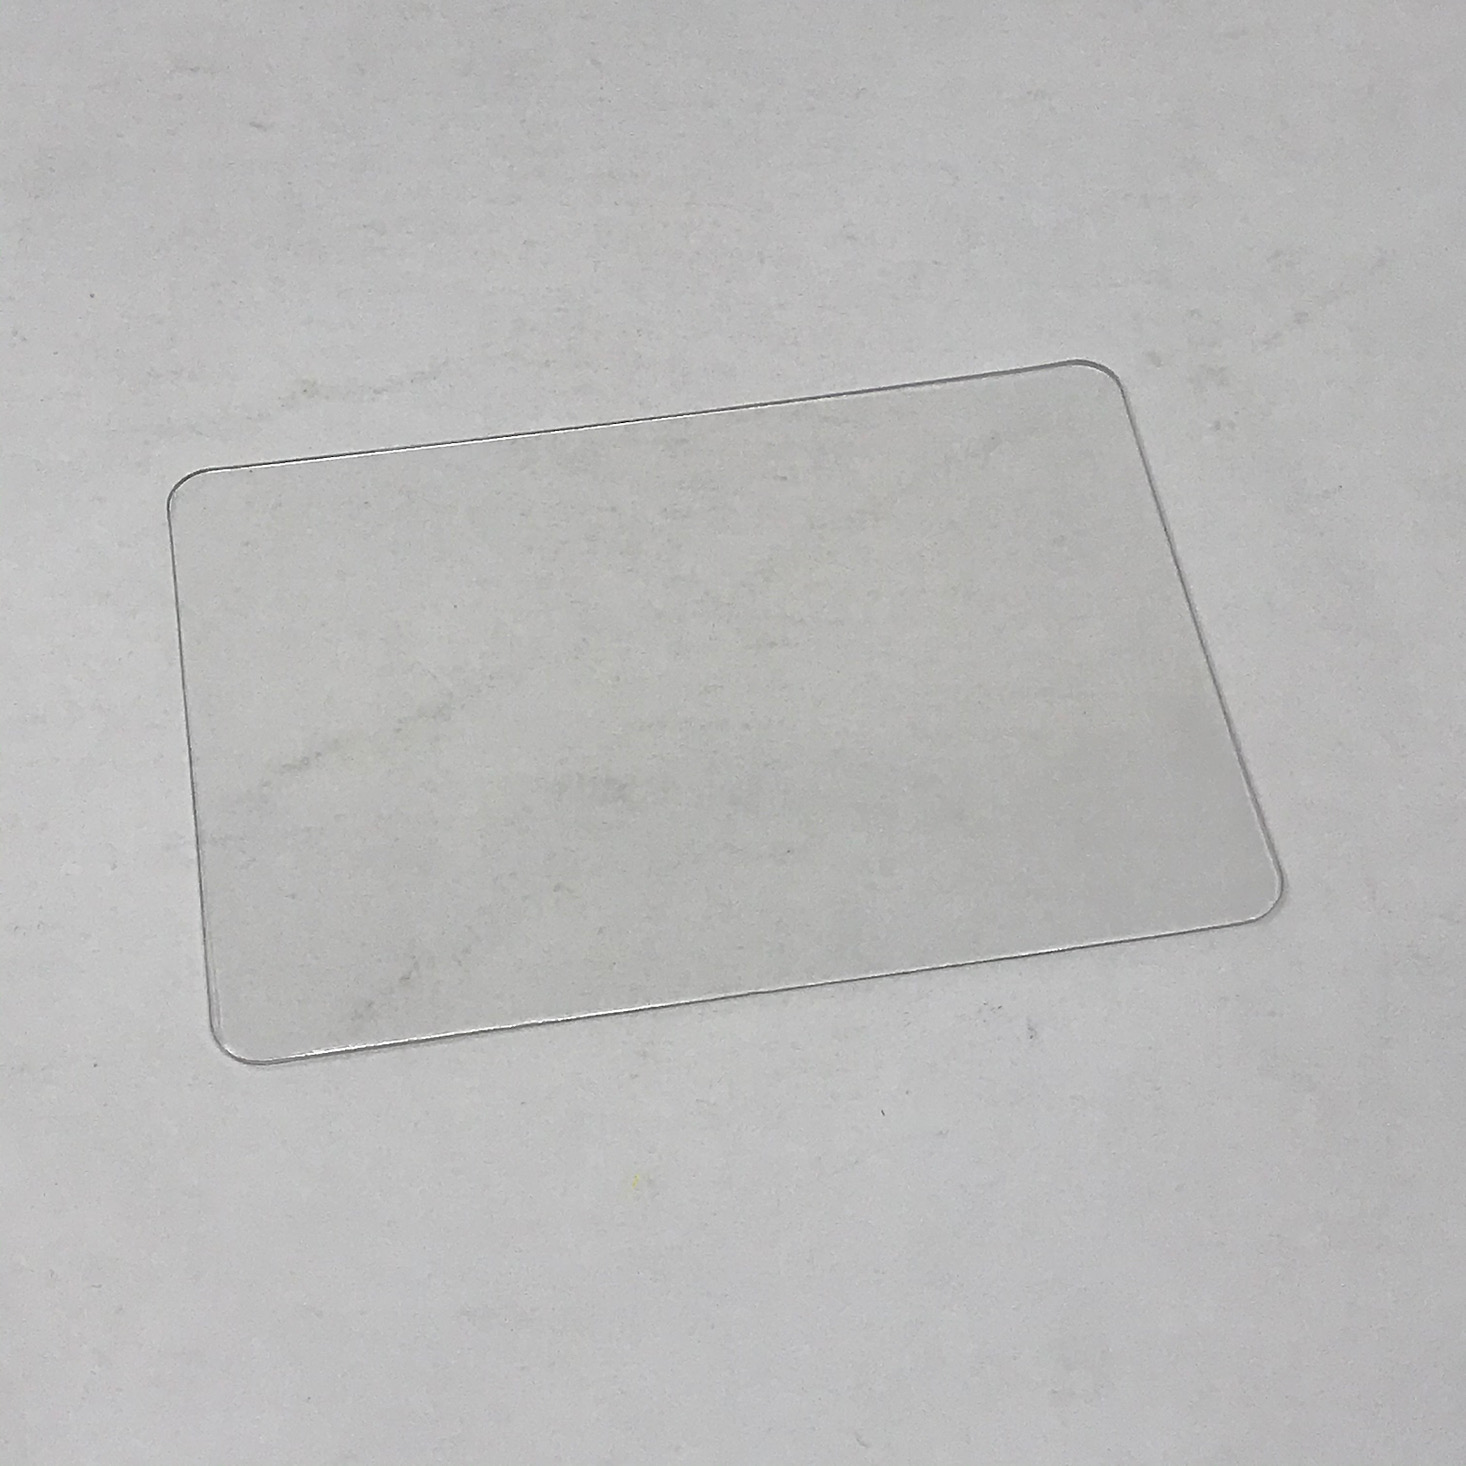
Then I slid the first piece I had put together with the button on it inside the center of the projector. I peeled the plastic off of the plastic rectangle and then slid it into the box at an angle on the right side of the box.

1 of 2
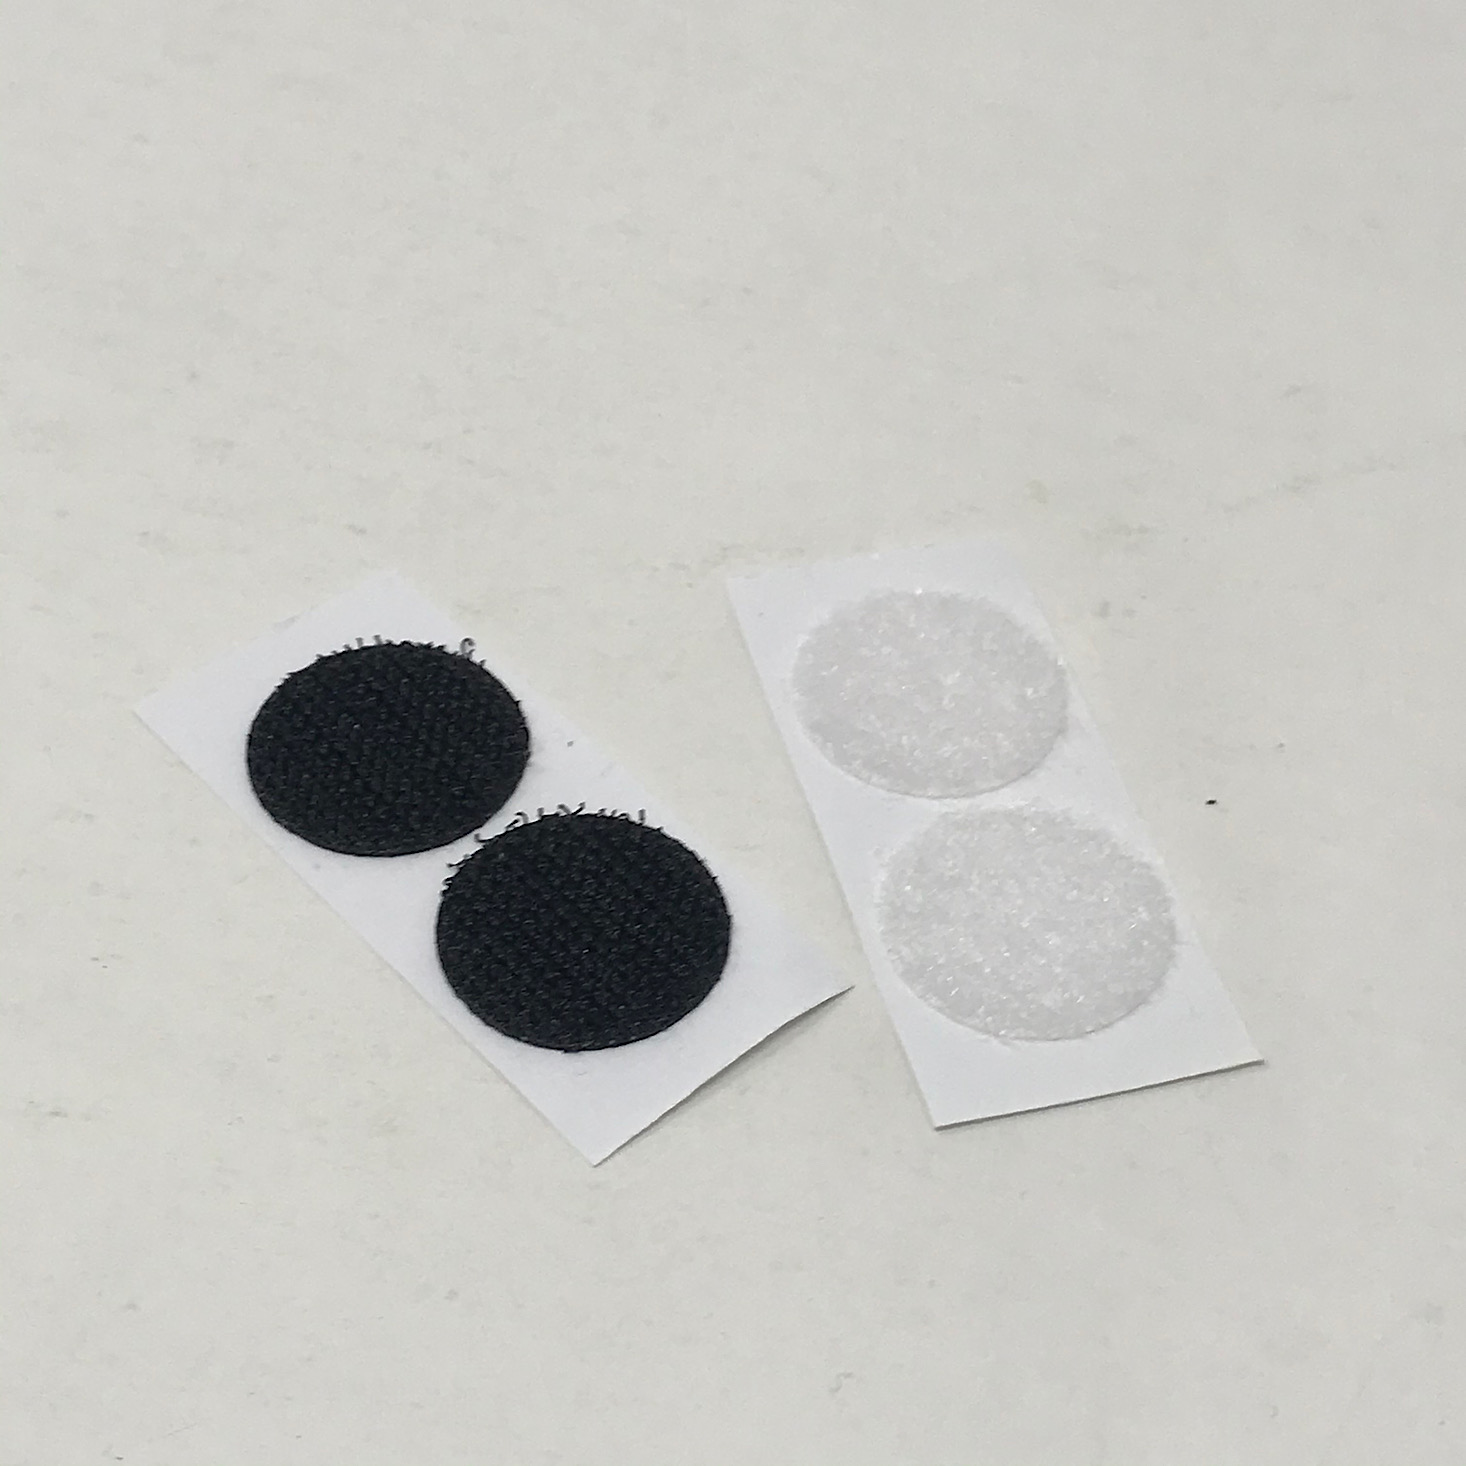
Then I added velcro pieces to the yellow dots.


1 of 4

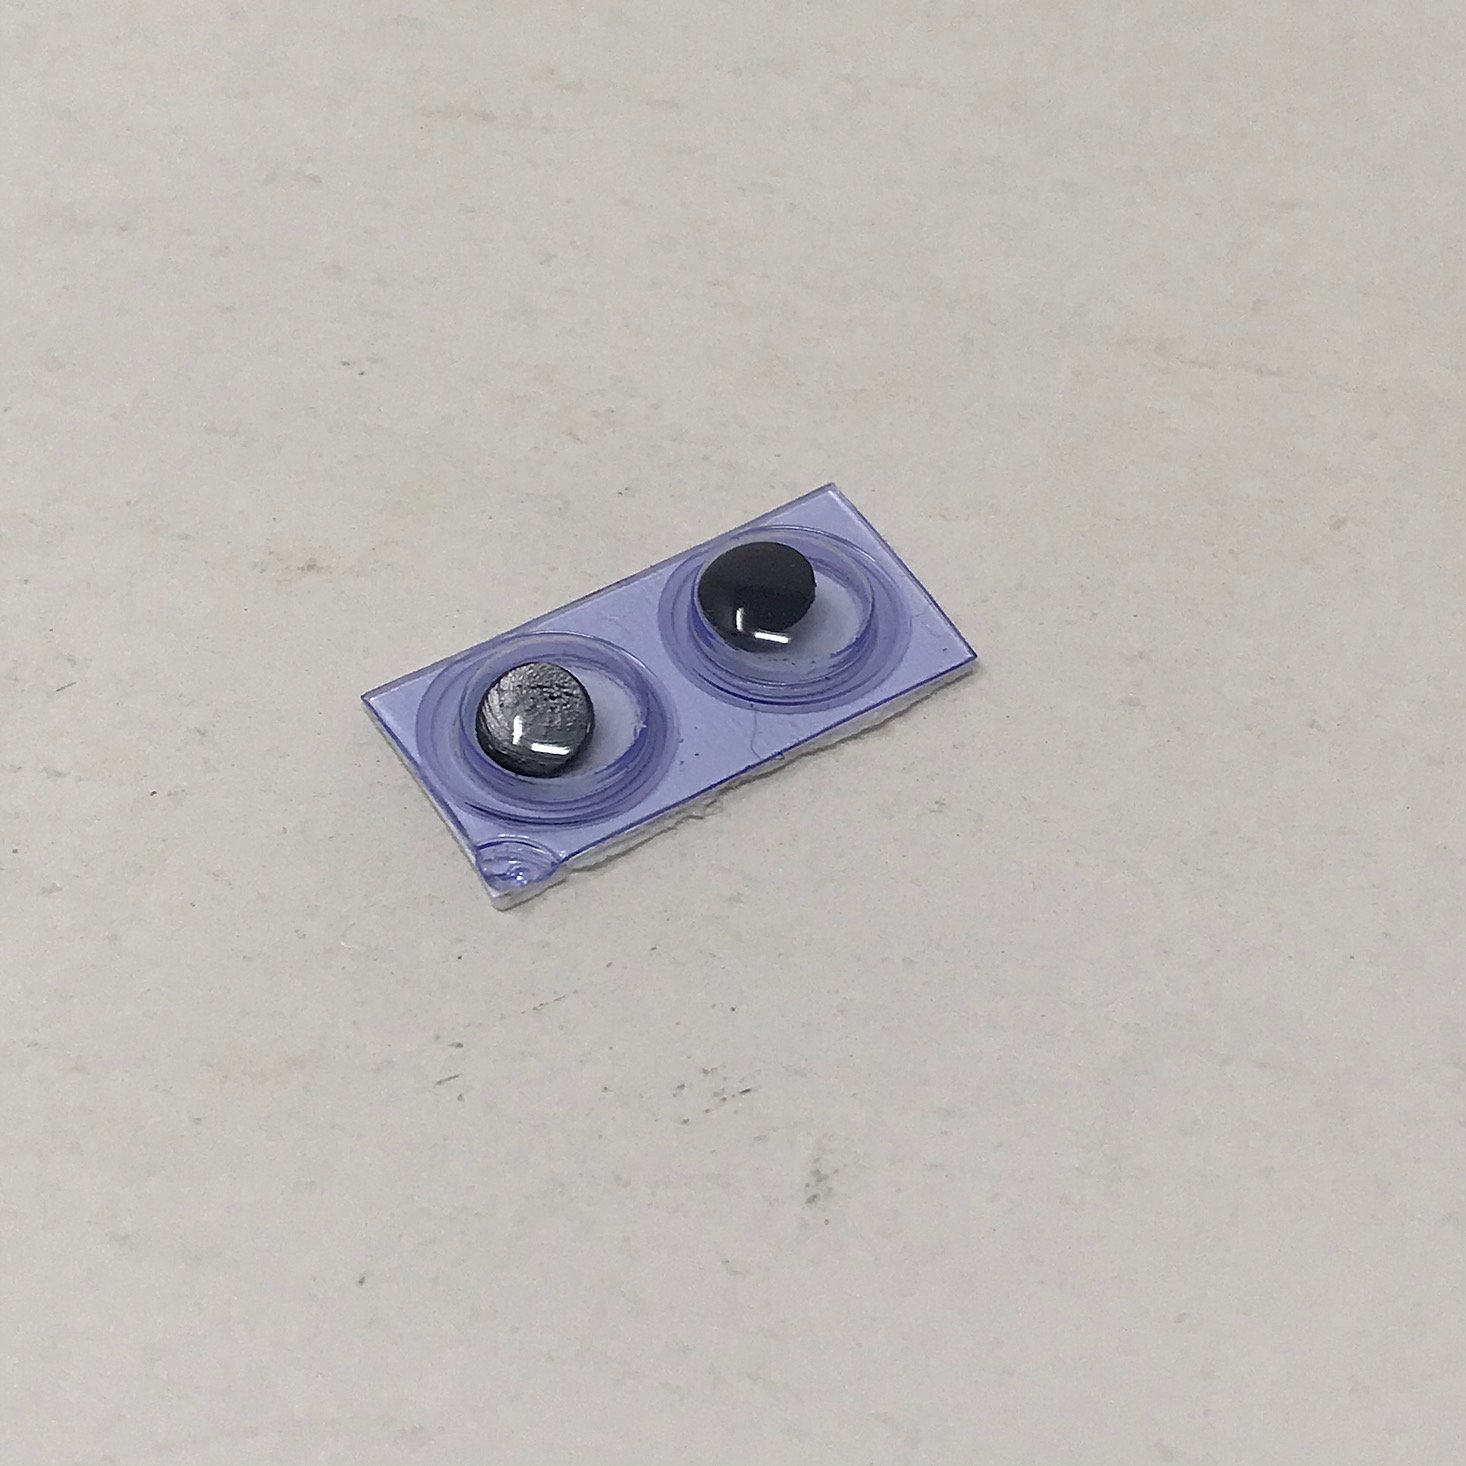
I inserted the two balls into the contraption as they instructed and then folded in some flaps and closed the door securing it by sticking my velcro circles to one another.


1 of 2
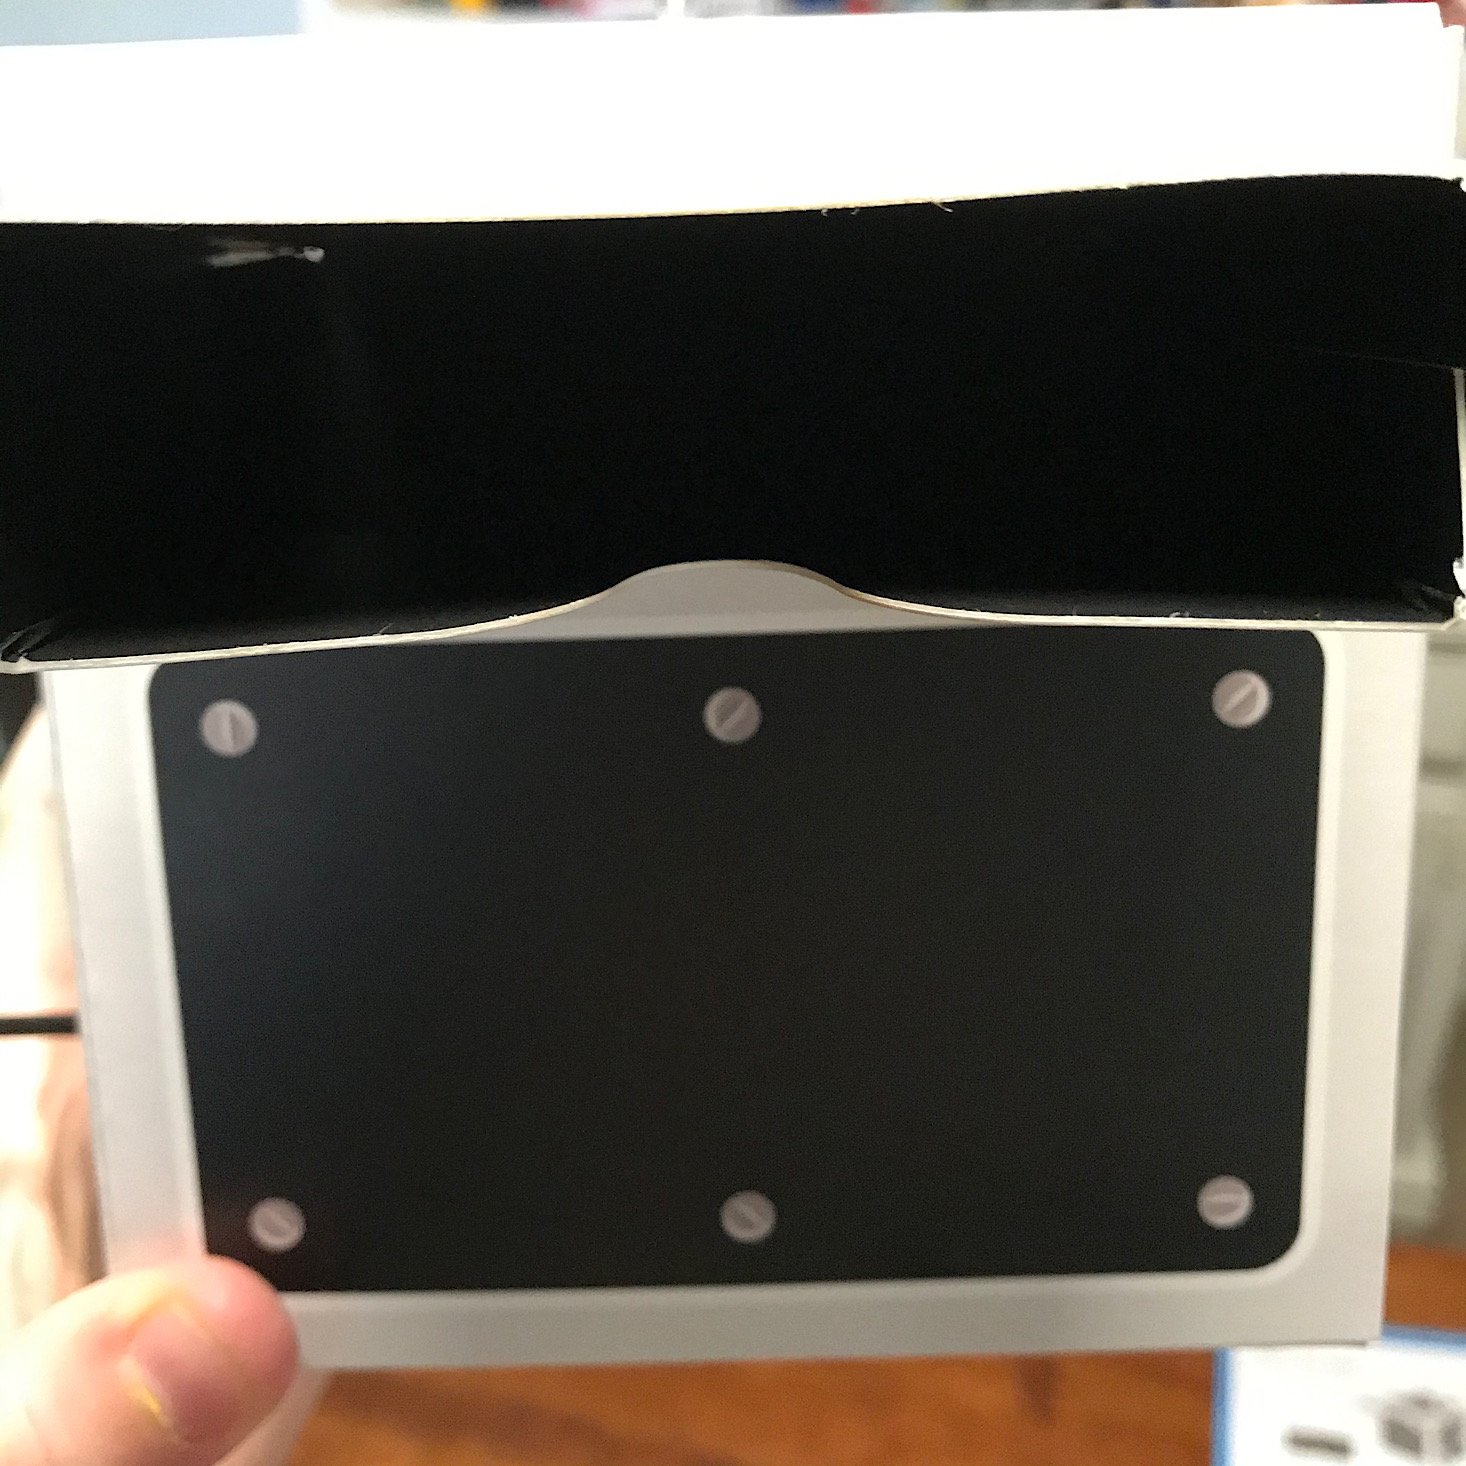
Then I added a sticky foam donut to the circle at the top of our box and stuck in this little finger light.

1 of 2
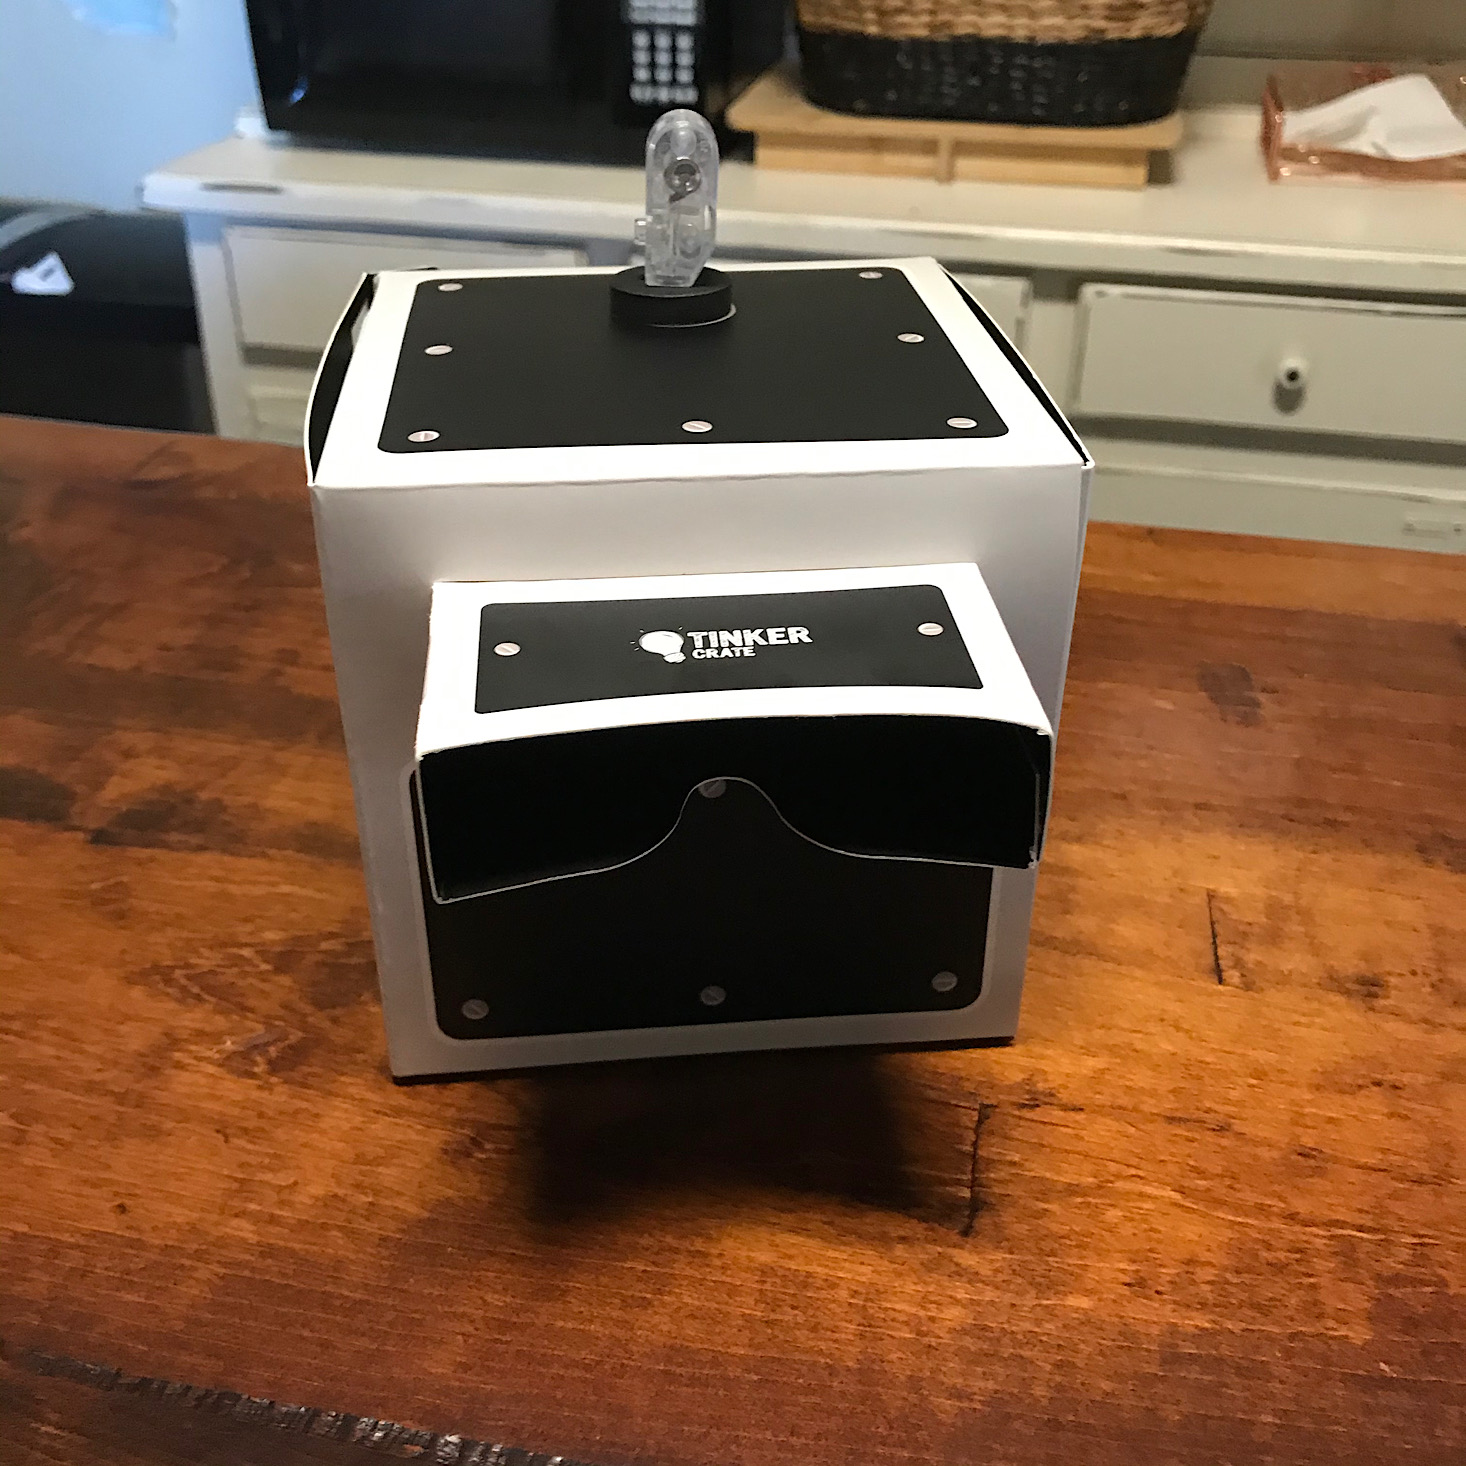
Here is our finished projector! Now let's get to the illusions!

1 of 2
First was our ghost ball. When you looked through the viewer you couldn't see anything except the very faint image of the orange ball (there wasn't enough light to capture that here), but then when you stuck your finger into the hole at the back and pressed the button, you could see the white "ghost" ball which would appear to be translucent. The kids thought this was a fun trick! We also turned on the finger light at the top to see how it changed our illusion!
1 of 3

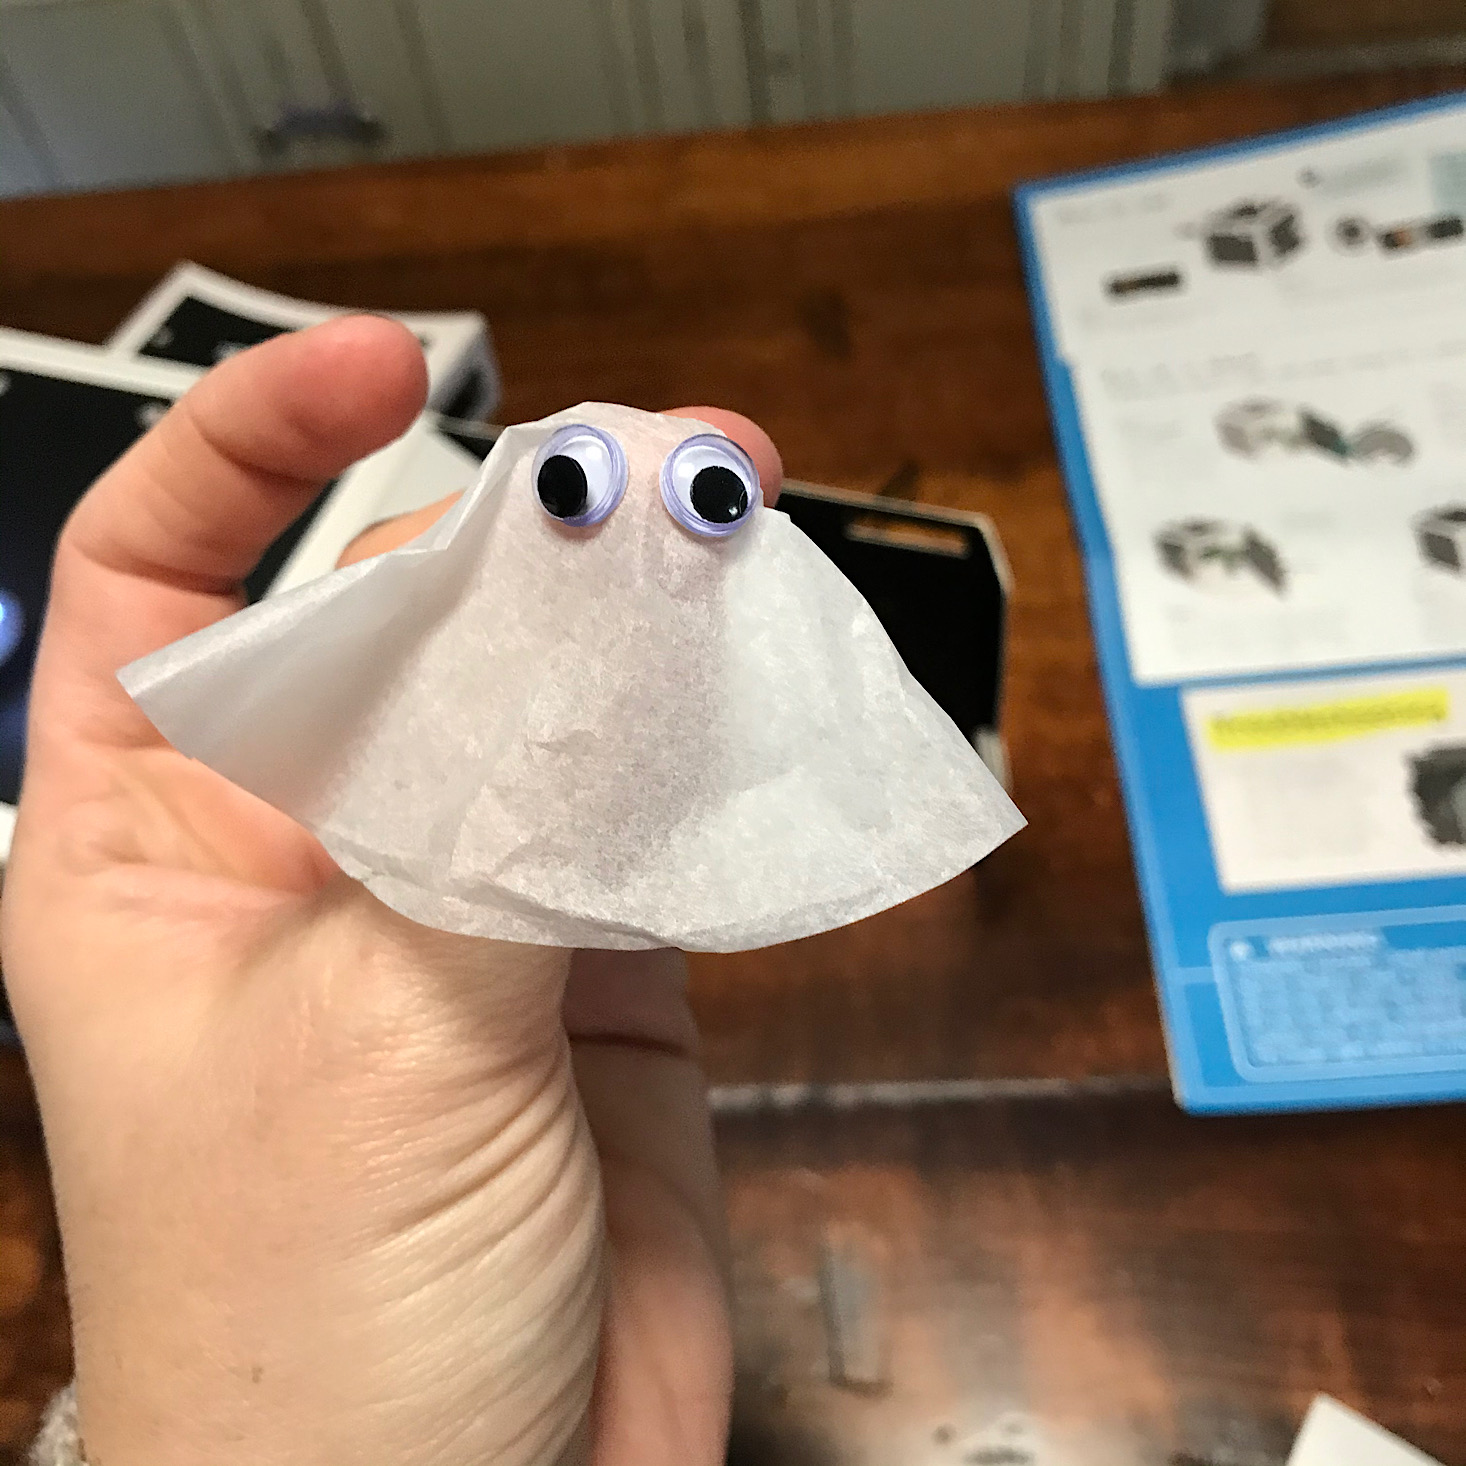
Next, I made a little ghost from the materials they provided.


1 of 3

I removed our two ping pong balls and then took one of these skewers and stuck it into the little X-shaped hole on the door of our projector. Then I used a small sticky foam square to stick our ghost to it and closed up our door. Here you can see my daughter moving the skewer around to make the ghost move inside the box. It was another fun illusion that we could only see when the button was pressed! We could also add the ball back in and make it look like the ghost was flying through it. Clever!

1 of 3

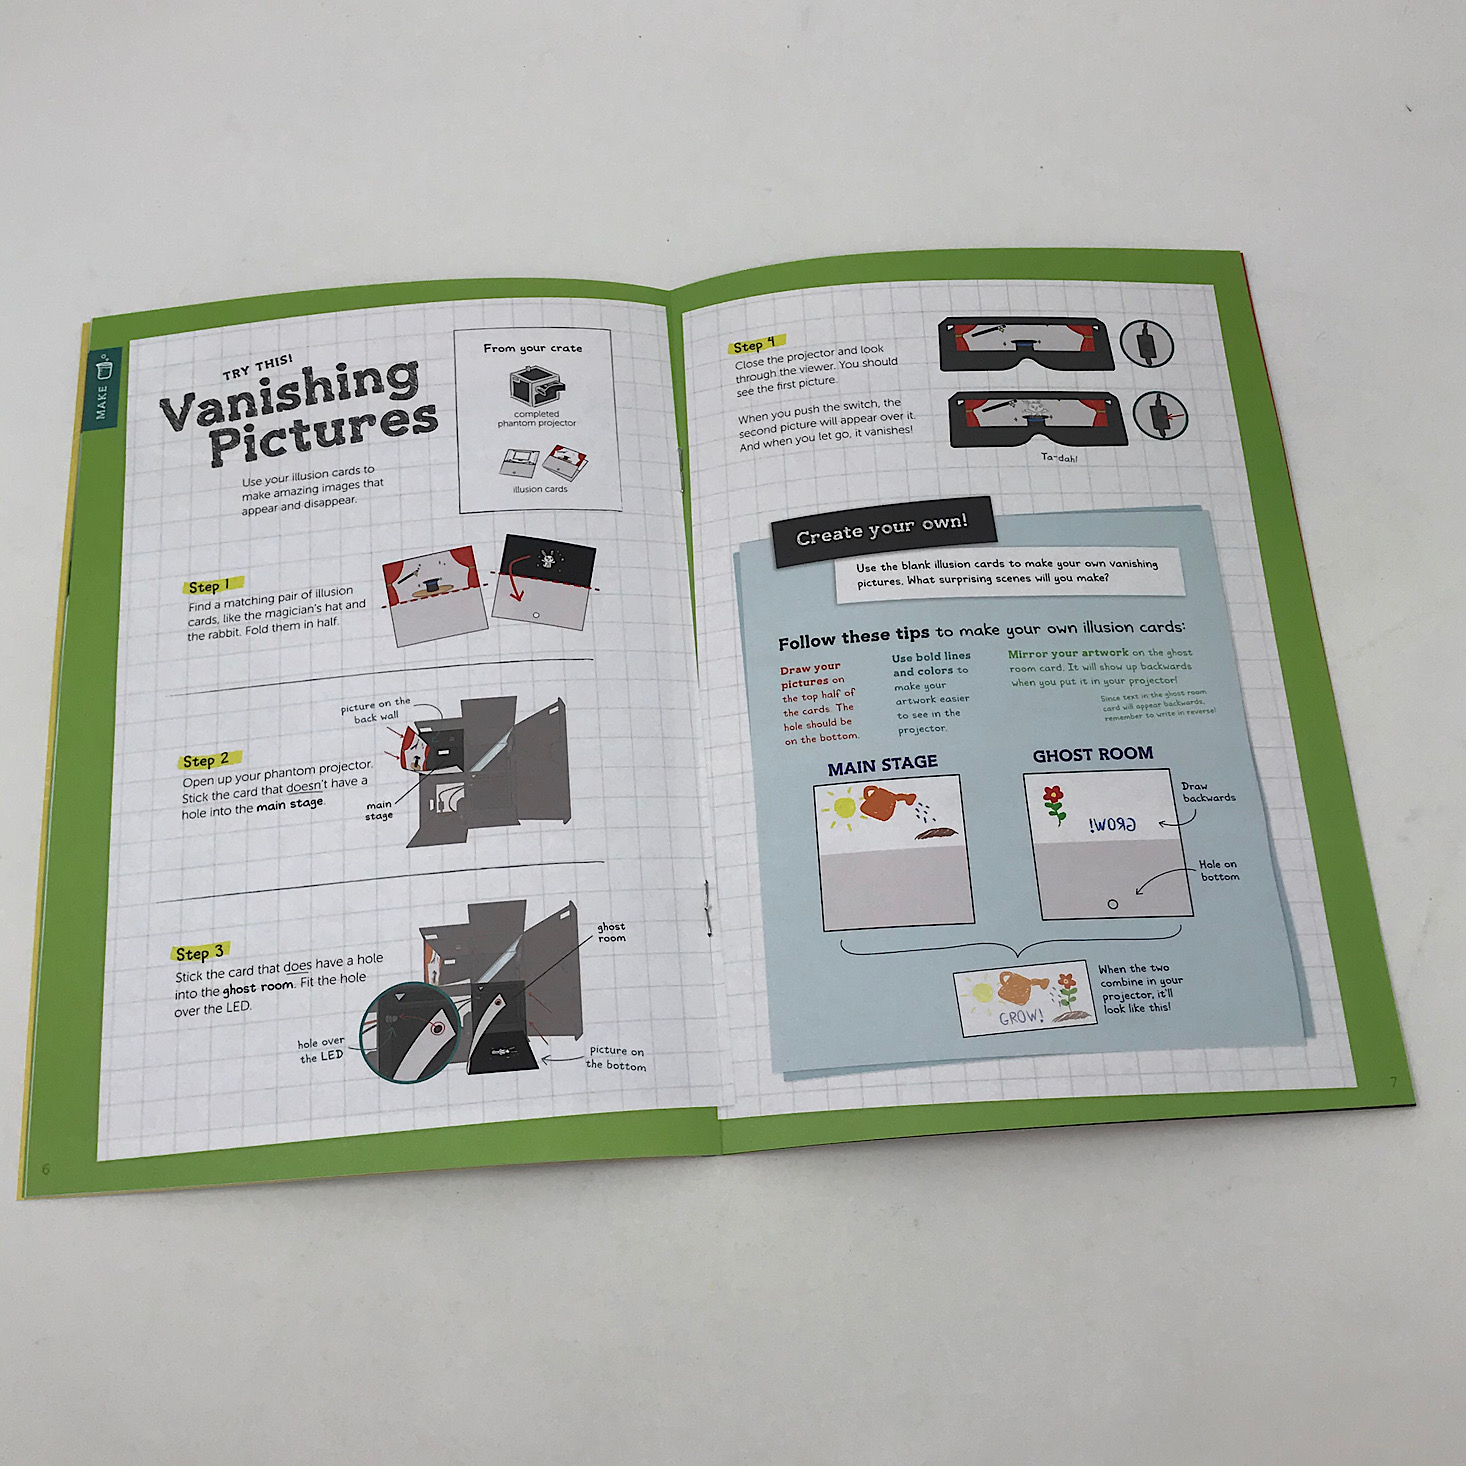
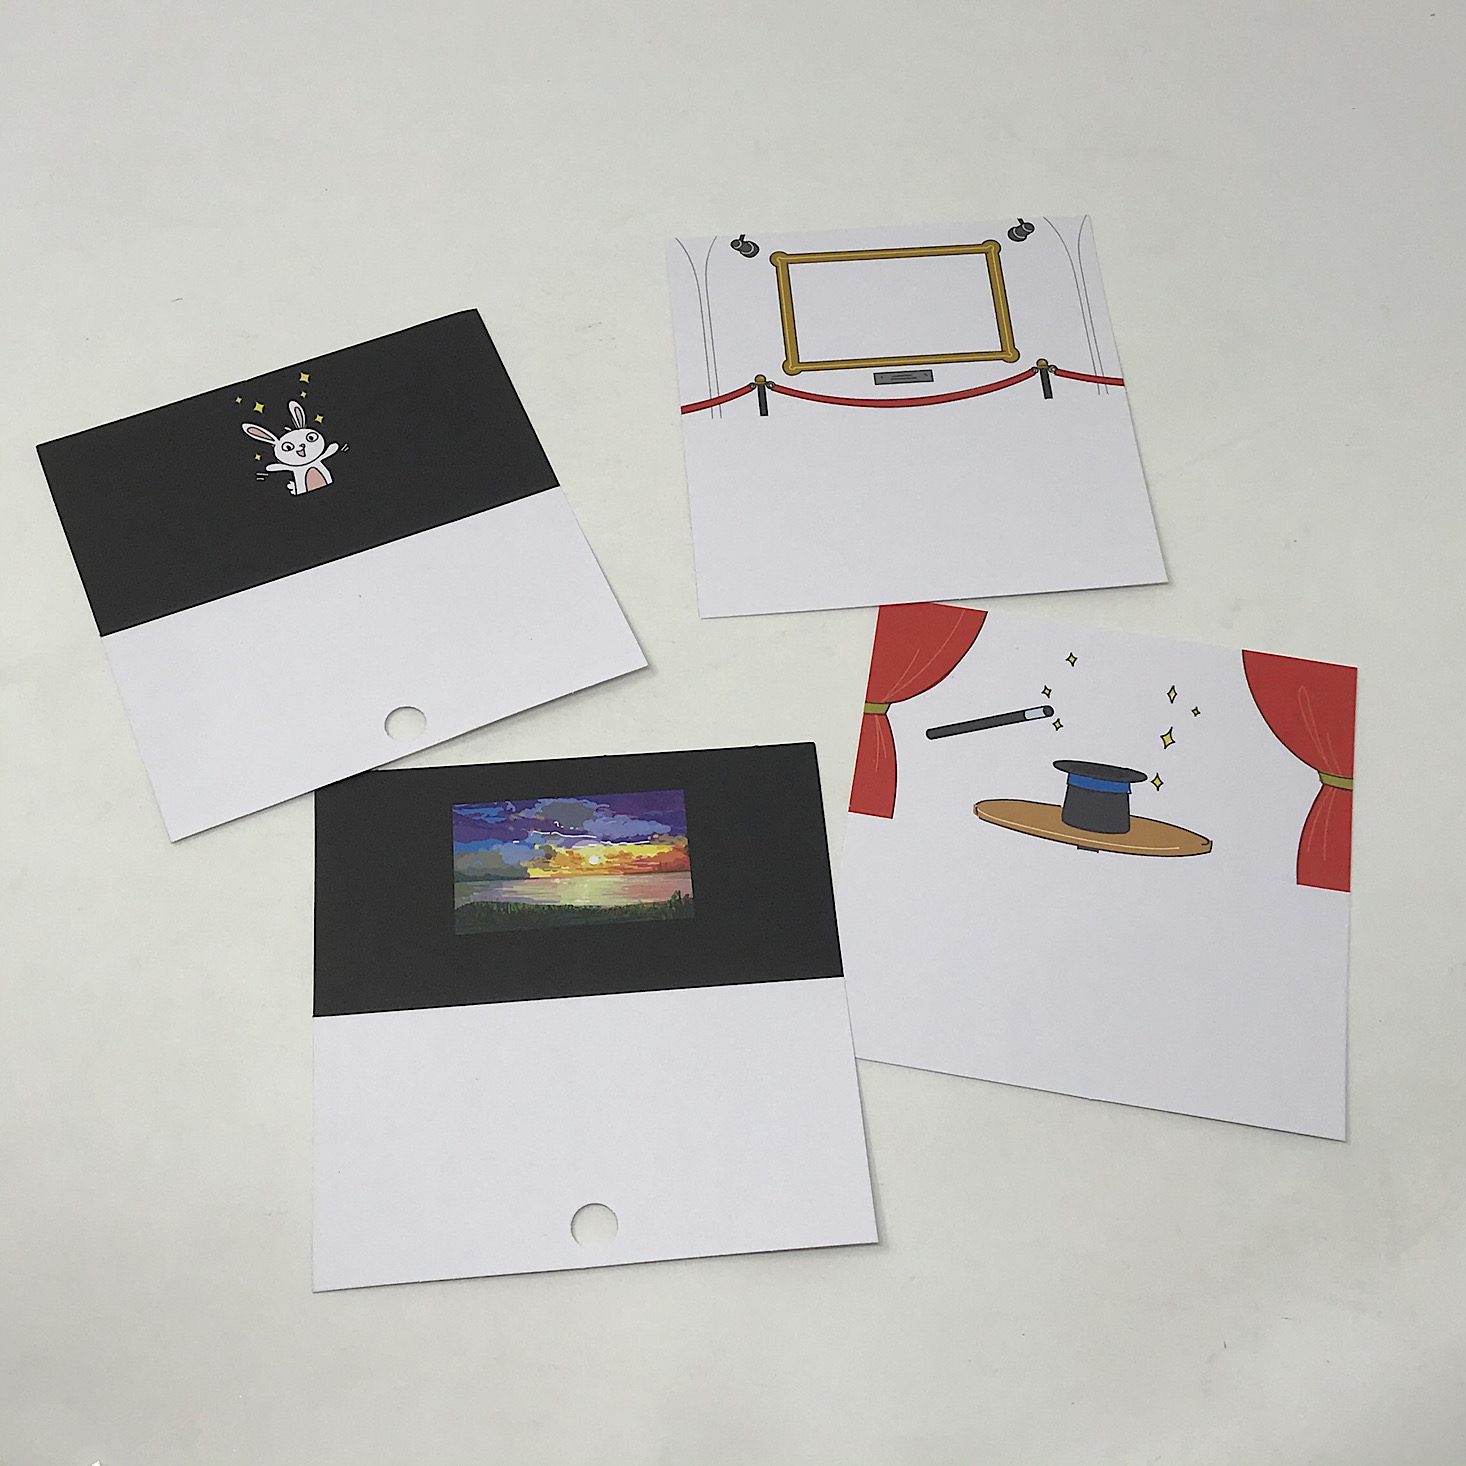
They provided two sets of illusion cards for us to play around with. We folded them in half and then stuck them into the correct chambers of our projector.

With the light off we could just see the stage with an empty hat, but as soon as we pressed the button, this little rabbit would appear popping out of the hat. It's difficult to see here, but hopefully, you get the idea!

They even included some blank cards for us to create our own illusions! One of the suggestions was to show a pot with a watering can and then have a flower pop up. So cute, and it leaves a lot of room for creativity!

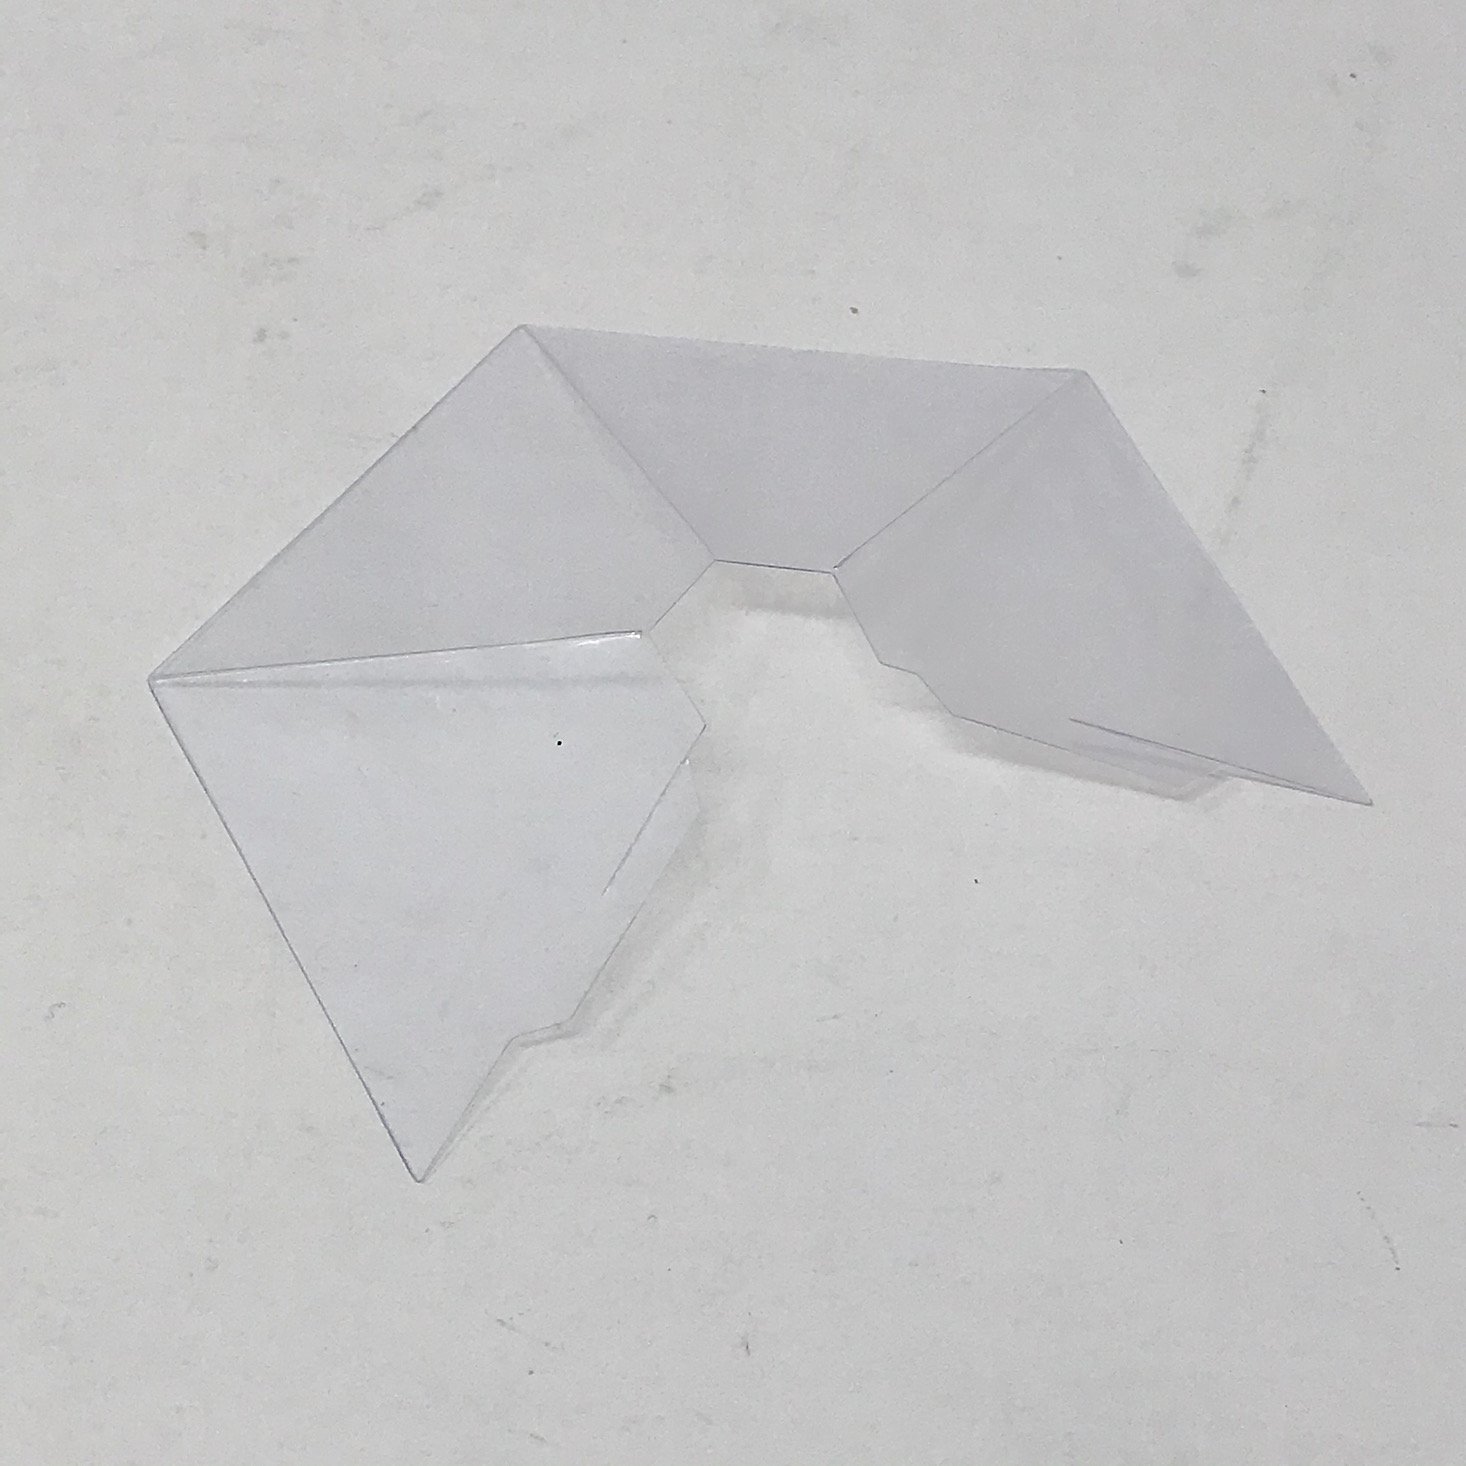
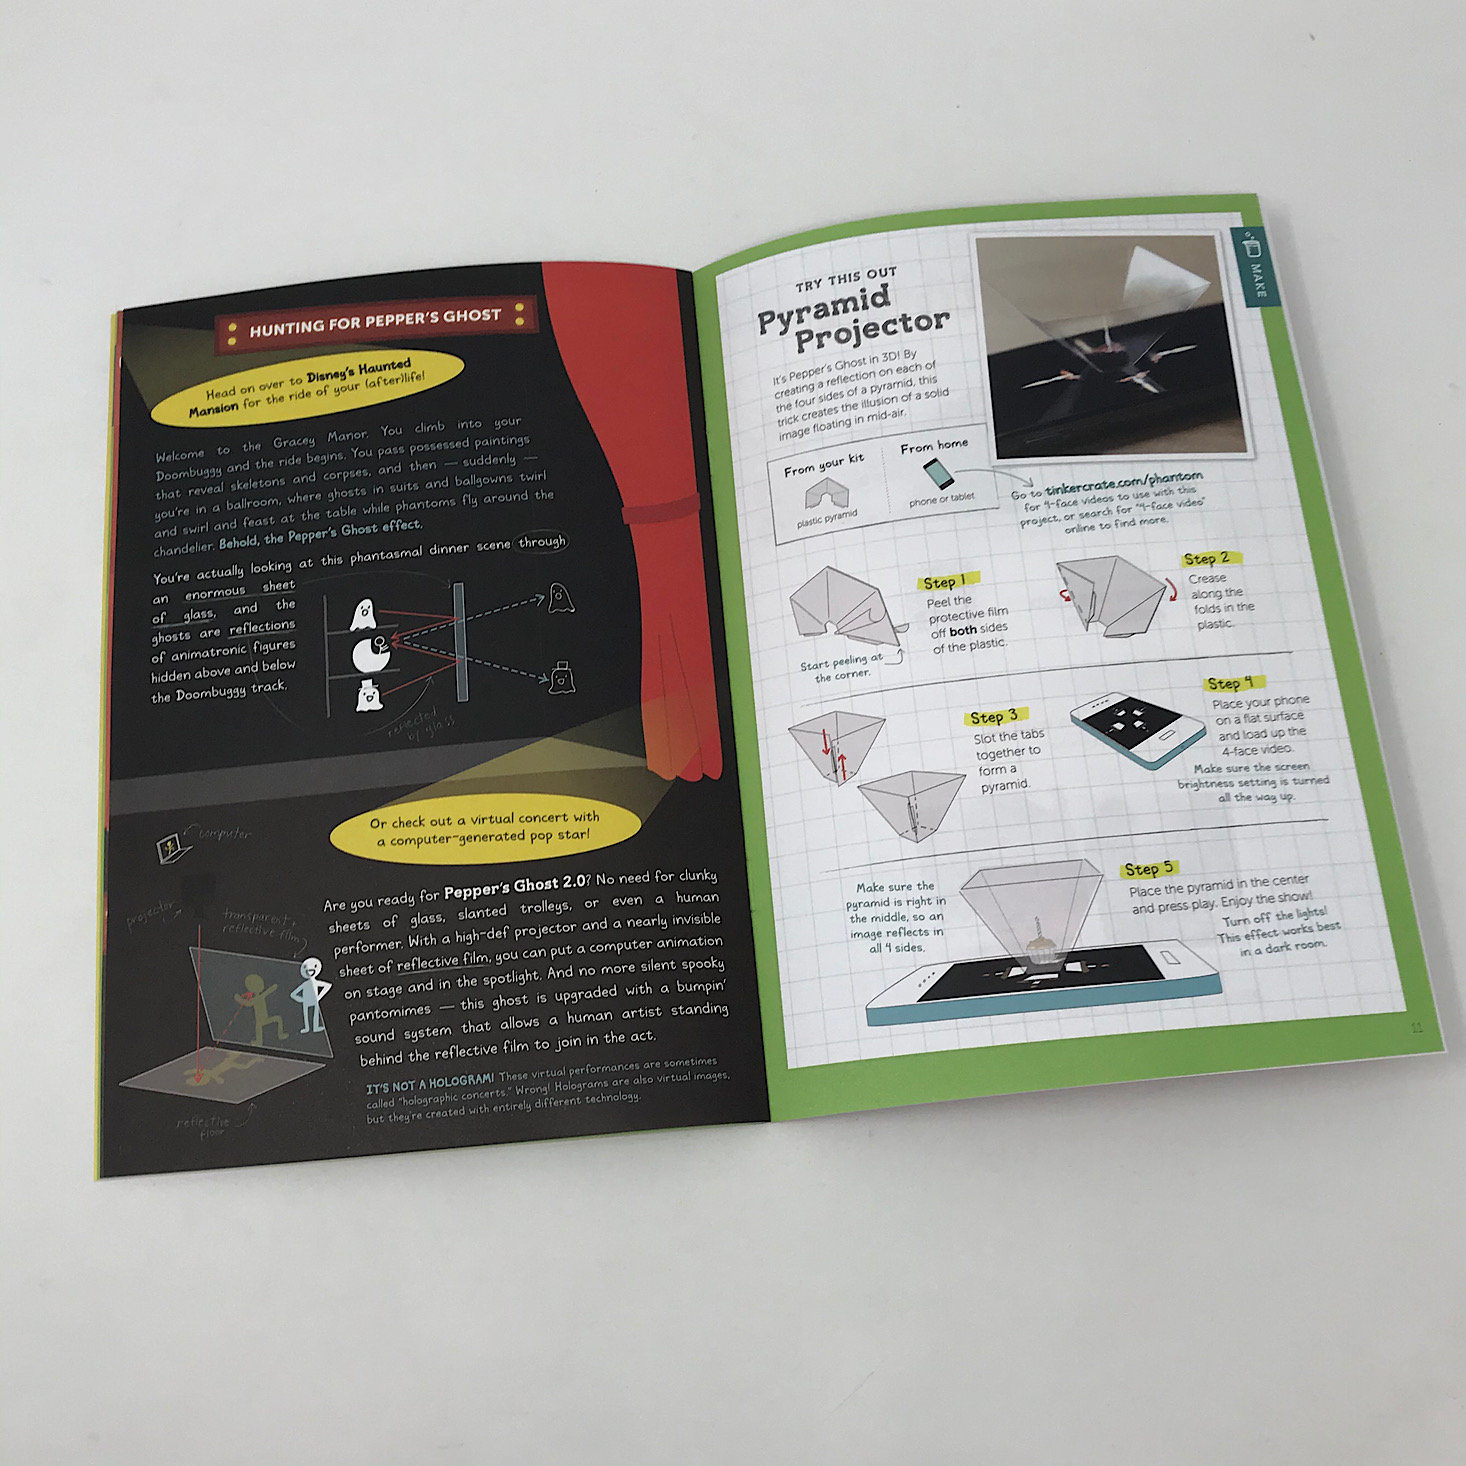
1 of 4

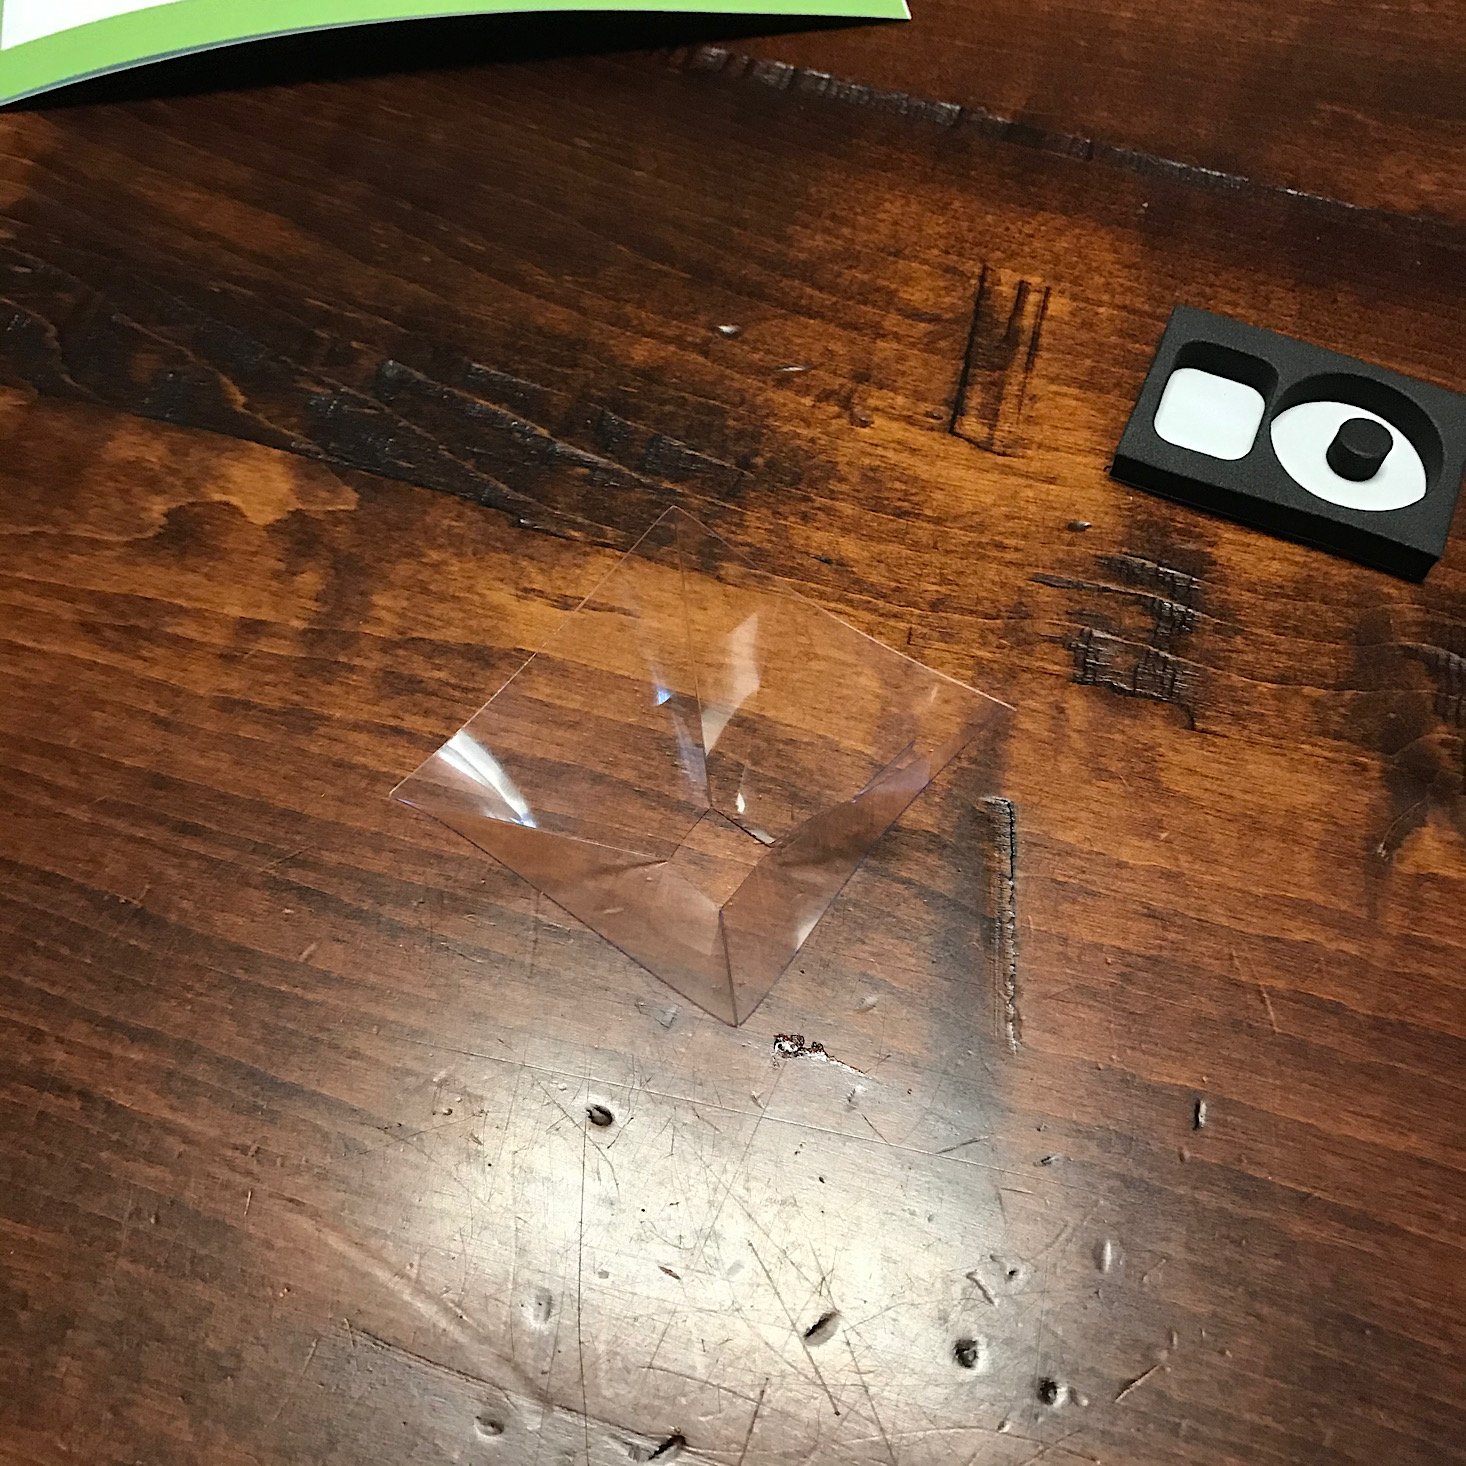
One of the other ideas they had in our Tinker Zine was to check out the Tinker website for some videos of a birthday candle and a flower blooming and use this little pyramid they provided to make it 3D. We simply folded it up and then placed it in the center of those candles on top of my phone screen (the last photo is a screenshot). While I couldn't get a picture of the illusion since I needed my phone, the kids thought this was so cool to have a little translucent candle popping up from my phone in the center of the plastic piece! My daughter especially liked the flower video in which the flowers would change and bloom!
Verdict: This month's Tinker Crate had such a fun subject matter with all of the various illusions and magic tricks! I felt like there were so many possibilities and ways to create illusions and they provided so many great materials to help us explore them further. My kids thought it was pretty cool, and while they are a bit younger and probably a bit easier to please than the target age group here, I can see older kids having a lot of fun creating their own illusions with their phantom projector! This was another great project with easy to follow directions and organized materials for a $19.95 + free shipping box!
To Wrap Up:
Can you still get this box if you sign up today? It is possible you might get this crate, but it is not a guarantee. From KiwiCo:
Crates are assigned each month based on availability and your crate history - not all subscribers receive the same theme each month.
Check out all of our Tinker Crate reviews and the best subscription boxes for kids!
Keep Track of Your Subscriptions: Add this box to your subscription list or wishlist!
What do you think of this month's Tinker Crate?
Please do not enter your email address in the Name field or in the comment content. Your email address will not be published. Required fields are marked *. Remember to post with kindness and respect. Comments with offensive language, cruelness to others, etc will not be approved. See our full comment policy here.