

Tinker Crate is a subscription box for kids and tweens ages 9-16+ created by kids subscription box company KiwiCo. Each monthly Tinker Crate contains all the materials and instructions needed to create innovative, hands-on STEM projects, as well as a "Tinker Zine" full of educational information and additional activities.
KiwiCo offers boxes for different age groups:
- Tadpole Crate for 0-36-month-olds,
- Koala Crate for 3-4-year-olds,
- Kiwi Crate for 5-8-year-olds,
- Atlas Crate for 6-11-year-olds,
- Doodle Crate and Tinker Crate for 9-16+-year-olds, and
- Eureka Crate for ages 14 and up.
There really is something for every age with this company!
This review is of KiwiCo's Tinker Crate (for ages 9-16), which costs $19.95 per month.
This box was sent to us at no cost for review. (Check out the review process post to learn more about how we review boxes.)
About Tinker Crate
The Subscription Box: Tinker Crate
The Cost: $19.95 per month + free shipping
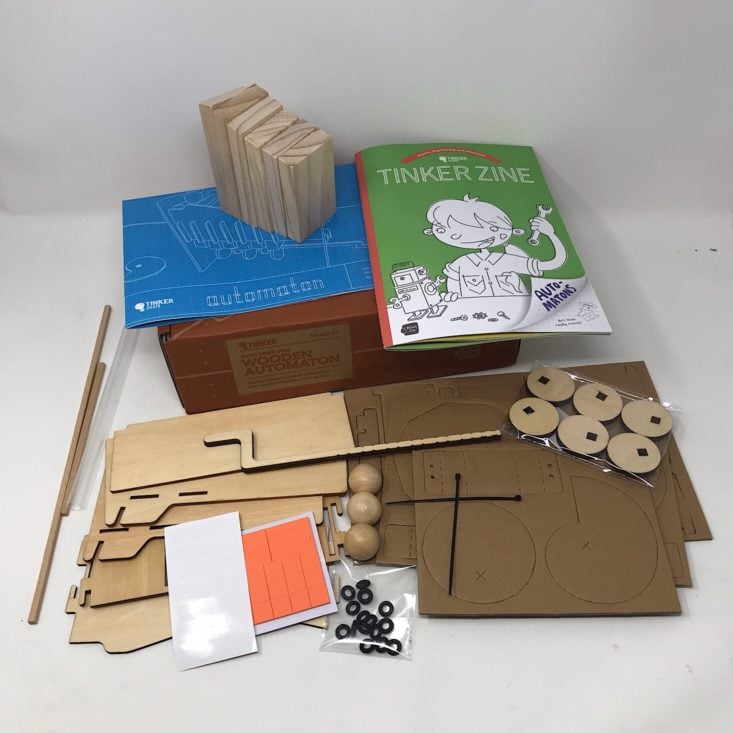
The Products: Innovative hands-on STEM projects for kids, plus the materials and detailed instructions your child needs to complete them. You'll also get a "Tinker Zine" full of educational information and additional activities.
Ships to: The U.S. for free, Canada for $5.95 per month, worldwide from $6.95-$7.95
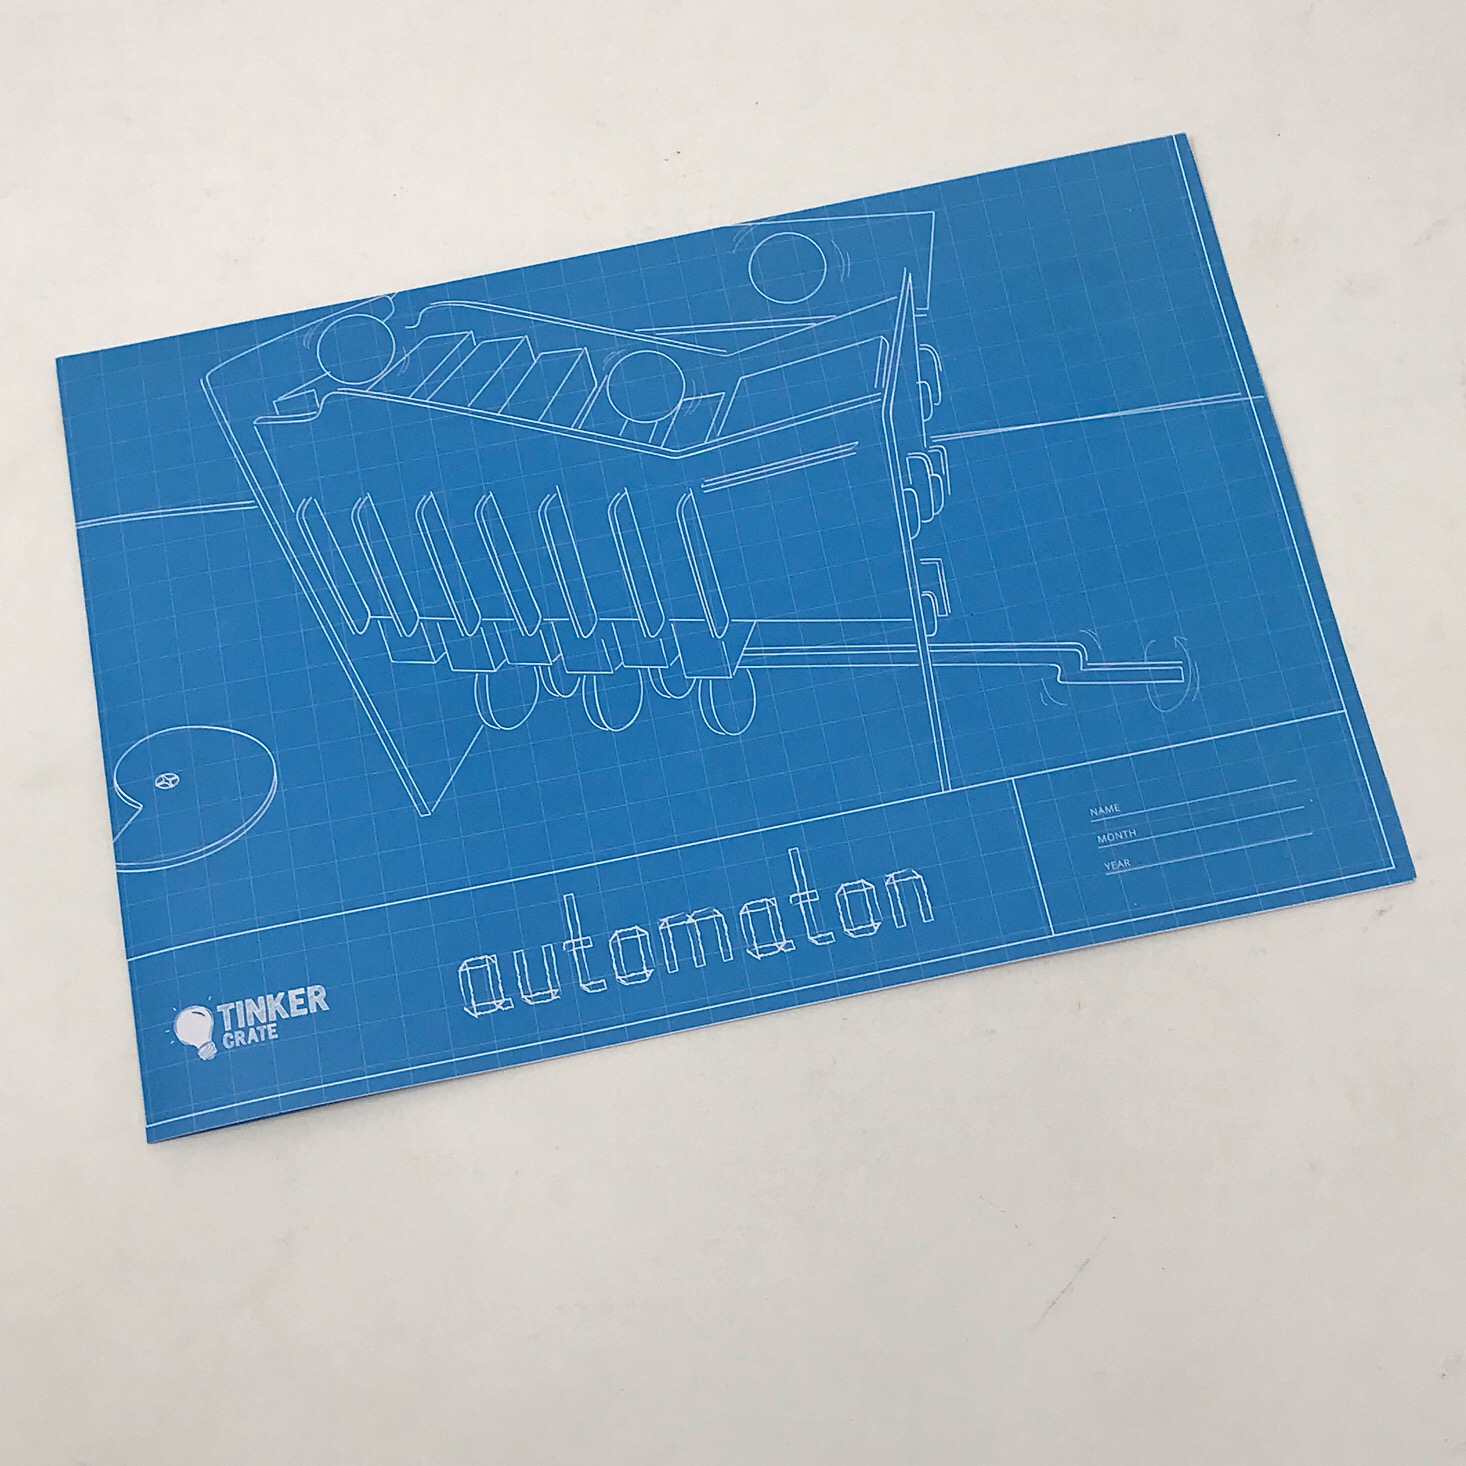
KiwiCo Tinker Crate "Wooden Automaton" Review
1 of 9
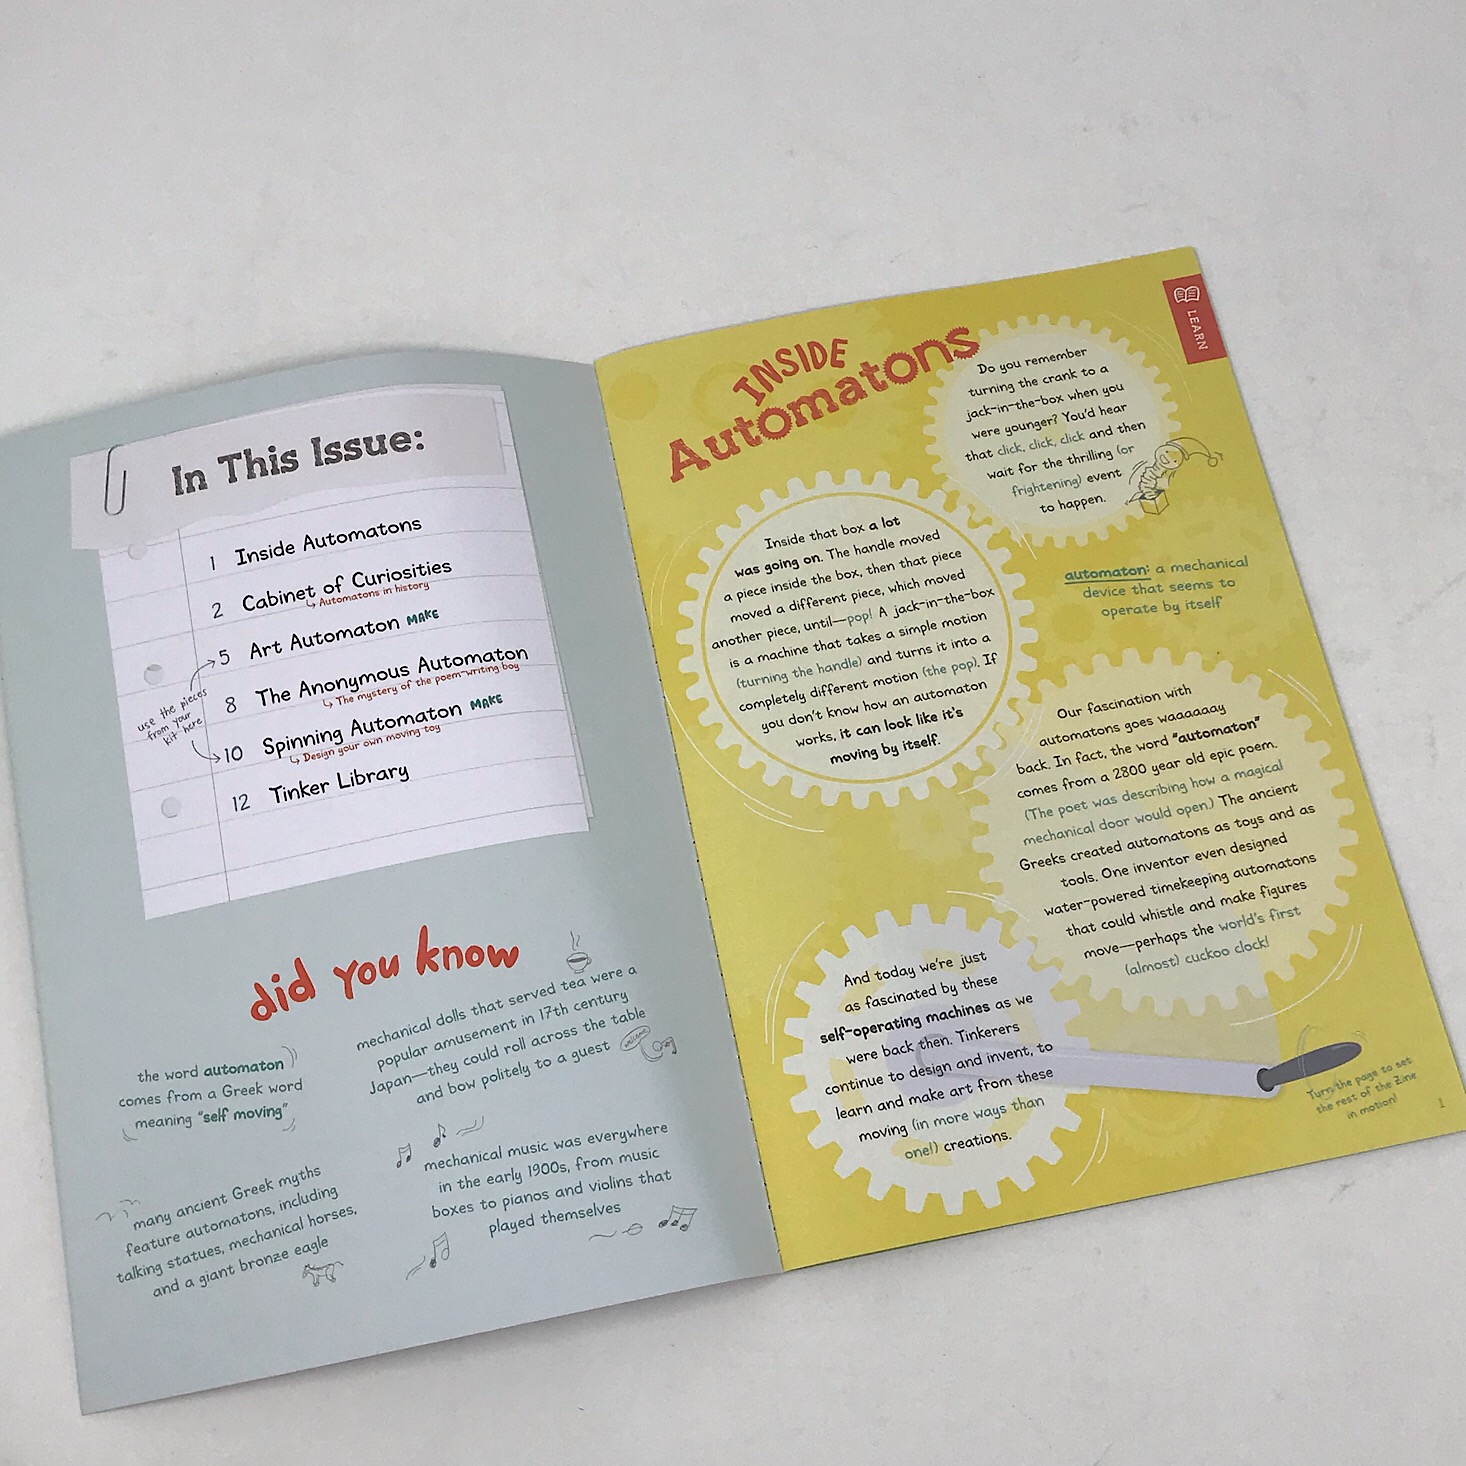


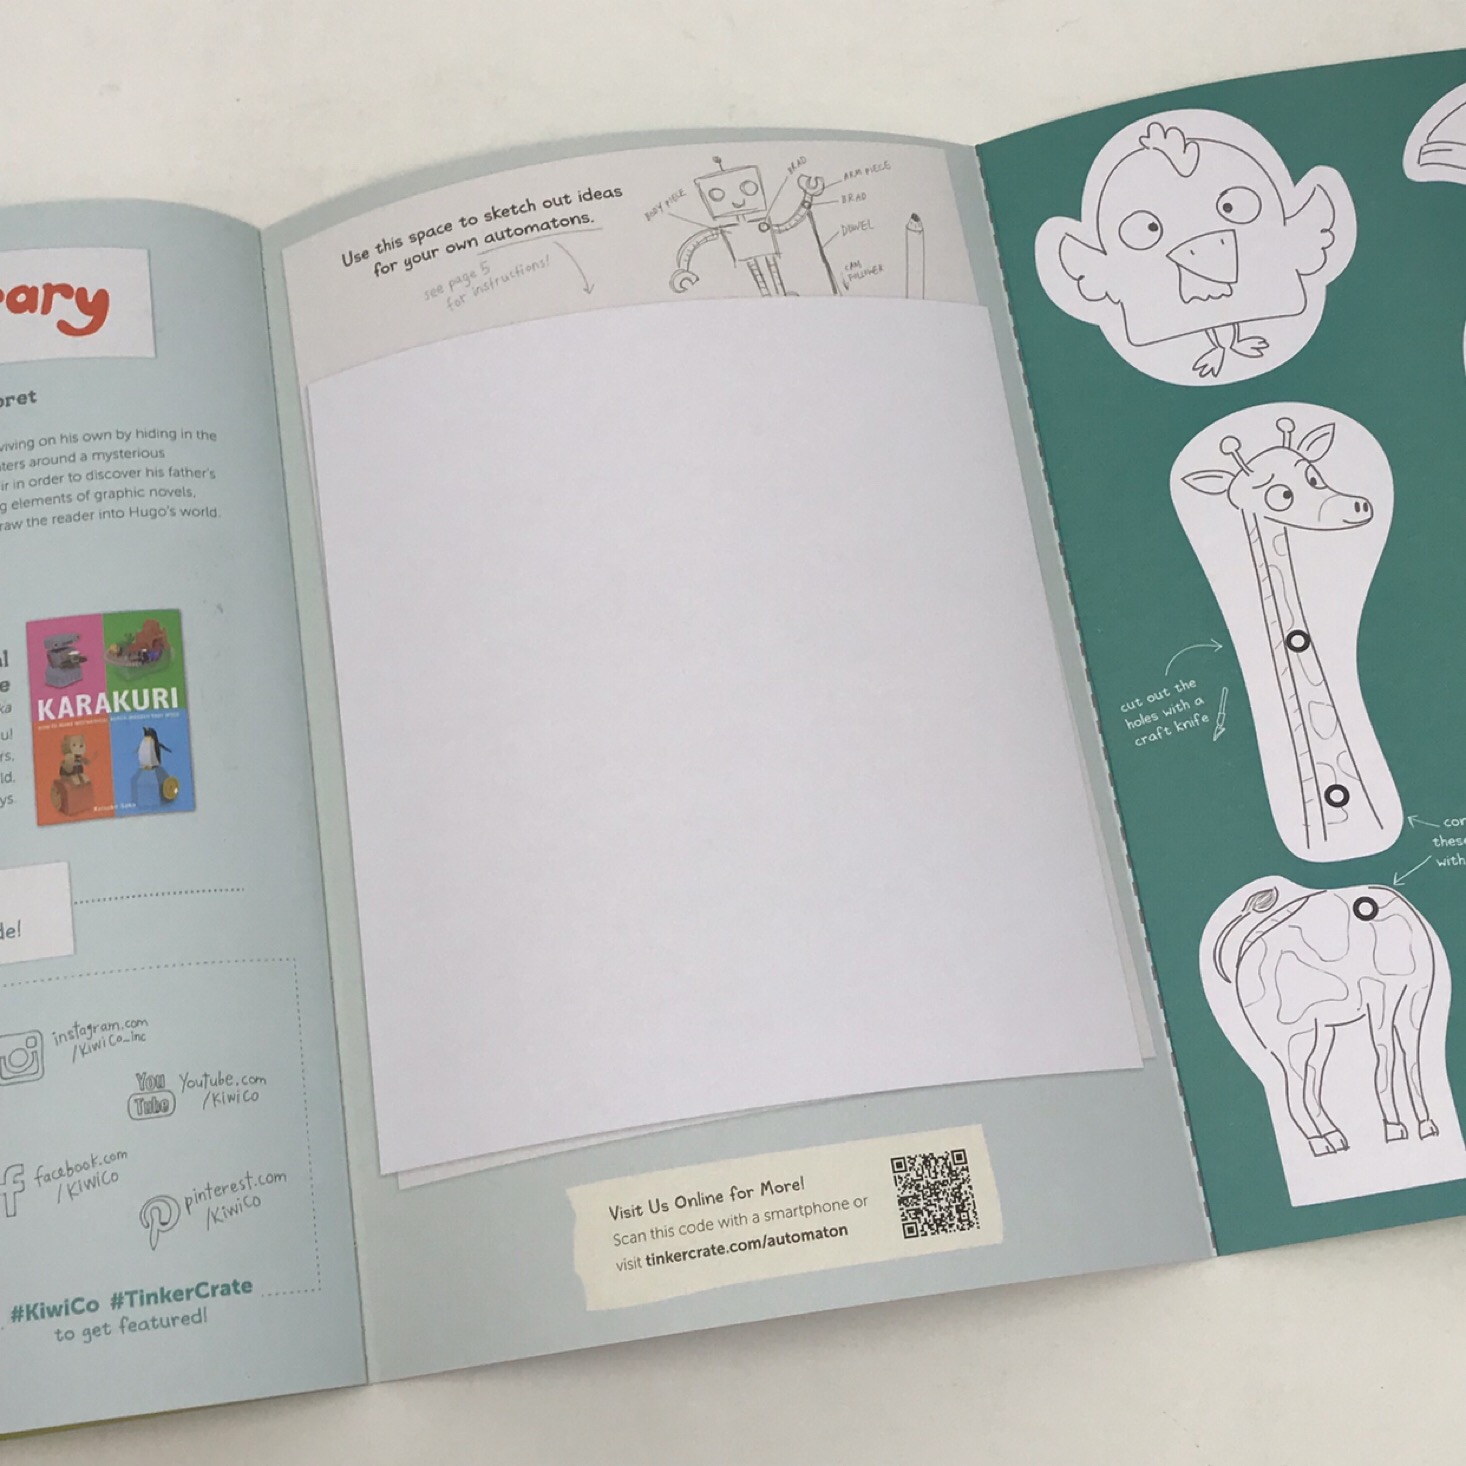
The theme of this month's Tinker Zine is "Automatons" to go with our wooden automaton. This zine is full of educational information about robots and automatons and even includes some information on how to make our own art automaton.
1 of 7
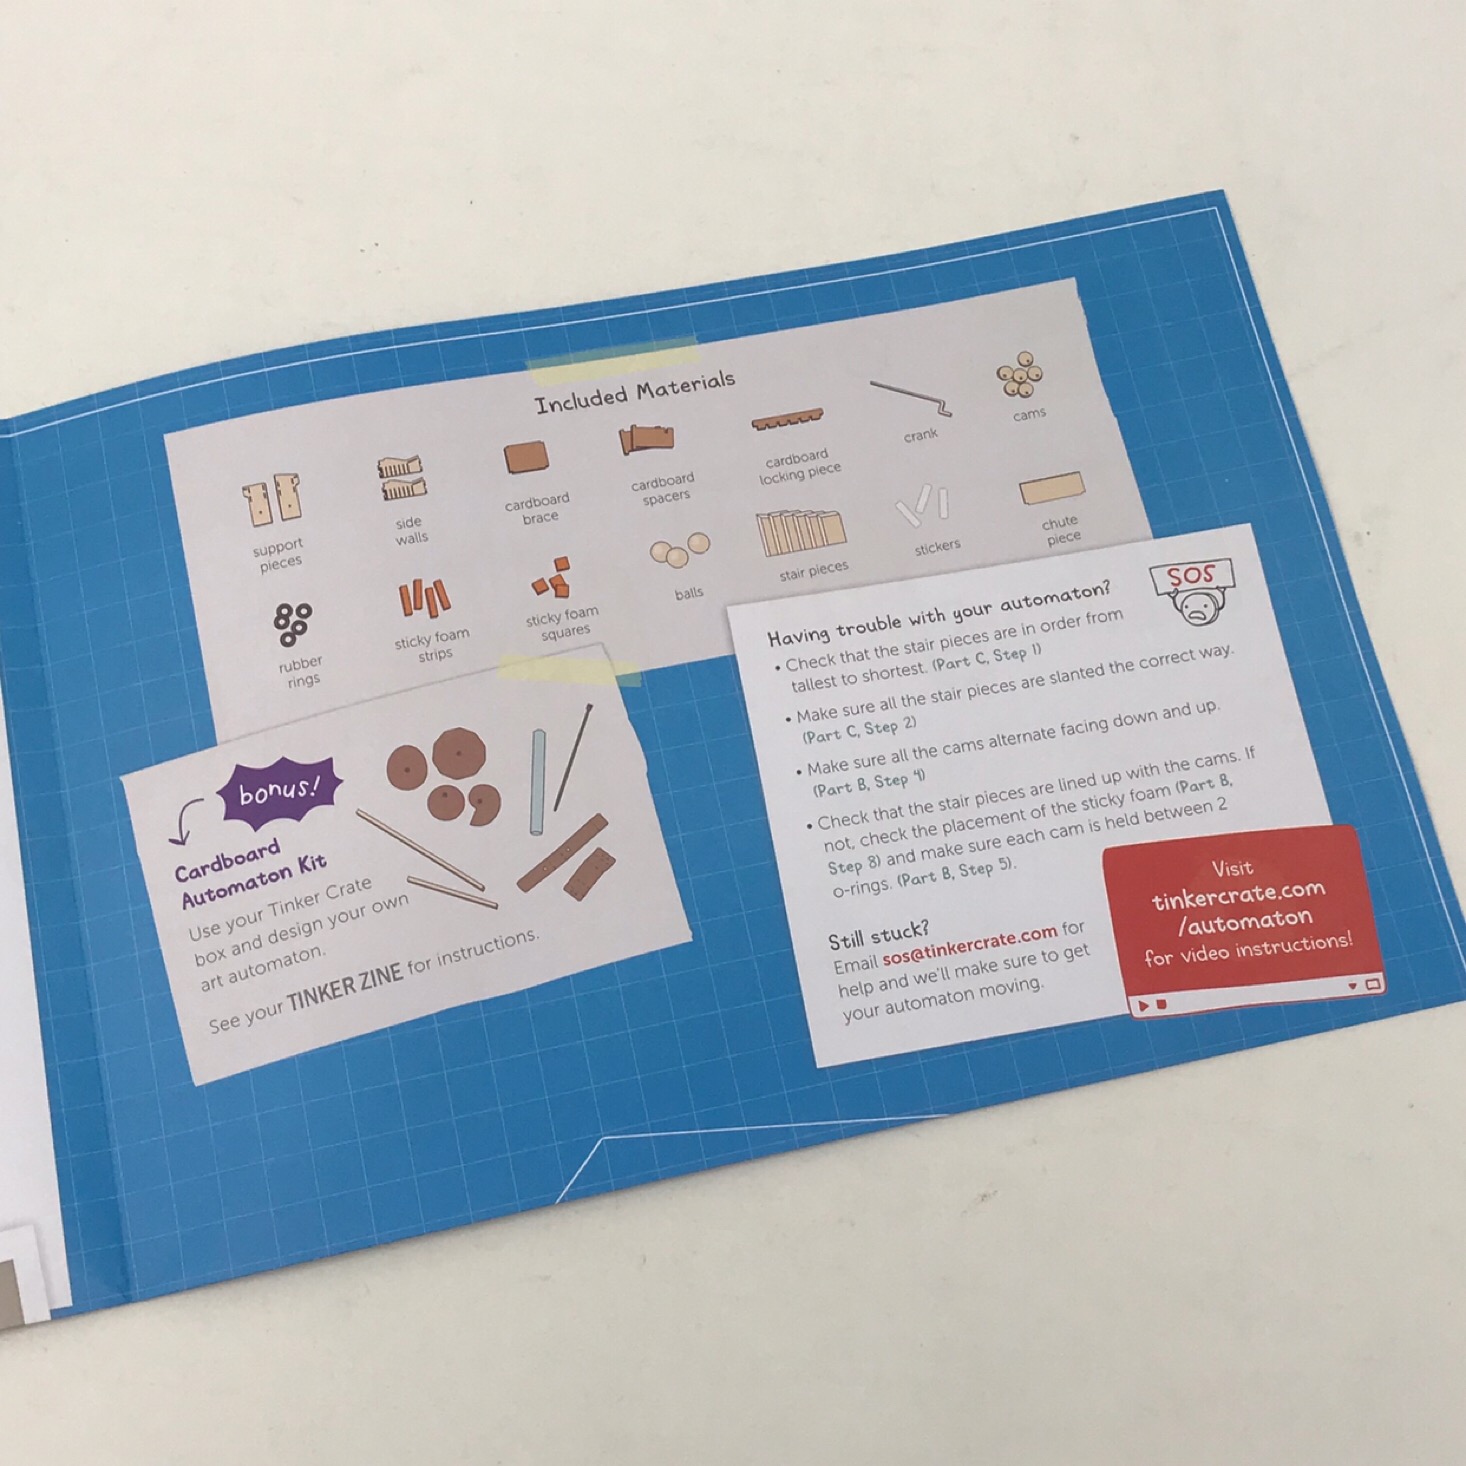


Our instructions come on a separate sheet and they include detailed directions along with color pictures for each step. They even include a section on troubleshooting each month which I find to be helpful although usually, these projects run pretty smoothly! They also include a link so that you can watch video instructions for more help.
Part A: Build the Frame

1 of 3
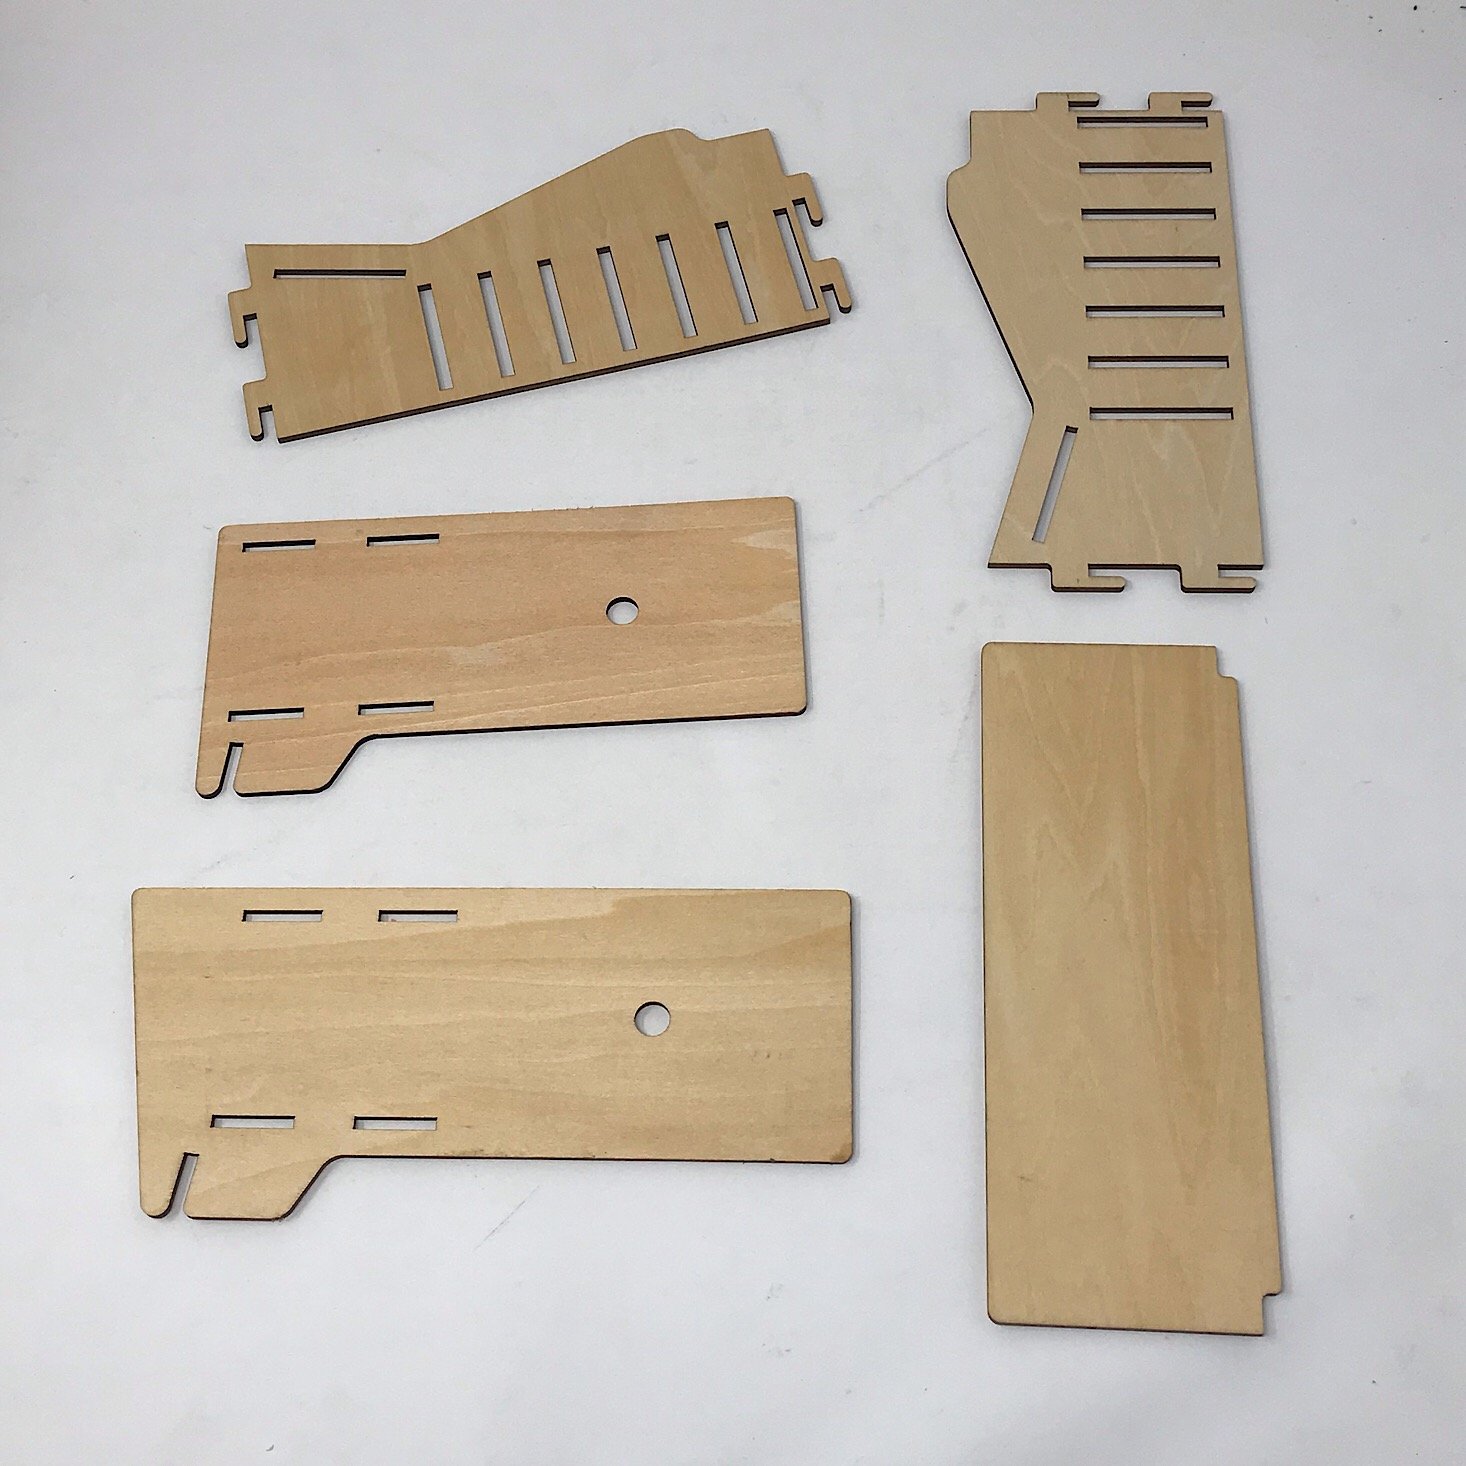
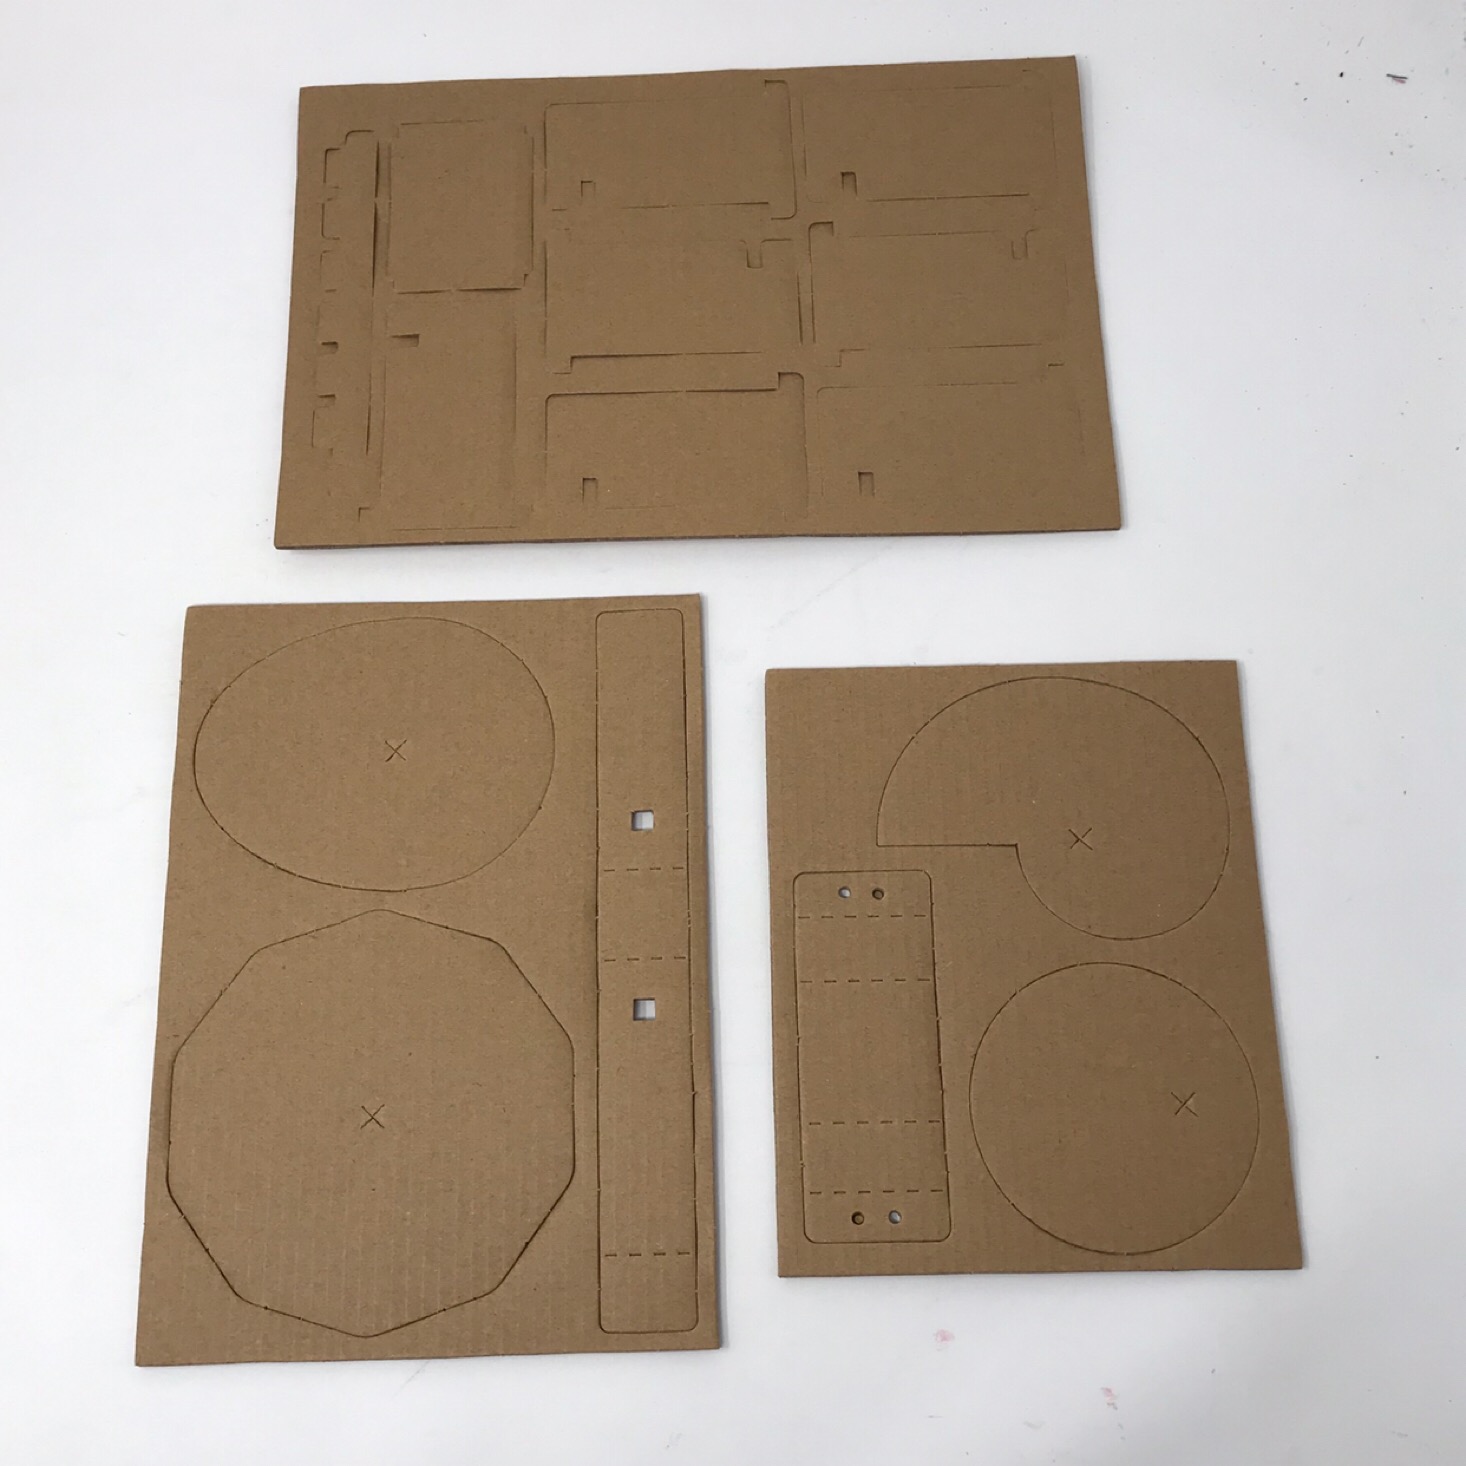
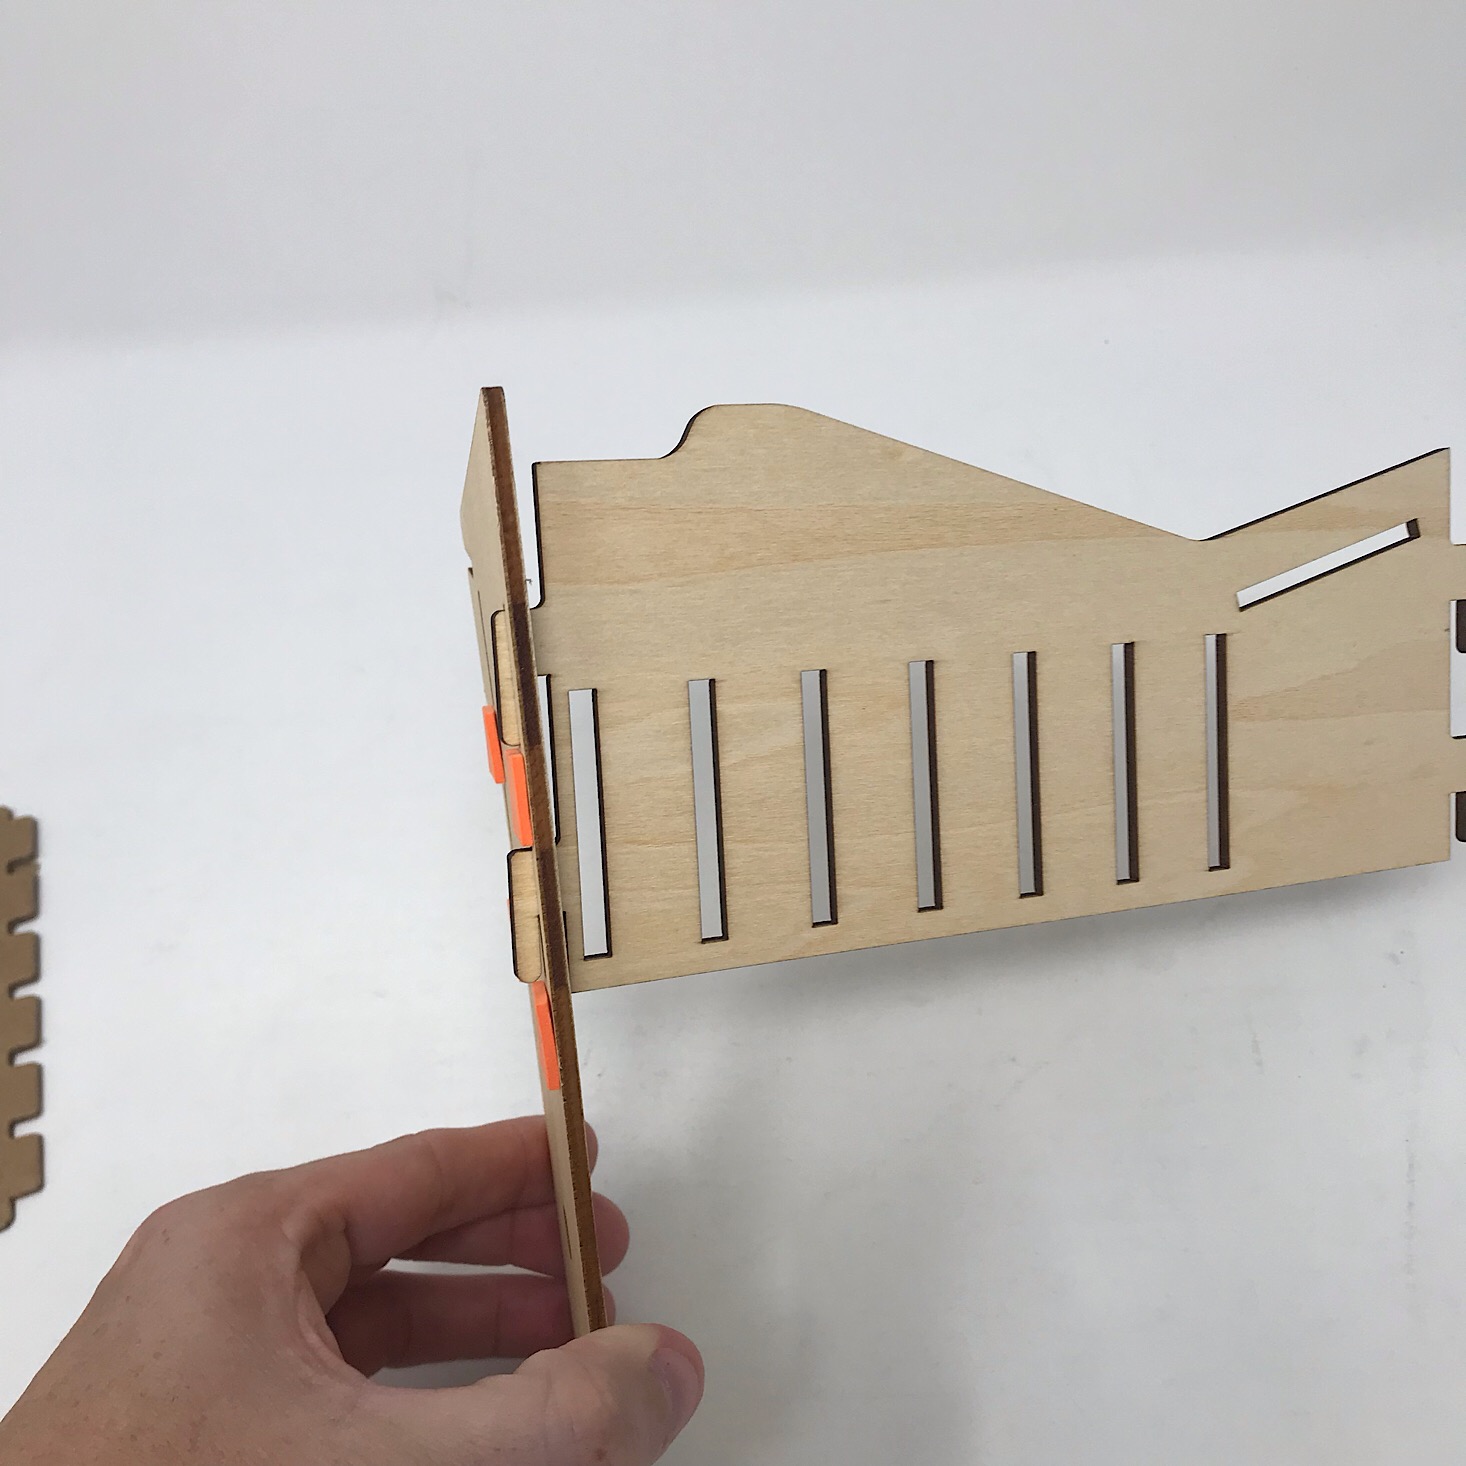
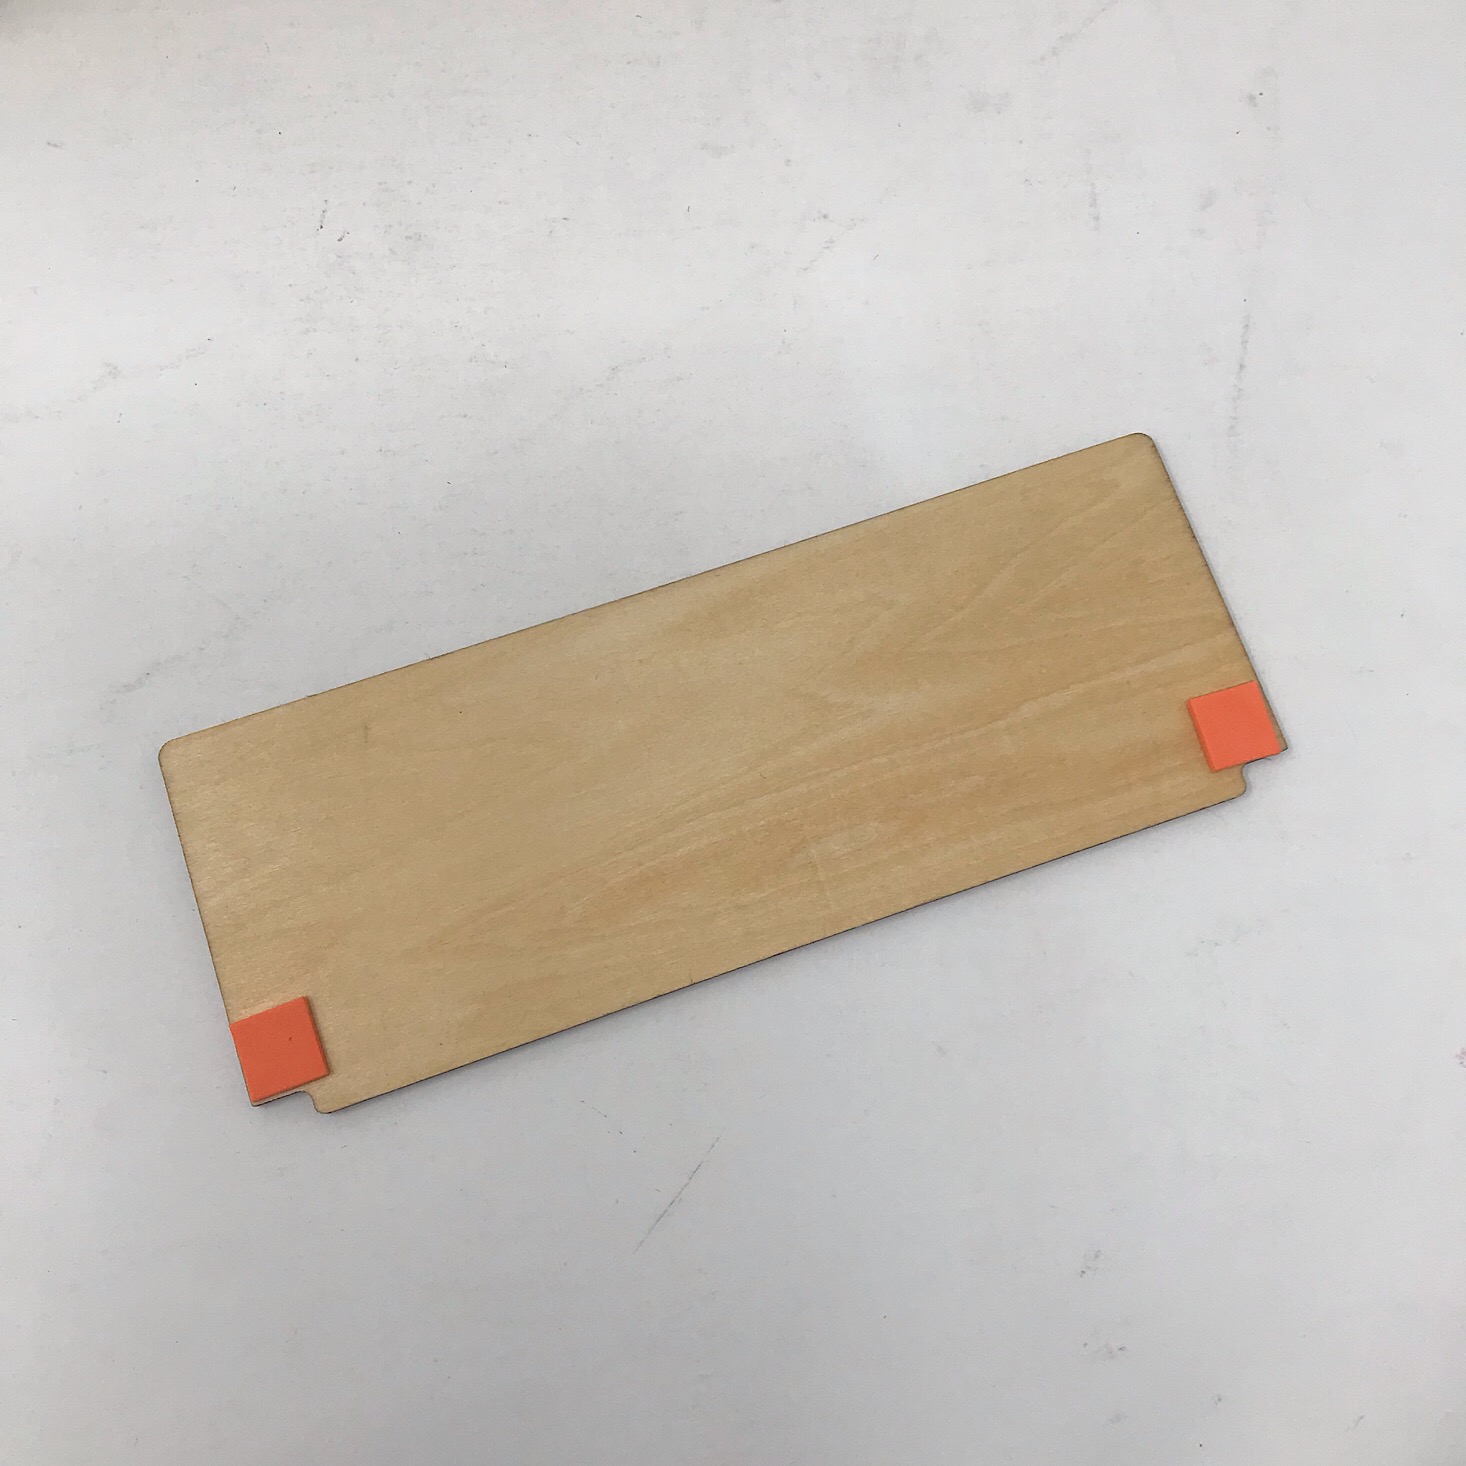
The first step in our project was to build the frame. They provided several sturdy wooden pieces and a few sheets of cardboard with pieces to punch out. I gathered the pieces I needed and punched out the cardboard ones.


1 of 3
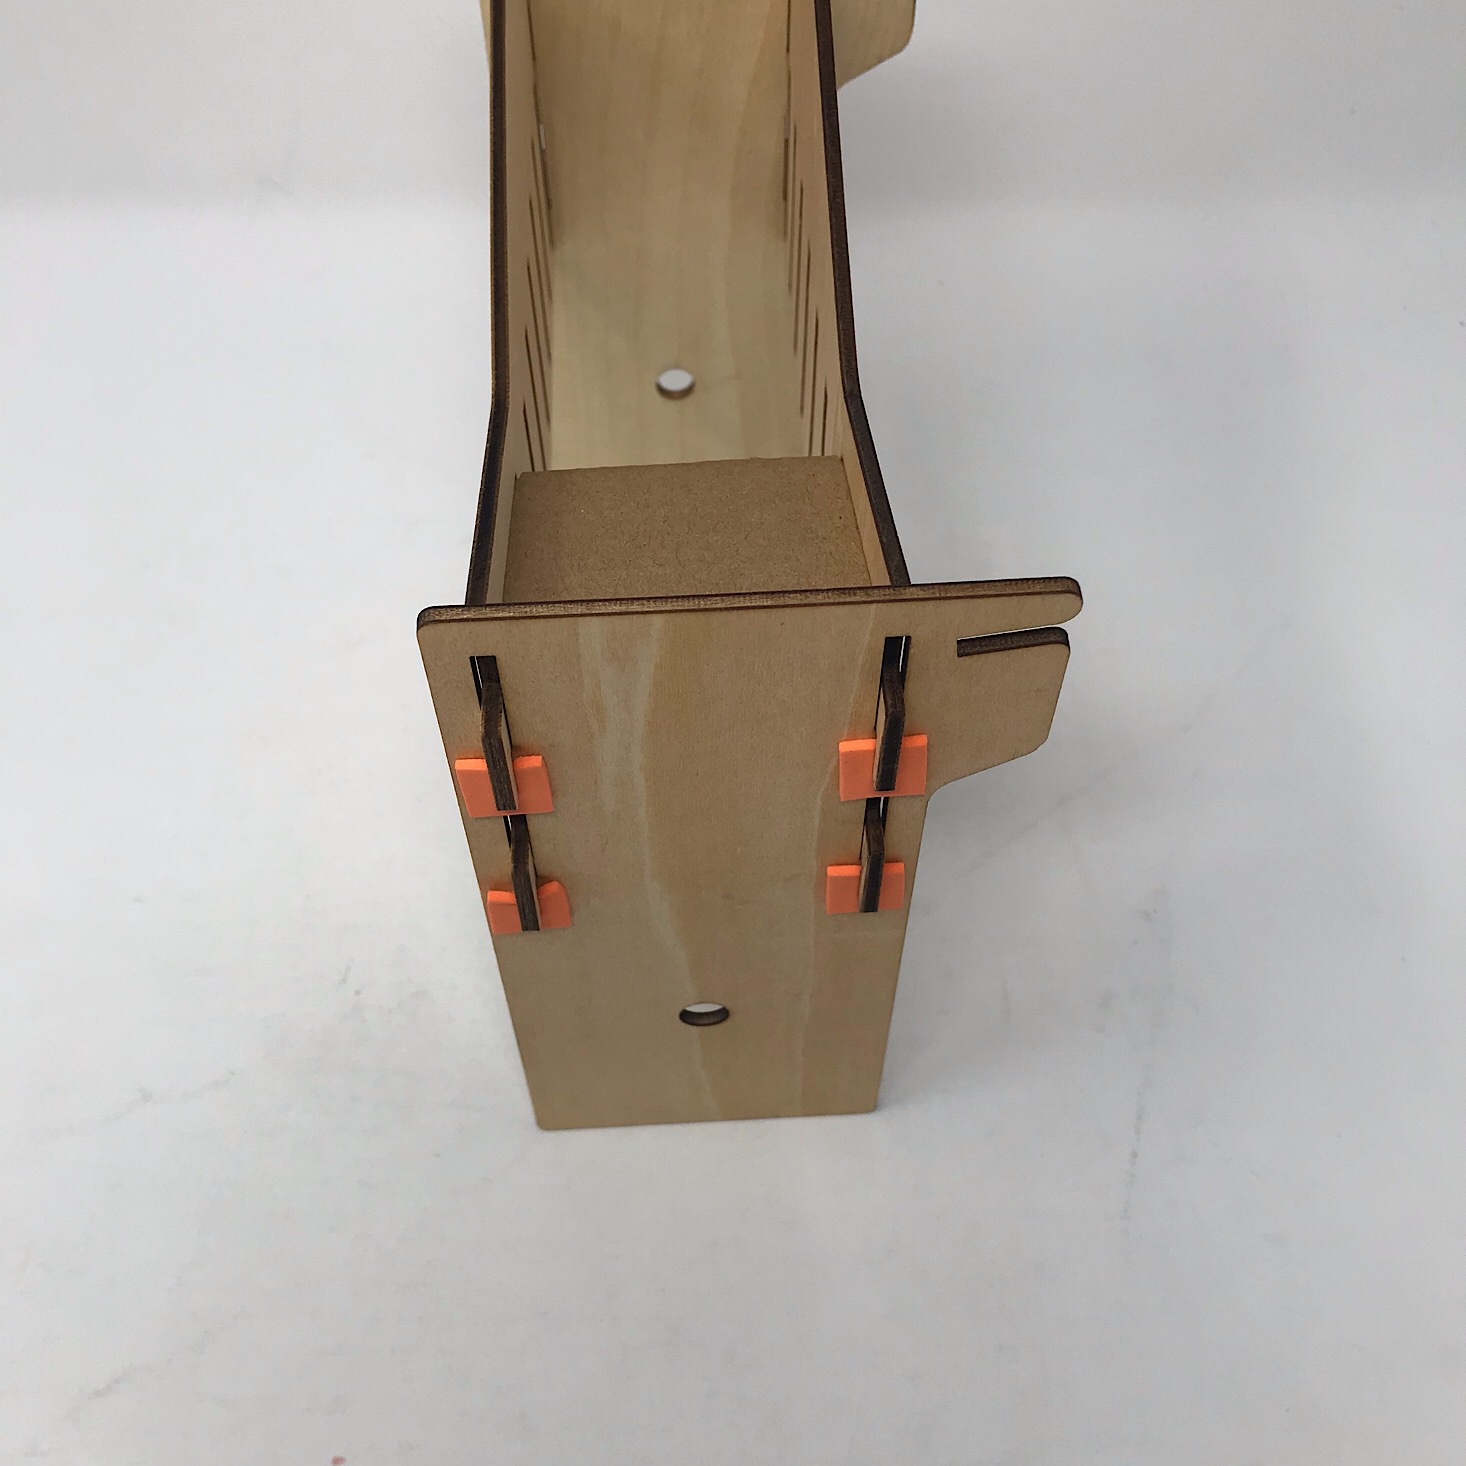
Then I added foam squares below all of the slits as indicated in the directions.
1 of 4
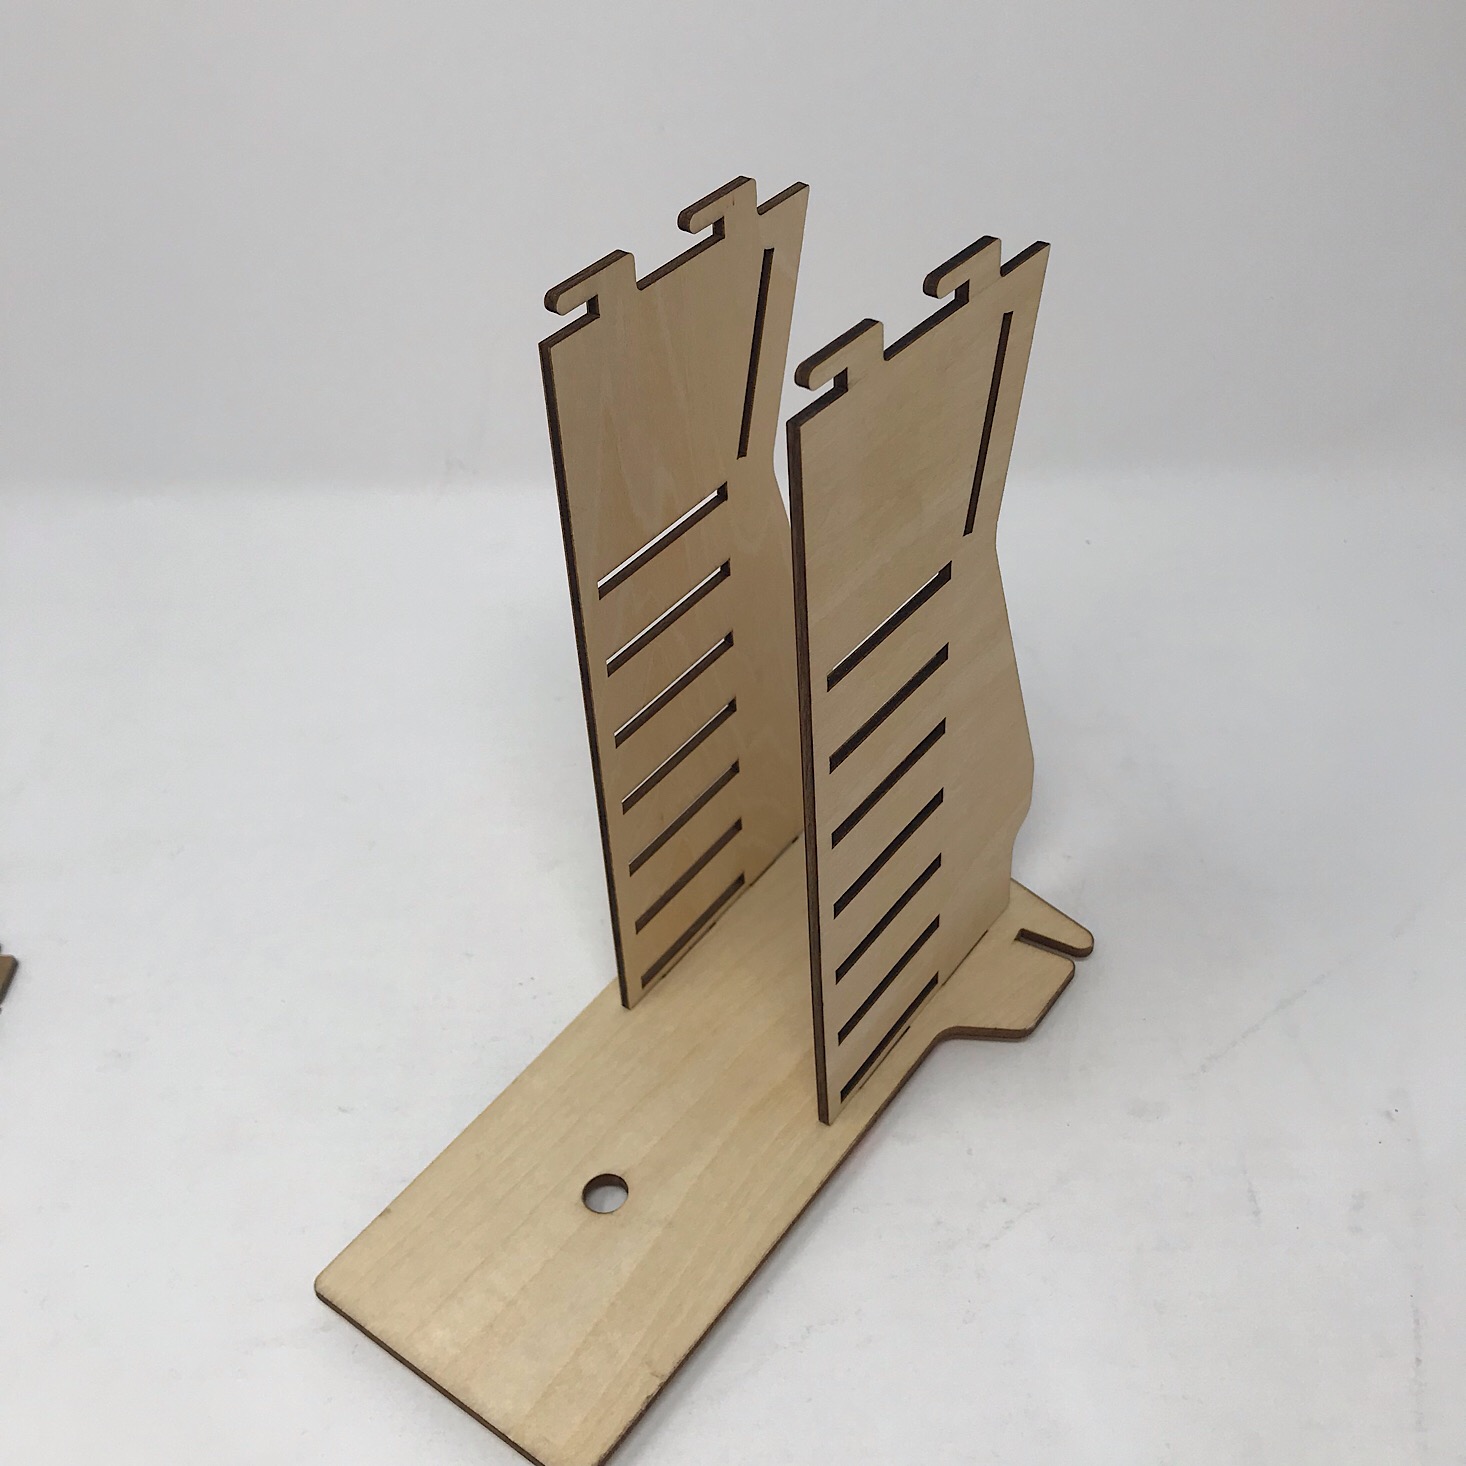

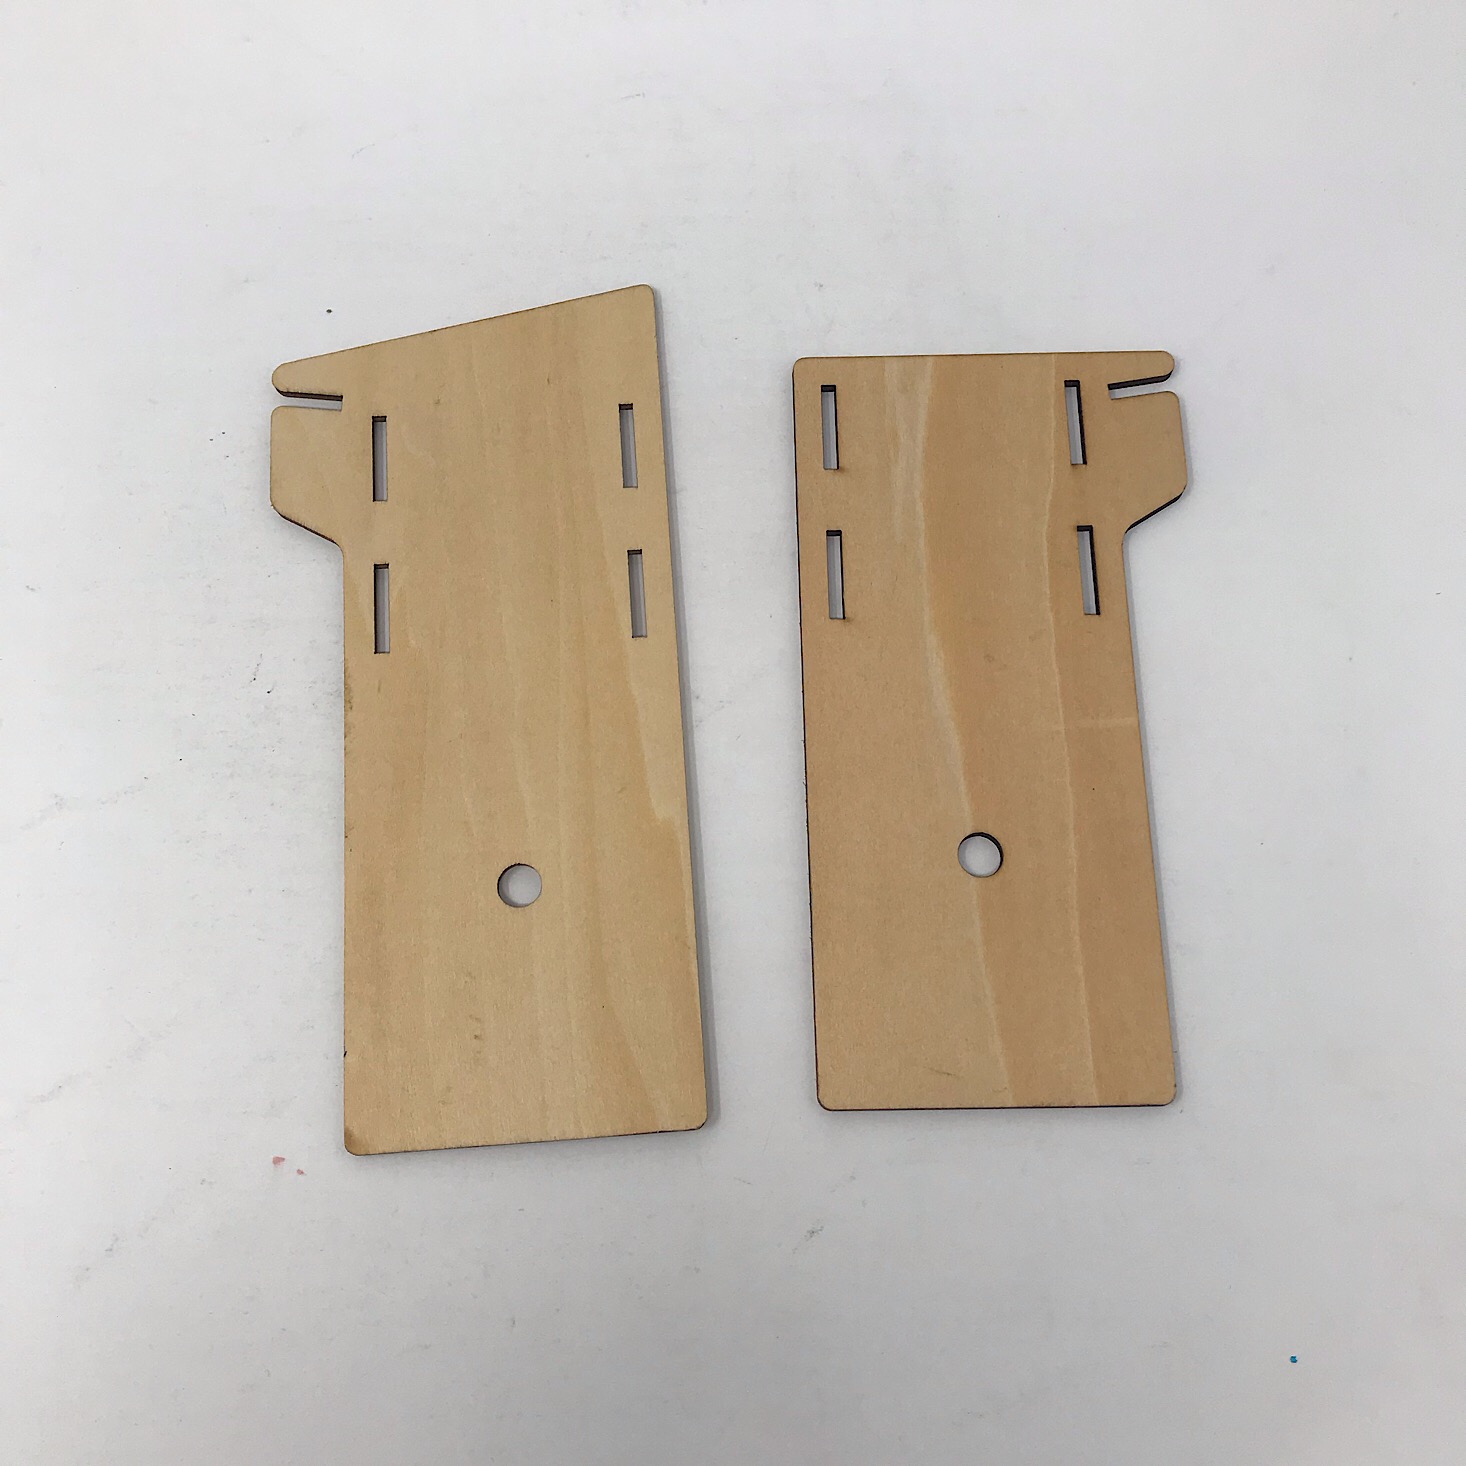
Next, it was just a matter of sliding each piece into place to form the base. I added the two side pieces to the taller end piece, inserted a small cardboard square between the two sides, and then capped it with the other end piece.
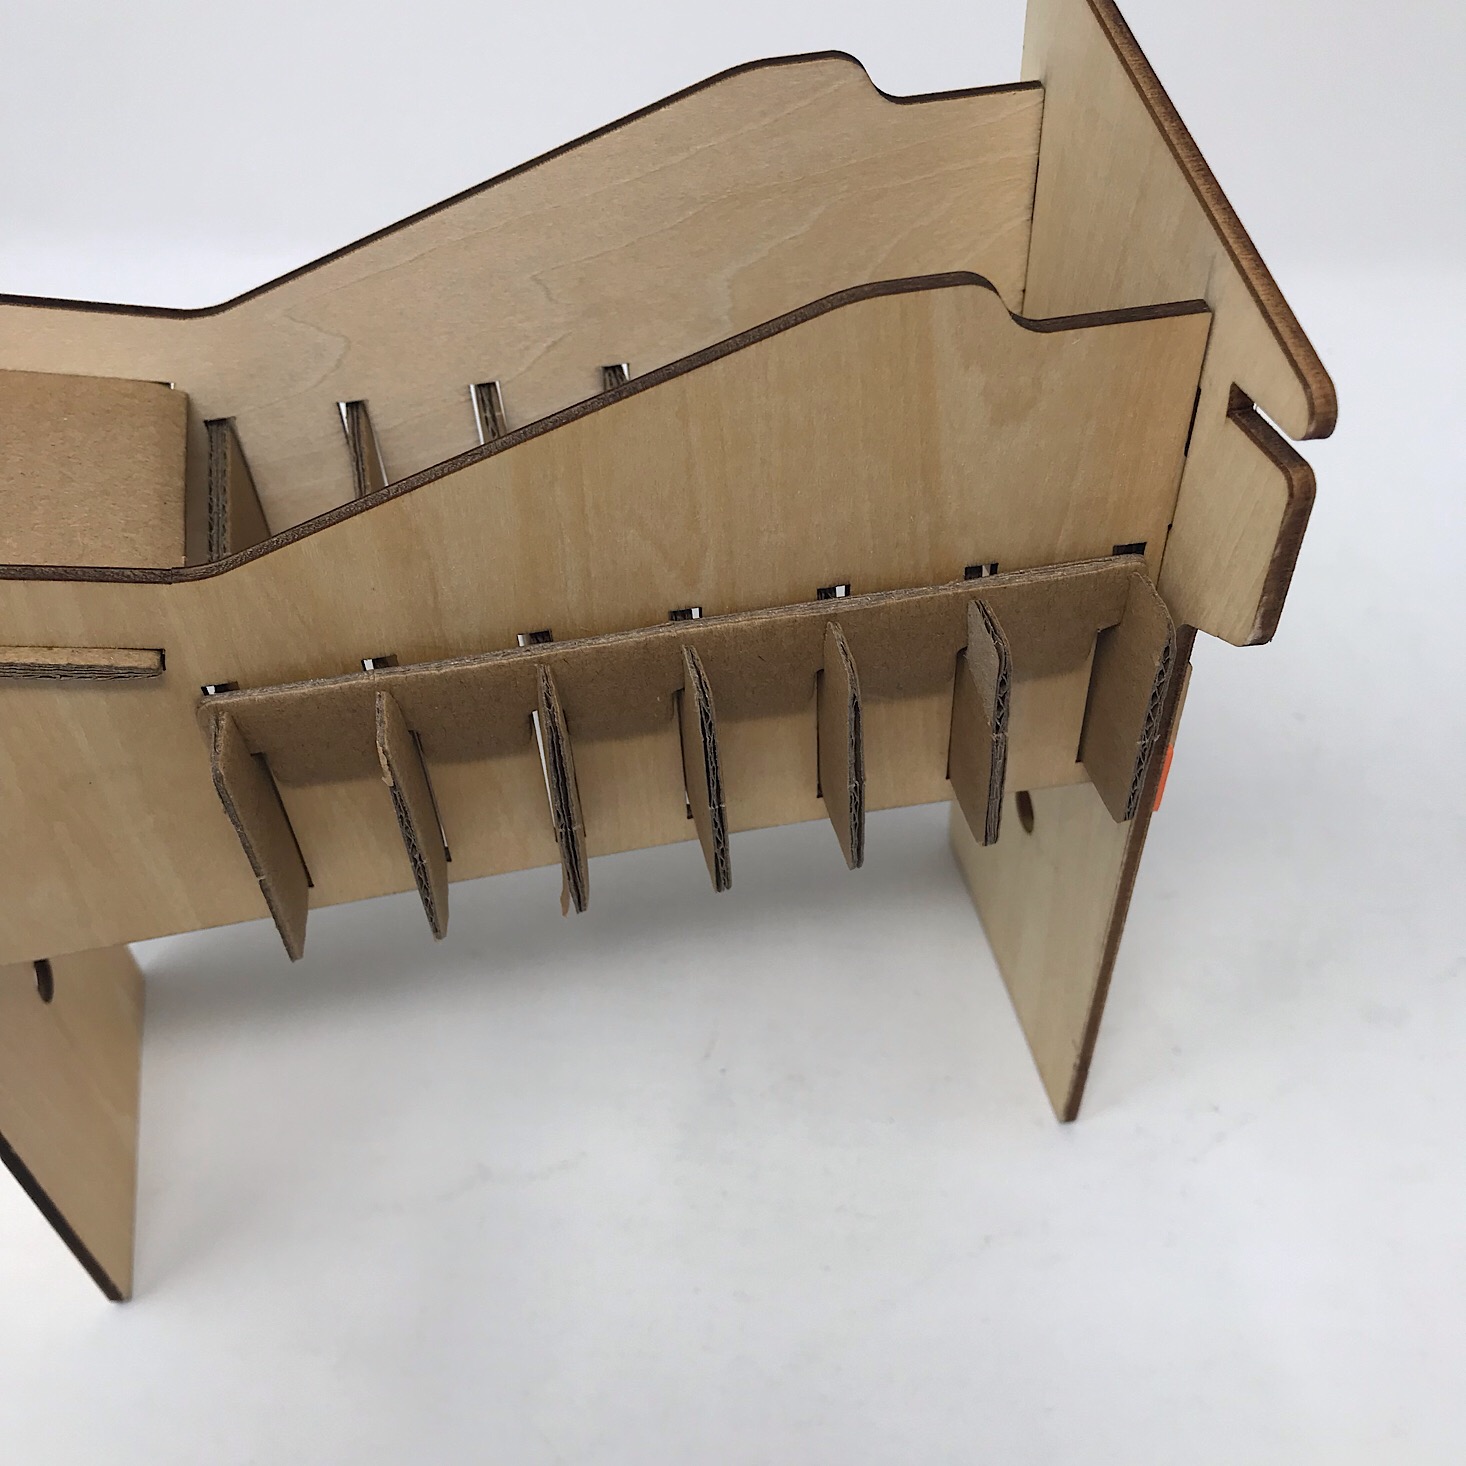

1 of 3

Next, I inserted all of these cardboard pieces into the slits along the frame. To keep them all in place, I slid this last smaller notched cardboard piece over top of the ends of the cardboard pieces that stuck out of the other side.
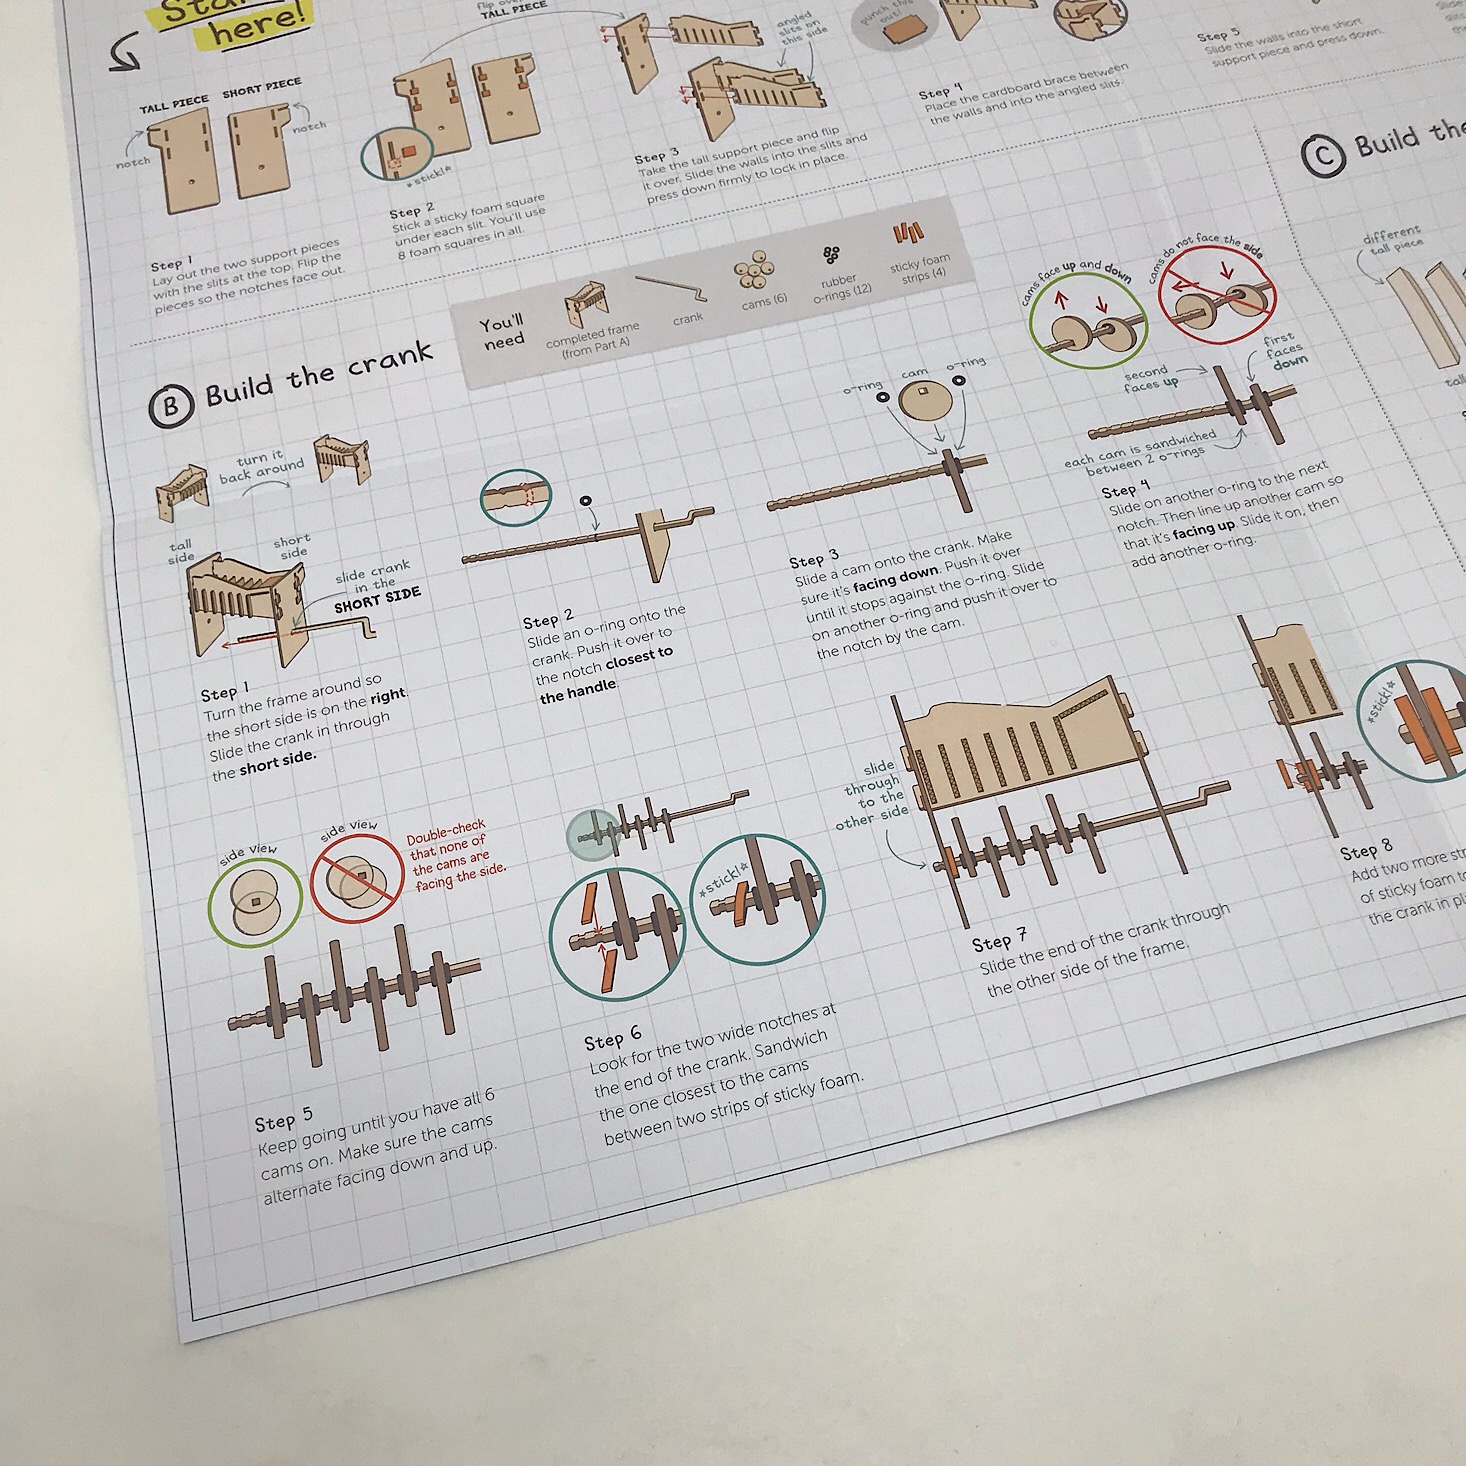
Part B: Build the Crank


1 of 4
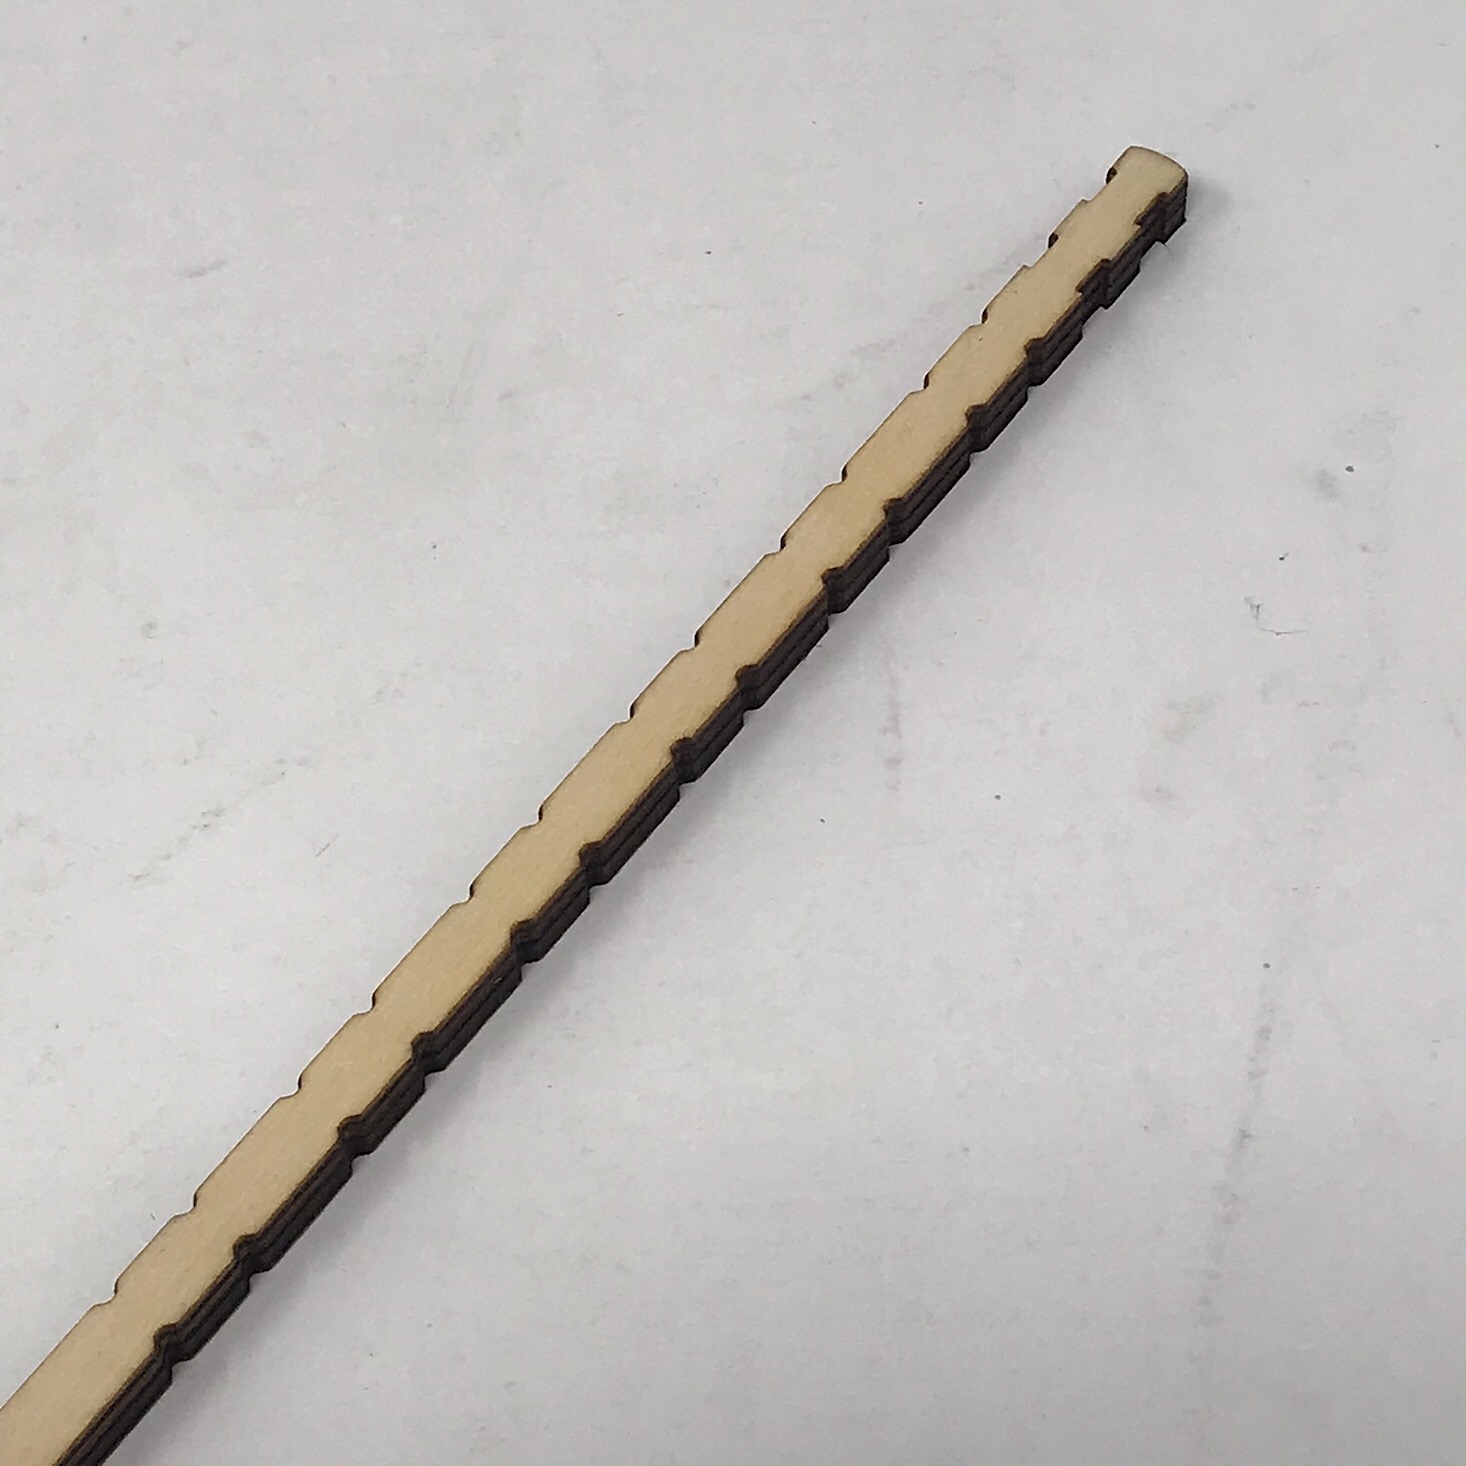
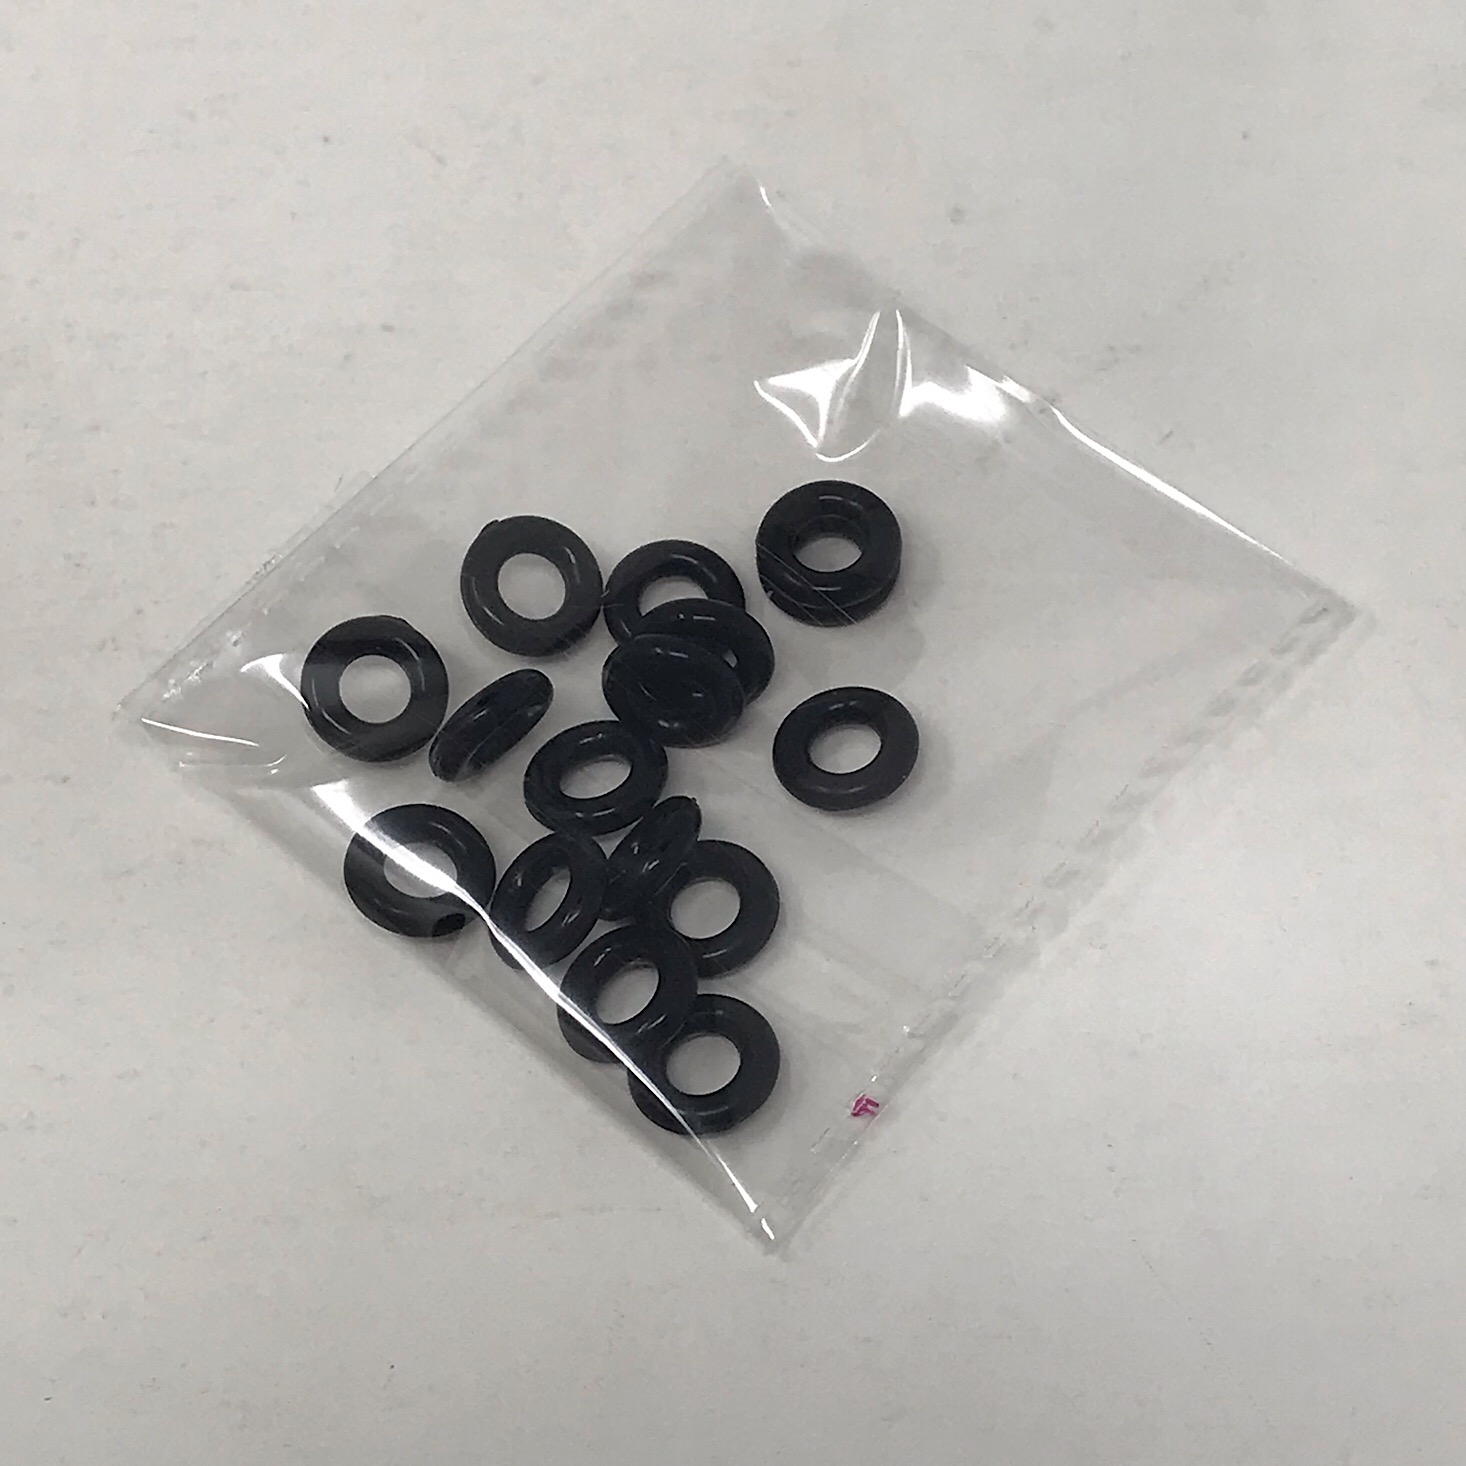
Now it was time to build the crank using this long notched wooden piece, six wooden cams, and several O-rings.

1 of 6

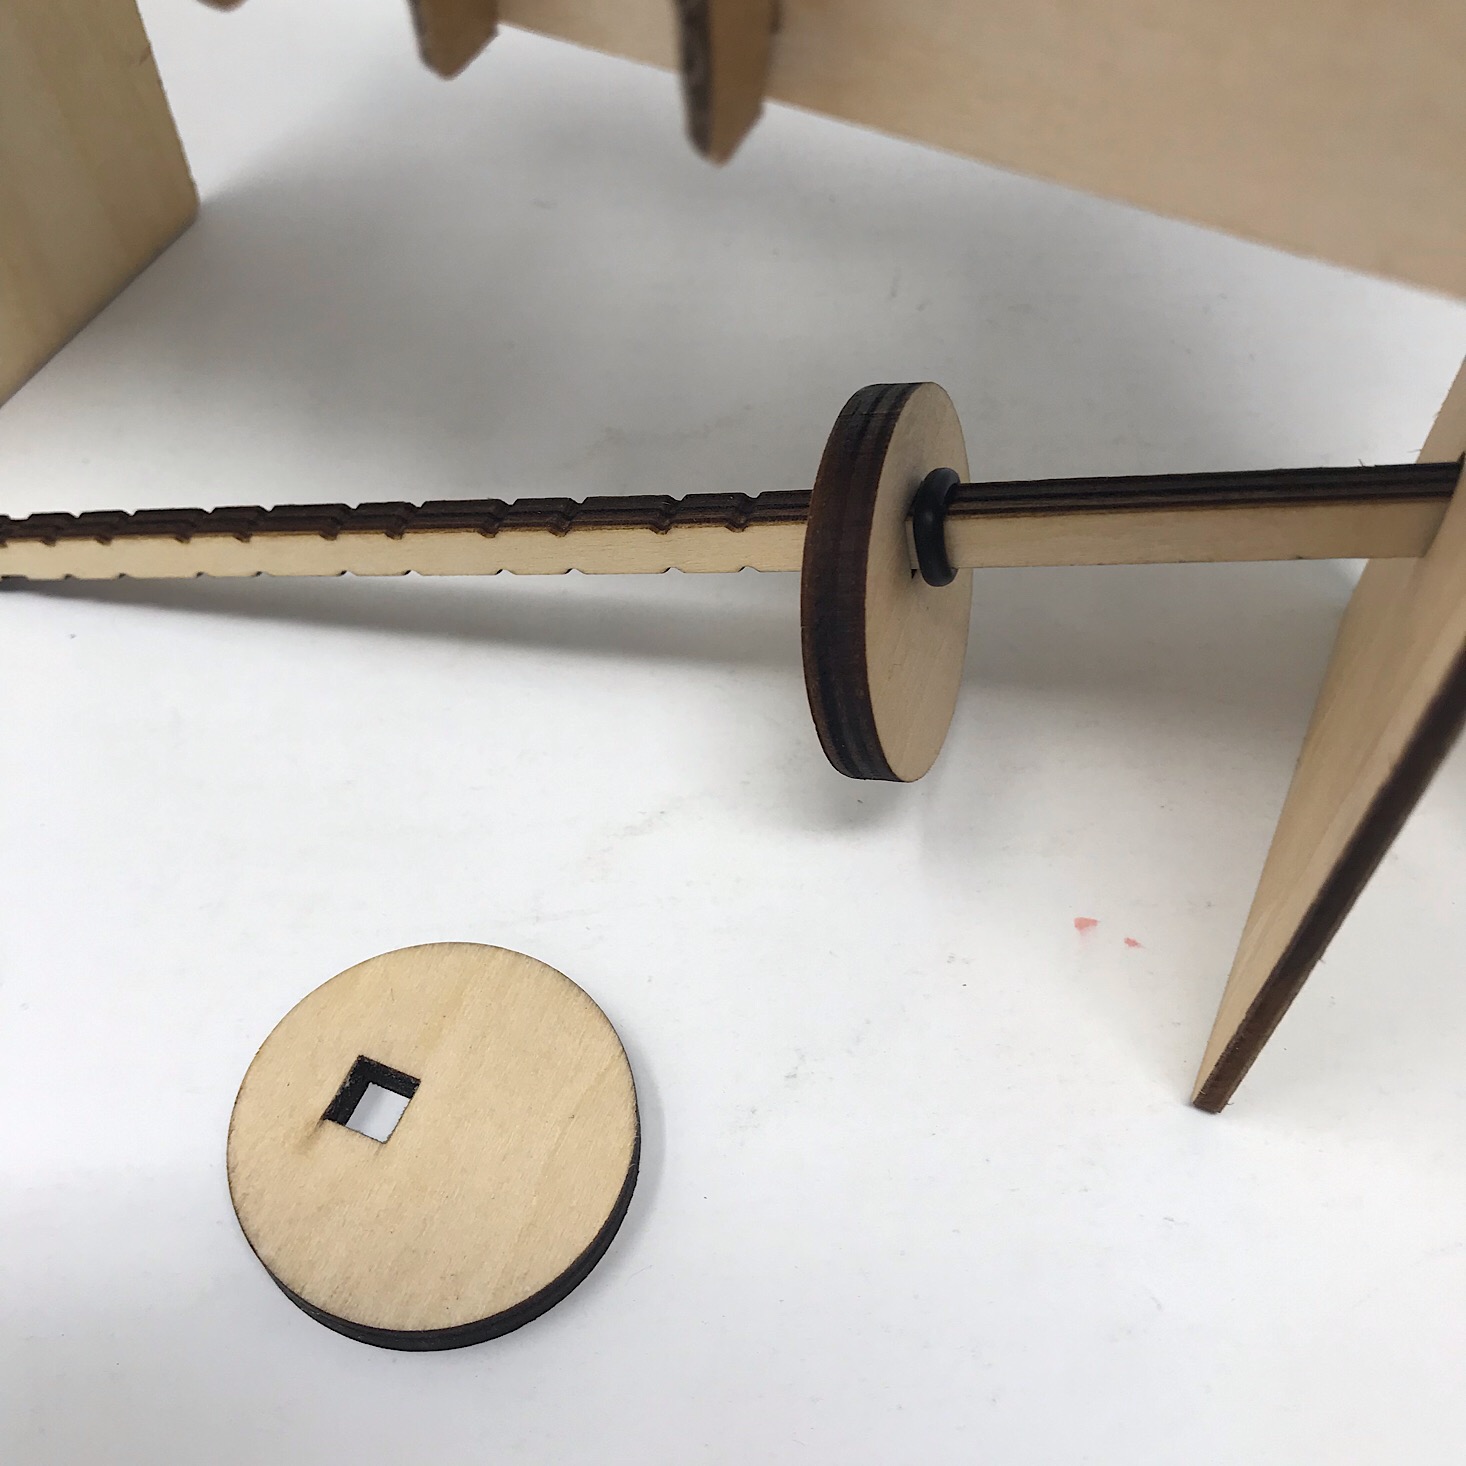
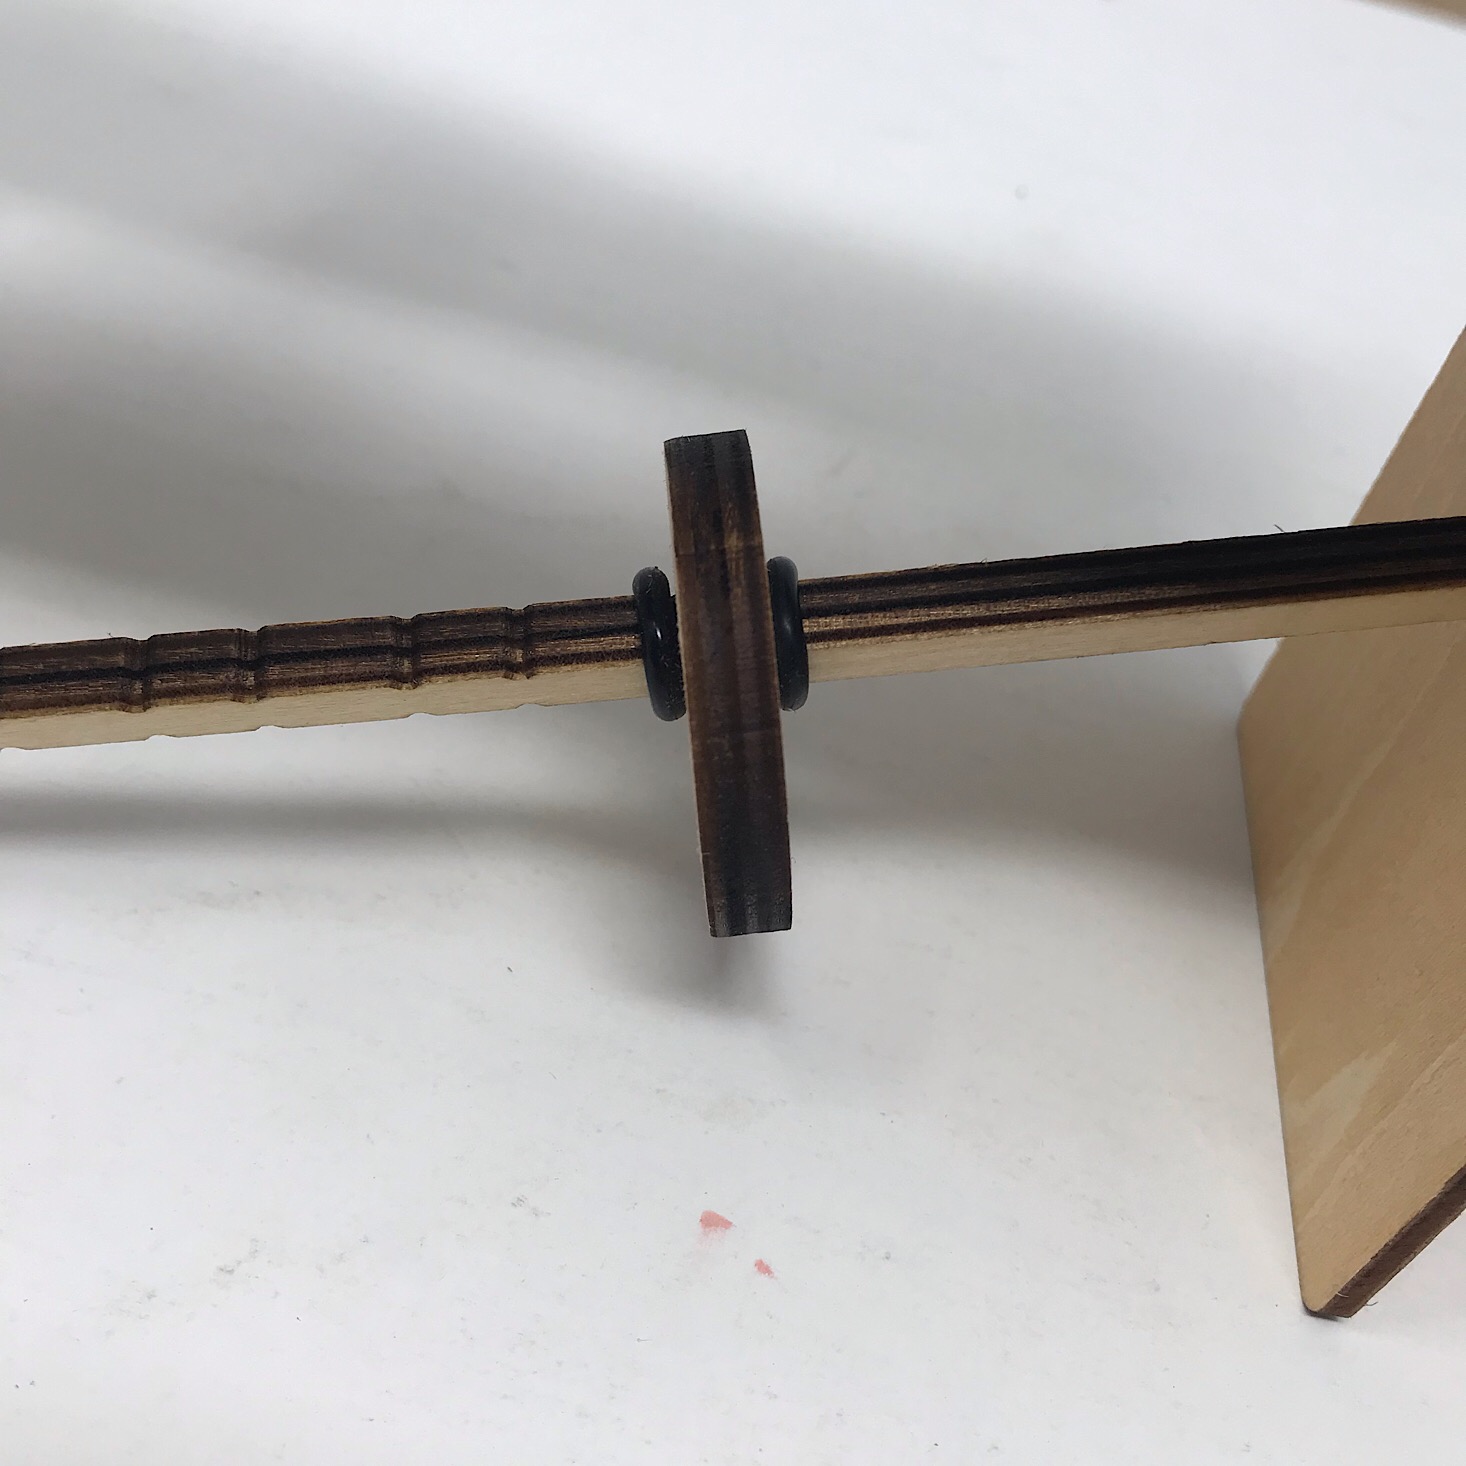
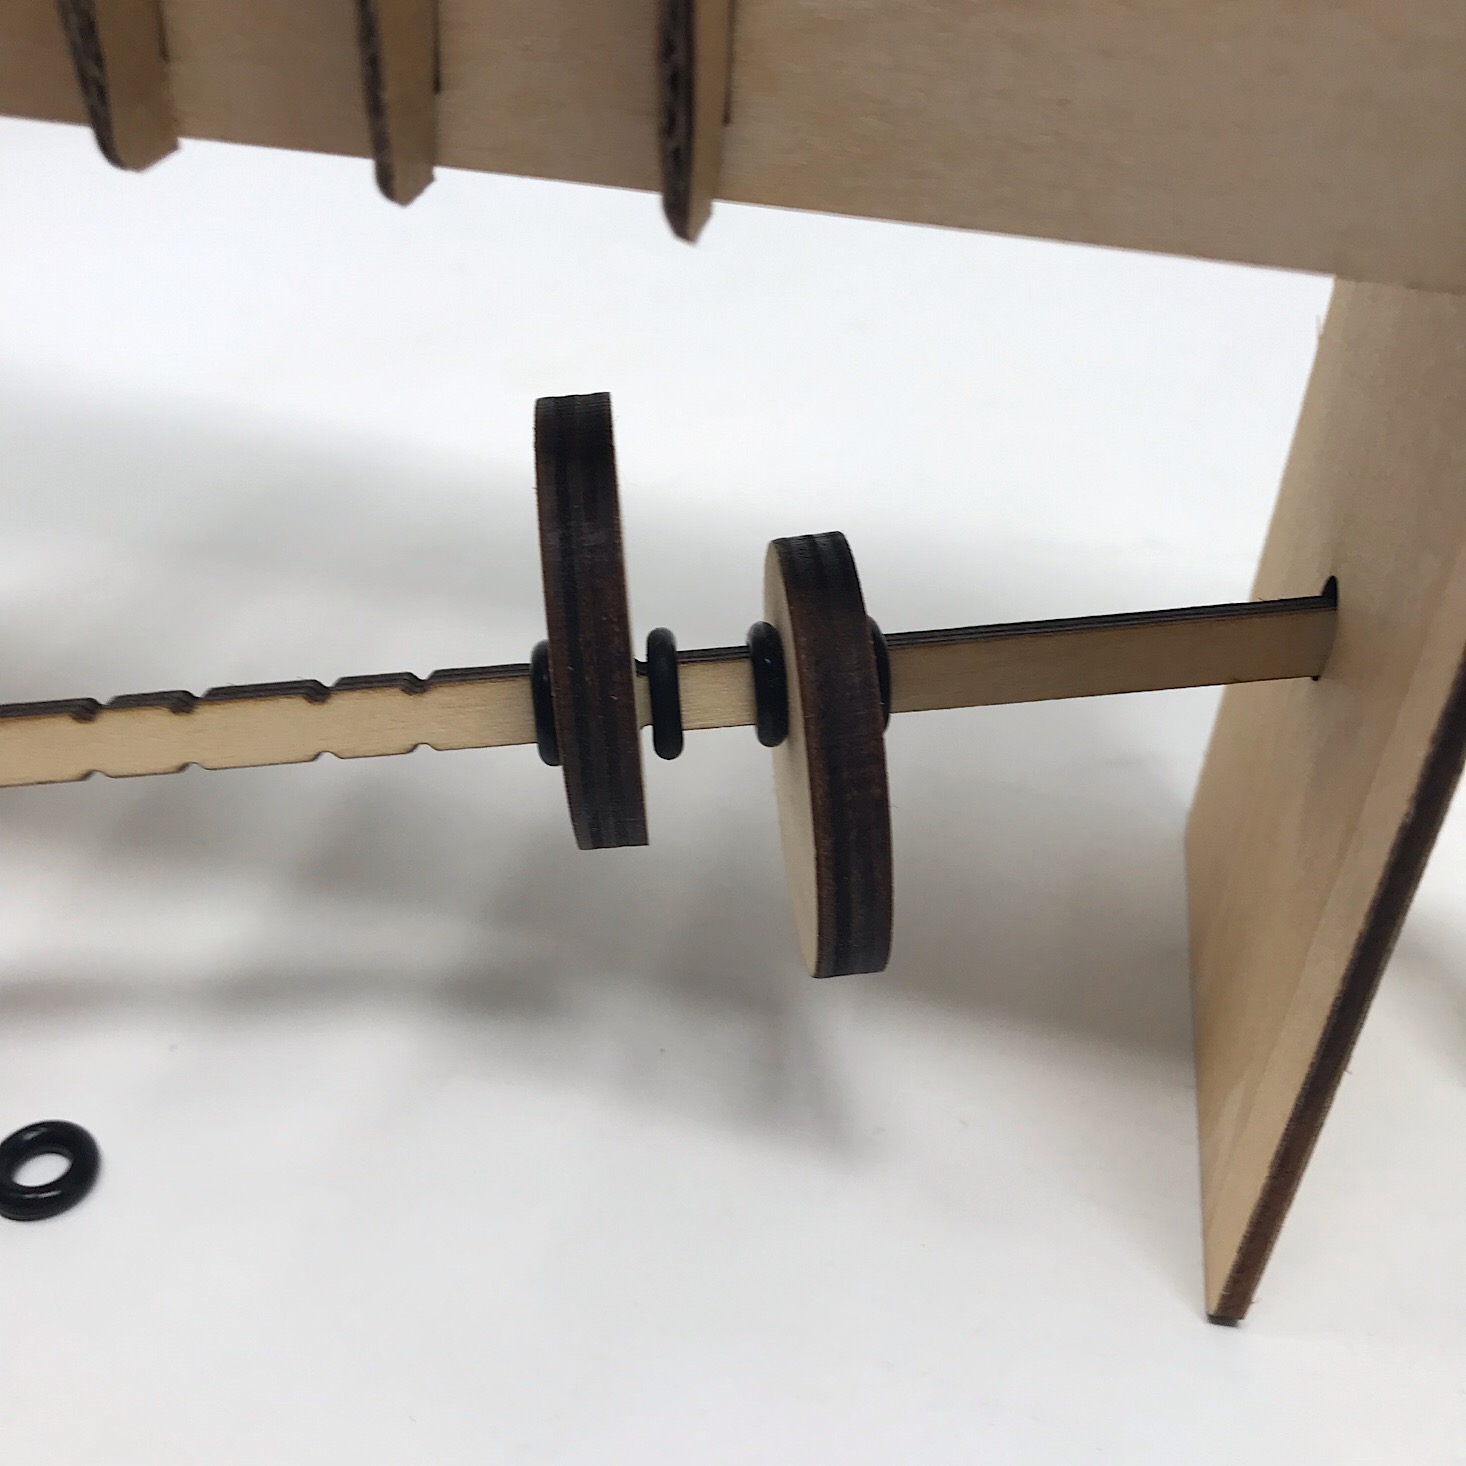
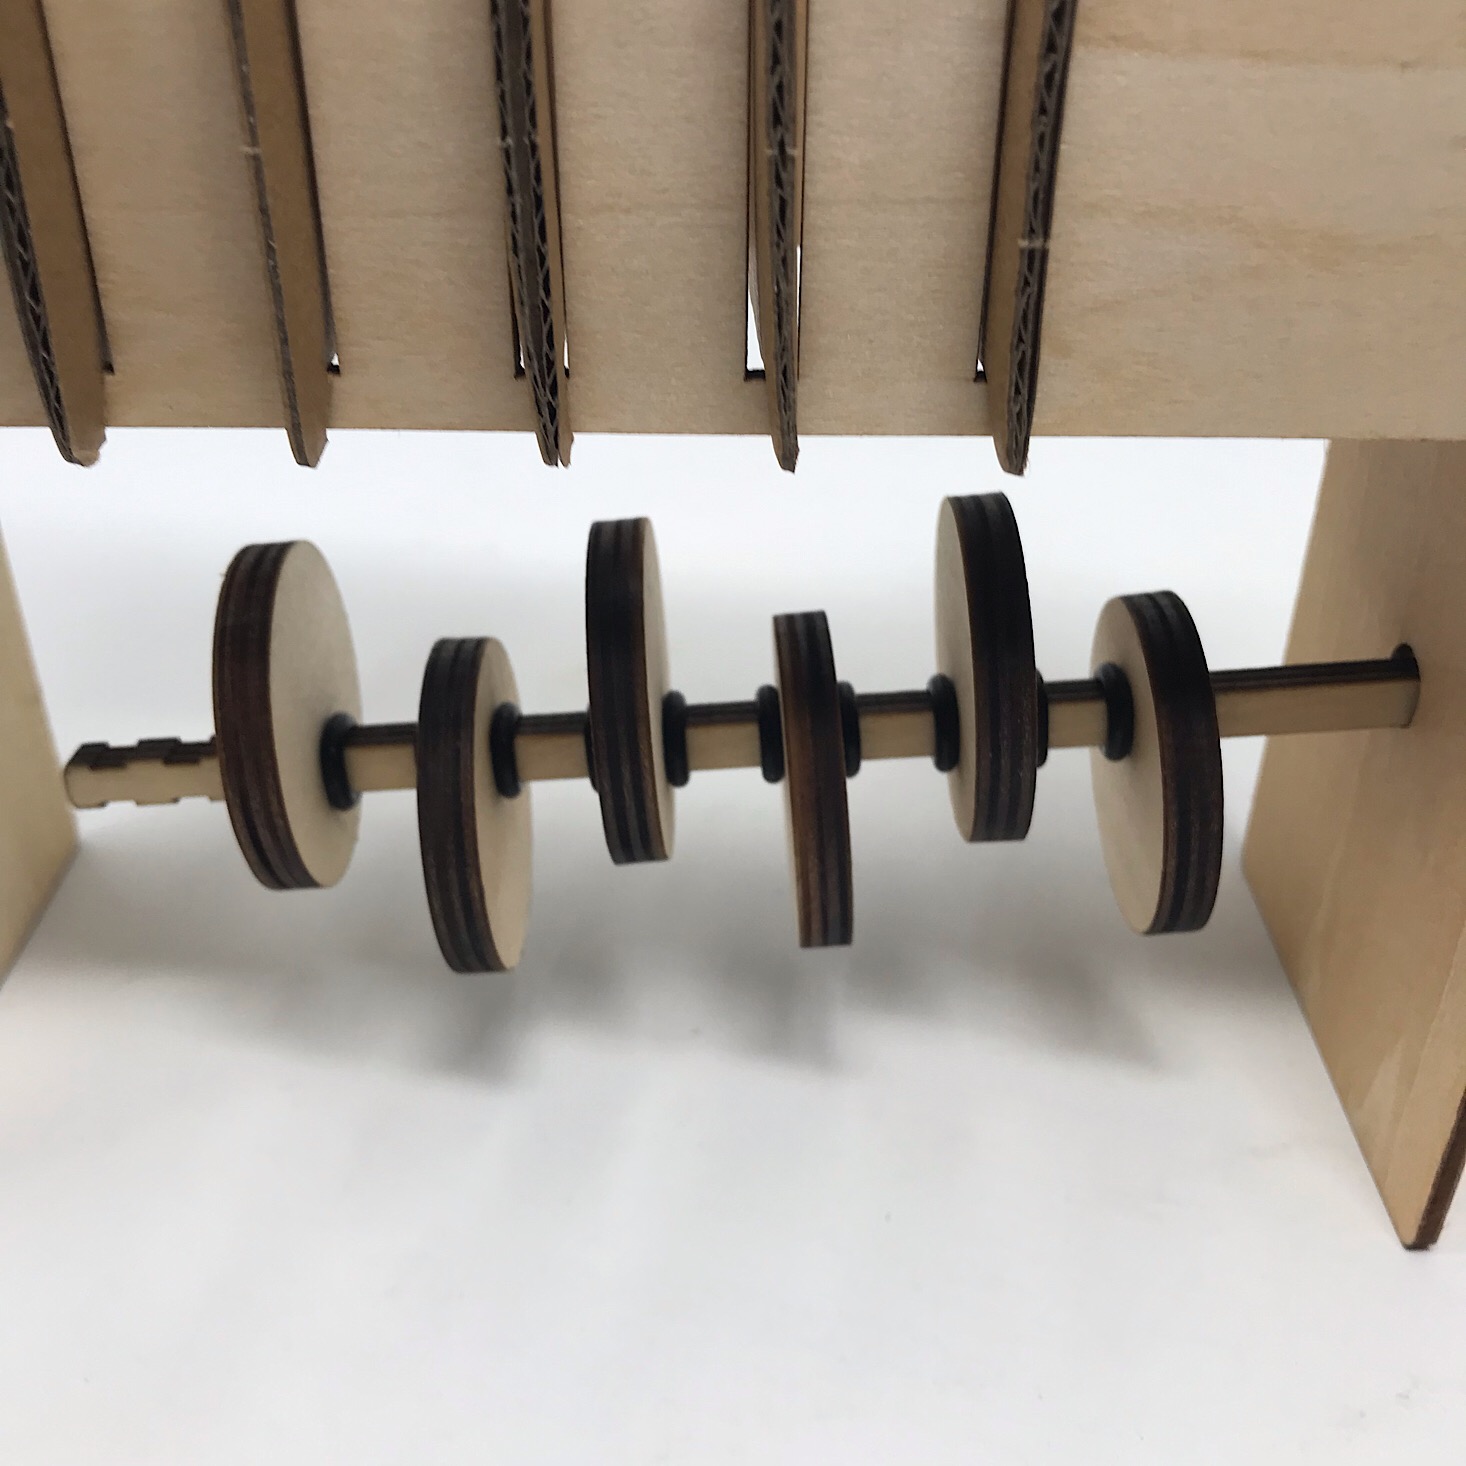
I slid the crank into the hole on the frame and then I added an O-ring and slid it into place on the last notch of the crank. Then I added a cam and another O-ring to the next notch which held it in place. I repeated this step, but this time I had the cam with the flat part sticking up instead of down. I then alternated between cams facing down and cams facing up until all six were in place and held with O-rings.

1 of 4
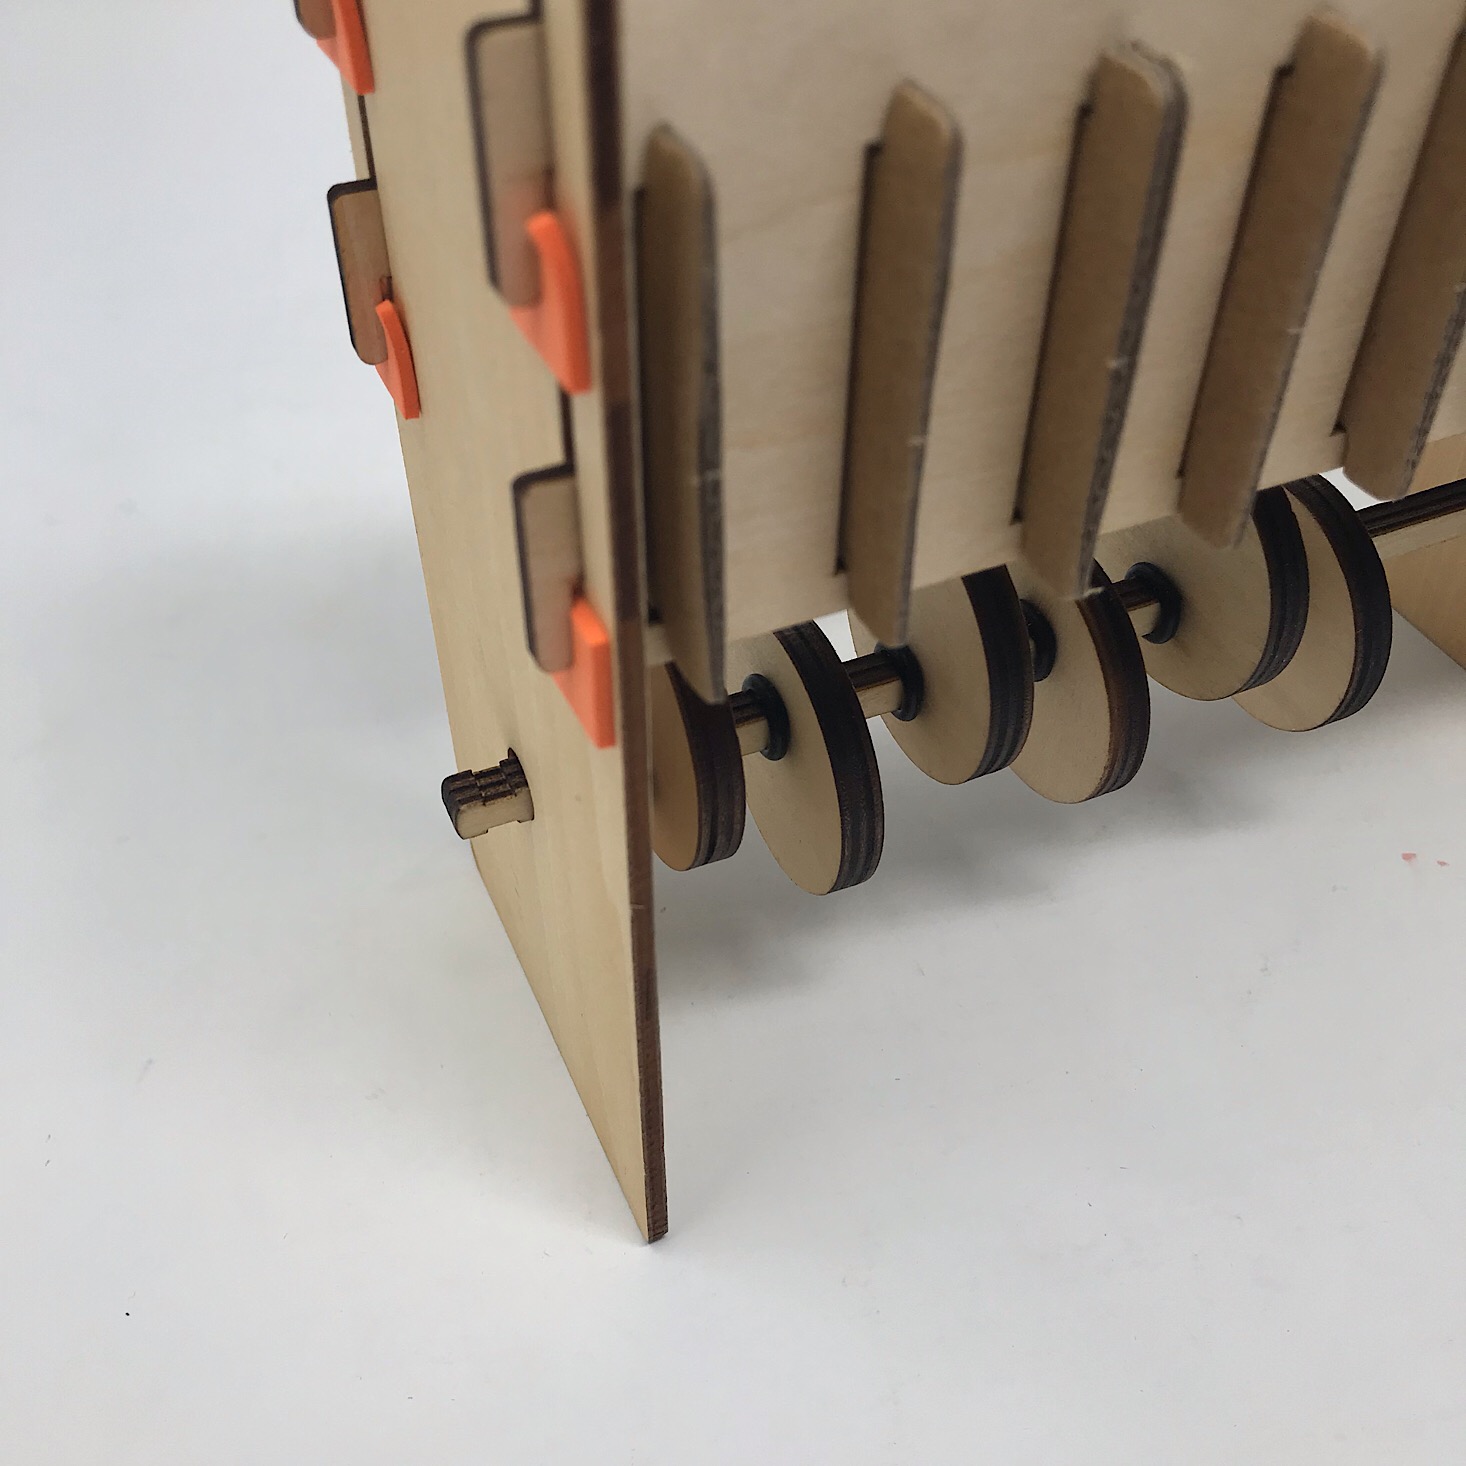
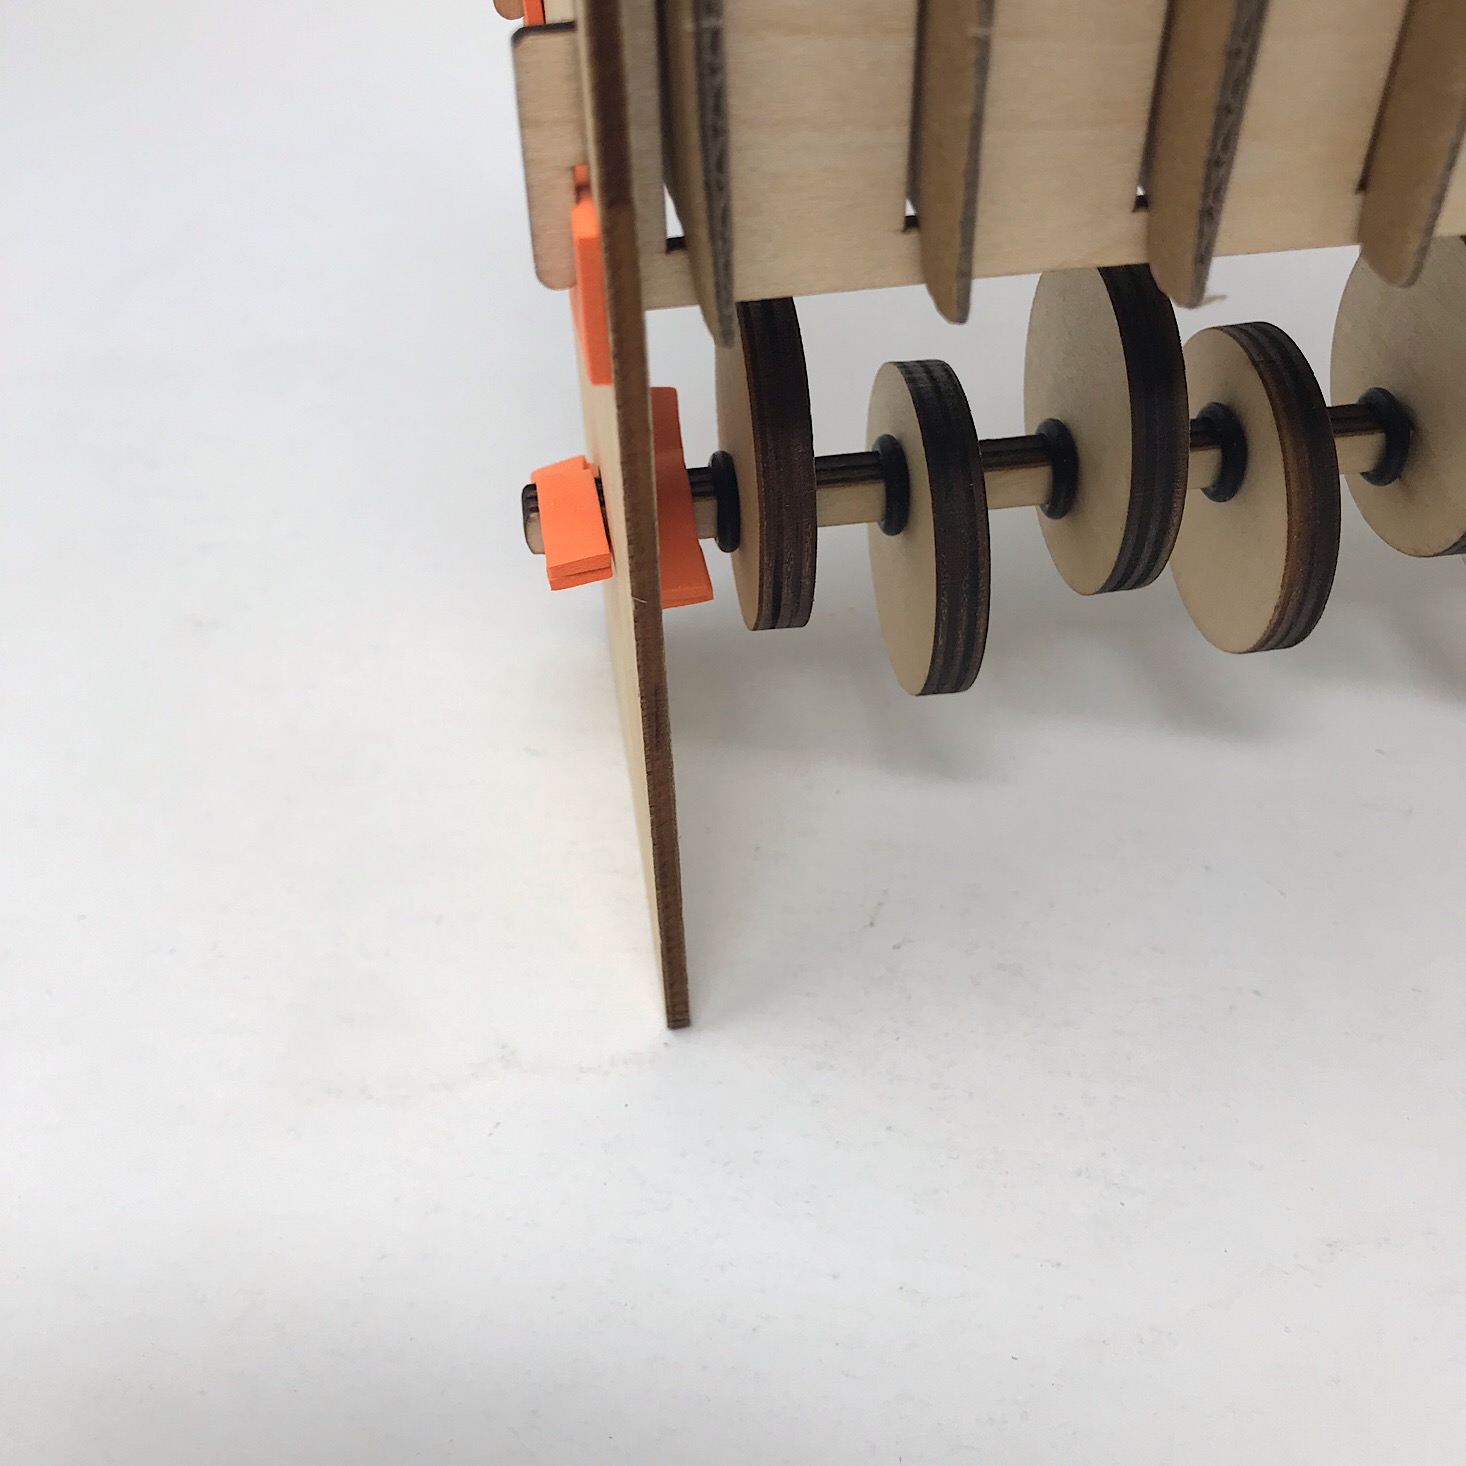
I added foam stickers to the notches at the end of the crank, one inside the frame and one on the outside. I sandwiched them around the remaining two notches and this ensured that our crank didn't slip out.
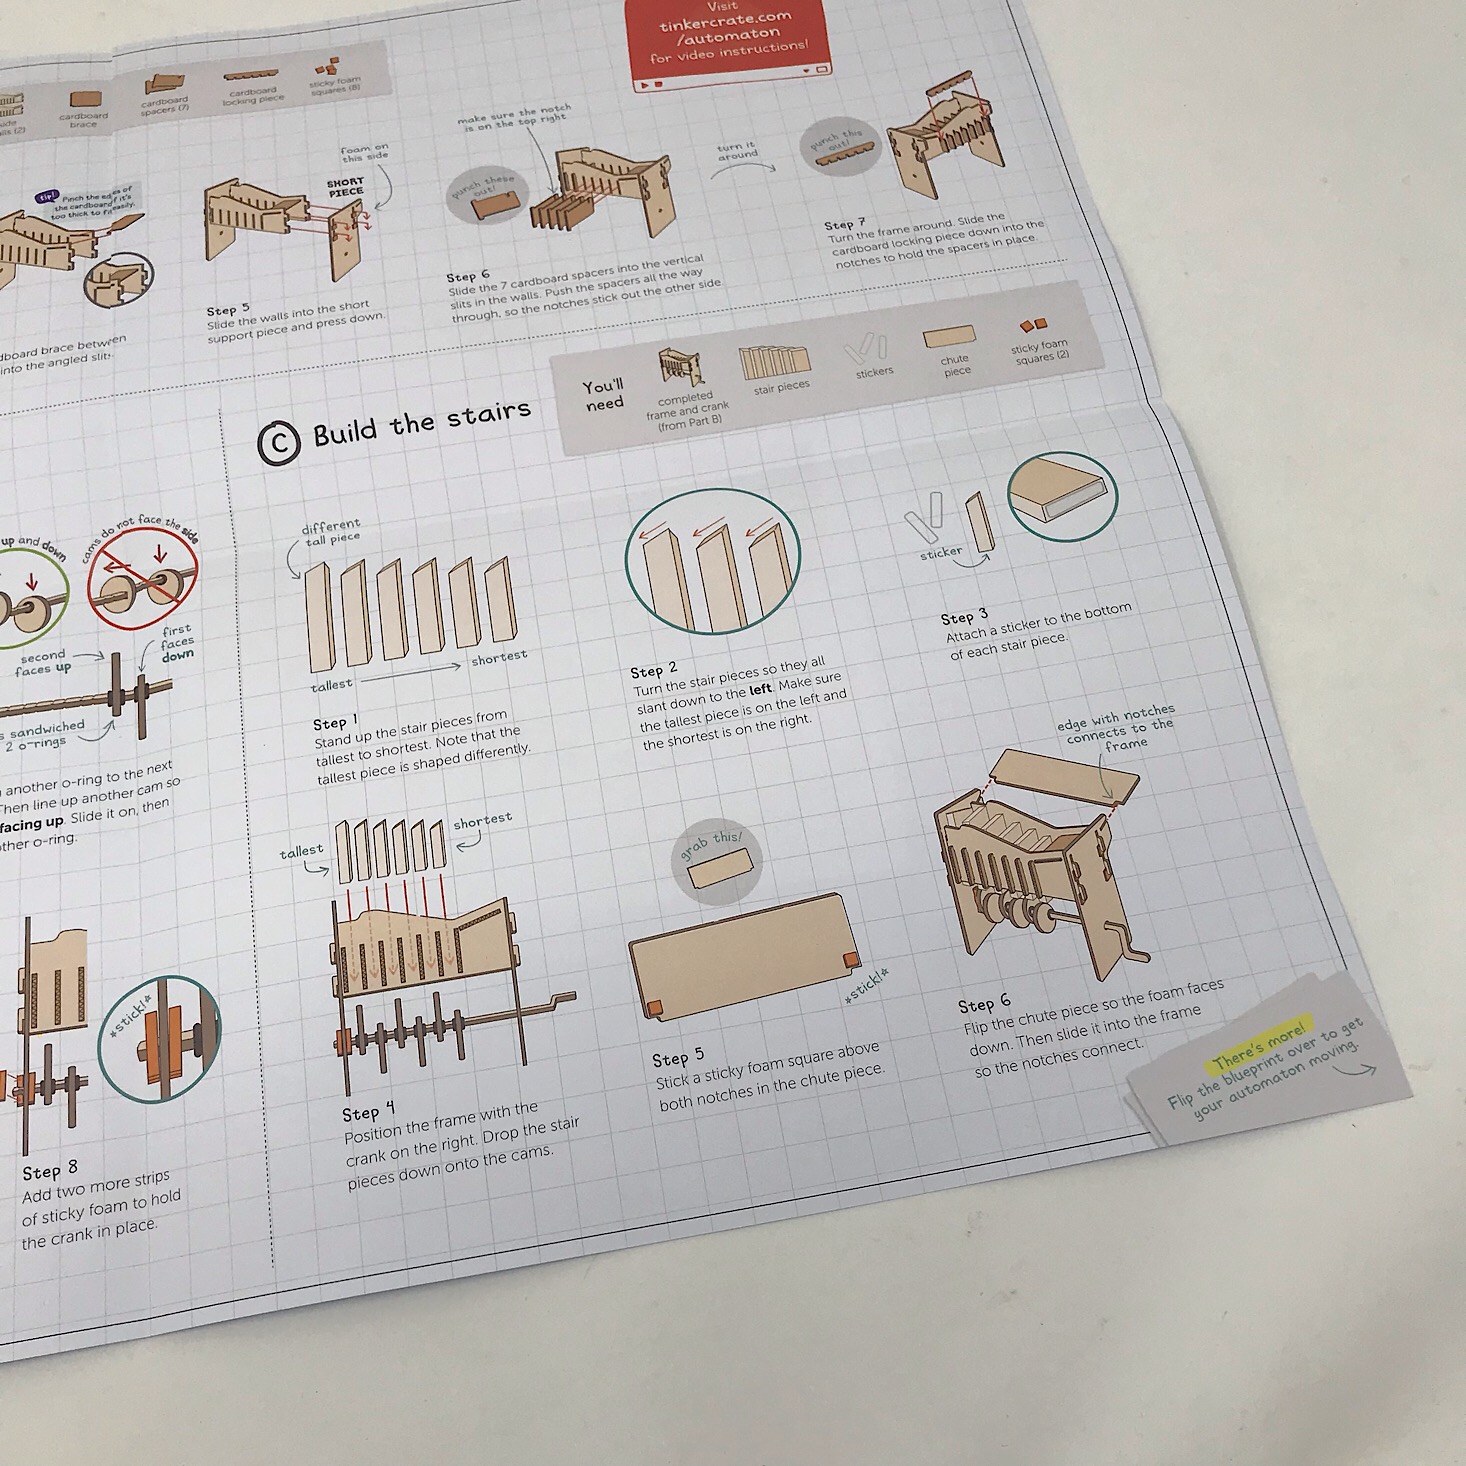
Part C: Build the Stairs

1 of 5
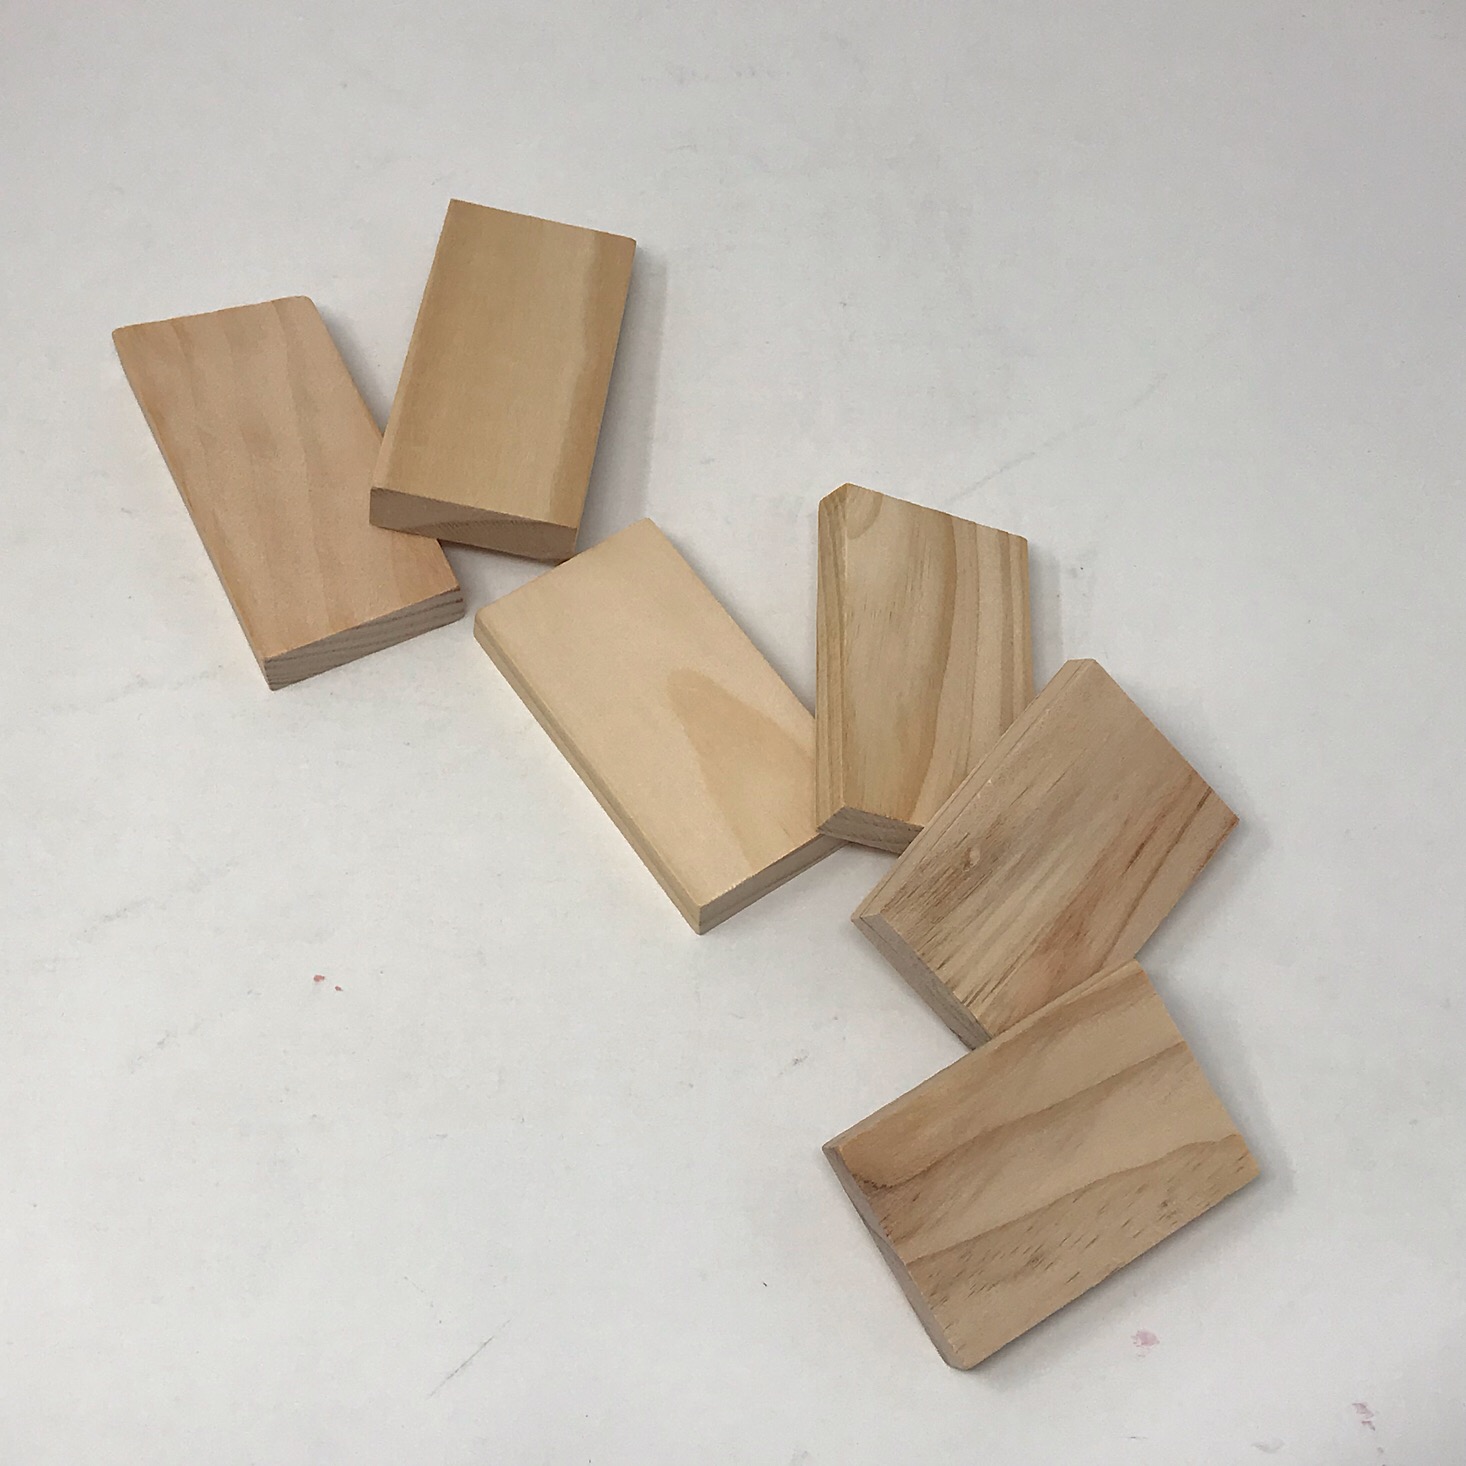
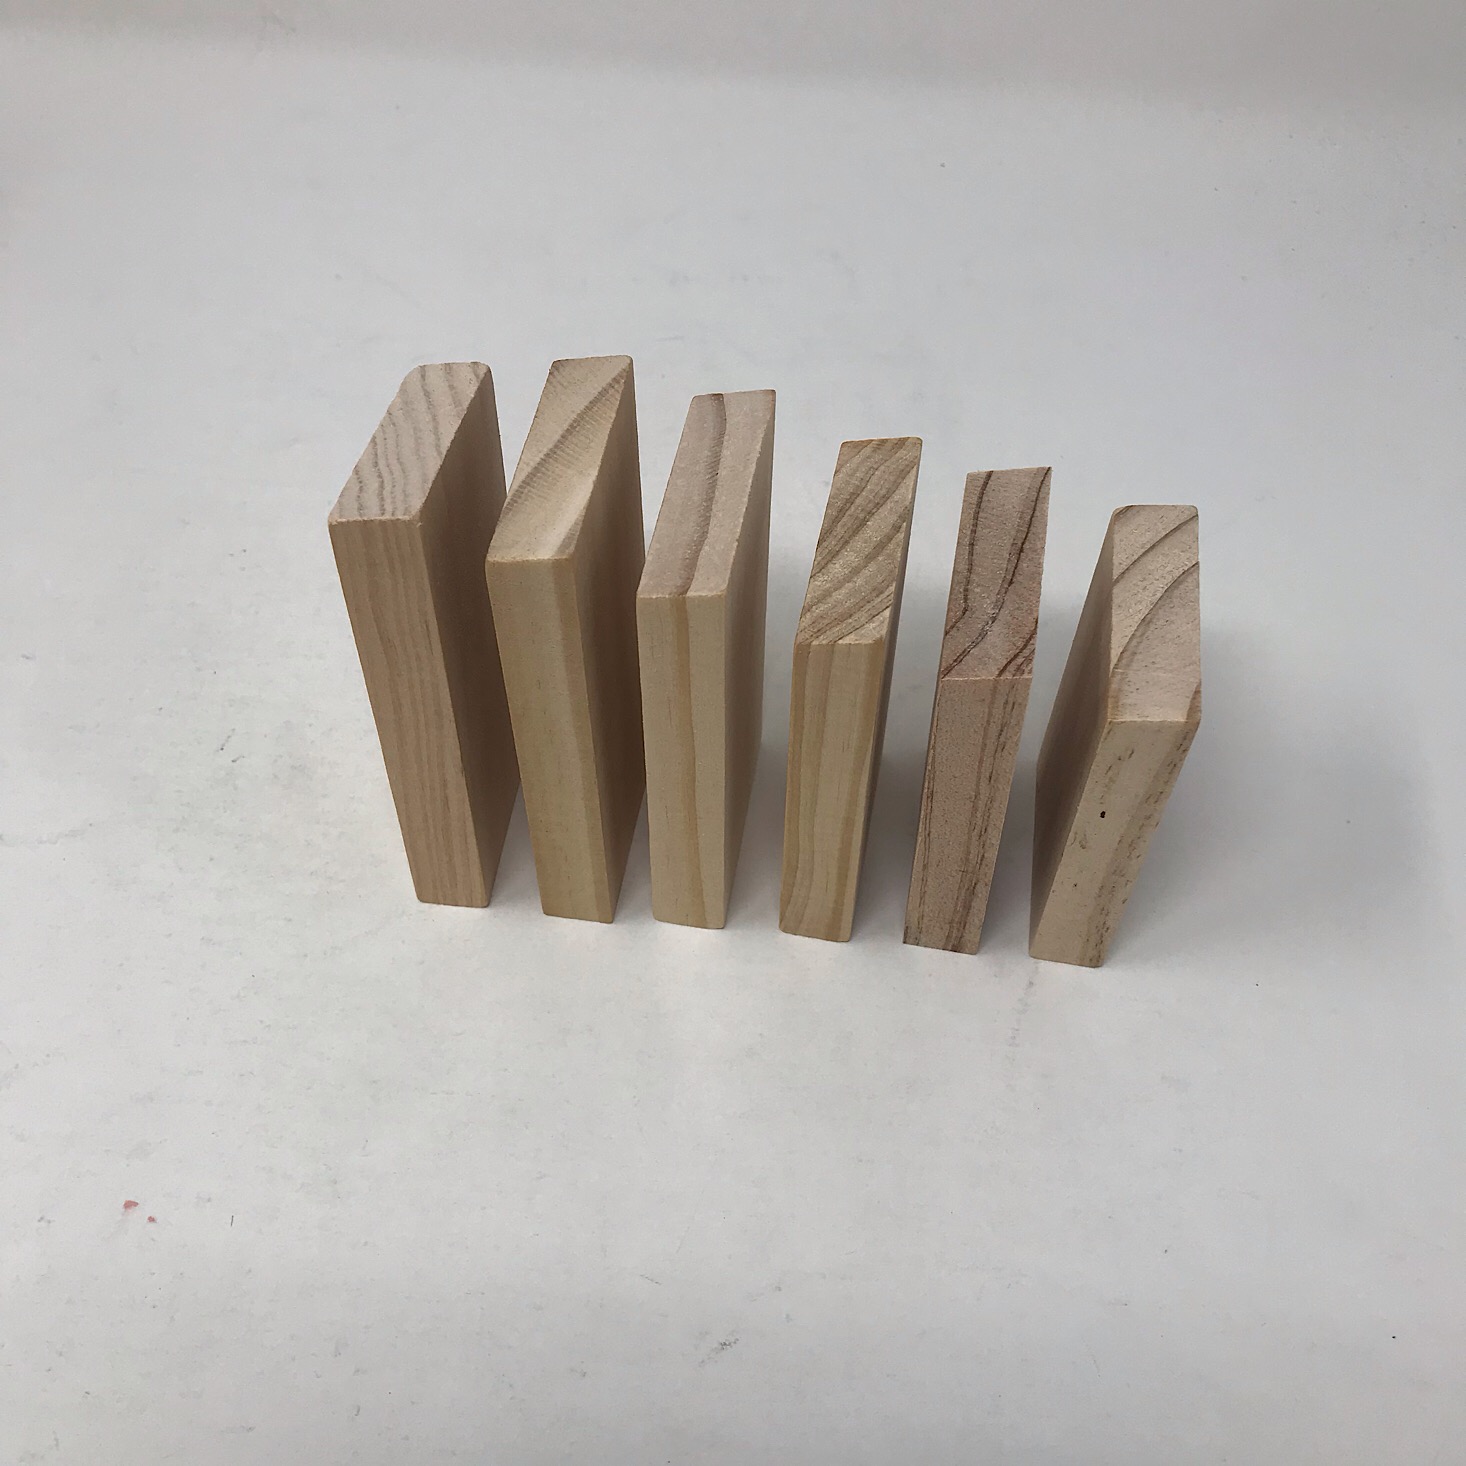

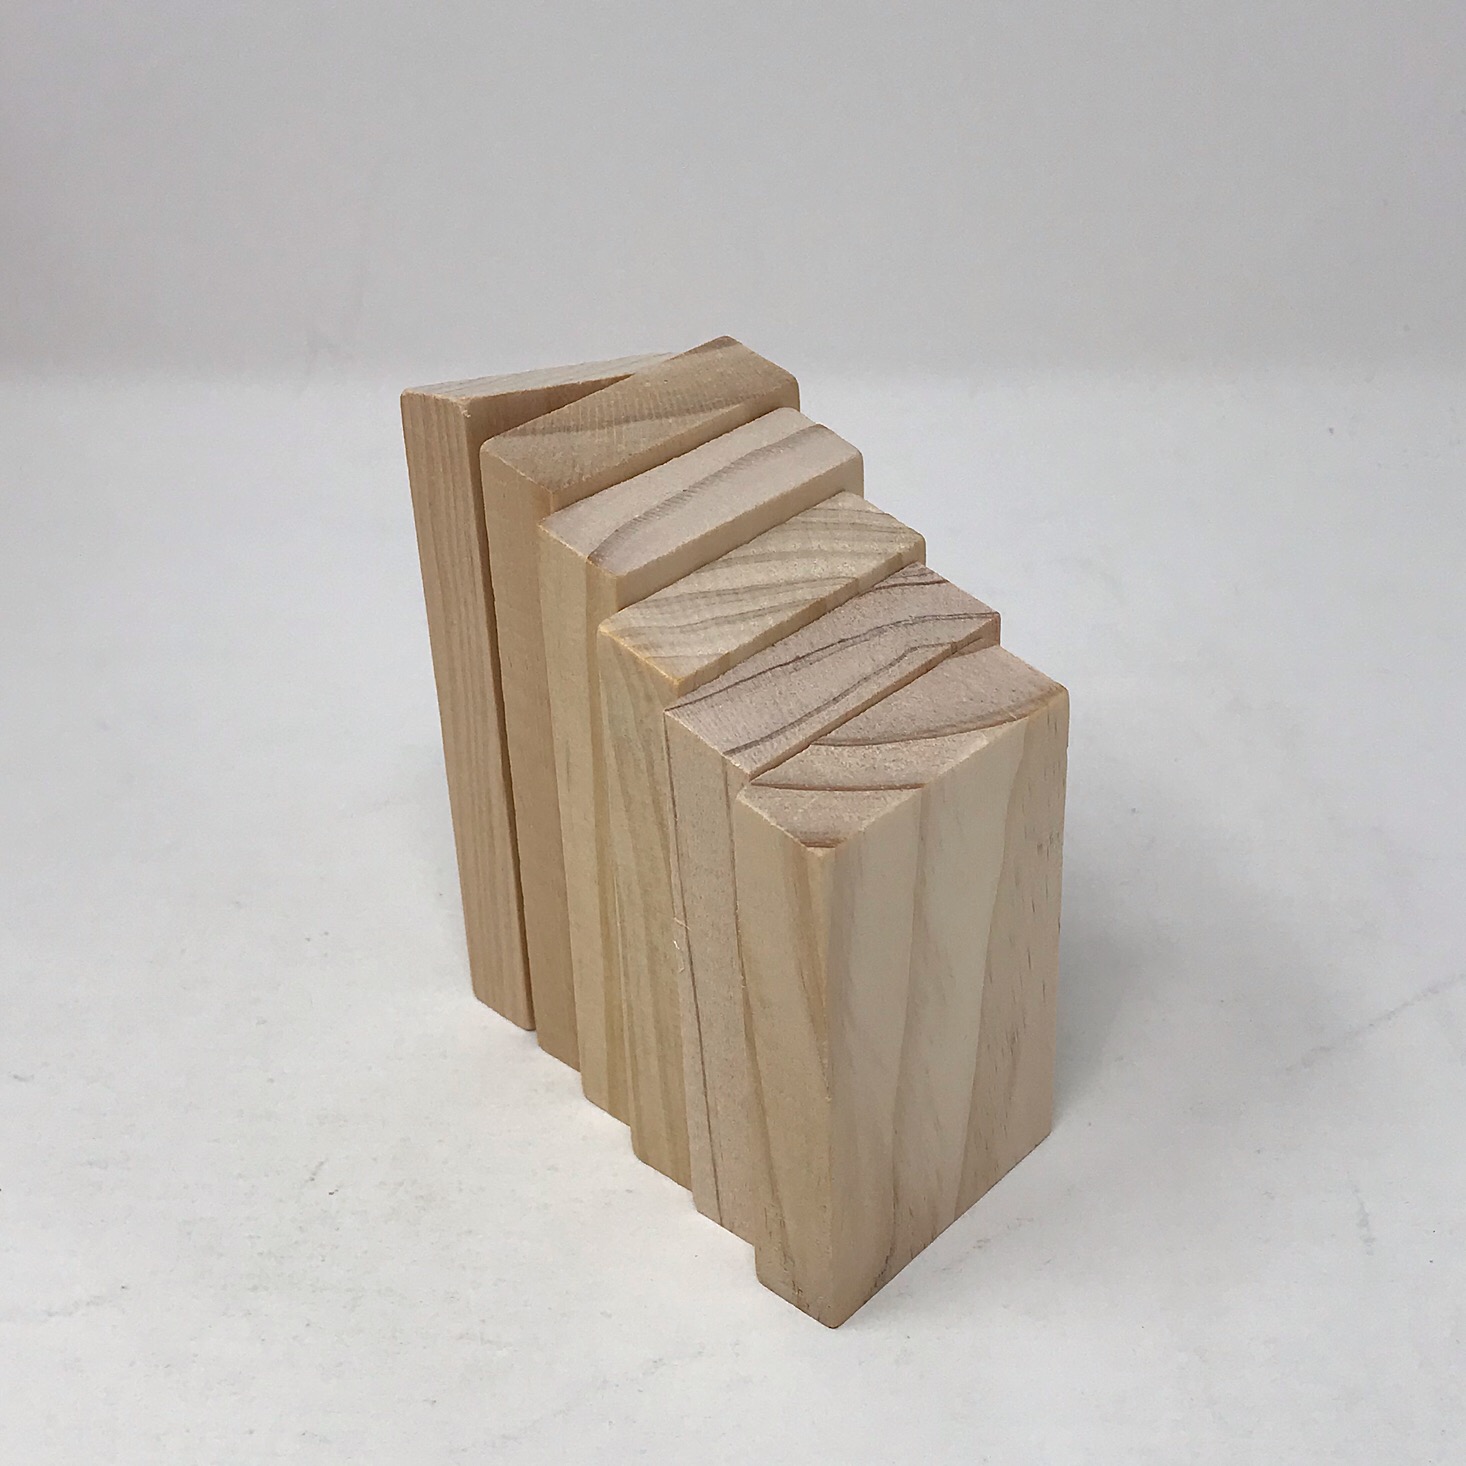
I lined up these wooden pieces in order from tallest to shortest making sure to have the one block that was shaped a bit differently at the beginning. Then I added clear stickers to the bottom of each of them.
1 of 3
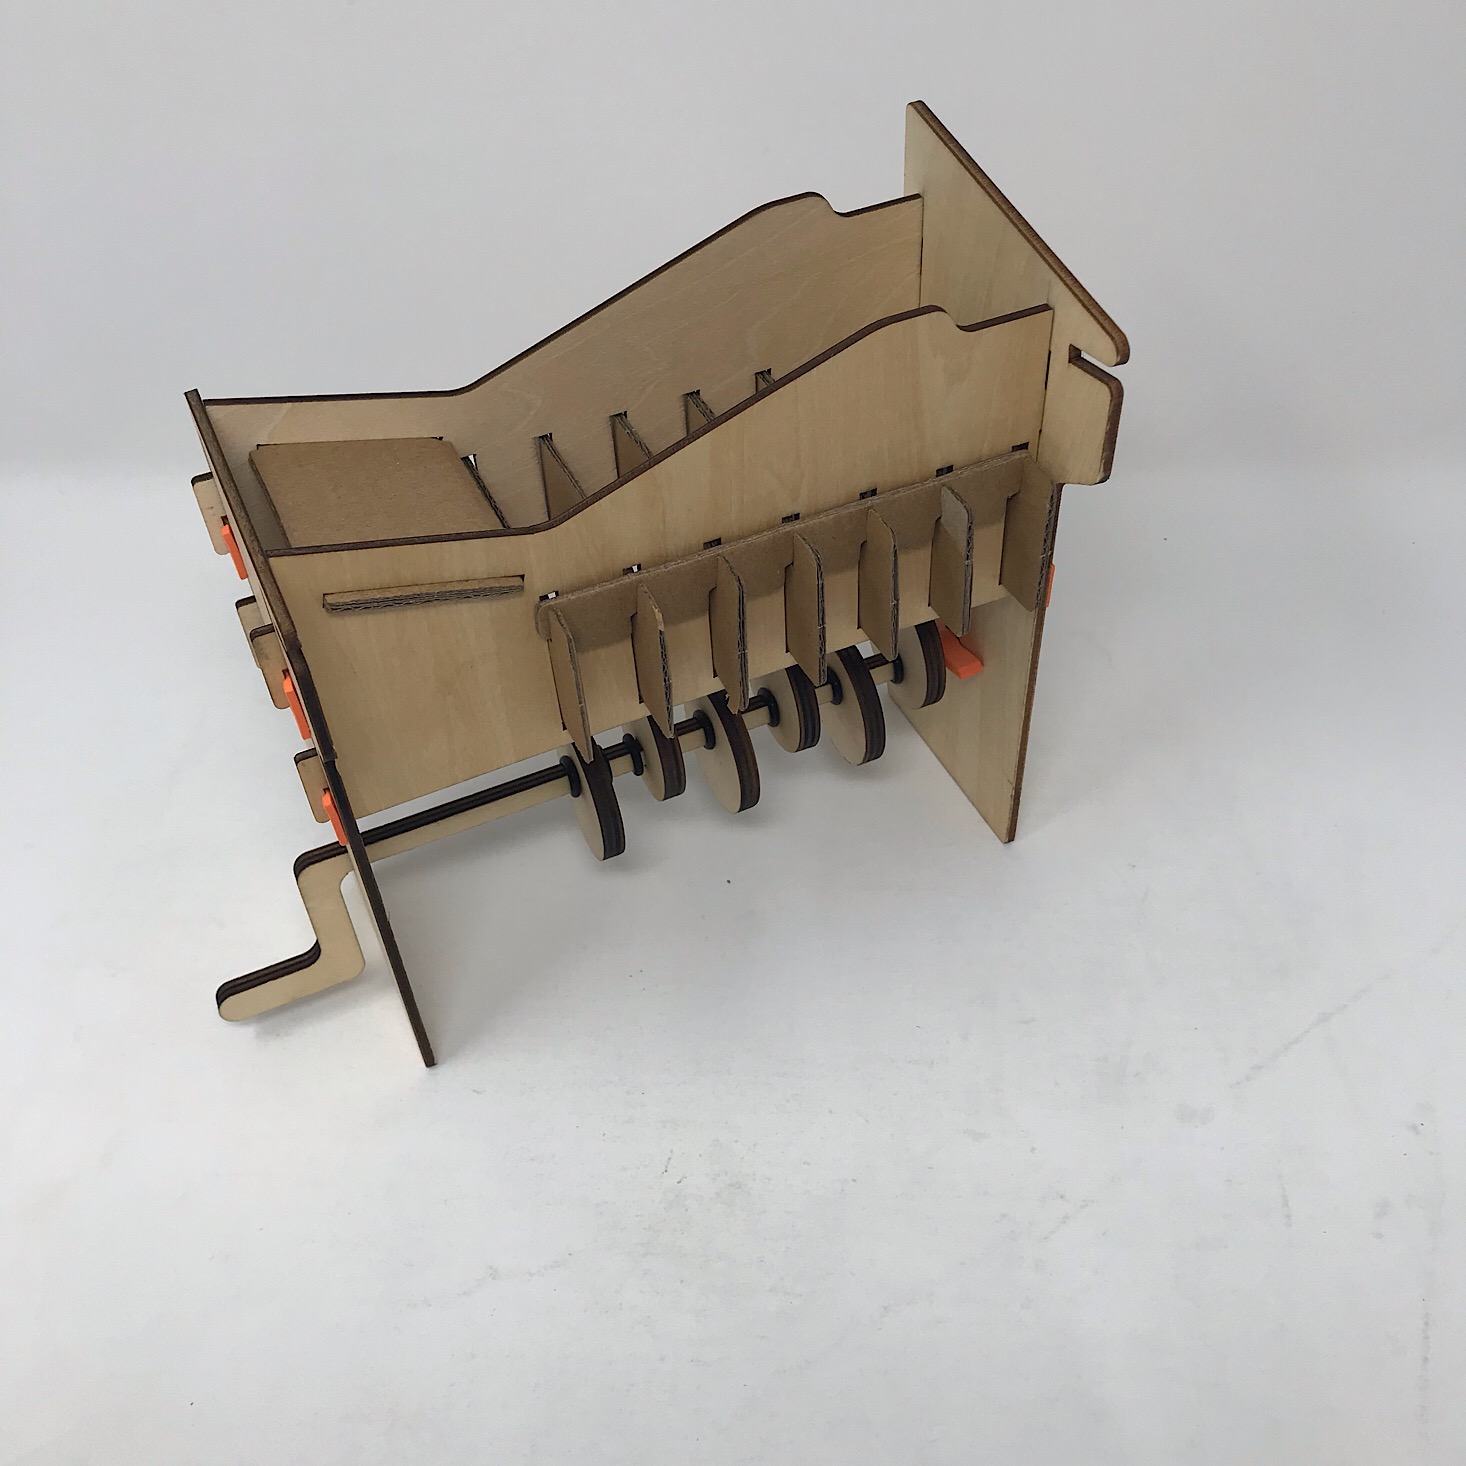
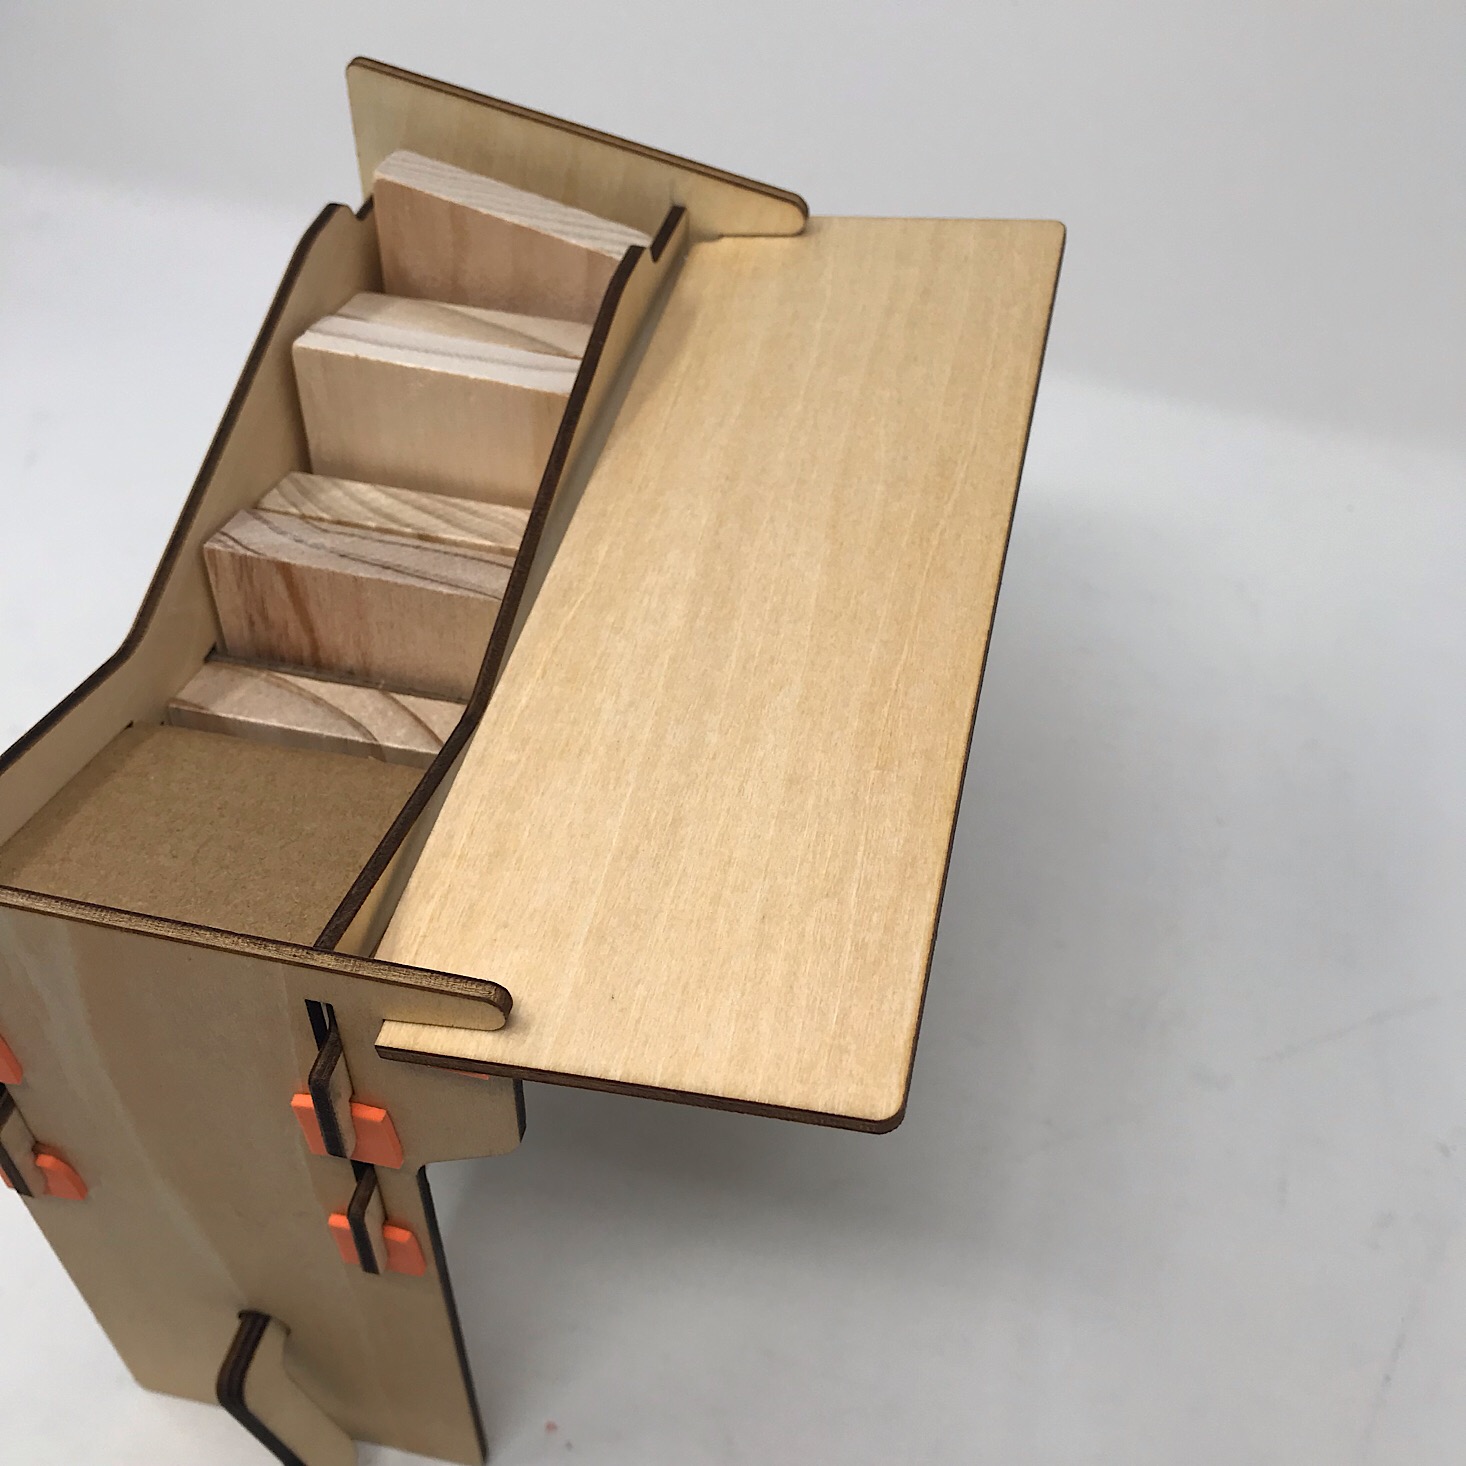
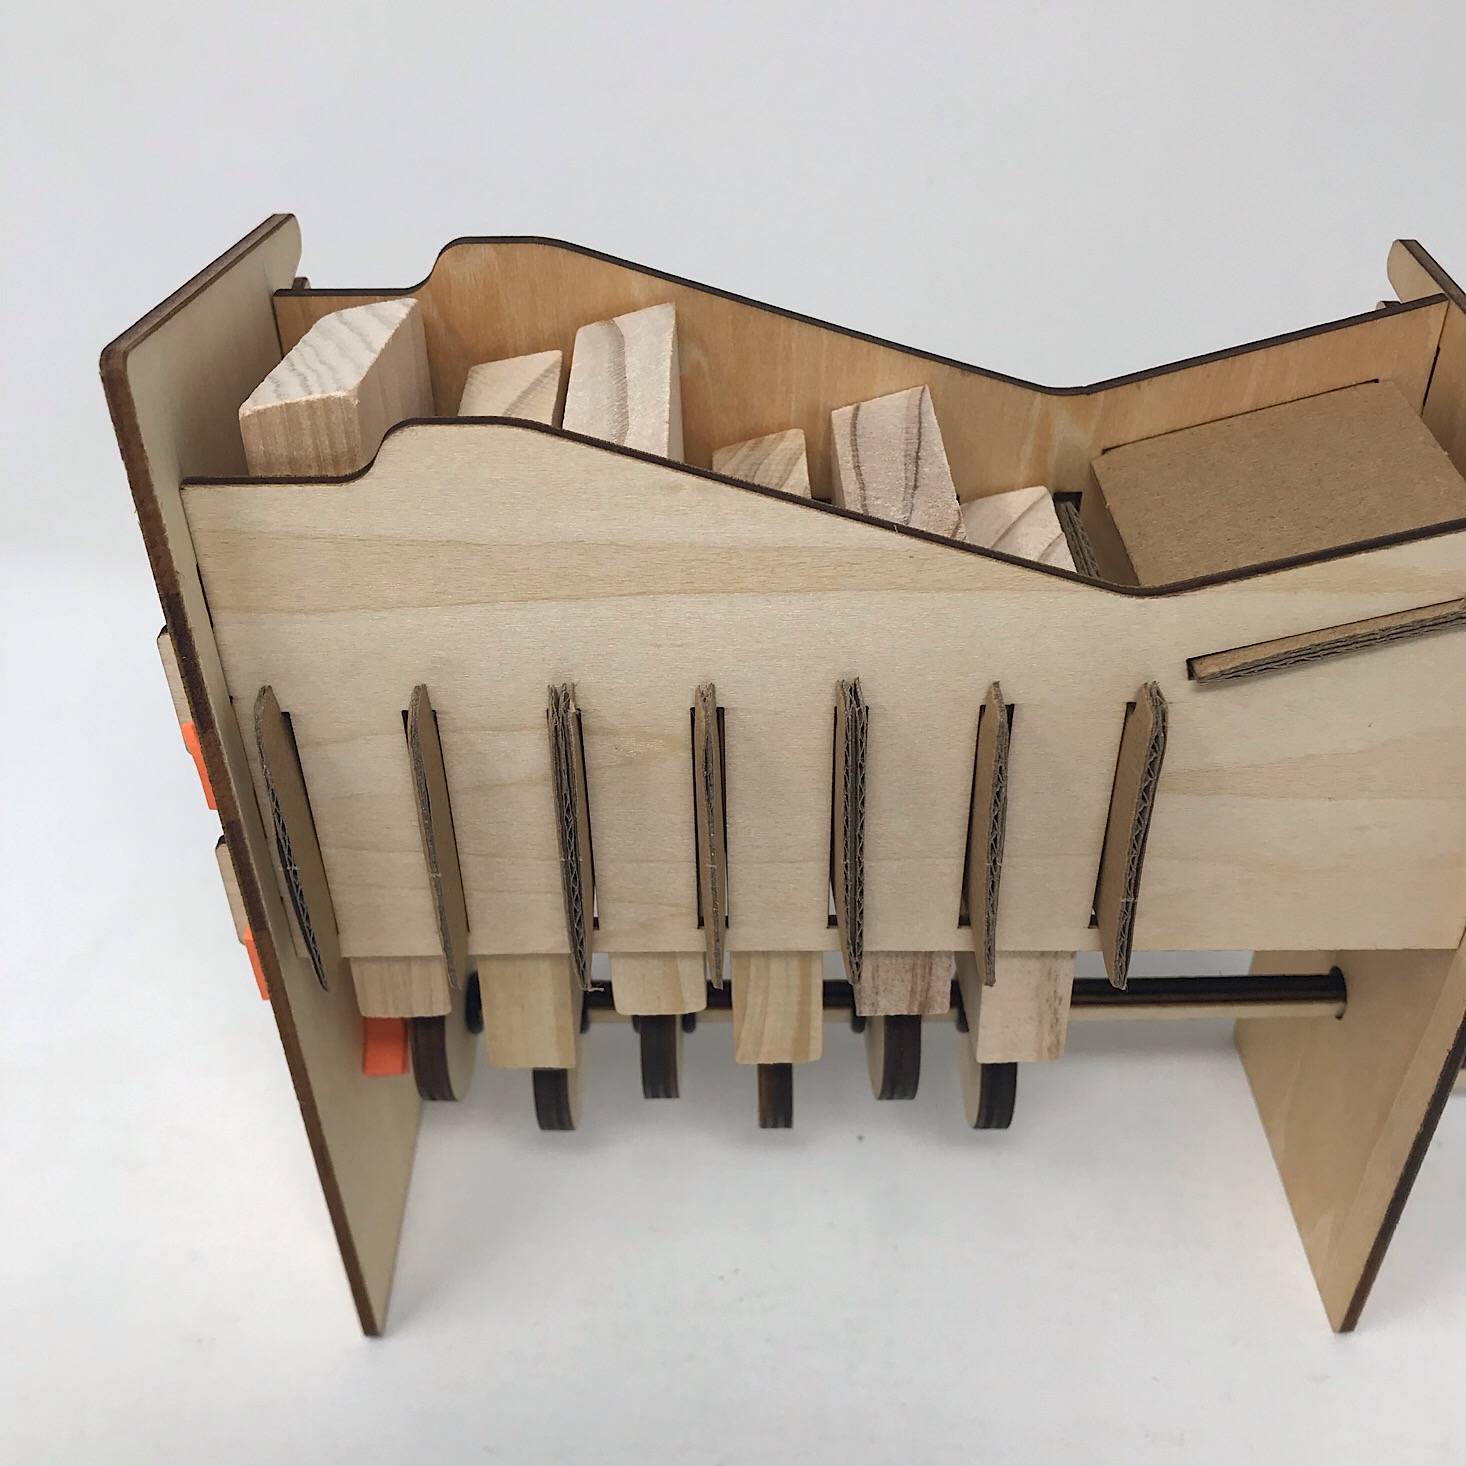
Then I dropped them into place starting at the taller end of the frame and working down. Each block or "stair" loosely fit in between each of the cardboard pieces. I added two foam squares to my last wooden piece and slid it into the open notch on the side of the frame. Now my automaton was ready!
By simply turning the crank, the cams underneath would hit the stairs and cause them to rise and fall in turn.

1 of 2
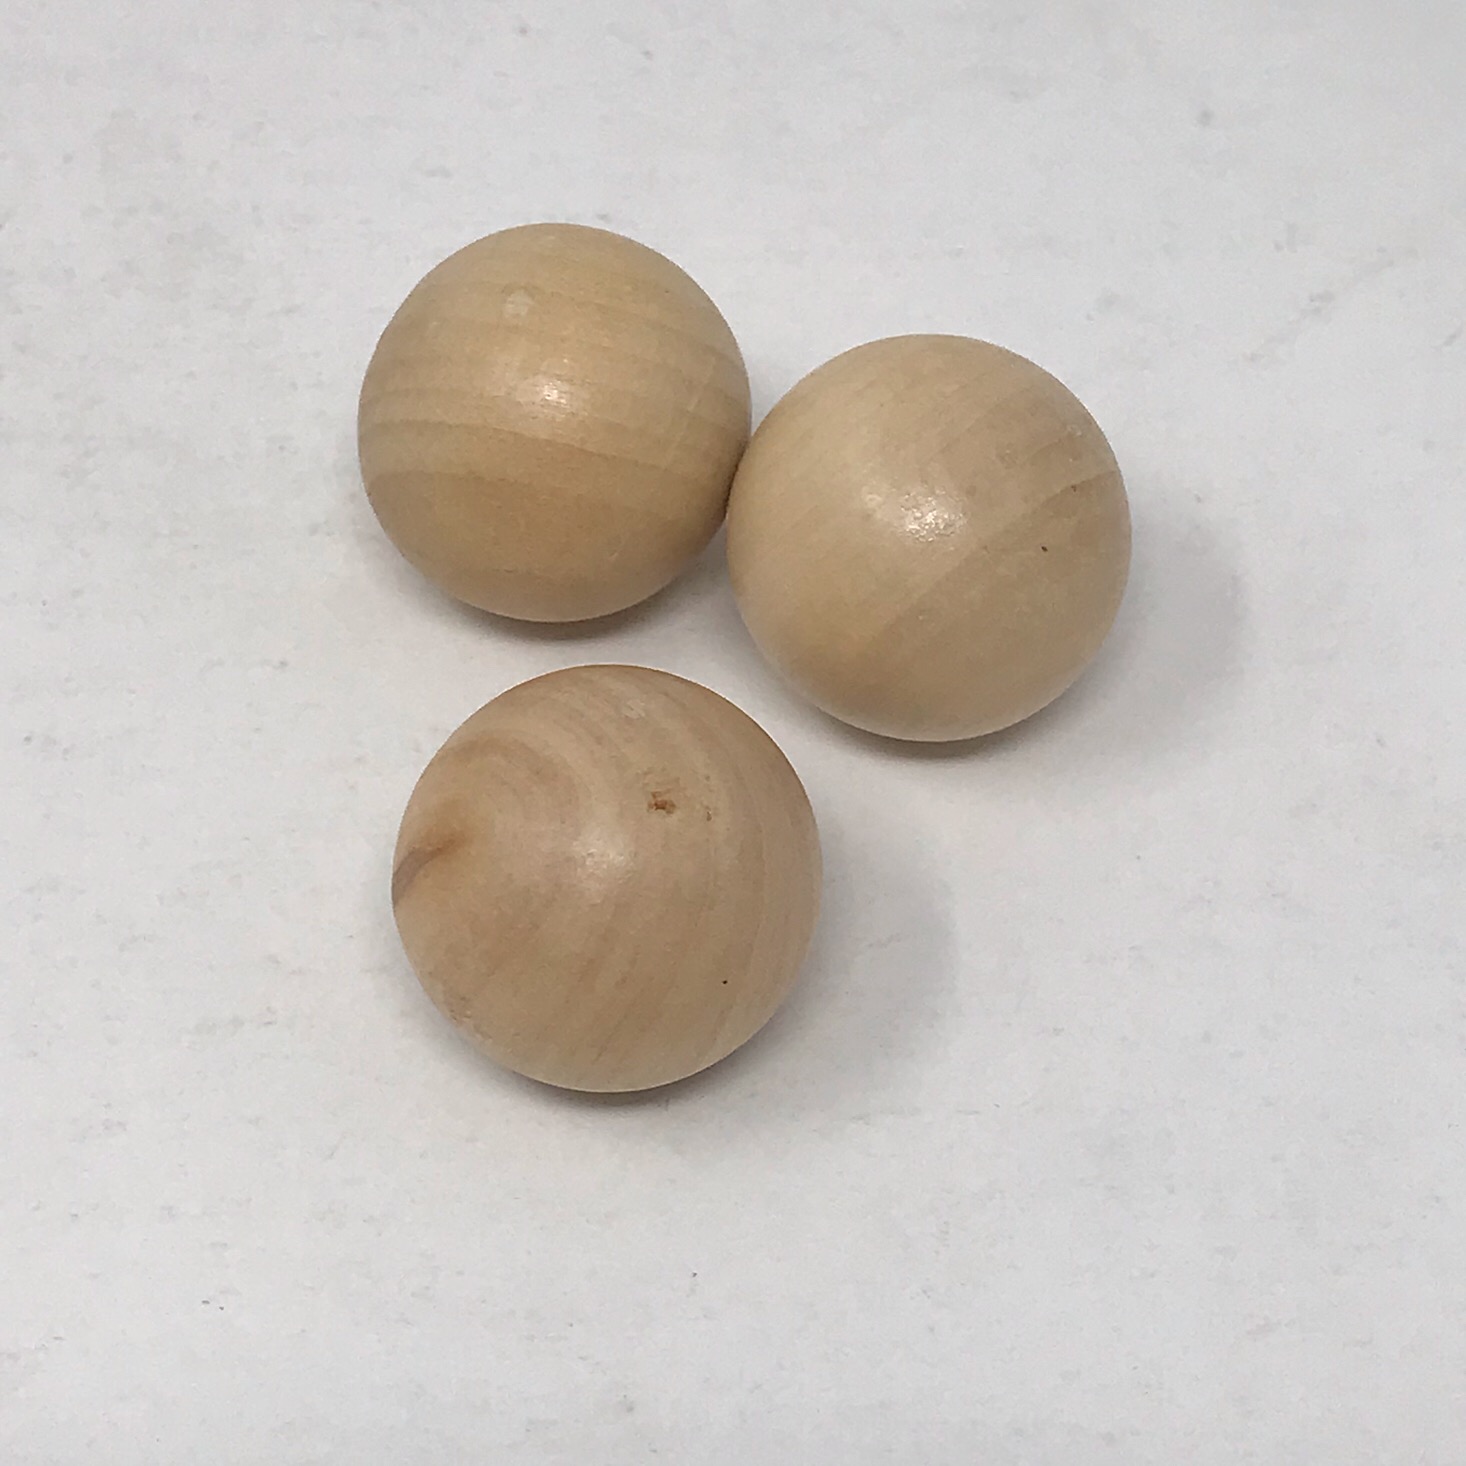
They provided three wooden balls for us to add to the automaton. I placed them on and then turned the crank.
The balls would seem to "climb" the stairs and then slide back down to the bottom and begin again once they reached the top. This was pretty cool and fun to watch! My kids really enjoyed testing it out. They also included some great educational information about how the balls were actually sliding down and not going up as they seem.
BONUS: Art Automaton Activity


1 of 4
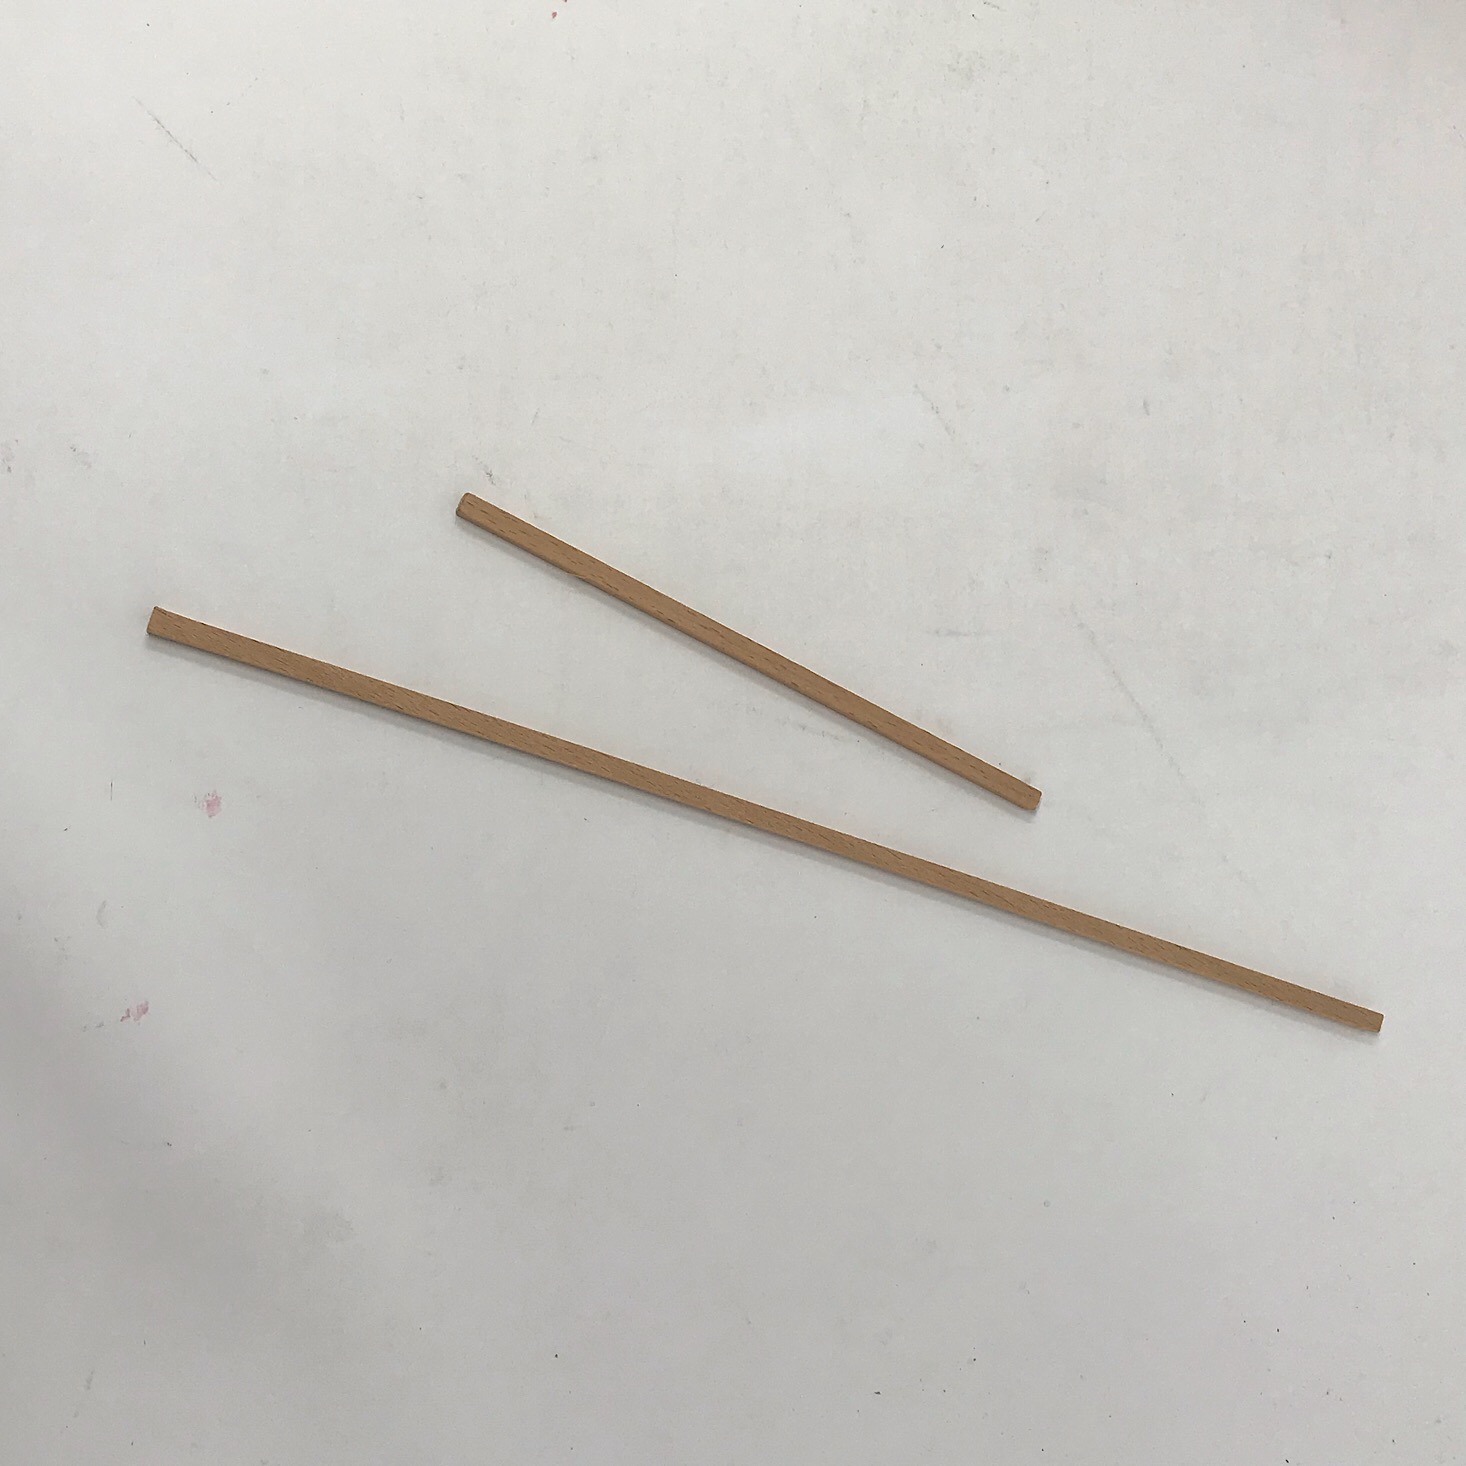

In addition to our wooden automaton, they also provided materials for us to create our own art automaton. This was simple to put together using some cardboard pieces they provided, dowels, a straw, and our box.
1 of 3
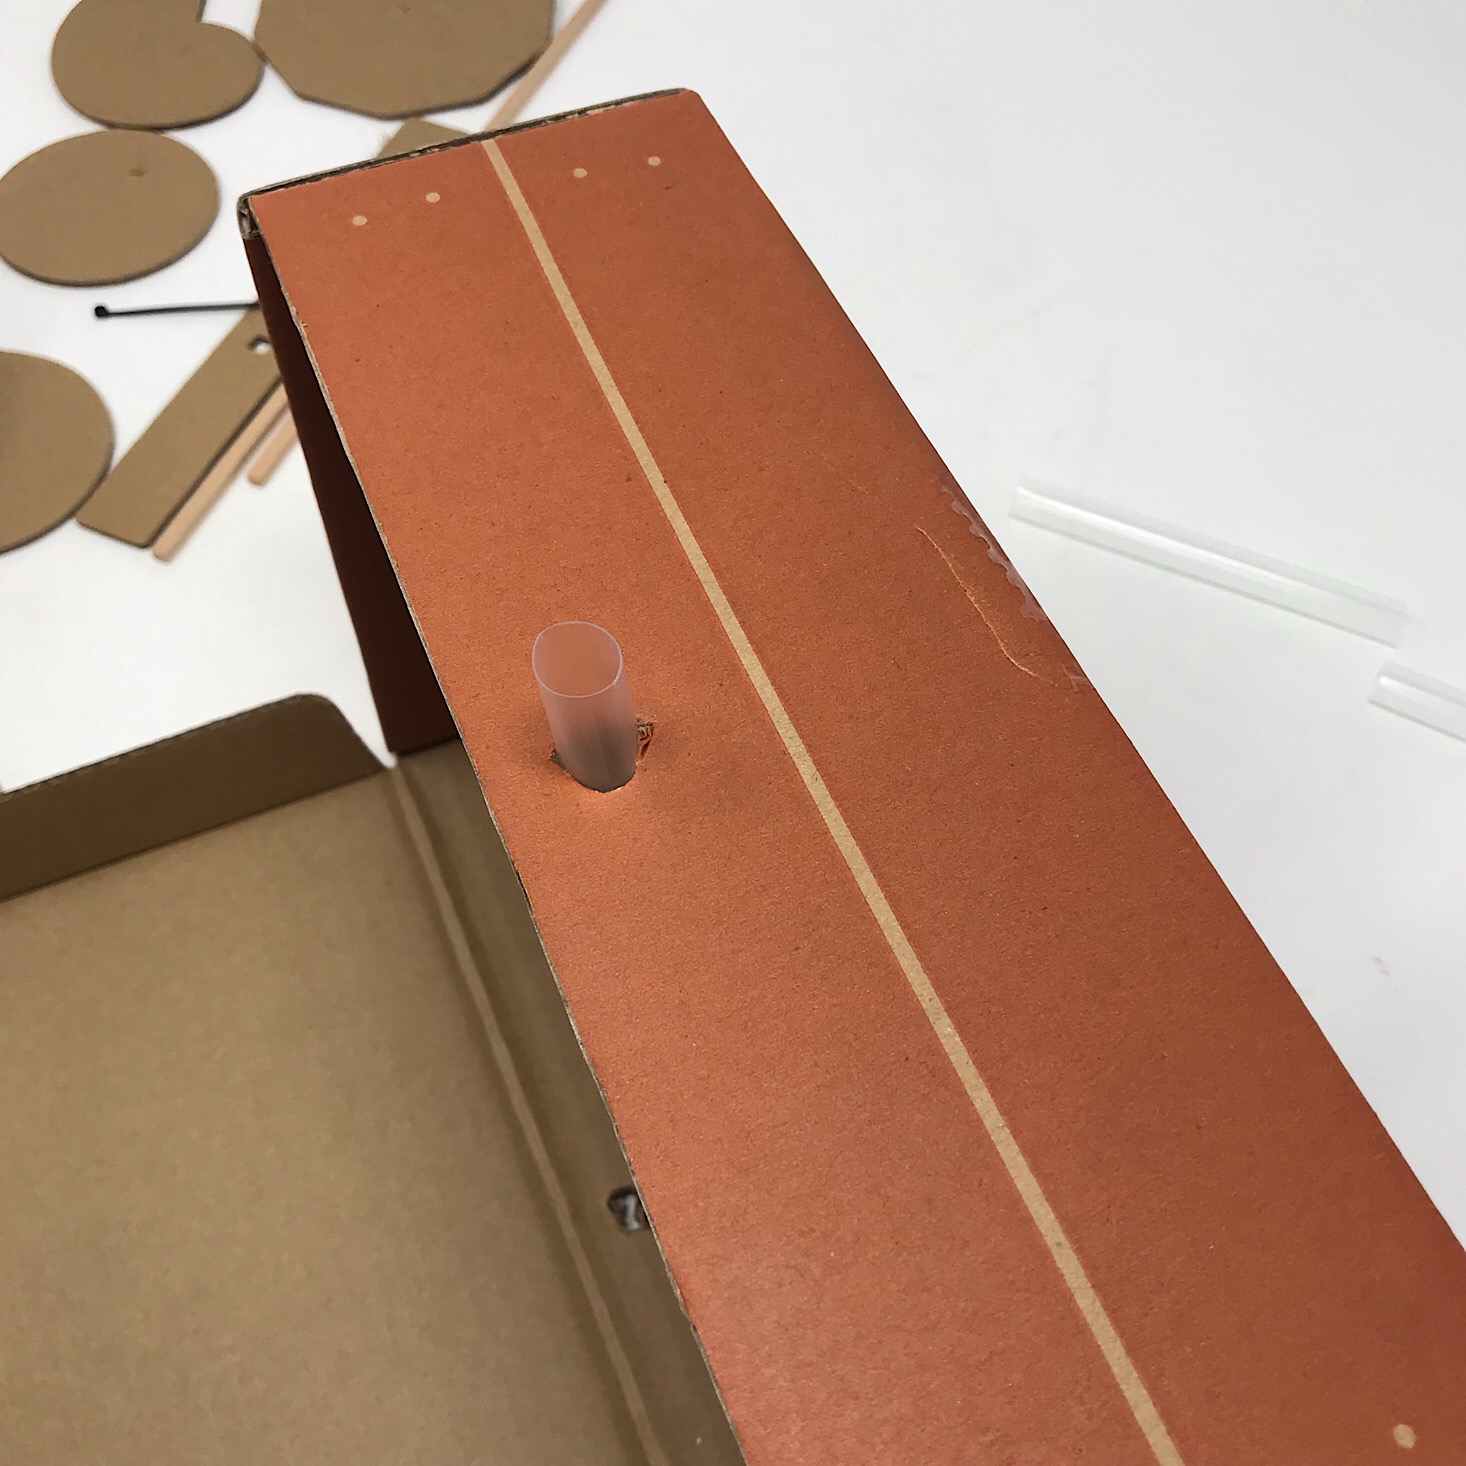
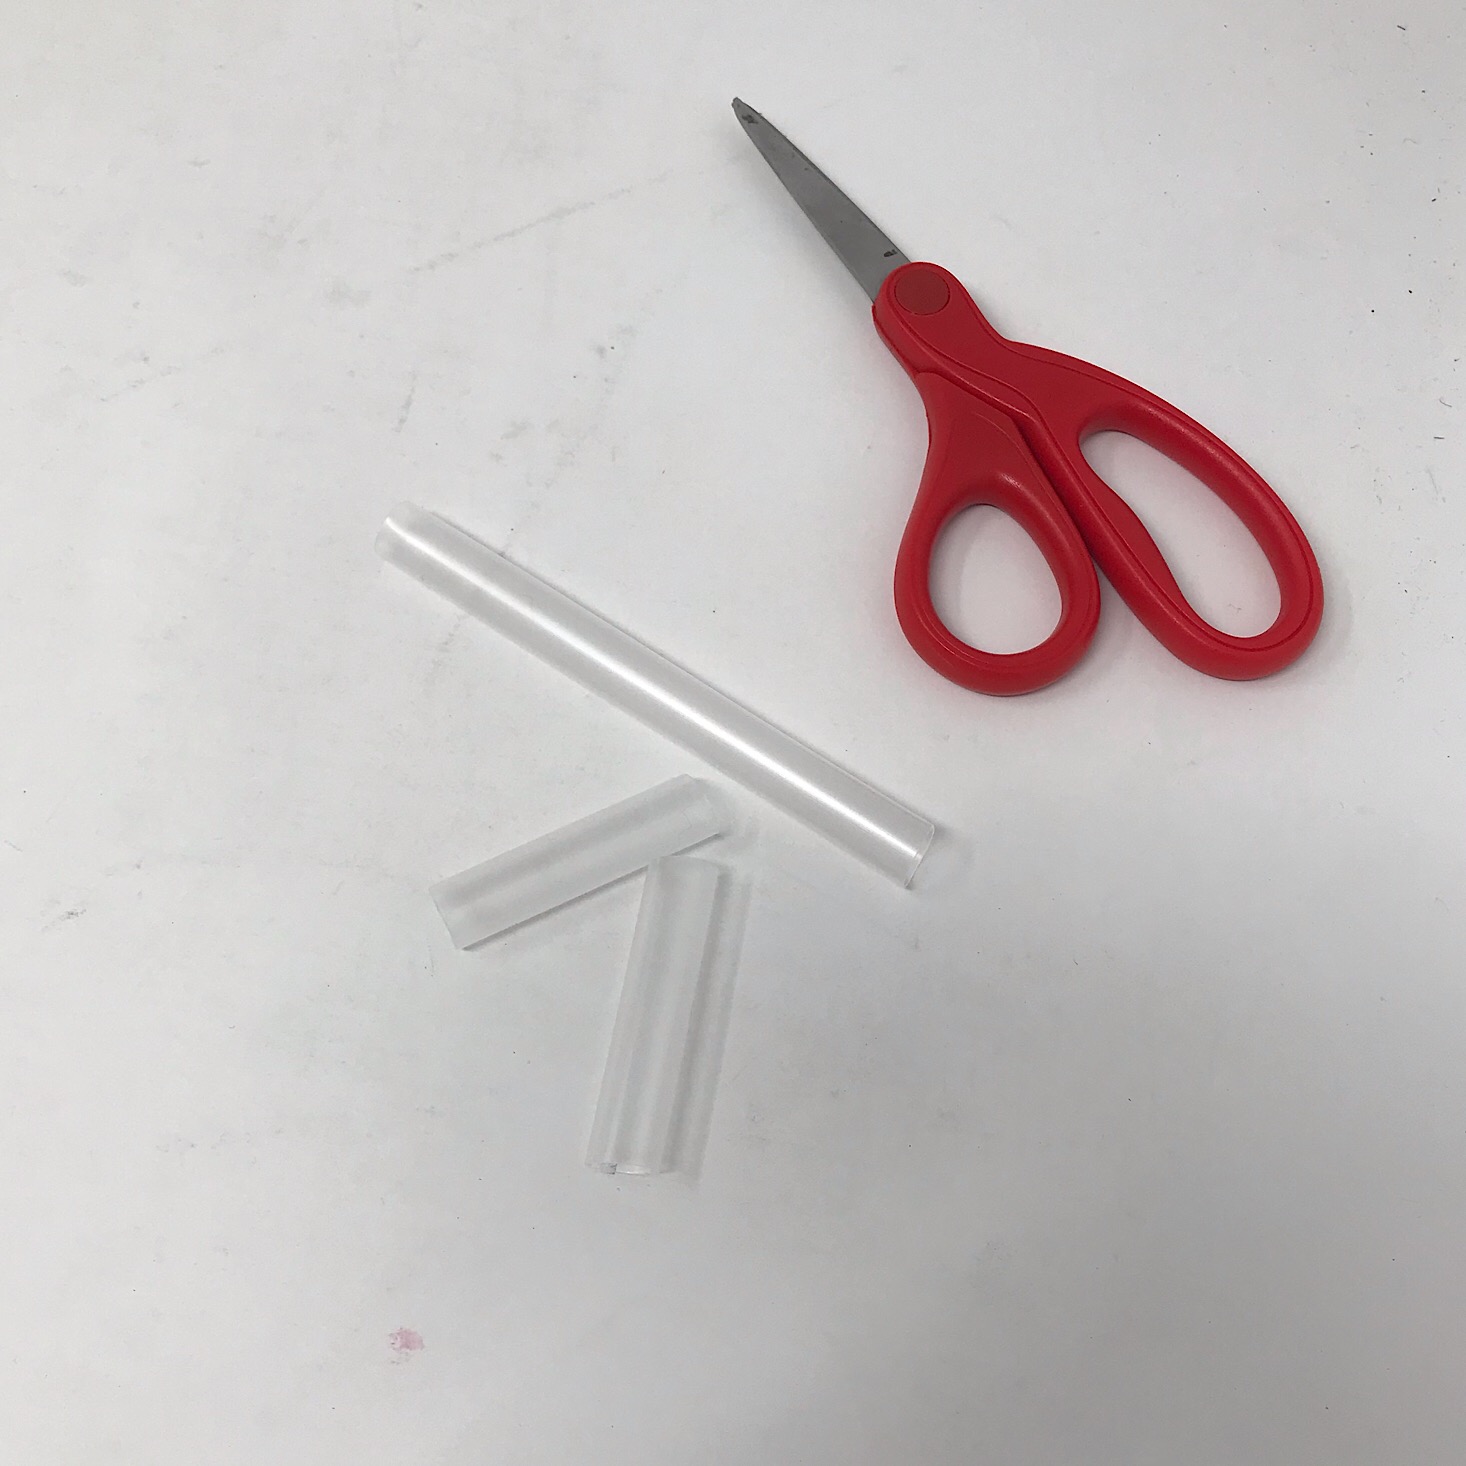
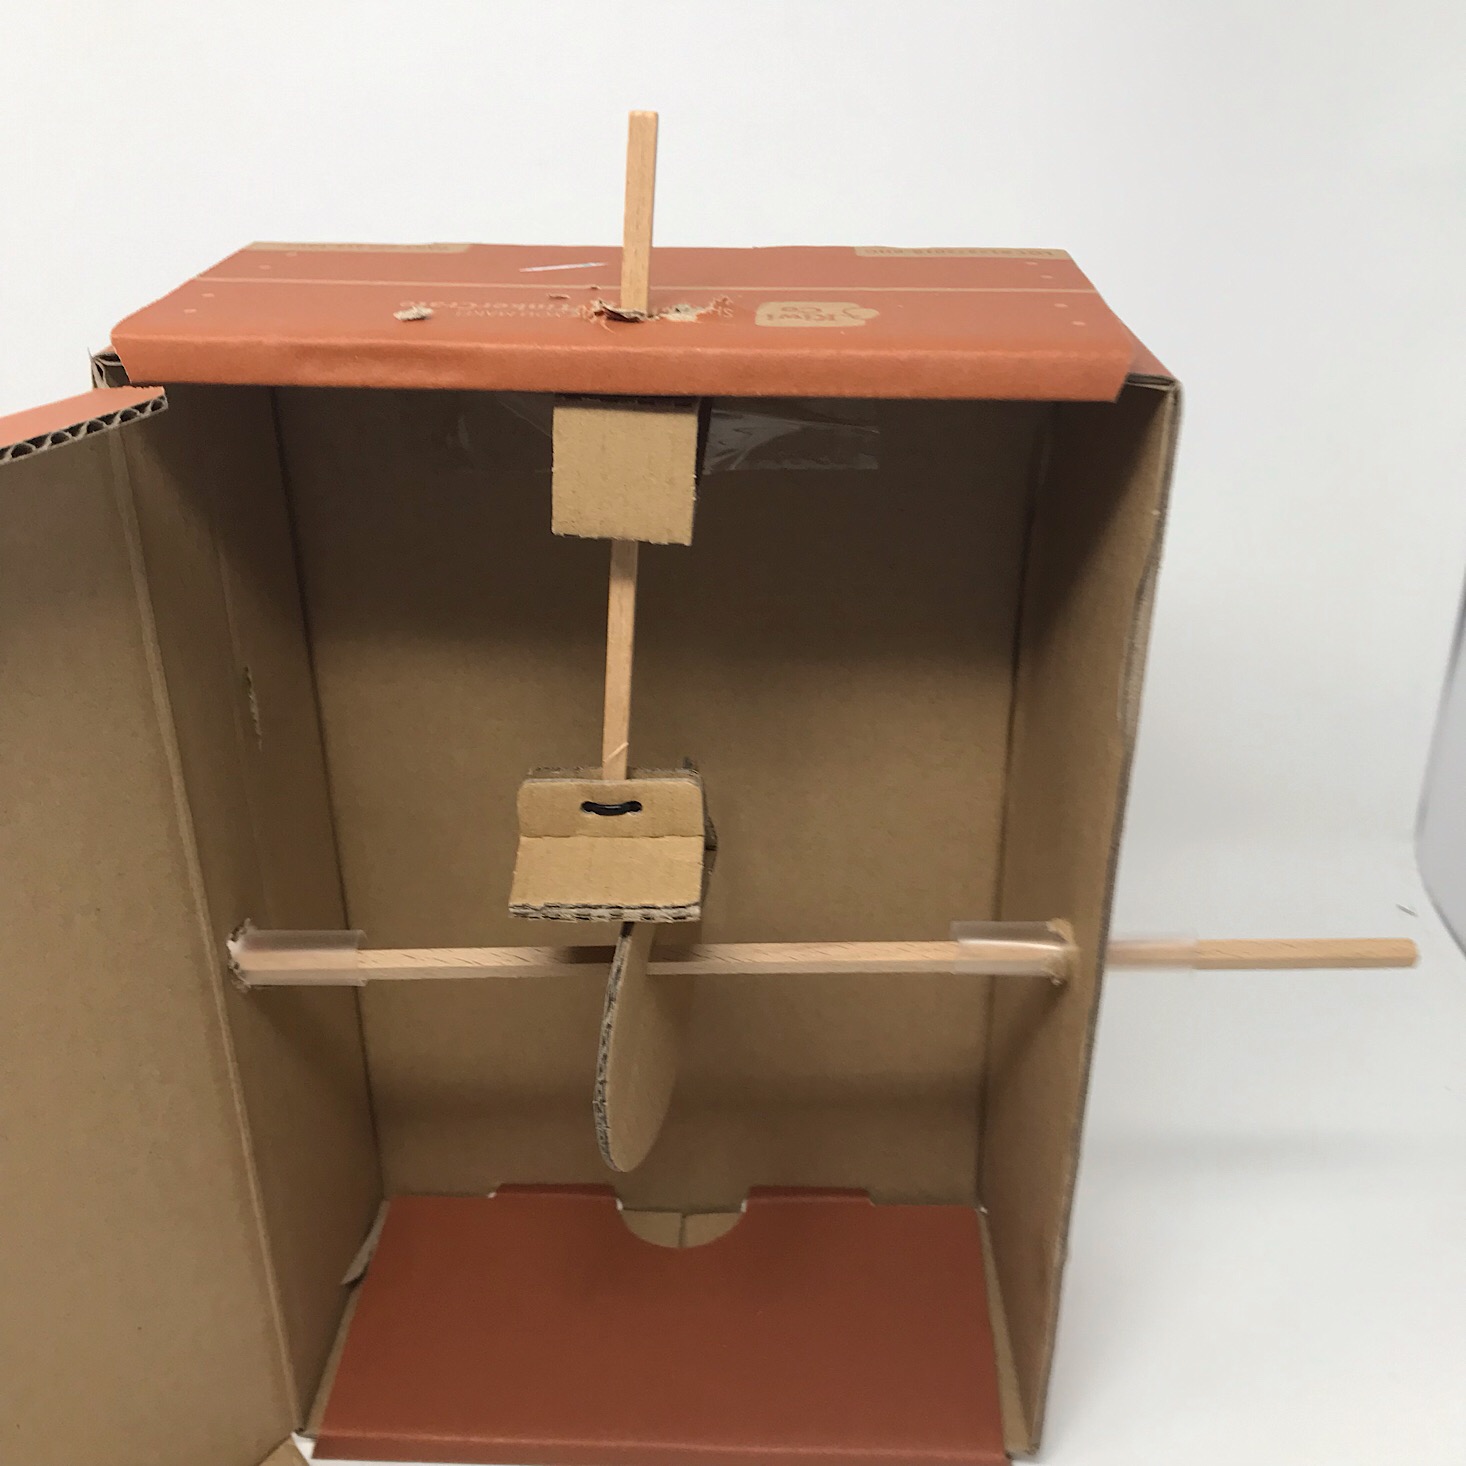
First, I cut two pieces off of our straw and then I made holes in the side of our box close to the edge and about halfway down on either side. I stuck the pieces of our straw into each hole.

1 of 3

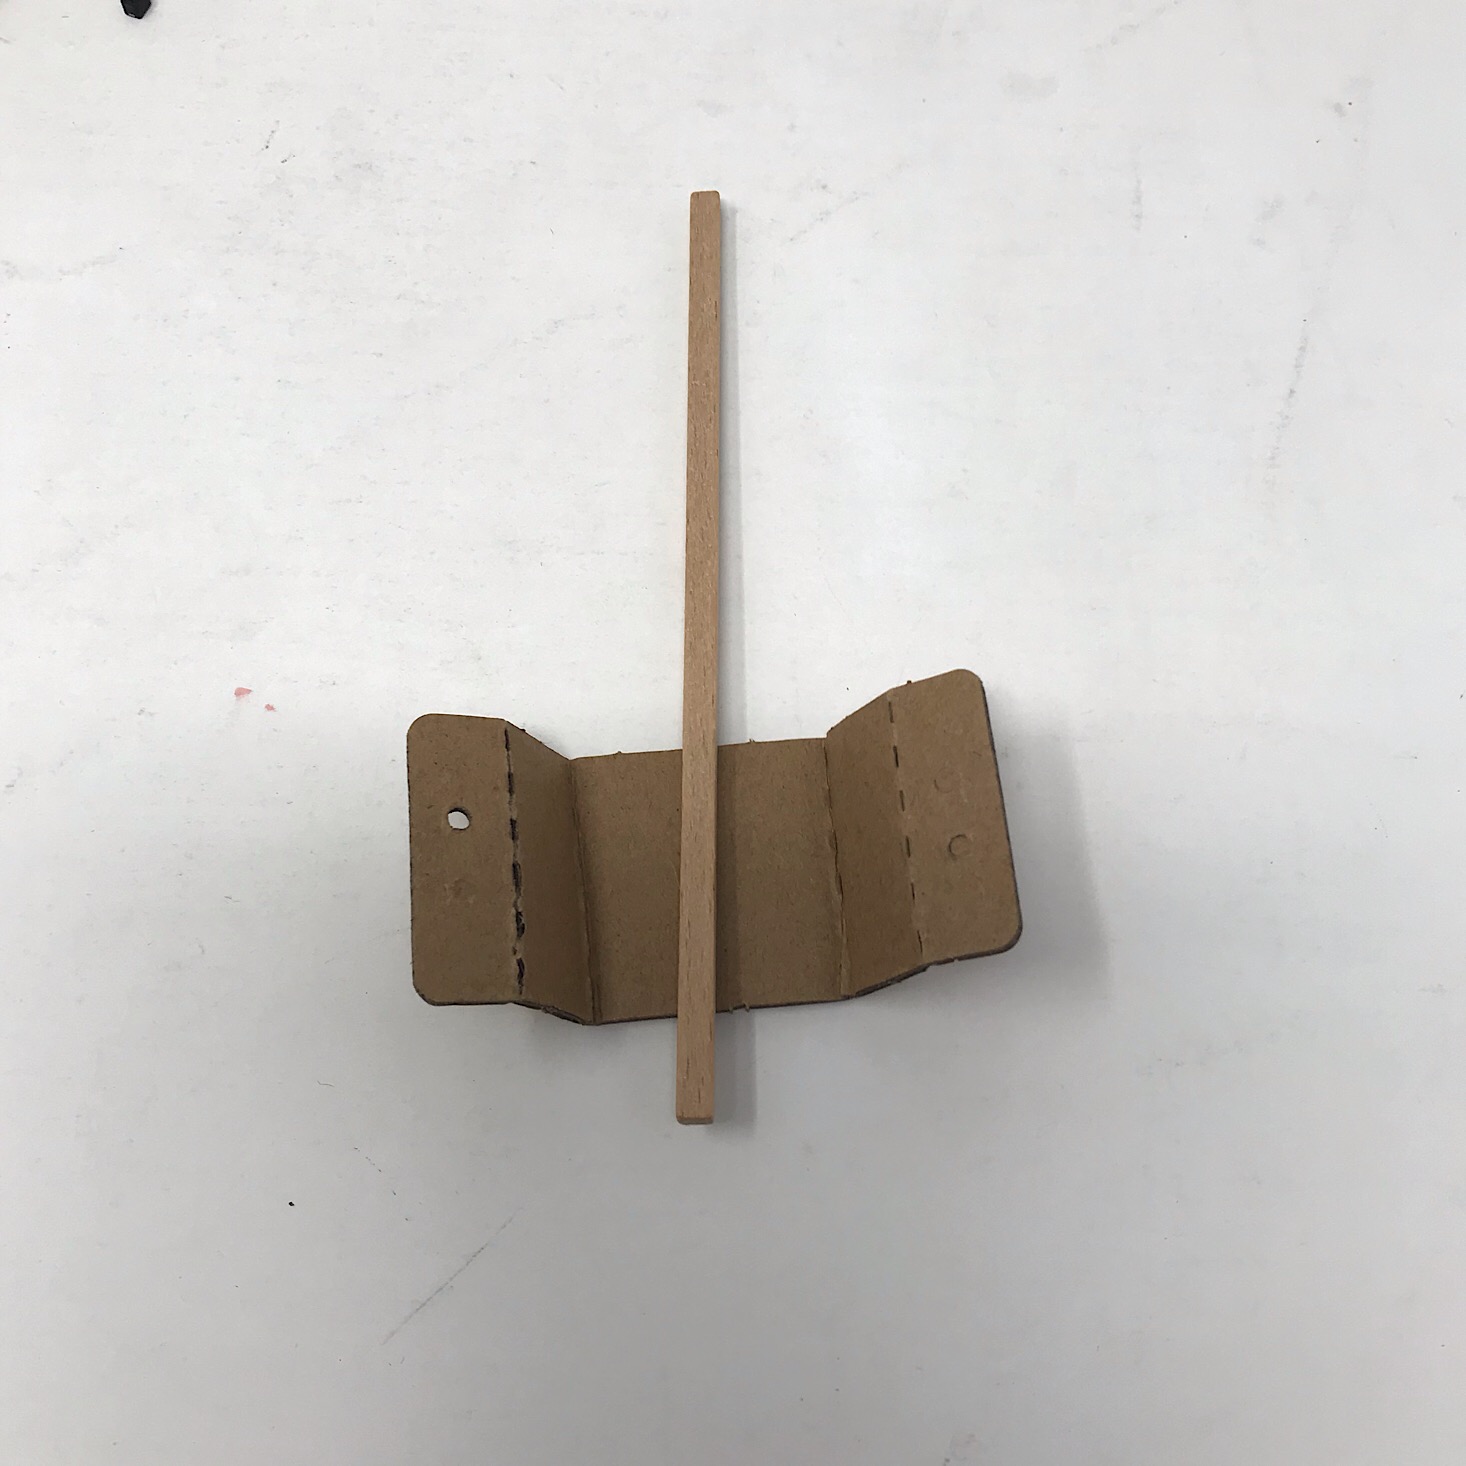
Next, I placed the smaller dowel into the smaller cardboard piece standing up and used the zip tie to secure it. There were already holed marked in the cardboard piece so that was easy enough! Then I folded and slid the longer cardboard piece onto the top of the dowel which was again very easy since the square holes were already cut into the cardboard for us.
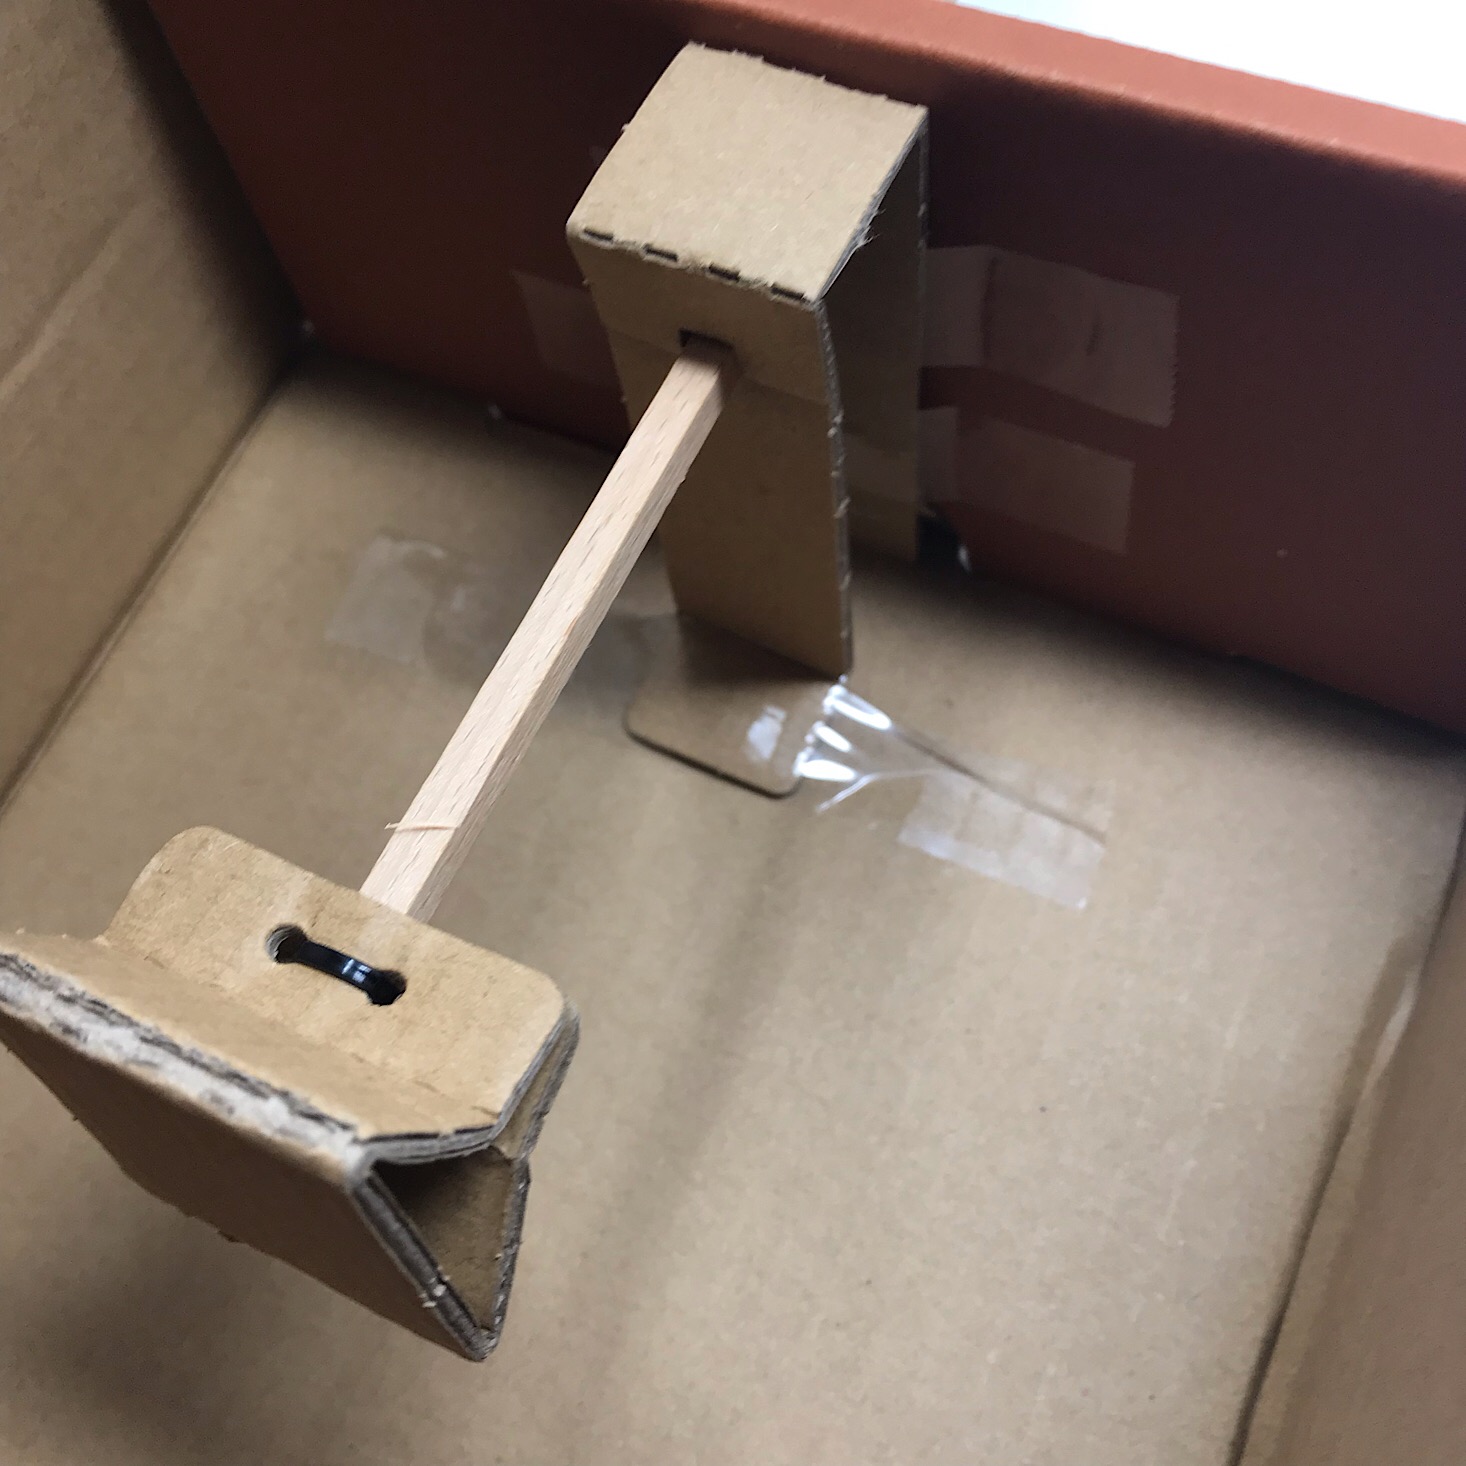
1 of 3
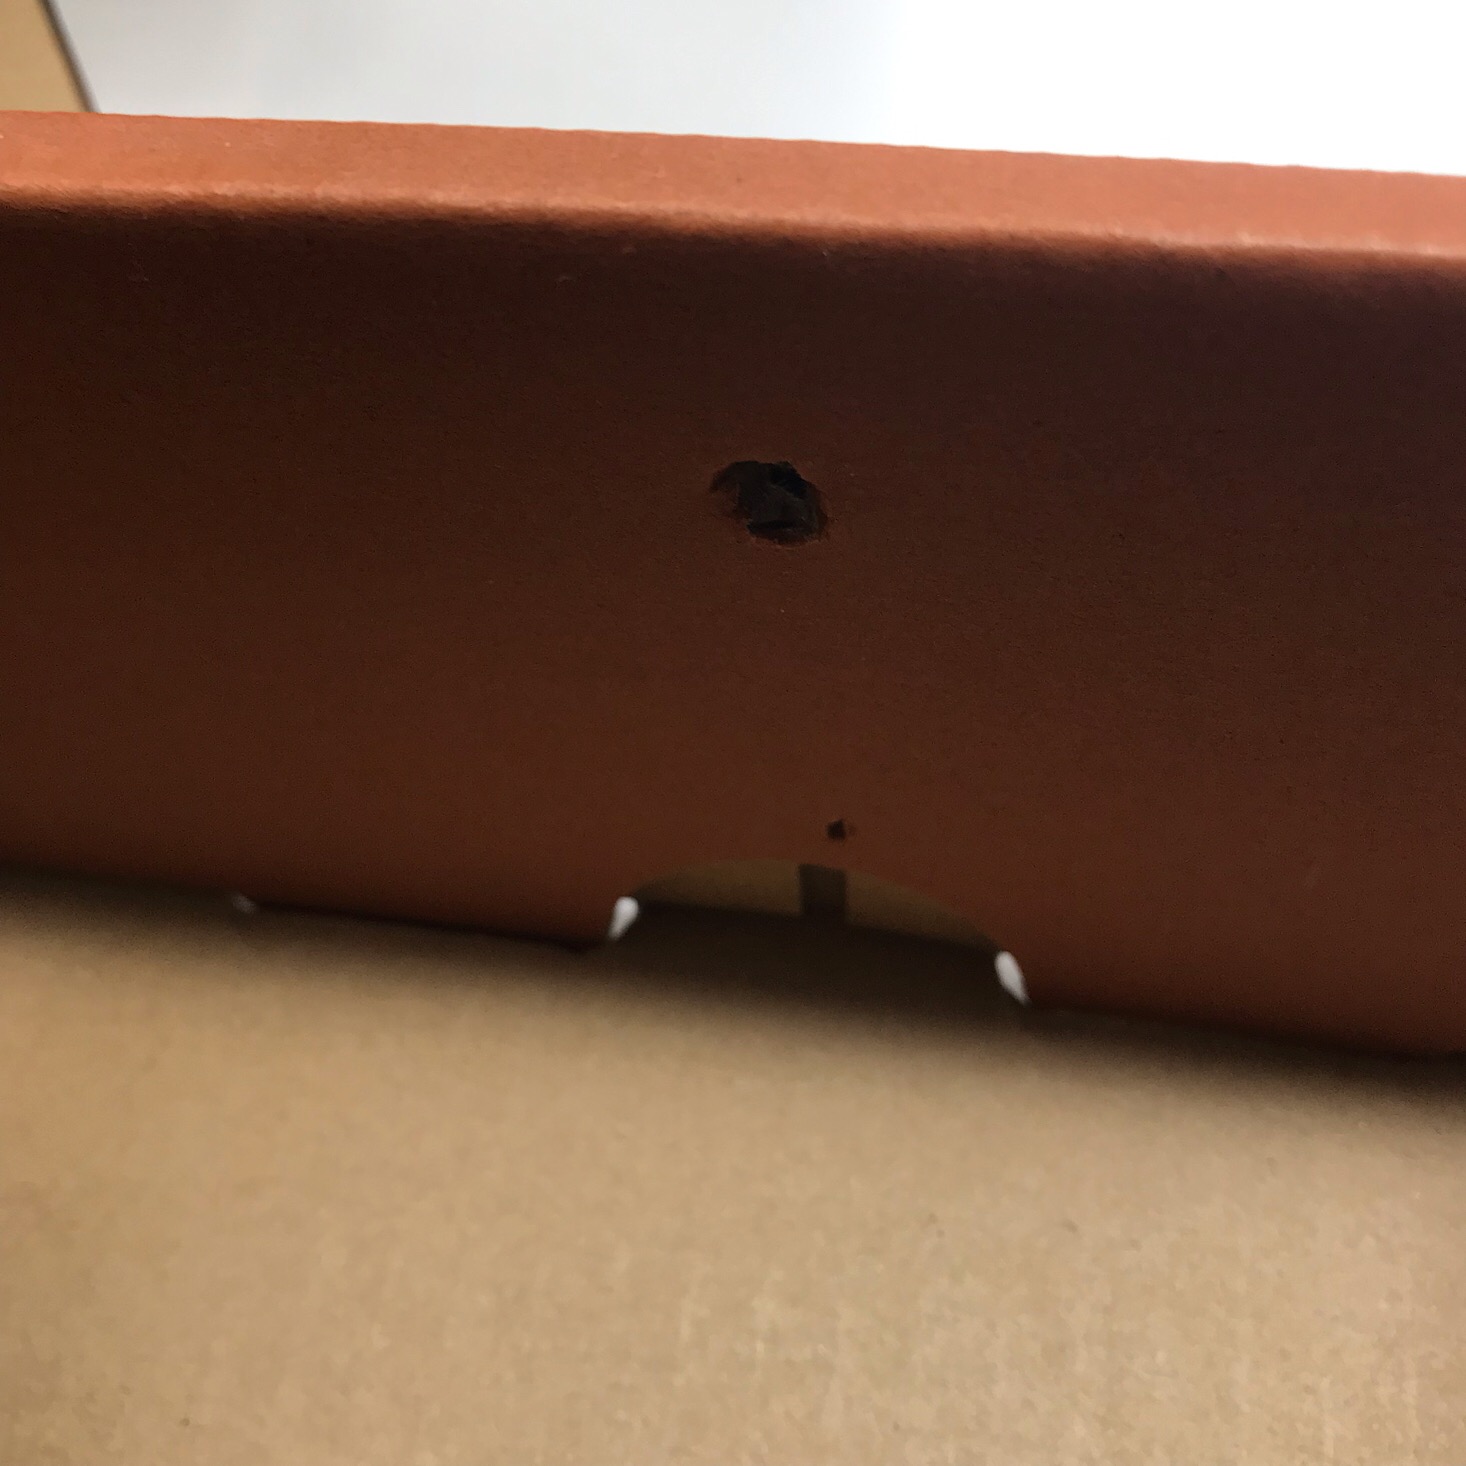
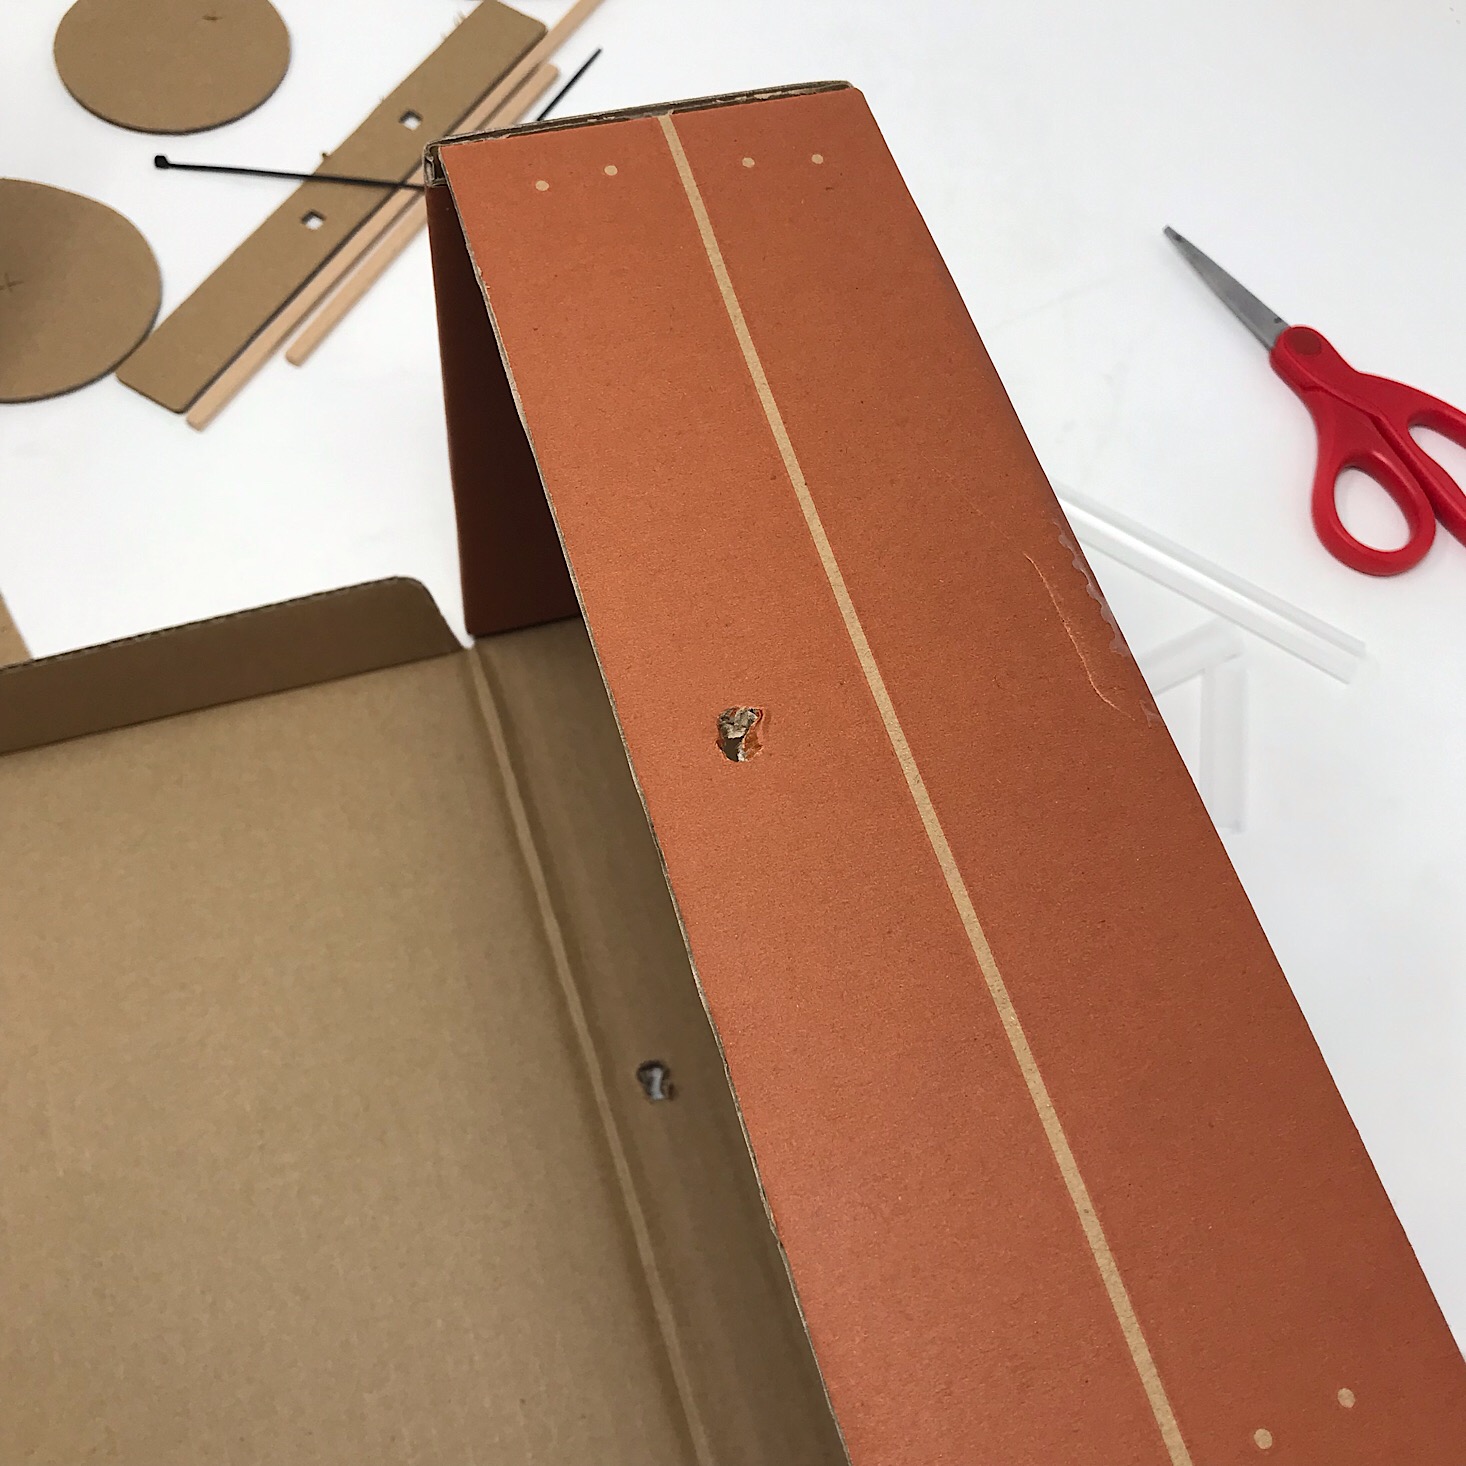
Then I placed it in the box and measured where the dowel would hit the top of my box. I made a hole and then I inserted the whole thing in the box and used tape to secure it. They recommended using masking tape, but I only had some scotch tape handy so I made do with that!

1 of 2
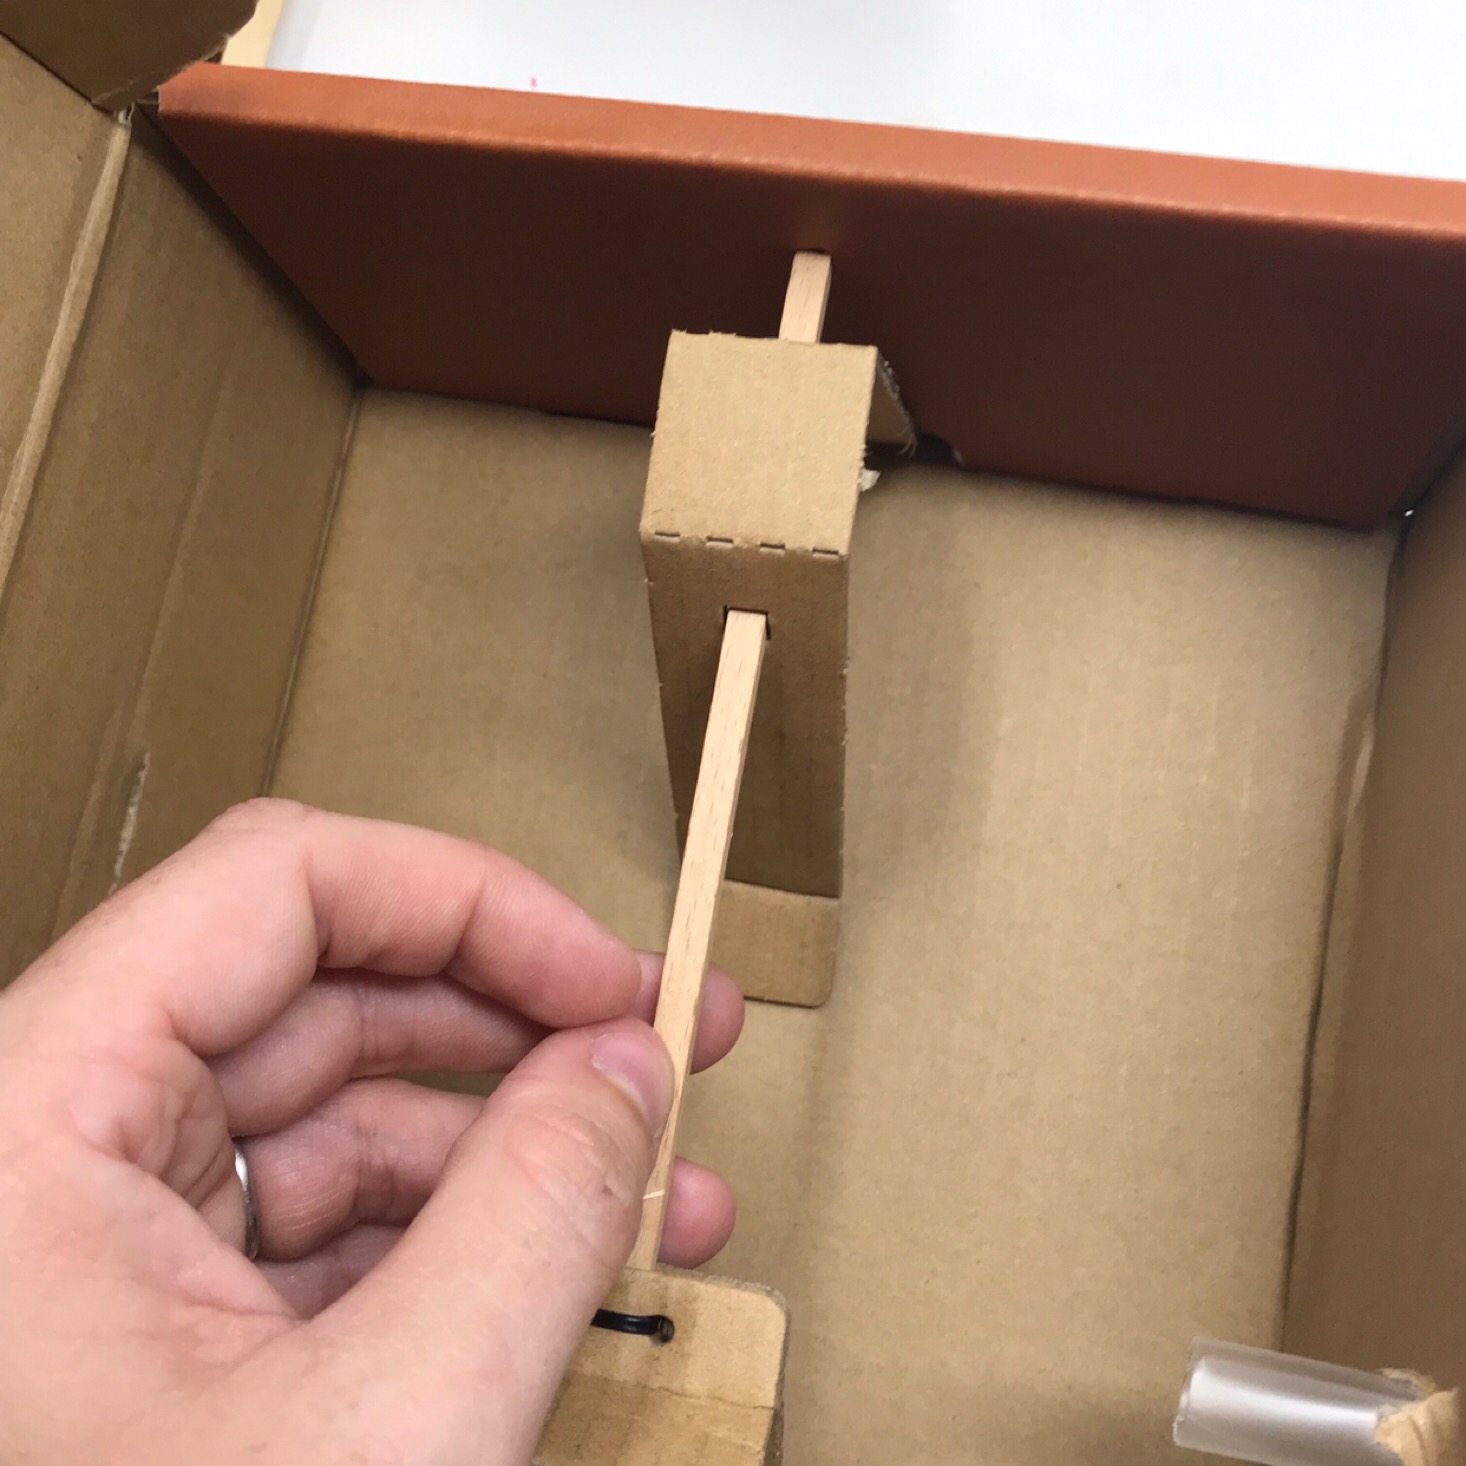
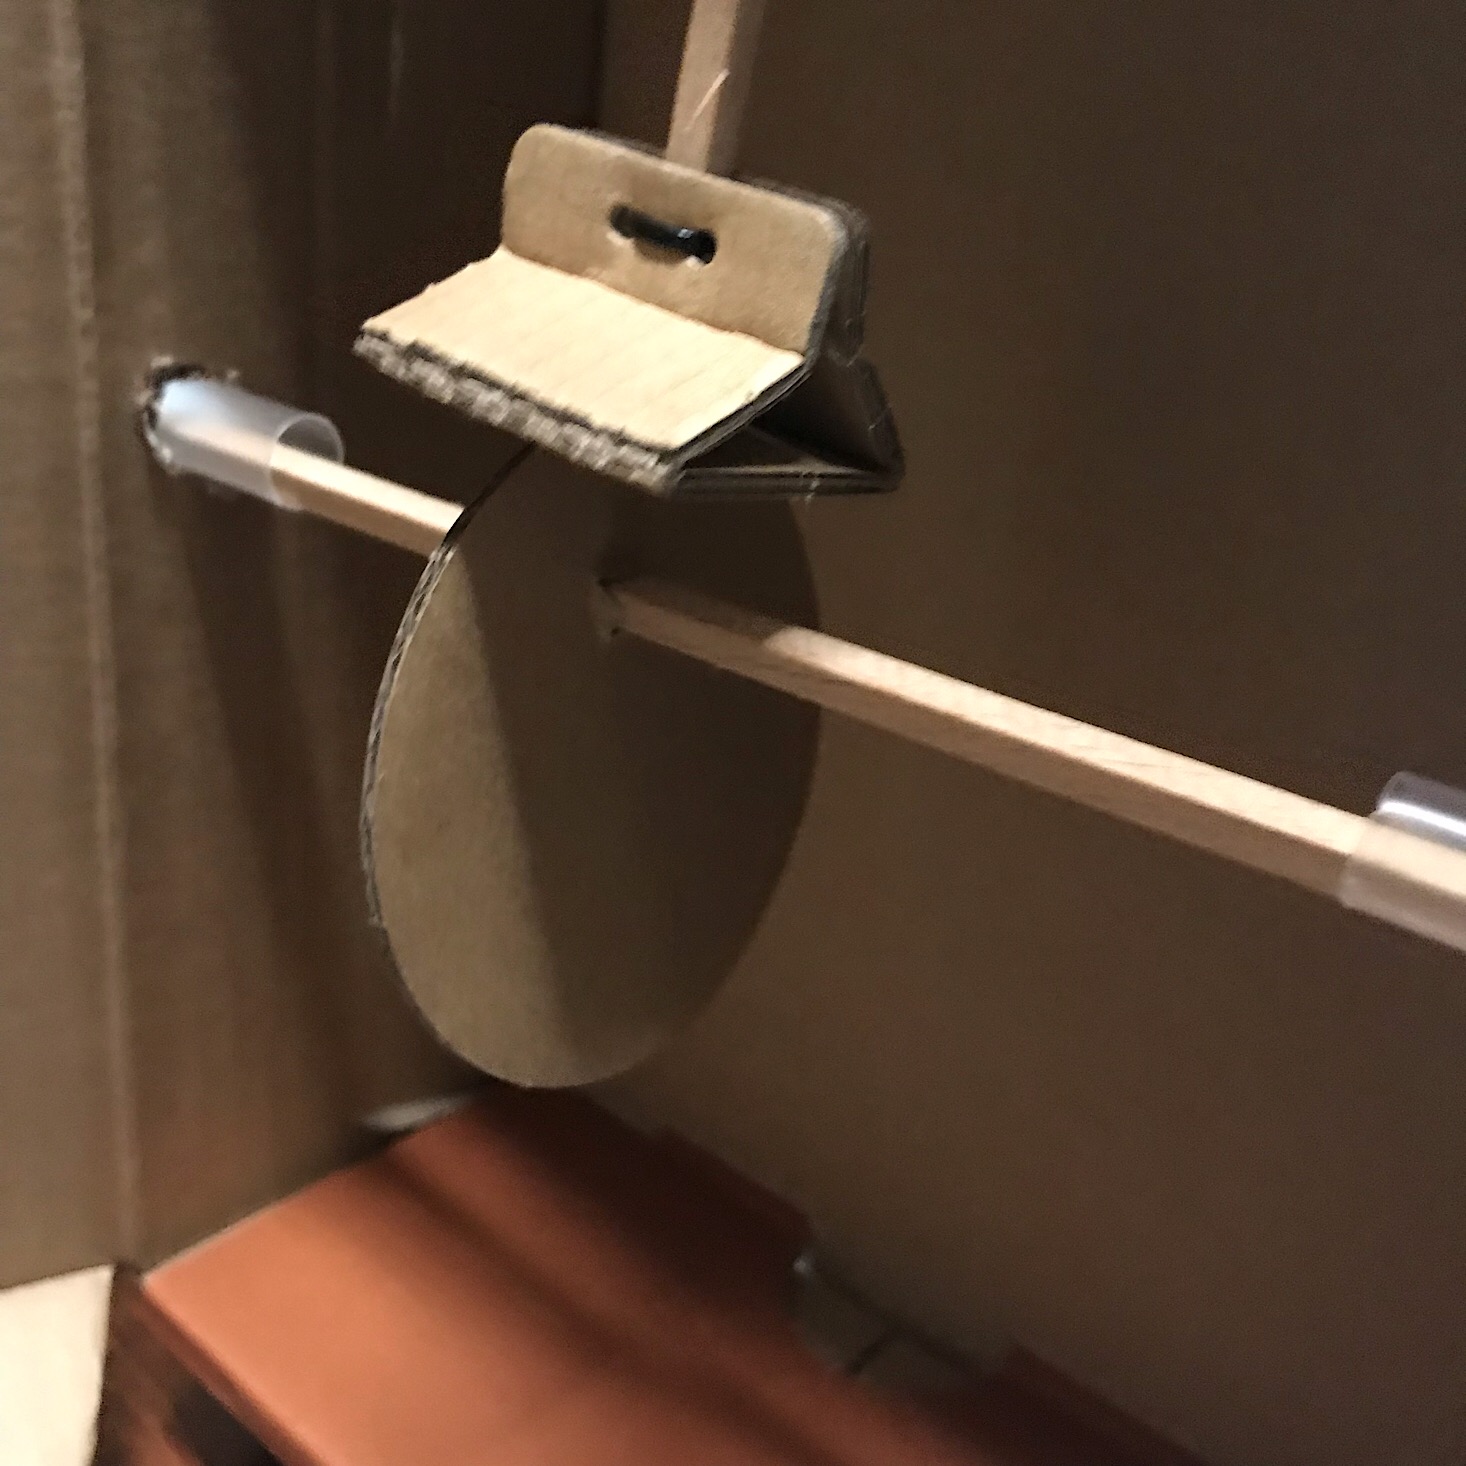
Next, I used the long dowel and slid a cardboard cam onto it and then inserted the longer dowel into my two straw holes.
I had trouble getting it to work at first, but after widening my hole at the top of the box, it moved up and down just fine!

1 of 5
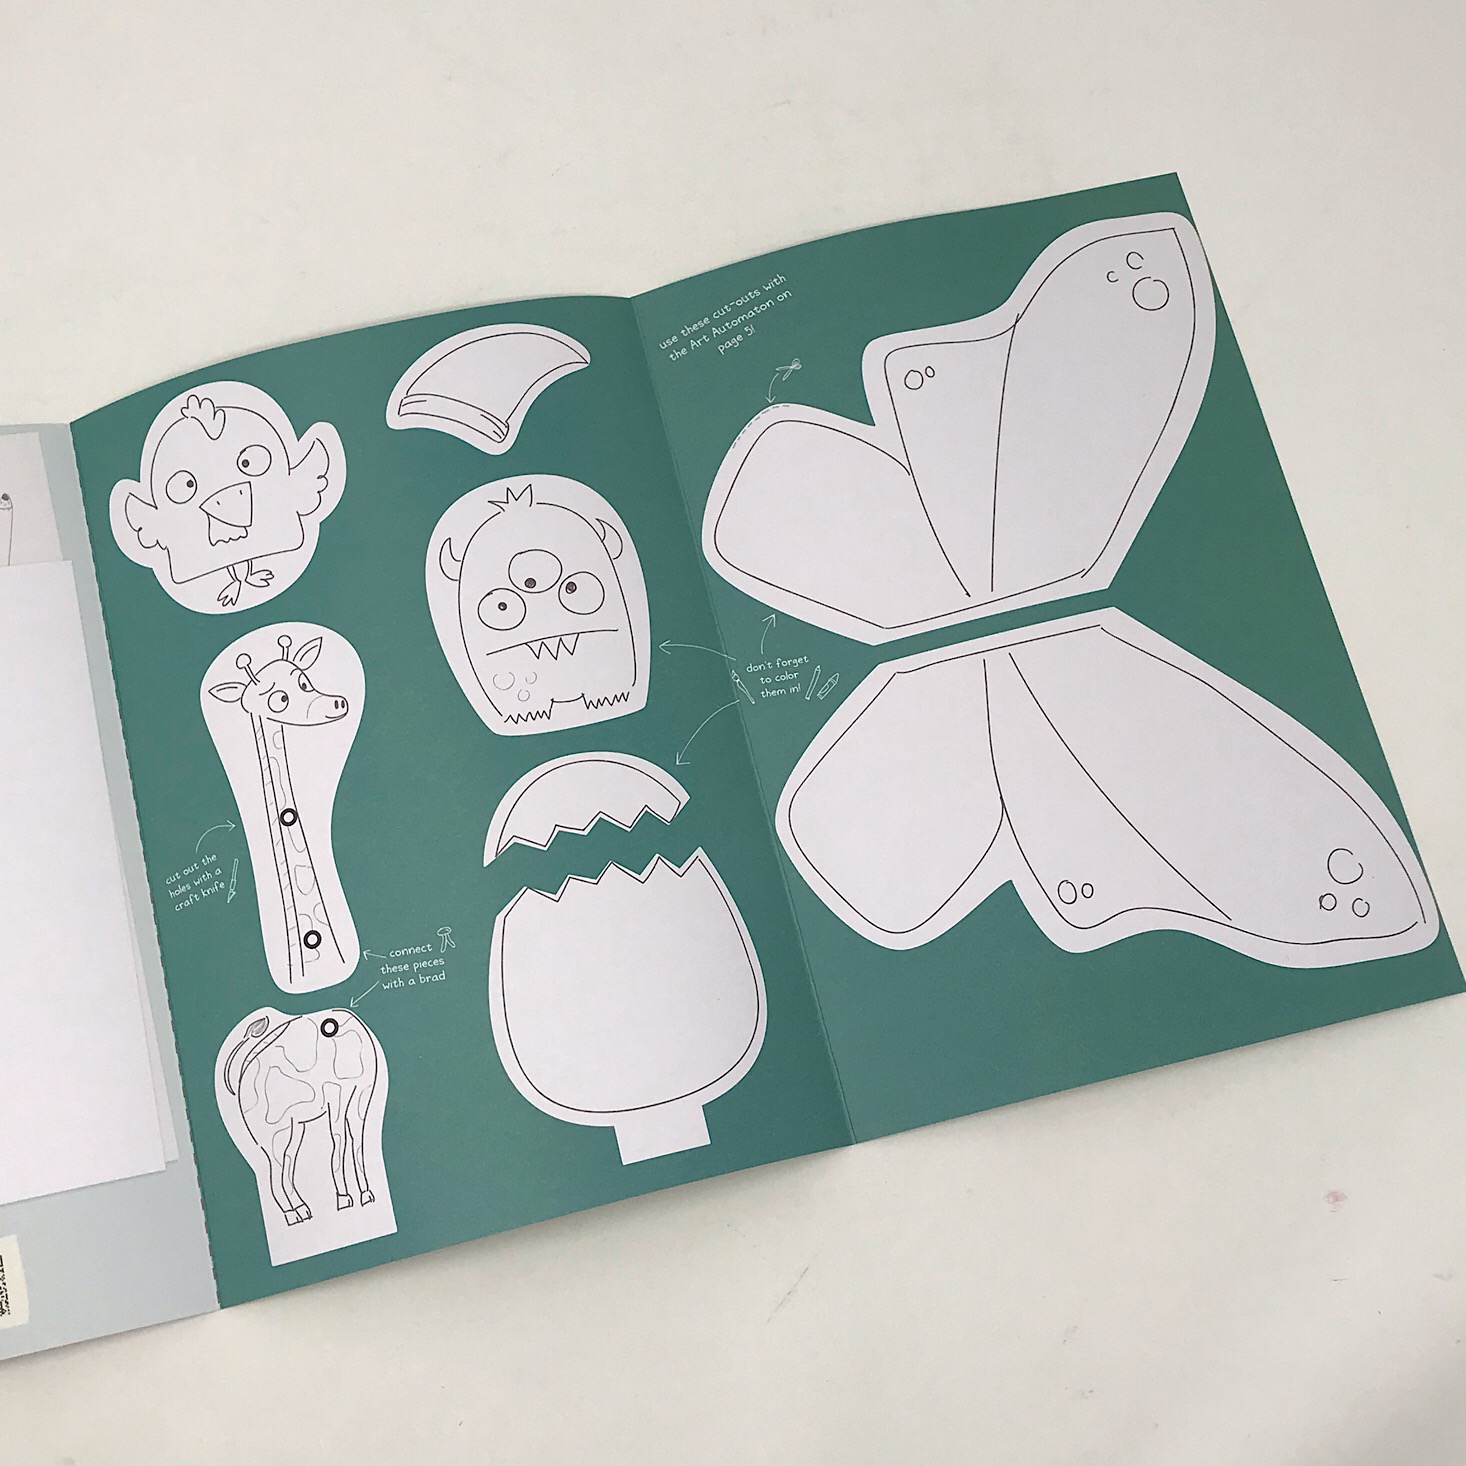
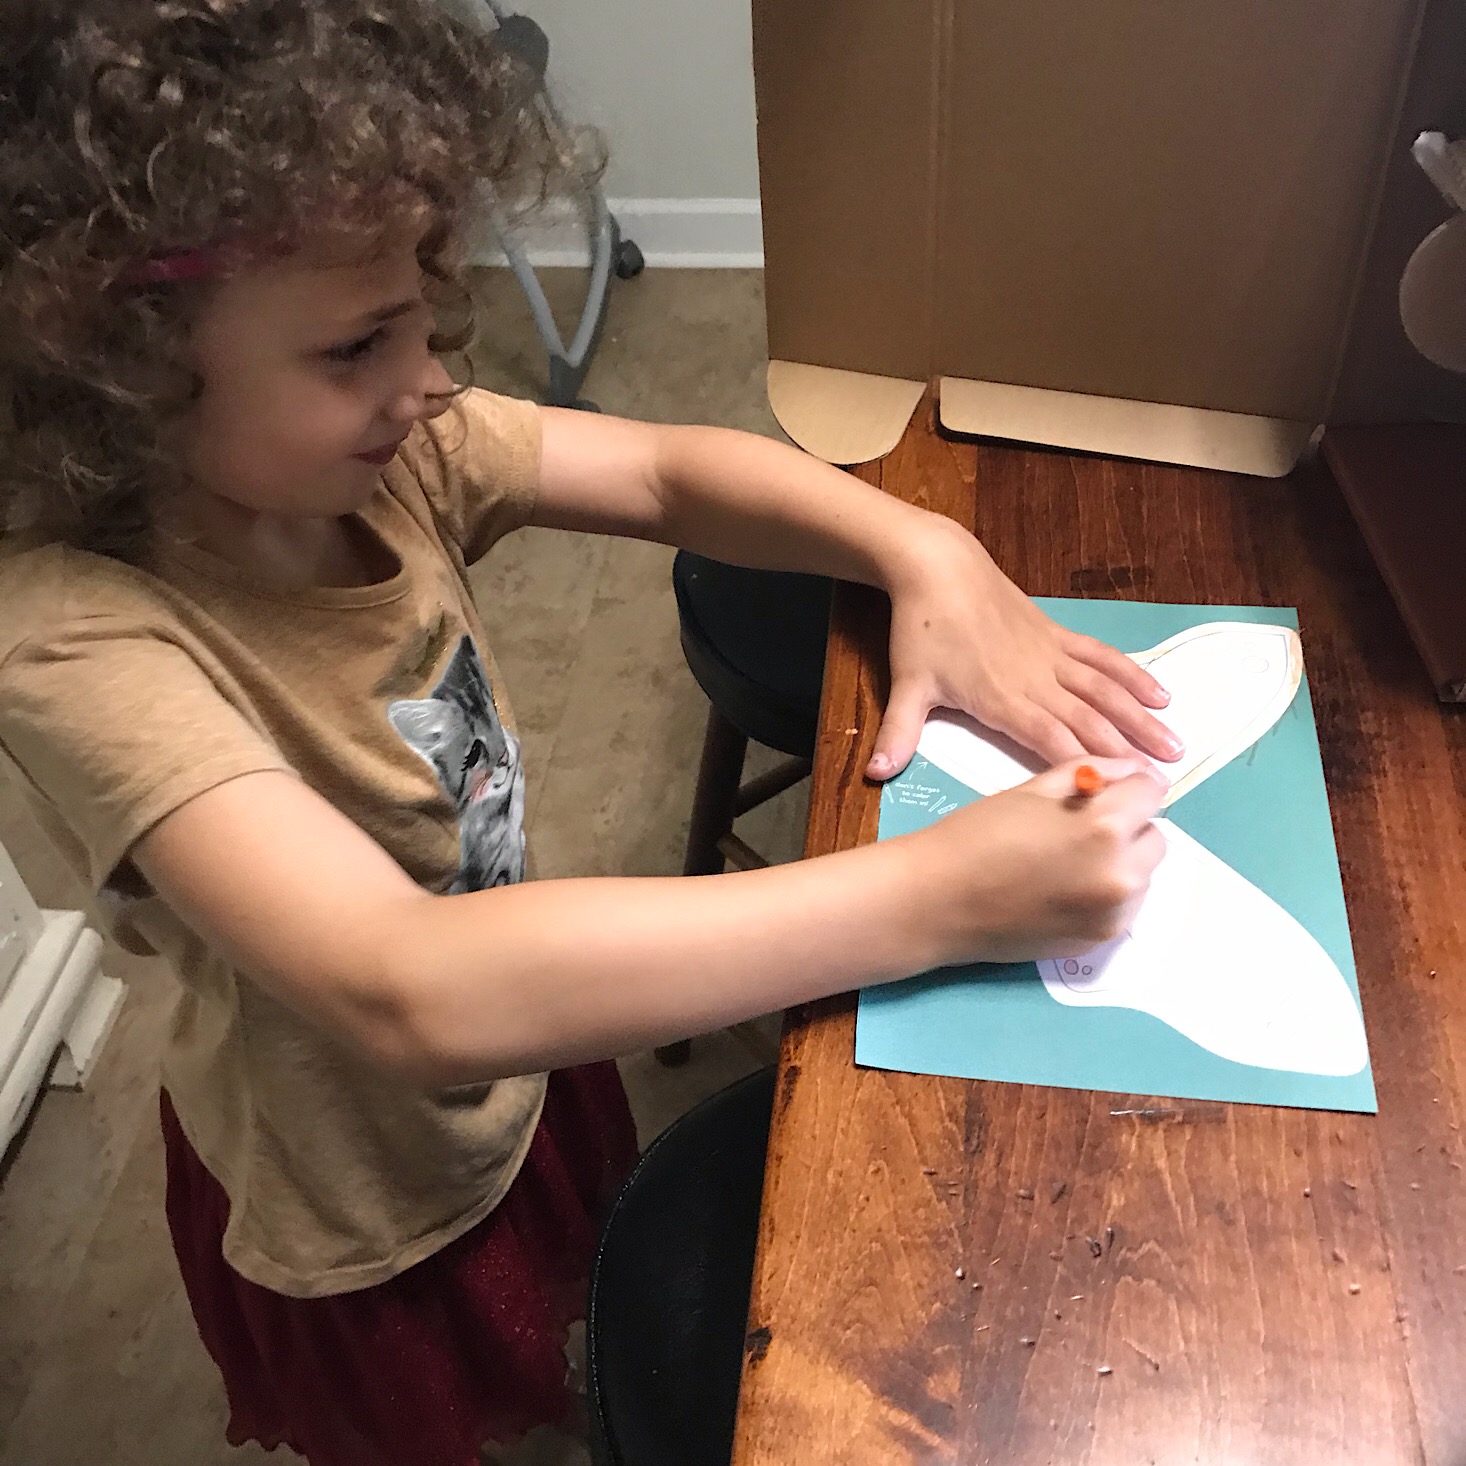
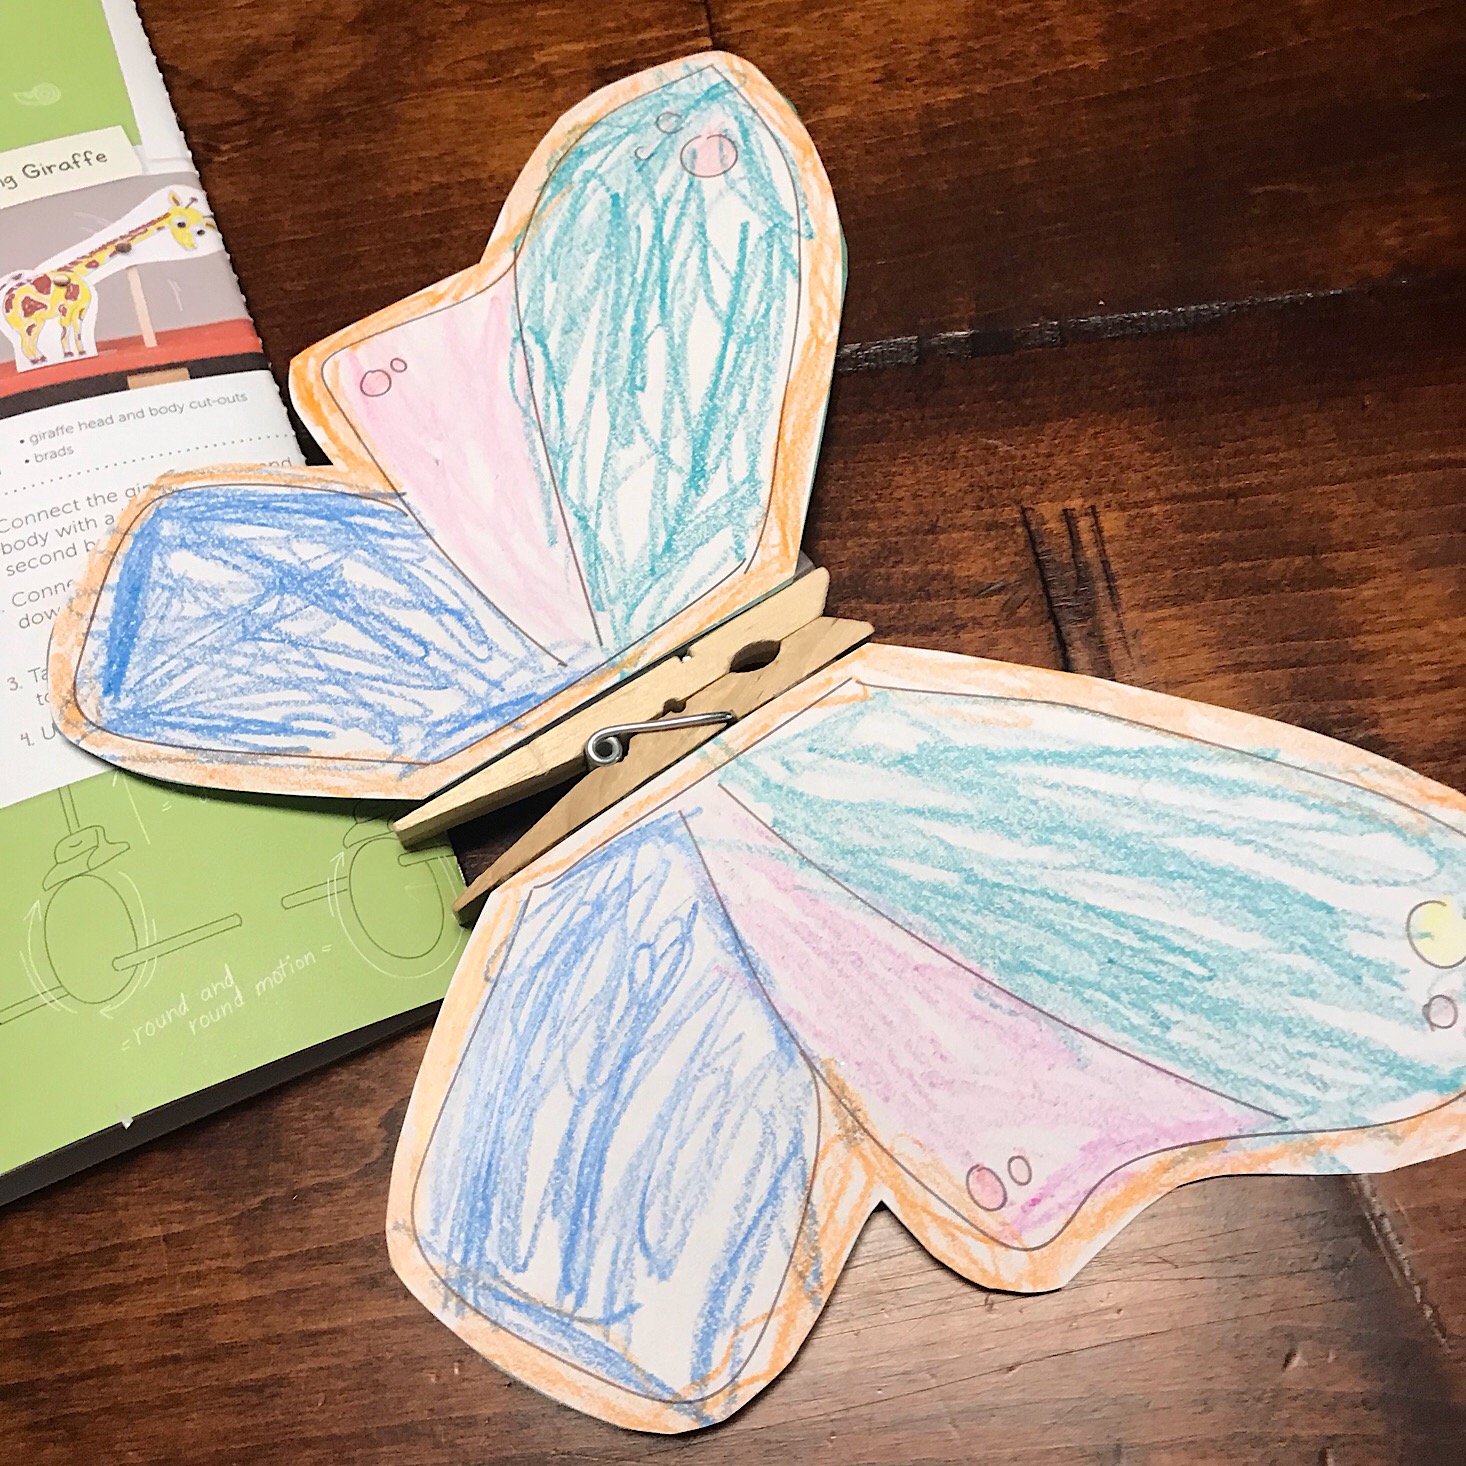
At this point, I recruited my daughter to help design our automaton. They provided a little area in our zine where we could sketch out a design and also some pieces to color and cut out. My daughter chose to do the butterfly and got to work coloring while I prepared the next steps of our flying butterfly automaton!

1 of 2
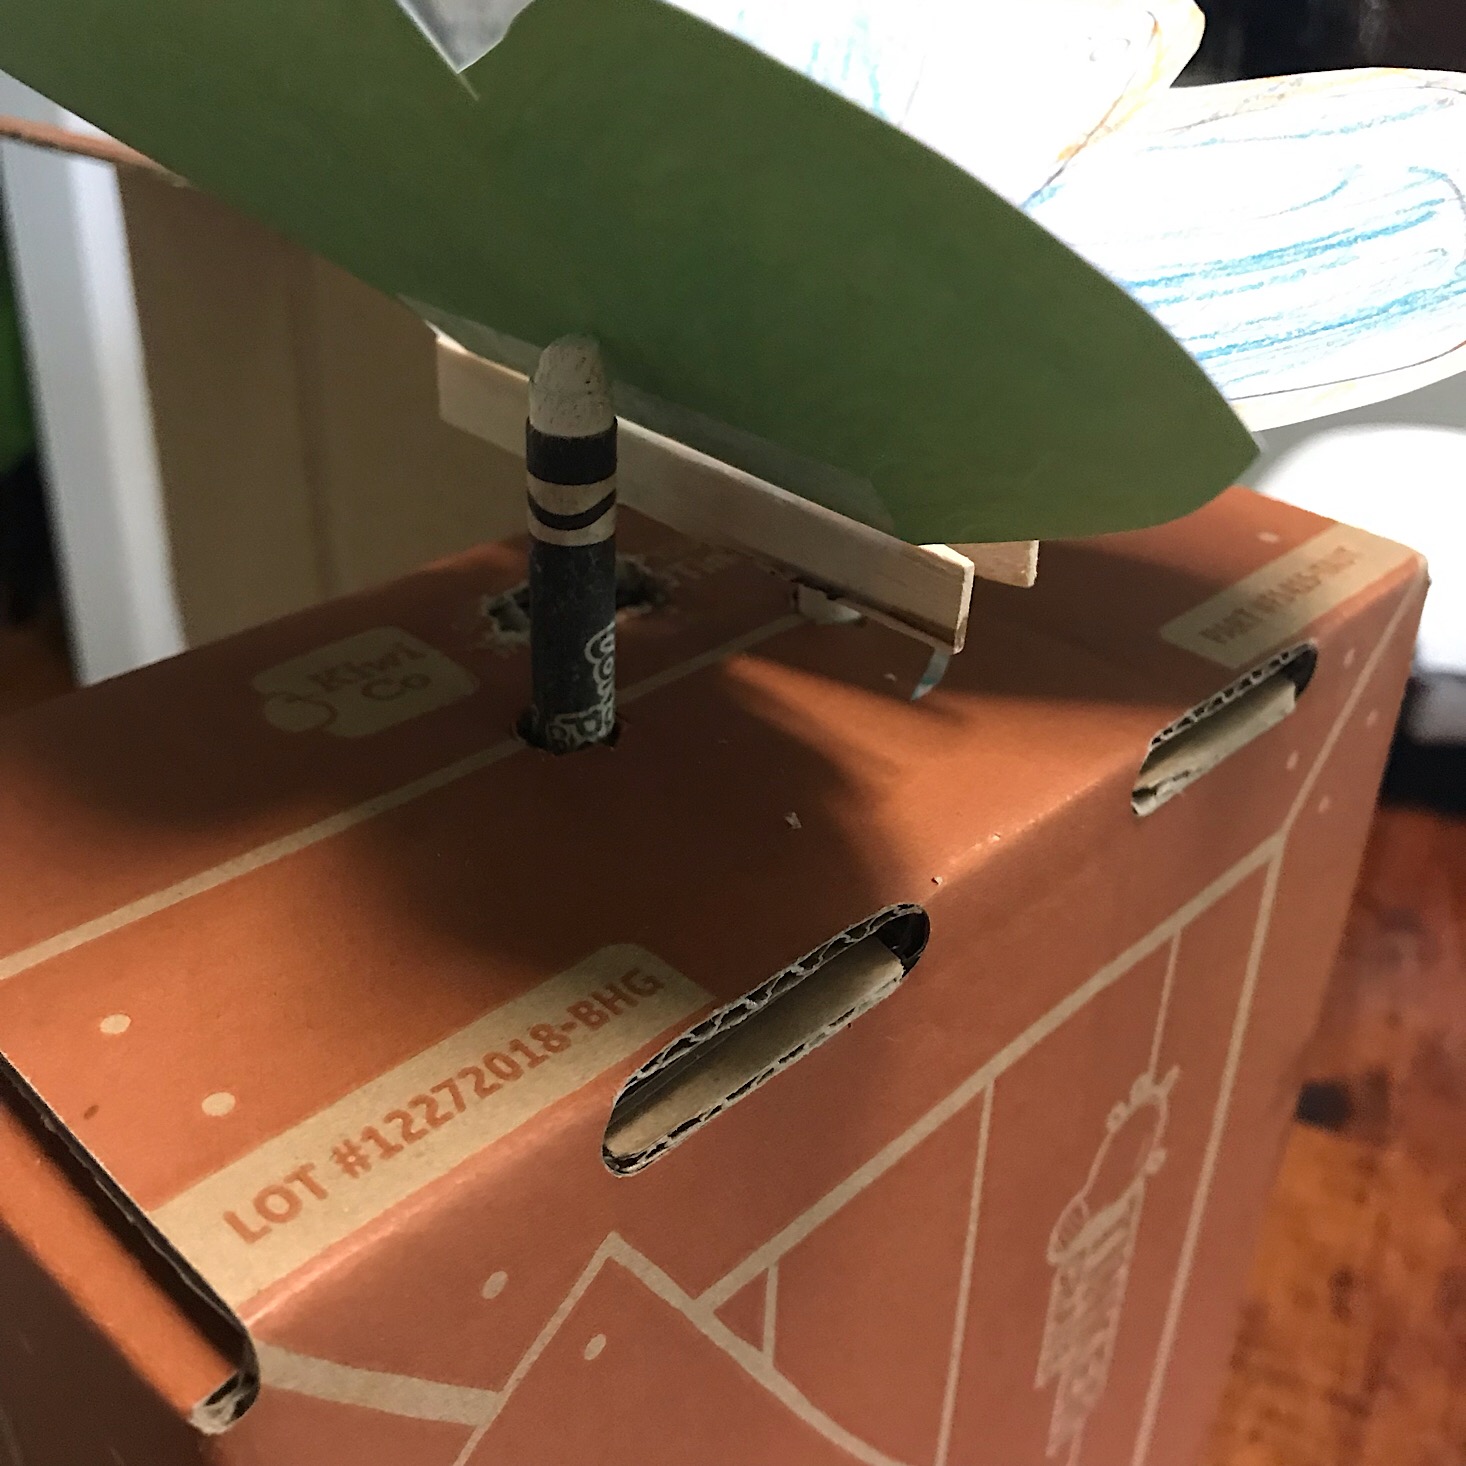
I switched out the first cardboard cam shape for a plain circle and then made holes and added two crayons to the top of our box.
1 of 4


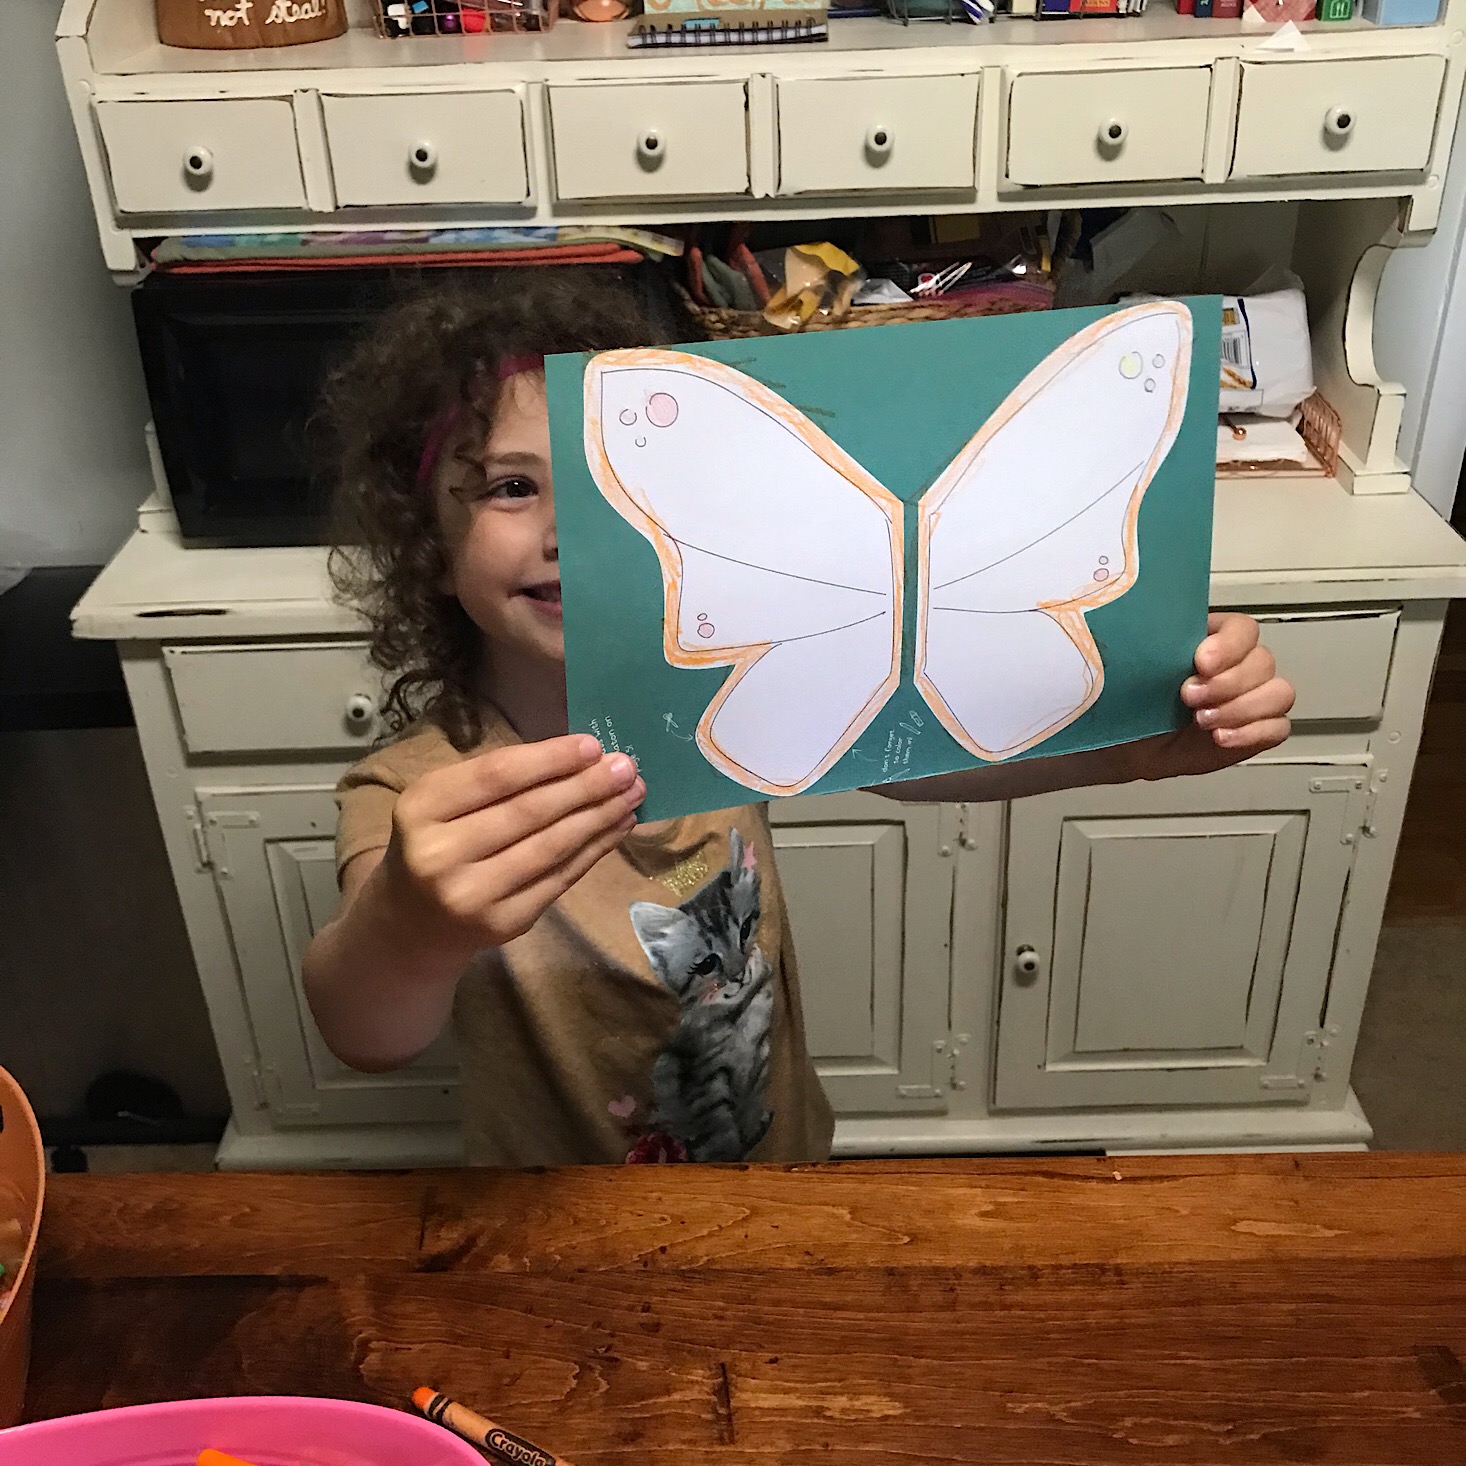
When she was finished coloring her butterfly, I cut it out and taped the wings to the sides of a clothespin (which I provided) and then I clipped that to the end of the dowel that stuck out of the top of our box.
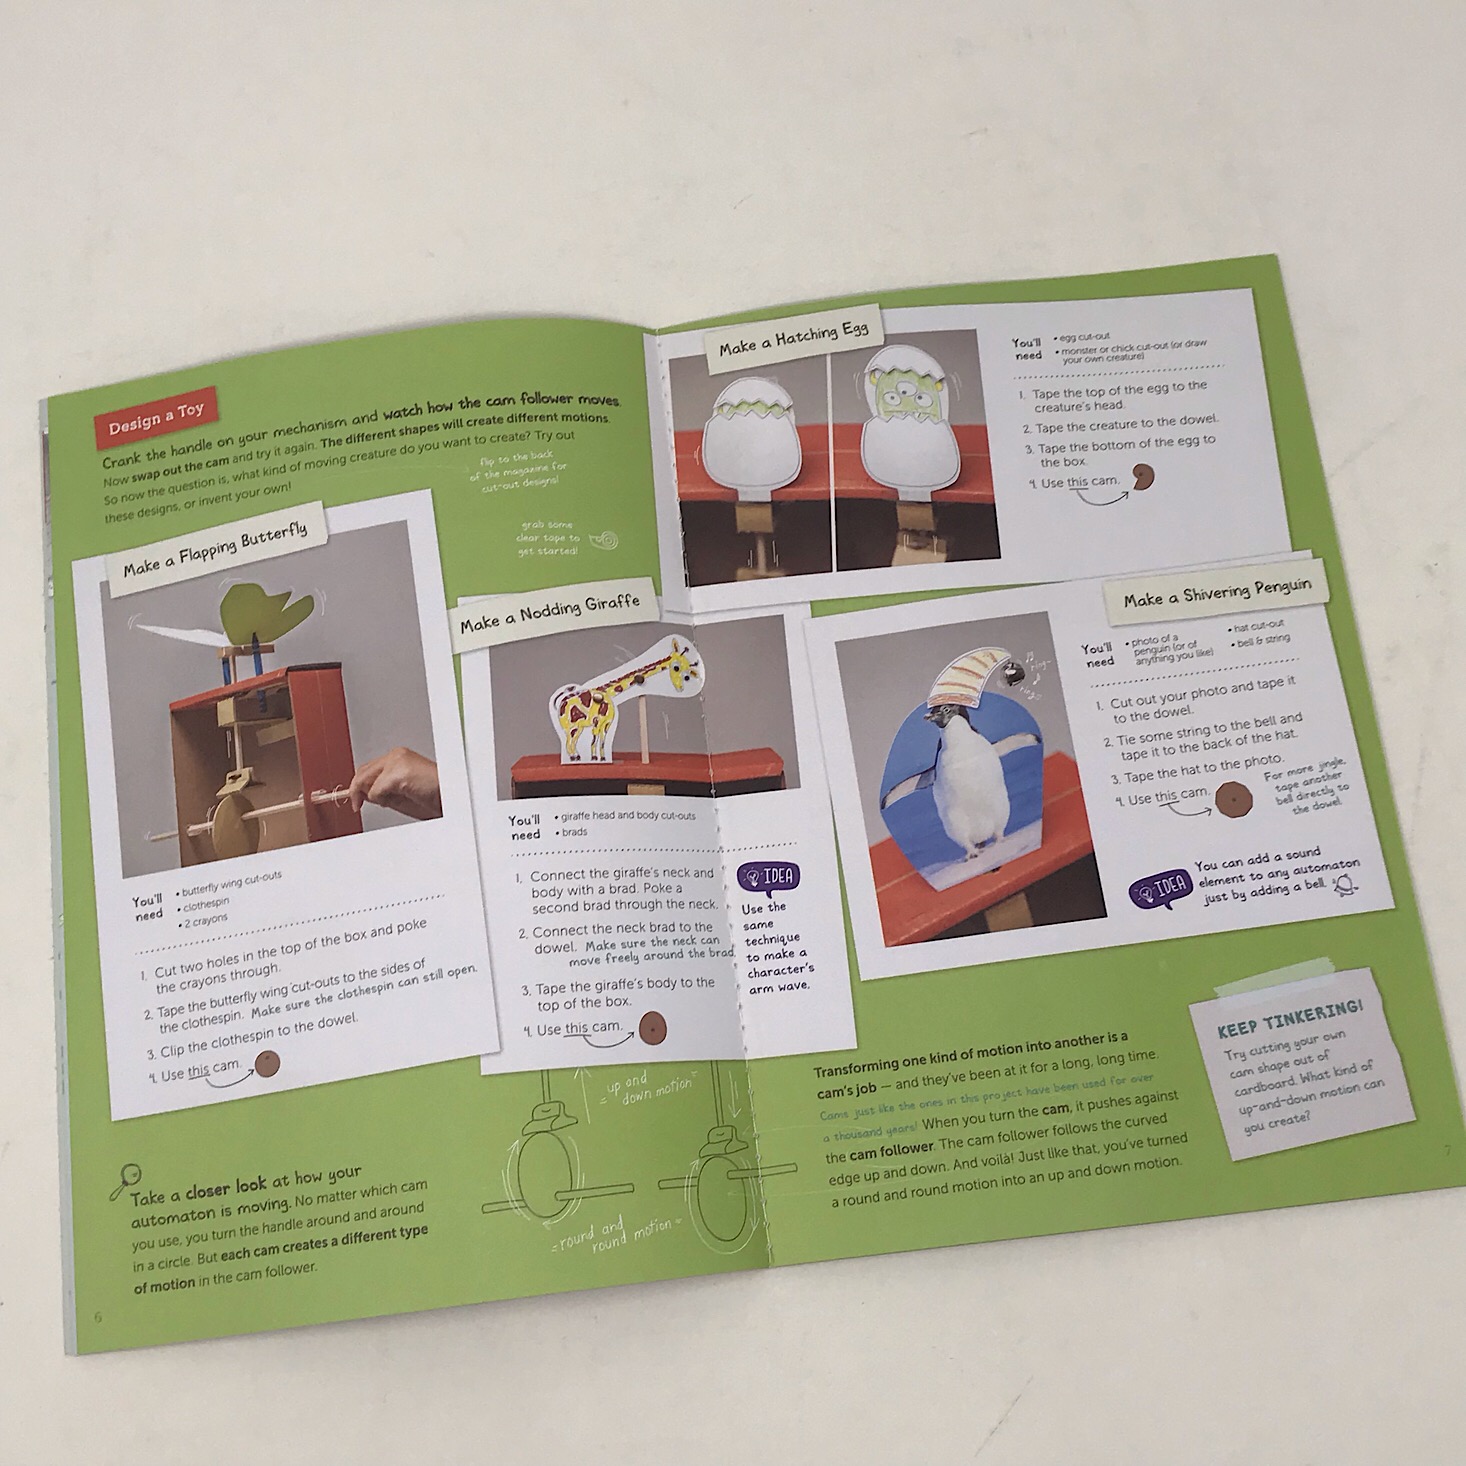
I turned our dowel and it made out butterfly's wings flap! So fun! We also have a few more options such as an egg hatching automaton that sounds super cute or a nodding giraffe. I really love that they included two separate automatons and that one of them really allows for some creativity and further exploration of the concept! This was a great hands-on learning project!
Verdict: This month's Tinker Crate was a pretty cool one! It had the perfect balance of education, art, and of course tinkering! The wooden automaton was pretty simple to put together and the result was a cool toy to play with and explore. The art automaton allowed us to explore the concept a little further and be a little more hands-on since not quite everything was done for us. I also love that they provided the extra materials and even a few different options for unique automatons. Now that we have the simple machine built, we can really get creative and make anything we choose. As always, this box was well organized with easy to follow directions and I thought it was a great value for a $19.95 + free shipping box!
To Wrap Up:
Can you still get this box if you sign up today? It is possible you might get this crate, but it is not a guarantee. From KiwiCo:
Crates are assigned each month based on availability and your crate history - not all subscribers receive the same theme each month.
Check out all of our KiwiCo reviews and the best subscription boxes for kids!
Keep Track of Your Subscriptions: Add this box to your subscription list or wishlist!
What do you think of this month's Tinker Crate?
Please do not enter your email address in the Name field or in the comment content. Your email address will not be published. Required fields are marked *. Remember to post with kindness and respect. Comments with offensive language, cruelness to others, etc will not be approved. See our full comment policy here.