

Eureka Crate (from parent company KiwiCo) is a subscription box for teens and adults ages 14-104. It arrives every month with all the materials and instructions needed to create a functional, lasting object with a focus on engineering. The goal of these projects is to use science and math to solve real-world problems while inspiring the recipients to become creative innovators.
KiwiCo offers boxes for a variety of different age groups:
- Tadpole Crate for 0-36-month-olds,
- Koala Crate for 3-4-year-olds,
- Kiwi Crate for 5-8-year-olds,
- Atlas Crate for 6-11-year-olds,
- Doodle Crate and Tinker Crate for 9-16+-year-olds,
- Eureka Crate for ages 14 and up. There really is something for every age with this company.
This review is of the $29.95 a month Eureka Crate, for 14-year-olds and up.
This box was sent to us at no cost for review. (Check out the review process post to learn more about how we review boxes).
About Eureka Crate
The Subscription Box: Eureka Crate
The Cost: $29.95 per month + free shipping. Save with longer subscriptions.
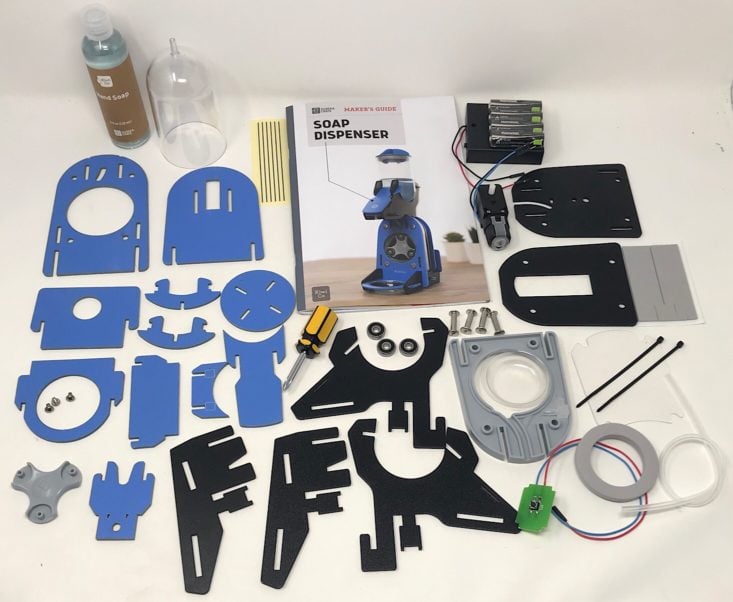
The Products: Detailed instructions and all of the high-quality materials needed to create a unique, lasting, and functional engineering project as well as a Maker's Guide that explains the science and technology behind it.
Ships to: U.S. for free, Canada for $5.95 per month, worldwide from $6.95-$7.95.
KiwiCo Eureka Crate "Soap Dispenser" Review


1 of 8

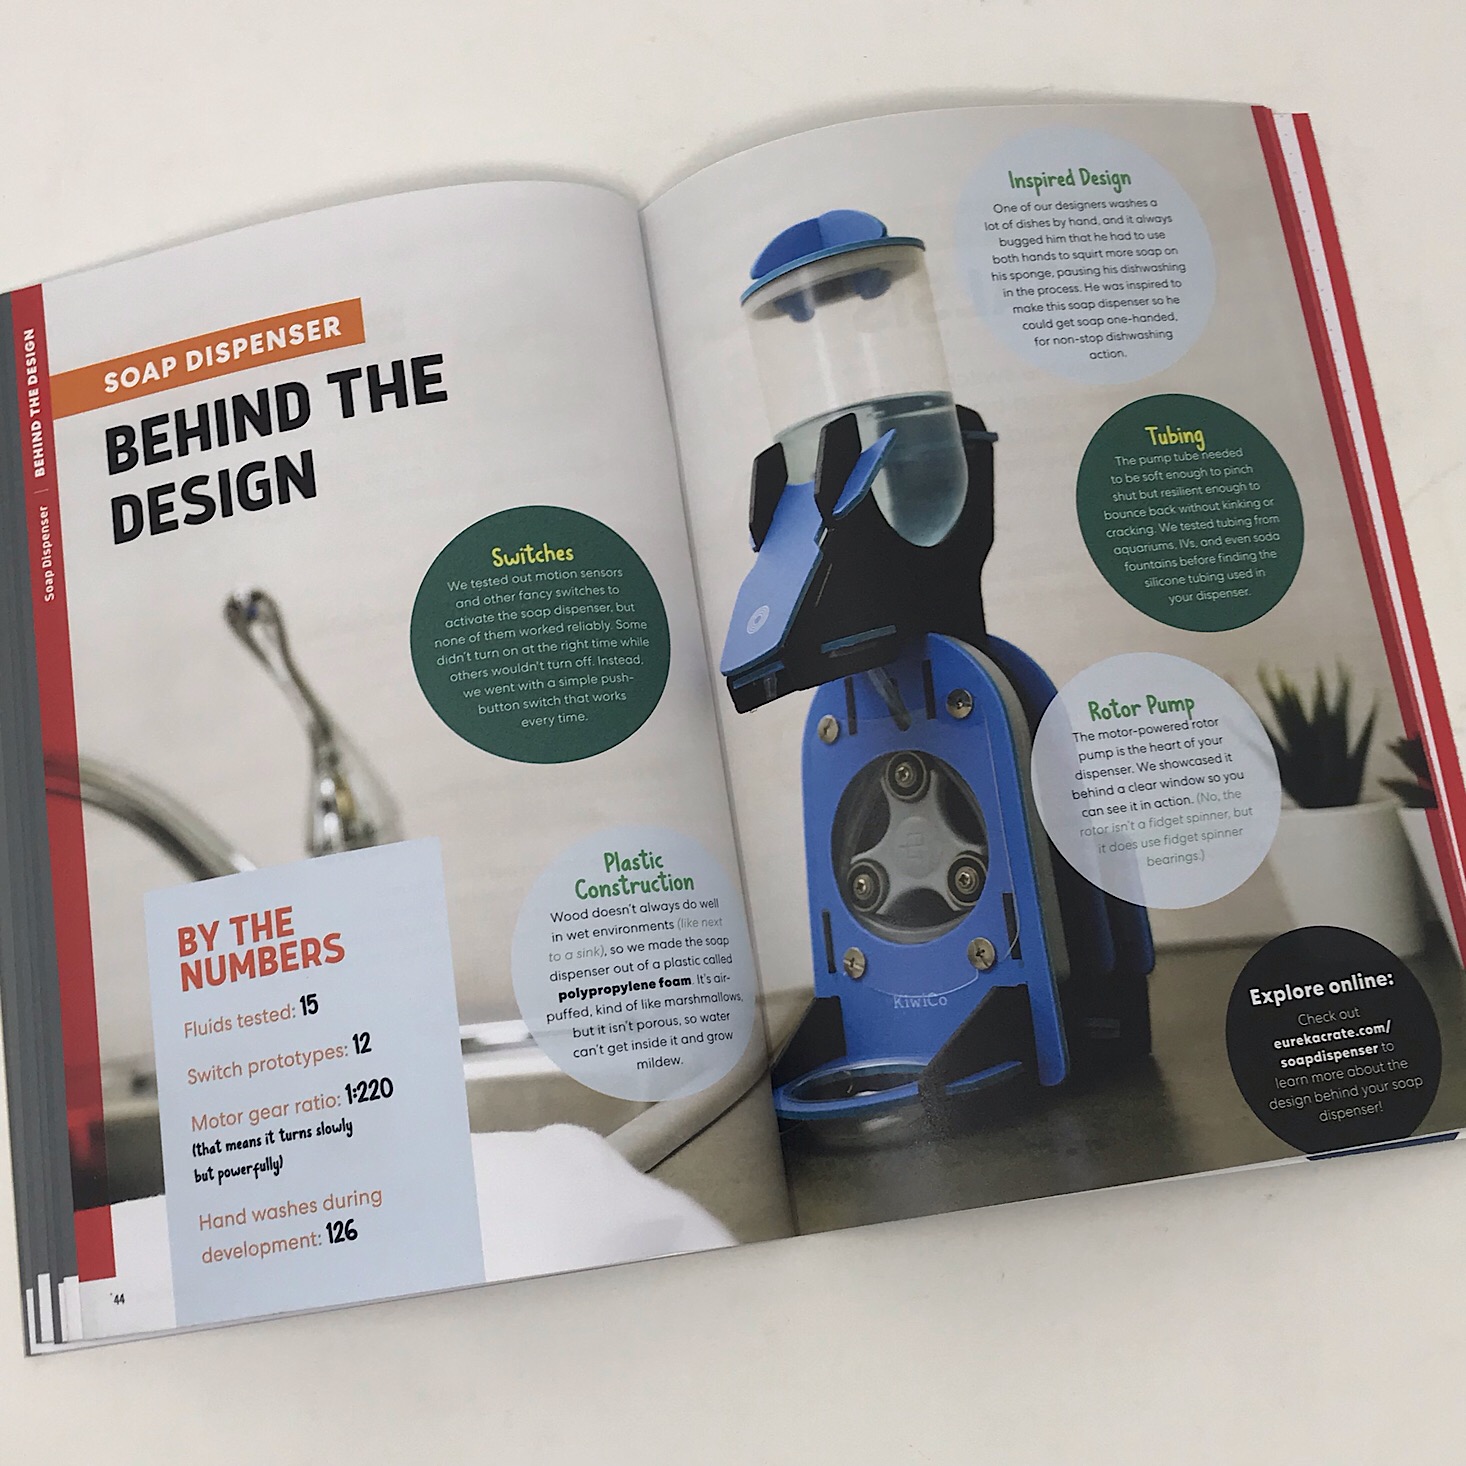

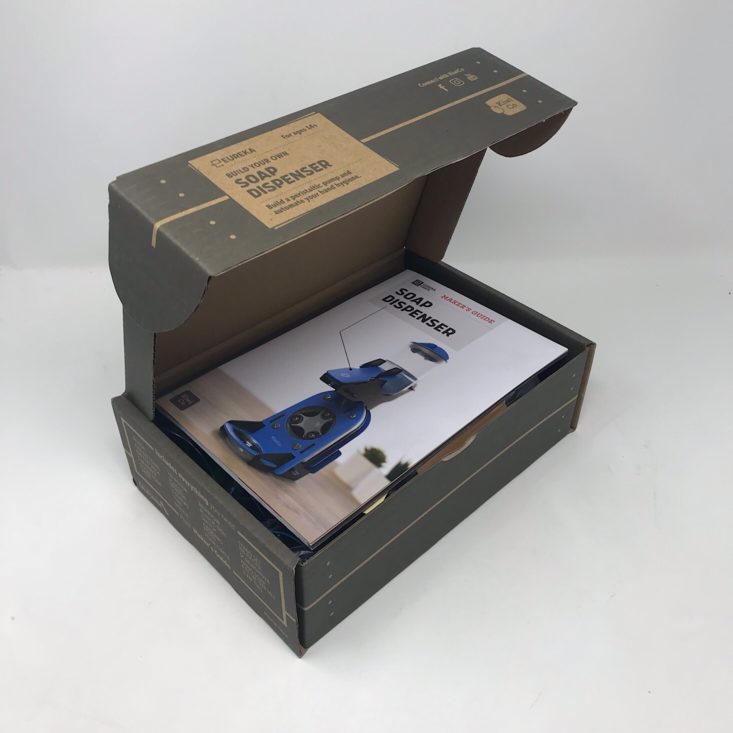
The project for this month is to make our own soap dispenser. We received this Maker's Guide which is full of helpful information related to our project along with the directions. My favorite section is the "Behind the Design" page where they go into detail about their own process in creating this month's project!

1 of 6

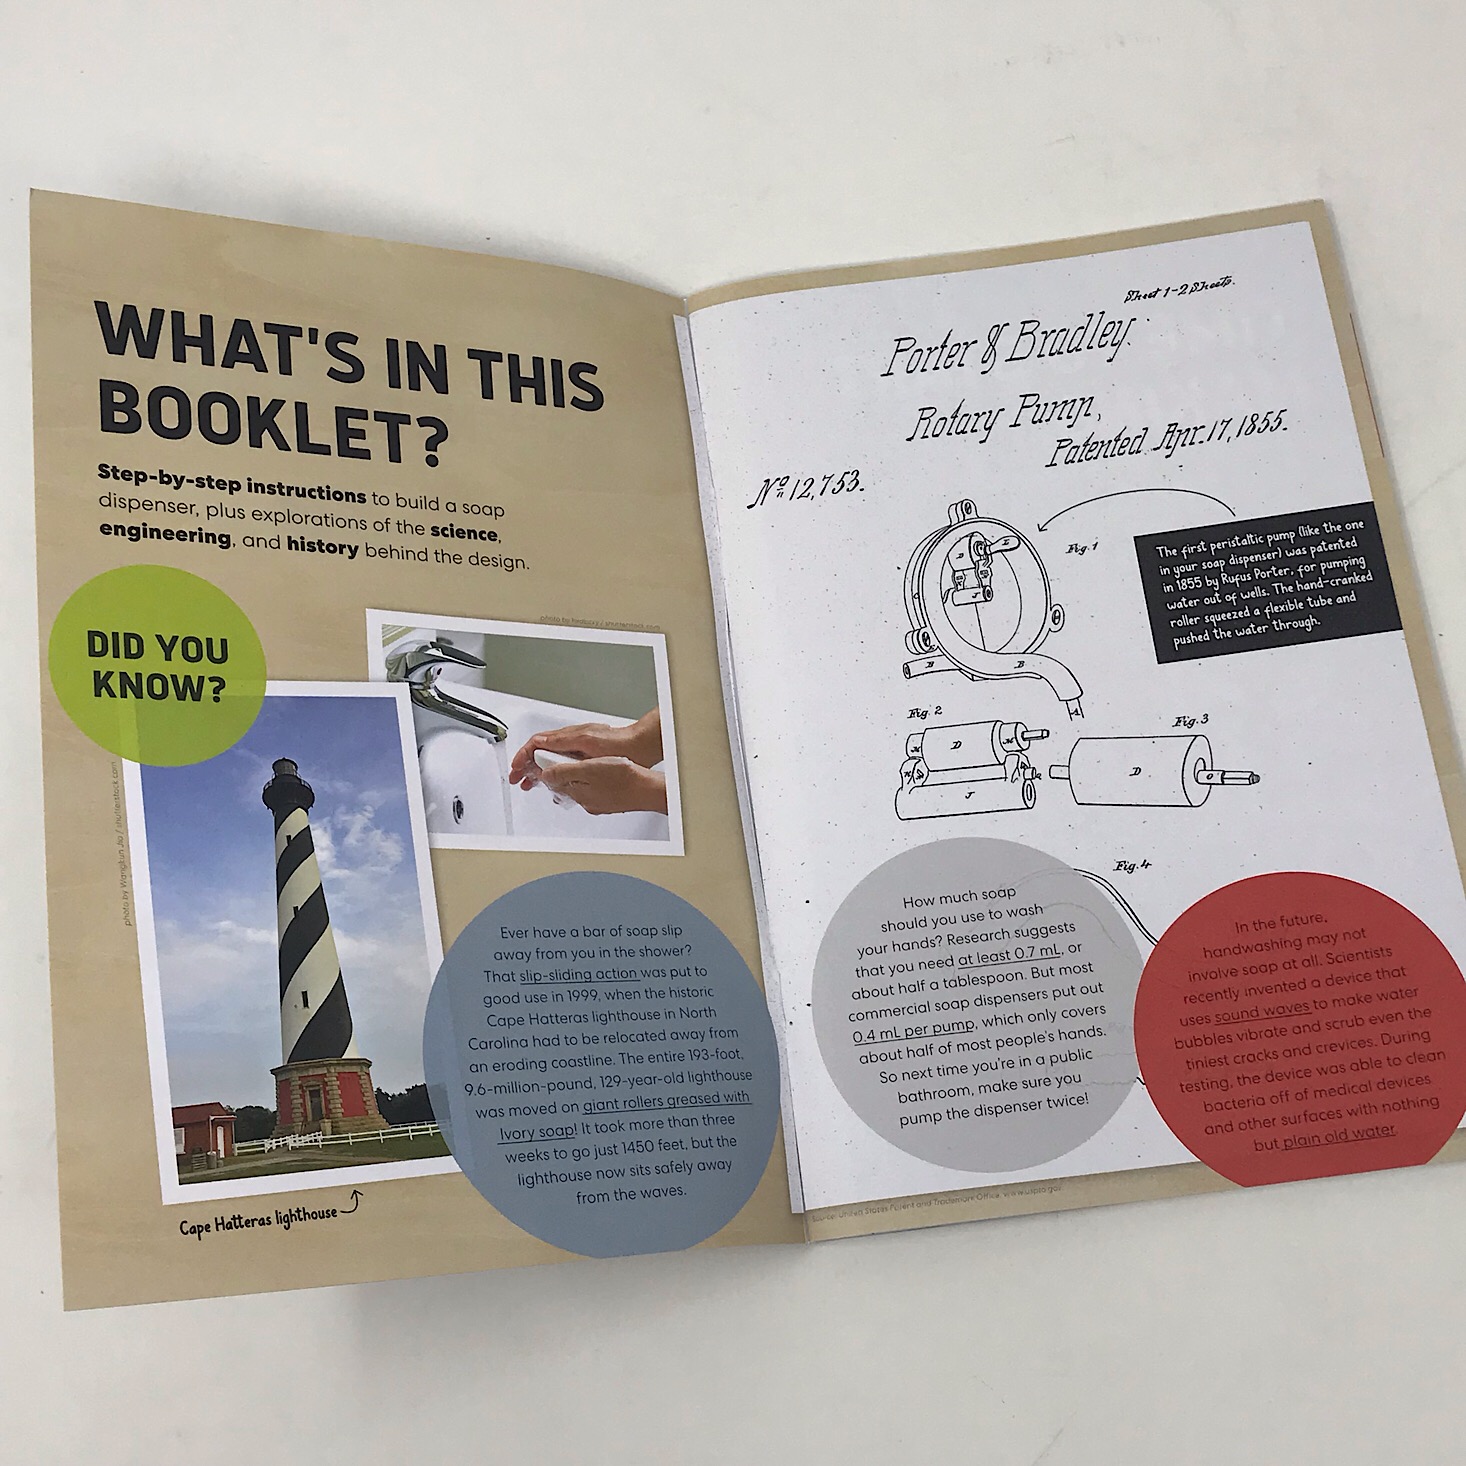
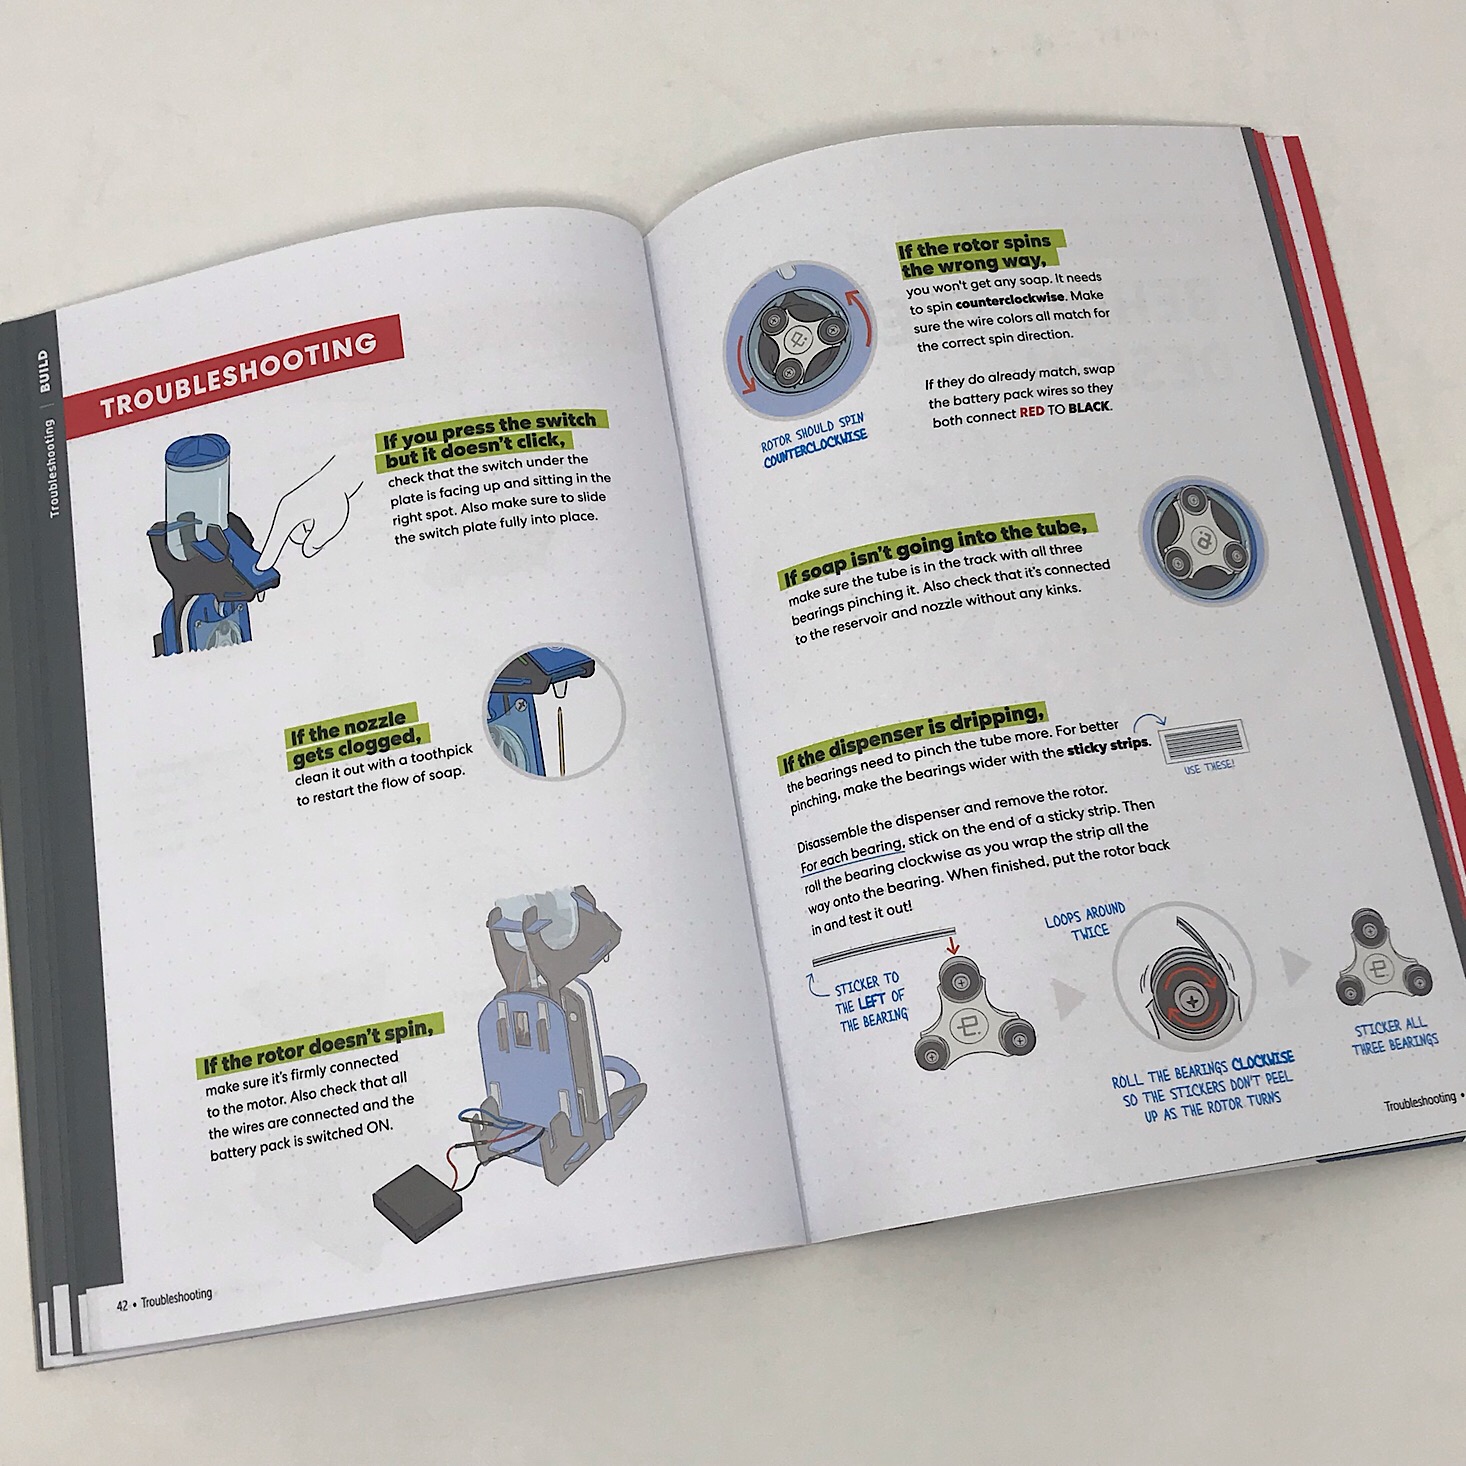
Our directions are separated into various sections which makes it so much easier since it breaks it down into smaller, more manageable tasks. The instructions are always clear and easy to follow with detailed, colorful pictures to reference. They even include information on troubleshooting, which can be very helpful!
Part A: Build the Base
1 of 4
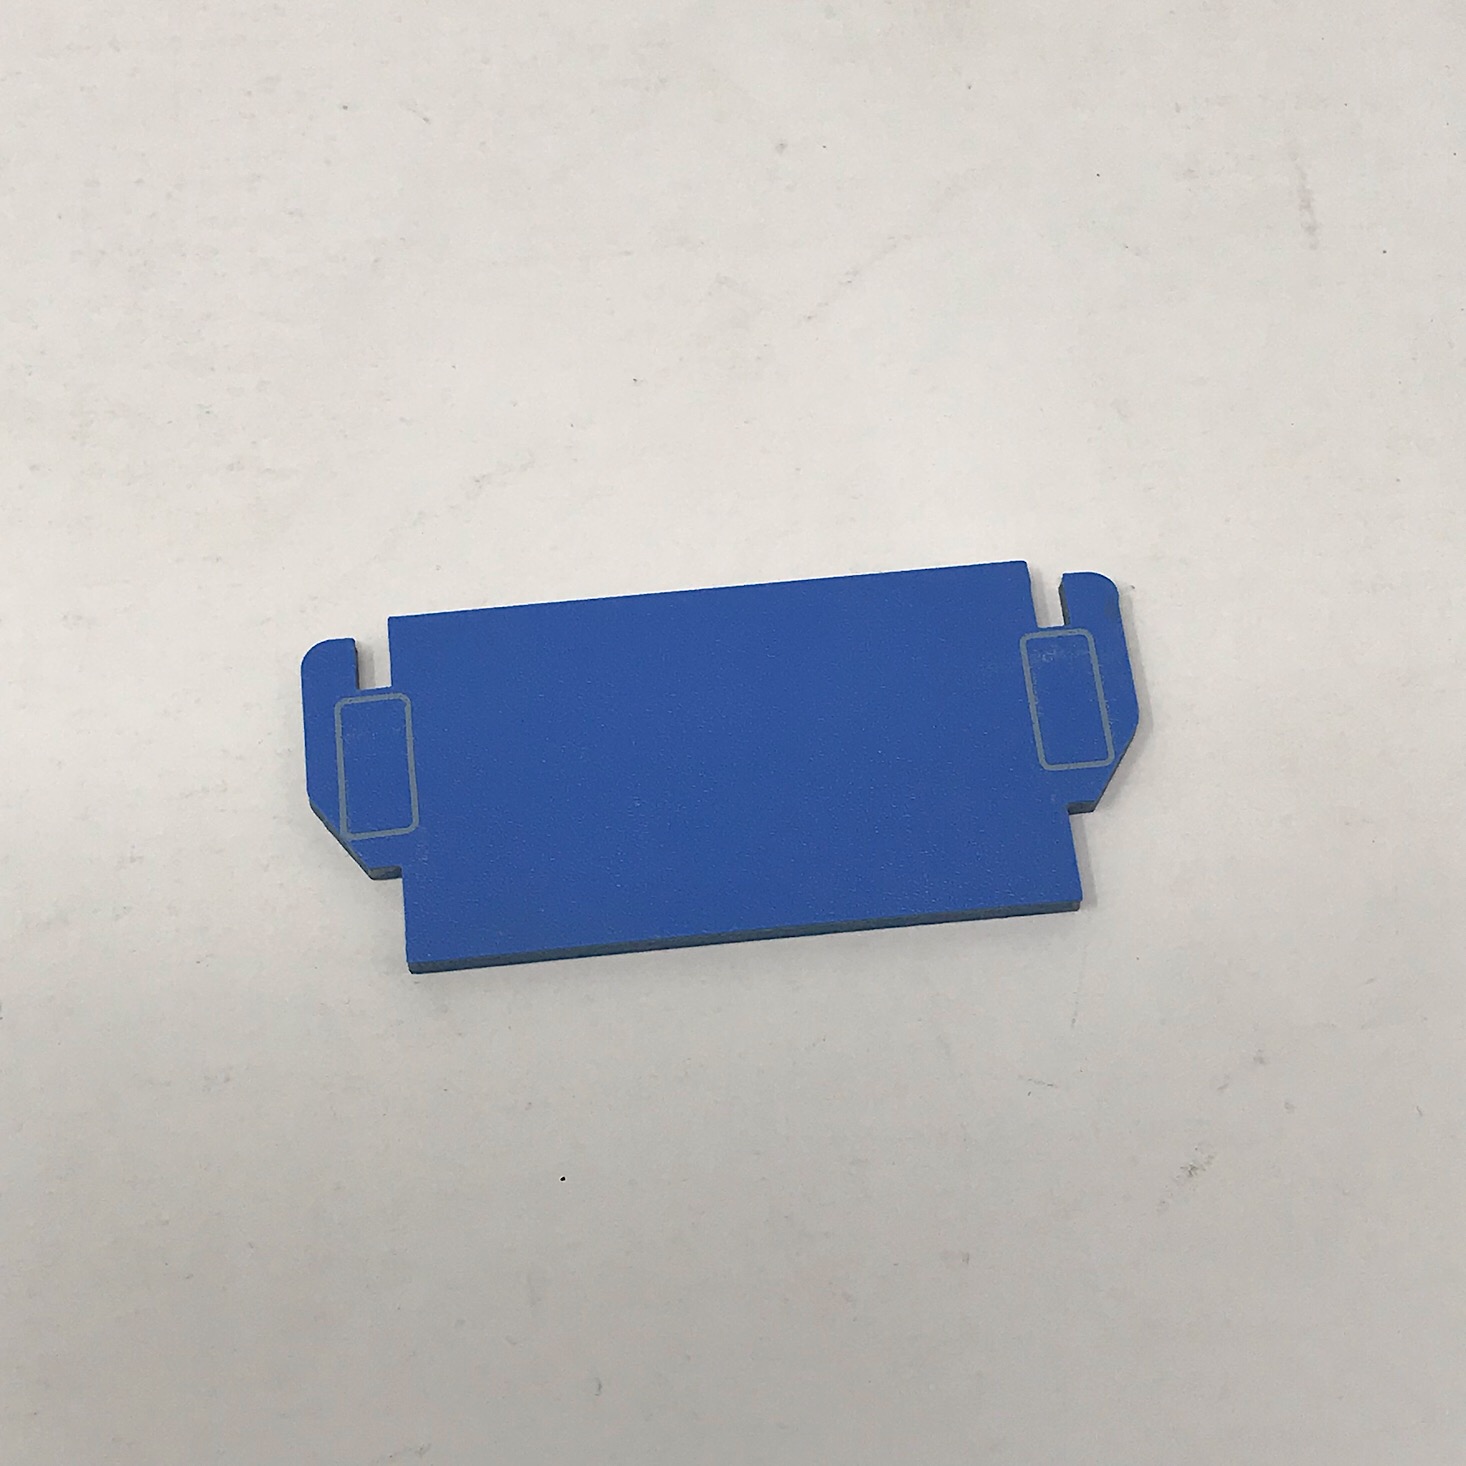
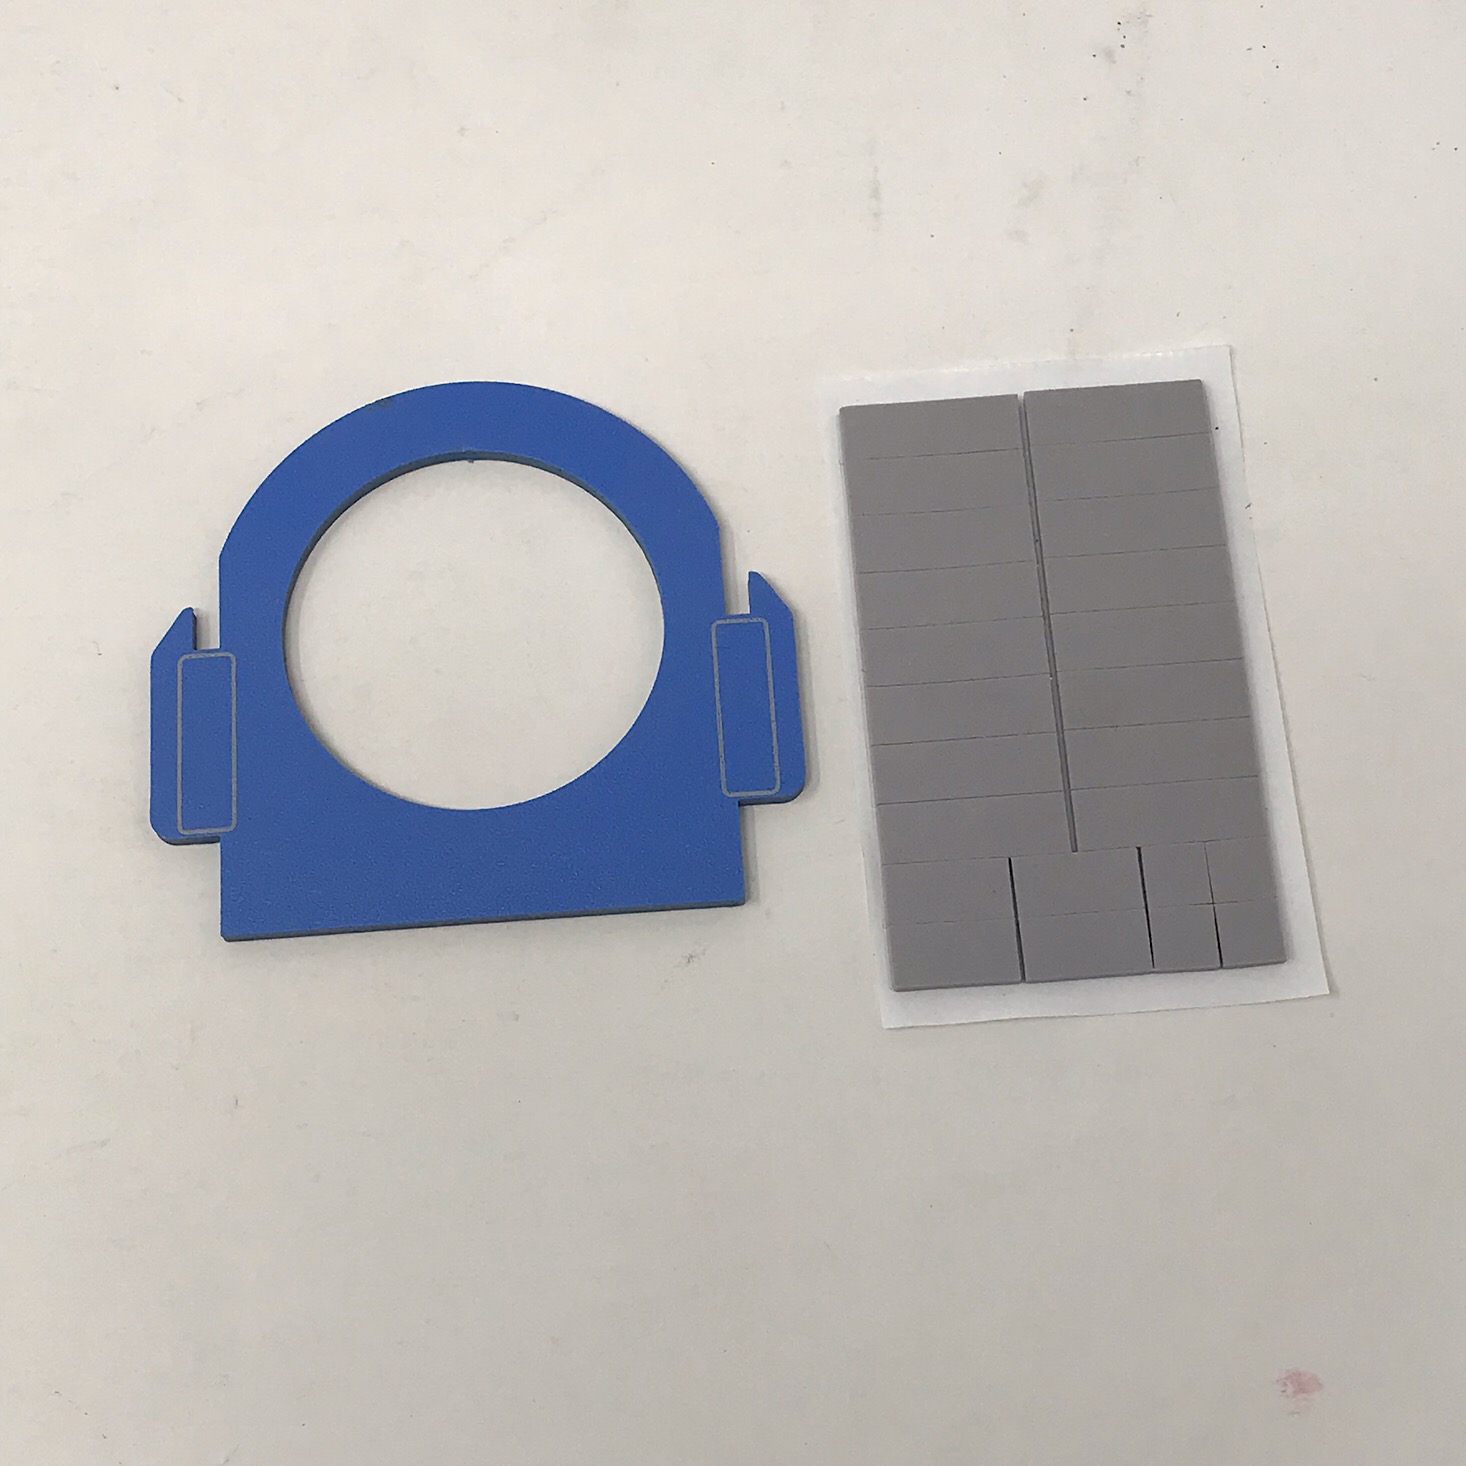
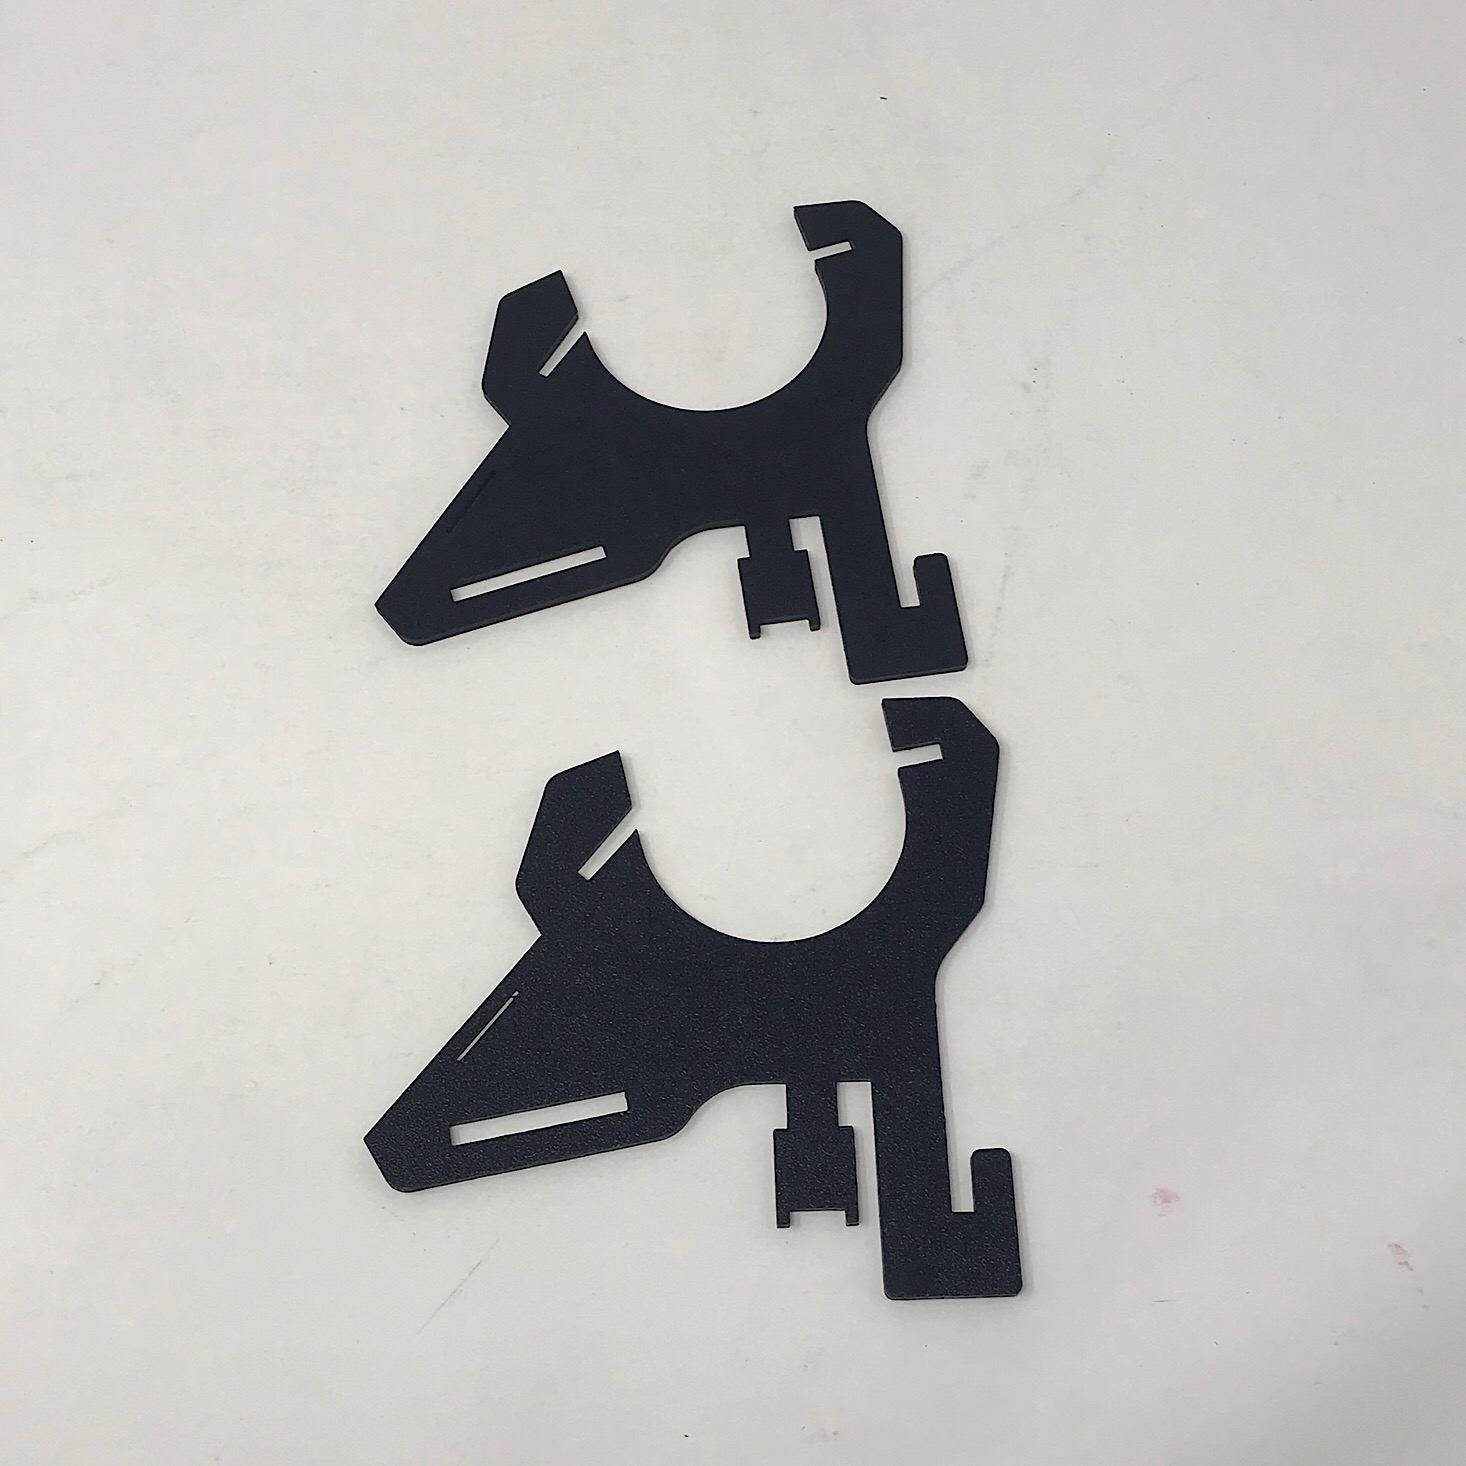
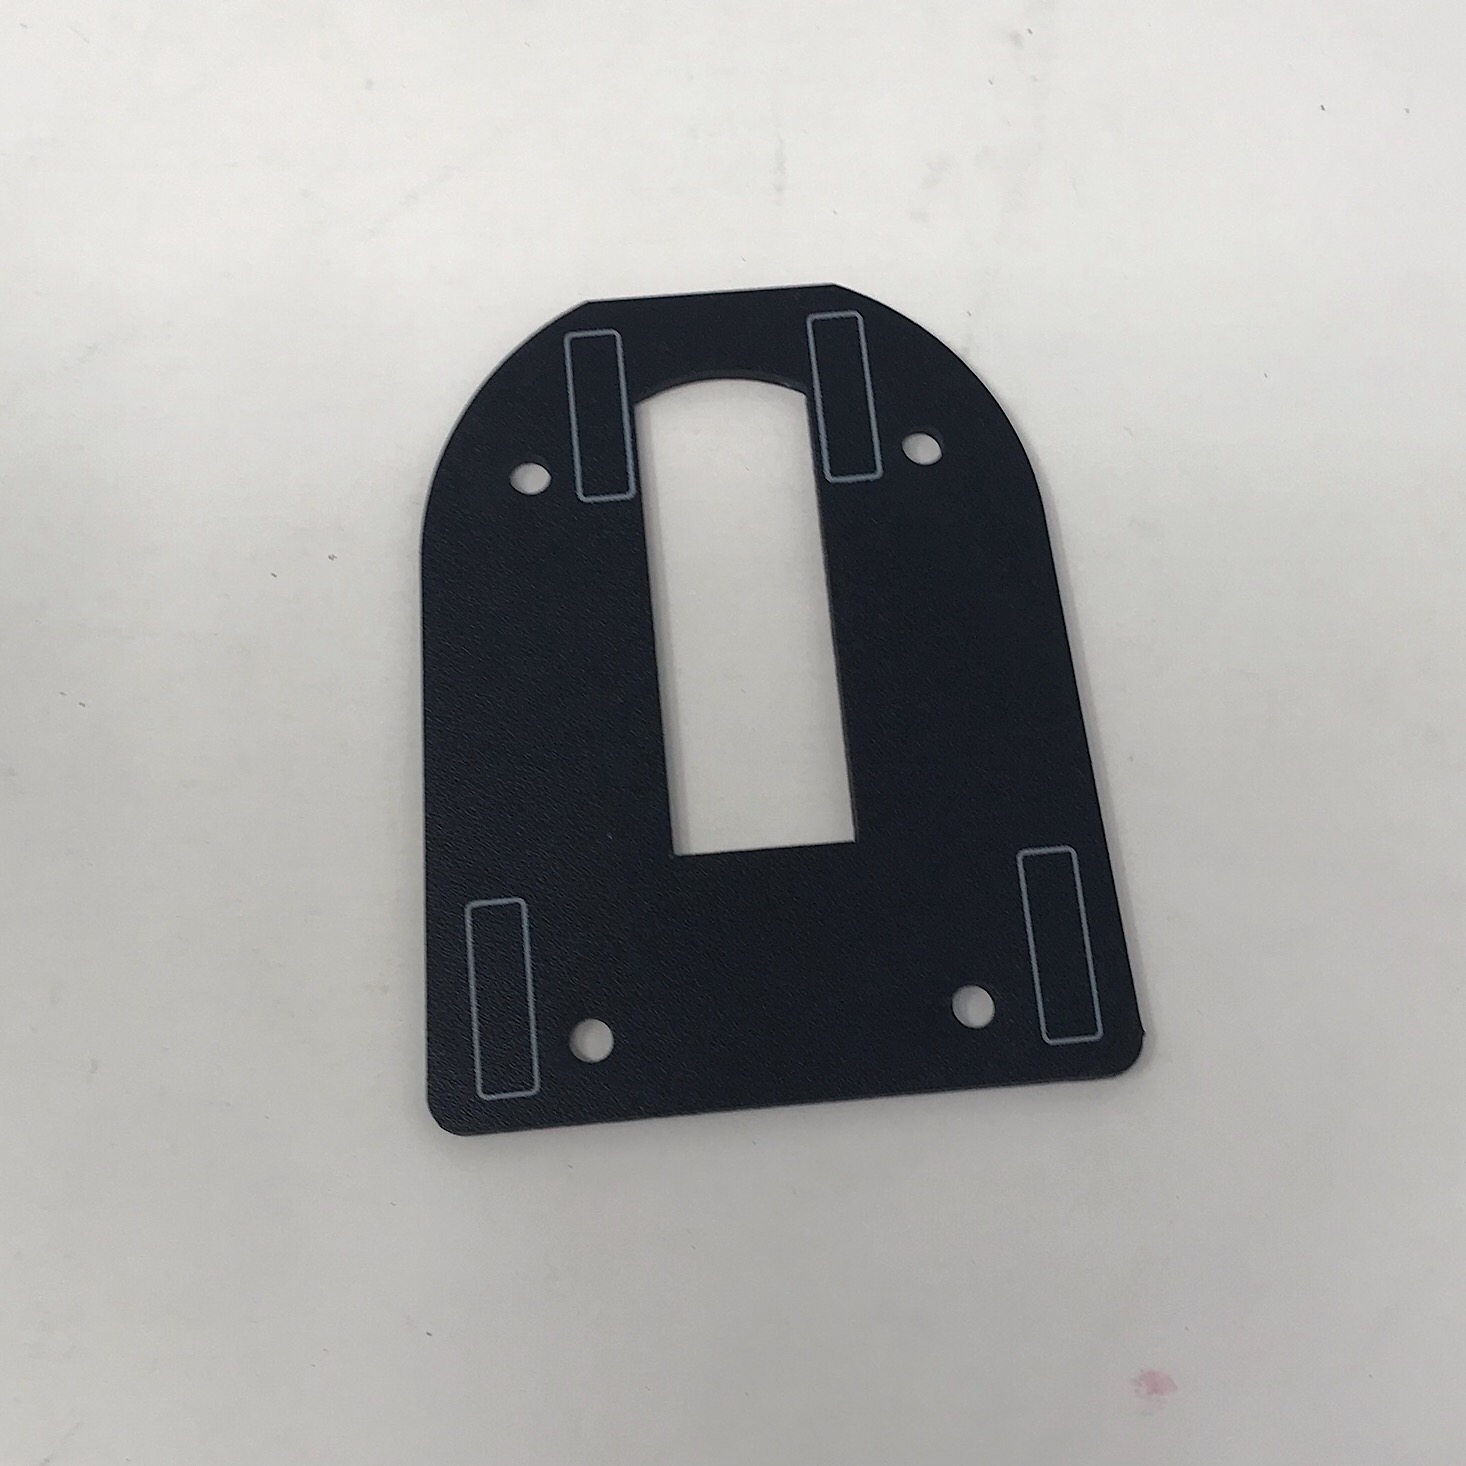
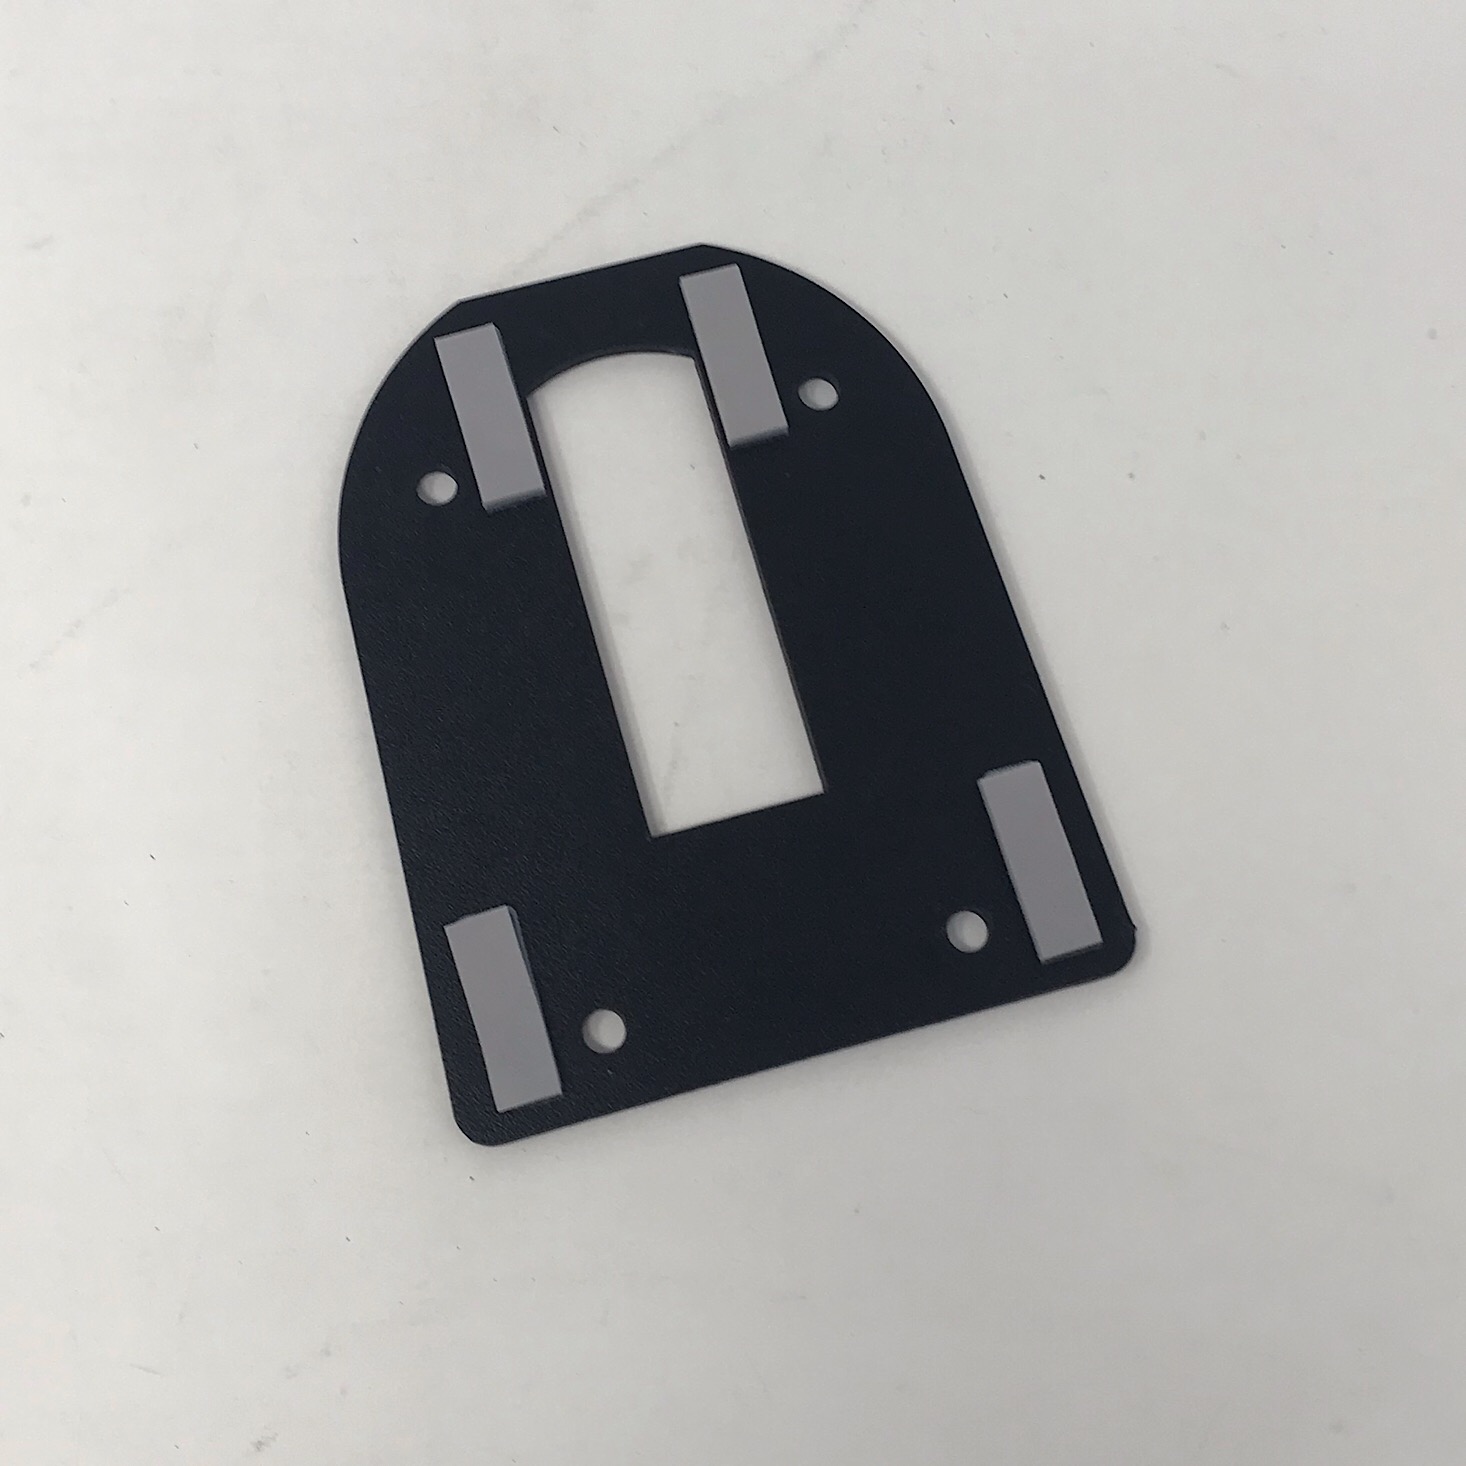
The first part of our project was to build the base which was super easy. On our plastic (polypropylene foam) pieces which were very sturdy and non-porous so water can't get inside, there were little rectangles to show where to add the foam stickers making it pretty foolproof!
1 of 3

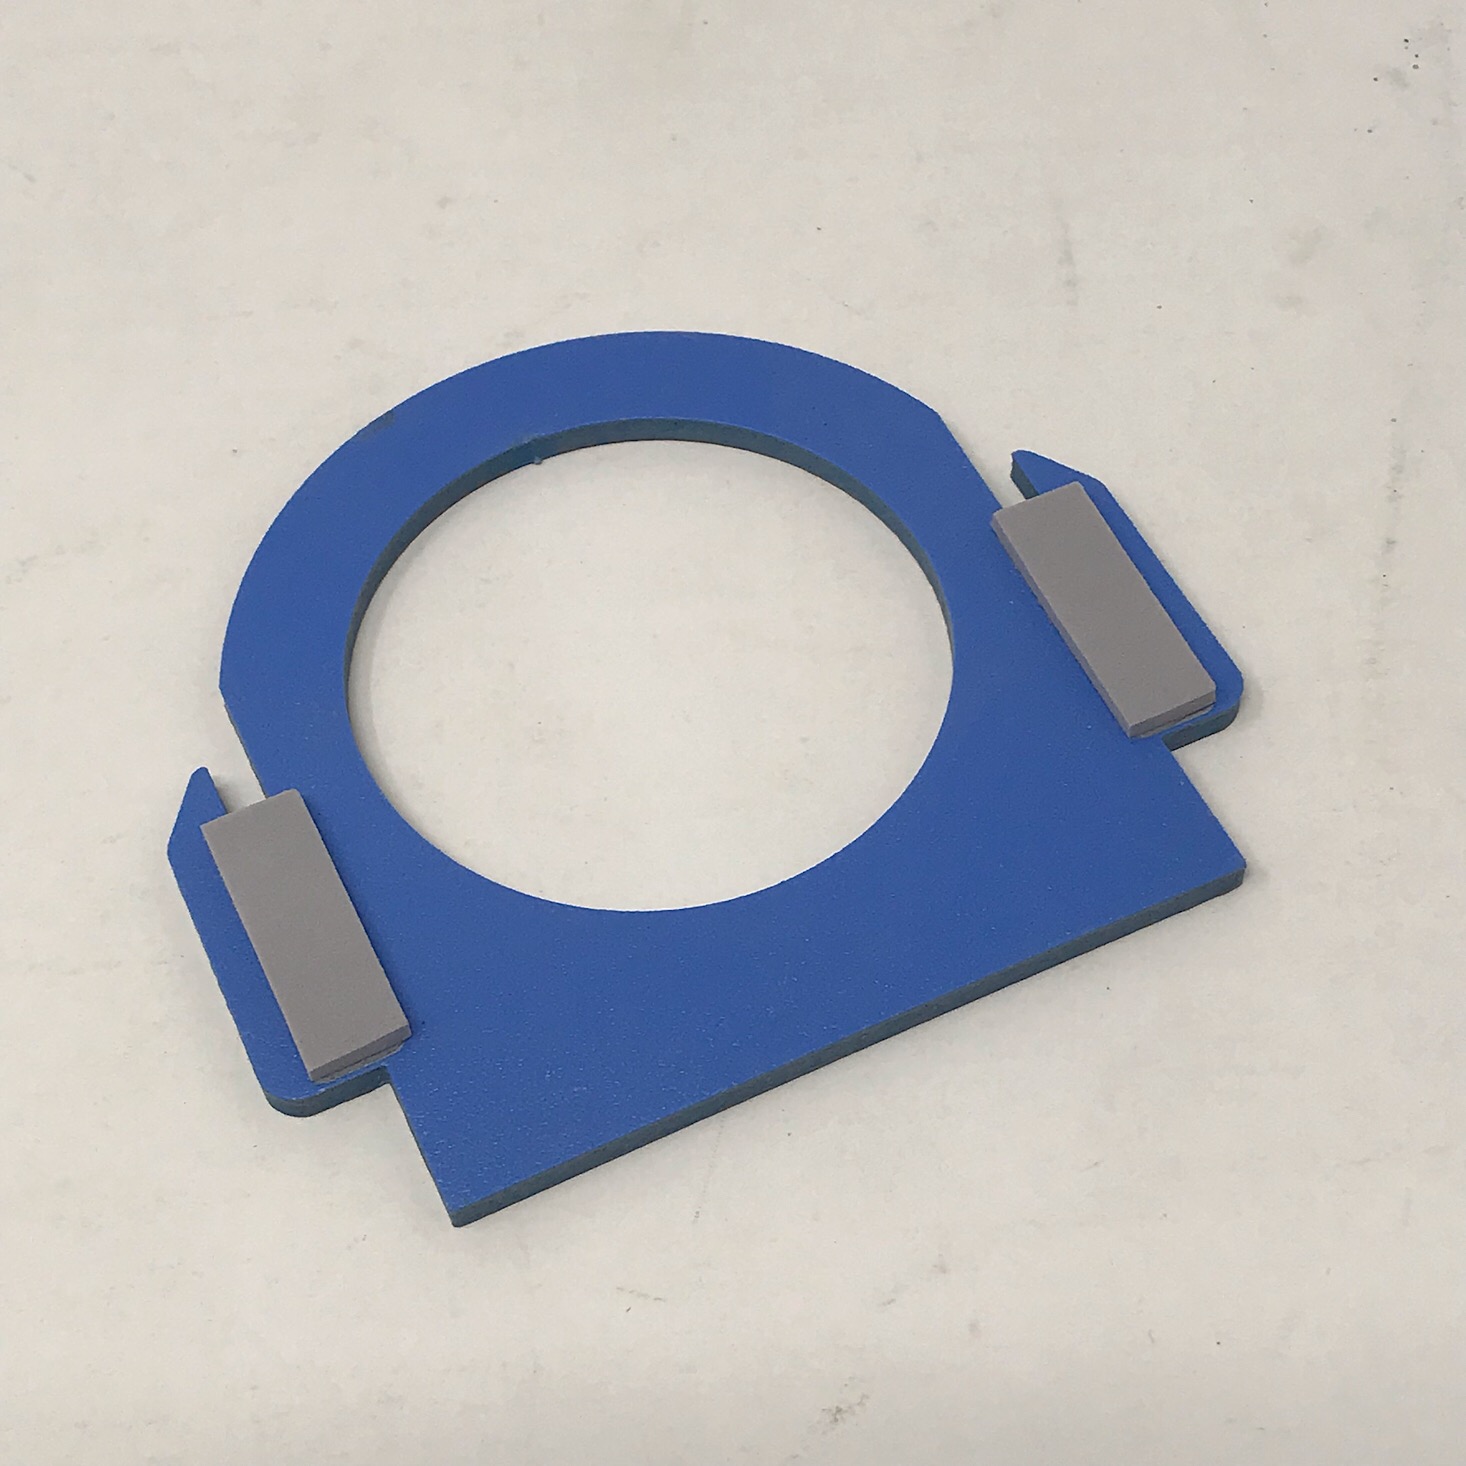
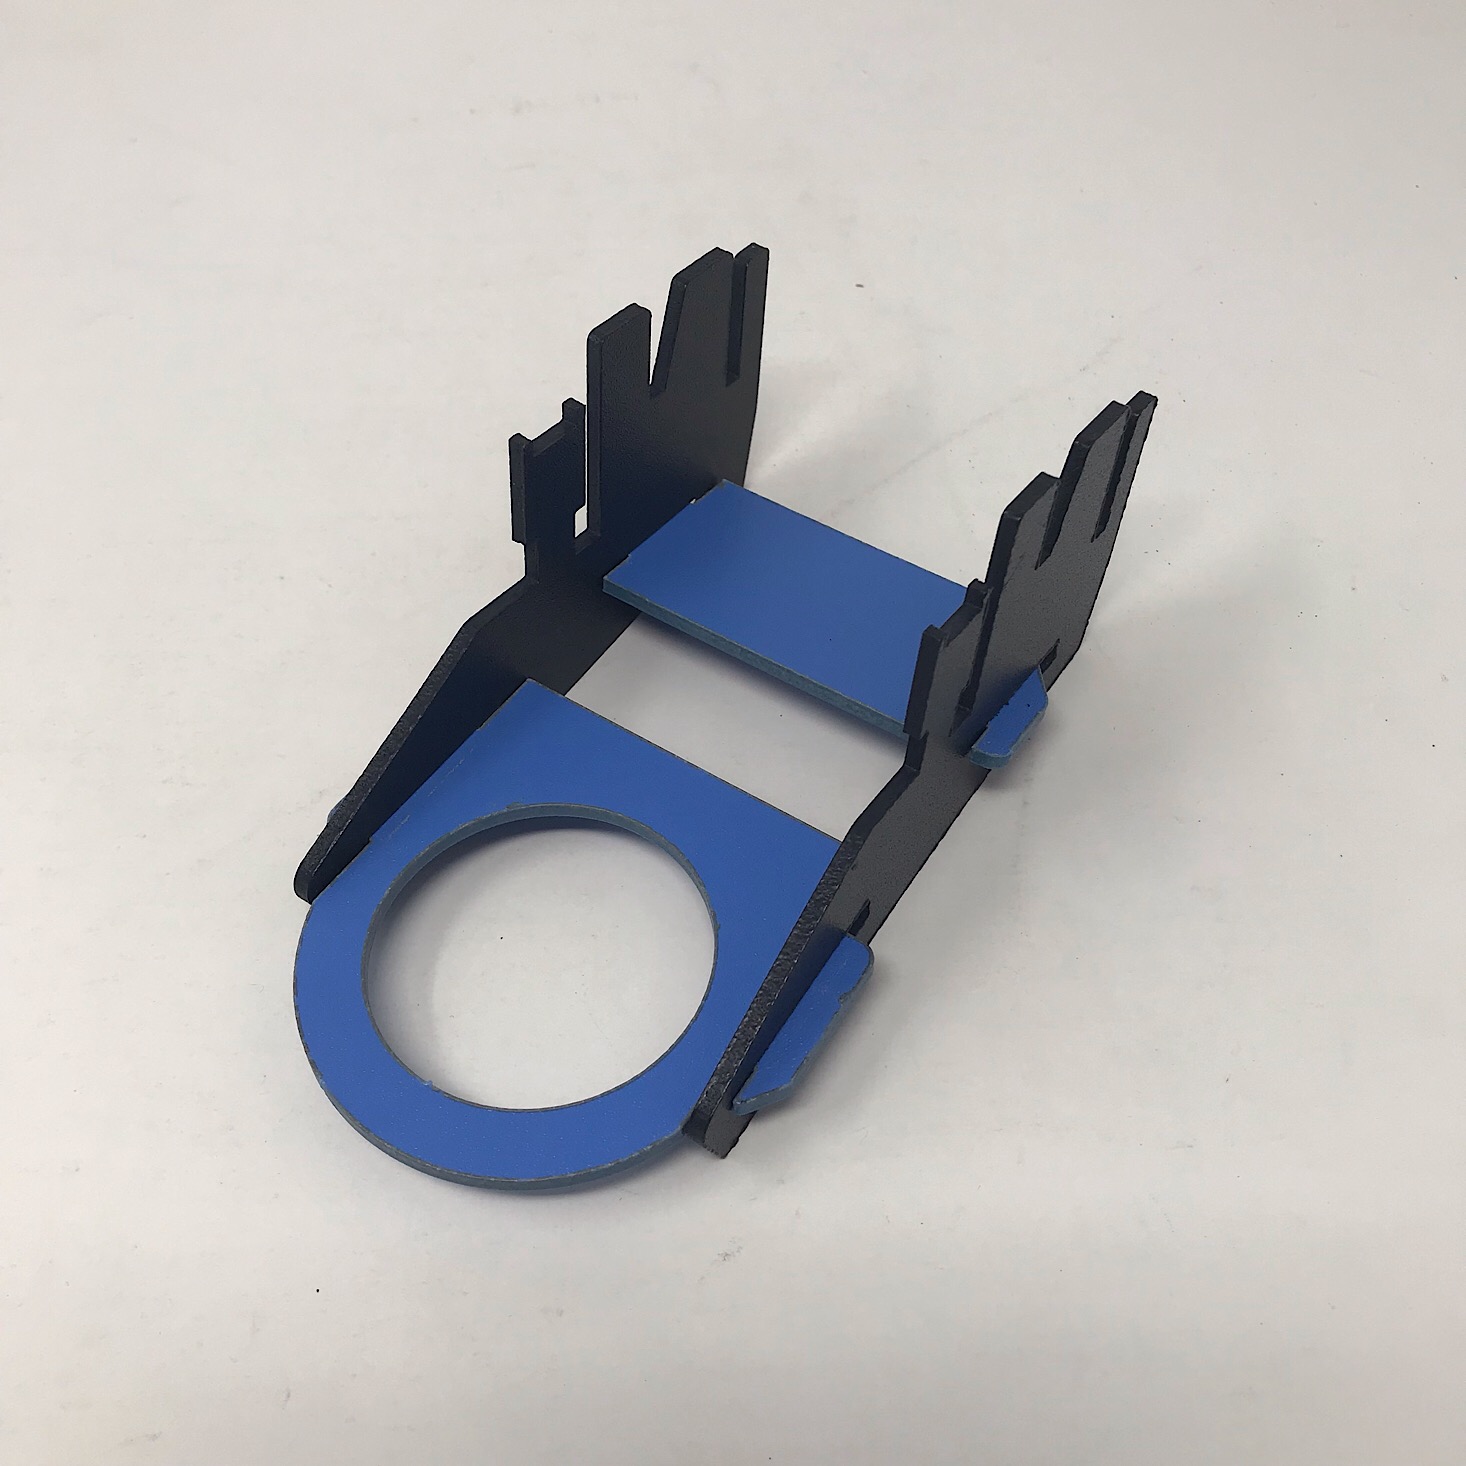
After adding the foam stickers to the pieces as indicated, I simply had to slide them together with the foam pieces ensuring a snug fit. Then our base was finished!
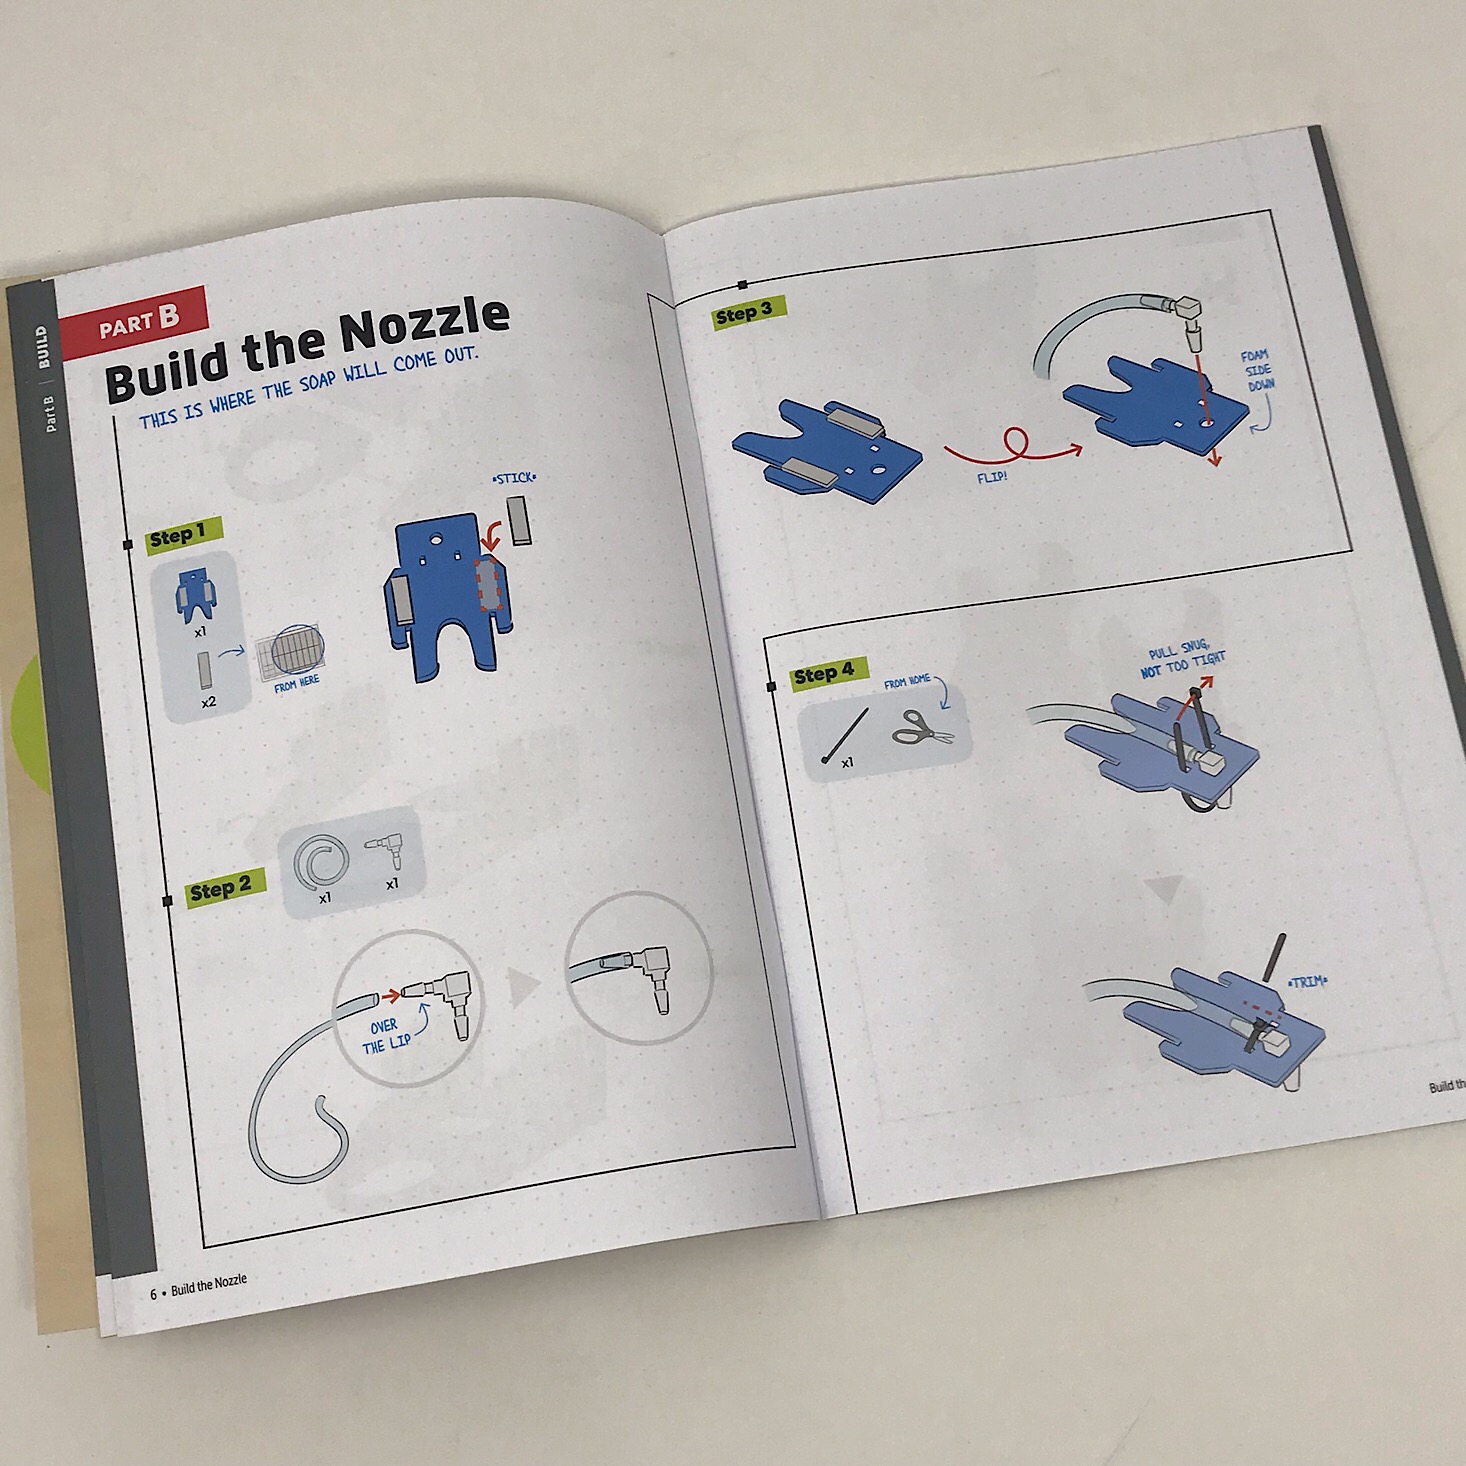
Part B: Build the Nozzle


1 of 4
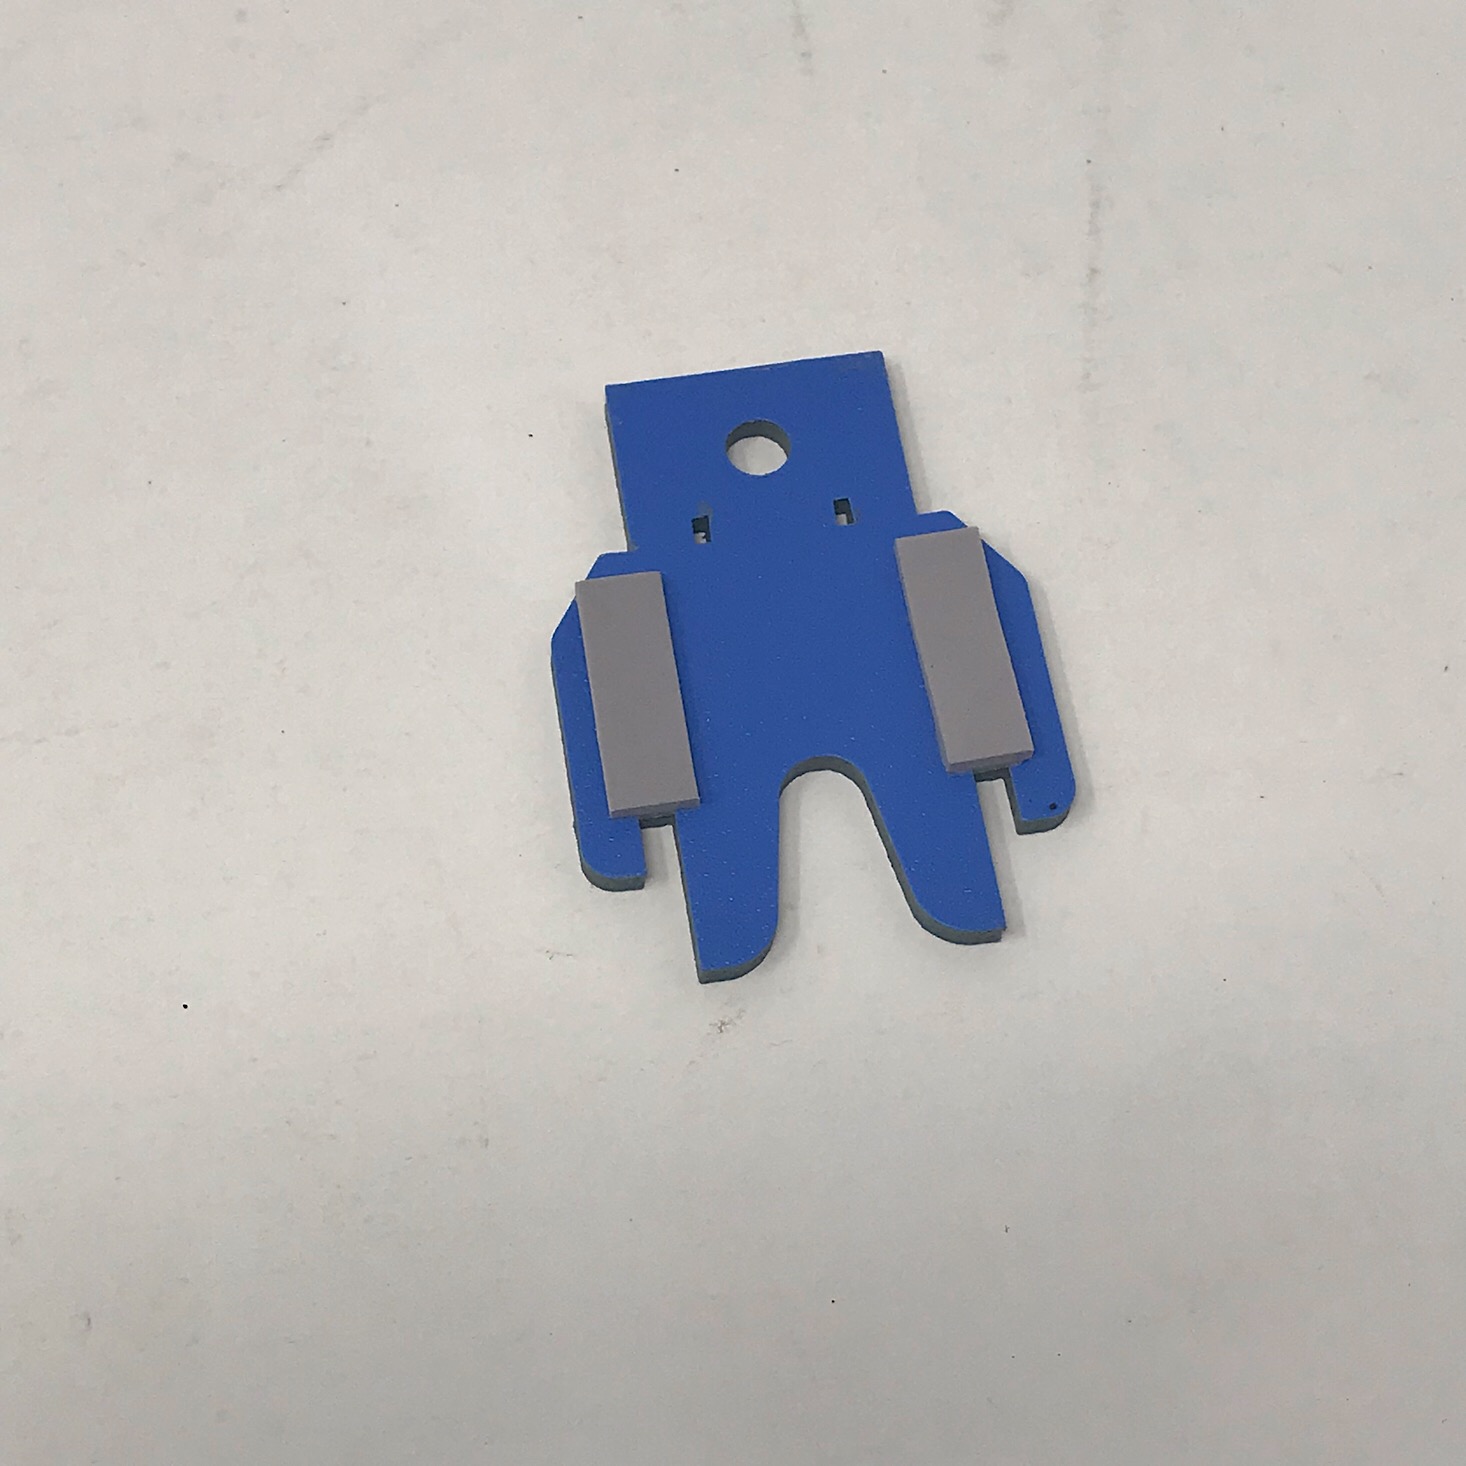

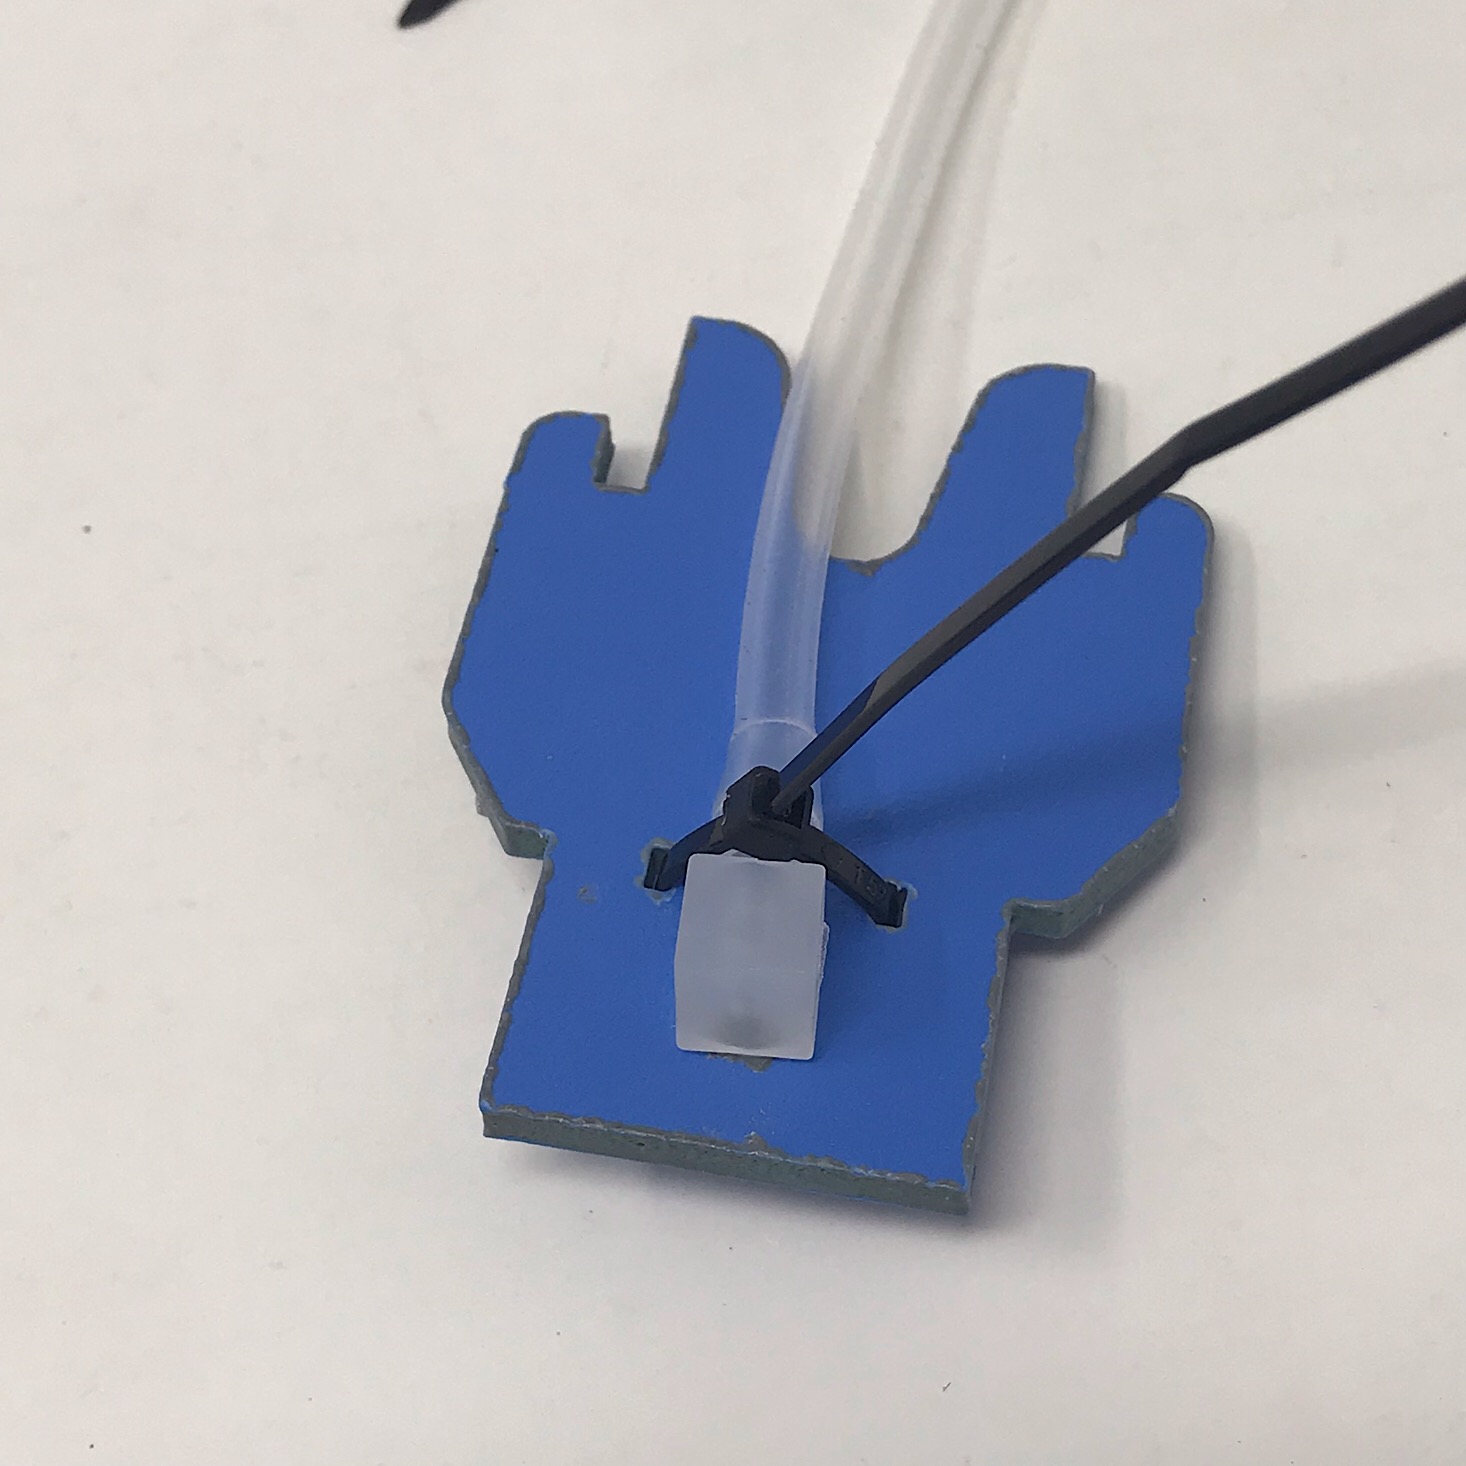
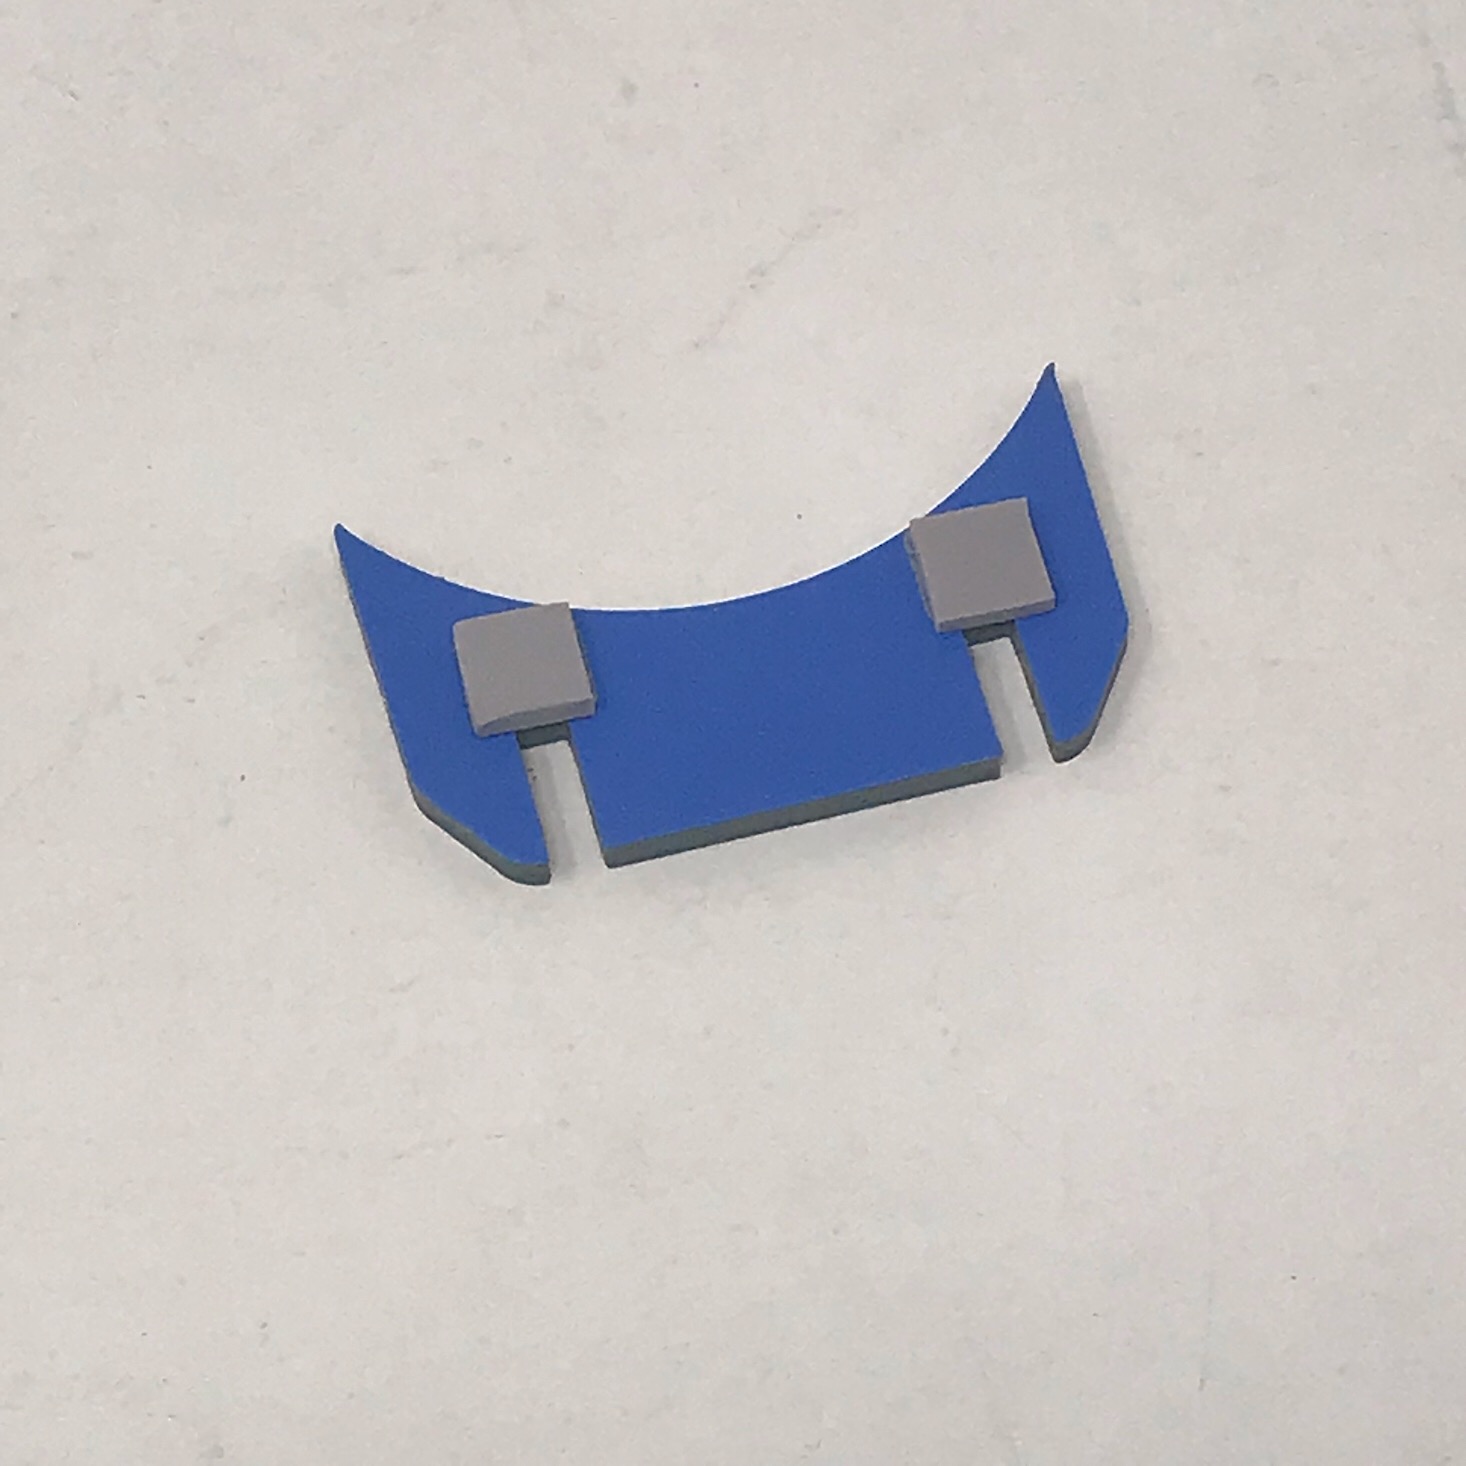
Then it was time to build the nozzle. I added the foam stickers to the small blue piece and then stuck the nozzle into the mouth of the plastic tubing.
1 of 3

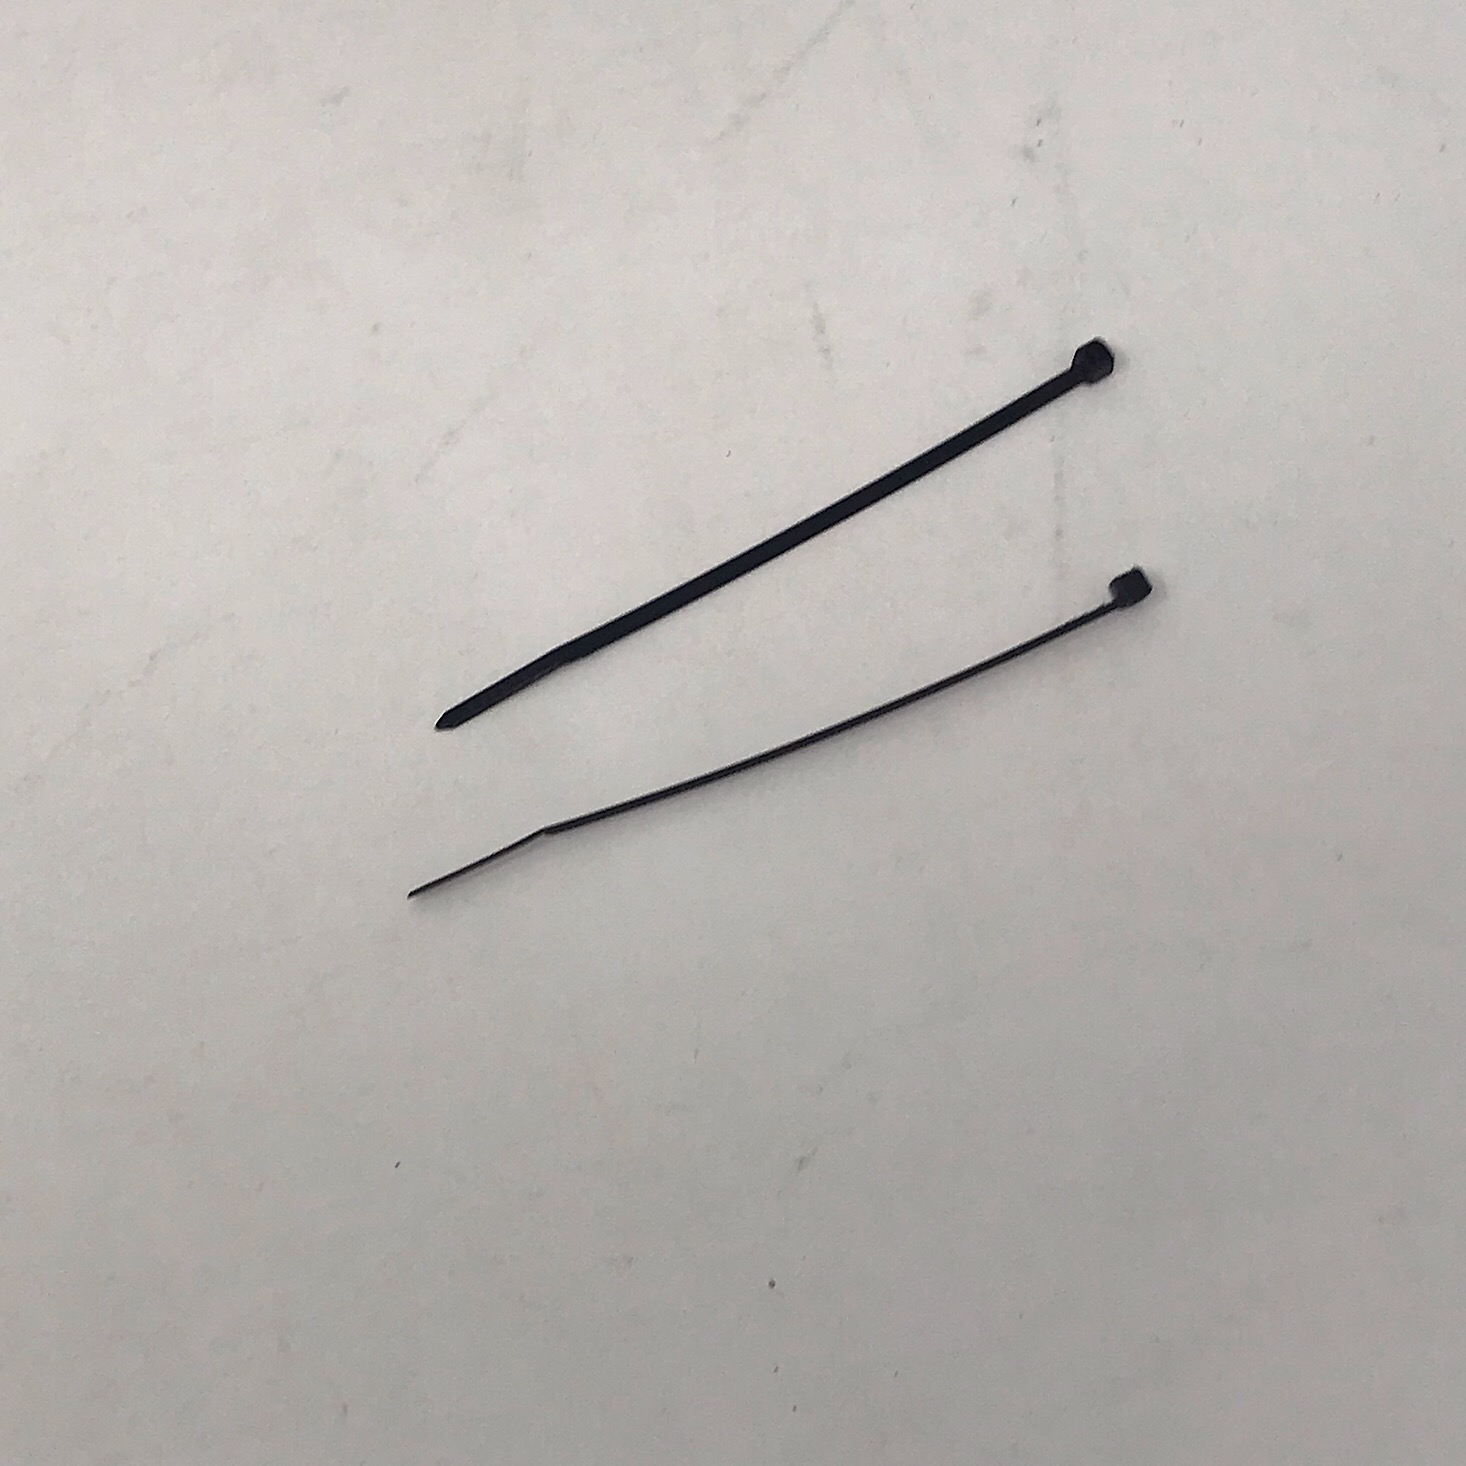
I stuck the nozzle into the hole in the blue piece and secured one of the zip ties they provided around it and trimmed the ends.
1 of 6

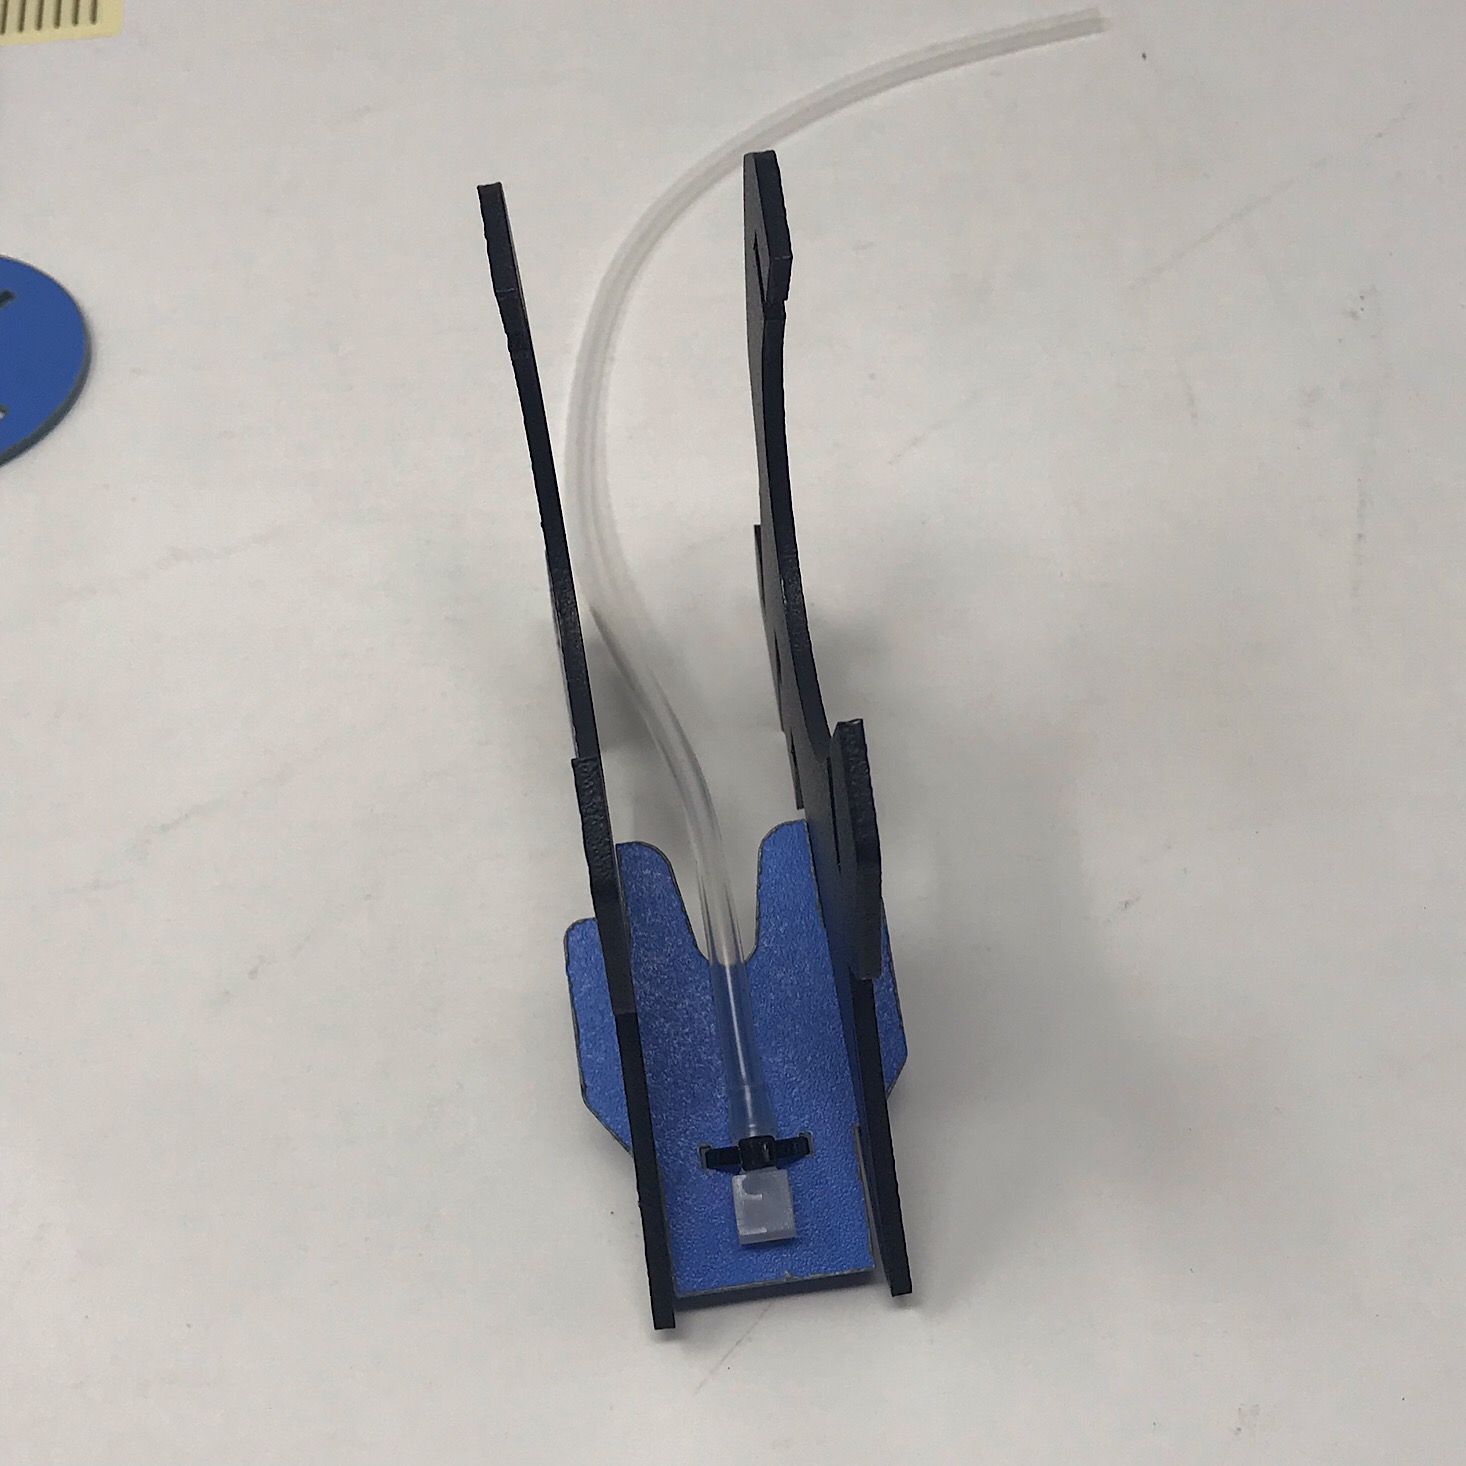

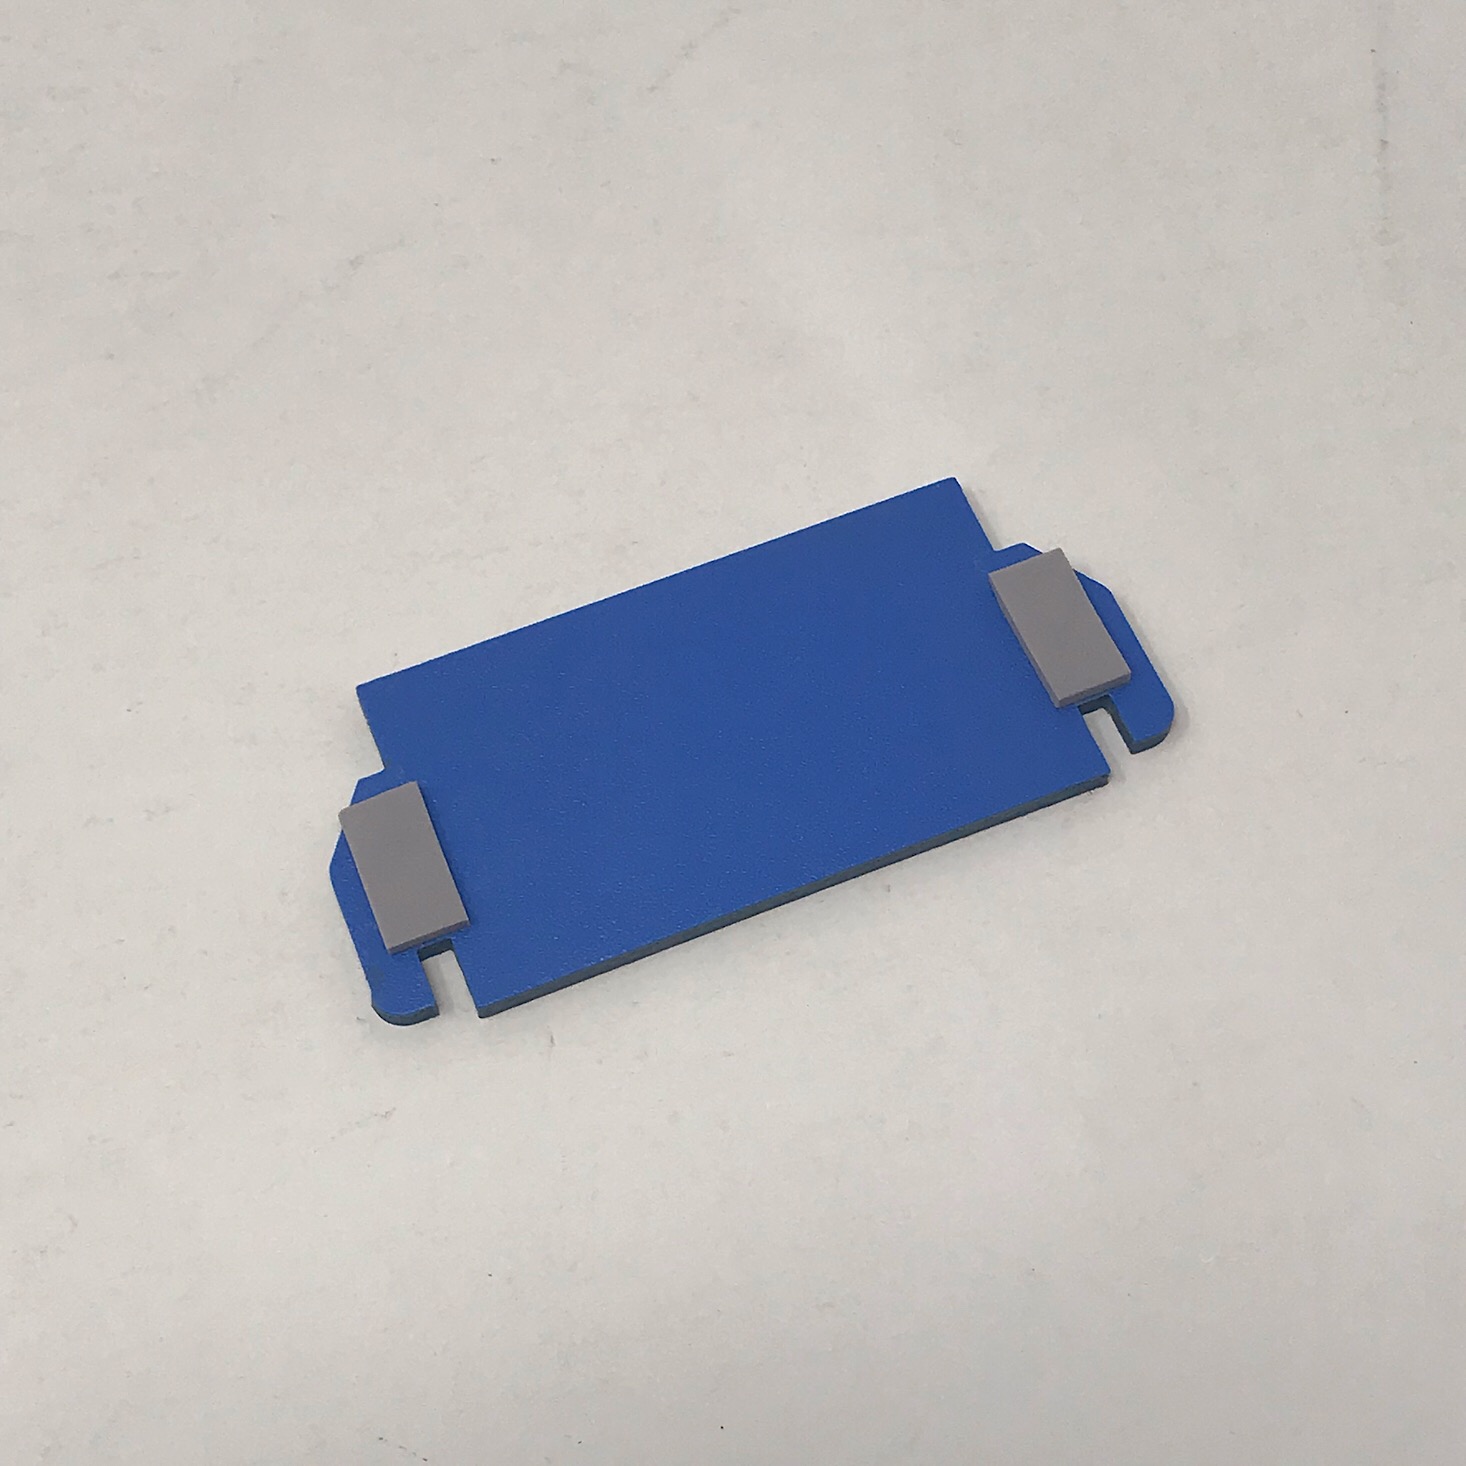
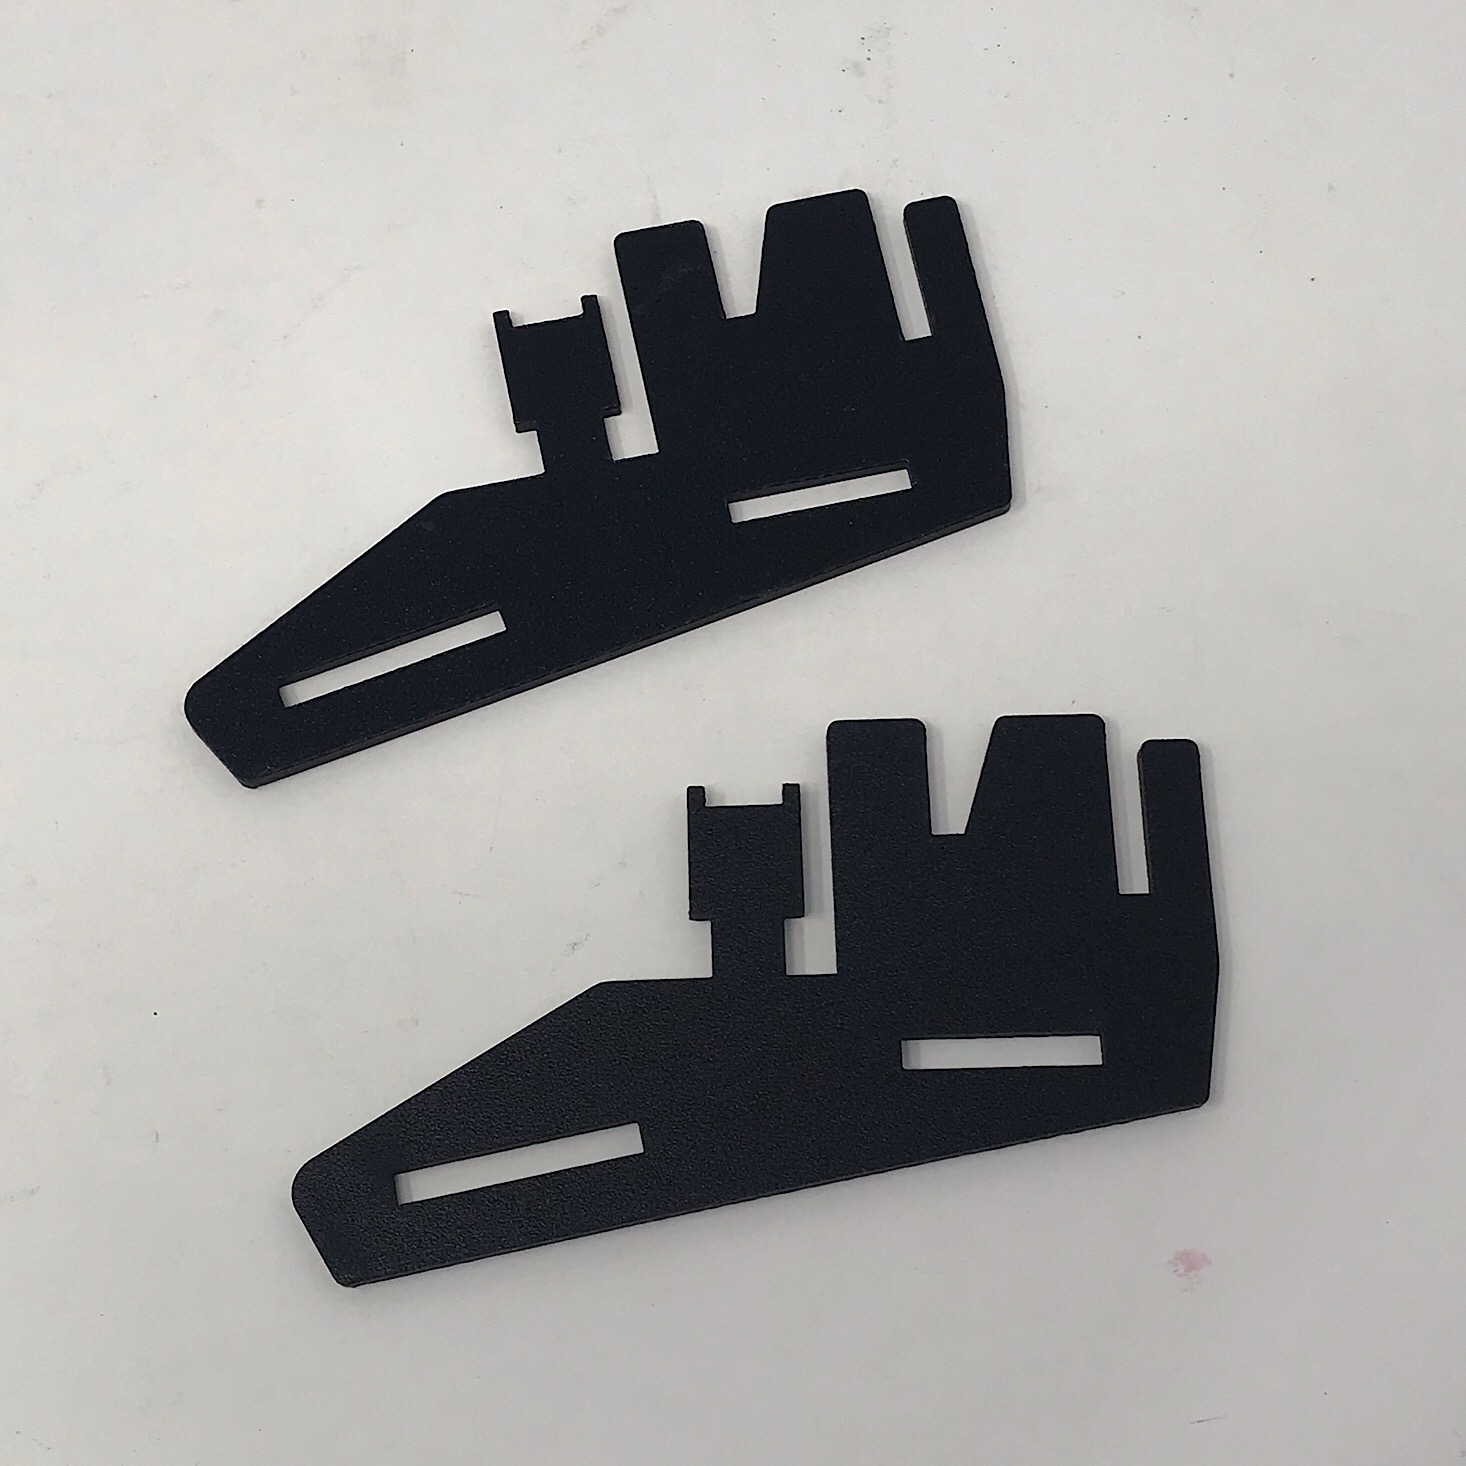
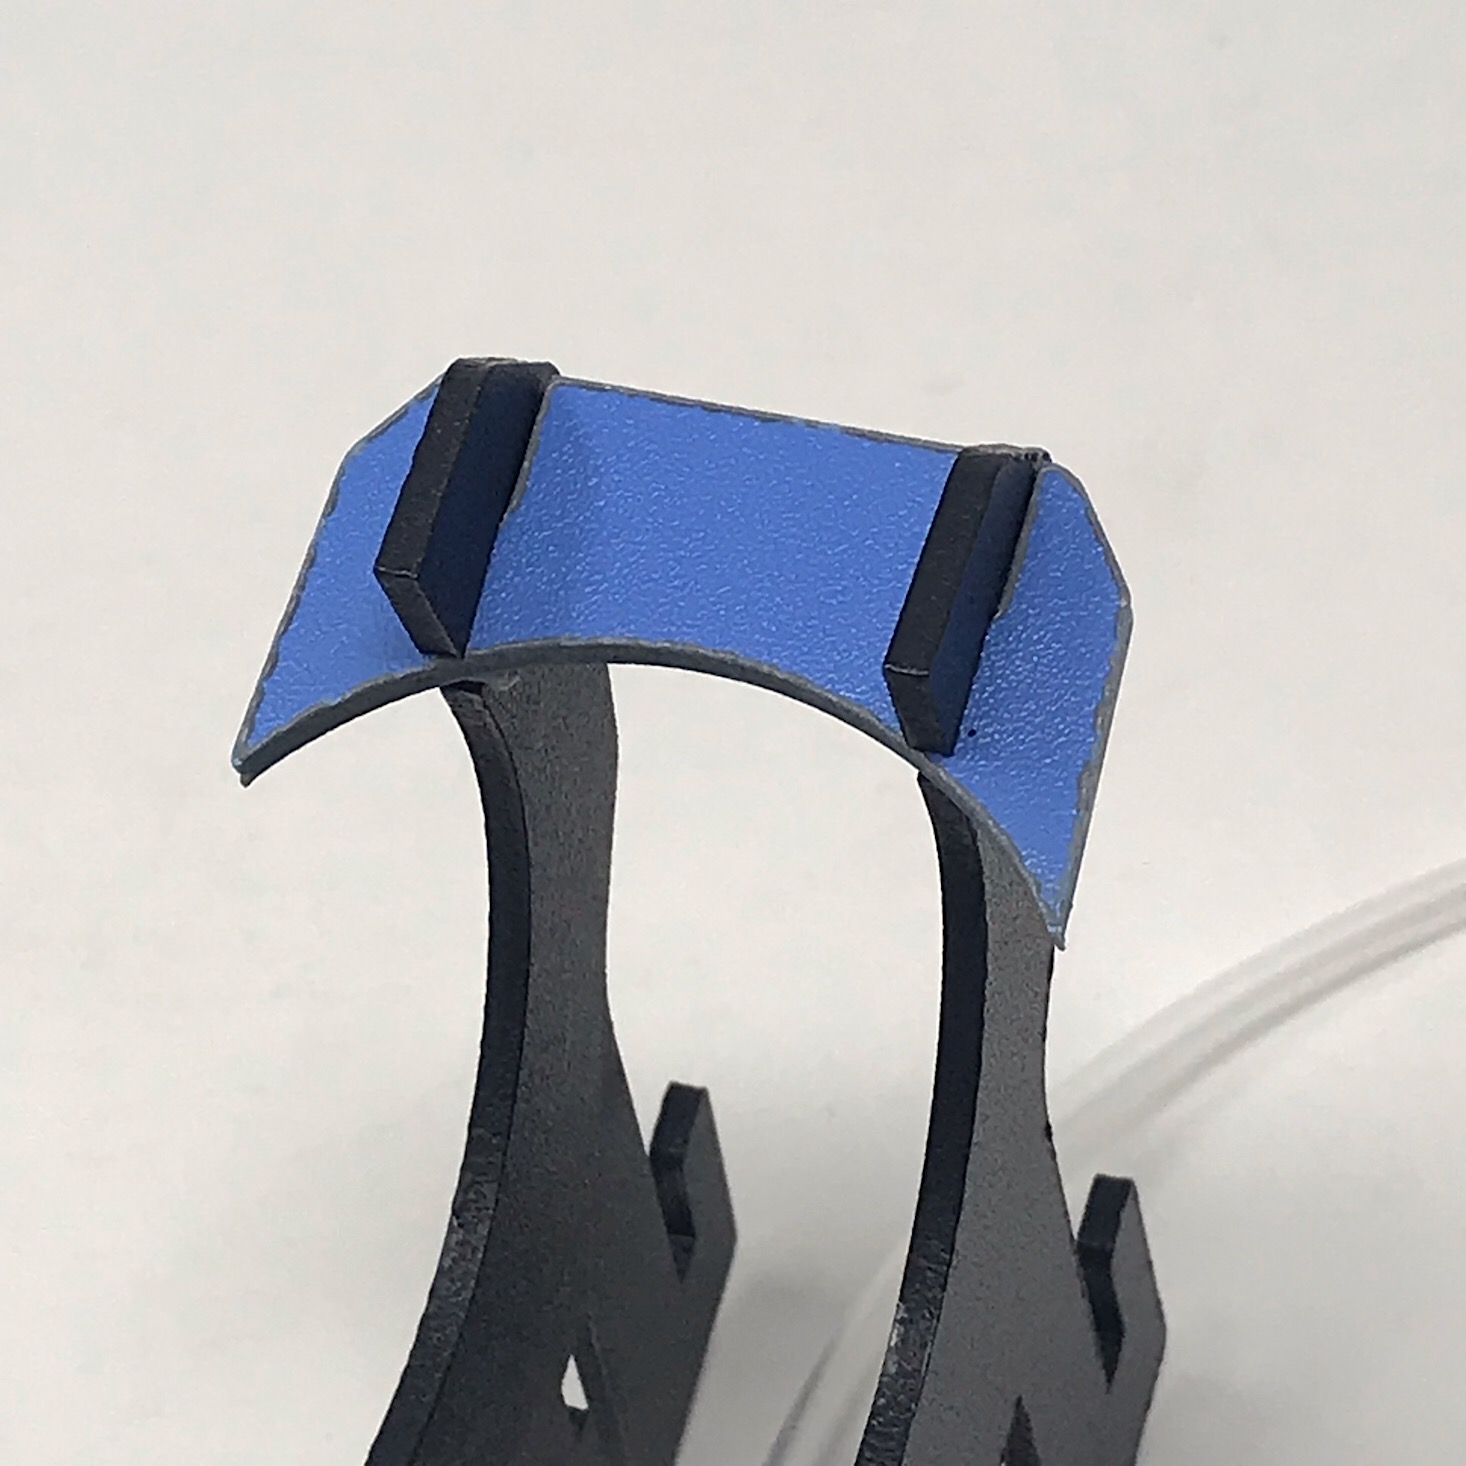
Then I simply connected that blue piece to two larger black pieces using the notches that were cut out of them and held them in place with a smaller blue piece that I had added foam squares to.

1 of 4
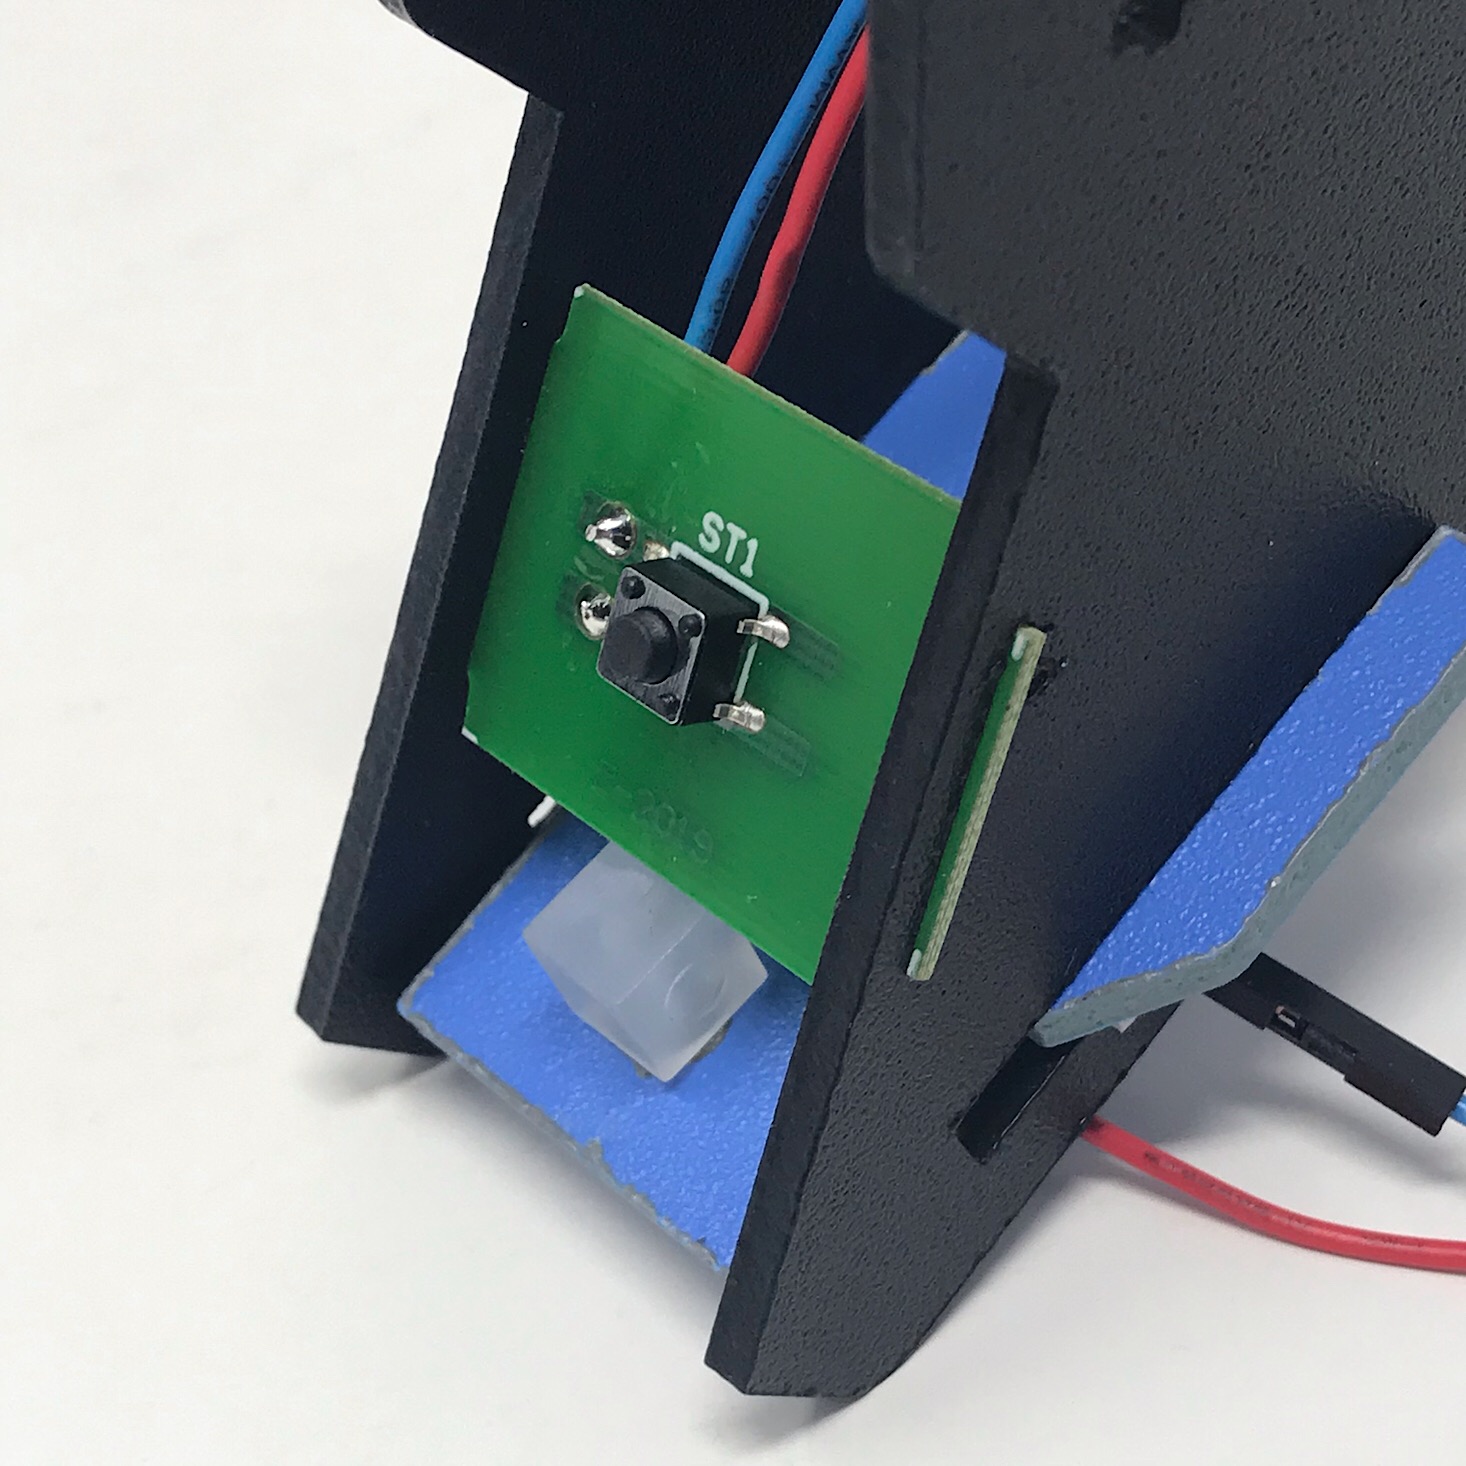

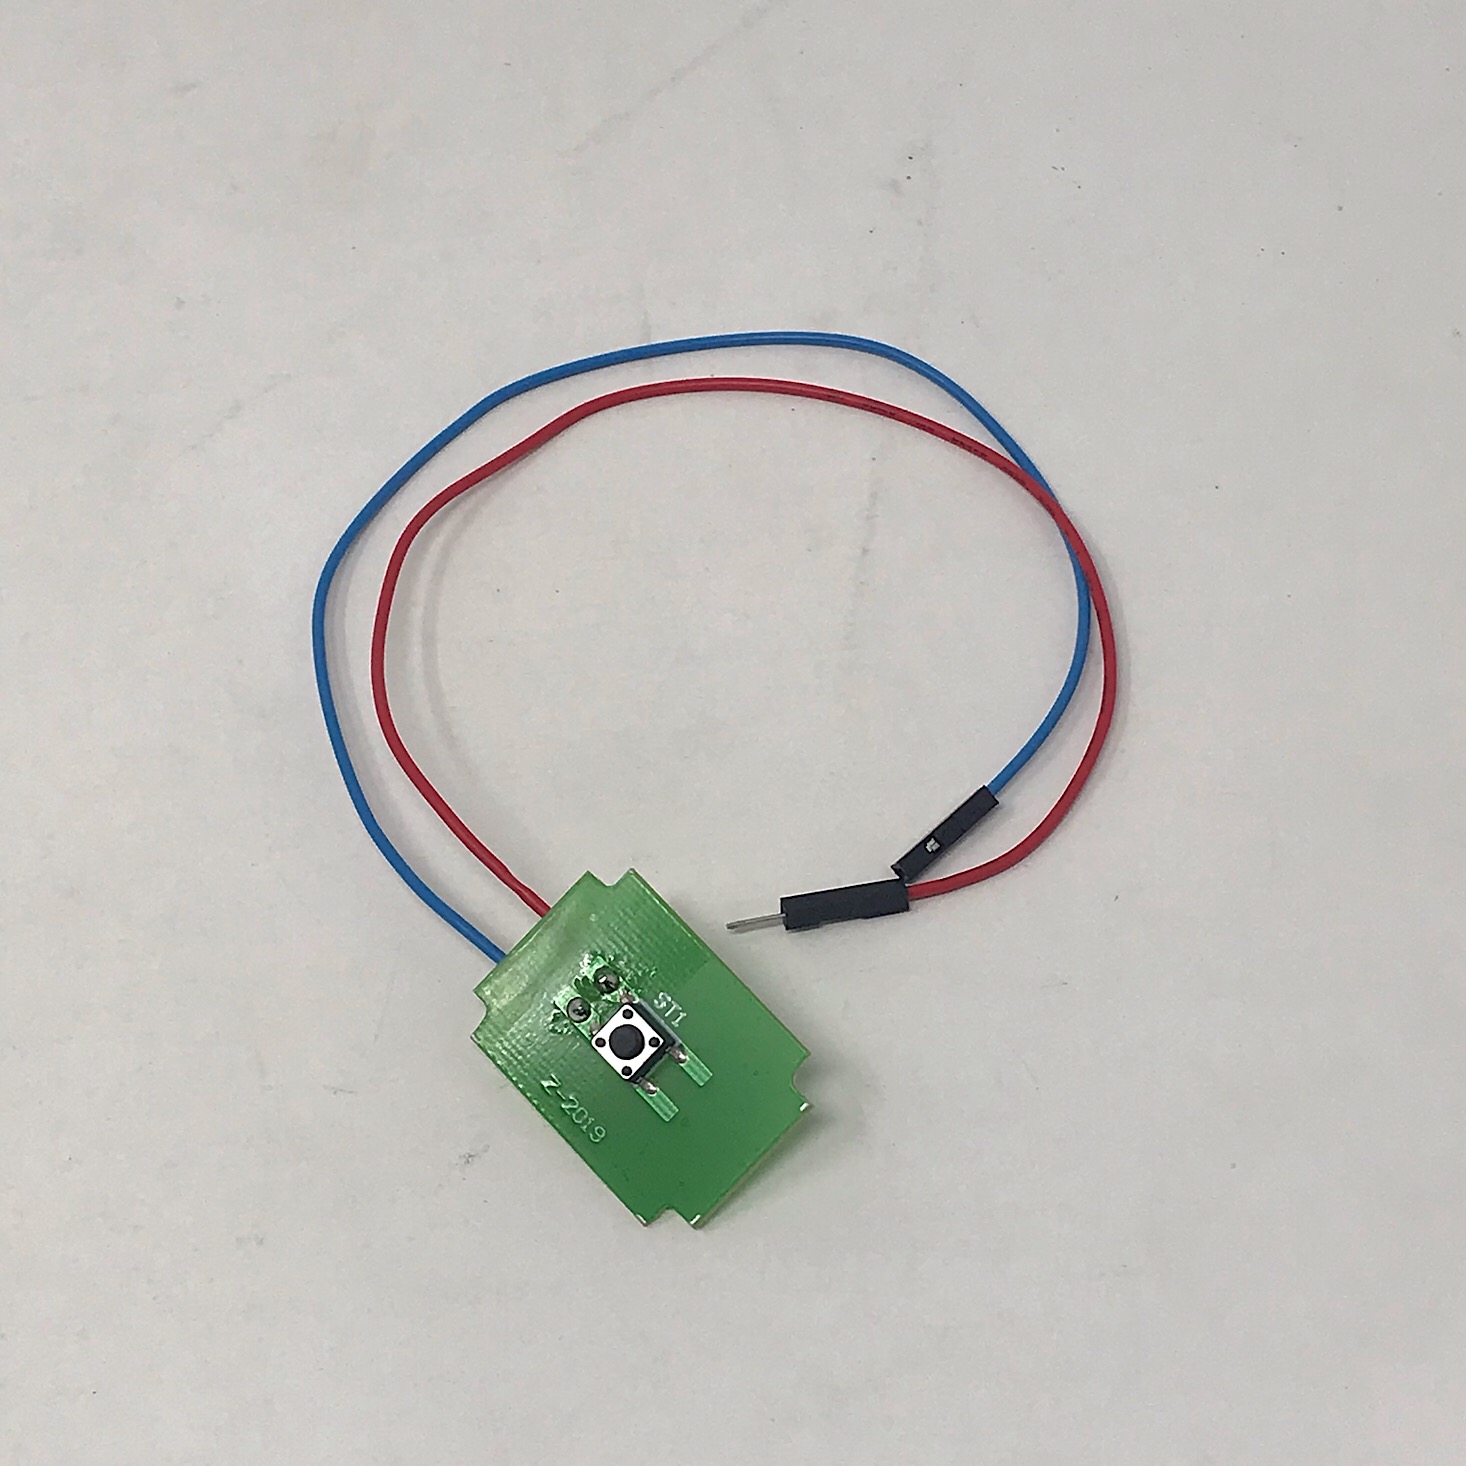
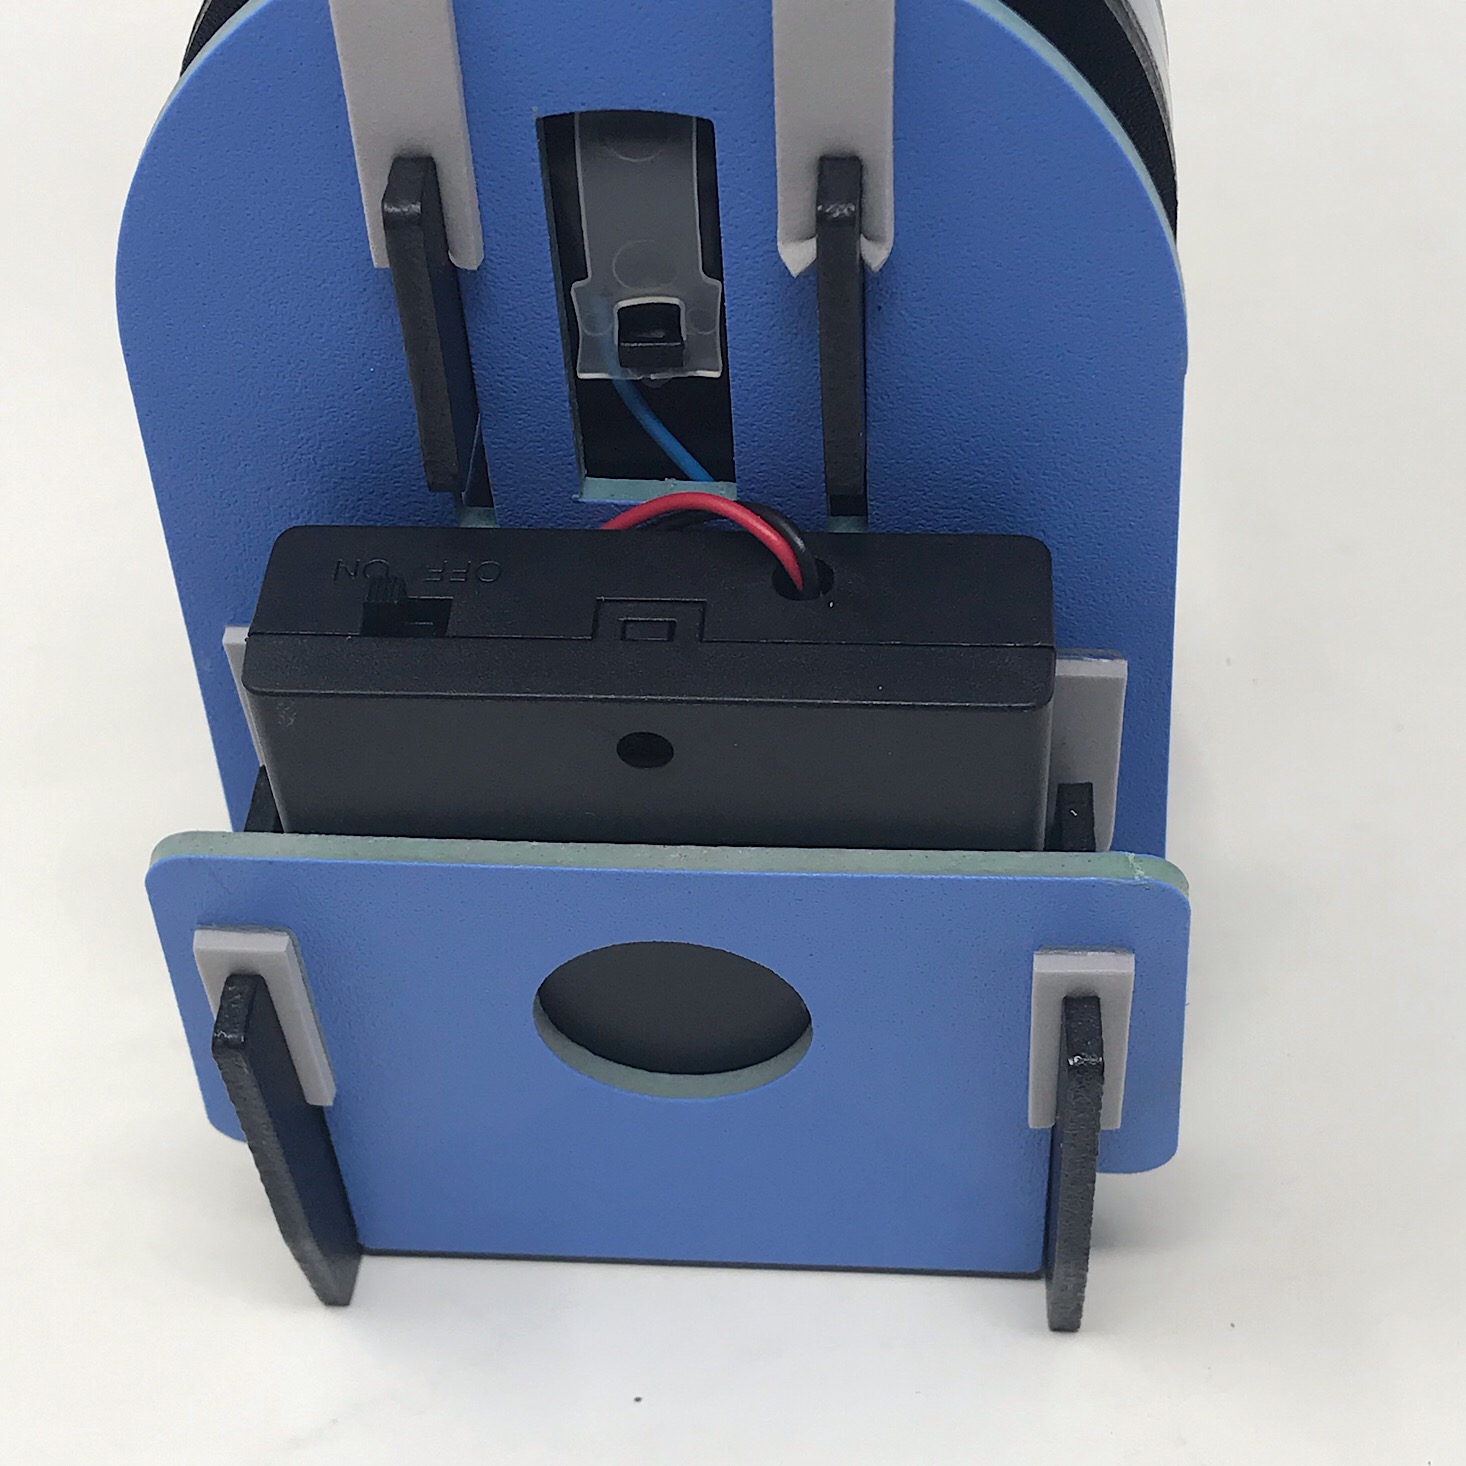
Next, I added our button and secured it between the two edges of the black piece and threaded the wires to the back. Then I added the blue bar with the circle on it over the top to create a mechanism for us to push to activate the little button on the green board.
Then I gave it a little test by pushing down on the button to make sure it made a clicking sound.
Part C: Build the Body

1 of 4

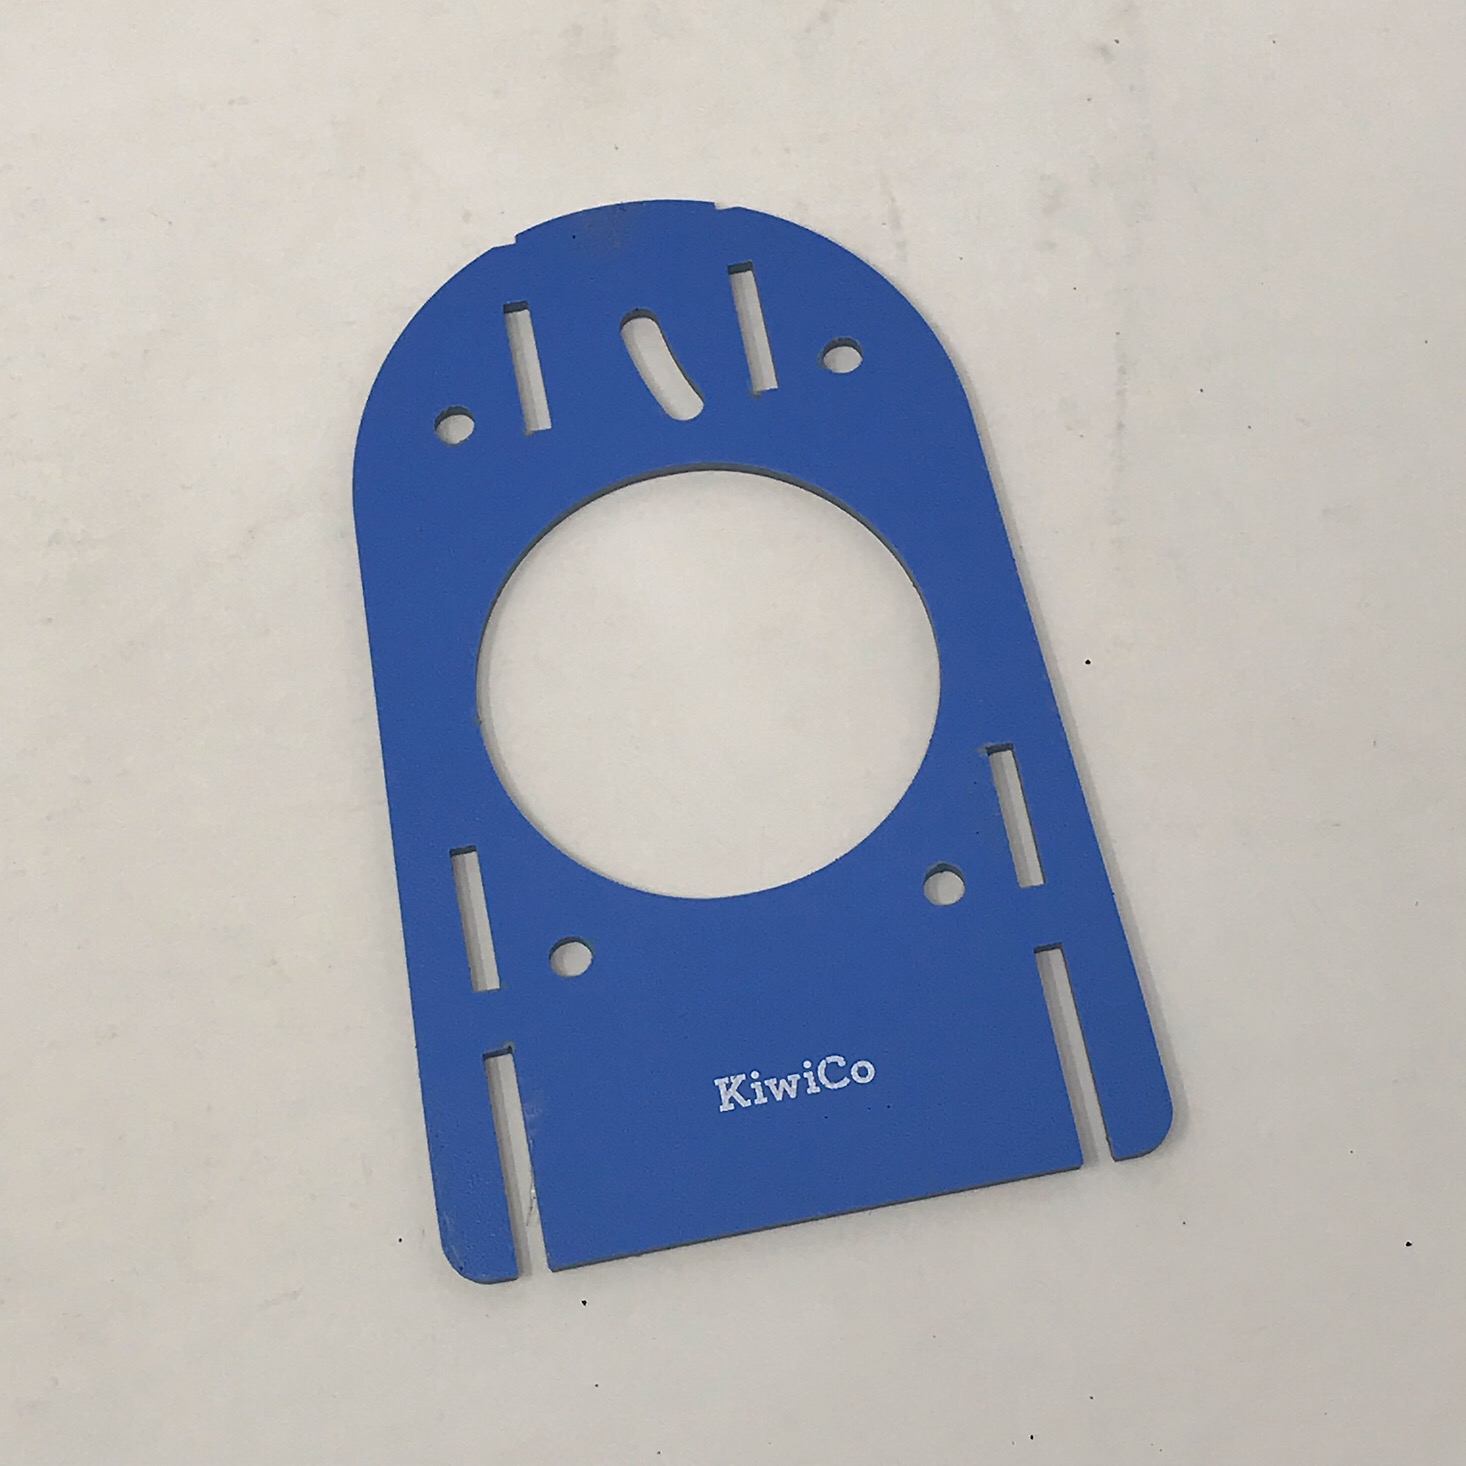
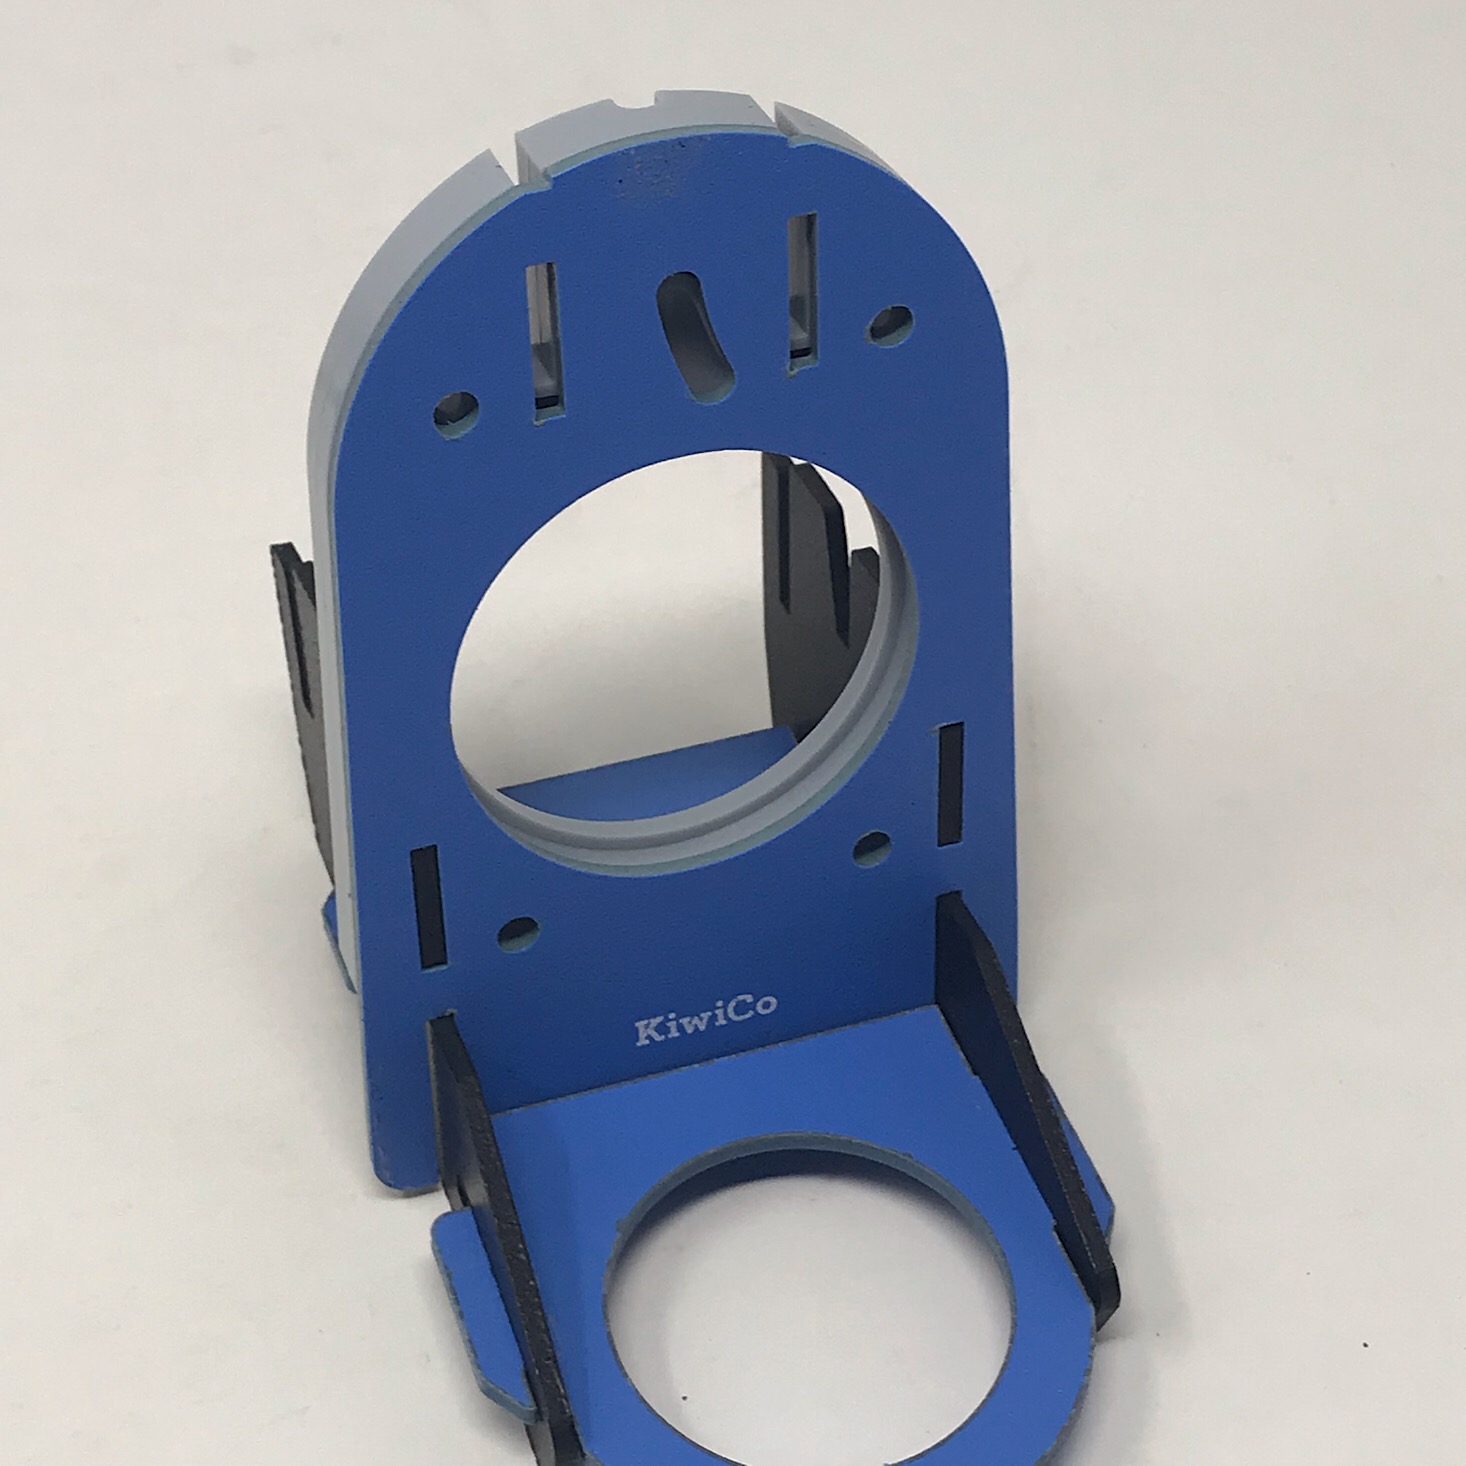
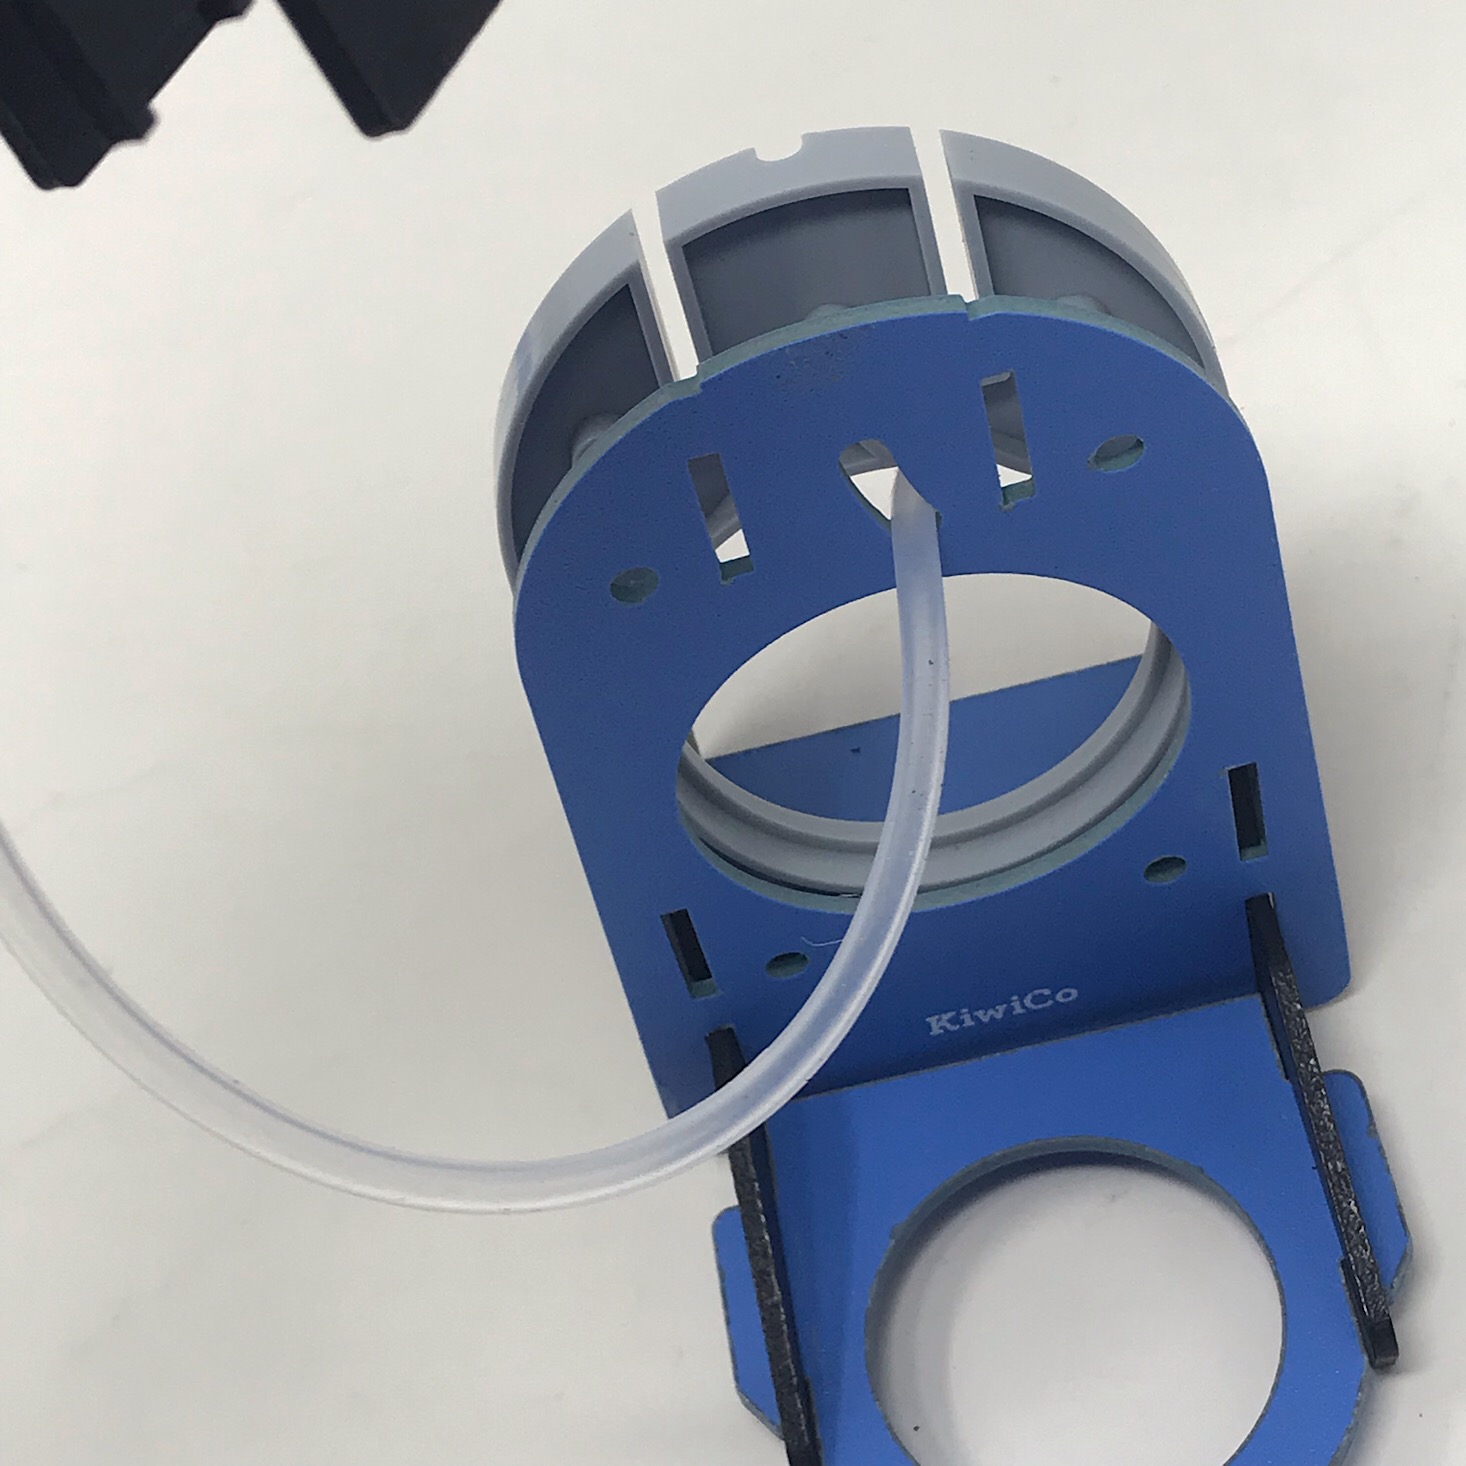
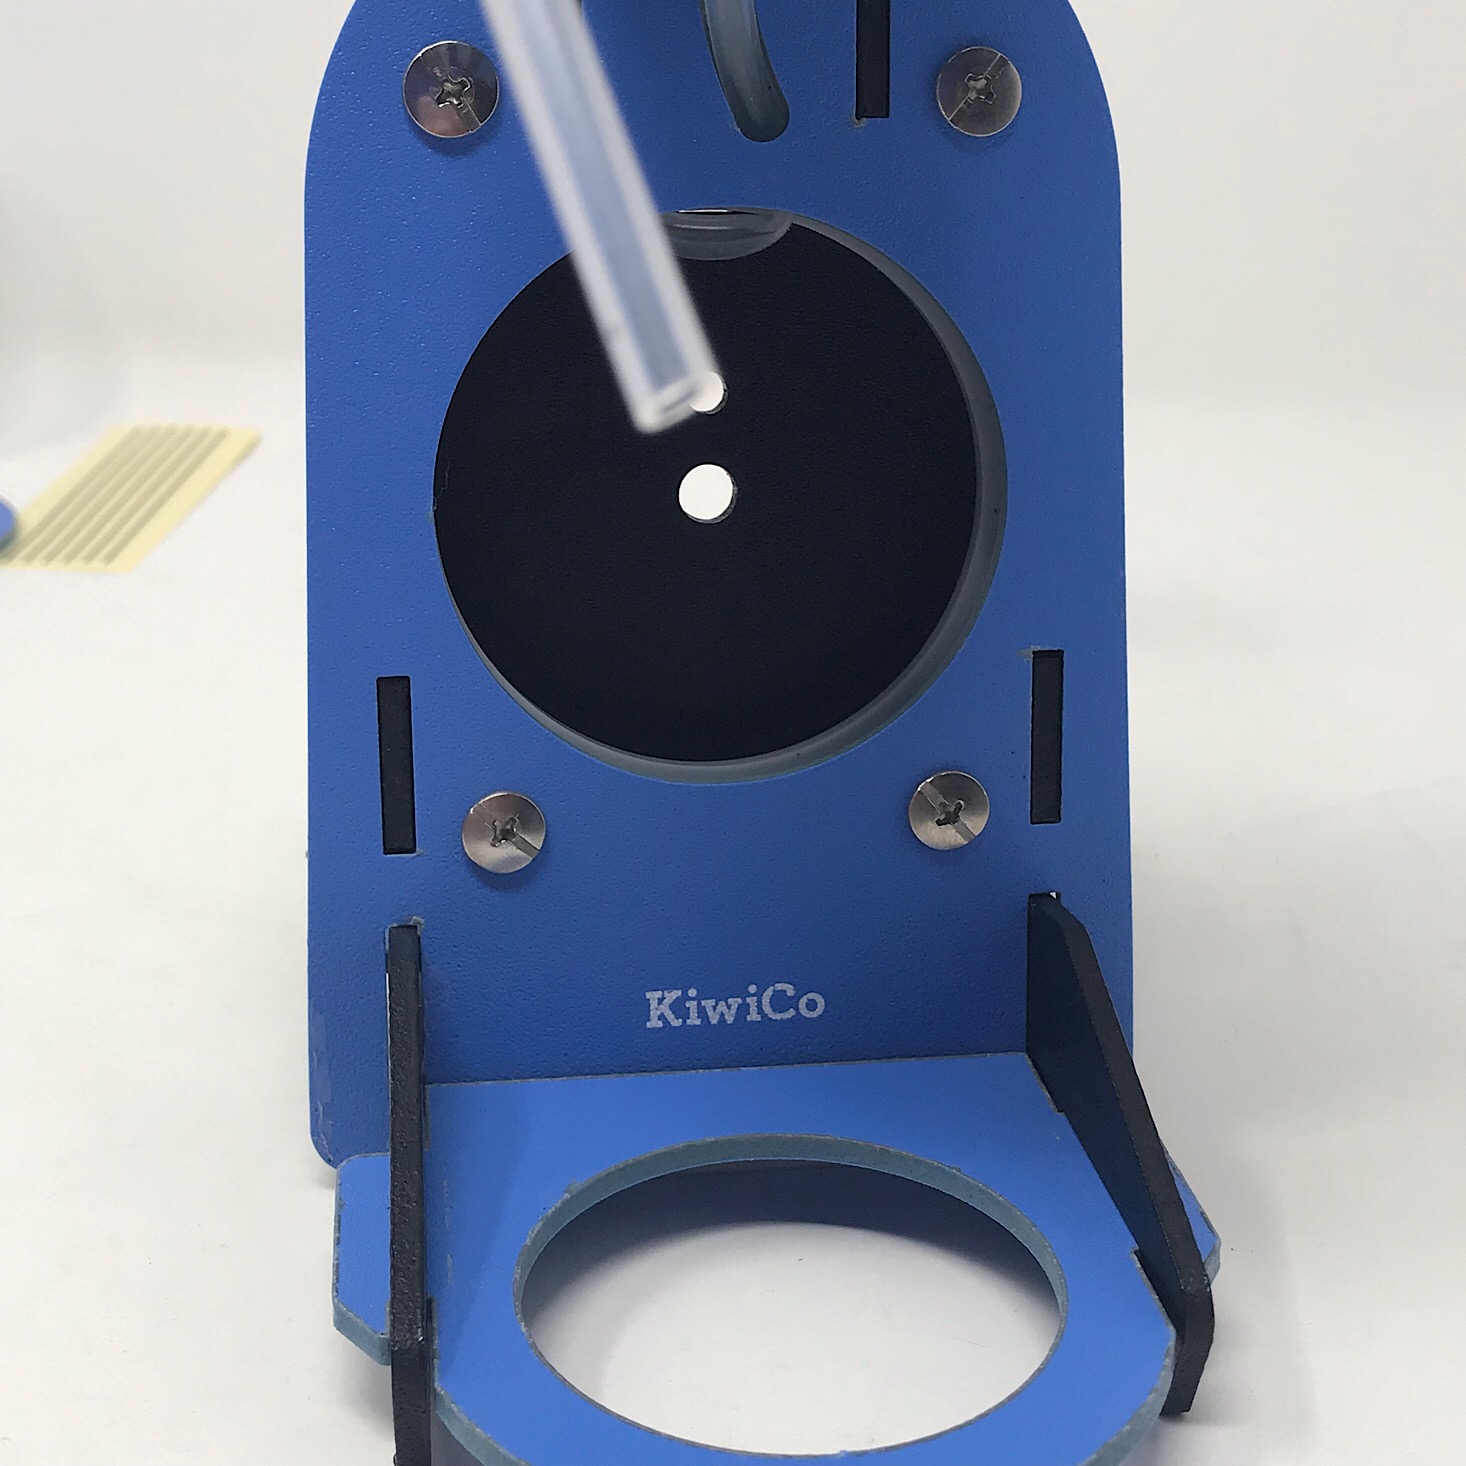
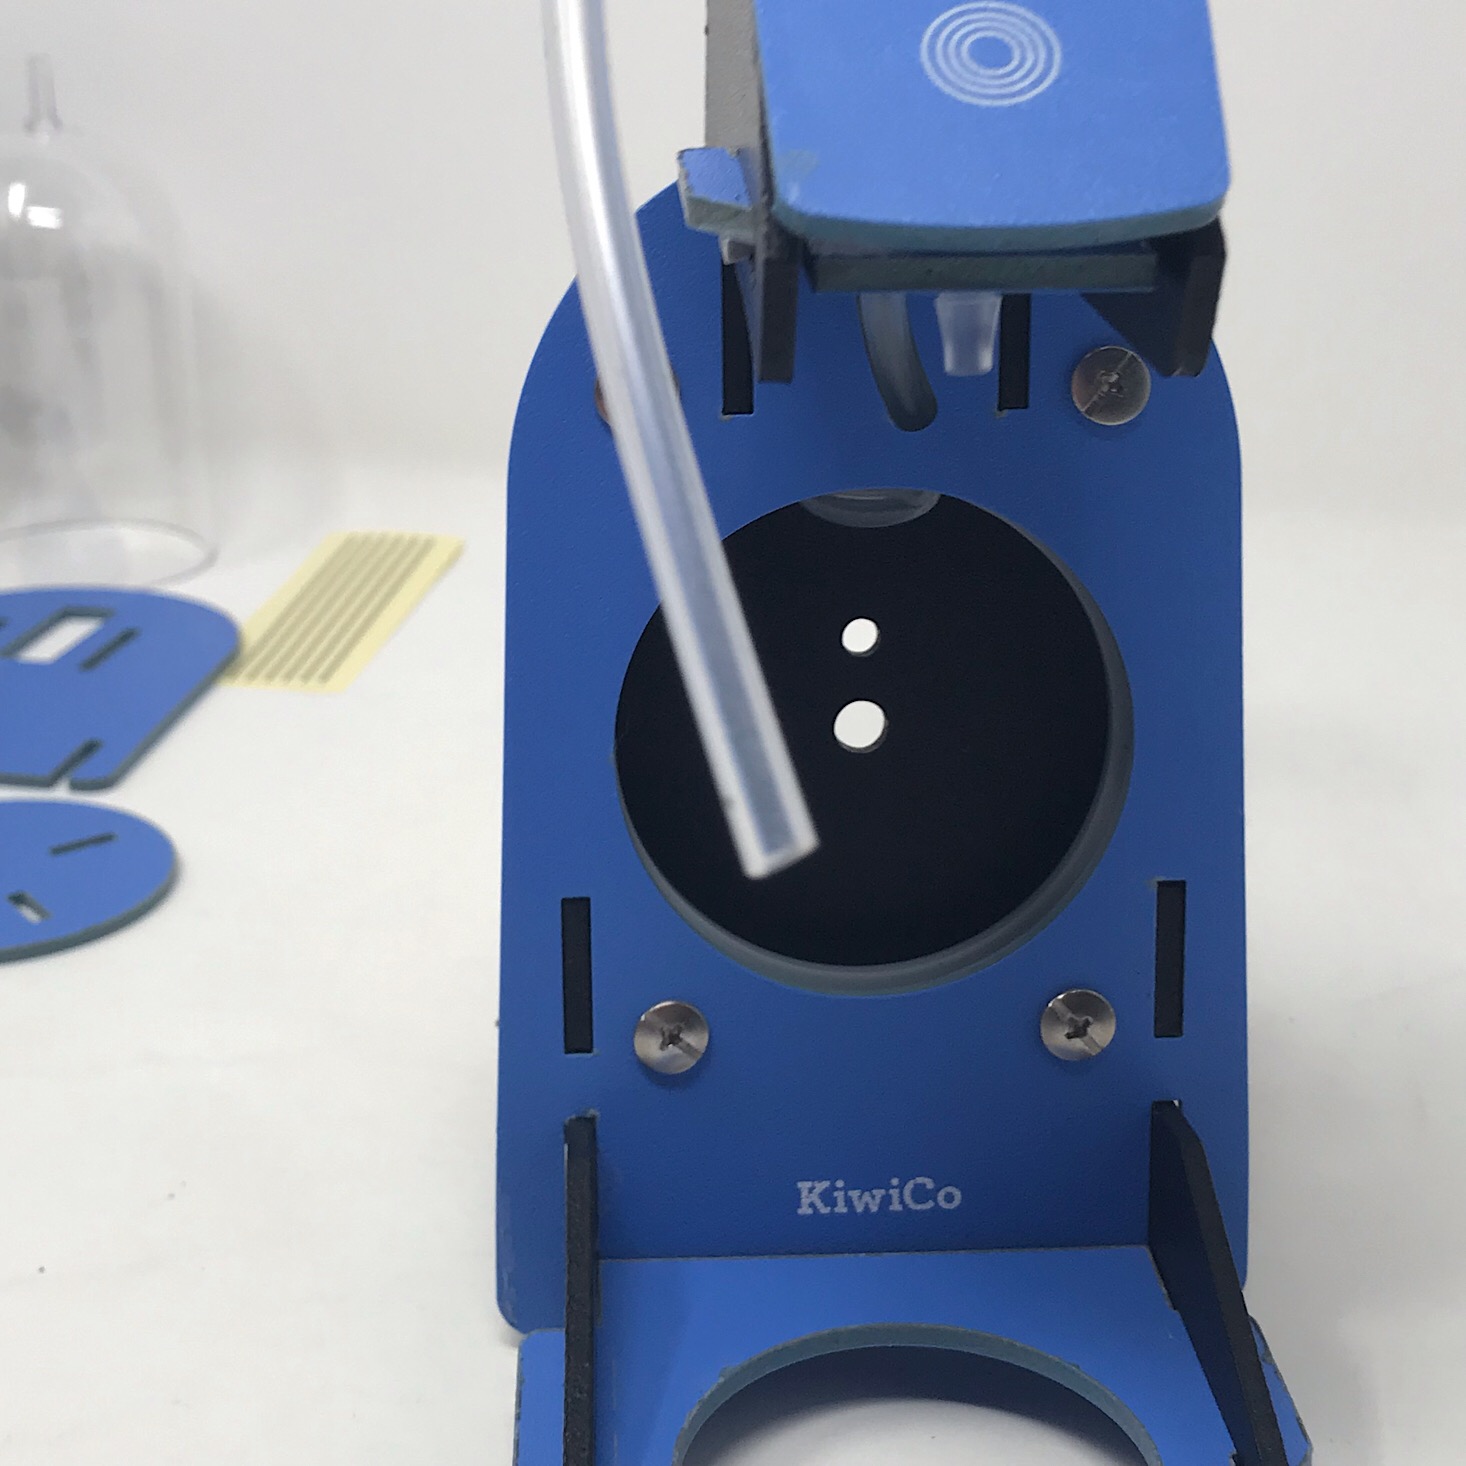
To build the body, I slid the next few pieces together as was shown to me in the instructions. I just had to note which way the tubing slots in the gray piece were facing and make sure the Kiwi logo was facing out.
1 of 5


Then I threaded the tubing through and fit the button portion onto the top of the base.

1 of 3
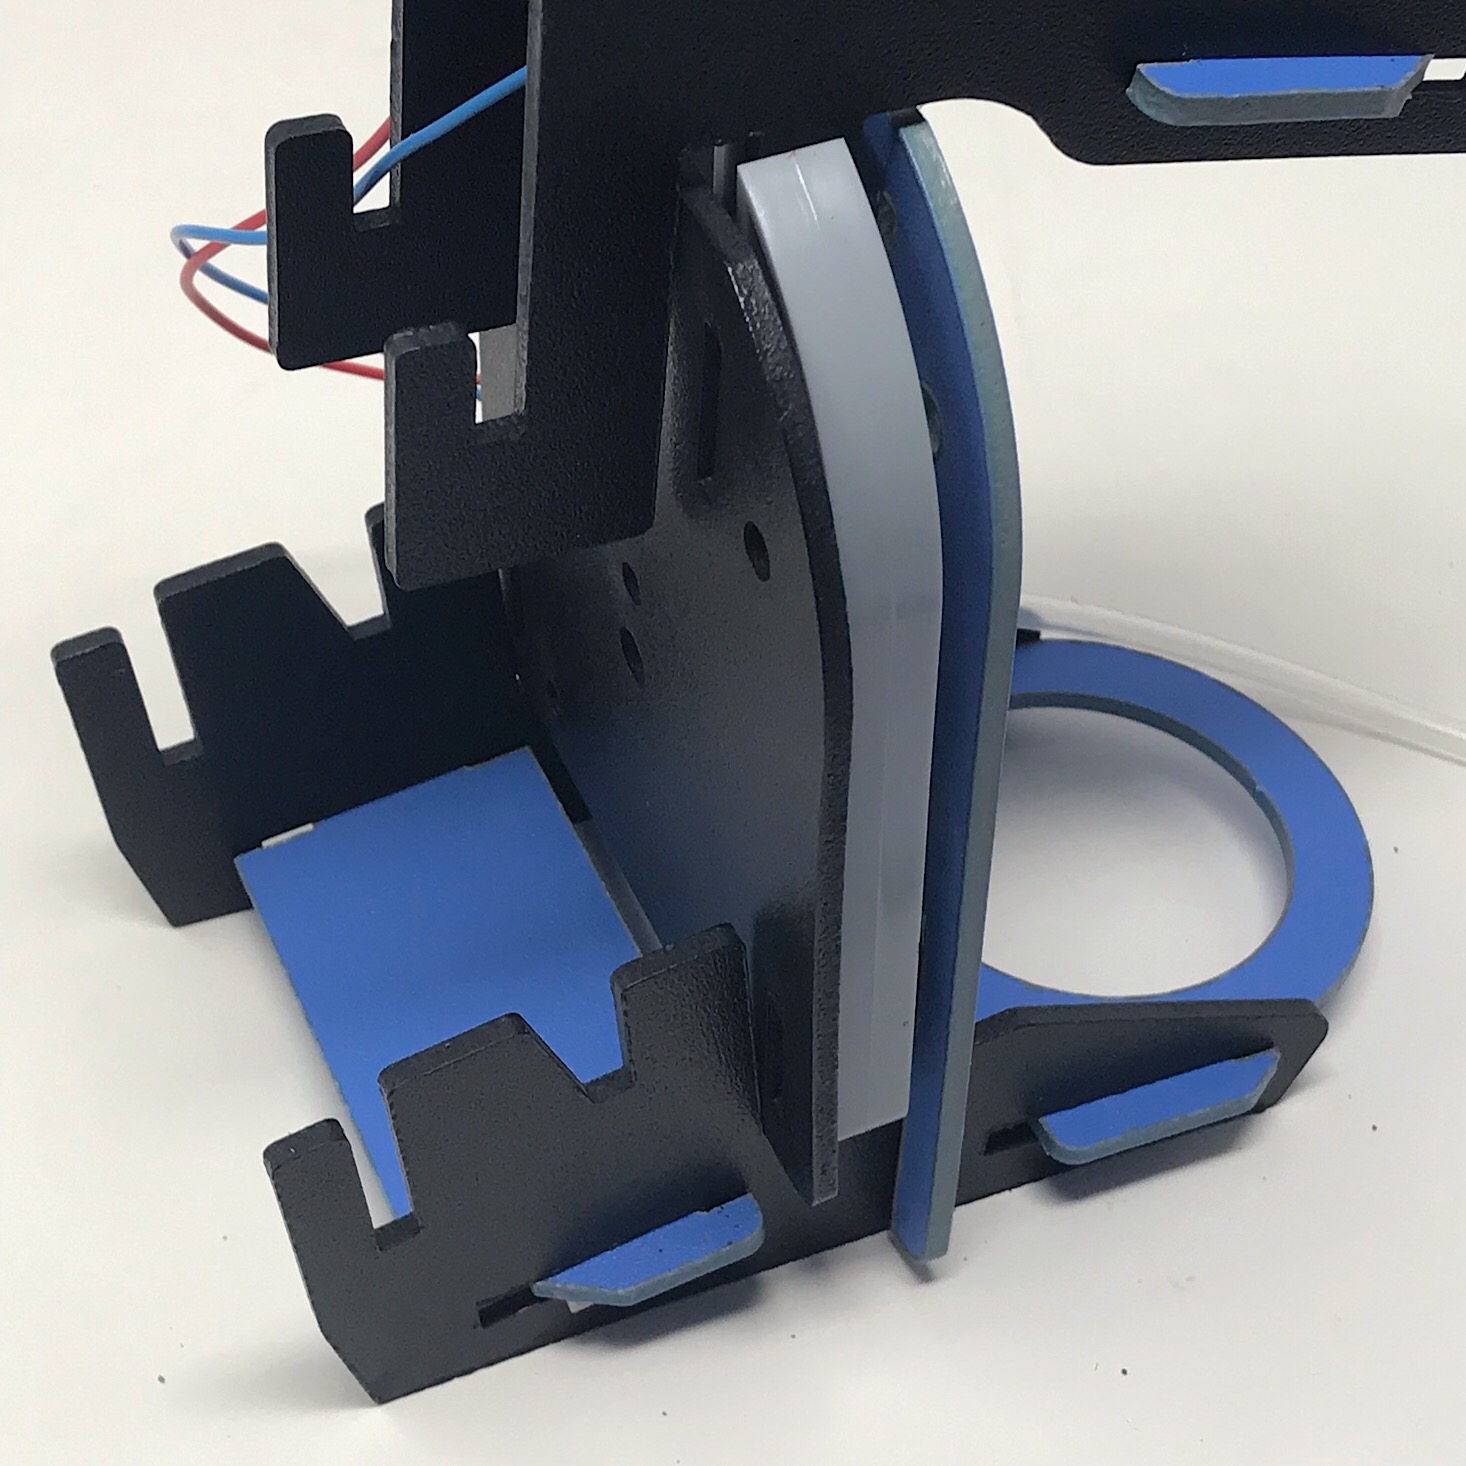
Then I added this piece and slid it in with the foam stickers keeping everything in place.
1 of 5
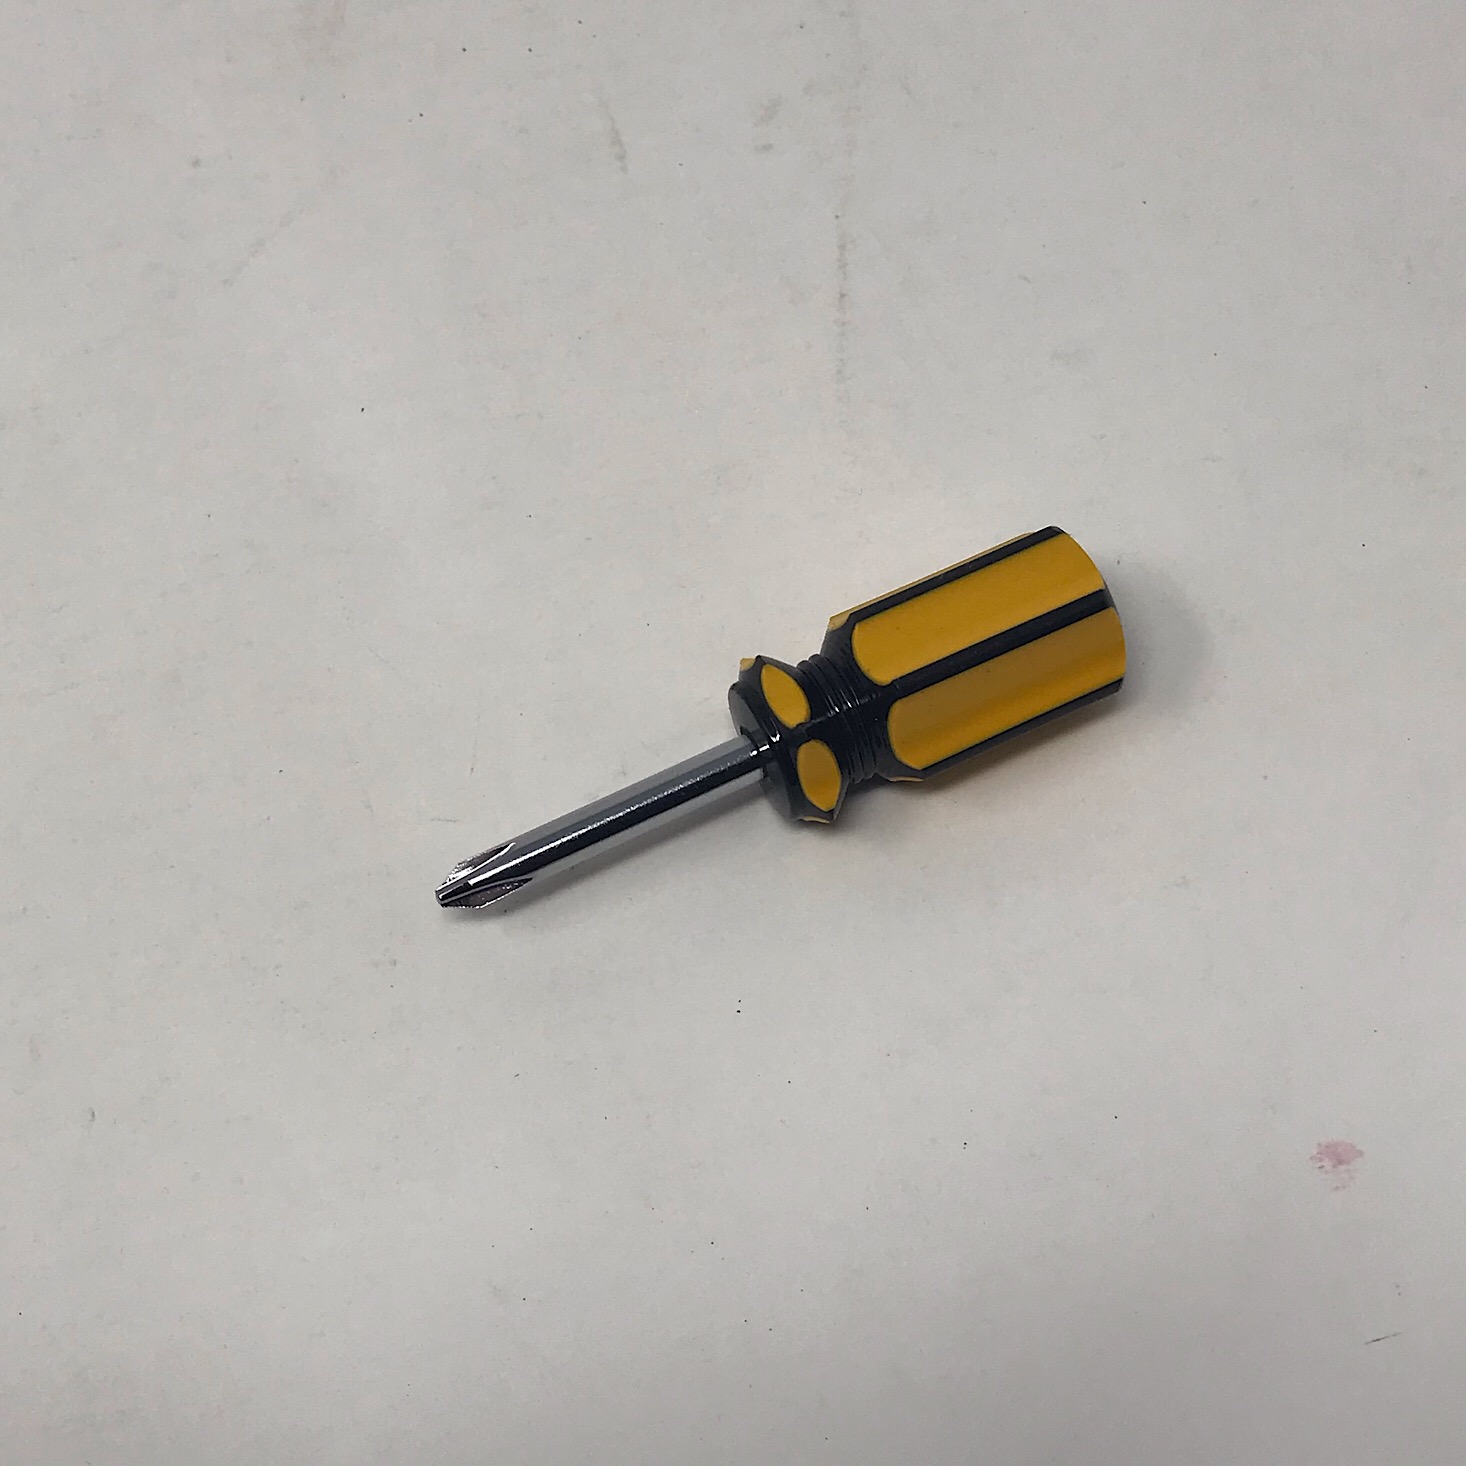

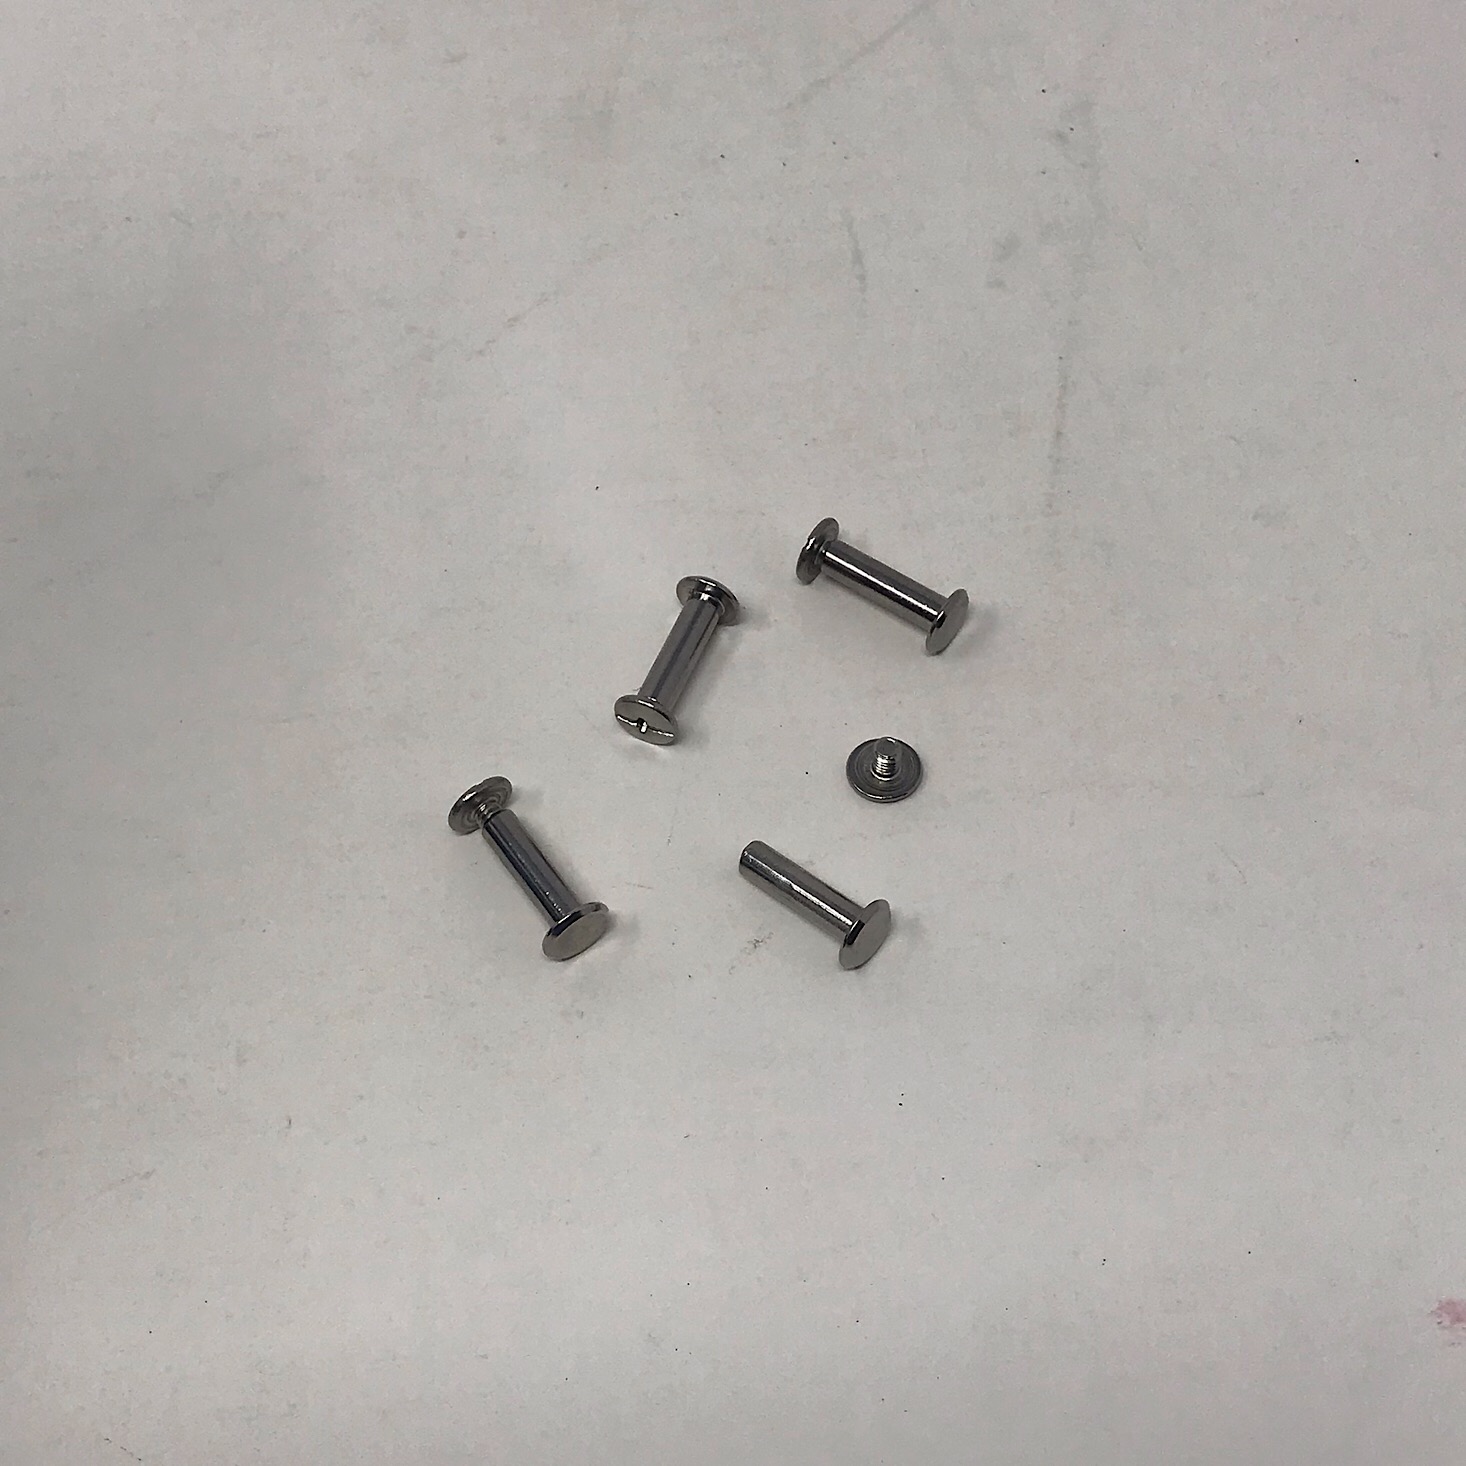
Next, I used the included mini screwdriver and bolts to make sure to secure it all.

1 of 5
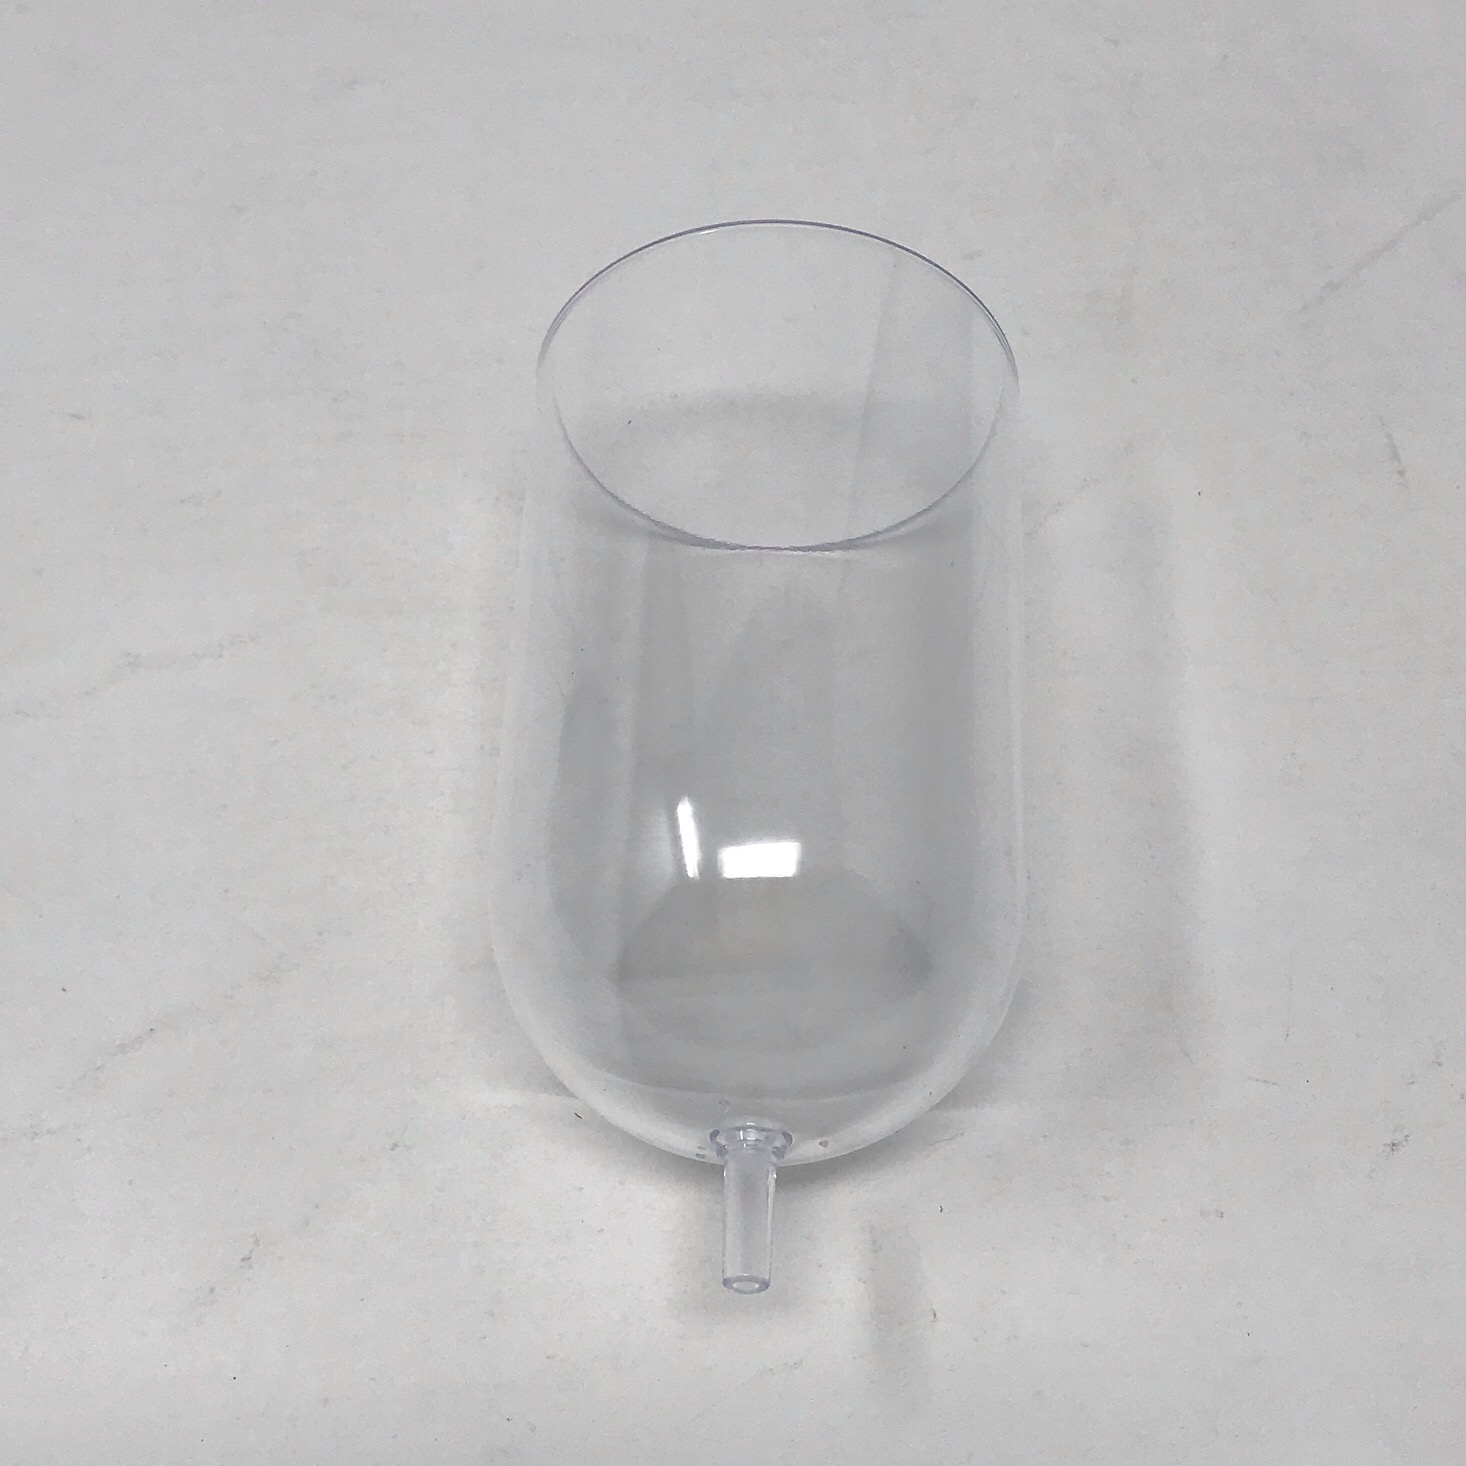
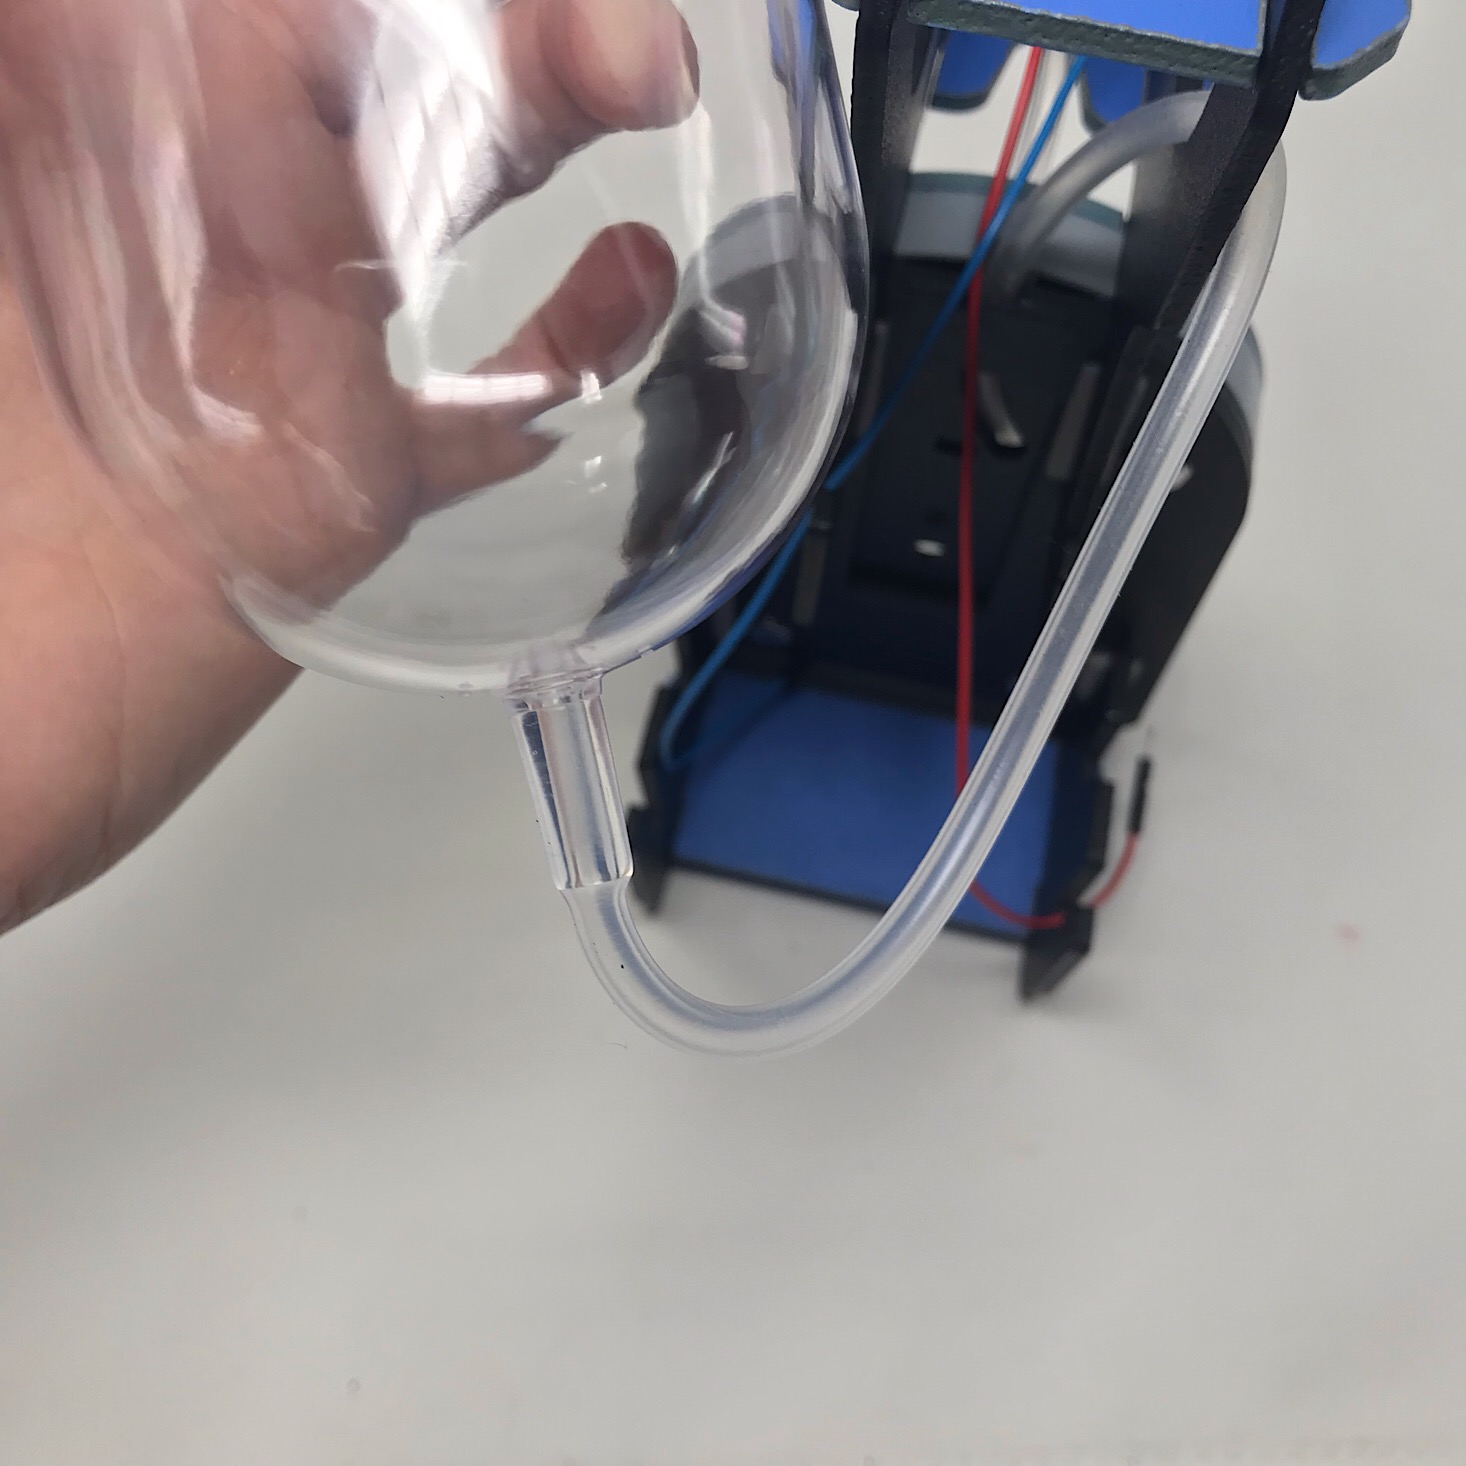
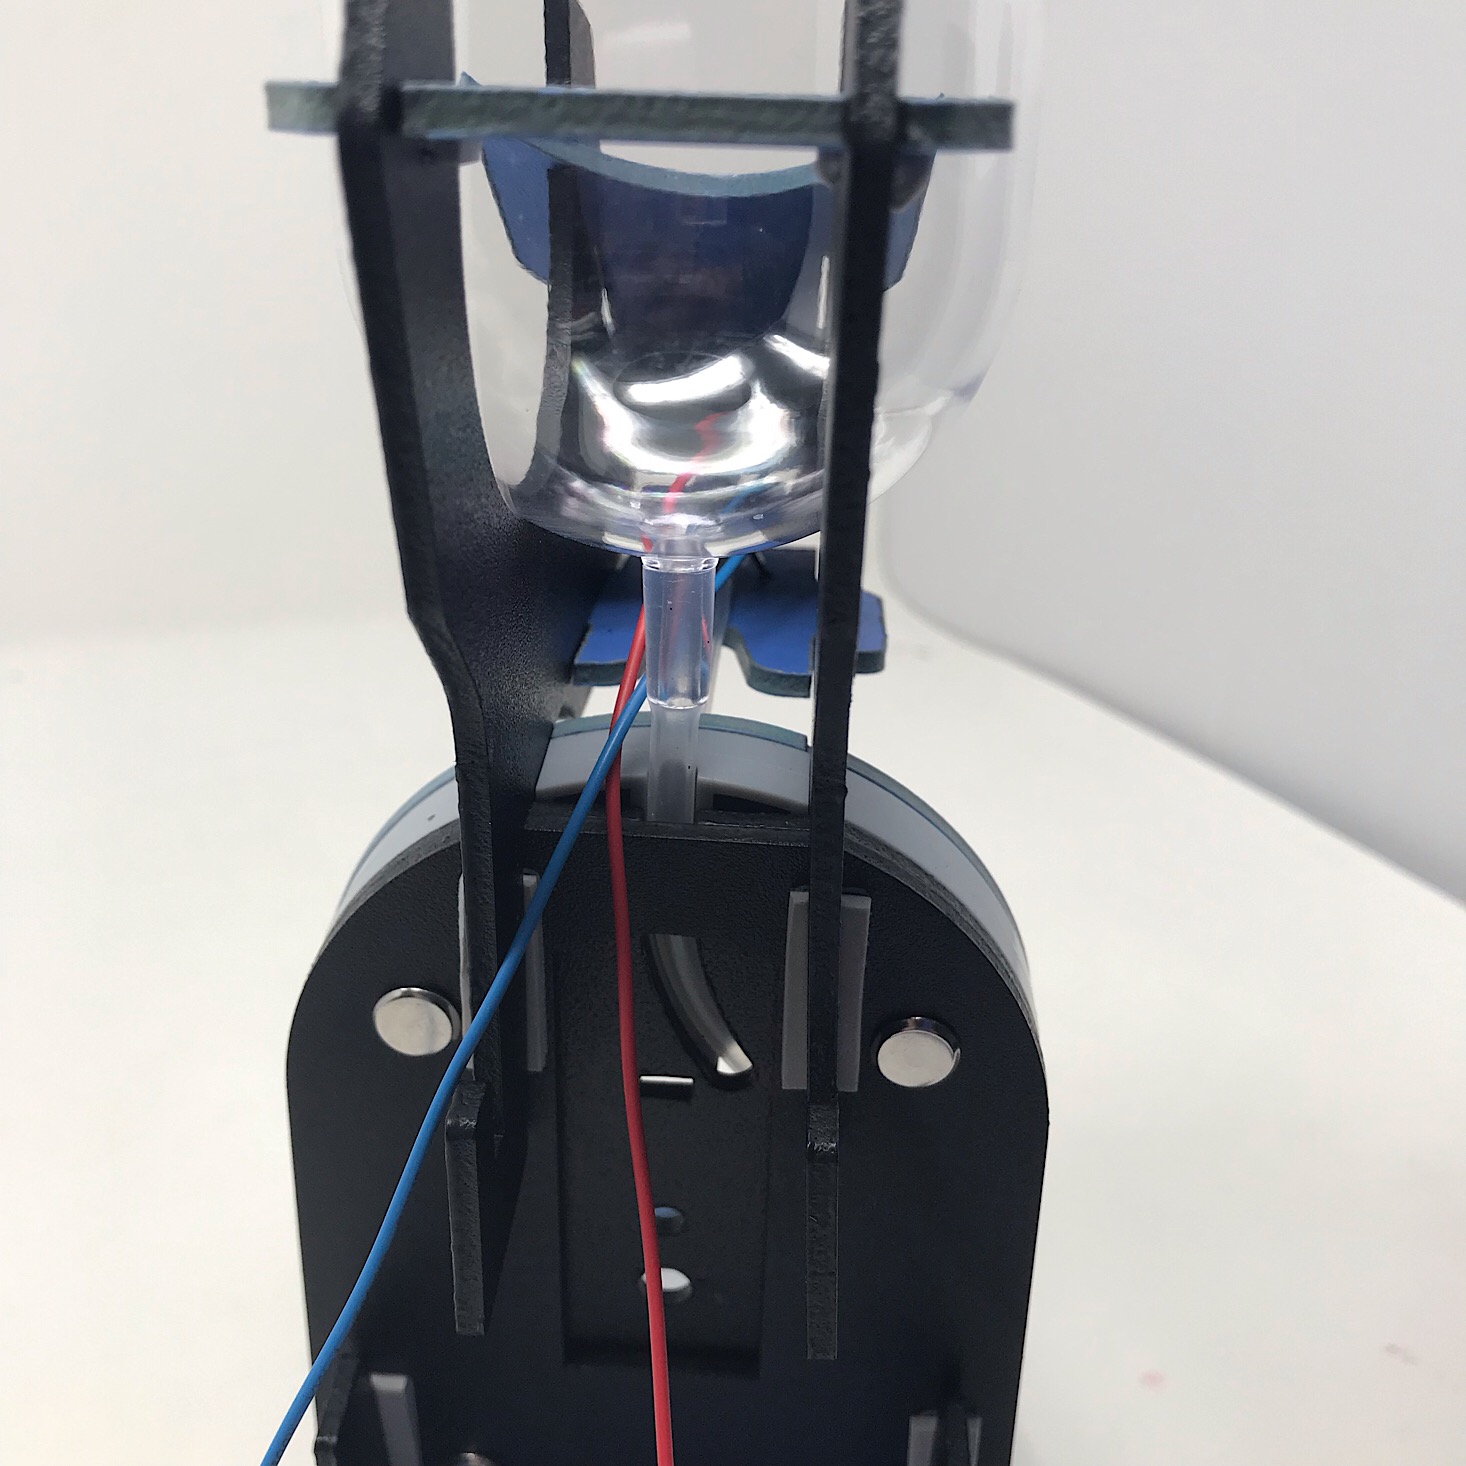
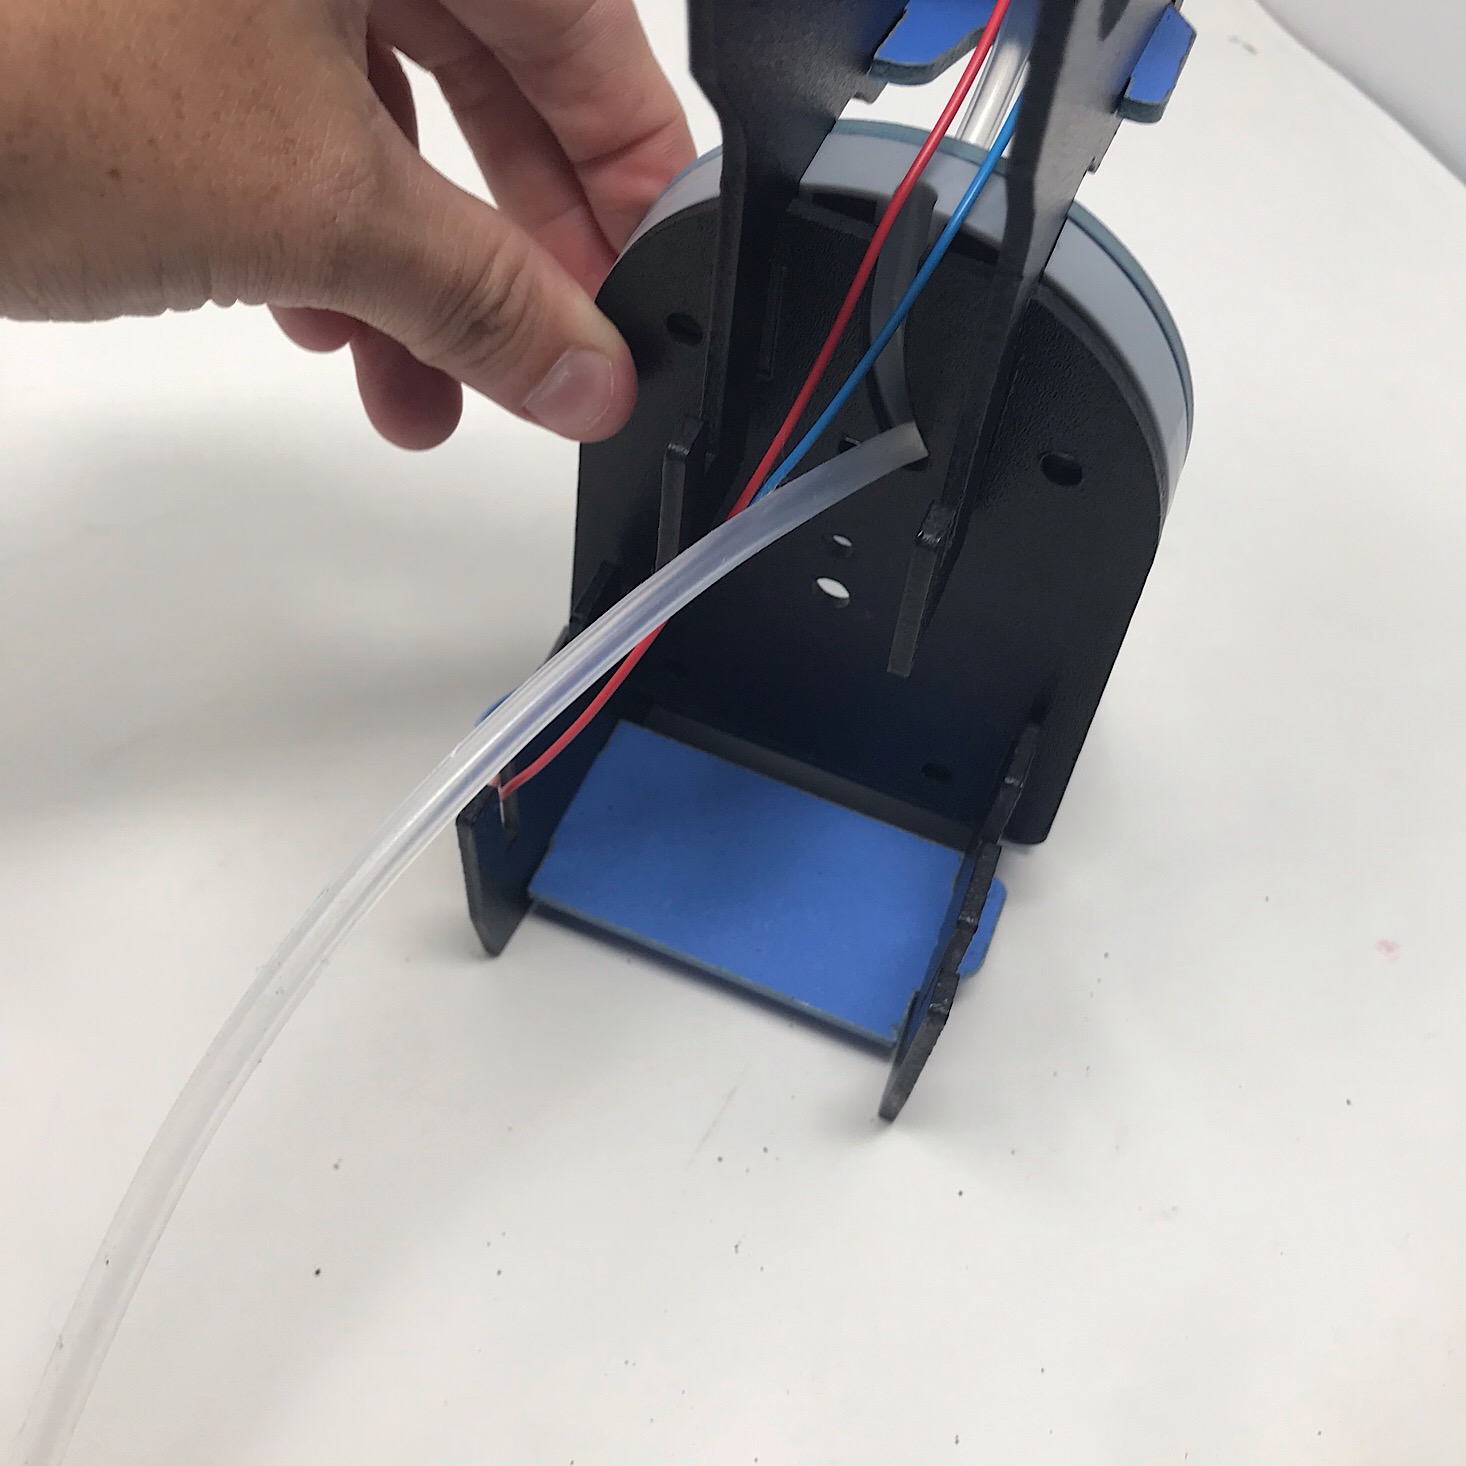
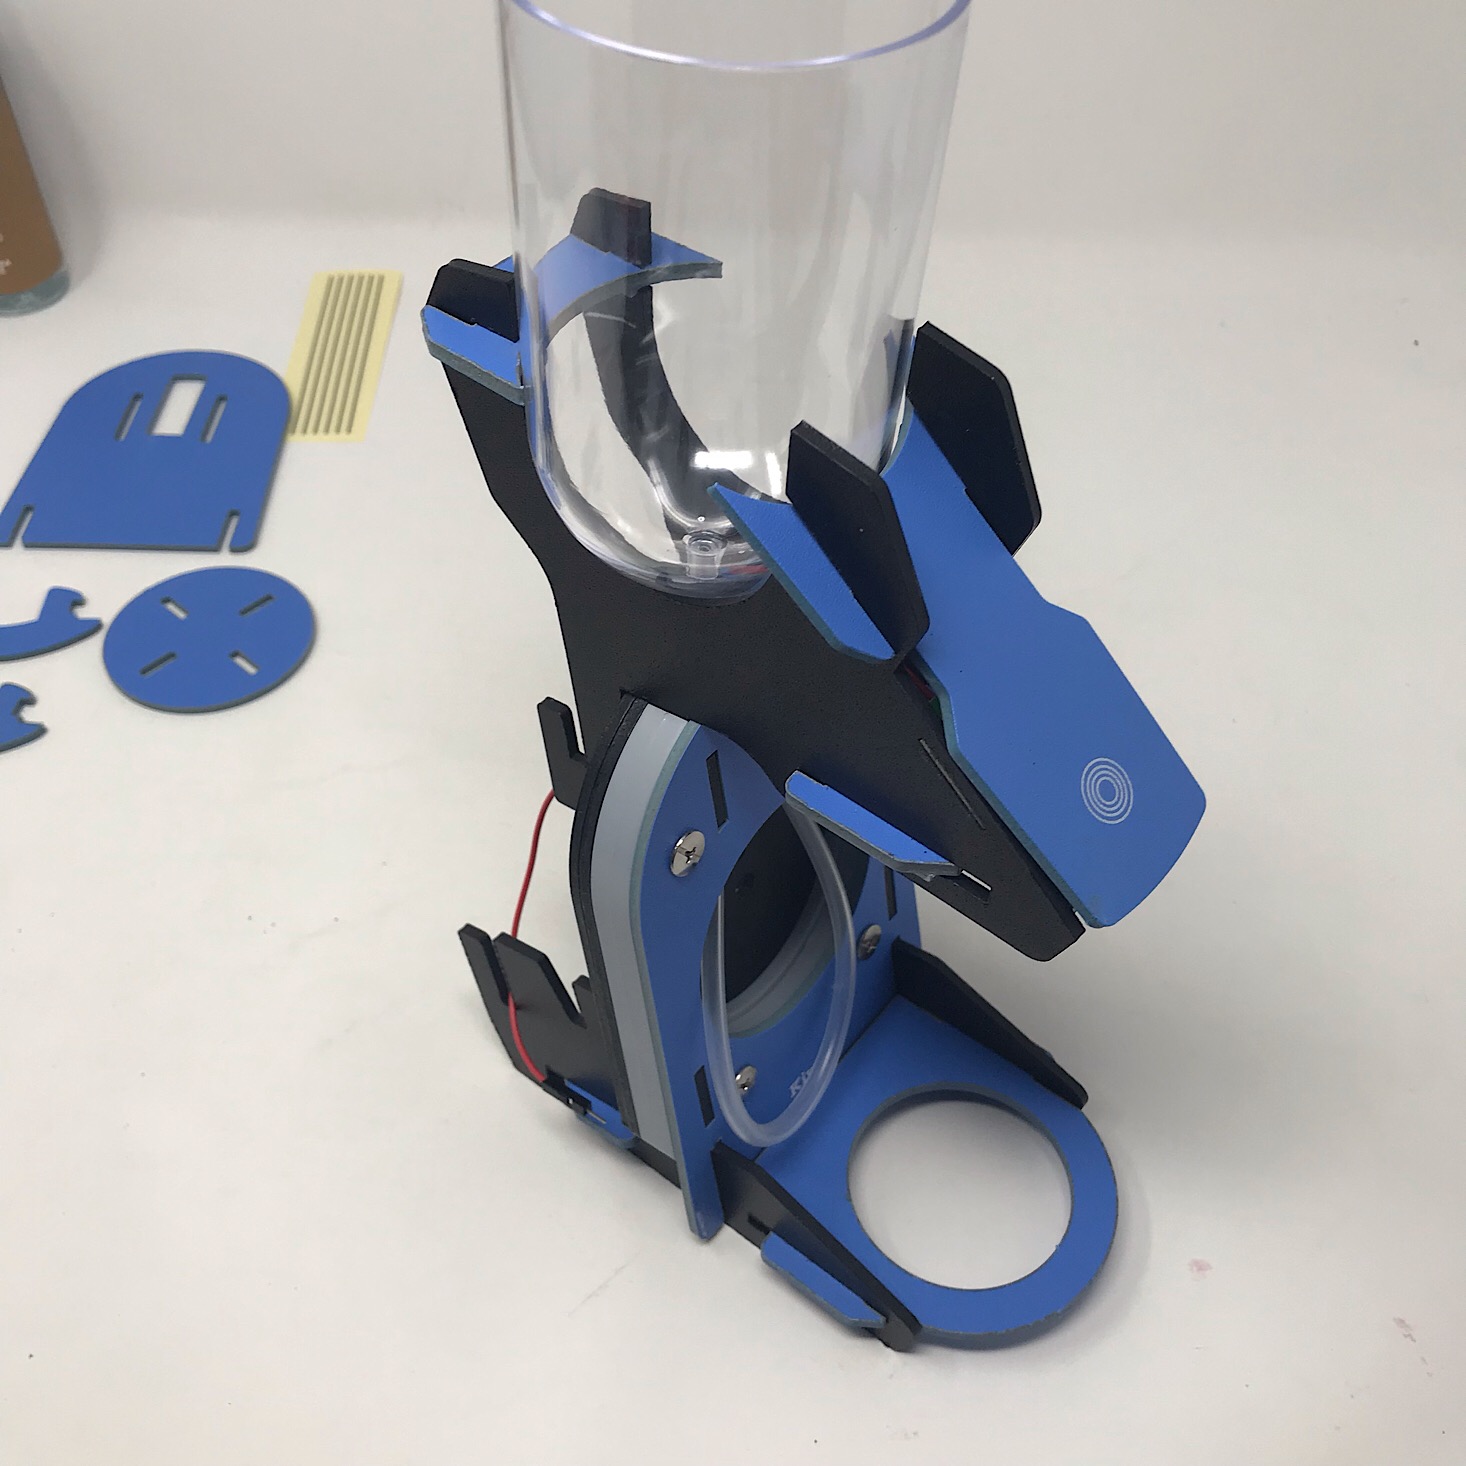
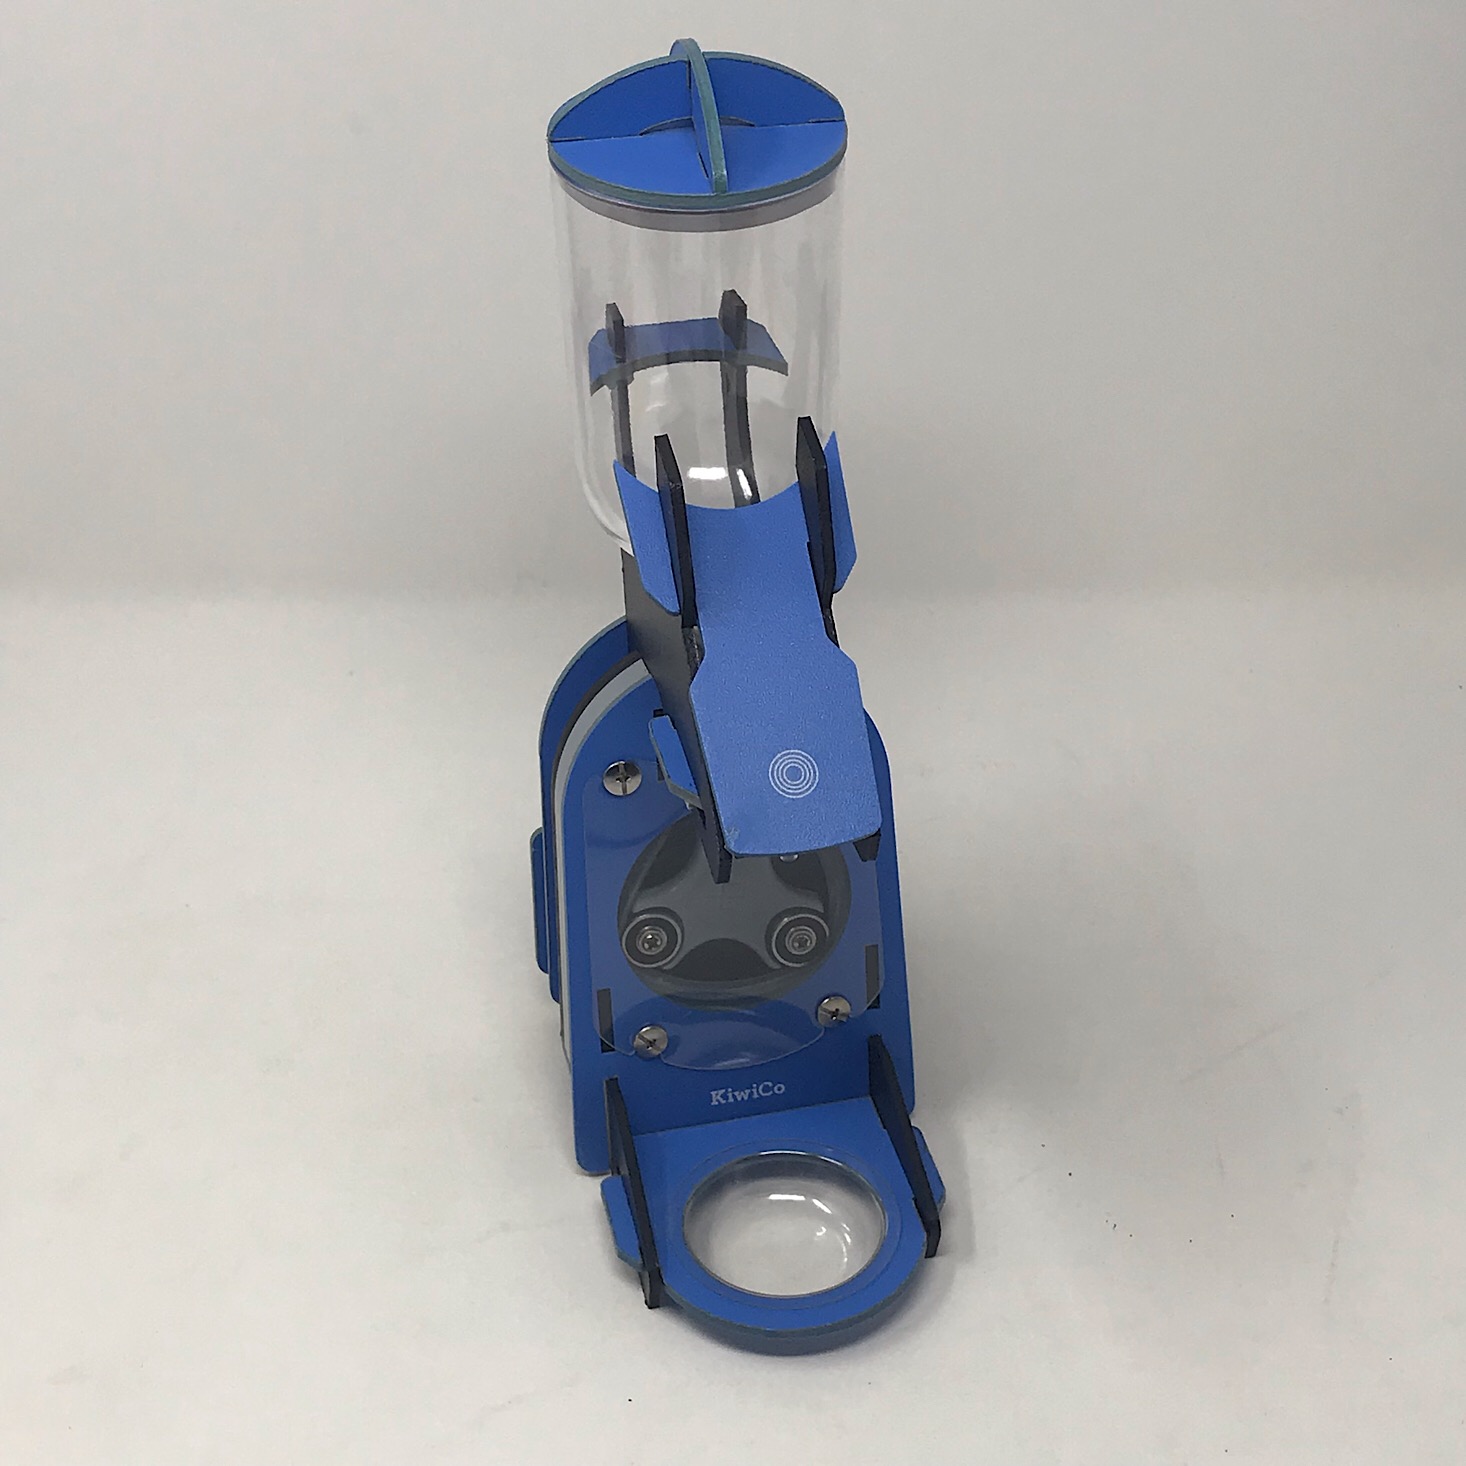
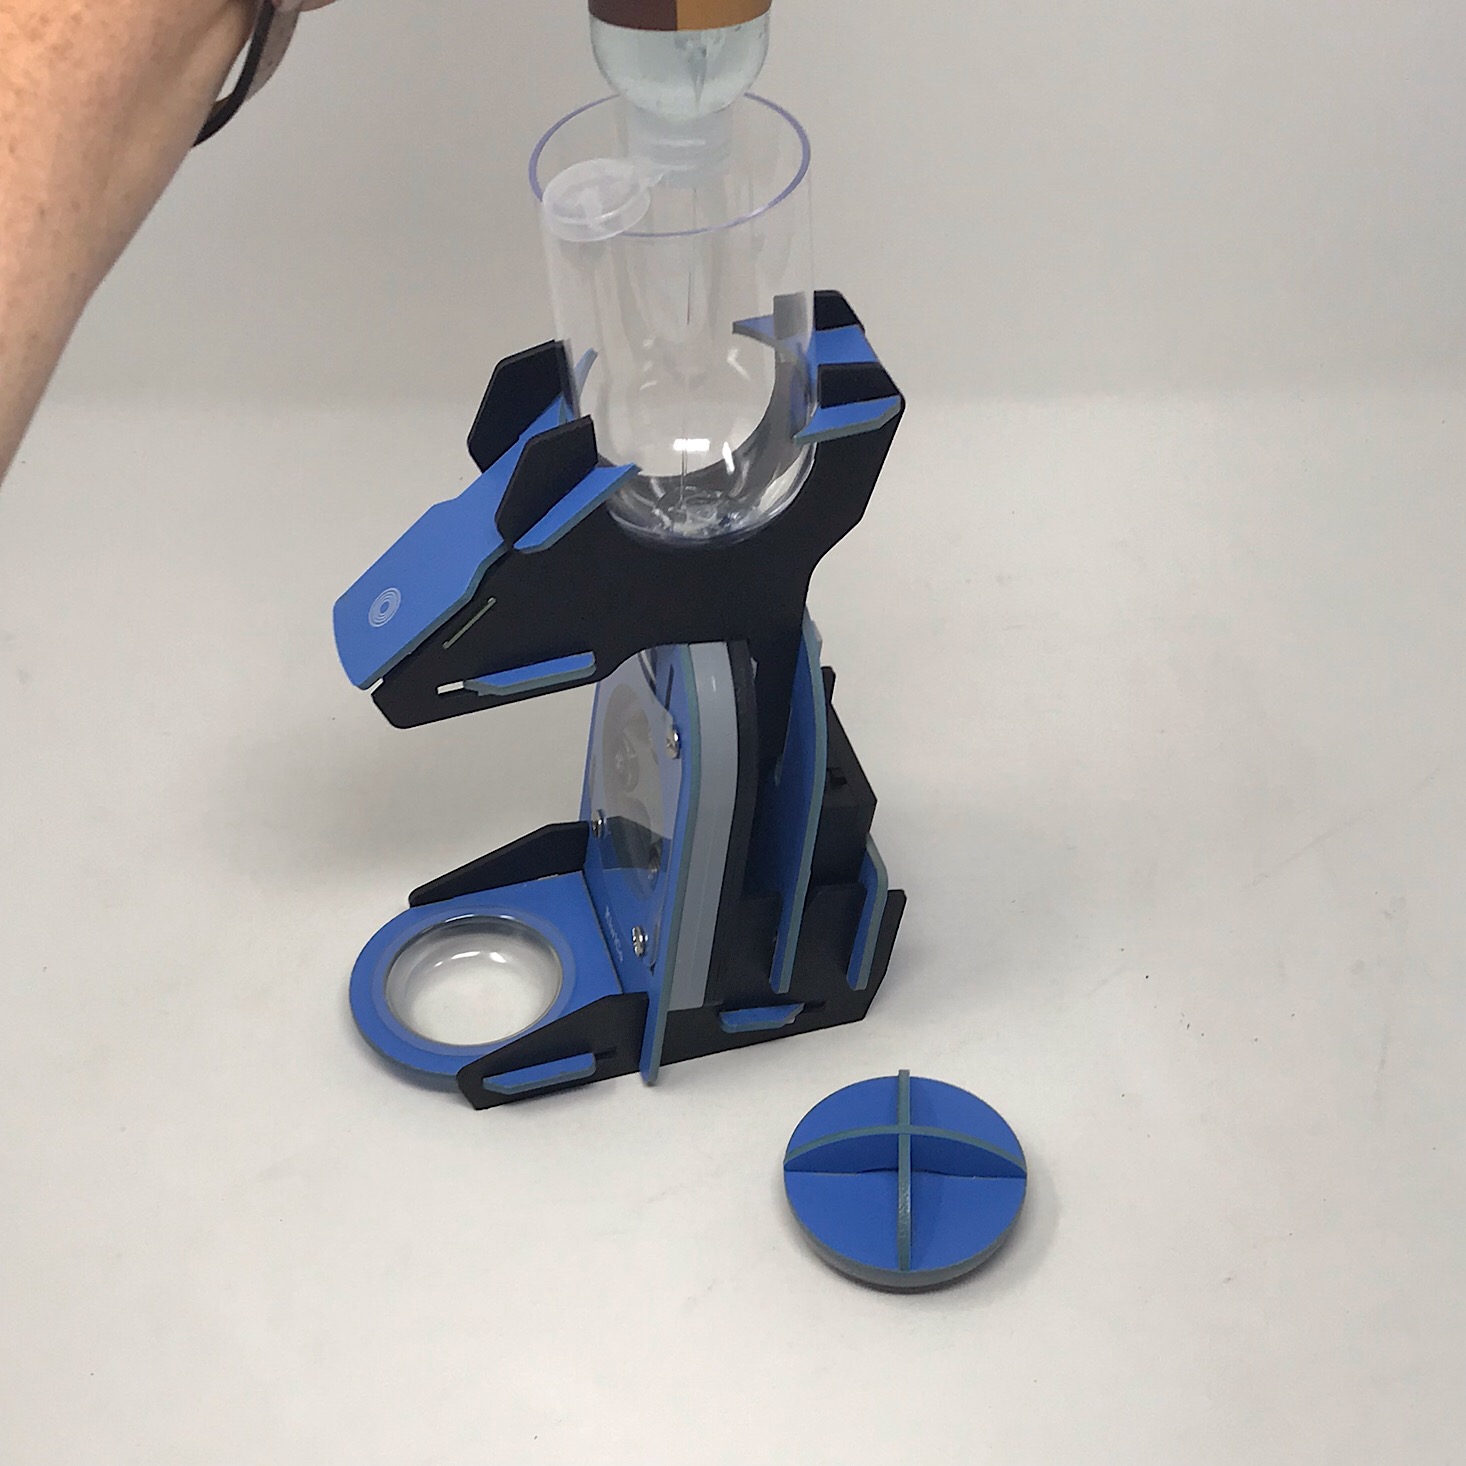
I added the plastic reservoir and placed the tubing over the little piece at the bottom and then I pulled the tubing down so that the reservoir was sitting at the top of the dispenser.
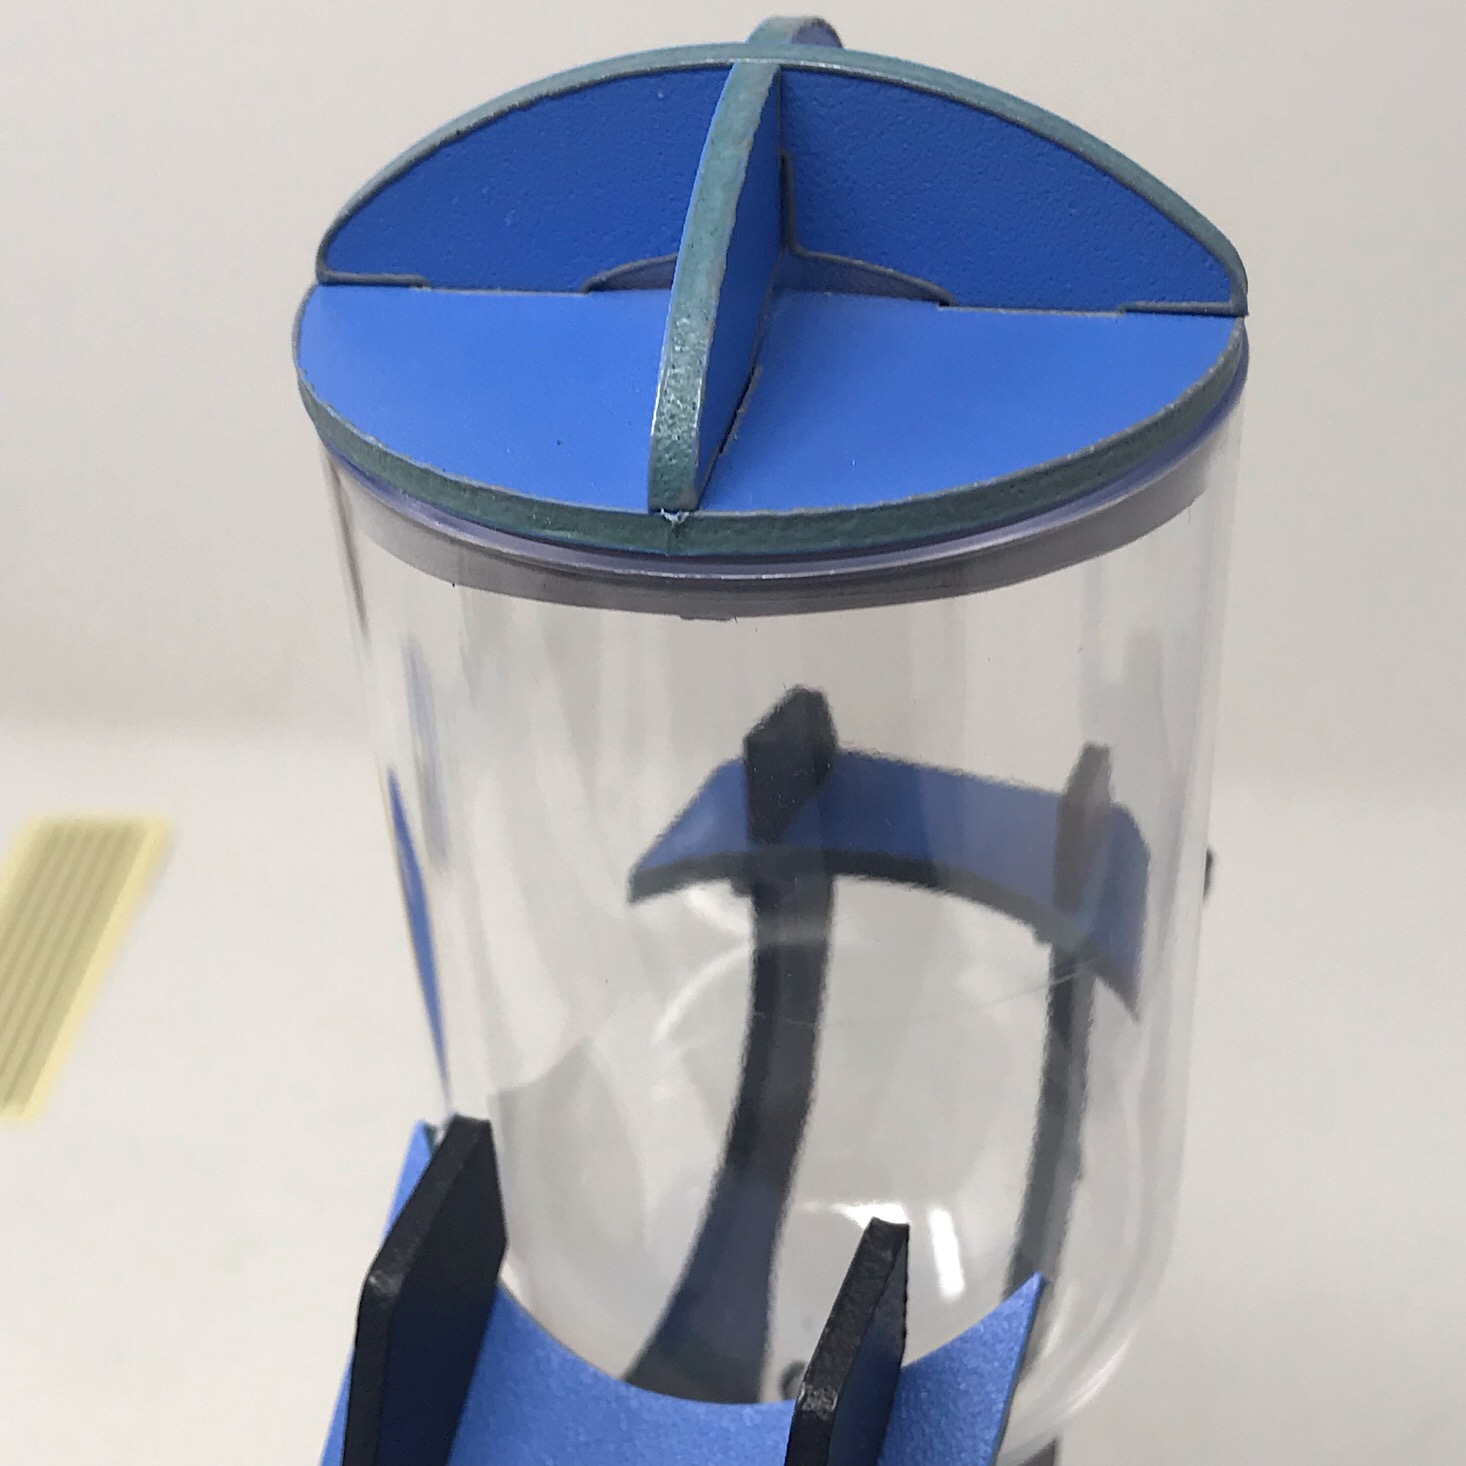
1 of 5


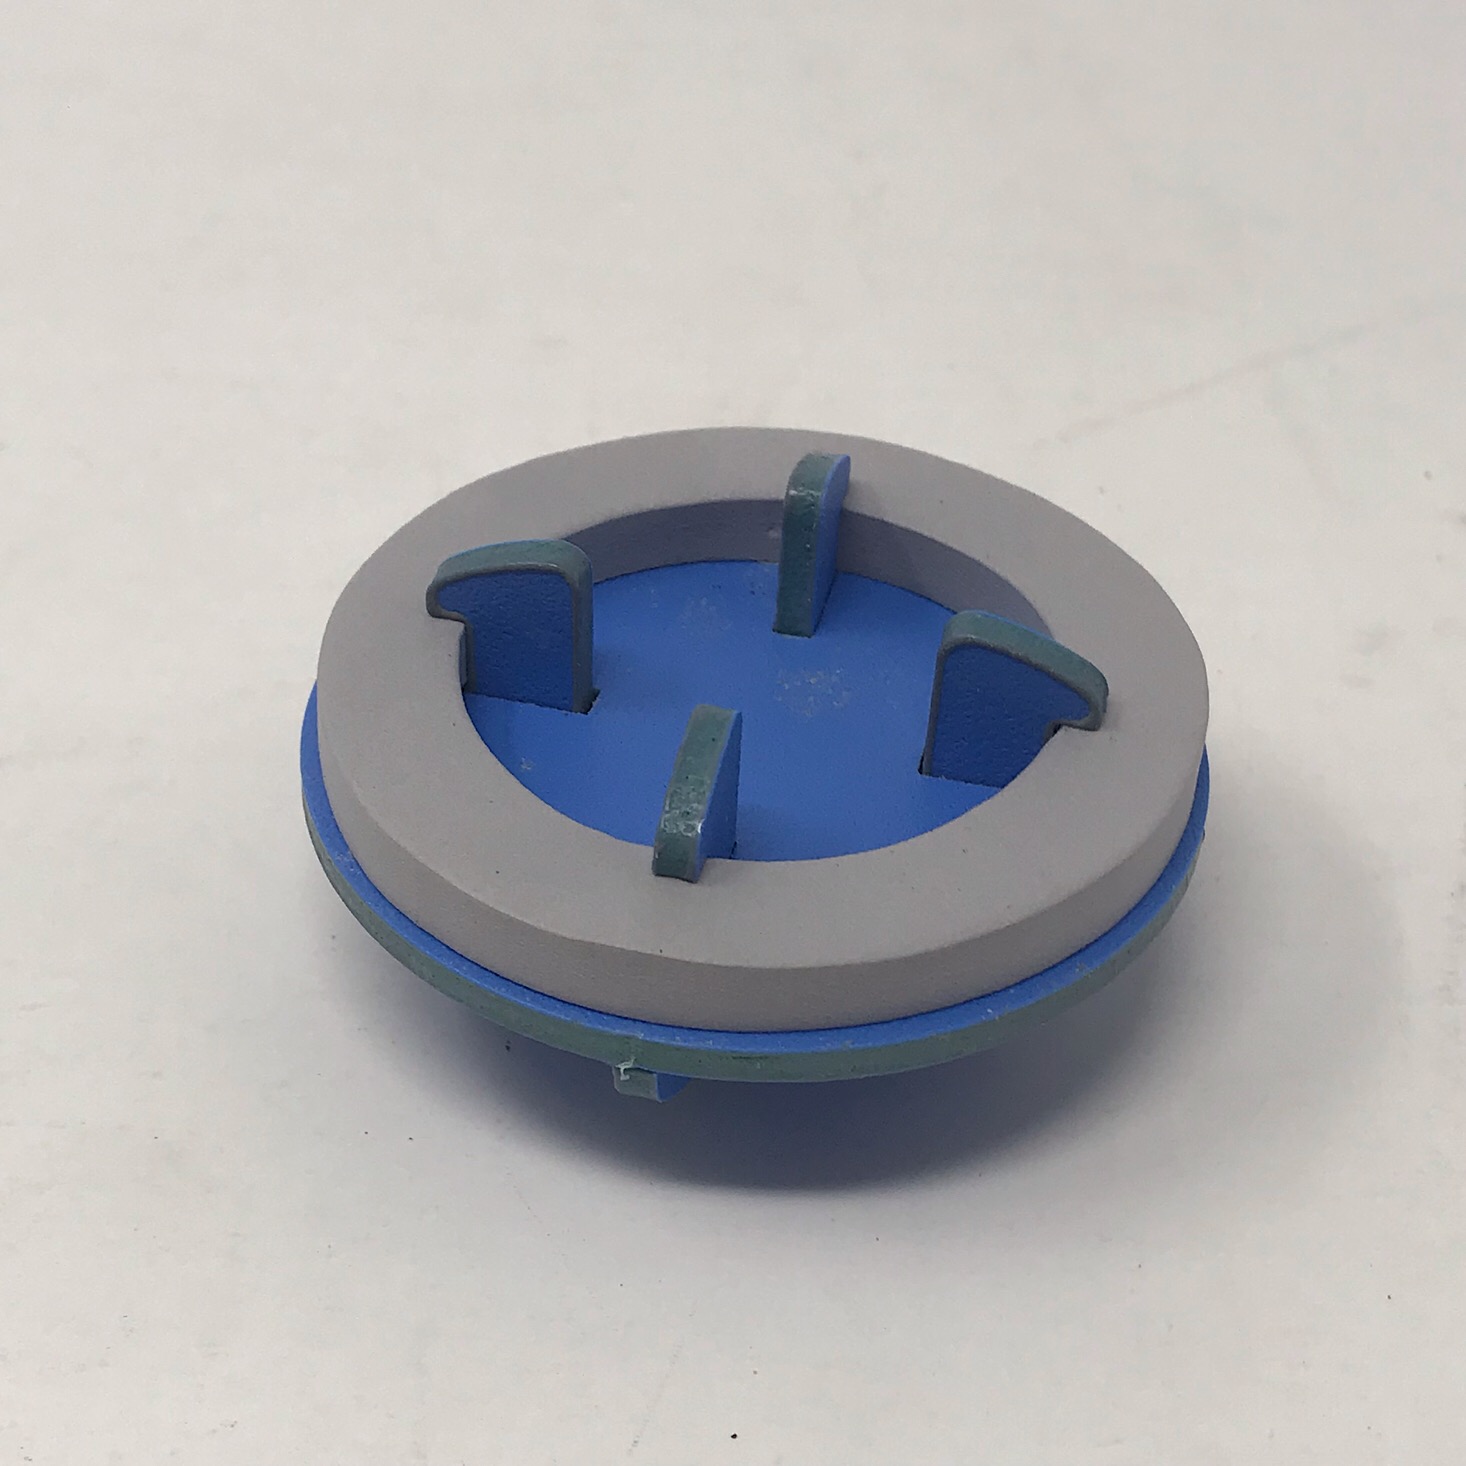
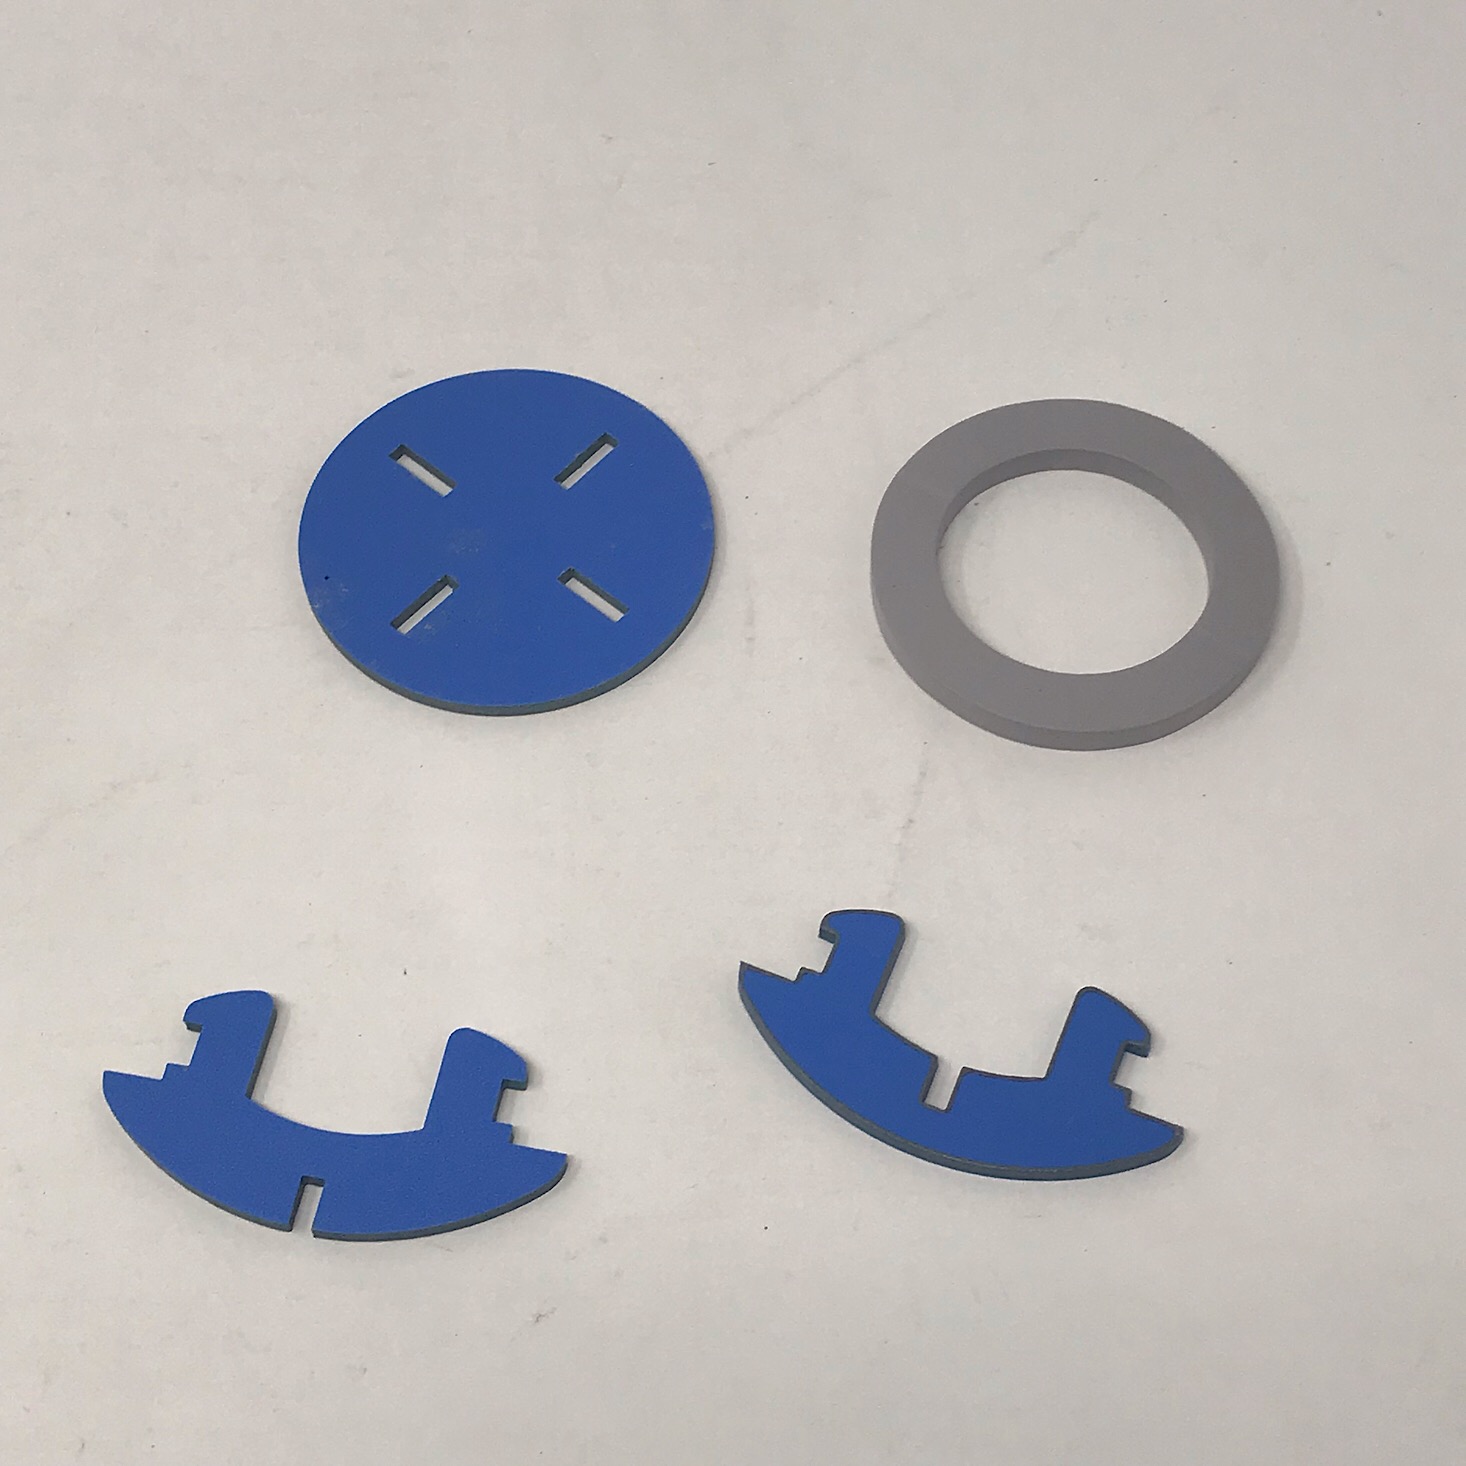
I assembled the lid by sliding the blue pieces together using the notches and added a foam ring to the bottom of it. It slid into place, although this lid does not seal so we will have to keep the dispenser upright to avoid spills.
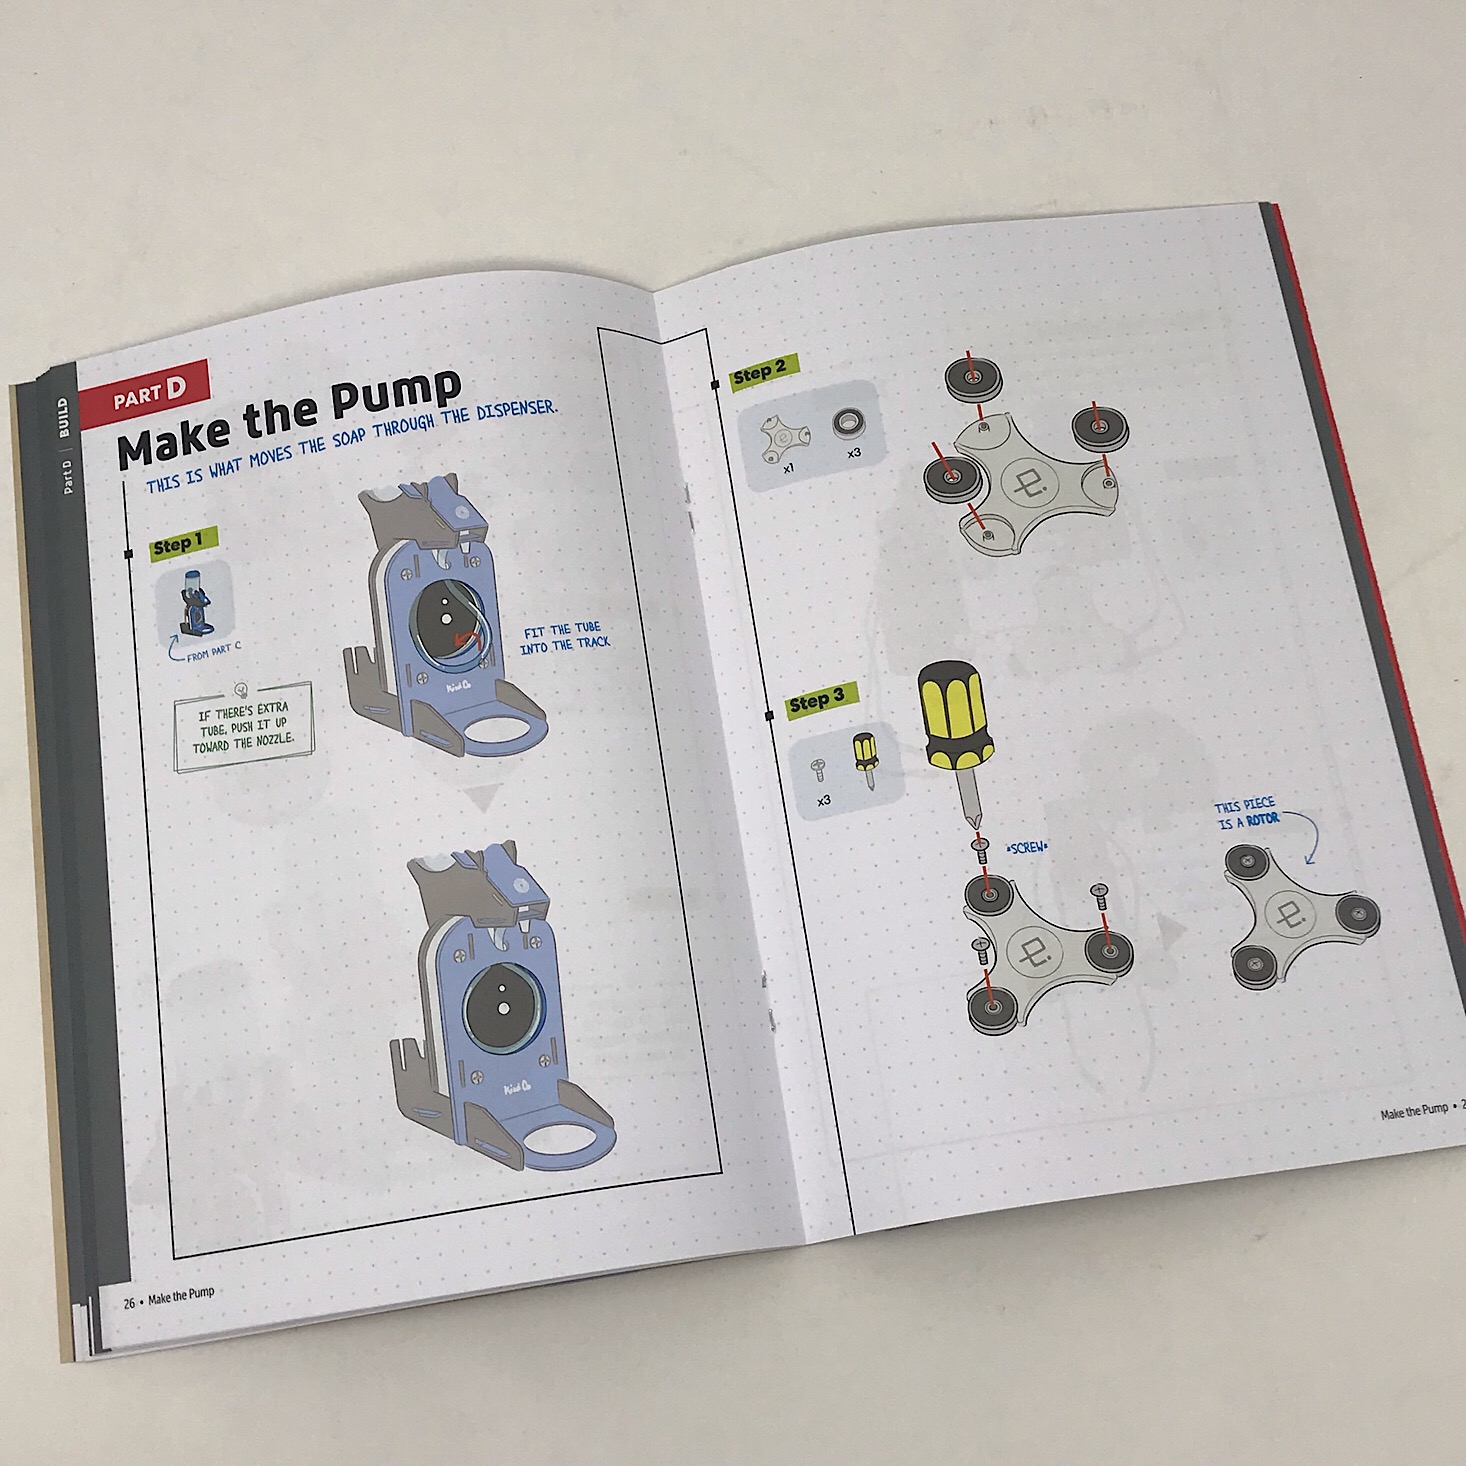
Part D: Make the Pump
1 of 4
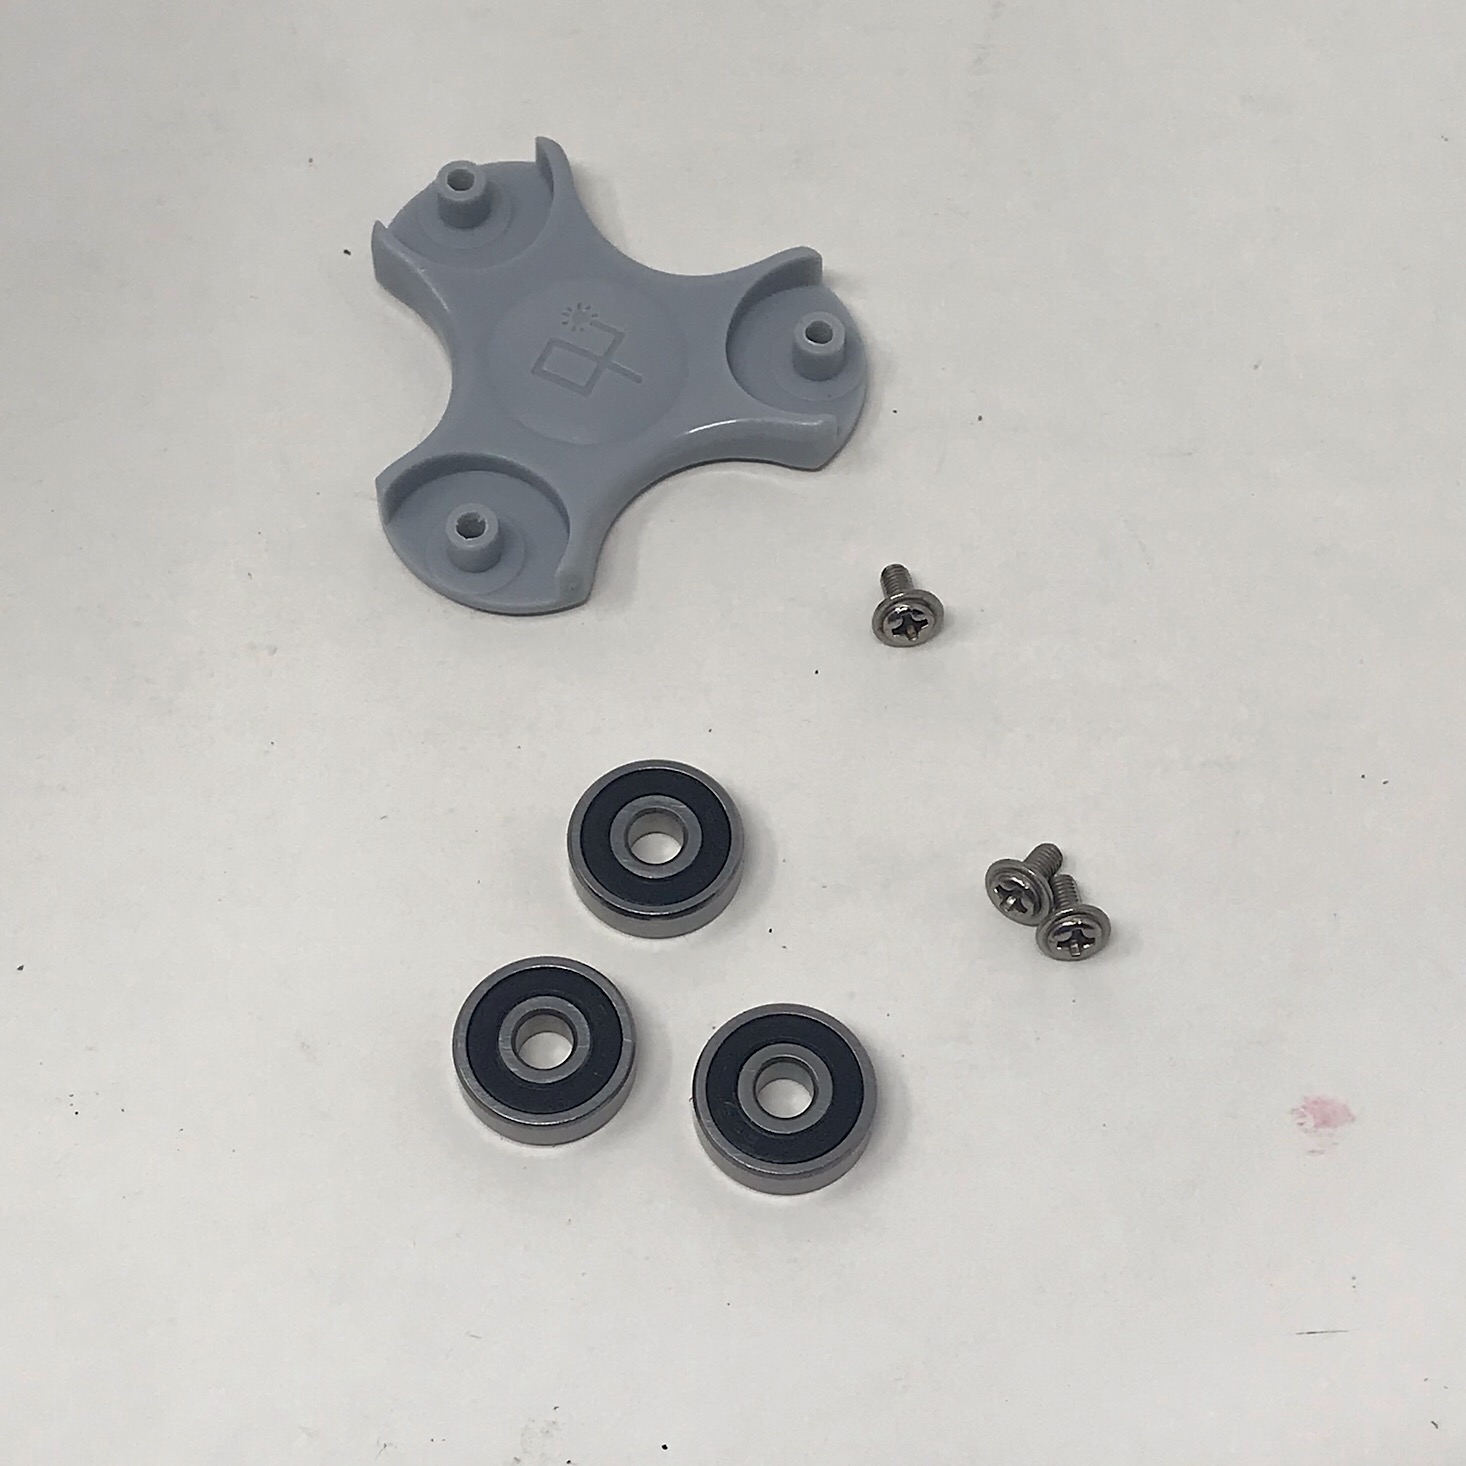
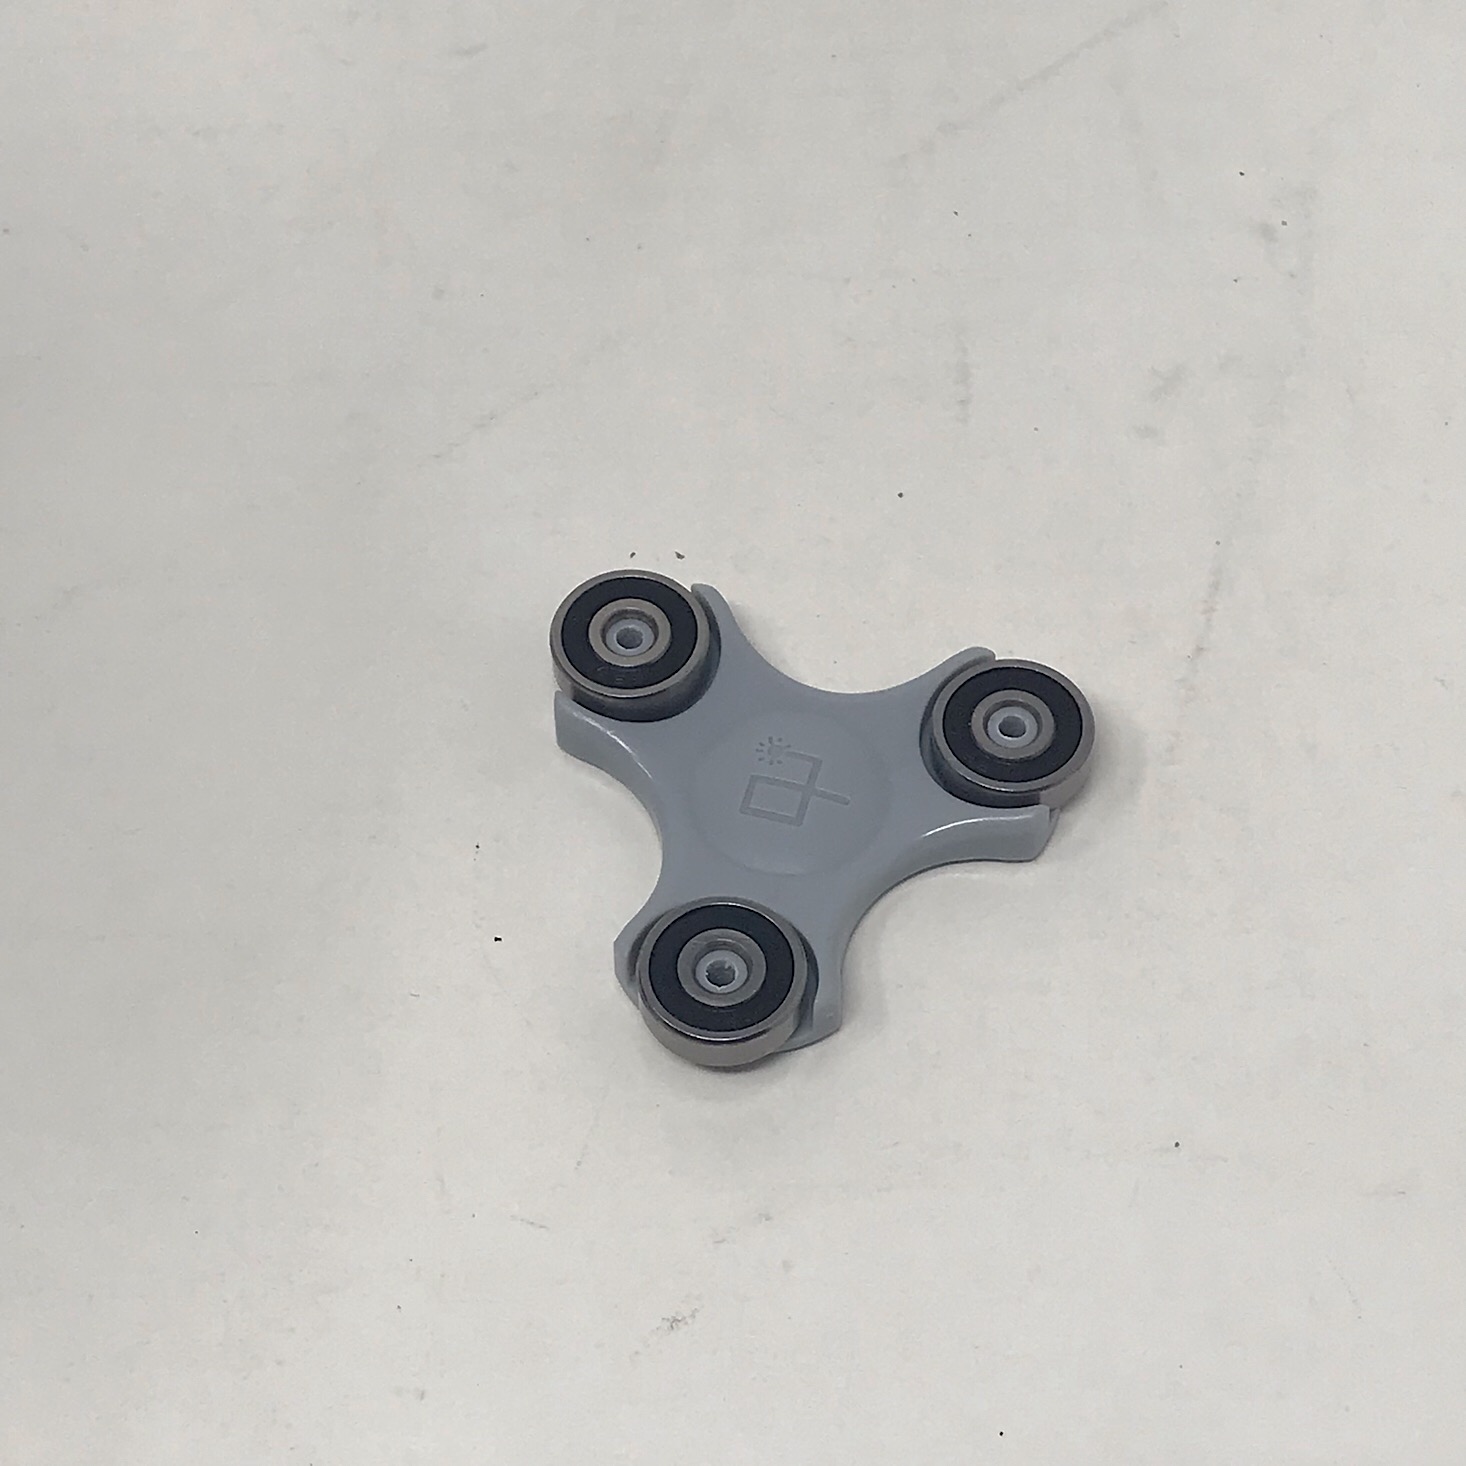
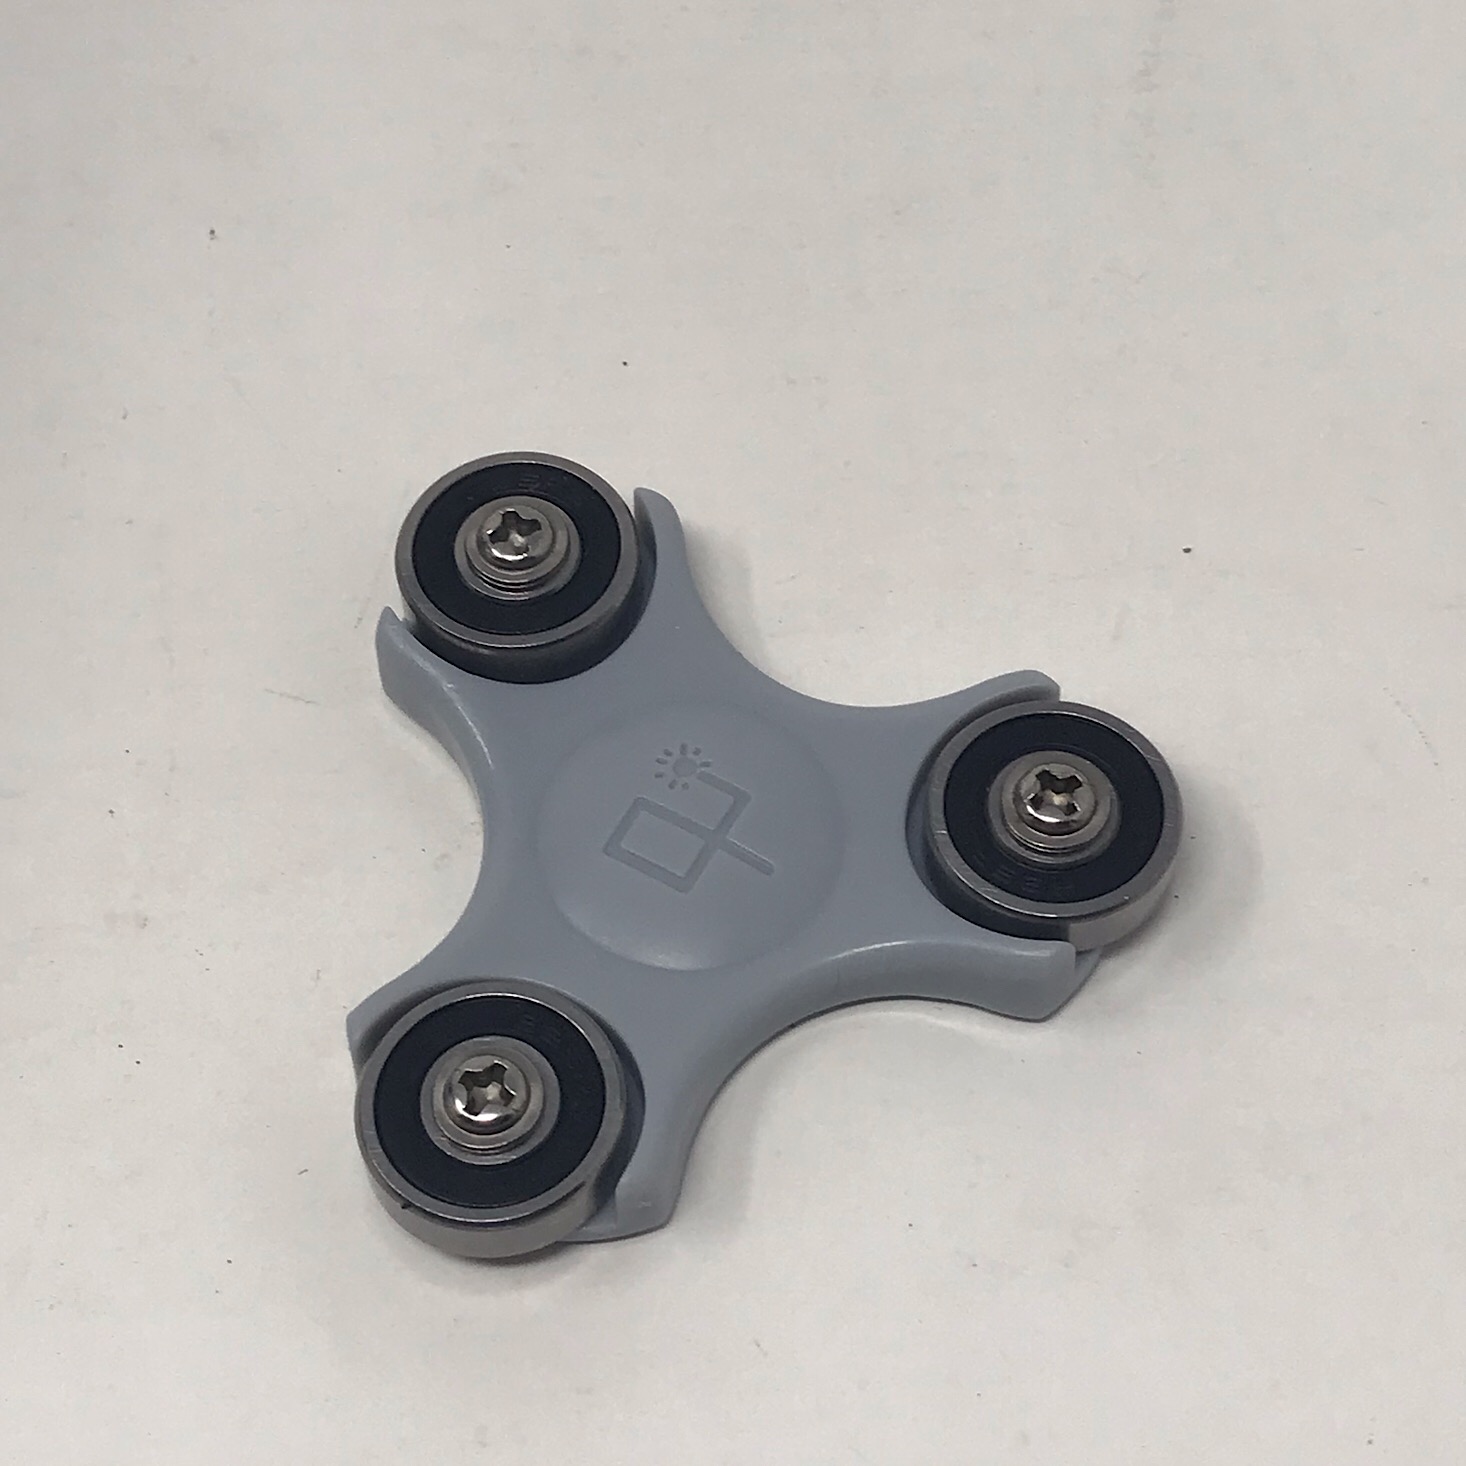
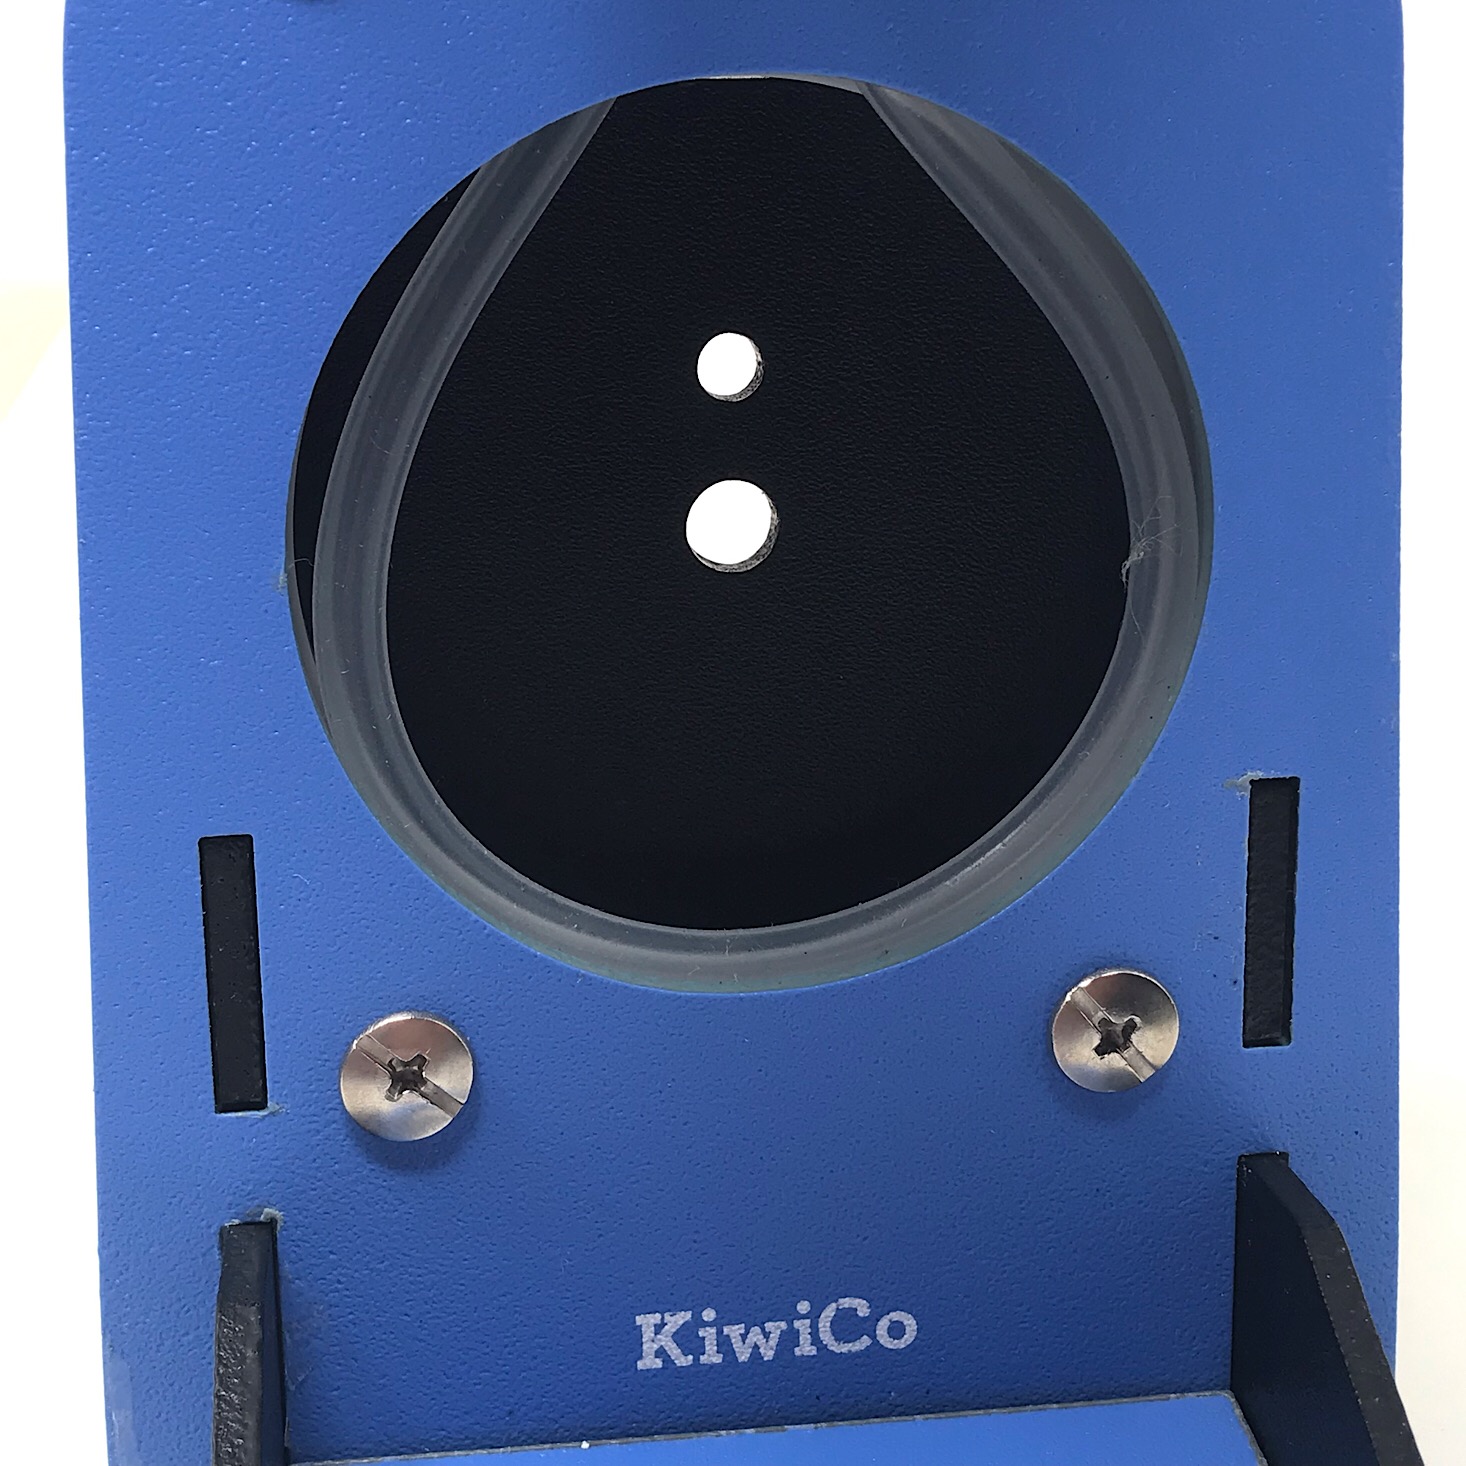
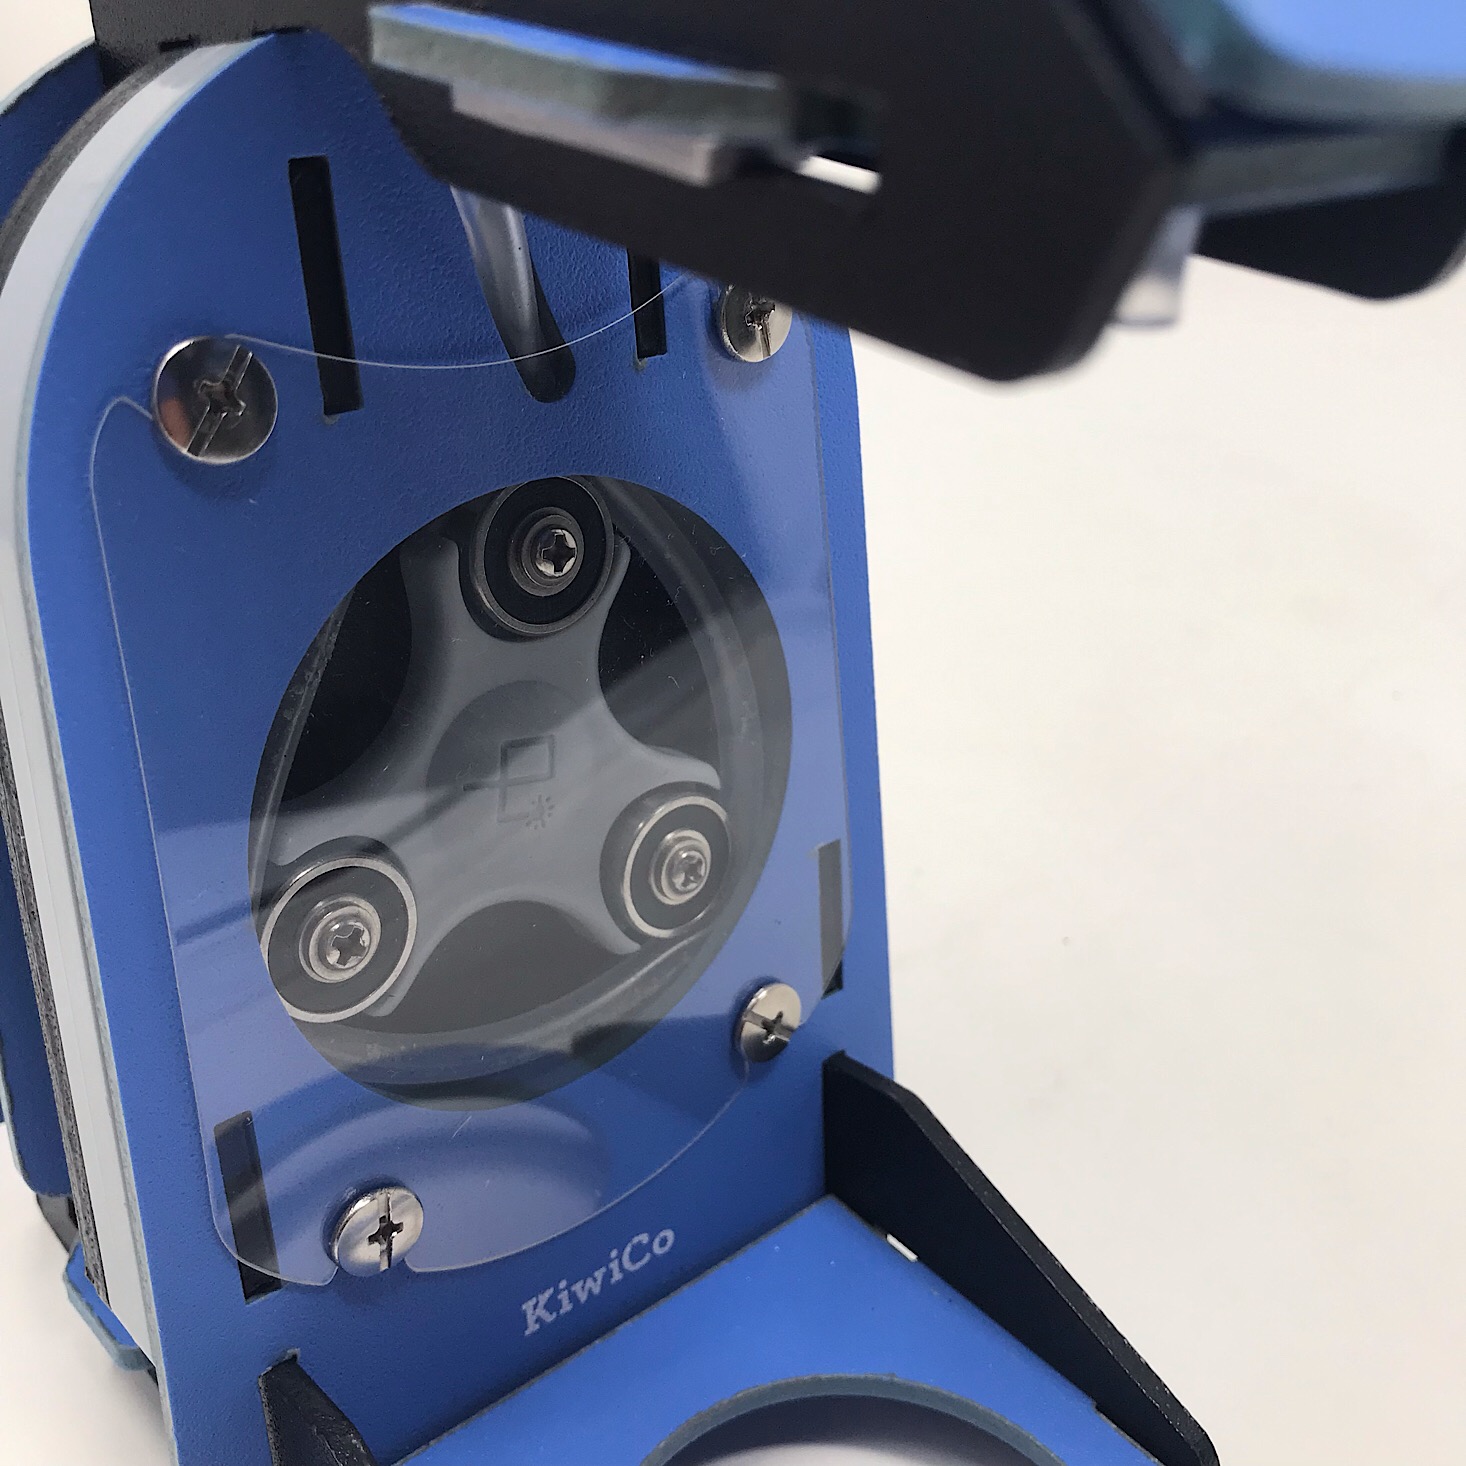
To make the pump, I first had to fit the tubing into the circle on the front and then assemble the rotor by screwing the little black rings to the larger gray piece.

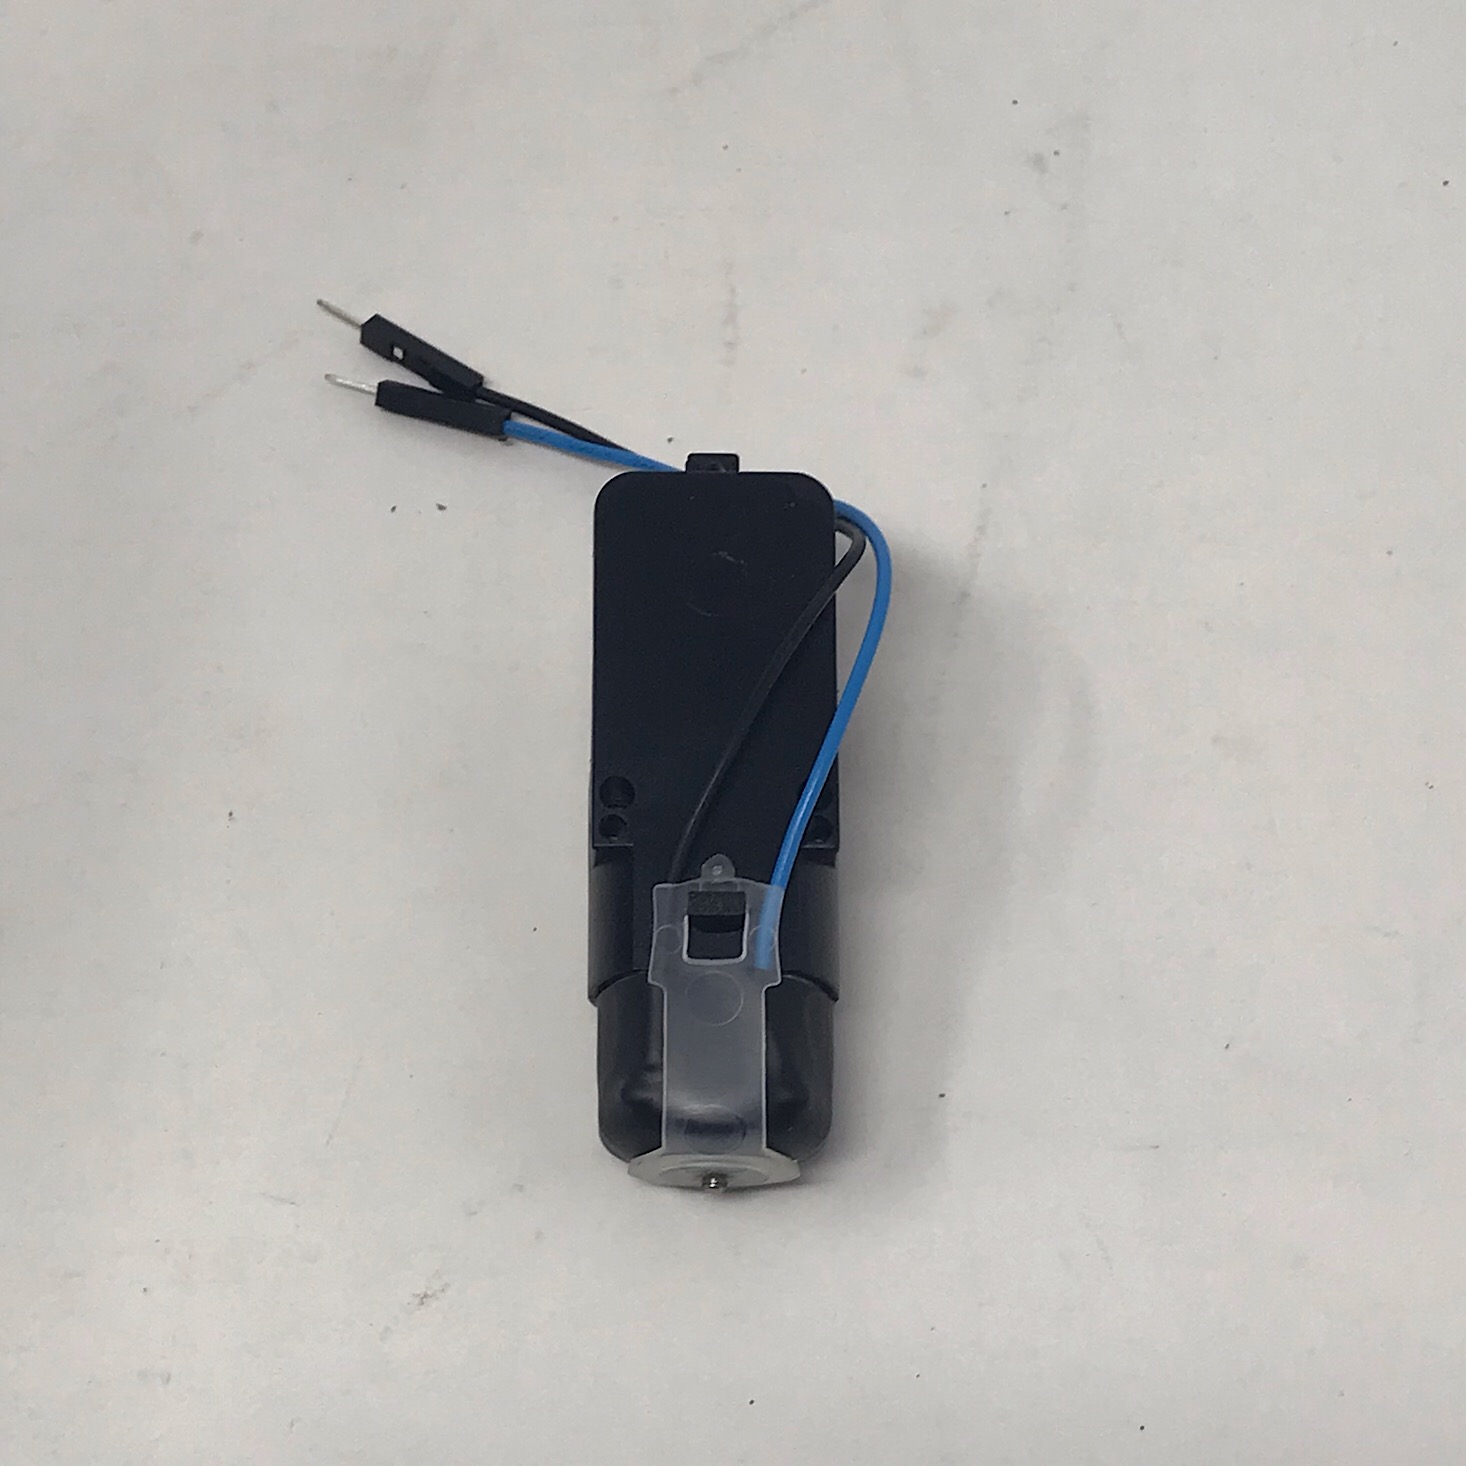
1 of 5

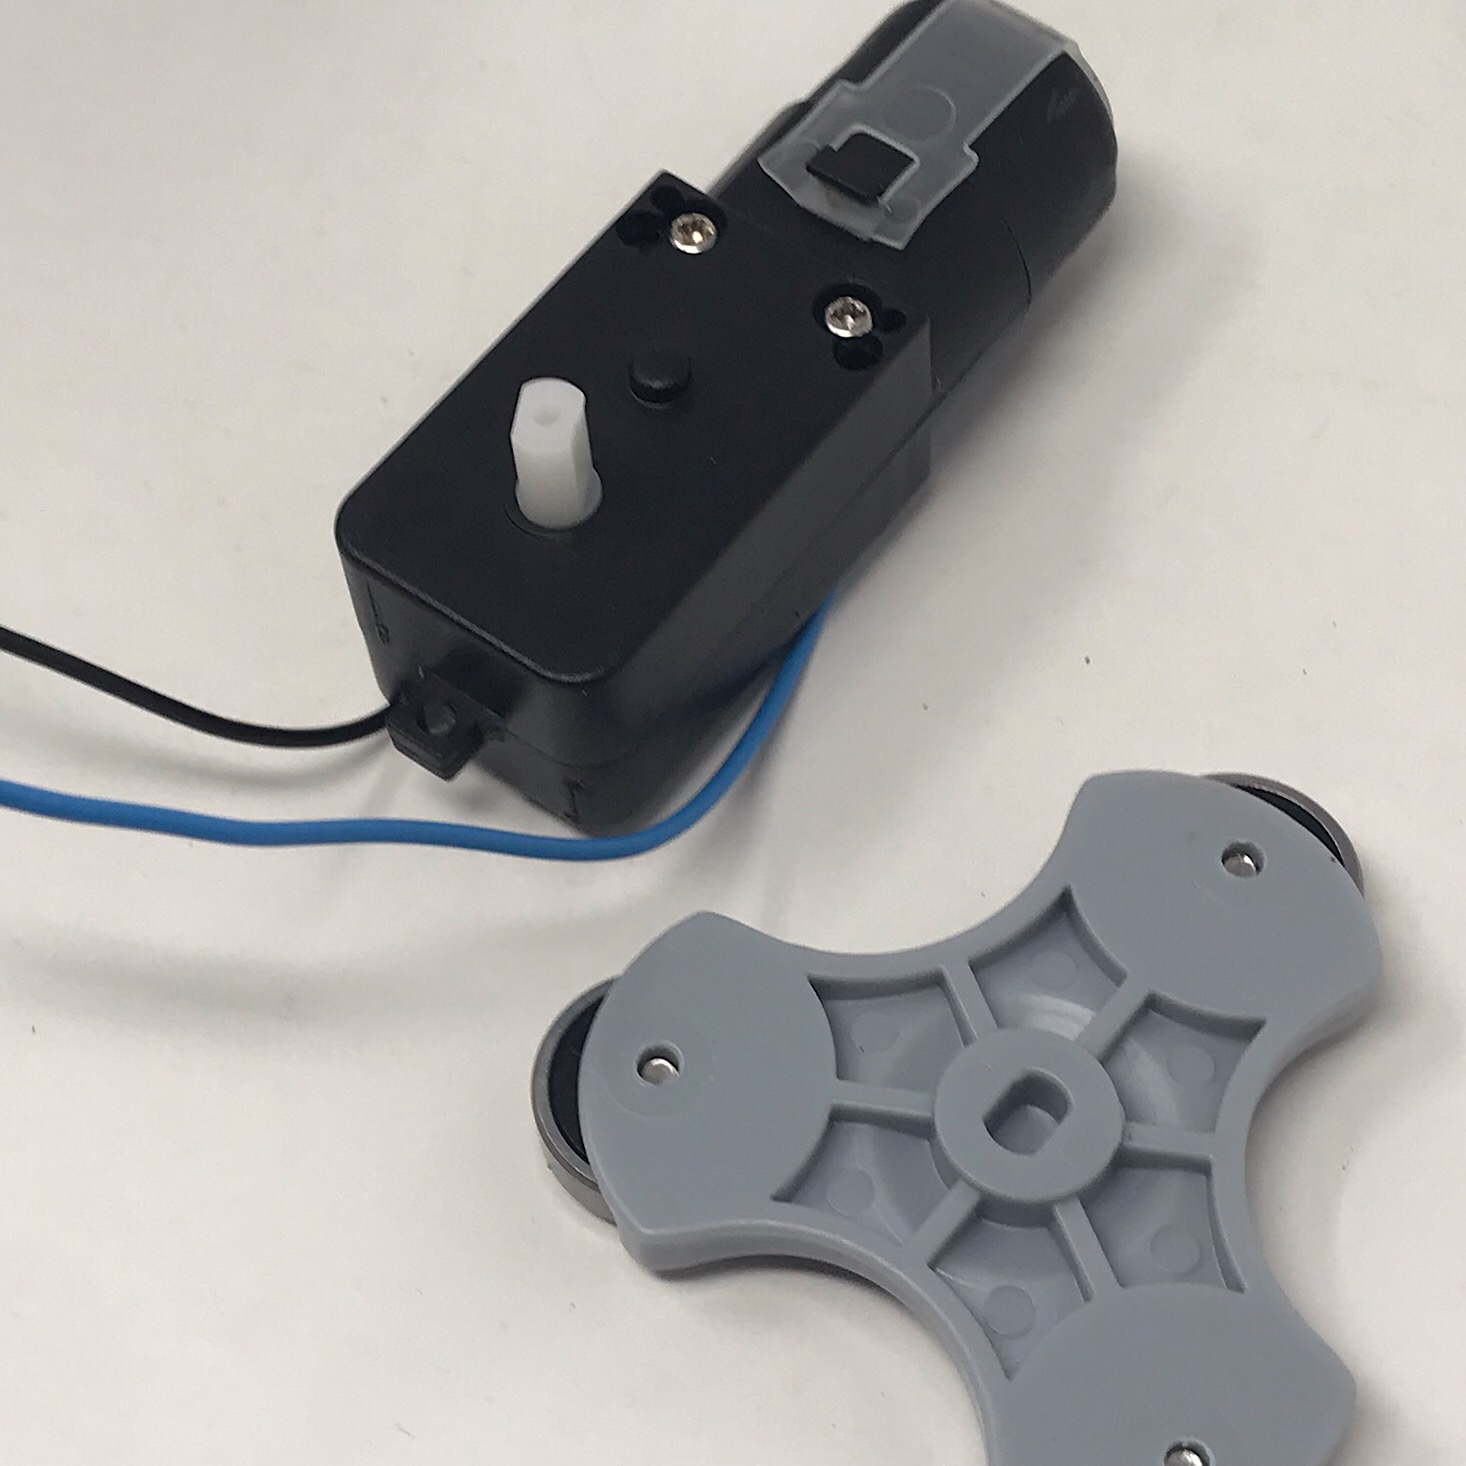
Then I added the rotor to the motor by pushing it onto the little knob on the motor. I gave it a turn so that the E on the gray piece was readable and then I pulled the rotor straight off so that the white driveshaft would be vertical for our next step.

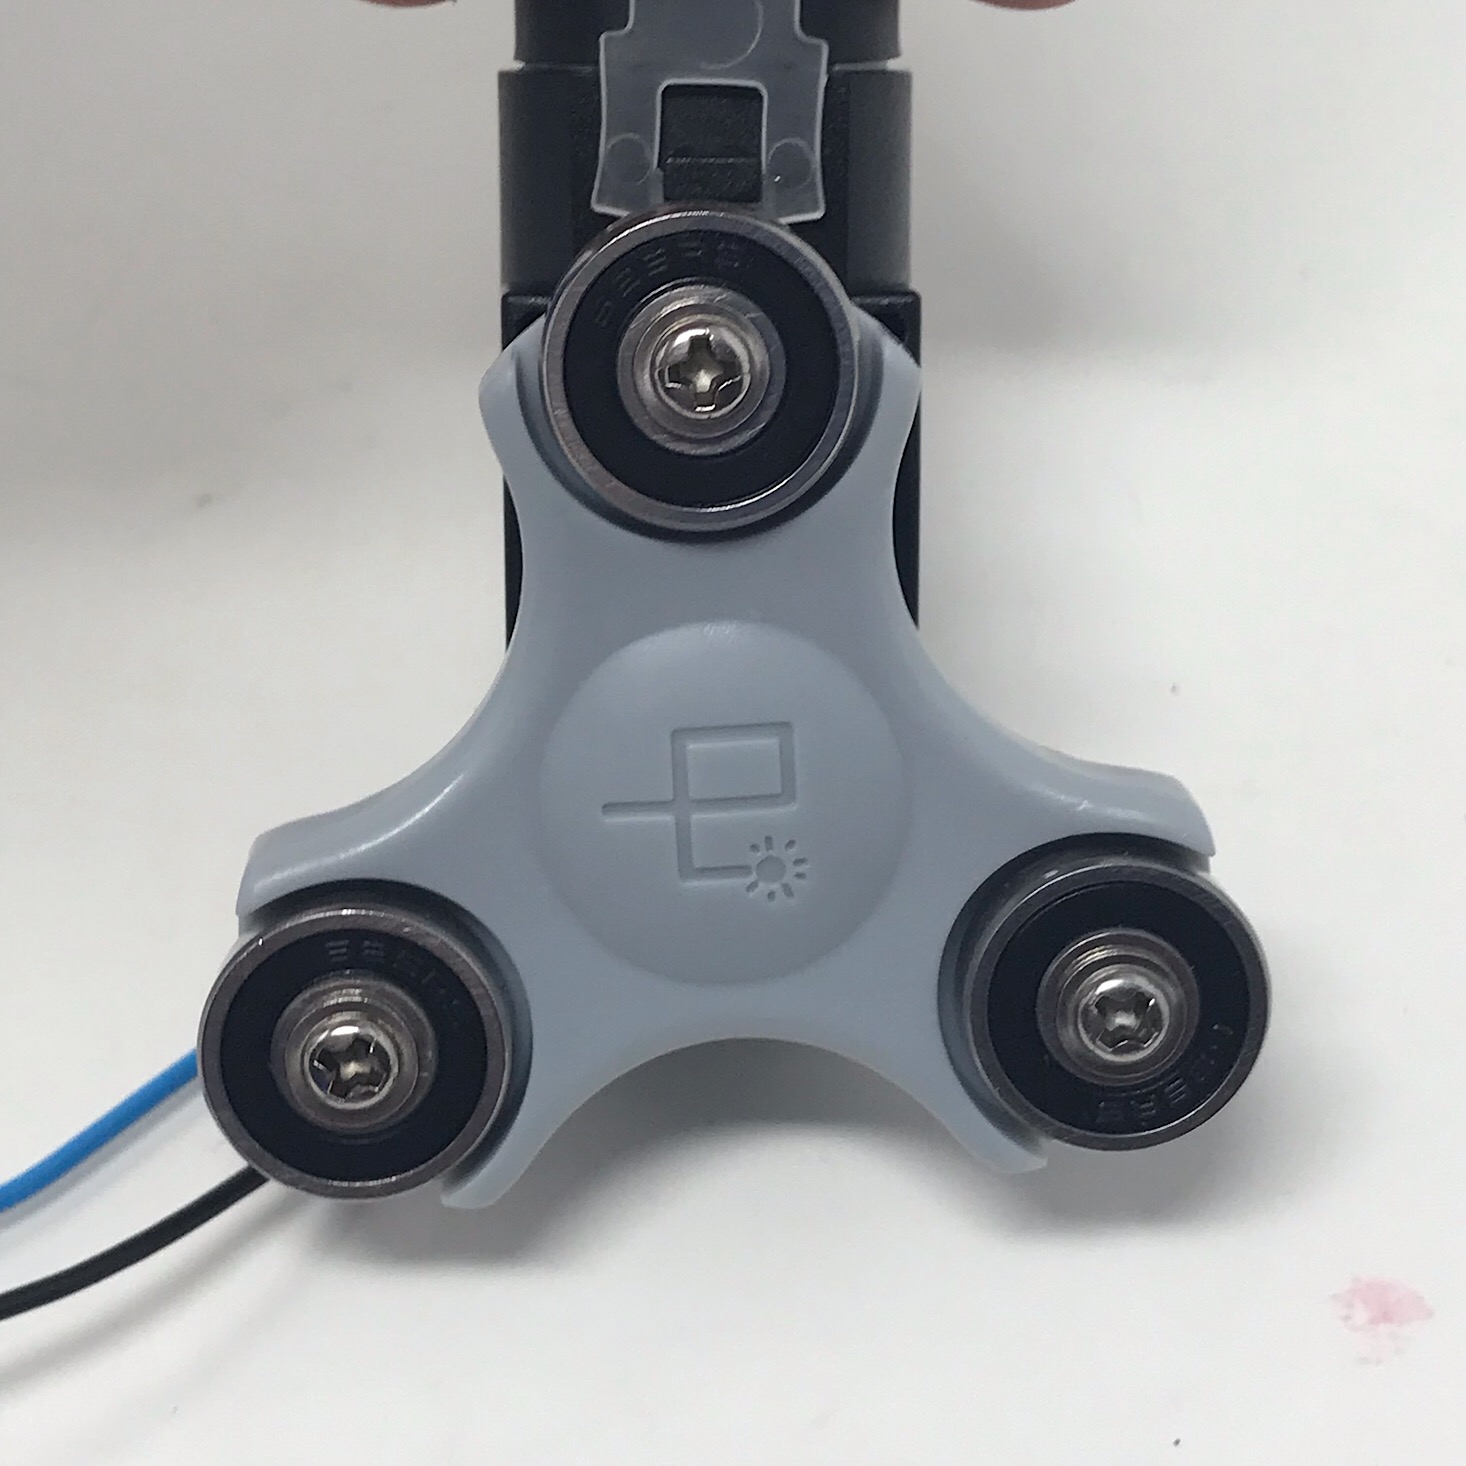
1 of 5


I put the rotor in place and turned it counterclockwise until all three circles were pushing on the tube and inside the circle. Then I attached the motor to the back fitting the driveshaft into the hole on the back of the rotor piece and slid one more blue piece into place.
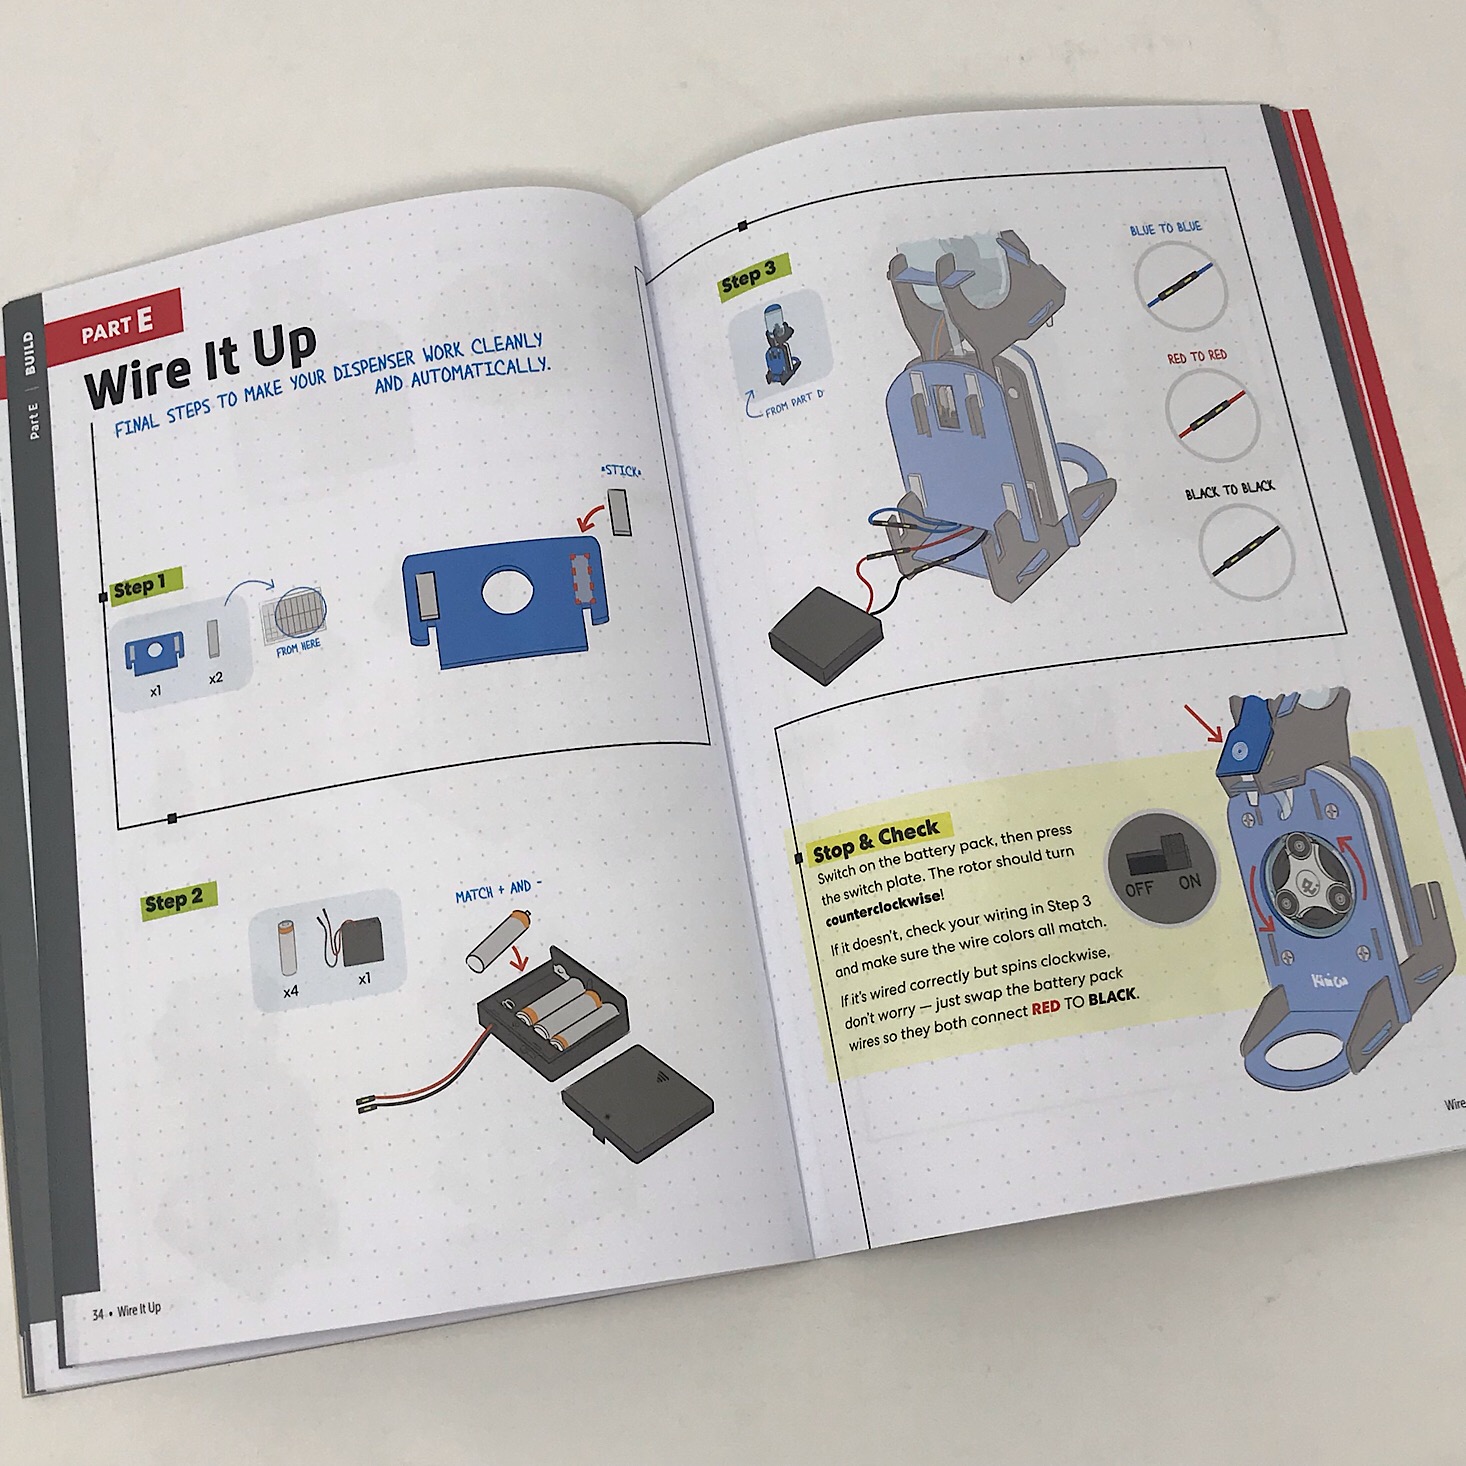
Part E: Wire it Up
1 of 3

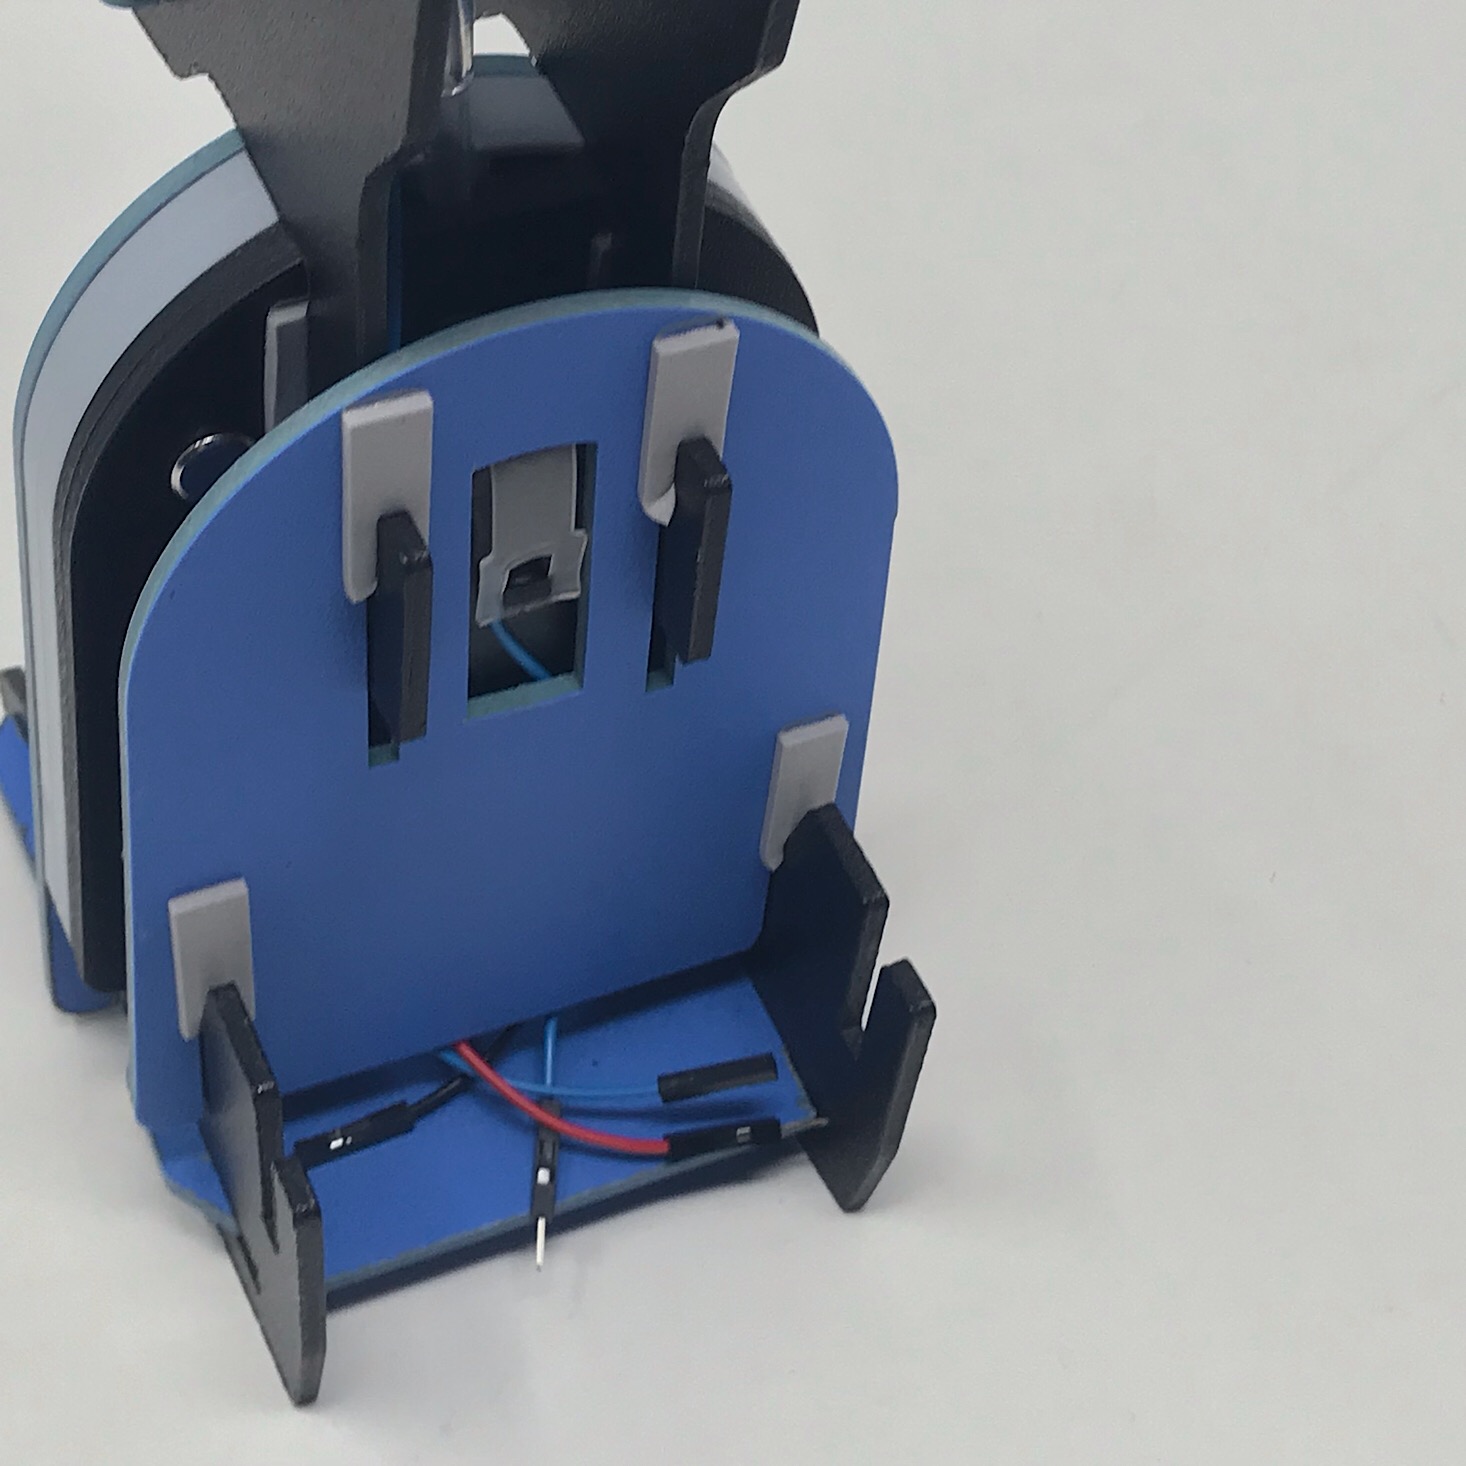
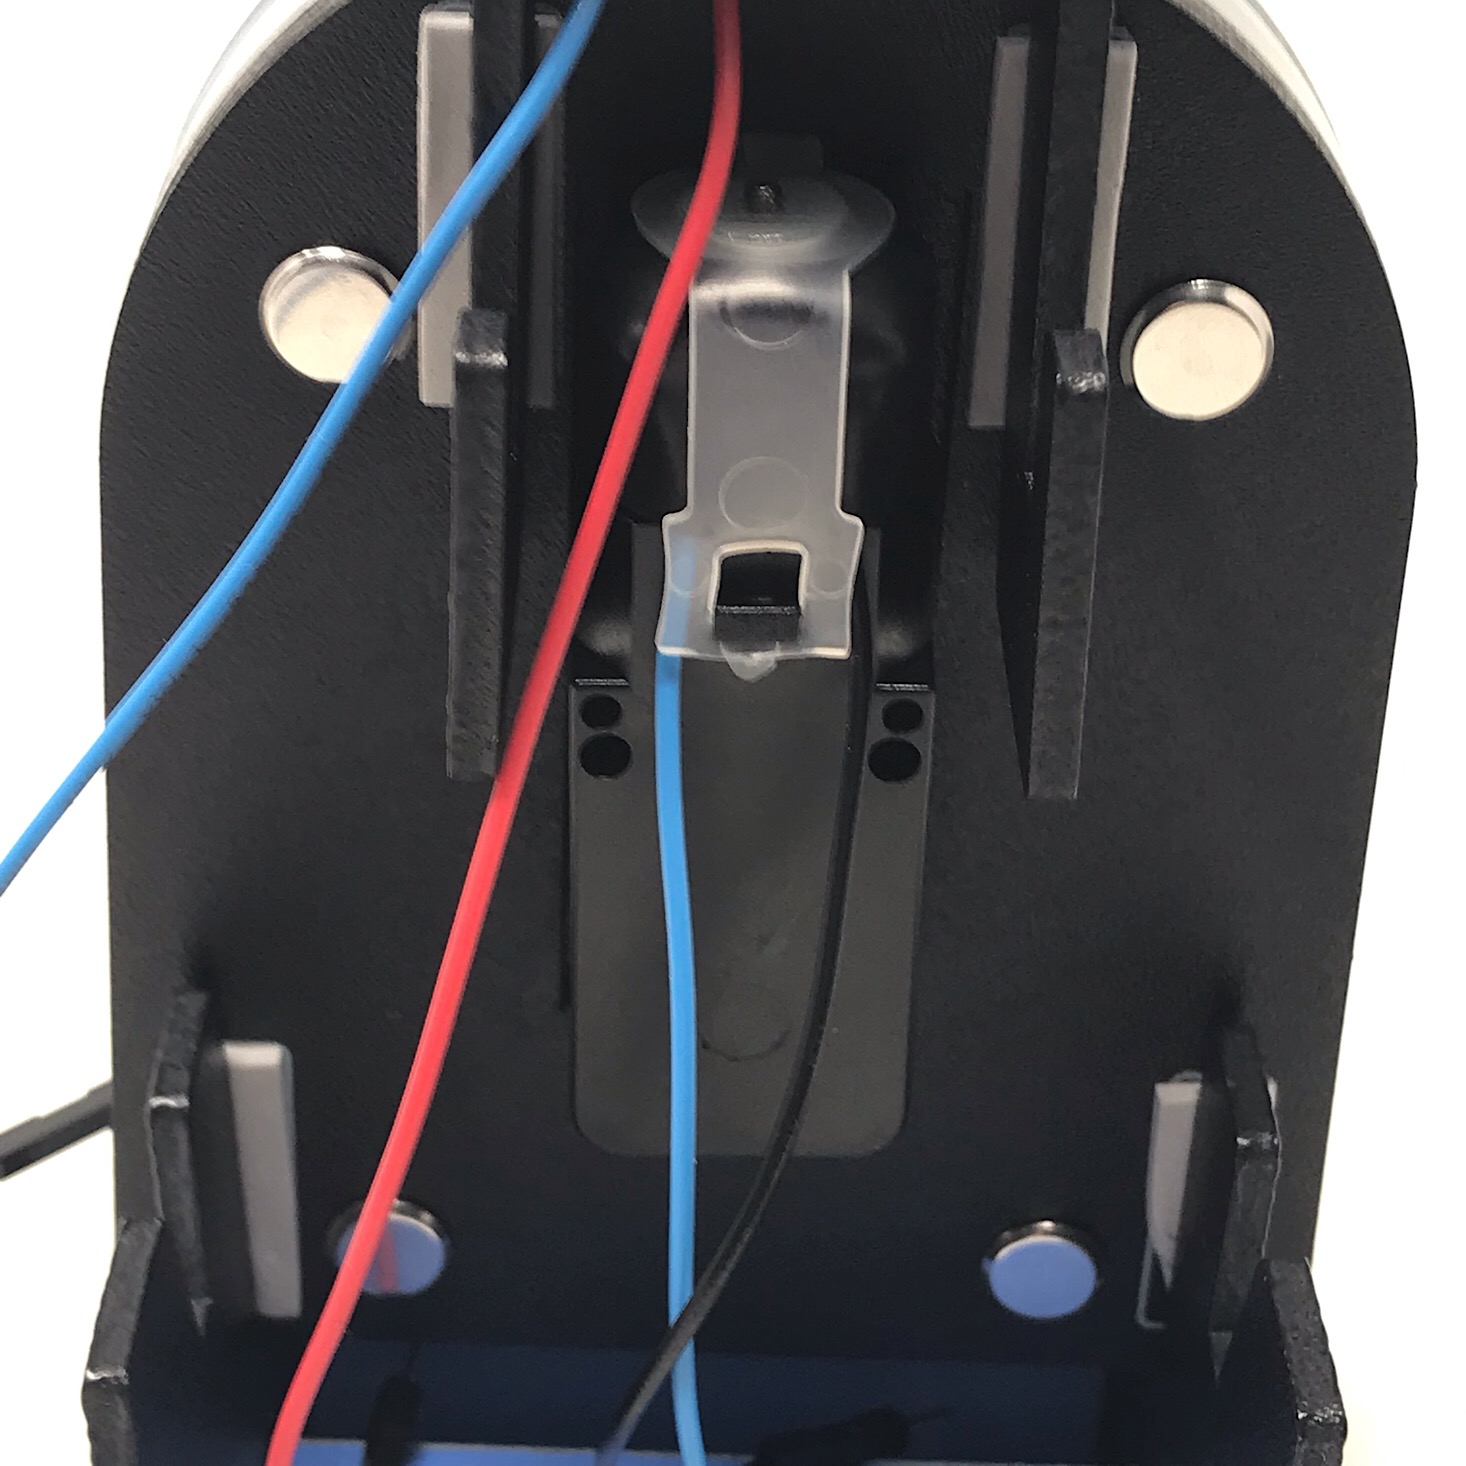
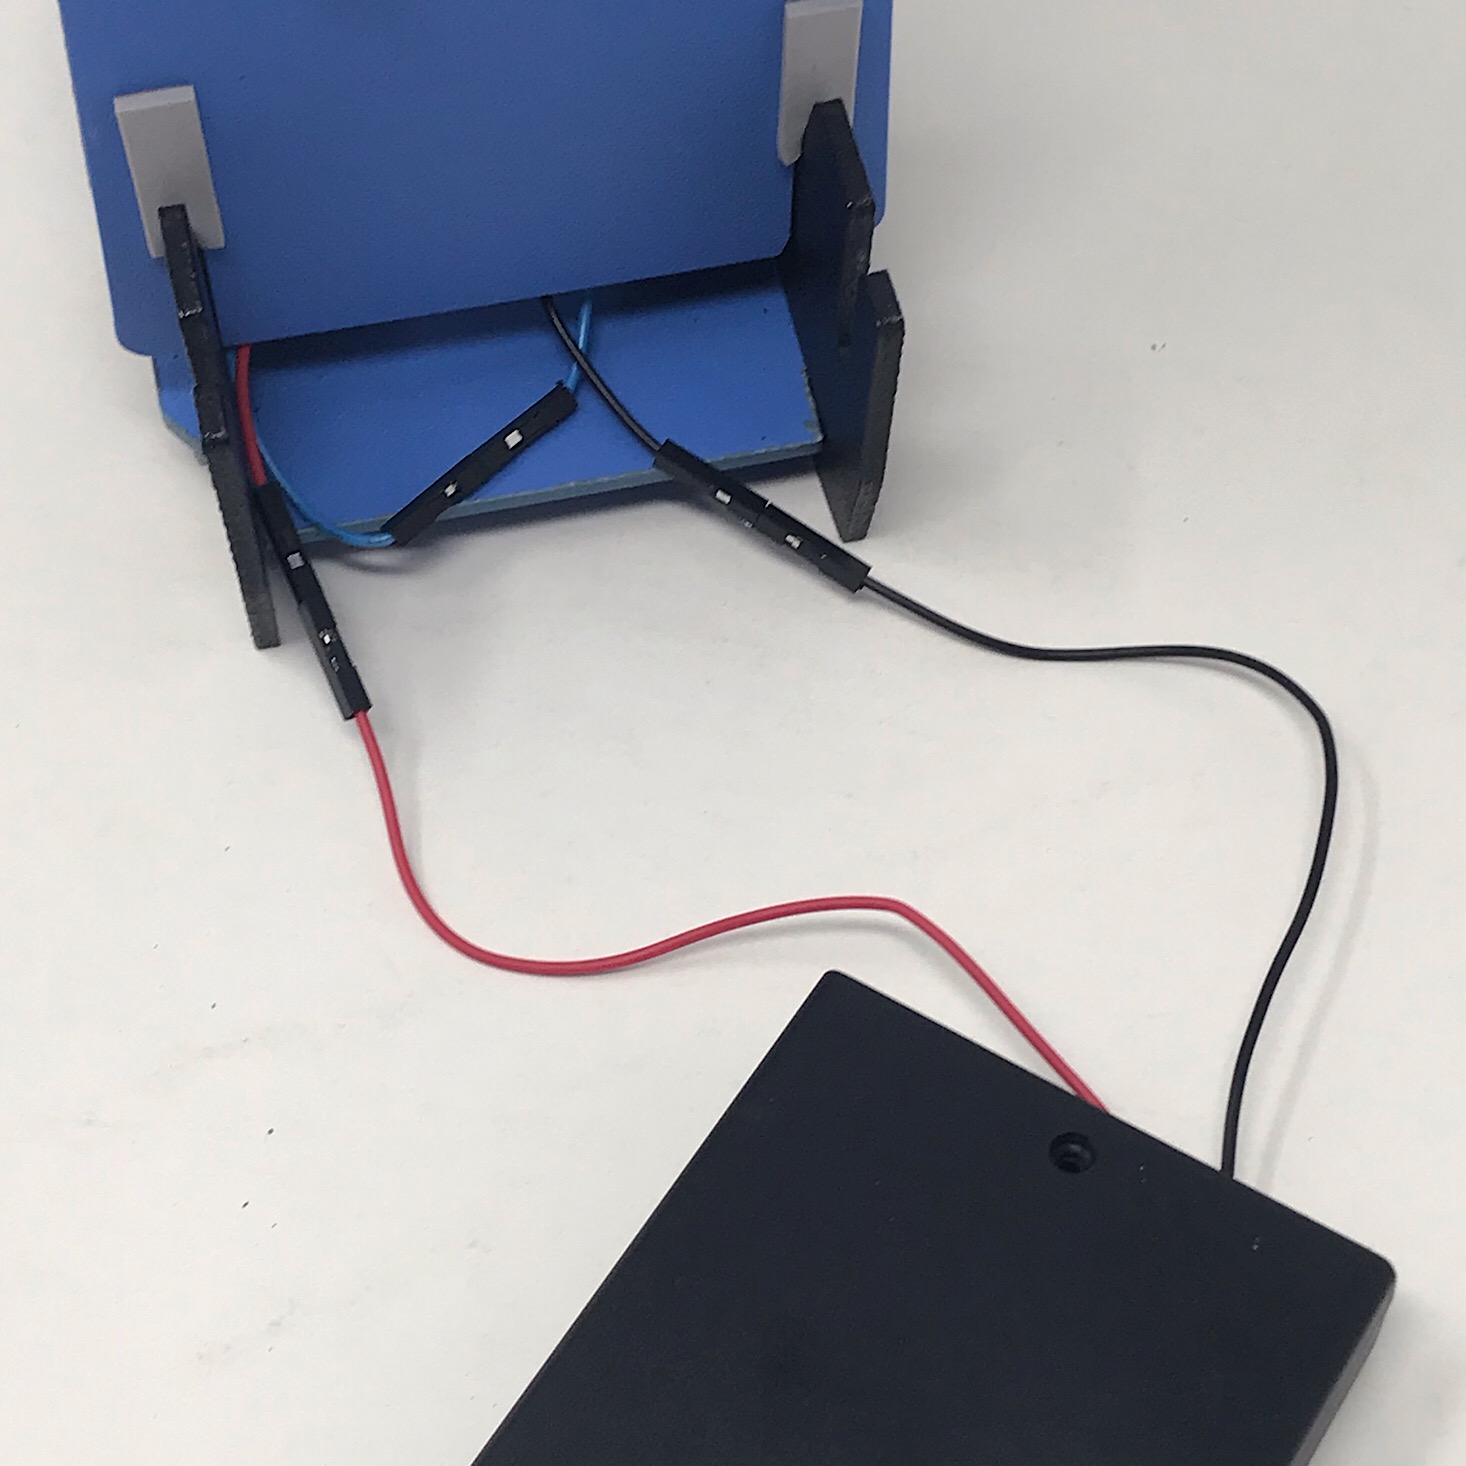
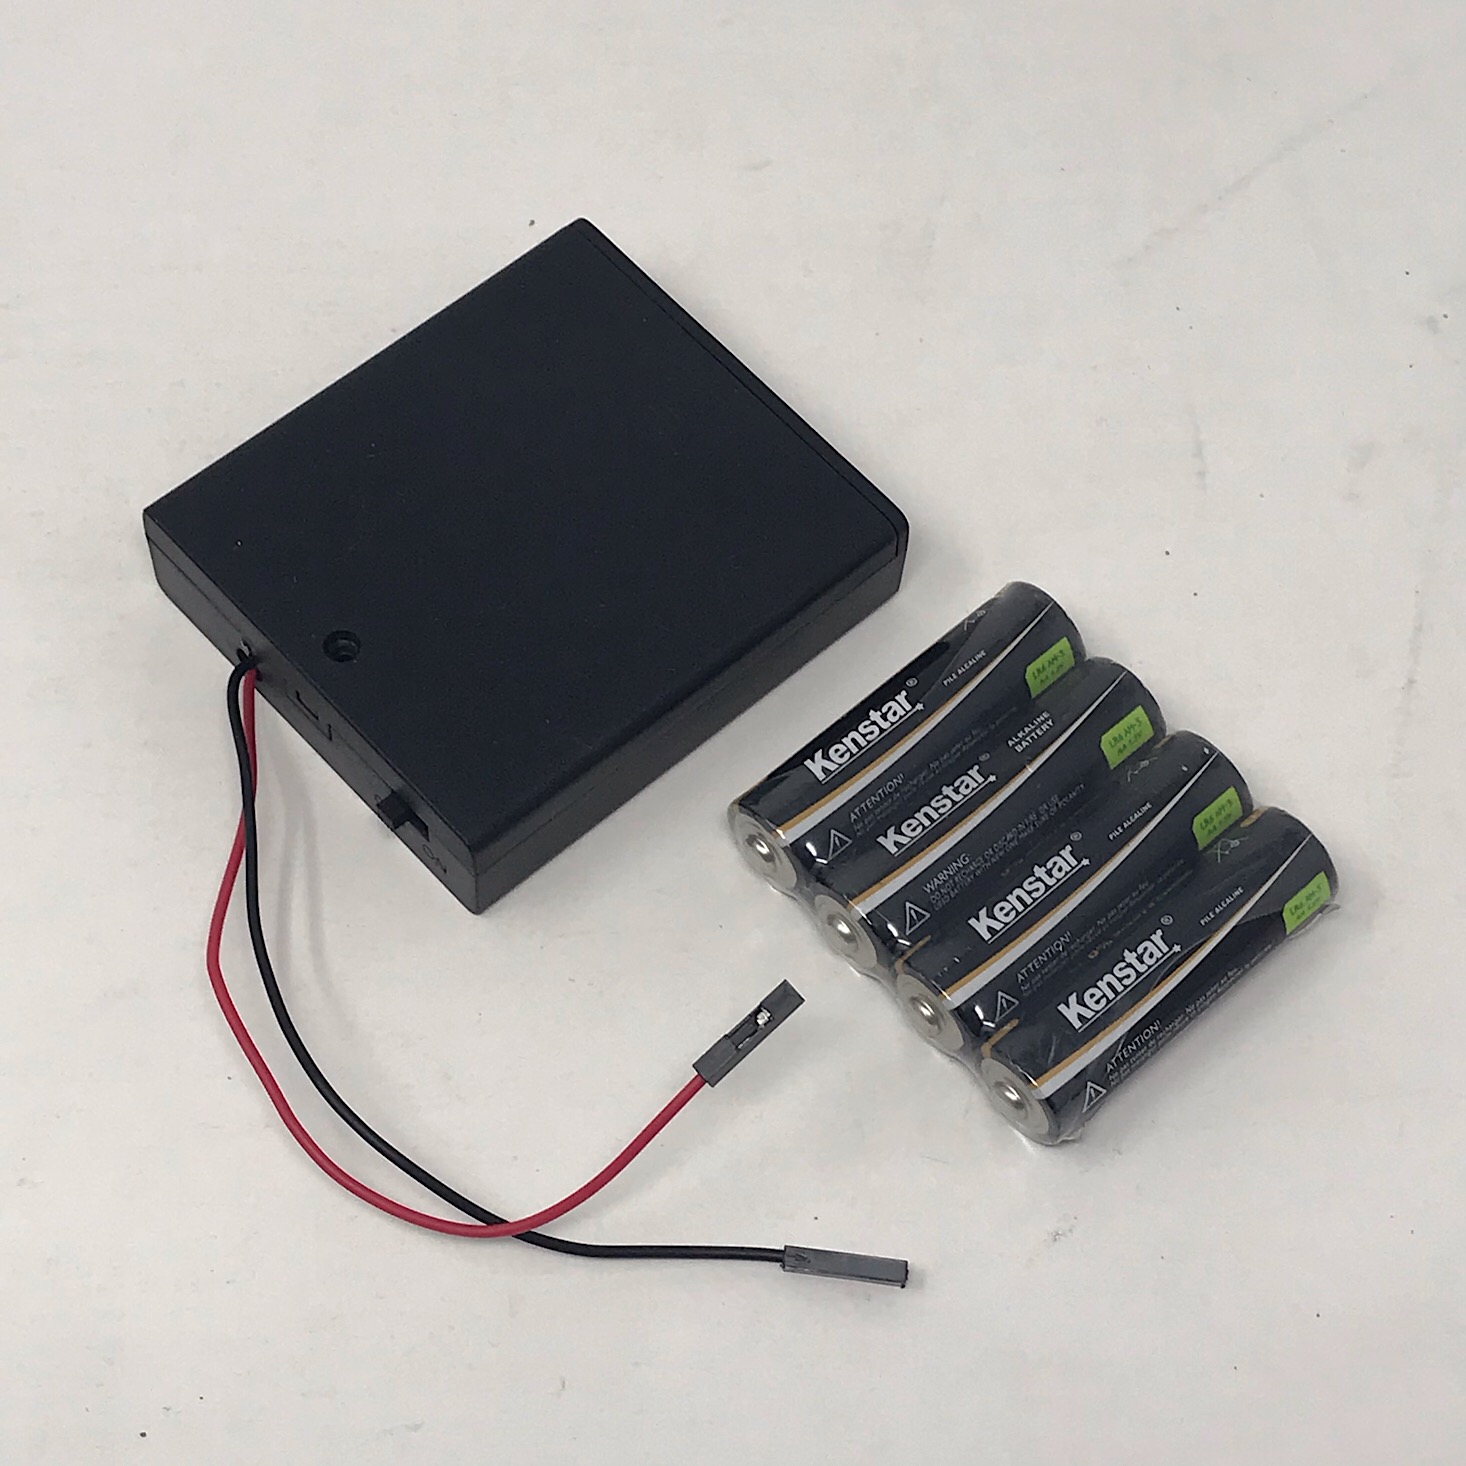
Now it was time to wire it up! First I prepared the battery pack by adding the four batteries they included and then I matched up the wires by color; blue to blue, red to red, and black to black.

1 of 3

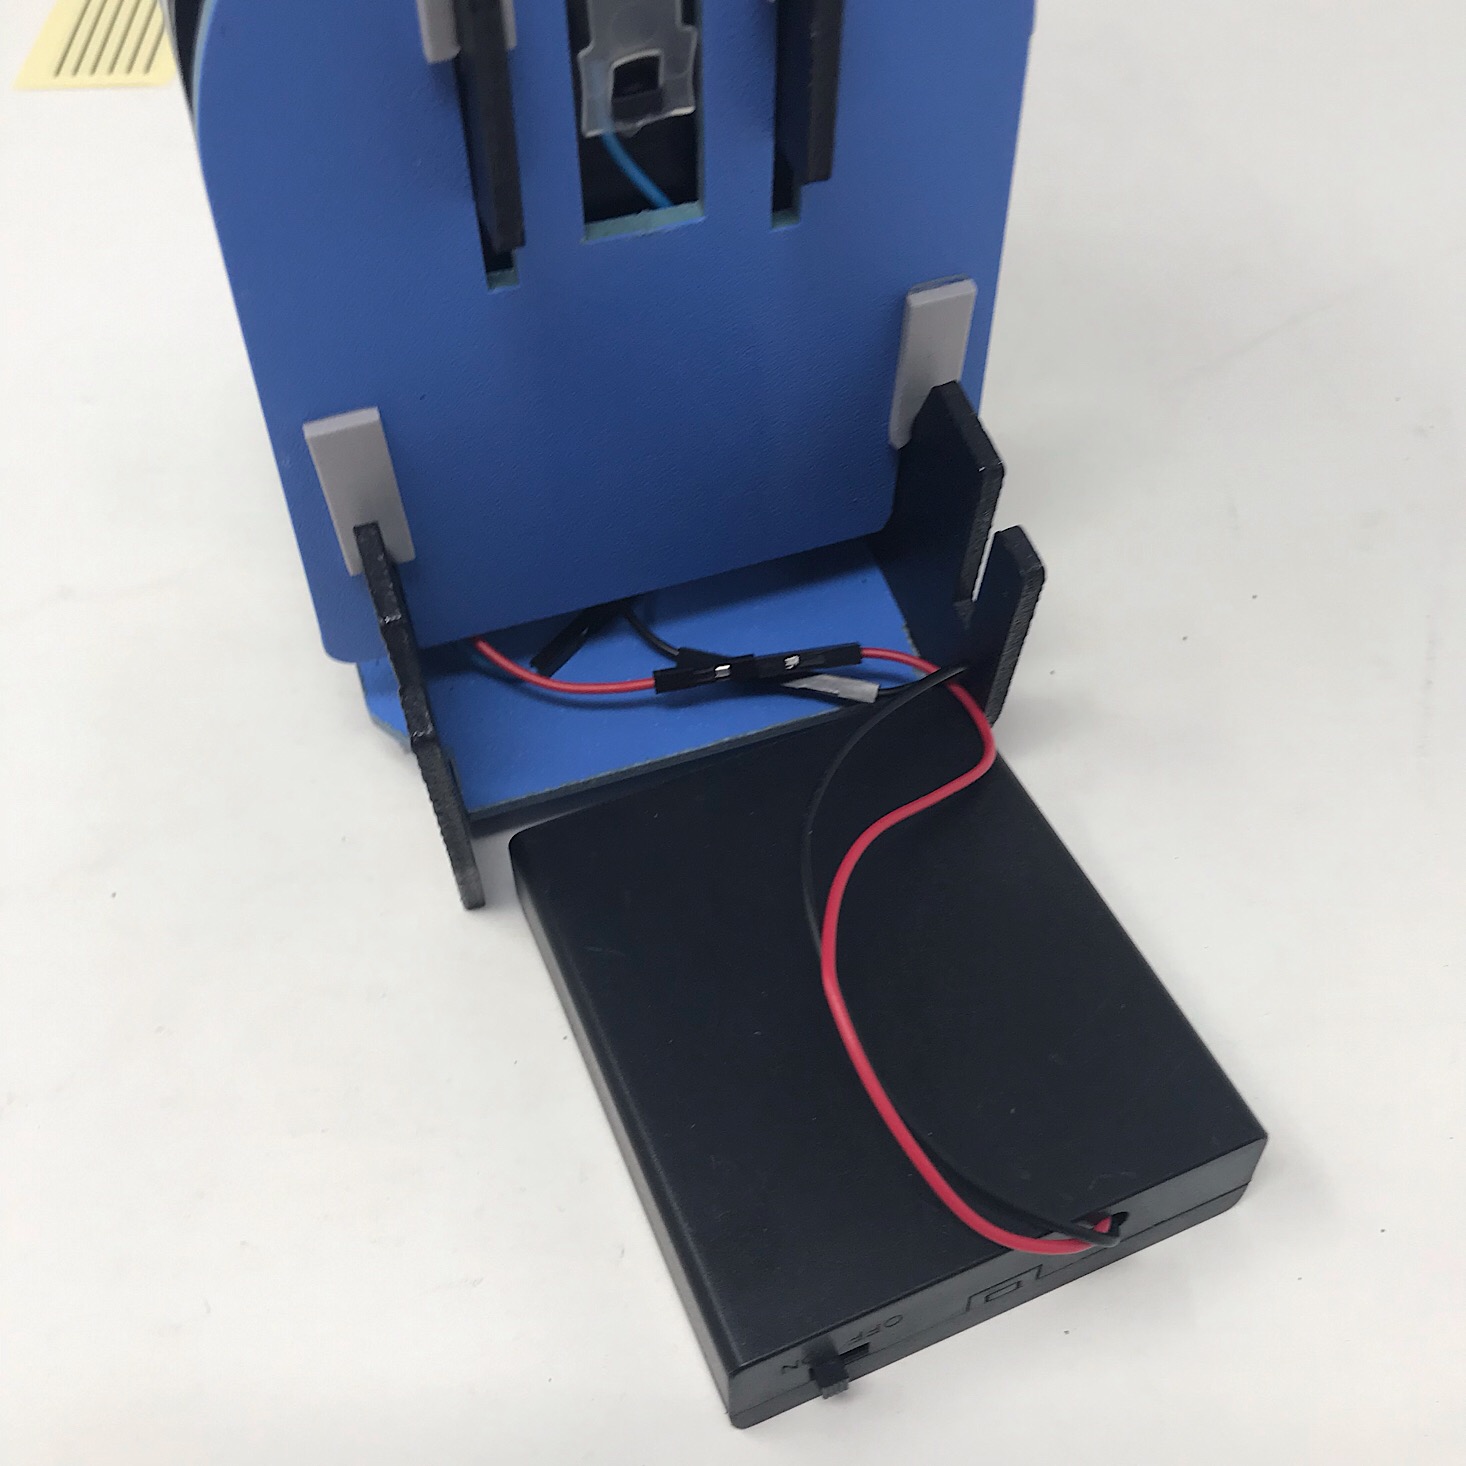
I put the battery pack upright and held it in place with another blue piece that I had prepared with foam stickers.
1 of 2
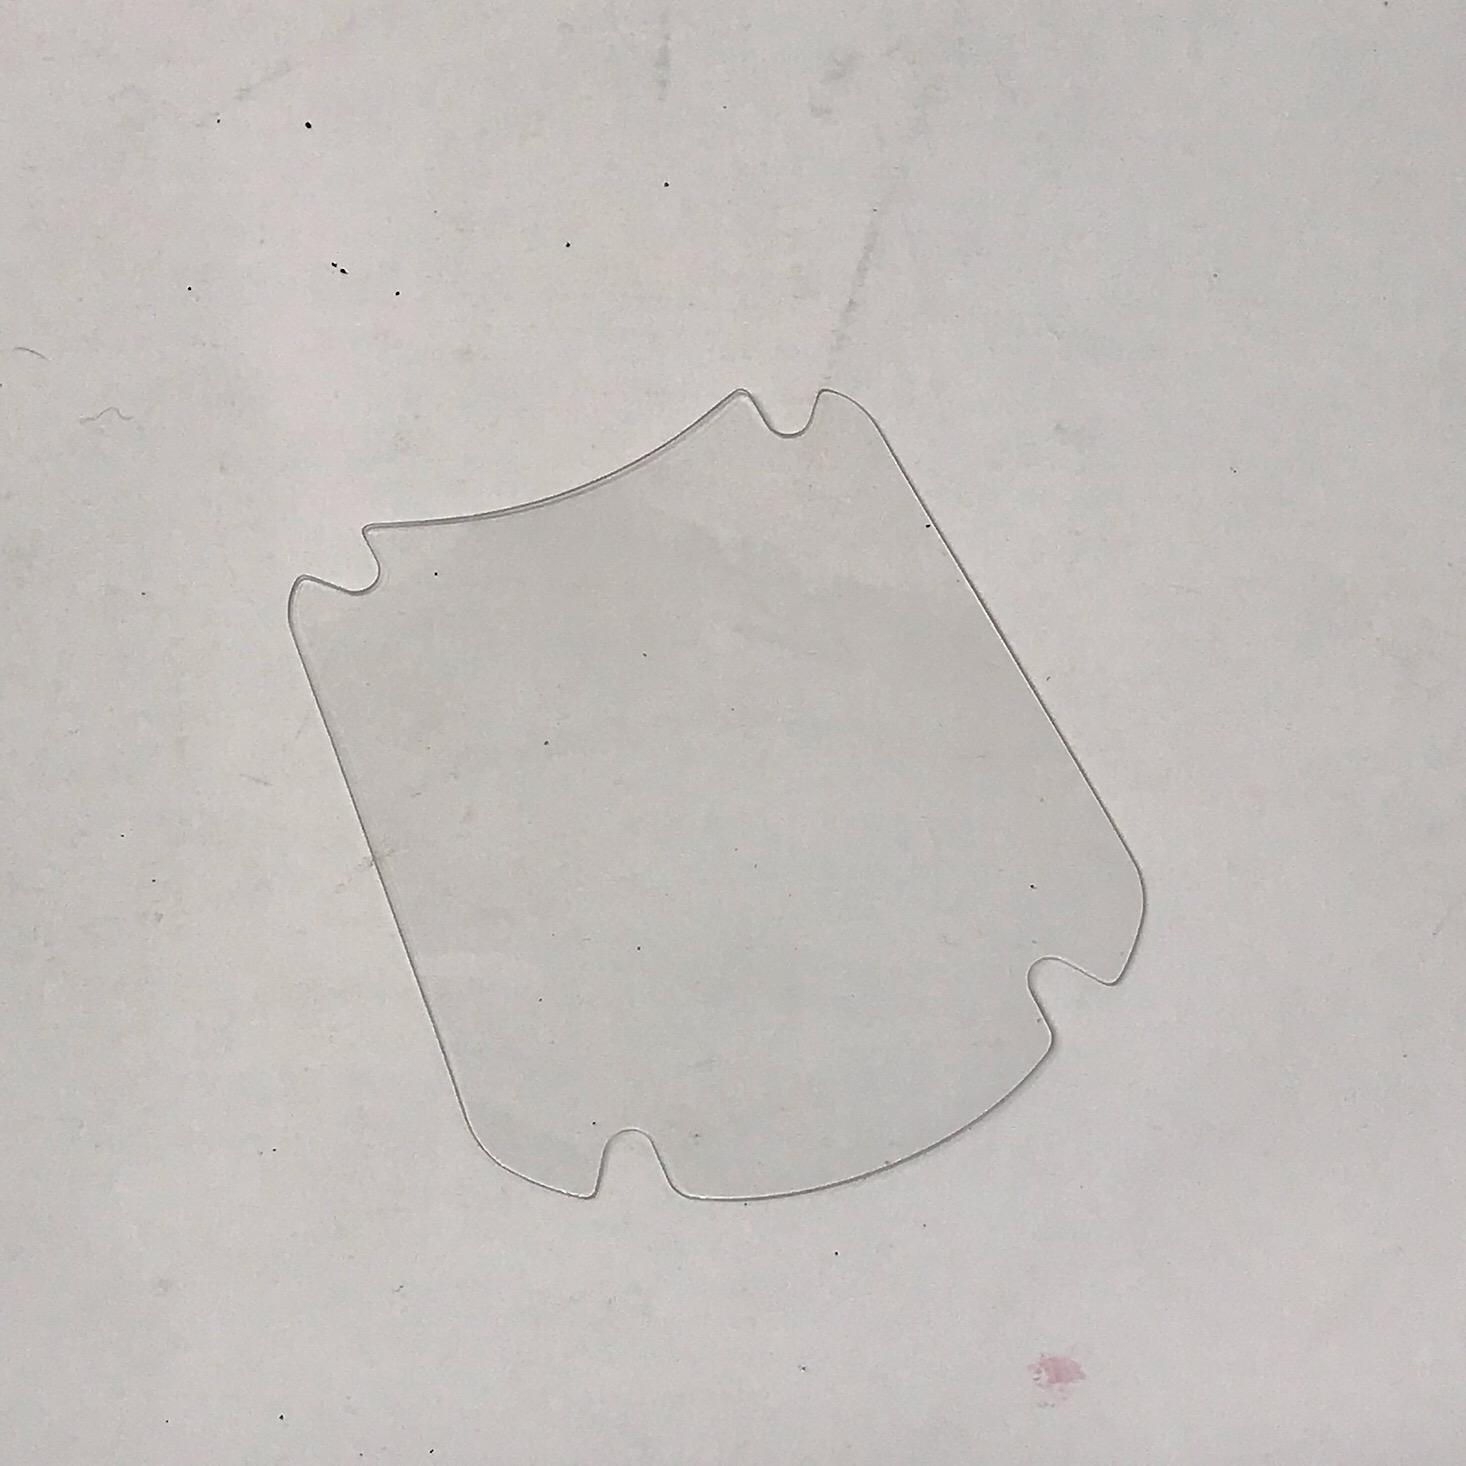
Then I had to loosen all of my bolts and slide this little plastic piece into place over the rotor before securing them all again to keep it in place.
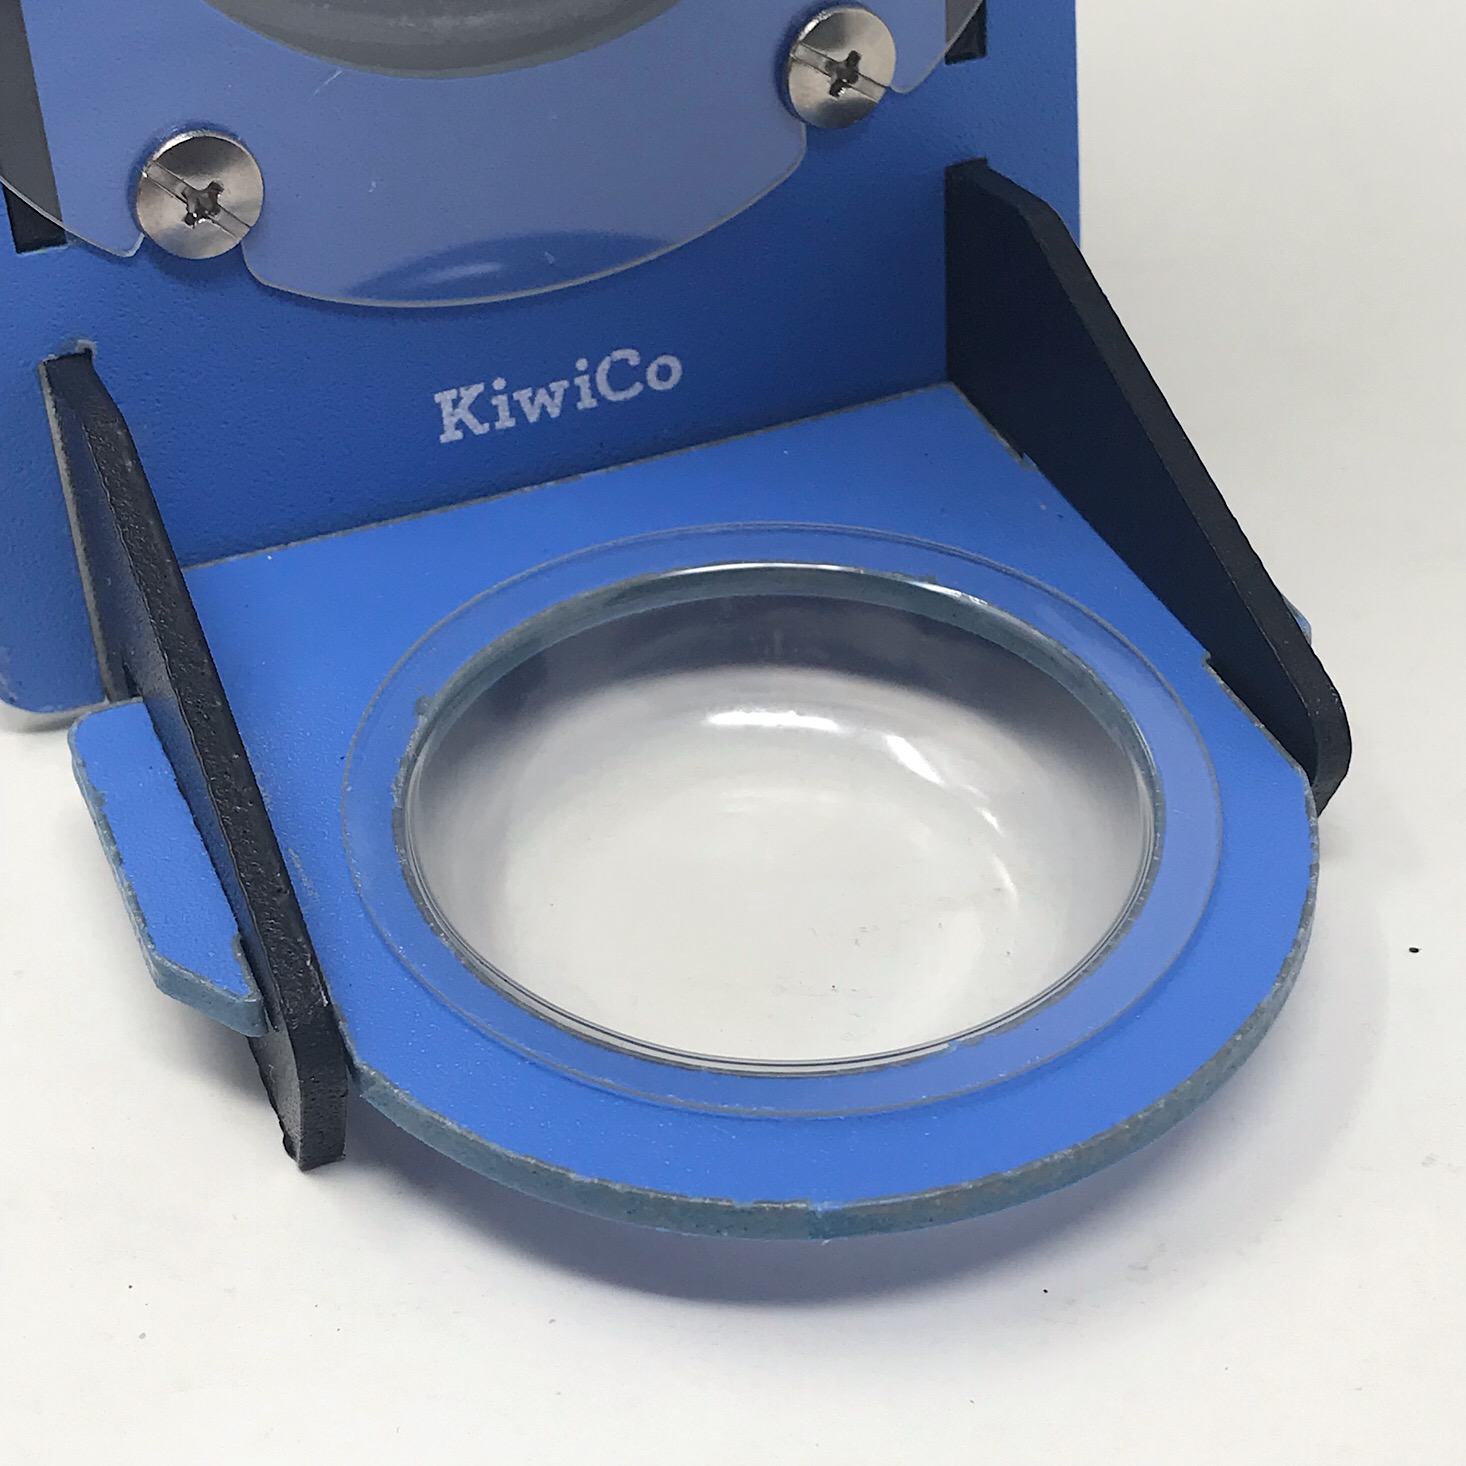
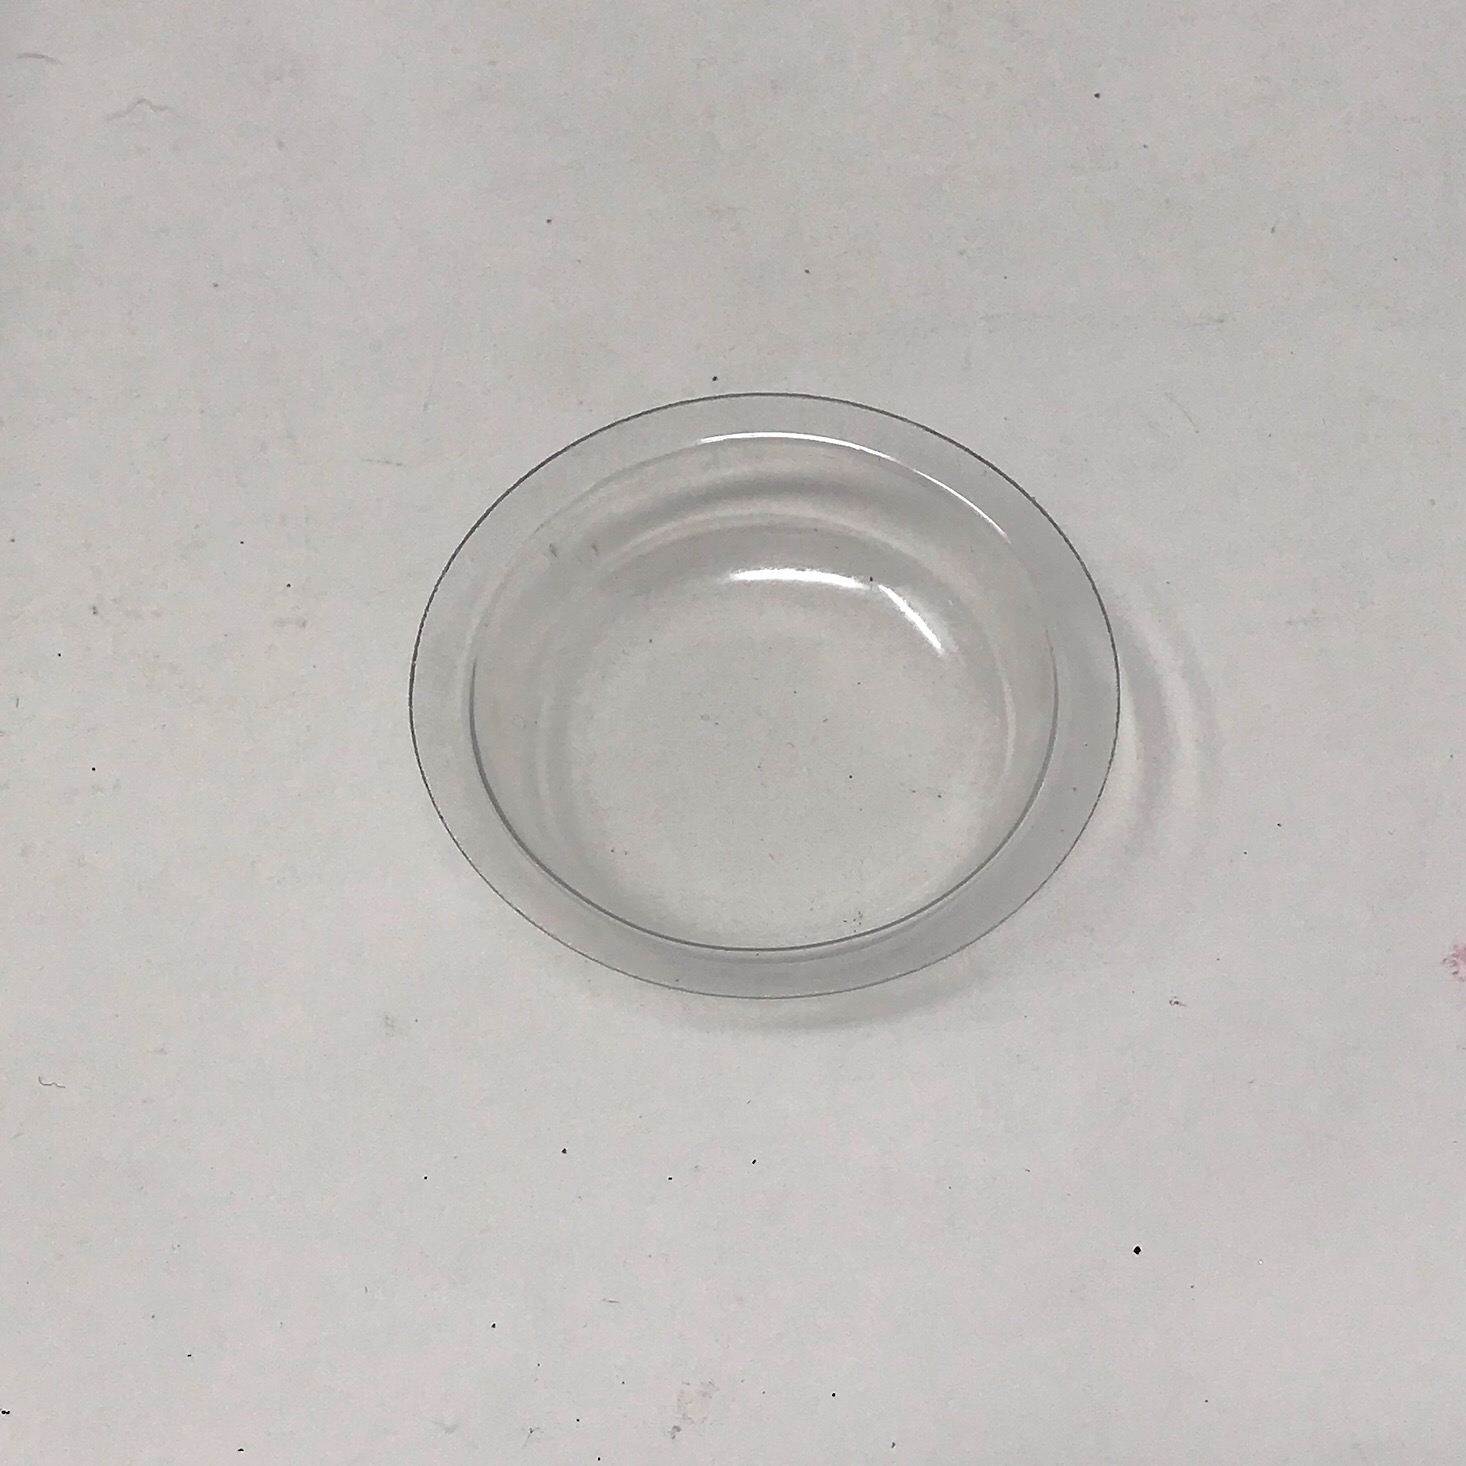
1 of 2
I added this little plastic cup to the bottom to catch any drips and the dispenser was complete!
1 of 6
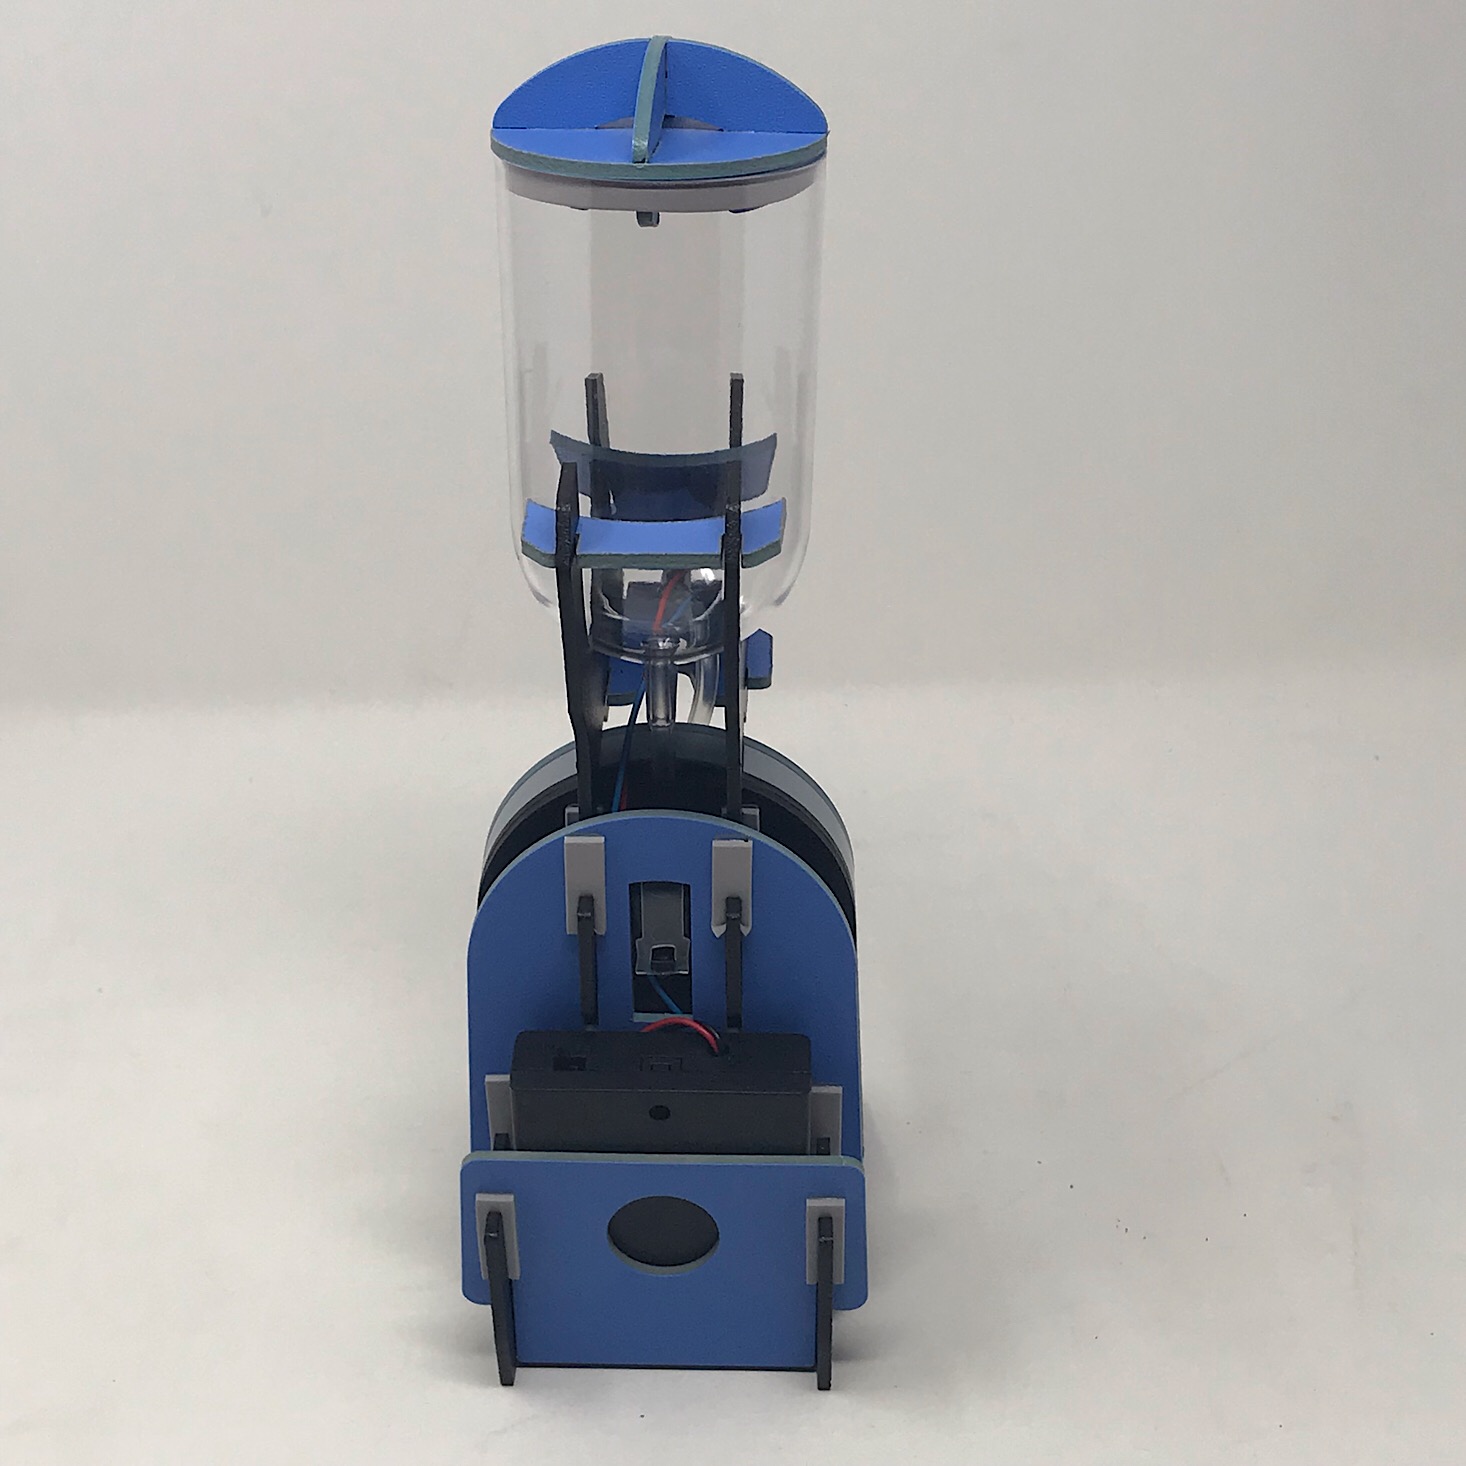
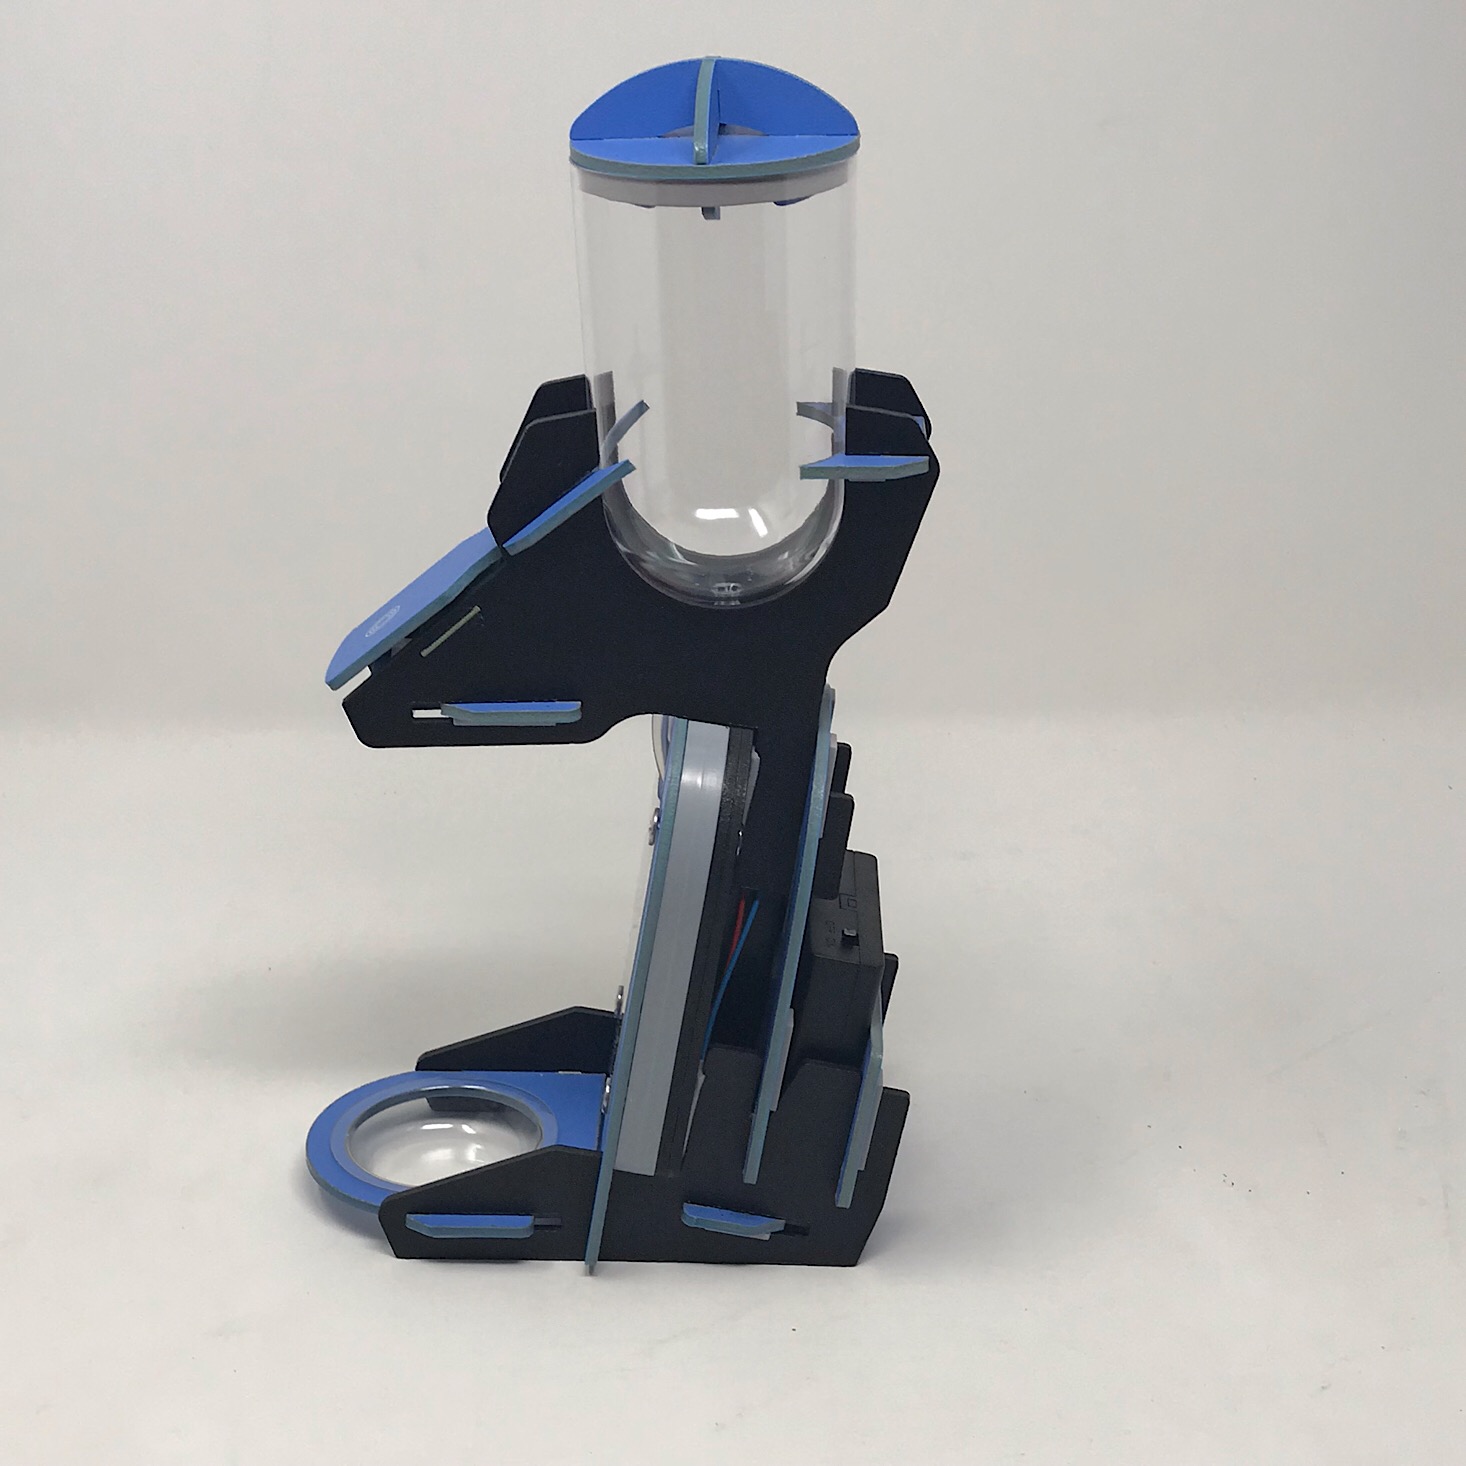

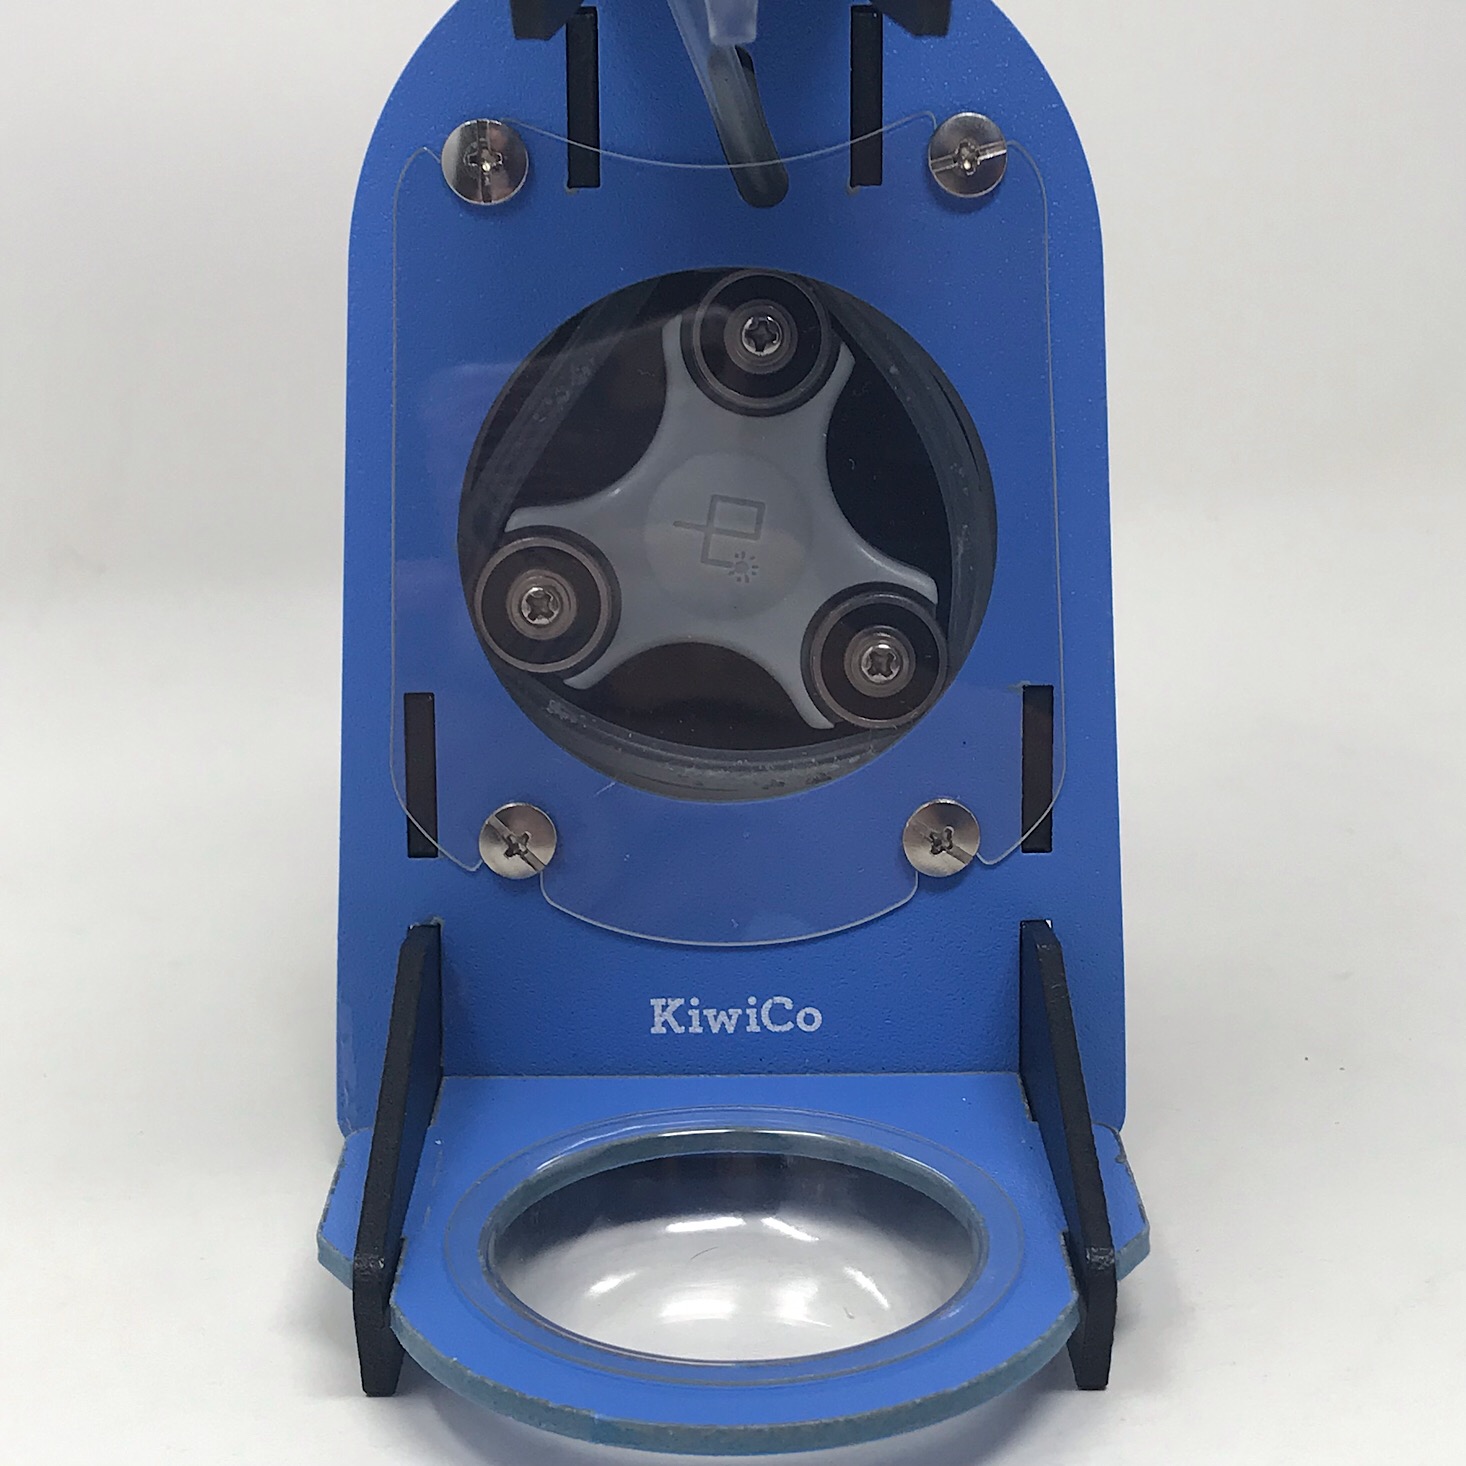
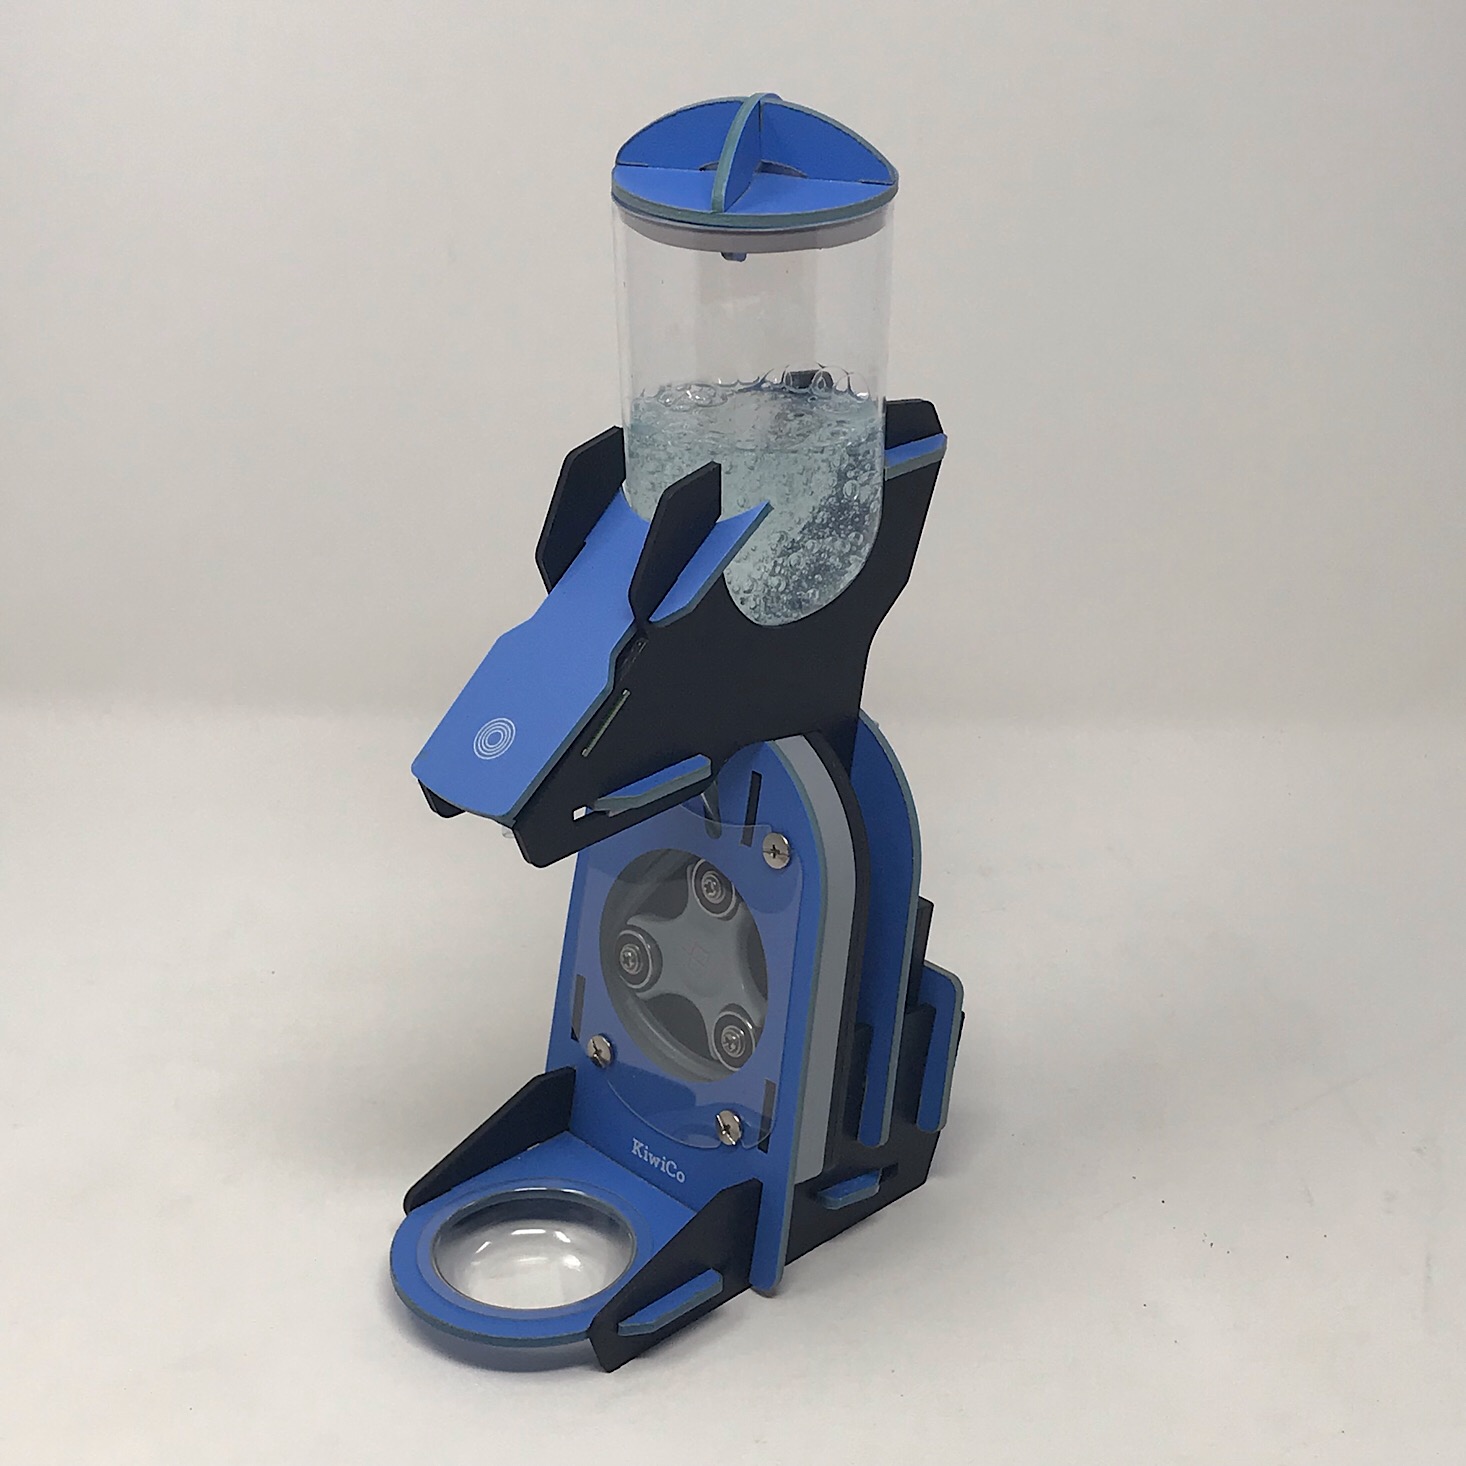
Here is our finished soap dispenser! It's a bit big, but I like that you can see the rotor from the front giving it an industrial look.

They provided instructions on how to use our soap dispenser and noted that our reservoir can hold a total of 8 fluid ounces.
1 of 3
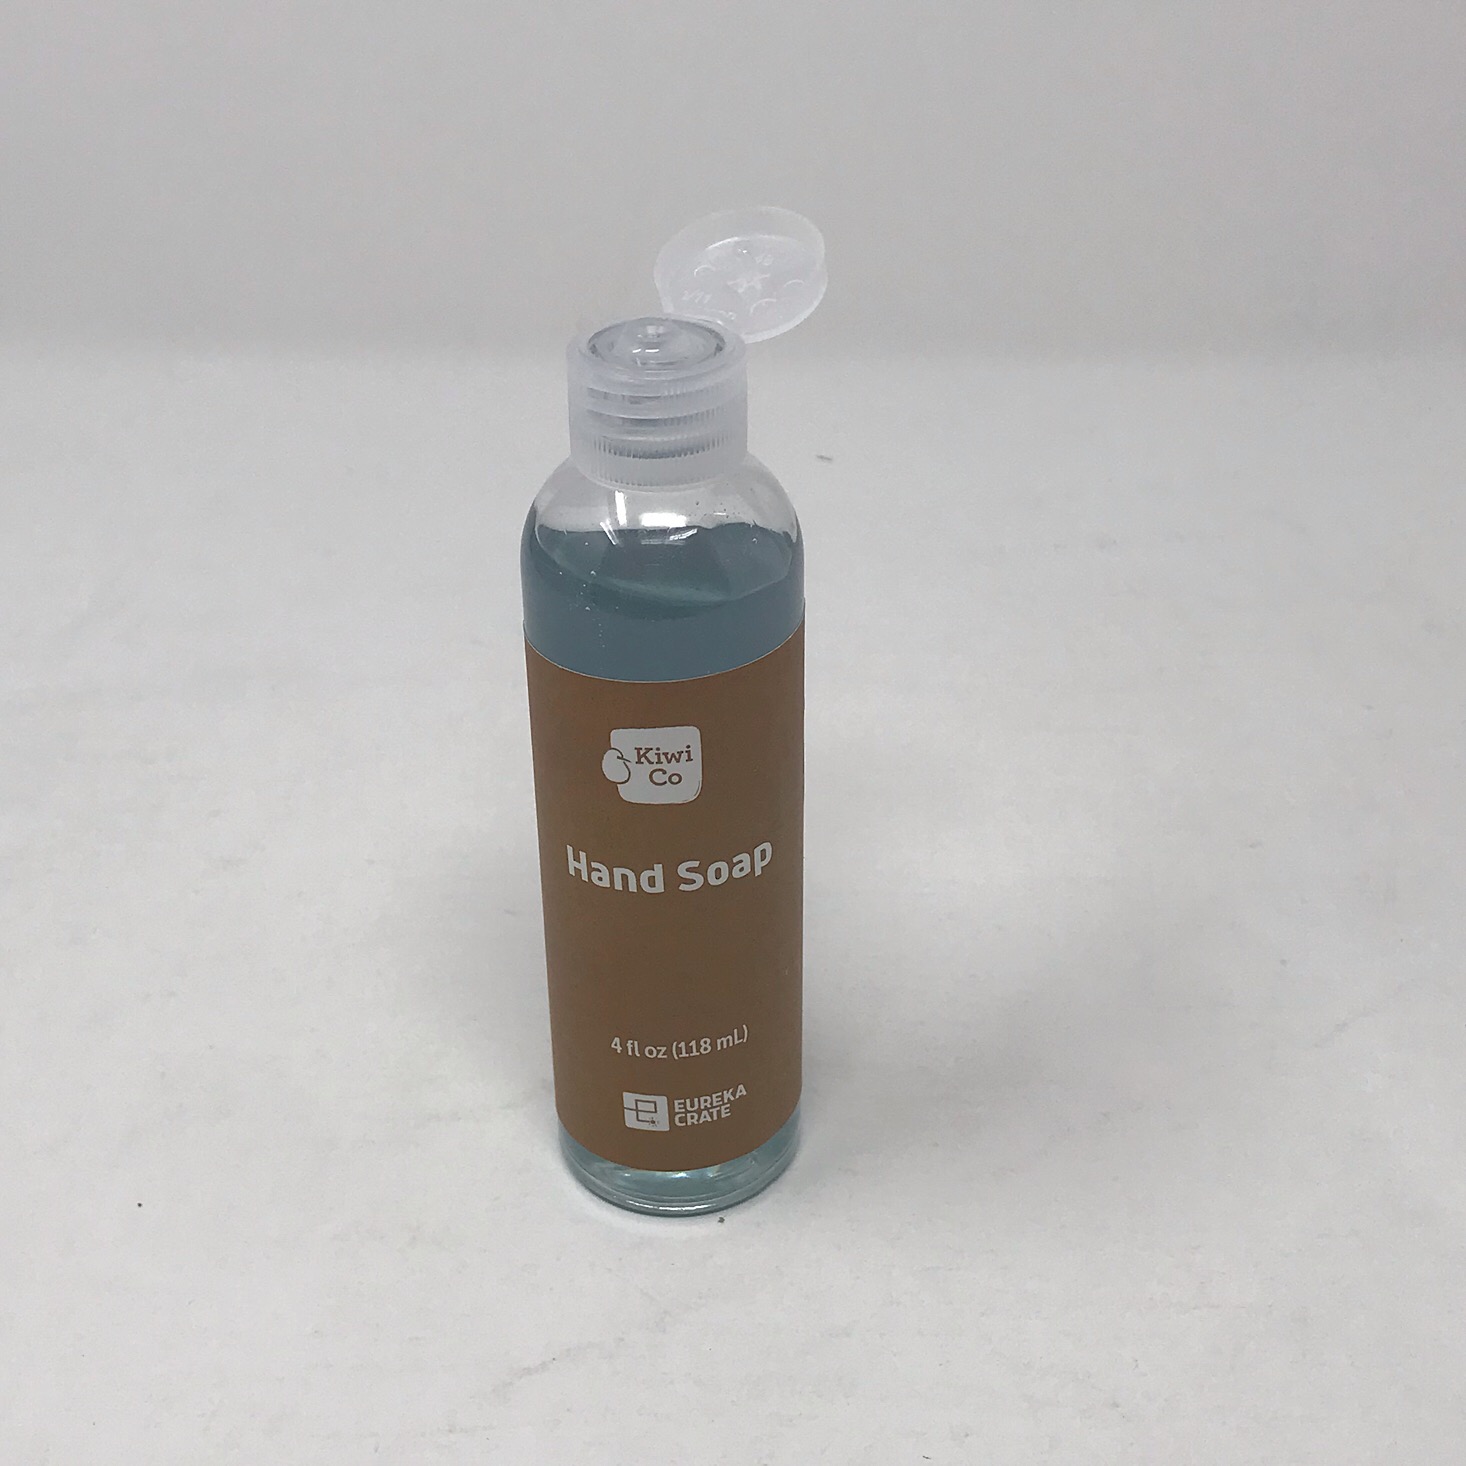
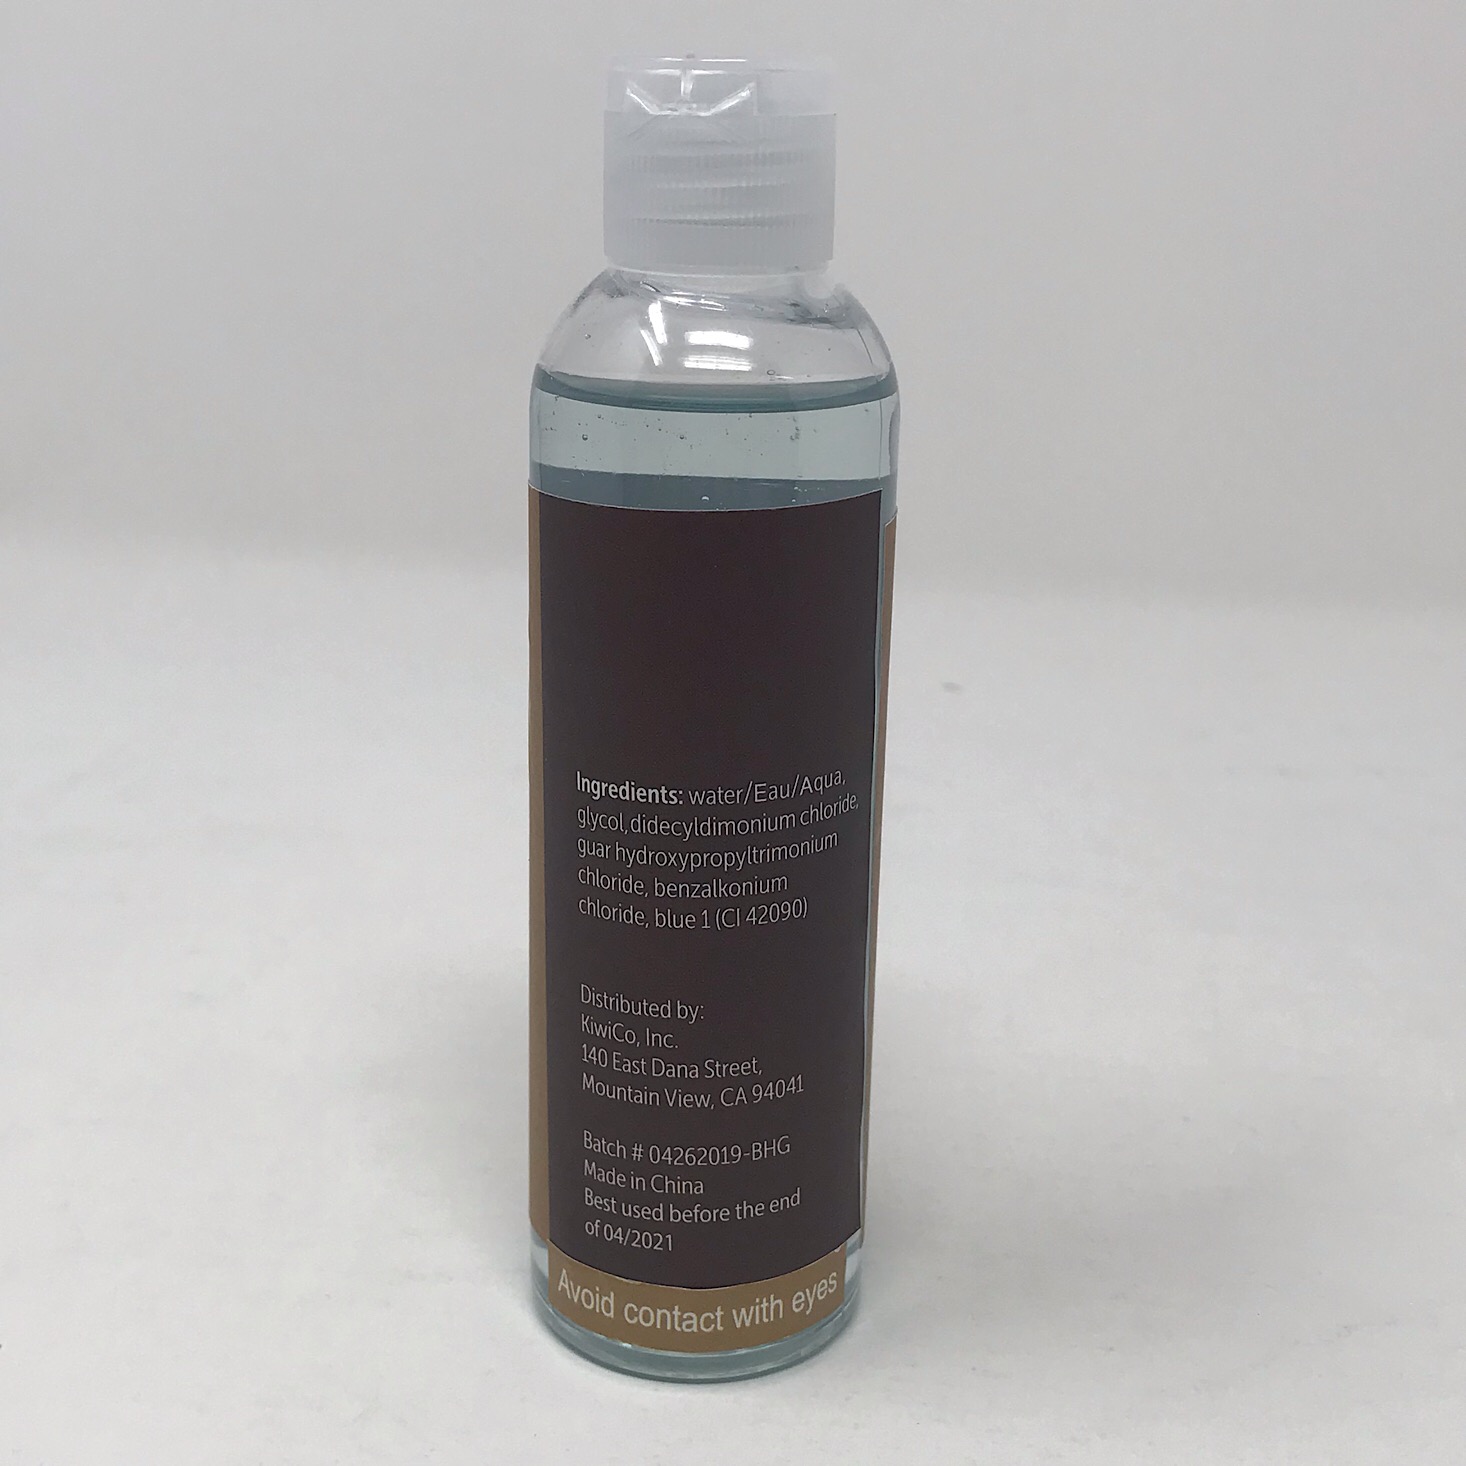
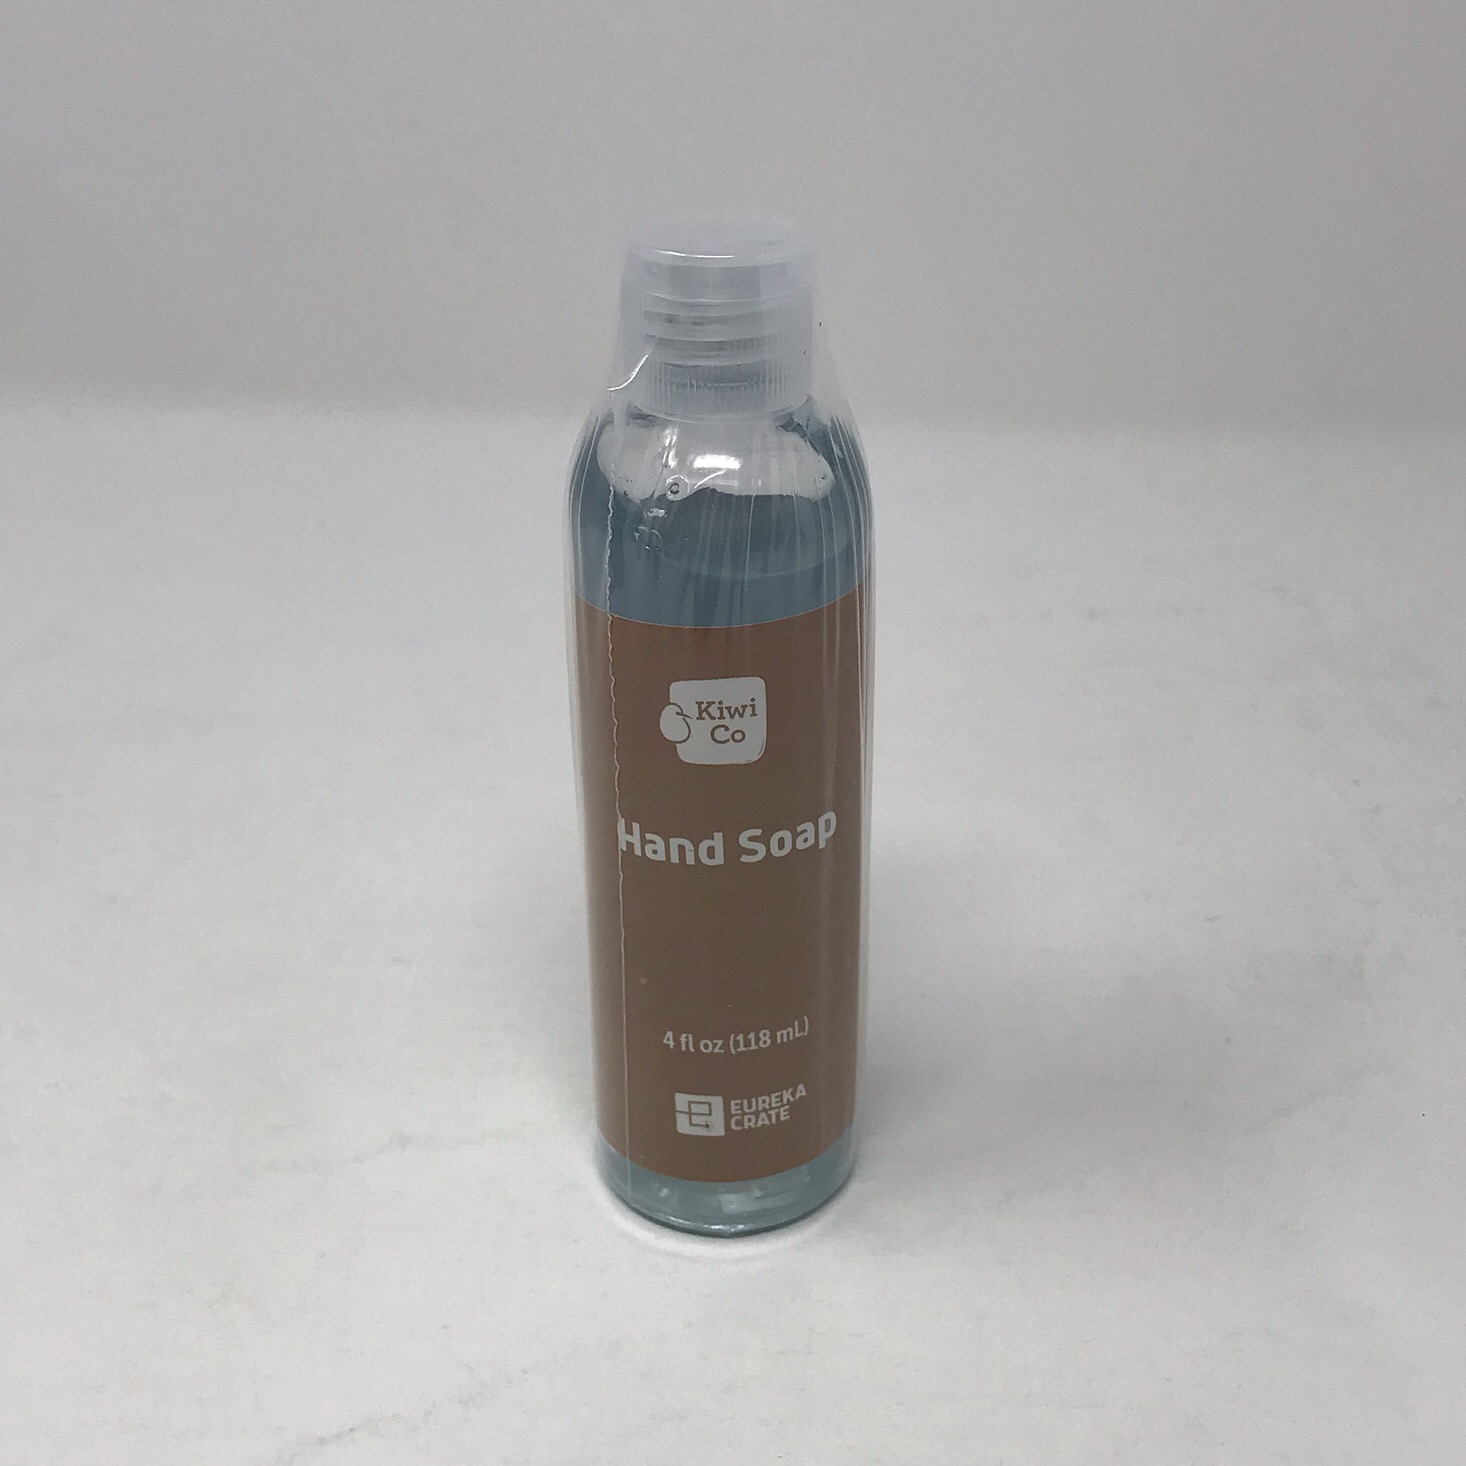
They even provided us with our own bottle of soap. This bottle is about 4 ounces and will fill our reservoir about halfway!

1 of 3
I loaded the reservoir up, replaced the lid and our soap dispenser was ready to go. You can see the little tip of the nozzle where the soap comes out just under the button.
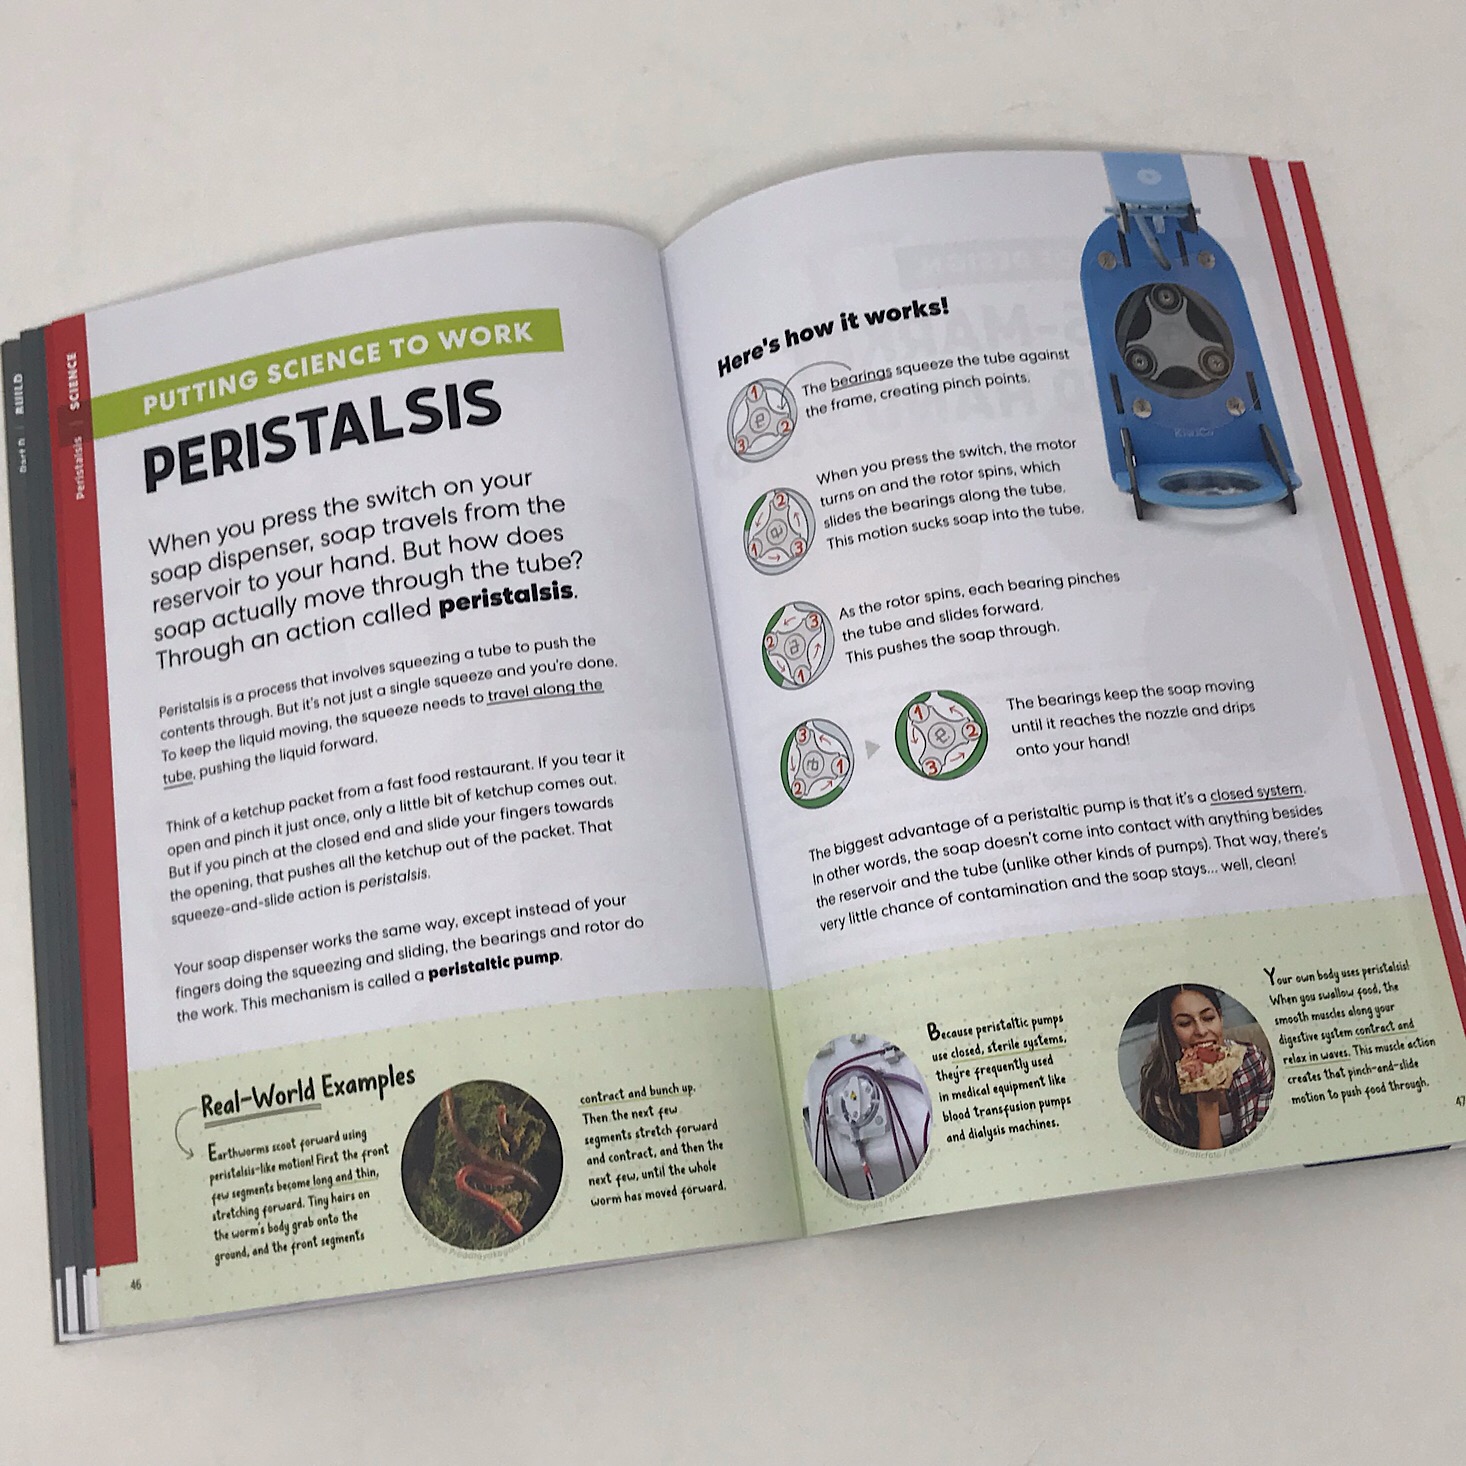
With just a gentle push of the button, our soap dispenser easily deposits soap right into your waiting hands. Soap will dispense for as long as you hold the button down. I thought it worked really well and as long as I waited until it was fully finished dispensing, I didn't notice any drips afterward. It was pretty cool to watch the rotor in action as it dispensed the soap!

1 of 2
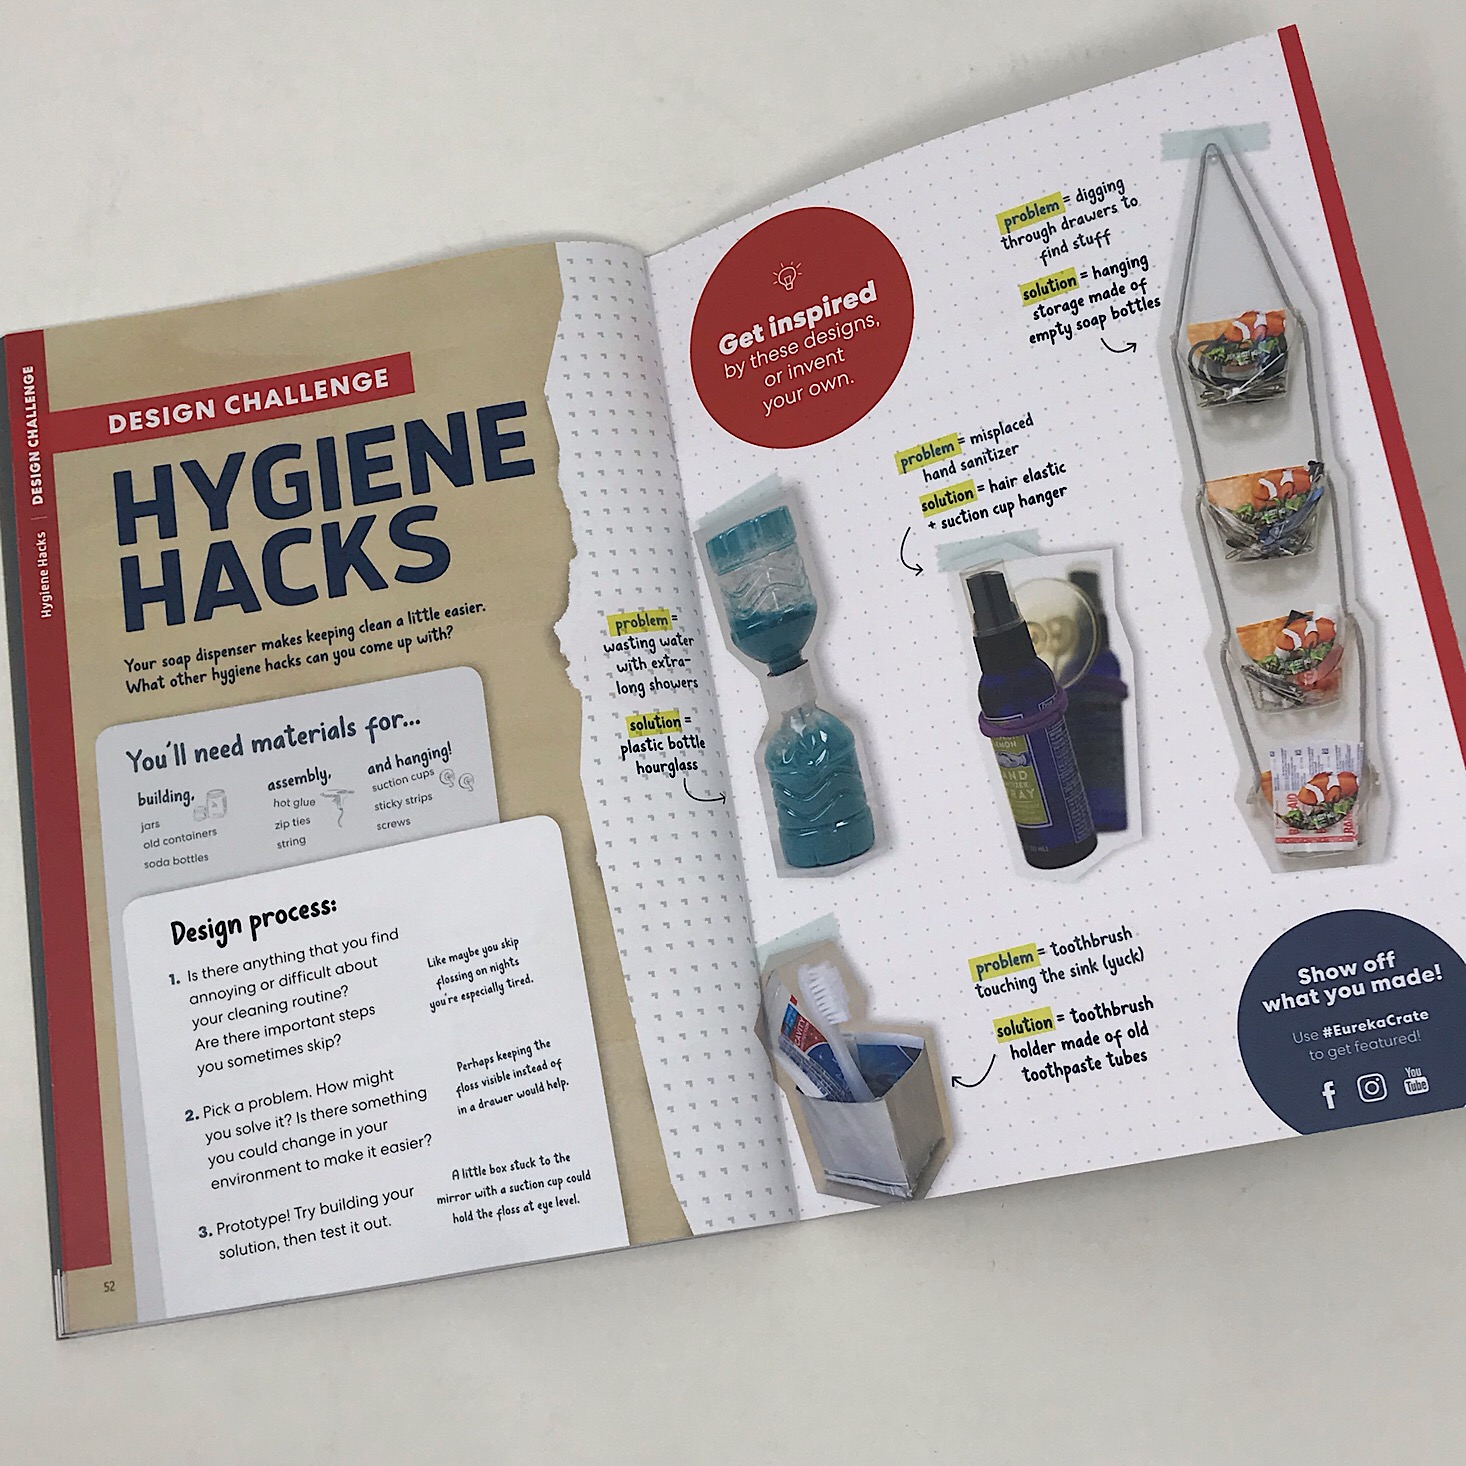
In our booklet, there was a design challenge section which is always a great extension of the project. They also included a few little sticky strips for us to use in case our dispenser does start dripping.
Verdict: This was another cool project from Eureka Crate! It seems that they oscillate each month between more of a playful project like last month's pinball machine and more practical projects like this month's soap dispenser. I think it definitely keeps things interesting and each month it is exciting to see what they come up with and it's always neat to learn about their design process! Their designs are always so well thought out and everything is organized and the directions are clear and easy to follow making these projects much more simple than they could be. I always feel like it is a great value for the $29.95 + free shipping cost of this box!
To Wrap Up:
Can you still get this box if you sign up today? It is possible you might get this crate, but it is not a guarantee. From KiwiCo:
Crates are assigned each month based on availability and your crate history - not all subscribers receive the same theme each month.
Check out all of our KiwiCo reviews and the best boxes for teens!
Keep Track of Your Subscriptions: Add this box to your subscription list or wishlist!
What do you think of Eureka Crate?

Please do not enter your email address in the Name field or in the comment content. Your email address will not be published. Required fields are marked *. Remember to post with kindness and respect. Comments with offensive language, cruelness to others, etc will not be approved. See our full comment policy here.