

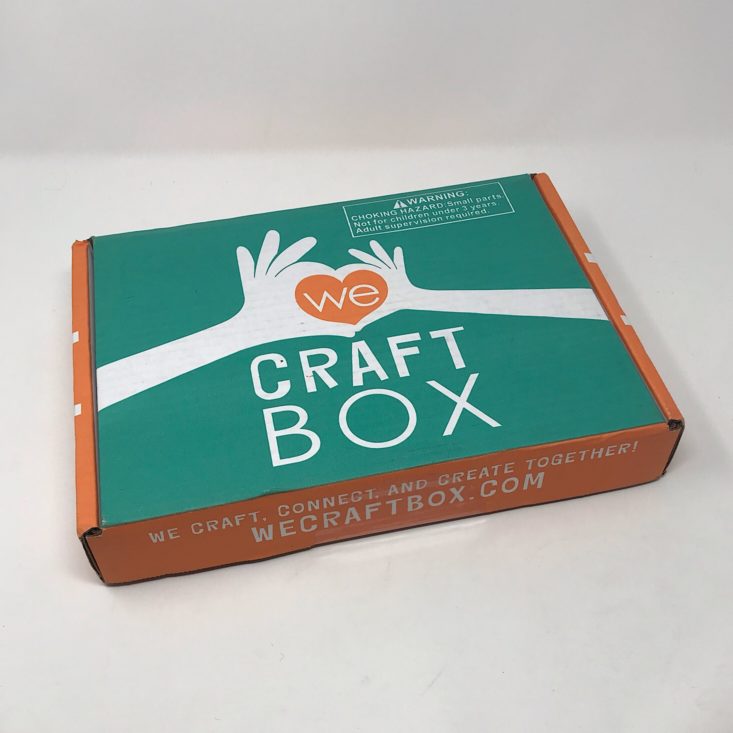
We Craft Box is a subscription box for children ages 3-9 that delivers crafts to your door without all of the stress. It arrives every month with all the materials and instructions needed to complete 2-3 crafts based on a themed story. There are enough materials that a parent or sibling can also join in on the creativity.

This box was sent to us at no cost for review. (Check out the review process post to learn more about how we review boxes).
About We Craft Box
The Subscription Box: We Craft Box
The Cost: $29.99 per month + free shipping. Save with longer subscriptions.
The Products: 2-3 prepared seasonal crafts including photo instructions and enough materials for two children to share.
Ships to: the U.S.
We Craft Box June 2019 Review

1 of 4

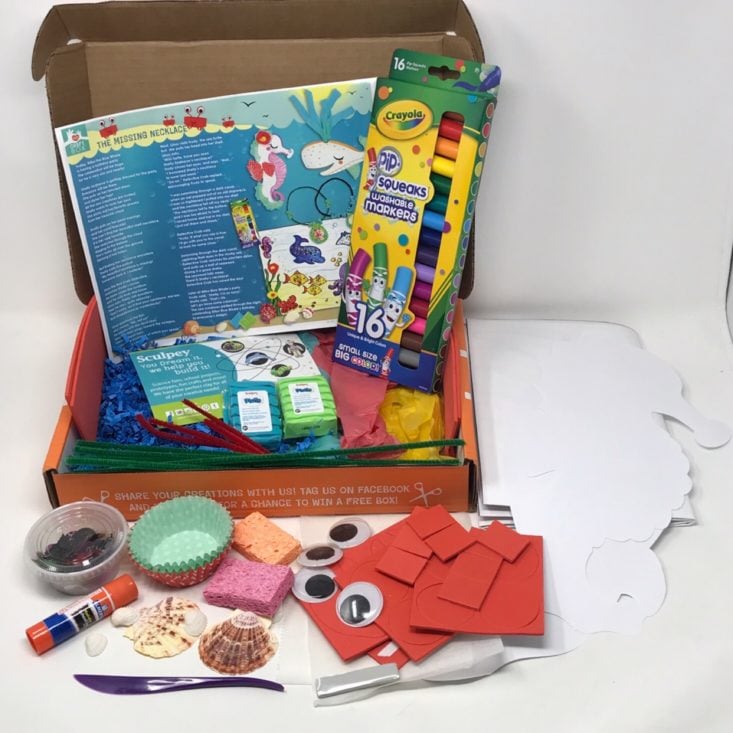
In each box, your project instructions and story will arrive on this pamphlet complete with colored photos. They also include some information on sharing your creations on social media for a chance to win a free box. Our story this month is about the missing necklace of a fancy seahorse named Shelly. The stories are a great way to get some added engagement from the kids each month!


1 of 4


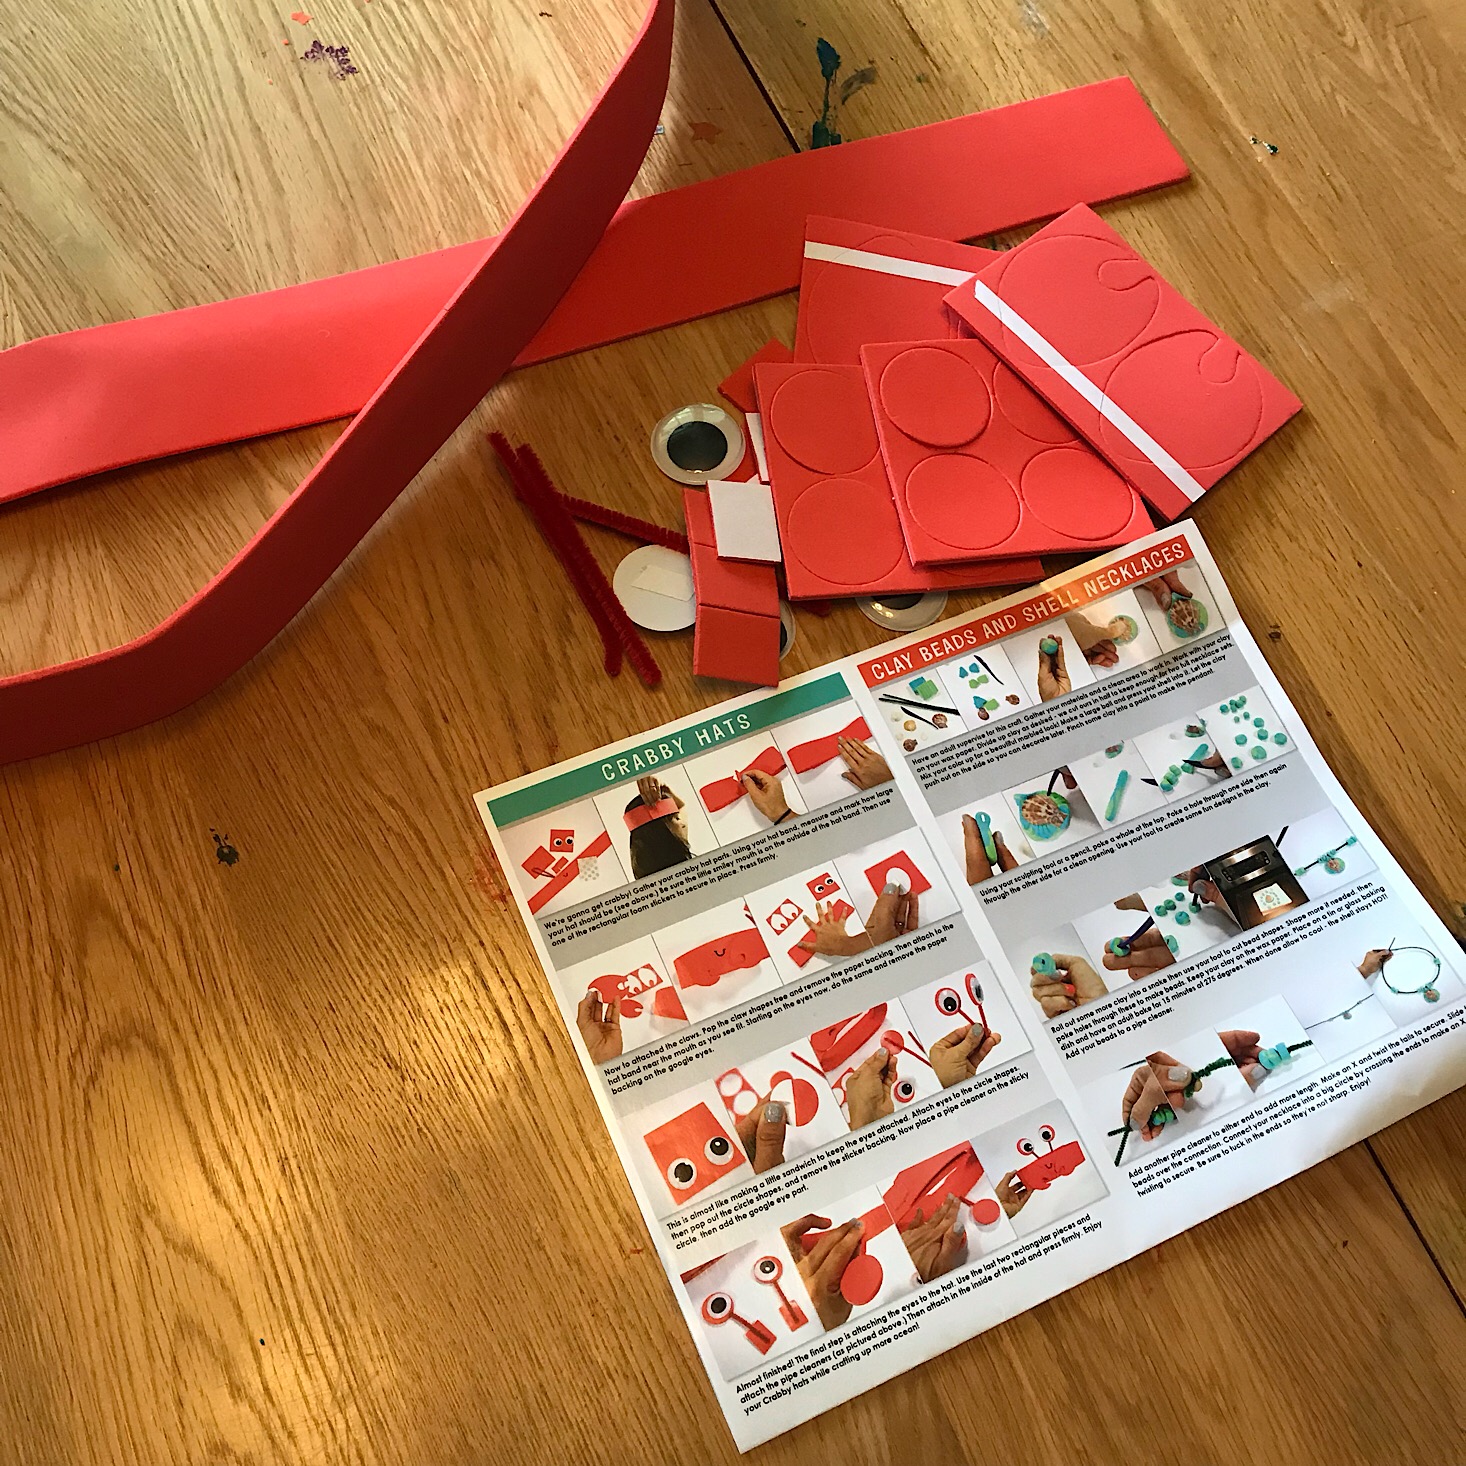
Crab Headband Kit - Retail Value $8.79
Our first project was to make our crabby hats which the kids were really excited about! This is a pre-made kit, but I think that's okay since it felt more like something to get us in the sea creature mood before we began our other projects!

1 of 5


First, I used the bands to measure the kids' heads and then secured them at the right length with a red foam sticker. Then they peeled the backing off of the adhesive on the claws and placed them on the front of their headbands.

1 of 6


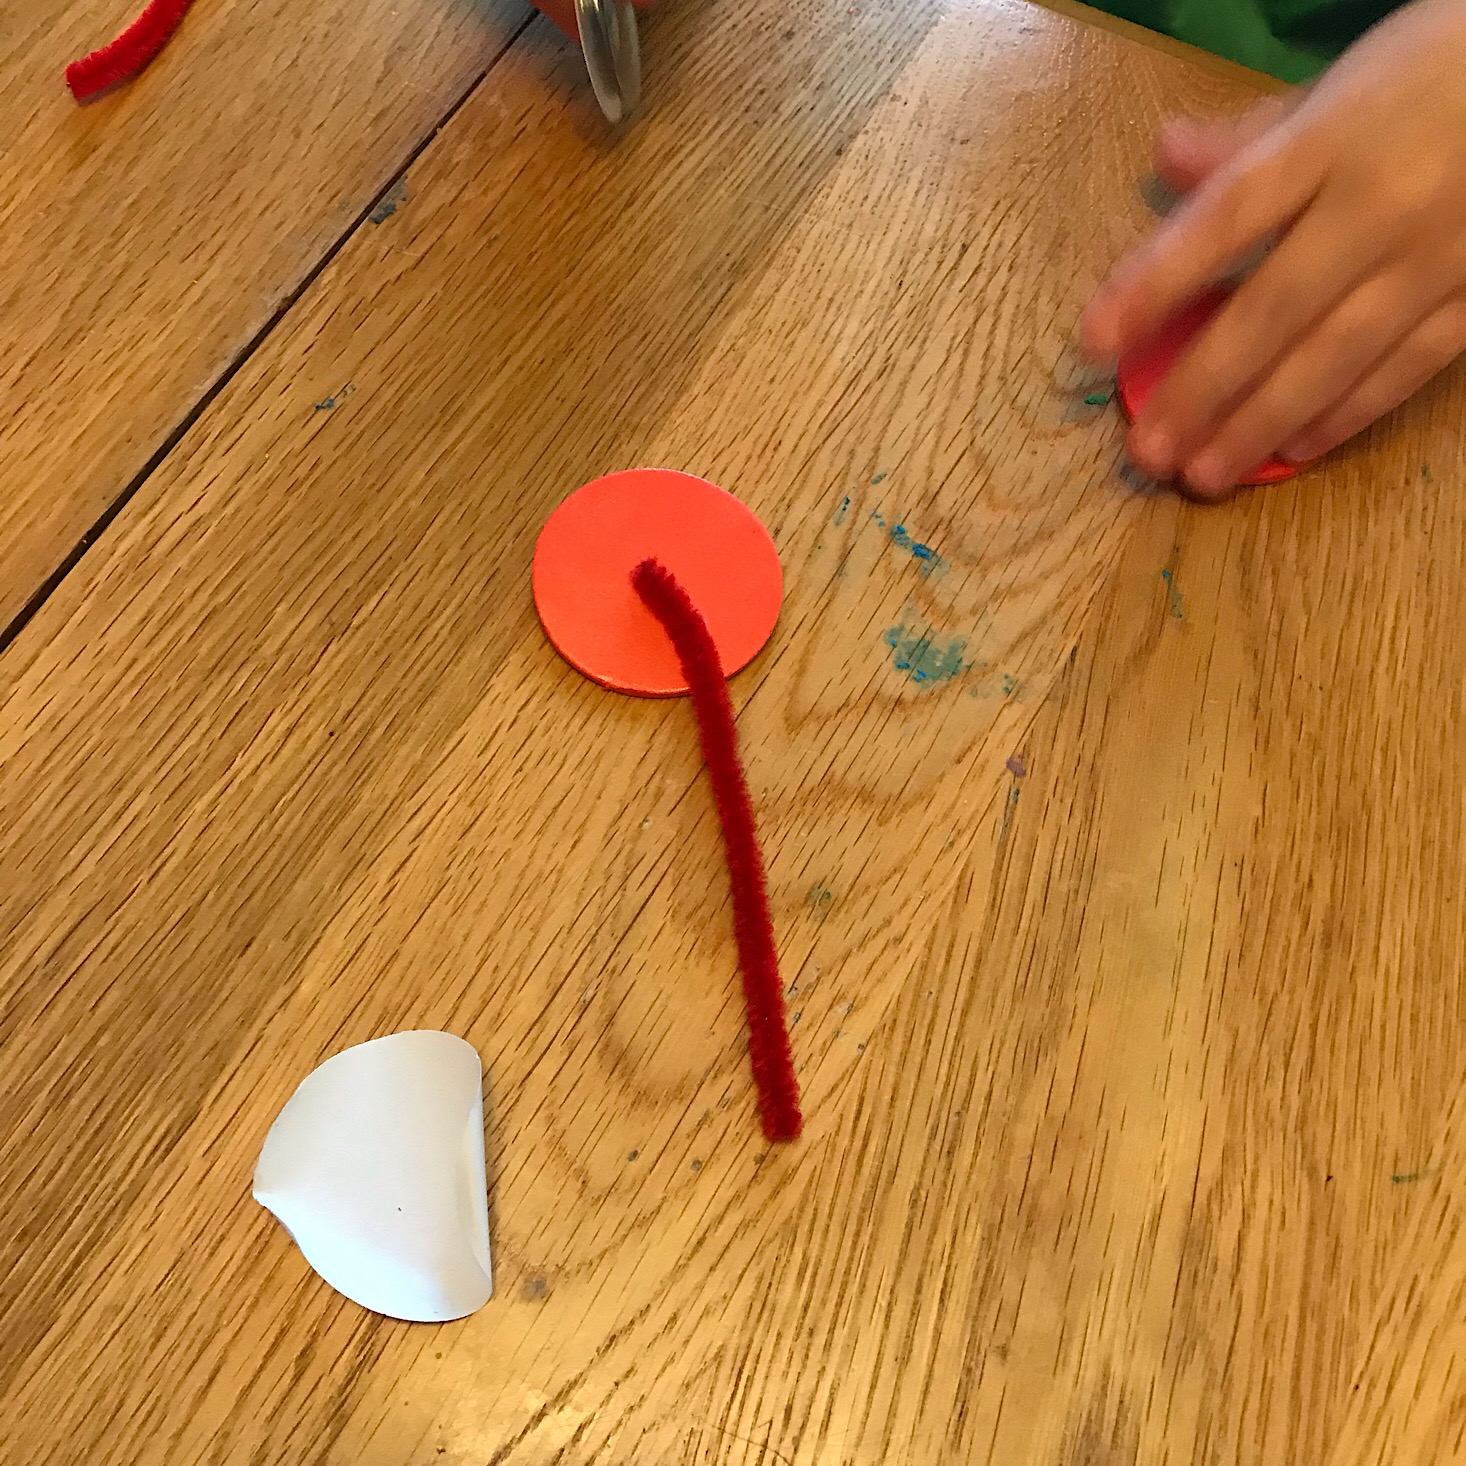
Next up we had to assemble our eyes. We sandwiched the small red pipe cleaners in between two foam circles and then added a large googly eye to the front of each. Then we secured those to the inside of our headband using more red foam stickers.


1 of 3

Here are our crabby hats, as they call them. They loved having these and pretending to be little crabs.

1 of 5
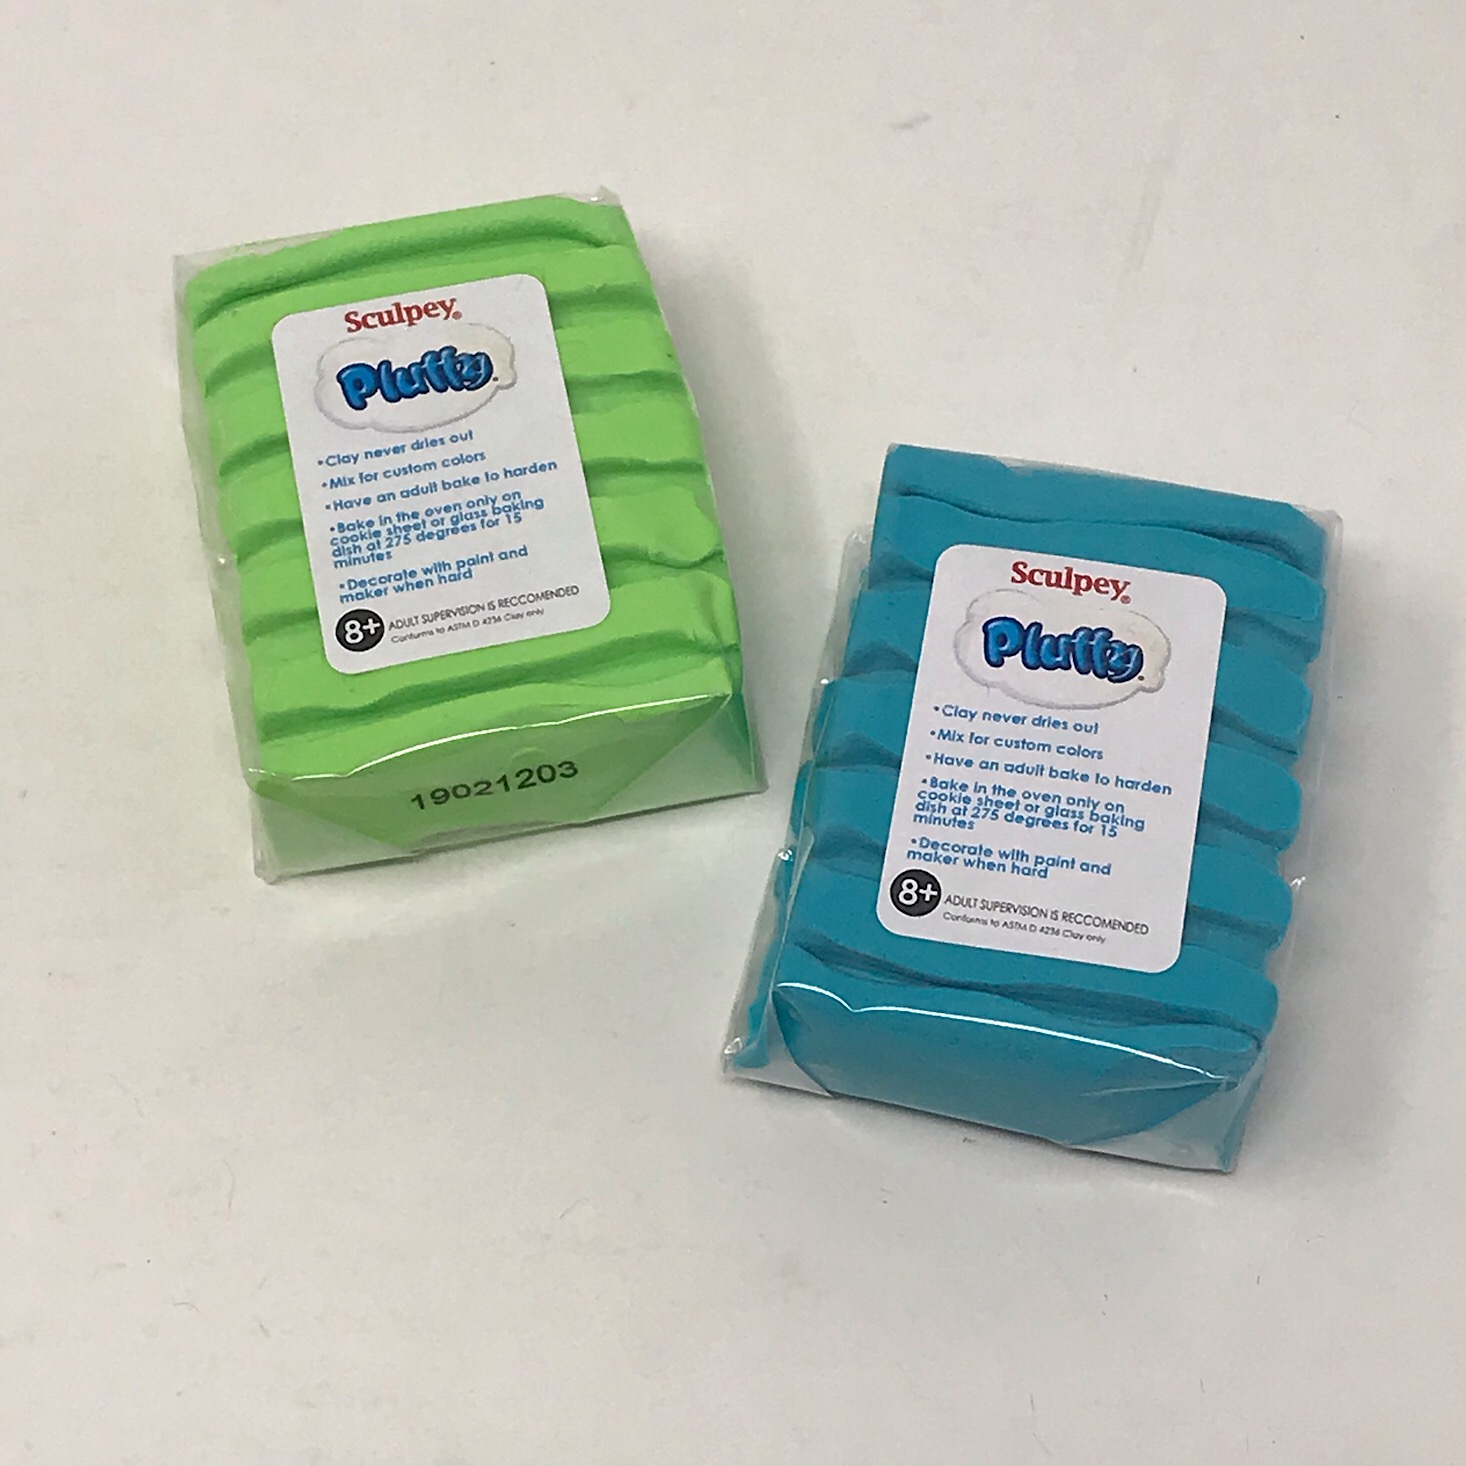


Sculpey Pluffy - Buy a 7 piece multipack for $9.99
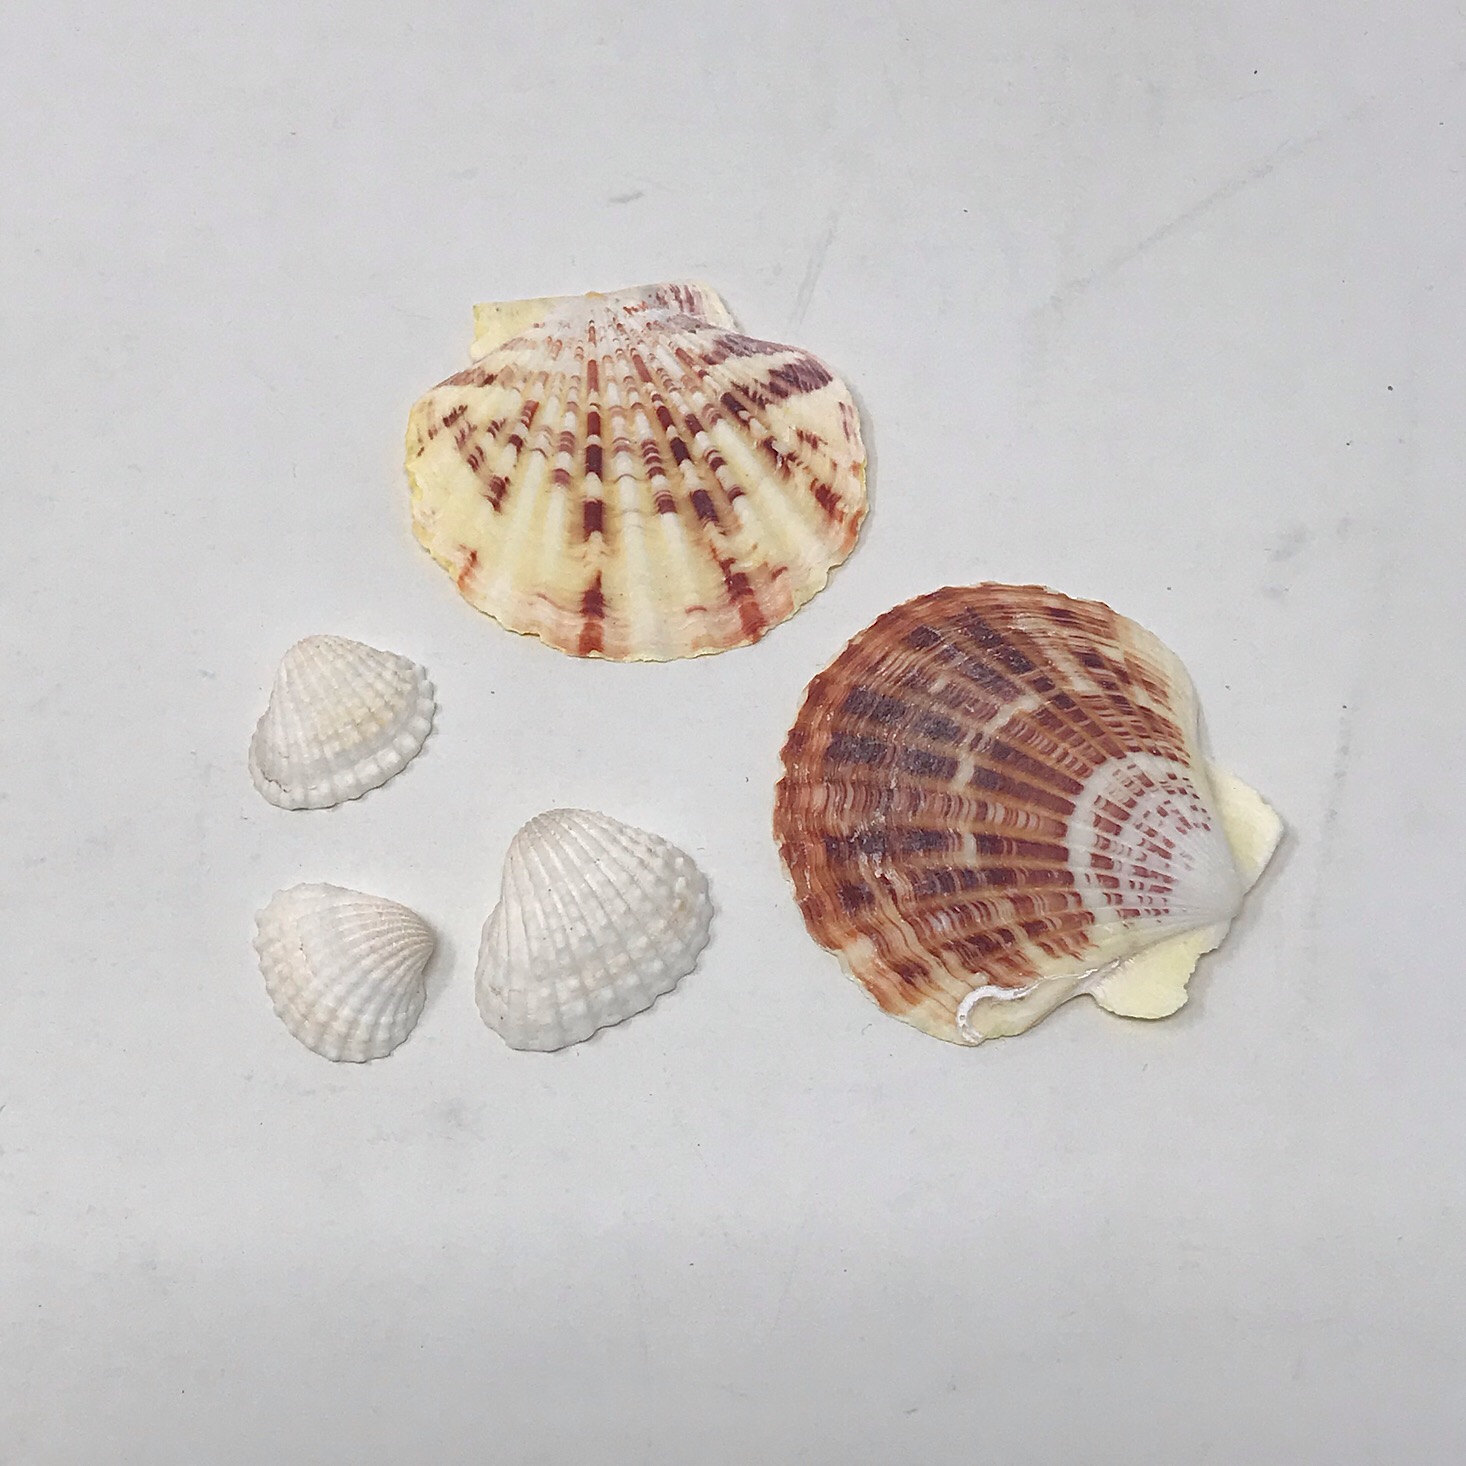
For our next project, we received a few seashells and this Pluffy oven-bake clay set for us to use to make some seashell necklaces. They provided two packs in blue and green and a sculpting knife as well as a coupon for their site. This clay was really light and easy to work with and apparently, it never dries out, which is awesome since you can easily save any leftover clay.


1 of 4


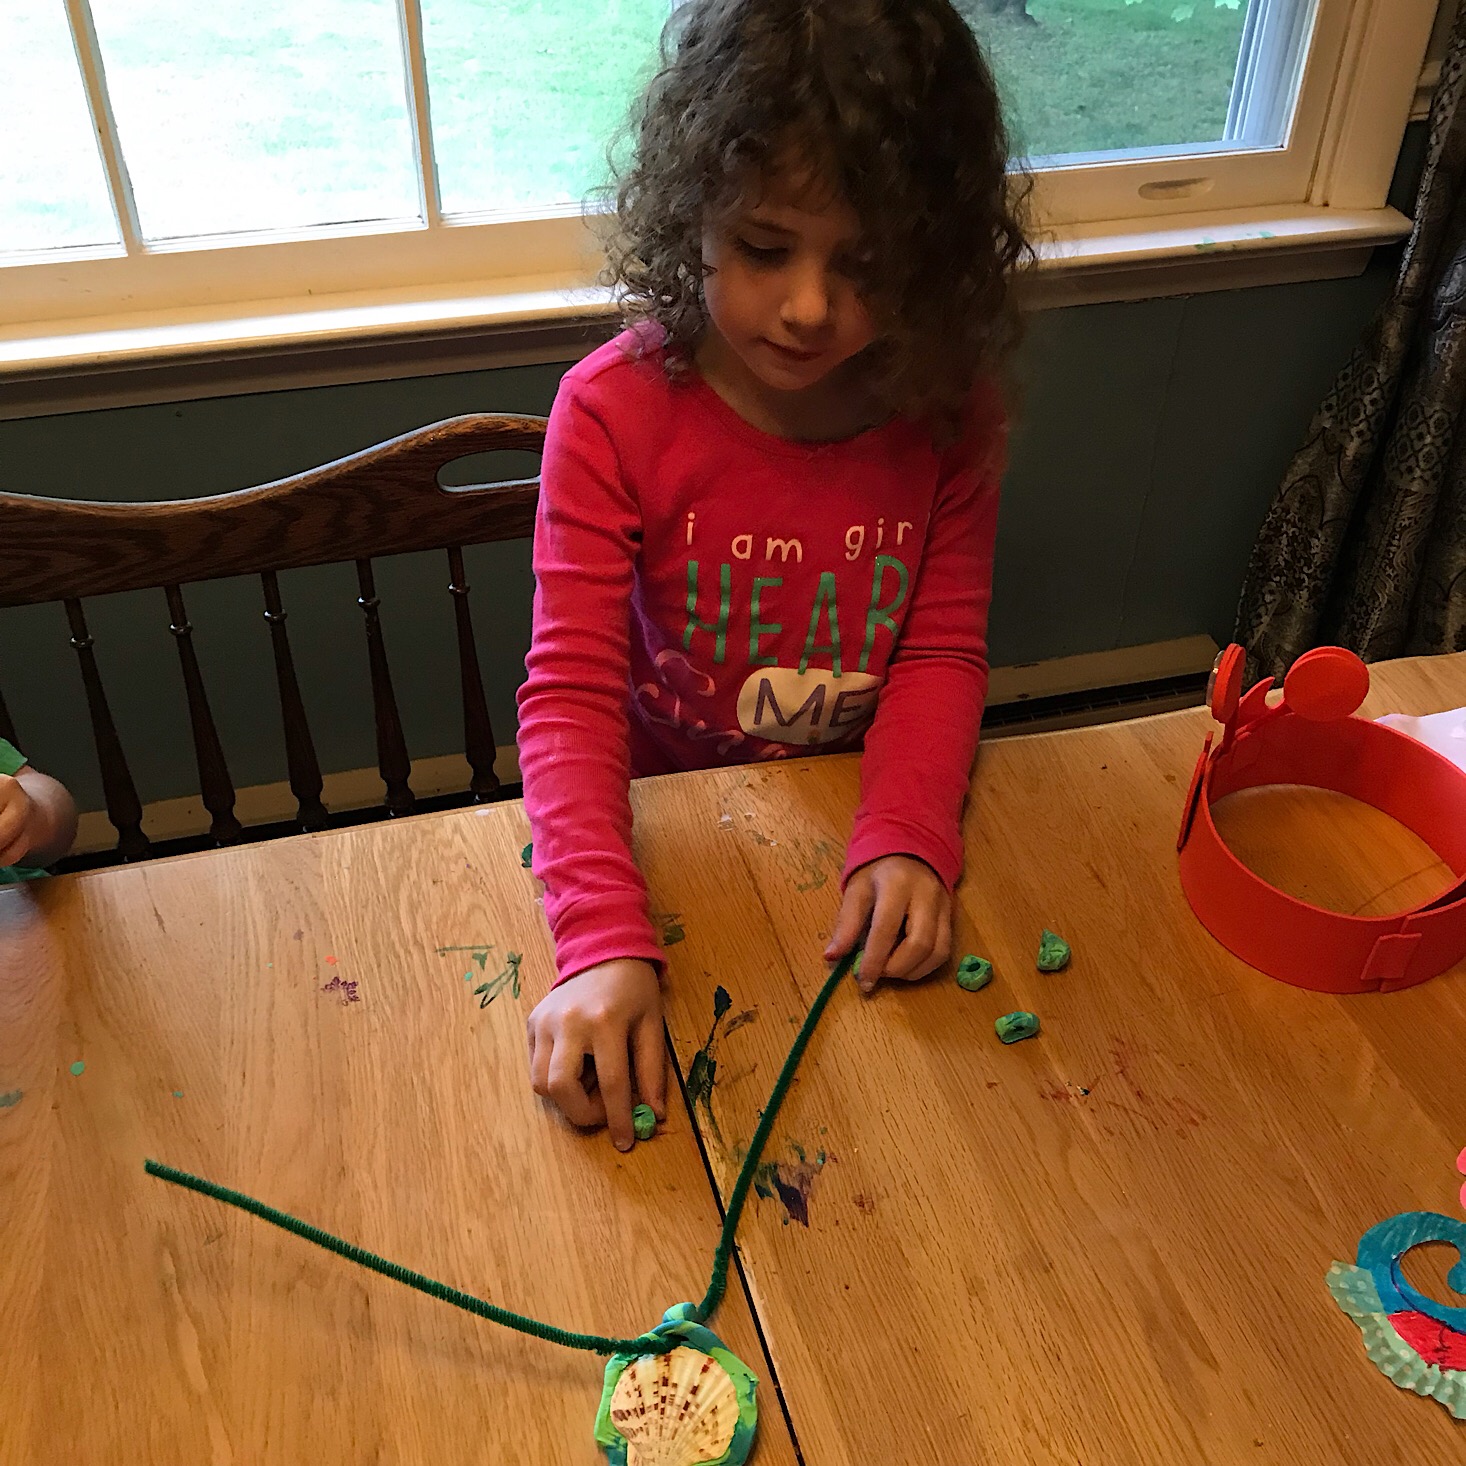
Our first step was to mix our clay together to try to get a marbling effect. Then we made a large ball and used the large seashell to flatten it out to form our main pendant. We made sure the clay came out around the edges of the shell and then used the sculpting knife to add some details and texture. In their photos, it looks like they were able to get a big hole at the top for their necklaces going sideways, but we didn't have quite enough clay in our design so I simply made a hole at the top of the shell for ours to go from front to back.


1 of 4


Next, we had to make the beads for our necklace. We rolled out a few "snakes" and then used the sculpting knife to cut off some pieces to use as beads. Then I used a straw to poke holes in the center so that they would slide onto our necklaces. Once we had our pieces I placed them on a baking tray and put them in the oven at 275 degrees for about 15 minutes.

1 of 4


Once the pieces were baked and cooled it was time to assemble the necklaces. They provided several green pipe cleaners and in order to make a long enough necklace, I twisted two of them together. The beads were still very lightweight but now they were firm and no longer moldable so they were really easy to work with.

1 of 2
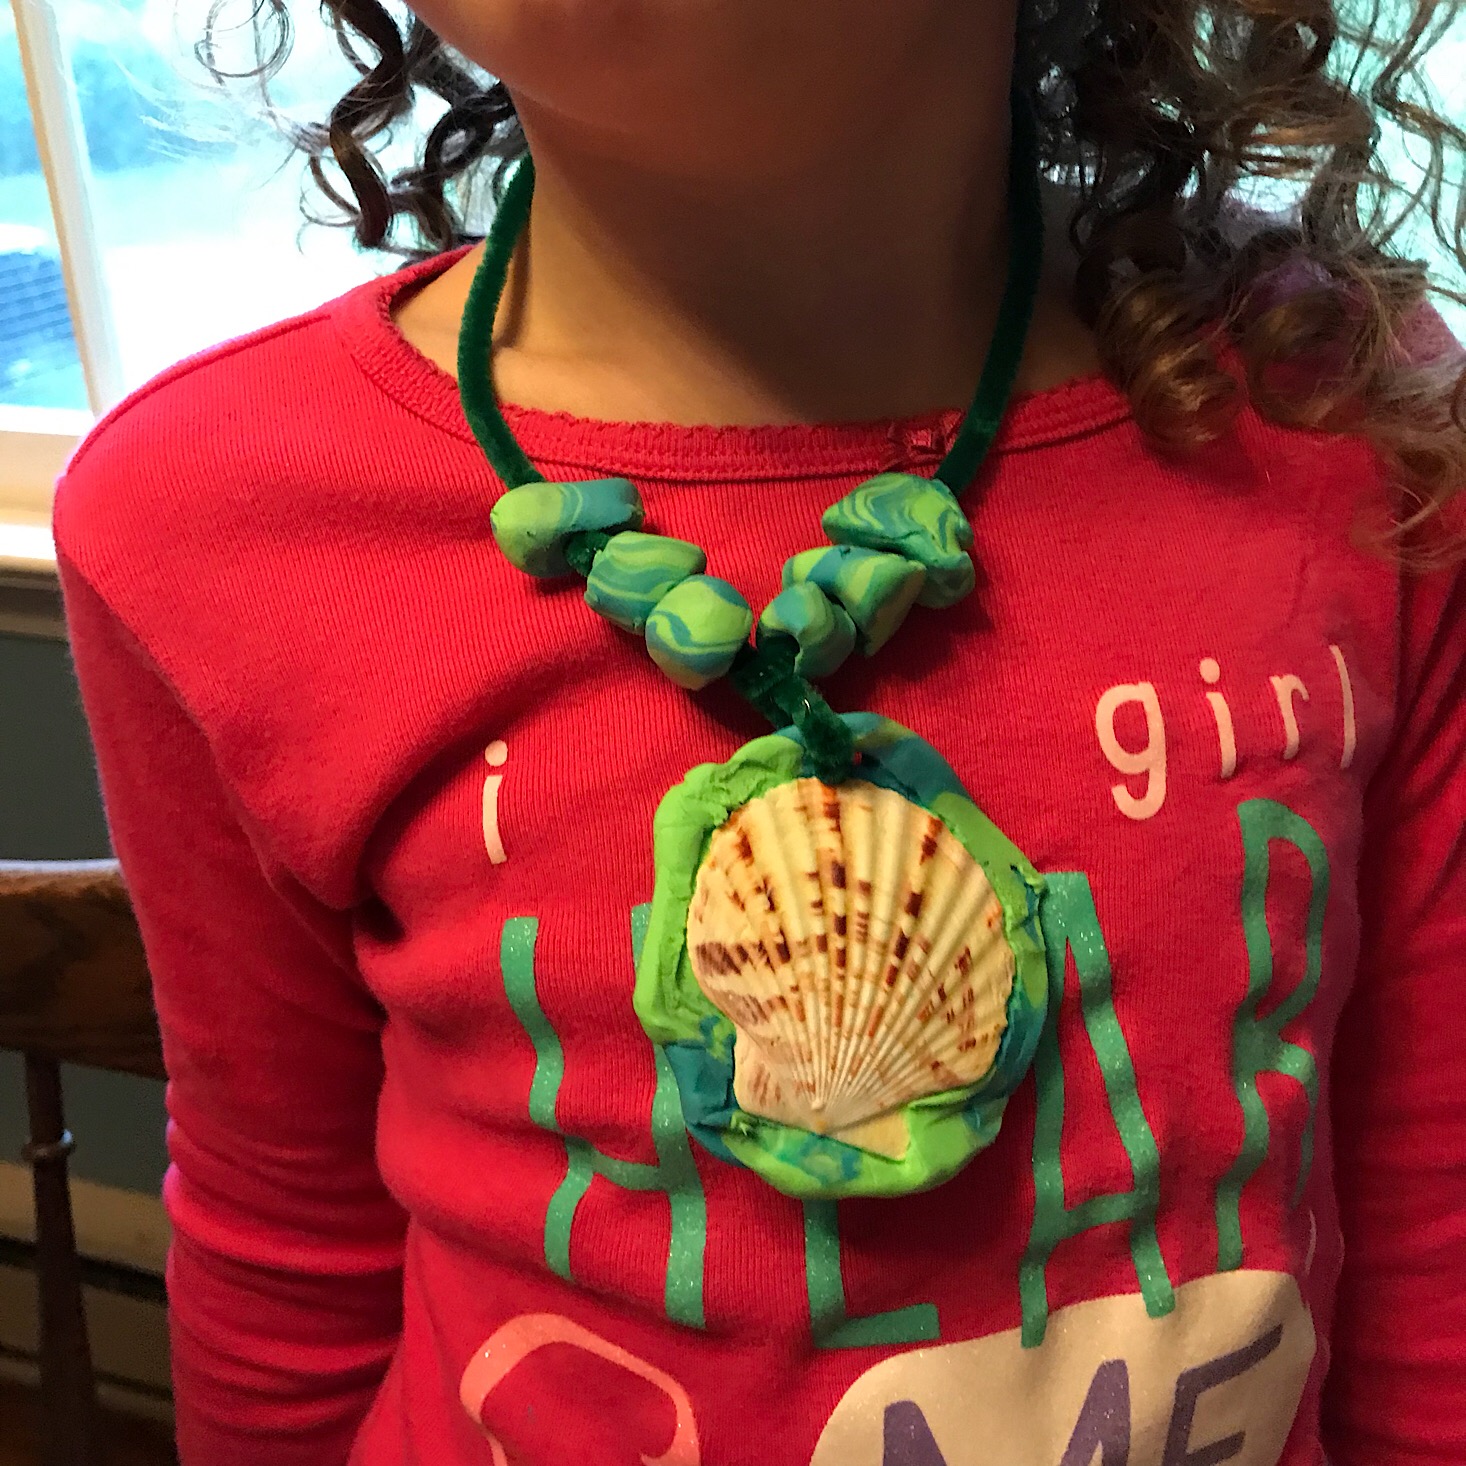
Here are our finished necklaces! This was such a simple project with some great results that the kids and I were really happy with. I'm glad to have discovered the Pluffy since it seems to be a nice material that kids can easily work with. There was no frustration at any point from either of the kids so I think it was a really age-appropriate material!


1 of 4


Elmer's Washable School Glue Stick - Buy 2 for $0.99
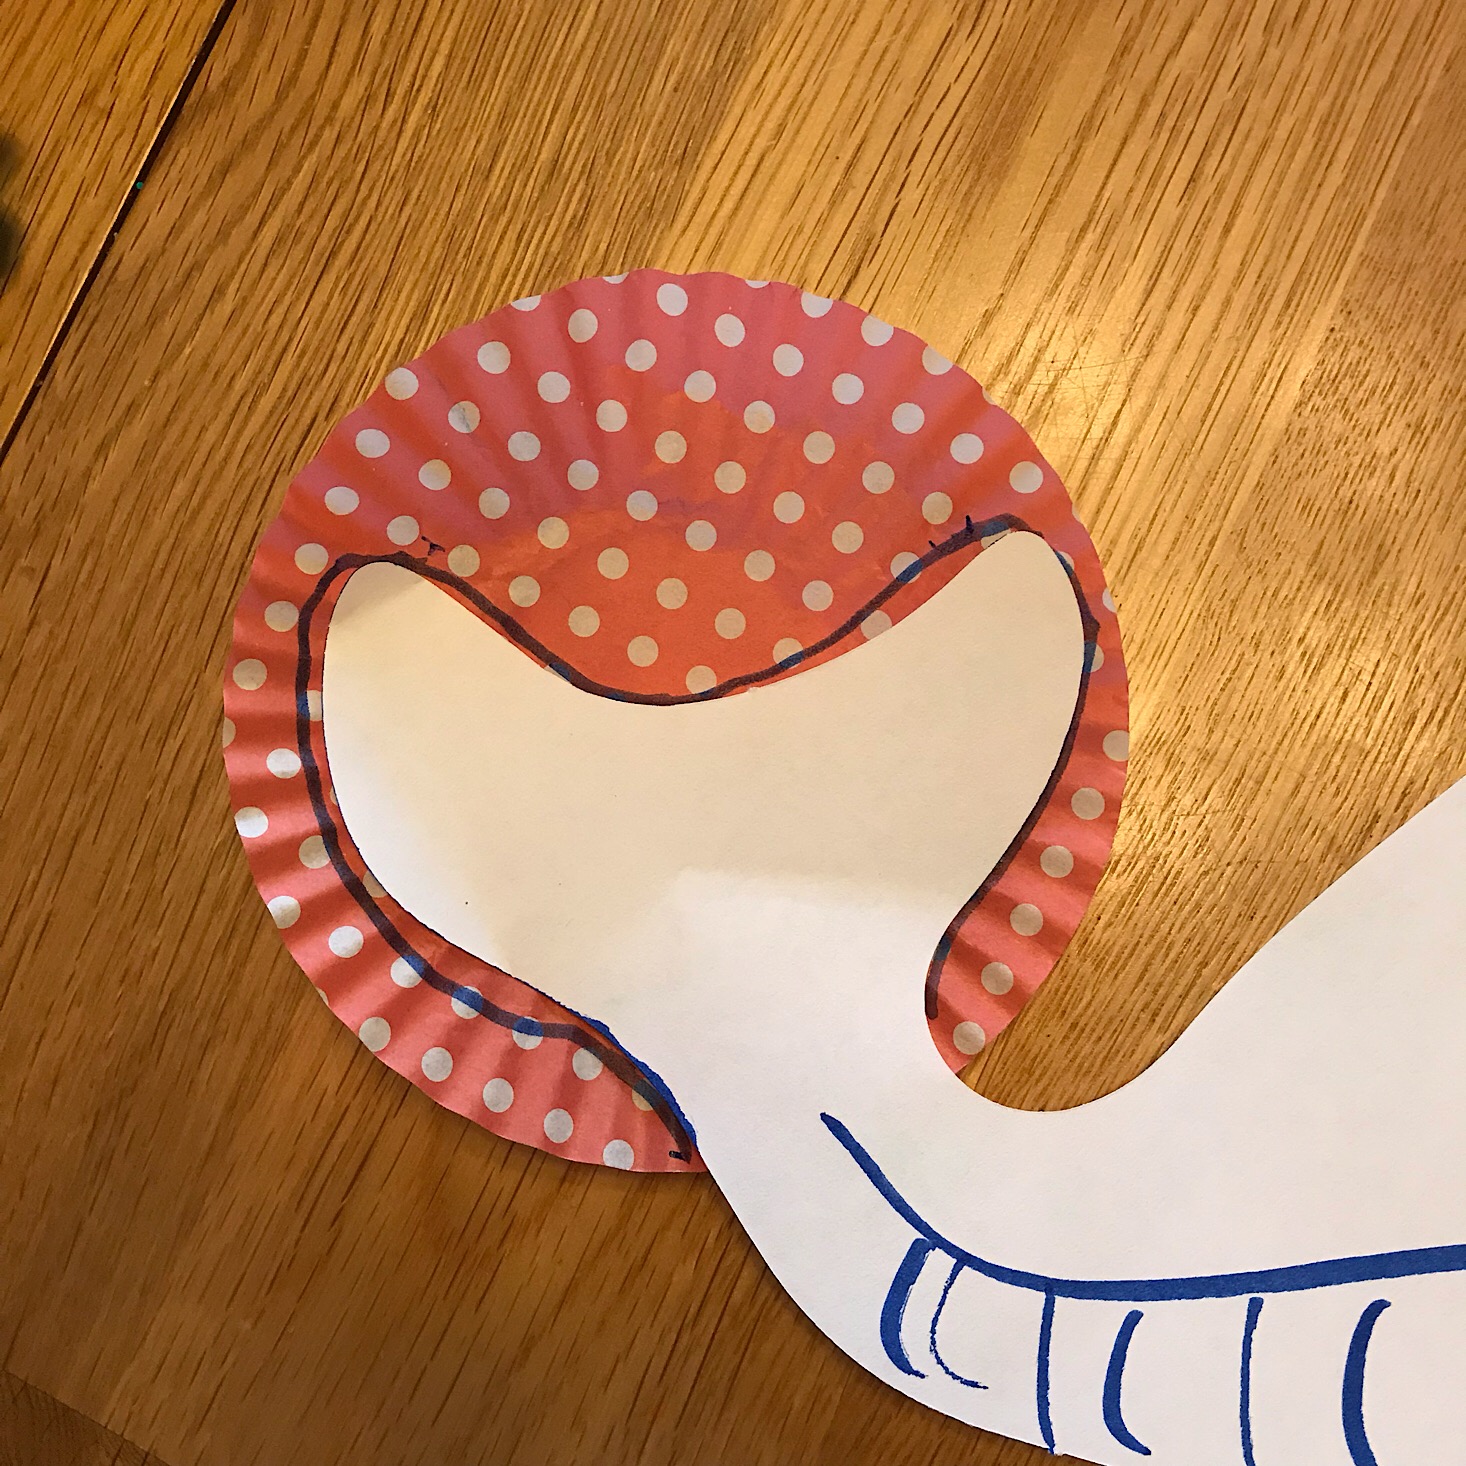
The next part of our project involved making two characters from our story, Bilbo the Whale and Shelly the Seahorse. They provided two large papers shaped like the characters, several cupcake liners, a glue stick, and some colorful tissue paper.


1 of 4


Crayola Pipsqueaks Markers 16 pack - Retail Value $3.89
They also included an entire 16 pack of these pipsqueak markers. These are great markers since they are a smaller size for little hands and they come in a lot of fun colors. They are also really vibrant and work well to add some color to your projects.


1 of 5


My son and I got to work on making Bilbo. I added the lines for his belly, marked his eye and blowhole, and then gave him to my son to color. Then I used the cupcake liner to make a colorful tail and a nice fin for him. I actually didn't follow directions and I added a flat piece to the fin first before realizing I should have used a folded liner for a more 3D decorative effect, but it was an easy fix.


1 of 5


Then I cut out the area for his blowhole and used a piece of tissue paper to create a spout of water. I tried using the glue at first, but since we had some extra foam rectangle stickers from our hats I used one of those to bunch them together and create a better spouting effect.

Here he is with his finished whale. He was really happy with the way it turned out!


1 of 2
My daughter was excited to make Shelly the Seahorse. I marked off where her belly went and then drew a few lines to demonstrate before letting my daughter get to work. She drew the eye herself and was happy to add some color and designs to the body.
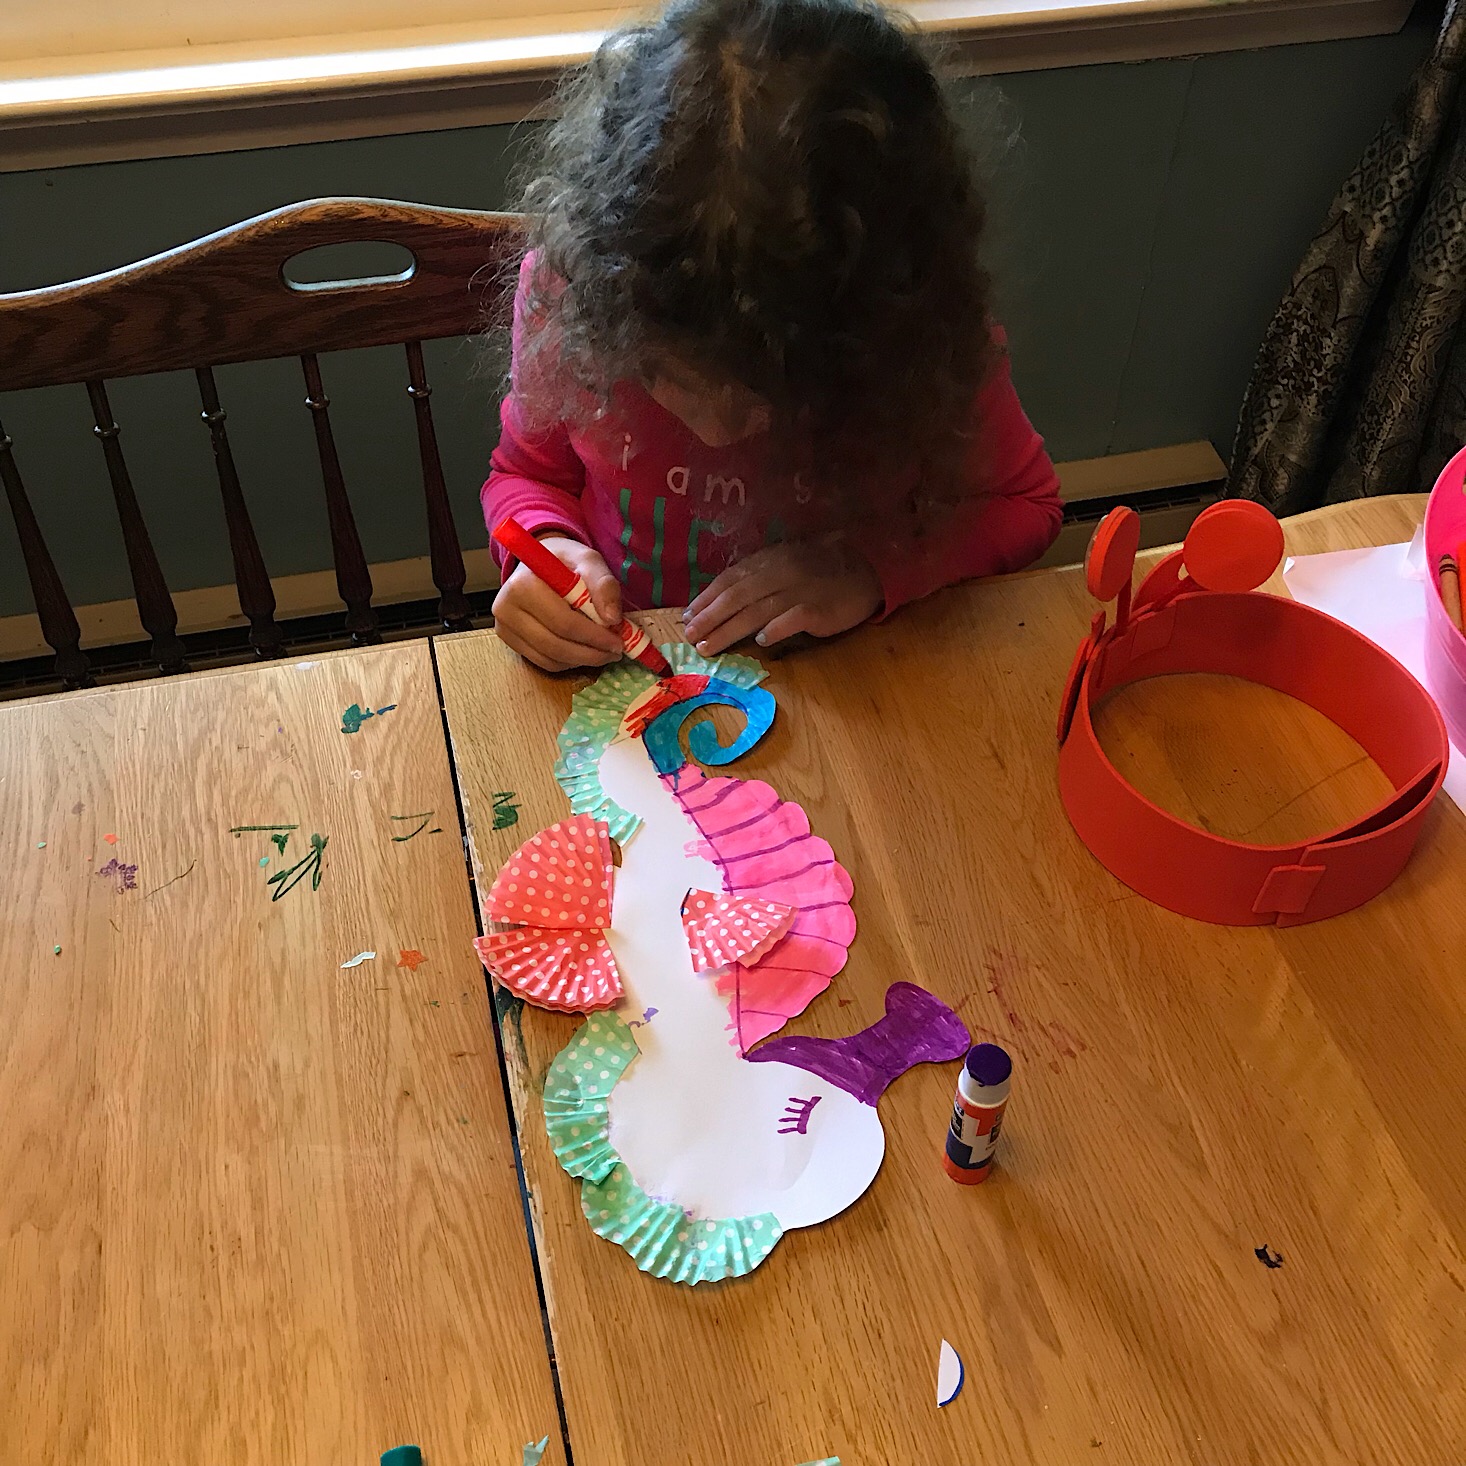

1 of 5


While she worked on coloring, I used the cupcake liners to create some flippers and the mane and tail for our seahorse. They provided directions for folding and cutting these out and the wavy texture of the liners was perfect for creating these details.


1 of 2
They also provided some very general instructions for creating a little tissue paper flower for Shelly's hair. It took me a few tries and I thought I finally had it, but when I added it to the seahorse it stuck out a bit more than I expected, but my daughter still liked the way it looked!


1 of 2
Here is her finished seahorse. She turned out really cute thanks to my daughter's beautiful coloring skills!


1 of 4


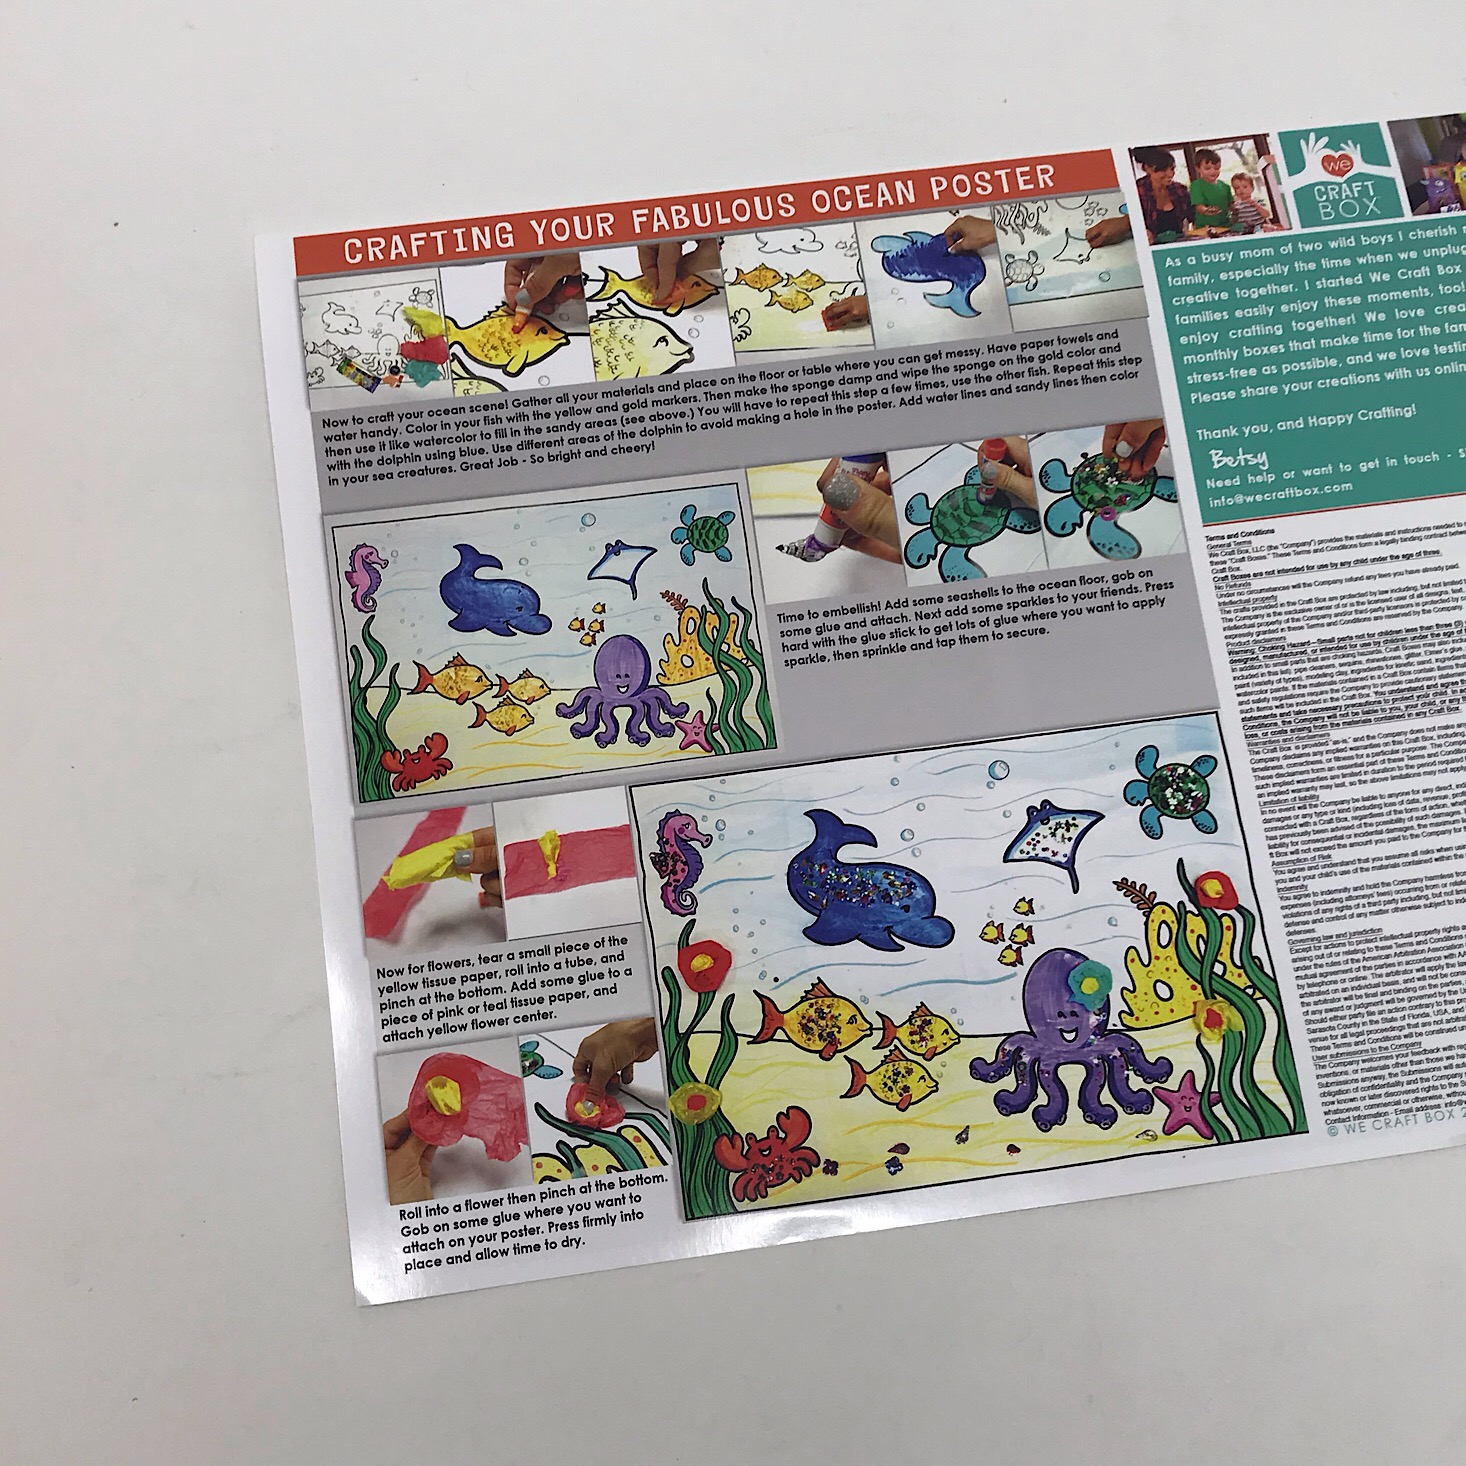
My kids were SO excited to see this huge poster in our box. They love their sea creatures and this large scene was really fun with the octopus, sea turtle, and little fishies. The idea was to color with the markers a little bit and then use the sponges and water to spread the color around our scene.


1 of 4


I demonstrated how to do with with the dolphin and since the paper was a bit glossy, it didn't work as well as I thought it would, but some of the colors transferred okay. While I easily could have controlled this activity by helping them, I decided this was a project that they would enjoy some freedom on since I had to help them with all of the others so I just sort of let them go. We ended up with a lot of water on our poster and had to give it a whole day to dry before embellishing it, but it kept them busy for a while and they had fun!

1 of 2
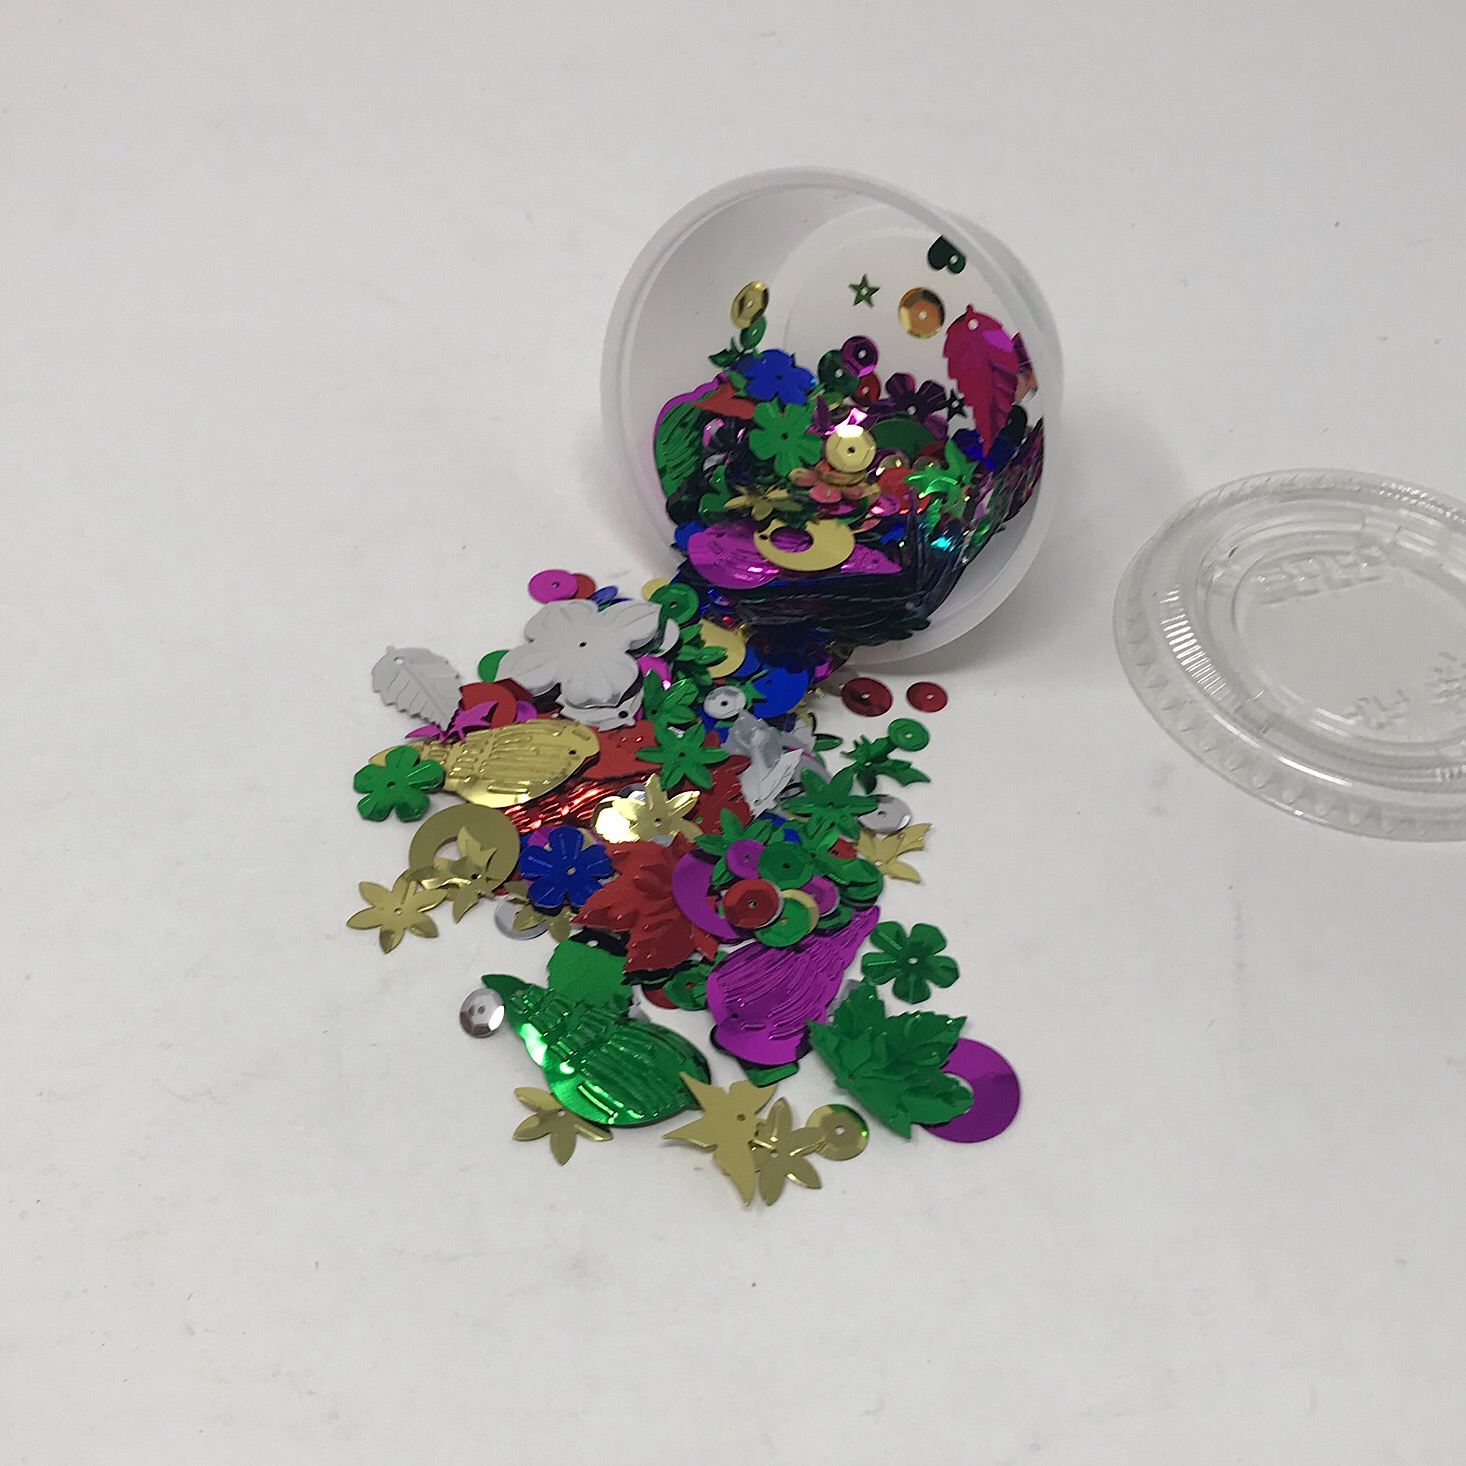
To add some embellishments, they included these fun sequins with seashells, flowers and other fun shapes.

While they recommended using the glue stick and just making sure there was a lot of glue to help the sequins stick, I just let my daughter use our bottle of liquid glue since that was a bit easier for her to work with. The only things missing here are some more tissue paper flowers that they suggested adding. Since they didn't color the entire poster, I think we might take another day to add some more color and maybe some more tissue paper since we had plenty of it leftover. I might even have them add some of the blue sizzle paper from our packing materials to the water and create more of a collage!
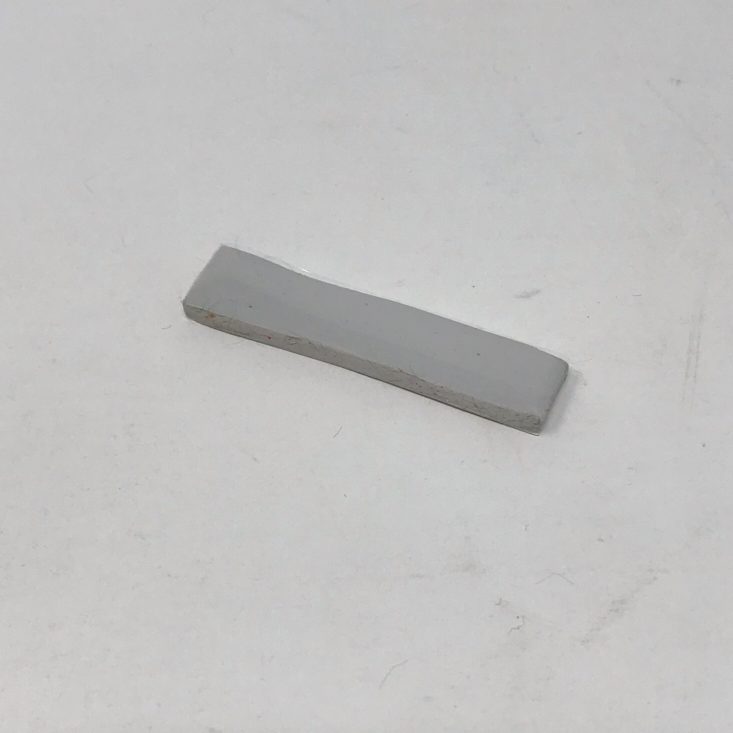
When we are finished we can use this piece of poster putty to hang it up. It was thoughtful of them to include this, too!
Verdict: I was really impressed with this month's We Craft Box! My kids were excited about every single project and I thought they included a lot of great materials for us to use such as the set of markers and the fun oven-bake clay! The giant sea poster also generated a lot of excitement and I liked that we worked with so many different mediums in just one box. The activities were also varying levels of difficulty and allowed for a lot of creativity, so I'd say for $29.99 + free shipping for this box, we had a great experience and the value was definitely there for us!
To Wrap Up:
Can you still get this box if you sign up today? No, you will receive the August box.
Boxes are shipped on the 1st of the month and the cutoff date for that box is prior to that.
Check out all of our We Craft Box reviews and the best kids subscription boxes to find more activity boxes!
Keep Track of Your Subscriptions: Add this box to your subscription list or wishlist!
What do you think of the We Craft Box for kids?
Please do not enter your email address in the Name field or in the comment content. Your email address will not be published. Required fields are marked *. Remember to post with kindness and respect. Comments with offensive language, cruelness to others, etc will not be approved. See our full comment policy here.