

Eureka Crate (from parent company KiwiCo) is a subscription box for teens and adults ages 14-104. It arrives every month with all the materials and instructions needed to create a functional, lasting object with a focus on engineering. The goal of these projects is to use science and math to solve real-world problems while inspiring the recipients to become creative innovators.
KiwiCo offers boxes for a variety of different age groups:
- Tadpole Crate for 0-36-month-olds,
- Koala Crate for 3-4-year-olds,
- Kiwi Crate for 5-8-year-olds,
- Atlas Crate for 6-11-year-olds,
- Doodle Crate and Tinker Crate for 9-16+-year-olds,
- Eureka Crate for ages 14 and up. There really is something for every age with this company.
This review is of the $29.95 a month Eureka Crate, for 14-year-olds and up.
This box was sent to us at no cost for review. (Check out the review process post to learn more about how we review boxes).
About Eureka Crate
The Subscription Box: Eureka Crate
The Cost: $29.95 per month + free shipping. Save with longer subscriptions.
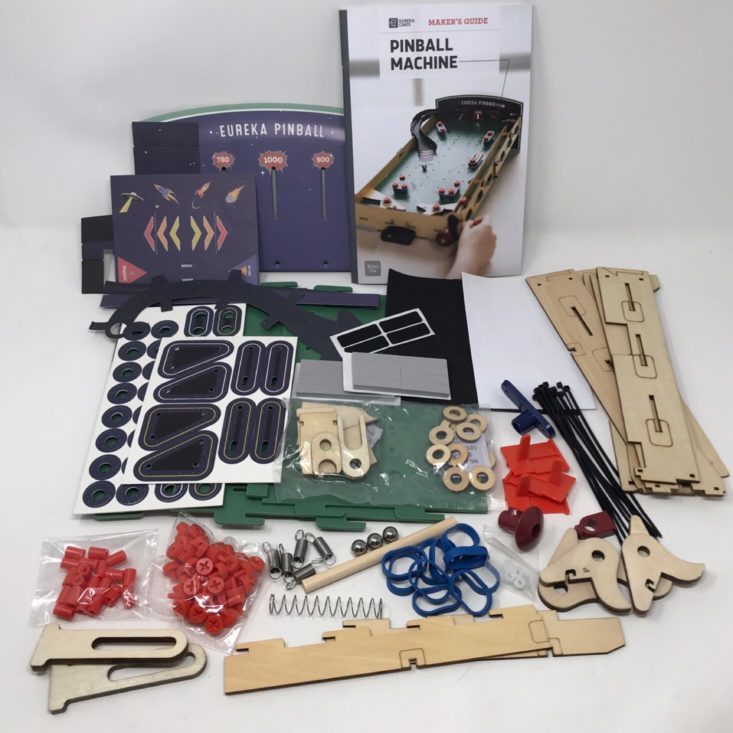
The Products: Detailed instructions and all of the high-quality materials needed to create a unique, lasting, and functional engineering project as well as a Maker's Guide that explains the science and technology behind it.
Ships to: U.S. for free, Canada for $5.95 per month, worldwide from $6.95-$7.95.
KiwiCo Eureka Crate "Pinball Machine" Review

1 of 8

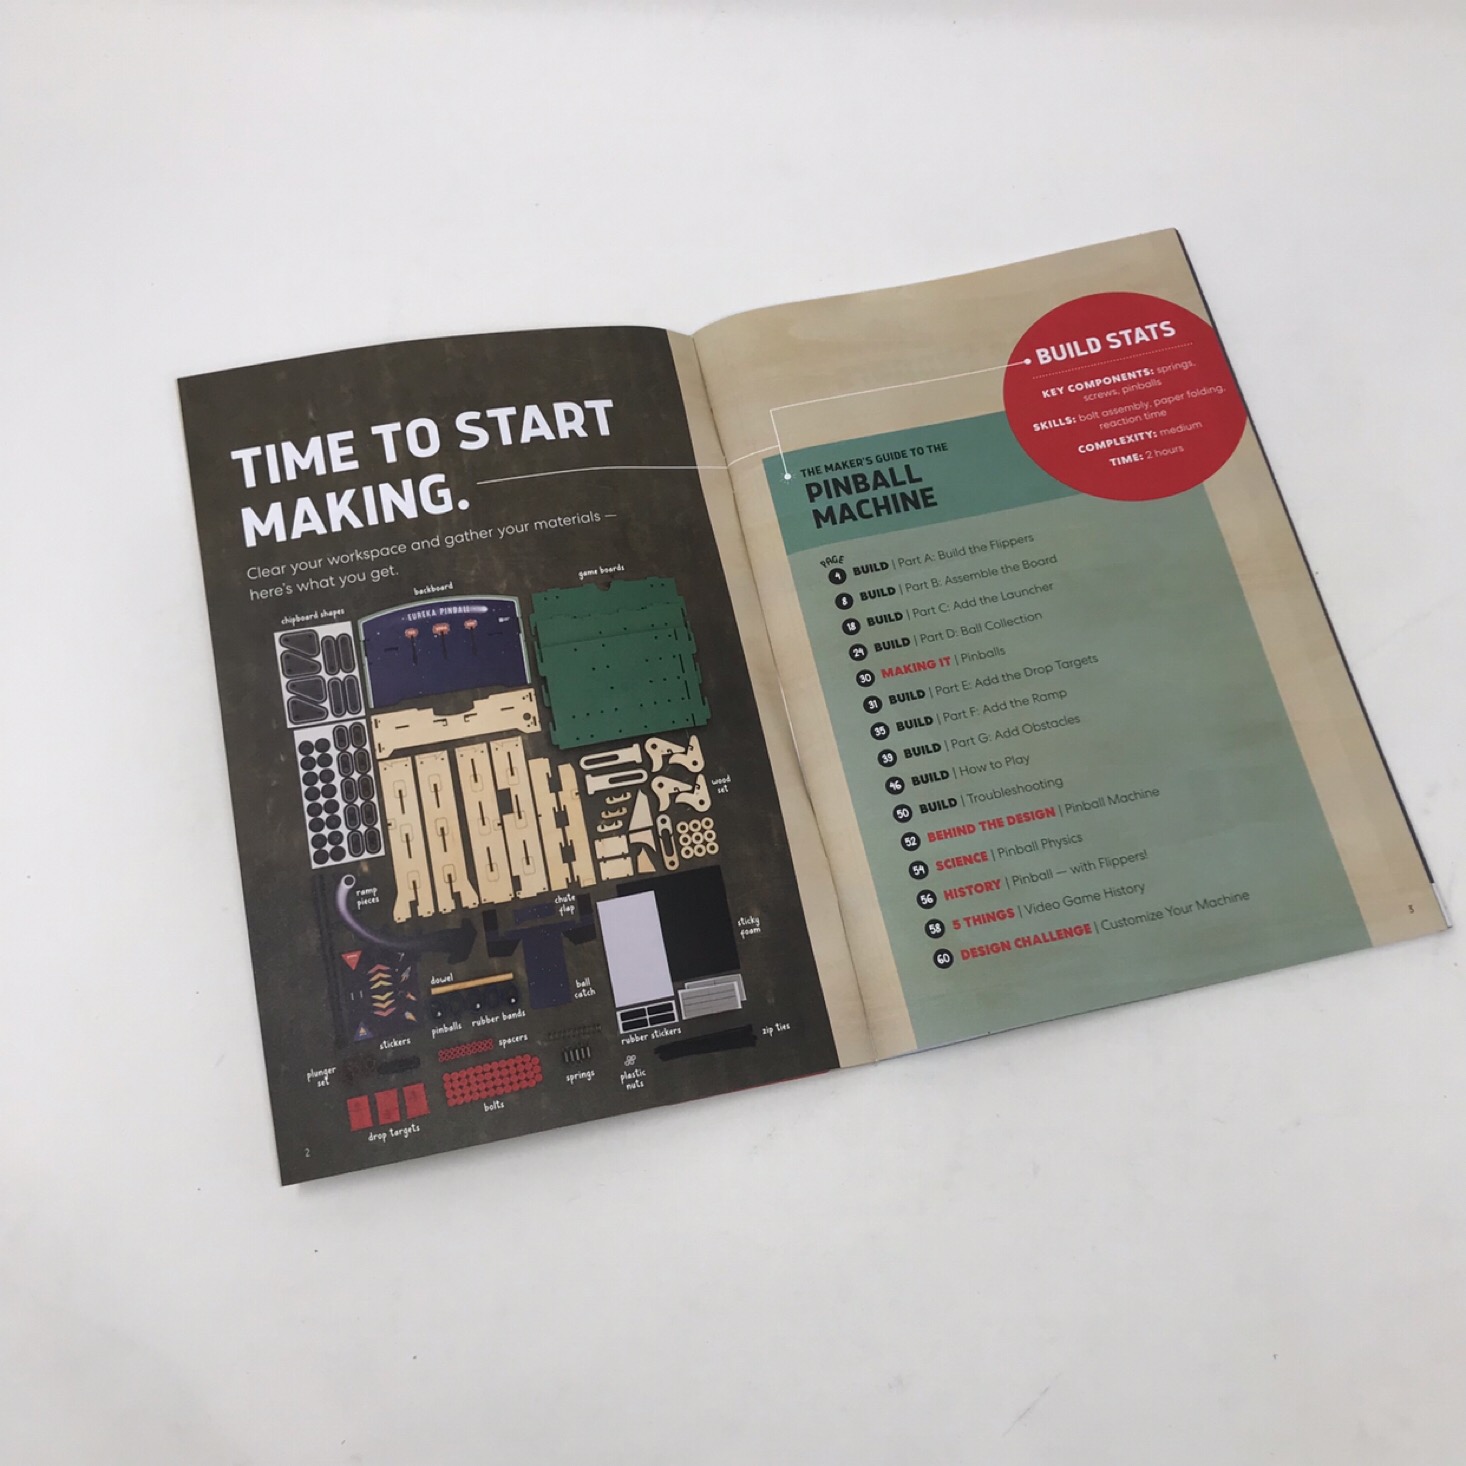
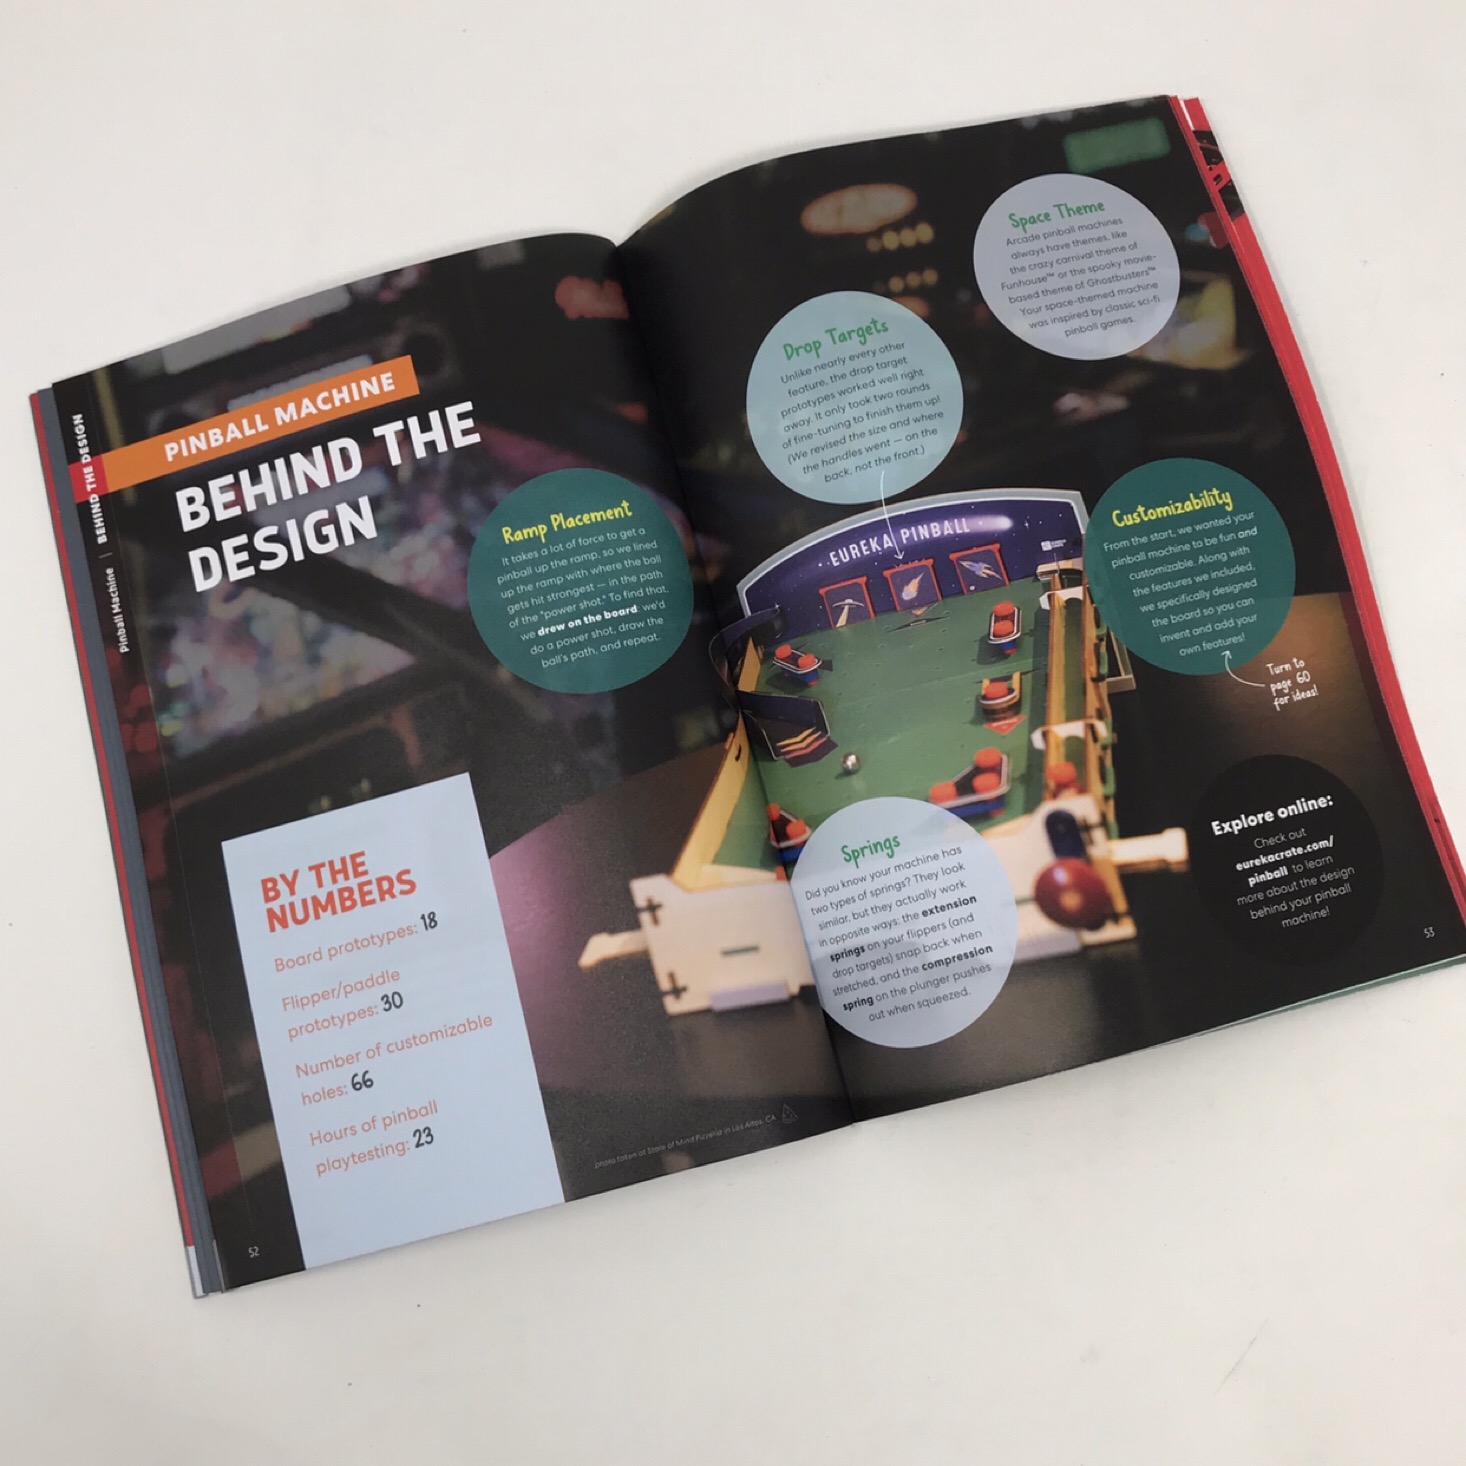

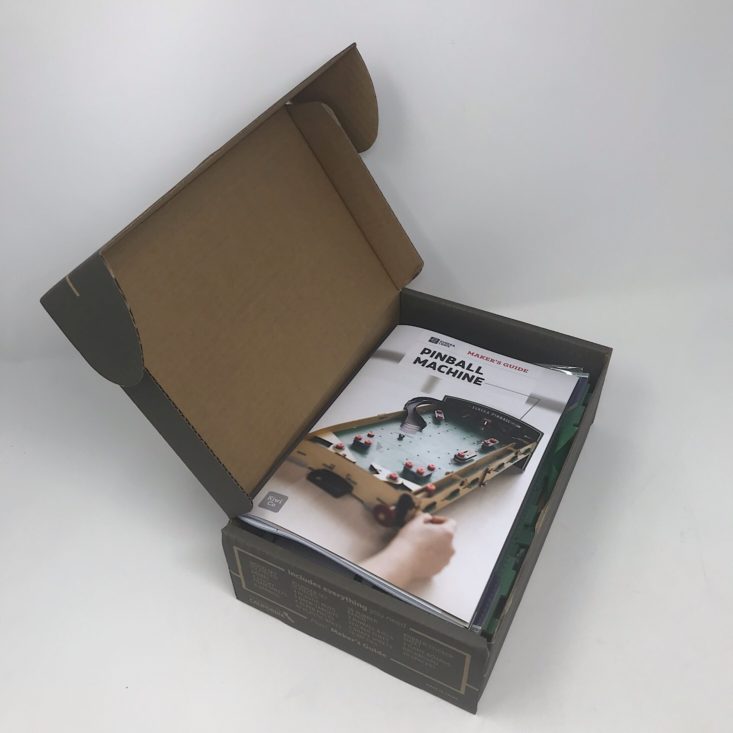
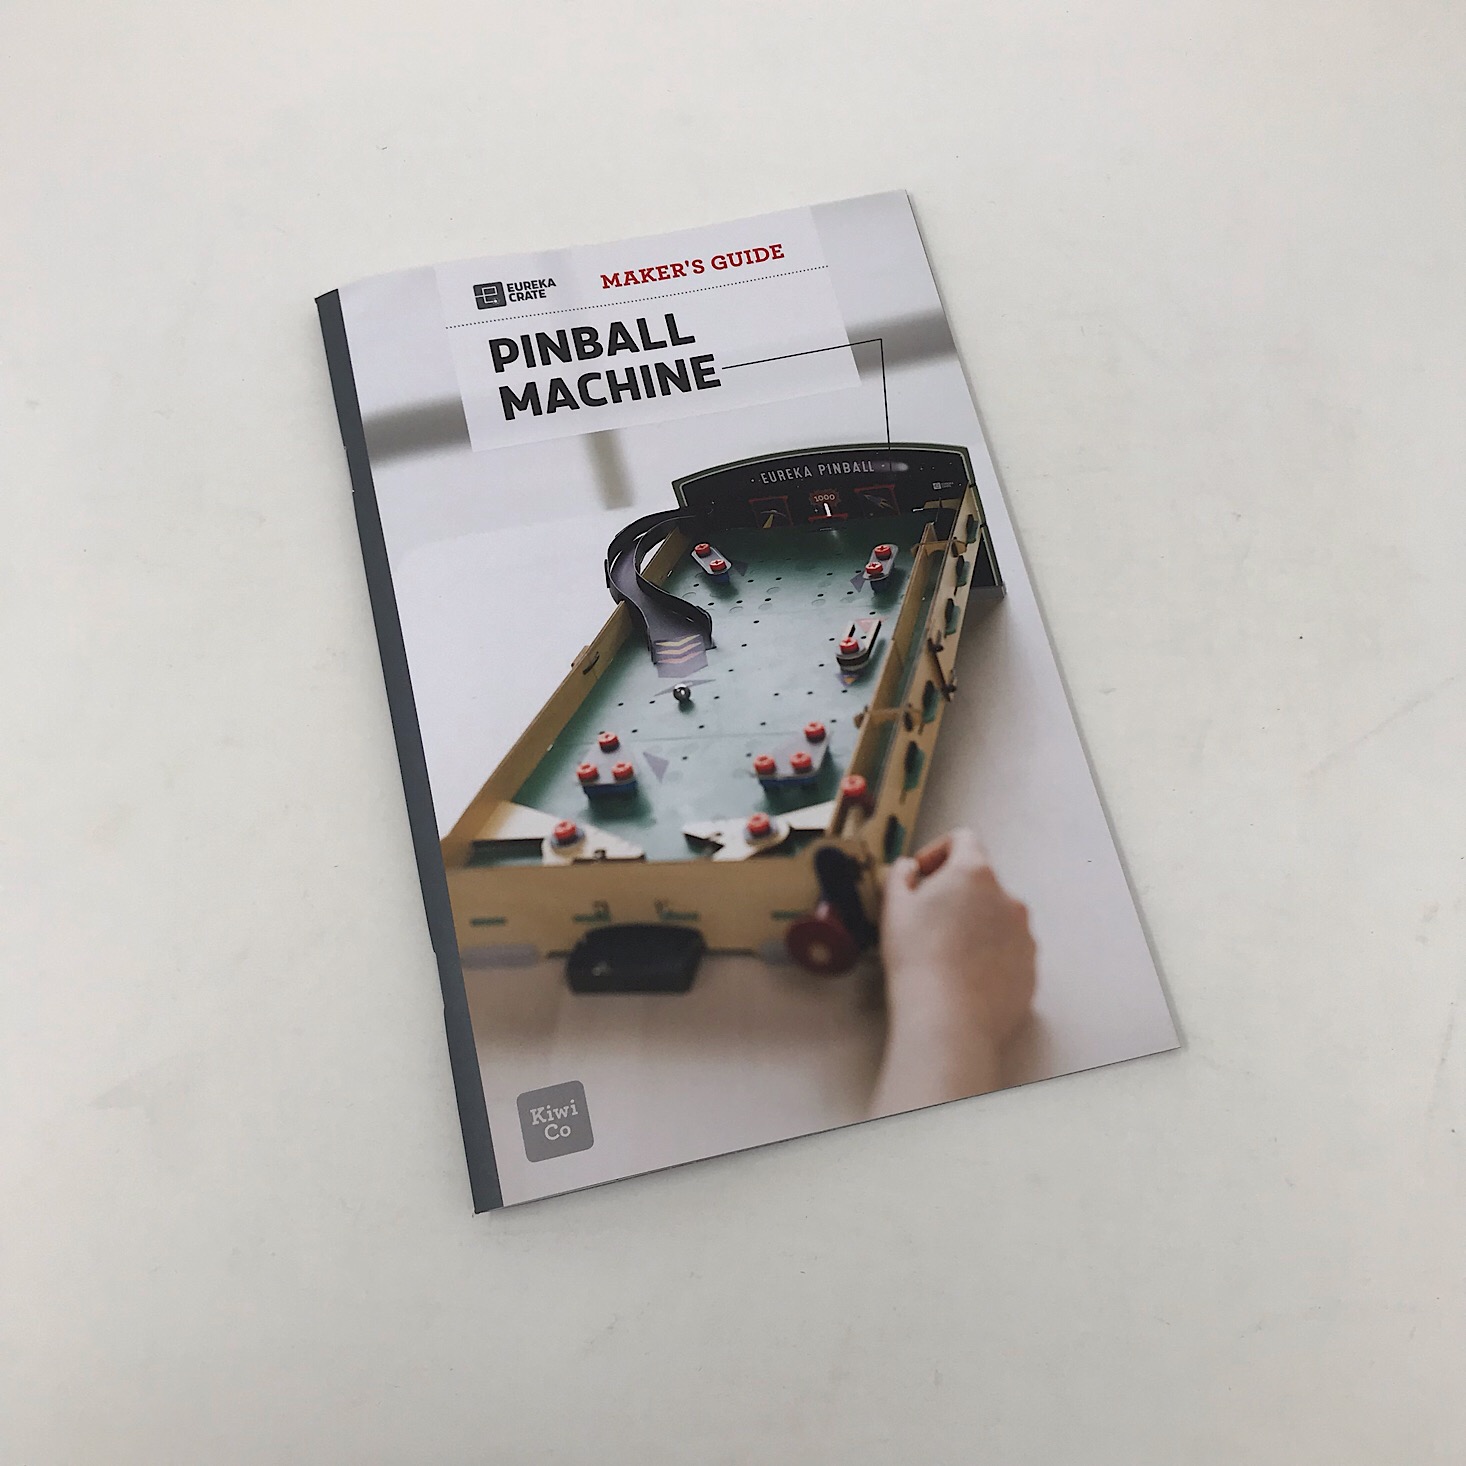
The project for this month is to make our own Pinball Machine. How cool is that? We received this Maker's Guide which is full of helpful information related to our project along with the directions. My favorite section is the "Behind the Design" page where they go into detail about their own process in creating this month's project!


1 of 7


Our directions are separated into various sections which makes it so much easier since it breaks it down into smaller, more manageable tasks. The instructions are always clear and easy to follow with detailed, colorful pictures to reference. They even include information on troubleshooting, which can be very helpful!
Part A: Build the Flippers

1 of 6


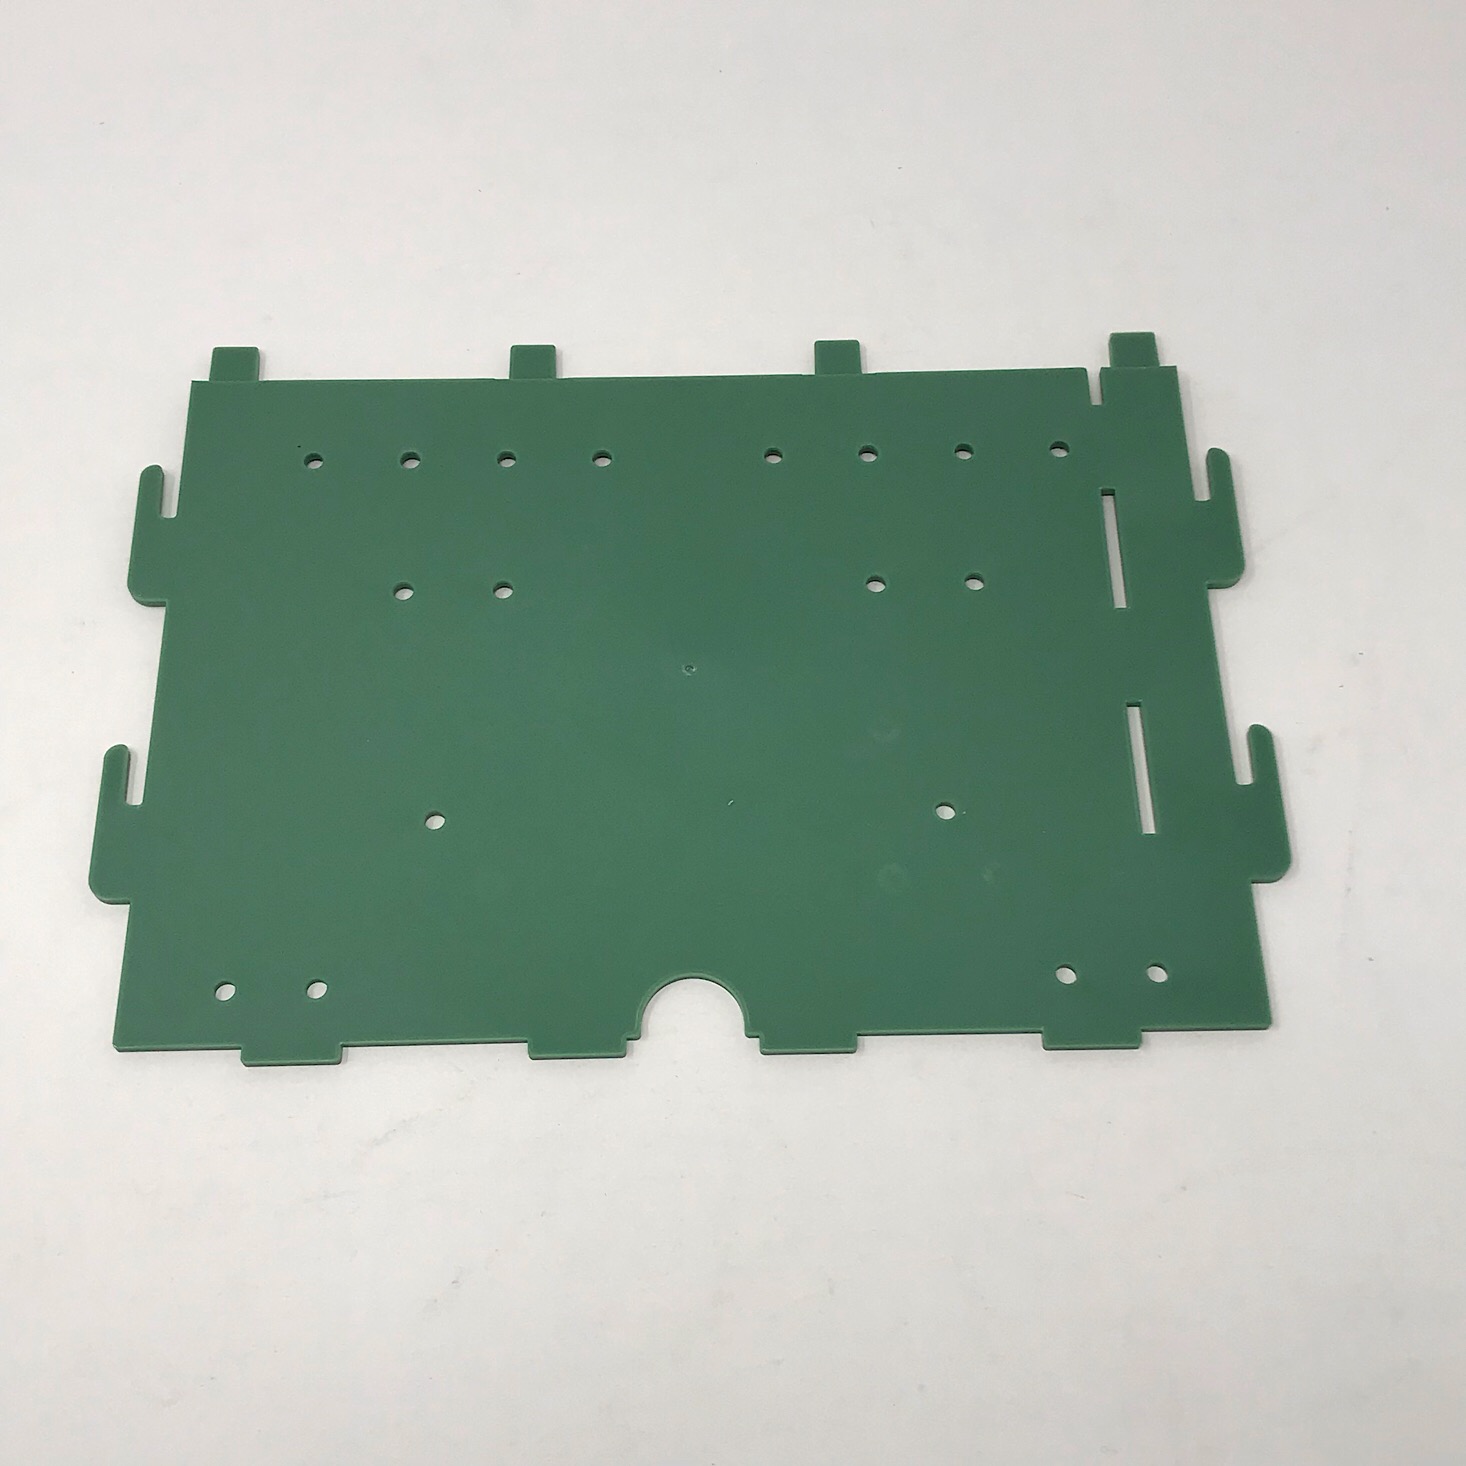
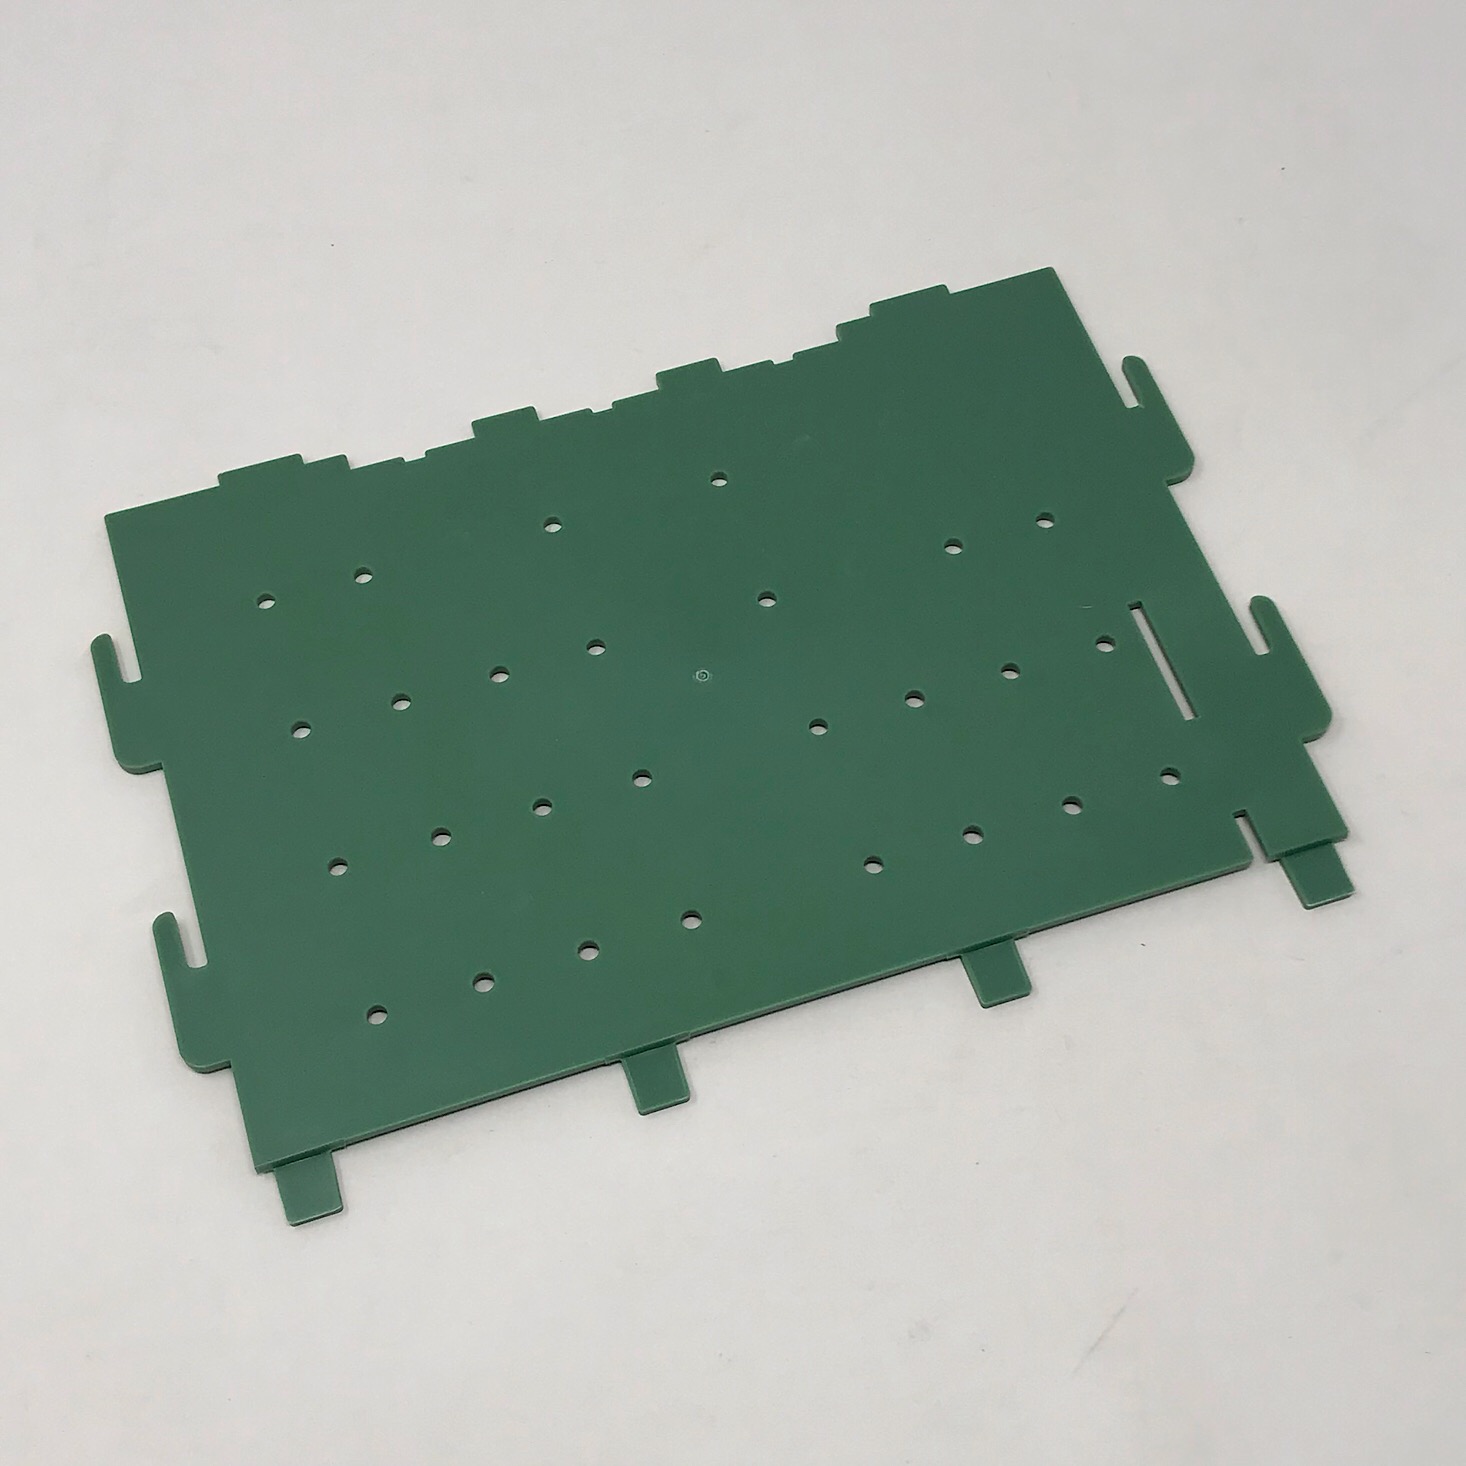
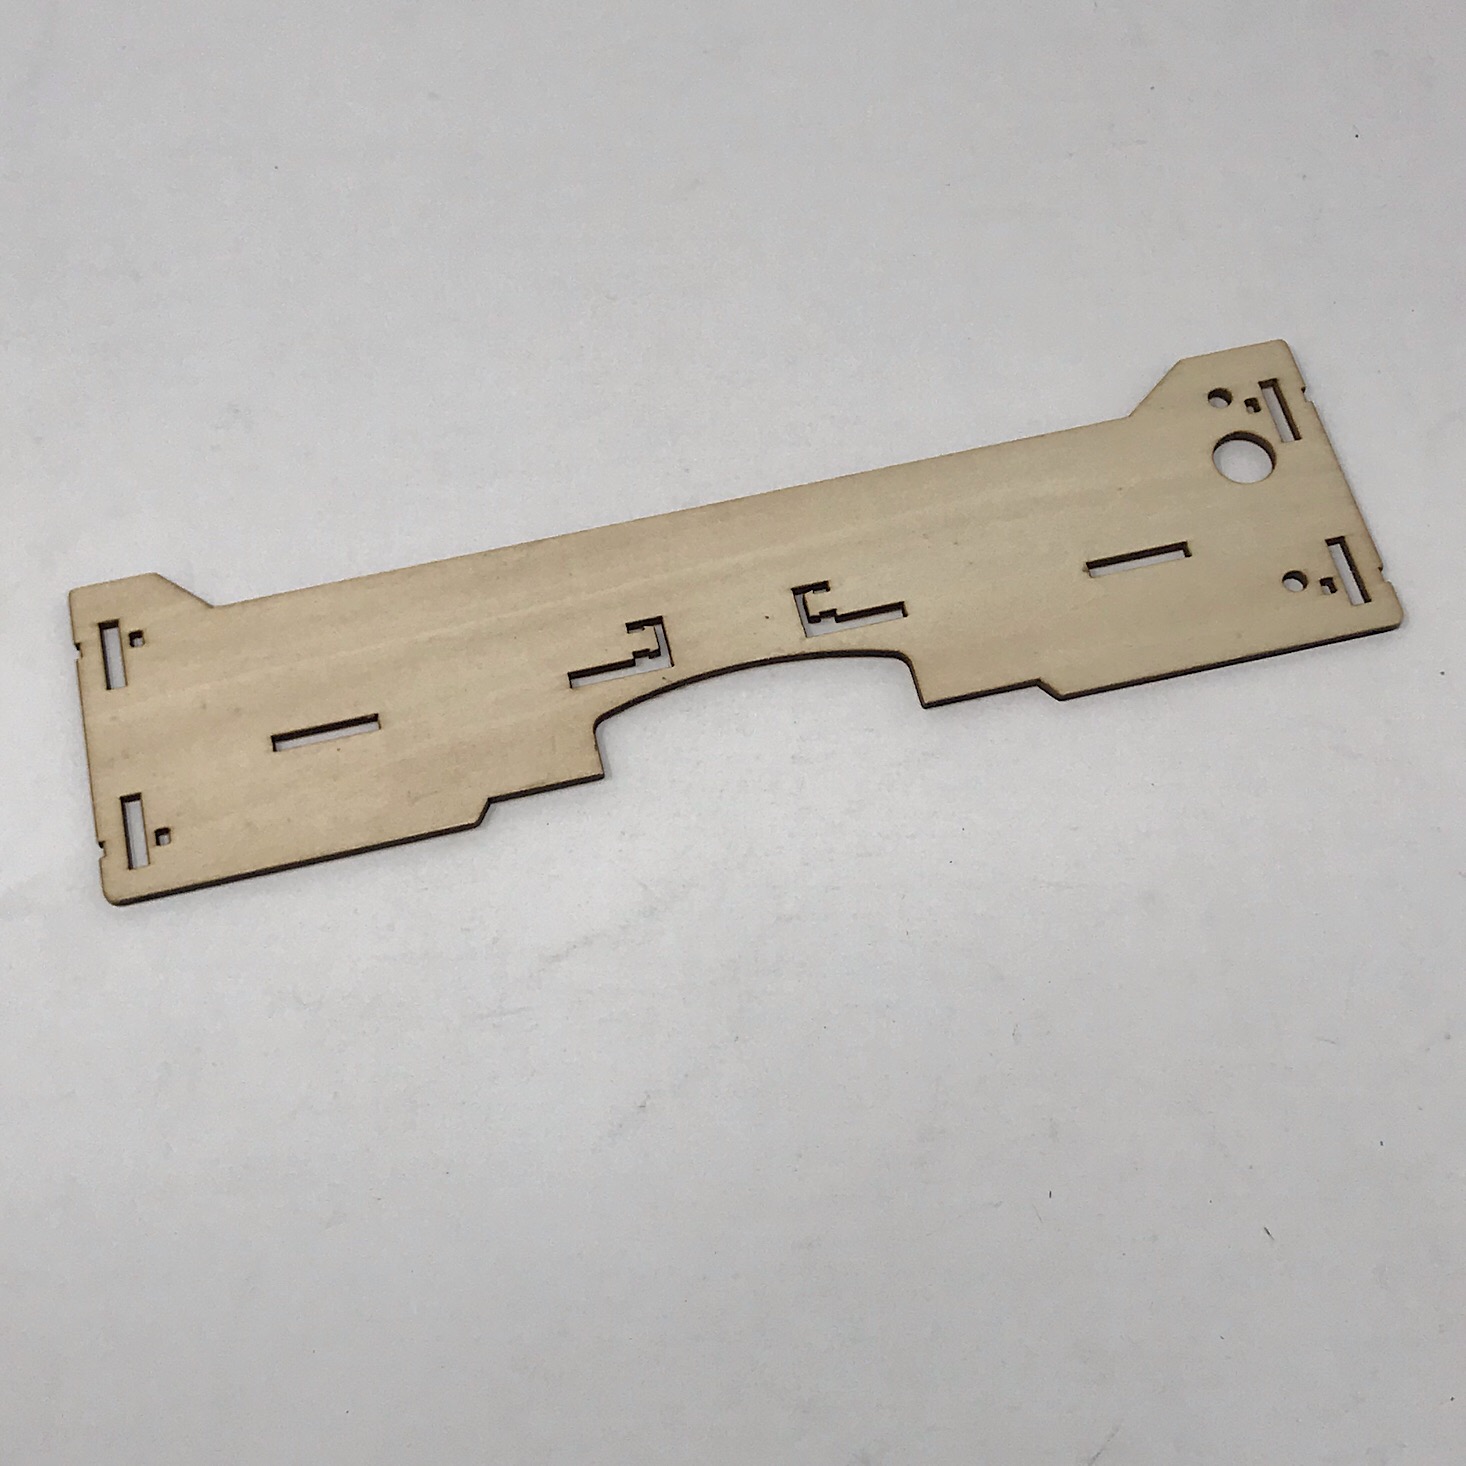
The first part of our project was to build the flippers. They provided a mix of plastic and wooden pieces that all fit together nicely making it very easy to complete each step. For this step, we needed the green board with a big circle notch at the bottom.


1 of 3

I added screws by coming from underneath in the spots that were marked in our booklet and then screwing the cylinders onto the top. Then I added the cardboard pieces to the two sets of posts at the bottom.


1 of 5

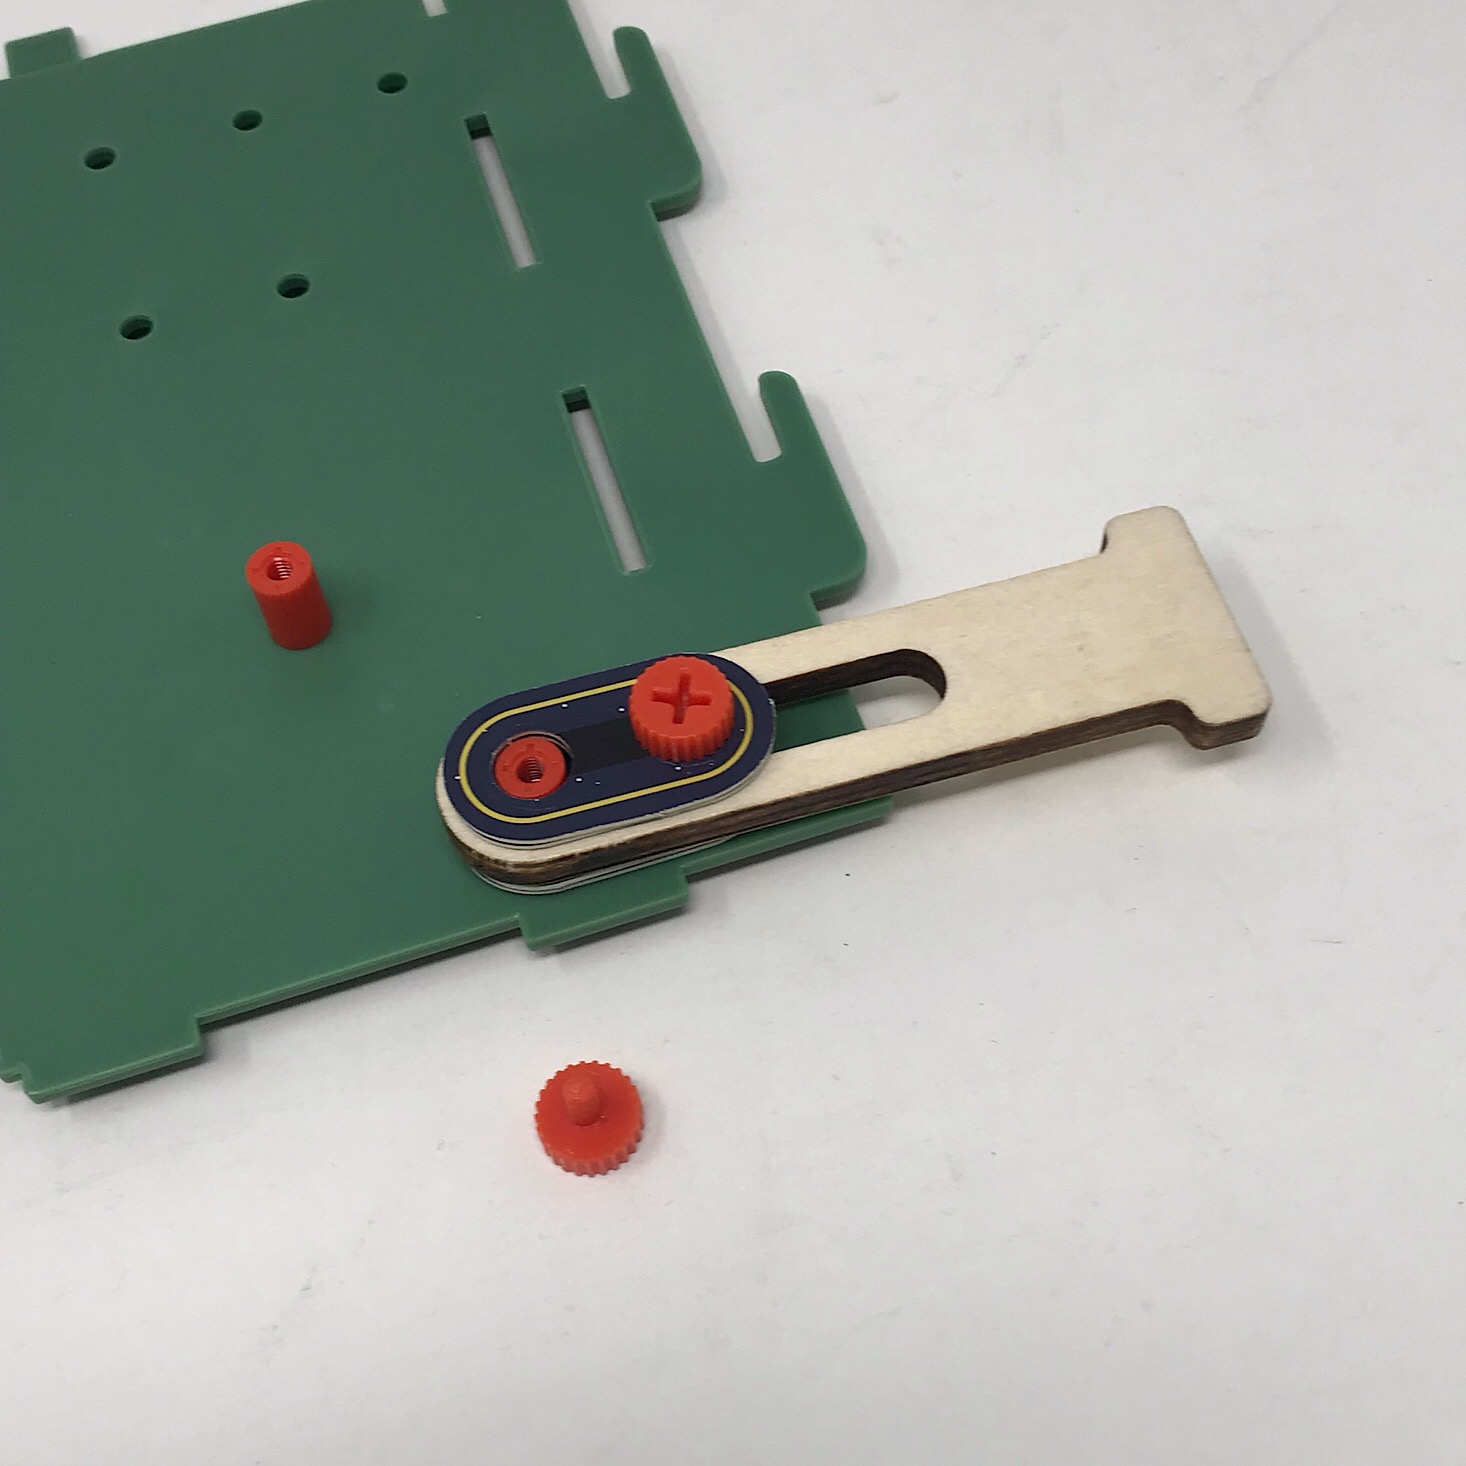

Then I added these two wooden pieces on top of the cylinders, added more cardboard pieces to ensure a snug fit, and then added more screws to the top to tighten them just enough so that the paddles were still able to move freely back and forth.

1 of 5
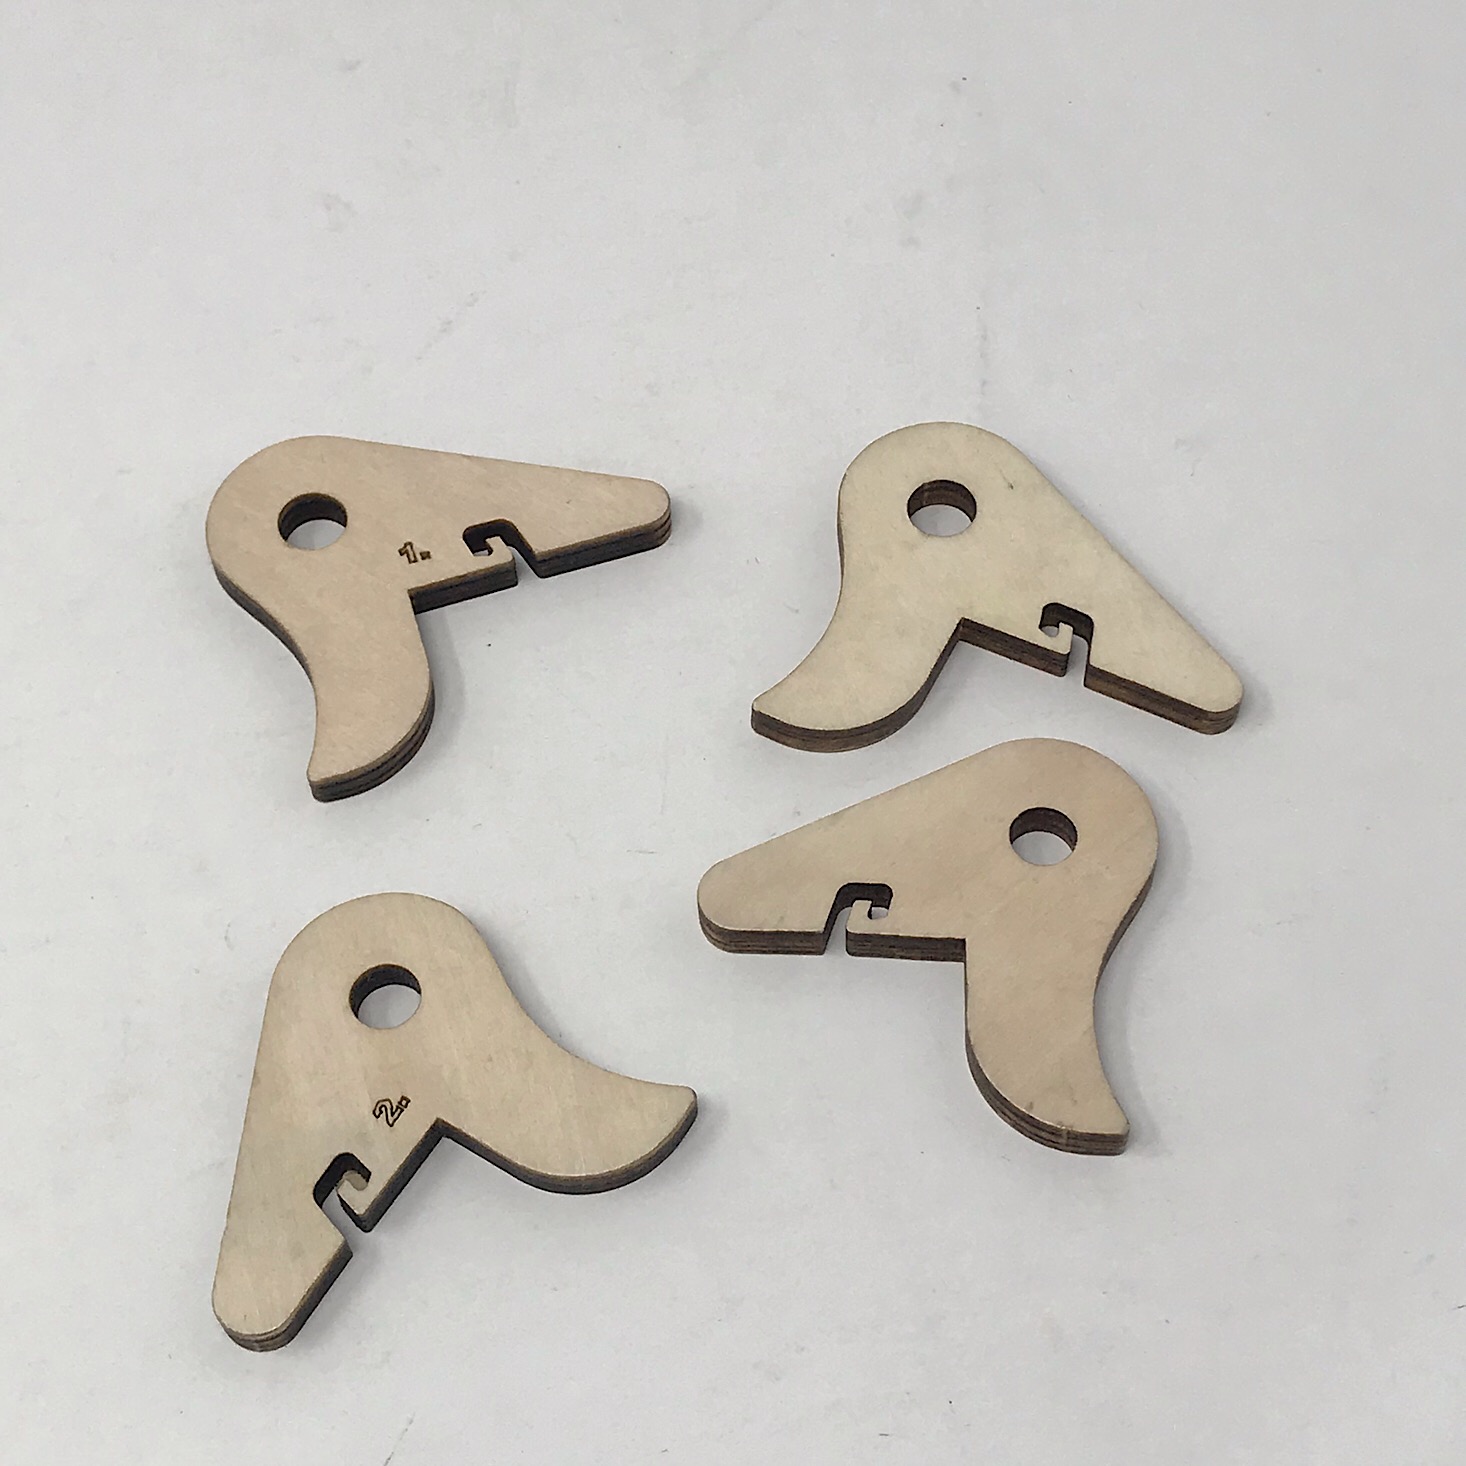


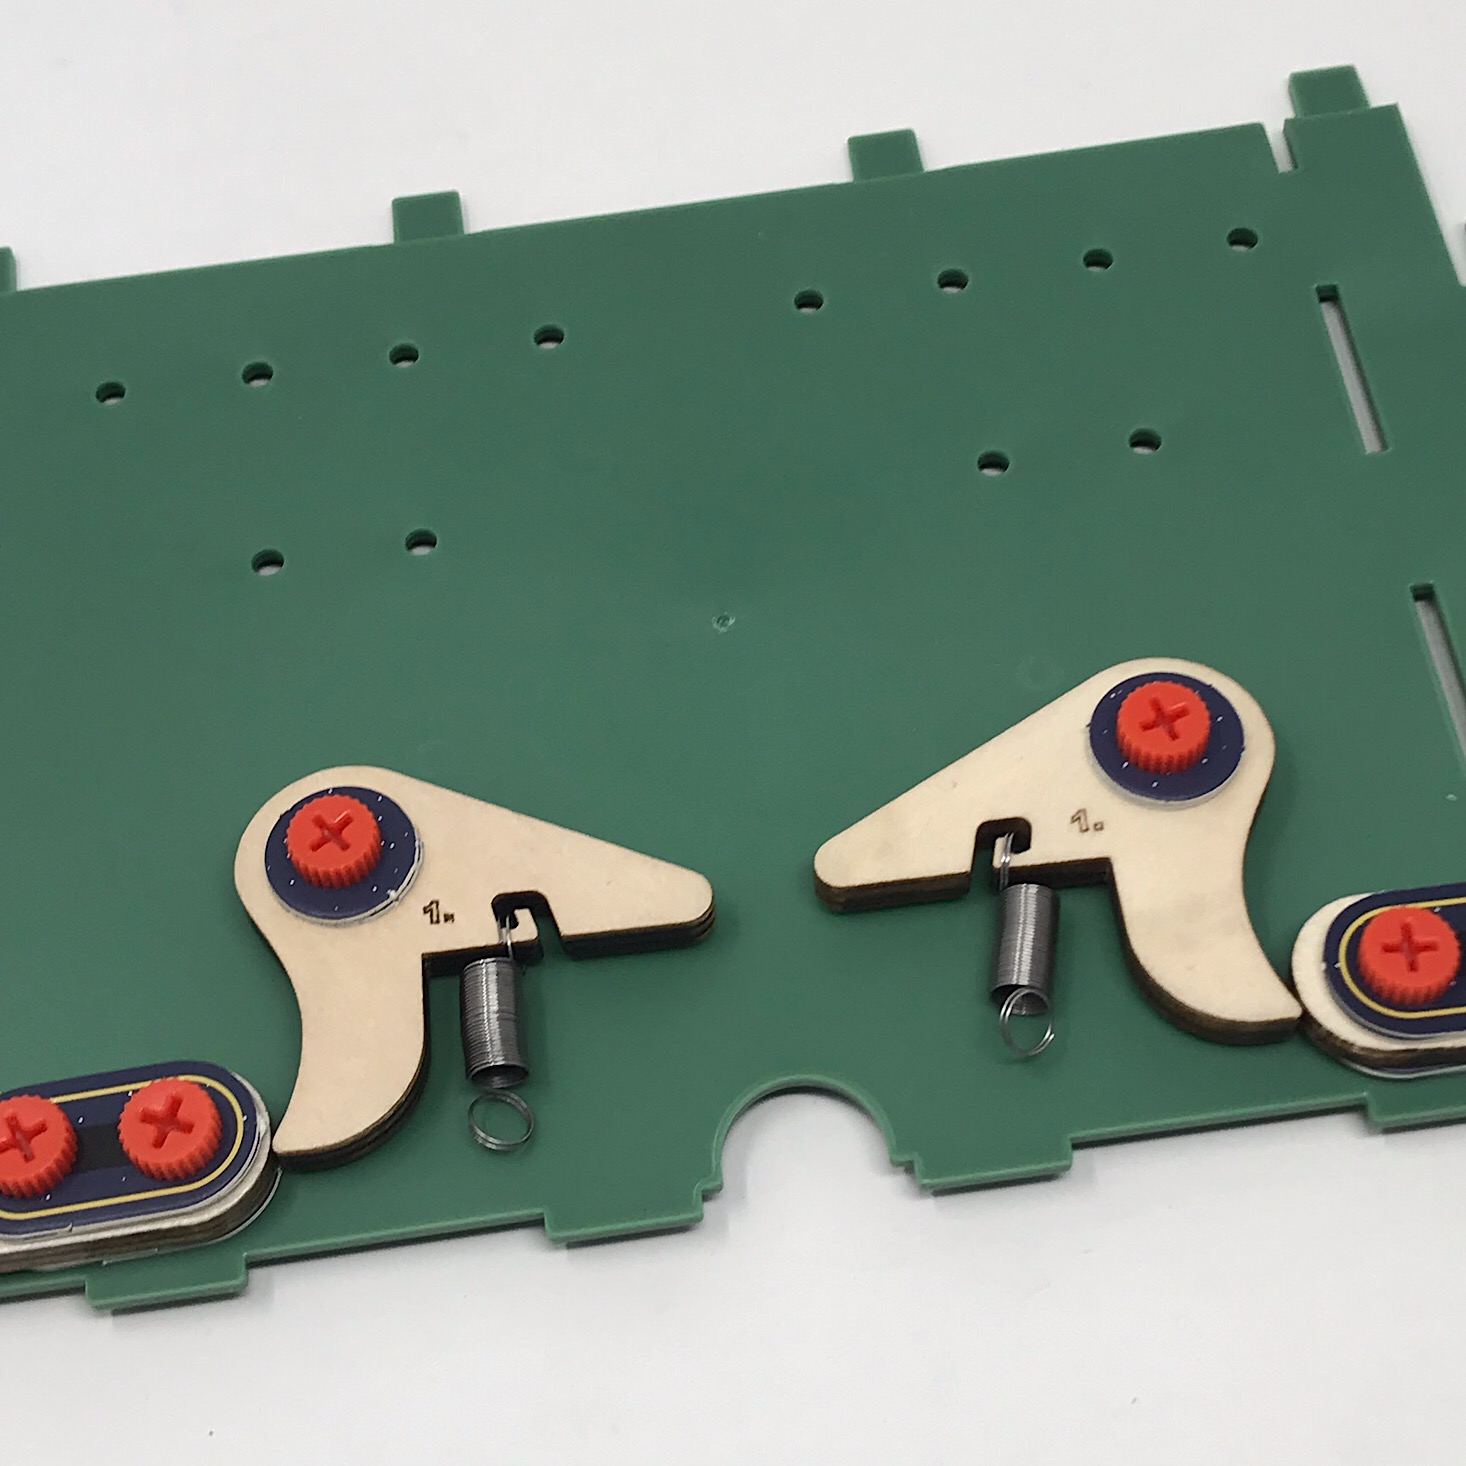
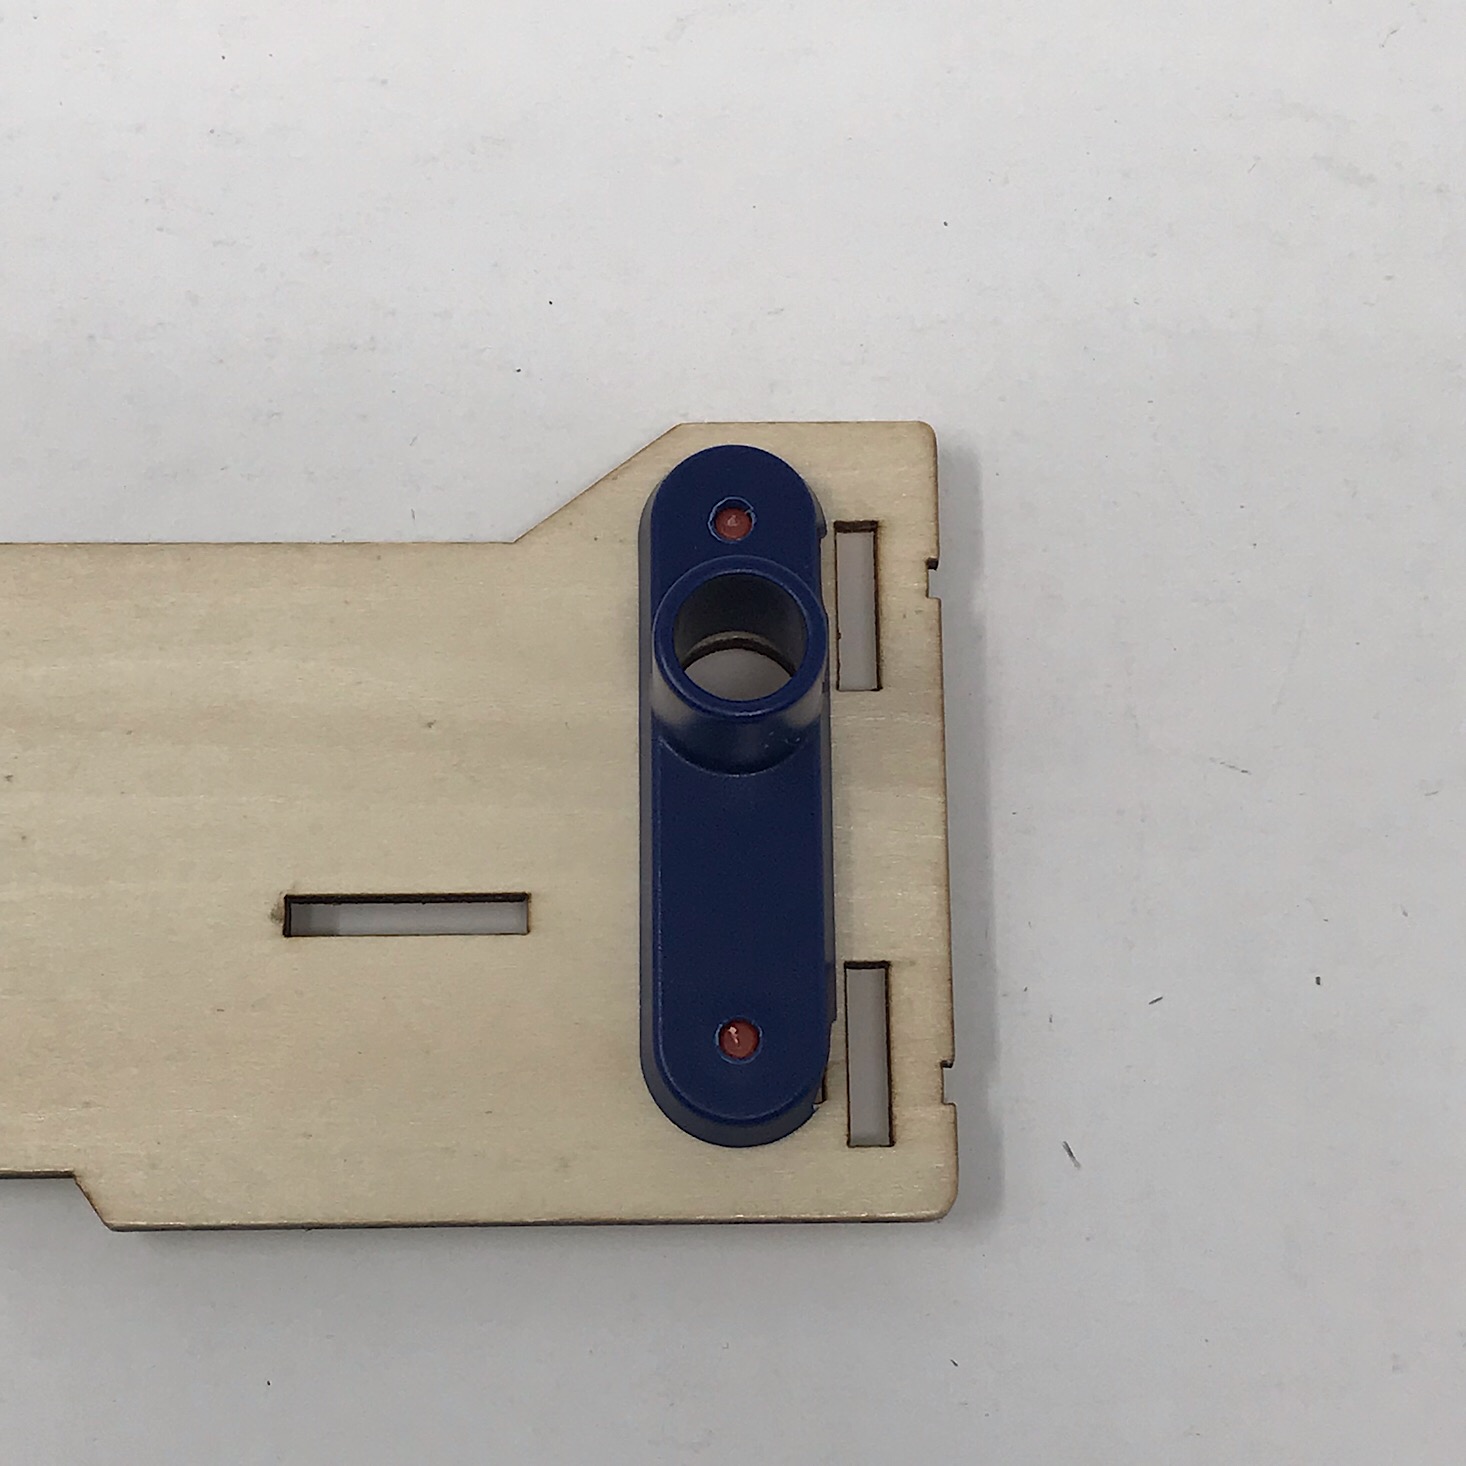
They provided two flippers with a 1 on them and two with a 2 on them and a set of springs. I connected the springs as instructed and then added the number 1 flippers to the board and used the cardboard circles and screws to secure them in place.
Part B: Assemble the Board

1 of 4
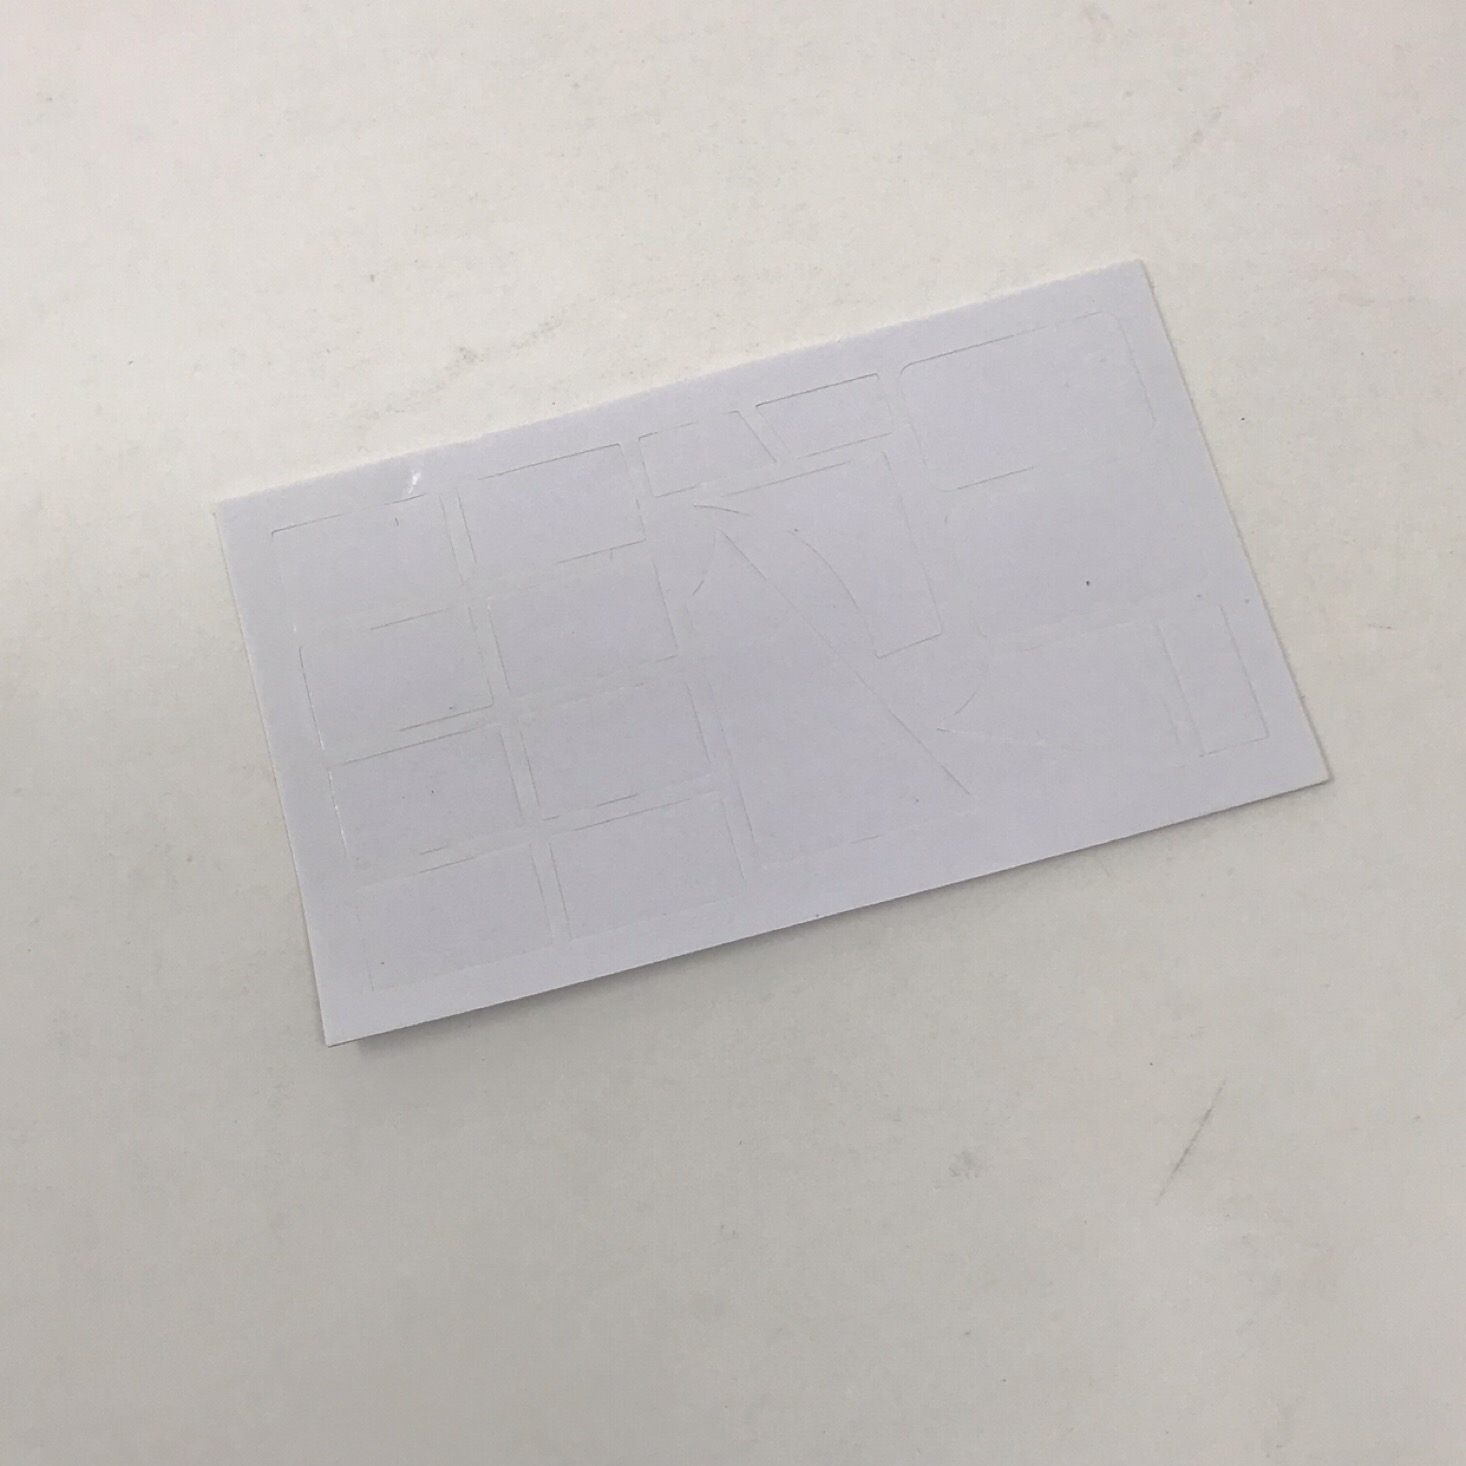

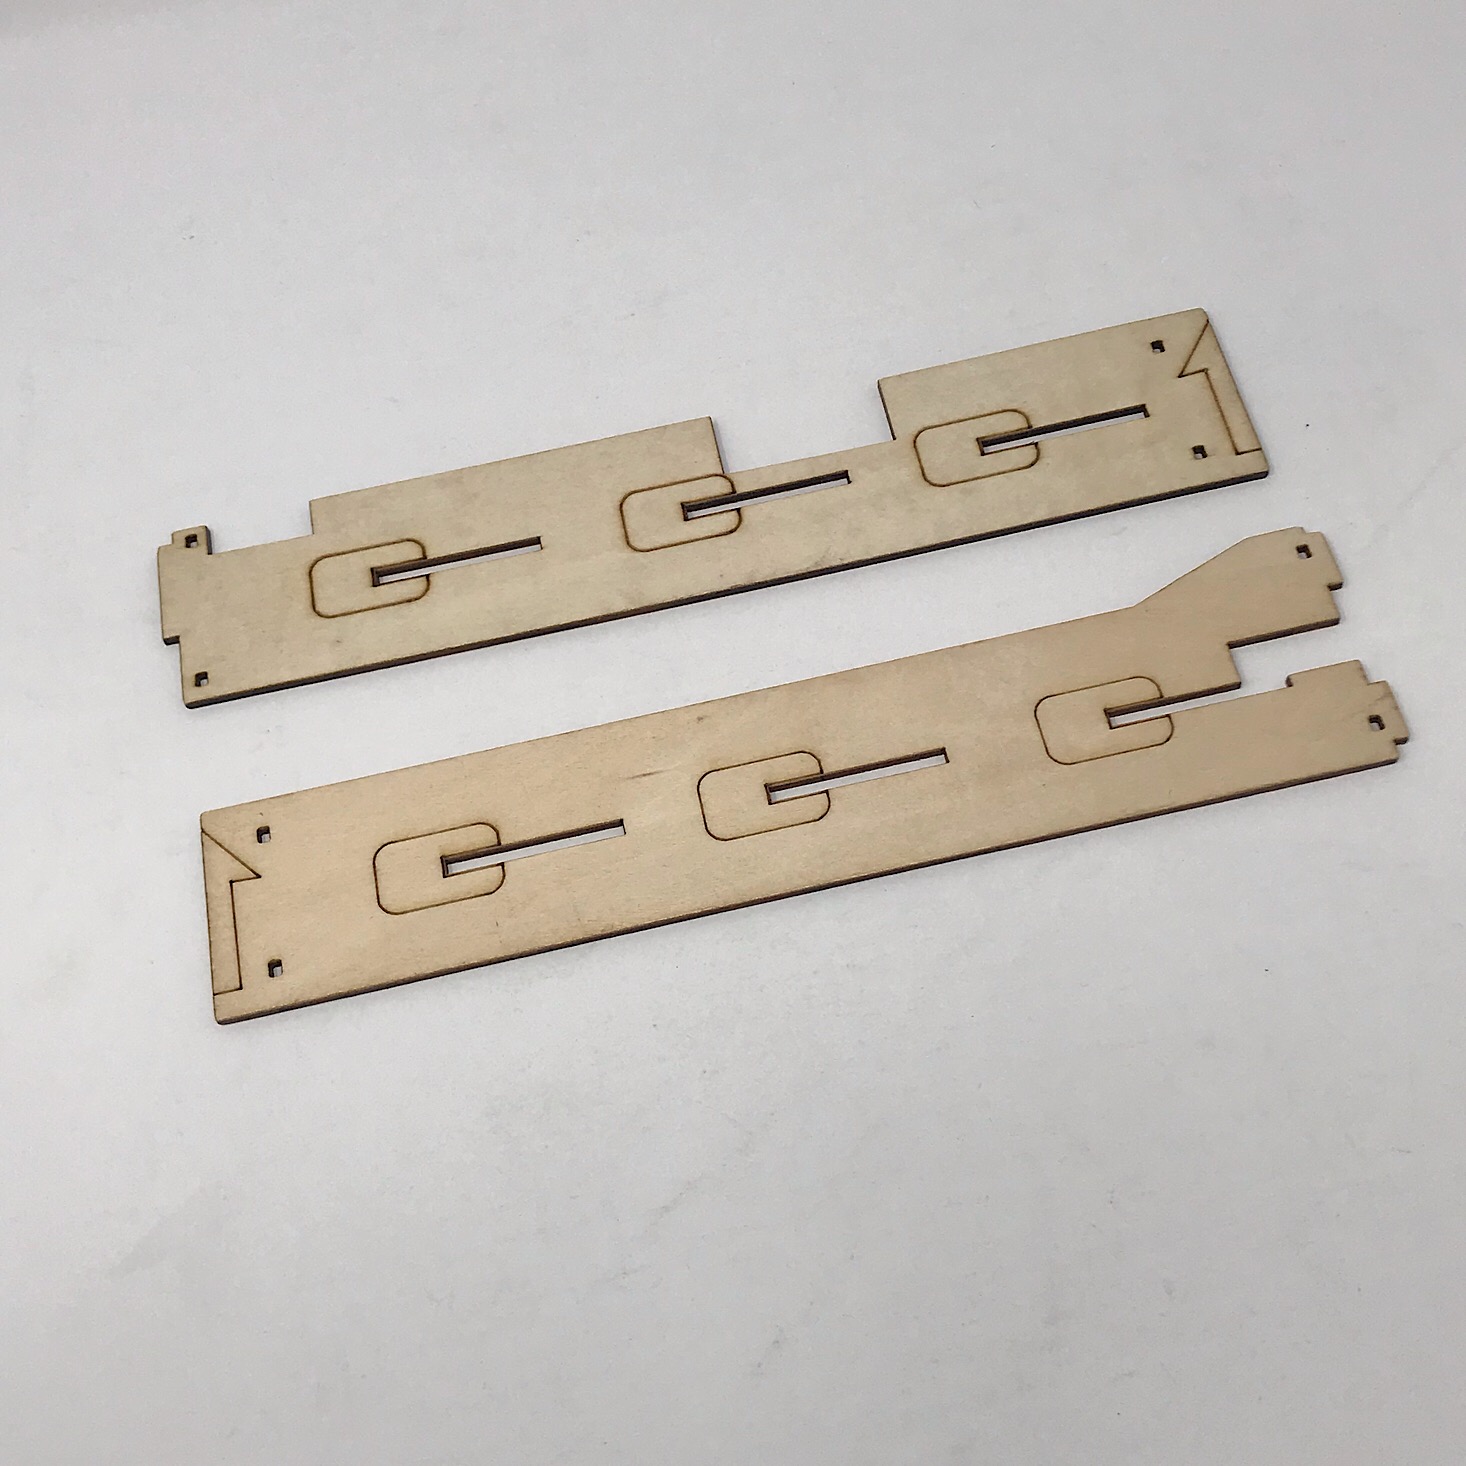
Then it was time to assemble our board using a mix of these wooden pieces, zip ties, and white adhesive pieces.

1 of 6


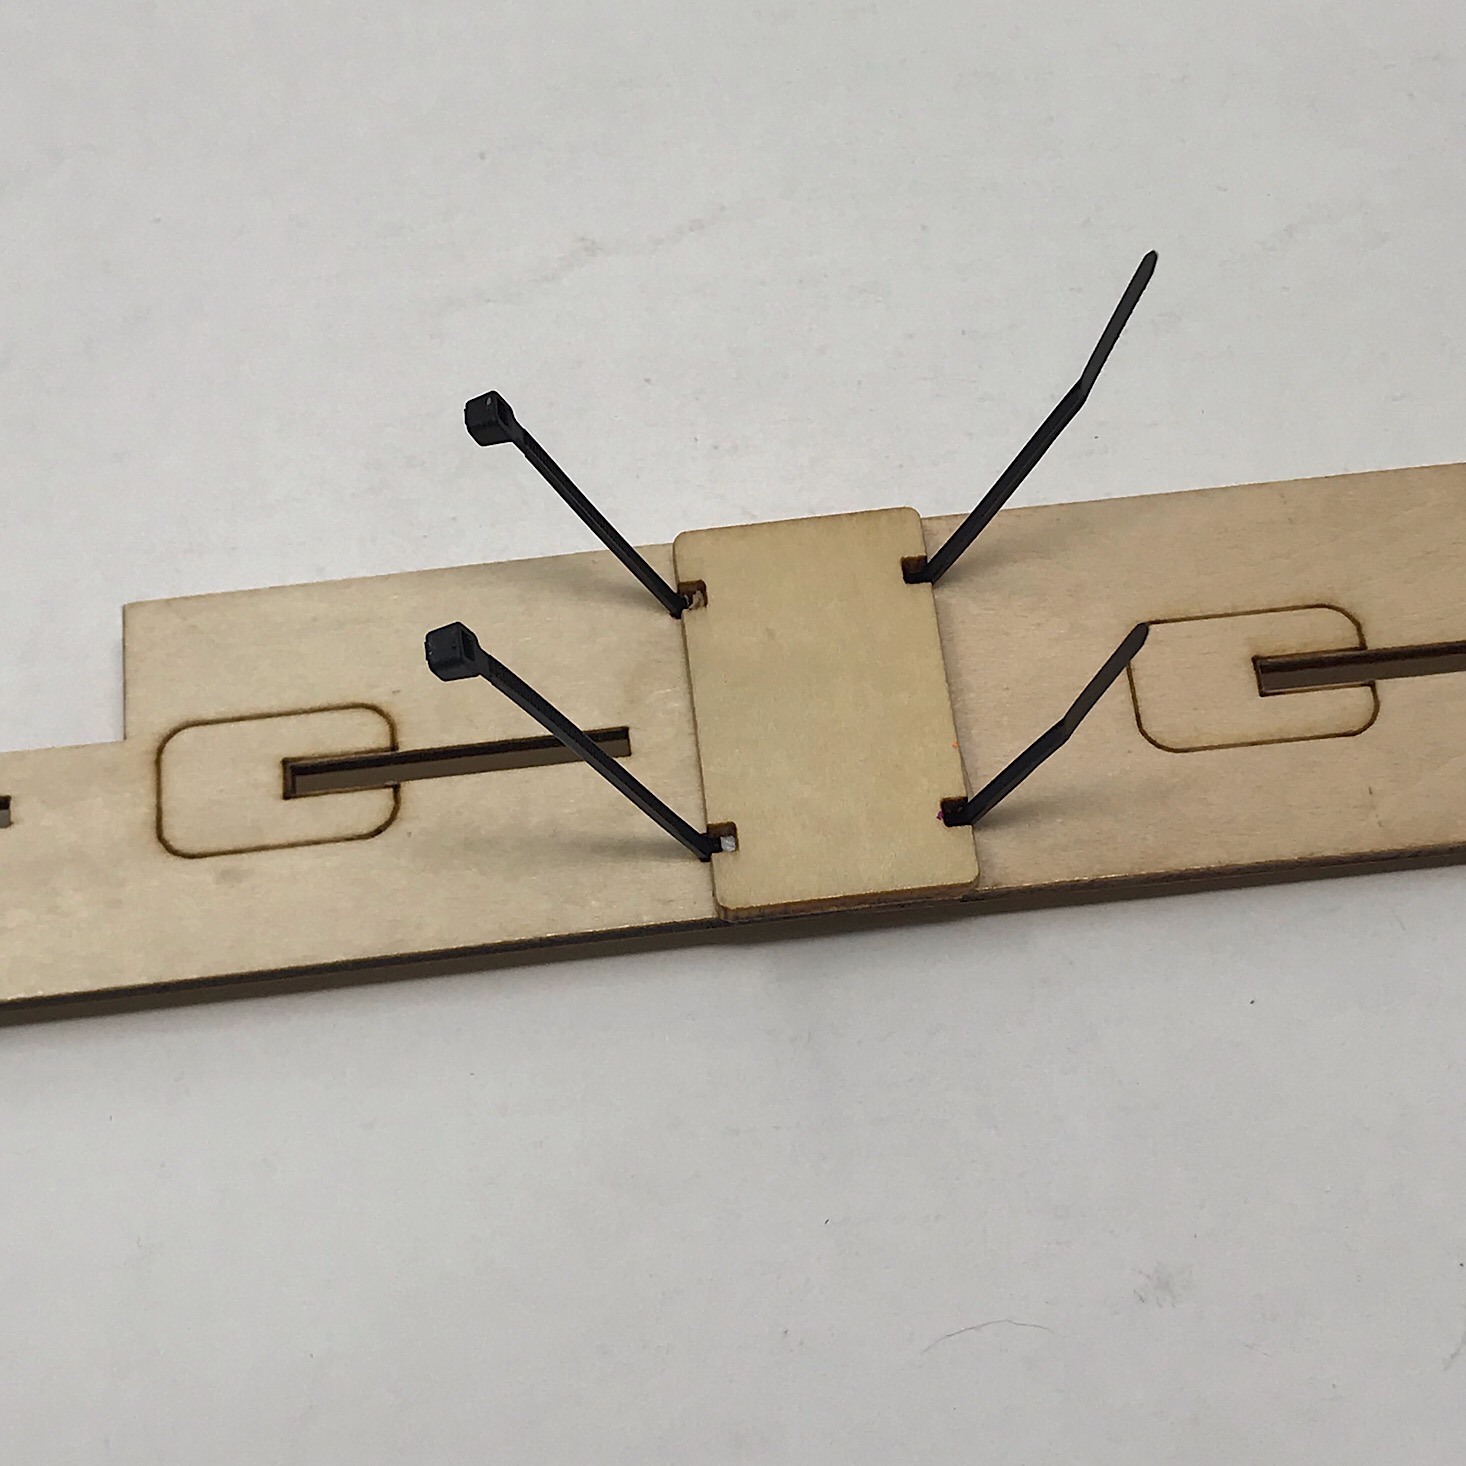
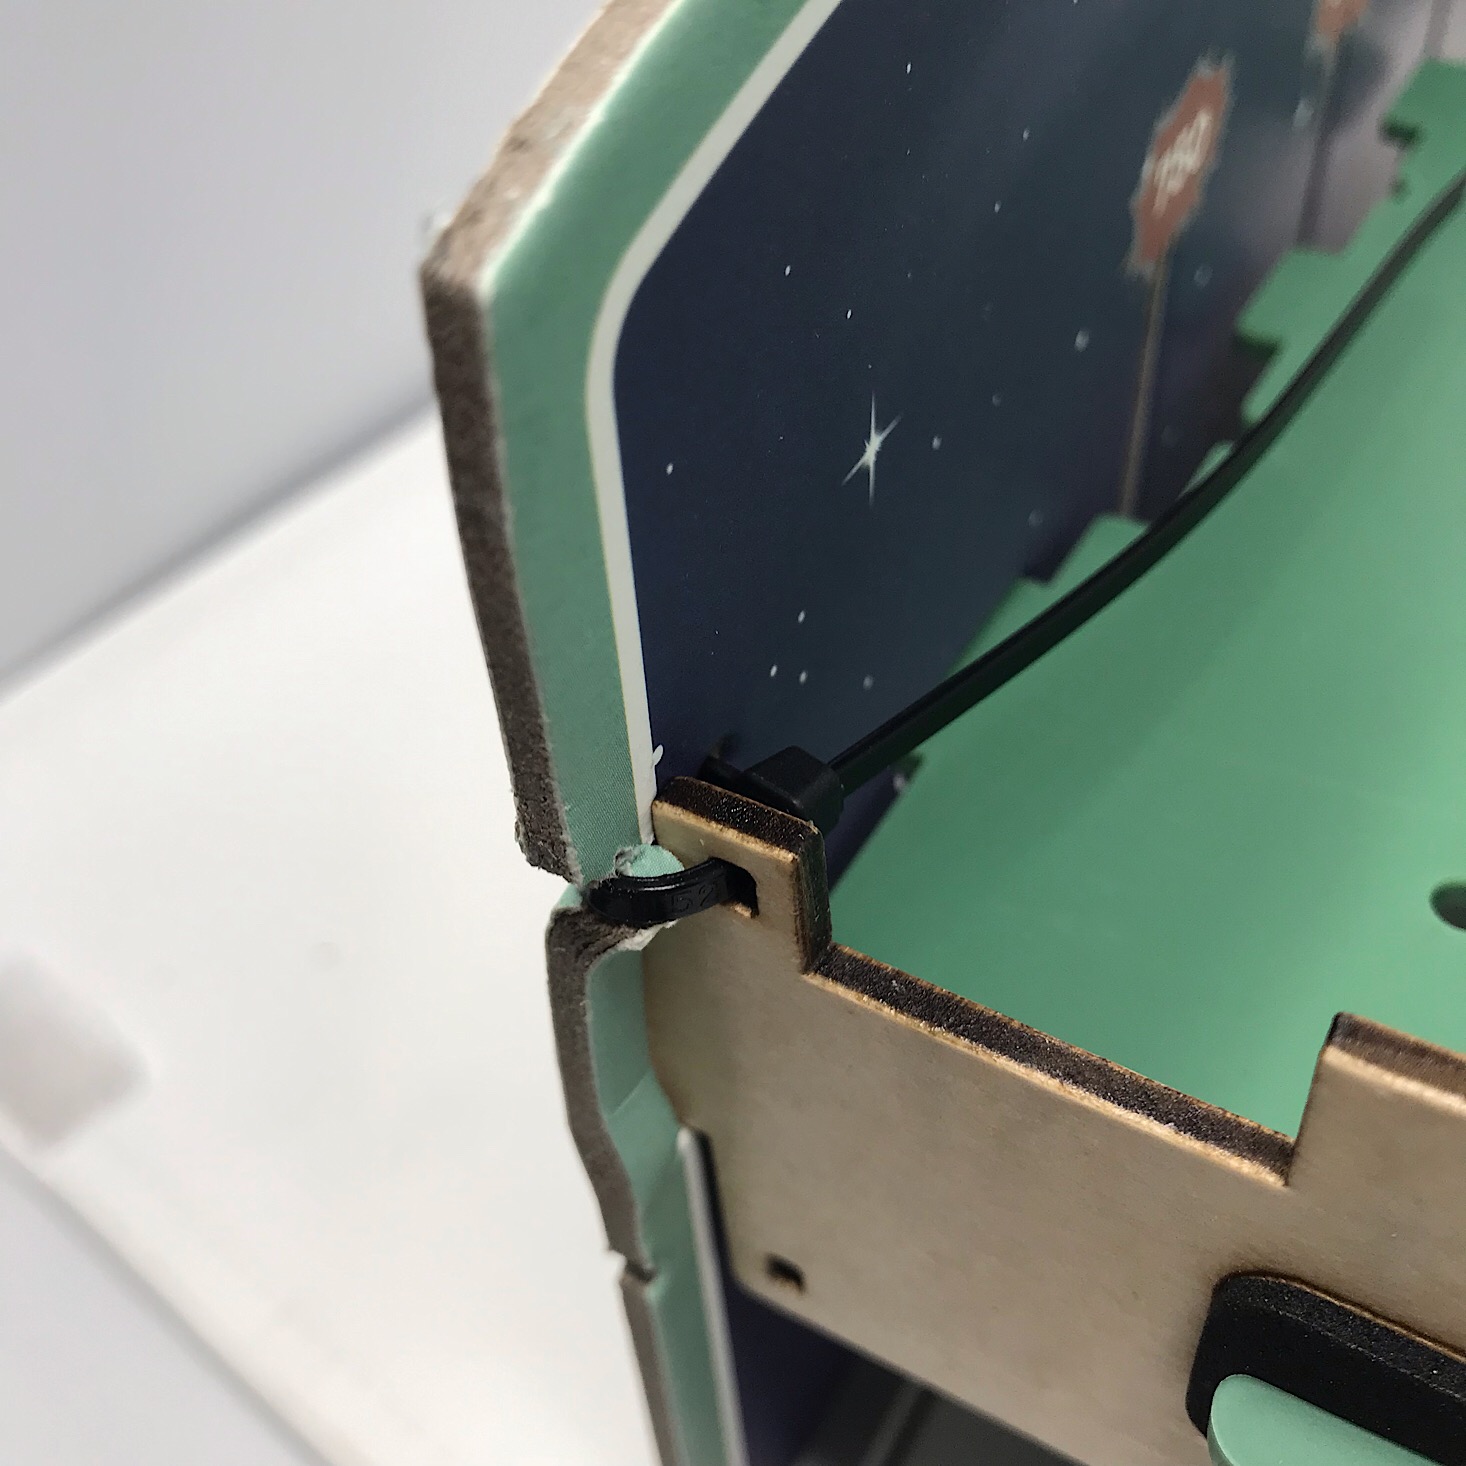
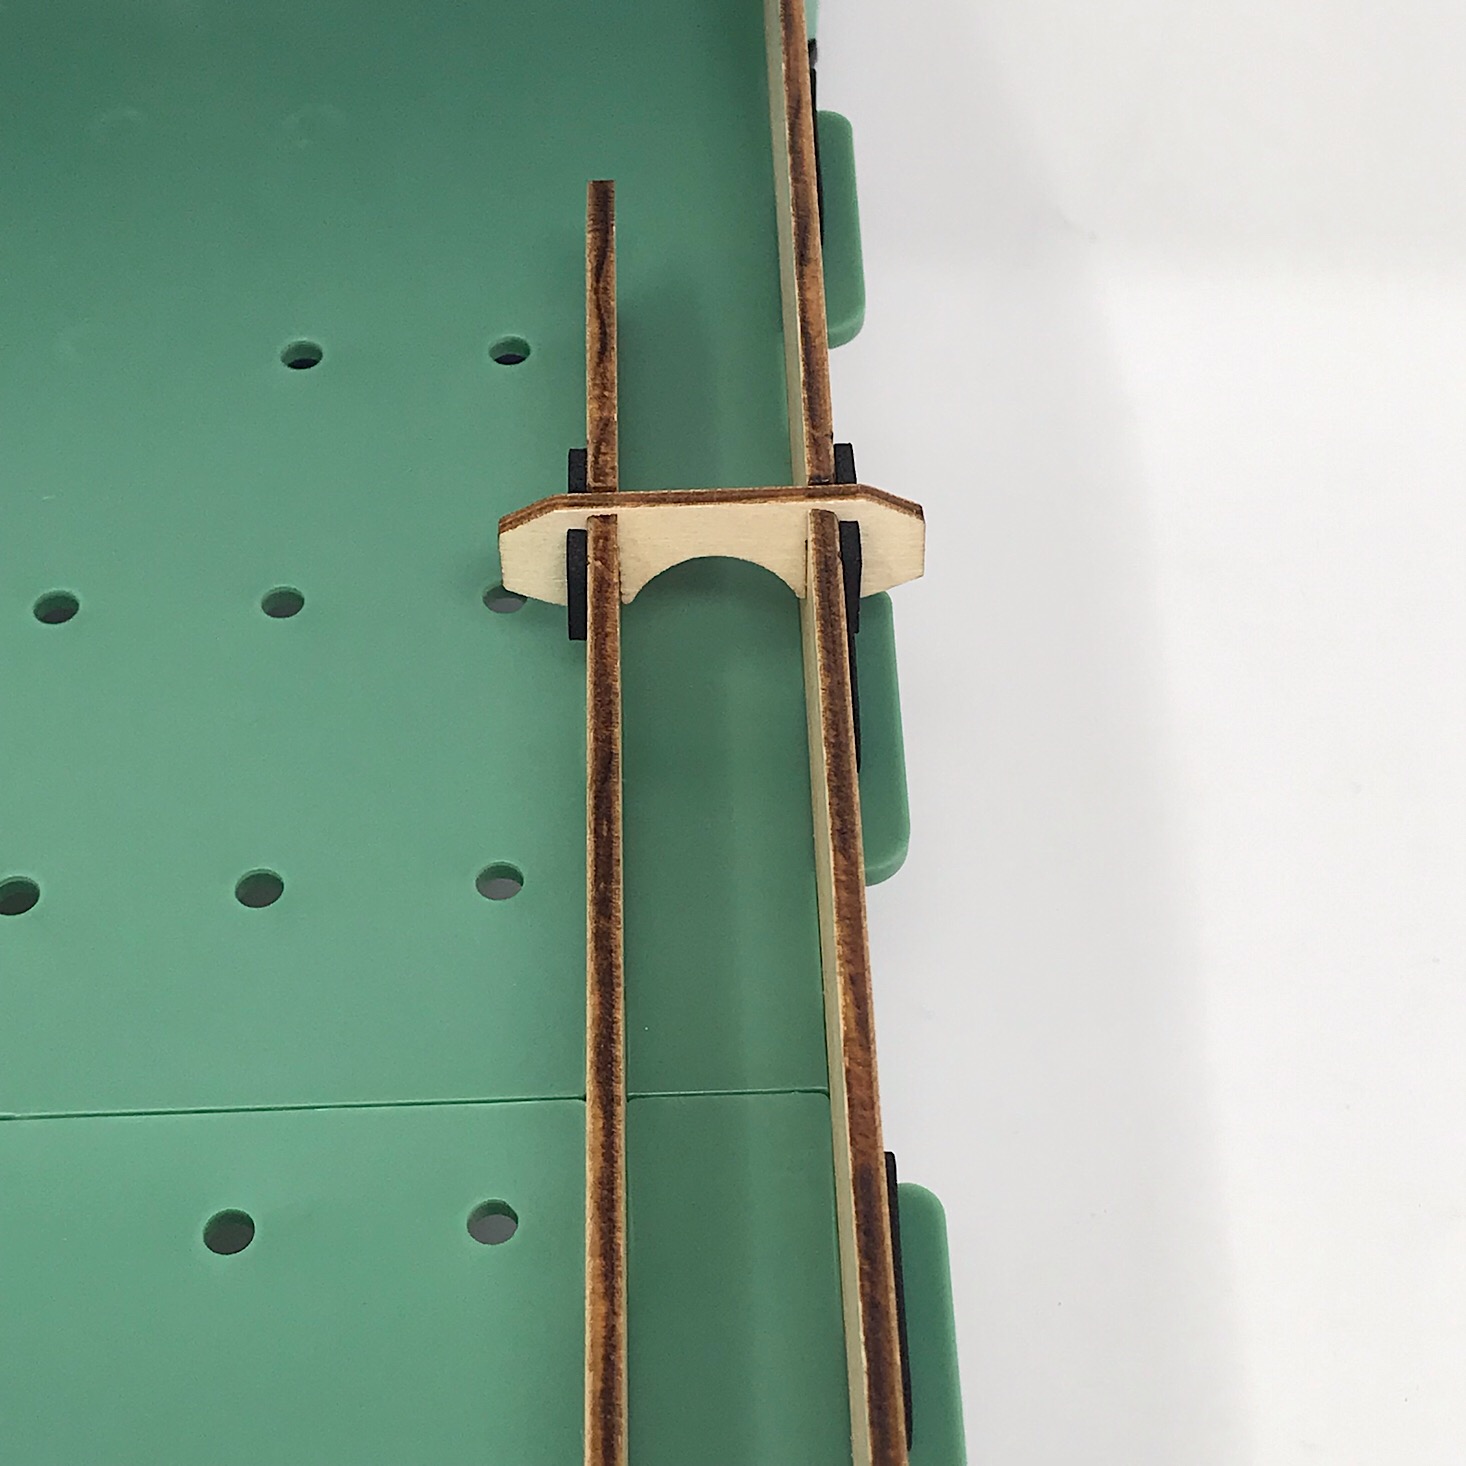
I matched up the arrow on our pieces, added a white adhesive to the top making sure to leave the holes open, then added the wooden rectangle and secured it using two zip ties that I threaded through the holes. After securing them tightly, I trimmed the excess. Then I repeated this step for the second set of wooden pieces.

1 of 3
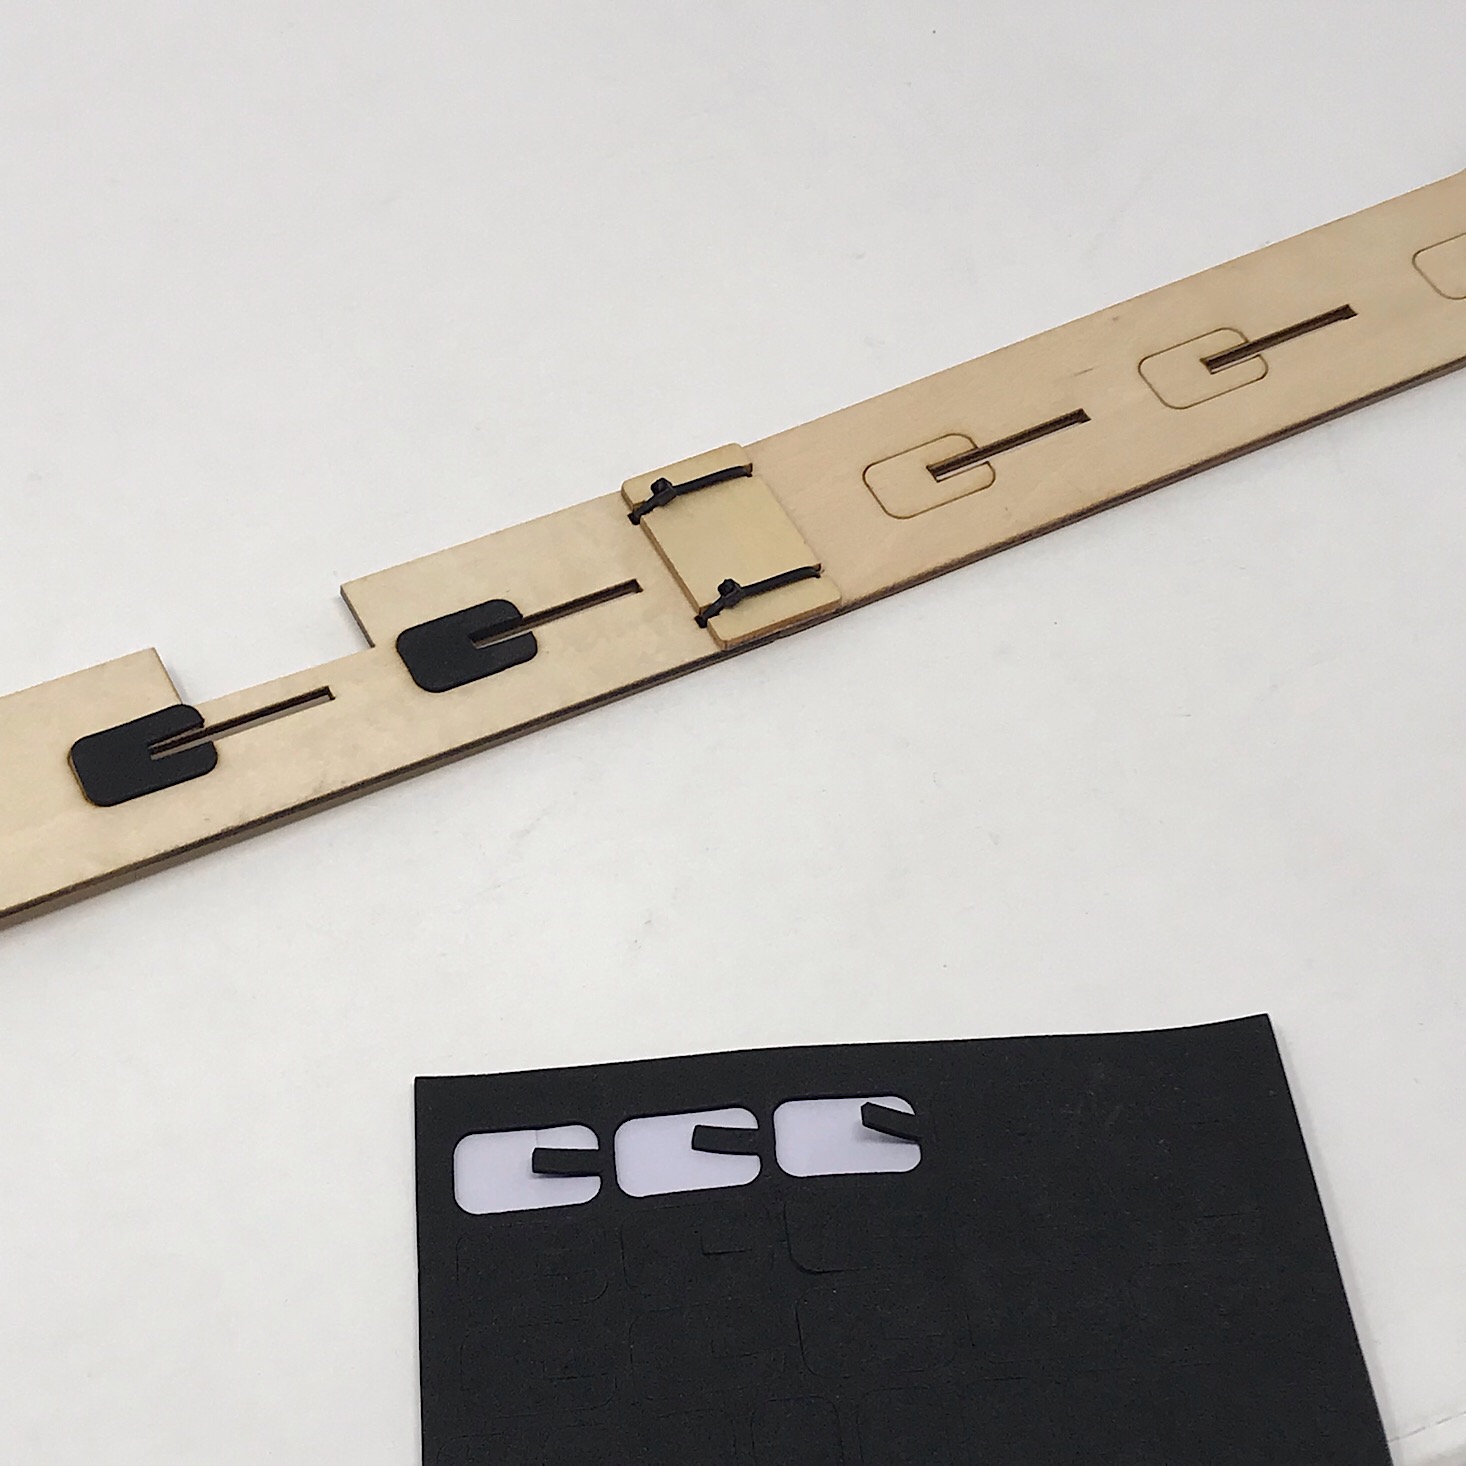
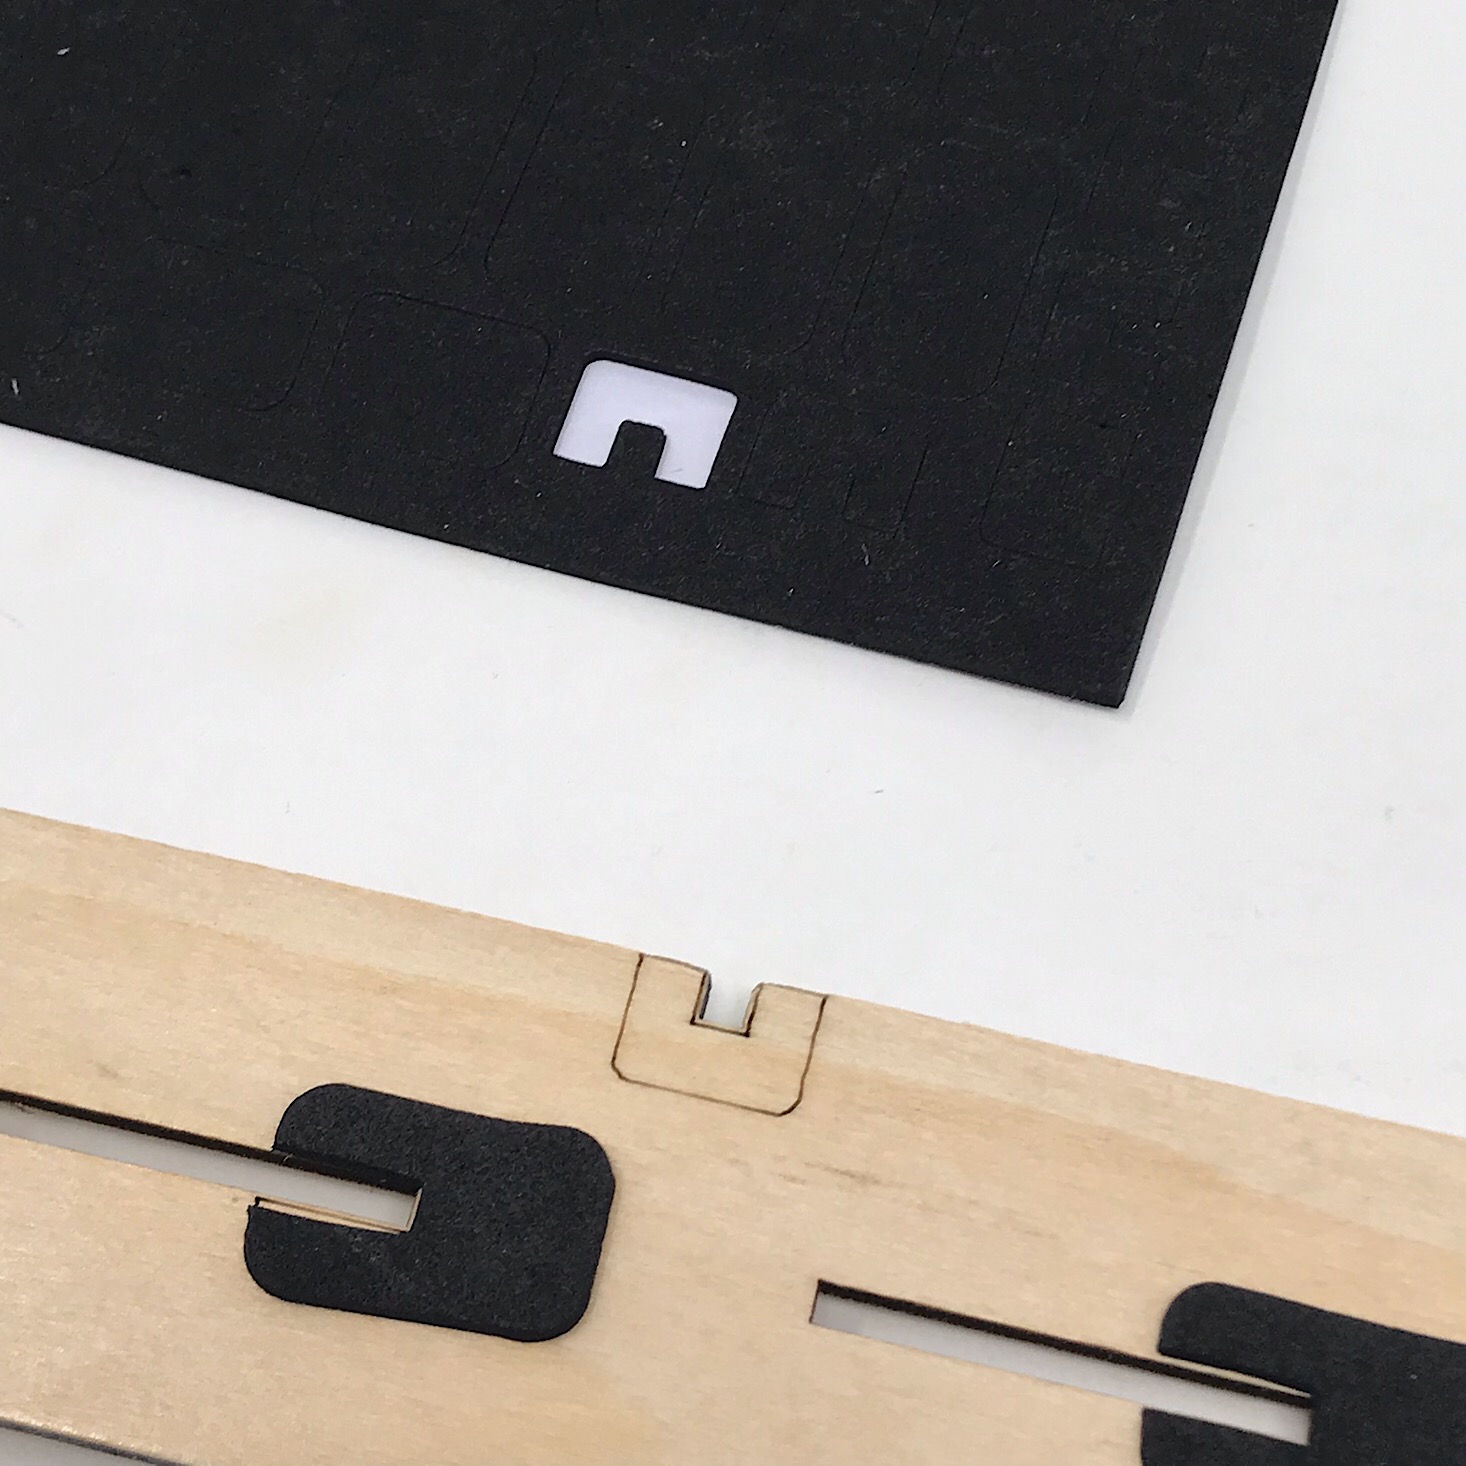
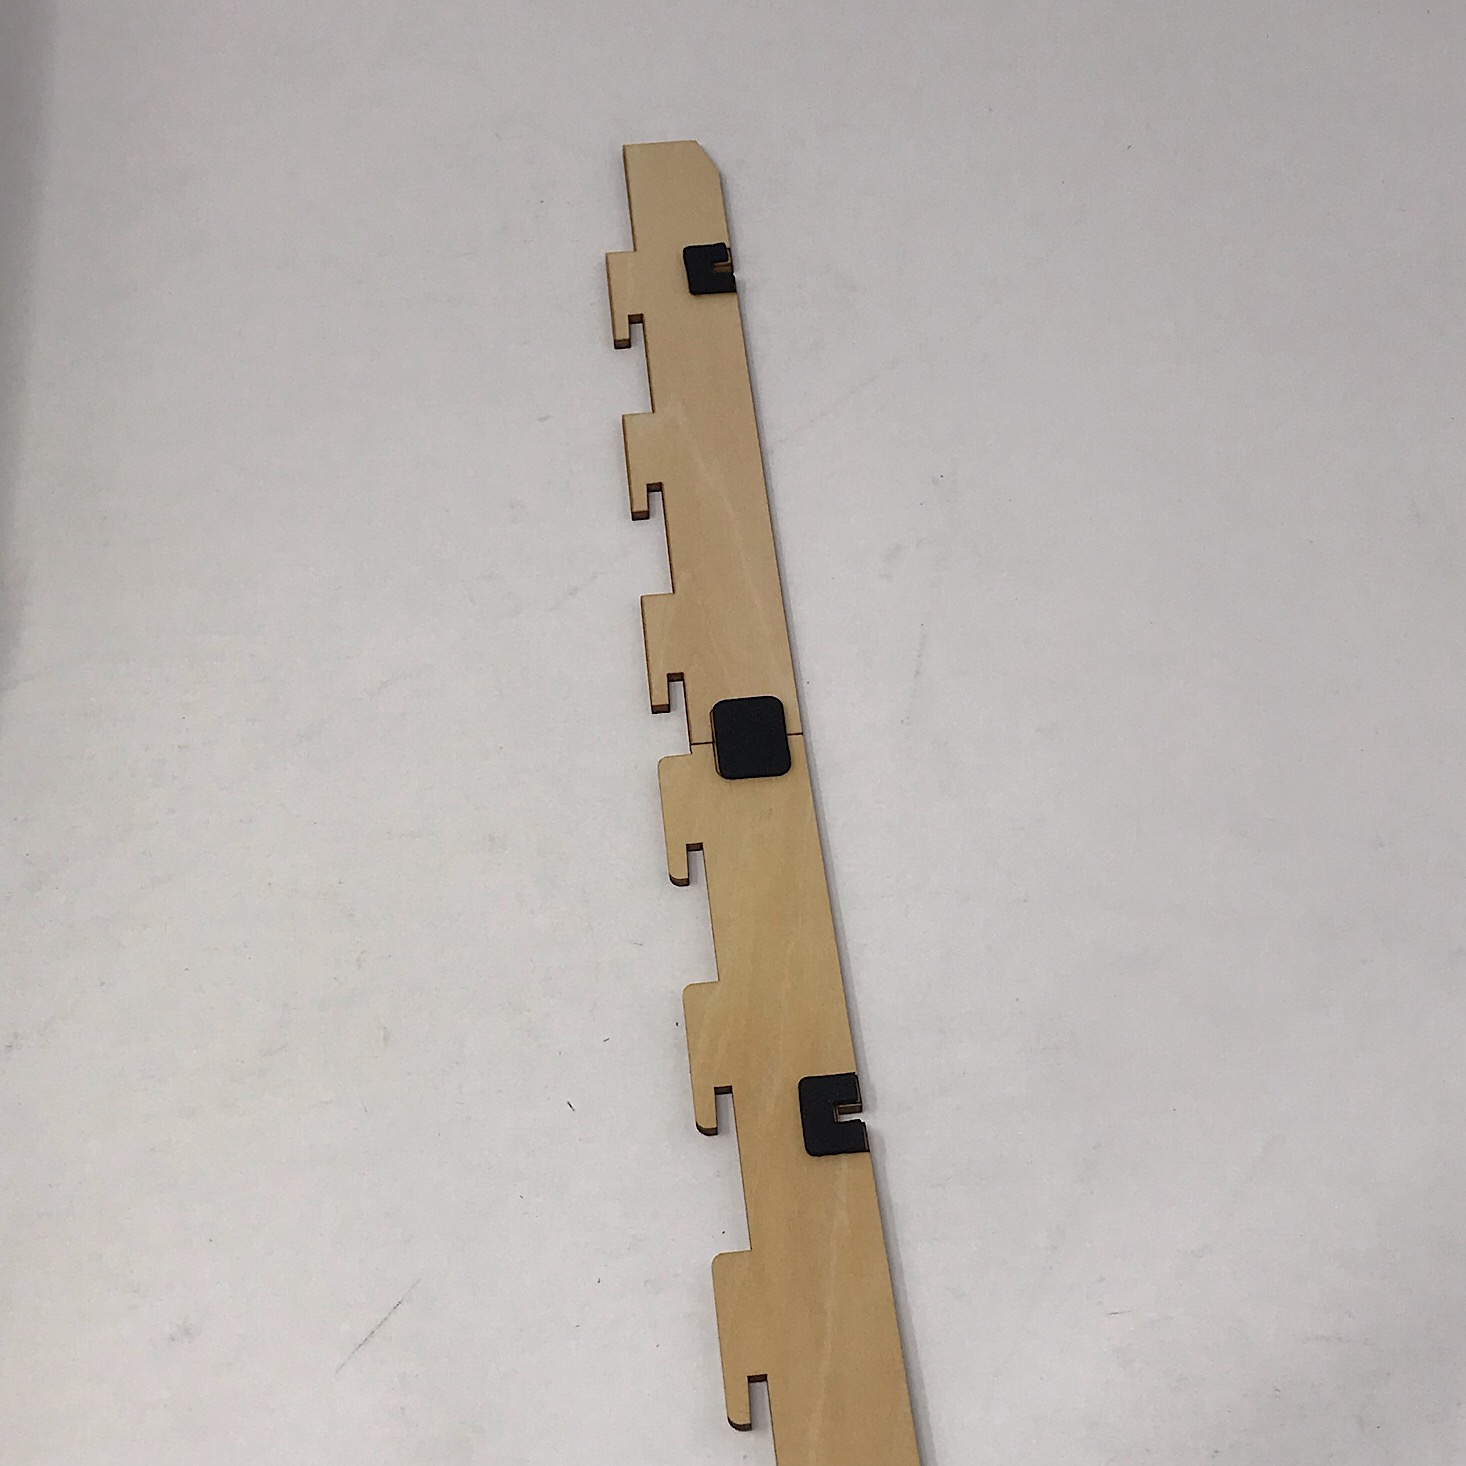
I used the black foam adhesives and added them to the marked spots along the sides of the wooden pieces.

1 of 5
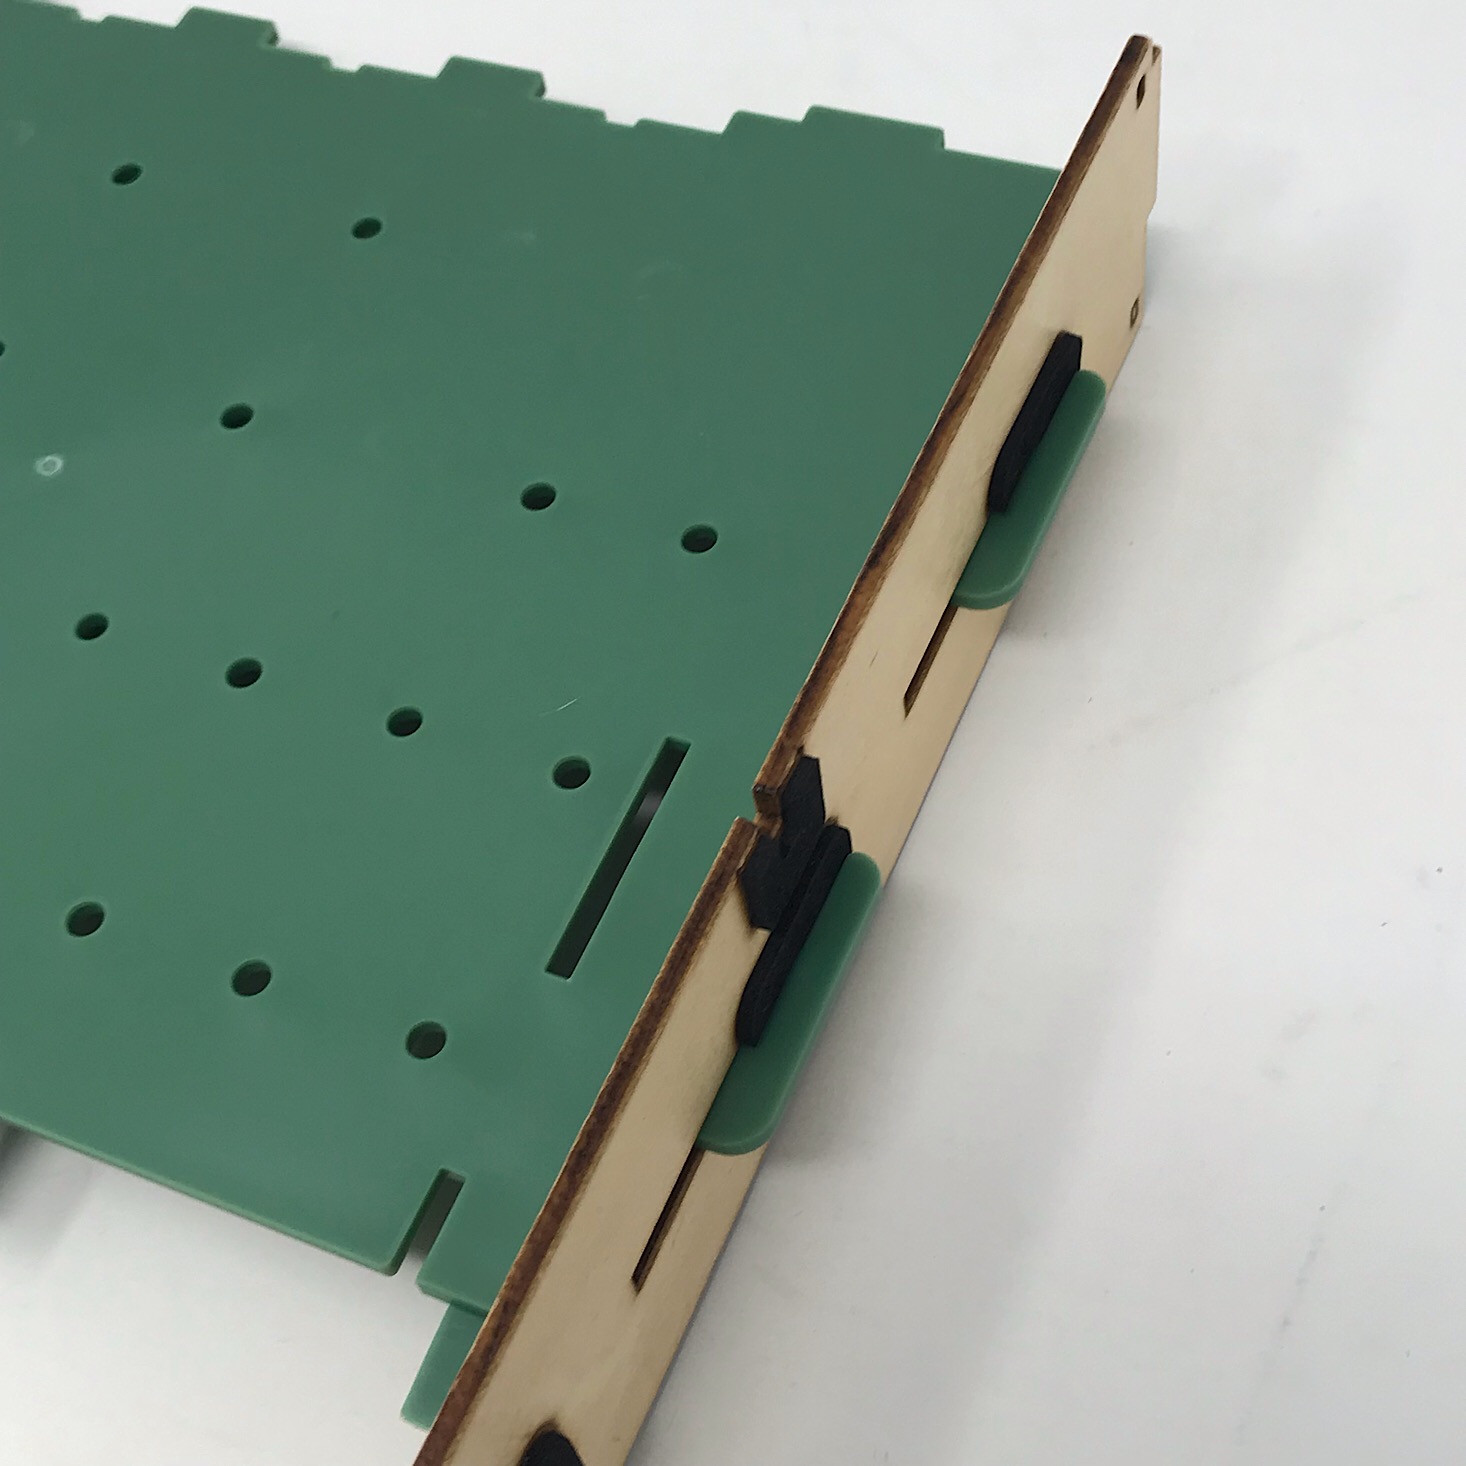

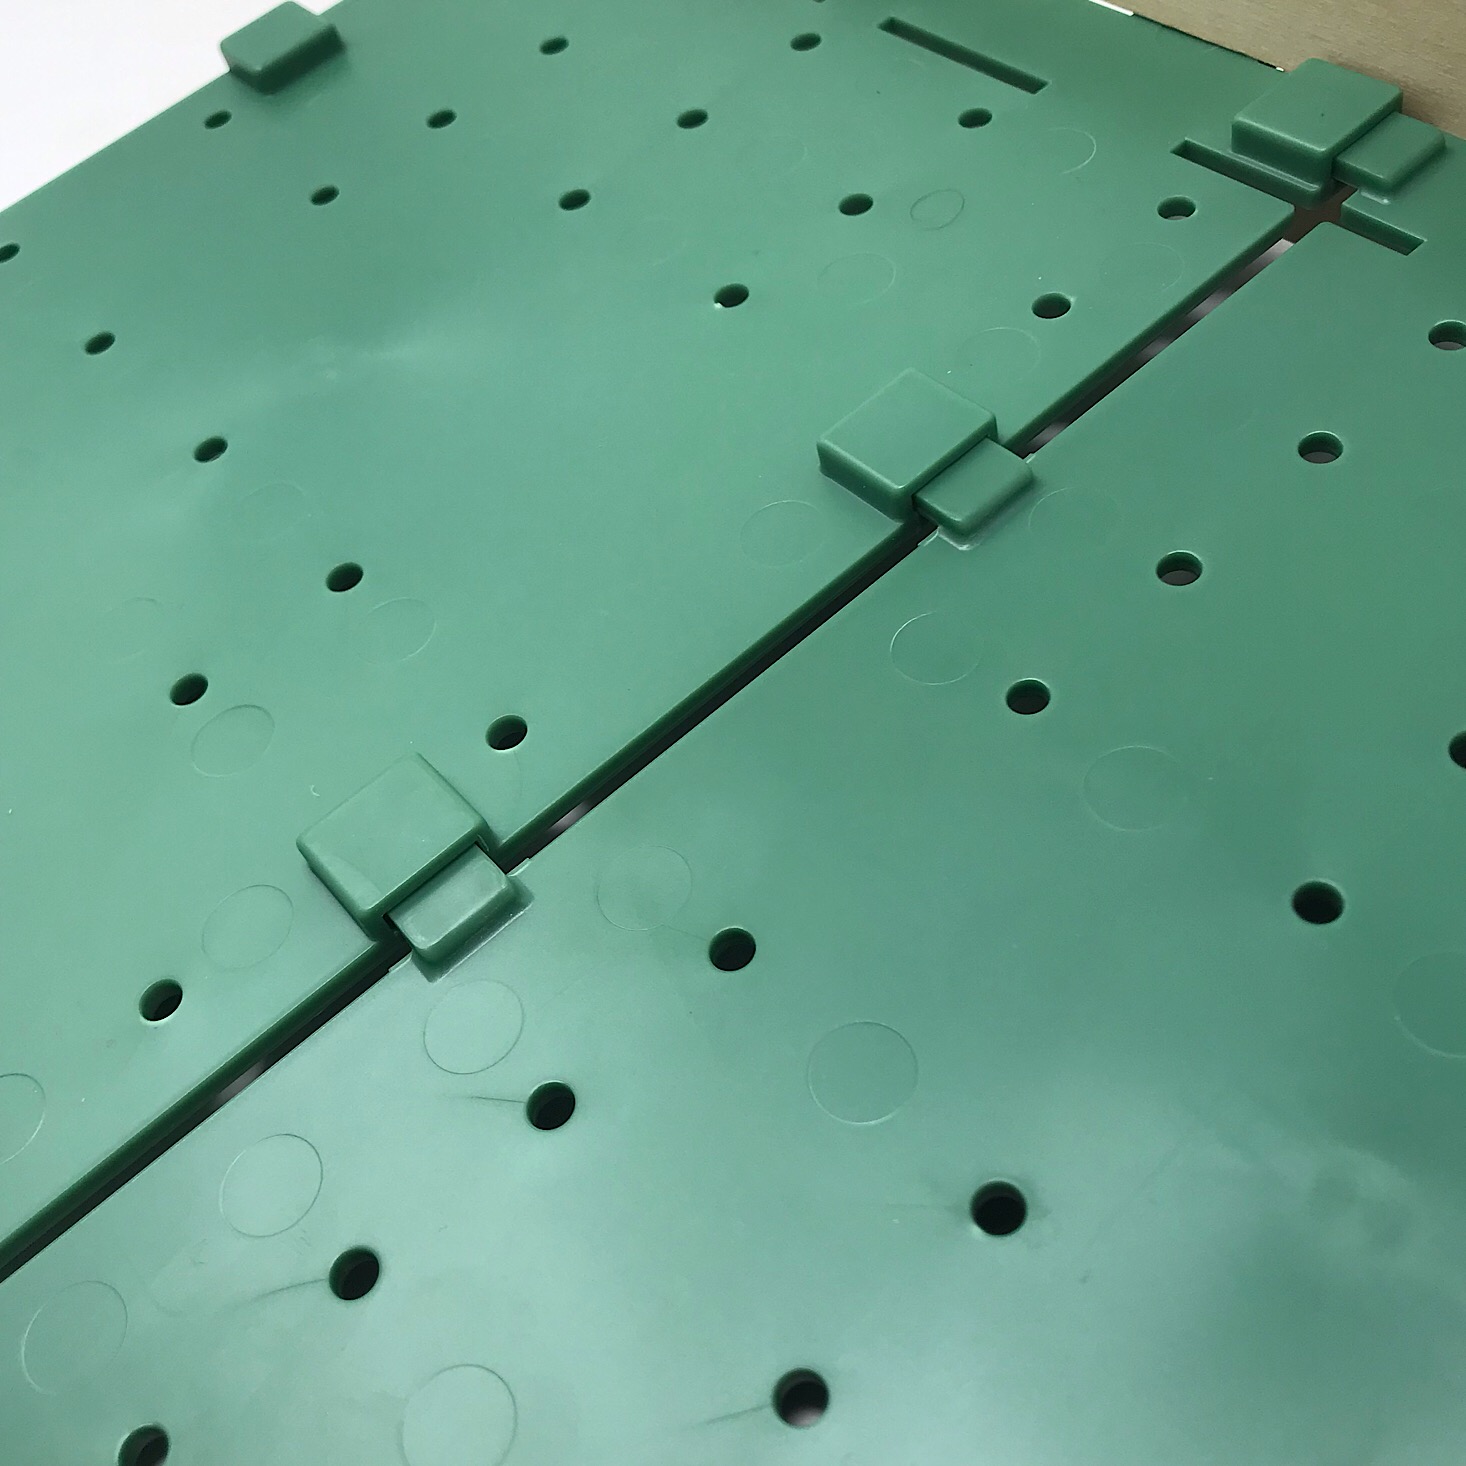
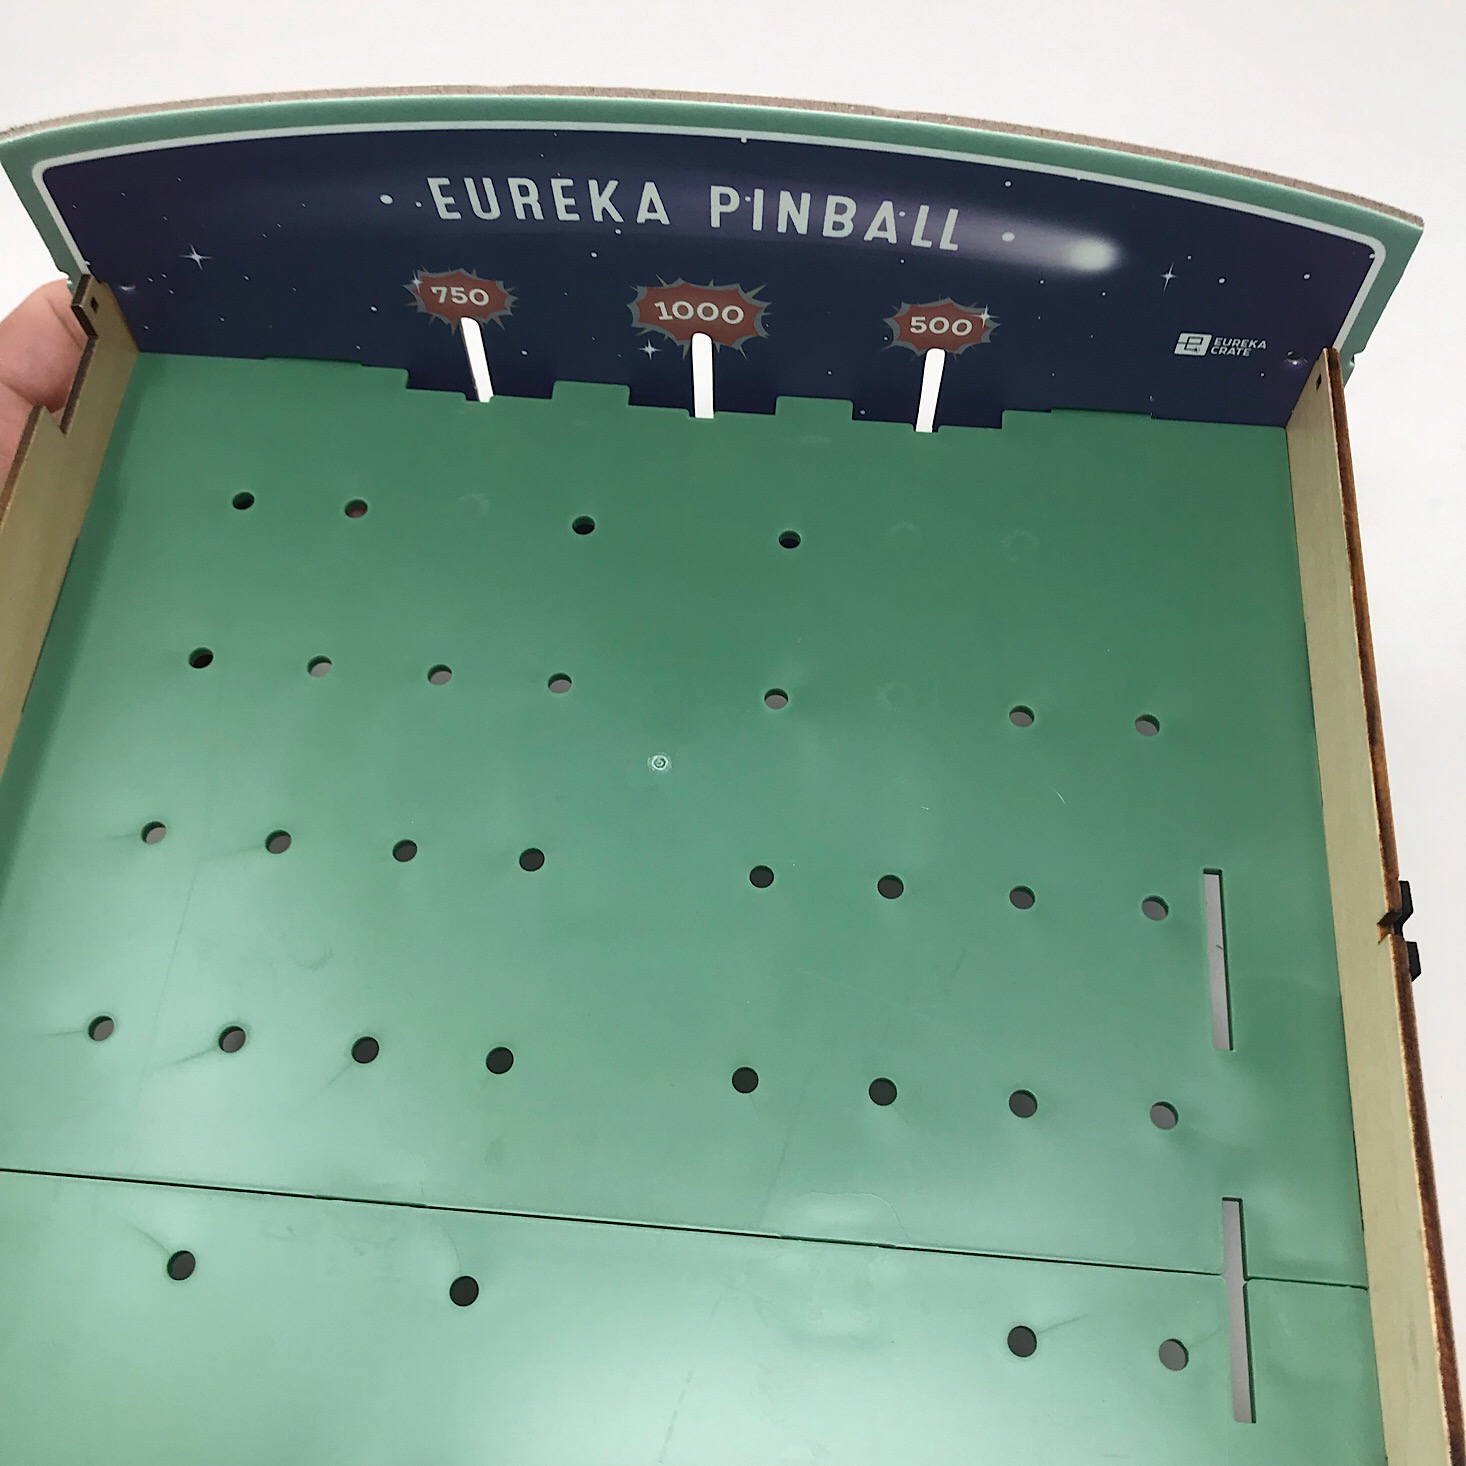
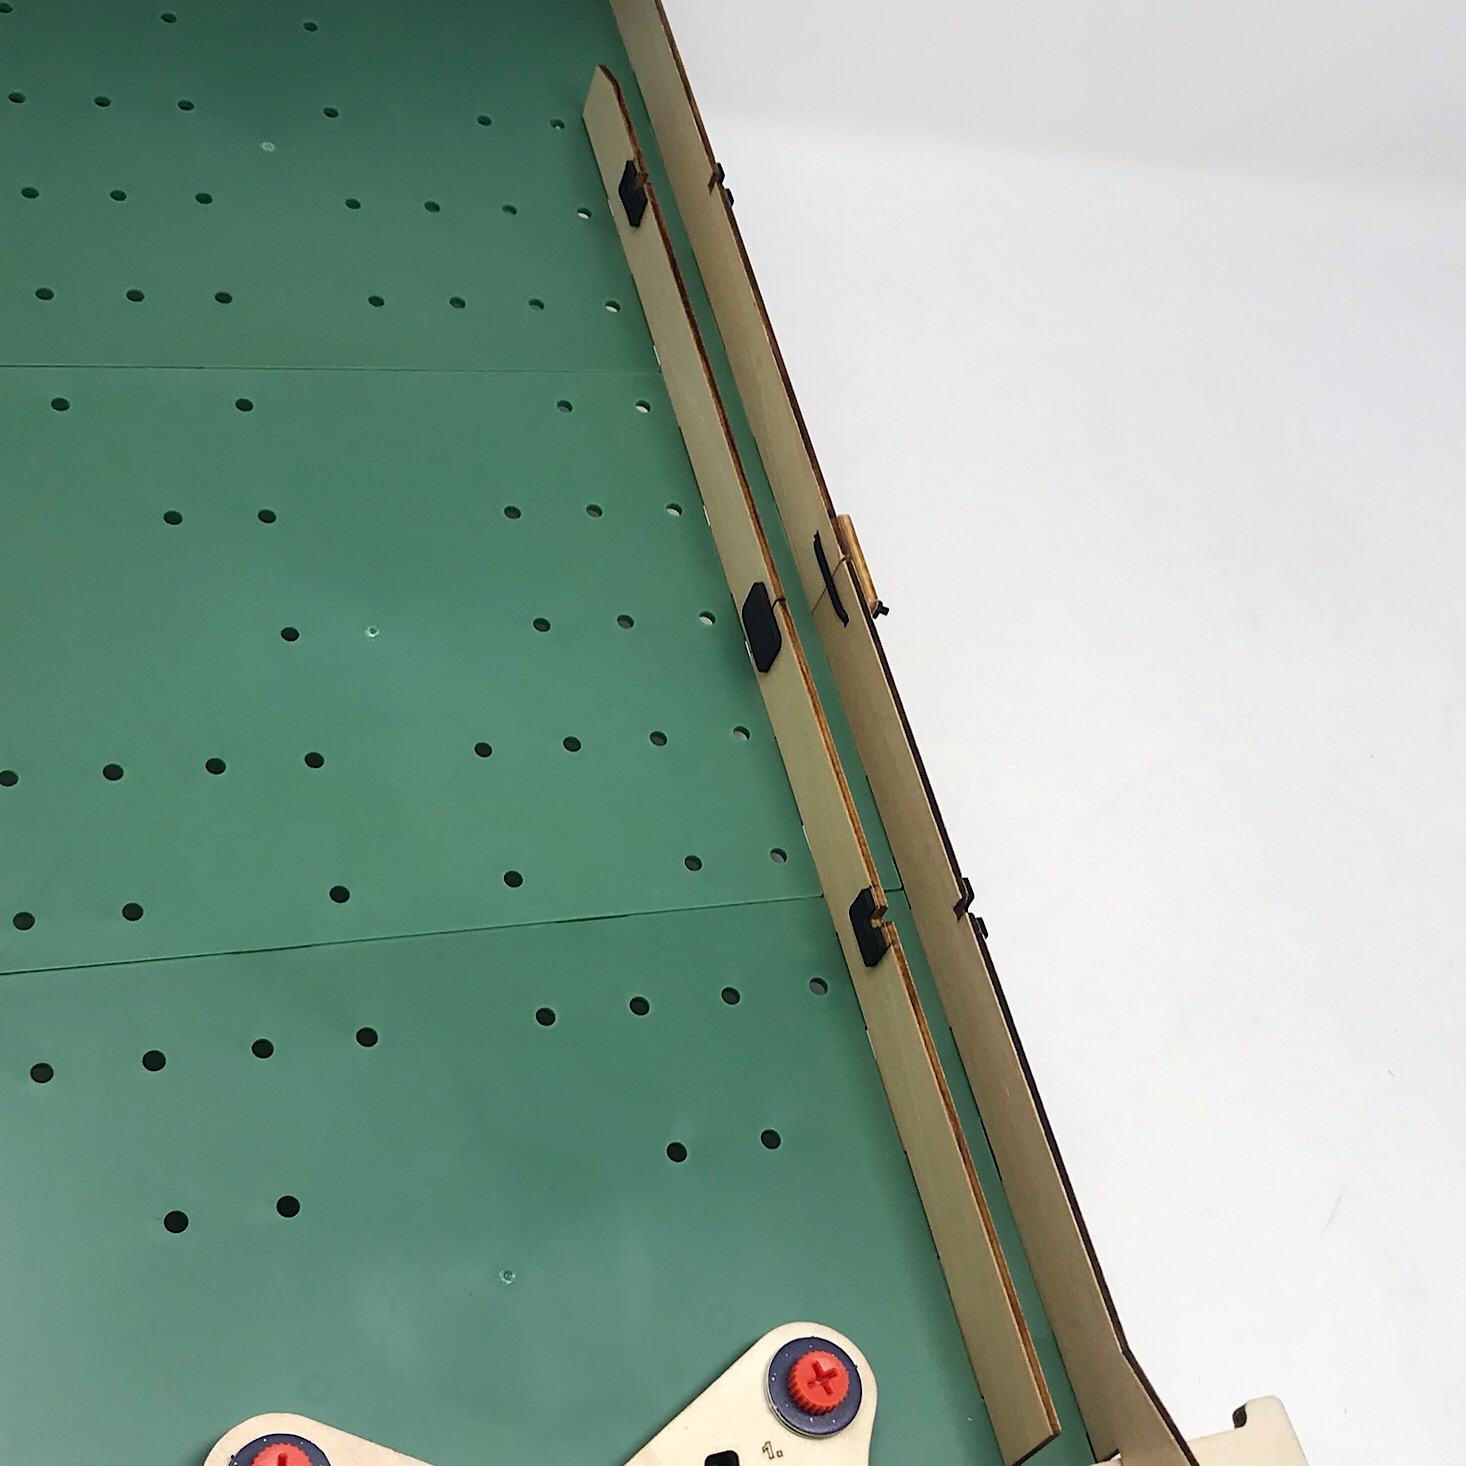
Then I put together the second and third pieces of green board and added the wooden side pieces by sliding them into place using the slots.
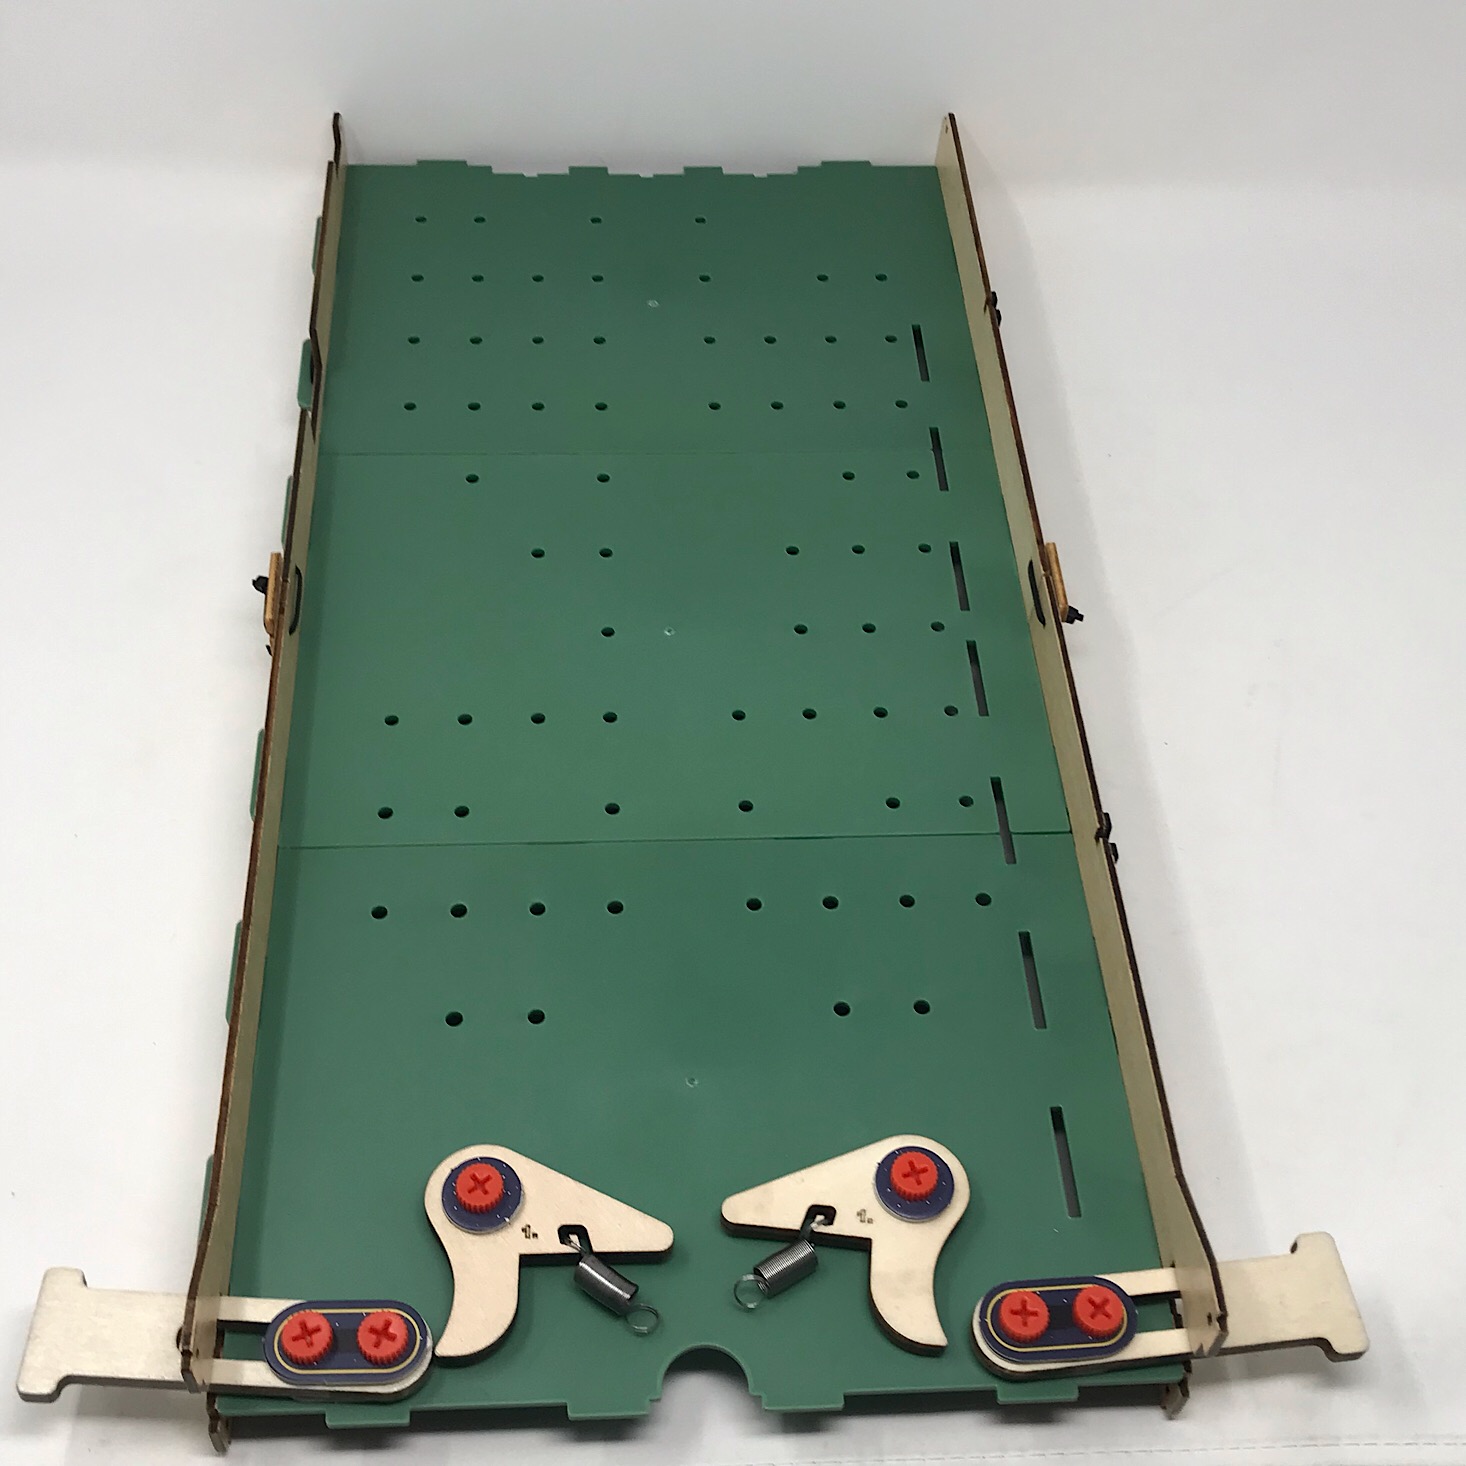
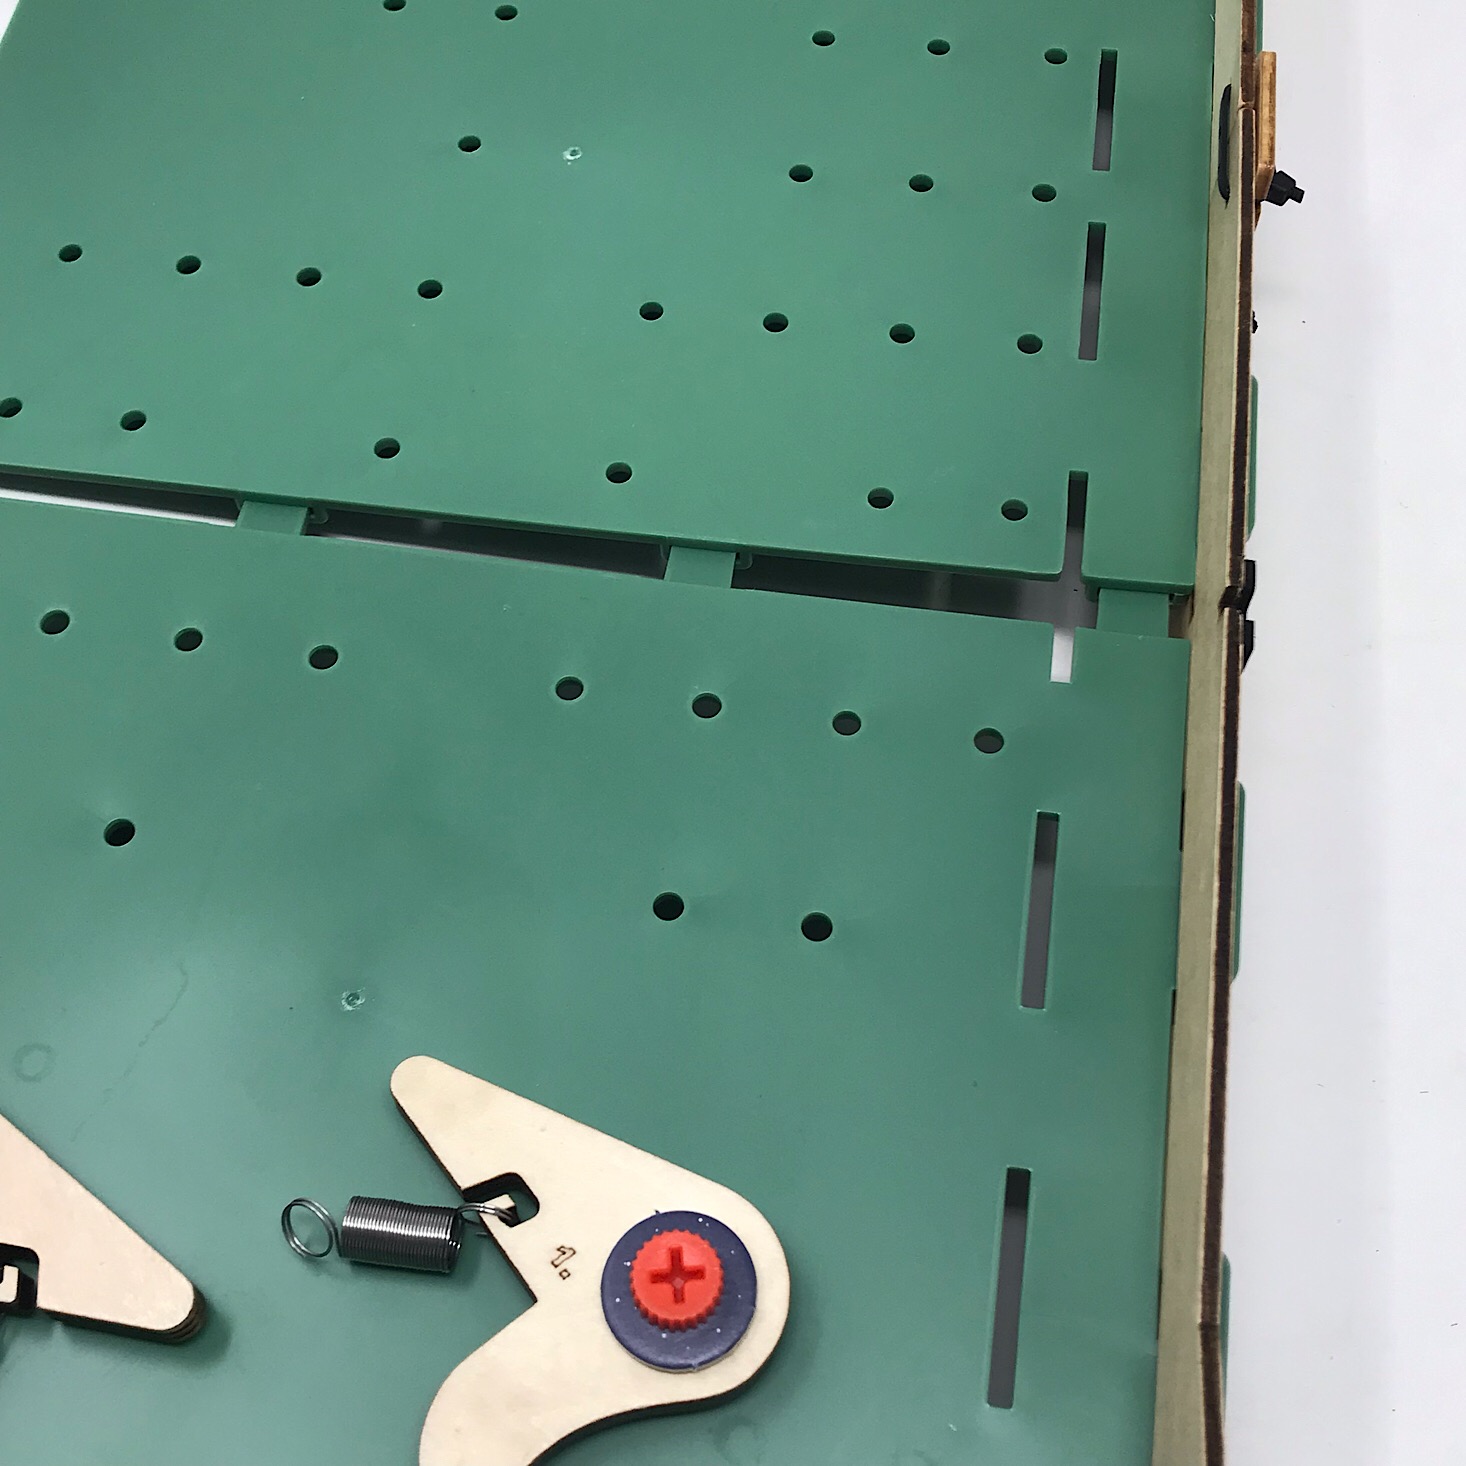
1 of 4


Then I added our green board with the flippers attached and secured the second wooden side to the other side of our board.
1 of 5


Next, I had to add our backboard. I added two foam rectangles to either side of the board and then added a thick plastic black sticker to the bottom of the foam to form a skid-free surface.
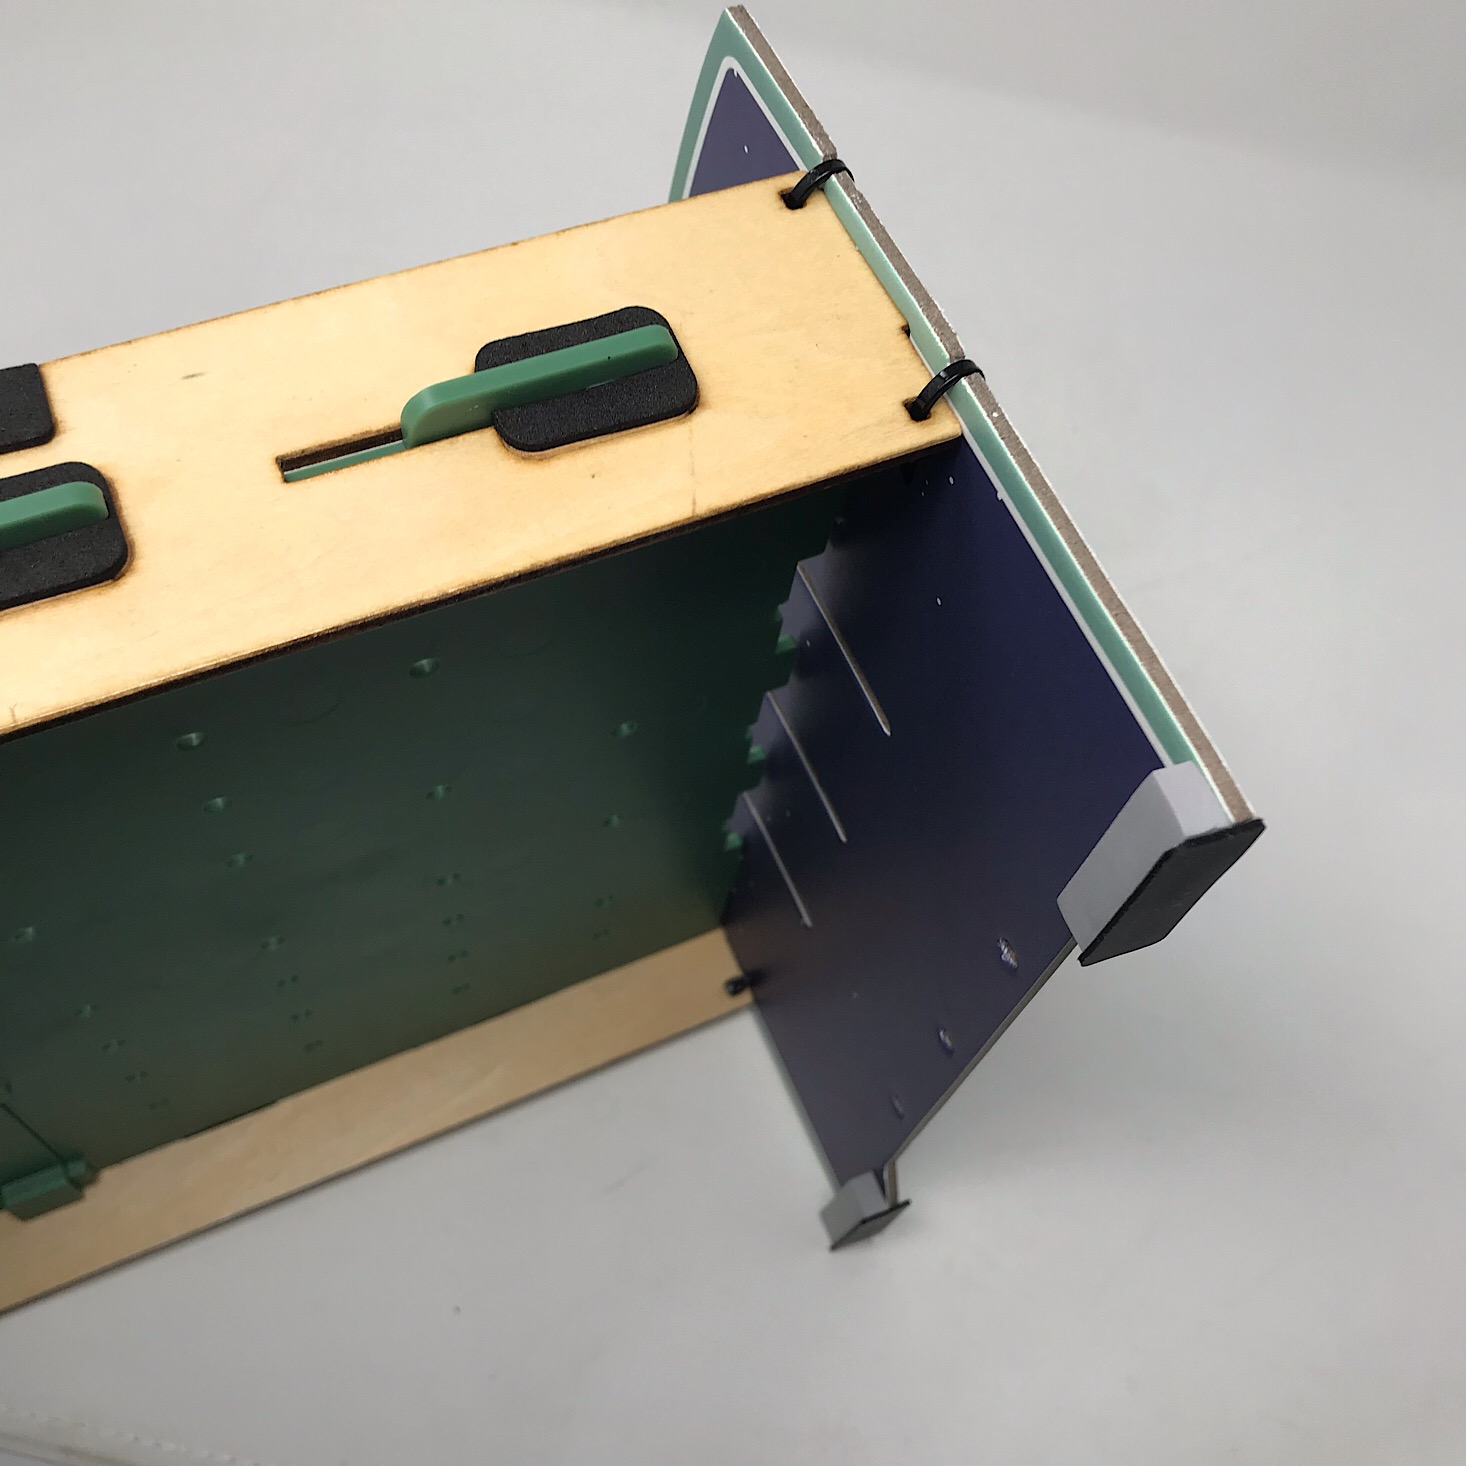

1 of 5

I added the backboard to the back of our green board and secured it into place using zip ties that I threaded through the holes that were already notched out for me. I then tightened and trimmed them. One side was actually digging into and bending the thick backboard, but it didn't seem to have an effect on the overall outcome and it still felt sturdy.

1 of 5


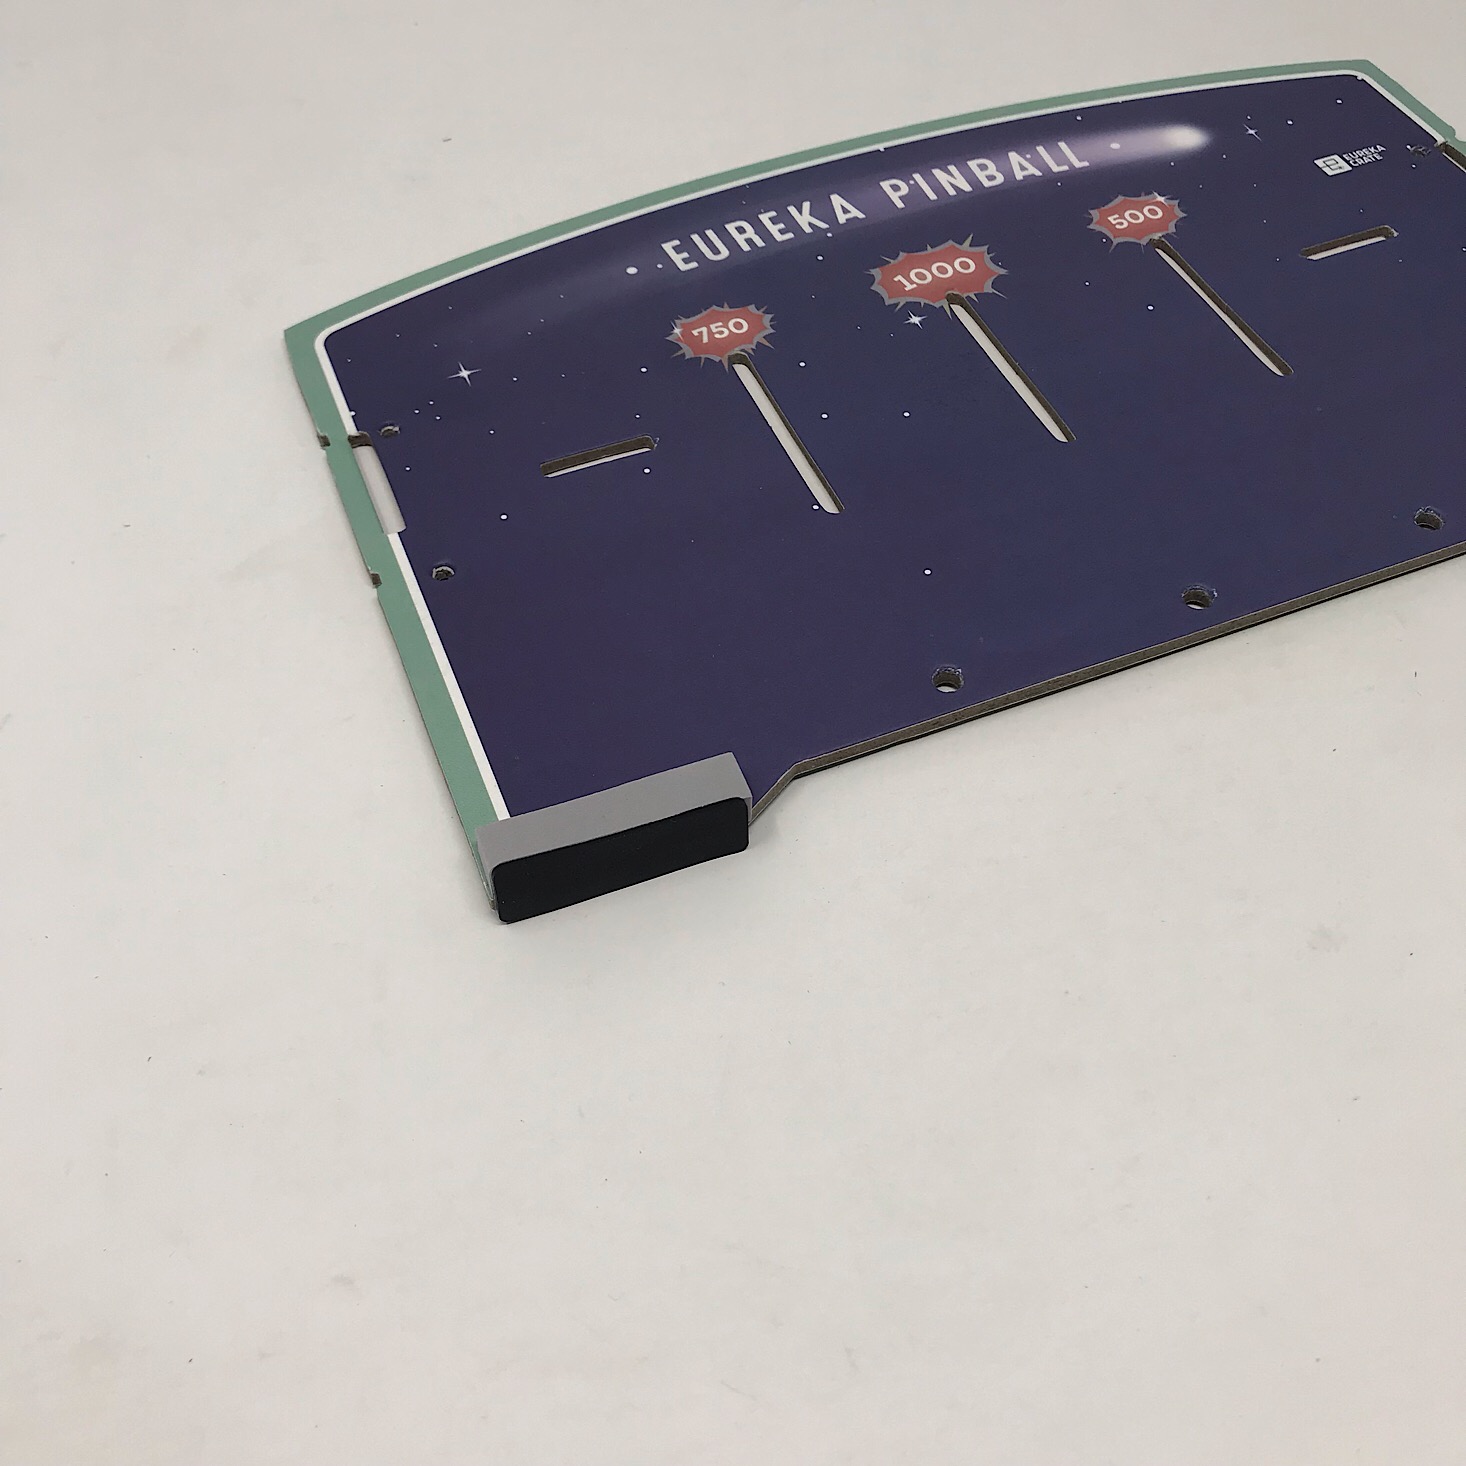
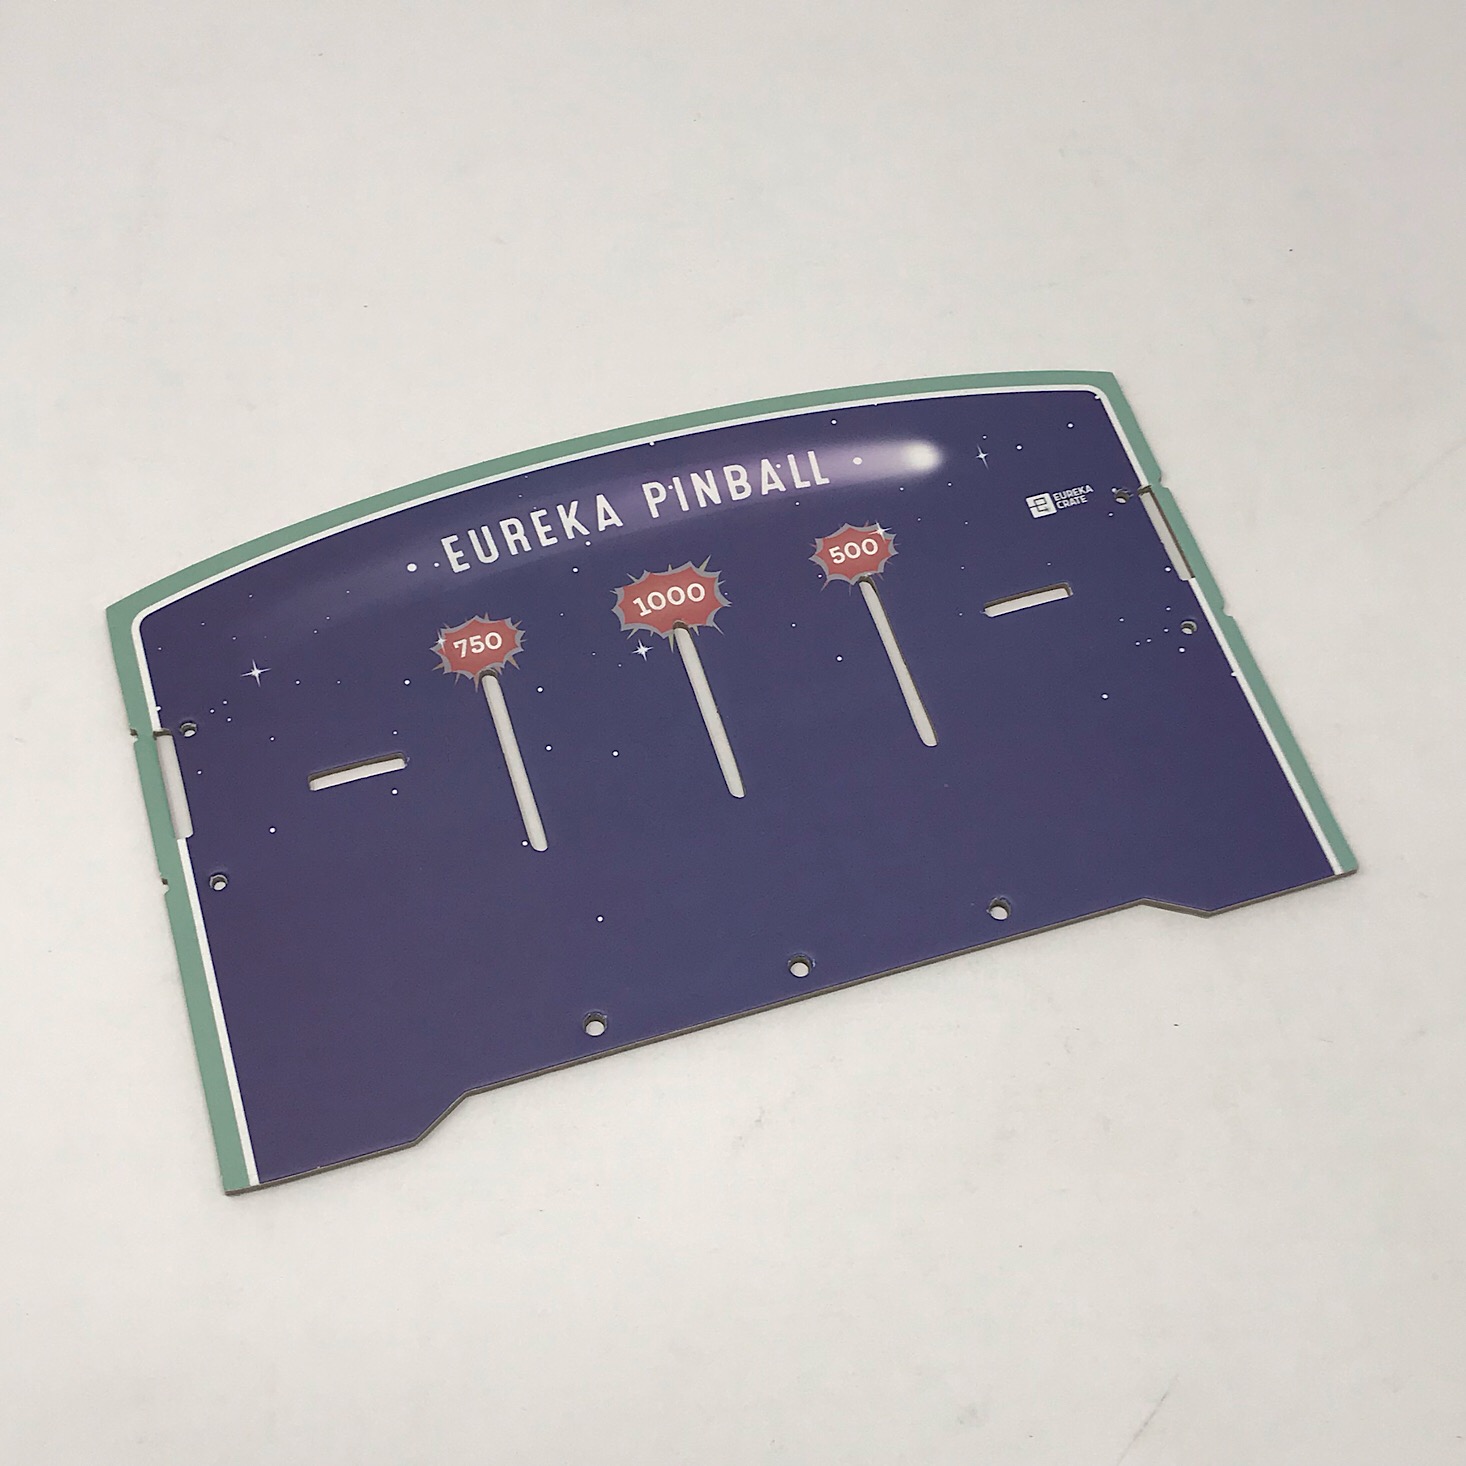
To create the front of the board I added this blue piece and secured it using screws and then added more gray foam and black plastic to create the non-skid feet for this side of the machine.


1 of 3

I secured this to the board using more zip ties and then I stretched the springs from our flippers and secured them to the notches on the front edge of the board. Then it was time to test the flippers.
Once I was satisfied that both were in working order, I was able to move on to the next part.
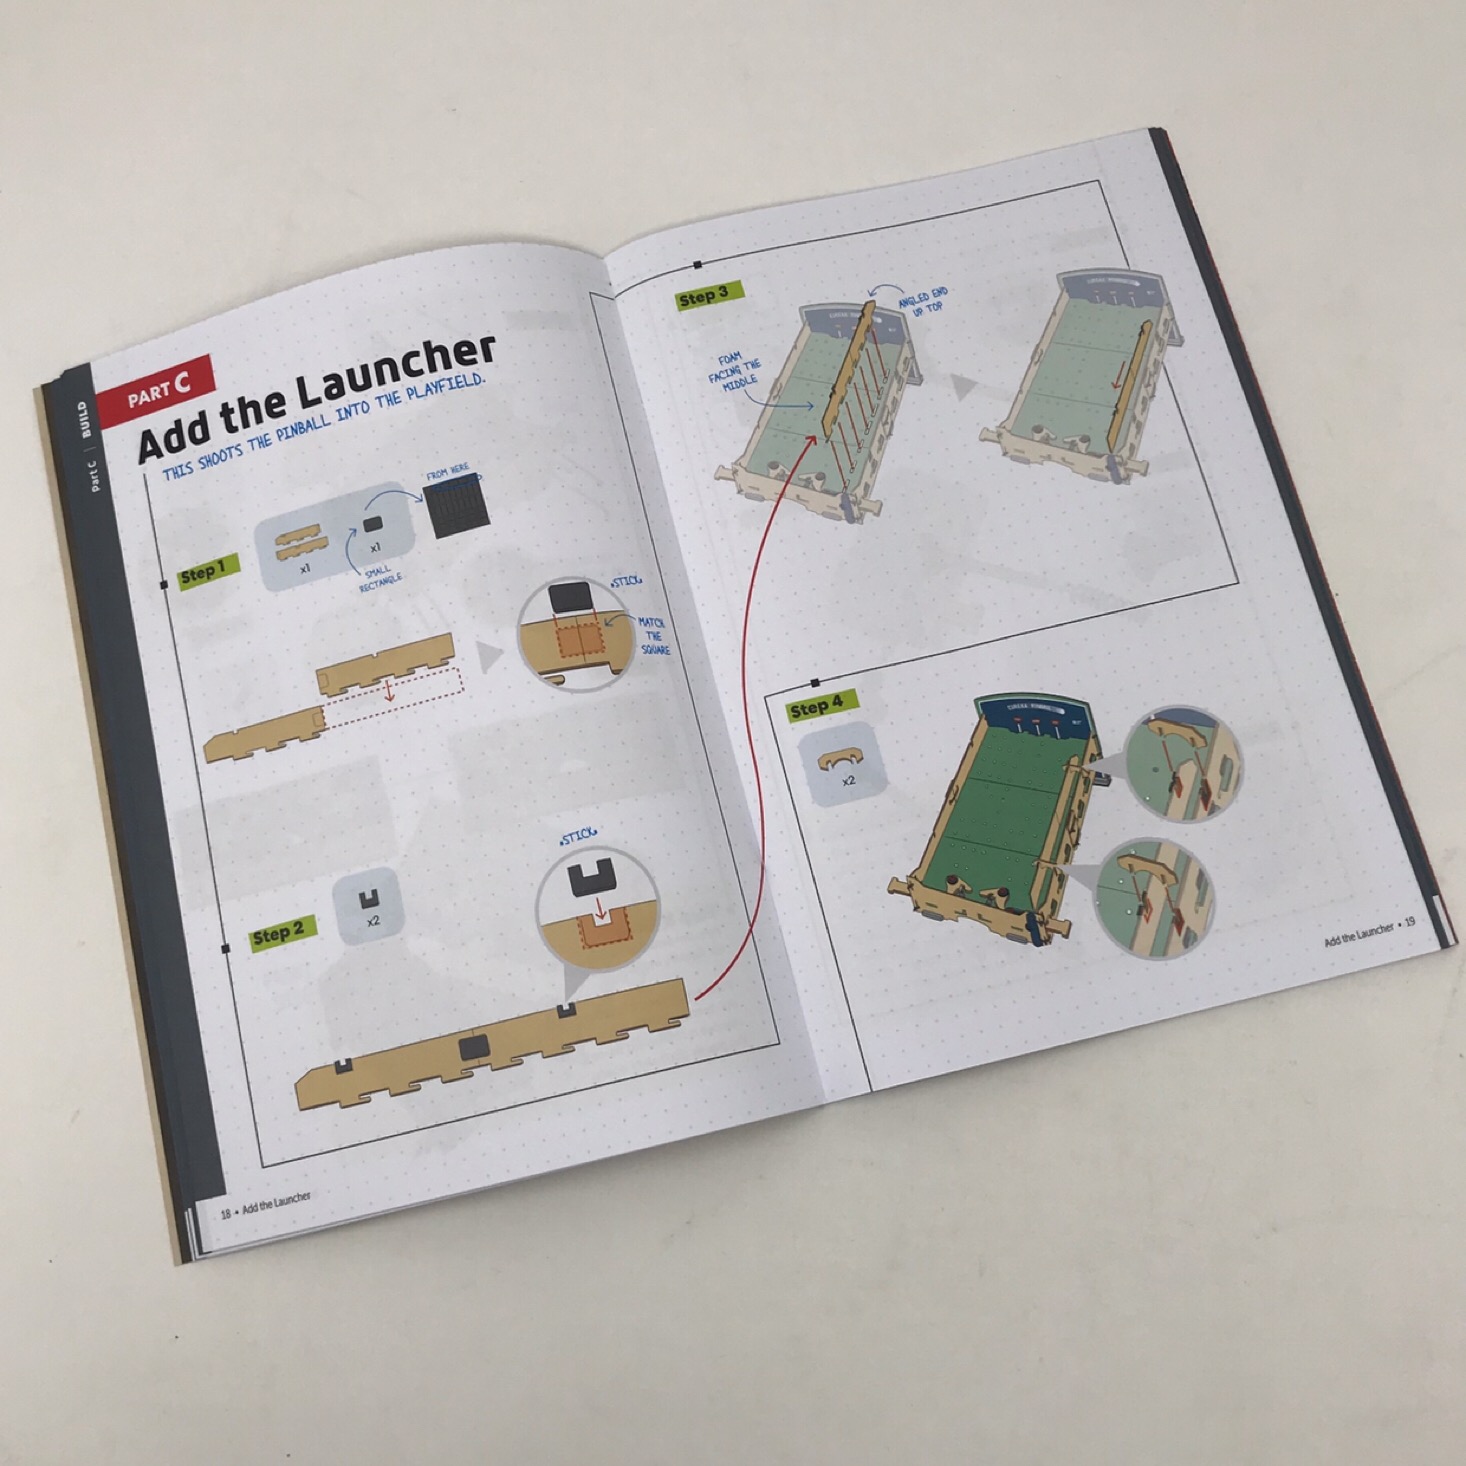
Part C: Add the Launcher

1 of 5

Next, I created the ball launcher using a set of wooden pieces. I added some foam stickers to the marked spots and then set the launcher in our board and added these little wooden pieces and slid them into the notches to secure the launcher sides.
1 of 5


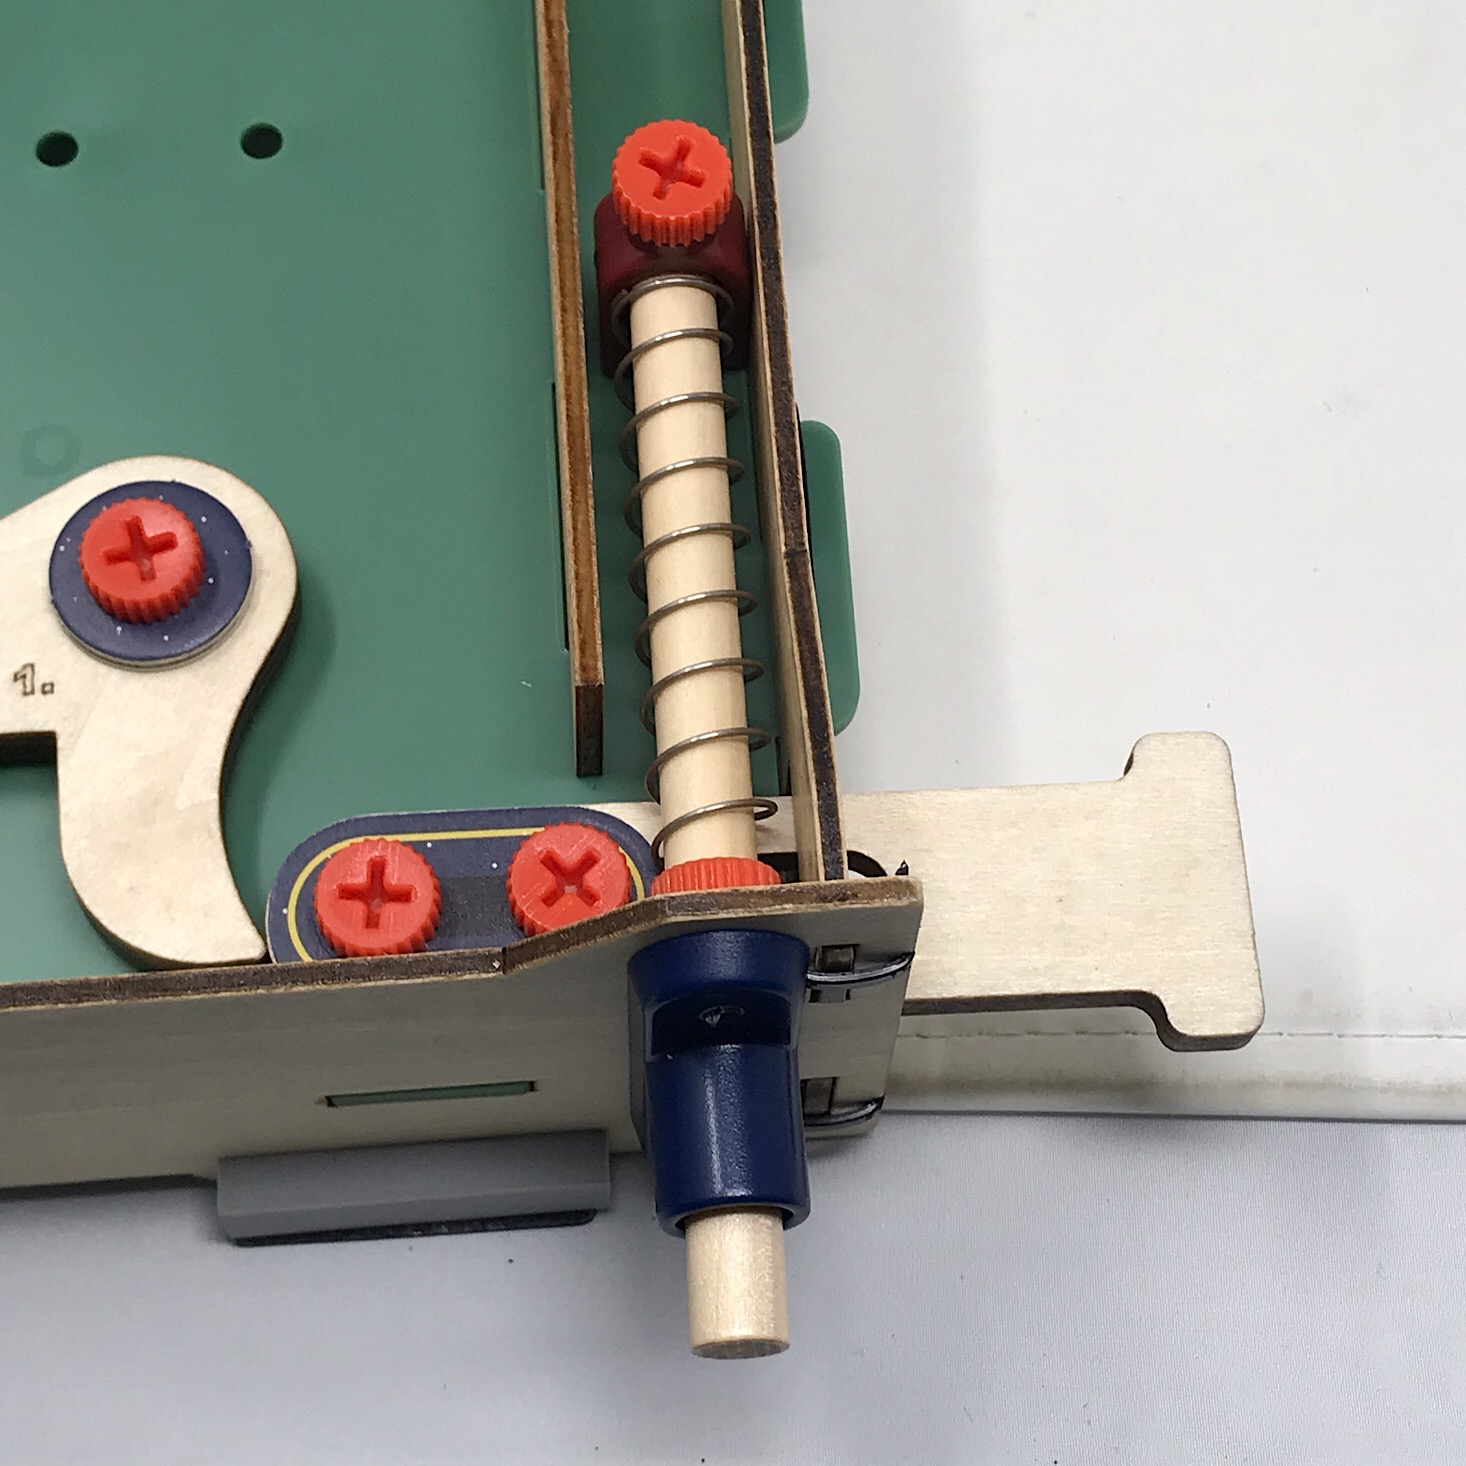
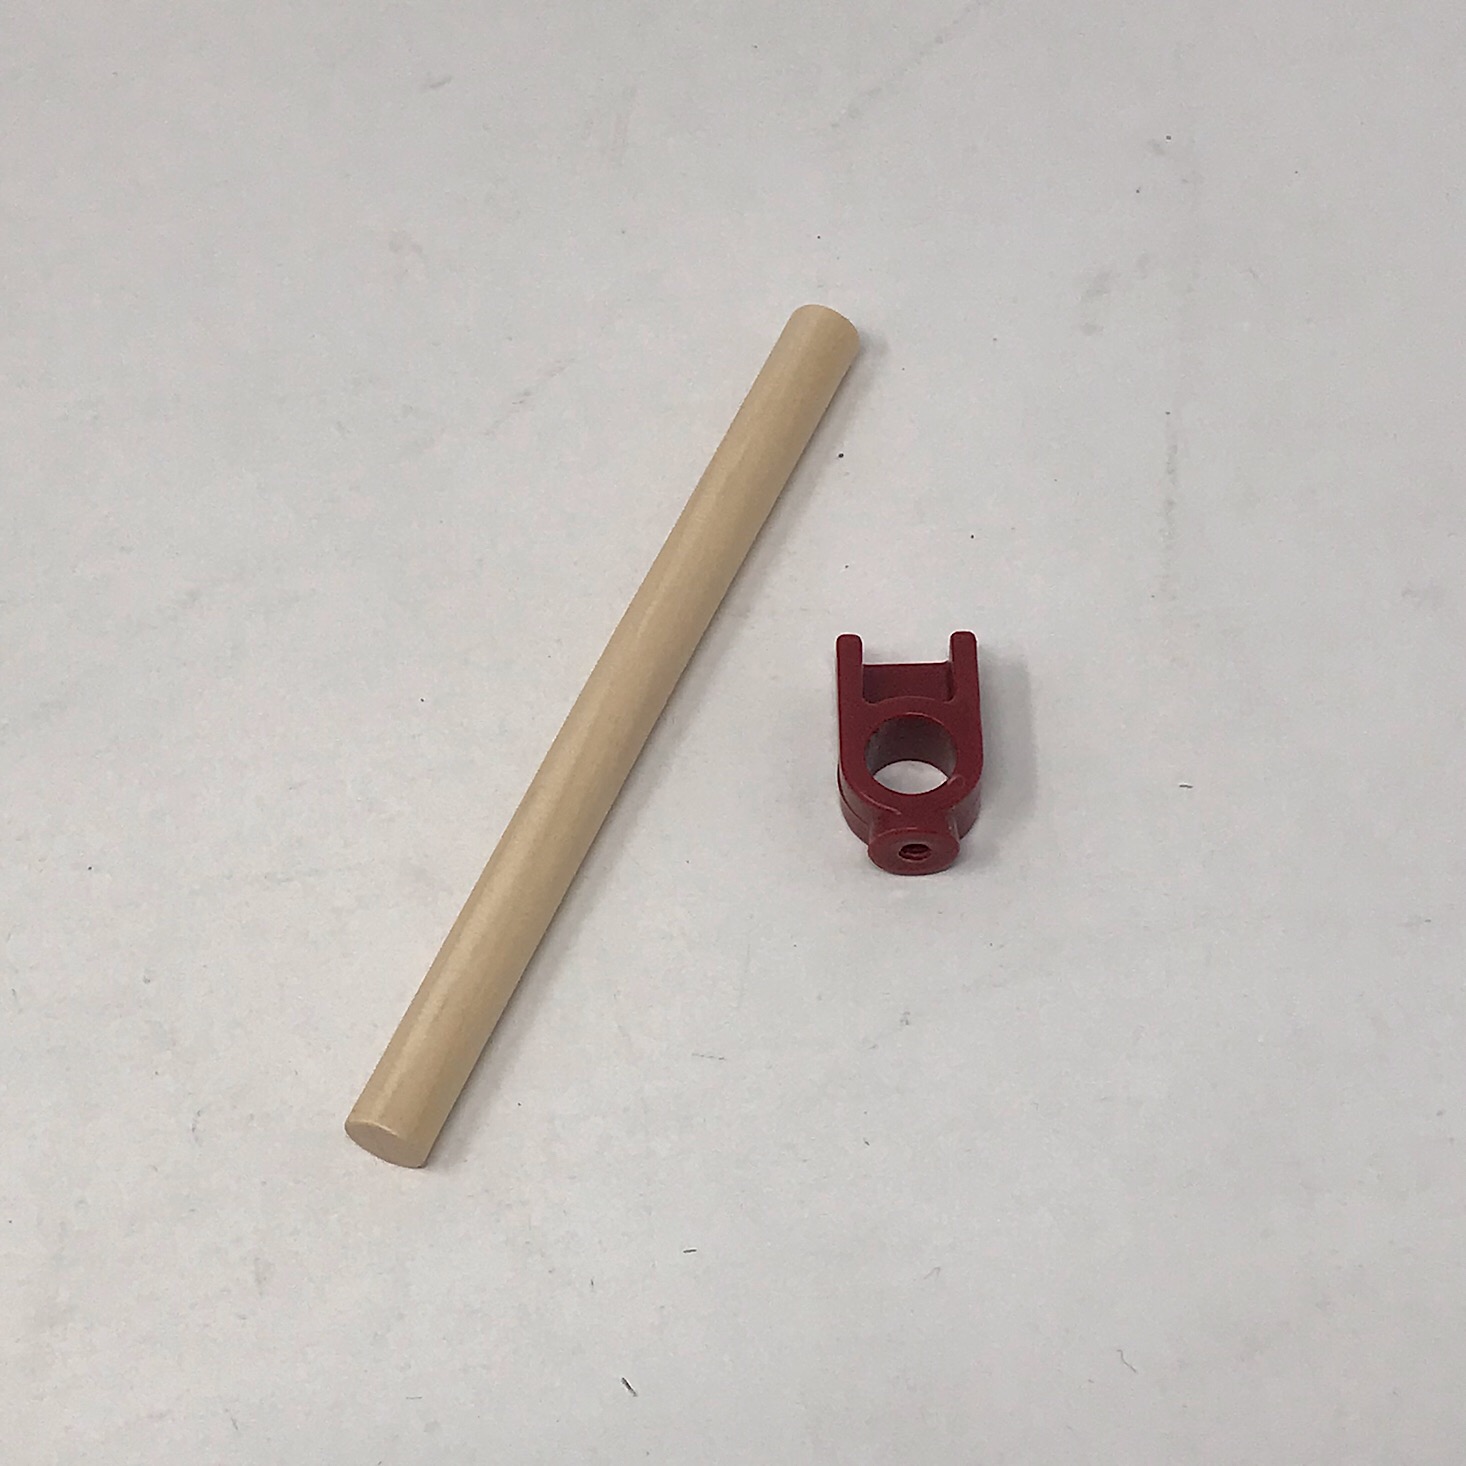
Then I added this maroon piece to the end of the wooden dowel and held it into place with a tightened screw. I added a spring to the dowel and then inserted it into the hole at the front of the ball launcher area.


1 of 4


Adding the knob for our launcher proved to be somewhat difficult as the instructions were to use a tightened screw to hold it into place like we did with the other end of our launcher, but the knob seemed to be threaded wrong and I couldn't get a tight fit. After trying to use some tape to create some grip and failing, I tasked my husband with finding a household screw to use and he found one that worked perfectly, so luckily, I was able to continue with the machine design!

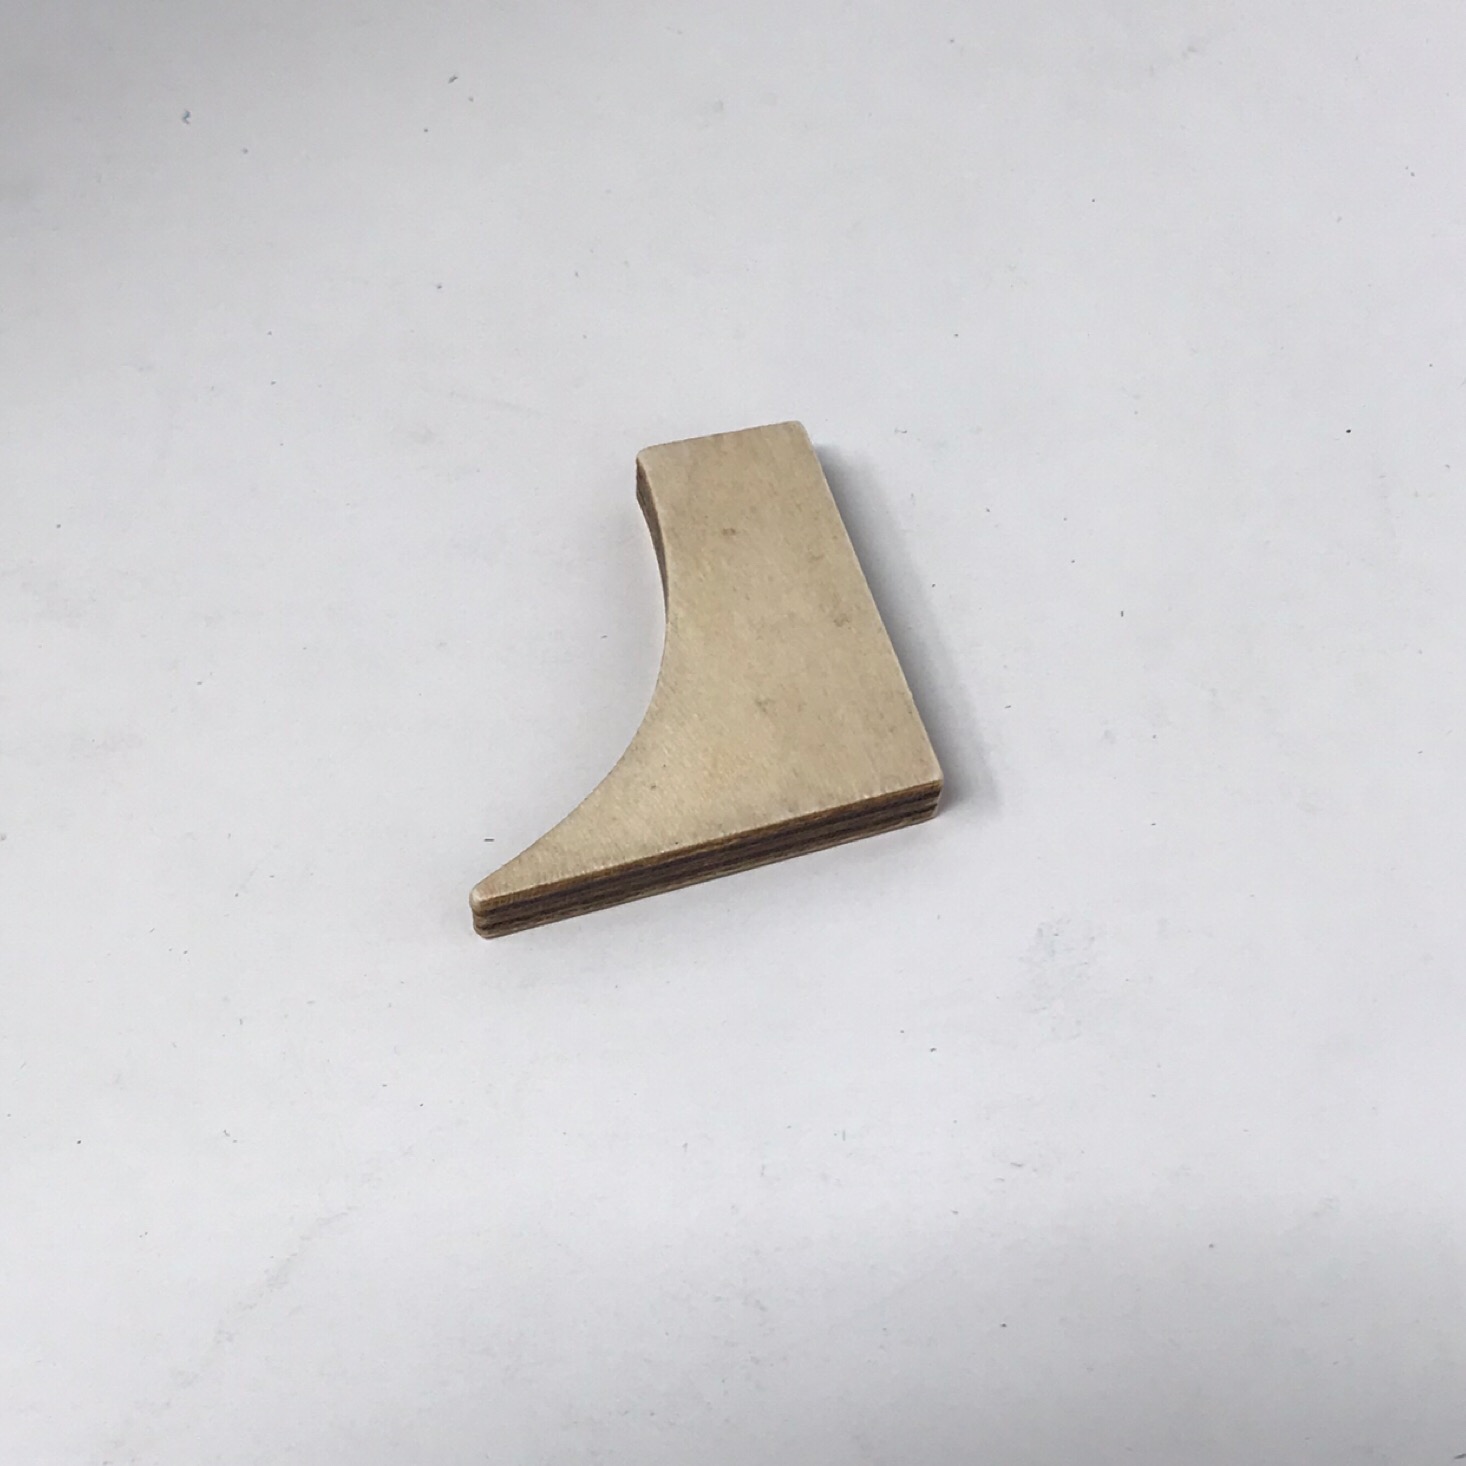
1 of 5

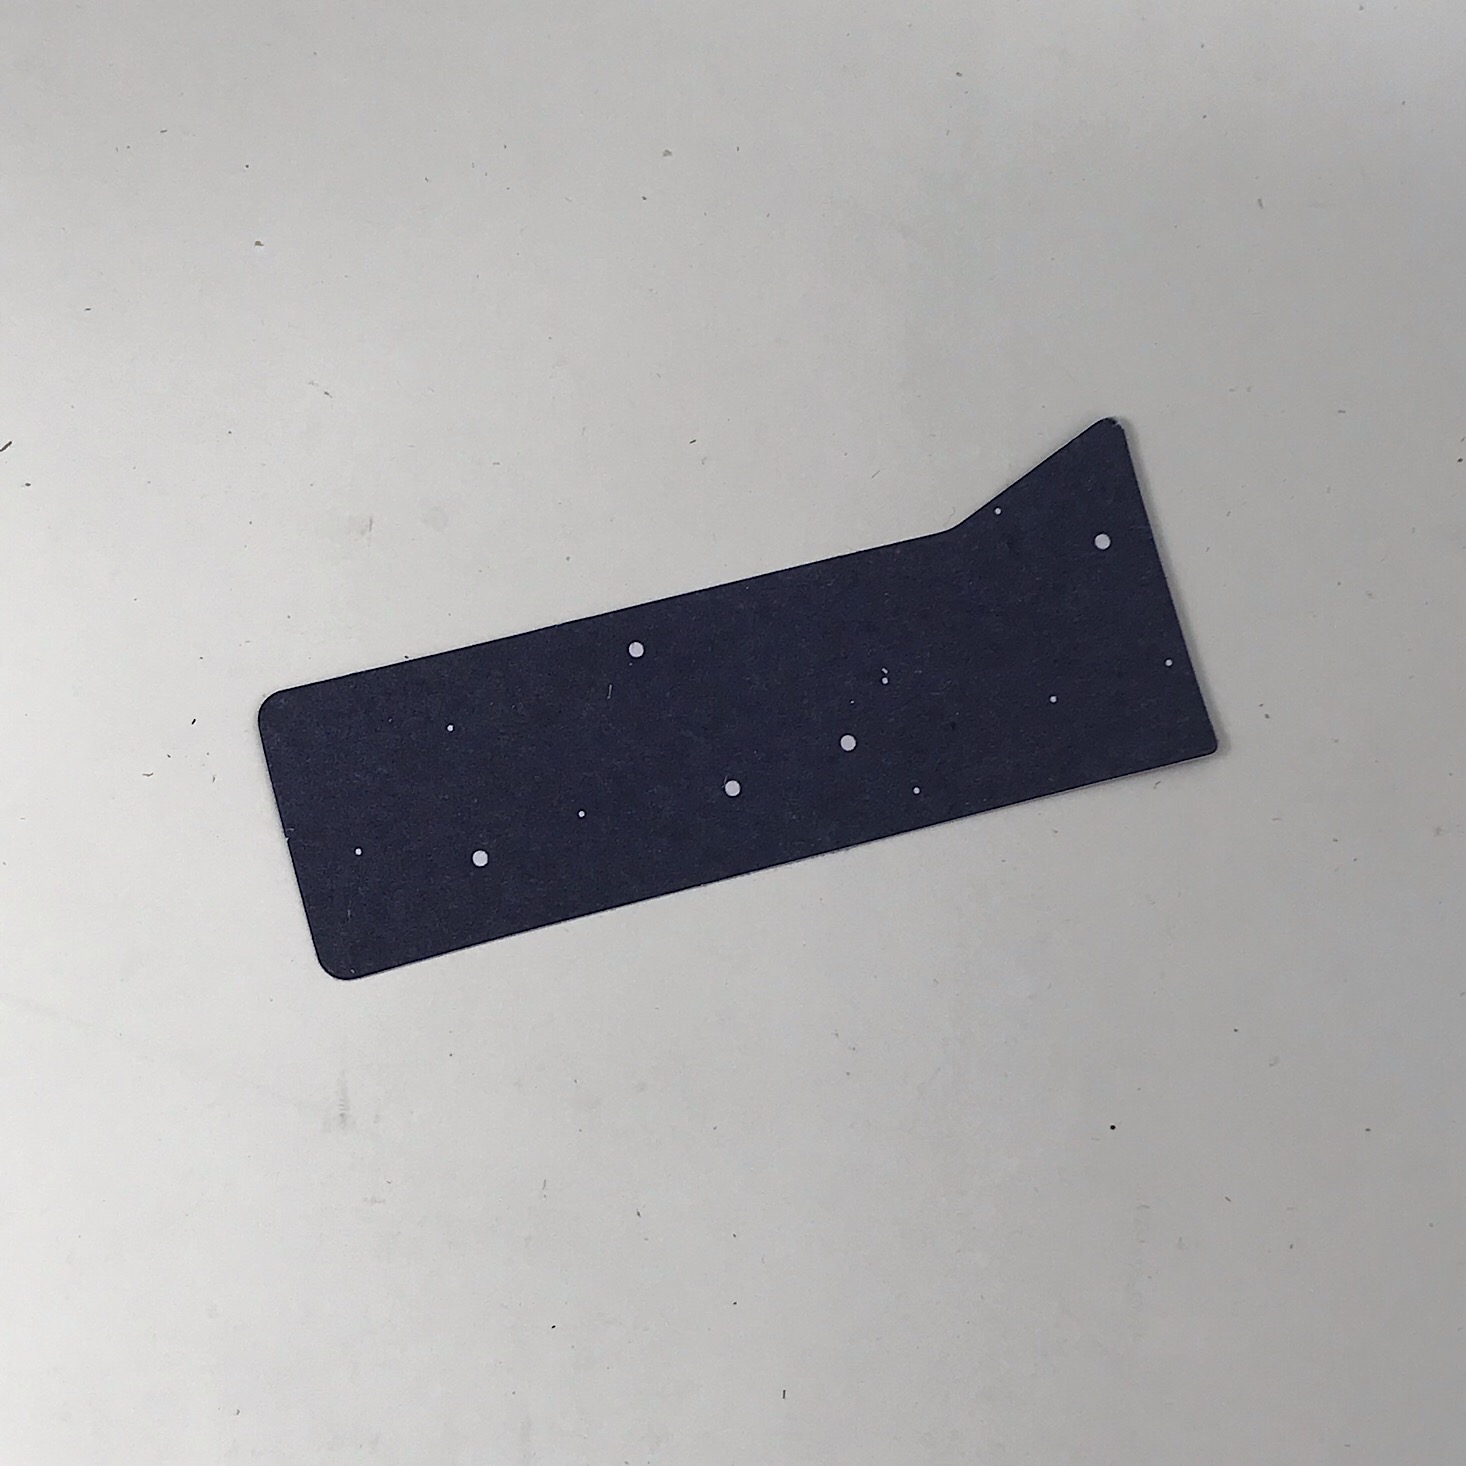

To control the movements of our ball a bit I first added this wooden piece to the corner using a piece of adhesive, then I added a tiny sticker to this paper piece and secured it to the end of our ball launcher frame. These kept the ball from going back down into the launcher during play.
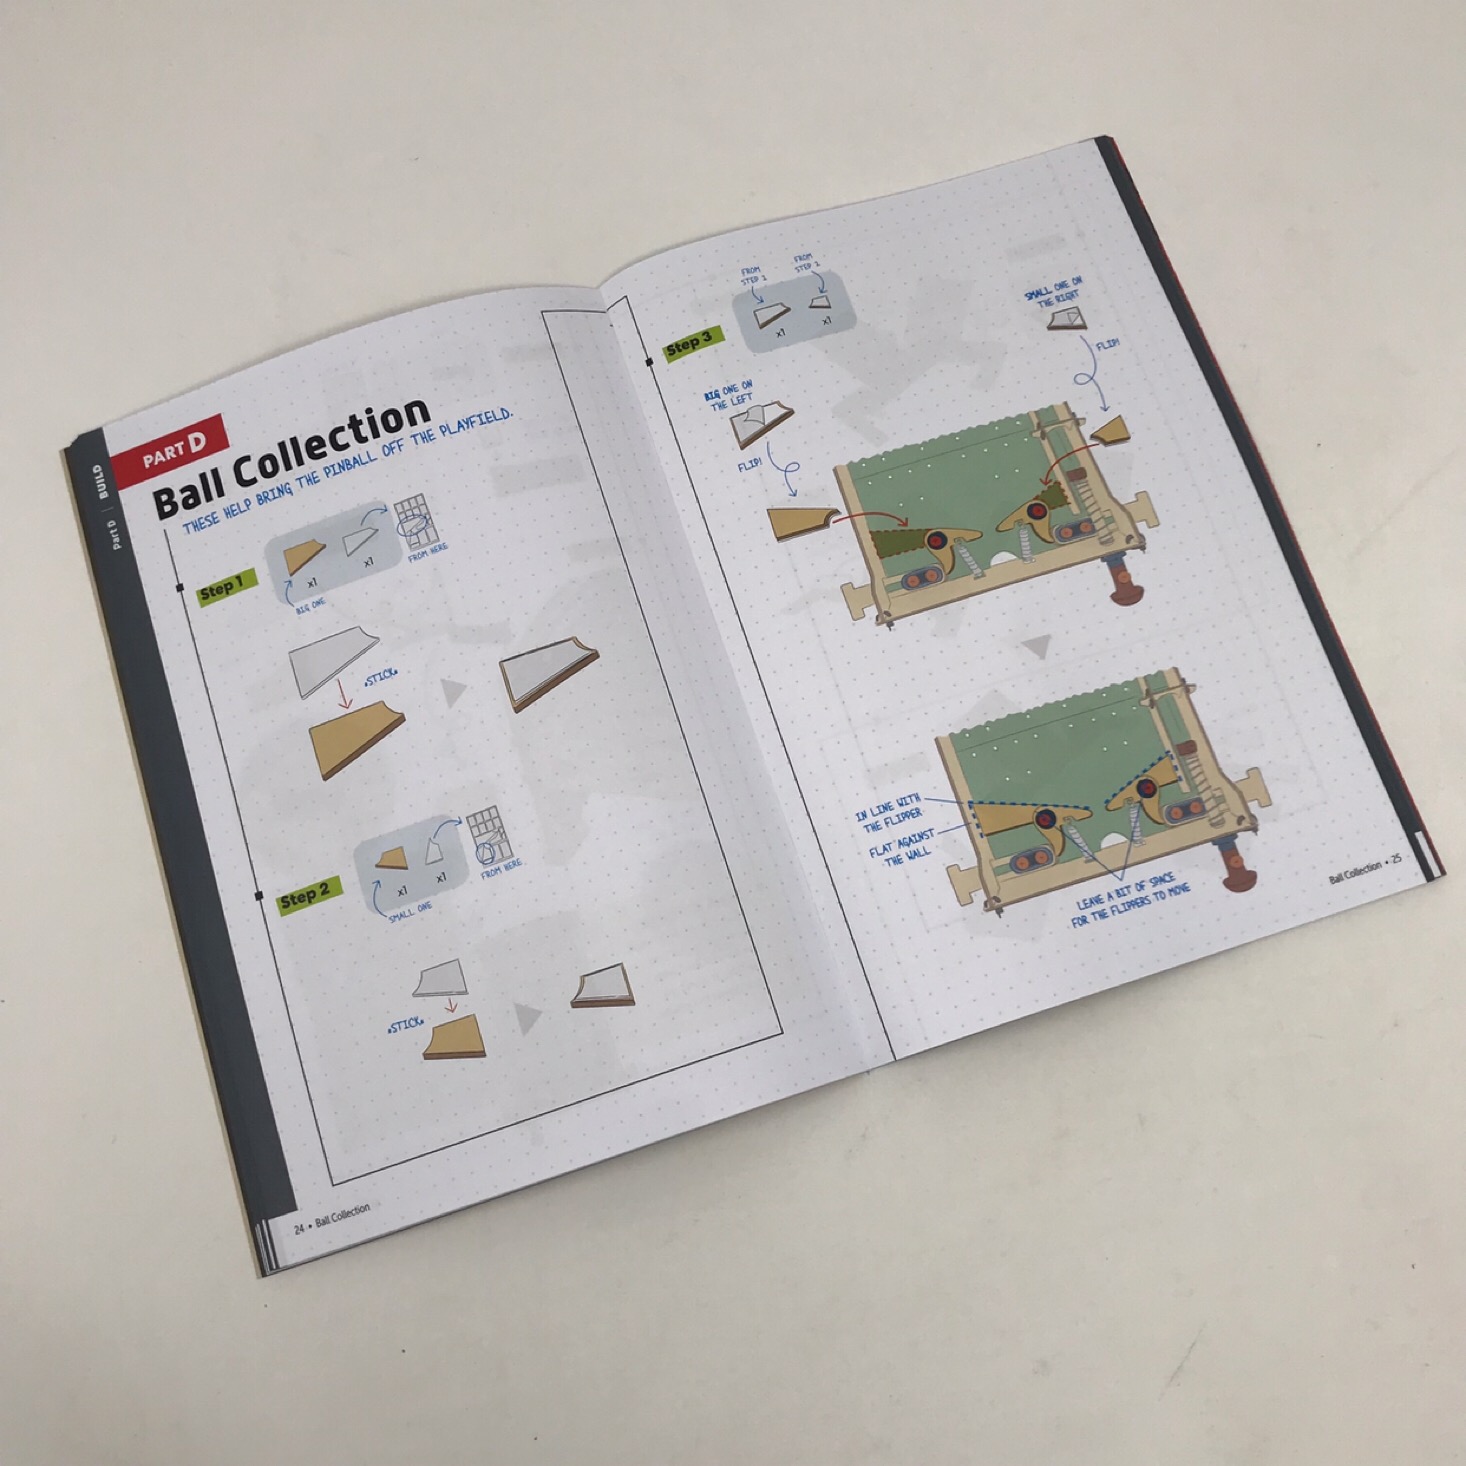
Part D: Ball Collection

1 of 2
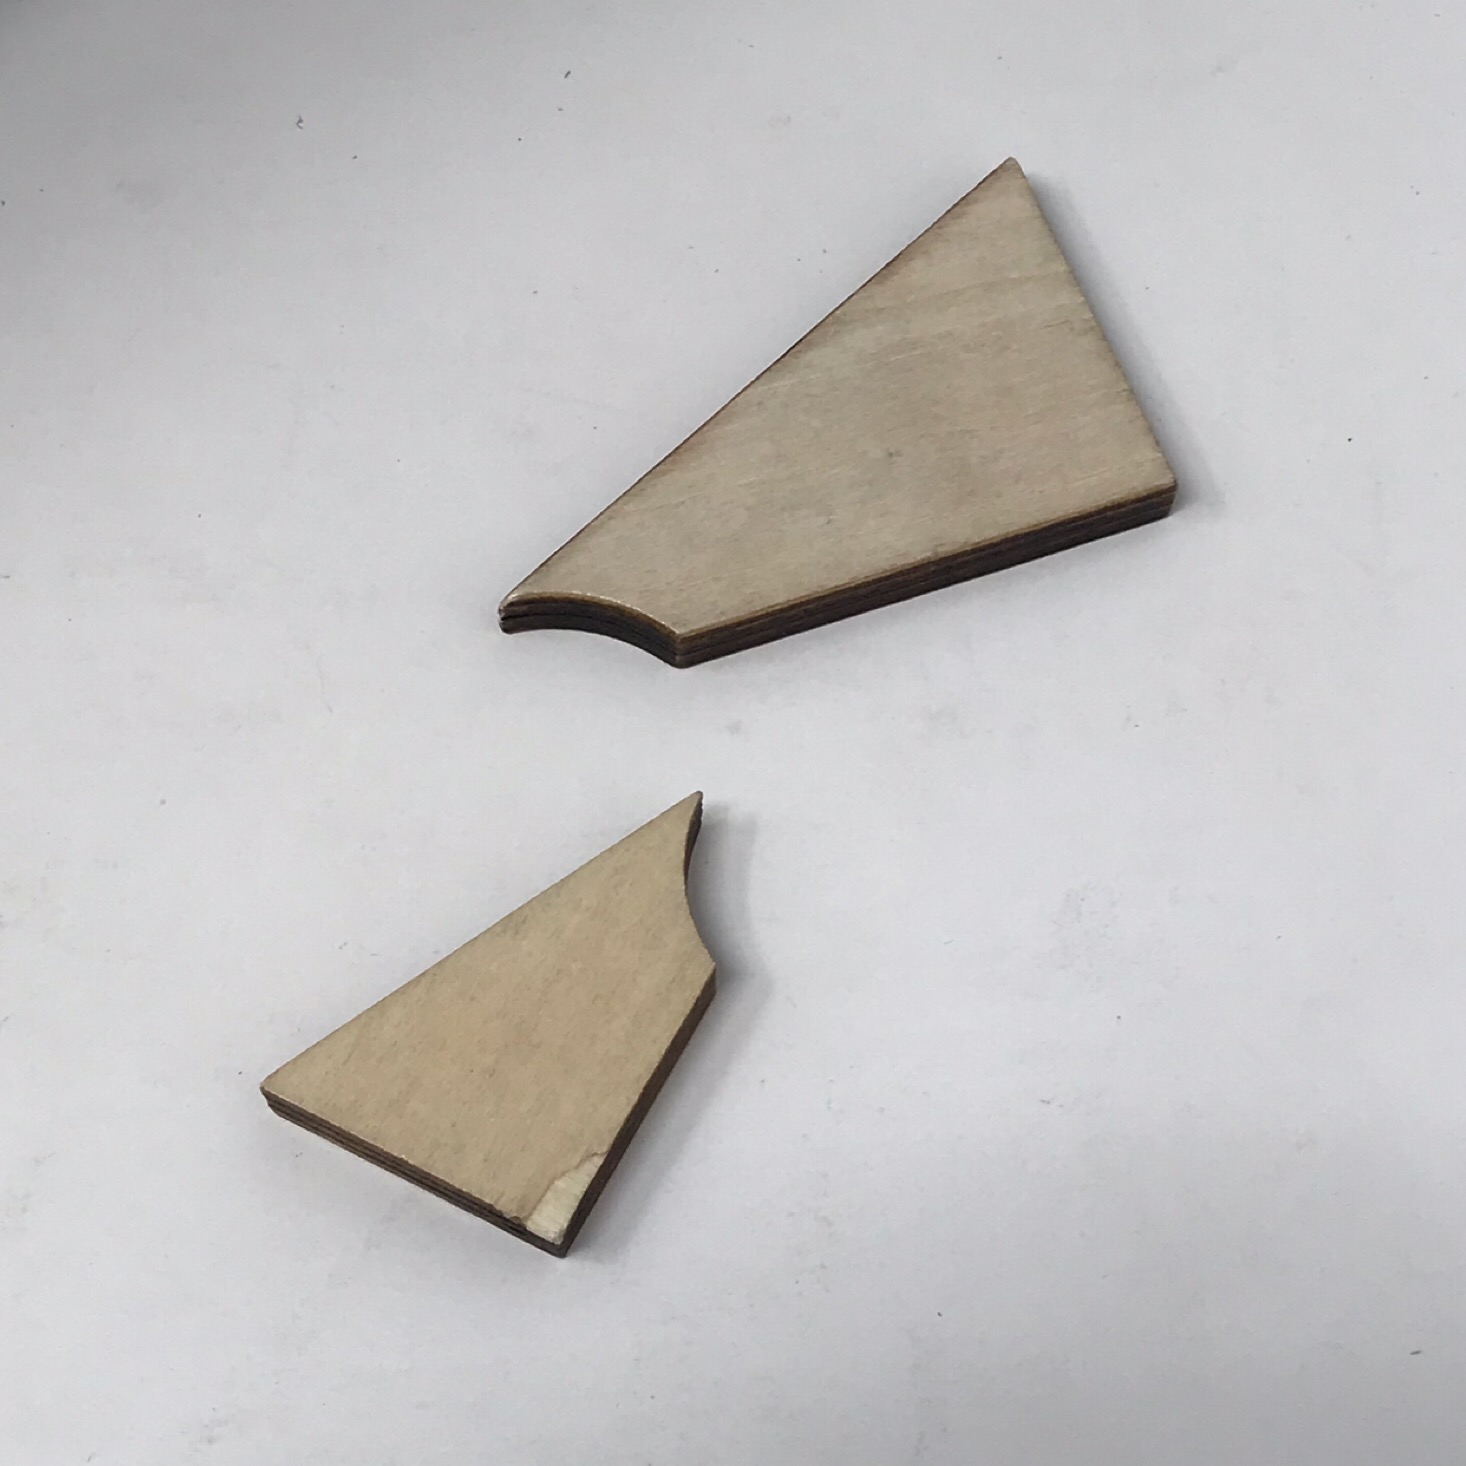
To keep the balls from going to the sides of our flippers, I added these two wooden pieces.

1 of 7
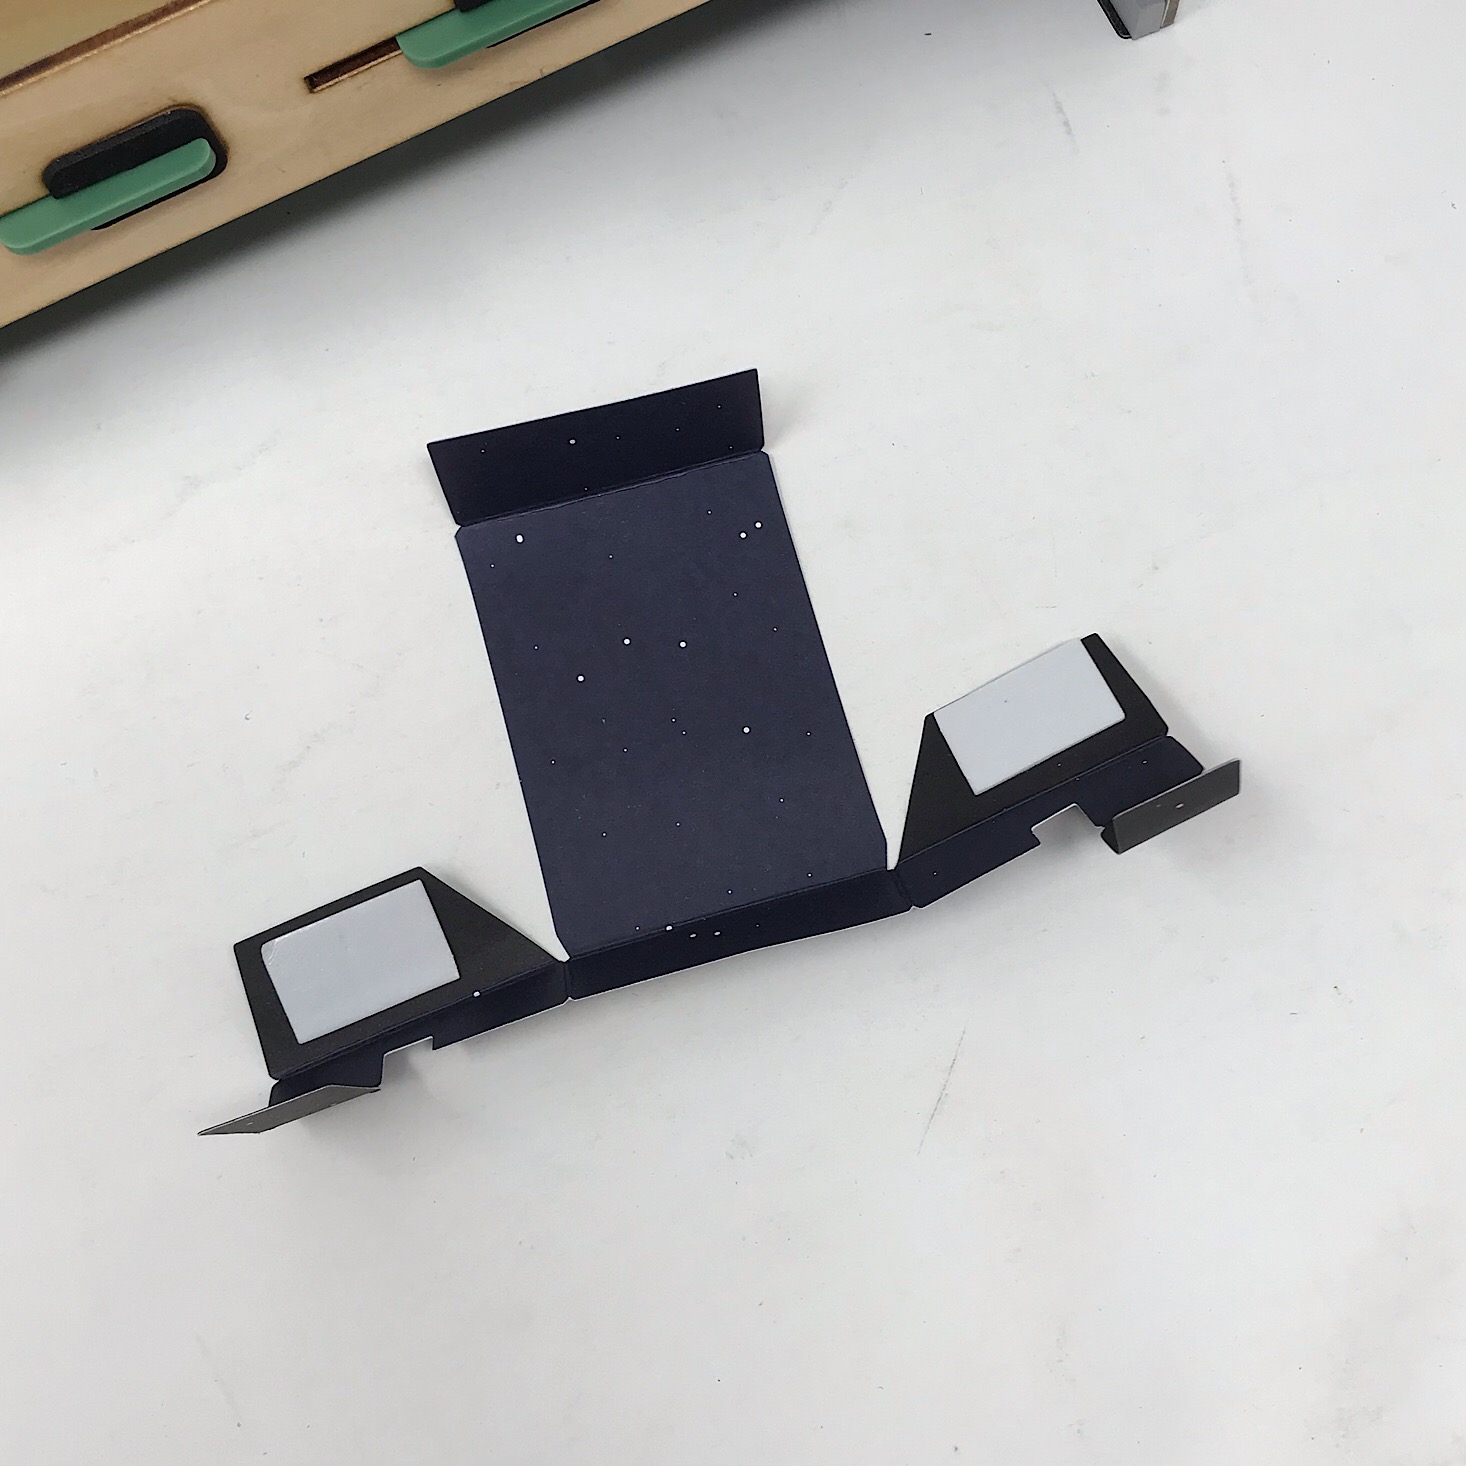

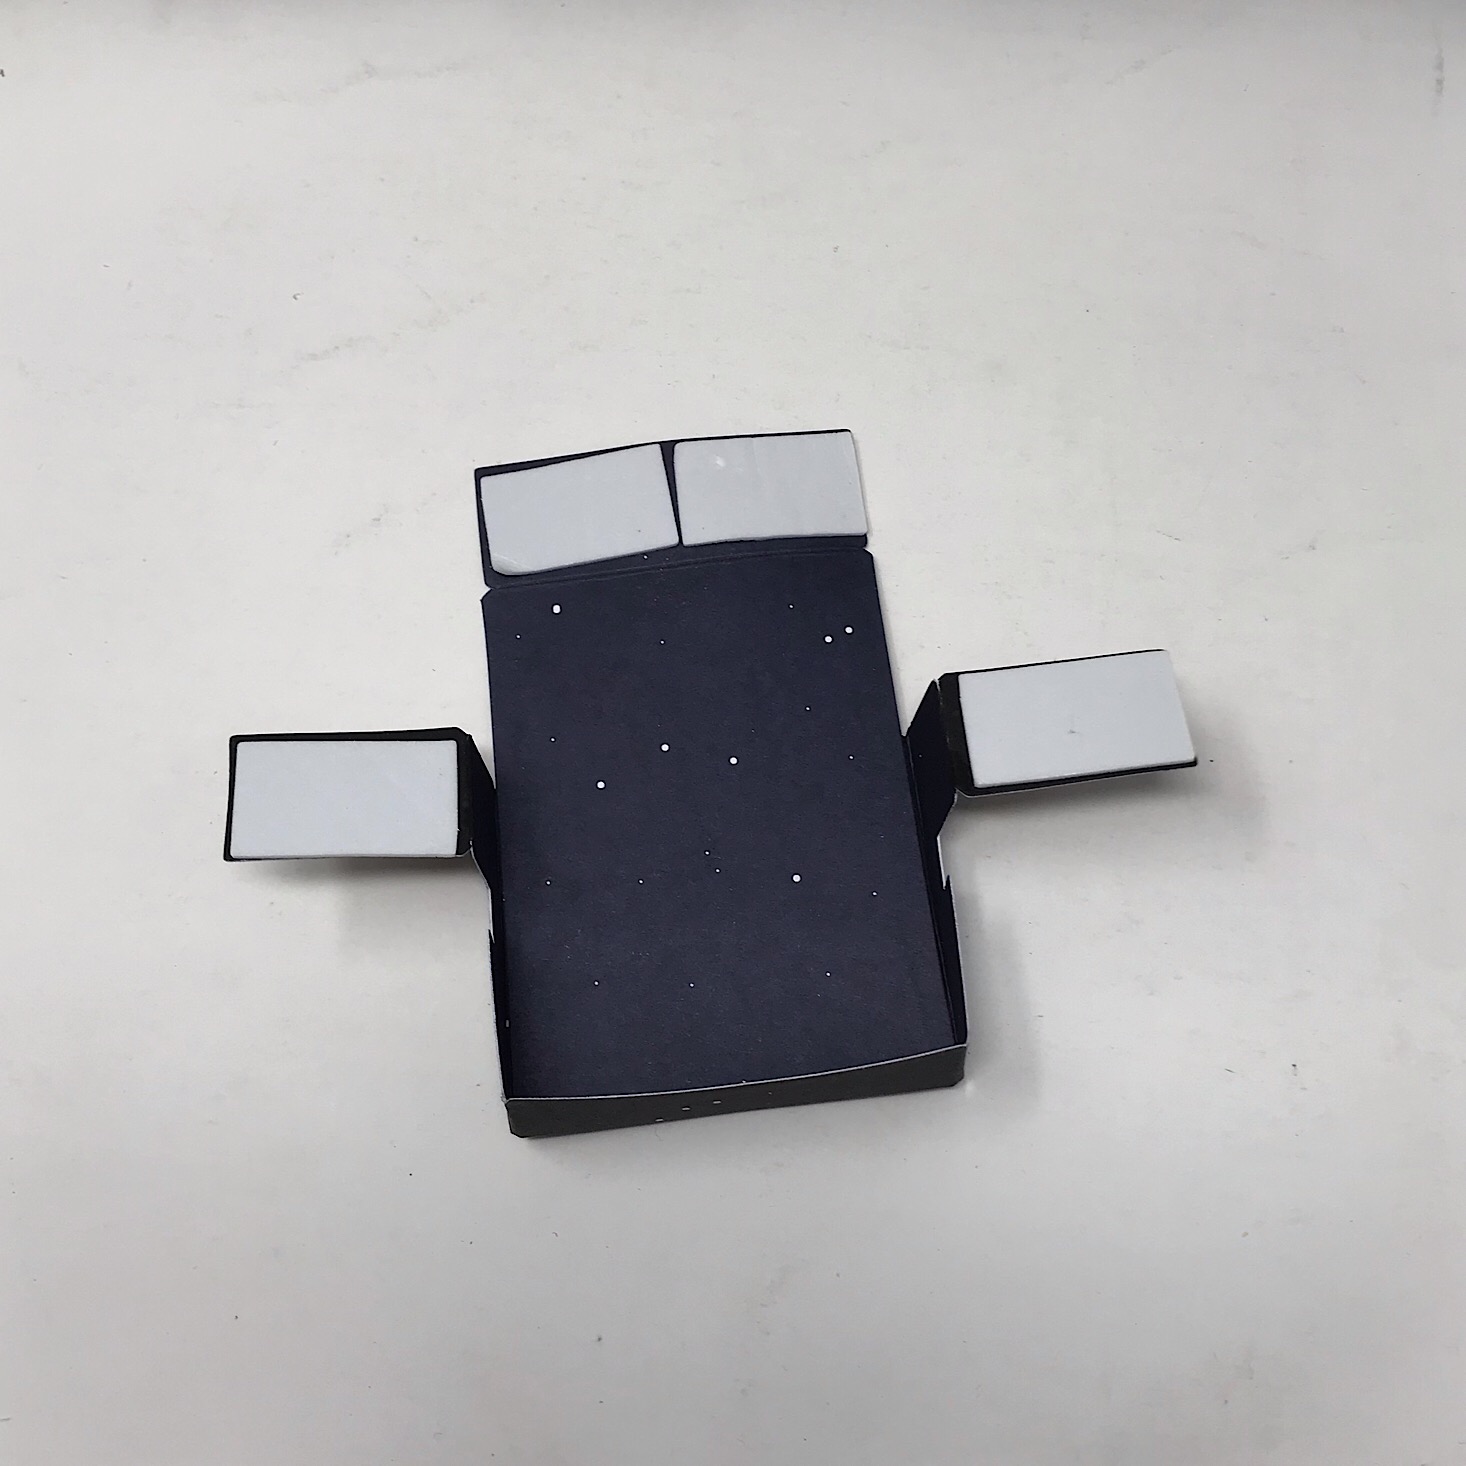


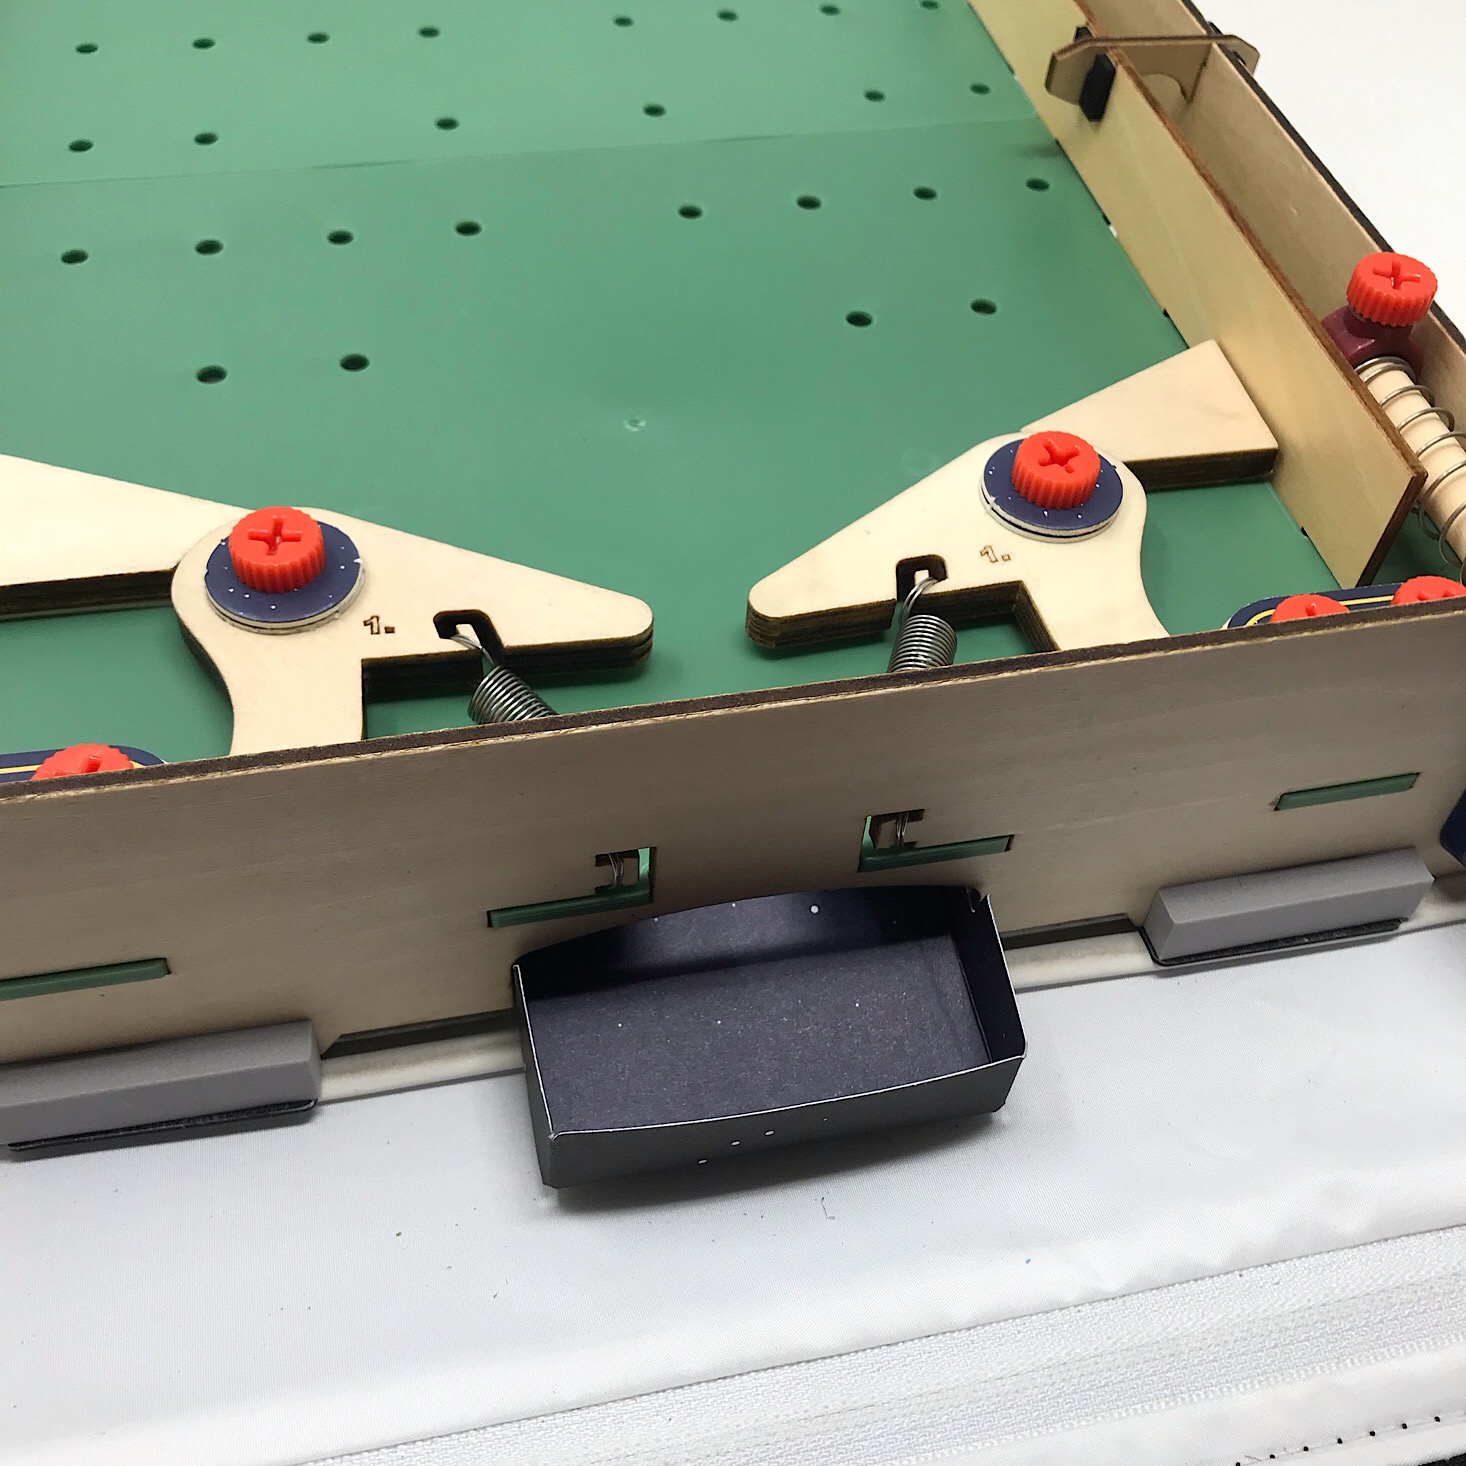
I folded this paper piece along the creases, added some adhesive and folded the edges around as instructed to form our ball collector. Then I secured it to the bottom of our board by matching up the notches and making sure the adhesive was tight to the bottom of the board before flipping it over.
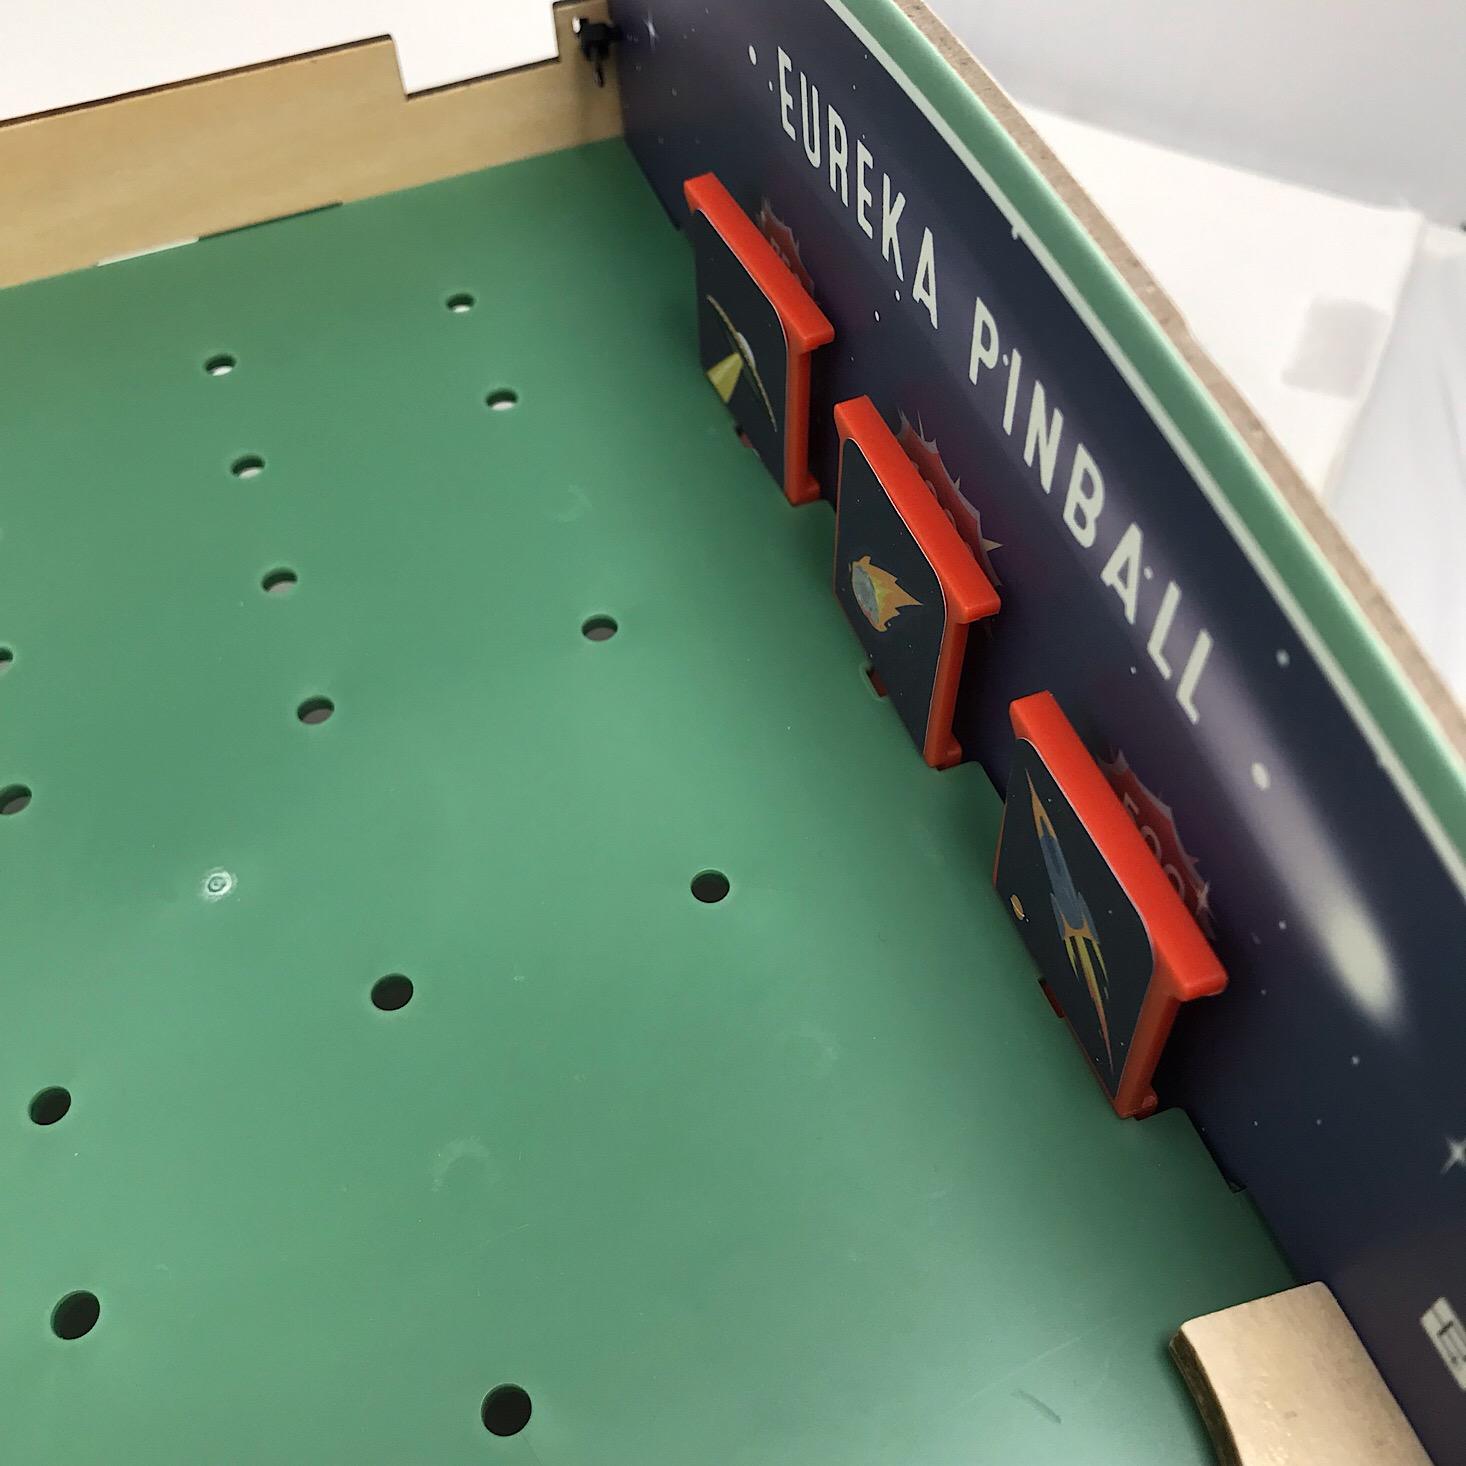
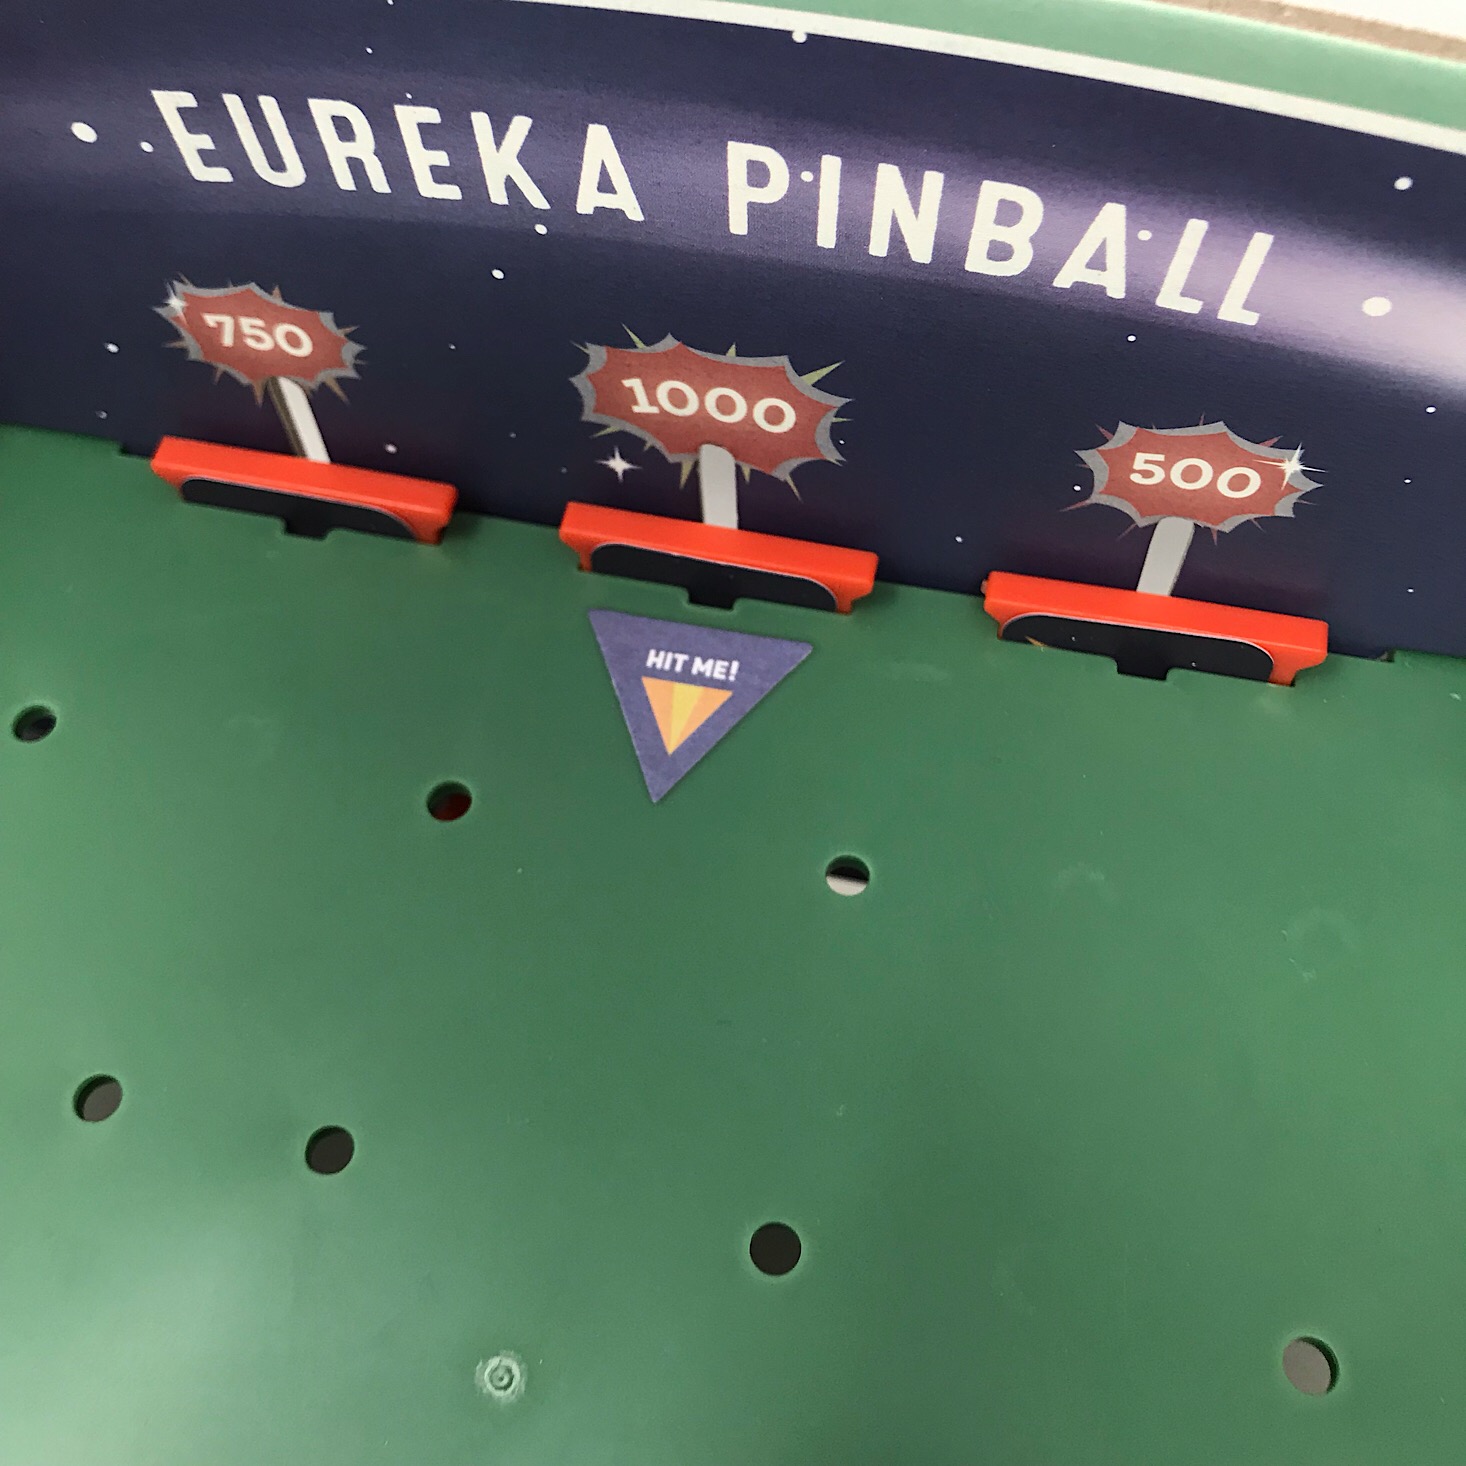
Part E: Add the Drop Targets
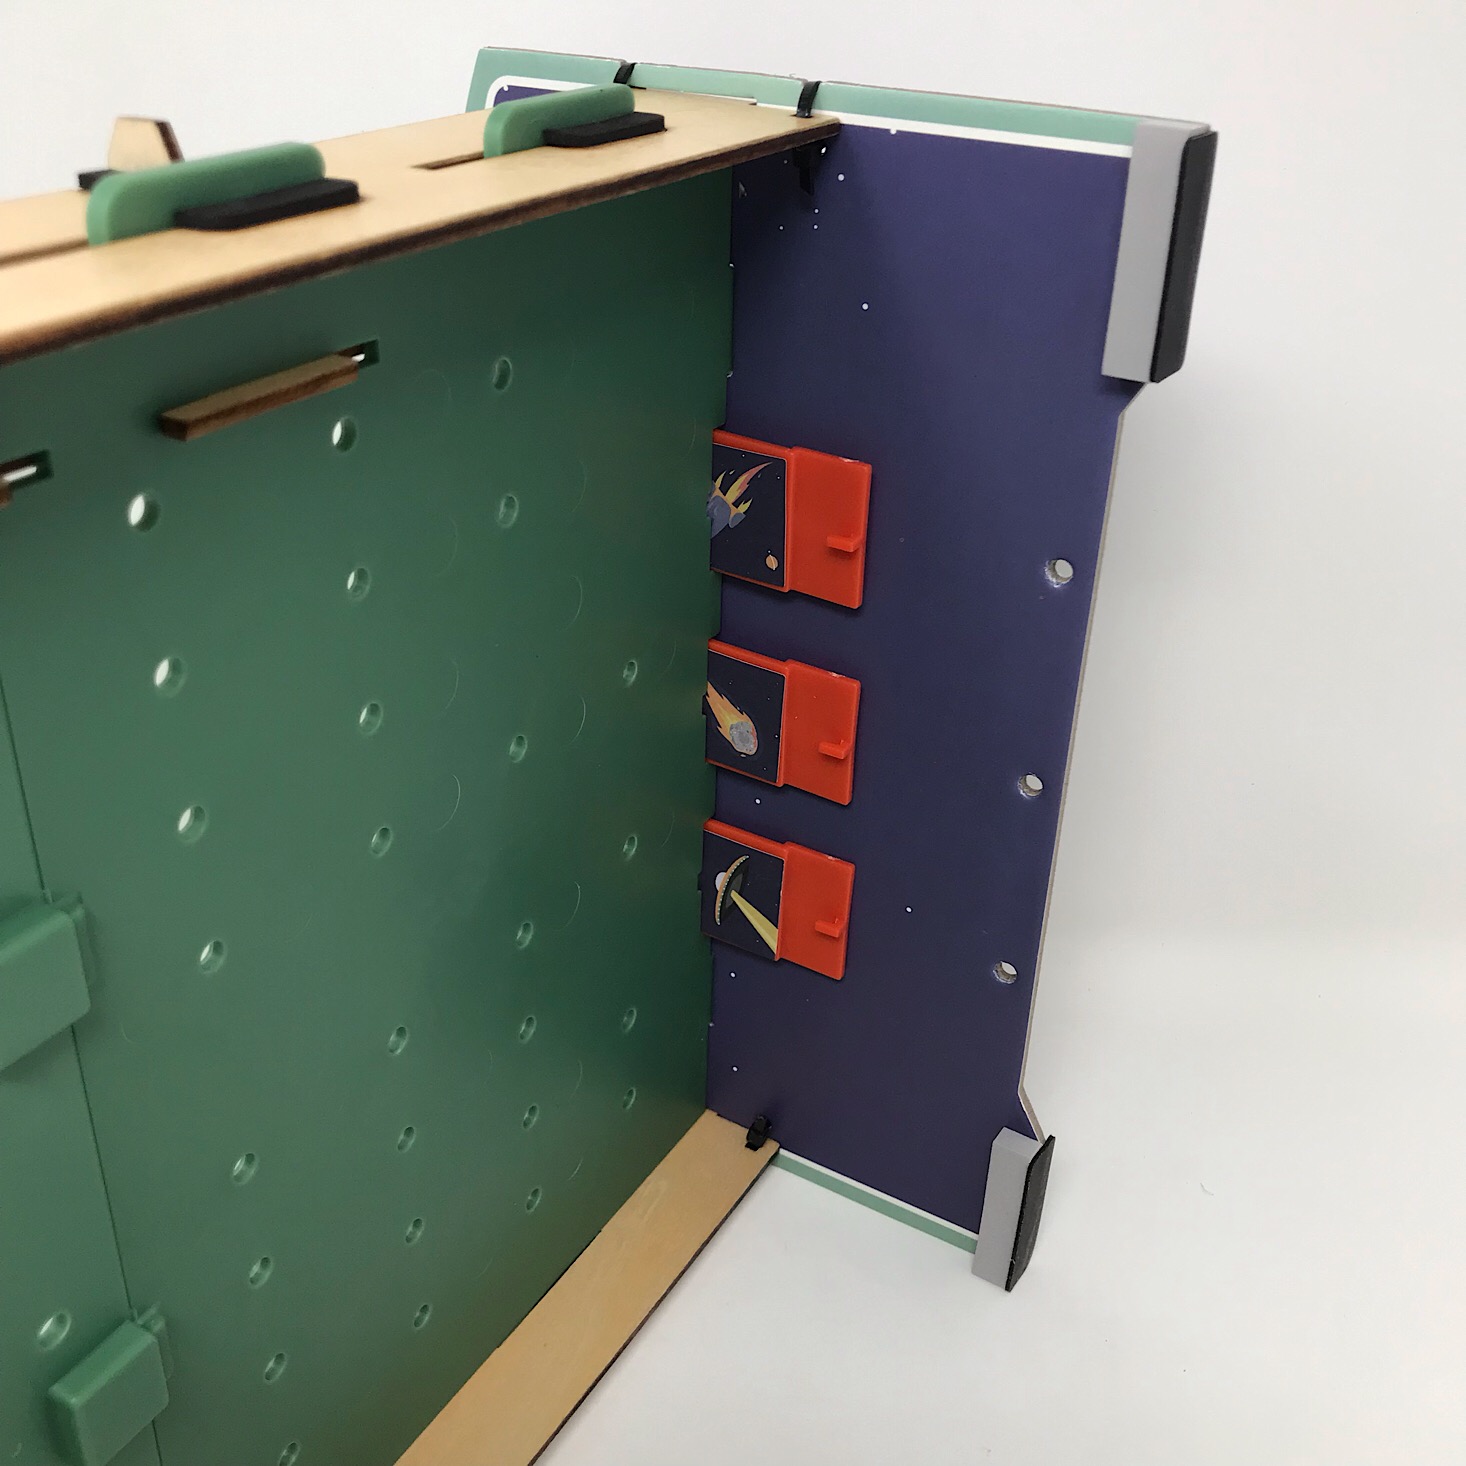

1 of 5


They provided a set of stickers and these three drop targets. I selected my stickers and added them before sliding the drop targets into place. Then I flipped the board onto its side to secure them.


1 of 5

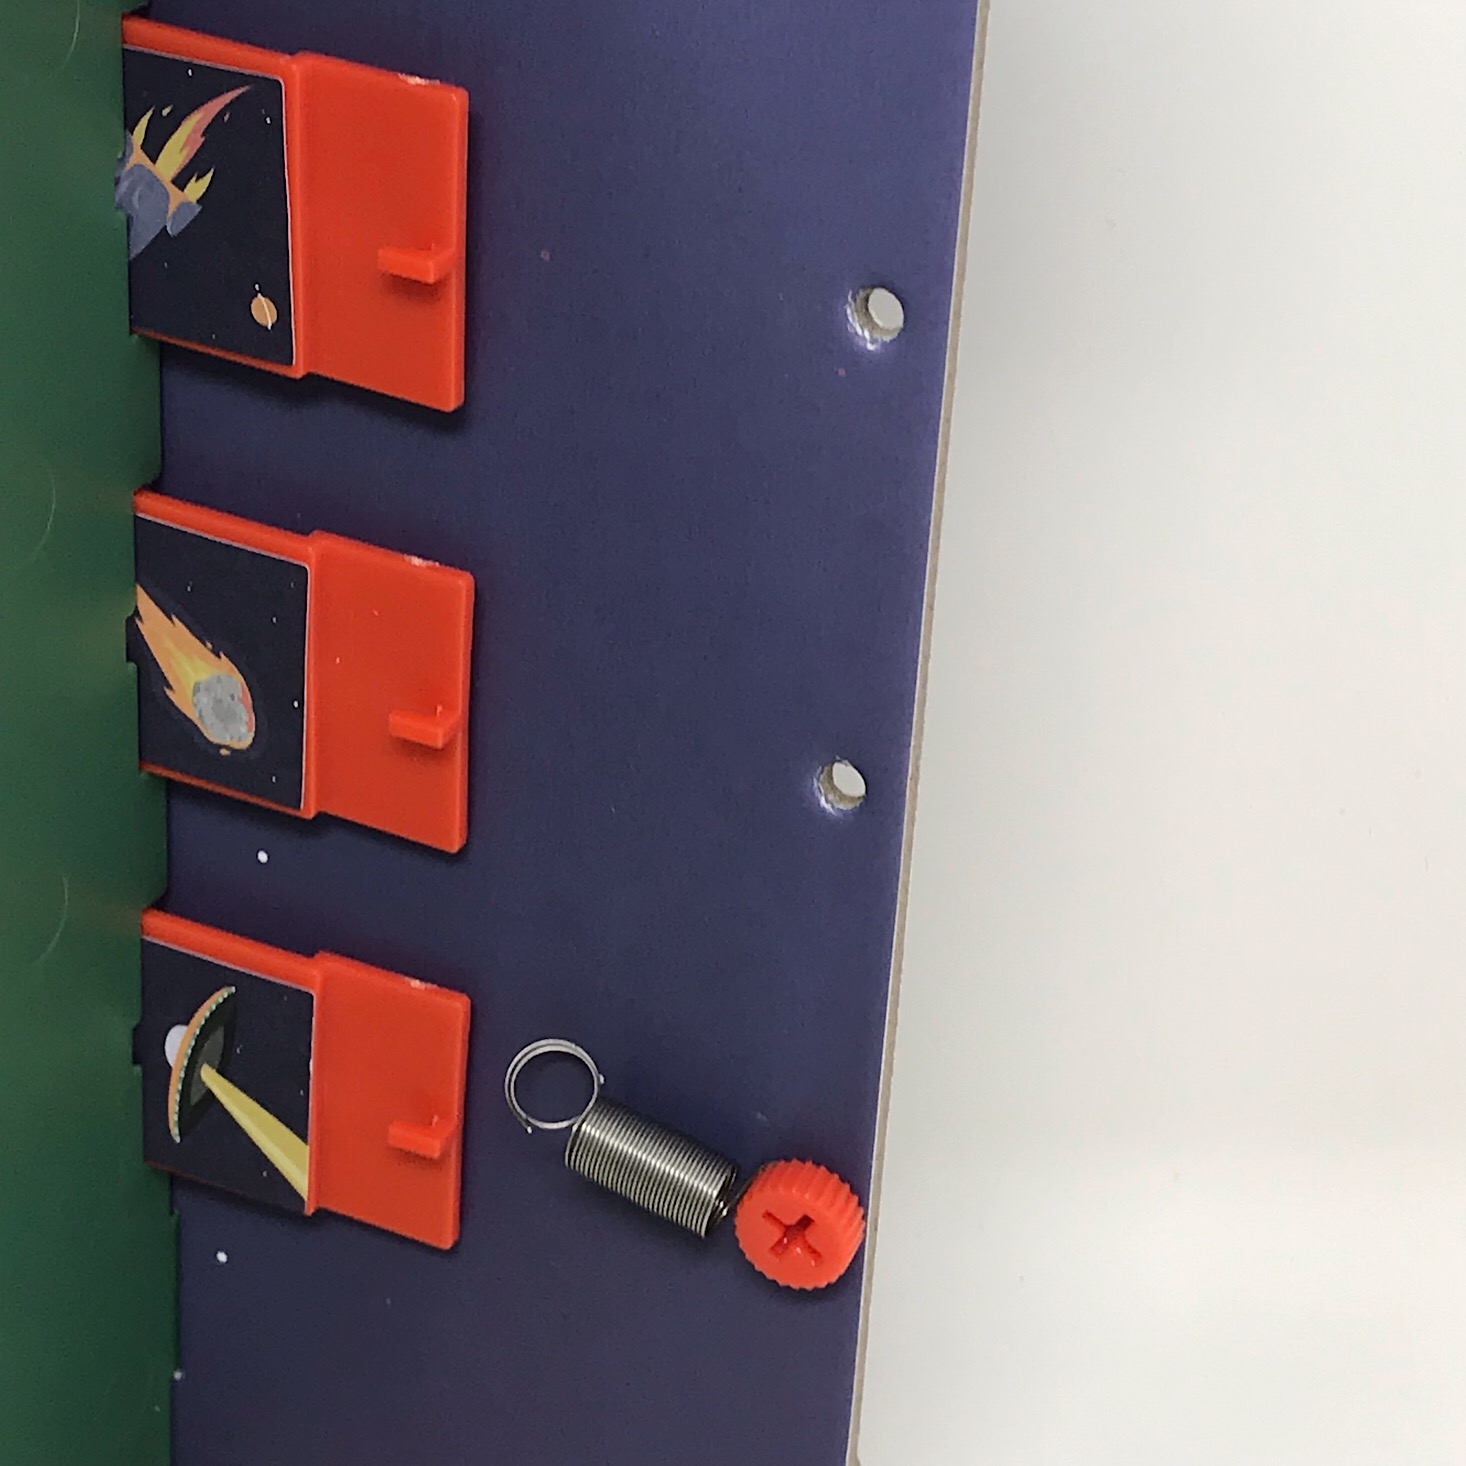
I added a spring to each target and secured it with a screw and a small nut. Then I pulled them up and rested the lip on the edge of our board. When hit with a ball the spring mechanism will cause the targets to drop down as you have "conquered" them.
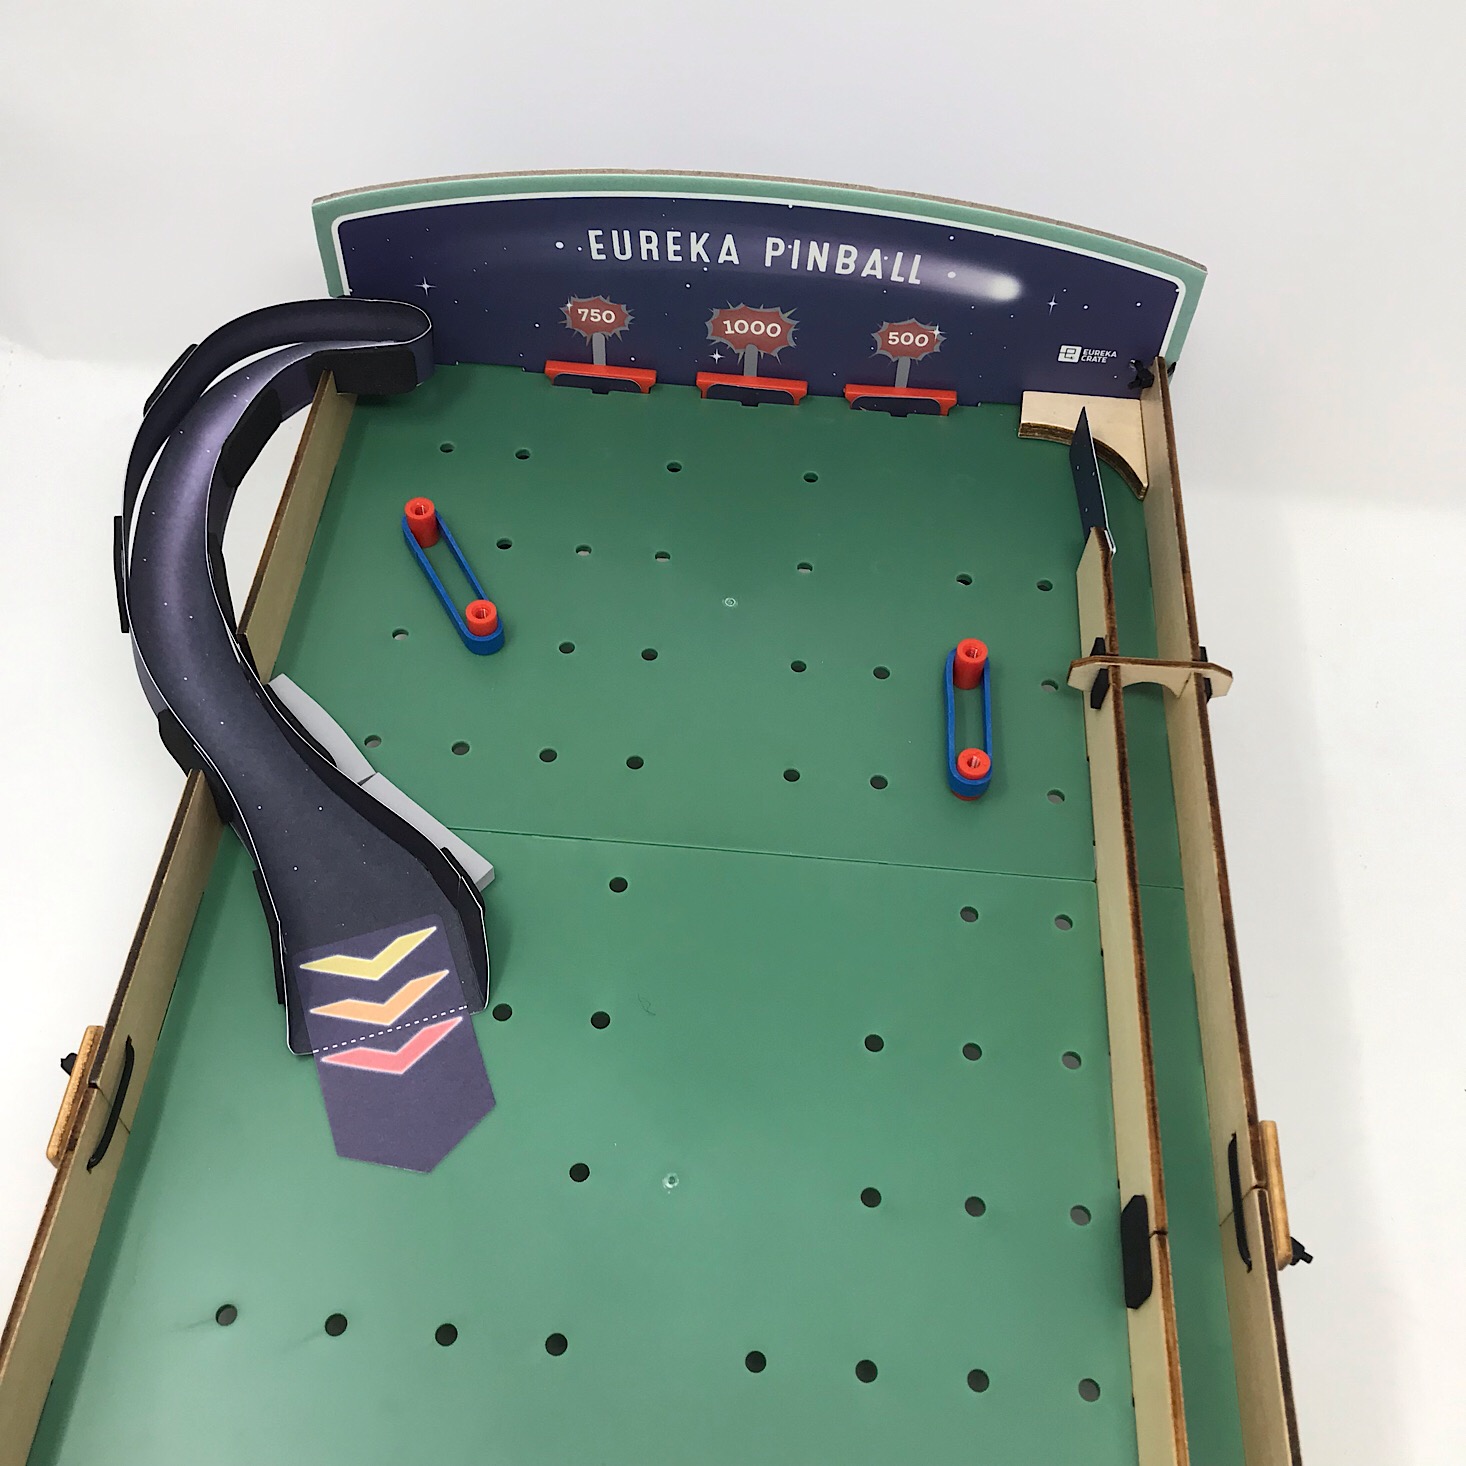
Part F: Add the Ramp


1 of 8
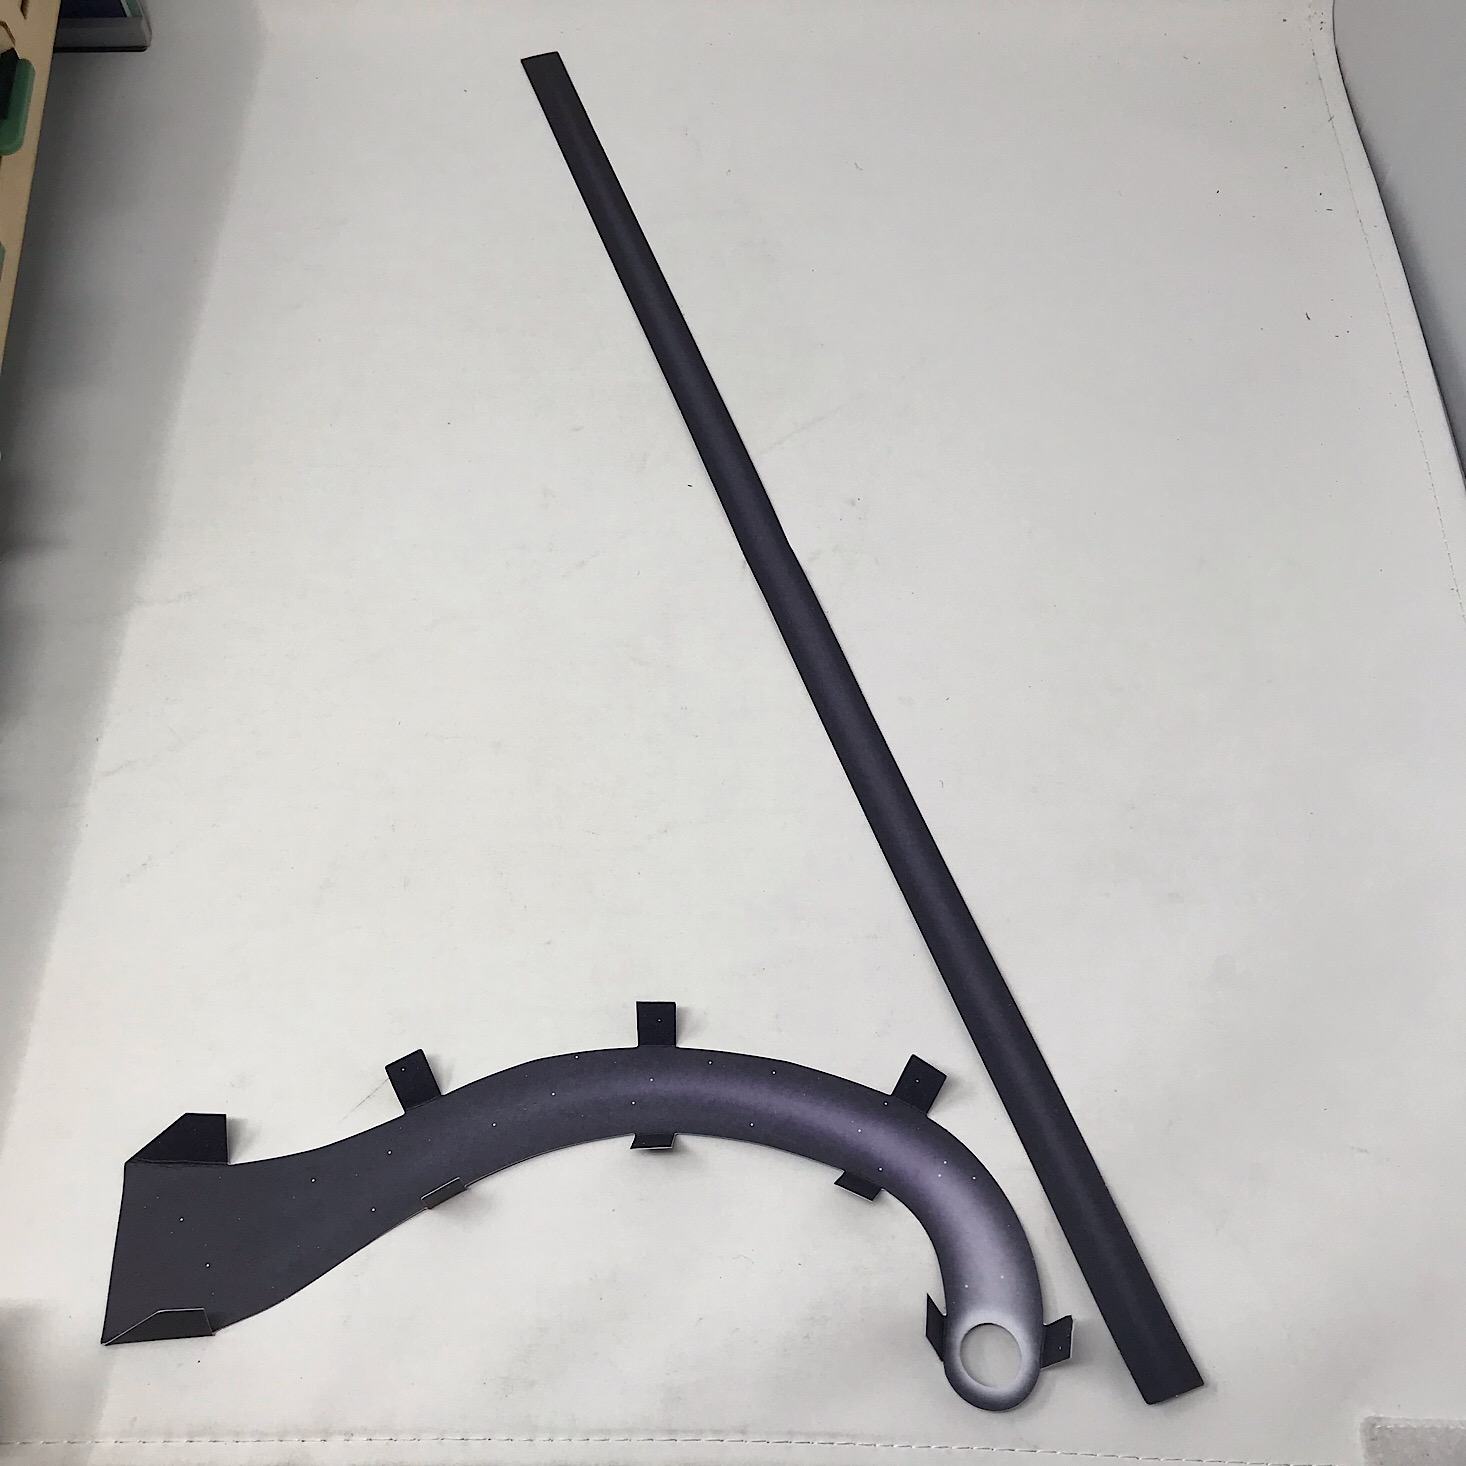

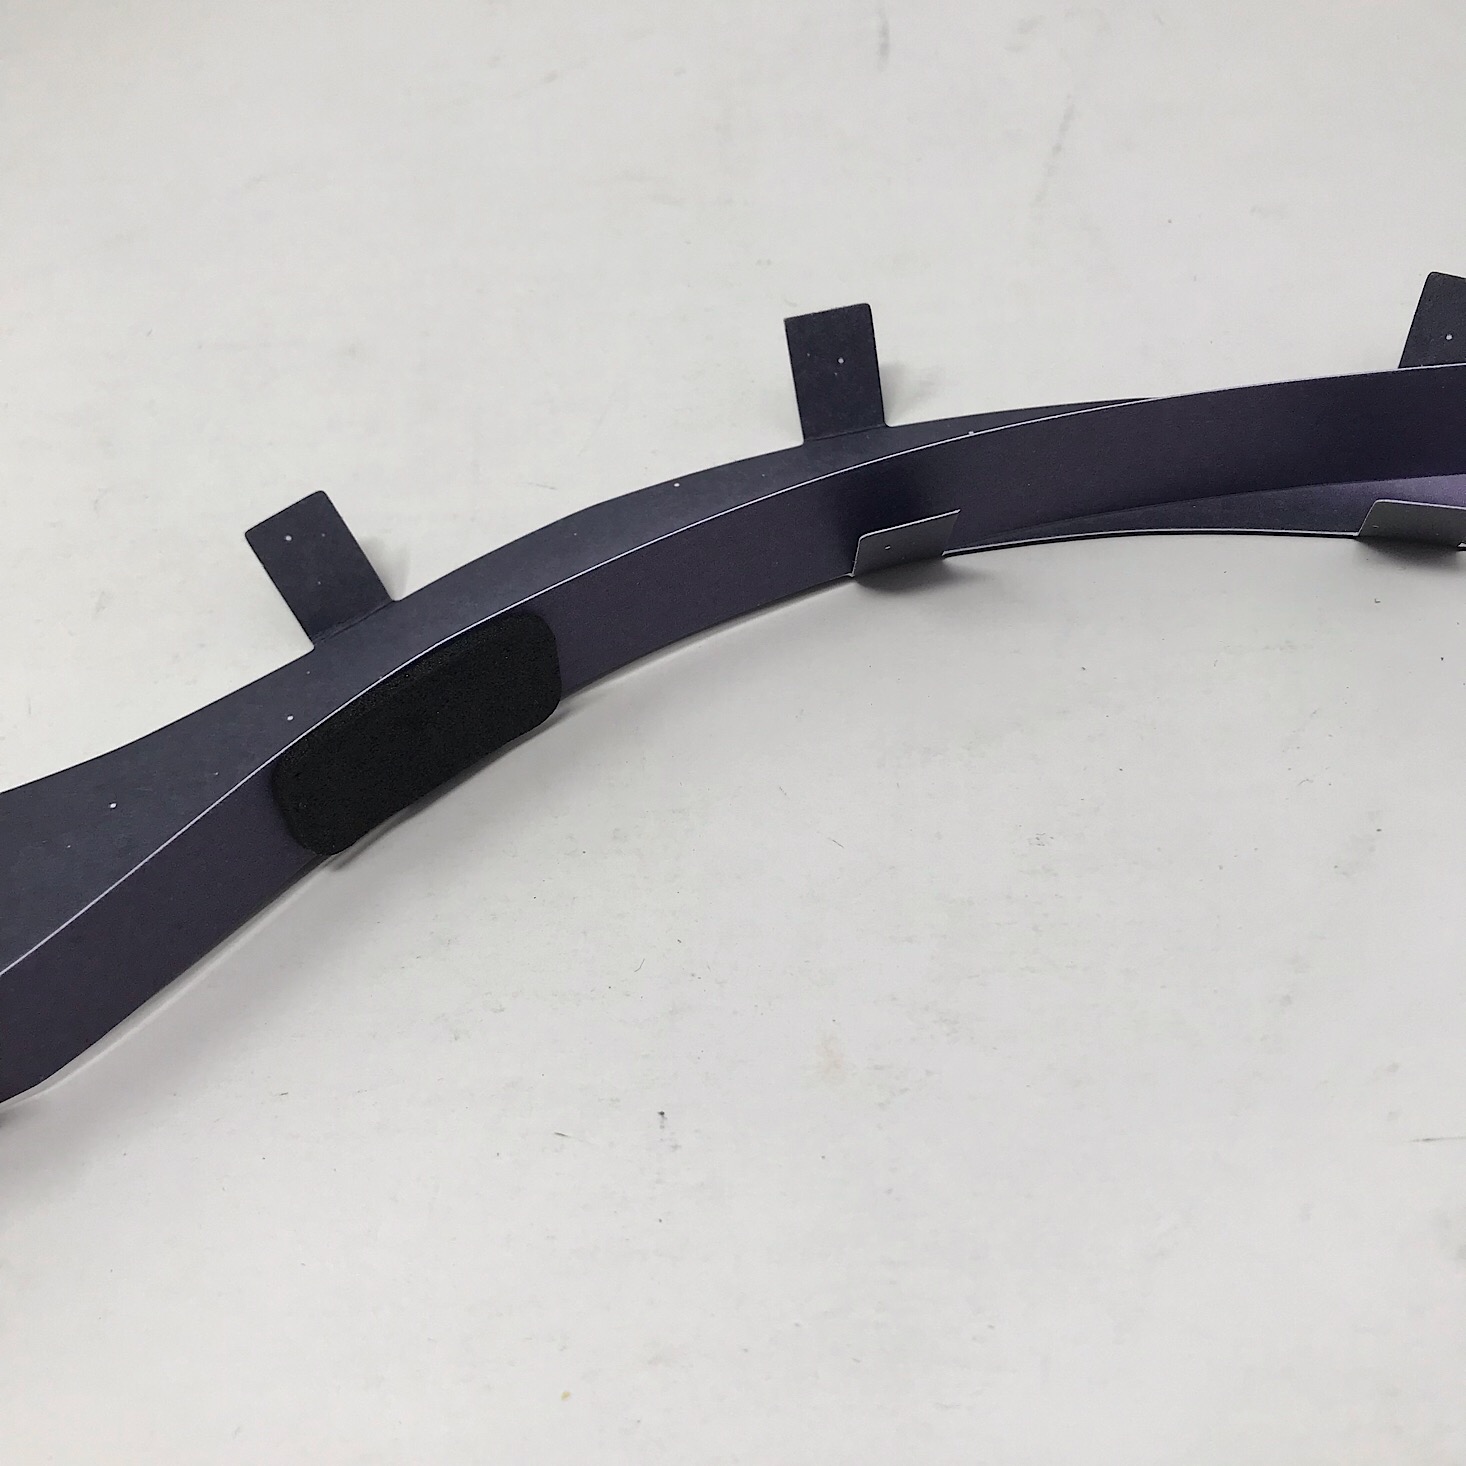


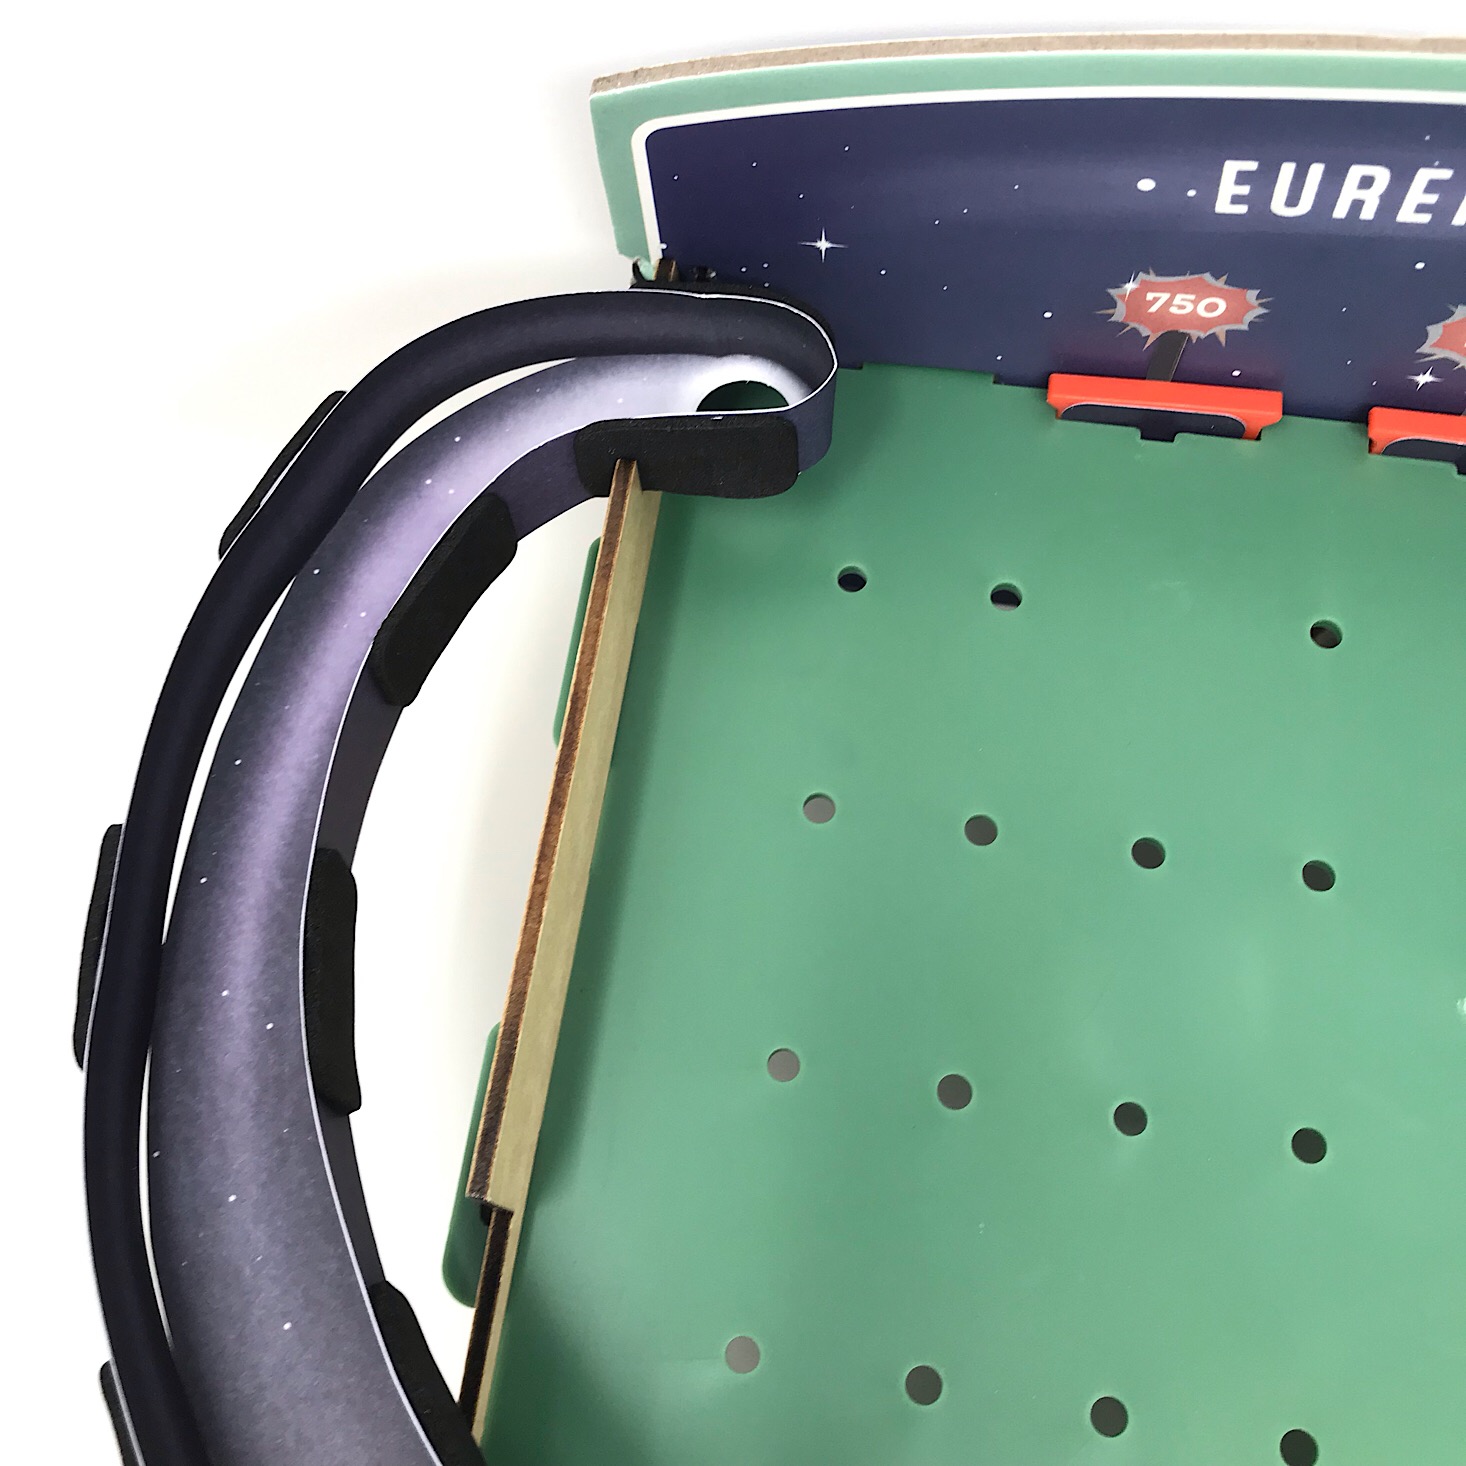
The next part was to add a ramp using these thick paper pieces. I wound the paper piece around the ramp bottom and then secured each side using foam stickers. Once it was secure, I added it to the notches on our board making sure the bottom of the ramp was touching the board and the hole in the ramp was over top of the board.
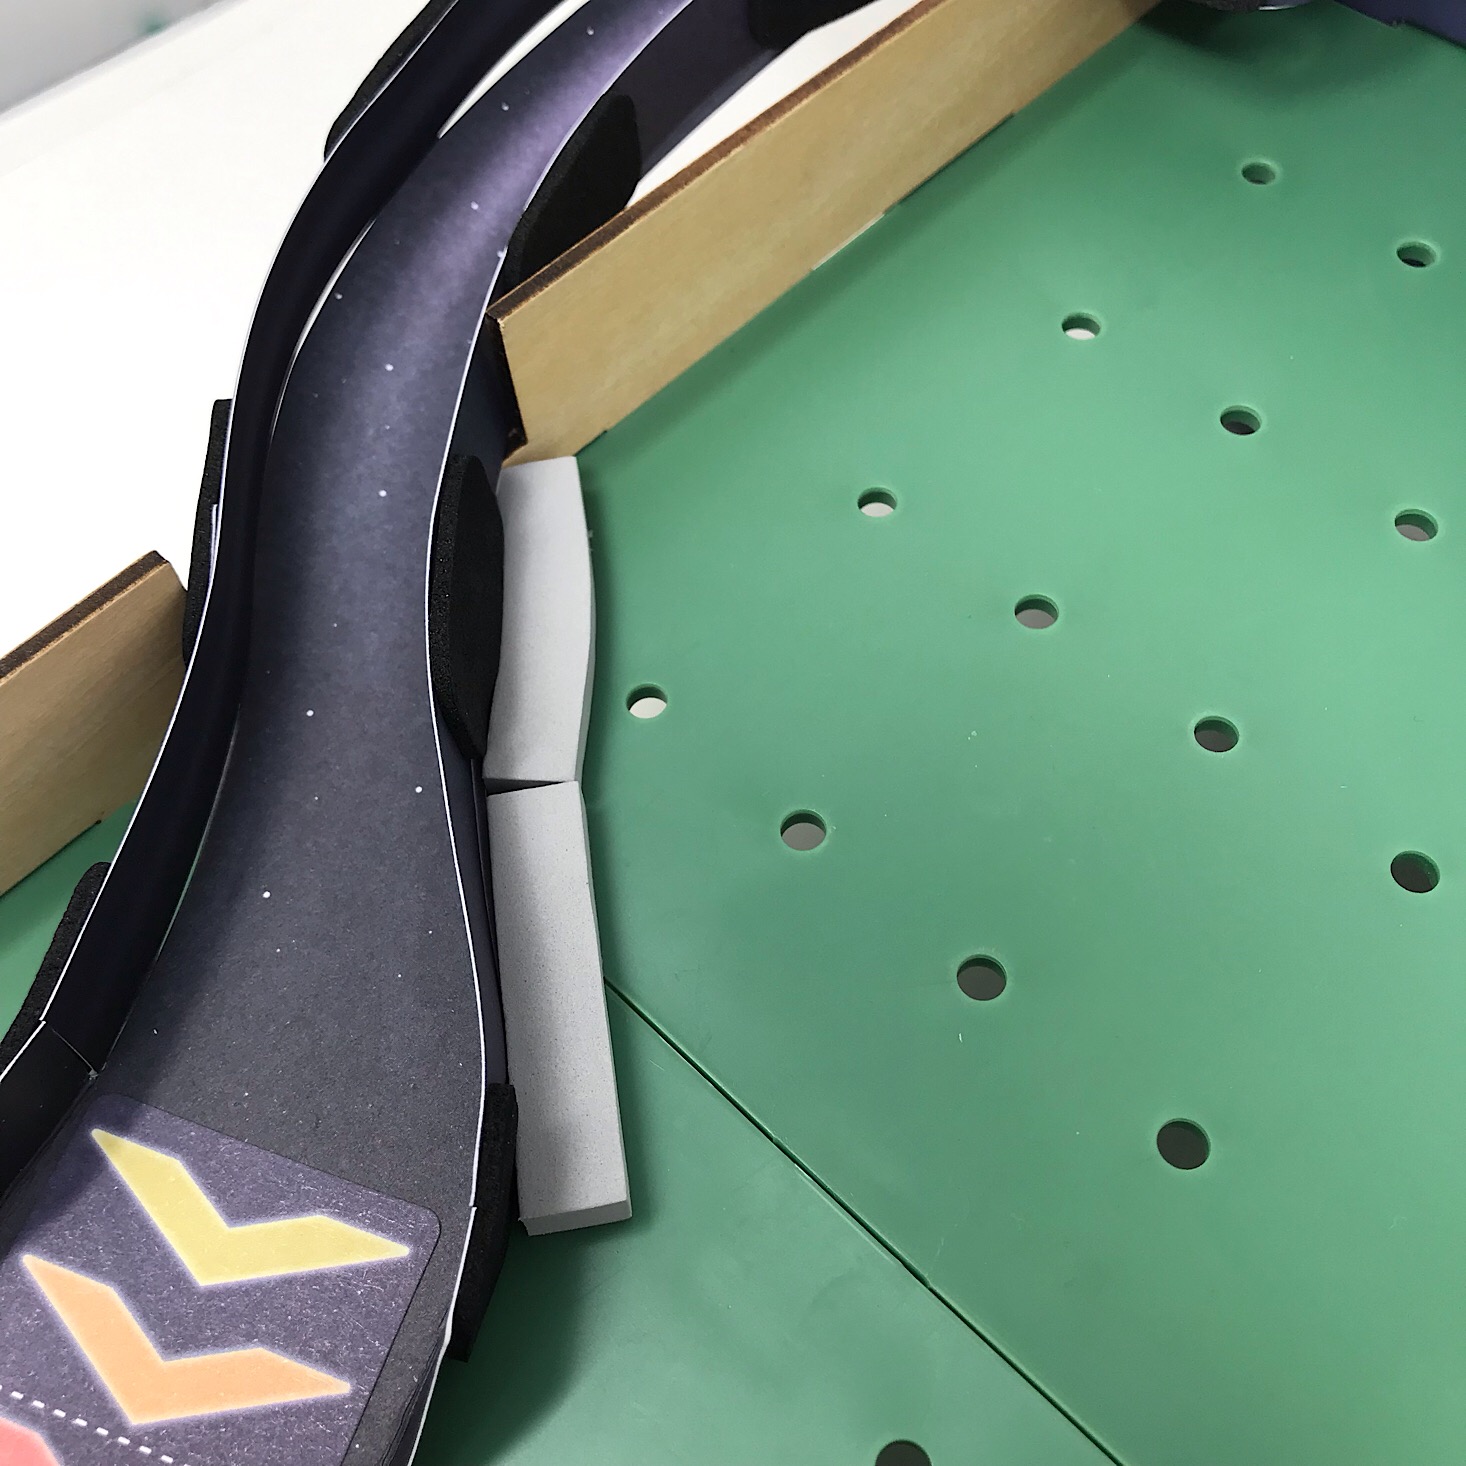

1 of 2
I then added a sticker to secure the ramp in place and used some foam rectangles to protect the side of the ramp and to keep the balls from getting stuck behind it.
Part G: Add Obstacles

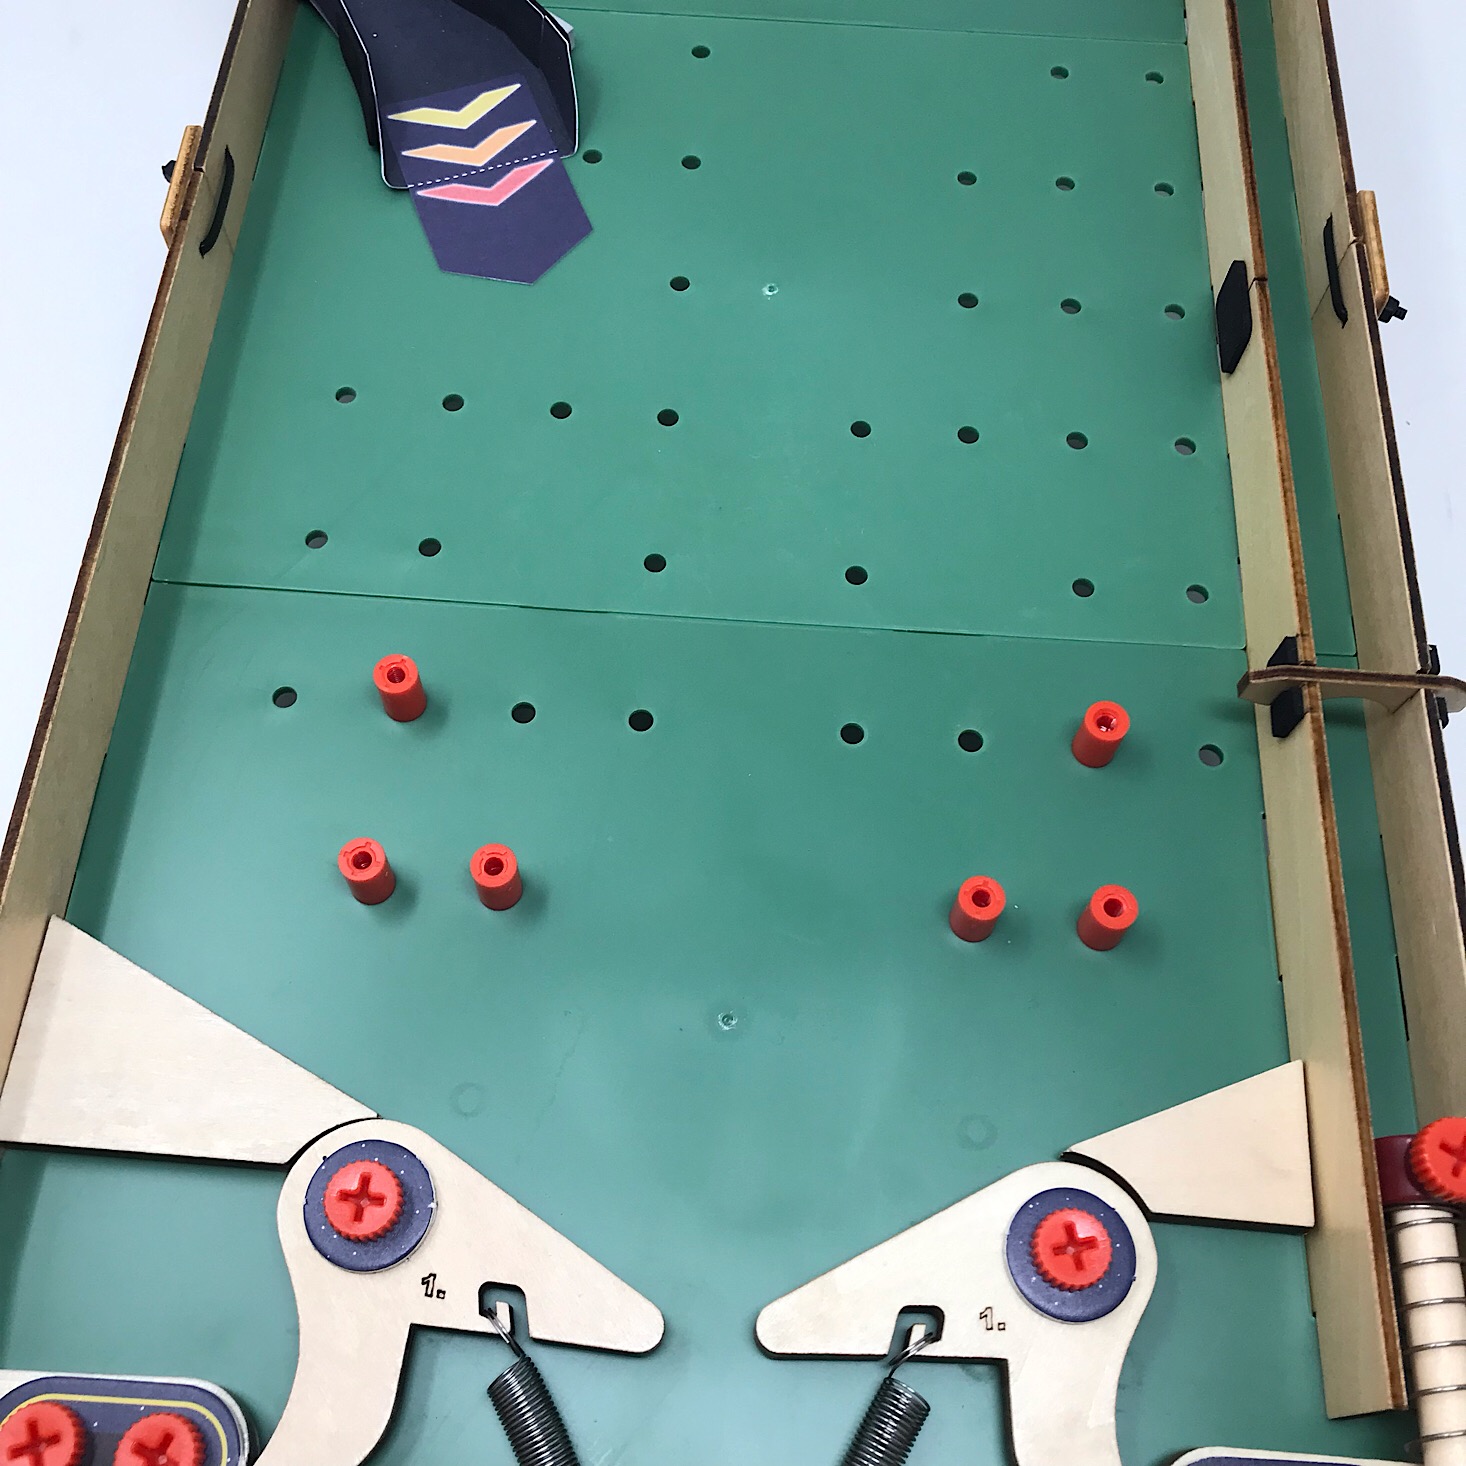
1 of 6


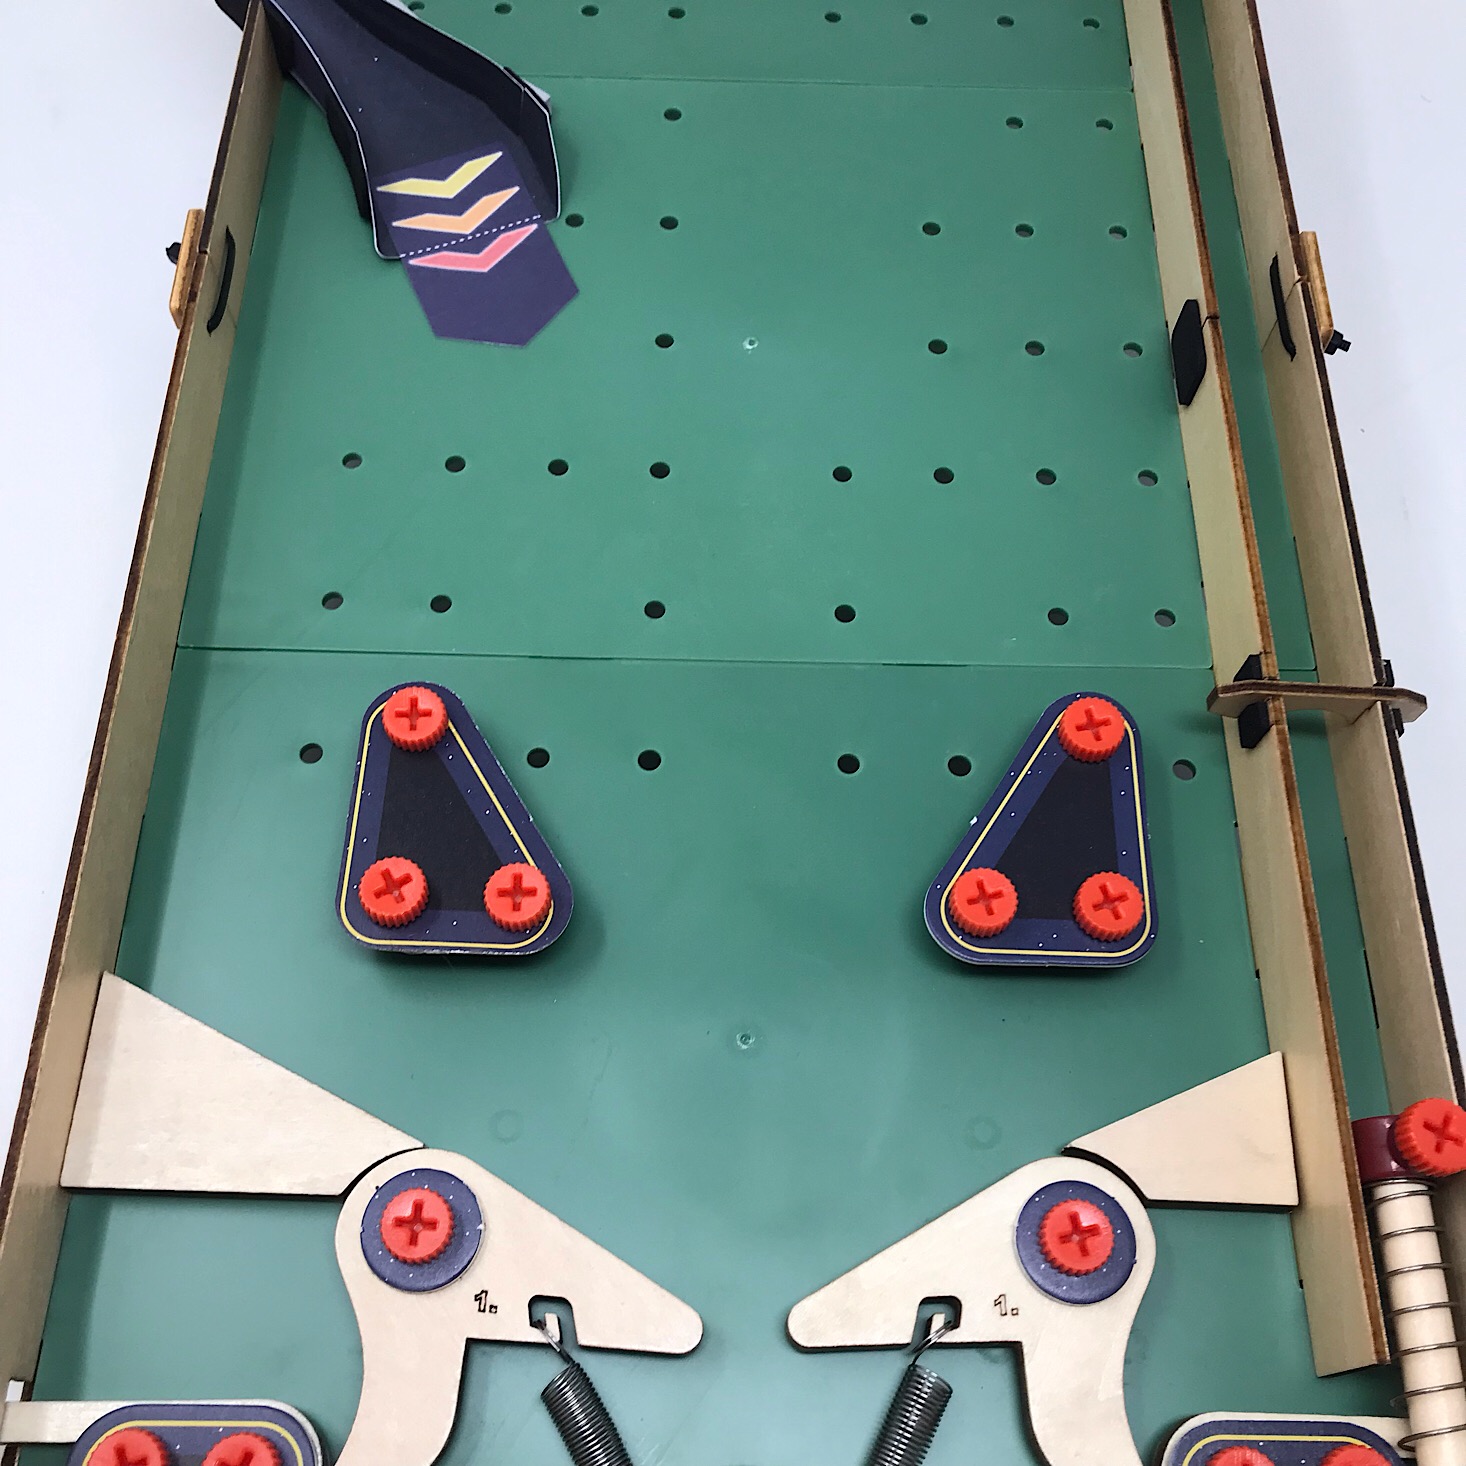
Next, I used more screws and cylinders to create some obstacles and bumpers. I put them into place on the board and then wrapped one of the thick rubber bands around them, added a cardboard piece to the top and then secured it all with another screw.

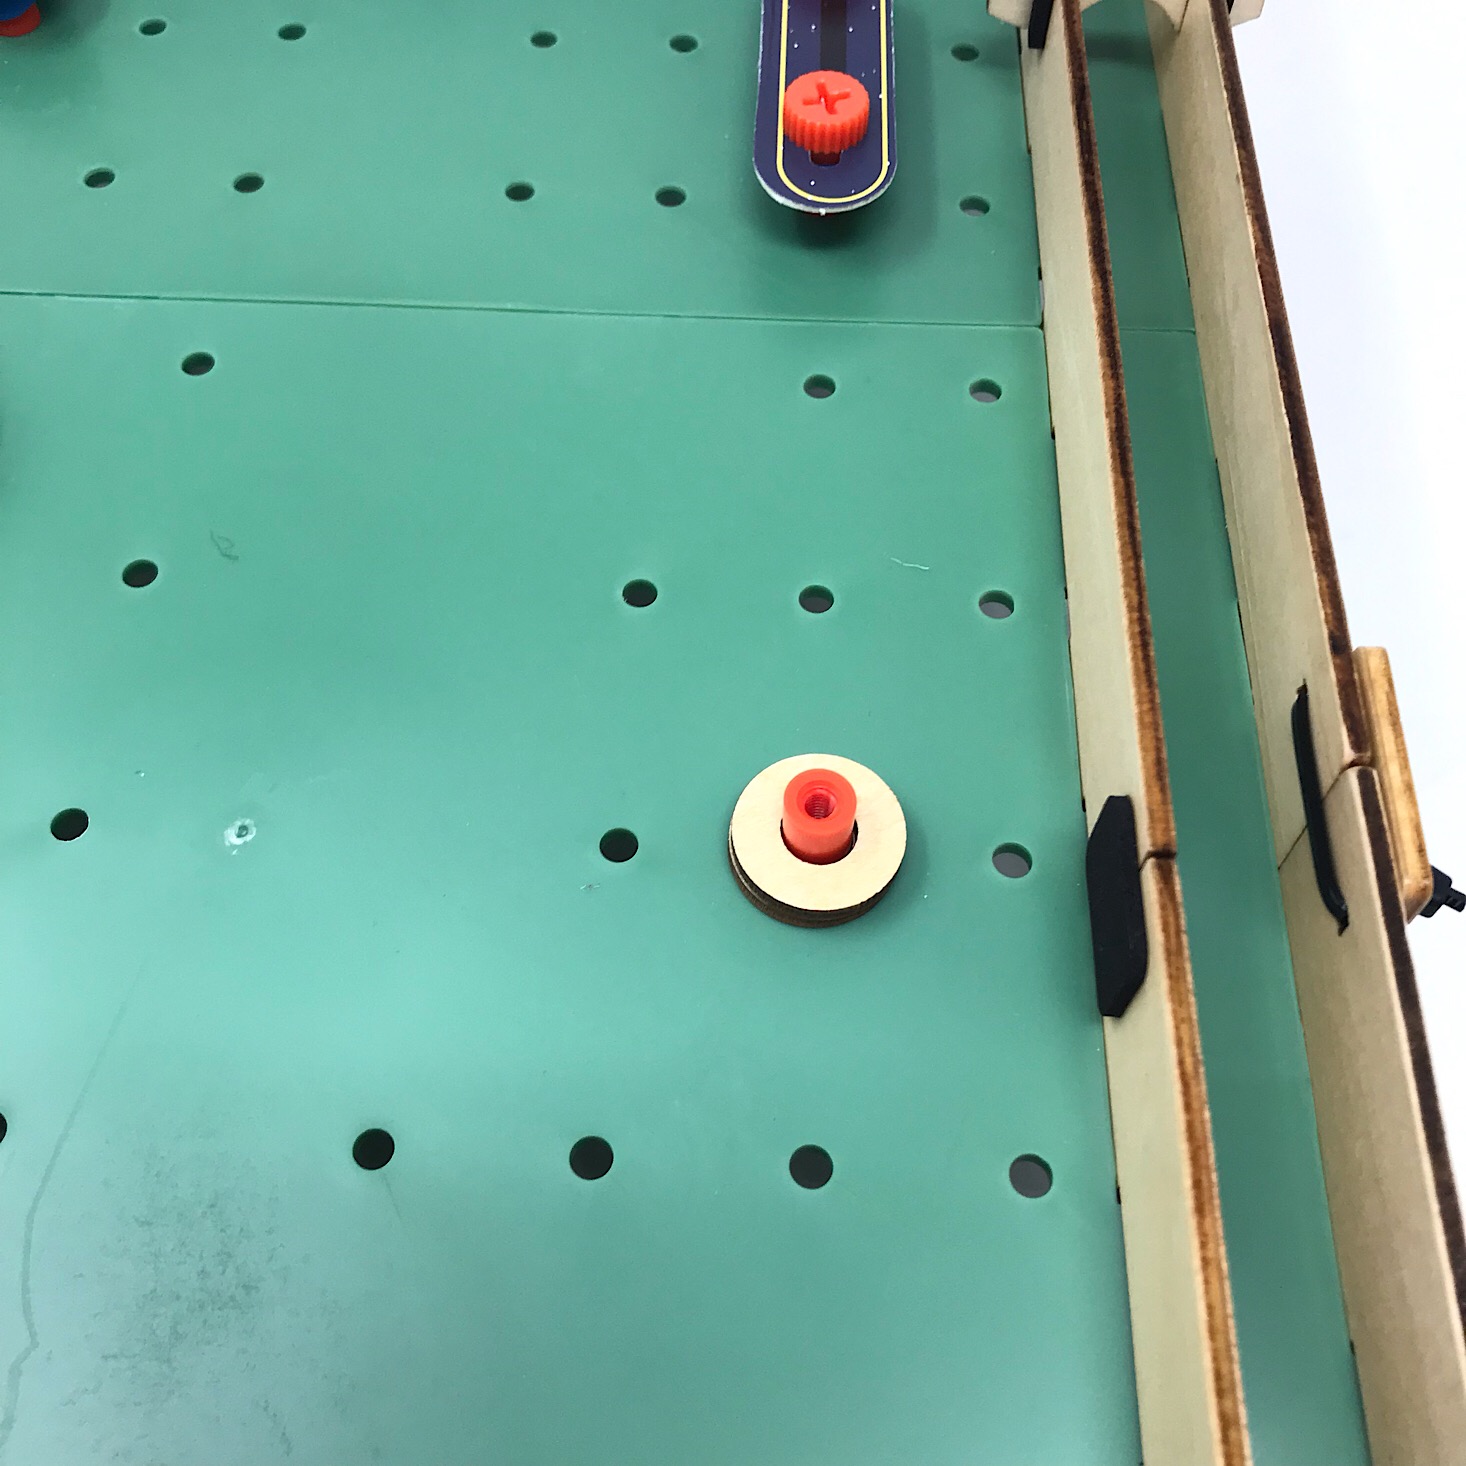
1 of 3

I also created a ball trap using this wooden piece. They also provided a longer one in case you wanted to create a multiball trap.

1 of 2
The last step was to add some stickers to give it a genuine pinball look.

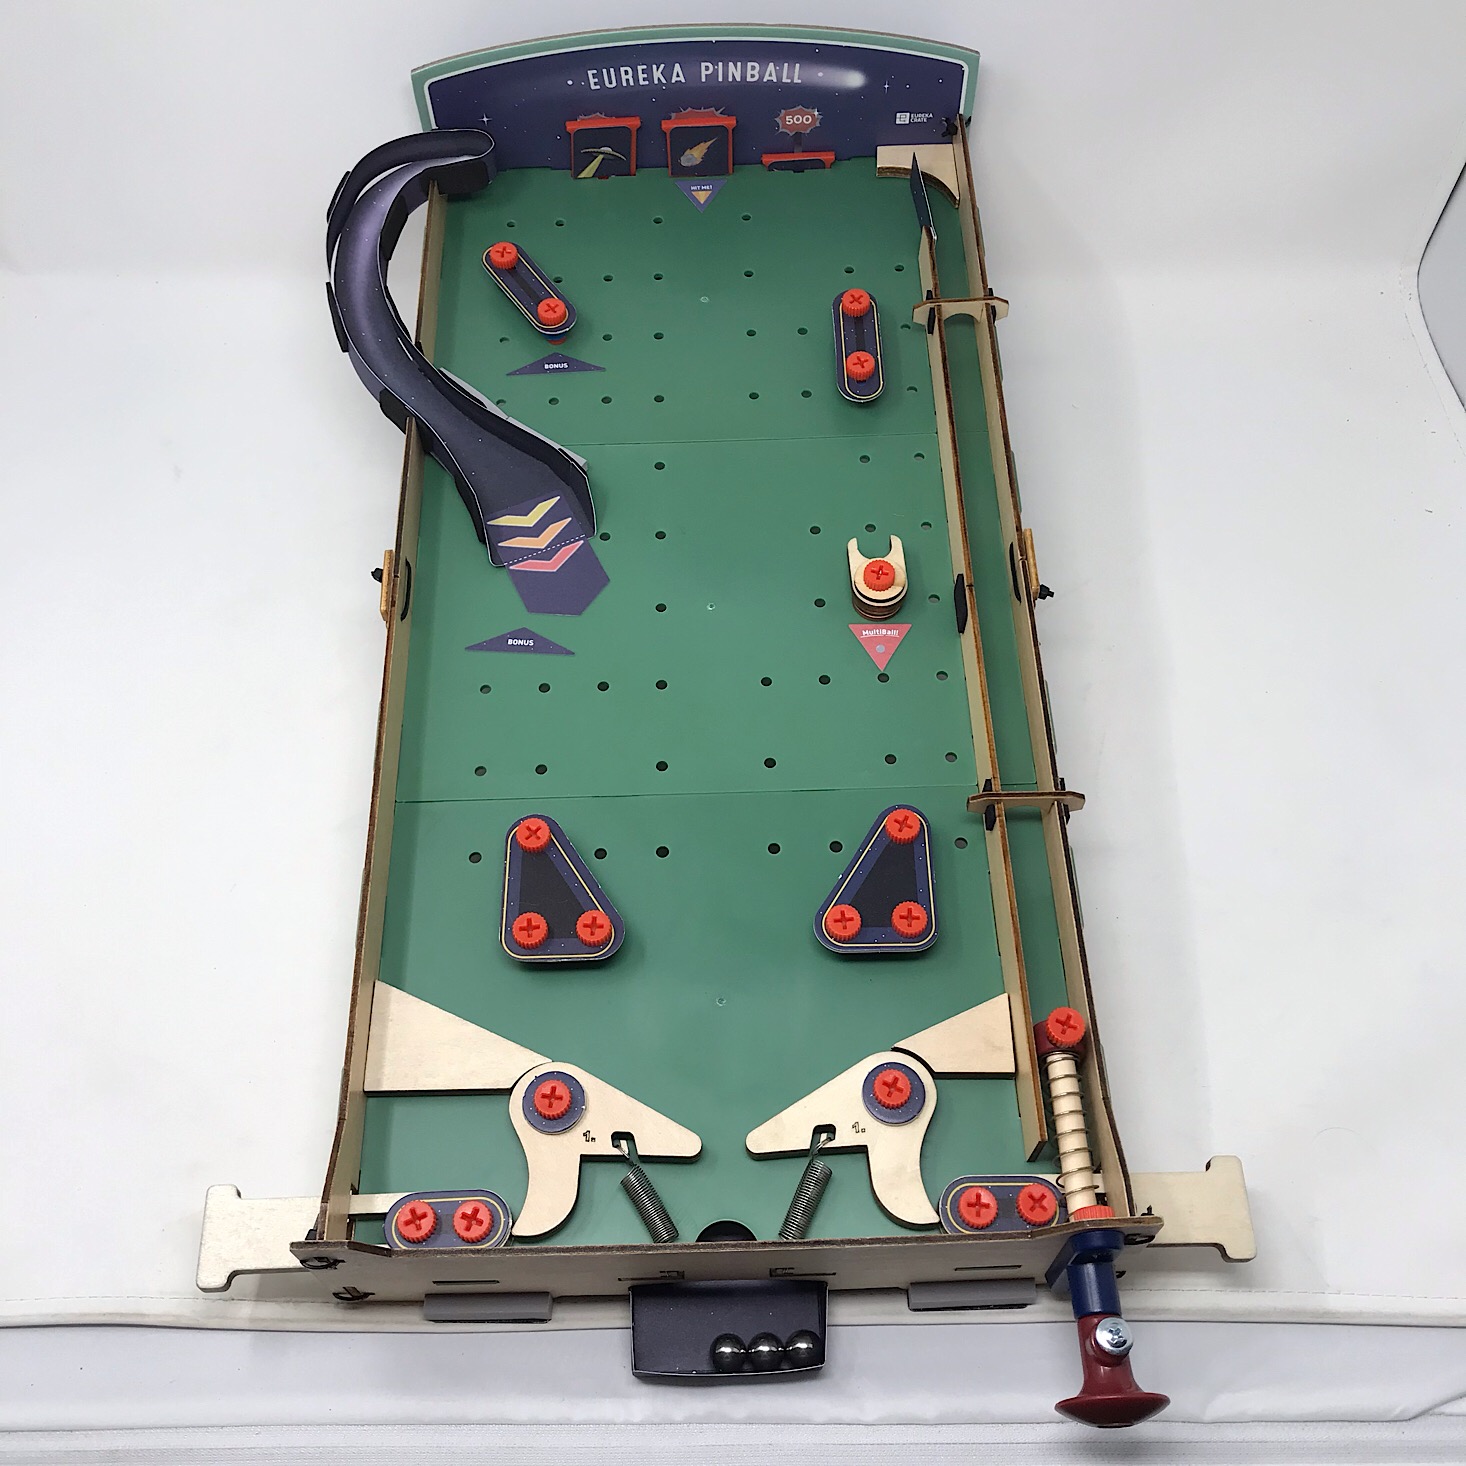
1 of 3
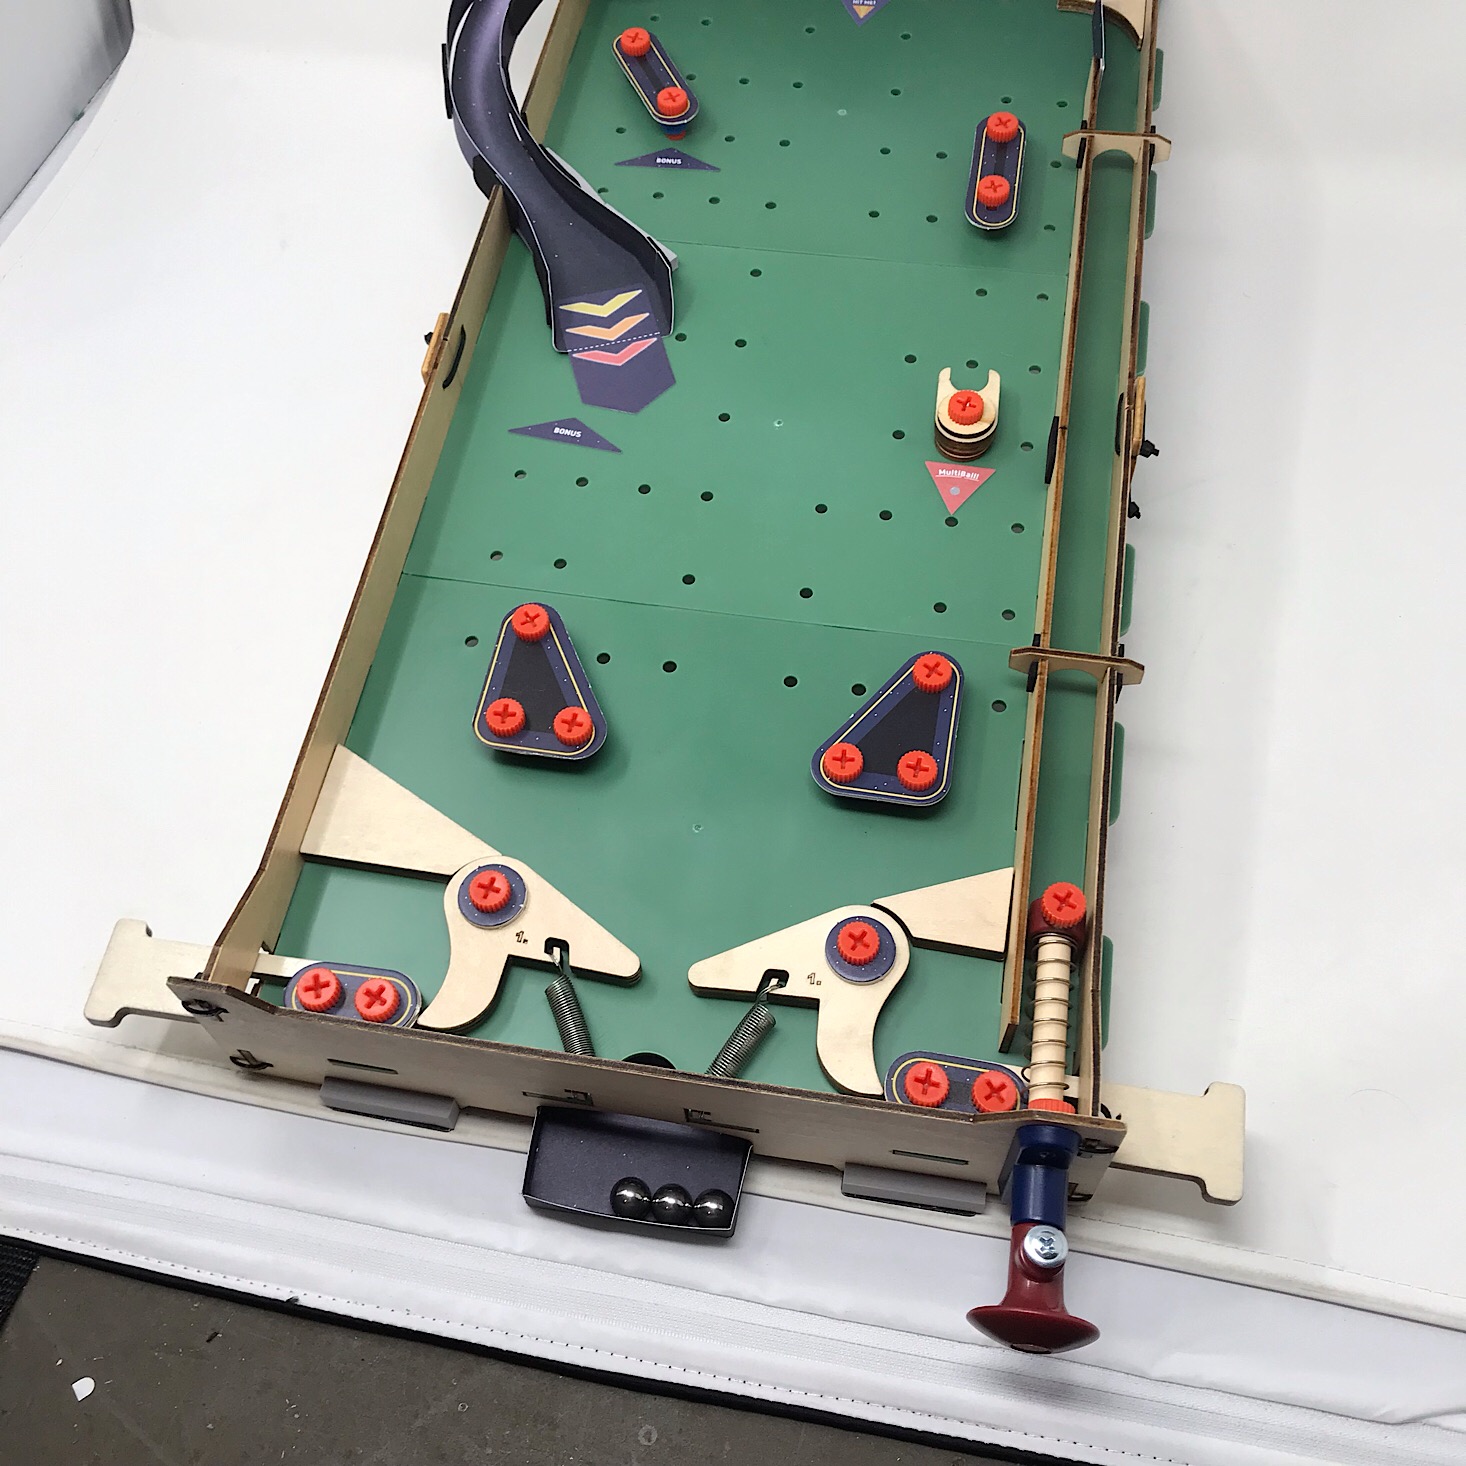
Here is the finished machine! It is perfect for a nice tabletop game!
I got super lucky with this video and was able to show the ramp and some other features in action! It is much harder than it looks, especially for someone who hasn't played pinball in many, many years. While it is a bit loud, it is really fun to play and I thoroughly enjoyed watching my husband get super competitive as he tested it out for me! My kids were pretty excited about it, too and I think with a little practice they will get the hang of it in no time.
1 of 4

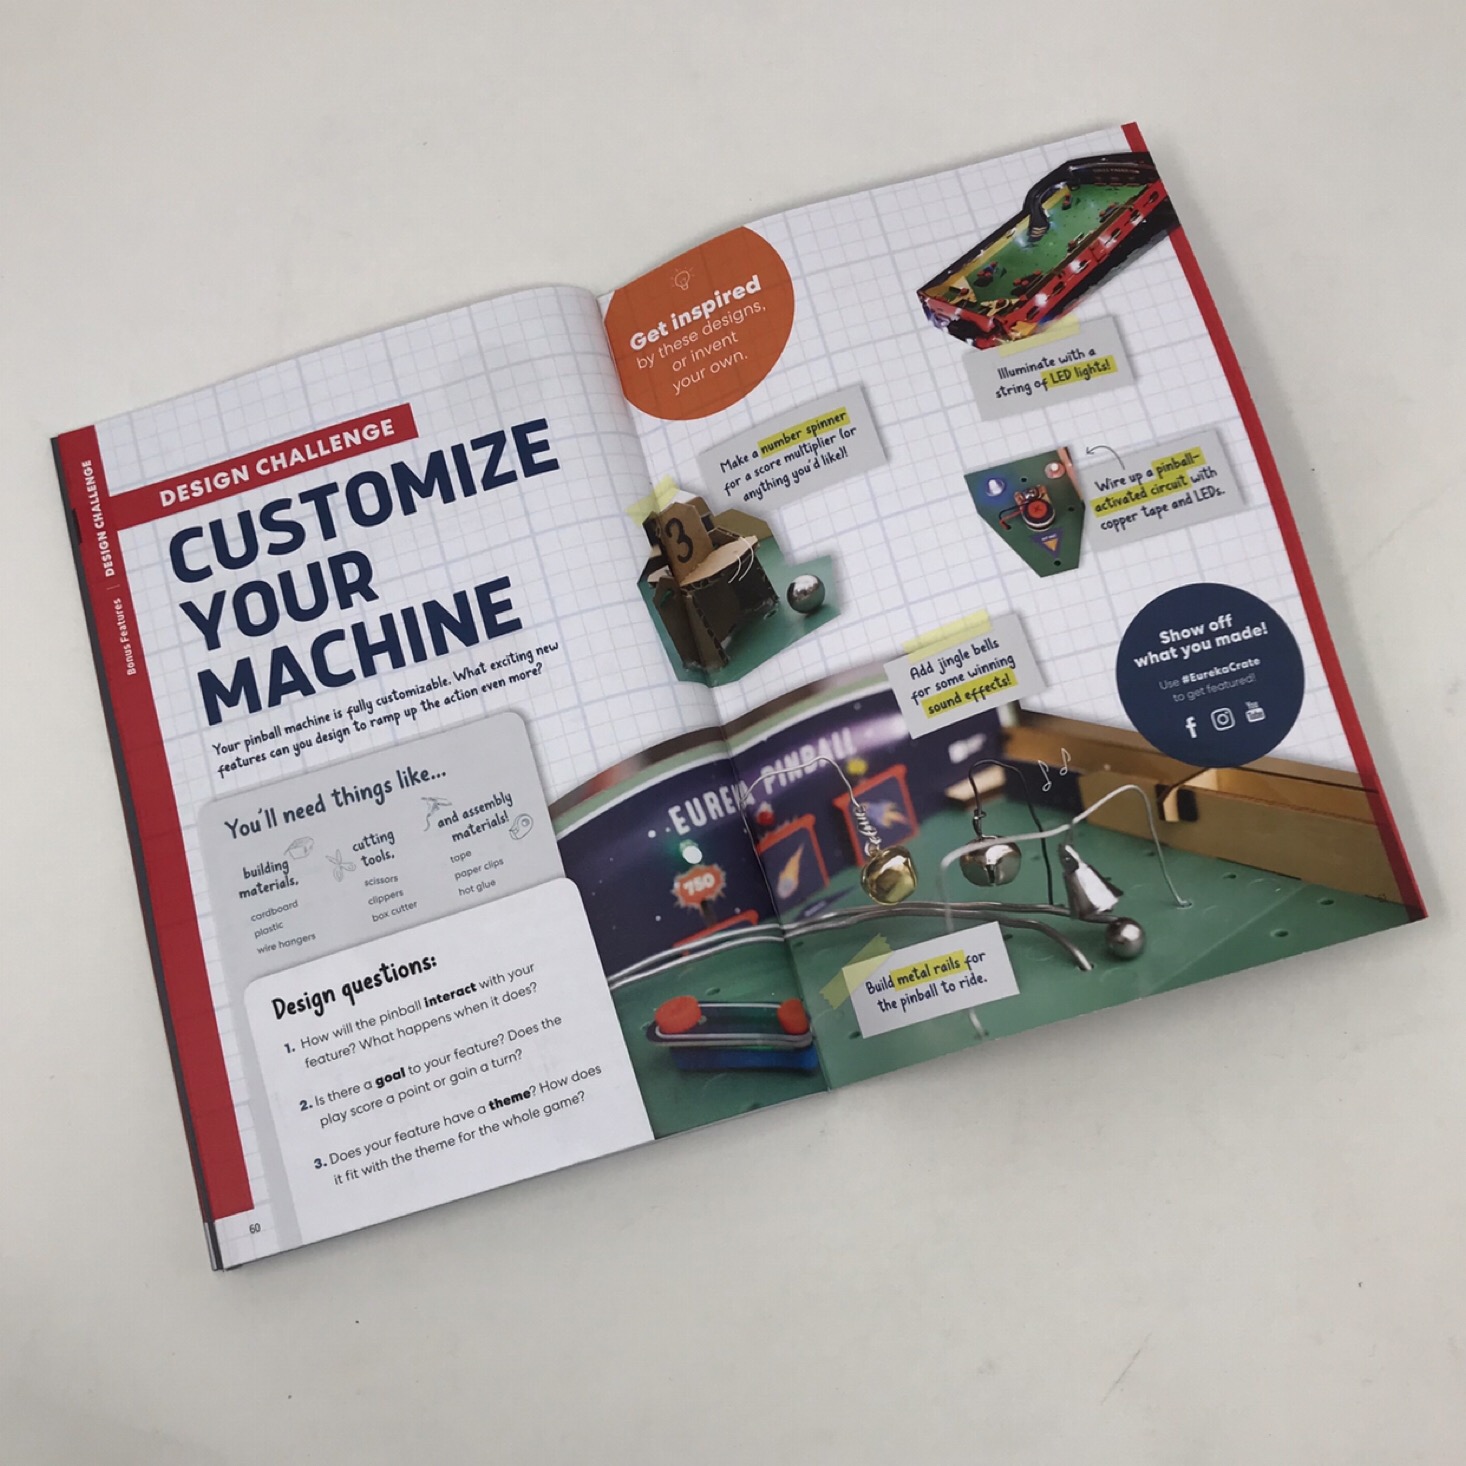
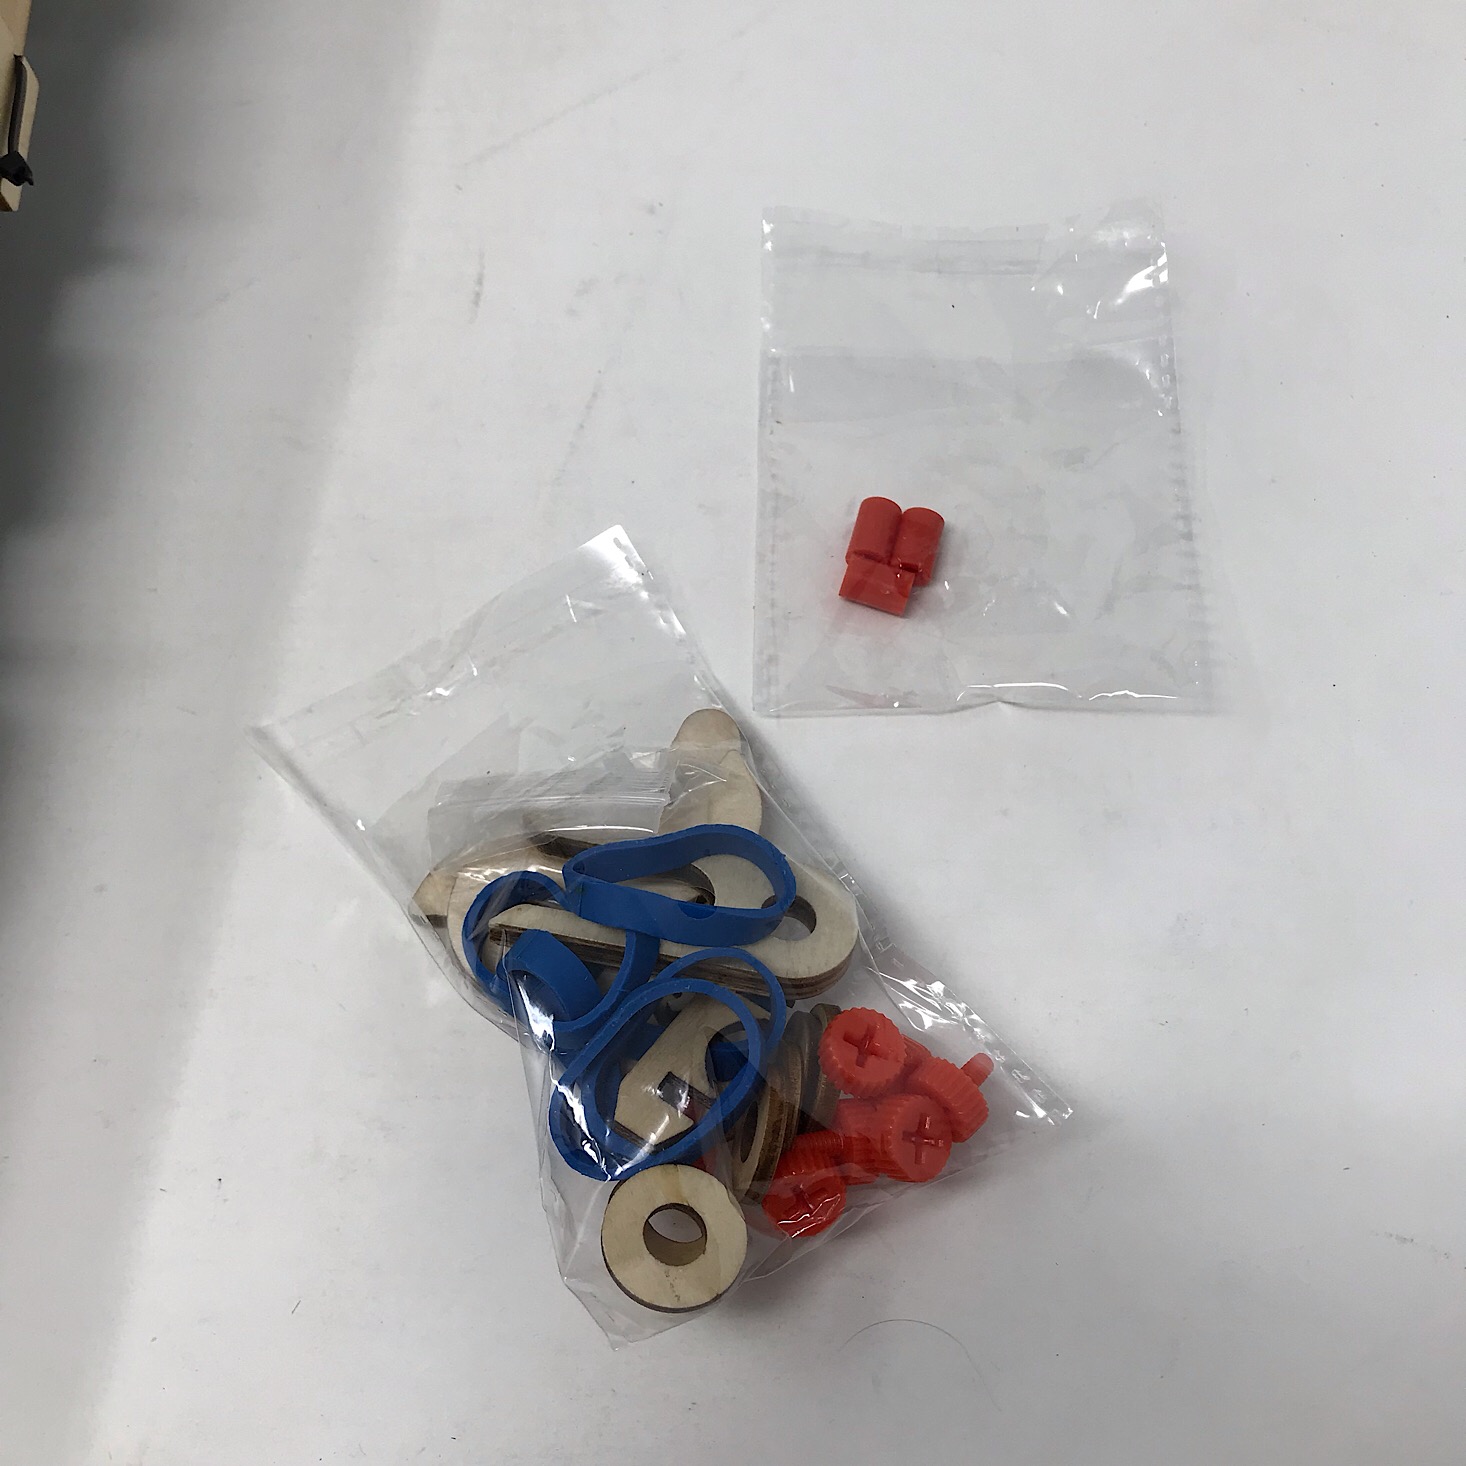
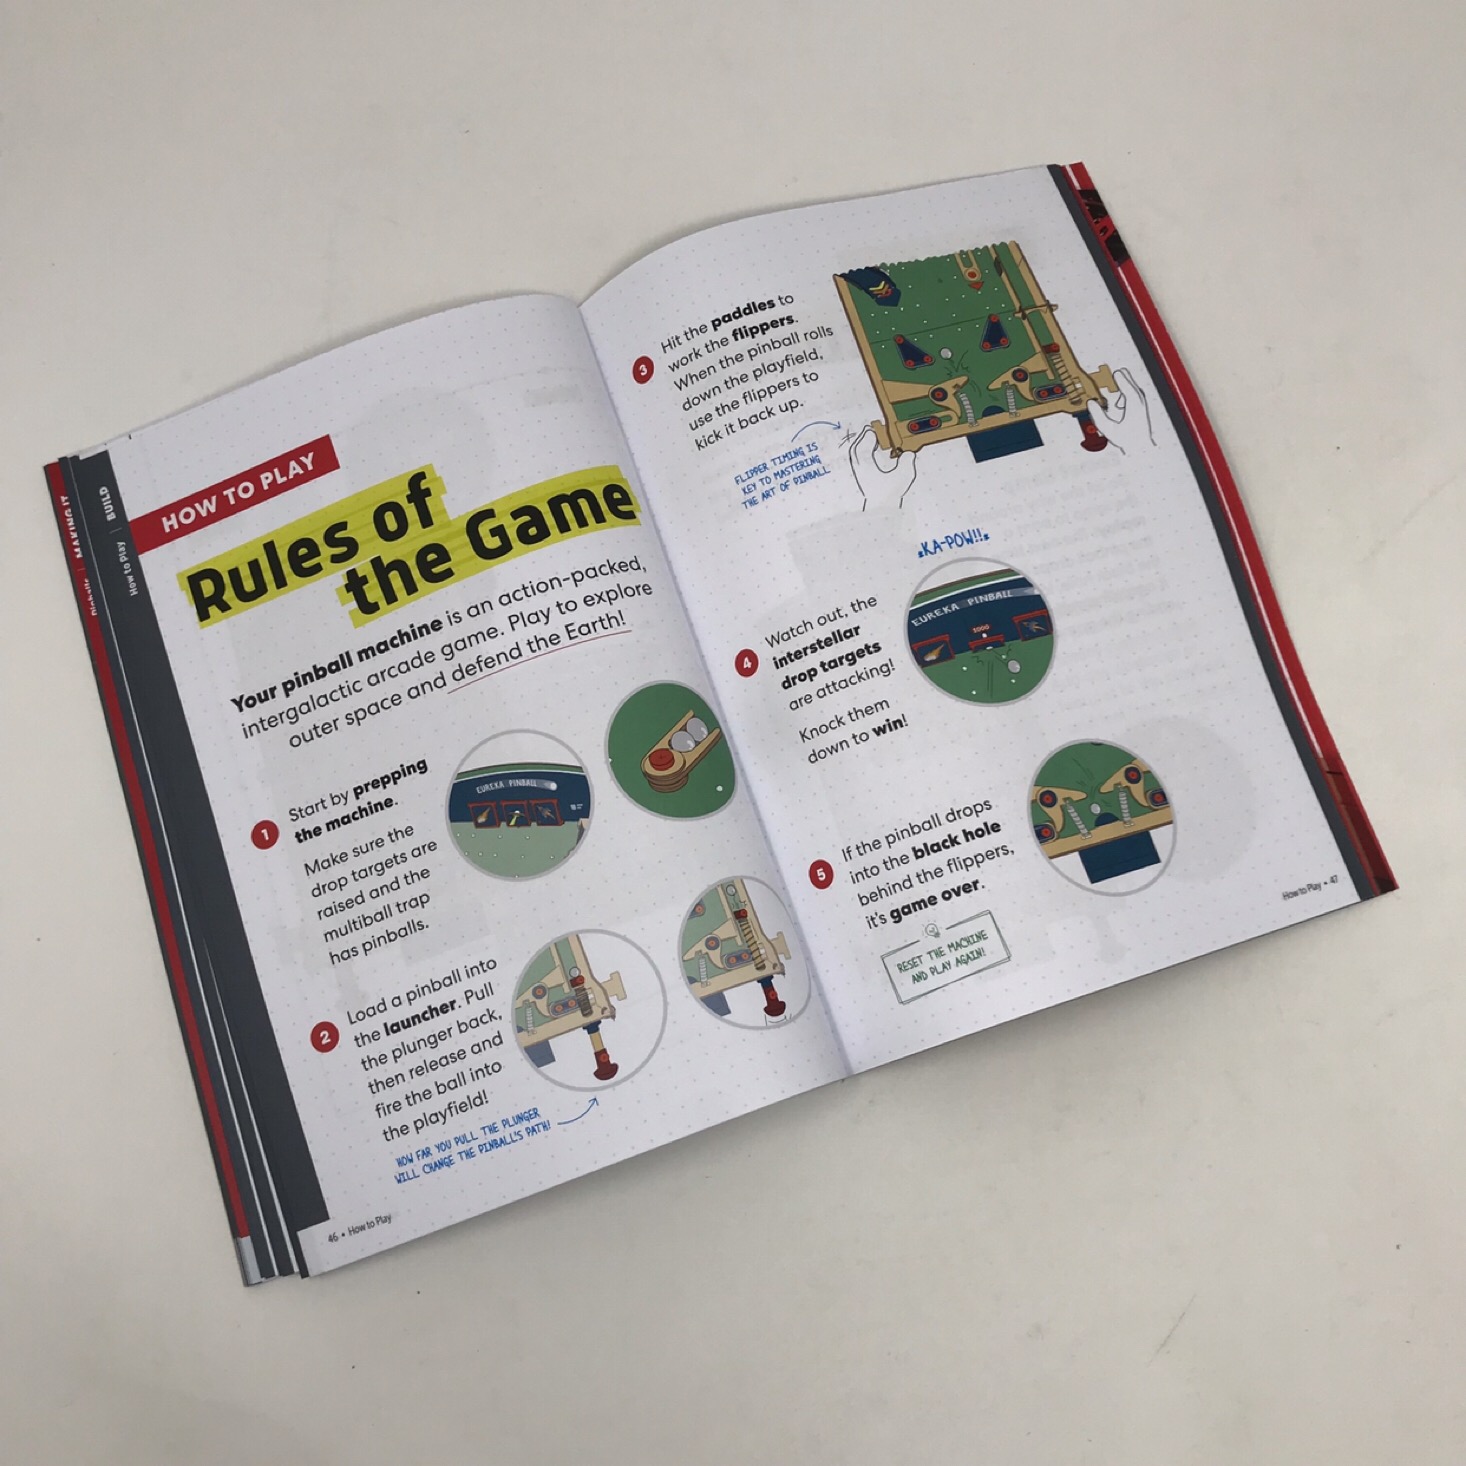
In our booklet, they provided the rules of the game, some bonus features, as well as a Design Challenge section that encourages us to customize our machine. We also had several leftover pieces we could use to change up our pinball machine in the future!
Verdict: This was a super fun Eureka Crate project this month and I also thought it was incredibly unique! Who knew I'd be able to BUILD my very own pinball machine? The way they make these projects so easy and practical is pretty amazing and I love that we have a fun game that we can play at home! I'm sure a teenager would have some fun building and then playing with this one too. For $29.95 + free shipping for this box, I think this was a pretty great project and the value was definitely there!
To Wrap Up:
Can you still get this box if you sign up today? It is possible you might get this crate, but it is not a guarantee. From KiwiCo:
Crates are assigned each month based on availability and your crate history - not all subscribers receive the same theme each month.
Check out all of our KiwiCo reviews and the best boxes for teens!
Keep Track of Your Subscriptions: Add this box to your subscription list or wishlist!
What do you think of Eureka Crate?


Please do not enter your email address in the Name field or in the comment content. Your email address will not be published. Required fields are marked *. Remember to post with kindness and respect. Comments with offensive language, cruelness to others, etc will not be approved. See our full comment policy here.