

Little Passports Summer Camp in a Box Review: Science Junior
Our review of the 6-day DIY summer camp experience
Little Passports Science Junior is a monthly subscription service from Little Passports geared towards ages 6-10 to teach them about the world. Since summer camp may not be an option this year, they decided to offer a DIY "Summer Camp in a Box" with 6 days worth of activities inside. I love how subscription boxes are coming up with new ways for parents to keep their kids occupied and entertained knowing their normal summer plans may have changed!
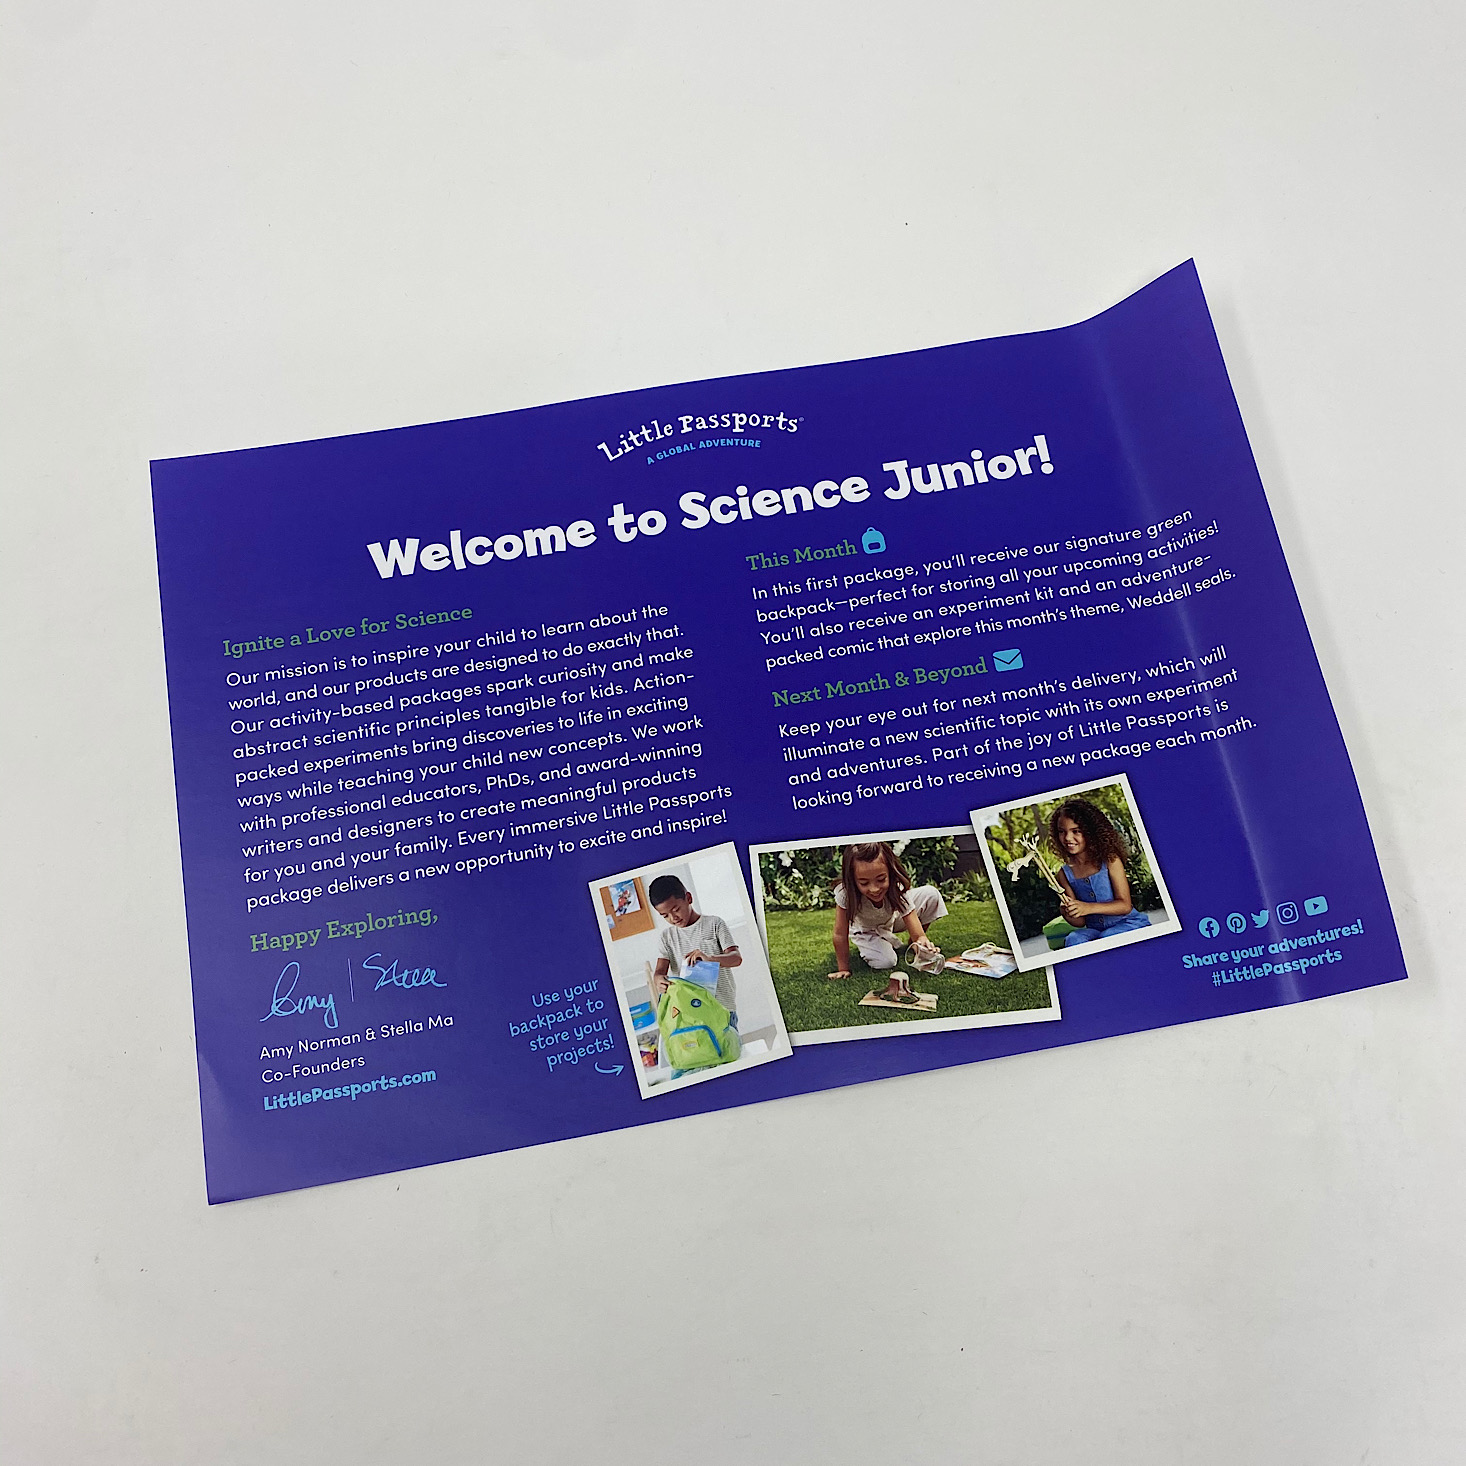
Little Passports offers two different camp experiences: Science Junior (ages 5-8) for $155.70 and World Edition (ages 6-10) for $150.65. The Science Edition includes an introductory kit that comes complete with a camp schedule, a signature green backpack, materials for hands-on projects and DIY experiments, full-color magazines with pen-to-paper activities, stickers, trading cards, and badges all designed to help your child learn more about science. Check out my review of the World Edition summer camp here!
About Little Passports Summer Camp in a Box
The Box: Little Passports Summer Camp in a Box: Science Junior
The Cost: $155.70 + free shipping (currently on sale for $149.95!)
The Products: A signature green backpack, full-color magazines with pen-to-paper activities, stickers, trading cards, badges, and all the materials you need to for hands-on, DIY projects. Plus, access to more activities online for further engagement!
Ships to: The U.S. for free, Canada for $3.95, New Zealand and Australia for $4.95
Billing Cycle: This box is a one-time purchase.
Good to Know: From Little Passports:
"Please note when purchasing Summer Camp in a Box and a Science Junior subscription you will be enjoying the same packages twice."
Interested in the monthly box? Check out our past reviews here.
Pros & Cons
| The Pros |
|
| The Cons |
|
| Is It Worth It? |
|
| I'd Recommend This If |
|


1 of 3
How Does It Work?
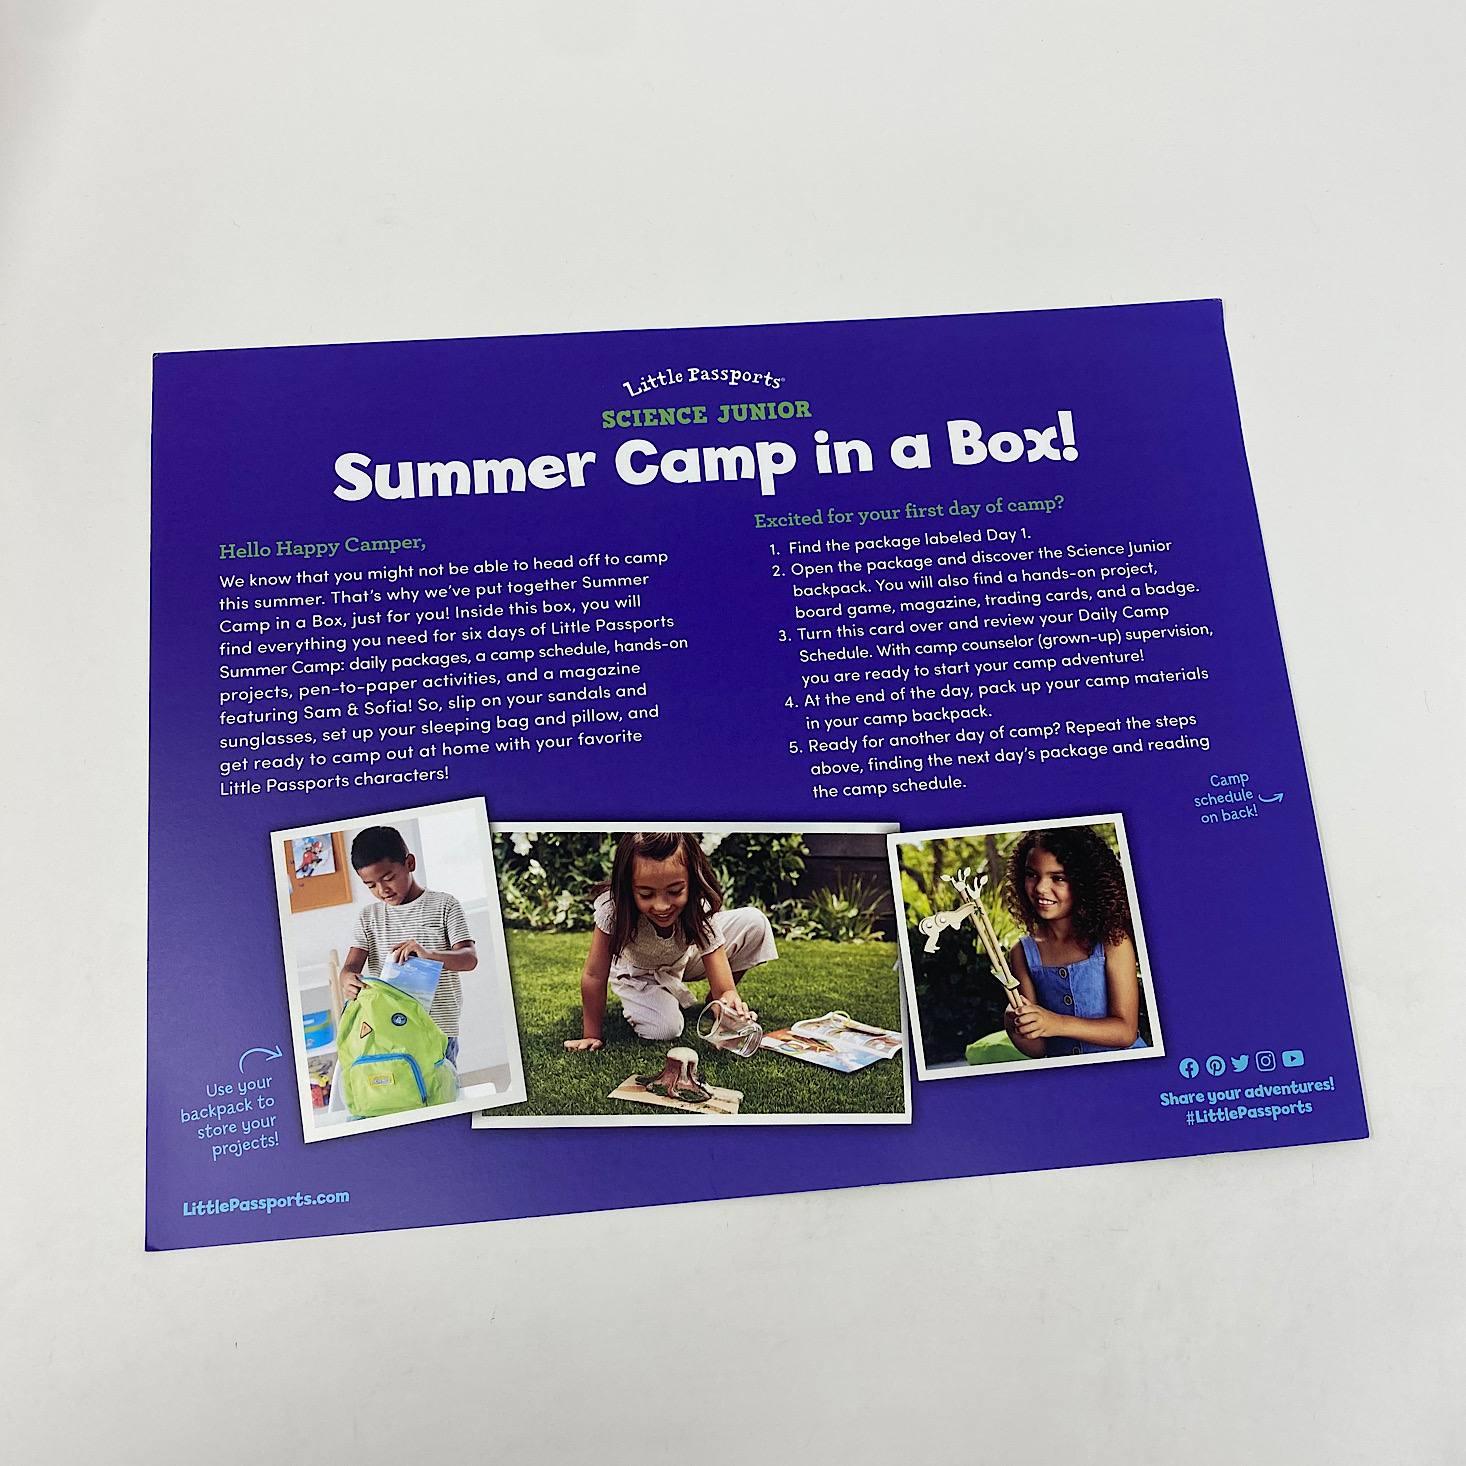
You'll receive the camp contents all at once in a large box with each of the 6 camp days' activities separated into different packages which are clearly labeled. At the top of the box, we received some summer camp instructions on one side and a camp schedule on the back that you can follow each day and simply swap out the packages depending on which day of camp you're on. While it's great that they took the time to come up with a suggested schedule (with built-in meal times, a body break, and even some "bunk time" for nappers), this box also allows you the flexibility to follow your own schedule to better suit your needs if you choose!
-

- Day 1
-

- Day 2
-
- Day 3
-

- Day 4
-

- Day 5
-

- Day 6
Here, you can get a little overview of what's in each box!
Online Extras
1 of 10
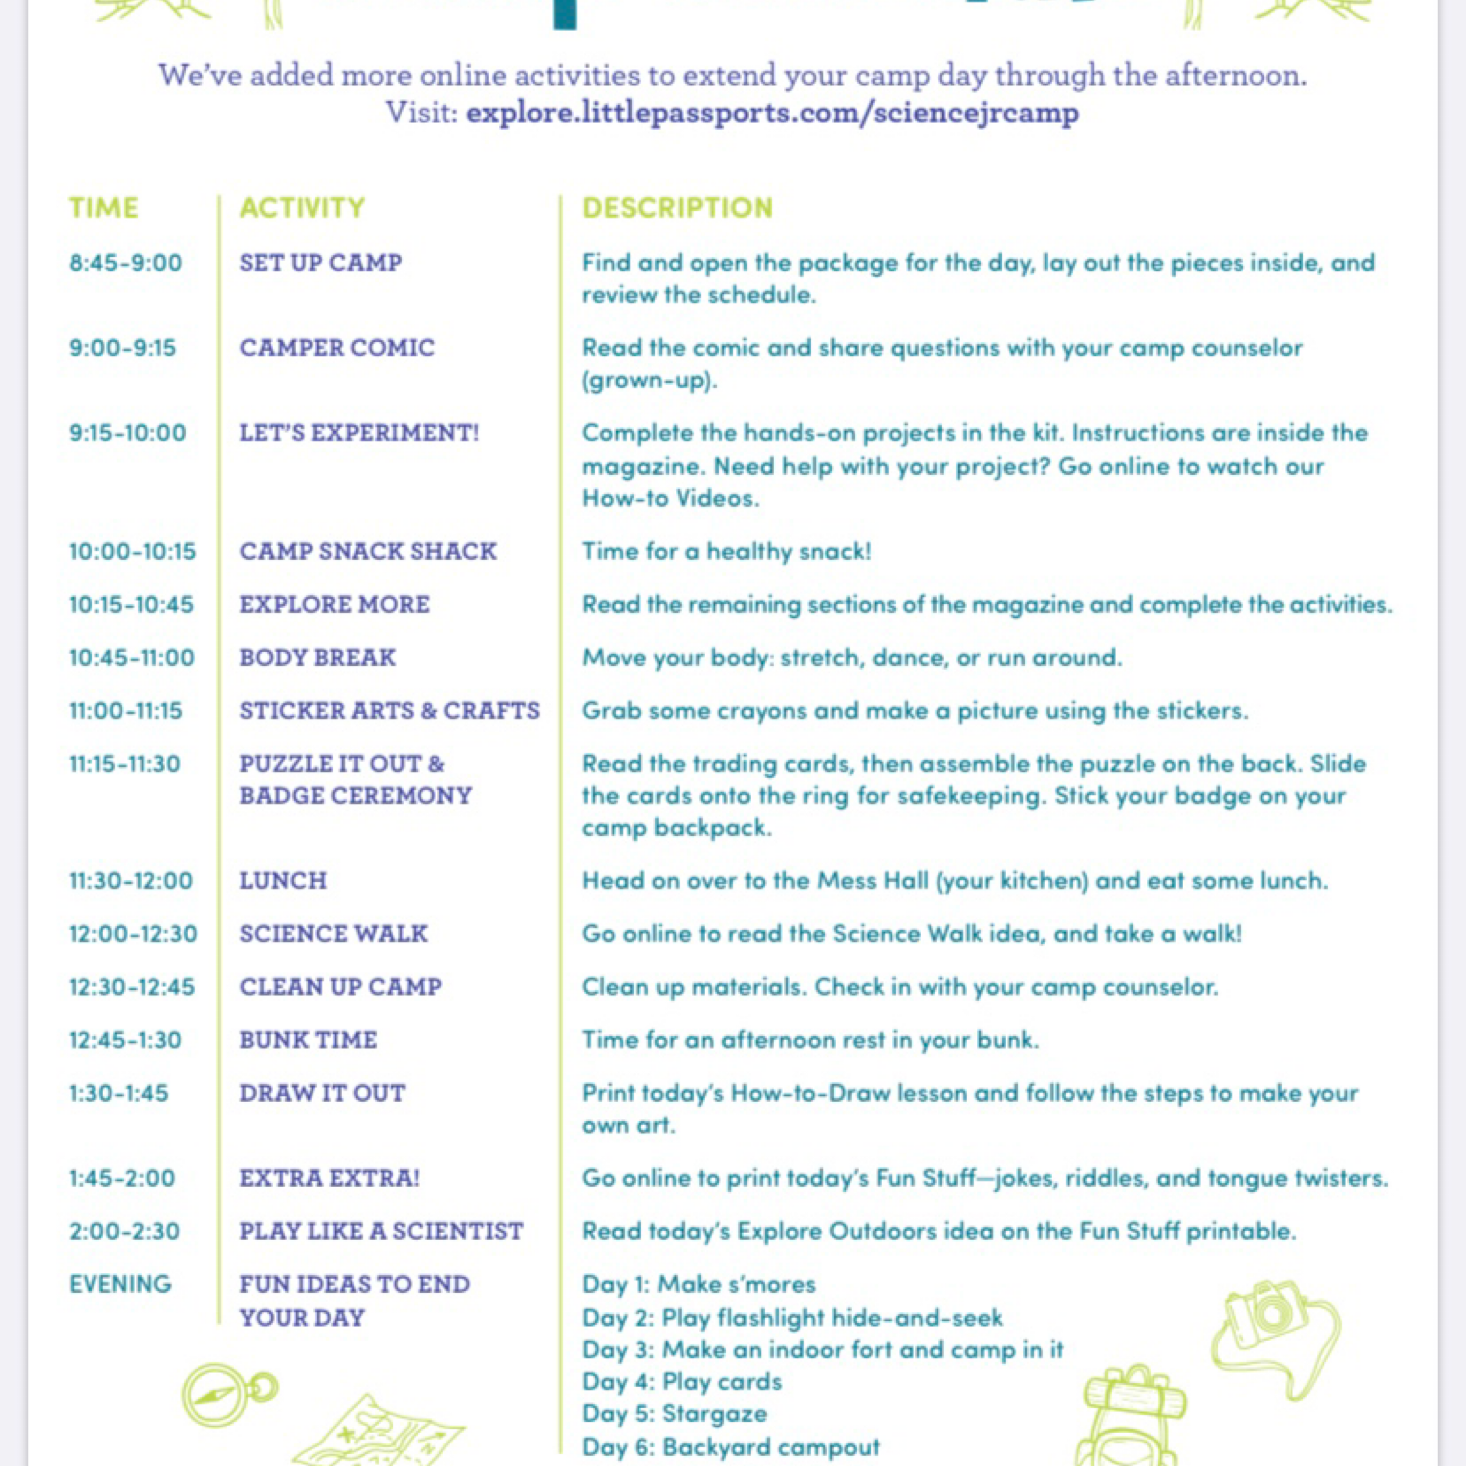

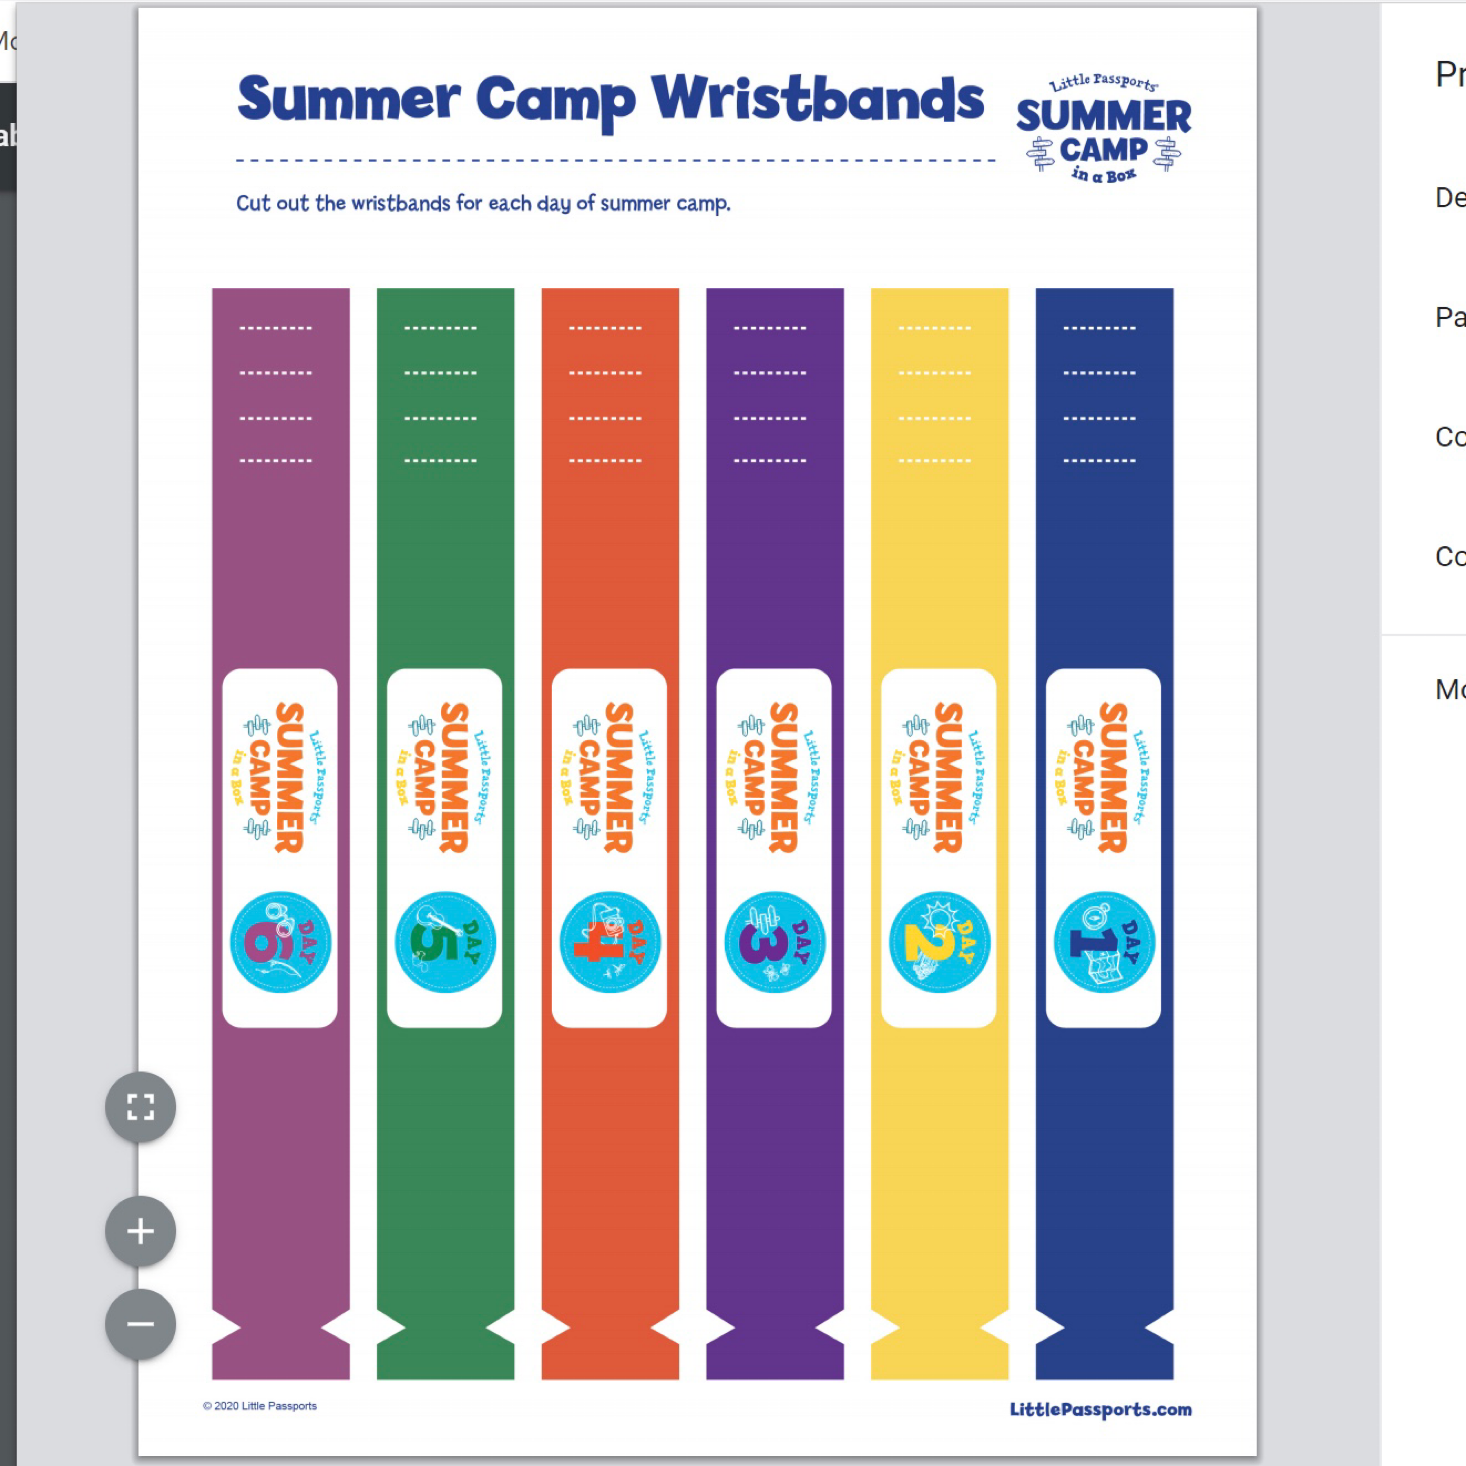


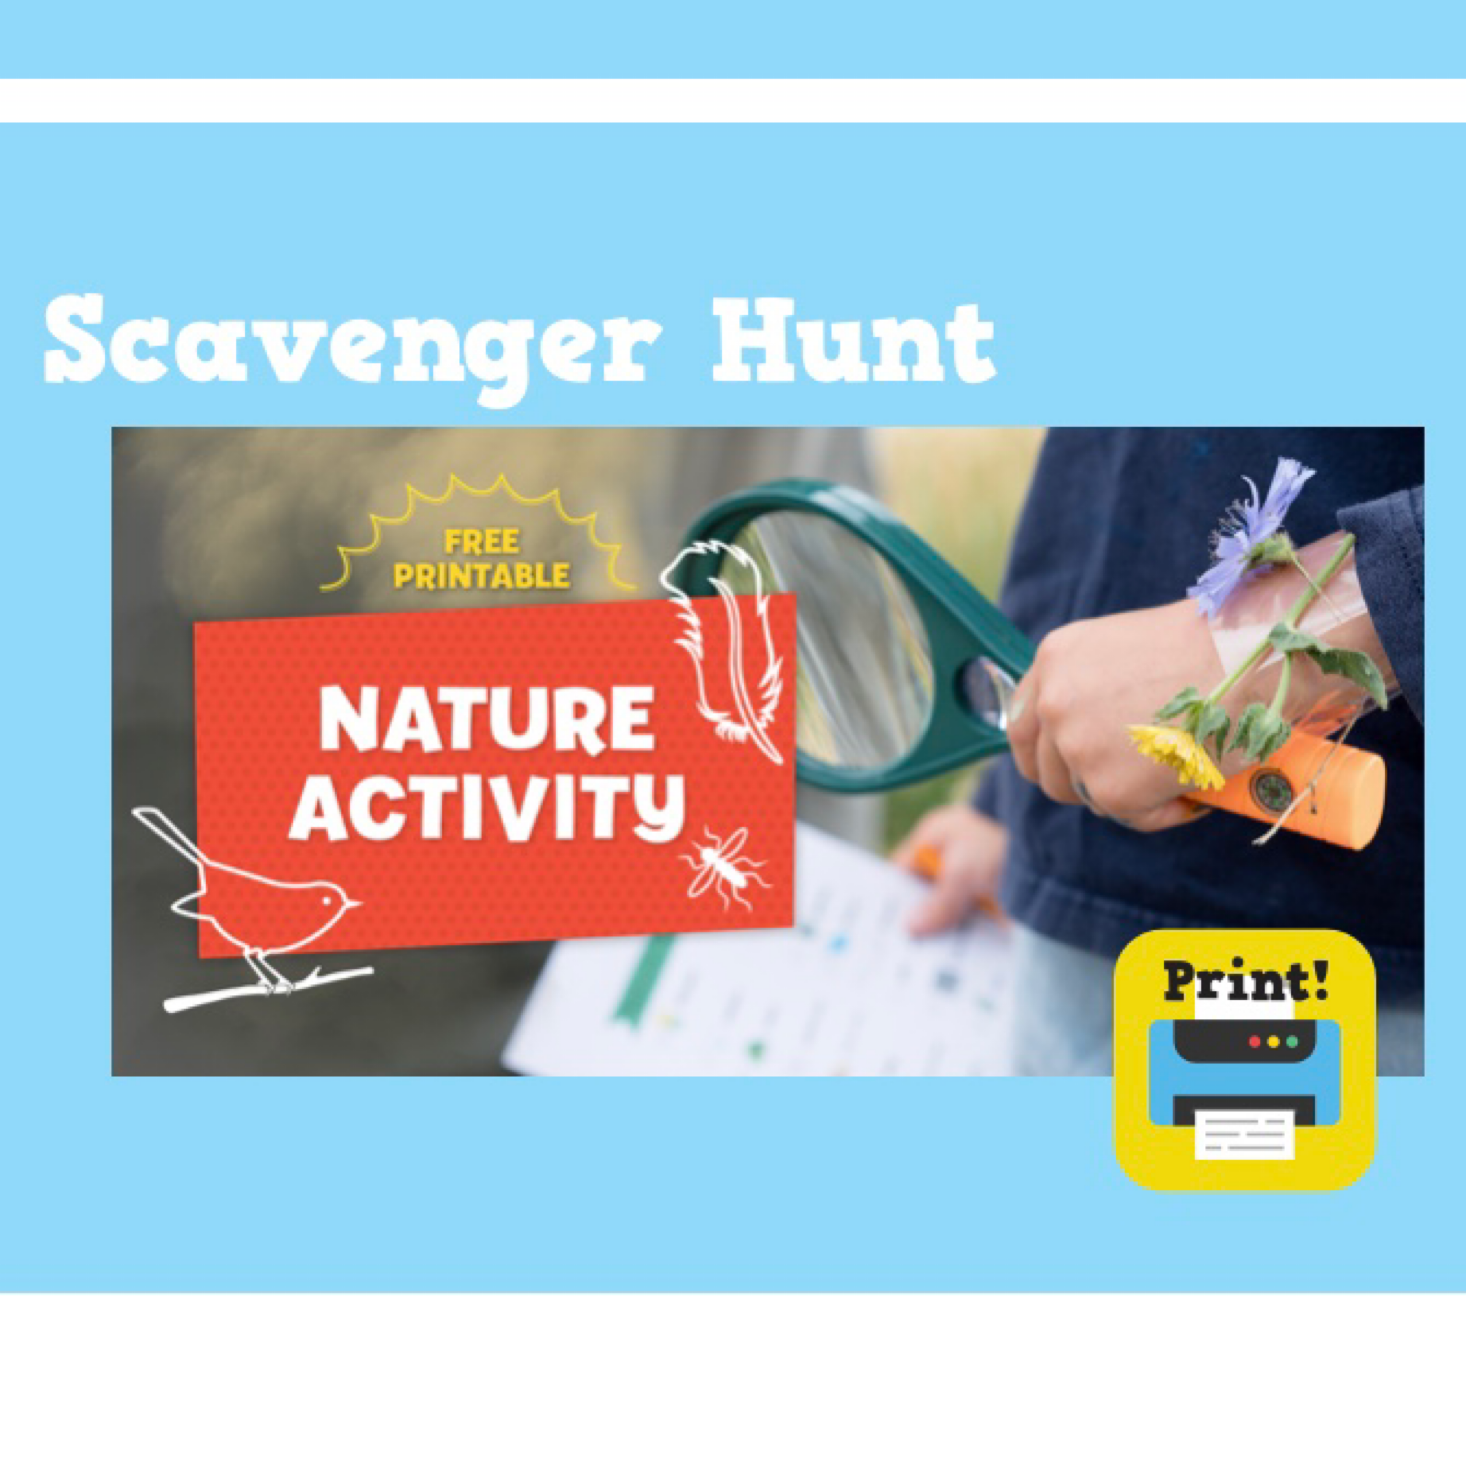


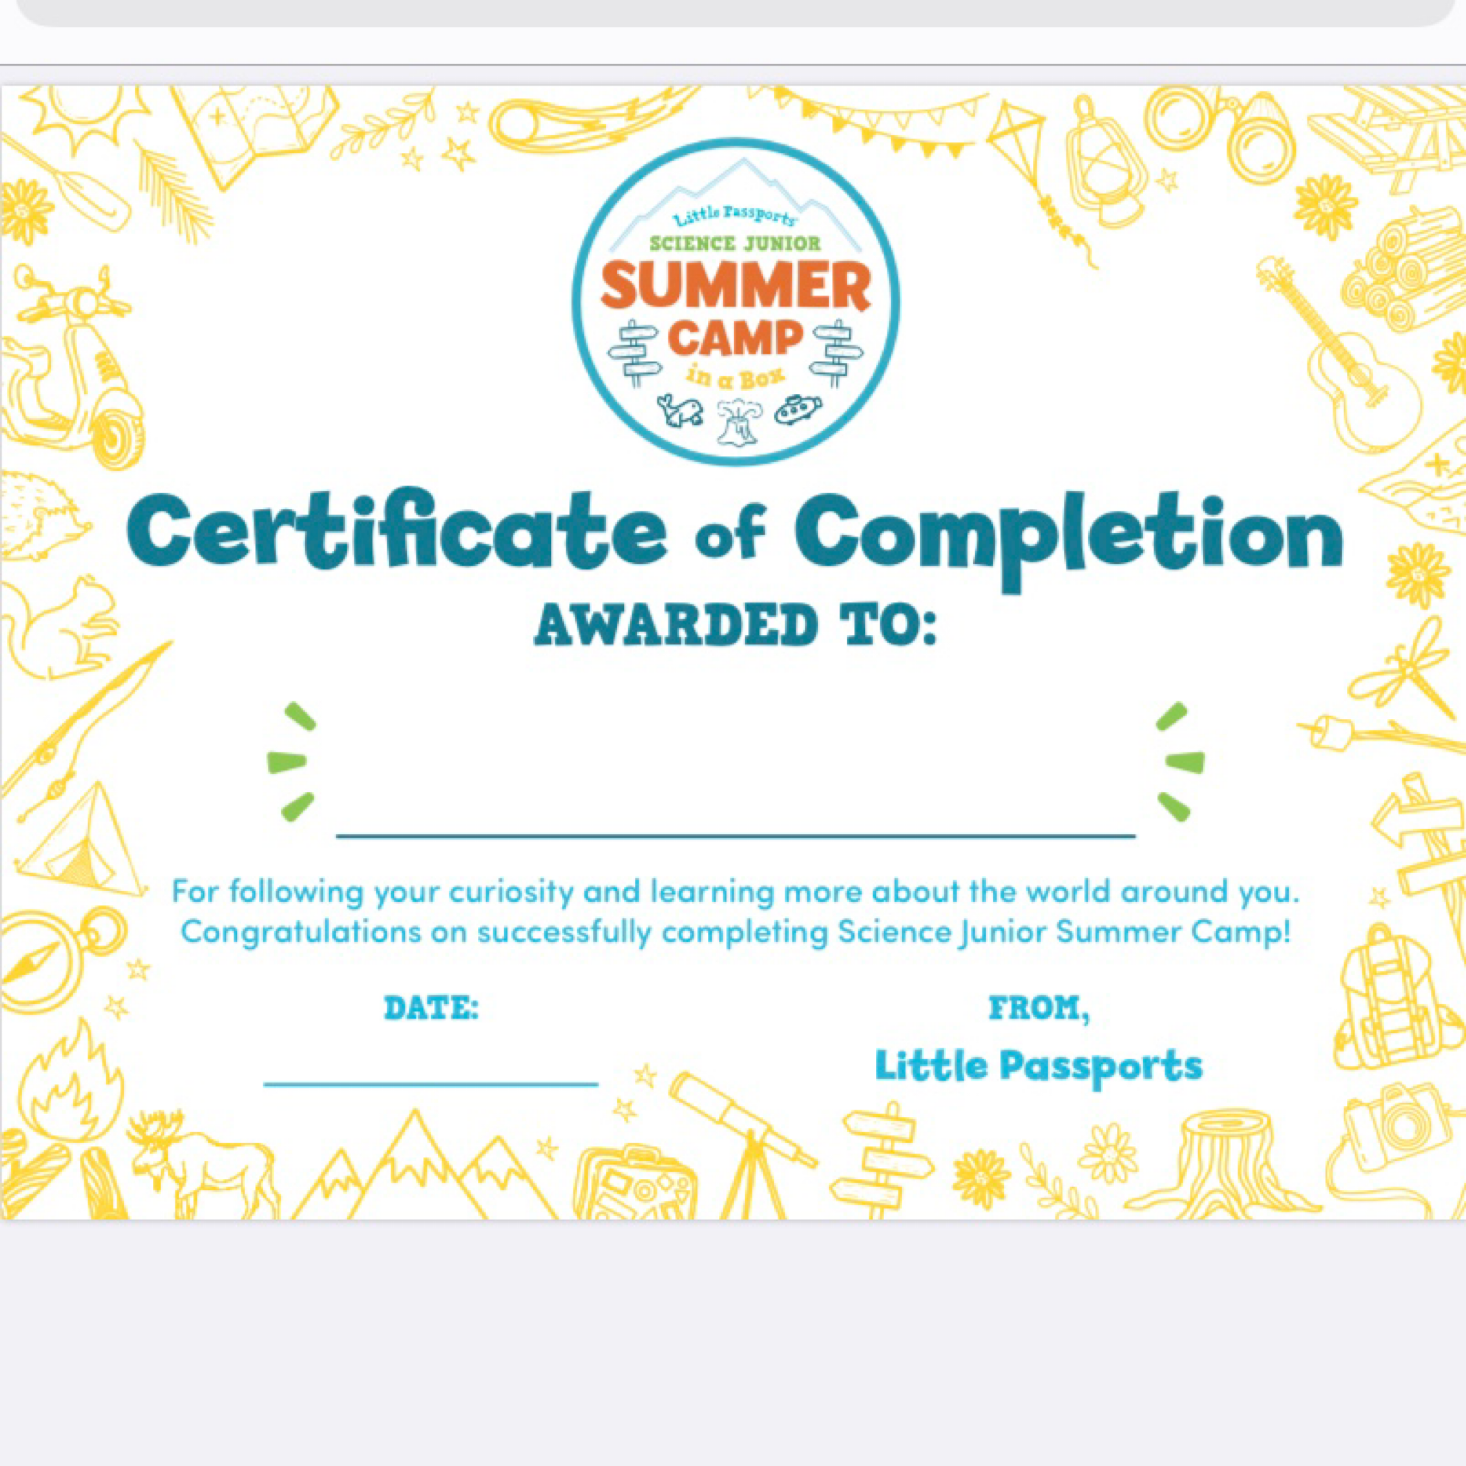
There are a ton of online resources that are definitely worth checking out. They have an extended camp schedule that covers a full day, printable camp wristbands, a letter from camp prompt, and a fun nature scavenger hunt. There is even a certificate of completion you can print out for your camper on the last day. There are also activities specific to each day and I'll give you a closer look at those as we go through the daily activities.
Daily Camp Schedule
Day 1: Weddel Seals

1 of 2
Each day is packaged separately which is not only exciting for your child, but it also makes it so easy to keep everything organized and focused! Day 1 came in a larger box with a little welcome letter at the top.
Day 1
In this first box, we received a few items that will be used throughout the week. Let's check it out!

1 of 6


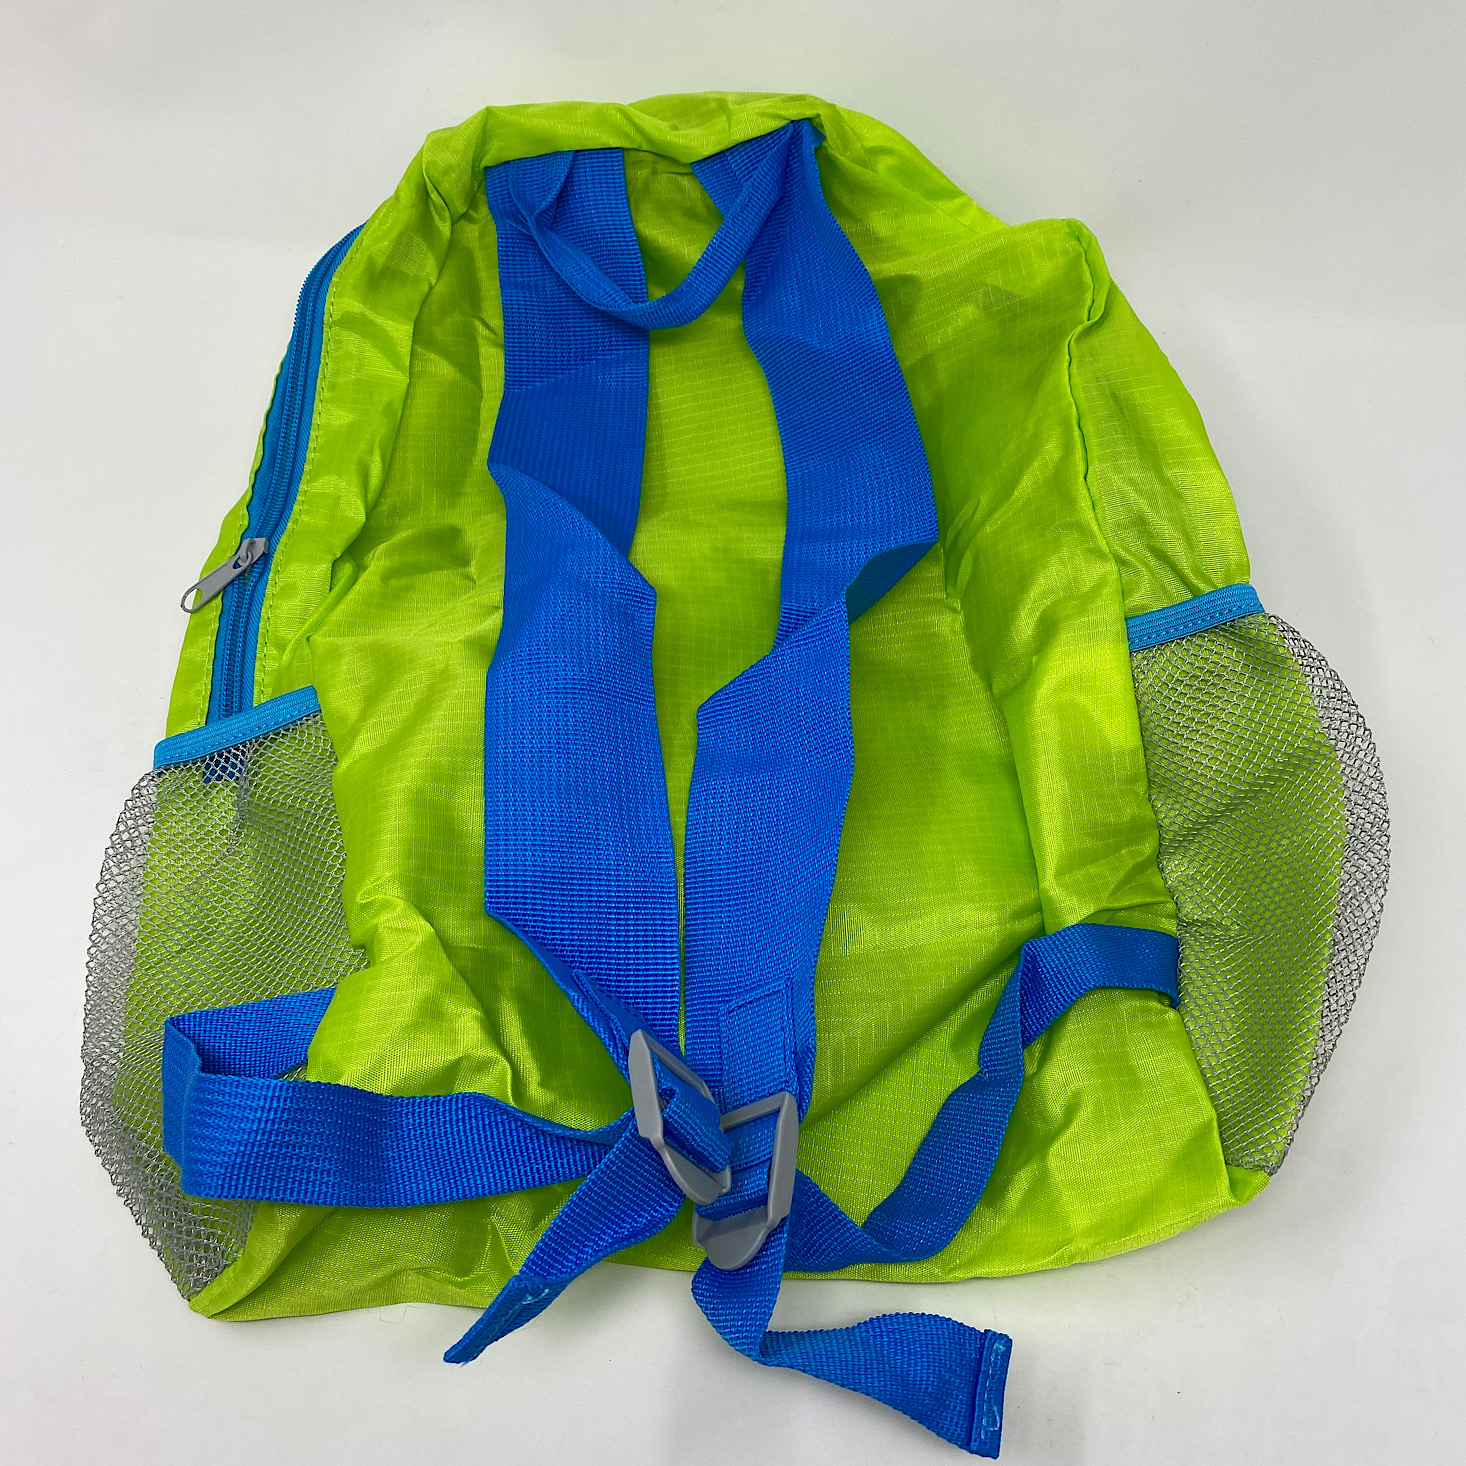

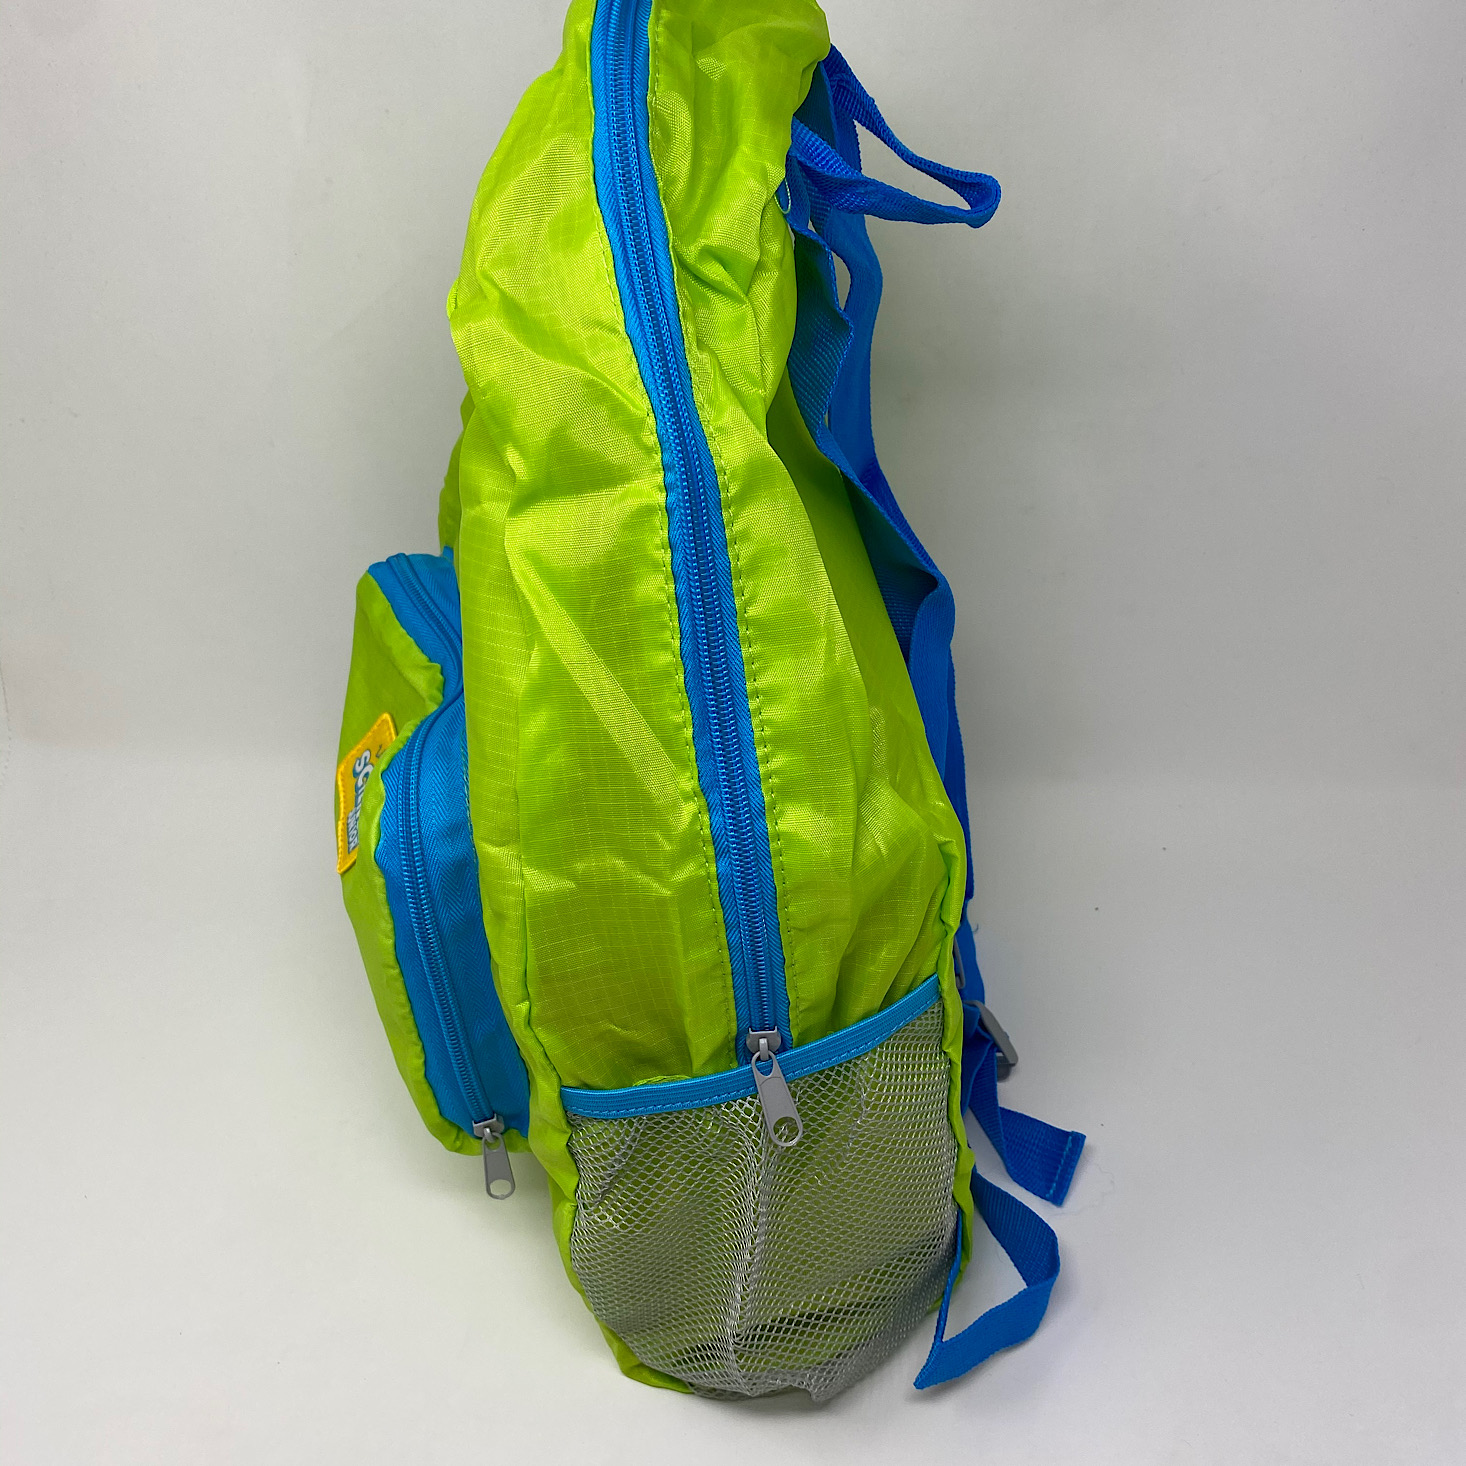
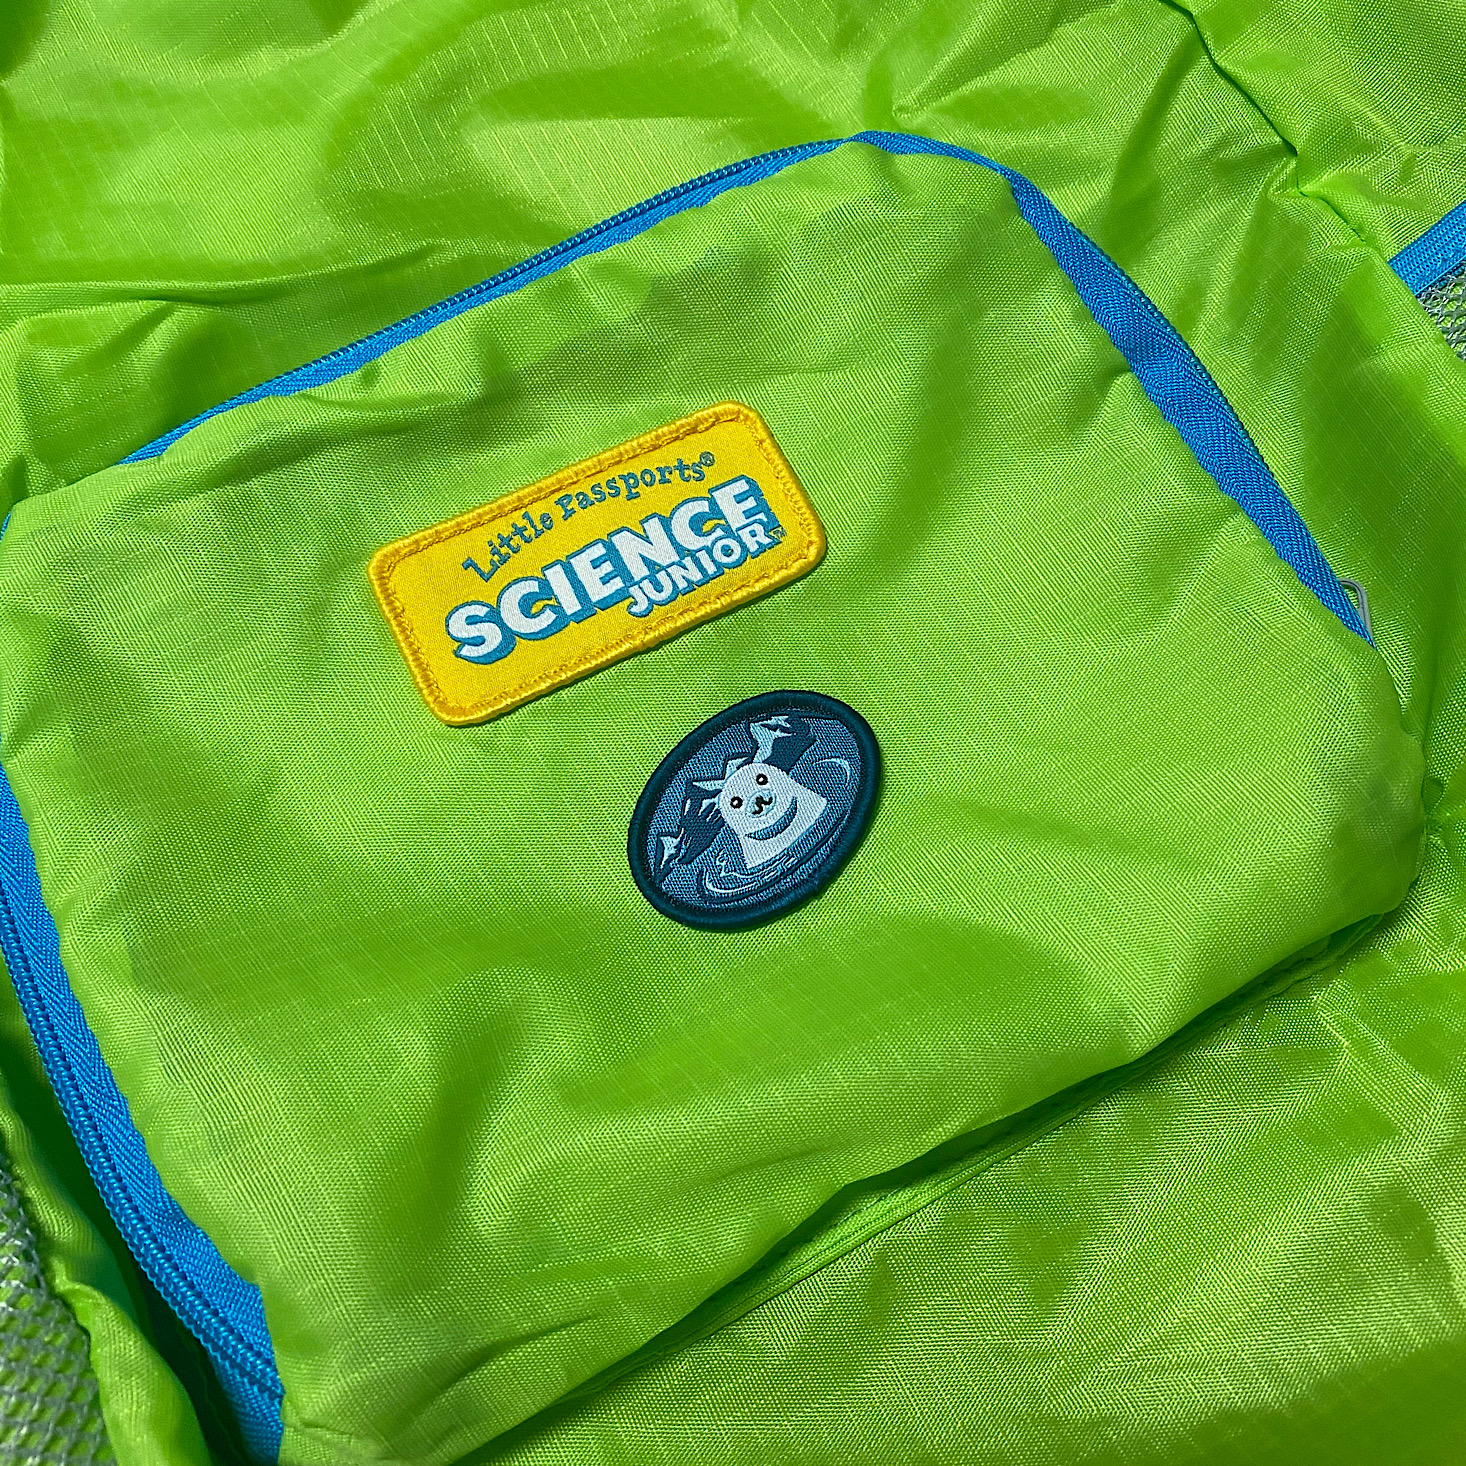
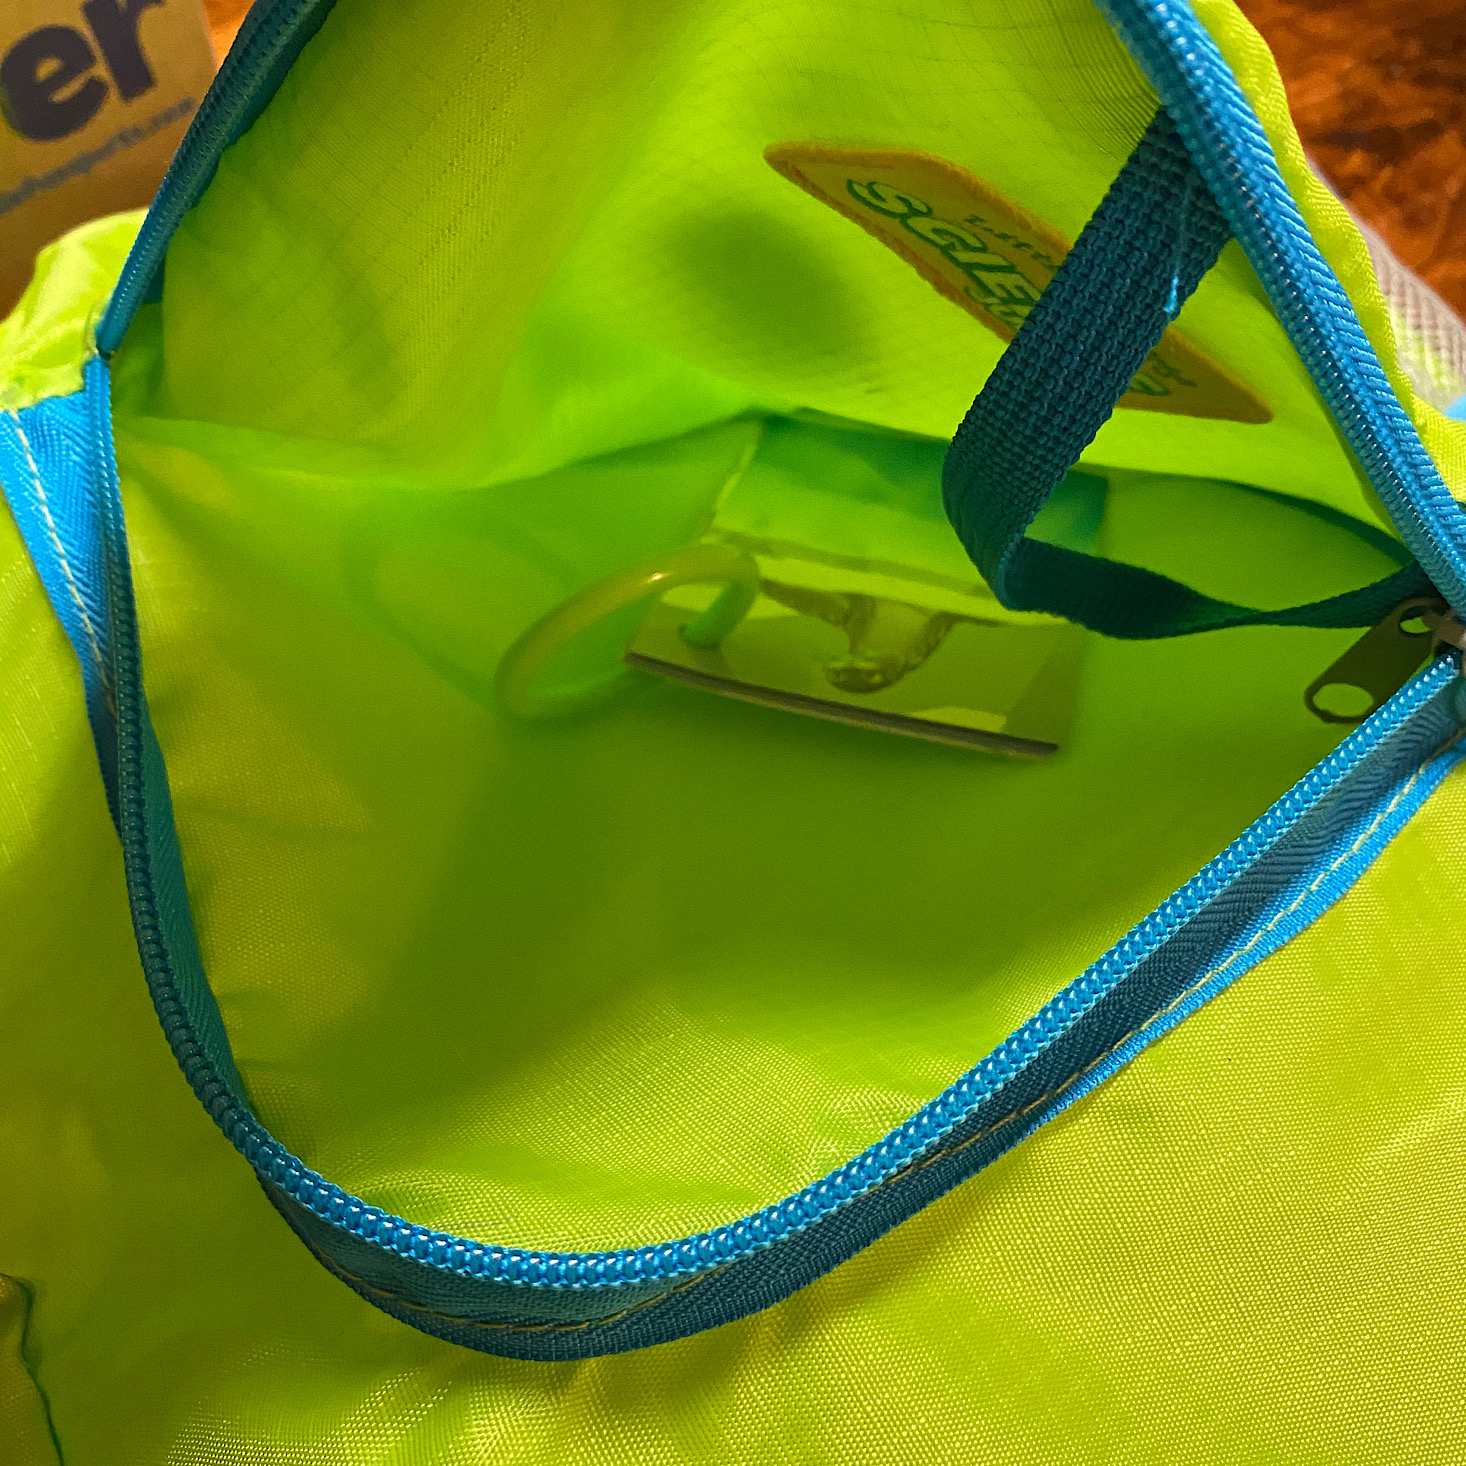
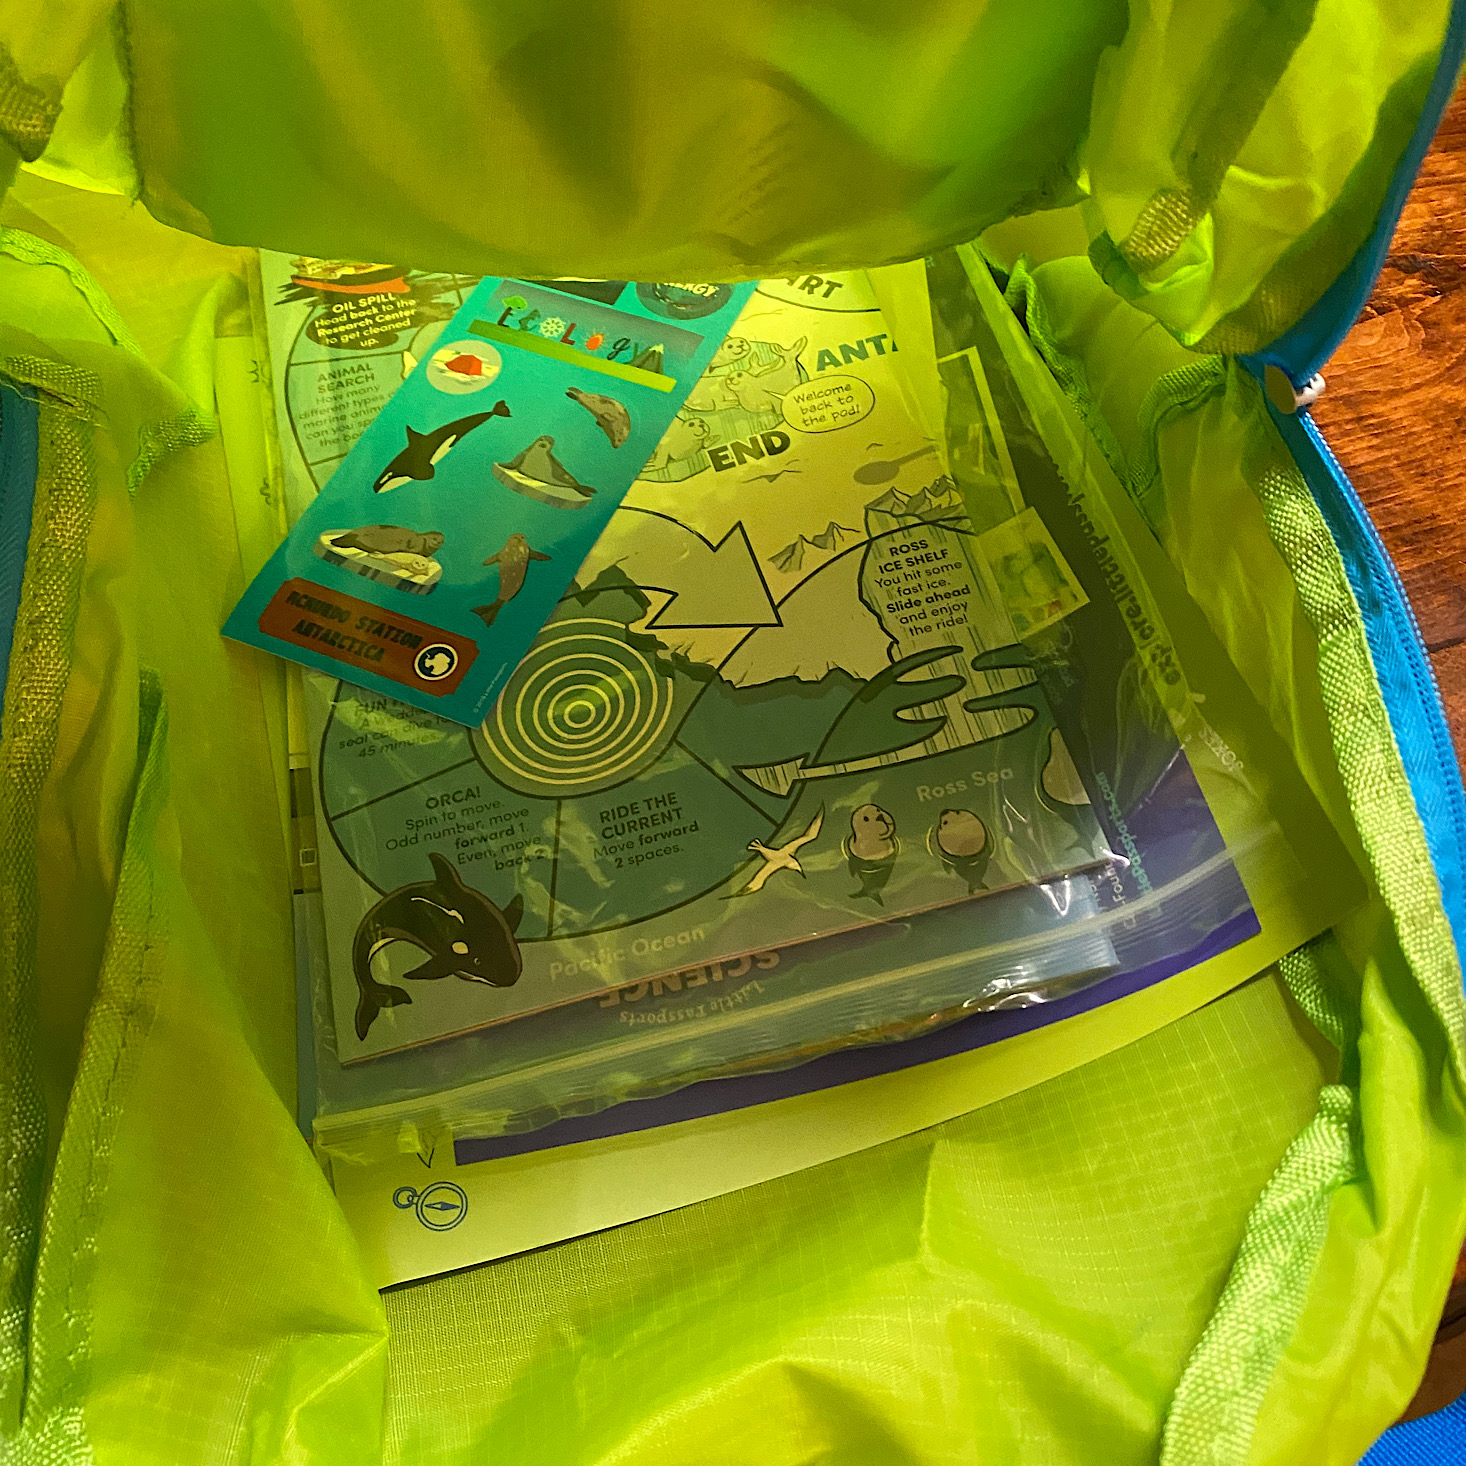
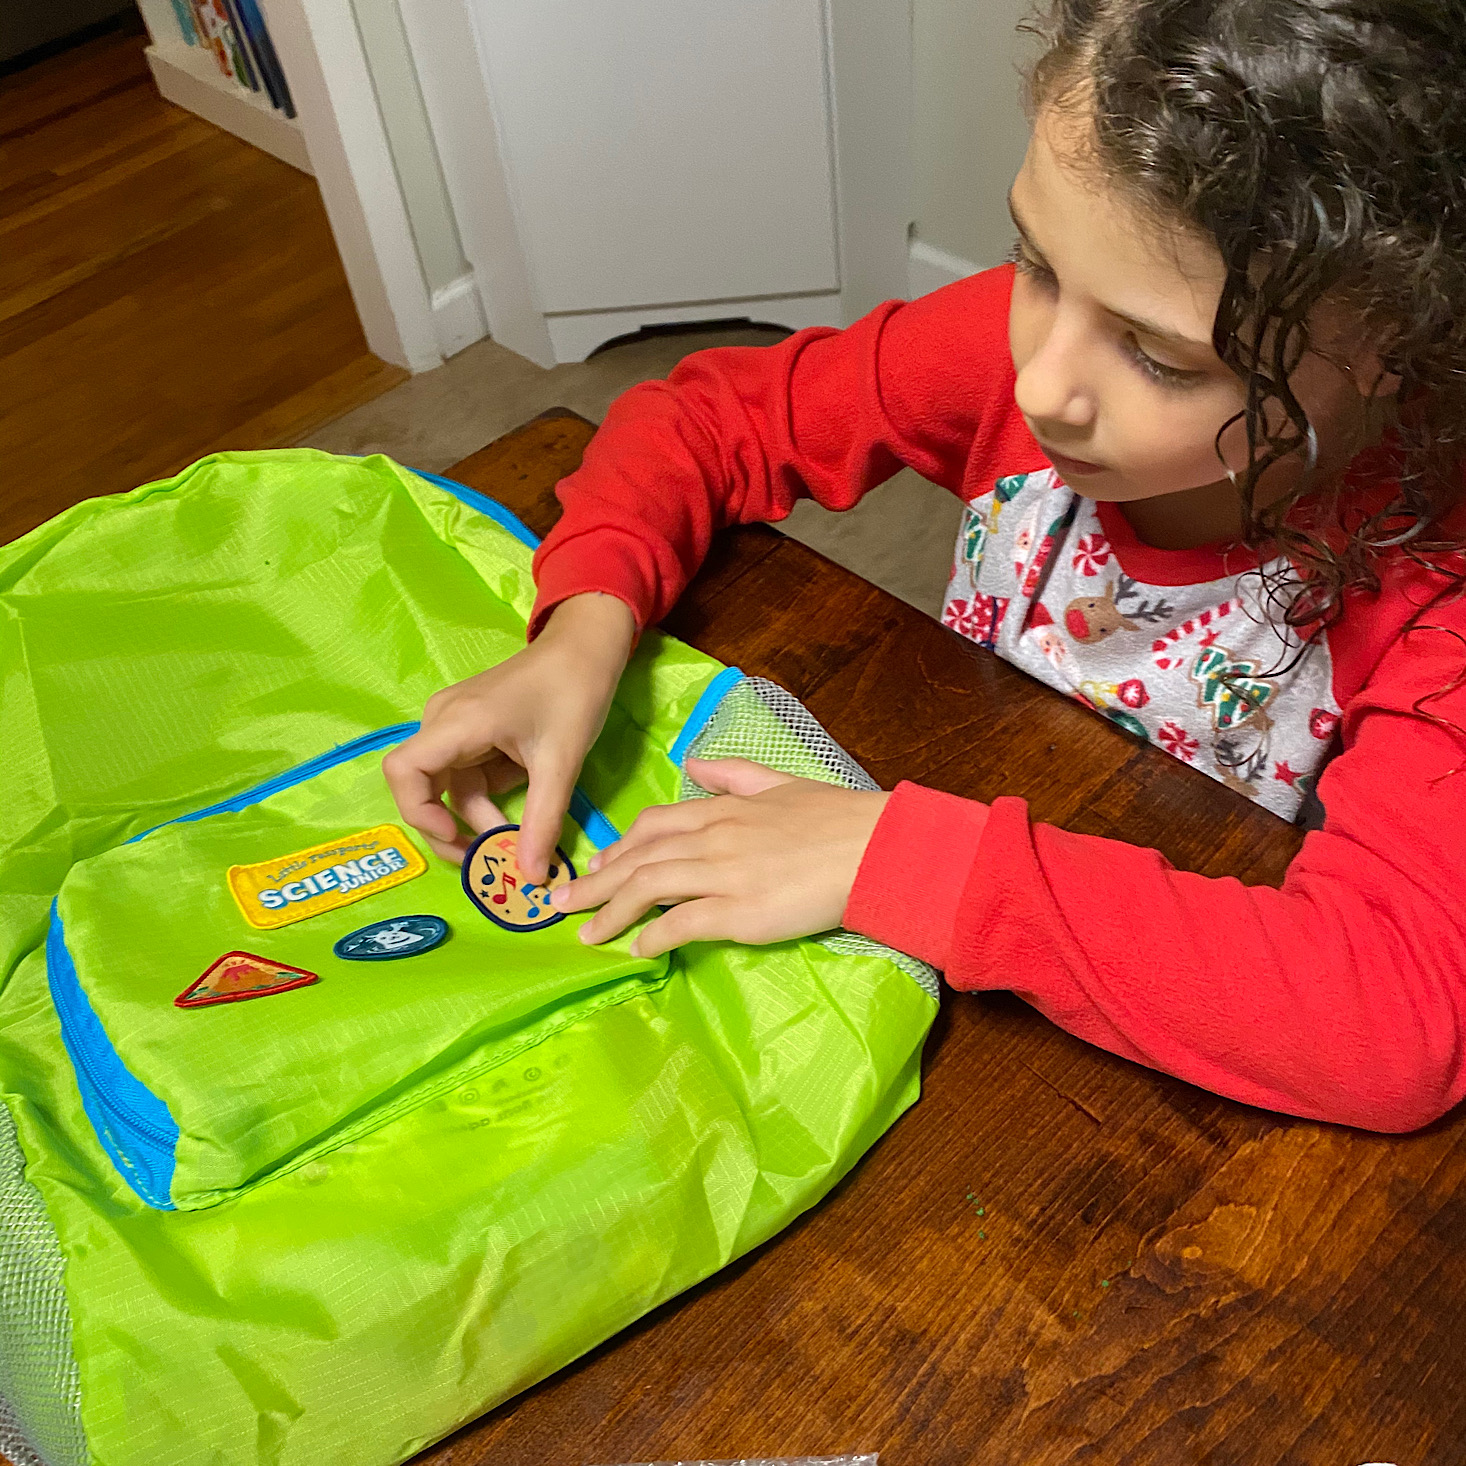
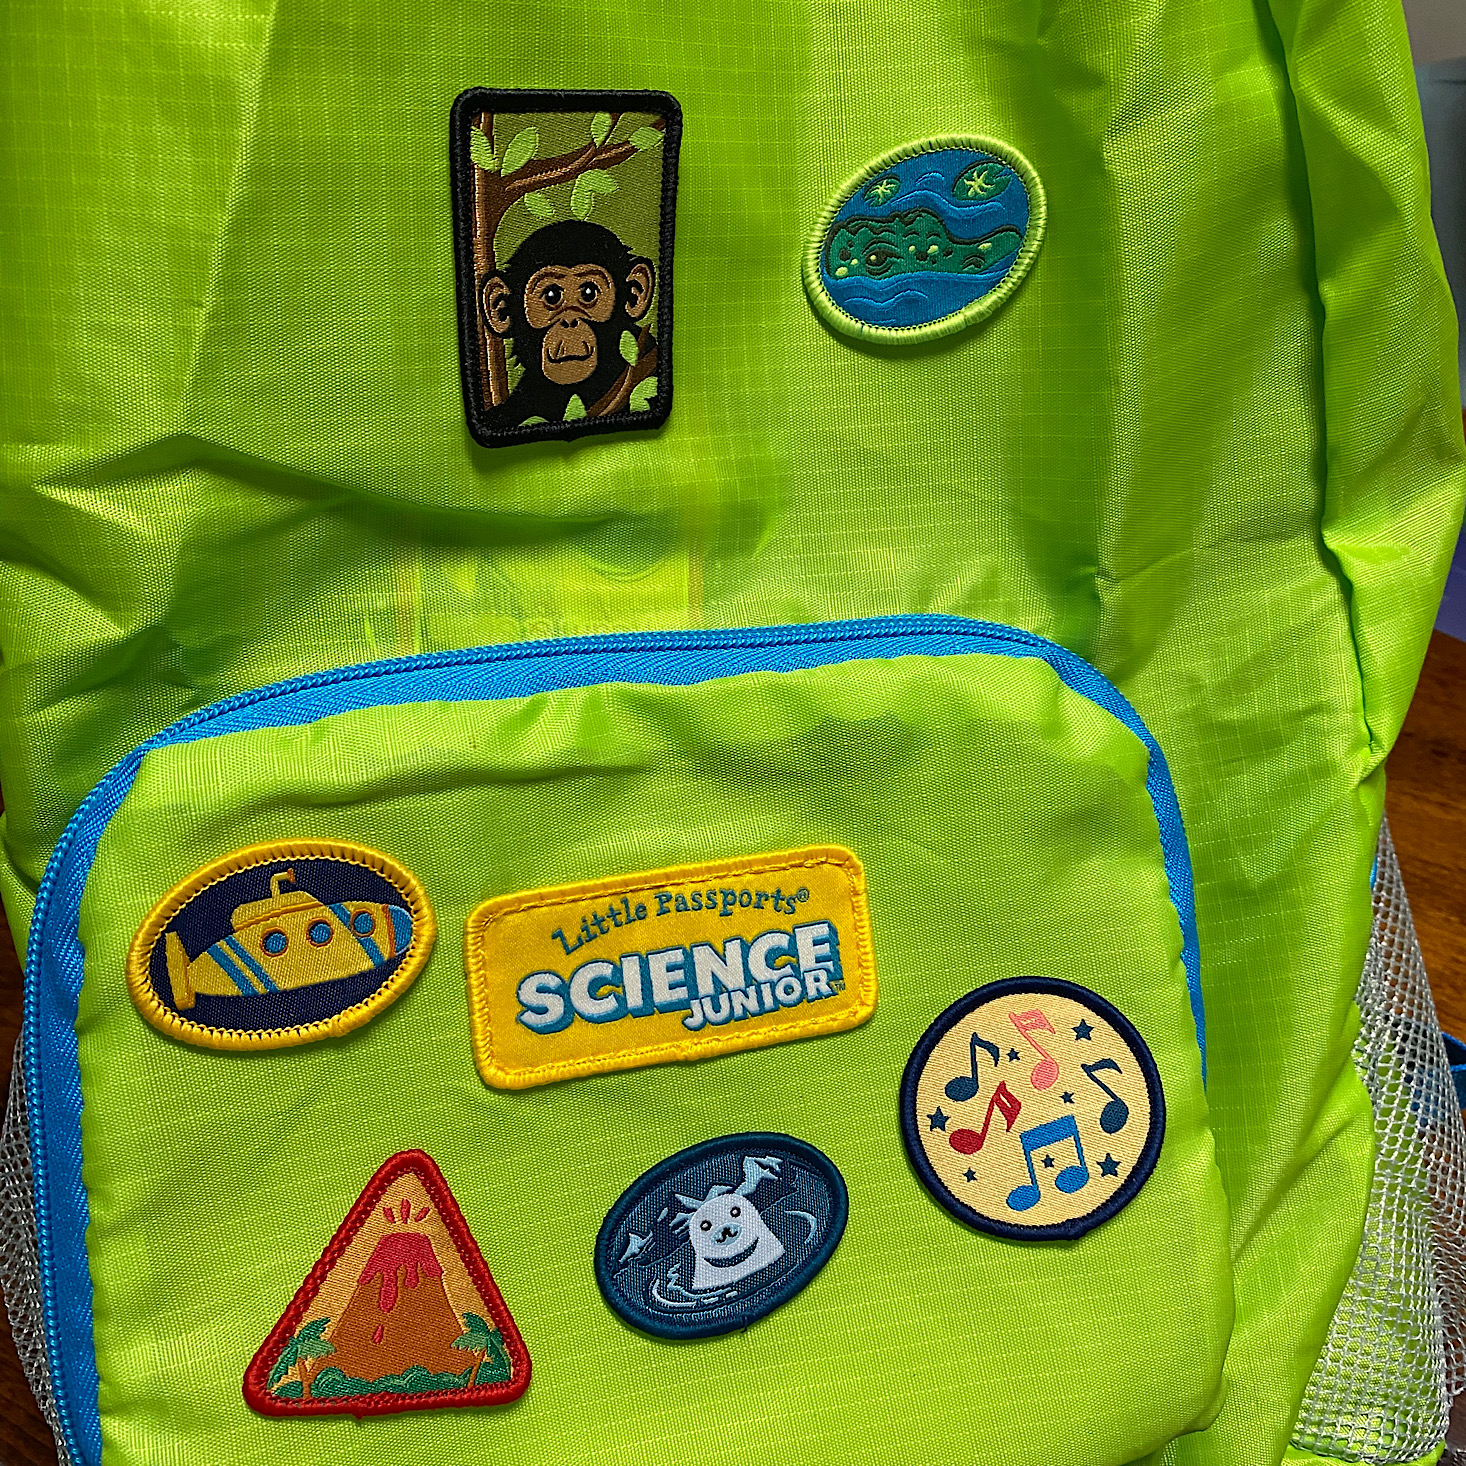
Inside of the box was this little bag that unfolded to form a full backpack. The backpack is made of lightweight material and it has adjustable straps on the back, a zipper closure for the main part, and even a handle at the top making this easy to hang up. It has netted adjustable pockets on either side for water bottles or other objects and the zipper from the mini pouch forms a little pocket on the front of our backpack with their logo. I love how bright and useful this little bag is! Each day we also got to add a little flair to it which made it even more special.


1 of 2
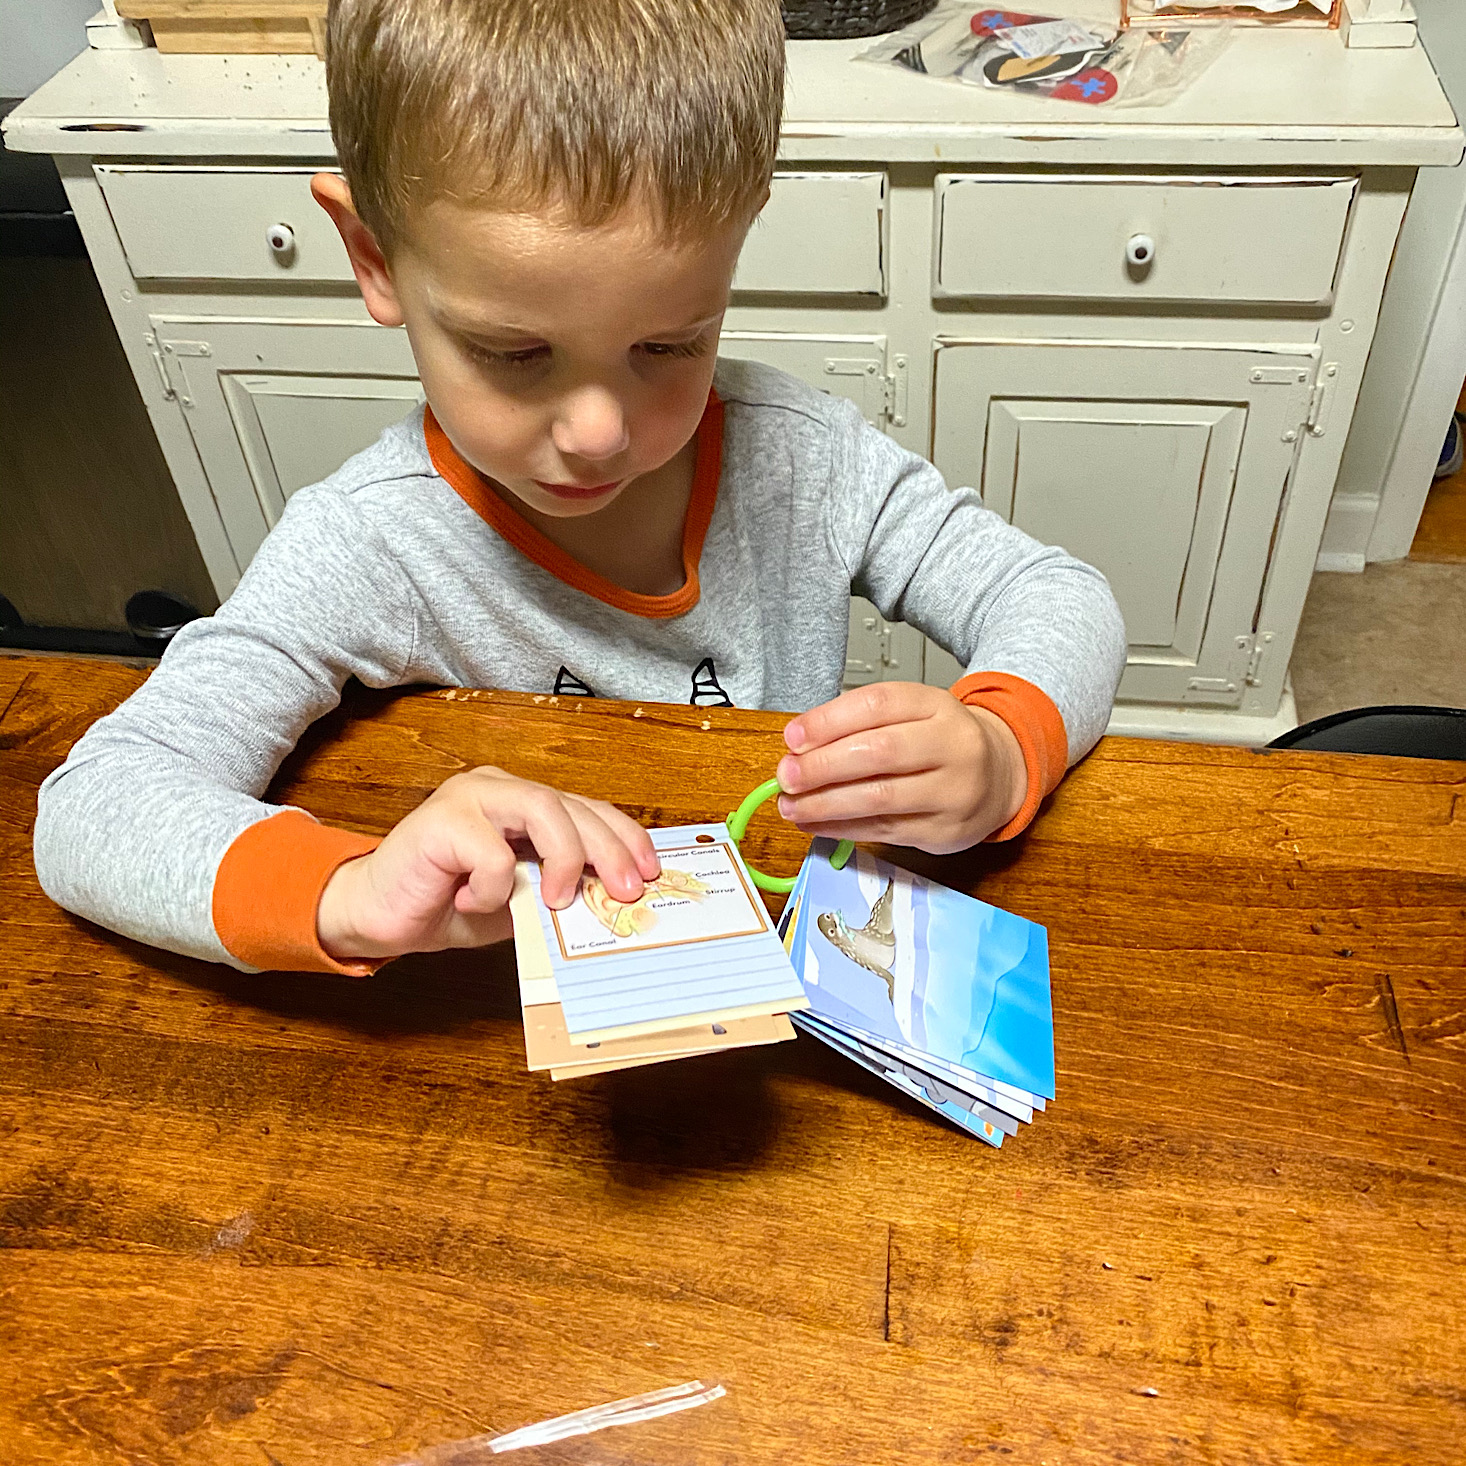
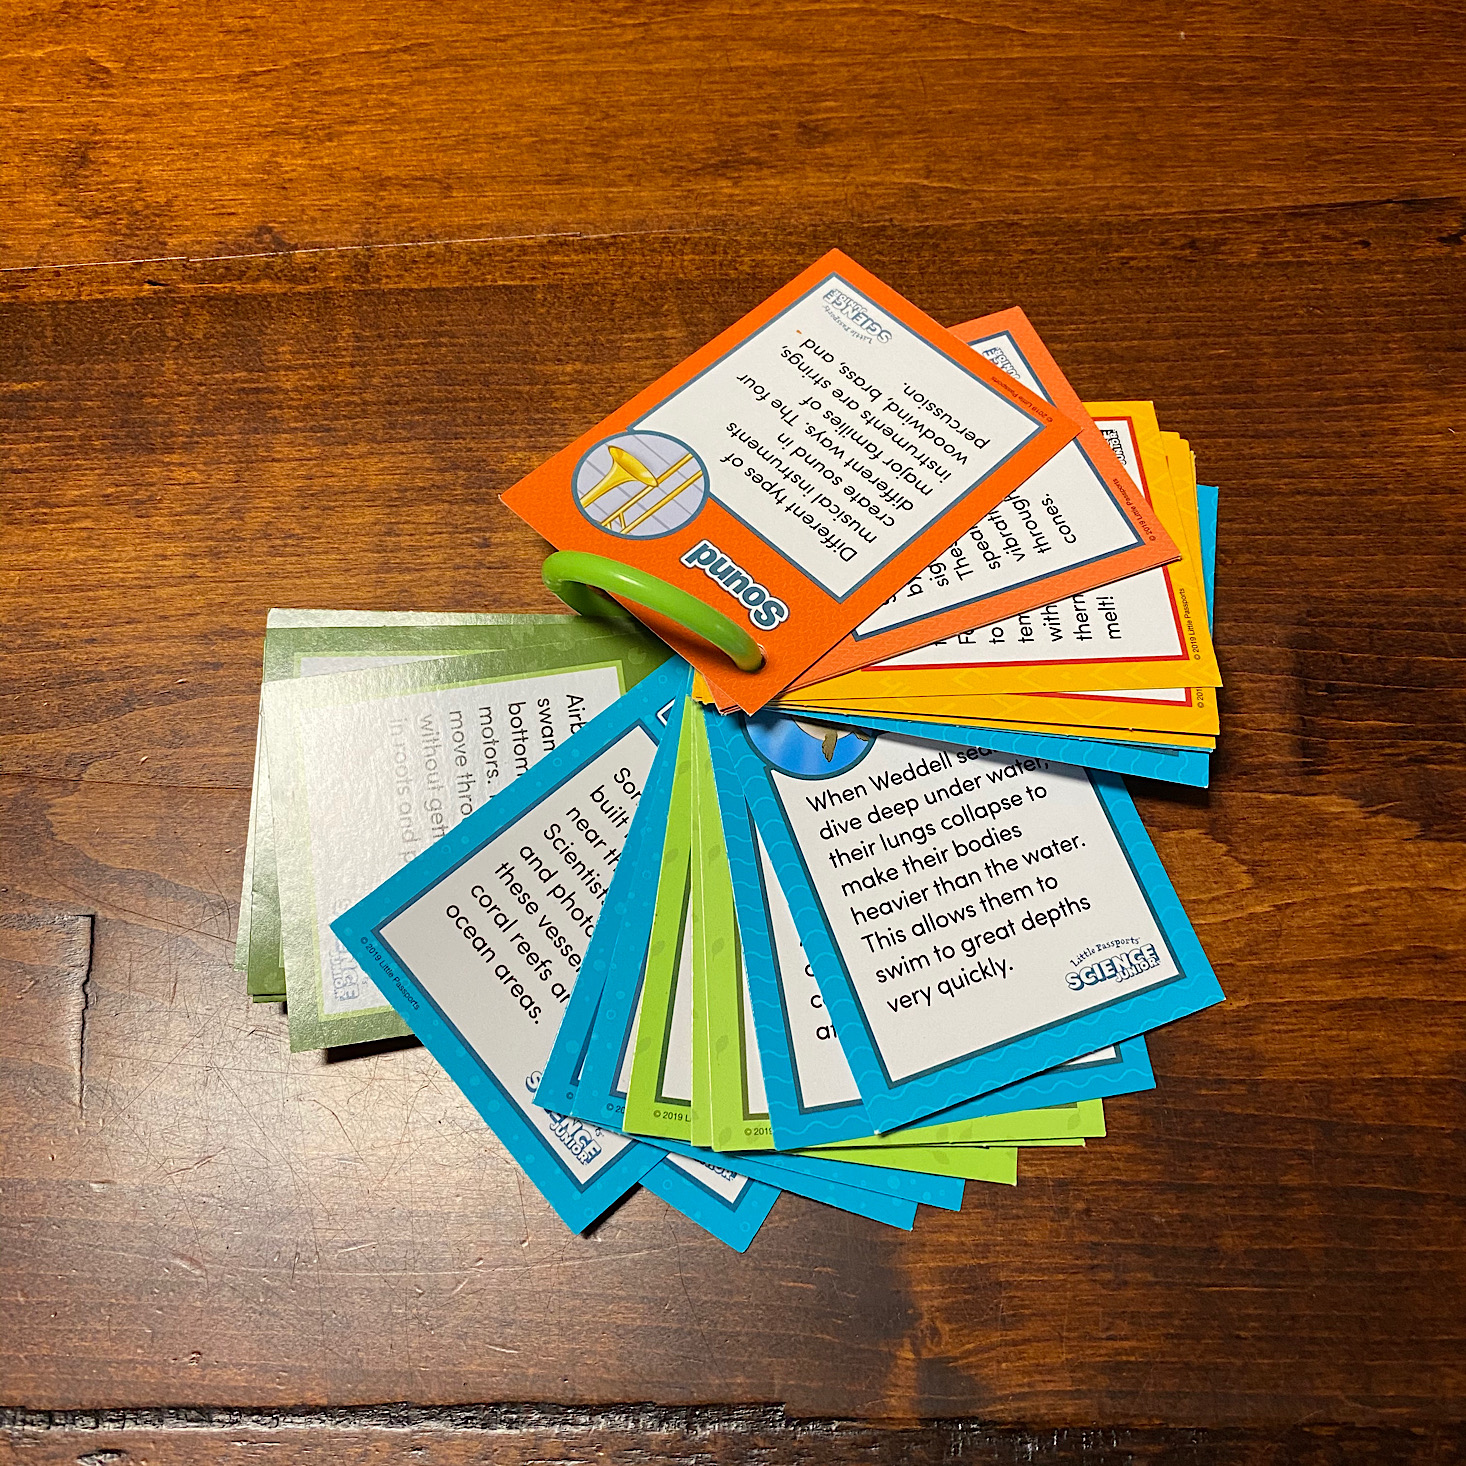
The next item we needed to use daily was this little green ring. Our trading cards have holes punched at the top so we can just slip them onto the ring each day!

1 of 3

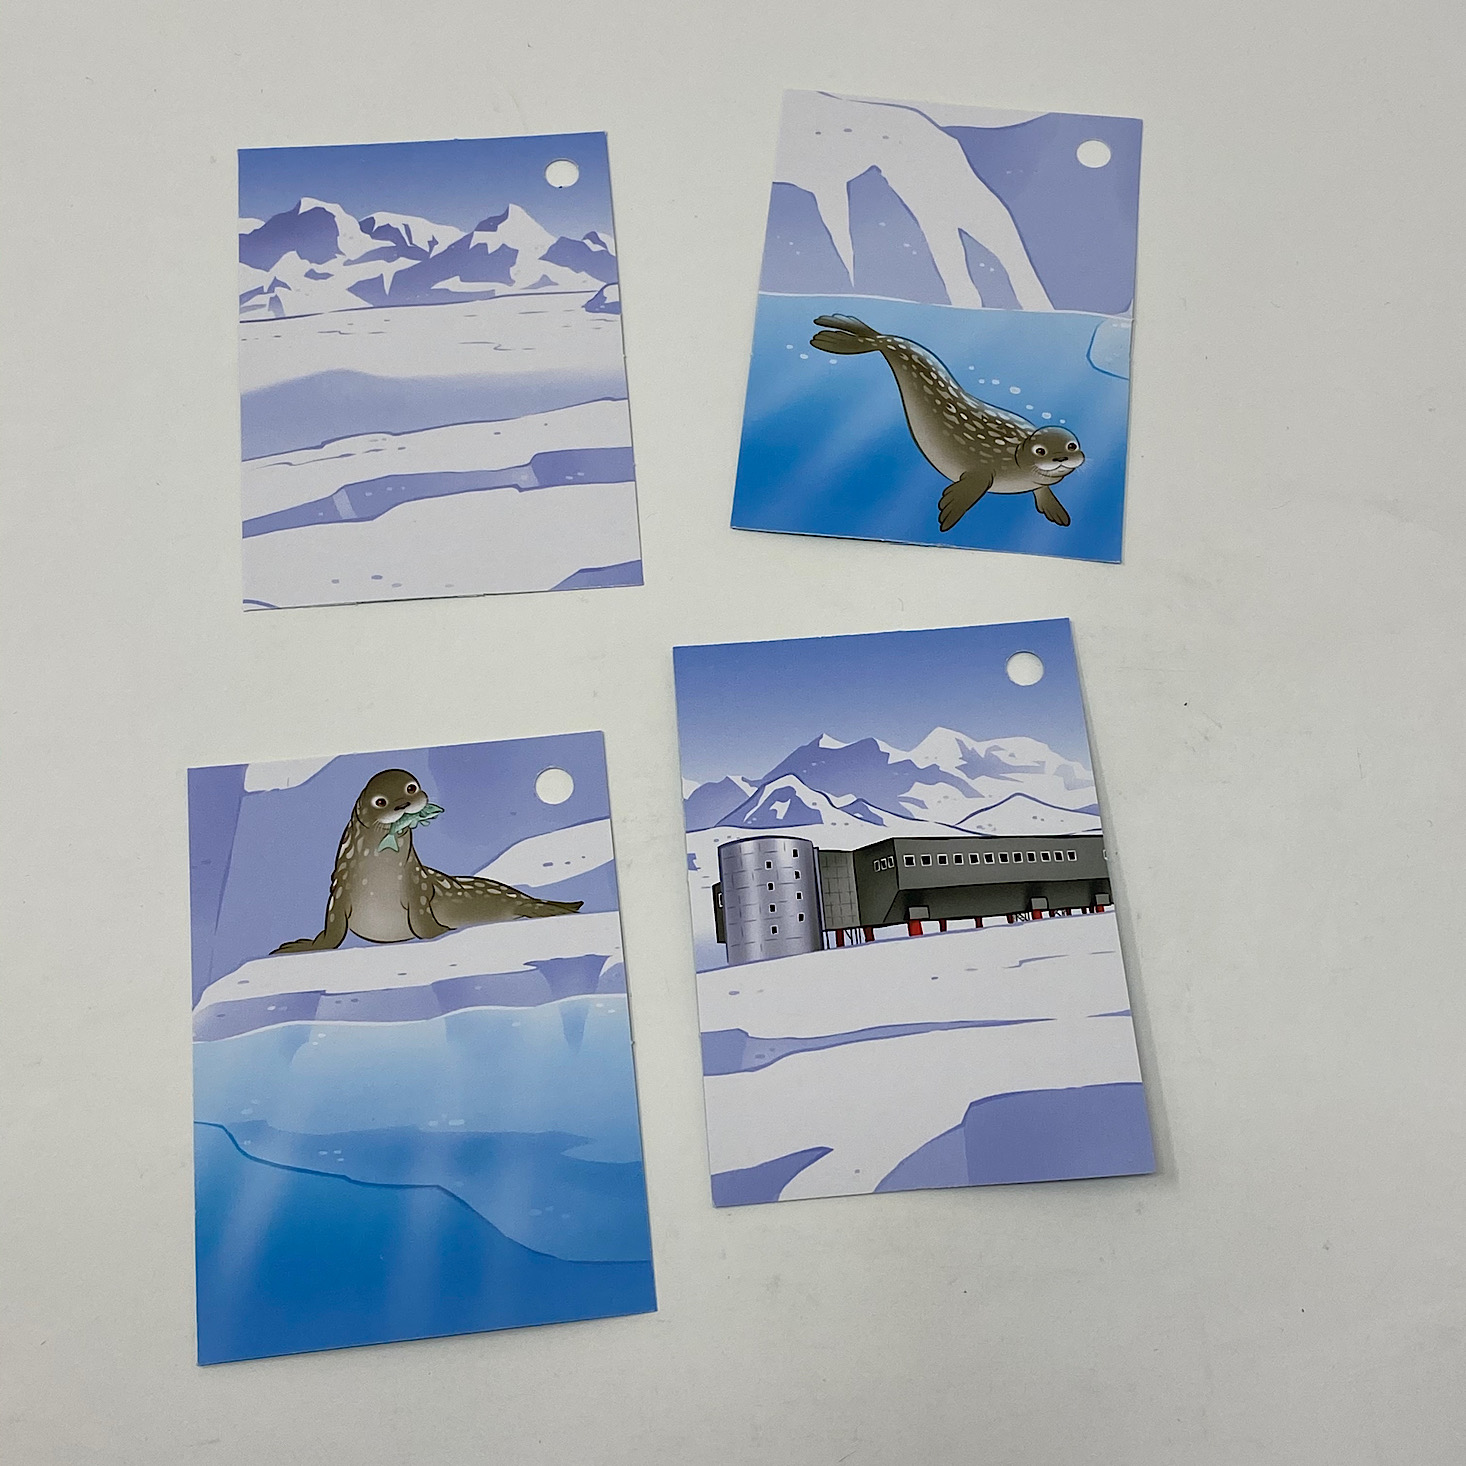
We received a set of four trading cards every day with facts related to the day's topic on them. We had to arrange them to fit together like a puzzle and then when we finished we could add them to our ring to keep as collectibles.

Here's how our first puzzle fit together.
1 of 3

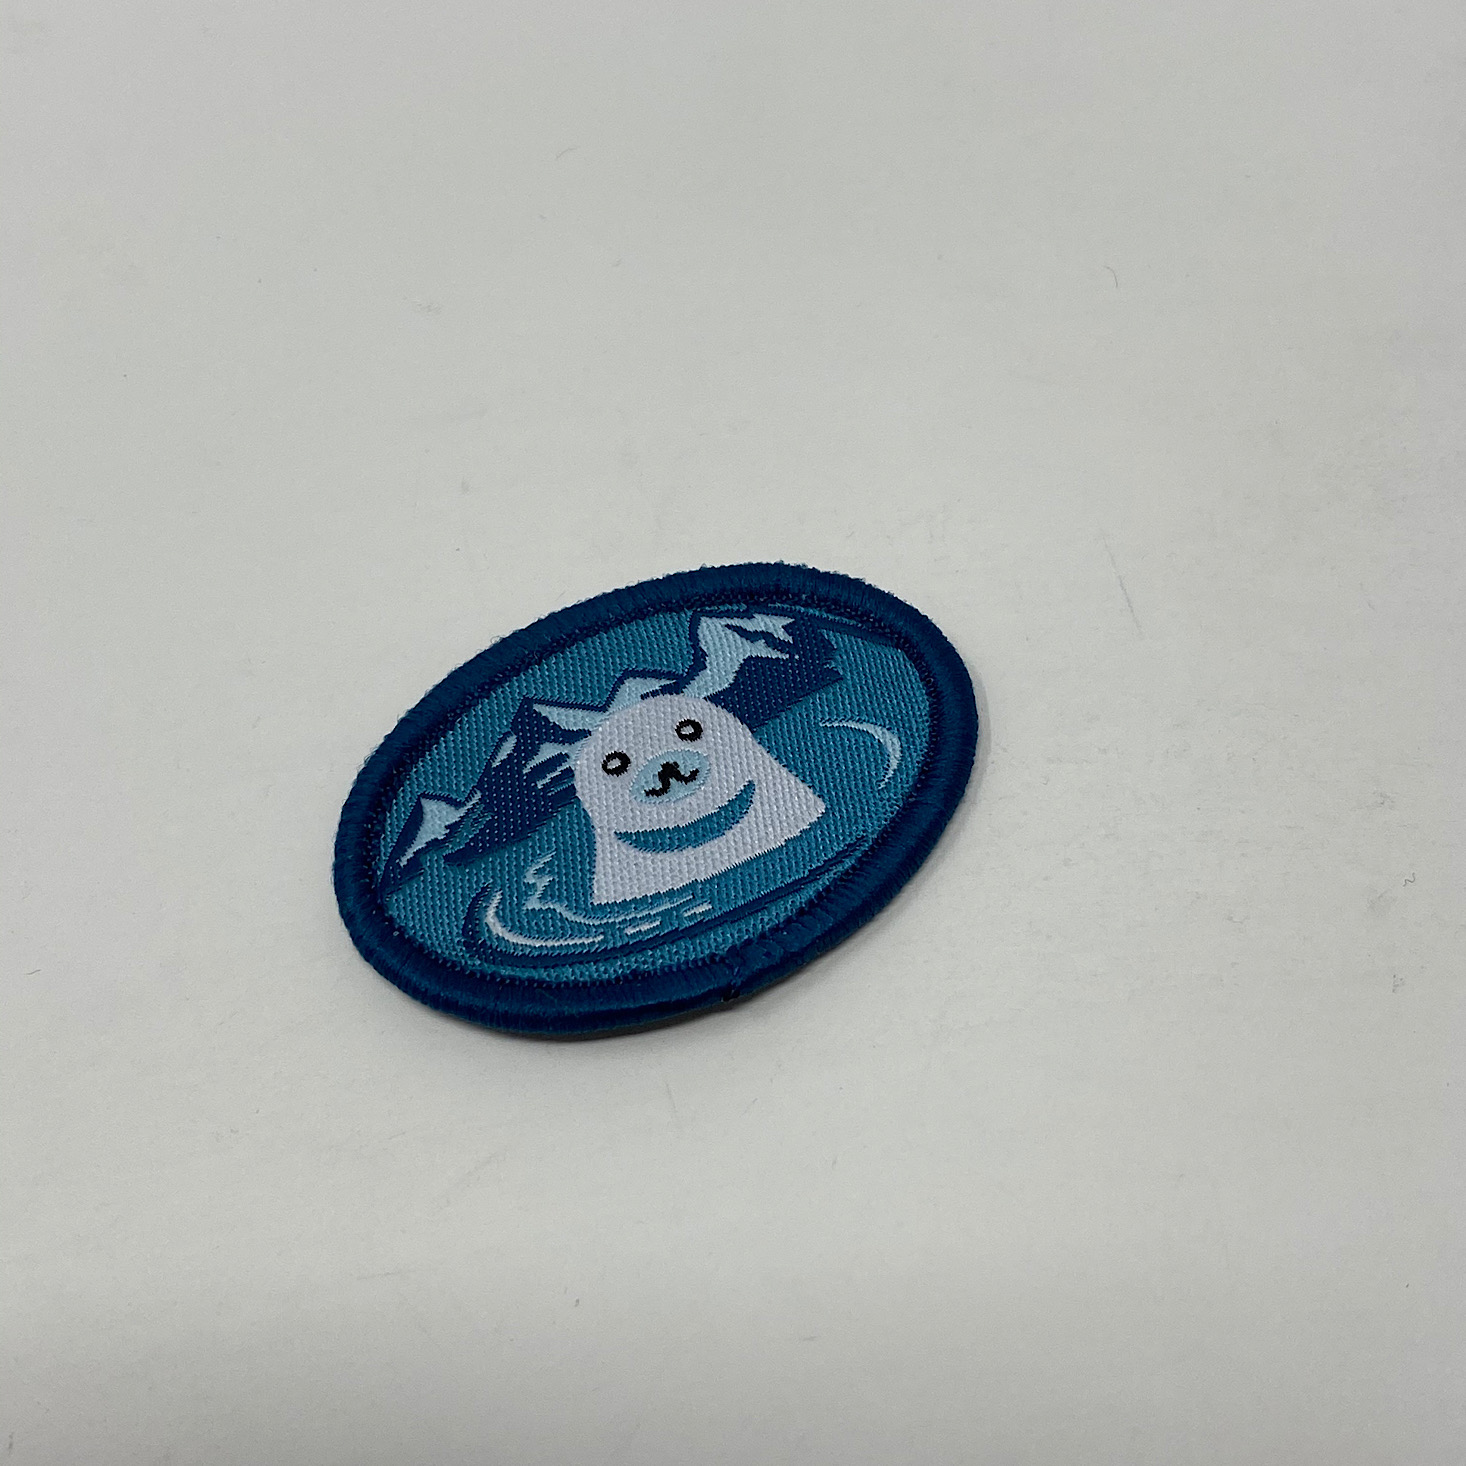
We also received a new embroidered sticker badge to place on our backpack for each day. This first one is so cute!

We also received a sheet of stickers every day. These really appealed to my kids! Little Passports recommended adding in some art time each day and using the stickers to create a scene, but I found that we had enough to do and we saved these for later.

1 of 7

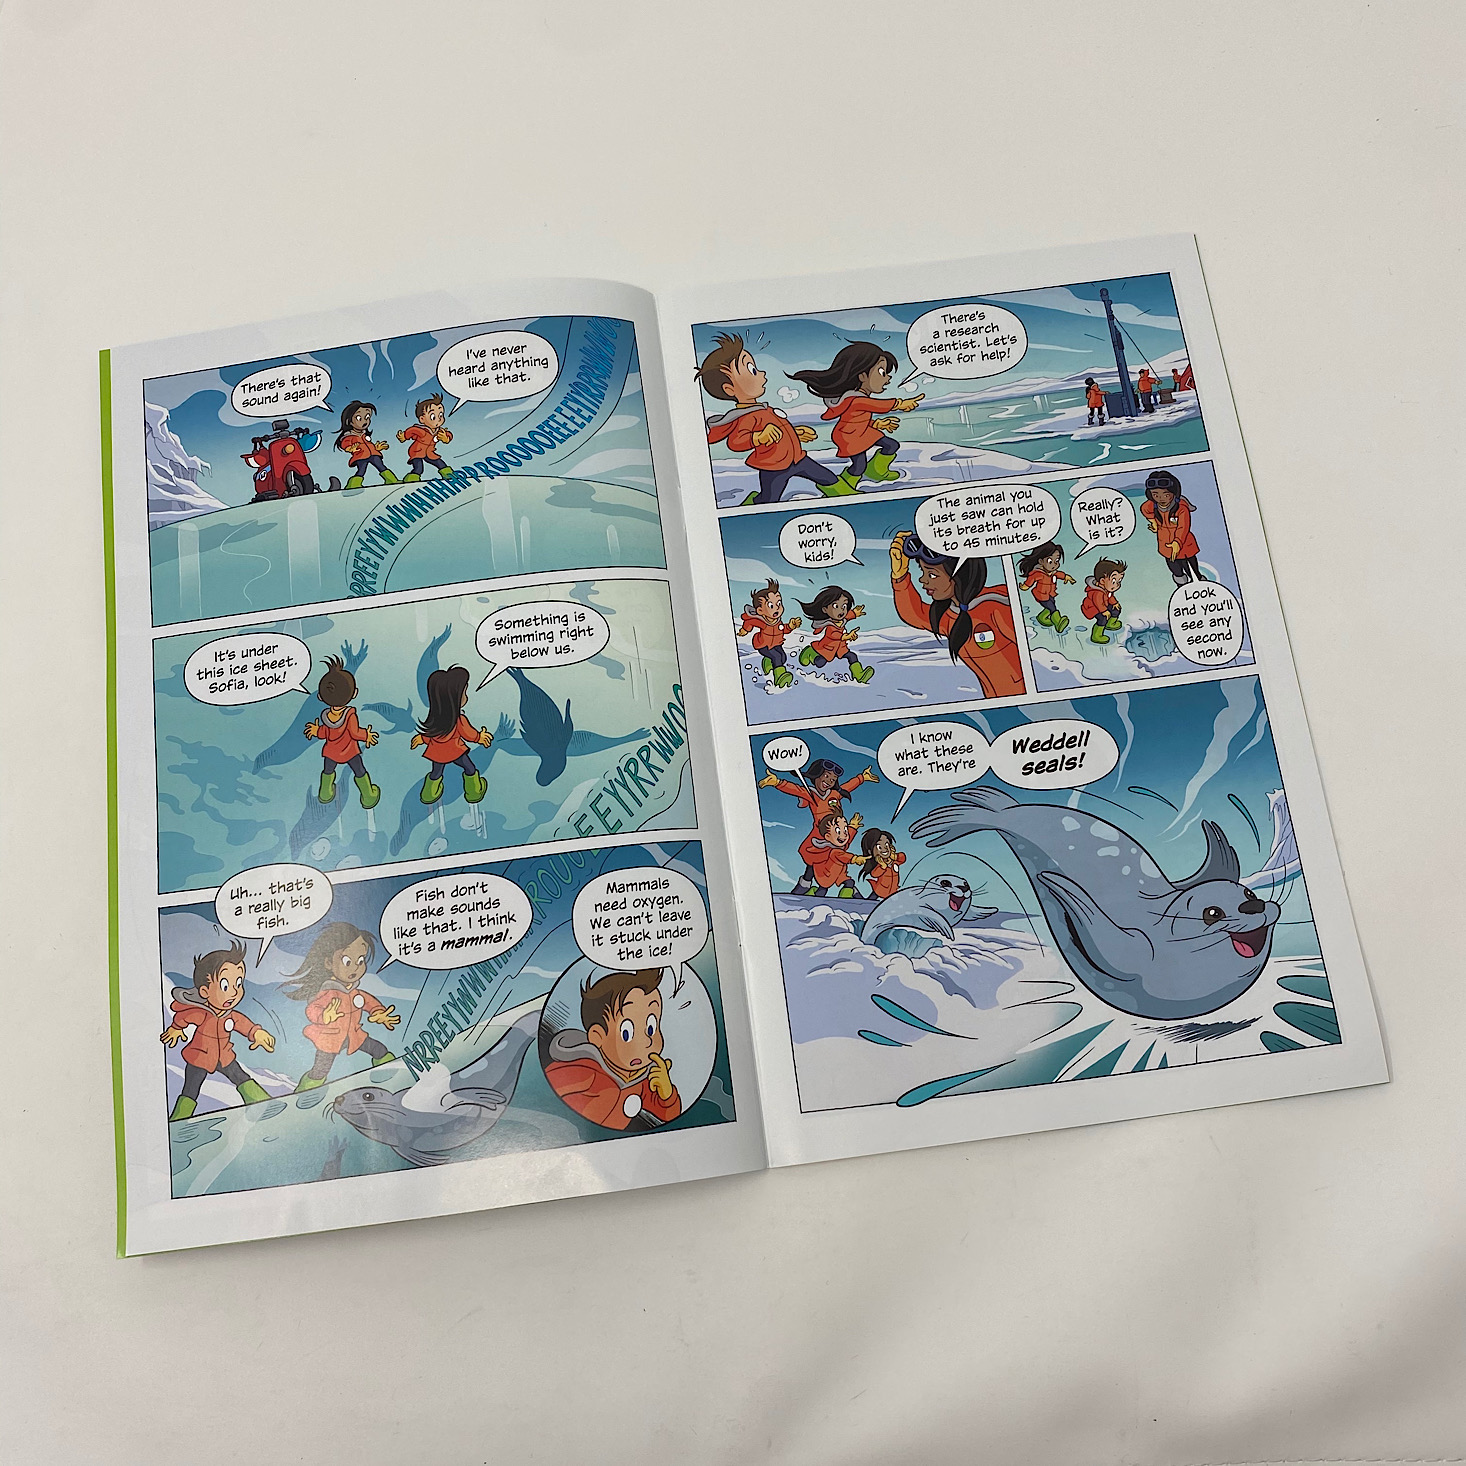


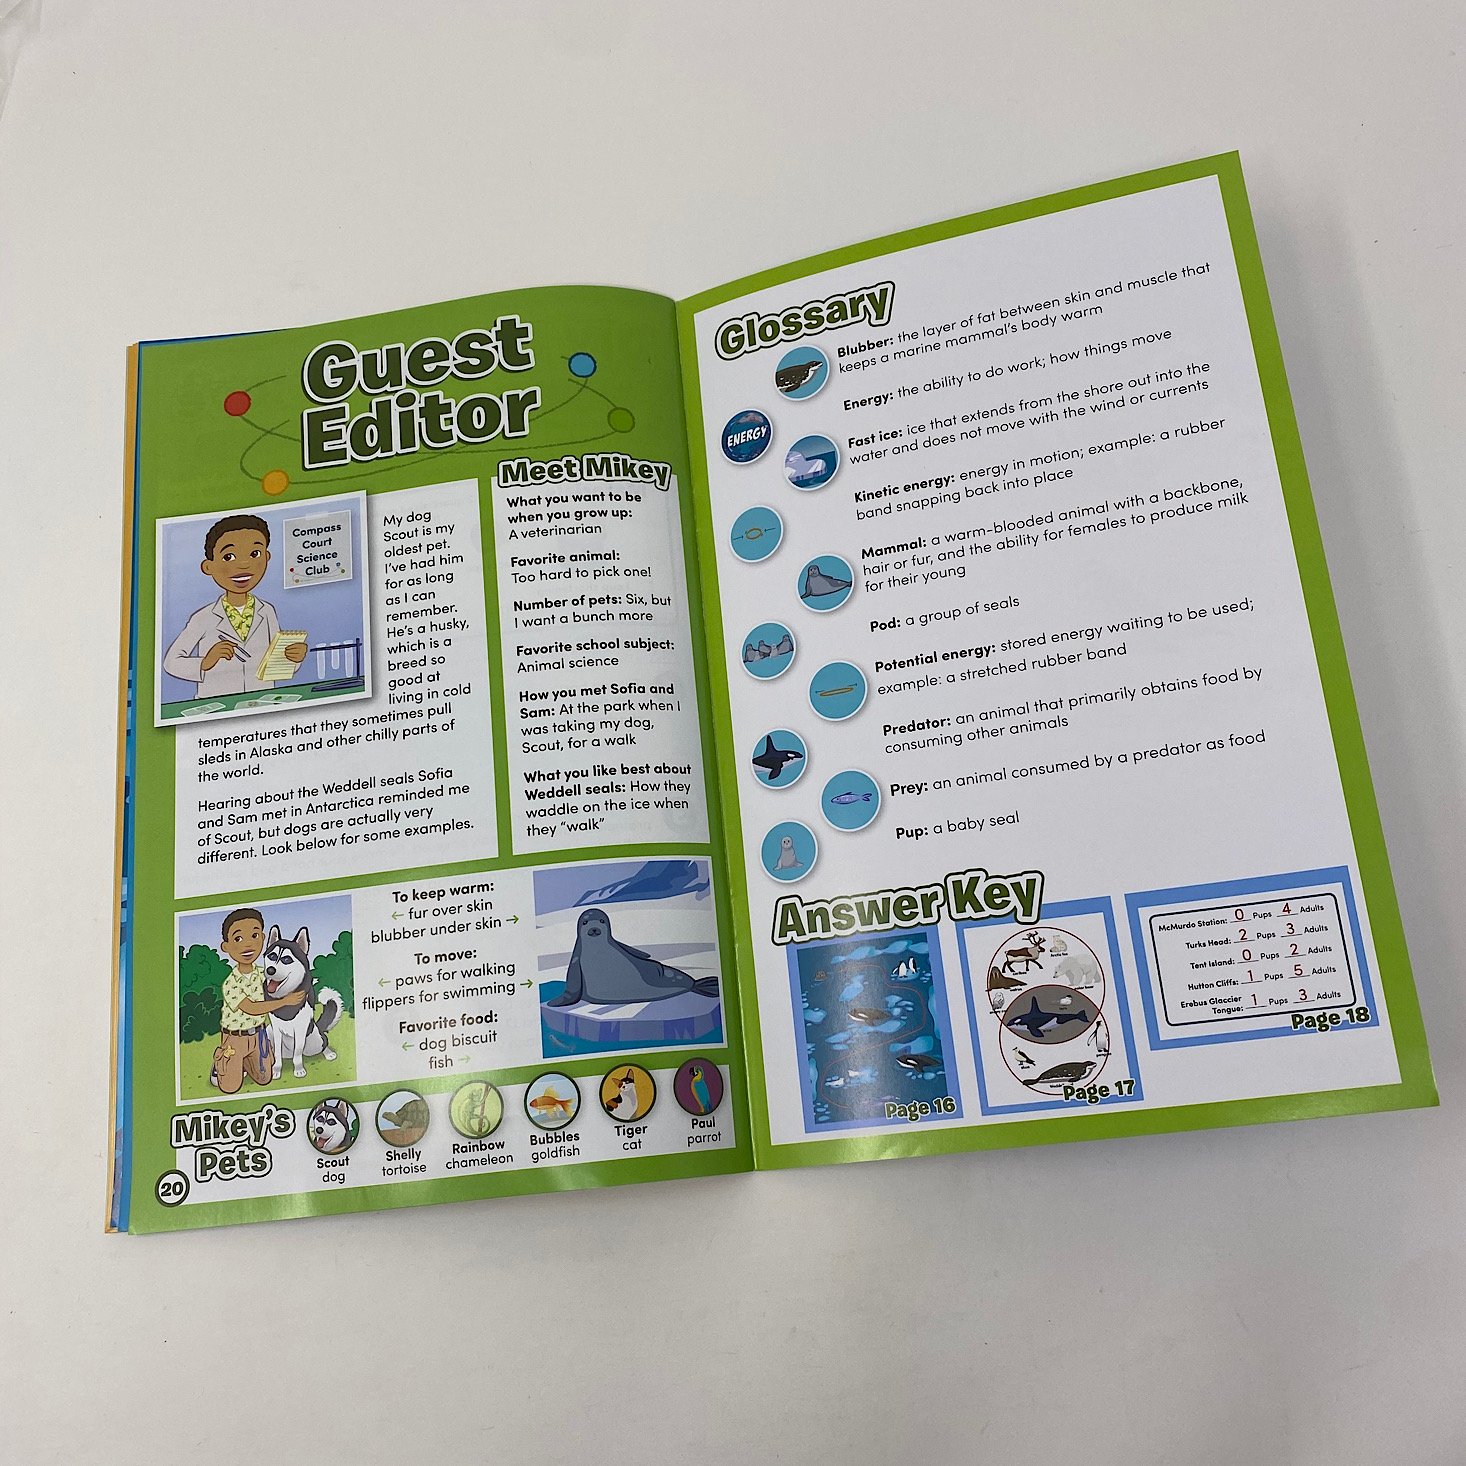
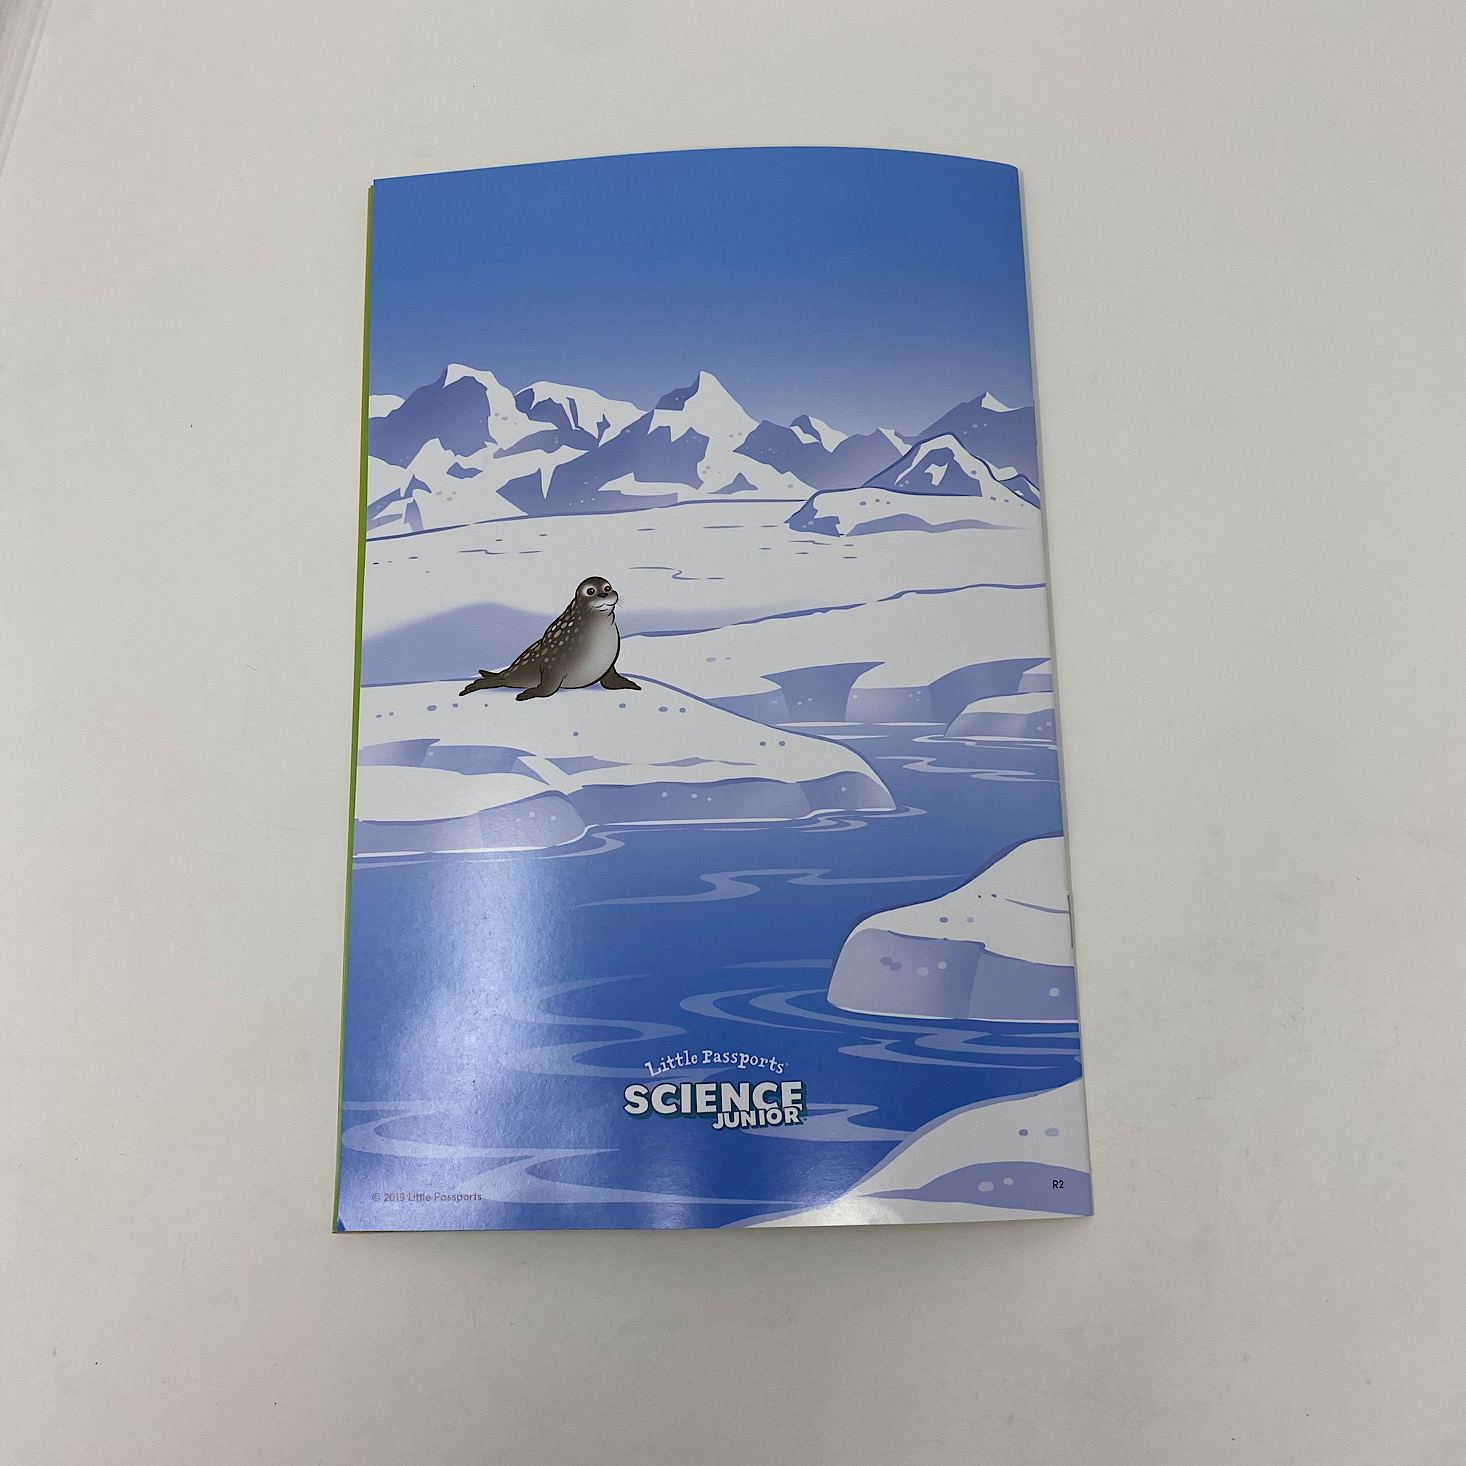
The main item for every day was this full-color magazine which was full of educational information presented in a fun way. They had a great comic story to start with some educational pages thrown in. For example, this time there was a diagram of a Weddel seal. They also had a "Meet the Scientist" section which was a great way to show how science can become a career. They always finished the magazine with a guest editor who shared some more great facts along with a glossary of some of the new scientific terms we learned.


1 of 4
The rest of the pages contained the instructions for our experiment or activity and some pen-to-paper activities. This time we even had a little DIY Blubber Glove experiment so that they can explore what blubber might feel like. Unfortunately, we didn't have any shortening (or petroleum jelly) on hand so we had to save this for another day!


1 of 5


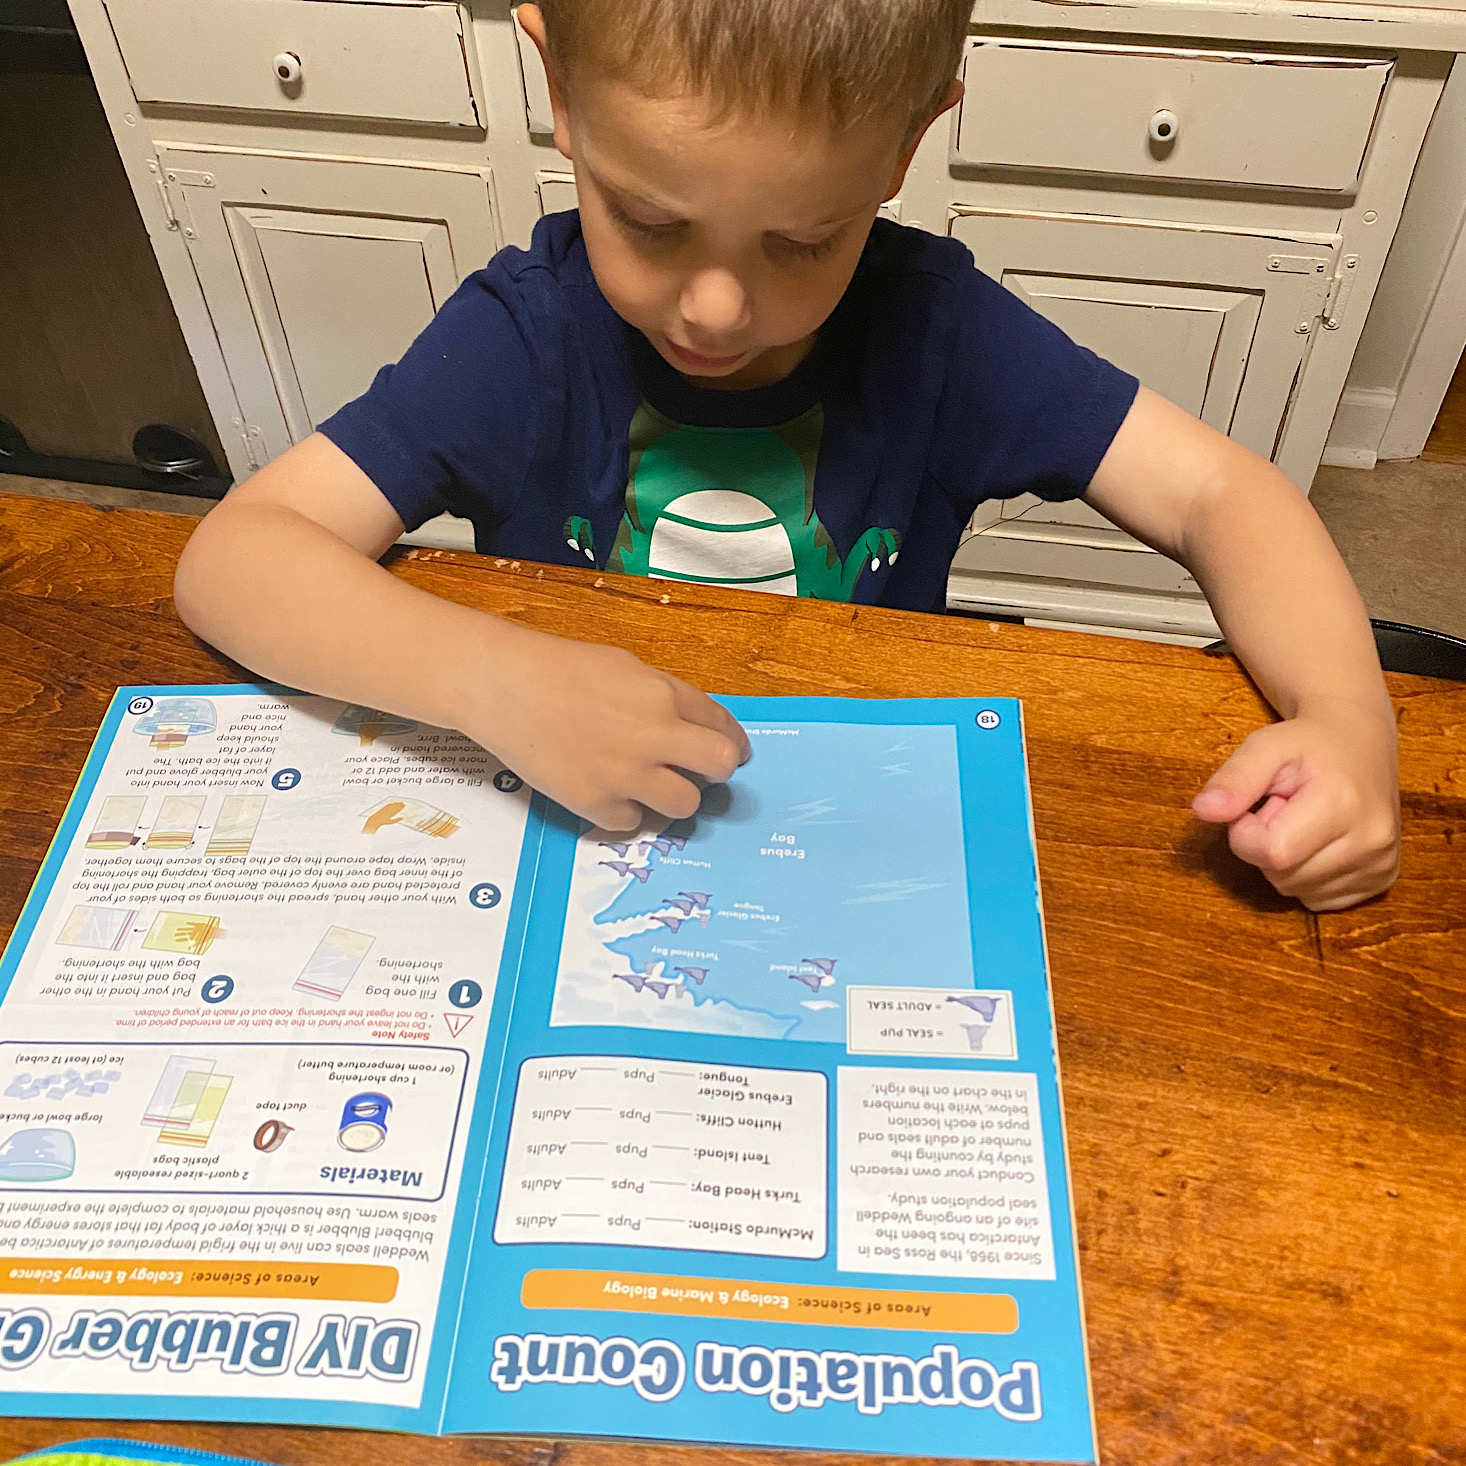
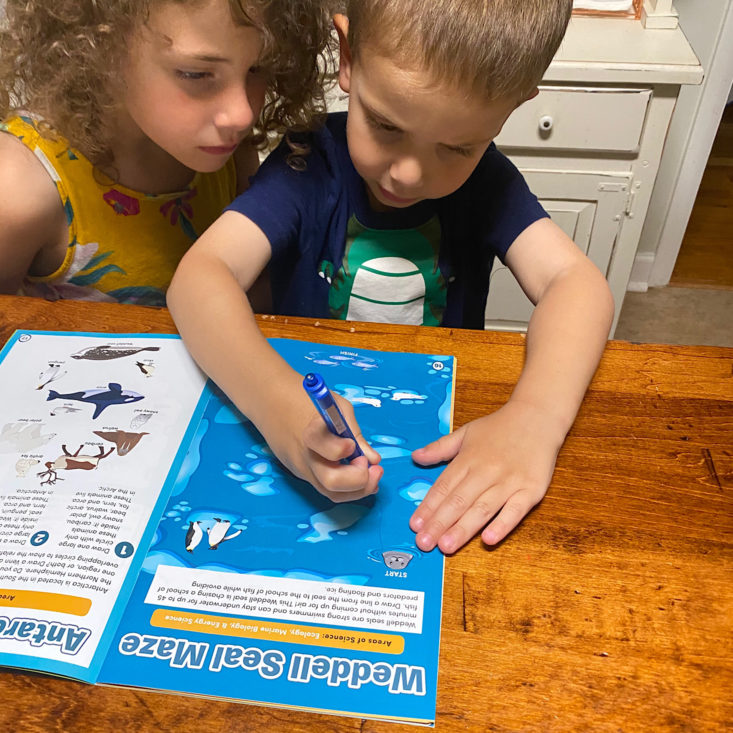
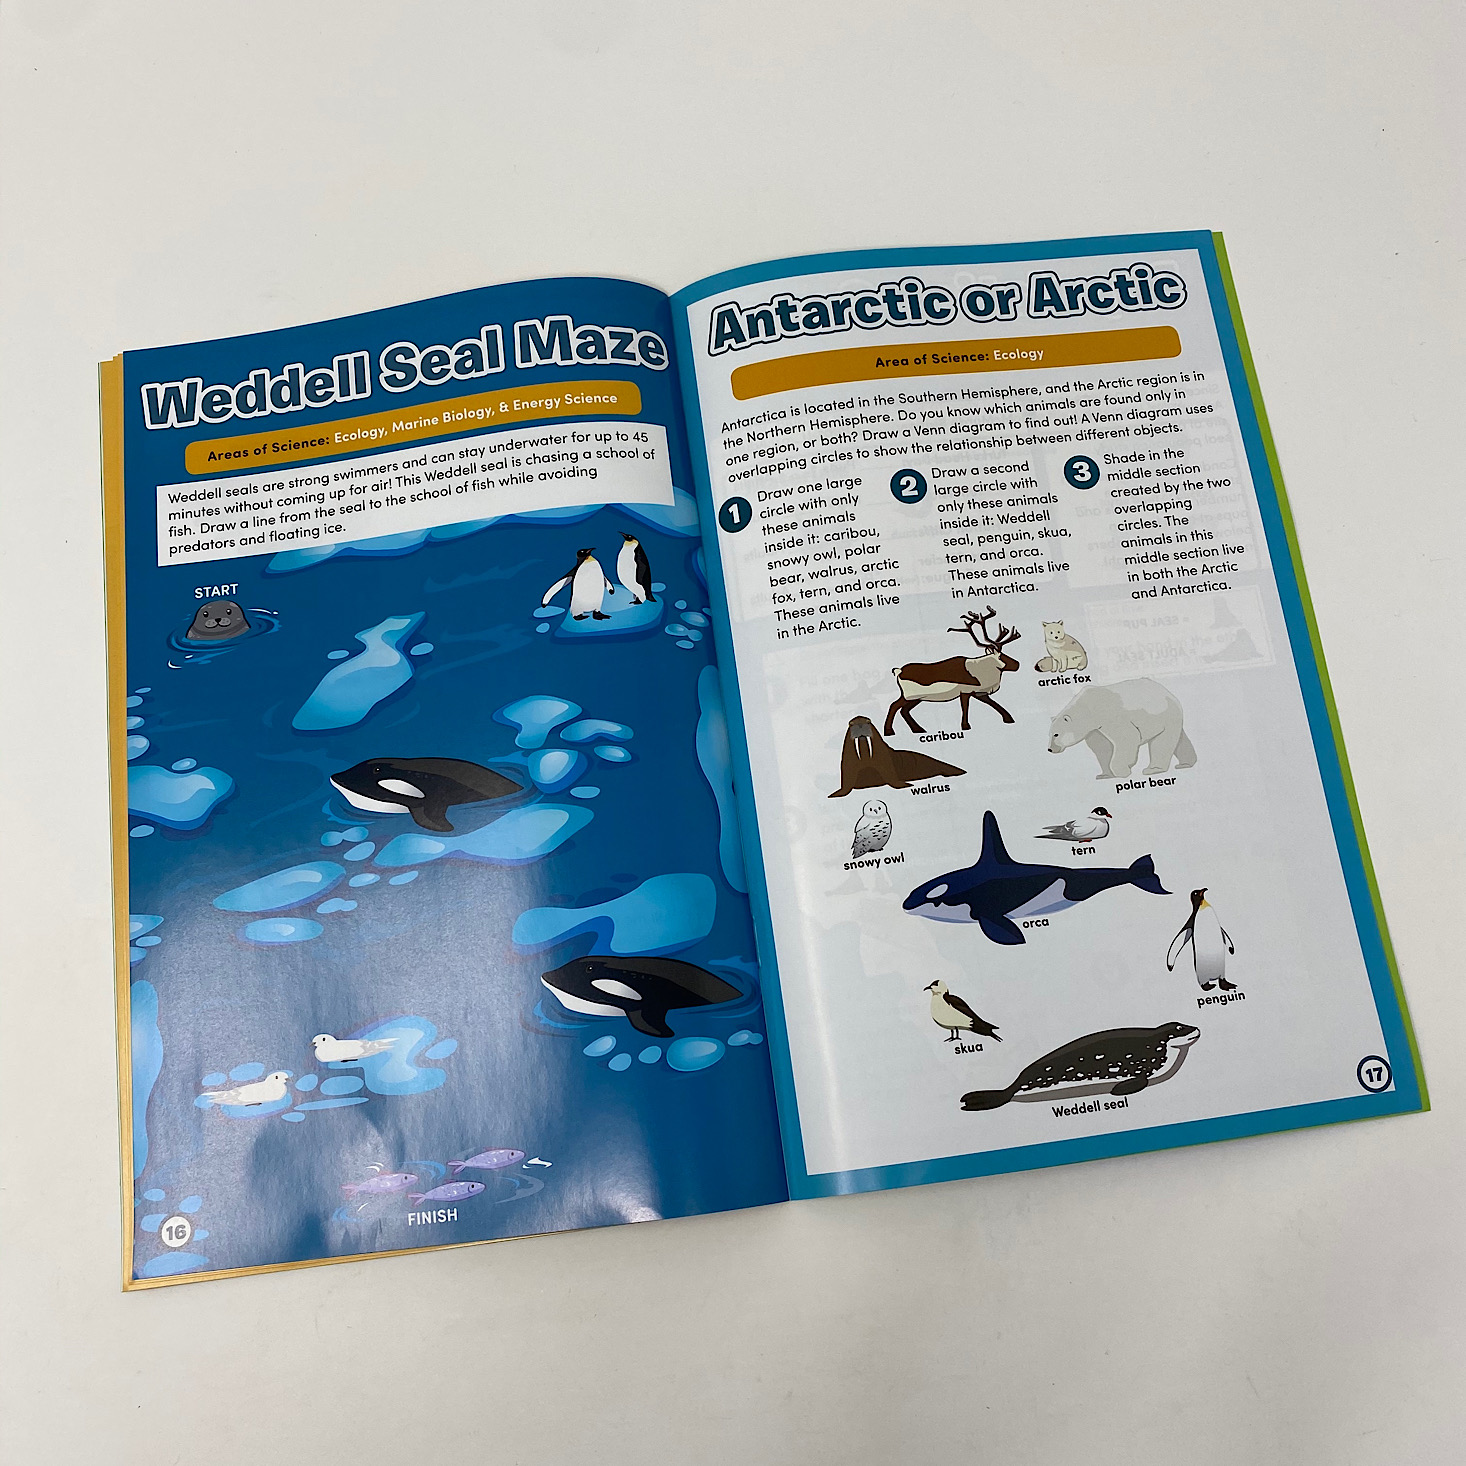
My kids really loved checking out the magazine and working on the activities! My son completed the seal maze for us while my daughter worked on creating a Venn diagram of animals found in the Arctic vs. Antarctica. Then we did a seal population count together. I found it easy to divide up the activities since my son's writing and reading skills are very limited.
1 of 3
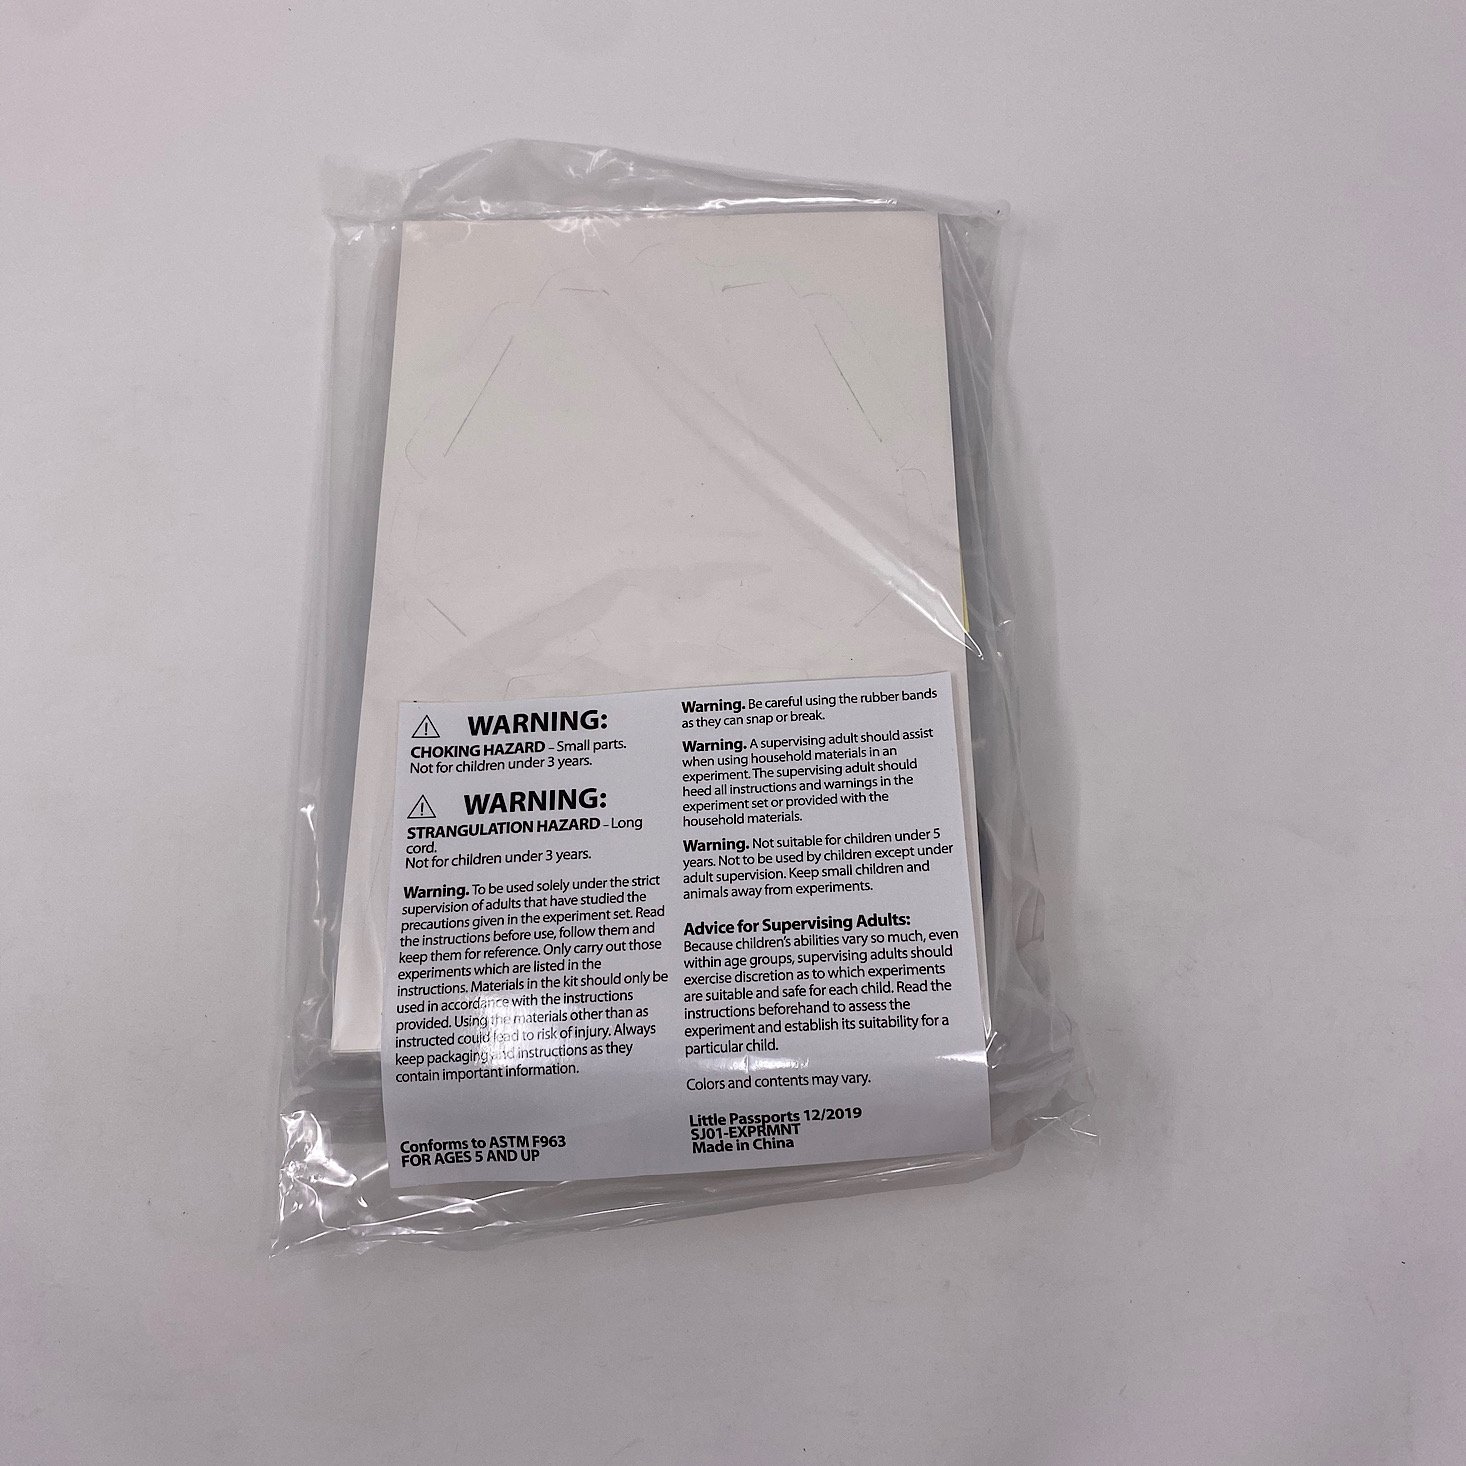
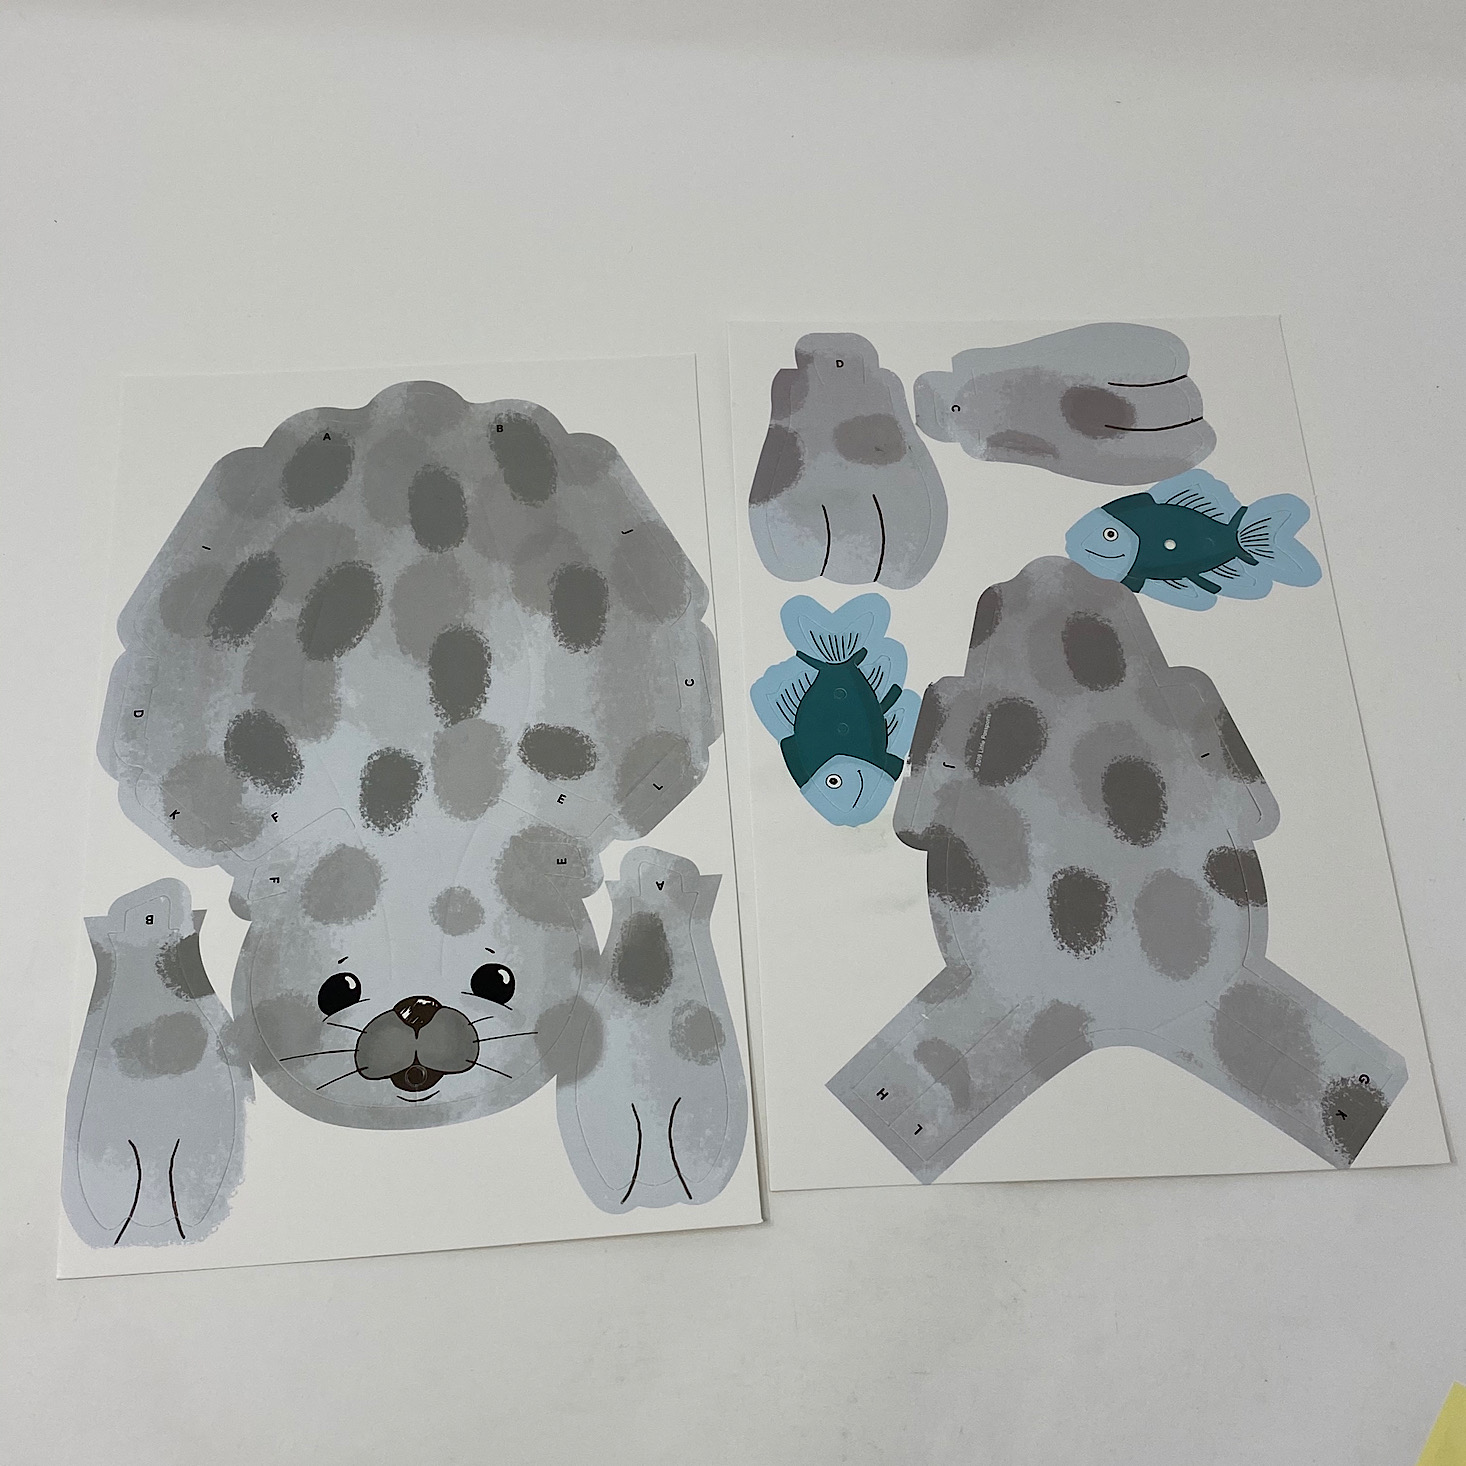
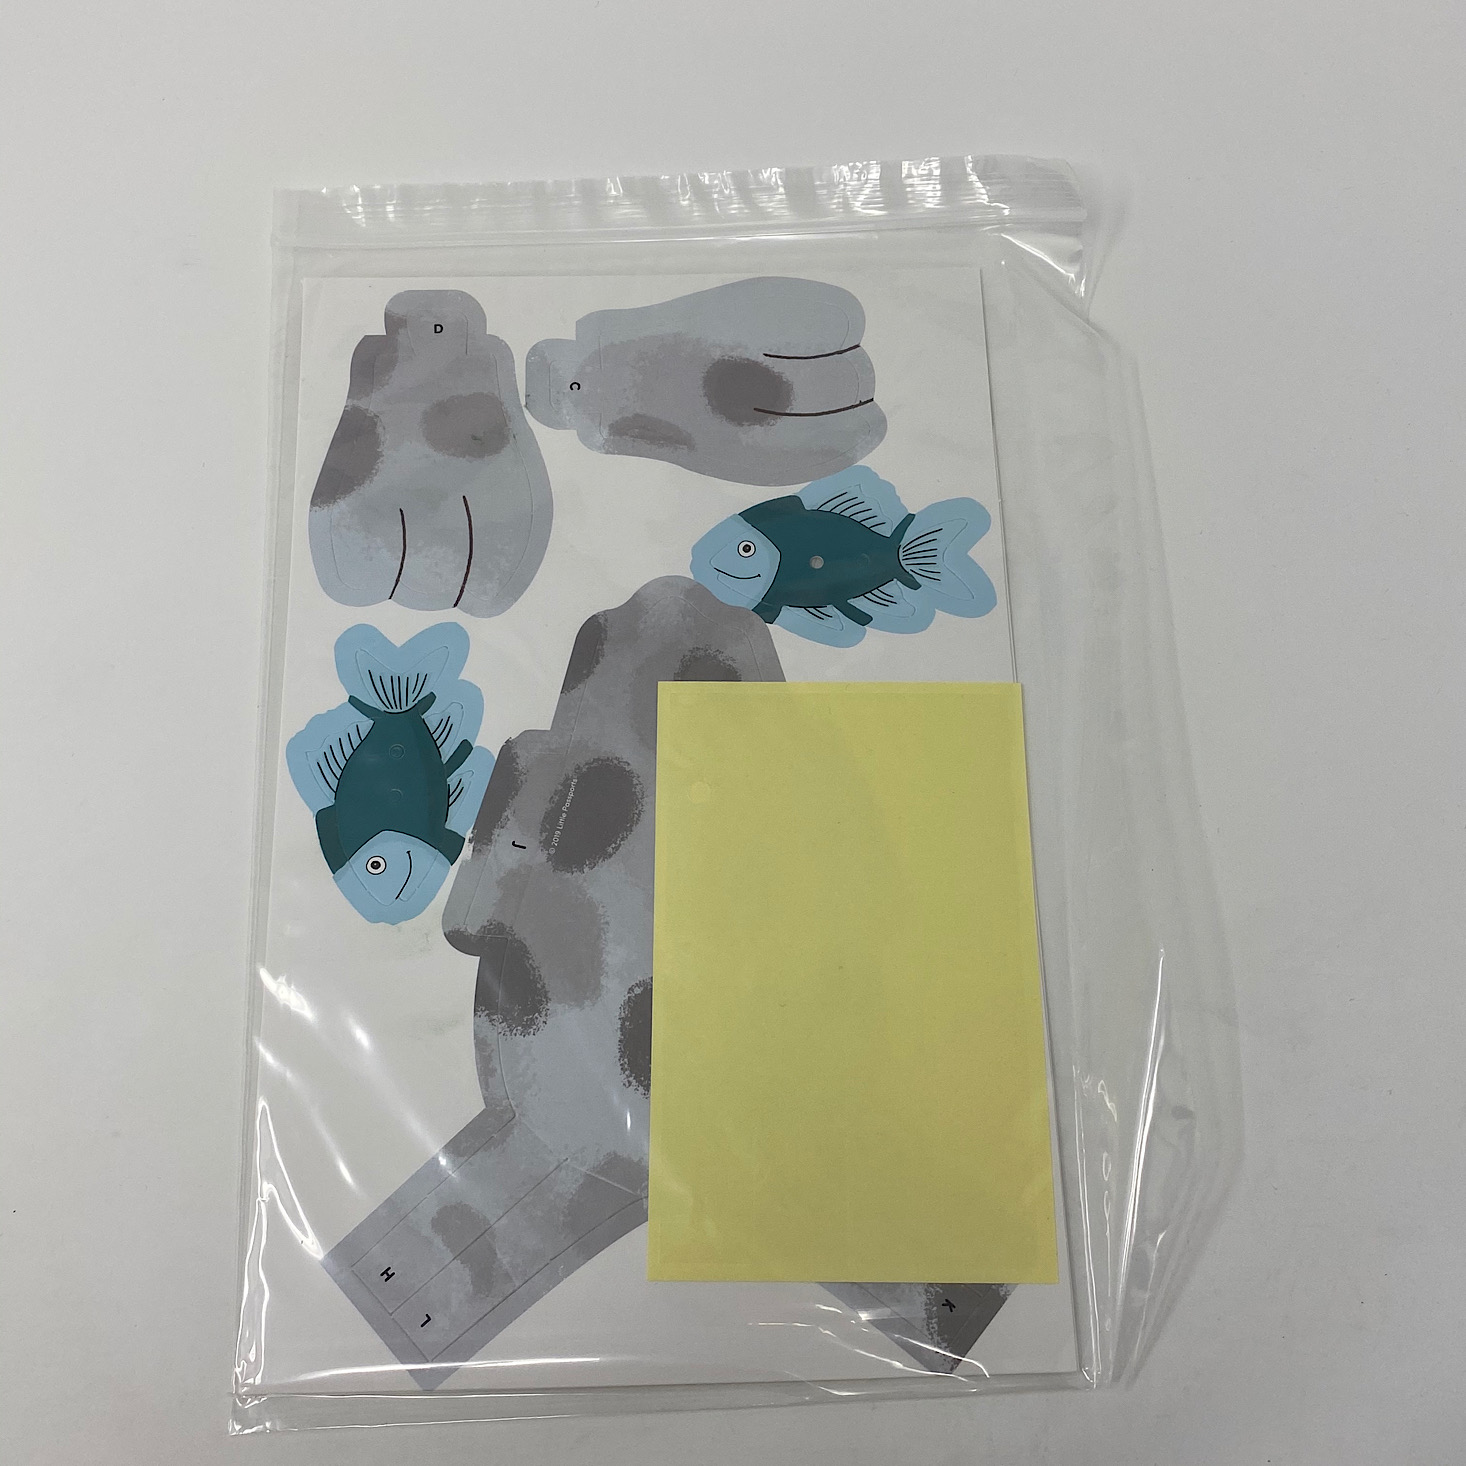
Our first activity was to make a Weddel seal walker. Everything came packaged up neatly with some safety information on the back.

1 of 2
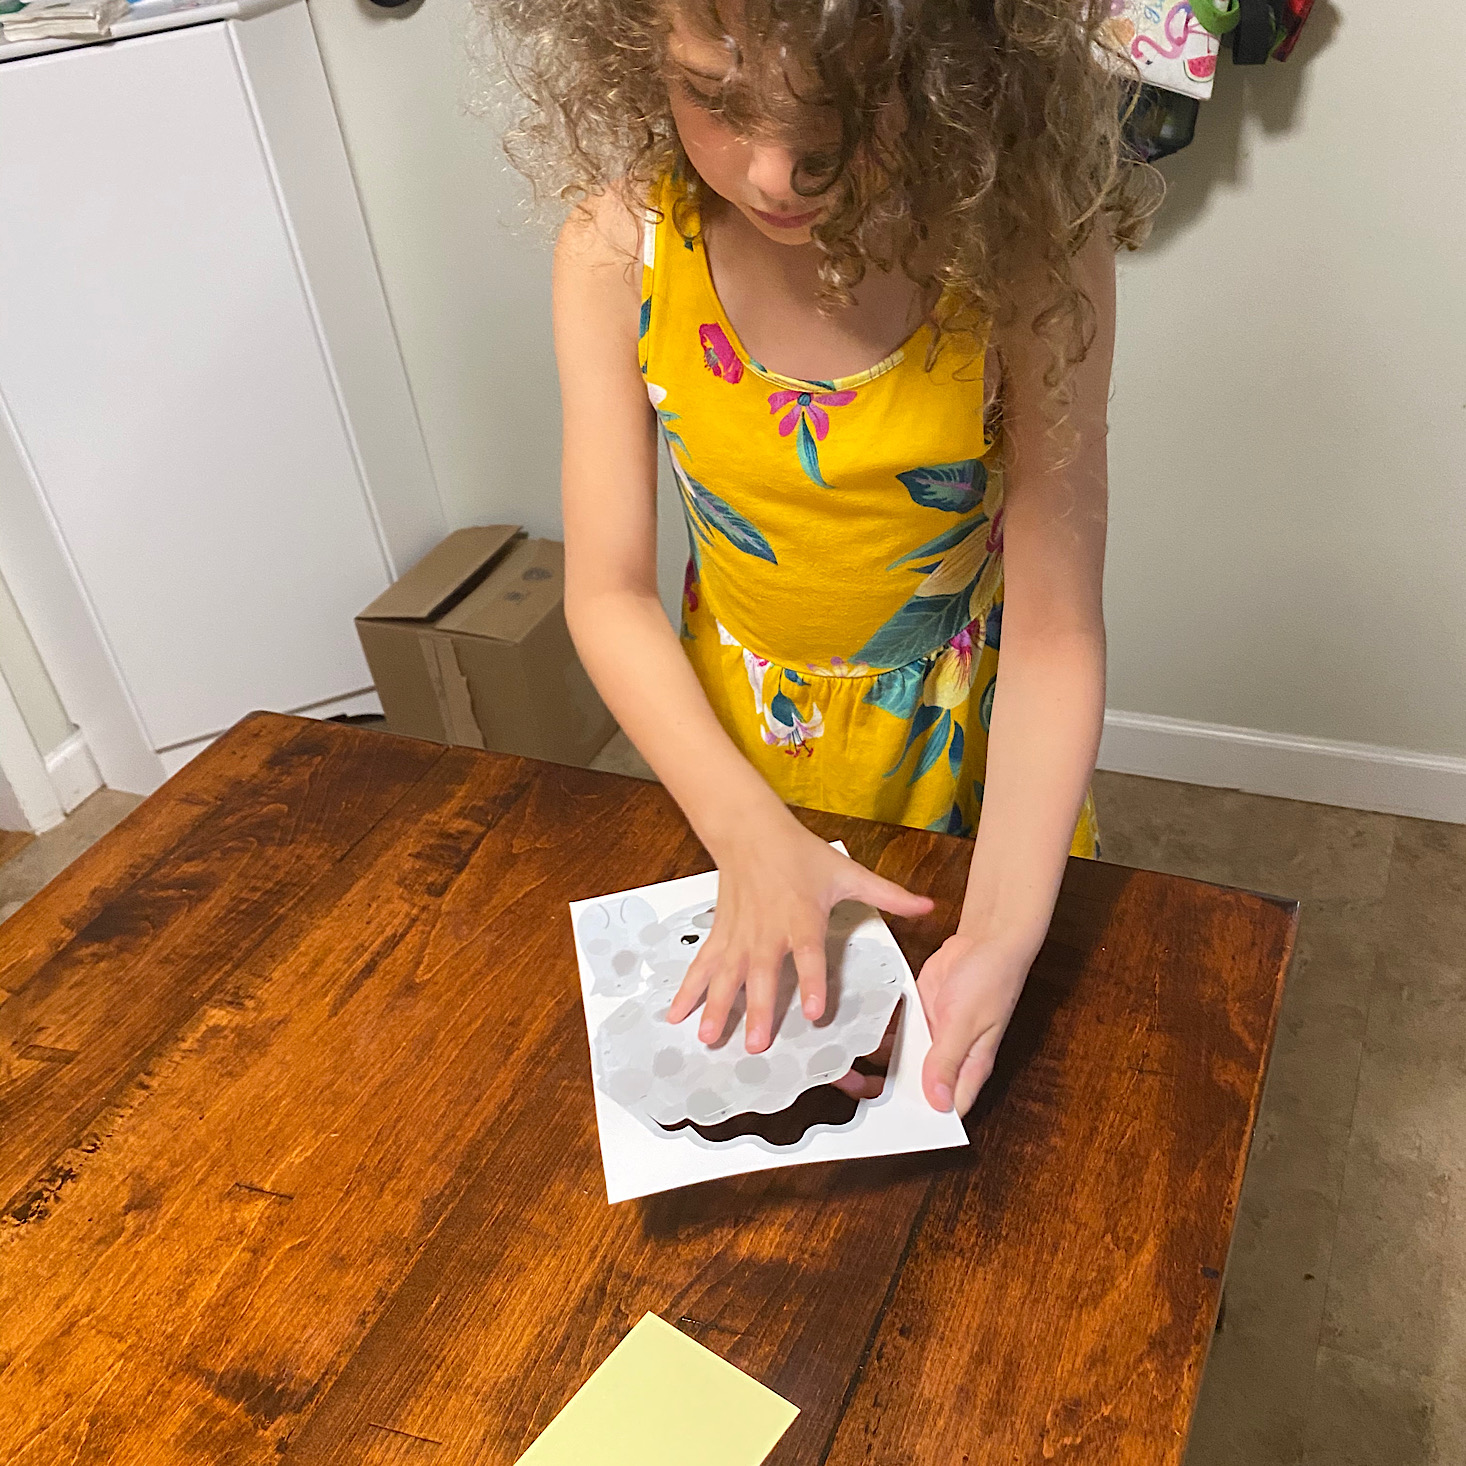
First, we punched out the seal and fish pieces.

1 of 3
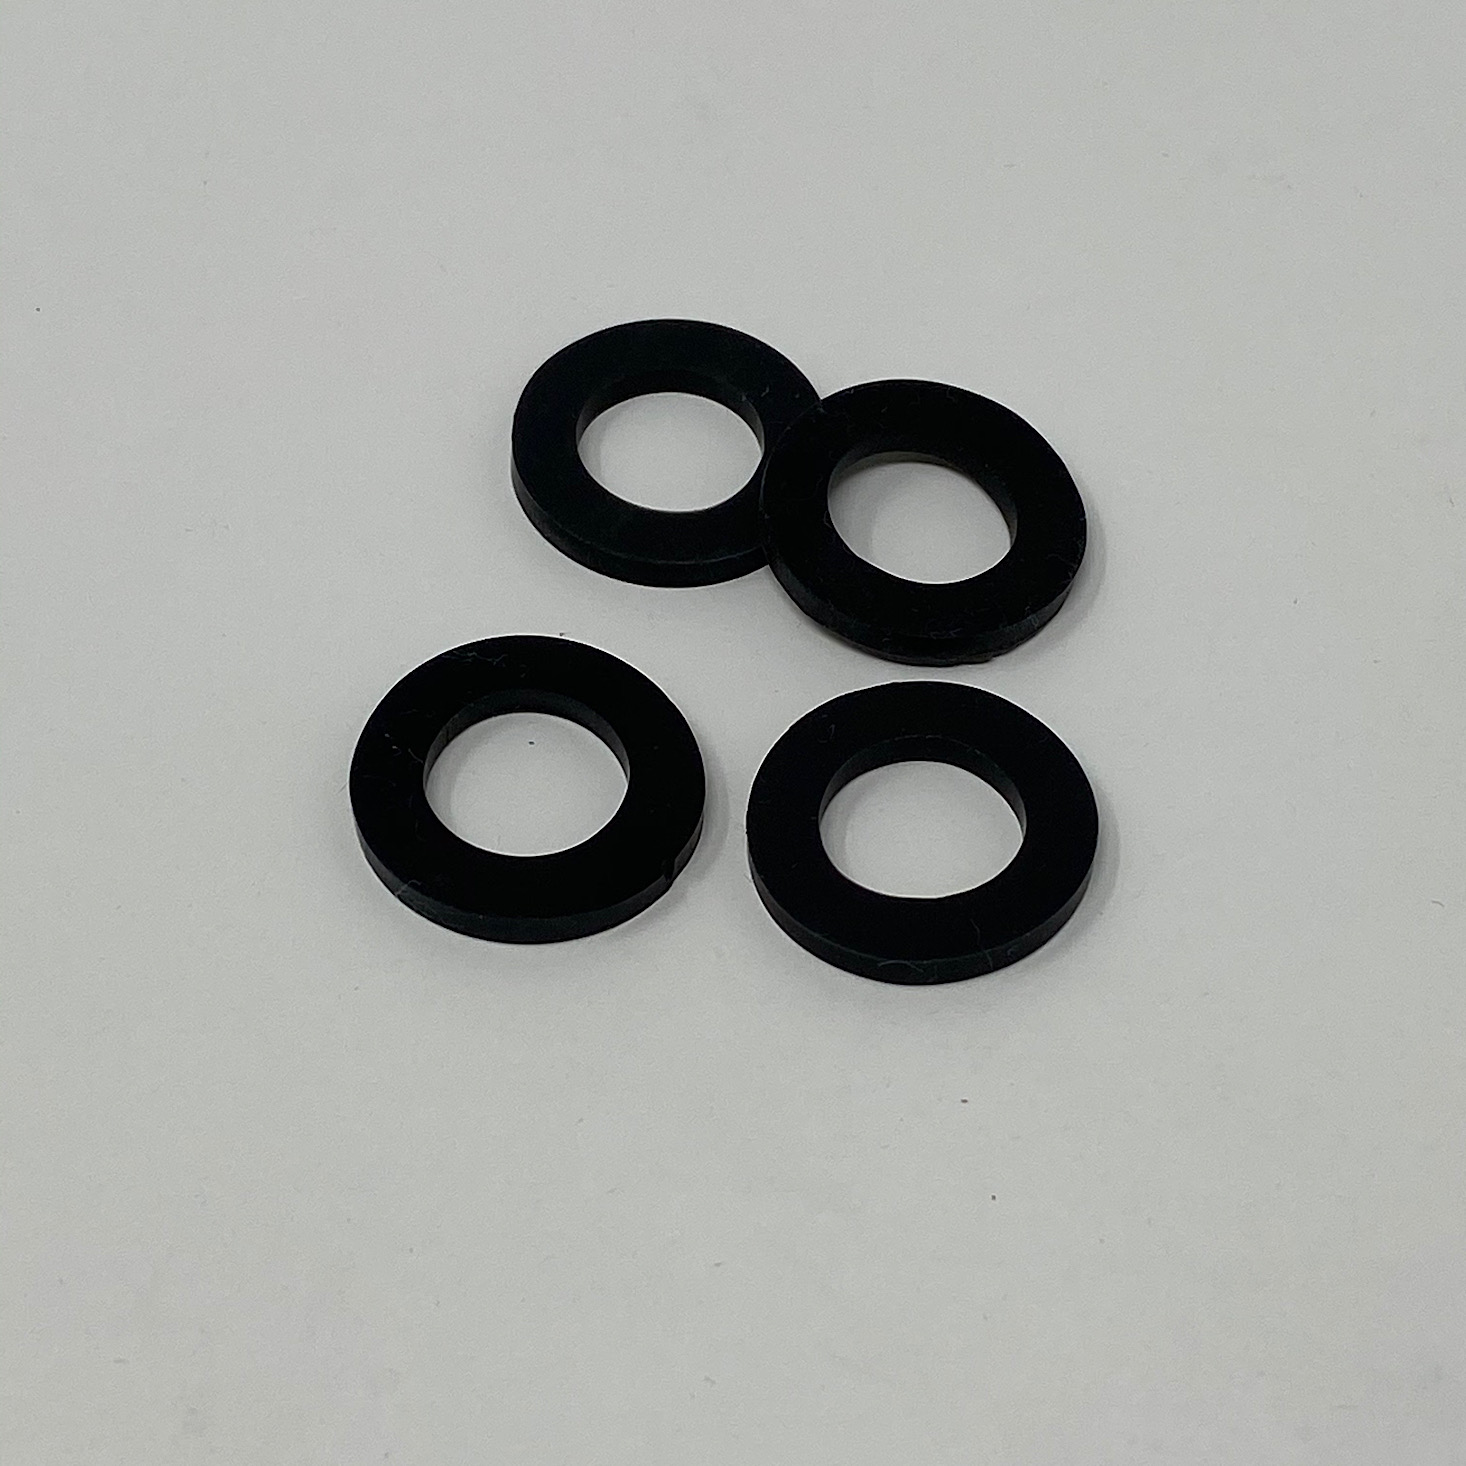
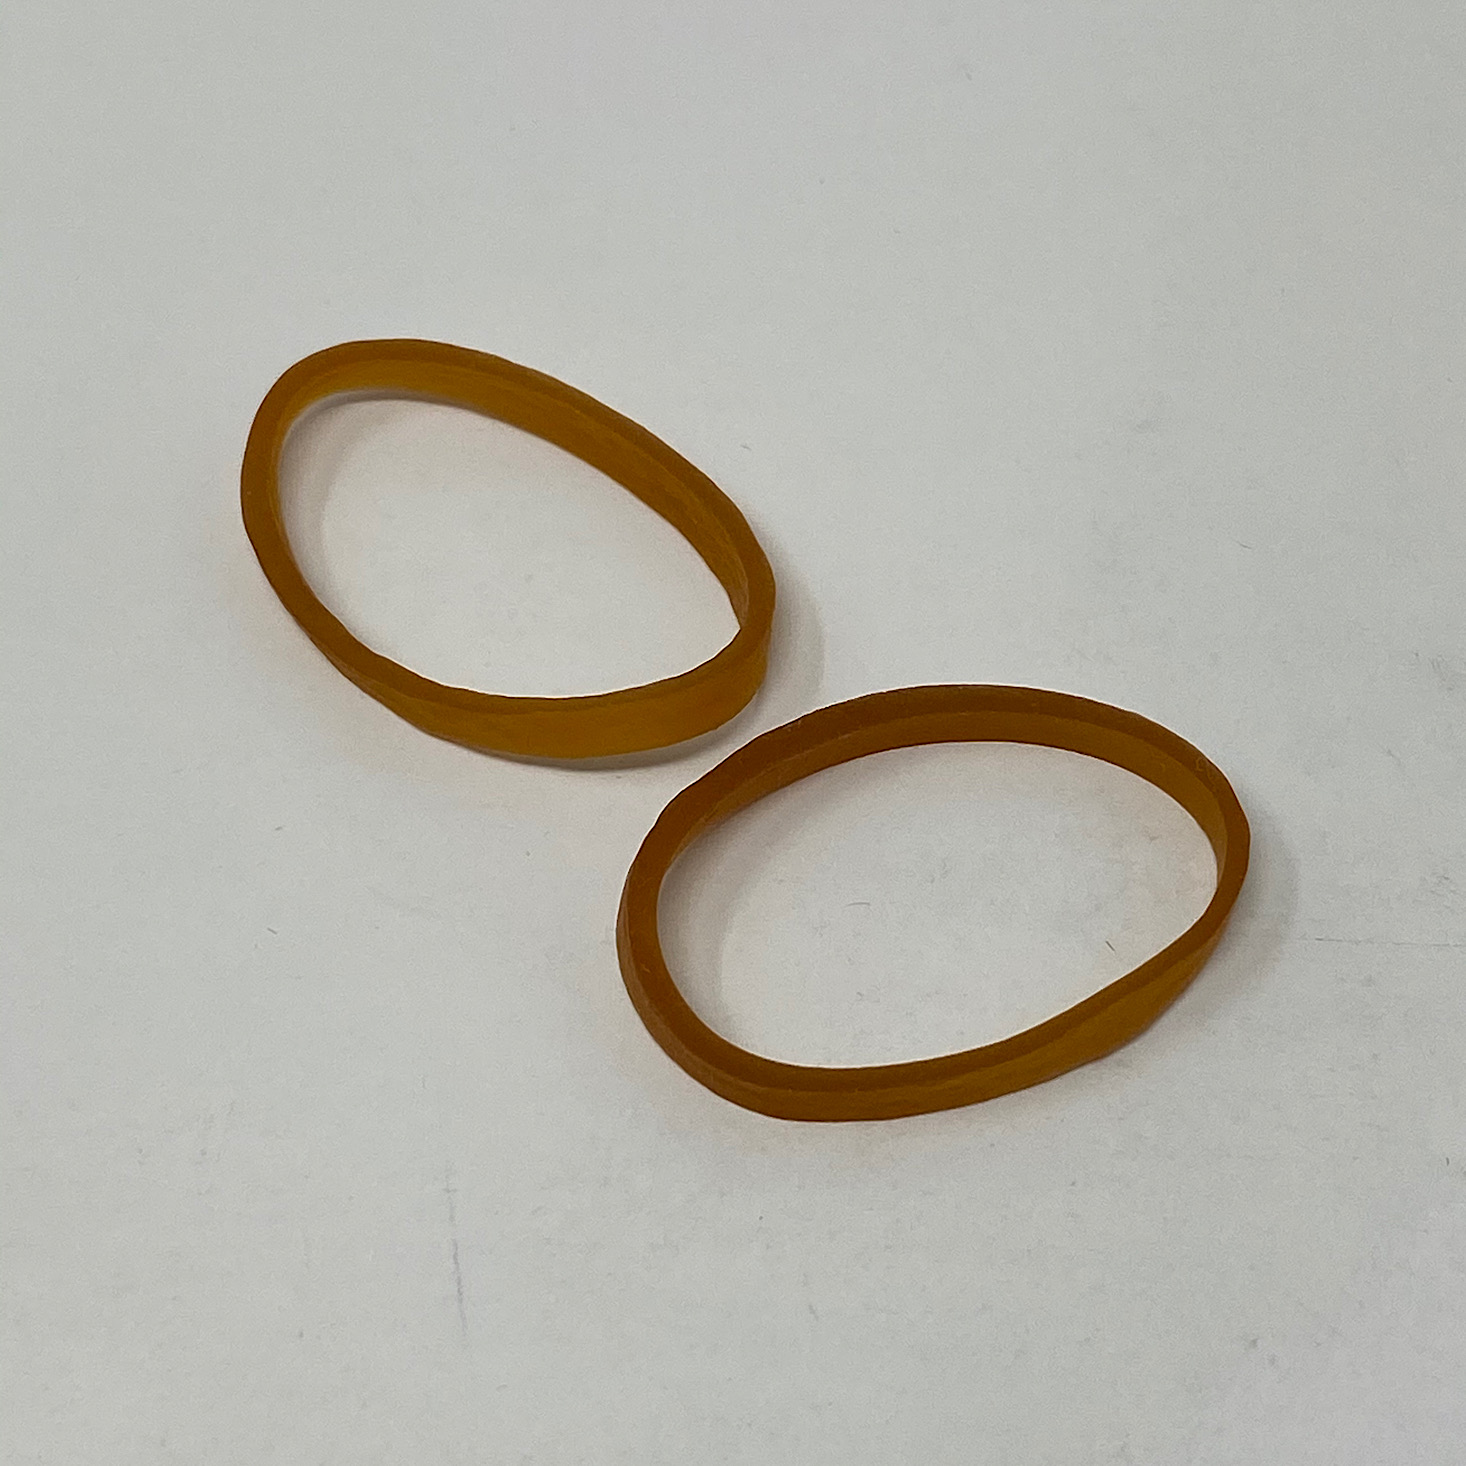
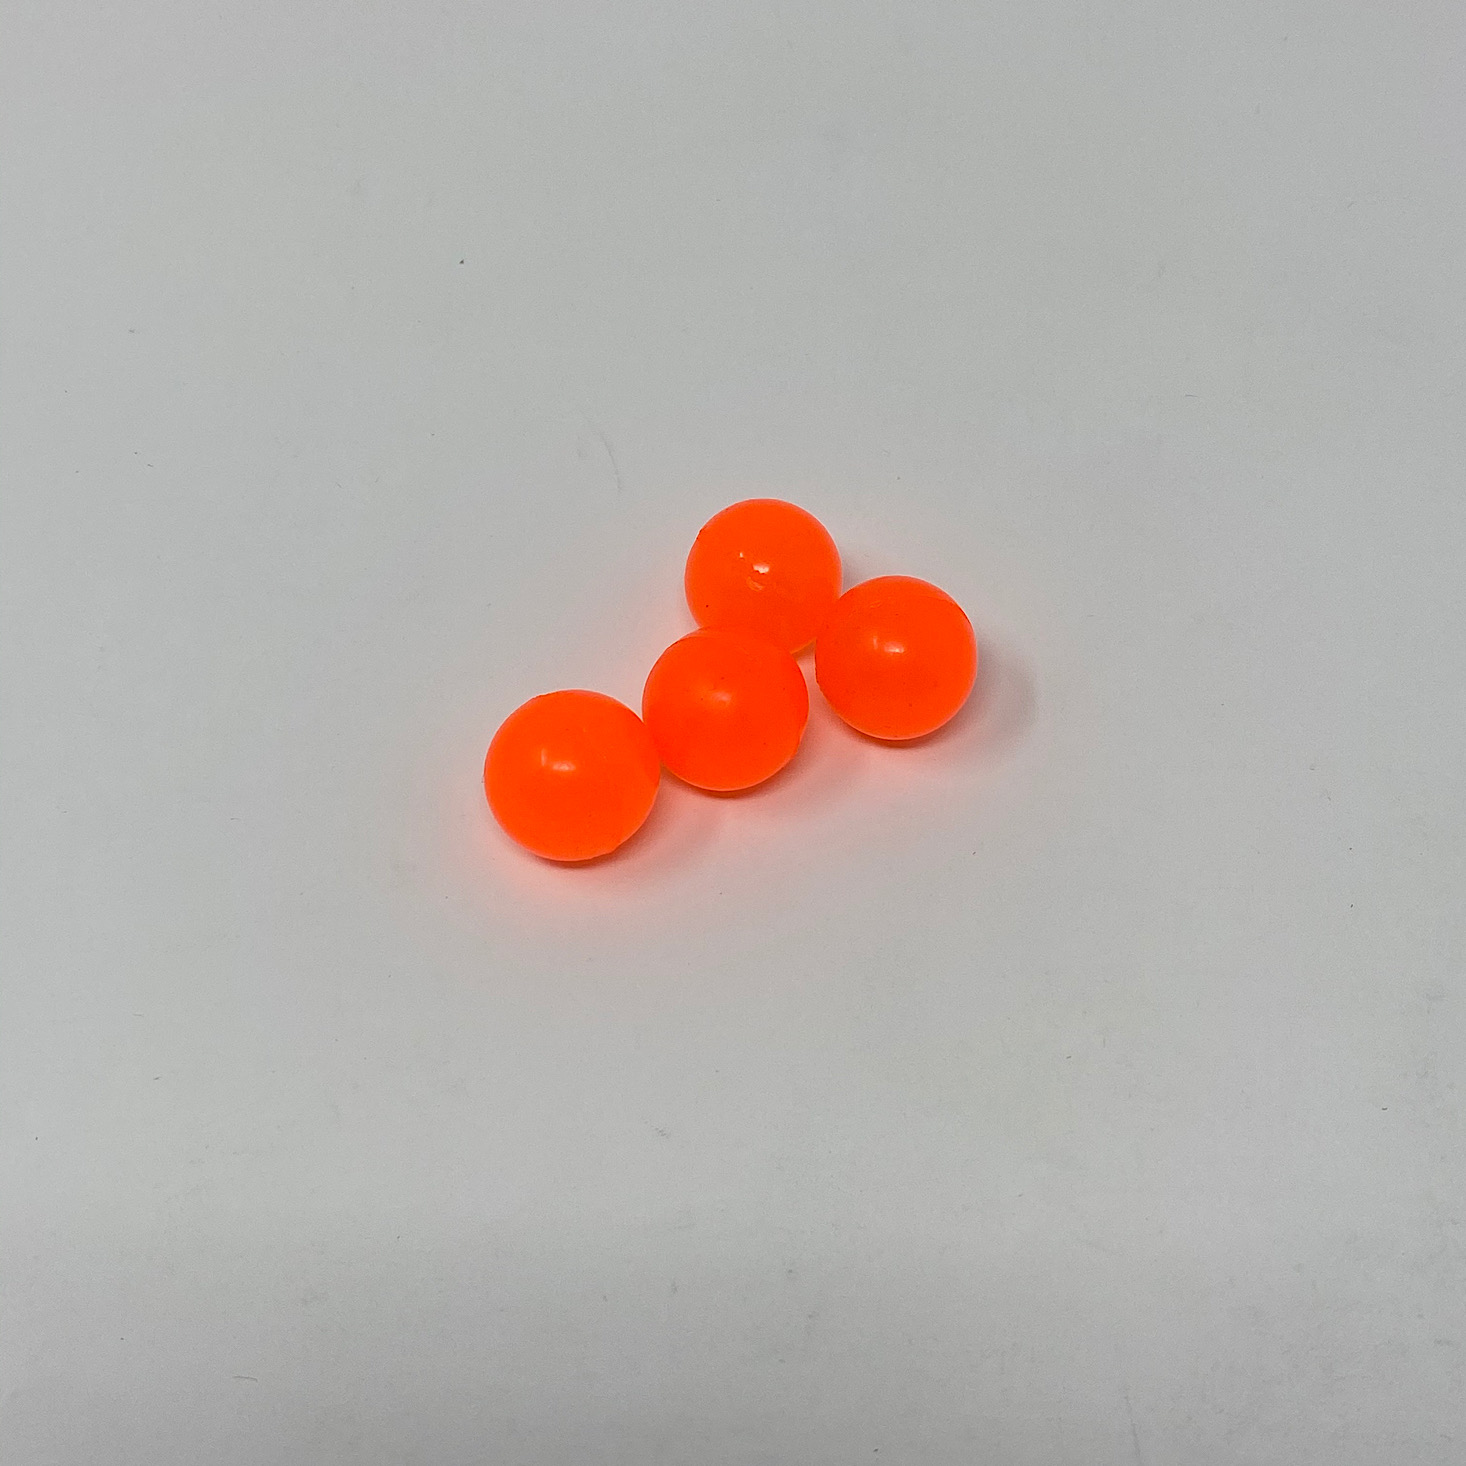
My son added two of these rubber rings to either side of this weight.

1 of 3
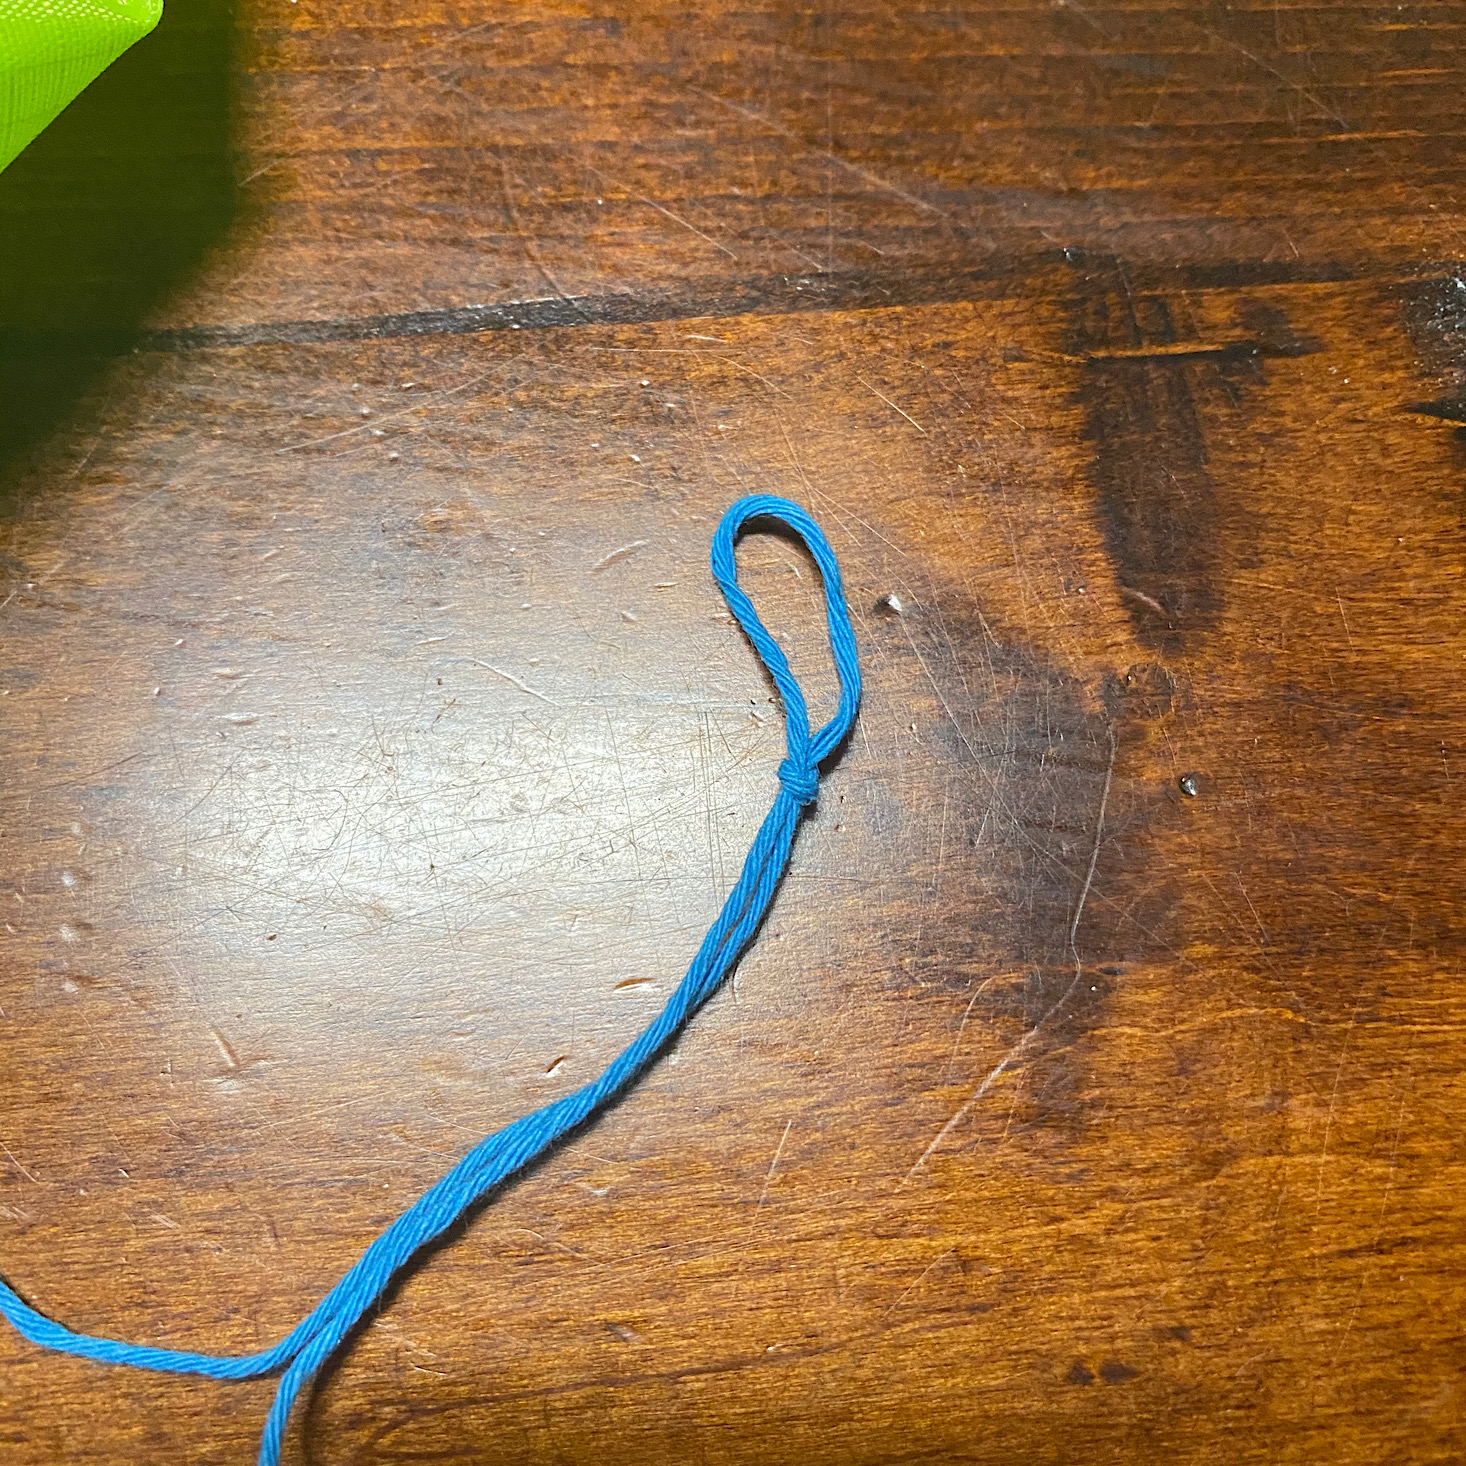
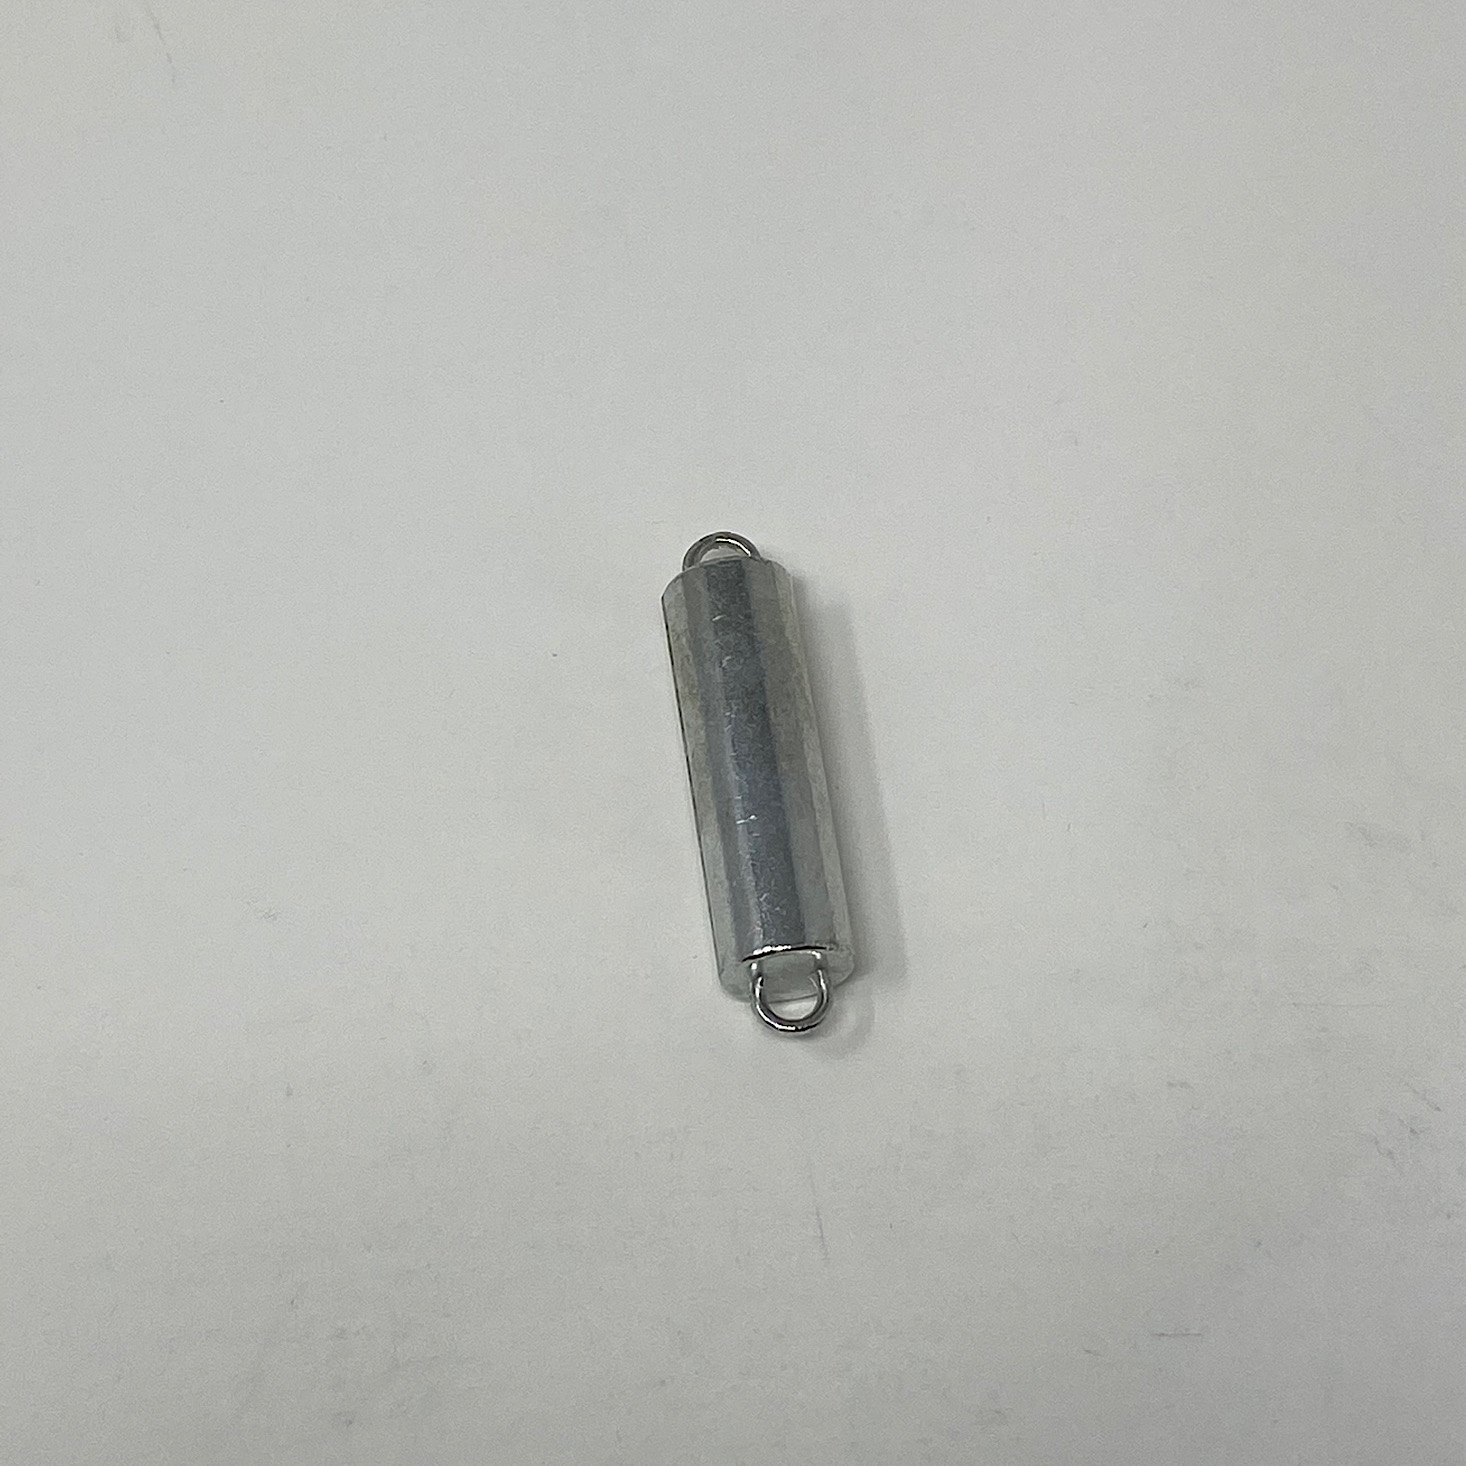
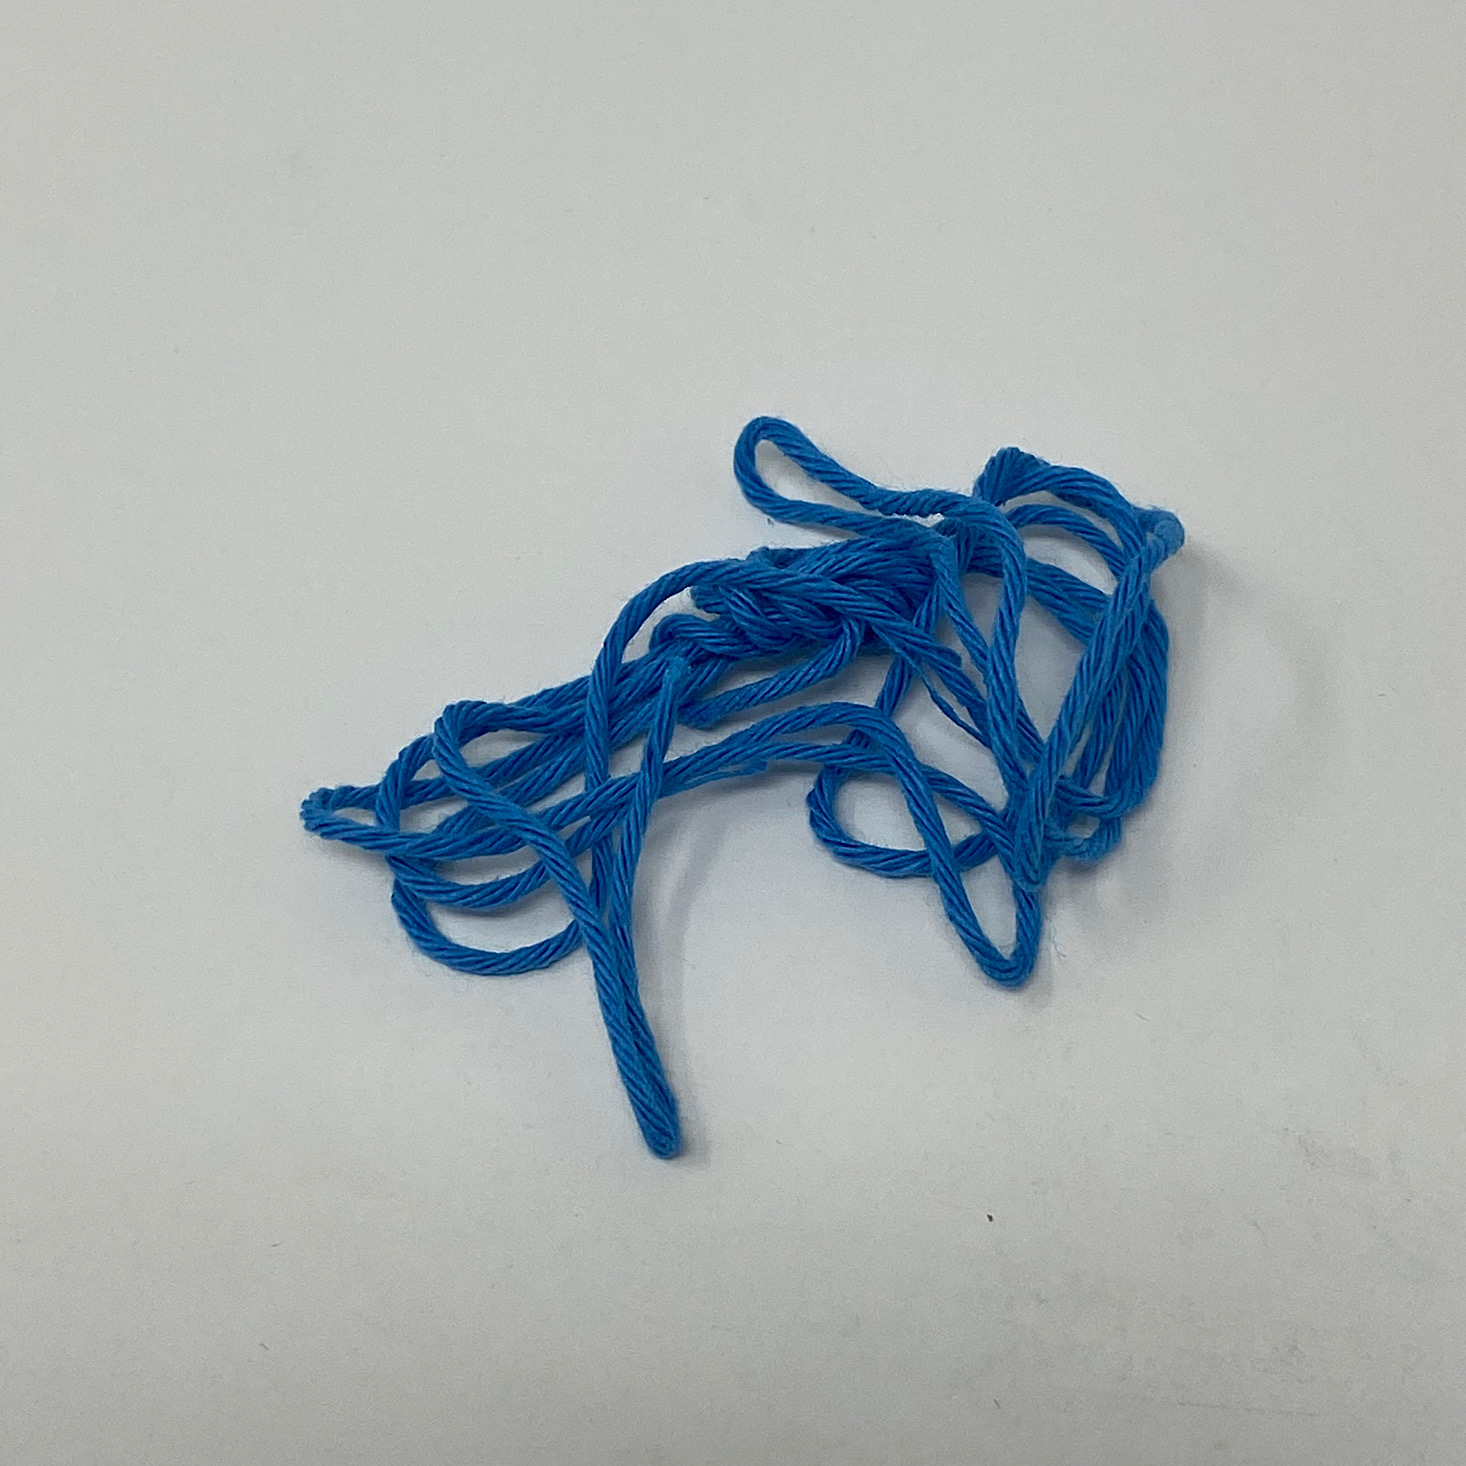
Then I tied a knot in our string and my daughter wound it around the metal piece.


1 of 7


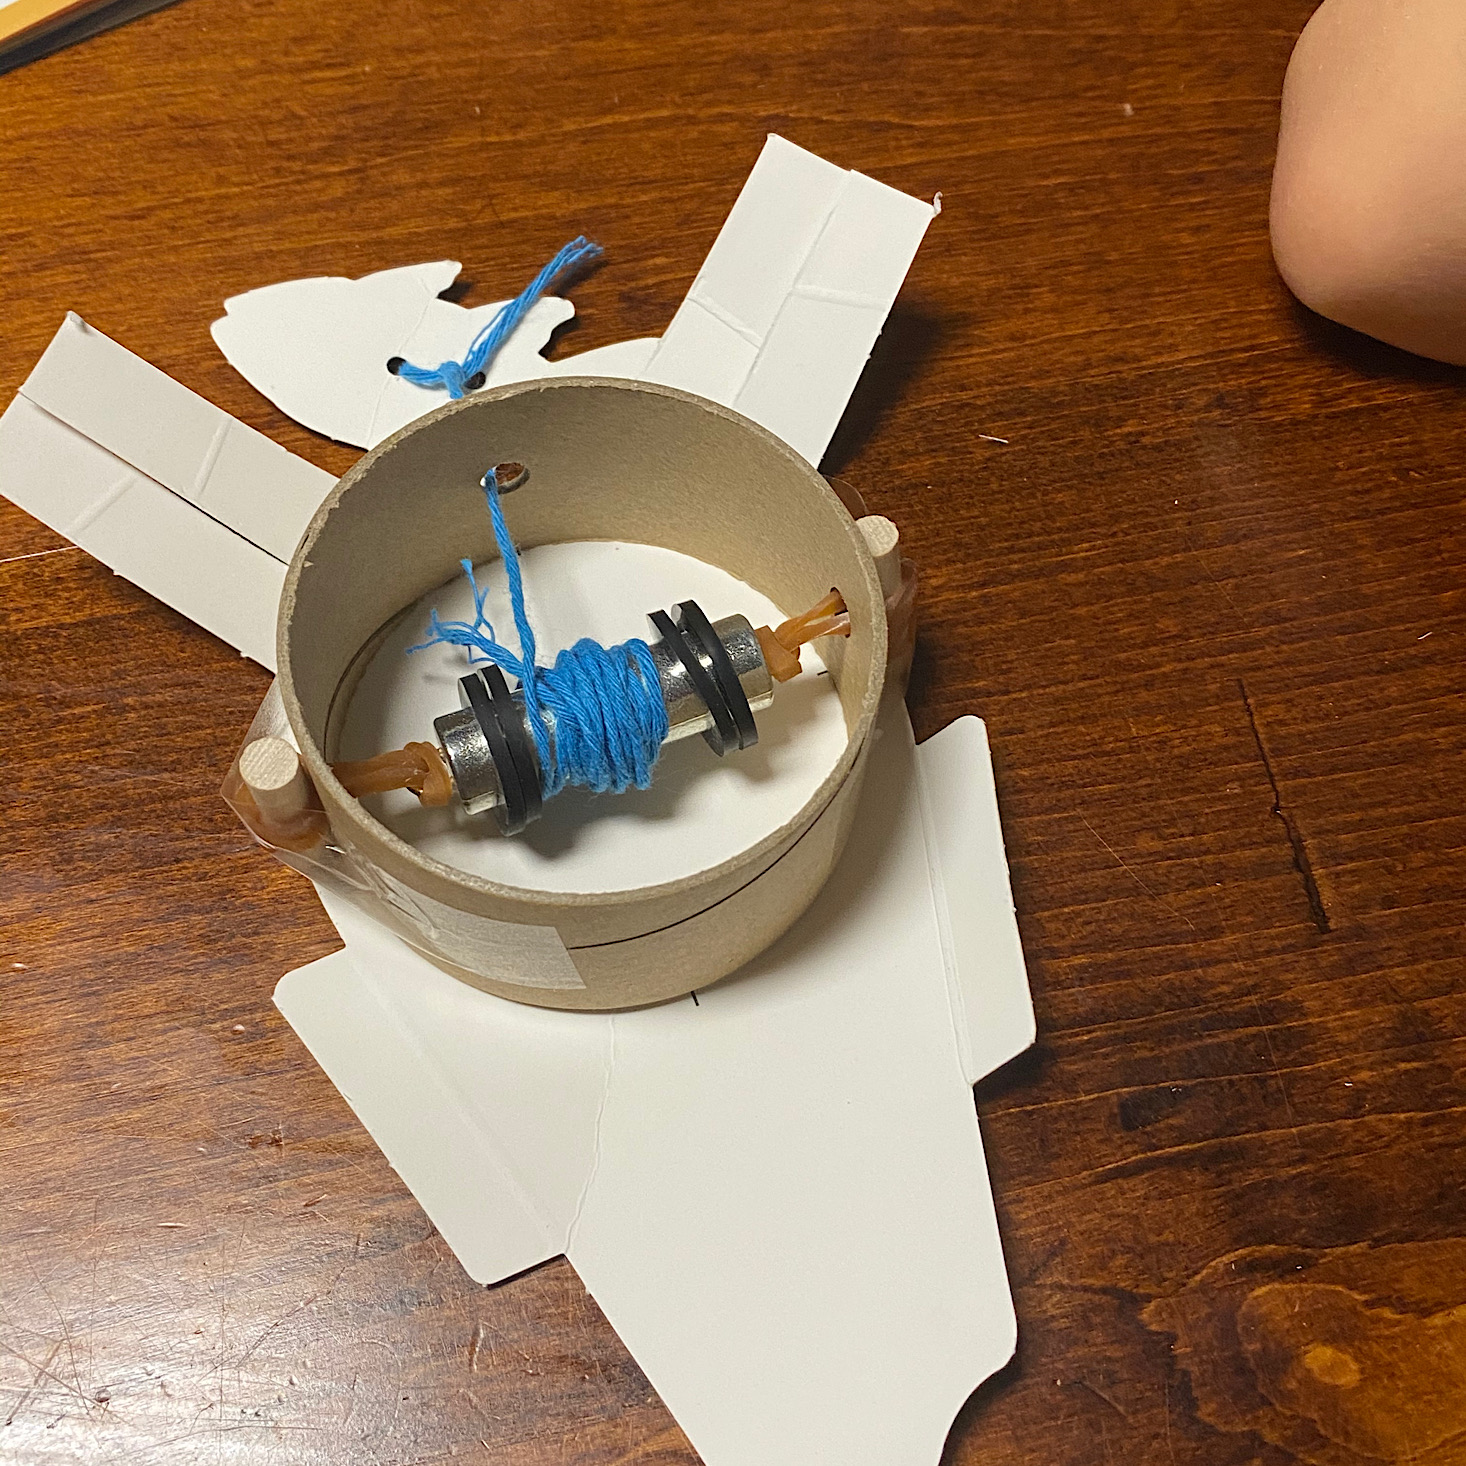
I had to help with this next part. I added rubber bands to the loops on either end of the metal piece and then inserted it into the middle of the cardboard ring using the mini dowels to keep the rubber band on the outside of the hole. A piece of tape held that all together.

1 of 4


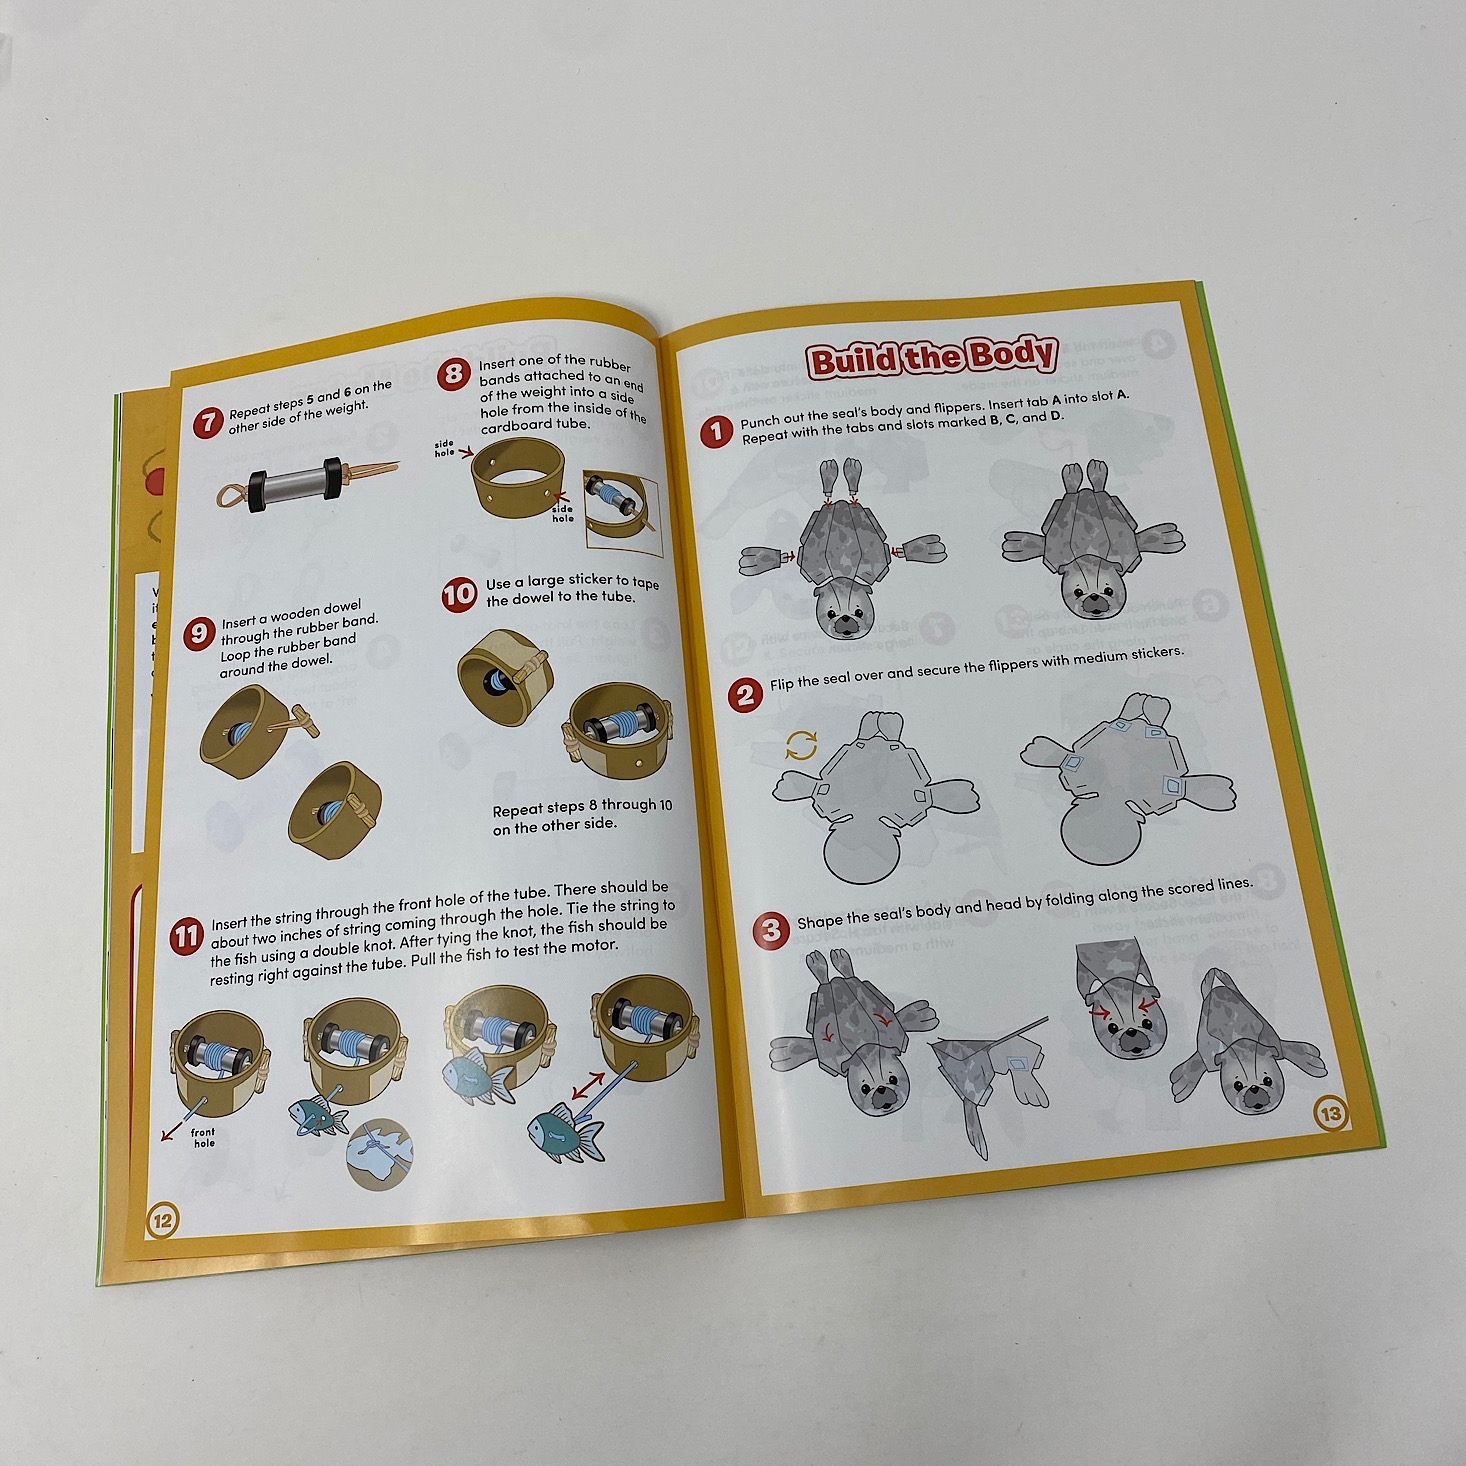
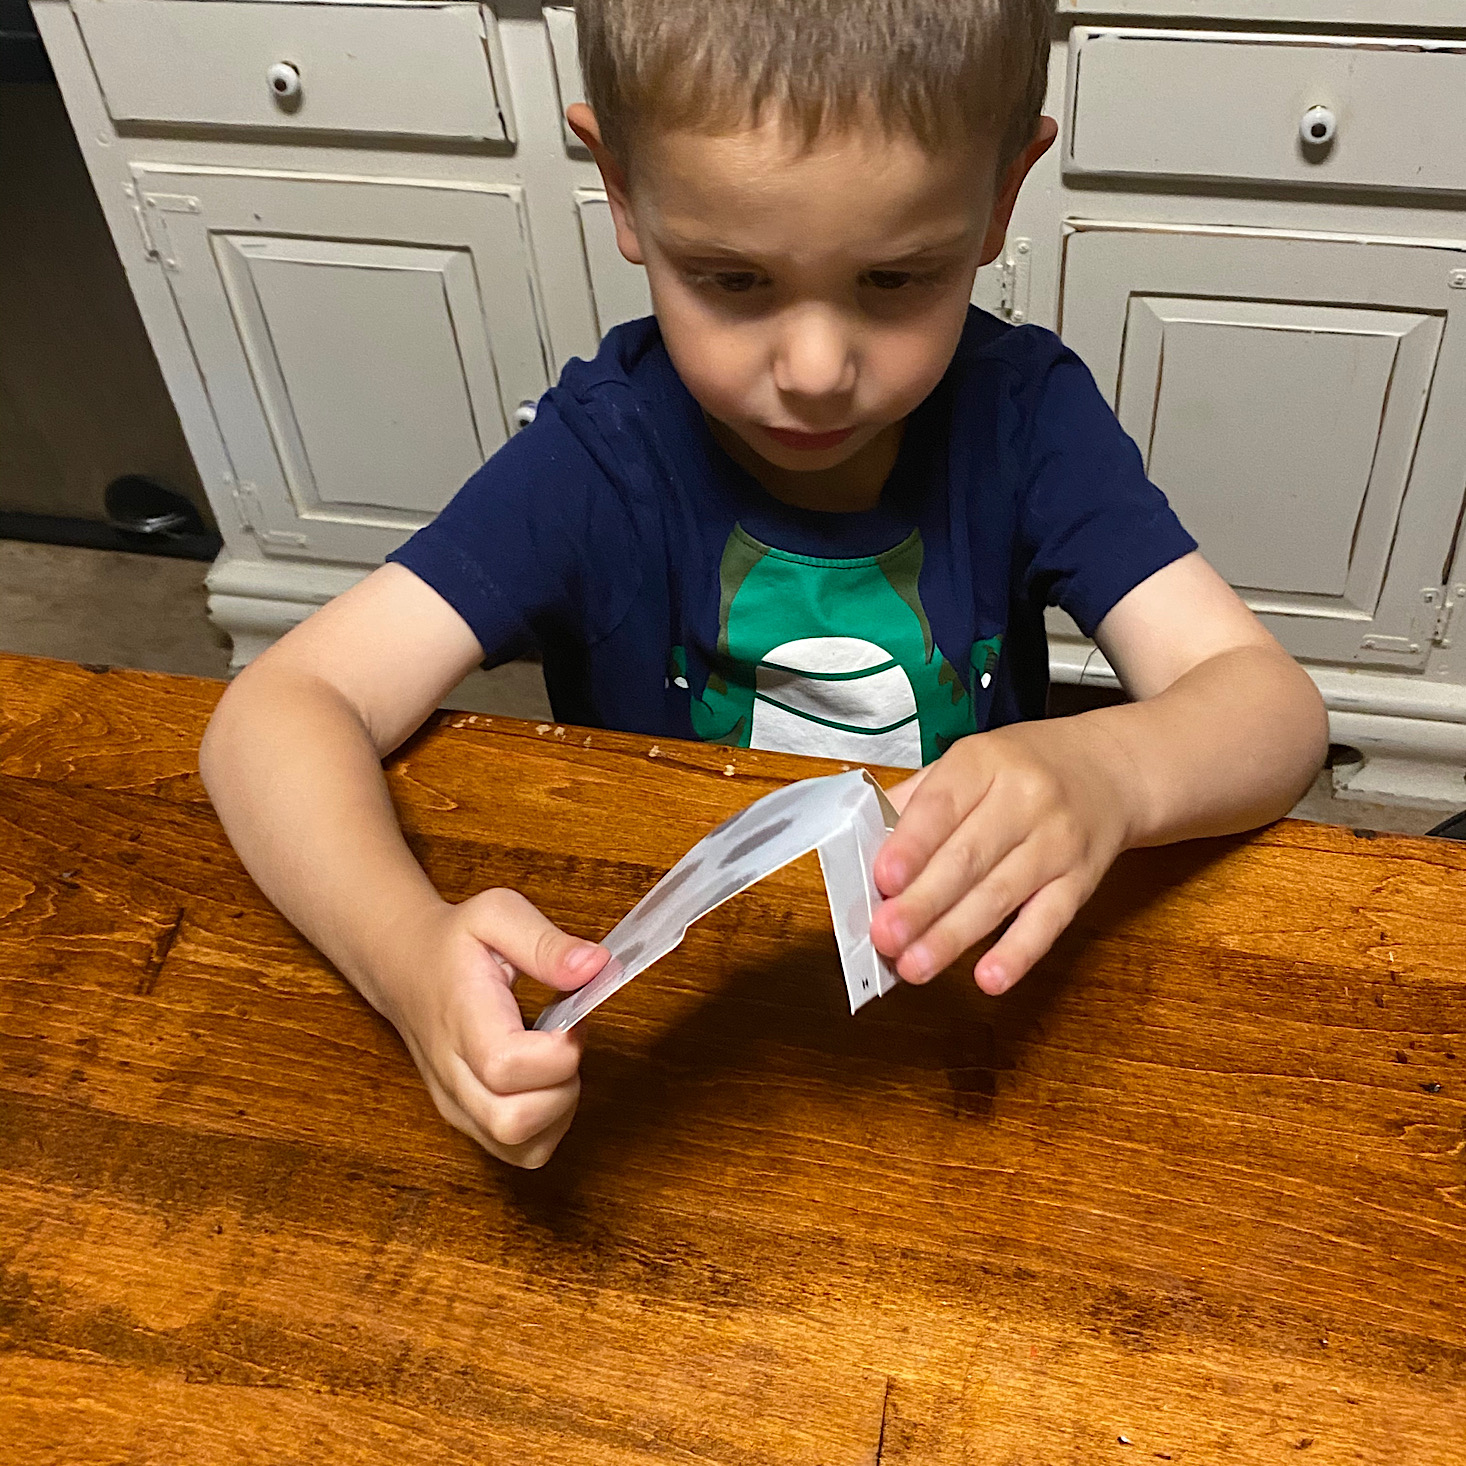
The kids began folding up the seal parts and putting them together by matching the lettered sections and sliding pieces into the slots.

1 of 2
I threaded our string through the hole in the cardboard and tied a fish to the end of it. Then we placed our whole unit onto the bottom seal piece.


1 of 3
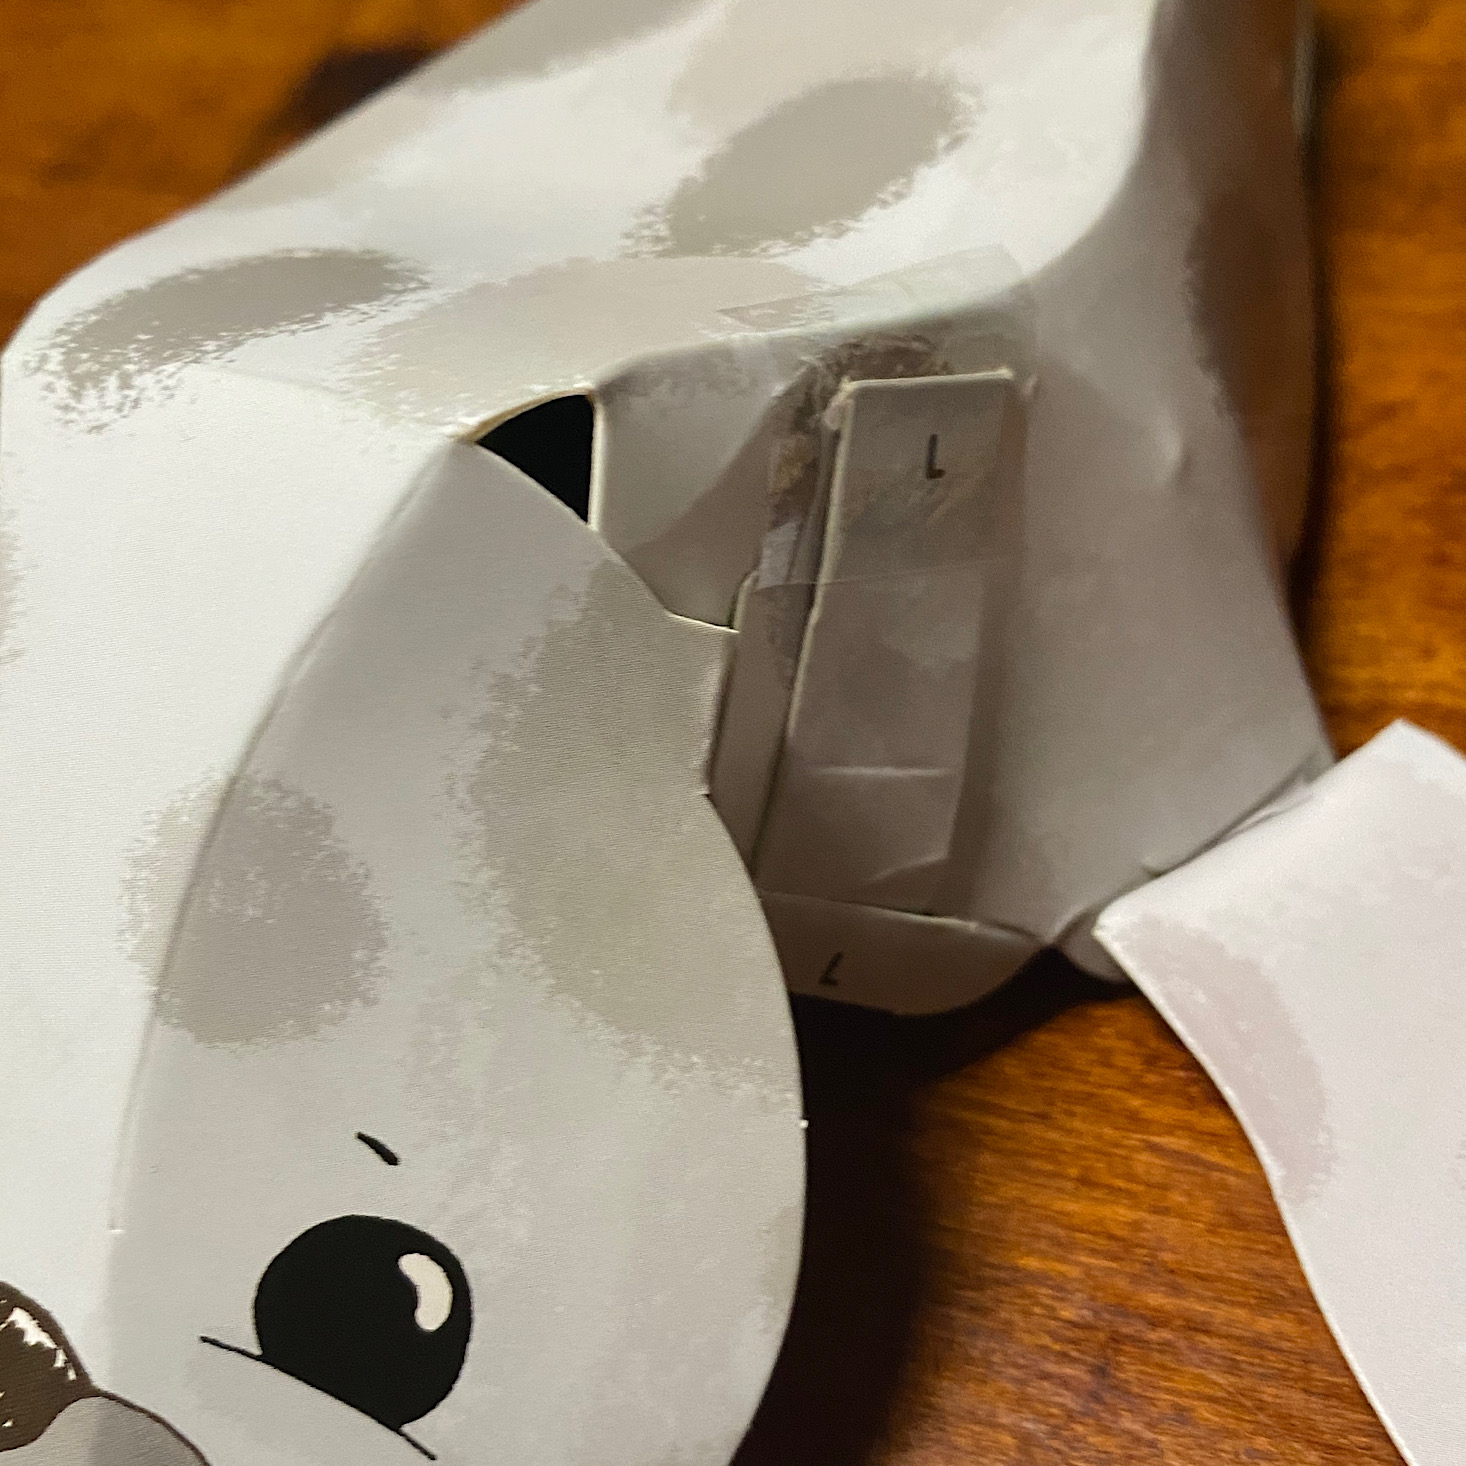
We closed up the seal around it using tape and making sure all the tabs went into the correct slots. Then I pulled the fish up so that he was outside the hole at the seal's mouth.
Now when we pulled the fish on the string and let go, it would wind back into the seal's mouth. Cute!


1 of 4
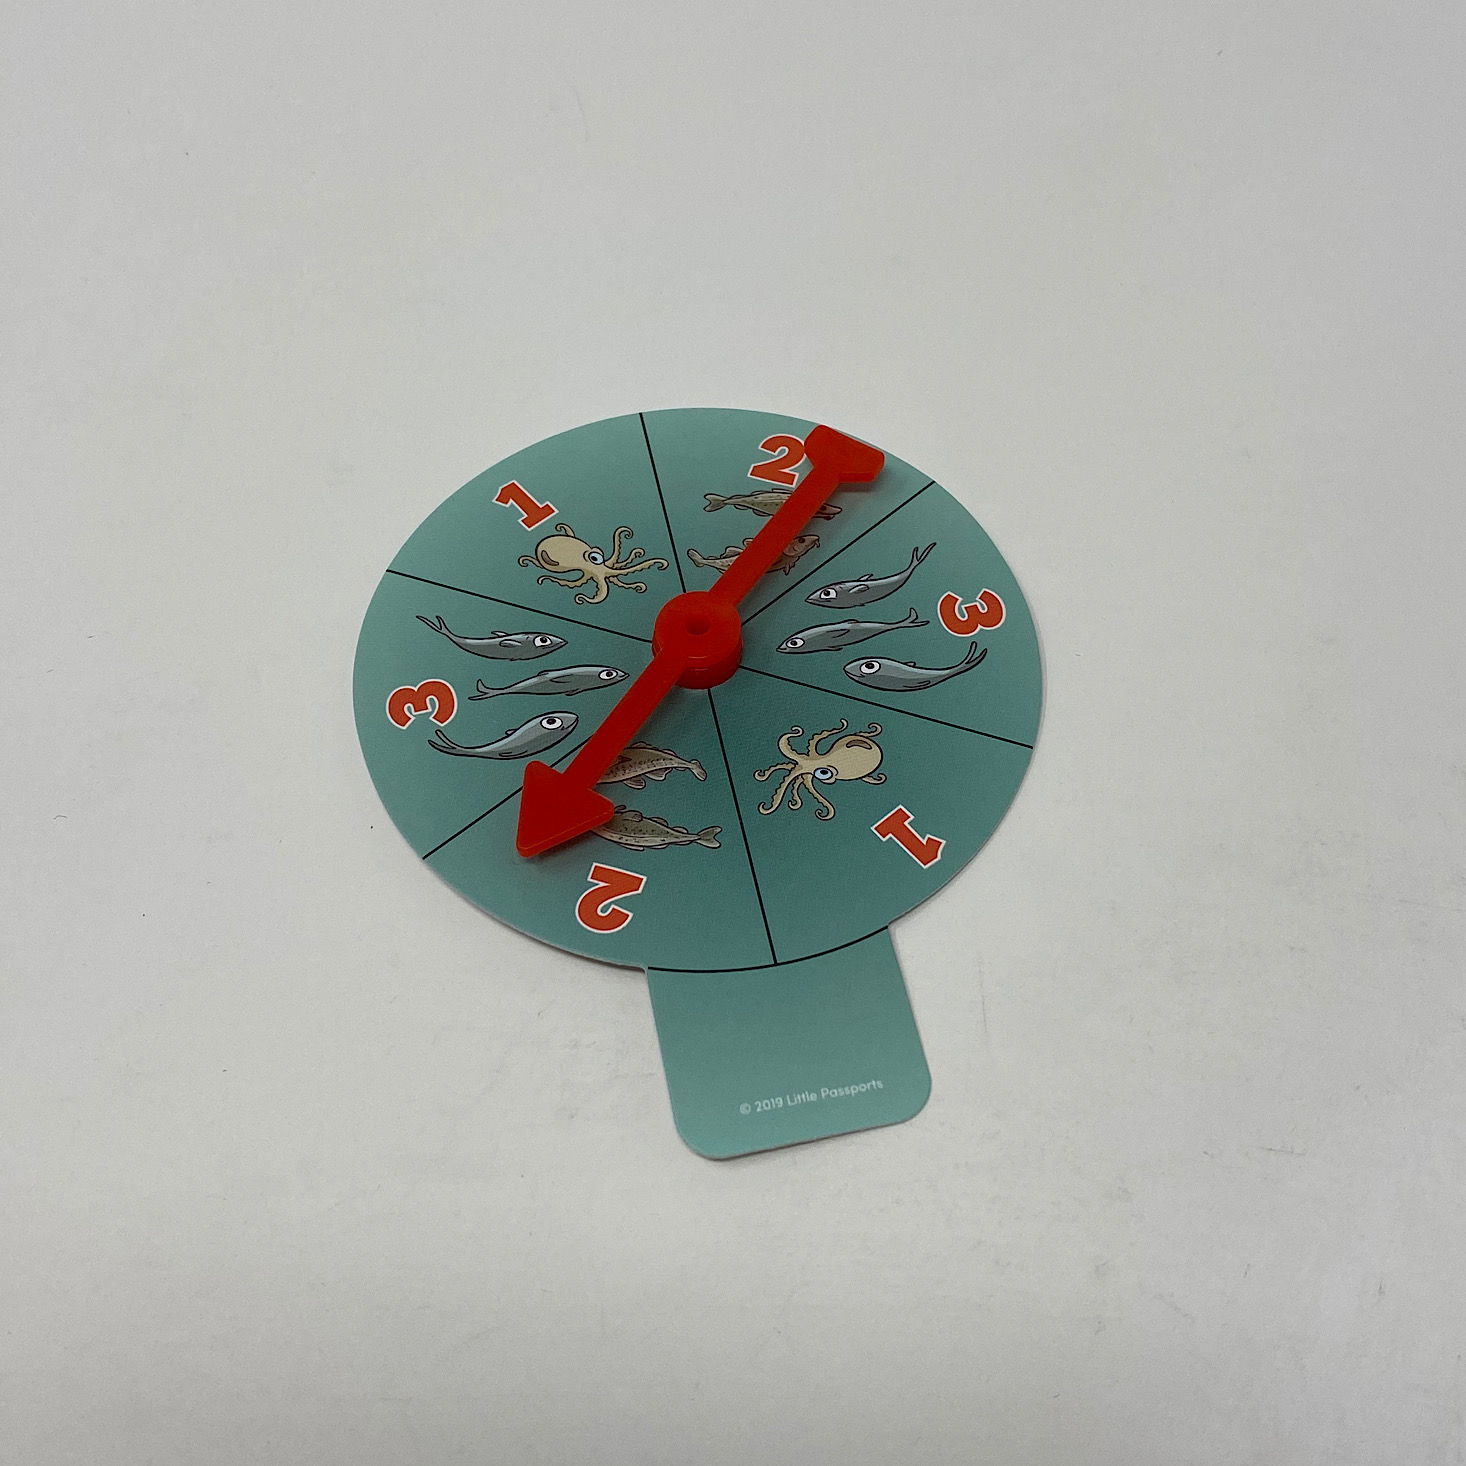

The fun didn't end there! They also included a cute board game for us. It came with a little spinner and four game pieces.


1 of 3
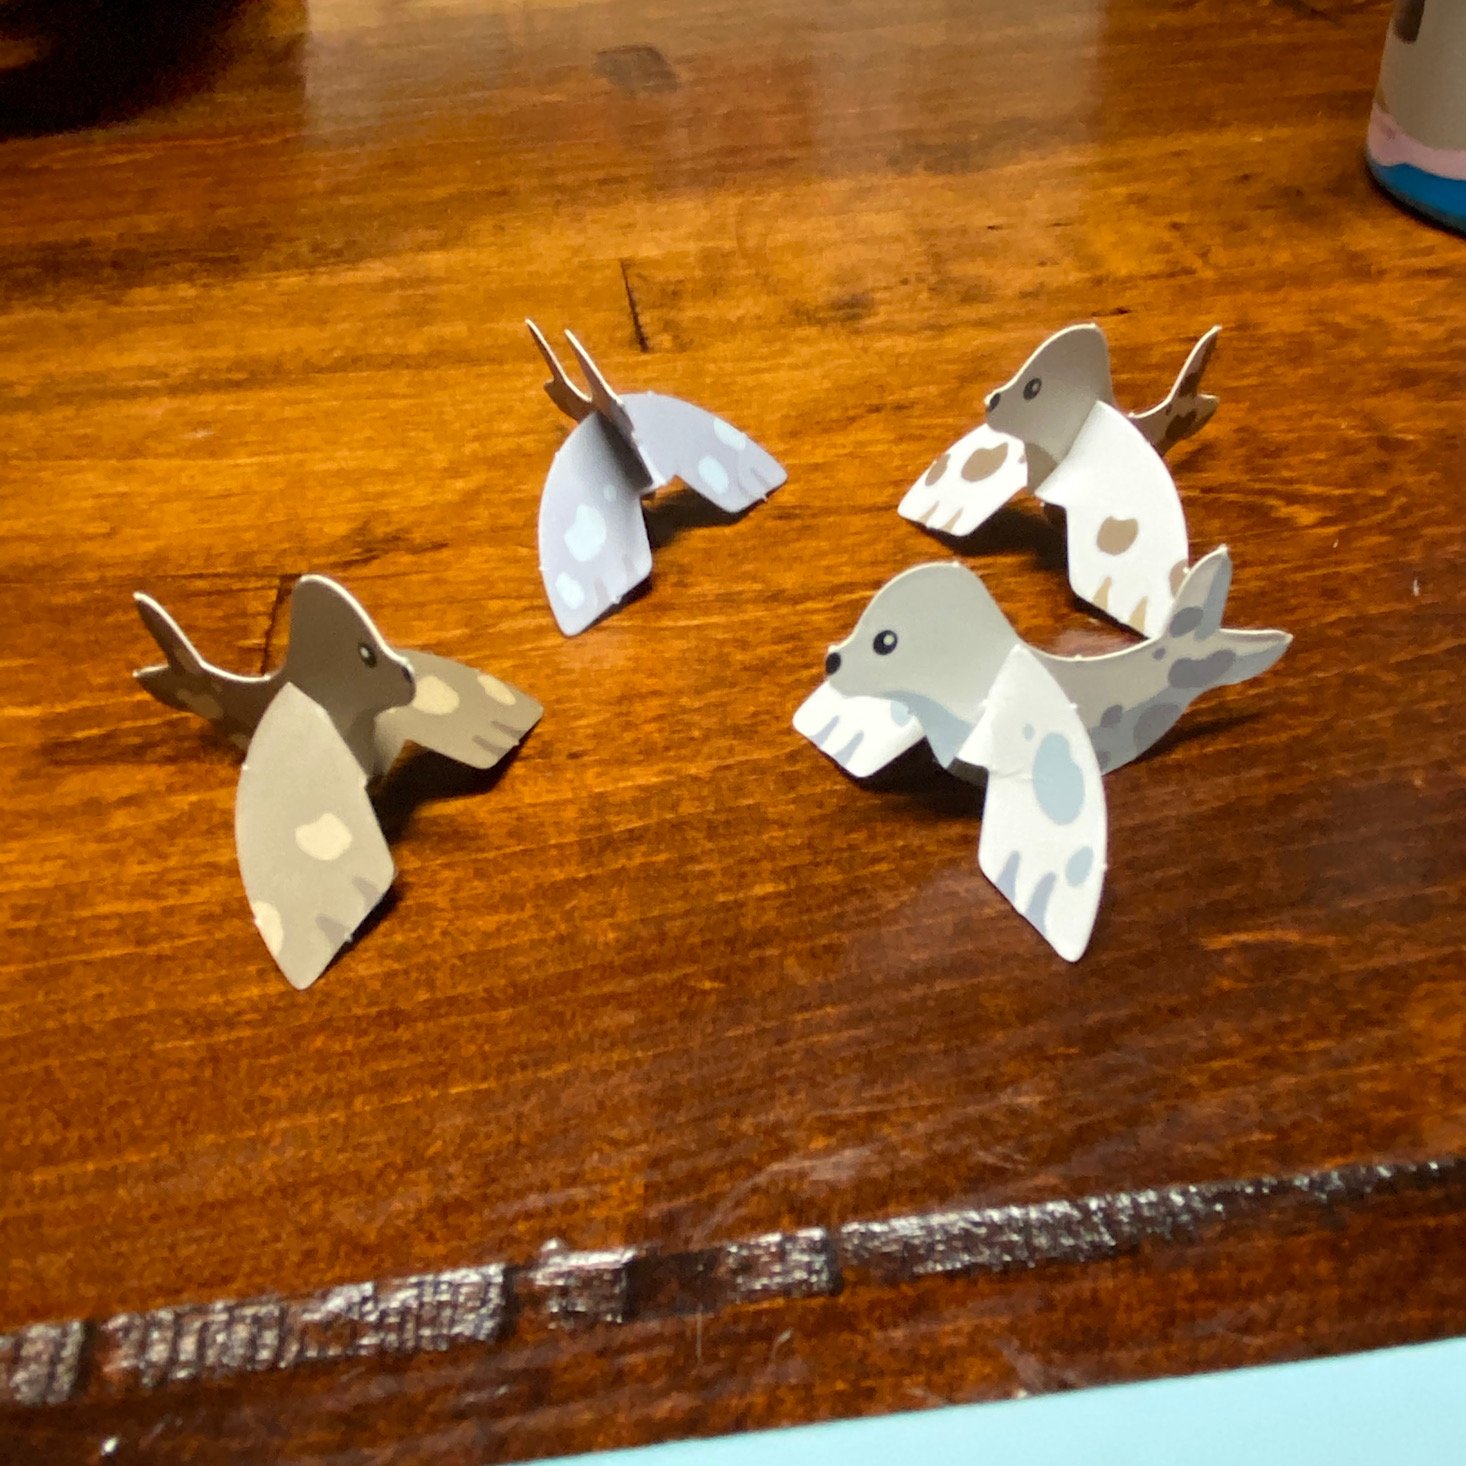
We had to punch out and assemble our little seals. Then we put them on the starting space.
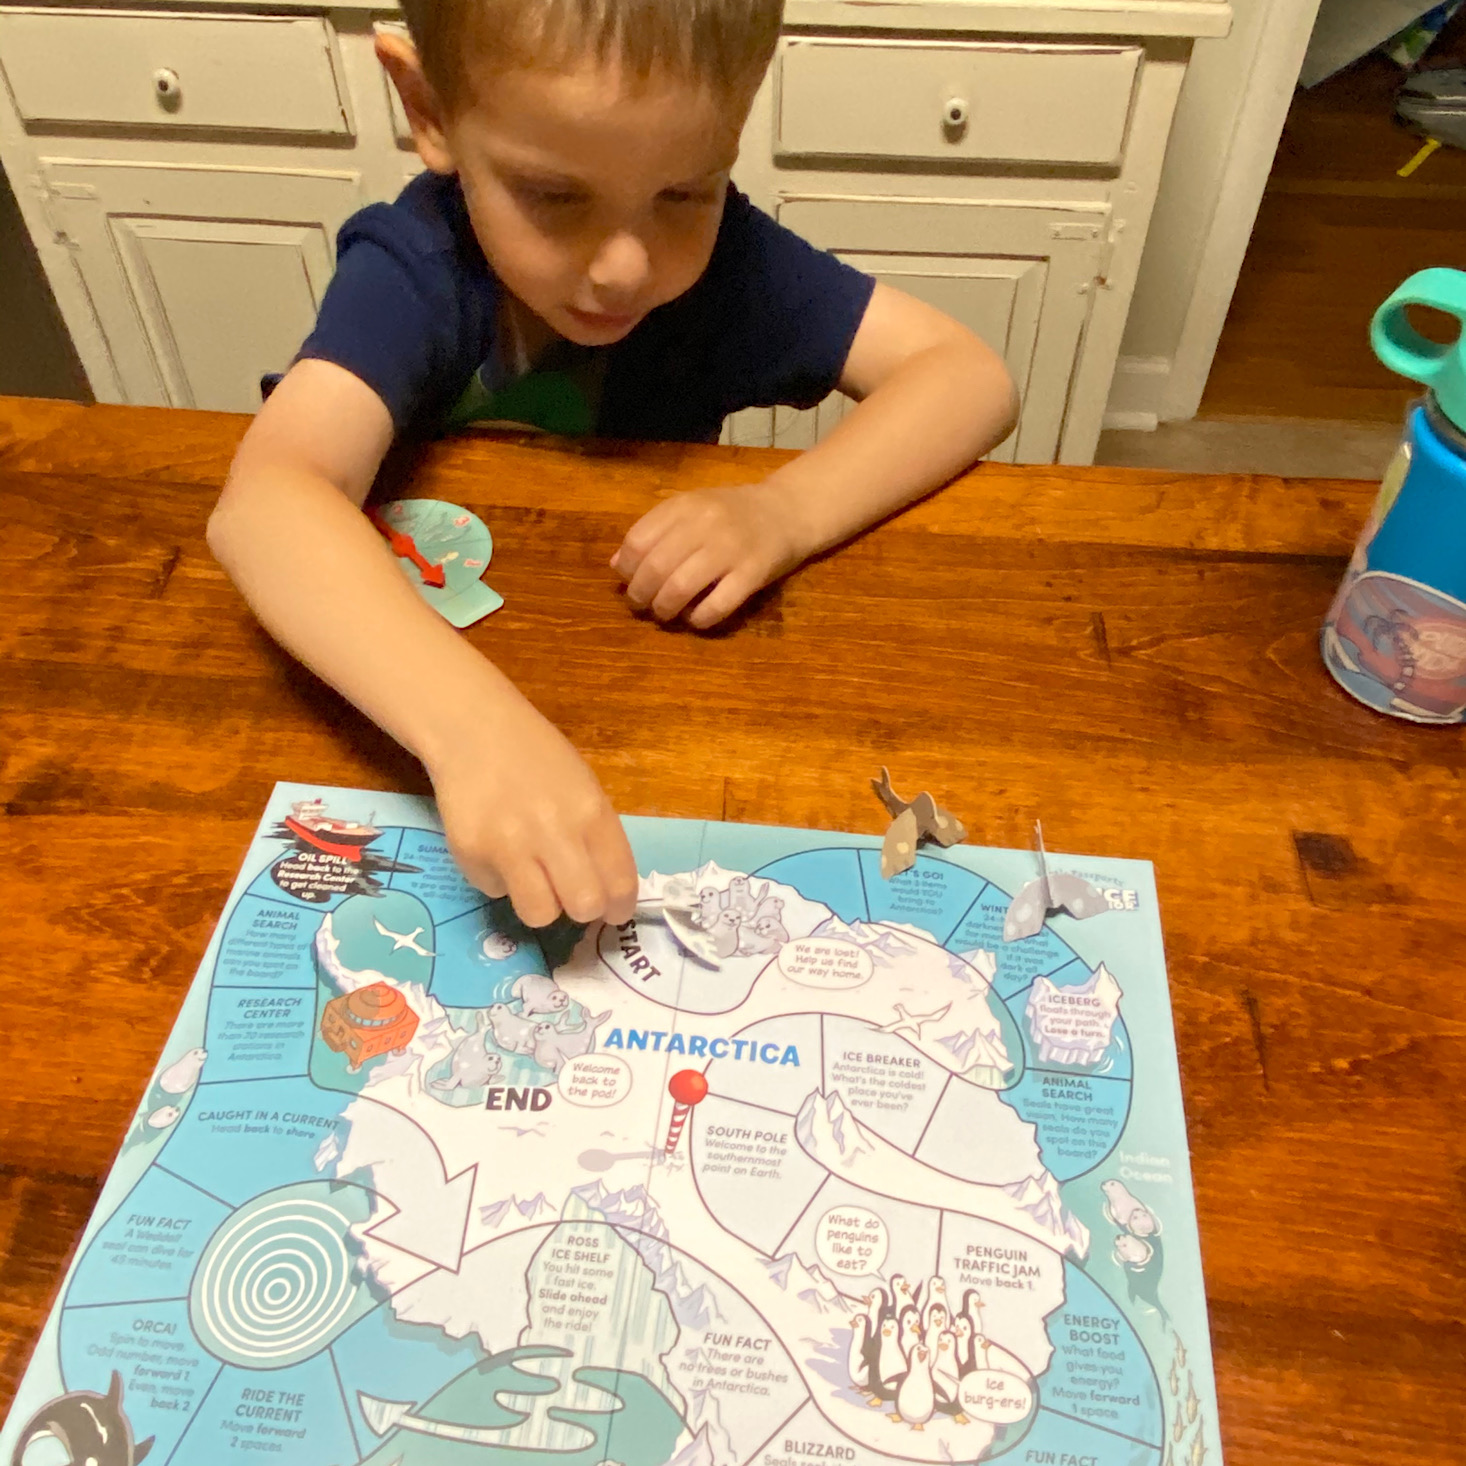

1 of 2
The spinner determined how many spaces we could move. The board was filled with some facts, shortcuts, and questions which I thought were really cool. We had fun talking about what three things we would bring with us to Antarctica! The game was engaging and great for encouraging some critical thinking and creativity! It also reinforced counting skills for my son.
1 of 2
I loved how we could store everything in our backpack and out of the way when we were done for the day!
Day 1 Online Extension:
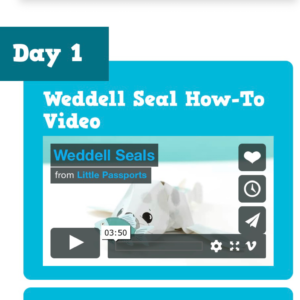
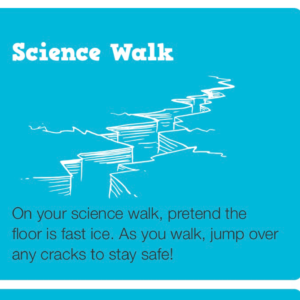

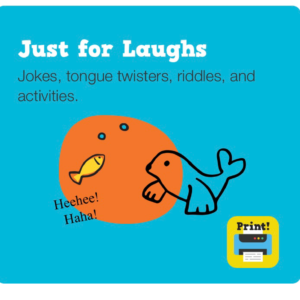
When you access the online portion of the camp, the activities are separated by day with printables and links to the topic you explored that day. They include videos of how to conduct the experiment or activity for the day which can be helpful! These are quick overview videos set to music. For Day 1 there was a science walk where you pretend the floor is fast ice, a seal drawing activity, and some funny jokes that we could print out. It was a great extension of our day!
Day 2: Volcanoes
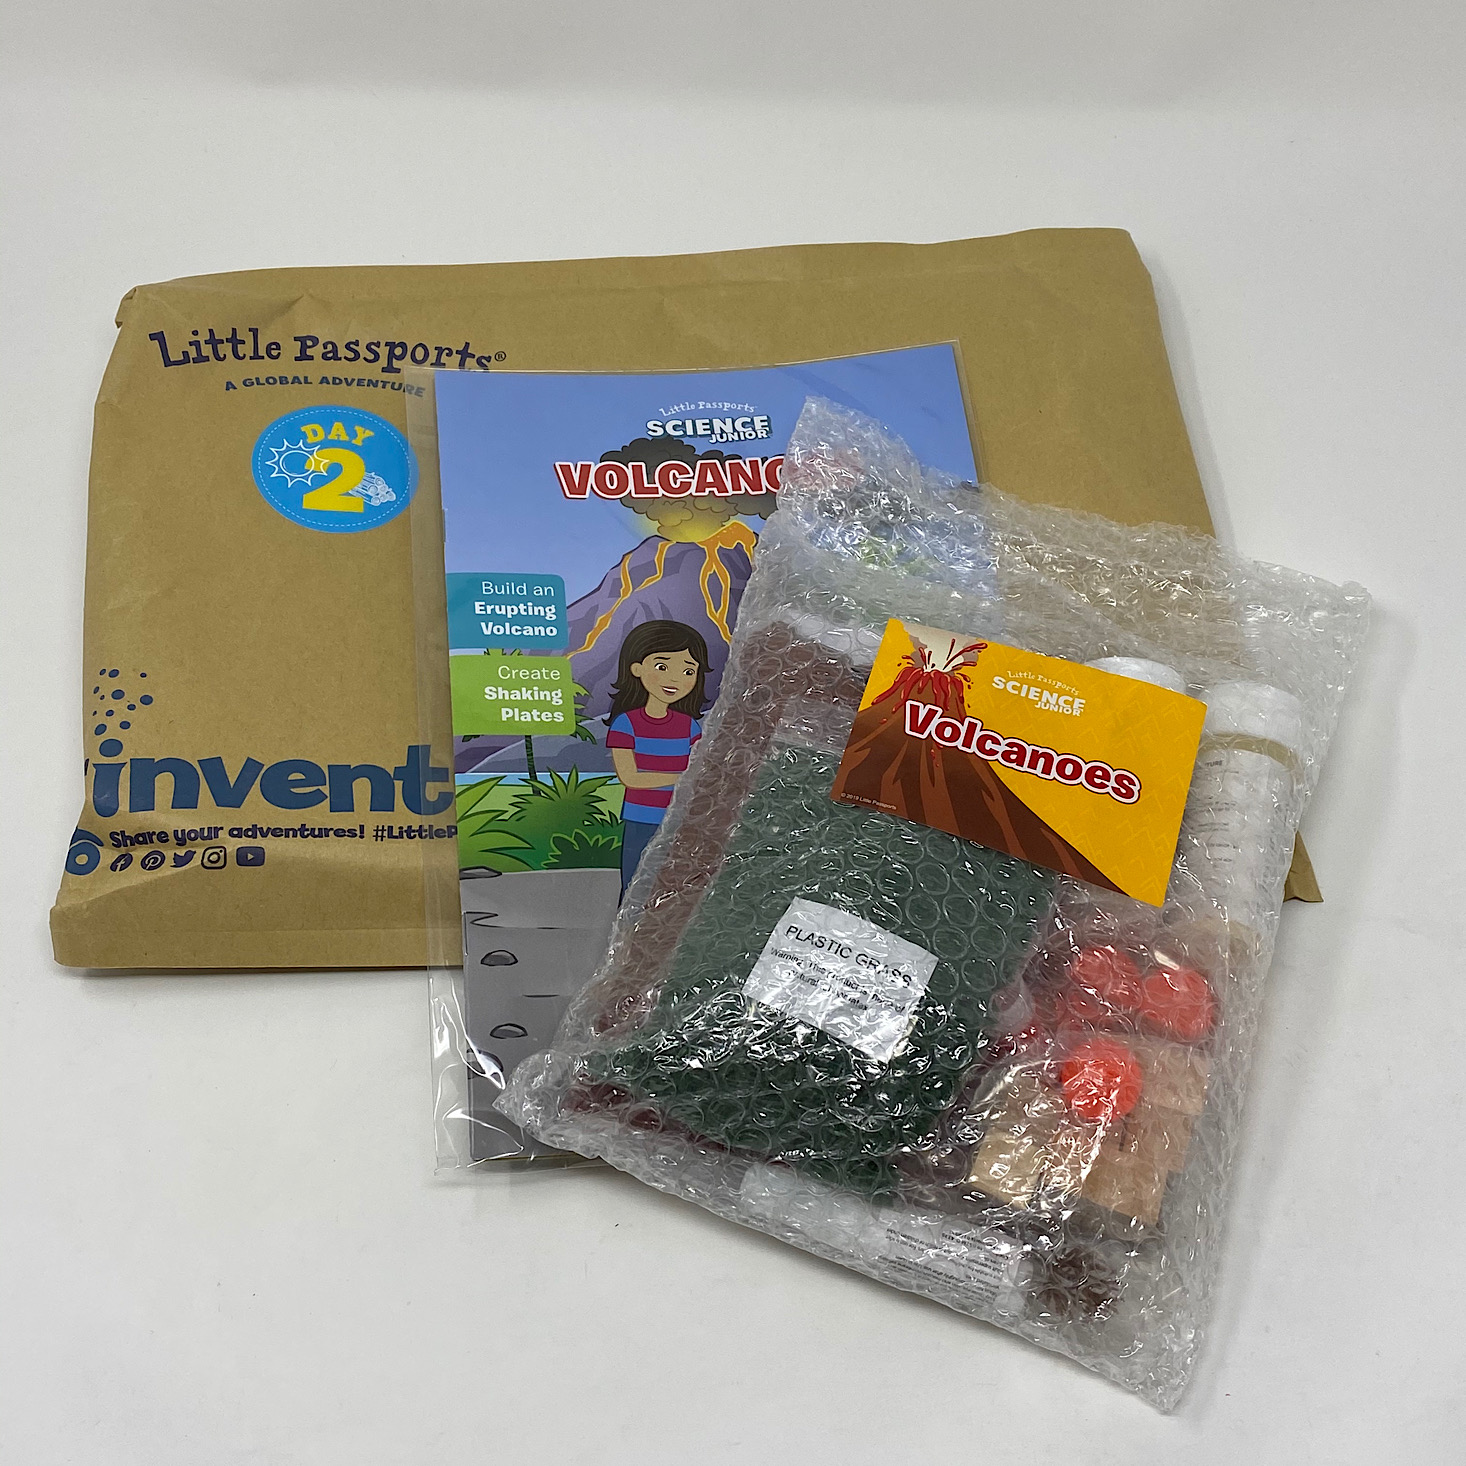

1 of 2
This is everything we received for Day 2 packaged up separately and ready for us to open!


1 of 3
We checked out our volcano trading cards and then added them to our ring.
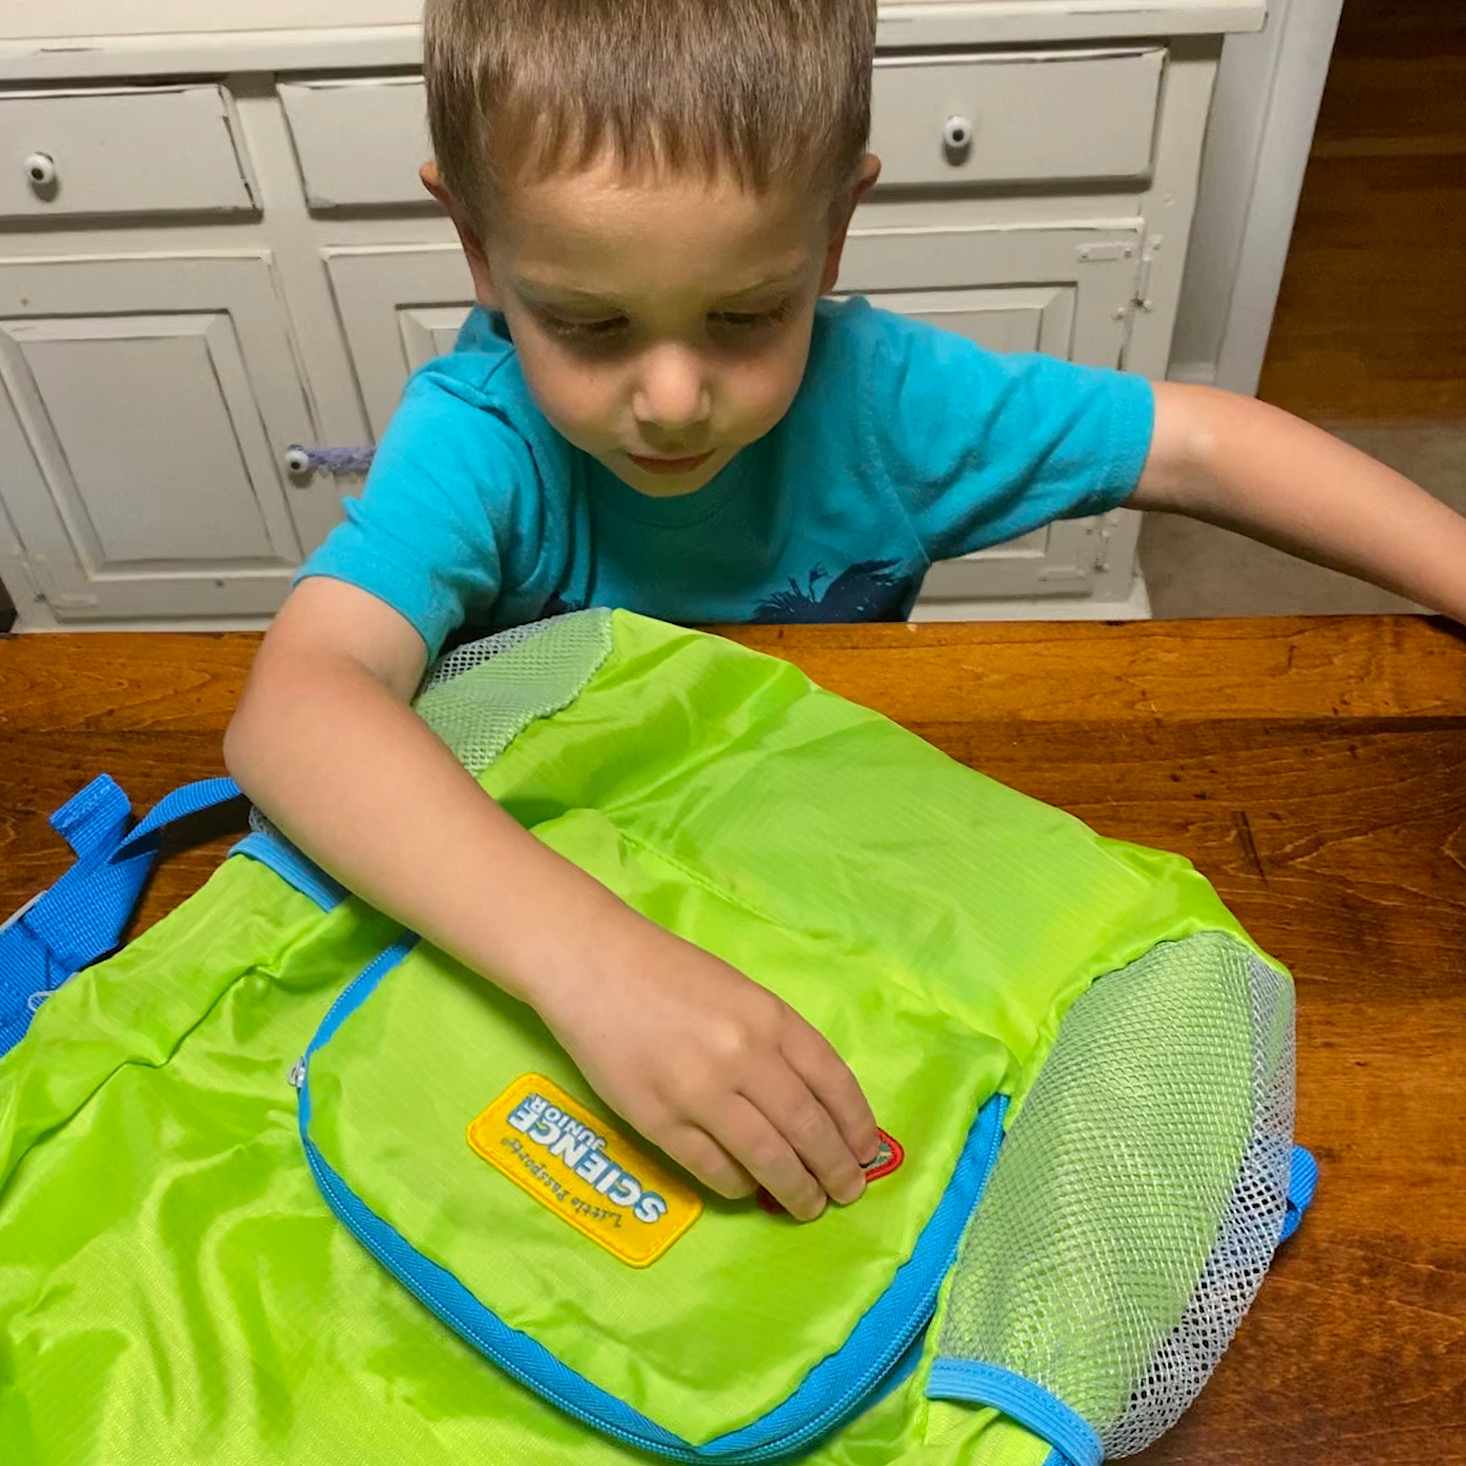

1 of 2
My son added this cool volcano badge to our backpack.

These are our colorful volcano stickers.

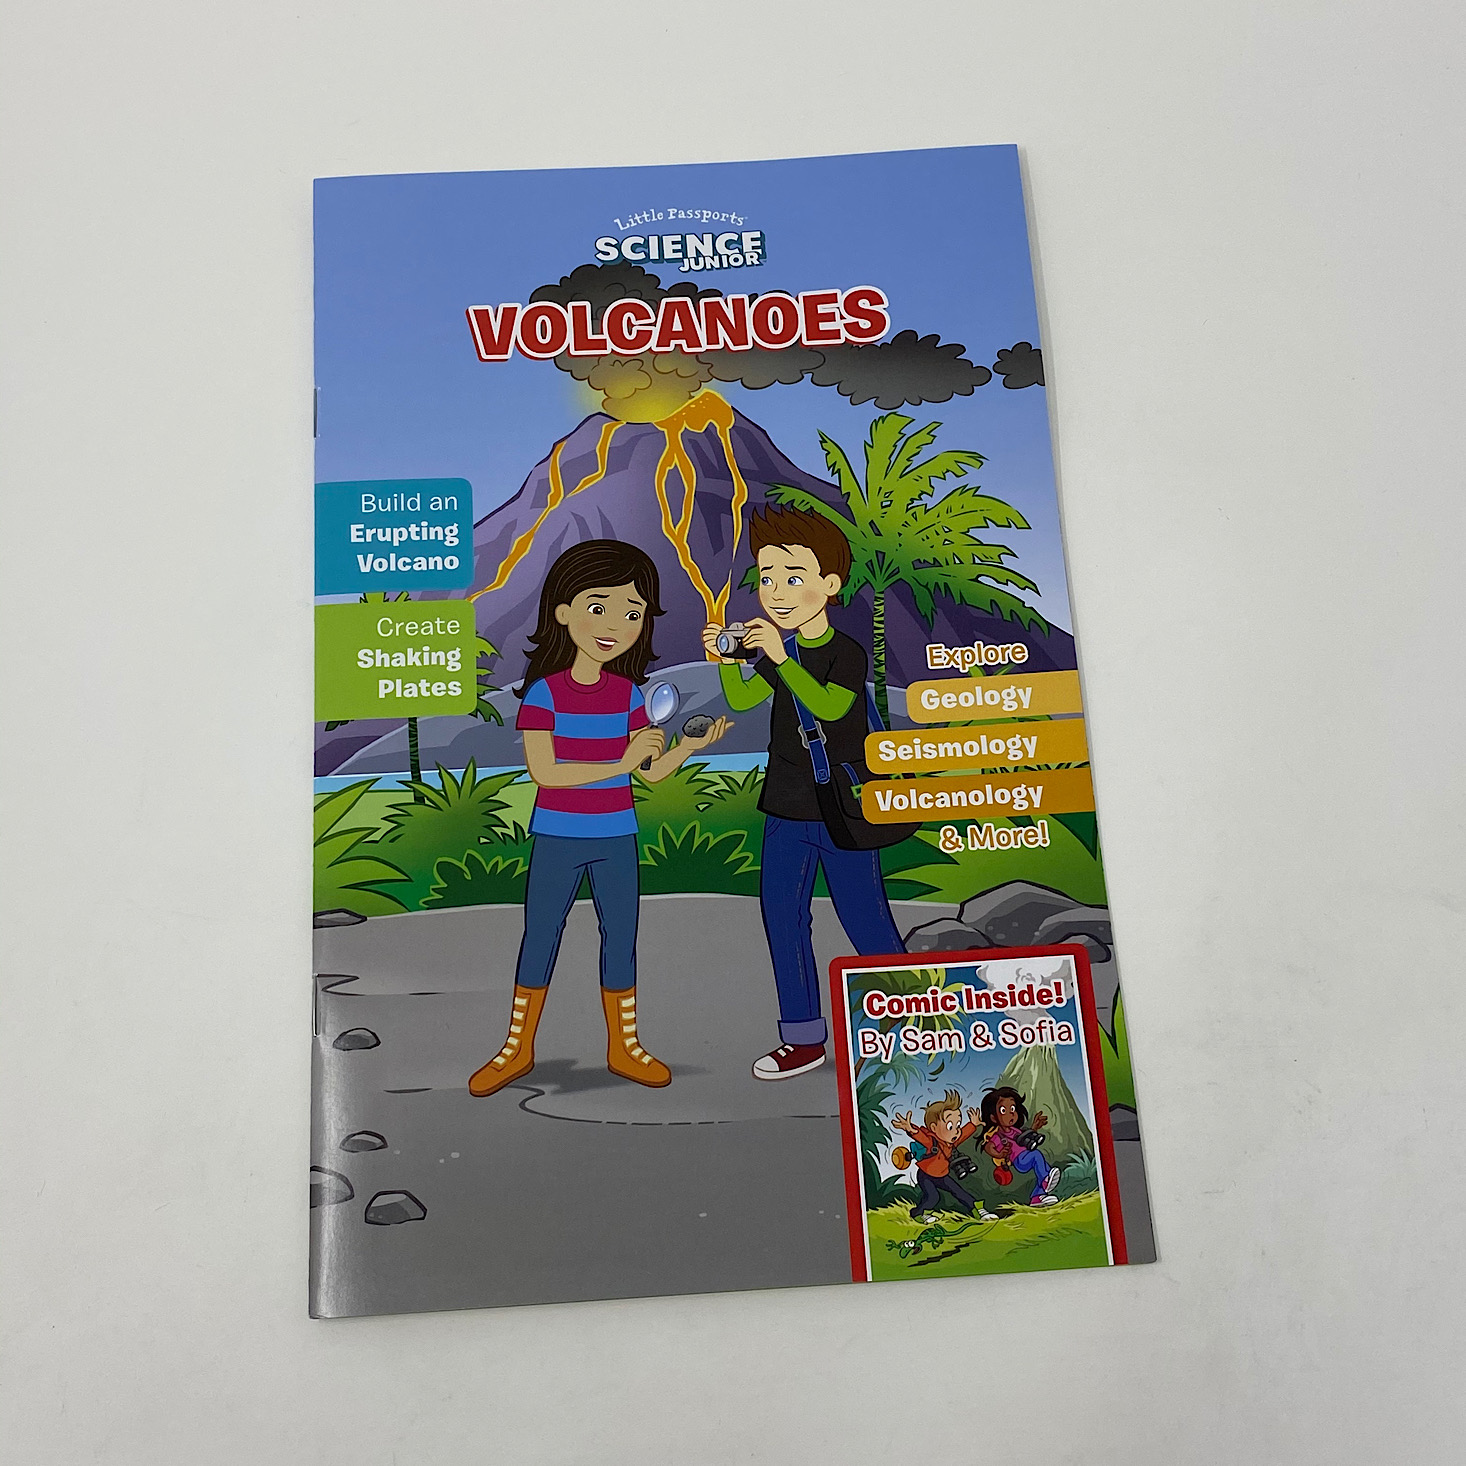
1 of 9
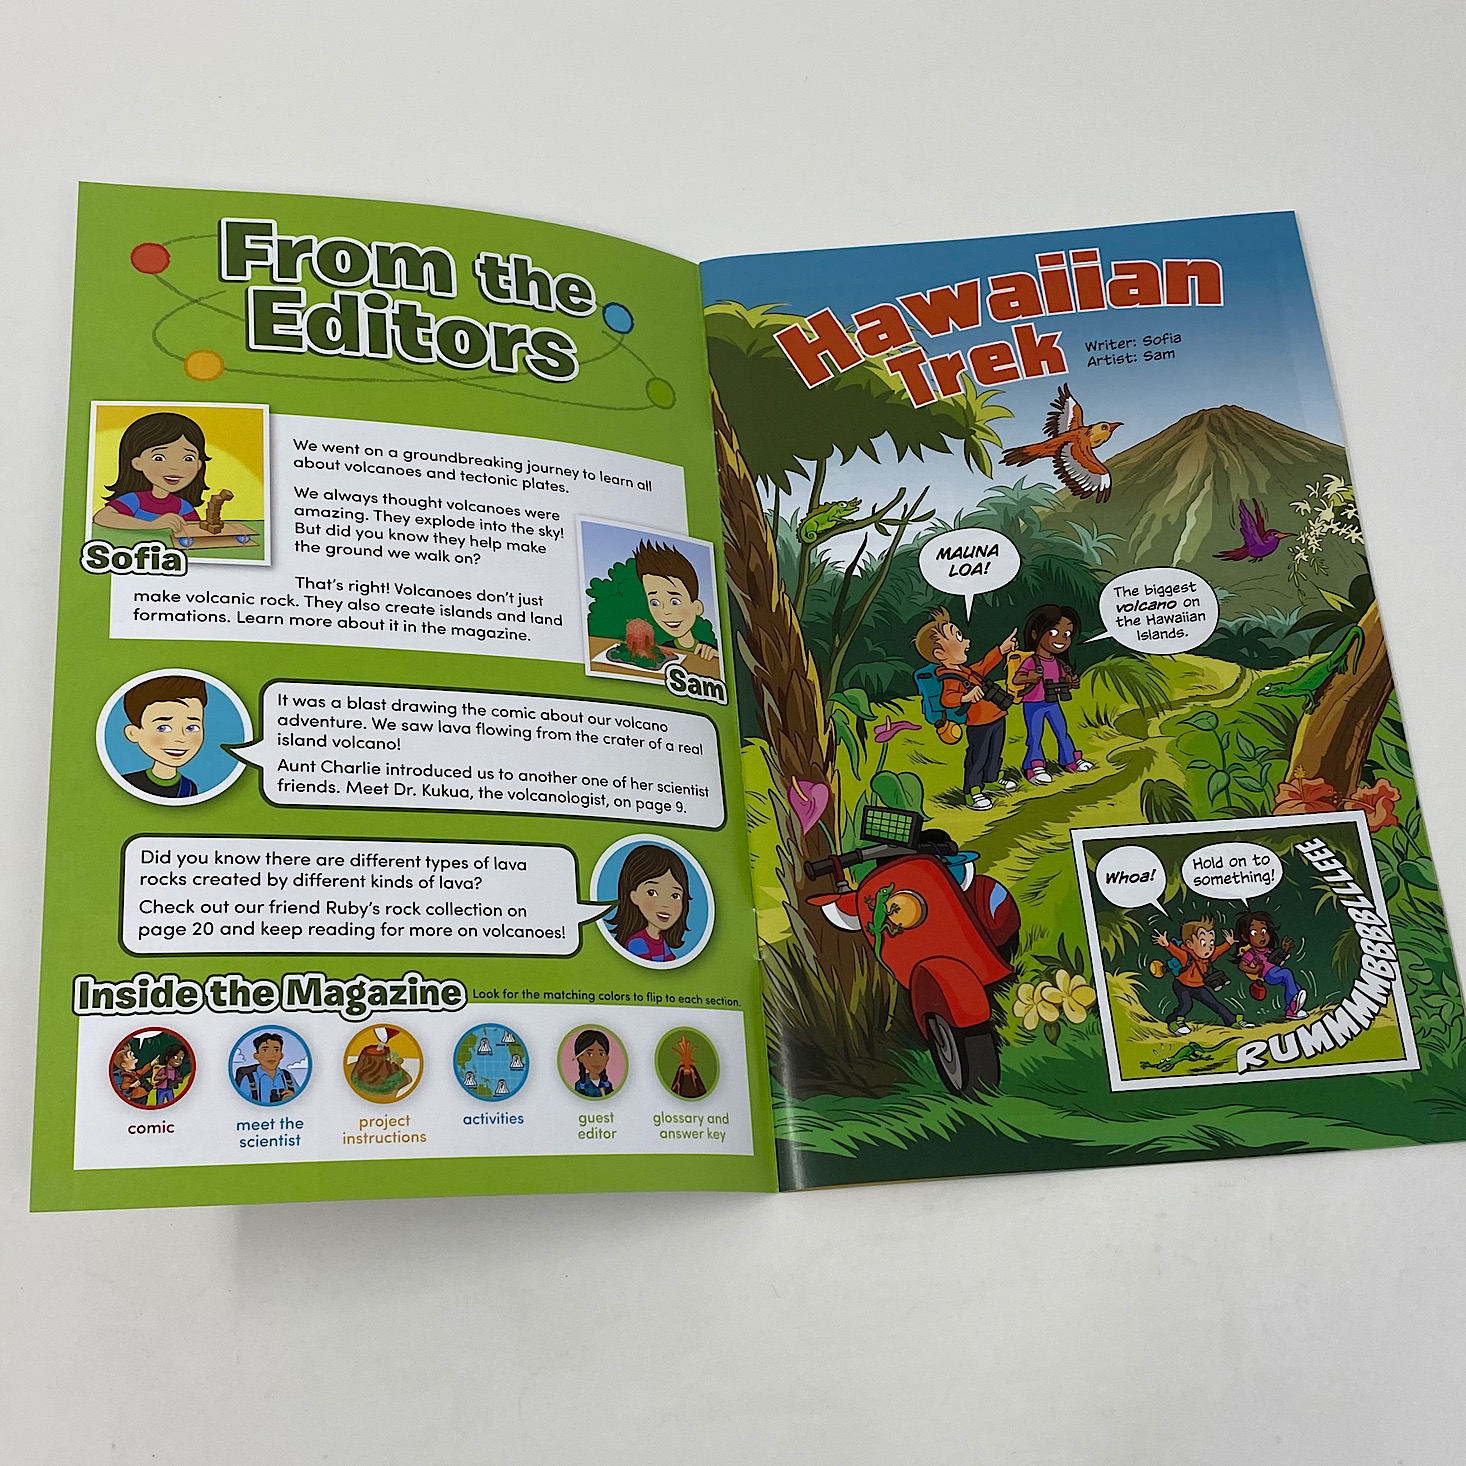

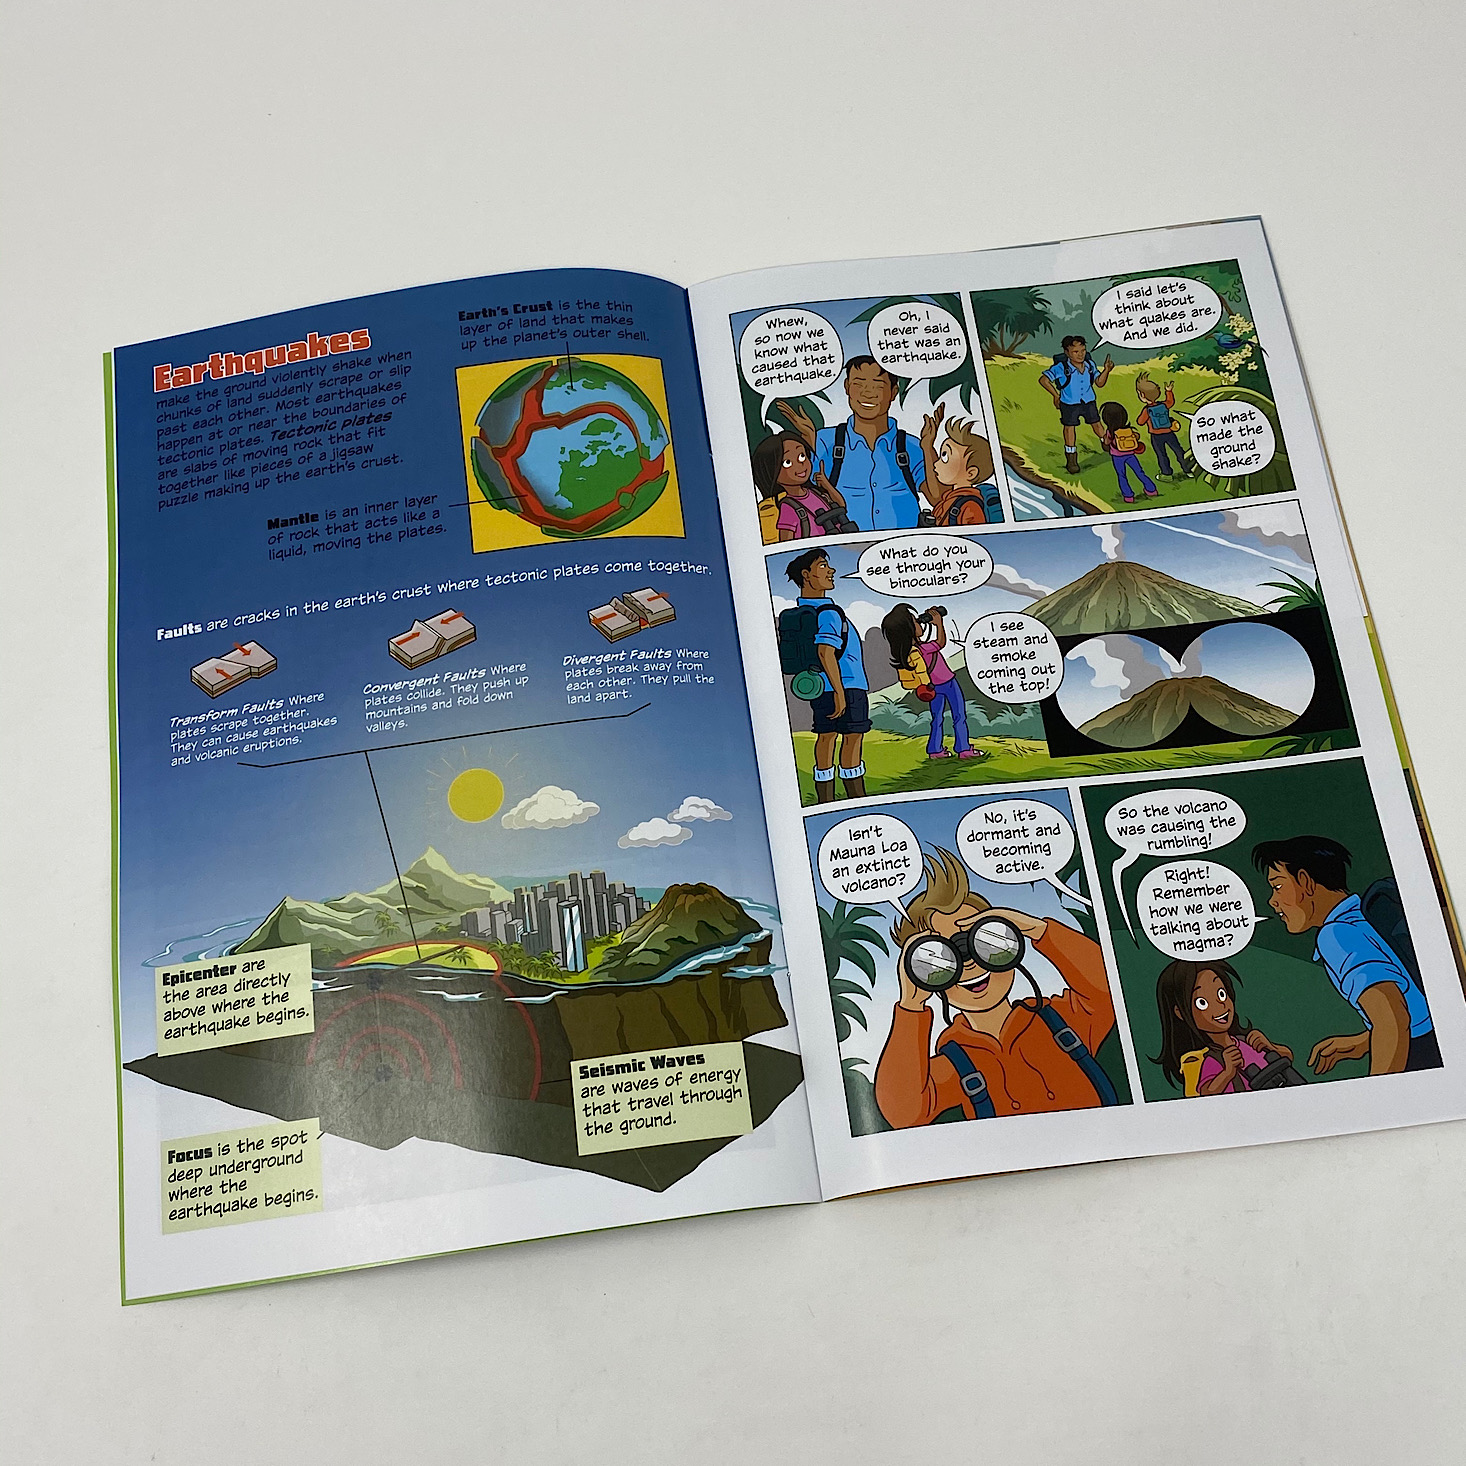


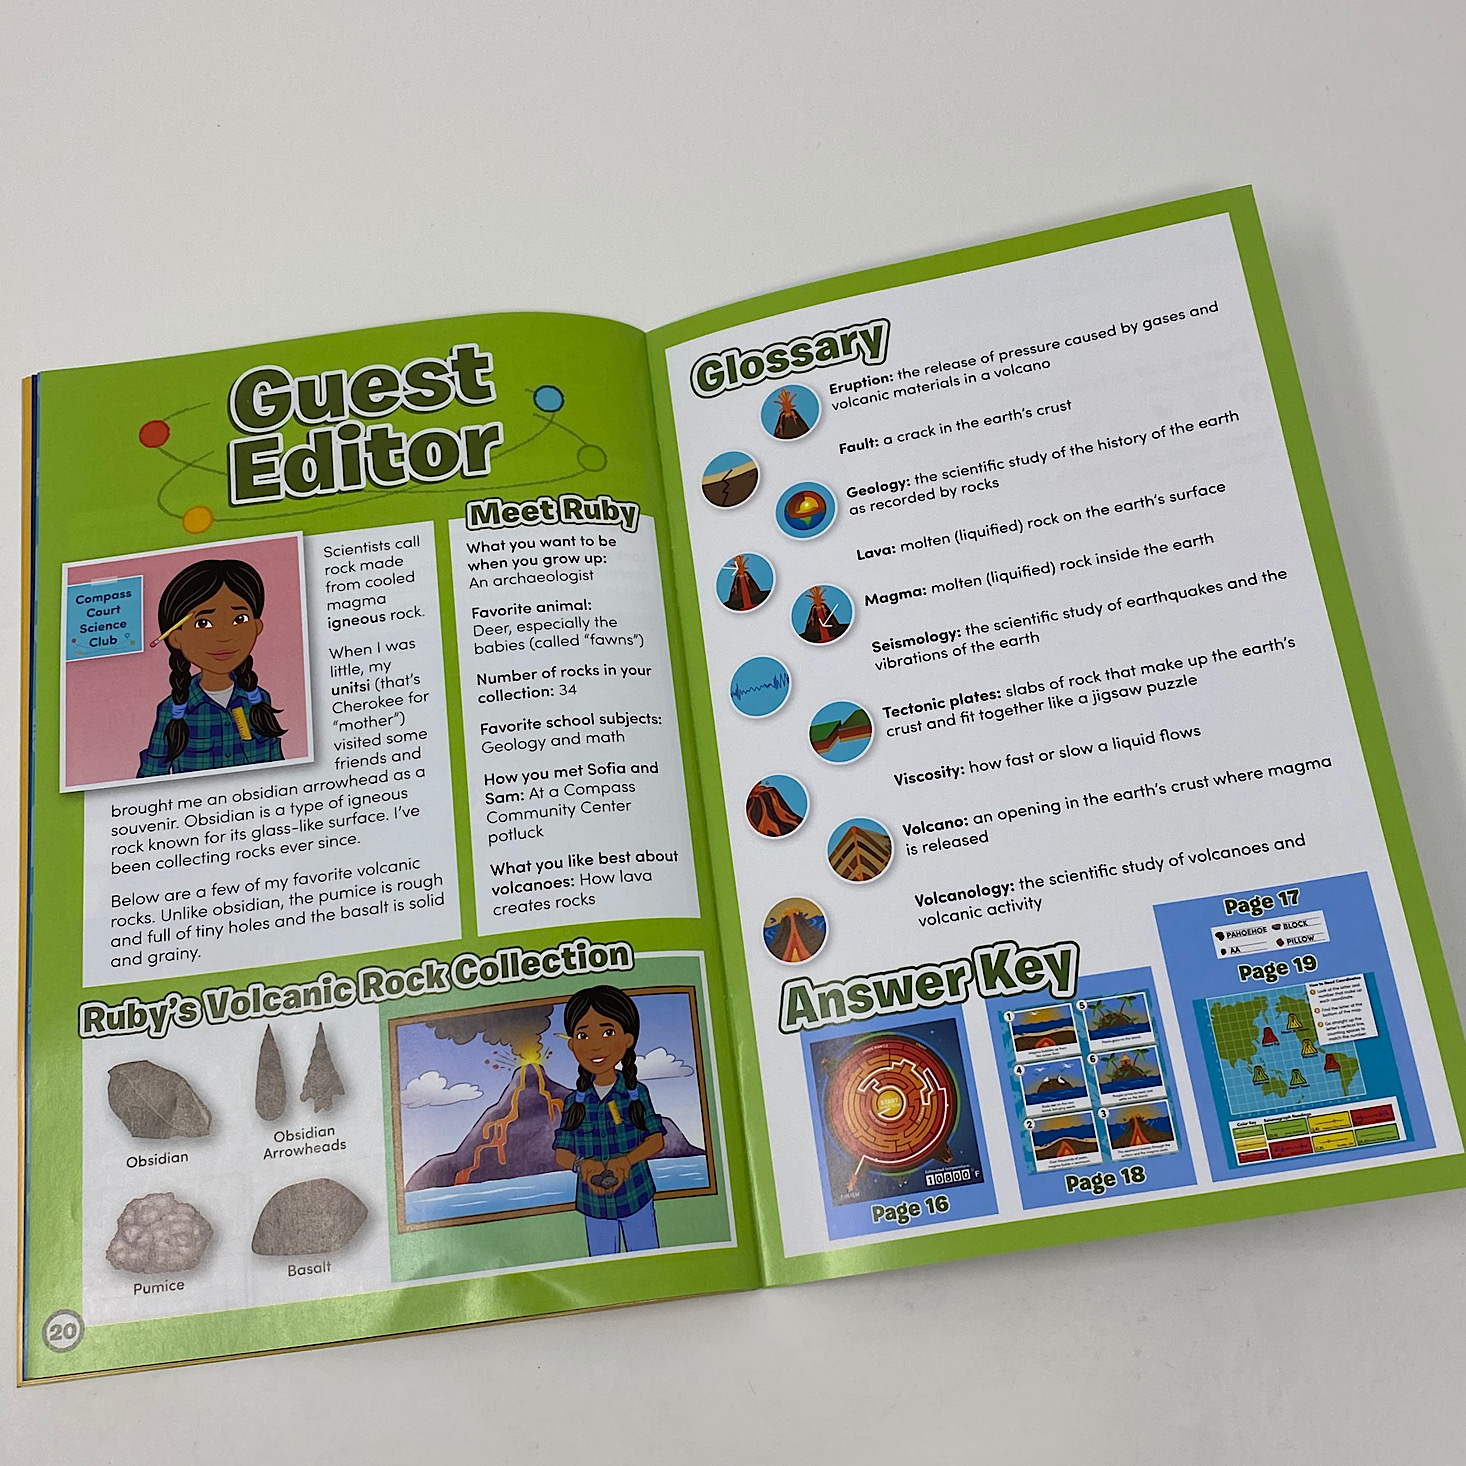
This time our magazine contained information all about volcanoes and even some tidbits about earthquakes. We met a volcanologist for our scientist and our guest editor shared her volcanic rock collection with us!

1 of 5


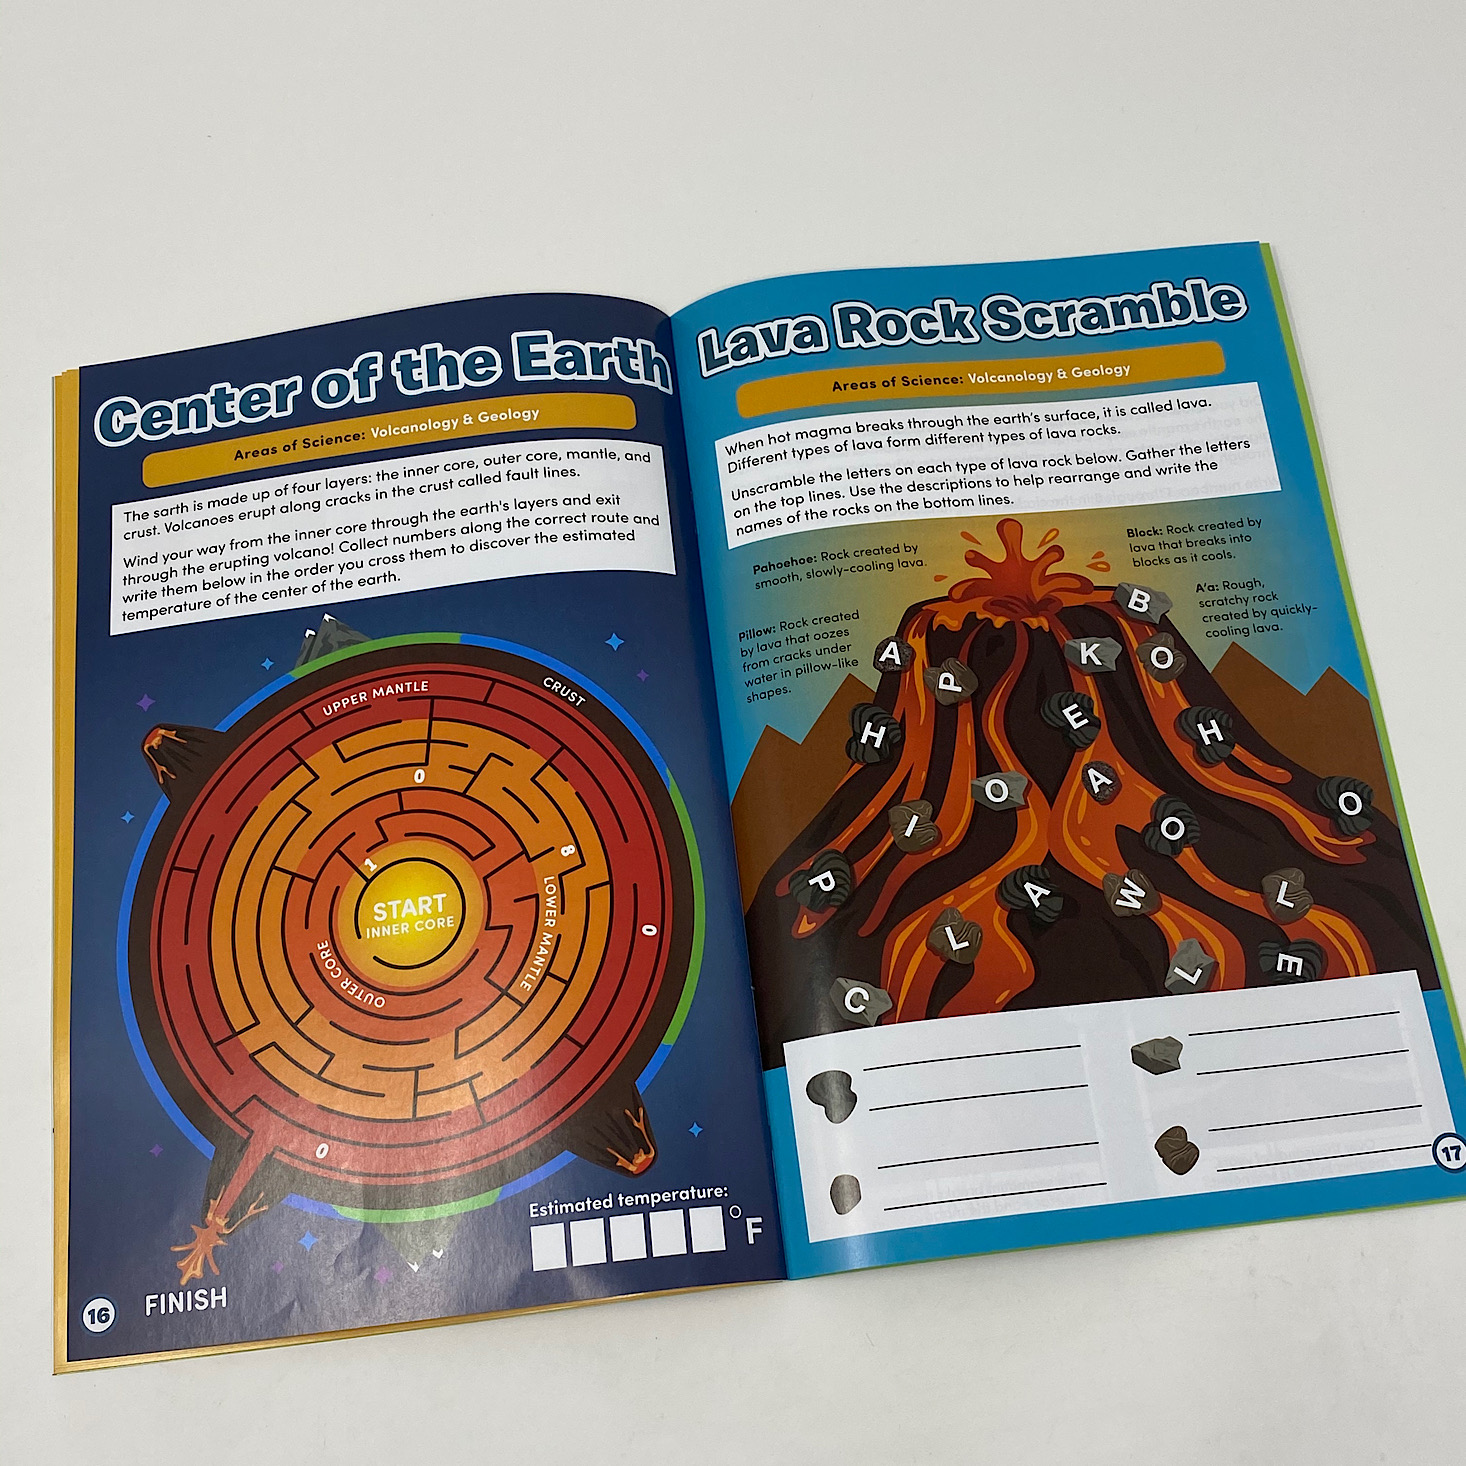
The rest of the pages contained the instructions for our erupting volcano and shaking plates activity. There were some fun activities like a center of the earth maze, a lava rock scramble, and more.


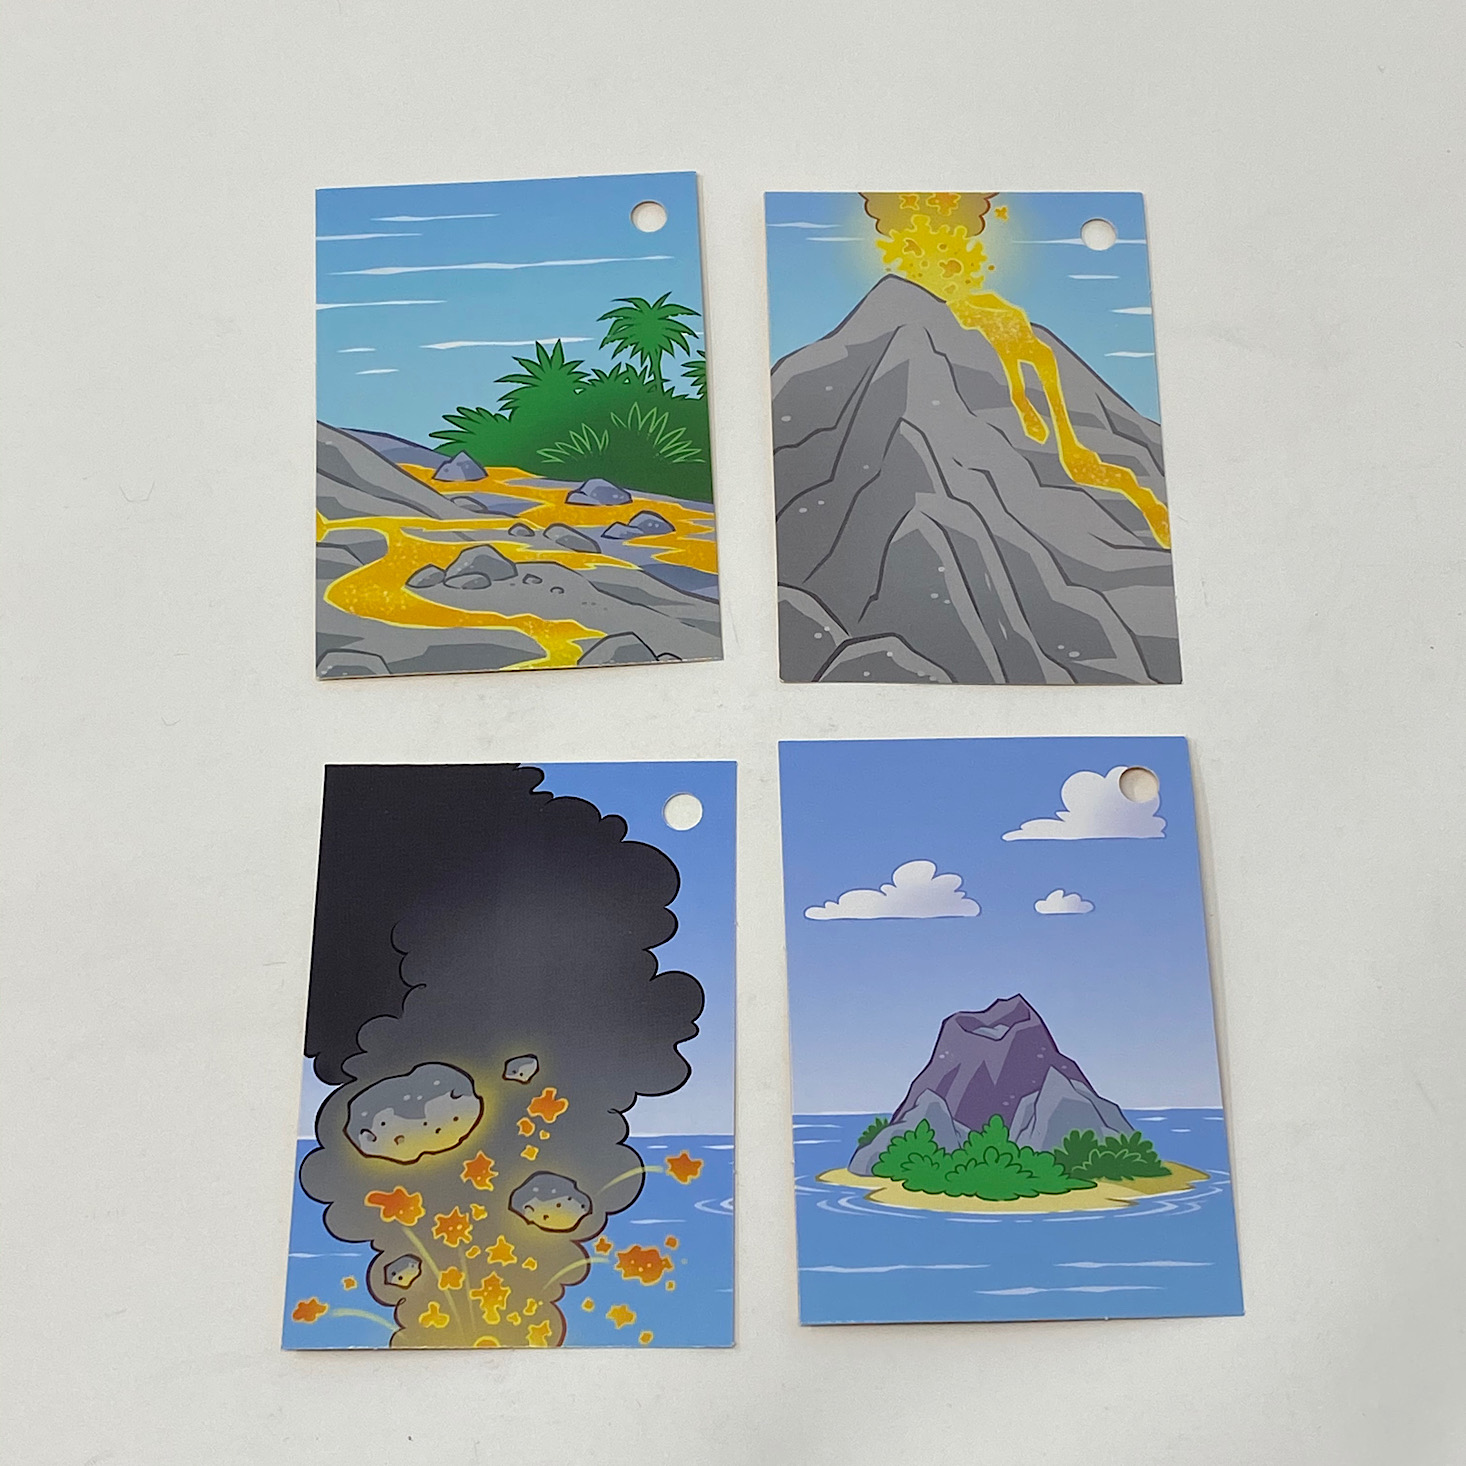
1 of 4
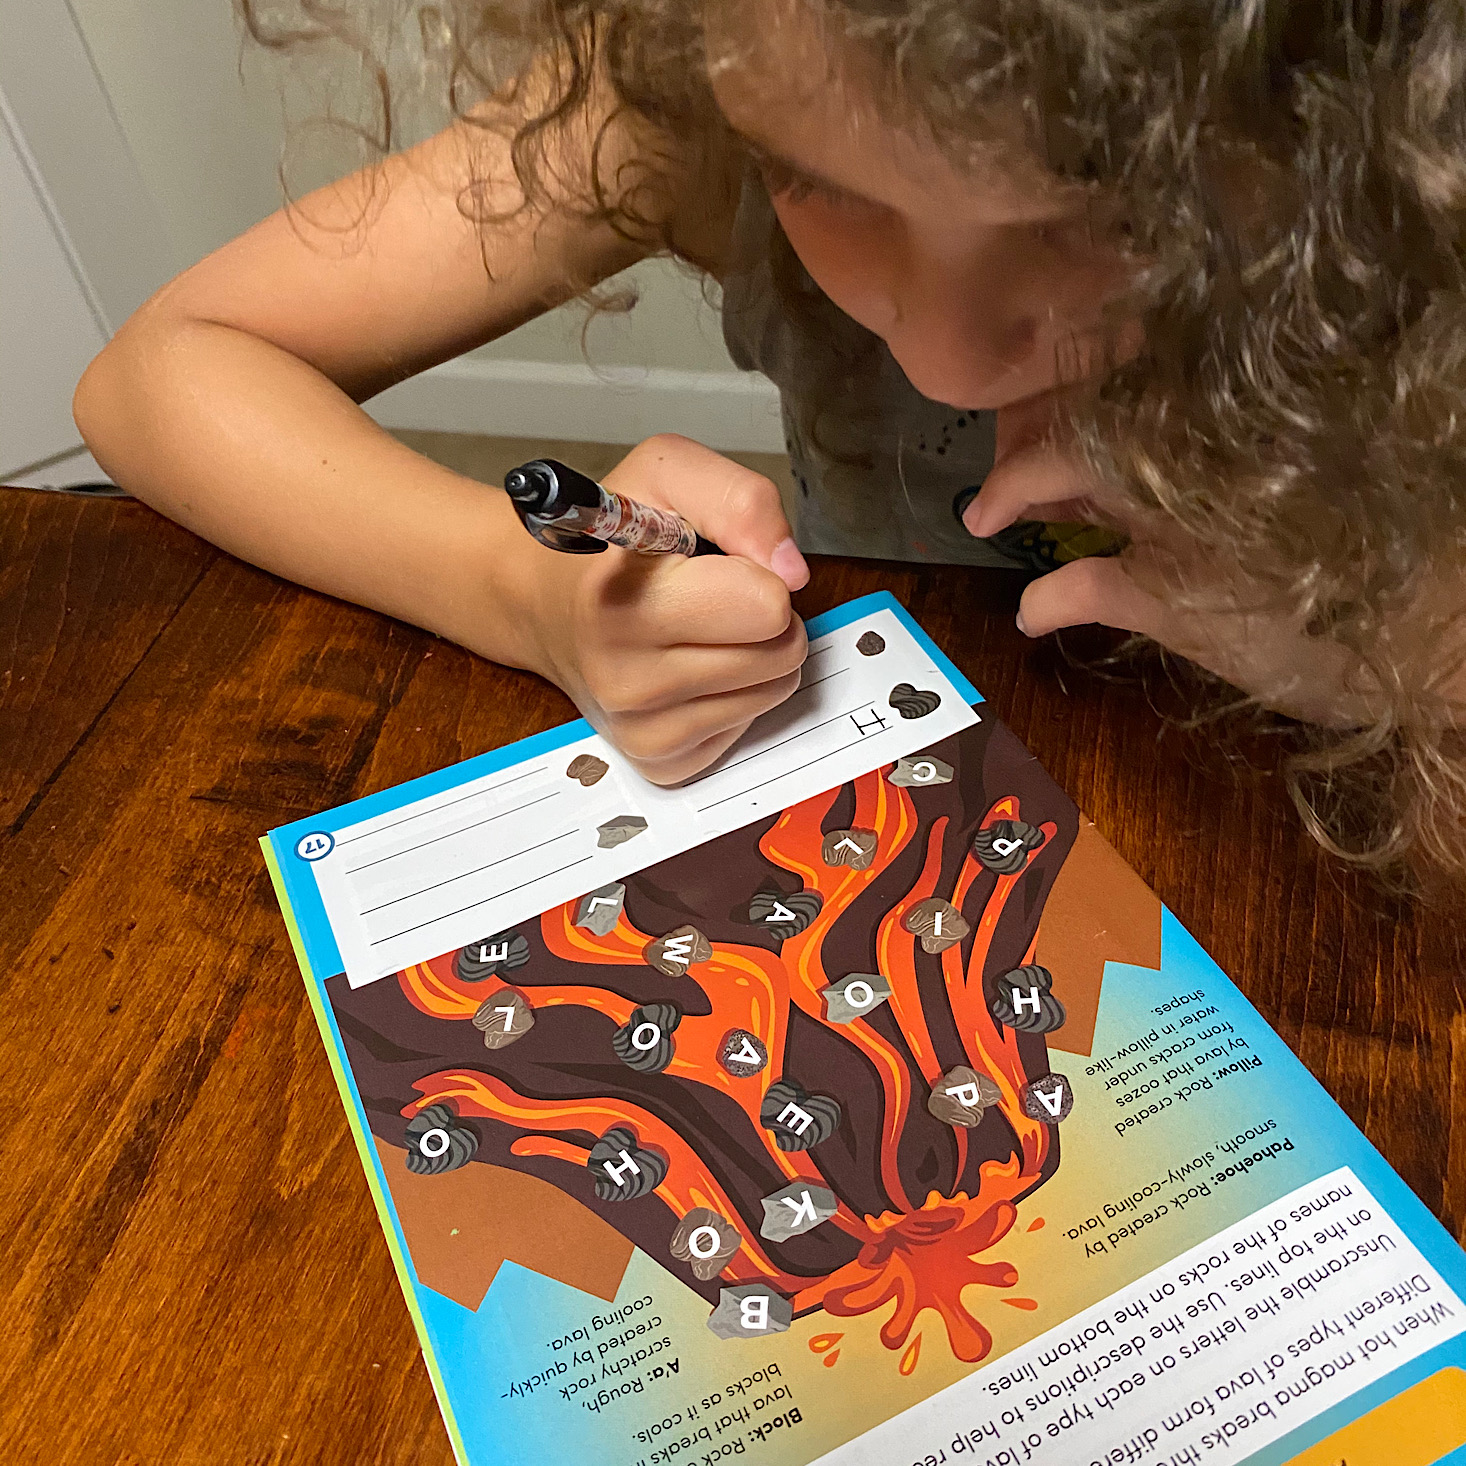

My daughter loved doing the maze and sorting the letters in the lava rock scramble while my son helped me put the volcano pictures in order.

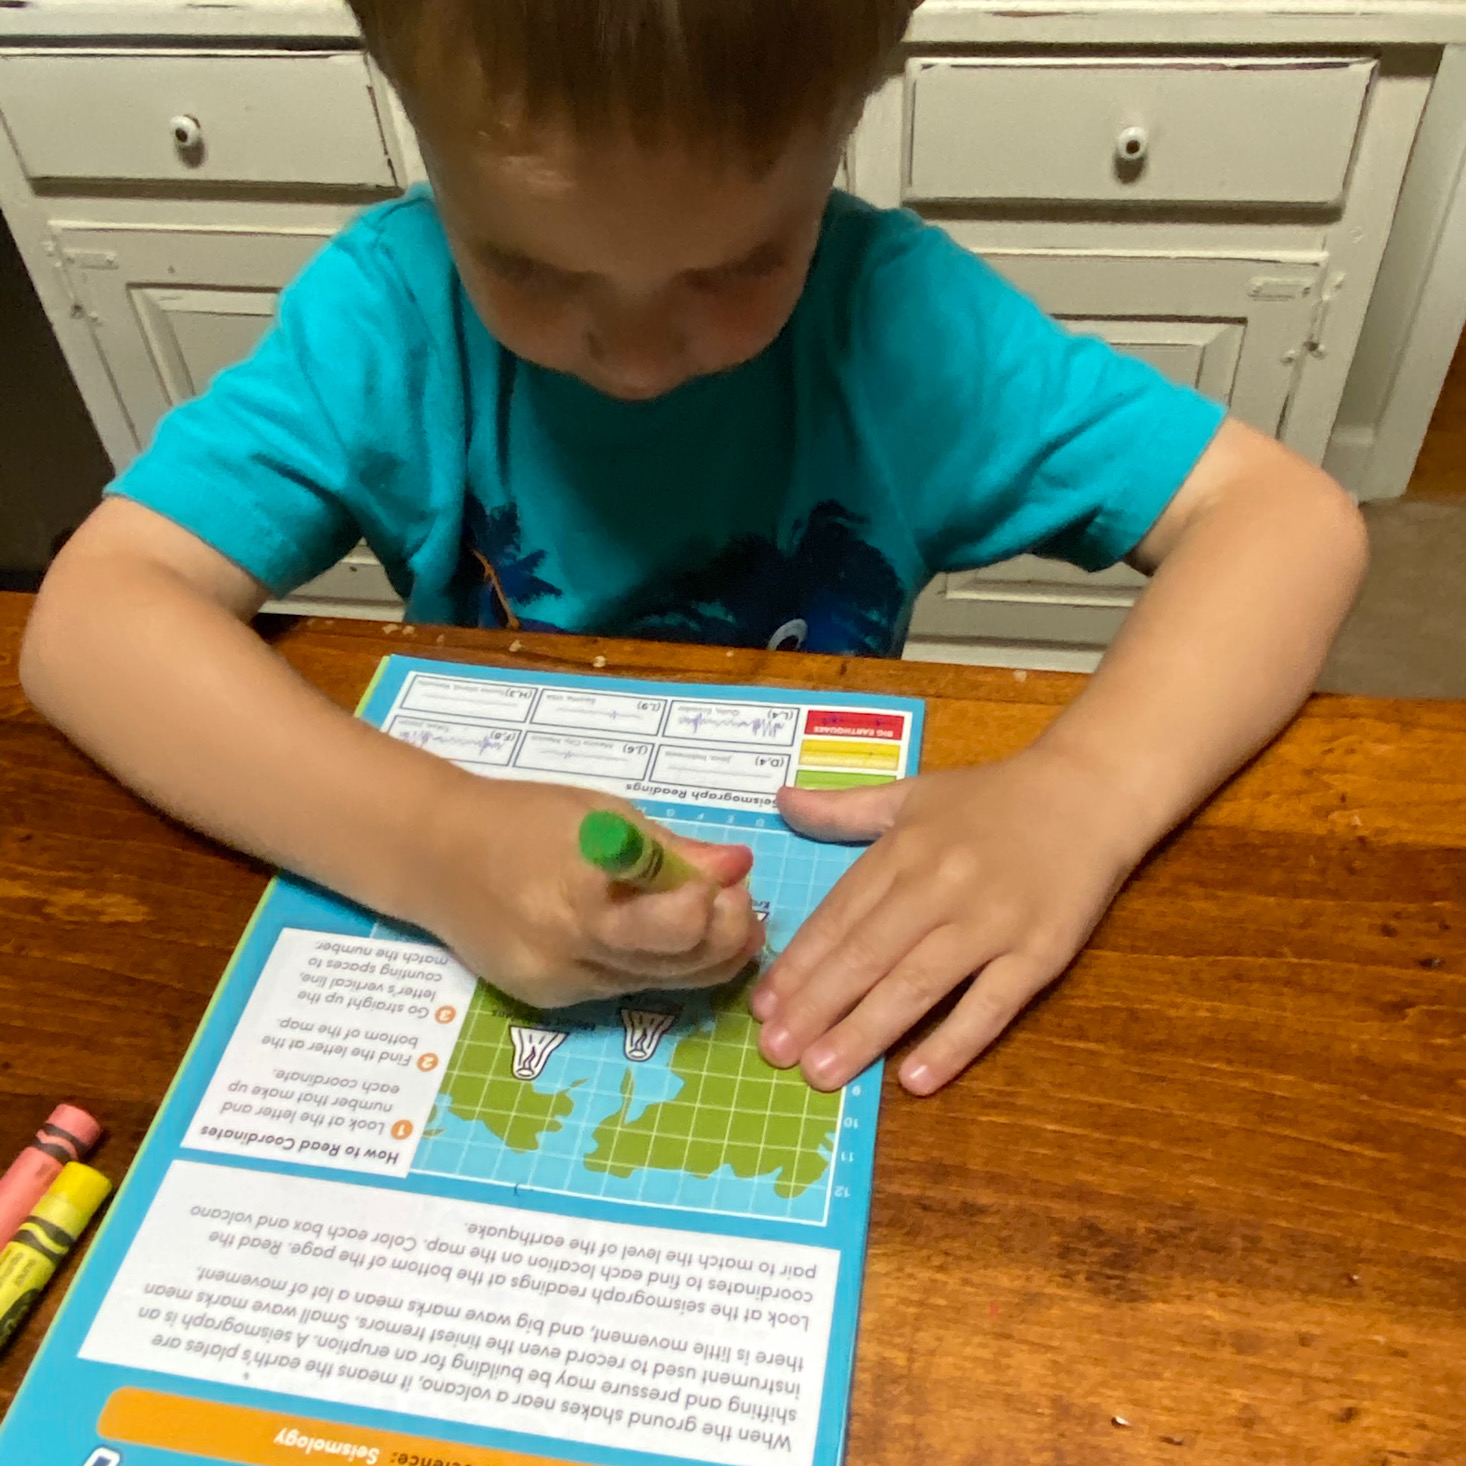
1 of 4


We enjoyed doing the seismic activity page together. I was able to teach the kids about coordinates, they located the volcanoes on the map, and then read the seismic chart for each to determine whether there was no earthquake, a small earthquake or a large earthquake. This simple activity covered such a variety of new skills. I was impressed!


1 of 4


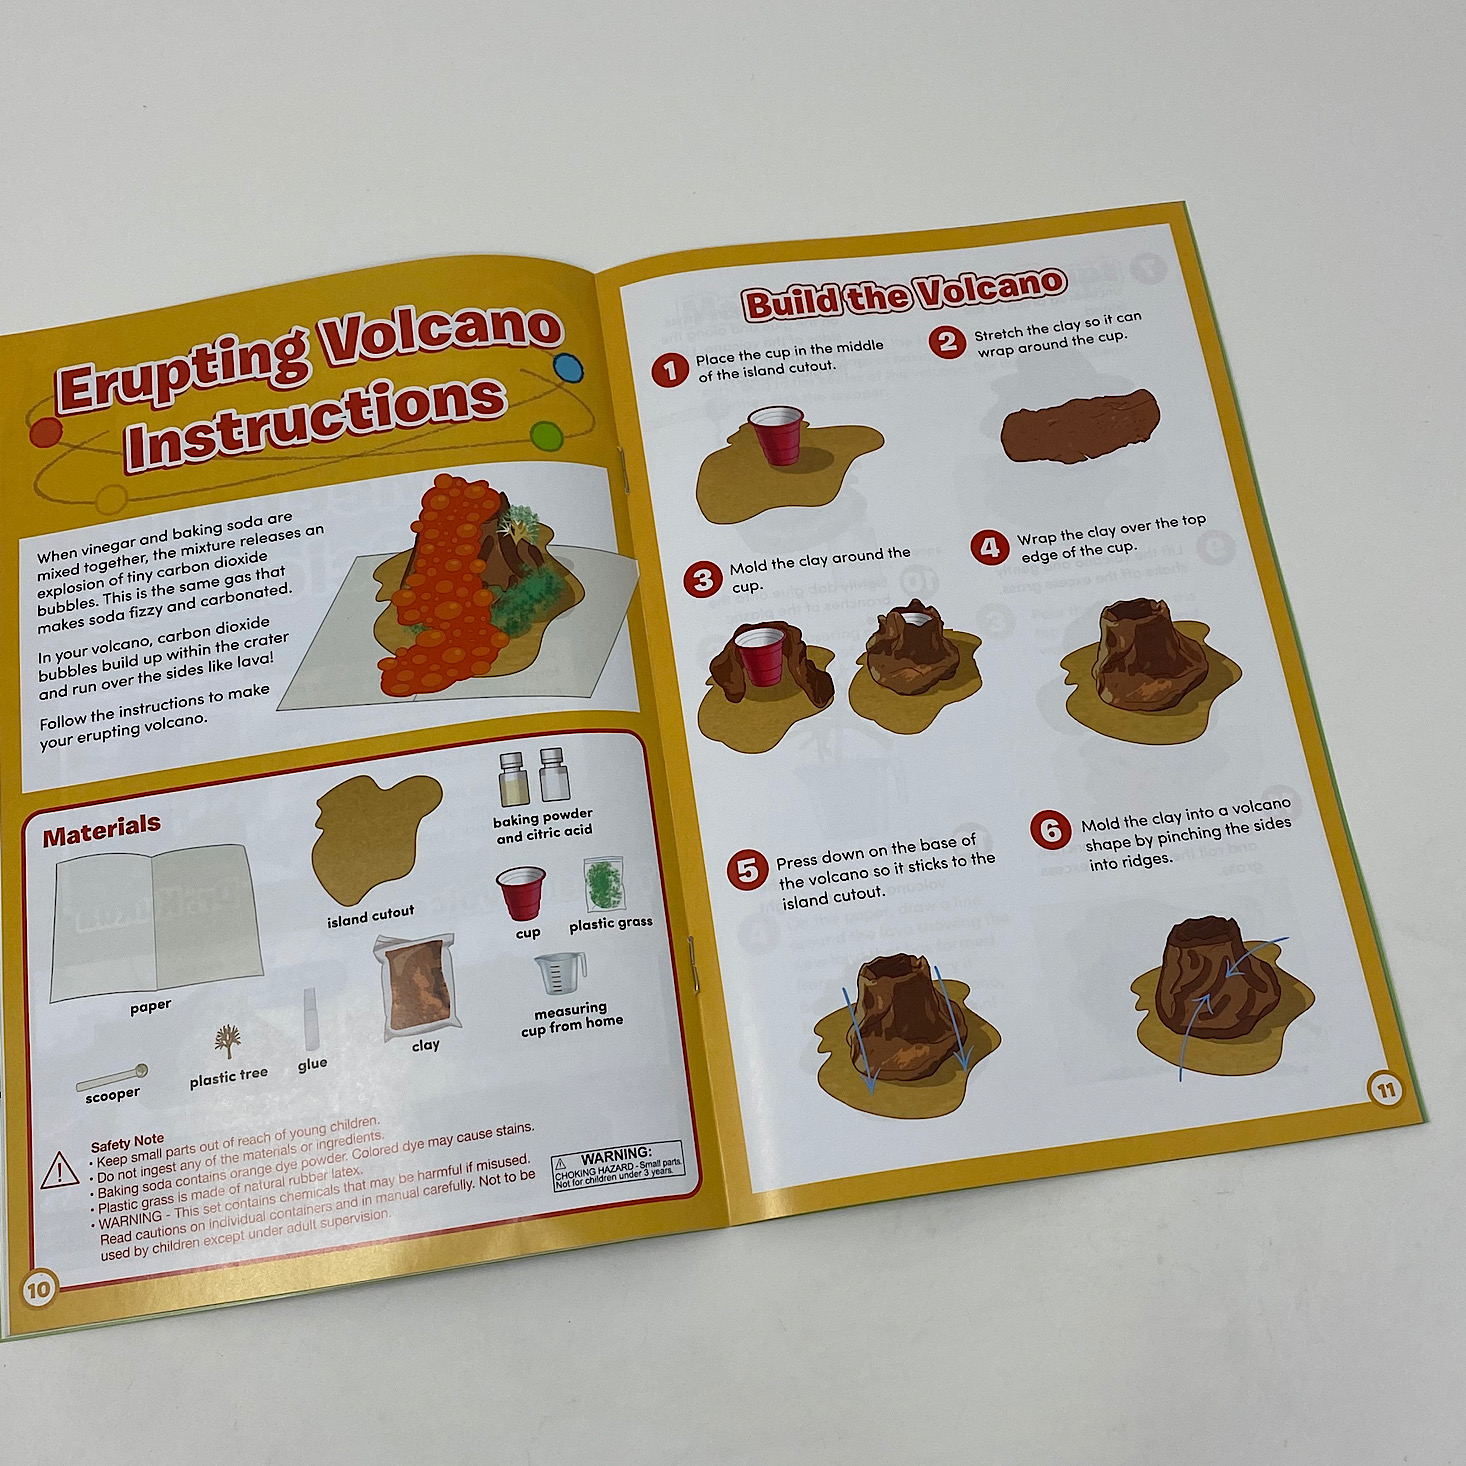
They provided everything we needed to make our own erupting volcano complete with some first aid and safety information.


1 of 3
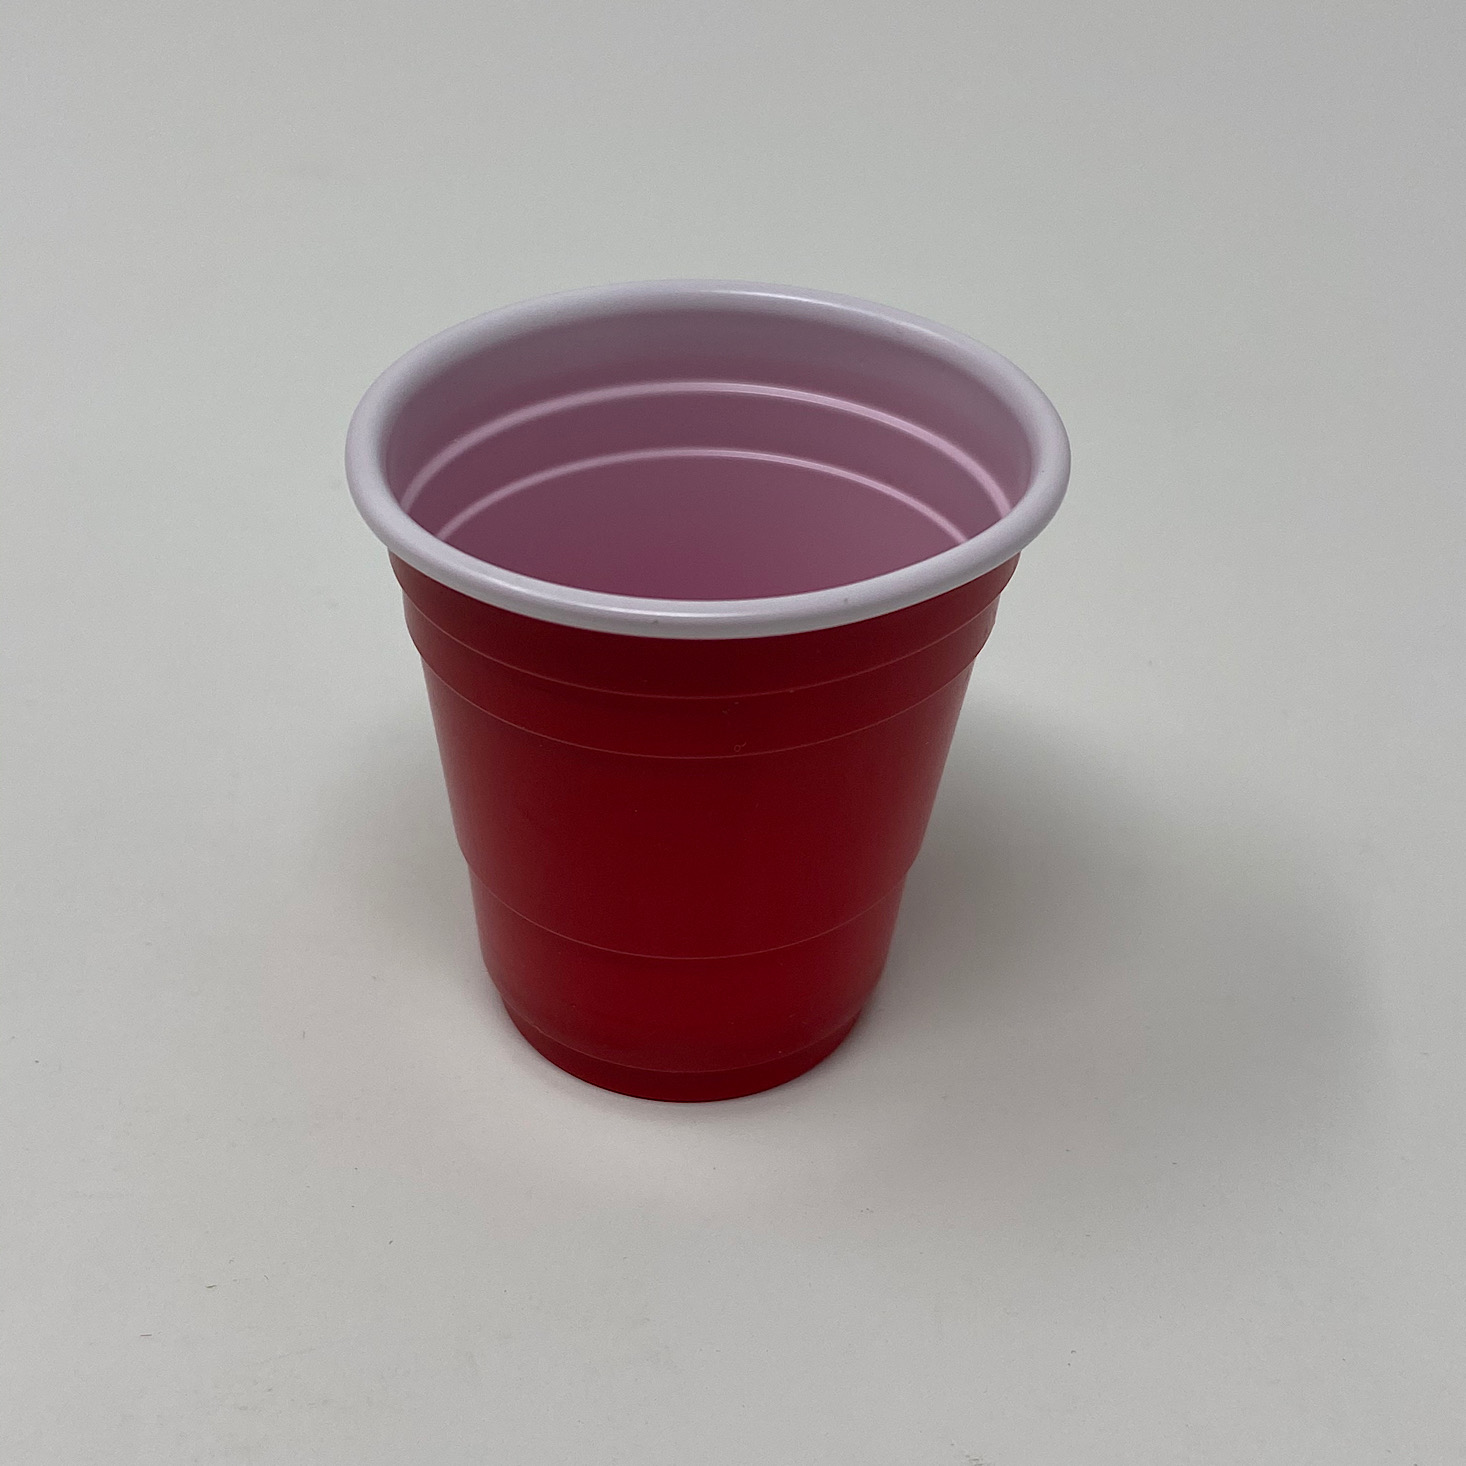
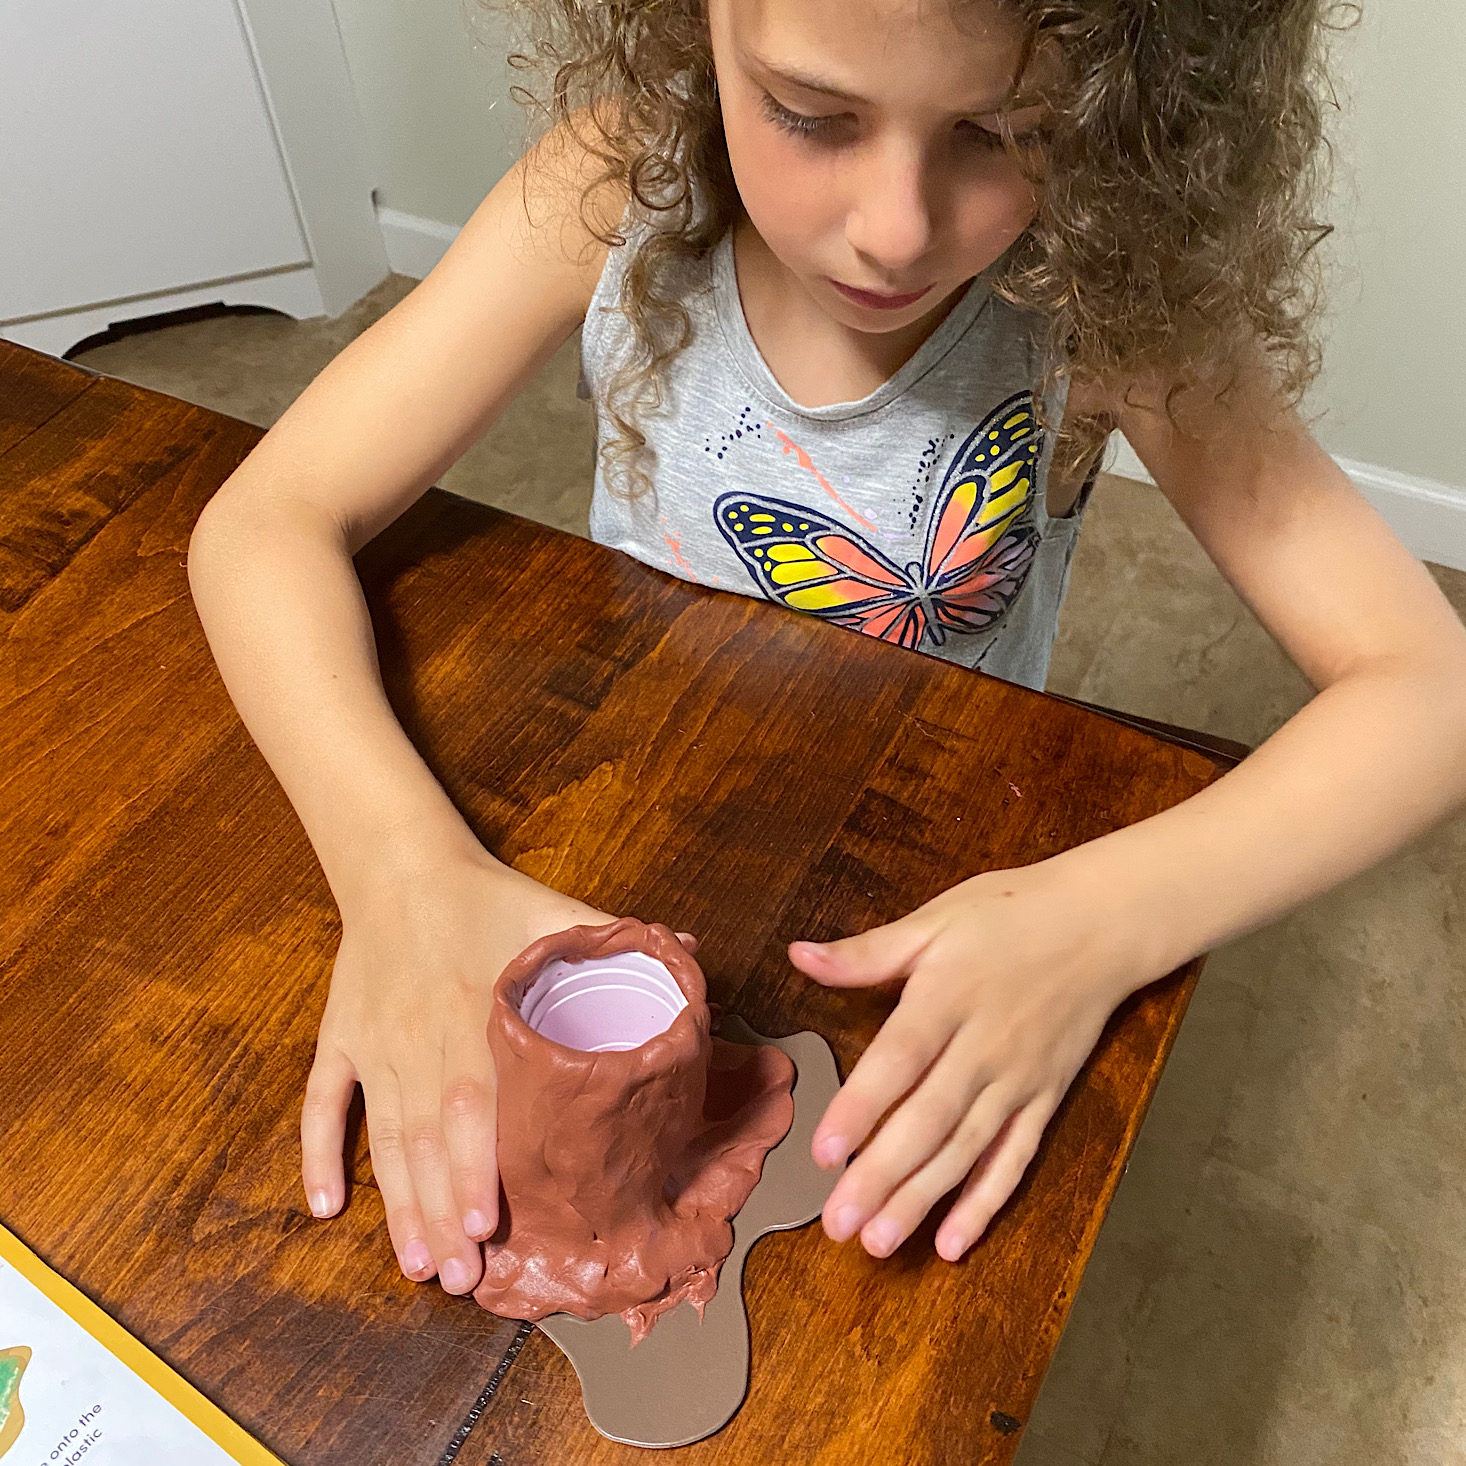
The first step was to take our brown clay and form it around the little cup they provided. This sat on top of our island cut out.
1 of 4


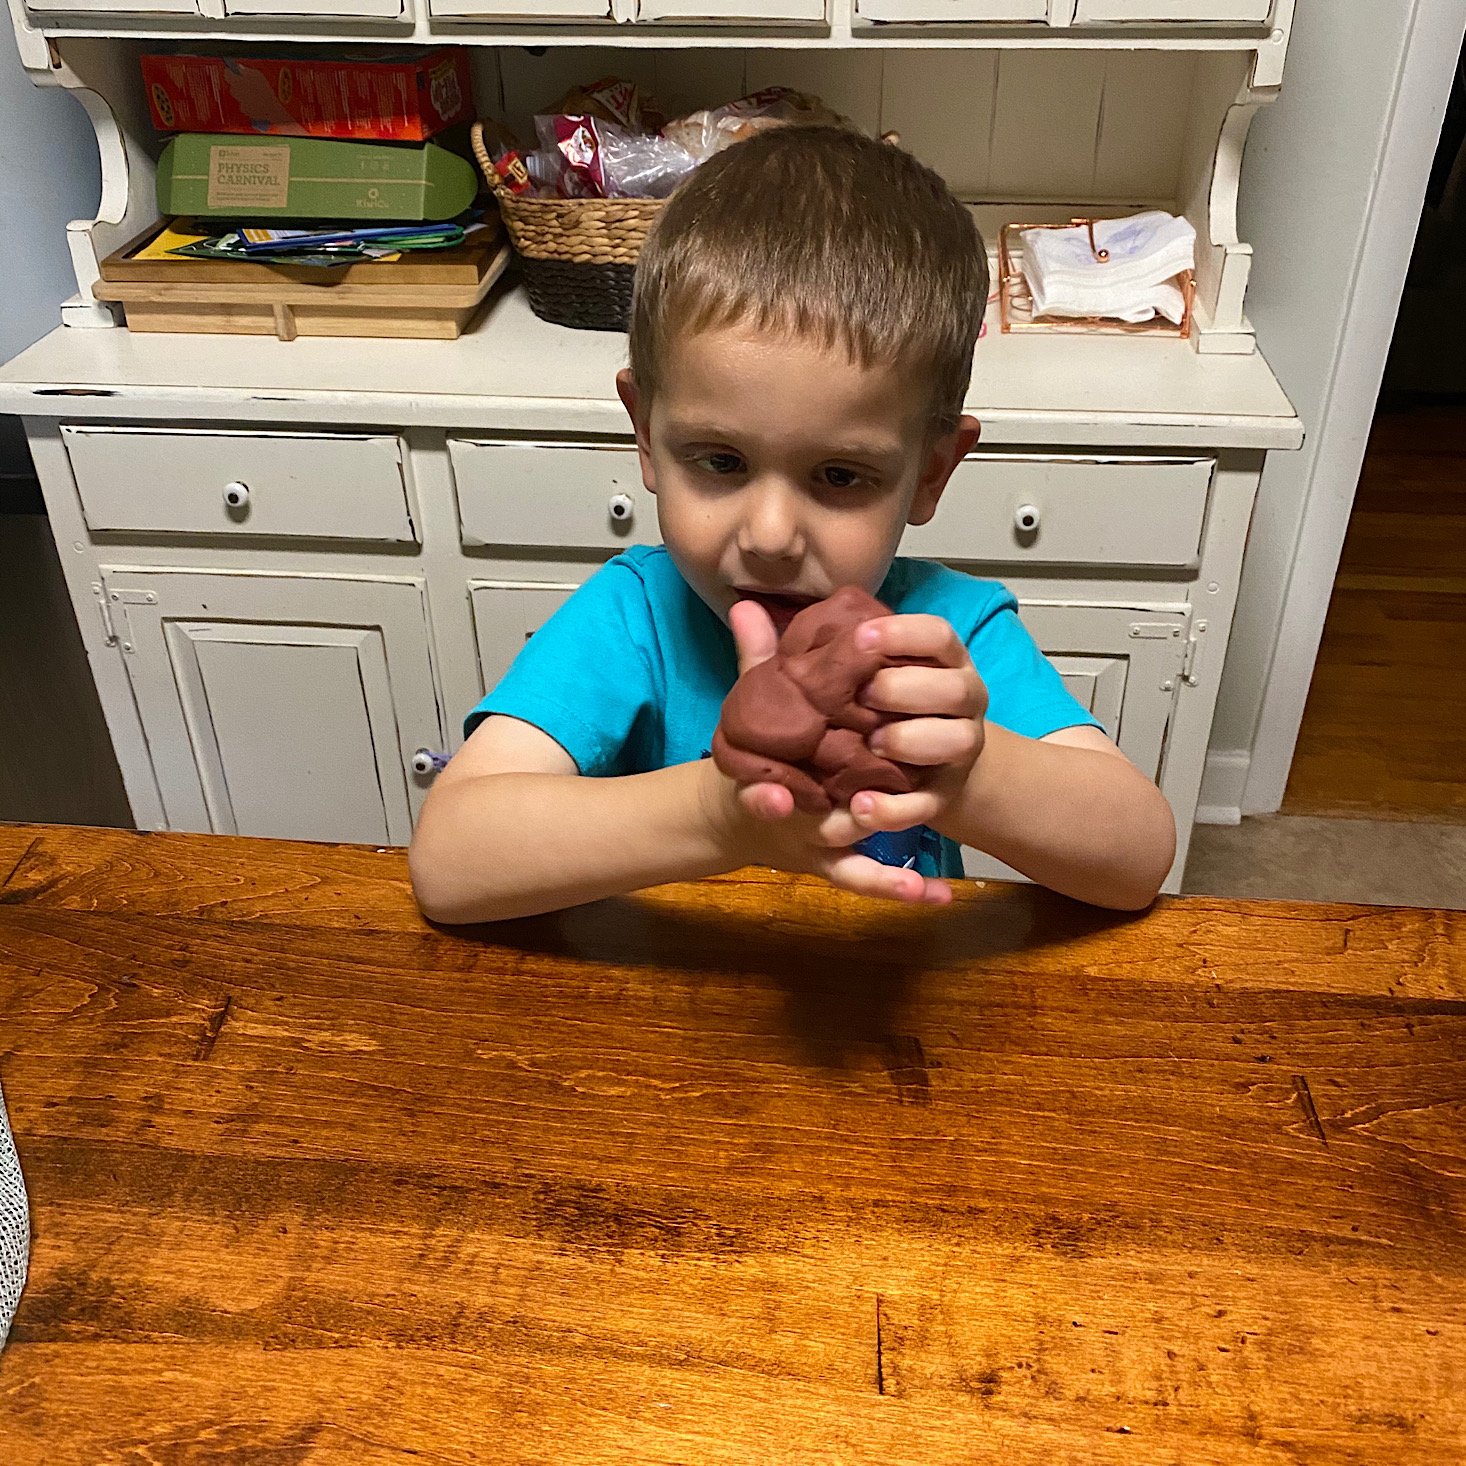
The clay was soft and easy to manipulate. My daughter made sure to smooth it onto the surface of our board and then added some ridges for the lava to travel down.


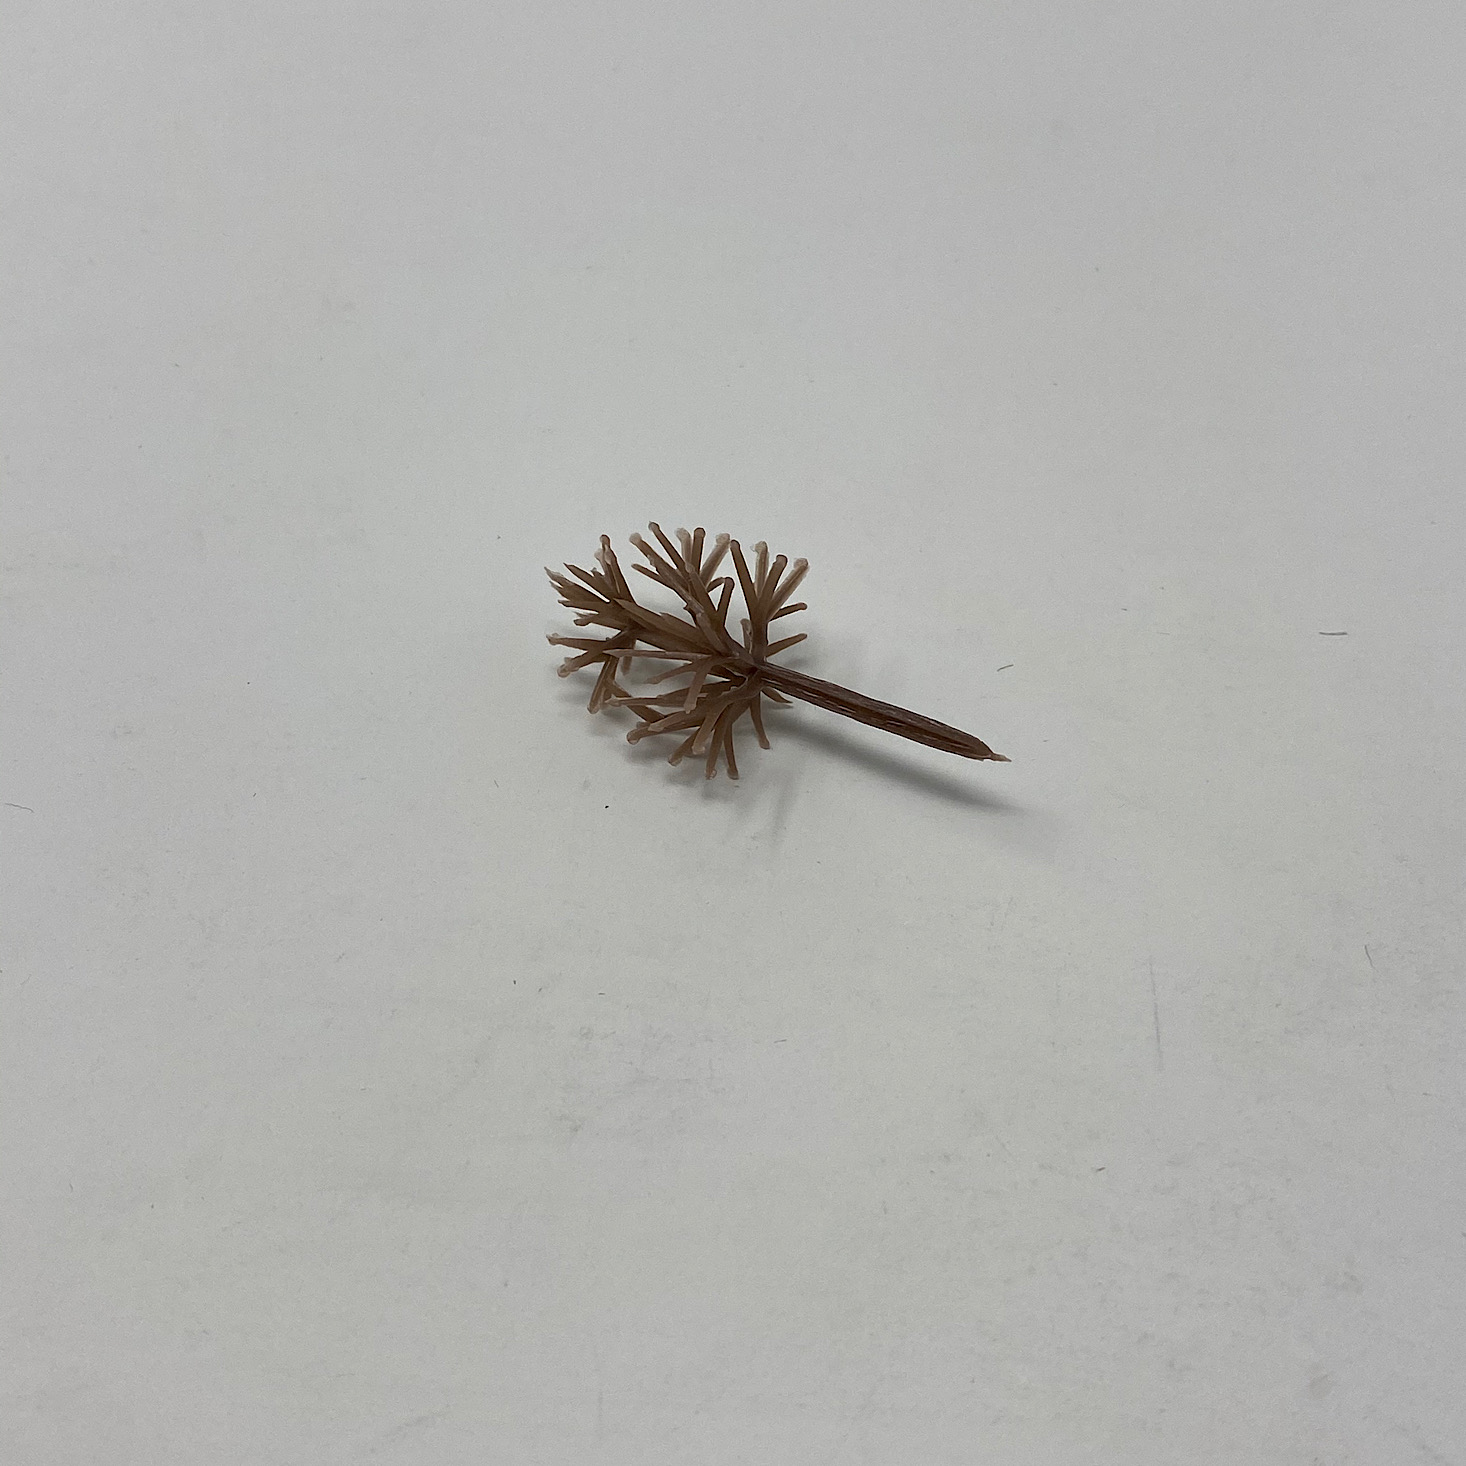
Then my son added some of the glue they provided to add some plastic grass around the base of our volcano. We even covered this mini tree with glue and green grass for some foliage on the side of our volcano.

I thought our volcano turned out great! We did have to set it aside to dry overnight, but luckily there were more activities included that kept us occupied. First, let's see how the eruption went!


1 of 5

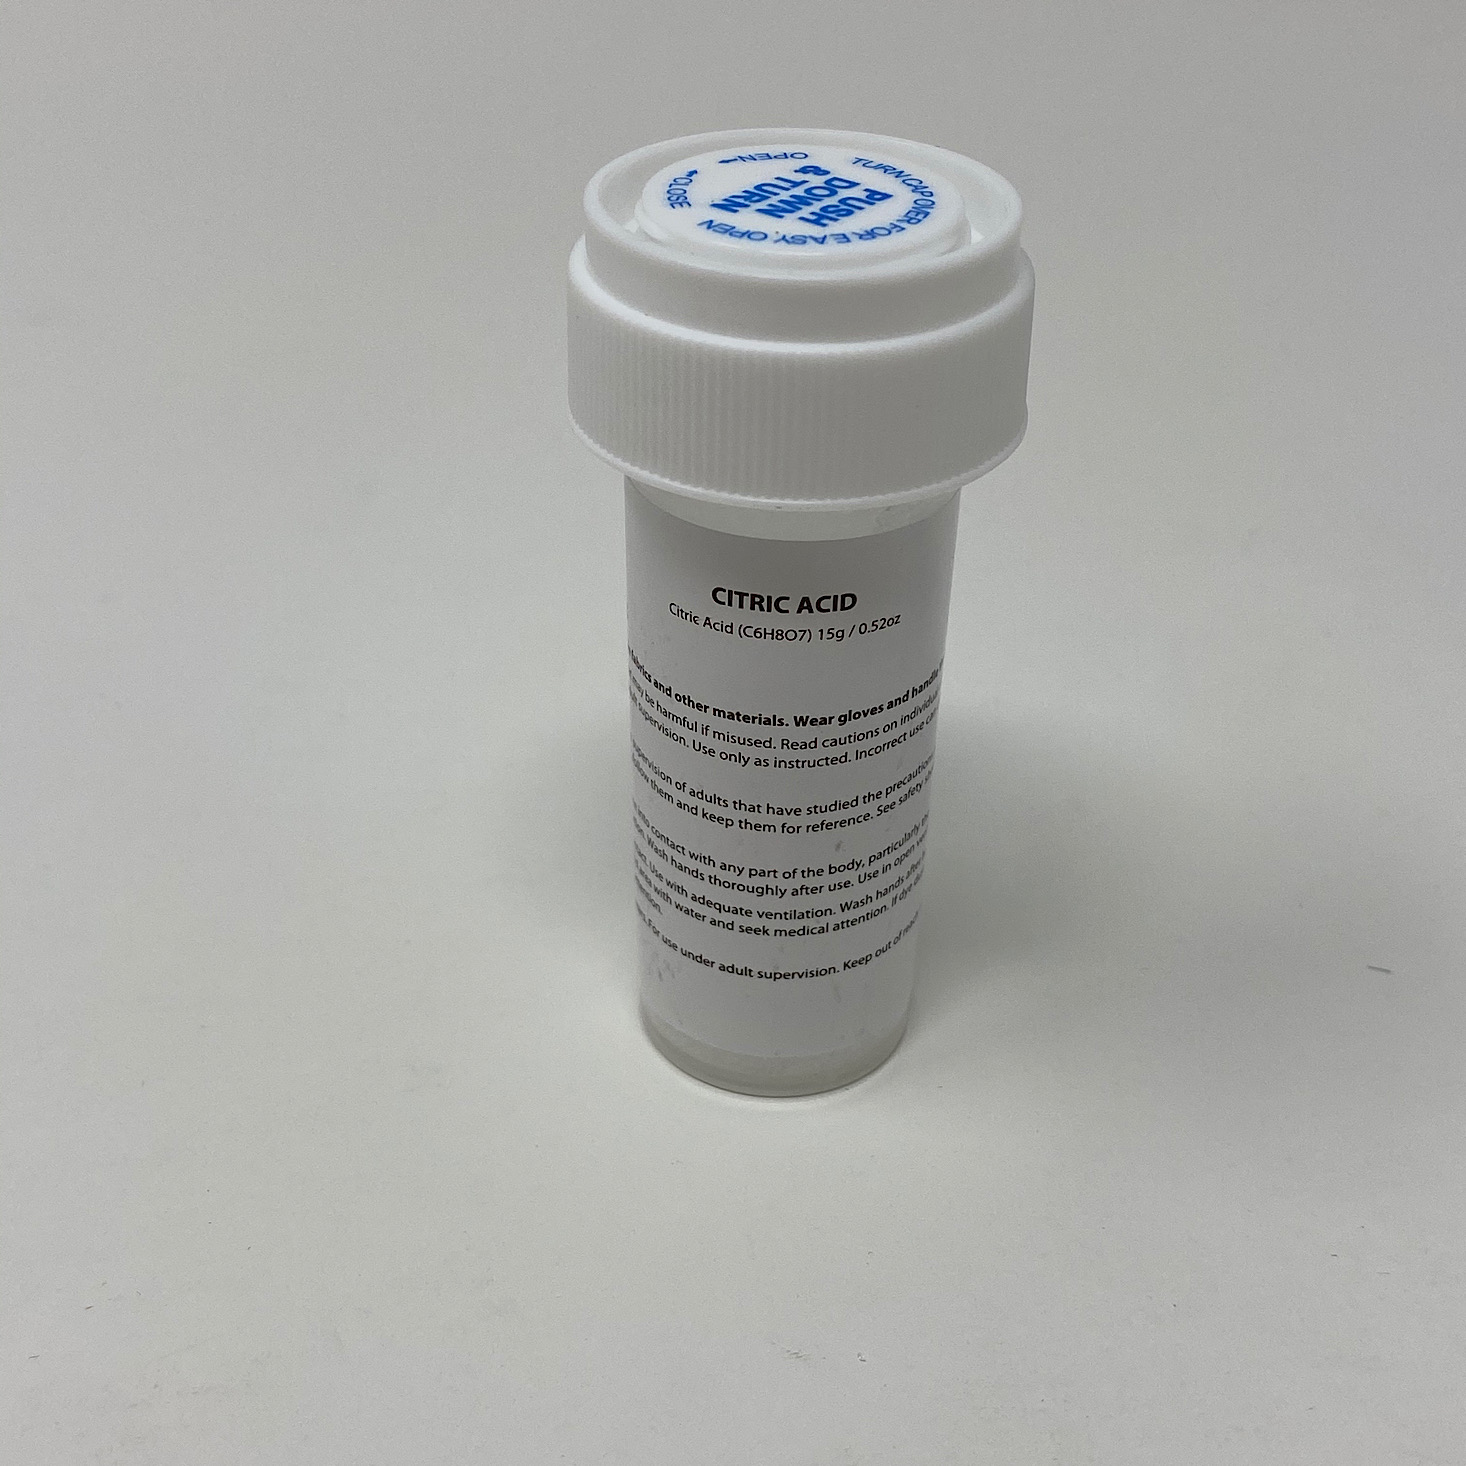
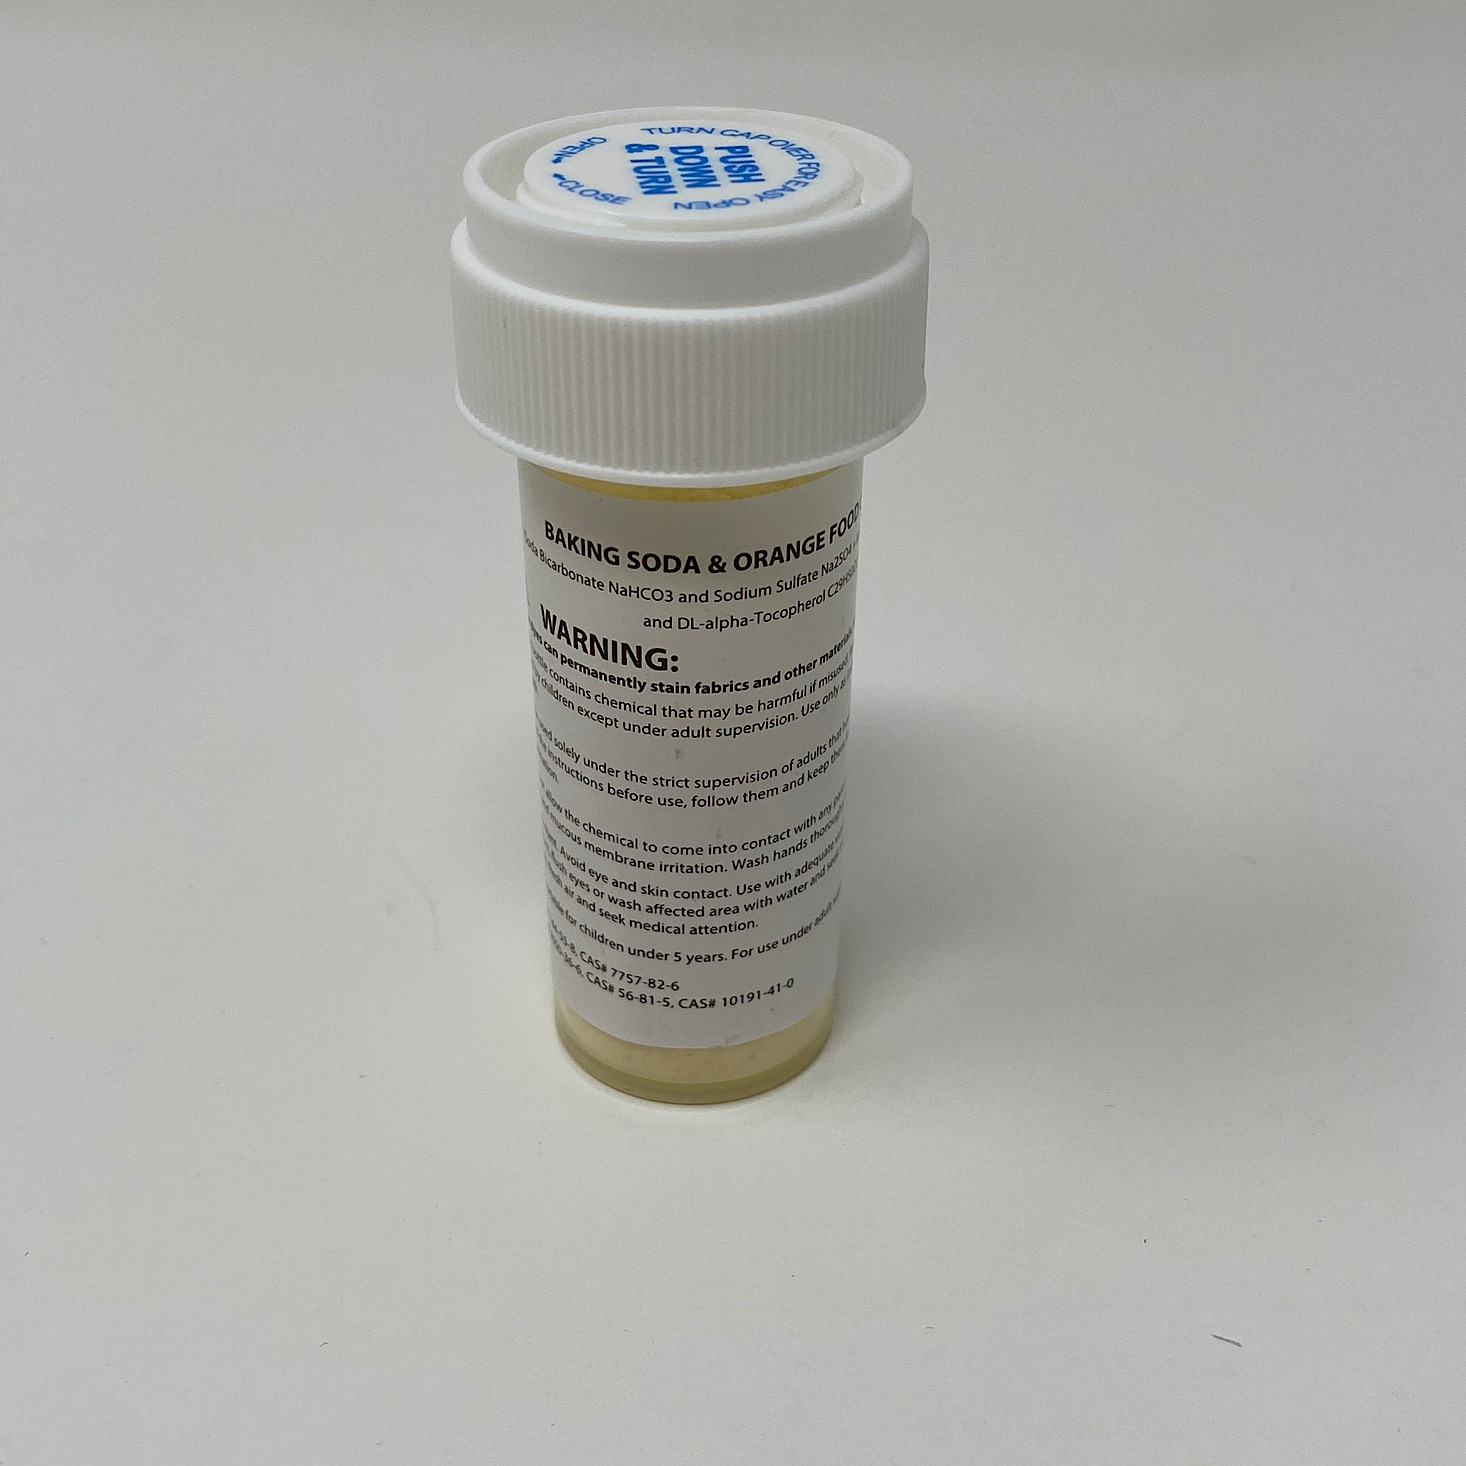
We placed our volcano on the provided paper and then we added some scoops of baking soda with orange food coloring and some citric acid to our cup using the provided scoop.


1 of 5
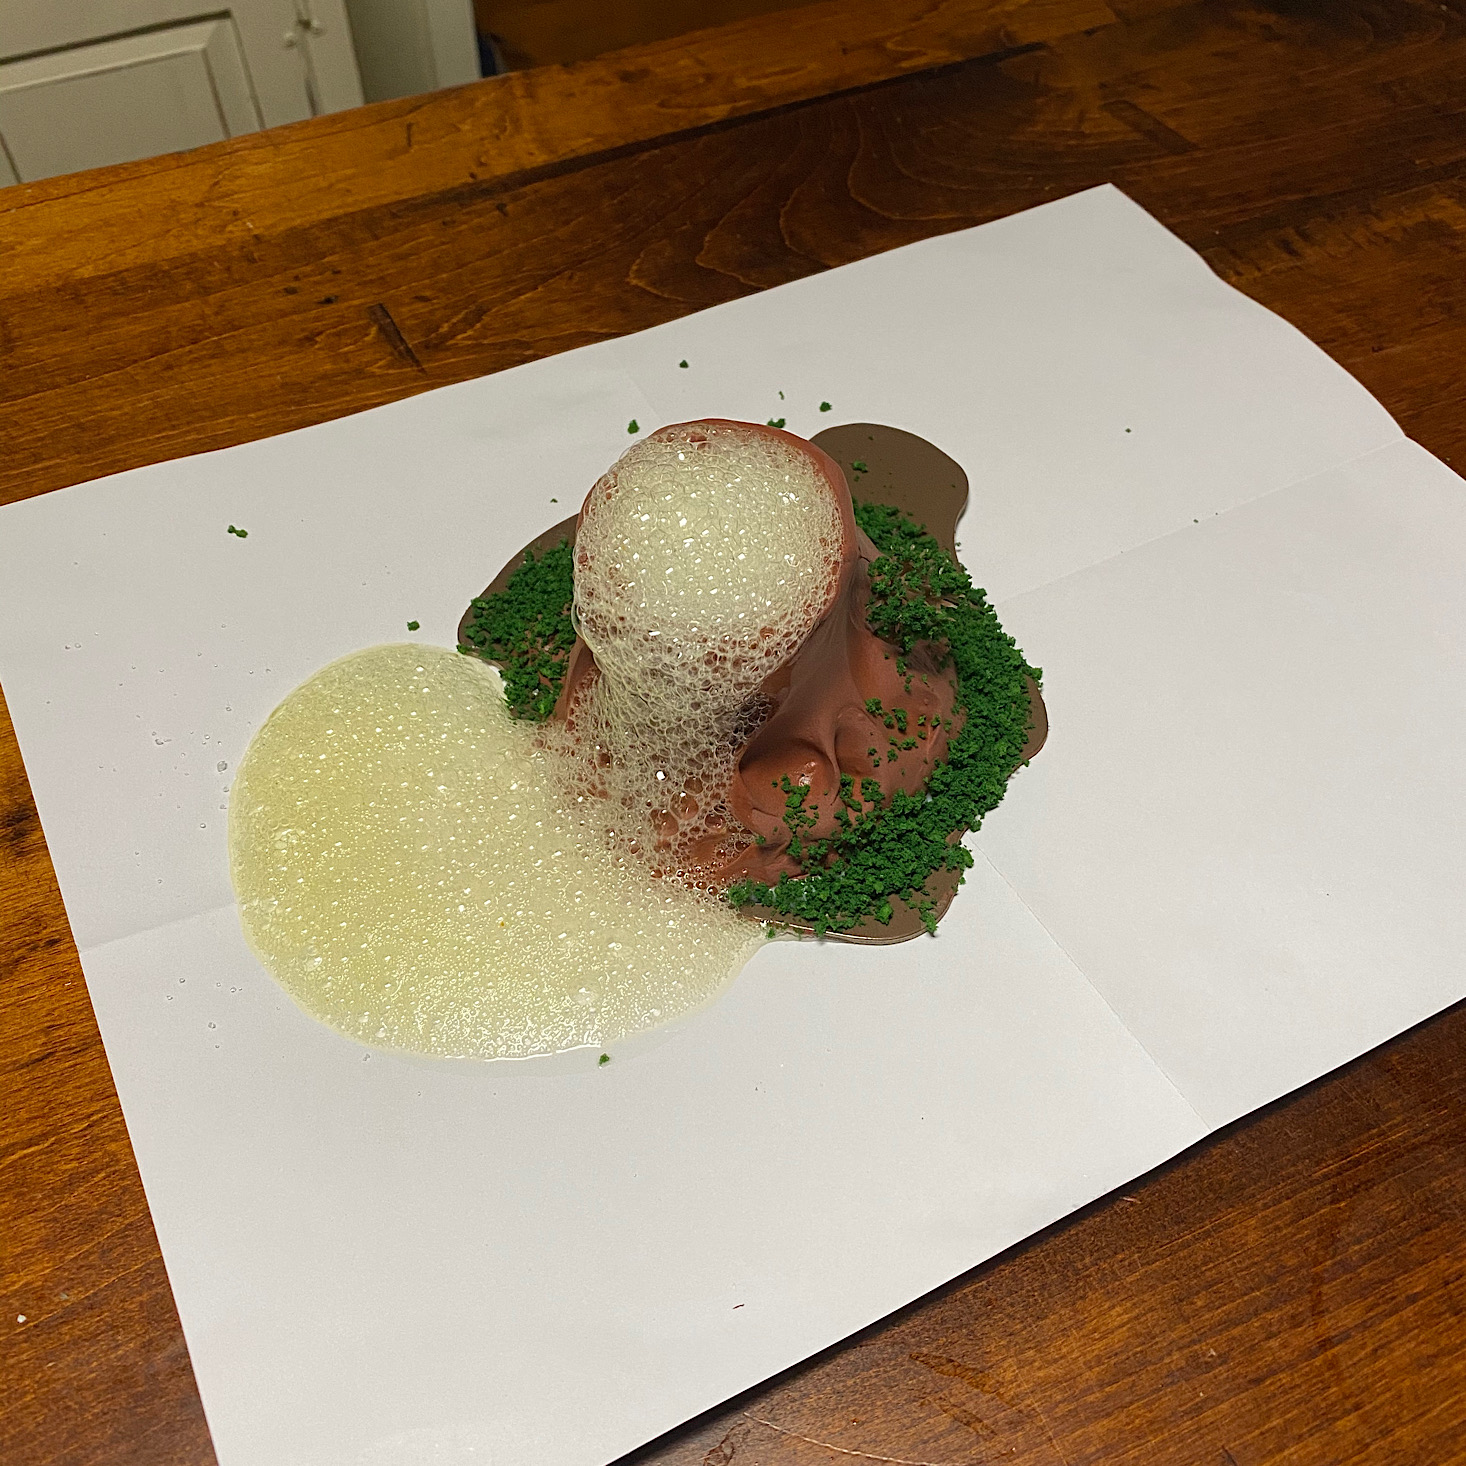

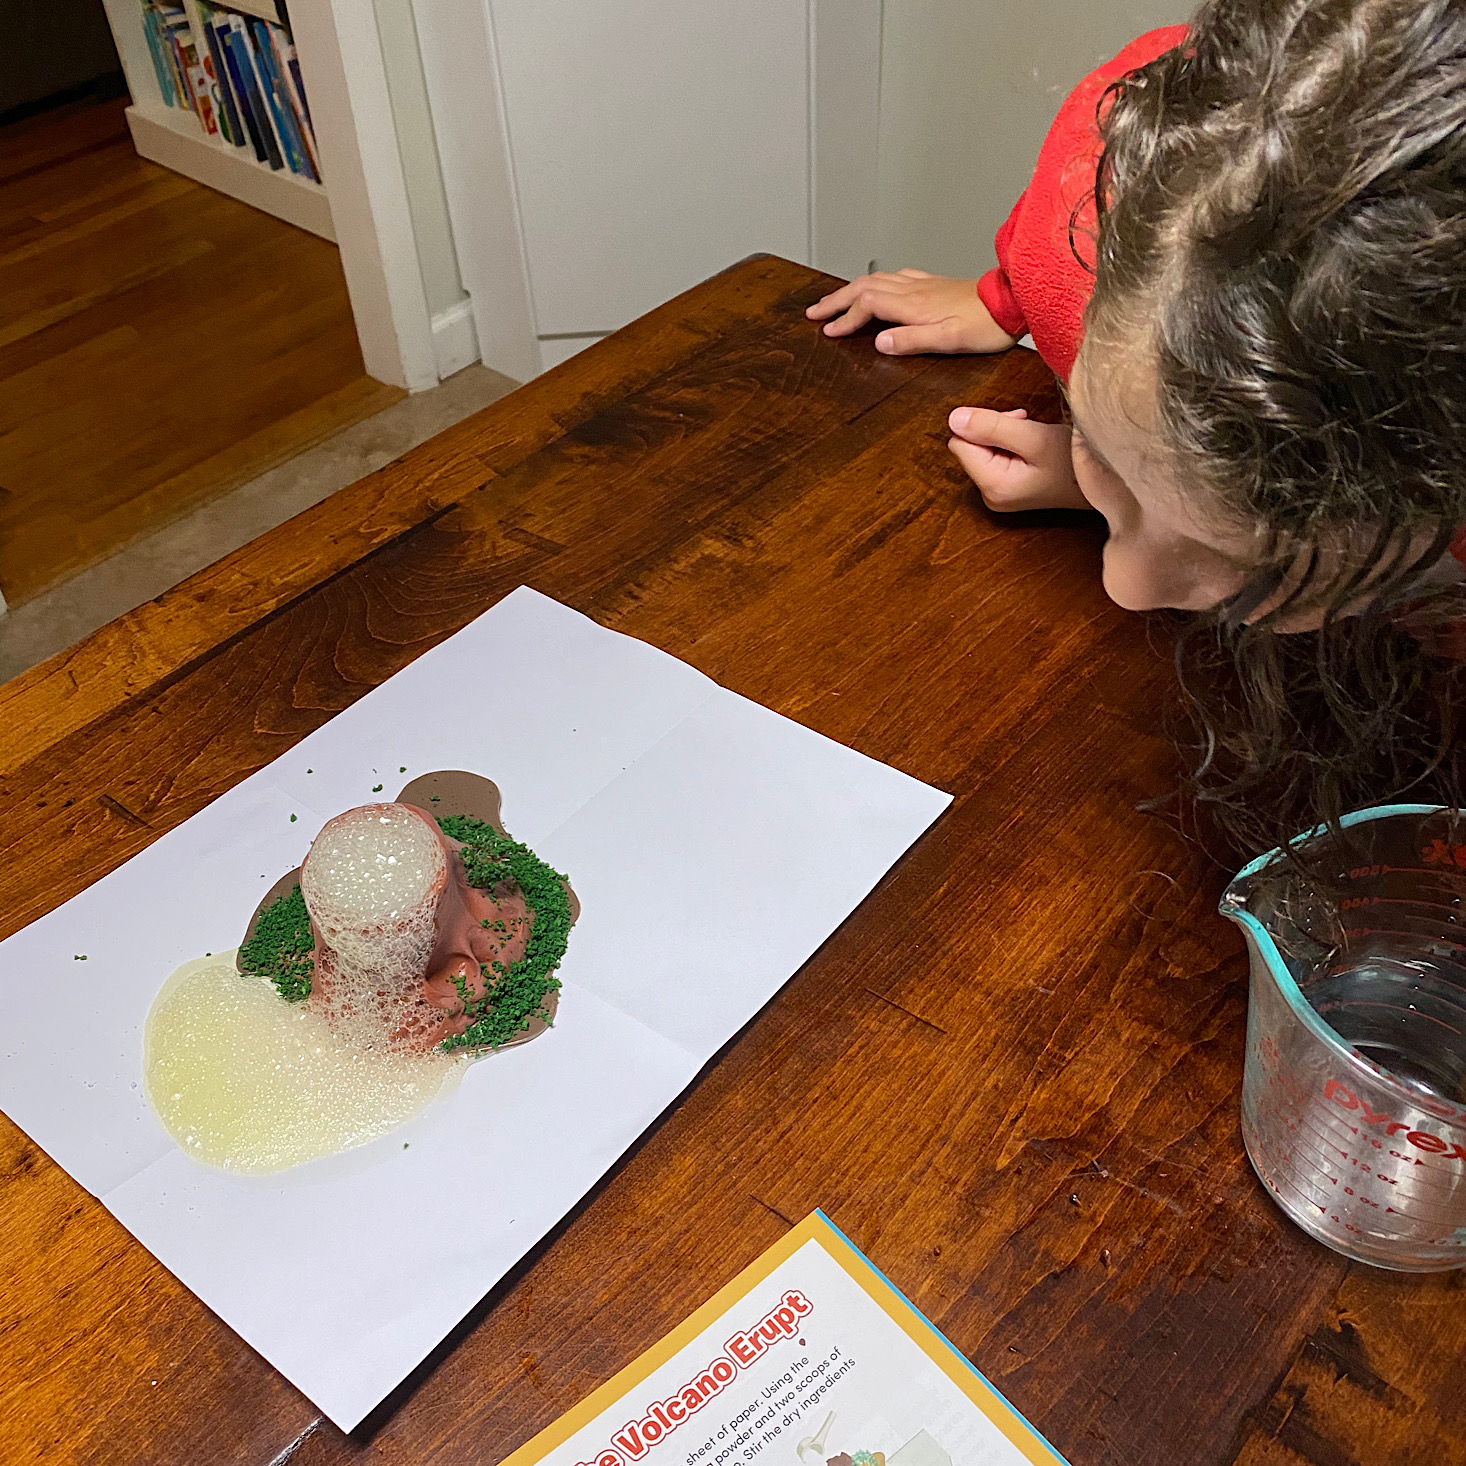
Then I added some water and we watched it erupt! It wasn't anything too crazy, but the kids enjoyed it! We drew a line to see where our new island would have formed if this had been a real volcano. I was actually able to rinse out our cup and let it dry so we can do this over and over again. Little Passports provided enough materials for several more eruptions! I was surprised at how well our clay held up to the liquid and my son already has plans to steal this for his "dino world."

1 of 3

While we didn't get to see our volcano erupt that day, we did get to explore seismic activity using some cardboard pieces, rubber bands, and small bouncy balls.


1 of 4
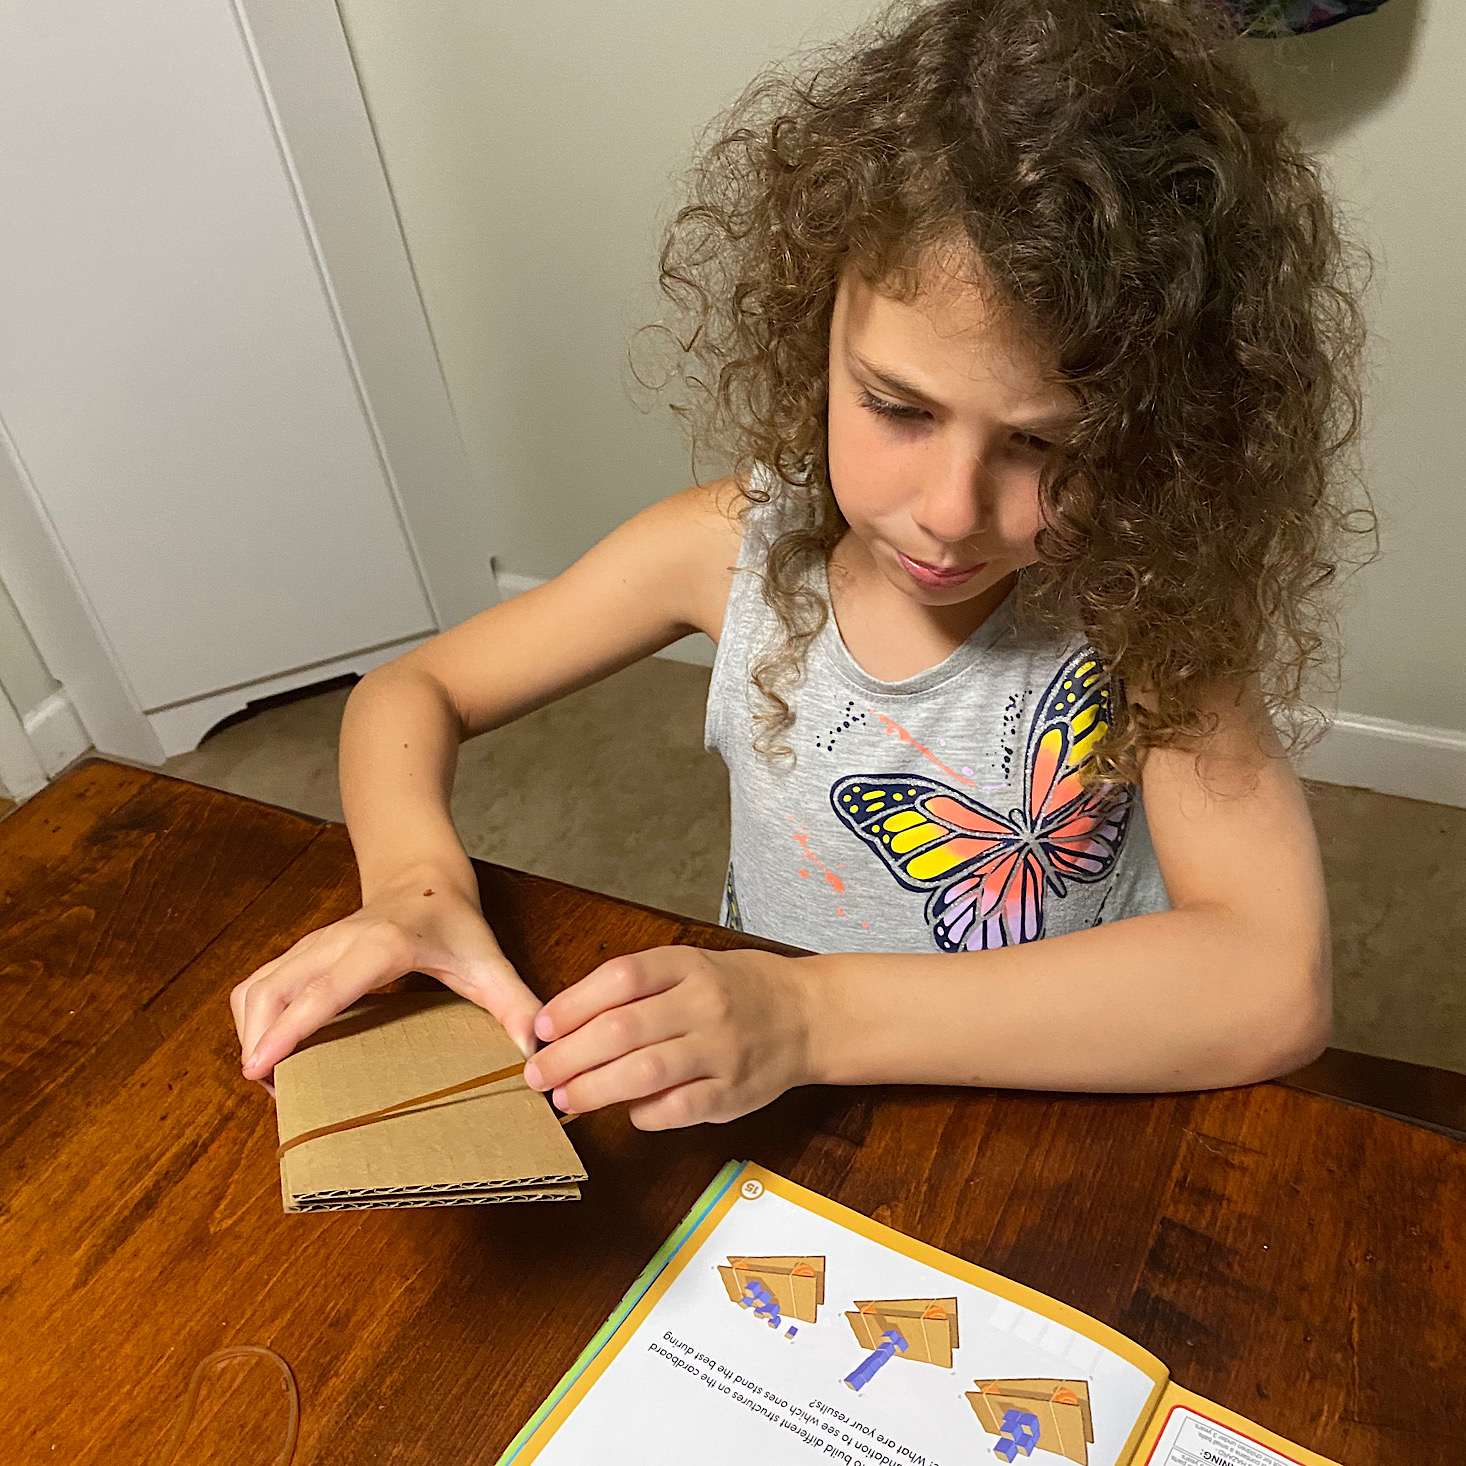
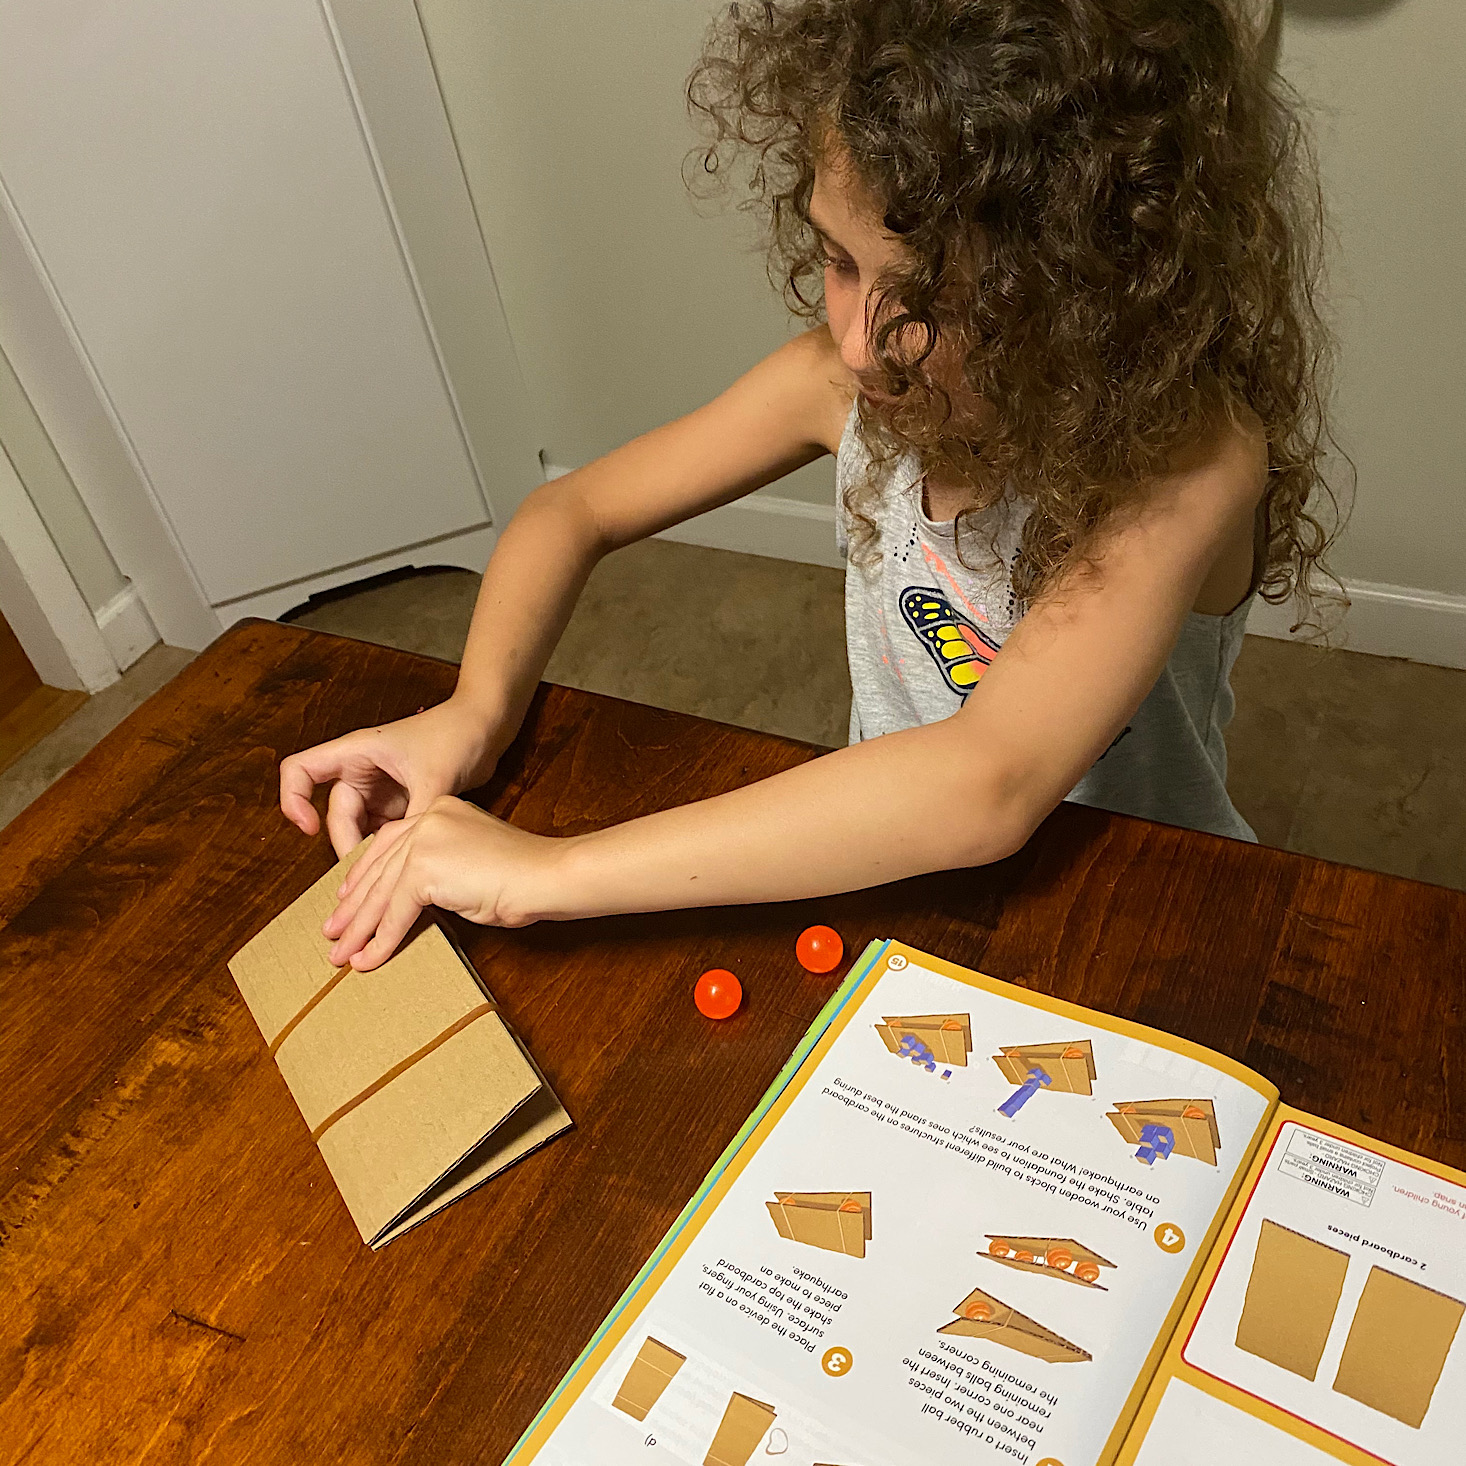
My daughter followed the directions by adding a rubber band to each end and then sandwiching the balls in the corners.
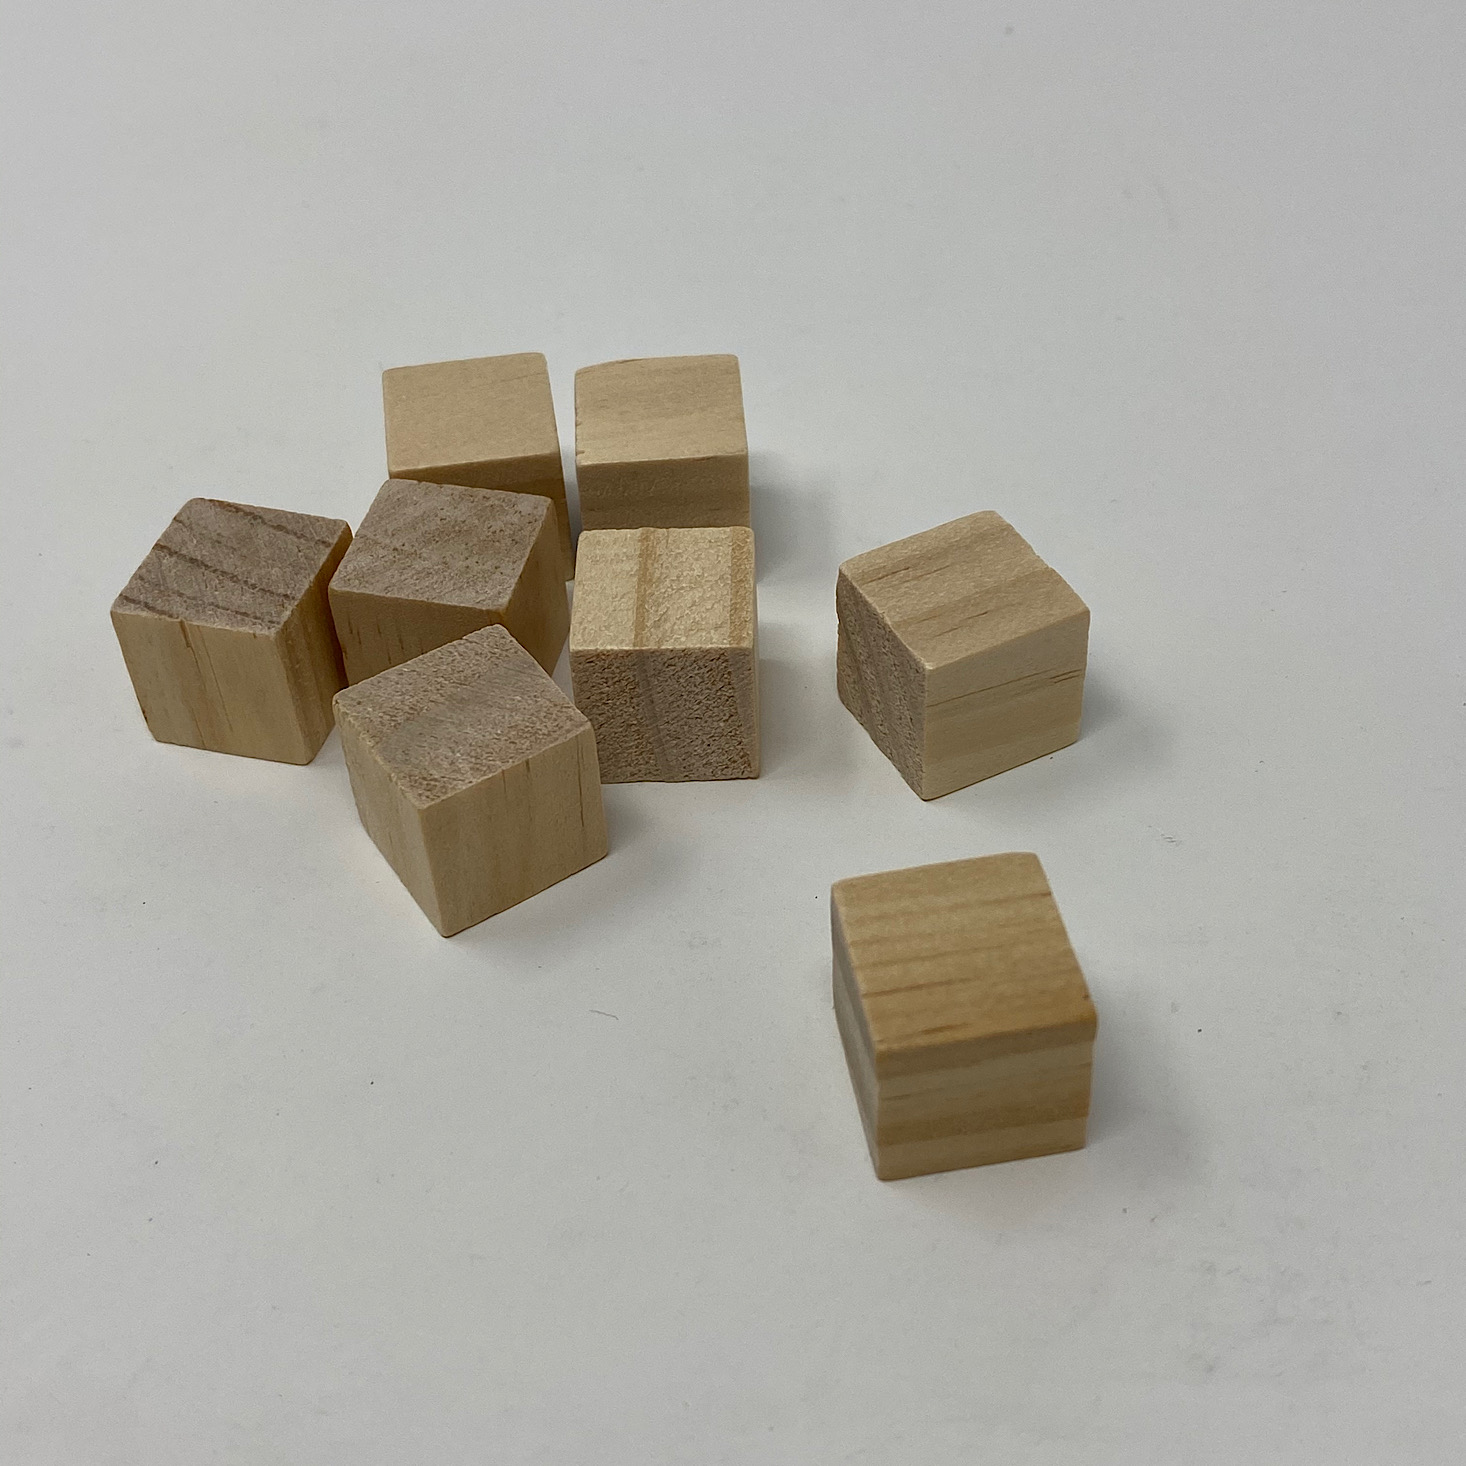
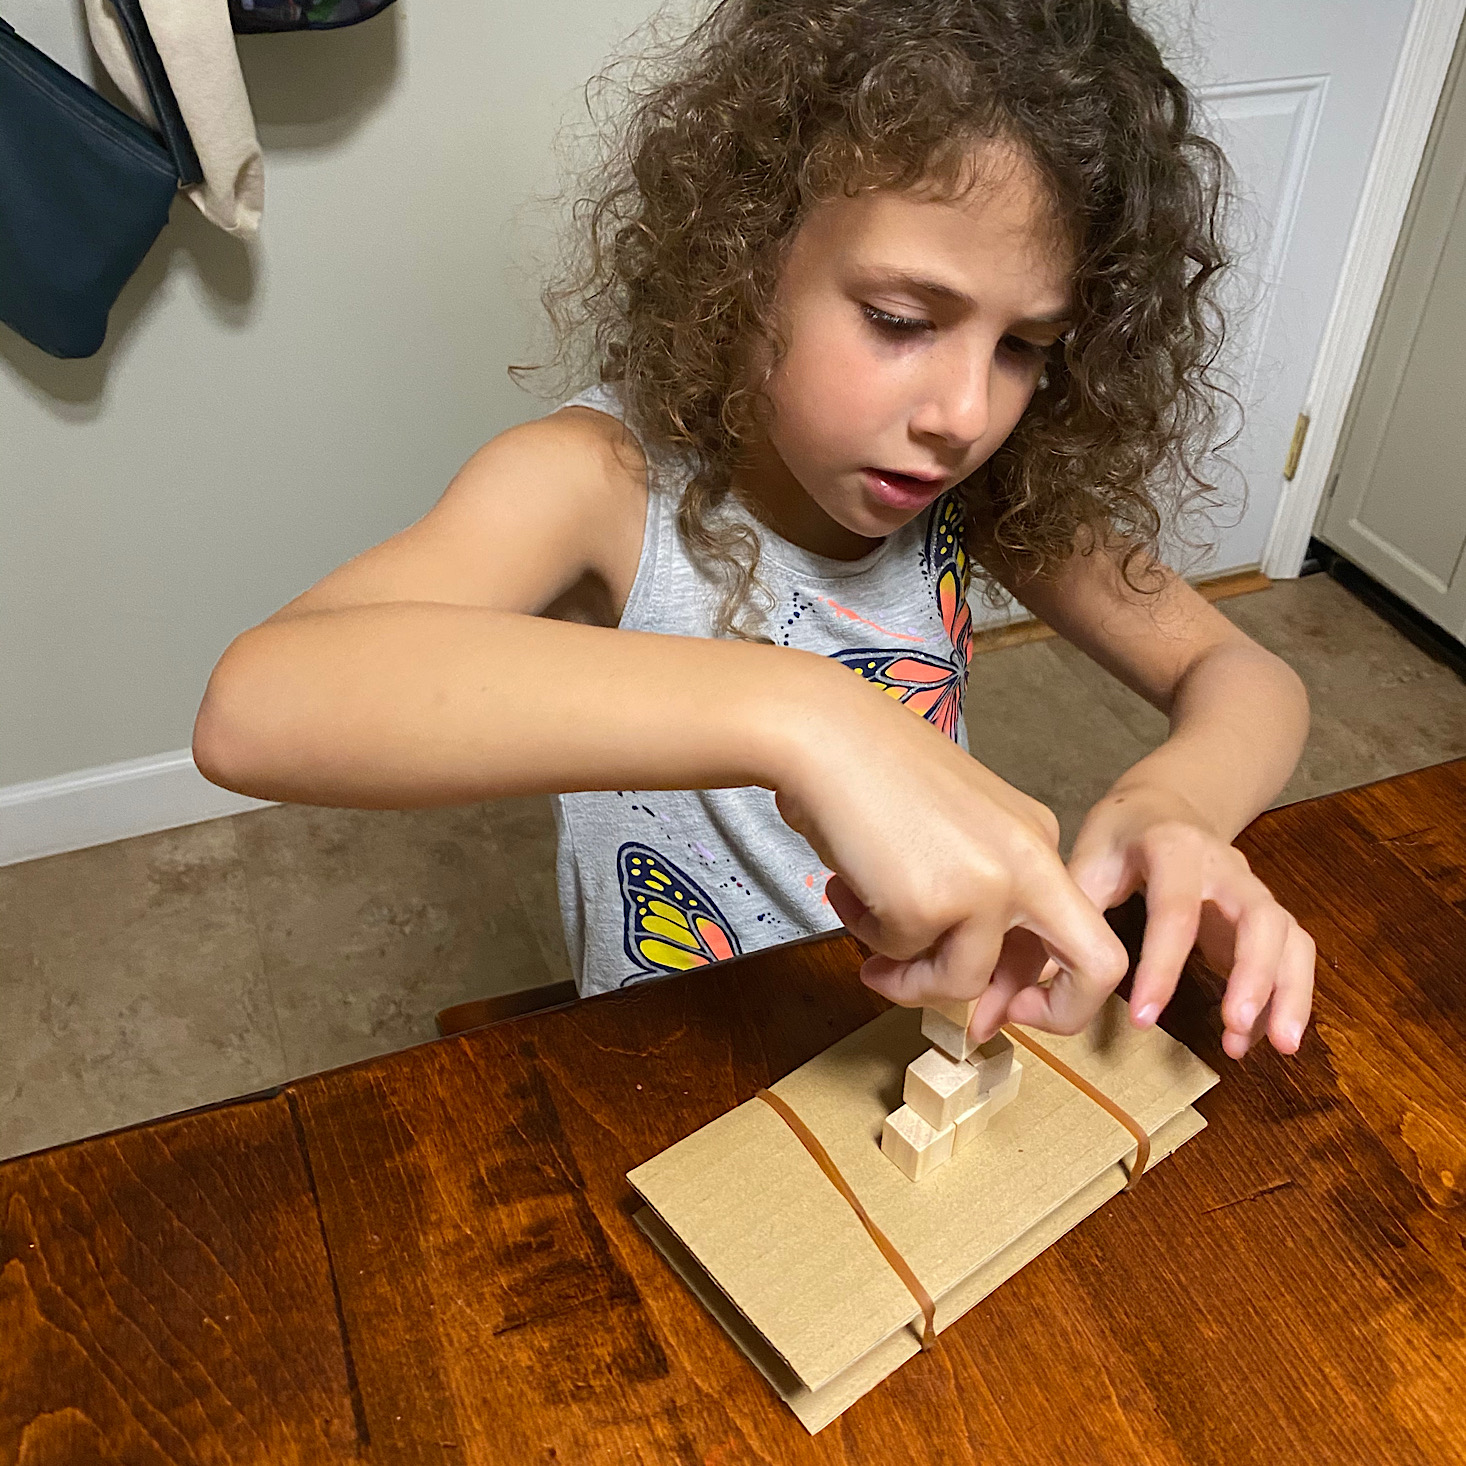
1 of 2
Then we stacked up the mini wooden blocks on top and tapped the surface to simulate an earthquake.


1 of 3

They had fun stacking the blocks up and knocking them down again!
Day 2 Online Extension:


Day 2 showed us how to do our volcano and how to draw one, and our science walk involved gathering and comparing different rocks. There were also some joke printables for us!
Day 3: Sound & Music


1 of 2
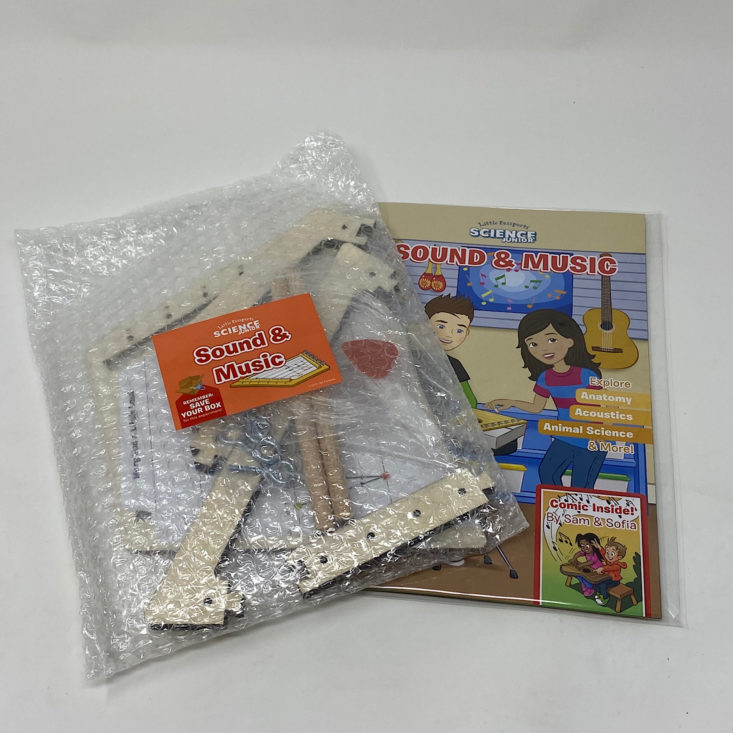
Day 3 came packaged up in a box with all of our materials safely tucked inside.

1 of 3

We checked out our sound trading cards and then added them to our ring.

1 of 2
My daughter placed this badge full of music notes onto the front of our backpack for us.

Our sound stickers contain a variety of instruments.

1 of 8
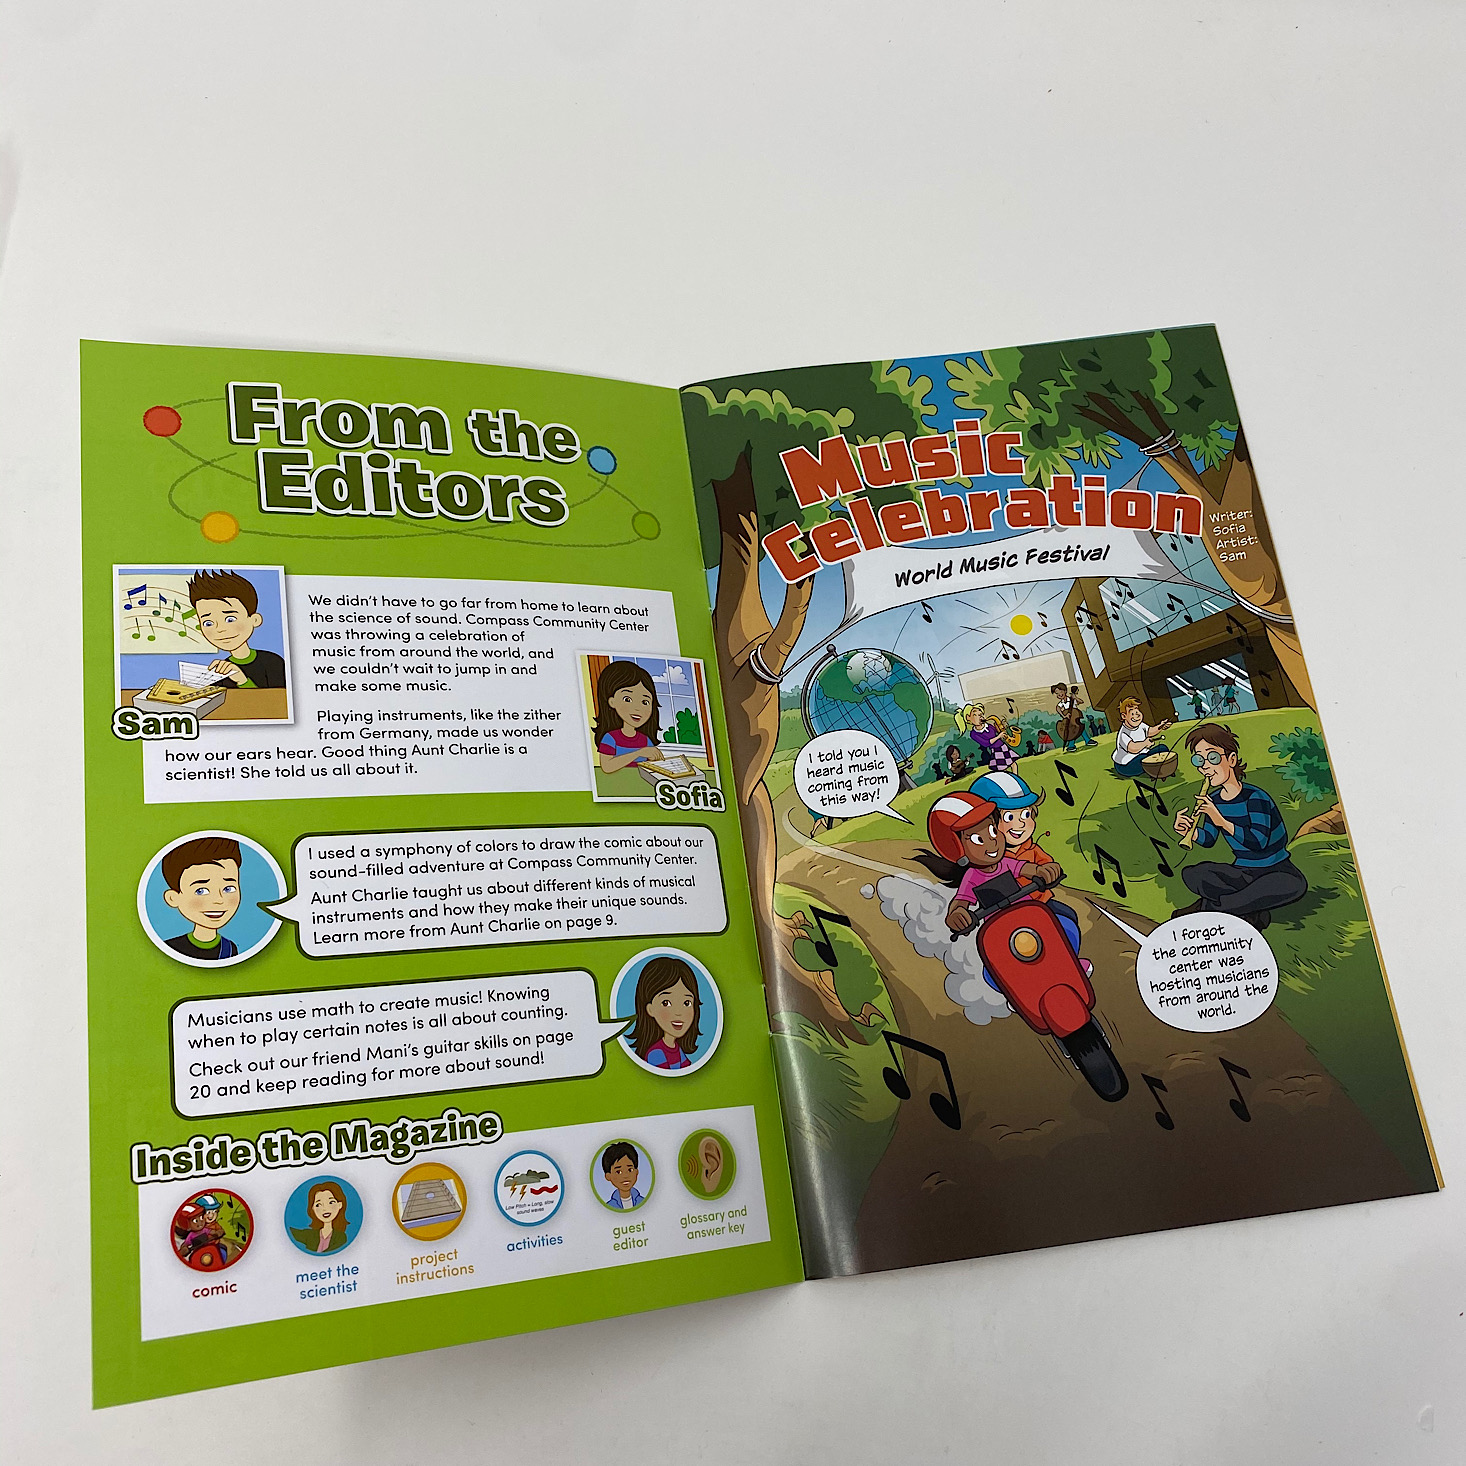


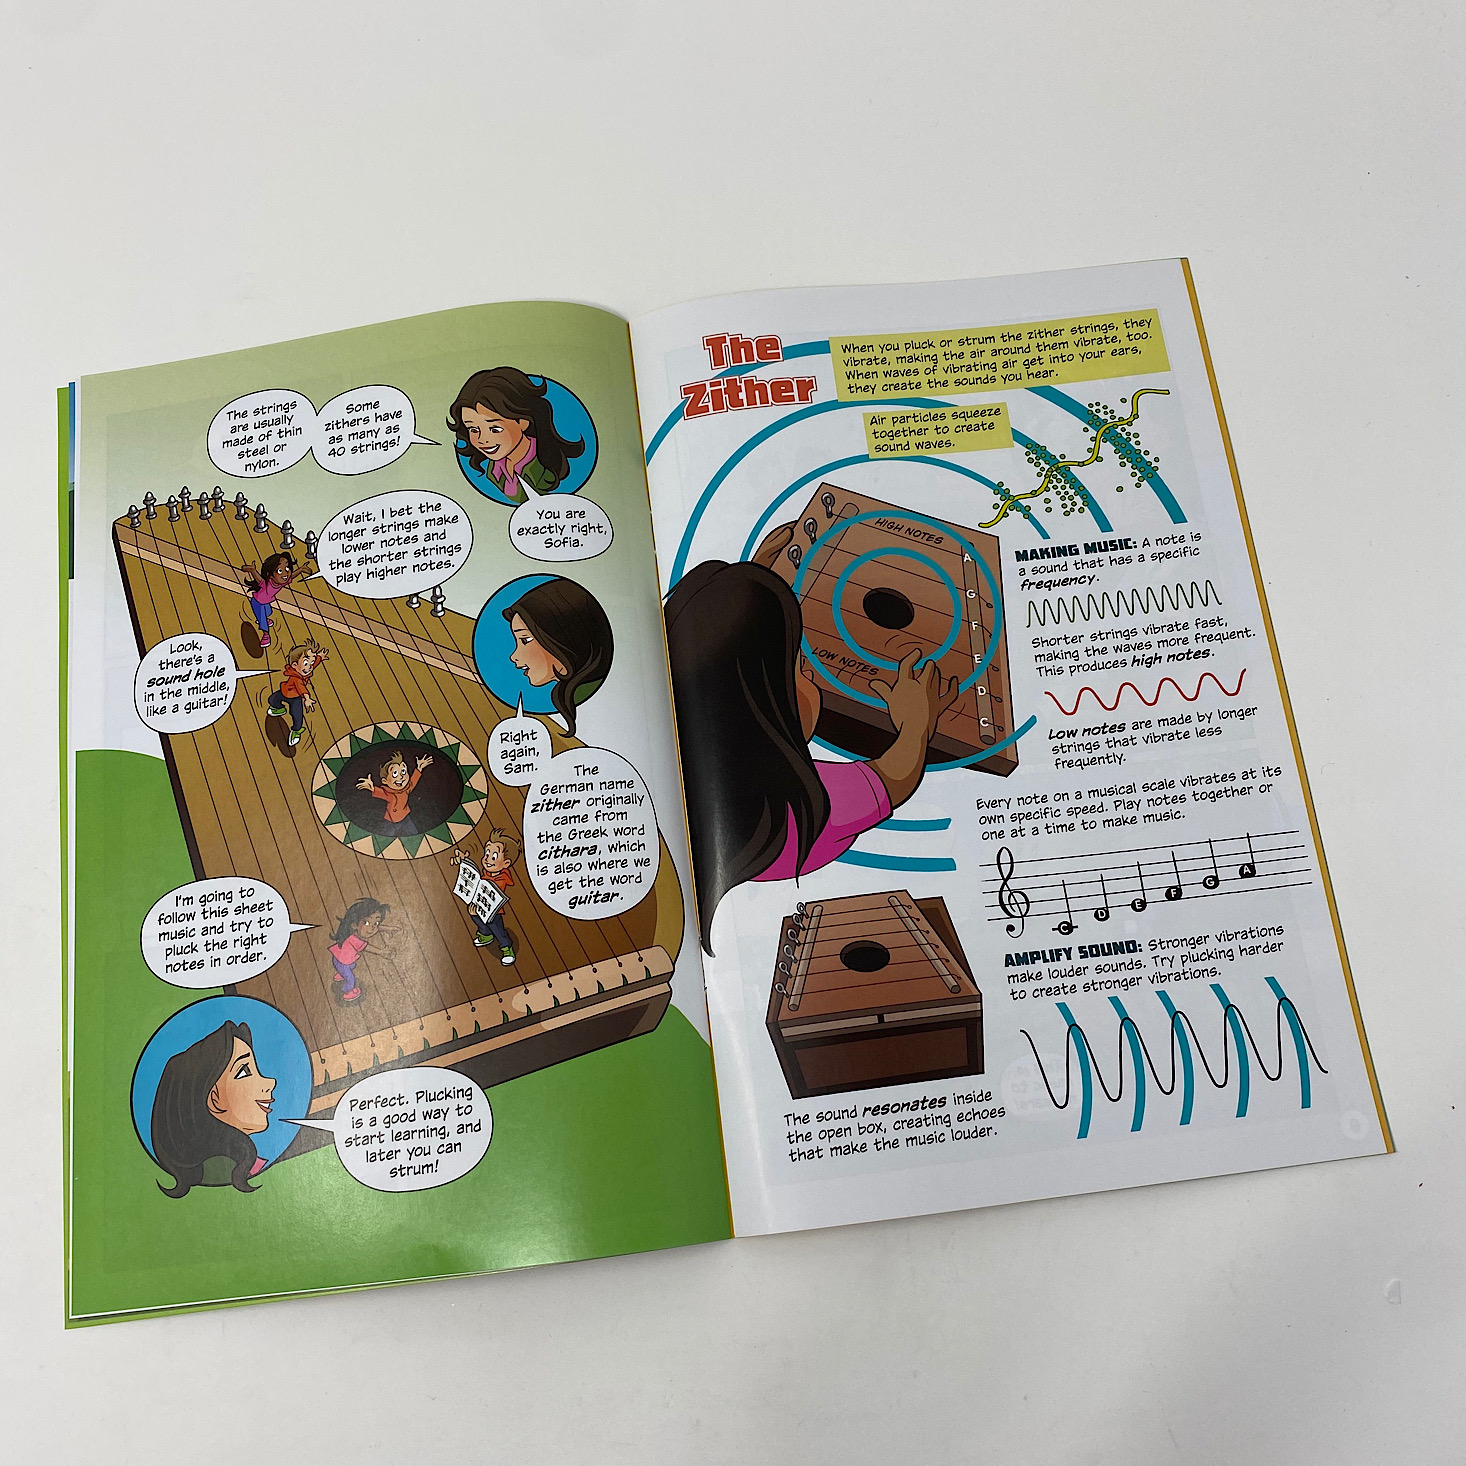


Our magazine had Sam & Sofia going to a world music festival where they learned about various instruments. We learned about how sound works and what a zither is. Our guest editor told us about math and musical notes and our scientist told us about different types of instruments and their vibrations.
1 of 5

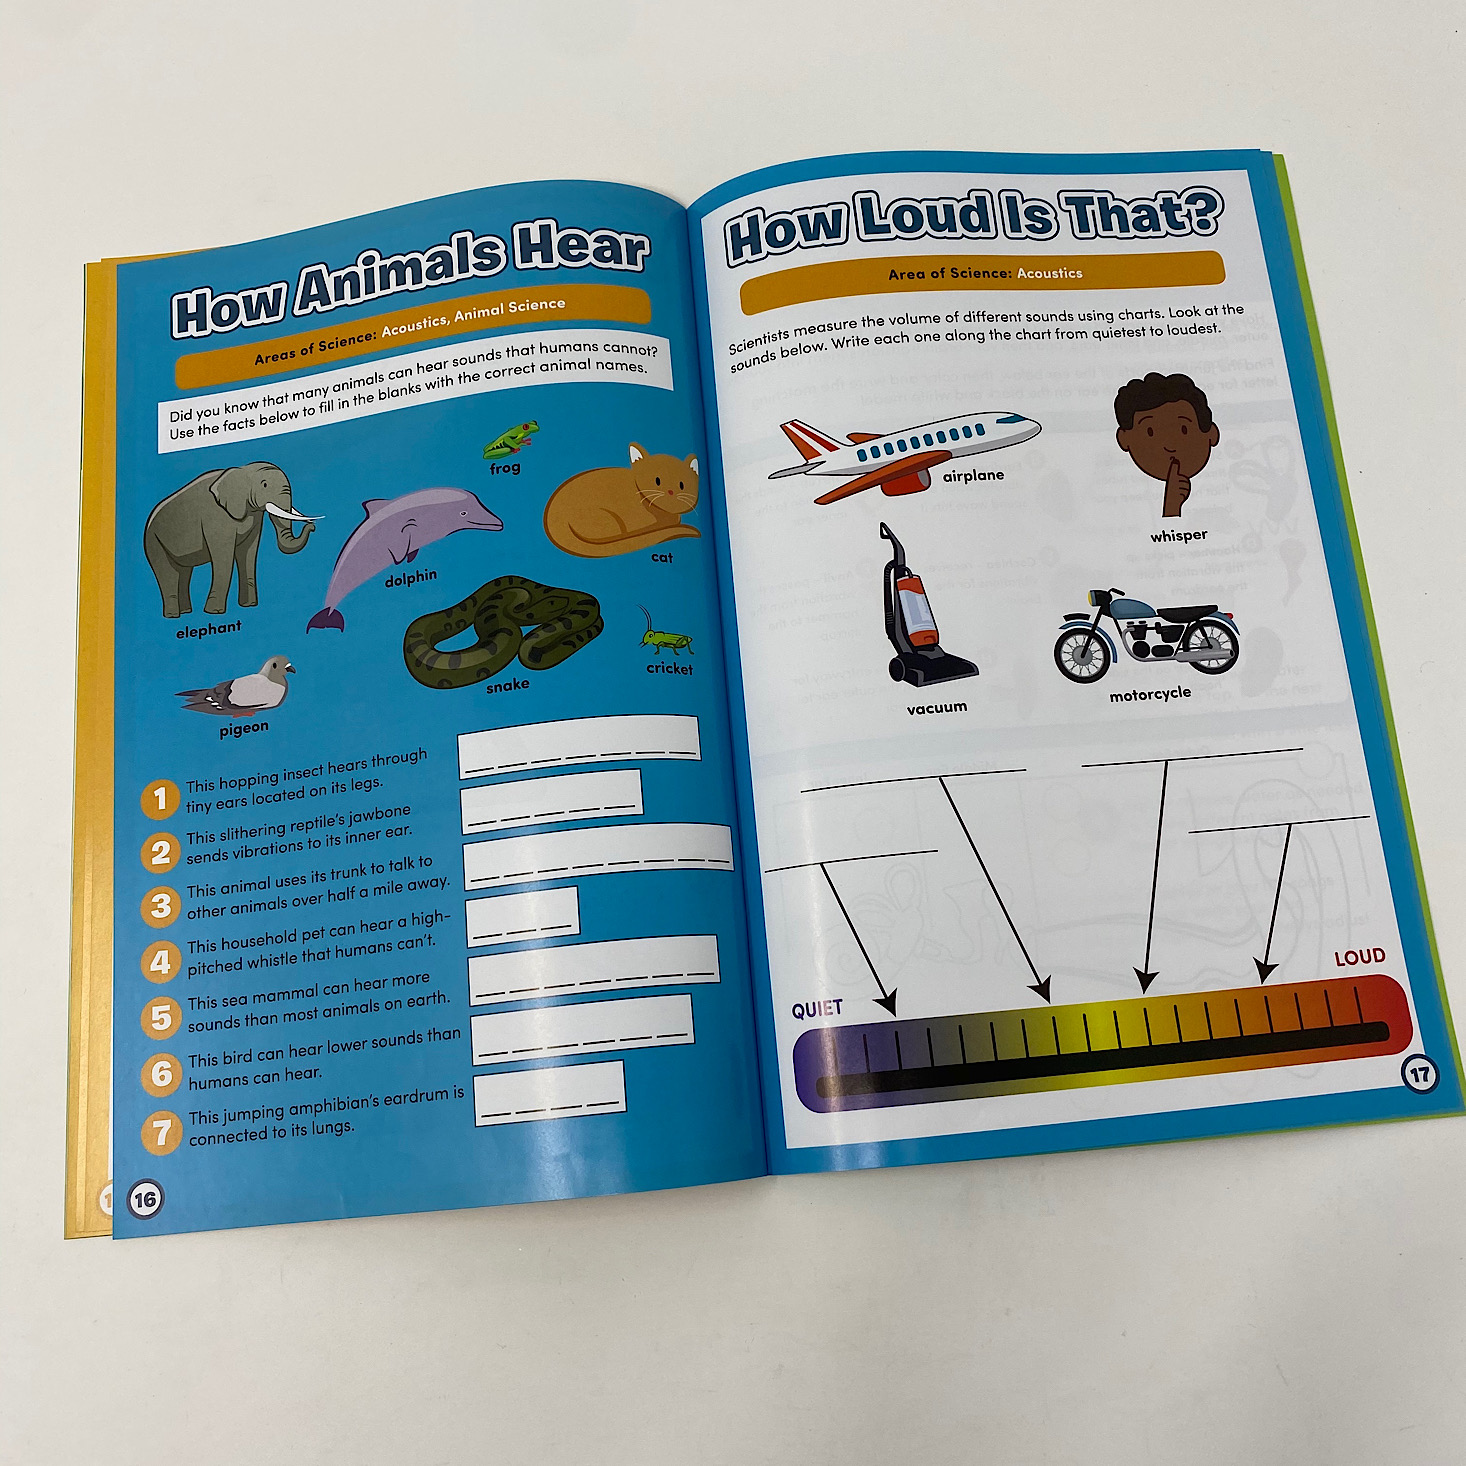
The rest of the pages contained the instructions for building and playing our zither. There was a DIY water music activity and some pages about ear anatomy and how animals hear.


1 of 4


My daughter enjoyed matching the animals to their descriptions while my son helped me label the diagram with ear anatomy on it. We all worked together on putting the sounds in order from quietest to loudest.


1 of 2
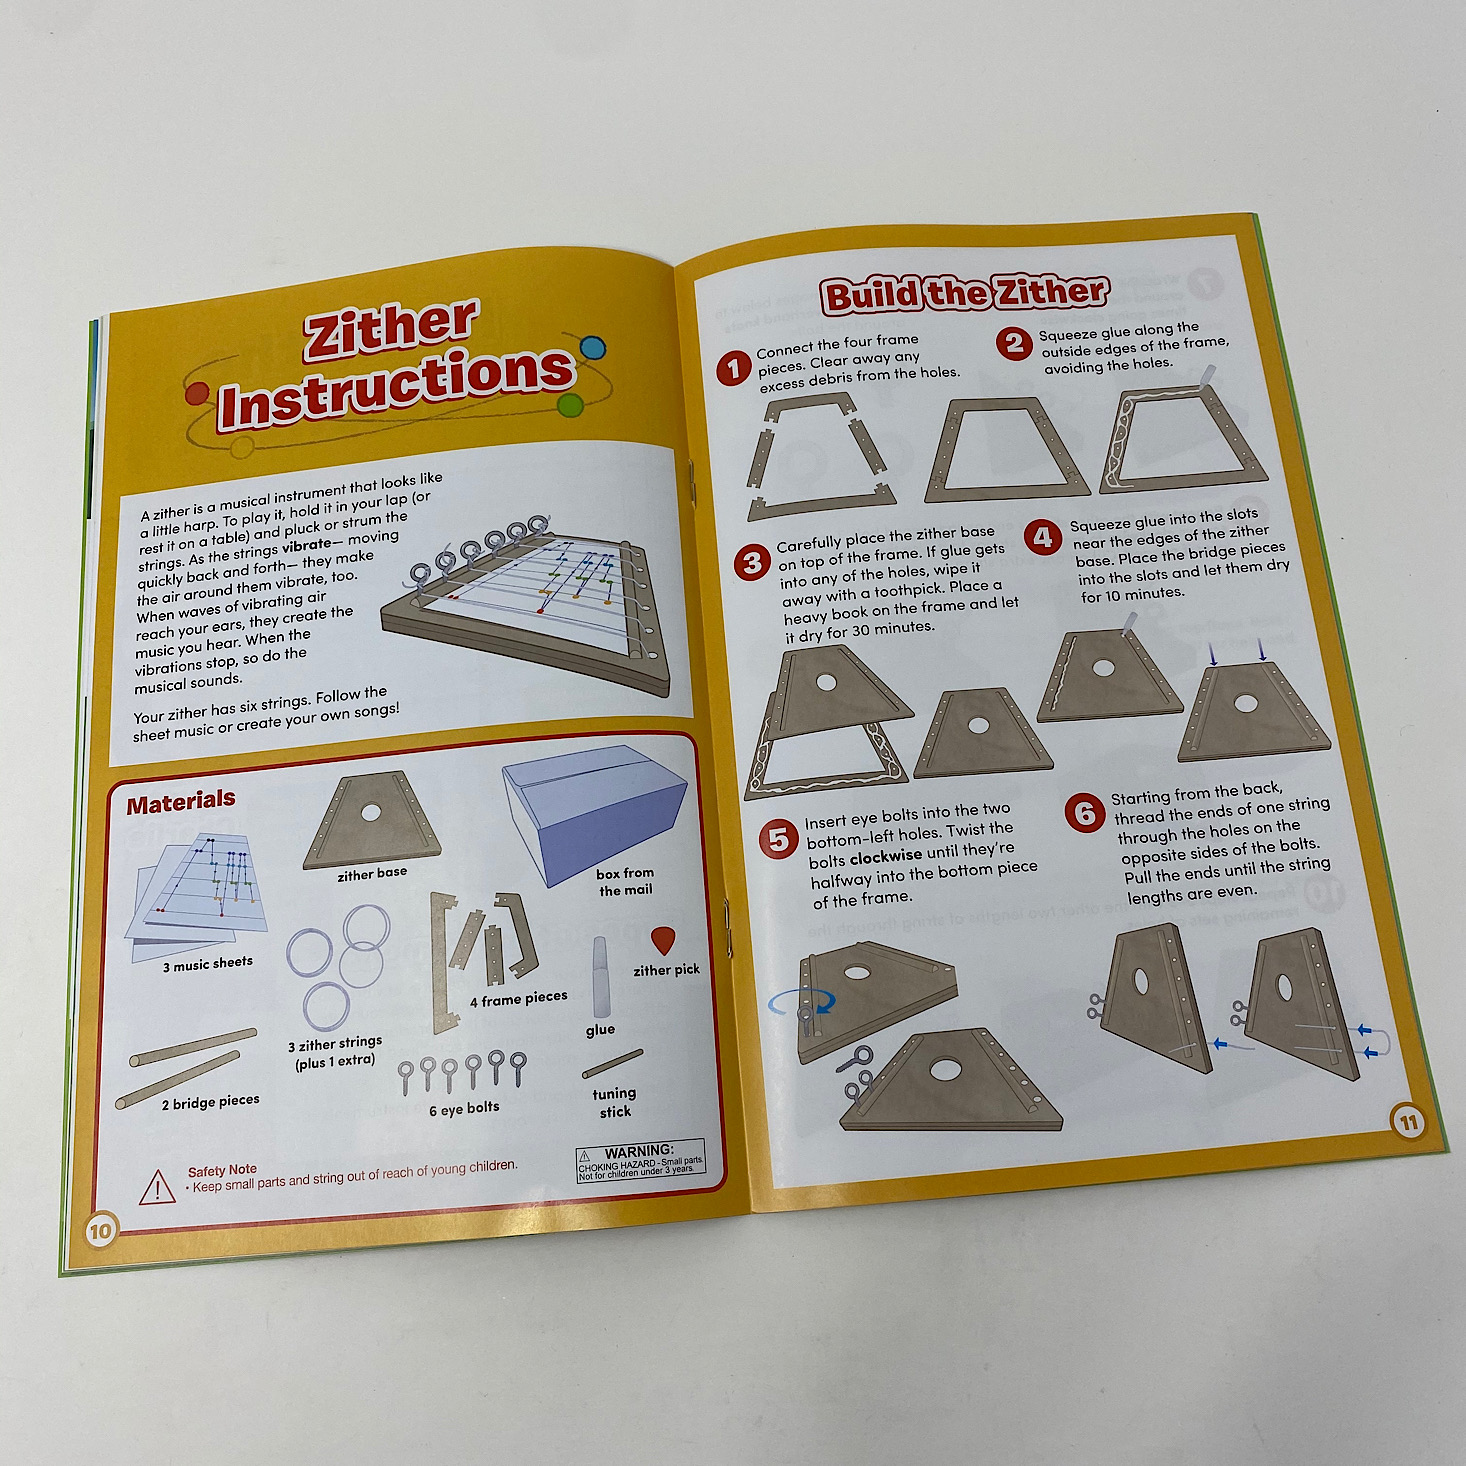
Our zither materials came packaged neatly with some safety information on the back.

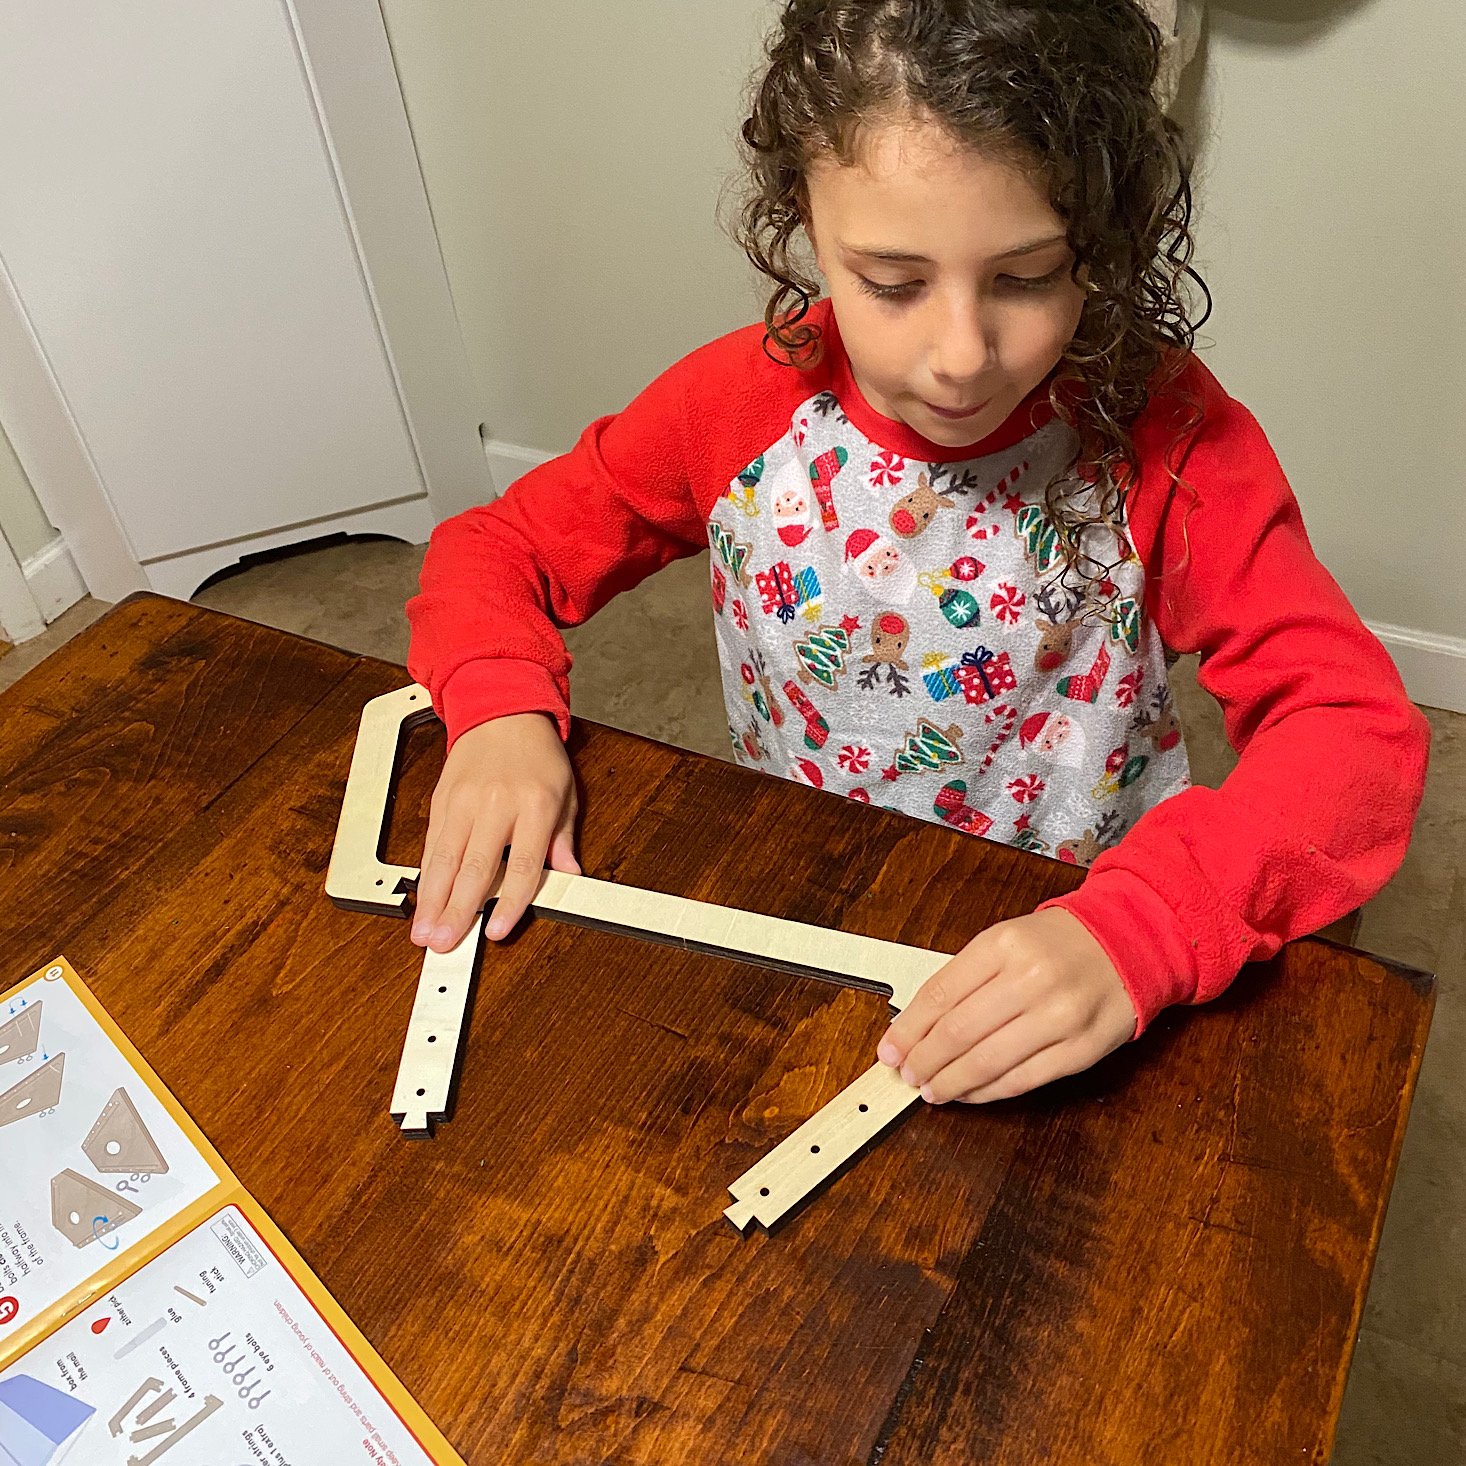
1 of 3

The first part was simple. My daughter slid the frame pieces together for us.

1 of 4


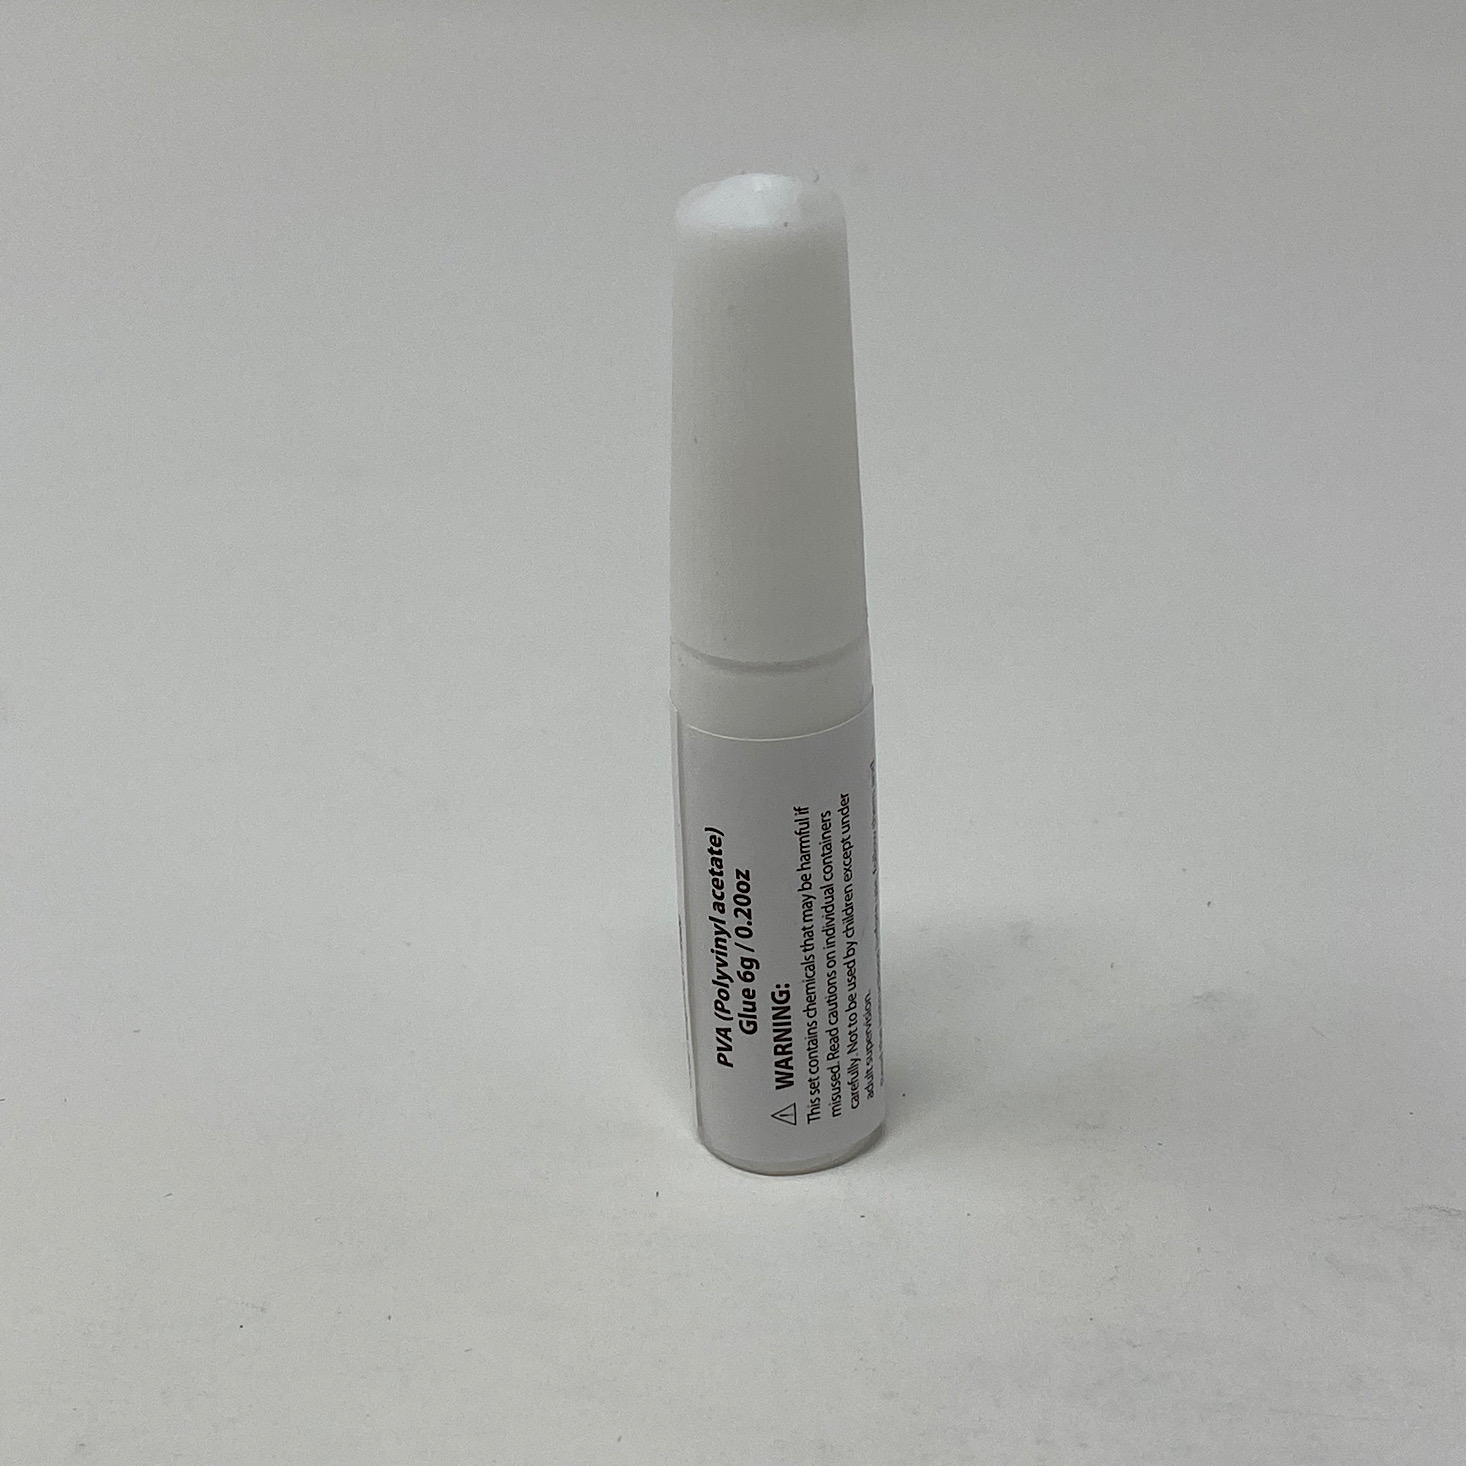
Then my son added some glue to the frame, being careful not to get it in the holes, and we placed the base on top making sure to line up the holes. We set a heavy book on top and let it dry for 30 minutes.

1 of 2
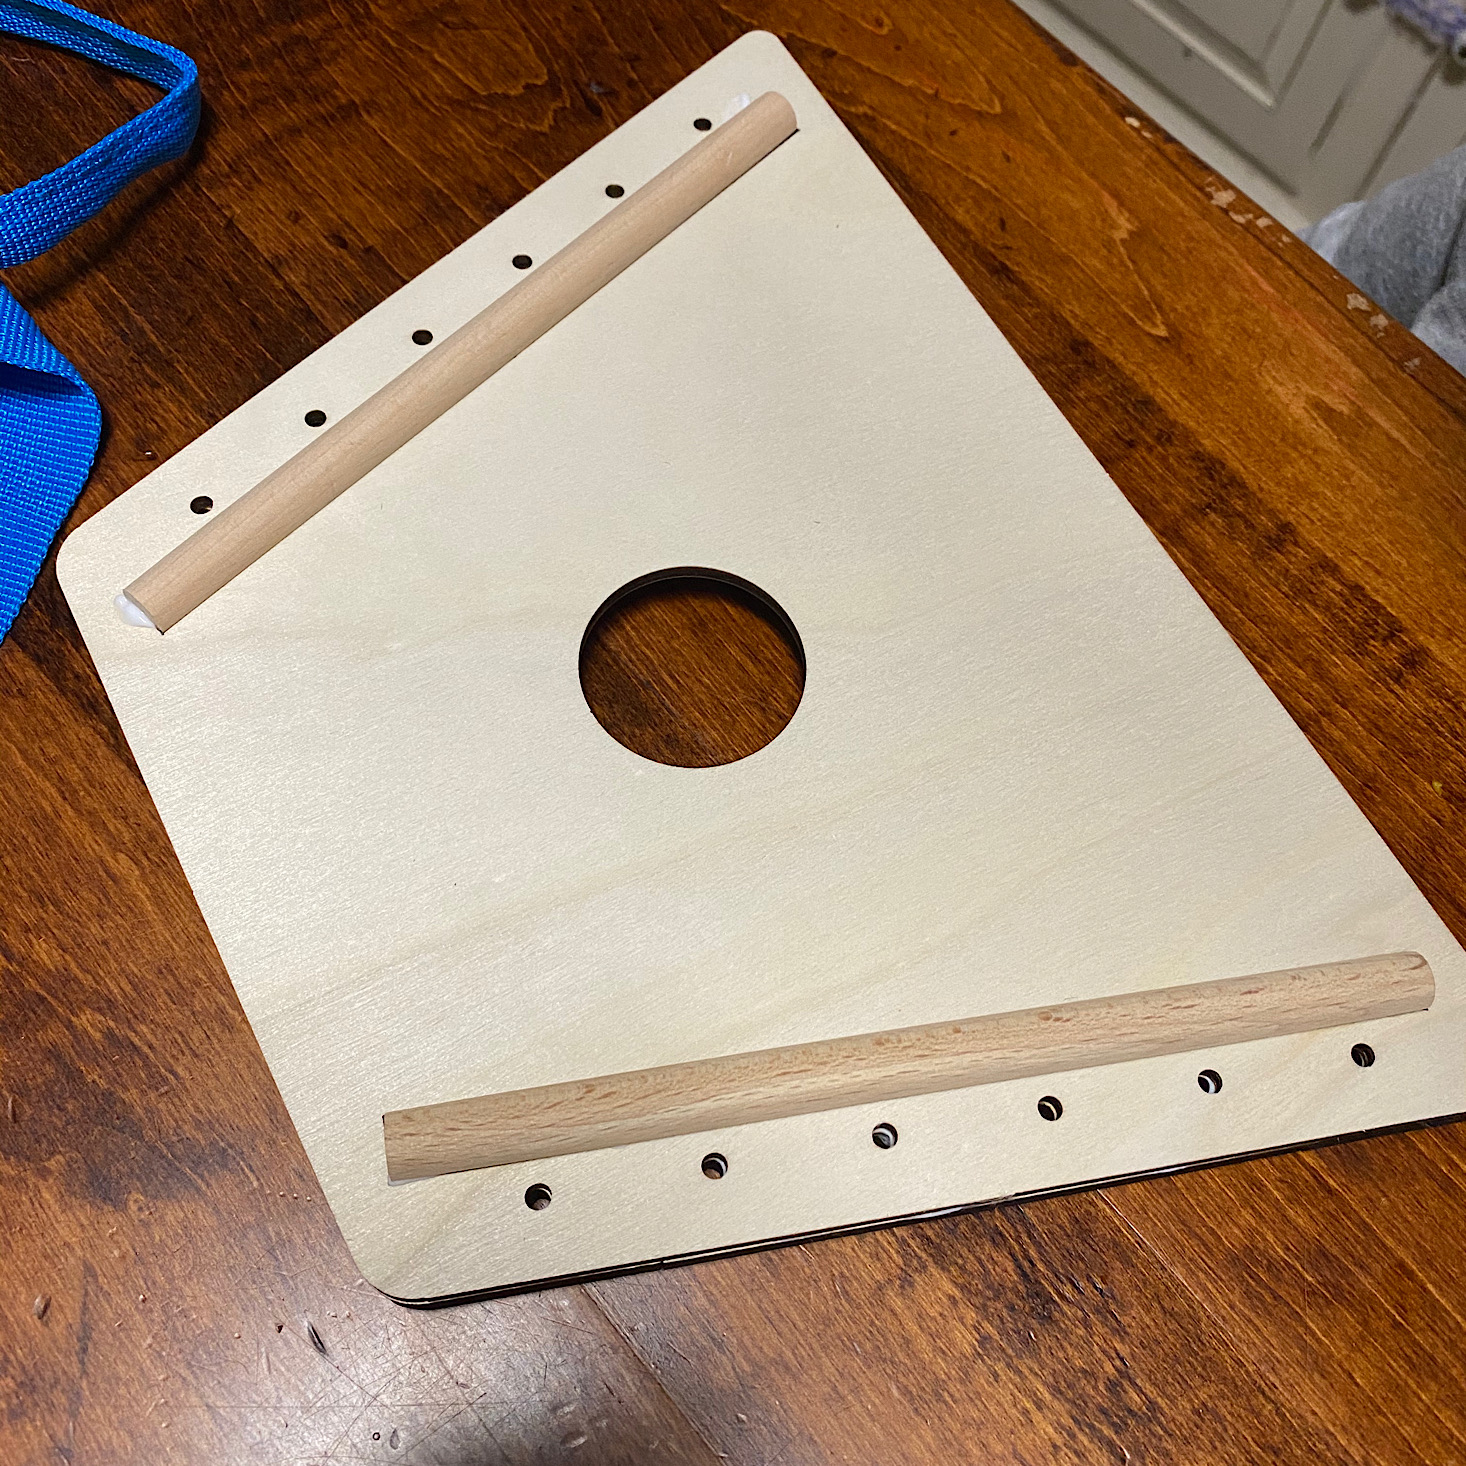
Then we added more glue, set these dowels into the holes, and let those dry.

1 of 5

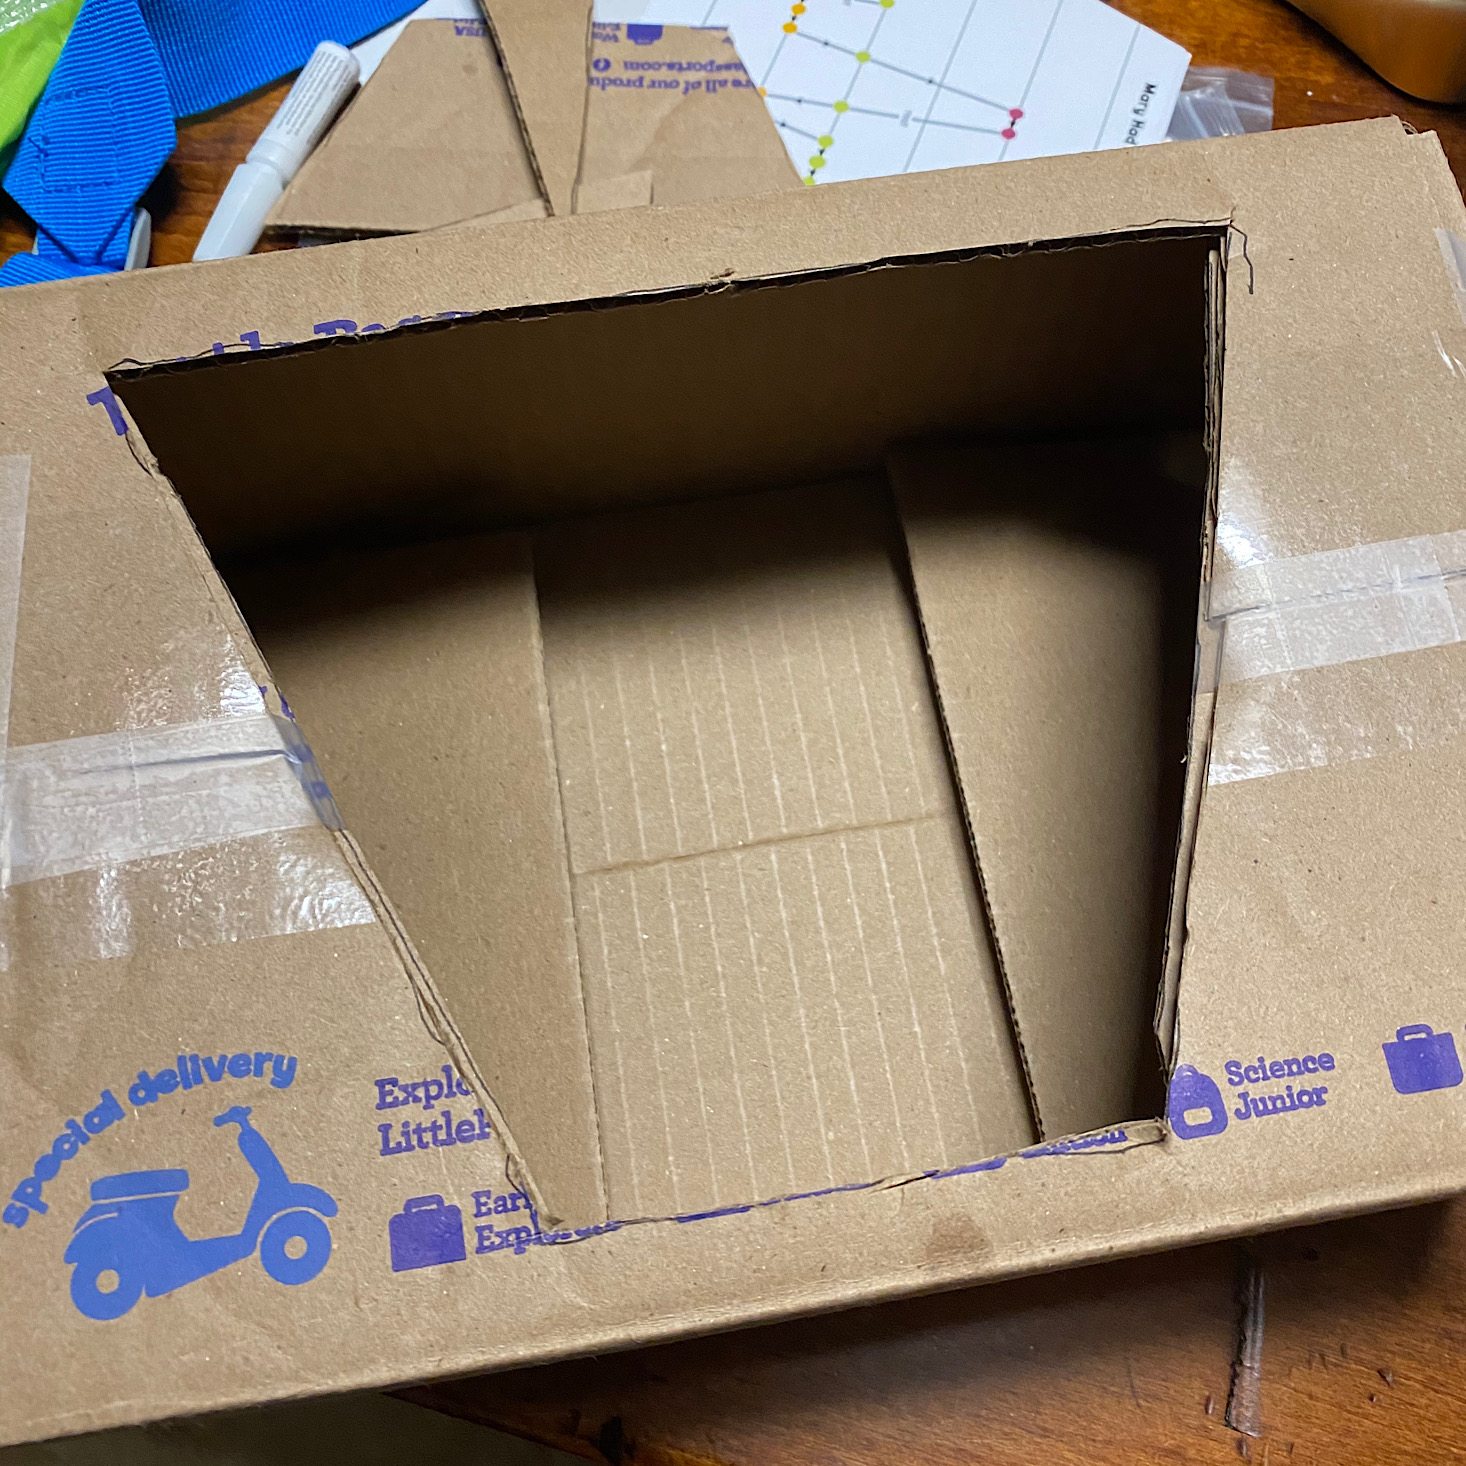
They provided 4 sheets of music for us and one sheet that was blank. I taped down the flaps of our box and then we used one of those to create an outline on the top of our box to cut out so our zither could sit on top.


1 of 3
When everything was dry we added these bolts to the bottom two holes on the left side of the board. These screwed in, but the kids needed a little help getting them started.


1 of 3

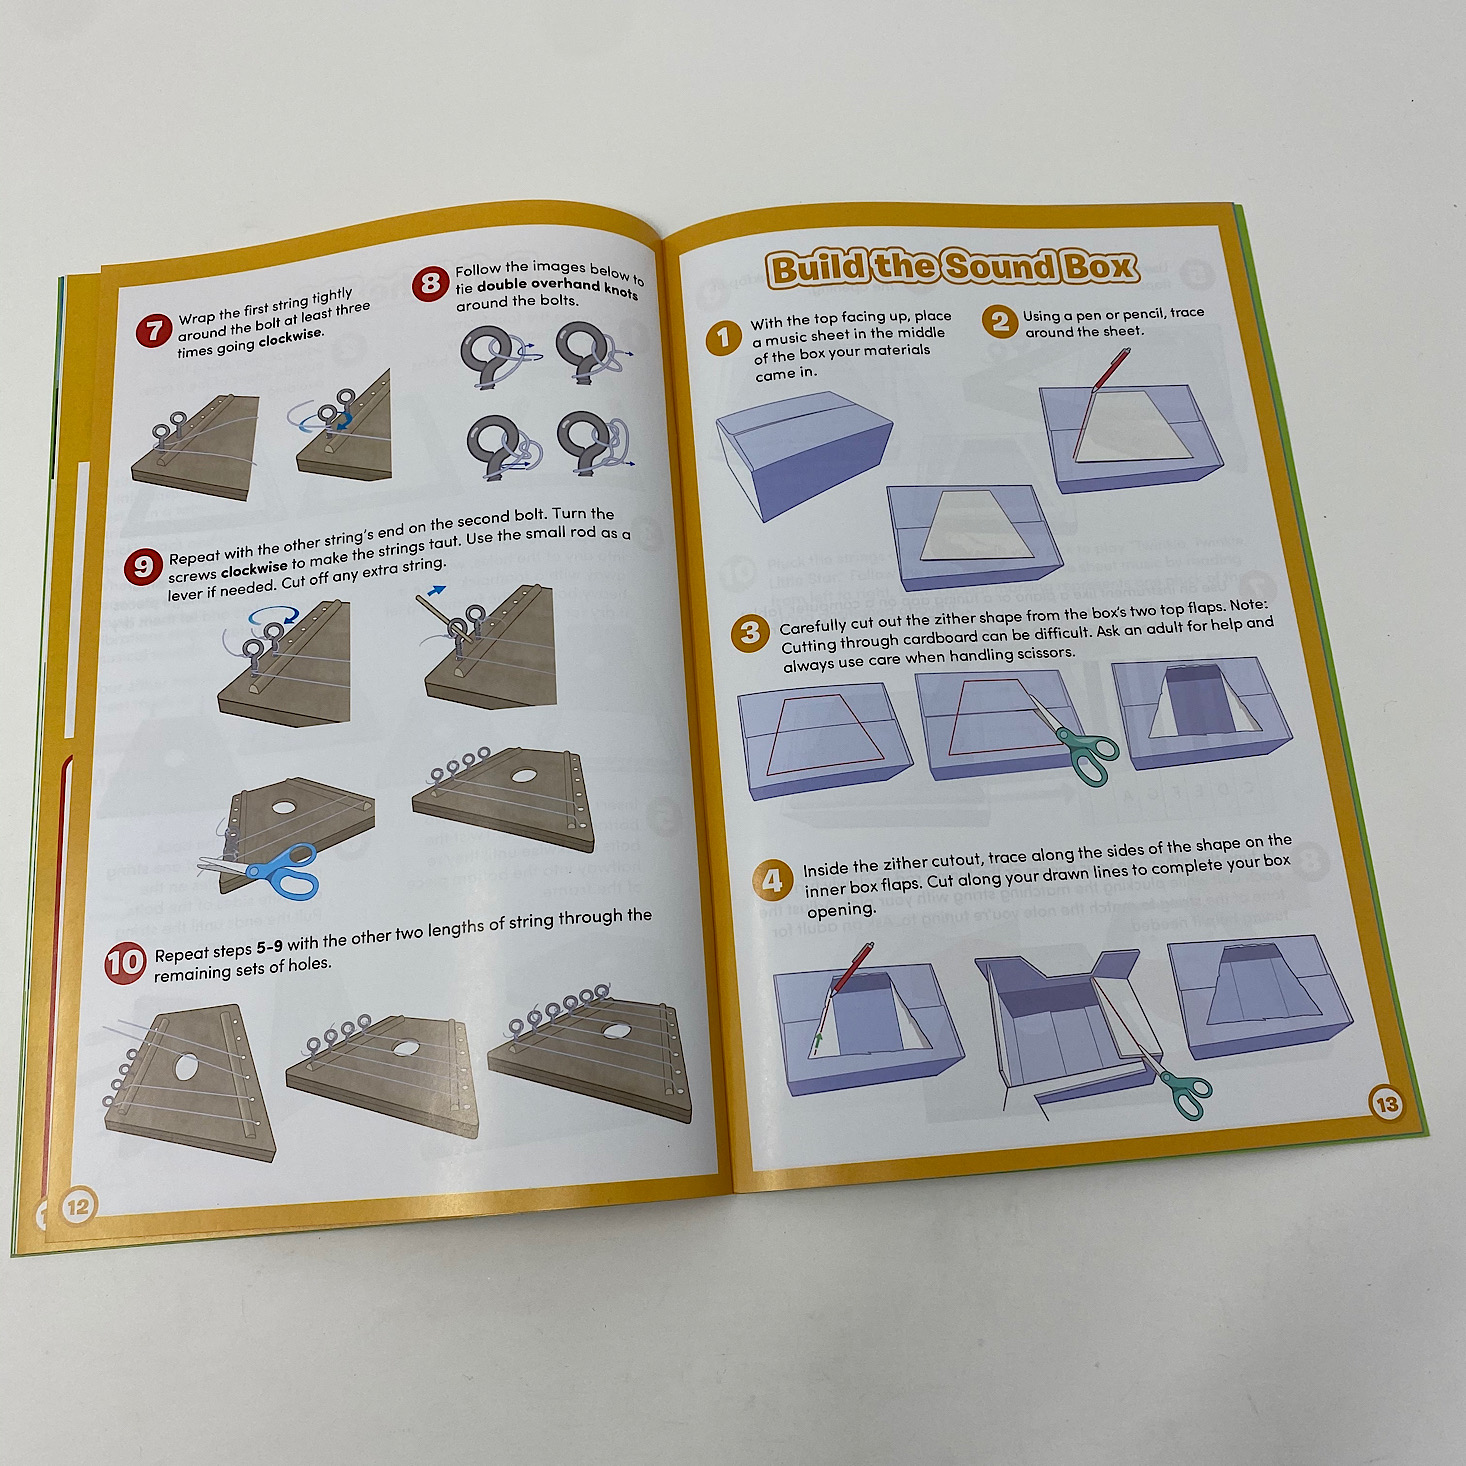
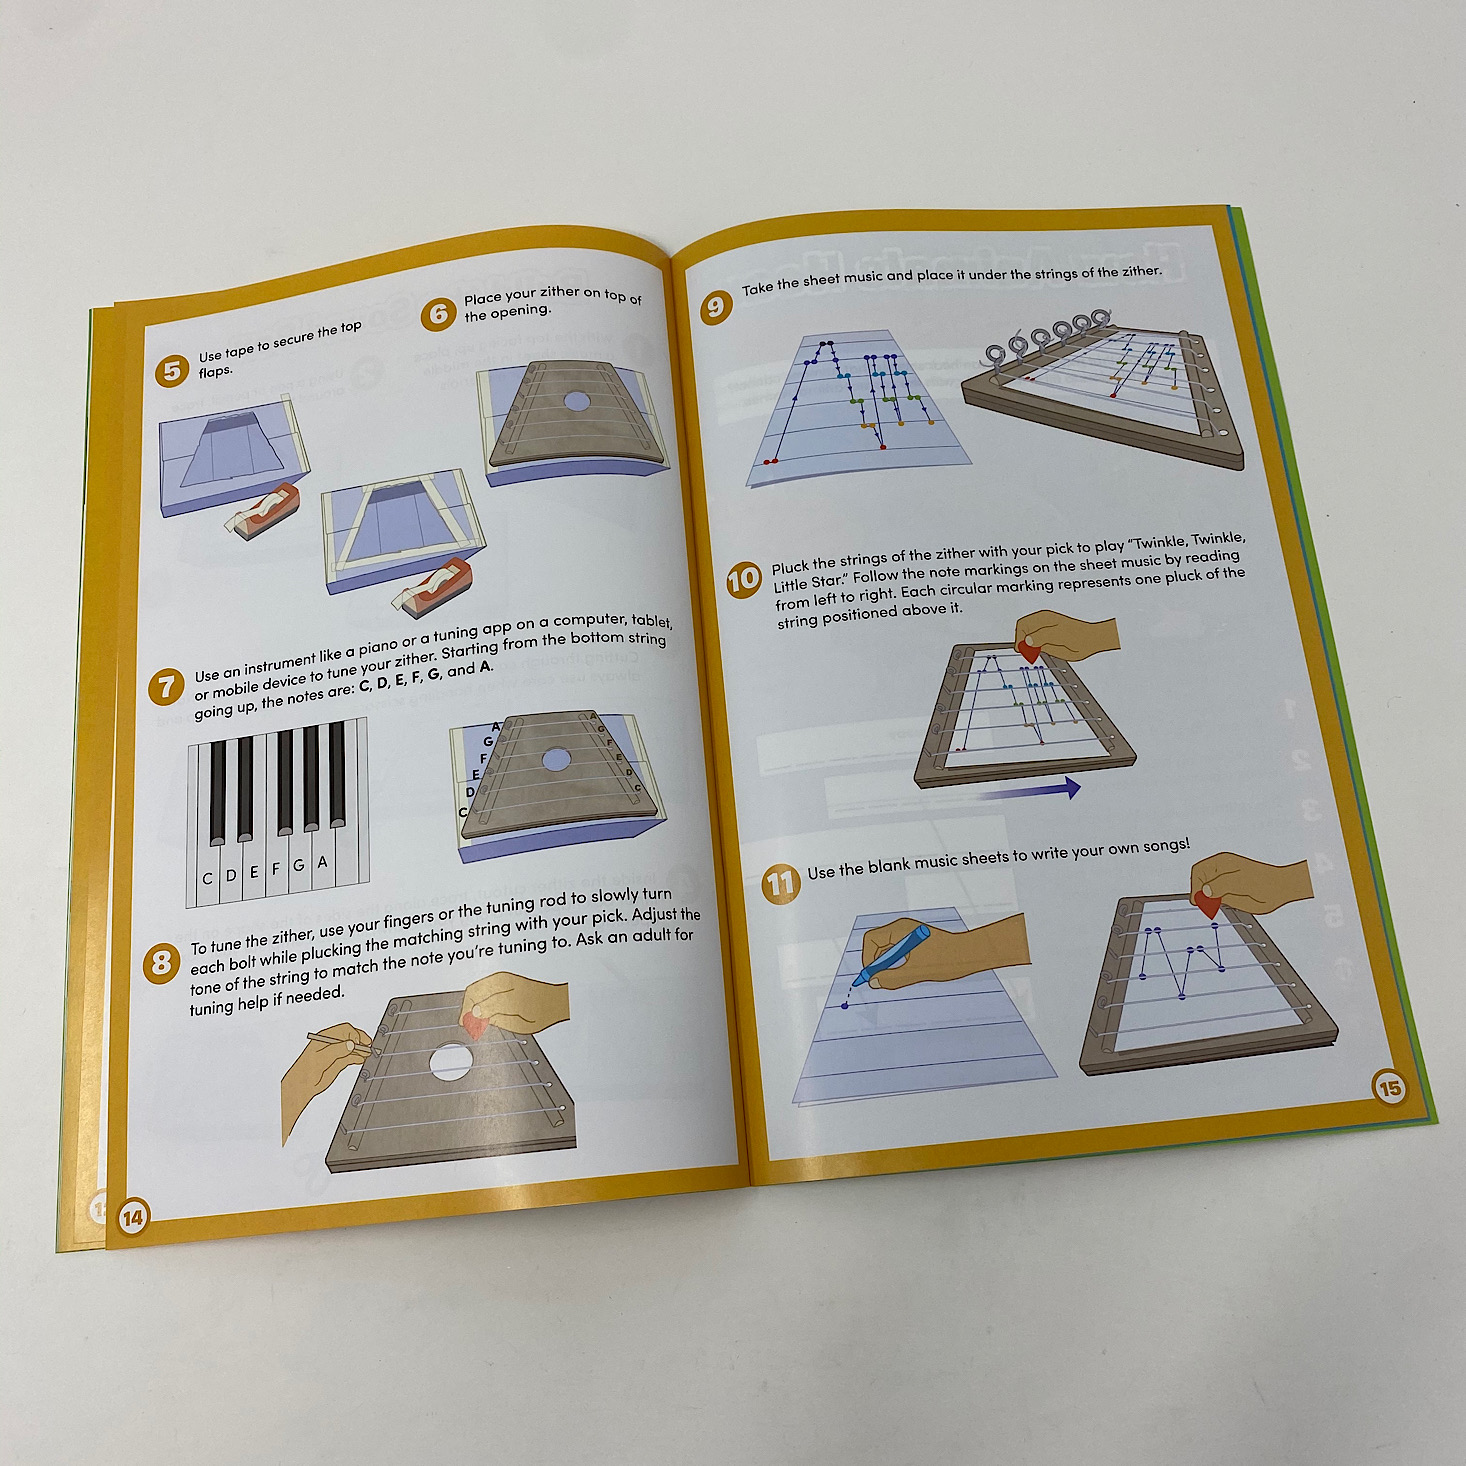
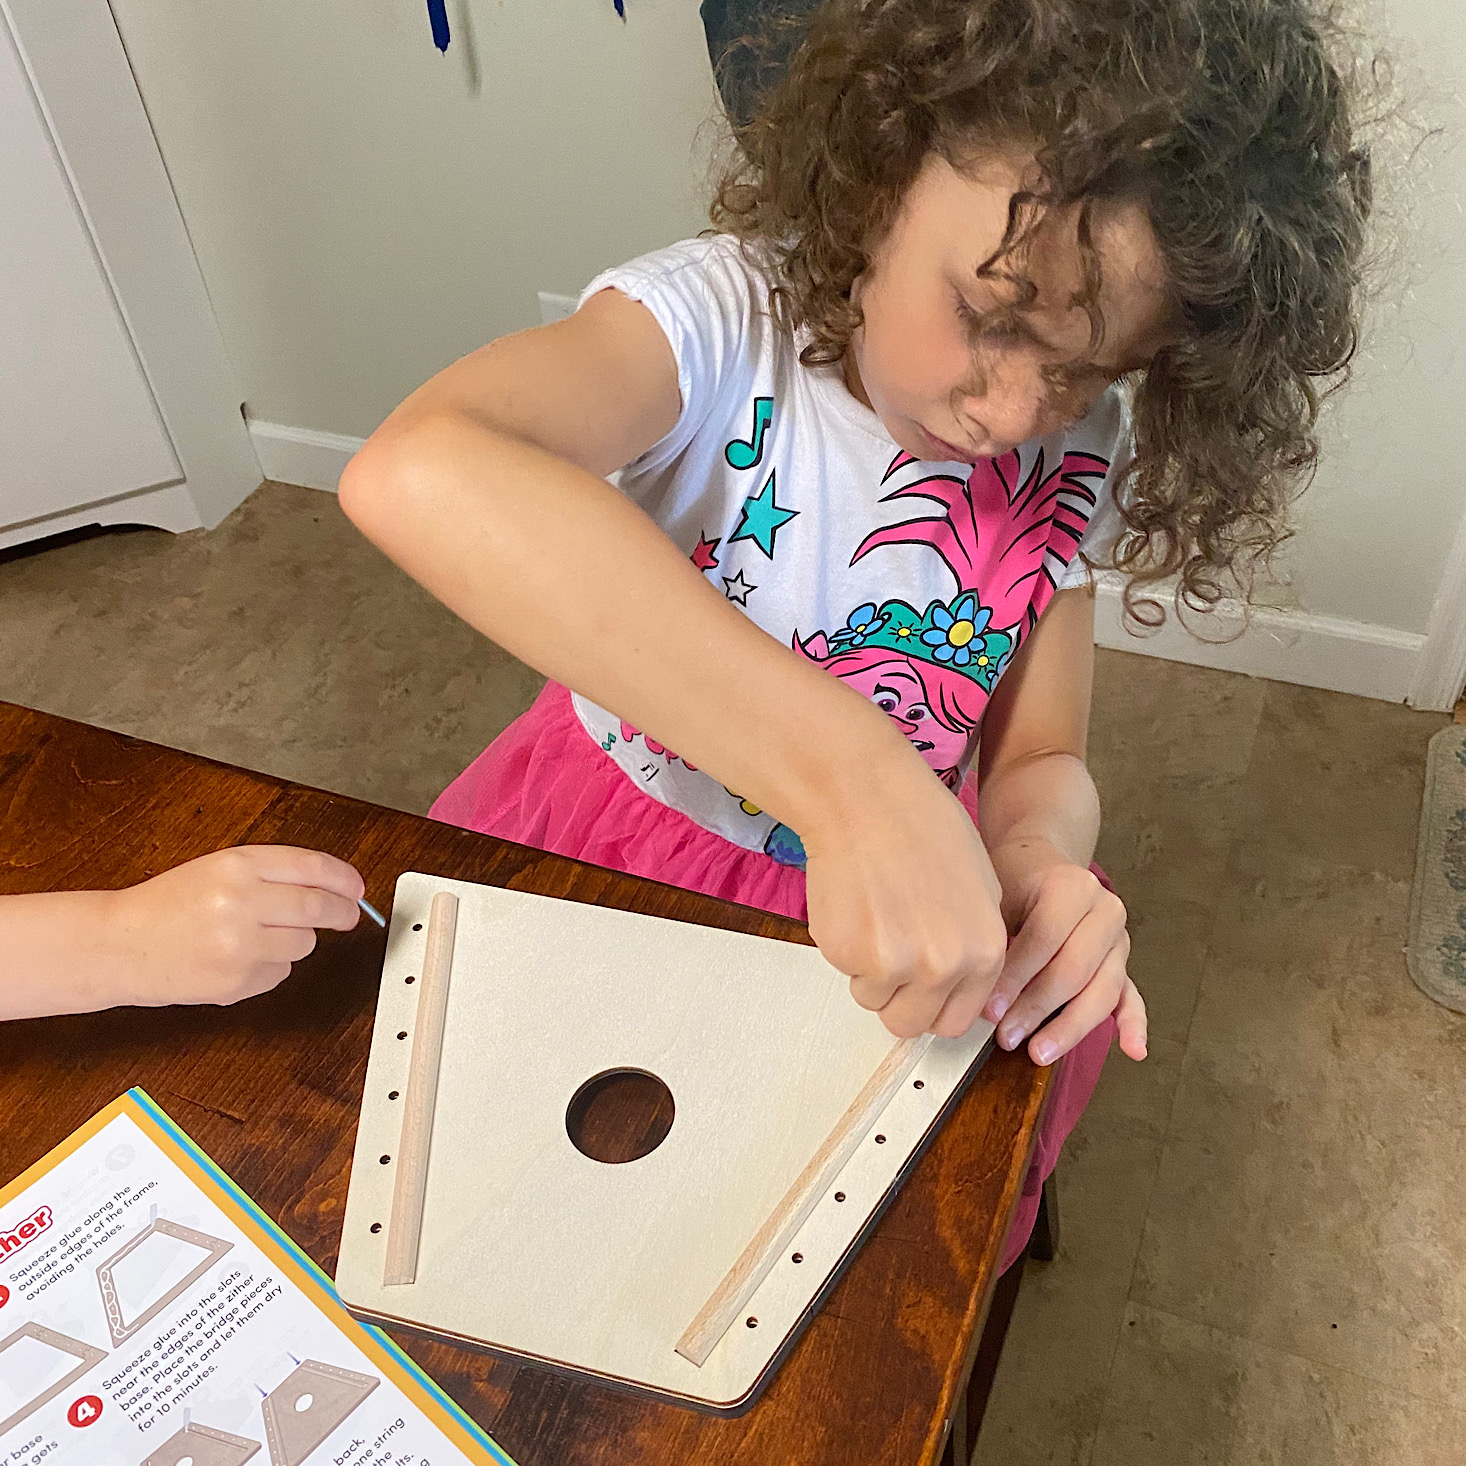
Then it was time to add the strings. We threaded one through the bottom holes on the right side and then I tied them into the loops on the bolts after winding the string around a few times. They provided instructions for how to tie a double overhand knot but I thought they were very confusing and I found myself getting frustrated with this part! The string was not very easy to work with and difficult to tie, so I definitely recommend parental assistance here!

1 of 3

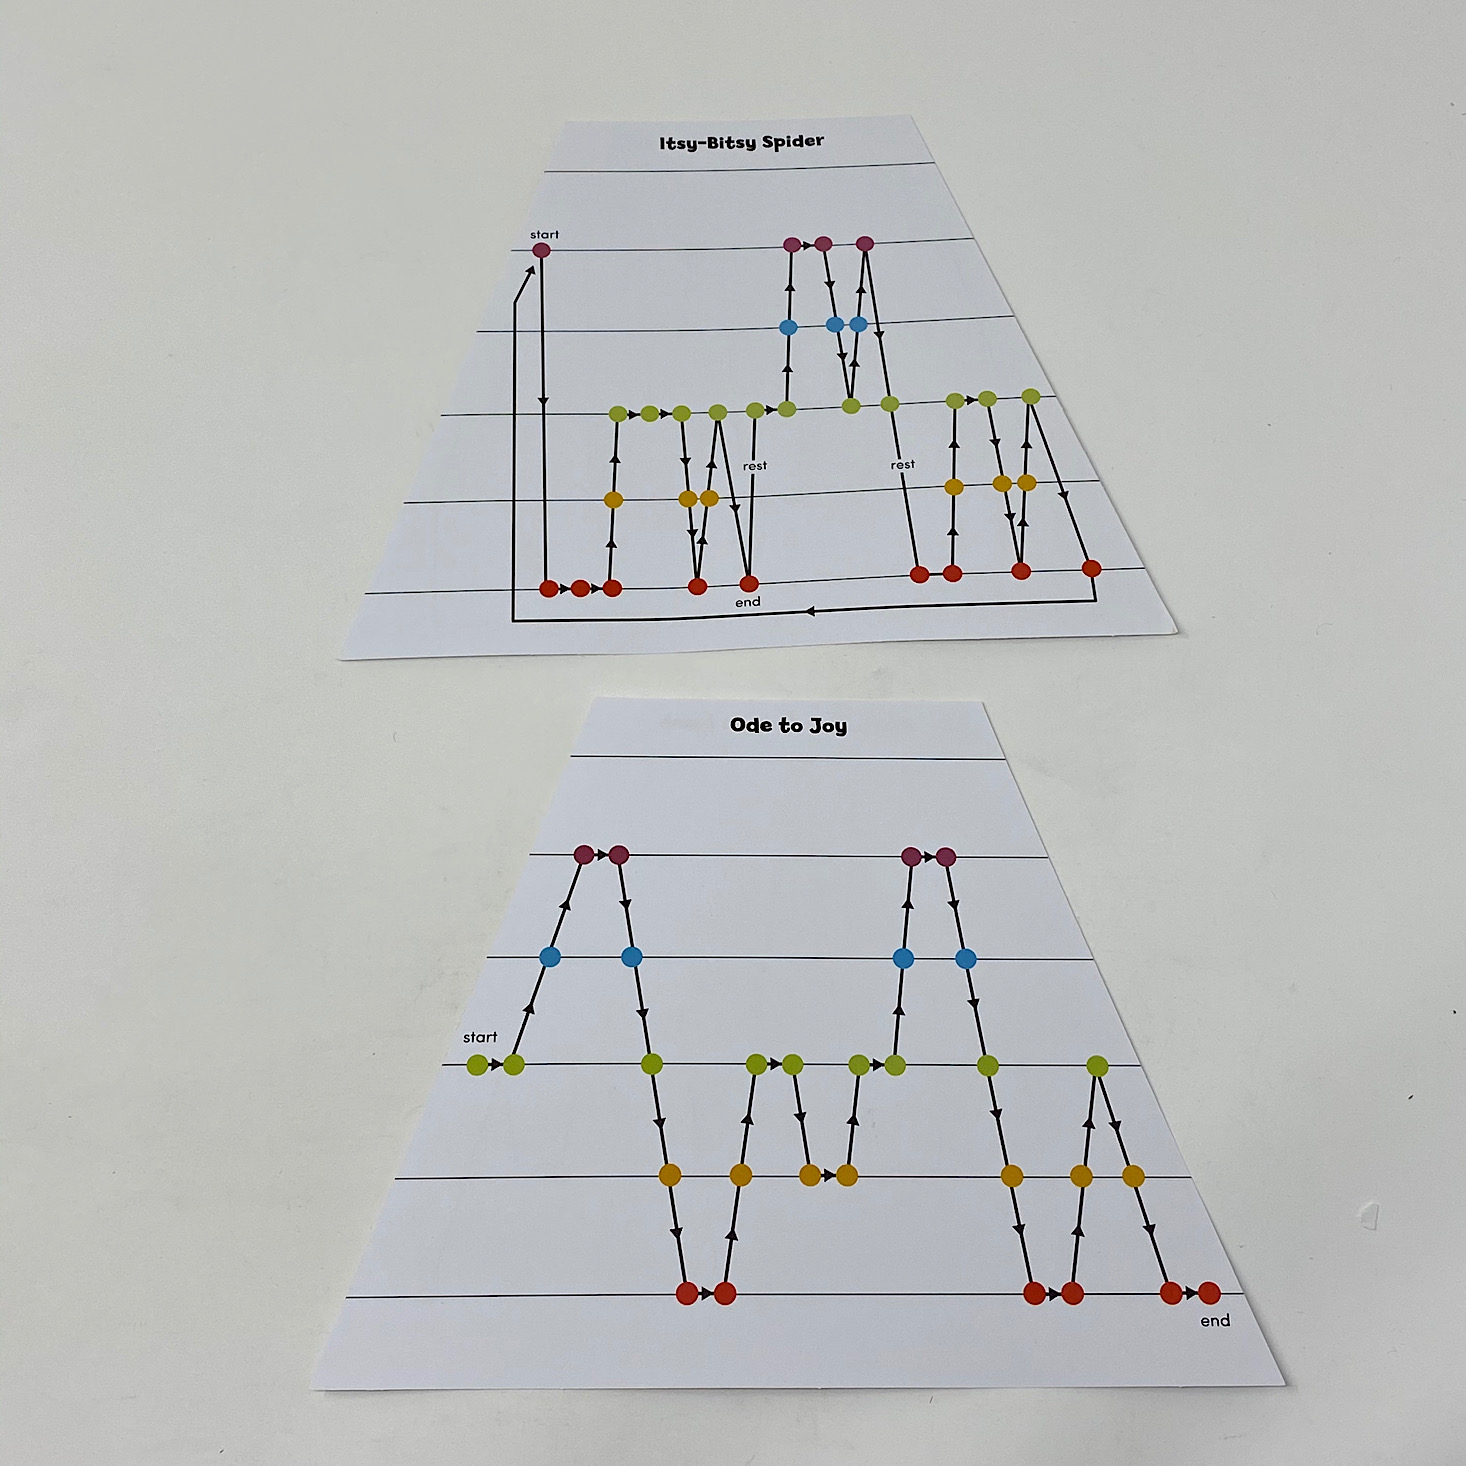
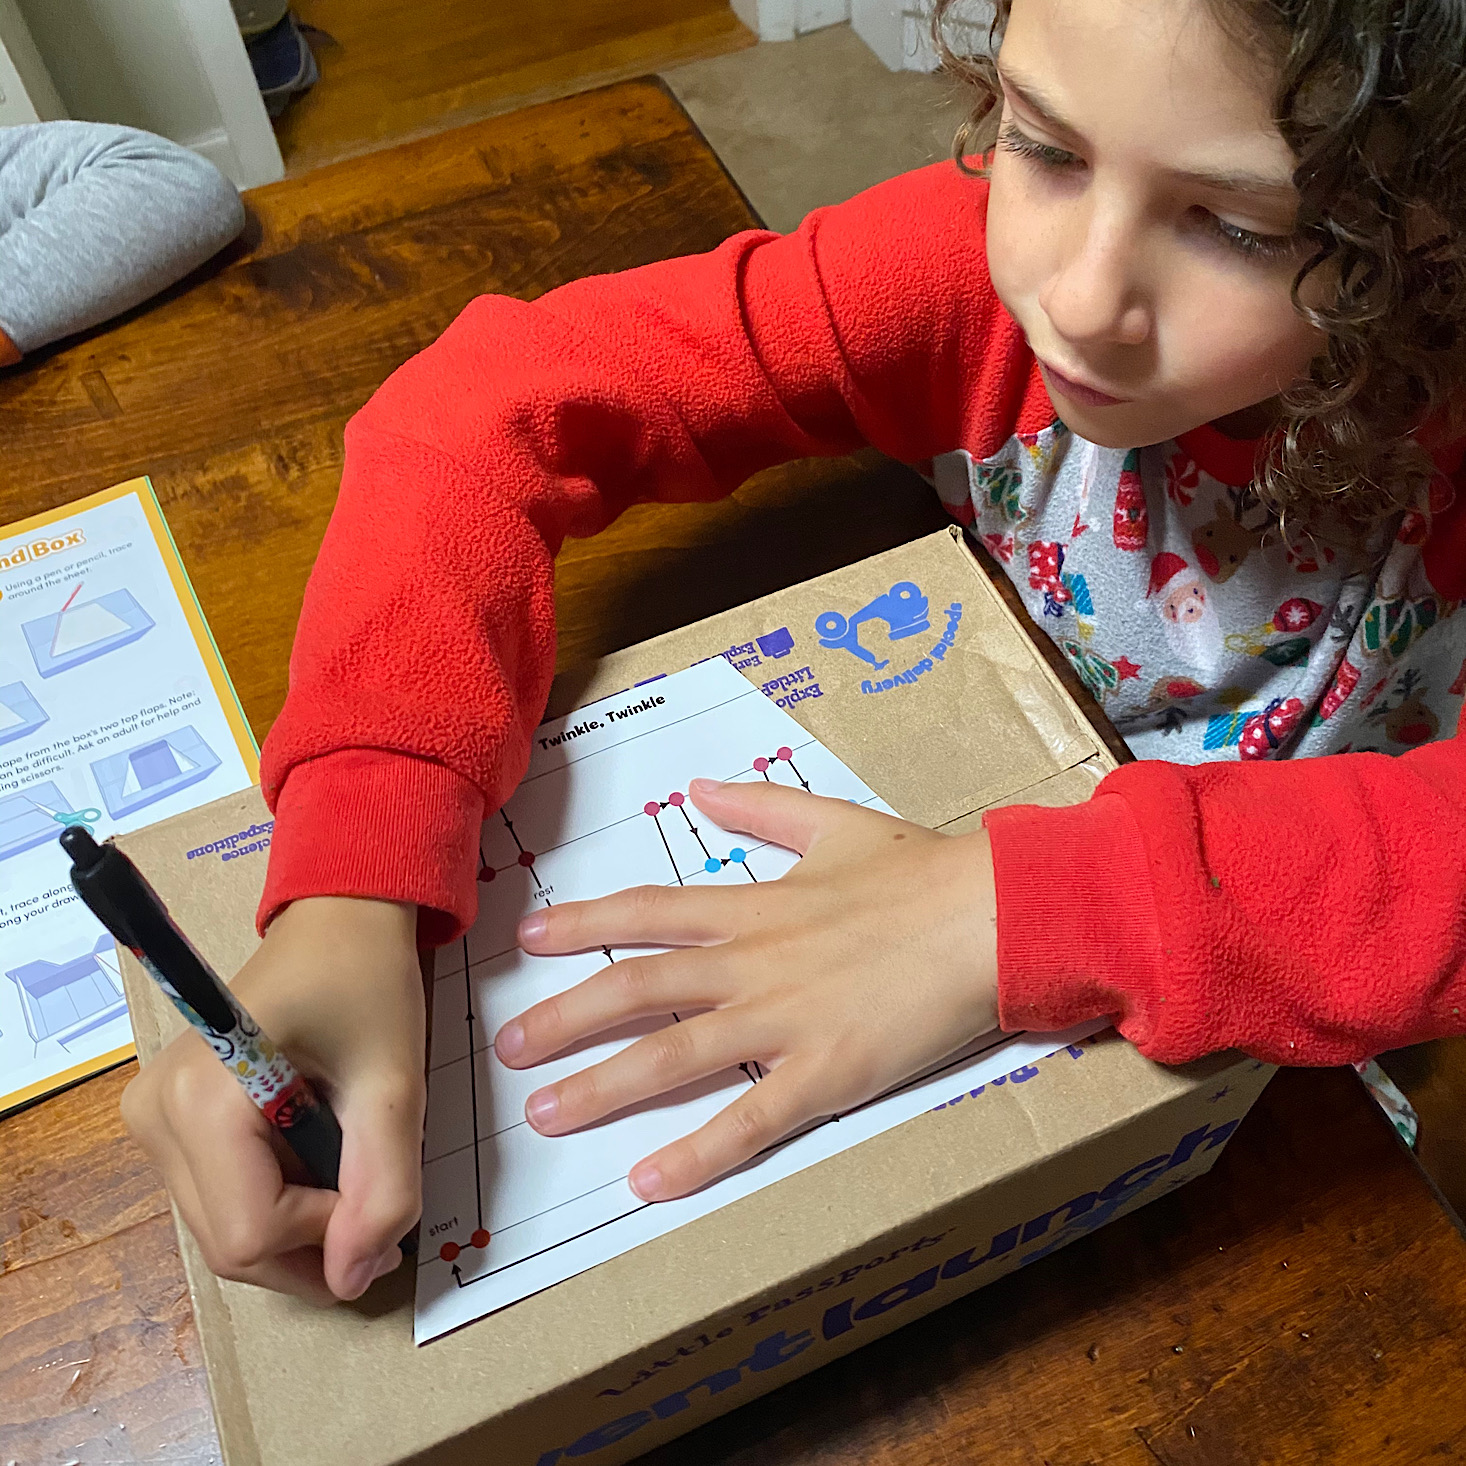
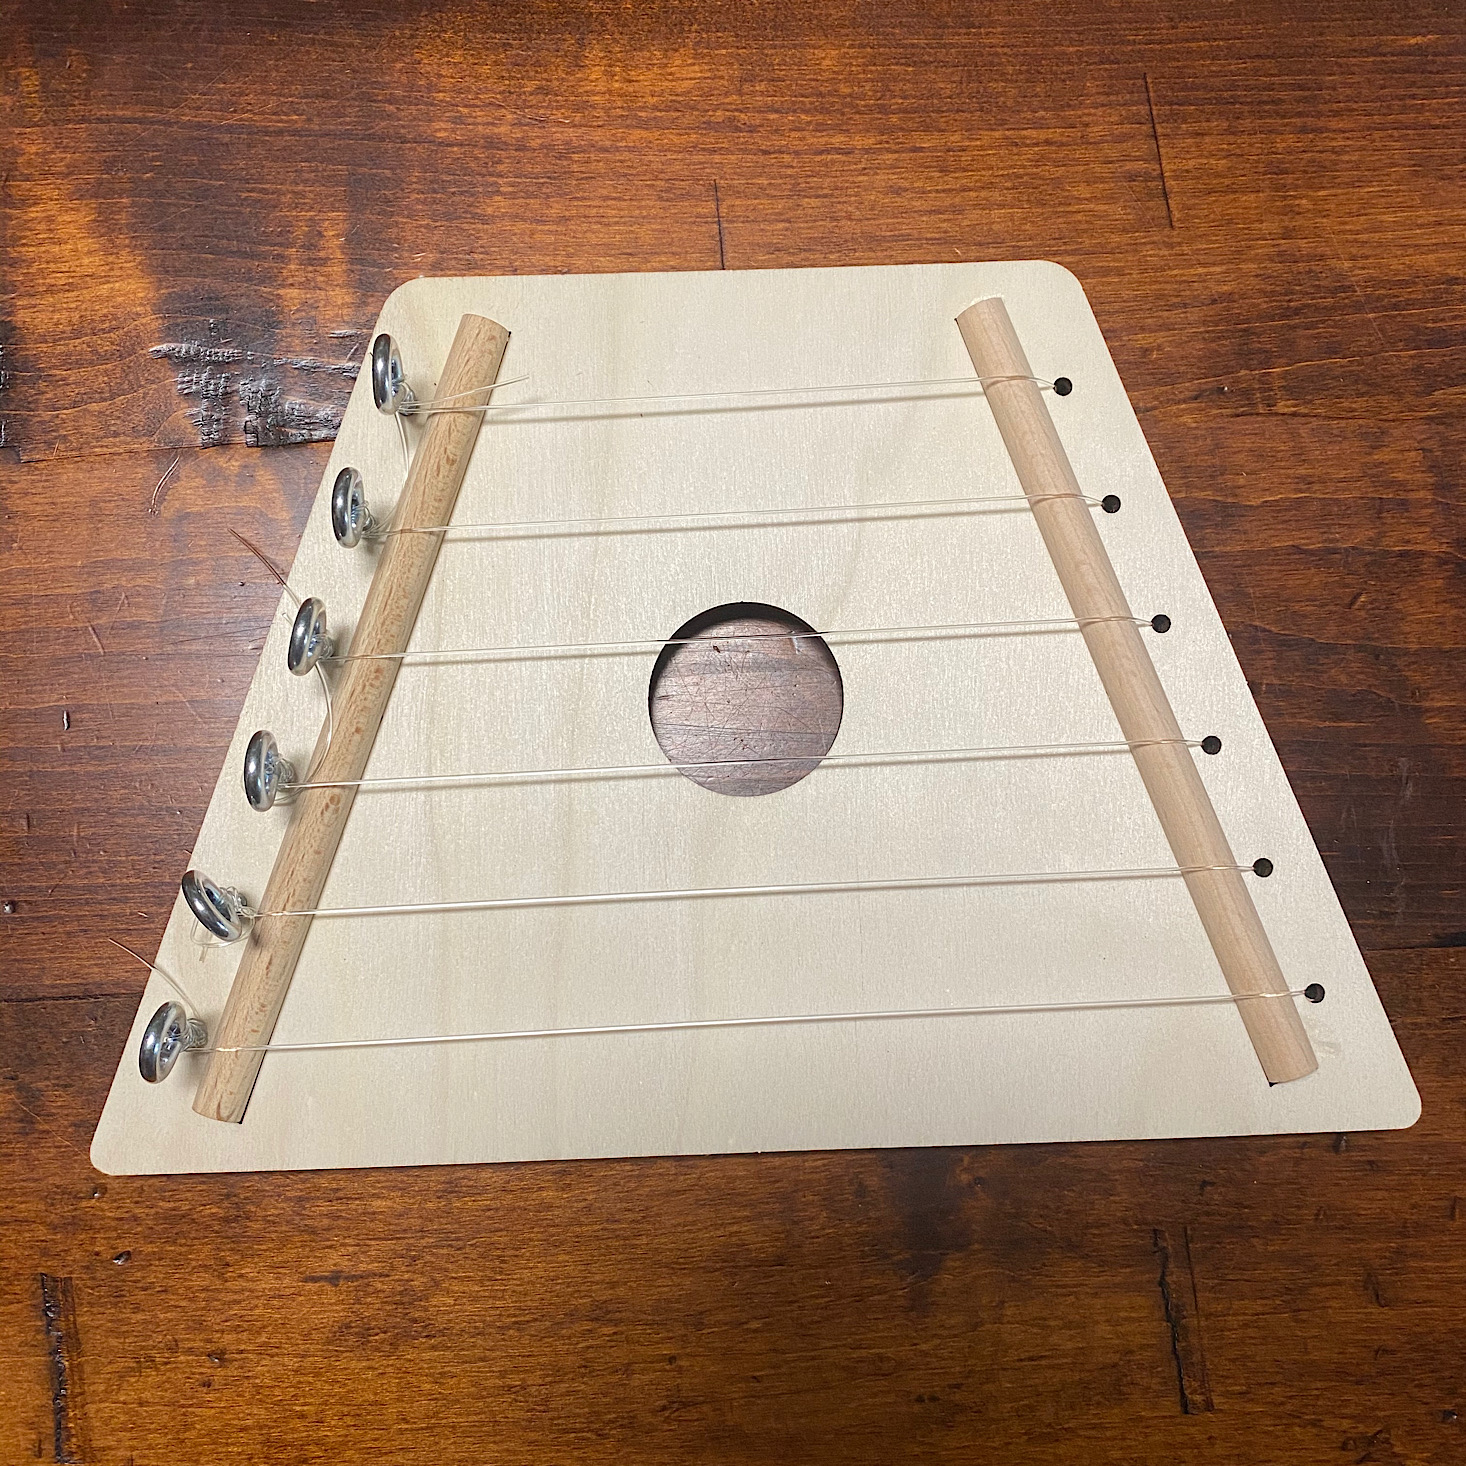
I repeated those steps until all 6 strings were on. Then I tightened them up. It was time to tune them and Little Passports recommended using an app to tune them, but I had trouble finding an app that worked well, so we just played it as is for now and I'll have to tune it later. They even provided a little pick for us. We simply slid the music sheet under our strings and placed the unit onto our box. Then you strum each note in order. It takes some practice, but I love how simple they made it for kids!
Here you can see my son testing it out.
Here is my horribly out of tune version of Mary Had a Little Lamb.
Day 3 Online Extension:
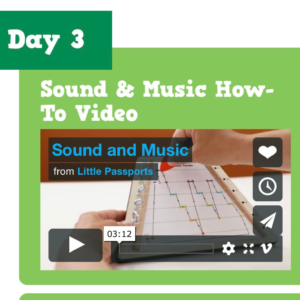
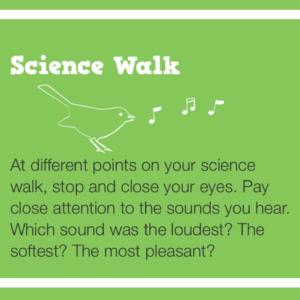


Day 3 gave us a quick overview on how to build our zither, how to draw a guitar, and provided some more jokes to print. Our science walk had us paying attention to the sounds that we heard.
Day 4: Chimpanzees
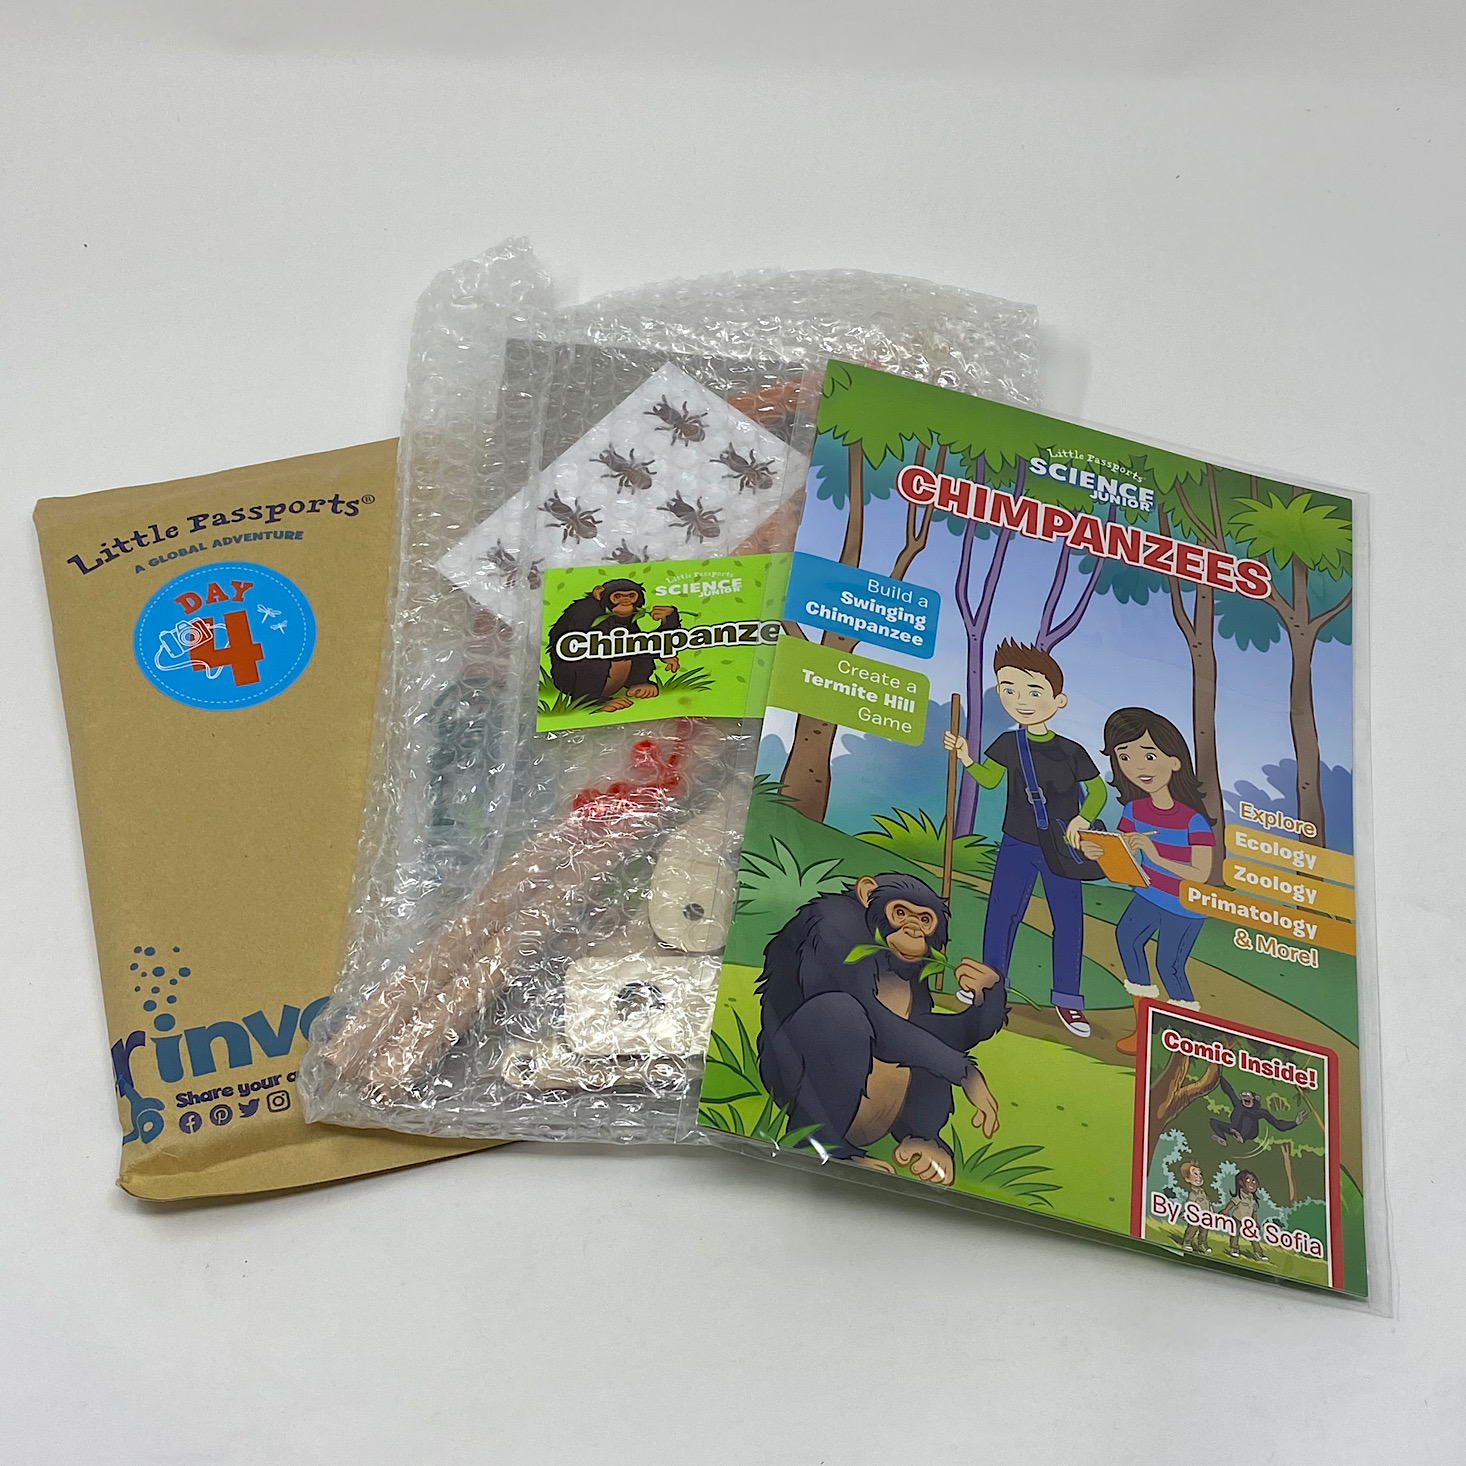

1 of 2
Day 4 came in an envelope packaged up neatly.
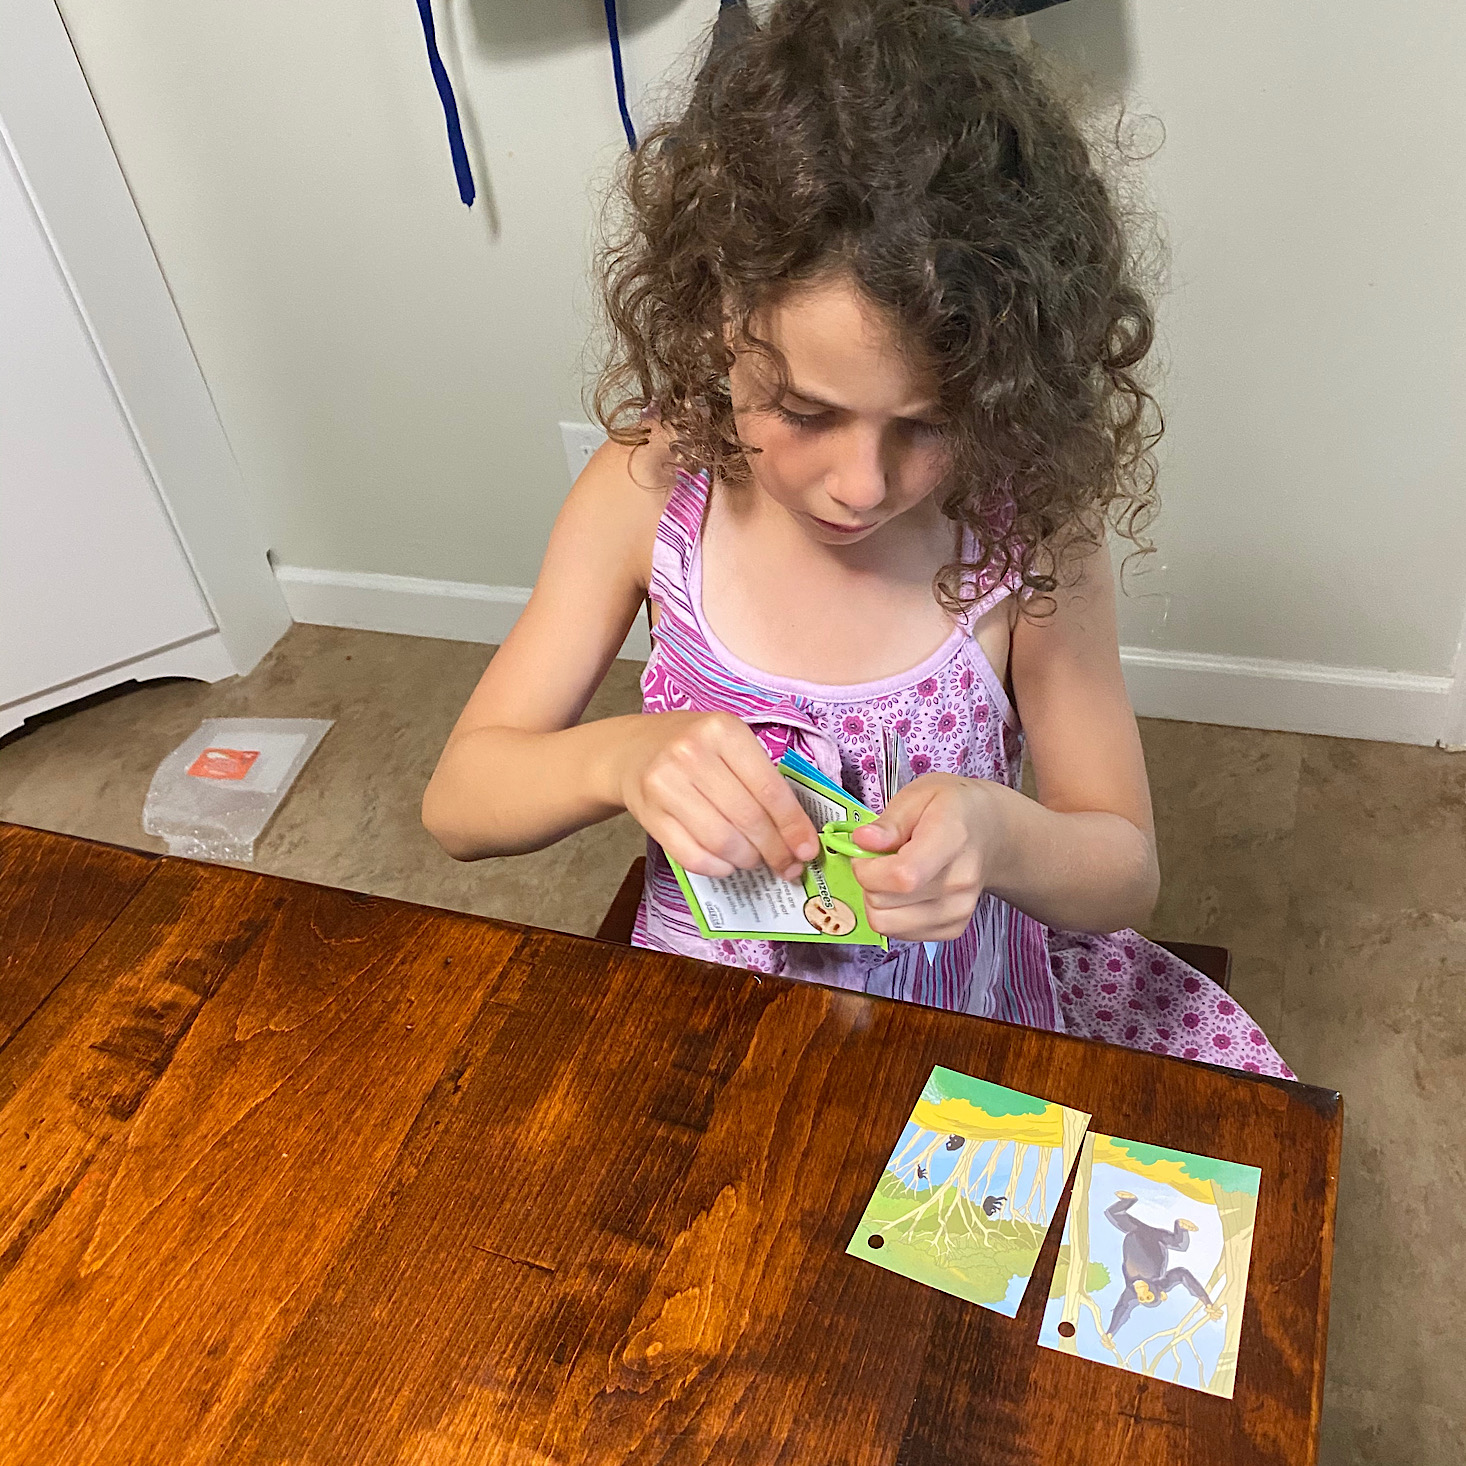
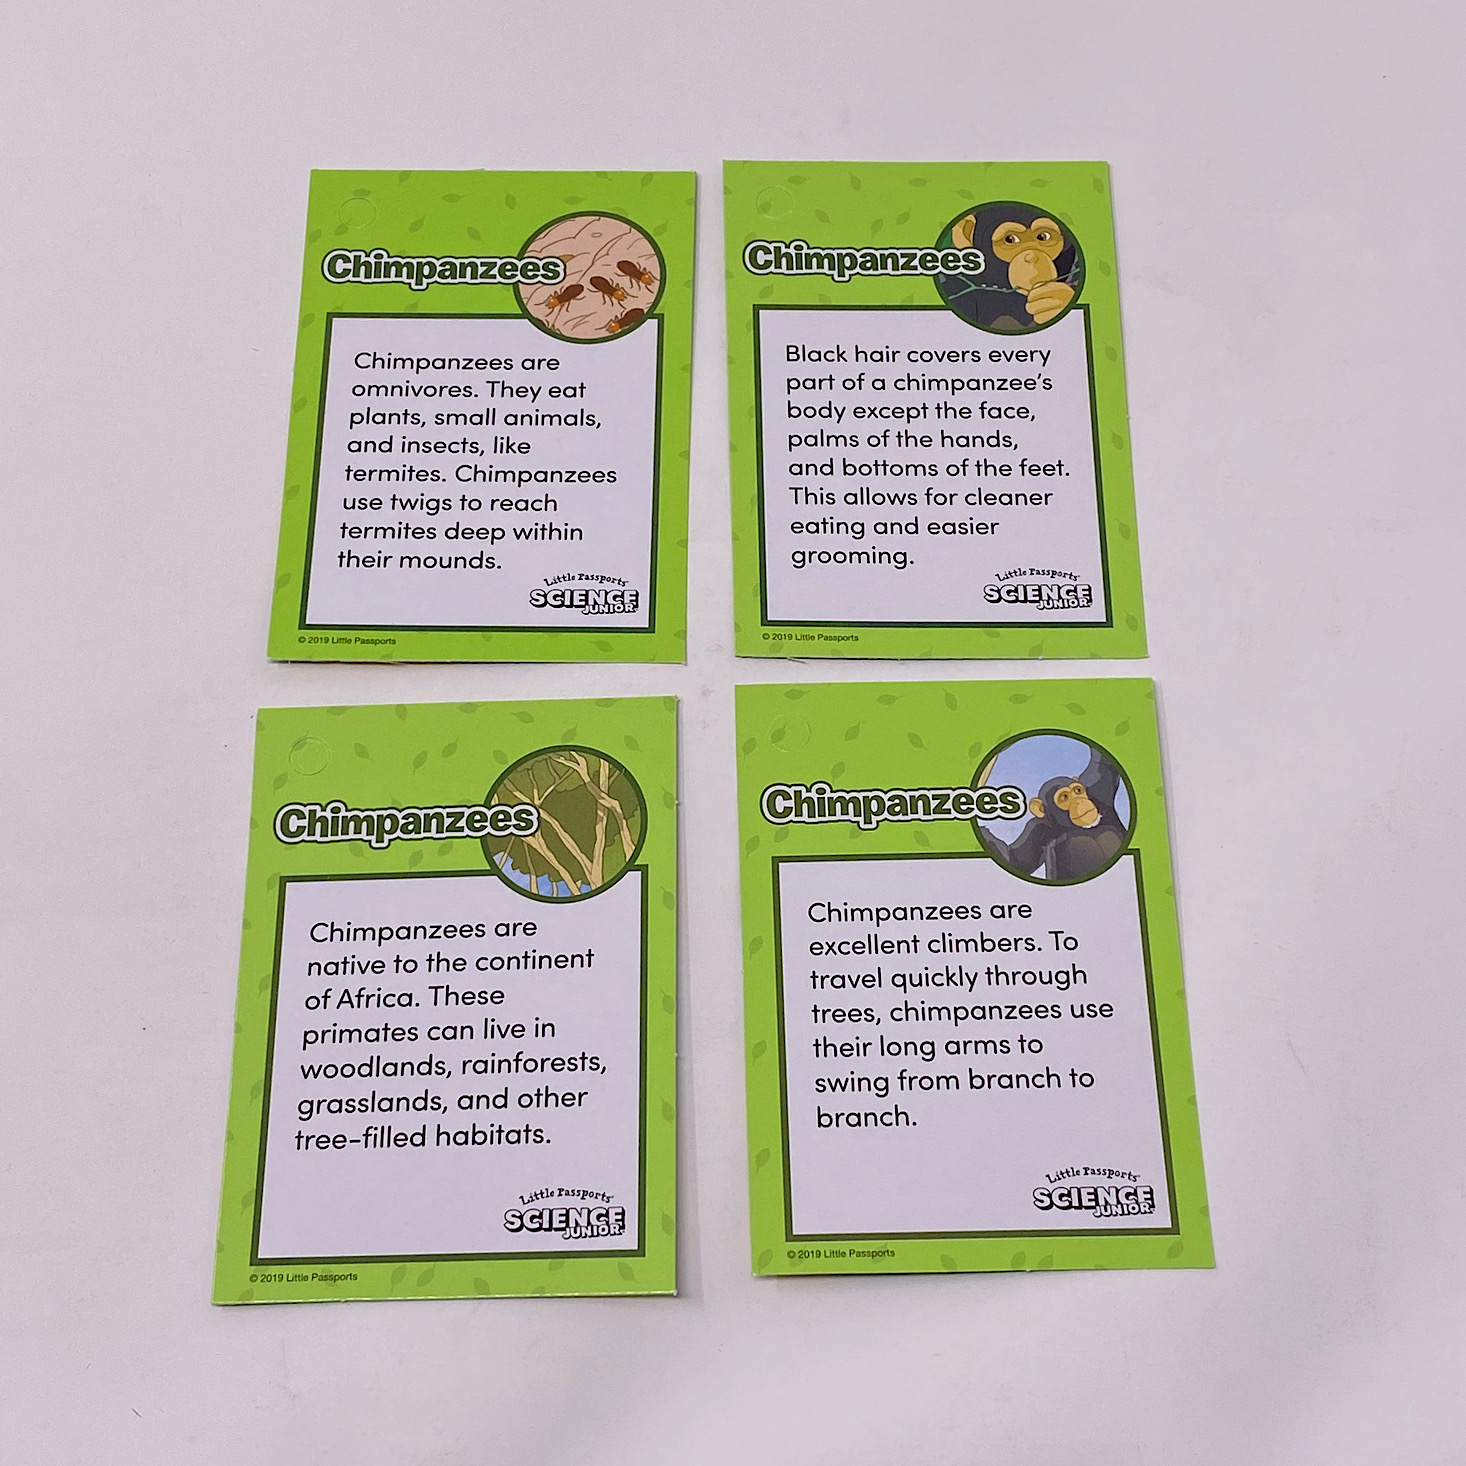
1 of 3
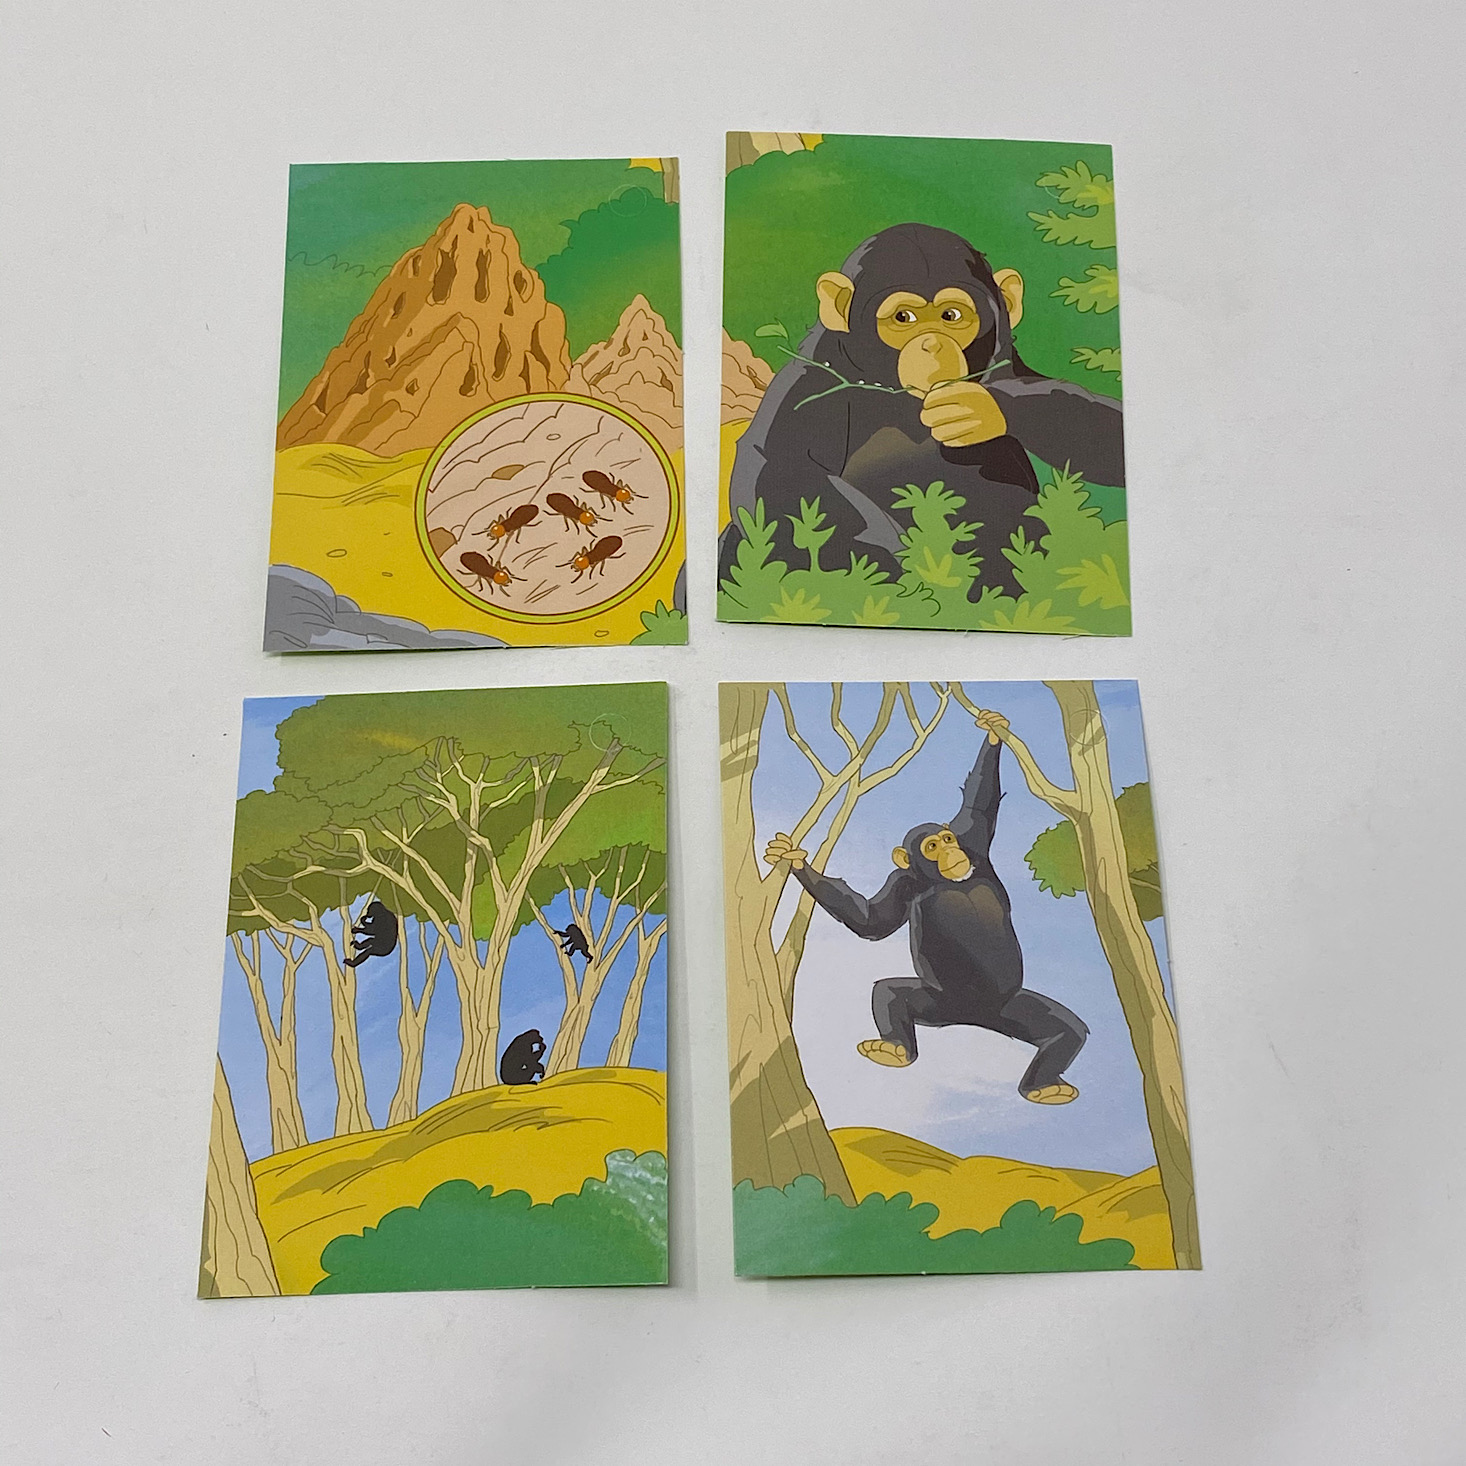
My daughter added our trading cards to the ring after sorting them.


1 of 2
I love this fun chimpanzee badge!

This set of stickers was a huge hit!


1 of 8


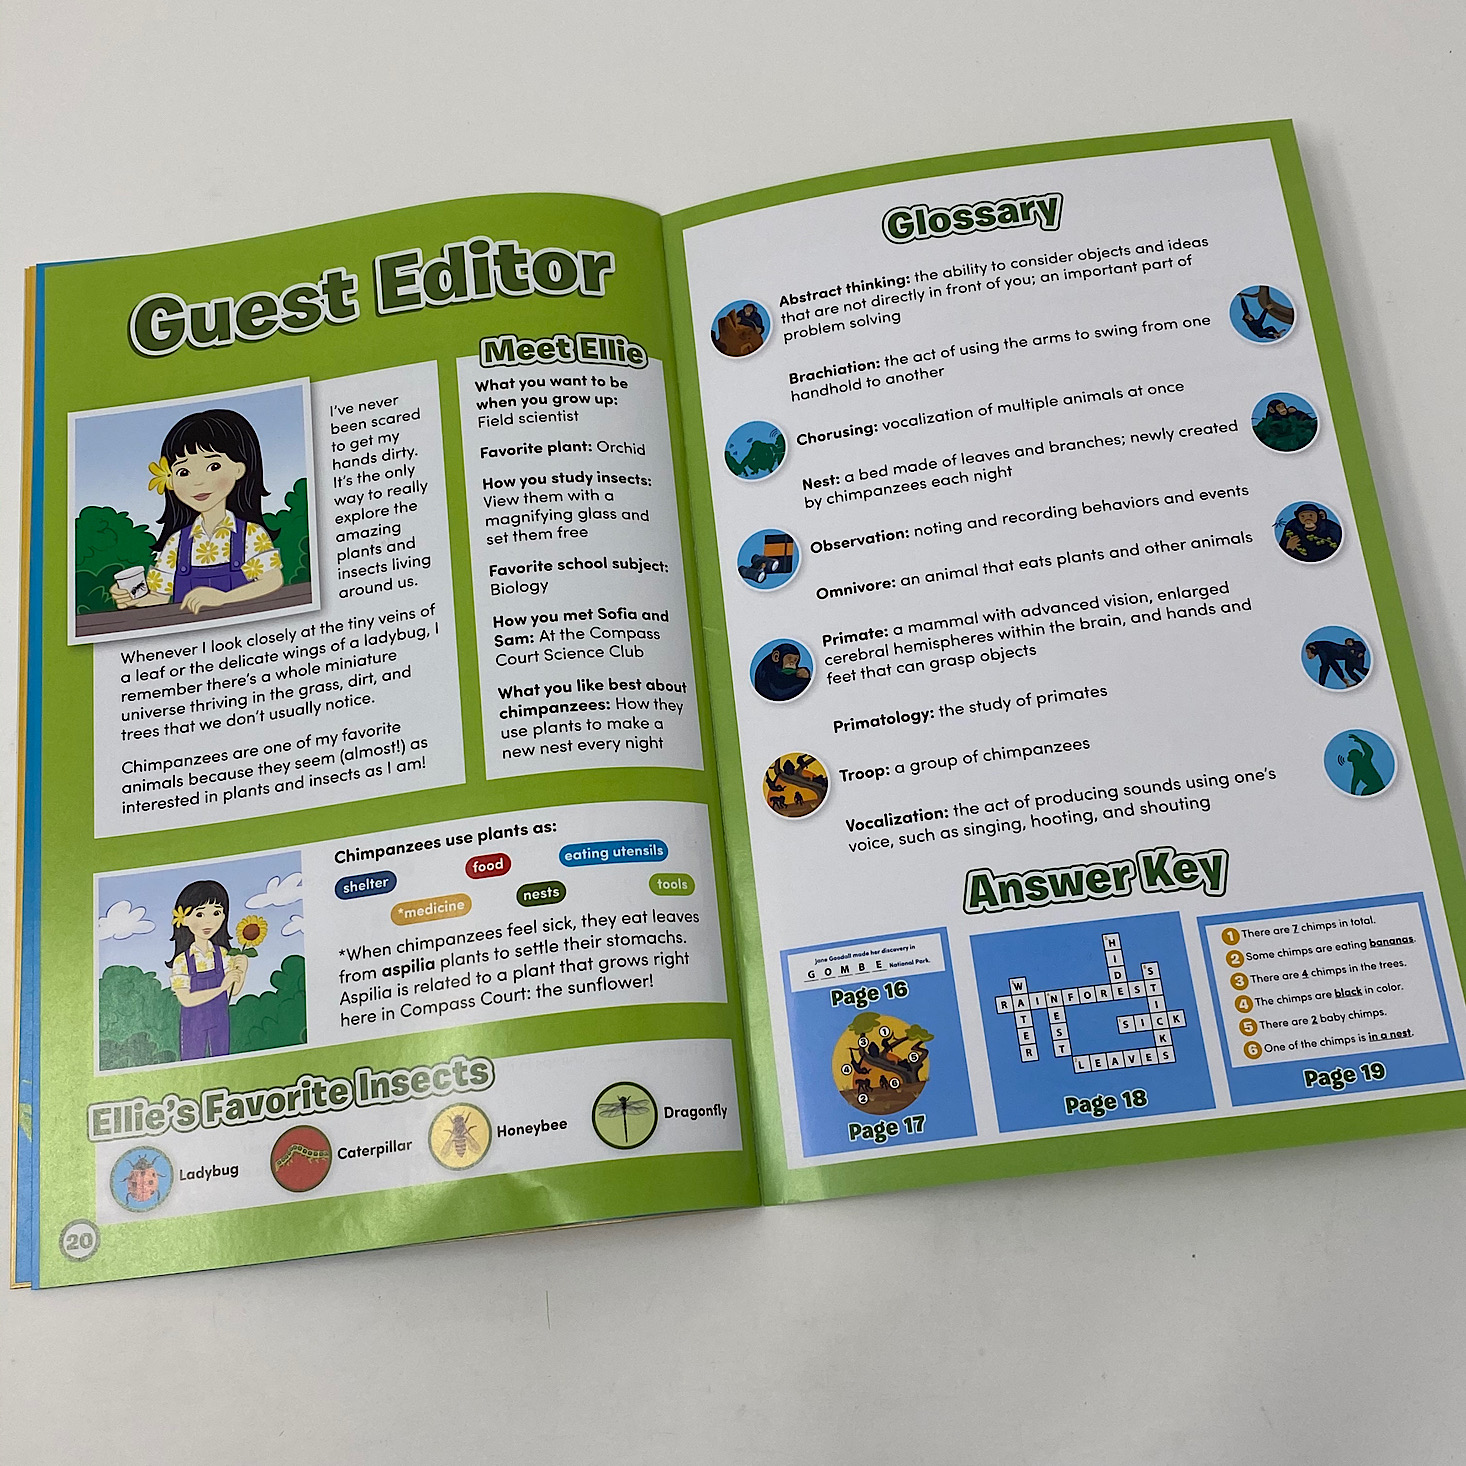
Our magazine told us all about chimpanzees which my kids really loved. We met a primatologist and our guest editor talked to us about plants, insects, and which ones chimpanzees need.


1 of 5


This magazine also contained our instructions for making a swinging chimpanzee and a termite hill game along with a crossword and some chimpanzee-related activities.


1 of 3

My son helped with the termite treats page while my daughter worked on the word search with me. Then we did a chimpanzee shadow matching.


1 of 3

My son really enjoyed the observing chimps activity!

1 of 2
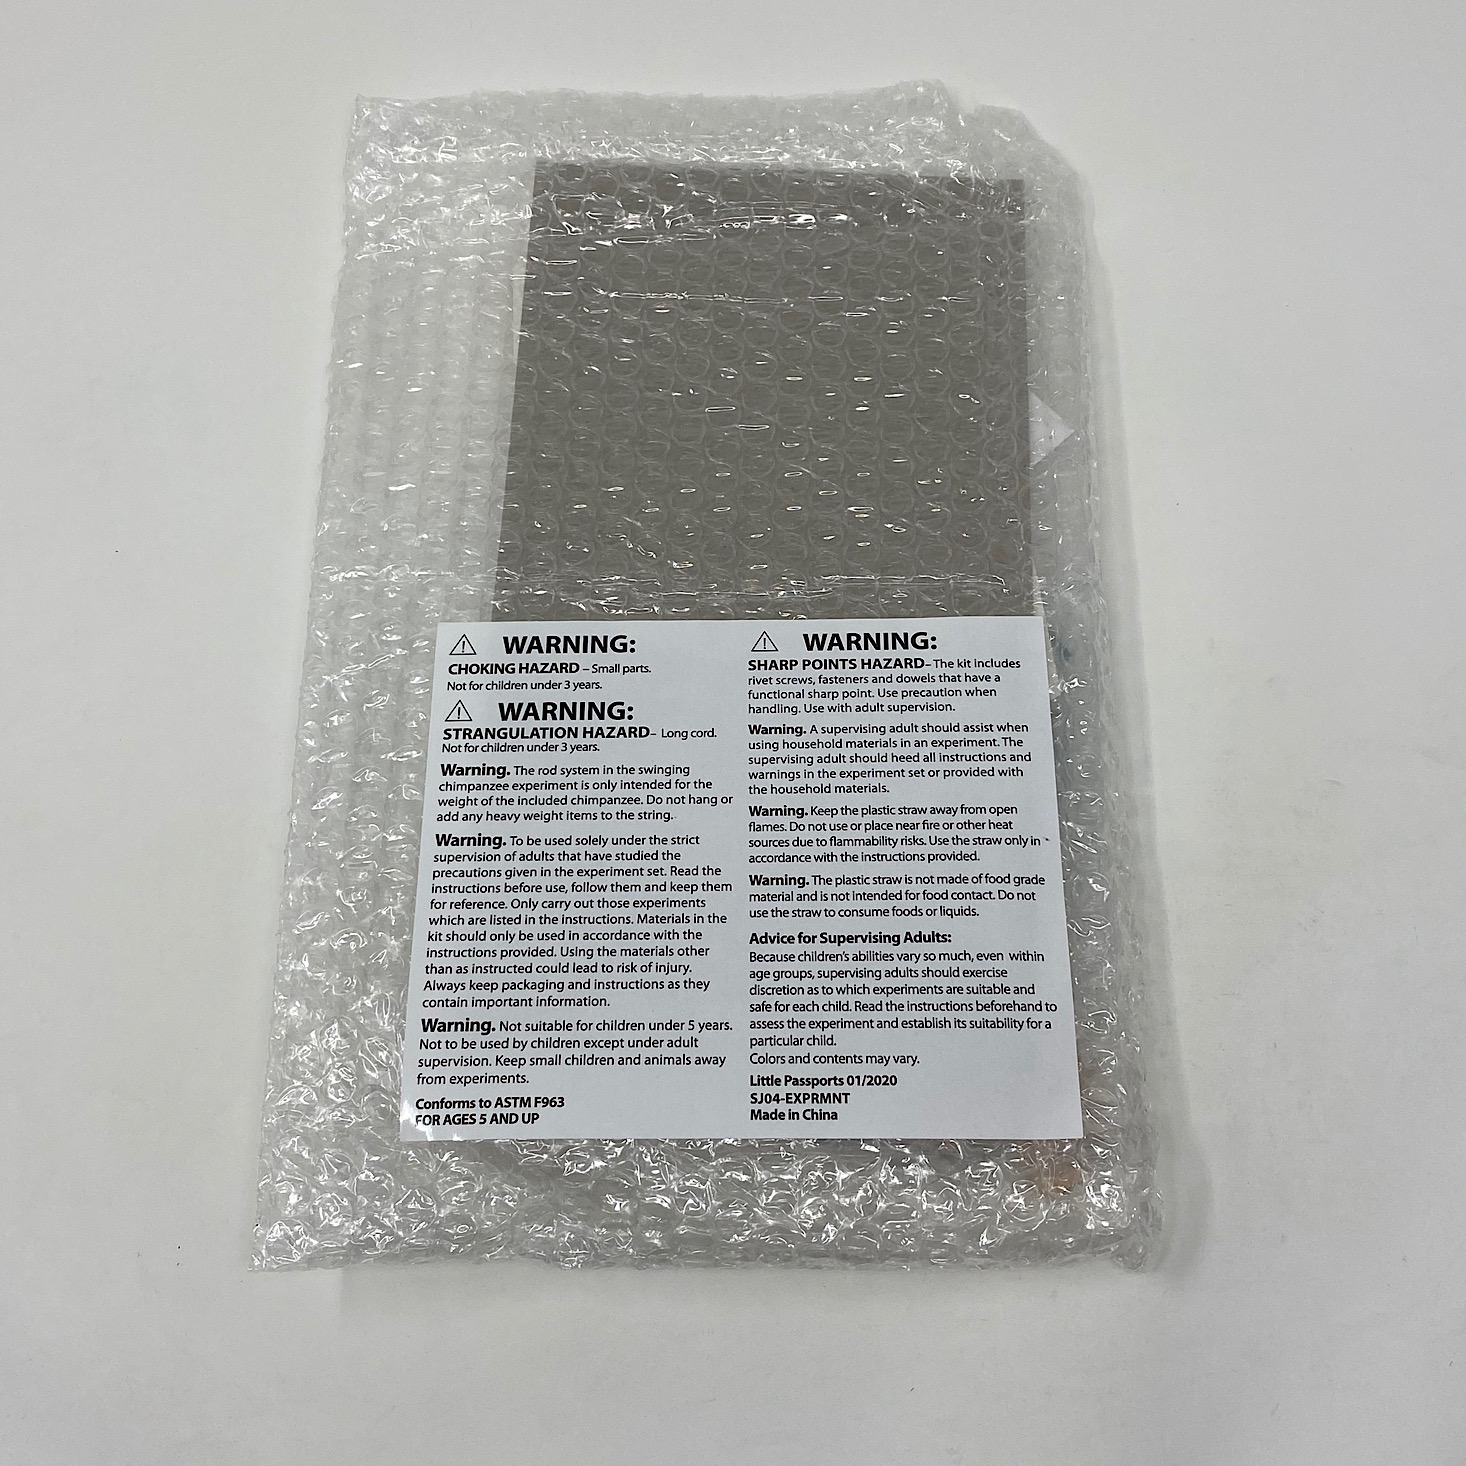
Our chimpanzee project came neatly packaged just like our previous projects.

1 of 5
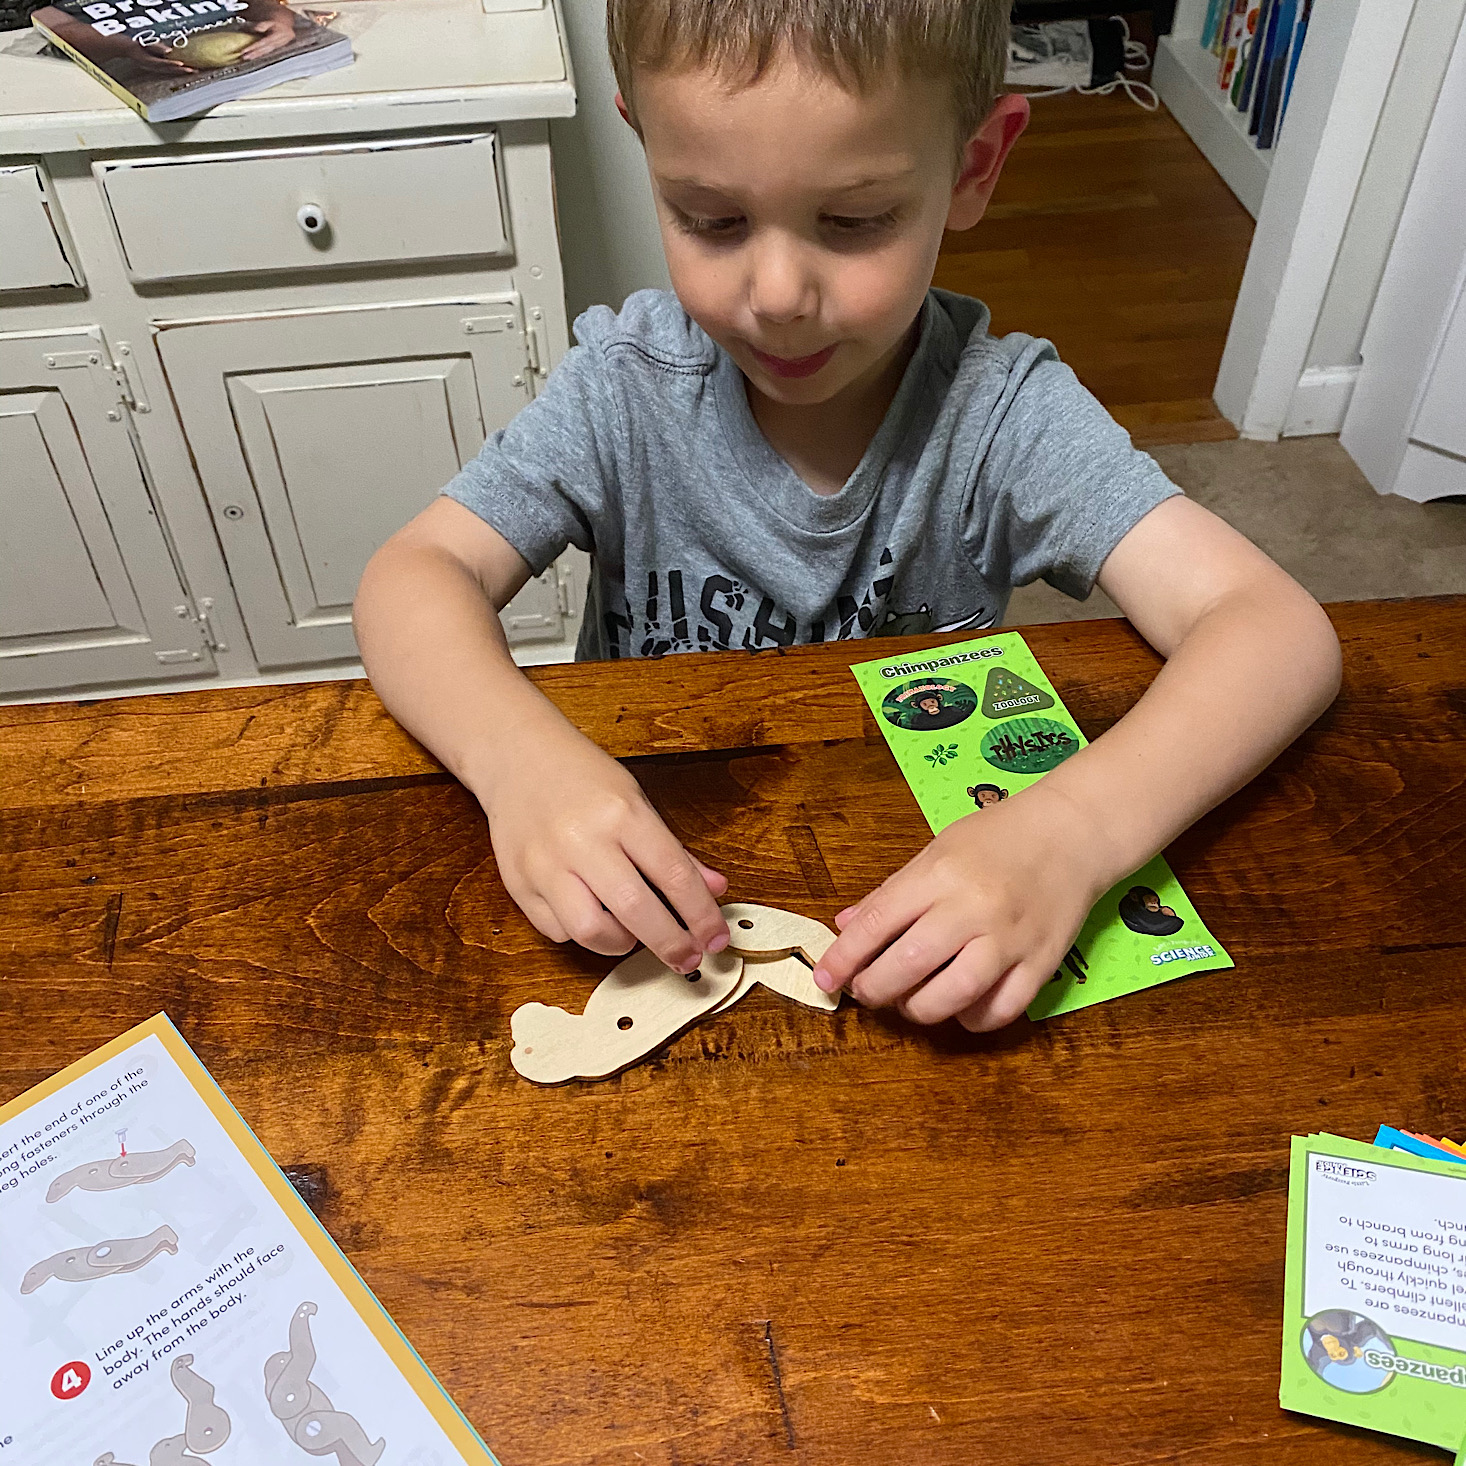
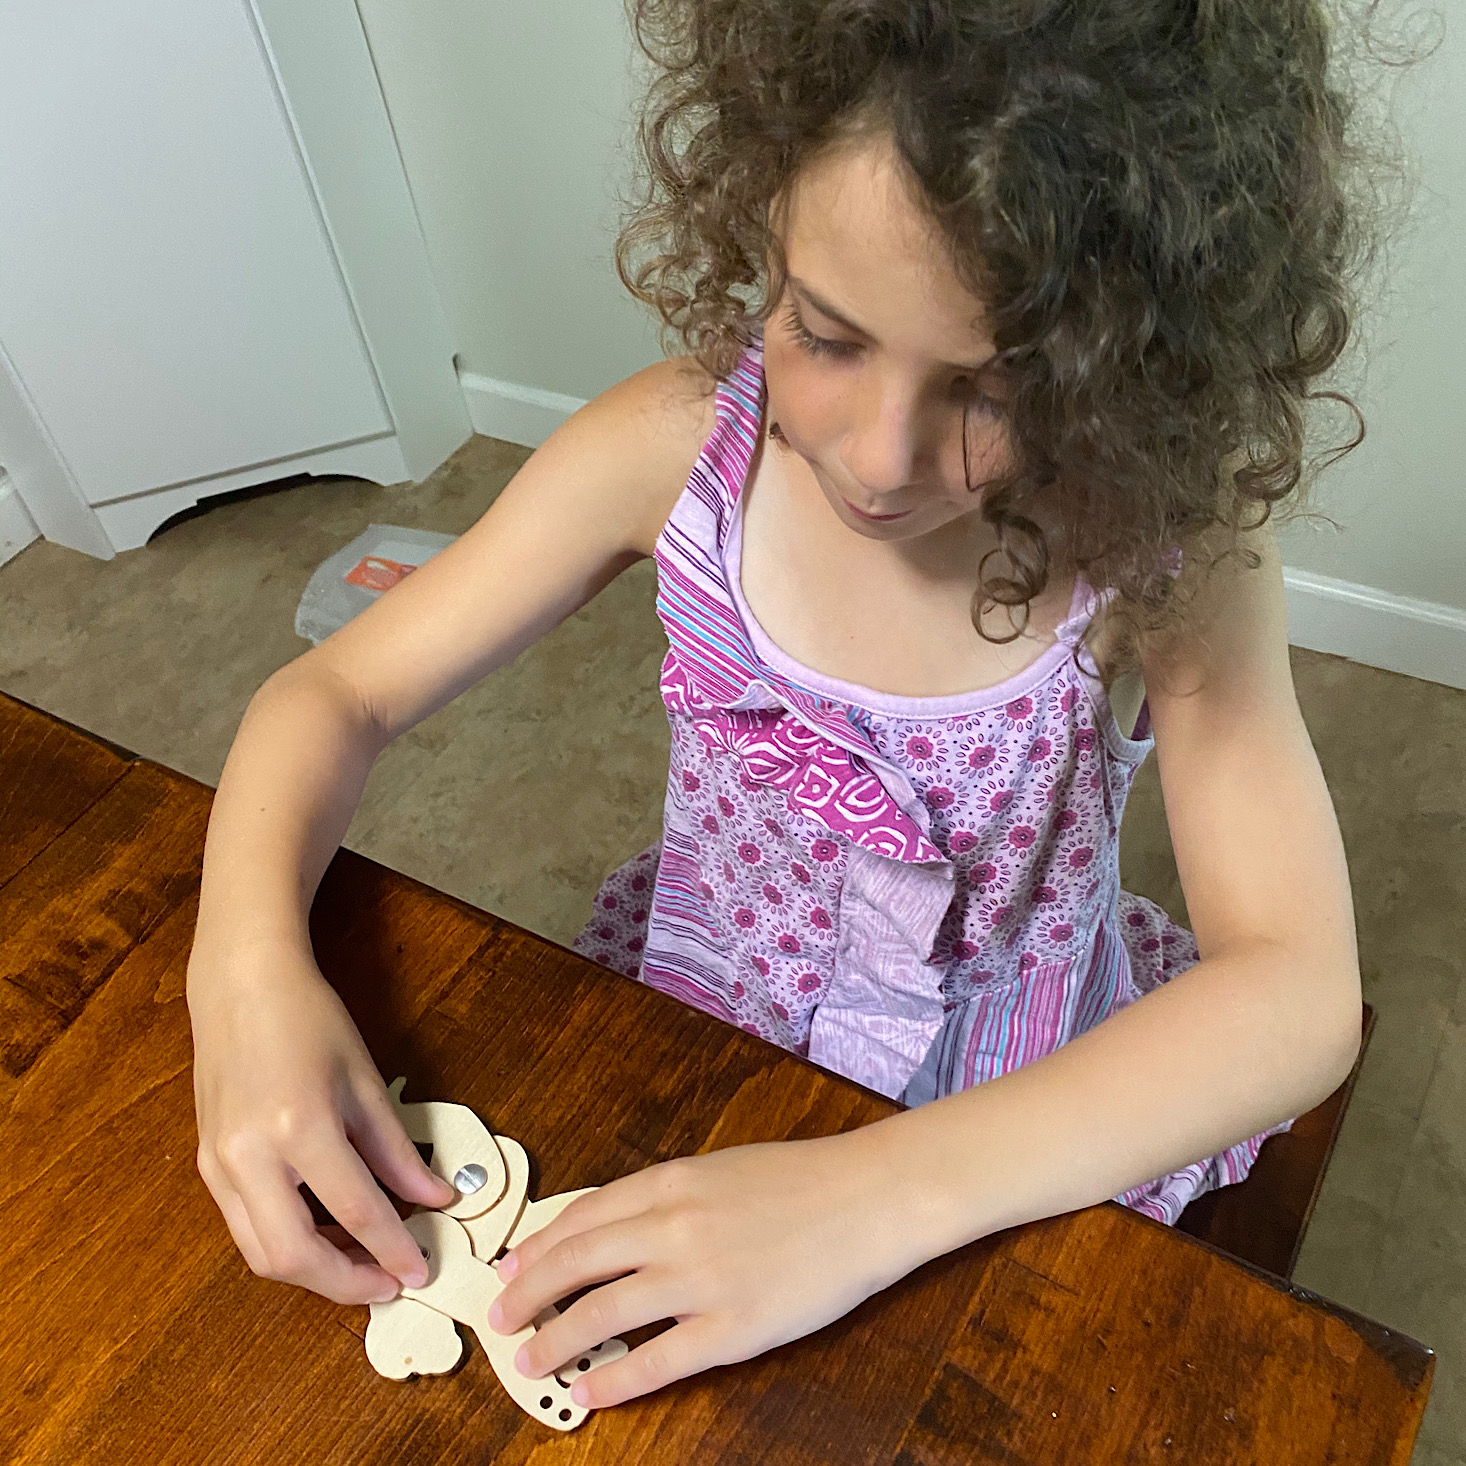
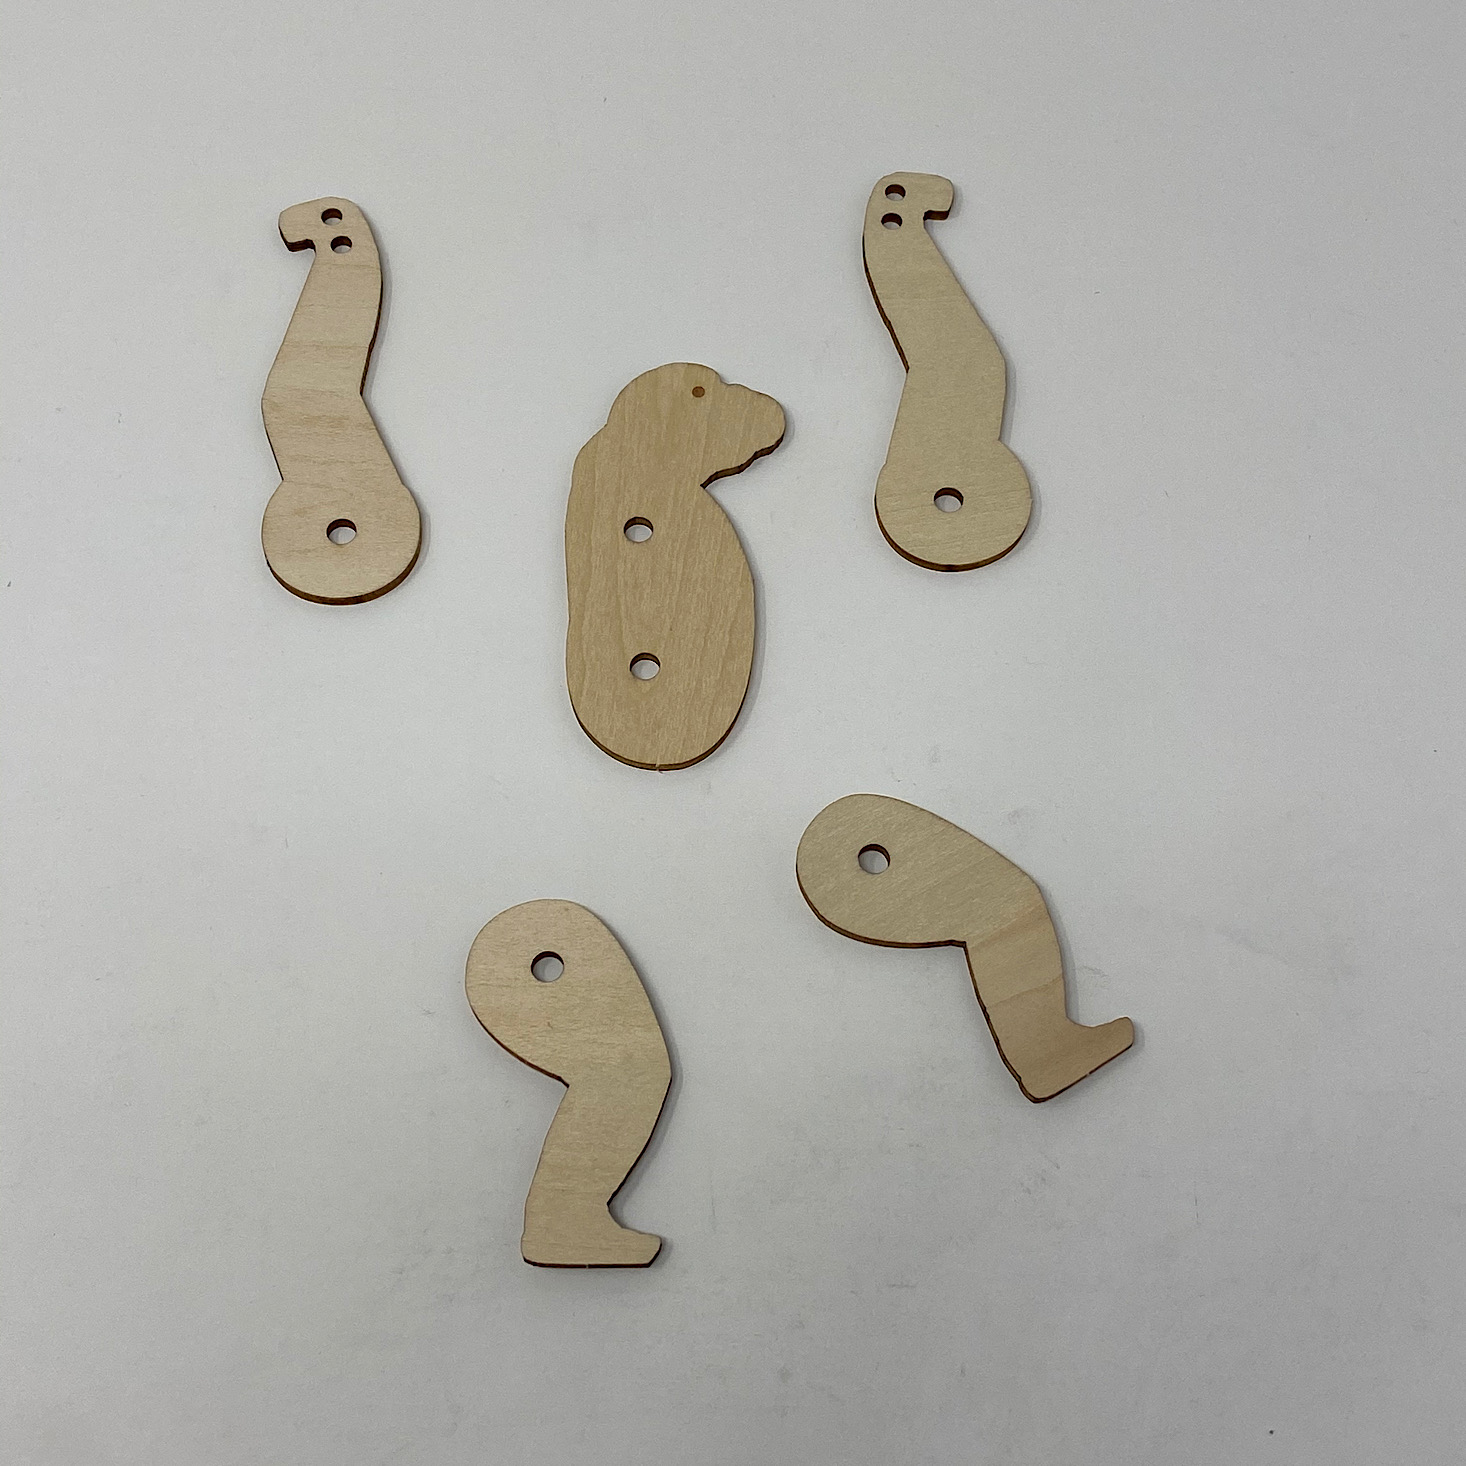
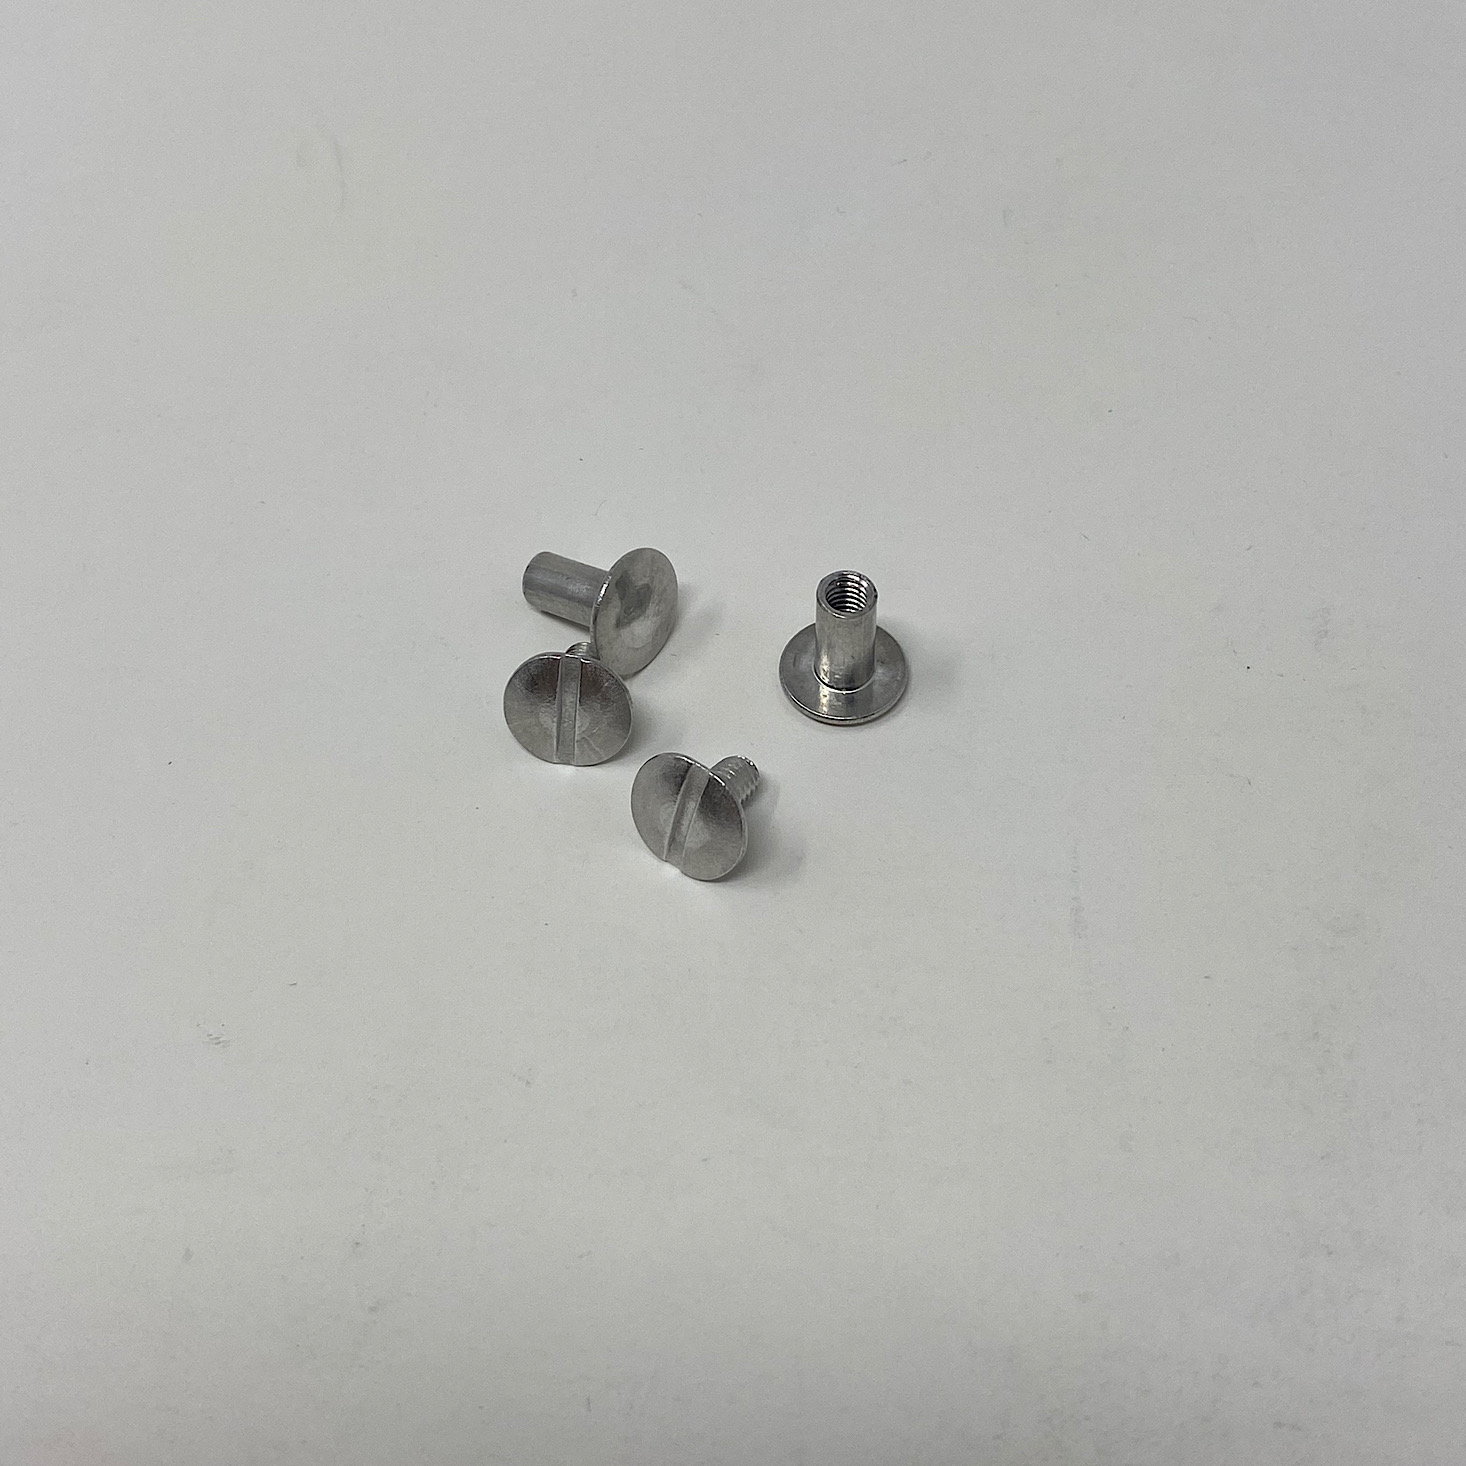
First, we had to assemble our wooden chimpanzee by matching up the holes and using bolts to hold them together.


1 of 5
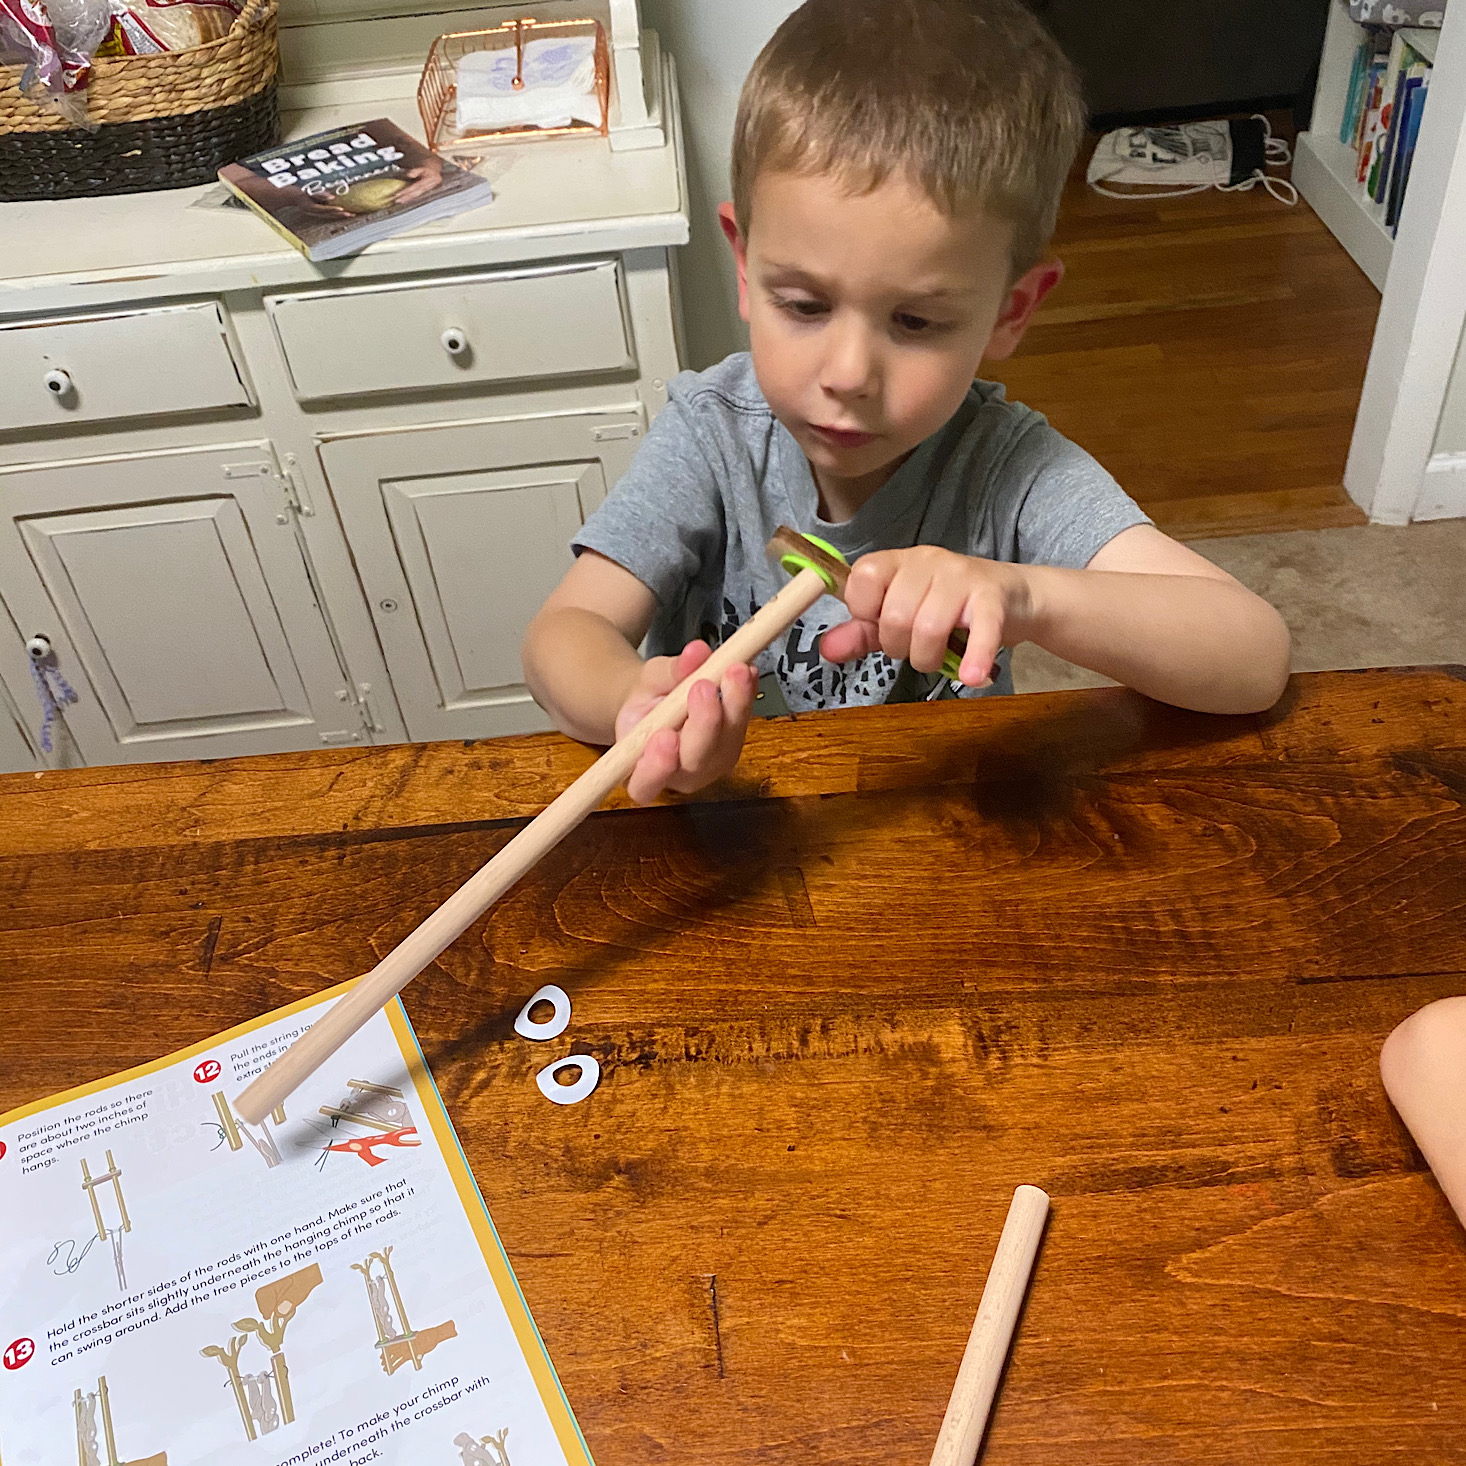


Then we added foam circles to the holes on the wooden rectangle and stuck the big dowels through them.

1 of 6
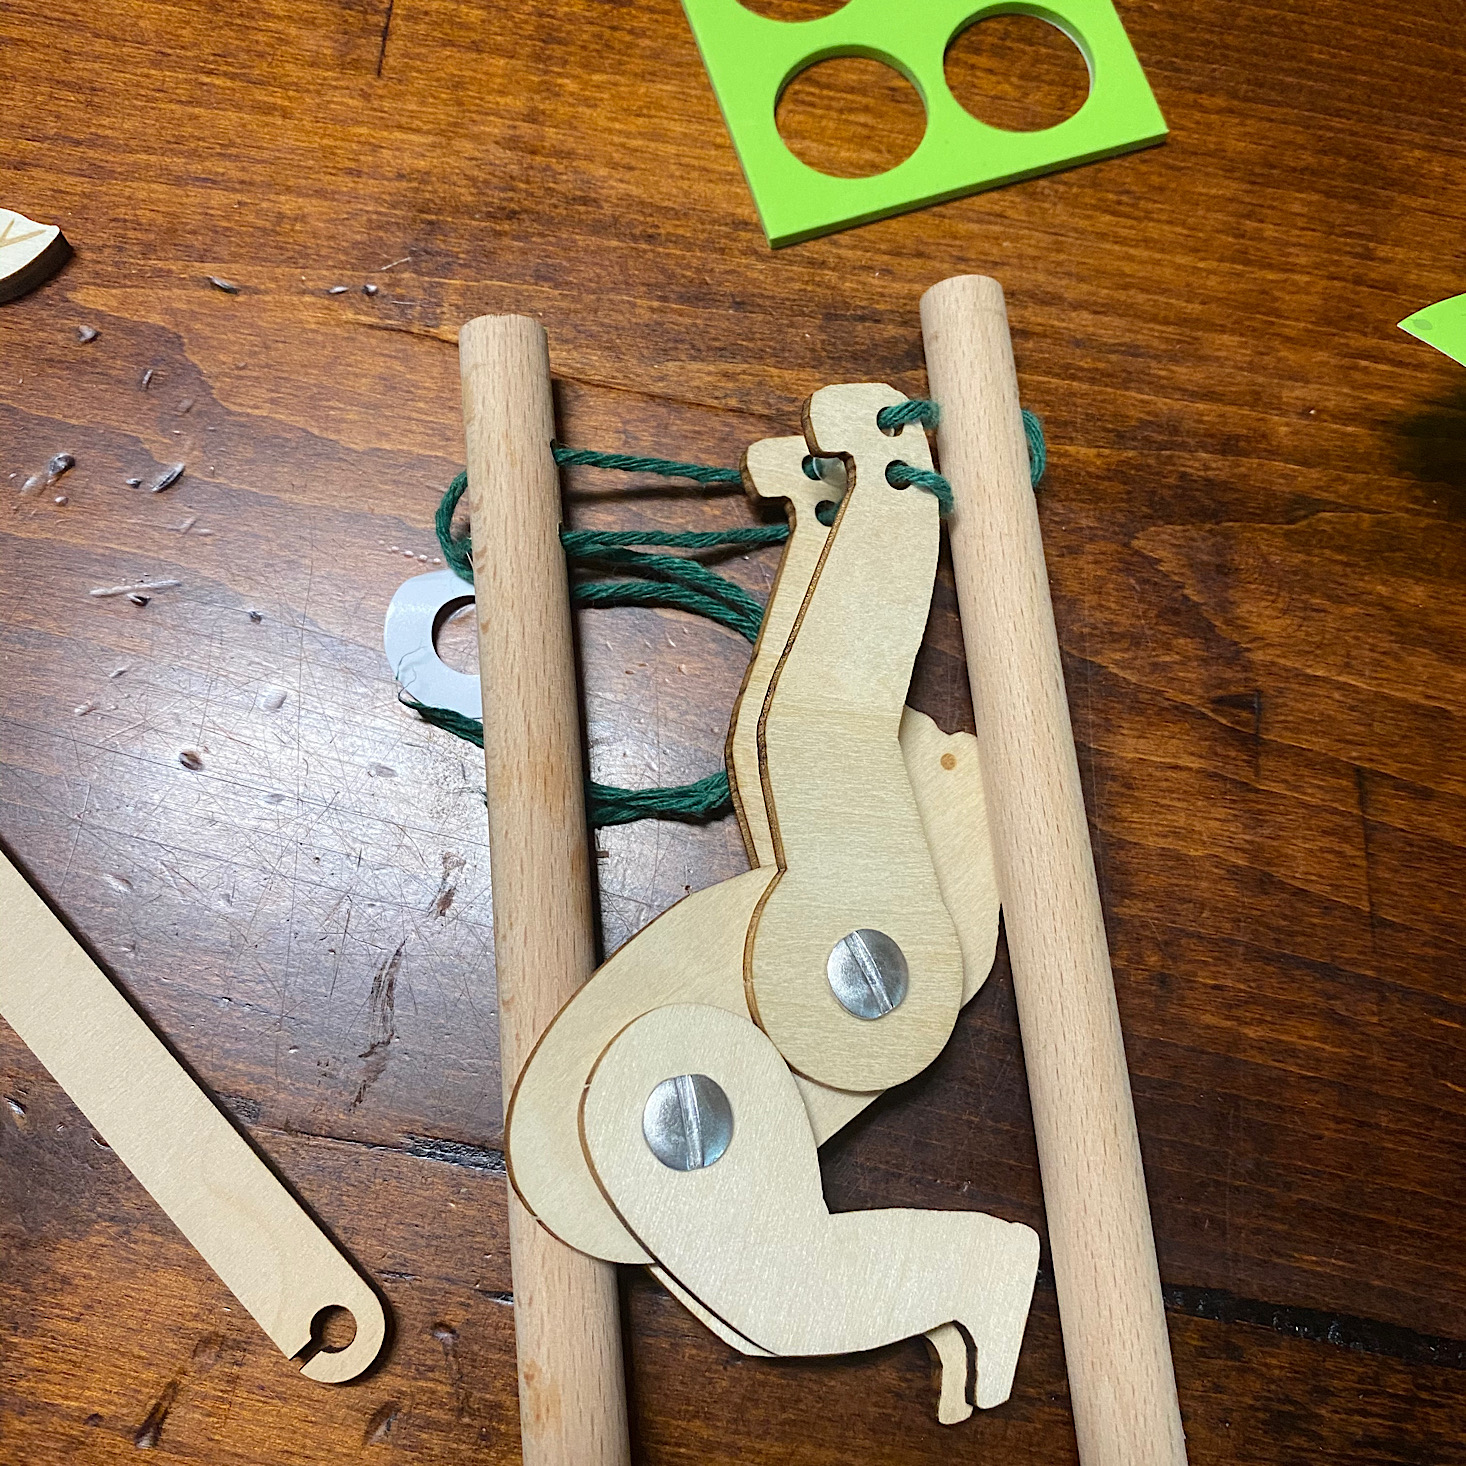


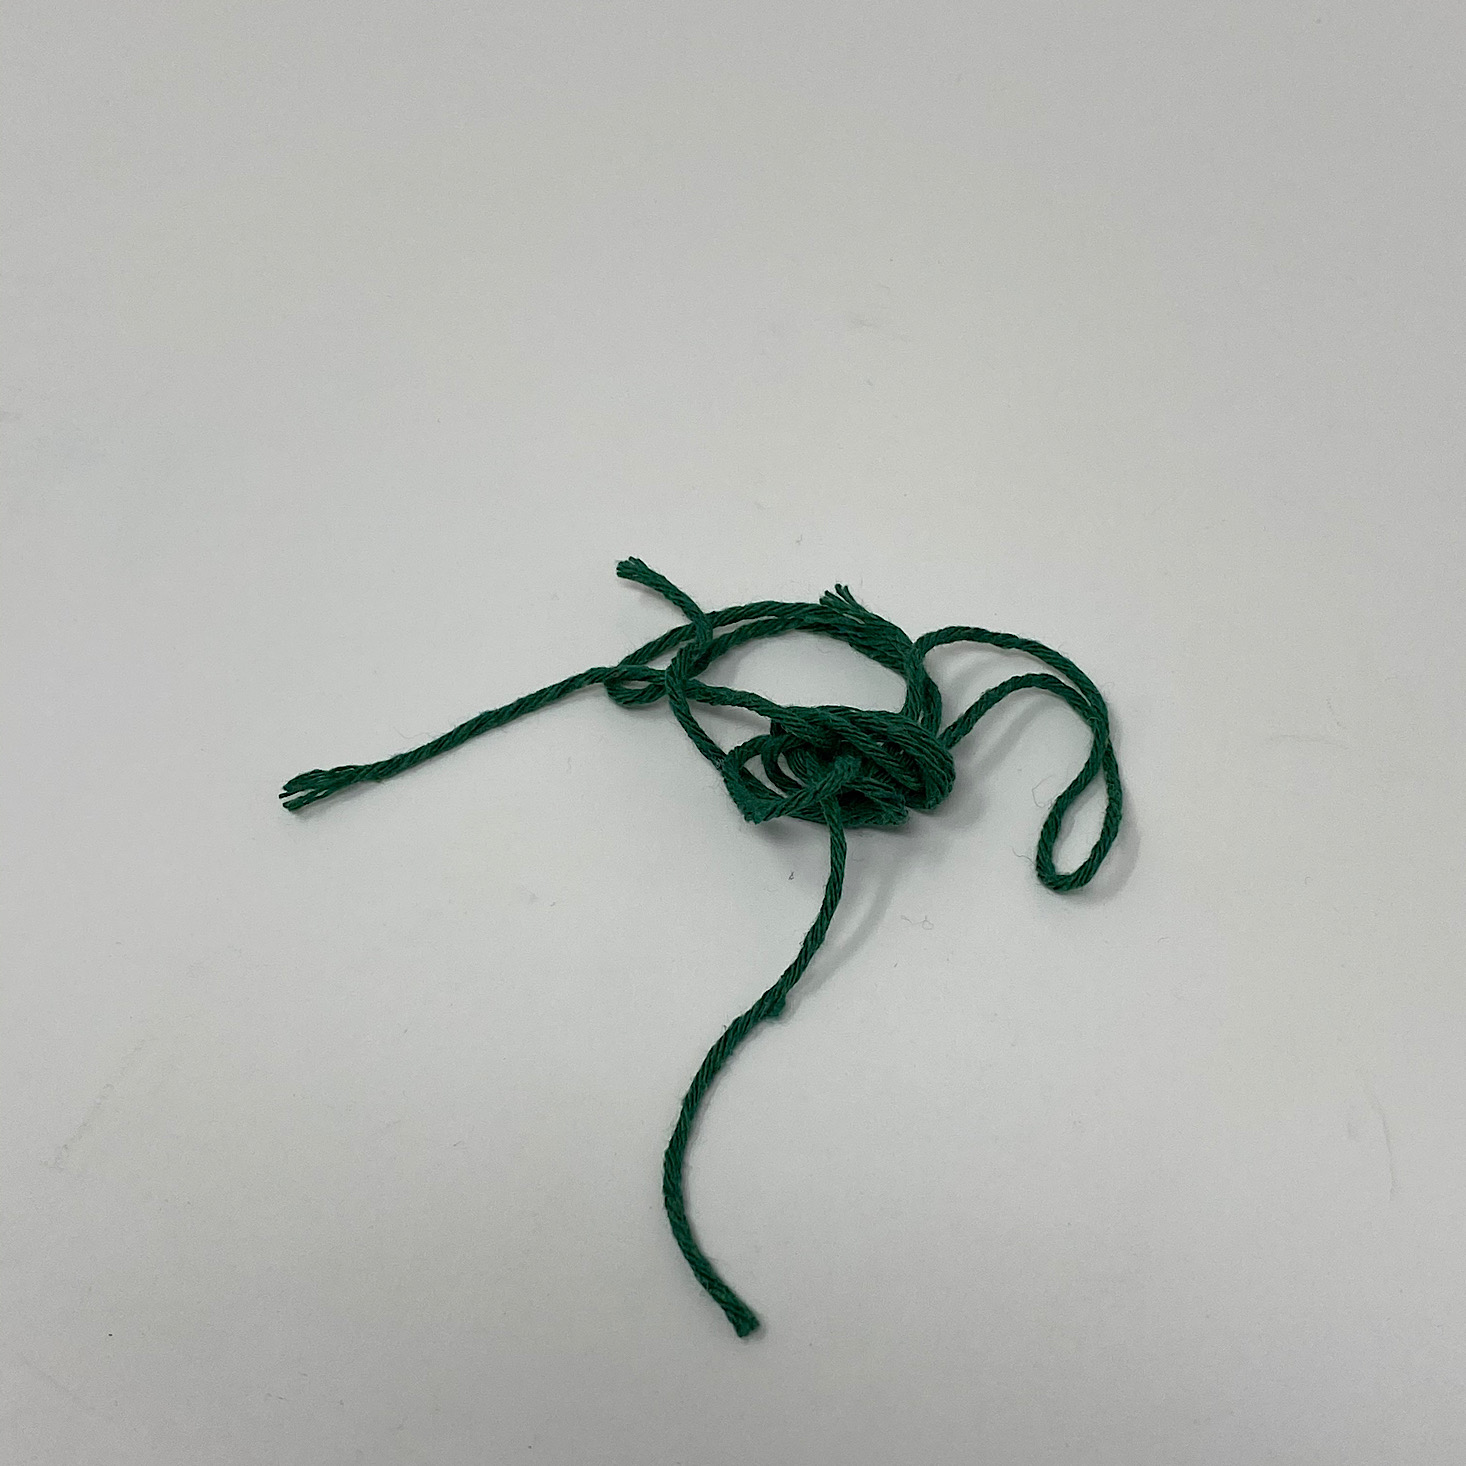
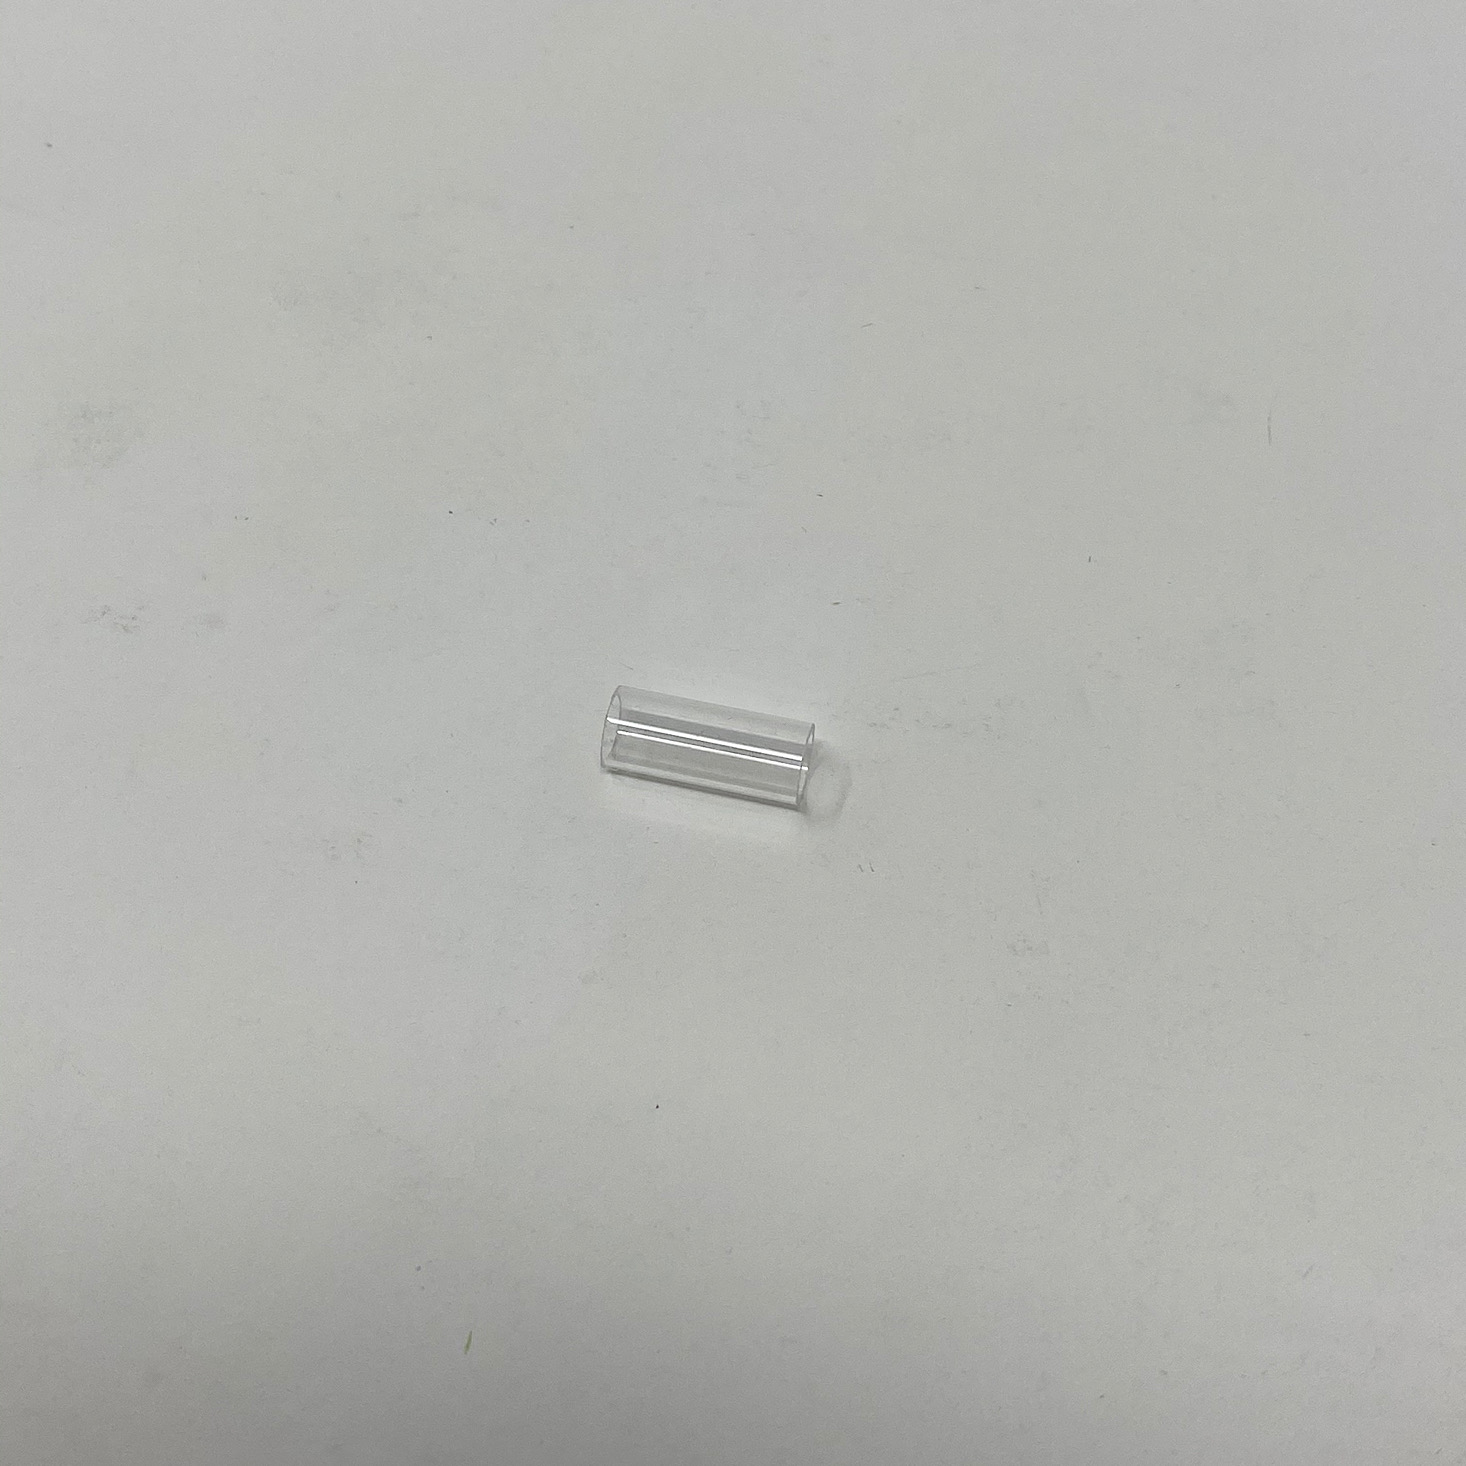
We strung our monkey by threading our string through the holes in the chimp's arms and at the top of the dowels. We added the little piece of straw in the middle of his arms. Then I pulled it tight and tied it on, cutting the excess string off.


1 of 2
My son added the leaf pieces to the top of the sticks and our chimpanzee was ready to go.

Our chimpanzee was ready to swing. I wound him backward one time, then we squeezed the rods at the bottom and he swung forward.
It was a little tricky to push the poles together, but it was pretty cool when he released and swung! My son had a little trouble getting it to work, but after some practice, he got the hang of it!


1 of 3
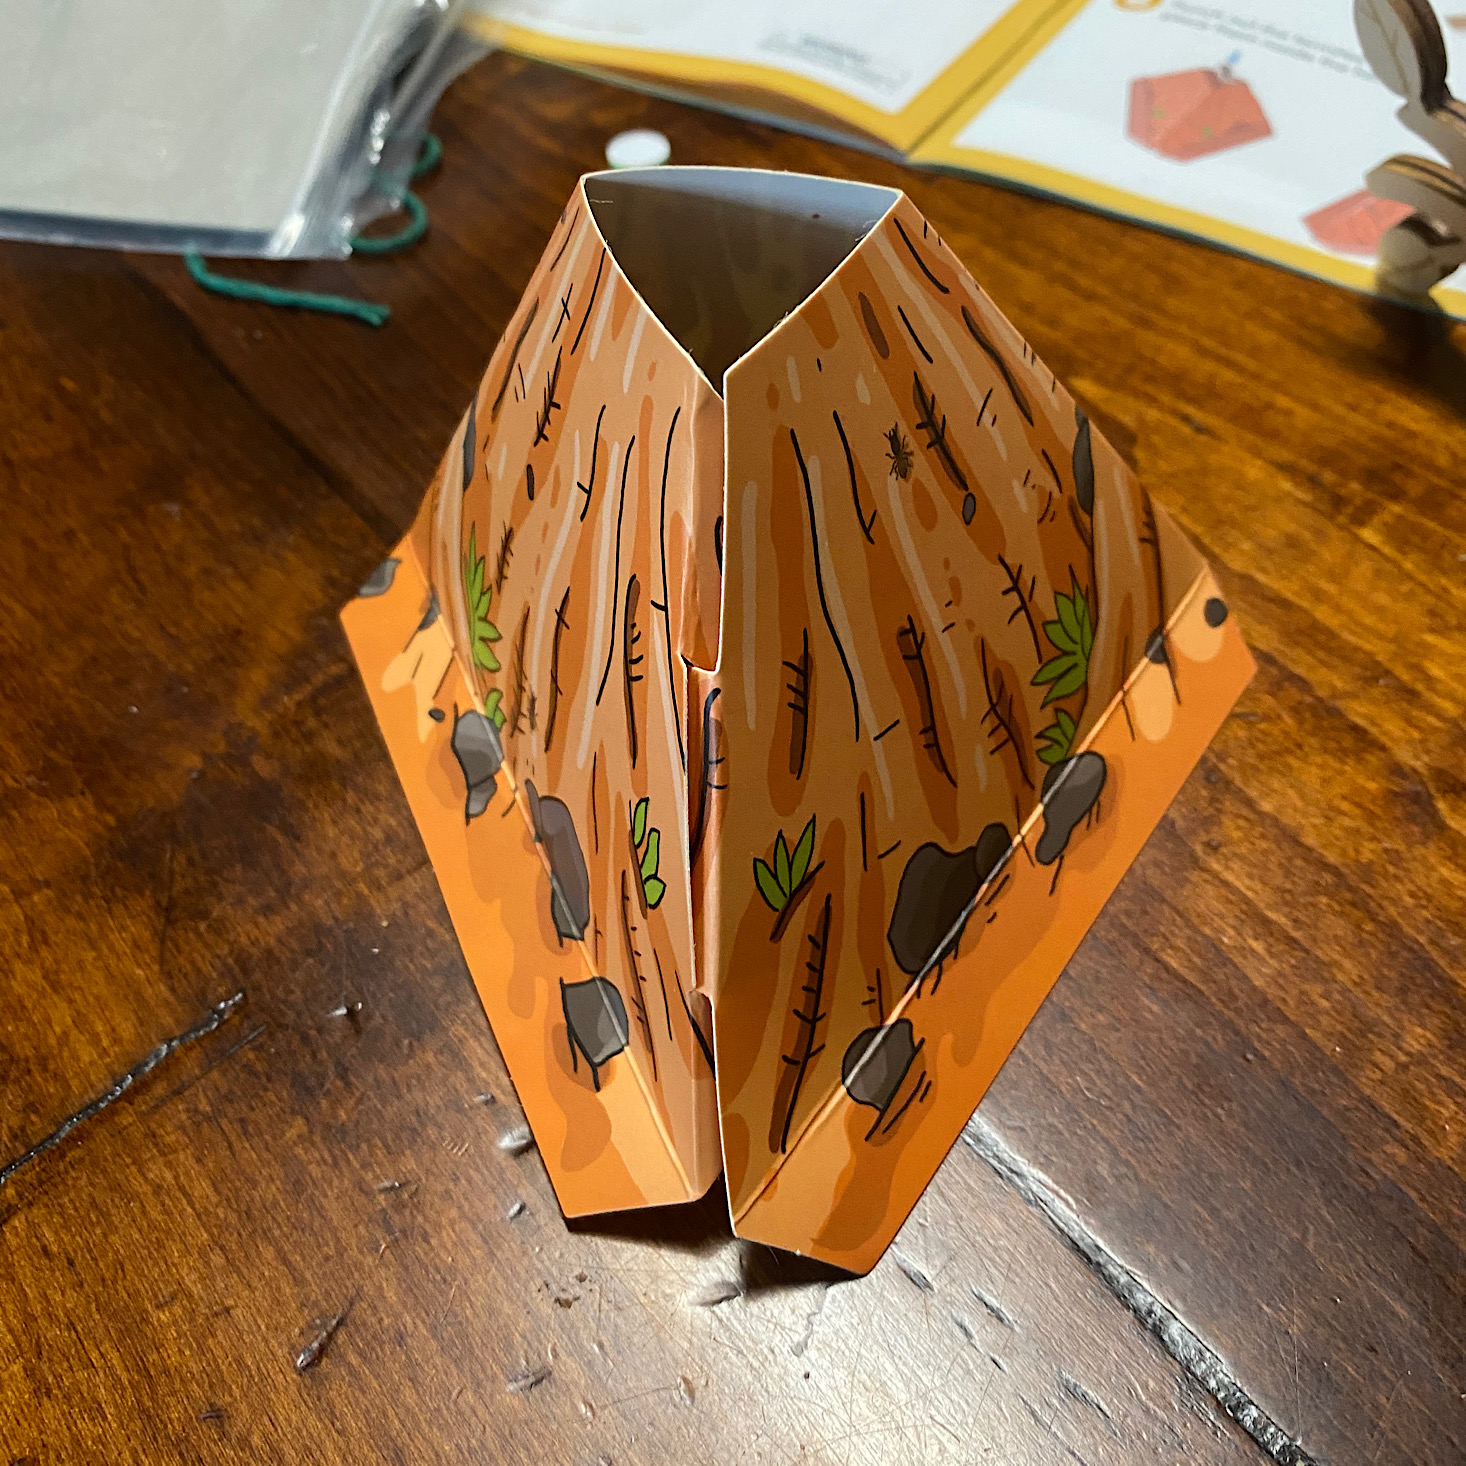
Since chimpanzees love their termites, we got to make our own termite hill. We folded the pieces along the creases and then folded it up and slipped the tab into the slot and our hill was ready.


1 of 2
My daughter punched out our paper termites and stuck them inside the hill.

1 of 2
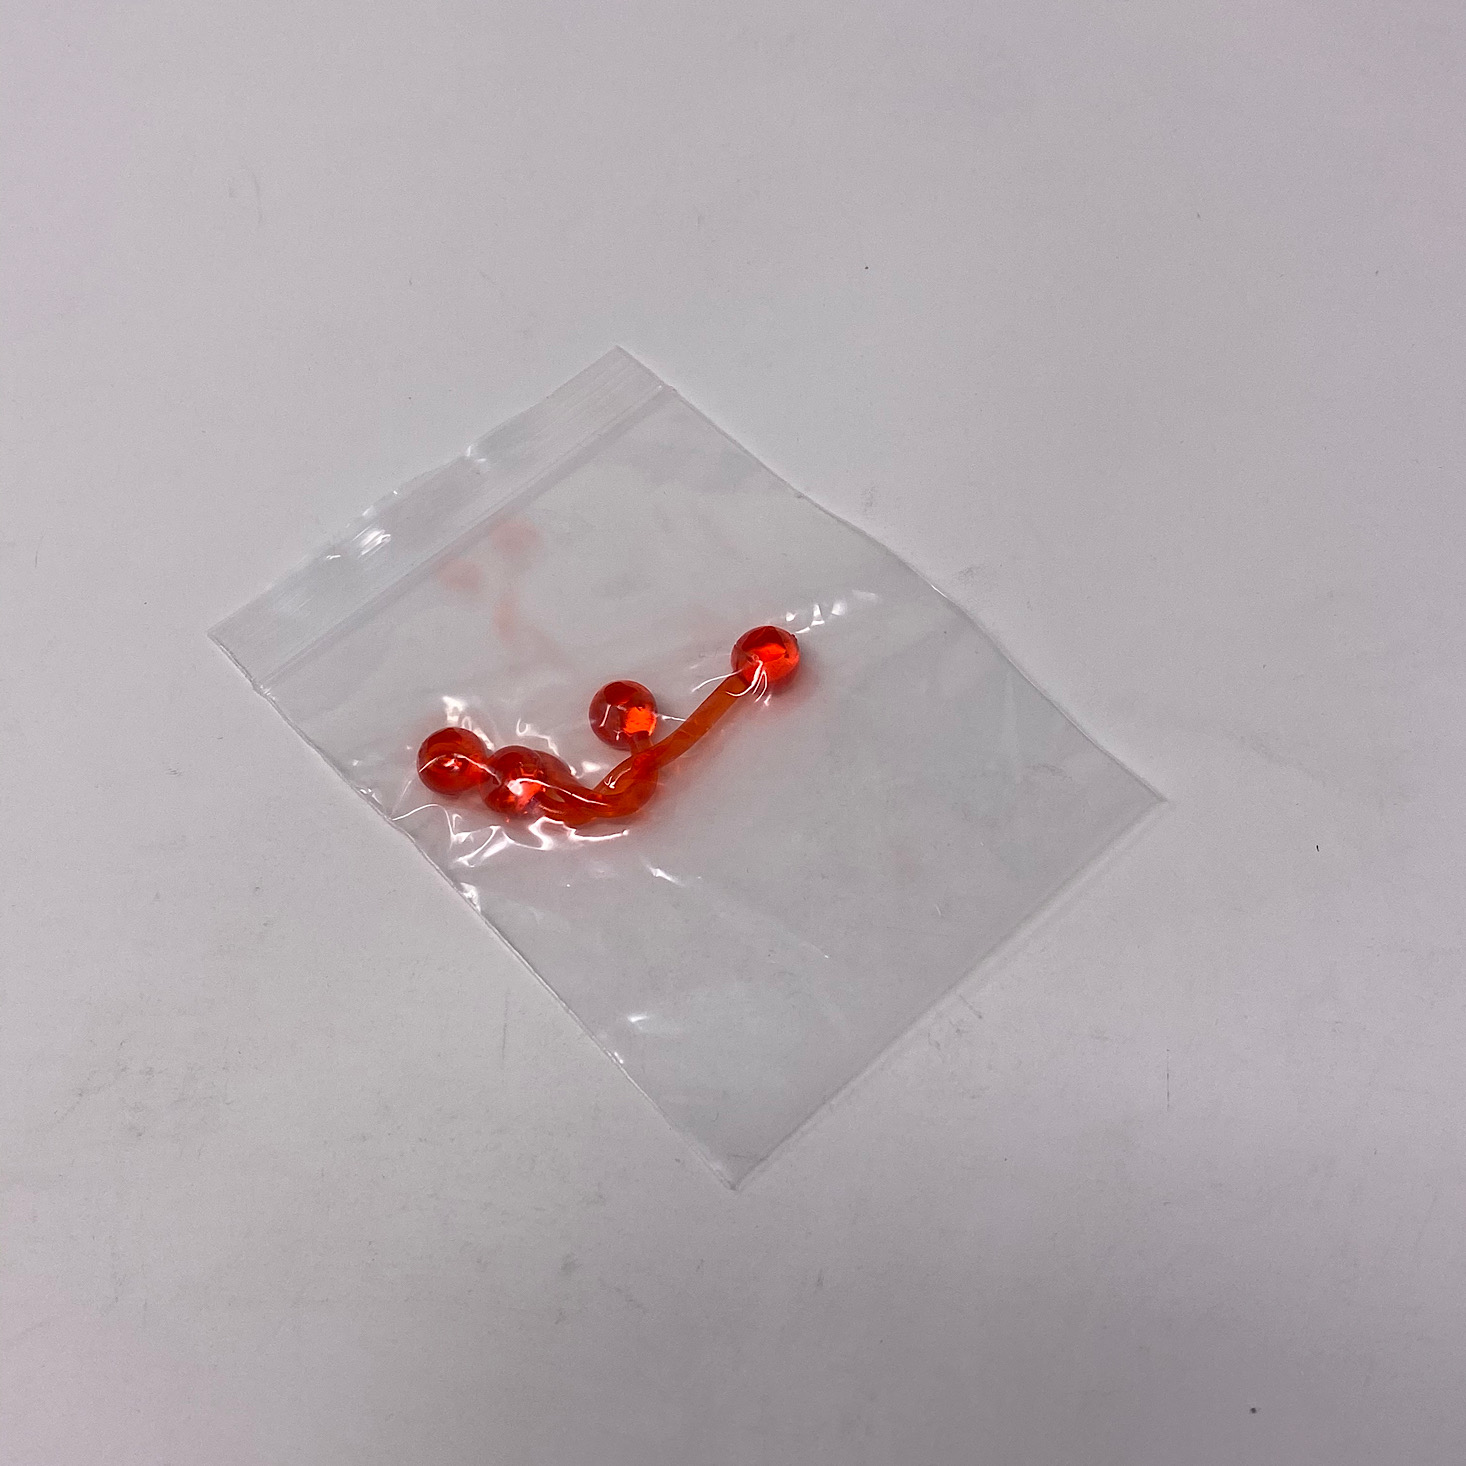
I wrapped one set of these sticky balls around the end of the longer stick and we were ready to catch some termites!


1 of 2
We stuck the stick in and gathered as many termites as we could. We could have made this a game by timing them or seeing who could catch the most with one turn. This was some silly fun that they enjoyed!
Day 4 Online Extension:


Our online section showed us how to make our swinging chimpanzee, how to draw one, and asked us to count how many different kinds of bugs we could see on our walk. They finished with some more jokes.
Day 5: Deep Sea Exploration


1 of 2
Our materials for Day 5 came packaged up neatly in another envelope.

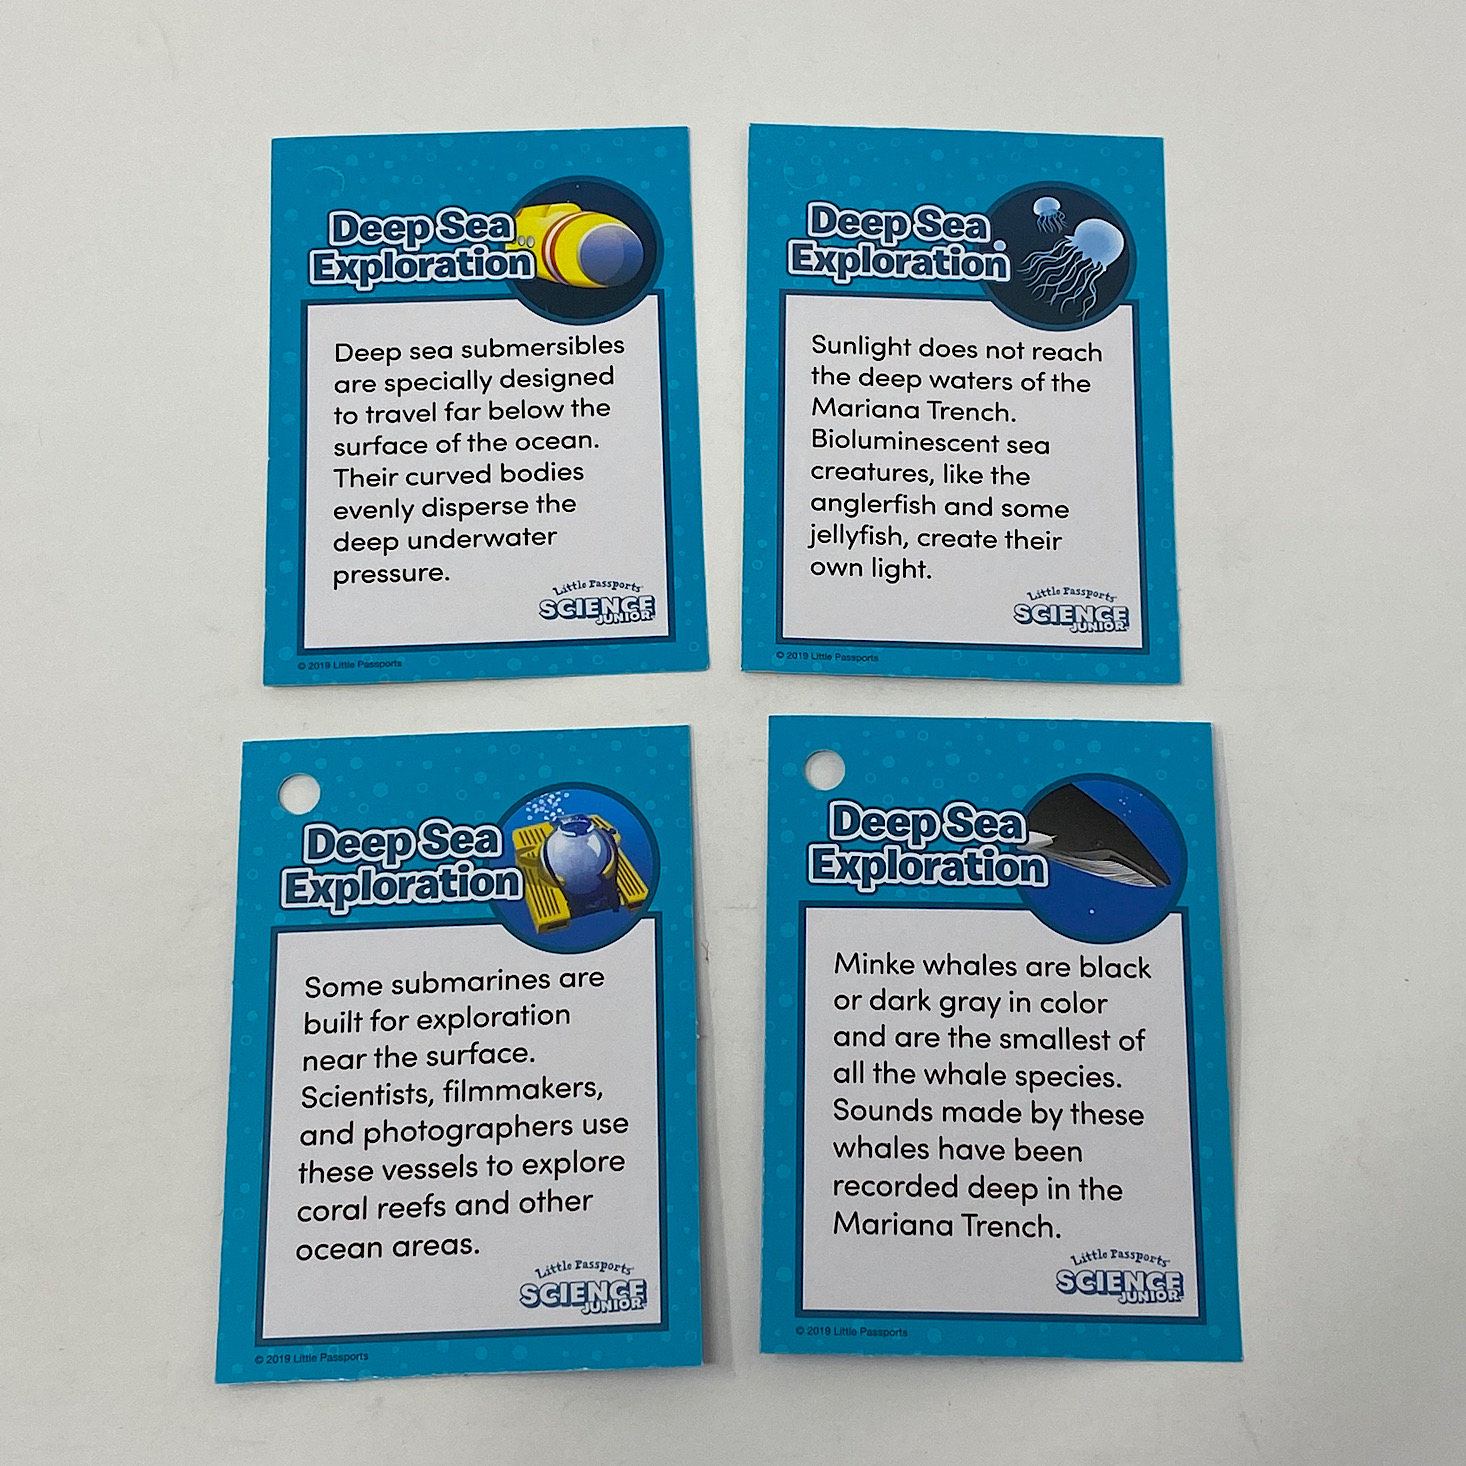
1 of 3
My son put our trading cards in order and then added them to our ring.

1 of 2
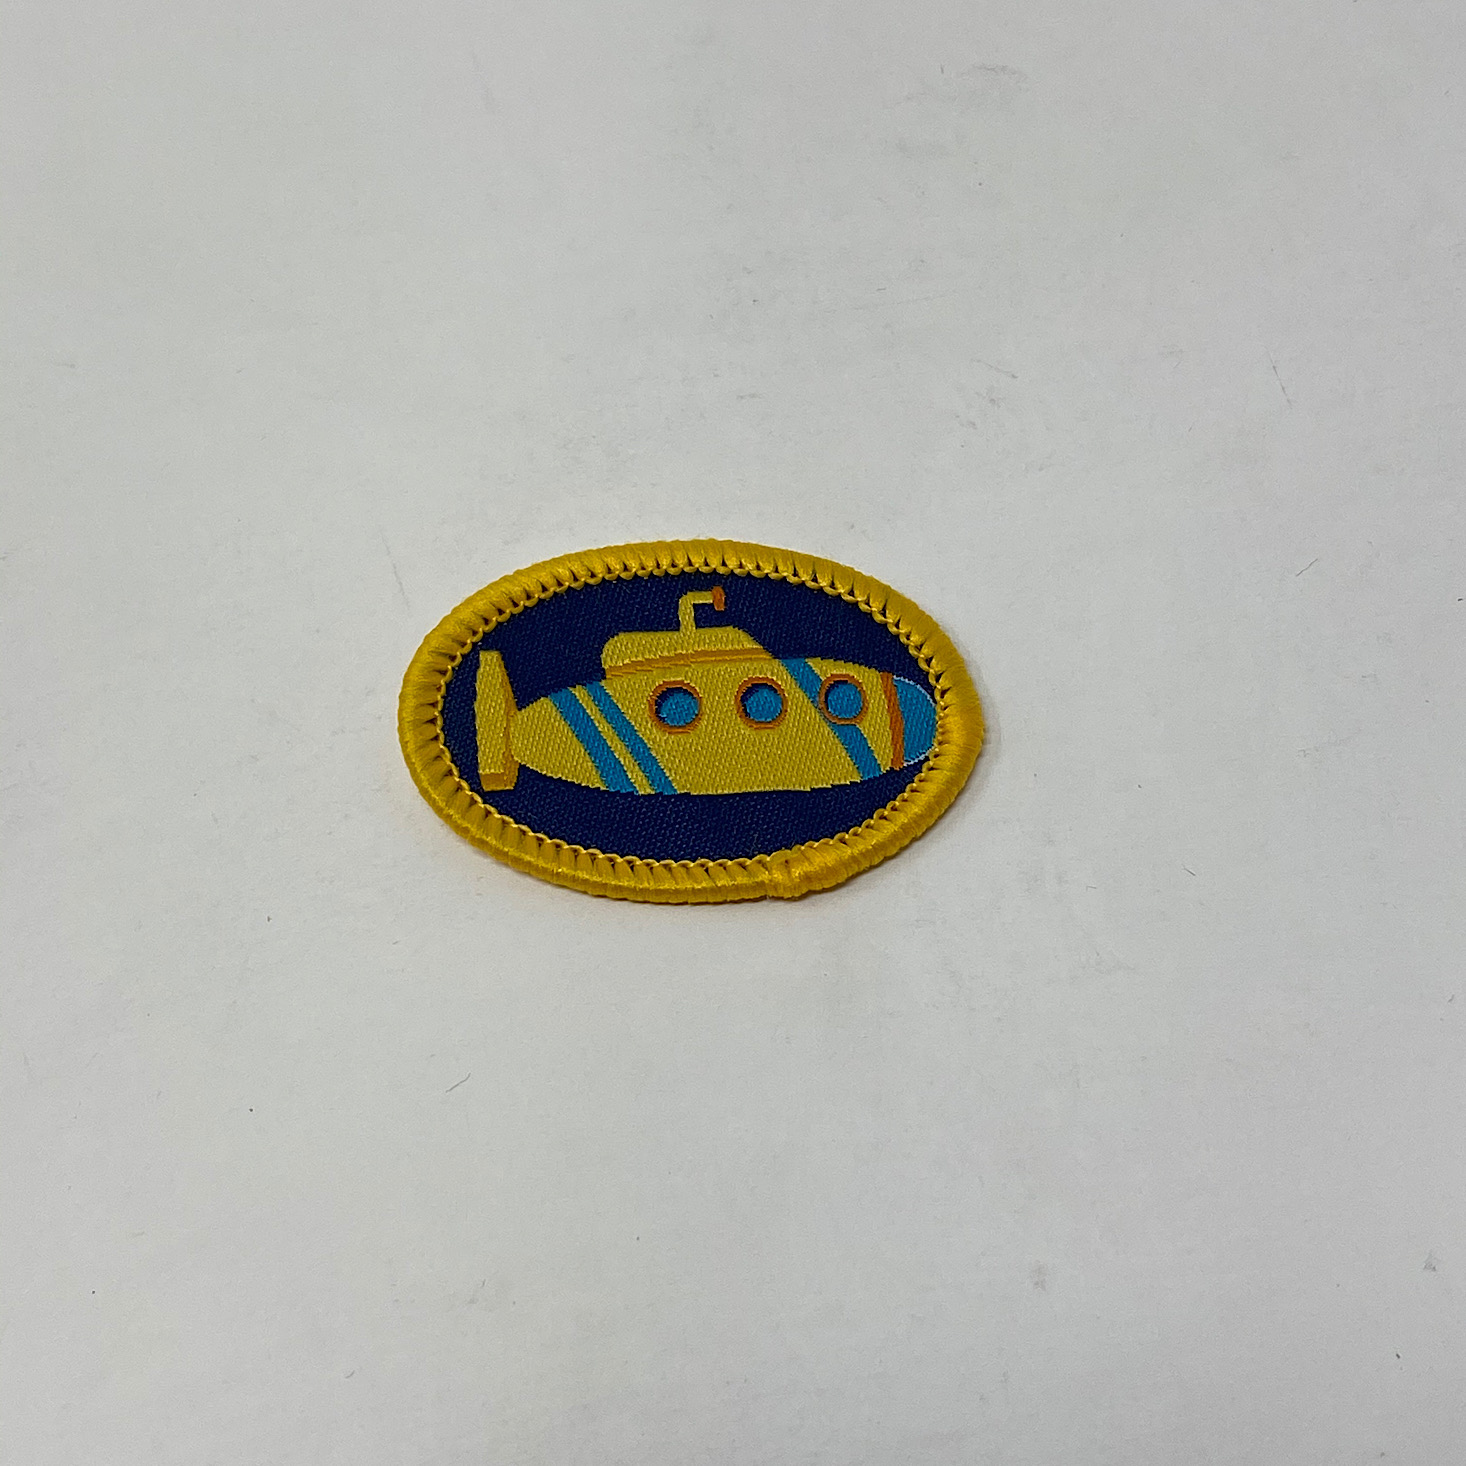
My daughter found a spot for our fun submarine badge.
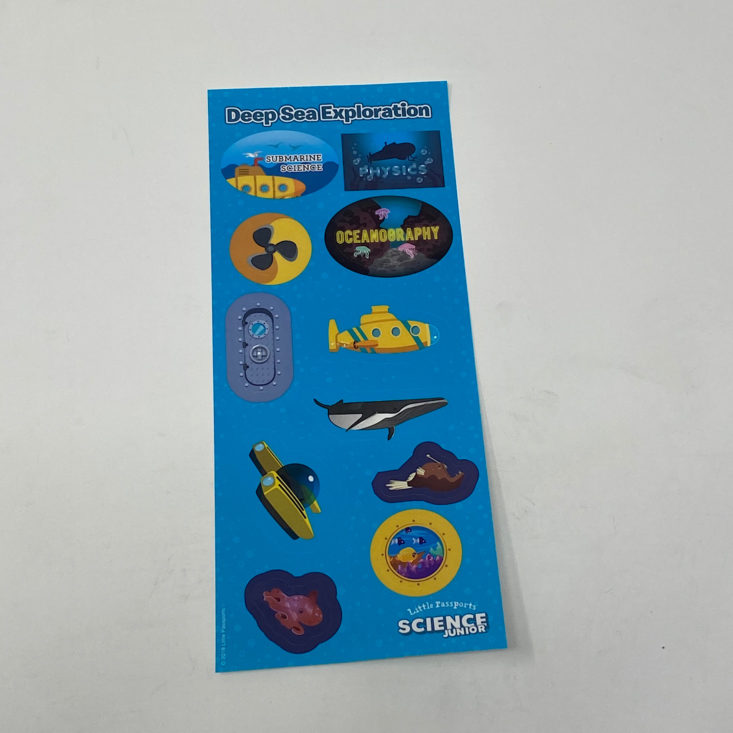
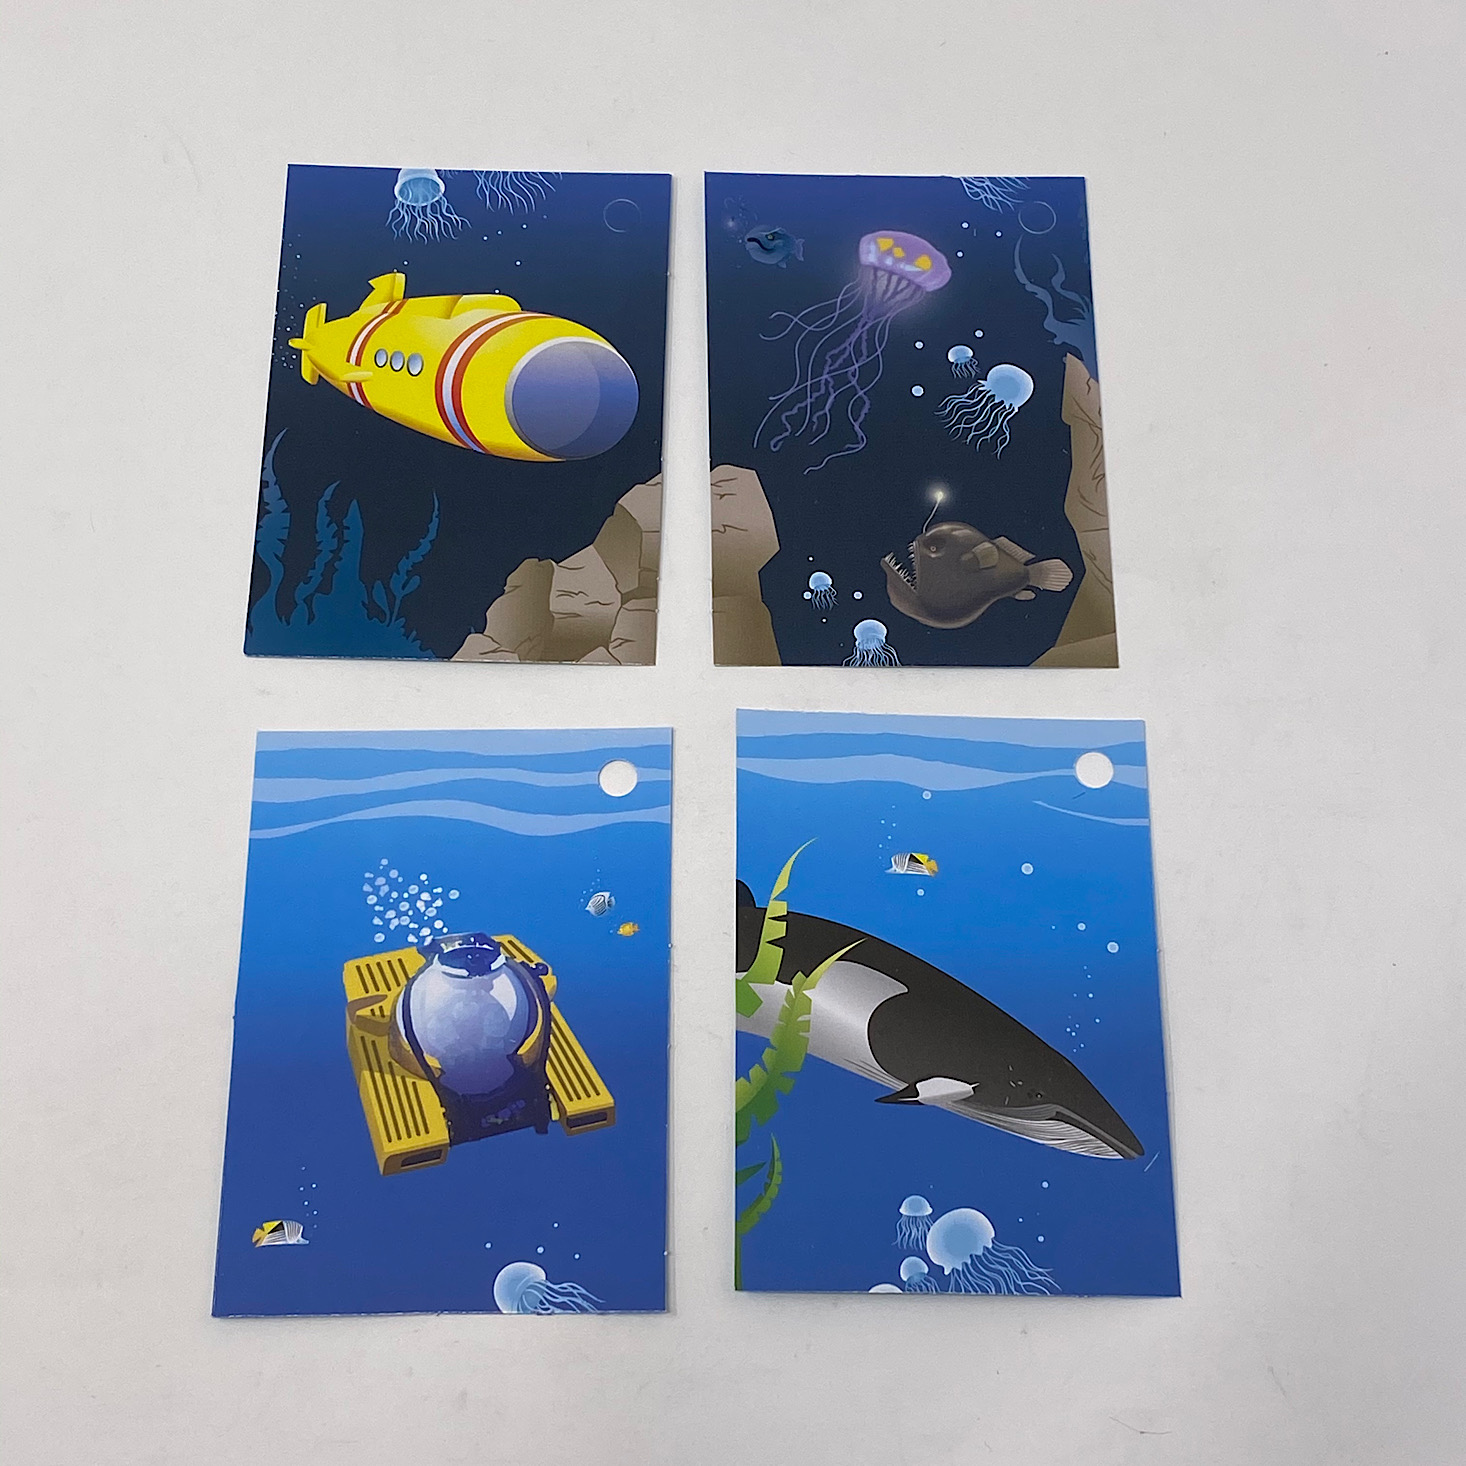
These are our cool submarine and ocean stickers.
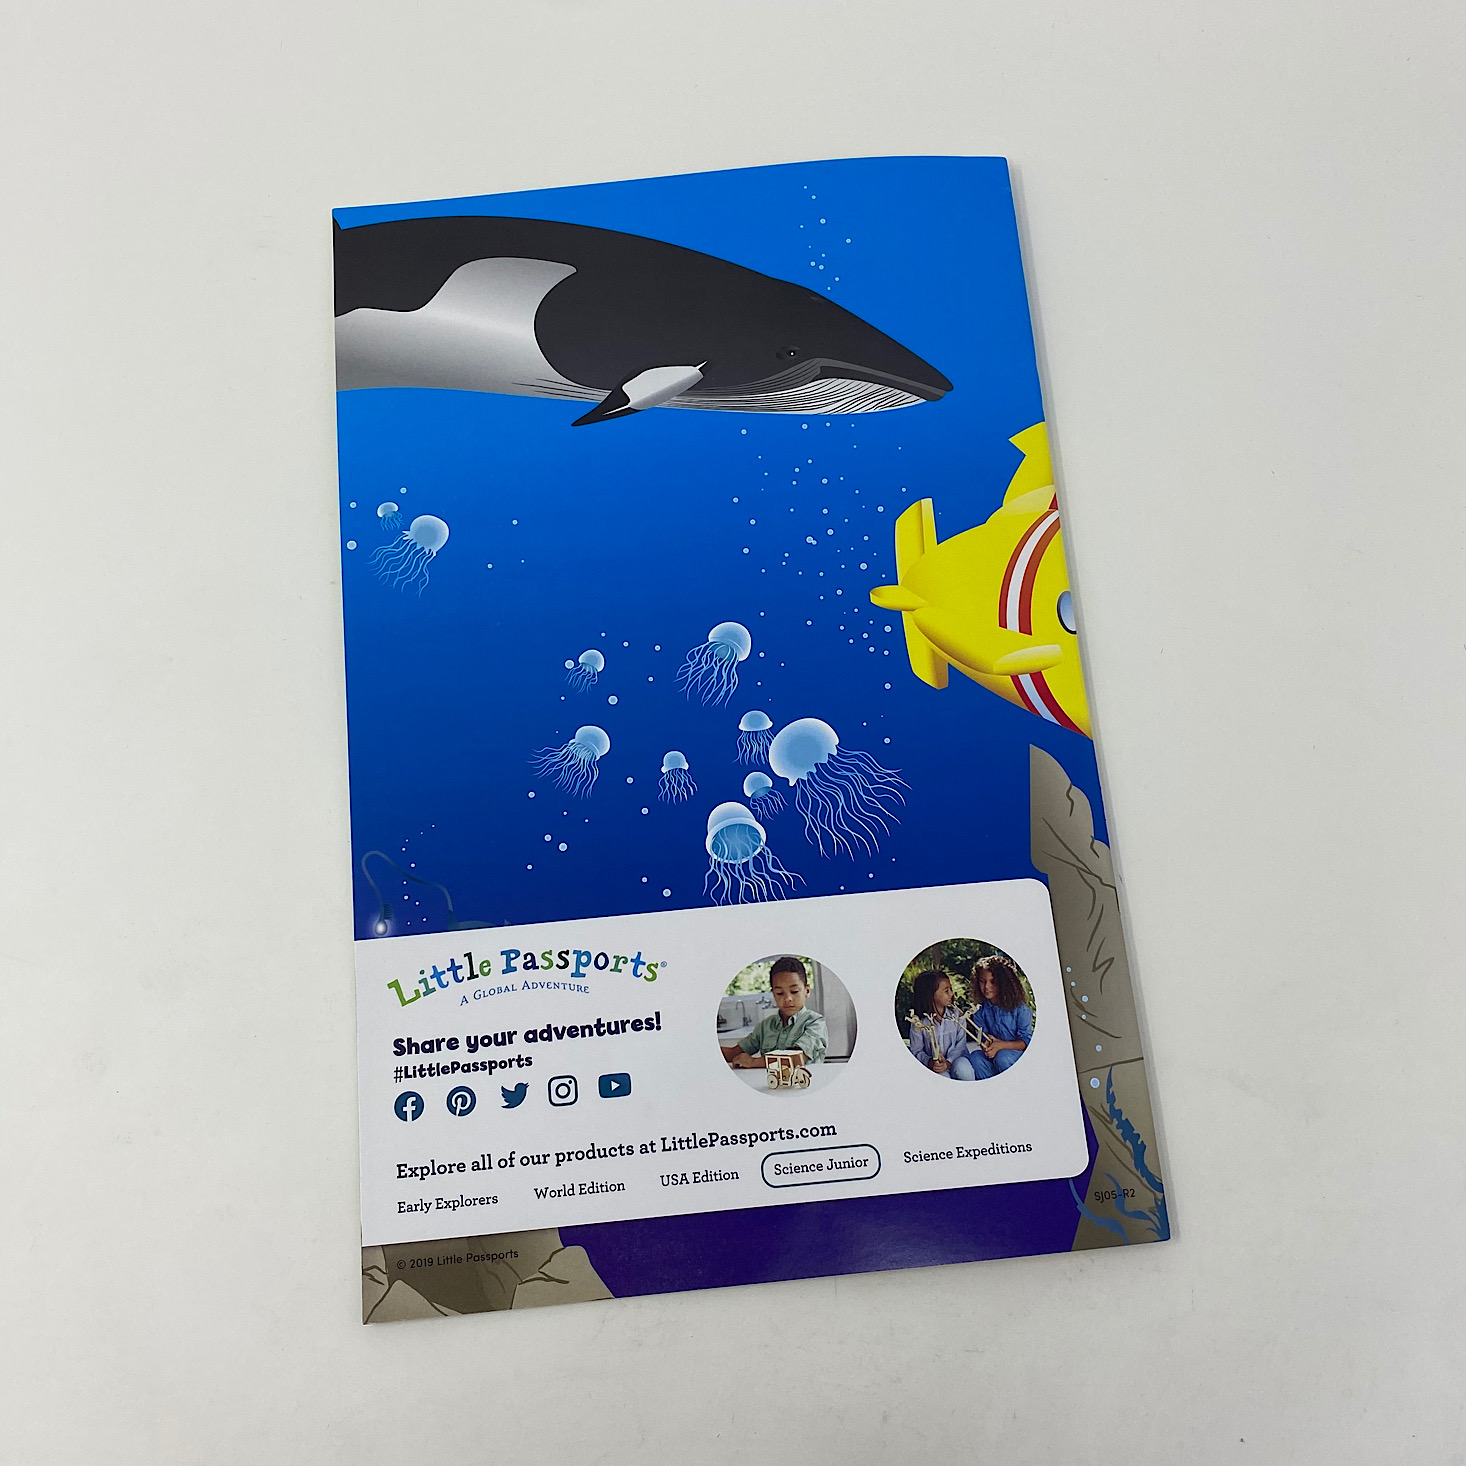
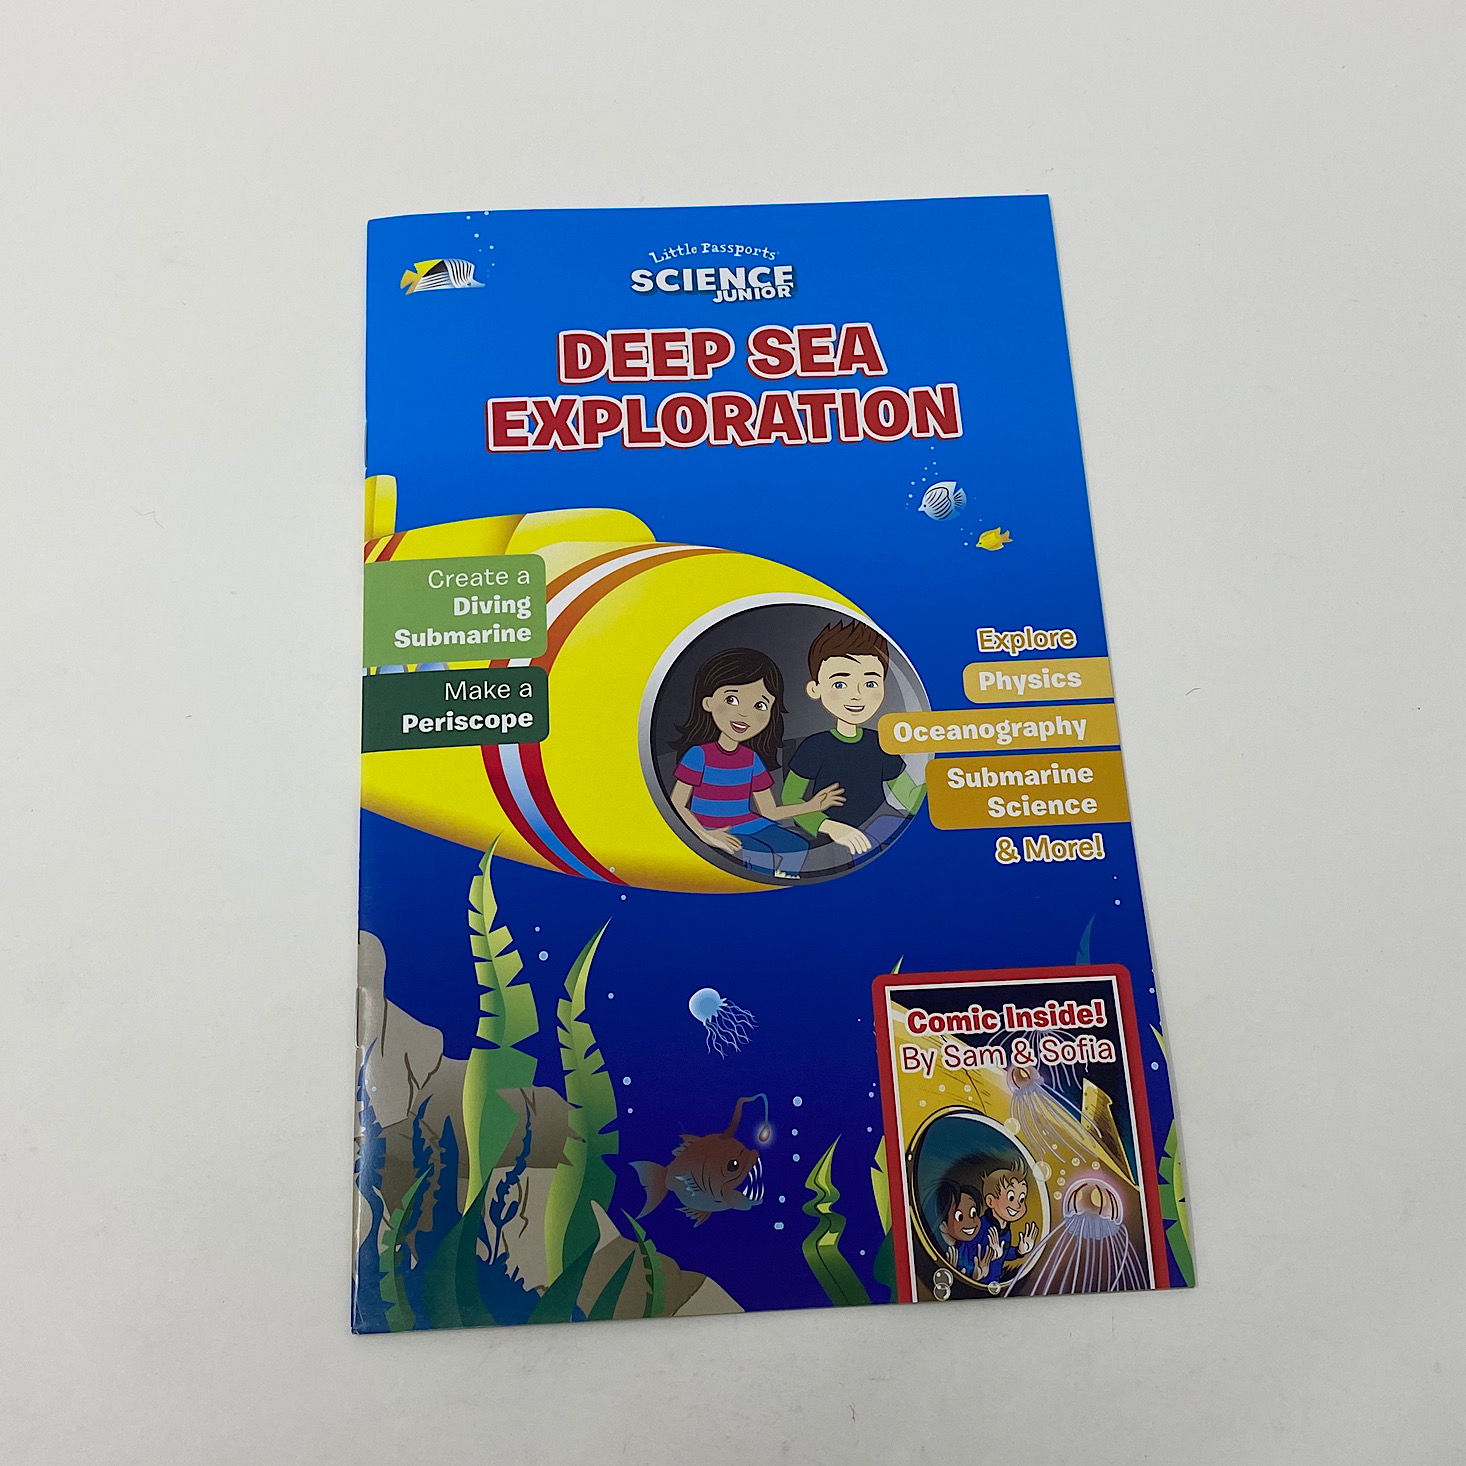
1 of 6
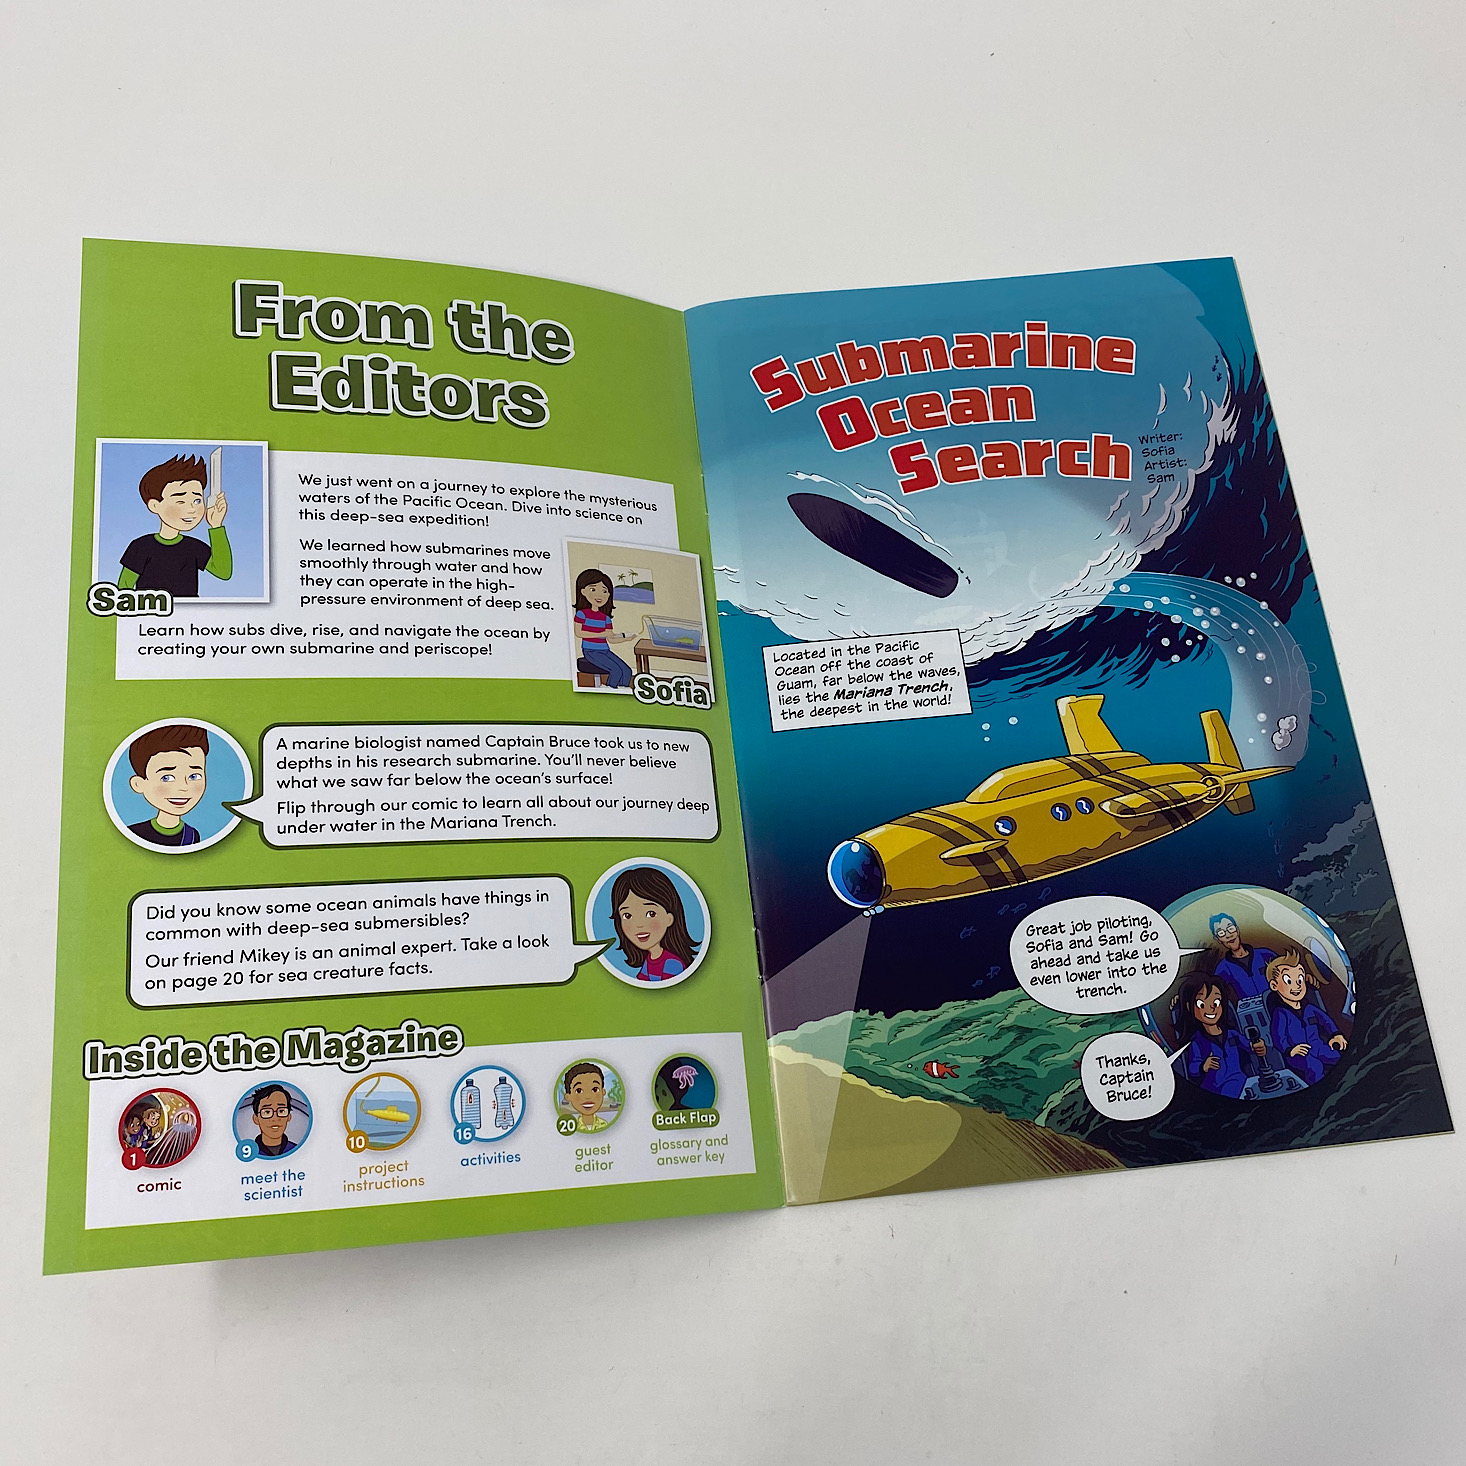


In our comic, we visited the Mariana Trench and talked about the creatures you can find there. We also learned about buoyancy and met a marine biologist. Our guest editor gave us some more information on sea creatures.

1 of 5


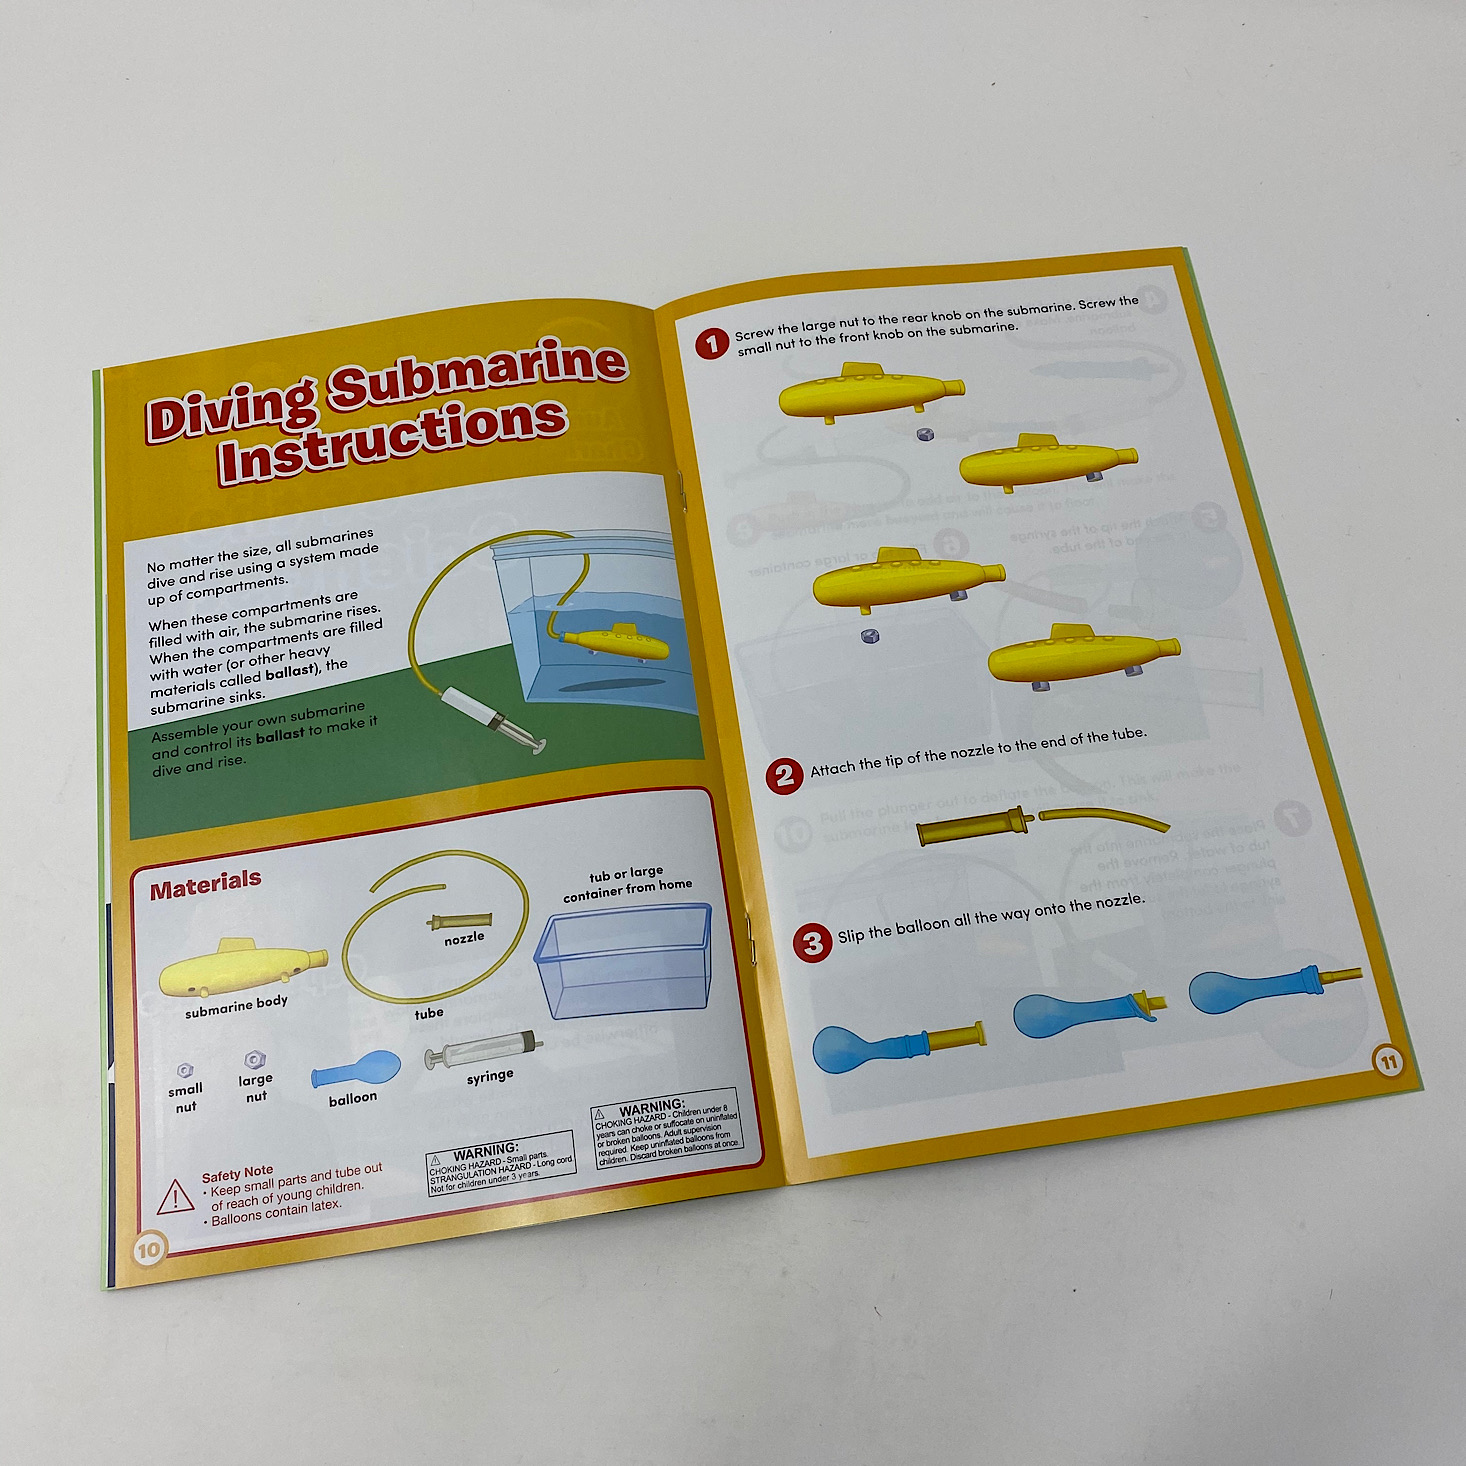
The instructions for our diving submarine and periscope were also included along with some fun activities involving Morse code, spotting the differences, and even a Mariana Trench word search. They included a DIY Cartesian diver activity for us to try one day, too!


1 of 3
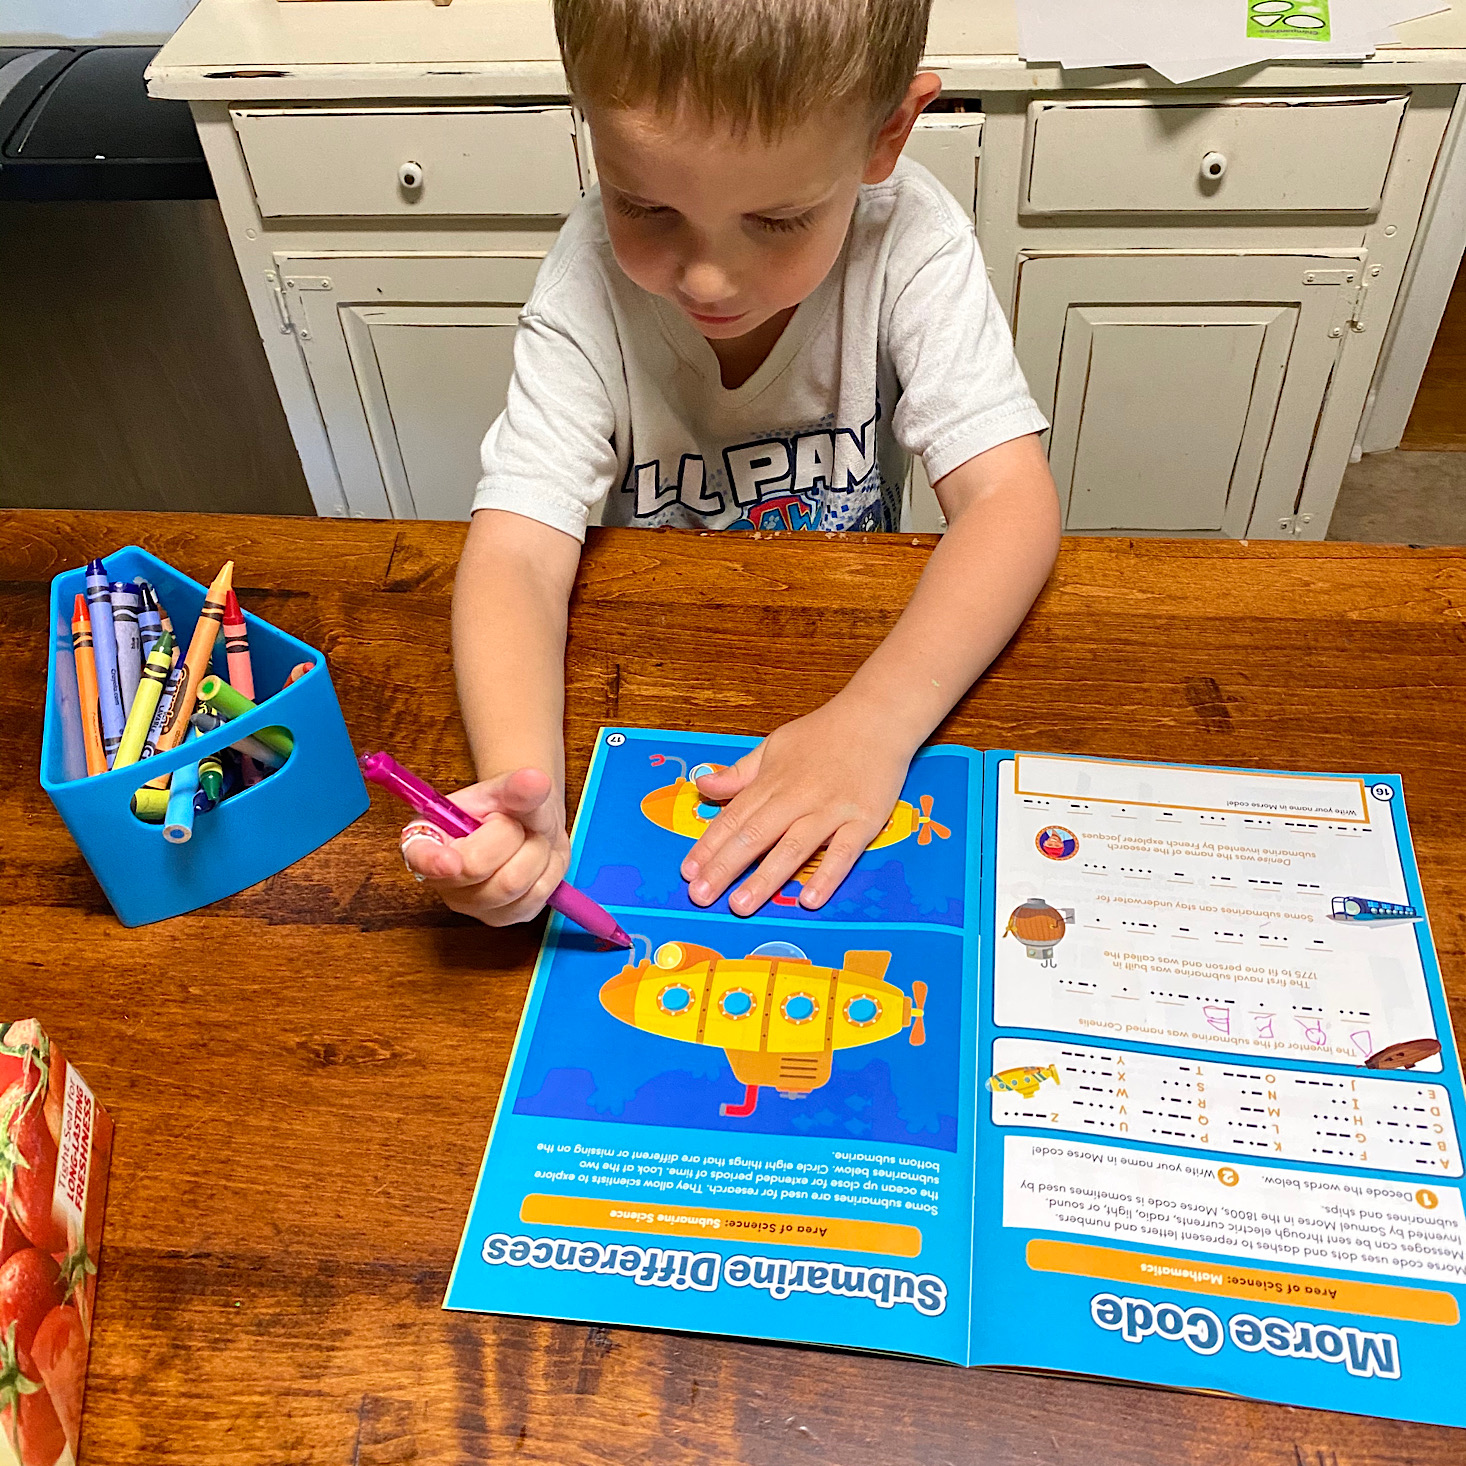
My daughter had fun deciphering the message using Morse code and then my son did a great job spotting the differences in the two submarine pictures. My daughter impressed me with the word search since it included creatures with long names like the Dumbo Octopus!
1 of 2
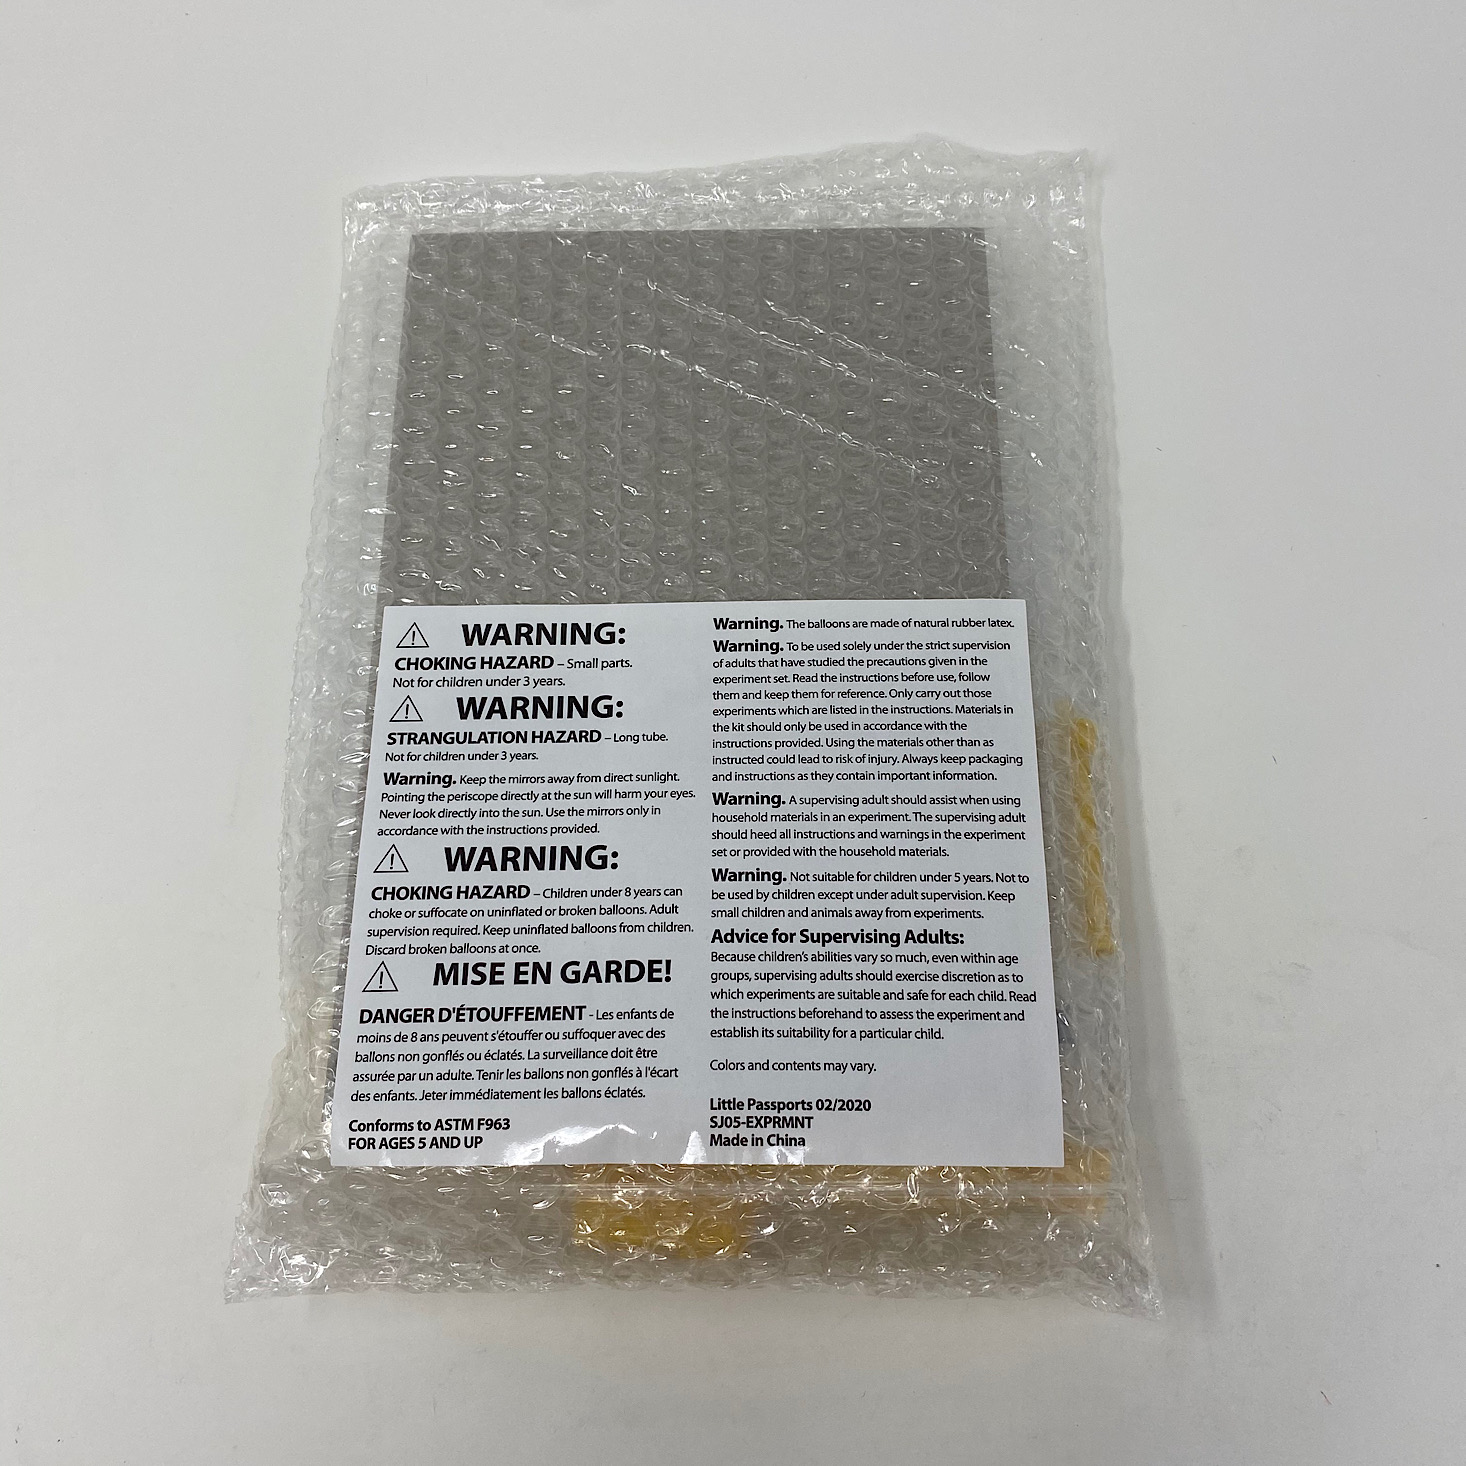
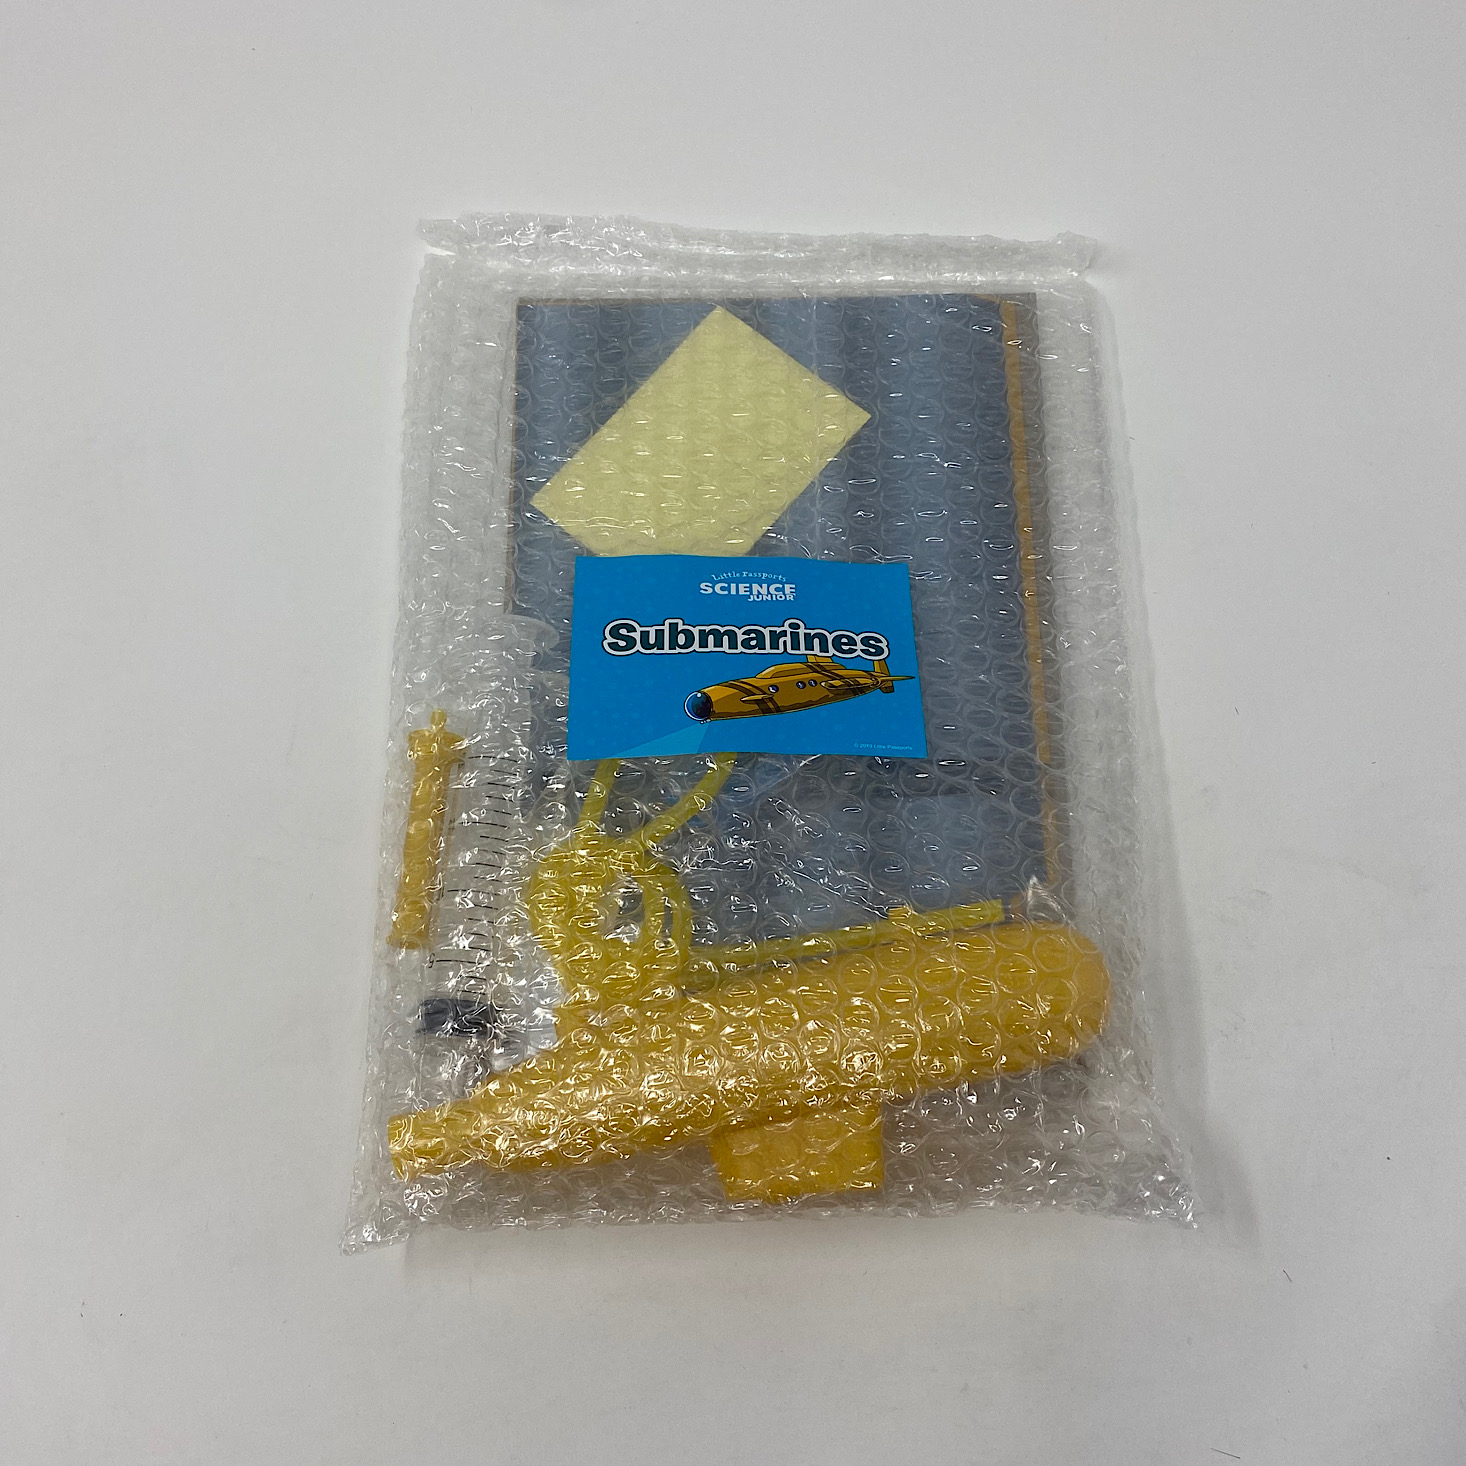
Our submarine supplies came packaged up with safety warnings on the back.

1 of 5


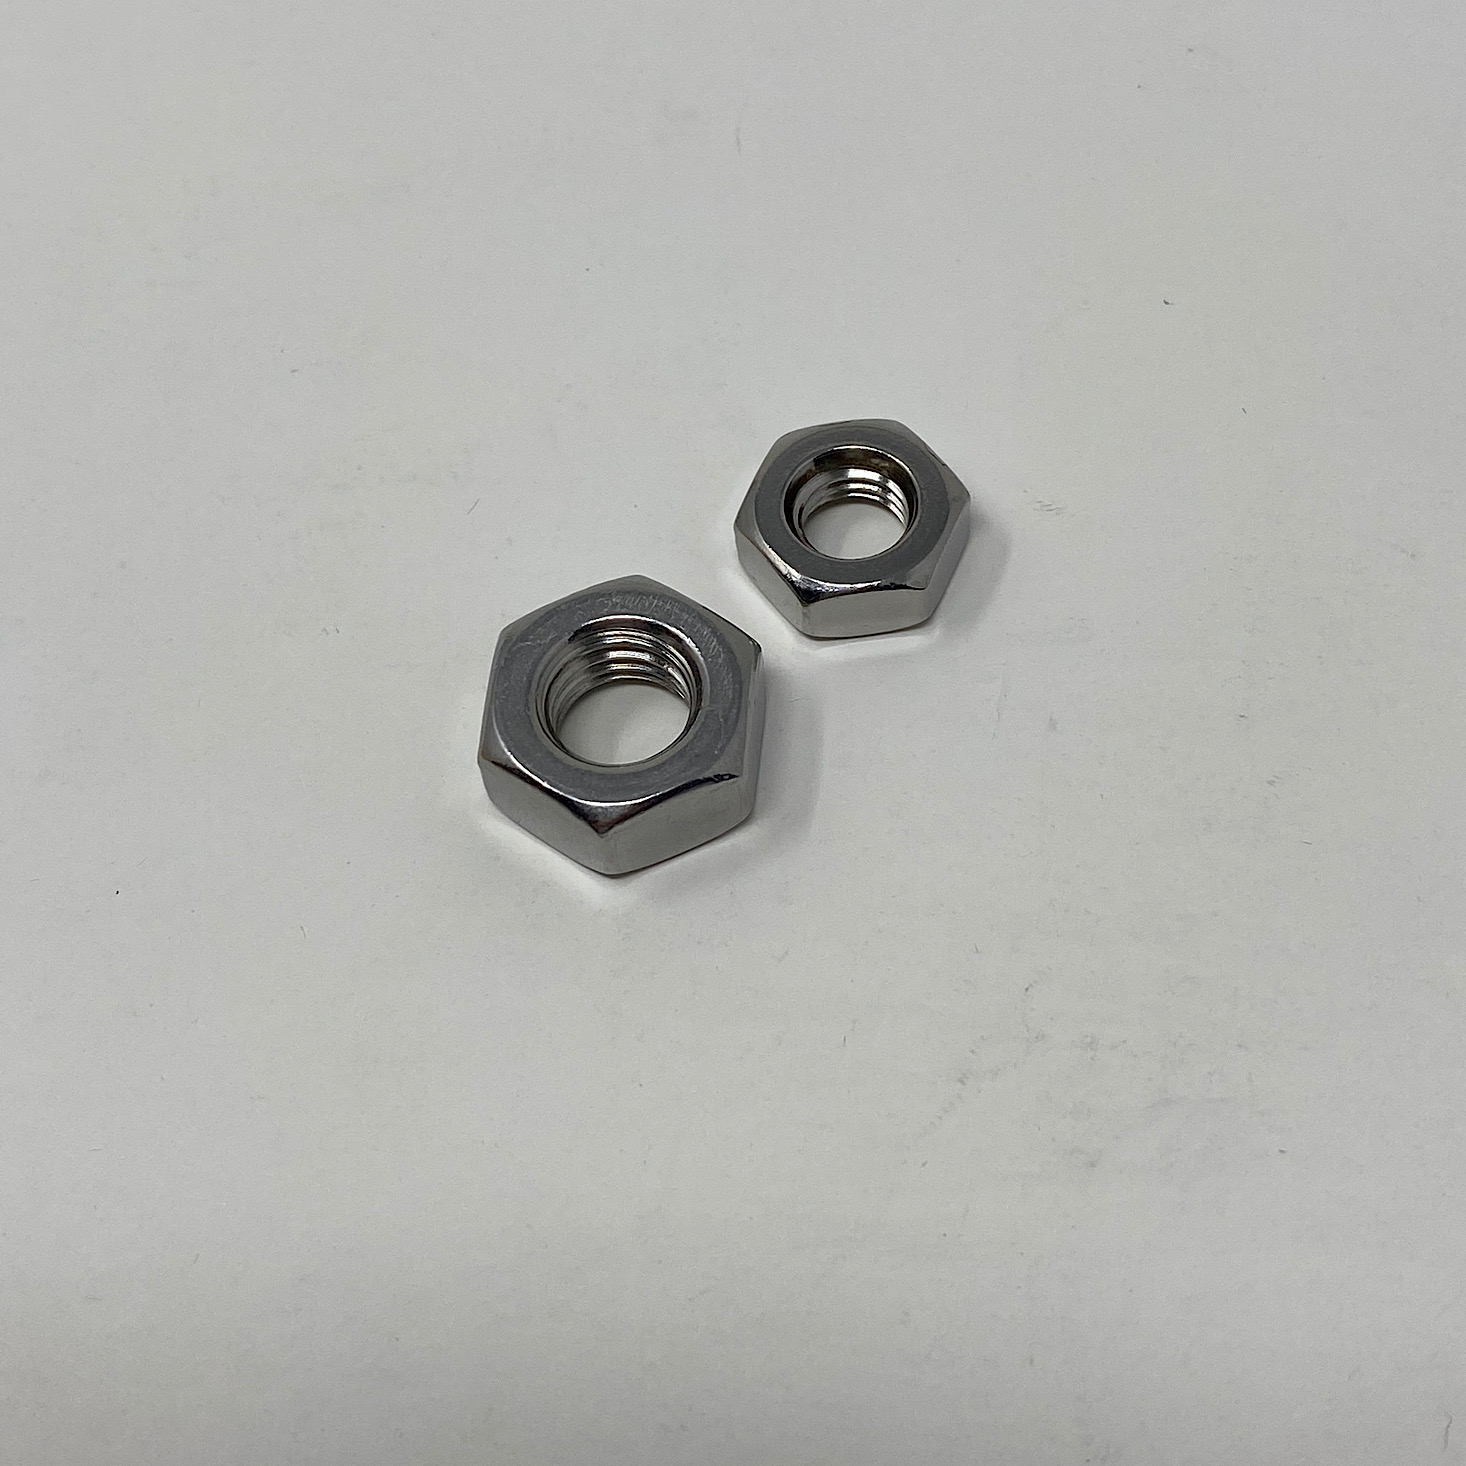
I filled up a large tub with water while my daughter added the small and large nuts to the bottom of our submarine.


1 of 6

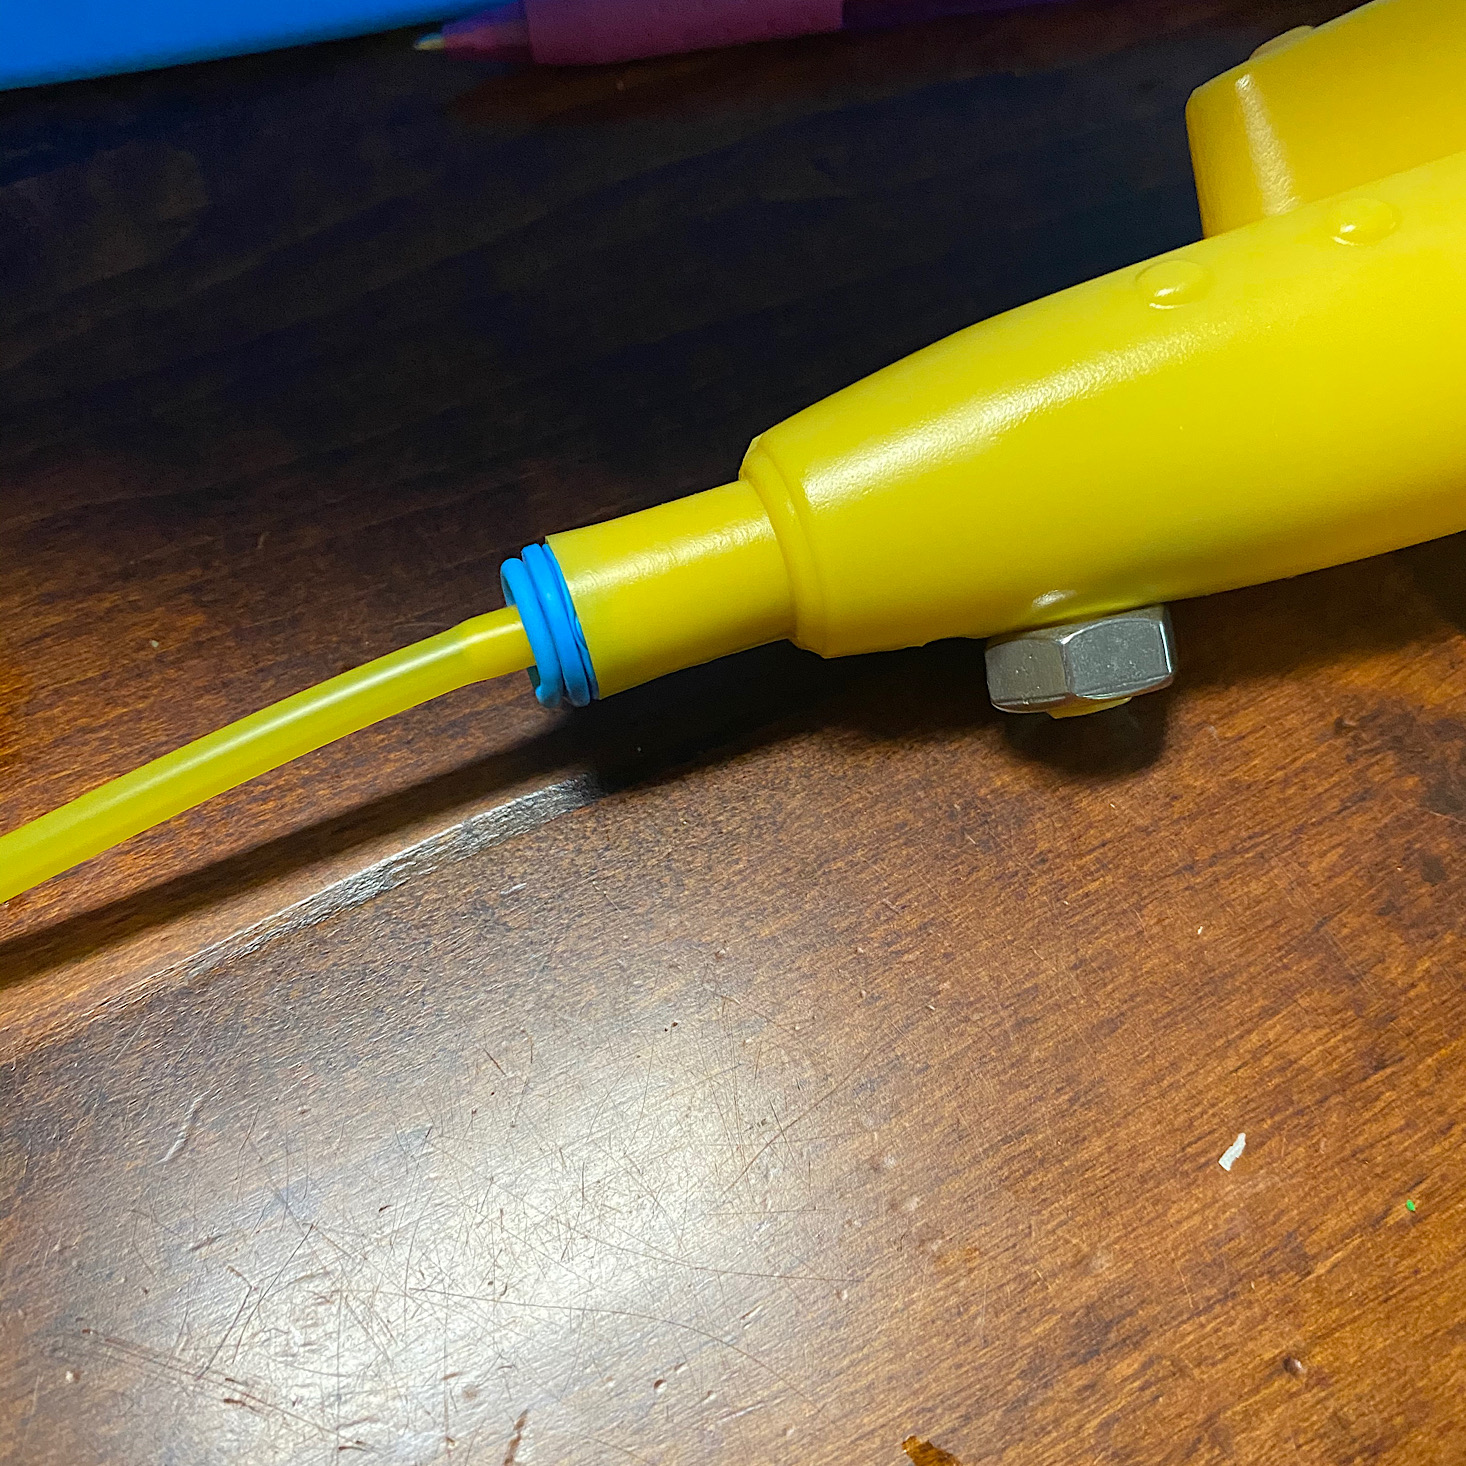


My son connected the yellow tubing to the end of the yellow piece. Then I slipped a ballon over it and stuck the entire unit into the hole at the back of our submarine.

1 of 3

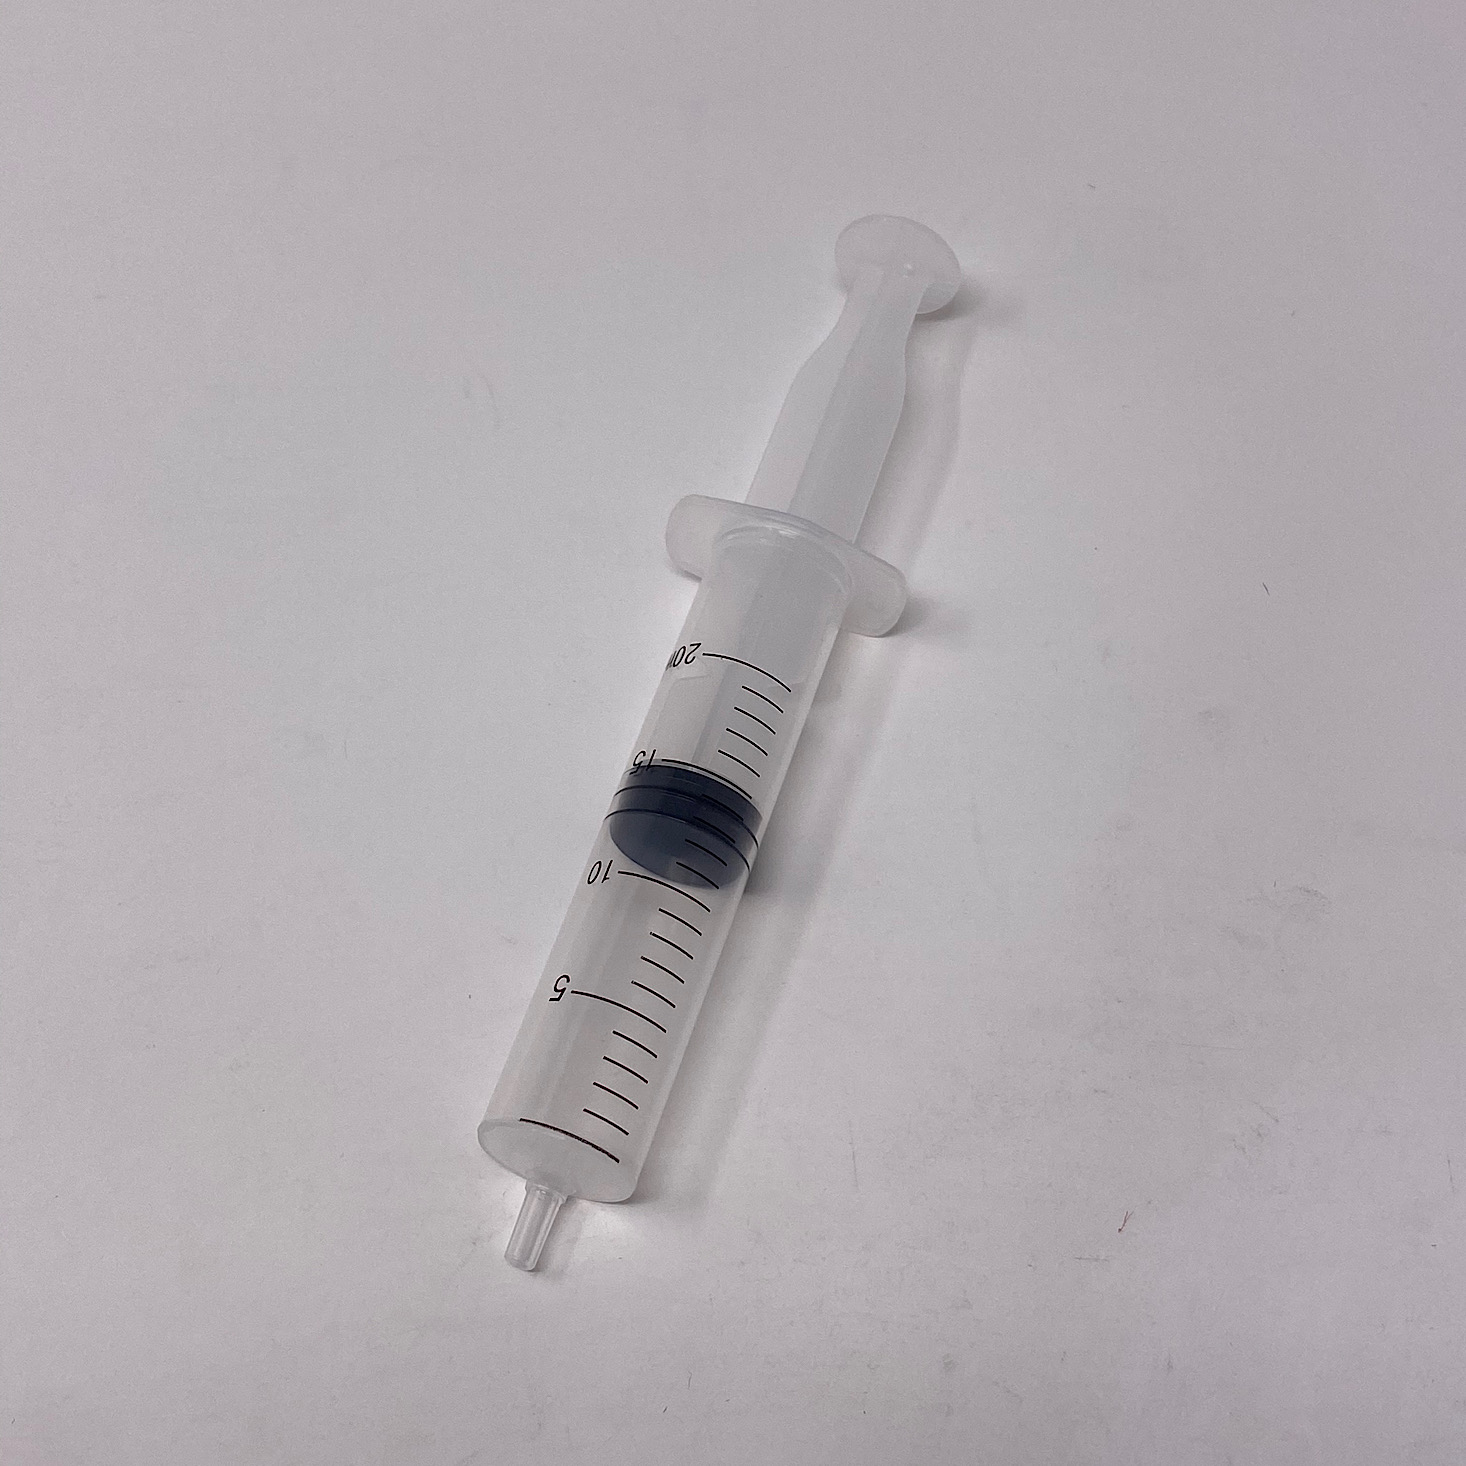
My daughter slipped the other end of the tubing onto the syringe and we placed our submarine in the water.


1 of 2
My son pulled out the back of the syringe and our submarine sunk down to the bottom.


1 of 2
To add some buoyancy and get it to float my daughter pushed some air through the tube with the syringe and it rose back to the top.
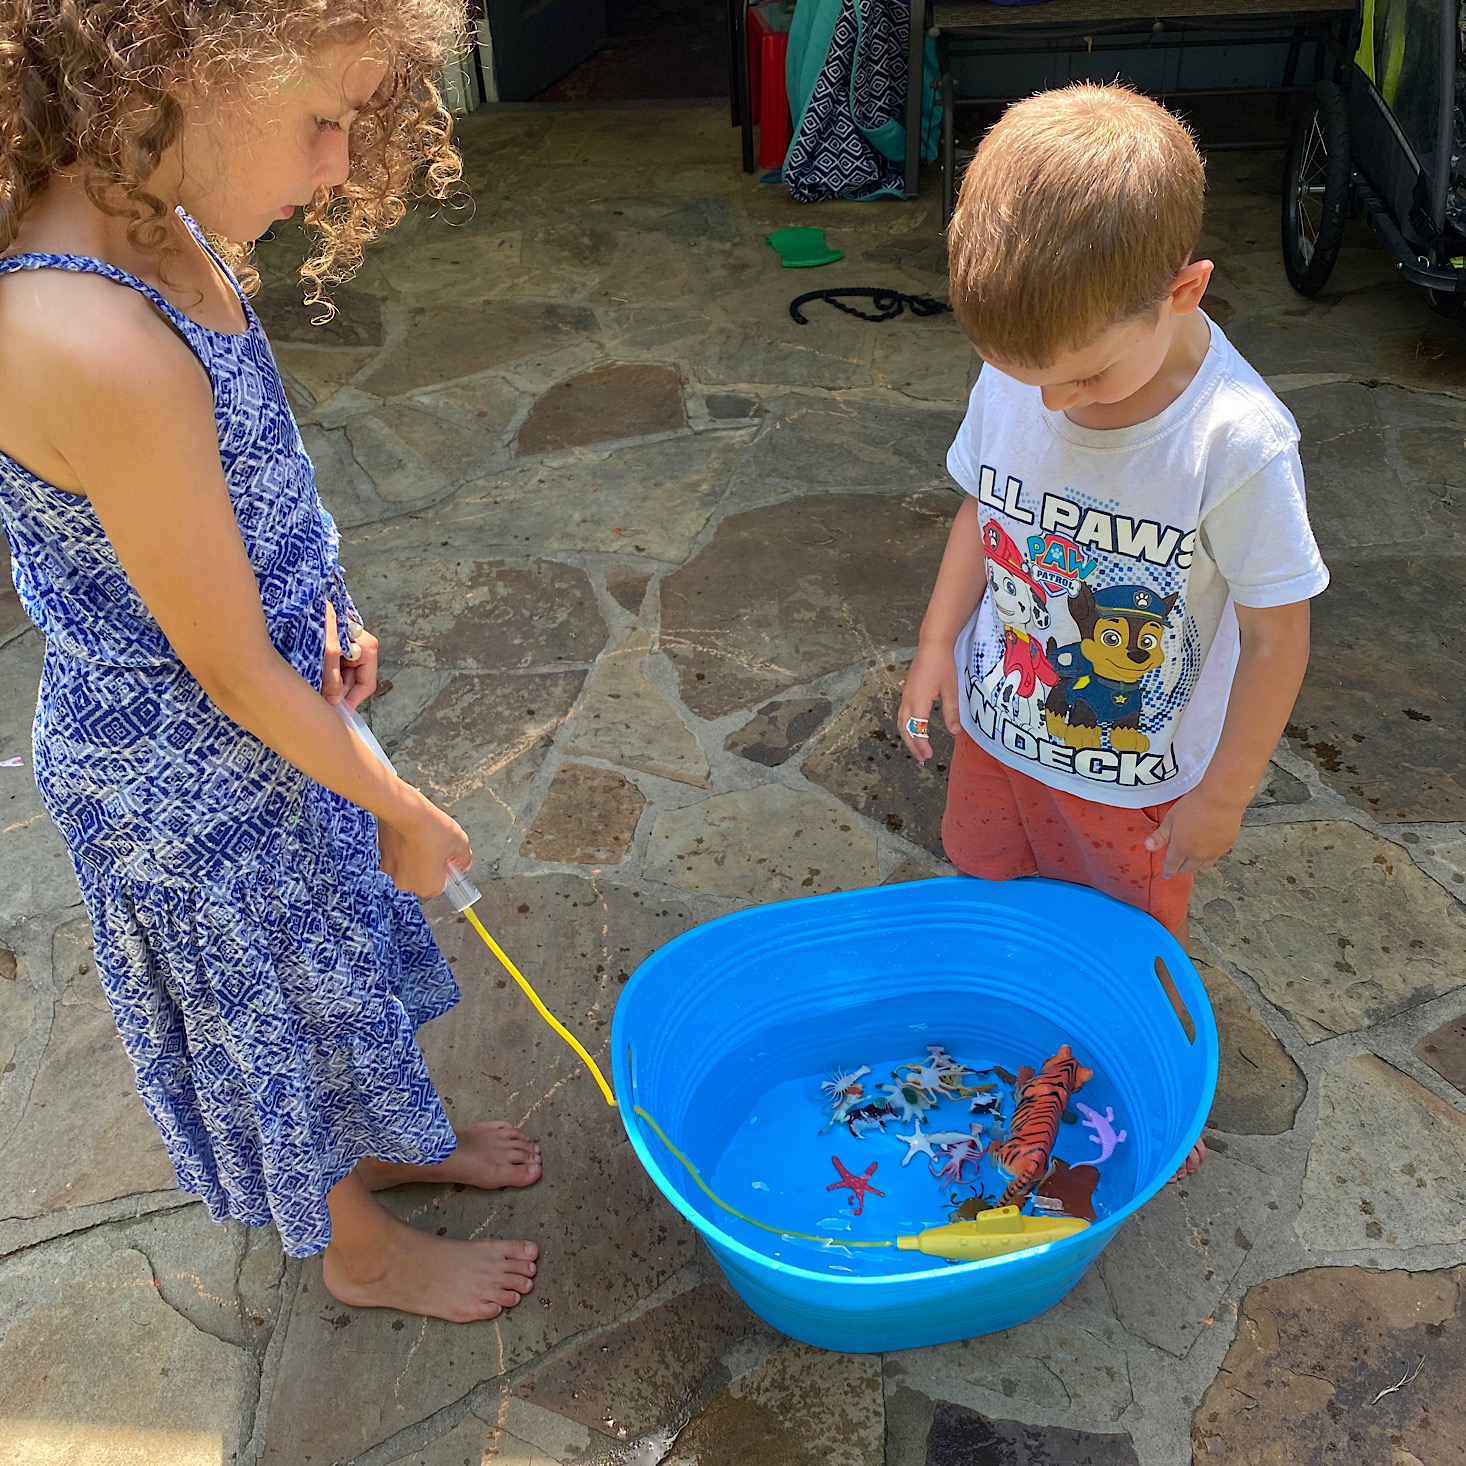
1 of 2
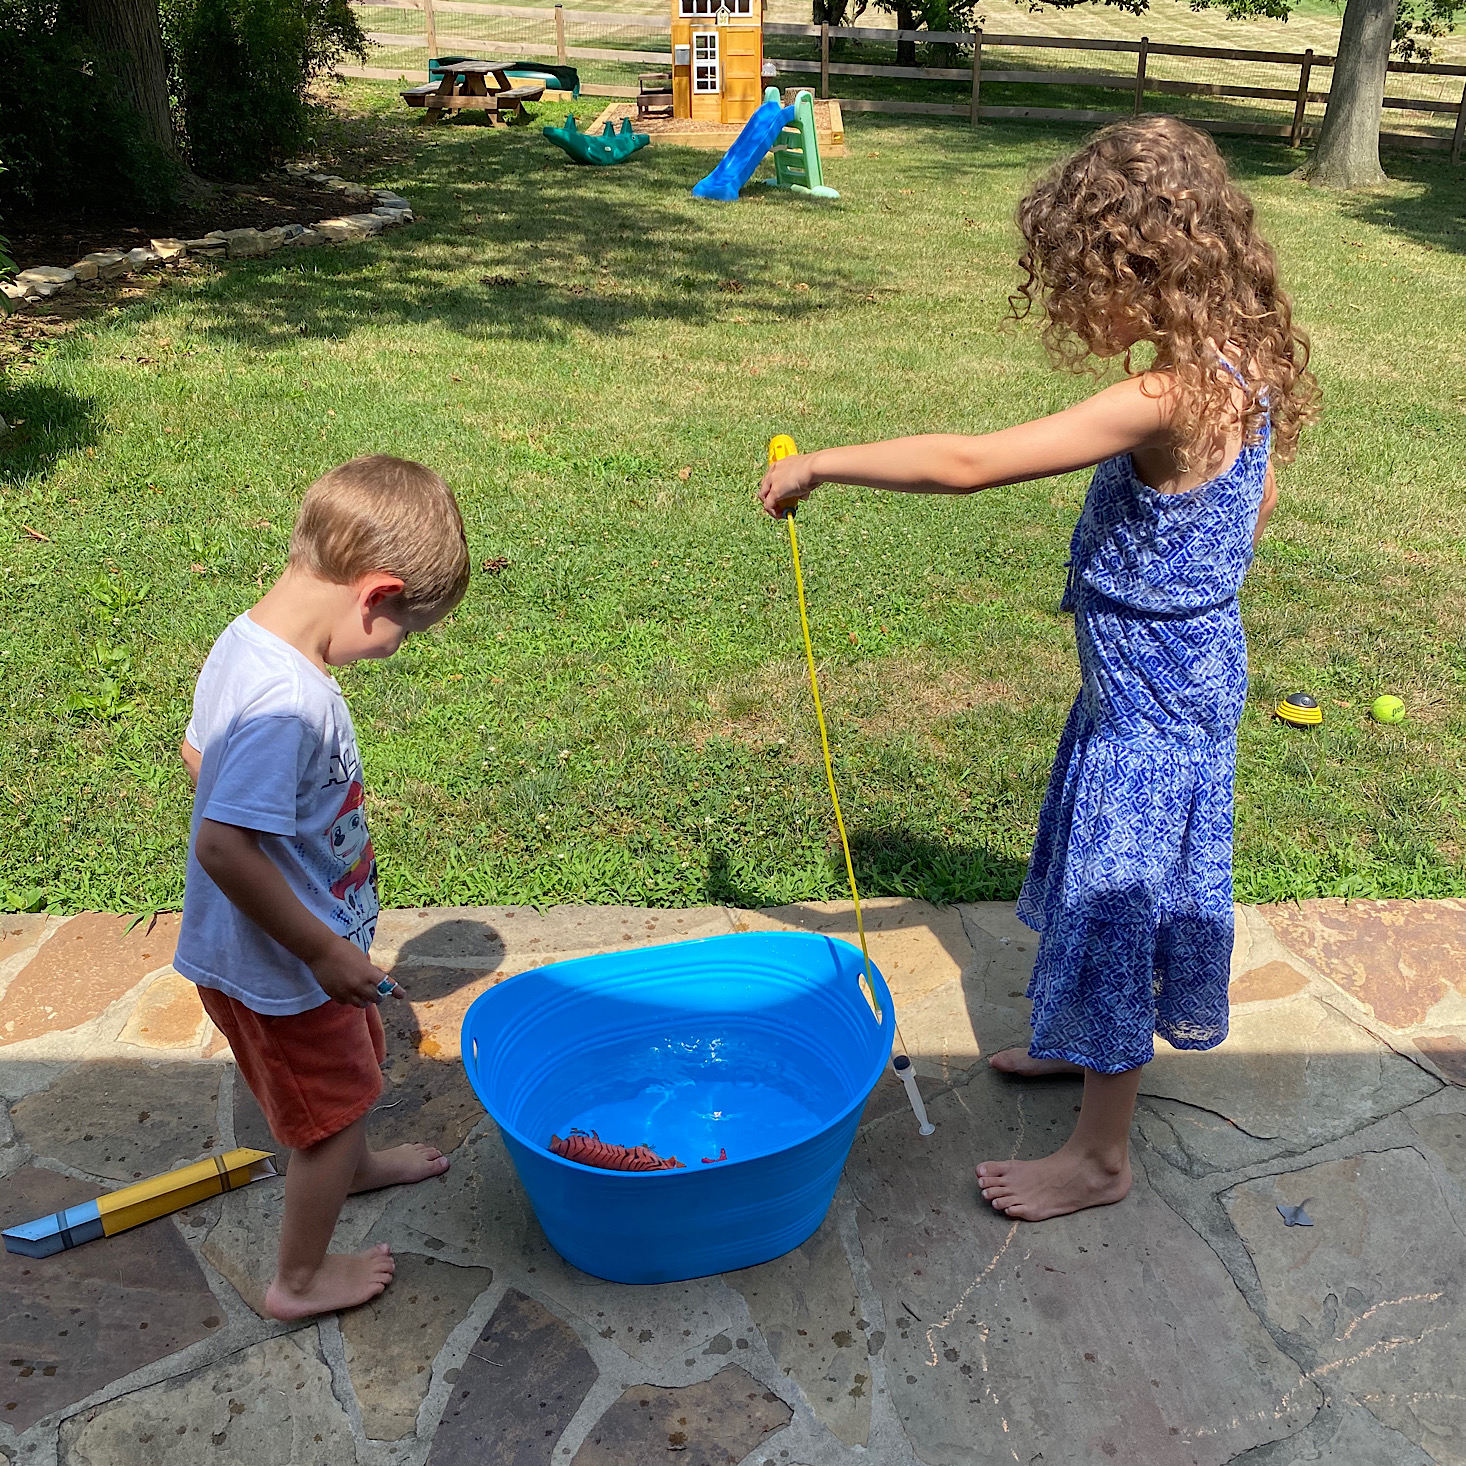
They were so excited to take it outside and play with it some more! My son gathered all of his sea creatures and they had a good play session!


1 of 3

They also provided some materials for us to make a periscope. There were two little mirrors, some tape, and the two sides which needed to be folded up.

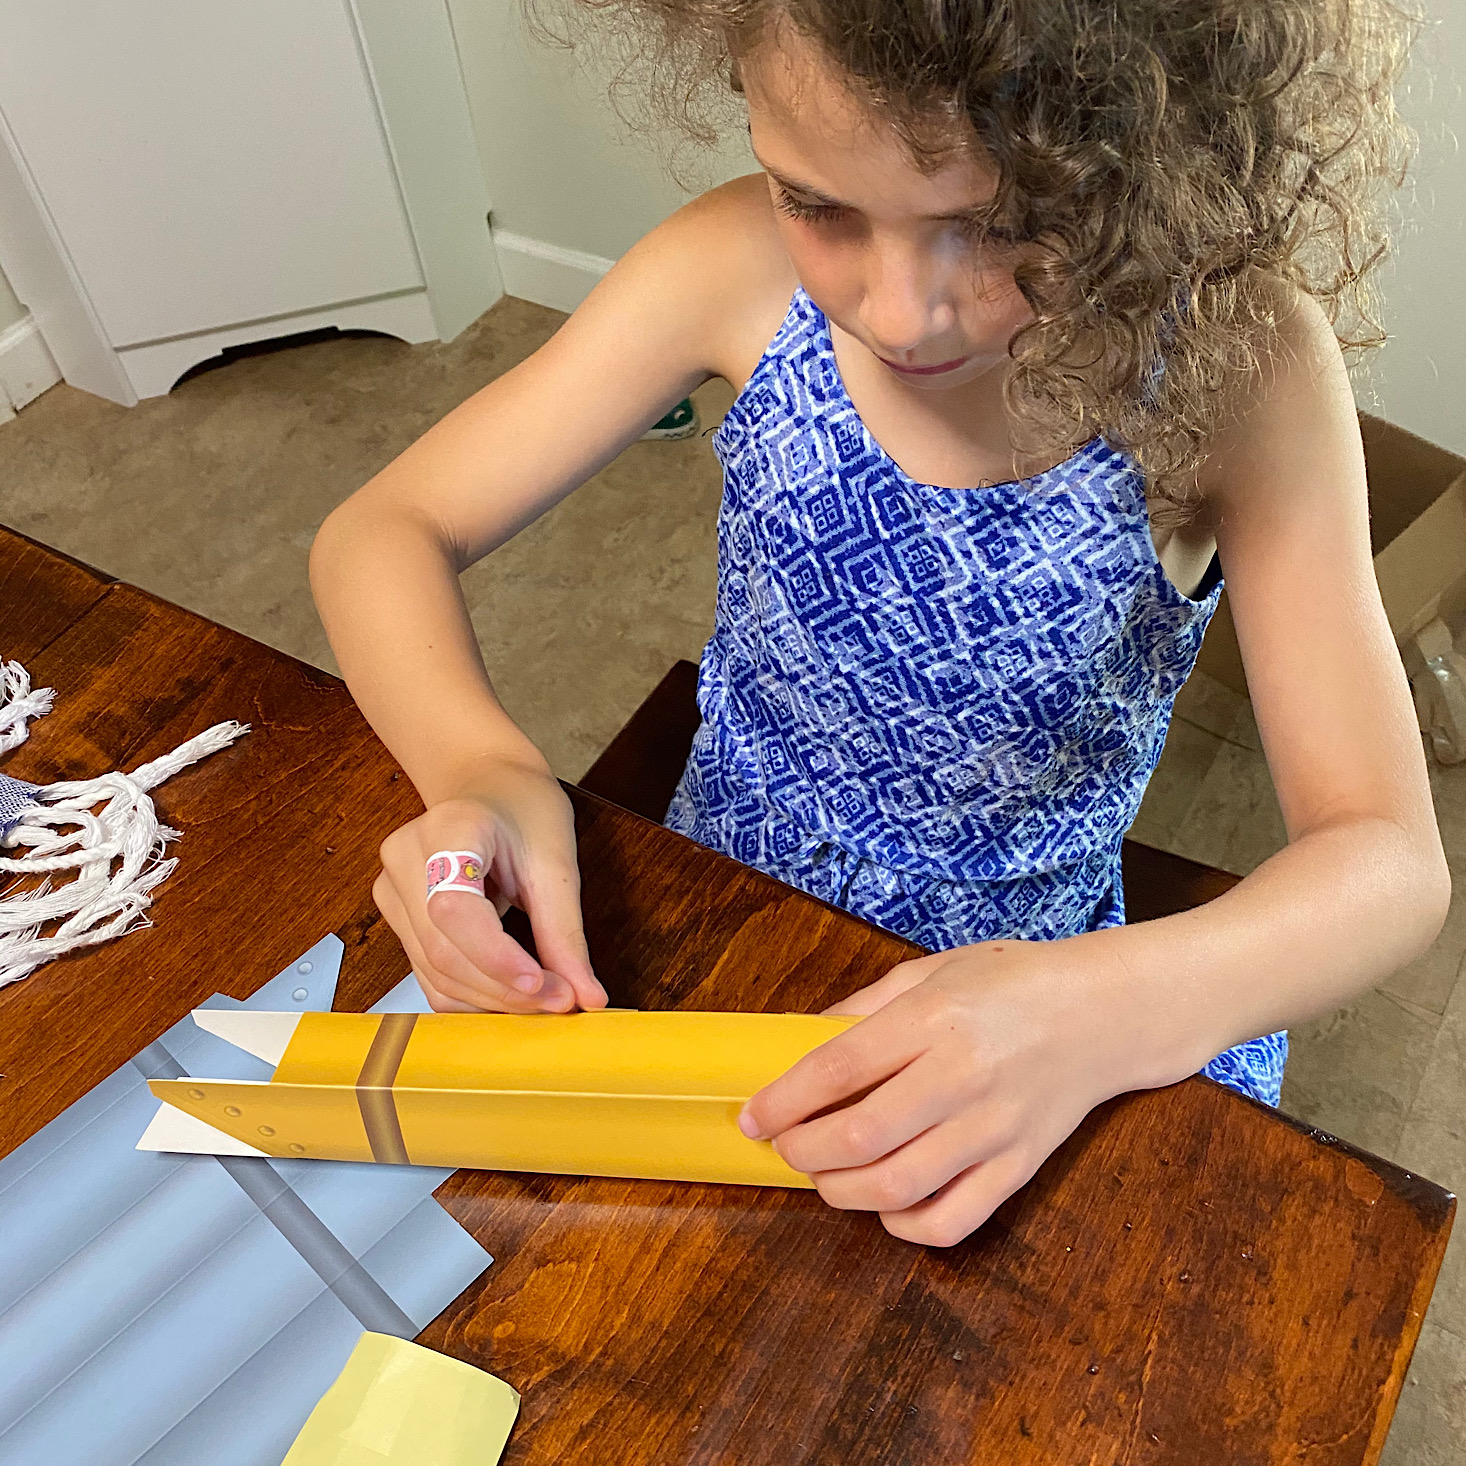
1 of 3
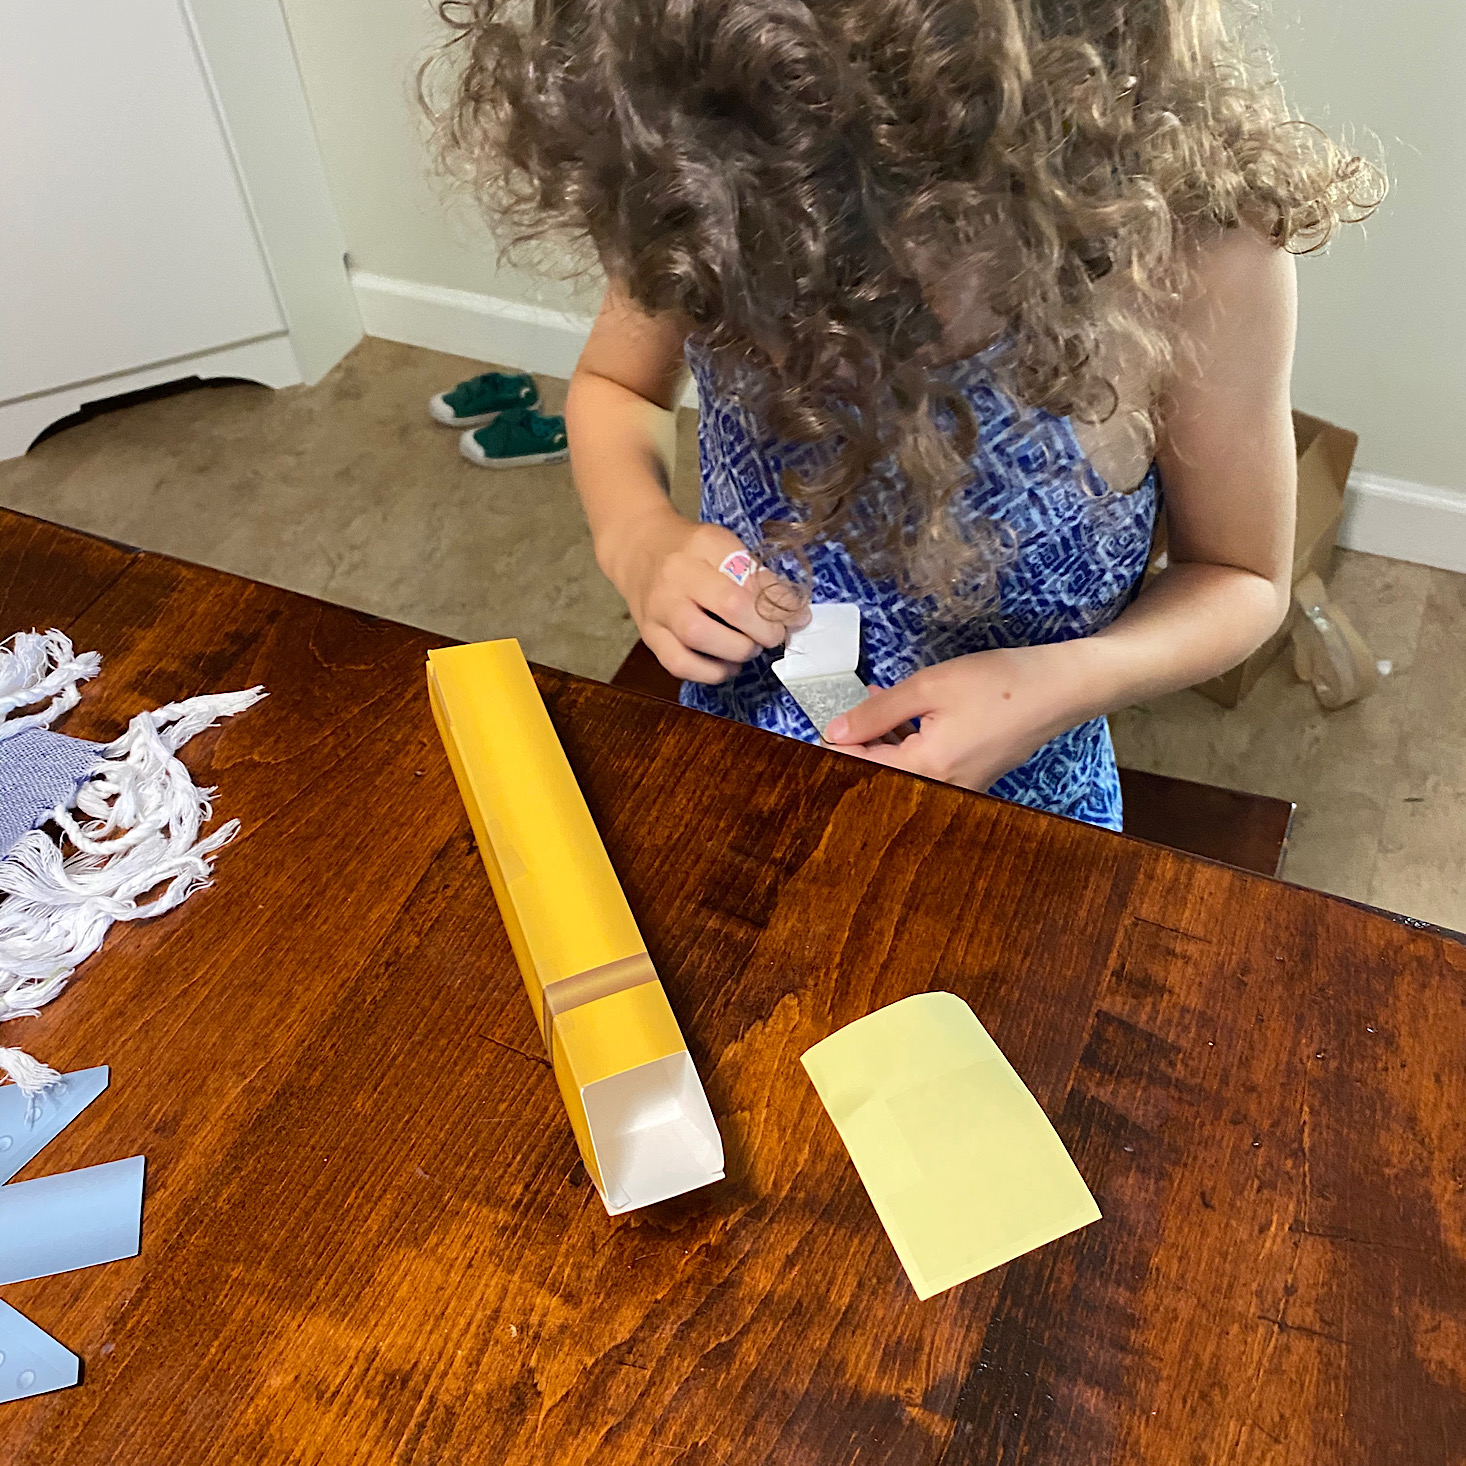
We folded up the first side and then added the mirror which had adhesive on the back.

1 of 2
We repeated this for the second section and then slid the two pieces together and it was done.

1 of 2
They loved testing this one out!
Day 5 Online Extension:
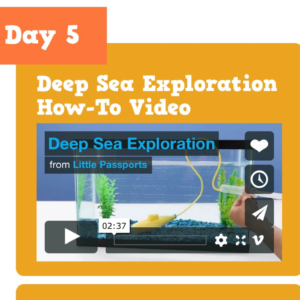


Day 5 provided our how-to video, instructions for how to draw an anglerfish, and some ocean themed jokes. For example; what are deep-sea creatures' favorite food? Trench fries! Our science walk had us naming places in our neighborhood as if we were a deep-sea explorer.
Day 6: Wetlands
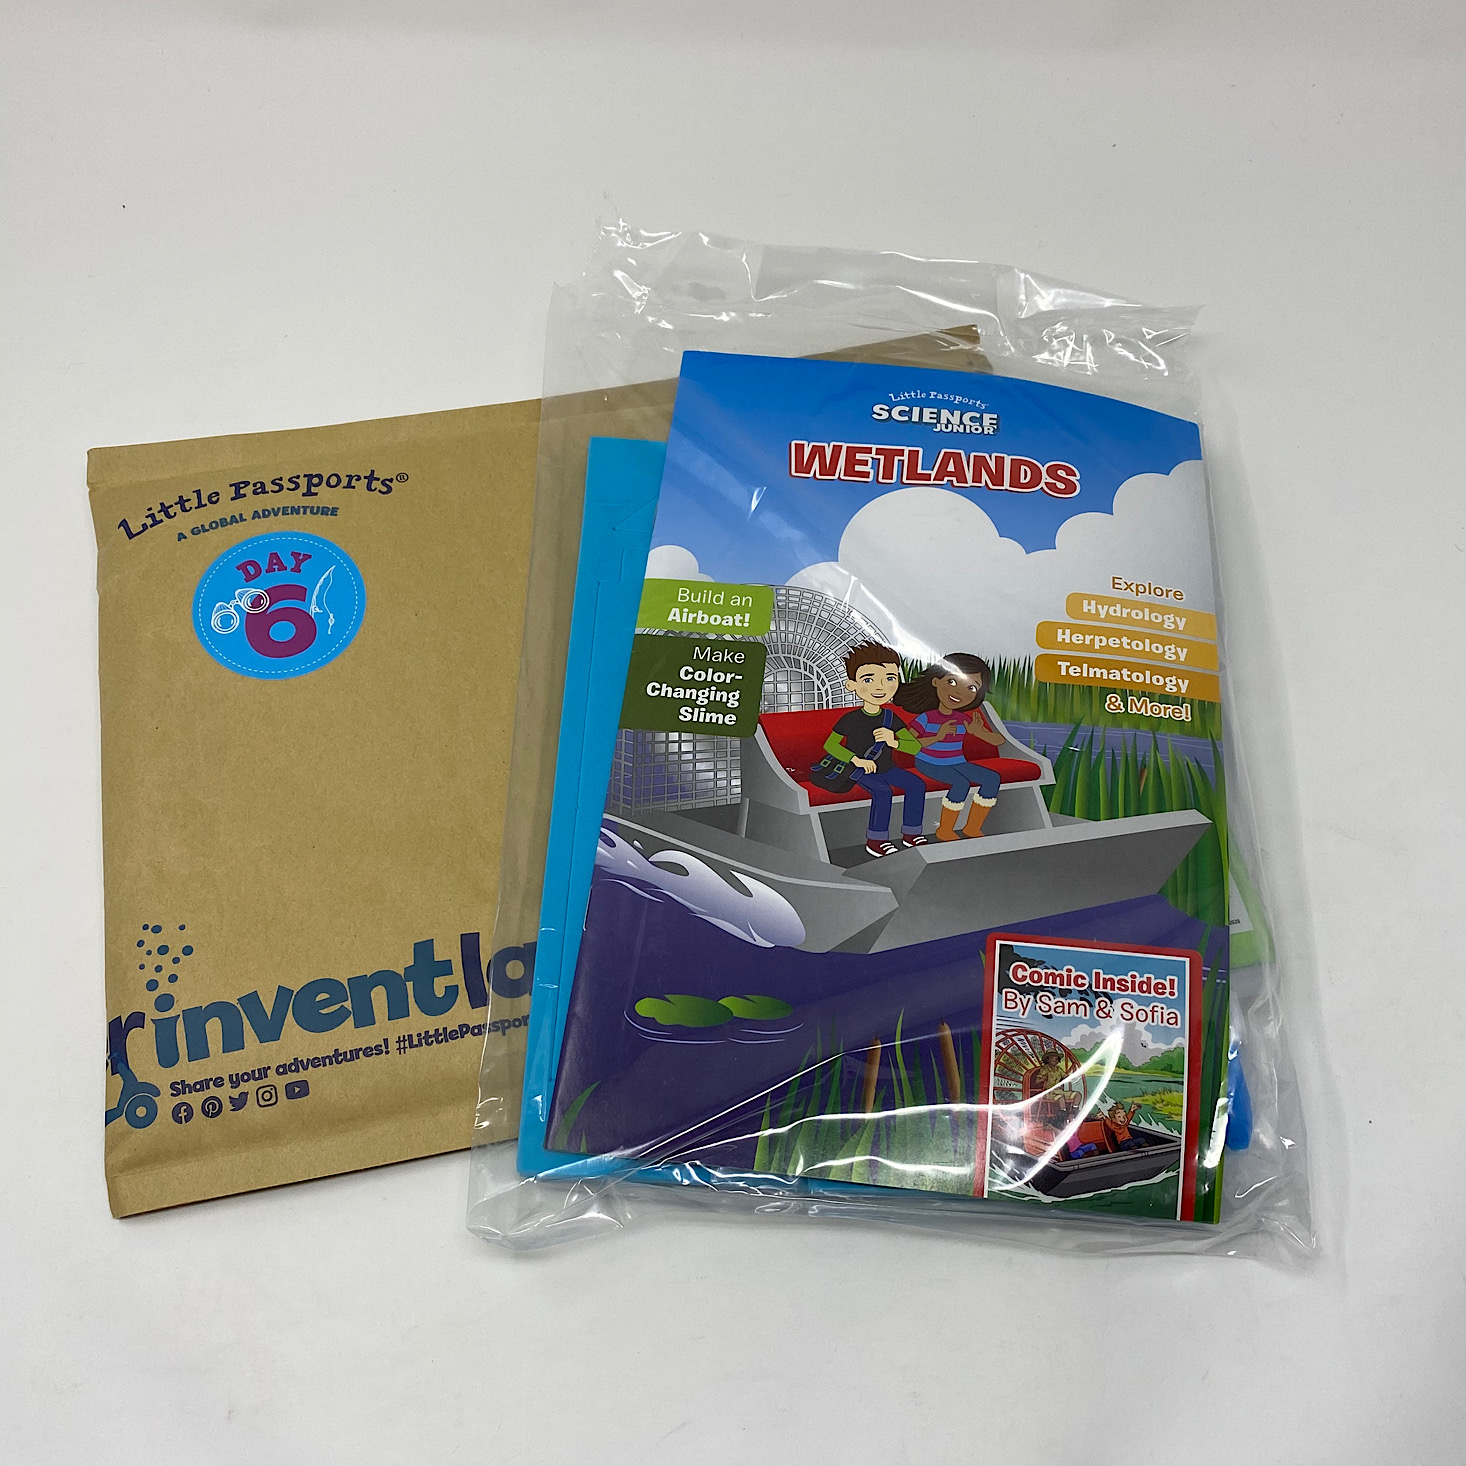
1 of 2
Everything for Day 6 came packaged together in our final envelope.

1 of 3
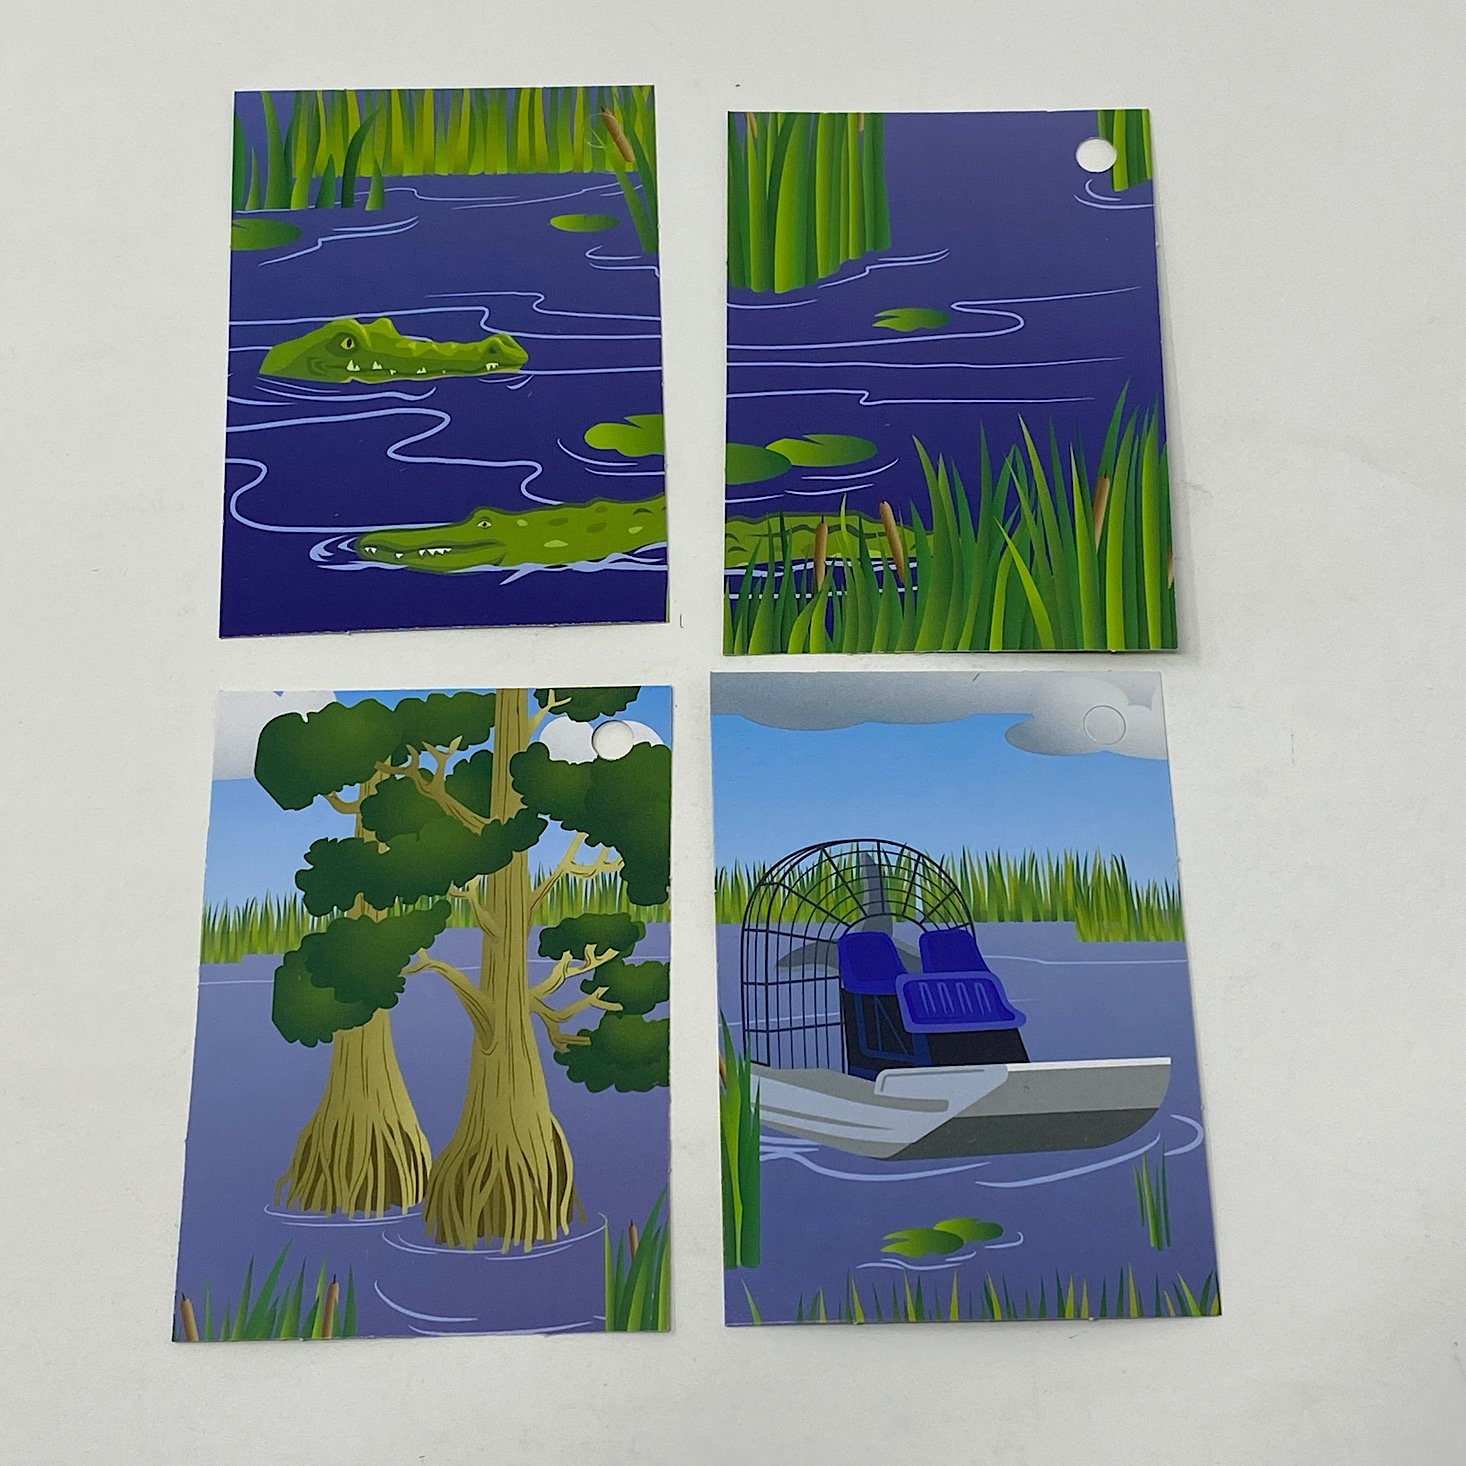
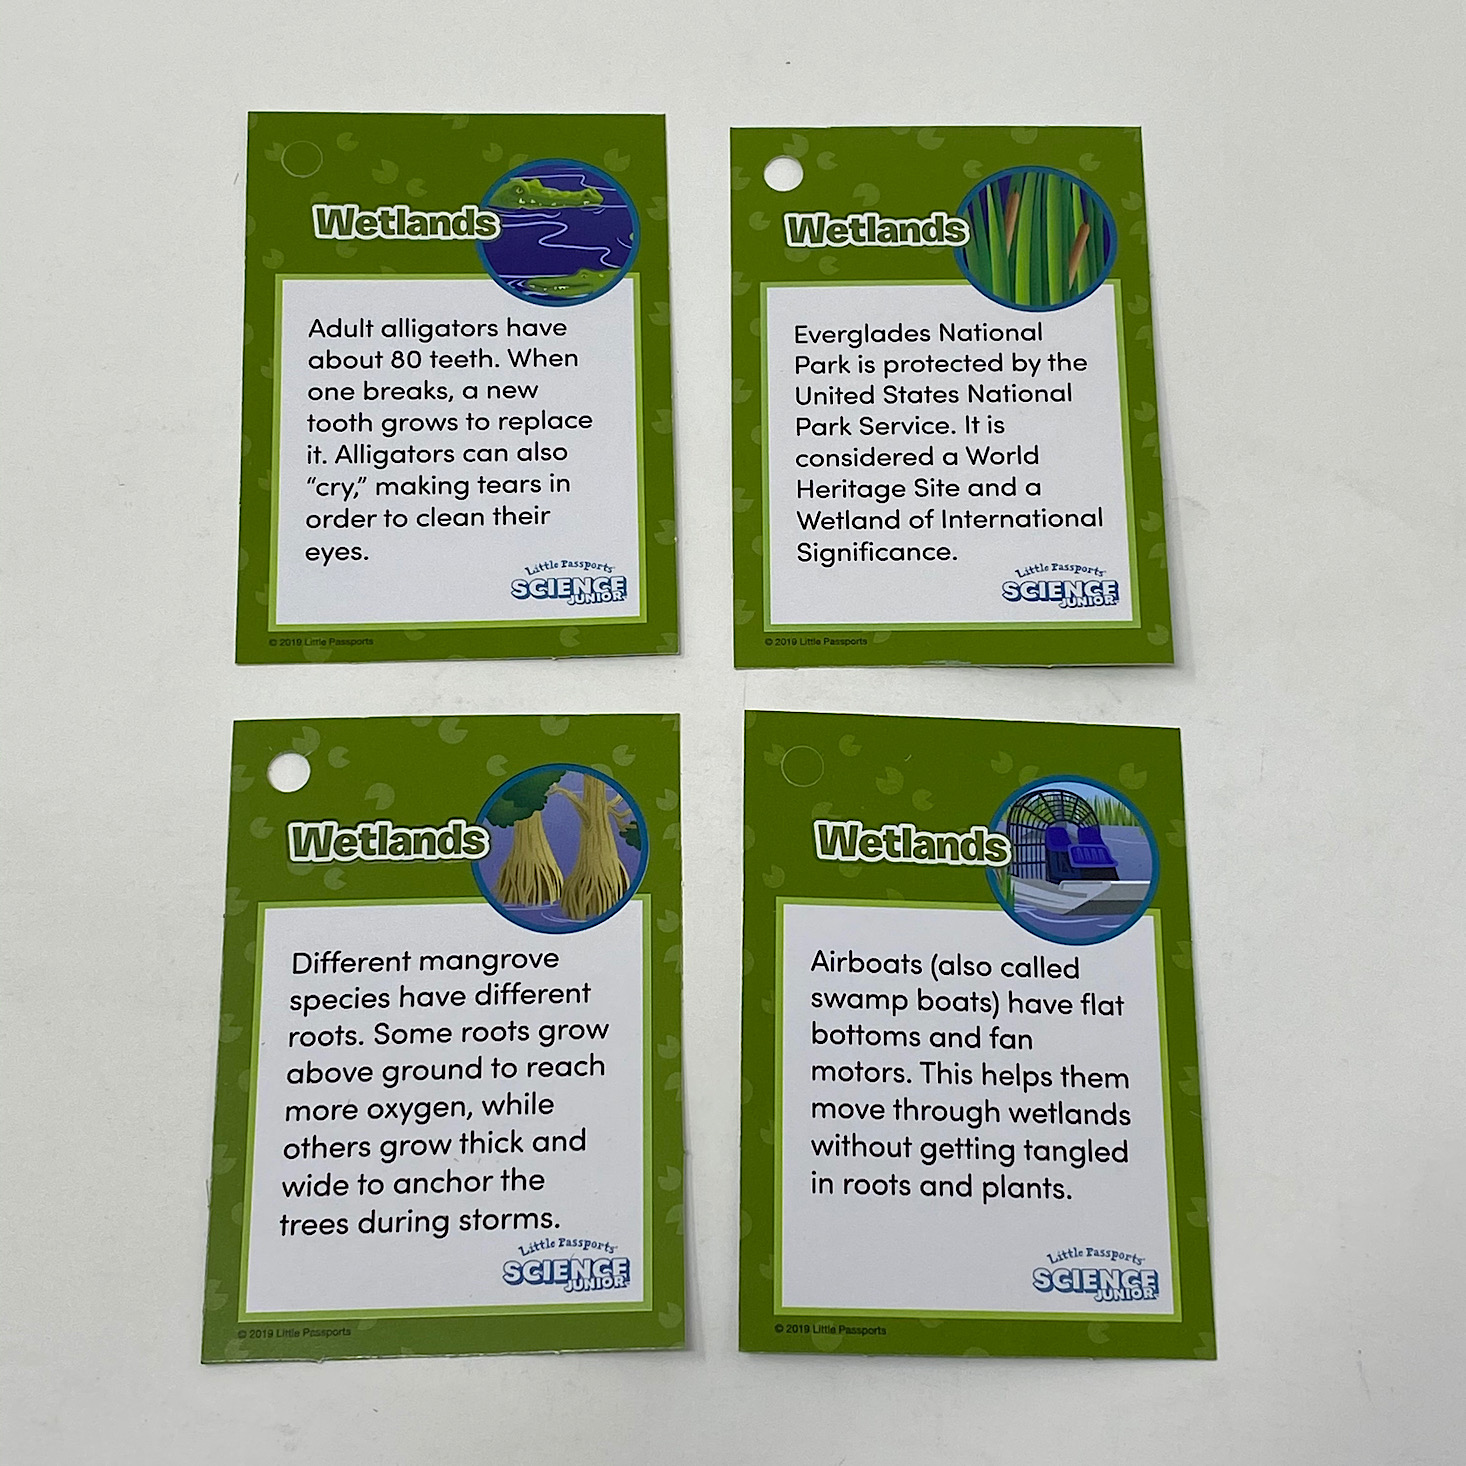
My daughter added our last set of trading cards to our ring after putting together the puzzle.
1 of 2
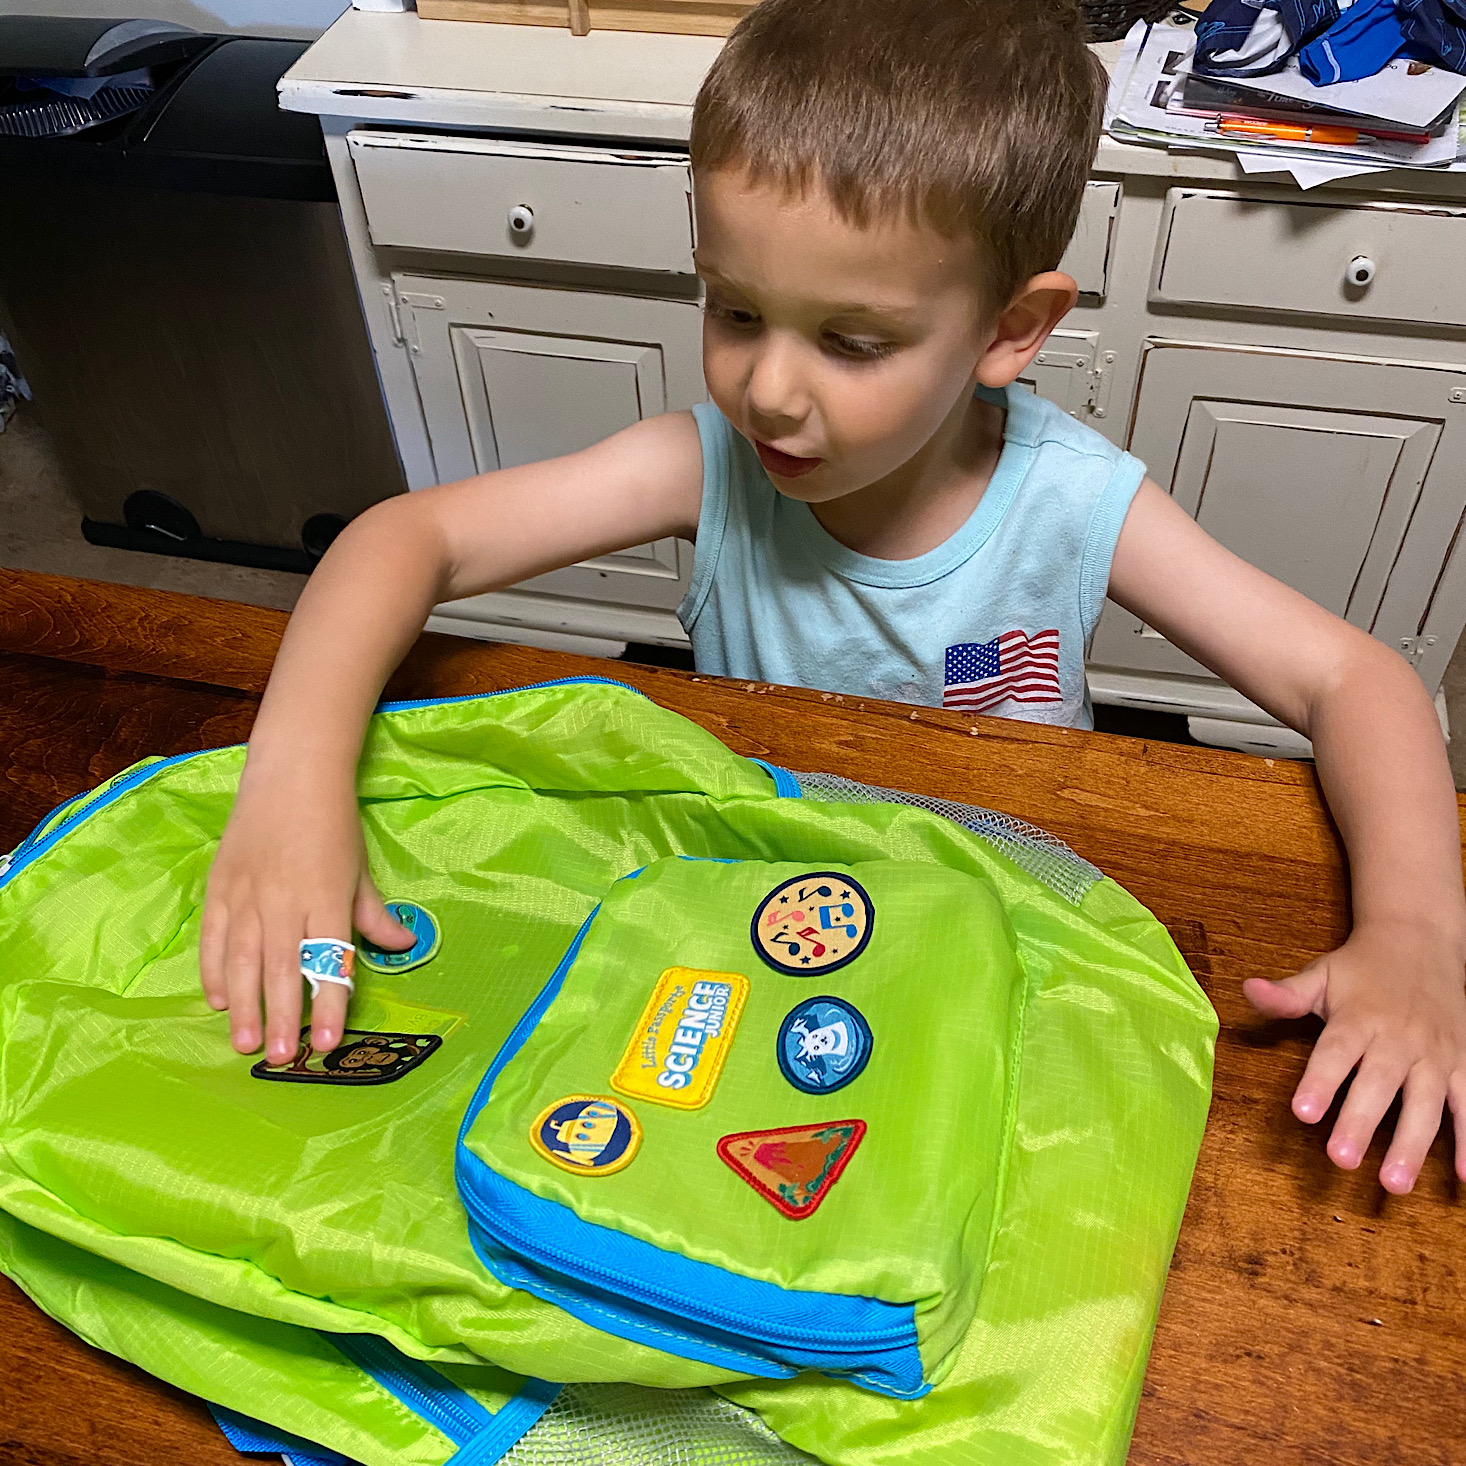
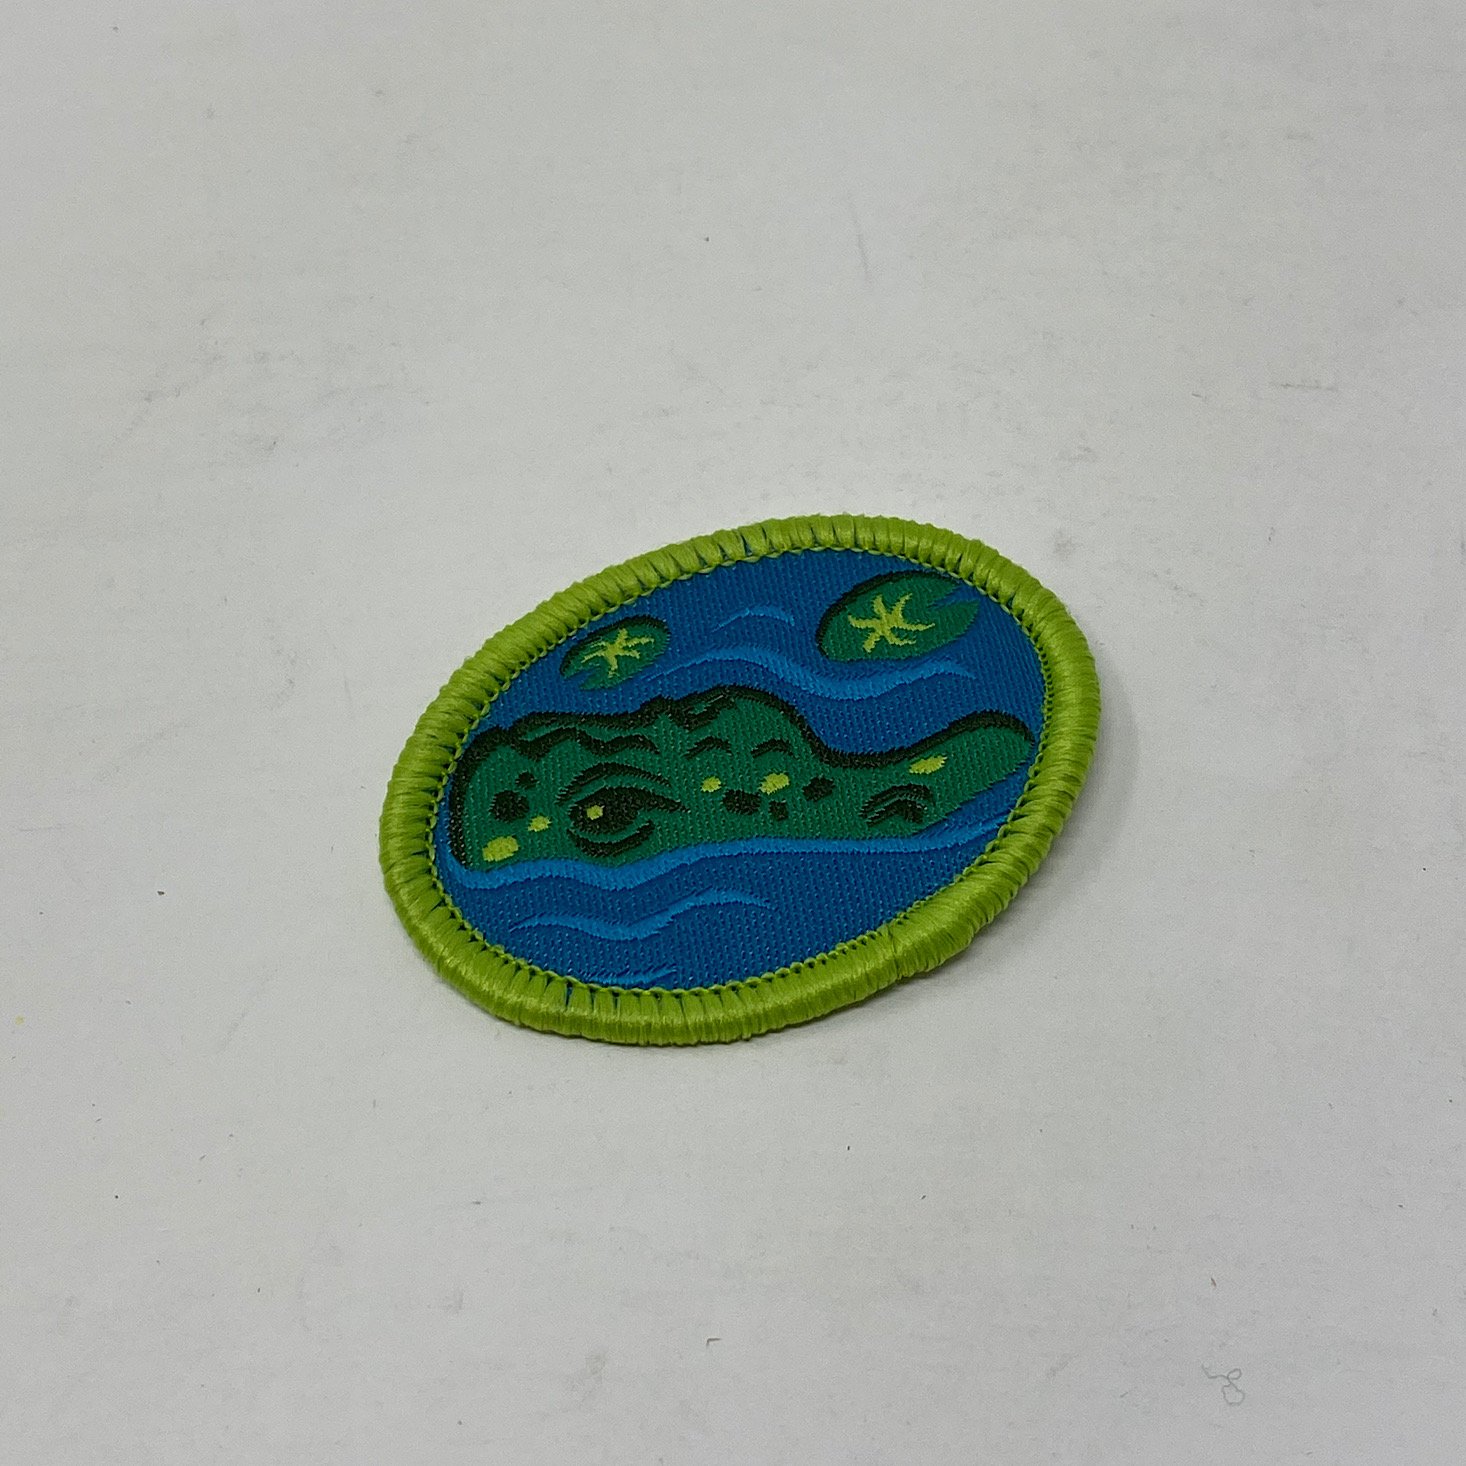
My son added this fun alligator badge to our bag.

Our wetland stickers are really cool and have some great science vocabulary words.

1 of 7

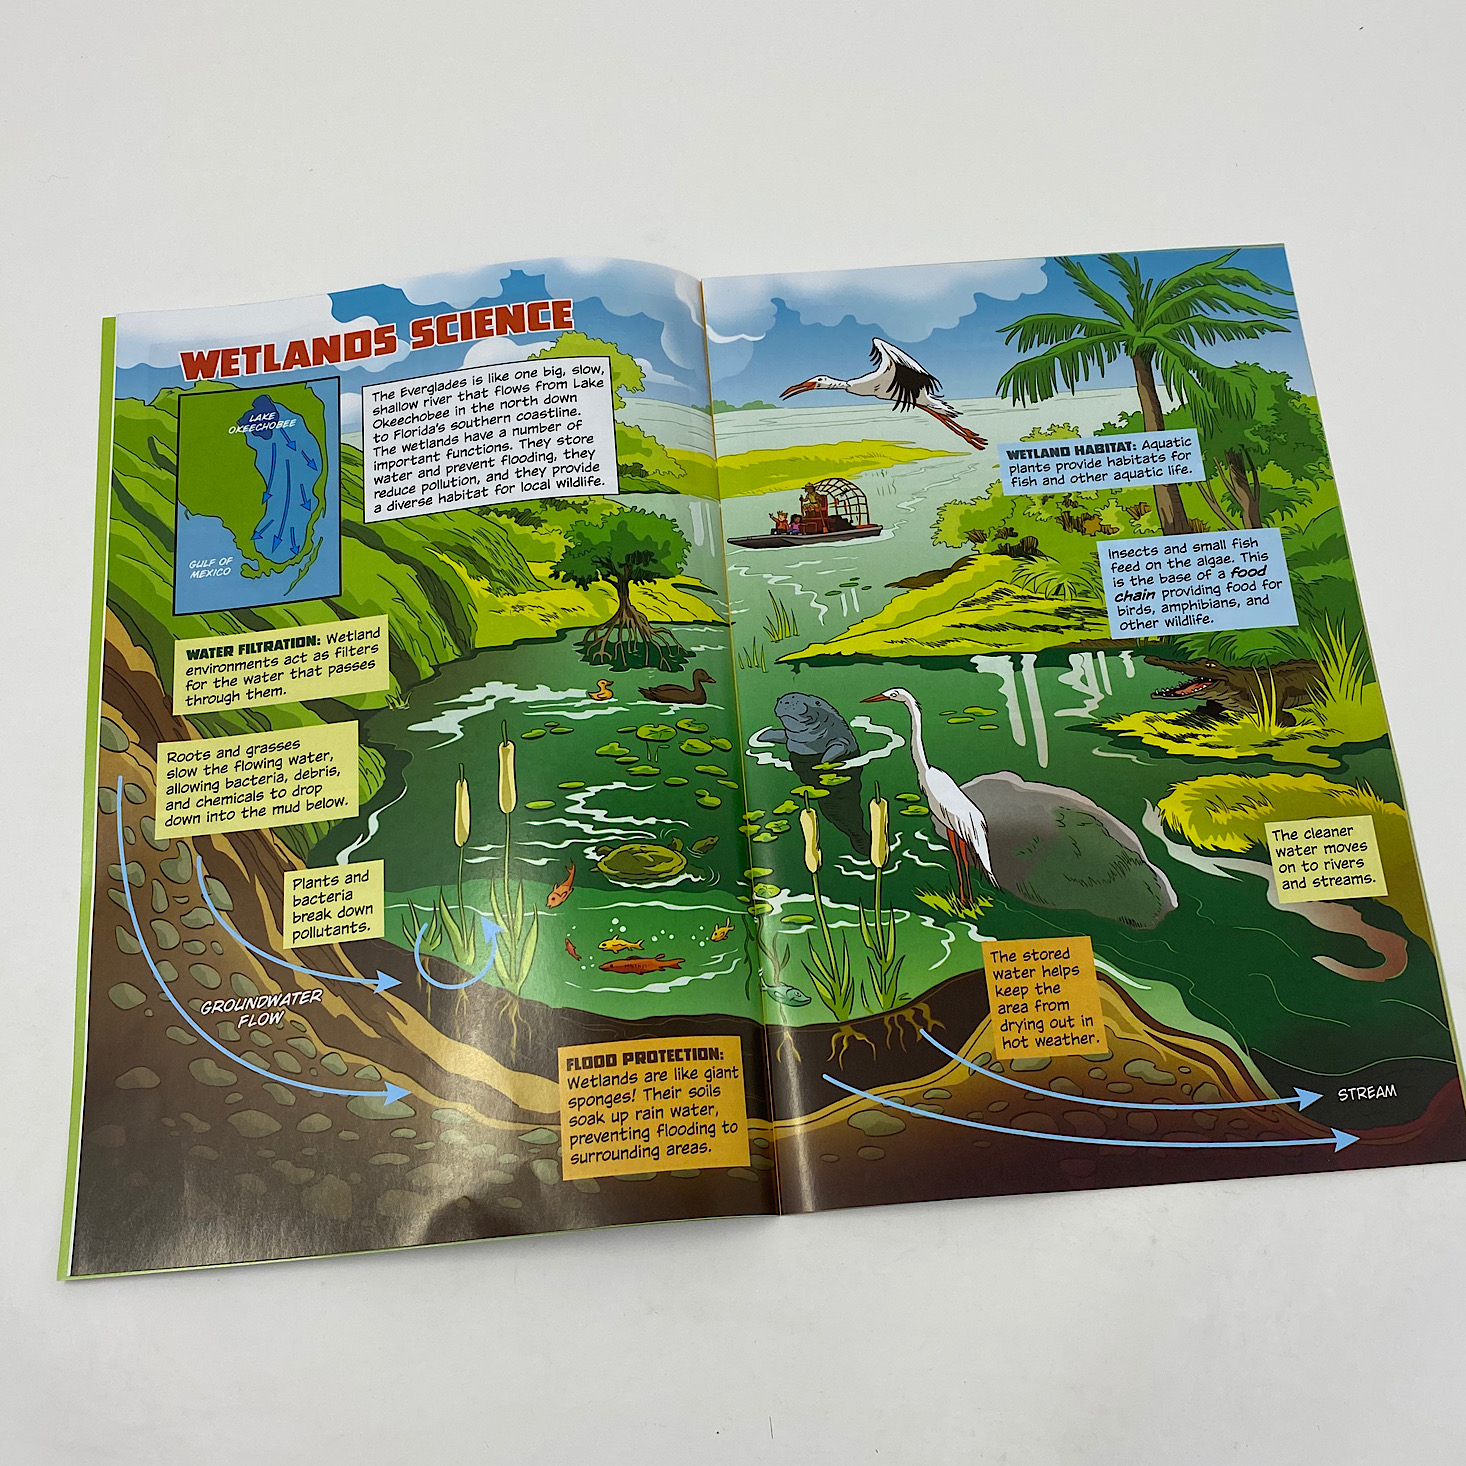
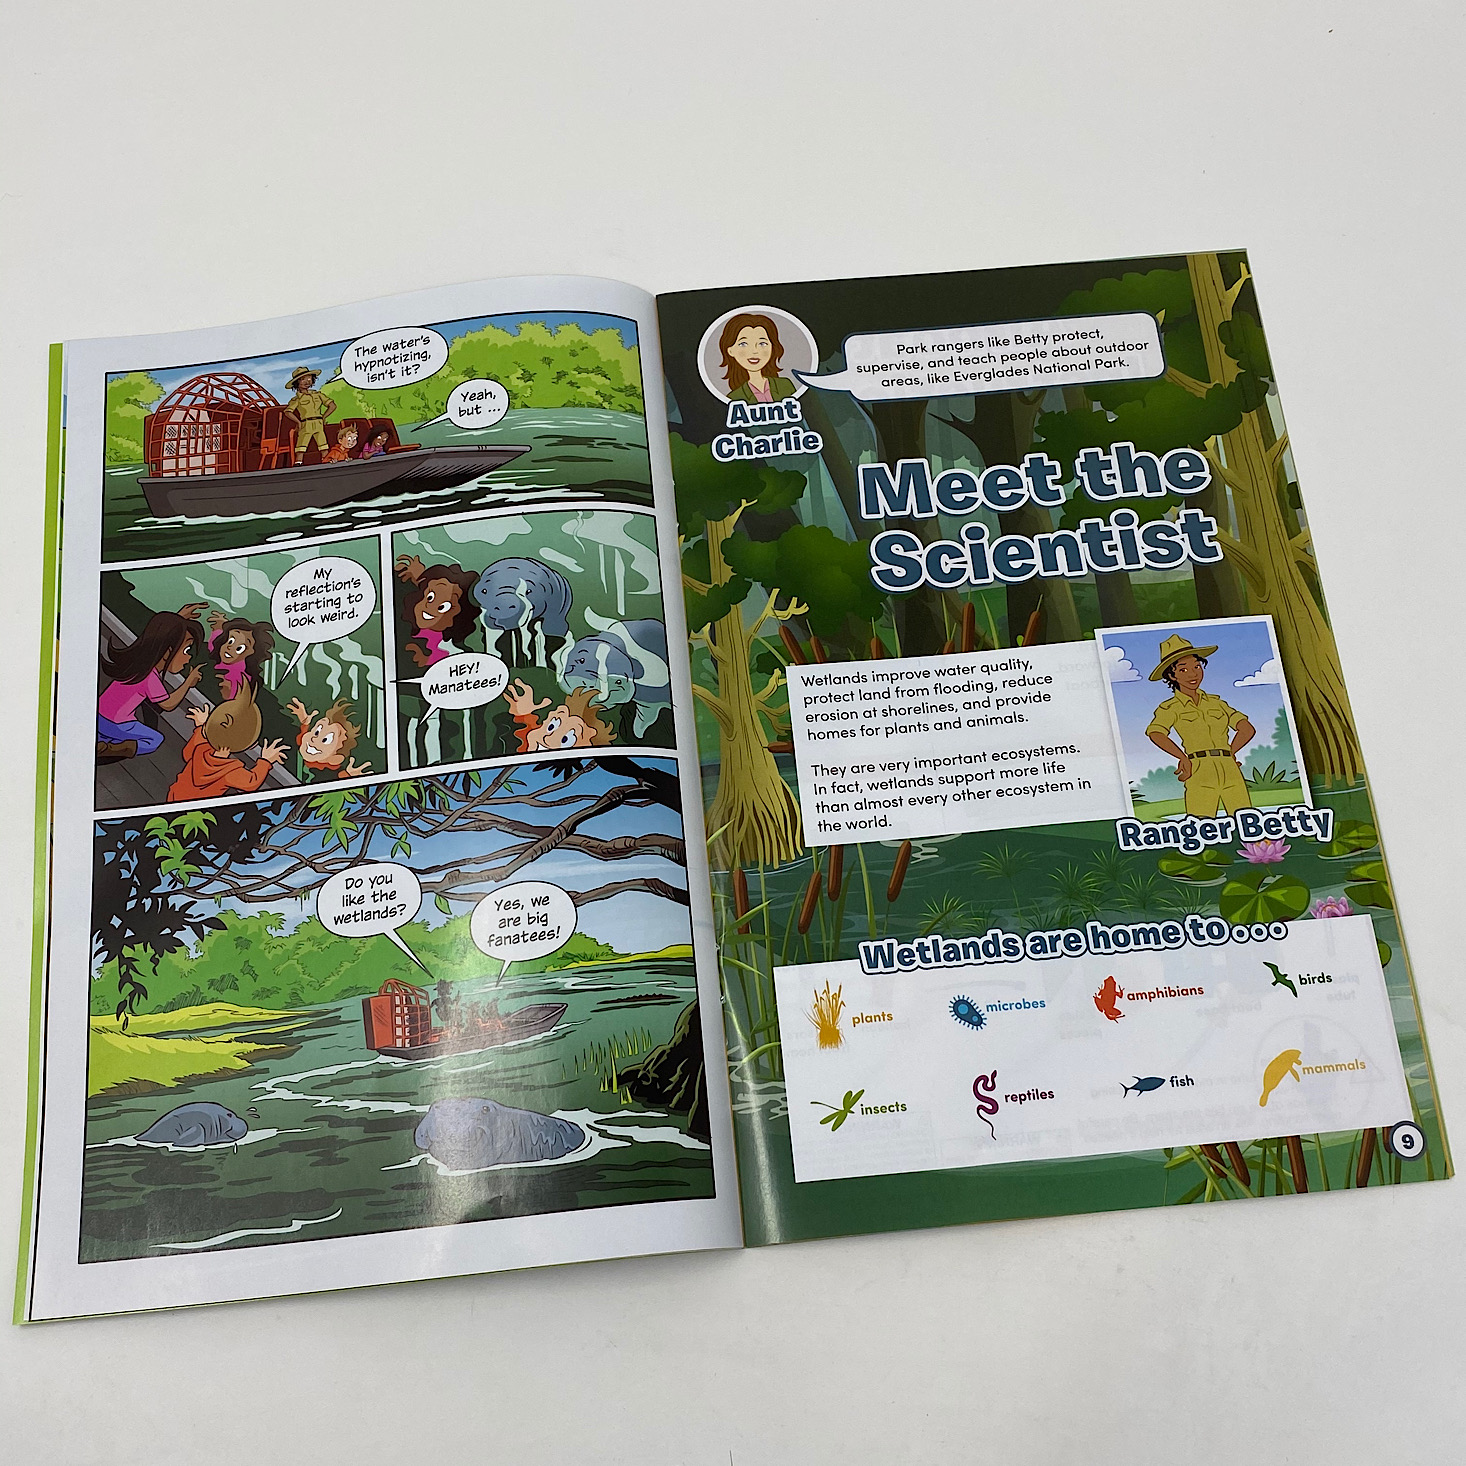


In this magazine, we visit the Everglades and learn about wetlands. We meet Ranger Betty and our guest editor tells about what makes up a wetland.


1 of 5

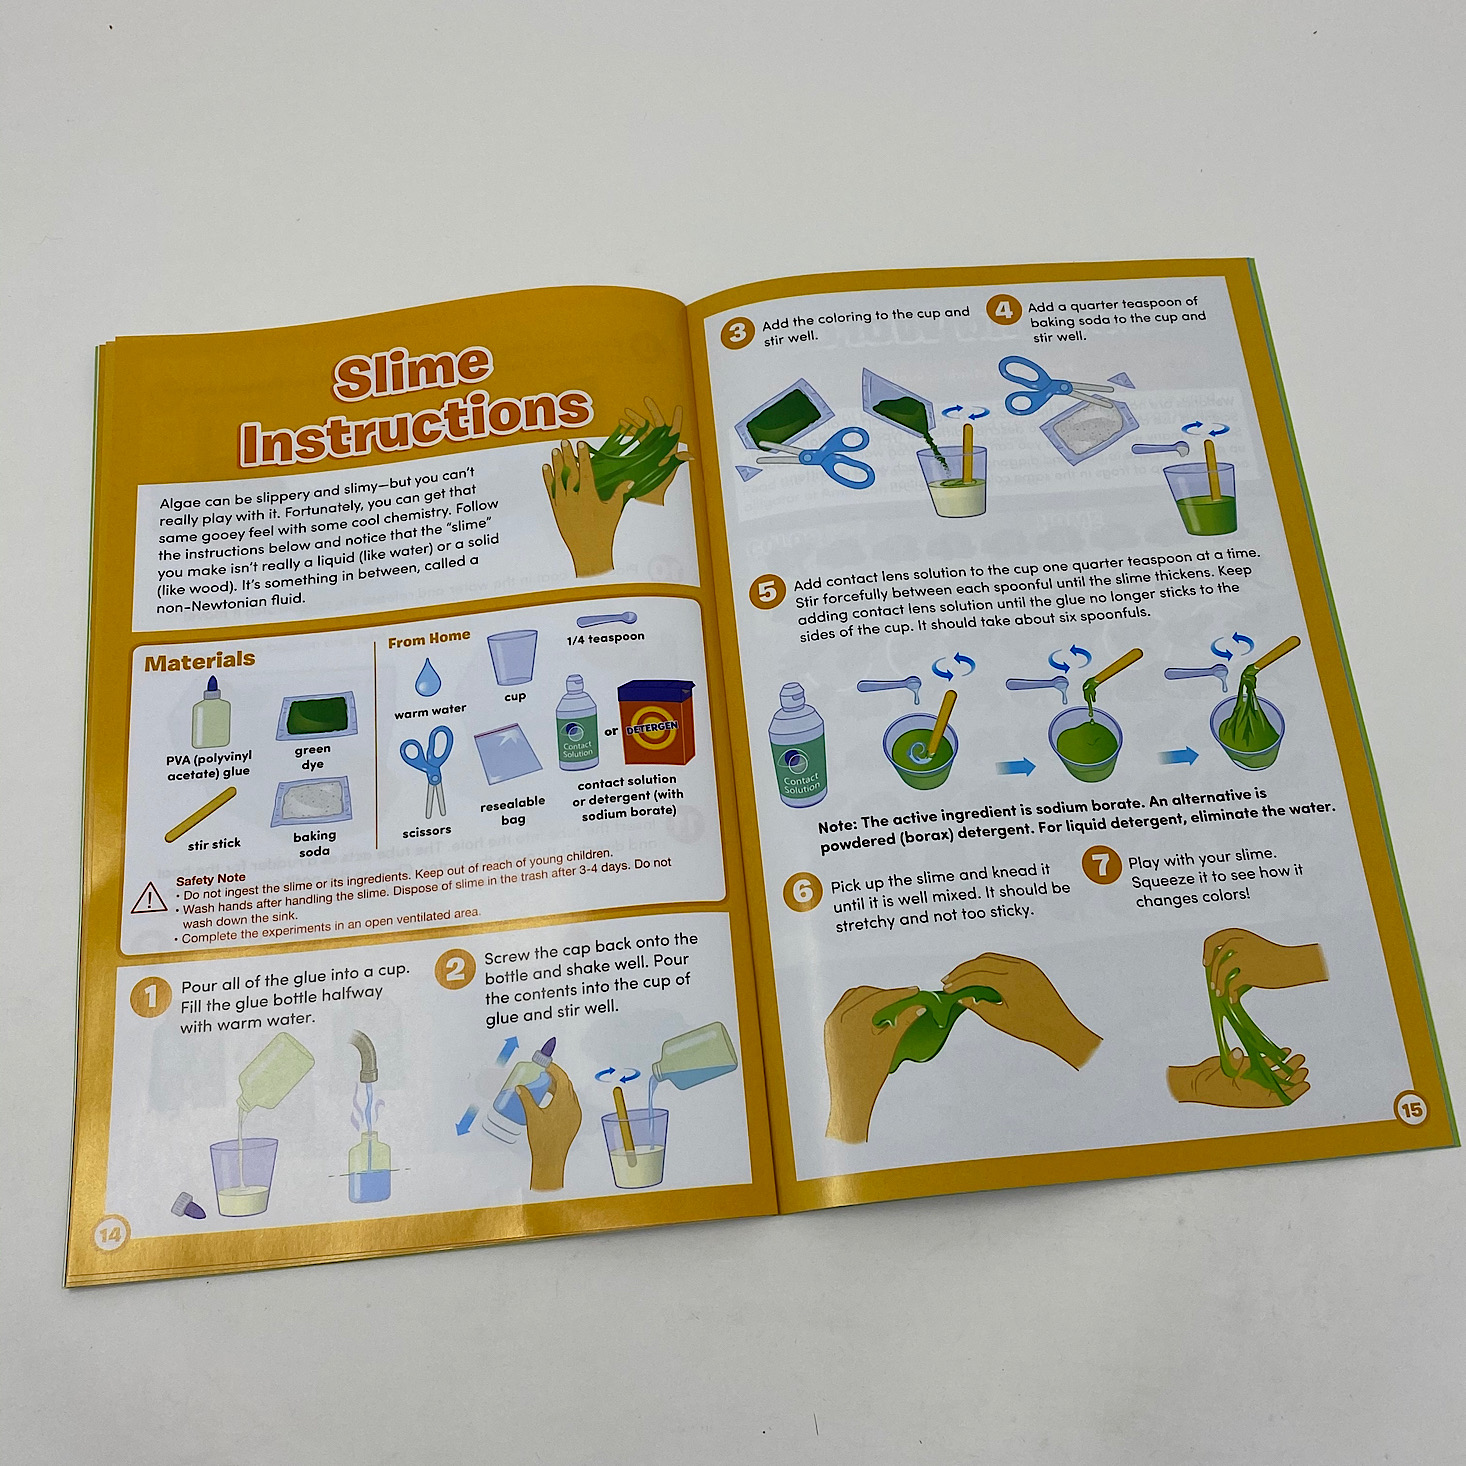

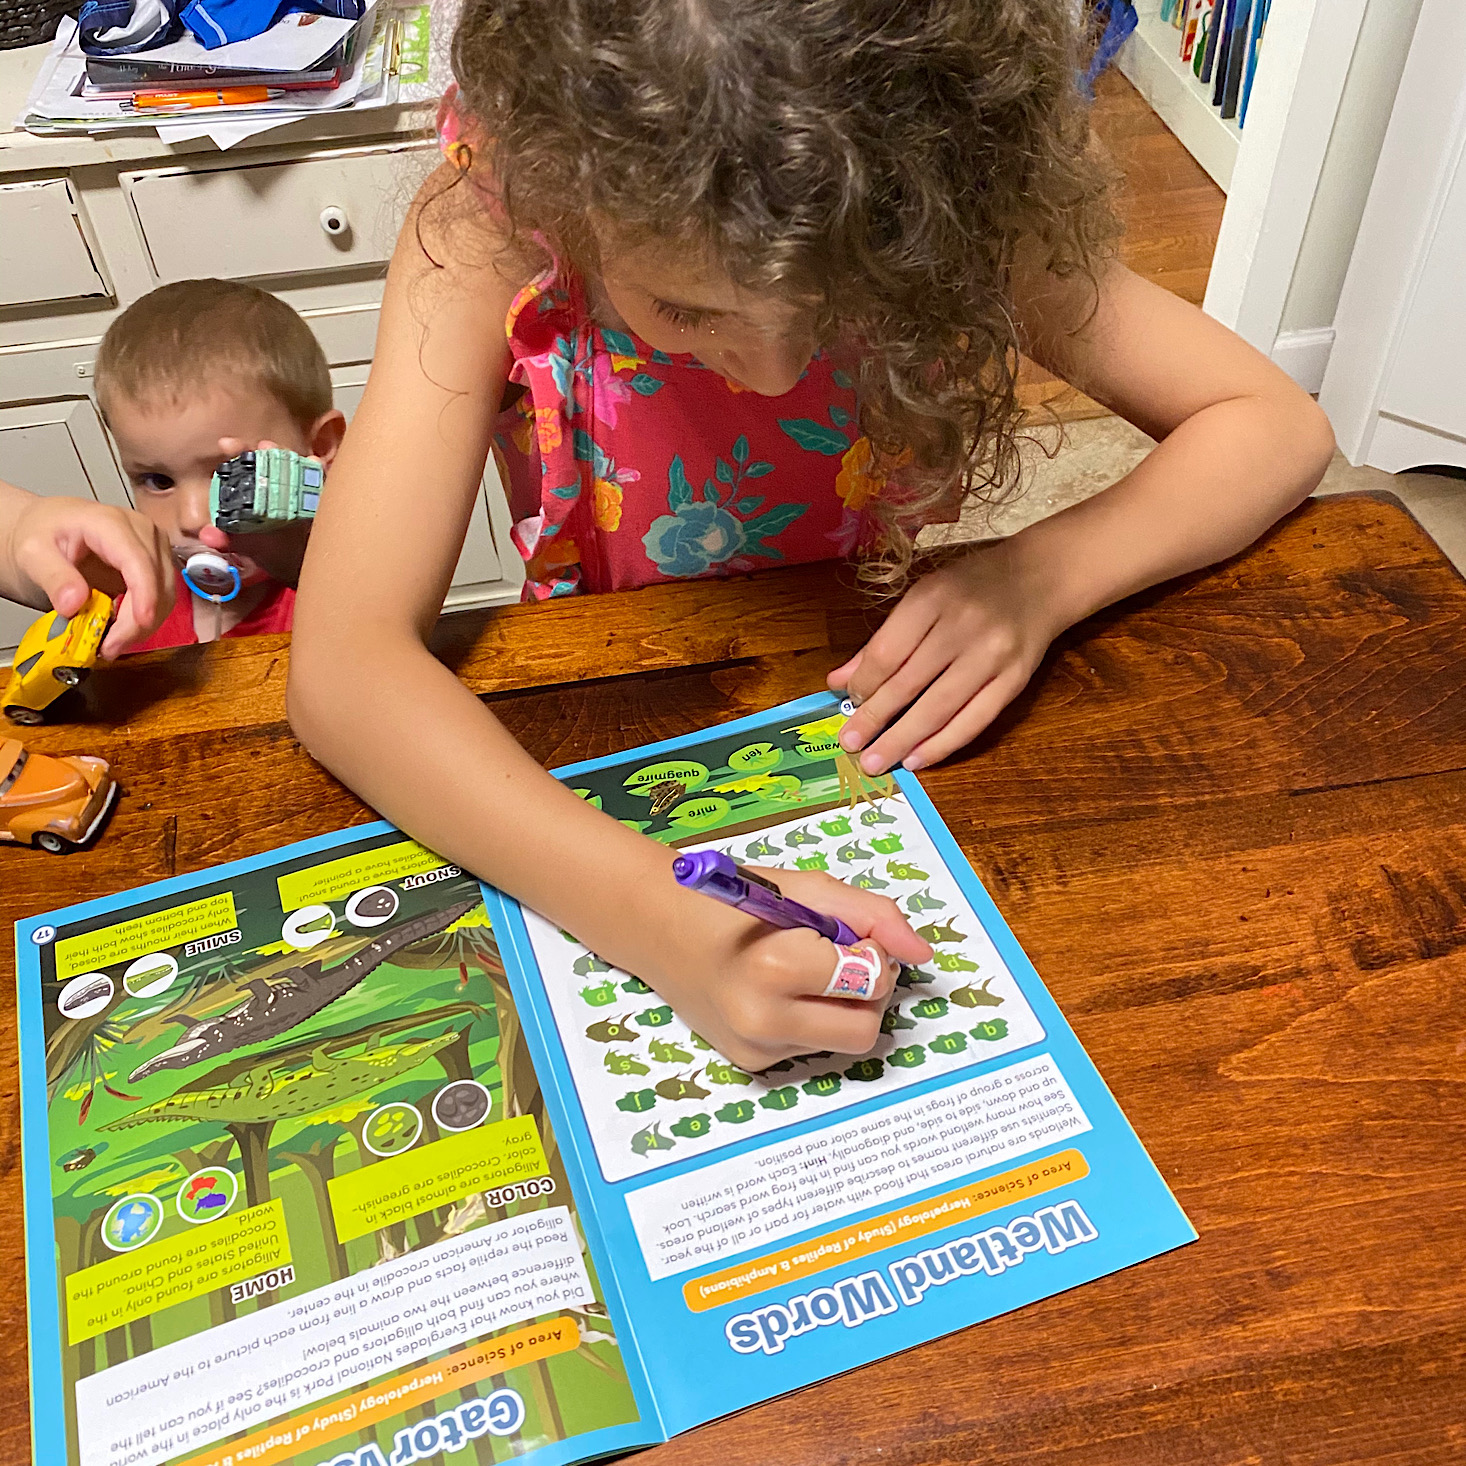
Our magazine also contained instructions for making an airboat and even some slime! The activities included finding some wetland words, a gator vs. croc activity, and some swamp riddles.

1 of 4

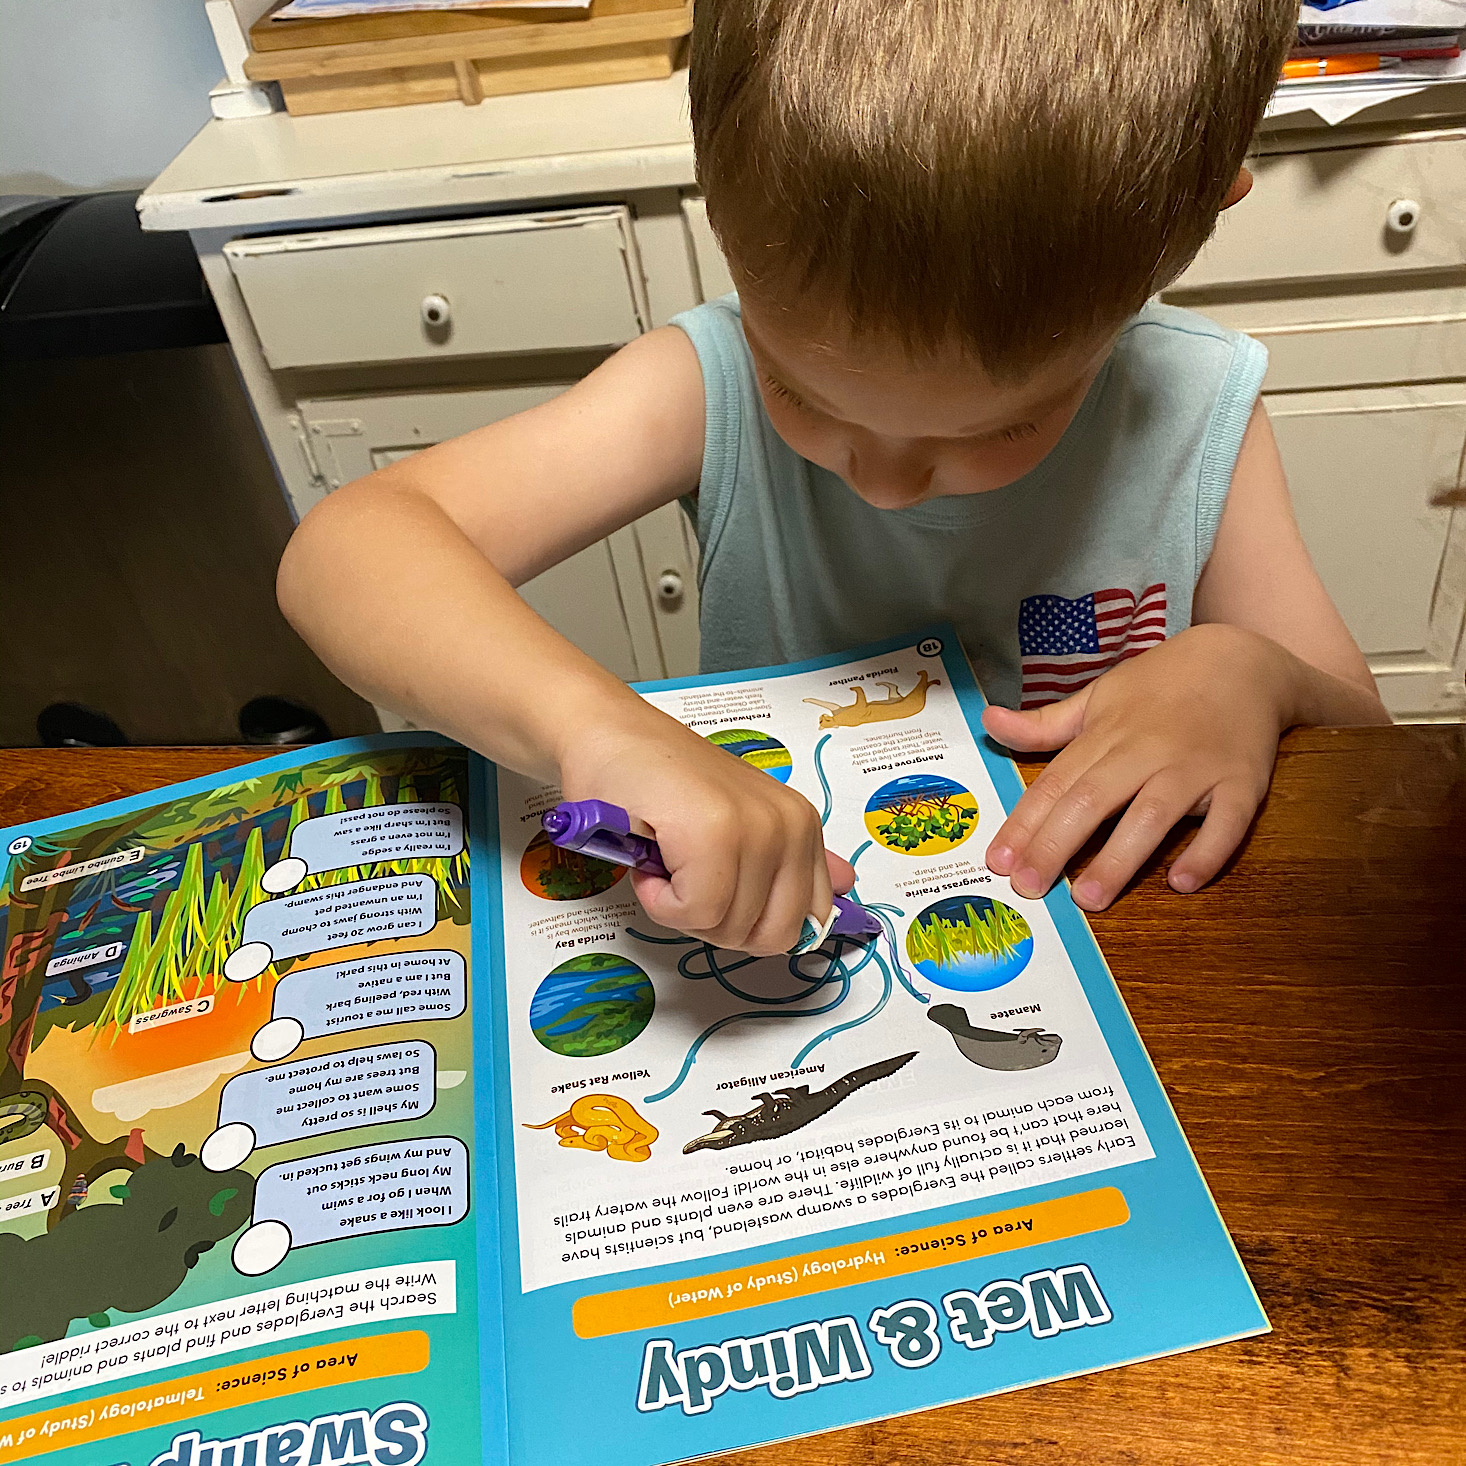
My daughter loved doing the swamp word search. We then worked together to determine the difference between crocodiles and alligators. My son enjoyed matching the animals to their habitats and we worked together to solve the swamp riddles at the end!


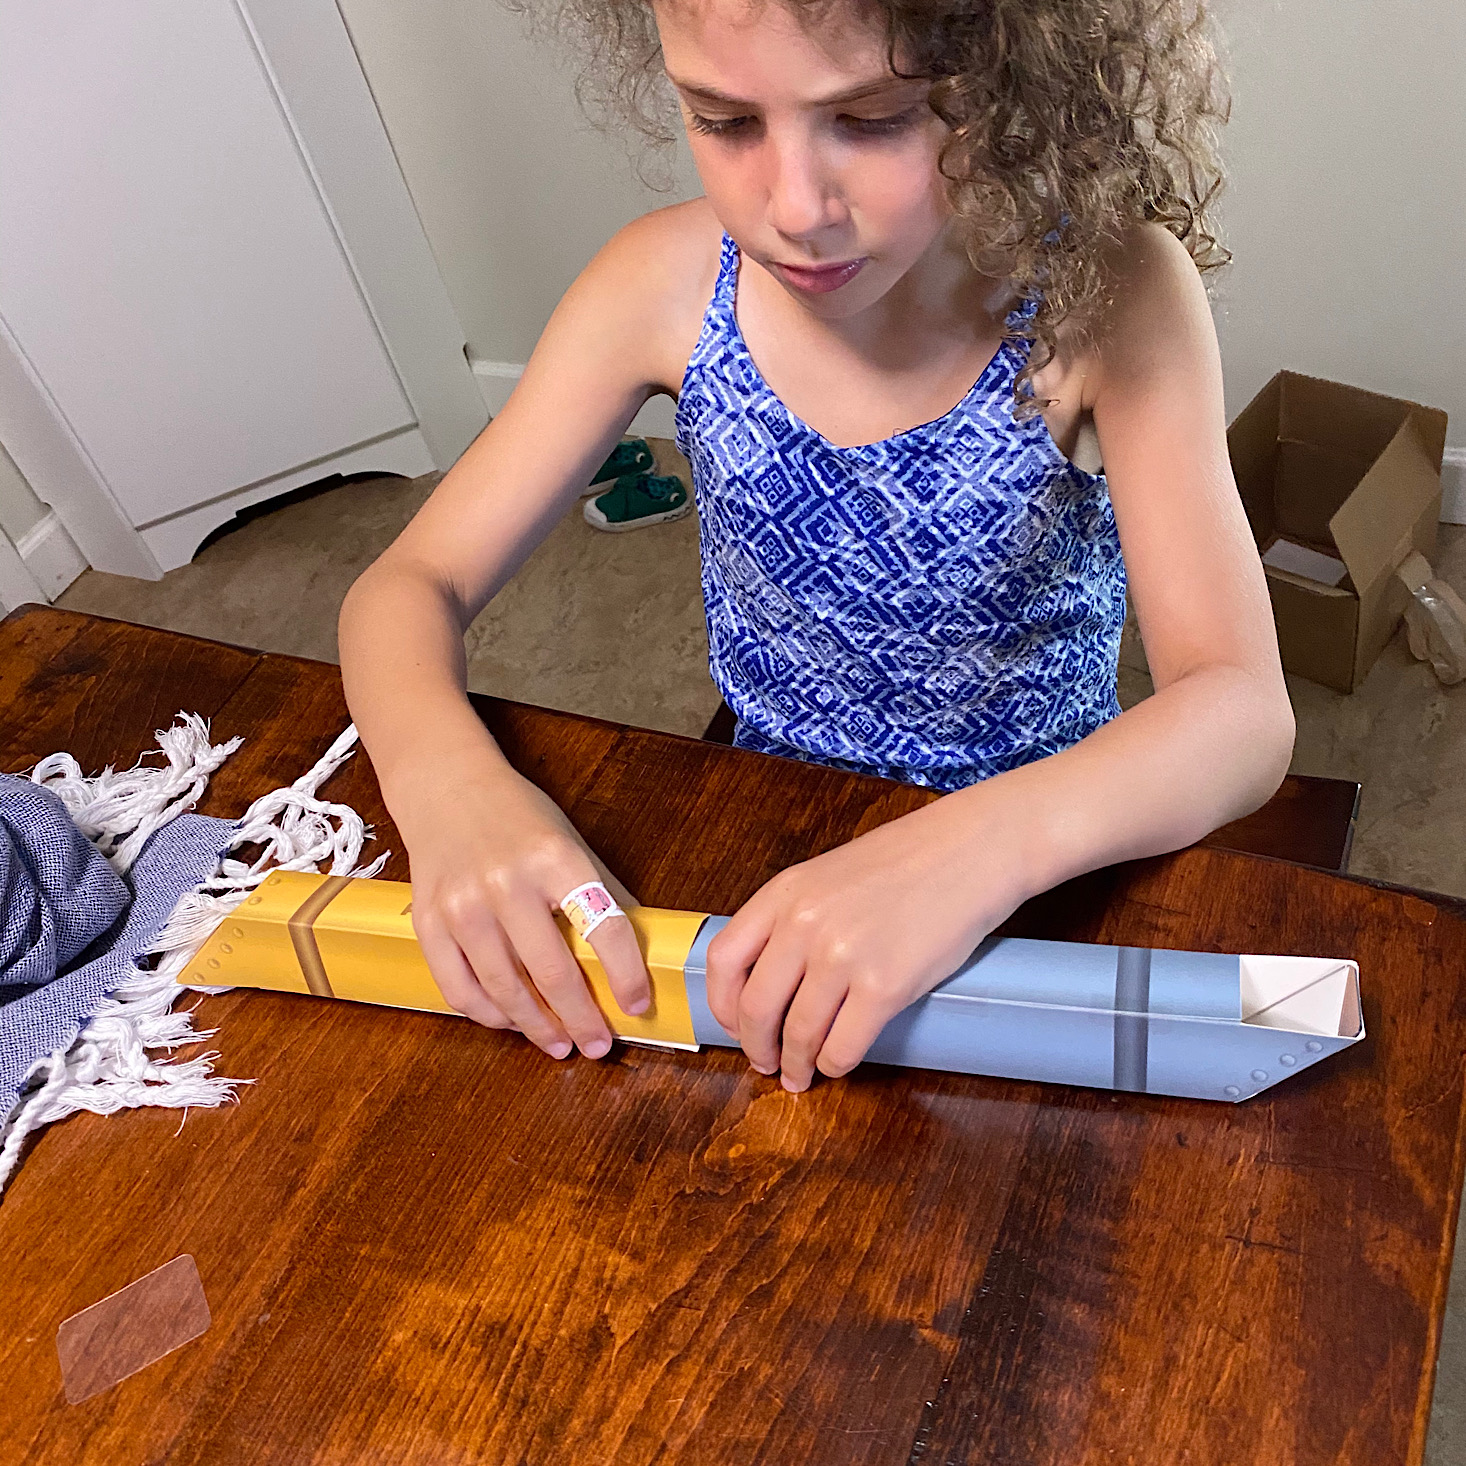
1 of 5


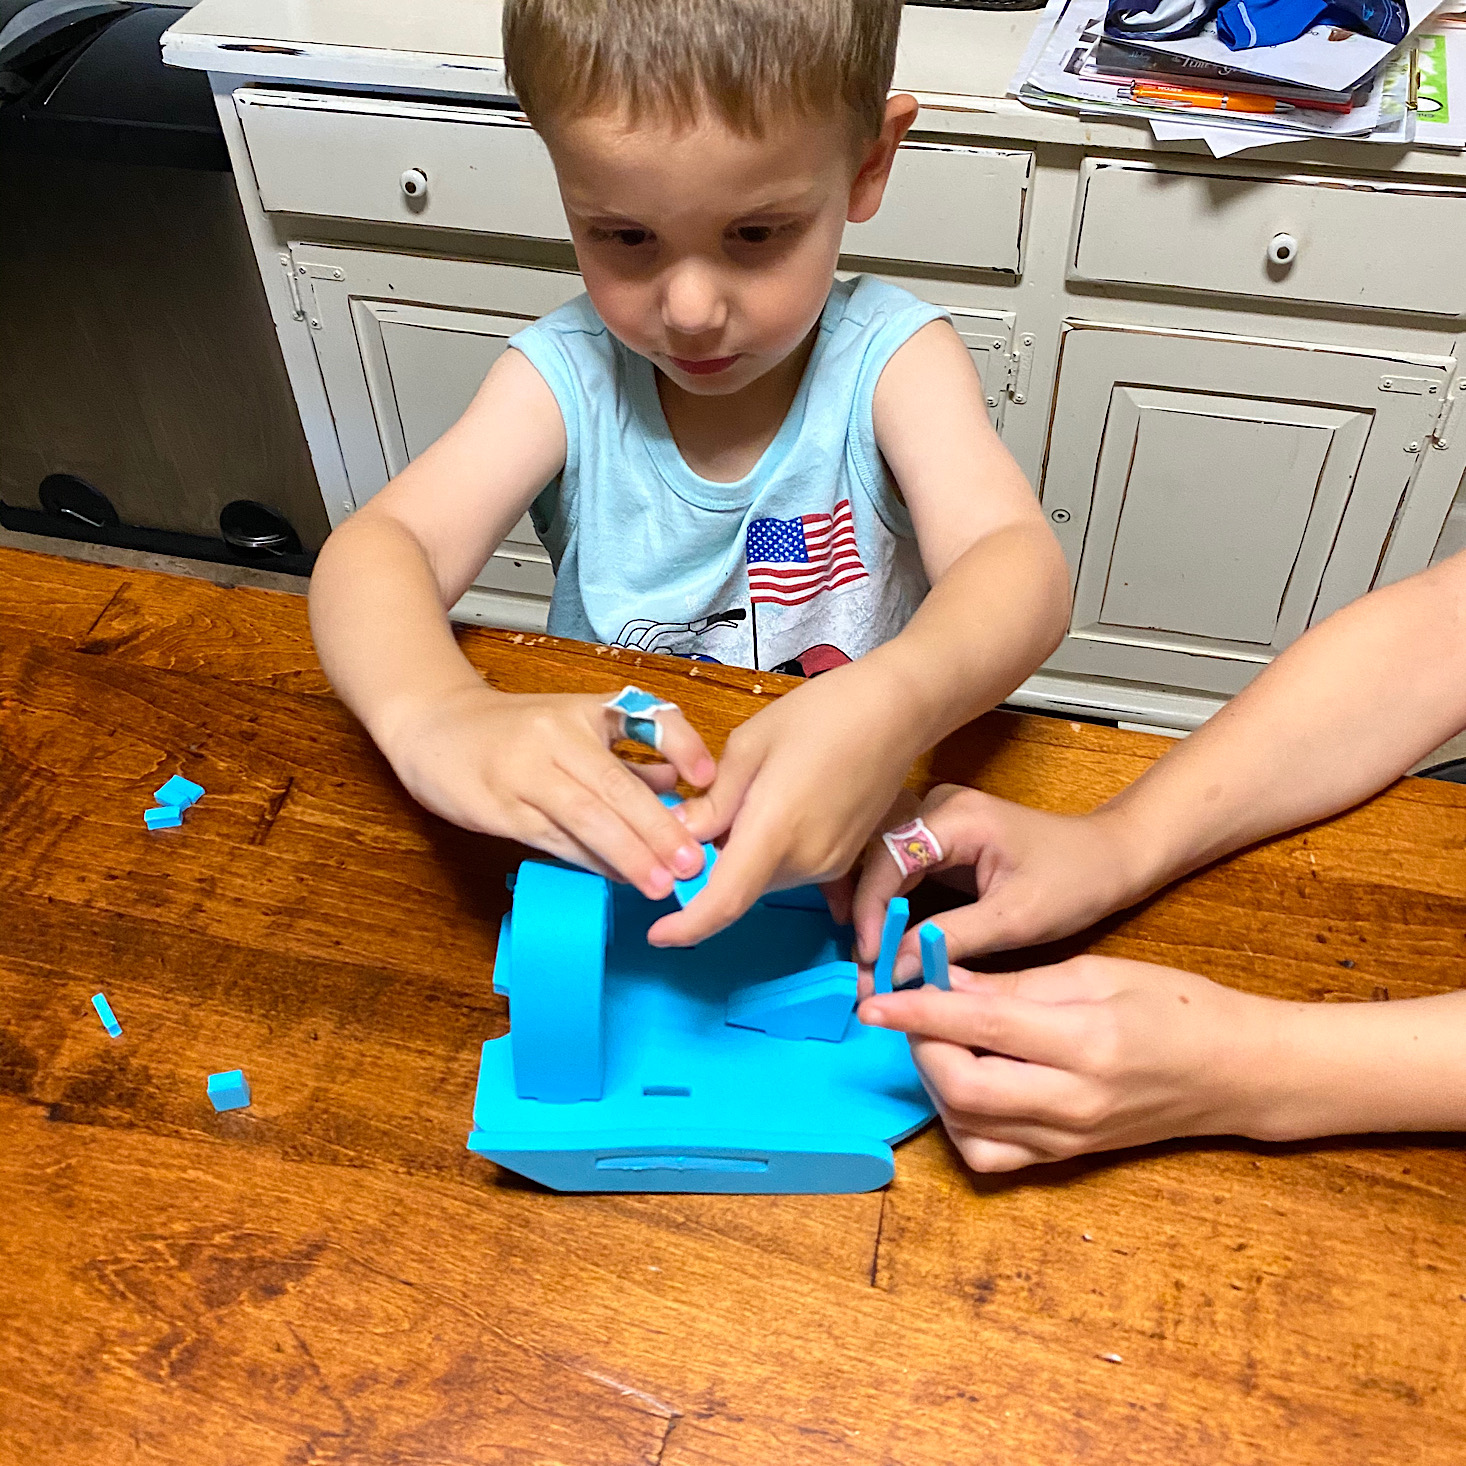
Now it was time to make our airboat. They provided this foam piece and some safety instructions for us.
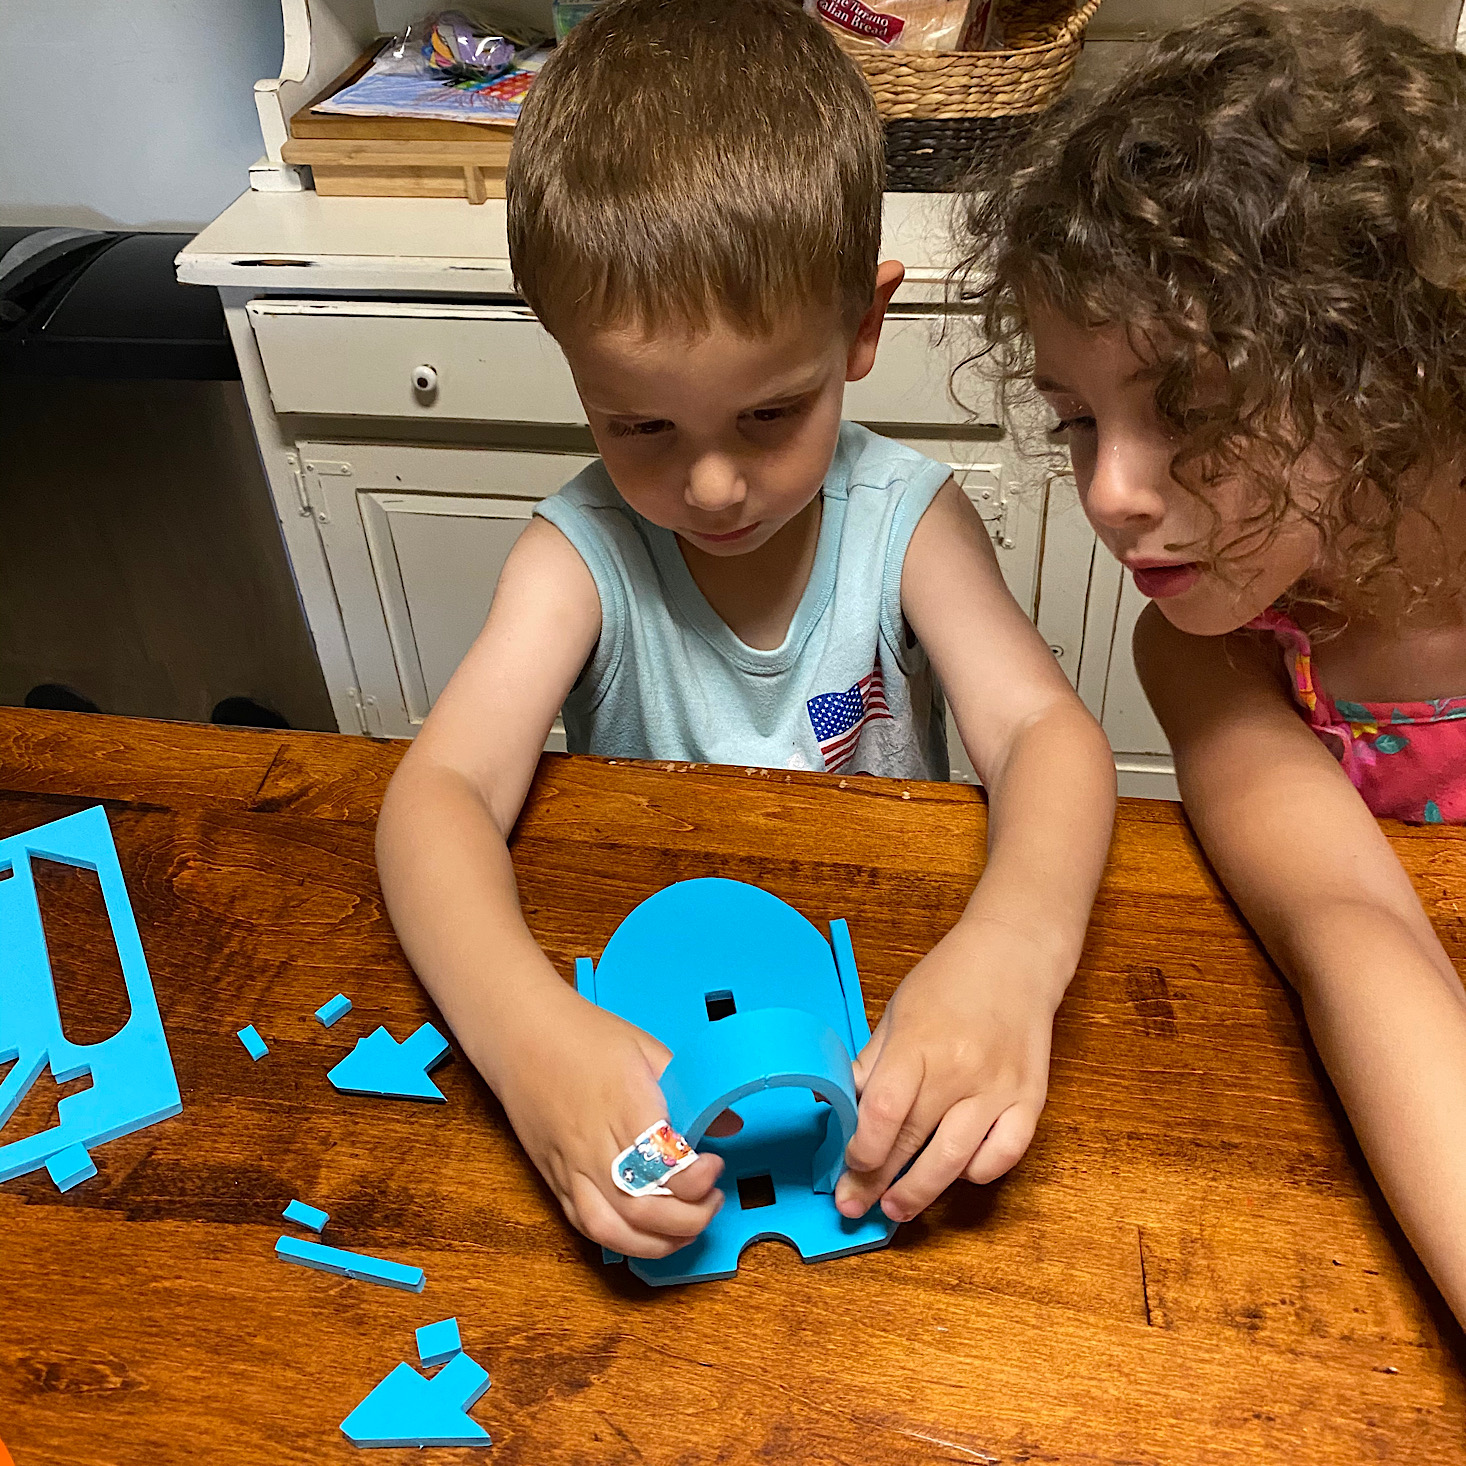

1 of 3

We punched out the pieces and then assembled them by sliding them together.


1 of 5
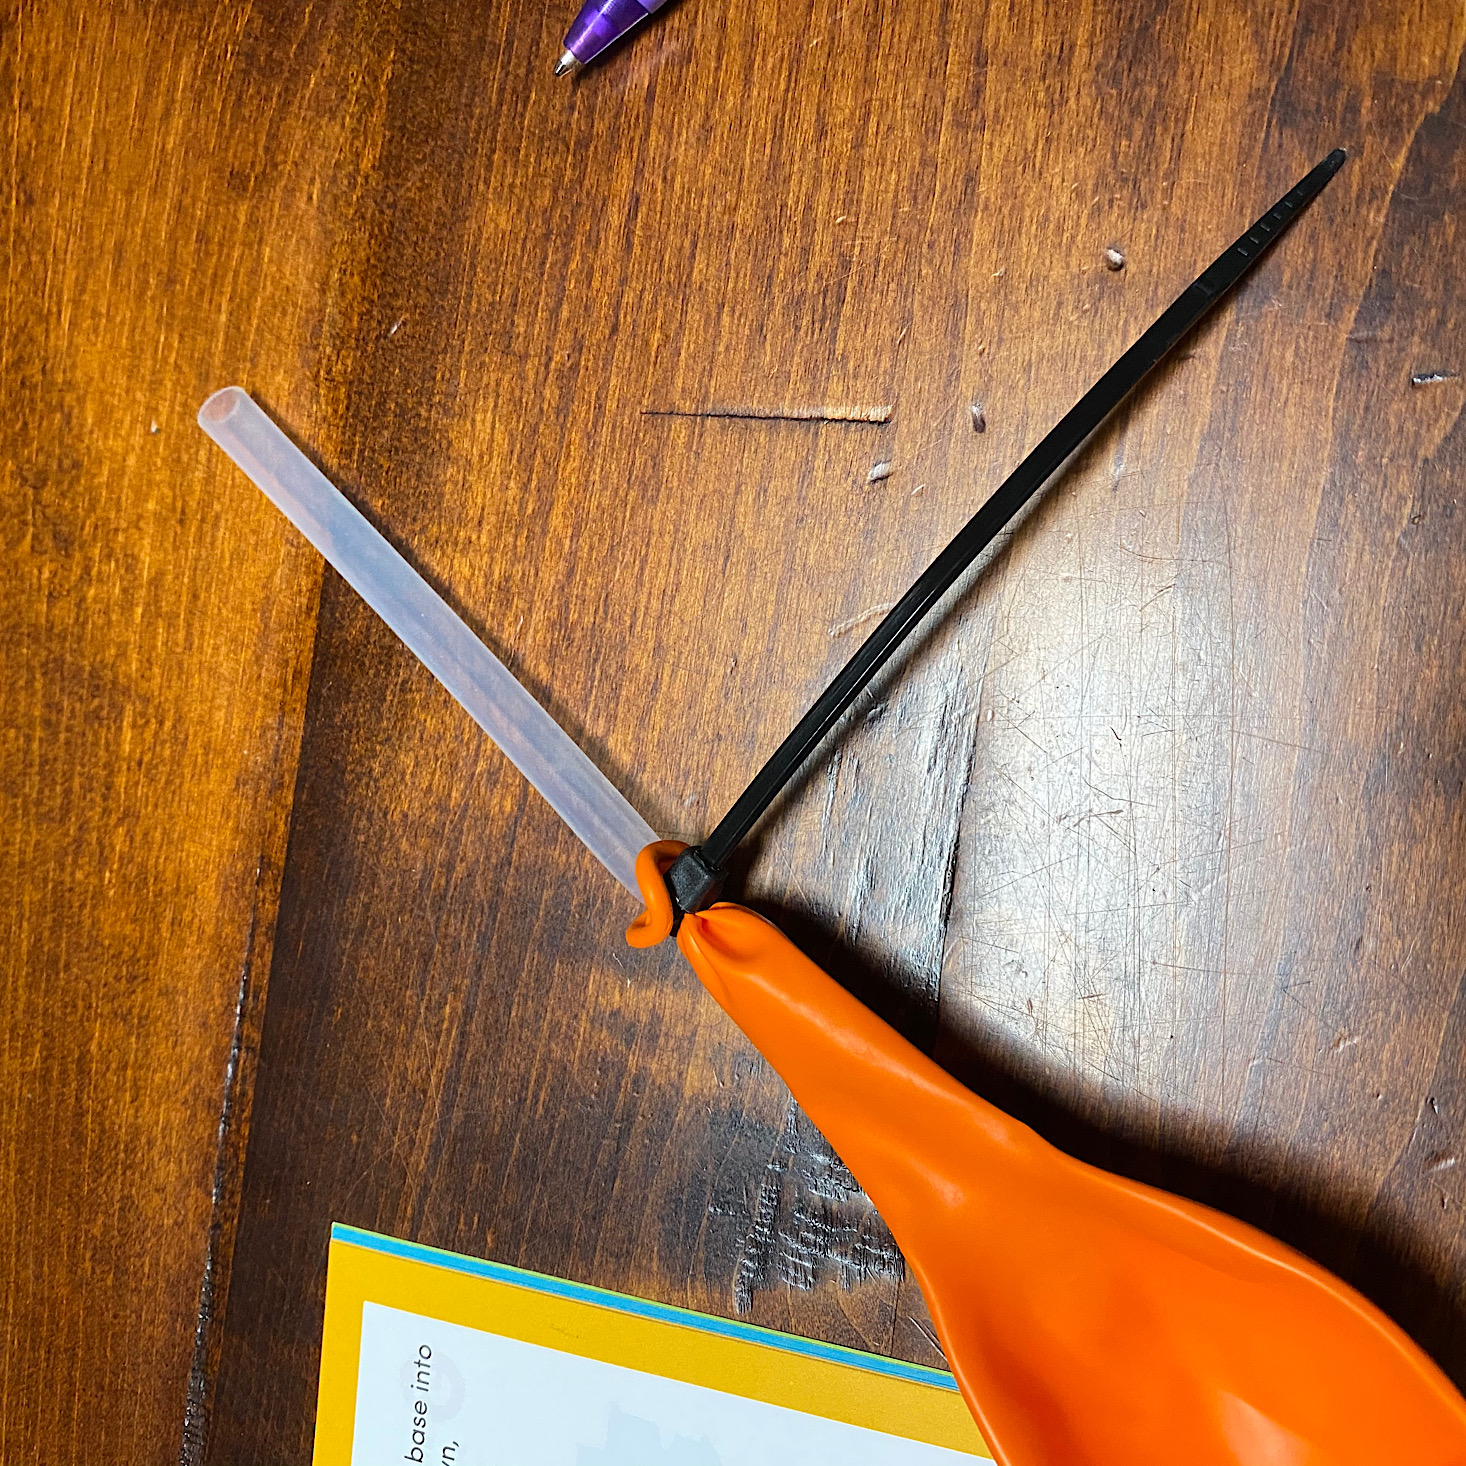
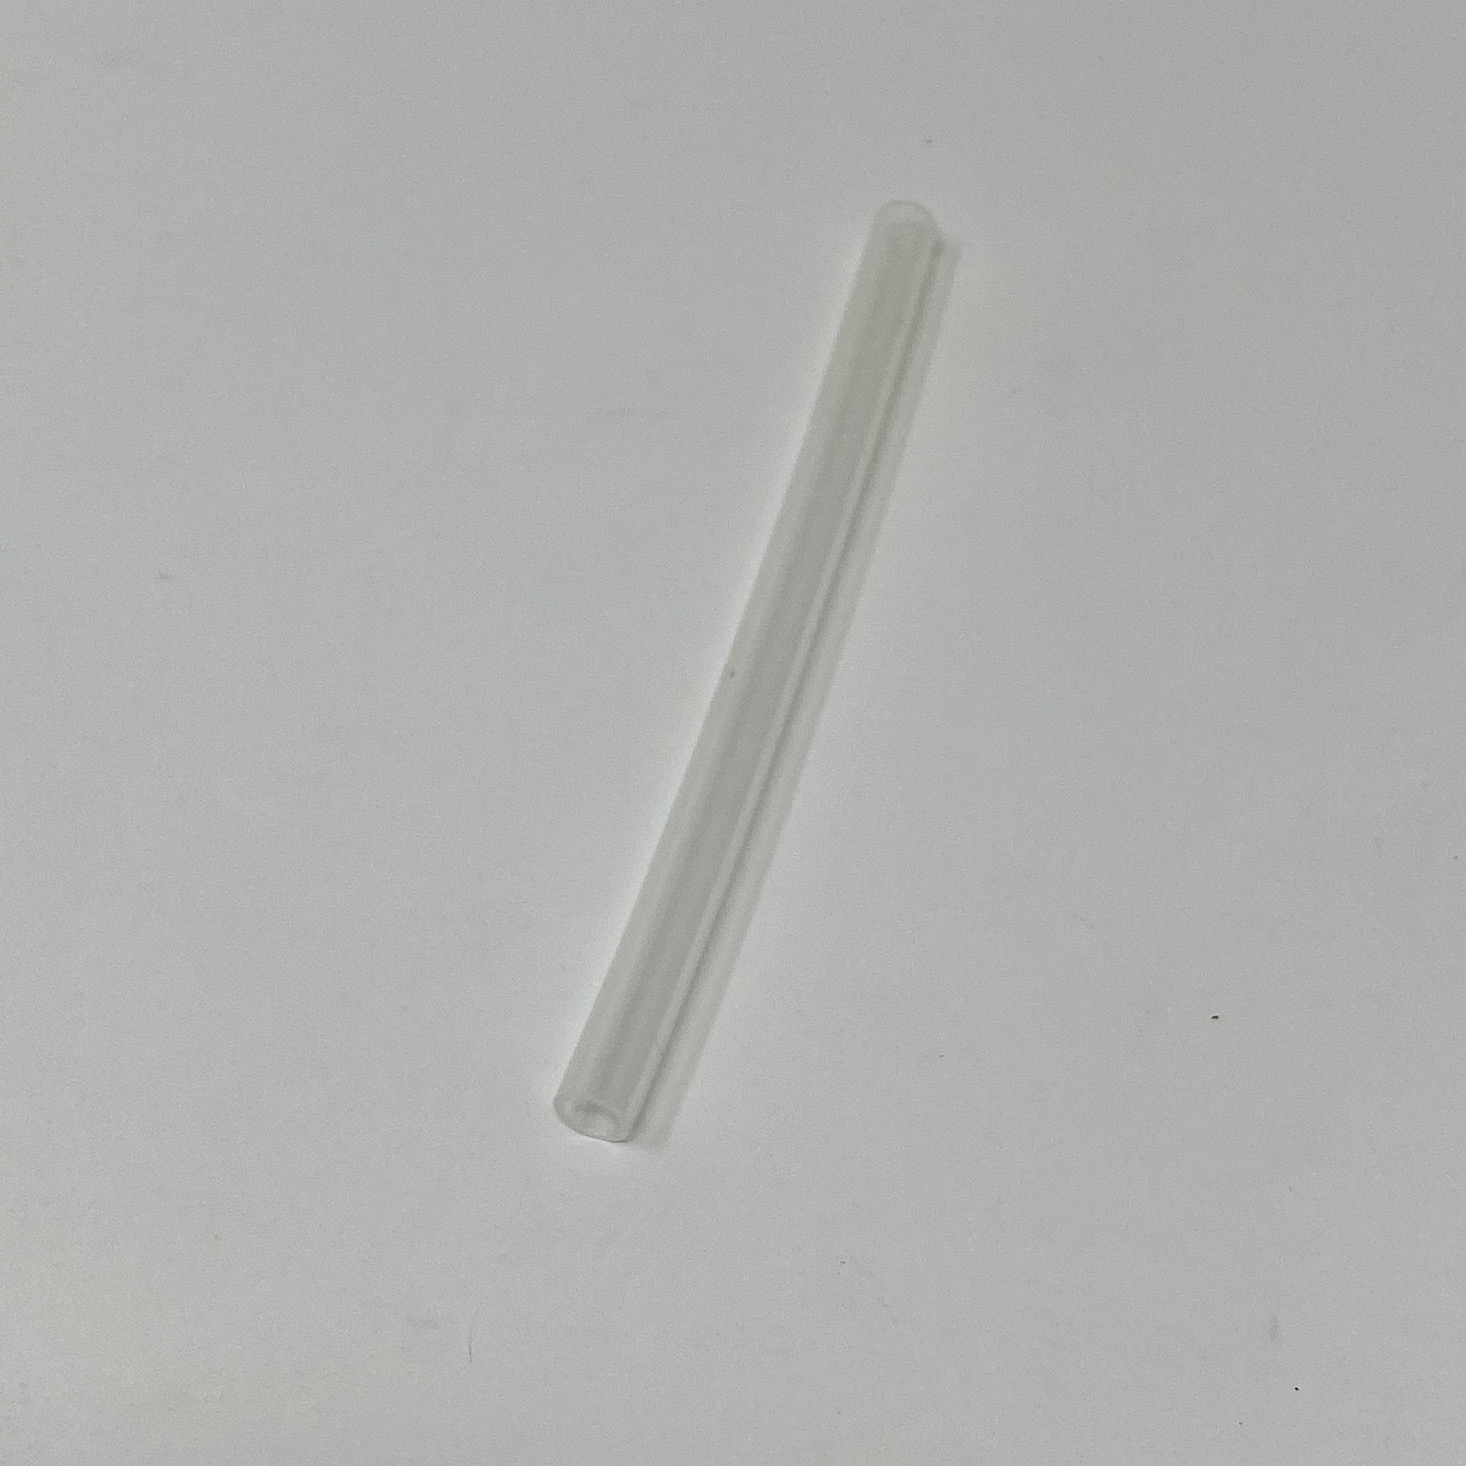
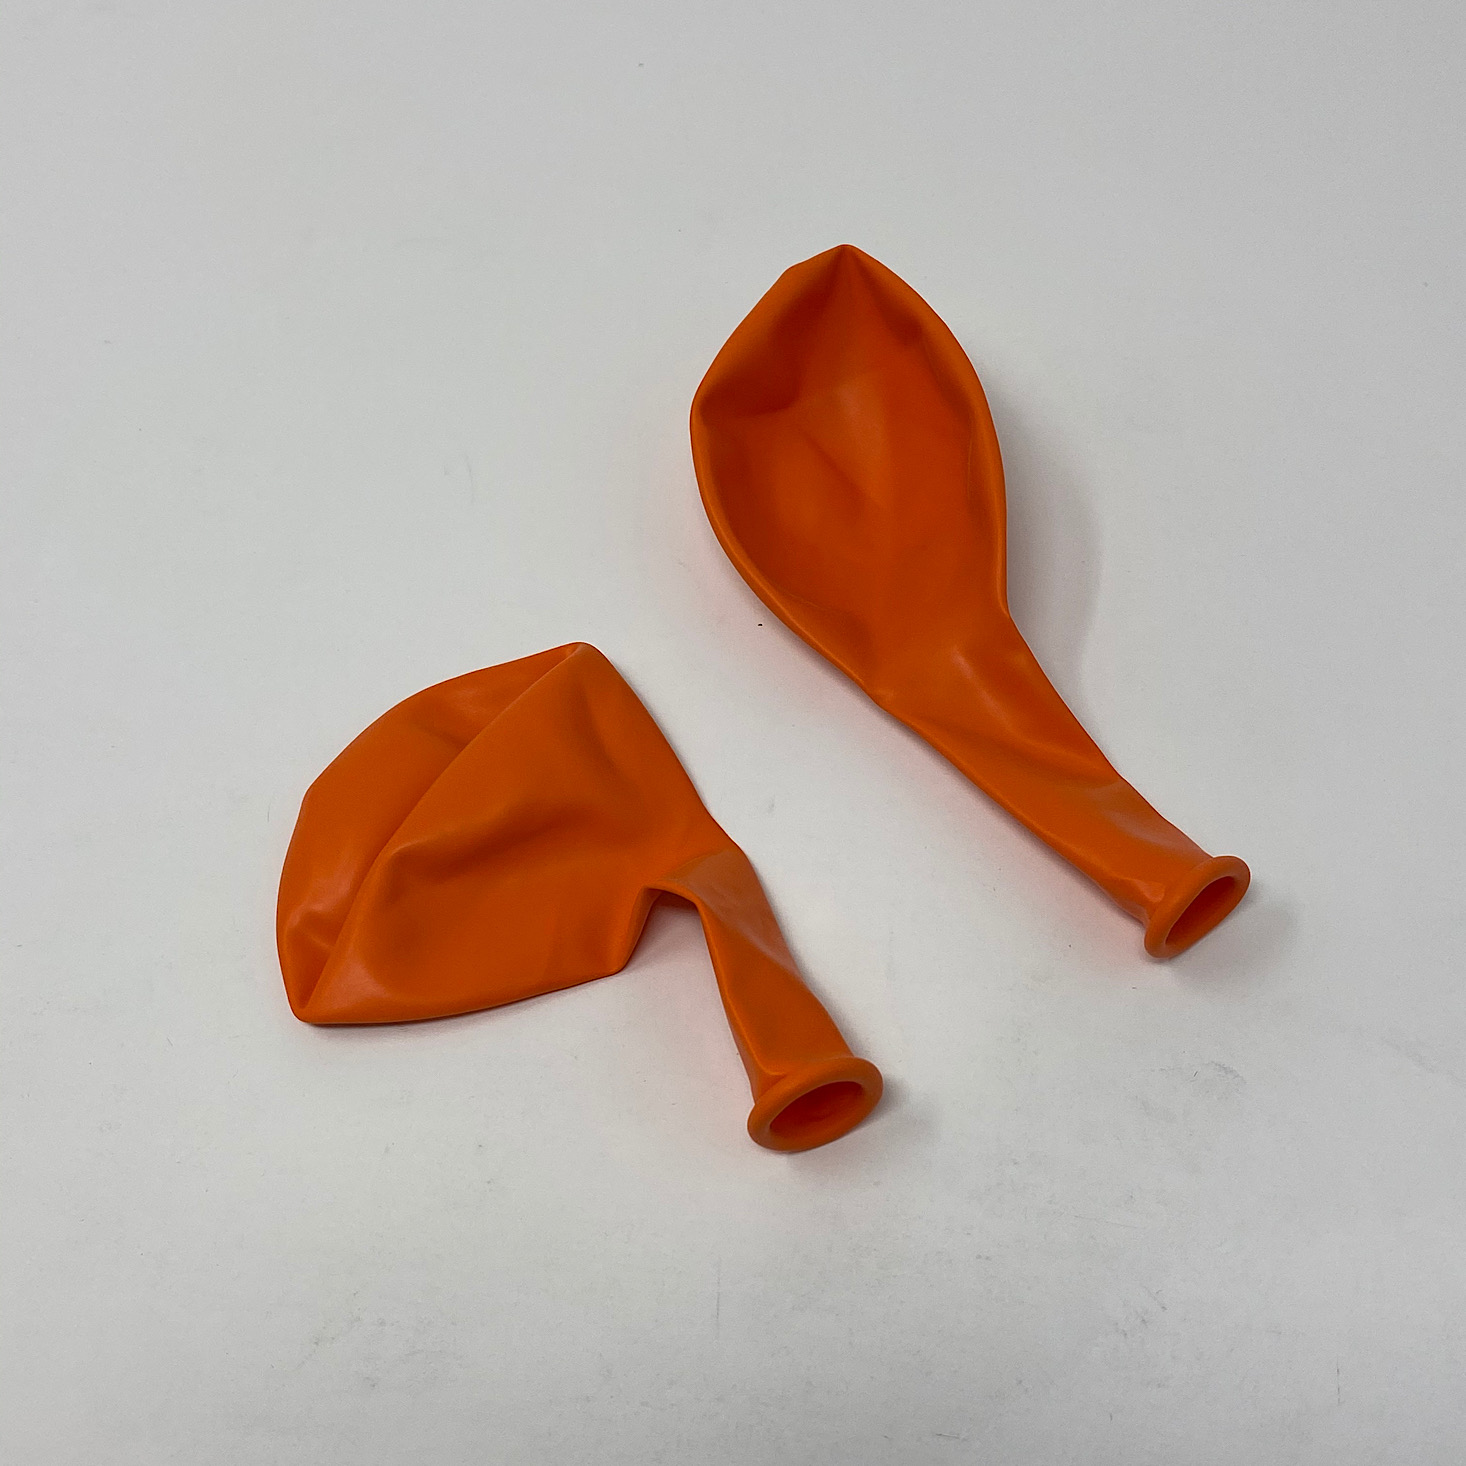
We slid the tube into the balloon and I secured it with a zip tie.

1 of 2
Then we slid the tubing onto our boat.


1 of 2
So simple!


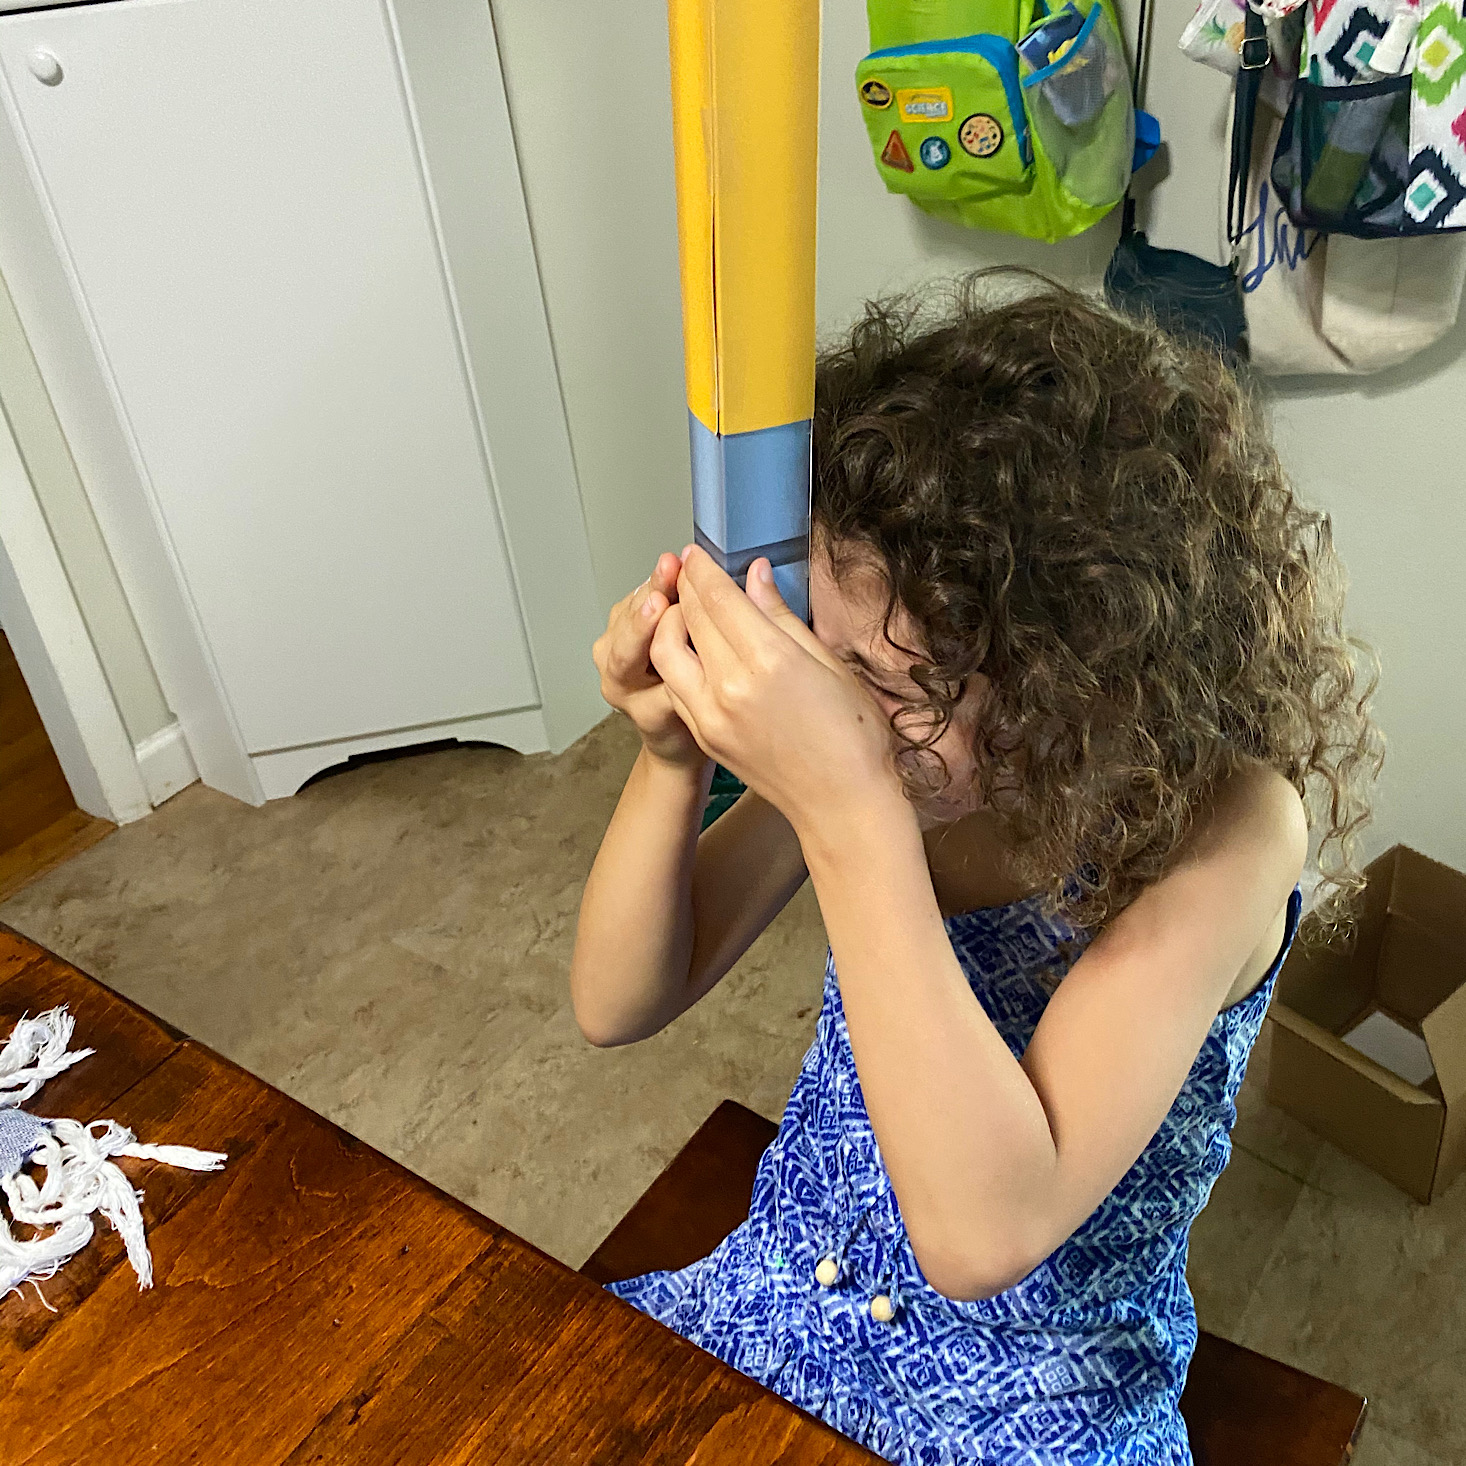
1 of 2
We took it outside and I filled up a bin of water. We blew up the balloon and held the end of the tube, then we placed it in the water and let it go.
We probably could have used a longer bin, or maybe the bathtub would have been a better option since it didn't have far to go. It worked really well though and I'm sure there is more fun to be had with our boat!


1 of 5


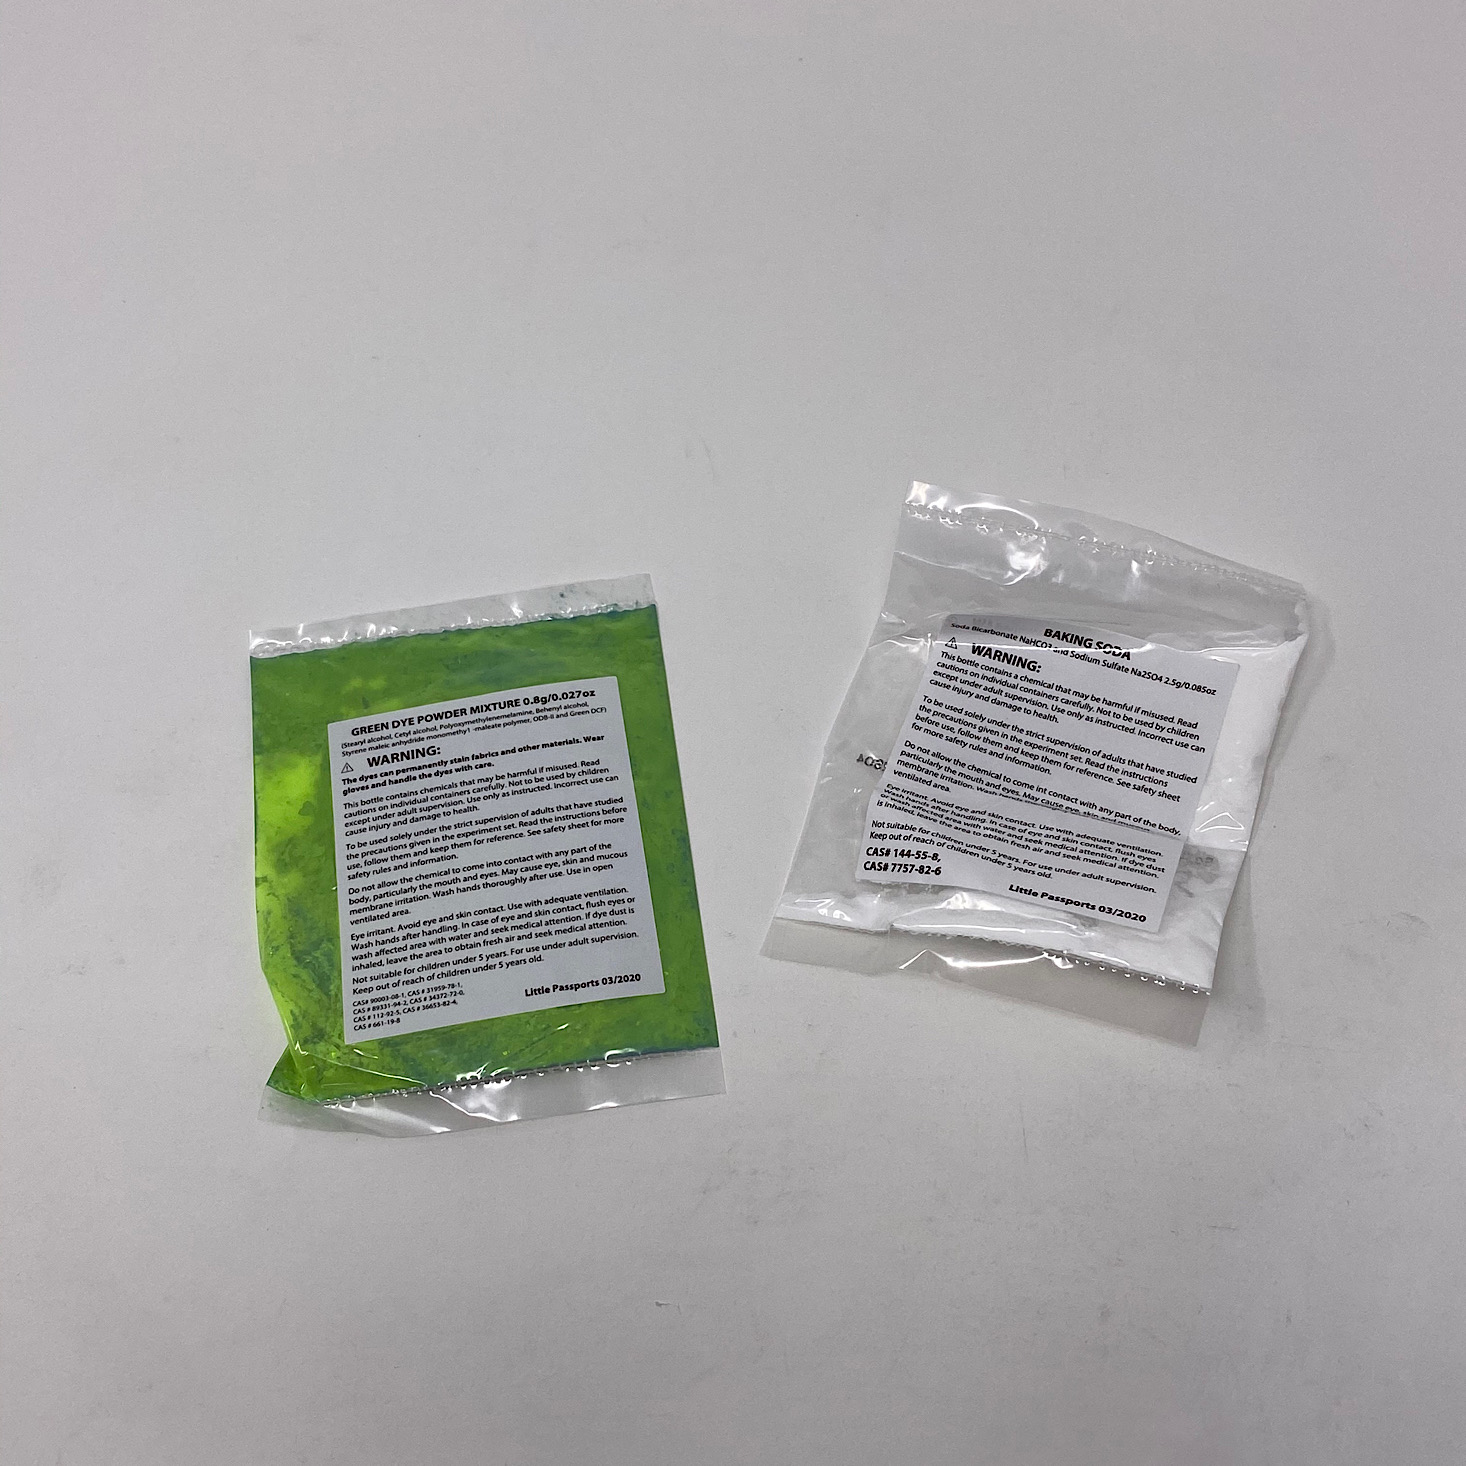
We moved back inside so we could make some slime. They provided a stick for stirring, a bottle of glue, green dye, and some baking soda. We had to supply some laundry detergent, a cup, and water.

1 of 3

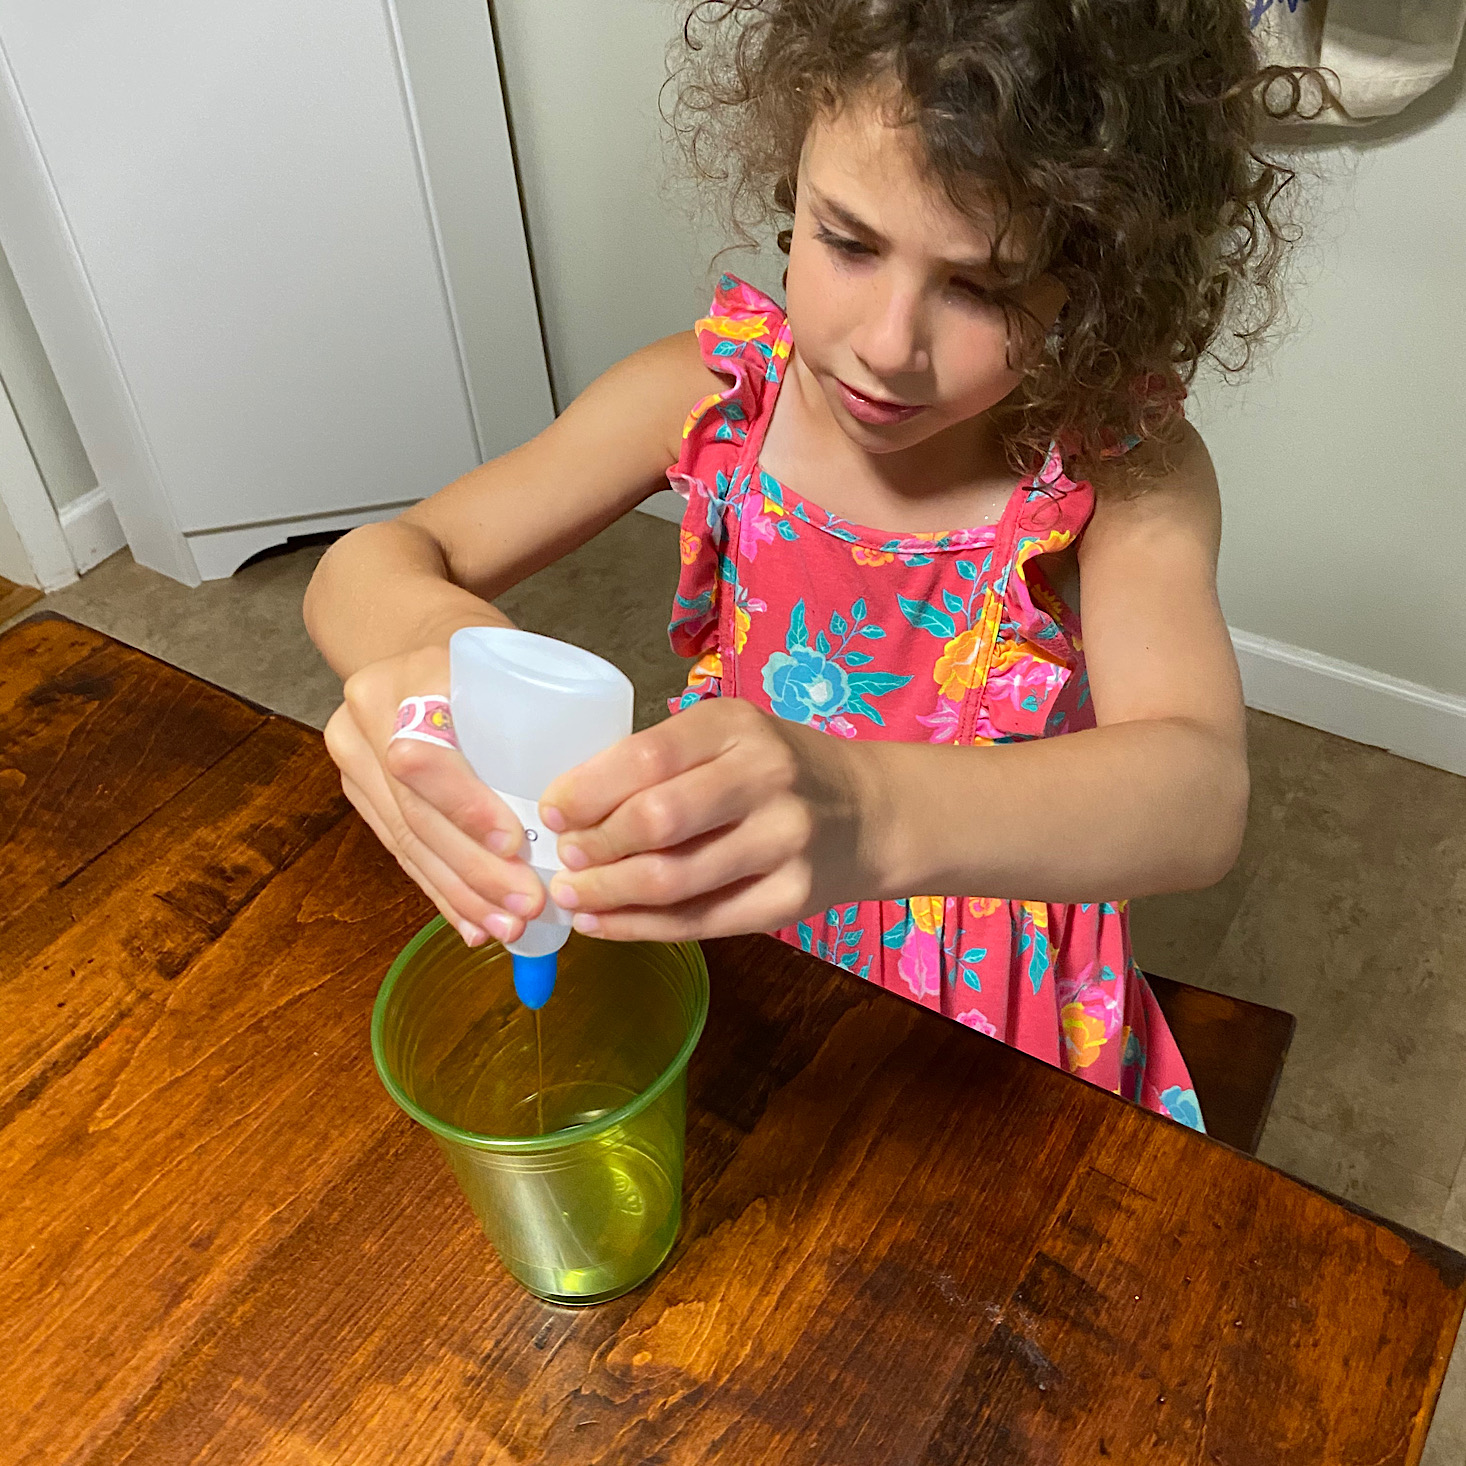
We first added the bottle of glue and some warm water to our cup and stirred it up with the stick.


1 of 3

Then we added the dye, some baking soda, and our detergent. I had Borax on hand so we used that. I may have added just a tad too much because our slime was a little stiffer than it should have been.

1 of 3

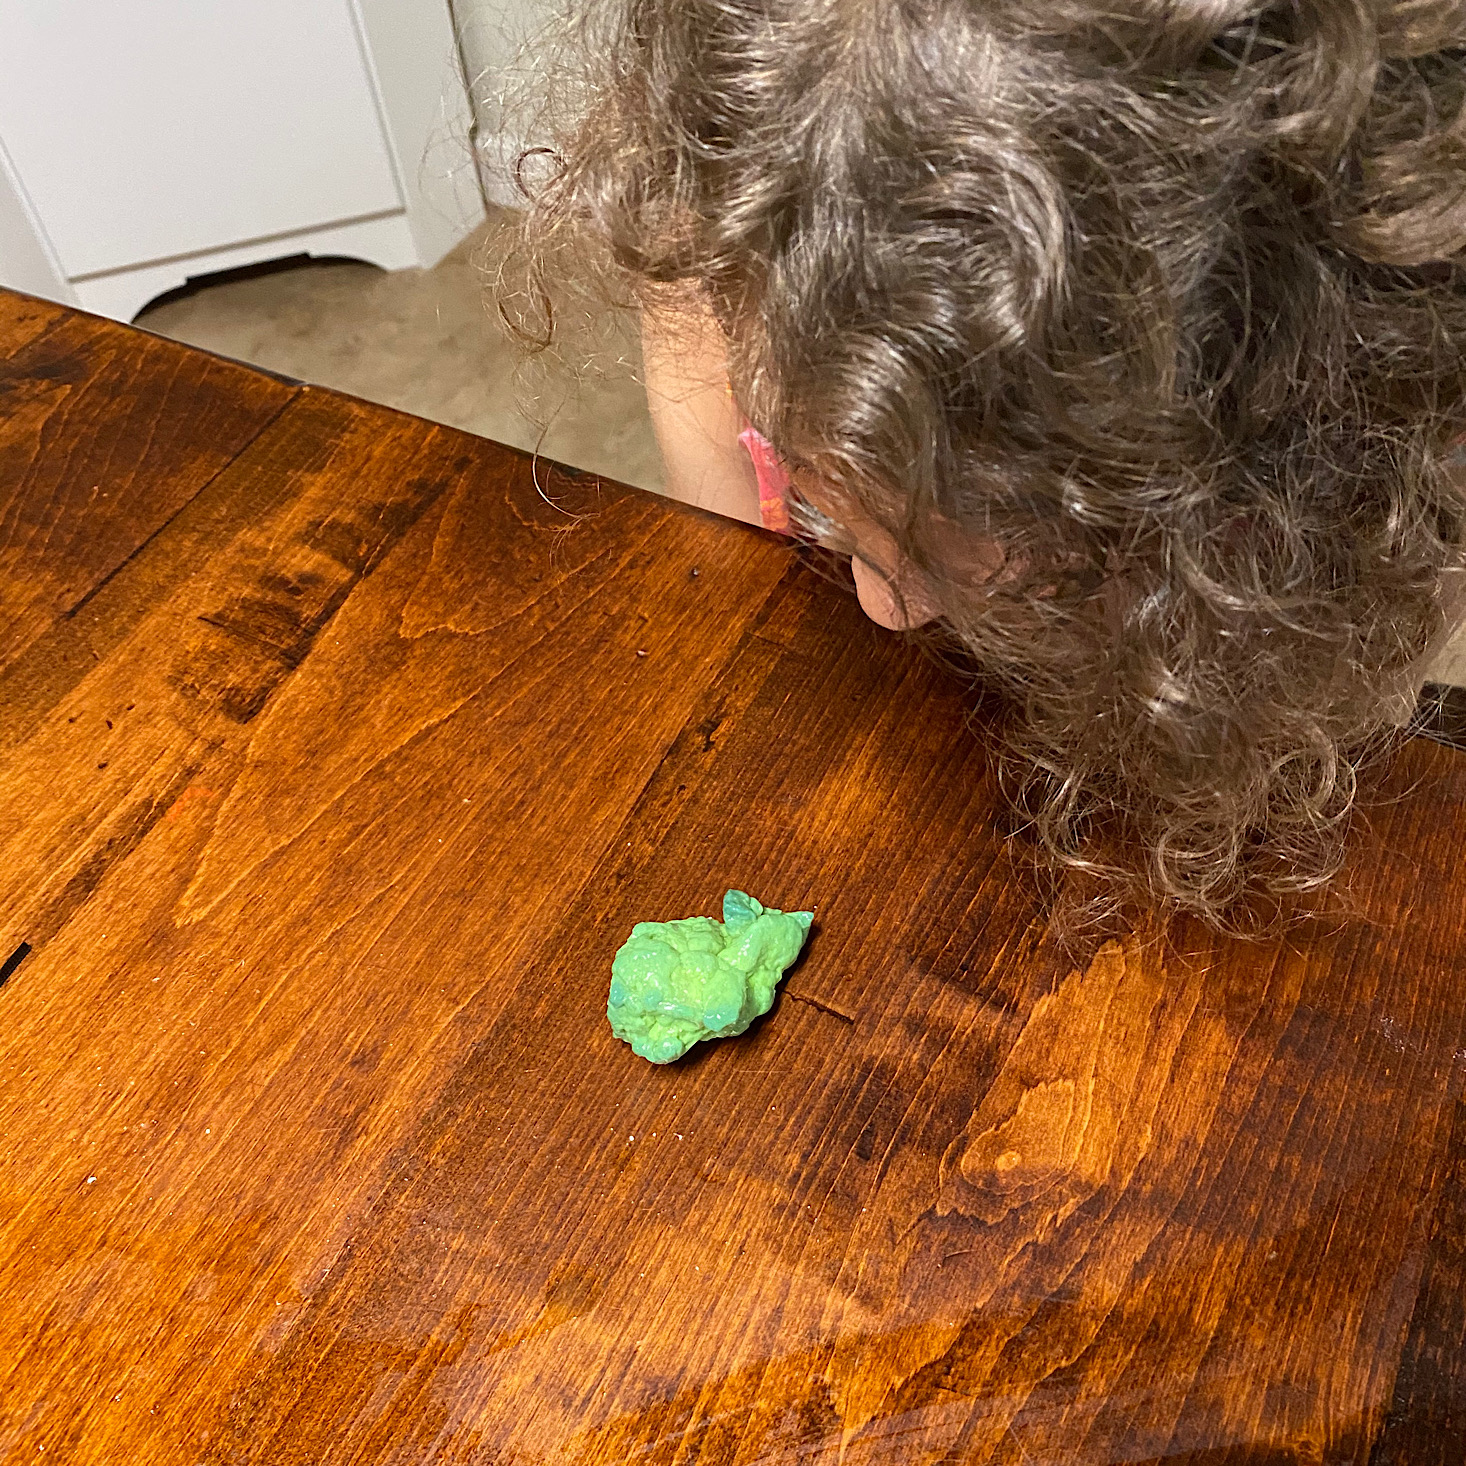
Fortunately, this didn't bother the kids and they were especially excited when they saw that the slime changed colors from dark green to light green as they played with it. It was almost impossible to capture the subtle color change on camera, but it was noticeable in person!
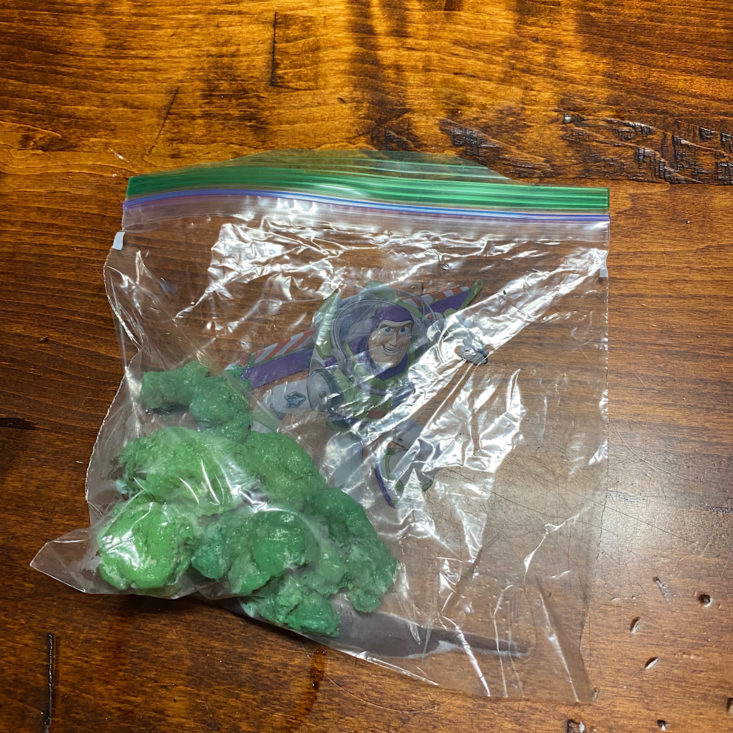
We stored it in a bag when we were done so that we can take it out and play with it again later!
Day 6 Online Extension:


Our online activities for Day 6 included a video on how to do our airboat, how to draw a crocodile, and some more silly jokes. Our science walk asked us to pay attention to landscapes and how rainwater might gather.
How Did We Get an Extra Day?


1 of 3

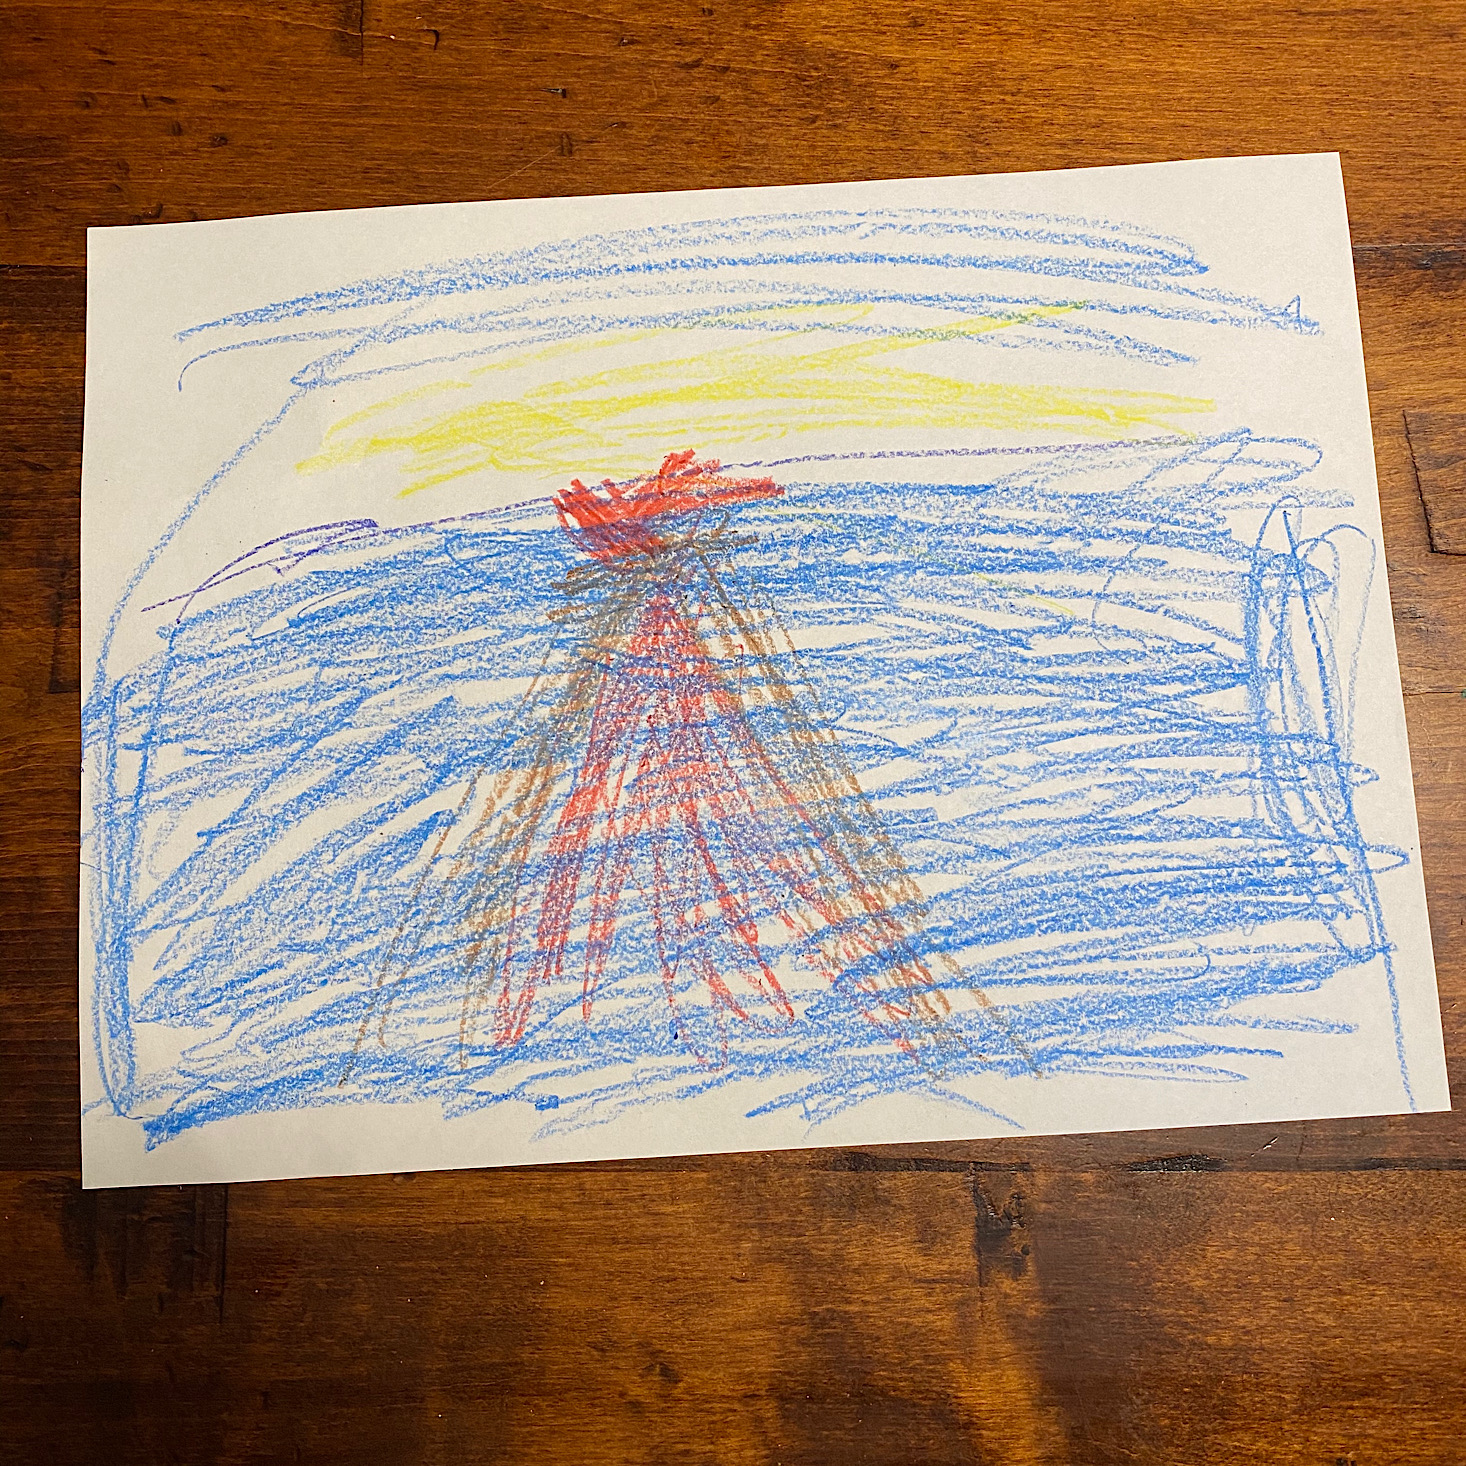
So, how did we get an extra day out of this box? Since we never got to our art scenes with stickers each day because the experiments took up plenty of time, I made a little art day activity for them where they each got to pick a set of stickers and one of our topics to illustrate the scenes.

1 of 4
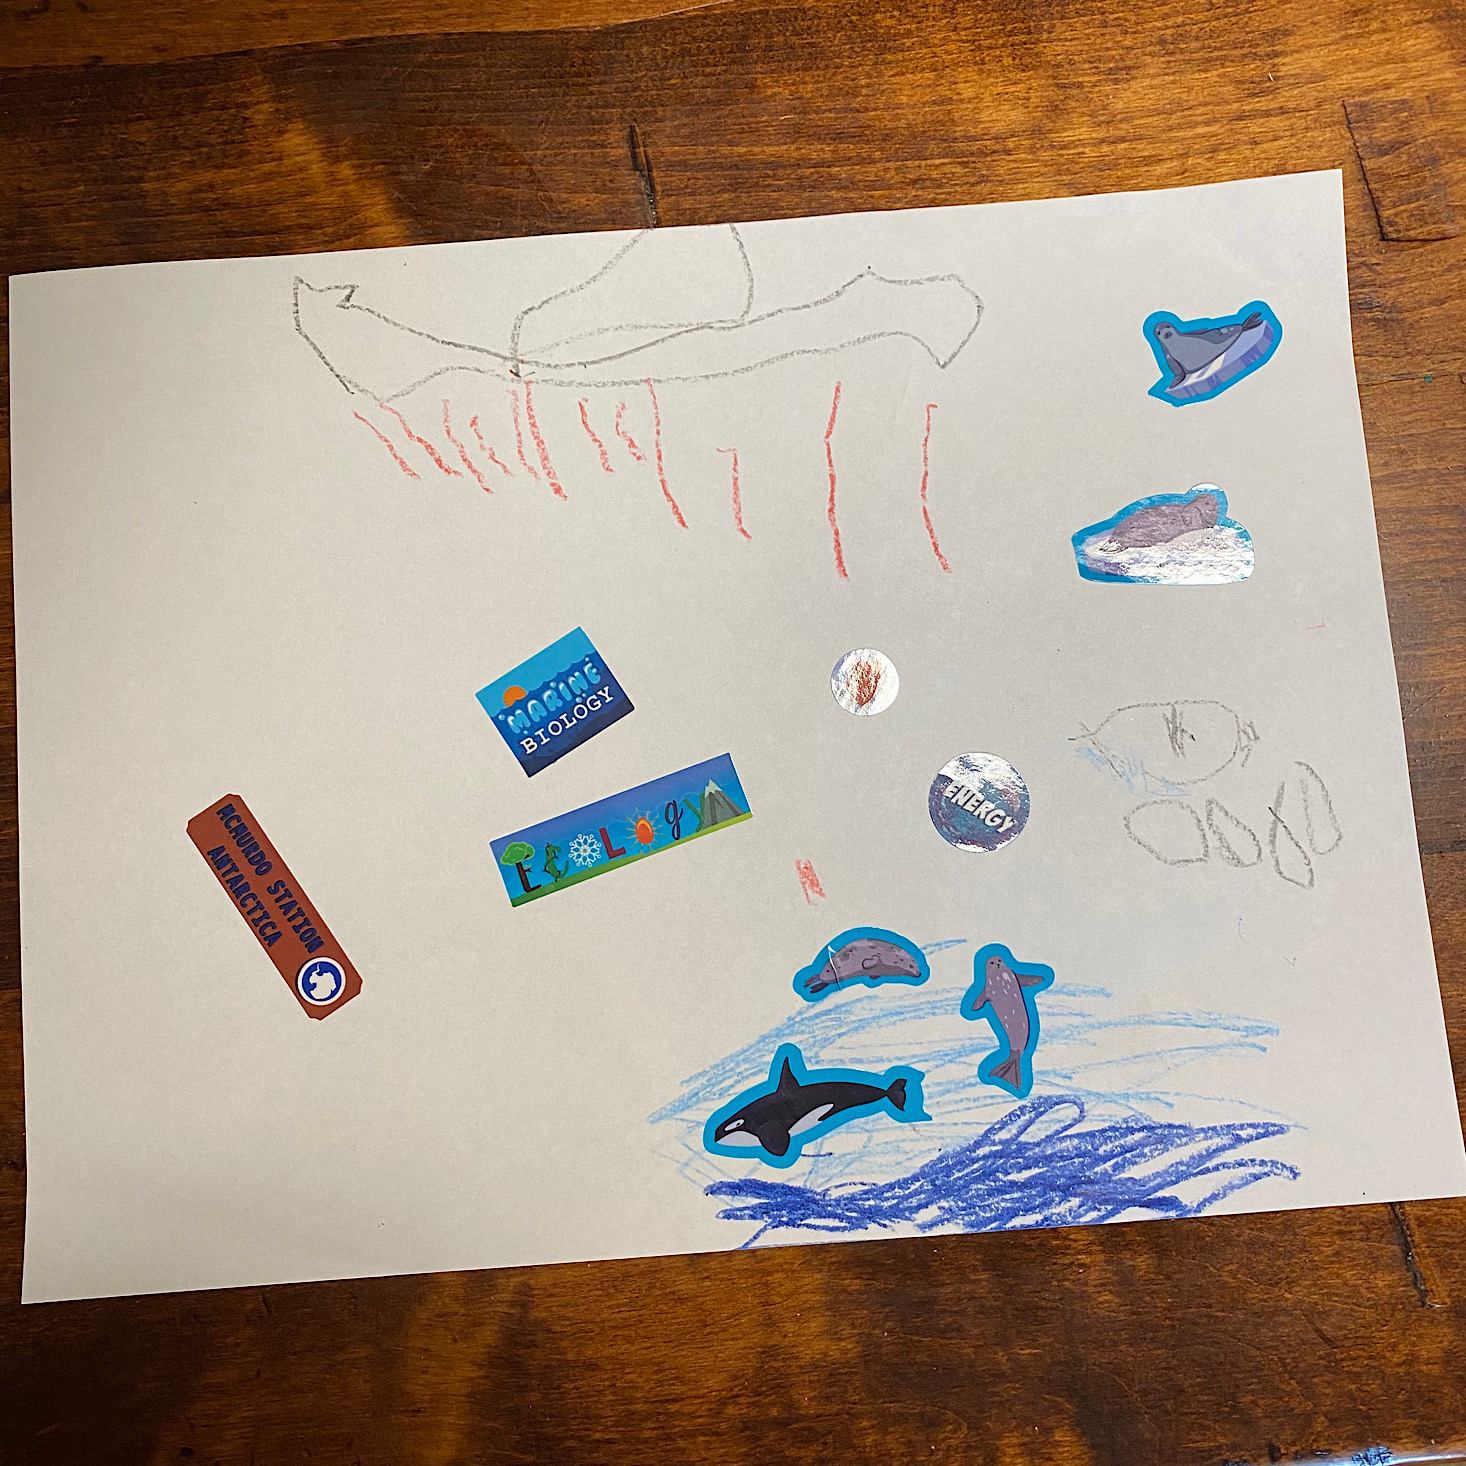

I thought they turned out great! Then we were able to supplement the rest of the time by revisiting the activities from previous days. I think that with a little creativity and by printing the online activities you could easily stretch this camp to two weeks by doing 3 days with 1 recap day and then another week of 3 days with a final recap. There really is so much flexibility!
1 of 4


Recap: What Did We Get for the Entire Week?
What do we have to show from our week at camp? We have a backpack decked out with some great embroidered badges, several educational magazines, a seal toy, a seal board game, a toy volcano and a few more ingredients to make it erupt again, a swinging chimpanzee, a termite game, a zither to play anytime we want, a submarine, a periscope, an airboat, and even some slime to play with! Each day there was so much to do and the pen-to-paper activities and experiments took up a solid hour (give or take) each day. That time was easily expanded by adding in the online activities like the science walk and the drawing activities.
Questions You May Have
| Can I use this with multiple children? |
|
| Can I fit this into my schedule? |
|
| Will this work if my child is younger than the intended age? |
|
| How much work is in it for me? |
|
| Are the experiments messy? |
|
| How long does this take? |
|
| Is everything I need in the box? |
|
The Verdict
My kids and I thoroughly enjoyed this box and each of the activities included! I was impressed by the fun mix of educational material covered from the Weddel seals in the Arctic to learning about sound through the building and playing of our zither. Overall, I thought they did a great job of providing a range that will appeal to kids. The experiments were fun and educational and thanks to the well-organized packages, I didn't find it to be overwhelming since there was very little planning that needed to be done on my end. What I love most about this box is that there is so much flexibility, making it easy to fit into our schedule. My kids loved learning about the different topics and it's neat that we actually have activities we can do over and over again to reinforce the concepts we learned. I also appreciated that everything can be stored inside our green backpack which can easily be hung up out of the way when not in use! While the online portion offered some great ways to enhance our experiences each day, I didn't find it was necessary to visit the site since we had a lot of engagement strictly from what was included in our daily packages.
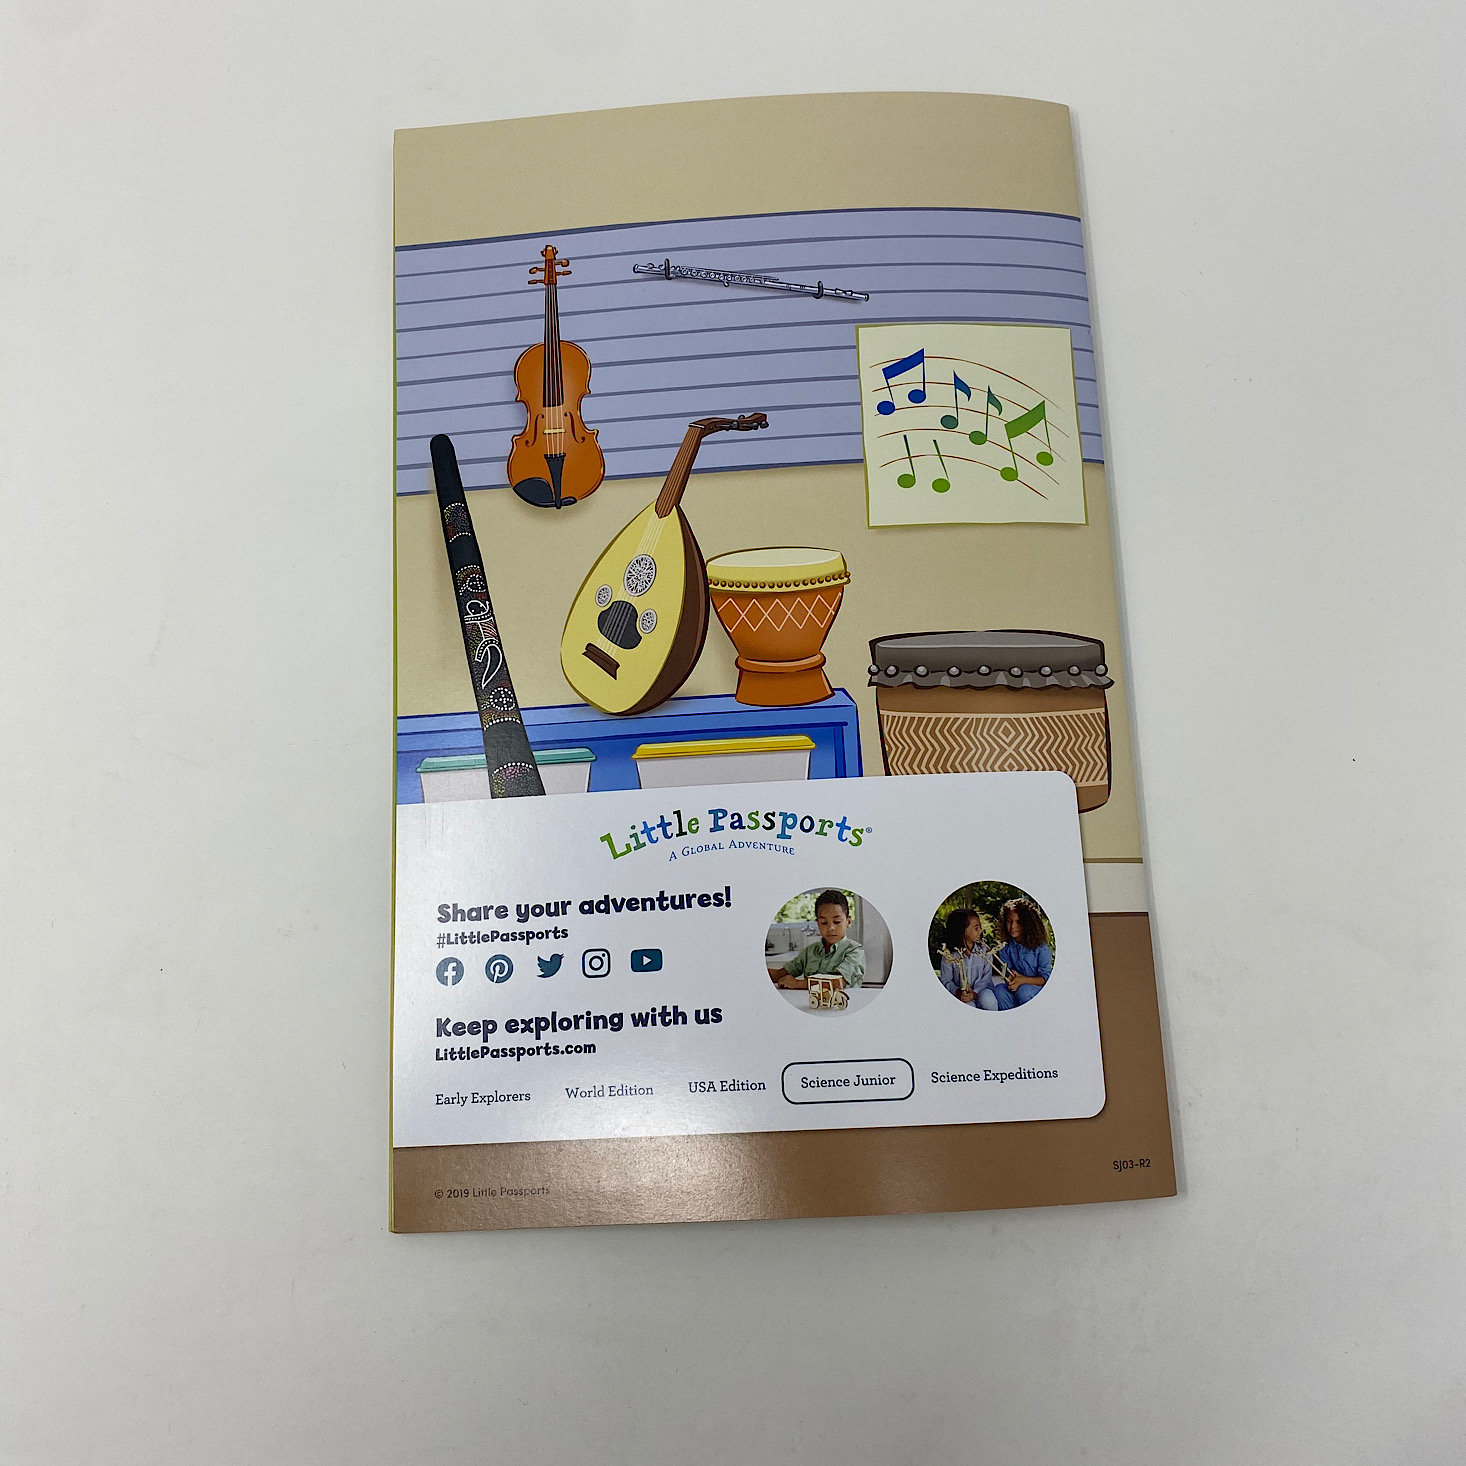
Looking for some monthly fun? Check out our Little Passports reviews. They offer boxes for a variety of subjects and age groups:
- Early Explorers for 3-5-year-olds,
- Science Junior for 5-8-year-olds,
- World Edition for 6-10-year-olds,
- USA Edition for 7-12-year-olds
- Science Expeditions for ages 9 and up.
What do you think of Little Passports Summer Camp in a Box: Science Junior?
Please do not enter your email address in the Name field or in the comment content. Your email address will not be published. Required fields are marked *. Remember to post with kindness and respect. Comments with offensive language, cruelness to others, etc will not be approved. See our full comment policy here.