

Little Passports is a subscription box that helps kids explore the world through fun and educational activities. They offer Early Explorers (recommended ages 3-5), World Edition (recommended ages 6-10), USA Edition (recommended ages 7-12), Science Junior (recommended ages 5-8) and, Science Expeditions (recommended ages 8+). Along with monthly subscription options, Little Passports also offers "Individual Activity Kits" that can be ordered along with any subscription at the time of purchase.
Little Passports is one of the best subscription boxes for kids as voted by MSA readers.
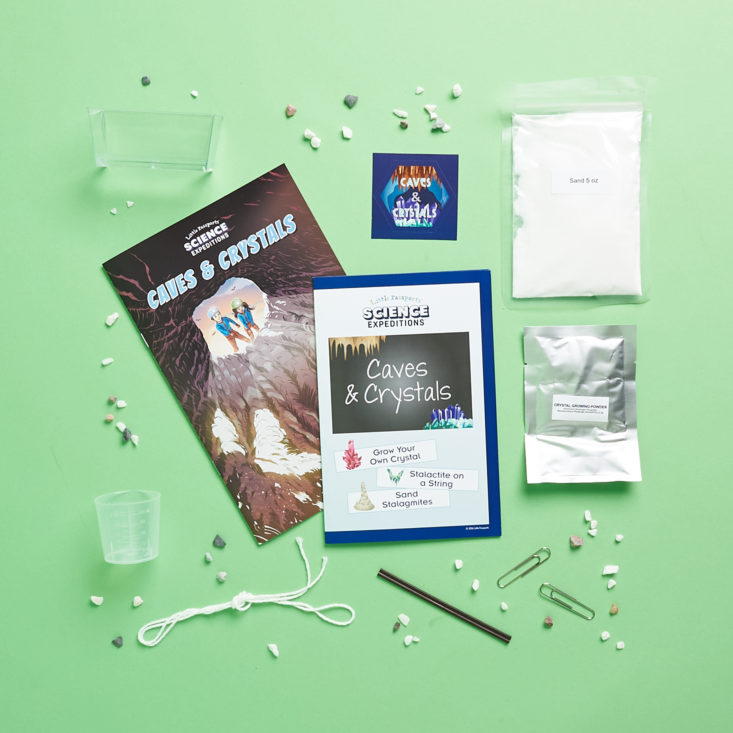
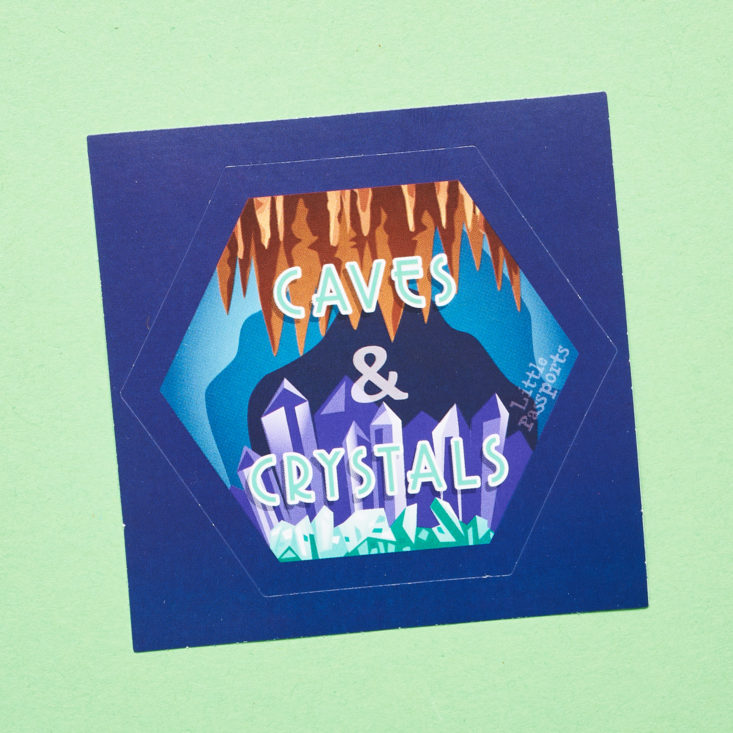
This review is of the Little Passports: Science Expeditions Caves & Crystals for $27.95.
This box was sent to us at no cost for review. (Check out the review process post to learn more about how we review boxes.)
First Impressions
My boys are OBSESSED with the Wild Kratt brothers and the show they have on PBS. They have learned so much watching it that I bought us tickets to see them live! Because of the pandemic, we were unable to attend but found this month's Little Passports Caves & Crystals theme a close match to some of the Kratt Brothers' cave adventures. Not only did we learn about speleothem, but we also now have a deeper understanding of how stalactites and stalagmites are formed. While this month's experiments require some patience, we had a lot of fun doing them together, as an end-of-summer vacation hurrah.
Let's Dive In!
Little Passports: Caves & Crystals Comic and Activity Book


1 of 4
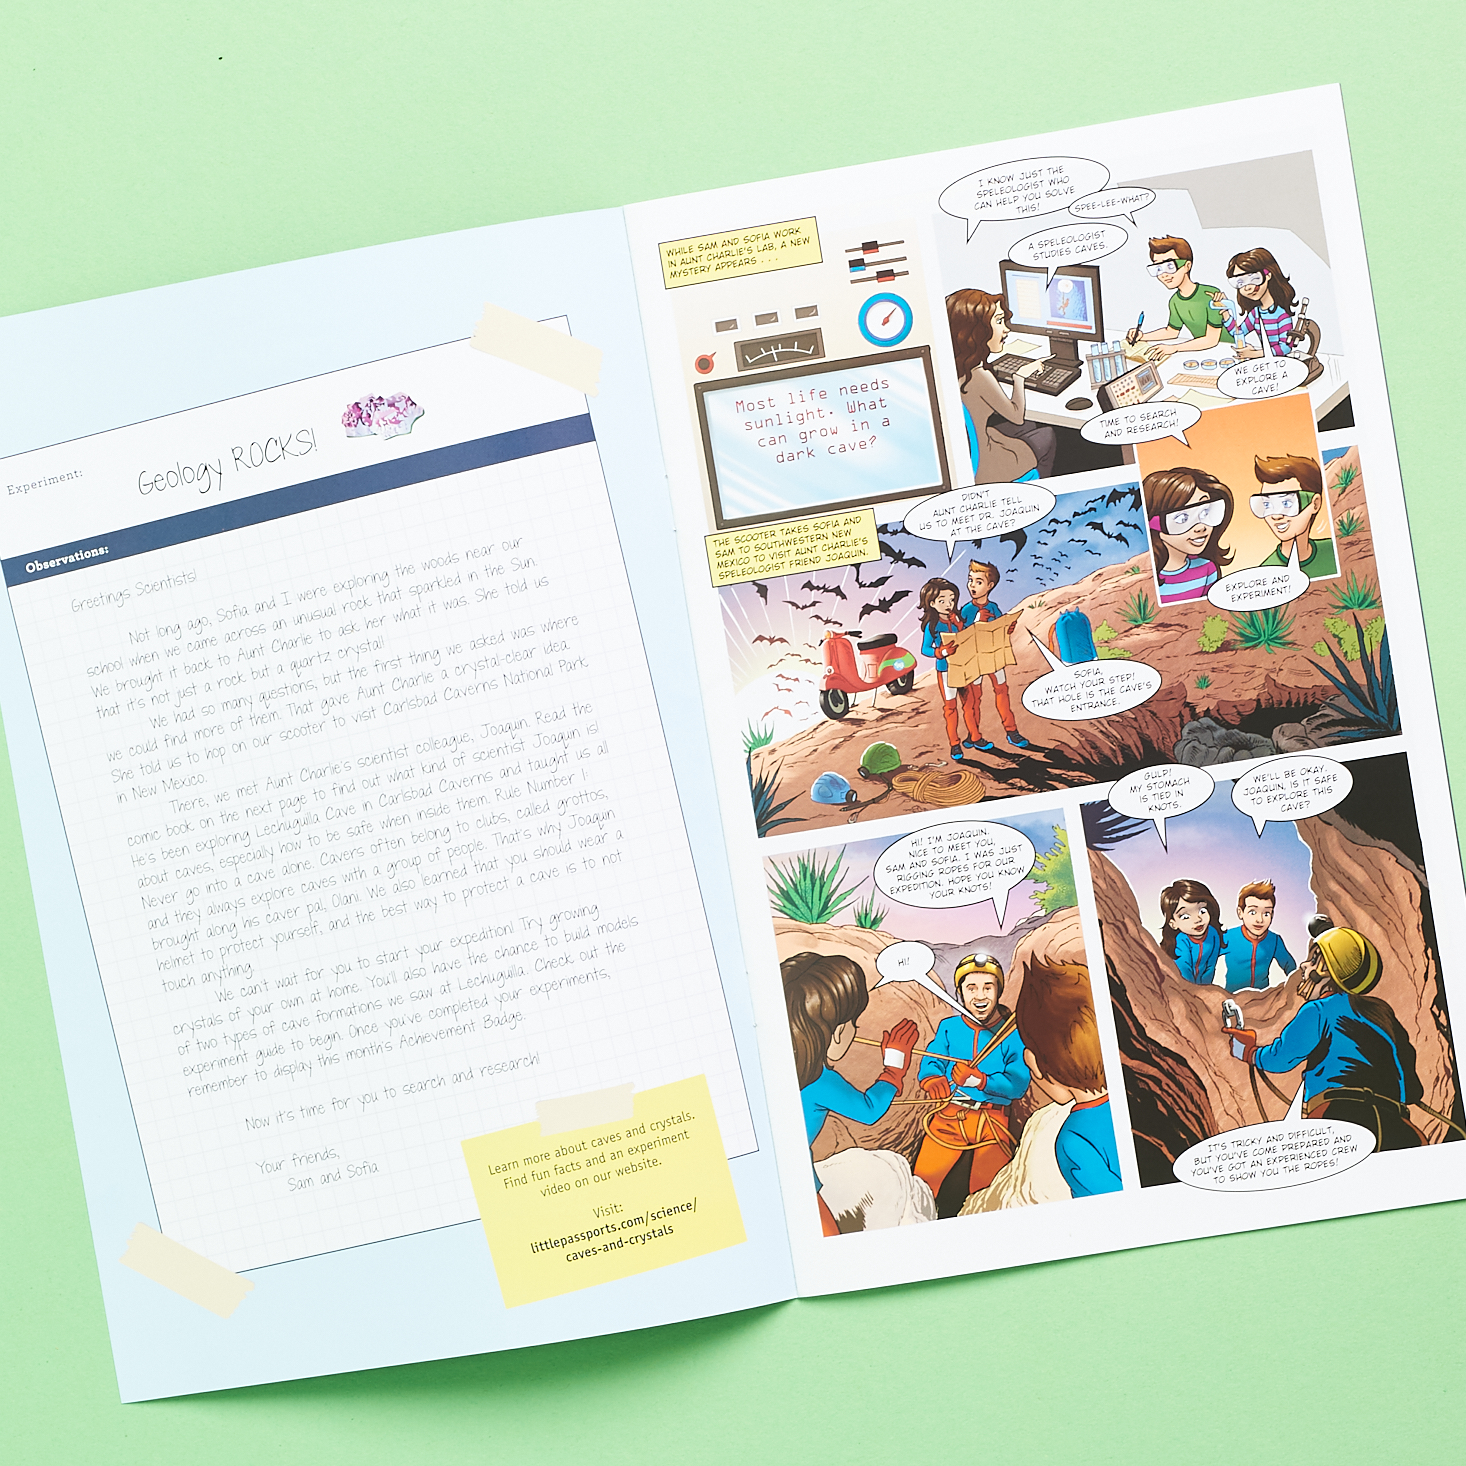
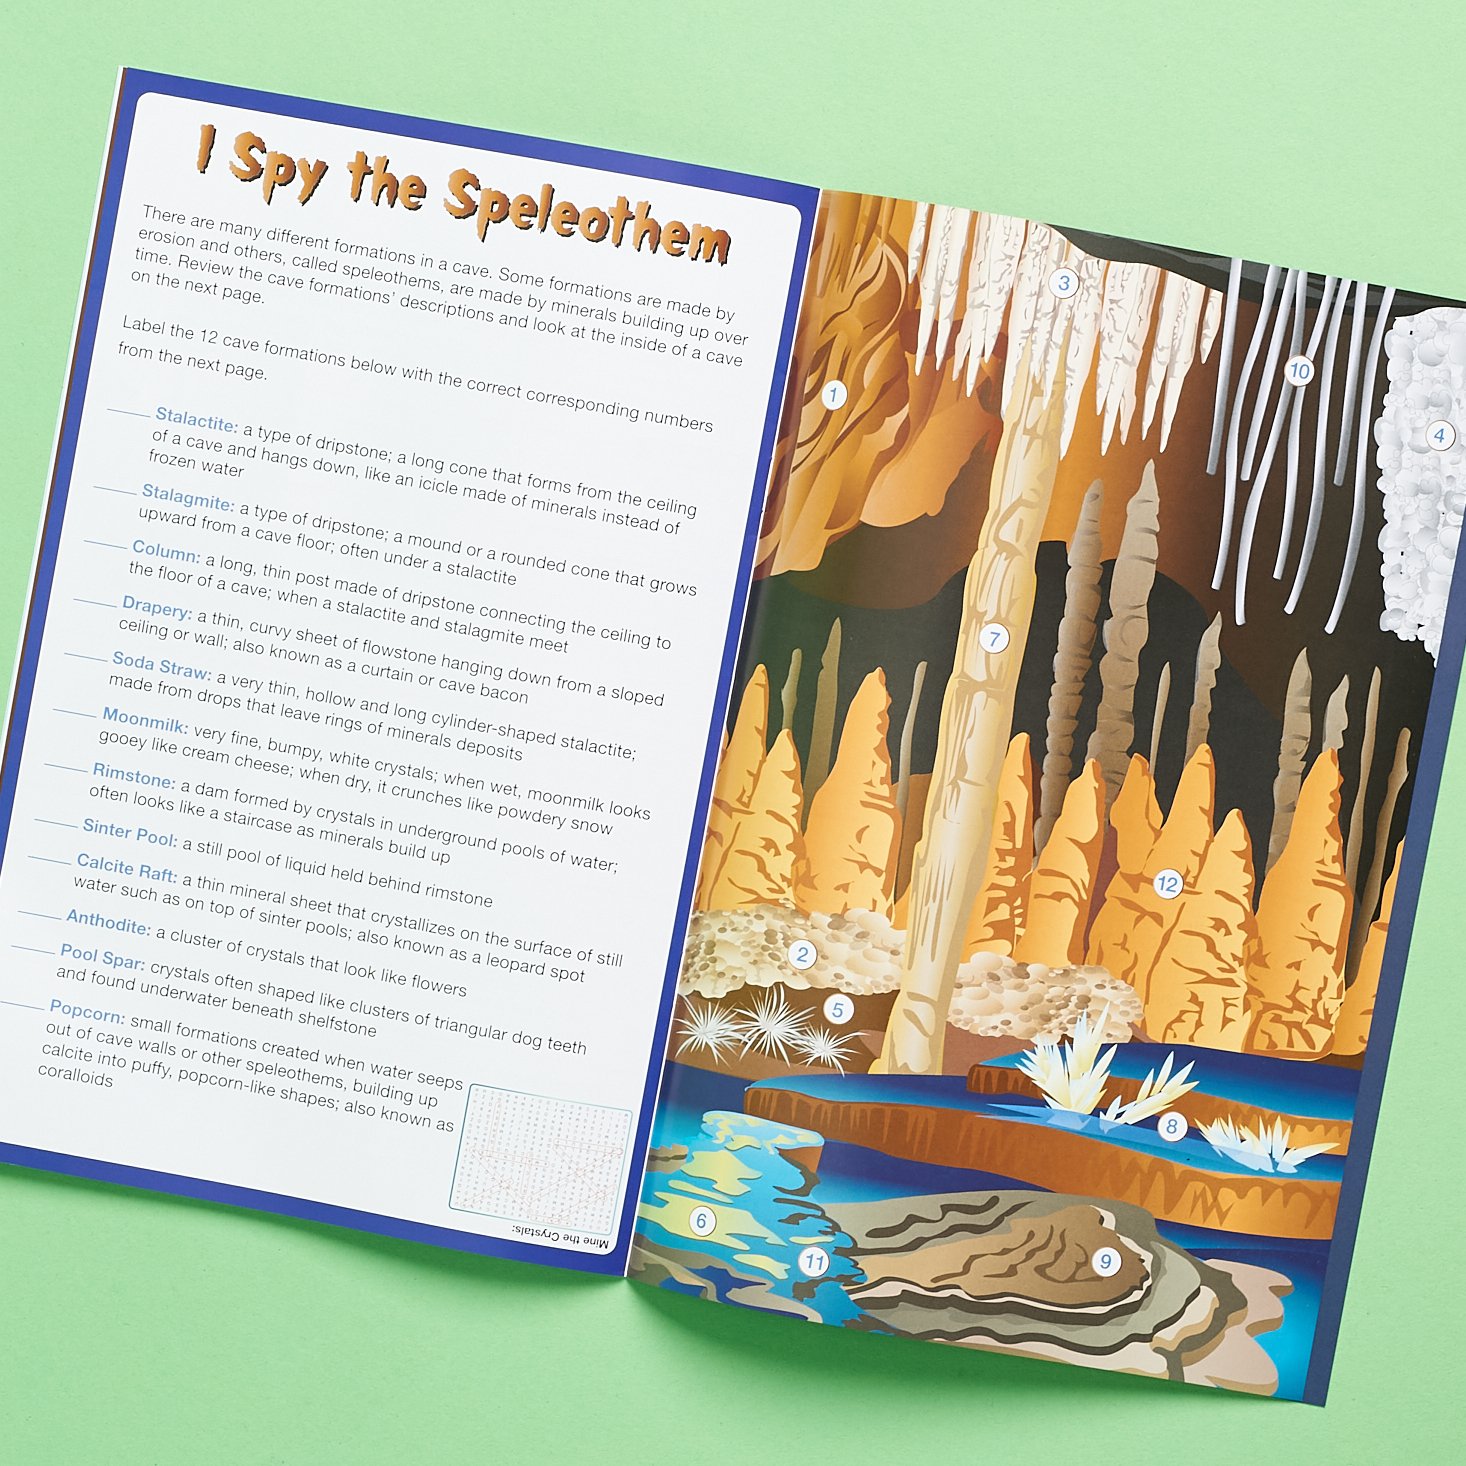
Per usual, we received a comic and activity book this month that correlated perfectly with the Crystals and Caves theme. Using engaging illustrations, this comic book is packed with information that is presented in a fun and interesting manner. This month Charlie and I worked on this box and he loved following the text bubbles in the comic and looking at the pictures. Also included are other activities such as a word search, and a glossary to define all of the new vocab words we were provided. What kind of experiments did we get to do you ask? Read below to find out!
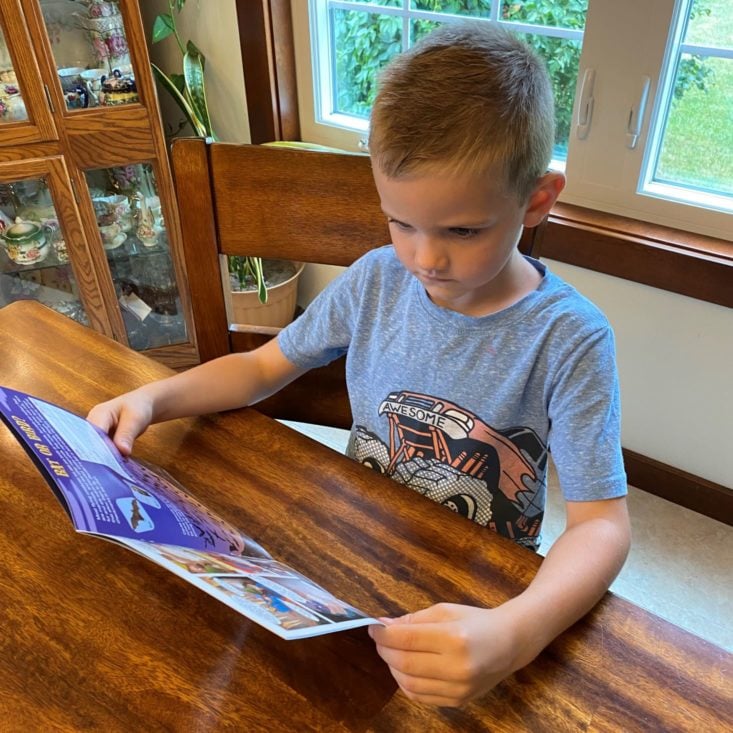
Charlie loved reading the comic but enjoyed the Bat or Bird activity the most. From what he has learned from Wild Kratt Brothers, he knew even more than I did!
Caves & Crystals Instruction Guide


1 of 4

After Charlie made his way through the comic book, it was time to get to the really good stuff: the experiments! This month we were provided with materials to grow our own crystal, create a stalactite on a string, and play with sand stalagmites. Like I said above, this month's experiments required patience, as crystals can take up to two weeks to grow. This was hard for my 6-year-old to understand, but you can be sure his crystal container is the first thing he checks when he gets up in the morning. As usual, the instructions were pretty easy to follow, but some weren't as descriptive as I would have liked. We did watch the provided links for a couple of videos for extra guidance.
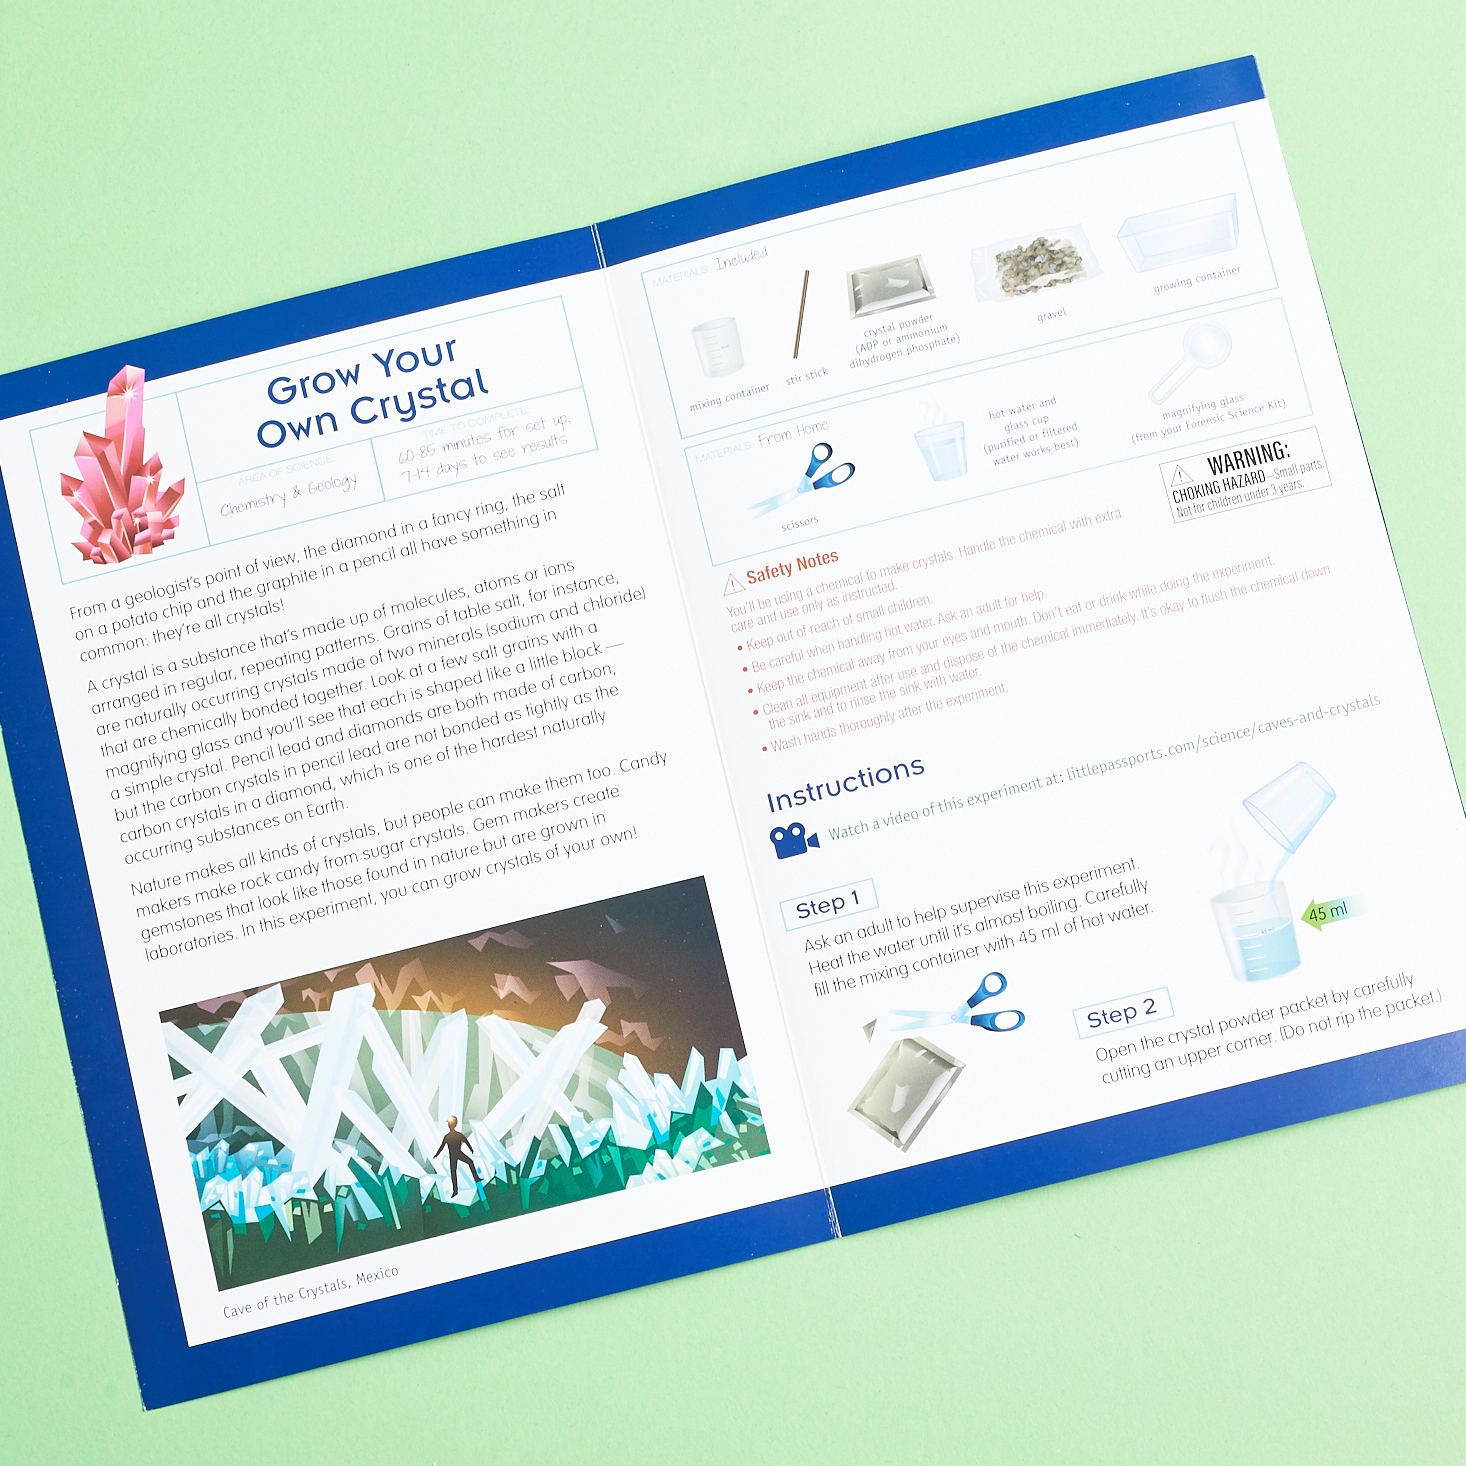
Project #1: Grow Your Own Crystal

1 of 5


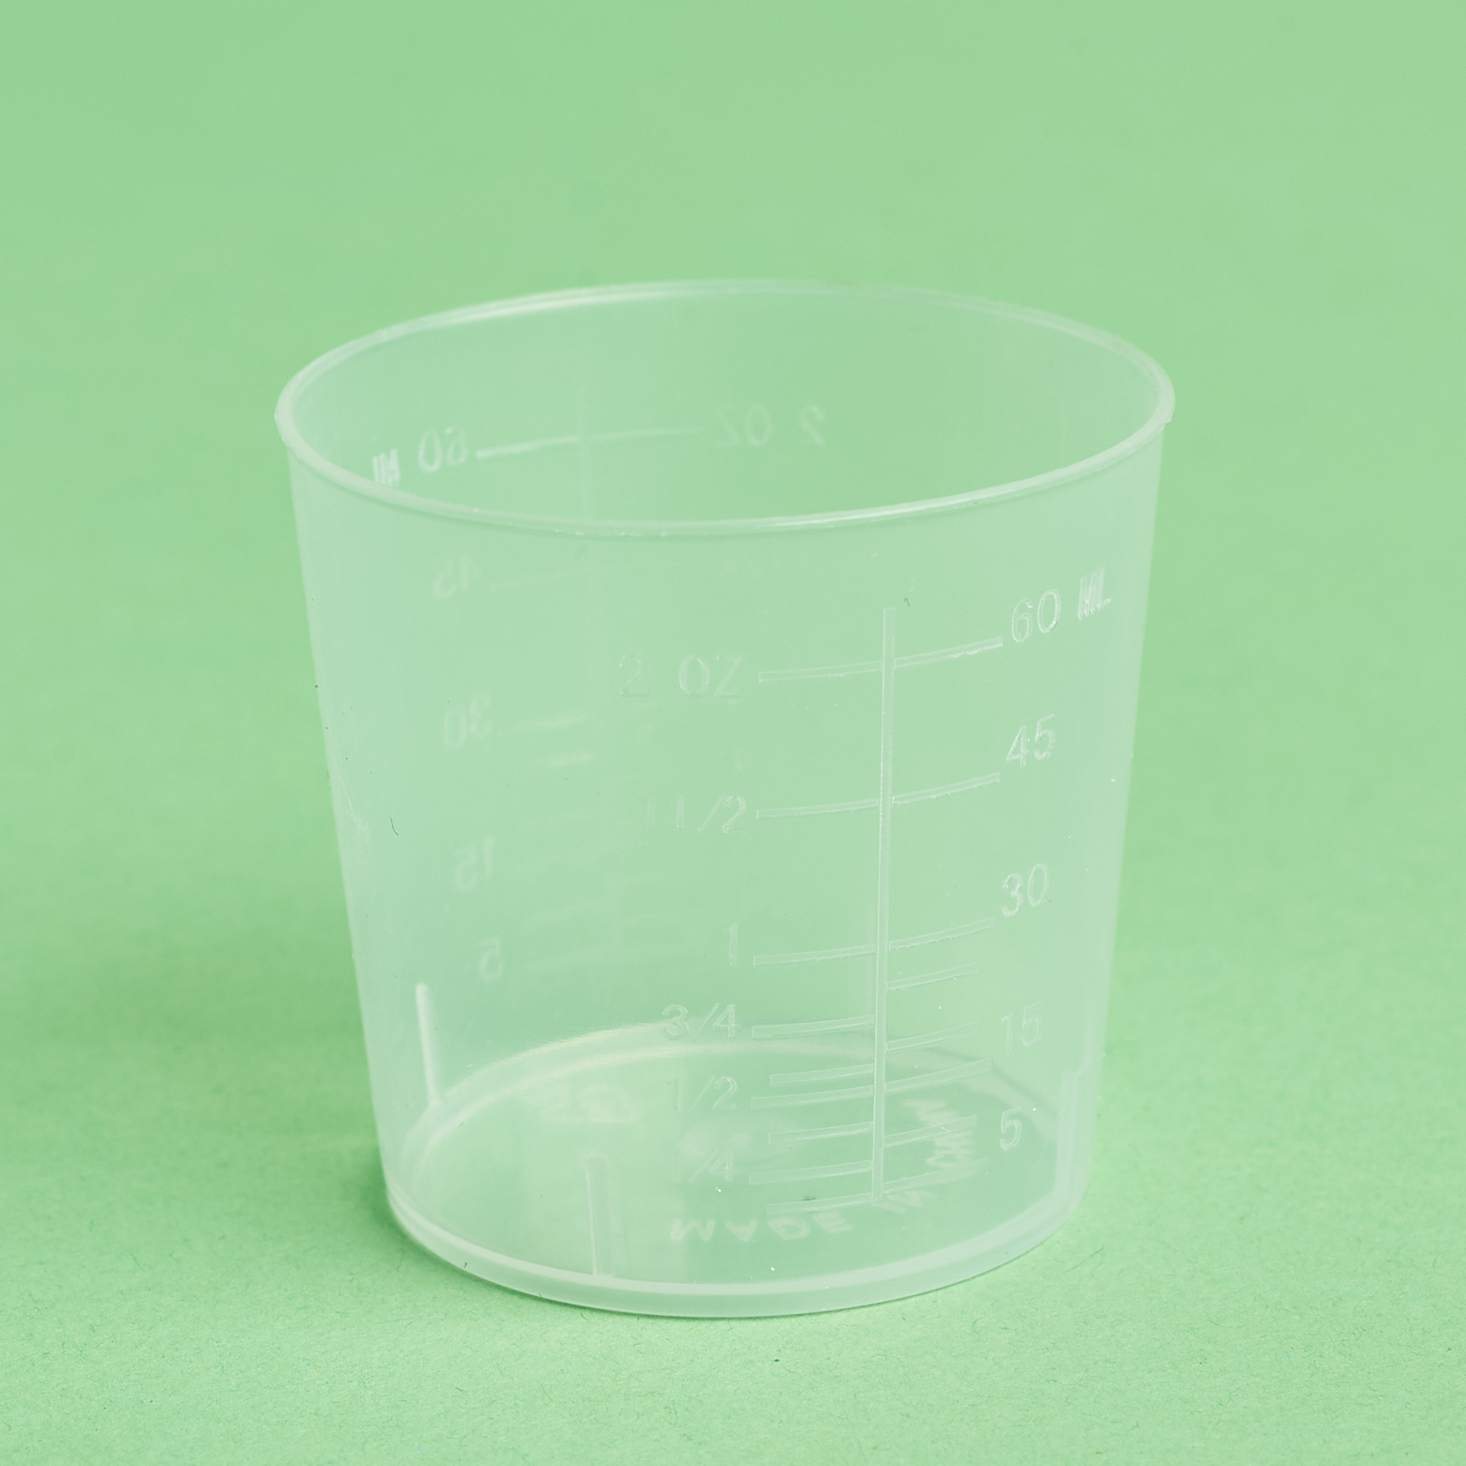
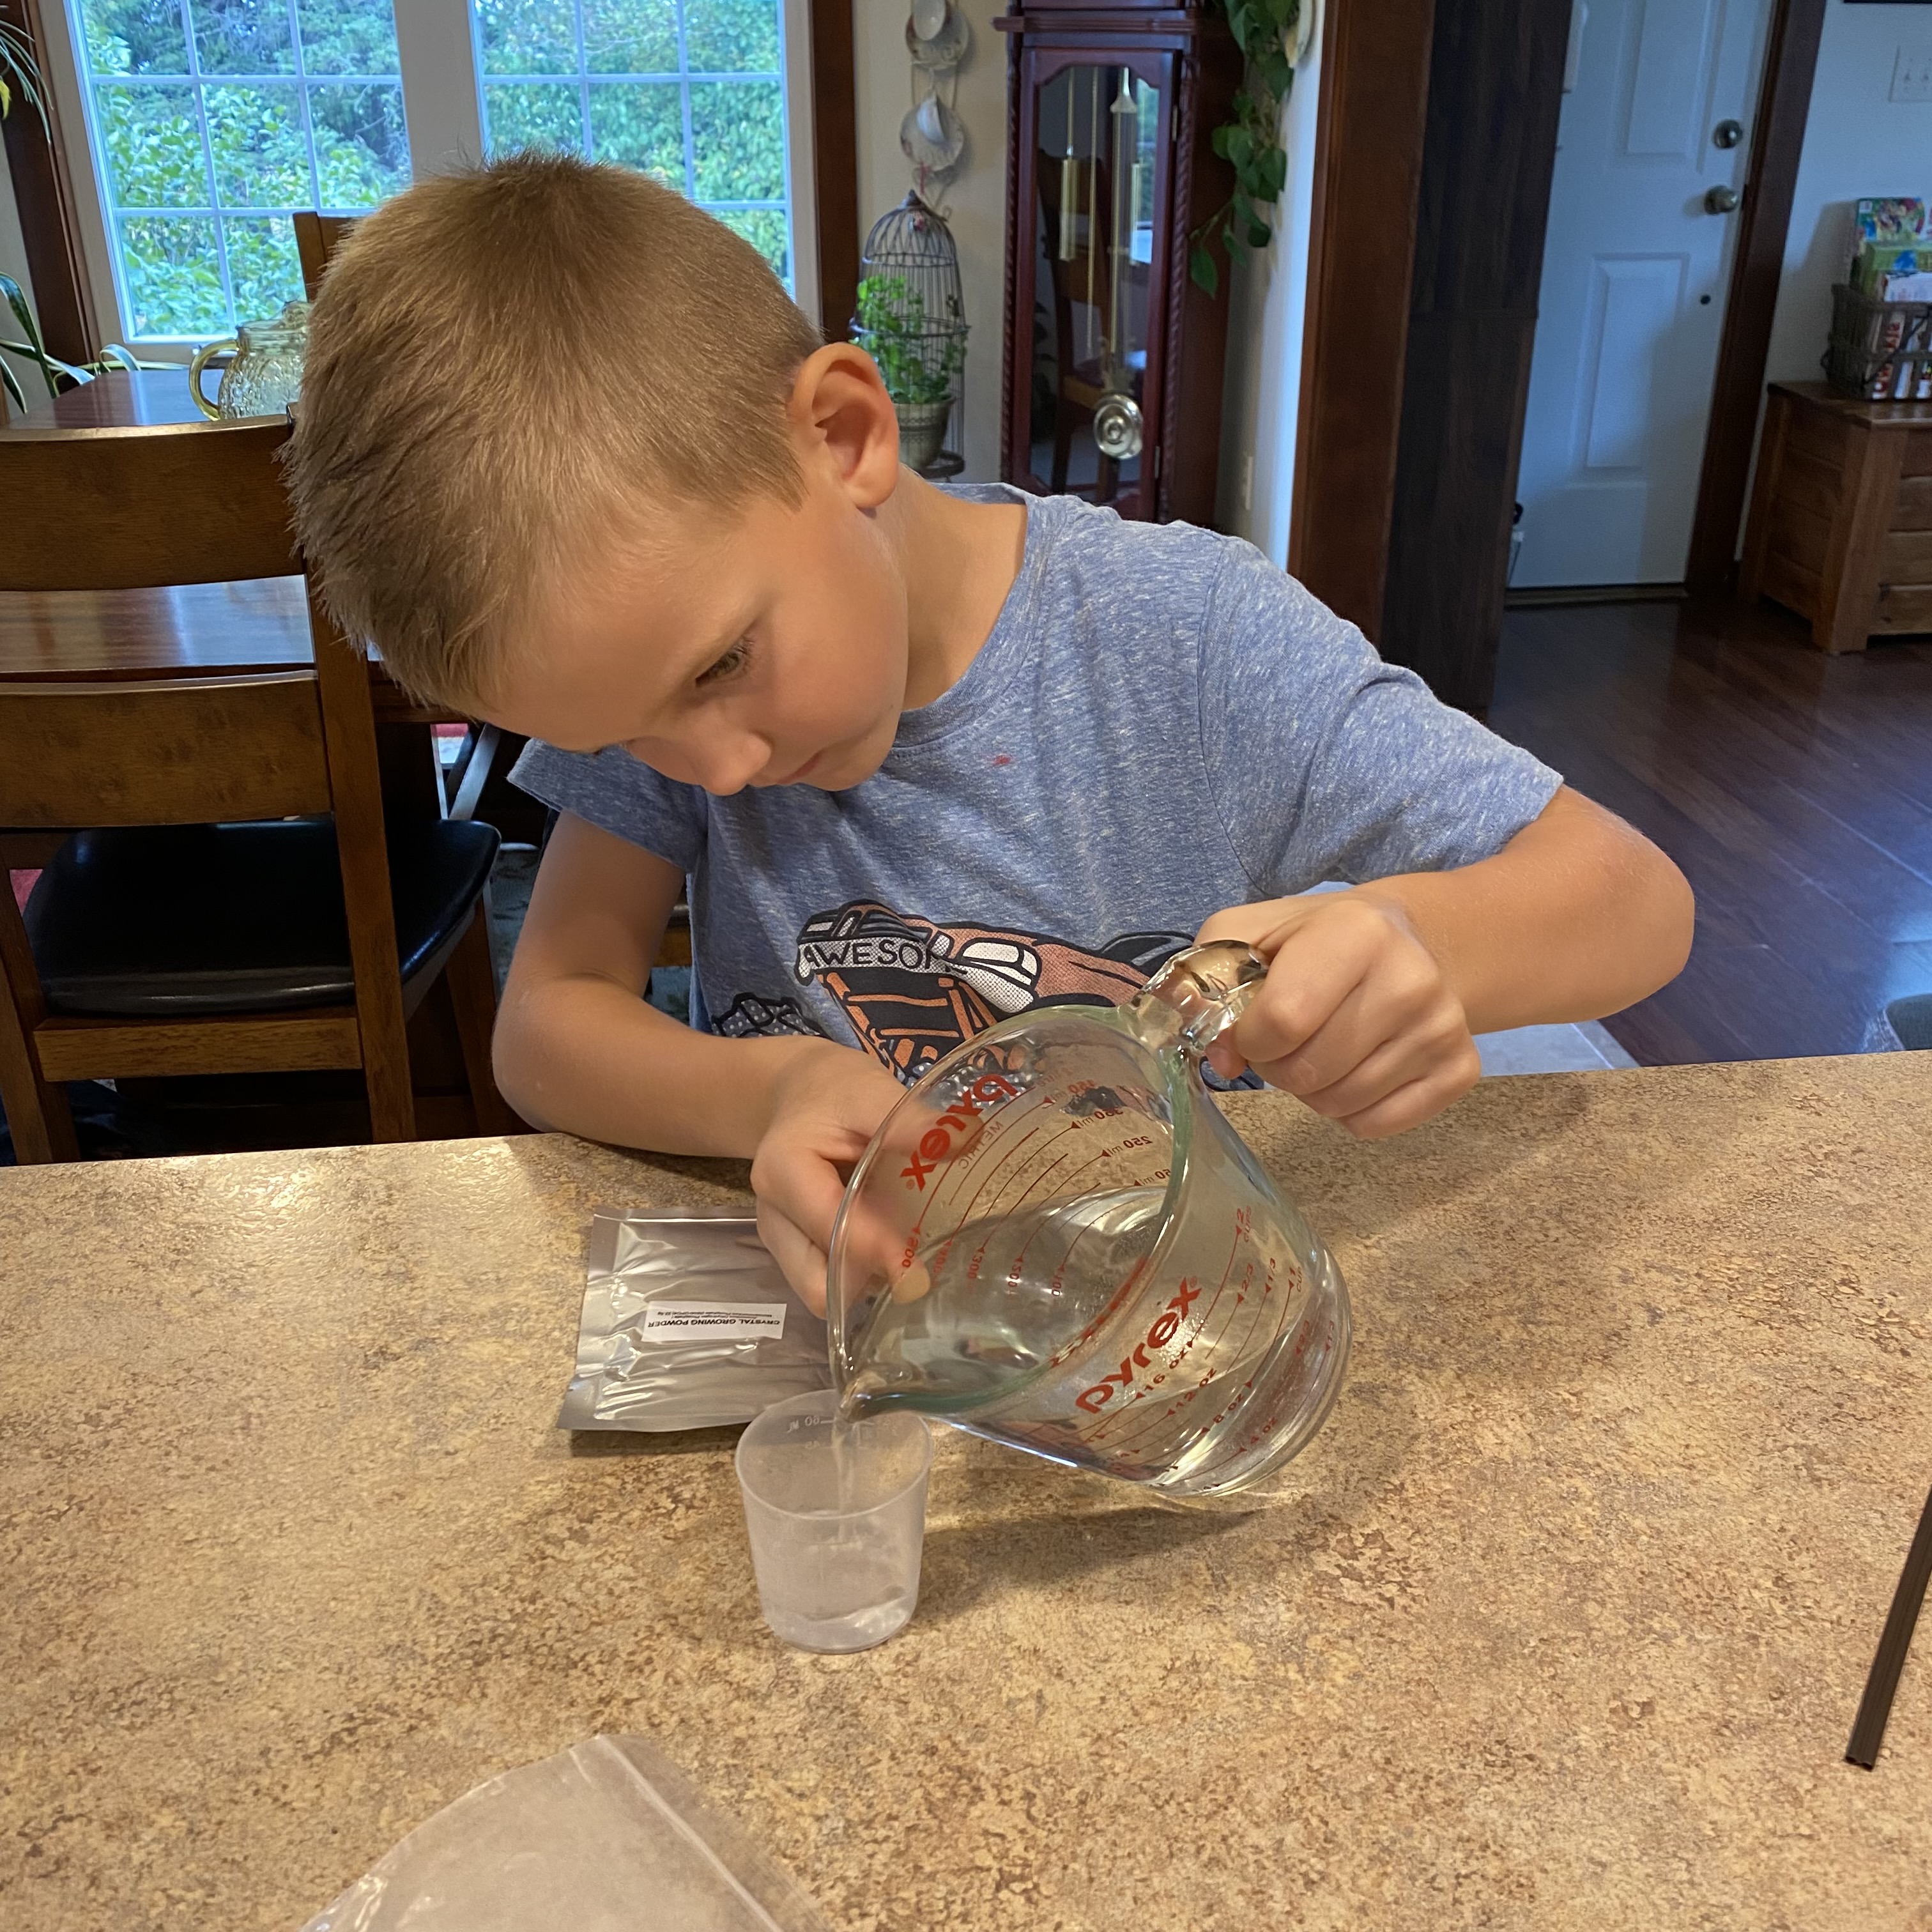
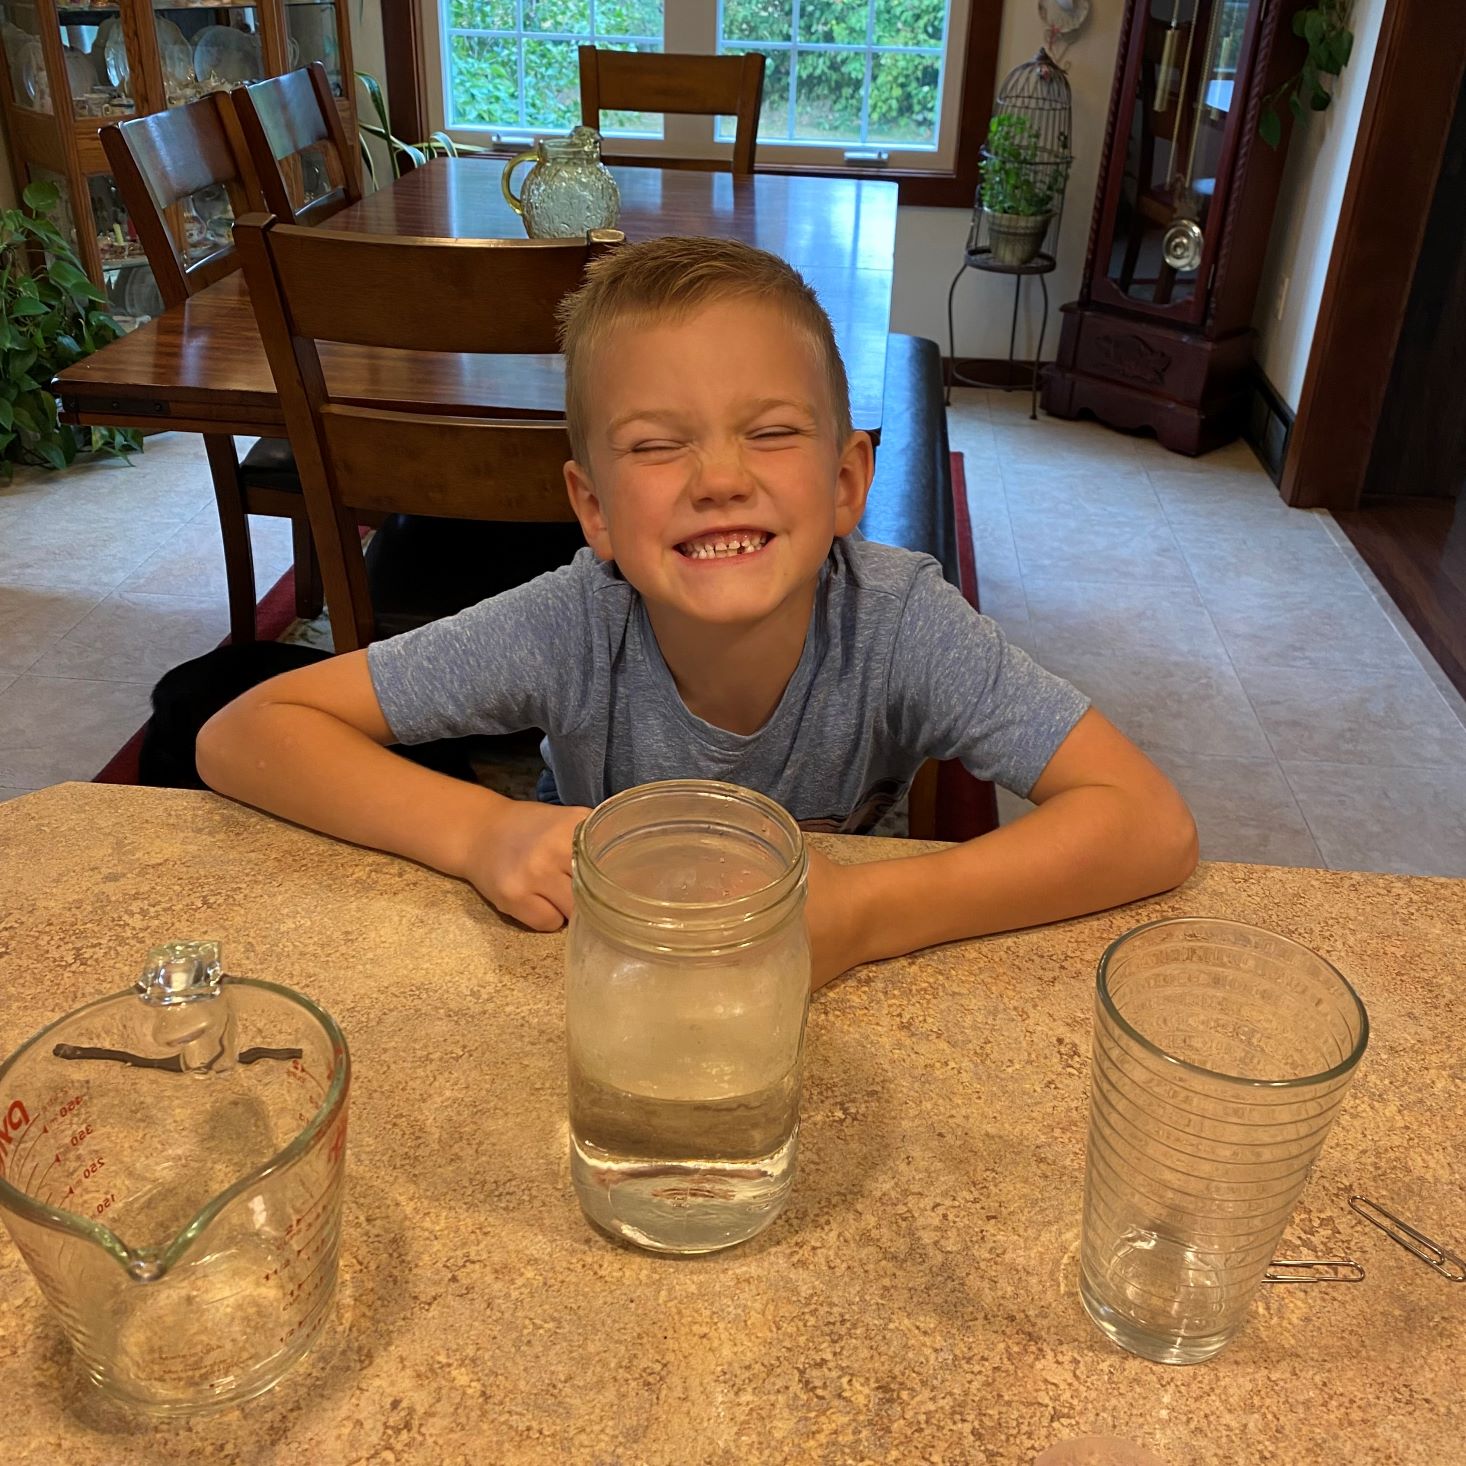
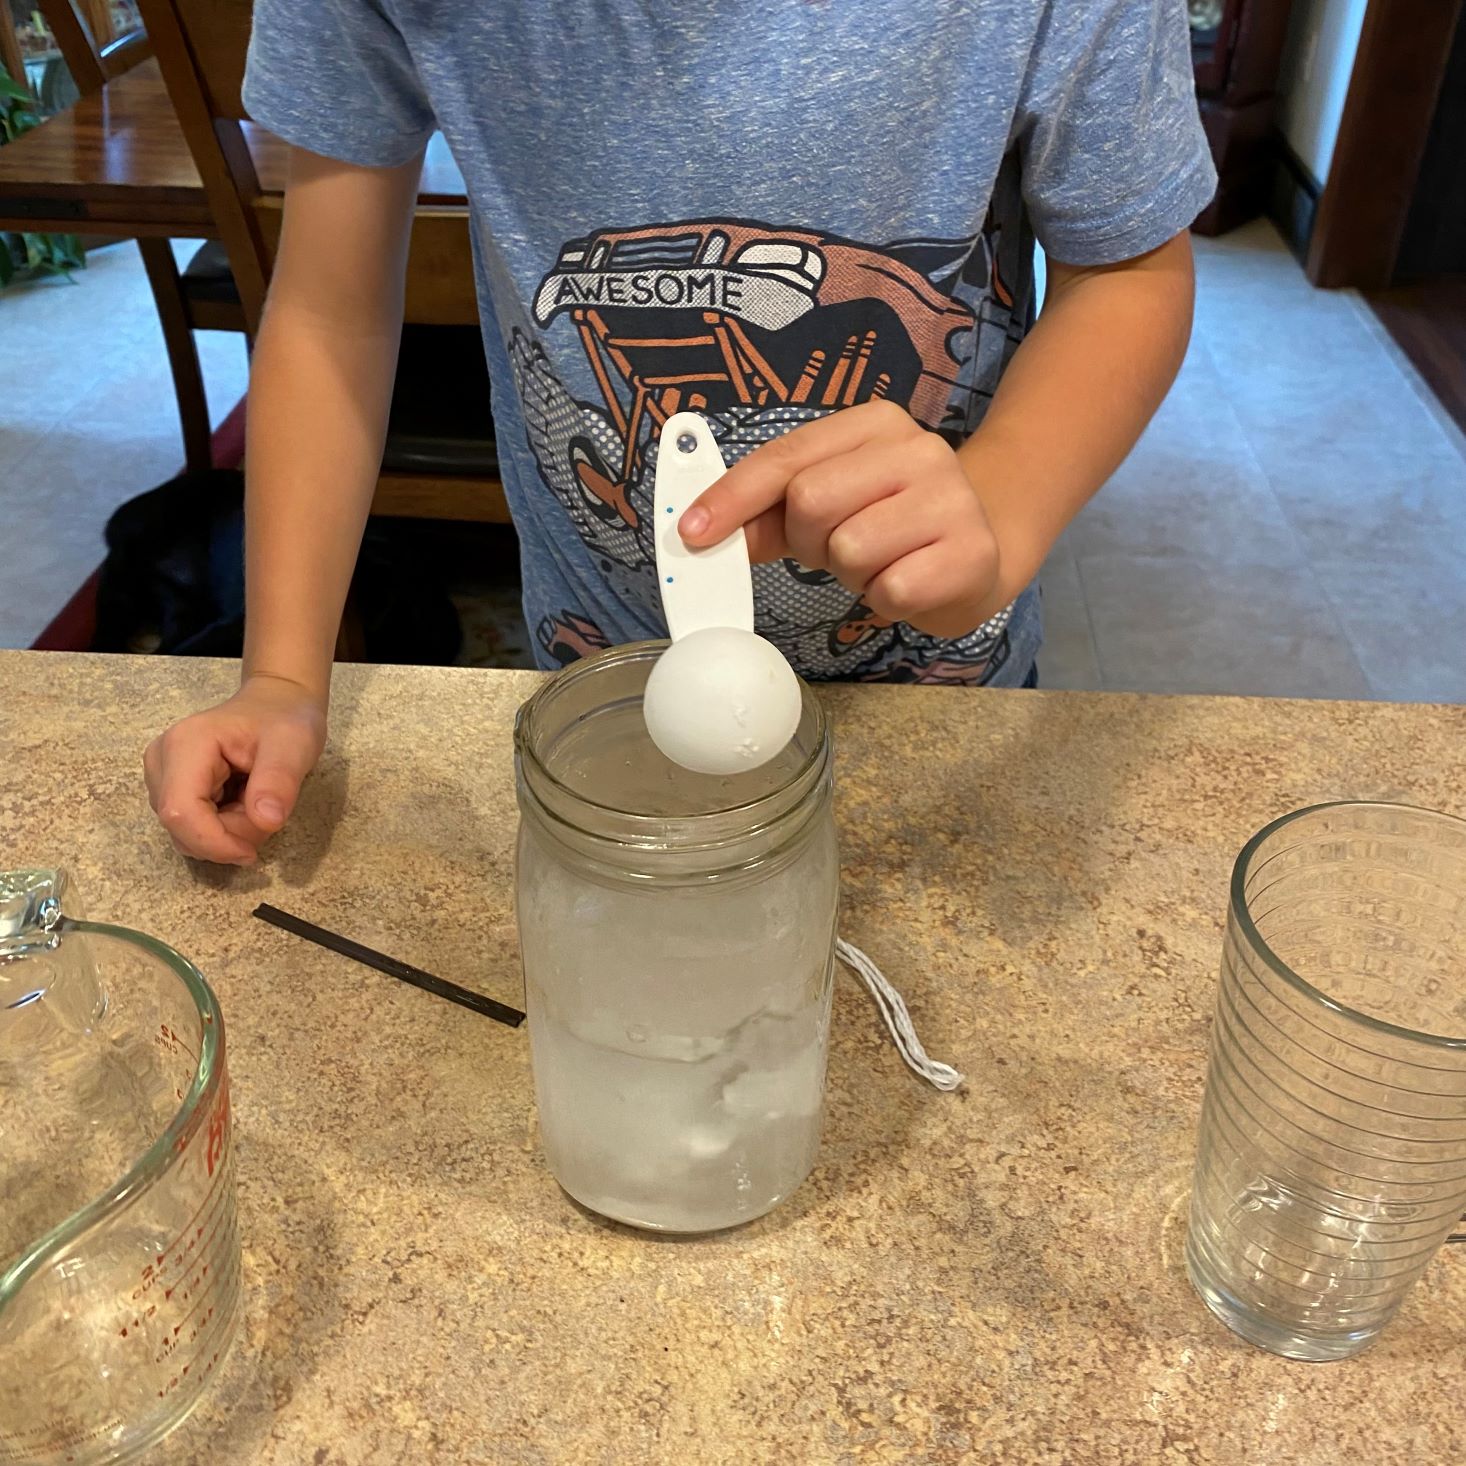
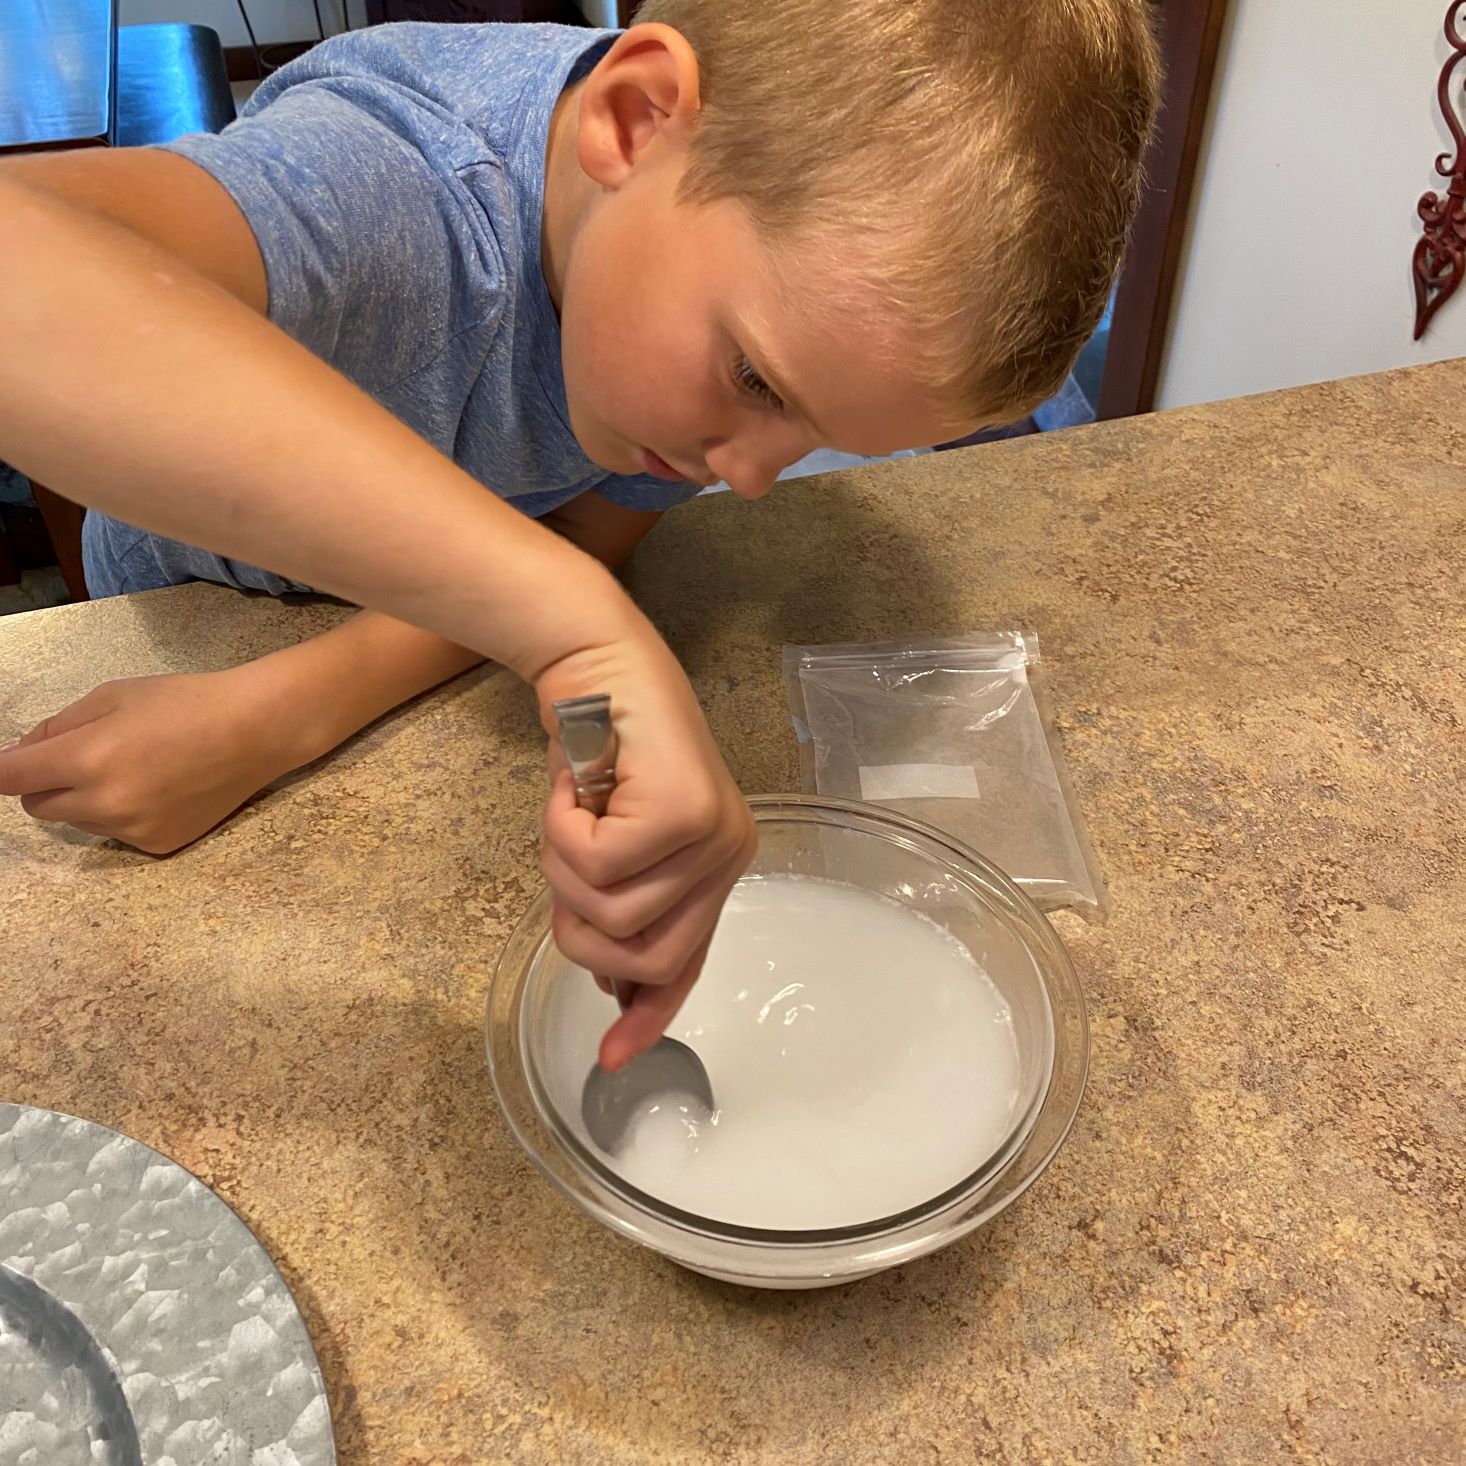
Charlie was fascinated to learn that from a geologist's point of view, a diamond, the salt on a potato chip, and the lead in a pencil, are all considered crystals. After reading some introductory information about crystals, we gathered the included materials to get our crystals underway. Included this month were a mixing container, a stir stick, crystal powder, gravel, and a growing container. Needed from home was a pair of scissors, hot water, a glass cup, and a magnifying glass.
1 of 6
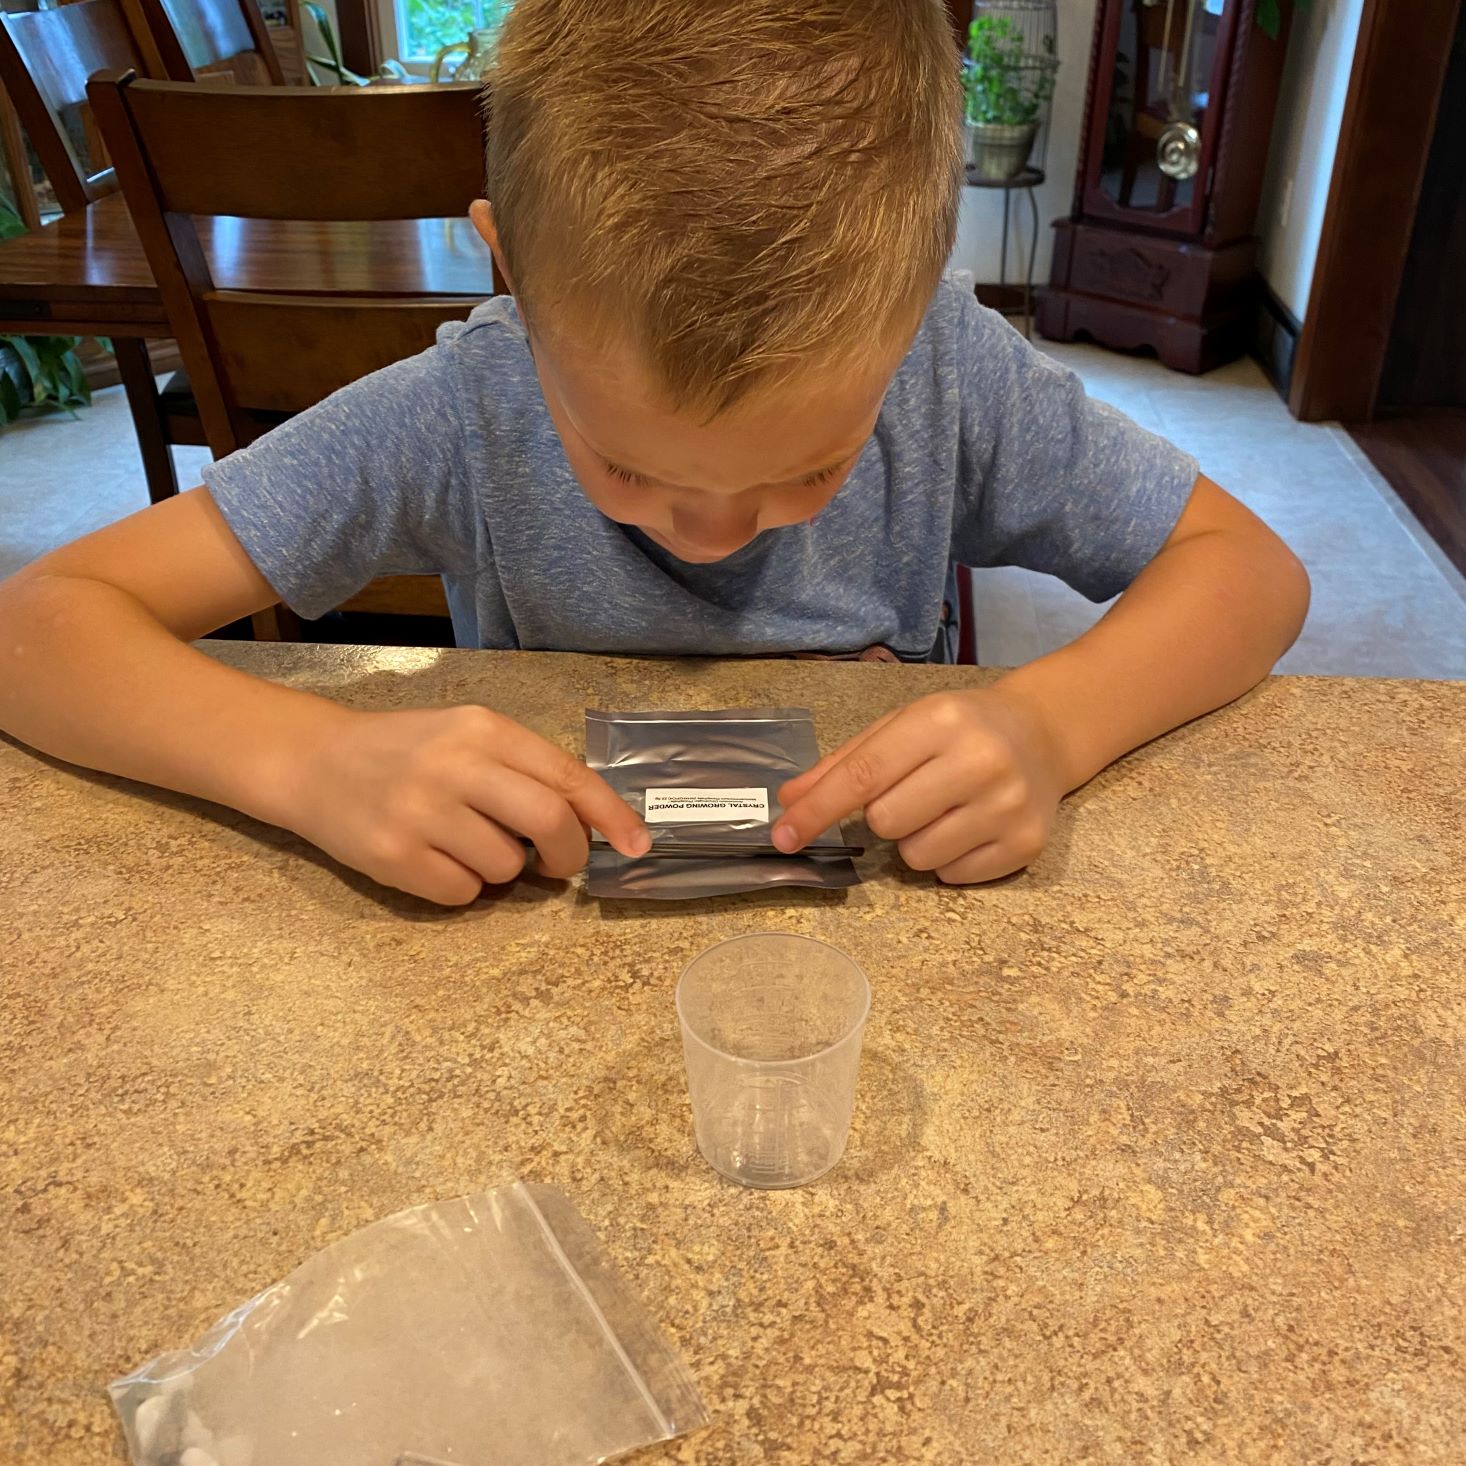
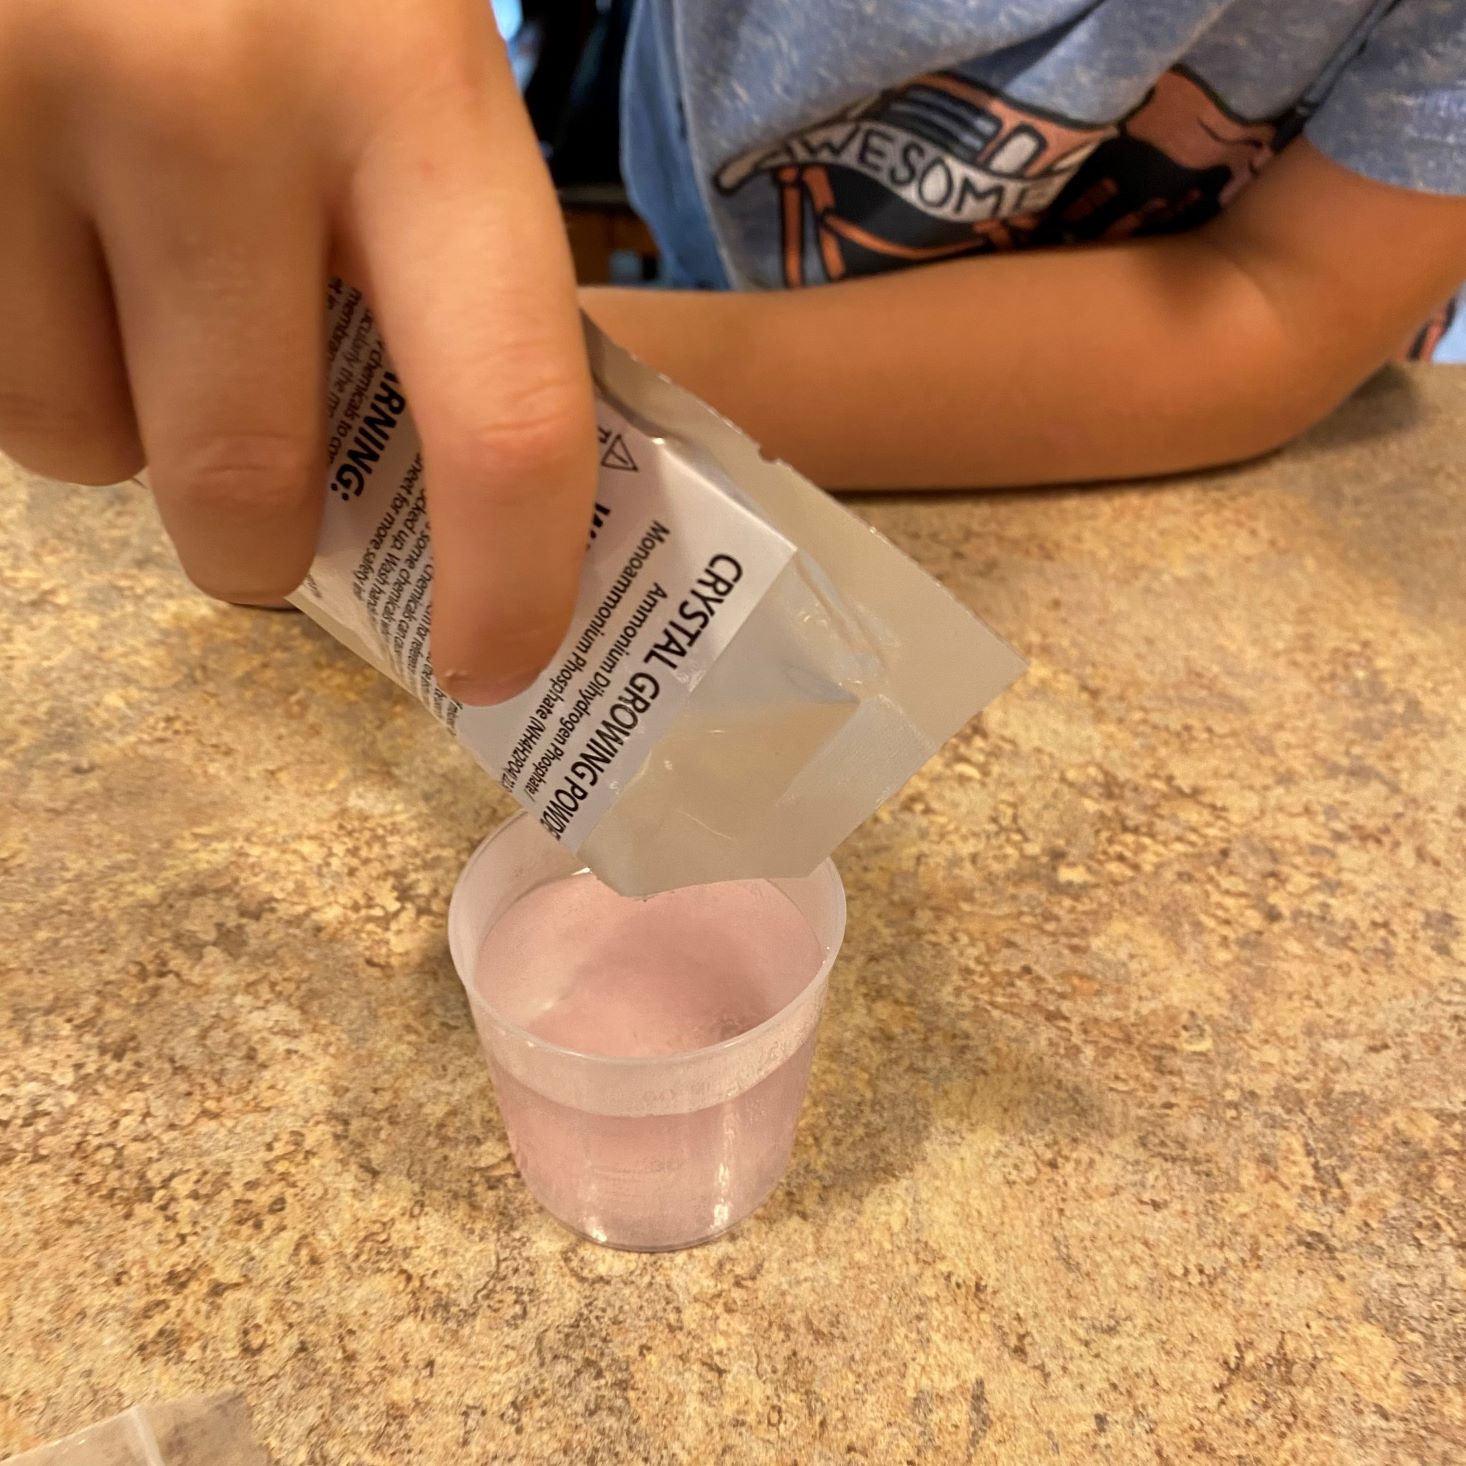

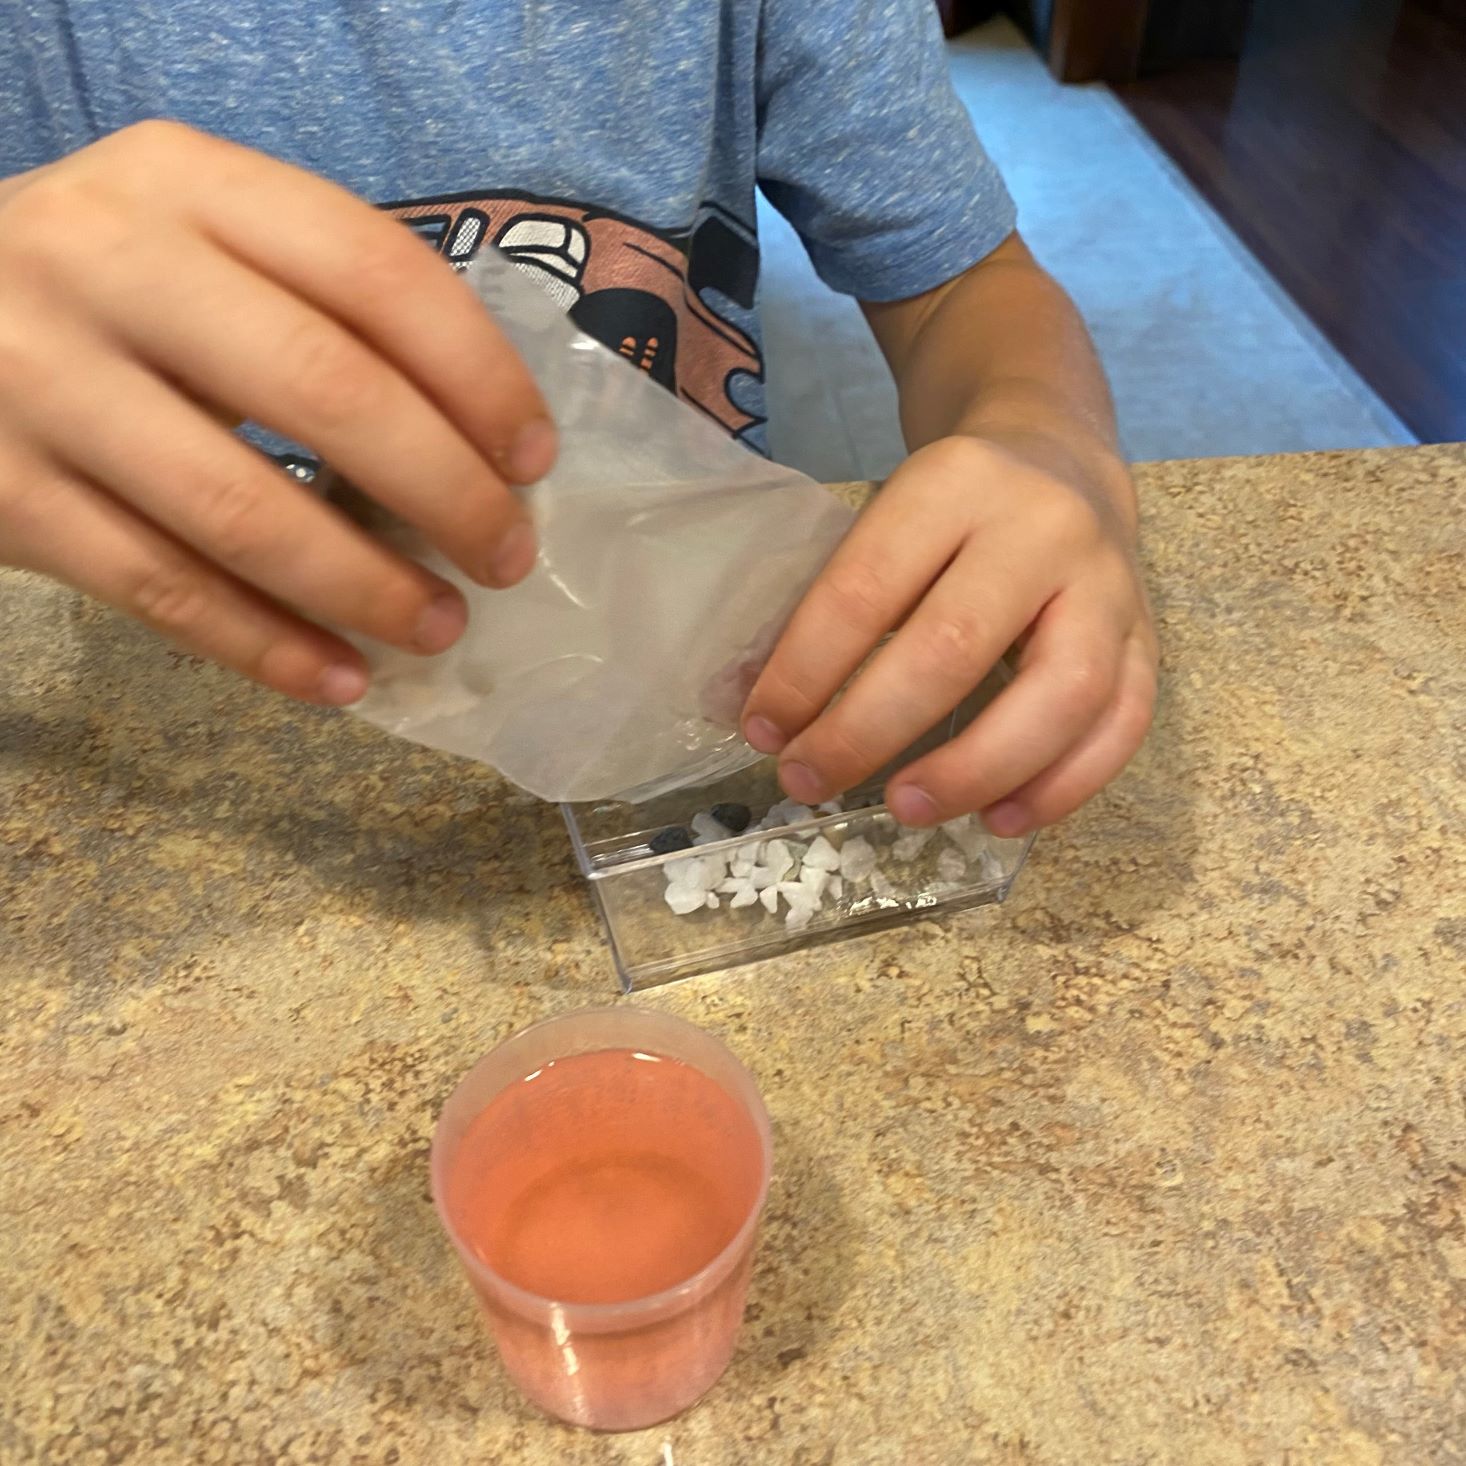
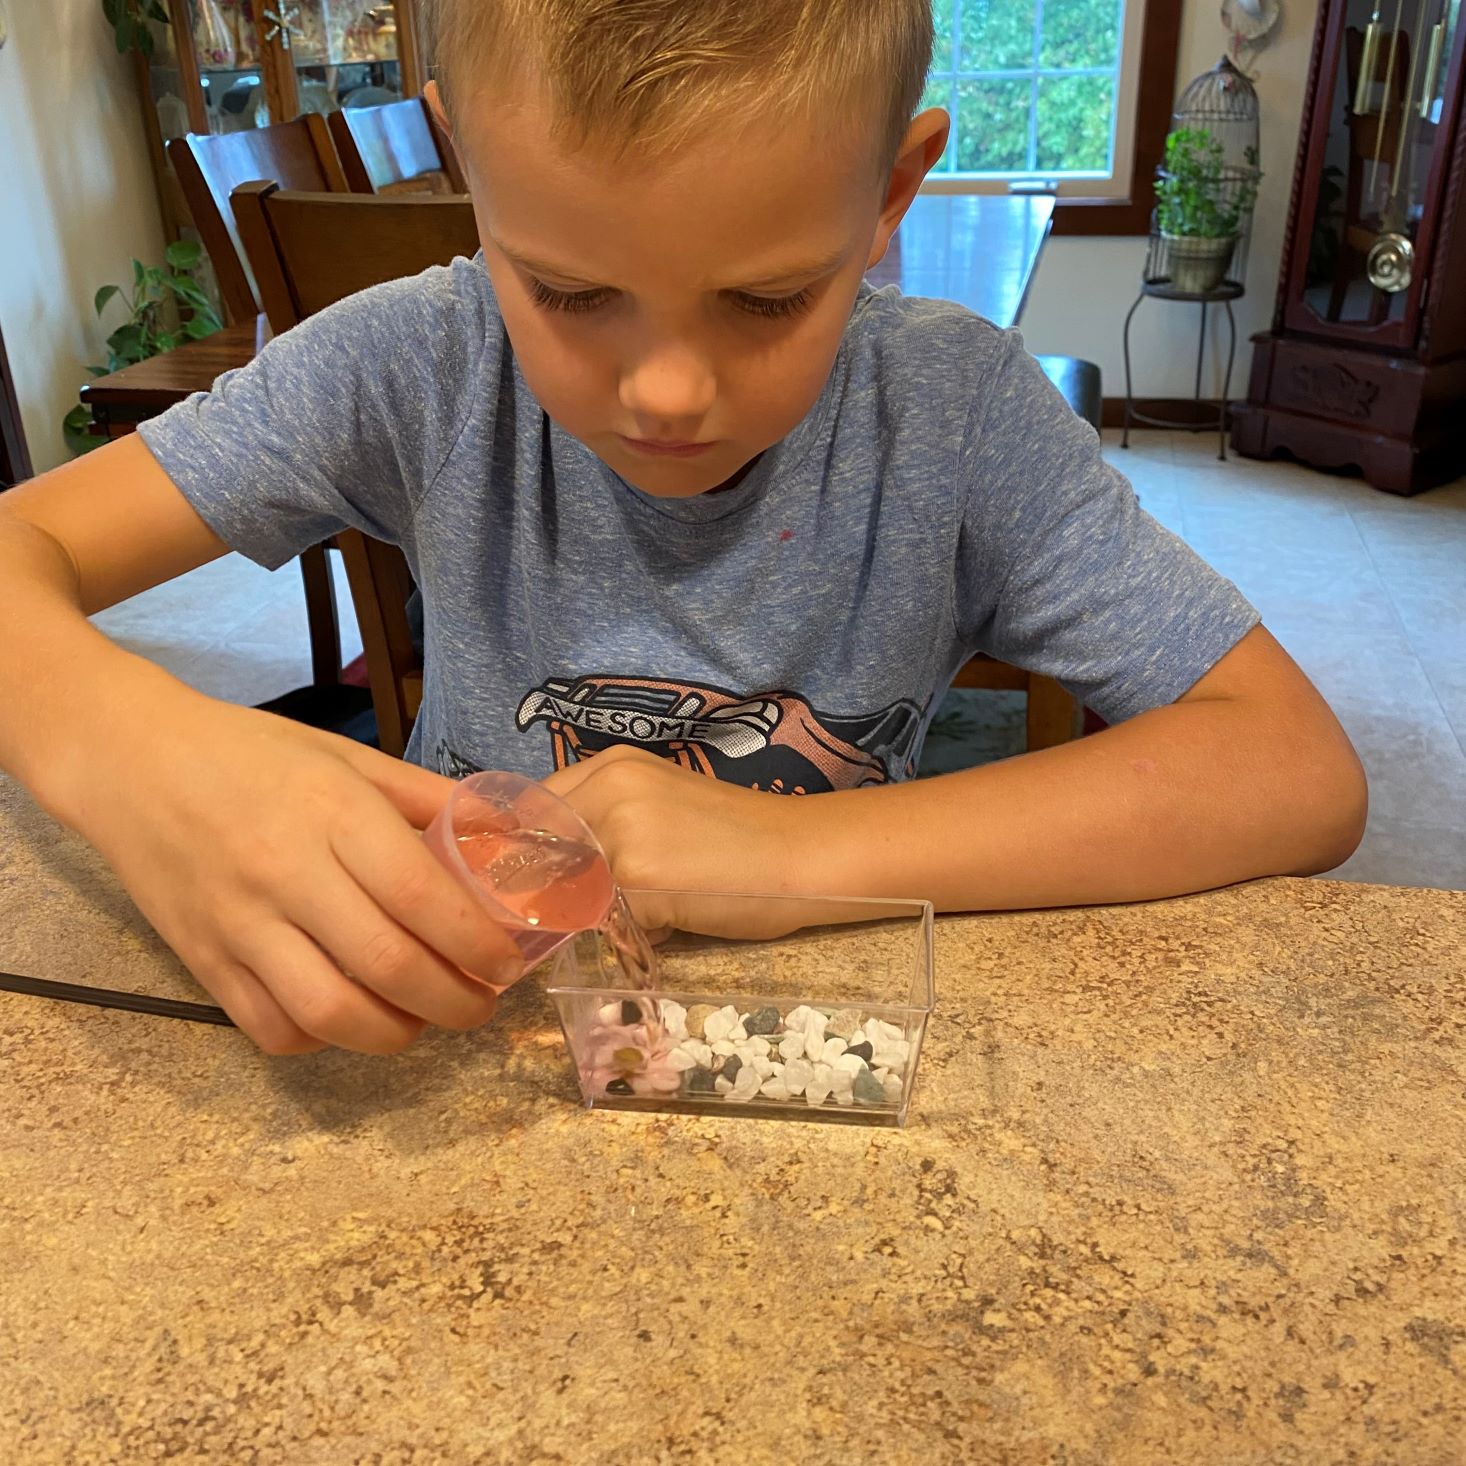
Prior to starting our experiment, we did watch the included video to make sure we did this correctly. Charlie was so excited he could hardly sit through it, but we made it through feeling fairly confident with this task. Charlie started his crystal endeavor by heating up 45 mL of water and pouring the crystal powder packet into it. Step 3 describes "saving a little bit of crystal powder" and we weren't sure what "a little bit" meant, so we did our best. Using the stir stick, Charlie dissolved the powder and let sit. After he sprinkled the gravel into the growing container, he poured the crystal solution over the top and let it cool. After about an hour he added the remaining powder and let it sit in the windowsill where it cannot be moved or bumped.
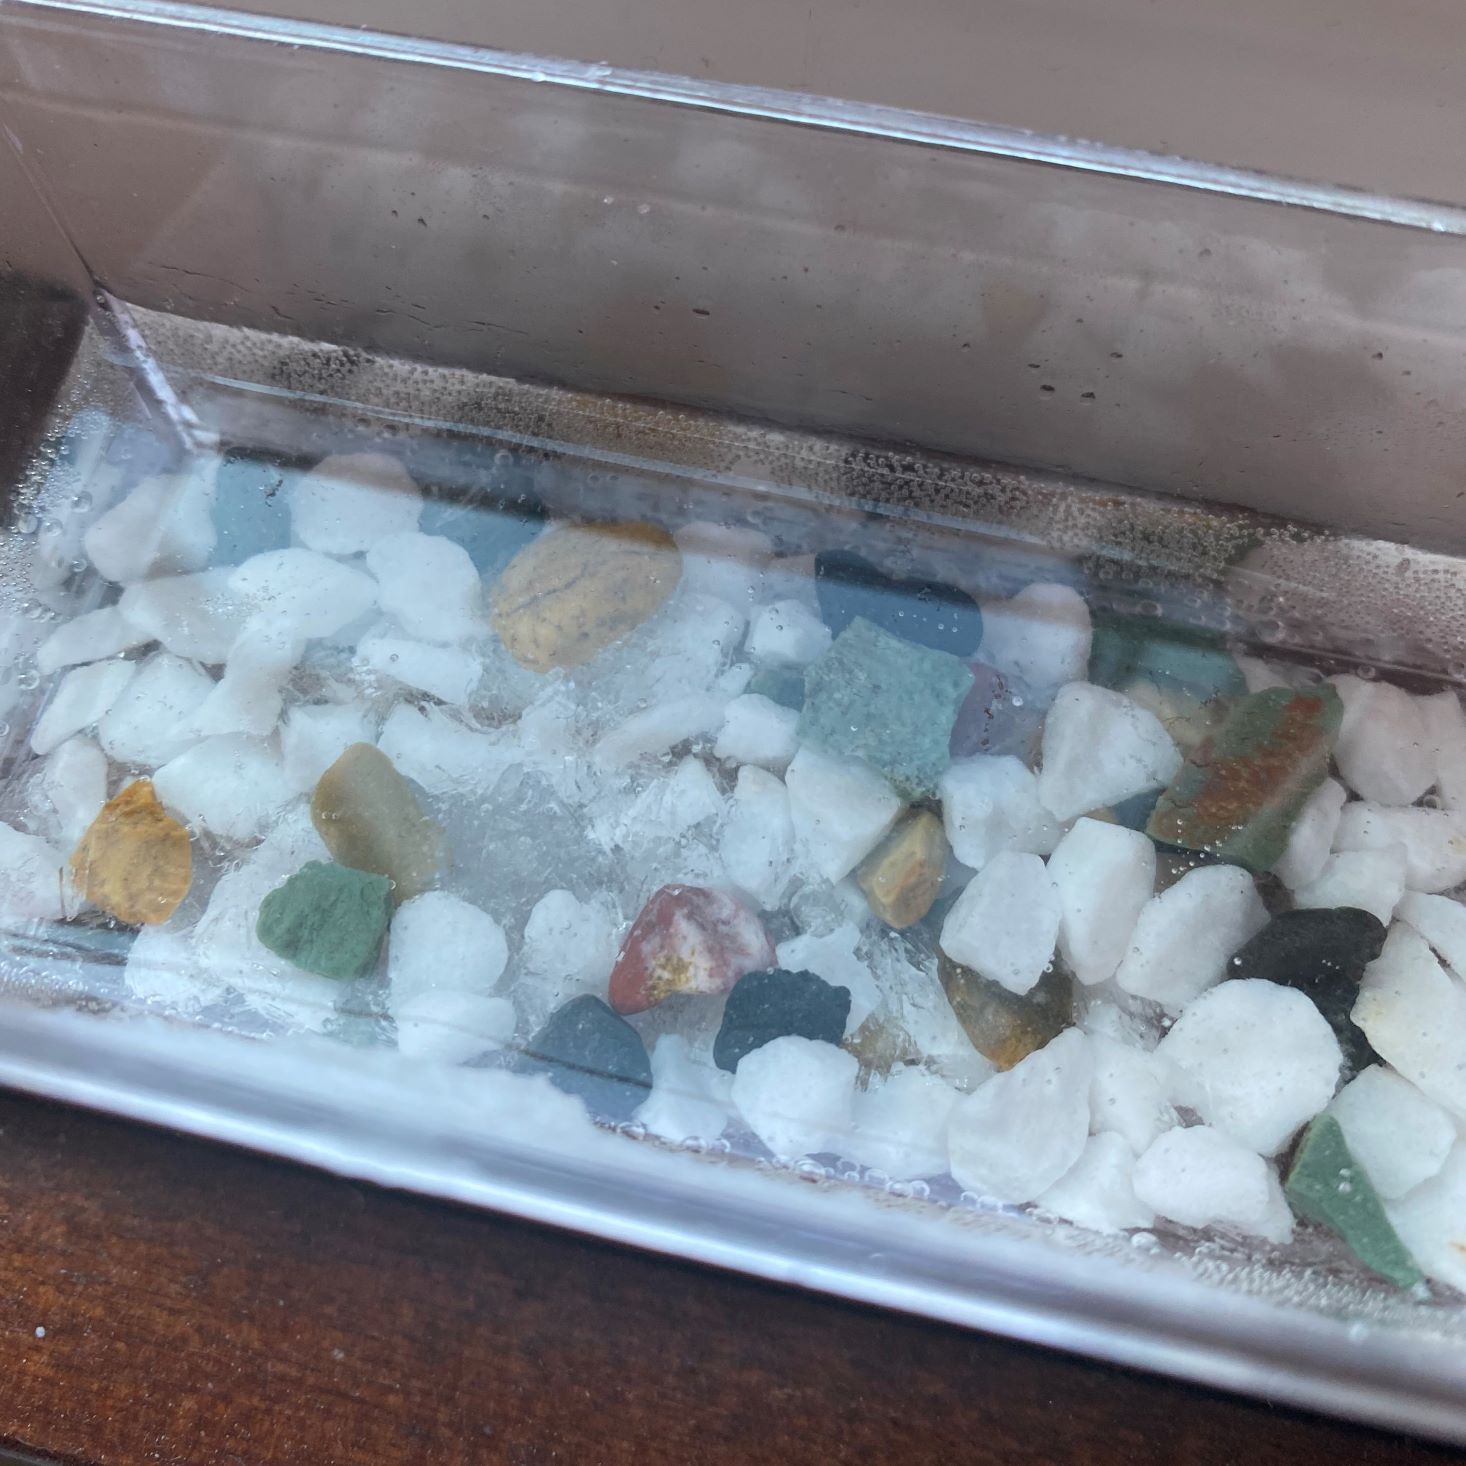
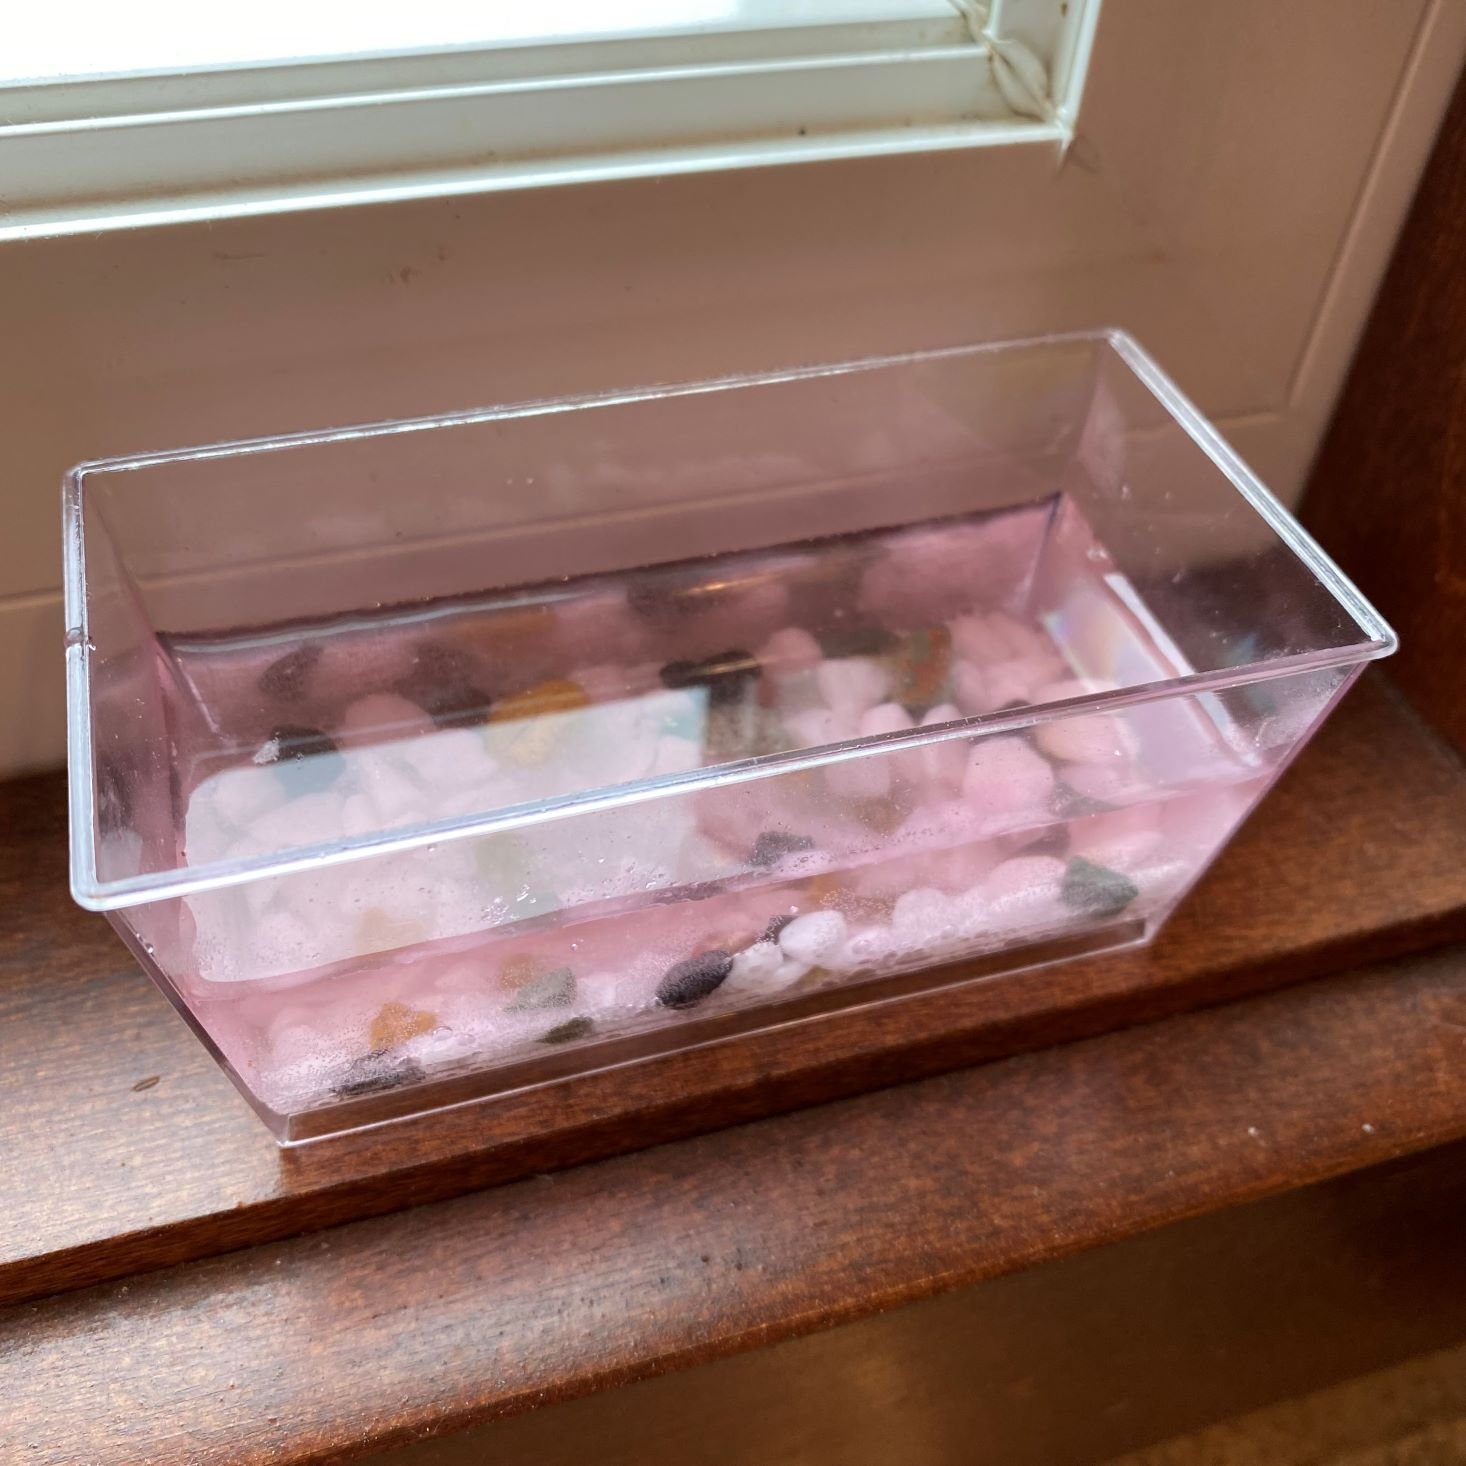
1 of 5
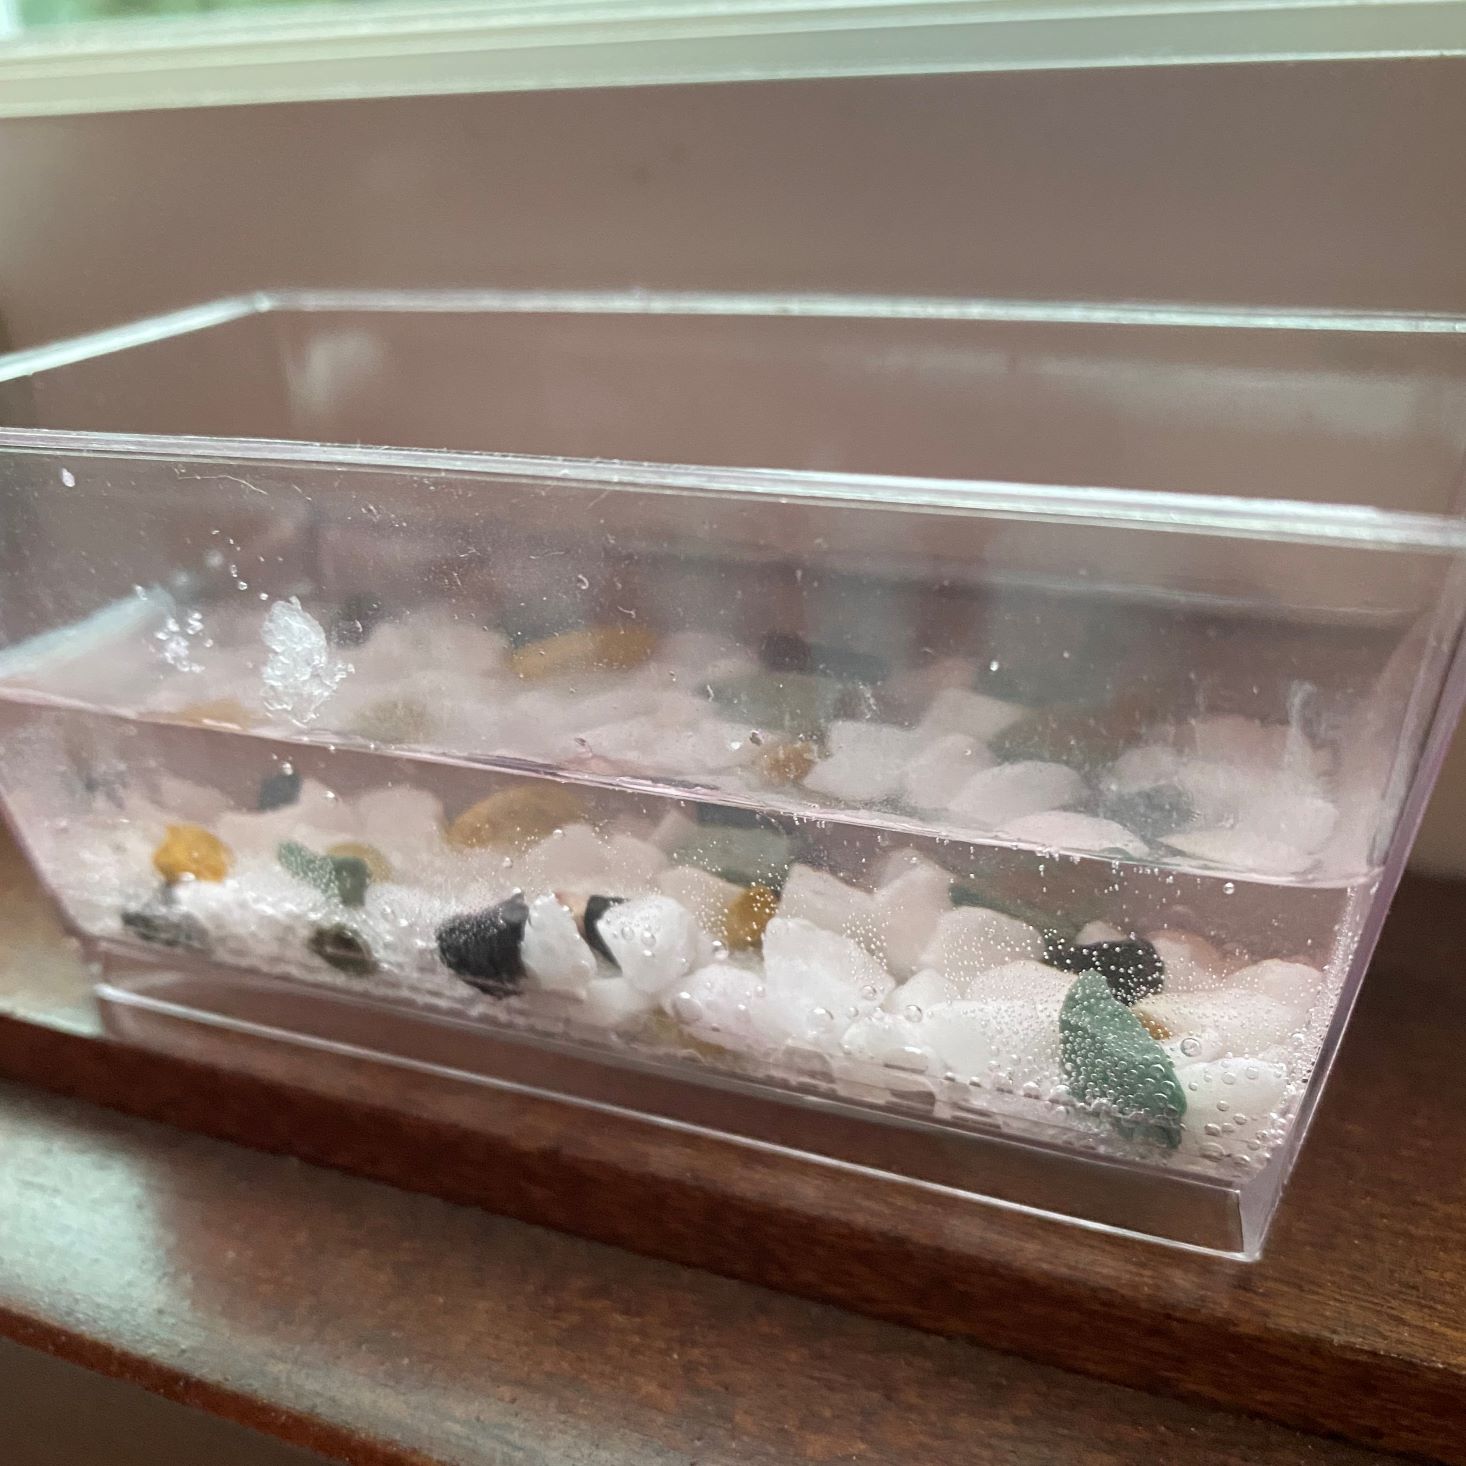
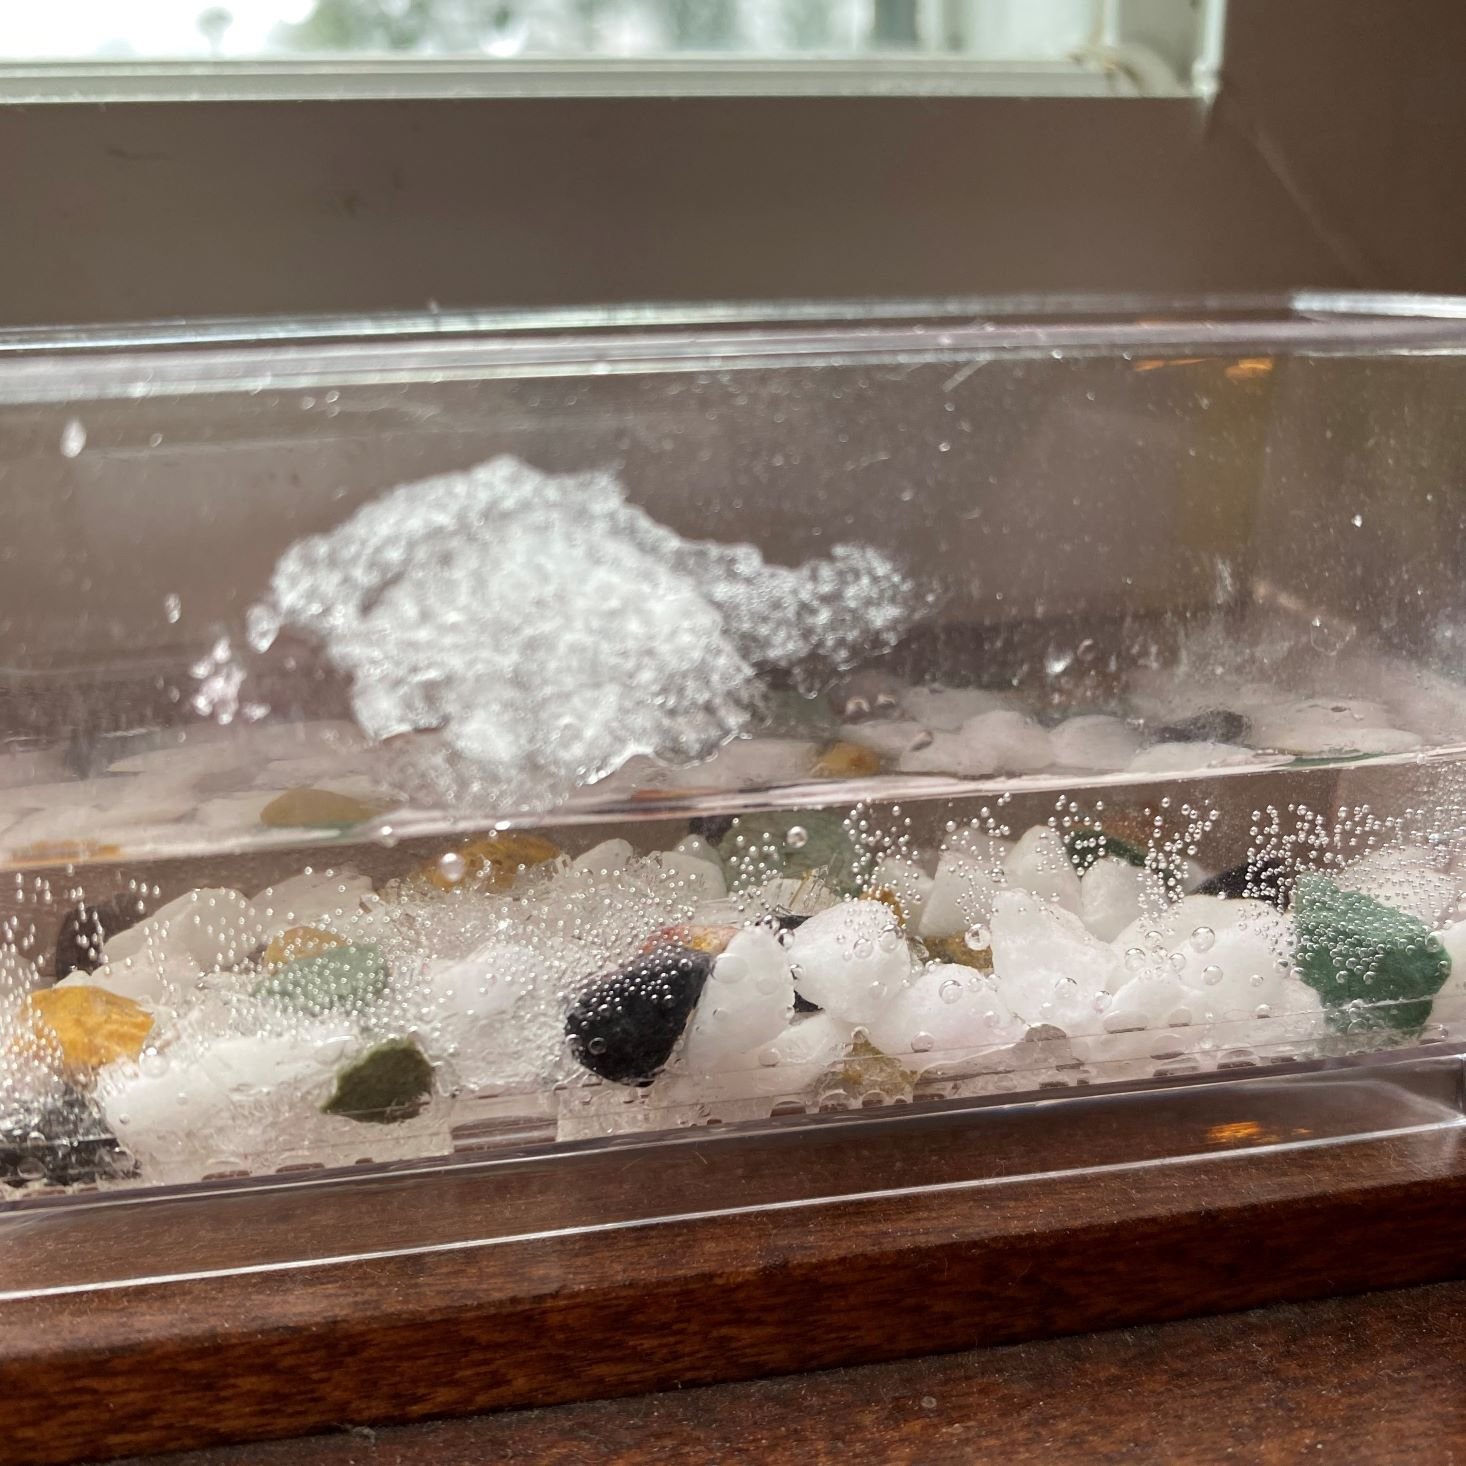

The first photo is after the first day. The solution was still pink and we had no crystals. Three days later, we didn't see much action. There were a couple of tiny specks forming on the gravel, but not much else. After 6 days, we noticed a large cluster forming on the side of the growing container....not sure what is going on there, but we also see those specks from a couple days ago turning into larger crystals. Honestly, I was a little disappointed. I don't know what I was expecting, but I have to admit, it was a little more than what we've seen so far. We will continue to let it grow in the window sill, and while I wasn't expecting a 5-inch crystal to magically appear, I was hoping for something a little more impressive.
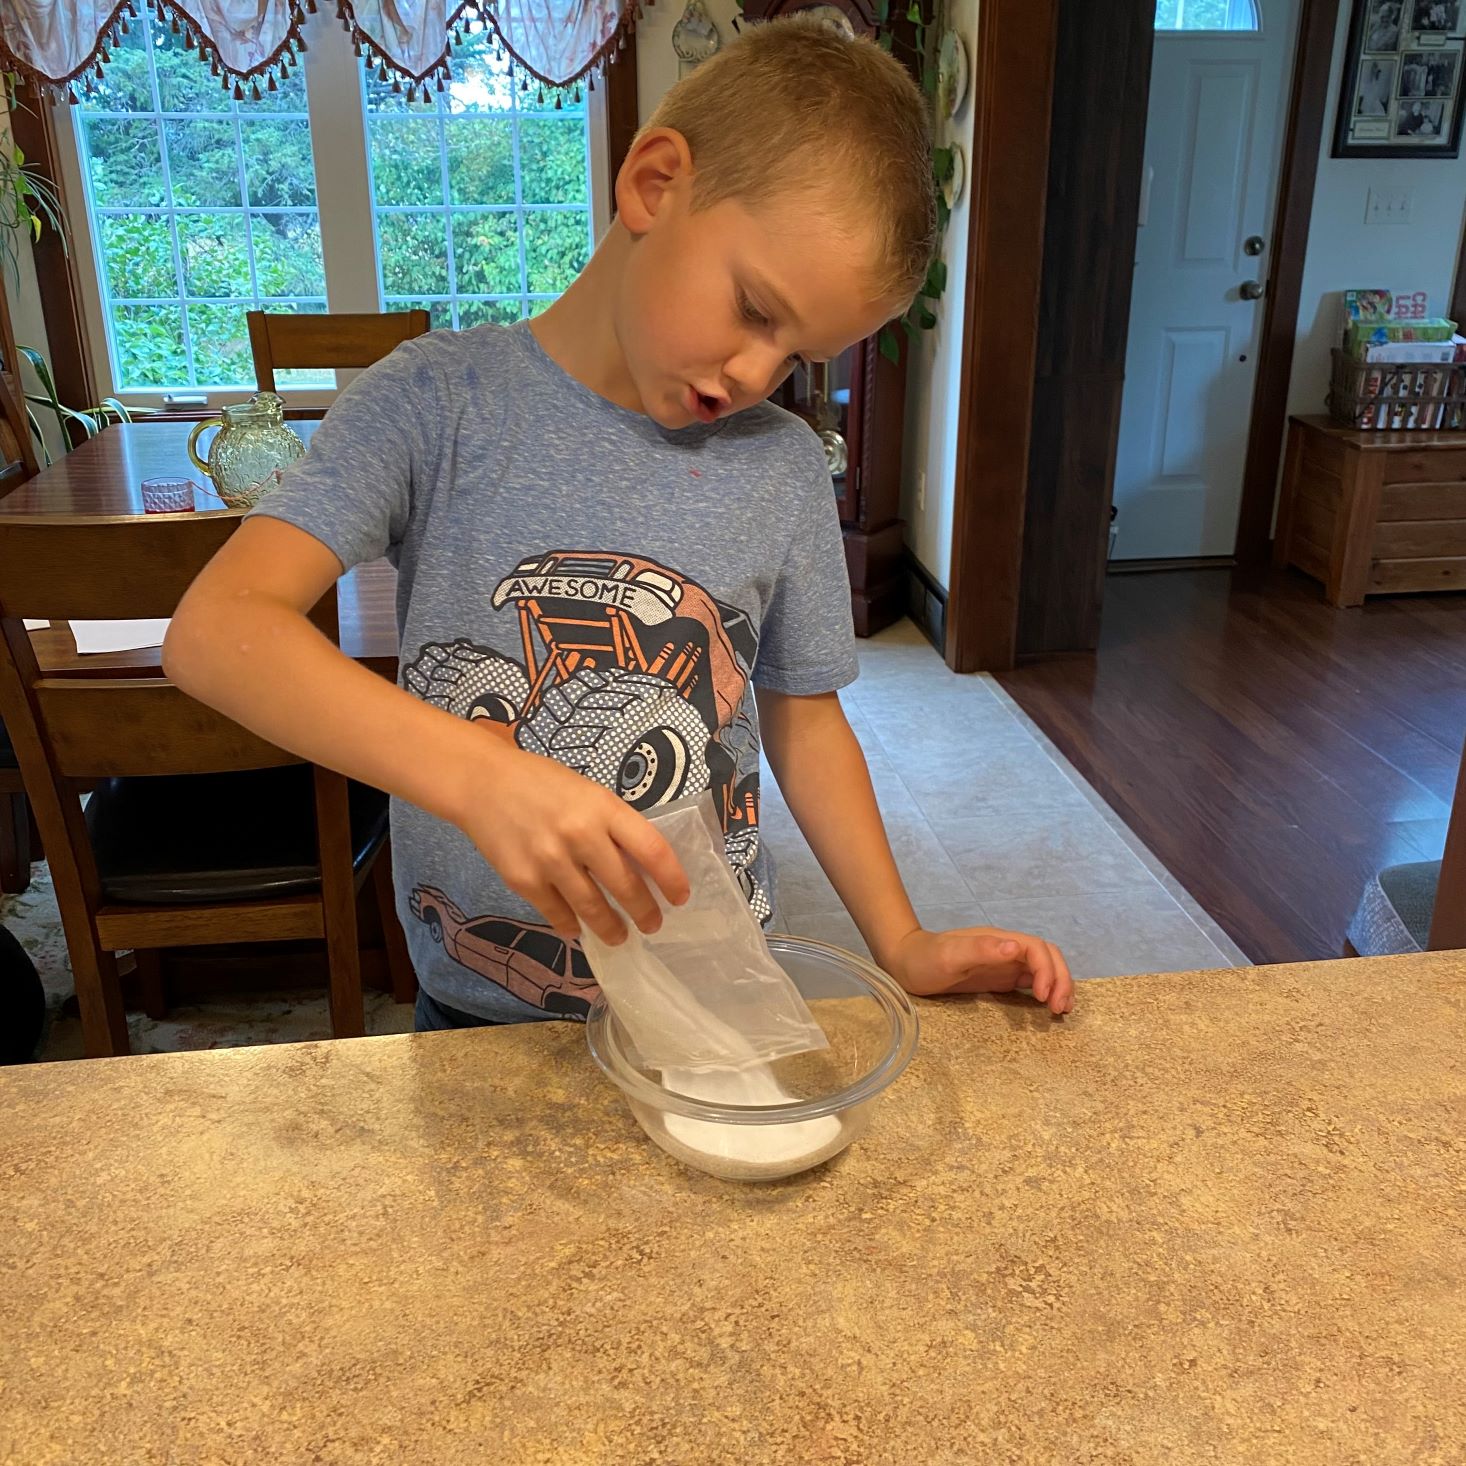
Project #2: Stalactite on a String
1 of 3

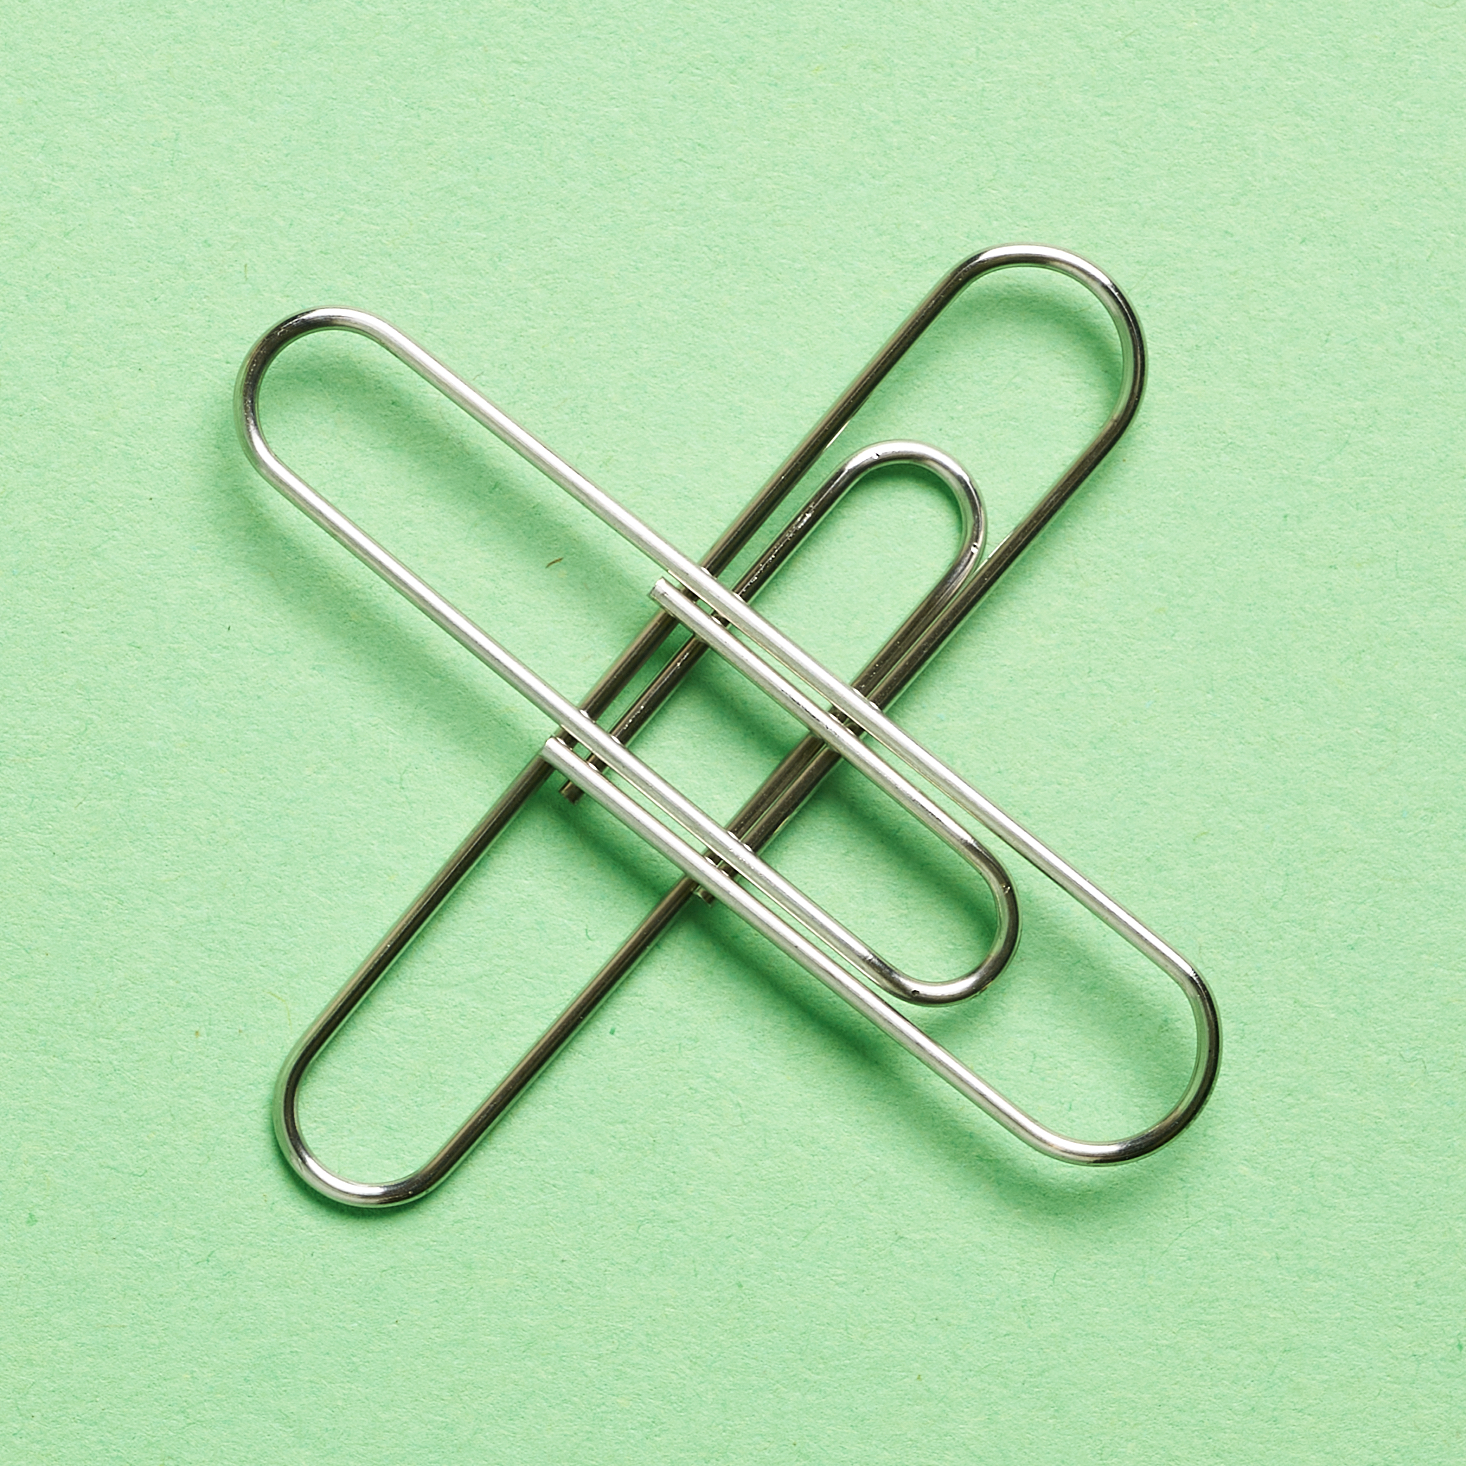
Our next experiment was to create a stalactite on a string. Again, growing stalactites requires patience. It can take many days or even weeks to grow, which is nothing compared to the years it takes to grow a stalactite in a cave. To undertake this experiment, we received a stir stick, a cotton string, and paper clips. We needed quite a few things from home for this, which included baking soda, clear cups, hot water, tablespoon measure, food coloring, and a plate or tray.
1 of 4
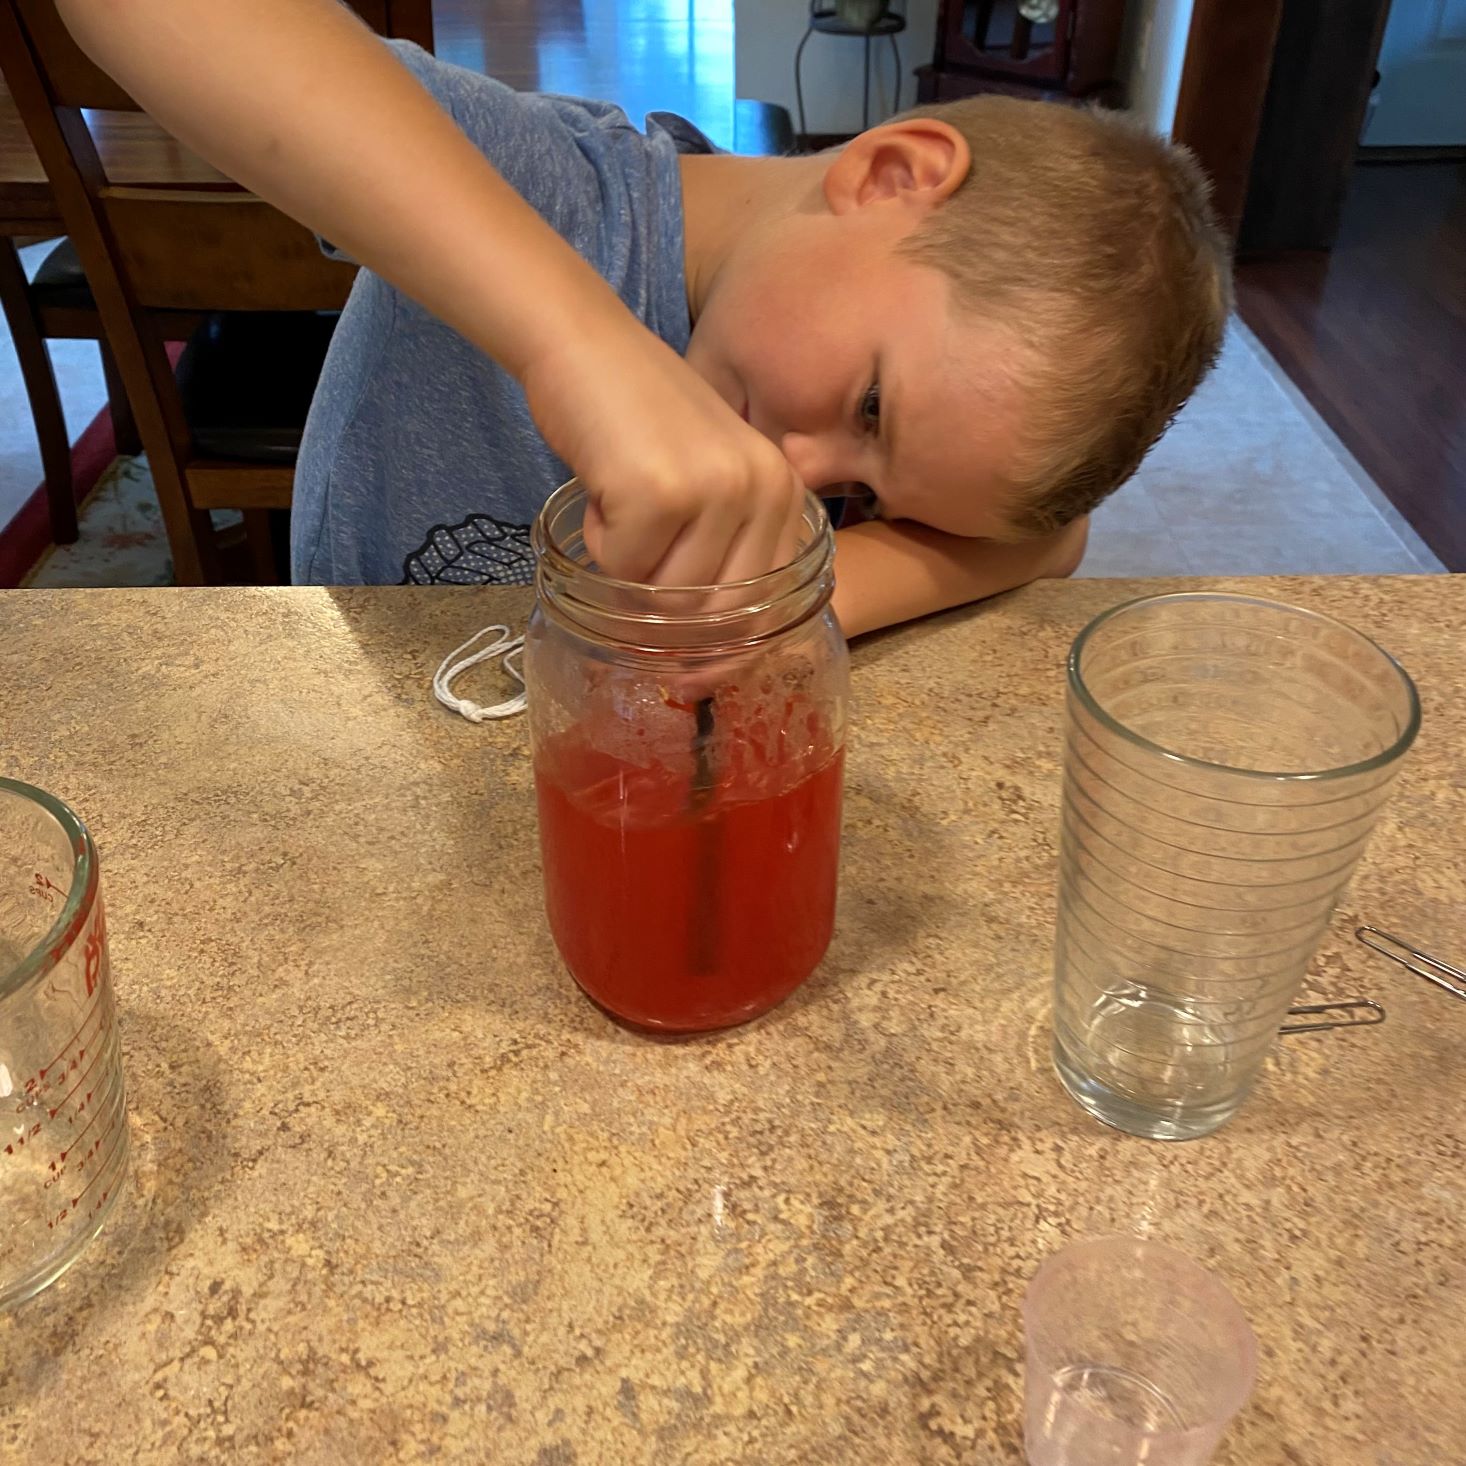
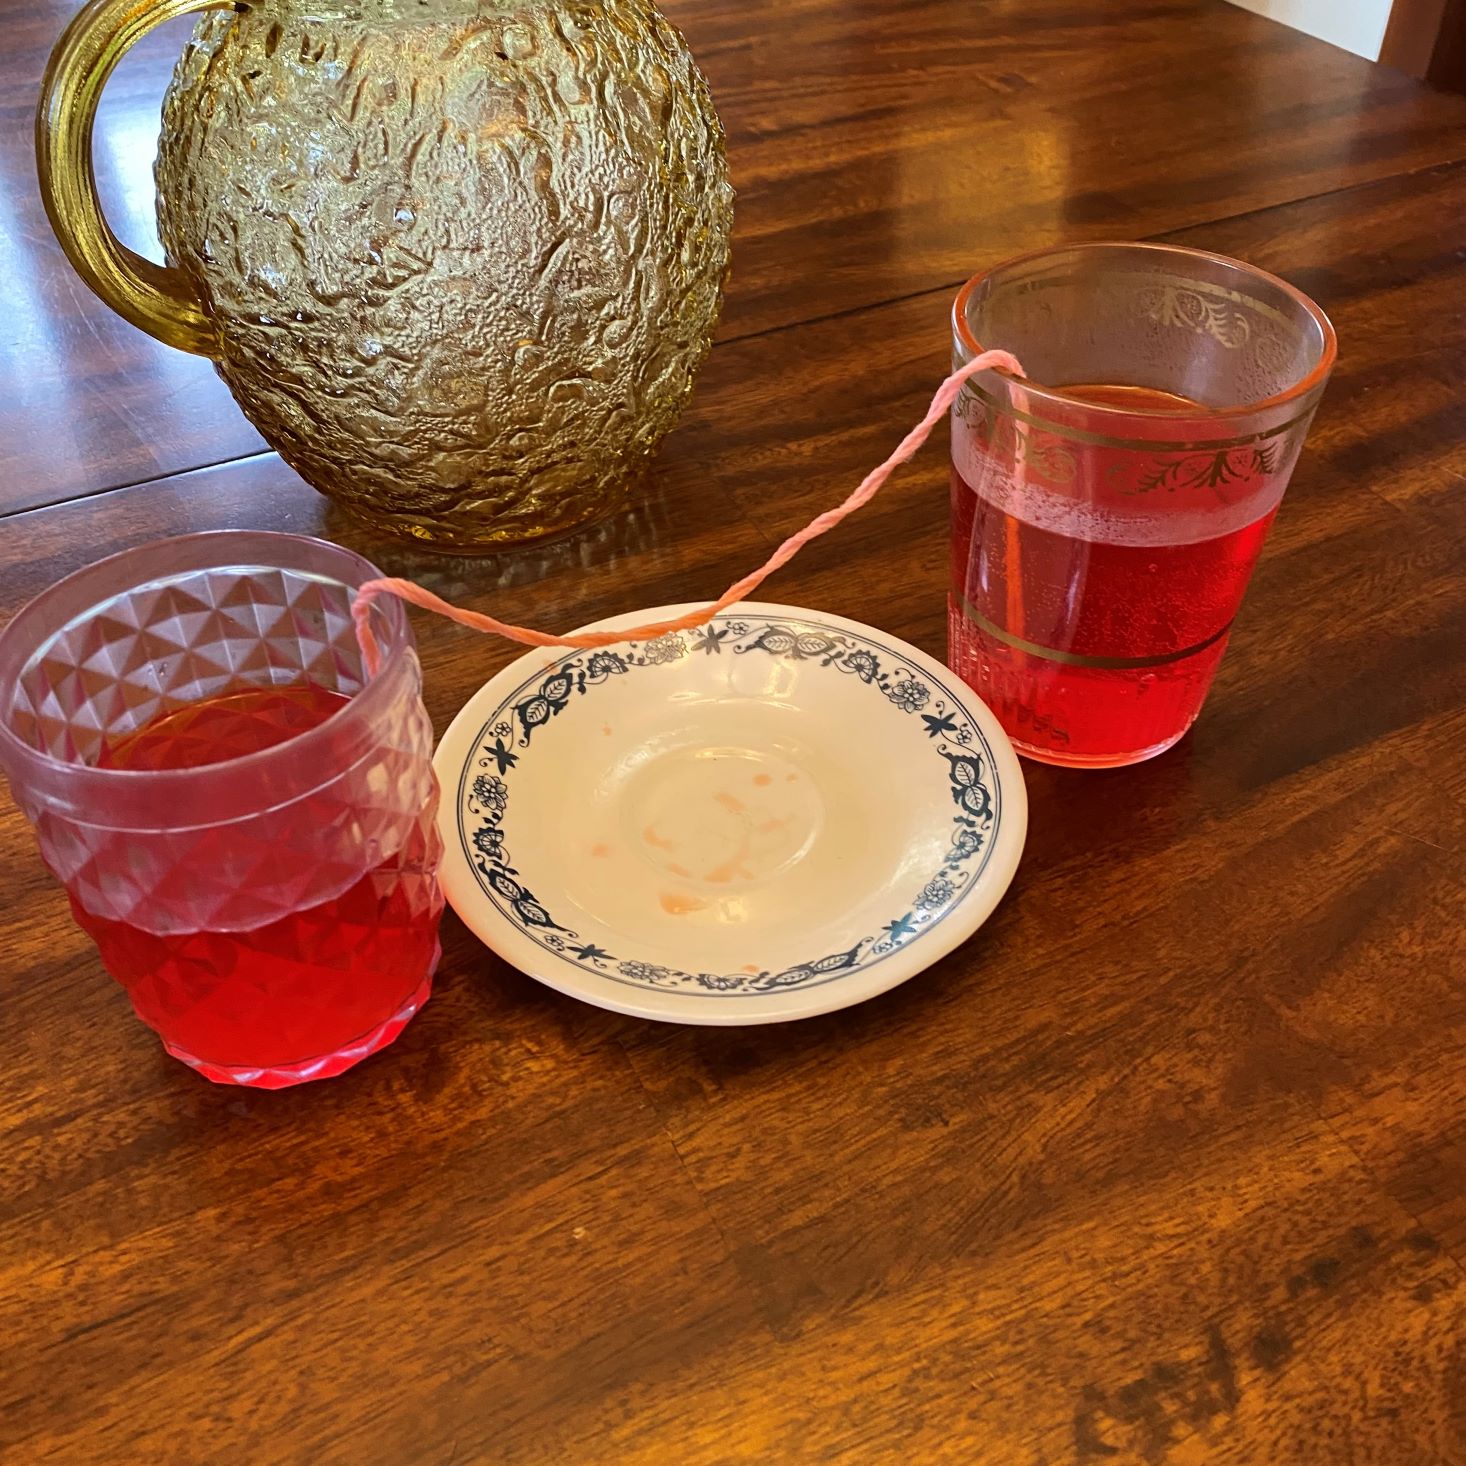
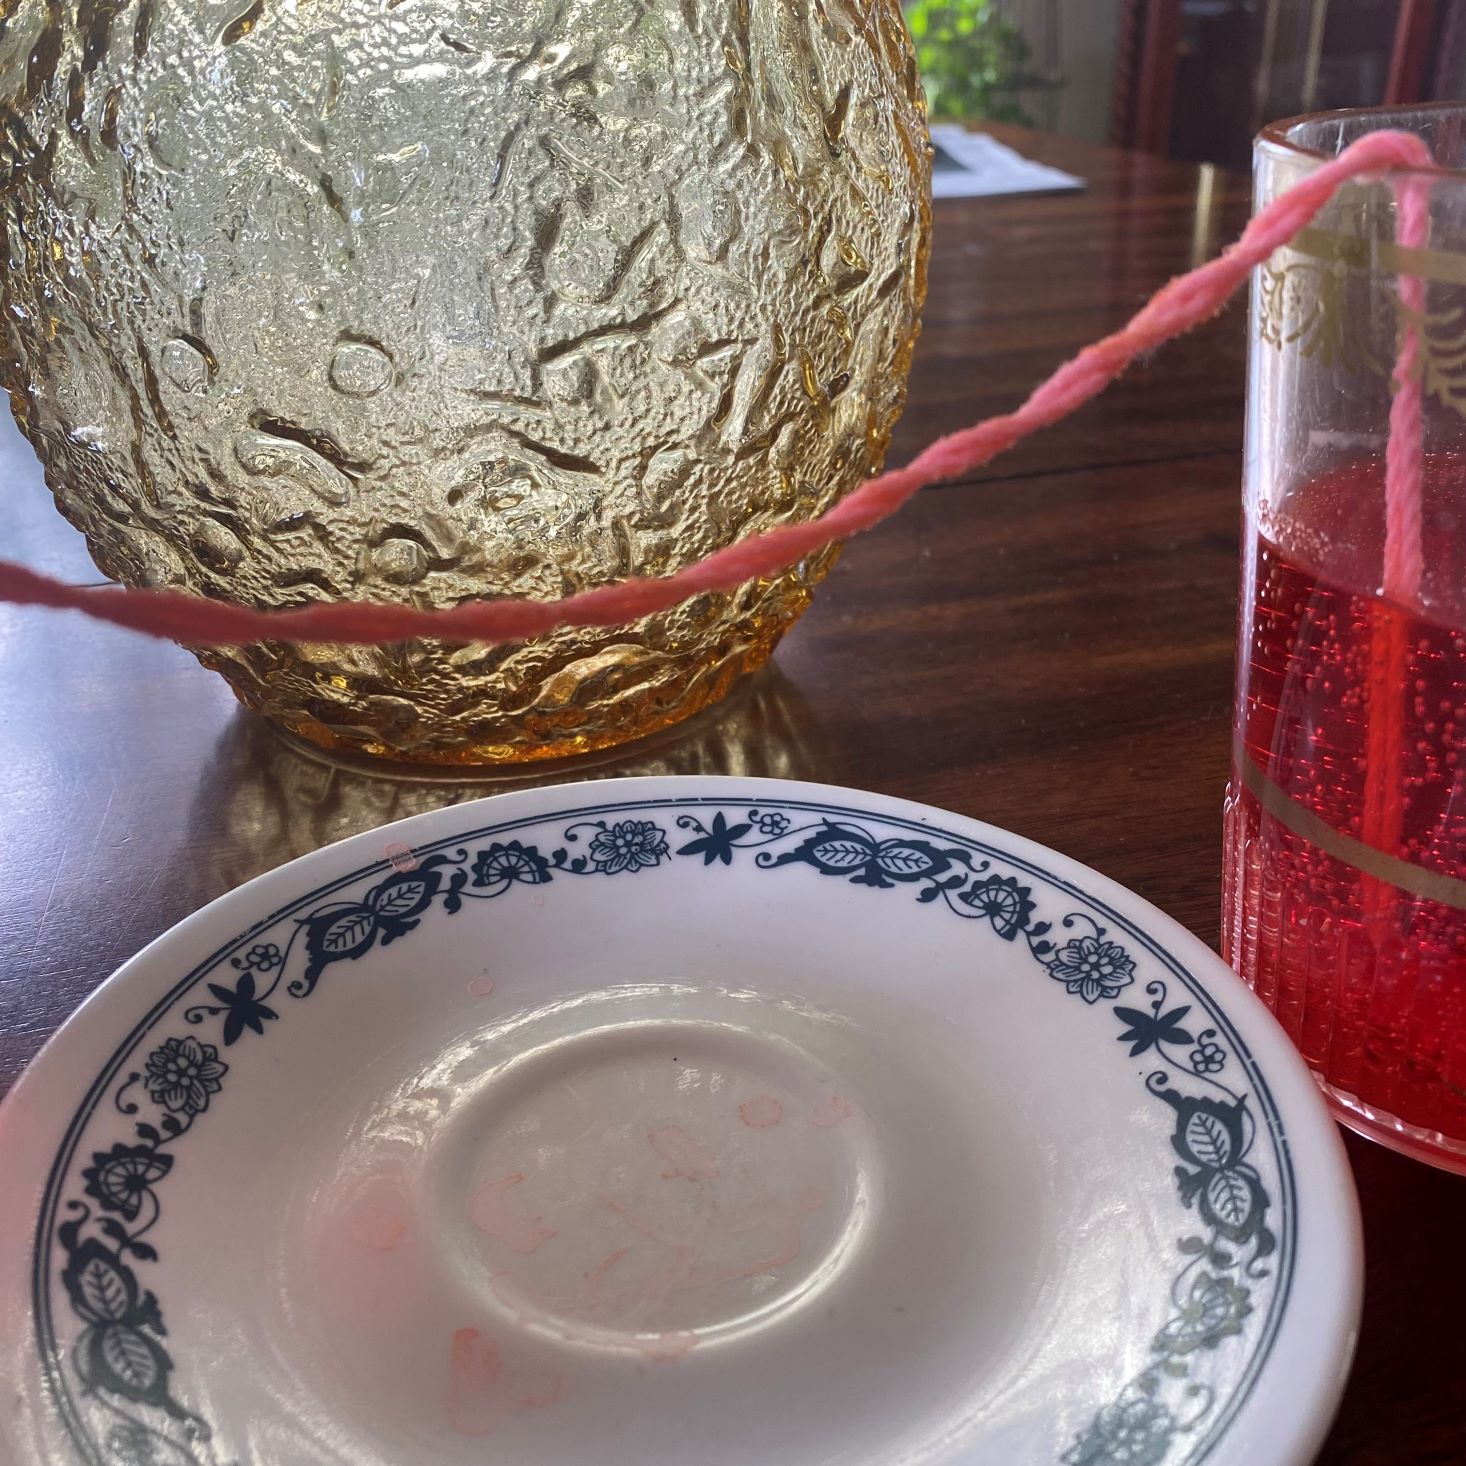
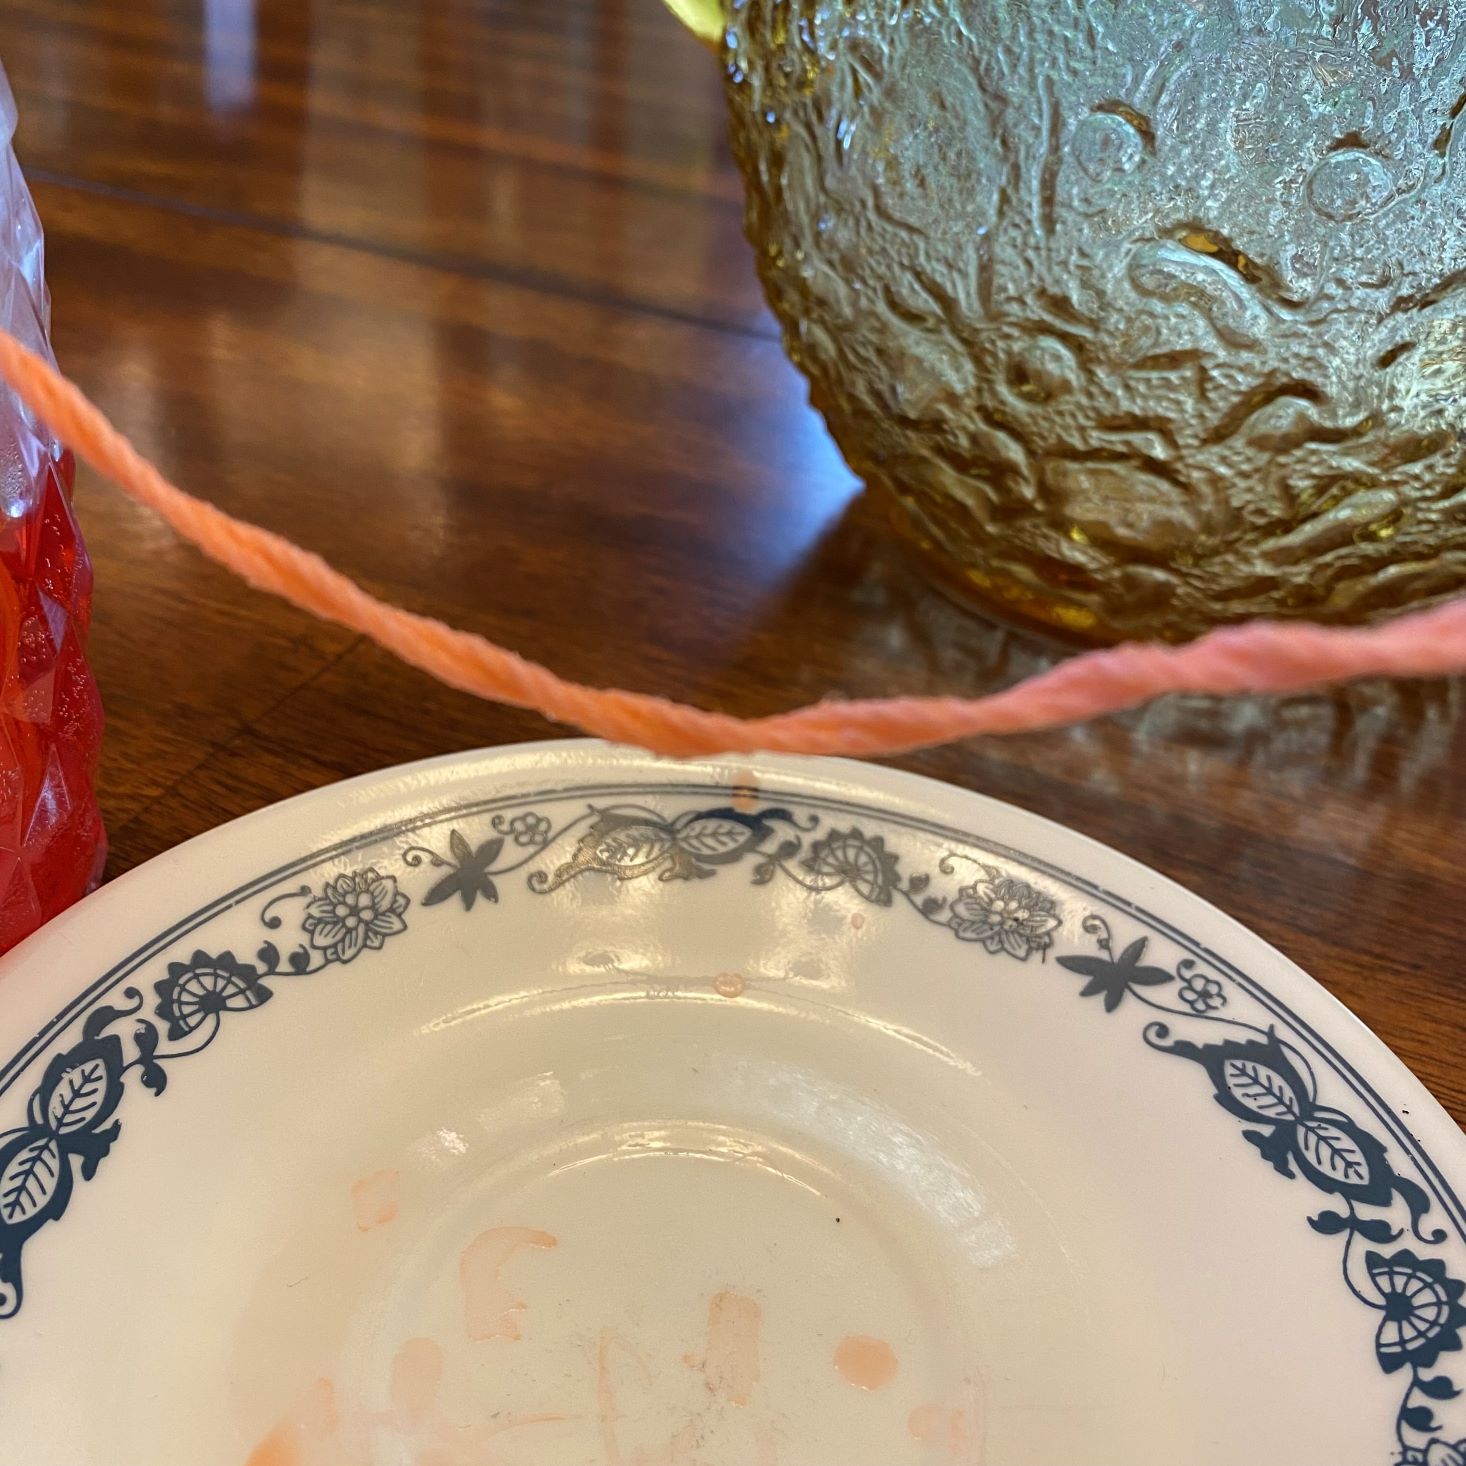
Charlie gathered all of his necessary supplies, and posed silly with them as he just lost another tooth! Once he regained his composure, he followed the steps to create a stalactite on a string. First, he poured hot tap water into the cup and measured out 1 tablespoon of baking soda. It then said to repeat until the baking soda won't dissolve anymore. We weren't sure how much that was going to take. He added a bunch and felt that it was enough, but we had really no clue what to expect. Would it take the entire box or just a few tablespoons? We still aren't sure and are wondering if we didn't add too little. Anyways, after the baking soda, we added the food coloring. Taking the string and twisting it, we added the paper clip and set it in the cup. Pouring half of the solution into another cup, we put the other paperclip at the bottom of that one. Then comes the hardest part...waiting. We didn't see much action the first day, or the second, or even the third.
1 of 2
This is the sixth day, and while the picture isn't very good, we are finally getting some very teeny tiny crystals to form. The directions do say it could take weeks to see results, but I'm wondering if we didn't add enough baking soda. Charlie has made me promise to leave this string on our dining room table for at least two more weeks just to see if he can get a stalactite to grow.
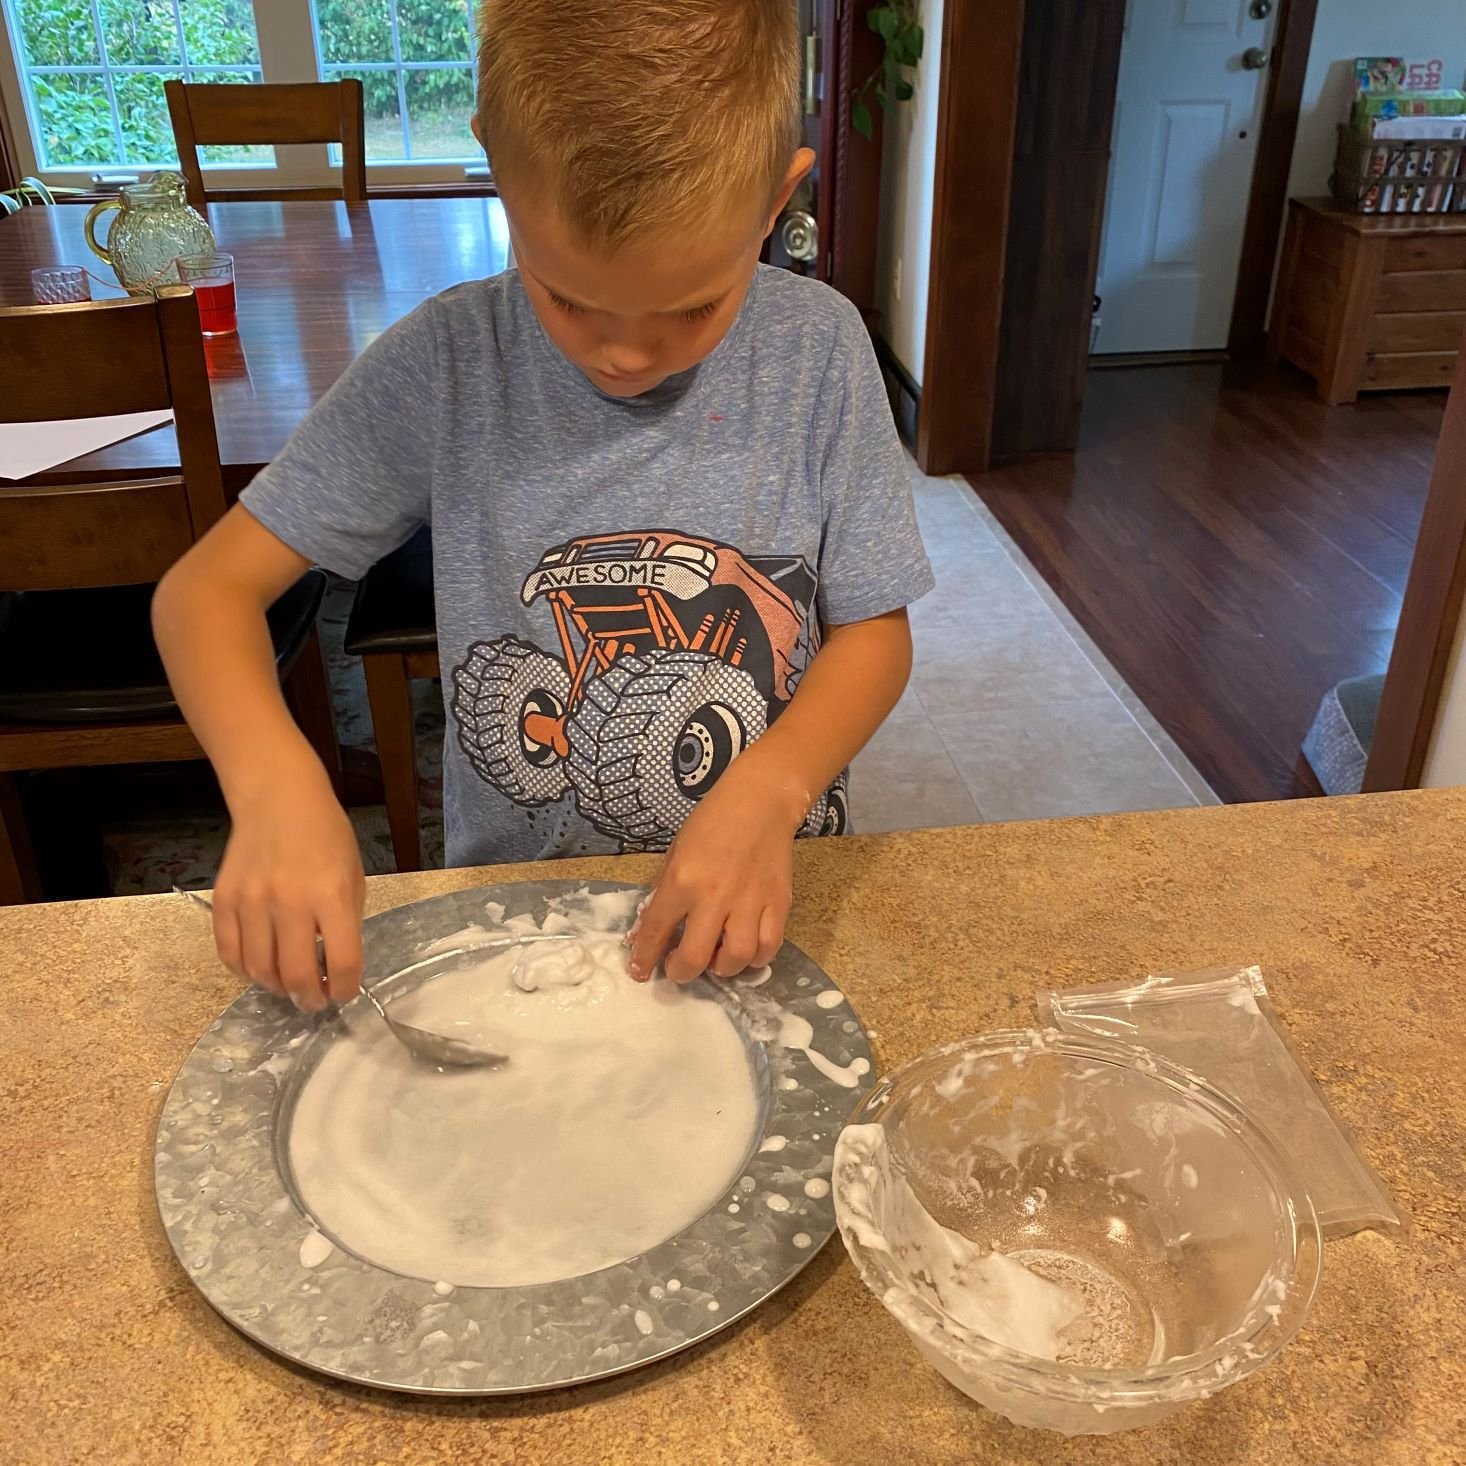
Project #3: Sand Stalagmites
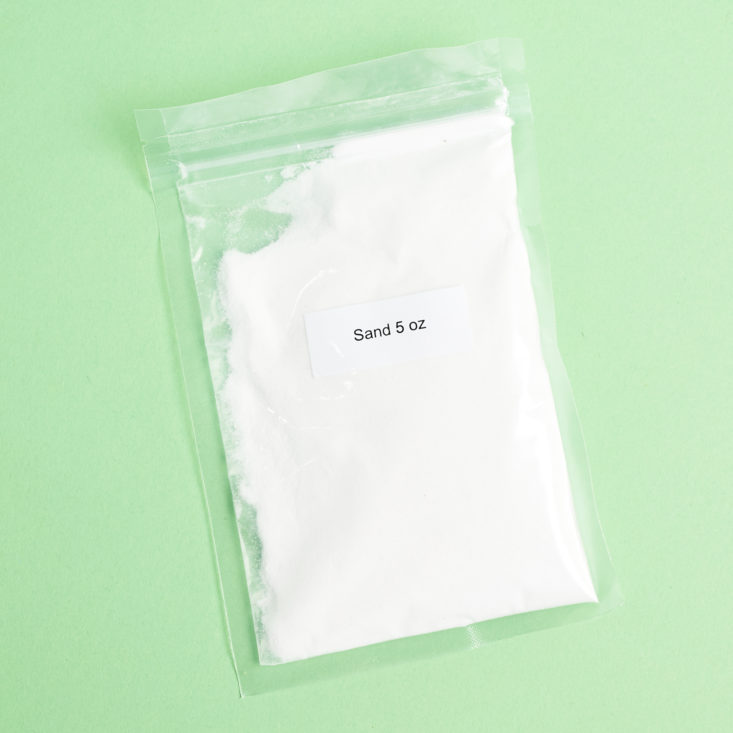
For our last experiment, we received a bag of fine sand to create our very own sand stalagmites. From home, we needed to provide an old plate, water, a bowl, spoon, rock, and ruler.
1 of 6

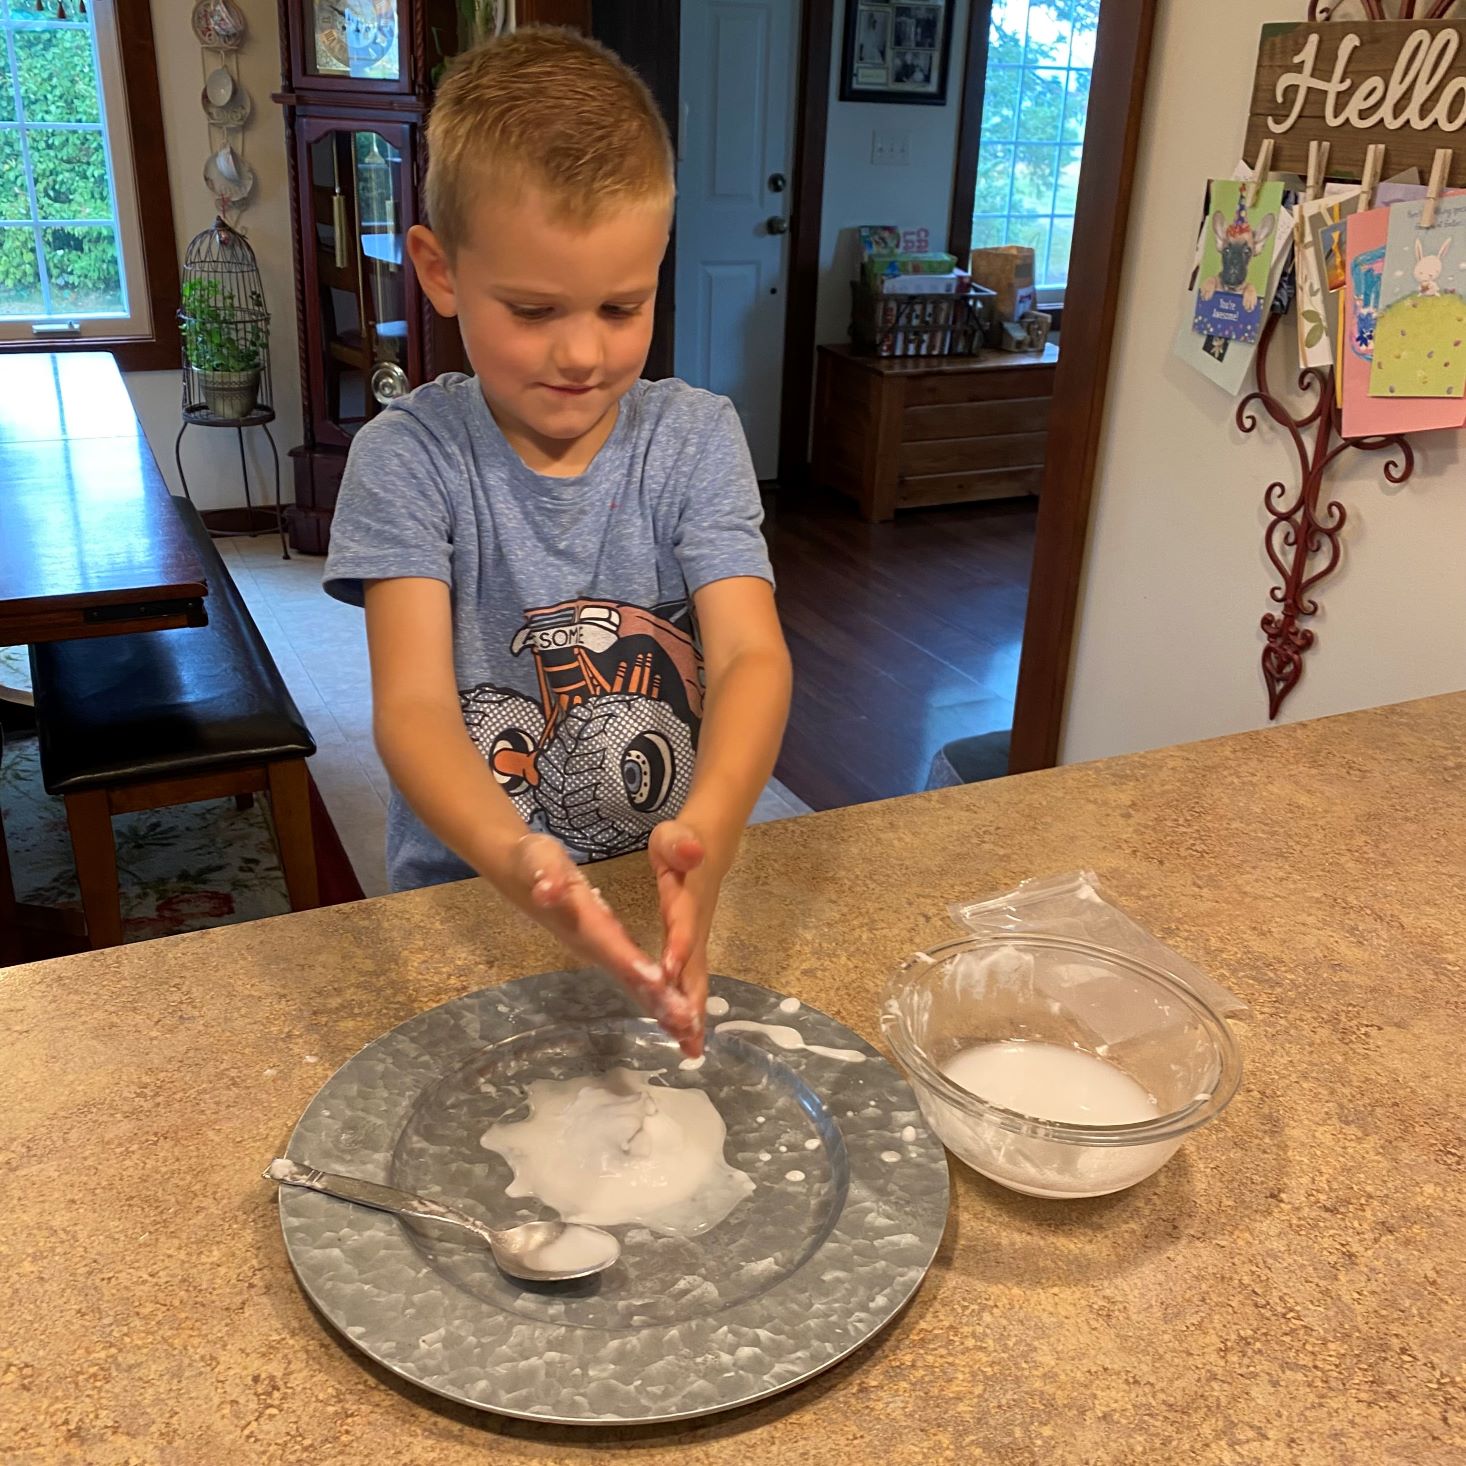

In this experiment, Charlie built a tower that was similar in structure to a stalagmite in a cave. First, we poured the sand into a bowl and added water. Next, he picked out a rock from our driveway and placed it in the middle of a plate. He scooped the wet sand out of the bowl and let the water drain out, creating a slurry. Scooping it out, he added it to the rock and stacked it as high as he could. Following the directions every step of the way, we couldn't get our stalagmite very high. Charlie may have added a bit too much water, but he had fun anyhow and learned a lot.
Badge
After we completed our activities we were then awarded the "Caves & Crystals" Badge, as a tribute to our hard work and play!
Verdict
After last month's "Roller Coaster Physics" box, we couldn't wait to see what the Cave and Crystals theme could have in store. Charlie had a wonderful time reading through the material and couldn't wait to get his hands on the experiments. While the experiments themselves were easy to follow and exciting to embark upon, our lack of results and the required patience is just too much for a 6-year-old to bear. At $27.95, this subscription is a bit on the pricey side, and while we had fun, I would have liked to see at least one more experiment, and maybe not so many supplies needed from home. From an educational standpoint, this is extremely informative, fun, and engaging, but I would like to see the value increase a little bit. What do you think next month's theme will be?
Keep Track of Your Subscriptions: Add this box to your subscription list or wishlist!
To Wrap Up:
Can you still get this box if you sign up today? You'll start with the Forensic Science box in the first month, followed by a different themed box each month thereafter.
What do you think of this box?
Please do not enter your email address in the Name field or in the comment content. Your email address will not be published. Required fields are marked *. Remember to post with kindness and respect. Comments with offensive language, cruelness to others, etc will not be approved. See our full comment policy here.