

Raddish Kids is a monthly subscription service geared towards ages 4-14+ (parents are encouraged to help younger children) to teach them culinary skills and instill confidence in the kitchen.
This box was sent to us at no cost for review. (Check out the review process post to learn more about how we review boxes).
About Raddish Kids
The Box: Raddish Kids
The Cost: $24 + free shipping (save with longer subscriptions)
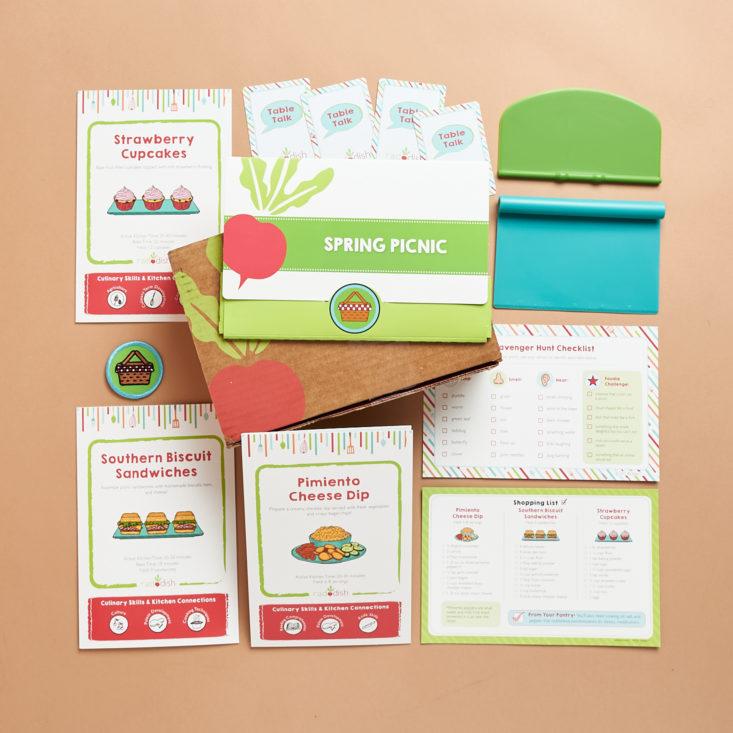
The Products: Three recipe cards, a quality kitchen tool, conversation cards, a Raddish apron patch, a grocery list, and a creative kitchen project. A Raddish apron is included free with 6 and 12-month subscriptions. You can purchase an apron separately with a monthly subscription for $15.
Ships to: The U.S. for free, Internationally for $7
Good to Know: There is a sibling add-on option, including an extra patch and kitchen tool for $5 extra per month.
Raddish Kids Box “Spring Picnic” April 2021 Review
1 of 3

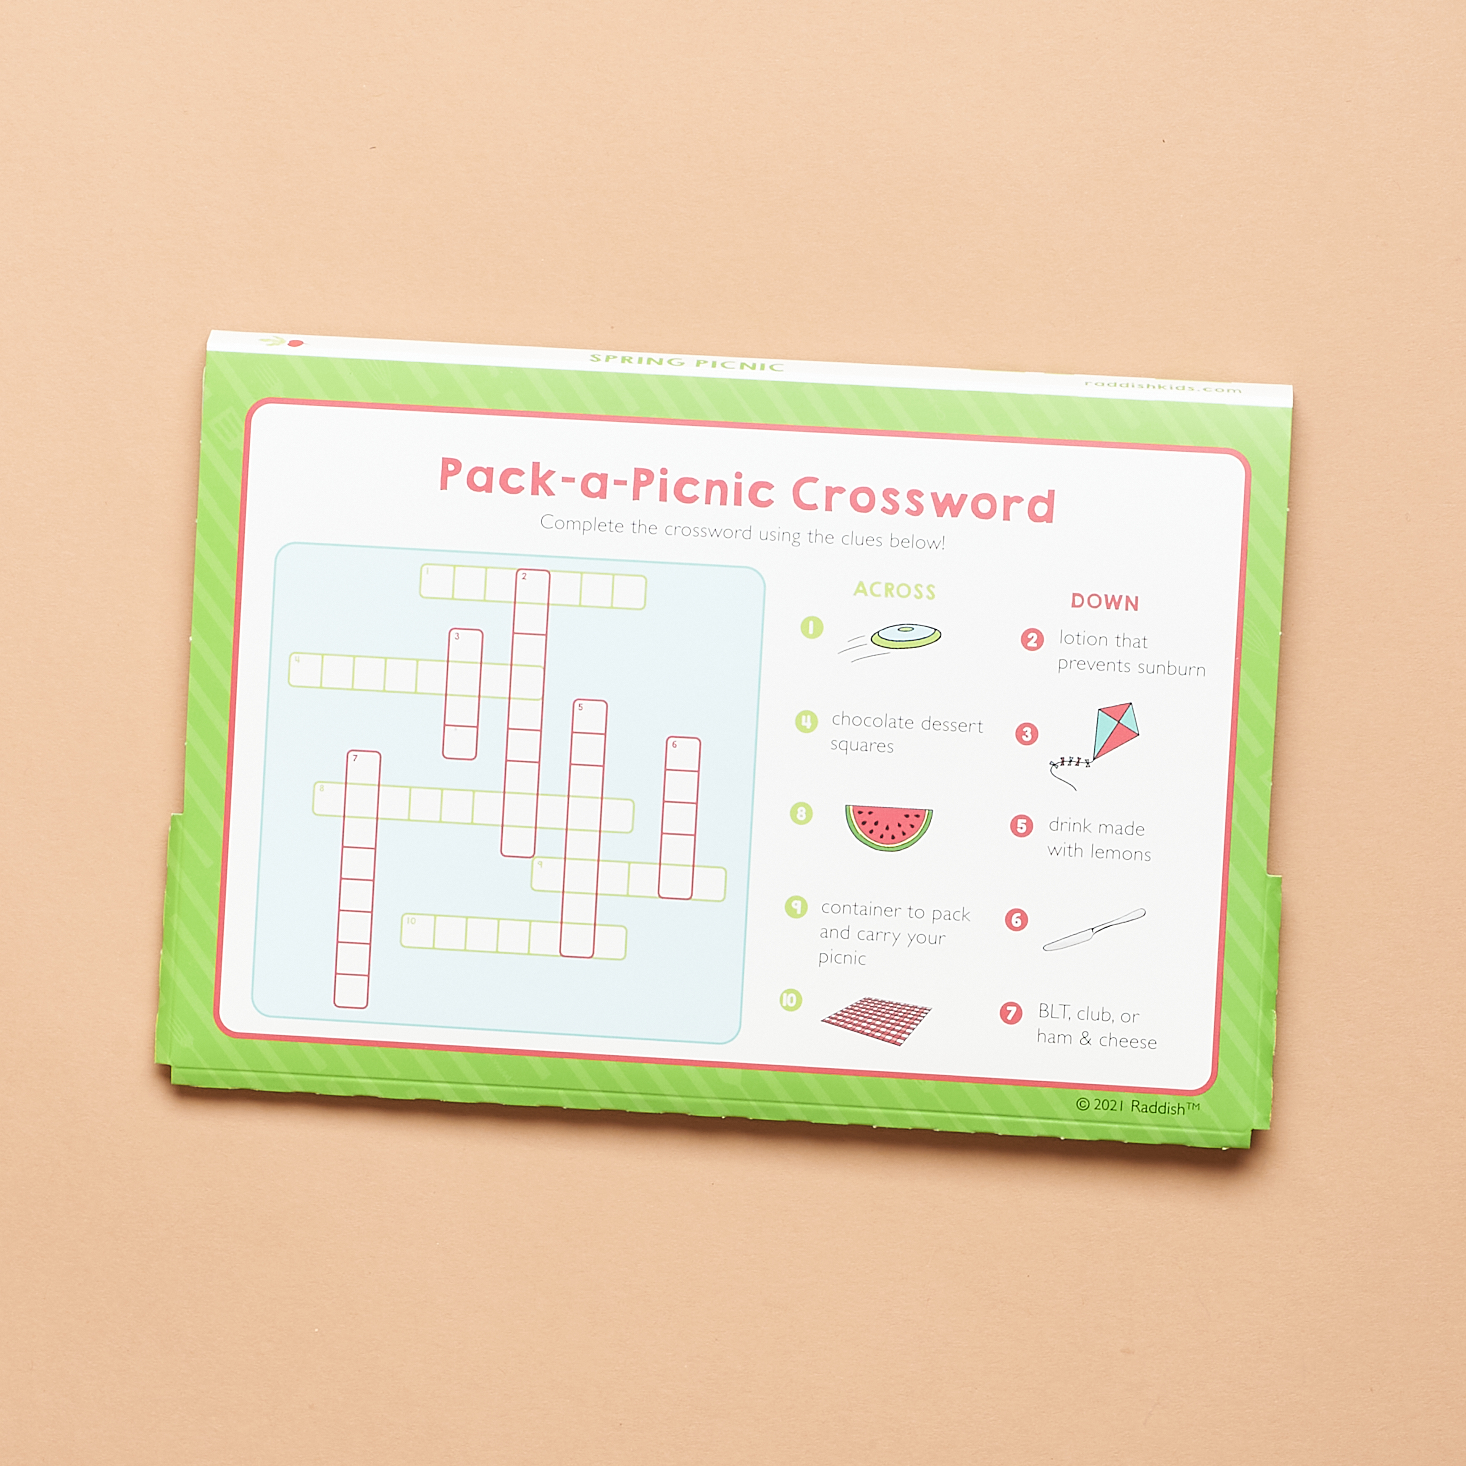
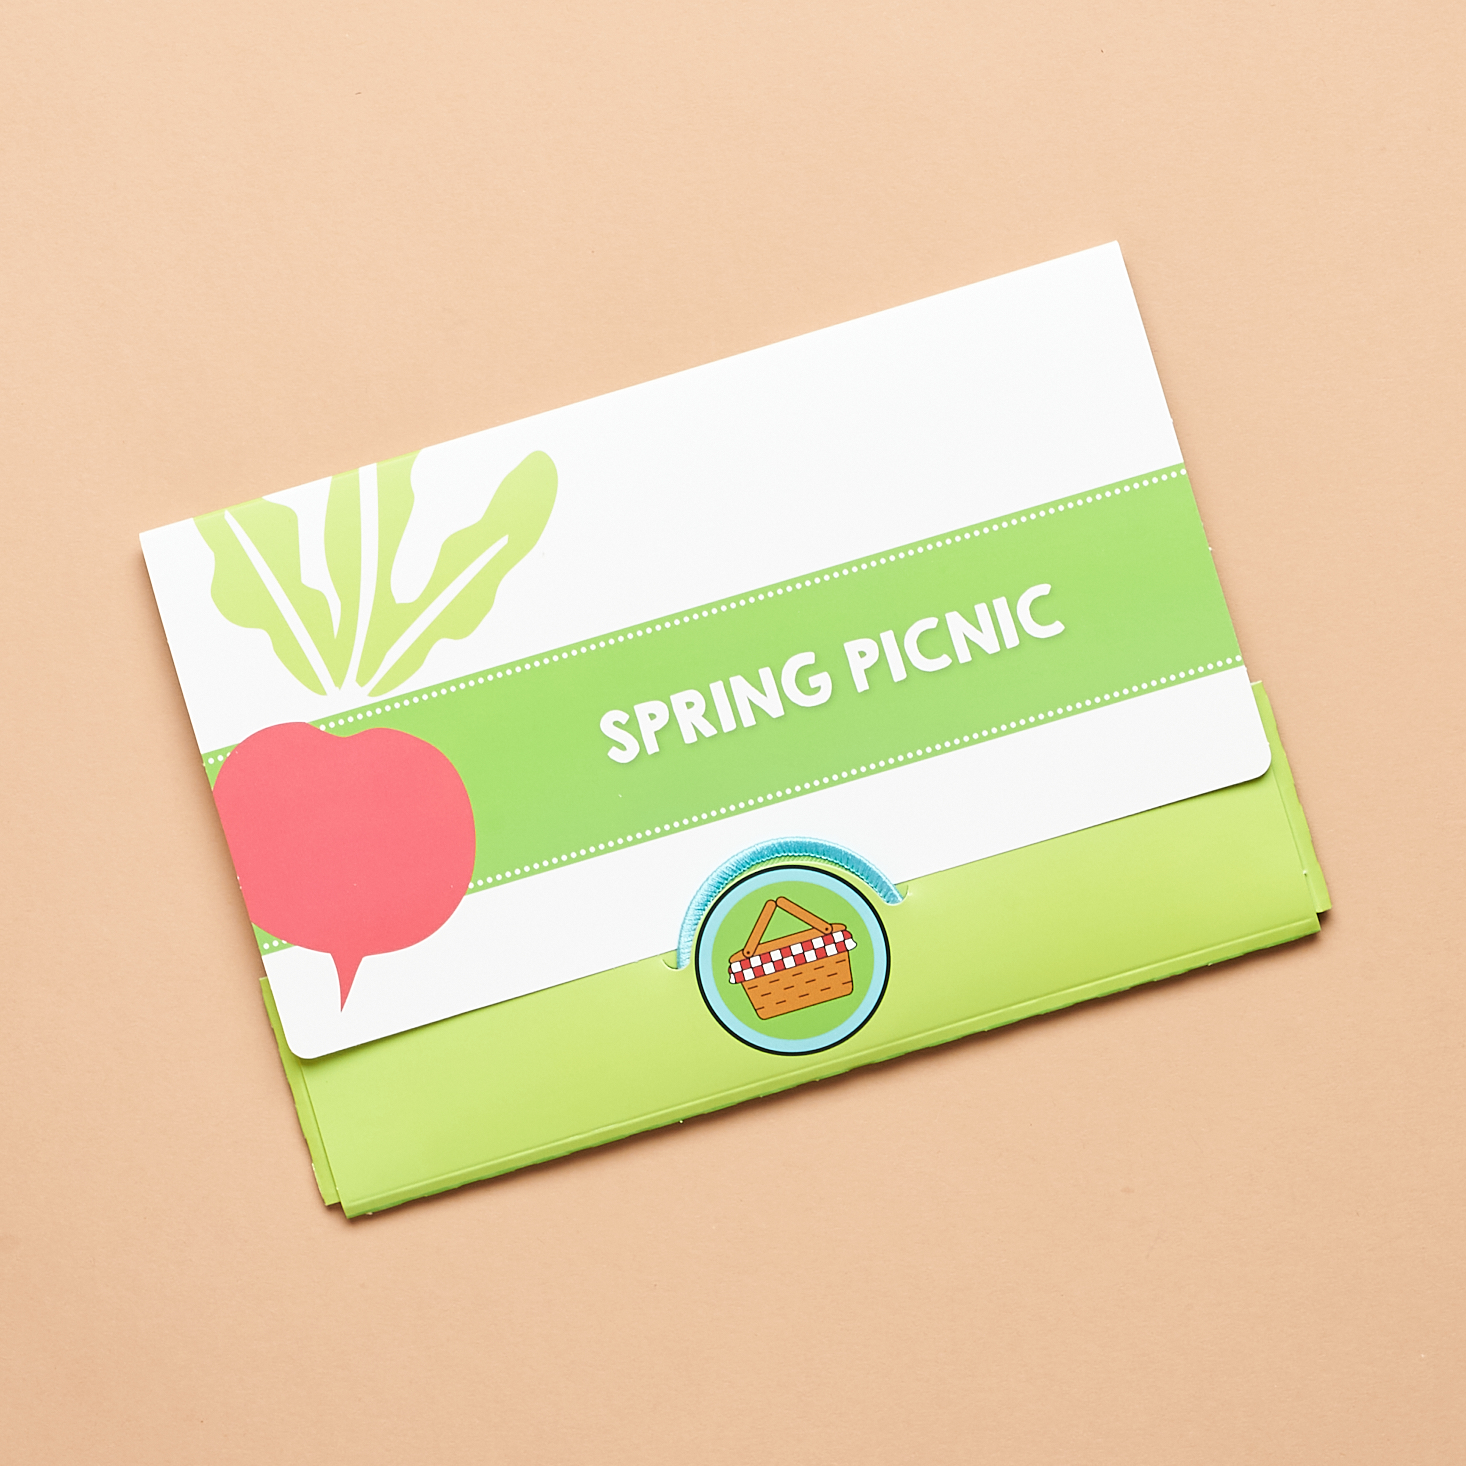
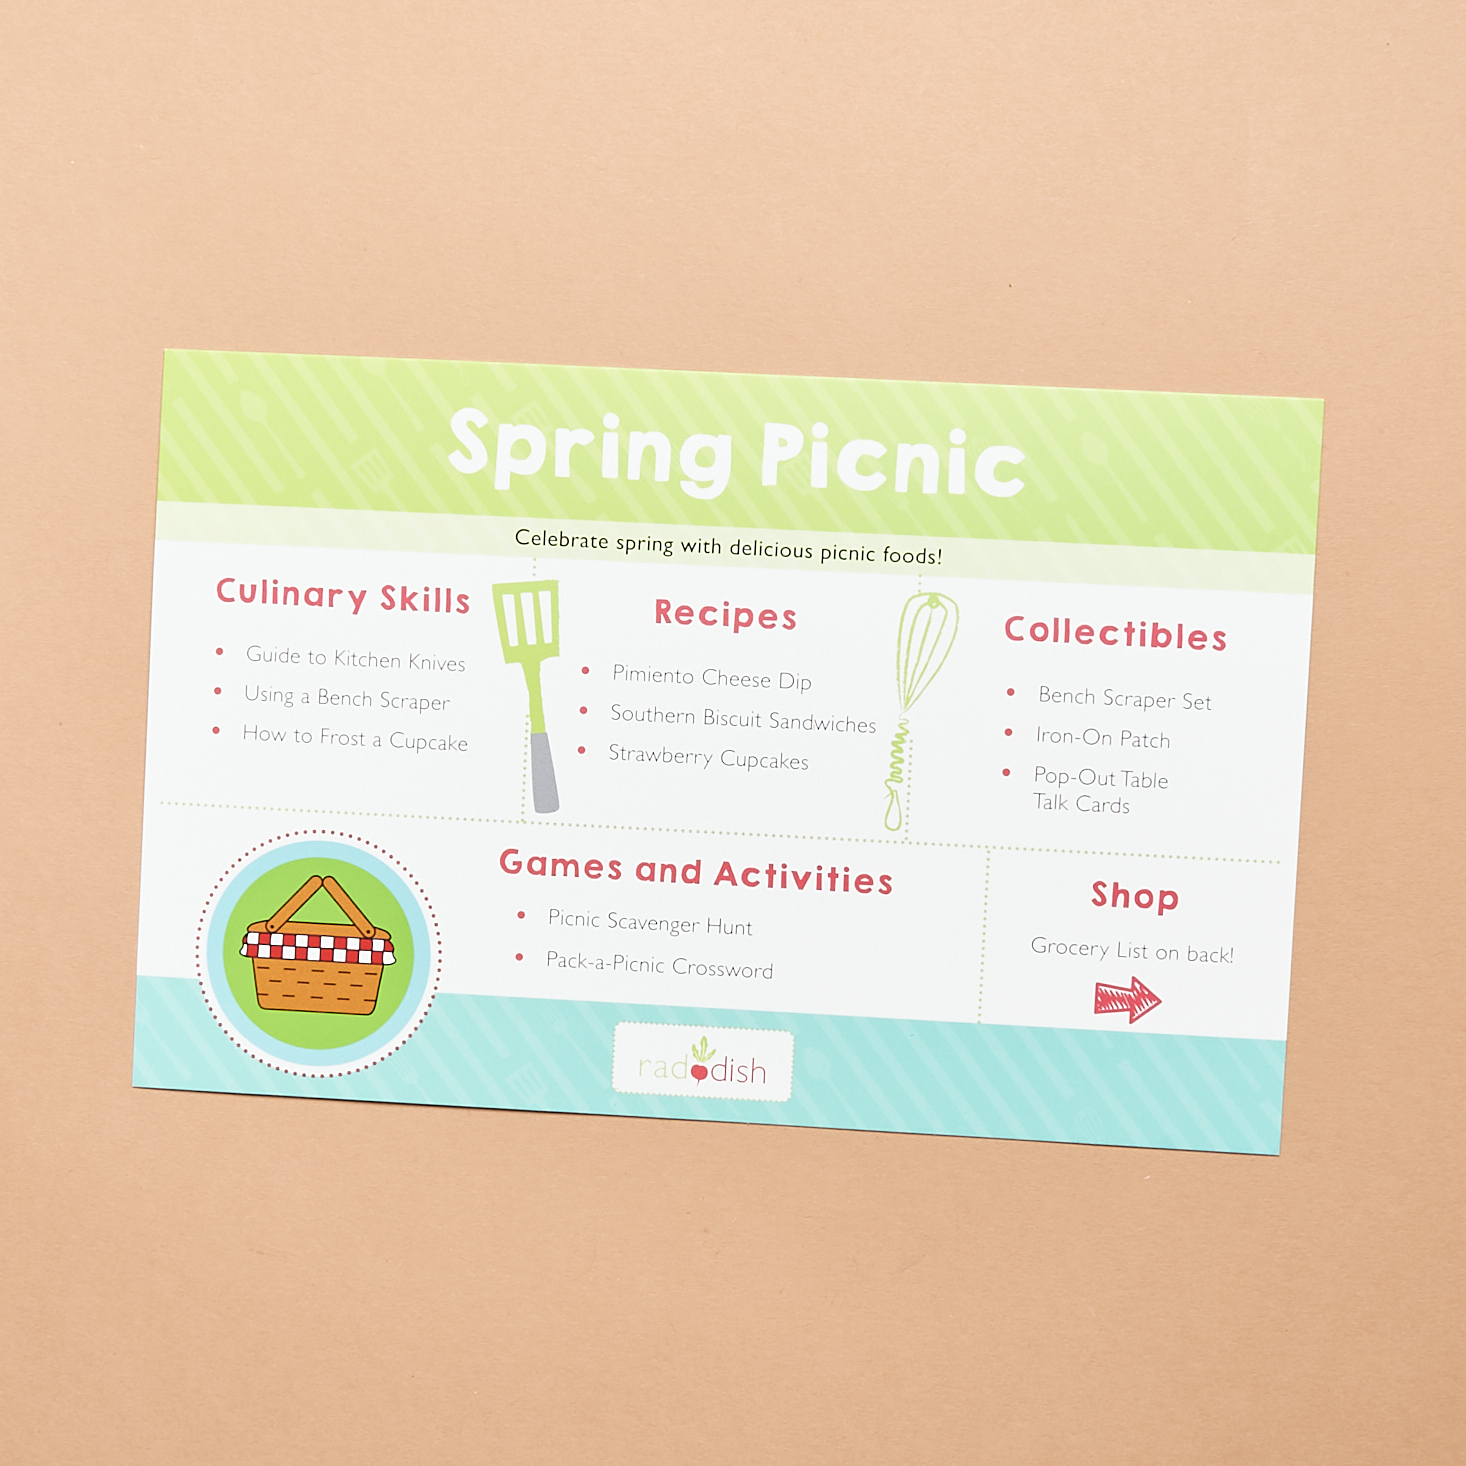
Everything we needed to know for this month's box came tucked into this nice envelope with a fun picnic-themed crossword puzzle on the back. The flap of the envelope highlights our theme of "Spring Picnic", our tool of the month, and includes some cook-along questions while the bottom section includes some links to their social media page and "Bonus Bites" online.
1 of 3

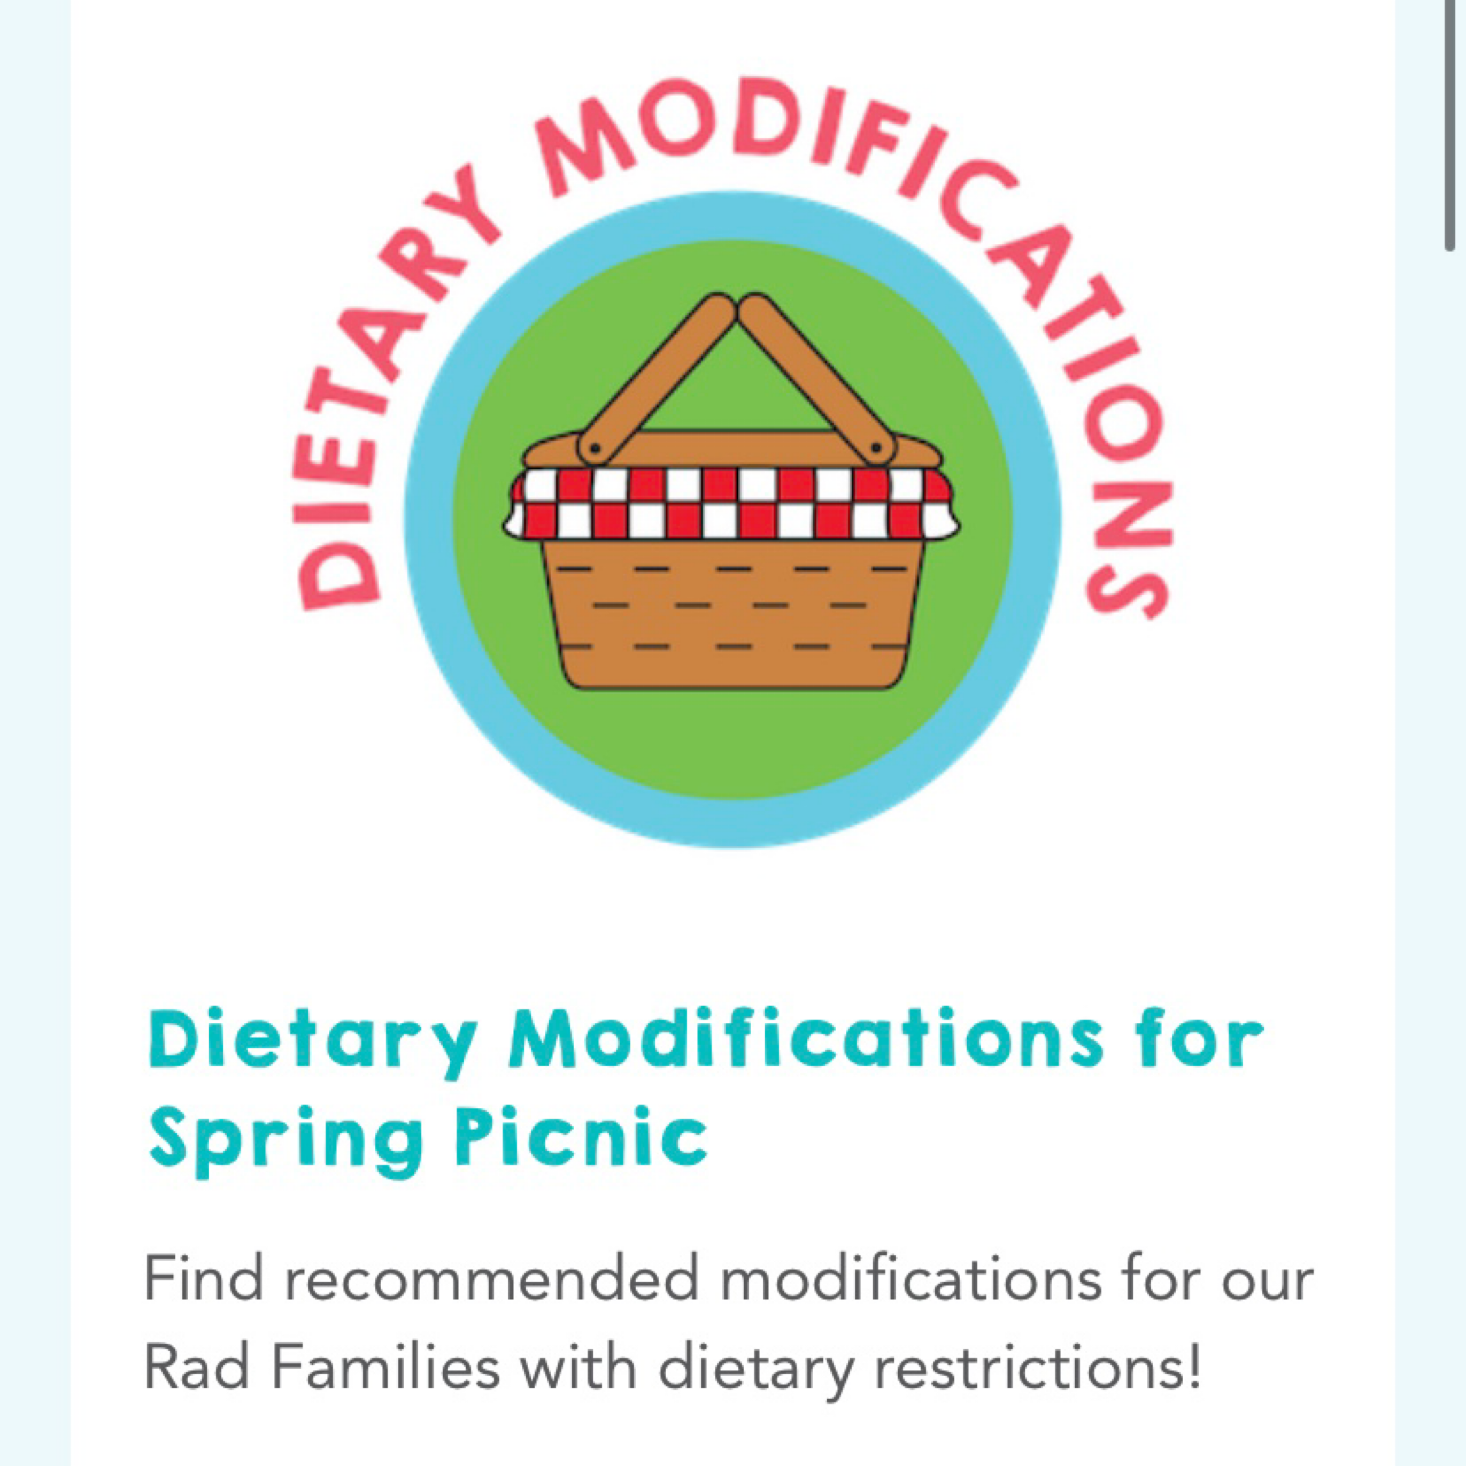
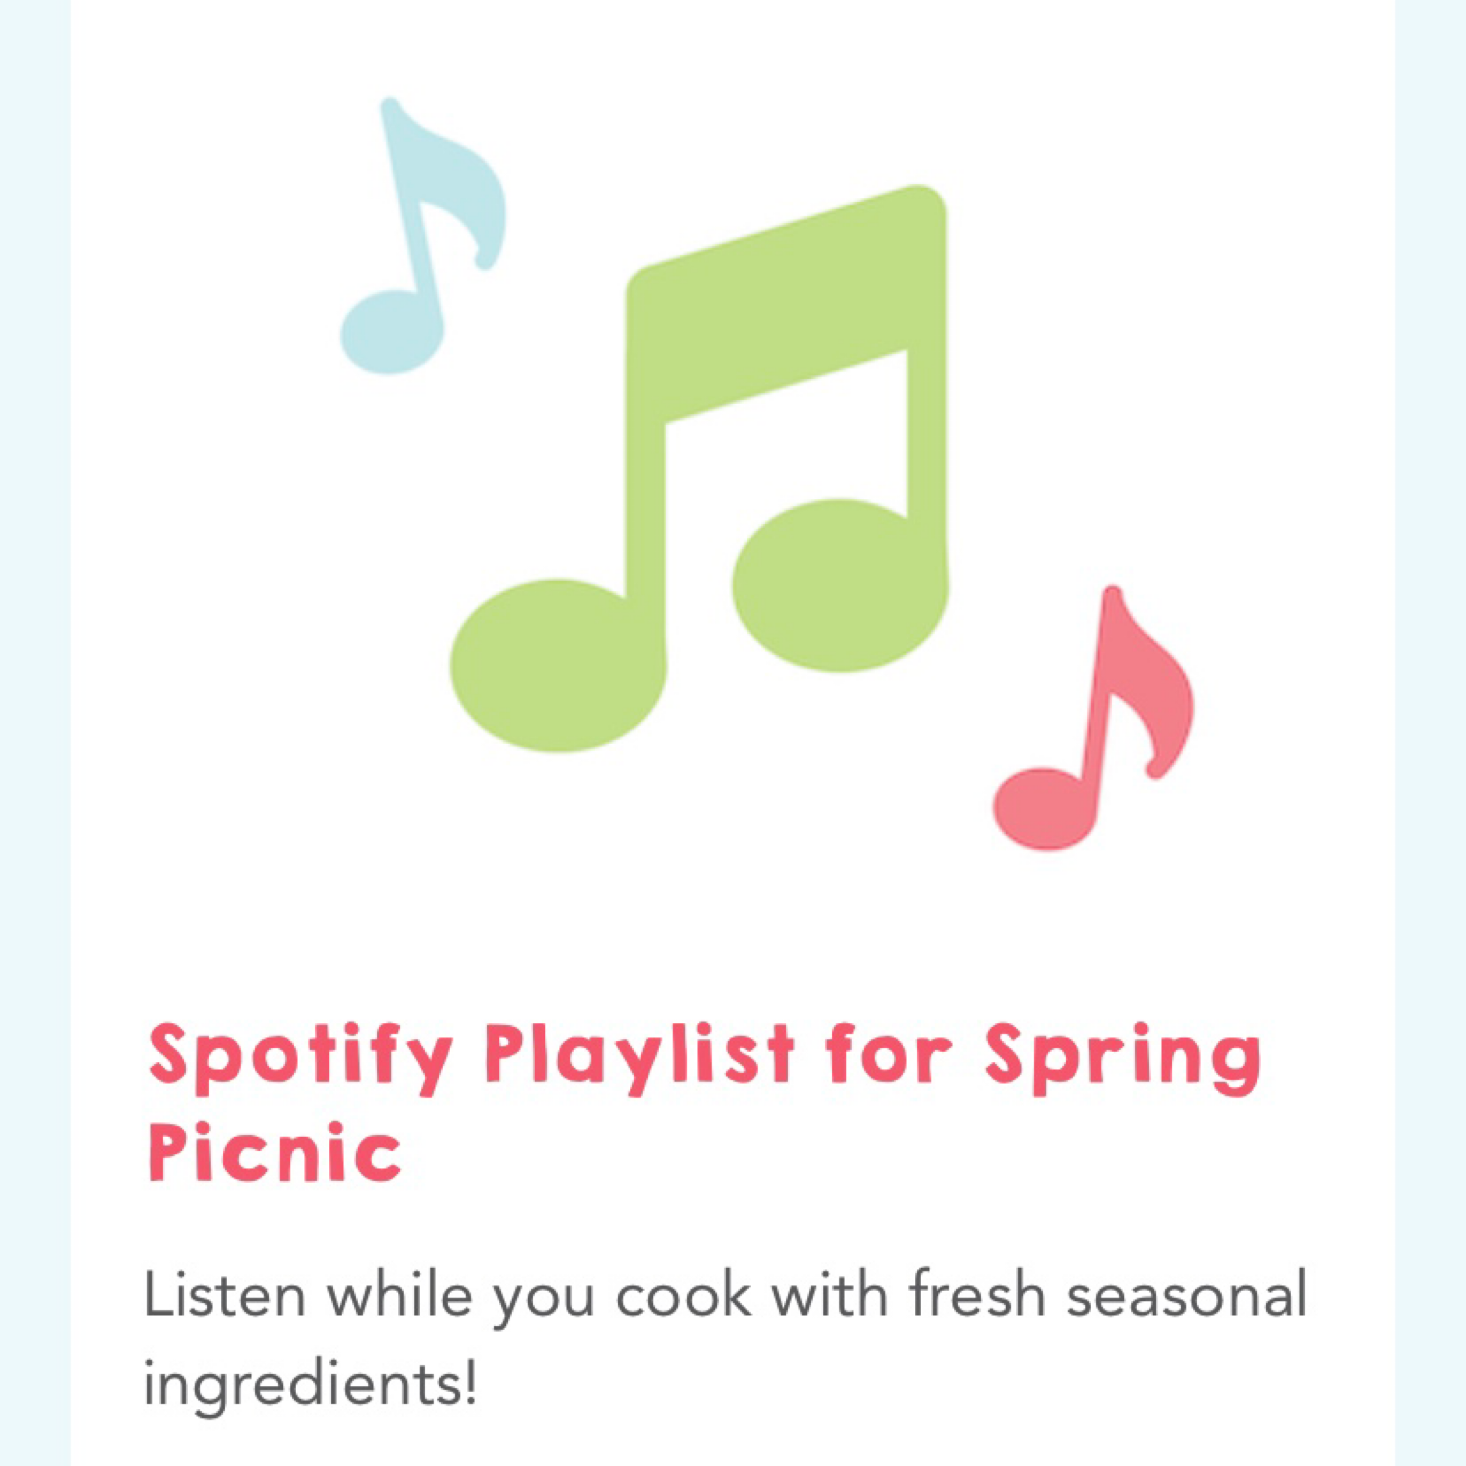
Here's a look at the Bonus Bites online section which included a Spotify playlist, a full lesson plan, and some dietary modifications. I think these are all incredibly helpful bonuses depending on your needs! Tunes to cook to, a lesson plan if you're using this as part of a homeschool curriculum, and of course some modifications to address different dietary needs.
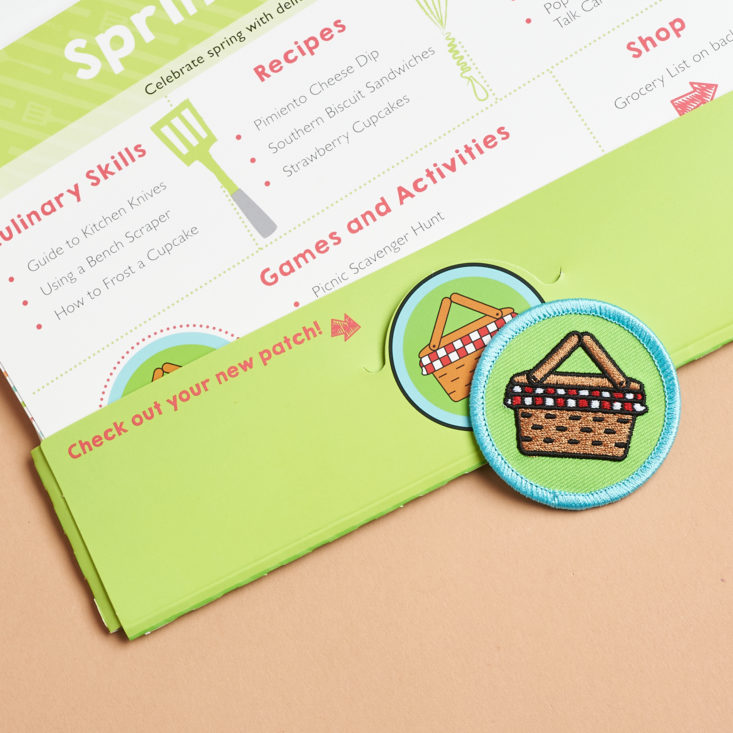
Picnic Basket Patch
Our patch was also tucked inside of the envelope. This month we received a cute picnic basket!
1 of 2
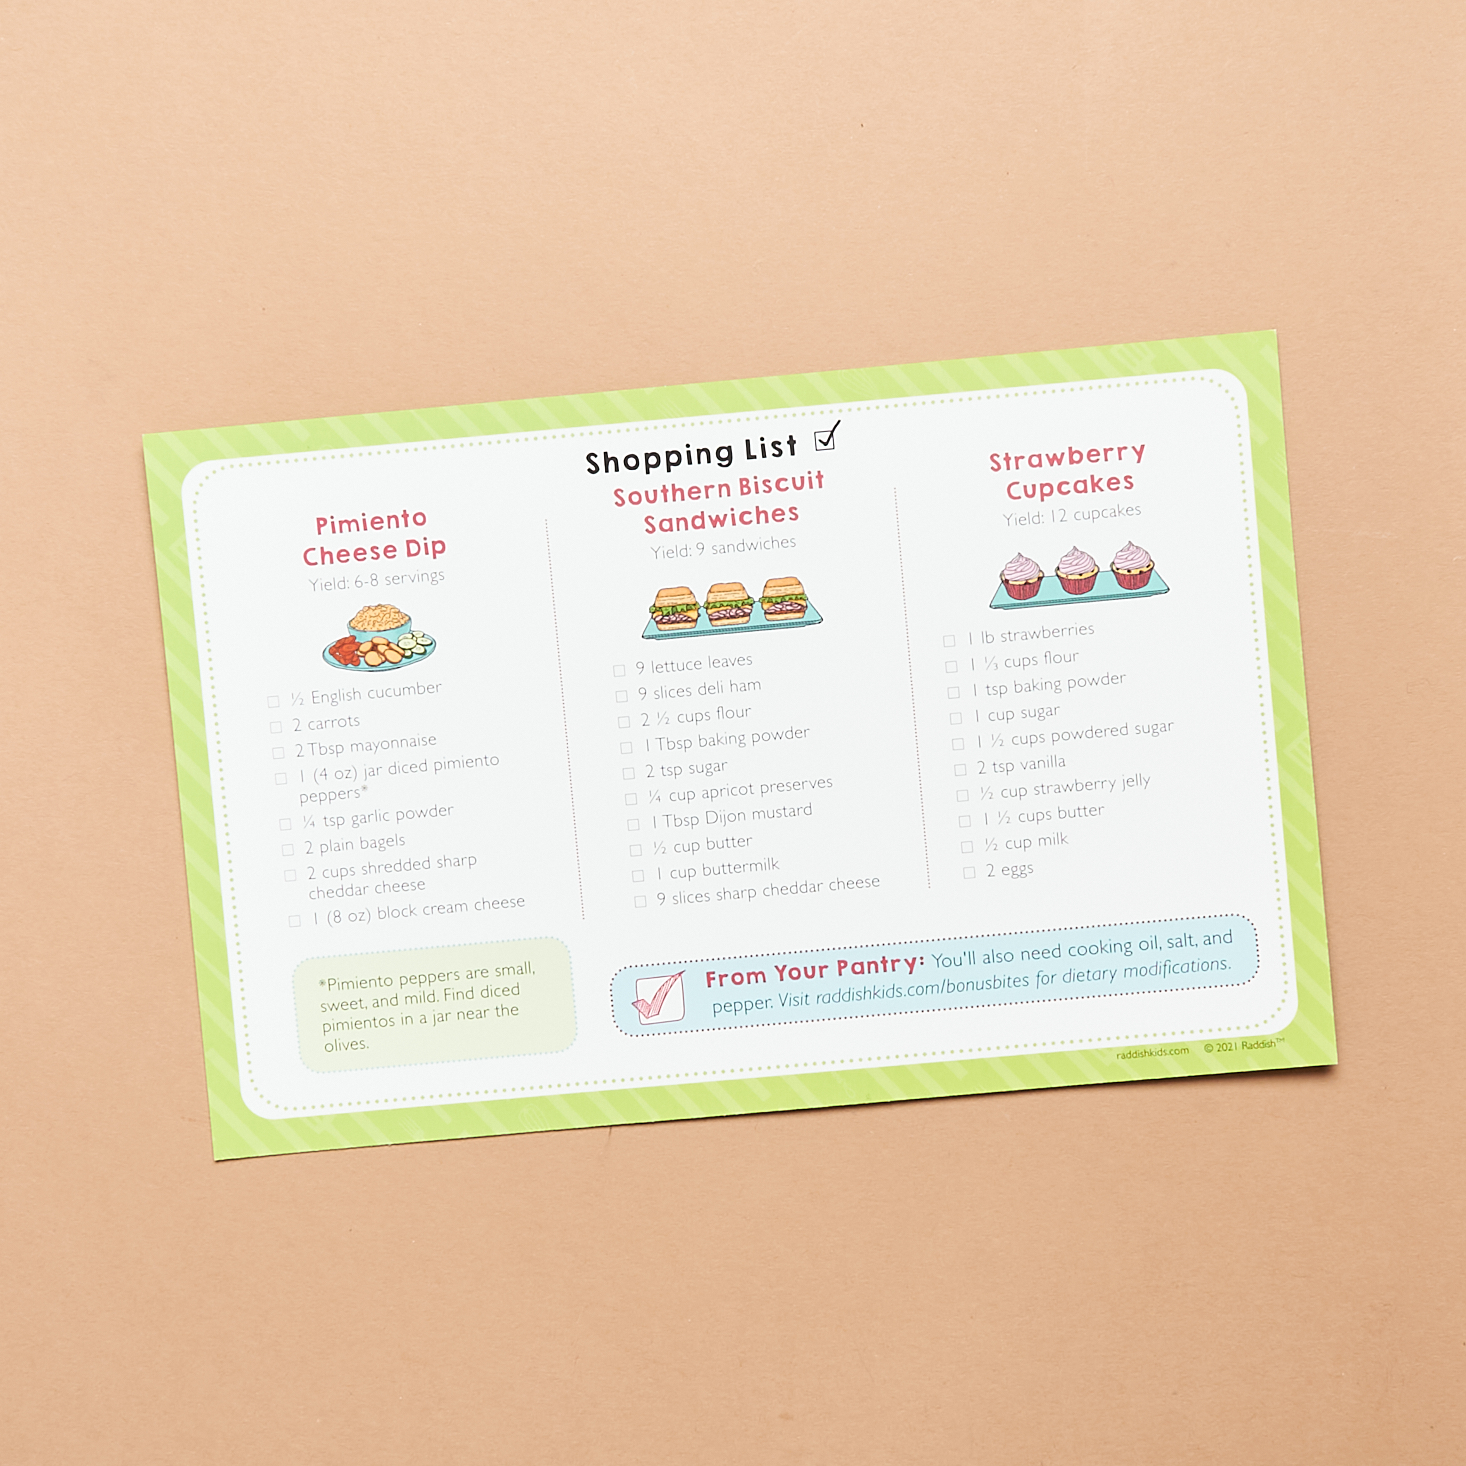
Shopping List
This first sheet tells us about our theme, the culinary skills we'll be focusing on, and lists the Collectibles we received. They also tell us about the games and activities which are enclosed. On the back is our shopping list, which has a breakdown for each recipe. This list is also emailed to you when your box ships so that you can shop ahead of time and have everything ready to go. A lot of the items this month were pantry staples, so I just had to shop for the fresh stuff and a few items I didn't already have. I think my total was around $20, but I do keep a lot of butter and baking ingredients on hand already.

1 of 2
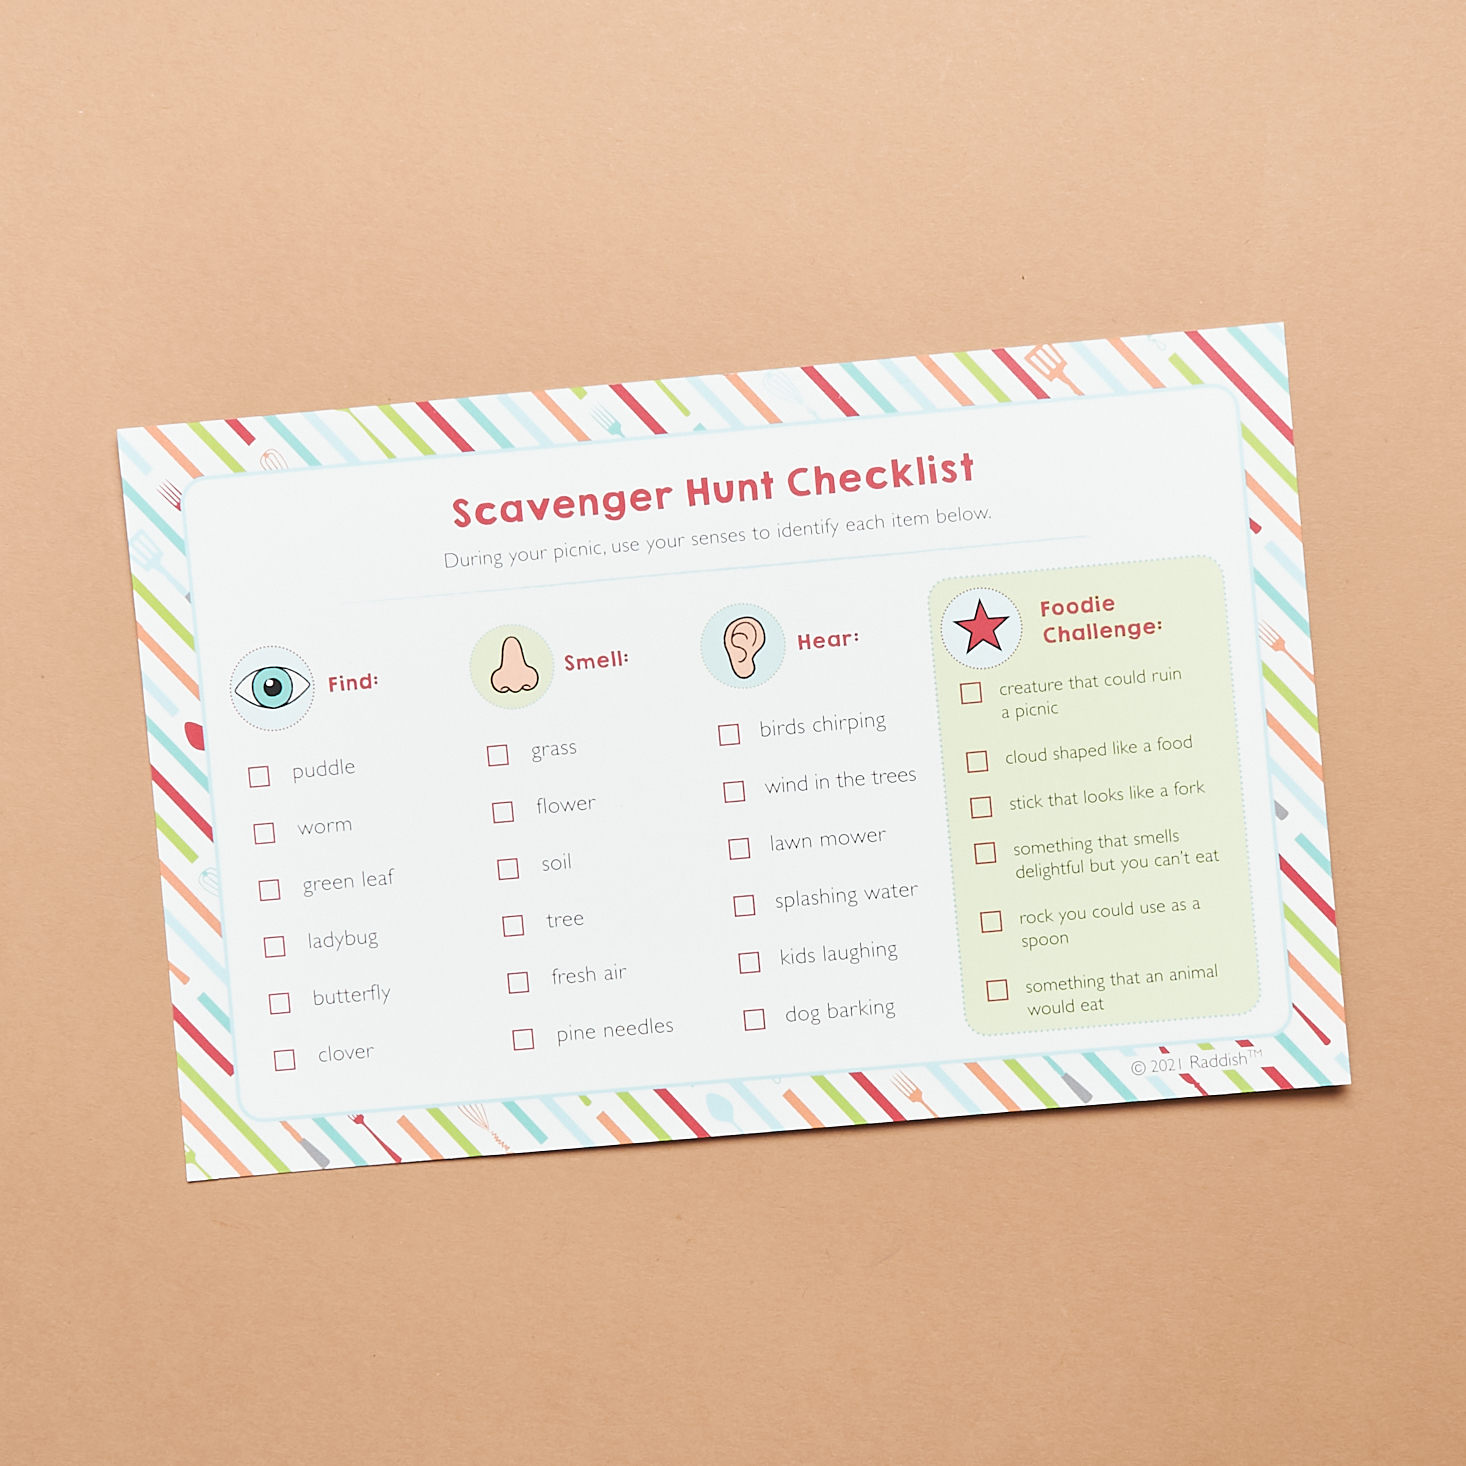
Scavenger Hunt Activity
The next page included a fun picnic scavenger hunt for us along with a picnic basket checklist. I love that the hunt checklist on the back tells us what to look for, smell, and hear so we really use all of the senses! We didn't get to this yet because we were so busy cooking, but it is definitely something fun that we will enjoy doing soon!
1 of 2
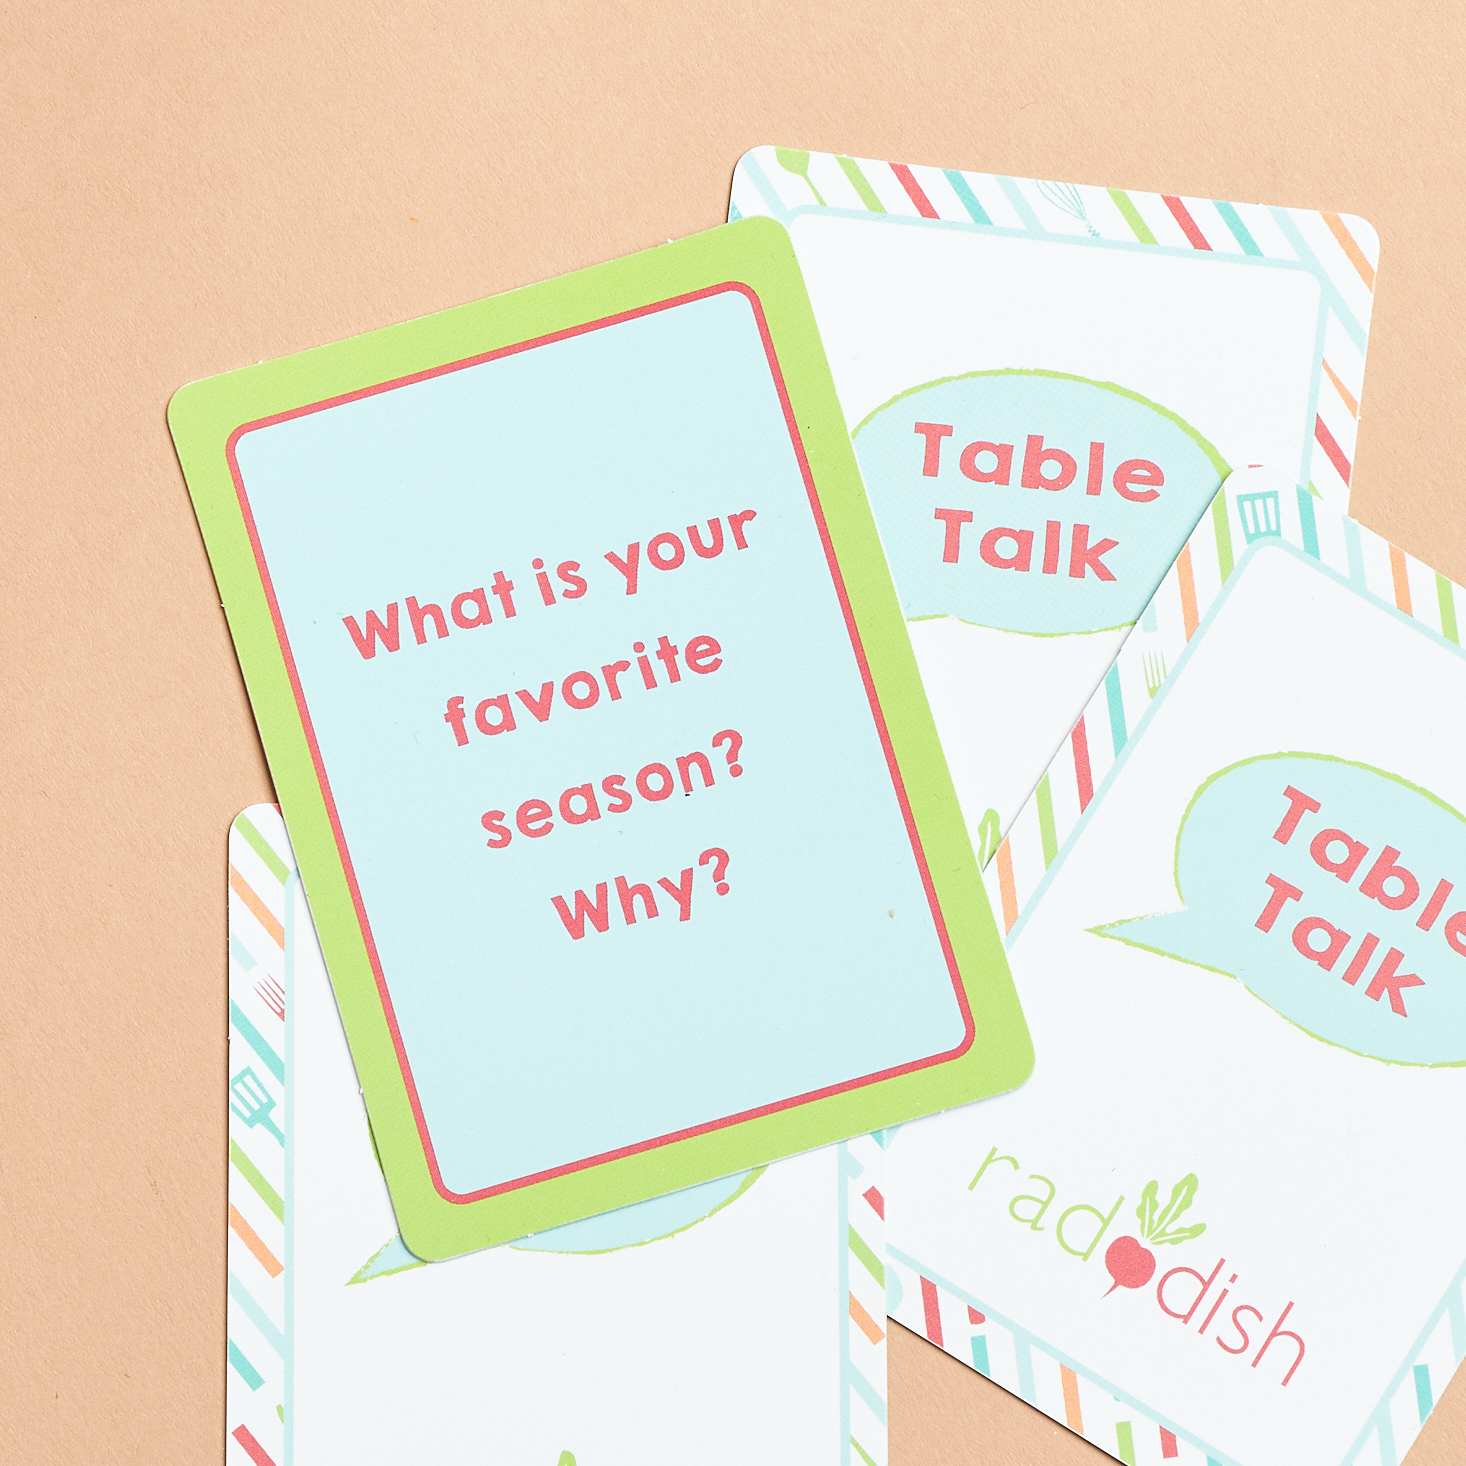
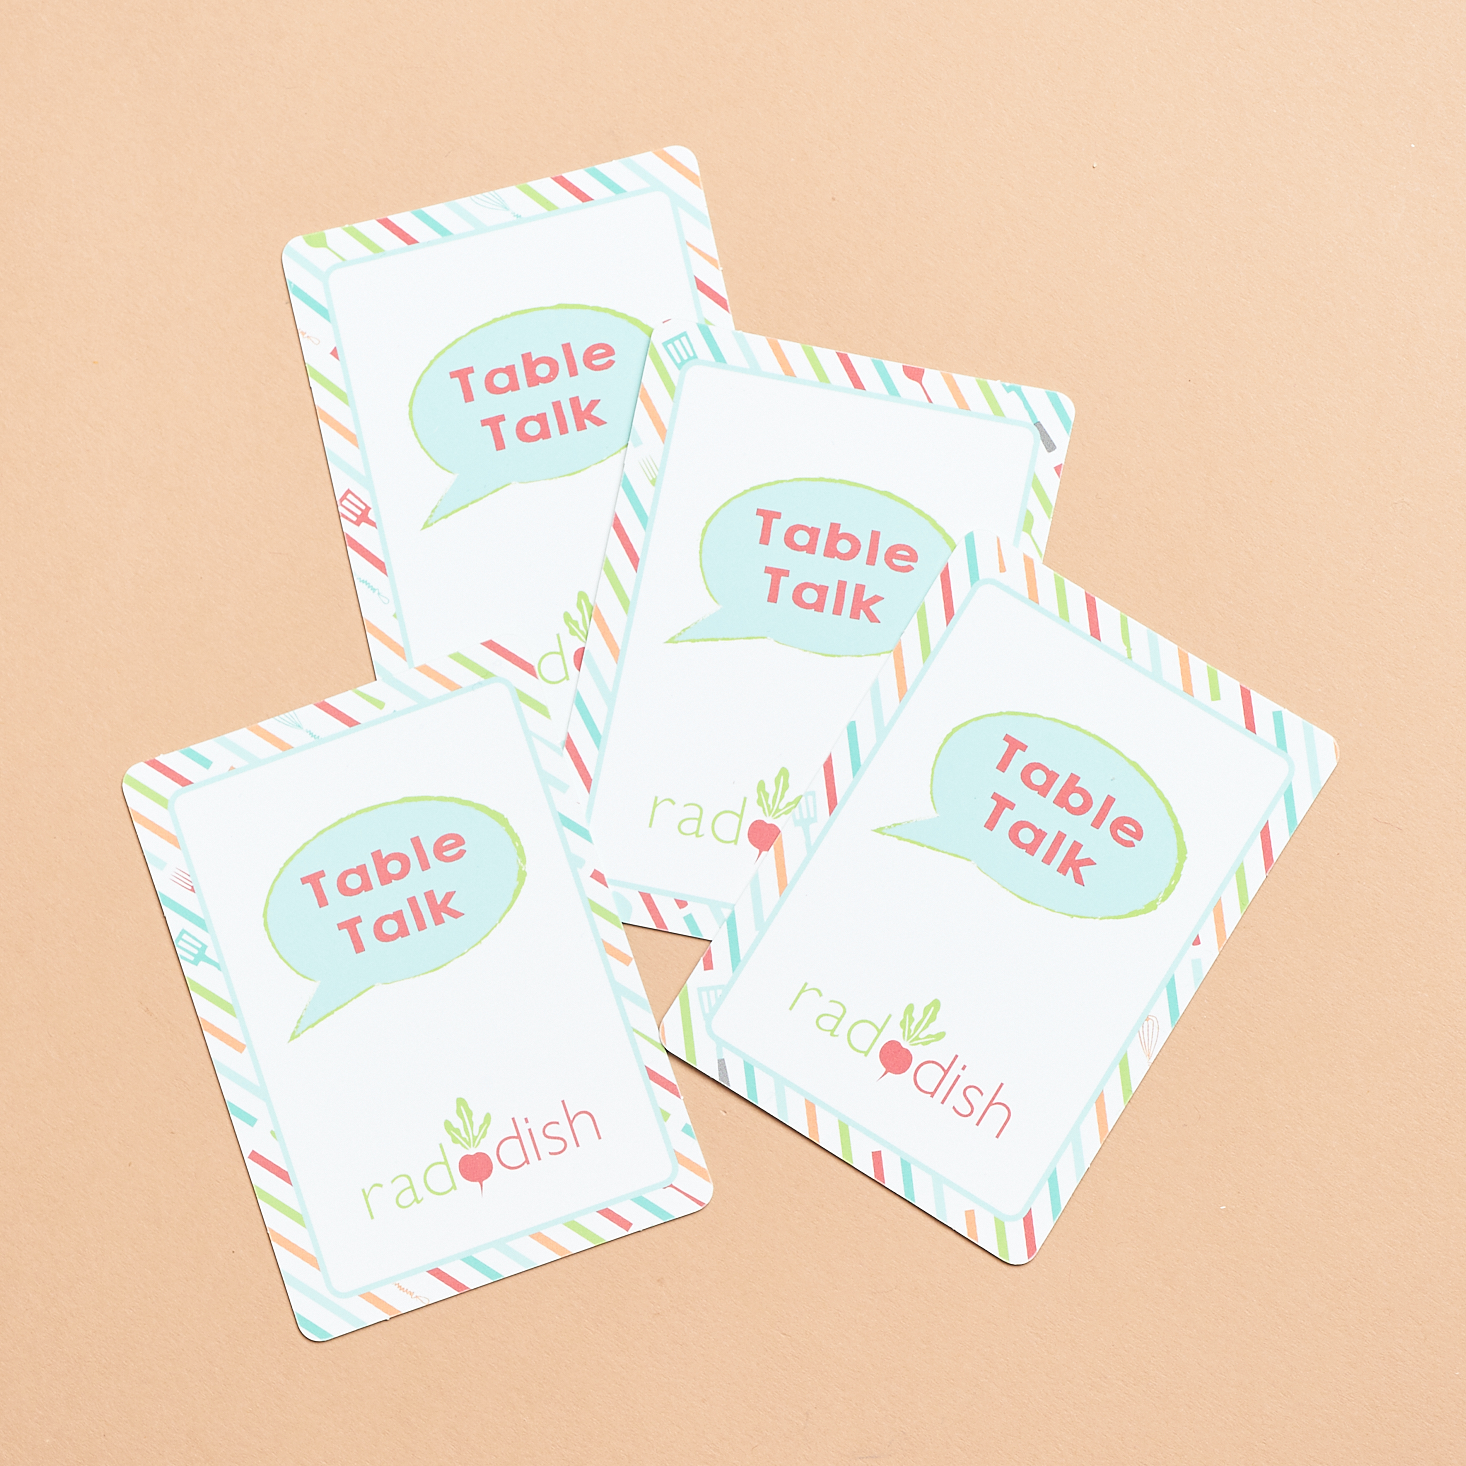
Table Talk Cards
These Table Talk cards are always fun and while the questions are simple, they are a great way to start a conversation with your family and learn new things about each other! We saved these for dinner time and had some fun discussing them.
1 of 3
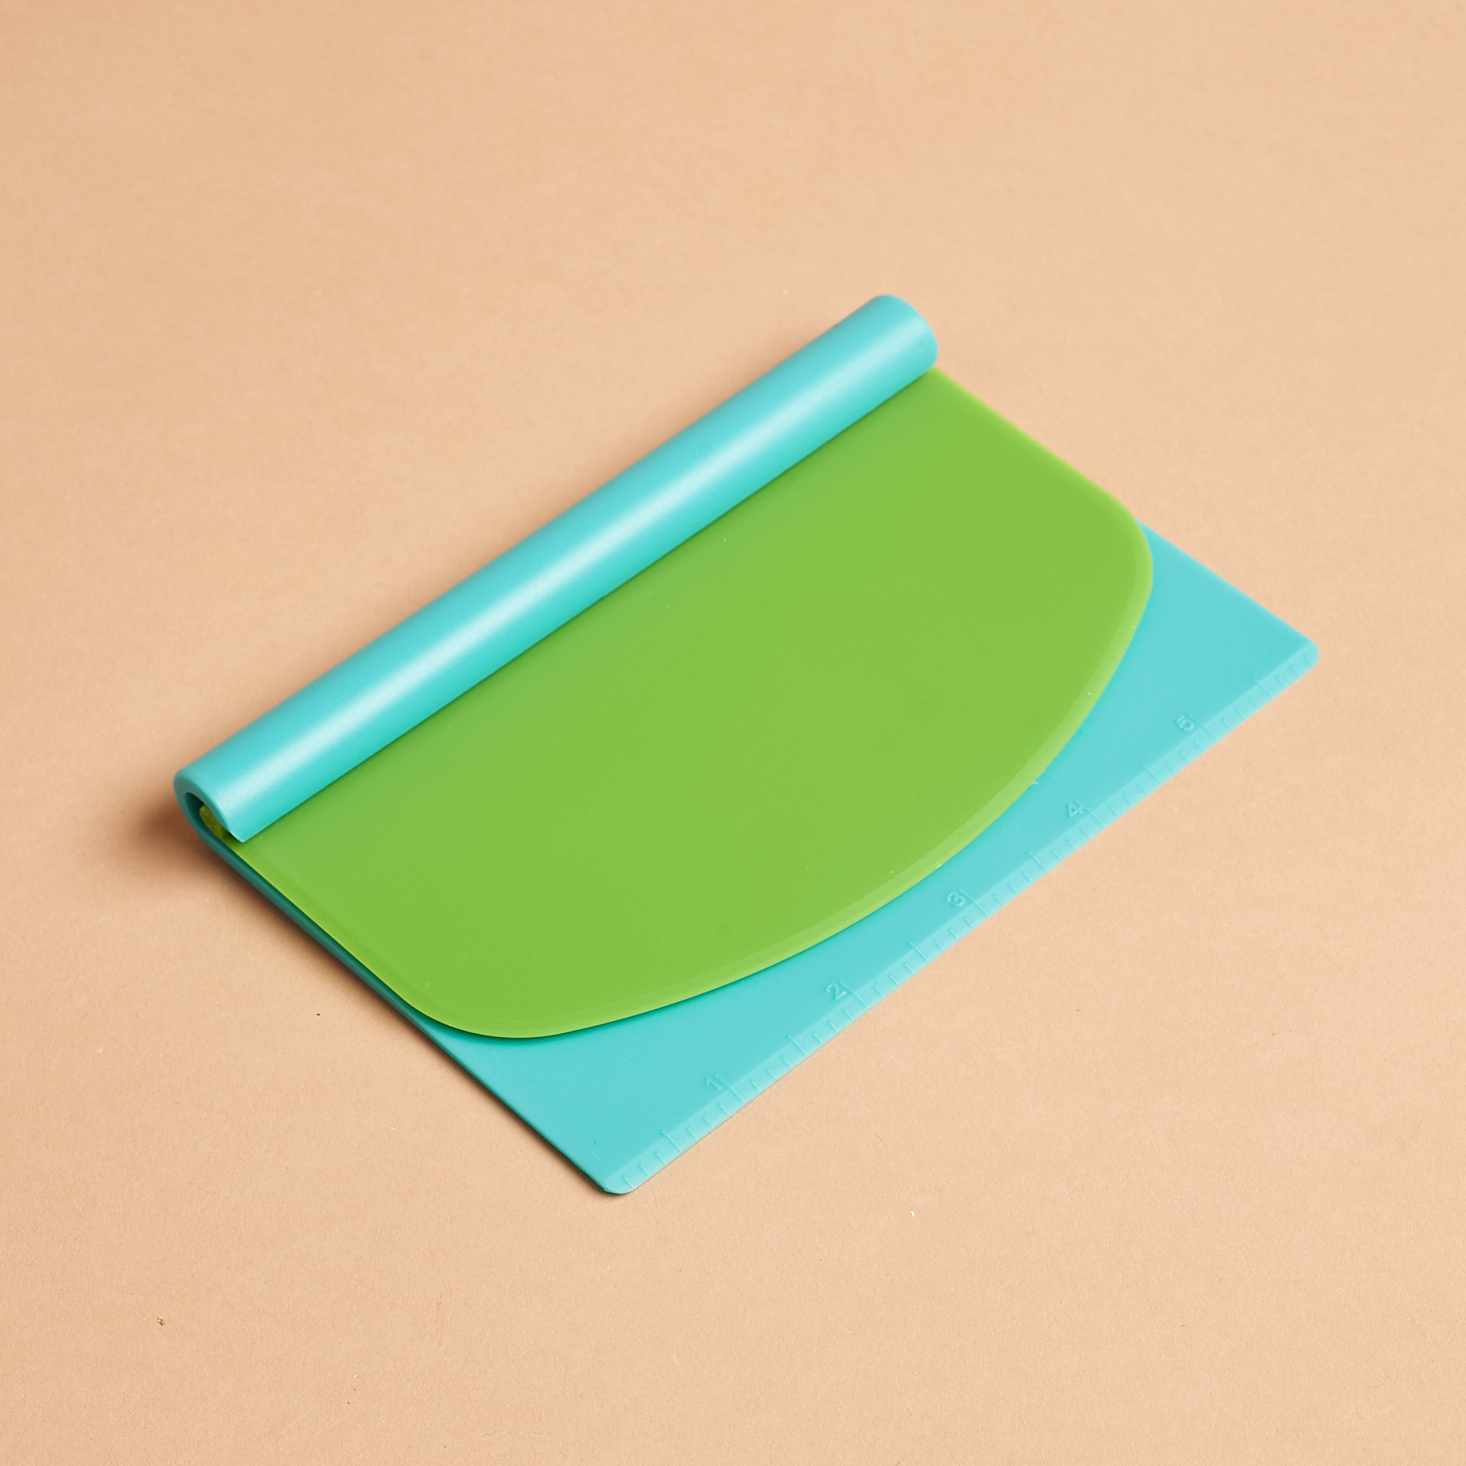
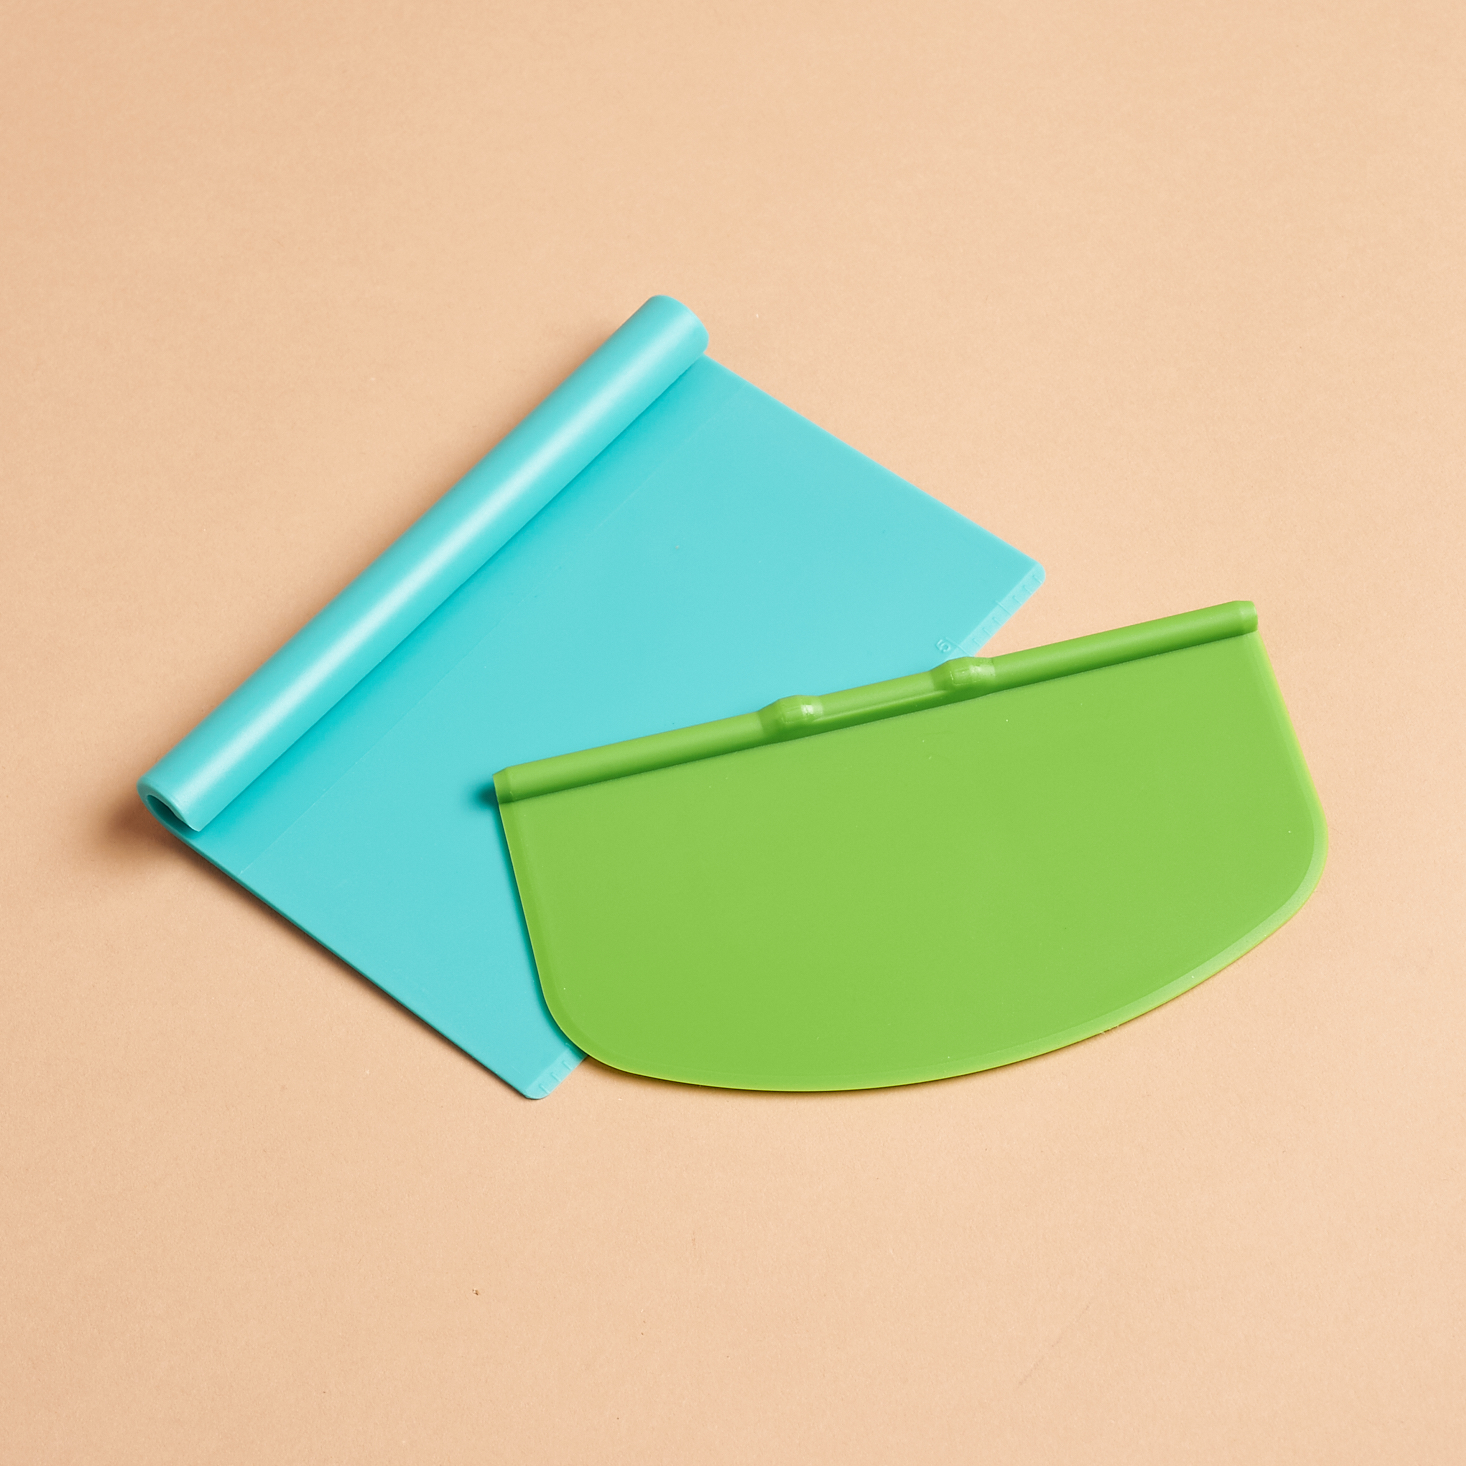
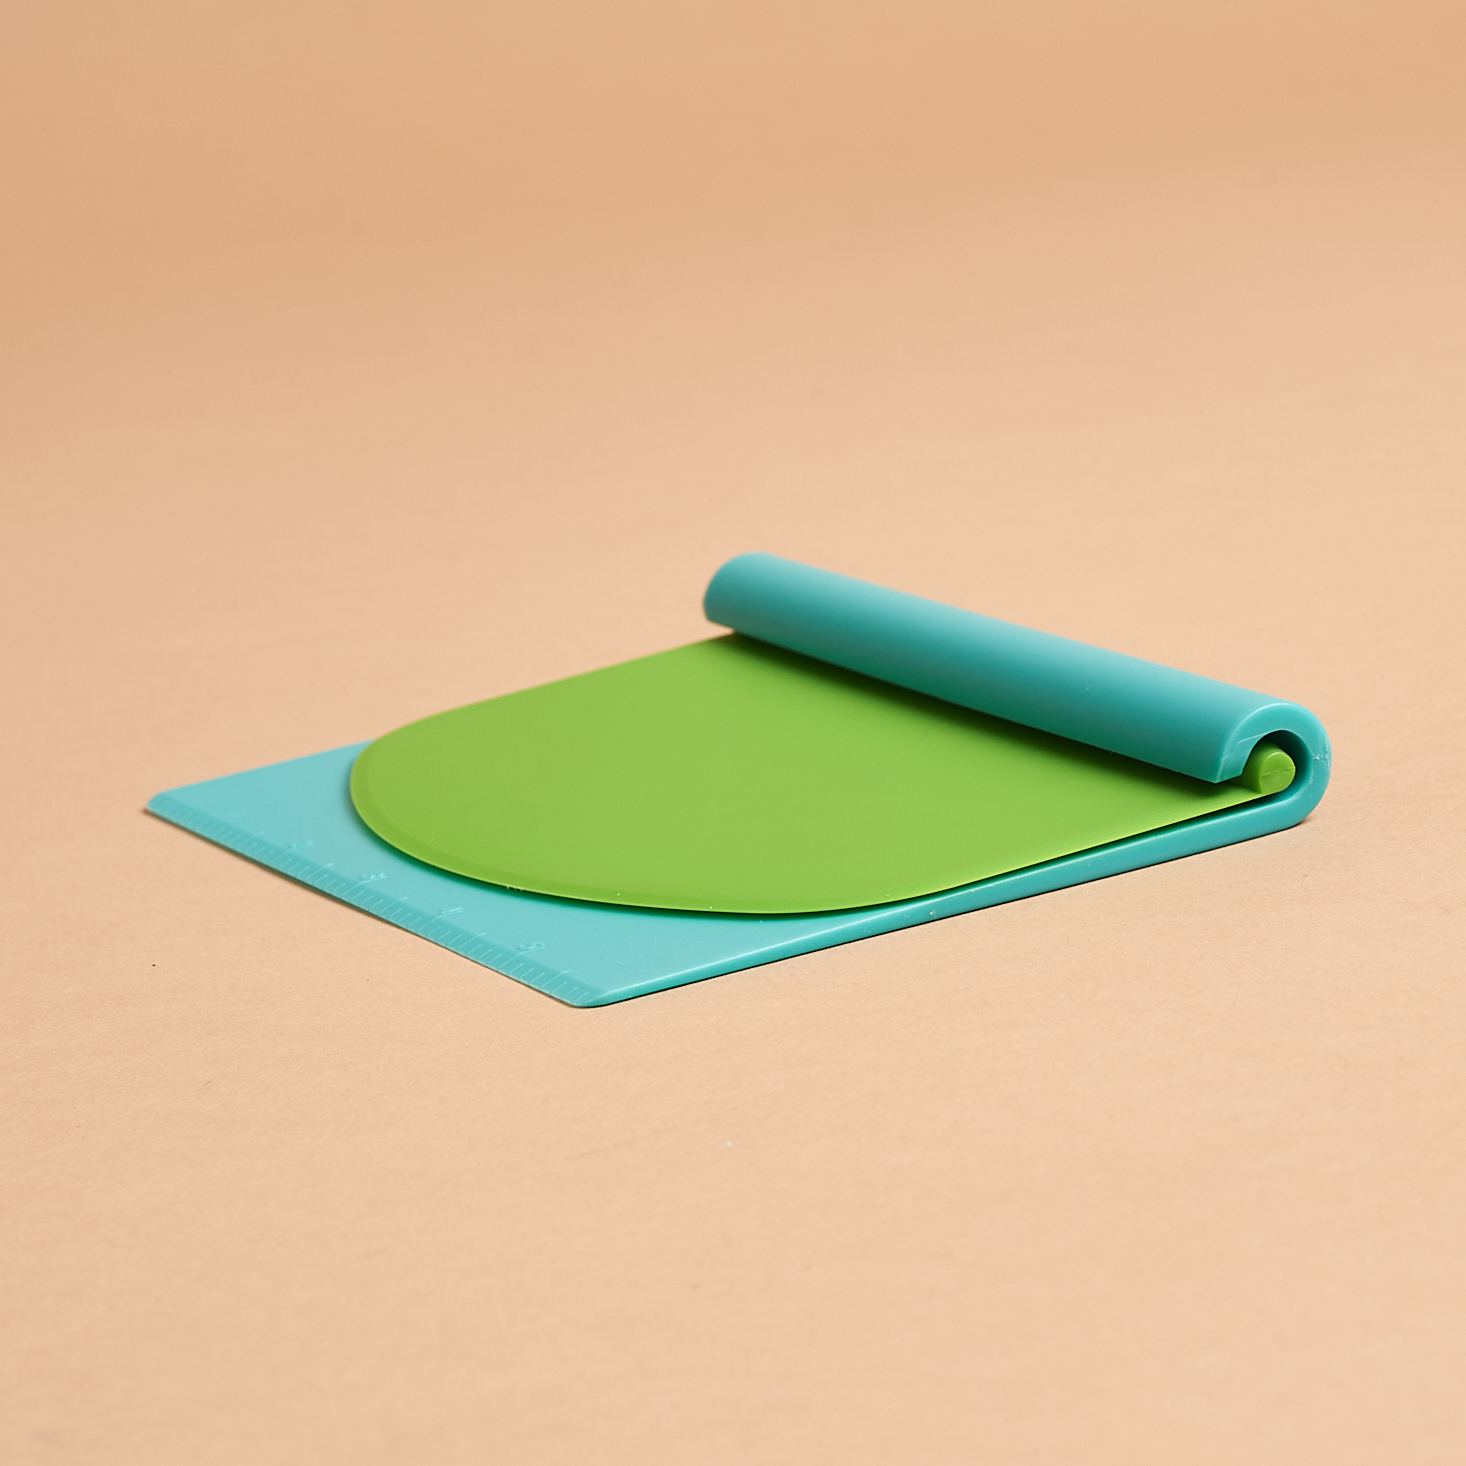
Bench Scraper
Our culinary tool this month is this fun bench scraper set. The smaller one tucks into the larger one which is great for storage. I love that the straight edge one has actual measurements on it which came in handy for one of our recipes! Not only can we scrape with it, but we can measure and cut, so it's a much more useful tool than it looked at first glance.
1 of 4
Recipe Cards
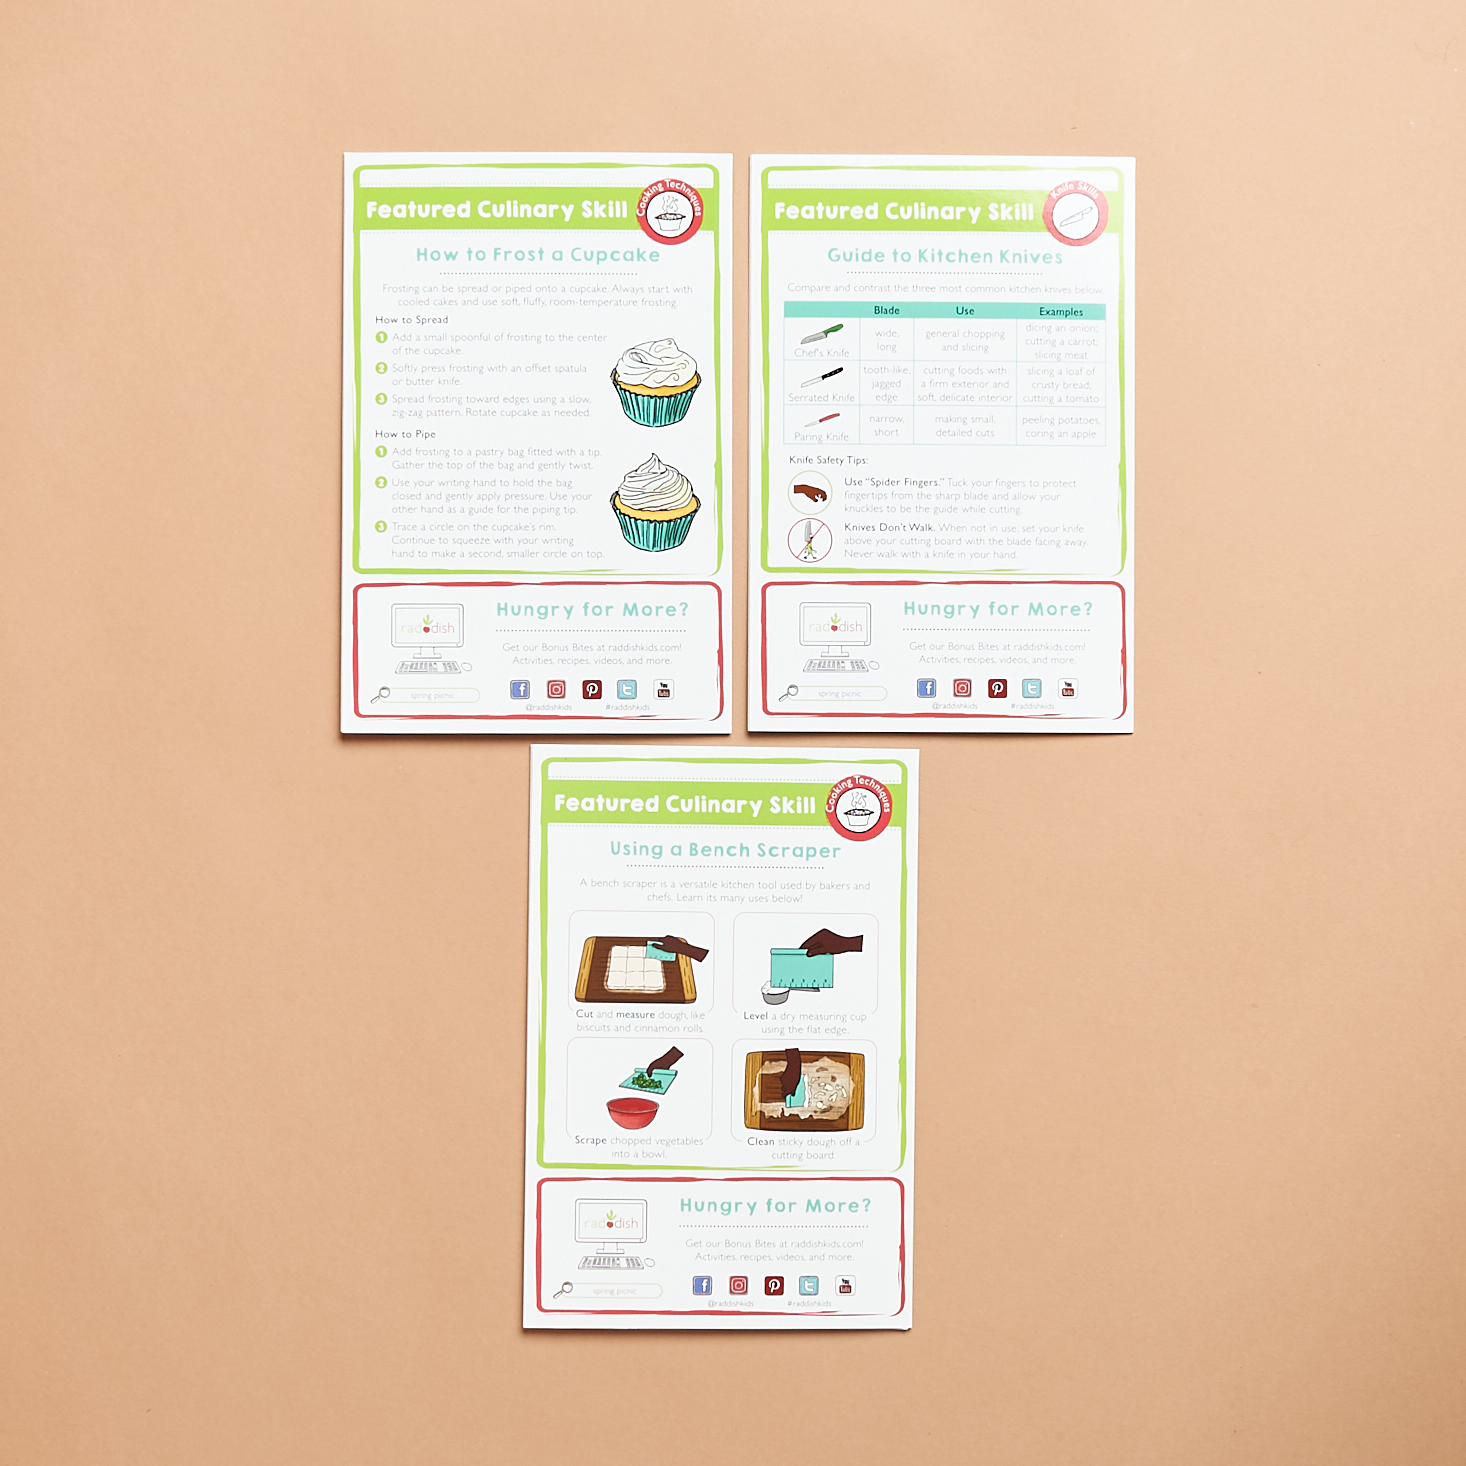
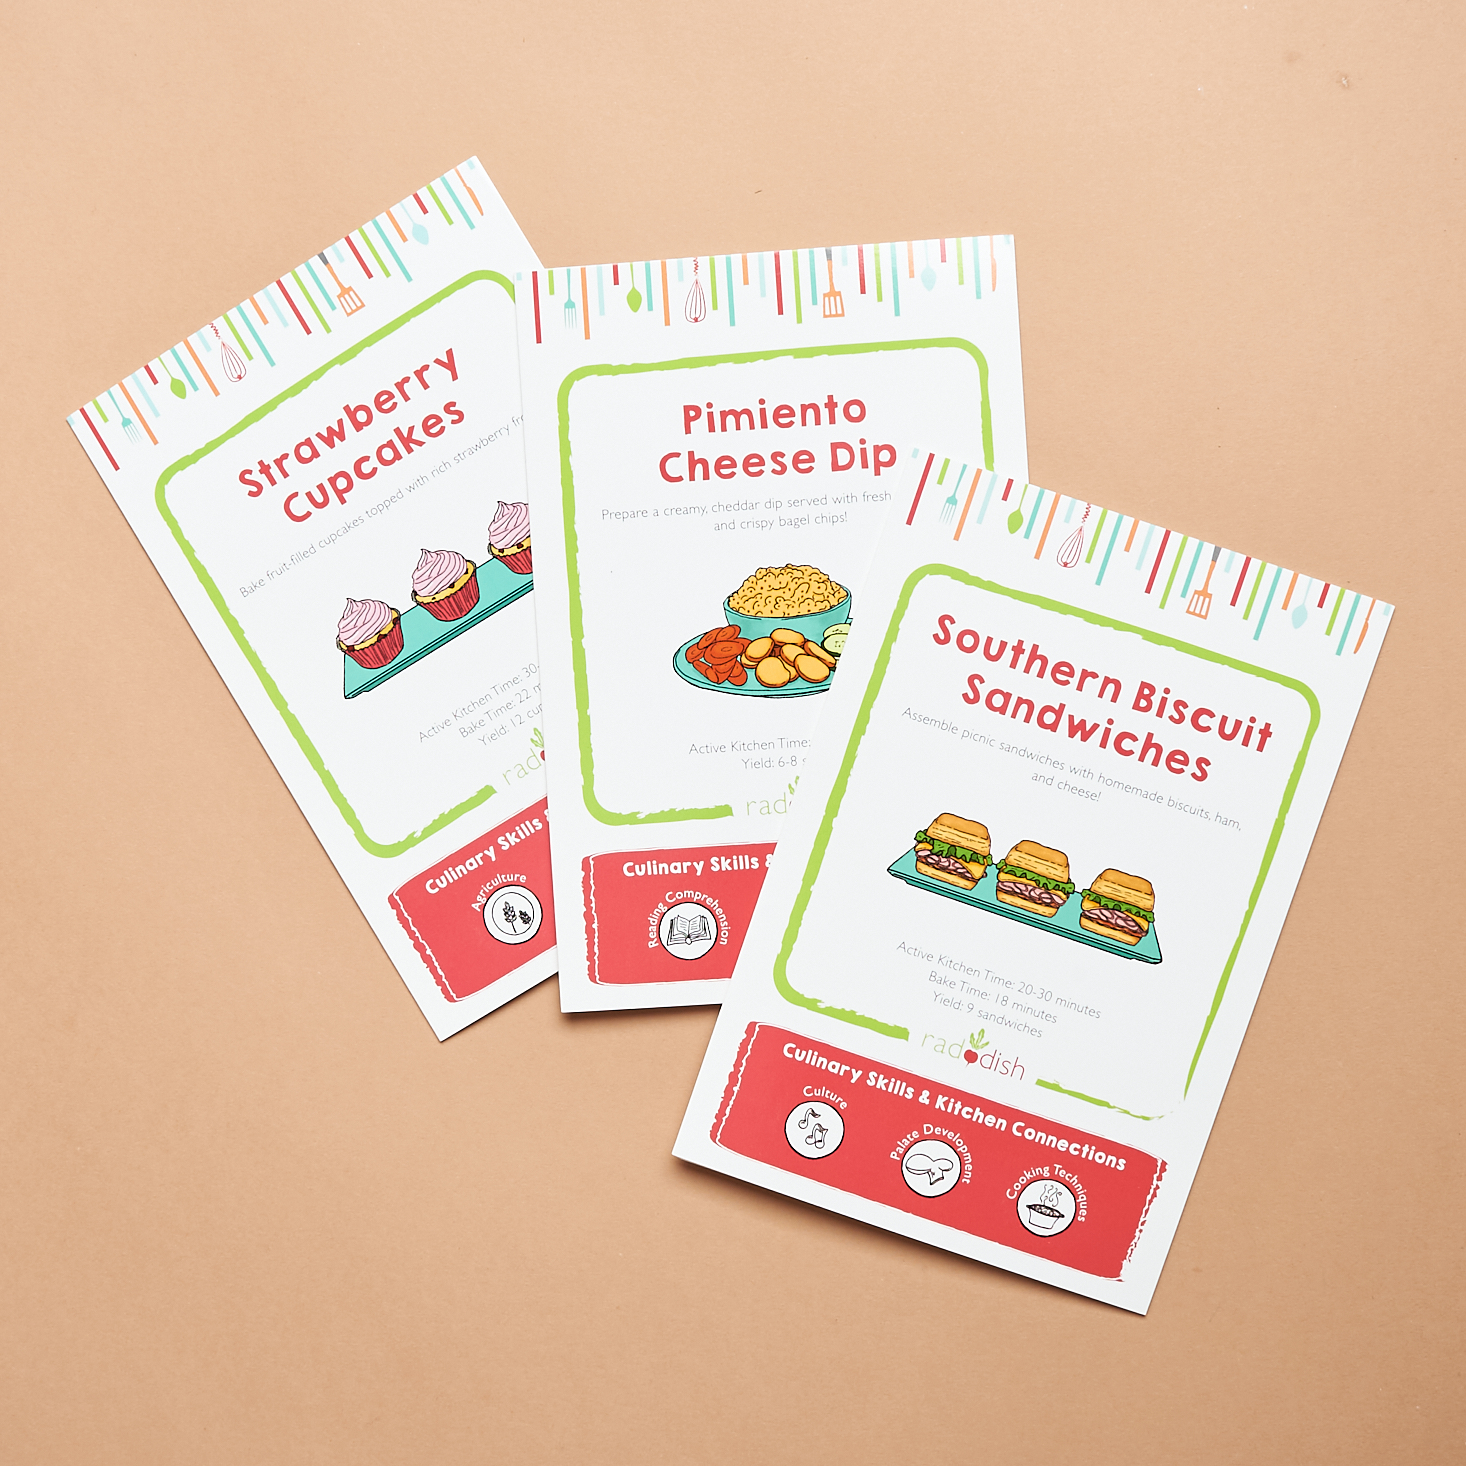
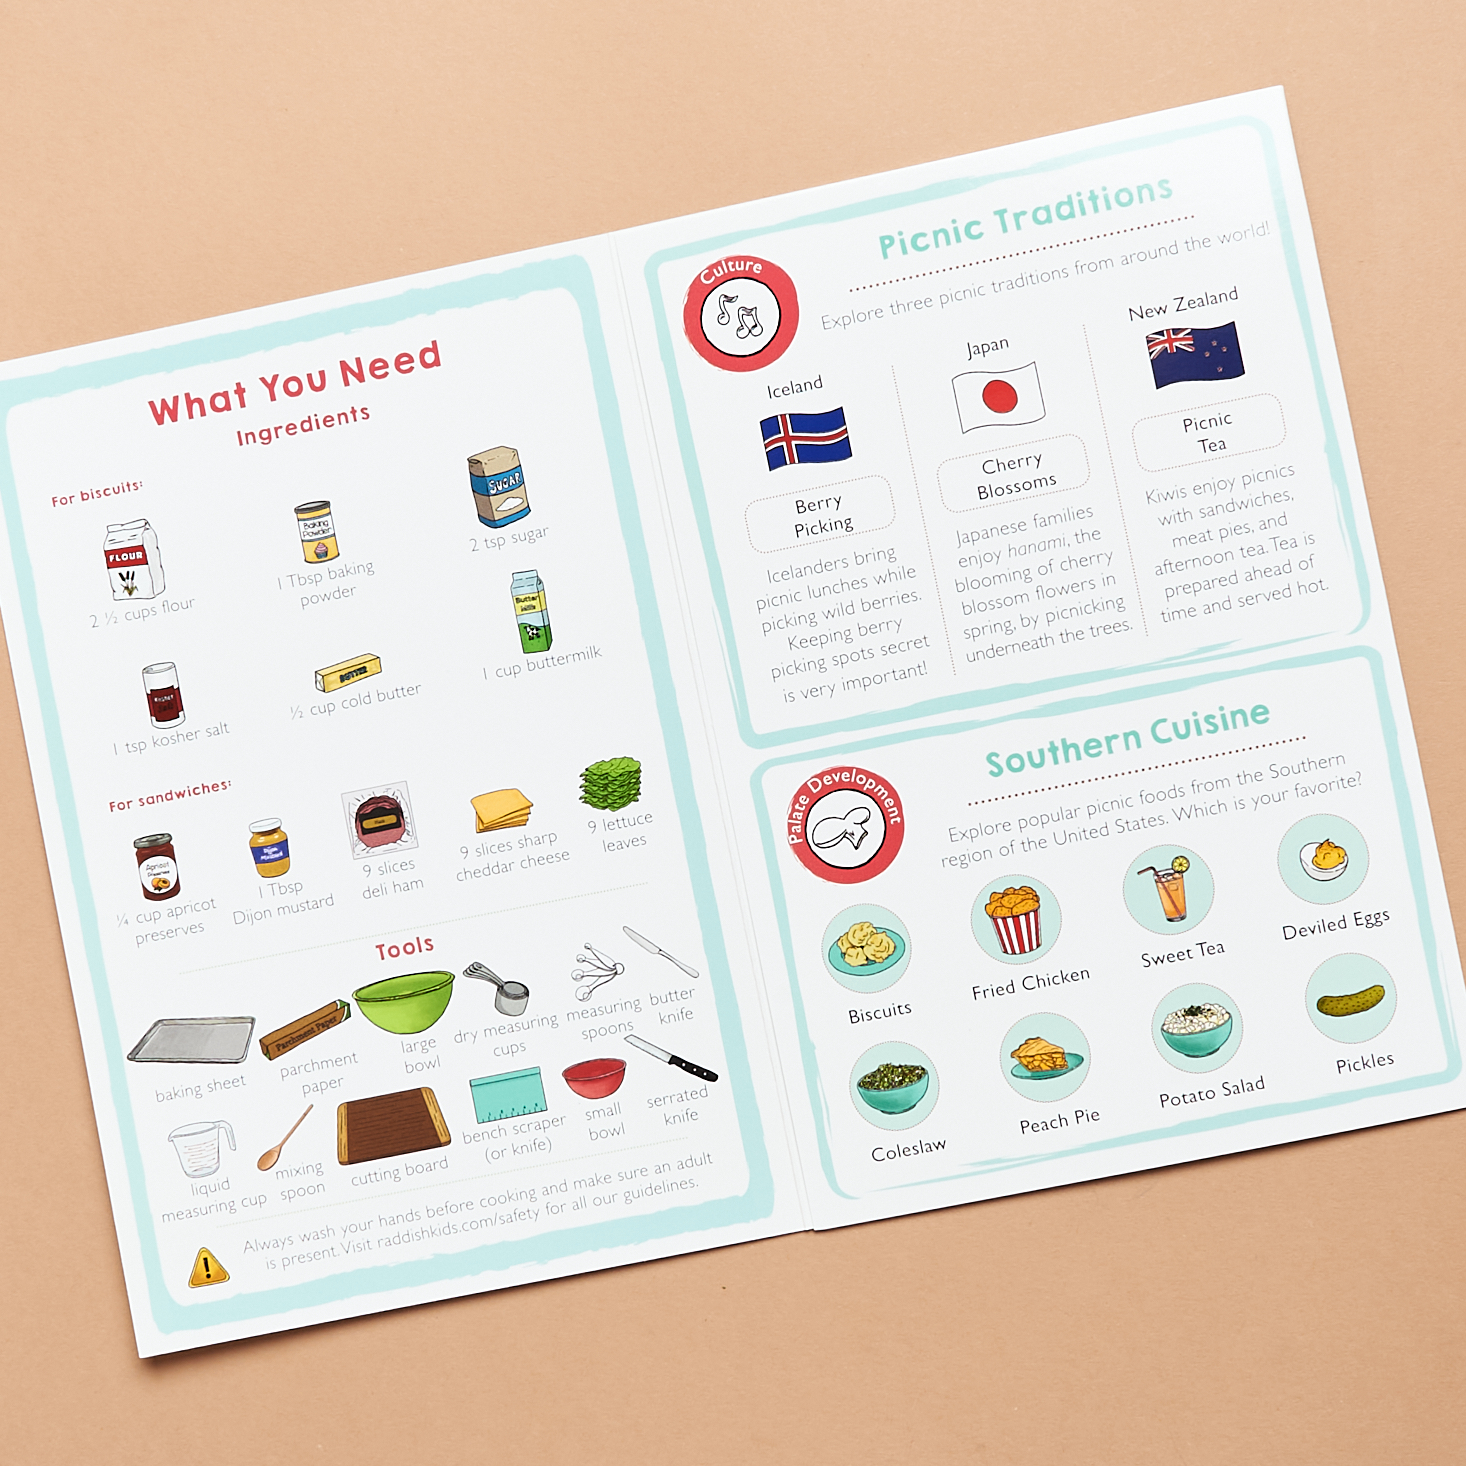
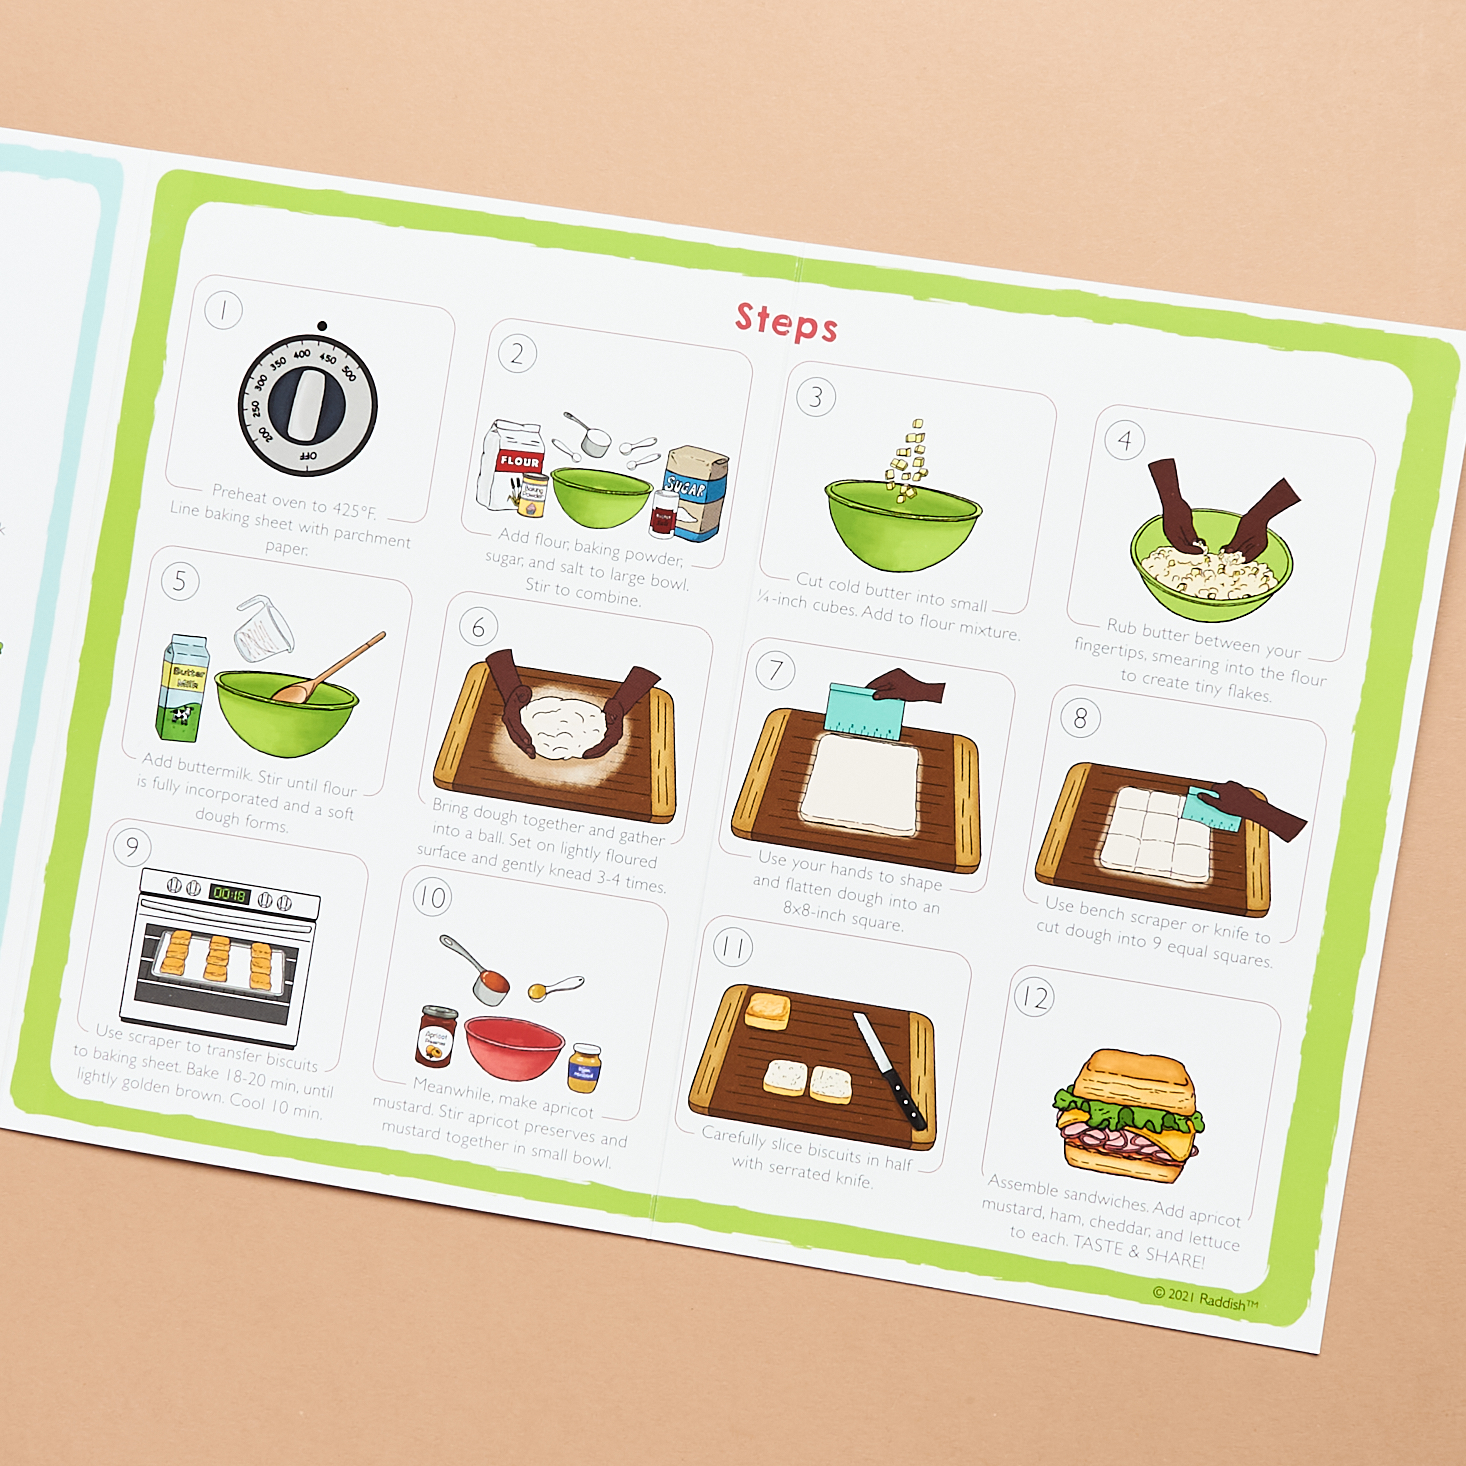
We received three recipe cards that come on glossy paper that can easily be wiped clean. The front tells us the recipe along with the prep and cooking time and notes which culinary skills and kitchen techniques we'll be focusing on. Inside they list everything we need including the ingredients and the tools we need to grab from our own kitchen. These have little illustrations to go along with them which is helpful for kids just beginning their culinary journey. Then the directions are broken down into steps with illustrations to guide them. There are also little helpful tidbits and fun facts throughout as well while the back goes into detail about the culinary skills. This month we were working on frosting a cupcake, using a bench scraper, and learning about different types of knives and their purposes. Basic skills that are useful and necessary if you're going to be in the kitchen! Now let's find out how everything turned out!
Recipe 1: Strawberry Cupcakes
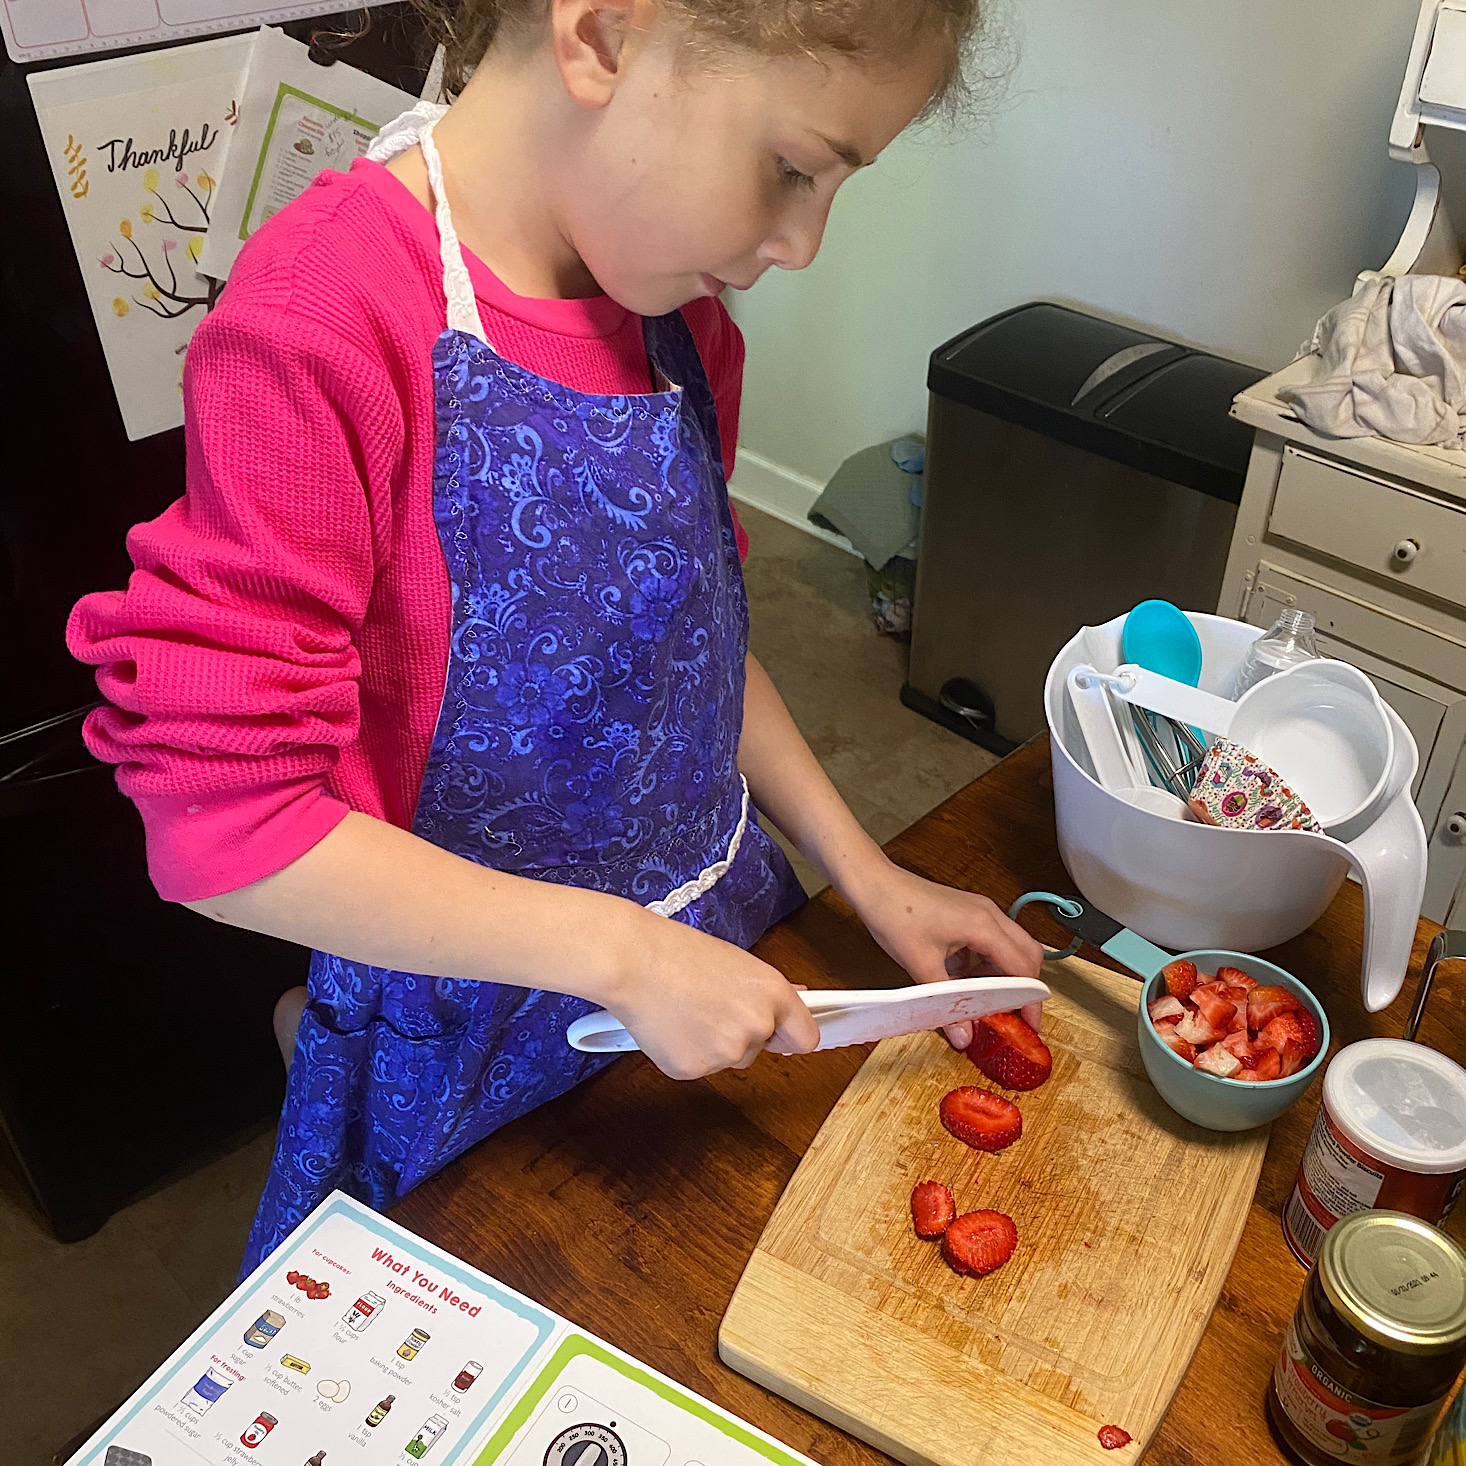
1 of 8 | We cut up strawberries.
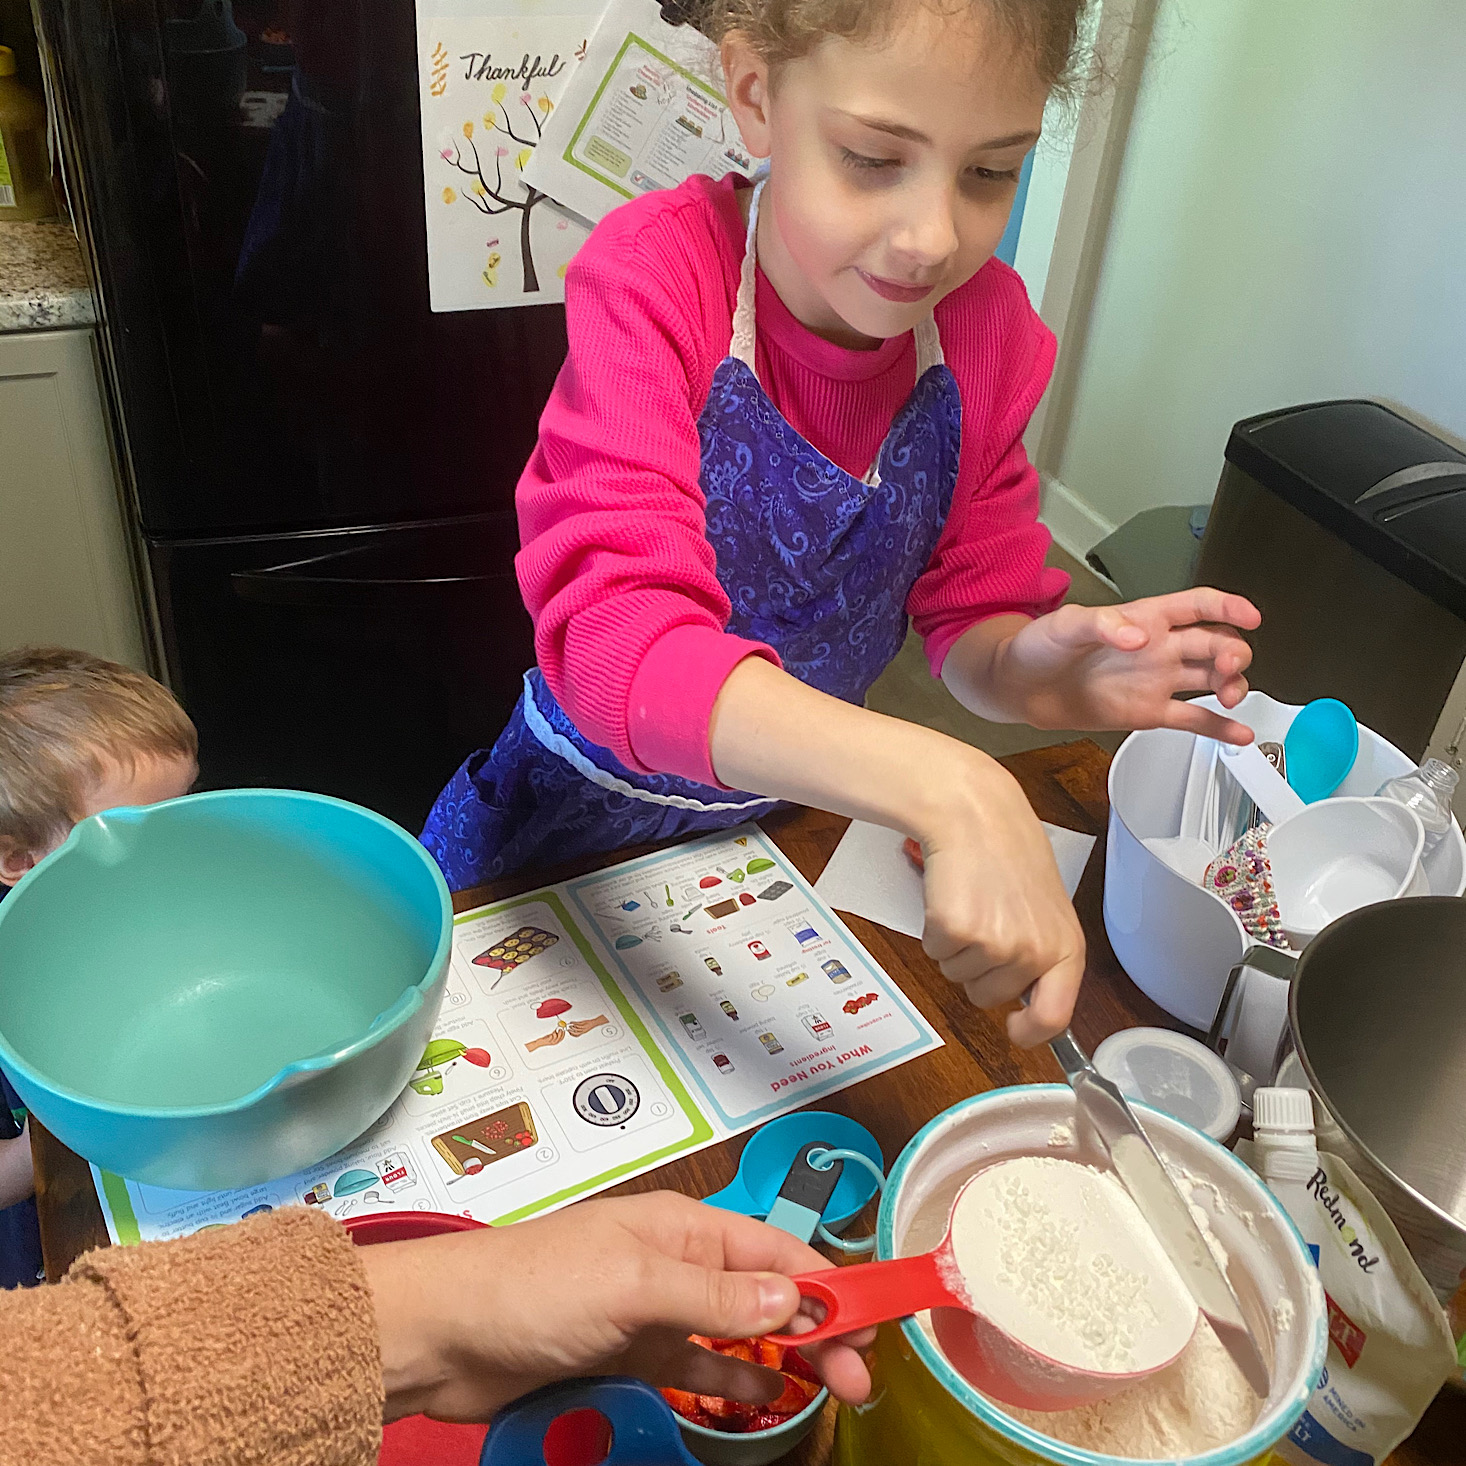
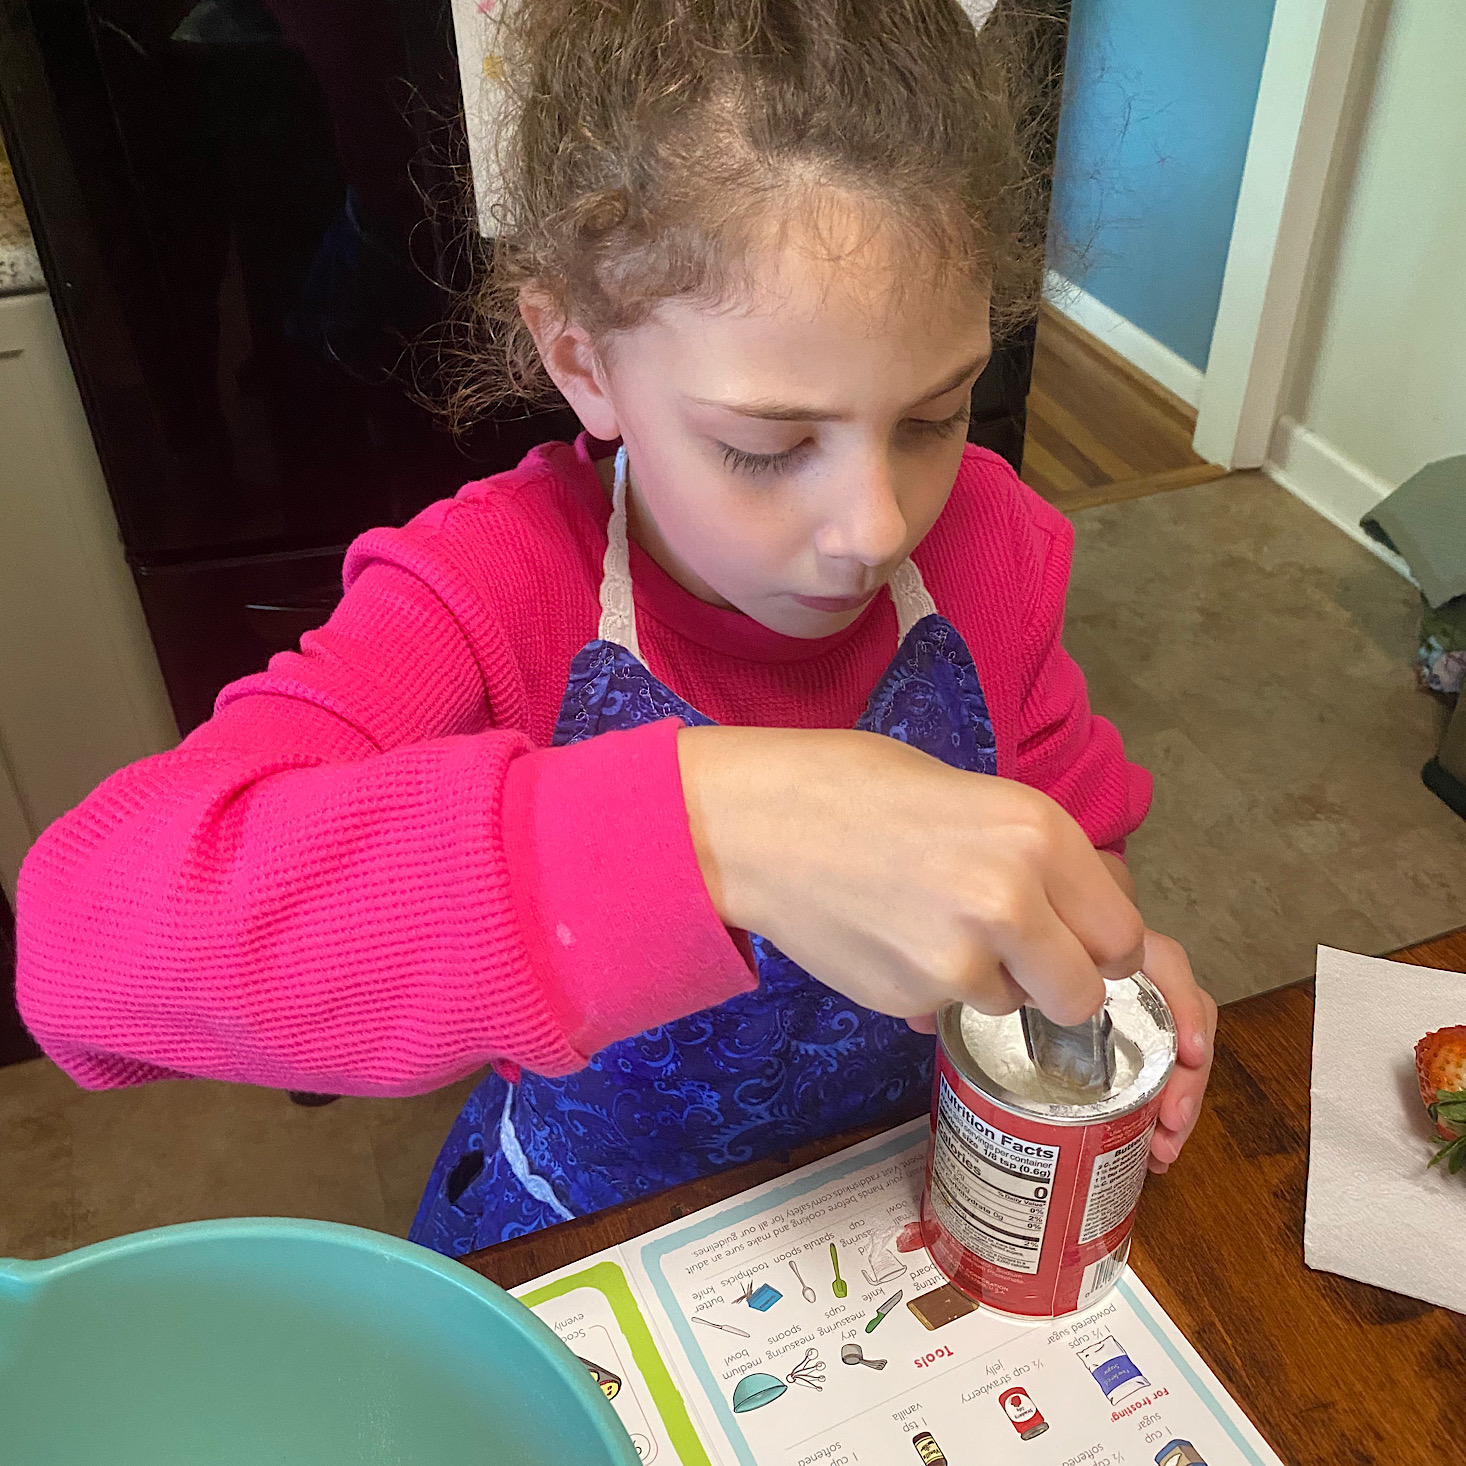
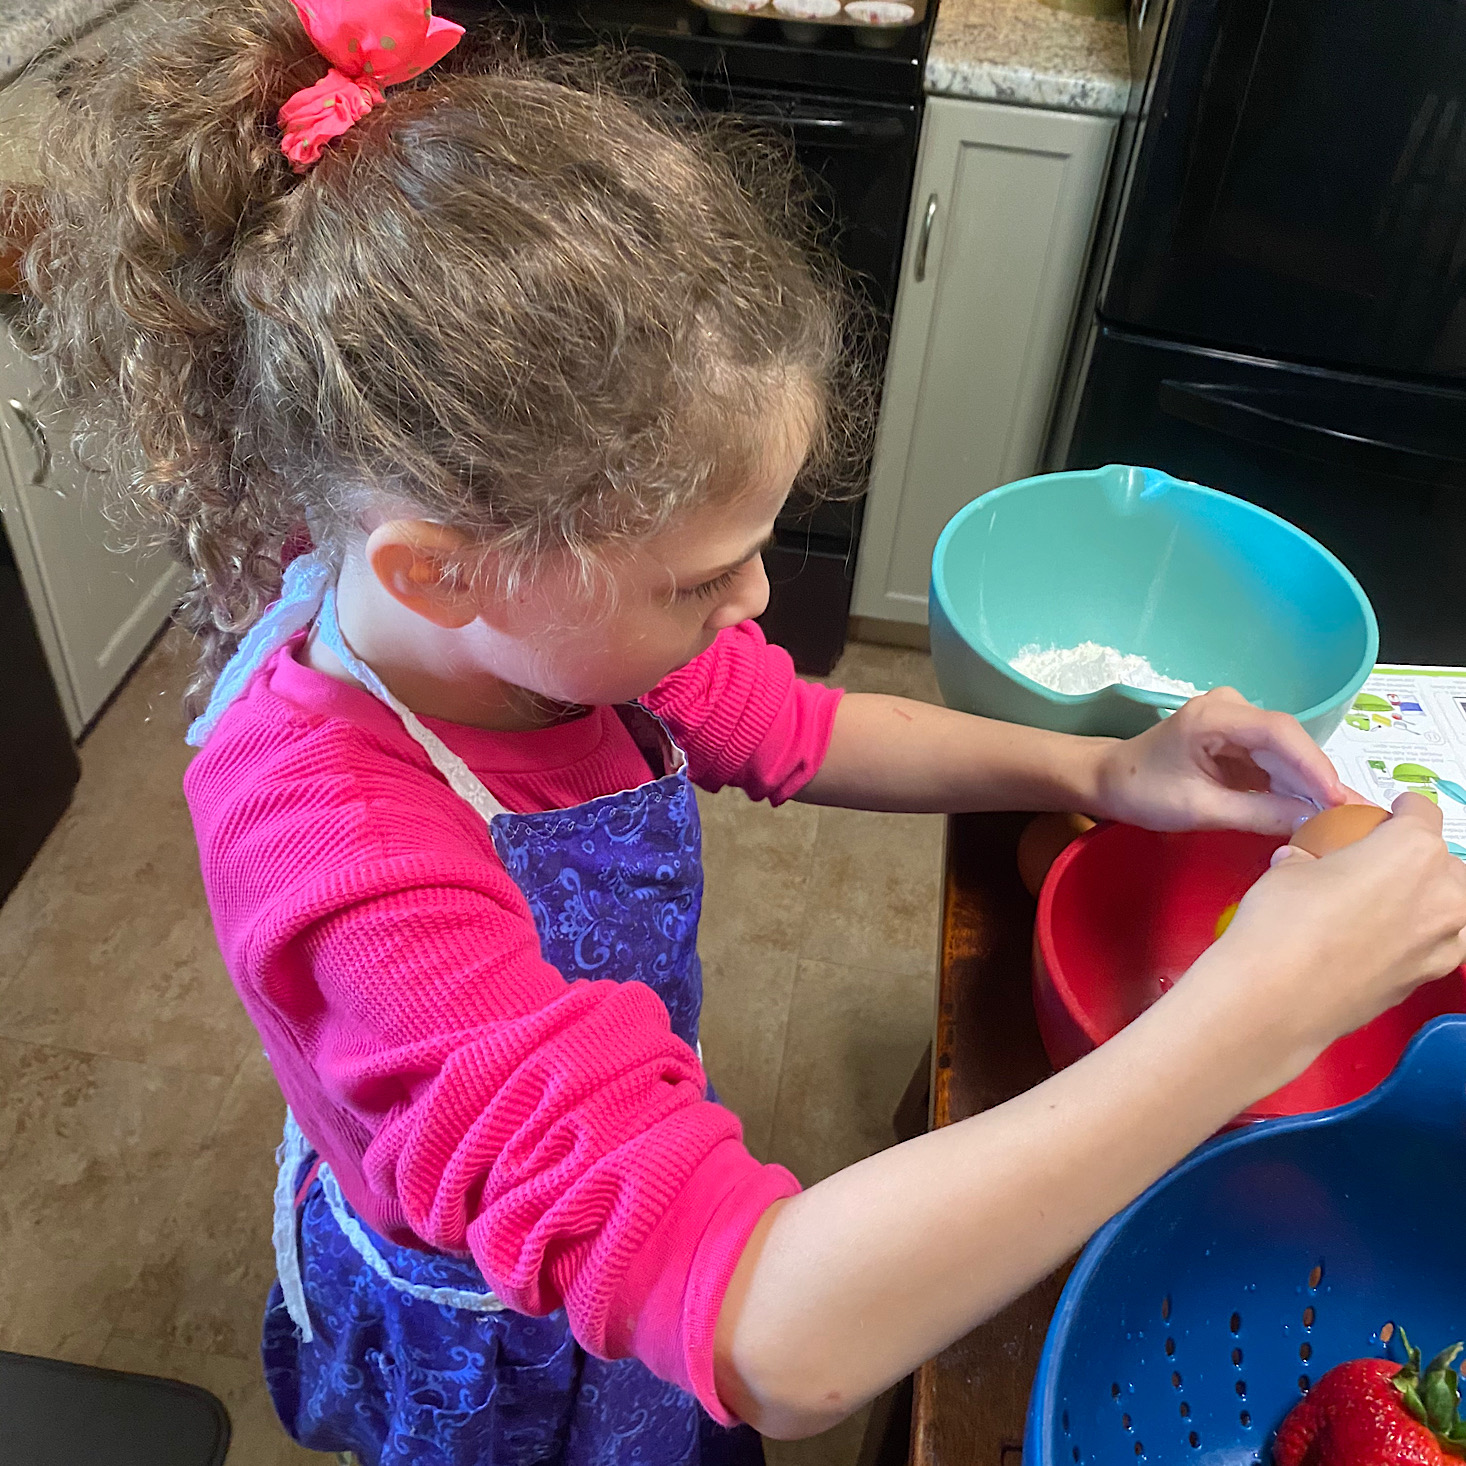
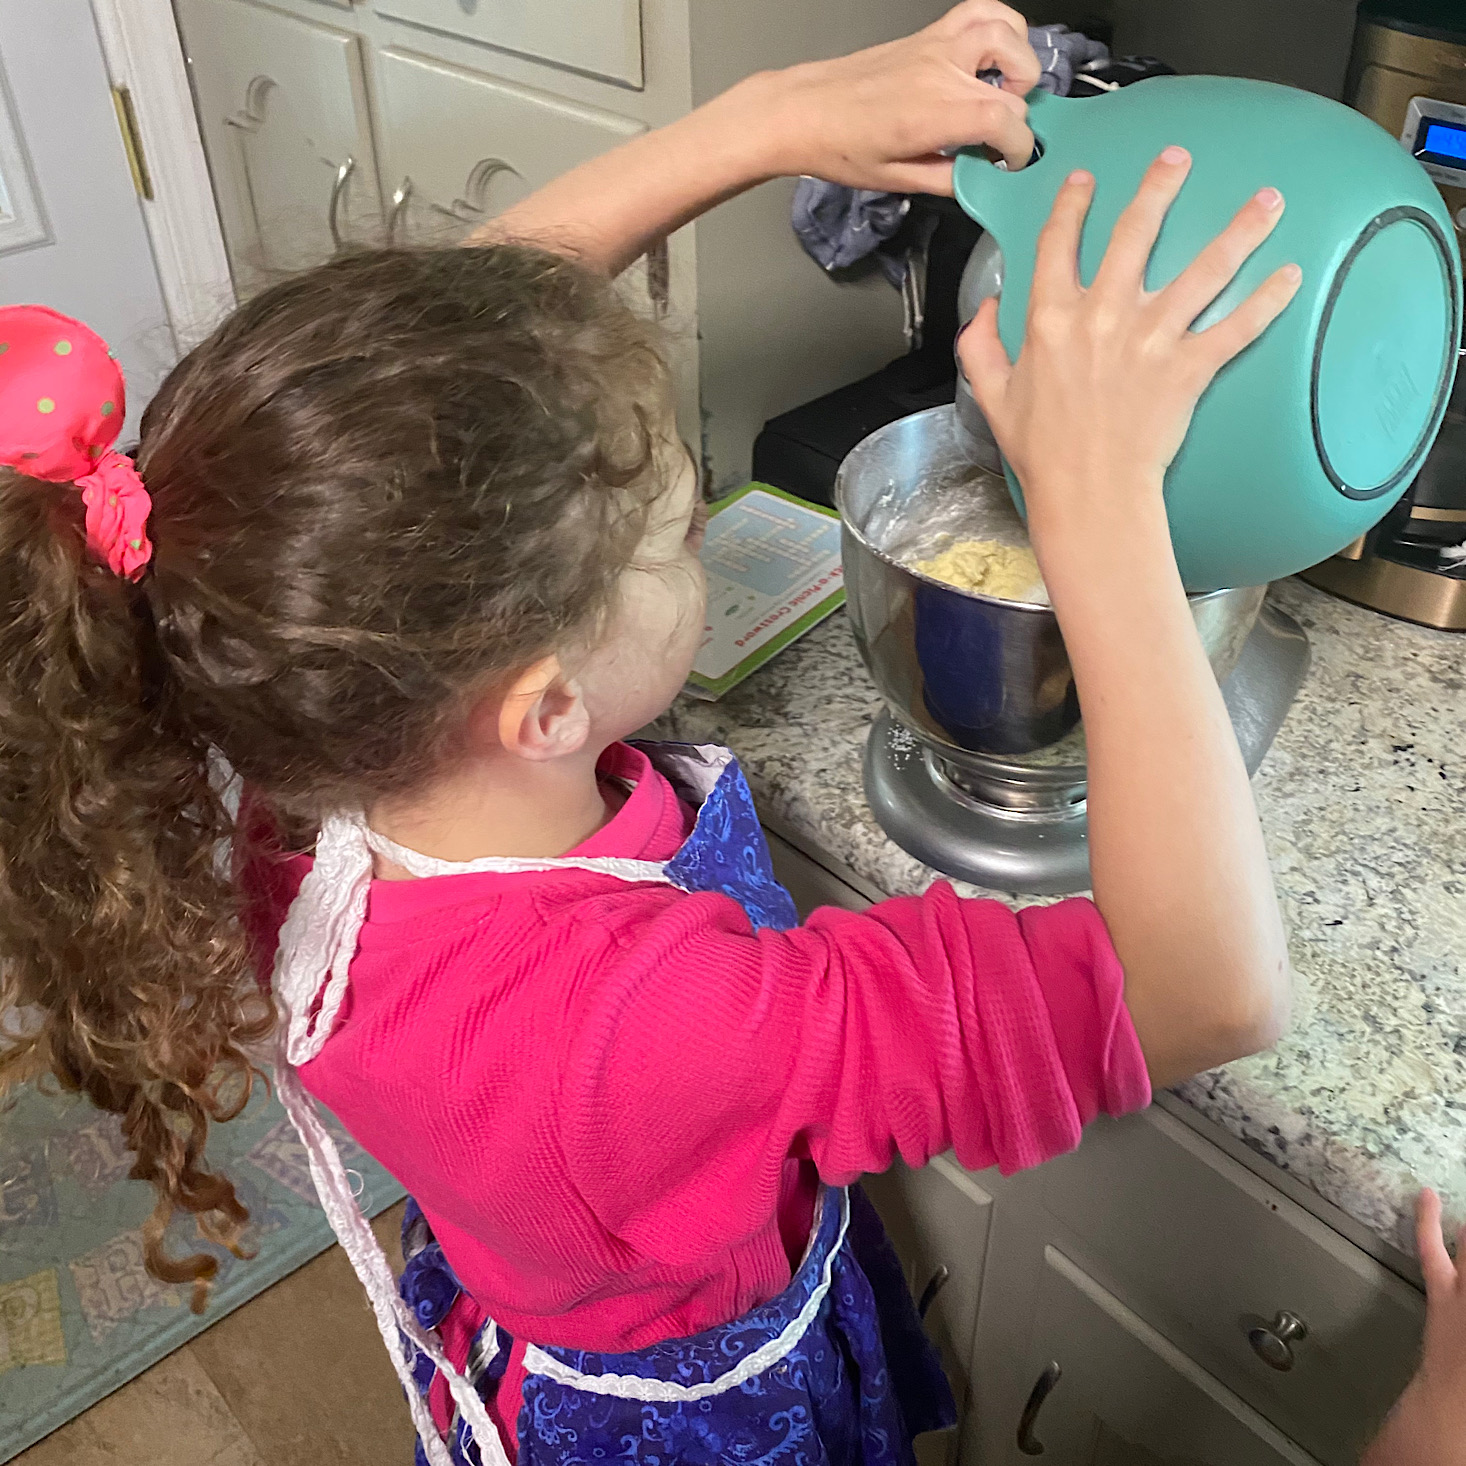
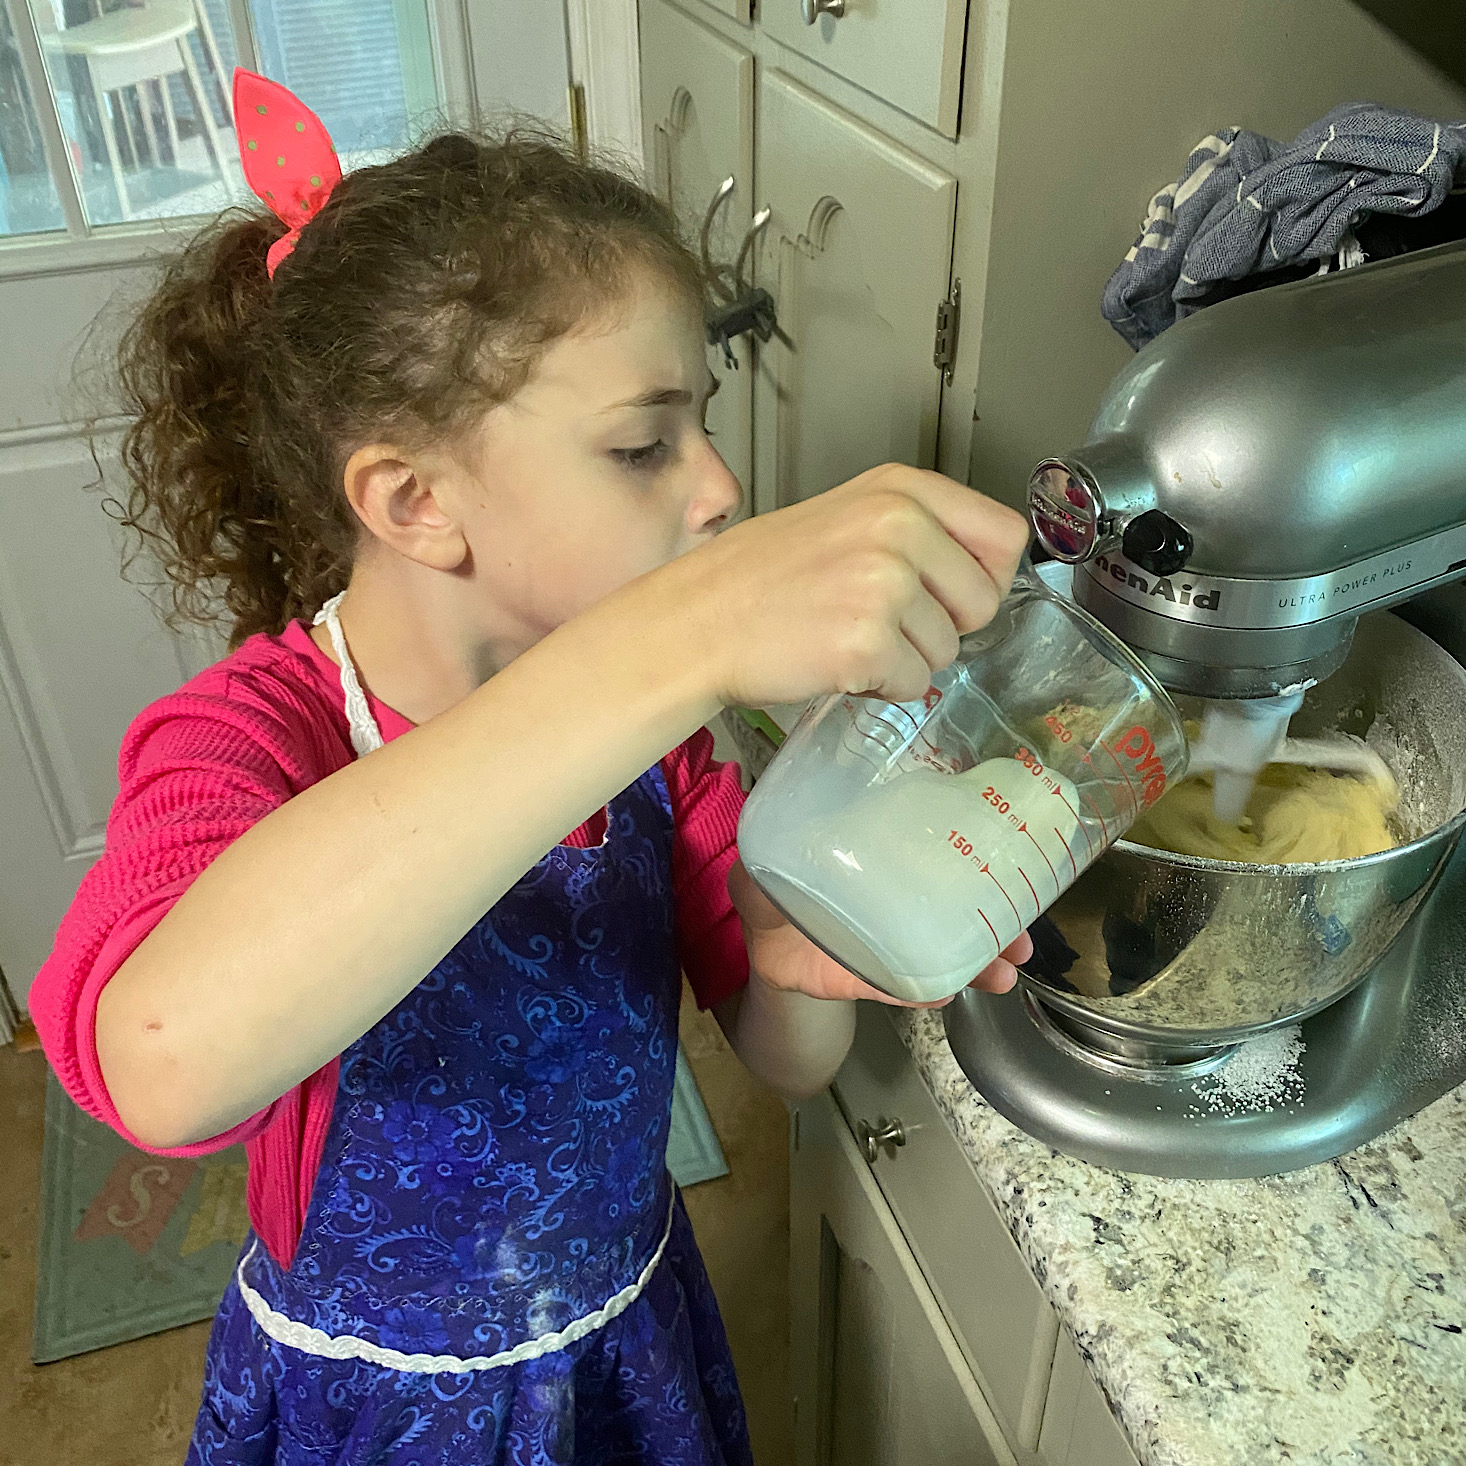
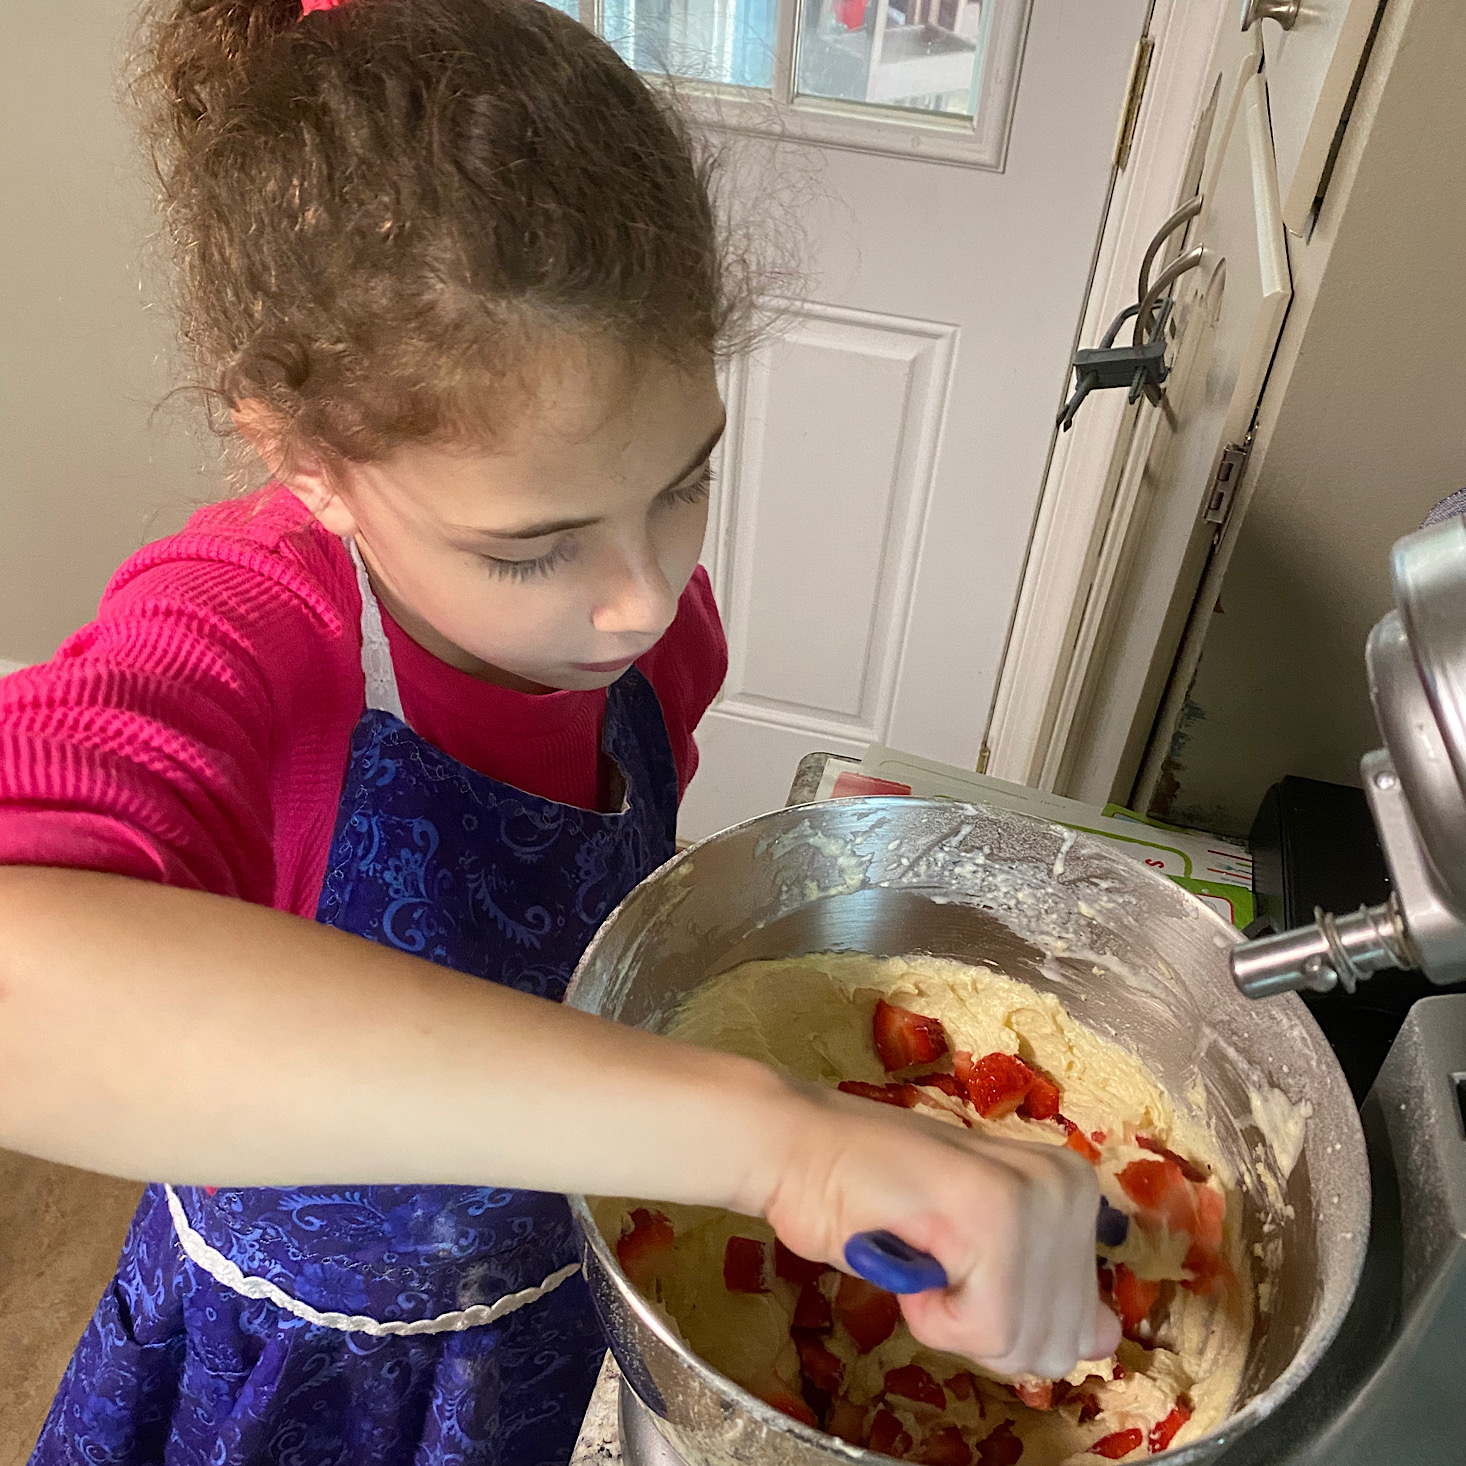
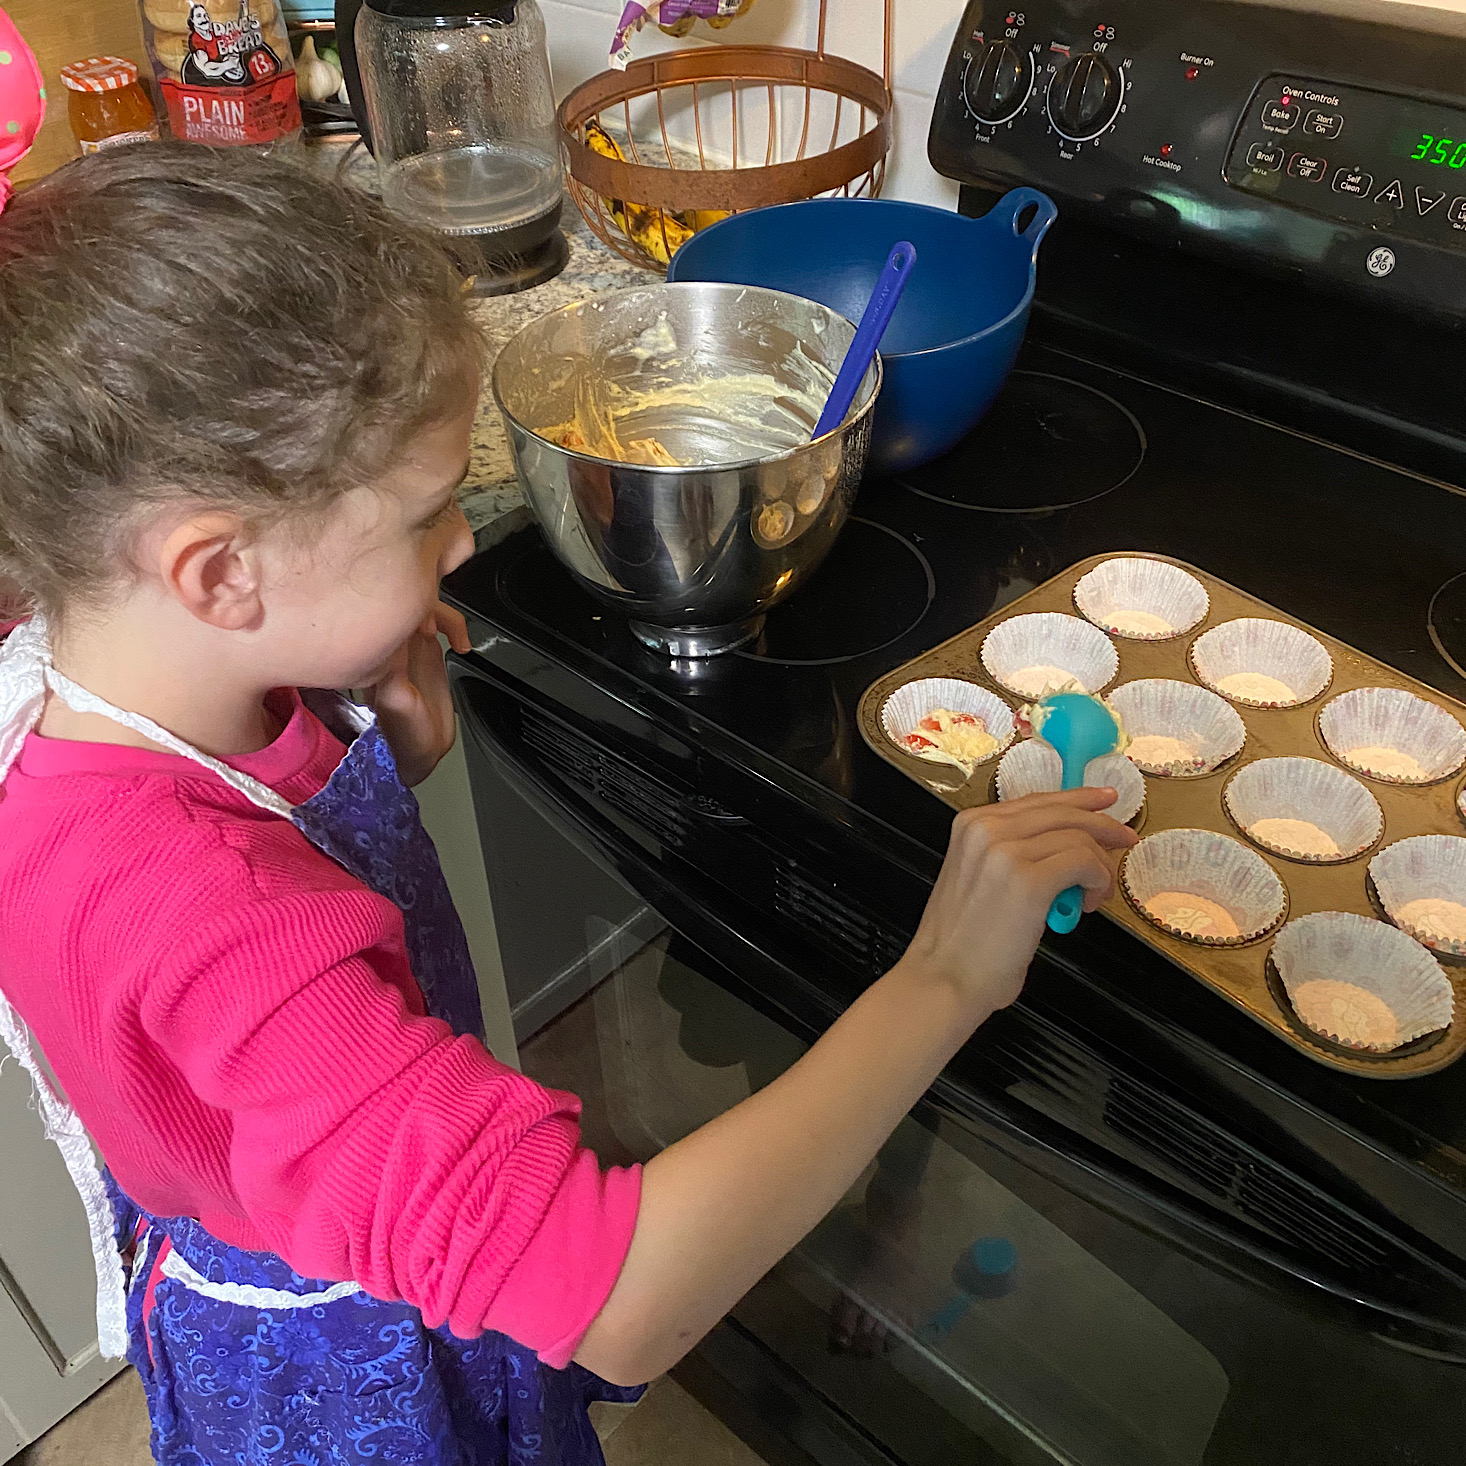
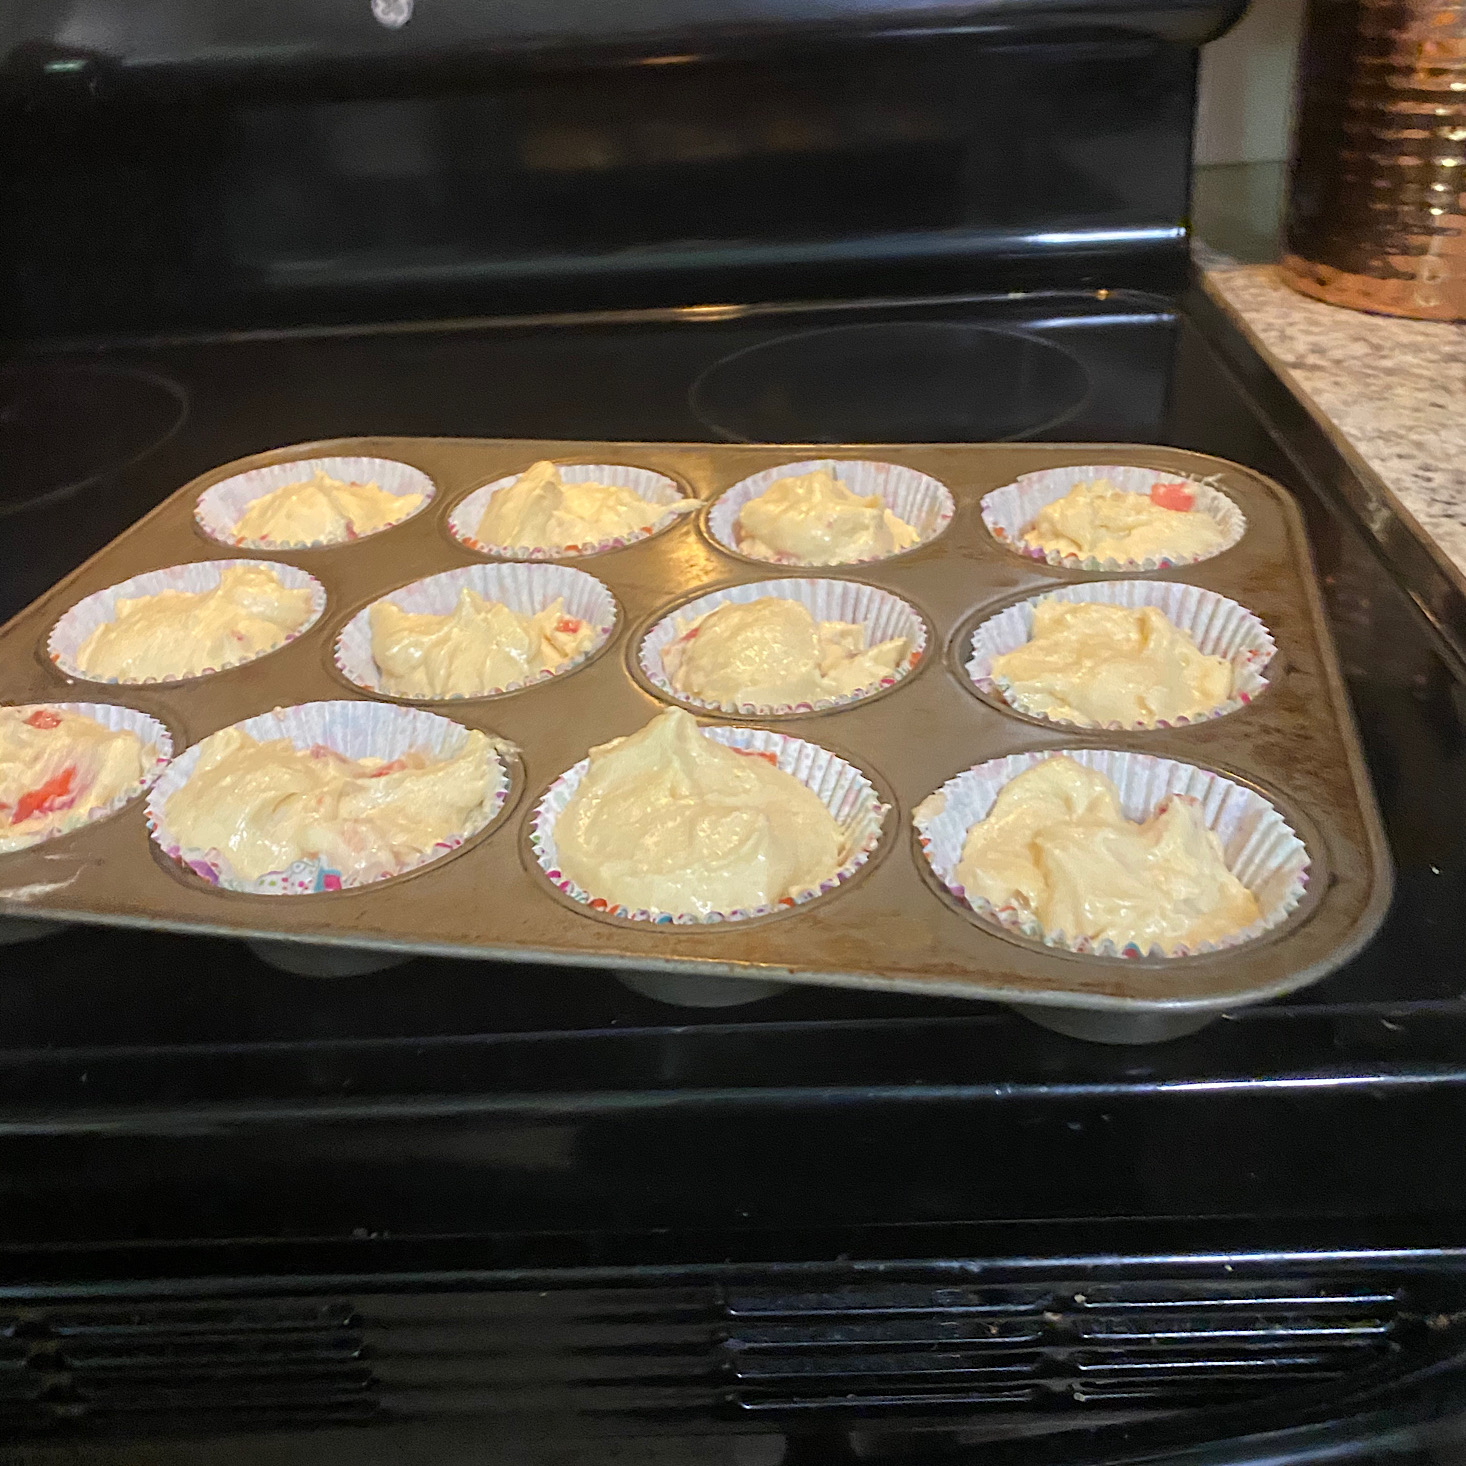
Since we were creating a whole spring picnic, we decided to get our cupcakes in the oven first so they had time to cool before frosting them. While we worked together on the other recipes, this is the one where Liv really took charge with just a bit of supervision and assistance from me. She cut up the strawberries, helped measure and add the ingredients, cracked the eggs, mixed up the batter, and then added it to the cupcake liners before putting them in the oven.
1 of 2
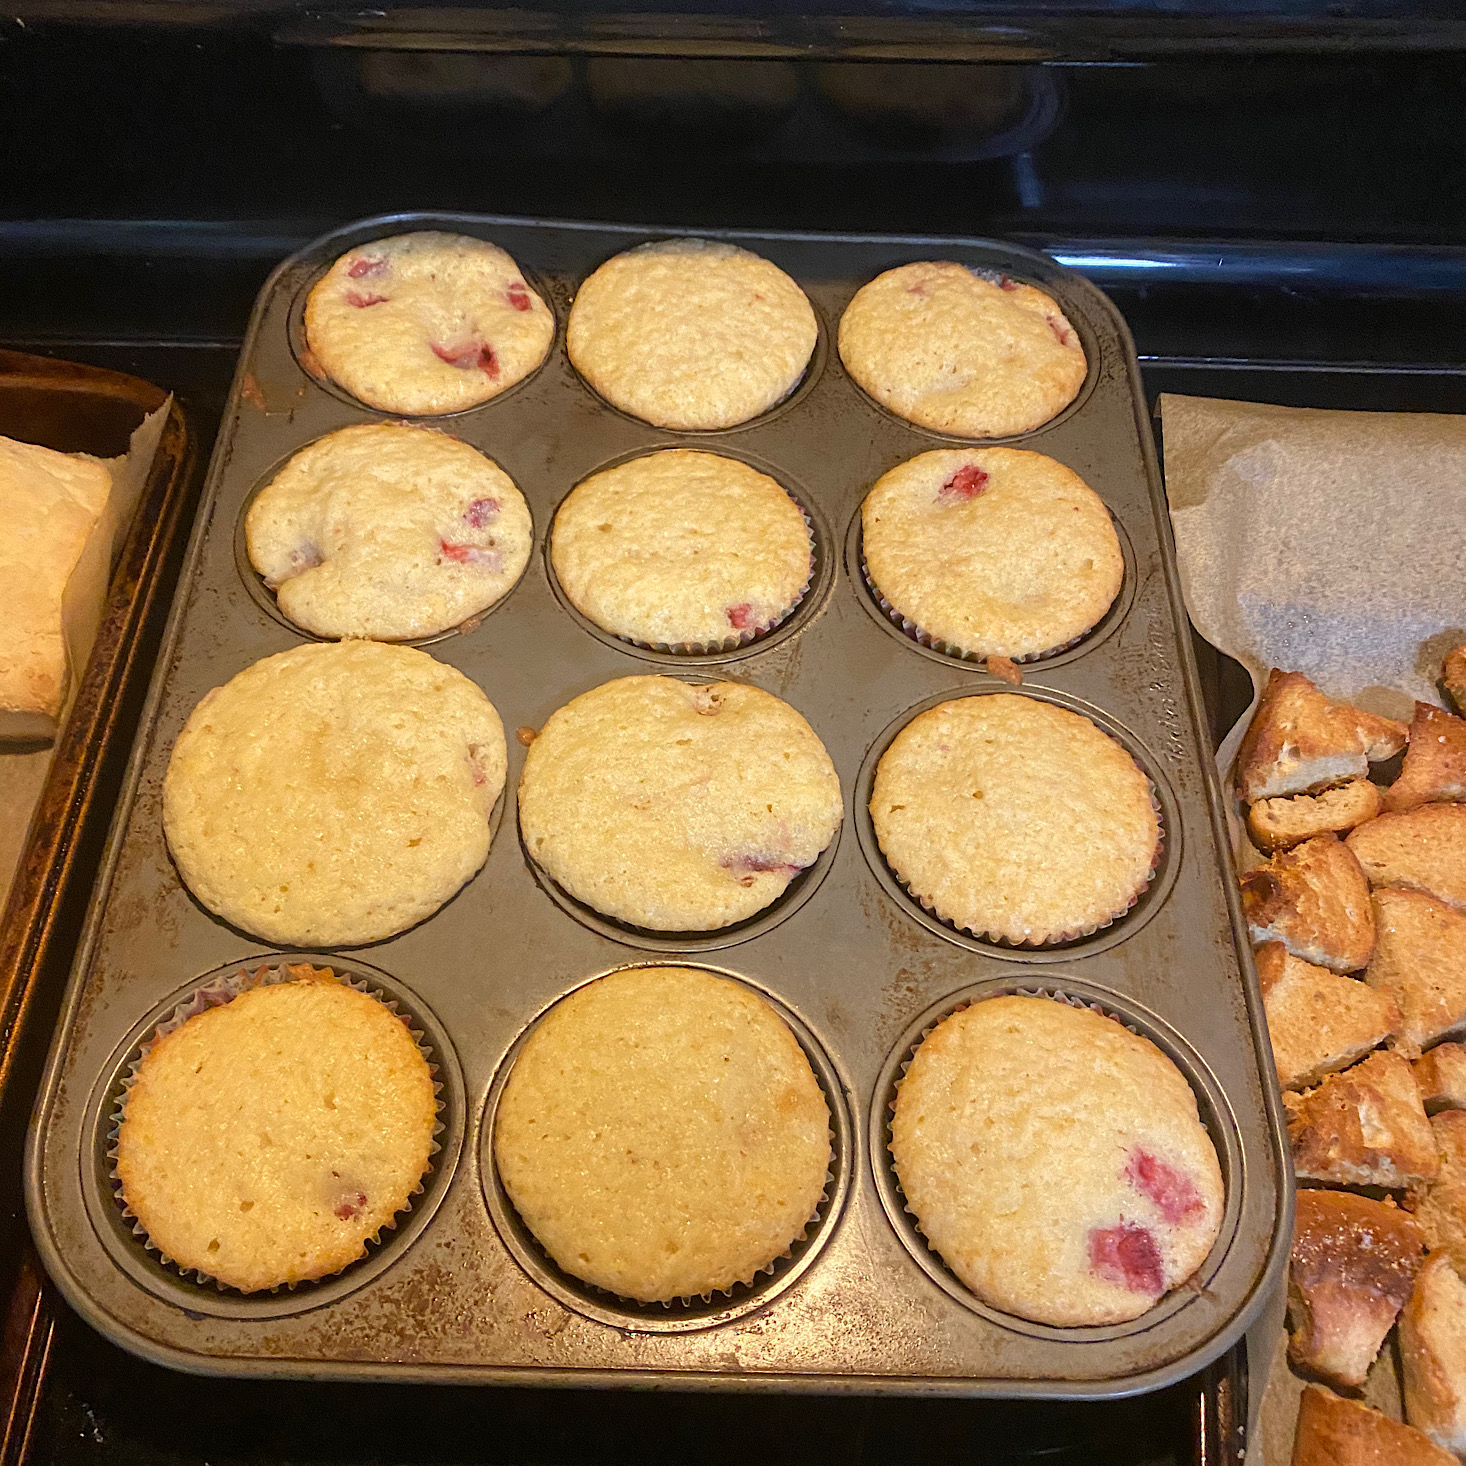
She even took this picture of the cupcakes before they went in. Swipe to see how they baked up!
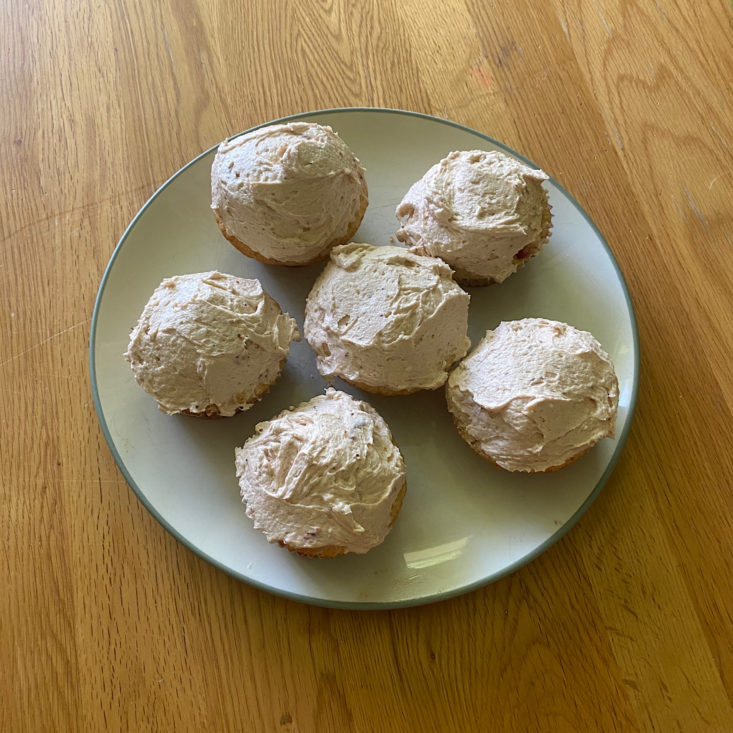
I ended up frosting the cupcakes myself since we had been so busy making everything for our picnic. The icing was a simple buttercream with some strawberry jelly added (although I used preserves – is jelly not a thing anymore? I could only find spread, jam, or preserves!). While the icing ended up being a bit too sweet for us, we loved the cupcakes. My daughter actually preferred to eat them without the frosting, so she called them strawberry muffins instead. It still works!
Recipe 2: Southern Biscuit Sandwiches
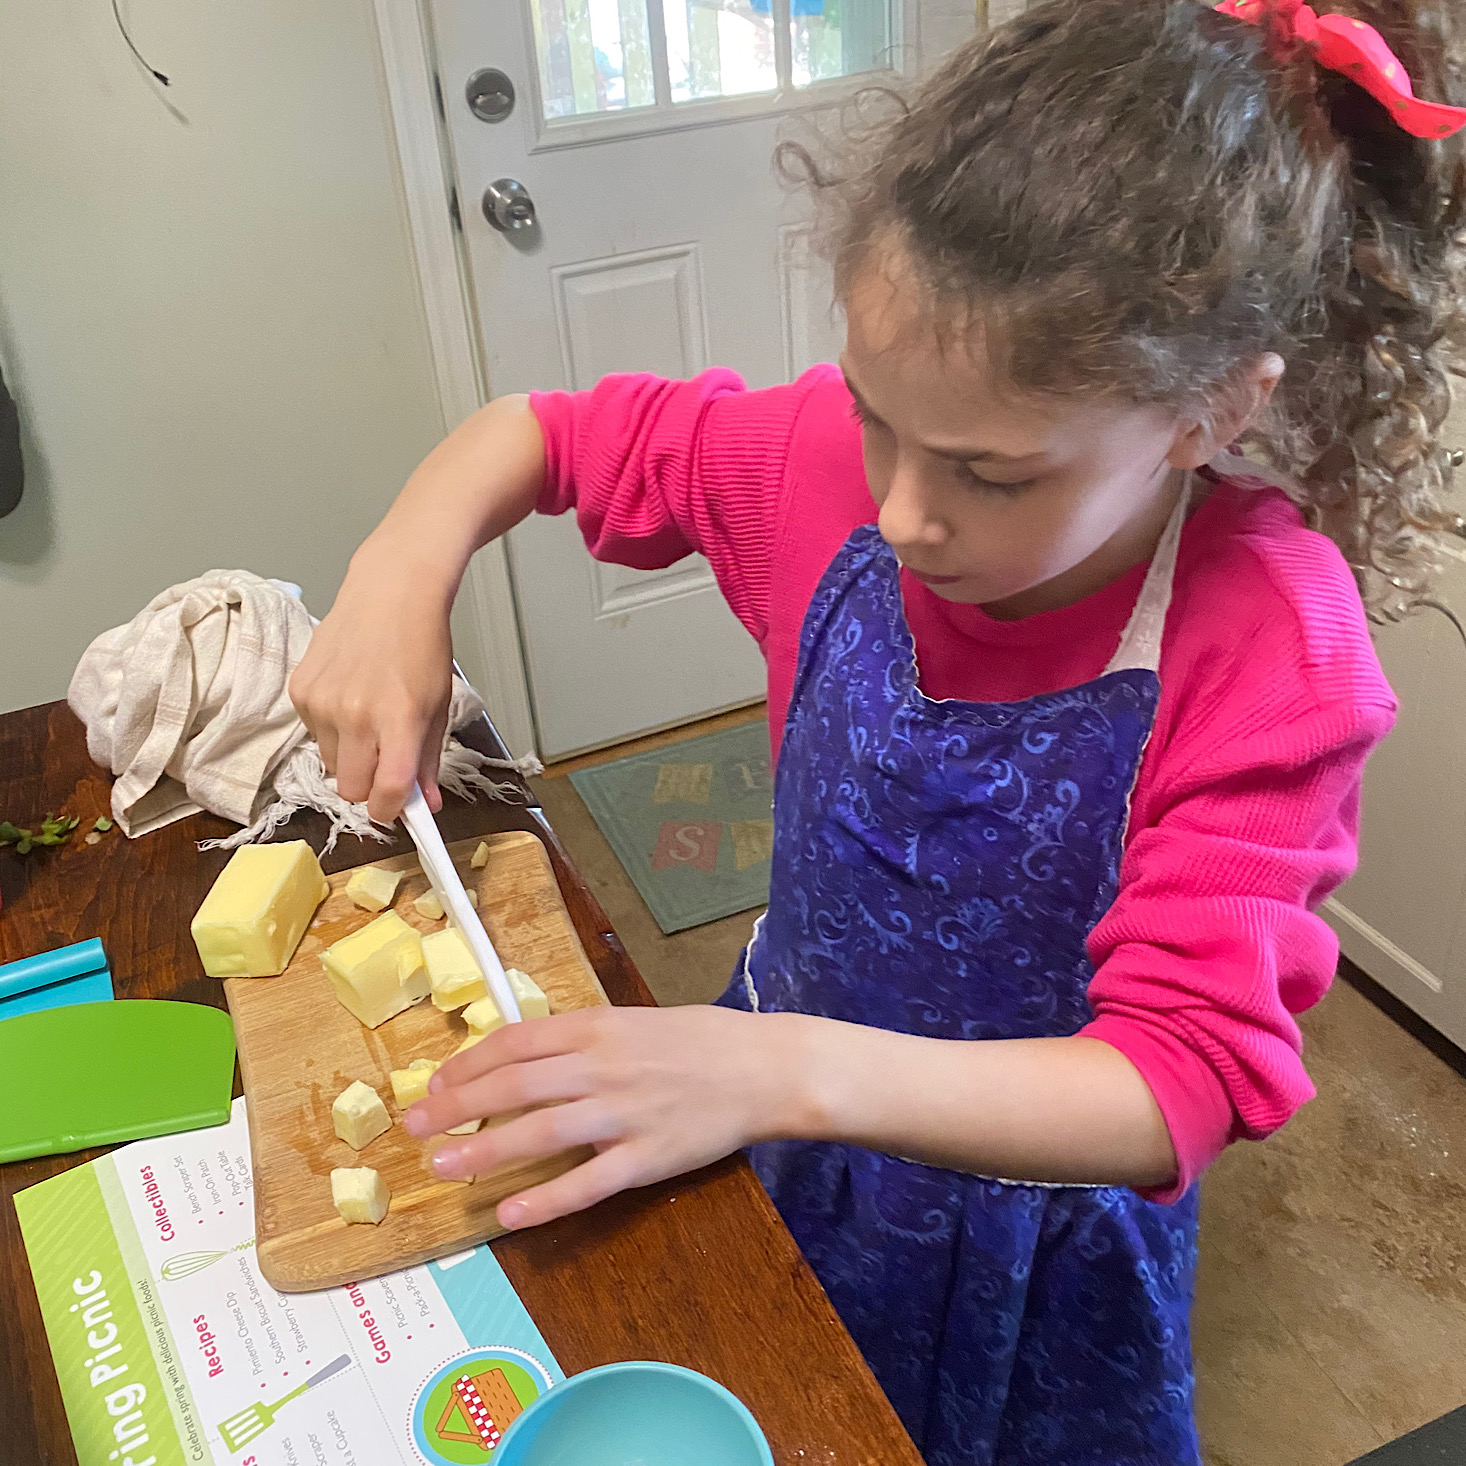
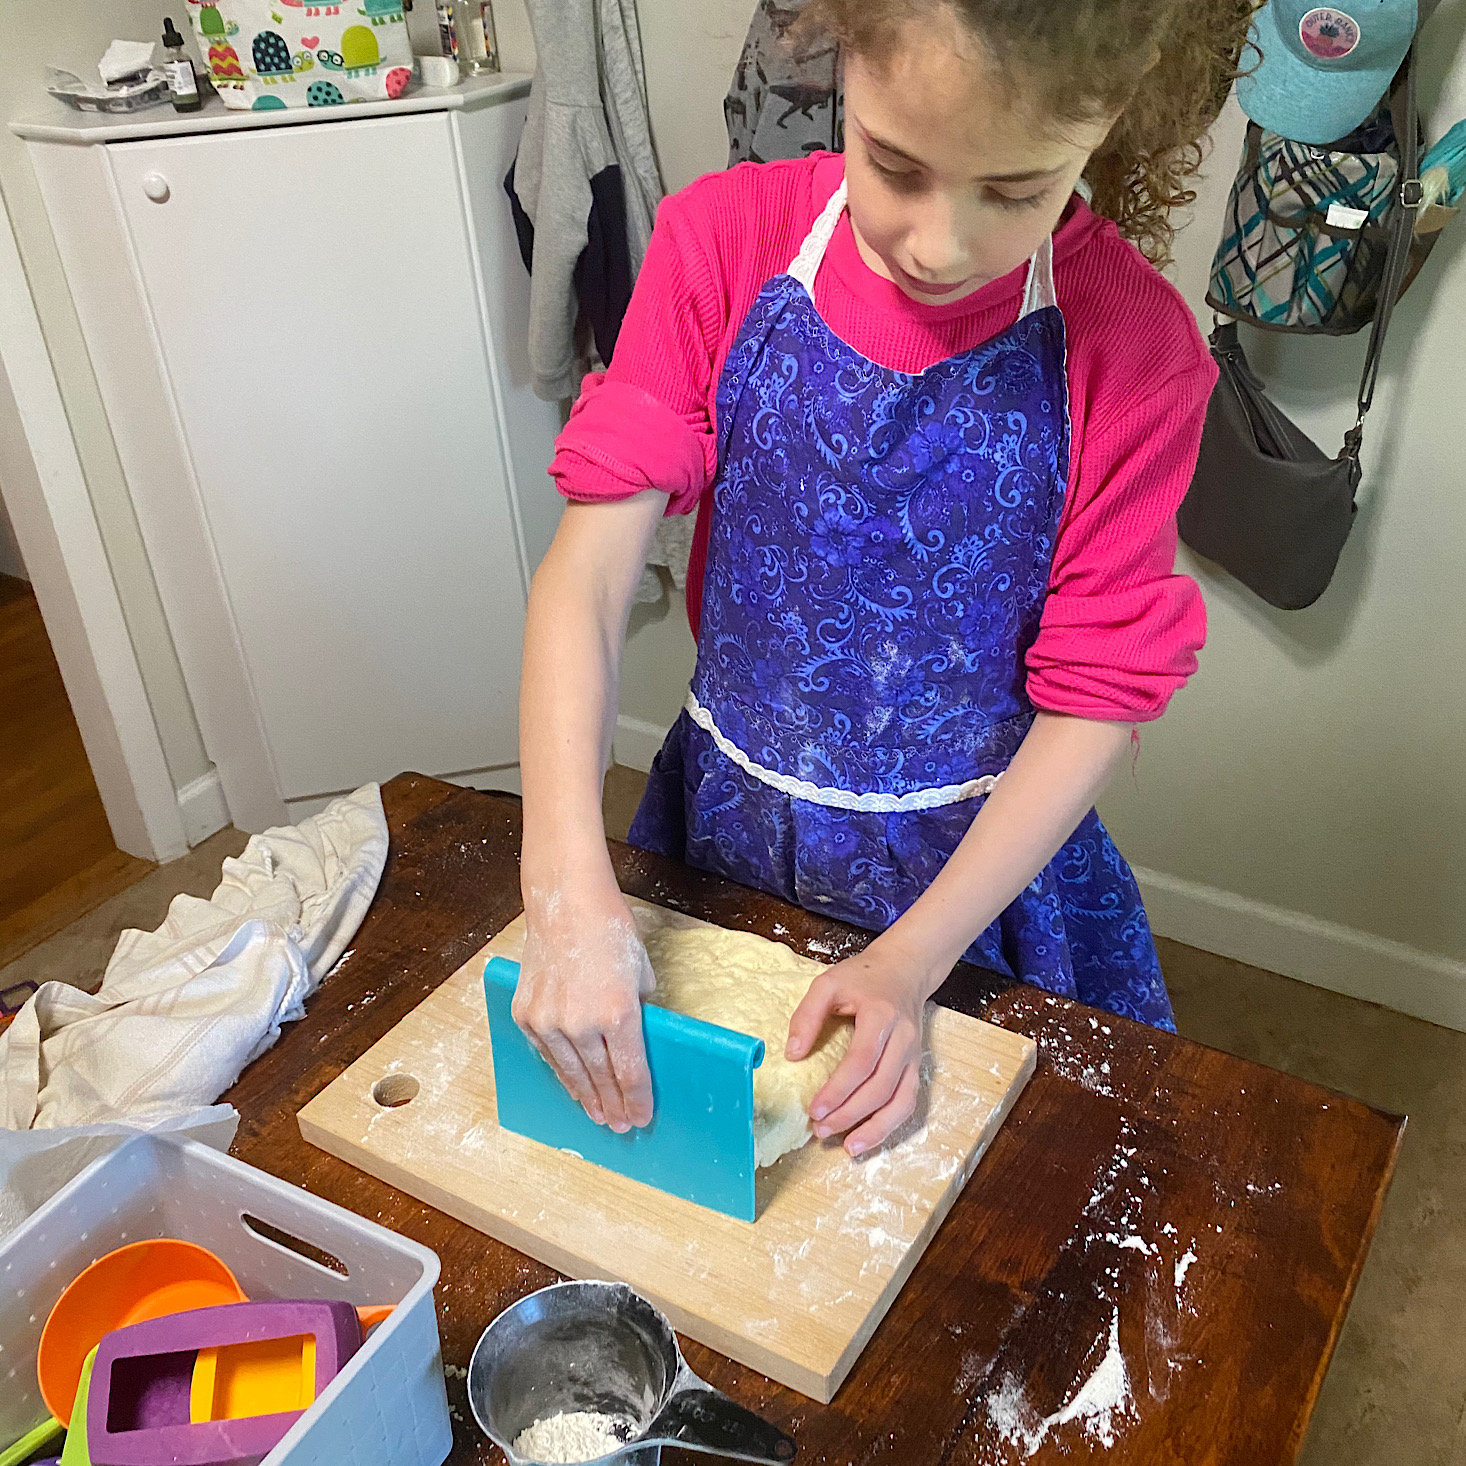
1 of 5 | She cut up the butter.

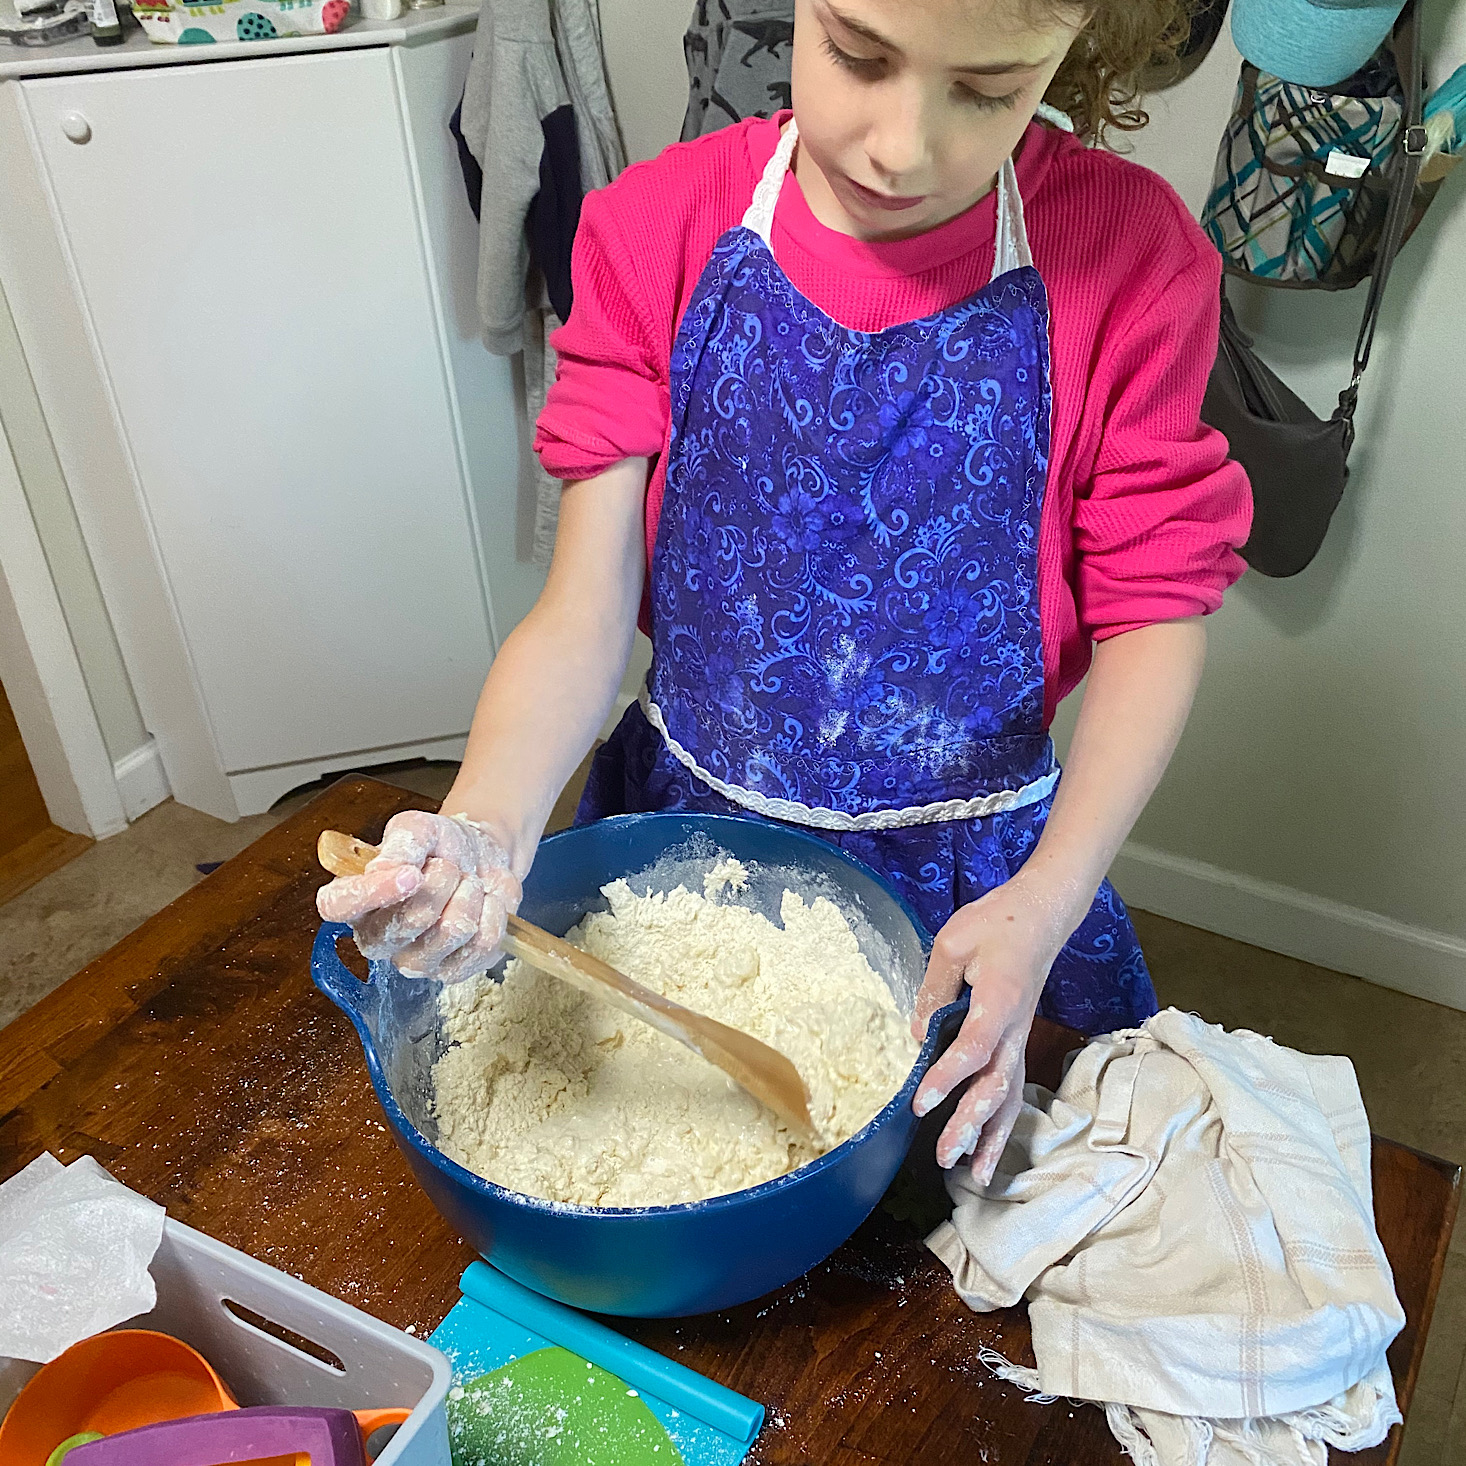
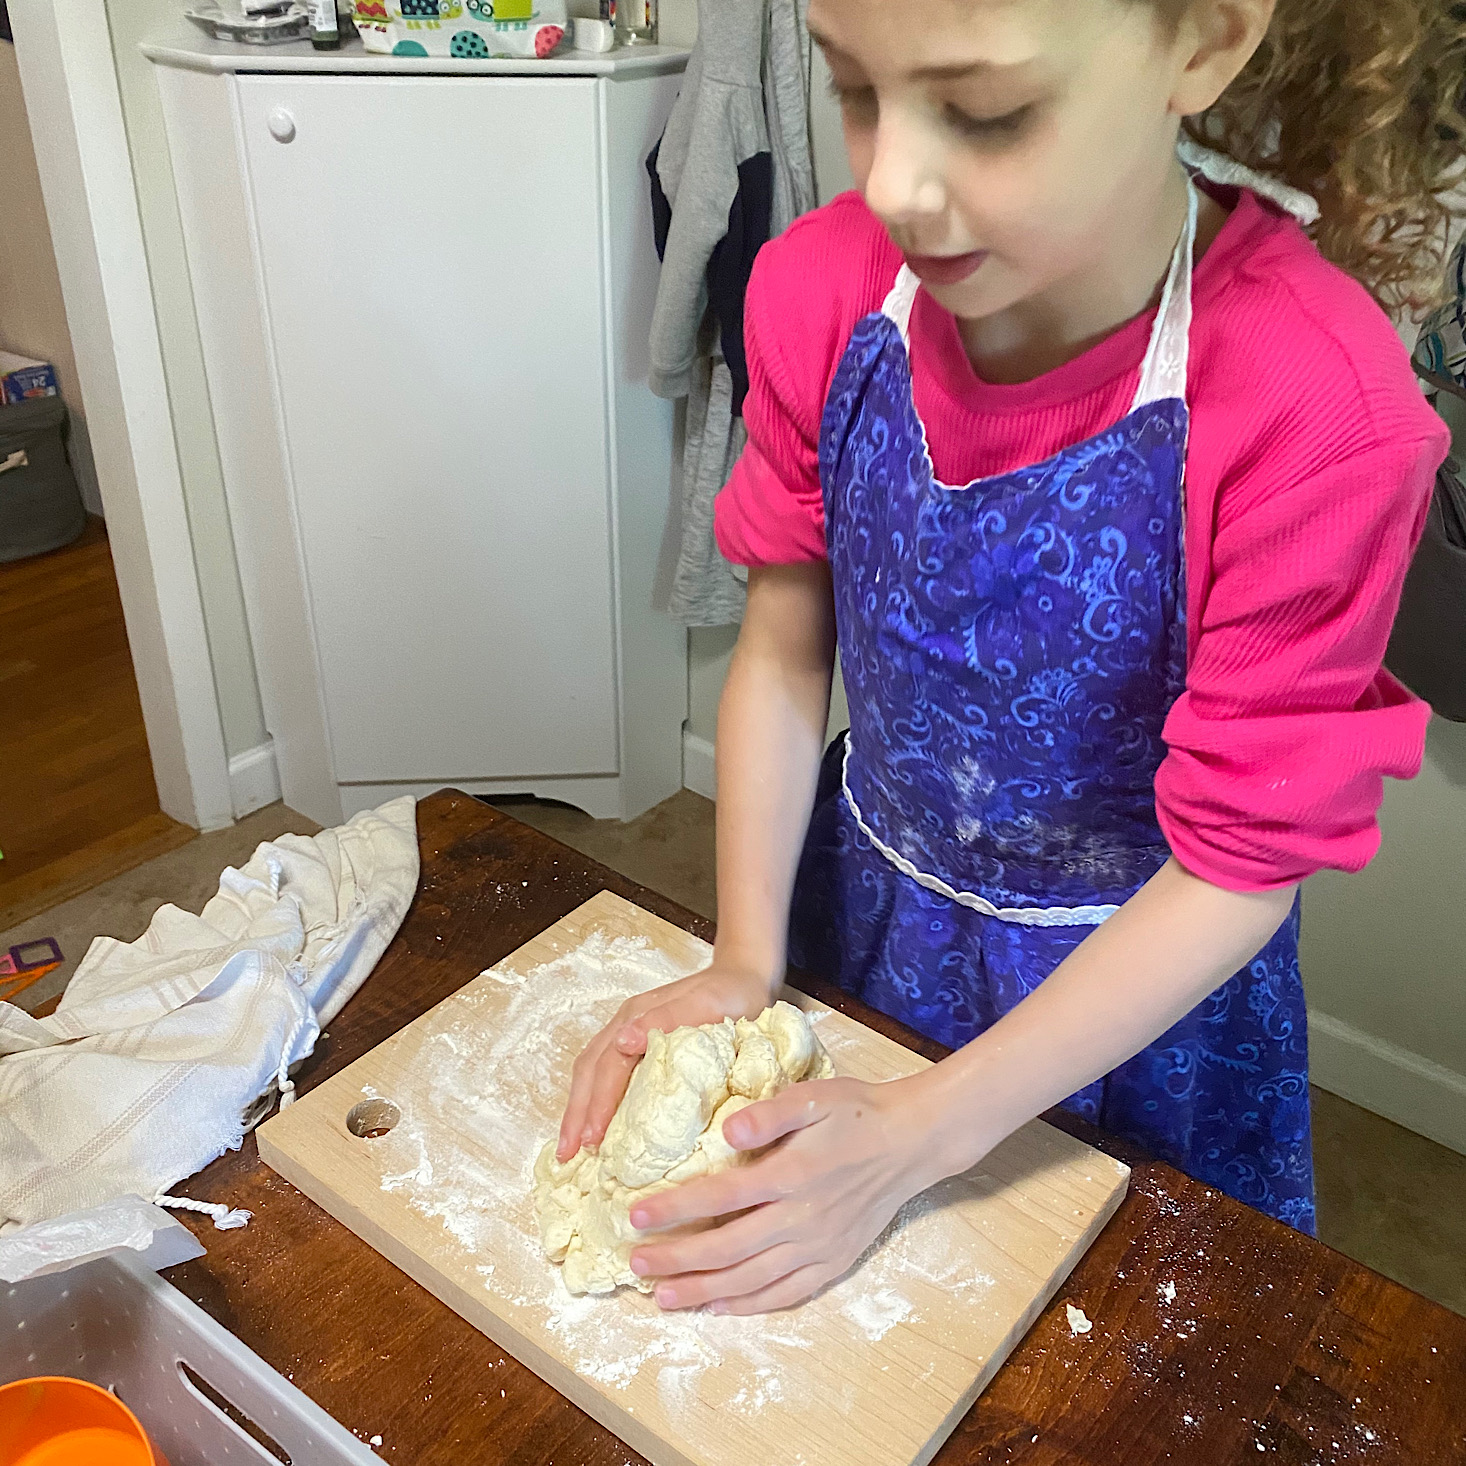
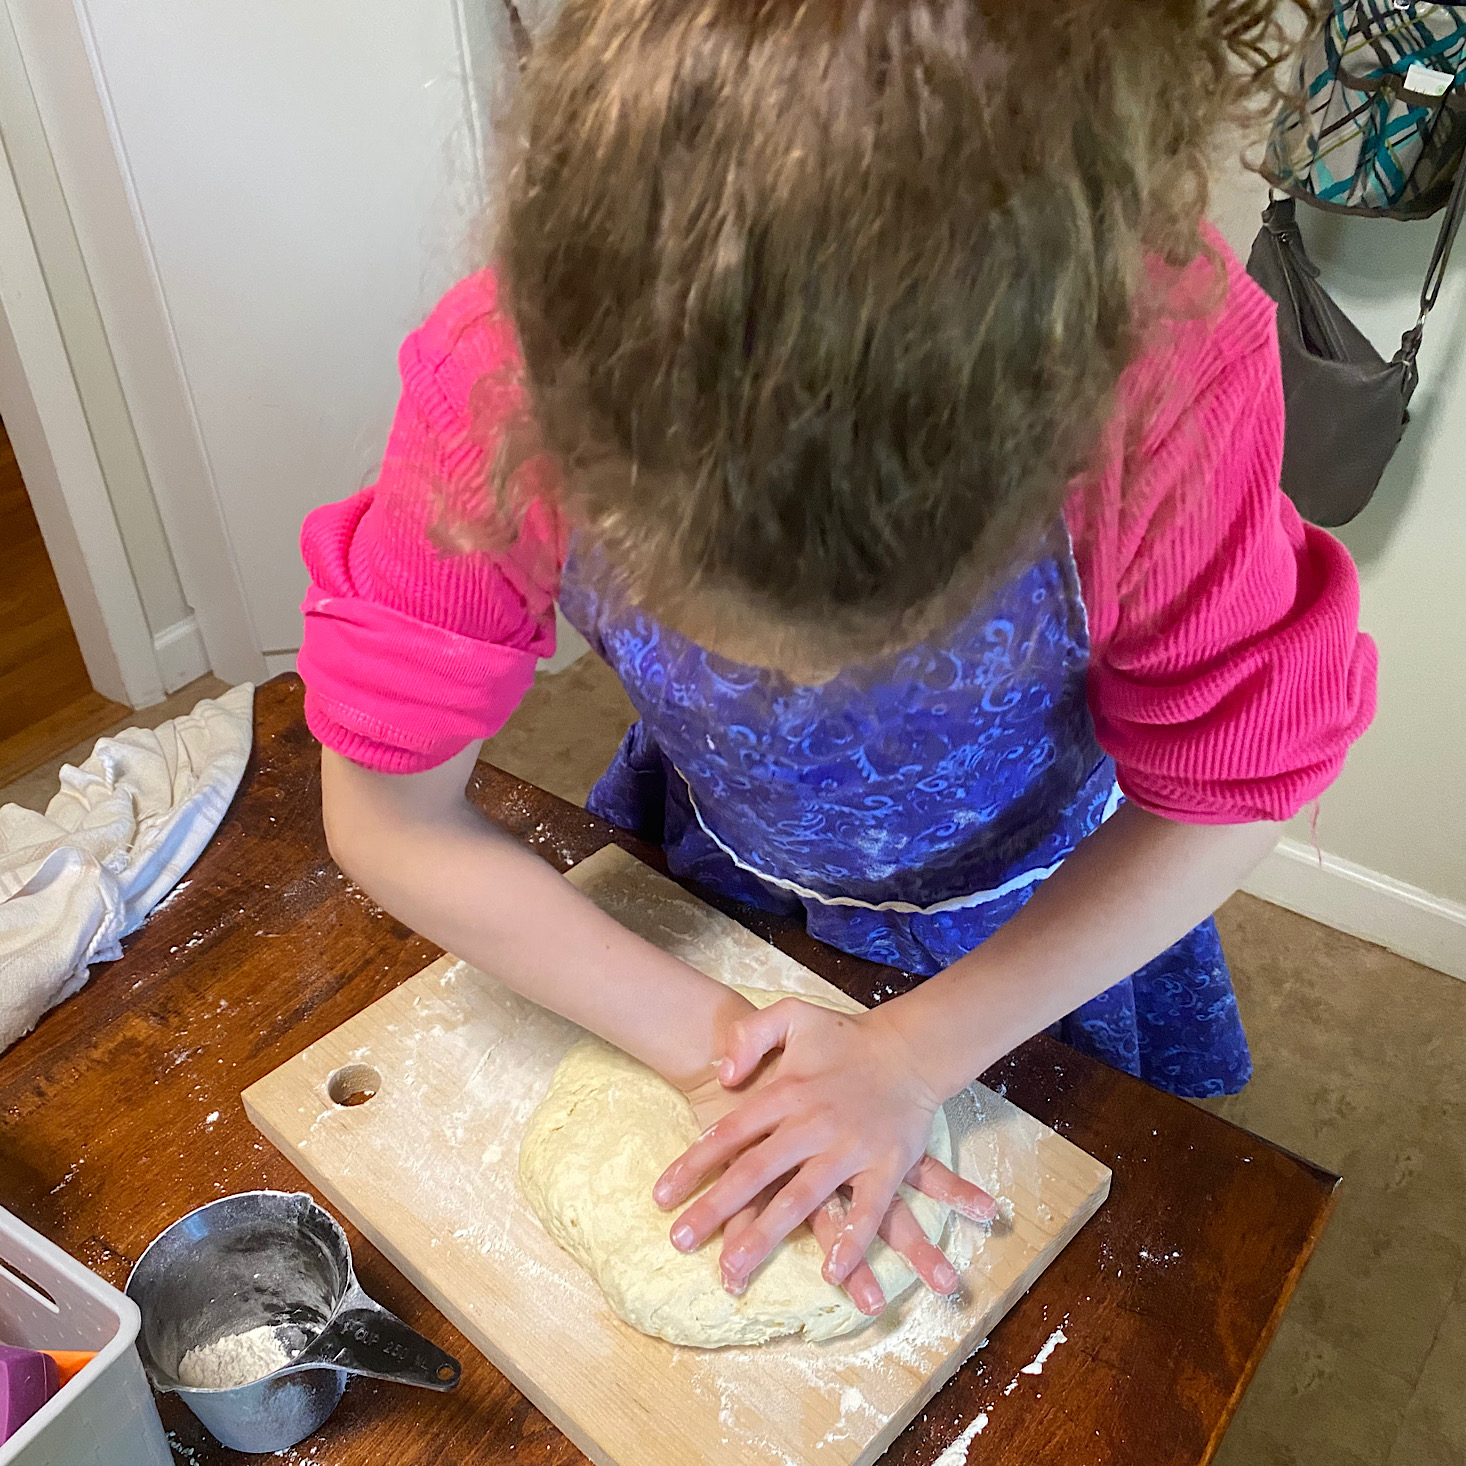
Since we knew we had biscuits to bake for our sandwiches, we started on those next. Liv cut up the butter and then she absolutely loved getting her hands in it and rubbing the butter into the flour mixture with her hands. She kept telling me how soft and fun it was. She really enjoyed herself. Then I was able to teach her about kneading her dough. I loved teaching her this new skill and she did a great job.
1 of 3
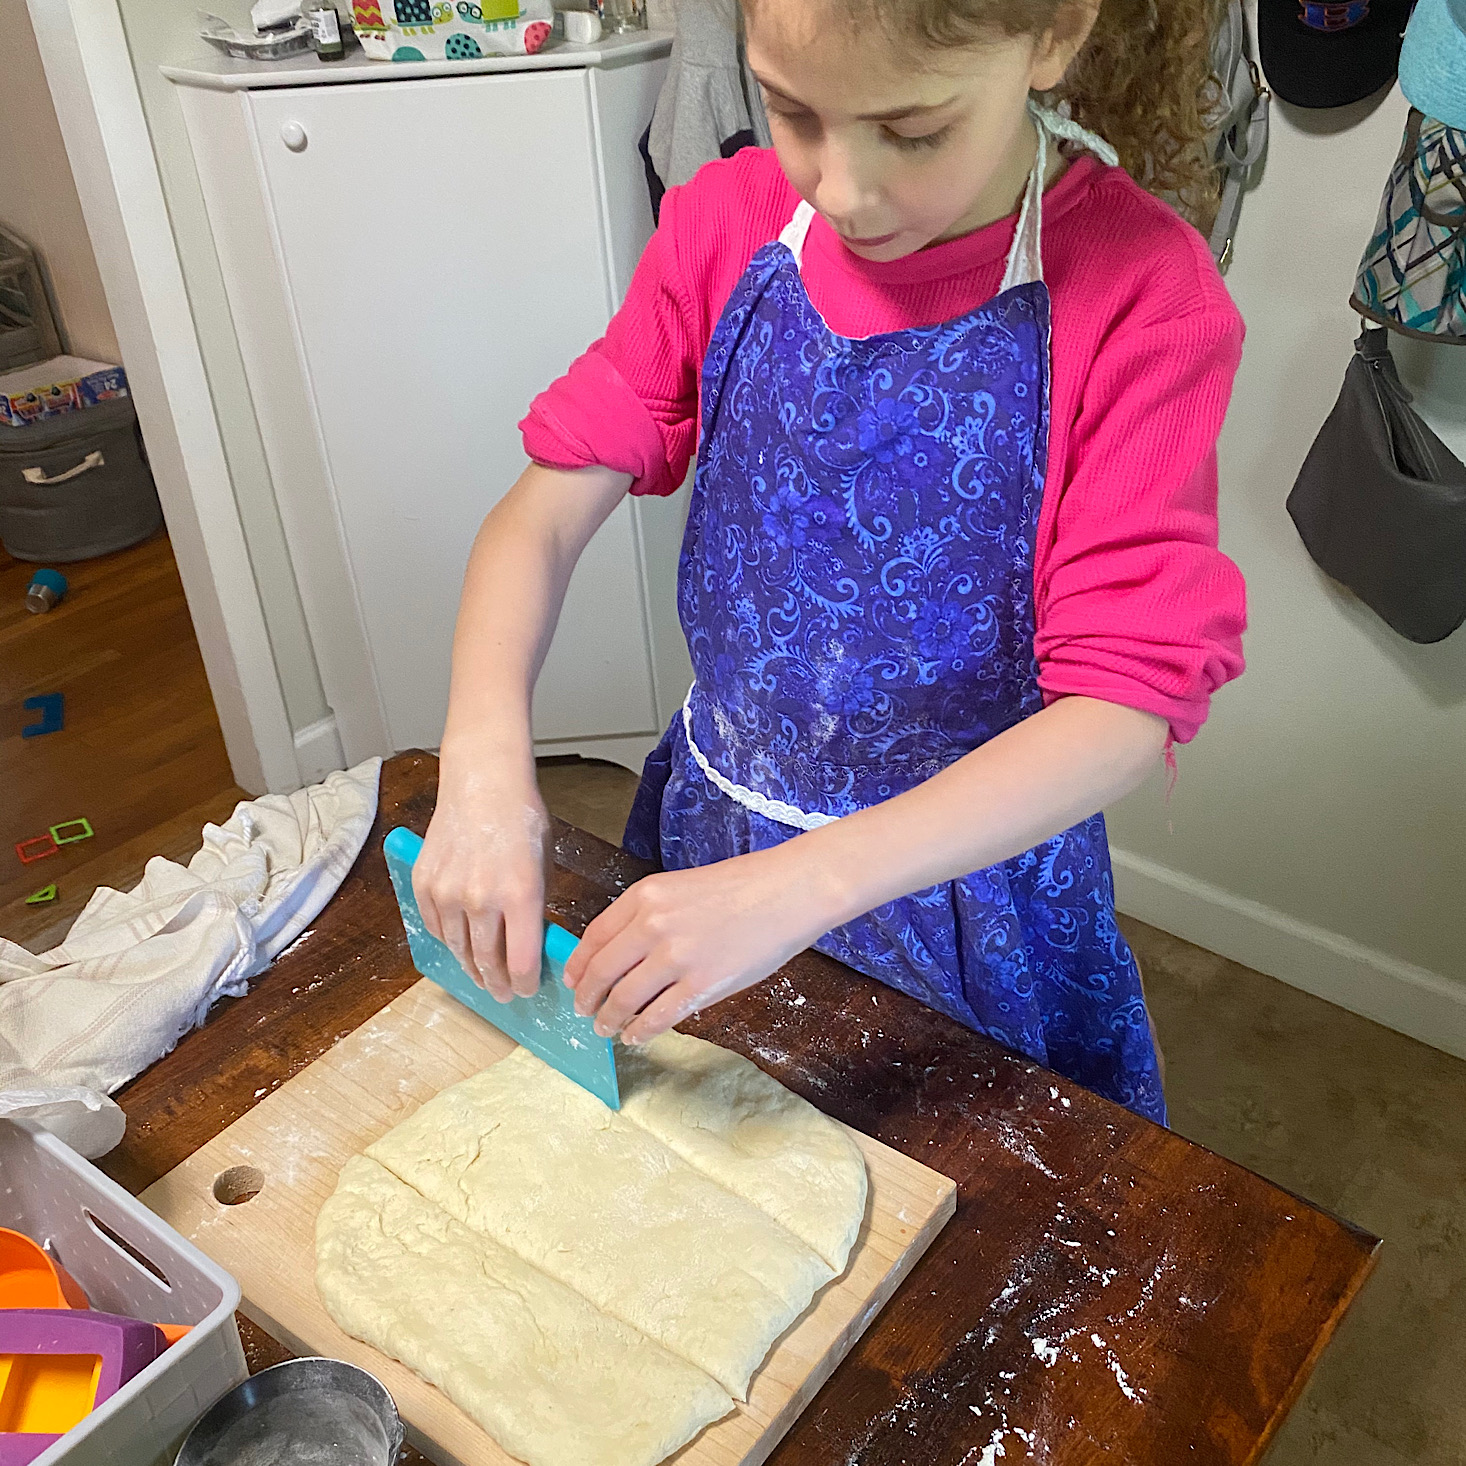
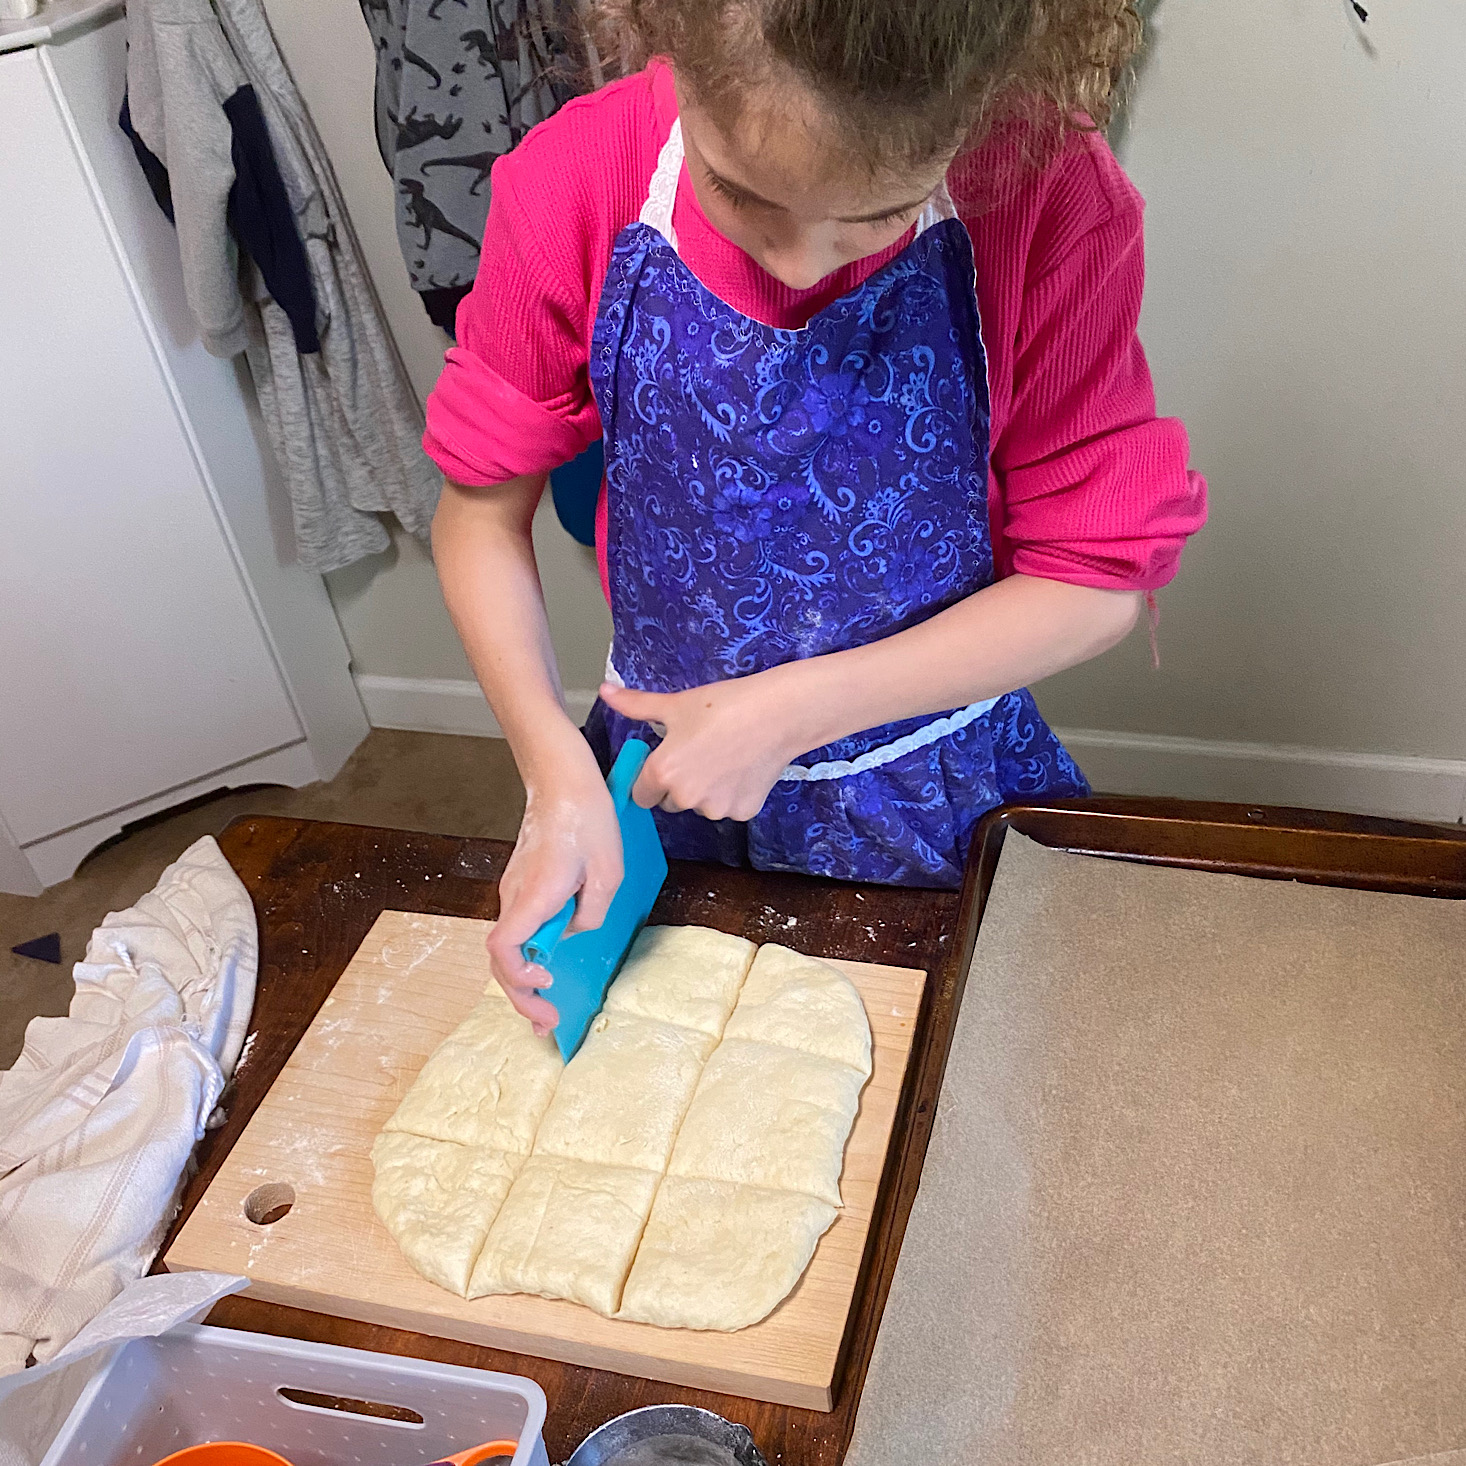
We used her bench scraper to try and get an 8x8 inch square which was a little tricky, but we got close enough. Then she used it to cut 9 (somewhat) even sections for the biscuits.
1 of 2
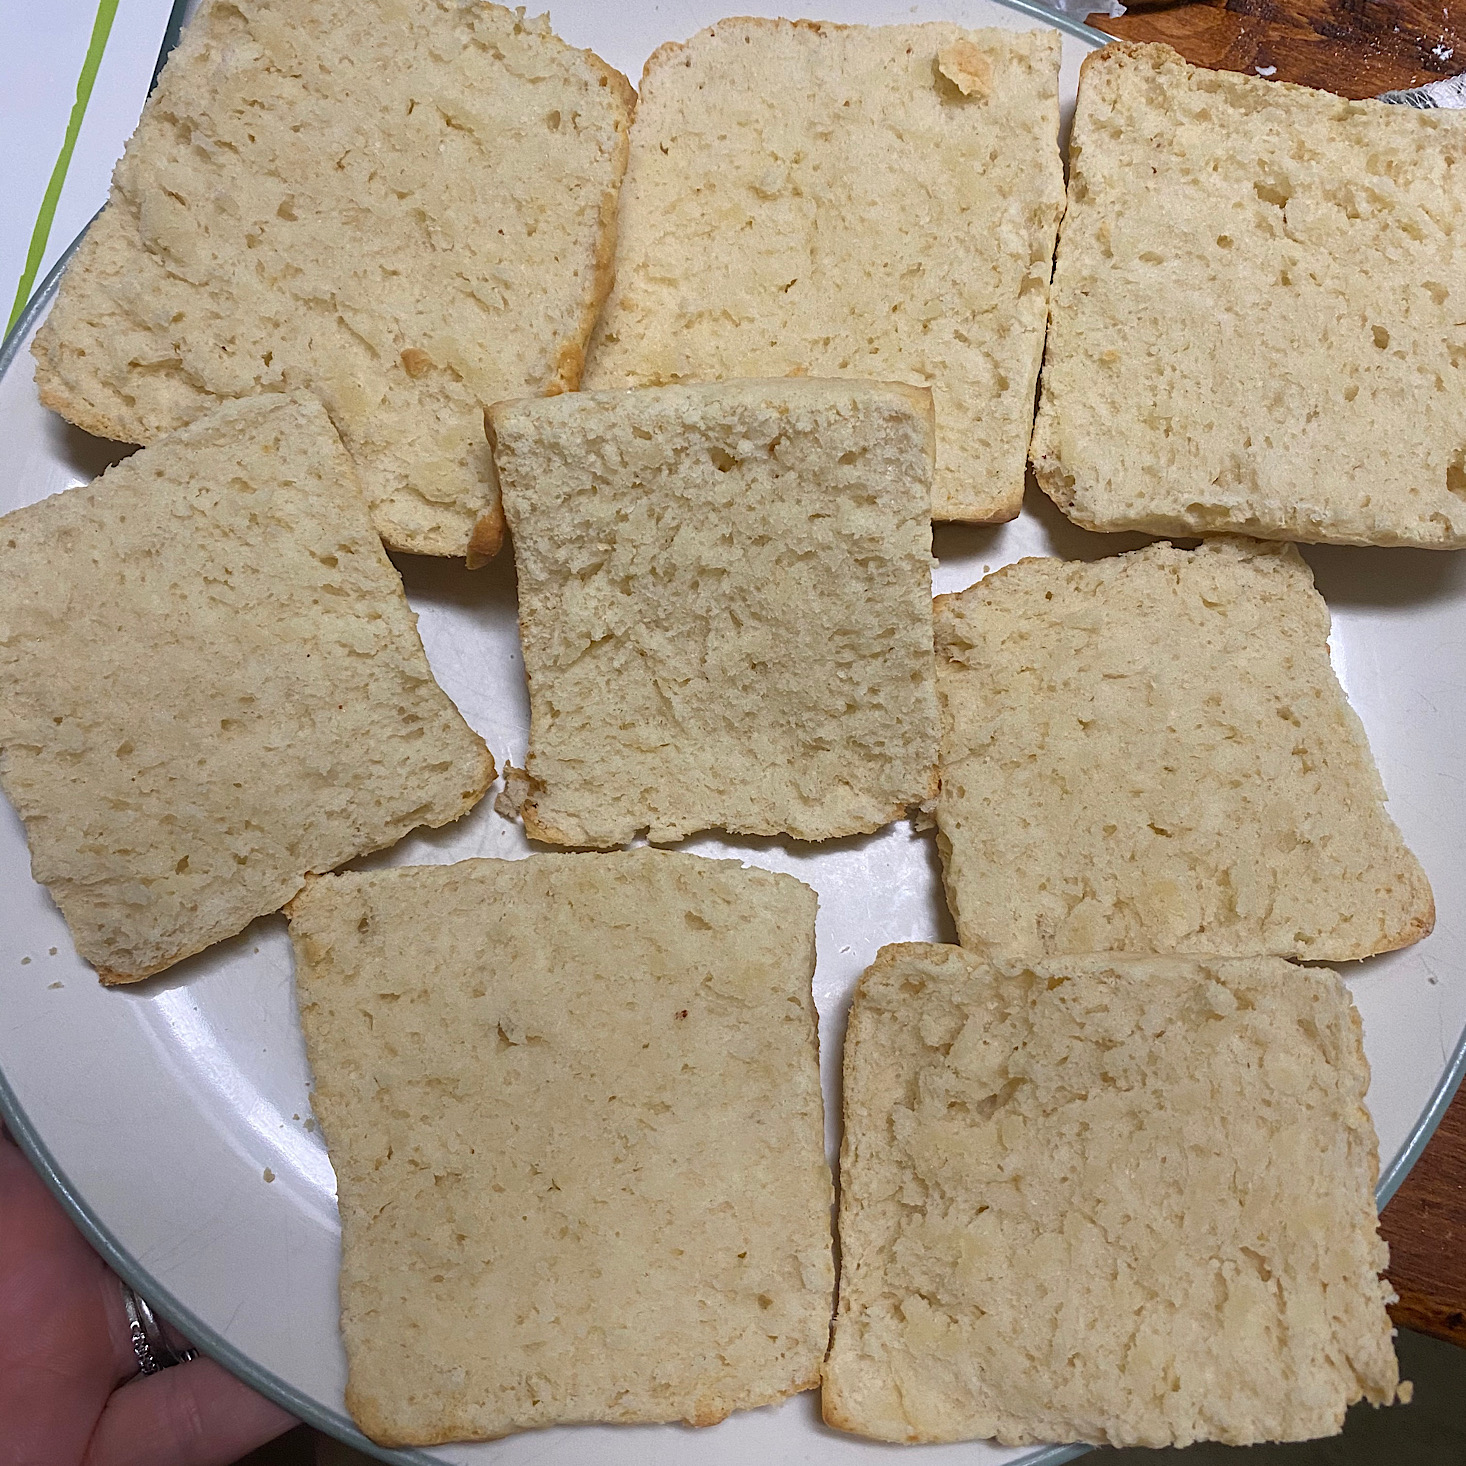
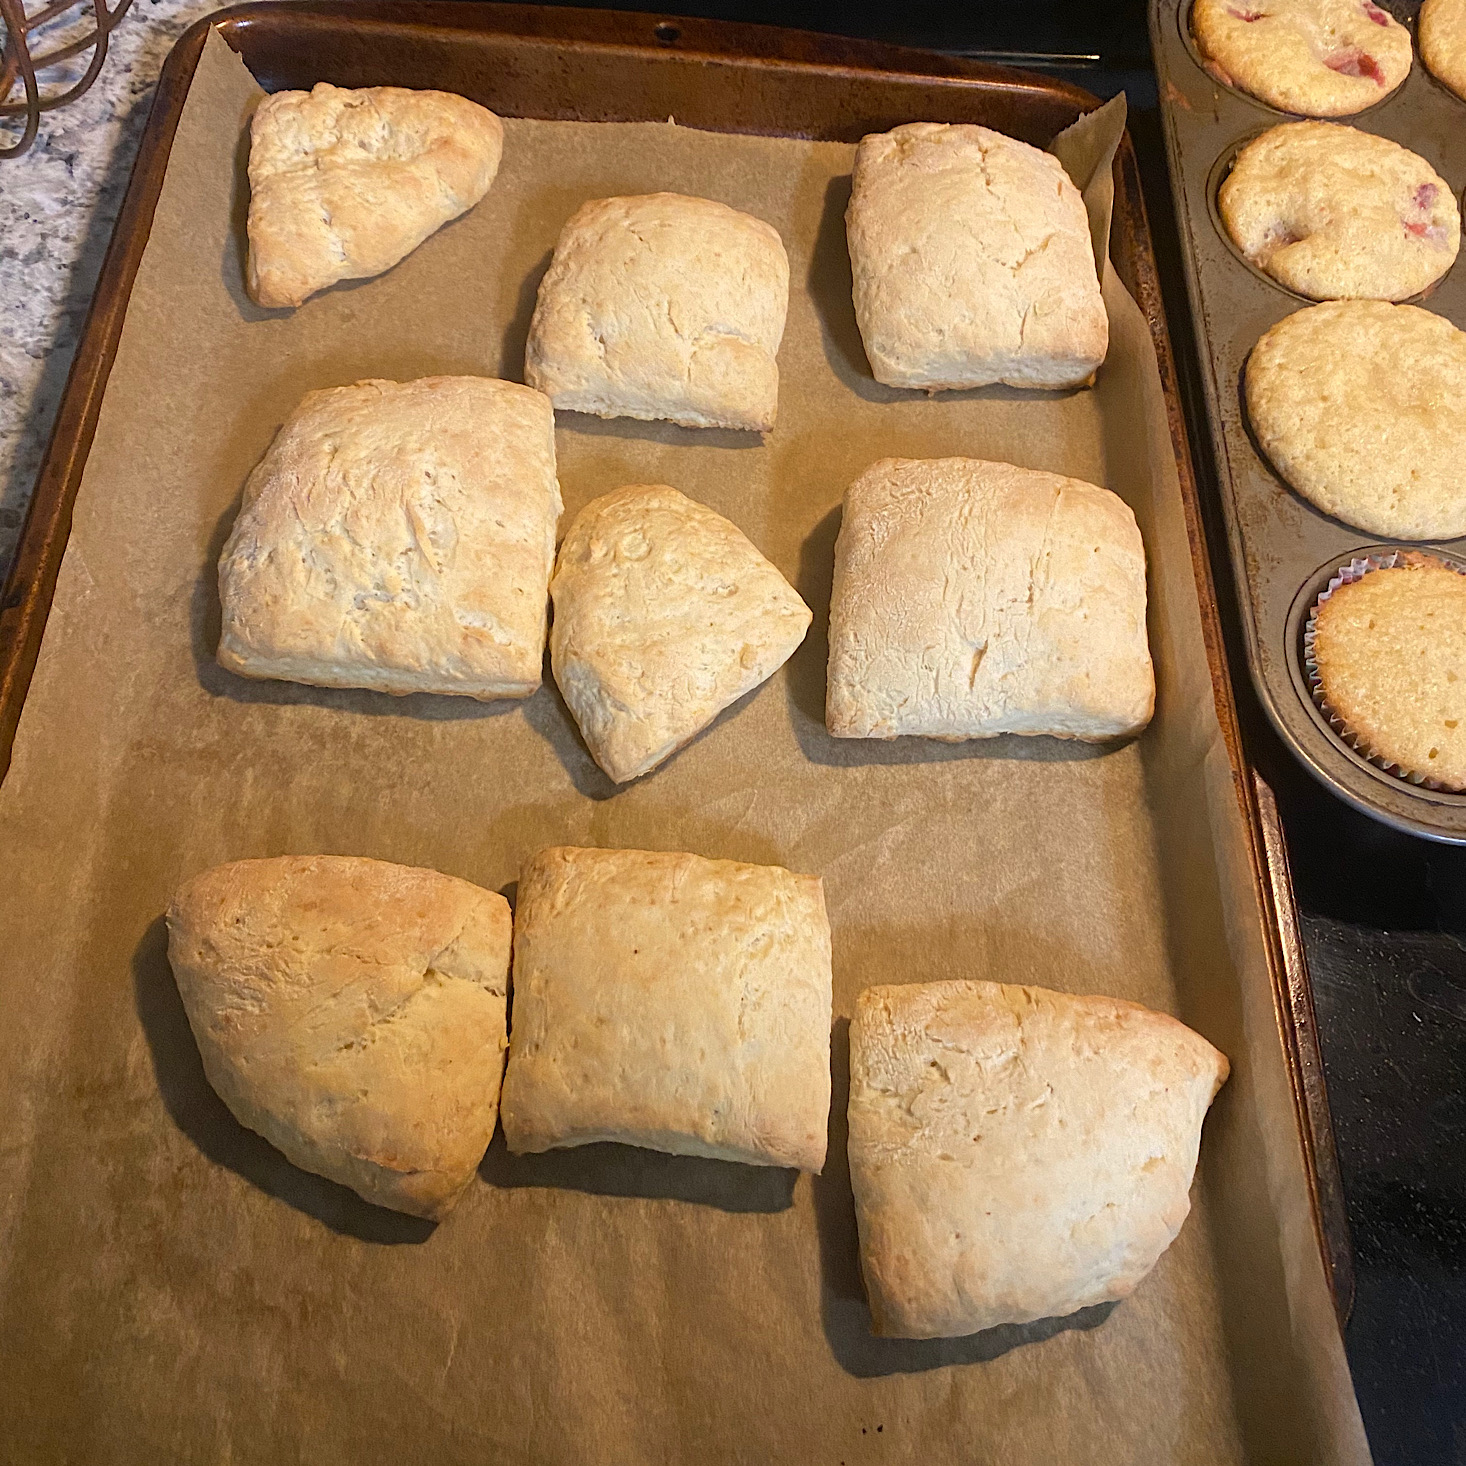
They turned out pretty decent! We need to work on our kneading a little, but they were still tasty and perfect for our sandwiches.
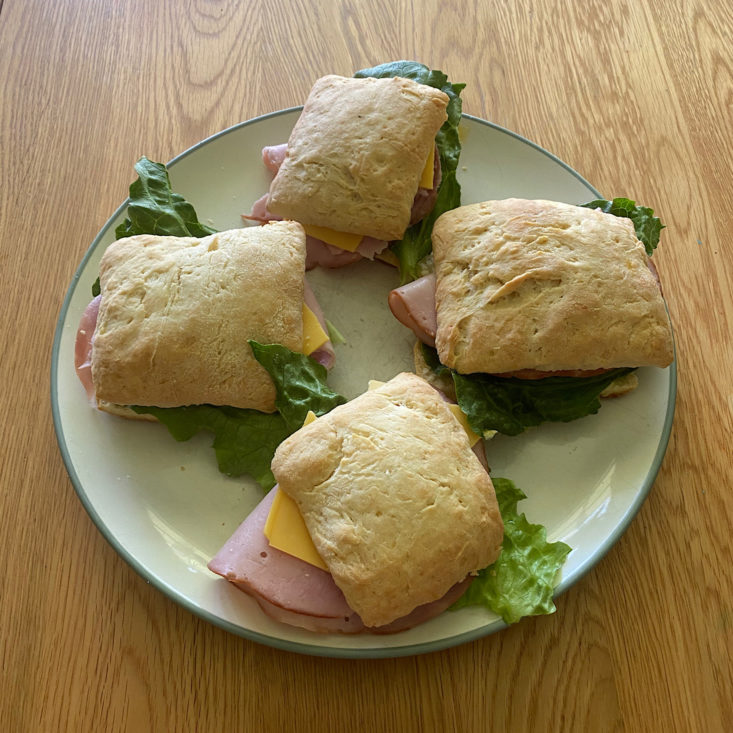
We mixed up our apricot mustard (yum!) and spread some on the bread, then we topped each sandwich with lettuce, ham, and some cheese. We thought these were good and they were a fun twist on a classic ham and cheese. The apricot mustard was the right hint of tangy and sweet to compliment the ham and I think I'll enjoy anything that's on a biscuit!
Recipe 3: Pimento Cheese Dip
1 of 2
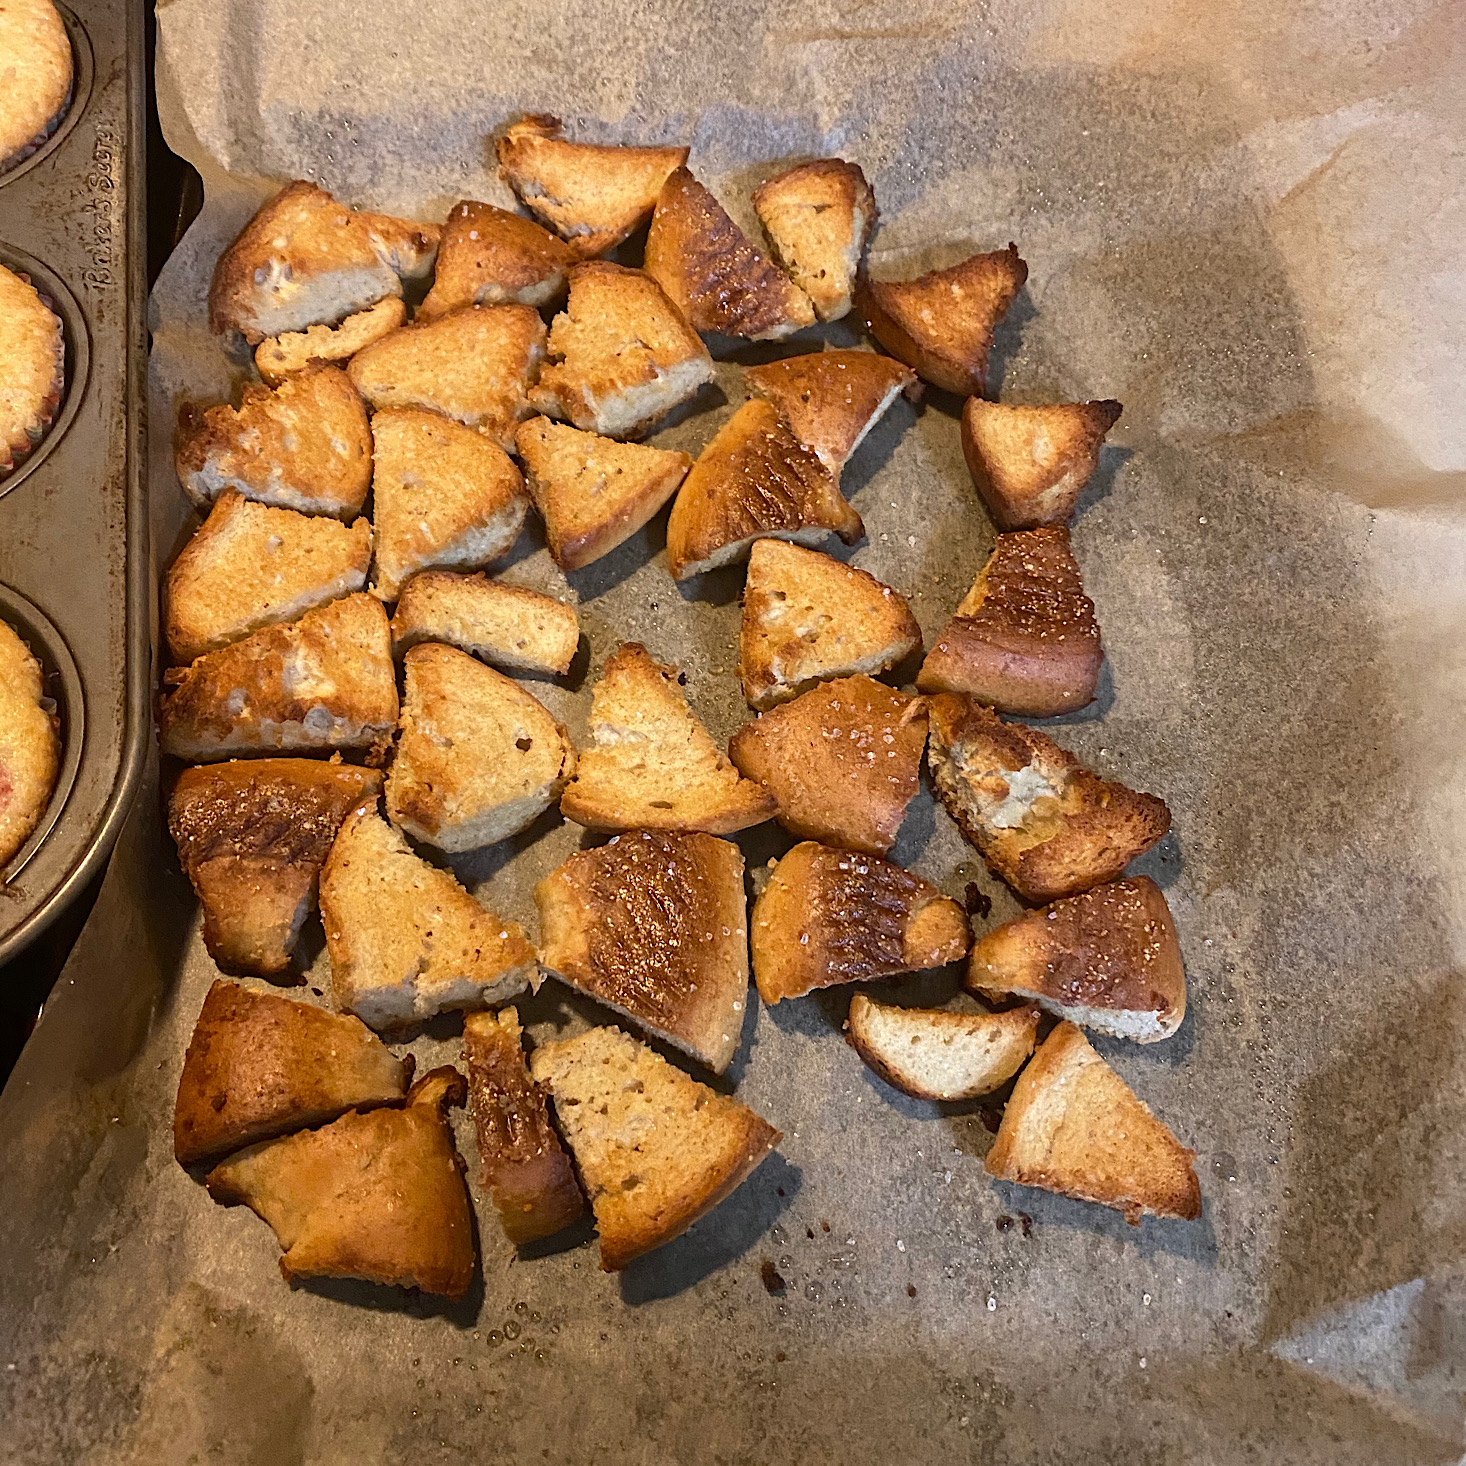
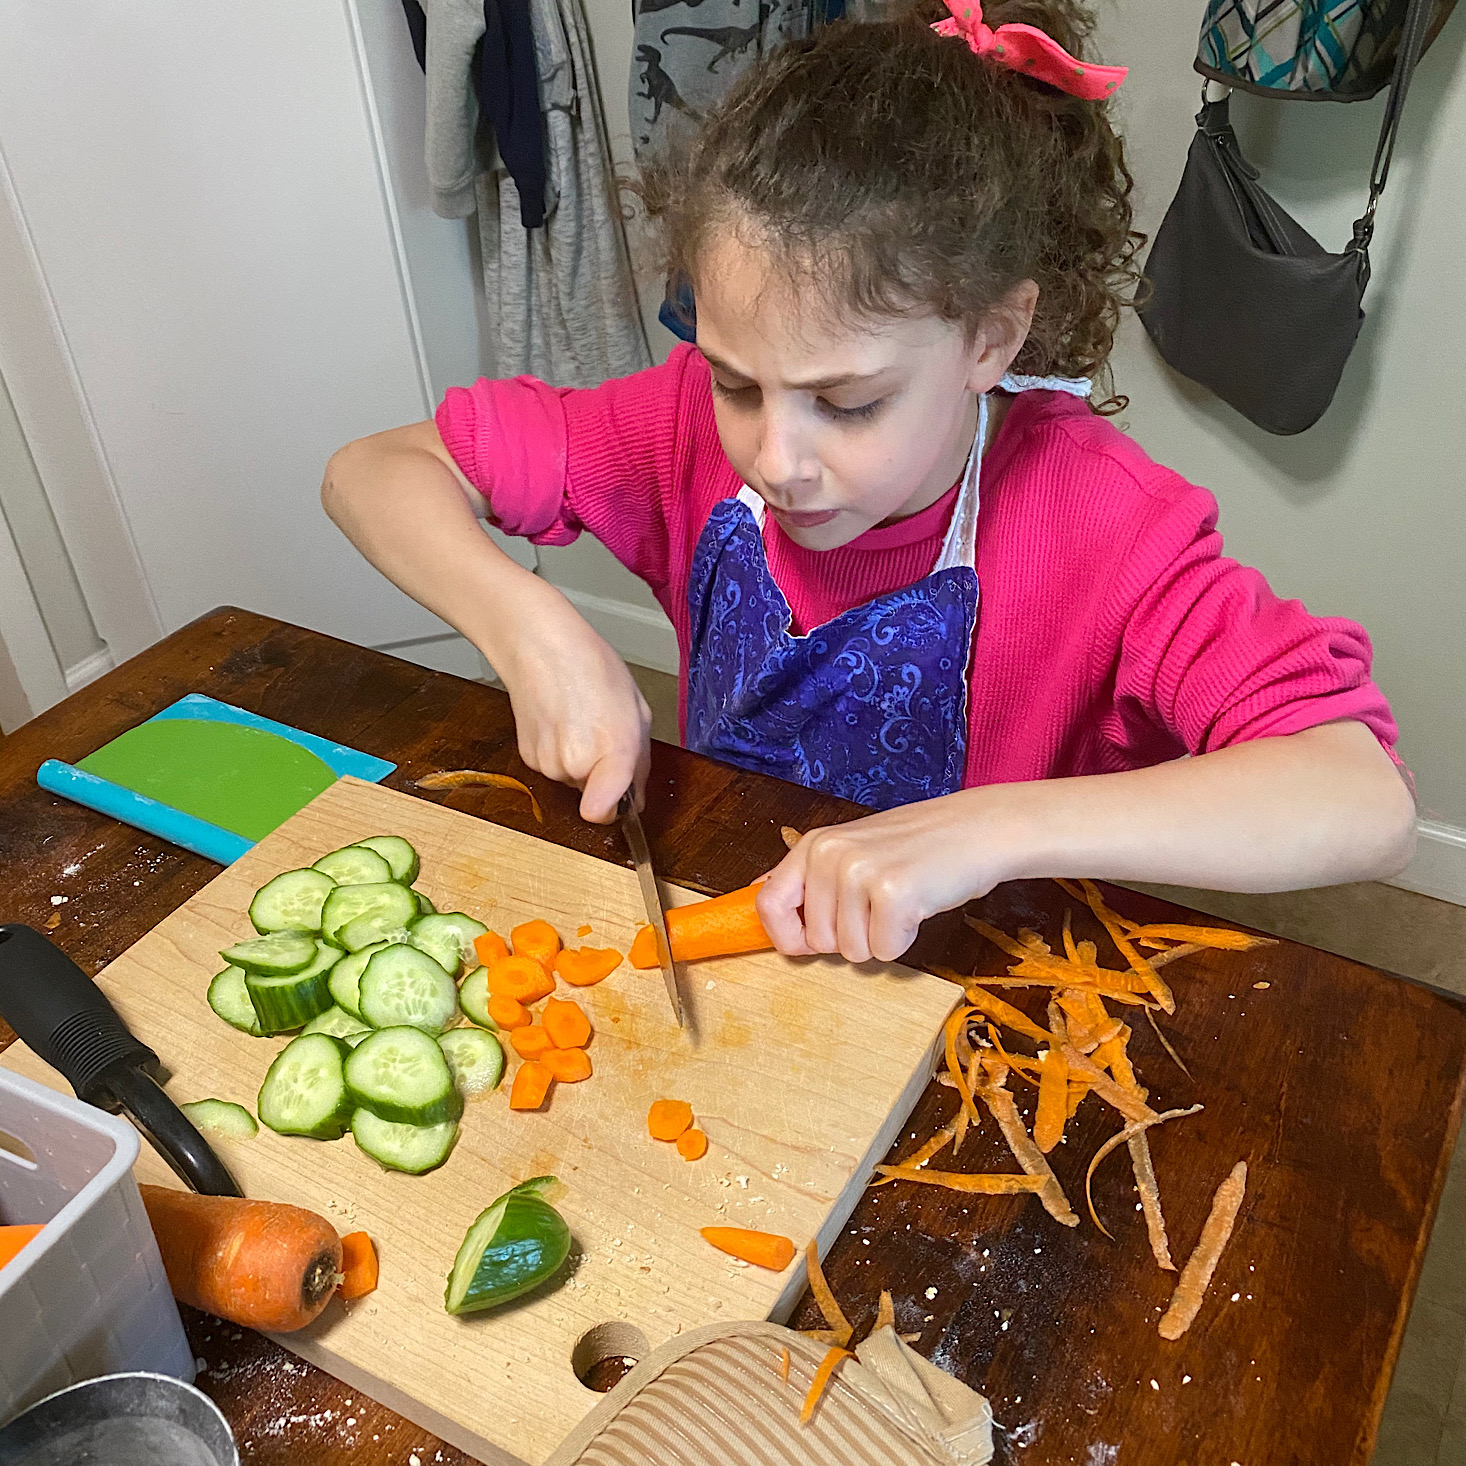
Lastly, we have our pimento cheese dip with cucumber, carrots, and bagel chips. This recipe was the easiest, although our bagel chips did not turn out as well as they could have because I didn't realize our bagels were pre-sliced. Instead, we made some bagel bites which were still delicious. We just tossed with some olive oil and salt before putting them in the oven. While I mixed up the cheese dip, which was really just a matter of mixing our ingredients together, Liv took the hard job of slicing our cucumbers and carrots for the dip.
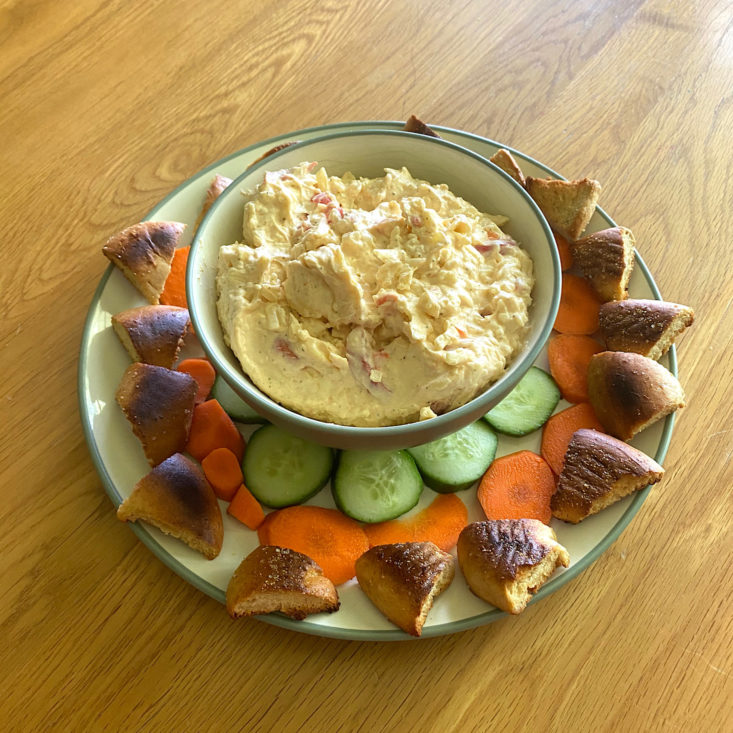
The dip was pretty yummy! Flavorful and maybe a little garlicky, but something super easy that I could see serving at a party since it made a good amount of dip. I'm also eager to make my own bagel chips now that I know how simple it is!
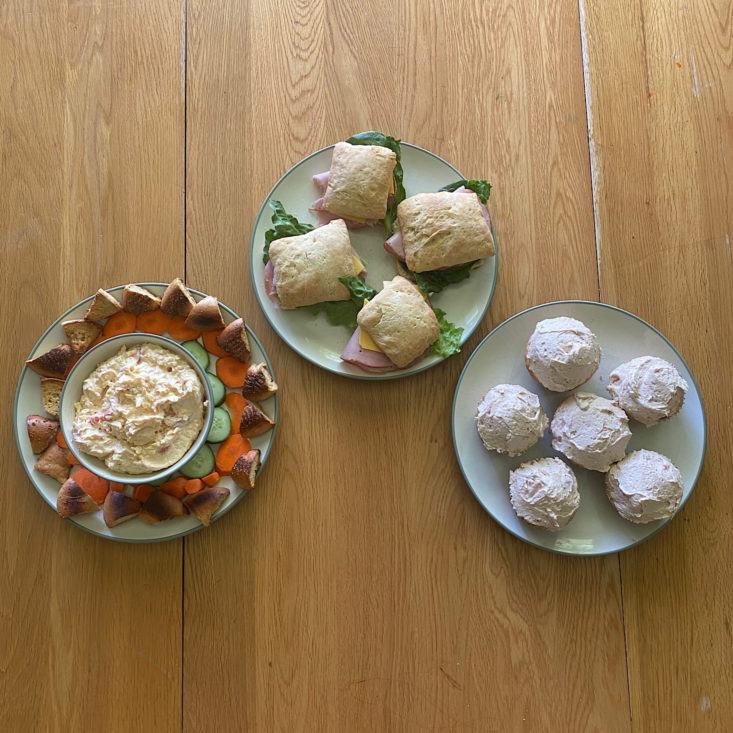
Here are our 3 spring picnic recipes. While we were happy with how they turned out, it was definitely a lot of work for me since my daughter is younger, even though she was a really great sous chef! Each recipe had a few components to it, so it was a bit challenging and these recipes might have been better if they were split up, especially if you wanted to focus on the various culinary skills and kitchen techniques. However, being in the kitchen can be hectic and messy, so it just depends on what type of chef you are – much to my husband's chagrin, I'm definitely the messy kind. Oops!
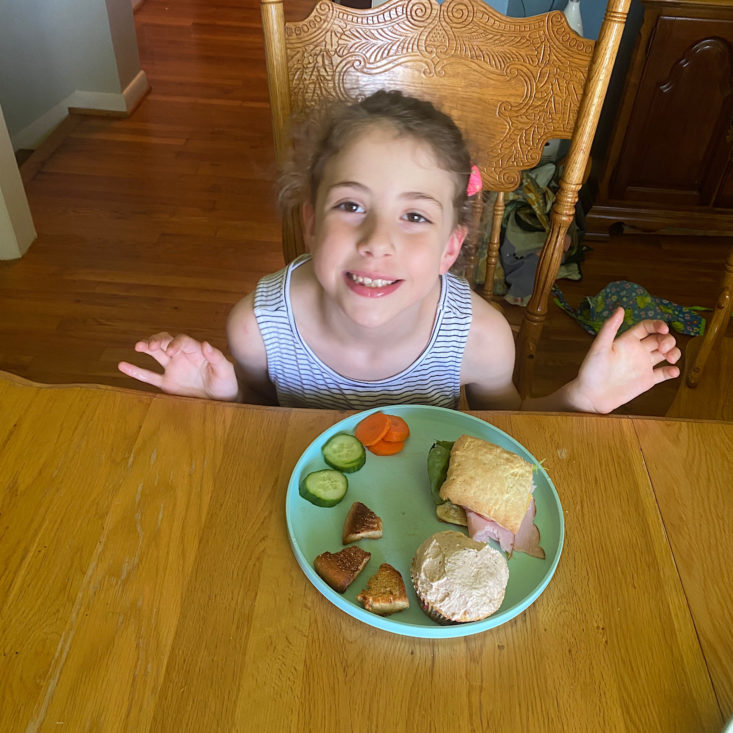
We did enjoy our tasty picnic lunch! I asked Liv a few questions about our experience, here's how she answered:
What was your favorite part? Mixing the flour for the biscuits! It was so fun!
What food was your favorite? The cupcake without the icing.
What surprised you about our experience? That I liked the apricot mustard.
Verdict: My daughter and I had a great time working as a team to create this month's Raddish Kids recipes! Overall, I think the menu was a pretty good one that allowed us to try some new recipes/foods and practice some different culinary skills. I was impressed with how my daughter just dove right in and worked with me the whole time to get everything prepared. I have to admit things got a bit hectic and messy since we were doing so much at once, so if I could change anything about our experience, it would be that I would probably do the cupcakes at a separate time so that we could focus on the process from start to finish and dedicate more attention to our other recipes. We made it work though and the result was a delicious picnic lunch! Plus, I got to spend some quality time in the kitchen with my daughter, which of course, you can't put a price on!
To Wrap Up:
Can you still get this box if you sign up today? No, you will receive the May box.
Check out our reviews of Raddish Kids and the best kids subscription boxes to find more activity boxes!
Keep Track of Your Subscriptions: Add this box to your subscription list or wishlist!
What do you think of Raddish Kids?

Please do not enter your email address in the Name field or in the comment content. Your email address will not be published. Required fields are marked *. Remember to post with kindness and respect. Comments with offensive language, cruelness to others, etc will not be approved. See our full comment policy here.