

Confetti Grace is a bi-monthly DIY craft subscription that sends a box filled with enough craft supplies to create two of the same featured projects. That way, you have one to keep for yourself and one to give away.
“Throw Kindness Around Like Confetti” is this company’s motto, and these projects give the gift of quality time with family and friends. To top it off, 20% of net profits are donated to worldwide charities!
Please note: this subscription changed its cadence from monthly deliveries to bi-monthly deliveries.
There are two subscription options: regular bi-monthly boxes for $28.95/shipment, or the option to add on an additional project set to make with a friend for $34.95/shipment.
This review is for the Original Subscription DIY box, which is $28.95 bi-monthly (plus free shipping to the continental U.S.).

This box was sent to us at no cost for review. (Check out the review process post to learn more about how we review boxes.)

About Confetti Grace
The Subscription Box: Confetti Grace Original DIY box
The Cost: $28.95 bi-monthly + free U.S. shipping
The Products: A specially curated box filled with enough craft supplies to create two of one project: one to keep, and one to give away, or to share with a friend! (Recommended ages are 8 years to adult)
Ships to: The continental U.S. for free!
Confetti Grace Original DIY Box November/December 2020 Review
Confetti Grace is always a surprise, and I honestly get a little giddy when I see this box in my mailbox. I am obsessed with arts and crafts and love the fact that my boys are happy to be along for the ride. This month I couldn't wait to dive in and see what the November/December craft could be and let's just say I was pleasantly surprised with the finished products. Read below to see what we created this time around.

Each month we are sent enough supplies to create 2 projects, 2 greeting cards, and packaging materials to wrap our items up as a gift if we are so inclined. Besides the supplies, we always received a highly detailed instruction sheet complete with pictures and tips. This month we were sent supplies to create our very own 2020 pedestal signs, which turned out even cuter than the photo, along with 2 snowman greeting cards, and gift bags with tags.
Project #1: 2020 Pedestal Signs
Our main project was the 2020 pedestal signs. Admittedly, I wasn't all that intrigued by the craft this month – but they turned out to be way cuter in person...so much in fact that I'm not giving either of them away!


1 of 2
Wooden Parts and Pieces
To create our projects, we received wooden platforms complete with detailed bases and tops. These pieces of wood are no joke and a lot more heavy-duty than I first thought when looking at the picture in the instructions. They have fitted cork in the base of the holder to easily fit our pieces together. The only problem I had with my pieces, is they accidentally forgot to drill a hole in the top of one of the backgrounds. Thankfully, we had the perfect sized drill bit to create one ourselves, so my project was able to be completed. Had I not owned a drill bit I would have been quite disgruntled about this.....but my crisis was averted.....AND as luck would have it, even before I could send a complaint to Customer Service, I received an entirely new kit in the mail as they discovered their error! We also received a small piece of sandpaper to smooth the edges, sides, and back of our wood pieces. I hate sanding but found a little bit of sanding really does make it a lot better, so I suggest doing that.

Paint Brushes
Per usual, we received most of the items needed for construction, including 2 different sized paintbrushes. I found the foam brush to work best on the large background piece, while the smaller brush to work well on the base. I am thankful they sent these brushes because we can just wash them up and use them again and again.

Apple Barrel 2 fl. oz. Cloudless Acrylic Paint - Retail Value $0.50
Apple Barrel 2 fl. oz. Tuscan Red Acrylic Paint - Retail Value $0.50
Apple Barrel 2 fl. oz. White Acrylic Paint - Retail Value $0.50
I have said it before, and I will say it again...I love bottles of paint! This brand of acrylic paint is made in the USA and is easy to clean up, and really pretty. The assortment of colors is amazing, and the fact that I can use a bit for this month's project, yet have a ton left for other crafts, is awesome. One can never have enough paint you know.
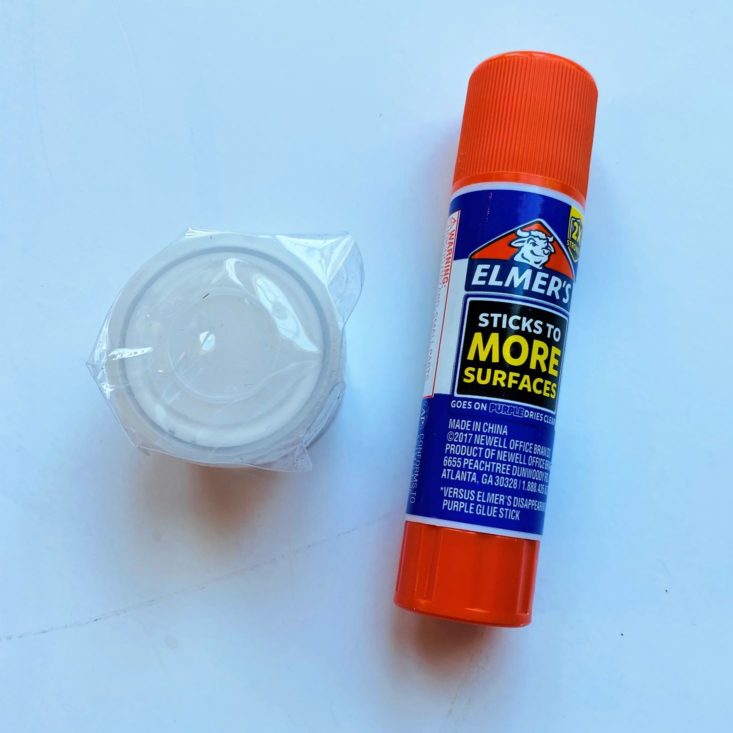
Elmer's Washable School Glue Stick - Retail Value $0.99
I am so thankful we are now receiving Elmer's glue. After having my own children and working at a school, I have found that nothing beats Elmer's. My cards lay a lot more smooth with this particular brand, and it really adheres well.

Sign Embellishments
To create this month's project, we also received 4 different sign prints. I happened to like the traditional "Merry Christmas" one best but also chose the snowflake poem for the other pedestal. You were given the option of putting the other sign on the back to make it reversible, but I didn't want to do that. Along with the signs, we received 2 pieces of colored paper and a variety of sparkly embellishments.
Step-By-Step


1 of 10
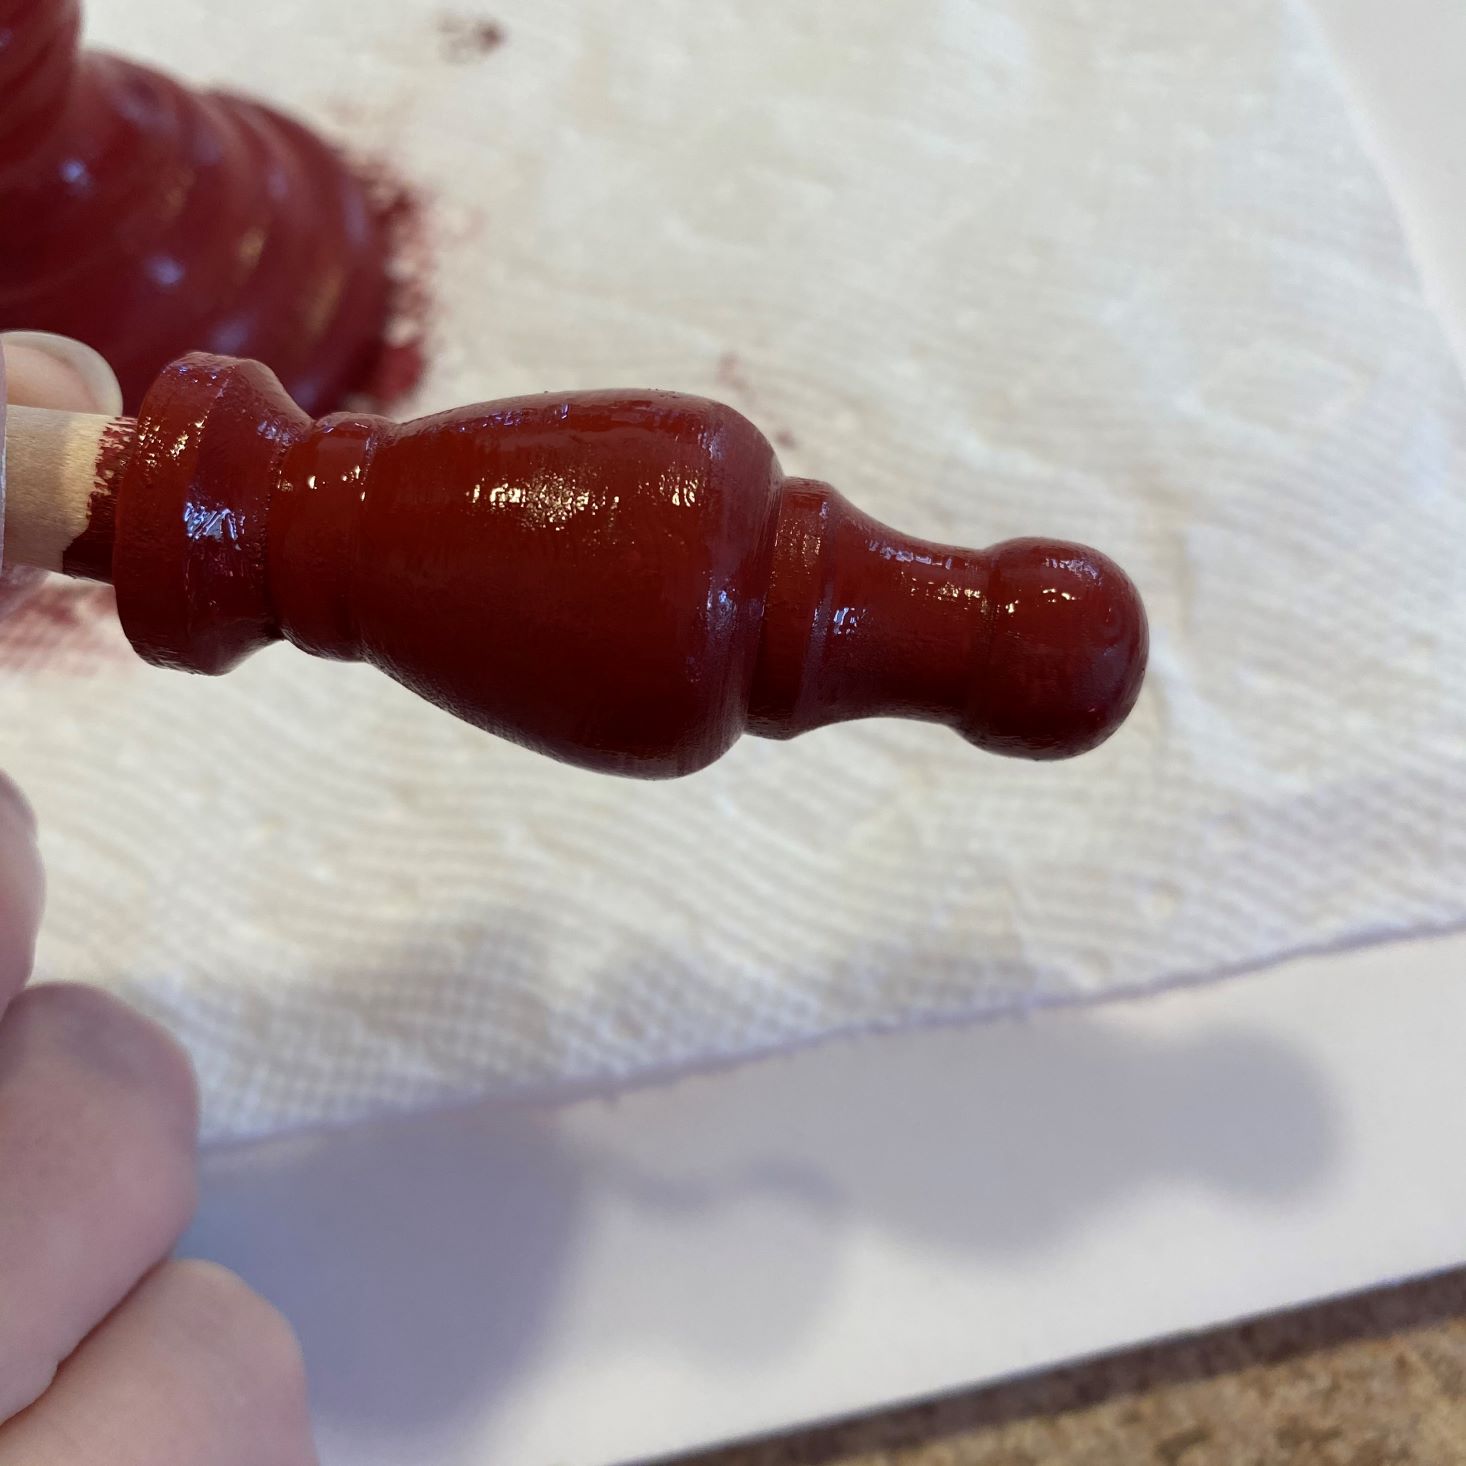


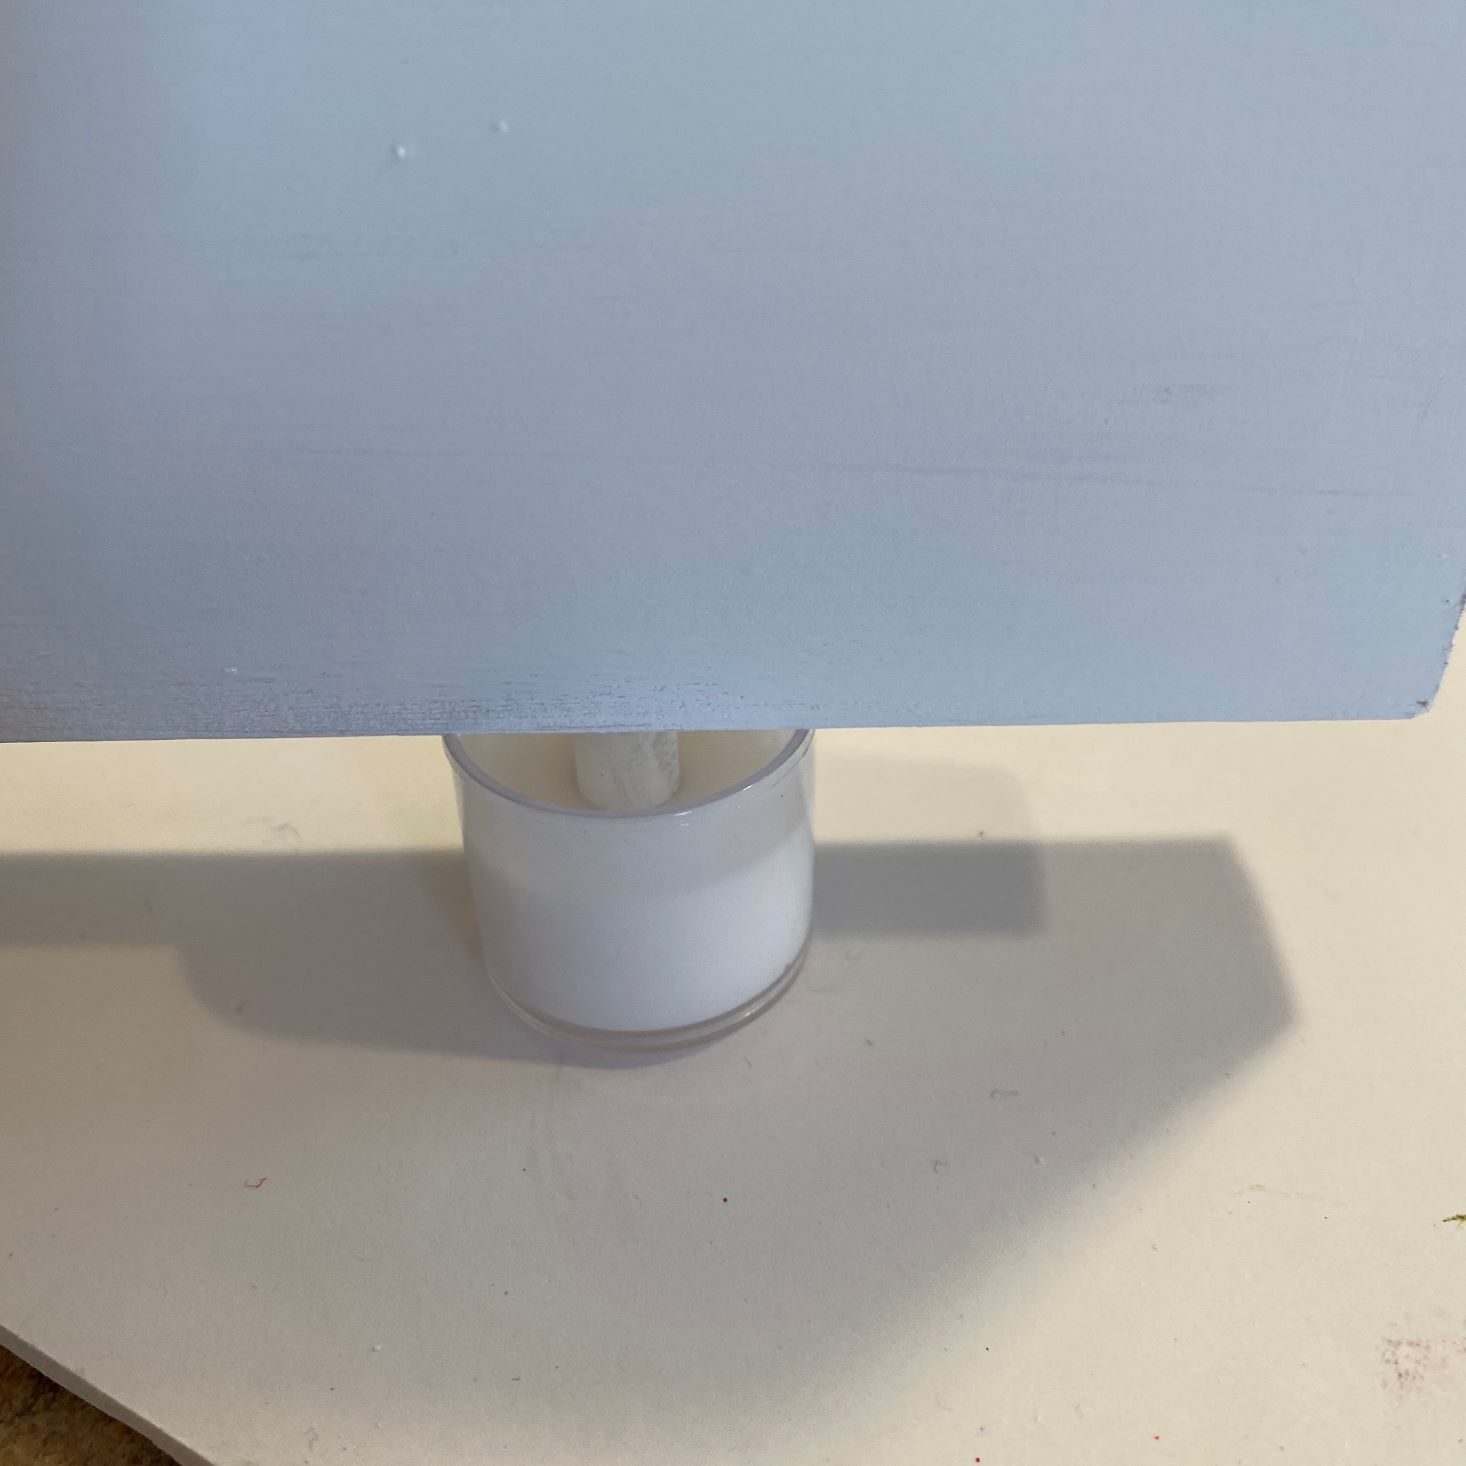

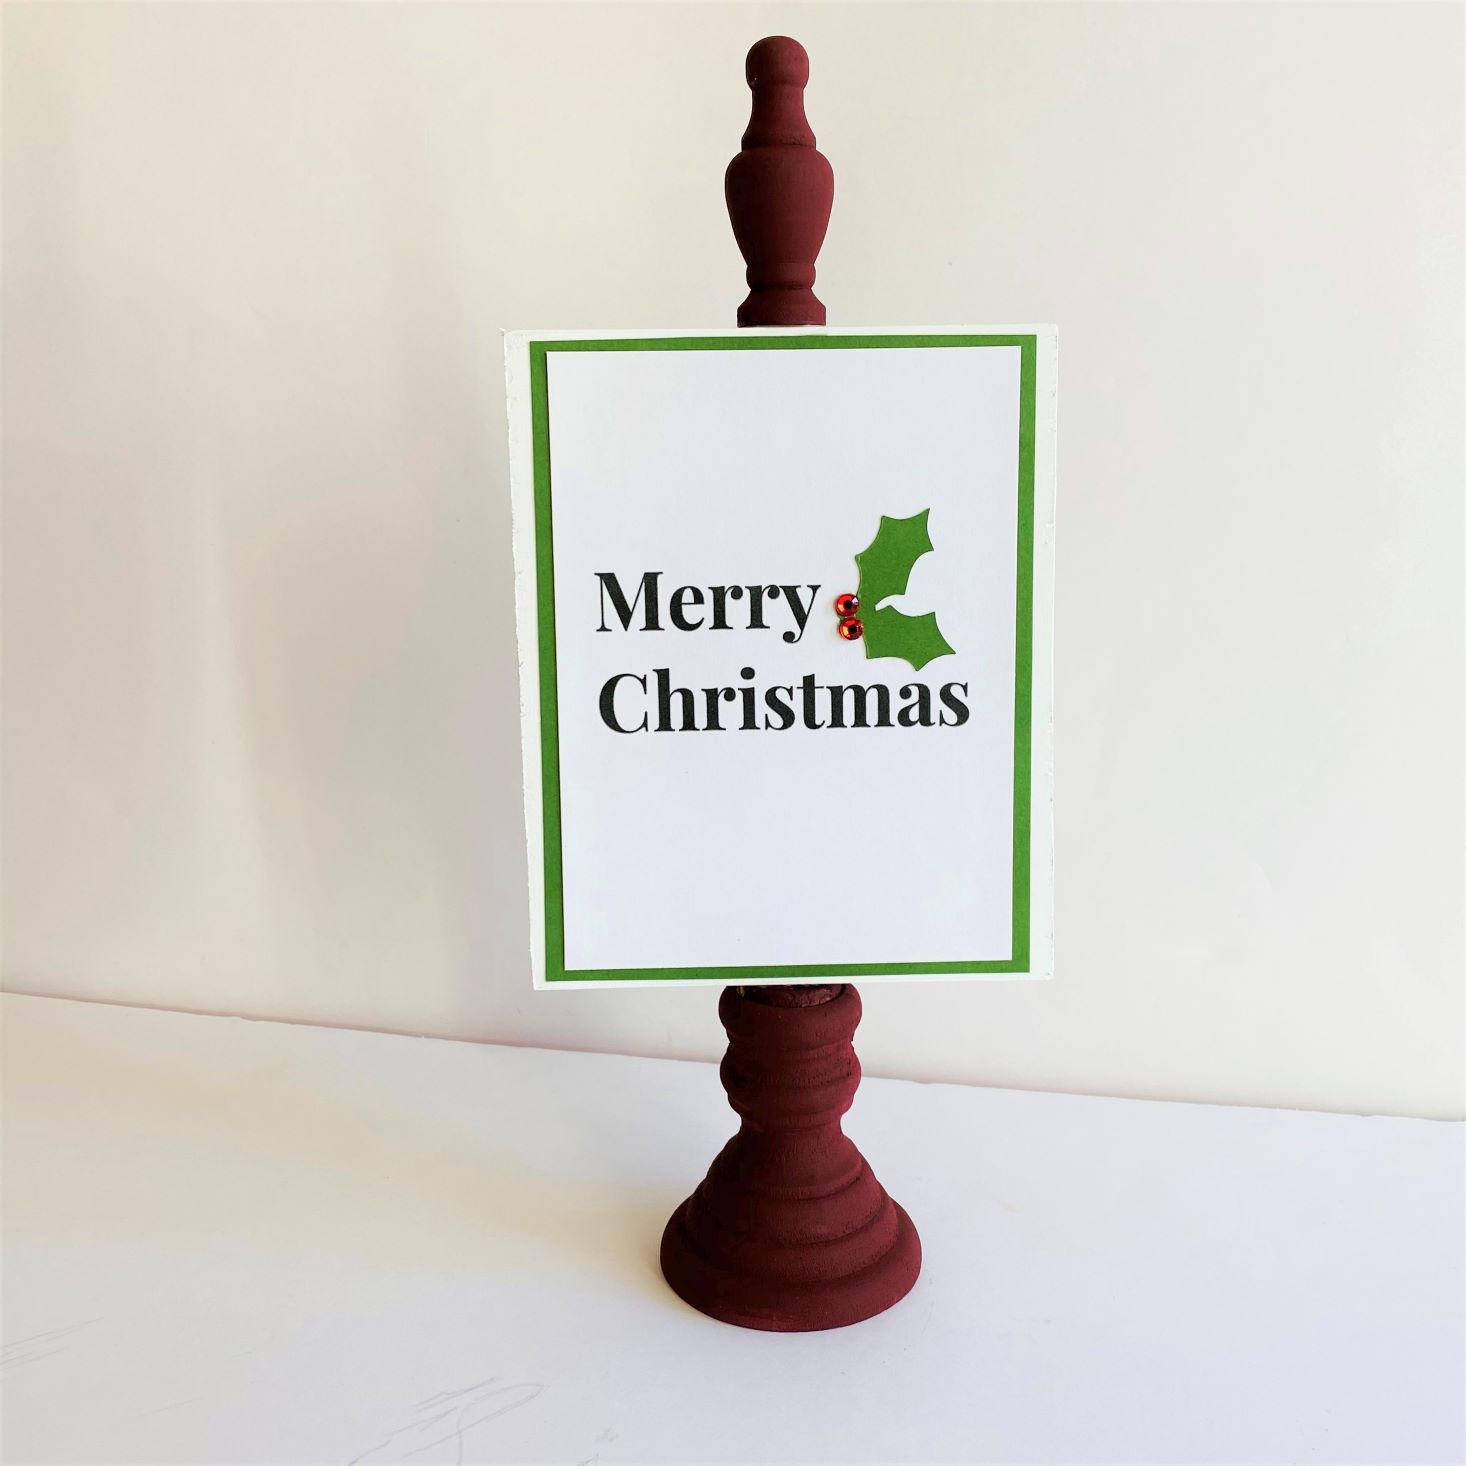
Onto the fun part: creating! To start, I sanded my wooden background until it was nice and smooth so the paint would go on evenly and nicely. I painted the background on both of the pedestals white and went on to paint the actual pedestal pieces Tuscan red and blue. While I like blue, I remembered that my grandma had given me some beautiful glitter that I just hadn't found the right project for. Noticing how well it coordinated with the included colored paper and gems, I decided to go for it and smothered the blue pedestal with glue and messy, sparkly glitter. When the wood pieces were drying, I used my glue stick and adhered the signs onto the colored paper, and added my embellishments. Using the cup of glue we received, I dipped the dole into the glue and placed it snugly into the base. Because only one of my wooden background had a hole, I had to take a break to drill a hole into the top of the other before I could add my topper, but it only delayed me about 10 minutes. Once my pieces were put together, the project was complete! Didn't they turn out cute?
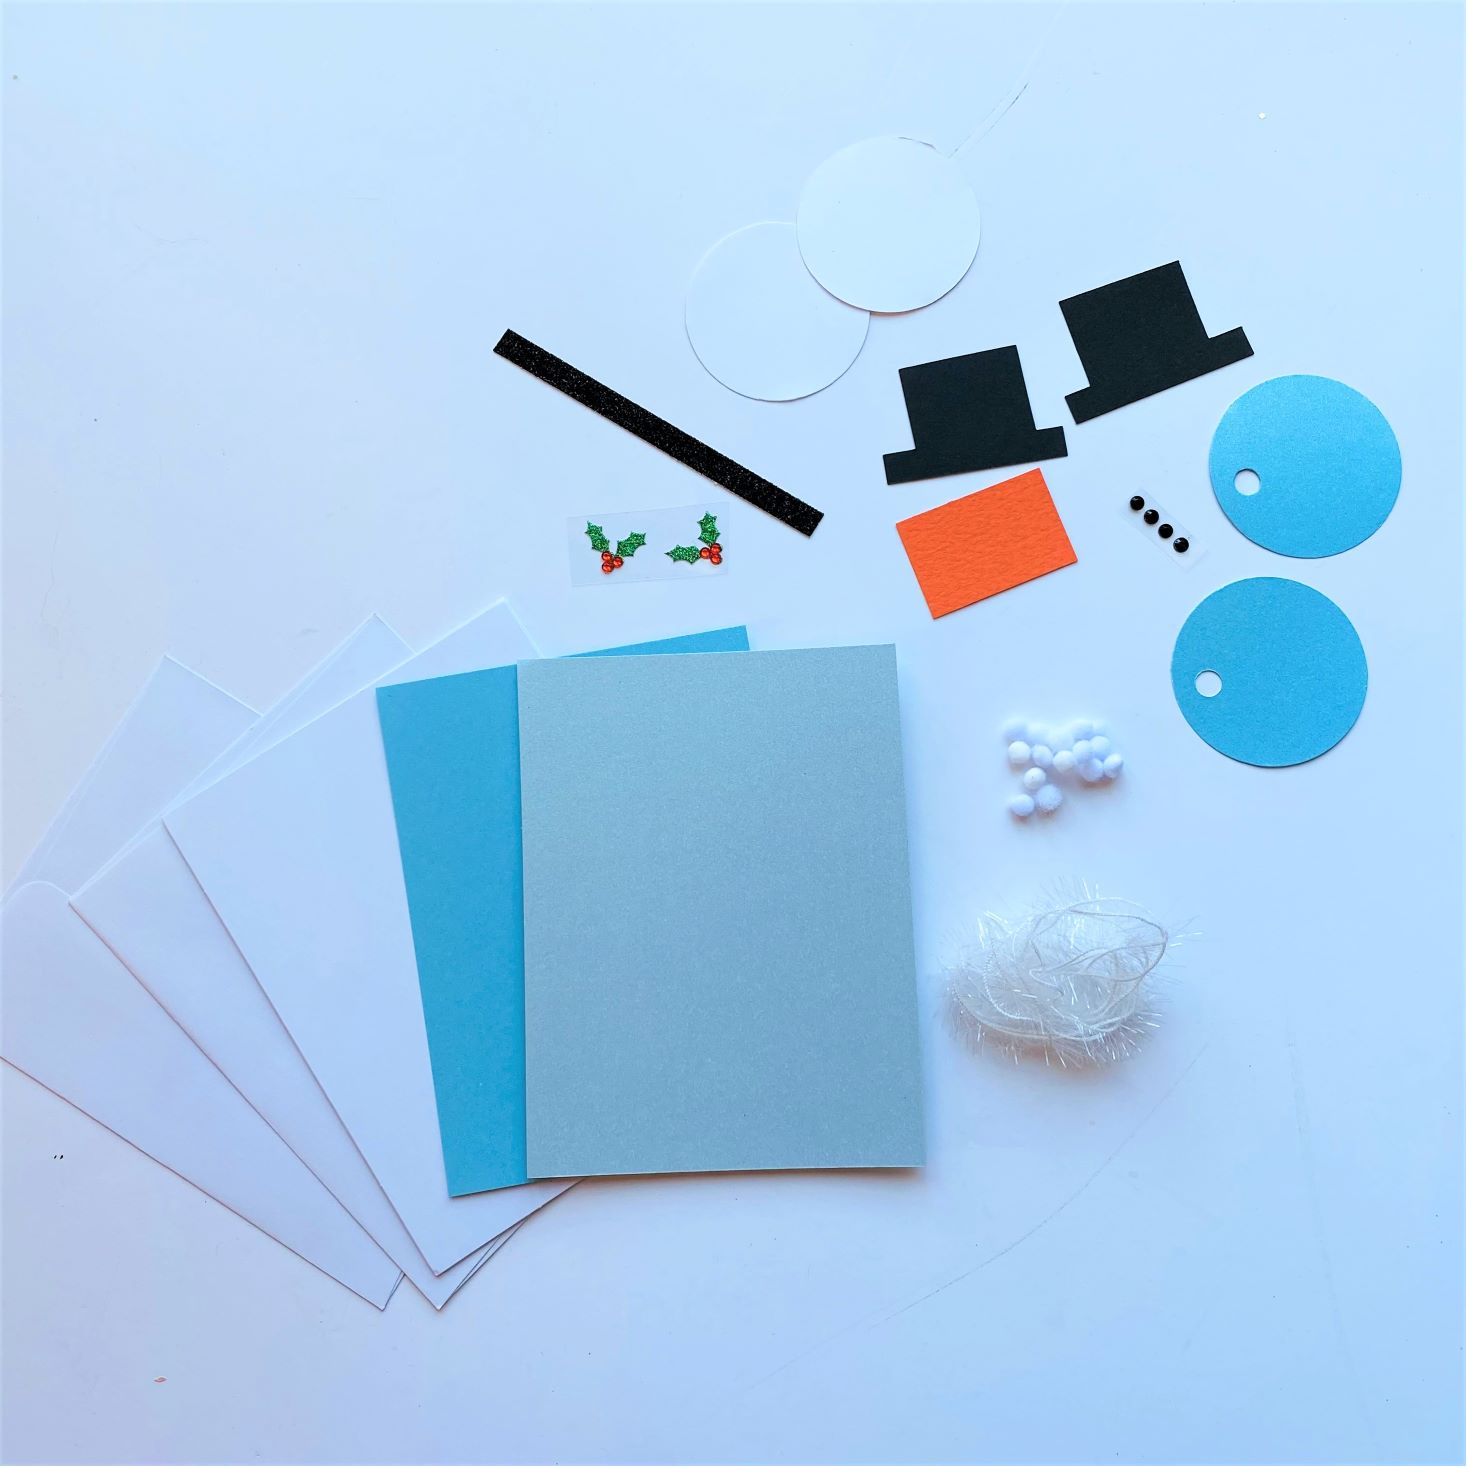
Project #2 Snowman Cards

1 of 2
For our cards, we received all of the necessary supplies packaged in individual bags for ease of use! I love the shiny embellishments and the fact that these cards are so simple to make, yet beautiful.


1 of 4


To create this month's greeting cards, Charlie decided to give me a hand. We first glued the blue background onto the white card and added the white circle to create our snowmen. Cutting out a triangle of carrot, we added that for the nose, along with the black gem eyes. I was so excited to add my embellishments to the hat, and we were even able to take it up a notch with the baby pom-poms as snowflakes! (I'm a little curious to see how they hold up in an envelope, but they are cute as can be!)
Project #3 Gift Bags

The last project we received were these white gift bags with coordinating tissue paper.


1 of 5


Here are this month's projects debuted. I love the way the pedestals turned out, and the festiveness they add to my shelves. The cards turned out adorably, and Hank has already addressed one to his Secret Santa.
Verdict: Confetti Grace is a whole lot of fun! This is one of my favorite subscriptions because the finished products are pretty, customizable, easy to do, and just plain fun. While I usually enjoy creating these crafts in the company of my kids, this month I flew solo (besides Charlie making one of the greeting cards,) and it made for a relaxing afternoon. If you enjoy crafts and seasonal themed projects, I highly suggest this box. I can't wait to see what's in store for January/February!
Confetti Grace costs $28.95 per bi-monthly delivery, so each gift package averages out to about $14.48. I feel this was a decent value for this month's box, as the pedestals were made with high-quality materials, and I was able to customize them to my liking, all while having craft supplies left over for future use.
To Wrap Up:
Can you still get this box if you sign up today? Yes! Sign up today to receive this set of projects.
Check out all of our Confetti Grace reviews and our top craft box subscriptions as voted on by our readers!
Keep Track of Your Subscriptions: Add this box to your subscription list or wishlist!
What do you think of this month’s Confetti Grace? Who did you share your project with?

Please do not enter your email address in the Name field or in the comment content. Your email address will not be published. Required fields are marked *. Remember to post with kindness and respect. Comments with offensive language, cruelness to others, etc will not be approved. See our full comment policy here.