


The Crafter's Box is a monthly maker subscription box:
As a member of The Crafter's Box, we'll send a lovingly kitted box of tools and materials to your doorstep on a monthly basis. Each month we feature a new expert maker and that maker has built for us a unique, grown-up, on-trend project that reflects their artistic style. In addition to the monthly box, our featured maker has created an educational, digital workshop to teach their crafting medium and to offer their tips and tricks.
The best part of this model is the ability to revisit workshops in the future to create again and again. Happy making!
The Crafter's Box offers three different subscription models:
- Individual Membership: $65 per month for a kit of curated tools and materials + a new digital workshop by the featured maker
- Crafter's Night: $60 per person (minimum of 3 people necessary) per month for a group kit of the curated tools and materials sent to one host + individual video access for each person
- Video-Only Access: $20 per month for access to the digital workshop created by the featured maker (no tools or materials included)
This review is of the Individual Membership for $65 per month.
My Subscription Addiction paid for this box. (Check out the review process post to learn more about how we review boxes.)

About The Crafter's Box
The Subscription Box: The Crafter's Box
The Cost: $65 per month + free US shipping (other plans available from $20 per month)
The Products: A shipped kit of curated tools and materials + a new digital workshop by the featured maker of the month
Ships to: The US for free and internationally for varying rates
Good to Know: Membership enrollment is open between the 10th - 20th of each month. Subscriptions automatically renew on the 15th. Projects are designed to be for ages 18+.
The Crafter's Box September 2020 Review
The Crafter's Box seems to be what my crafting subscription box dreams are made of! Each month they feature a different, unique craft that is designed with the crafty adult in mind. The items you get to create are thoughtfully curated and created with high-end materials so that your finished products are modern and luxe.
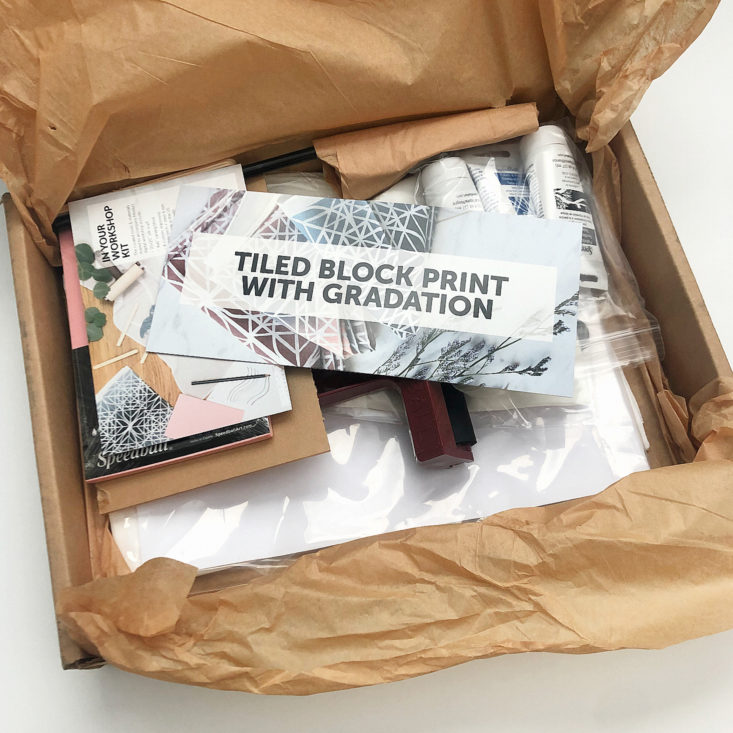
Let's take a look inside September's box - the craft this month is Tiled Blok Print with Gradation!


1 of 4


We received two info cards this month. They detail information on what's included in the box, as well as a short bio on the featured maker this month, Mindy Schumacher of Follysome Prints. I have a vague memory of doing some sort of block printing in art class as an elementary student, but I haven't experimented with a craft like this since then, so I was excited to jump in and start creating! The idea is that you create a design that is repeated many times over your surface. The neat twist of the project this month is that you get to create a custom ombré effect by making a gradation with your colors.
Now, onto the items!


1 of 2
4" x 6" Speedball Carving Block - Estimated Retail Value $6.00 (a 2-pack retails for $12.00 here)
First up is the carving block that we will use to stamp our design onto our fabric. It's made of a pink acrylic material that is flexible but has a decent heft to it. The block comes in a 4x6" size, but we will have to trim it down to create a 4x4" square for our project.


1 of 4


Ergonomic White Birch + Steel 4mm V Tool - Estimated Retail Value $19.00 (this is a custom-made tool that is not sold separately, but an expansion pack of 2 additional carvers retails here for $38.00)
The carving tool is very well made and fits so nicely in your hand! This is what we will use to create the design on the stamping block, and it was designed just for this box. The V tip came packaged with a protective rubber coating, which was nice because the tip of the V is quite sharp.


1 of 2
Speedball 4" Rubber Brayer - Retail Value $11.16
Next up is the rubber brayer, which is a rubber wheel that we will use to roll the paint onto our block. The wheel part is 4" wide, which is perfect to use with our 4x4" square design.


1 of 3

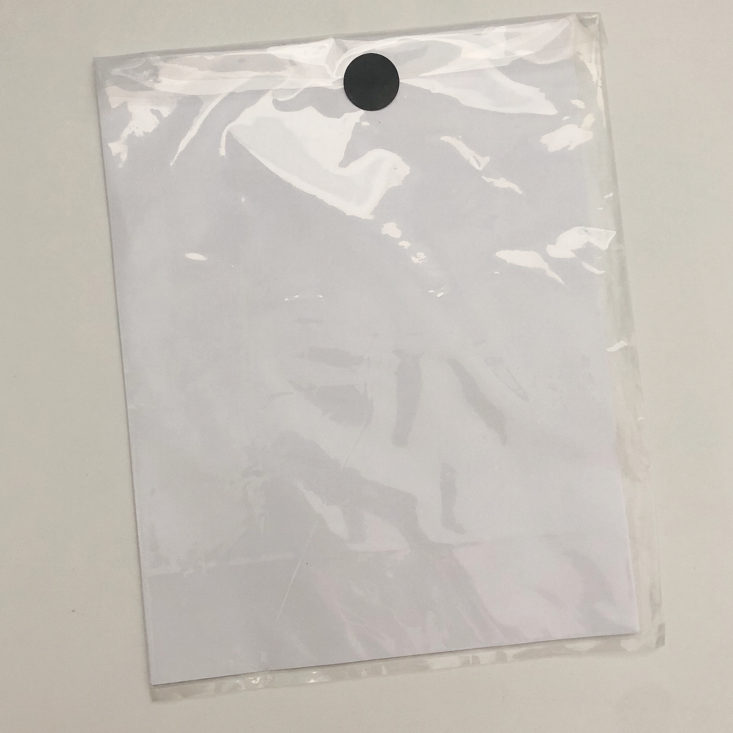
Acrylic Inking Plate
We also received a 4x6" piece of acrylic plastic to use for our paint mixing surface. As you can see, my cat was very interested in licking the glass after I unwrapped it! She always likes to photobomb while I'm taking photos for my reviews, and after a kind reader commented that they wanted to see more cat photos, I left this one in for you here!


1 of 2
Speedball Fabric and Paper Ink in White, Blue, and Black - Estimated Retail Value $14.00 (a trio of other colors can be found here)
The star of the show - the paint! We received three standard colors - white, blue, and black - that we can mix to create our custom color gradient. This is a special paint that is colorfast on fabric, and it's specifically made for block printing.


1 of 3

25" x 25" Silk Scarf - Estimated Retail Value $17.14 (a 35" x 35" silk scarf sells here for $24.00)
The project featured for the craft this month is a silk scarf that we get to print on. The scarf is 100% crepe silk and a creamy white color. It came with pretty firm creases and wrinkles in it, but I used a wrinkle release spray and my steam iron and they came right out.

Plastic Ruler
We also received a plastic ruler to use when creating our design. Not much to say about this item - it's a pretty basic ruler! It is nice of the box to include this in case we didn't already have one.


1 of 2
Soft Pencil and Mix Sticks
This pencil contains super-soft lead so that it transfers easily from our drawn design to the stamping block. The mix sticks are for mixing our custom paint color blend.
Butcher Paper
We received a large sheet of white butcher paper to protect our workstation while we are stamping - always a good thing to have on hand!
1 of 2
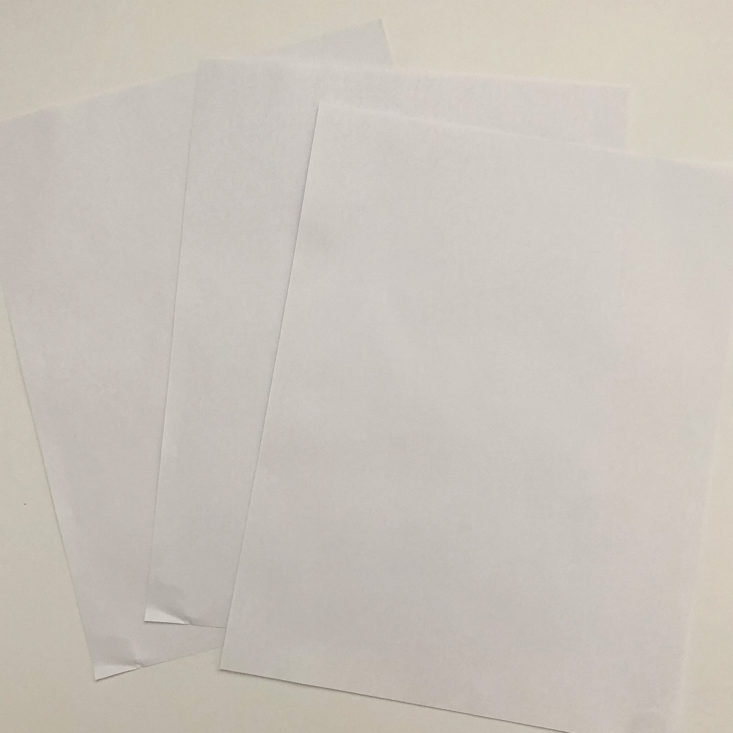
Paper
I always talk about this with The Crafter's Box, but it's always true - they send absolutely everything you need to create the craft that month. This month was no exception, as we received three sheets of white printer paper to draw our design on. In my opinion, this is a little bit overkill, but I do appreciate the thoughtfulness of making sure we are all set up to go with the craft.
Now, let's get block printing!


1 of 7


The first step was to draw out the design for the block. Mindy walks you through exactly how she created the sample pattern, and I liked it so much that I just copied exactly what she did. You start with a grid of half-inch squares and then draw concentric squares inside of them. However, she freehanded the petal shapes, and I borrowed a tip I learned from the Sashiko Embroidery video from The Crafter's Box March 2020 - I used the rim of a drinking glass to trace my curved line so that each one was identical to the next.
1 of 4
Next, I prepped my pink block by trimming 2" off of one long side to create a 4 x 4" square. I then transferred my drawn design to the block by flipping the paper over onto it and pressing down, which transferred the pencil marks over. The block material picked up the pencil very easily, so this was not difficult to do at all.


1 of 2
Before I attempted to start carving my actual design, I practiced with the carving tool on the trimmed off extra piece of block. It took a few practice lines before the movement became natural, but then it was pretty easy to use. The handle of the carving tool has a curve on one side so that it fits really easily into the palm of your hand. After practicing a few curved lines, I felt ready to go onto the real thing.


1 of 4


The process of carving the design was a slow one, as I wanted to make sure I had each line perfect before moving onto the next. I found it fairly easy to follow the design, but it was tough around the edges (where we were carving away the corners by the petal shapes), and also where two lines intersected. Once I was finished, though, I was pleased with the result of my design.


1 of 5


Next came the fun part - mixing colors! Mindy walks you through how she gets her favorite dusty blue color for your custom main color, but I wanted something that was a little bit grayer and less blue. To achieve that I simply used less blue paint in my original mix. To get the gradient effect, you then put pure white and pure black on either side of your custom color, and roll away. After a few seconds of rolling up and down on these three patches of color, an ombré effect starts to occur - so pretty!


1 of 5


Mindy recommended doing a couple practice stamps on paper before starting to stamp onto the silk scarf. She said that the first few stamps don't turn out the best, as the stamp has to fully absorb the paint for a clean transfer of paint. Transfering the paint from the acrylic to the stamp was not difficult - you just picked up paint on the roller brayer and then rolled it onto the stamp.


1 of 4


Next, it was time to get moving on my scarf! I really loved the gradient effect of swapping between the light and dark edges of my stamp, but it was important to remember which direction I rolled the paint on each time so that they didn't get contaminated between stamps. I found that it was hard to get the same level of intensity of paint with each stamp, no matter how consistent I was trying to be. I also found that my paint dried out pretty quickly (within 5-10 minutes), so I had to keep adding more white and black paint to the edges of my acrylic as I stamped. It was also hard to keep the silk perfectly flat and smooth, and that meant that some of my stamps were a little bit offset from the one next to it. Overall though, the process was very easy to follow and worked just like the video tutorial said it would. These small complaints I have are just my perfectionist side coming through!


1 of 2
Here's what my scarf looked like once I finished completely stamping it! I was very frustrated with my project towards the end, as I ran out of my main custom color paint just before I was completely done. As you can see in the close-up picture, the second row from the left is much lighter than the surrounding squares - this is where I was running out of paint and struggling to make it work.
I ended up realizing that I needed to mix more custom color, and that's what I used for the three squares on the far left column that look darker than the rest of the scarf. In-person, the difference is far less of a contrast than it shows up in these pictures, but it still doesn't look perfect in person either. But oh well, it's a handmade project and these little imperfections are what make everyone's project unique! Once you are wearing the scarf or have it tied around something, no one will ever notice that a couple of the stamps are a slightly different color than the rest of them!


1 of 3

Here is my finished scarf! I love the gradient of the light to dark in each row - I think it makes the print look really cool. I didn't get as much white or super light color as Mindy's original project did, but I still love how mine turned out. I tied it around the handle of a plain black purse (bonus points if you recognize which Fall subscription box this came in!) and I think the scarf really livens up the purse! It's such a fun accessory to personalize with, and I was very proud that I stuck through a new-to-me craft and came out with a finished product at the end.
Verdict: The Crafter's Box is usually my favorite box I get each month, and this box was no exception. While I wasn't the best at block printing right away, the project was fun to create and I love my finished scarf. I really enjoyed mixing my own colors, and I plan to experiment more with my leftover paint in the future! The presentation is lovely, and I thought it was great how the box includes absolutely everything you need to do the project. I like that The Crafter's Box showcases more unique types of crafts than a lot of other craft subscription boxes, and I love that I was able to experiment with a new craft to me. I also really appreciate the modern, upscale vibe that I get from this box - it feels like I'm making and creating for a purpose, rather than just crafting to craft.
For $65, we received tools and supplies to make a block-printed silk scarf. The box has a very careful curation and extremely well-made video tutorial content. The video tutorial was so well done and very in-depth, and I really enjoyed learning tips and tricks on how to get the best final products.
To Wrap Up:
Can you still get this box if you sign up today? No, you will receive the November 2020 box (if you sign up between October 10th - 20th). However, this exact box will be available in the marketplace here after October 1st.
Check out our other reviews of The Crafter's Box and the top-rated craft subscription boxes!
Keep Track of Your Subscriptions: Add this box to your subscription list or wishlist!
What did you think of The Crafter's Box for September 2020? Let us know in the comments!

Please do not enter your email address in the Name field or in the comment content. Your email address will not be published. Required fields are marked *. Remember to post with kindness and respect. Comments with offensive language, cruelness to others, etc will not be approved. See our full comment policy here.