

The Crafter's Box is a monthly maker subscription box:
As a member of The Crafter's Box, we'll send a lovingly kitted box of tools and materials to your doorstep on a monthly basis. Each month we feature a new expert maker and that maker has built for us a unique, grown-up, on-trend project that reflects their artistic style. In addition to the monthly box, our featured maker has created an educational, digital workshop to teach their crafting medium and to offer their tips and tricks.
The best part of this model is the ability to revisit workshops in the future to create again and again. Happy making!
The Crafter's Box offers three different subscription models:
- Individual Membership: $65.00 per month for a kit of curated tools and materials + a new digital workshop by the featured maker
- Crafter's Night: $60.00 per person (minimum of 3 people necessary) per month for a group kit of the curated tools and materials sent to one host + individual video access for each person
- Video-Only Access: $20.00 per month for access to the digital workshop created by the featured maker (no tools or materials included)
This review is of the Individual Membership for $65.00 per month.
My Subscription Addiction paid for this box. (Check out the review process post to learn more about how we review boxes.)

About The Crafter's Box
The Subscription Box: The Crafter's Box
The Cost: $65.00 per month + free US shipping (other plans available from $20.00 per month)
The Products: A shipped kit of curated tools and materials + a new digital workshop by the featured maker of the month
Ships to: The US for free and internationally for varying rates
Good to Know: Membership enrollment is open between the 10th - 20th of each month. Subscriptions automatically renew on the 15th. Projects are designed to be for ages 18+.
The Crafter's Box August 2020 Review
The Crafter's Box seems to be what my crafting subscription box dreams are made of! Each month they feature a different, unique craft that is designed with the crafty adult in mind. The items you get to create are thoughtfully curated and created with high-end materials so that your finished products are modern and luxe.
A quick note about something I wanted to share - I was having struggles getting my shipping address updated after I moved this summer, and The Crafter's Box quickly took care of my concerns and even re-shipped out the box this month to me after it was mistakenly sent to my old address. I always love highlighting excellent customer service when I review subscription boxes, and I was very impressed by the prompt replies, professionalism, and caring attention I received from the folks at The Crafter's Box!
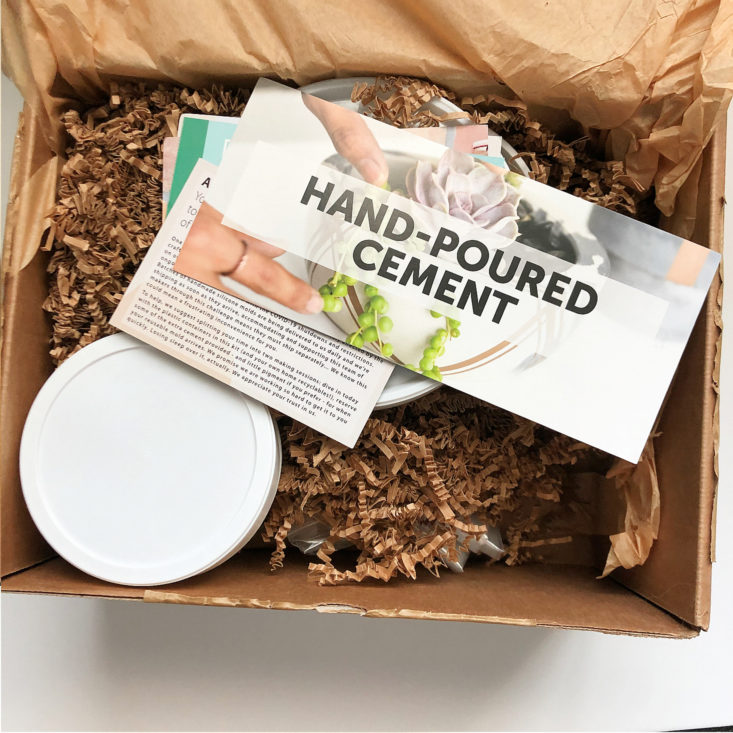
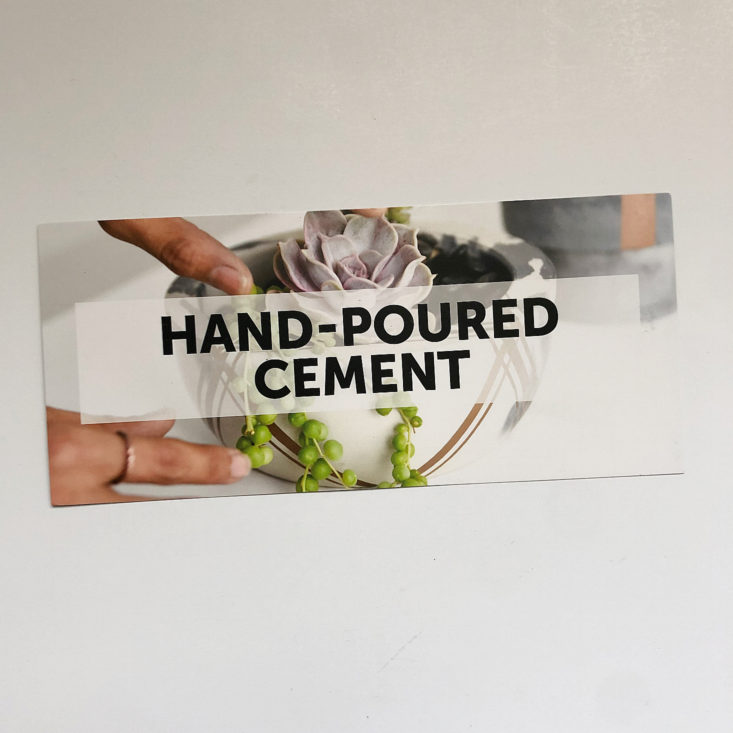
Let's take a look inside August's box - the craft this month is Hand-Poured Cement!
1 of 9
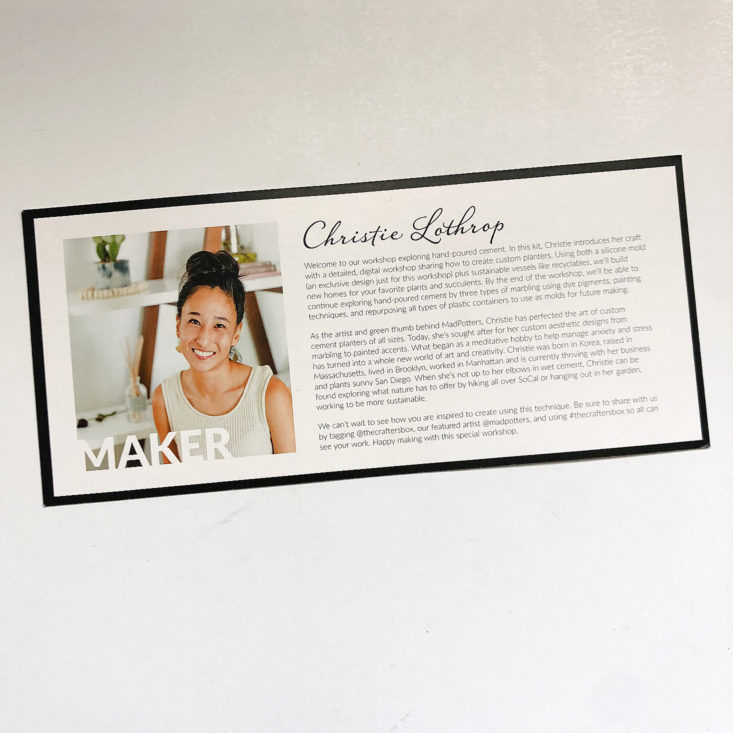
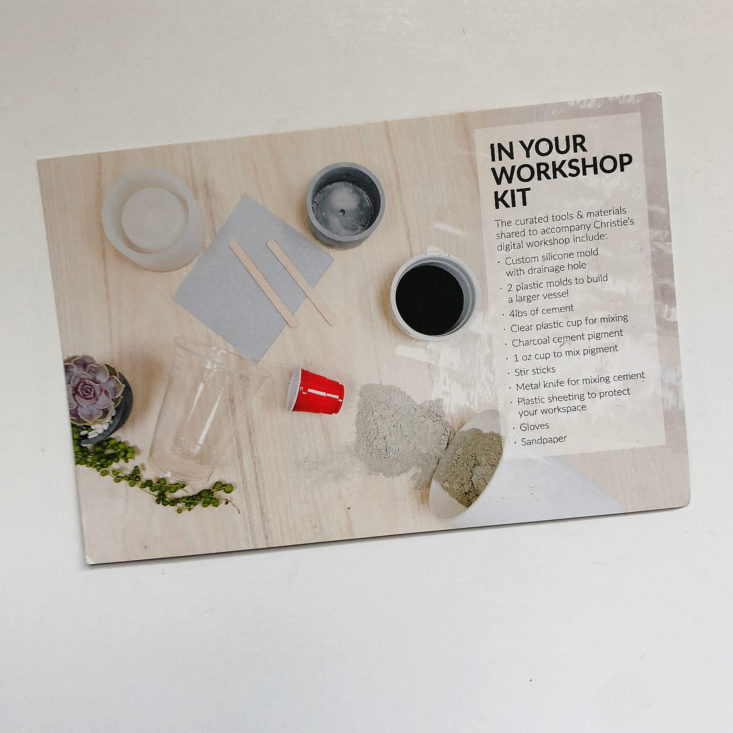


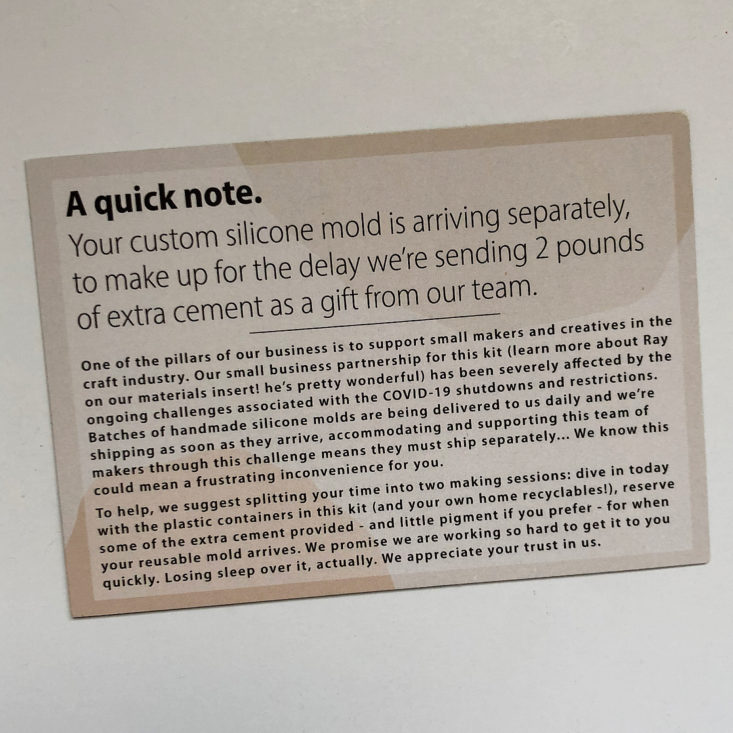
There were lots of info cards this month! The first two were the standard info cards we get in each box, which detail information on what's included in the box, as well as a short bio on the featured maker this month. We also got a card telling us about the maker of the custom silicone pot mold that is part of this kit, but then that was followed up with a note saying that the production of these molds was delayed due to COVID-19 reasons and that they will be shipped separately towards the end of the month. As I write this it is now early September and my custom silicone mold has not yet shipped.
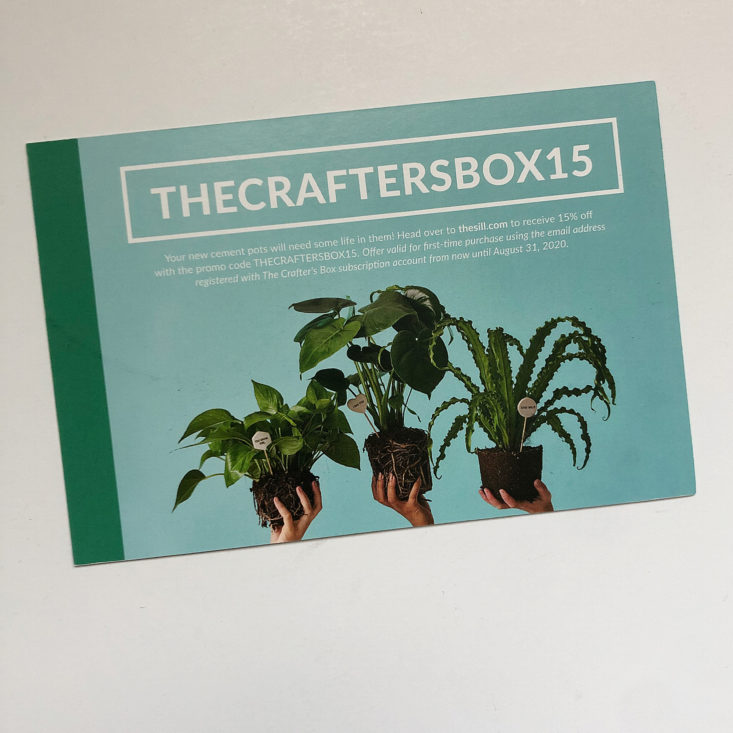
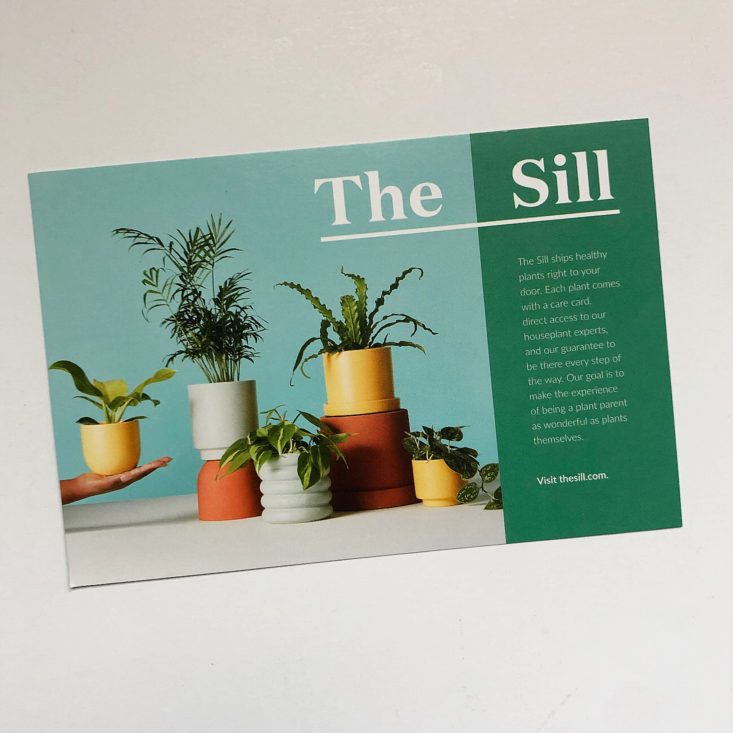
Finally, we have a coupon code that can be used to purchase plants to fill our new concrete pots!
Now, onto the items!
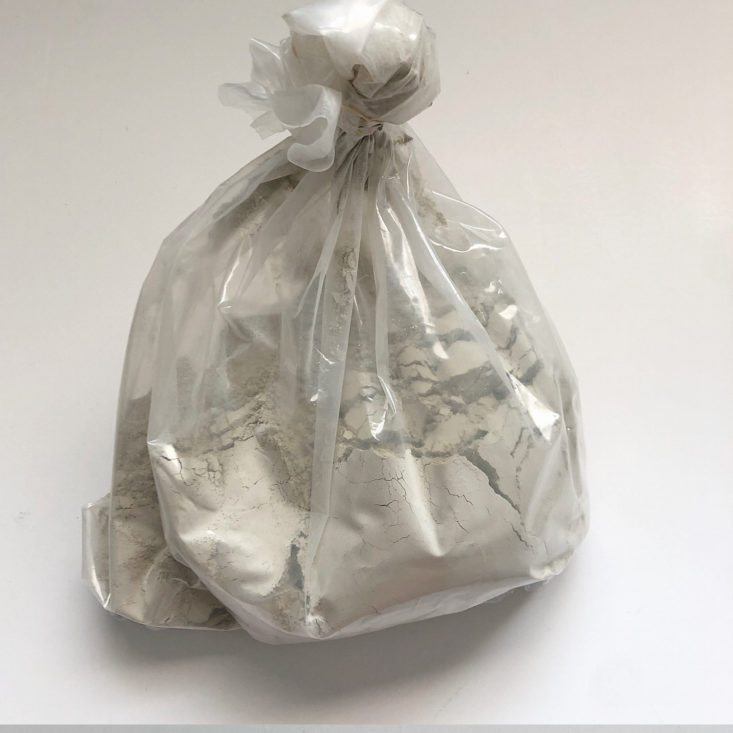
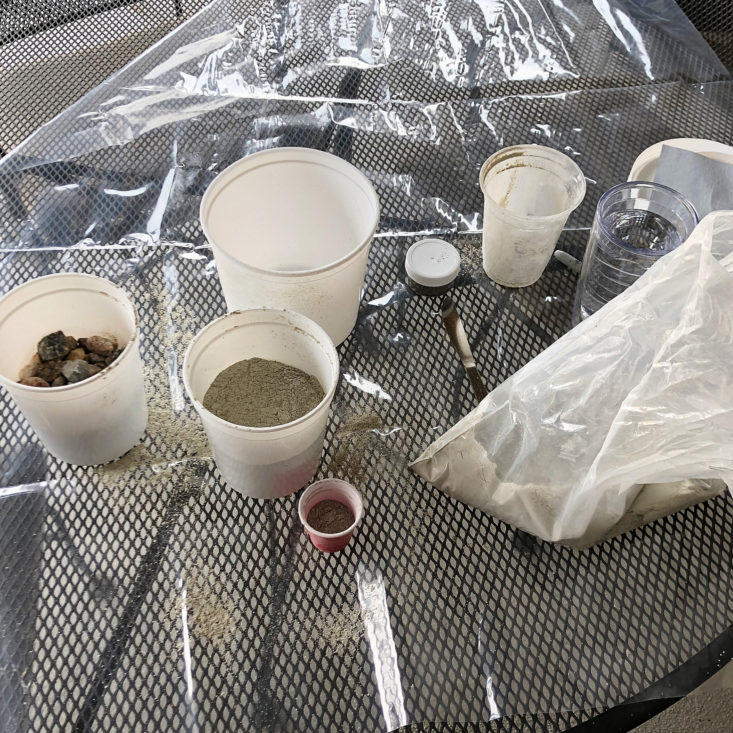
4 lb Bag of Cement - Estimated Value $24.00 (a 2 lb bag sells for $12.00)
The first item is the star of the show - the concrete! The type of concrete we received is a fine powder and is light in color - in the video tutorials Christie tells us that this particular type that was sent is the best for making smaller projects like planter pots.
1 of 2
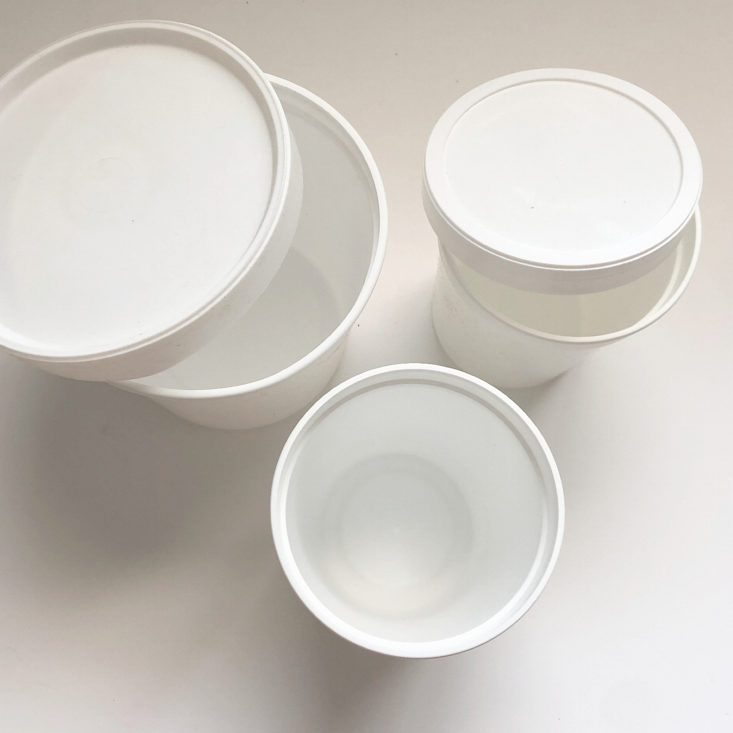
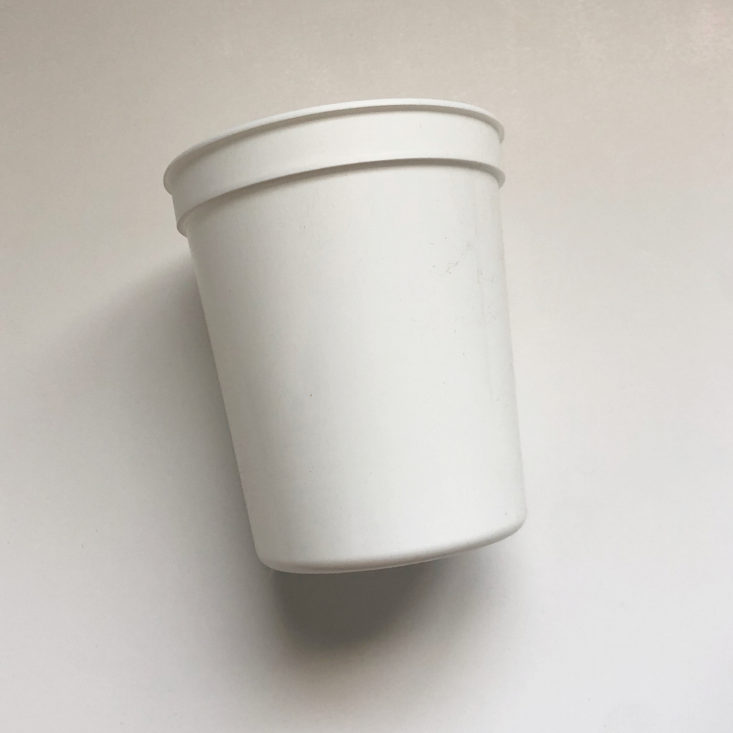
Plastic Containers
We received three plastic containers and two lids. These are used for mixing the cement and also can be used as molds to make pots and bowls with your hand-poured cement. In the video, Christie also talks about using other types of plastic containers, dishes, bowls, etc that you find around your house or at the dollar store to make different shapes of cement containers.
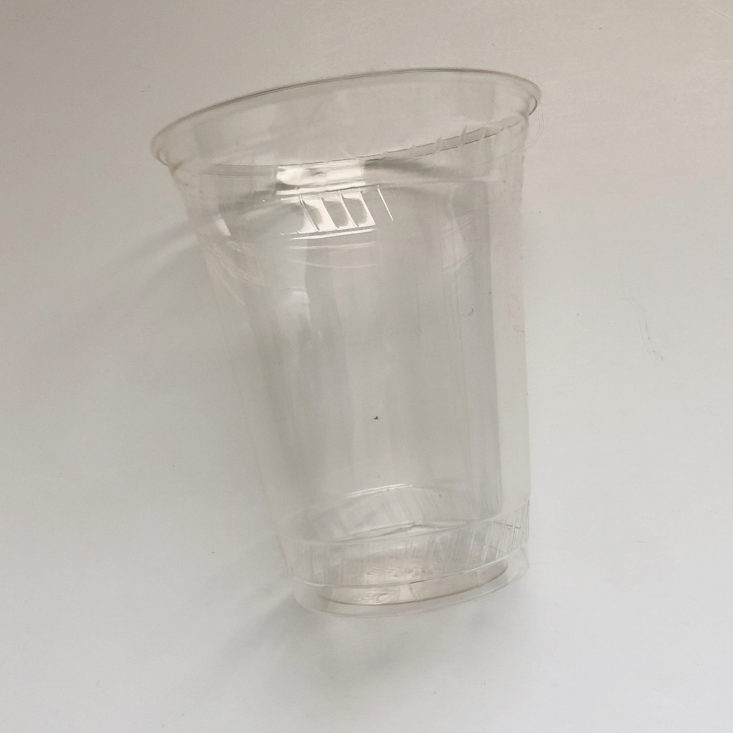
Plastic Cup
As always, The Crafter's Box includes absolutely everything you need to complete the project! They included a disposable clear plastic cup that is used for mixing the cement.
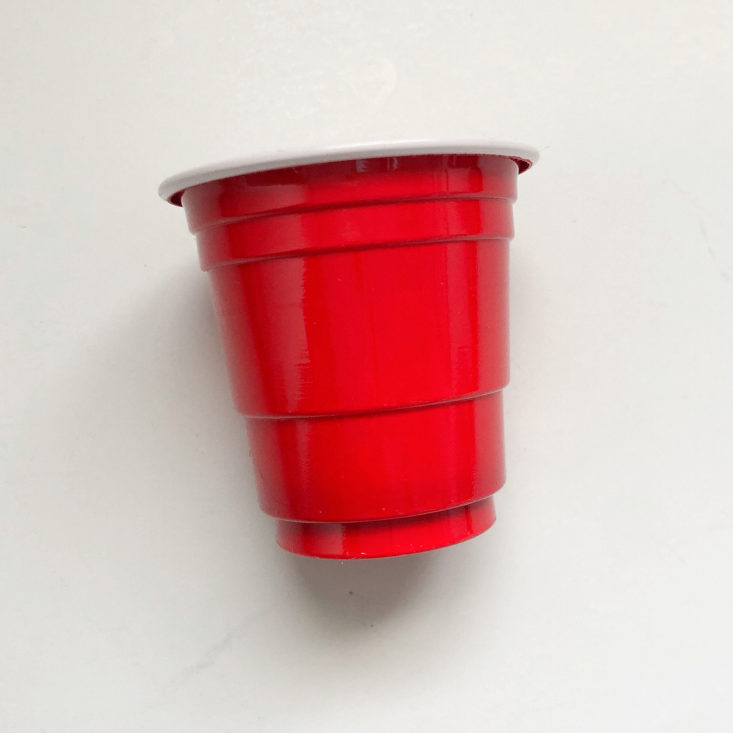
Mini Solo Cup
We also received a mini red solo cup that is used for mixing smaller amounts of pigmented cement to get a marbled effect in your finished piece.

1 of 2
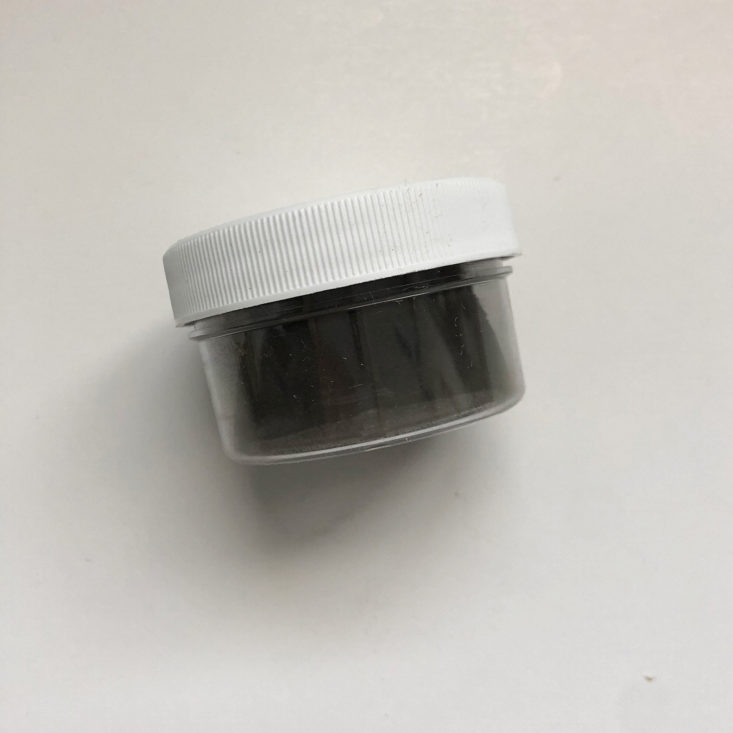
Gray Dye
In my opinion, the coolest part of this project is the custom marbling effect that you can see in some of the sample pots on the info cards. This is achieved by mixing two different colors of concrete together when pouring your pot, and I couldn't wait to try it! We received this small pot of dark gray dye, which you can use a little bit of to make a light to medium gray, or you can use a lot of the dye and get a deeper charcoal color.
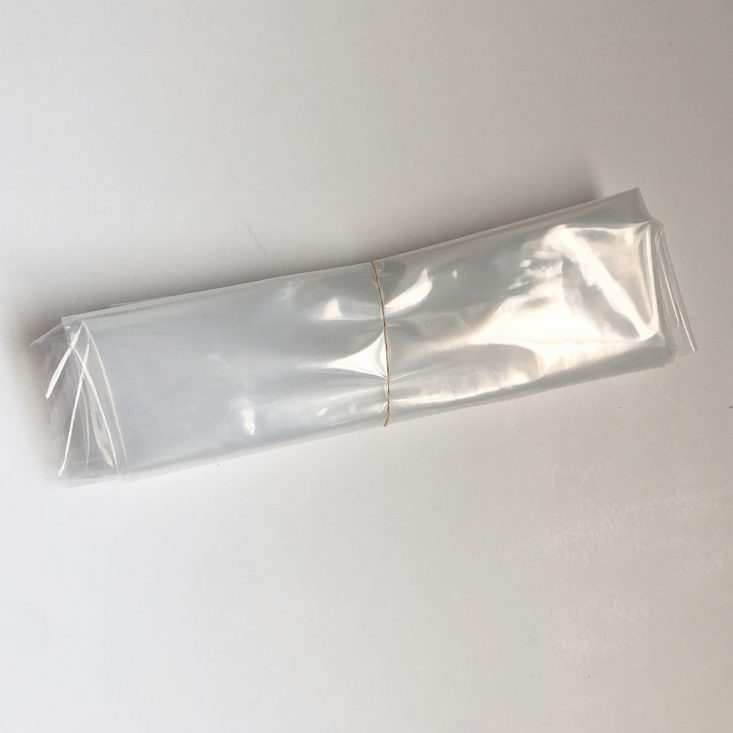
Plastic Sheet
It's always good to cover your work surface to keep the mess away!

1 of 2
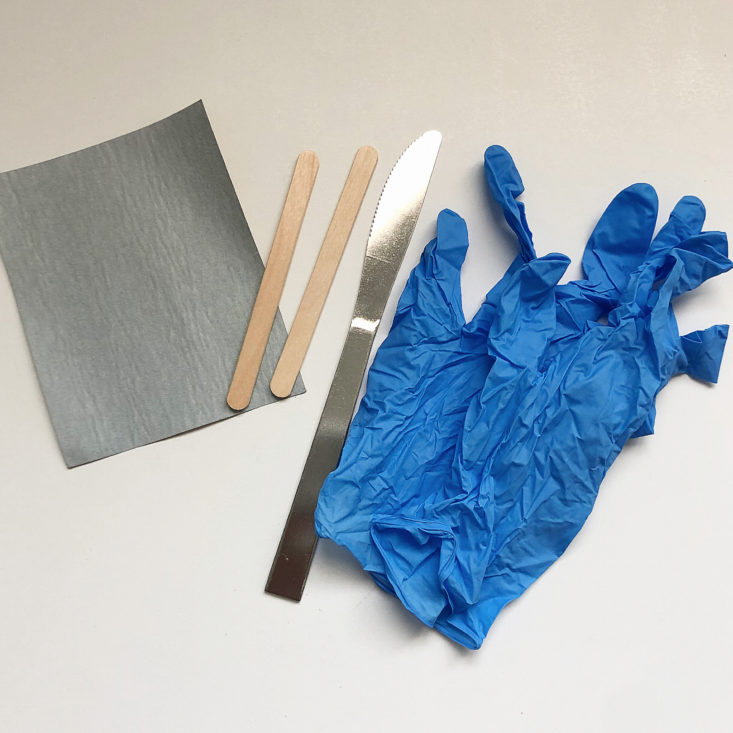
Sandpaper, Mixing Sticks, Metal Knife, and Disposable Gloves
Finally, we have a bag of extra supplies. The one item that is necessary but not included in the box is a mask to protect your nose and lungs from the concrete dust, but I understand that it's pretty hard to find good masks to send in these boxes right now! Hopefully, we all have a good stock of masks on hand, though, and can protect ourselves from the concrete particles. From my experience in mixing this cement, the cement dust got EVERYWHERE, and I was pretty glad that I listened to the video and wore a mask while creating my pots!
Now, let's get crafting!

Here's a photo of my set up for this project before I got started! Christie recommended doing this project outside, so I used the plastic sheet to cover our outdoor dining table and set up my various plastic containers. I also got a glass of water at the ready for mixing.

1 of 4
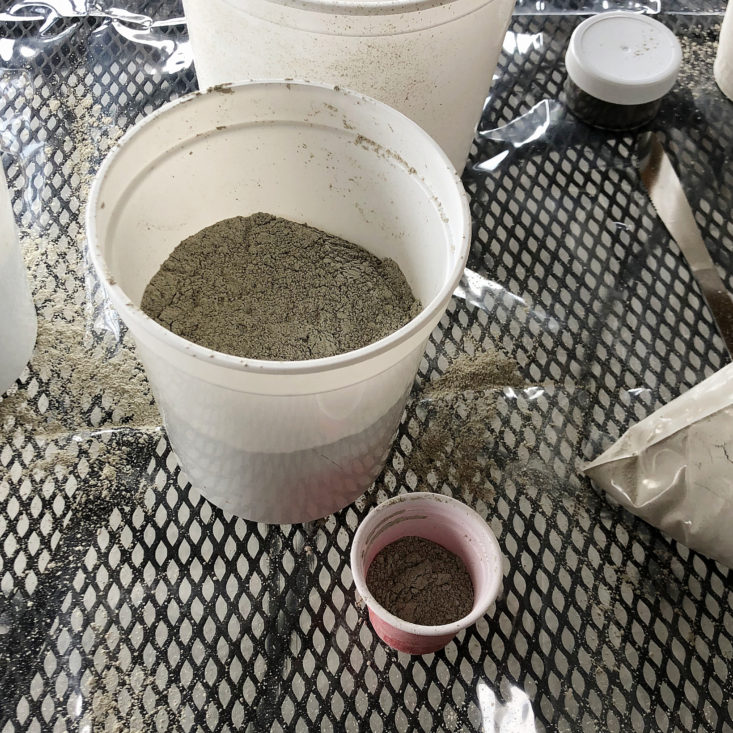
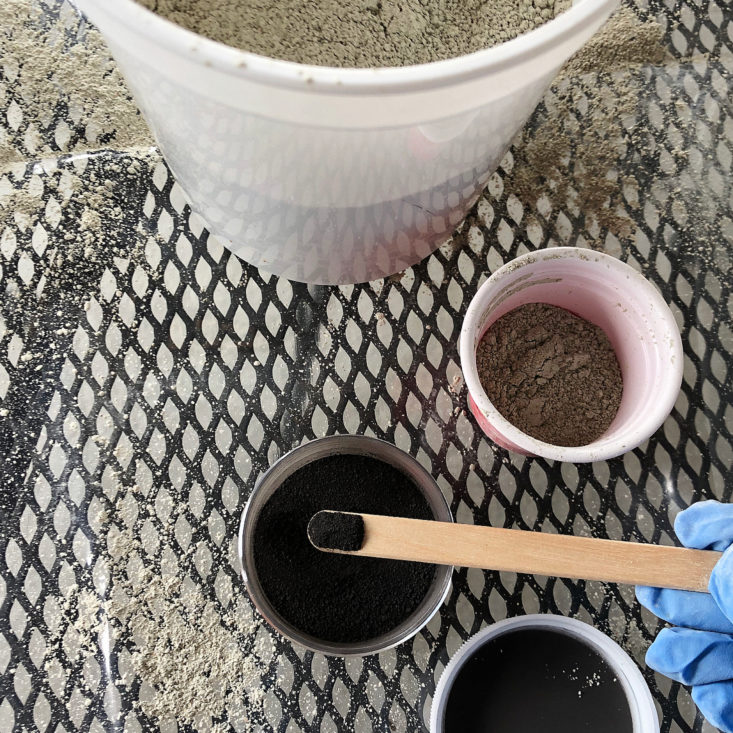
The first step was to measure out the concrete. There were no instructions on how much concrete to use for different sizes of pots, so I just estimated and filled one of the smaller white plastic containers up to about 2/3rds full. I also mixed 3 scoops of gray dye into the concrete powder in the small solo cup so that I could try marbling.


1 of 3
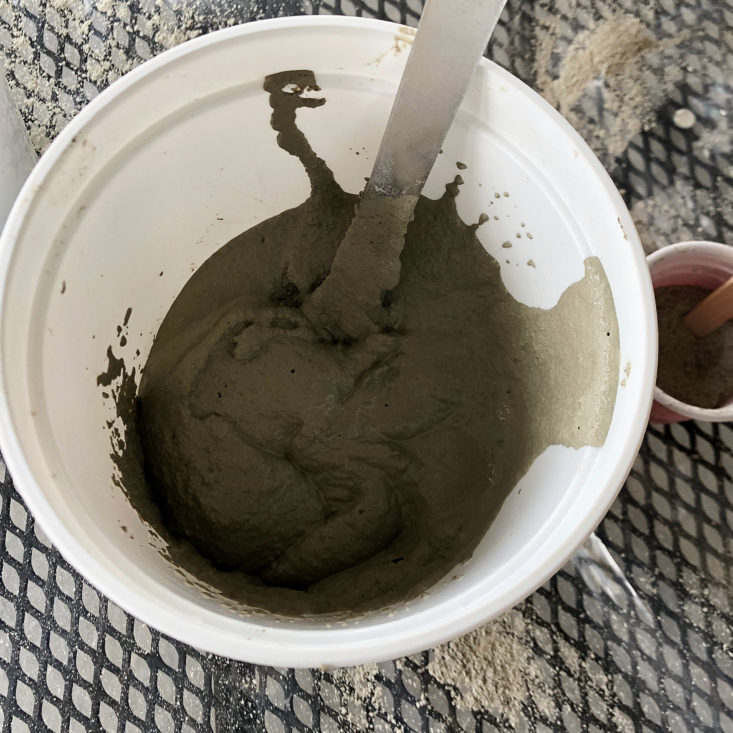
Next, we mix with water. Again, there were no instructions on the ratio of concrete to water to get the perfect mix, but Christie did say in her video that how much water you need to use depends a lot on your climate. I live in a super dry climate, and it was a hot day when I was making this pot, so I ended up having to use more water than I initially thought to achieve a good mix. I learned that the perfect consistency is something resembling brownie batter.
It was pretty hard to get all the dry clumps of concrete powder from the bottom of my cup! I wasn't sure how fast the cement would set, so this was slightly stressful. However, by continuously scraping up the bottom of my container I was able to get all of the dry cement incorporated into the mixture.

1 of 2
Next, we marble! Christie taught us three different ways to marble two colors together, but the method I found easiest was to pour alternating dollops of each color into my larger white container. At this point my cement was starting to set up (see first picture), and I was afraid that my two colors of cement wouldn't meld together properly. But after I shook the container and tapped on the sides of it to get the cement to settle (second picture), you can see that the dark gray parts seemed to melt into the lighter gray.

1 of 2
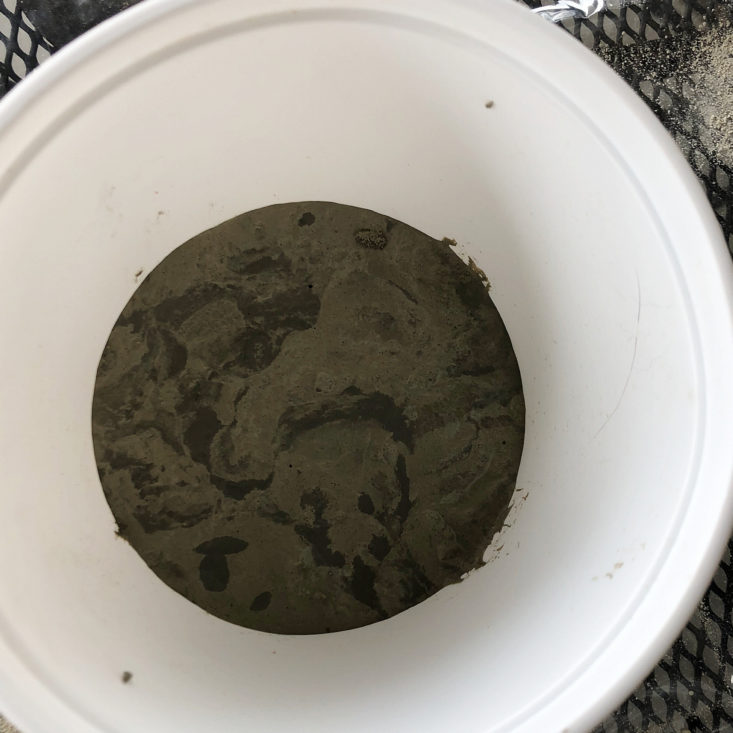
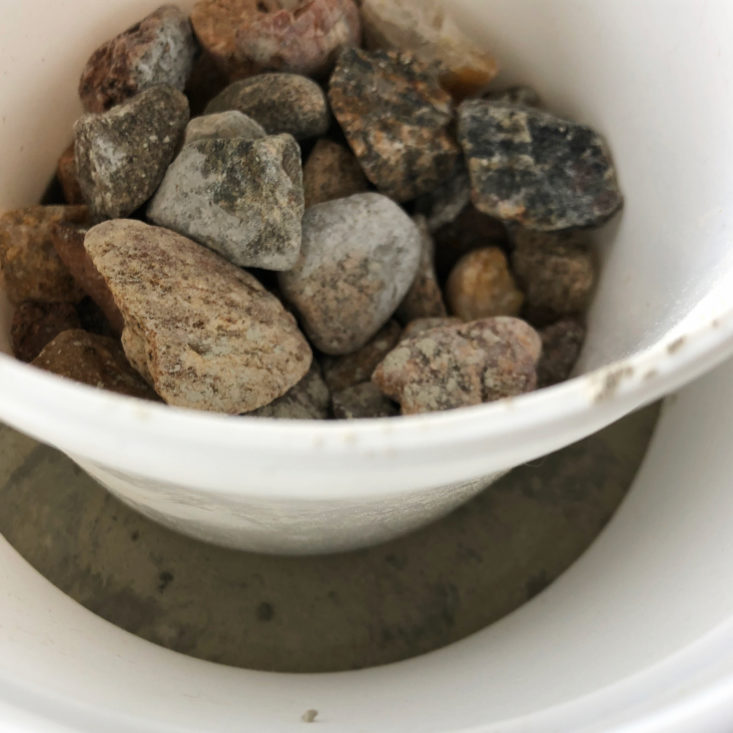
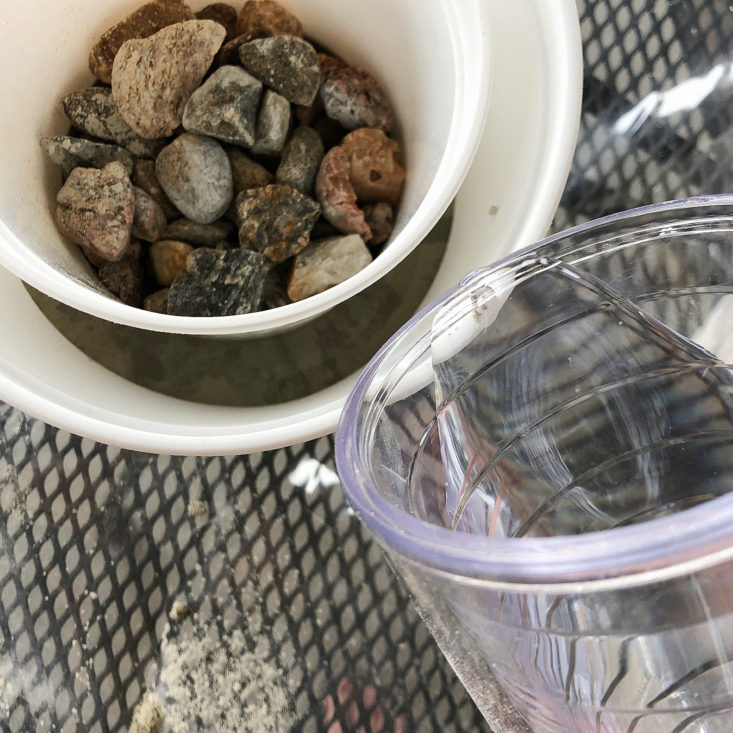
Next, we have to create the planter pot shape! I took my final white container and filled it with some rocks from the yard for some weight, and settled it into the middle of the larger container. It was important to use just enough pressure to seat the smaller container into the cement, but not too much that I pressed the smaller container all the way to the bottom of the larger container - otherwise I would have ended up with a cement tube, not a planter pot with an actual bottom and sides!
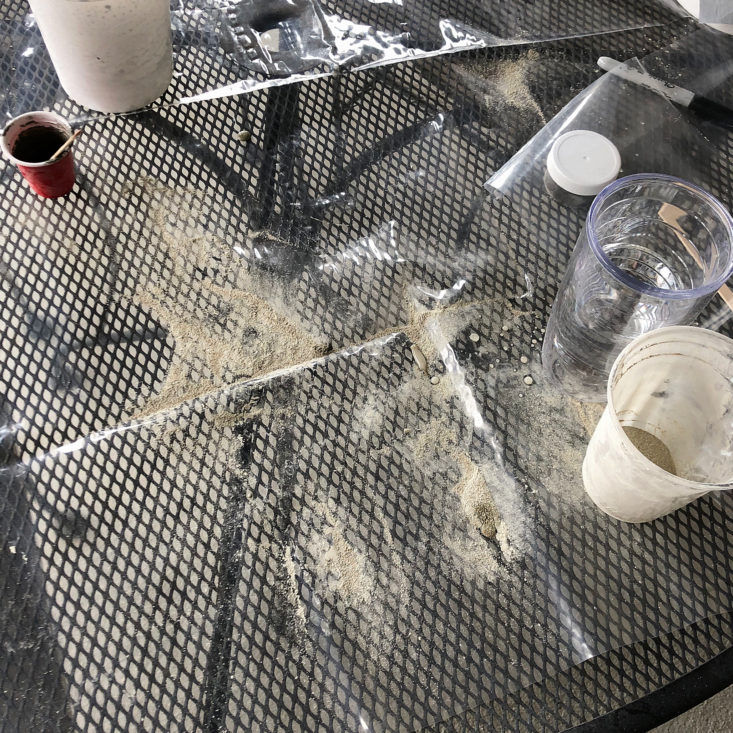
See what I mean about the cement dust getting all over? This is what my work station looked like after I was done pouring my pot!

1 of 2
Christie recommended that after letting the cement set for about 10-15 minutes, you pour a small amount of water onto the top surface of your piece. This keeps the top from setting up too quickly and cracking.
I could already see the marbling effect taking place and was so excited to see what my finished pot would look like!

1 of 2
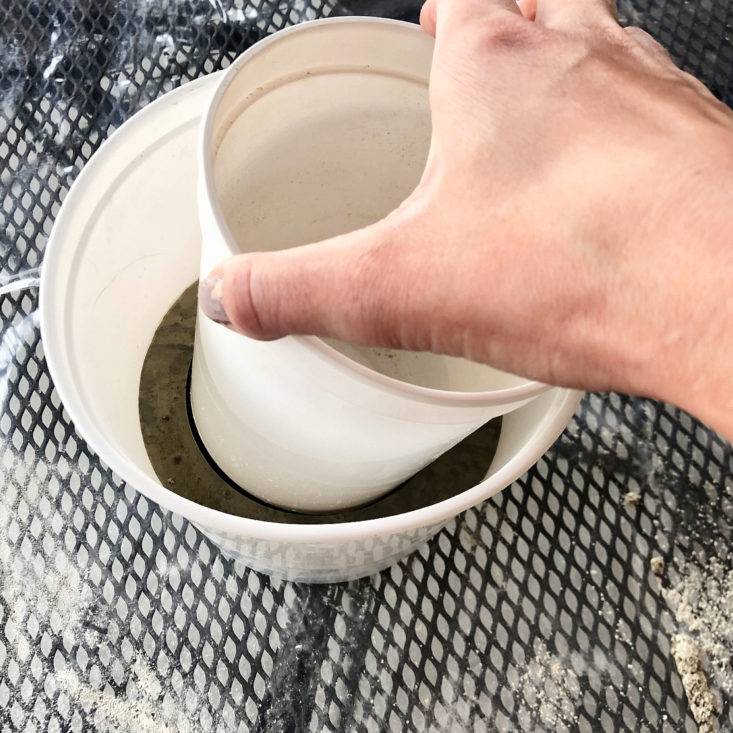
After two hours of setting up, my pot was ready to come out of the molds. It was easy to pull out the smaller container, but pretty difficult to get the pot to release from the larger container. I ended up having to flip the container upside down and smack the bottom of the container to get the pot to pop out. Unfortunately, when I did this a small piece of the top rim of the pot broke off! Next time I will plan to do this step on the grass, not on the patio!
1 of 4
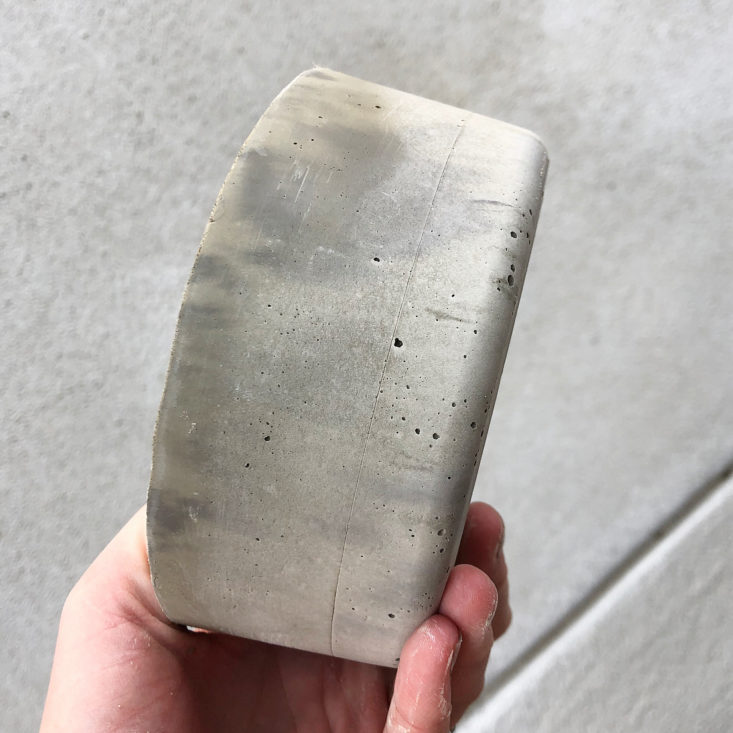
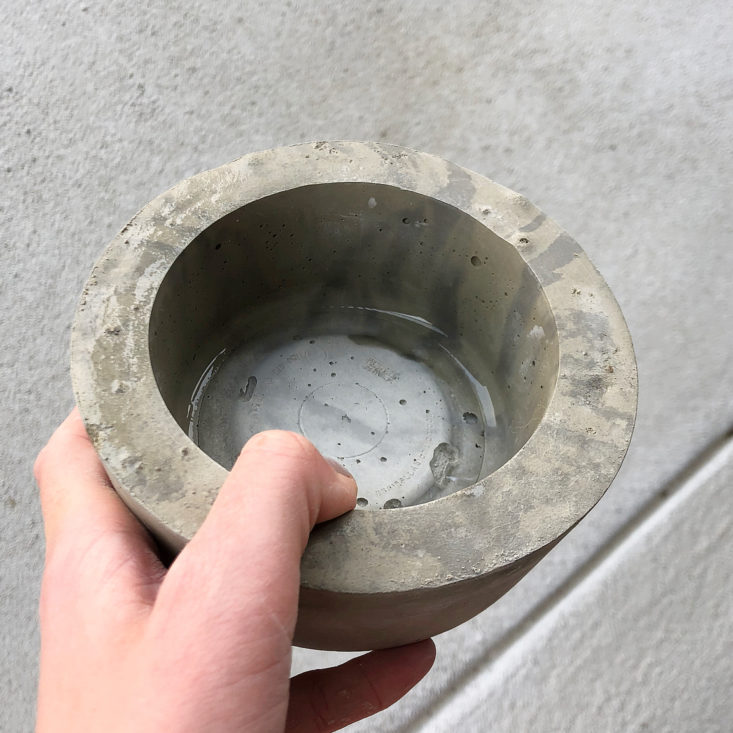
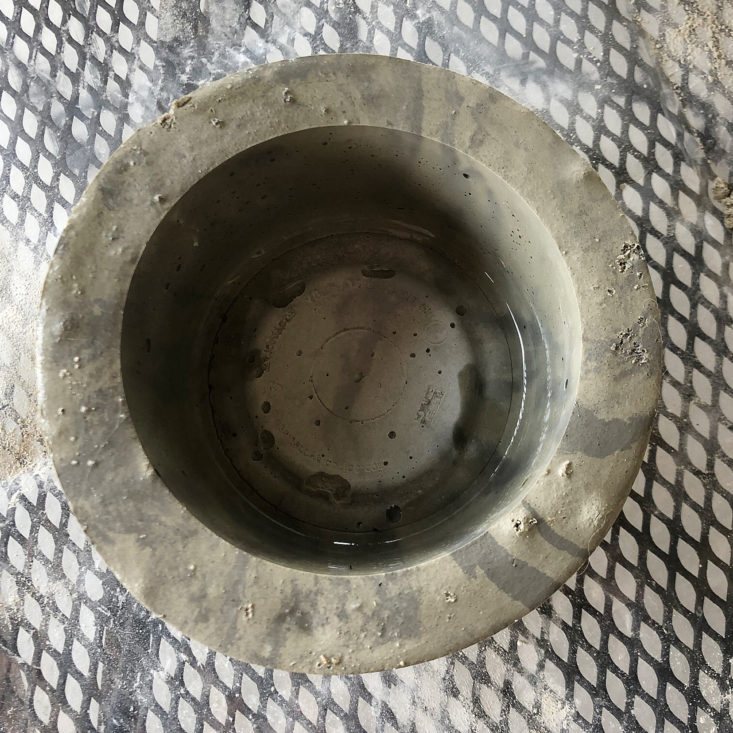
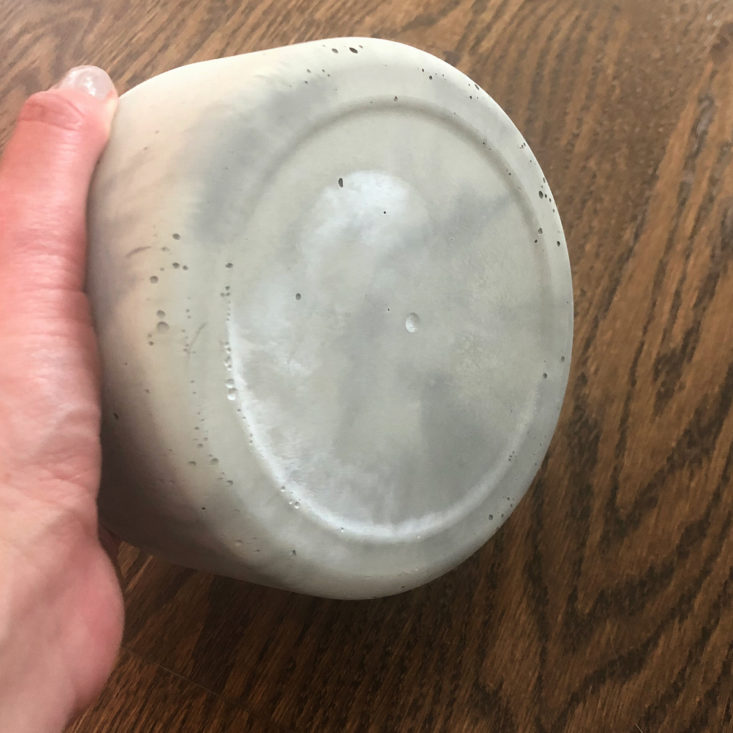
Here's what my pot looked like immediately after taking it out of the molds. There are definitely some bubbles that I didn't entirely get out, but I don't mind them too much! The pot ended up being a lot shorter than I was going for, so if I do another pot with these same plastic containers I would definitely use more volume of cement to get a taller pot.
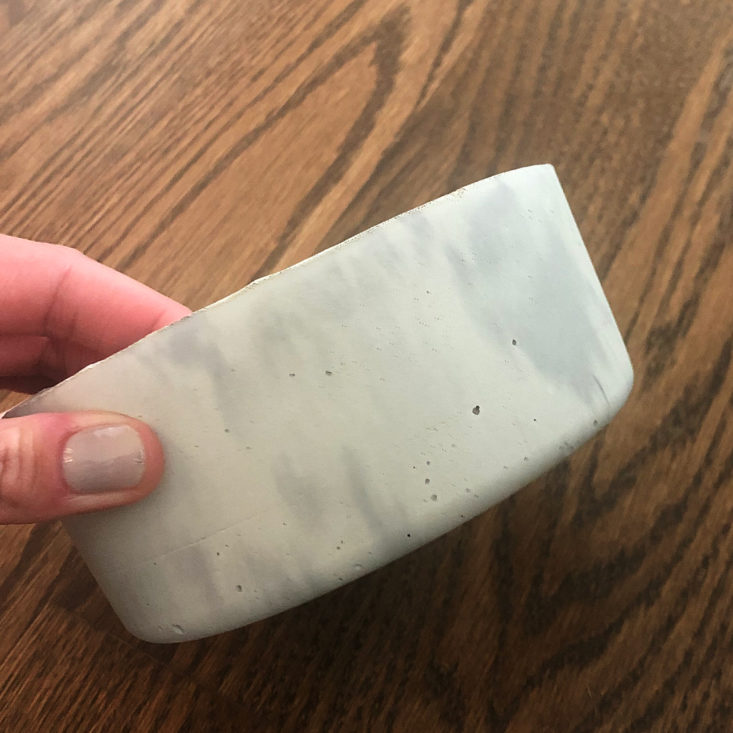
Next, the pot has to soak in water for 24 hours to finish the chemical reaction of setting up. You can then use the sandpaper to remove any sharp or rough edges.
1 of 4
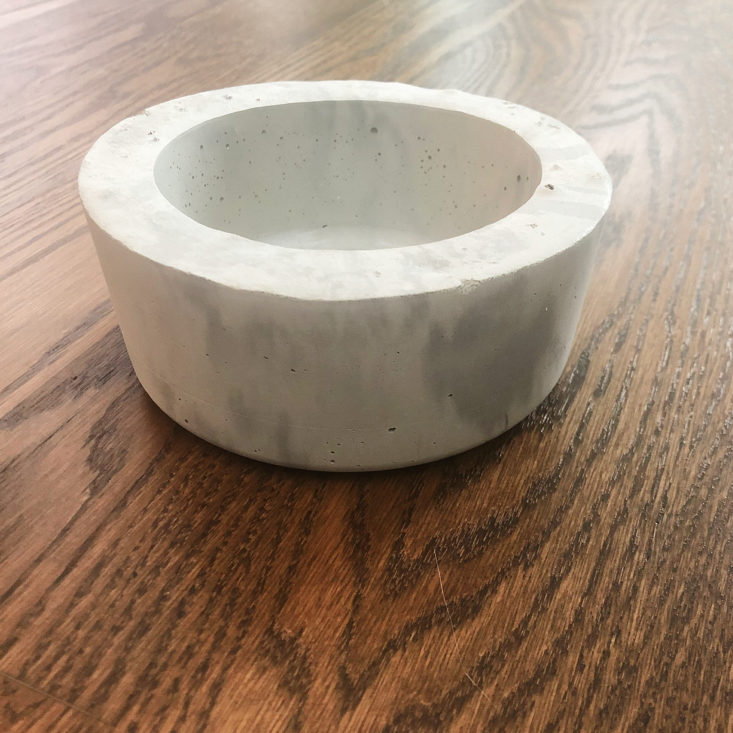
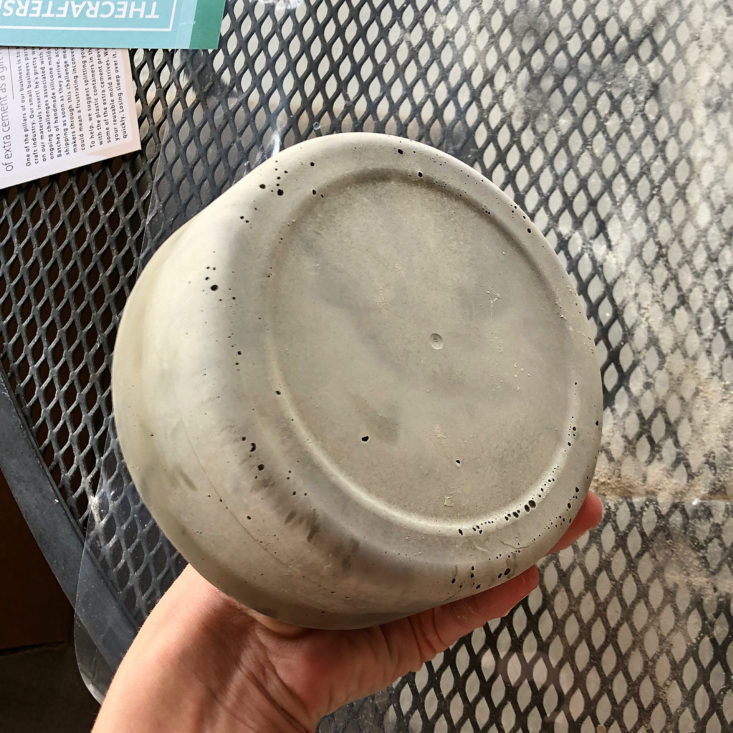
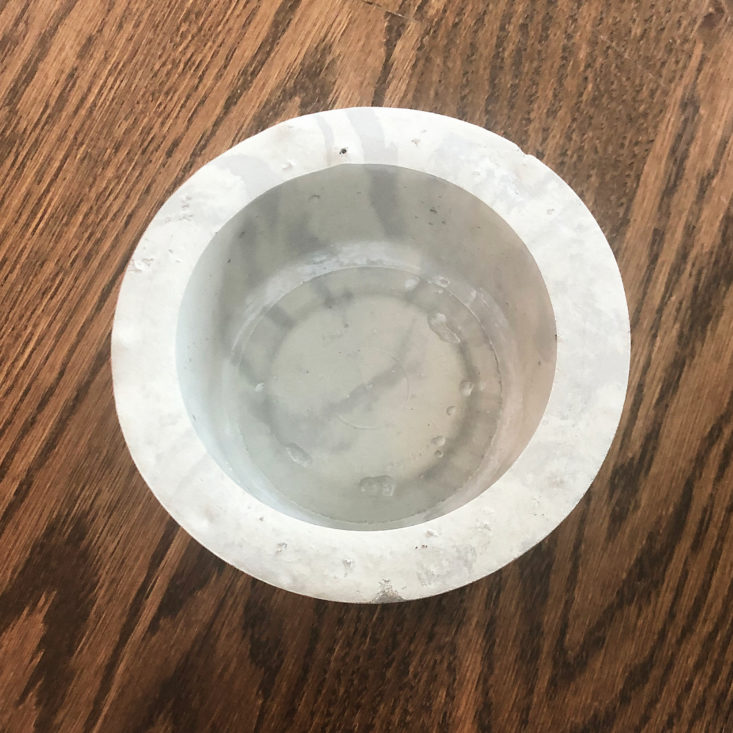
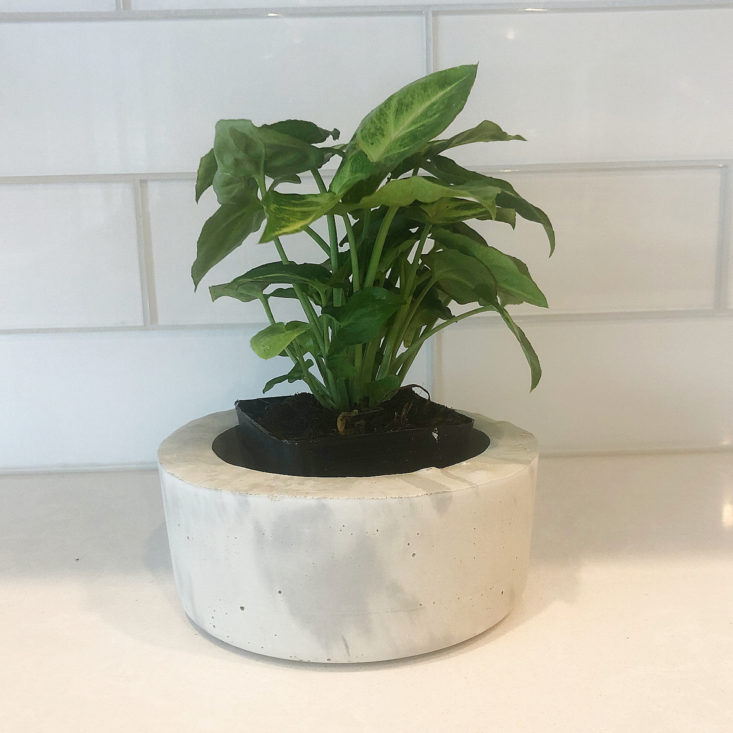
Here's my finished pot all dried and ready to go! I'm really happy with how the marbling effect turned out - it looks so cool. Making this planter pot made me want to try other techniques and try to get different depths of shades in the marbling, too.
My pot isn't perfect, but that's the beauty of making a handmade item! The small bubbles and chips in the rim make it unique.

1 of 3
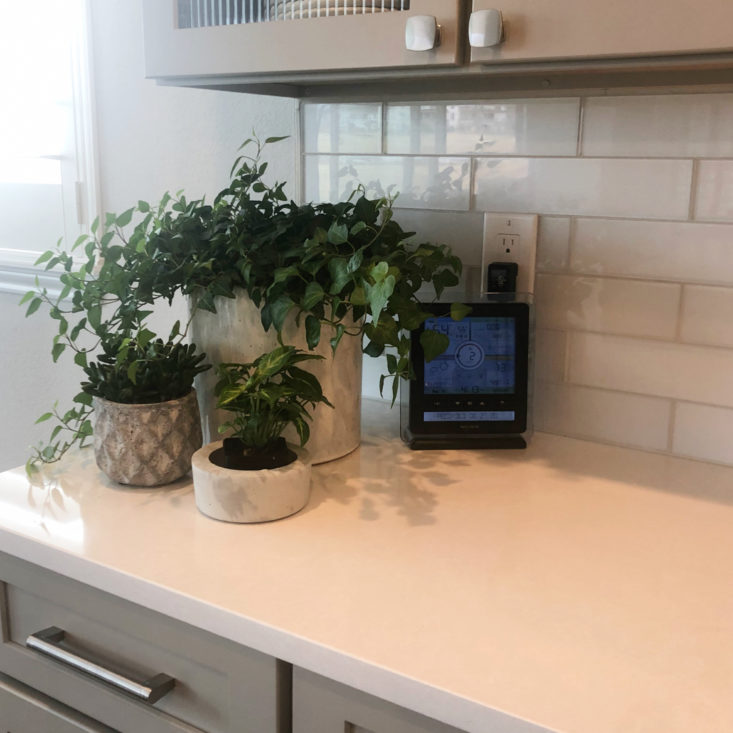
My mom is the plant queen - she currently has 41 indoor live plants, and I'm sure that number has increased by the time this review is published! She has a fantastic green thumb and can keep pretty much any type of plant alive, while I consistently kill any plant I try to bring into my home. I knew this planter matched her style and that she would love it, so I gifted it to her and she immediately found the perfect little plant to go inside of it! I feel like he matches perfectly with the trio of plants here on her counter!
This planter pot was so fun to make and I love how chic and on-trend my finished project was. It really looks just like this pot that is currently retailing for $40 at West Elm. I really want to order more cement and keep making little pots as gifts, or maybe I'll pick up some tips from my mom and have some plants of my own to fill them in with! I'm really looking forward to receiving the silicone mold that goes along with this kit, and after I make more pots with the mold I will update this review.
Verdict: The Crafter's Box is usually my favorite box I get each month, and this box was no exception. Before receiving this box I had never considered pouring my own concrete, and it turned out to be such a fun craft and one I look forward to doing in the future. The presentation is lovely, and I thought it was great how the box includes absolutely everything you need to do the project. I like that The Crafter's Box showcases more unique types of crafts than a lot of other craft subscription boxes, and I love that I was able to experiment with a new craft to me. I also really appreciate the modern, upscale vibe that I get from this box - it feels like I'm making and creating for a purpose, rather than just crafting to craft.
For $65.00, we received tools and supplies to make cement pots, planters, bowls, or whatever type of concrete vessel your heart desires. The box has a very careful curation and extremely well-made video tutorial content. The video tutorial was so well done and very in-depth, and I really enjoyed learning tips and tricks on how to get the best final products.
To Wrap Up:
Can you still get this box if you sign up today? No, you will receive the October 2020 box (if you sign up between September 10th - 20th).
Check out our other reviews of The Crafter's Box and the top-rated craft subscription boxes!
Keep Track of Your Subscriptions: Add this box to your subscription list or wishlist!
What did you think of The Crafter's Box for August 2020? Let us know in the comments!

Please do not enter your email address in the Name field or in the comment content. Your email address will not be published. Required fields are marked *. Remember to post with kindness and respect. Comments with offensive language, cruelness to others, etc will not be approved. See our full comment policy here.