


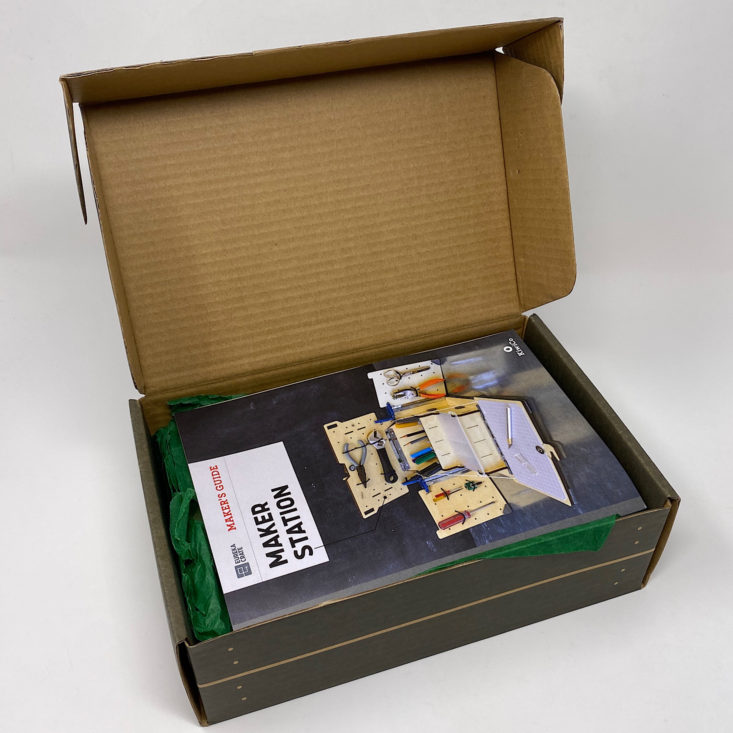
Eureka Crate (from parent company KiwiCo) is a subscription box for teens and adults ages 14-104. It arrives every month with all the materials and instructions needed to create a functional, lasting object with a focus on engineering. The goal of these projects is to use science and math to solve real-world problems while inspiring the recipients to become creative innovators.
KiwiCo offers boxes for a variety of different age groups:
- Panda Crate for 0-24-month-olds,
- Koala Crate for 2-4-year-olds,
- Kiwi Crate for 5-8-year-olds,
- Atlas Crate for 6-11-year-olds,
- Doodle Crate and Tinker Crate for 9-16+-year-olds,
- Eureka Crate and Maker Crate for ages 14 and up. There really is something for every age with this company.
This review is of the $29.95 a month Eureka Crate, for 14-year-olds and up.
This box was sent to us at no cost for review. (Check out the review process post to learn more about how we review boxes).
About Eureka Crate
The Subscription Box: Eureka Crate
The Cost: $29.95 per month + free shipping. Save with longer subscriptions.
The Products: Detailed instructions and all of the high-quality materials needed to create a unique, lasting, and functional engineering project as well as a Maker's Guide that explains the science and technology behind it.
Ships to: The U.S. for free, Canada for $3.95 per month, and worldwide from $4.95-$6.95.
KiwiCo Eureka Crate "Maker Station" Review - August 2020


1 of 8
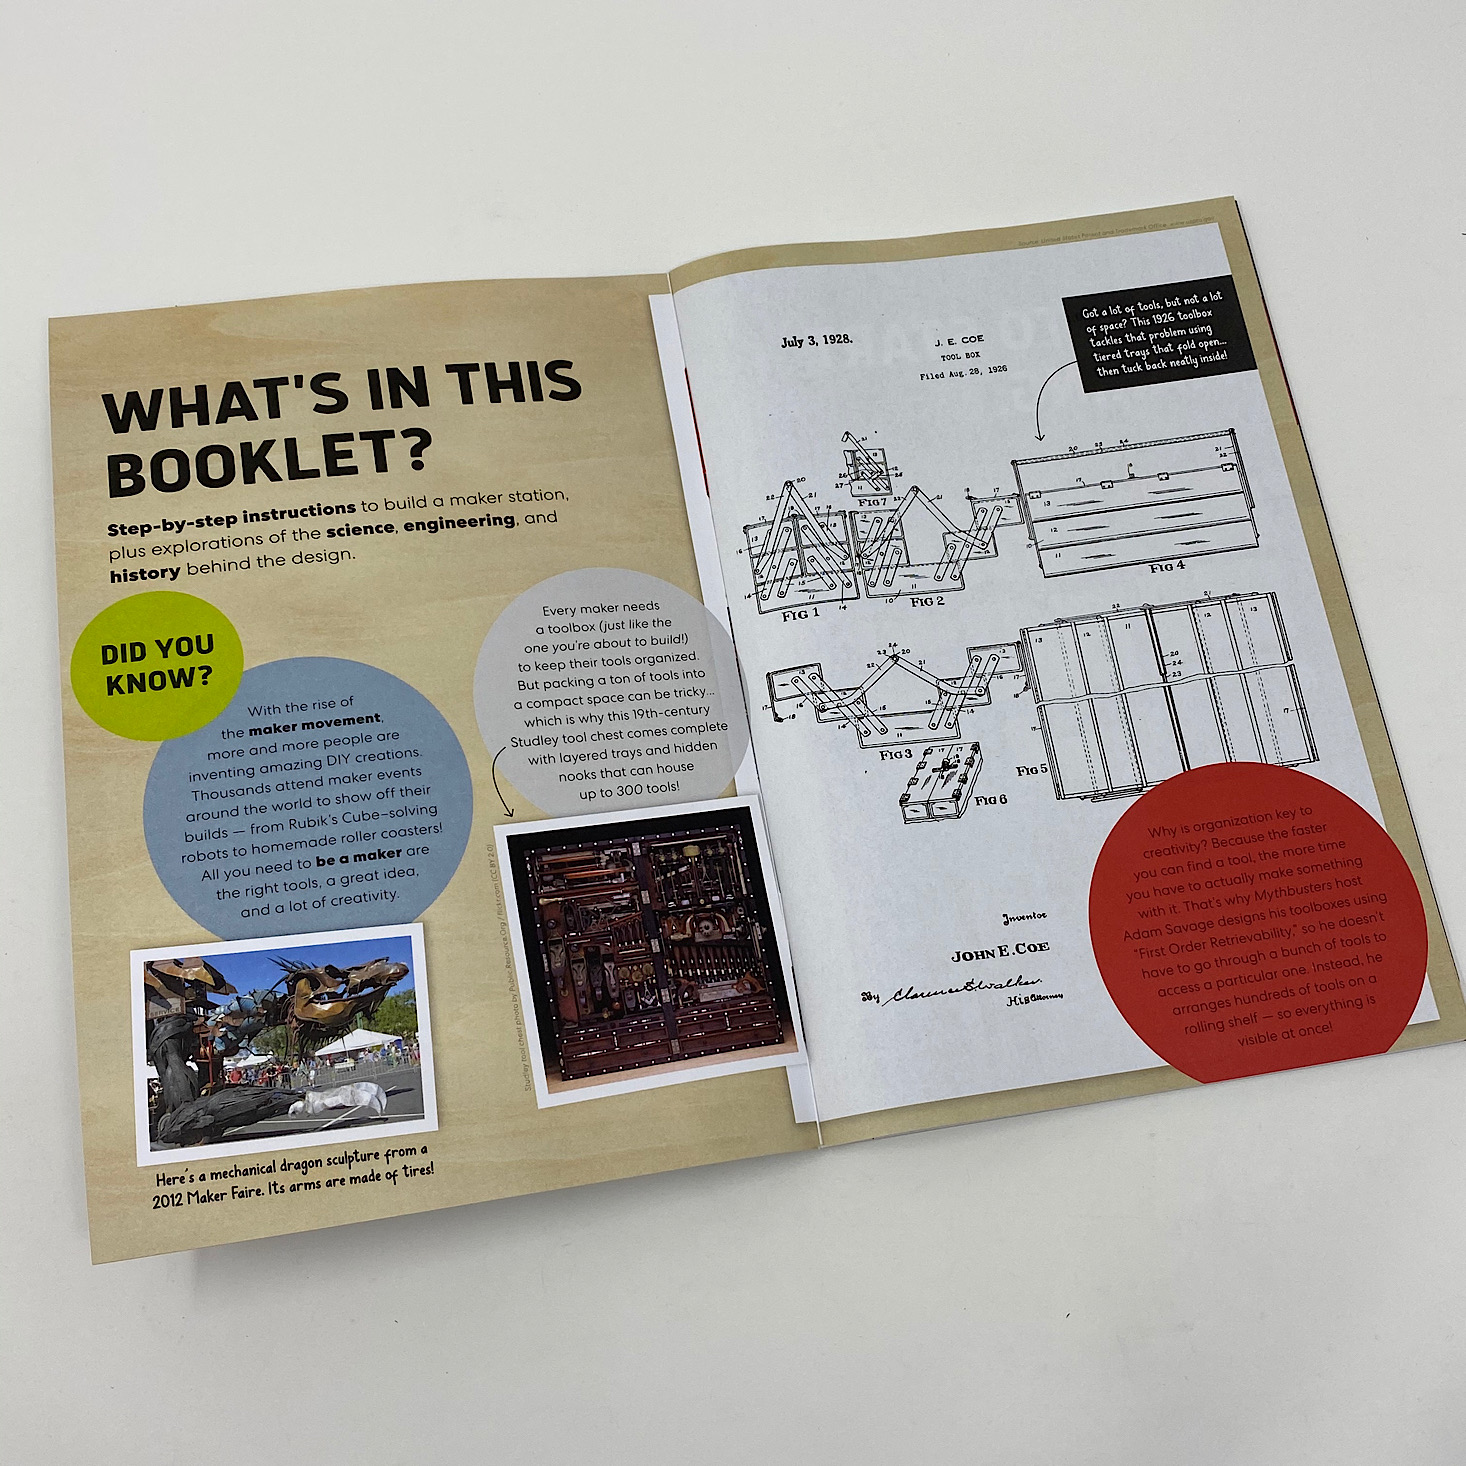
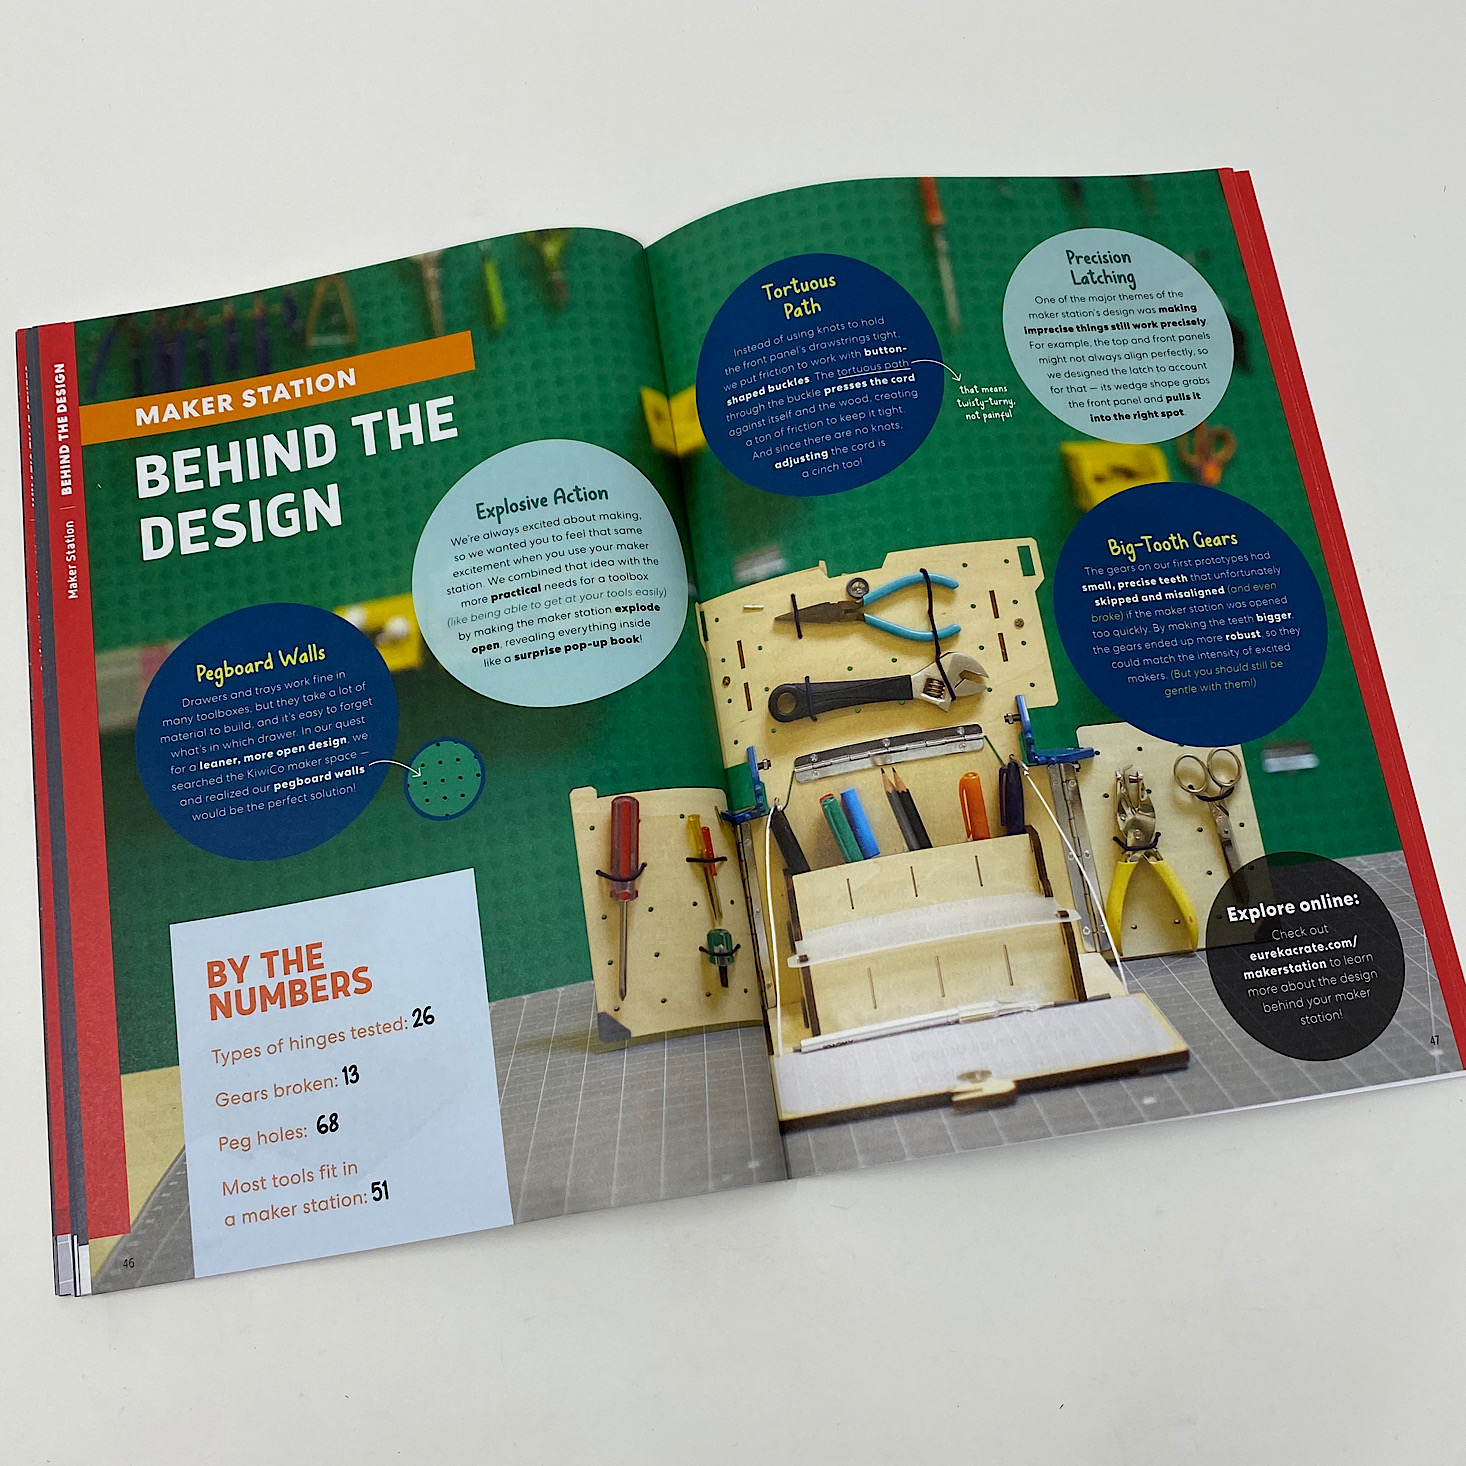

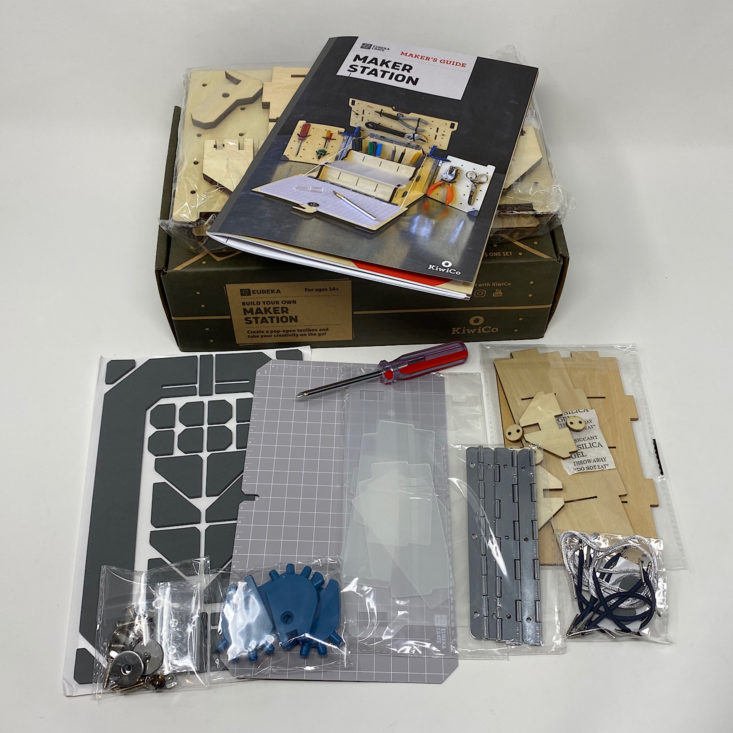
The project for this month was to create our own Maker Station. I have been receiving this box since the very first one and over the months, I have received many different tools for assembling these projects. This month we are creating a little toolbox to store all of these in. What a great idea! This Maker's Guide is full of educational information related to our project and on the "Behind the Design" page they noted that they were able to fit up to 51 tools in one of their prototypes.

1 of 5

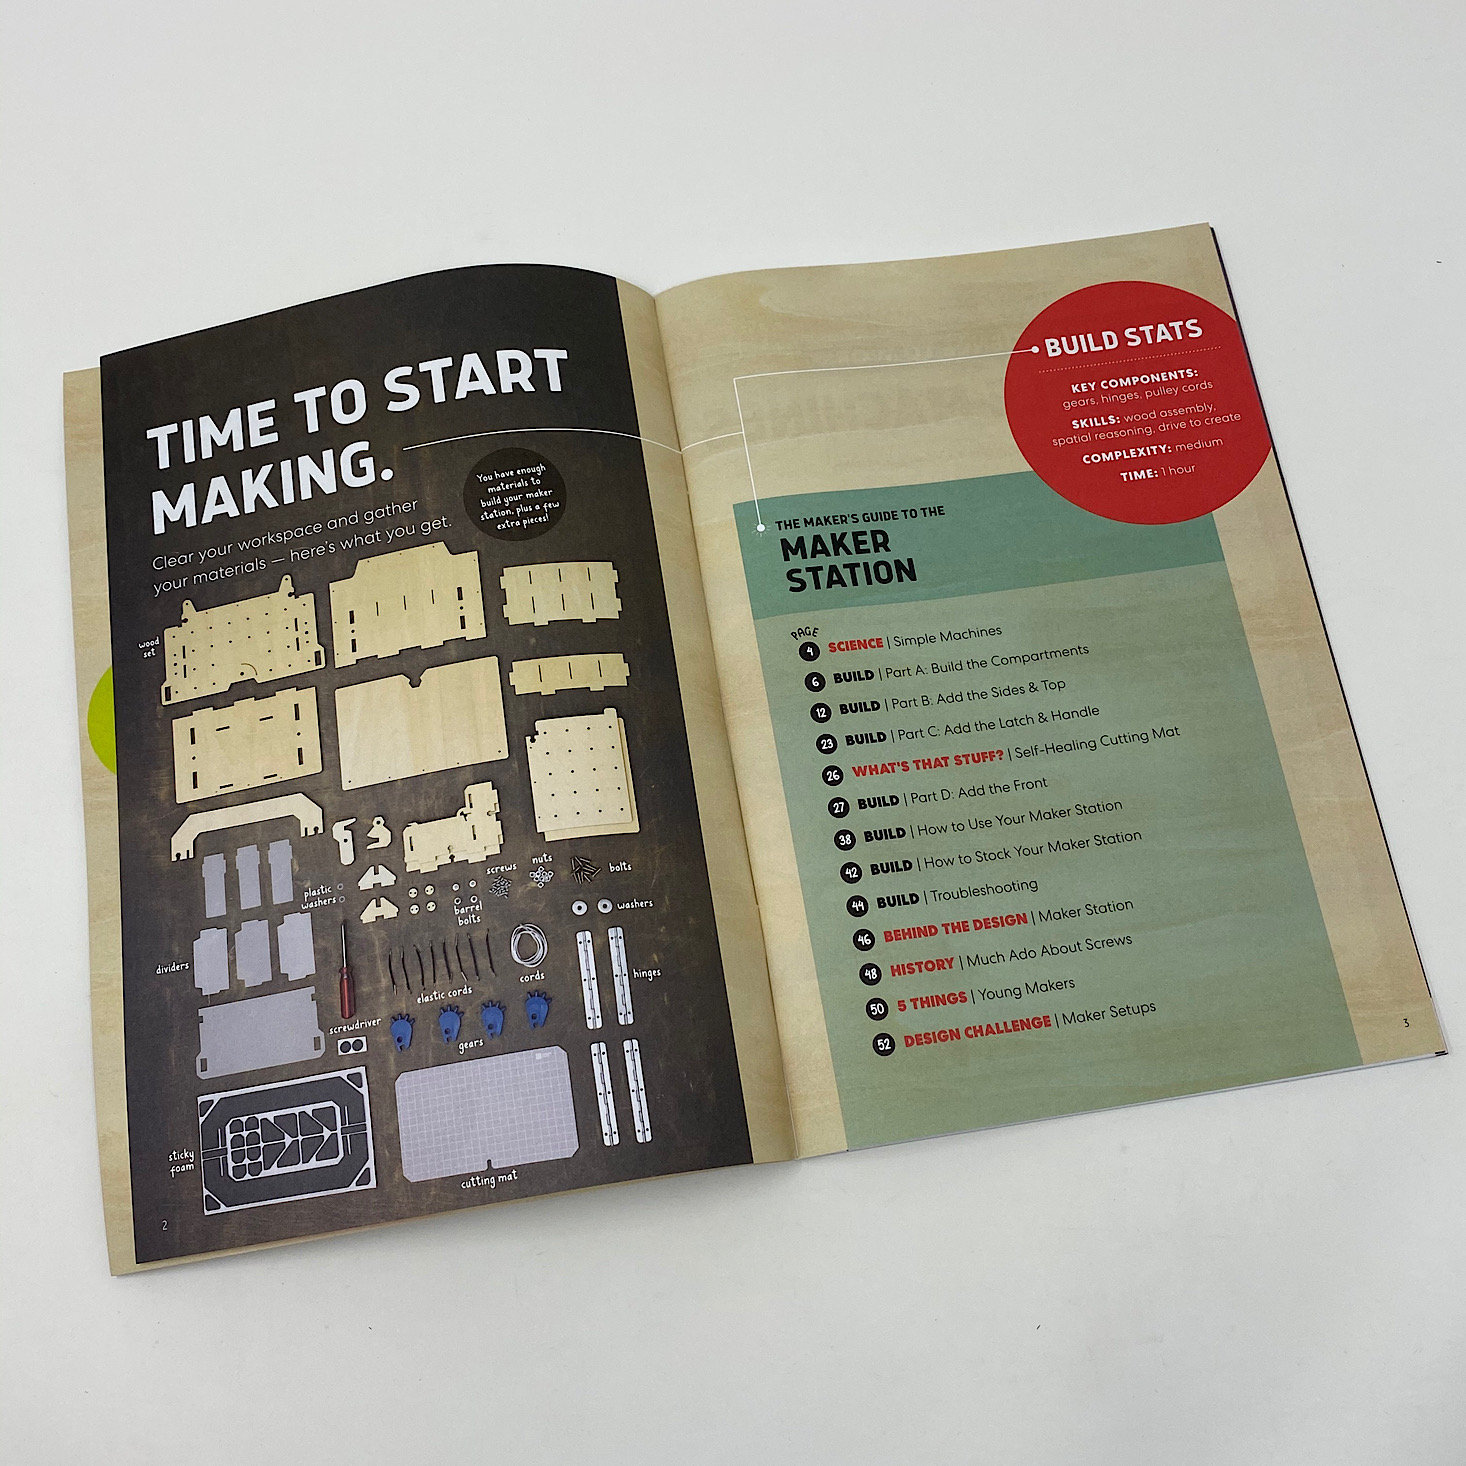
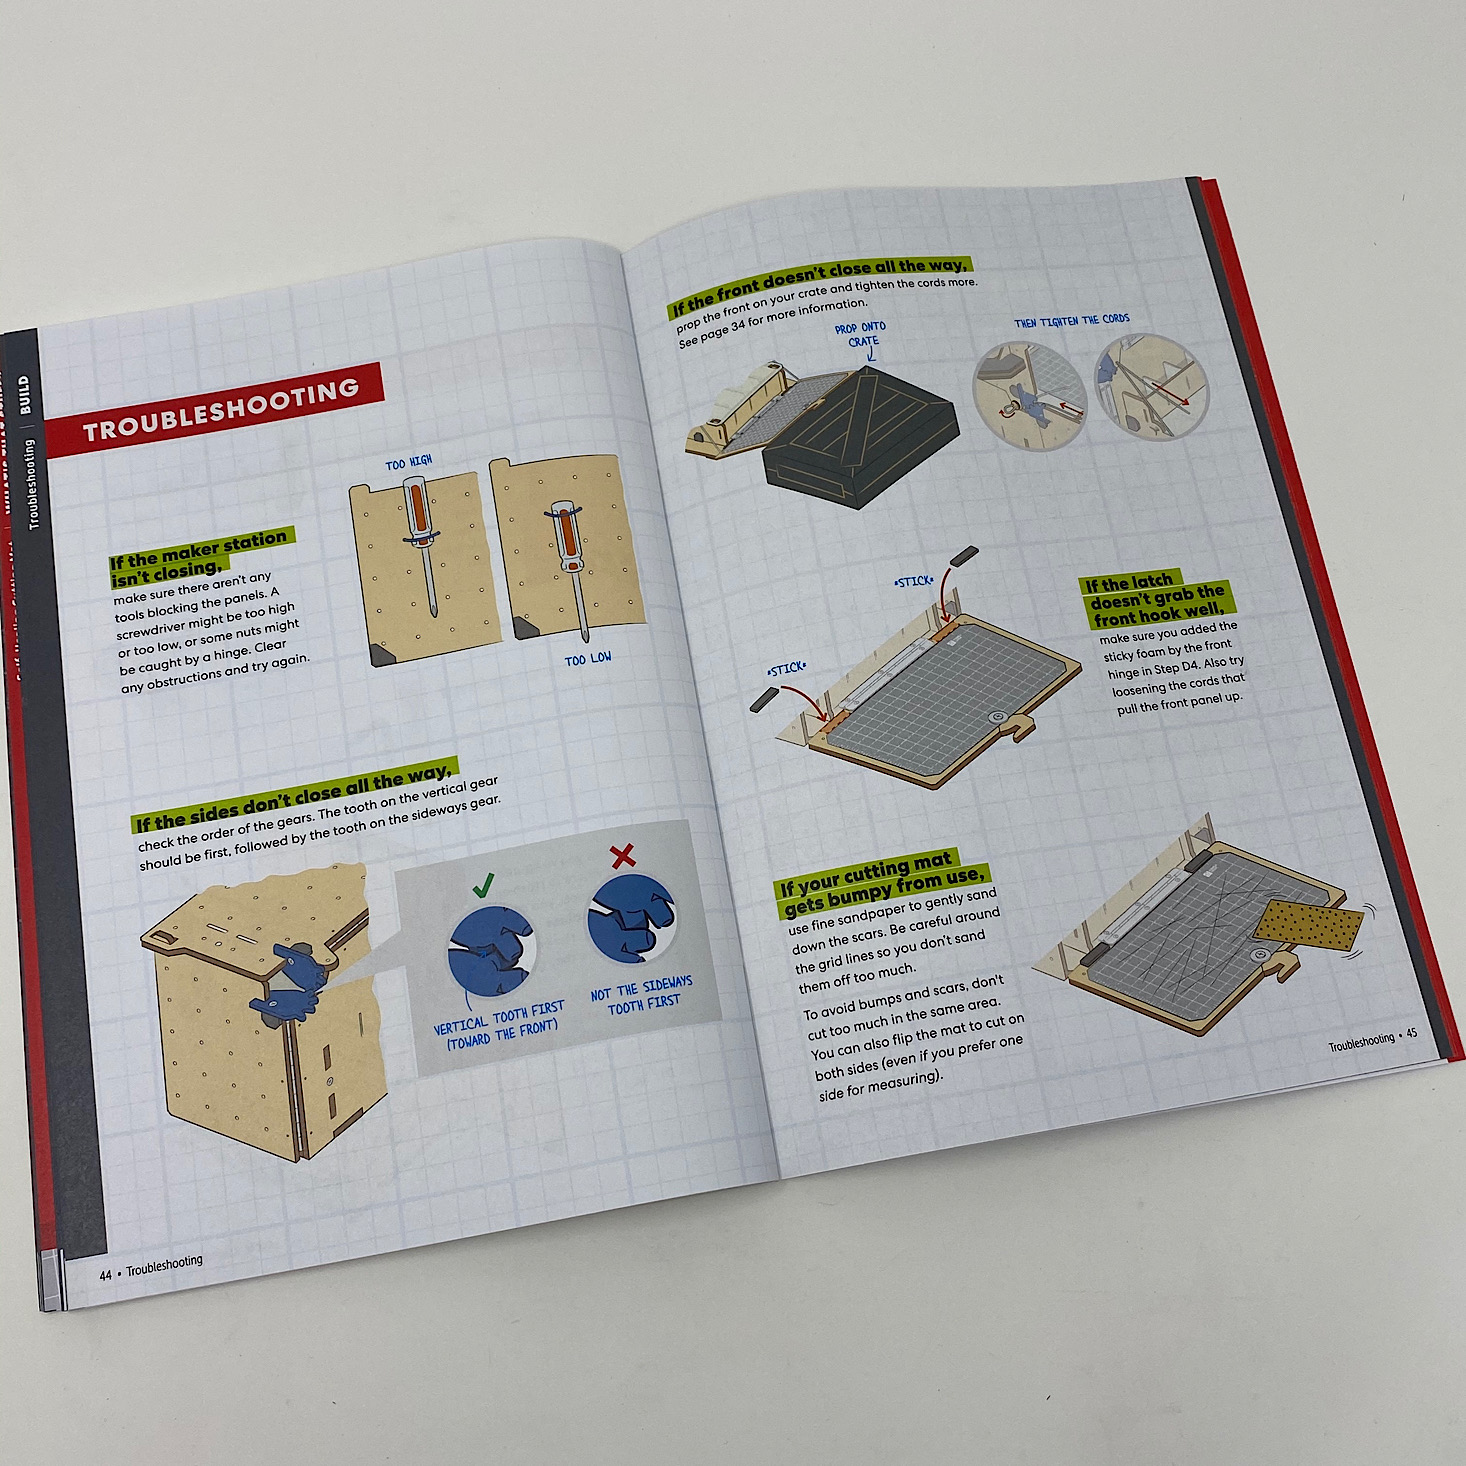
Our directions are separated into various sections which makes it so much easier since it breaks it down into smaller, more manageable tasks. The instructions are always clear and easy to follow with detailed, colorful pictures to reference. They even include information on troubleshooting, which can be very helpful!
Part A: Build the Compartments


1 of 4
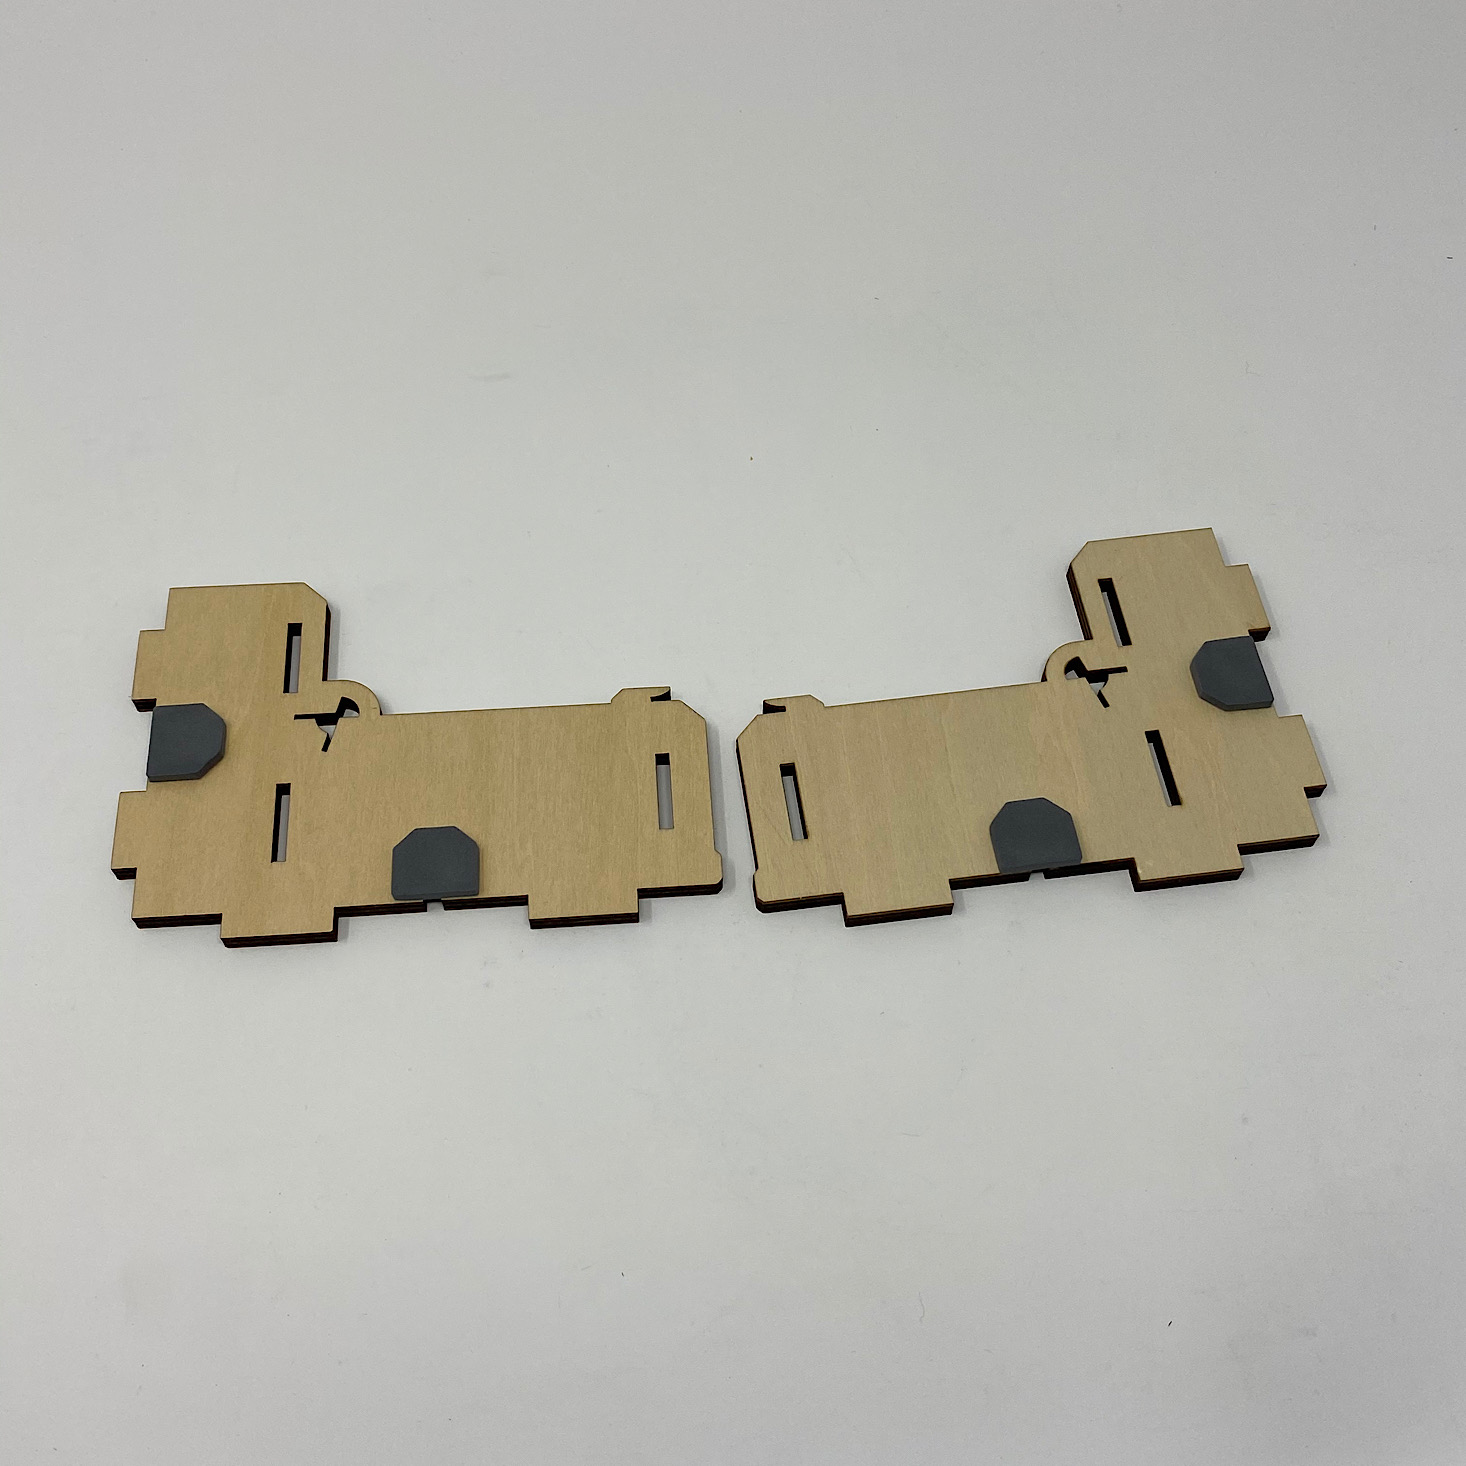

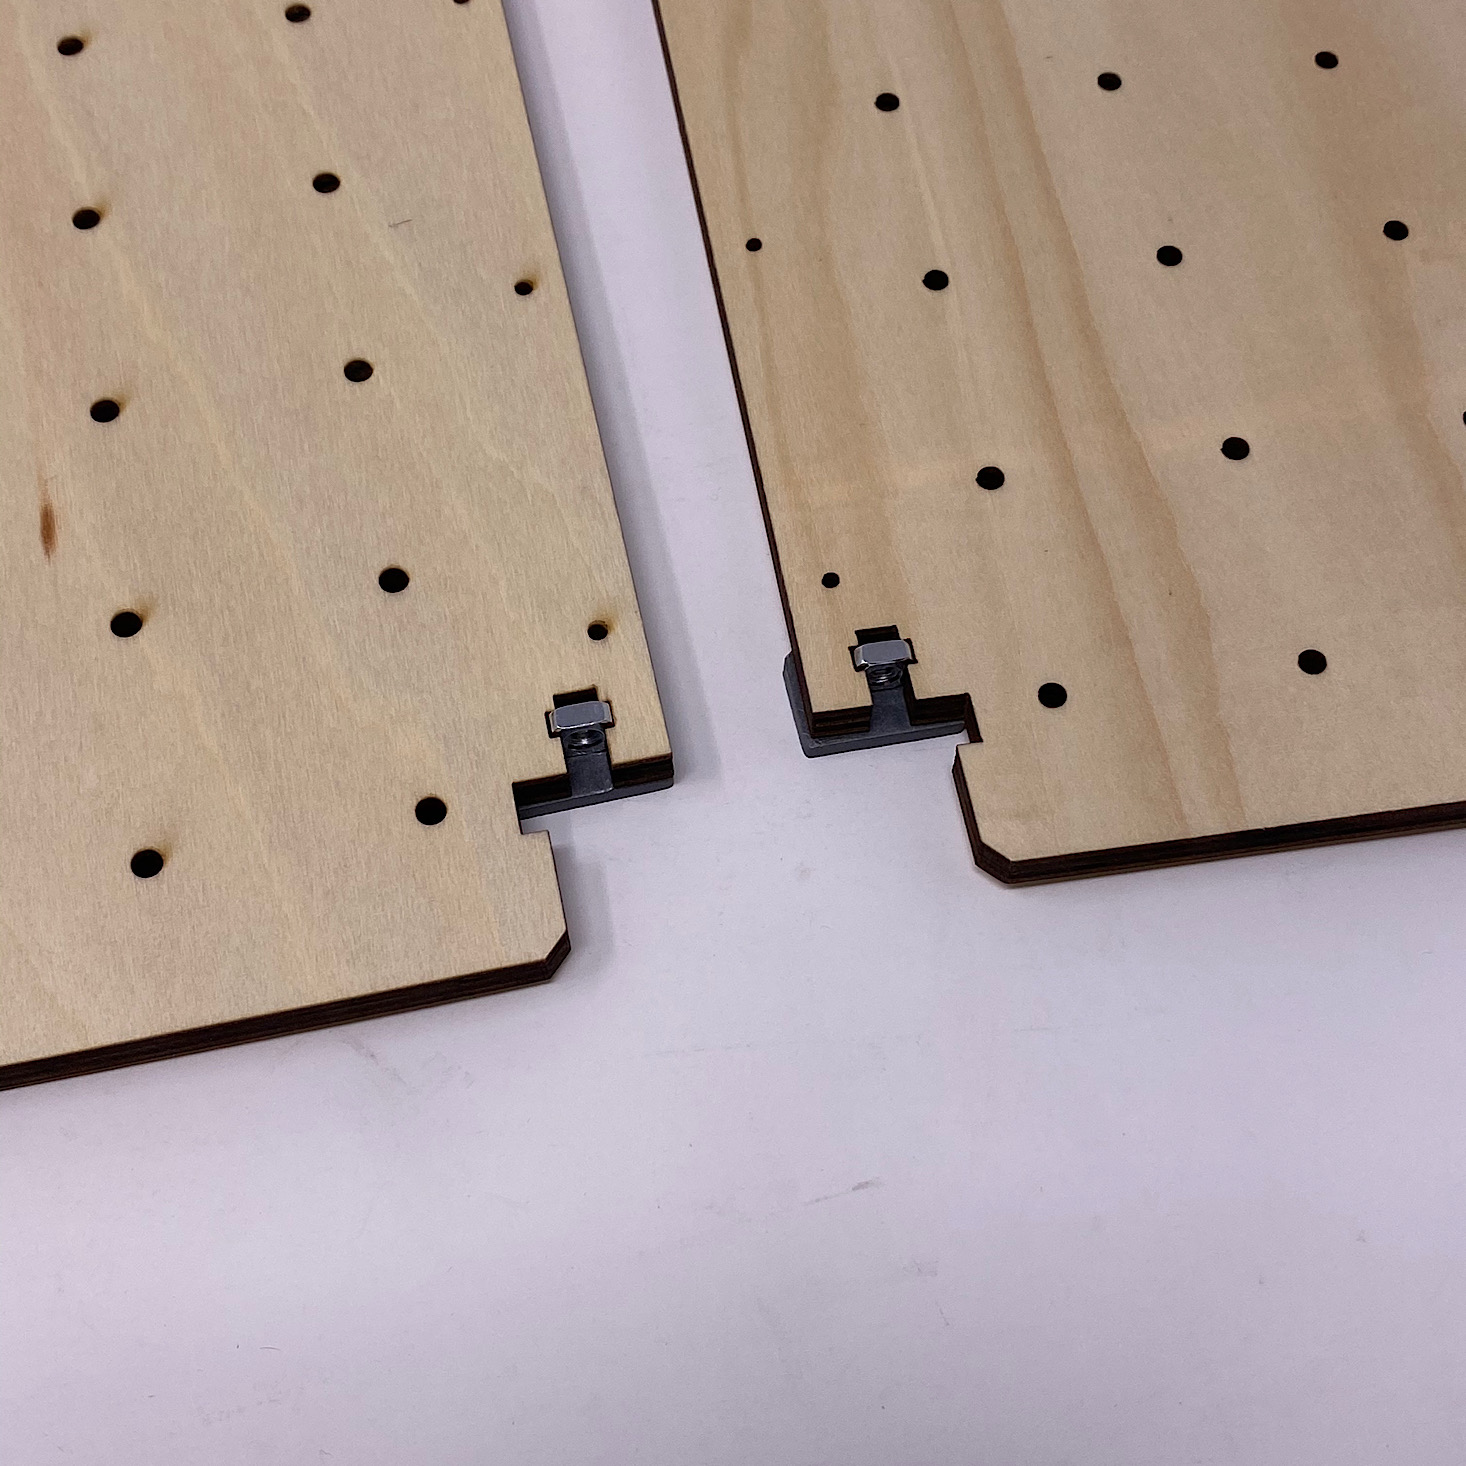
The first step was to add some foam stickers to the back of these side pieces and then insert a small square bolt into the holes.

1 of 3

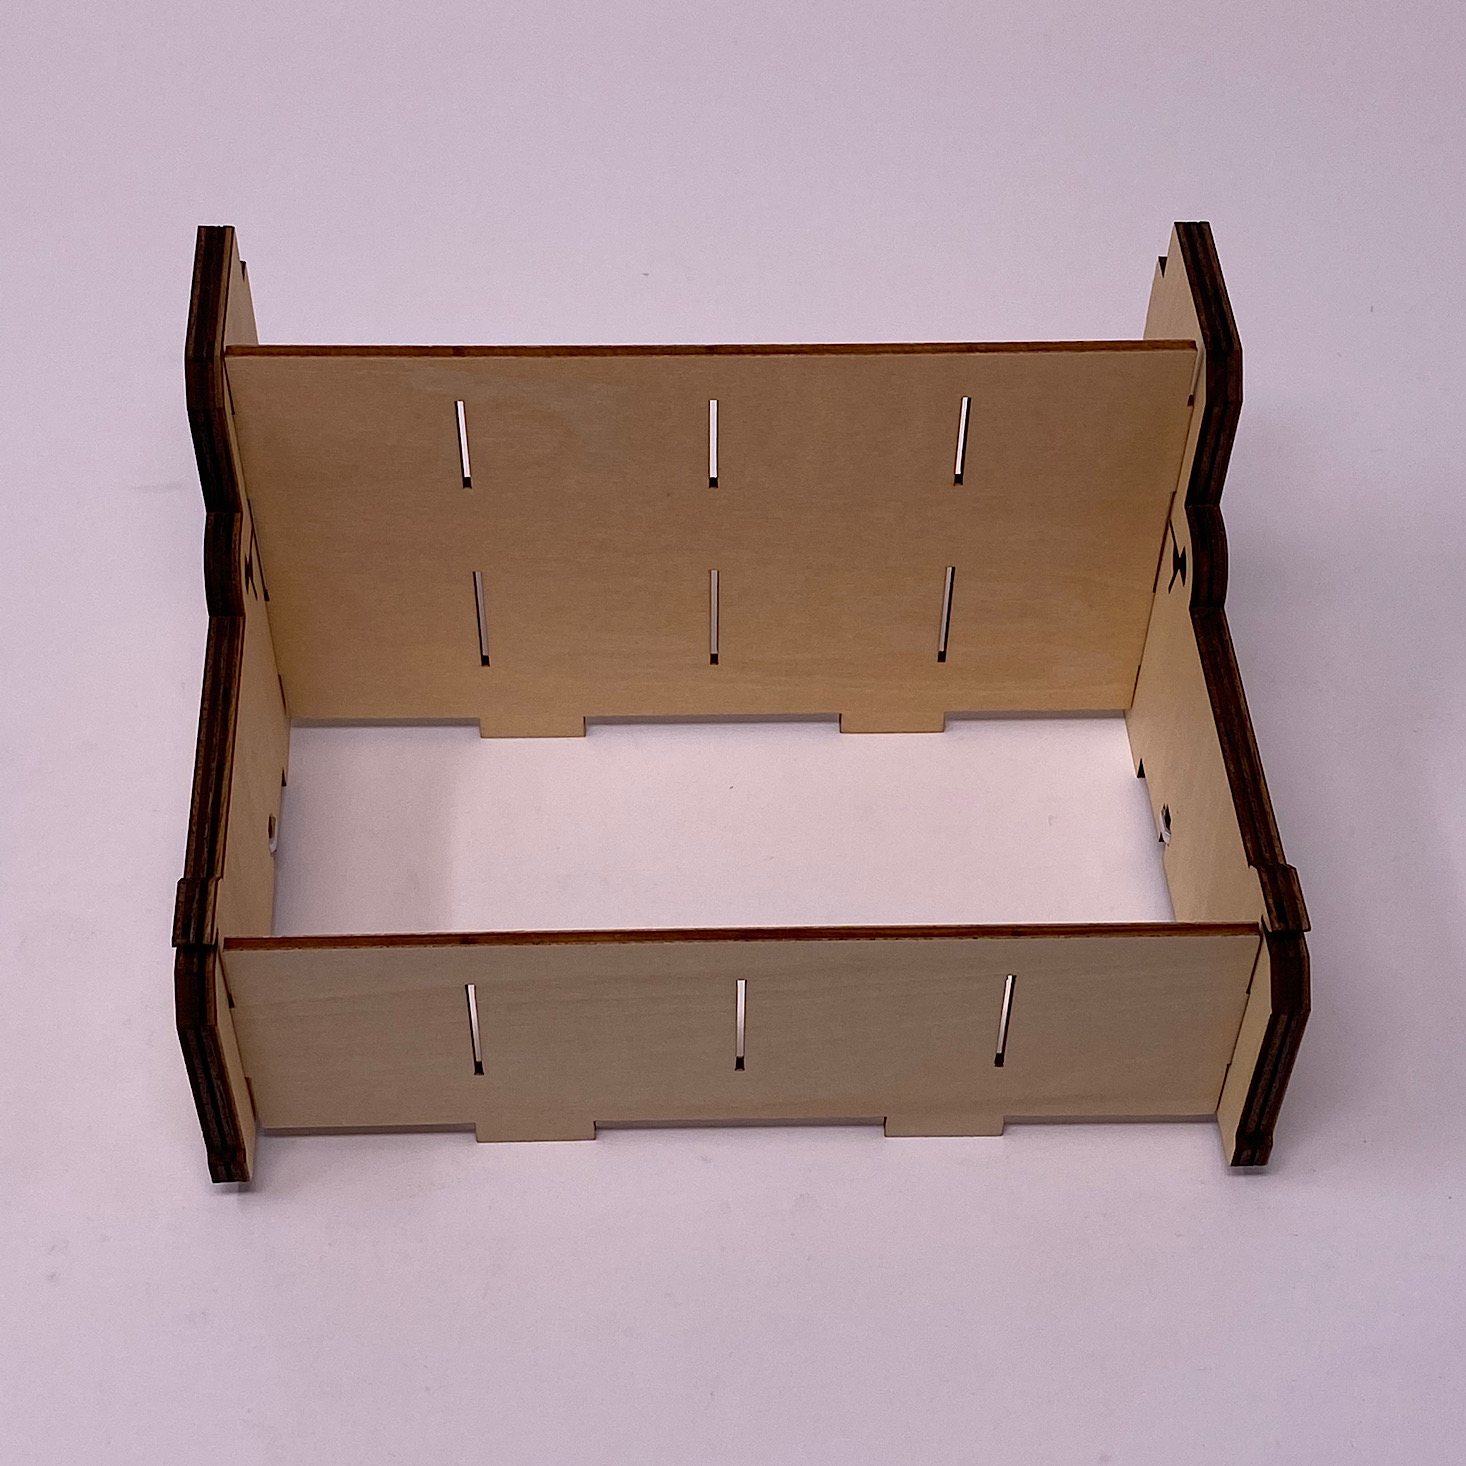
Then I fit in these slotted wooden pieces in between the side pieces matching up the notches and holes so they fit perfectly.


1 of 4


I added some foam pieces to the corners of the bottom wooden piece and then I used the screwdriver they included to secure it to the side pieces.


1 of 2
Then I screwed the front onto the unit using more screws.
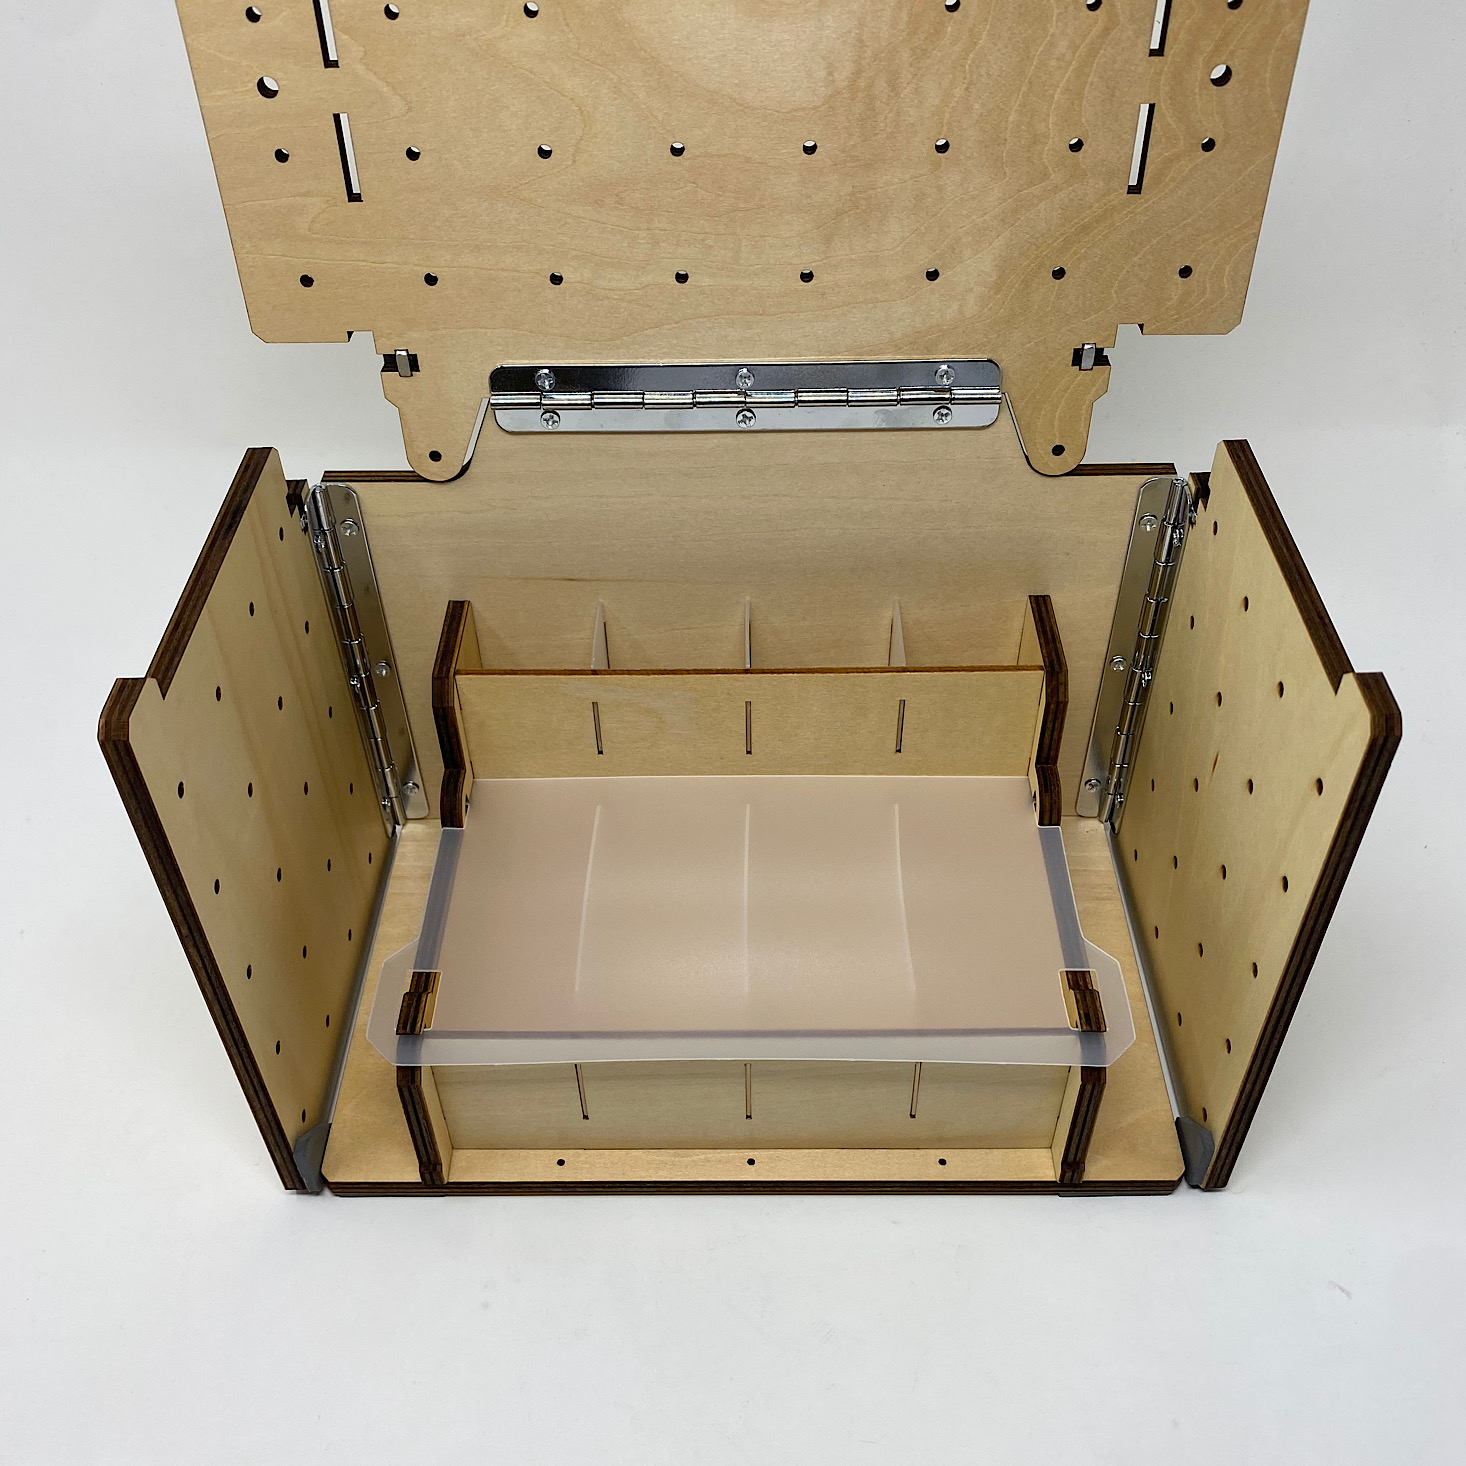
1 of 5


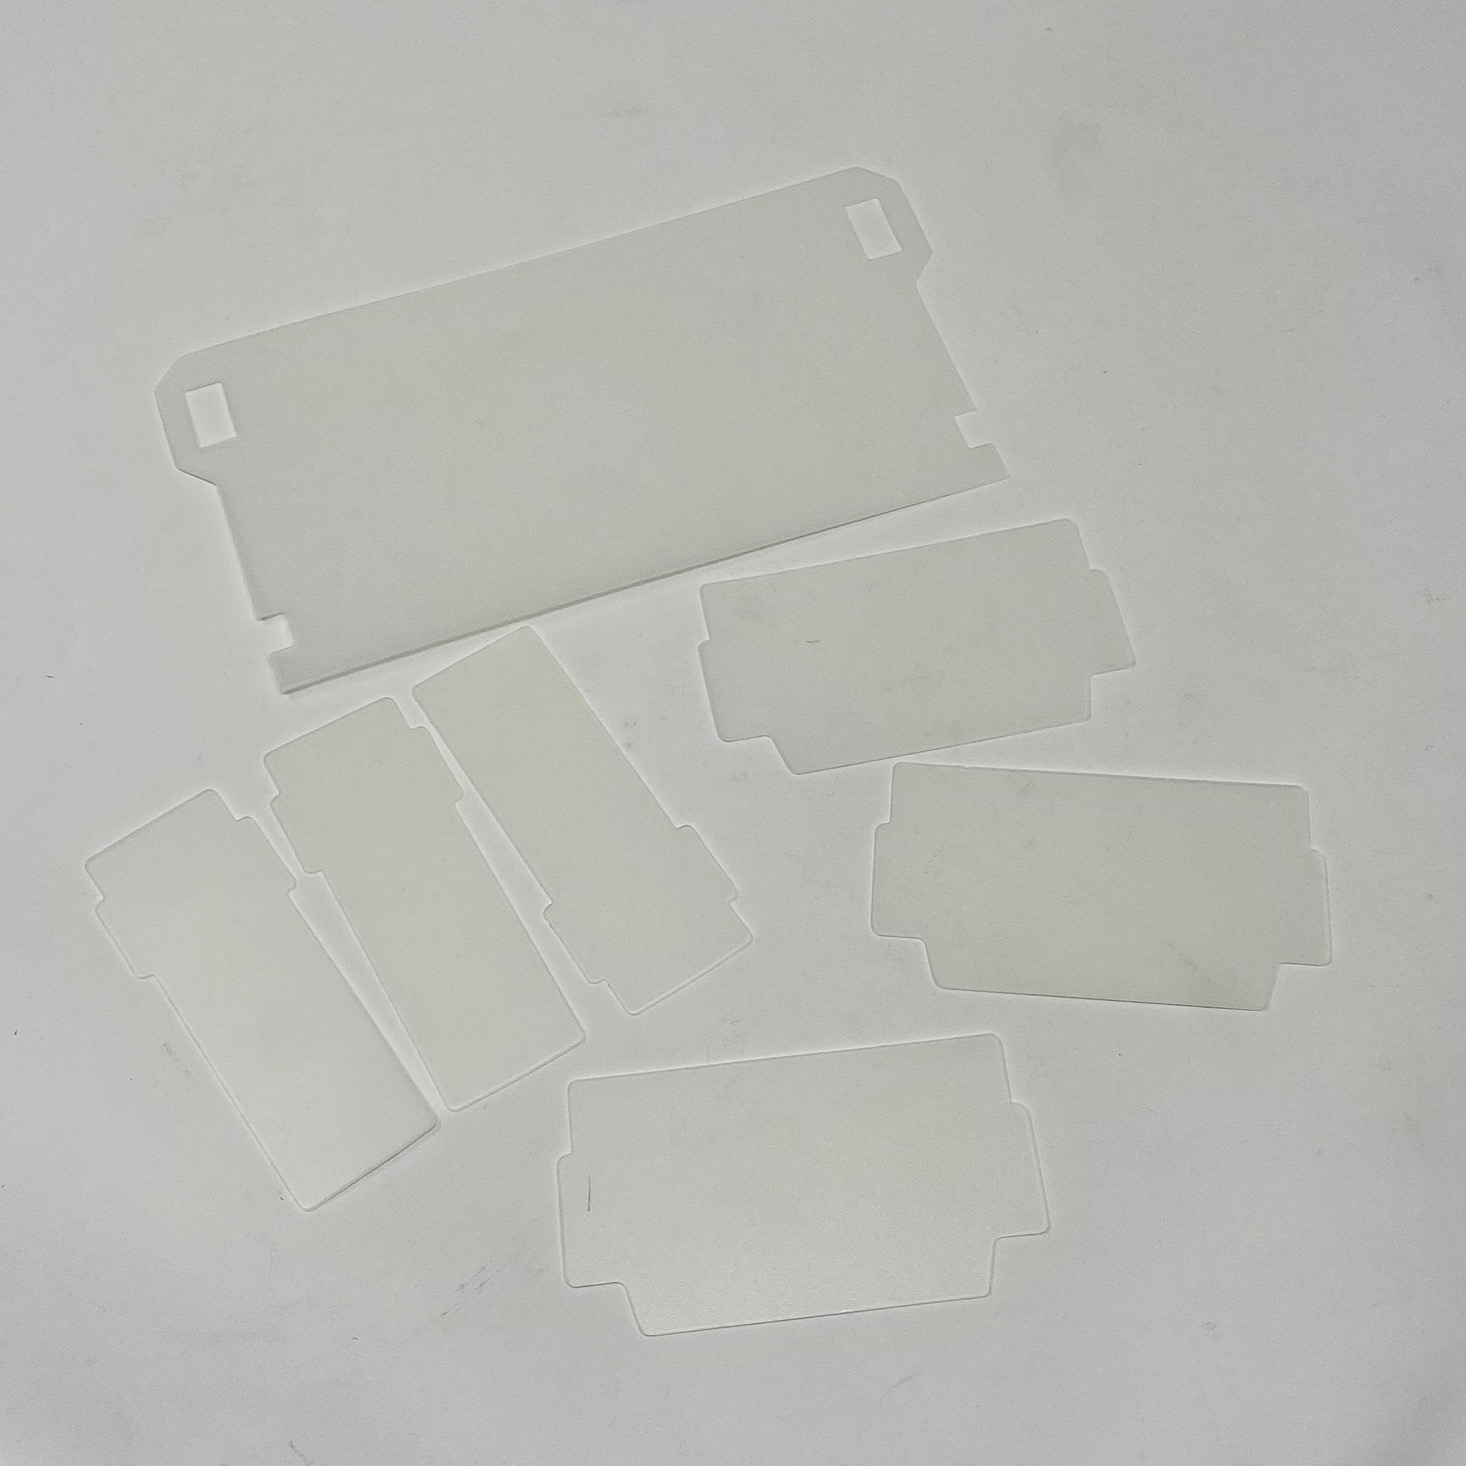
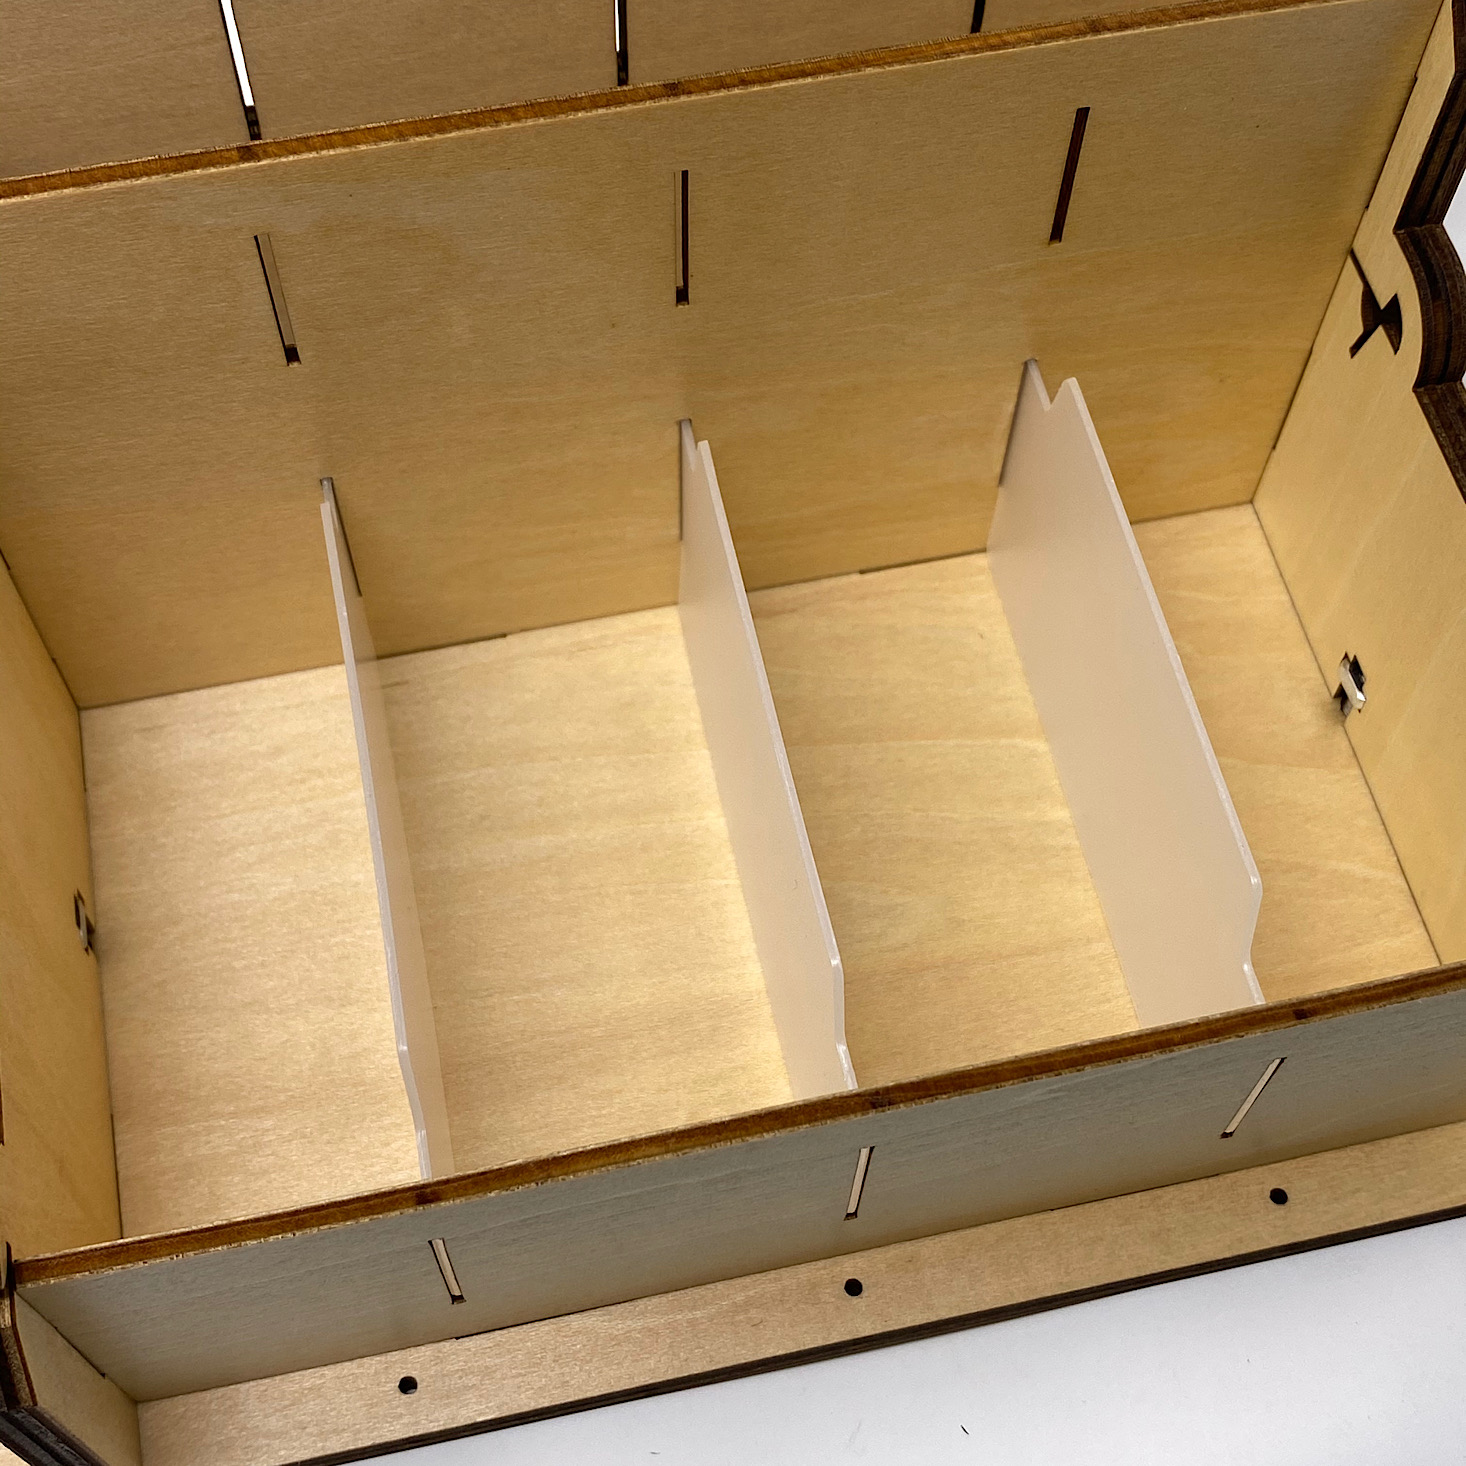
Then it was just a matter of fitting these flexible plastic pieces into the slots to form the compartments. With a little bit of bending, they all went into place easily. The larger piece became a lid that could stay open depending on where you placed the hinges.
Part B: Finish the Keyboard


1 of 3

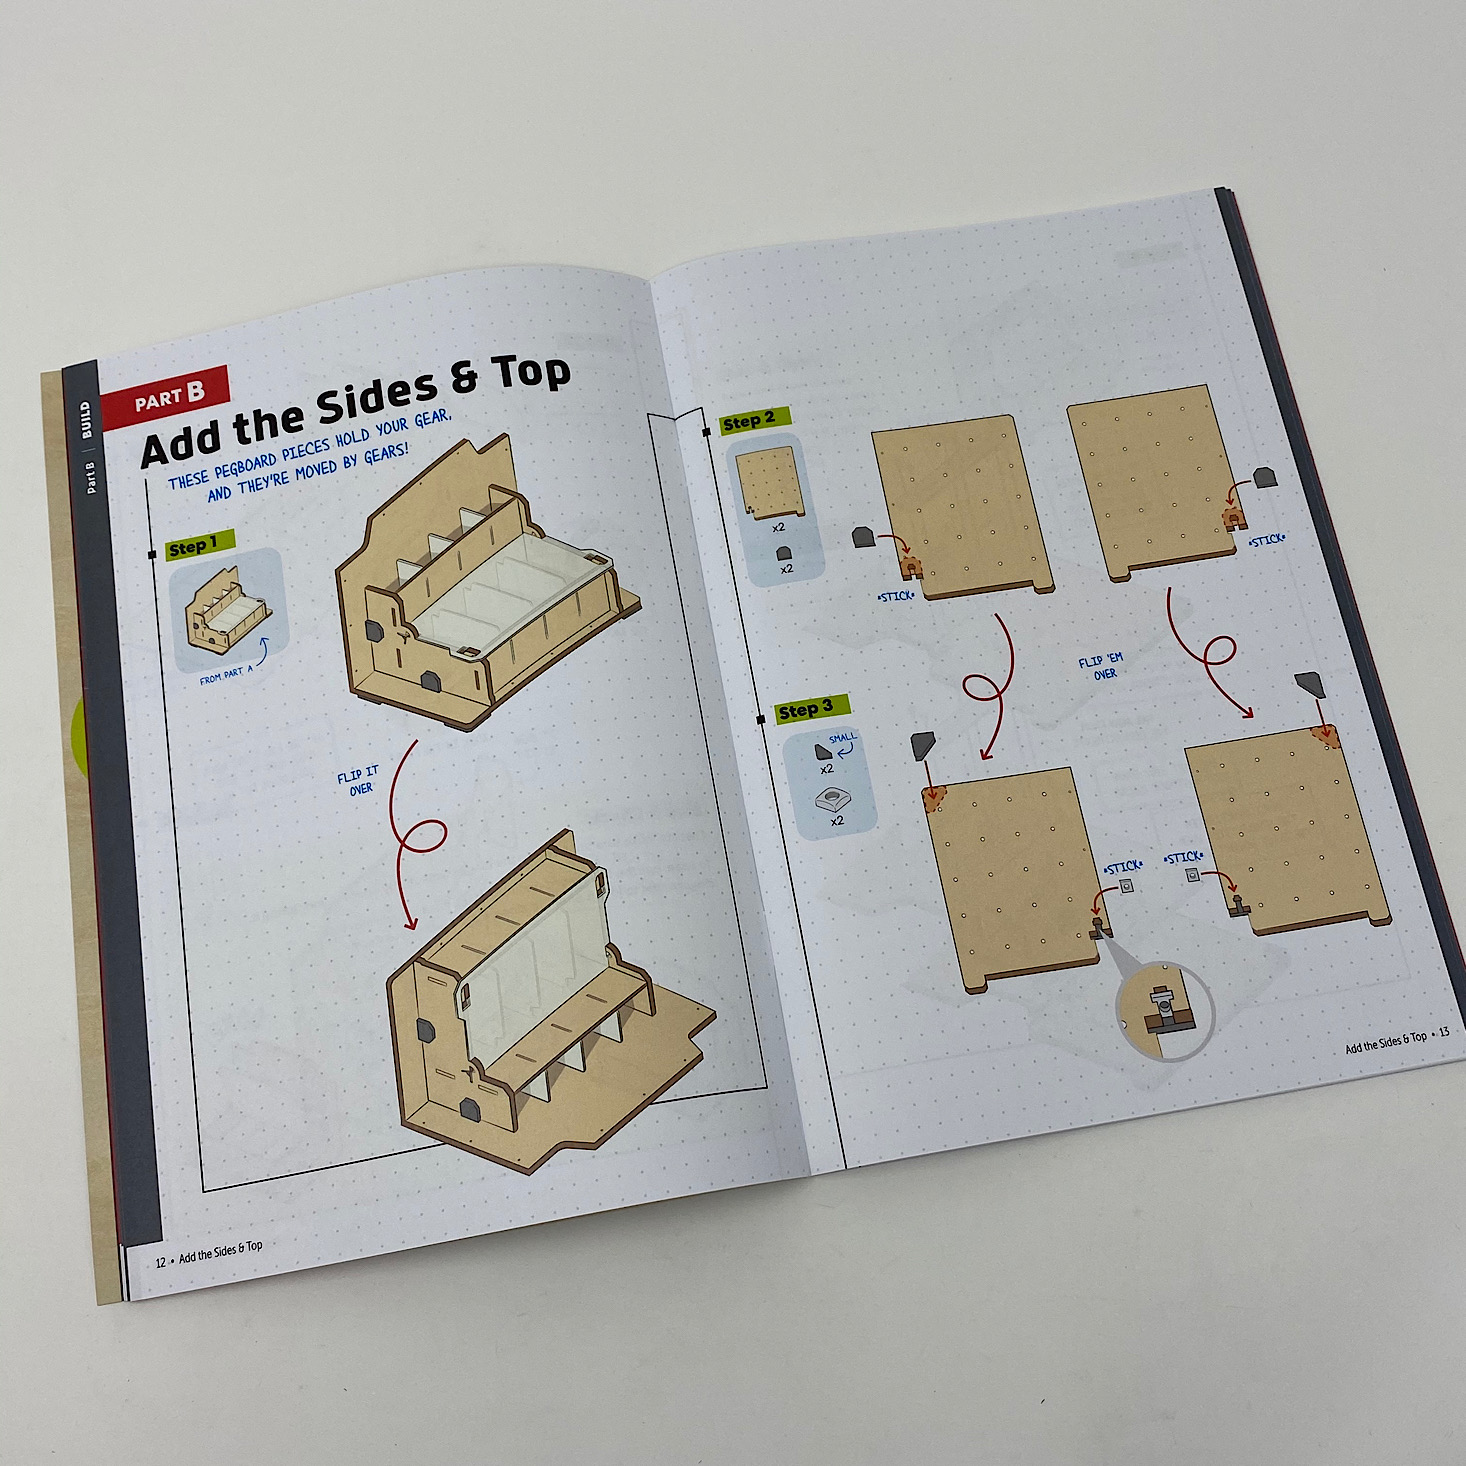
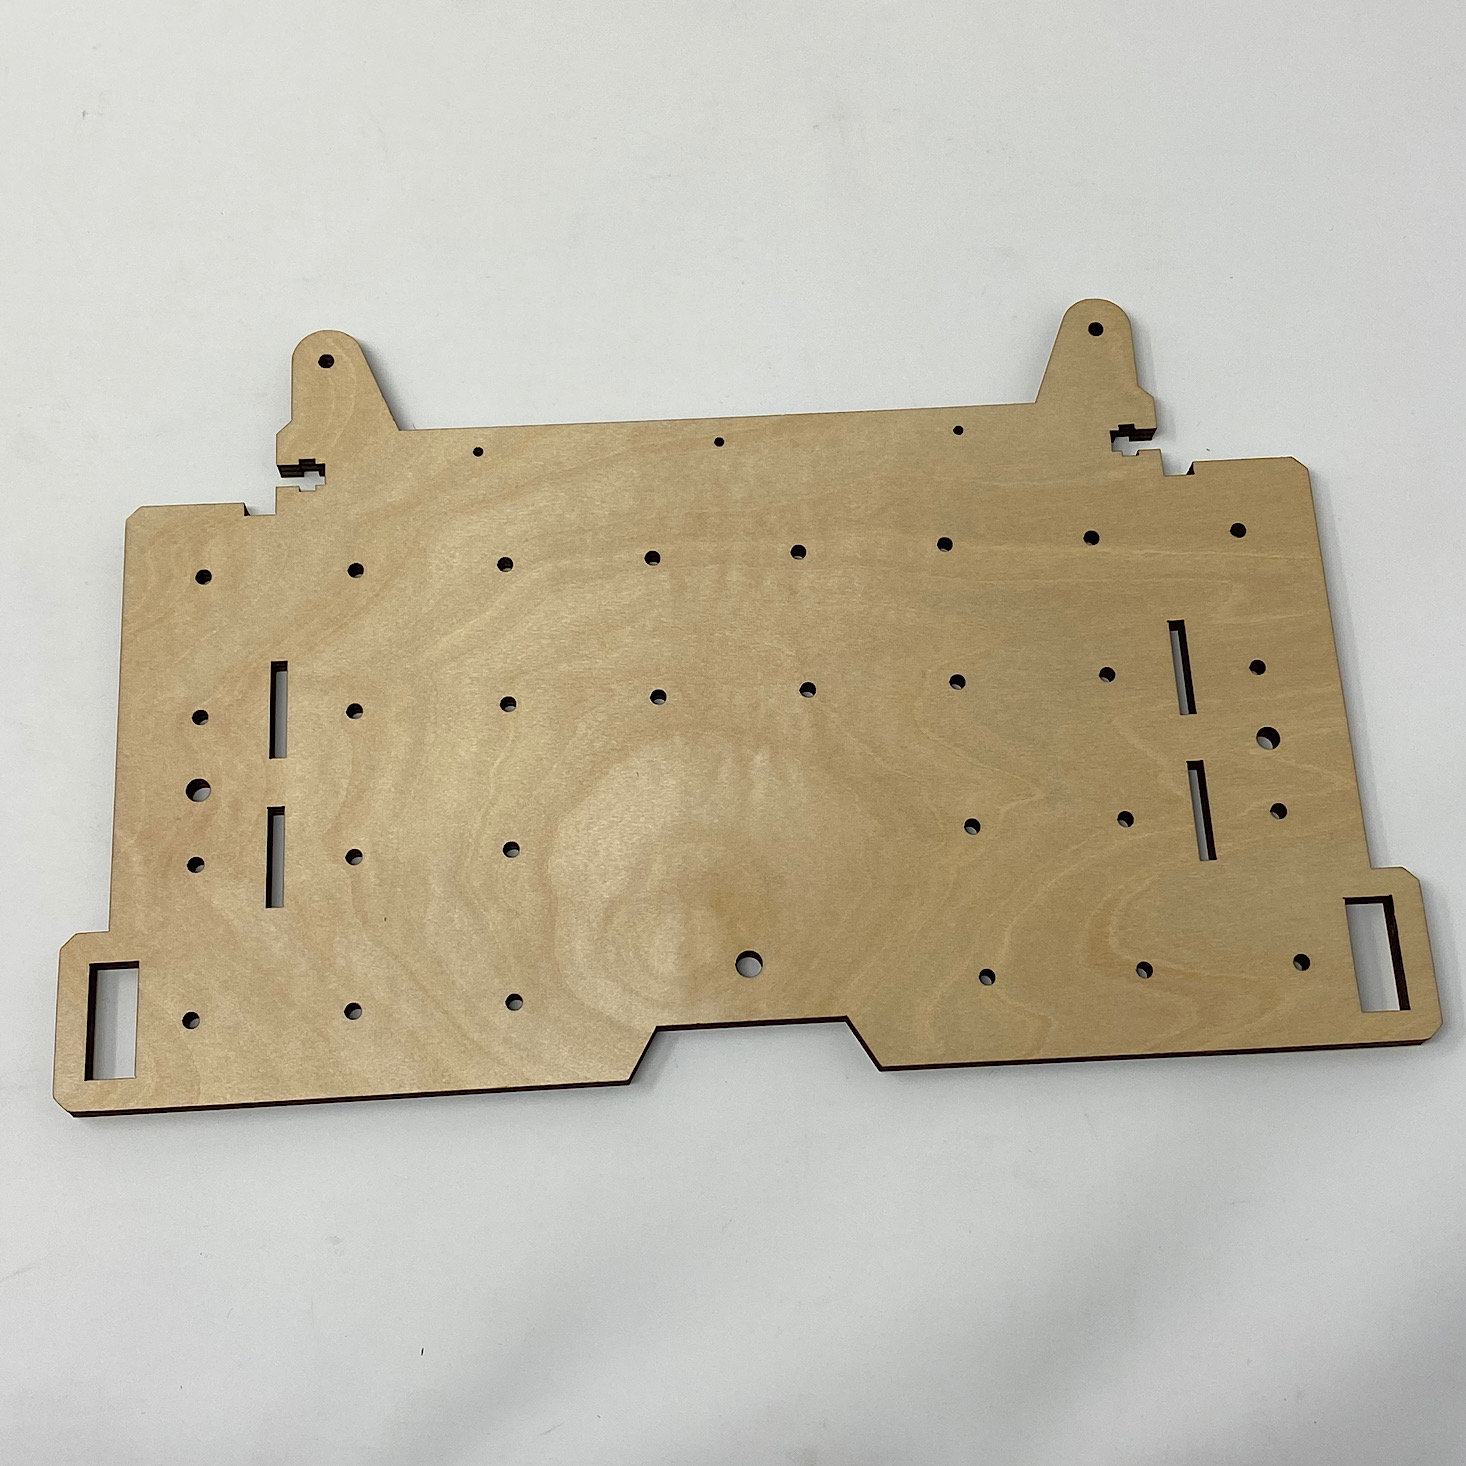
Then it was time to work on the sides and the top. I added some foam pieces to the back of these boards and then when I flipped them to add foam corners, I realized I'd used the wrong size on the bottom of my station.
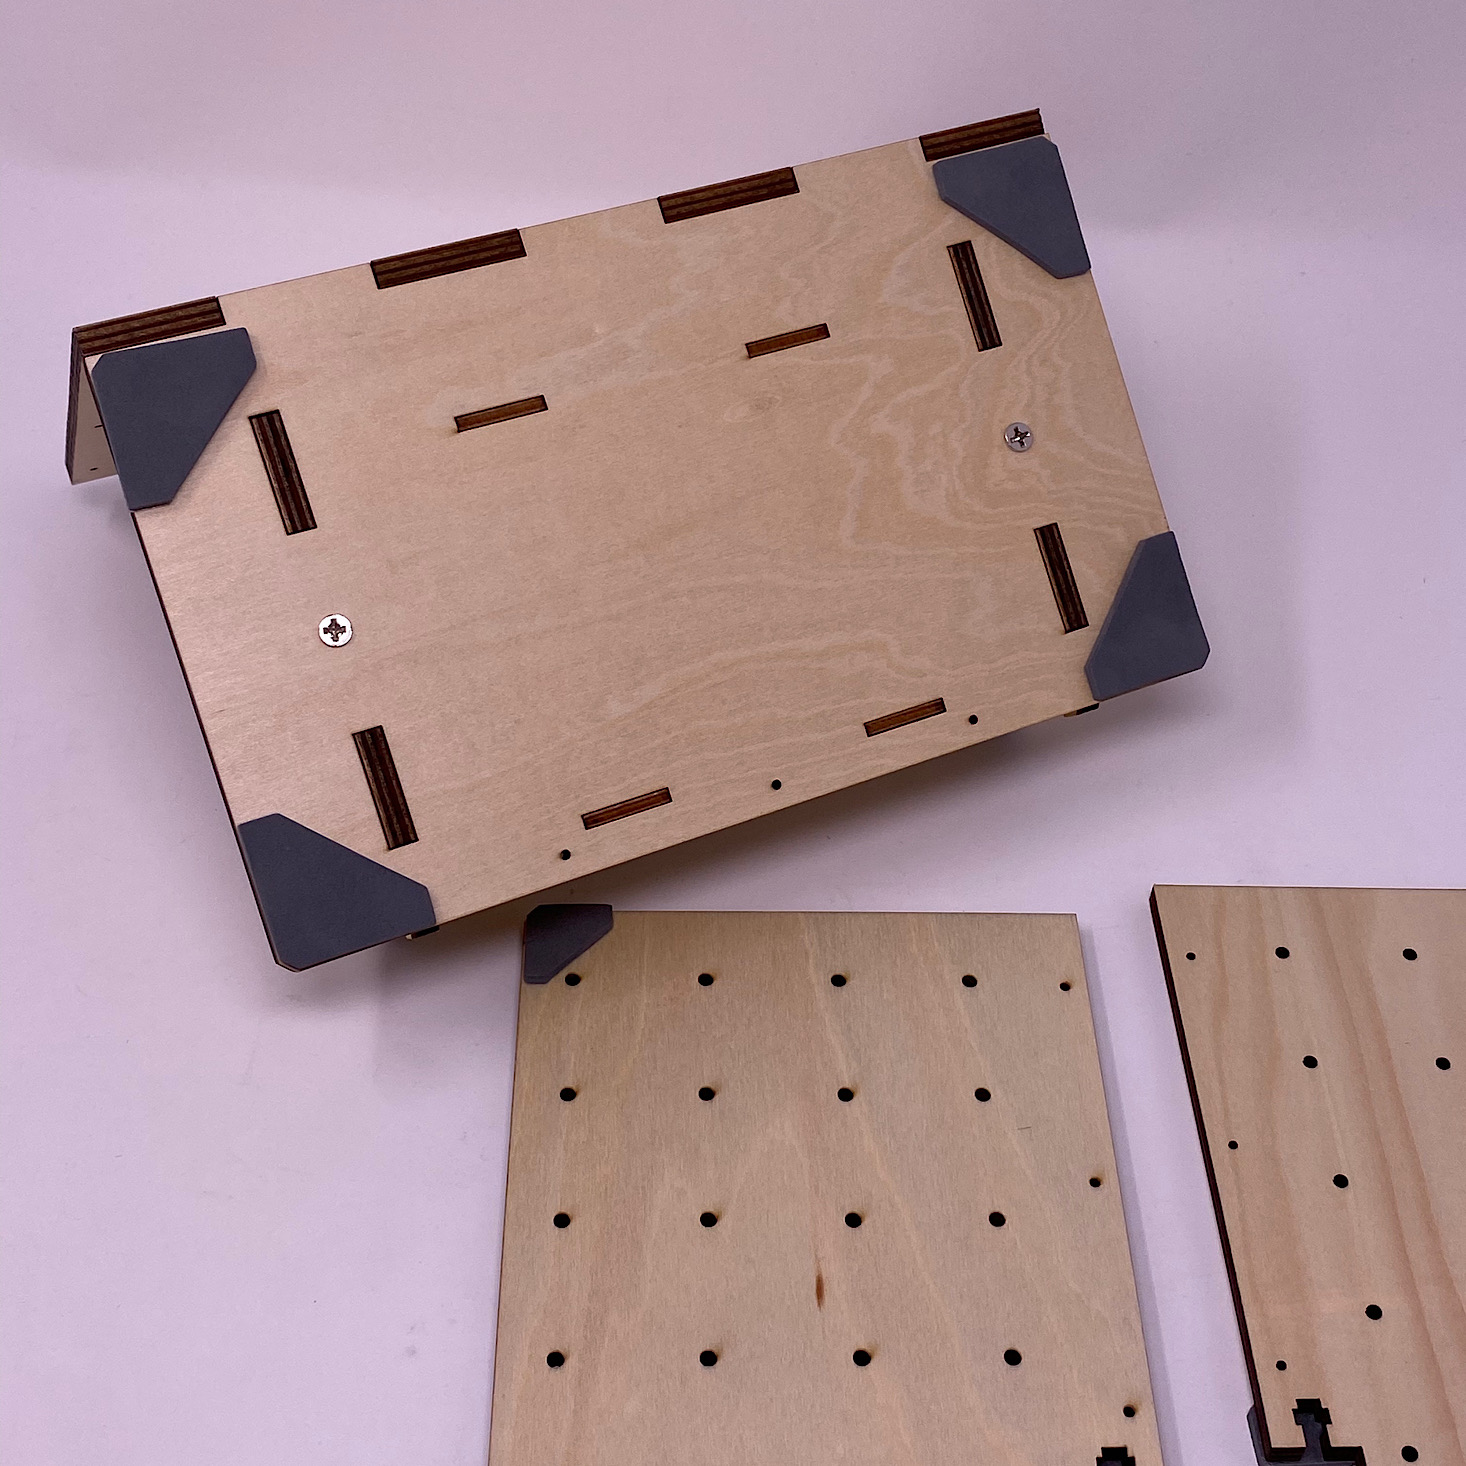
1 of 2
Luckily this was an easy fix and once I had the correct corner pieces on, I added some square bolts to the holes.
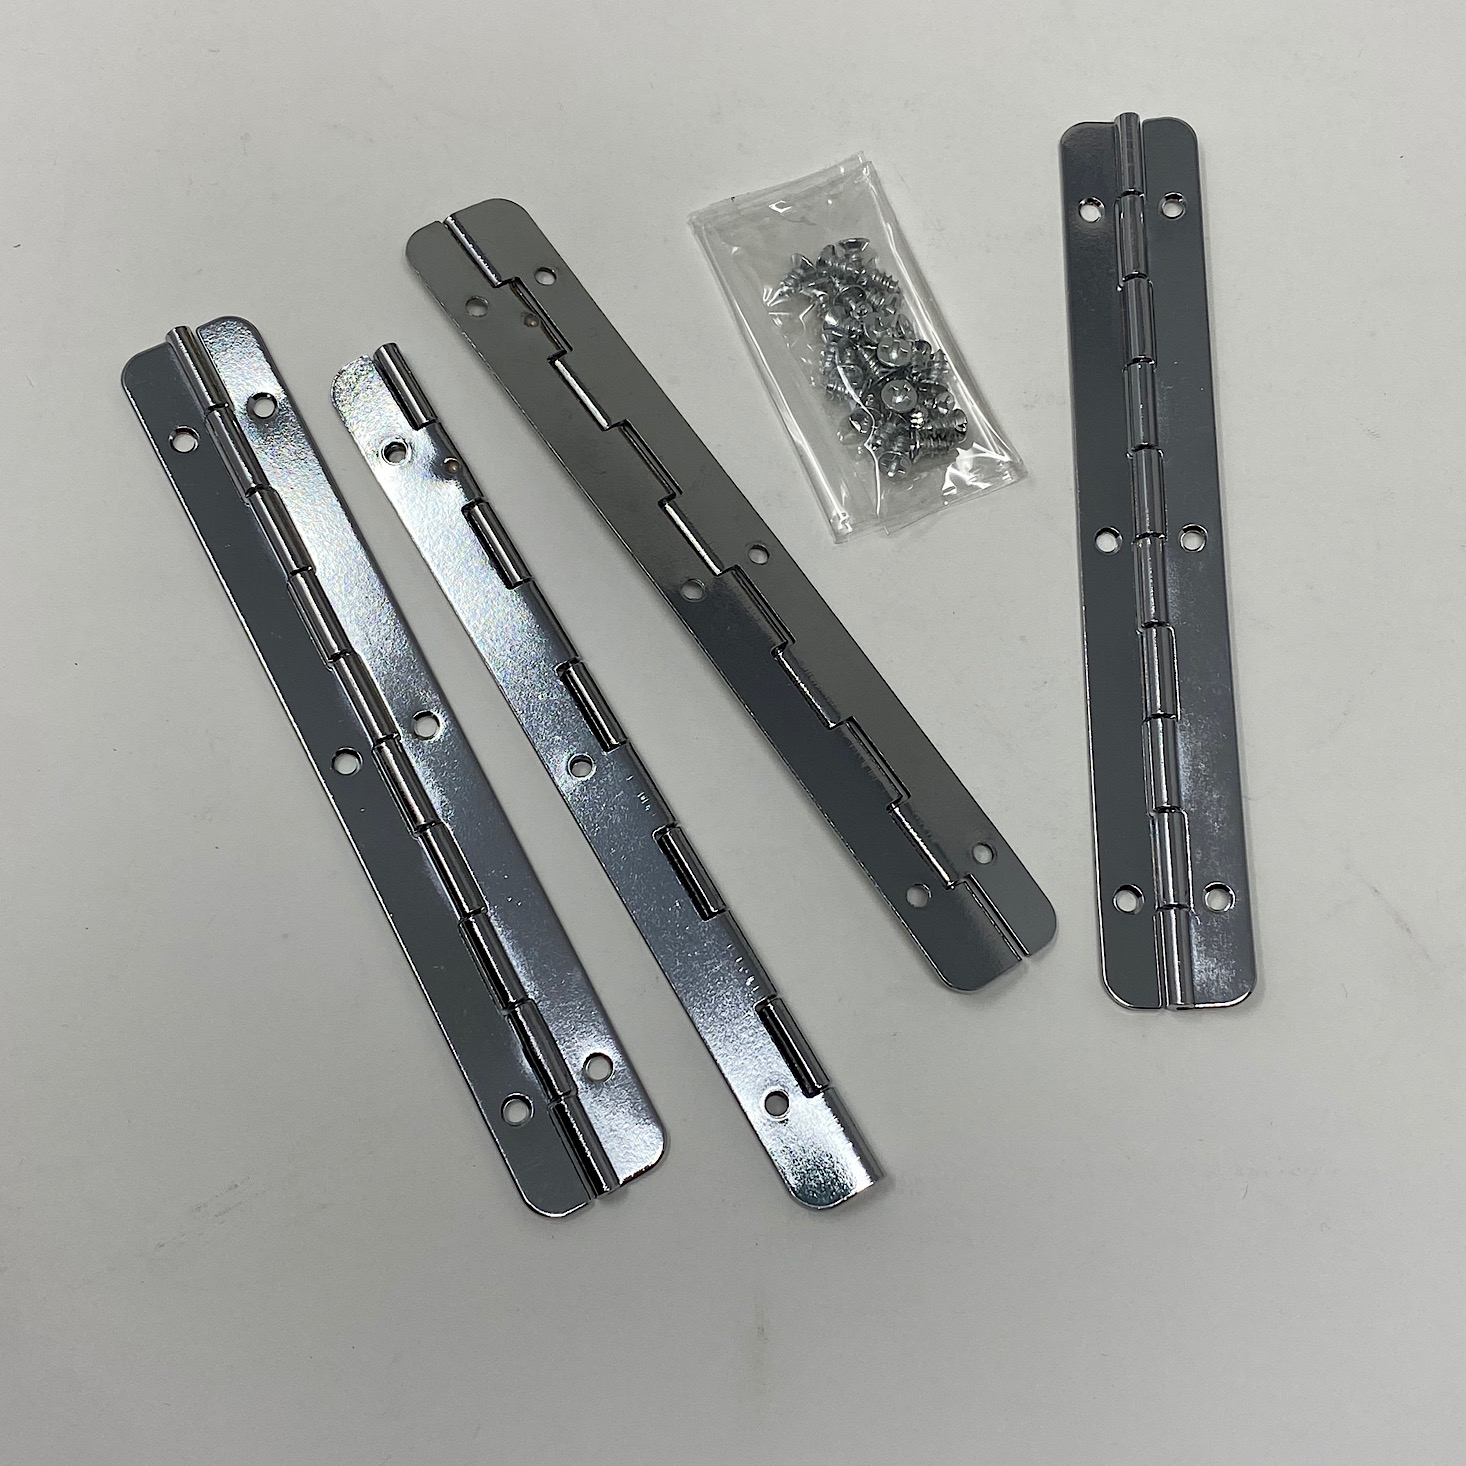

1 of 4
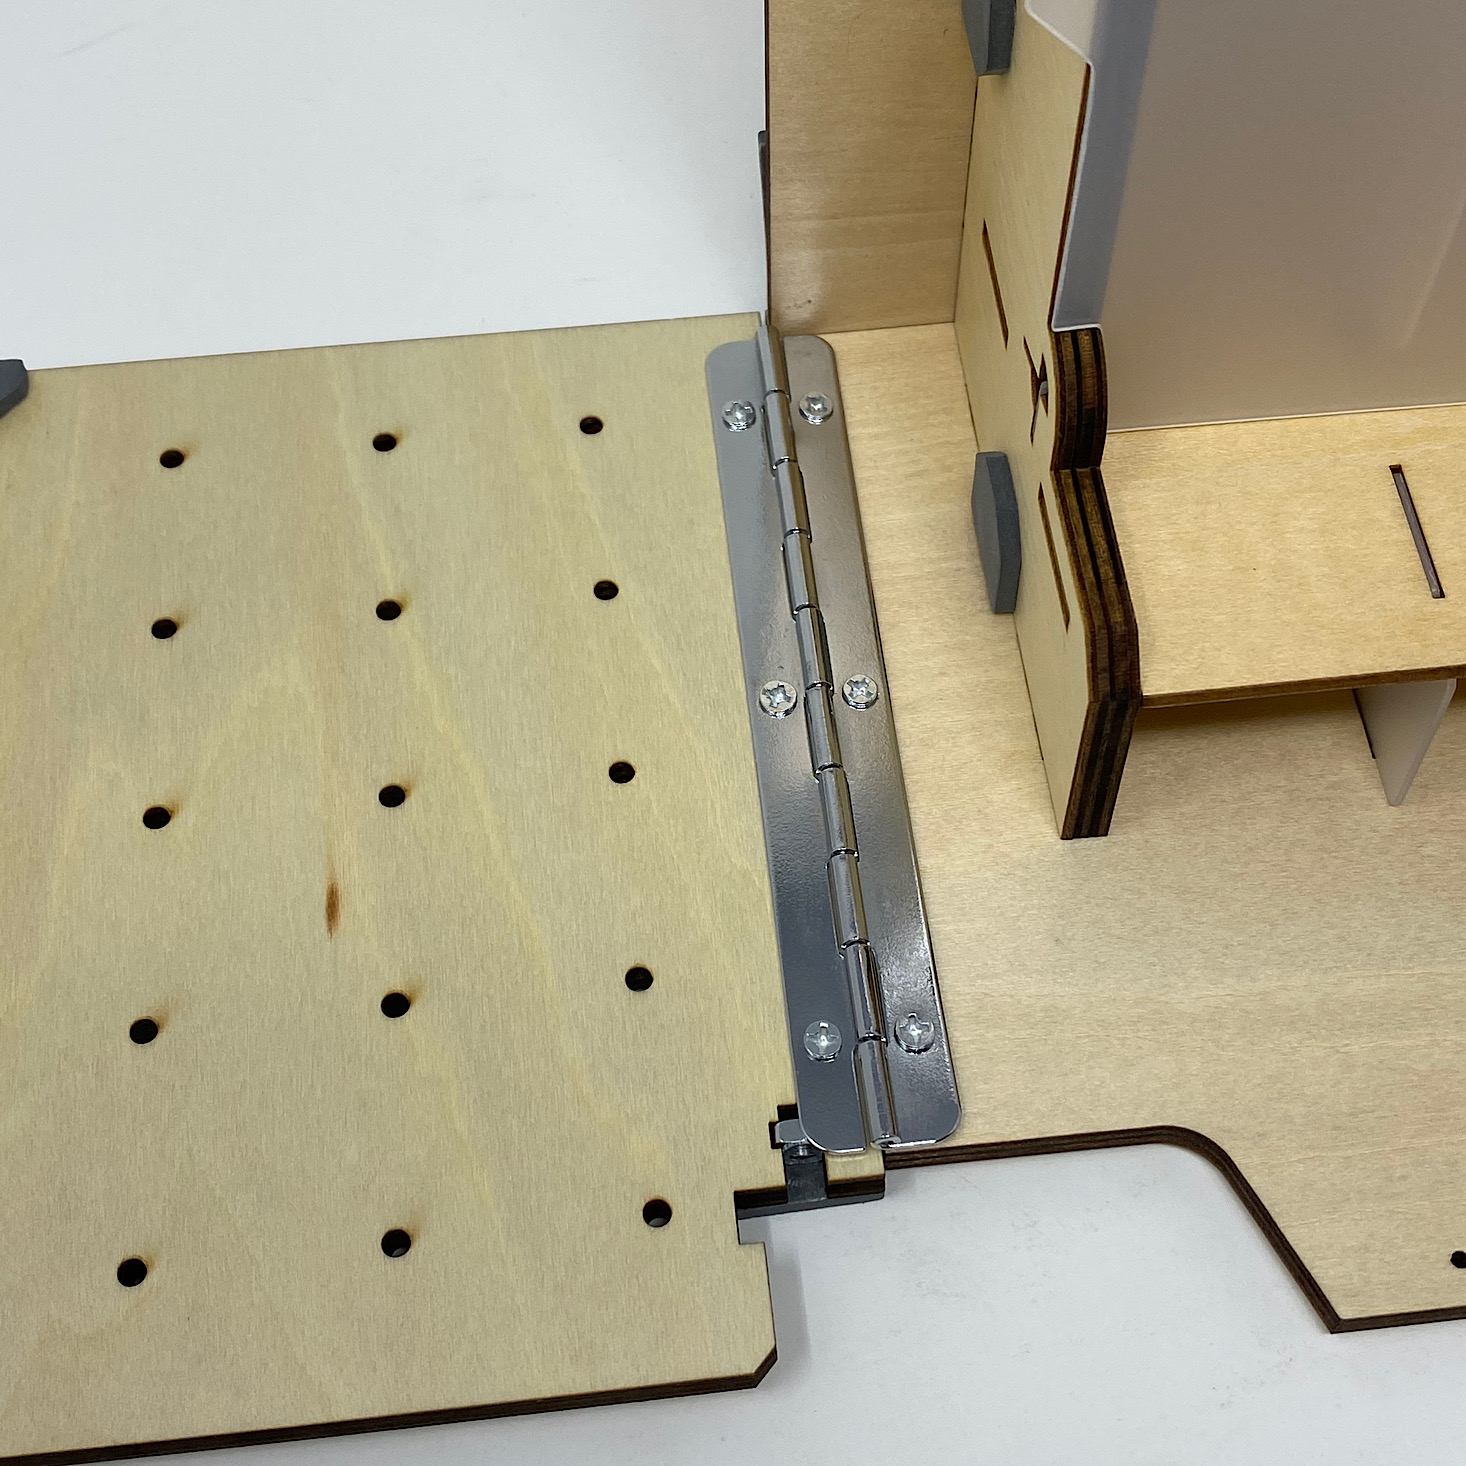

Then I lined up the holes on the side piece with the holes on the back of my station and screwed the hinges into place. I repeated this for both sides.

1 of 3

Then I added foam stickers and bolts to the top piece.


1 of 5

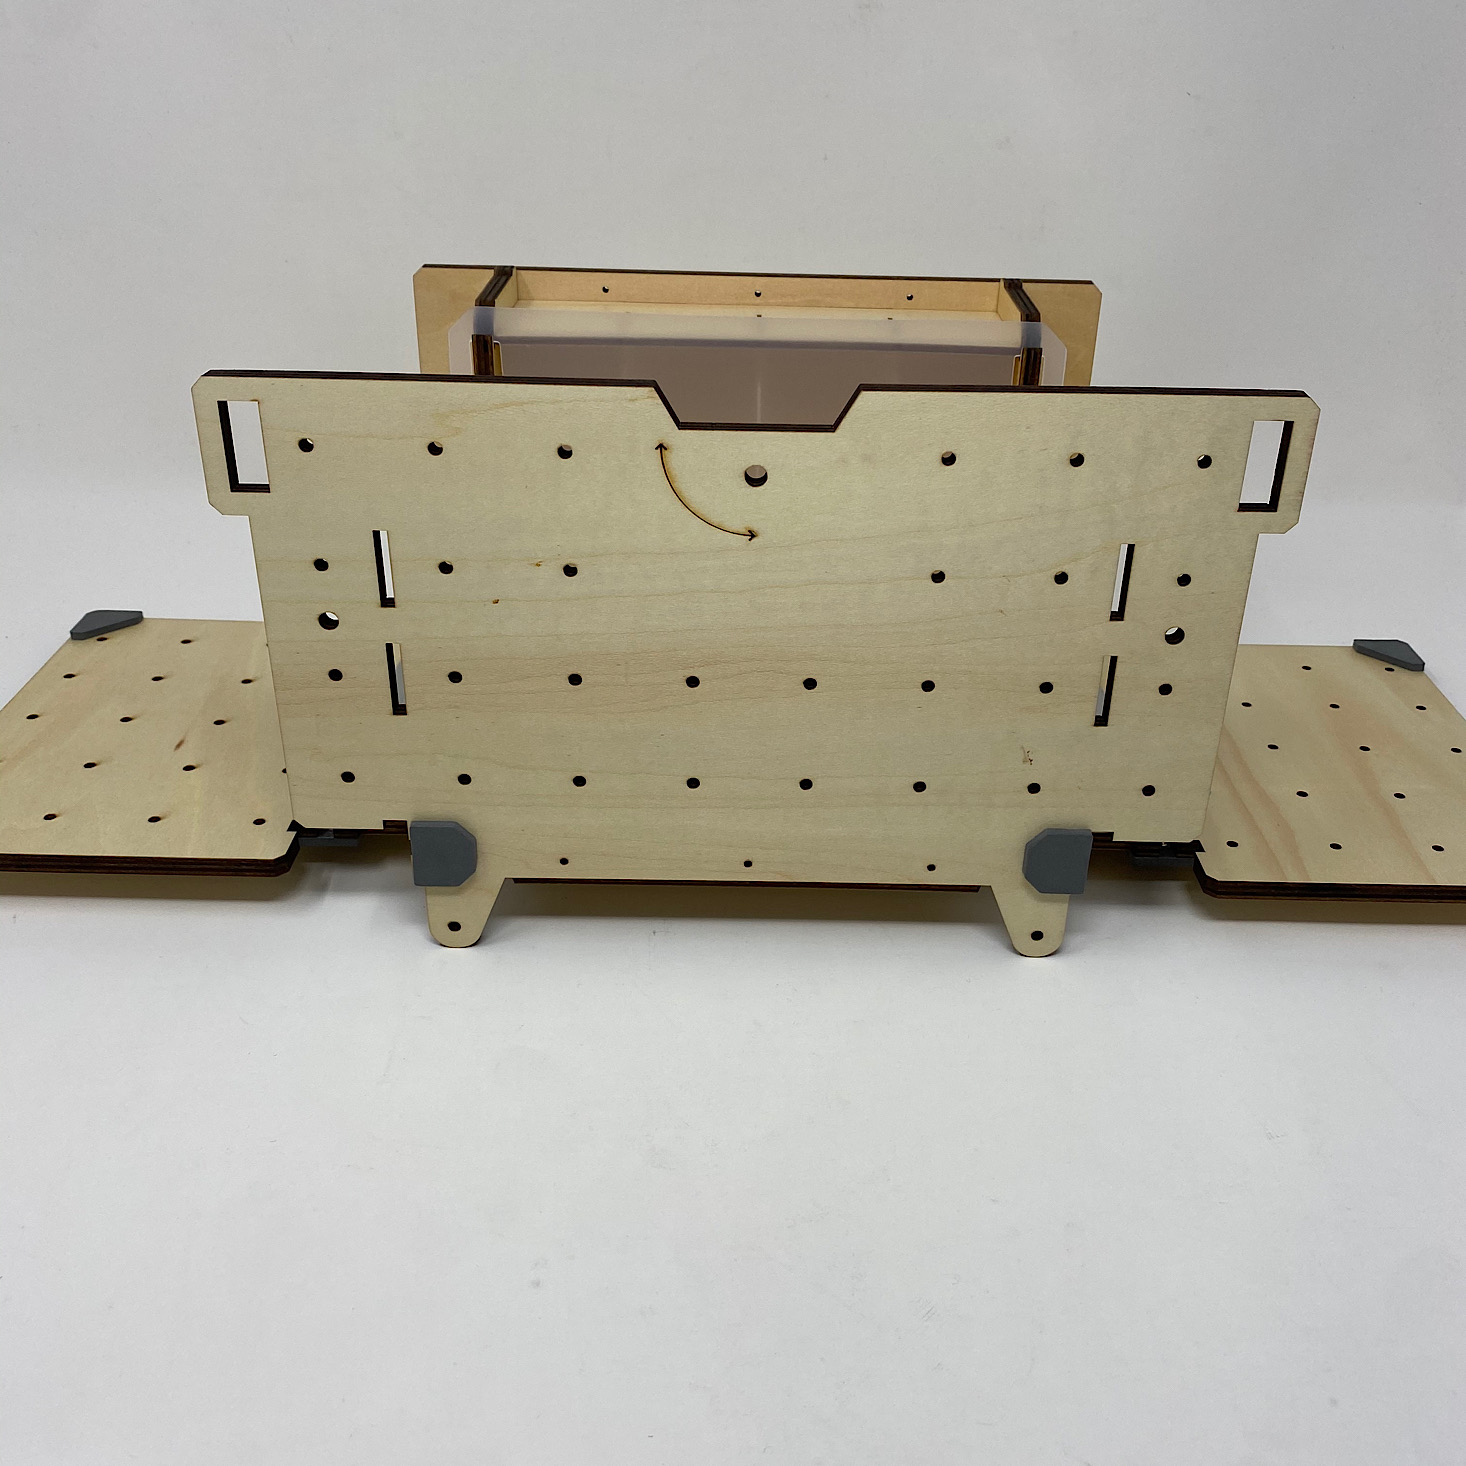
I lined it up with the base and then added another hinge. Then I flipped it around and closed up the sides to form my station.


1 of 4
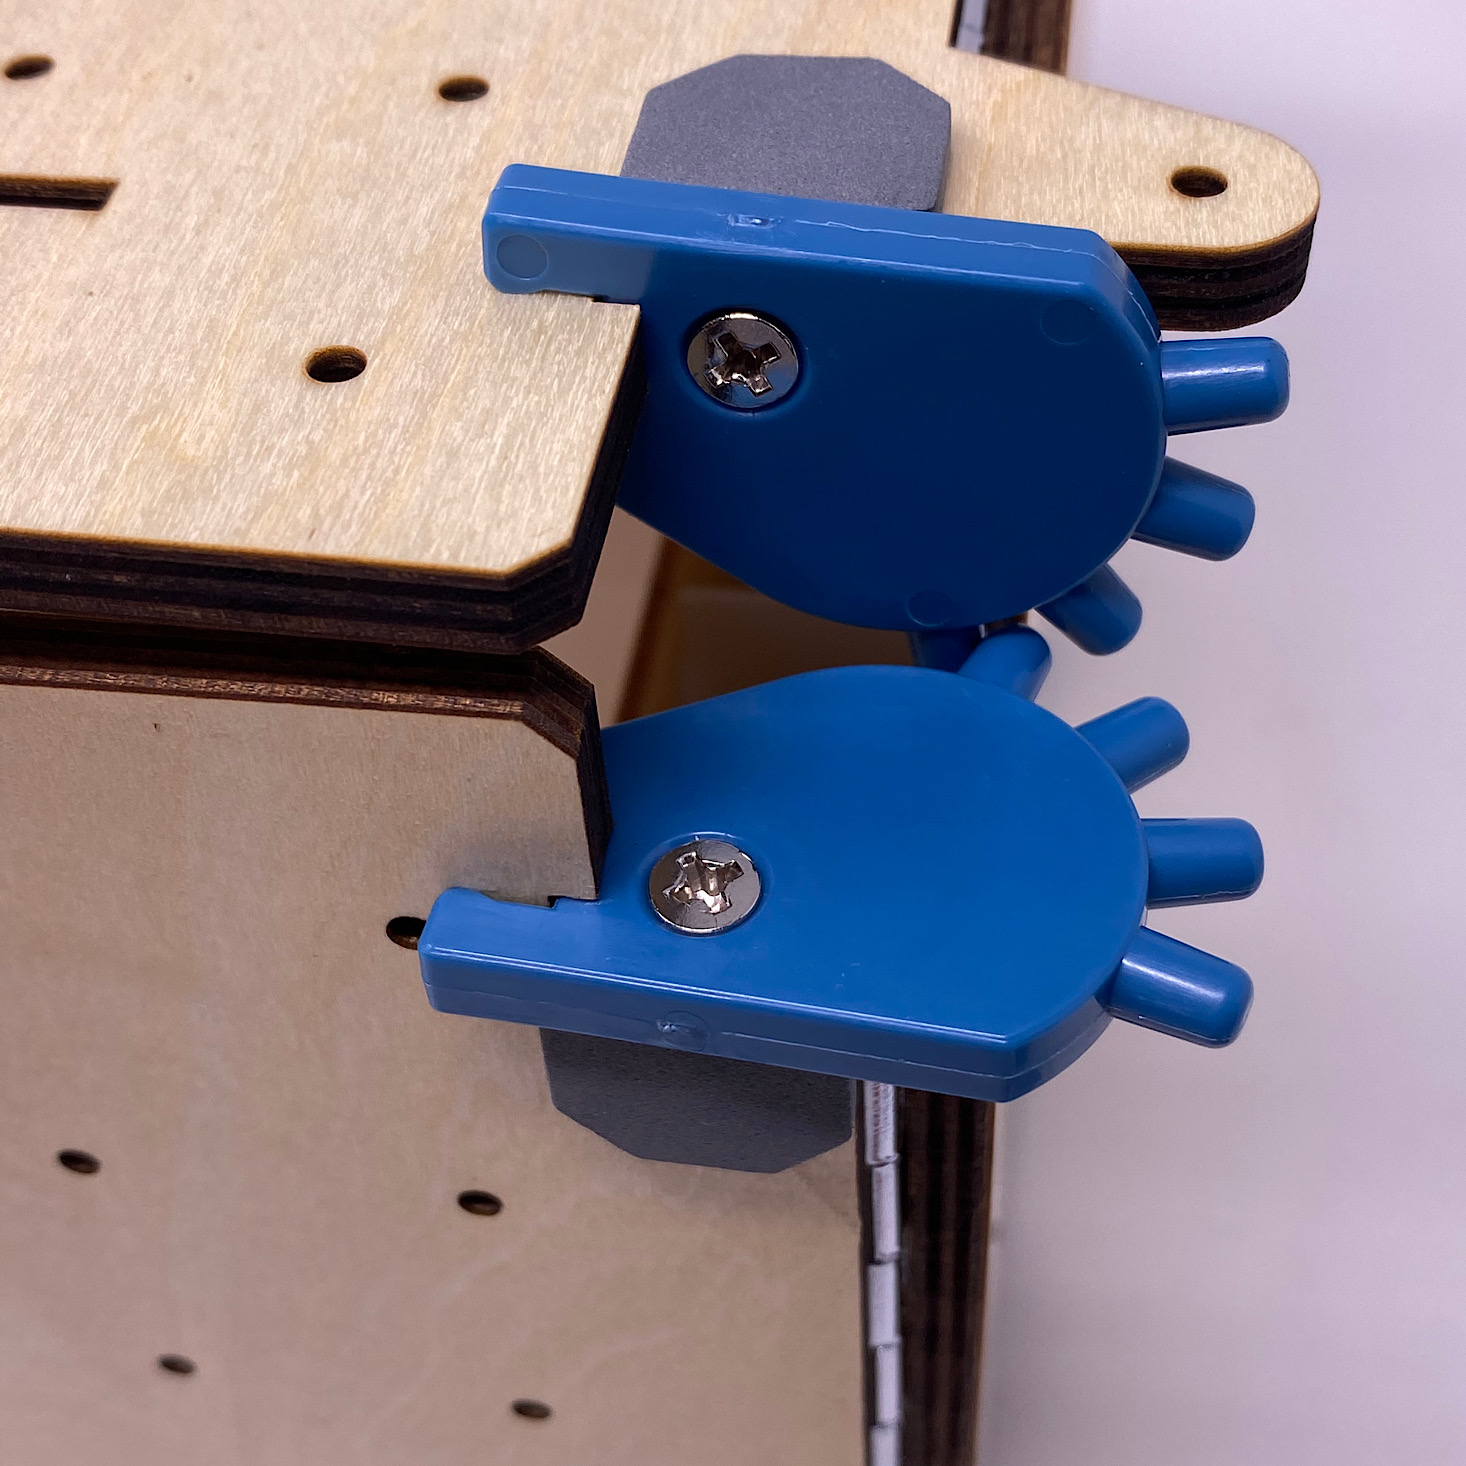

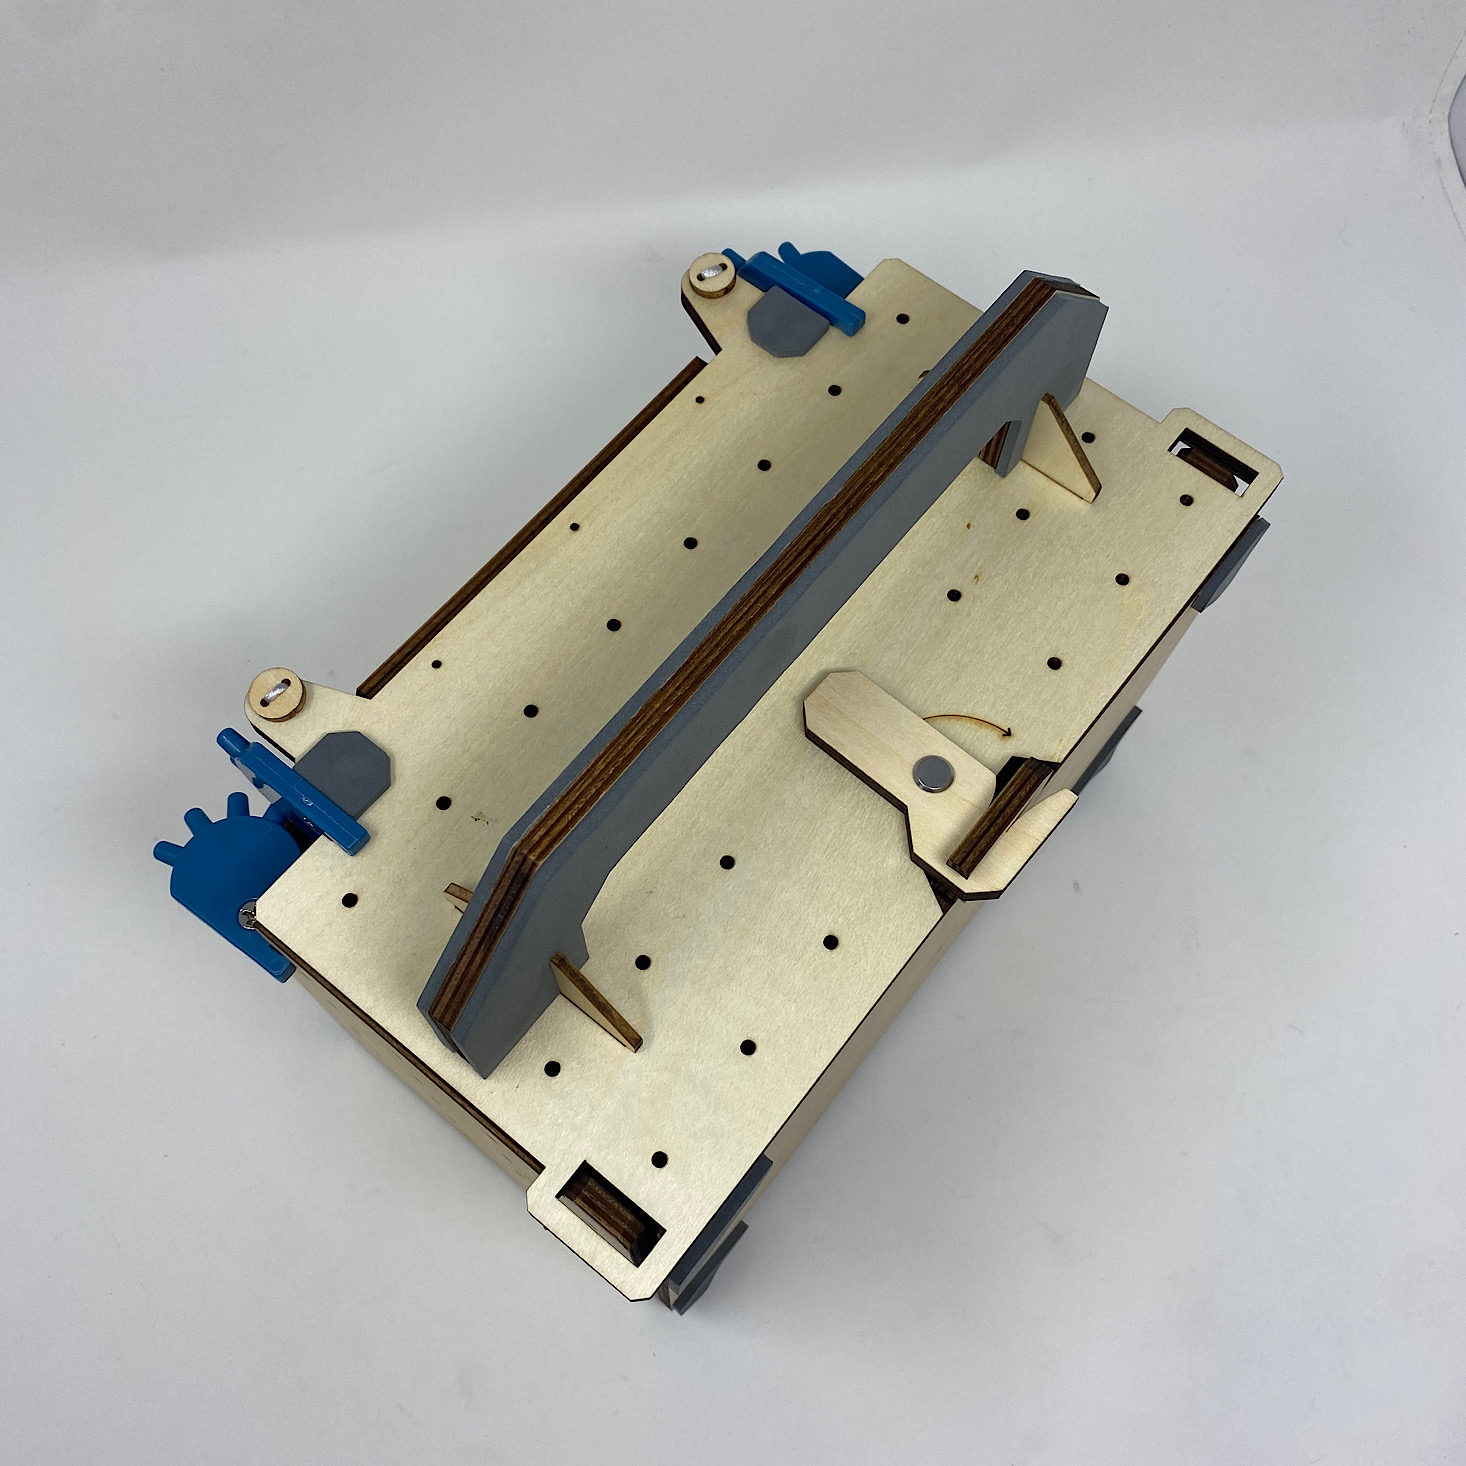
Now I had to add these gears to the slots in the back making sure to place them in the correct order so that the teeth would fit together. This is what would allow our box sides and top to stay open when lifted or opened.
Part C: Add the Latch & Handle

1 of 4


It was time to add the latch to the top. I added a foam circle and then screwed the latch on using a bolt and metal washer.

1 of 5


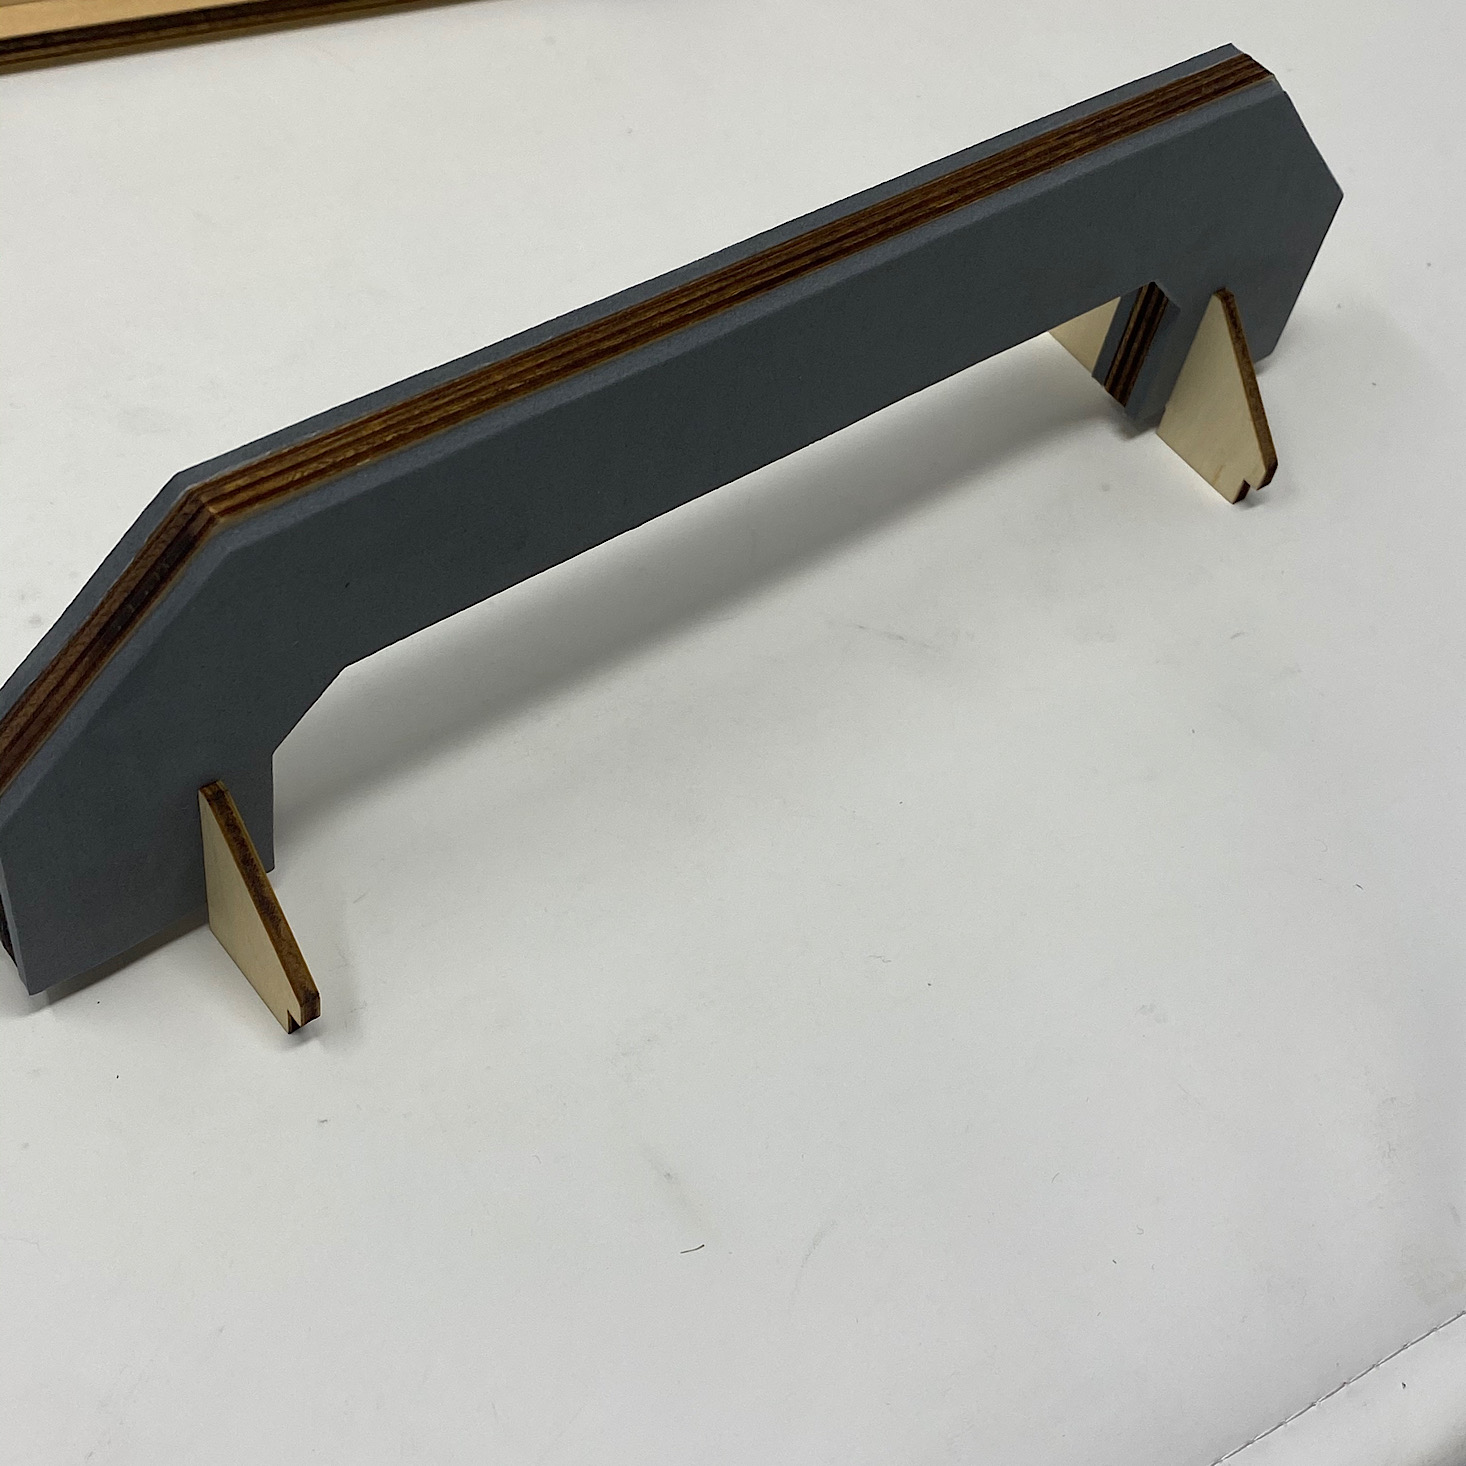
I added some foam adhesive to either side of the wooden handle and then slid the wooden pieces into the bottom and fit the entire unit into the top of the station before securing it with some screws.
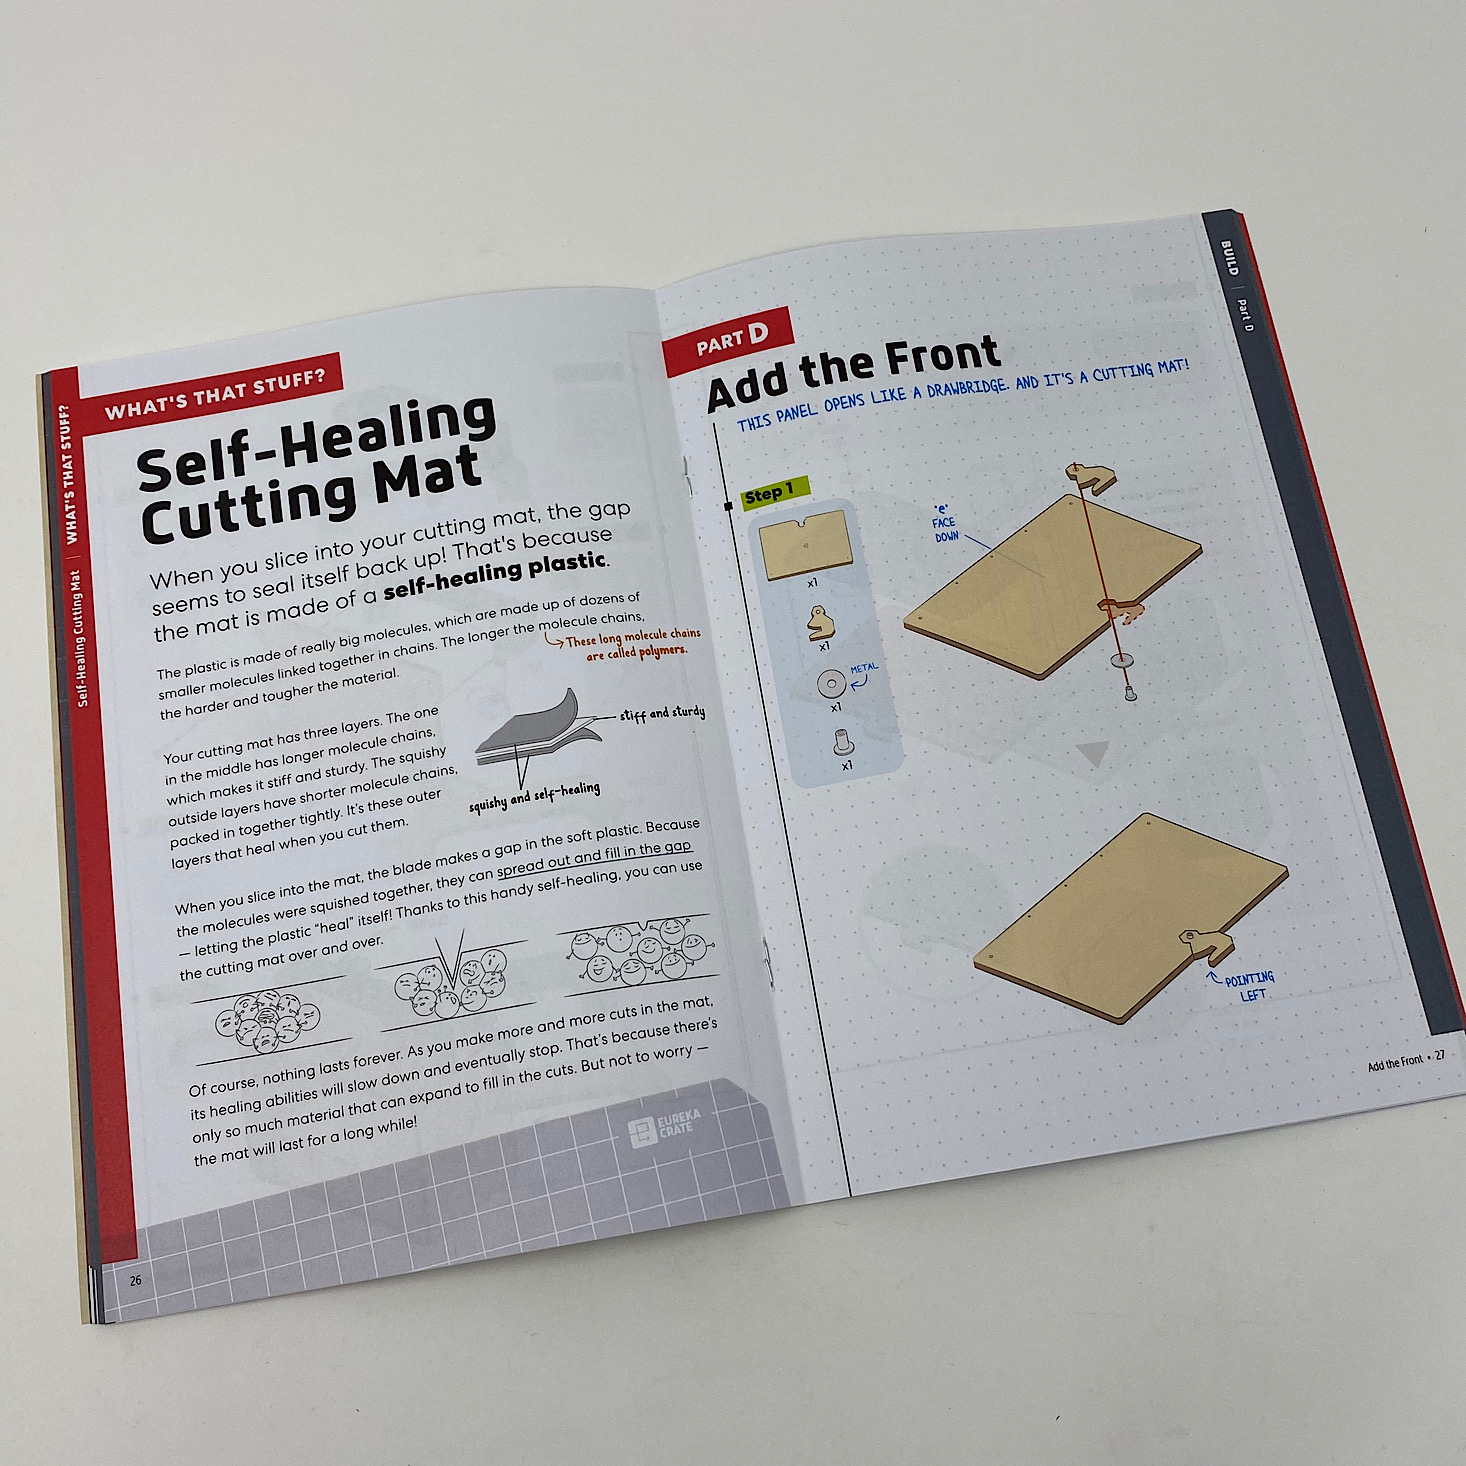
Part D: Add the Front


1 of 4
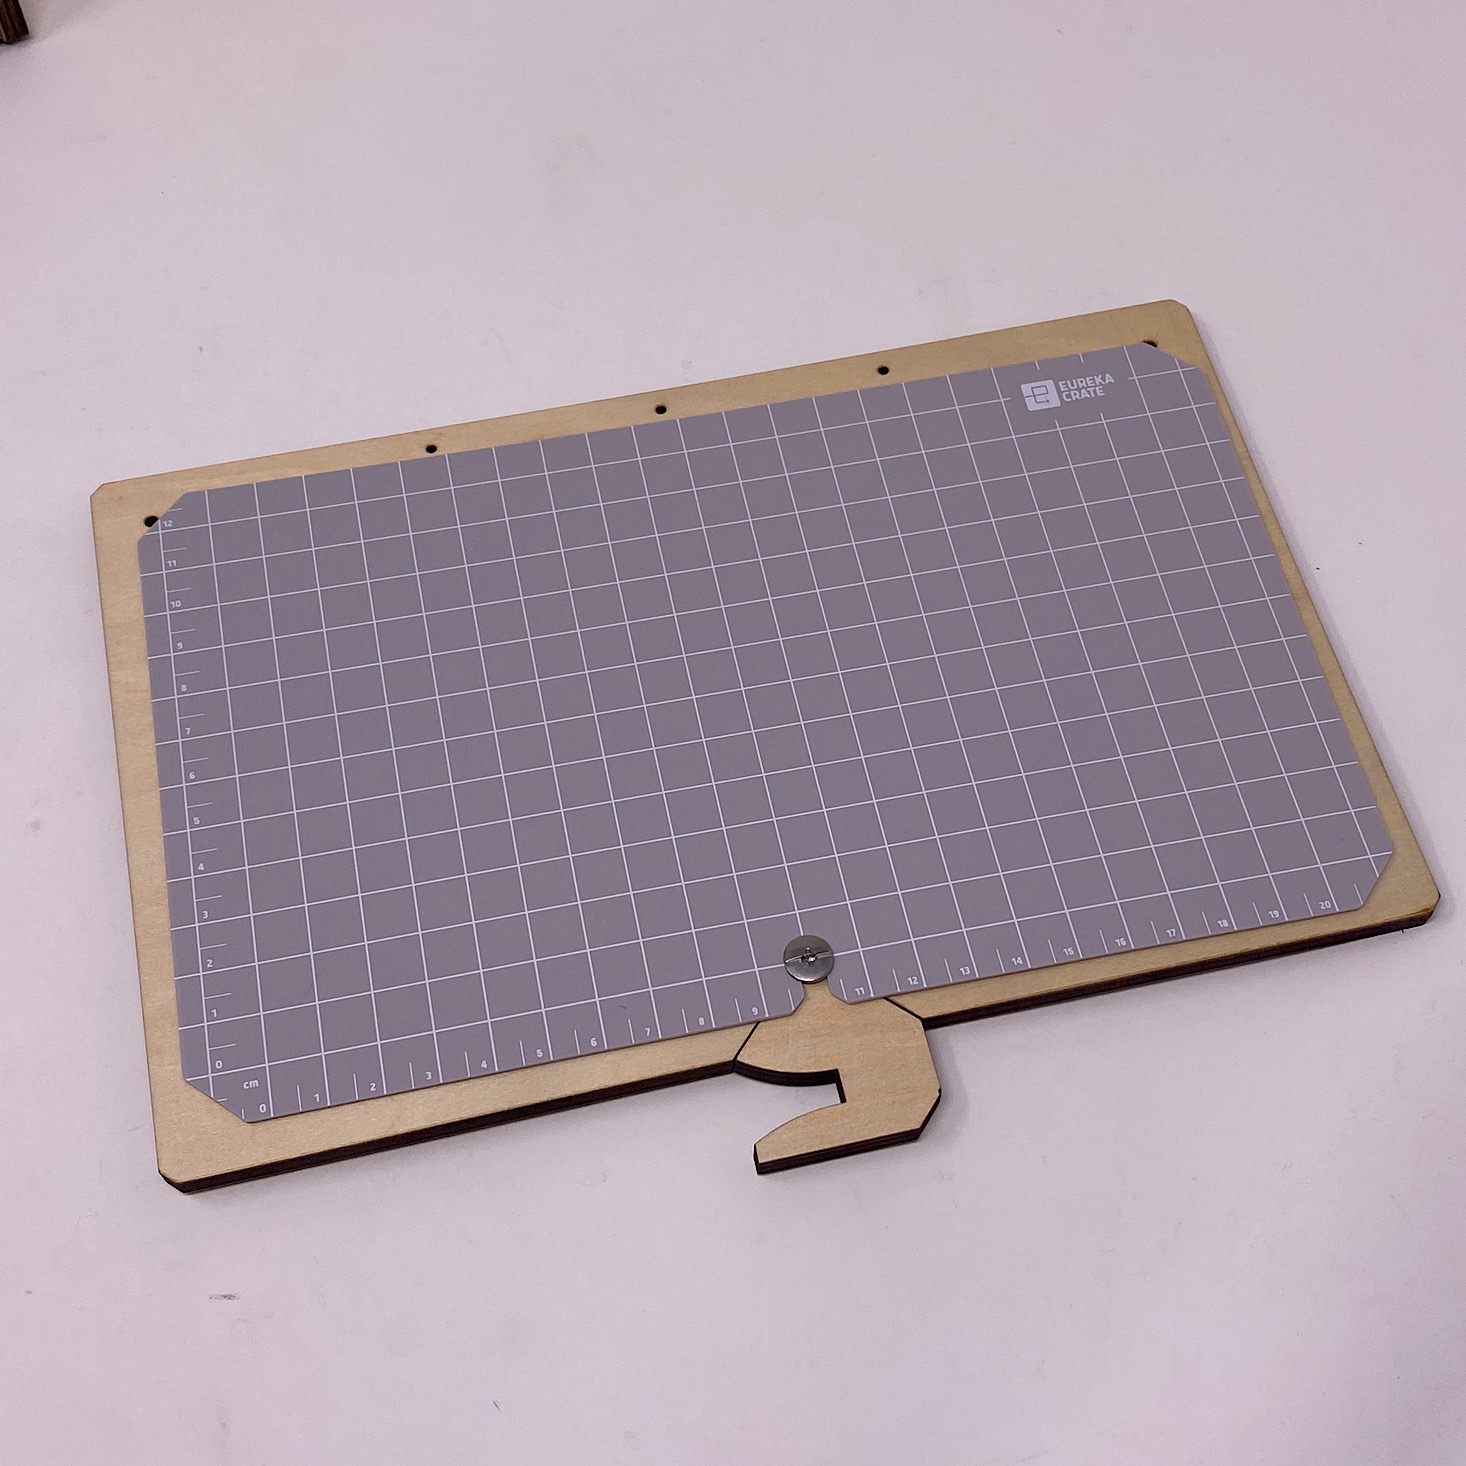

I added another latch to the front piece and then placed the self-healing cutting mat over top of it before securing it.

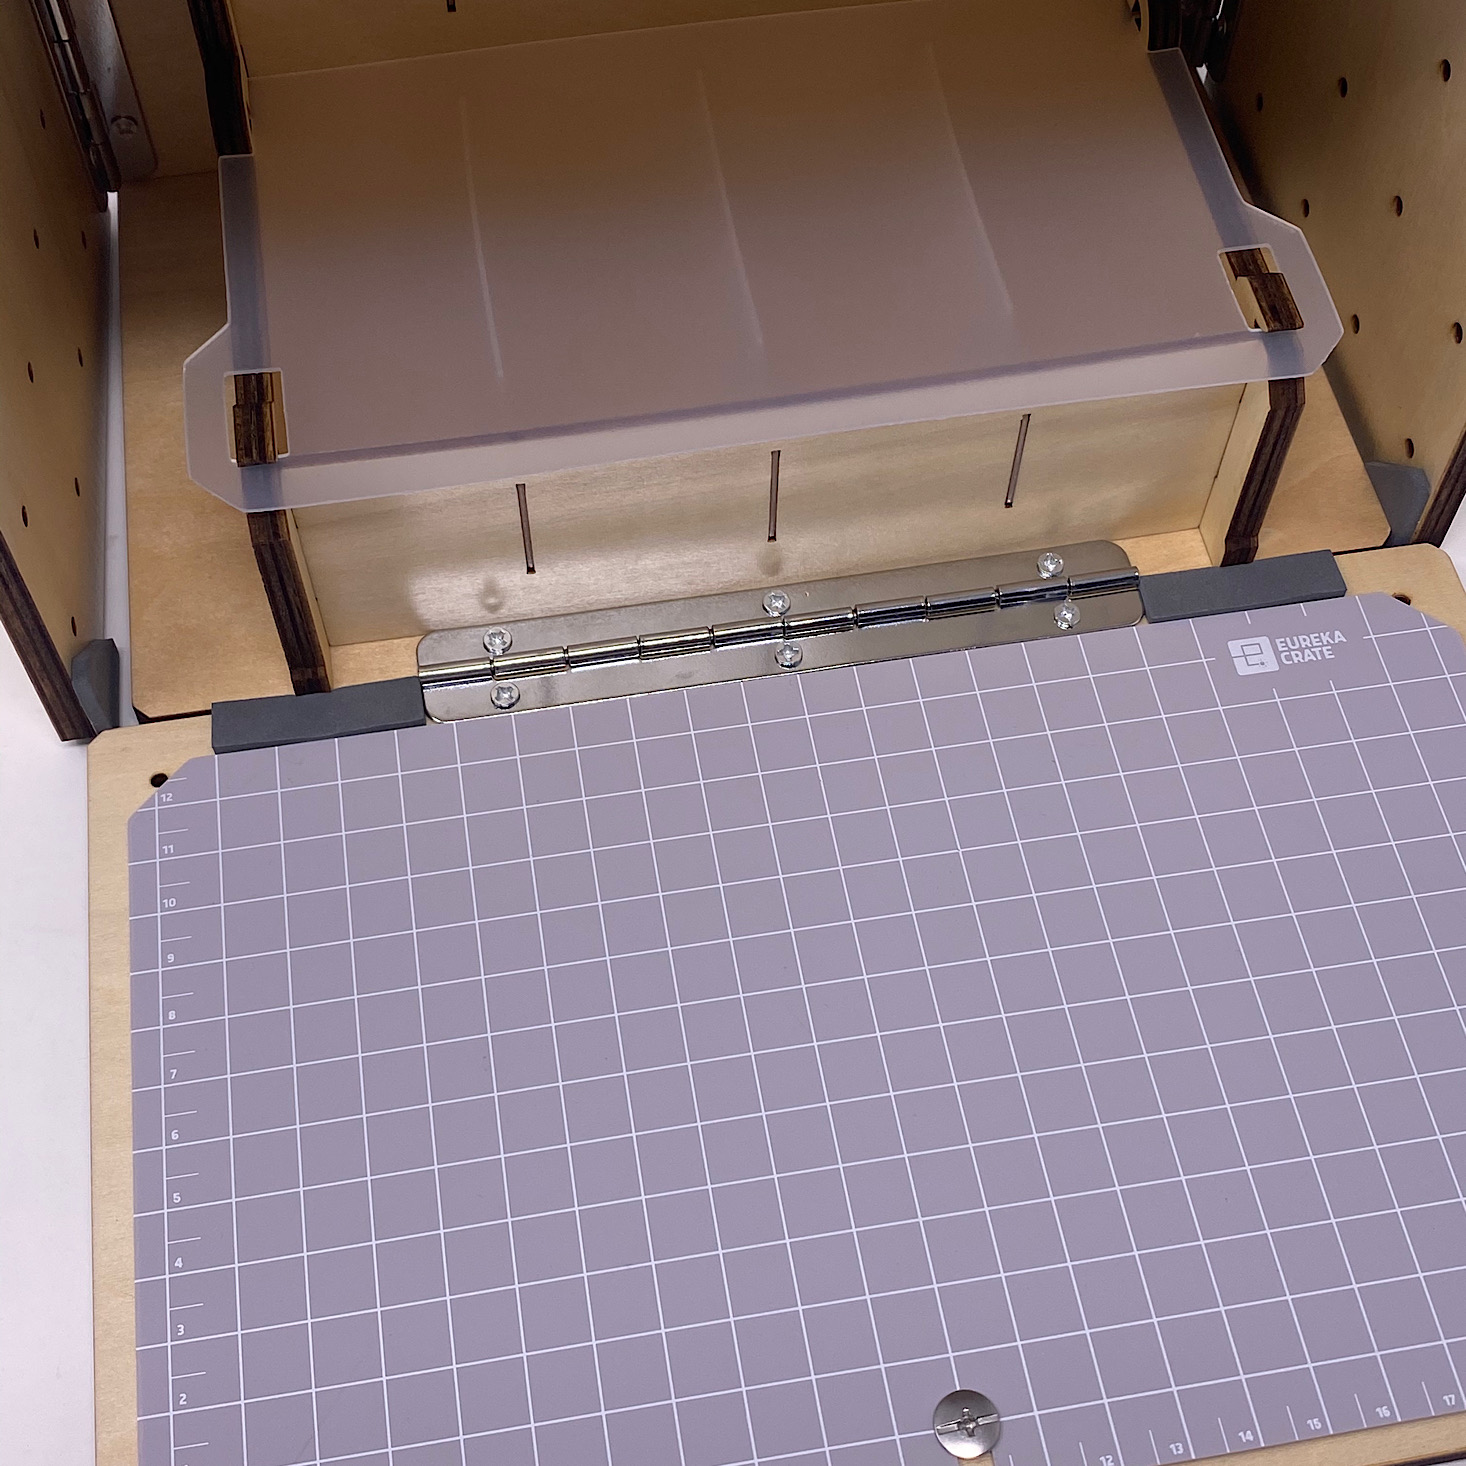
1 of 2
Then I added the final latch to attach the front pieces to the unit. When I closed it up the two latches hooked together to hold the entire thing closed.


1 of 3

Then I had to tie a knot into the two cords they provided and thread them through the holes at the front of the station all the way through and out the back.


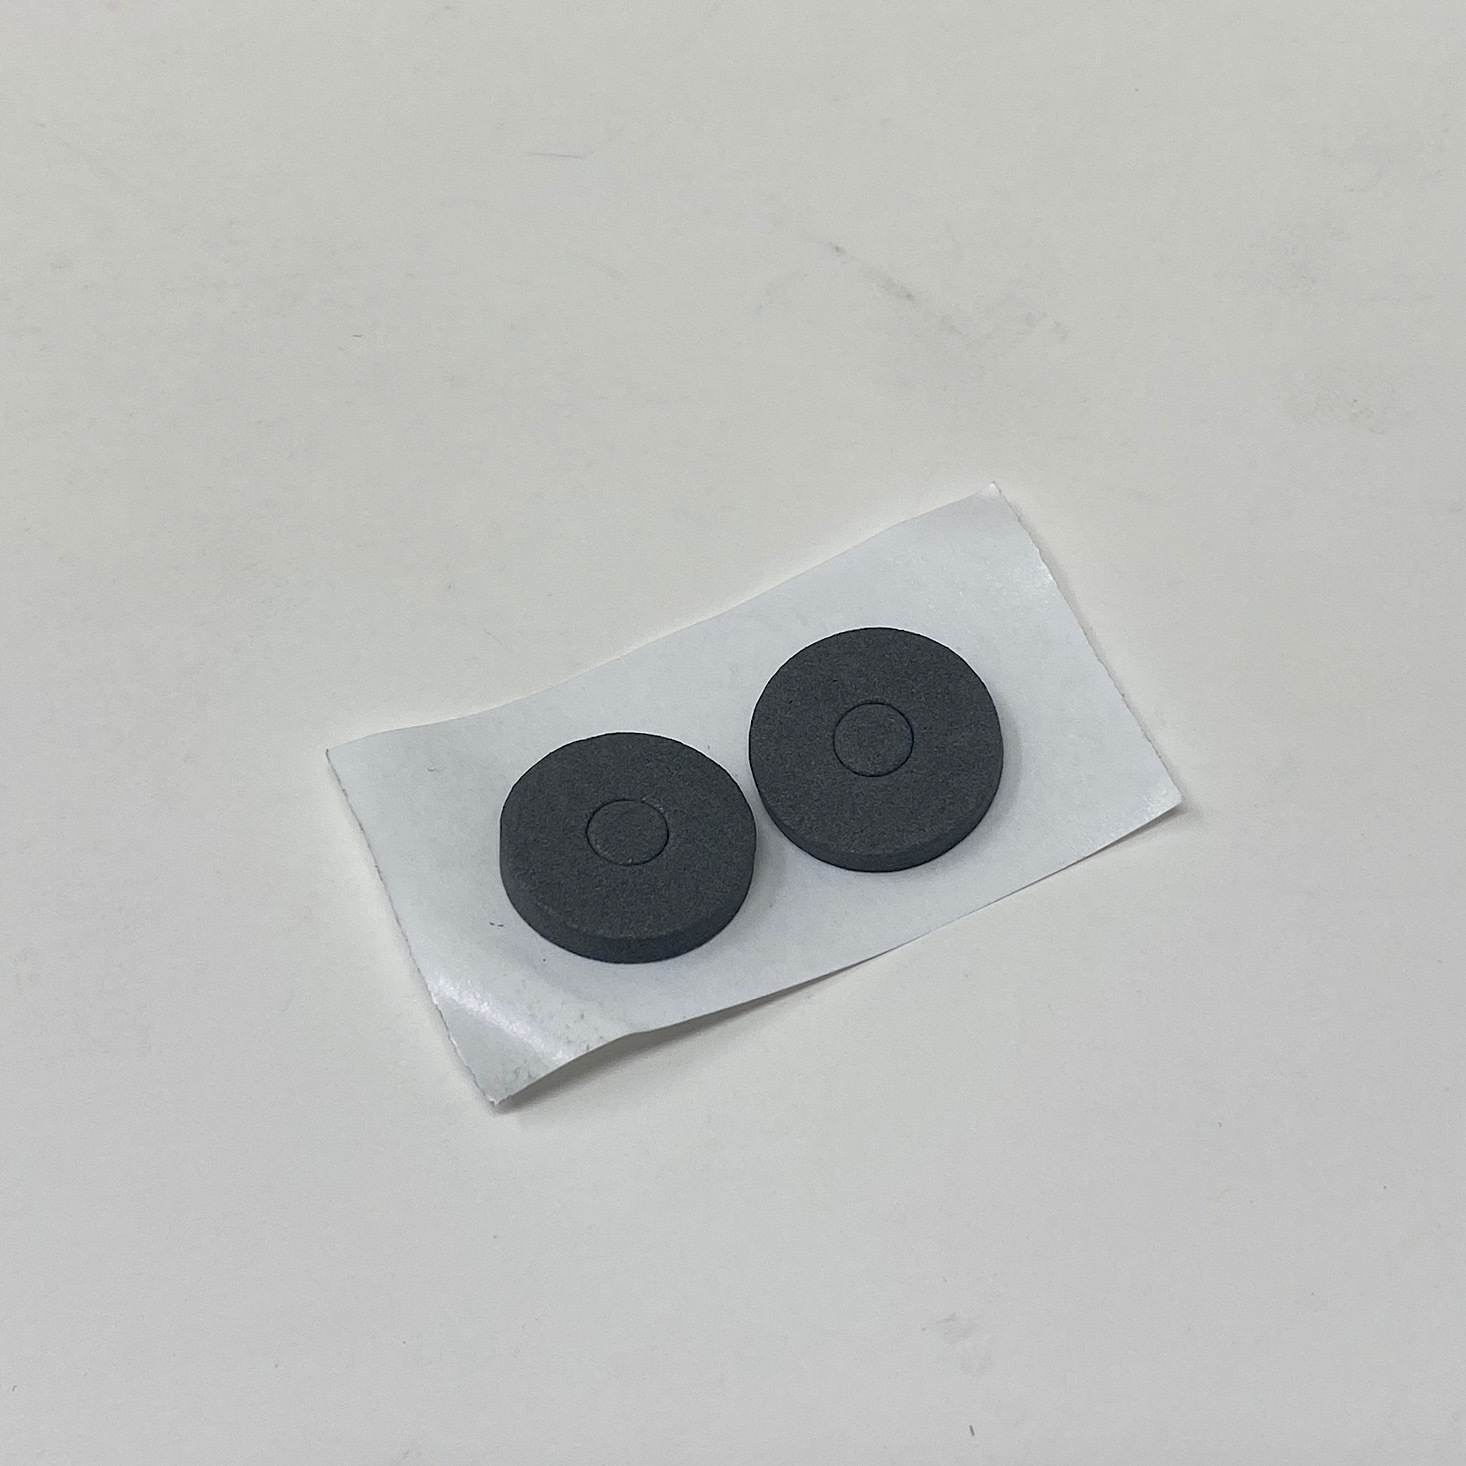
1 of 3

Then I threaded them through the holes in the small circles and pulled until they were tight against the unit.


1 of 2
After pulling those strings tight, I tied a knot in it about an inch from the back of the box and then trimmed it. This allows our front piece to open and close like the rest of our sides. My station was complete!
Here's a little idea of how it operates.

1 of 3

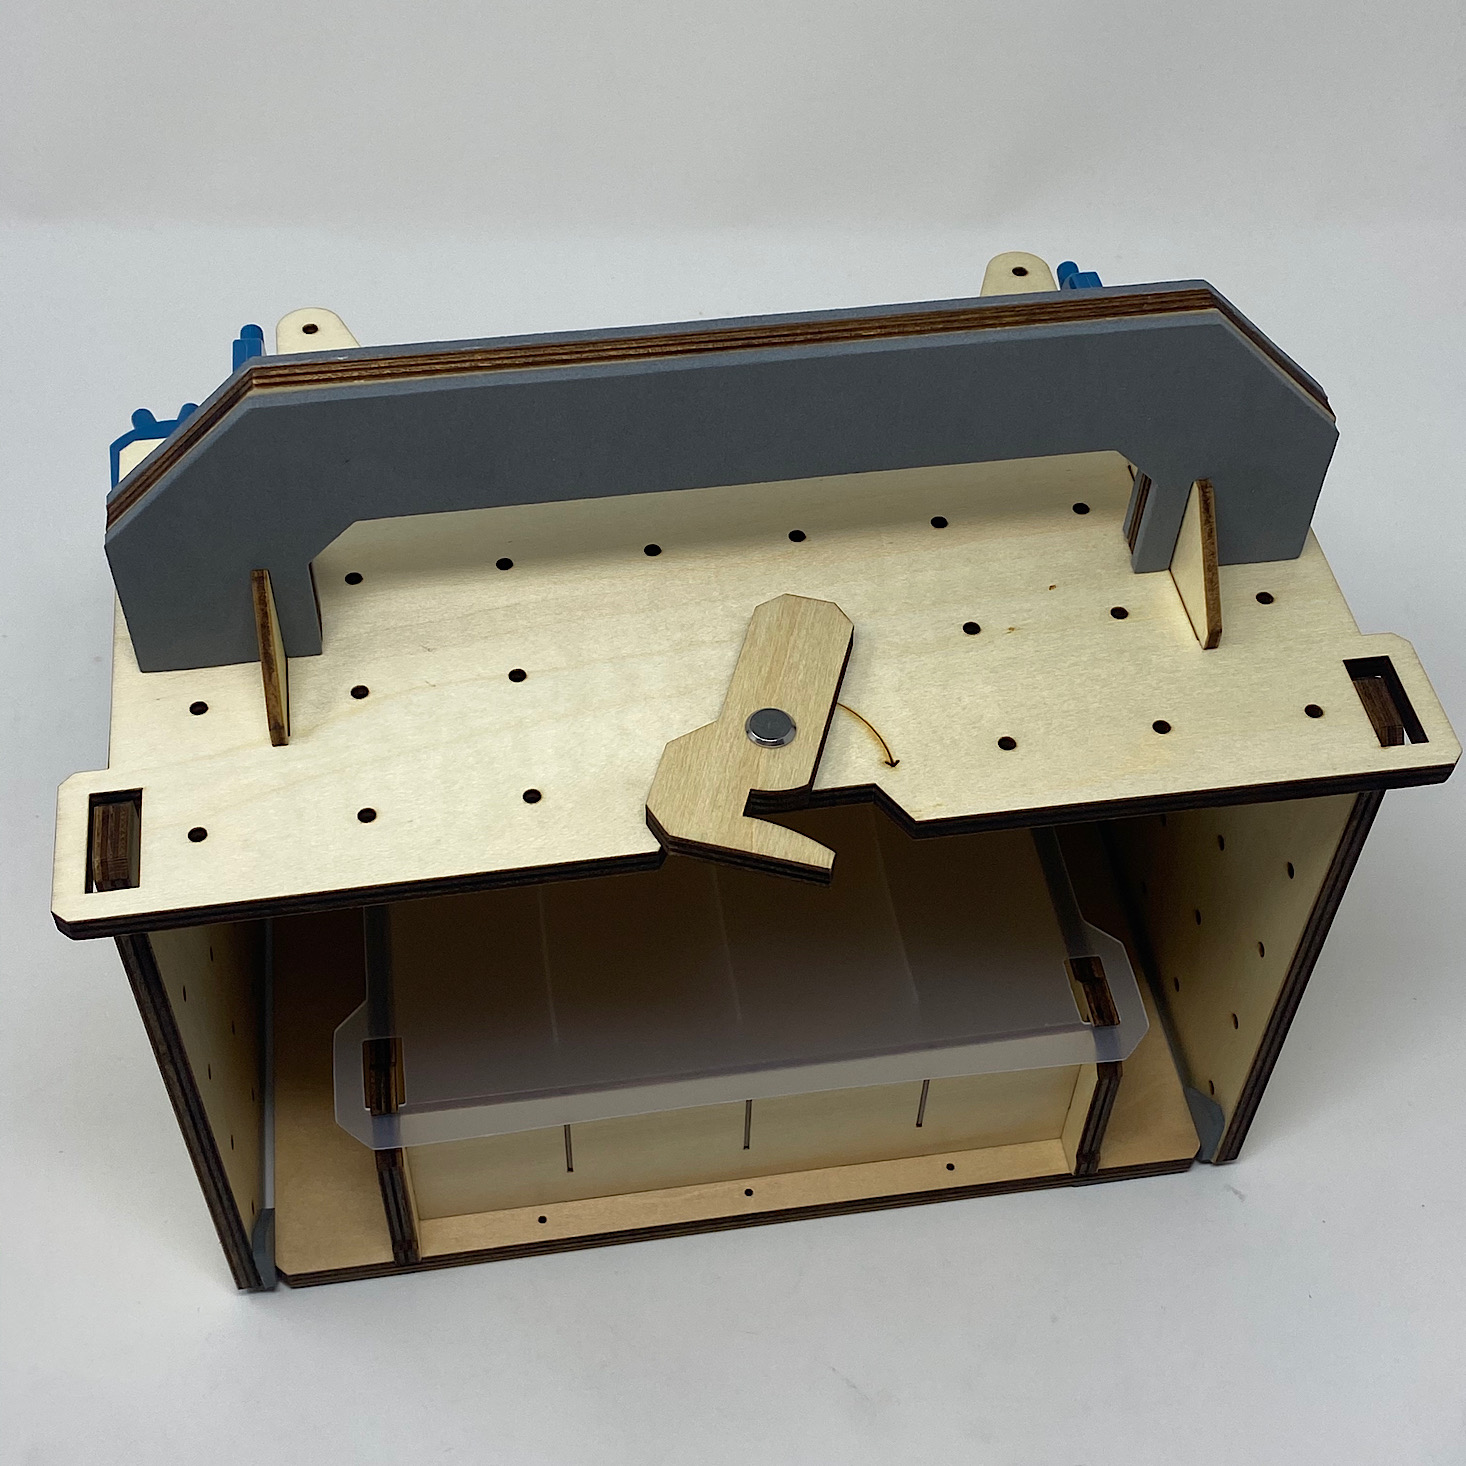
Here is my completed maker station! It's nice and compact and has a handle for easy carrying.


1 of 2
They gave us some great ideas about how to fill up our maker station.

They provided several elastic pieces that we could insert into the peg holes to hold tools in place.


1 of 2
I found a few tools and pieces I had in my work area from previous projects and was pleased to find that they all fit easily into my maker station. I love having somewhere to organize all of these now!
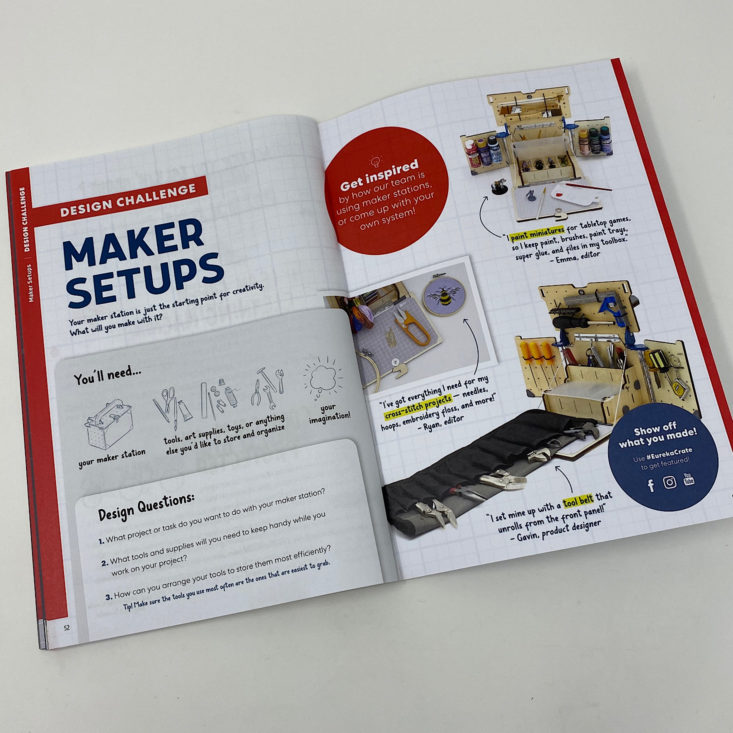
In our booklet, there is always a design challenge. This month they are challenging us to get creative with how we use our maker station.
Verdict: I didn't realize what a necessity this month's Eureka Crate project was until I started gathering all of my tools to put away! After completing so many projects and using so many little screwdrivers, screws, nuts, bolts, and other various pieces, I seem to have accumulated quite a few and this station is the perfect way to organize all of them. It's awesome that we were able to build it for ourselves and I think it's so cool that it opens and closes and really utilizes every bit of space. This was another great educational project that was well organized and included great easy to follow directions!
To Wrap Up:
Can you still get this box if you sign up today? It is possible you might get this crate, but it is not a guarantee. From KiwiCo:
Crates are assigned each month based on availability and your crate history - not all subscribers receive the same theme each month.
Check out all of our KiwiCo reviews and the best boxes for teens!
Keep Track of Your Subscriptions: Add this box to your subscription list or wishlist!
What do you think of Eureka Crate?

Please do not enter your email address in the Name field or in the comment content. Your email address will not be published. Required fields are marked *. Remember to post with kindness and respect. Comments with offensive language, cruelness to others, etc will not be approved. See our full comment policy here.