


The Crafter's Box is a monthly maker subscription box:
As a member of The Crafter's Box, we'll send a lovingly kitted box of tools and materials to your doorstep on a monthly basis. Each month we feature a new expert maker and that maker has built for us a unique, grown-up, on-trend project that reflects their artistic style. In addition to the monthly box, our featured maker has created an educational, digital workshop to teach their crafting medium and to offer their tips and tricks.
The best part of this model is the ability to revisit workshops in the future to create again and again. Happy making!
The Crafter's Box offers three different subscription models:
- Individual Membership: $65.00 per month for a kit of curated tools and materials + a new digital workshop by the featured maker
- Crafter's Night: $60.00 per person (minimum of 3 people necessary) per month for a group kit of the curated tools and materials sent to one host + individual video access for each person
- Video-Only Access: $20.00 per month for access to the digital workshop created by the featured maker (no tools or materials included)
This review is of the Individual Membership for $65.00 per month.
My Subscription Addiction paid for this box. (Check out the review process post to learn more about how we review boxes.)

About The Crafter's Box
The Subscription Box: The Crafter's Box
The Cost: $65.00 per month + free US shipping (other plans available from $20.00 per month)
The Products: A shipped kit of curated tools and materials + a new digital workshop by the featured maker of the month
Ships to: The US for free and internationally for varying rates
Good to Know: Membership enrollment is open between the 10th - 20th of each month. Subscriptions automatically renew on the 15th. Projects are designed to be for ages 18+.
The Crafter's Box June 2020 Review
The Crafter's Box seems to be what my crafting subscription box dreams are made of! Each month they feature a different, unique craft that is designed with the crafty adult in mind. The items you get to create are thoughtfully curated and created with high-end materials so that your finished products are modern and luxe.
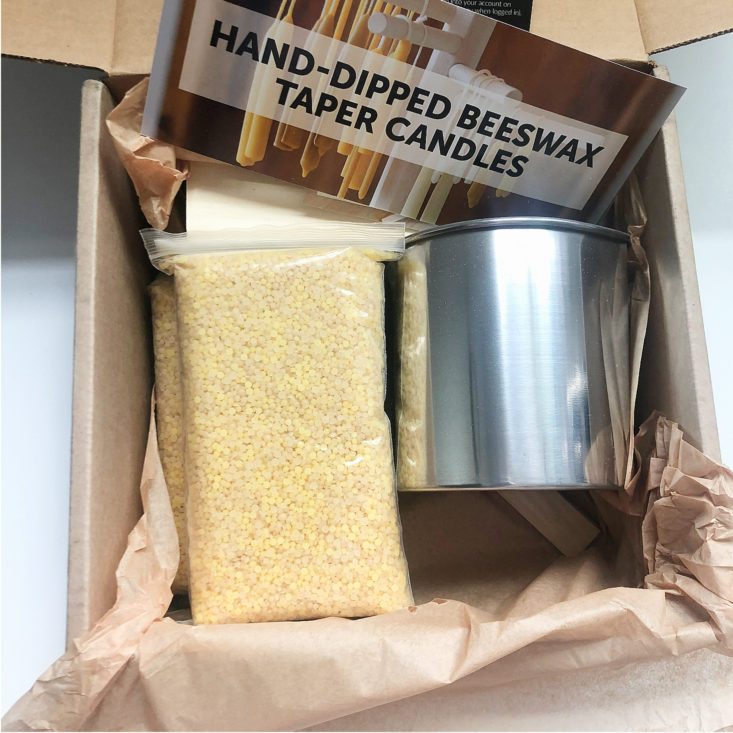
Let's take a look inside June's box - the craft this month is Hand-Dipped Beeswax Taper Candles!


1 of 4


We have two informational cards showing what we received in our box this month. The first one has some information on the featured maker this month, Liz Wagner. Liz is the Creative Director of The Crafter's Box, so I was really excited to learn from her! We also have a card listing all of the supplies included in the kit, and showing examples of finished taper candles
Now, onto the items!

Beeswax Pellets
We received two fairly large bags of beeswax pellets for making our candles - each bag is 1 lb, so we received a total of 2 lbs of beeswax. While beeswax can be bought in many different colors, we are going to be creating with a natural golden-yellow wax.


1 of 4

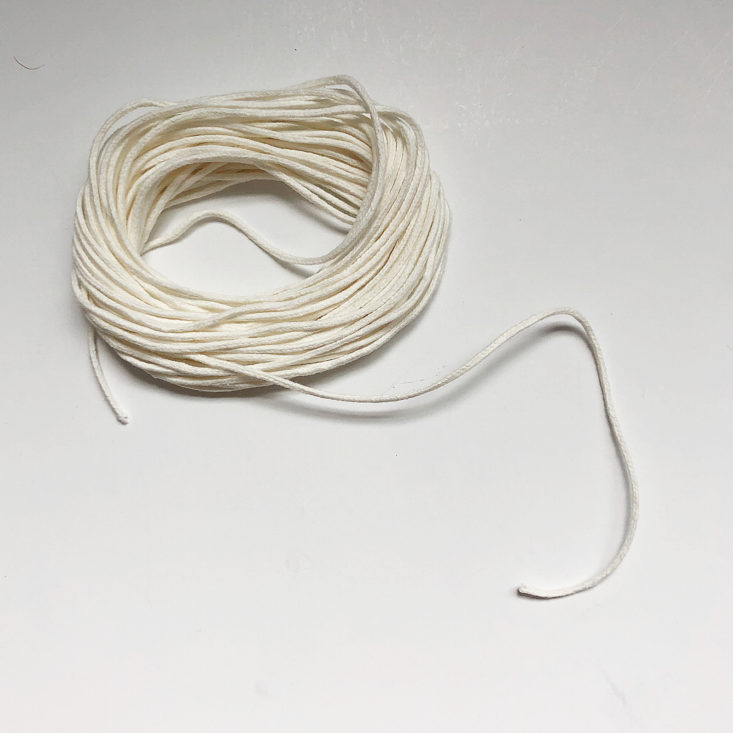
Cotton Wicking
I learned in the video tutorial for this box that choosing the right type of wick for your candles is very important. This size 2 cotton wicking was chosen specially for our projects because as the wick burns, the braided structure draws up wax from all around it.
1 of 2
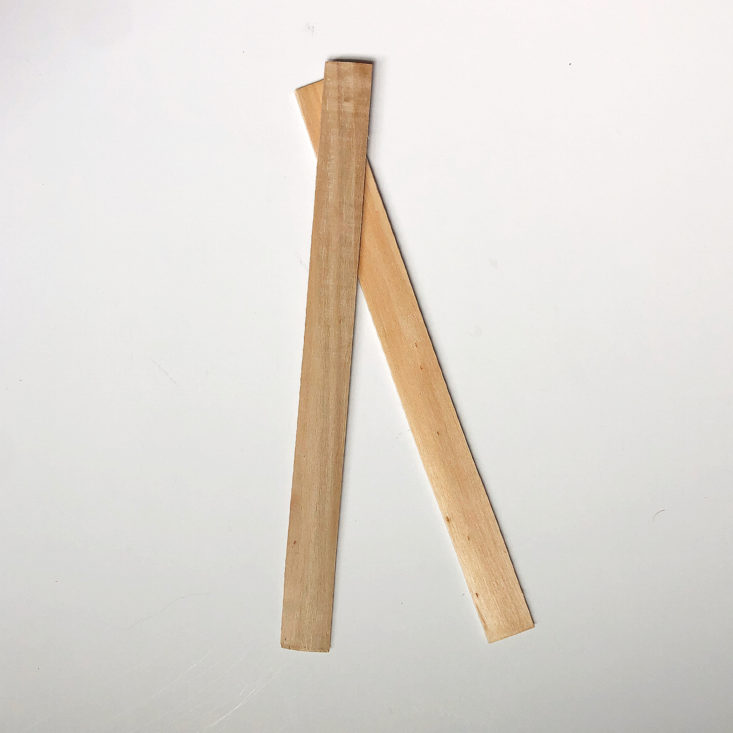
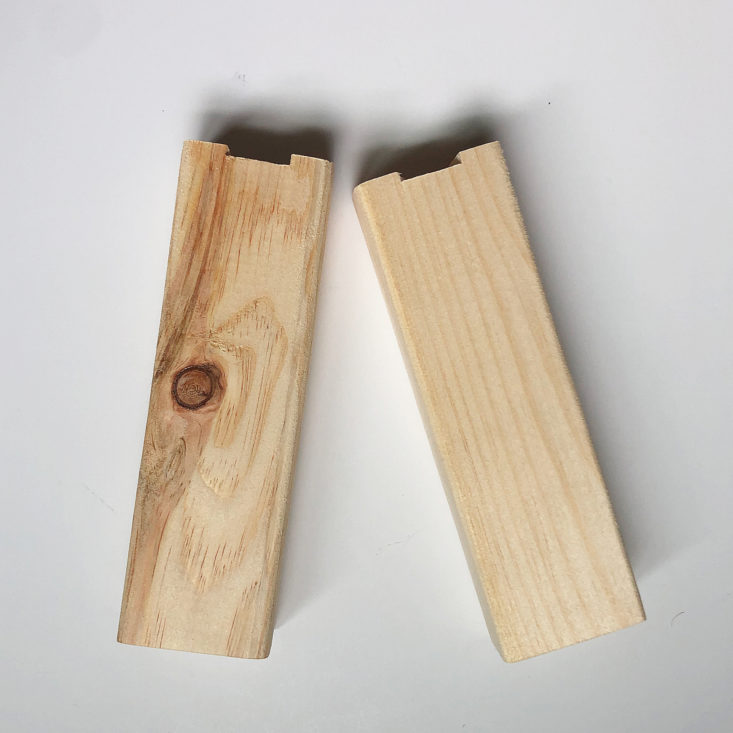
Wooden Frame and Slats
We also received two wooden frame posts and two smaller slats to make a drying rack and to stir our melting wax.


1 of 2
Melting Pot
This metal melting pot has a handle to hook over the side of your kitchen pot while you melt the wax. It's designed to work similarly to a double boiler, with the wax getting heated up by the hot water in the first pot. The handle definitely got hot while it was on the stove, so I recommend having a pot holder or oven mitt handy when you're doing this project!


1 of 2
Plexiglass Sheets
We also received two sheets of plexiglass to use in smoothing and rolling out our candles. They came with two sheets of protective plastic on either side.
Parchment Paper
I say this every month, but oh how I love that The Crafter's Box includes absolutely everything you need to complete the craft! I love that they even included something like parchment paper to protect your workspace. I ended up wanting to make extra sure that my area was covered and protected from any dripping wax, so I supplemented with some extra parchment paper from my pantry.

Here's what my setup looked like! I set out a trivet for my hot wax pot, and cut my wicks into about 9" lengths.

1 of 5


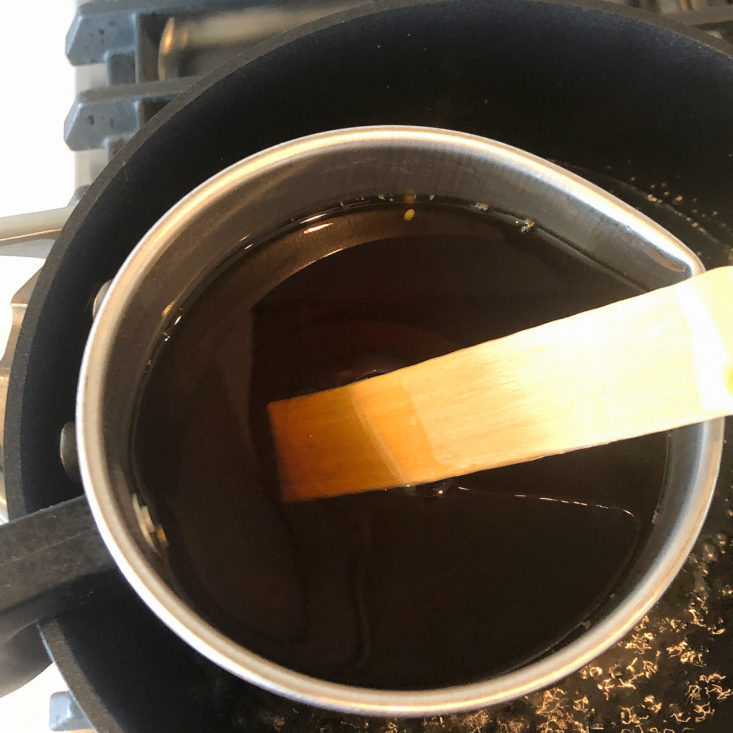
The first step is to get the wax melted! This is the double boiler-type setup I was talking about earlier. It was a little tricky to get situated, because the wax pot kept wanting to tip over in the floating water, which meant that little wax droplets went flying all over the stovetop and into the water in the kitchen pot. Cleaning up both the stovetop and my regular kitchen pot was NOT an easy task because of this, but I'm not quite sure what I could have done differently to prevent the wax from getting everywhere.
Melting all 2 lbs of the wax down took over an hour, so make sure you have plenty of time and patience while doing this step! It did take all of the wax provided in the box to fill the melting pot up to the top (it melted down to a smaller amount than the solid wax was).


1 of 5


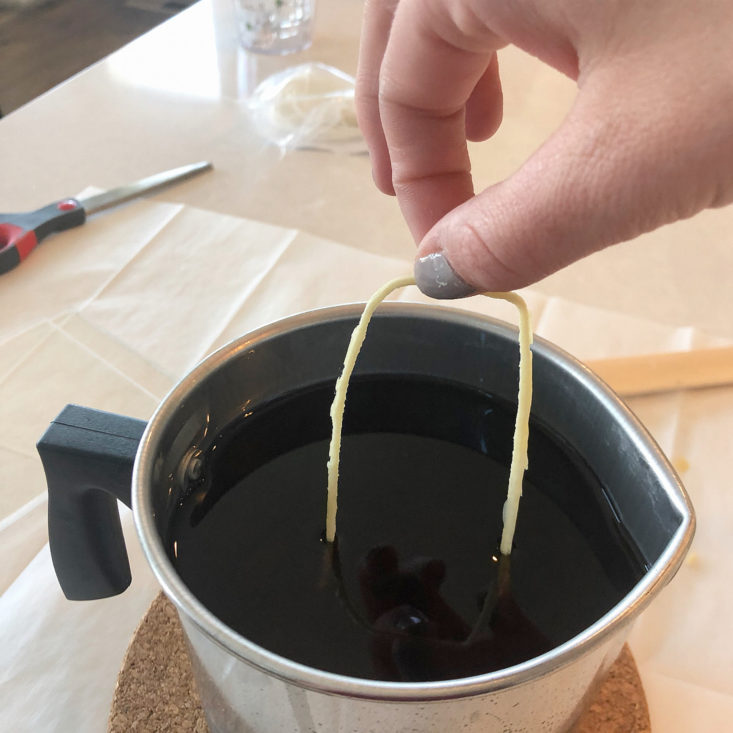
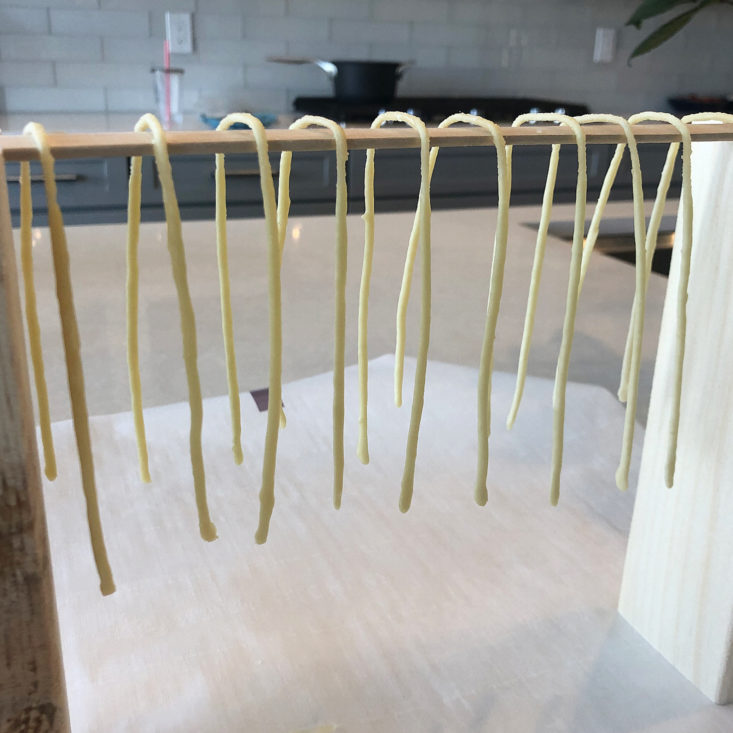
After the wax was completely melted, I brought the pot over to my work station and prepared the wicks by soaking them in the hot wax. I learned in the video tutorials to let the wicks soak until no air bubbles came up from the wax - at this point the wax would be completely saturated through the wick. I then let the wicks dry on the parchment paper, and then bent them into a long U shape over the drying rack.

1 of 5


Next, we began the fun part - the dipping! The motion of dipping again and again was super fun. I was surprised at how fast the wax built up on the wicks, too!


1 of 5

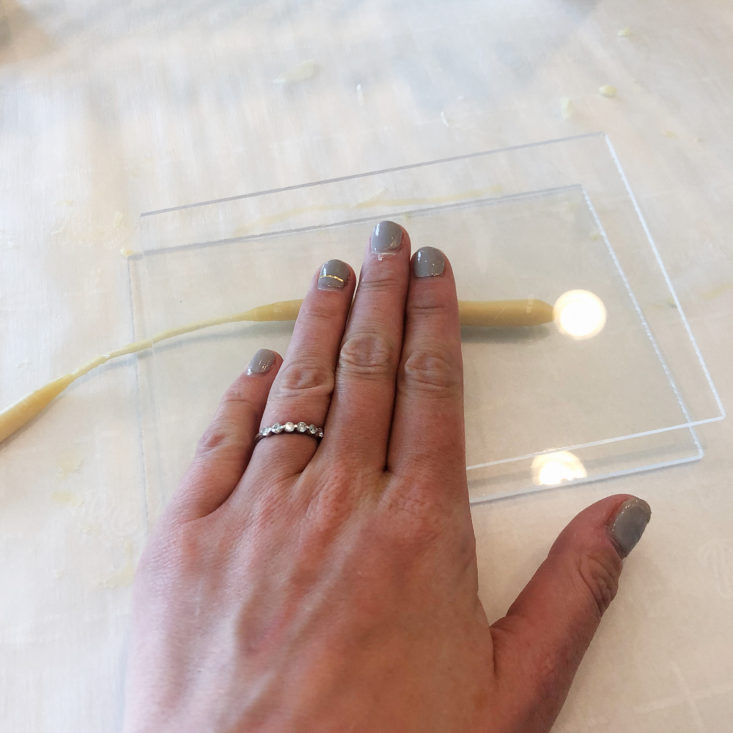

After about five dipping cycles, Liz recommended that you use the plexiglass sheets to roll the candles into a smoother shape, if you want a more sleek looking final candle. Although I liked the handmade look of the candles just after dipping, I really liked the smoother appearance you get after rolling them.

1 of 6


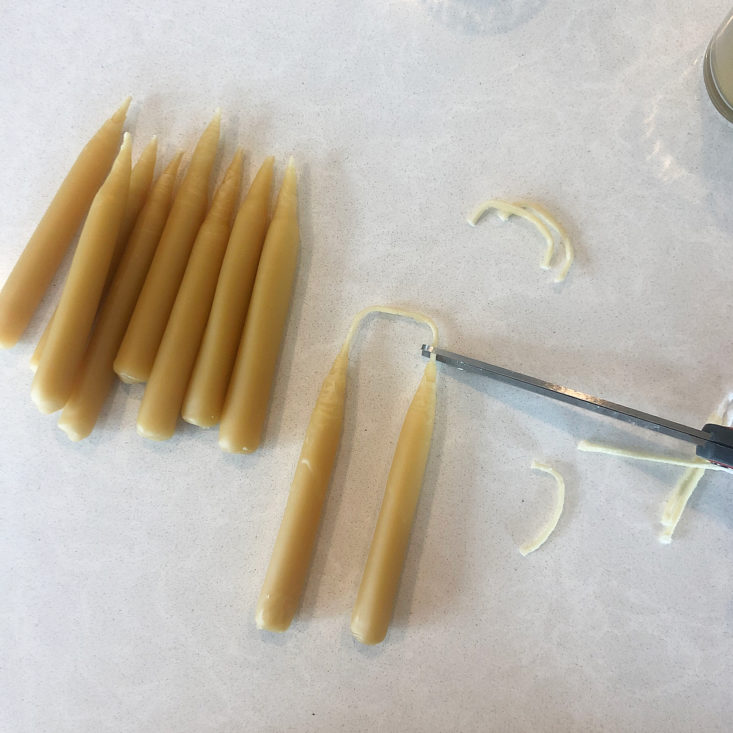
I then continued to dip the candles for another 5 rounds to thicken them up. The ends had a rounded and drip-like appearance, and Liz had taught us that we could use a sharp kitchen knife to cut the ends off to make them flat on the bottom. I did this on all of my candles and then did one final dip in the wax to smooth the blunted end.
You can see on one of the candles that I tried to roll it smooth between the plexiglass before the wax had cooled down enough, which left the surface super bumpy and uneven. I tried to save it the appearance of this candle by rolling it a little bit later and re-dipping it, but it was a lost cause at that point. But oh well, the rest of my candles look good!
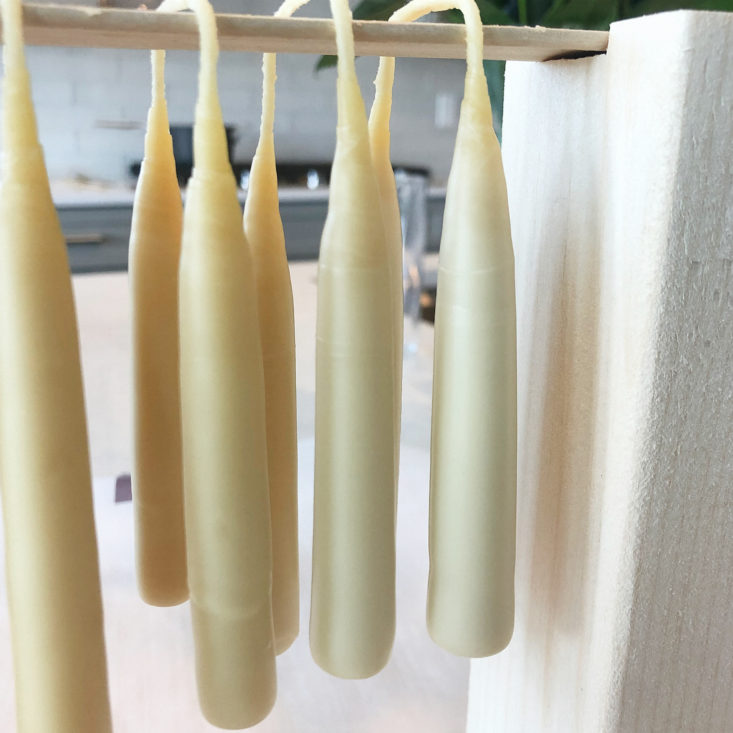
As you dip each layer, the level of the melted wax gets lower, which results in each new layer not reaching quite as high on the wick. This gives the candles a natural tapered shape.
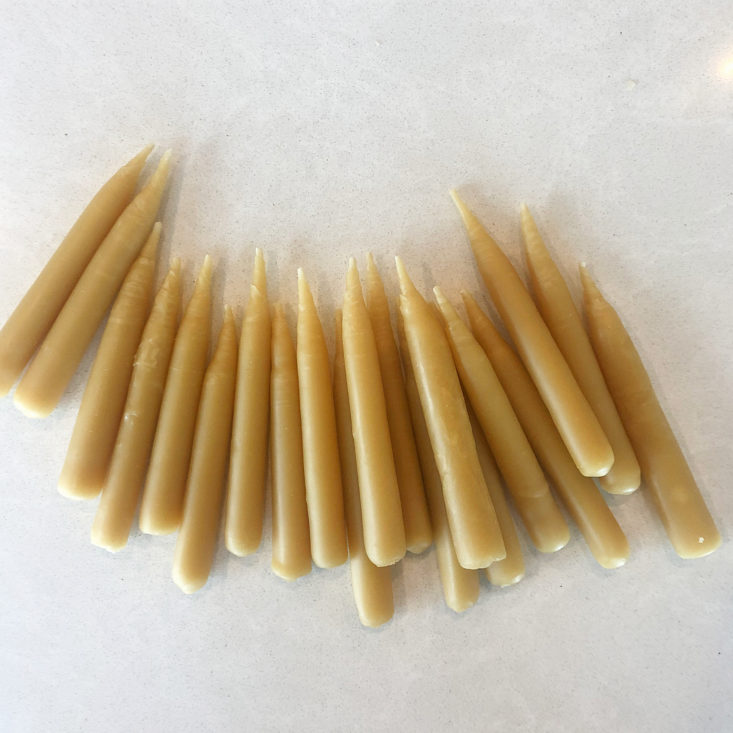
After letting the candles sit and dry for several hours, I then trimmed the wicks to separate each pair.


1 of 4


I had a lot of wax left over after dipping 20 candles, and I wanted to try something different. I had some empty glass votive candle holders, so I poured the molten wax into them and used clothespins to steady wicks while the wax dried. I think these are super cute and so easy to make!

1 of 4


Here are my finished candles! I love the golden yellow color - it looks like warm honey, and it's so summery. I'm not sure what I'll do with my taper candles, as I'll have to find a candle holder or candelabra to hold them while they burn. I love the tea light candles that I made, and am looking forward to lighting those!
Verdict: The Crafter's Box is usually my favorite box I get each month, and this box was no exception. I've never thought about making my own candles like this, and it was such a fun craft to do once I got into it! I felt like I was transported back 200 years as I was dipping my candles, and it was so neat to try such a time-honored craft. I am looking forward to experimenting more with the rest of my beeswax - maybe adding in some essential oils or food coloring to make different types of candles! The presentation is lovely, and I thought it was great how the box includes absolutely everything you need to do the project. I like that The Crafter's Box showcases more unique types of crafts than a lot of other craft subscription boxes, and I love that I was able to experiment with a new craft to me. I also really appreciate the modern, upscale vibe that I get from this box - it feels like I'm making and creating for a purpose, rather than just crafting to craft.
For $65.00, we received tools and supplies to make several beeswax candles. The box has a very careful curation and extremely well-made video tutorial content. The video tutorial was one of the best I've watched, and I really enjoyed learning tips and tricks on how to get the best final products.
To Wrap Up:
Can you still get this box if you sign up today? No, you will receive the August 2020 box (if you sign up between July 10th - 20th).
Check out our other reviews of The Crafter's Box and the top-rated craft subscription boxes!
Keep Track of Your Subscriptions: Add this box to your subscription list or wishlist!
What did you think of The Crafter's Box for June 2020? Let us know in the comments!

Please do not enter your email address in the Name field or in the comment content. Your email address will not be published. Required fields are marked *. Remember to post with kindness and respect. Comments with offensive language, cruelness to others, etc will not be approved. See our full comment policy here.