


The Crafter's Box is a monthly maker subscription box:
As a member of The Crafter's Box, we'll send a lovingly kitted box of tools and materials to your doorstep on a monthly basis. Each month we feature a new expert maker and that maker has built for us a unique, grown-up, on-trend project that reflects their artistic style. In addition to the monthly box, our featured maker has created an educational, digital workshop to teach their crafting medium and to offer their tips and tricks.
The best part of this model is the ability to revisit workshops in the future to create again and again. Happy making!
The Crafter's Box offers three different subscription models:
- Individual Membership: $65.00 per month for a kit of curated tools and materials + a new digital workshop by the featured maker
- Crafter's Night: $60.00 per person (minimum of 3 people necessary) per month for a group kit of the curated tools and materials sent to one host + individual video access for each person
- Video-Only Access: $20.00 per month for access to the digital workshop created by the featured maker (no tools or materials included)
This review is of the Individual Membership for $65.00 per month.
My Subscription Addiction paid for this box. (Check out the review process post to learn more about how we review boxes.)

About The Crafter's Box
The Subscription Box: The Crafter's Box
The Cost: $65.00 per month + free US shipping (other plans available from $20.00 per month)
The Products: A shipped kit of curated tools and materials + a new digital workshop by the featured maker of the month
Ships to: The US for free and internationally for varying rates
Good to Know: Membership enrollment is open between the 10th - 20th of each month. Subscriptions automatically renew on the 15th. Projects are designed to be for ages 18+.
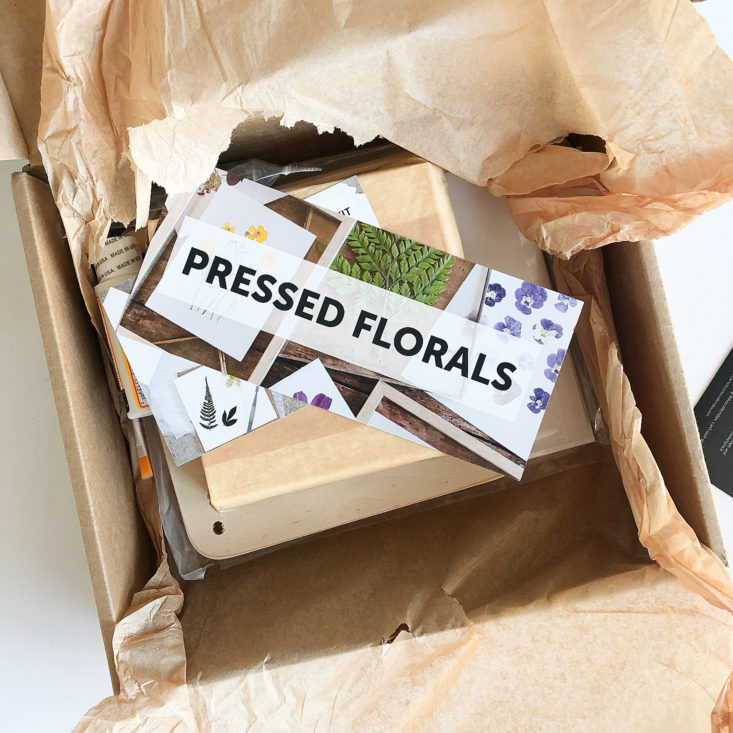
The Crafter's Box April 2020 Review
The Crafter's Box seems to be what my crafting subscription box dreams are made of! Each month they feature a different, unique craft that is designed with the crafty adult in mind. The items you get to create are thoughtfully curated and created with high-end materials so that your finished products are modern and luxe.
Let's take a look inside April's box - the craft this month is Pressed Florals!

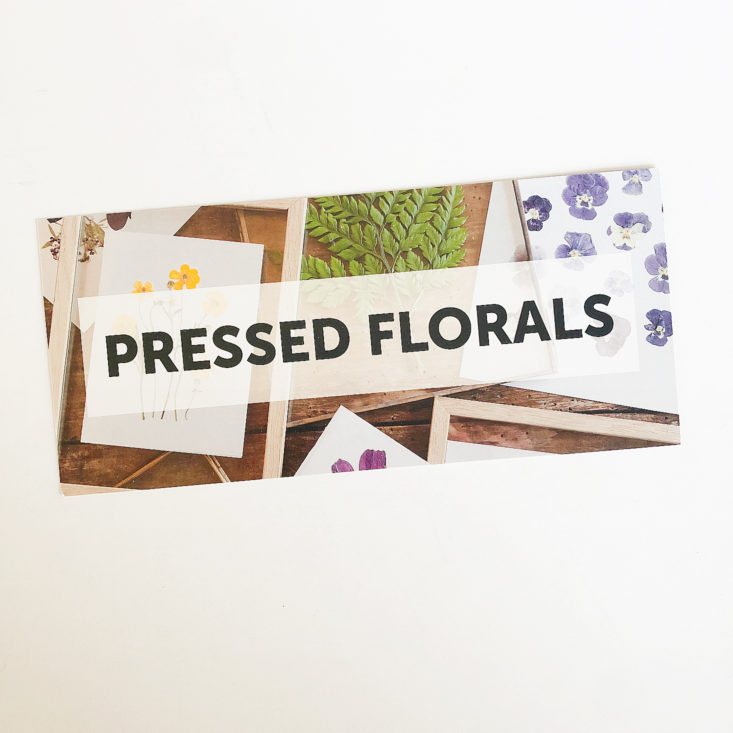
1 of 4


We have two informational cards showing what we received in our box this month. The first one has some information on the featured maker this month, Karly Murphy of KMPressed. We also have a card listing all of the supplies included in the kit, and showing examples of a few finished pressed floral artworks.
Now, onto the items!


1 of 2
Wooden Flower Press
The star of this box is the wooden flower press, which came as the wooden base and top pieces, along with the metal screws, washers, and wingnuts used to secure the press. The wood boards are smooth and fairly lightweight, but still feel solid and dense - they feel like they were very well-made and will be great for pressing.

Cardboard and Pressing Paper
There are also eight pieces of square cardboard and 16 pieces of thick cardstock paper to use inside of the press. In the video tutorials that go along with the box, Karly shows us how to layer these pieces in order to press the flowers.

1 of 2
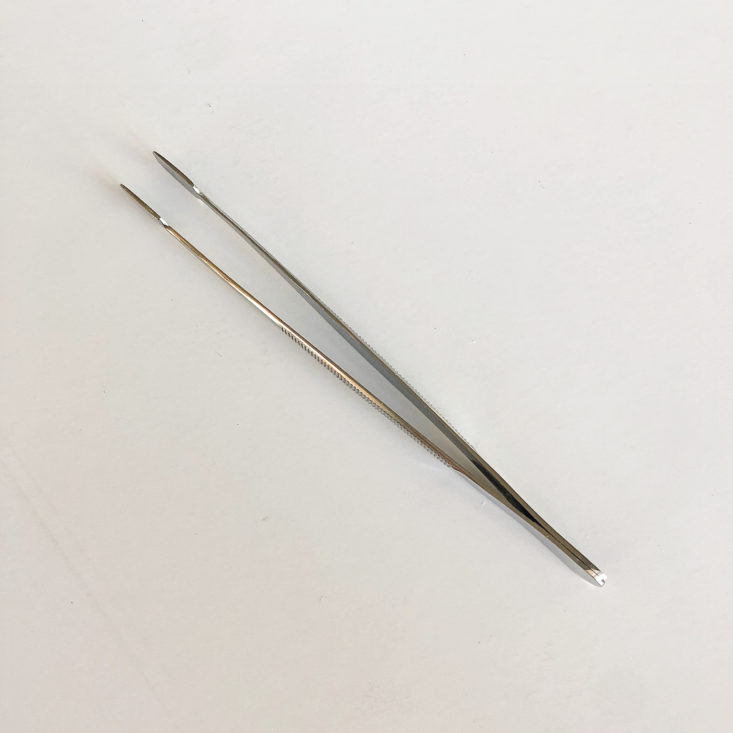
Blunted Edge Tweezers
The next item is a pair of blunt-edge tweezers, which we can use to handle the delicate flowers. According to the video, these are most important for after your flowers have been pressed, since if you use your fingers to move them, the petals and leaves can easily tear.


1 of 2
Cardstock, Card, and Envelope Set
The finished objects of this craft are pressed floral artworks, so we needed something to use to create our art! We received two 8" x 10" thick cardstock pages to use for wall art, and also a set of blank cards and envelopes to decorate.

Wax Paper
We also received two pieces of wax paper, to use in transferring the pressed flowers from the press to our artwork. I always love that The Crafter's Box includes just about everything you could ever possibly need to create the craft of the month - even when it's something that you very likely already have in your house, like wax paper!

Mod Podge and Brush
We also received a small container of Mod Podge glue, along with a flat bristled paintbrush, so that we can affix our flowers to the cardstock. In the video, Karly goes into detail on how to glue the flowers down on different types of materials in order to achieve the best results - for example, when gluing to paper, you want to make sure you cover the entire surface area of the flower, but when gluing to glass, you want to just use a tiny dot of glue in the center of the flower.


1 of 2
Wildflower Seeds
The final item in our box is a packet of wildflower seeds. The idea here is that you could grow the flowers for your pressed floral art, which is a really nice idea! It would have been impossible for the box to send us fresh flowers to use, so I like that they did try to send us some sort of flowers to use in our project. However, I didn't have the time to wait for these to grow!
Now, let's get pressing!

I started by assembling the base of the flower press. It was pretty easy - just slide the long screws into the holes of the base.

Next, I assembled the flowers and leaves I was going to press. In the video, Karly shows several examples of the types of flowers that press easier and which types of flowers to avoid. She strongly suggests that you should use wildflowers or garden-grown flowers for pressing, as the shapes of those sorts of flowers (petunias, daisies, etc) lend themselves to being flattened better. She said that most flowers you get in a bouquet are not ideal, however, I was pretty limited on what I could find to use for this review! I live in Colorado, and in early April we have no wildflowers whatsoever - everything is brown and dead, or still covered in snow. Also, due to the present conditions in the stores, the selection of bouquets was extremely limited - this is all I could really find! However, we are going to make the most of it and see what I can get out of these flowers and leaves.


1 of 5


I then assembled my first layer of flowers to press, by putting down cardboard - paper - flowers - paper - cardboard. I think that these tiny purple flowers will press out pretty nicely! Some tips I learned in the video tutorials is that smaller pieces of flowers press out better, so its best to pluck individual clusters off of the main stem when pressing.


1 of 6


I then repeated the sandwich process for each layer of flowers. Another thing I learned in the videos is to press like with like in each layer - you wouldn't want to put a thicker flower down on the same sheet of paper as a thin leaf, as the thin leaf wouldn't be pressed down enough with something blocking its way. For large flowers like roses, Karly recommended pressing each petal individually, so I pulled the petals off of one of the large white roses. I'm hoping I can reconstruct a rose-like final design once these are dry!
For the smaller roses, I am unsure if they will press out neatly, but I wanted to try since they were the only flower I had available to try this with. The problem with pressing thicker flowers is the potential for them to mold inside of the press, but I'm hopeful that since I live in a very dry climate, I might get away with these tiny roses being okay. We will see!


1 of 3

Once all the layers were complete, I placed the top wooden board onto the press and screwed it into place with the wingnuts. Now we get to play the waiting game - I have to let my flowers dry inside the press for a minimum of 2-3 weeks before I can remove them and make my finished art!
**
Welcome back! It's been about 3 weeks, and my flowers are now dry and ready to create with.


1 of 4


Upon opening the flower press, I gently removed the flowers and leaves off of the cardstock, using the blunted tweezers provided. I was really impressed with how well the small roses did - they dried pretty well, considering that they were much thicker than some of the other petals and leaves I pressed.

Here are all the flowers, petals, and leaves after they were removed from the press. Some of the petals turned out a little funky with folds or brown spots, so I threw those away.


1 of 2
In the tutorial video, it's recommended that you arrange the layout of your finished artwork before starting to glue anything down. I did a rough layout of some of the pieces, but it was difficult to keep everything in place and also to keep nothing from breaking or crumbling. I decided to stop piecing together a layout and start gluing things down. Isn't making art all about creativity and winging it sometimes?

1 of 9


Here you can see some of the process of gluing down the flowers. I found that some flowers and leaves glued down so much easier than others - you can see that the bunches of small green leaves ended up getting a lot of clumps of glue on them, and they didn't want to stick to the paper very well. The petals glued down nicely, but they were so thin and fragile that it was really easy to rip them, as you can see pictured above.
I tried to mimic the layering idea that is shown in the tutorials and examples, but it turned out to be a lot harder to do than I thought! The flowers and leaves really didn't want to stick to each other at all, and I could only really glue them down to the paper. I ended up using the Mod Podge glue to paste the leaves and flowers down a bit once I had them where I wanted them on the paper, which I know was sort of against the rules of this craft - you aren't supposed to have any glue on the top of your flowers. However, I'm not sure how else I could have gotten some of these pieces to stick otherwise.
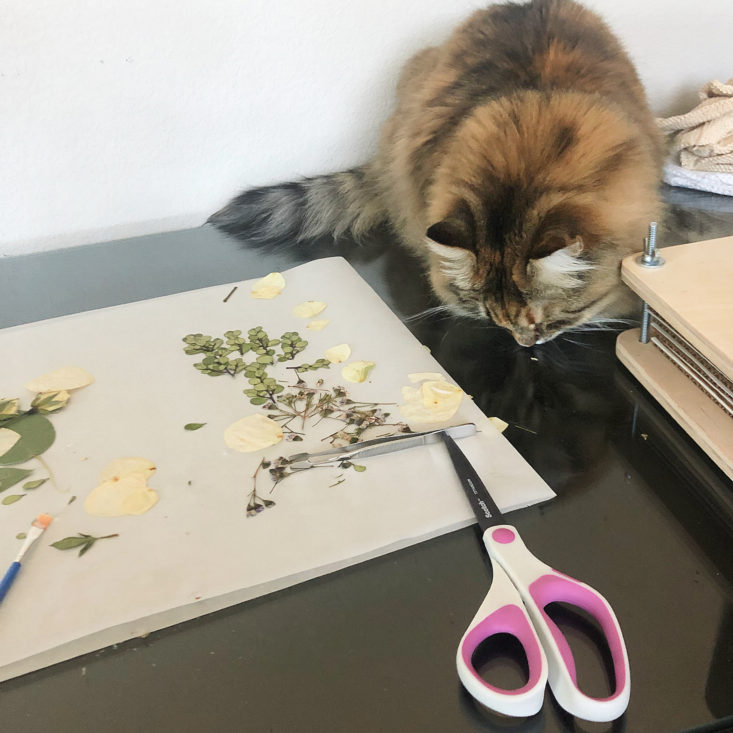
The whole process was also made more difficult by the fact that I had a furry helper while I was assembling this! My cat kept trying to eat my flower petals and dip her tail in my glue!


1 of 4


Here's my finished piece! I was most excited about the small purple flowers when I started the drying process, but they did not press well at all. They didn't retain much of their purple color, and they were so tiny and fragile that most of them crumbled as soon as I tried to lift them up. I was disappointed that I couldn't include more of them in my final artwork!
Overall, I'm happy with how my artwork turned out, but it's not my favorite thing I have ever made. I'm looking forward to trying this technique out with wildflowers once they start blooming!
Verdict: The Crafter's Box is usually my favorite box I get each month, but this month I have to admit that I was a little bit disappointed in the craft. While having the ability to press special flowers is great, I didn't feel like there was a lot of craftiness that I got to use with this craft this month. I got to use a lot of creativity when laying out my flowers, but so much of what you create depends on the luck of how your flowers end up pressing out. The presentation is lovely, and I thought it was great how the box includes absolutely everything you need to do the project. I like that The Crafter's Box showcases more unique types of crafts than a lot of other craft subscription boxes, and I love that I was able to experiment with a new craft to me. I also really appreciate the modern, upscale vibe that I get from this box - it feels like I'm making and creating for a purpose, rather than just crafting to craft.
For $65.00, we received a wooden flower press and supplies to make a few pieces of artwork. The box has a very careful curation and extremely well-made video tutorial content. Usually, I feel that the value of the contents in these boxes is well worth the price of the box, but for this month it did feel like we didn't receive as much value as we typically do. However, the video tutorials were one of the best I've watched, and I really enjoyed learning tips and tricks on how to get the best final product.
To Wrap Up:
Can you still get this box if you sign up today? No, you will receive the July 2020 box (if you sign up between June 10th - 20th).
Check out our other reviews of The Crafter's Box and the top-rated craft subscription boxes!
Keep Track of Your Subscriptions: Add this box to your subscription list or wishlist!
What did you think of The Crafter's Box for April 2020? Let us know in the comments!

Please do not enter your email address in the Name field or in the comment content. Your email address will not be published. Required fields are marked *. Remember to post with kindness and respect. Comments with offensive language, cruelness to others, etc will not be approved. See our full comment policy here.