


Eureka Crate (from parent company KiwiCo) is a subscription box for teens and adults ages 14-104. It arrives every month with all the materials and instructions needed to create a functional, lasting object with a focus on engineering. The goal of these projects is to use science and math to solve real-world problems while inspiring the recipients to become creative innovators.

KiwiCo offers boxes for a variety of different age groups:
- Panda Crate for 0-24-month-olds,
- Koala Crate for 2-4-year-olds,
- Kiwi Crate for 5-8-year-olds,
- Atlas Crate for 6-11-year-olds,
- Doodle Crate and Tinker Crate for 9-16+-year-olds,
- Eureka Crate and Maker Crate for ages 14 and up. There really is something for every age with this company.
This review is of the $29.95 a month Eureka Crate, for 14-year-olds and up.
This box was sent to us at no cost for review. (Check out the review process post to learn more about how we review boxes).

About Eureka Crate
The Subscription Box: Eureka Crate
The Cost: $29.95 per month + free shipping. Save with longer subscriptions.
The Products: Detailed instructions and all of the high-quality materials needed to create a unique, lasting, and functional engineering project as well as a Maker's Guide that explains the science and technology behind it.
Ships to: The U.S. for free, Canada for $3.95 per month, and worldwide from $4.95-$6.95.
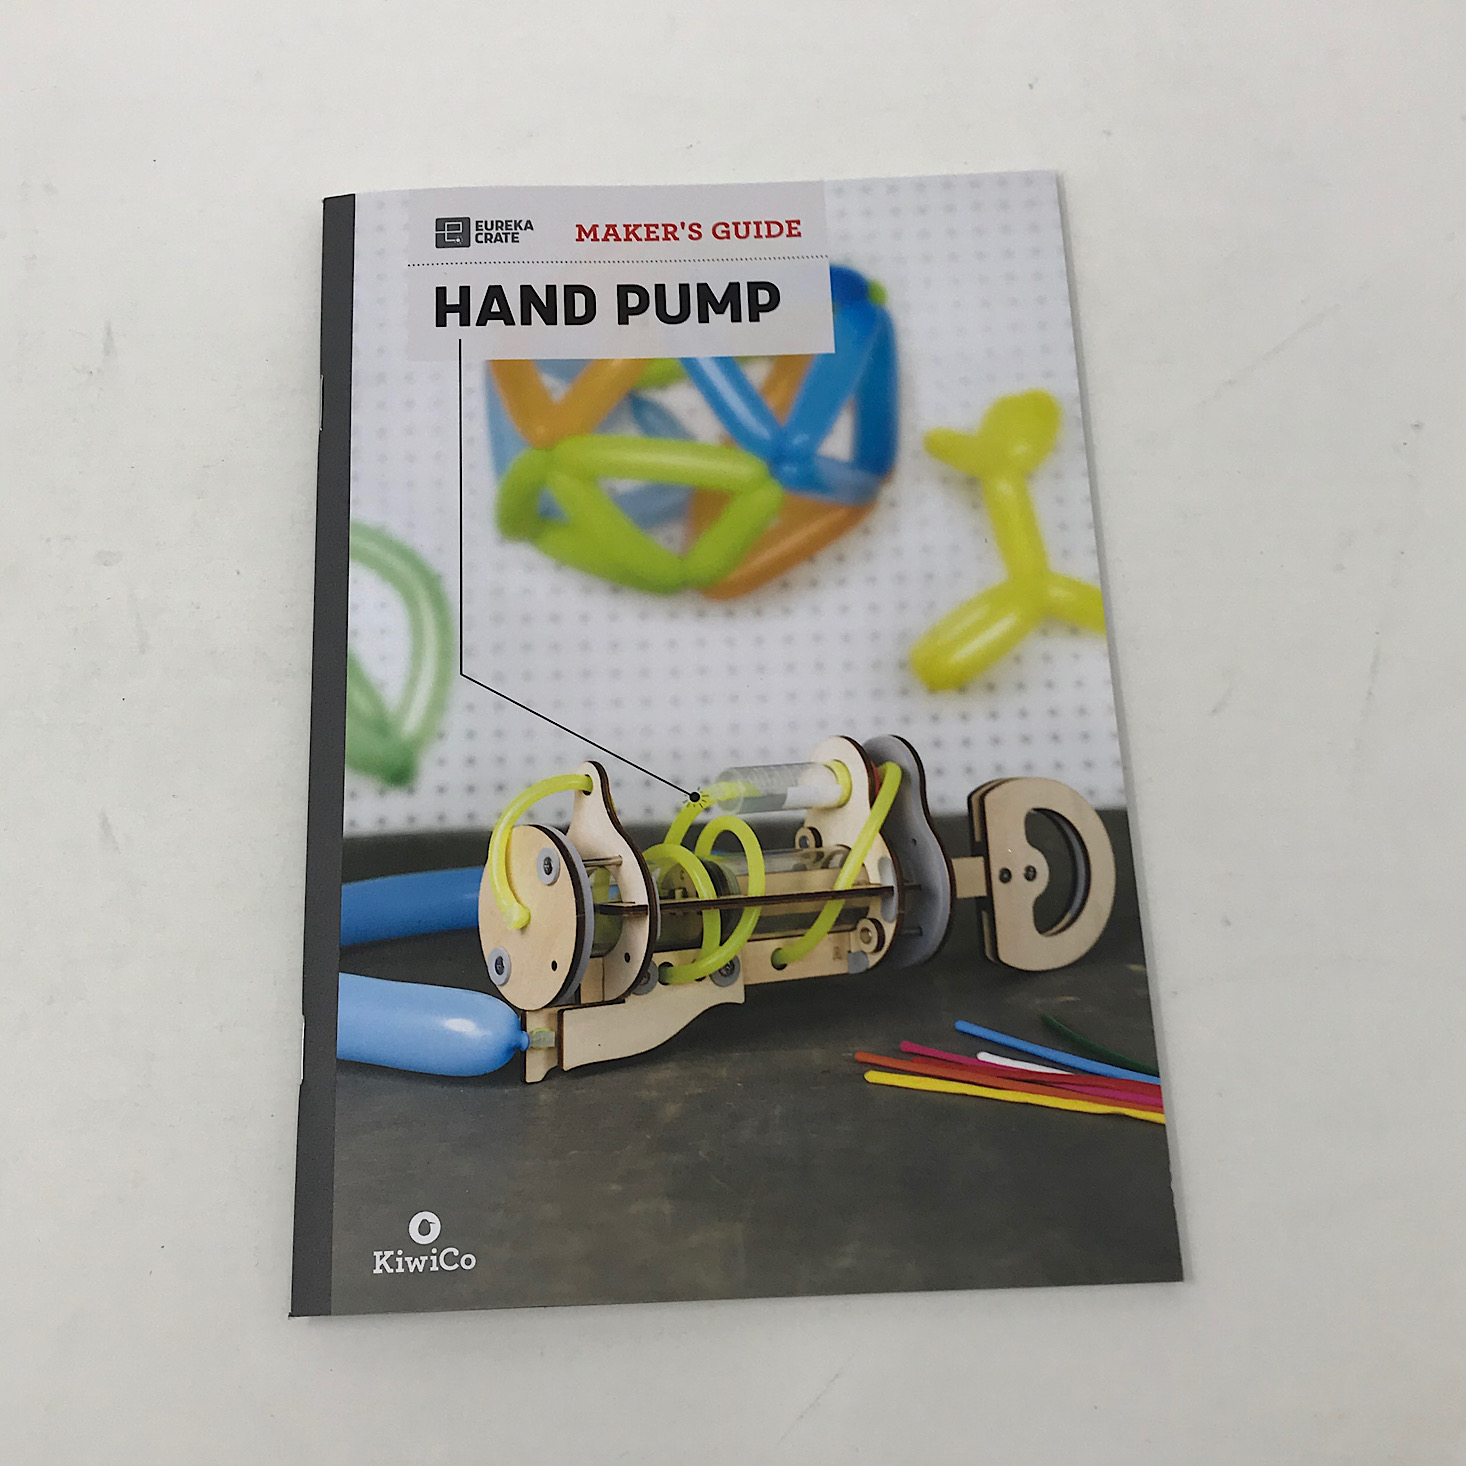
KiwiCo Eureka Crate "Hand Pump" Review - February 2020

1 of 9
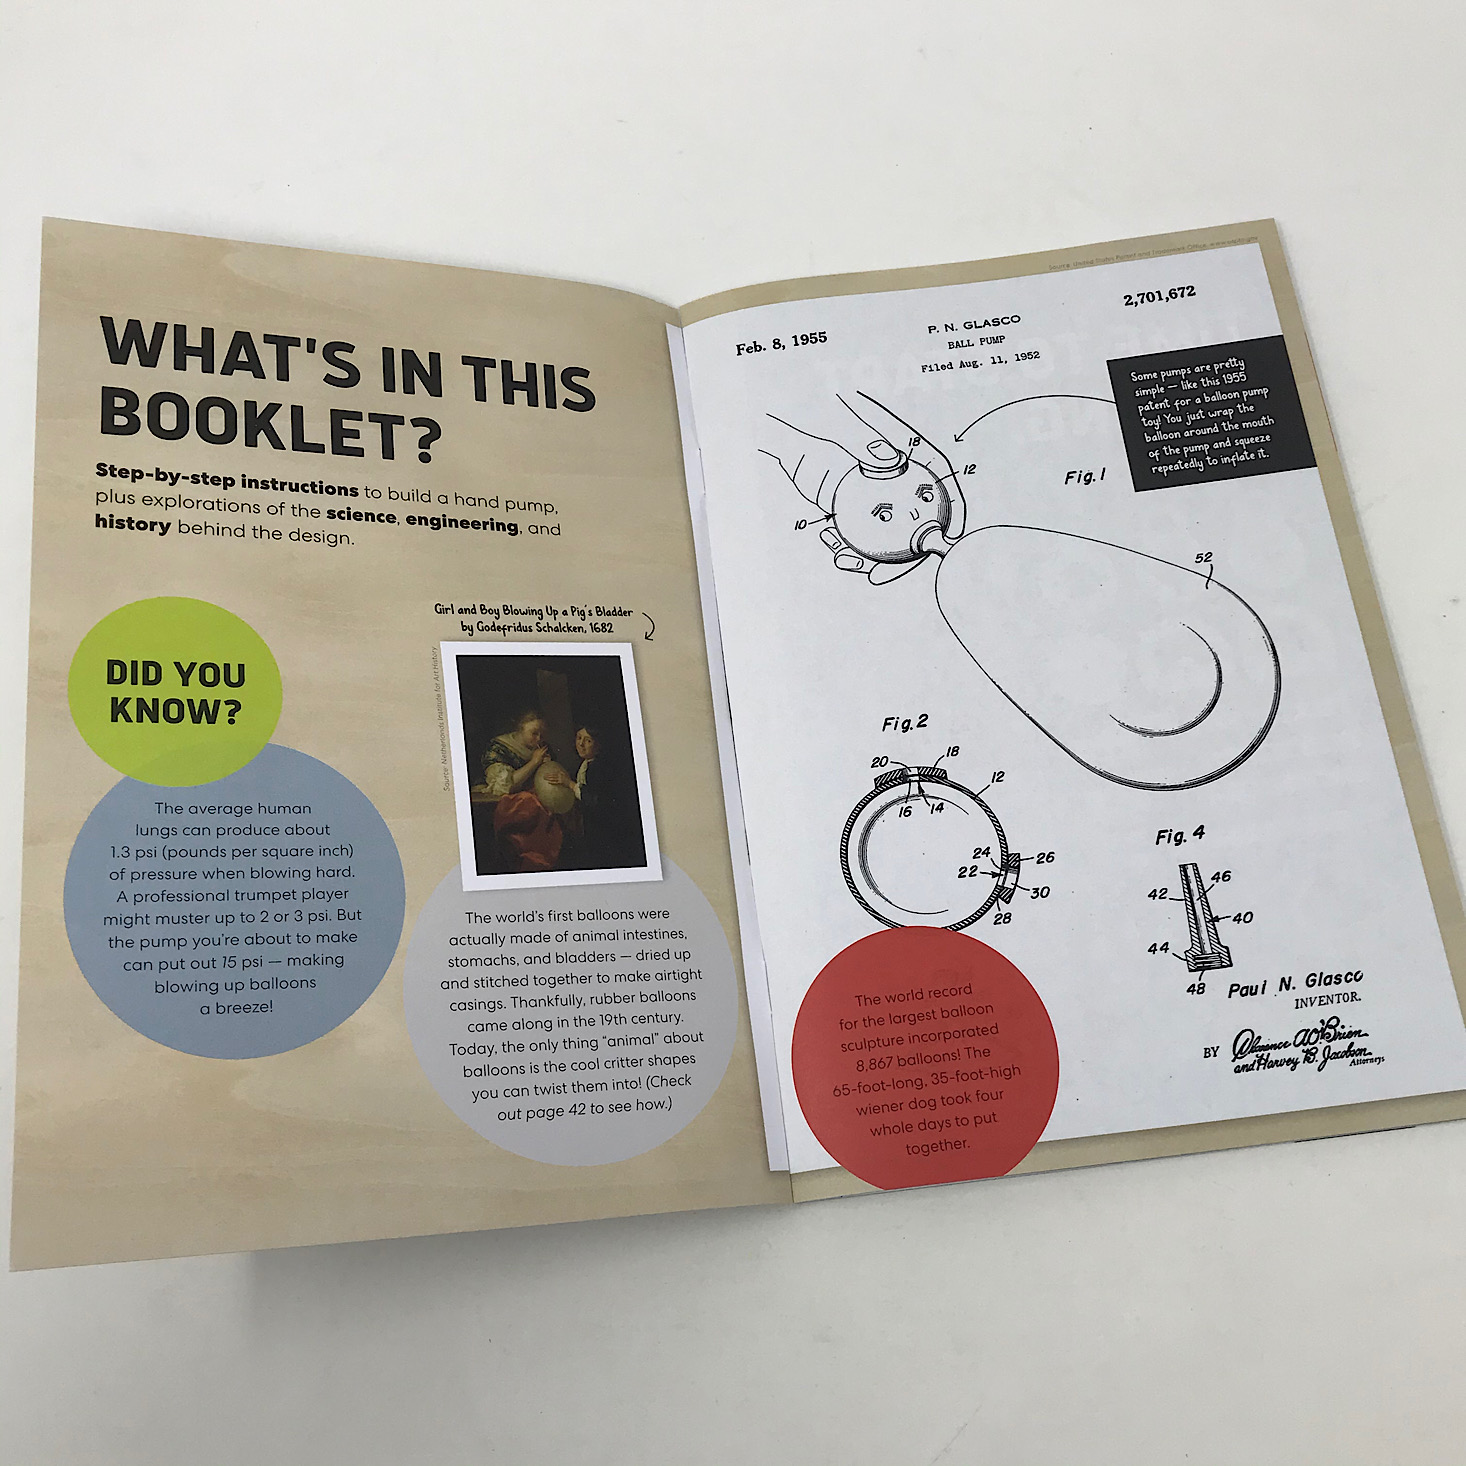
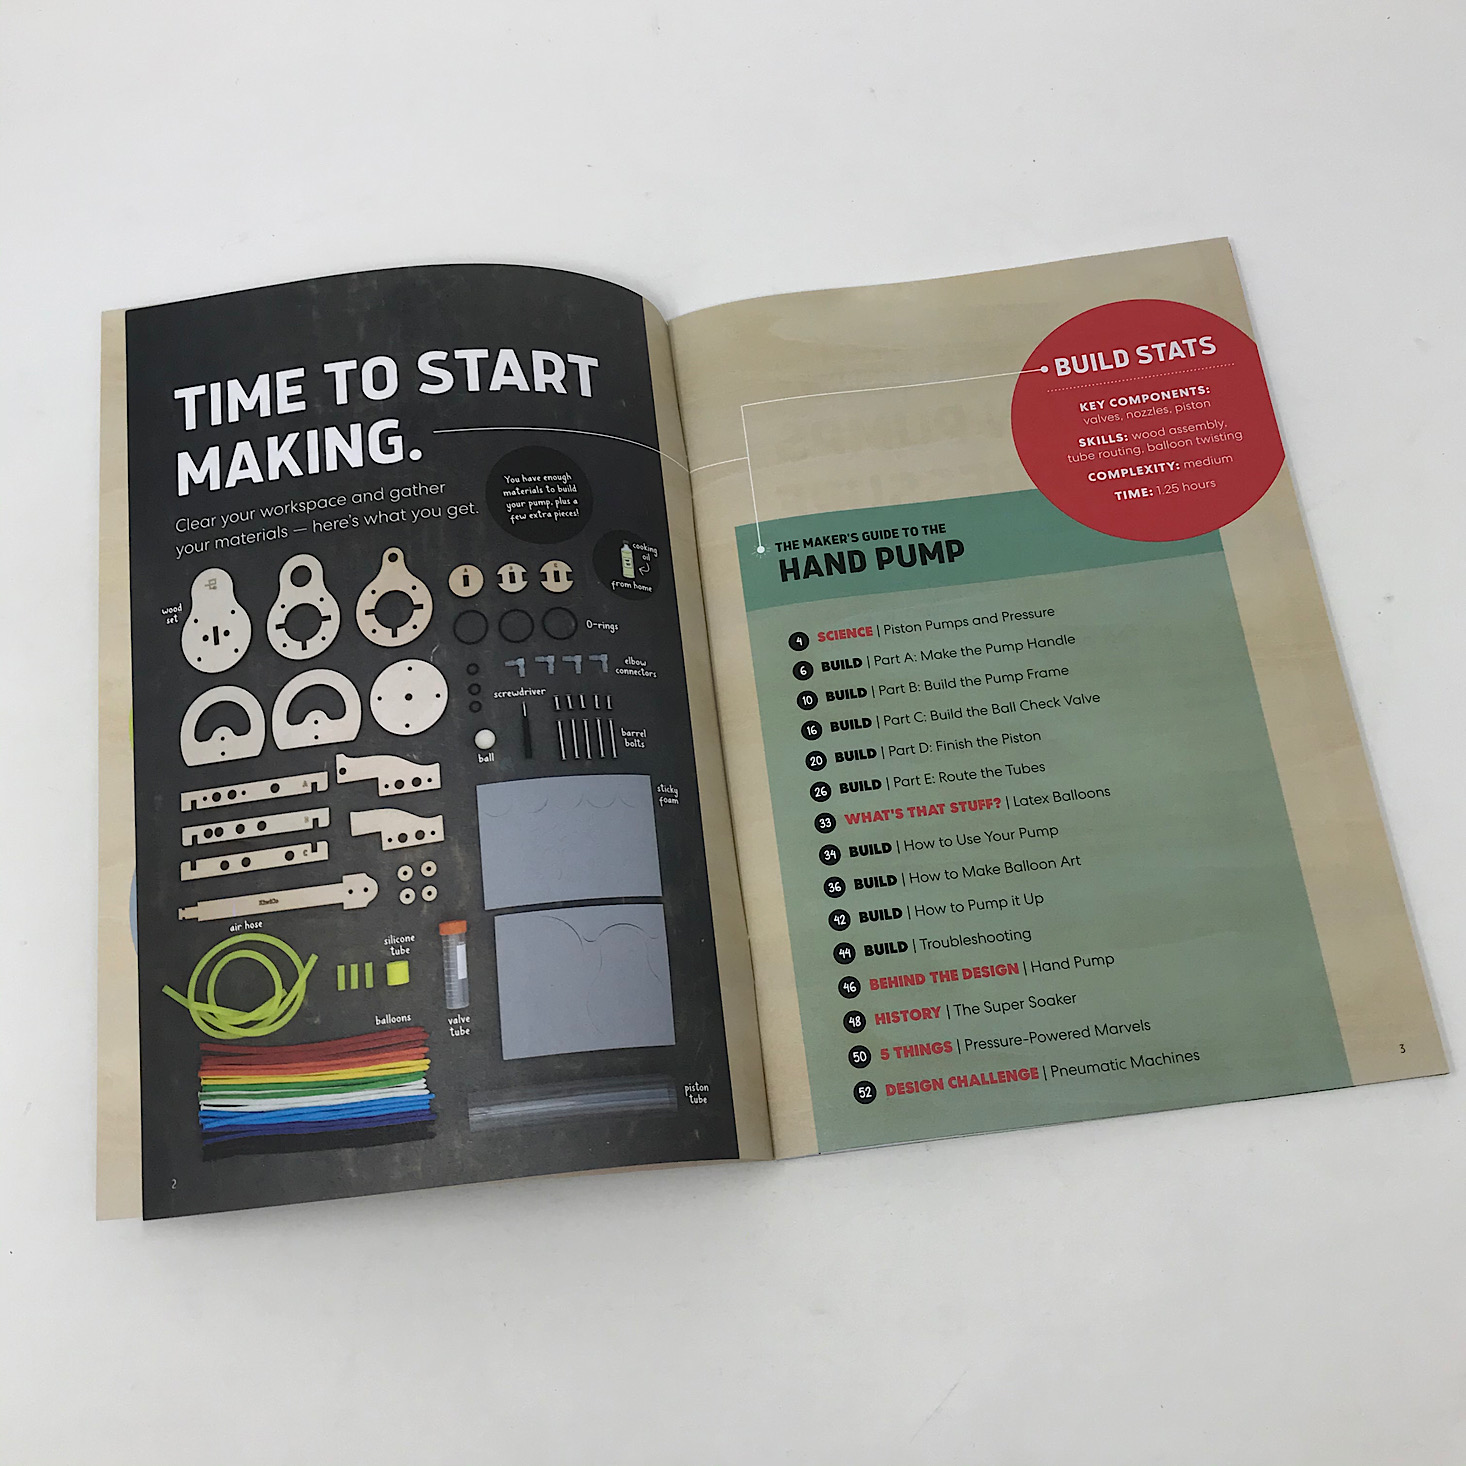
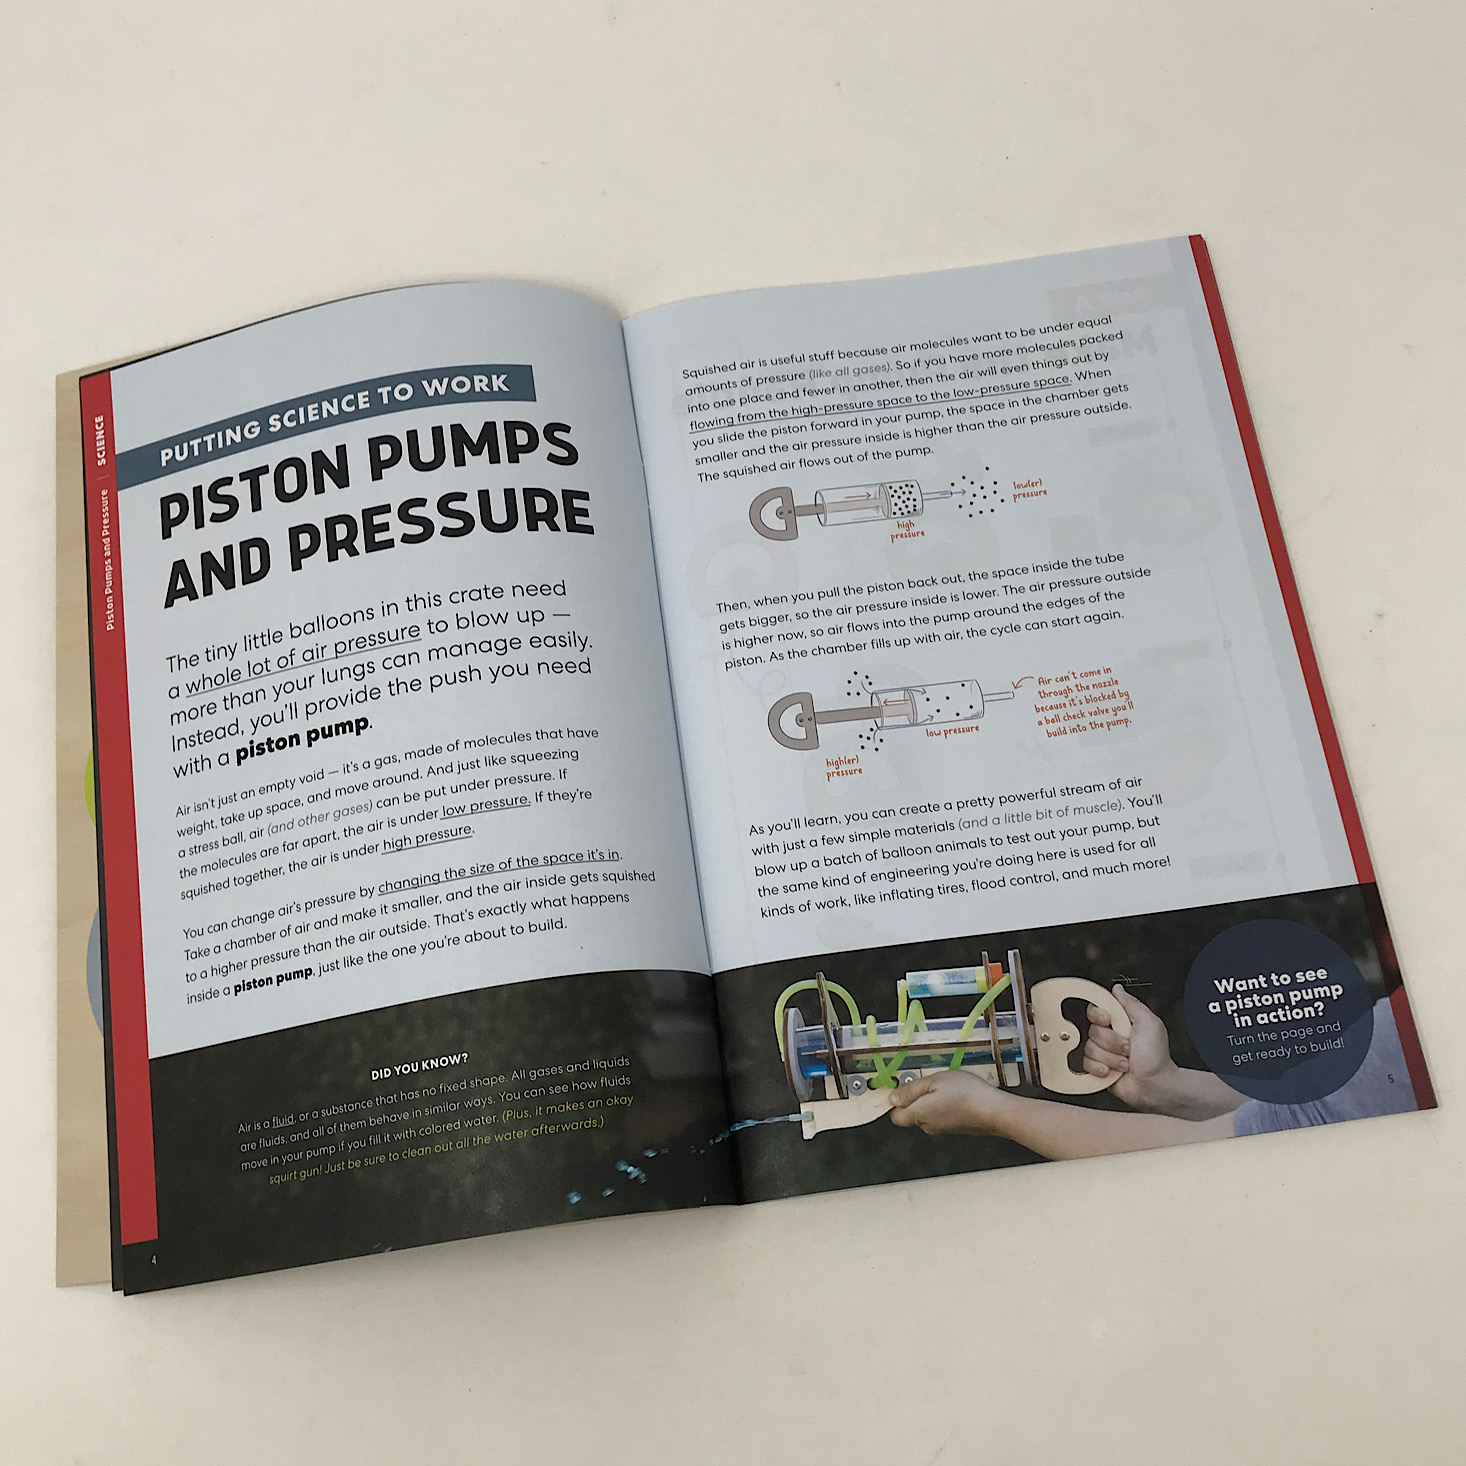

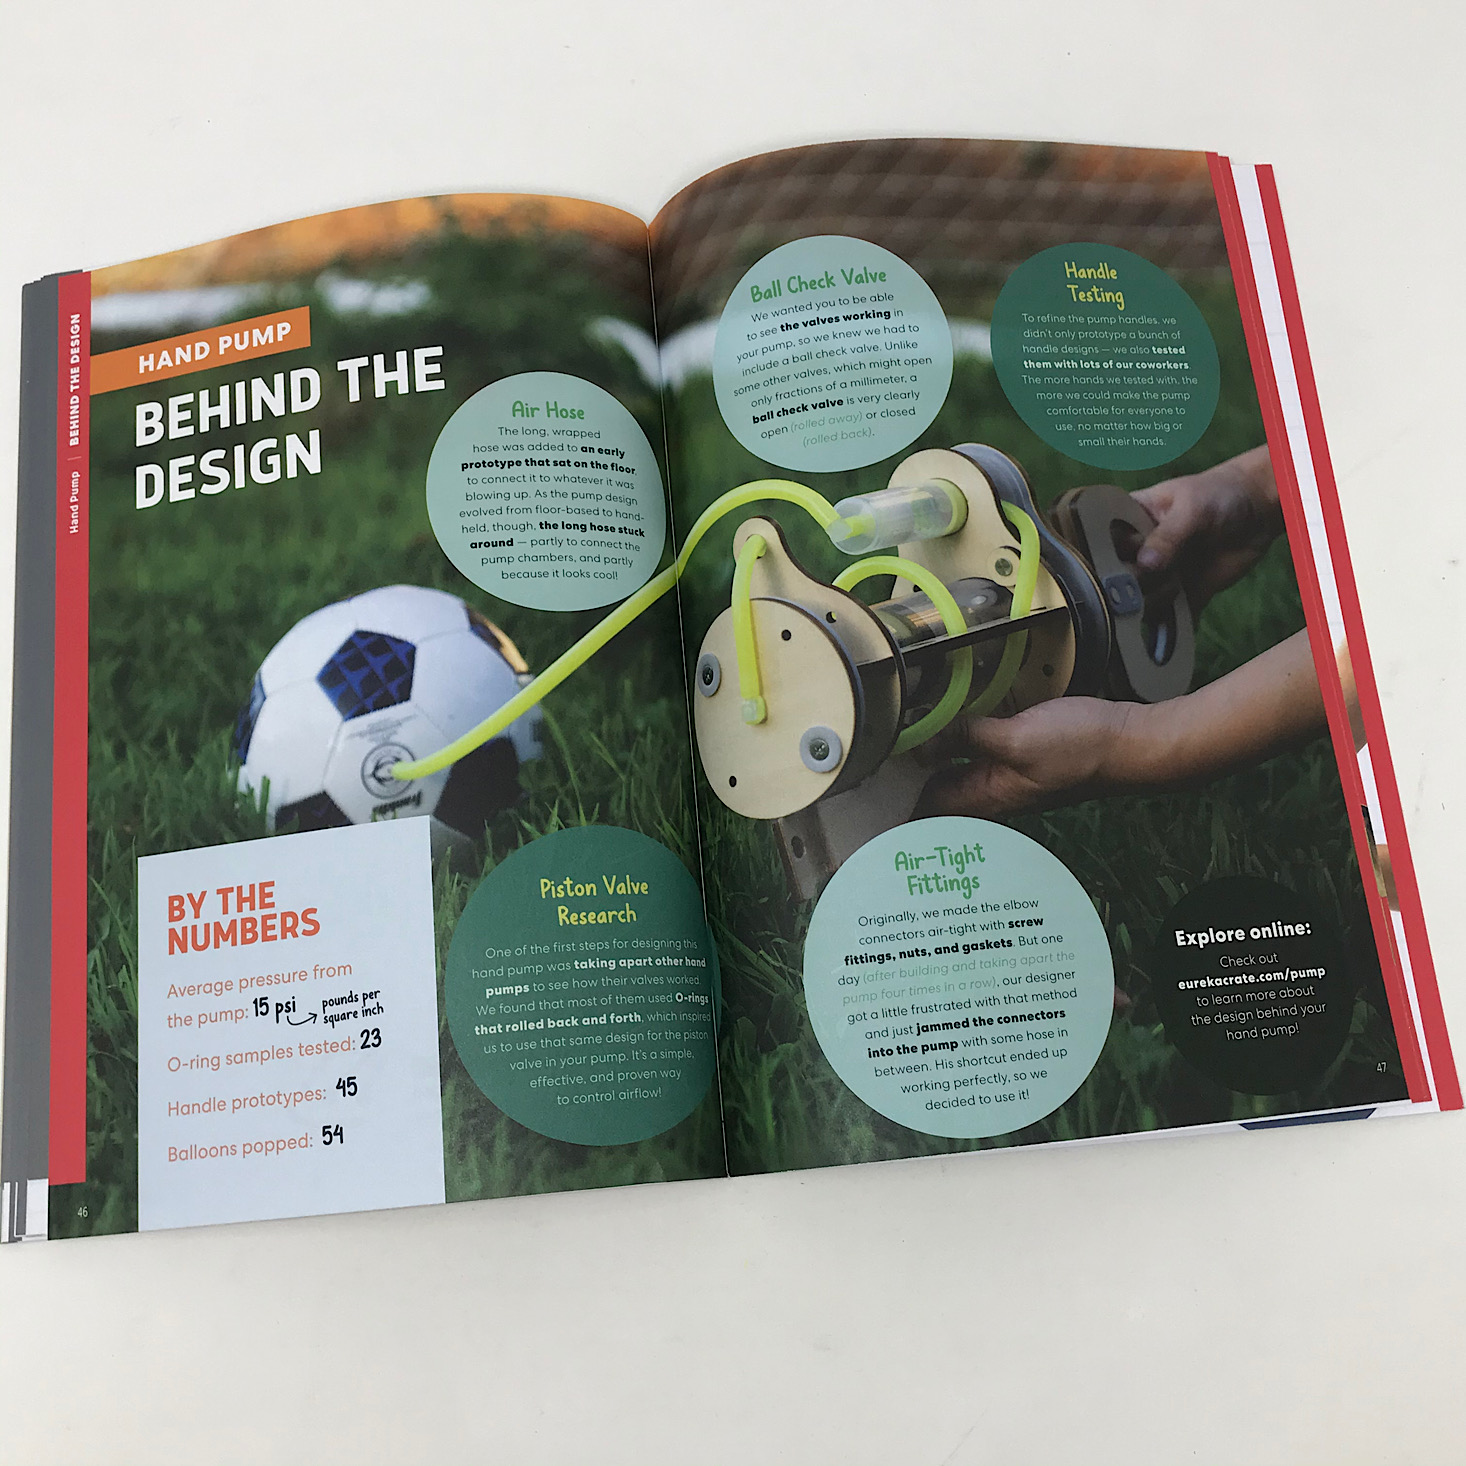

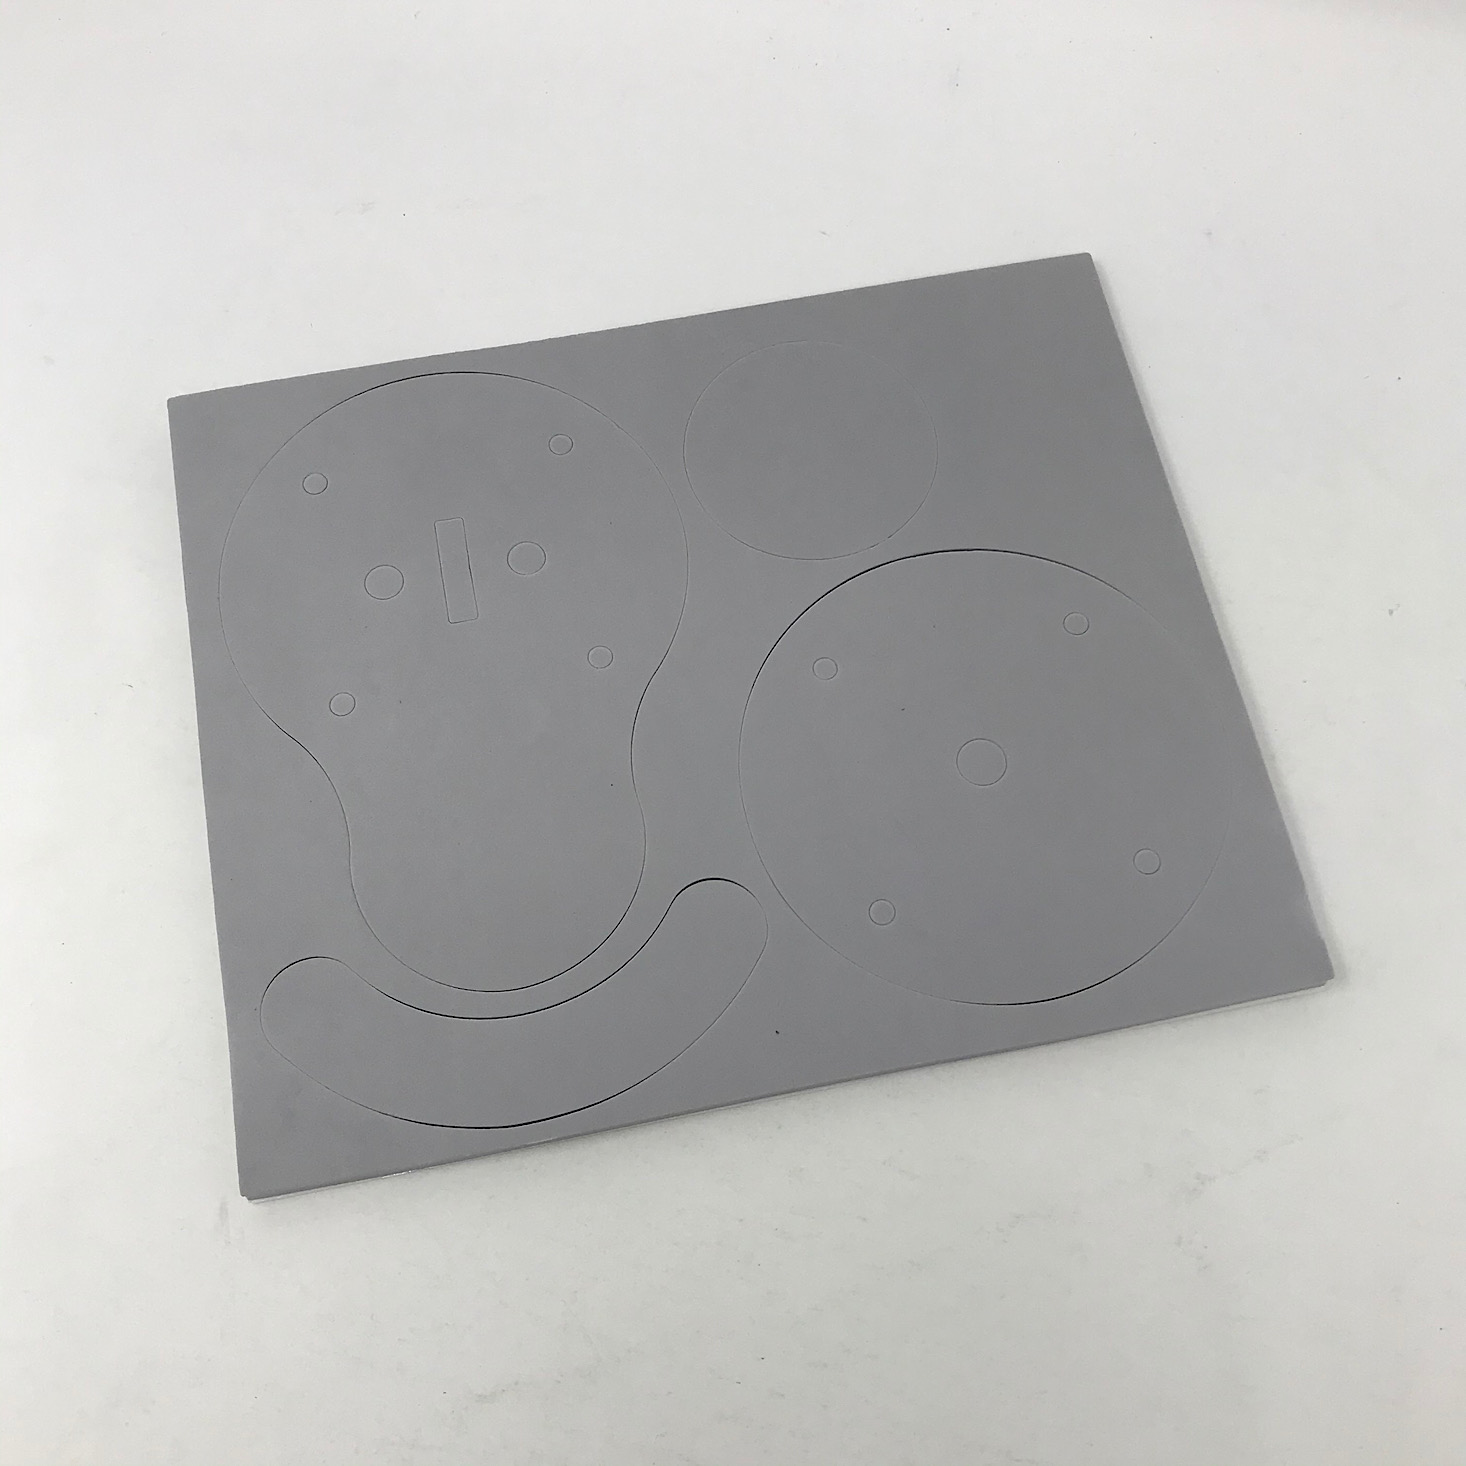
The project for this month is to make our own Hand Pump. We received this Maker's Guide which is full of helpful information related to our project along with the directions. This month they included some information about piston pumps and pressure. My favorite section is the "Behind the Design" page where they go into detail about their own process in creating this month's project. It looks like they went through 45 handle prototypes and popped 54 balloons in the process!
1 of 6


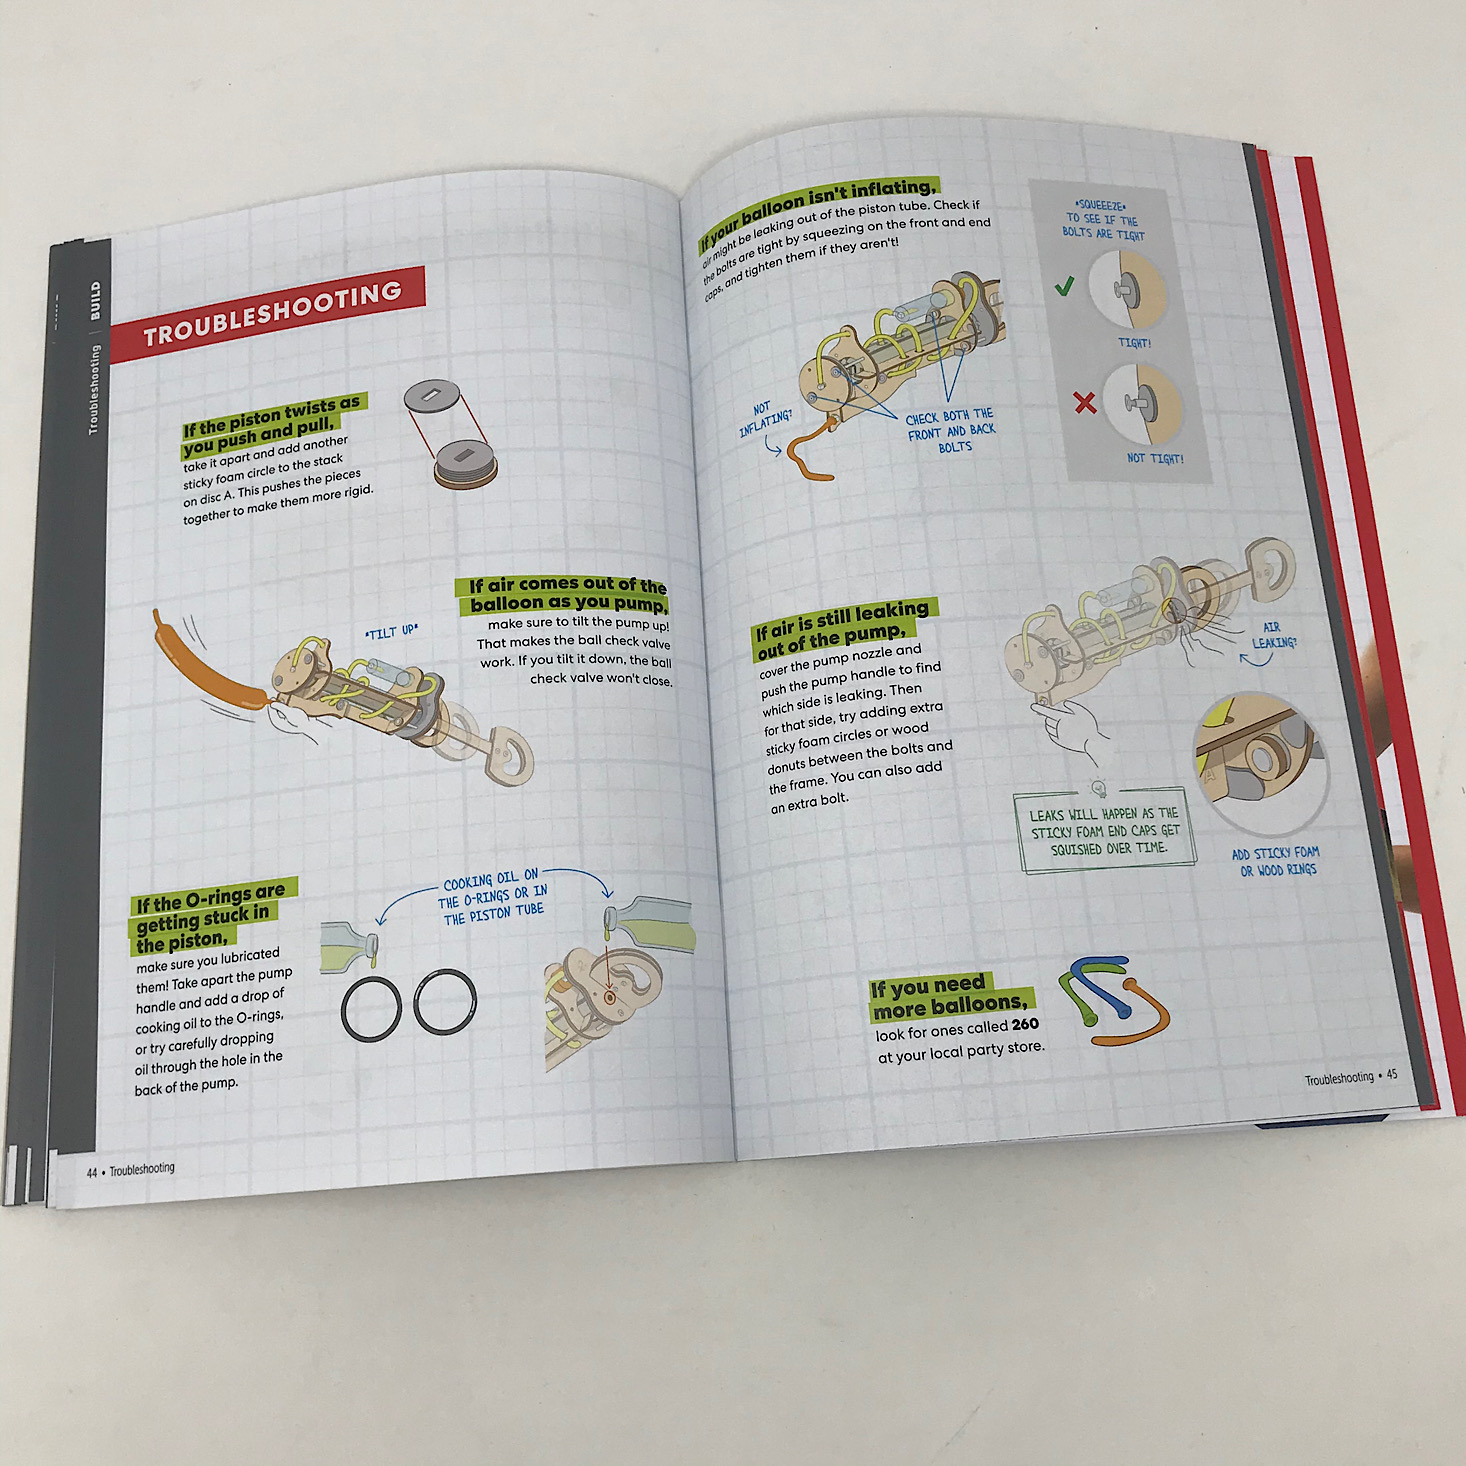
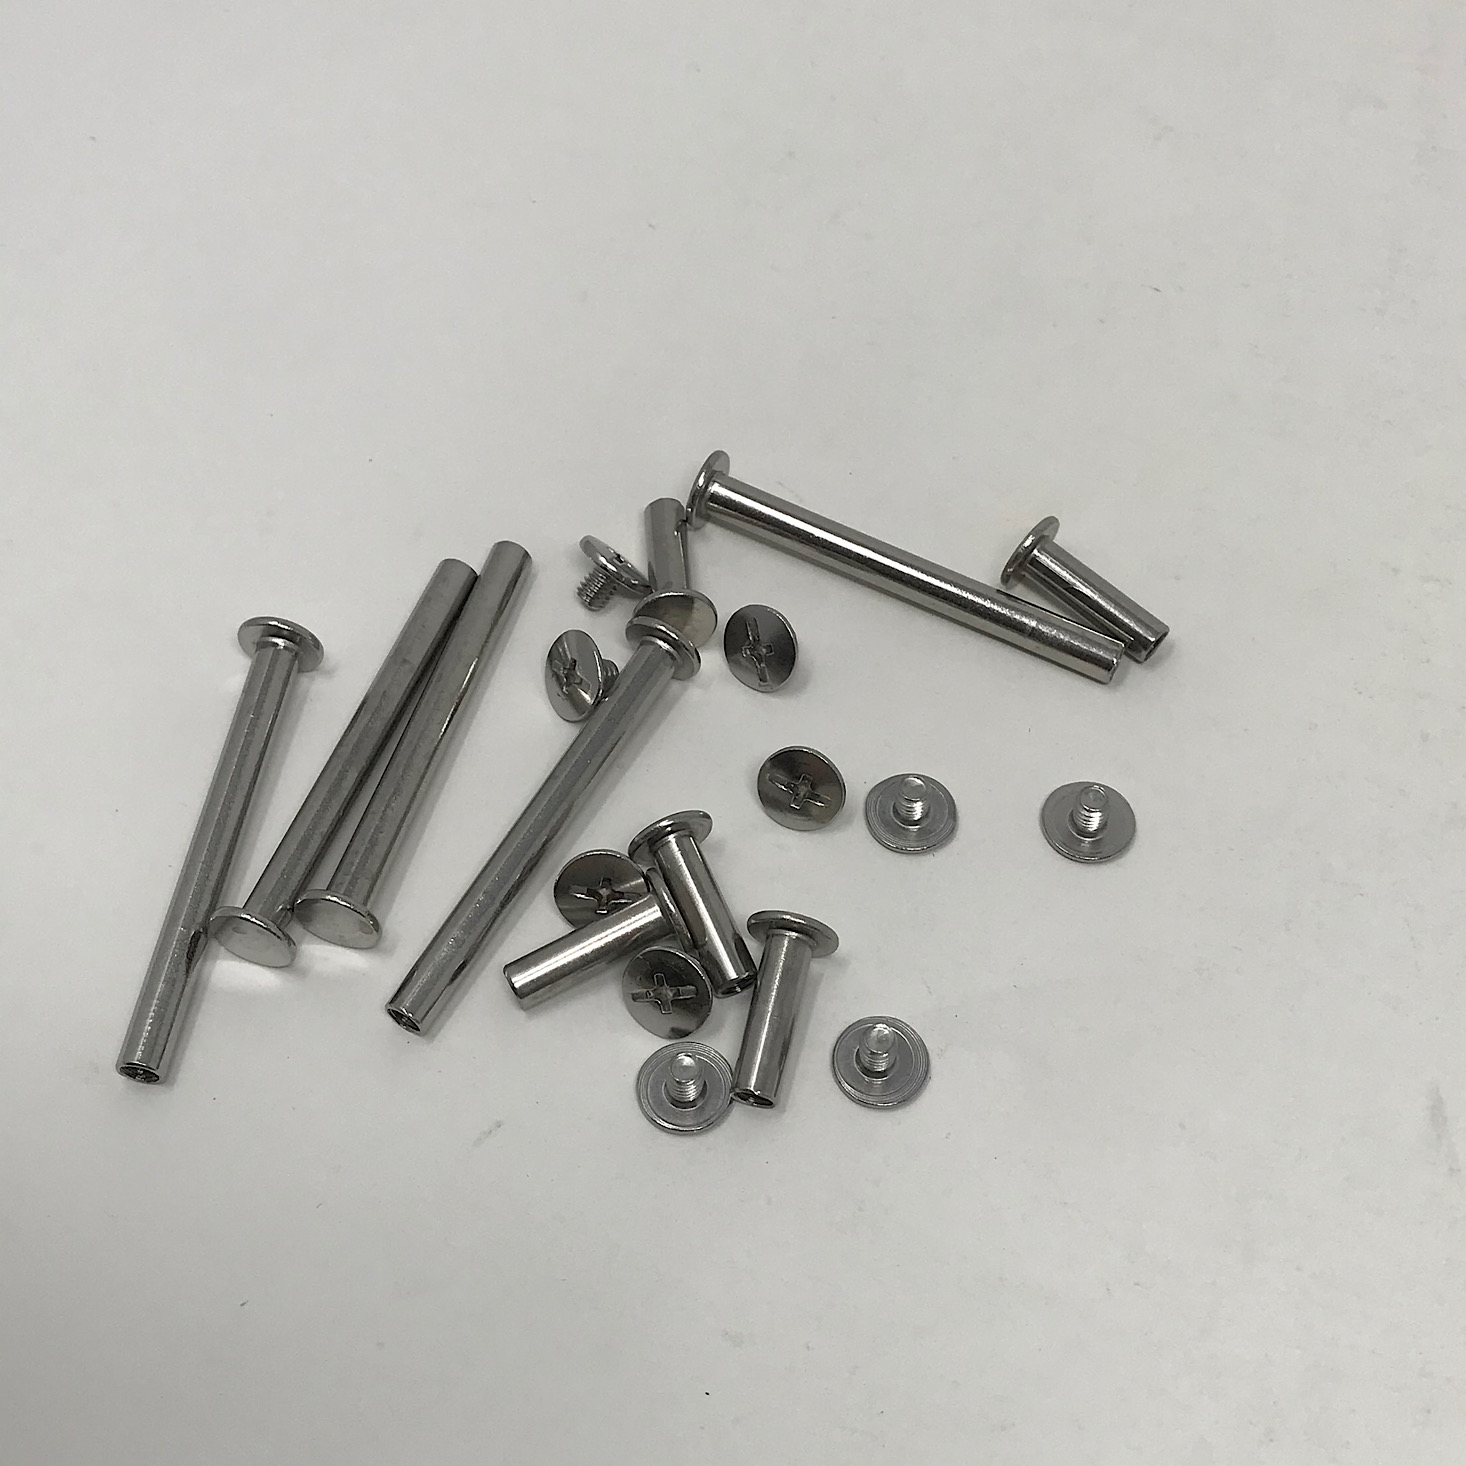
Our directions are separated into various sections which makes it so much easier since it breaks it down into smaller, more manageable tasks. The instructions are always clear and easy to follow with detailed, colorful pictures to reference. They even include information on troubleshooting, which can be very helpful!
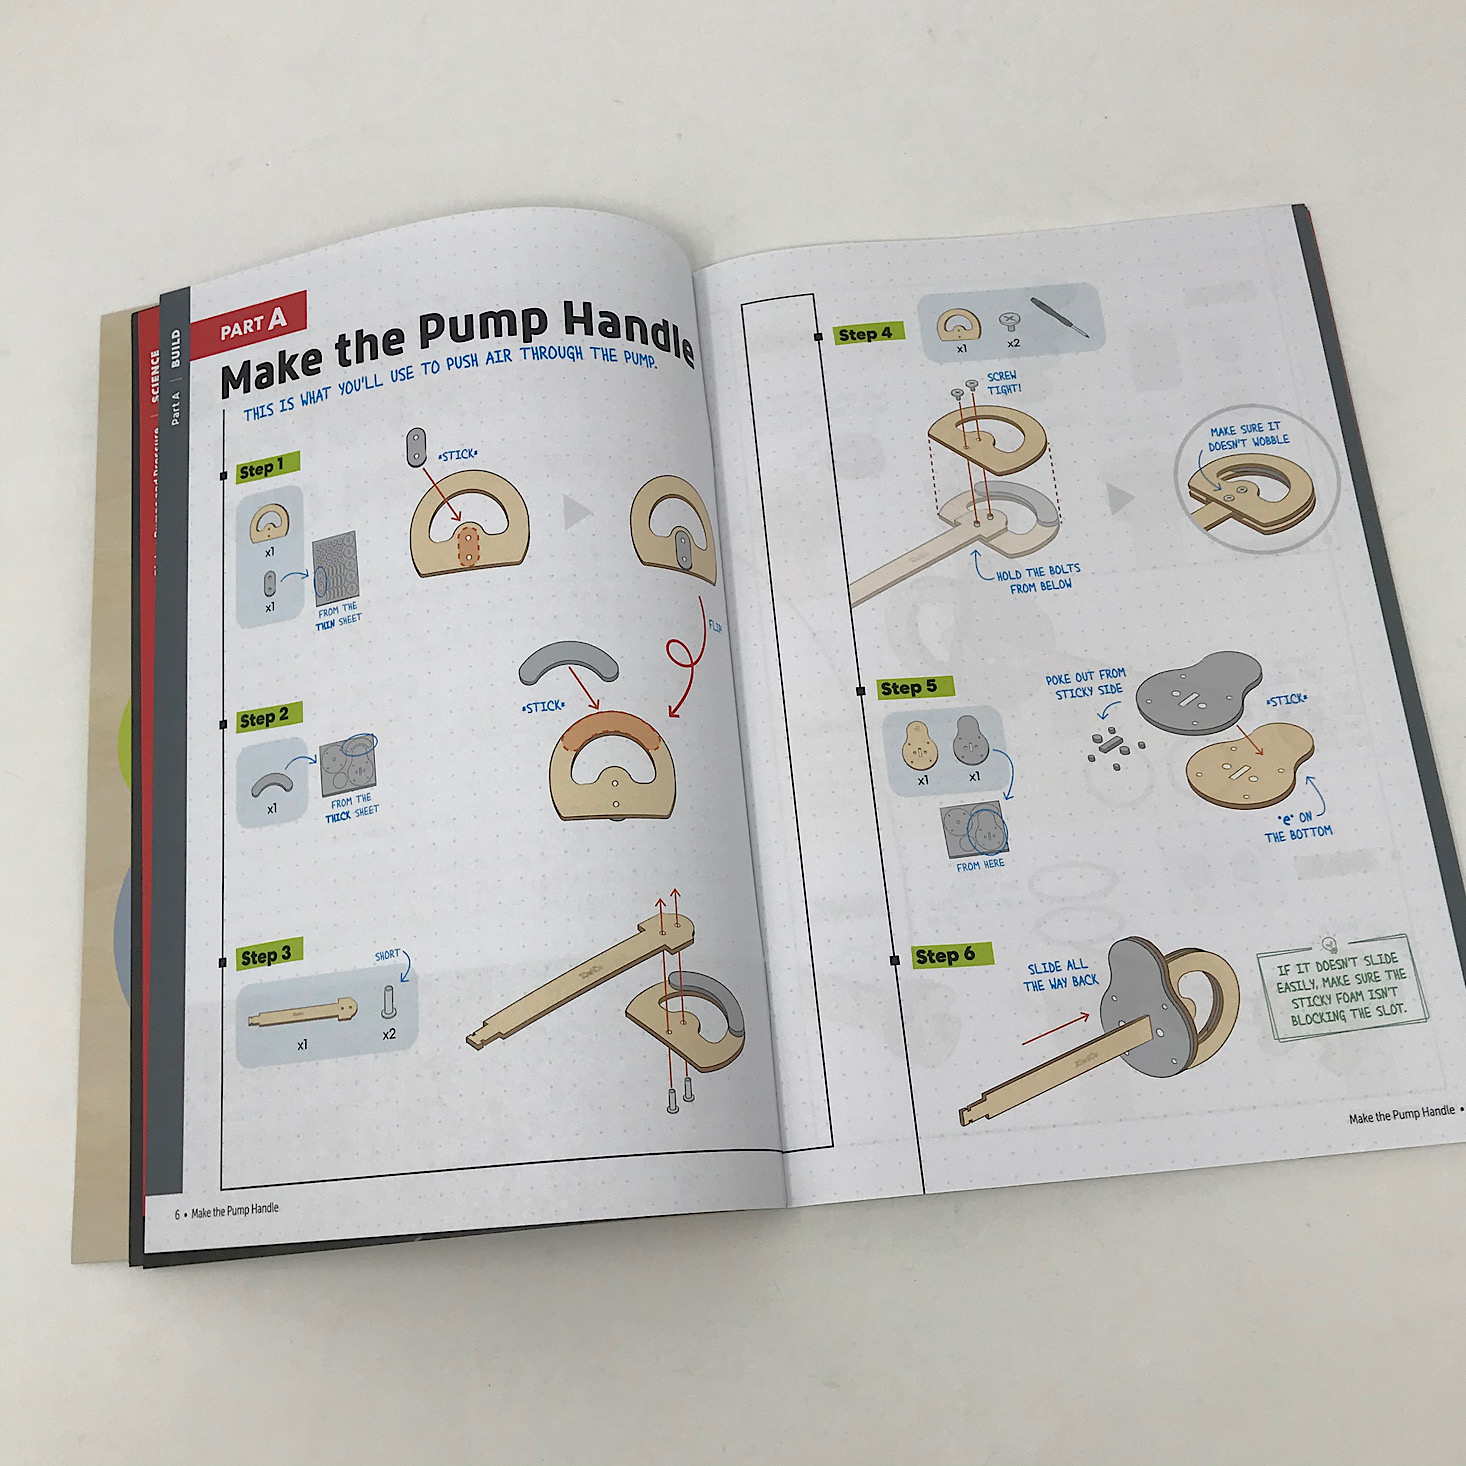
Part A: Make the Pump Handle

1 of 3
The first step was to add a foam sticky piece to one of the wooden handles.

1 of 2
I added a larger piece of foam to the other side of the handle.

1 of 3
Then I used two of the shorter bolts they provided to add this long arm to the handle.


1 of 2
I added the other side of the handle and used the mini screwdriver they provided to secure it.
1 of 3

Then I added the matching foam sticker to the pear-shaped wooden piece and slid it onto the handle arm.

1 of 4
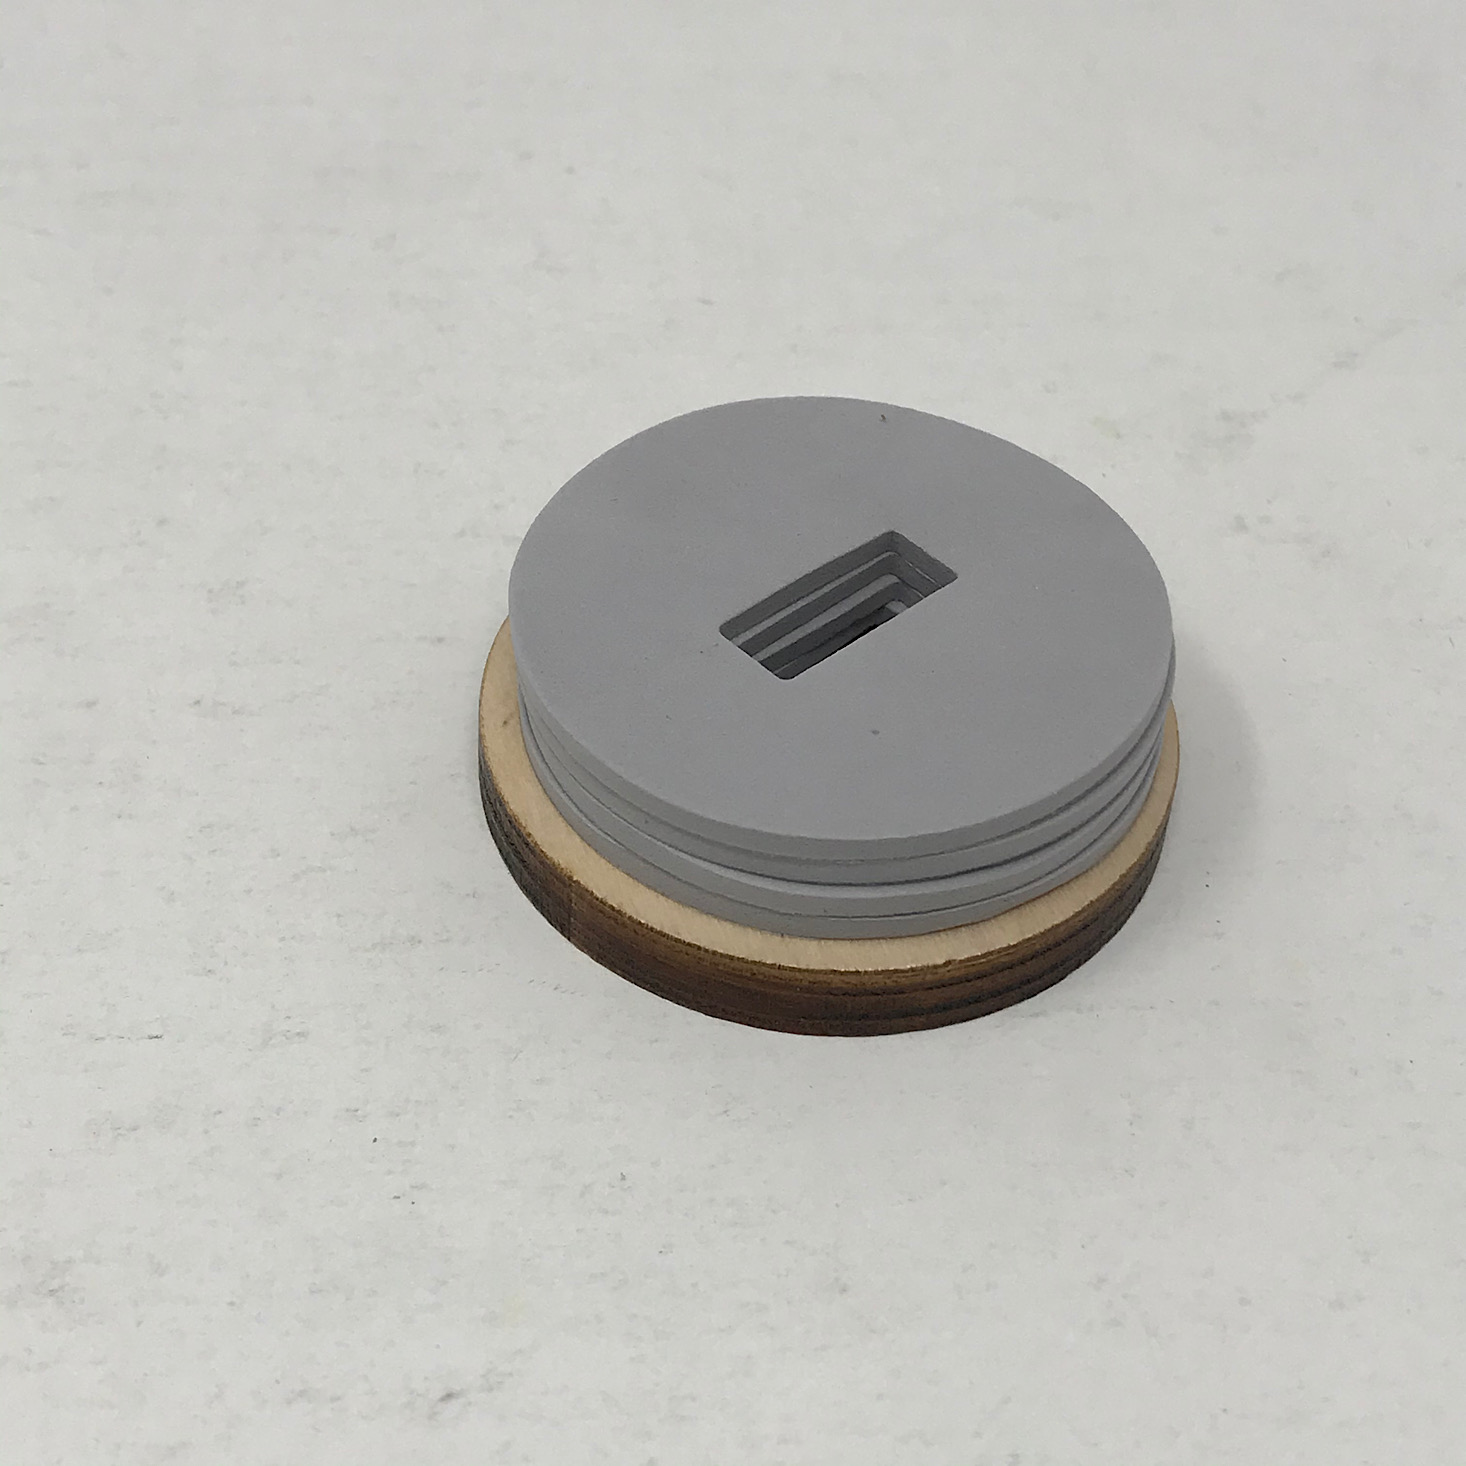
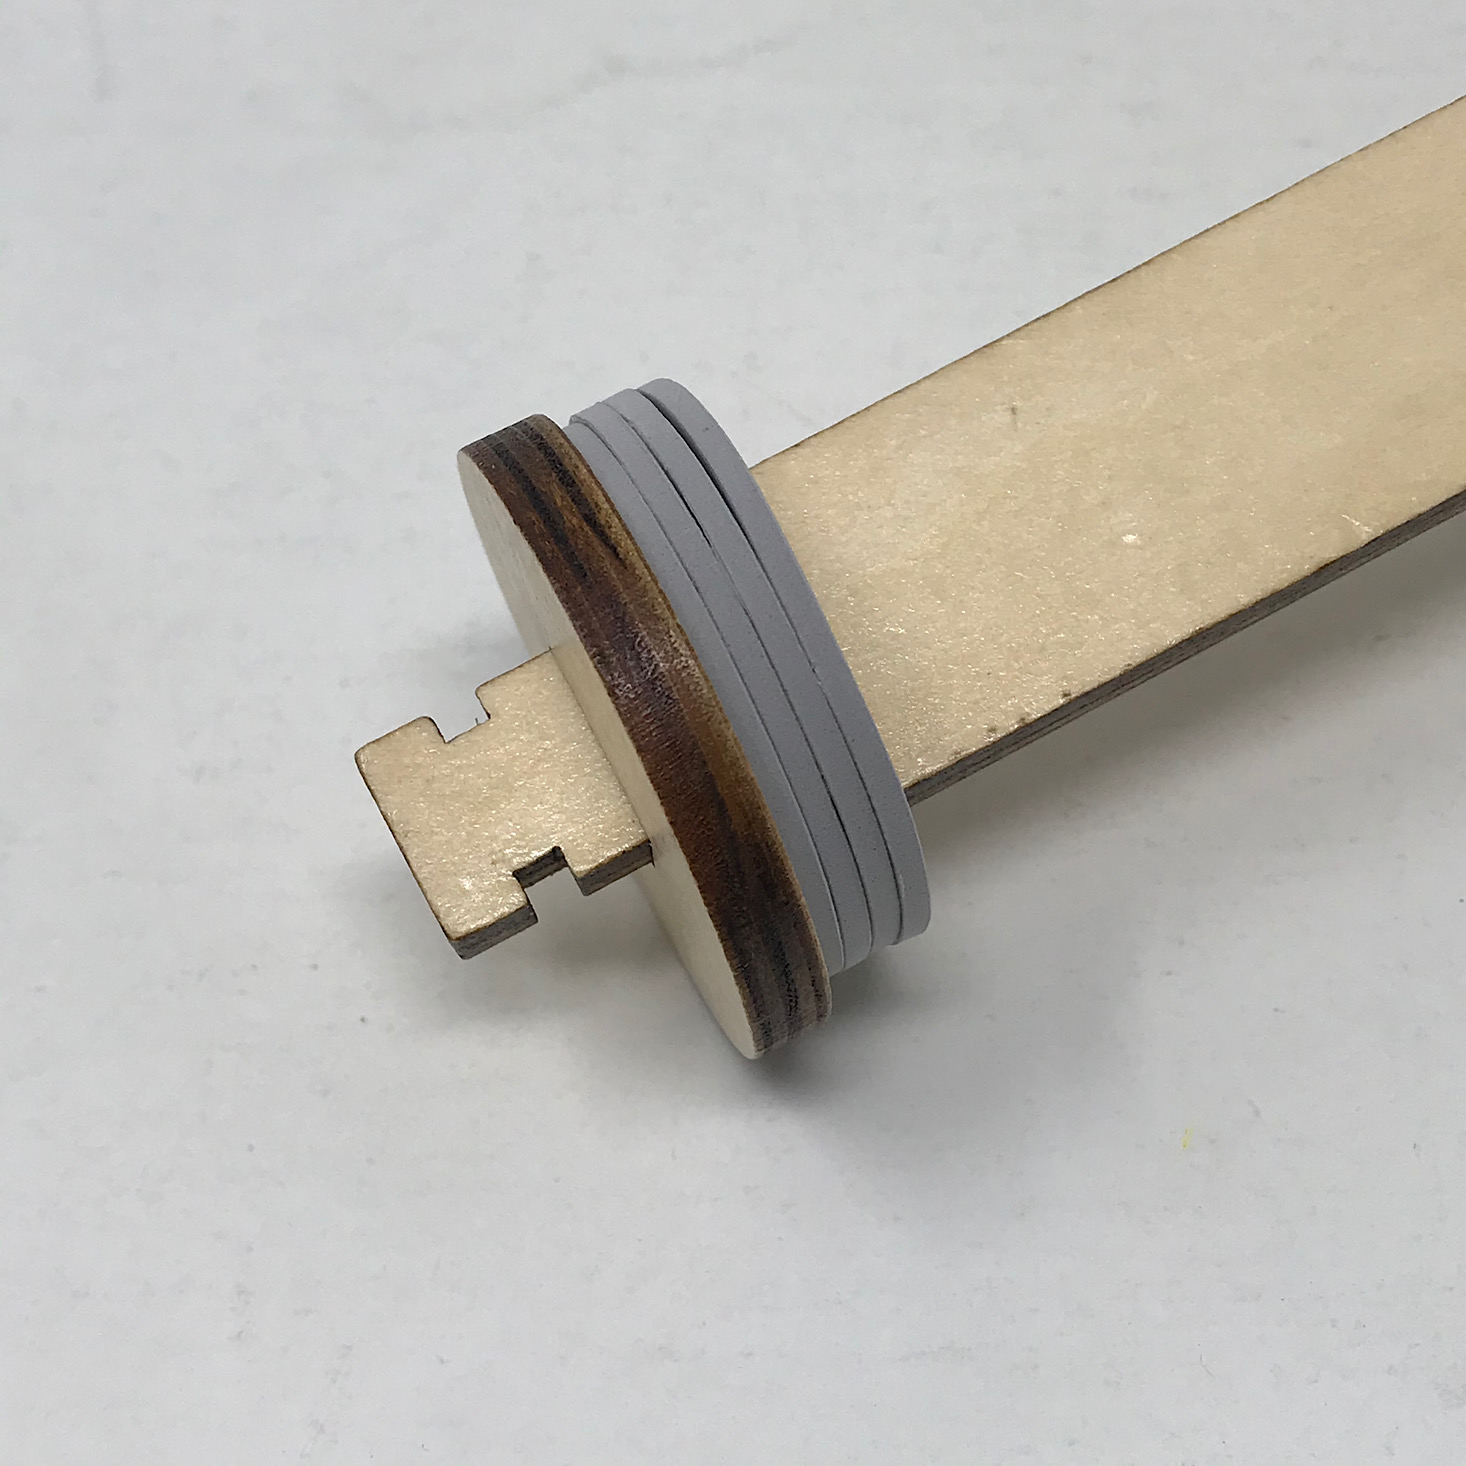
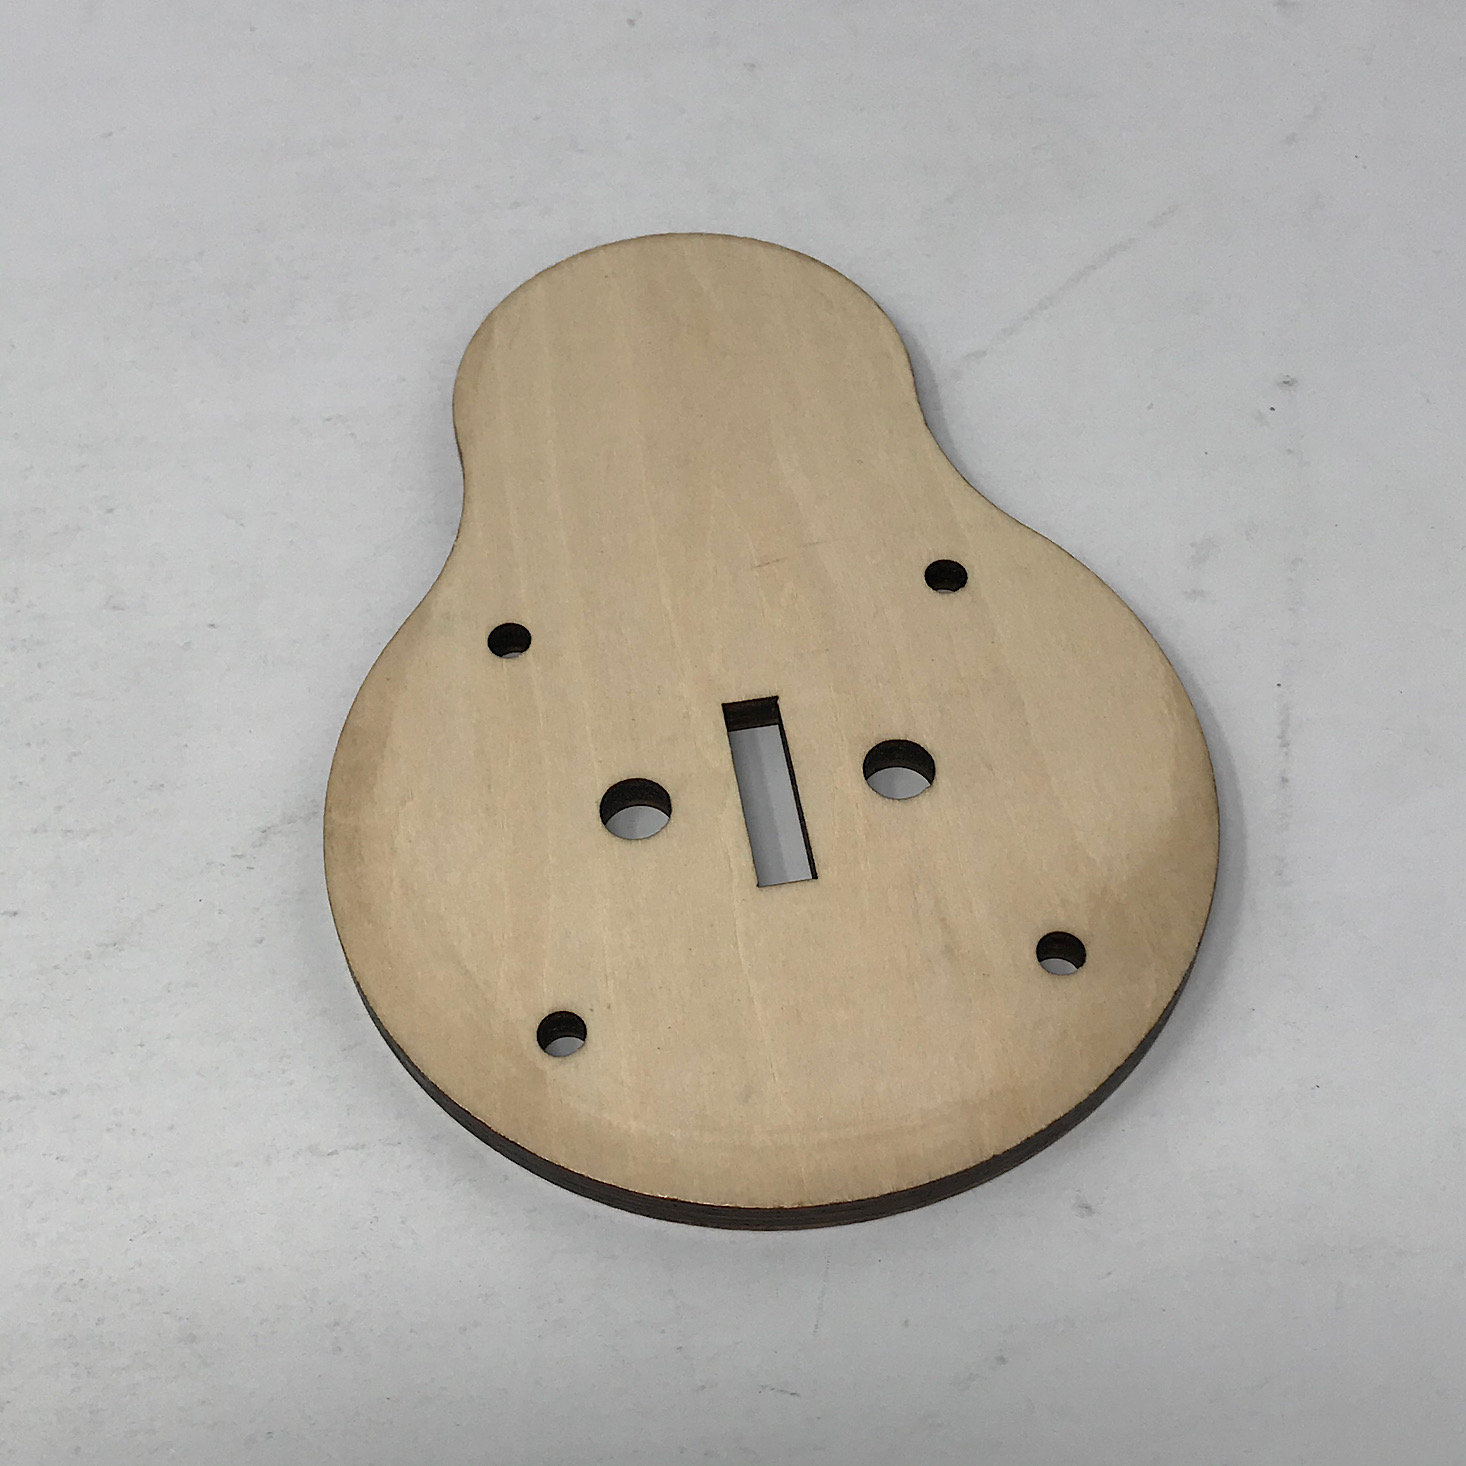
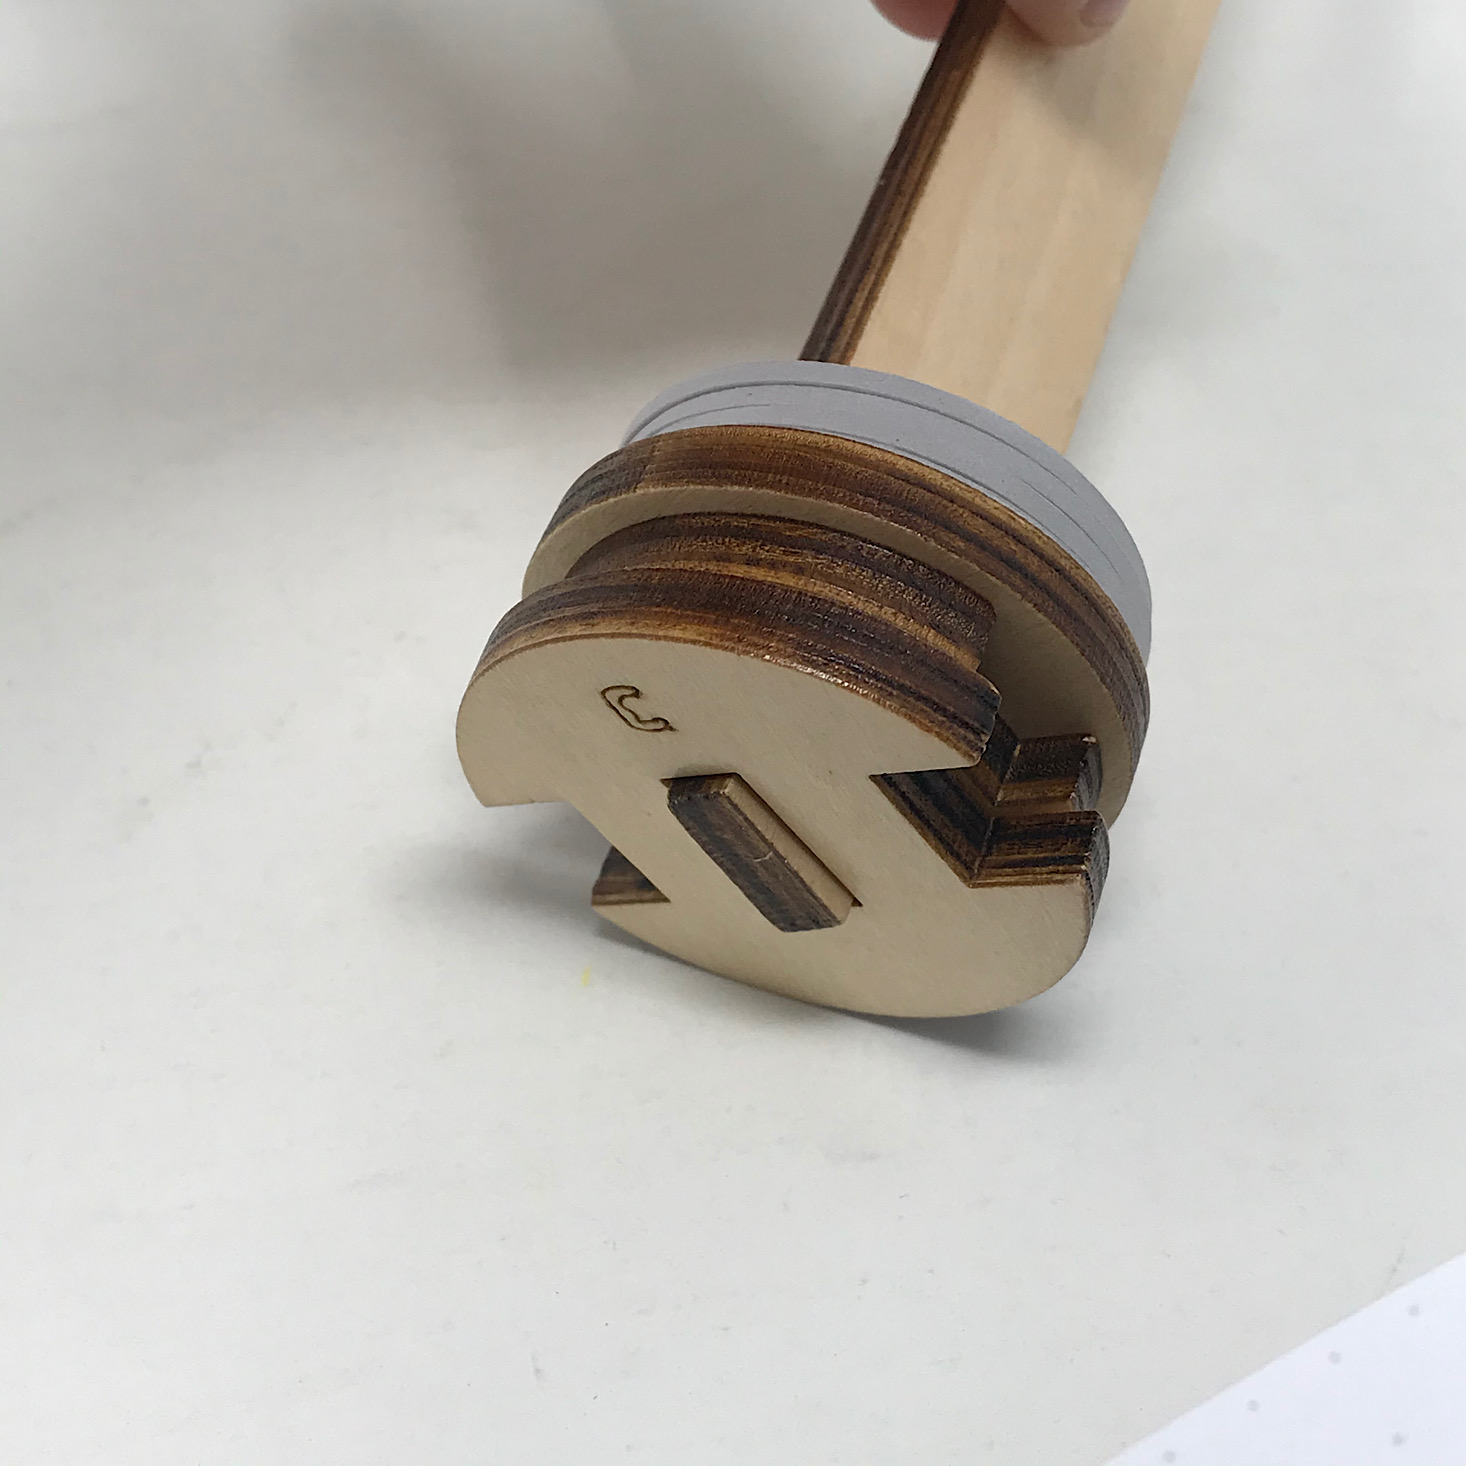
I then found the A circle and stacked up four foam stickers on top of it before sliding it onto the end of the arm. Then I added the B and C circles to it.

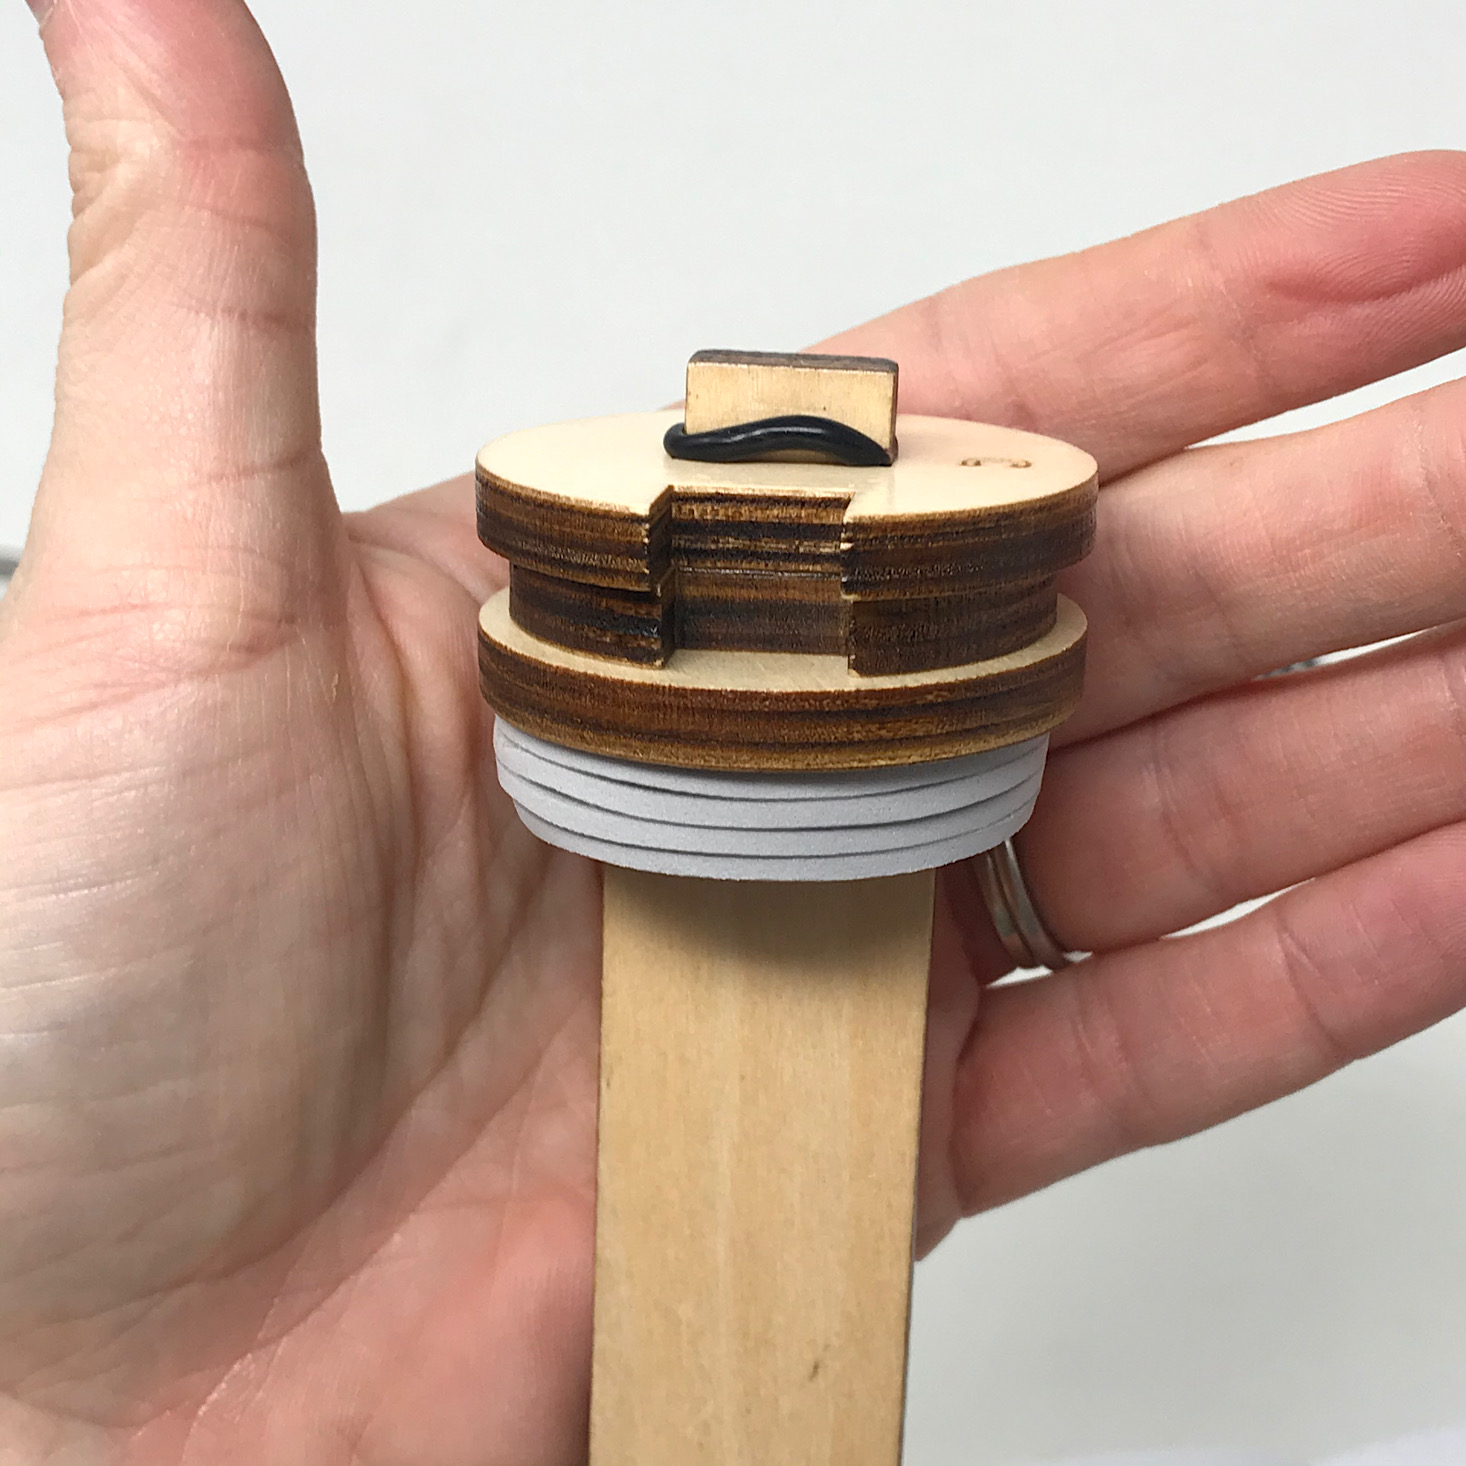
1 of 3
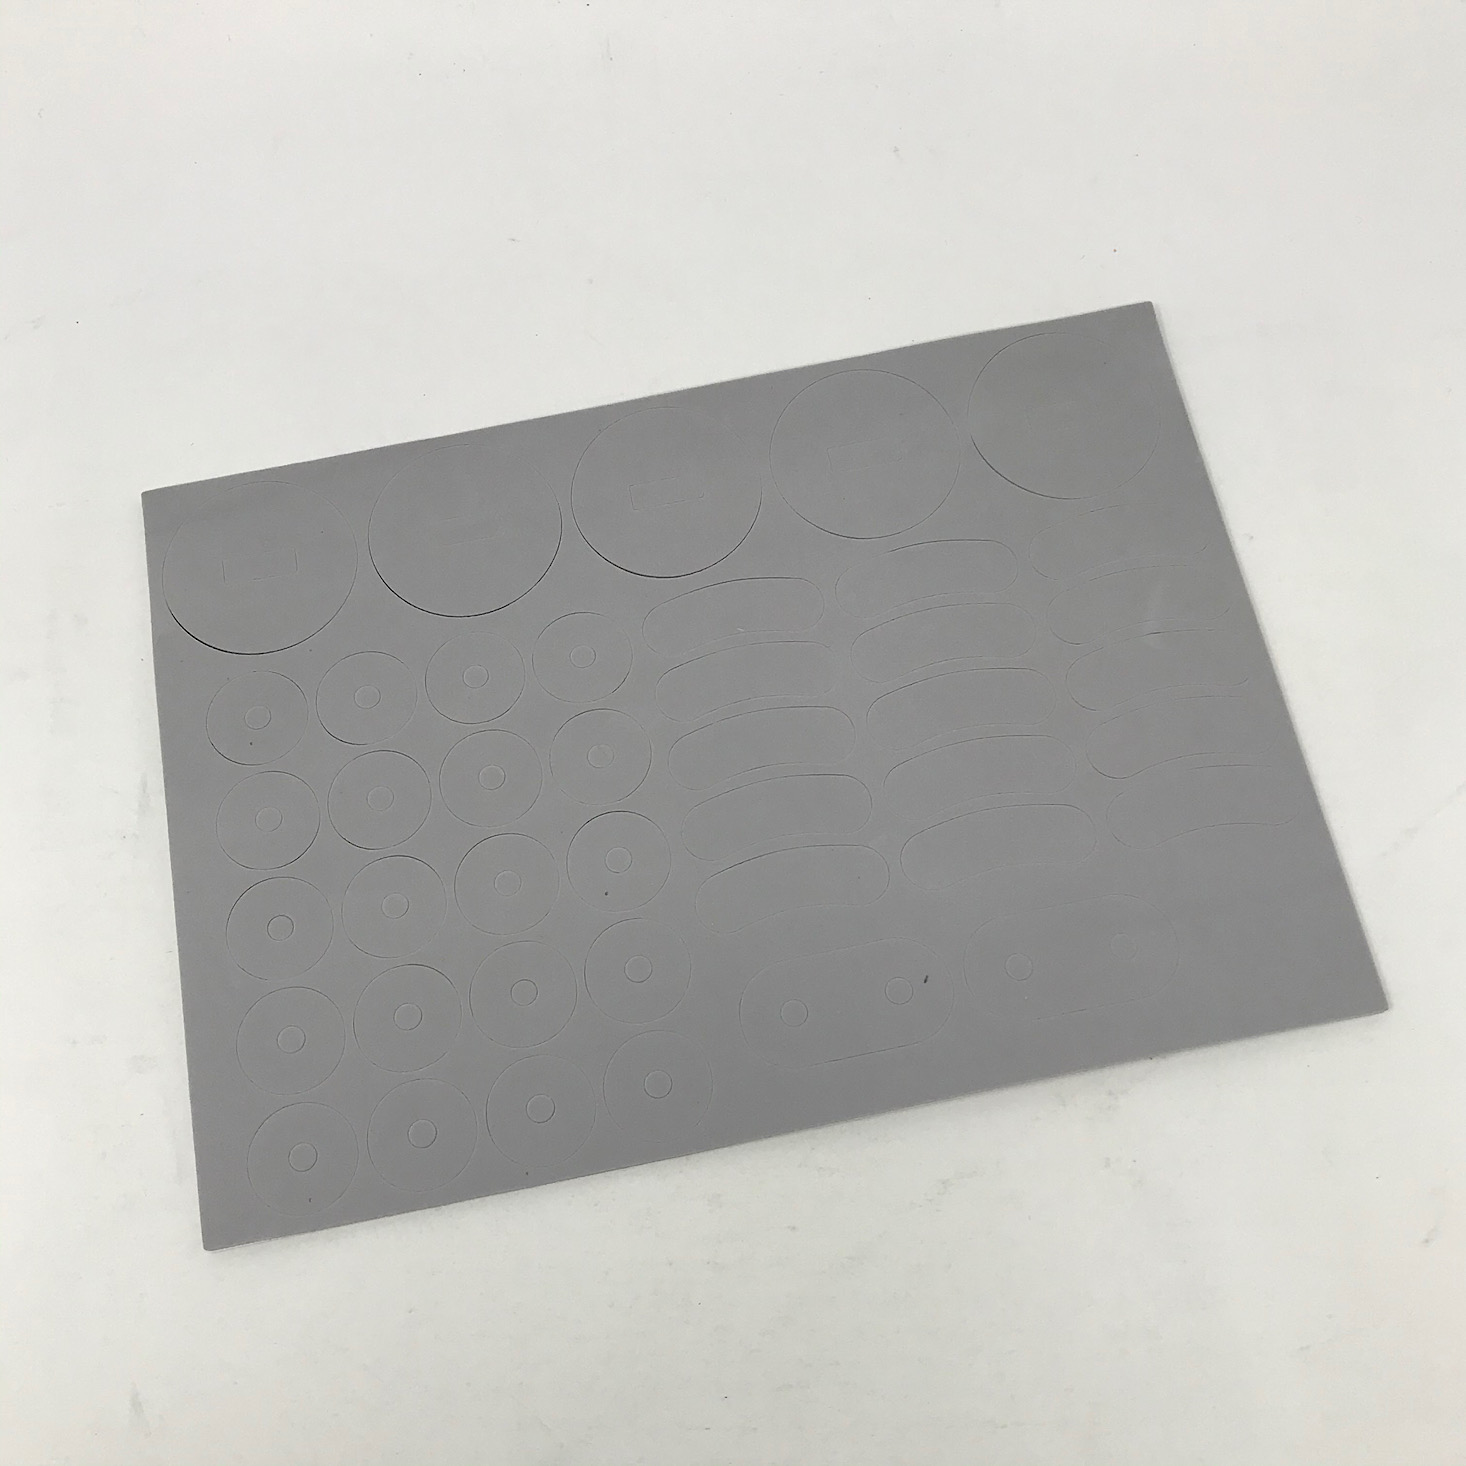
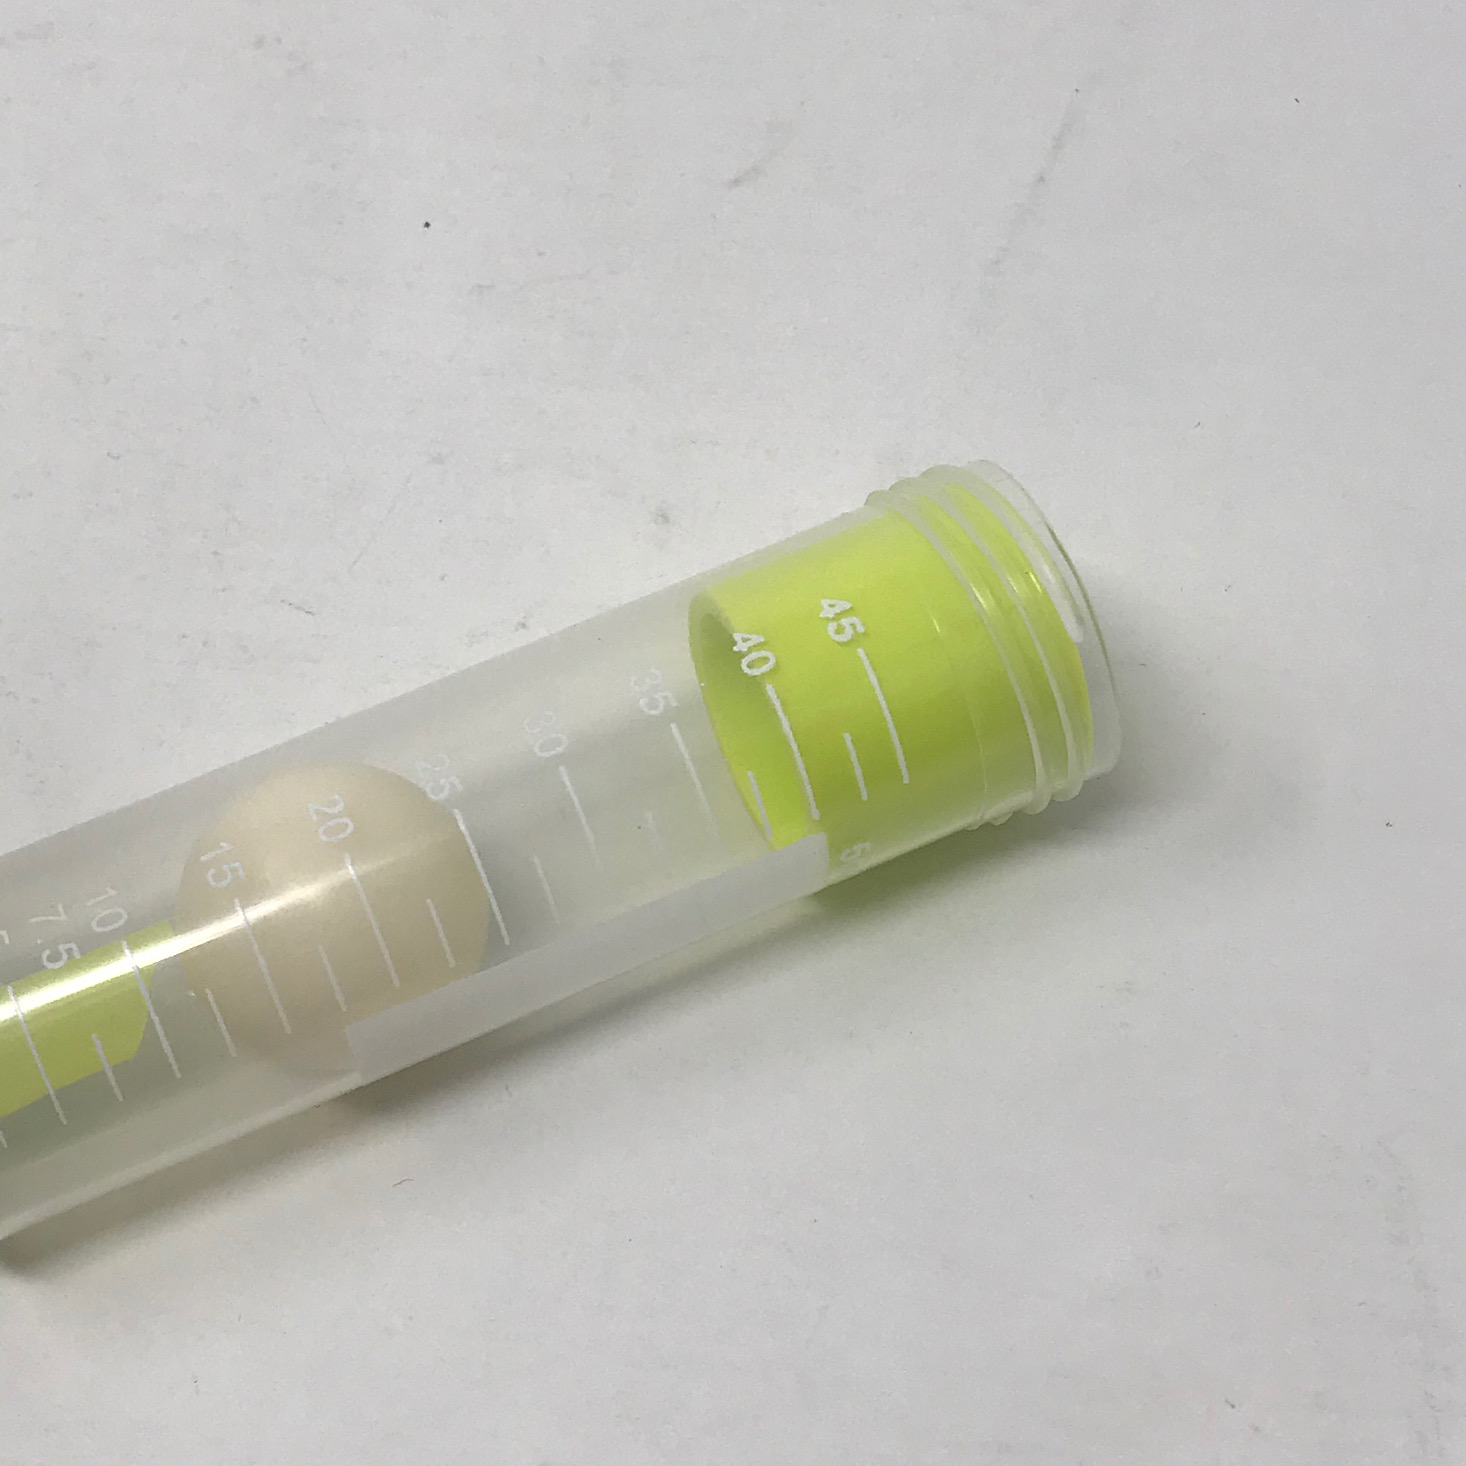
I squished the pieces down to expose the little notches and slipped a small O-ring around it. Then I added a little bit of olive oil (which I did have to provide for this not necessary, but helpful step) to the larger O-rings and slipped them in between the wooden circles.
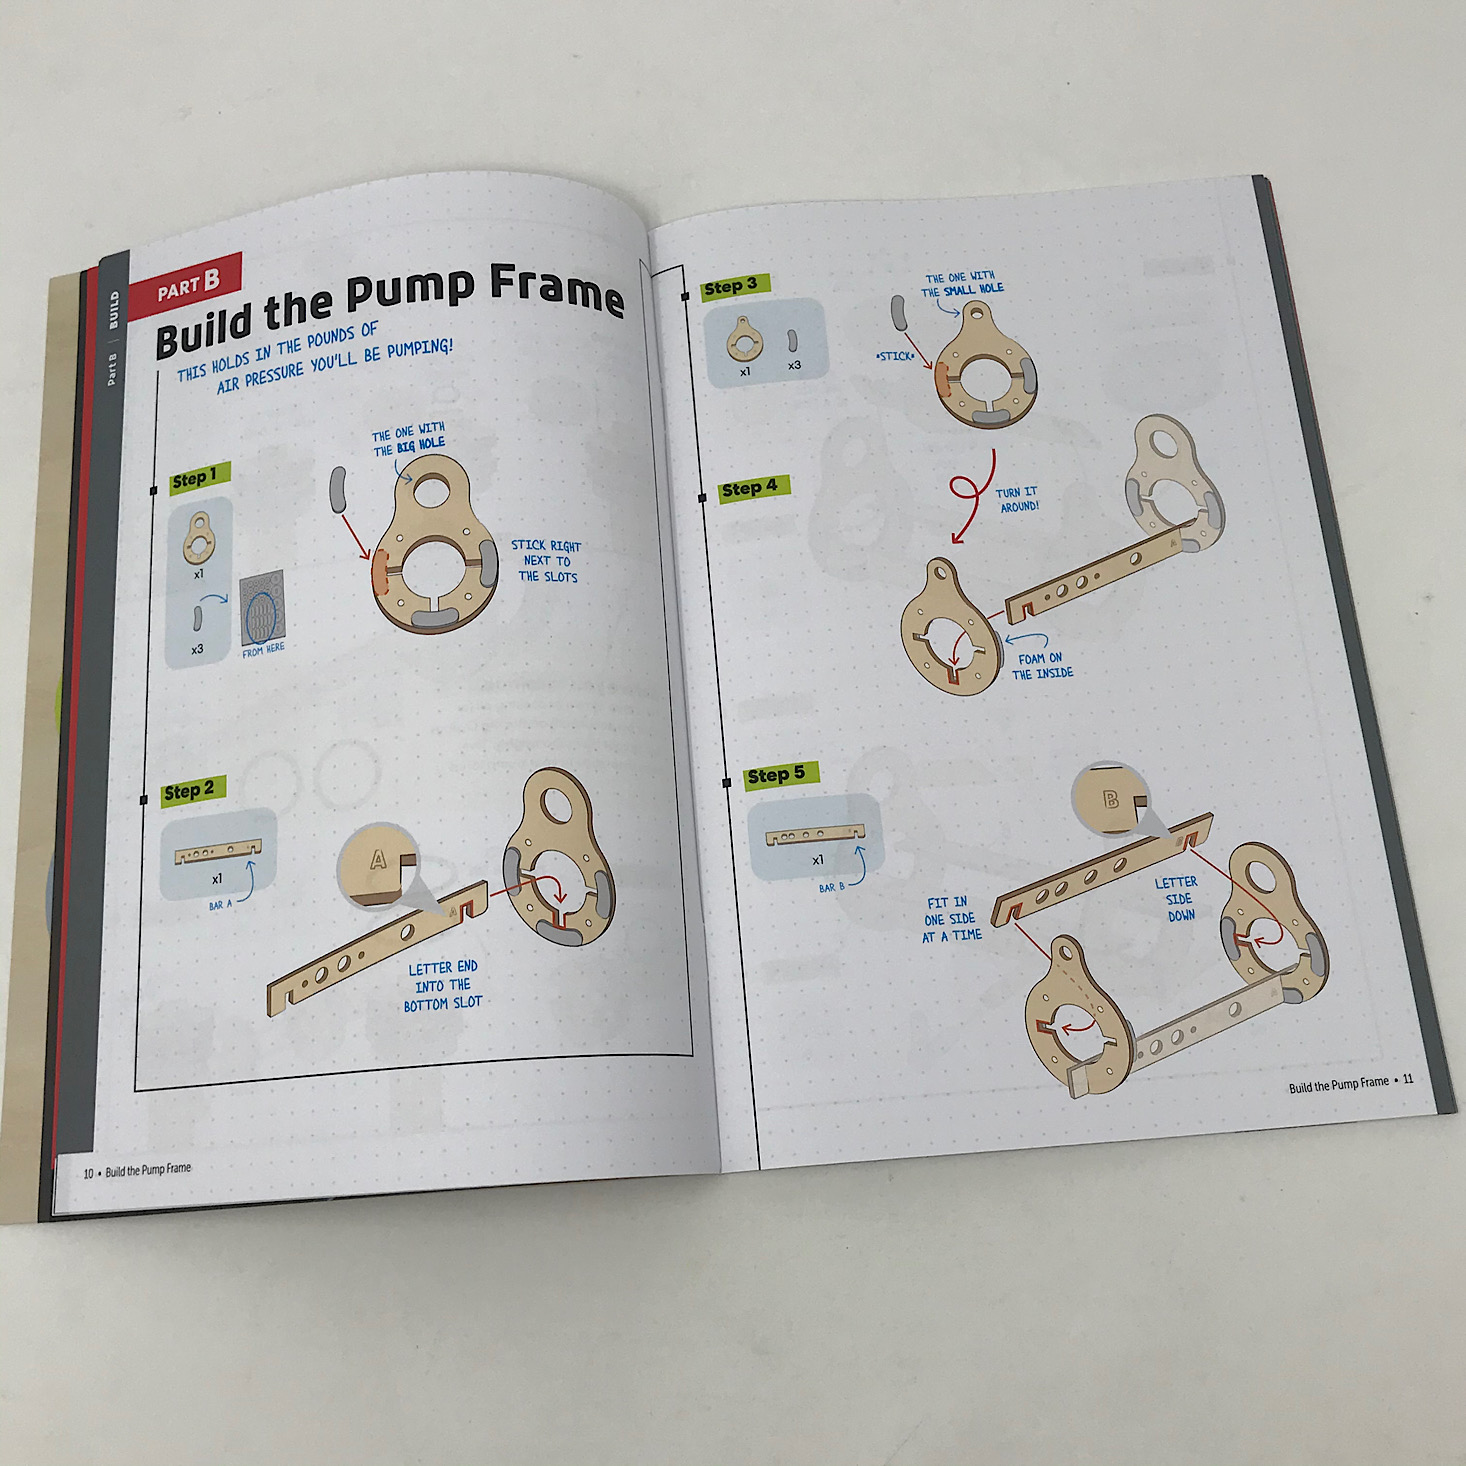
Part B: Build the Pump Frame

1 of 3

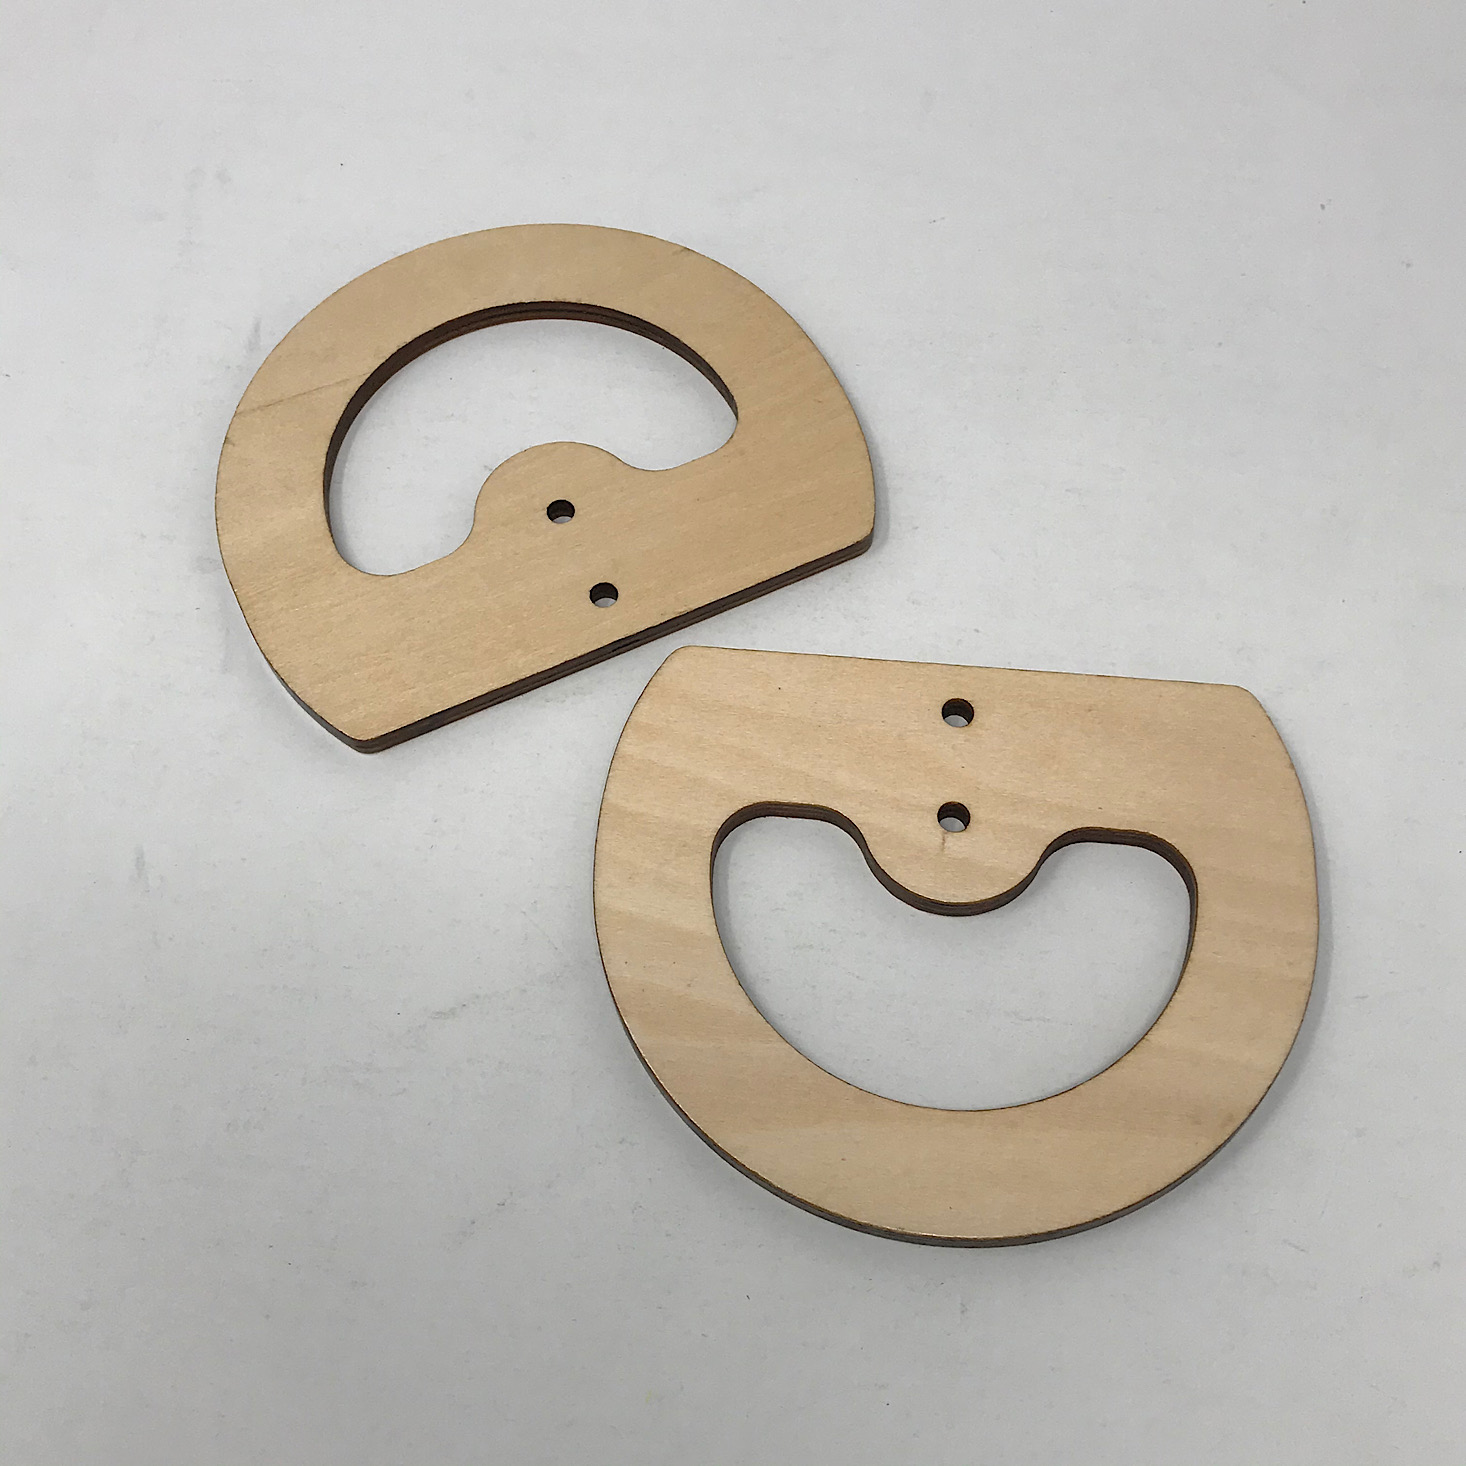
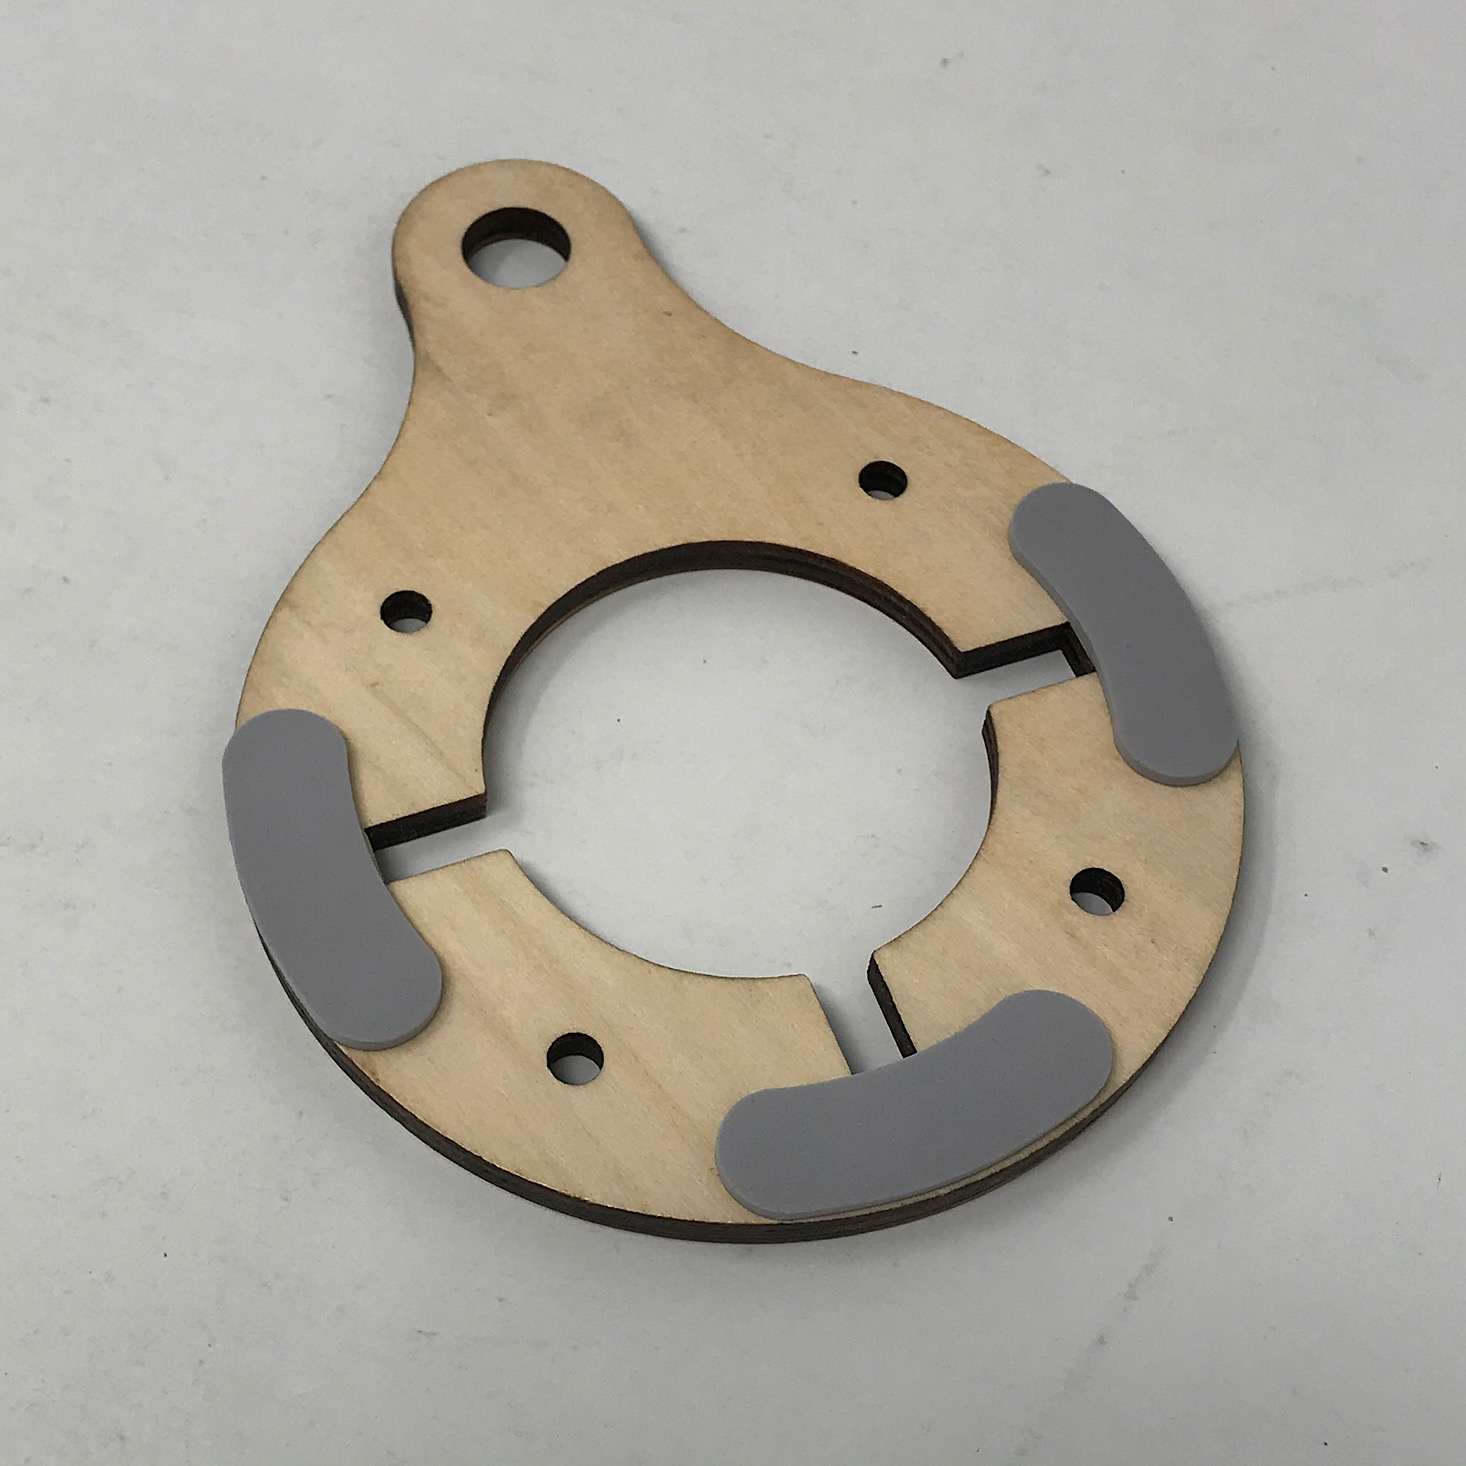
Then it was time to get started on the frame. I added three curved foam stickers to each of these wooden pieces.


1 of 5


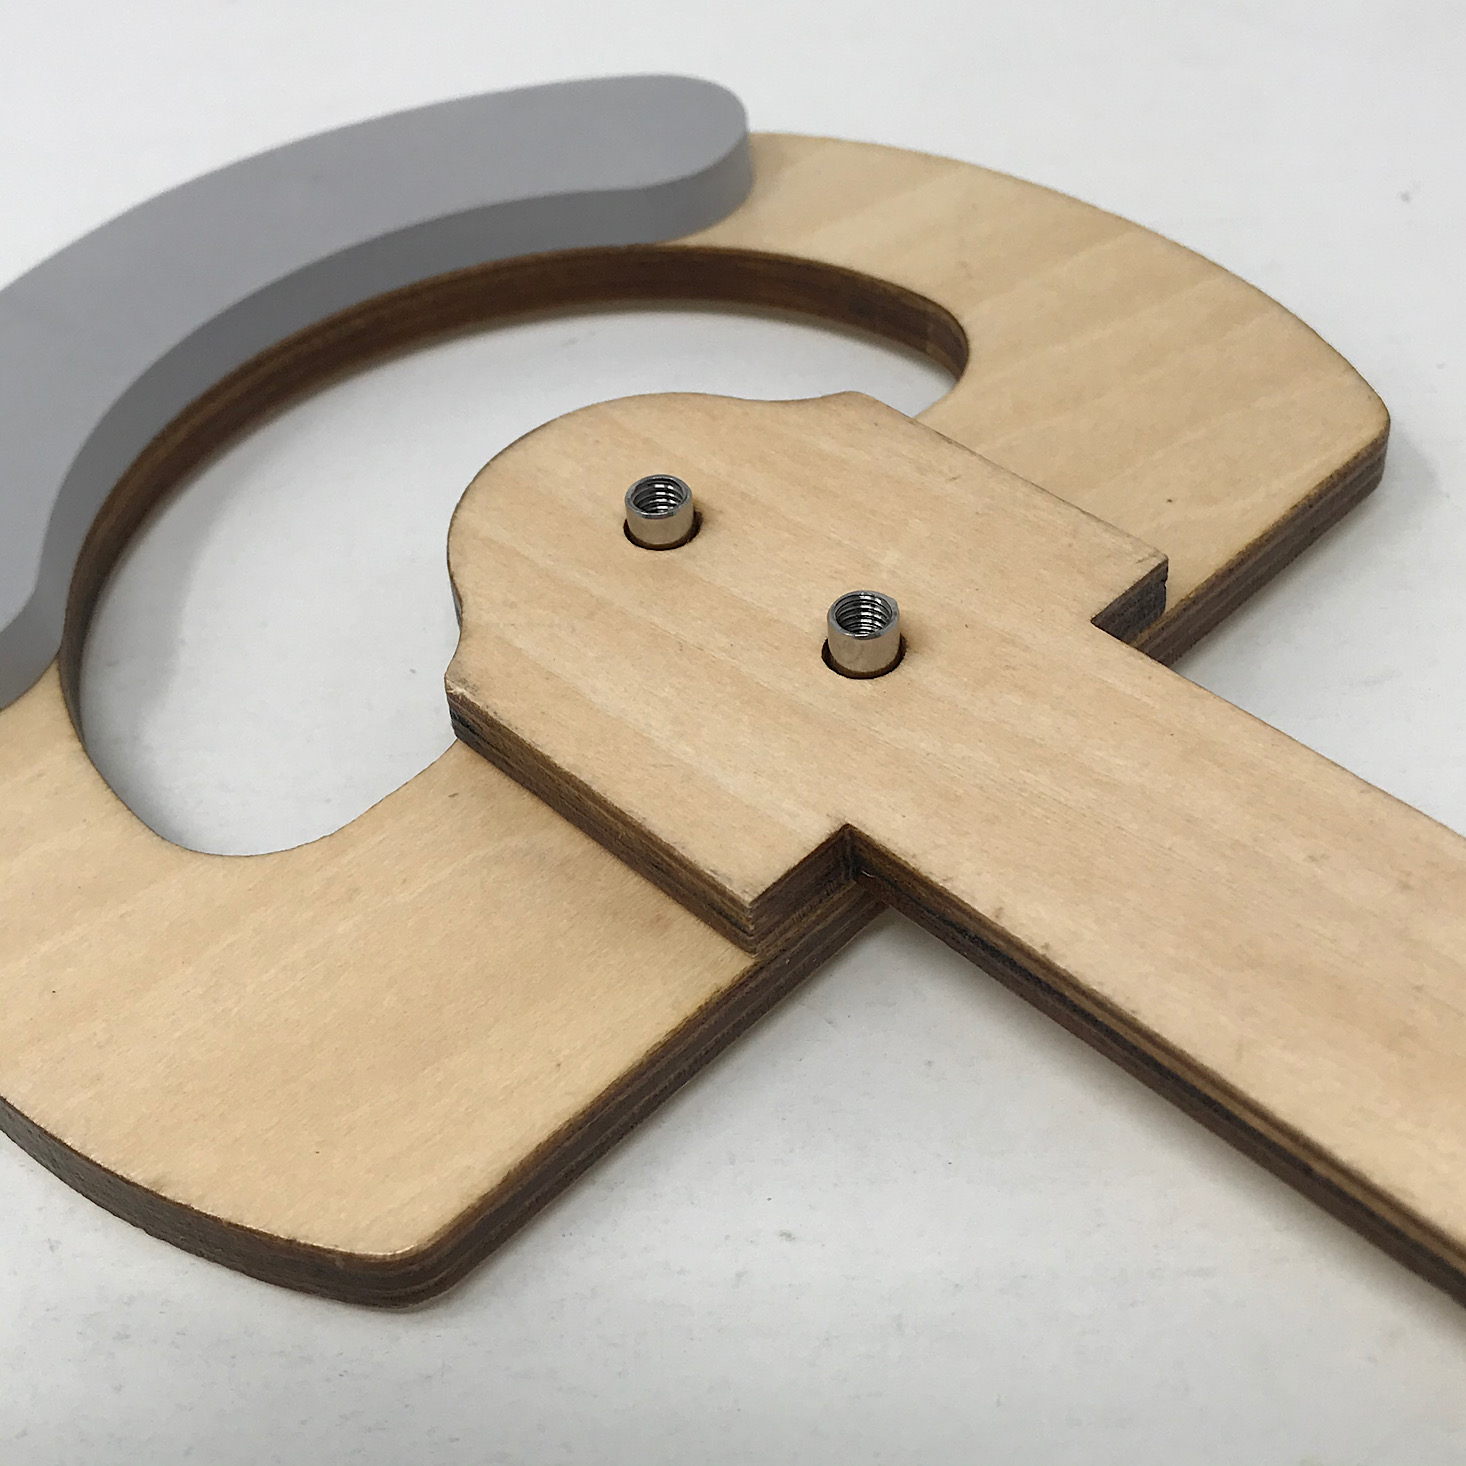
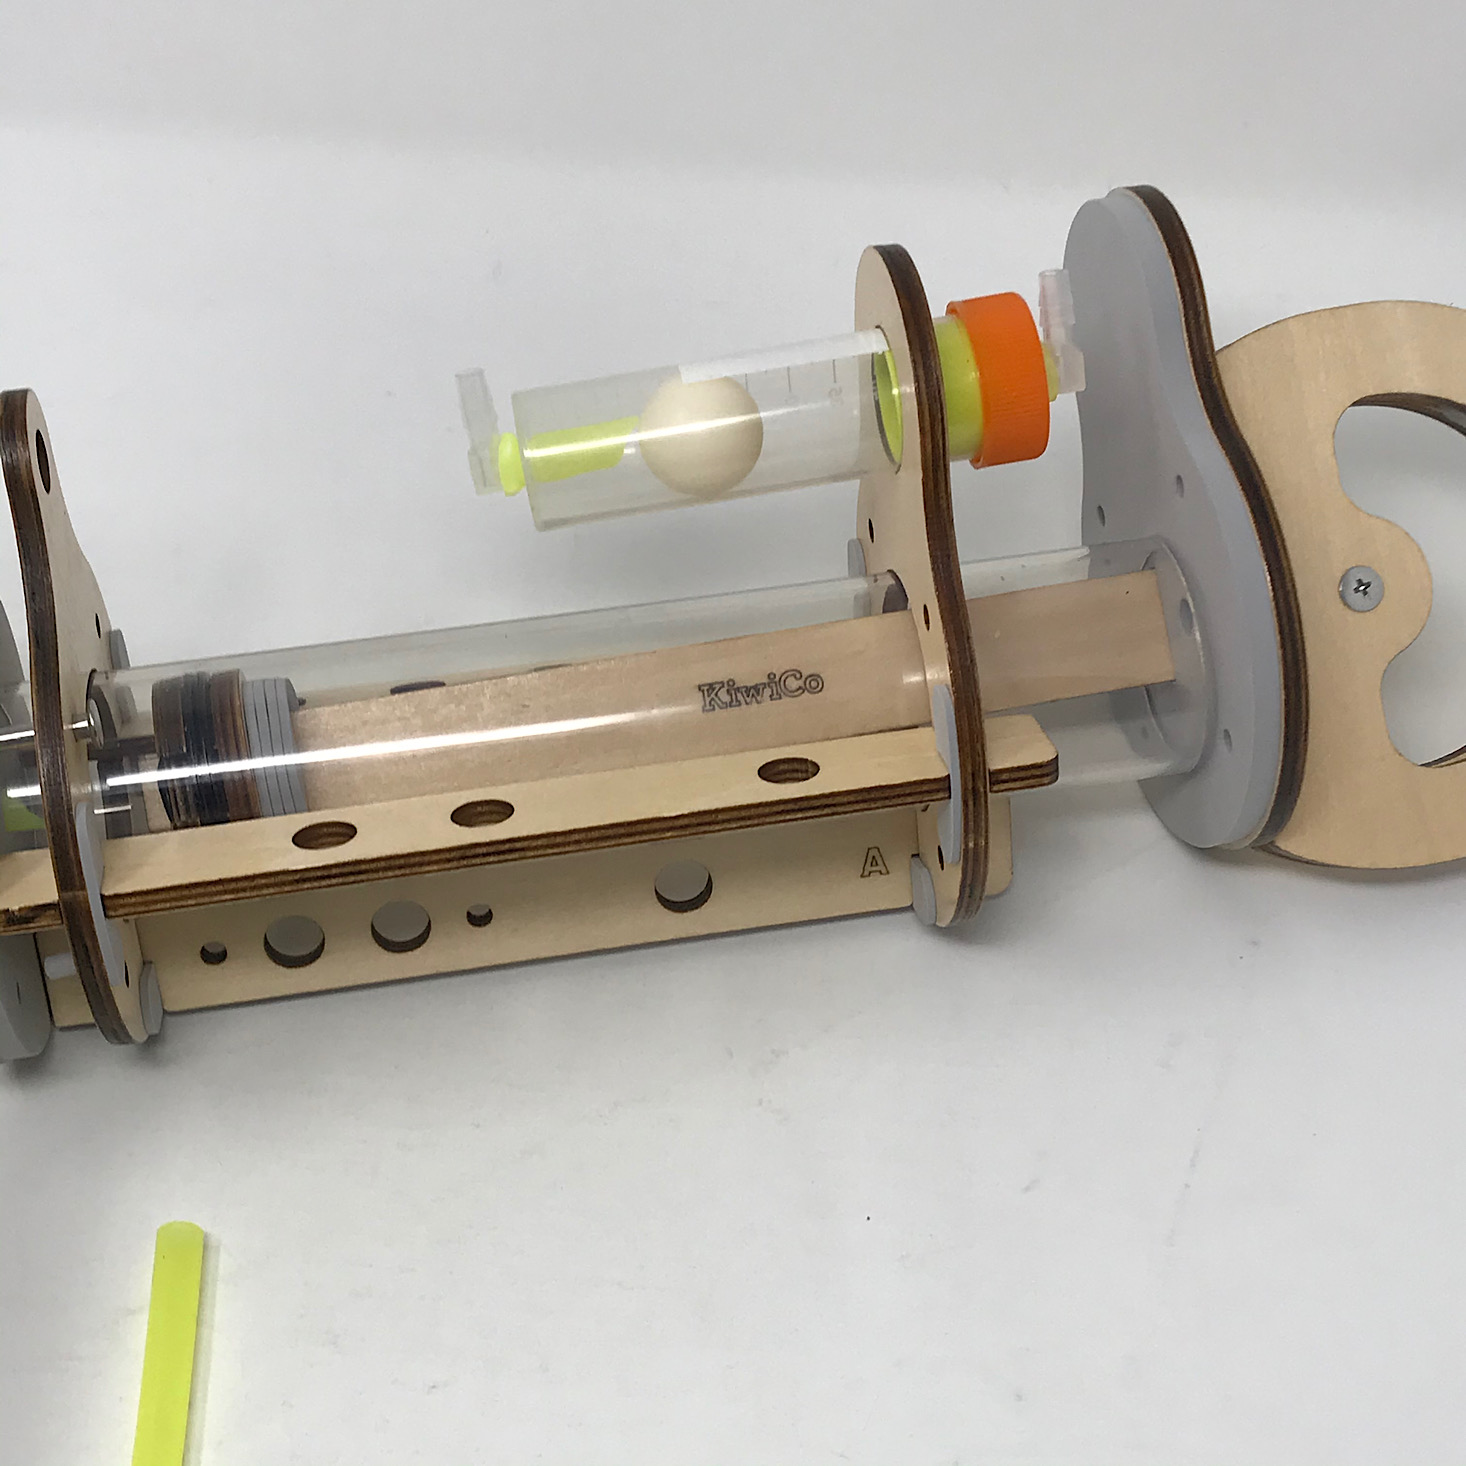
Then I slipped the long A, B, and C pieces in between the two wooden sides by sliding them into the notches with the foam to help hold them in place.
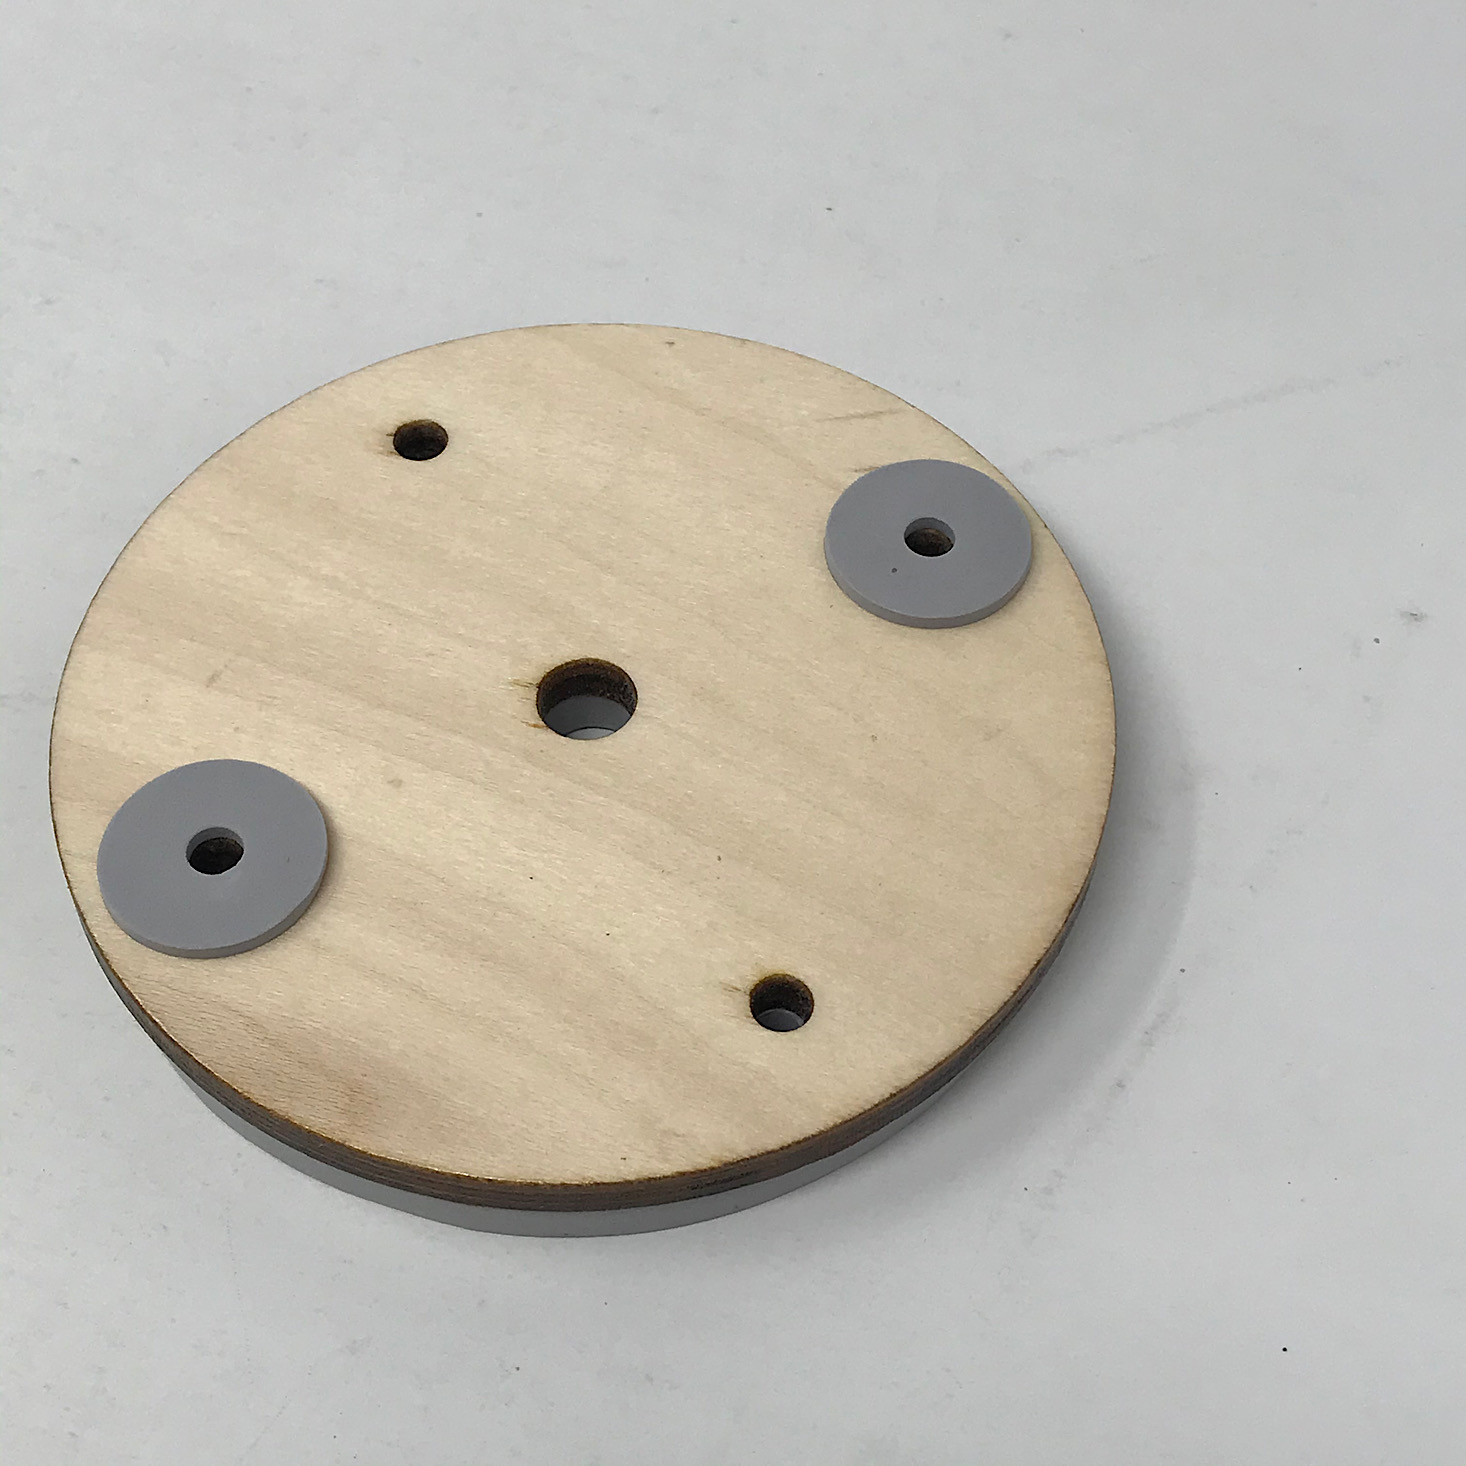

1 of 3
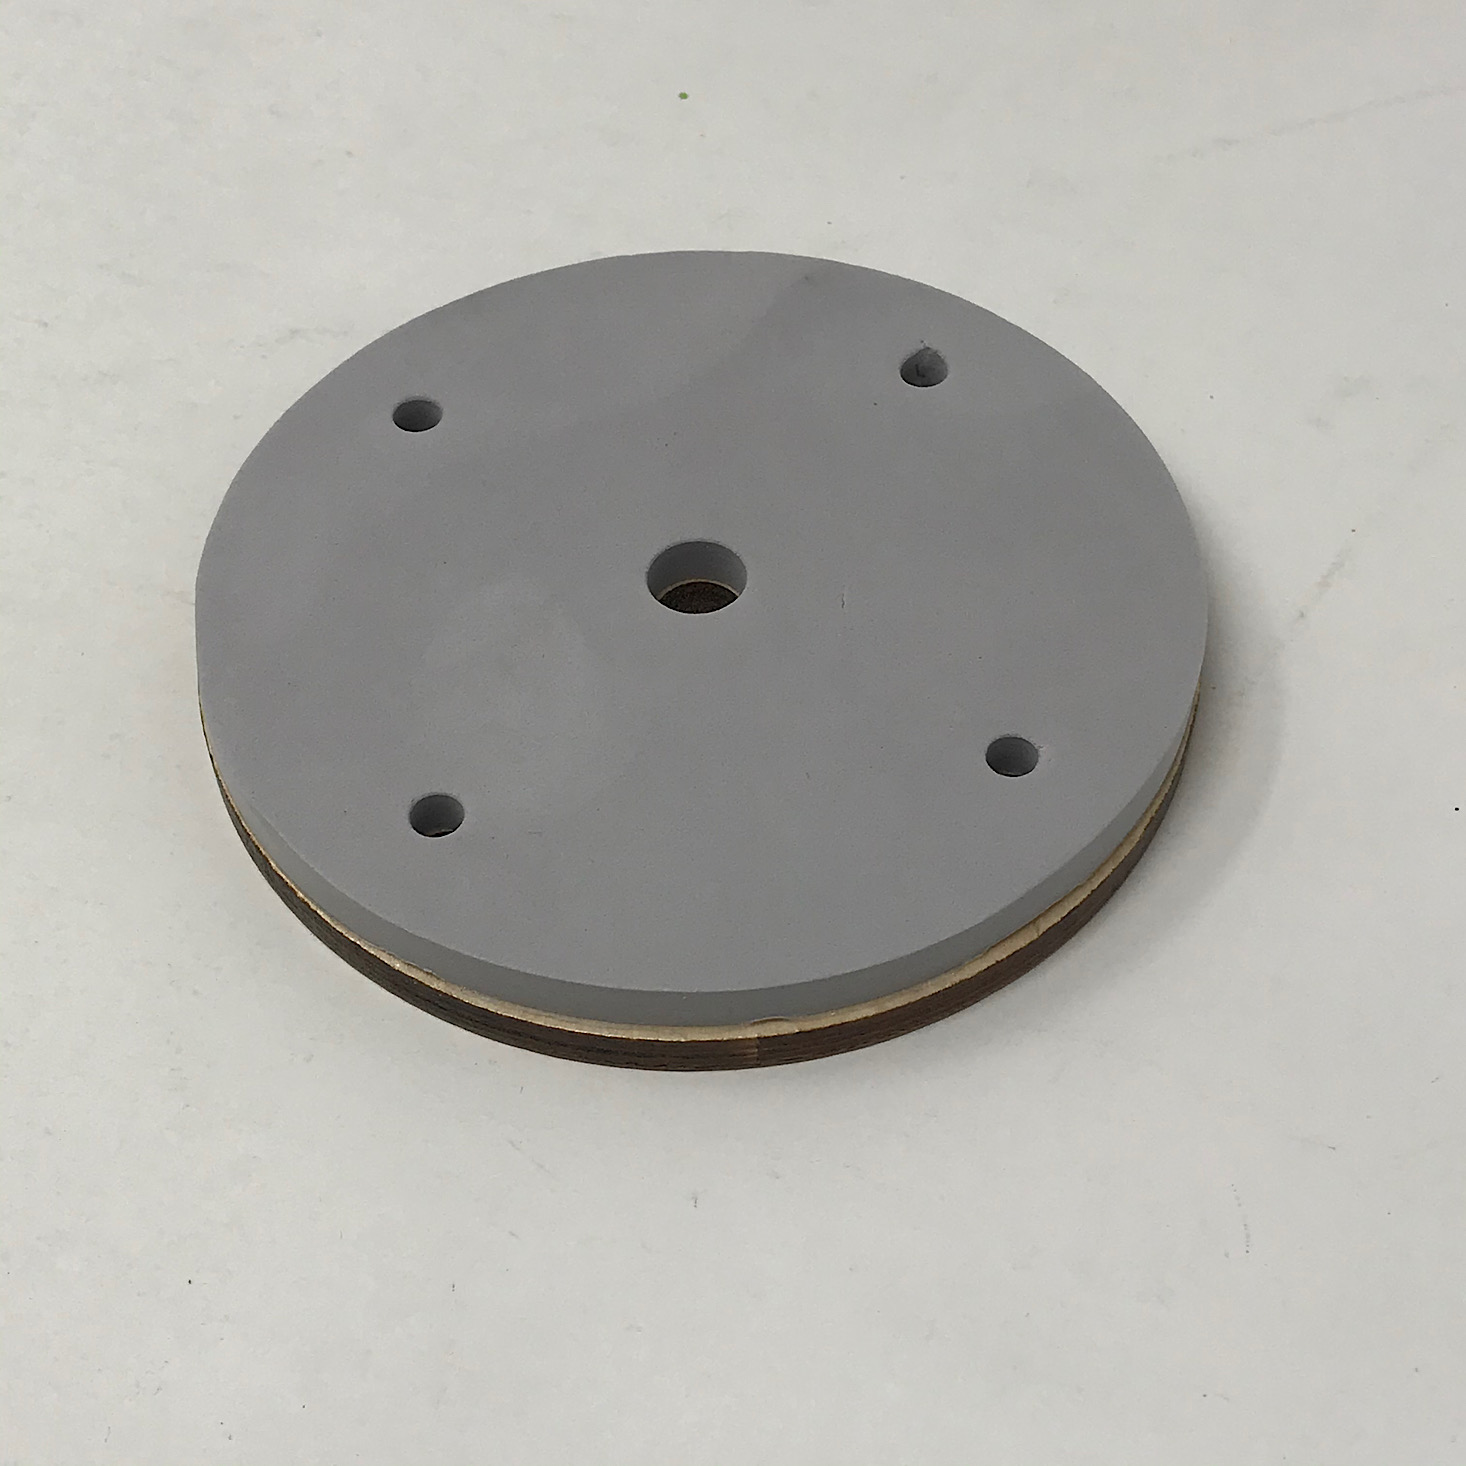
Next, I added a foam sticker to this wooden circle making sure to line up the holes. I flipped it over and added two smaller stickers to two of the holes on the other side.


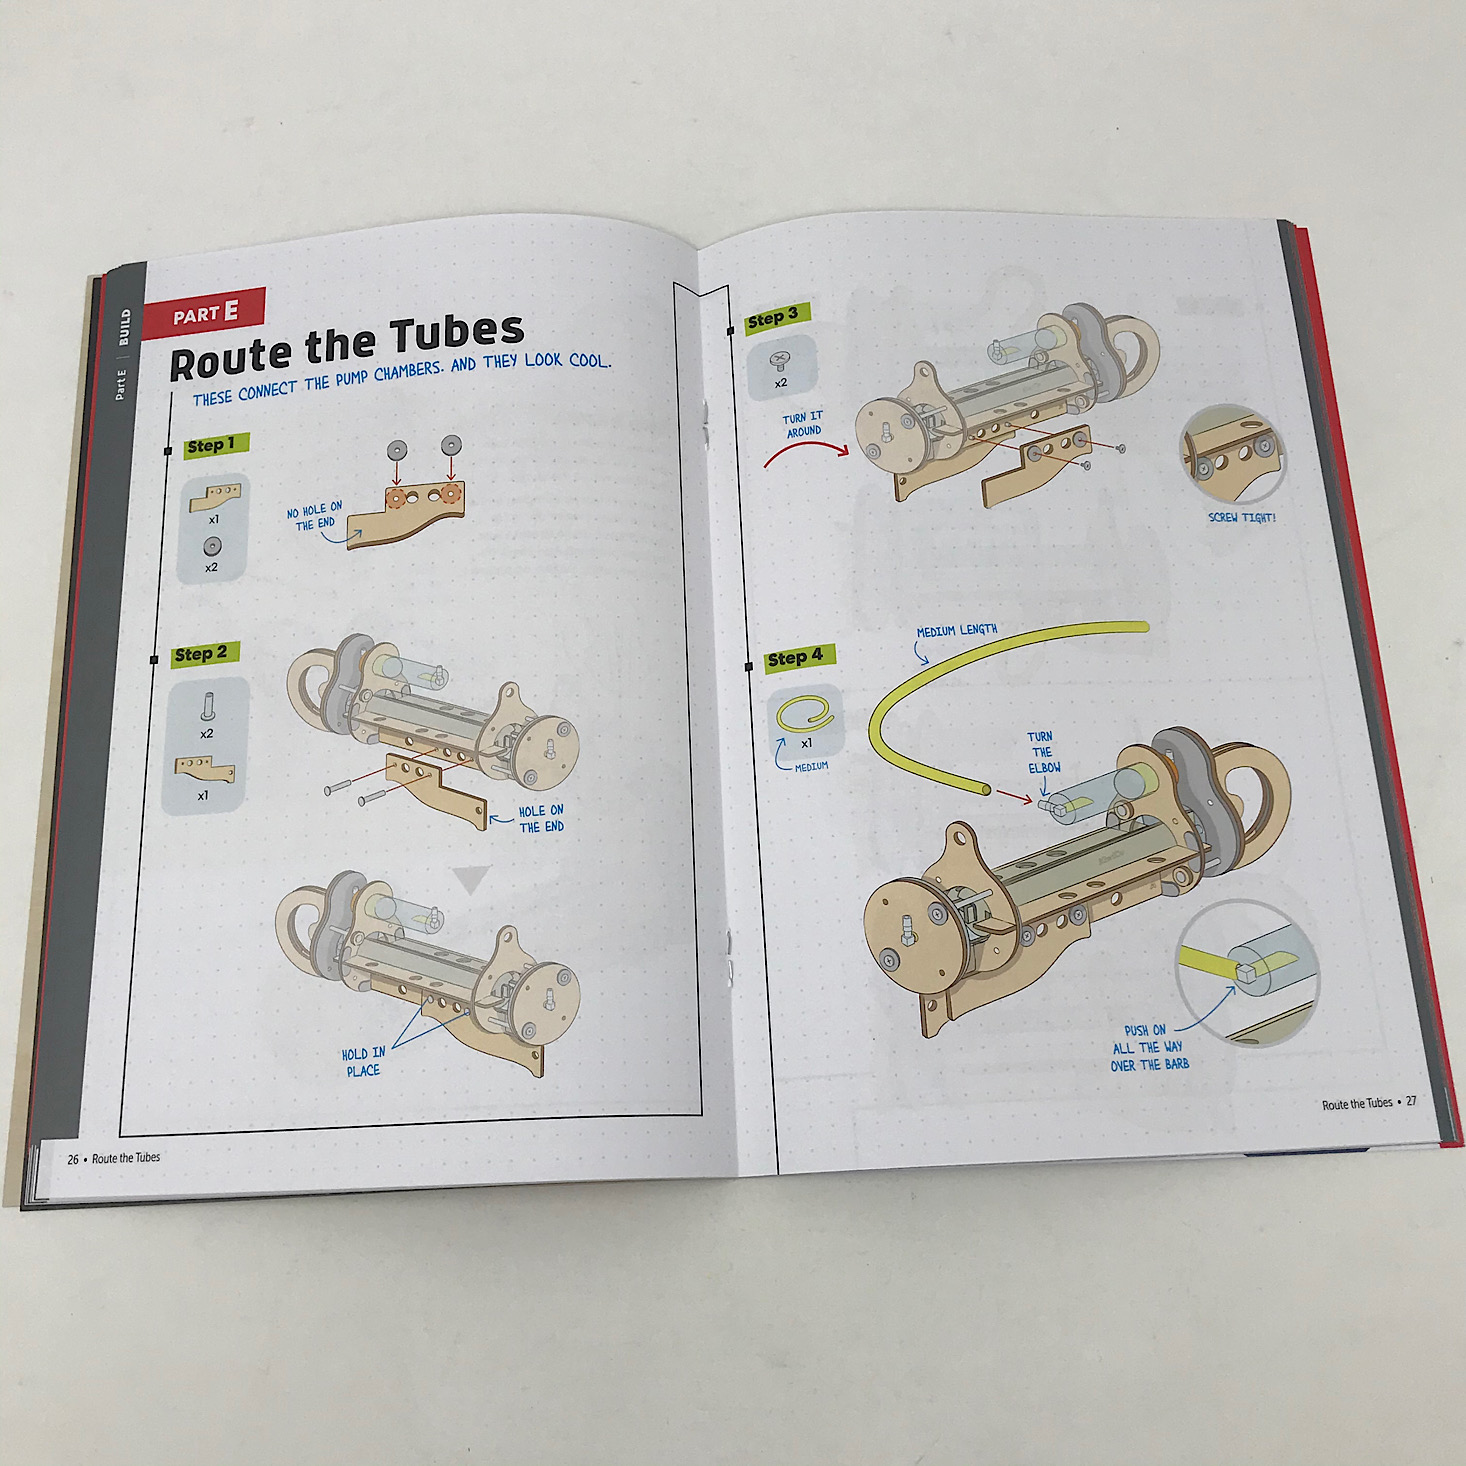
1 of 4


They provided tubing in various sizes for us: a long, medium, and three smaller tubes. I cut the tip of one of the smaller yellow tubing pieces into an angle. Then I stuck it onto one of the plastic connector tubes.

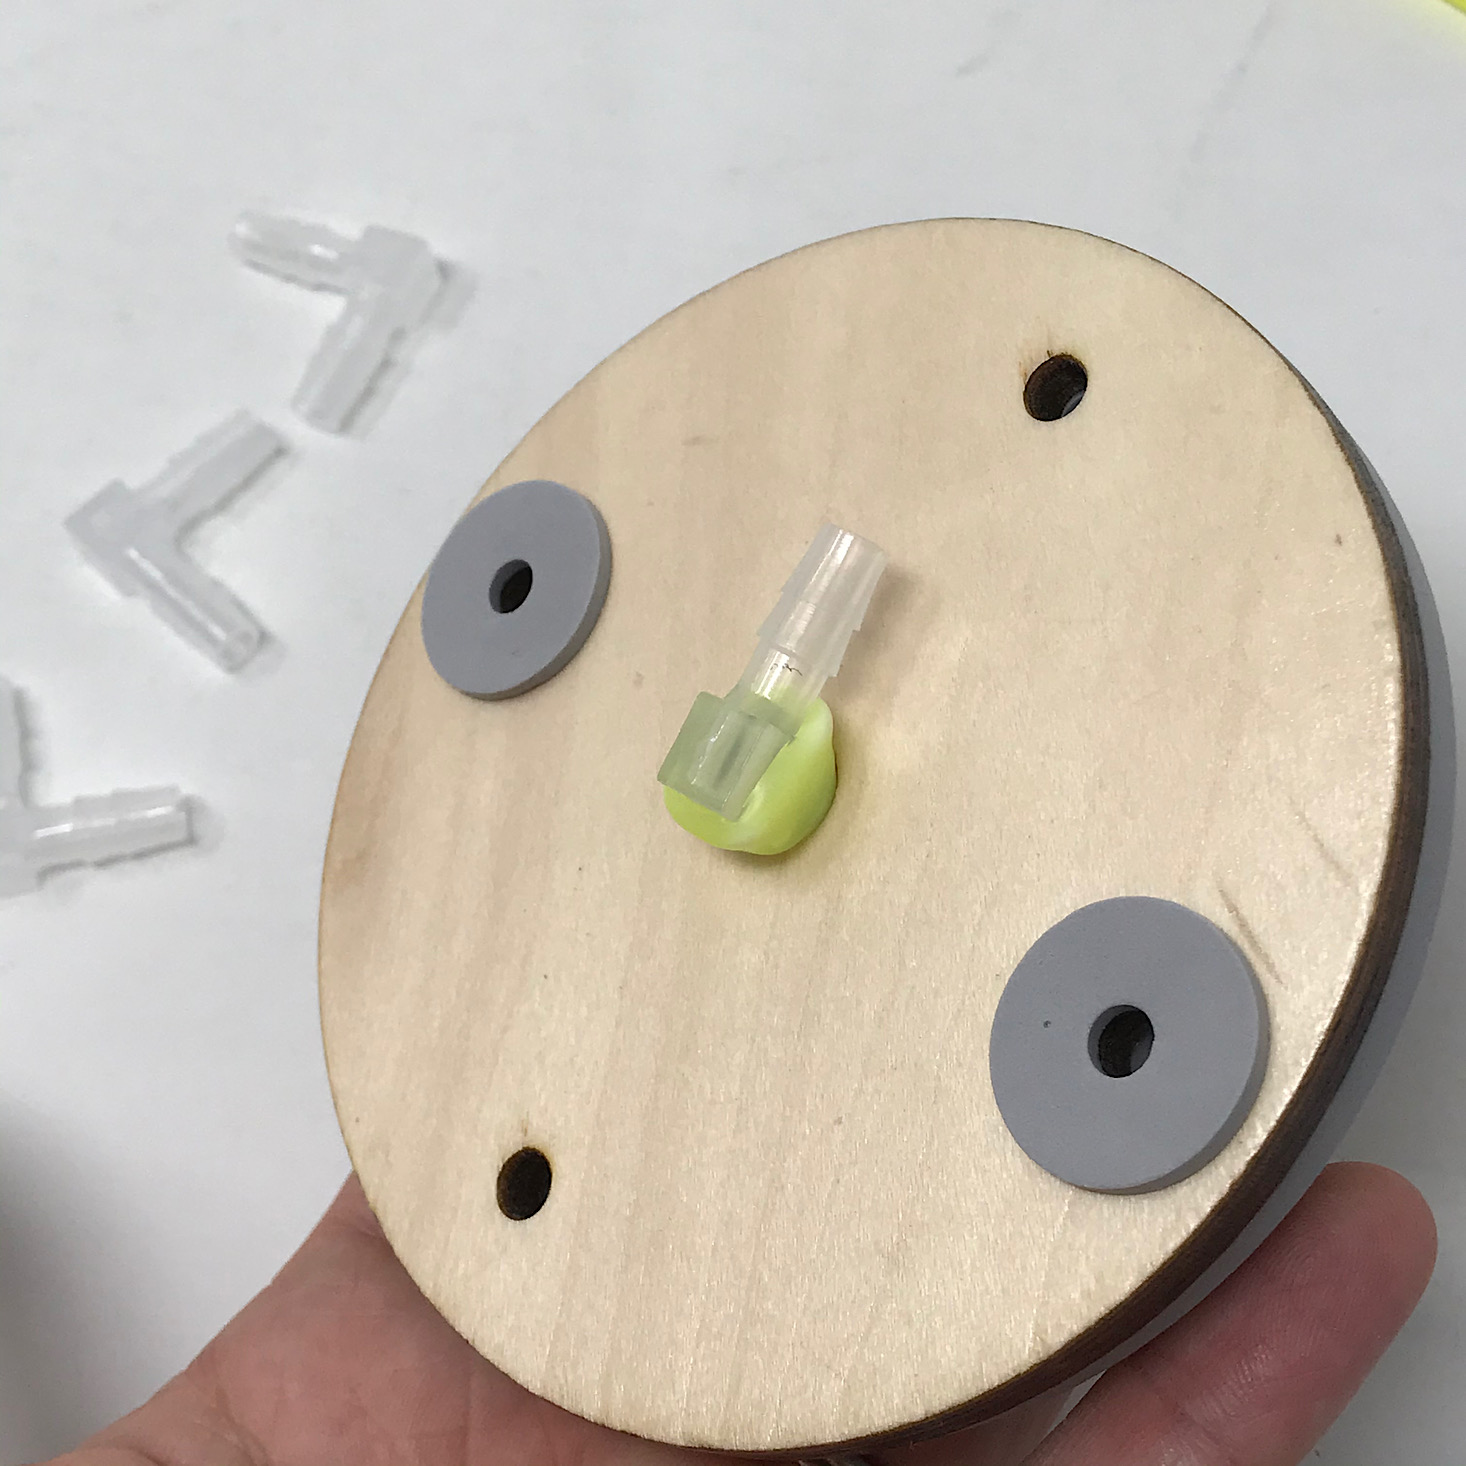
1 of 2
Then I slipped it into the center circle and pushed it in as far as it would go so the tube end stuck out of the other side.

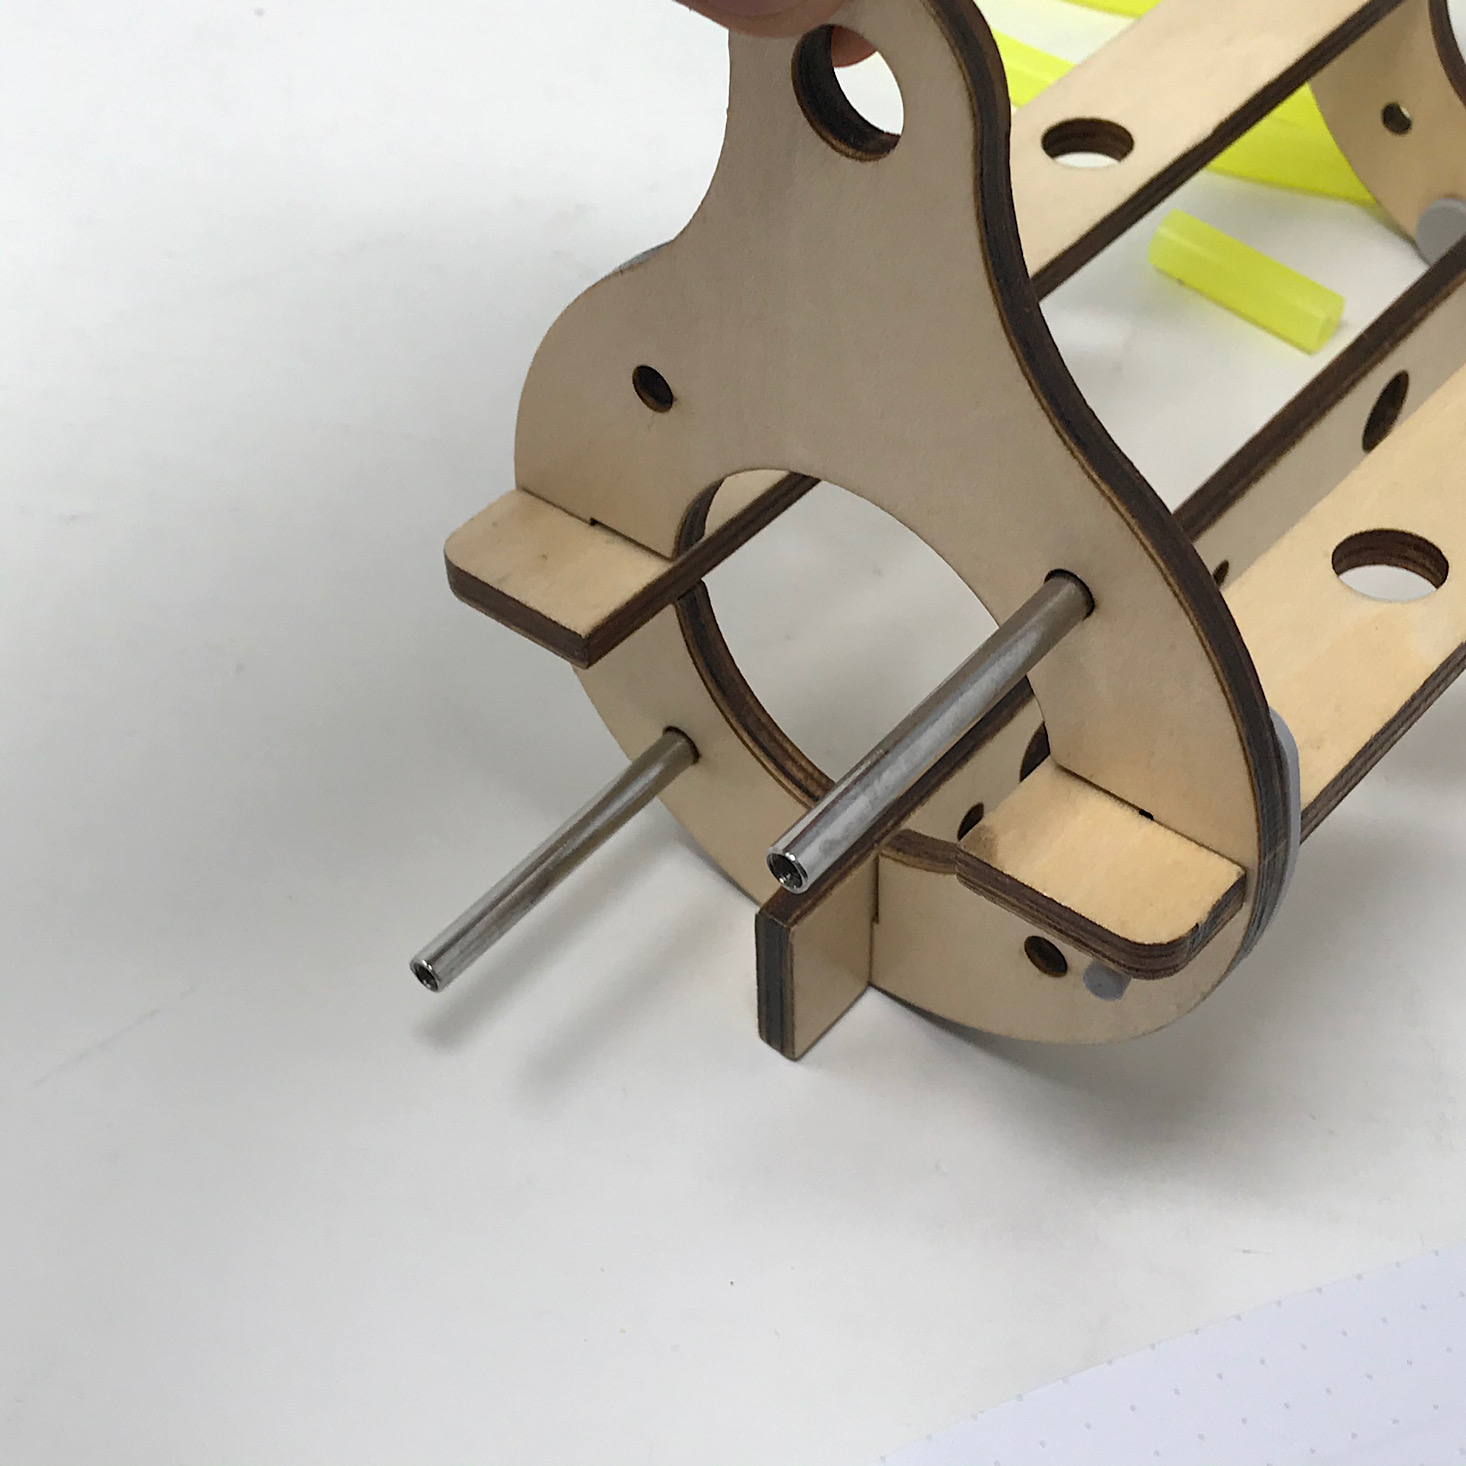
1 of 2
Then I added this circle to the end of our pump frame using long bolts and screws.
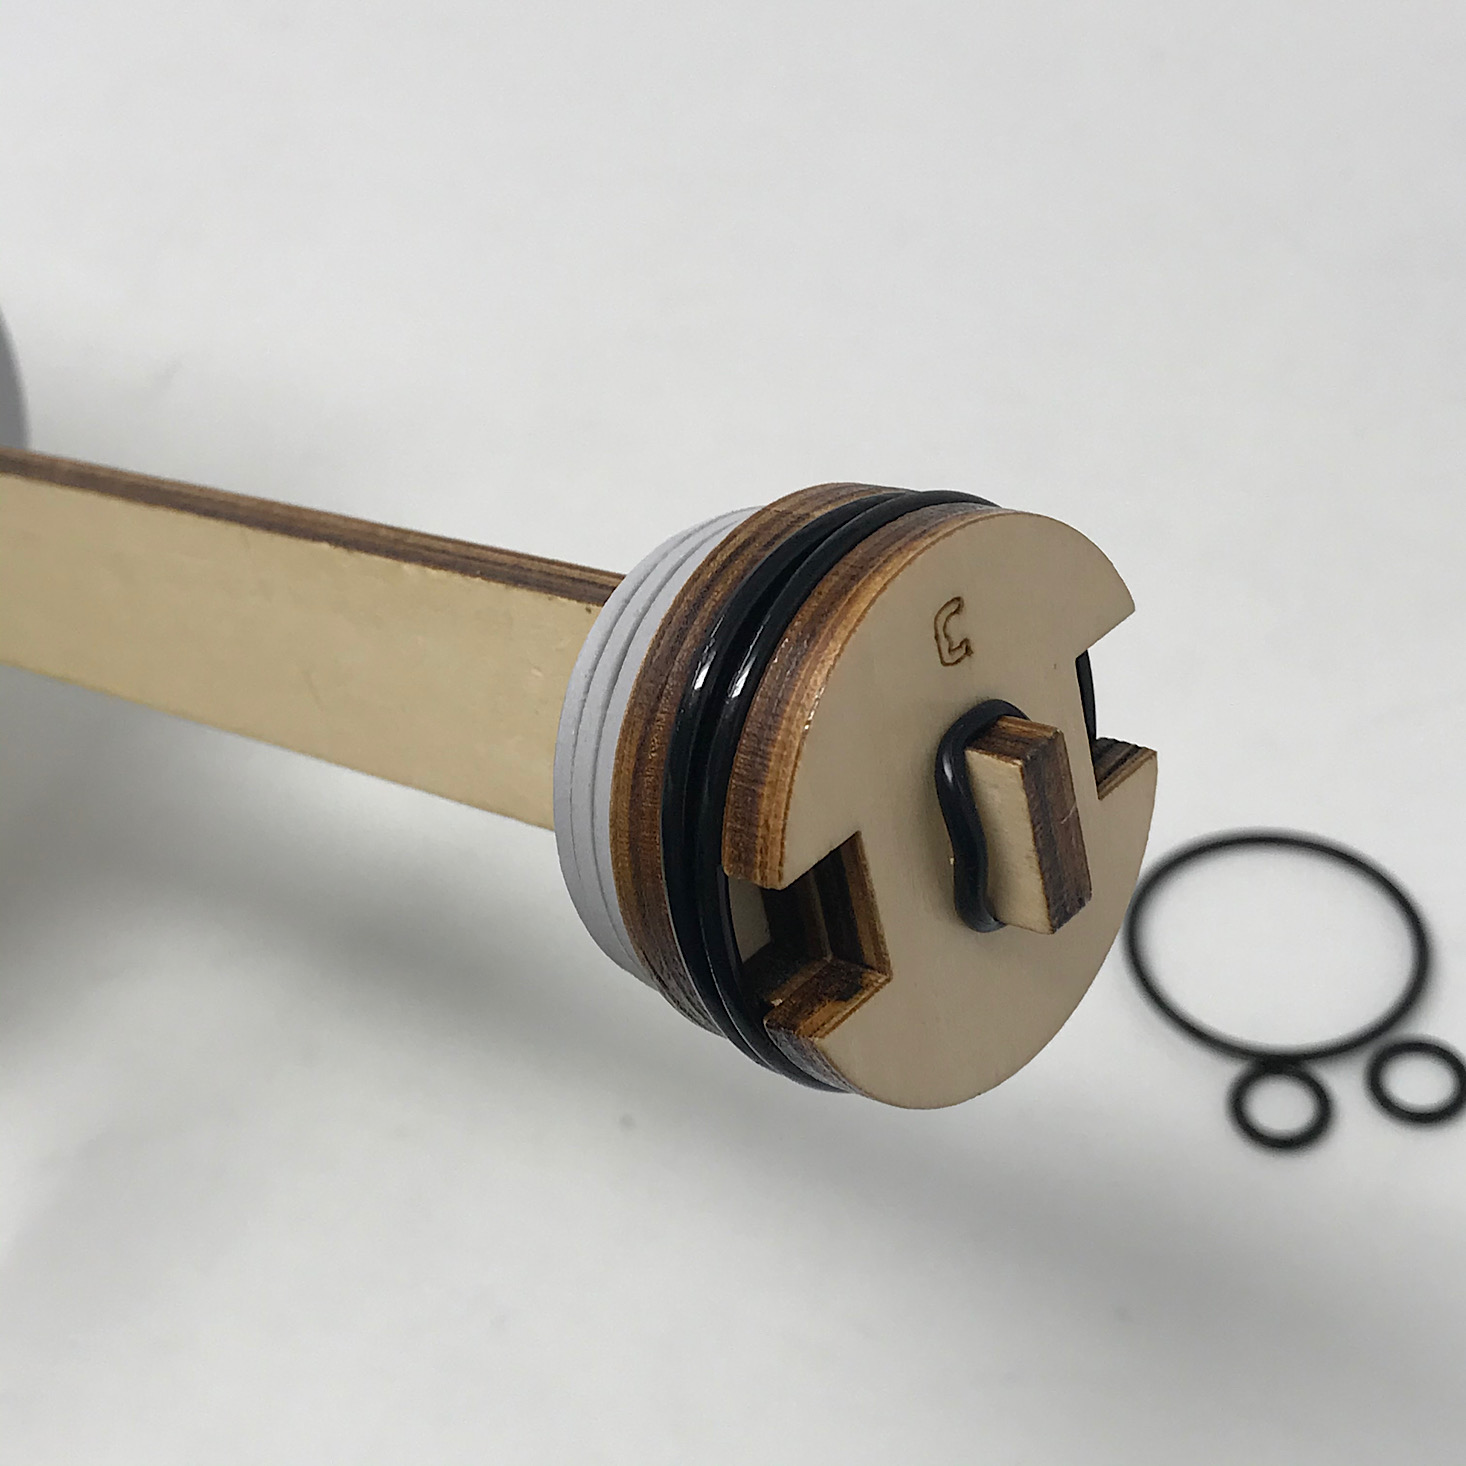
Part C: Build the Ball Check Valve


1 of 5


I prepared two additional smaller tubes by cutting the ends into an angle. Then I stuck them into either side of this little tube and added an elbow tube to each making sure to push it into the hole all the way. I cut the excess off of the tube that was sticking out from the lid so that it was flush with the edge of the lid.

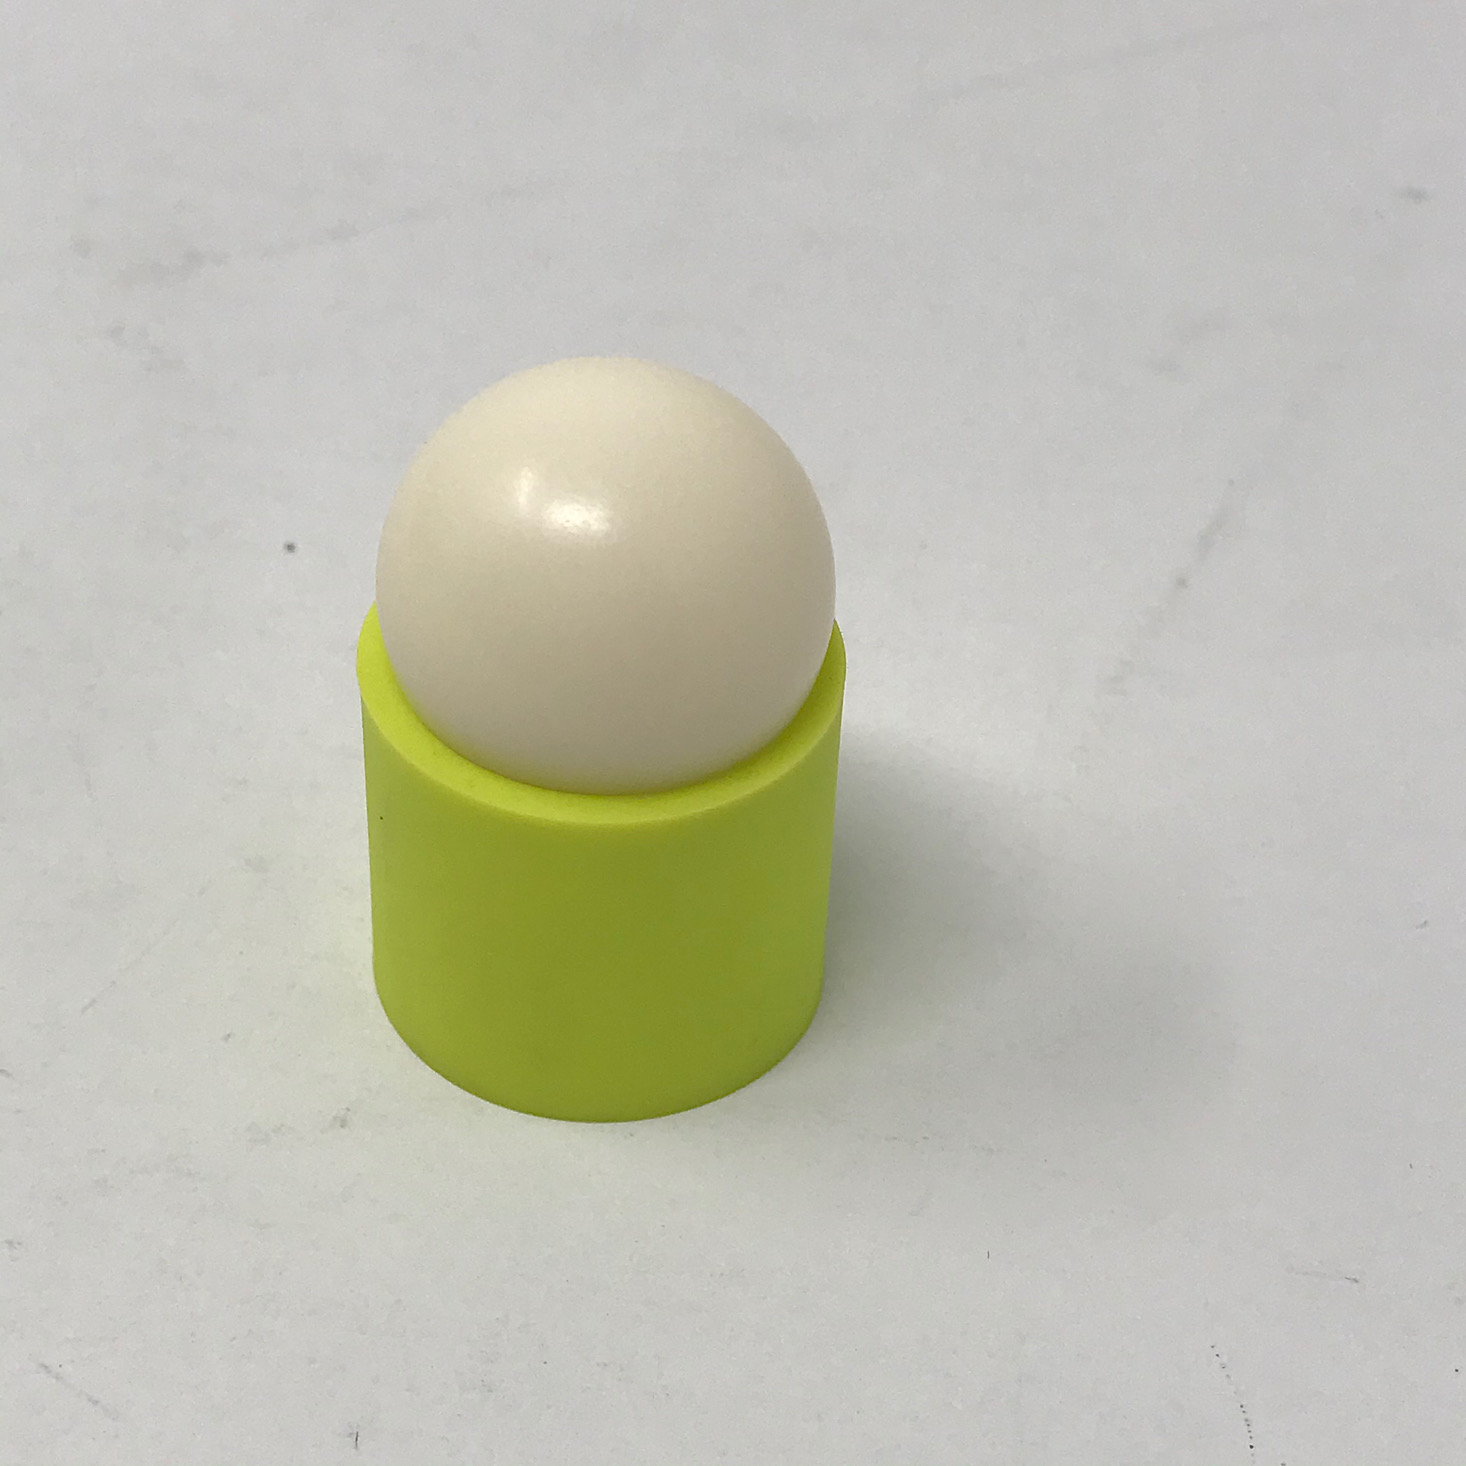
1 of 3
Next, I added the ball and this valve piece into the tube and stuck the whole contraption into the end of our pump frame.
Part D: Finish the Piston

1 of 3

I added long bolts and small wooden circles to the ball pump frame.


1 of 4


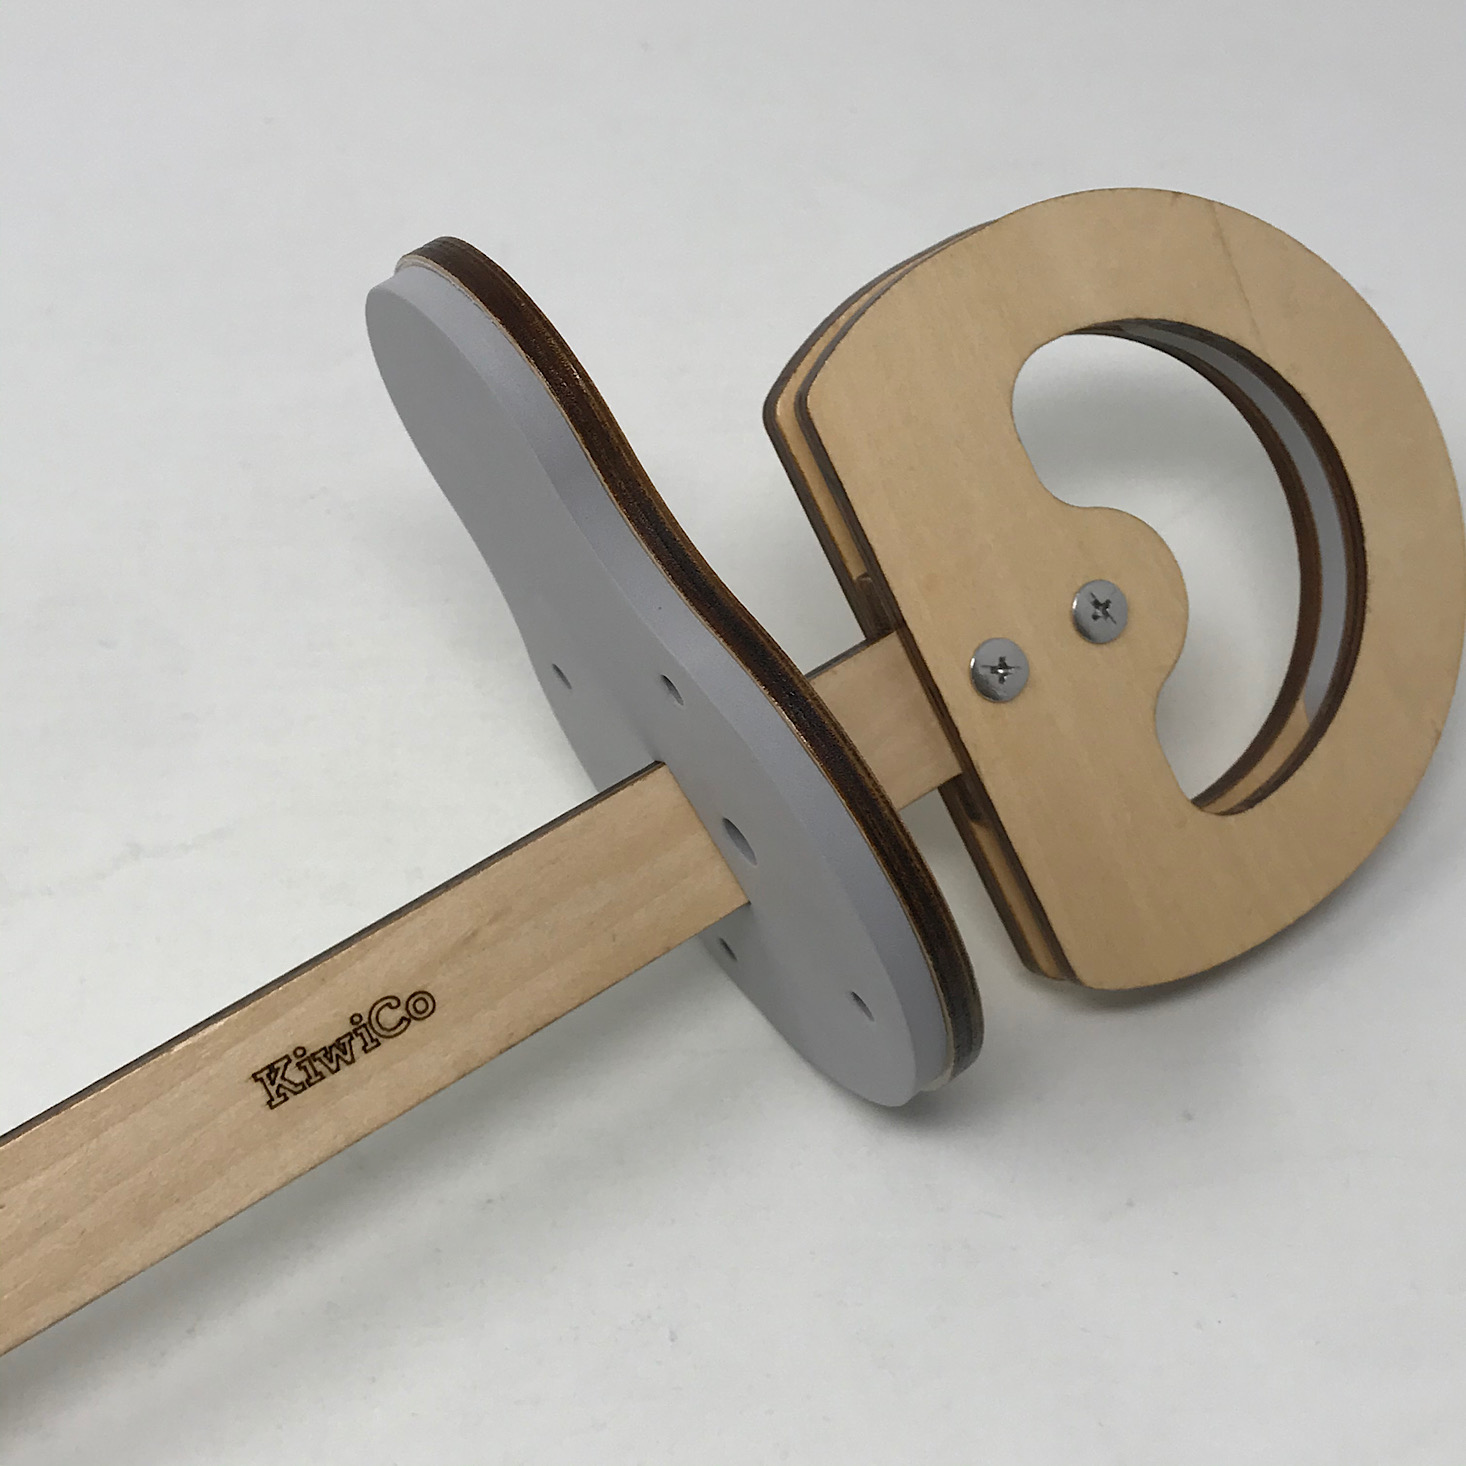
Next, I added foam stickers to the holes in one of these wooden pieces and then added a wooden piece to either side and secured it with bolts and screws. This served as a little handle at the other end to stabilize the pump when pumping.
1 of 4
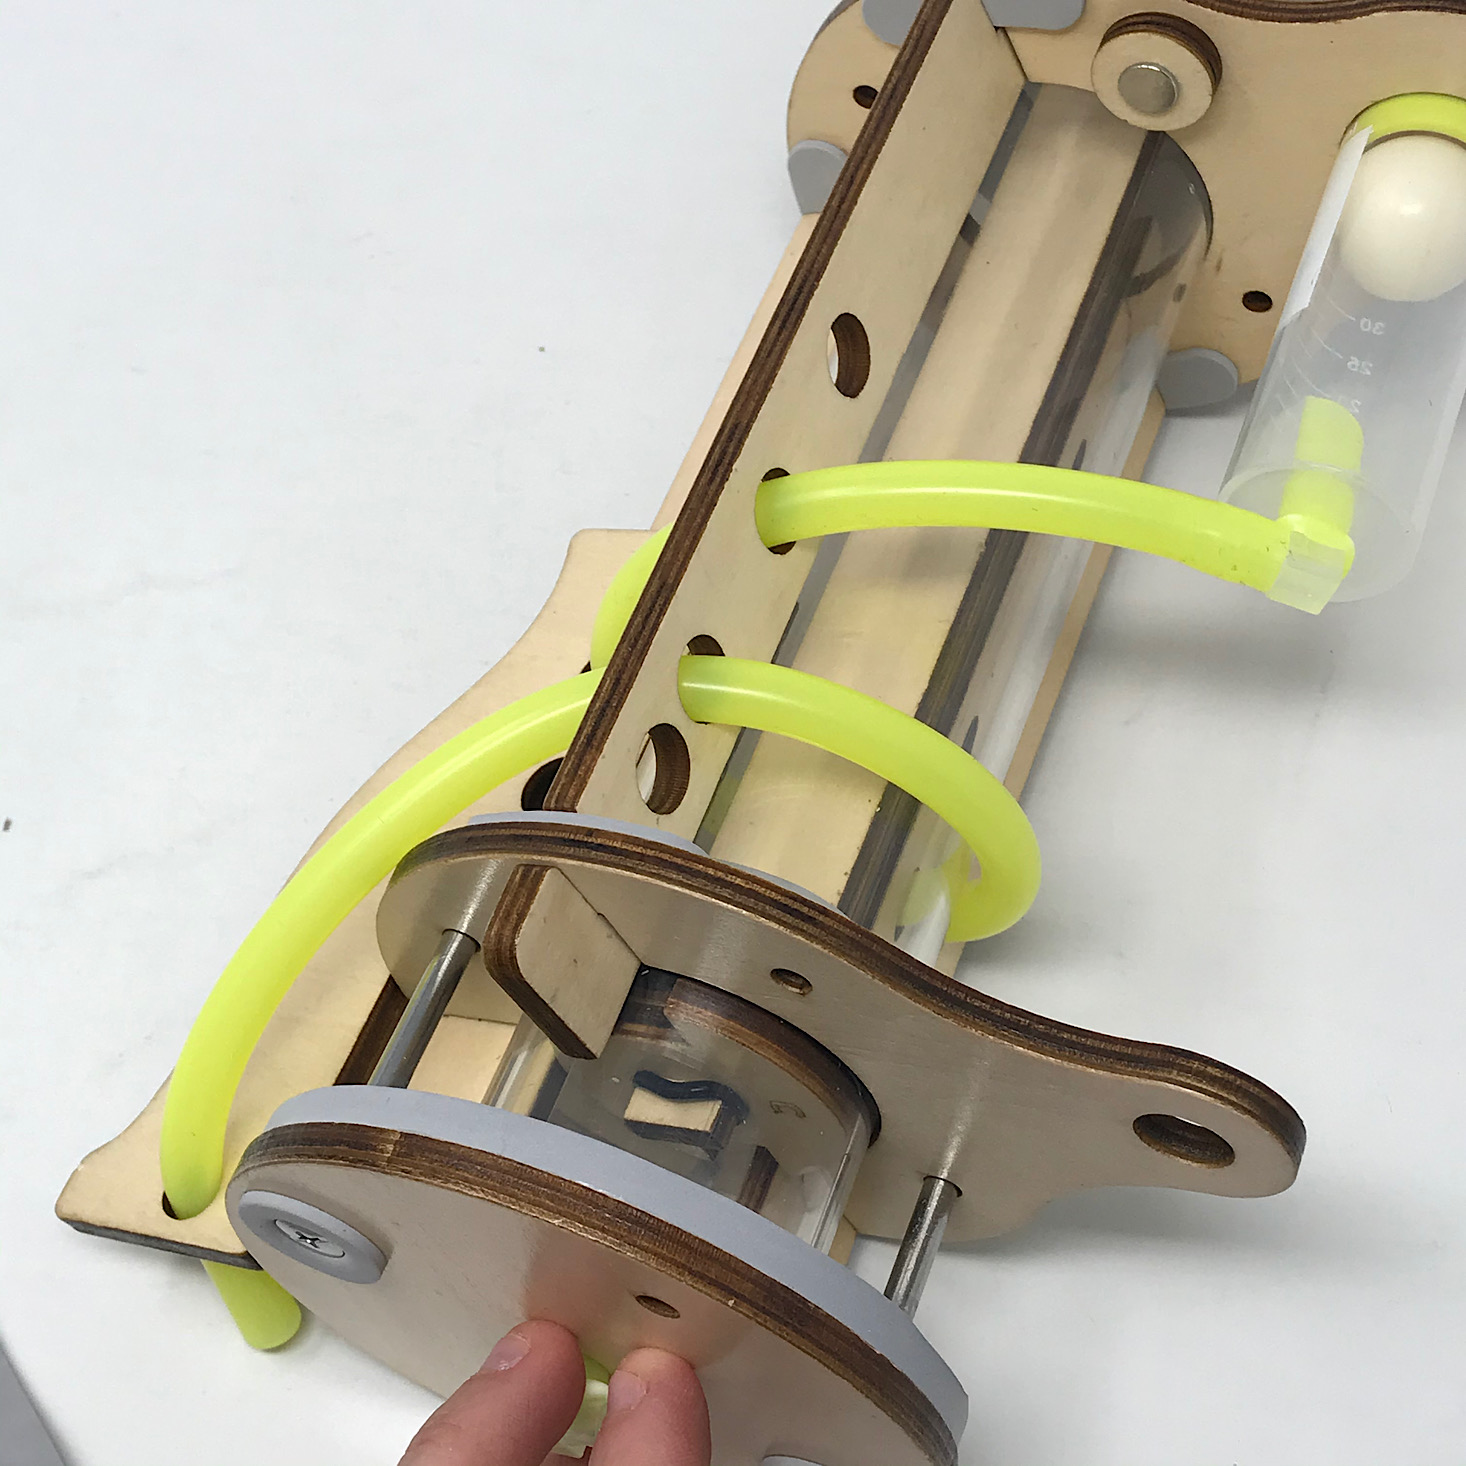

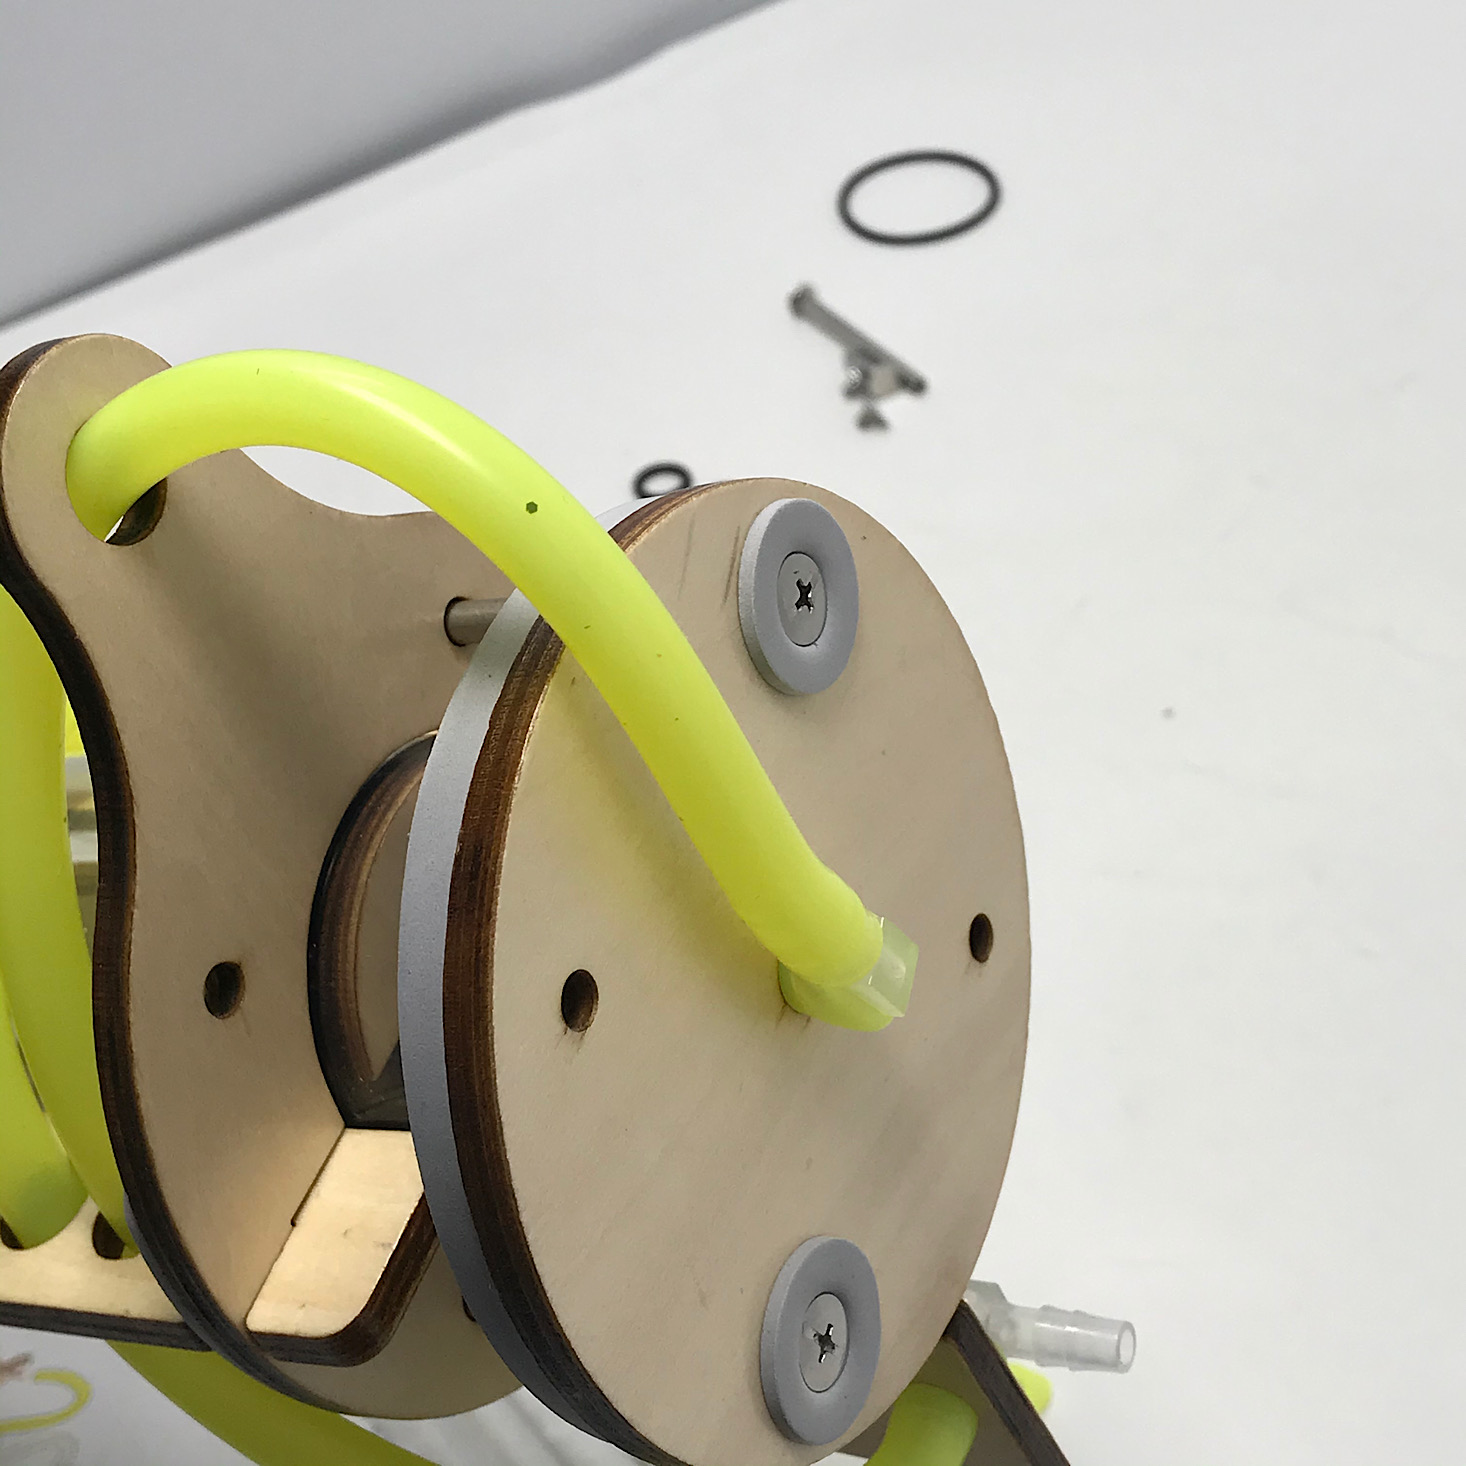
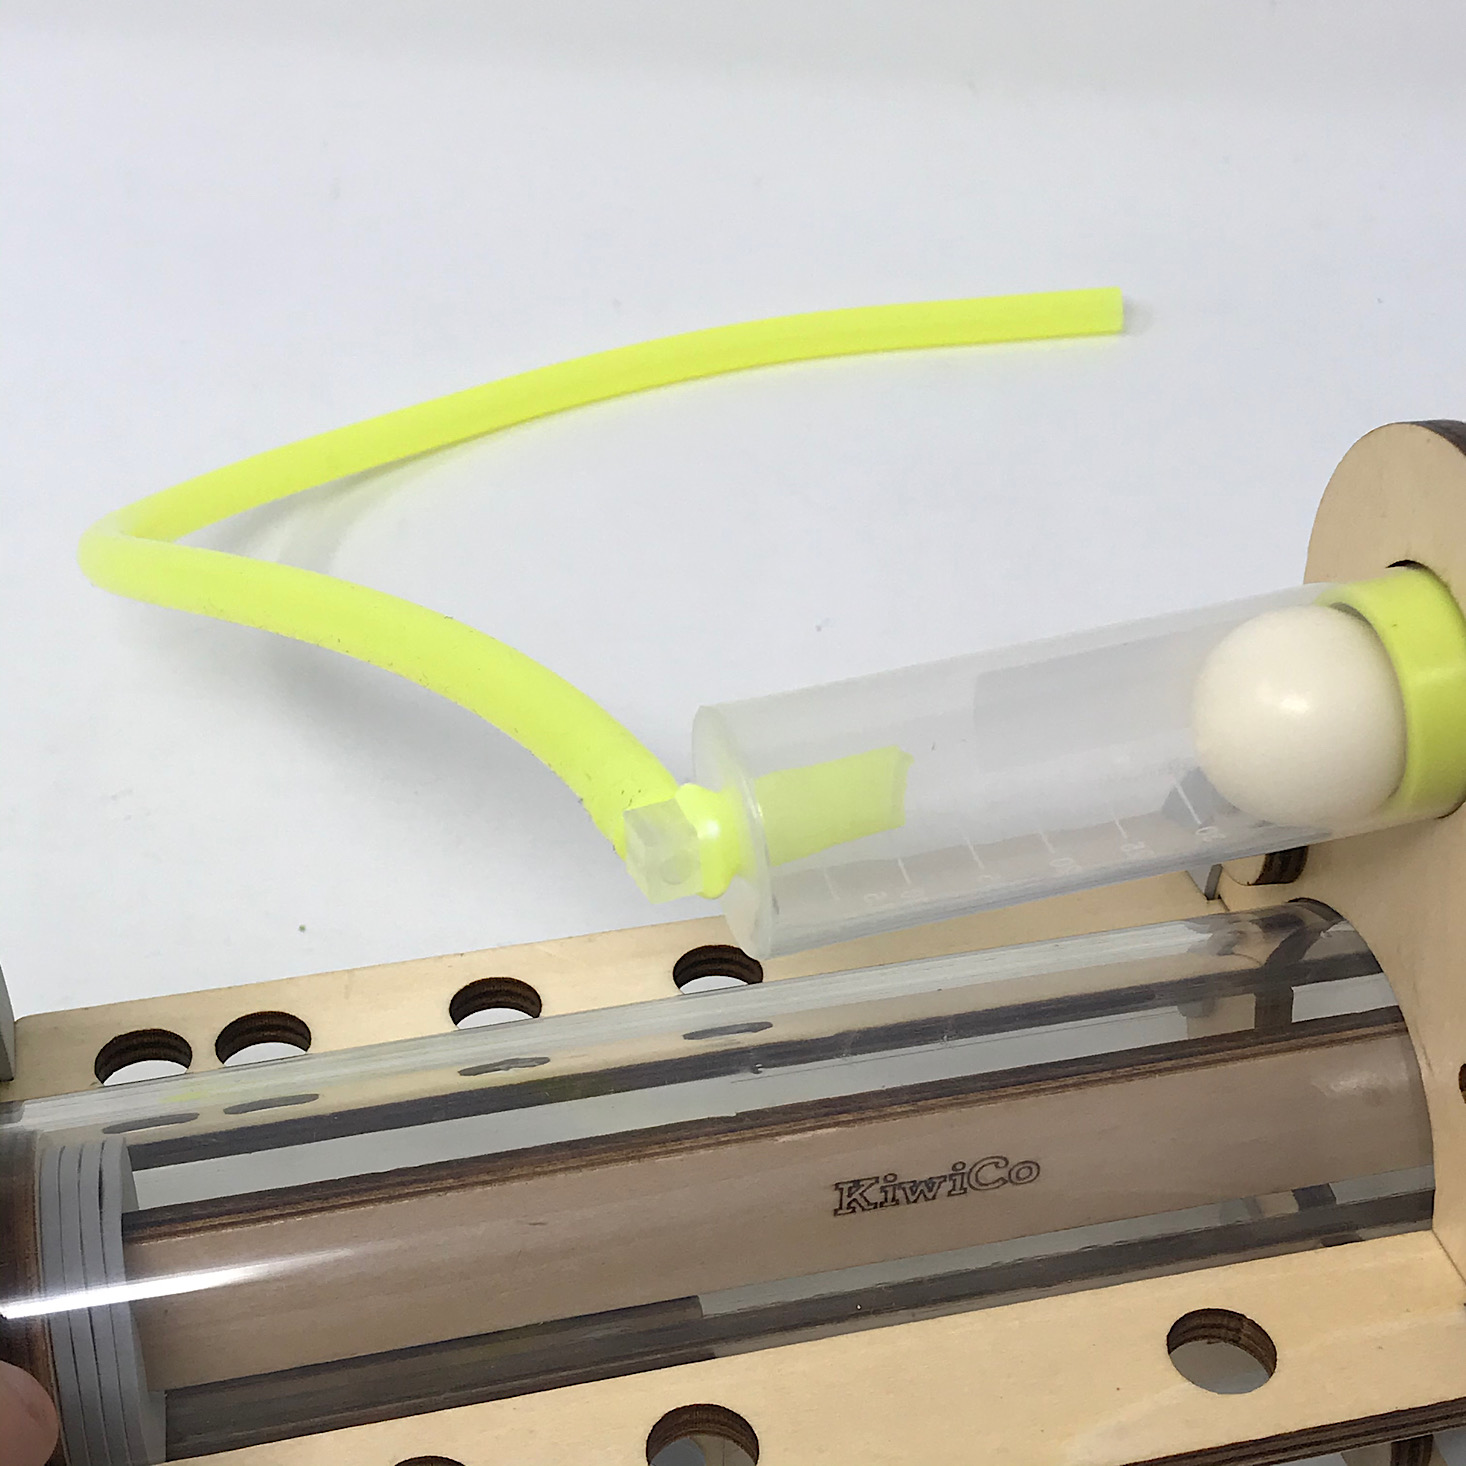
Next, it was just a matter of fitting our two different longer lengths of tubing to our elbow tube connectors and winding it through the holes around the pump to finish it up.
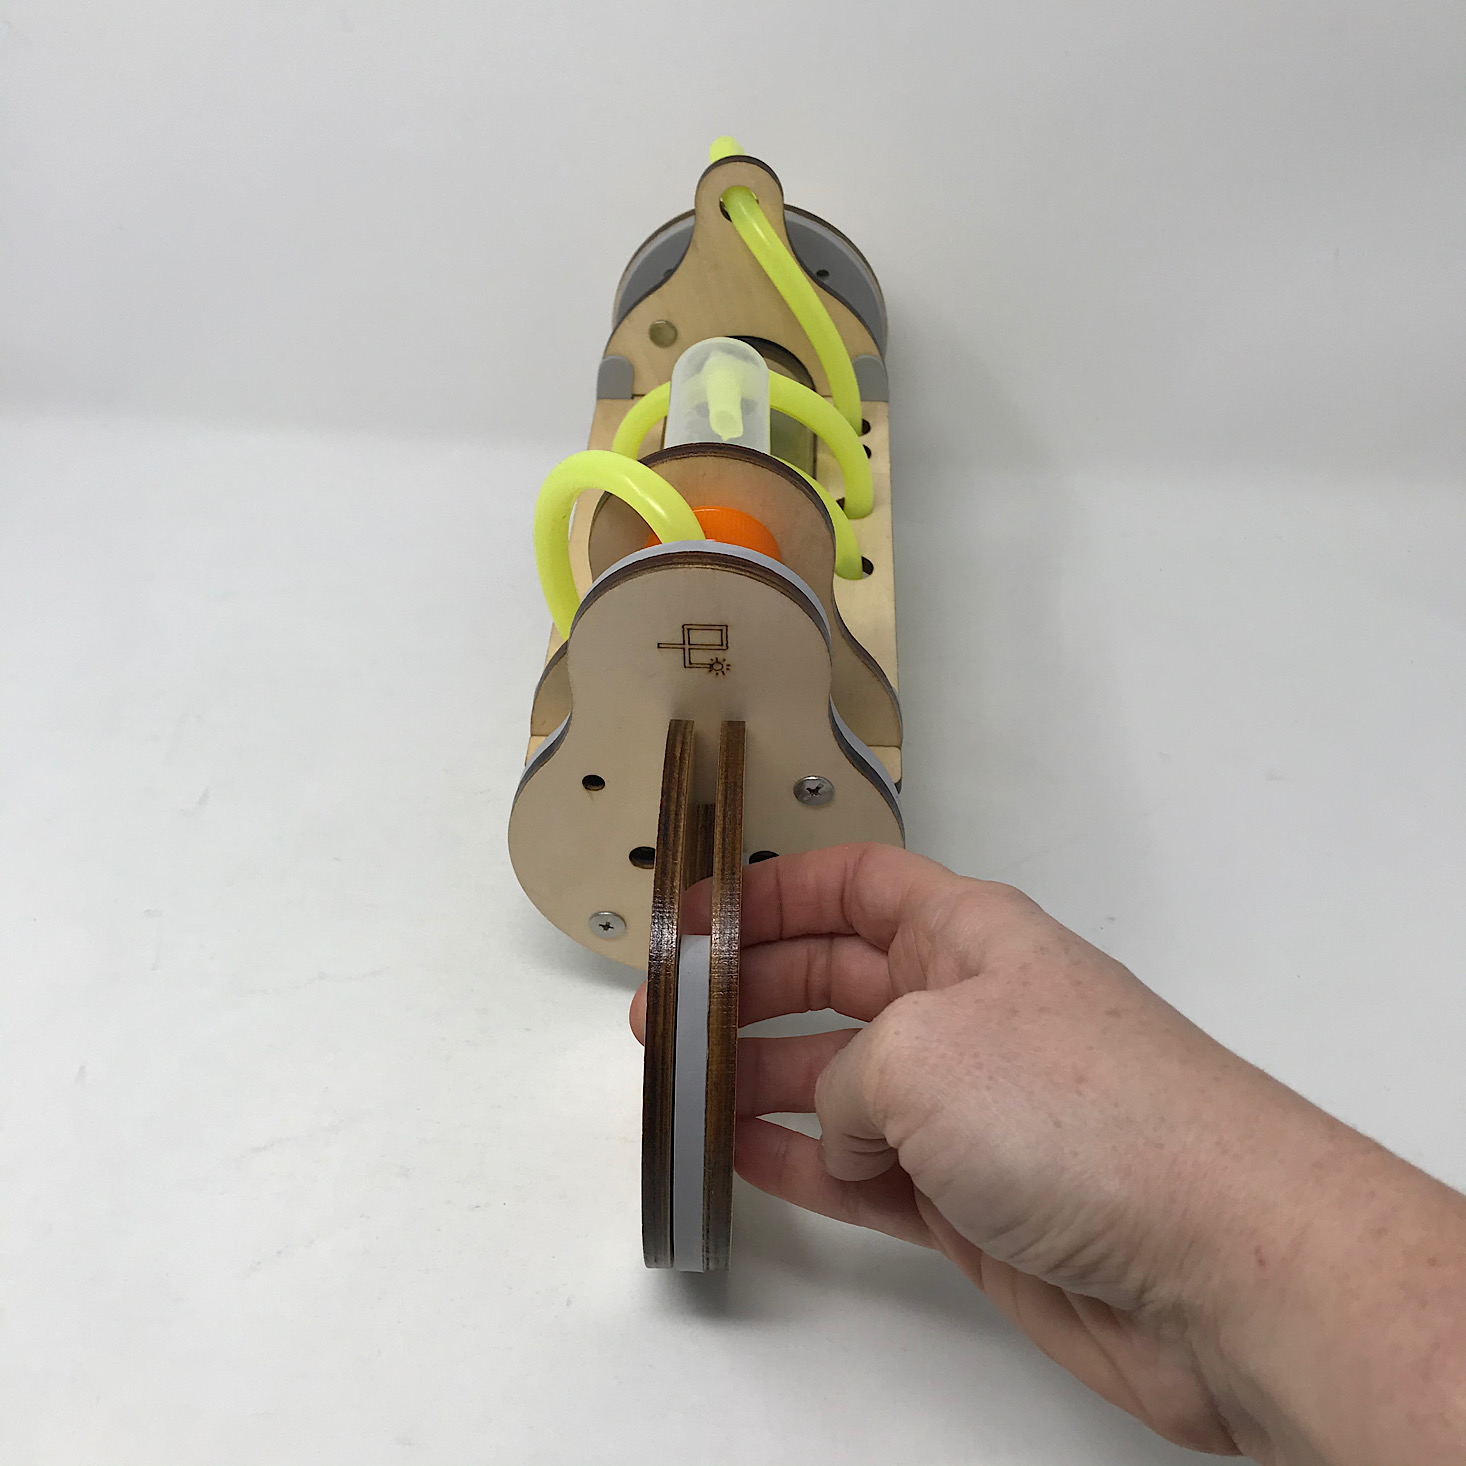
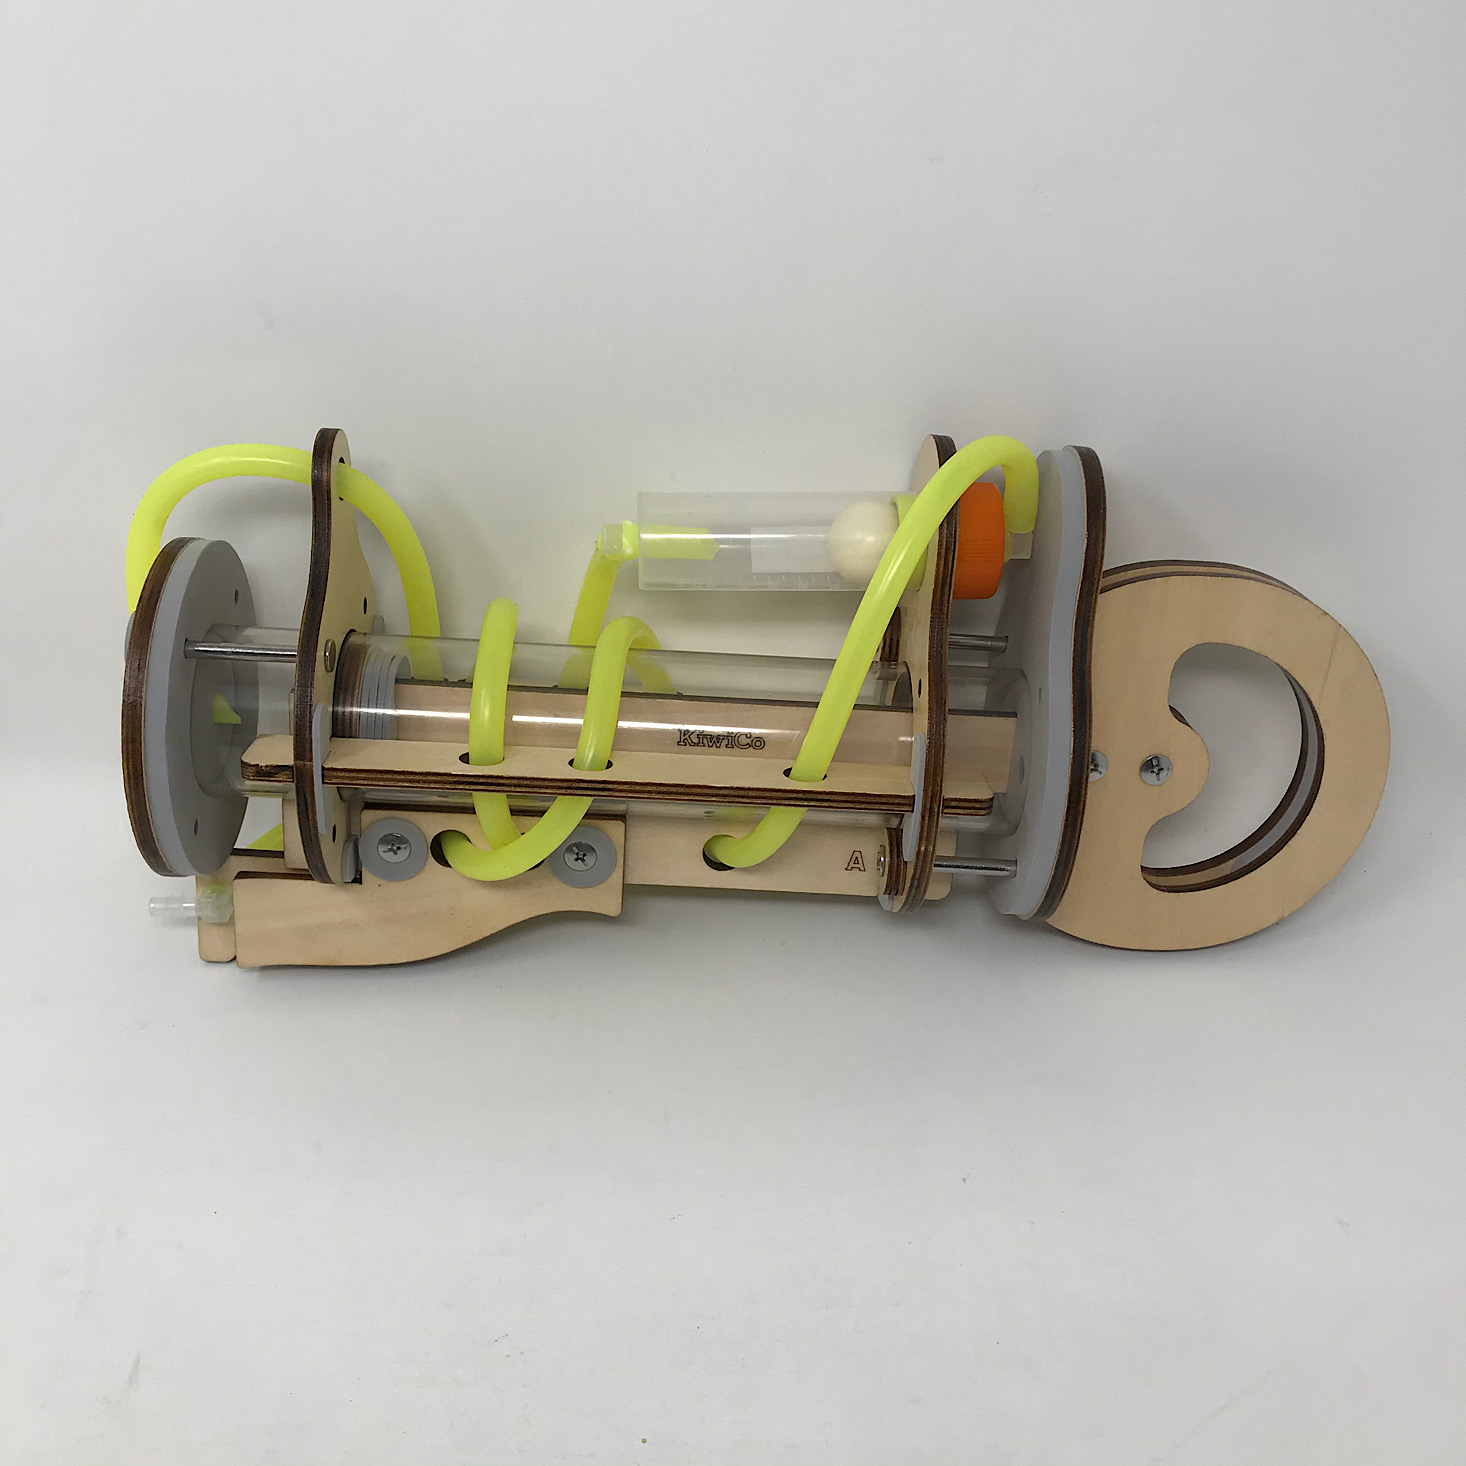
1 of 3

Here is the finished pump. You simply pull out the handle and pump it back in to operate the pump and the air flows out of the little connector tube at the far end.
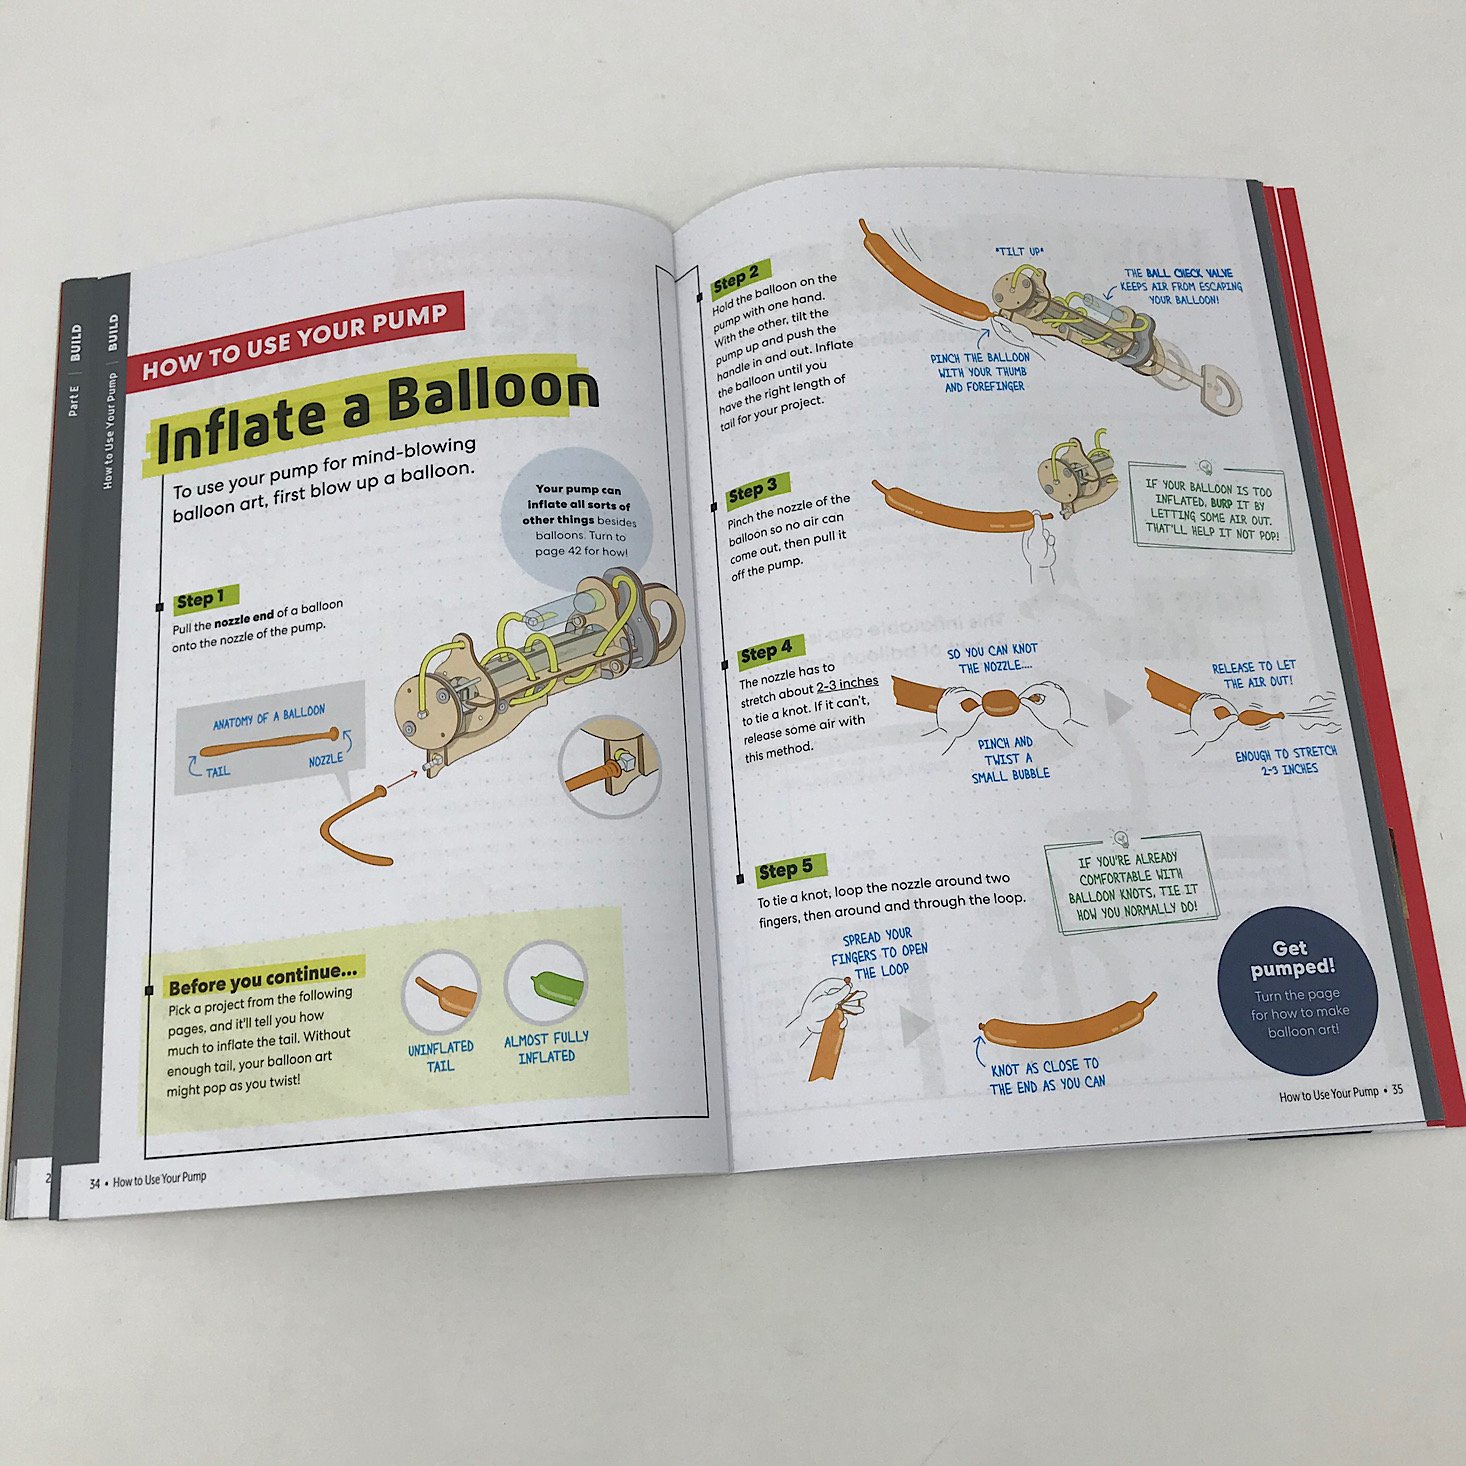
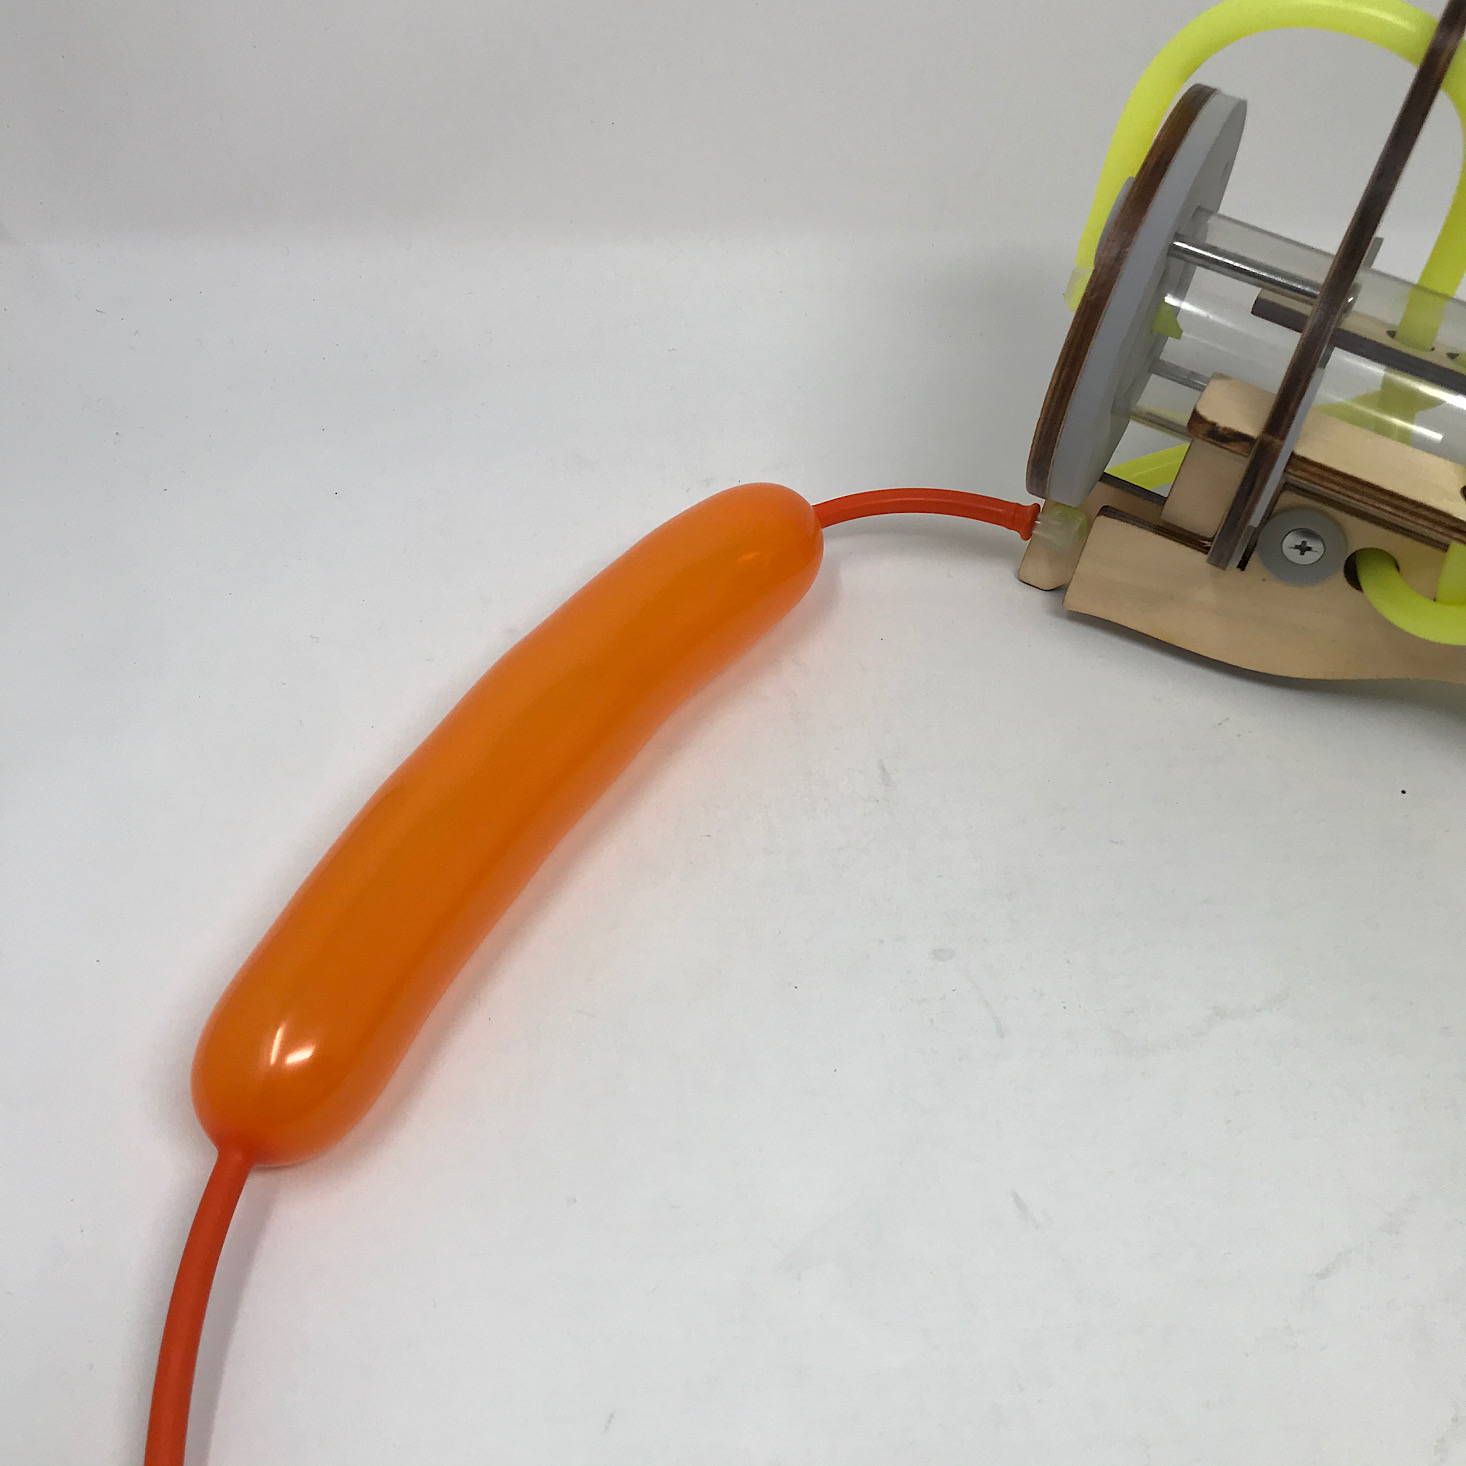
1 of 3

They provided a large pack of balloons and even some instructions on how to inflate a balloon. We stuck the end of the balloon around the elbow tube at the front of the pump and then began to pump the handle in and out to fill it with air.


1 of 3

They provided some helpful directions for how to make various balloon shapes.


1 of 4


I was successfully able to make both a hat and a dog thanks to the easy to follow directions! The kids sure were impressed!

1 of 2
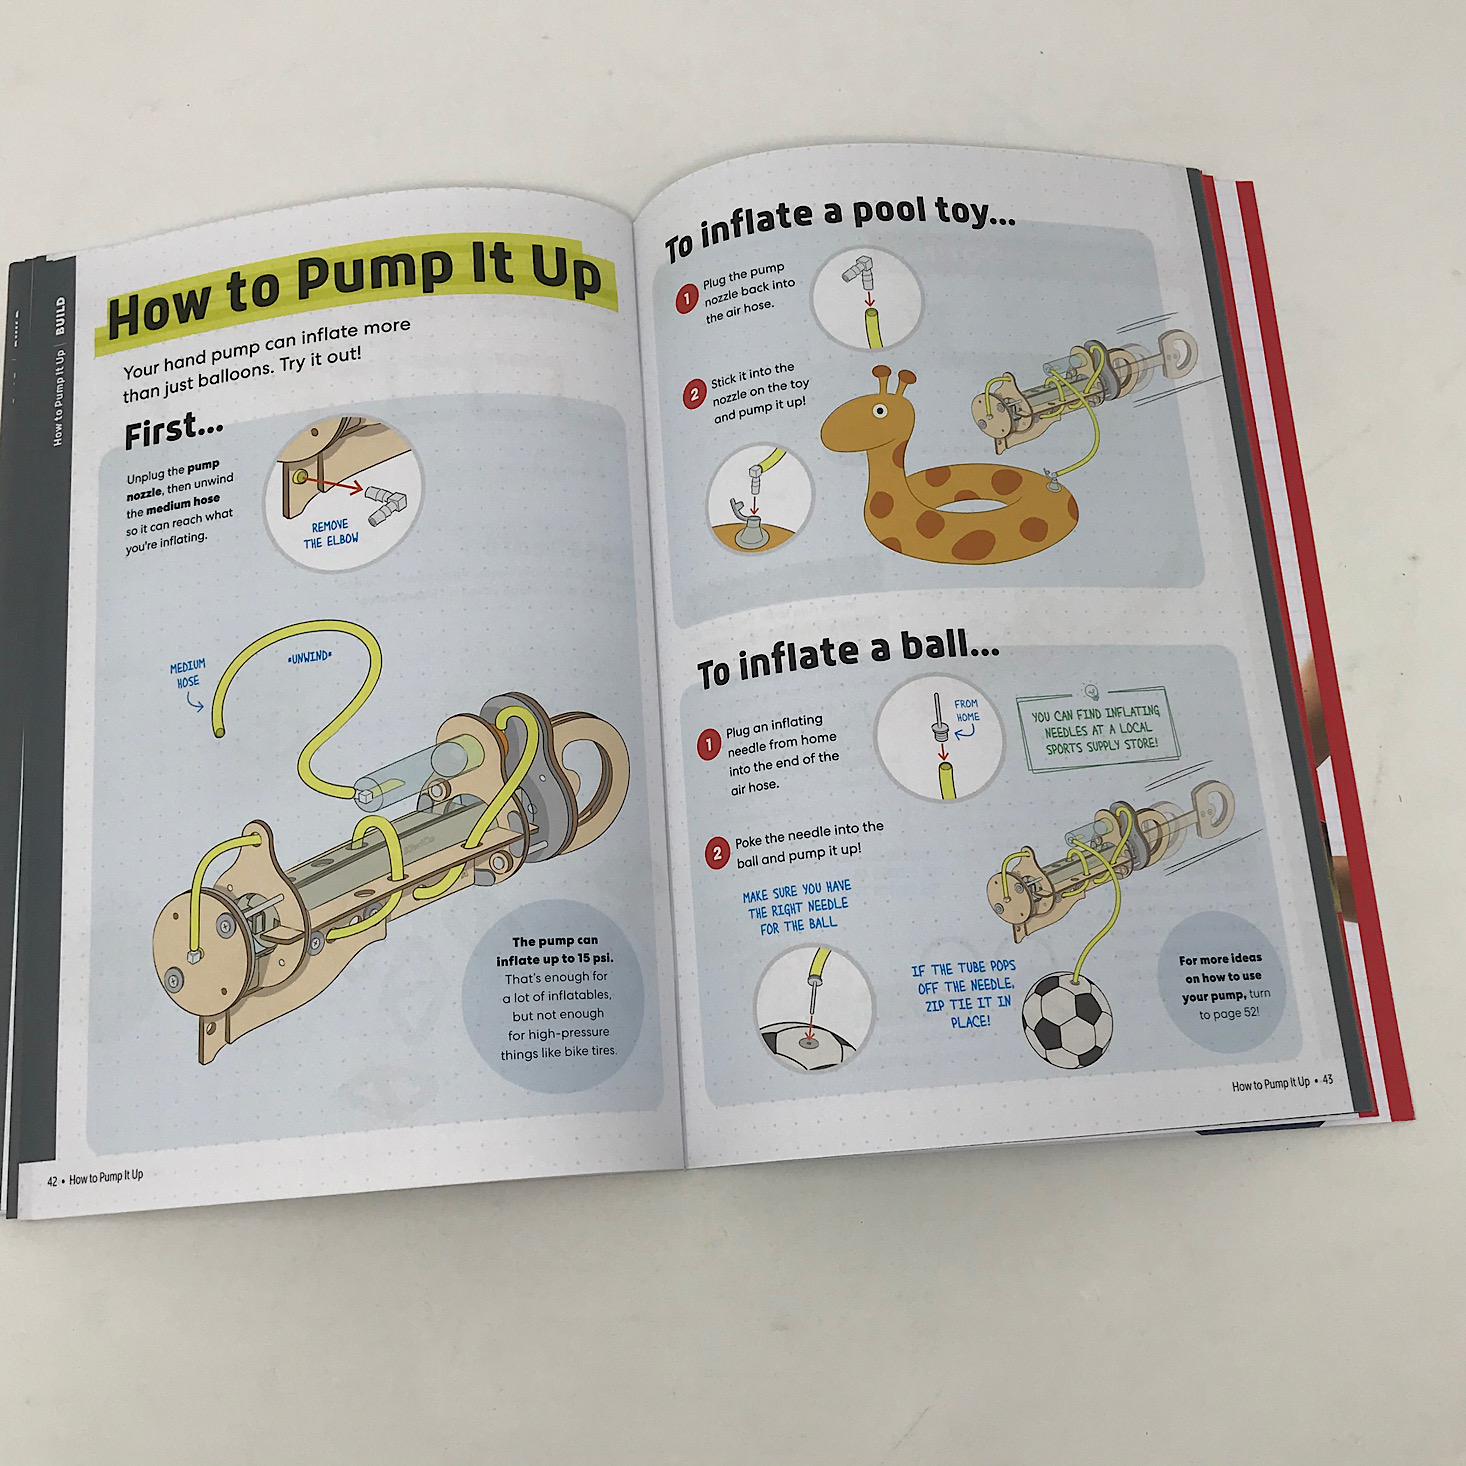
They also included some instructions for how to inflate a pool toy and a ball using our pump! Here you can see my daughter attempting to pump it (while it's upside down).

In our booklet, there is usually a design challenge section like this one which is always a great extension of the project. They have some pretty inspiring and creative ideas here this month!
Verdict: This month's Eureka Crate felt completely outside of the box! While building your own hand pump may not seem so exciting, they made sure to turn it into a fun activity by including all of those balloons and instructions. They always teach so much great educational information throughout the booklet and the process, all while being incredibly organized and providing easy to follow directions. I was pretty impressed with the balloon skills I acquired from this box, and I think it's great that we can also use this hand pump for some practical applications too, such as inflating a ball! This was another great project for $29.95 + free shipping!
To Wrap Up:
Can you still get this box if you sign up today? It is possible you might get this crate, but it is not a guarantee. From KiwiCo:
Crates are assigned each month based on availability and your crate history - not all subscribers receive the same theme each month.
Check out all of our KiwiCo reviews and the best boxes for teens!
Keep Track of Your Subscriptions: Add this box to your subscription list or wishlist!
What do you think of Eureka Crate?
Please do not enter your email address in the Name field or in the comment content. Your email address will not be published. Required fields are marked *. Remember to post with kindness and respect. Comments with offensive language, cruelness to others, etc will not be approved. See our full comment policy here.