

Kiwi Crate is a subscription box for kids ages 5-8 from parent company KiwiCo. It arrives every month with all the materials and instructions needed to complete 2-3 crafts centered on a theme, plus additional materials to help educate young learners!
KiwiCo offers boxes for different age groups:
- Panda Crate for 0-24-month-olds,
- Koala Crate for 2-4-year-olds,
- Kiwi Crate for 5-8-year-olds,
- Atlas Crate for 6-11-year-olds,
- Doodle Crate and Tinker Crate for 9-16+-year-olds,
- Eureka Crate and Maker Crate for ages 14 and up.
There really is something for every age with this company!
This review is of KiwiCo’s Kiwi Crate (for ages 5-8), which costs $19.95 per month.
This box was sent to us at no cost for review. (Check out the review process post to learn more about how we review boxes.)
About Kiwi Crate by KiwiCo
The Subscription Box: Kiwi Crate
The Cost: $19.95 per month + free shipping
The Products: Crafts and DIY projects for kids, with supplemental learning kits, booklets, and activities. Crates are filled with materials and inspiration to encourage creativity and curiosity. Projects cover a number of developmental areas through art, science, and imaginative play.
Ships to: The U.S. for free, Canada for $3.95, and worldwide from $4.95-$6.95
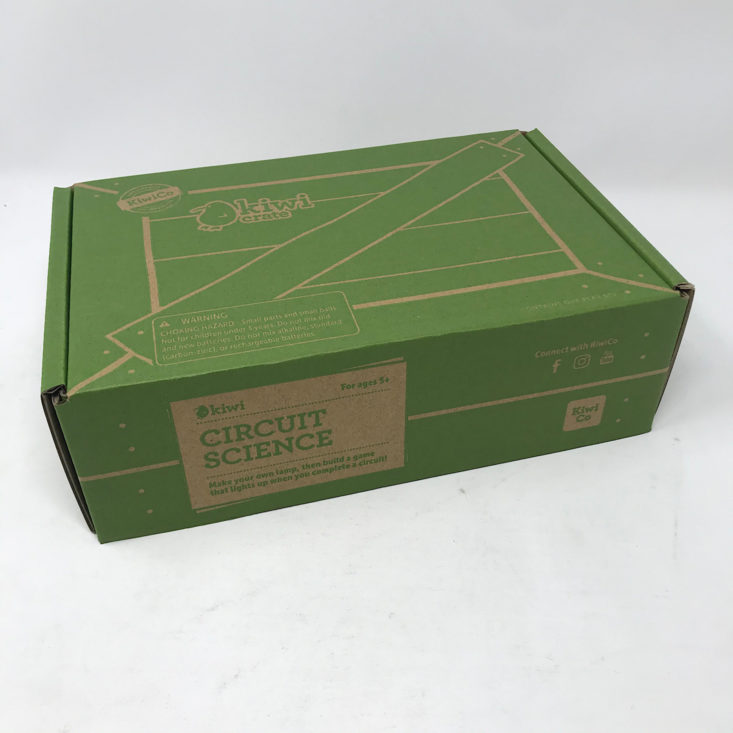
Kiwi Crate "Circuit Science" Review December 2019


1 of 9
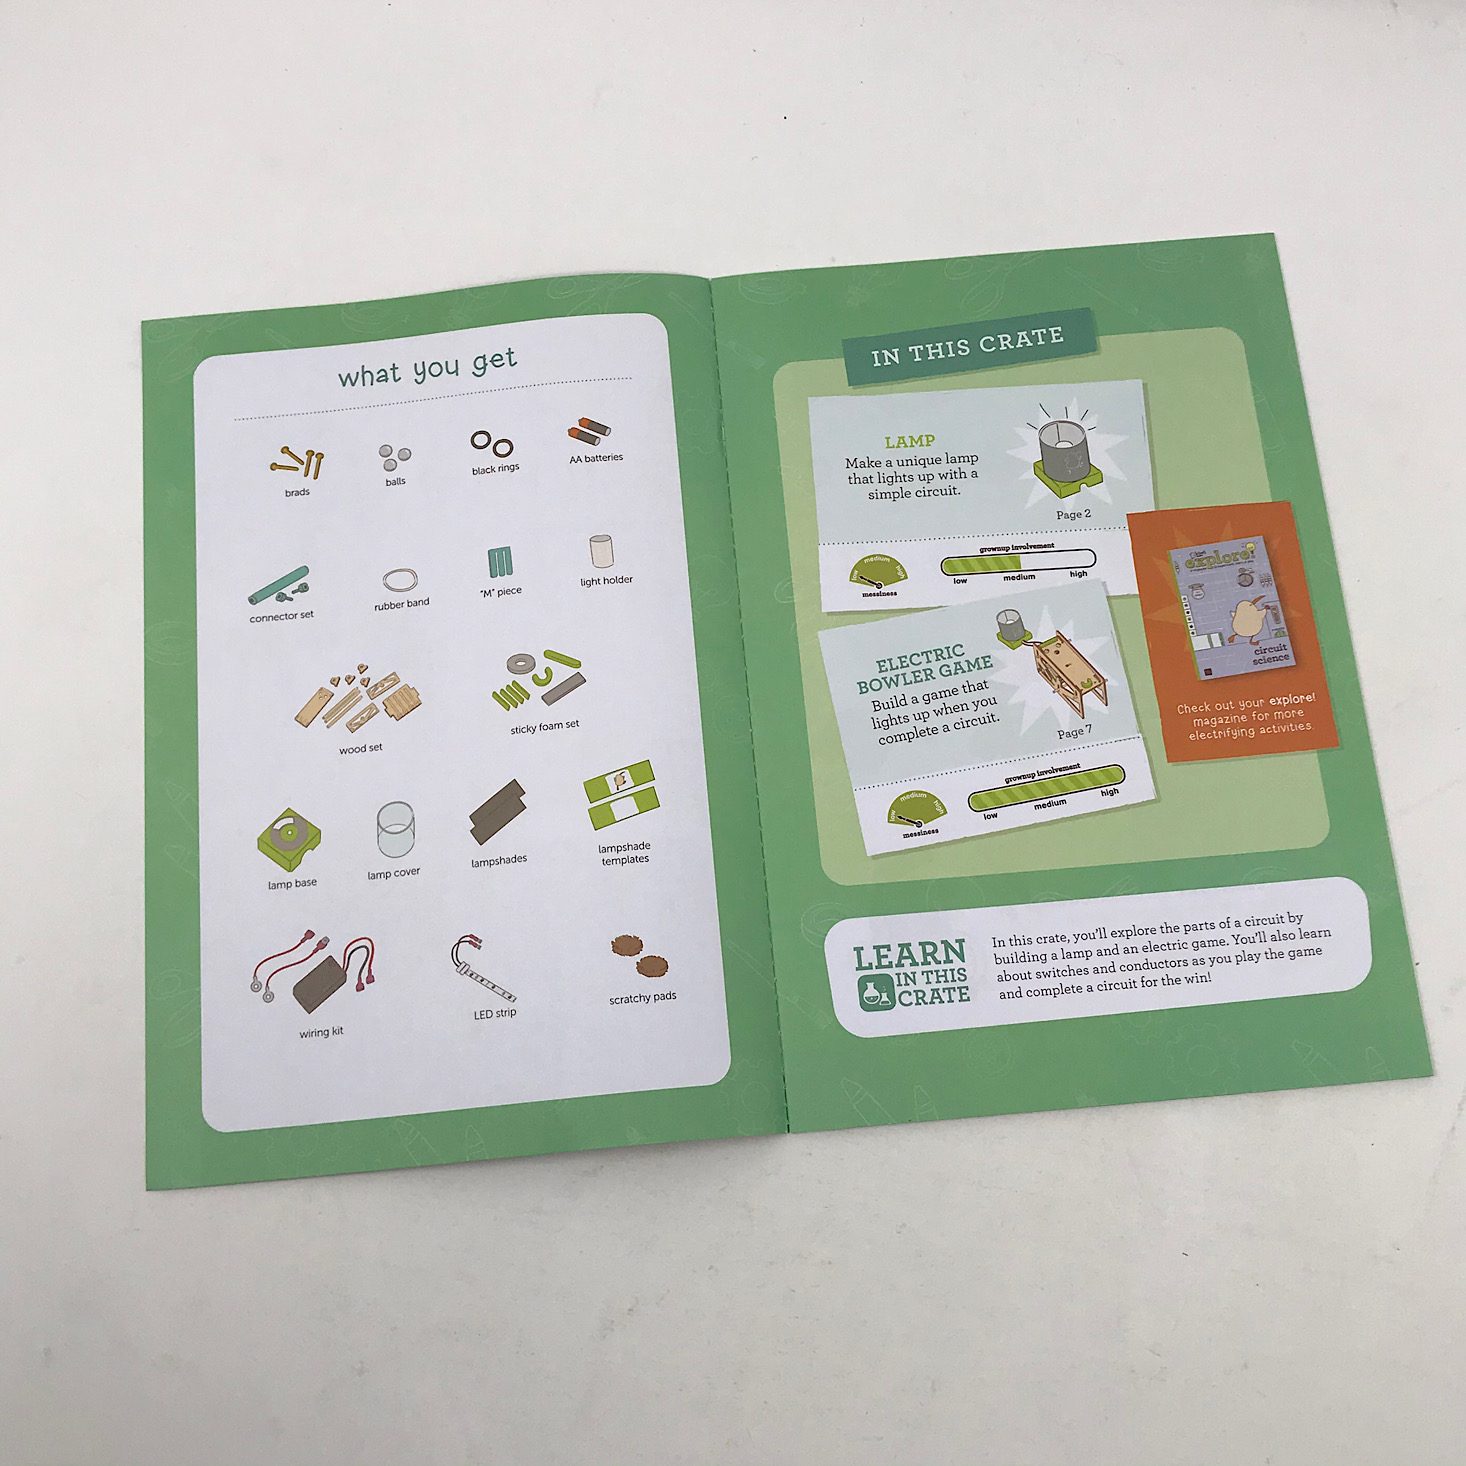

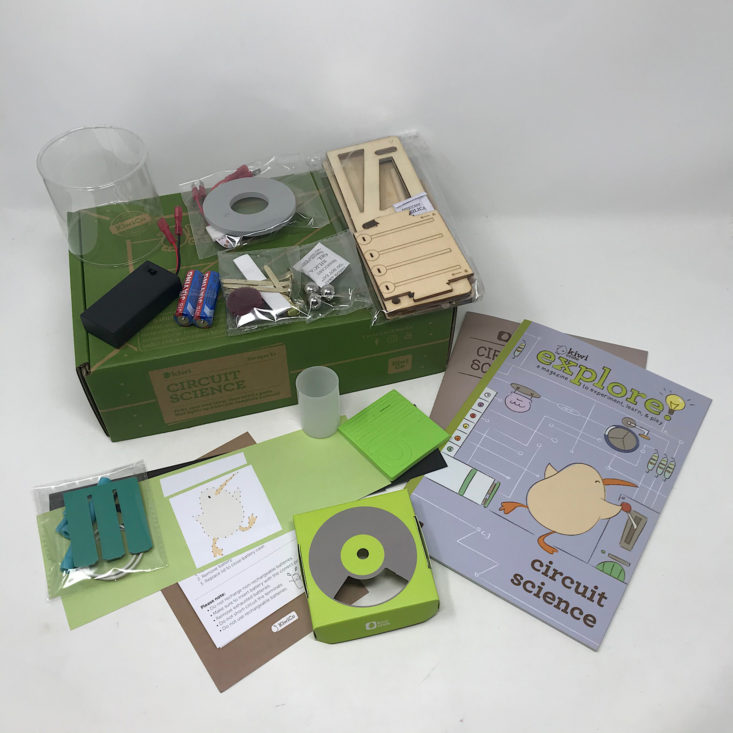
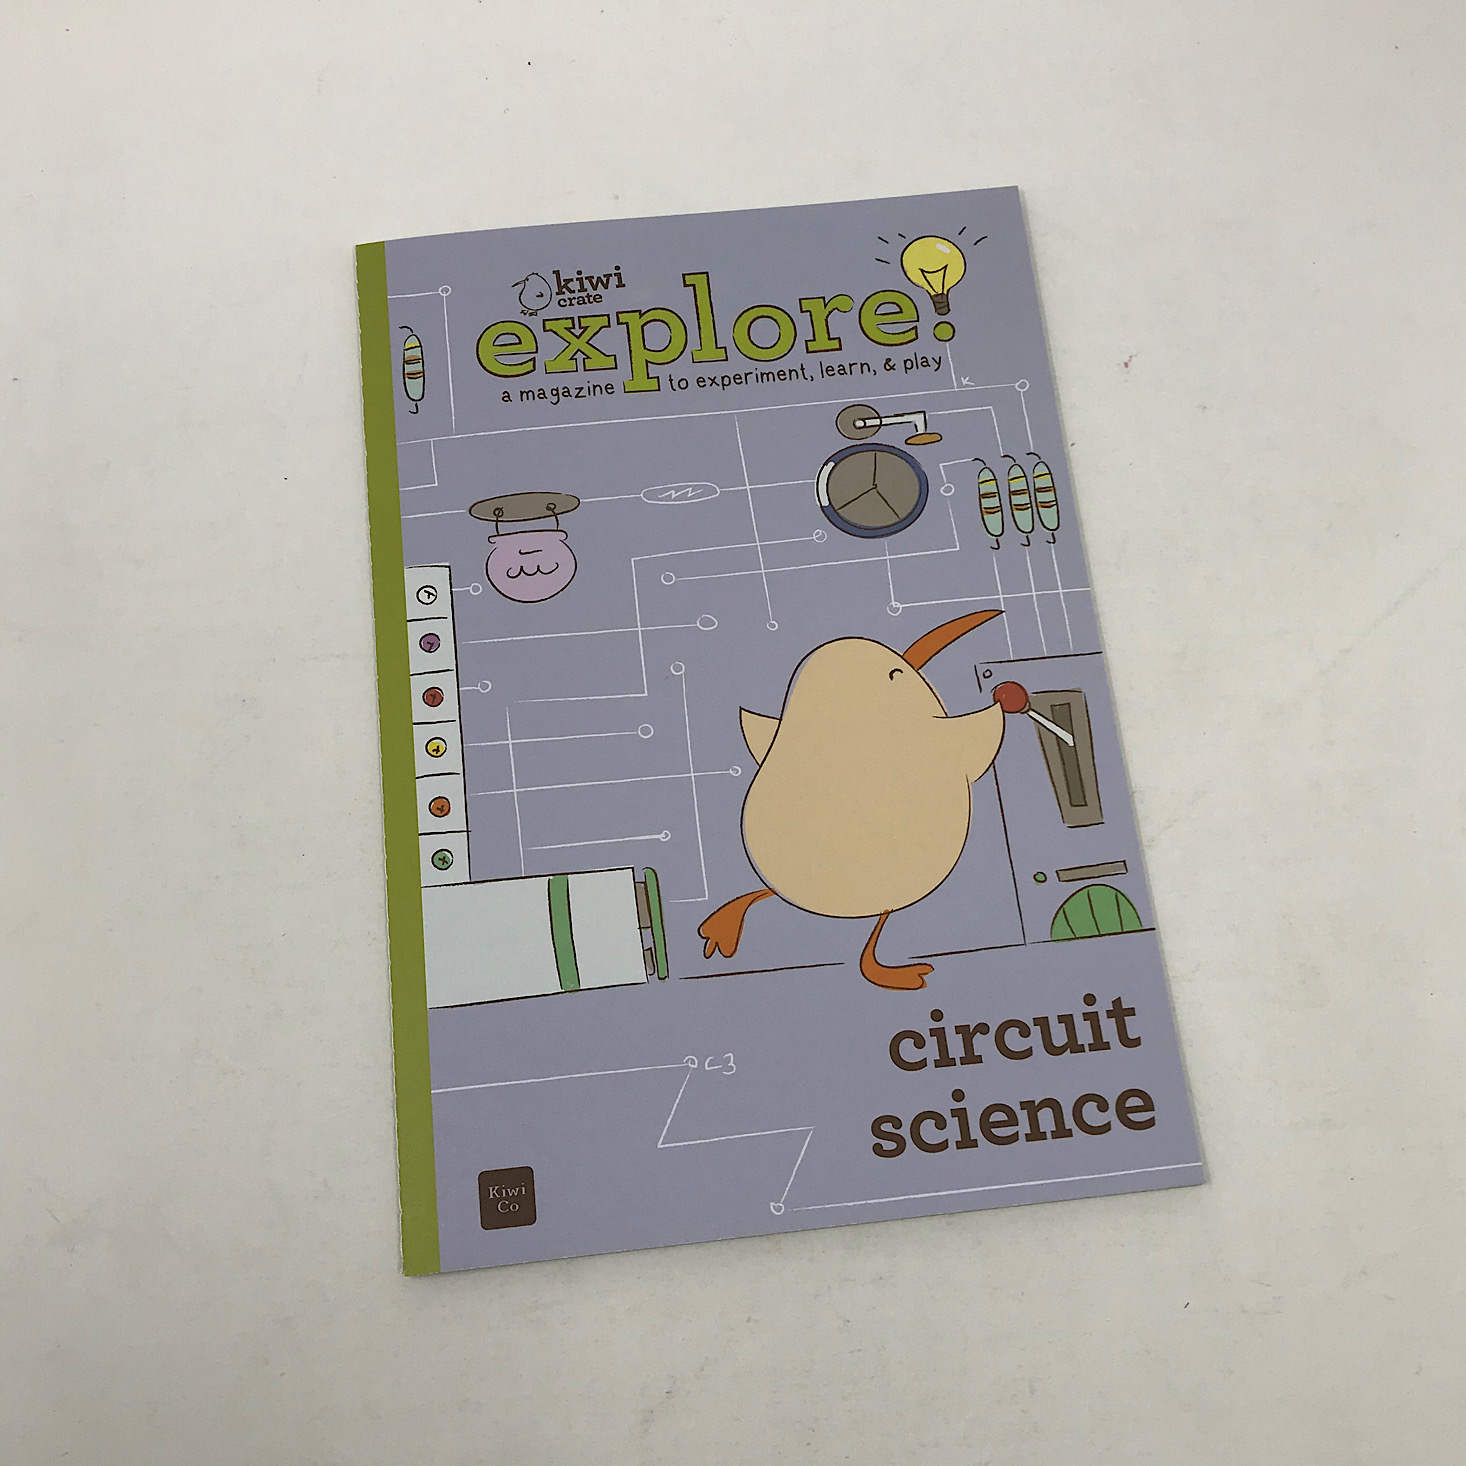
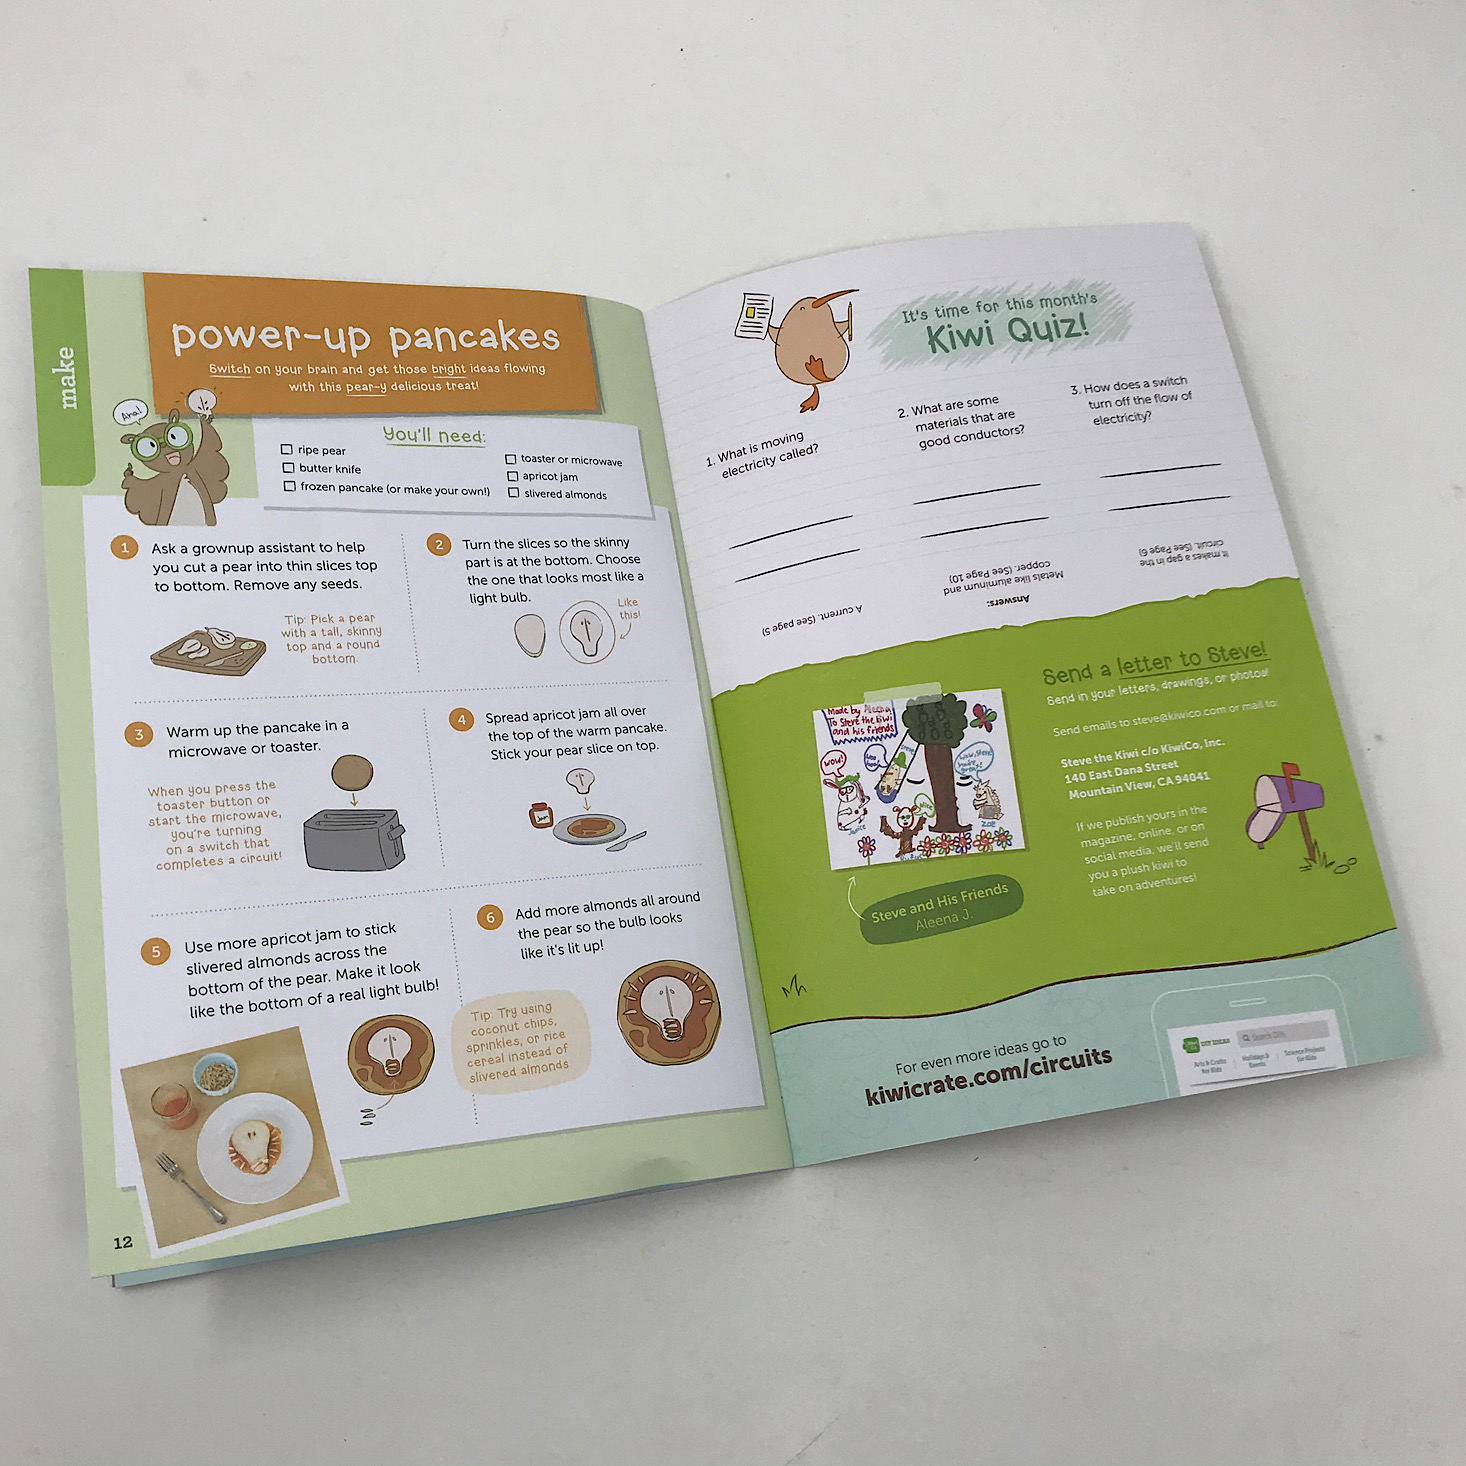
Our theme for this month is Circuit Science and we received this booklet which contains the directions for our activities. This includes detailed, colored illustrations and clear instructions that are easy to follow. They broke down our project into various sections that simplified the process for us. On the back of the booklet, they include their social media links and a sticker for this month’s project.
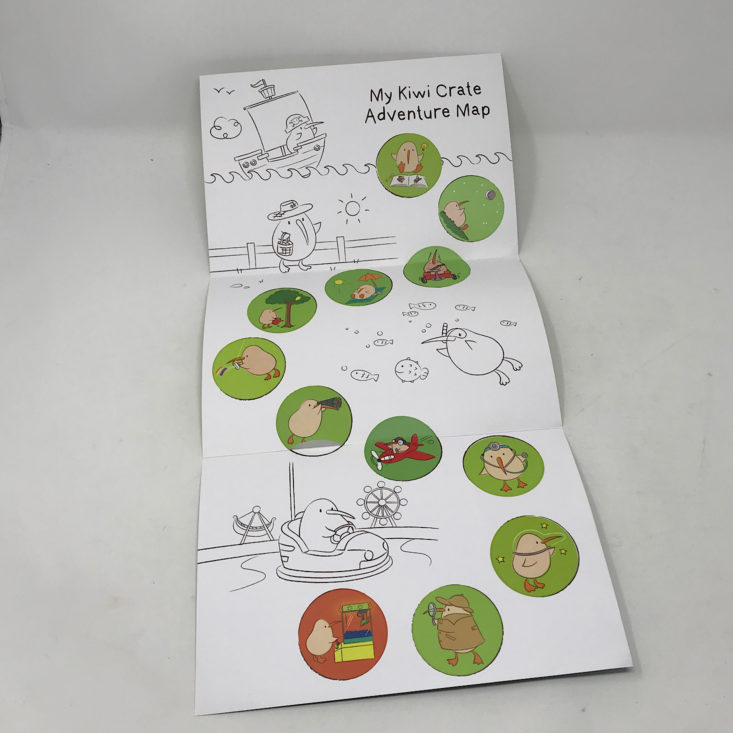
This is the little sticker chart that we received in our first Kiwi Crate along with our welcome note. We are running out of room on our Adventure Map!
1 of 9

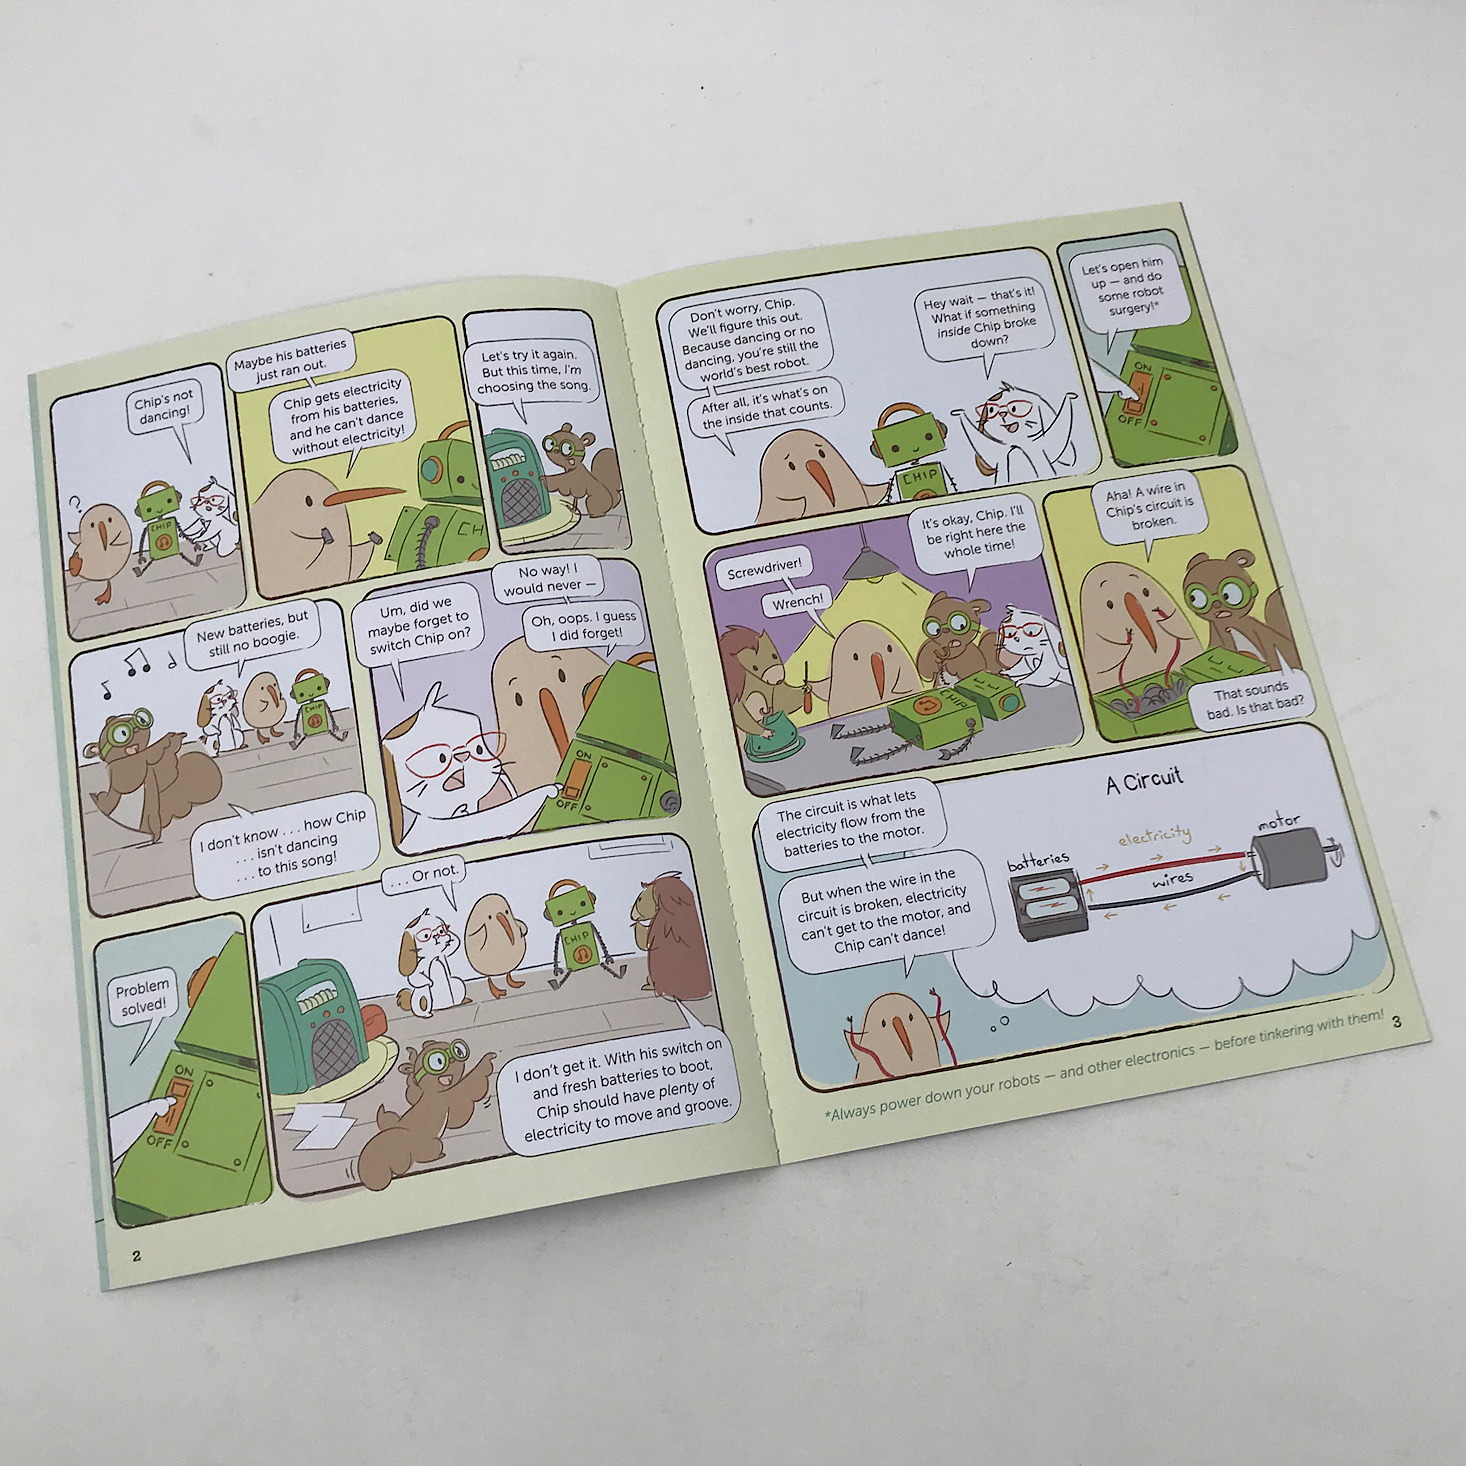

Each month you also get a Kiwi Explore! magazine with a letter from Steve the Kiwi and a little comic to go along with the theme starring some cute characters. This month they learn about circuits when their robot stops working and they have to fix him. I love how they always provide a real-life scenario that relates to our educational material.

1 of 2
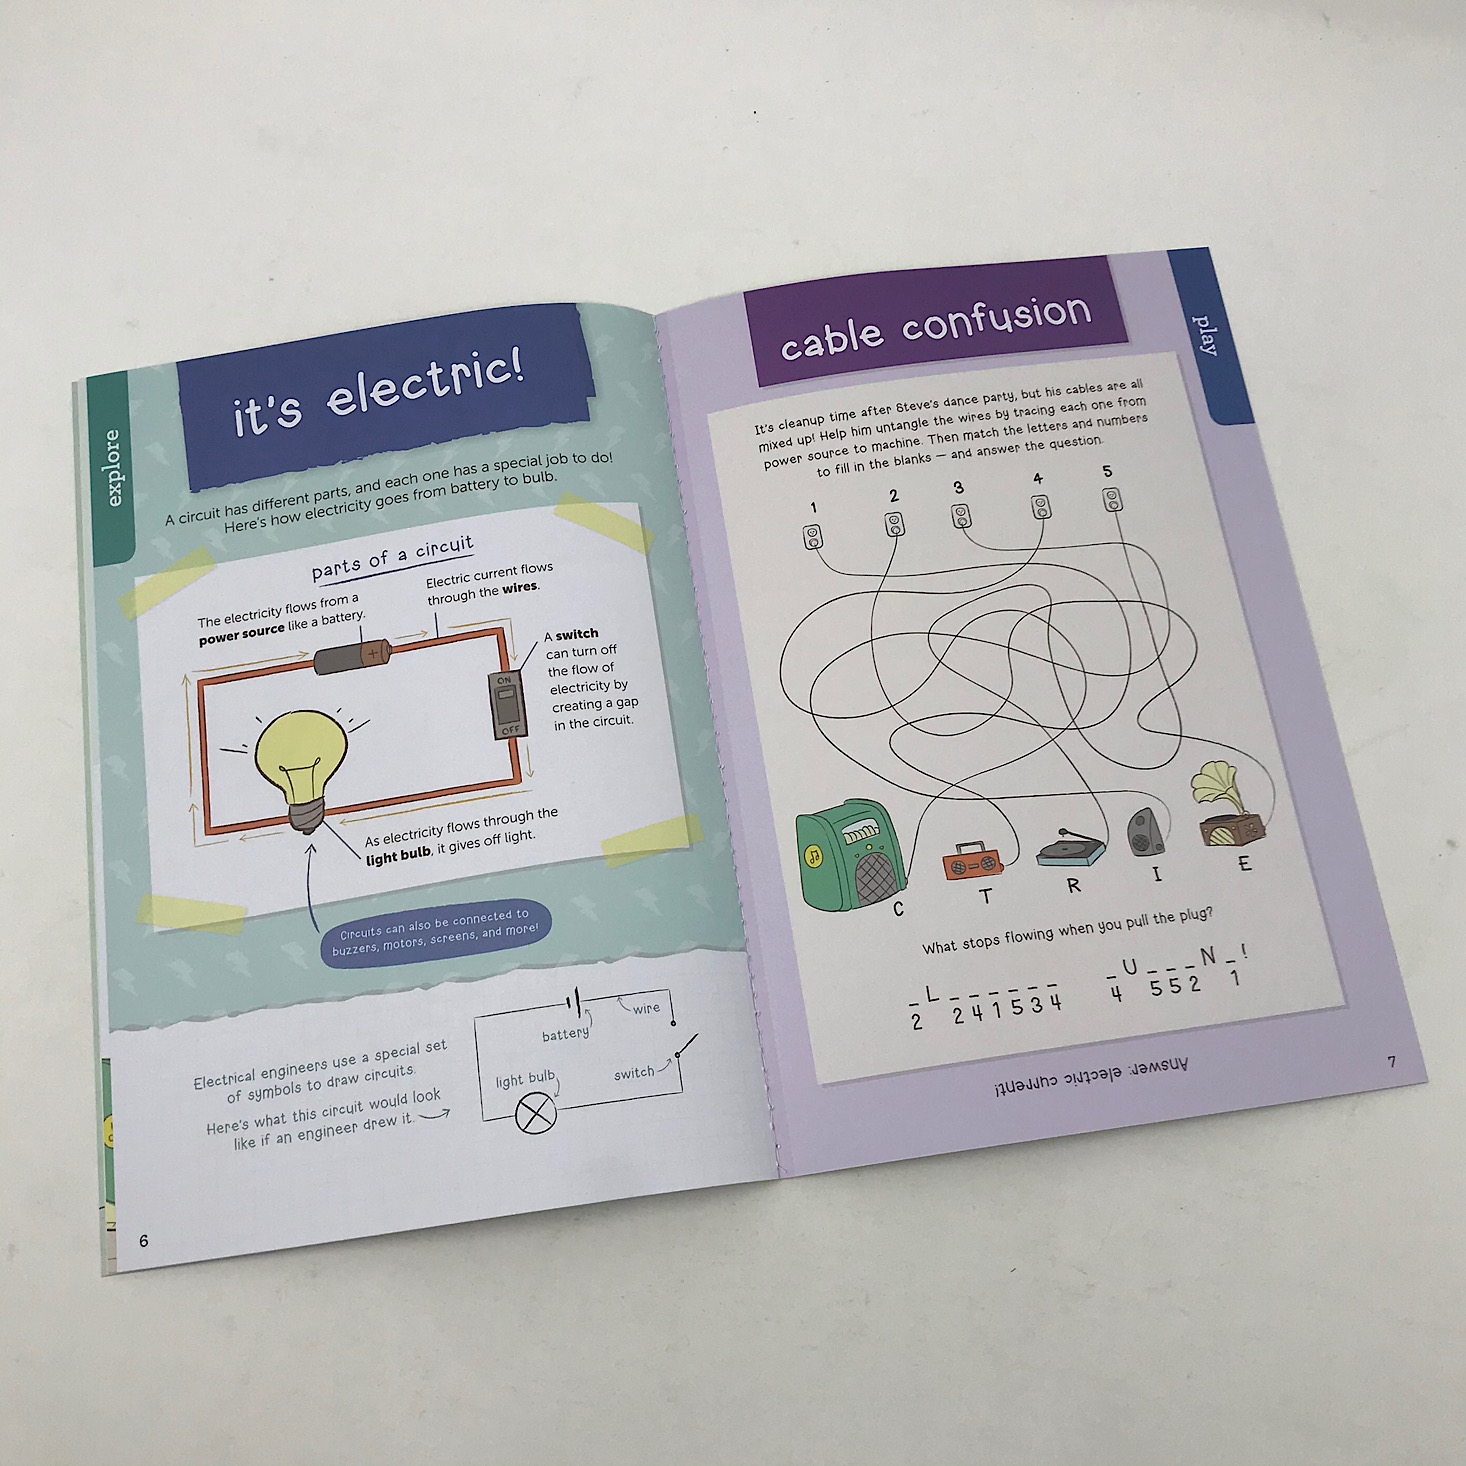
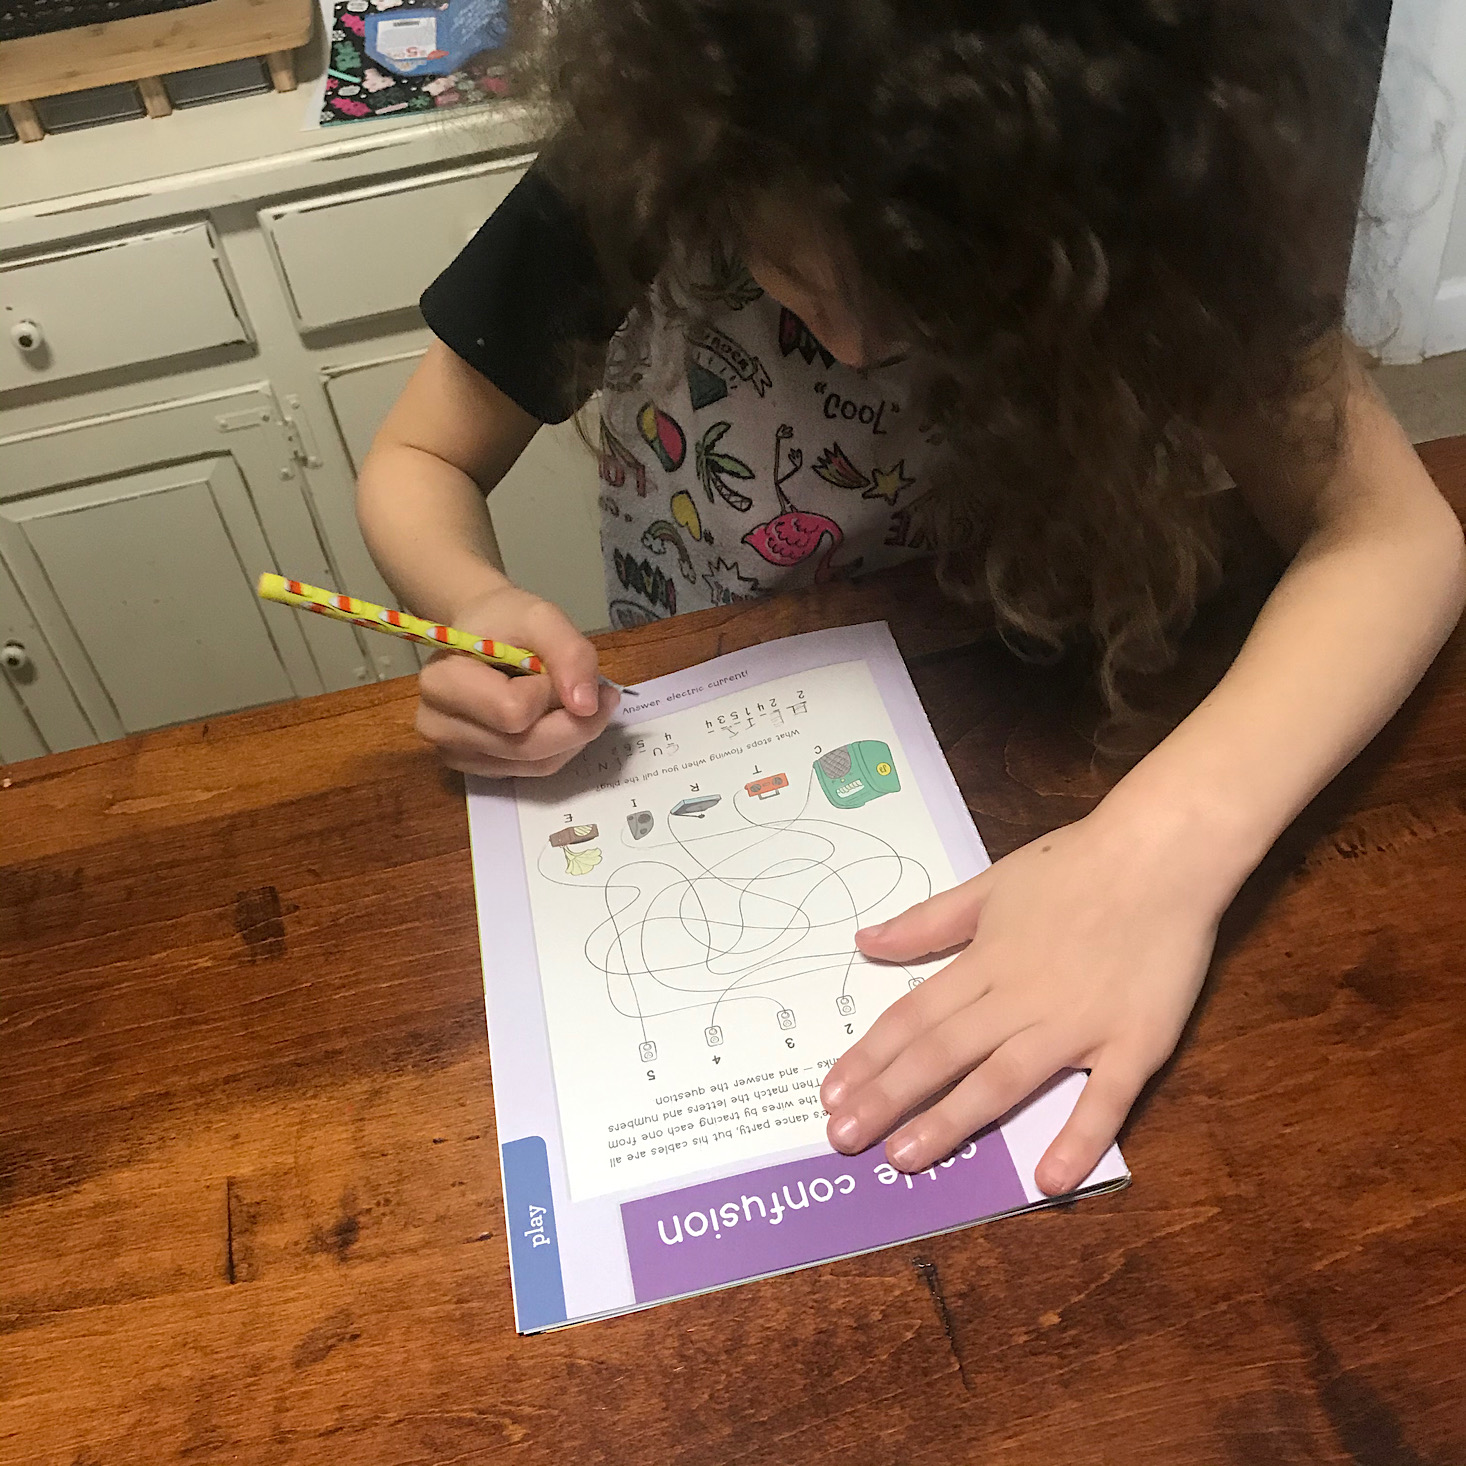
We got started with some of the activities in our booklet. She especially enjoyed this page with a message to decode and cables to sort out! Now onto the project!
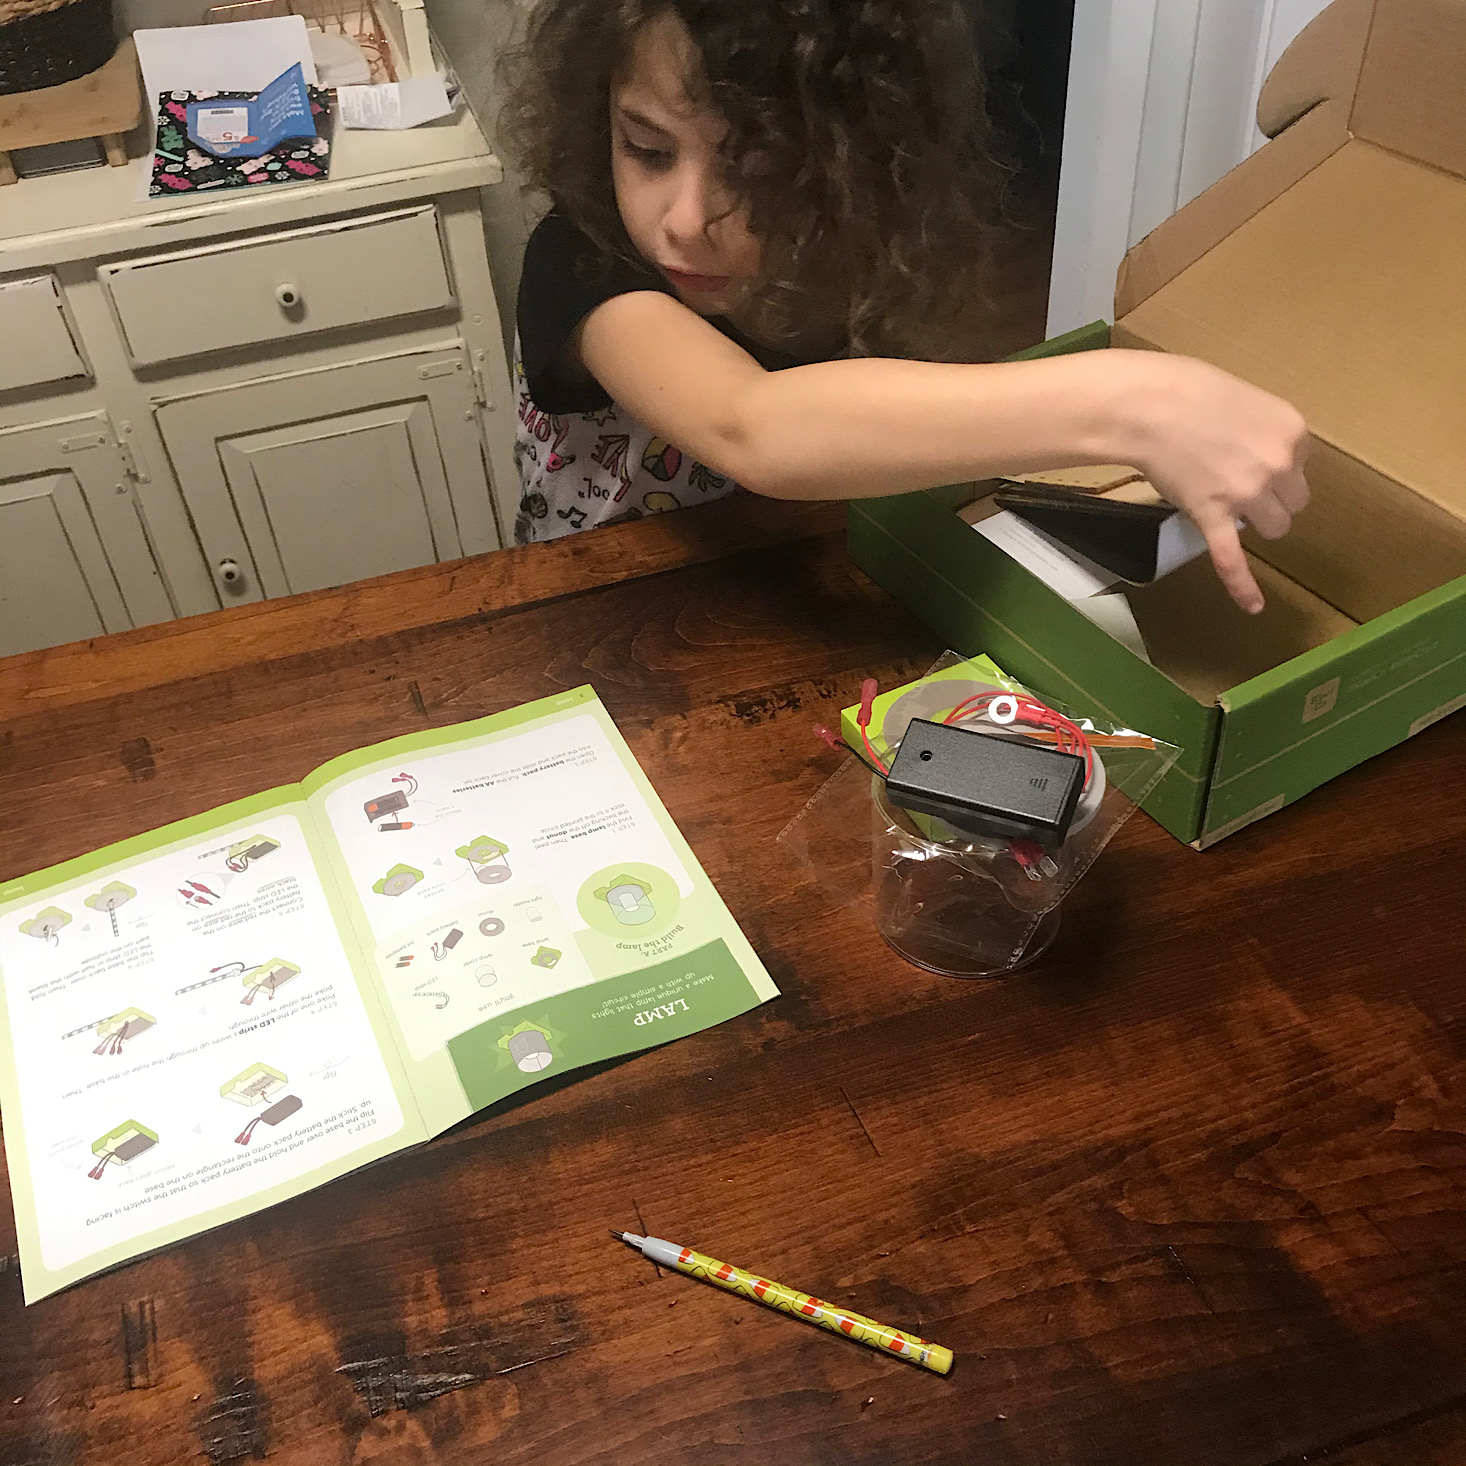
Part 1: Lamp
1 of 2
First, Liv gathered up the materials for our first step.
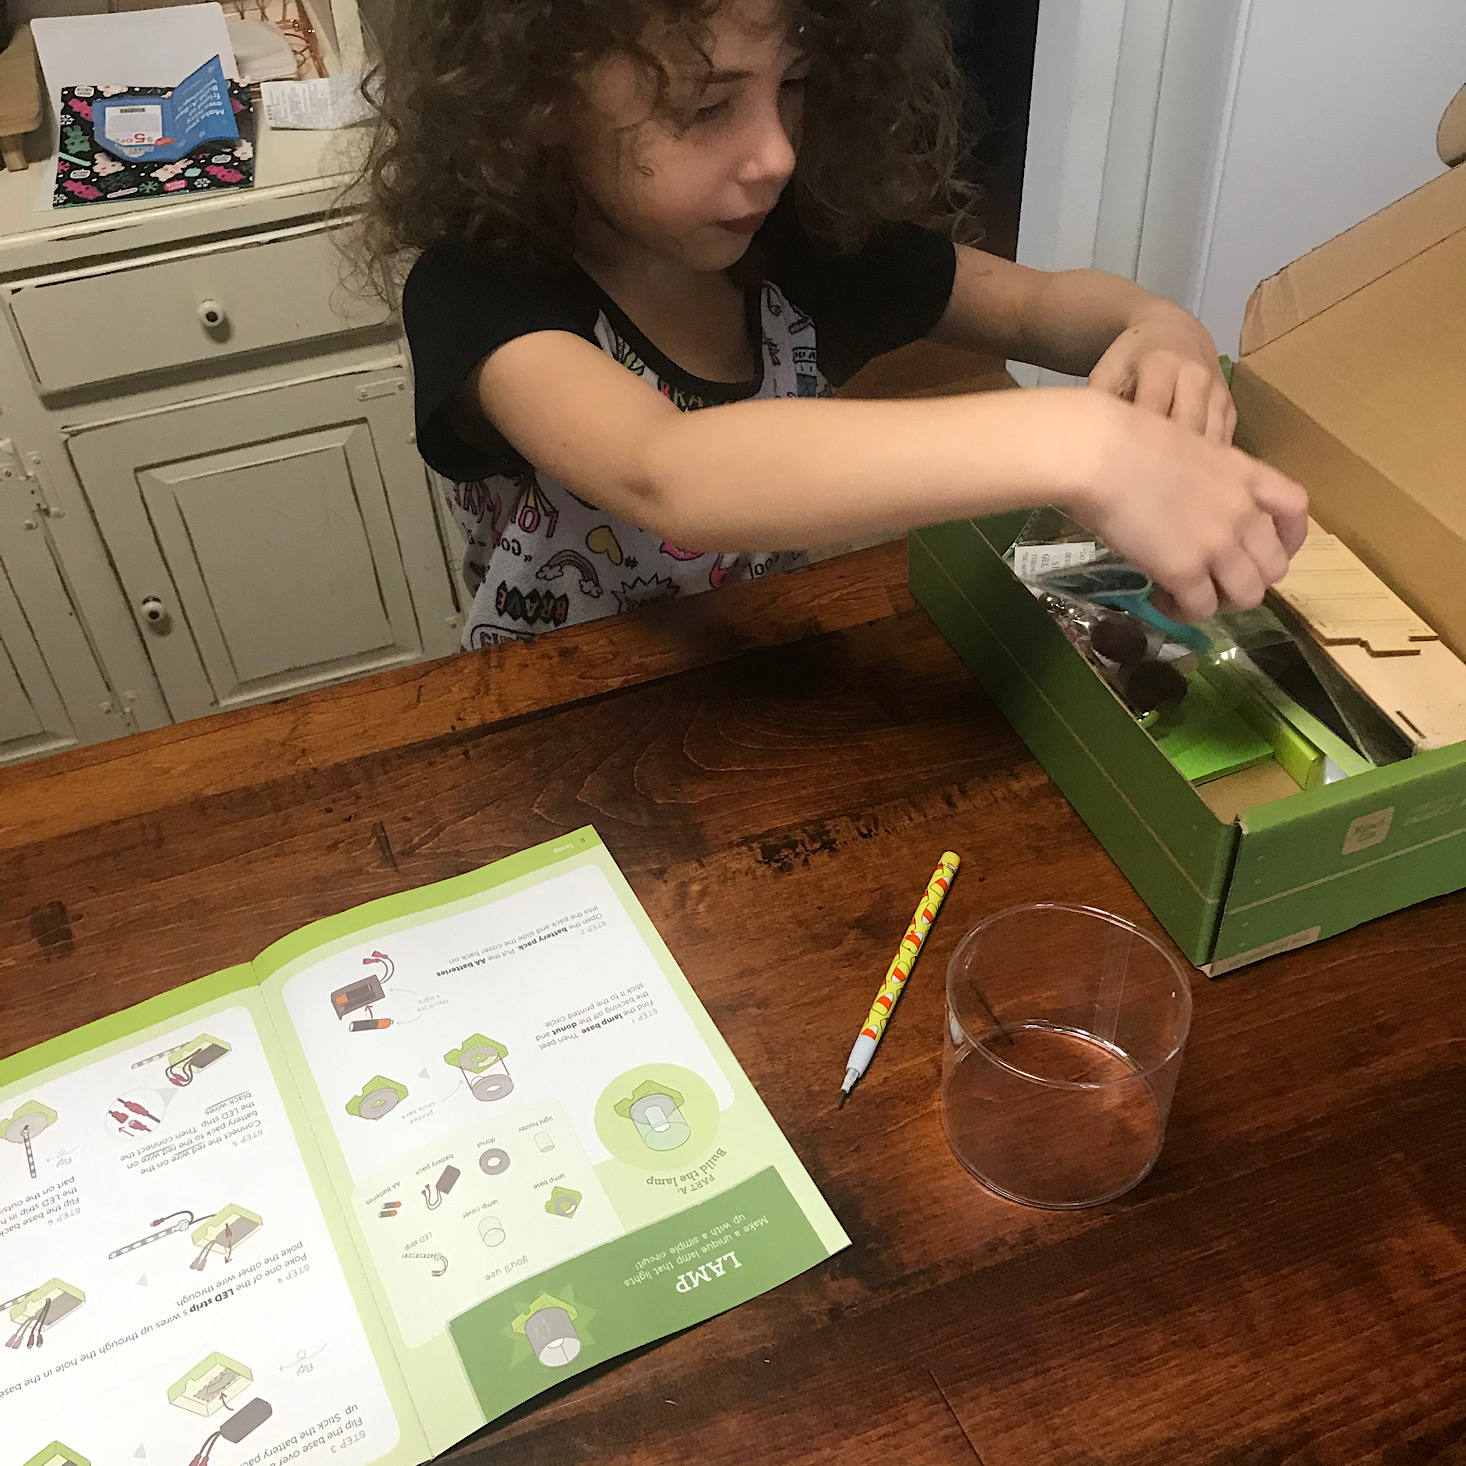
Part 1A: Build the Lamp

1 of 4

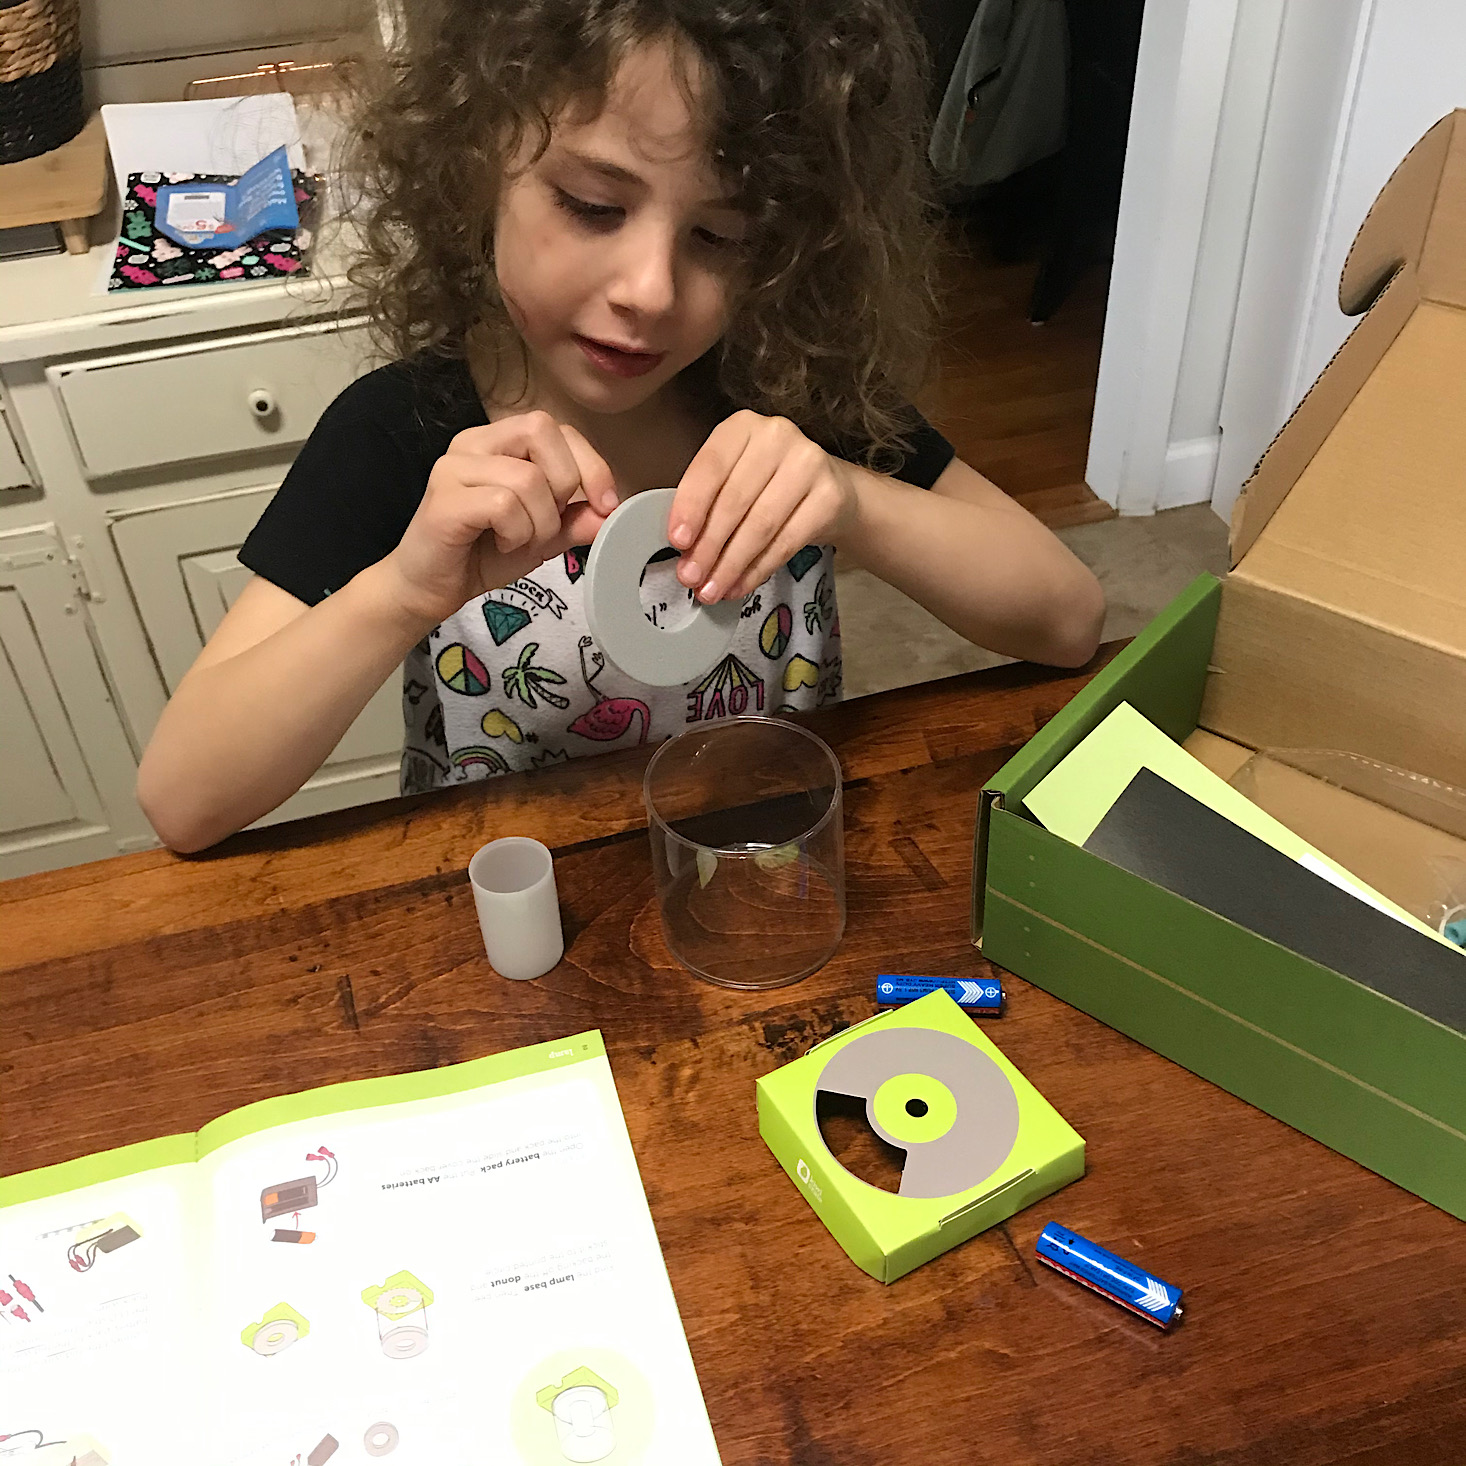
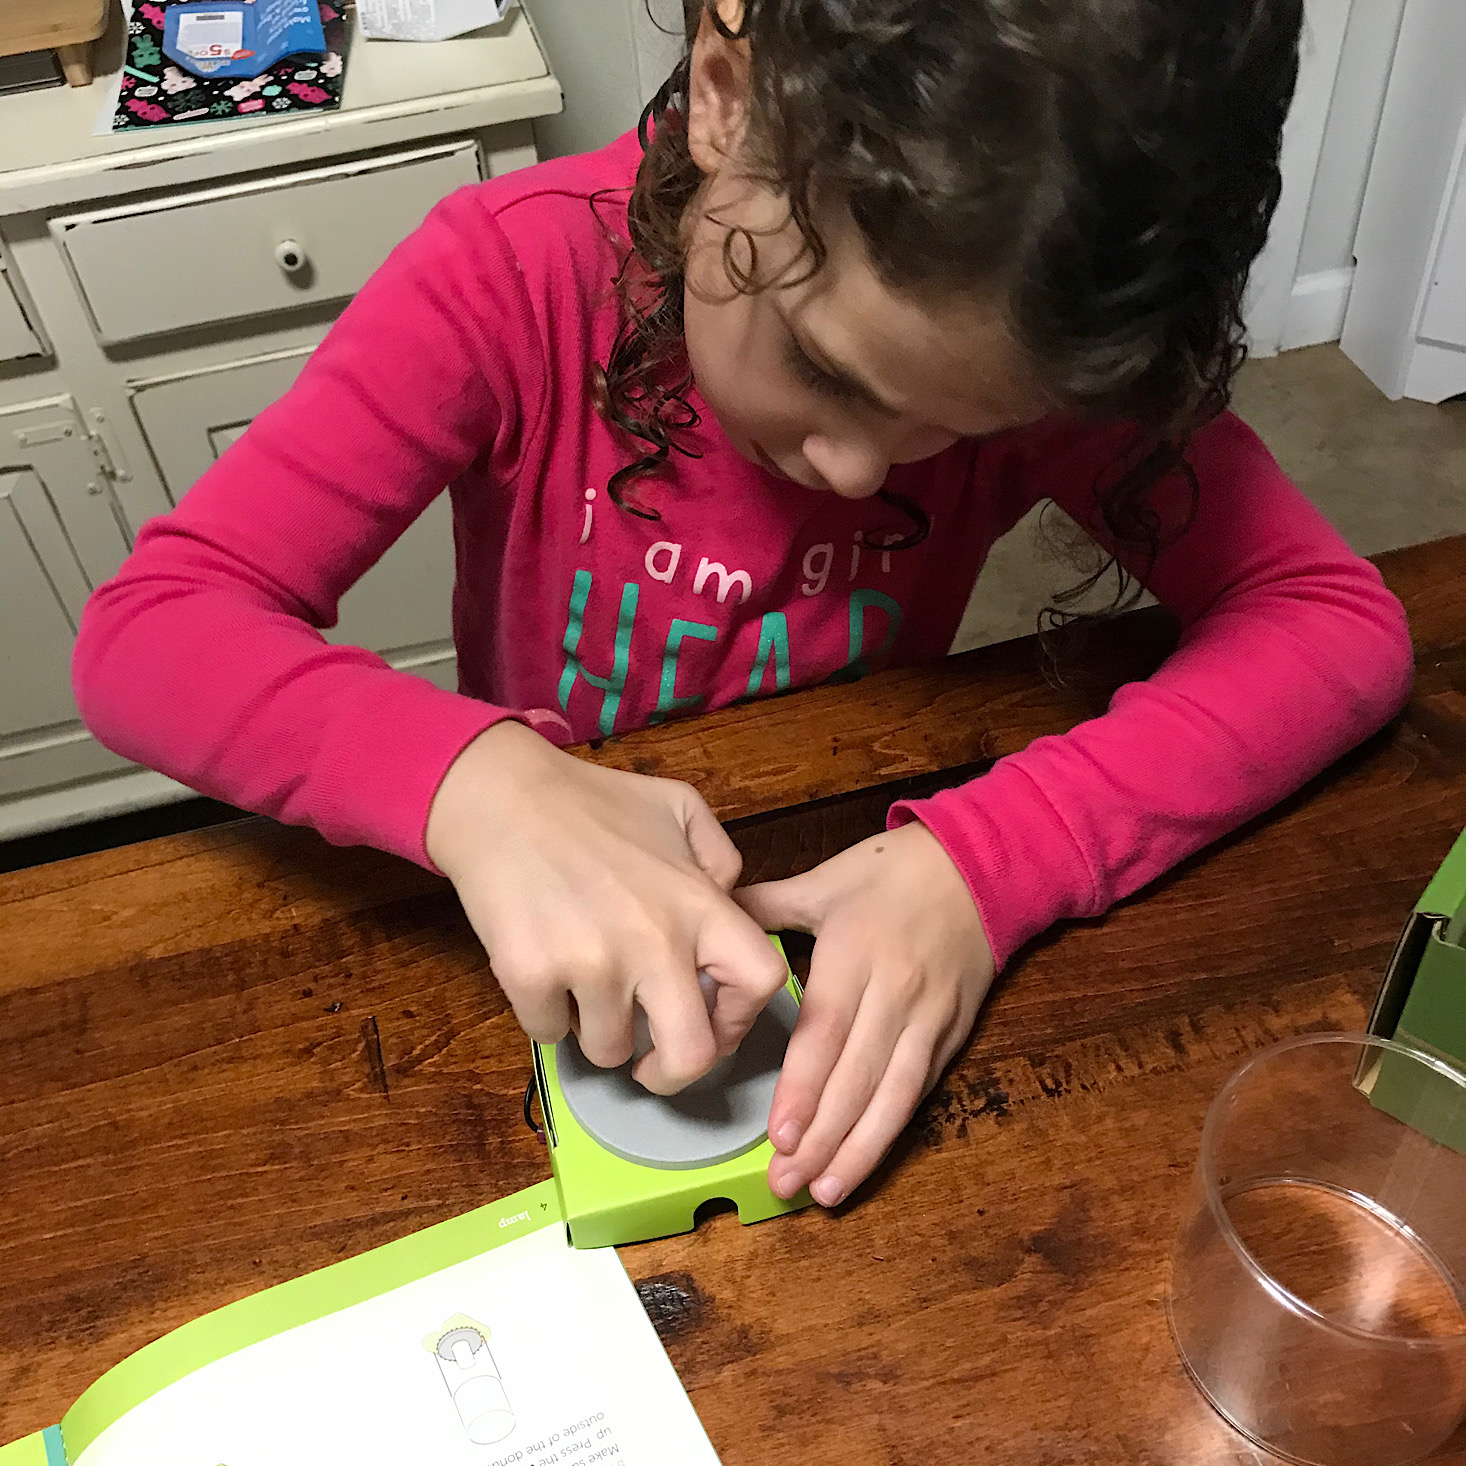
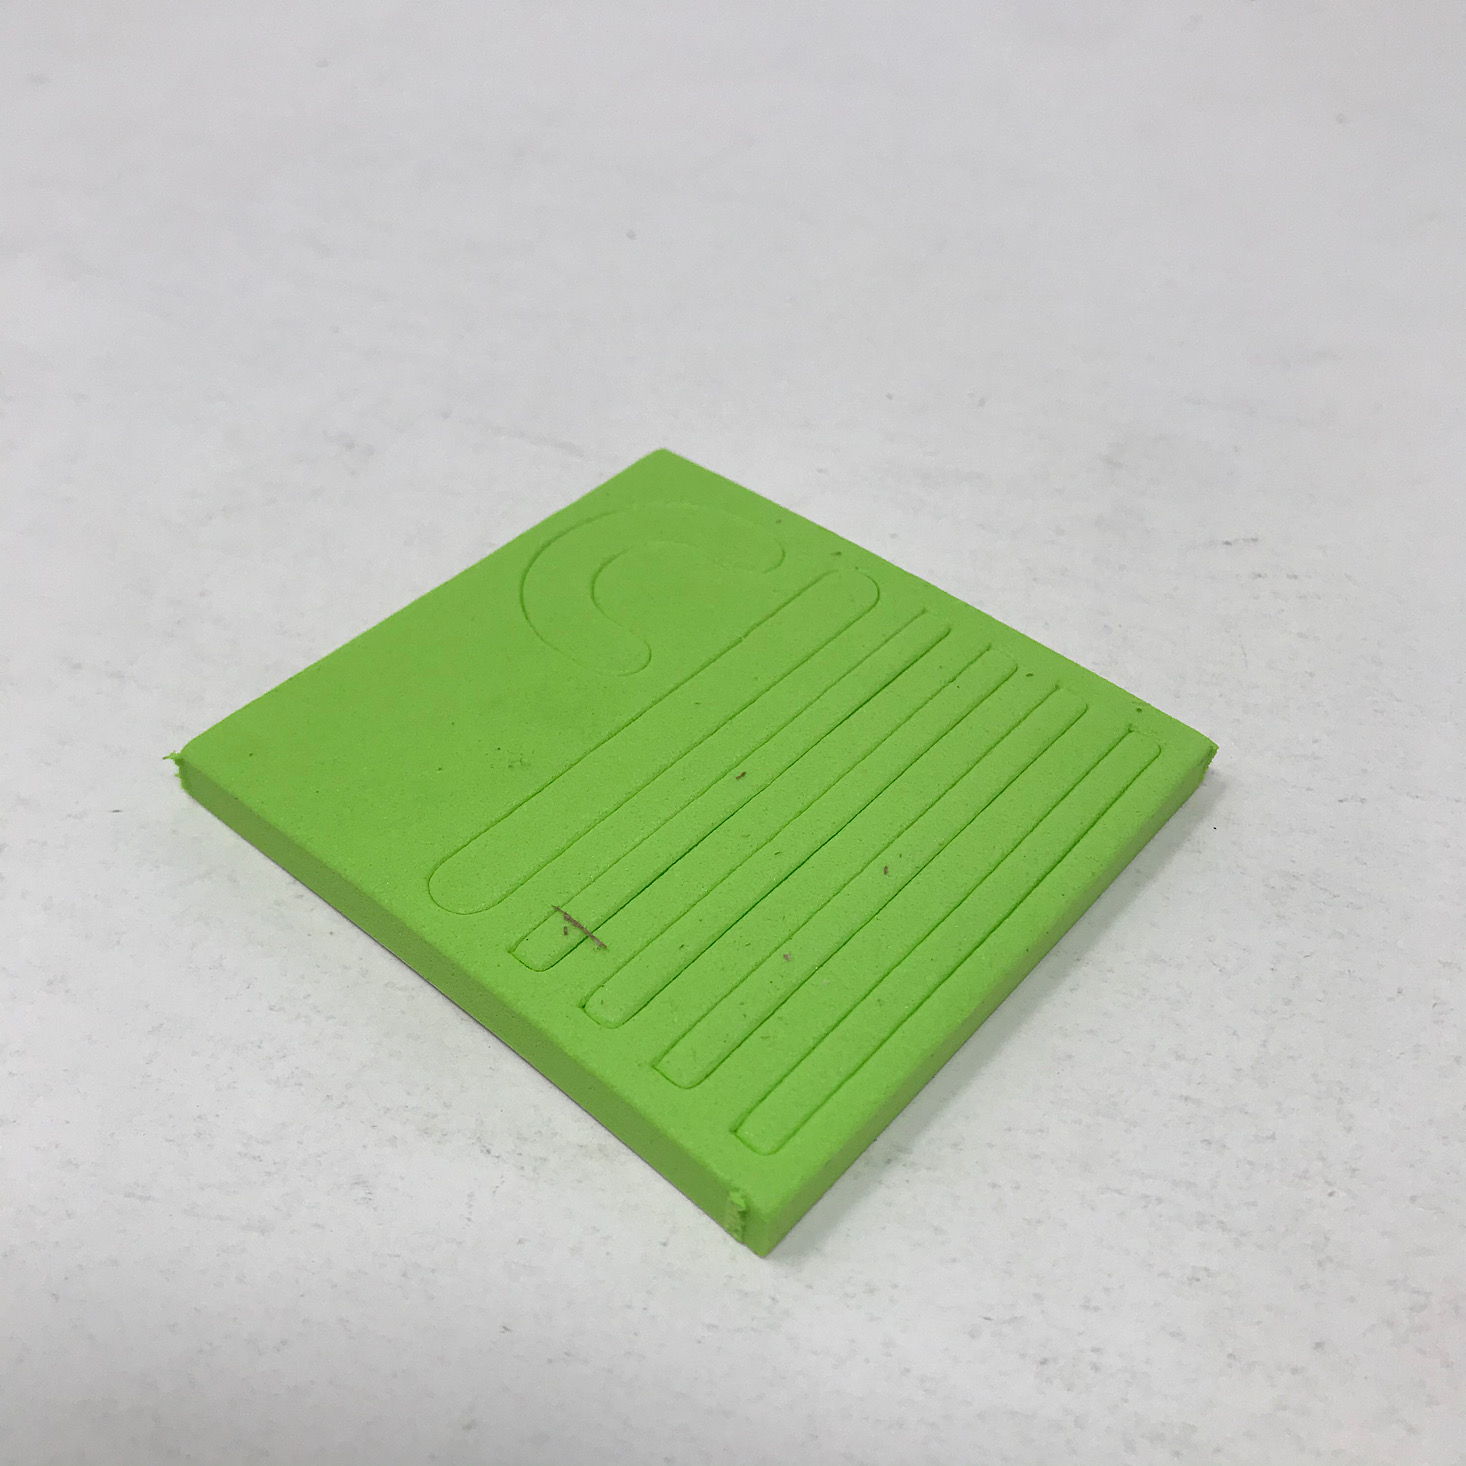
She peeled the adhesive off of the foam ring and then stuck it onto the green base.

1 of 5
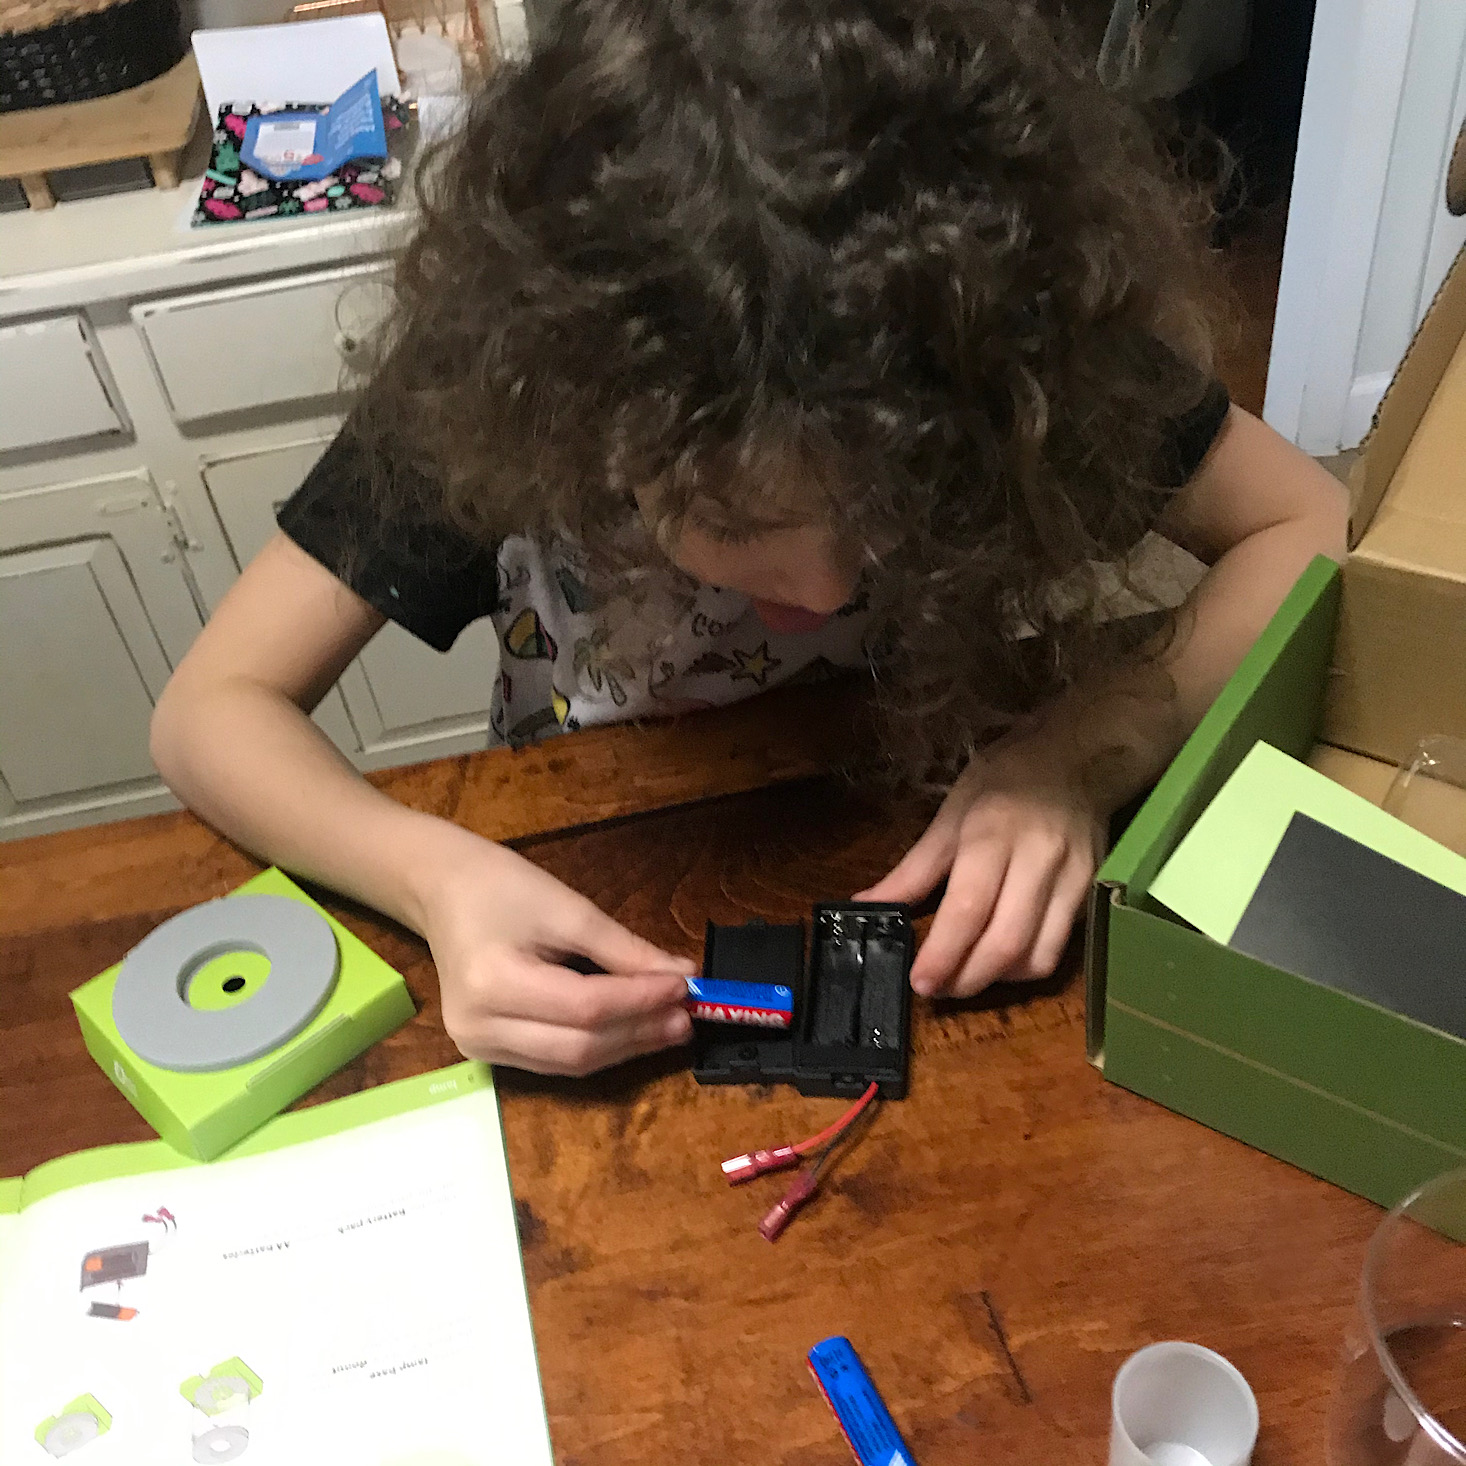

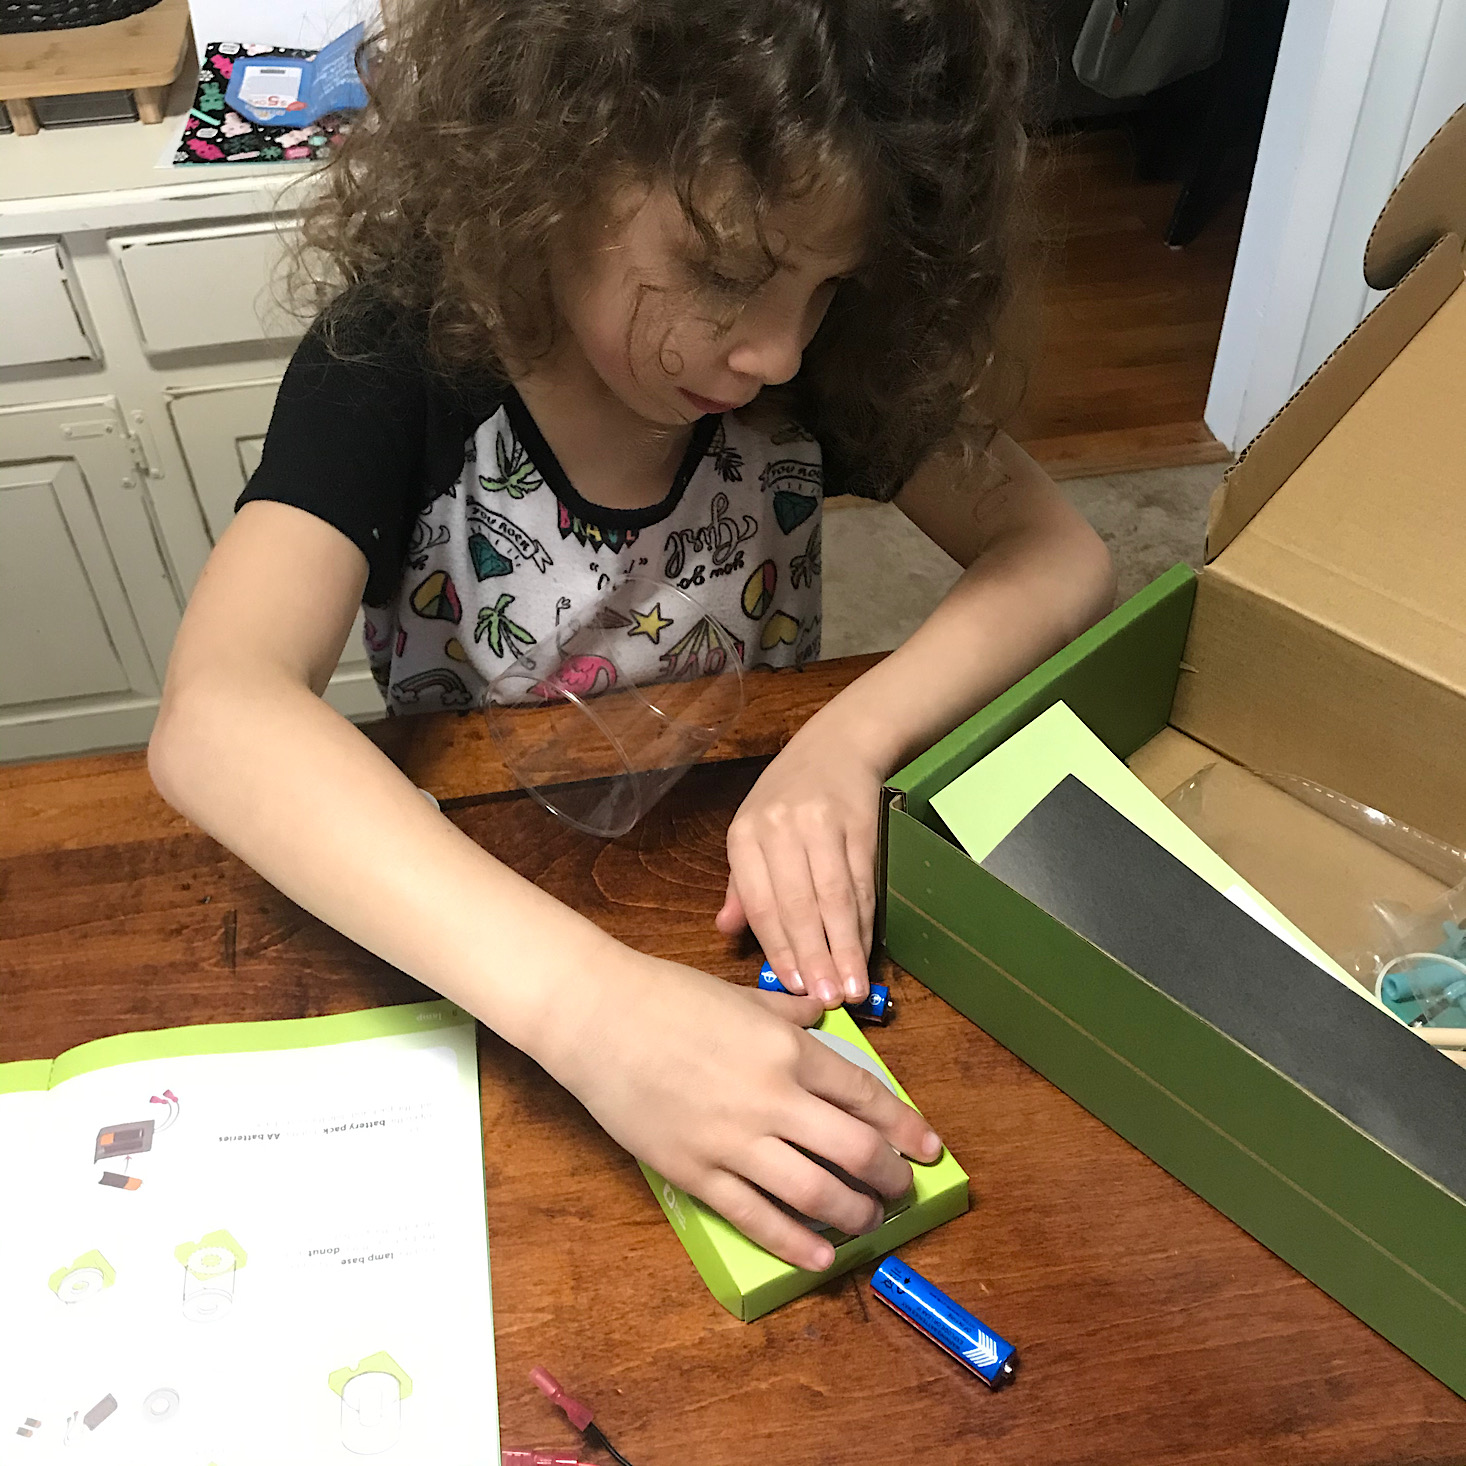
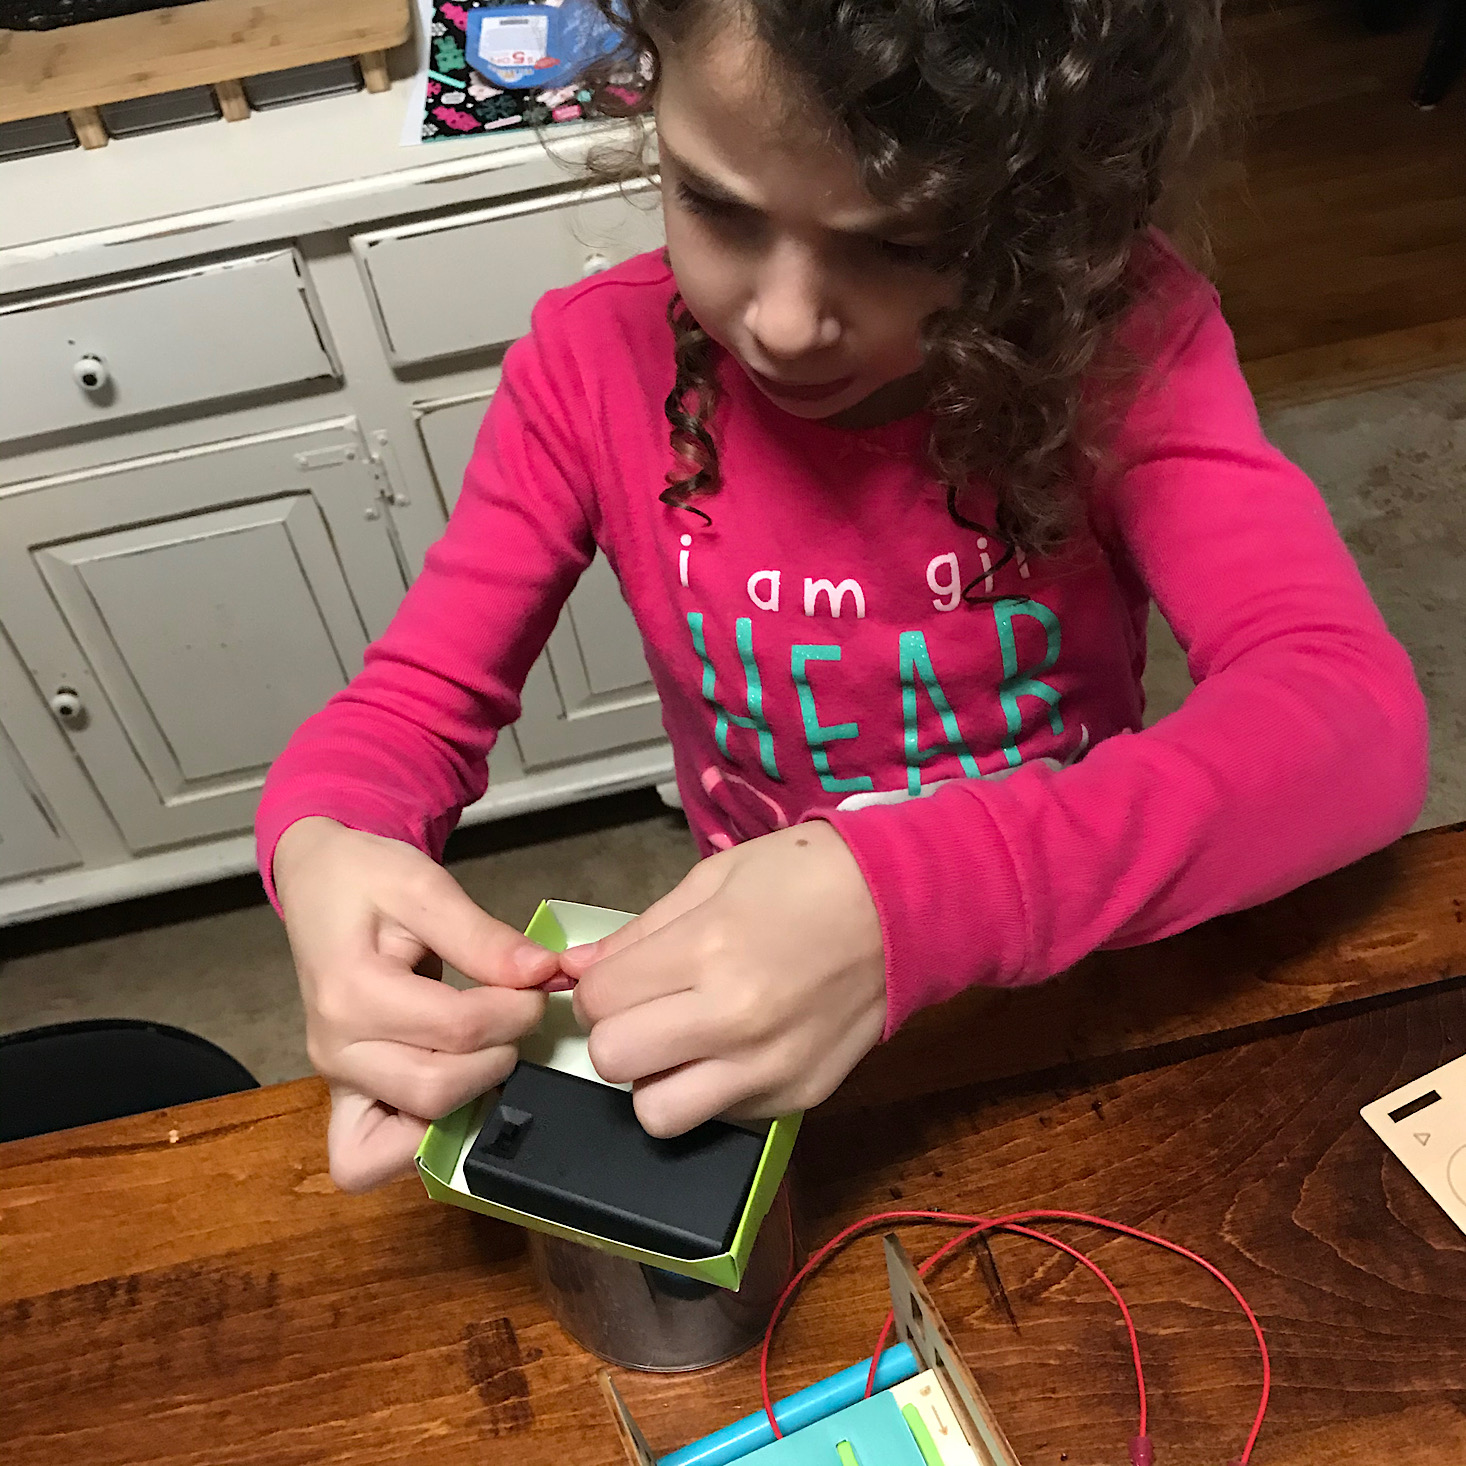
Then she went ahead and put the batteries into the pack. I love that they include batteries for us and it is nice that they include detailed instructions, too.


1 of 2
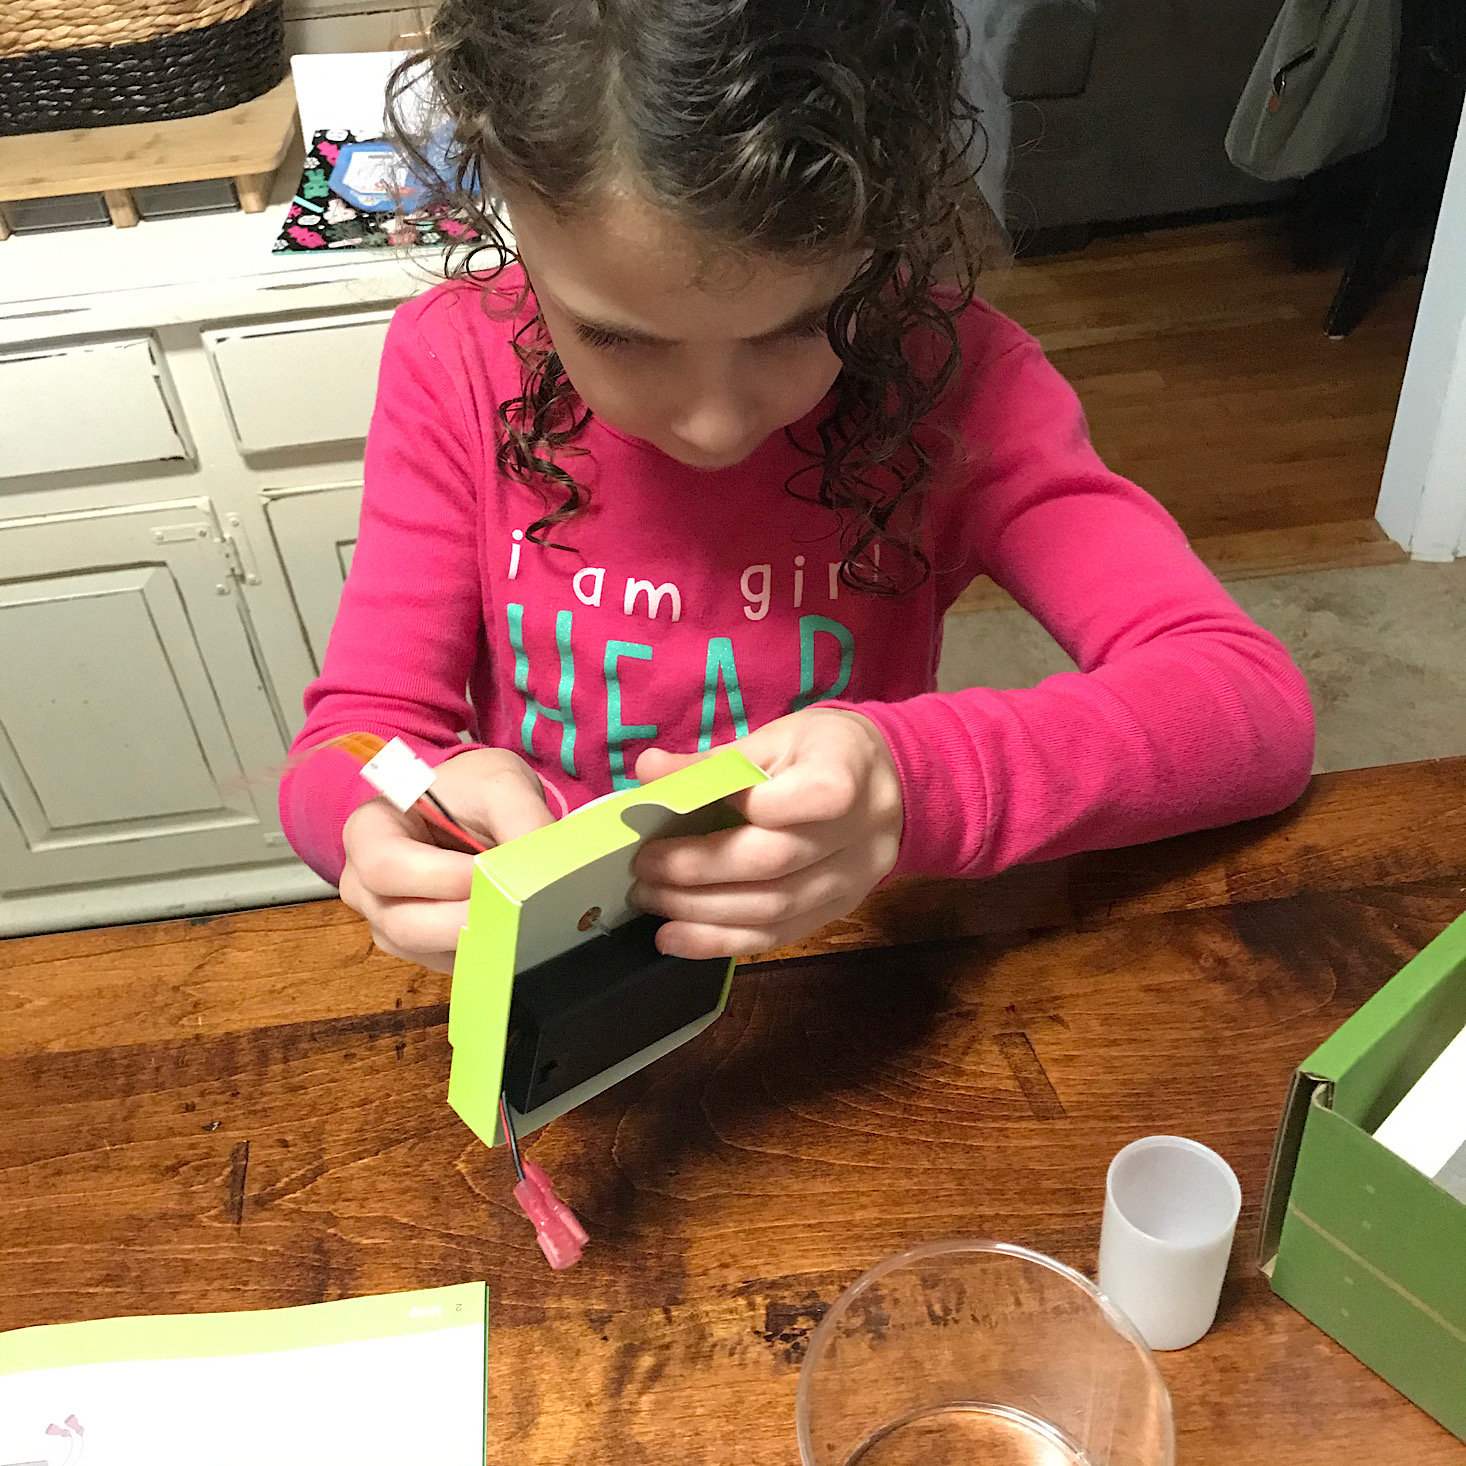
Then we stuck the battery pack into the underside of the base to the adhesive that was poking through from the top. In case you're wondering about the outfit change, we took a brief dance party break and didn't get back to it until after baths later in the day.
1 of 4

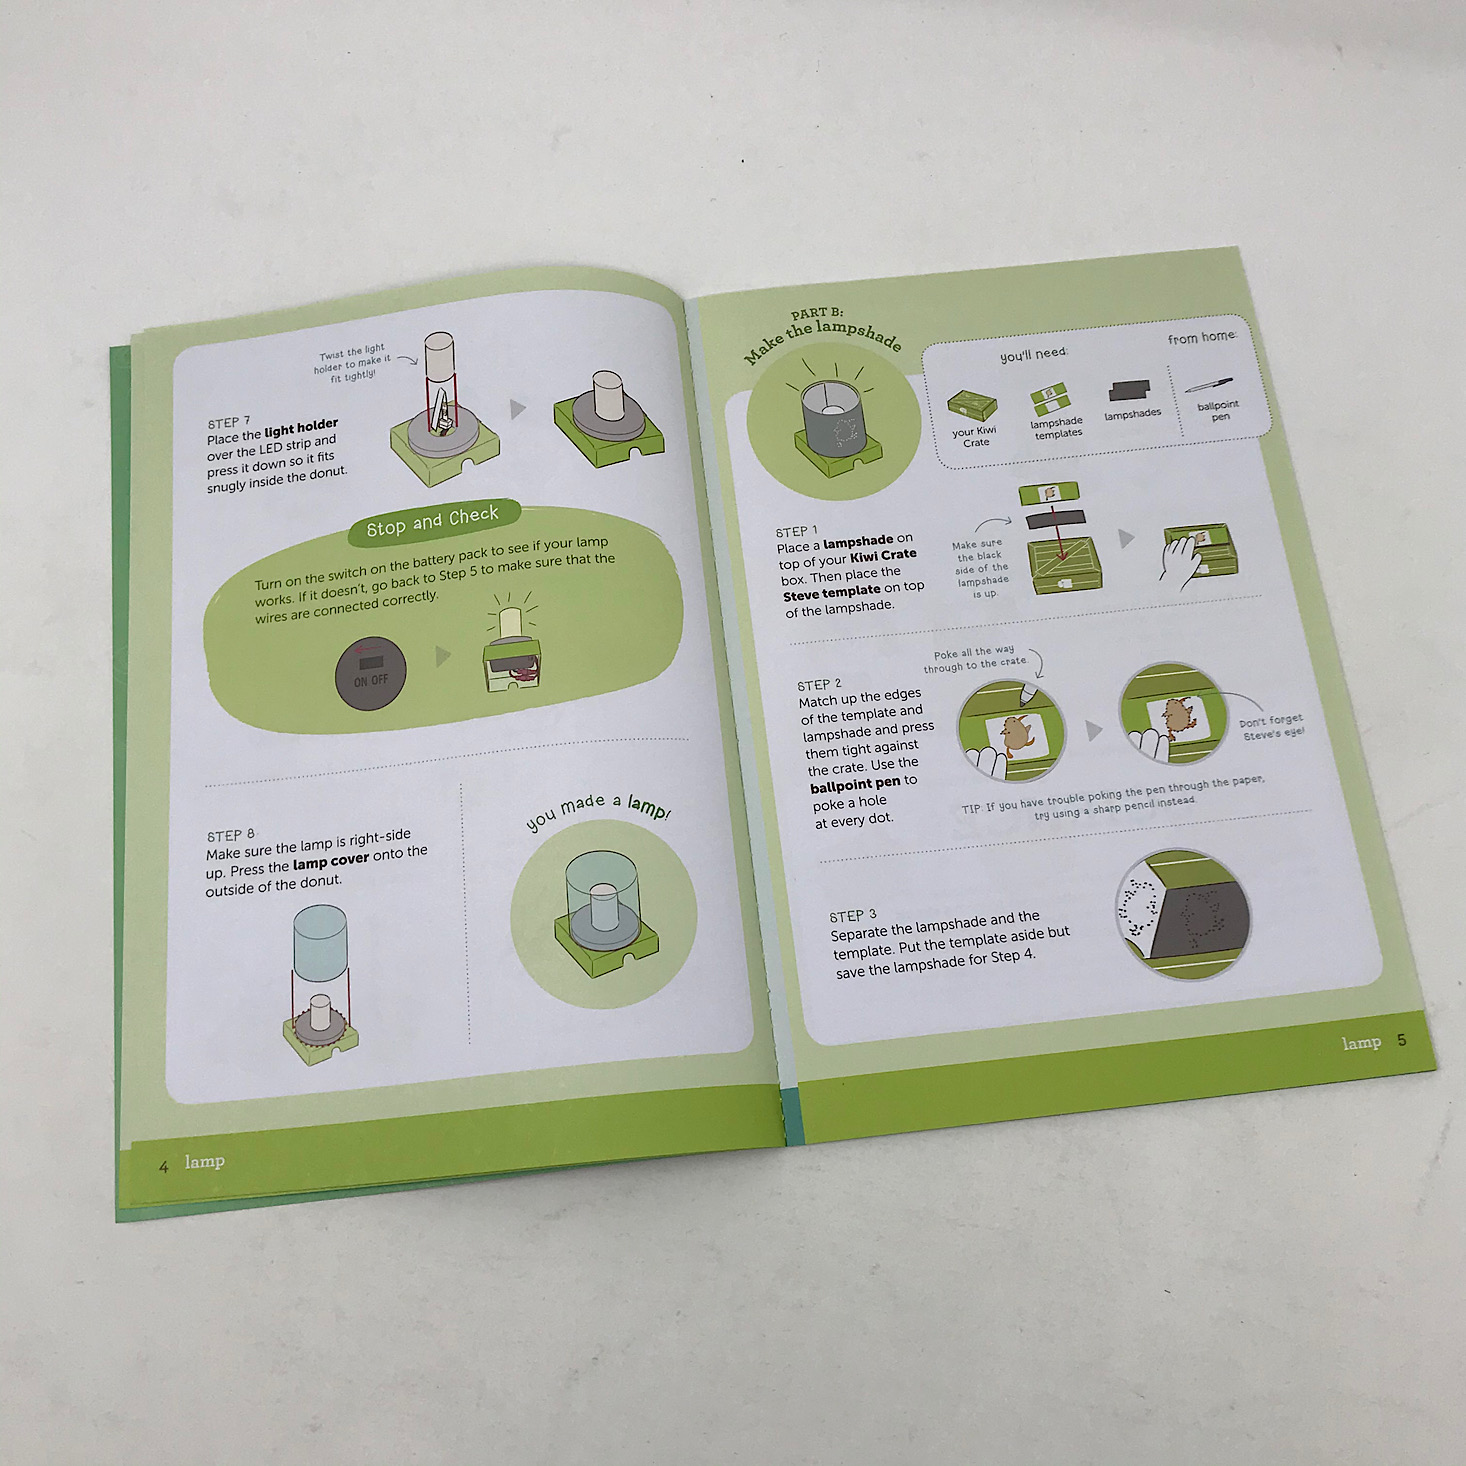
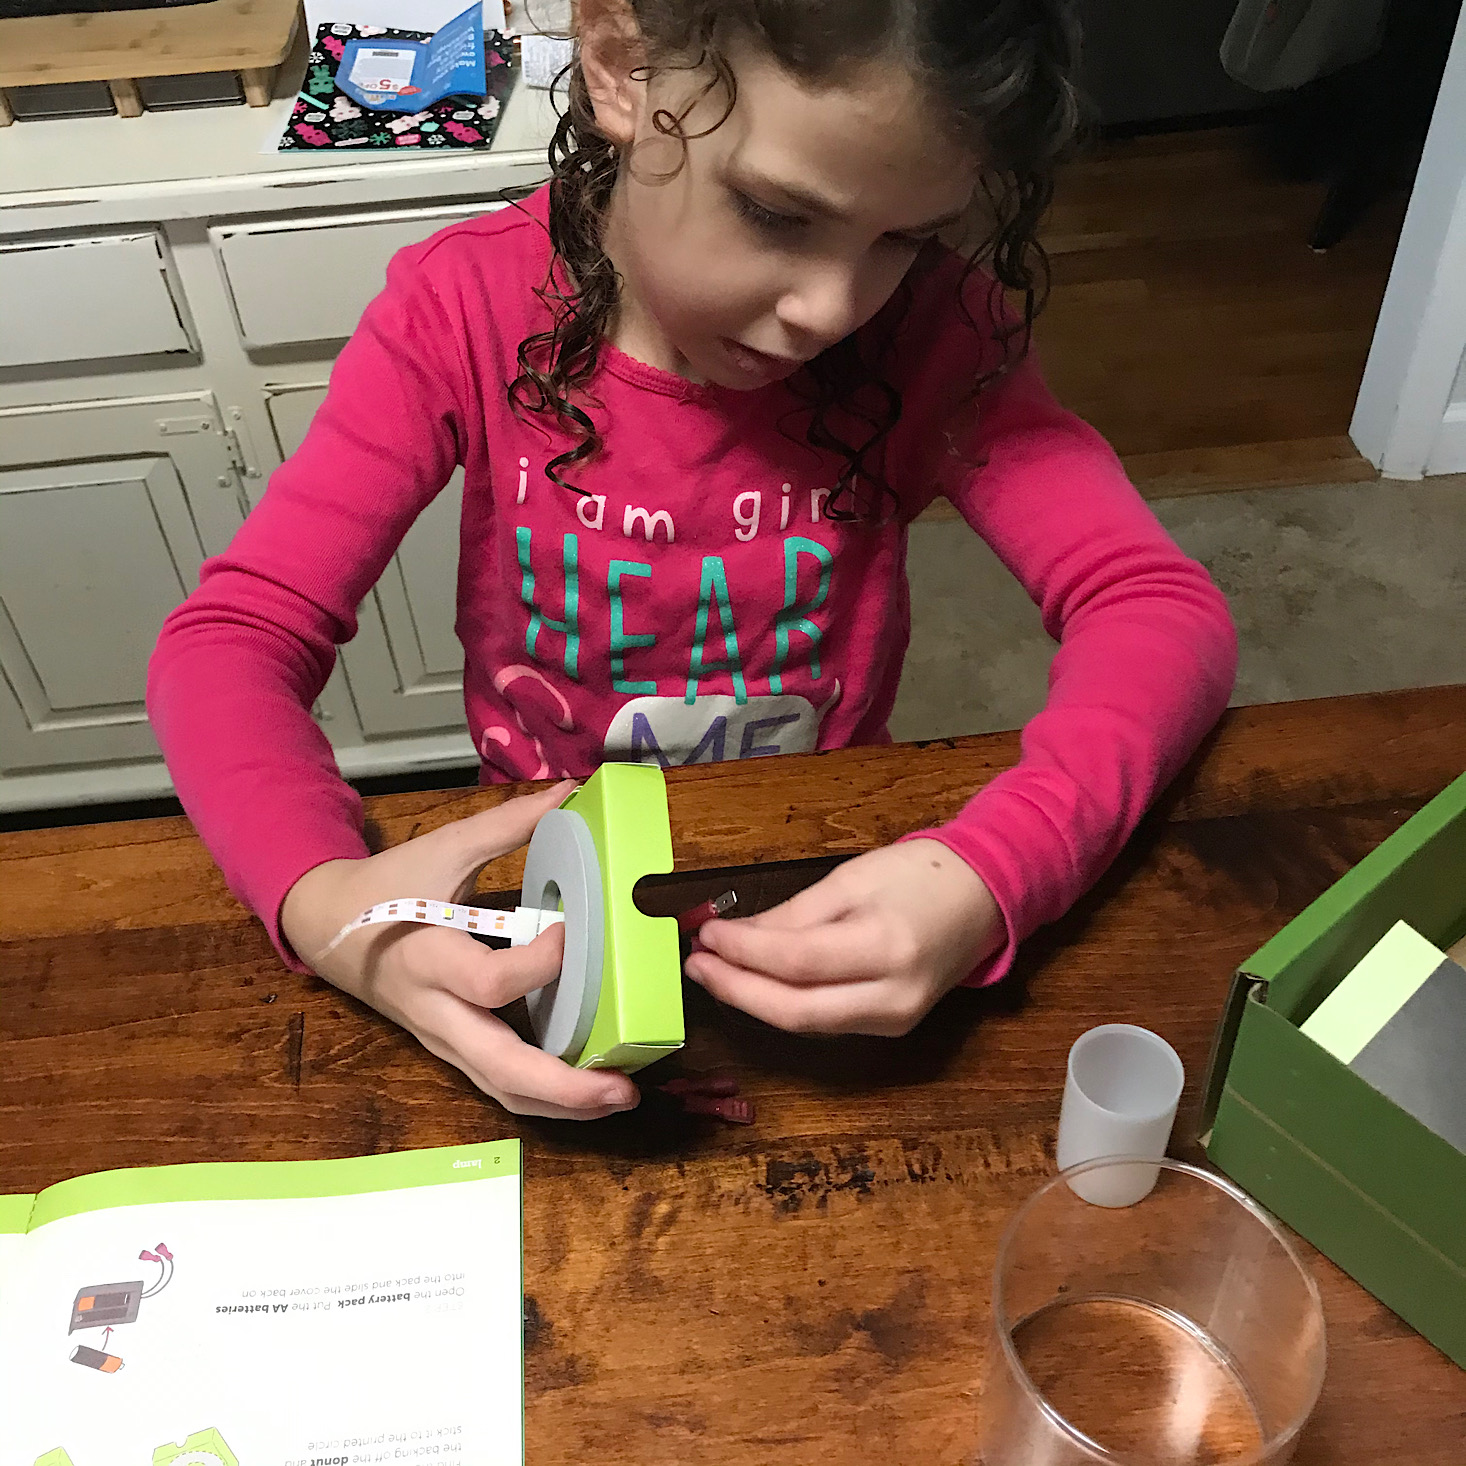
Next, she stuck the LED strip through the center hole.


1 of 2
Then she connected the LED wires to the wires on our battery.

1 of 3

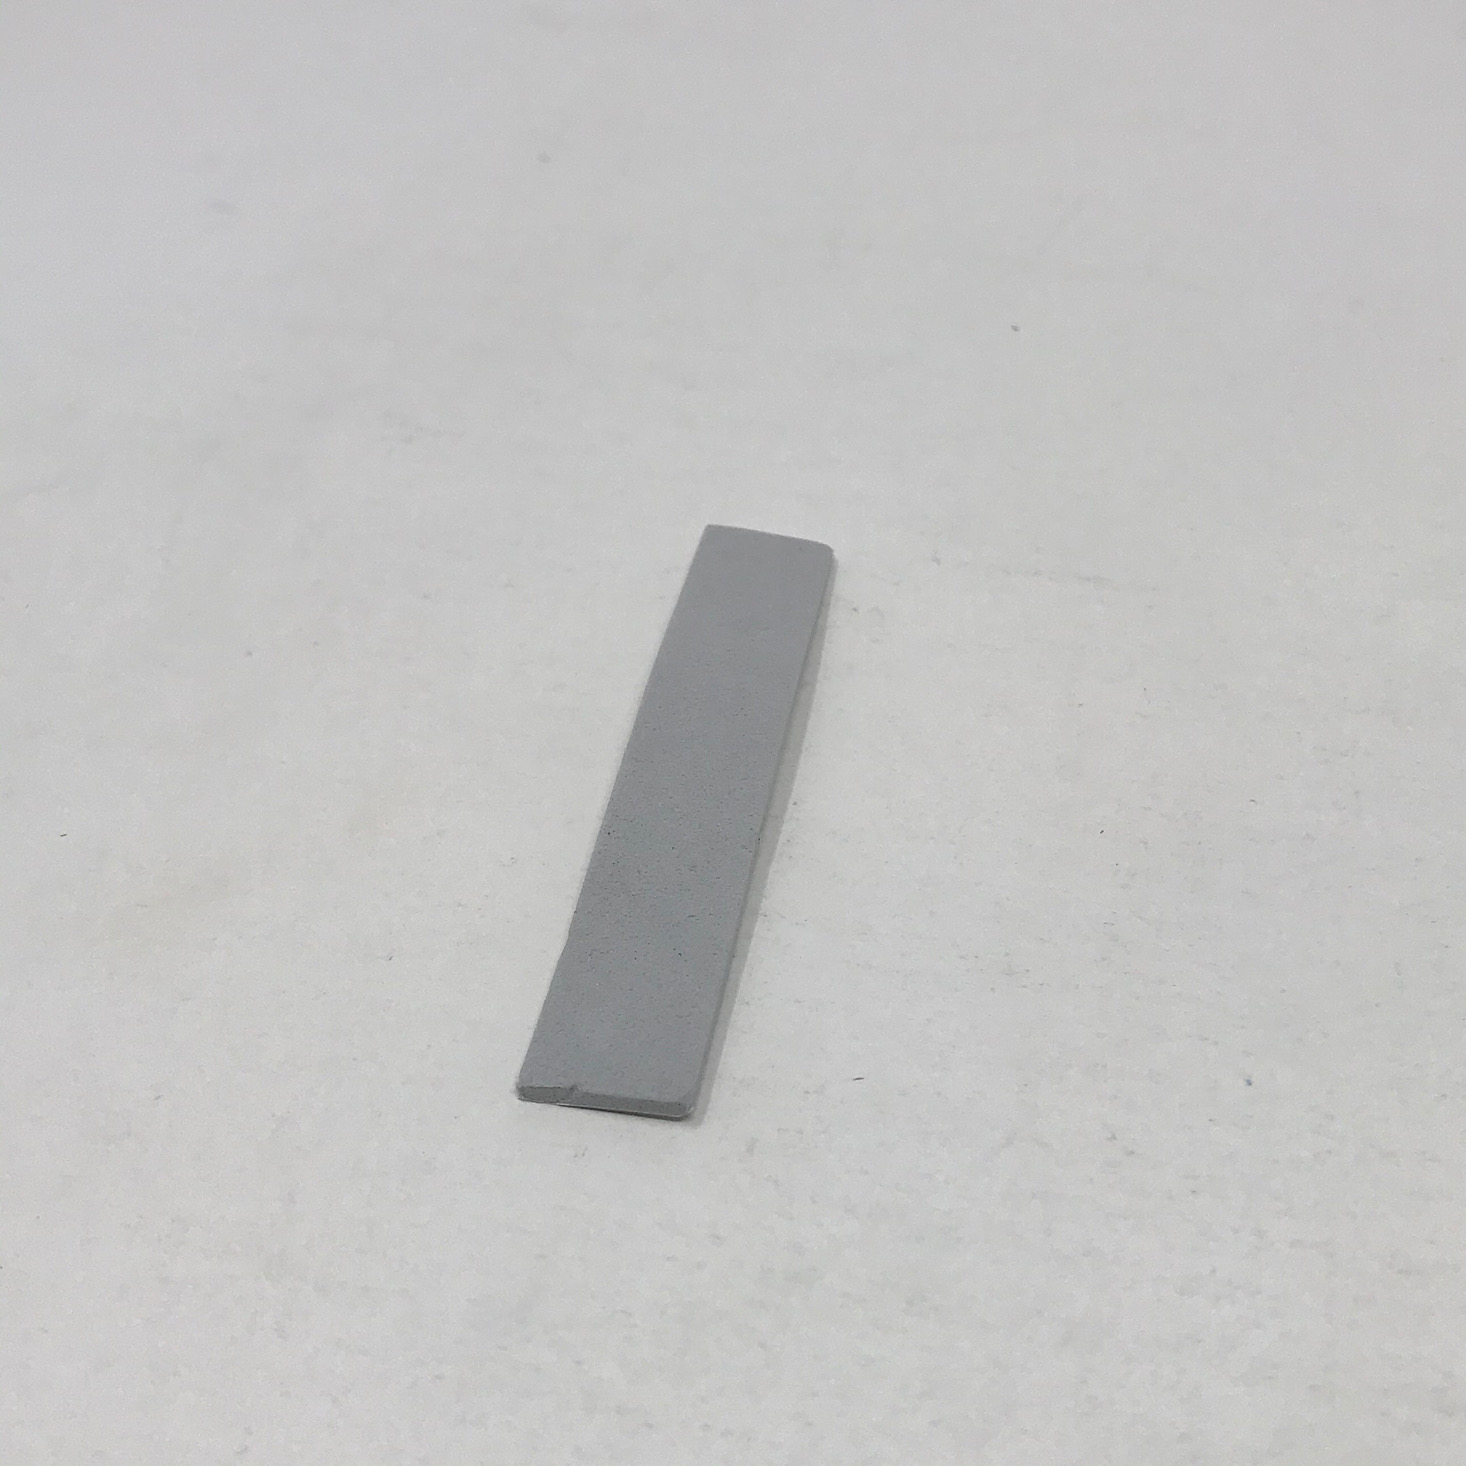
Then she bent the strip in half and placed this light holder over it fitting it inside of the gray foam ring on our base. Then the larger lamp cover fit over the outside edge of our ring.
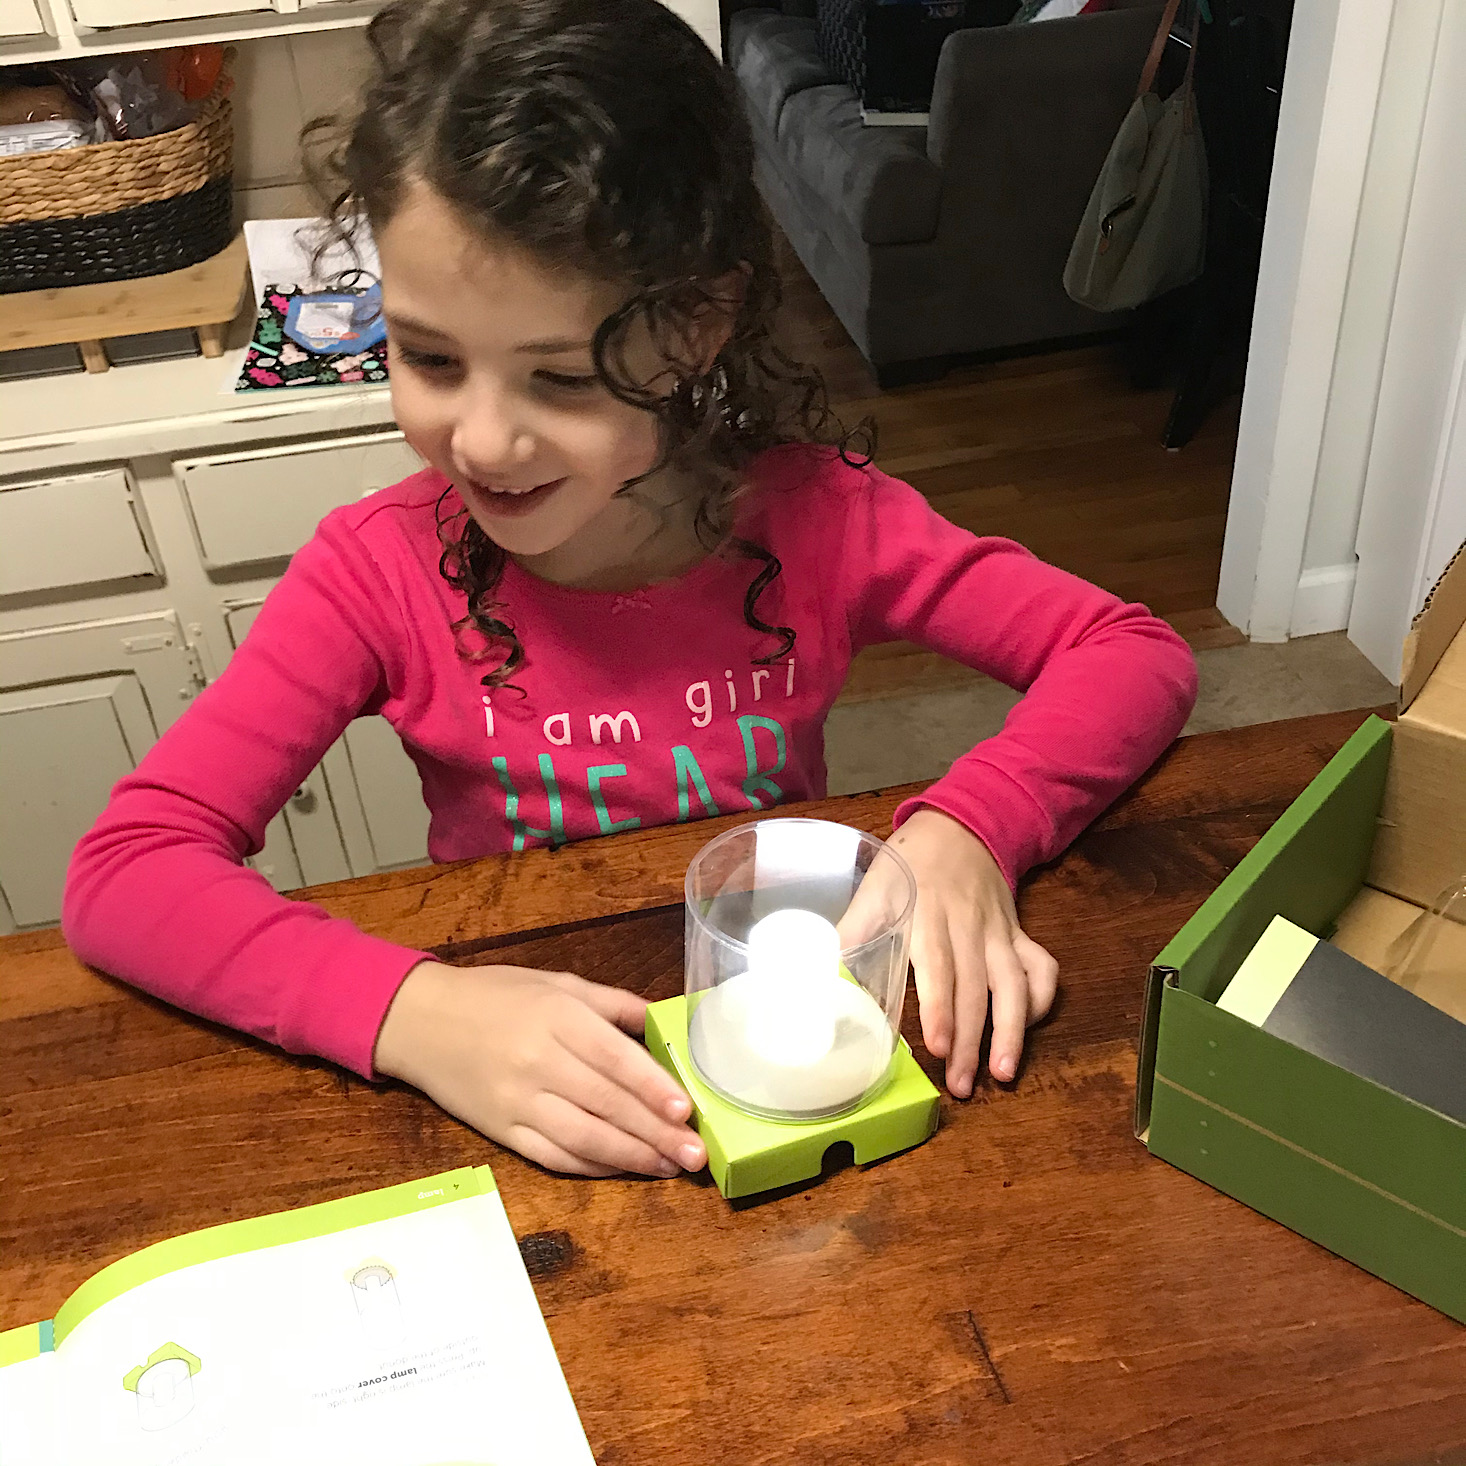
1 of 2
Then we flipped the switch on our battery pack and we had light!
Part 1B: Make the Lampshade


1 of 3

For the next part of our lamp, we got out the rest of our materials. Then we placed the green Steve the Kiwi strip over top of a black strip of paper and placed it on top of our box.
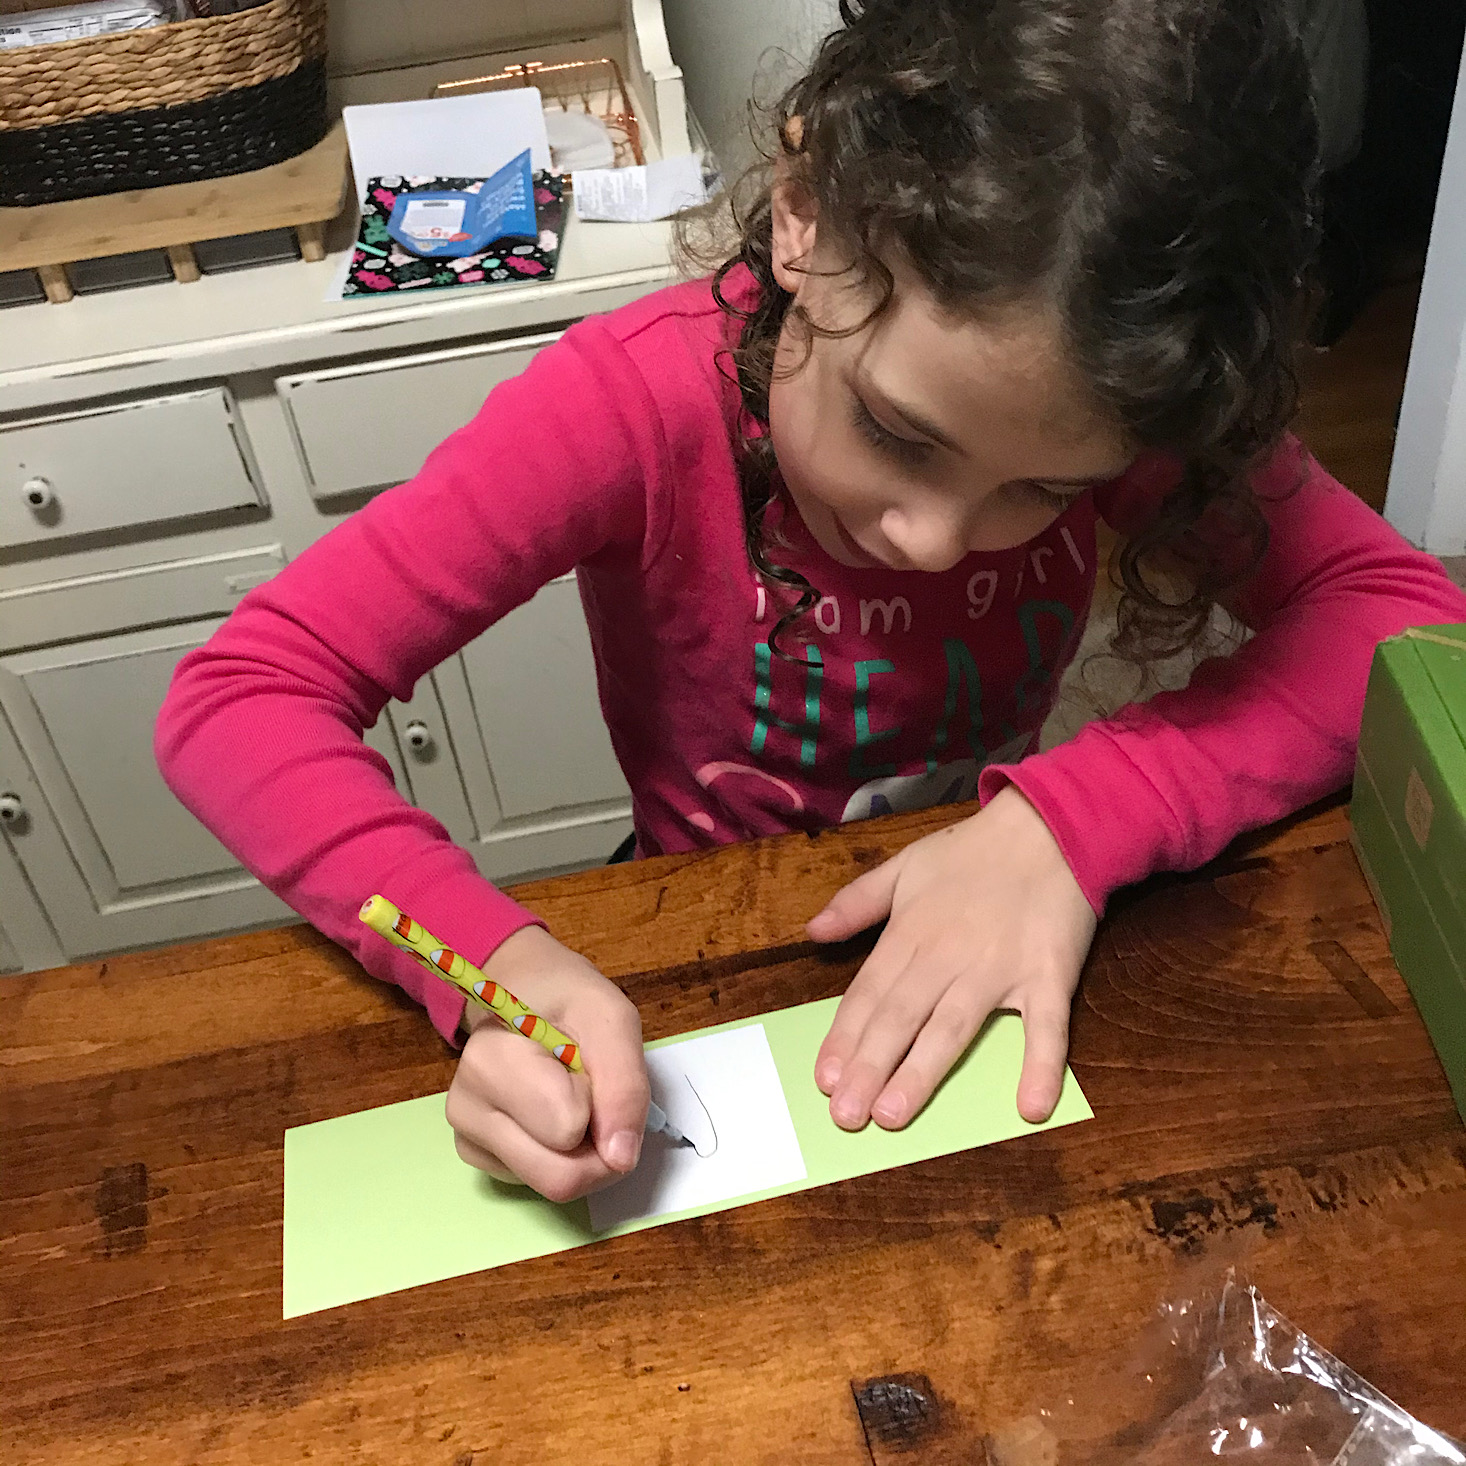
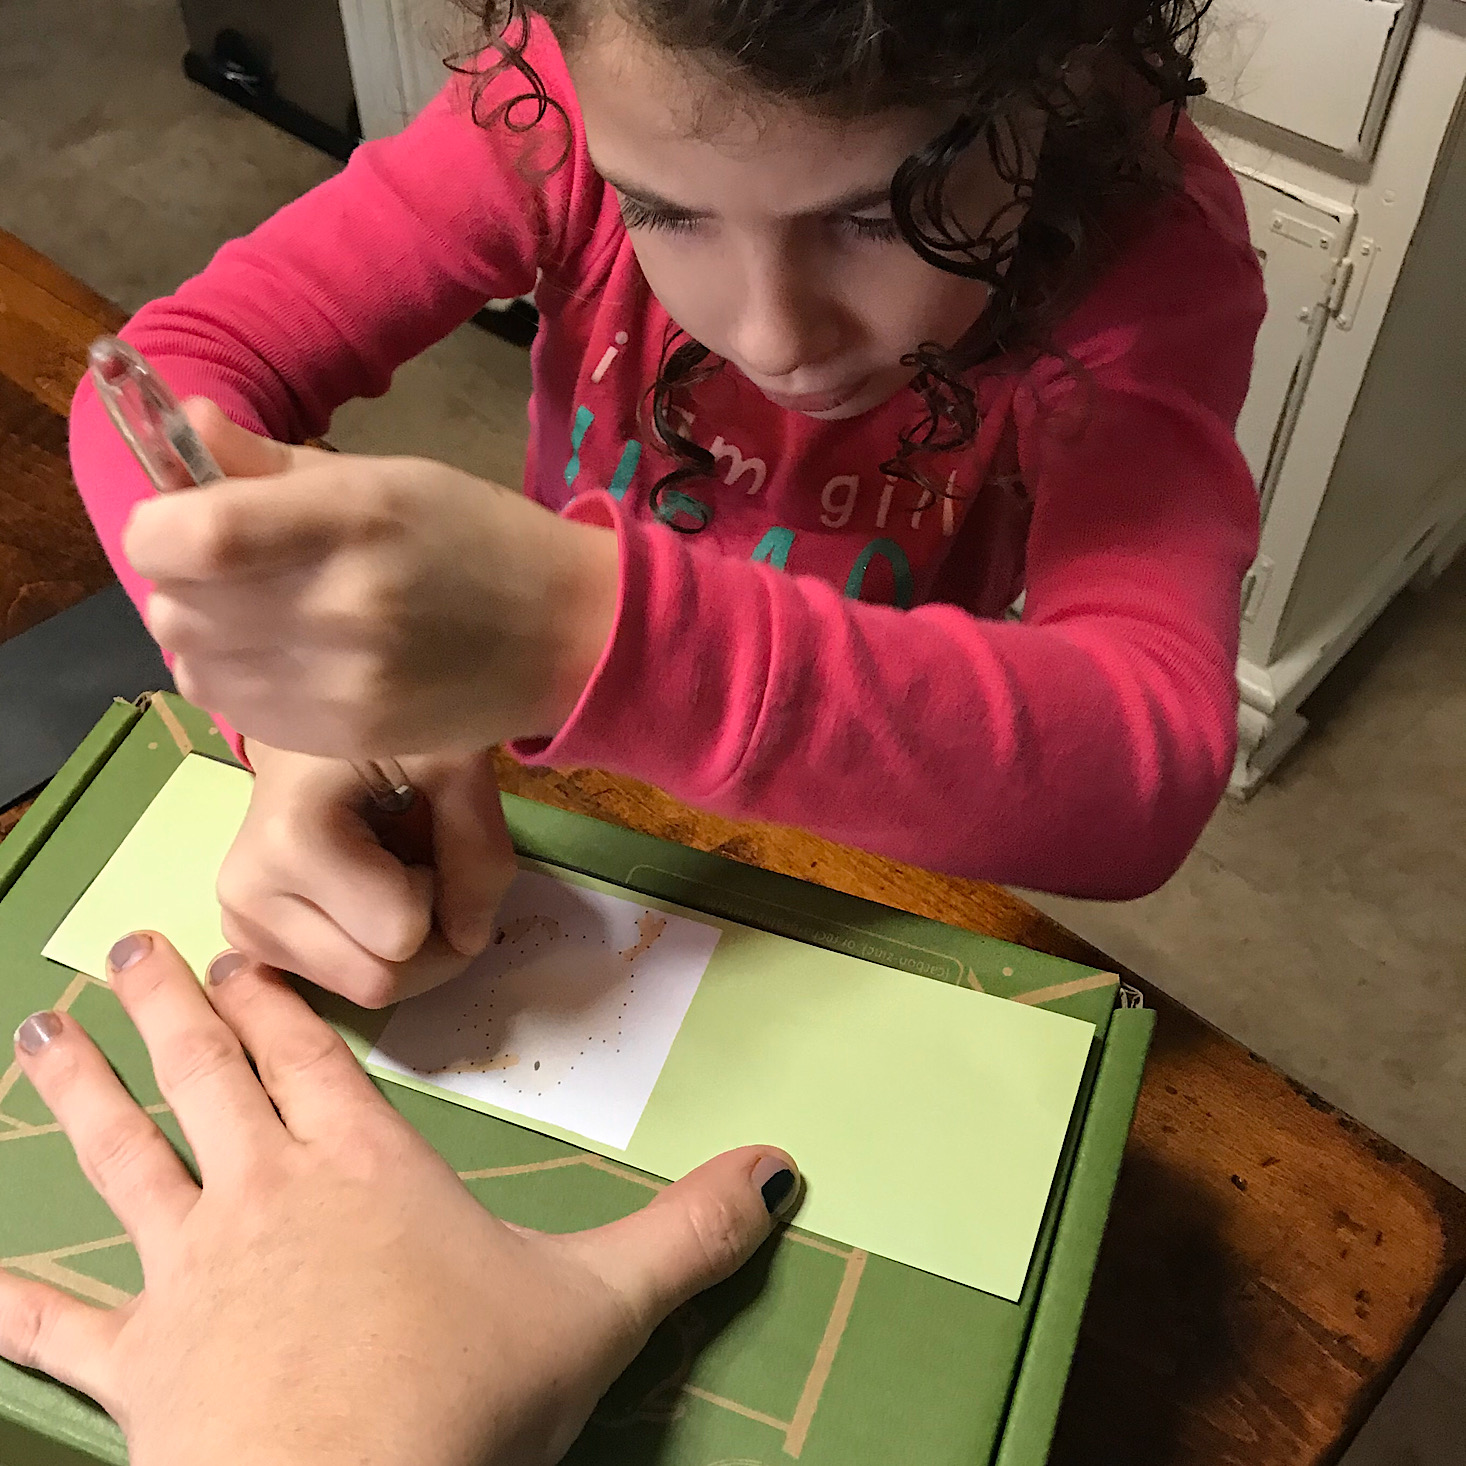
1 of 3
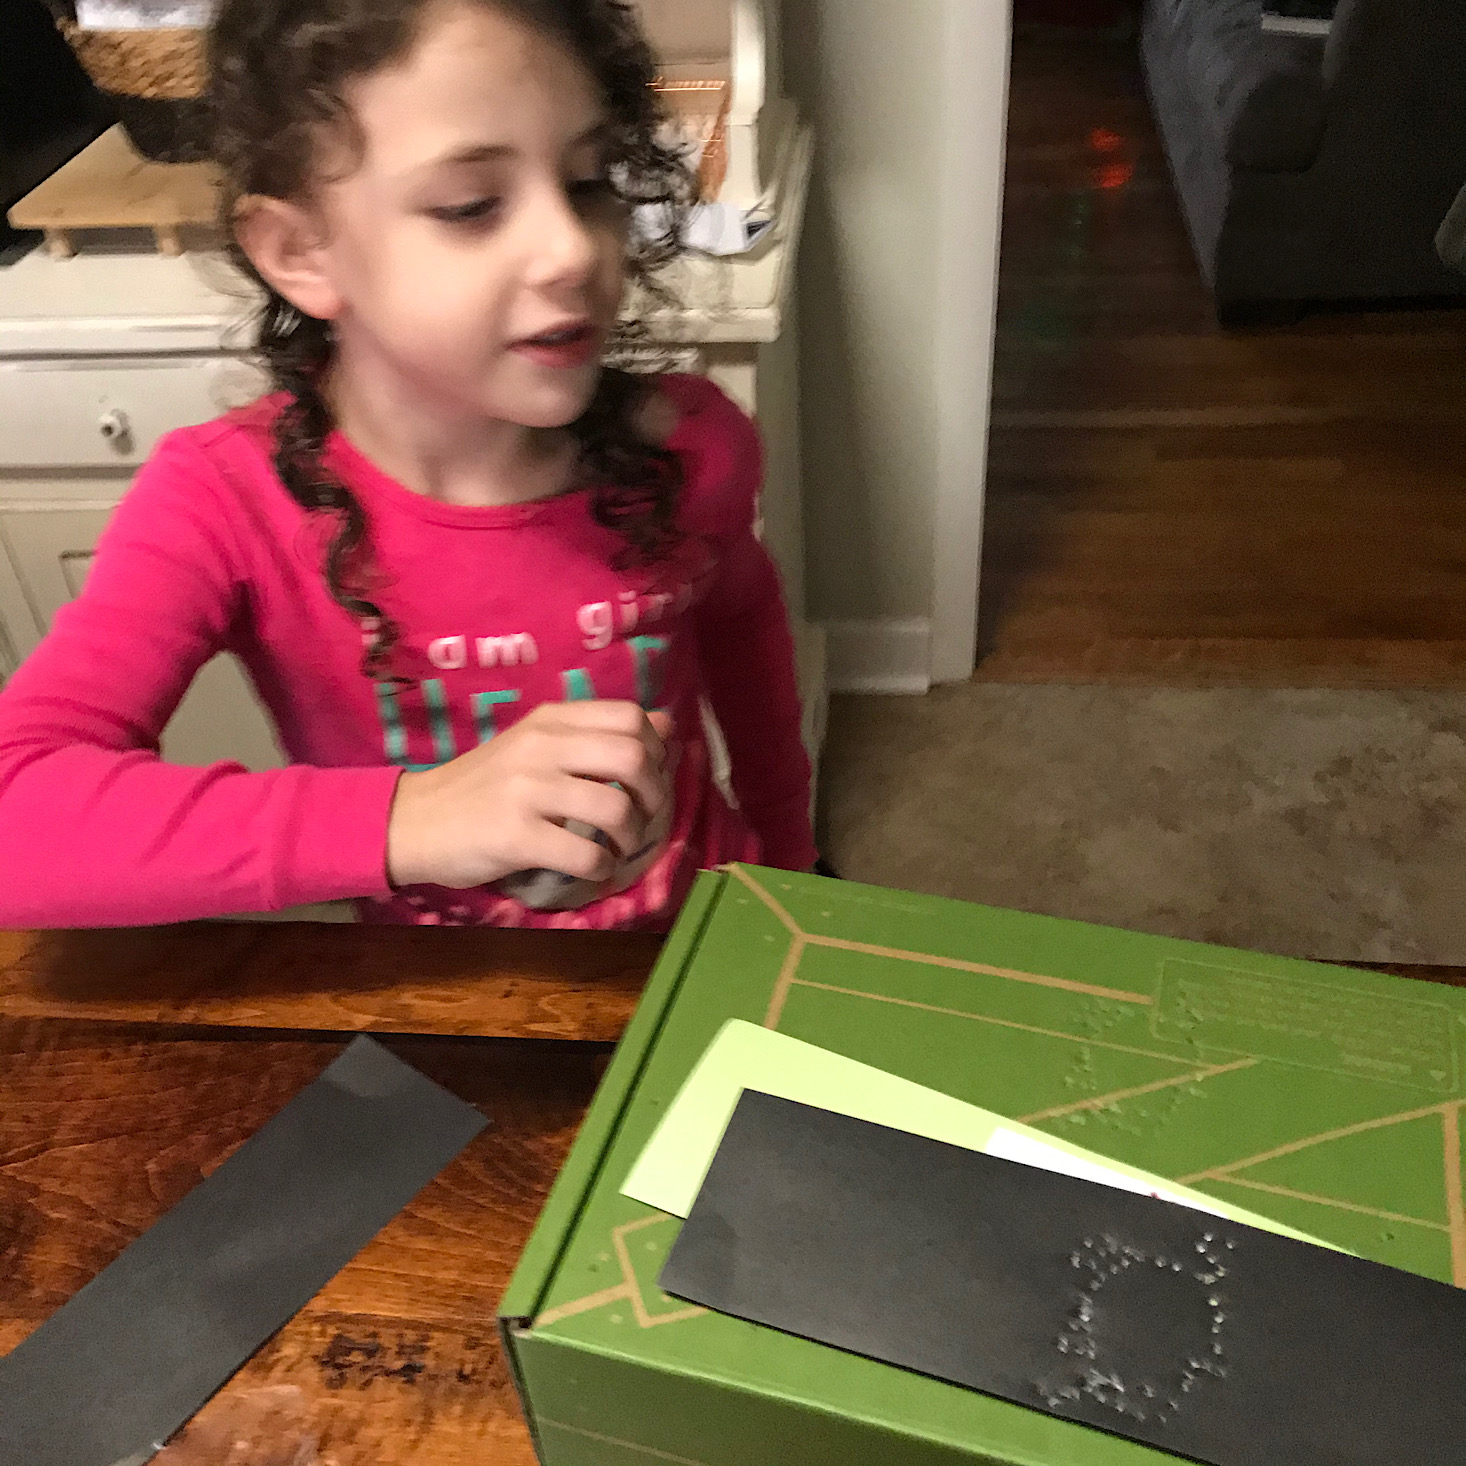
Then we used a pen to poke holes in the papers on top of our box until she had punched out all of the holes in the Steve the Kiwi image. They also included an extra sheet for her to make her own design later which I thought was fun!

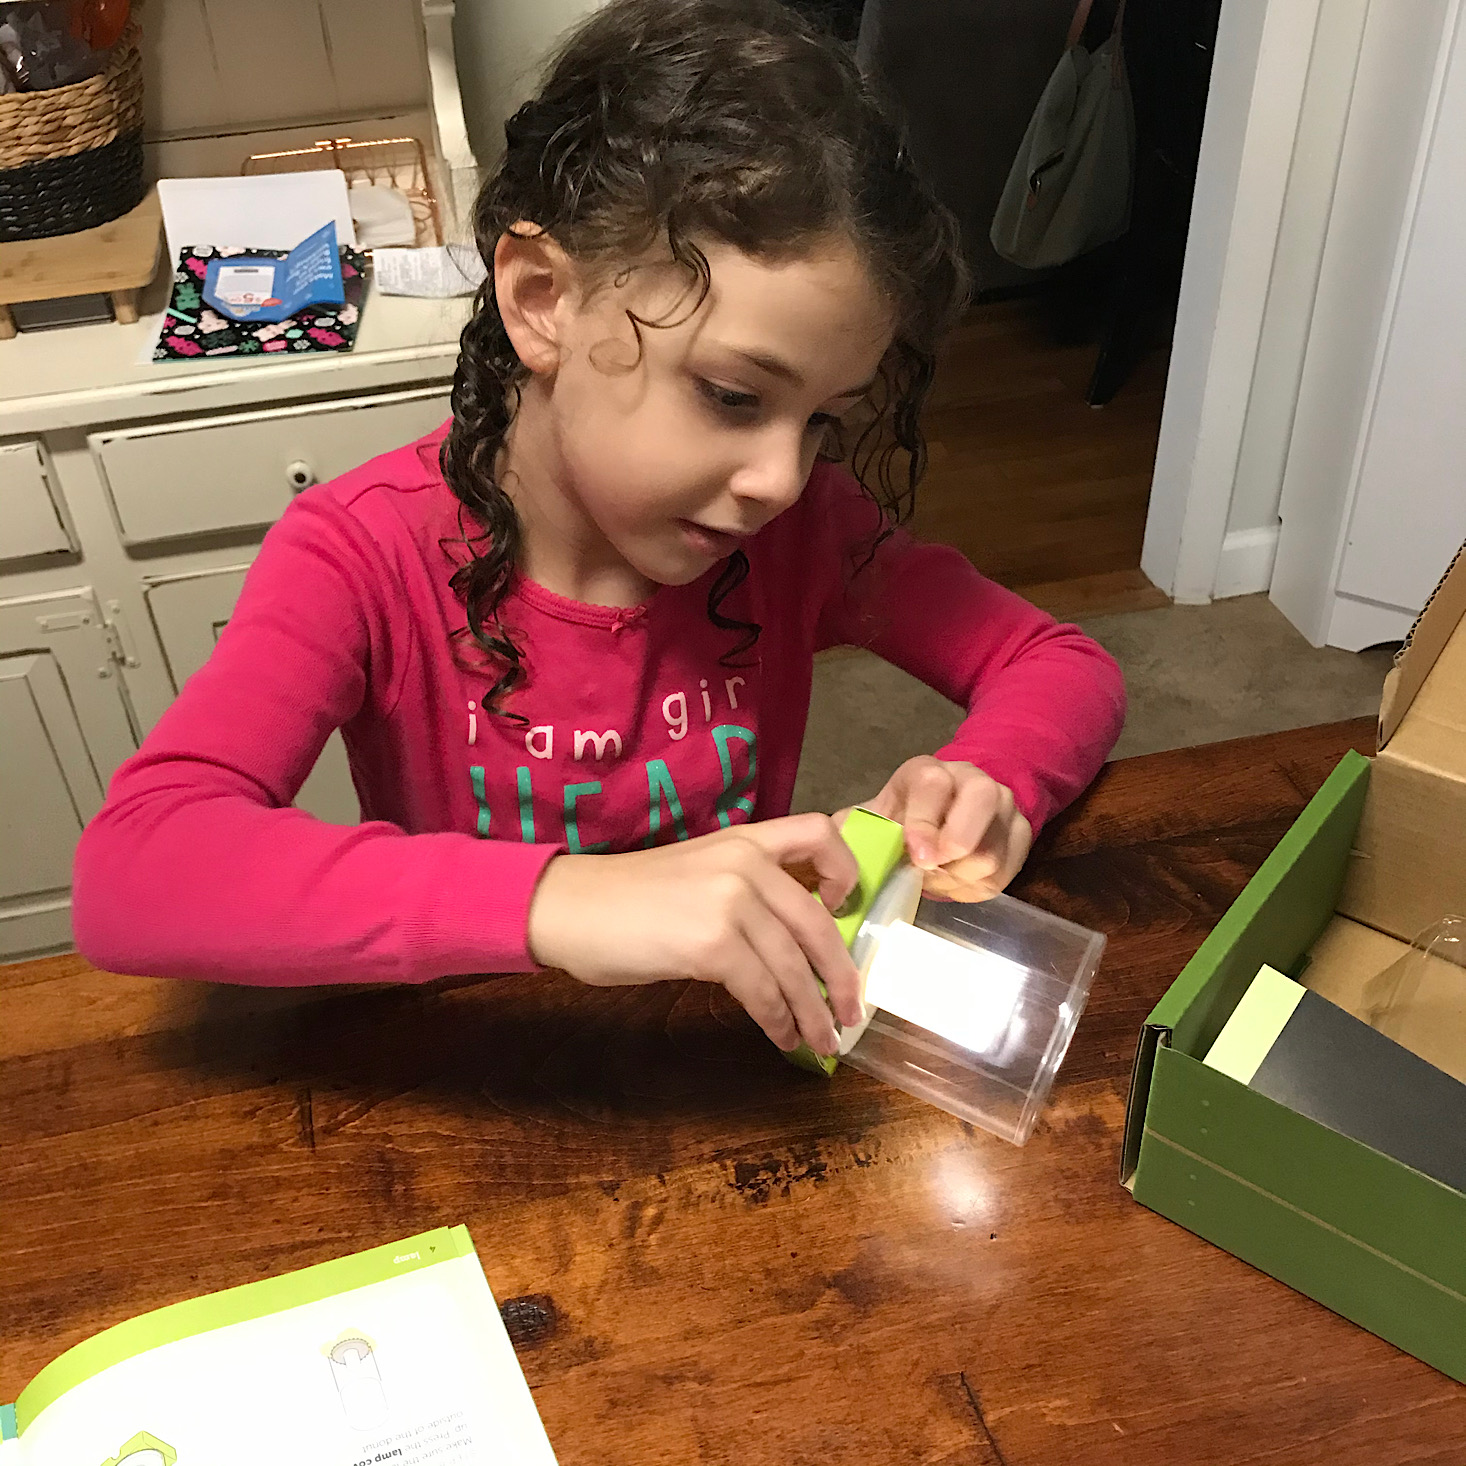
1 of 2
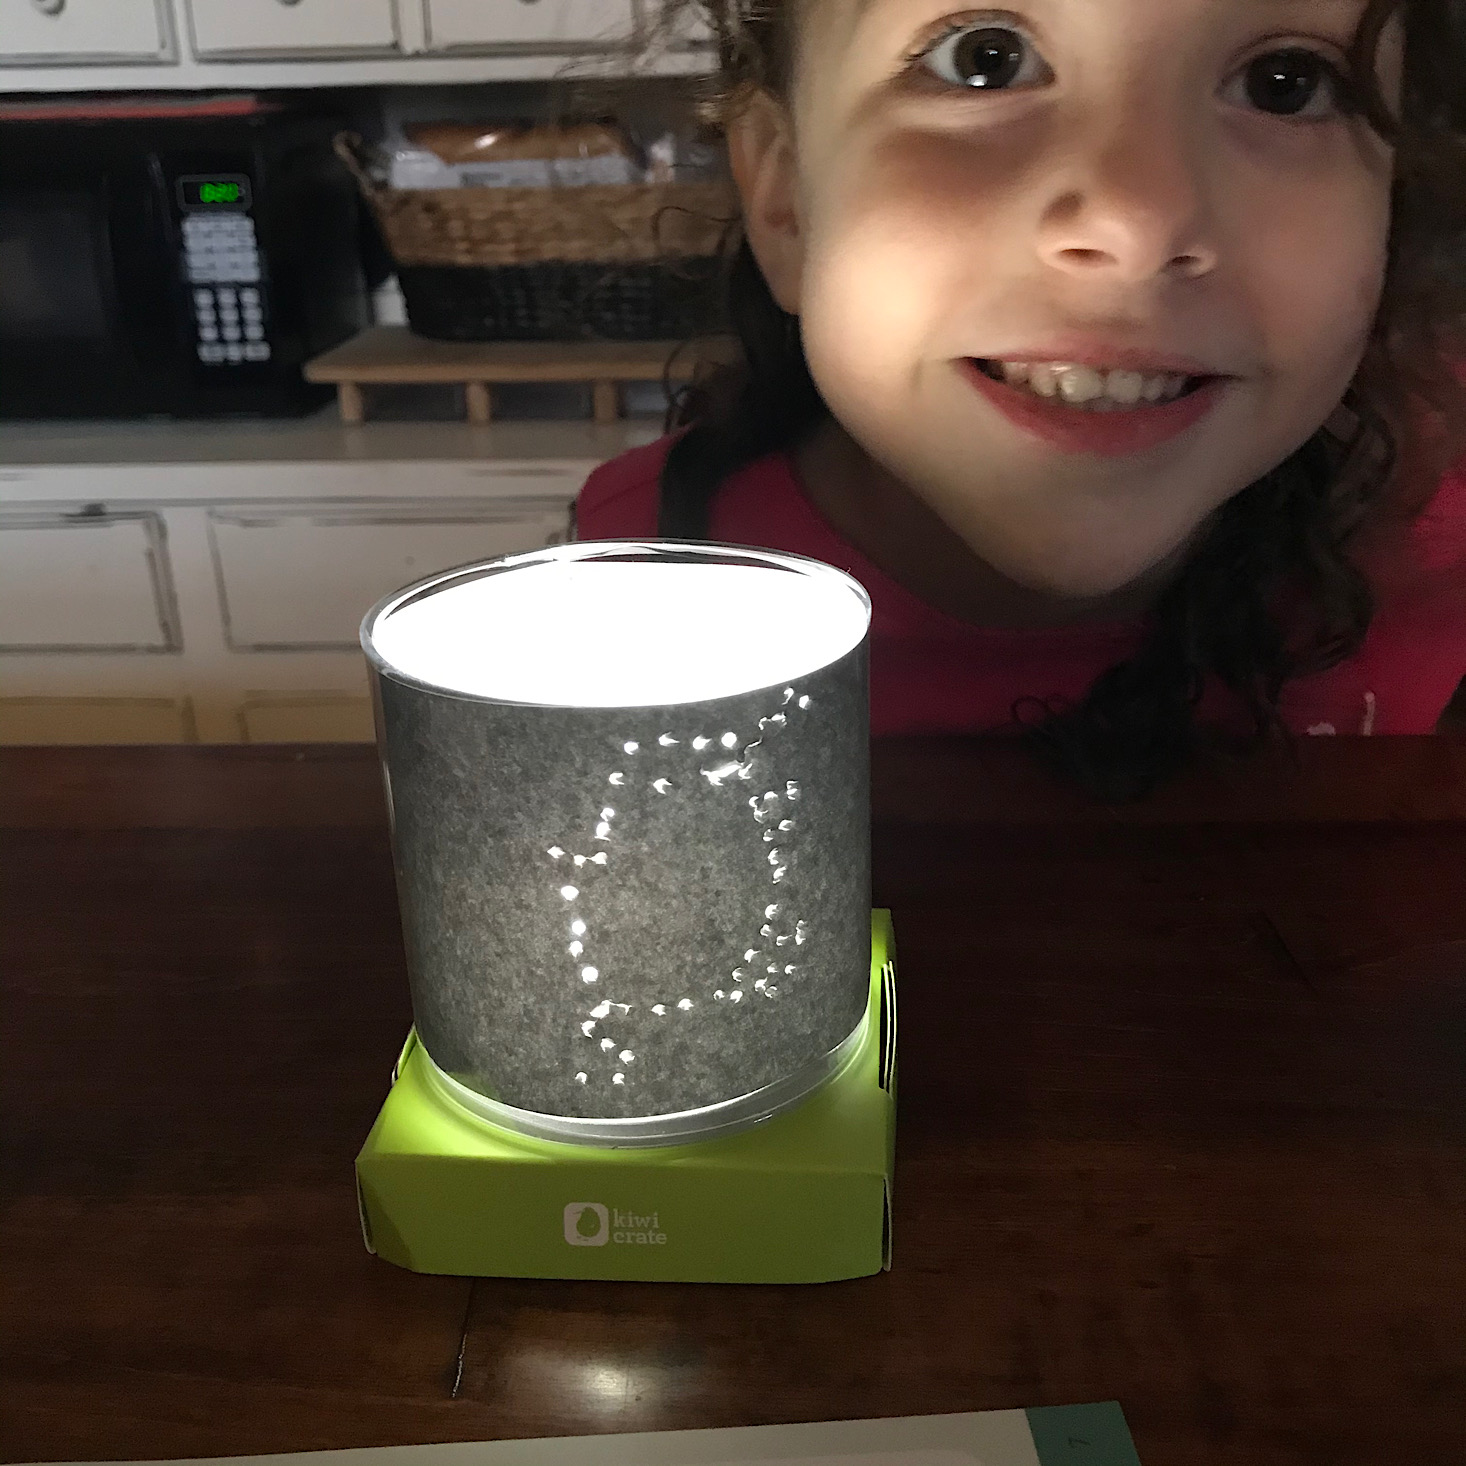
Then we slipped the black paper inside the lampshade and turned our lamp on so that Steve was illuminated. So cool!
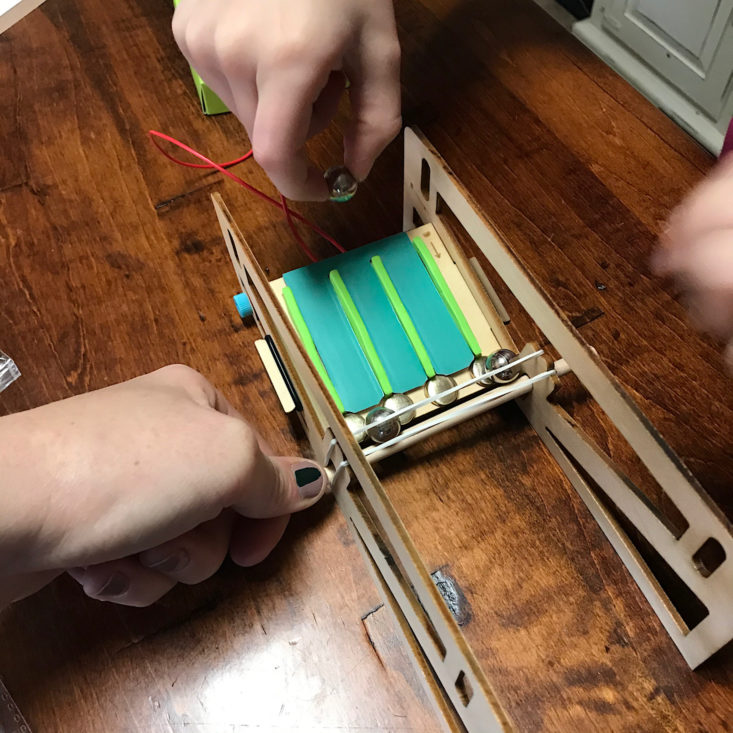
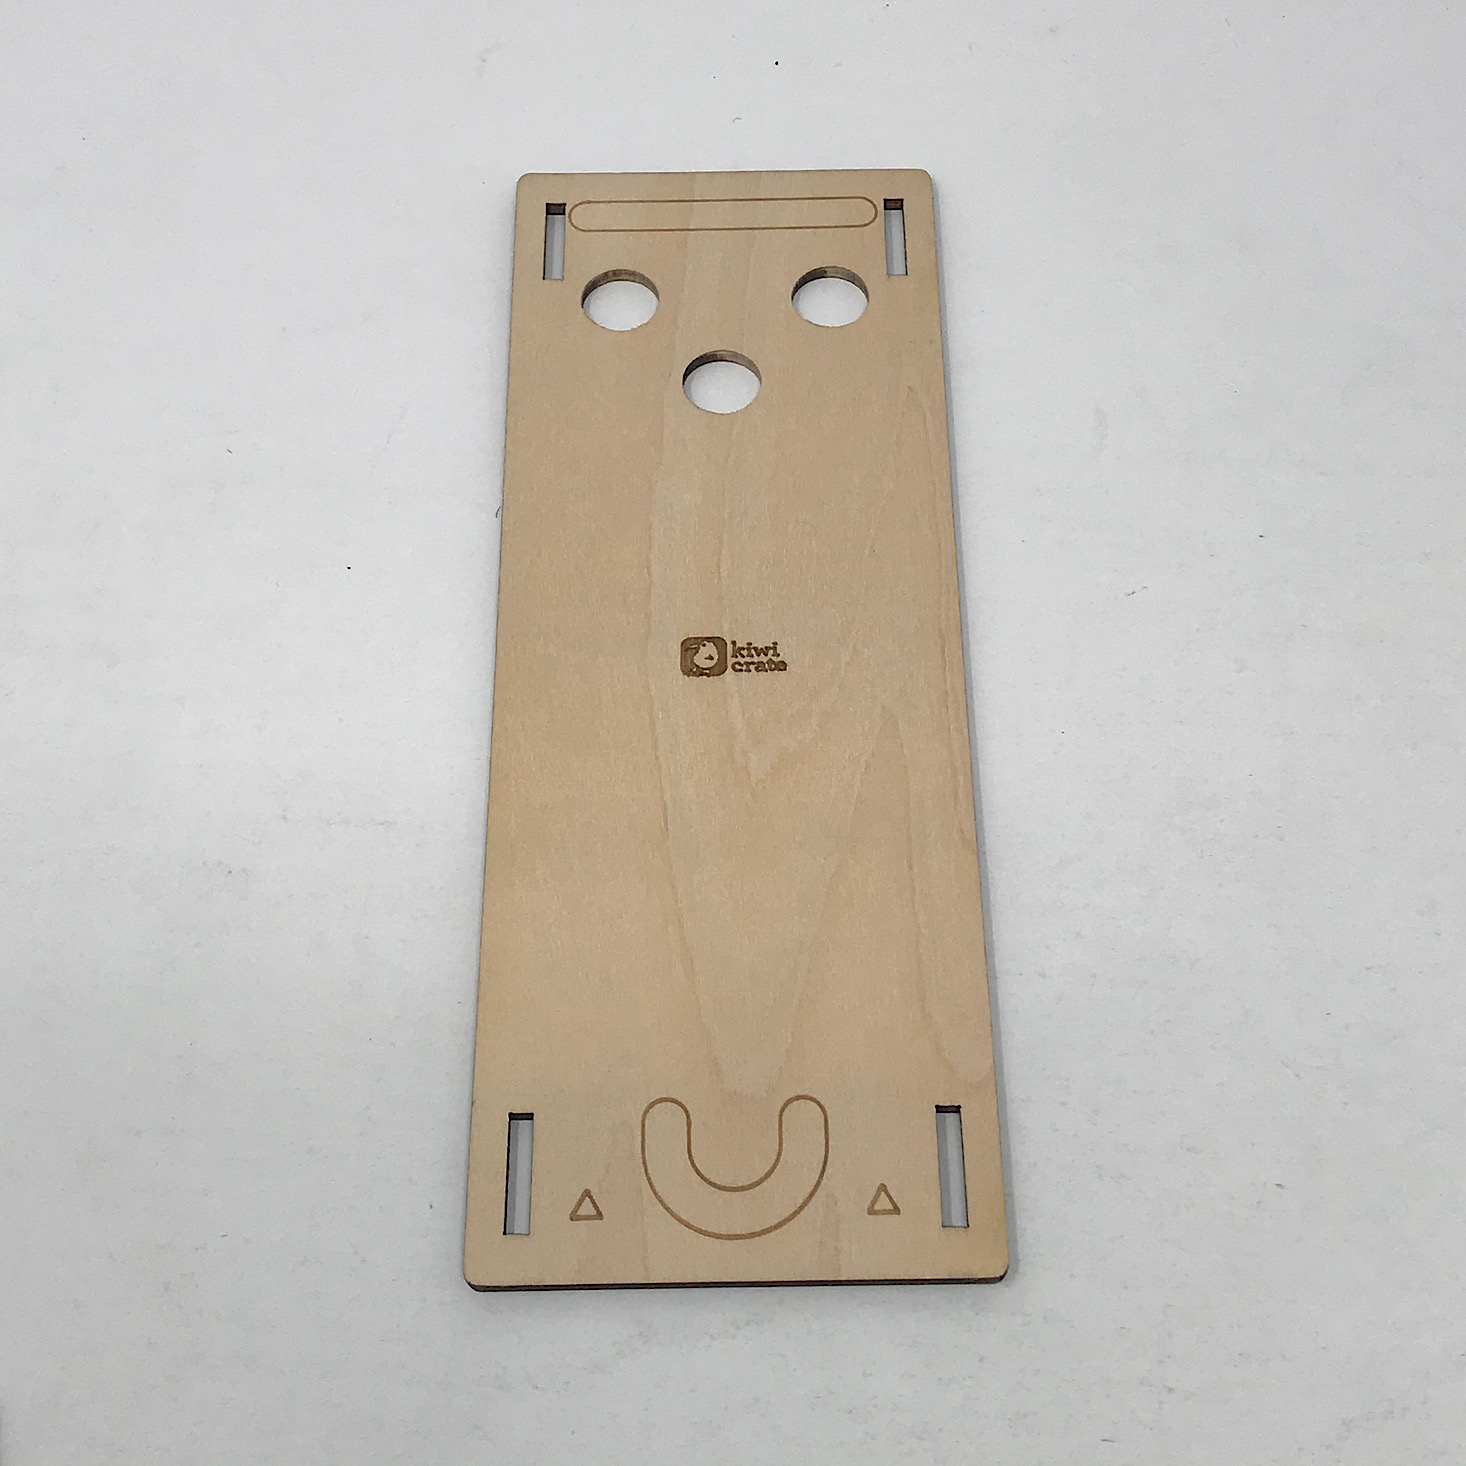
Part 2: Electric Bowler Game
Part 2A: Build the Circuit Board
While wiring our own lamp was a great challenge and a fun activity in itself with a usable product at the end, we still have more to go! Next, we are making our electric bowler game.

1 of 3
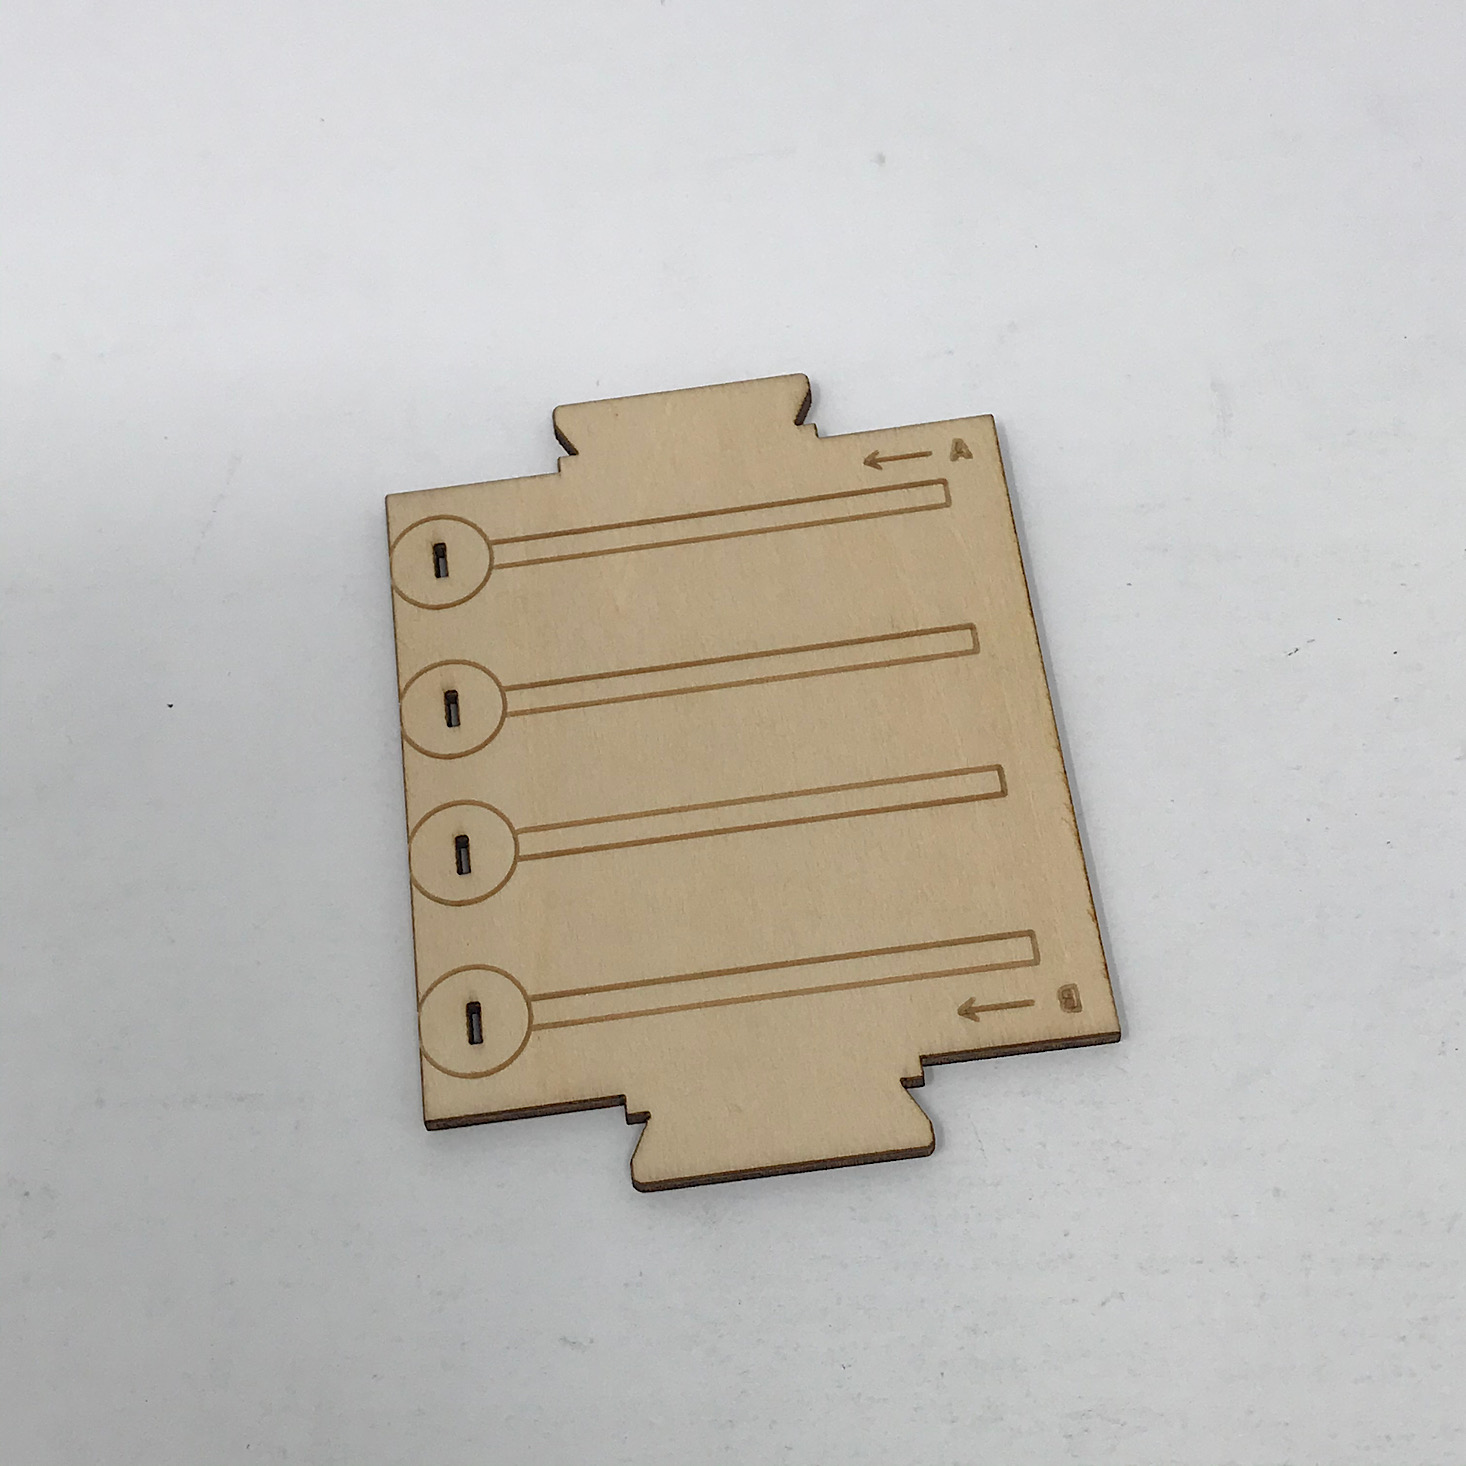
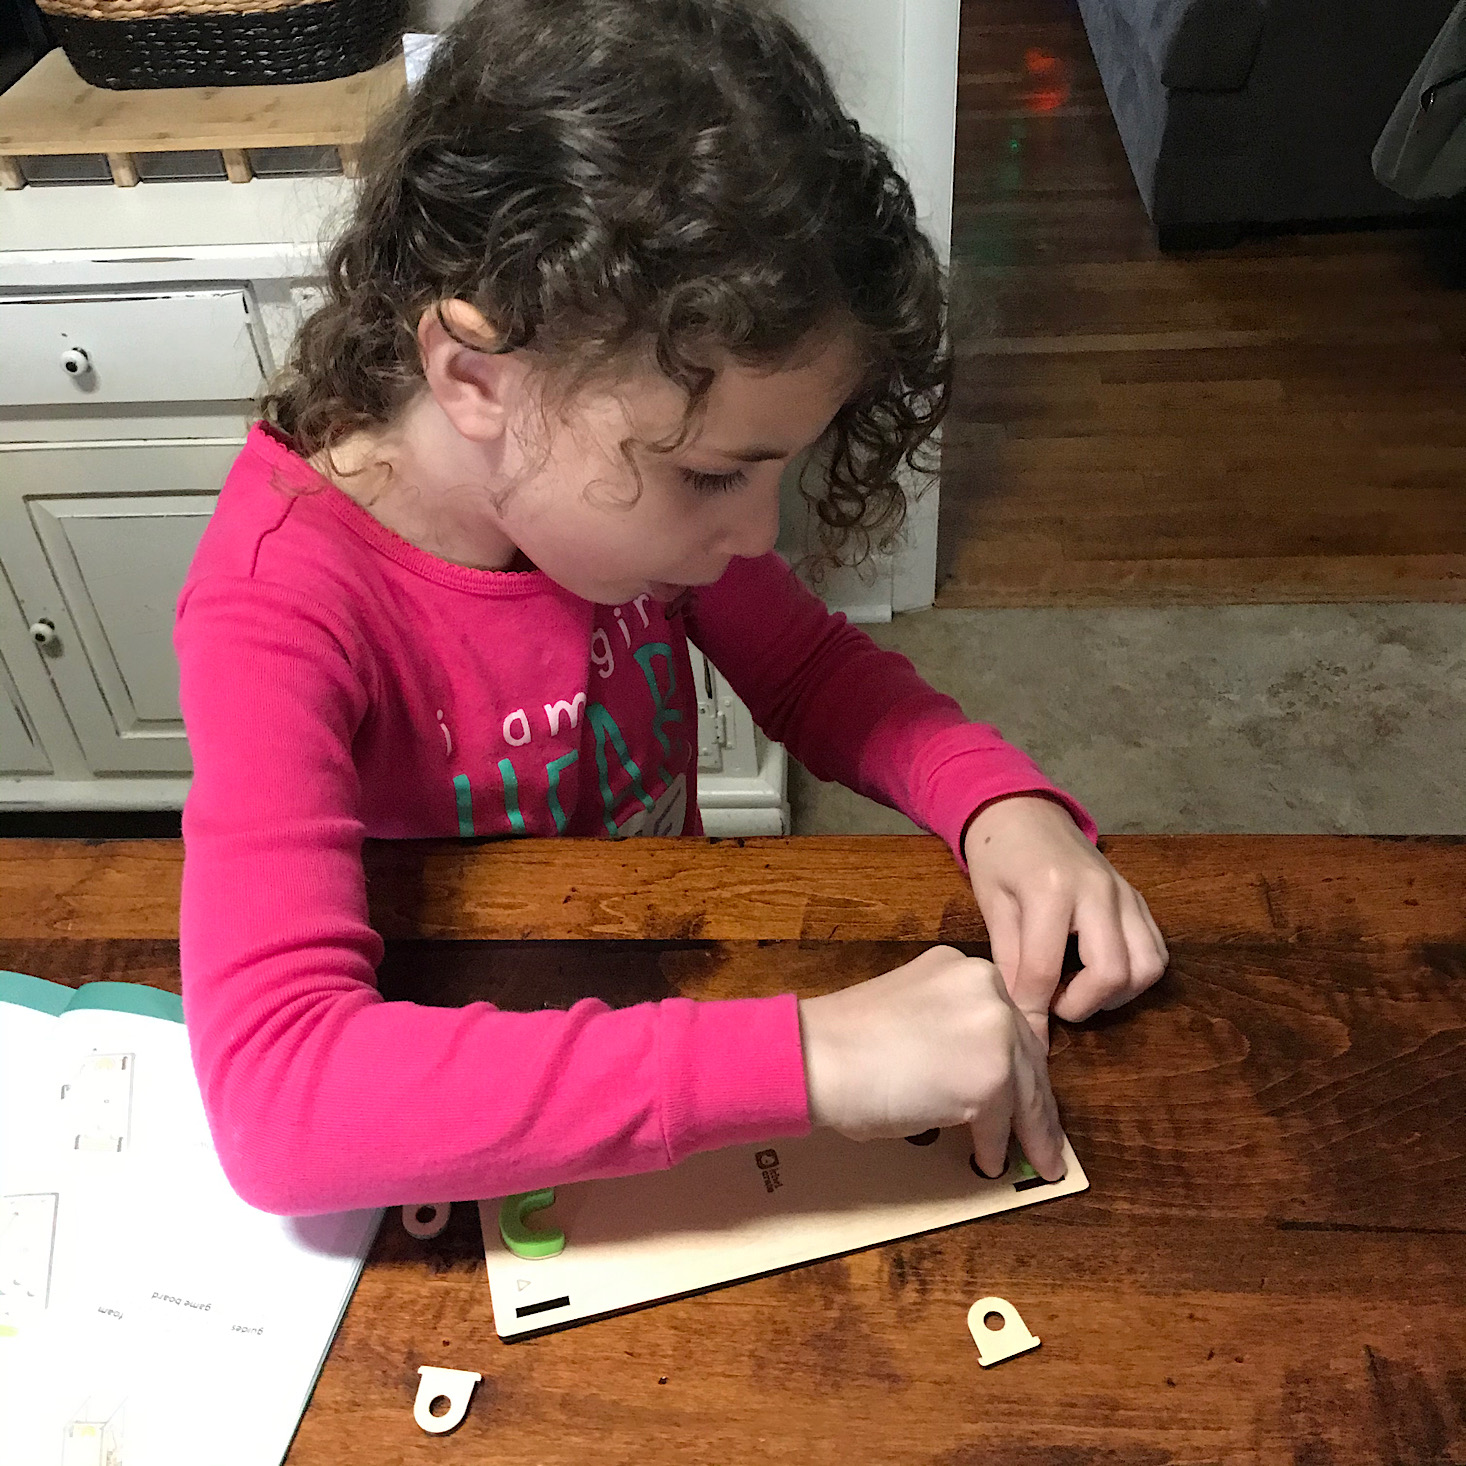
I left the room for a minute and someone decided to start without me. Instead of reading the directions, she noticed that the green pieces needed to go through the slots in this wooden piece, so she took it upon herself to do this part first, although this step should have come much later.


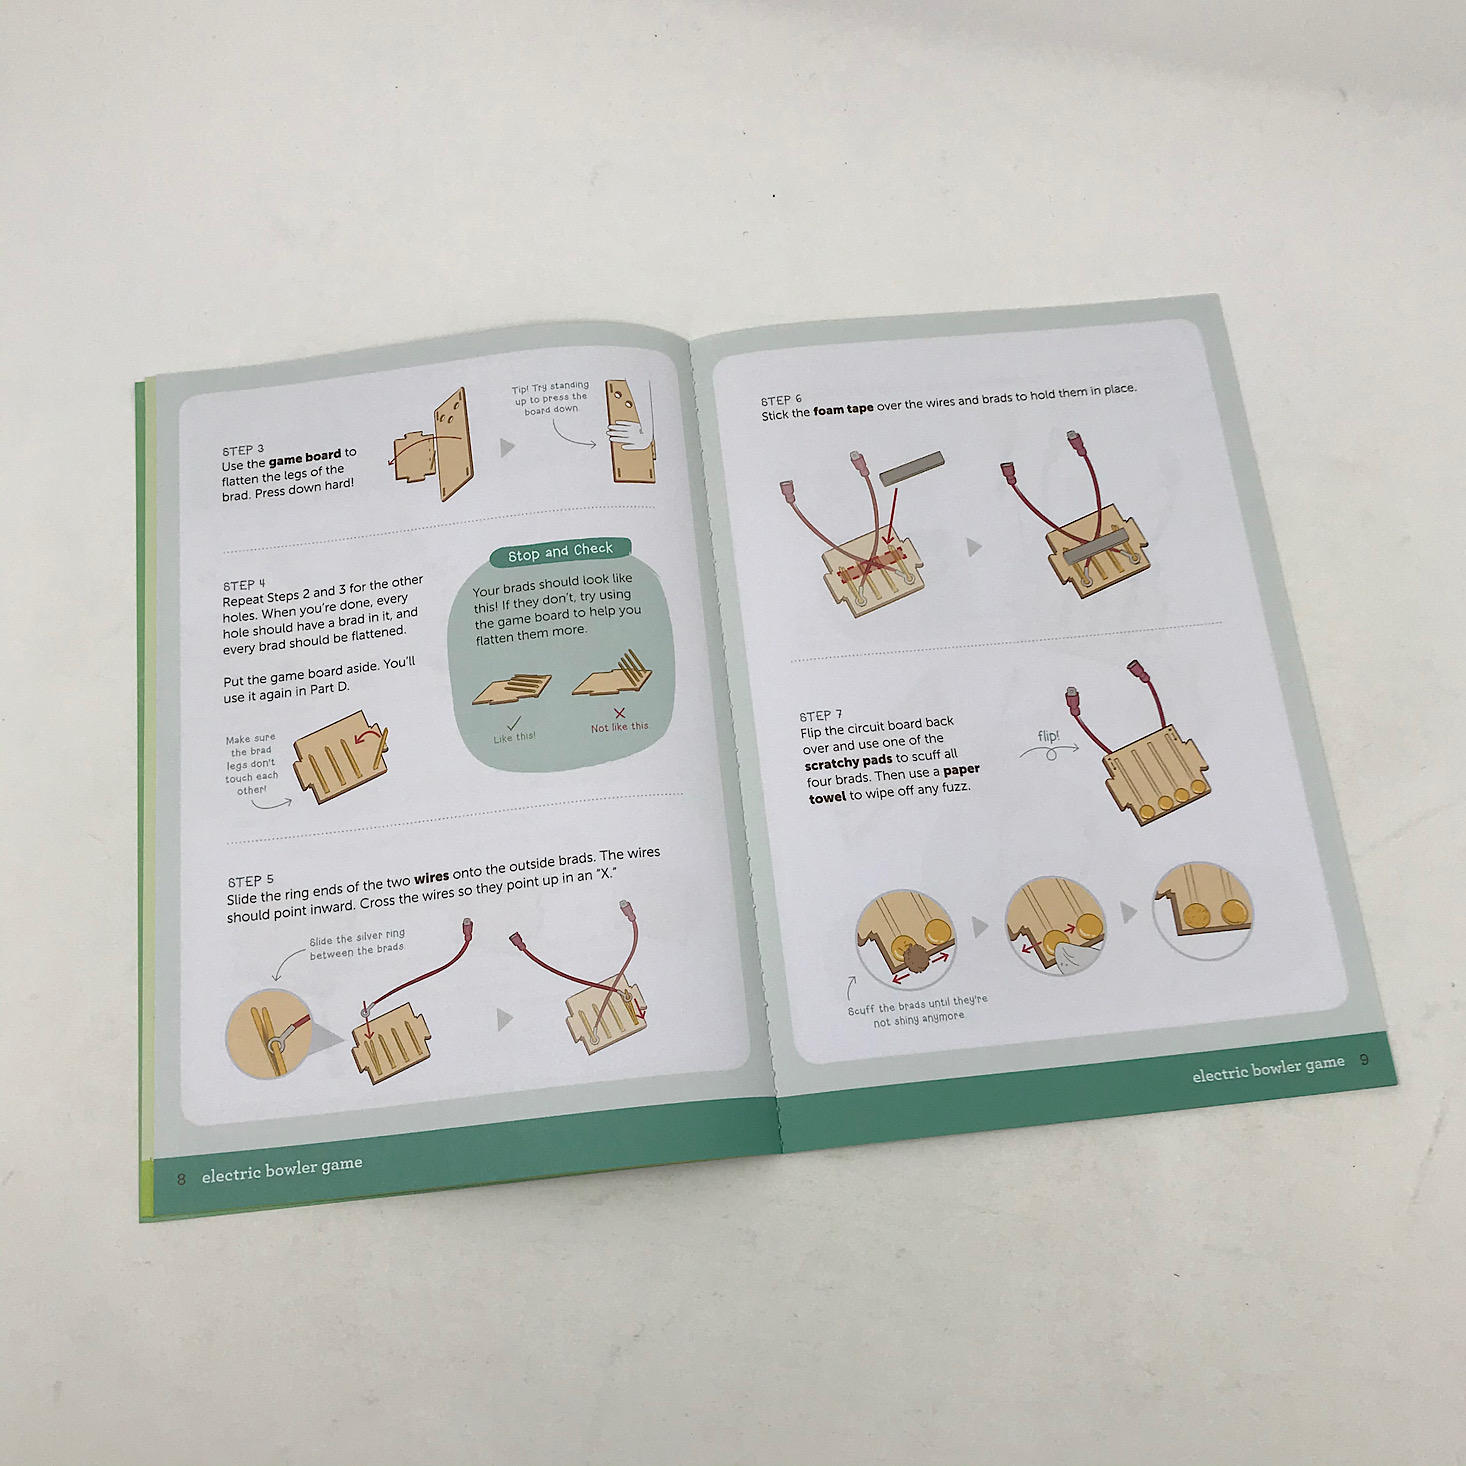
1 of 4

Next, we added the large brads to the holes in the wooden piece and flattened them down using one of our other wooden pieces to make sure they were as flat as possible.
1 of 2
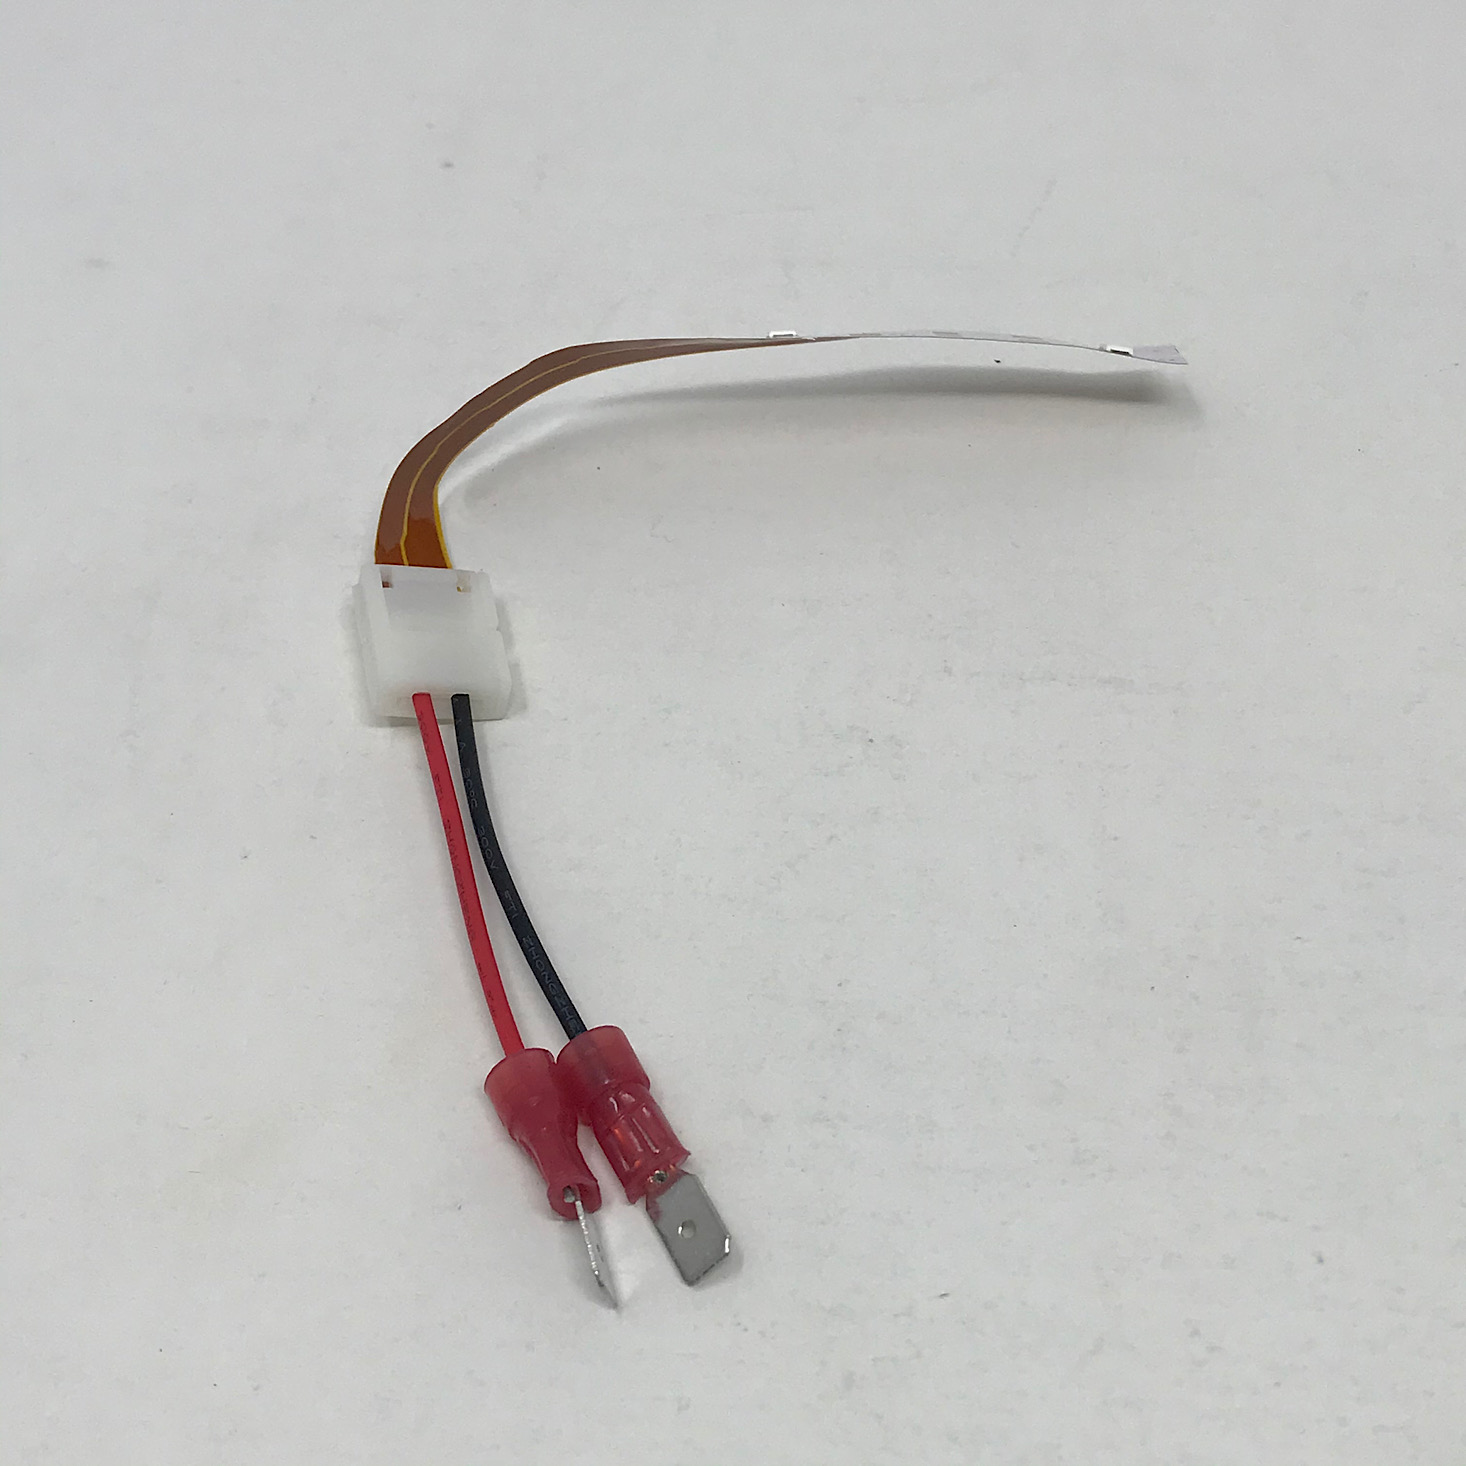
Then she added the rings of these wires to the brads on either end slipping them between the two brad arms.

1 of 3
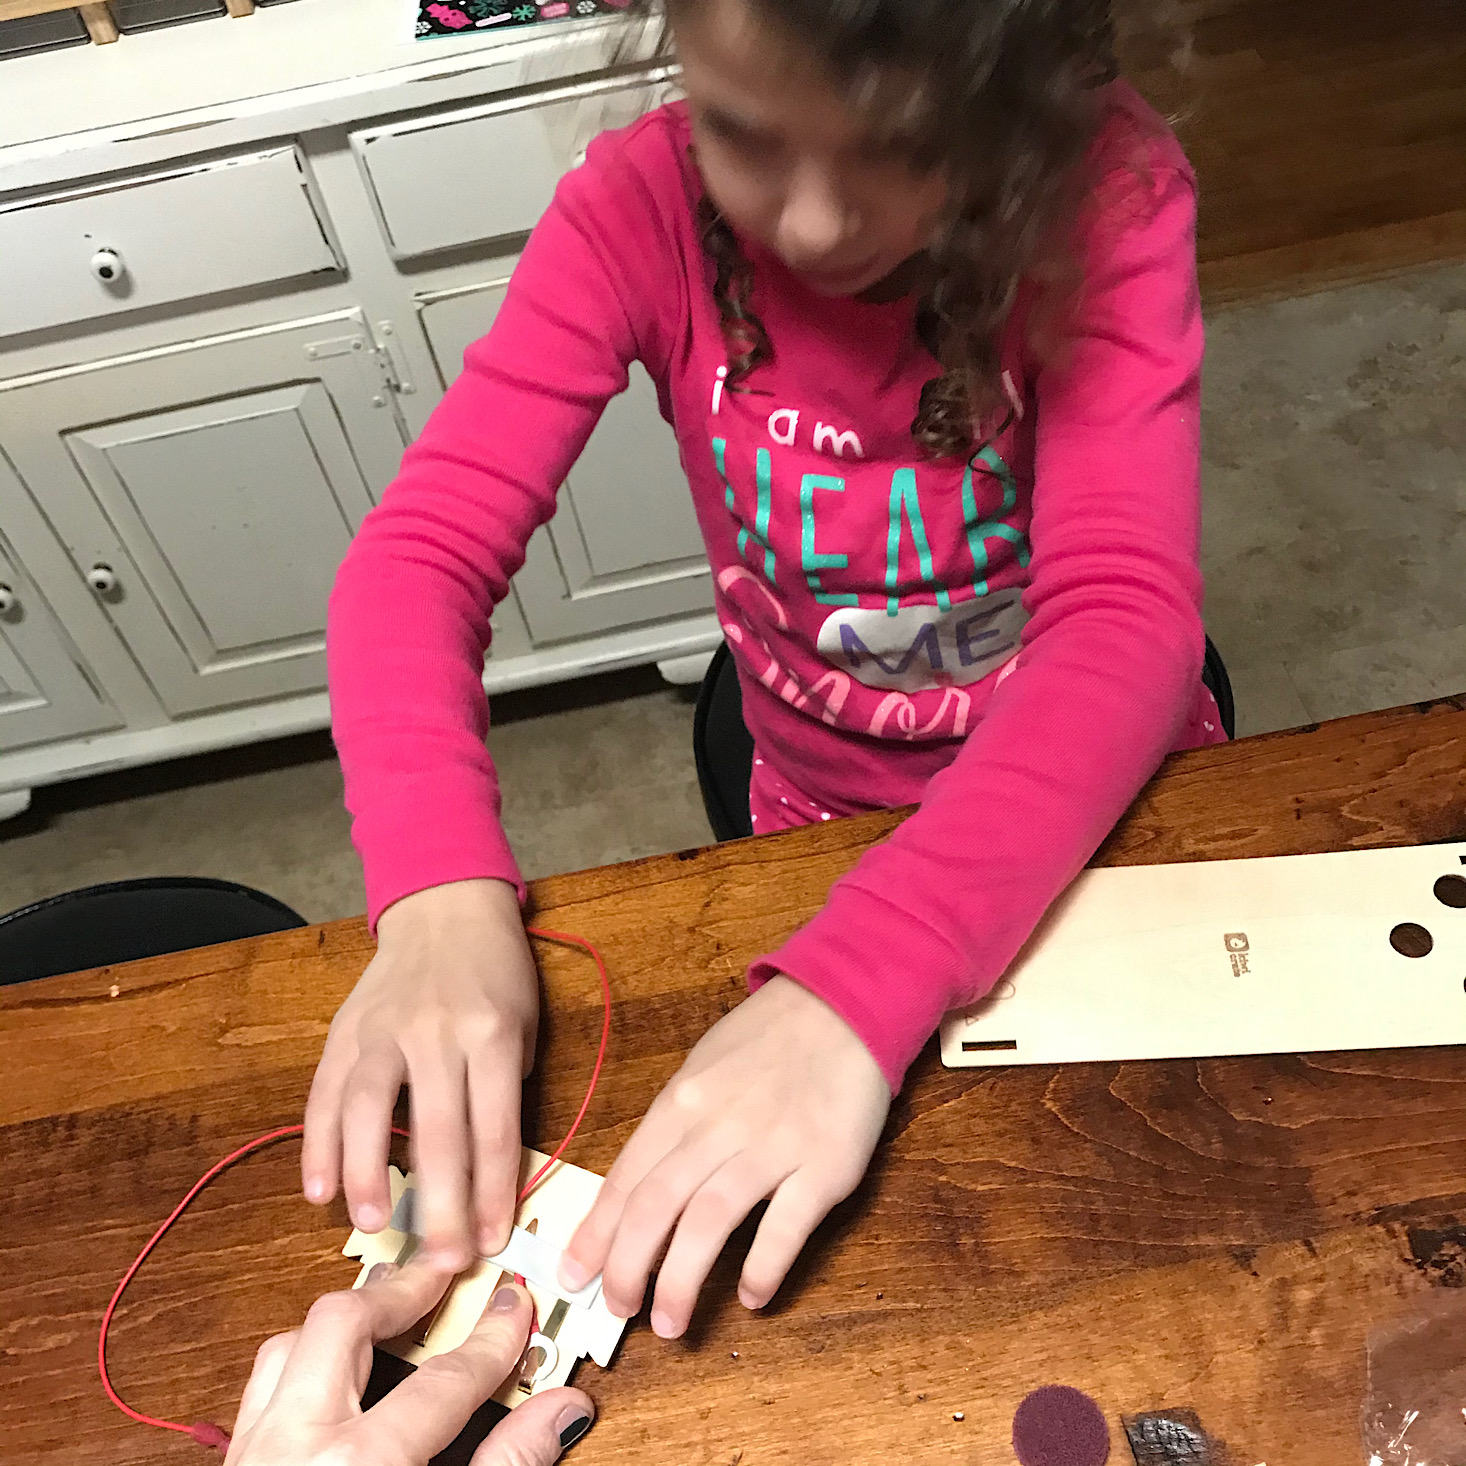
She crossed the wires into an X shape and then we added this piece of foam adhesive to secure the X.

1 of 2
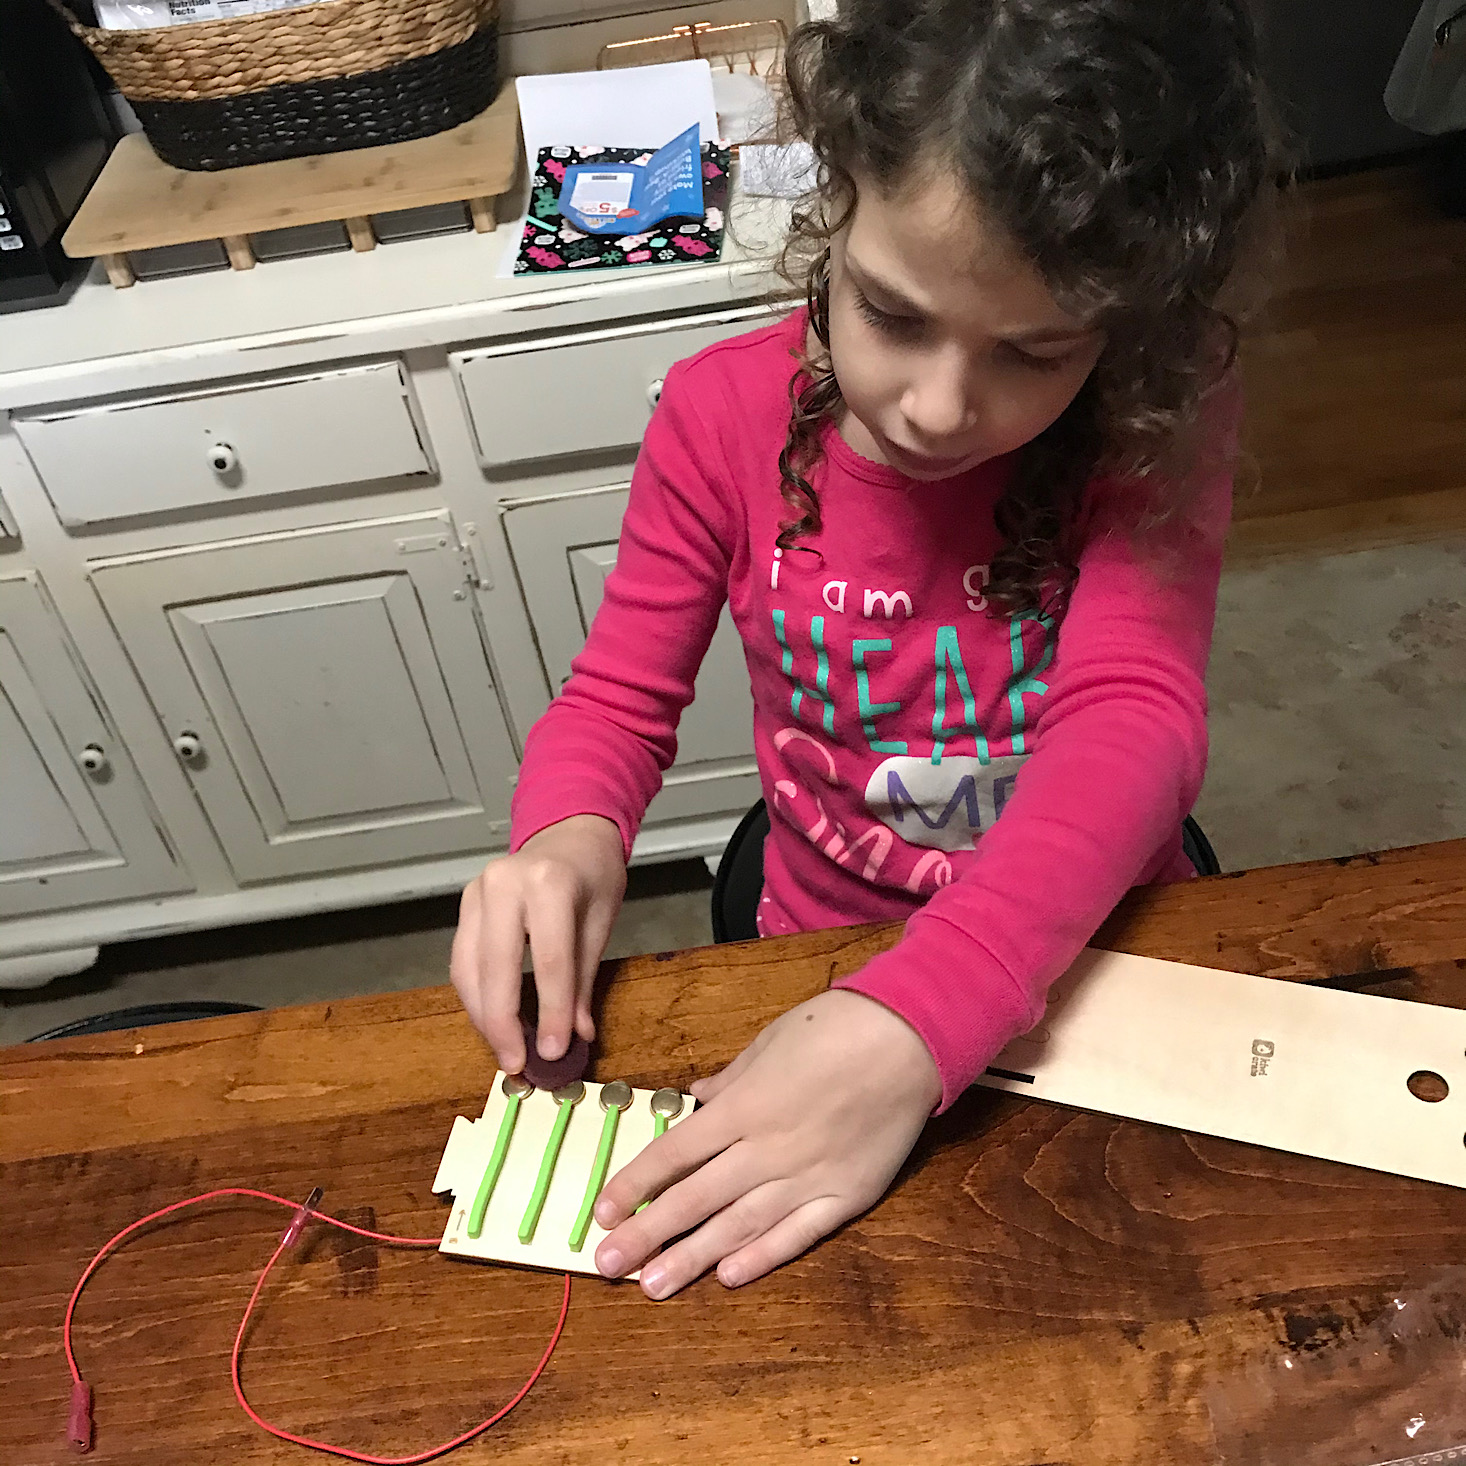
Then we used one of these little scratchy pads to scratch up the surface of our brads so that they were no longer shiny. Then our circuit board was complete!
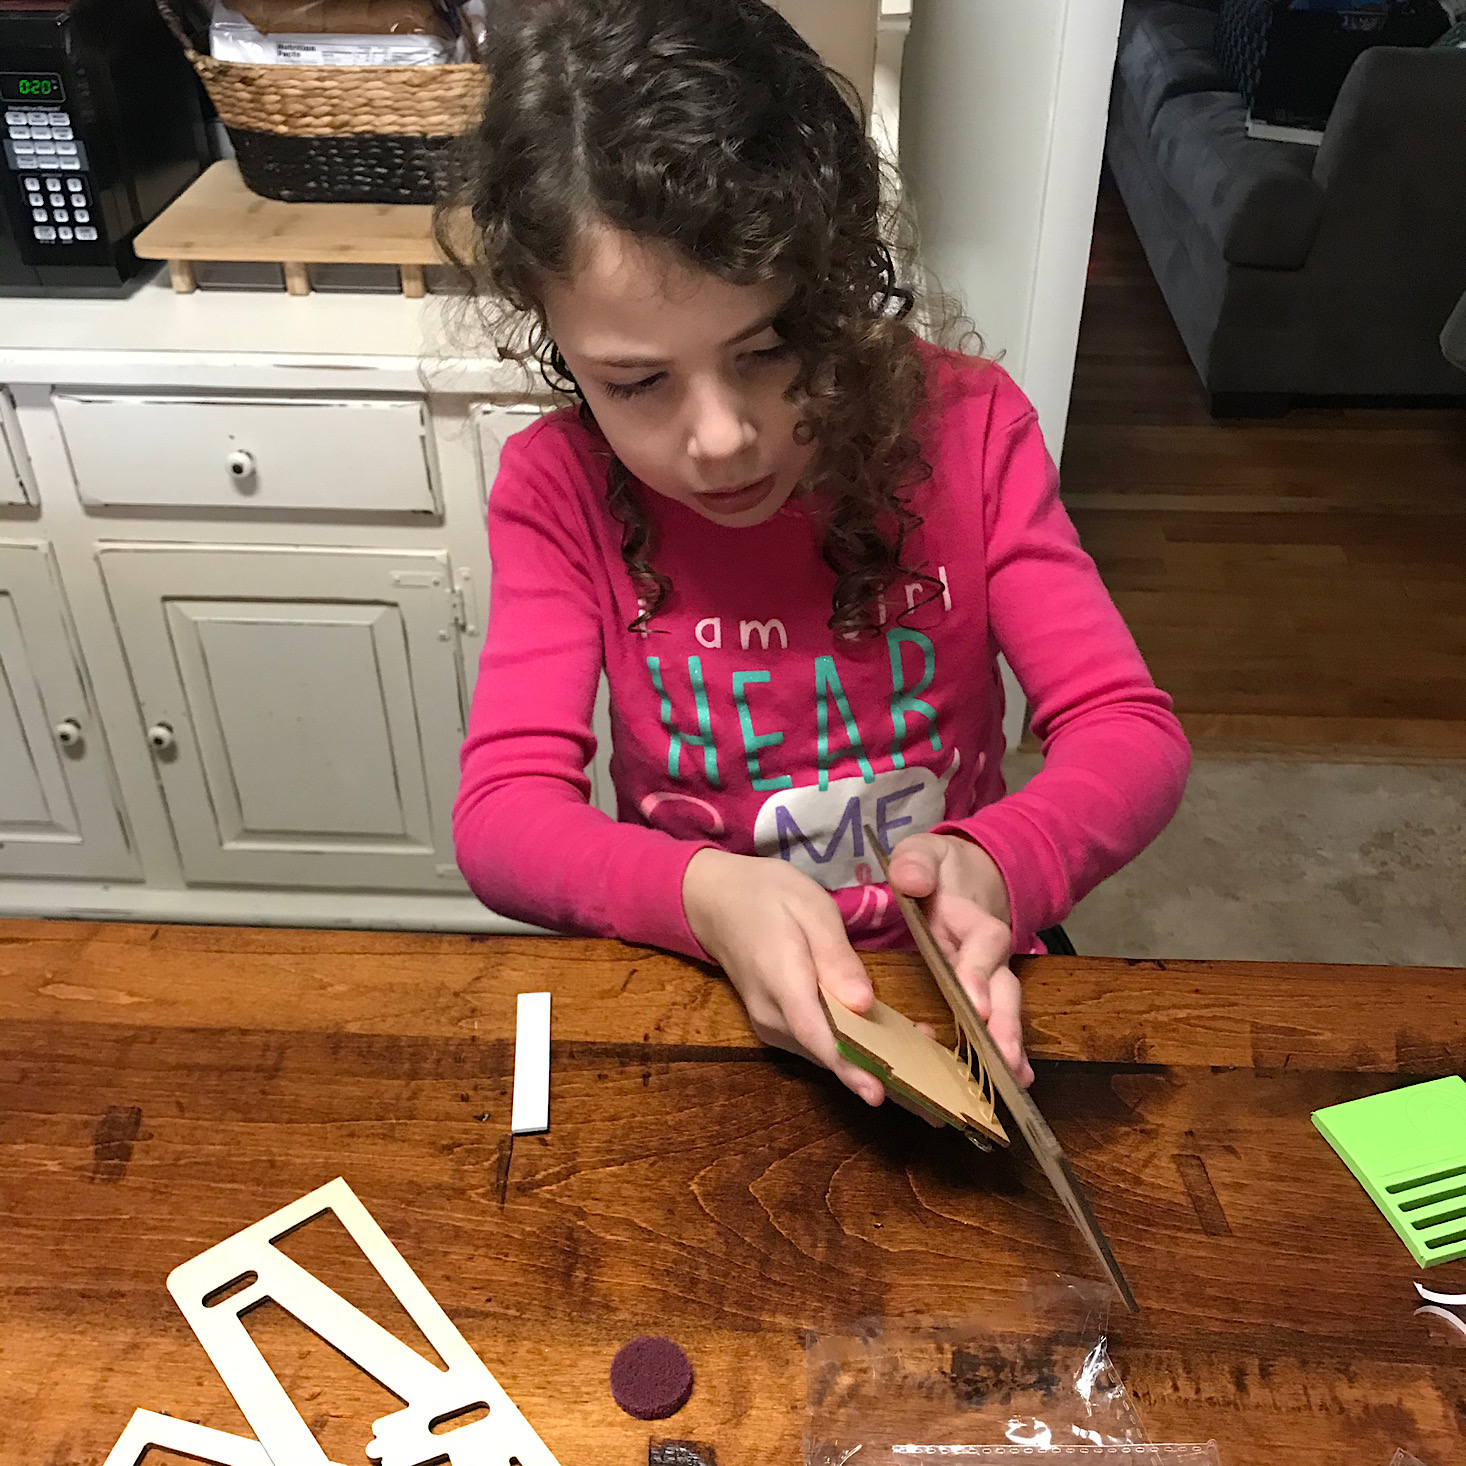
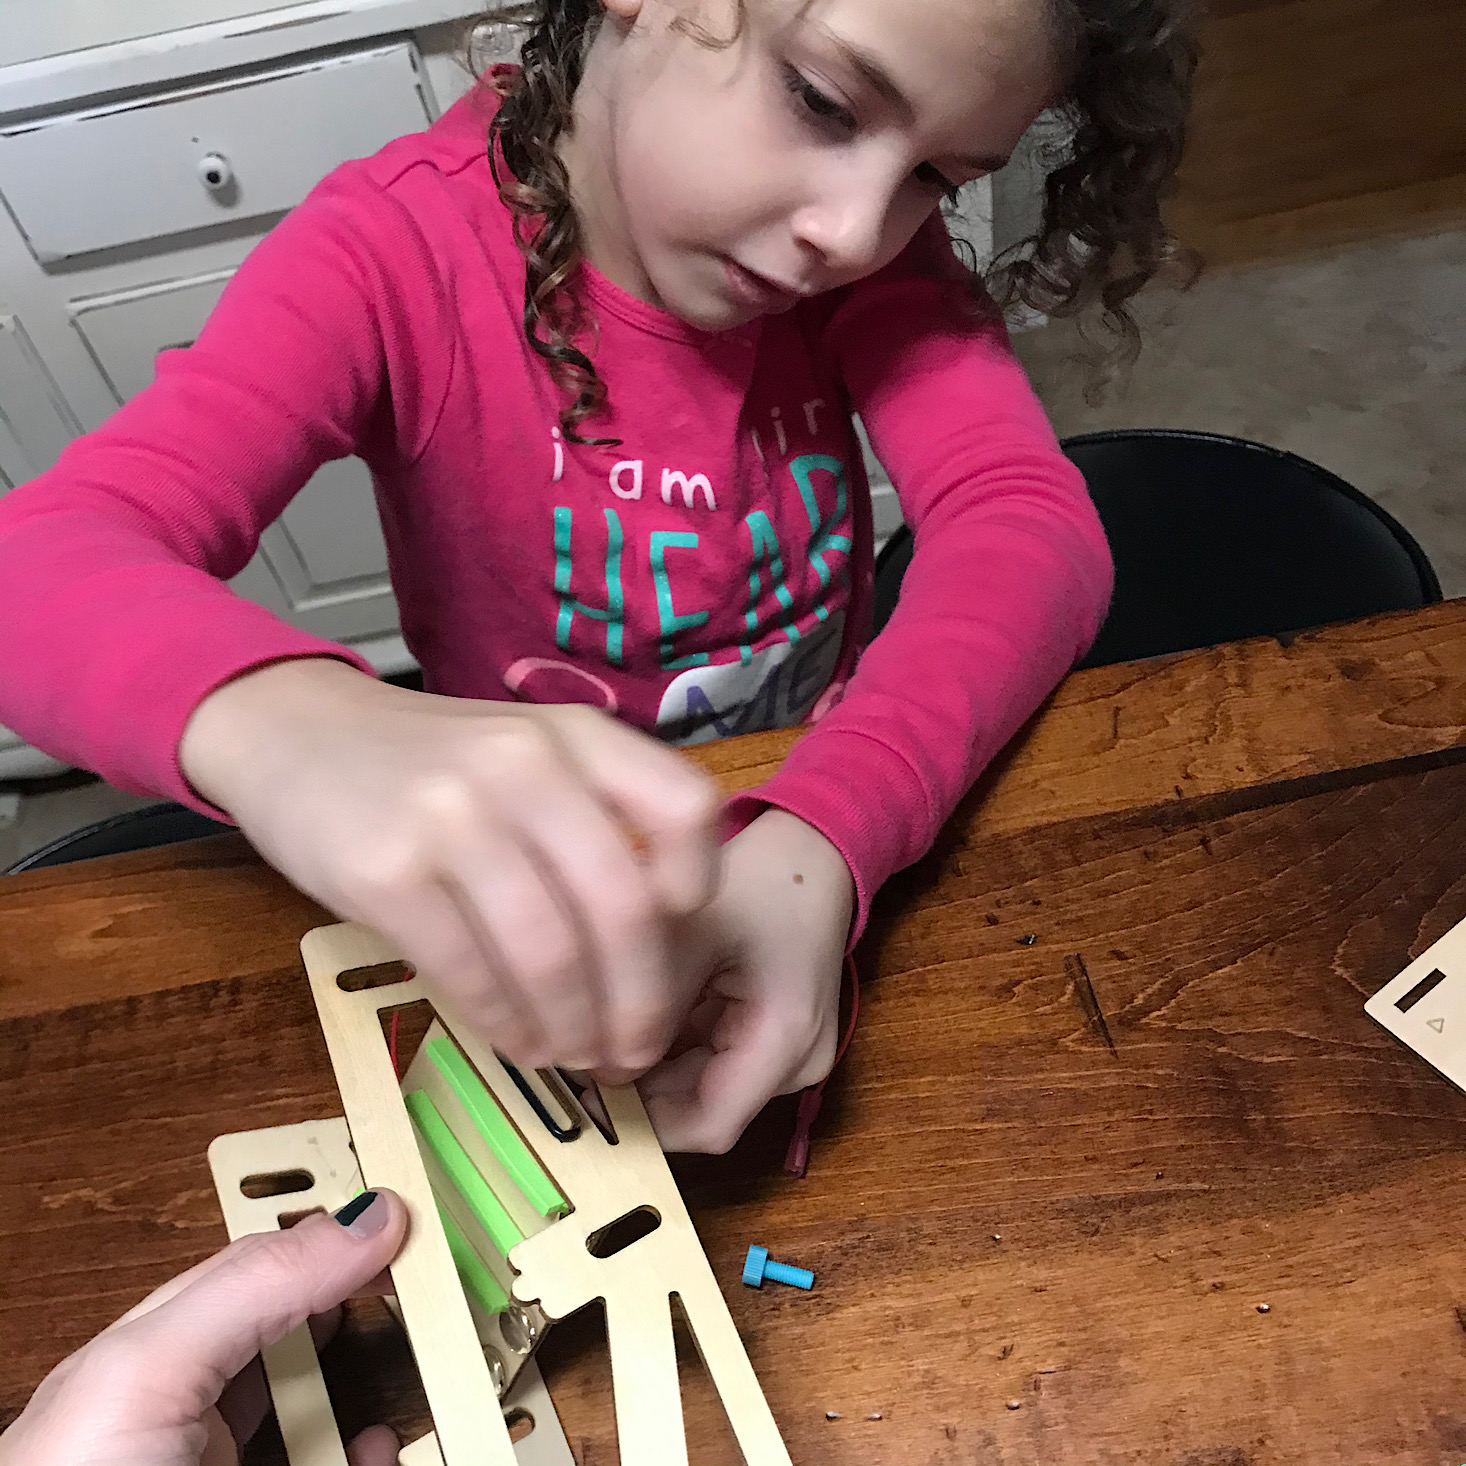
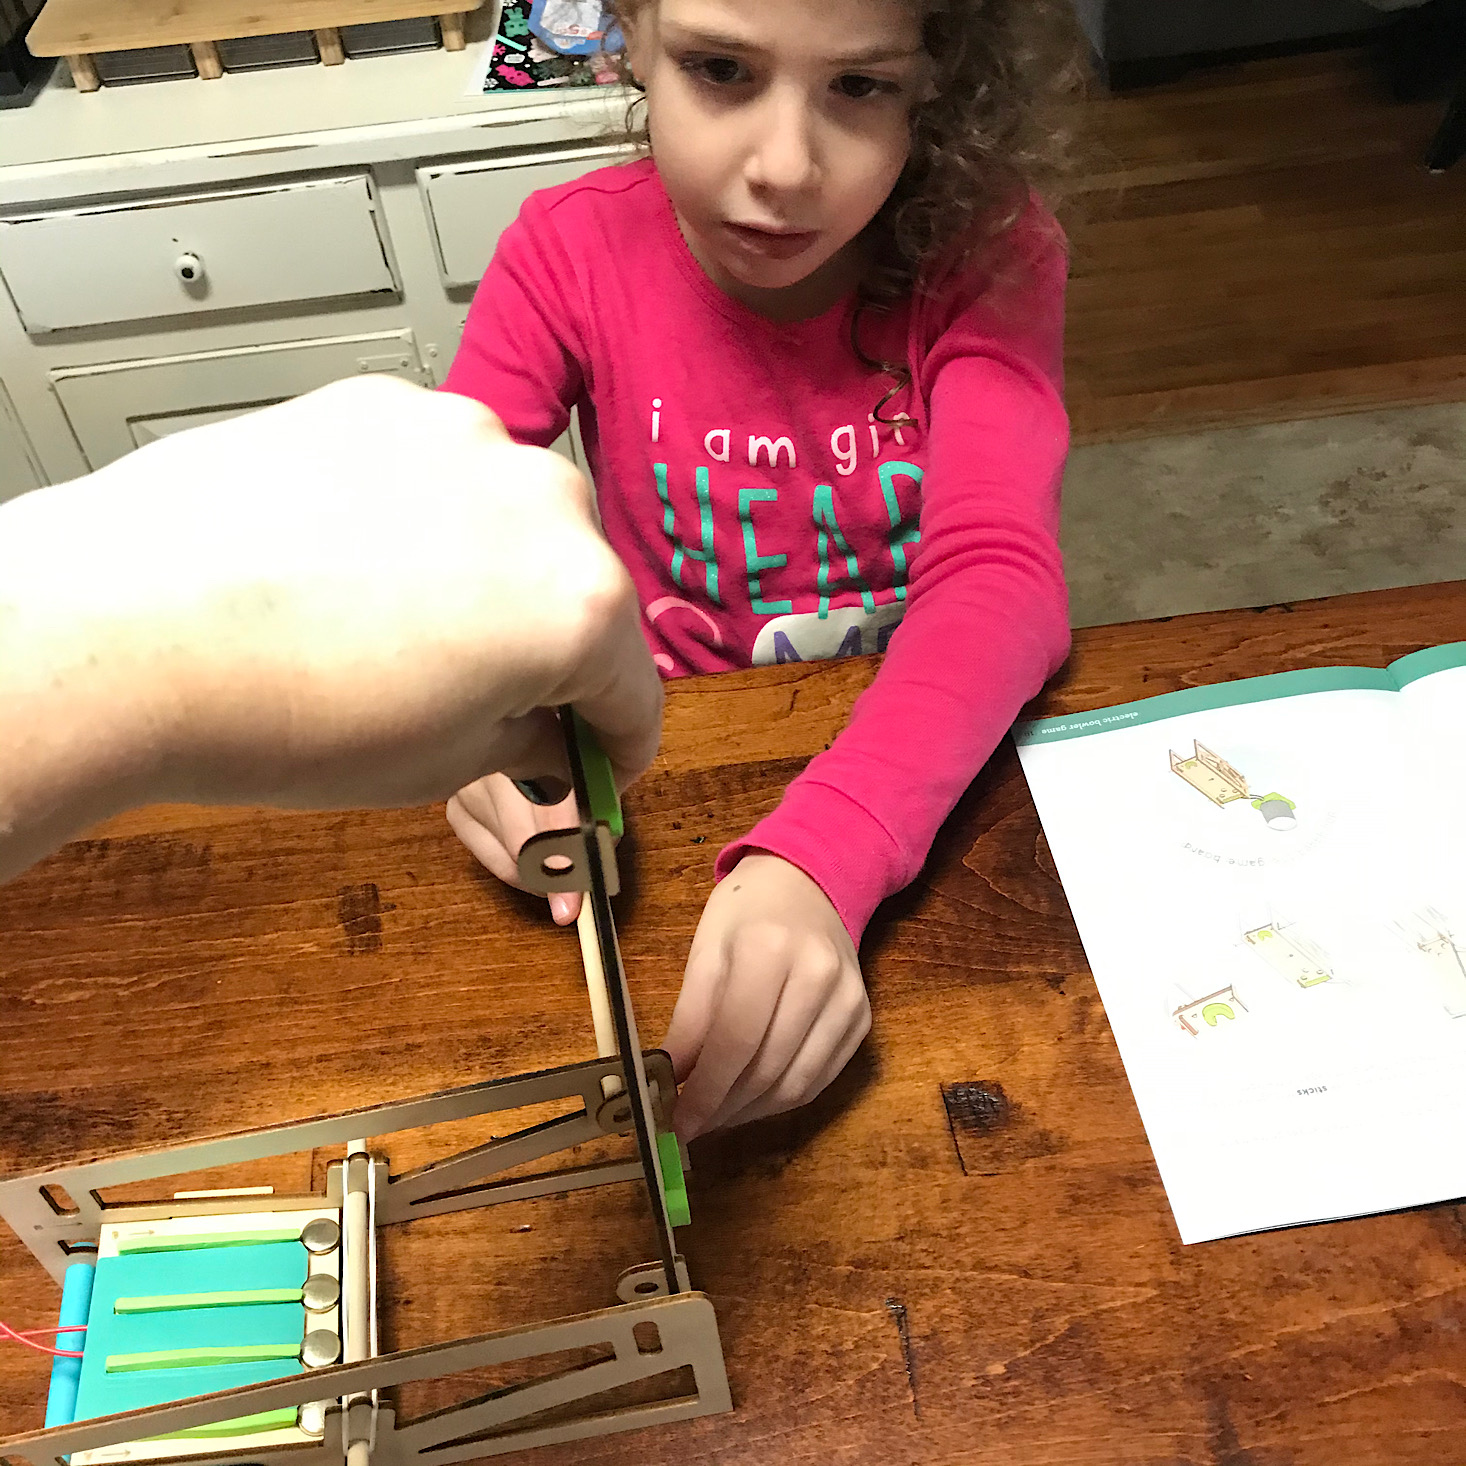
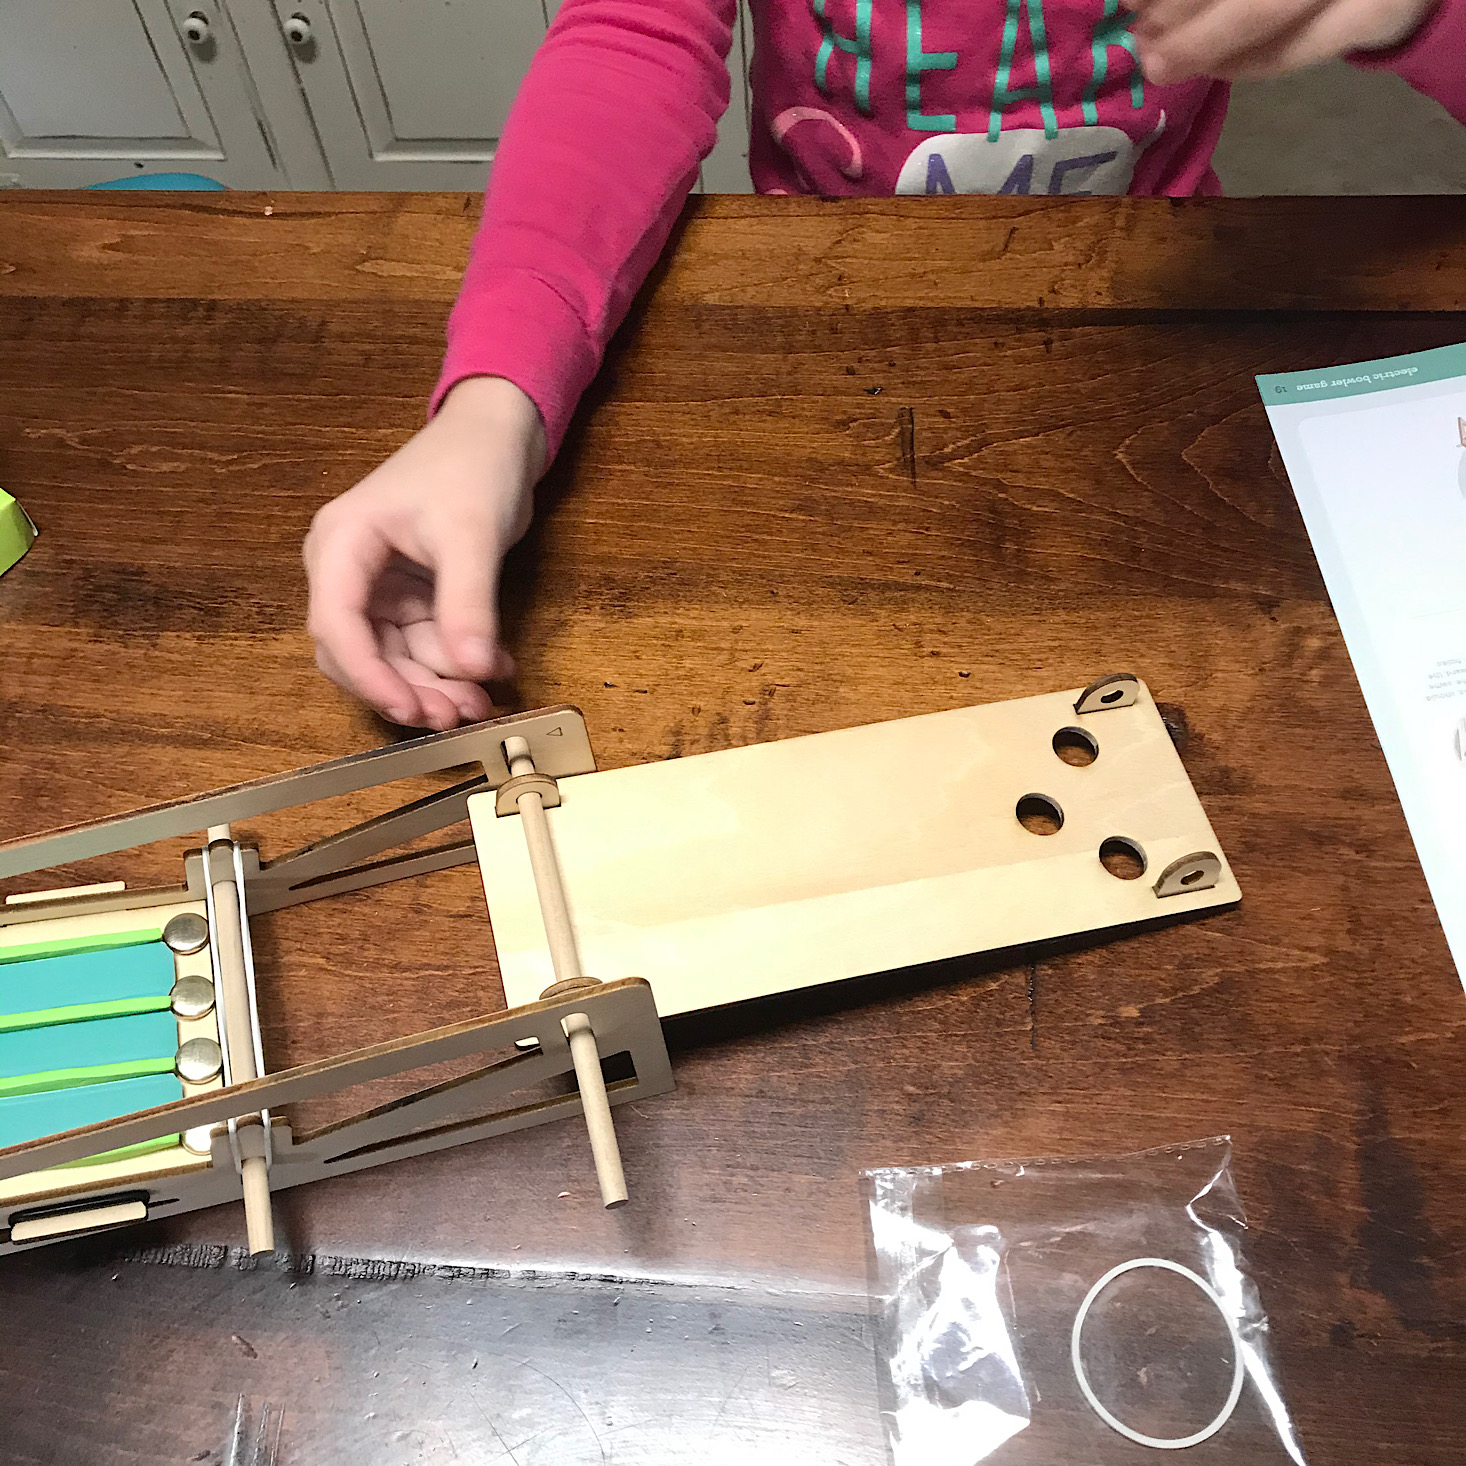
Part 2B: Make the Game Frame

1 of 5
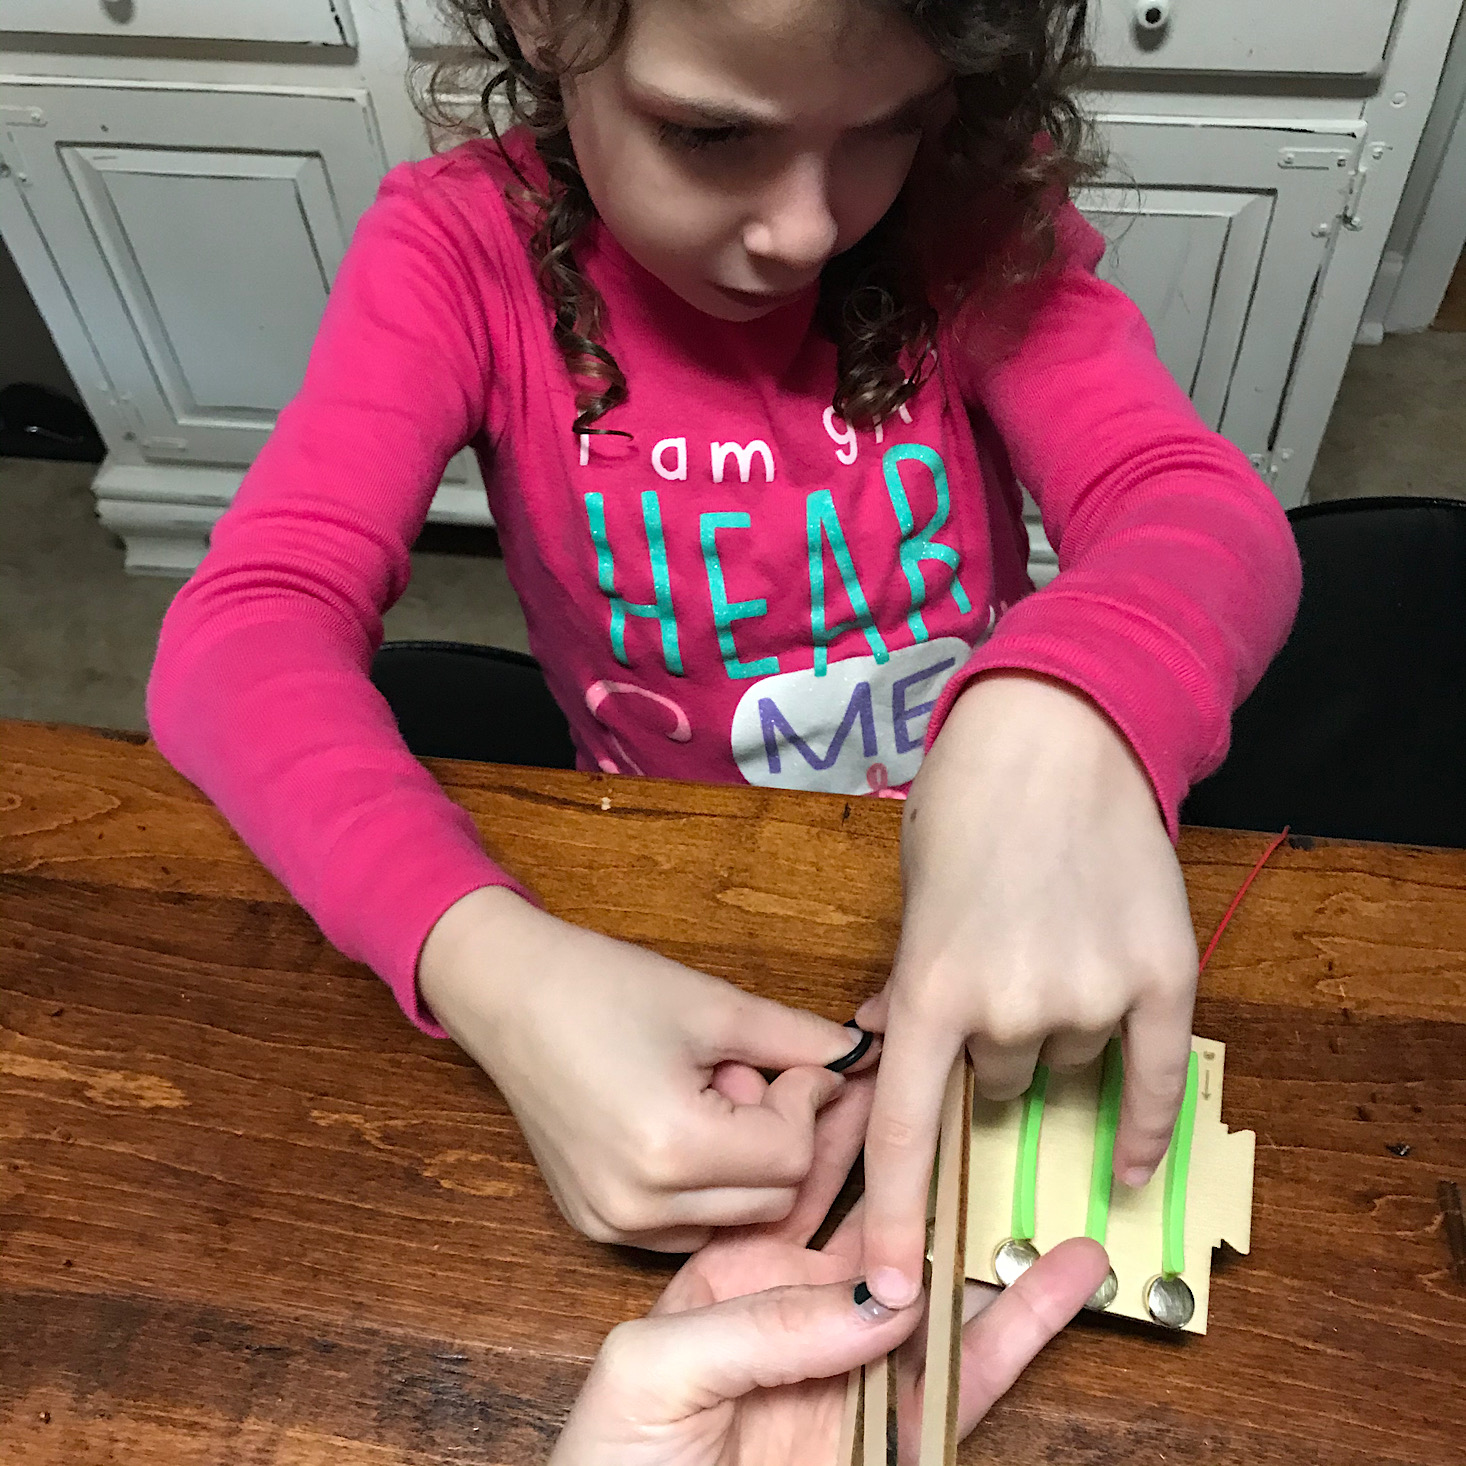


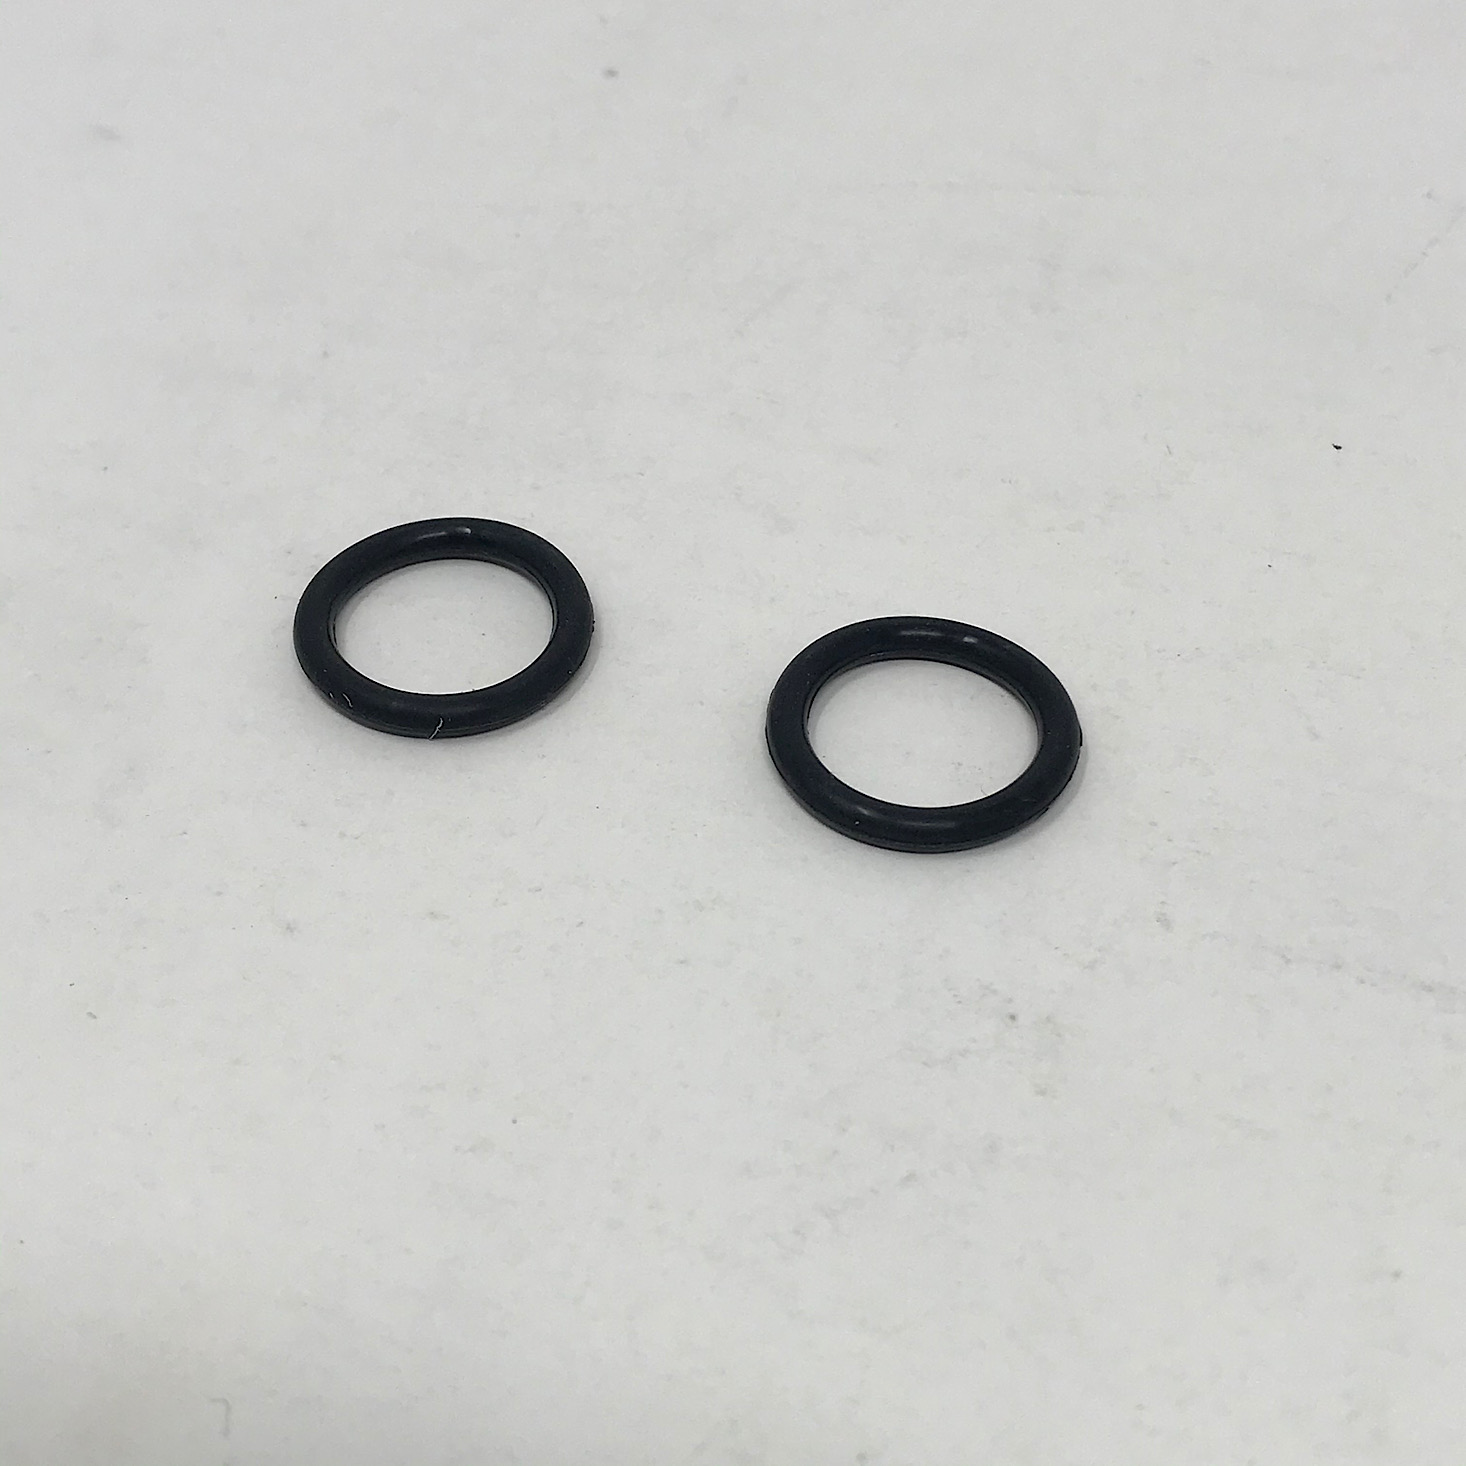
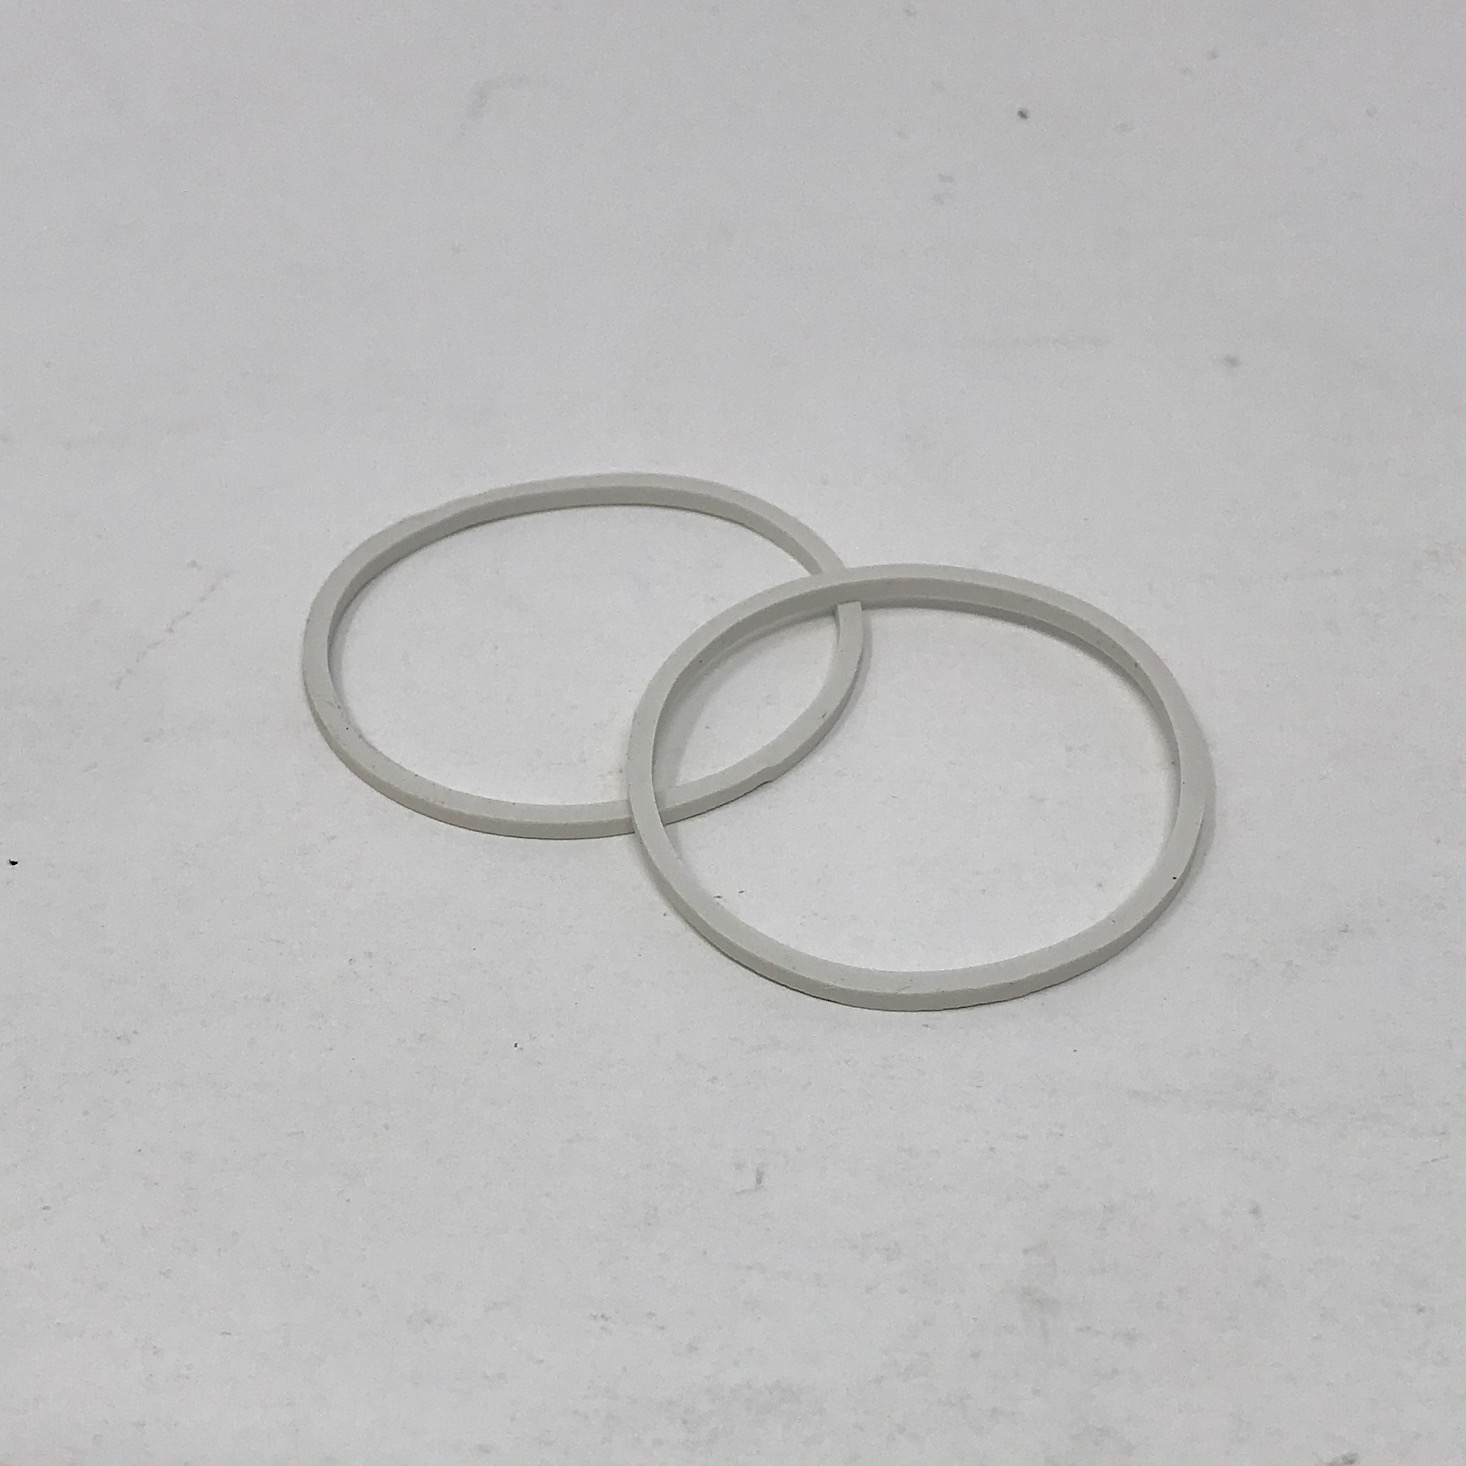
We matched up the A and B sides of our circuit board to the side pieces for our game frame and slid it into place and then used the two O-rings around the edges of the tabs to secure them.

1 of 4

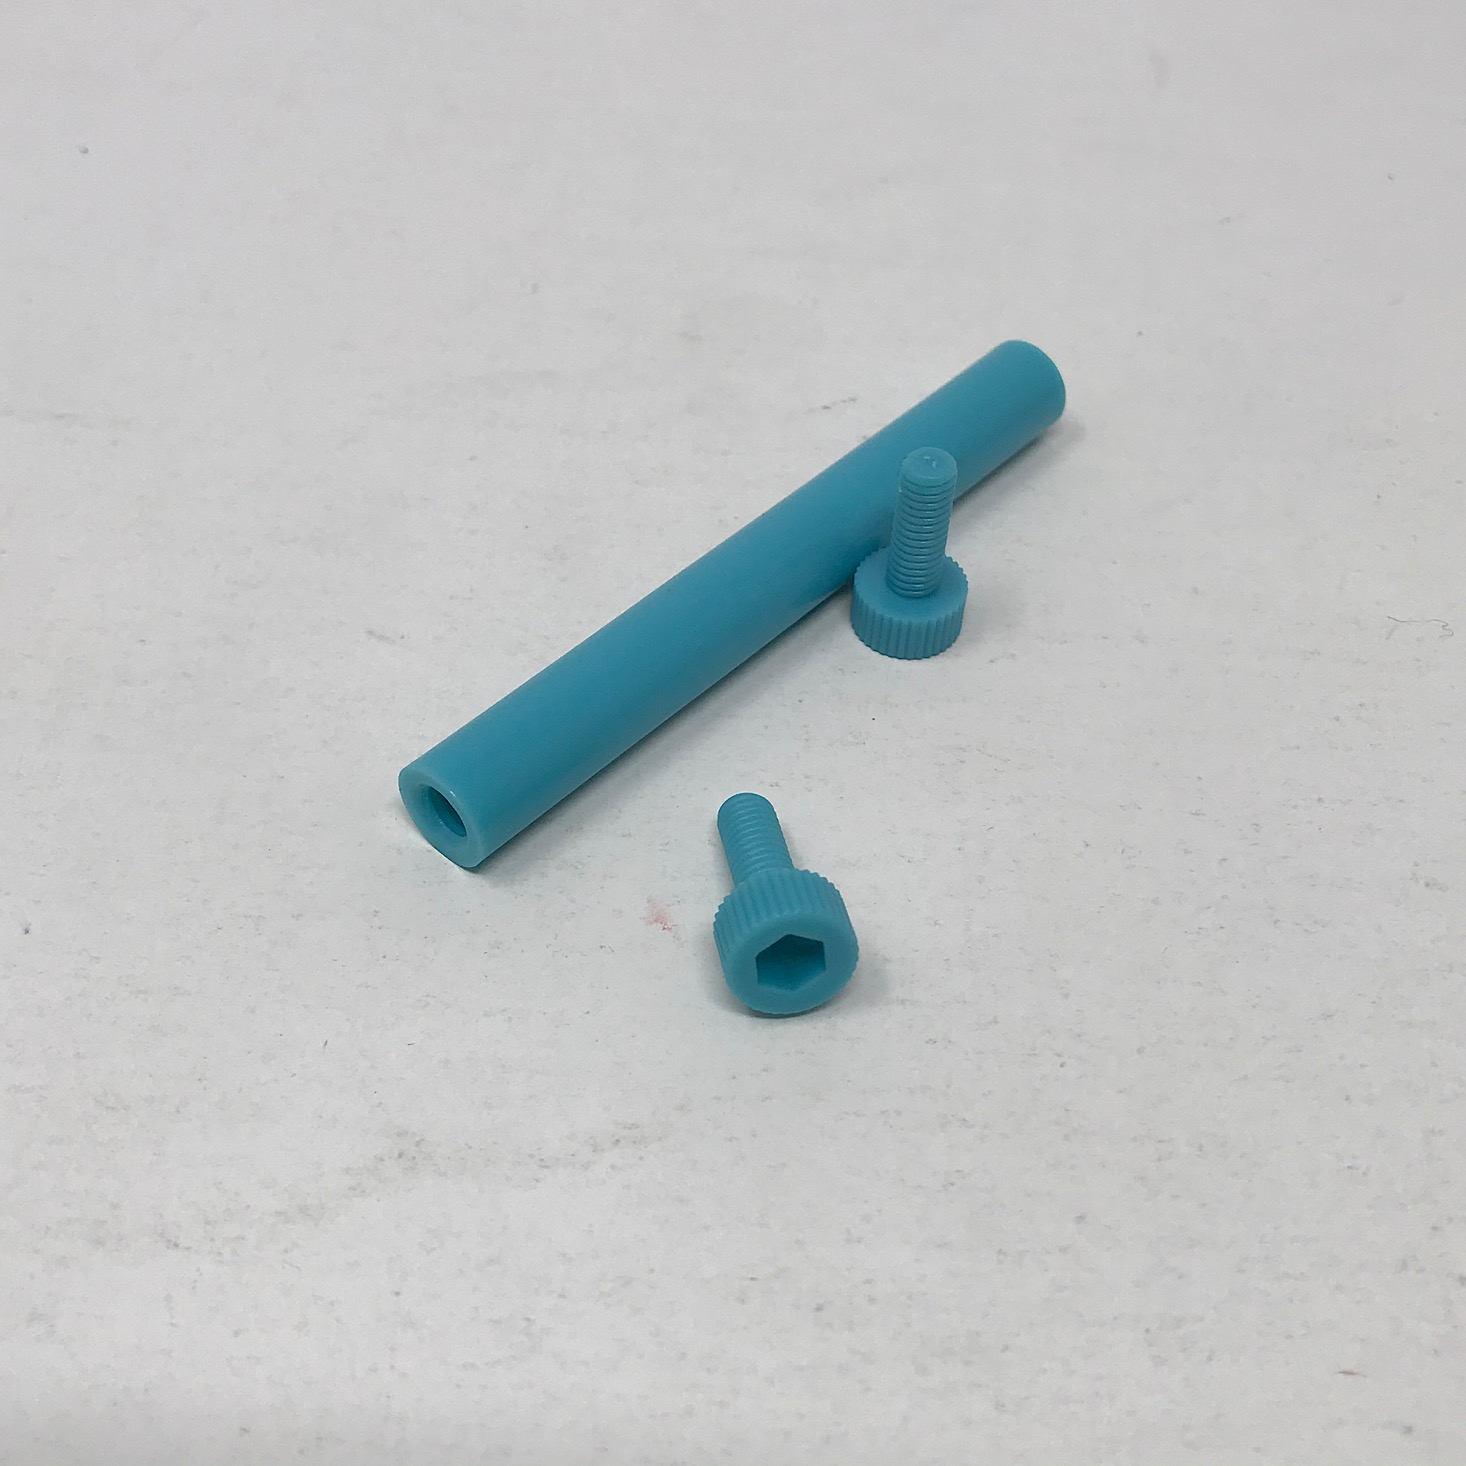
Then we secured the edges of the frame using the connector and screws through the holes at the bottom of the frame and then slid this M-piece into place between the green foam edges.
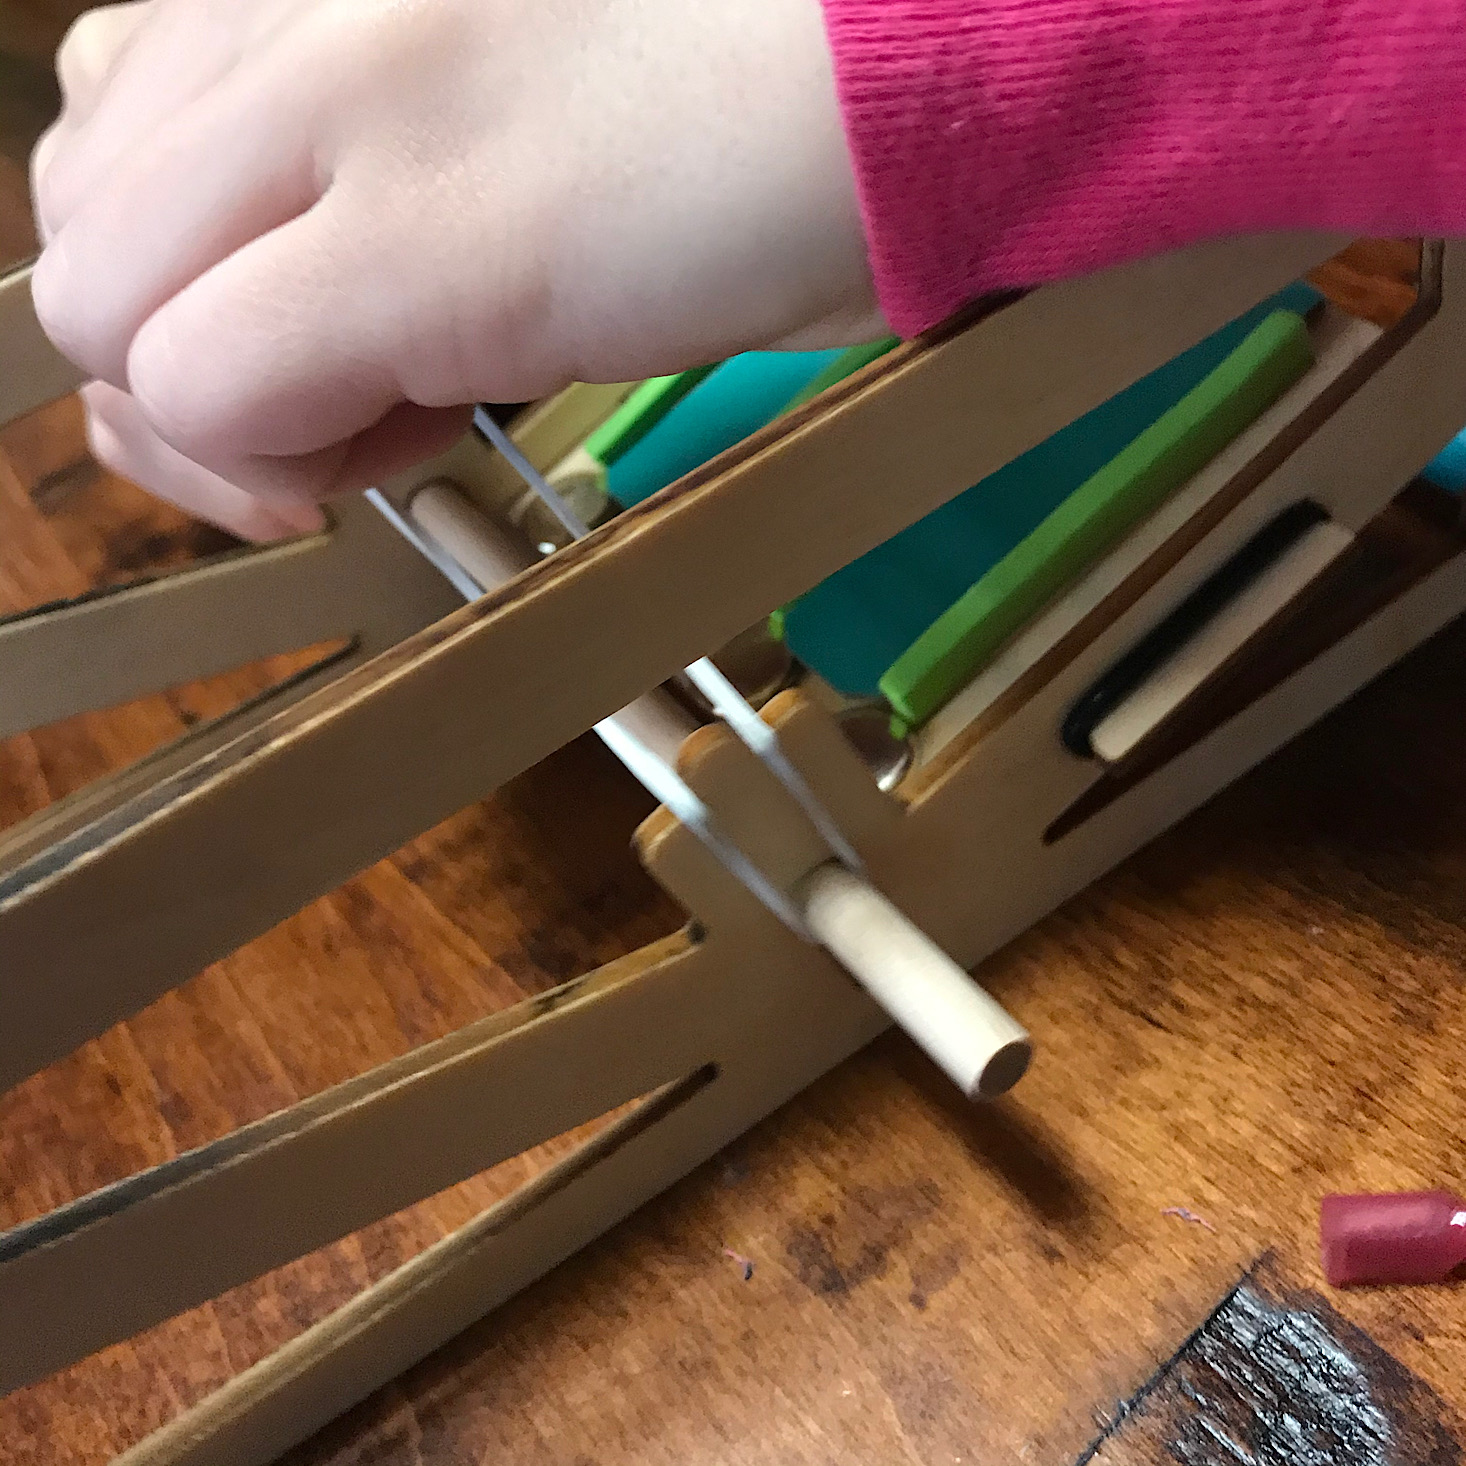
1 of 7
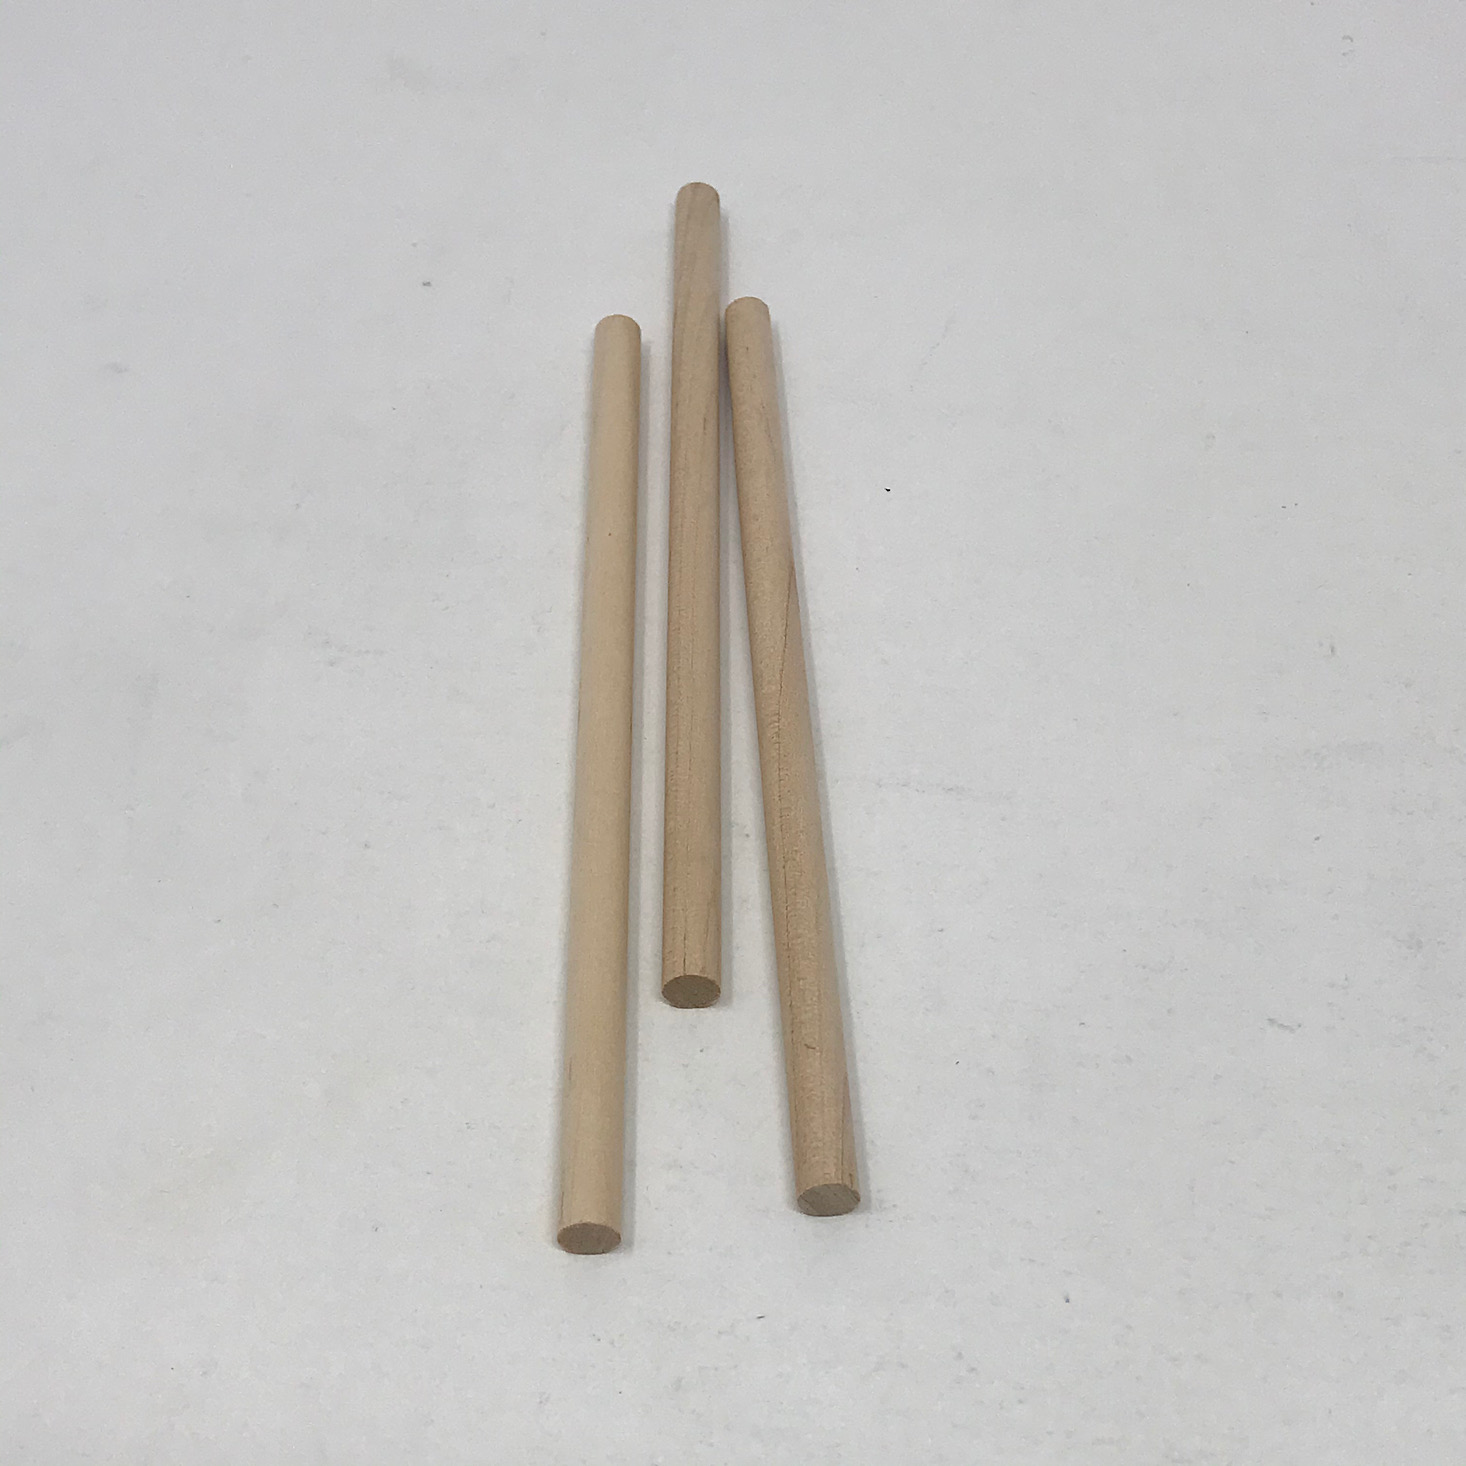
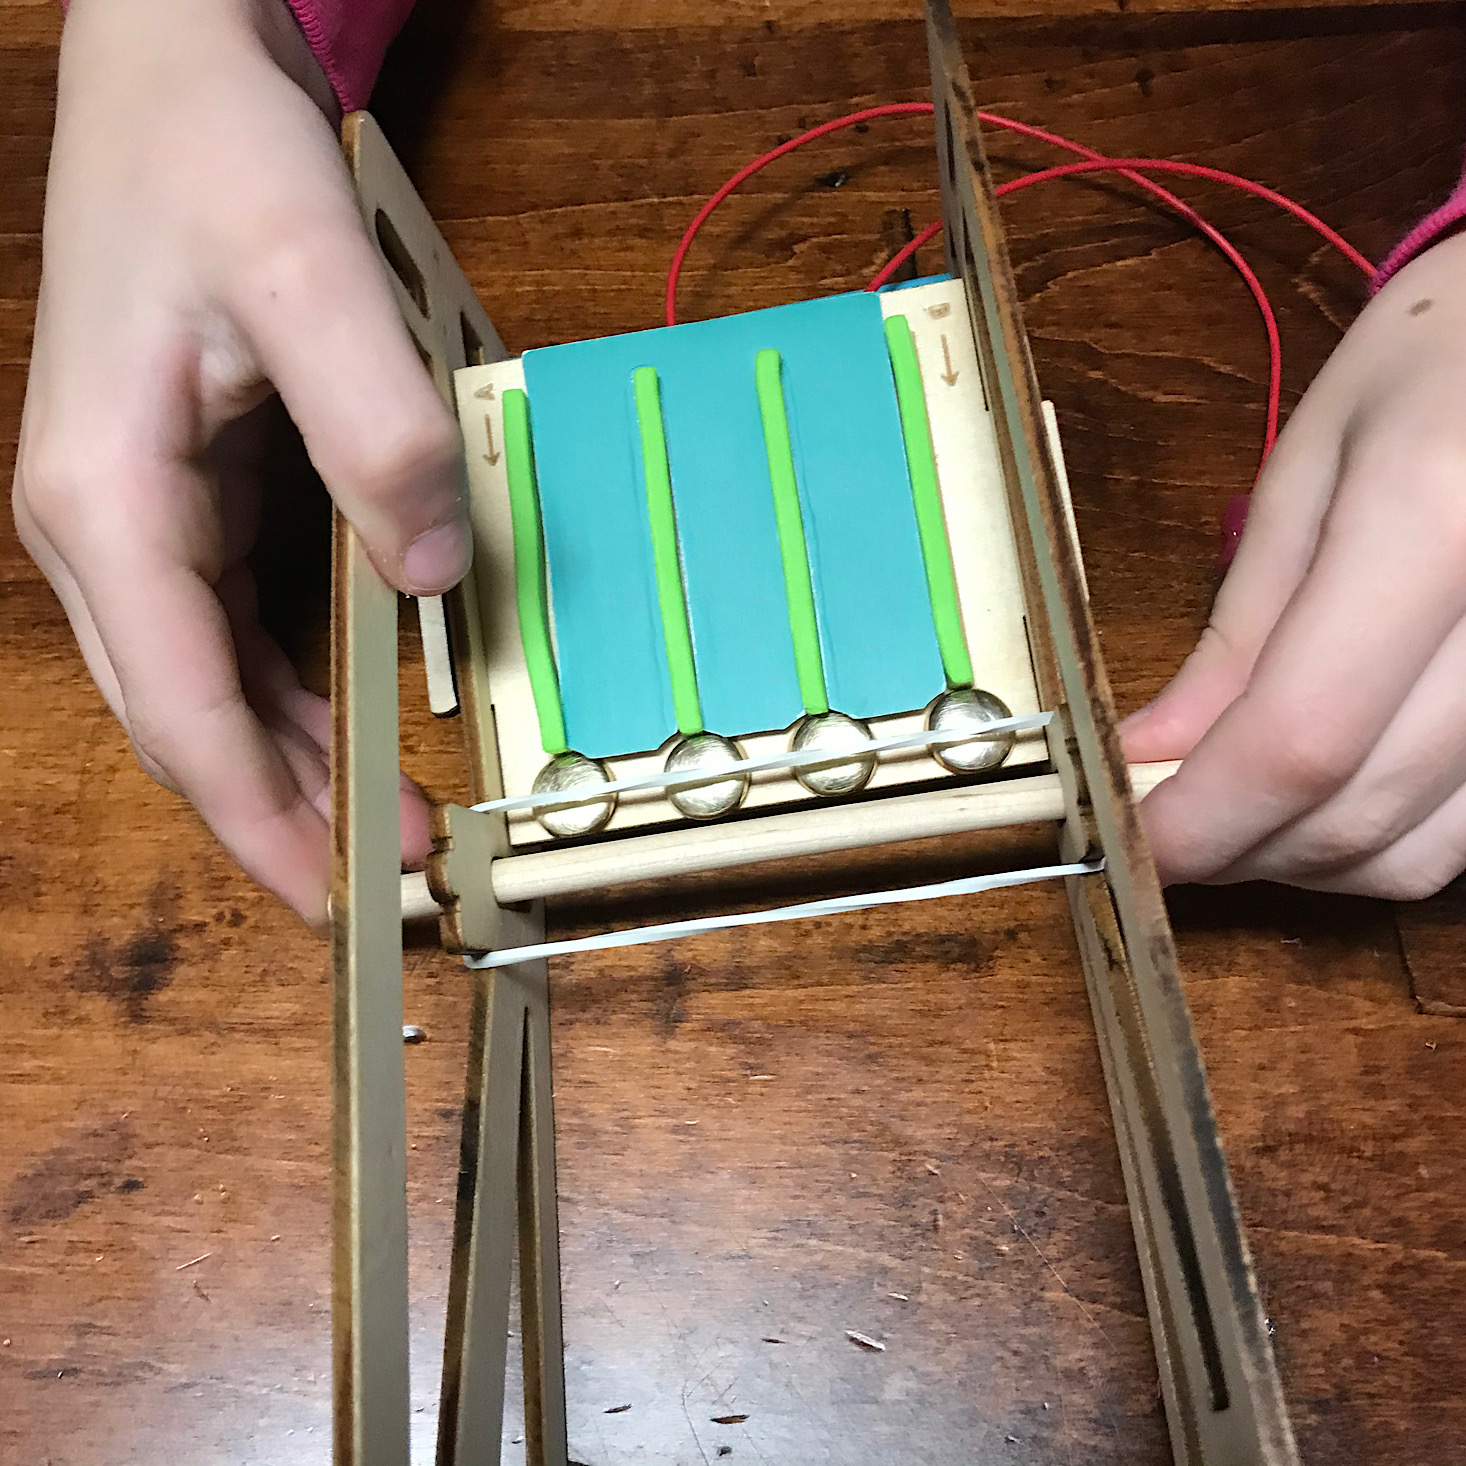
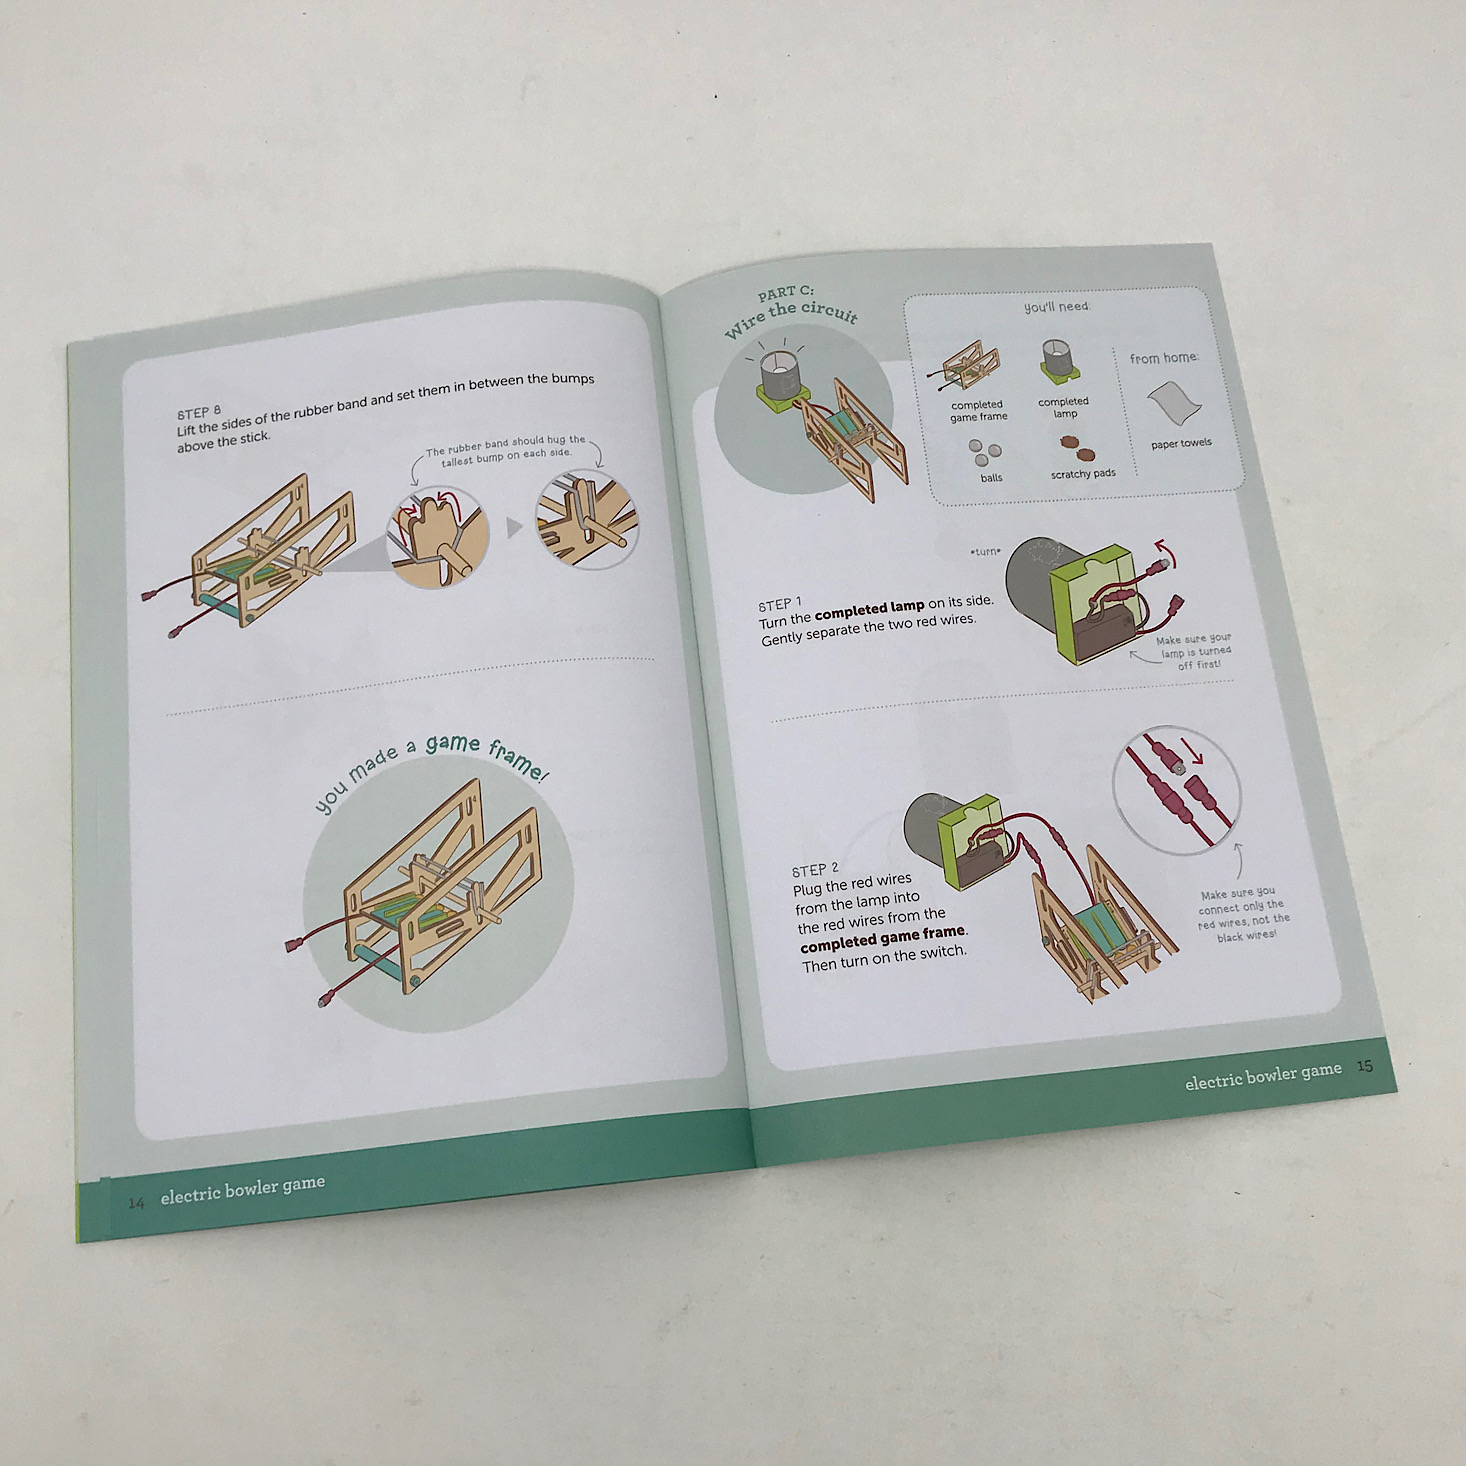
We added several dowels through the frame then secured them using rubber bands and our game frame was finished.
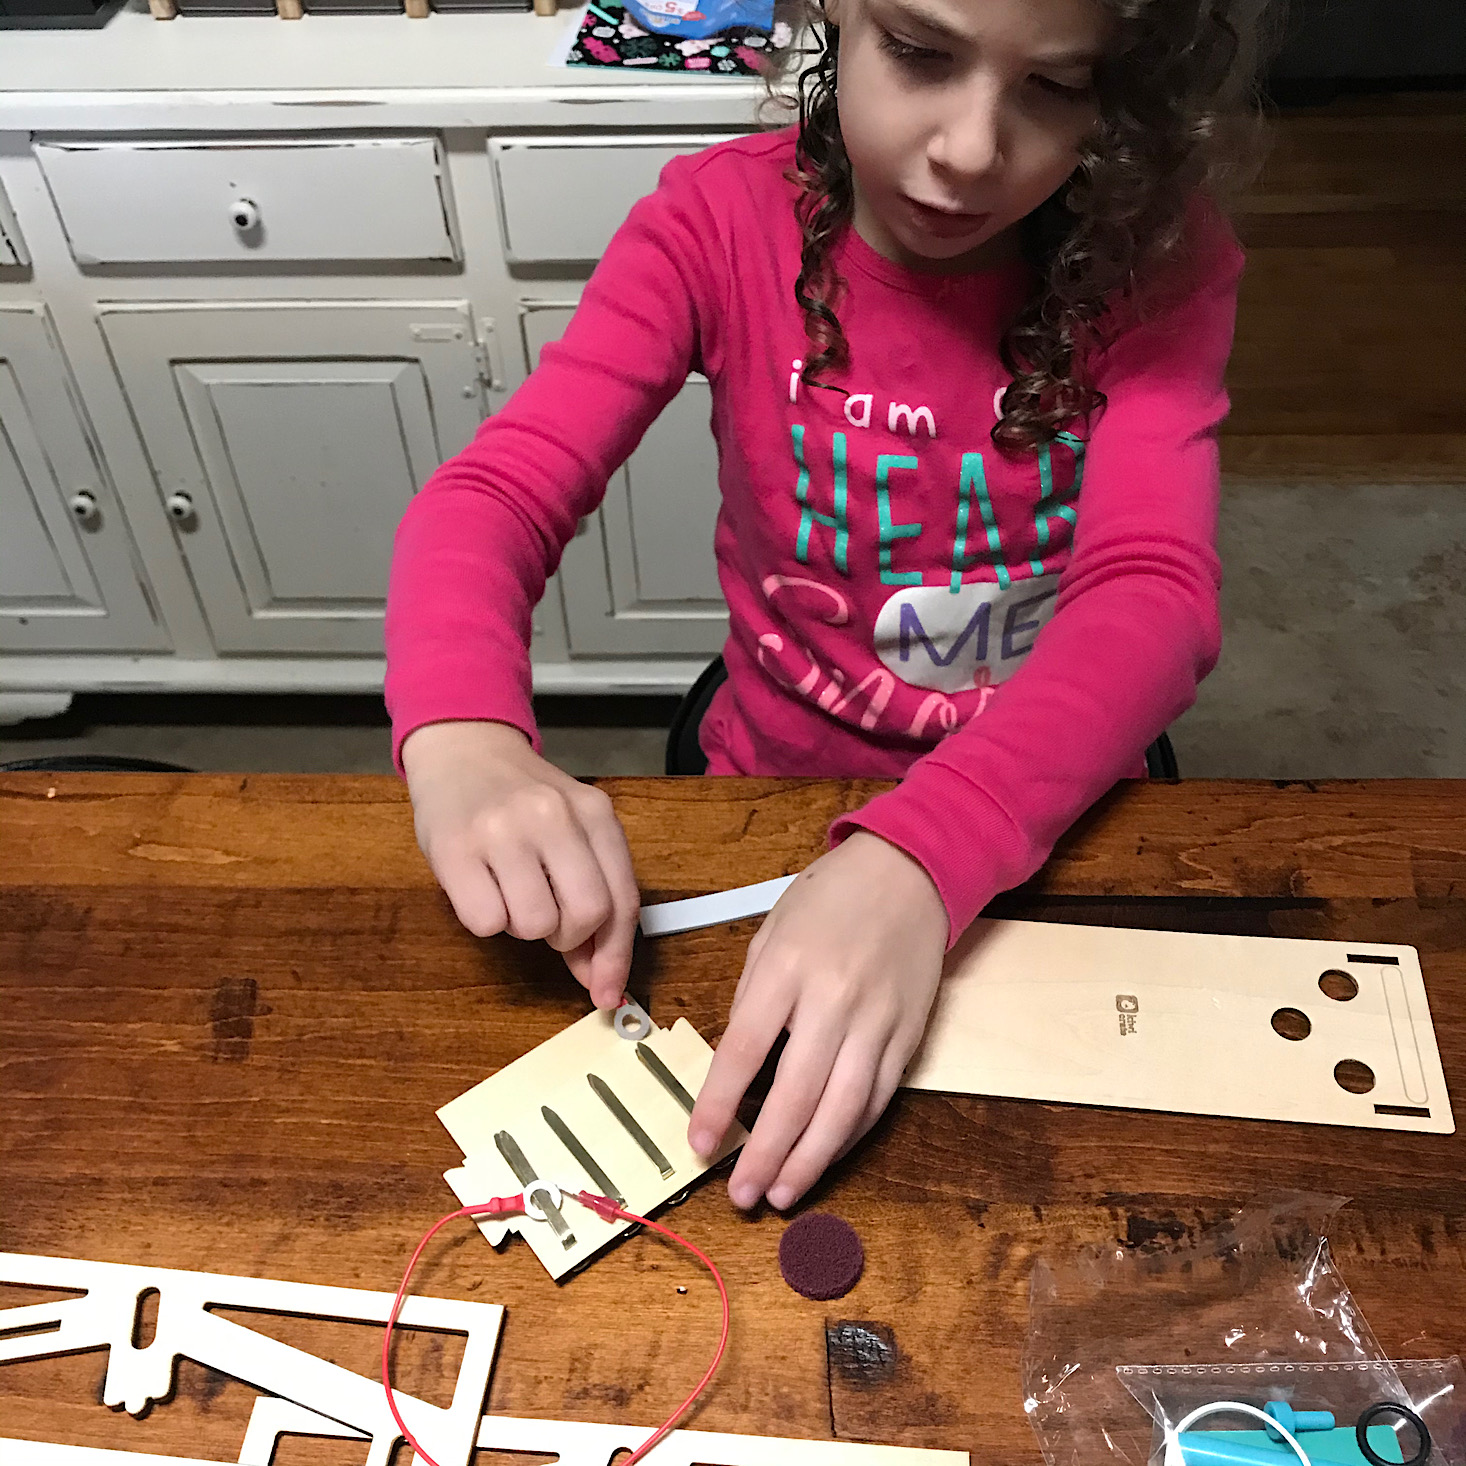
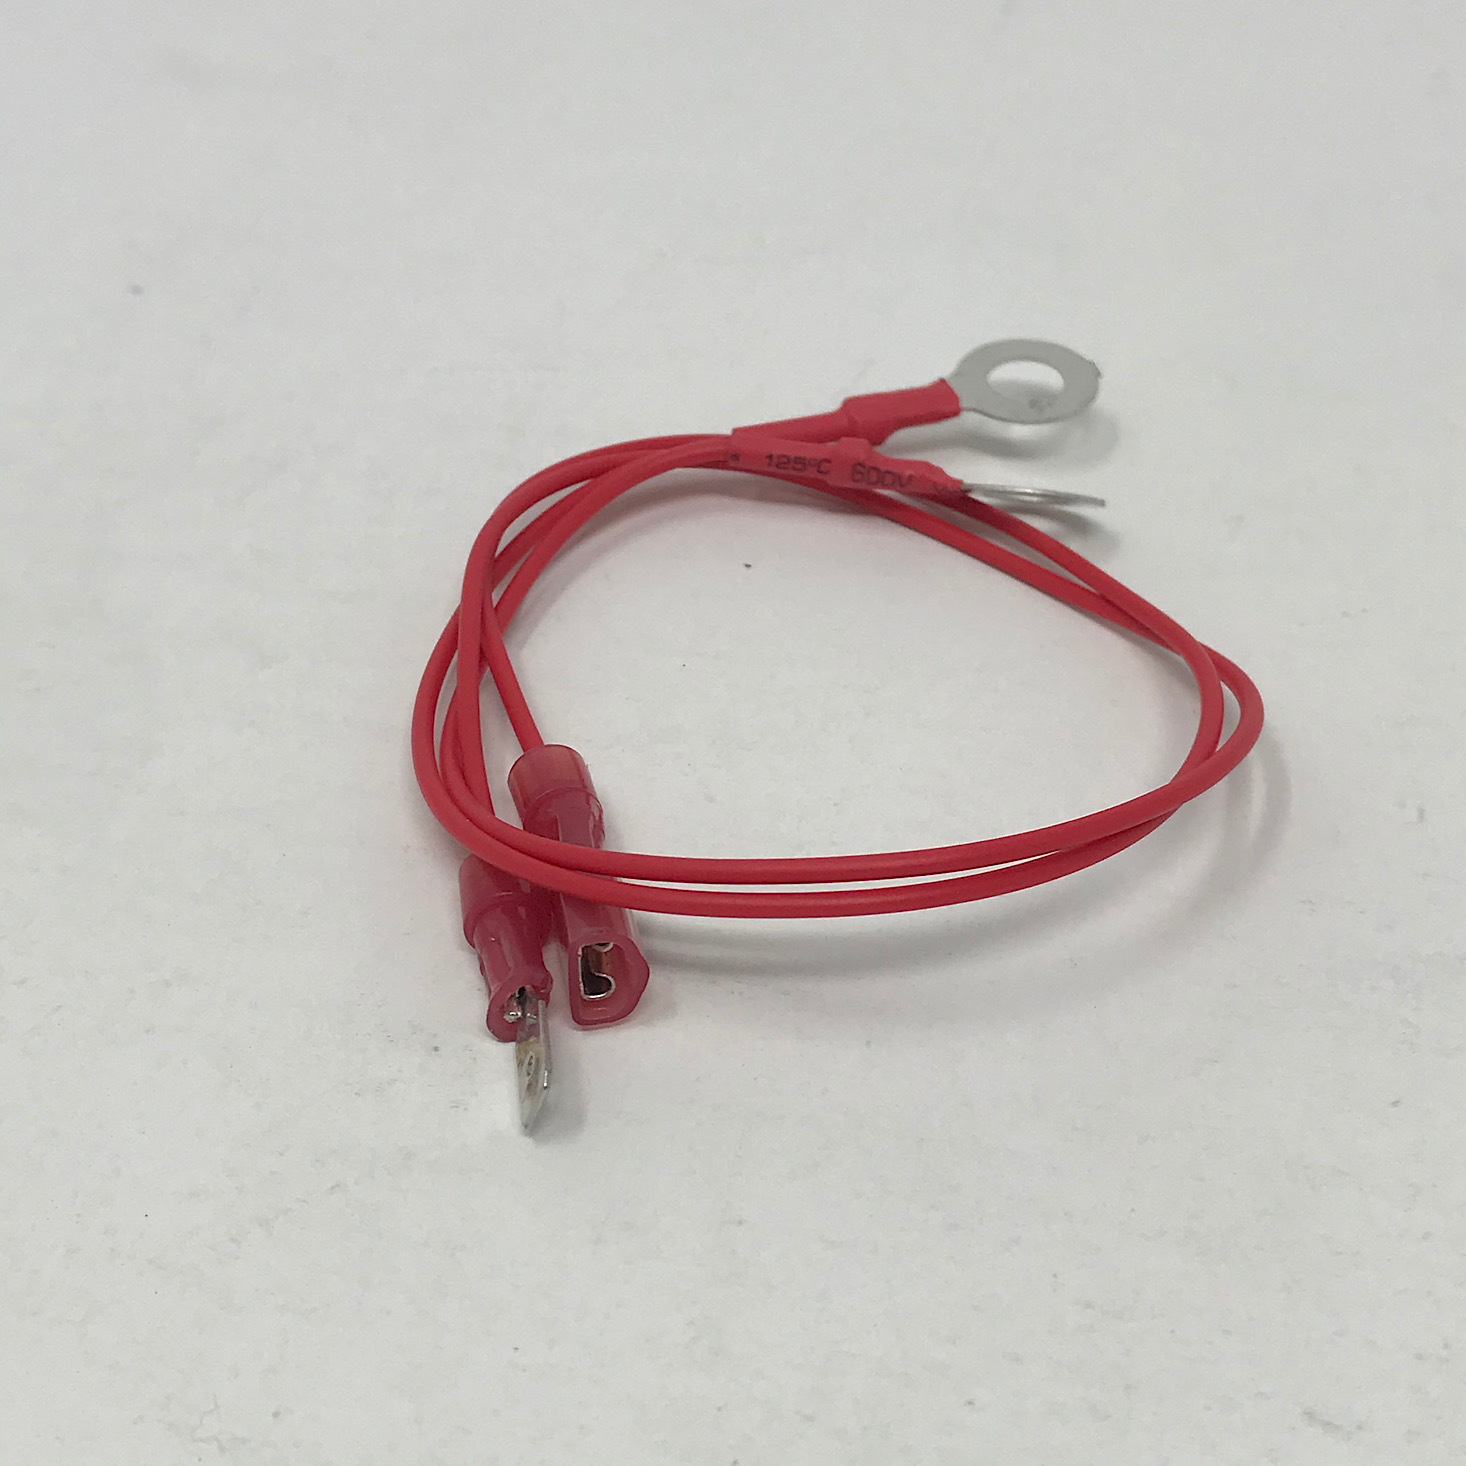
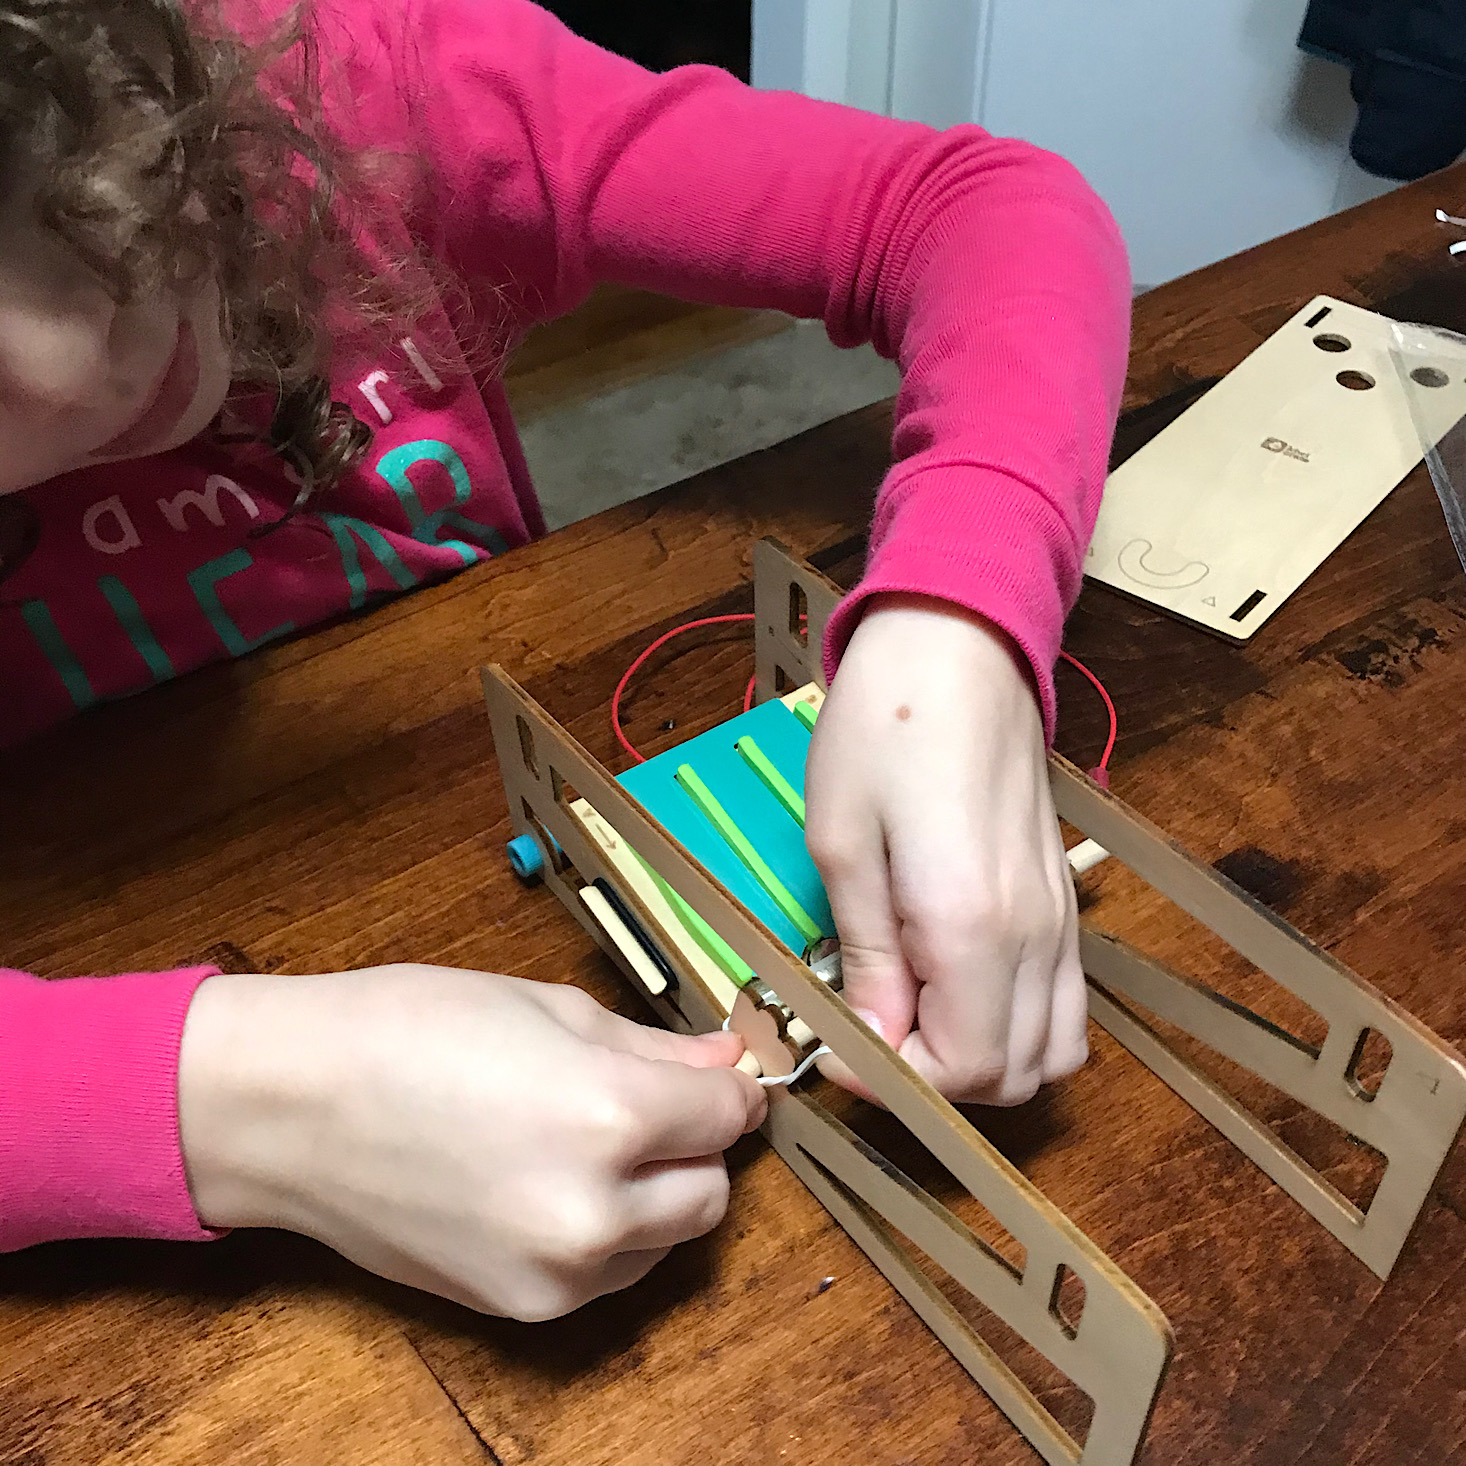
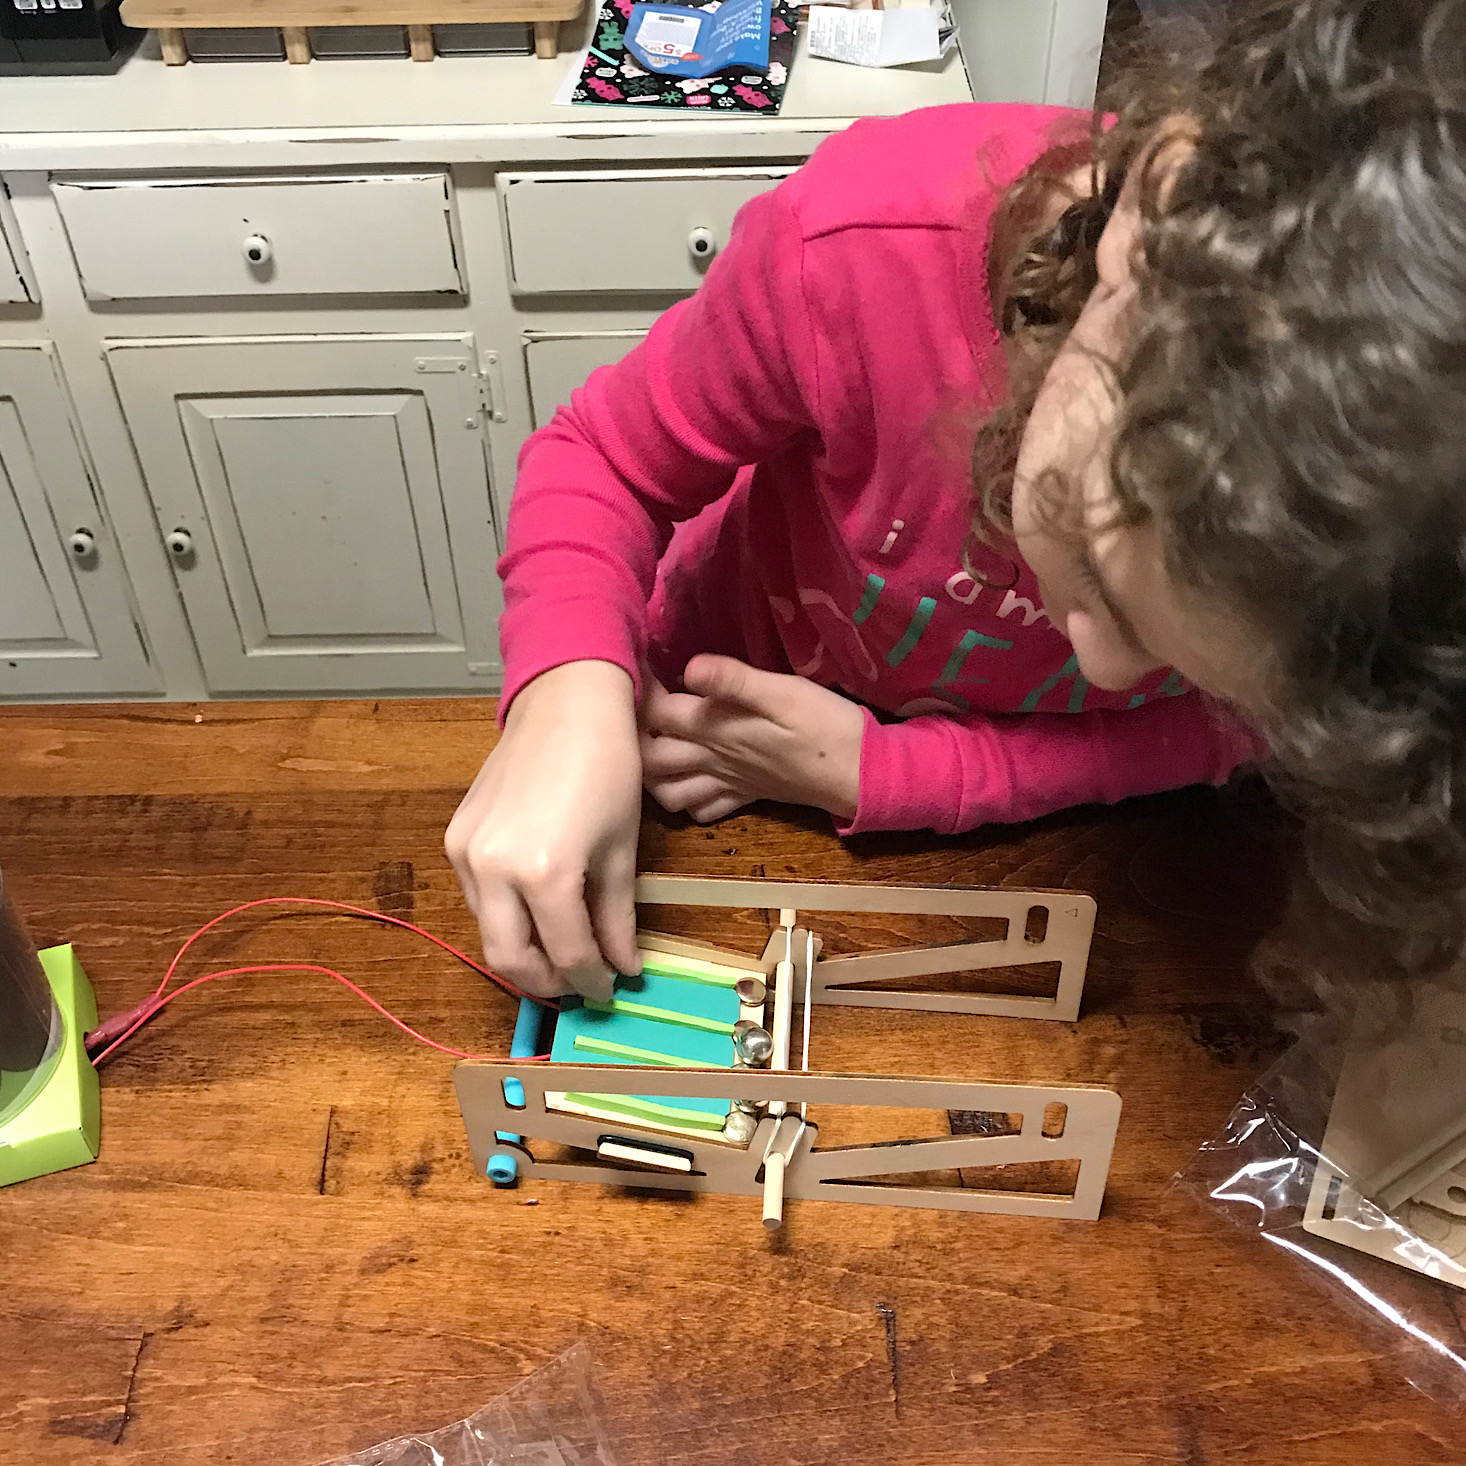
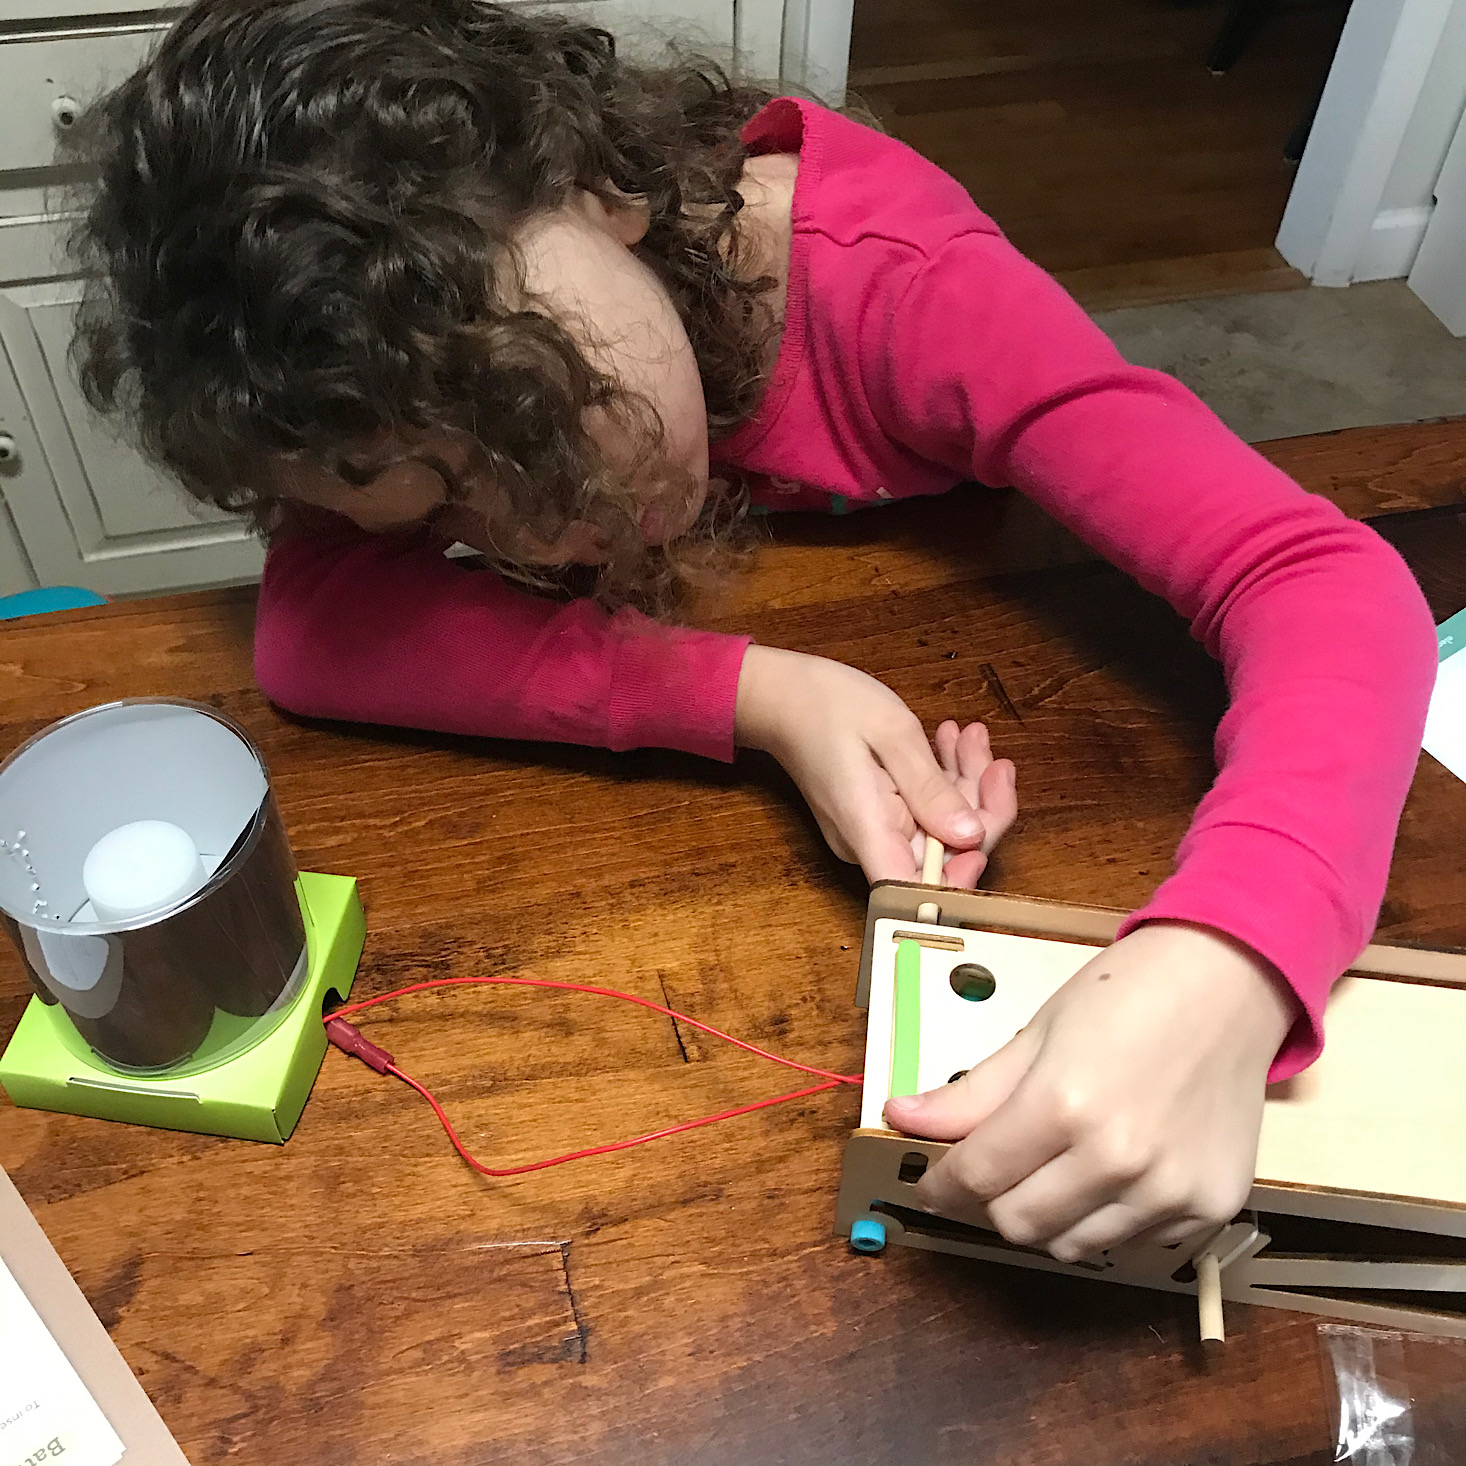
Part 2C: Wire the Circuit

1 of 2
To wire the circuit, she disconnected the wires of her lamp and reconnected them to the wires attached to our game frame.
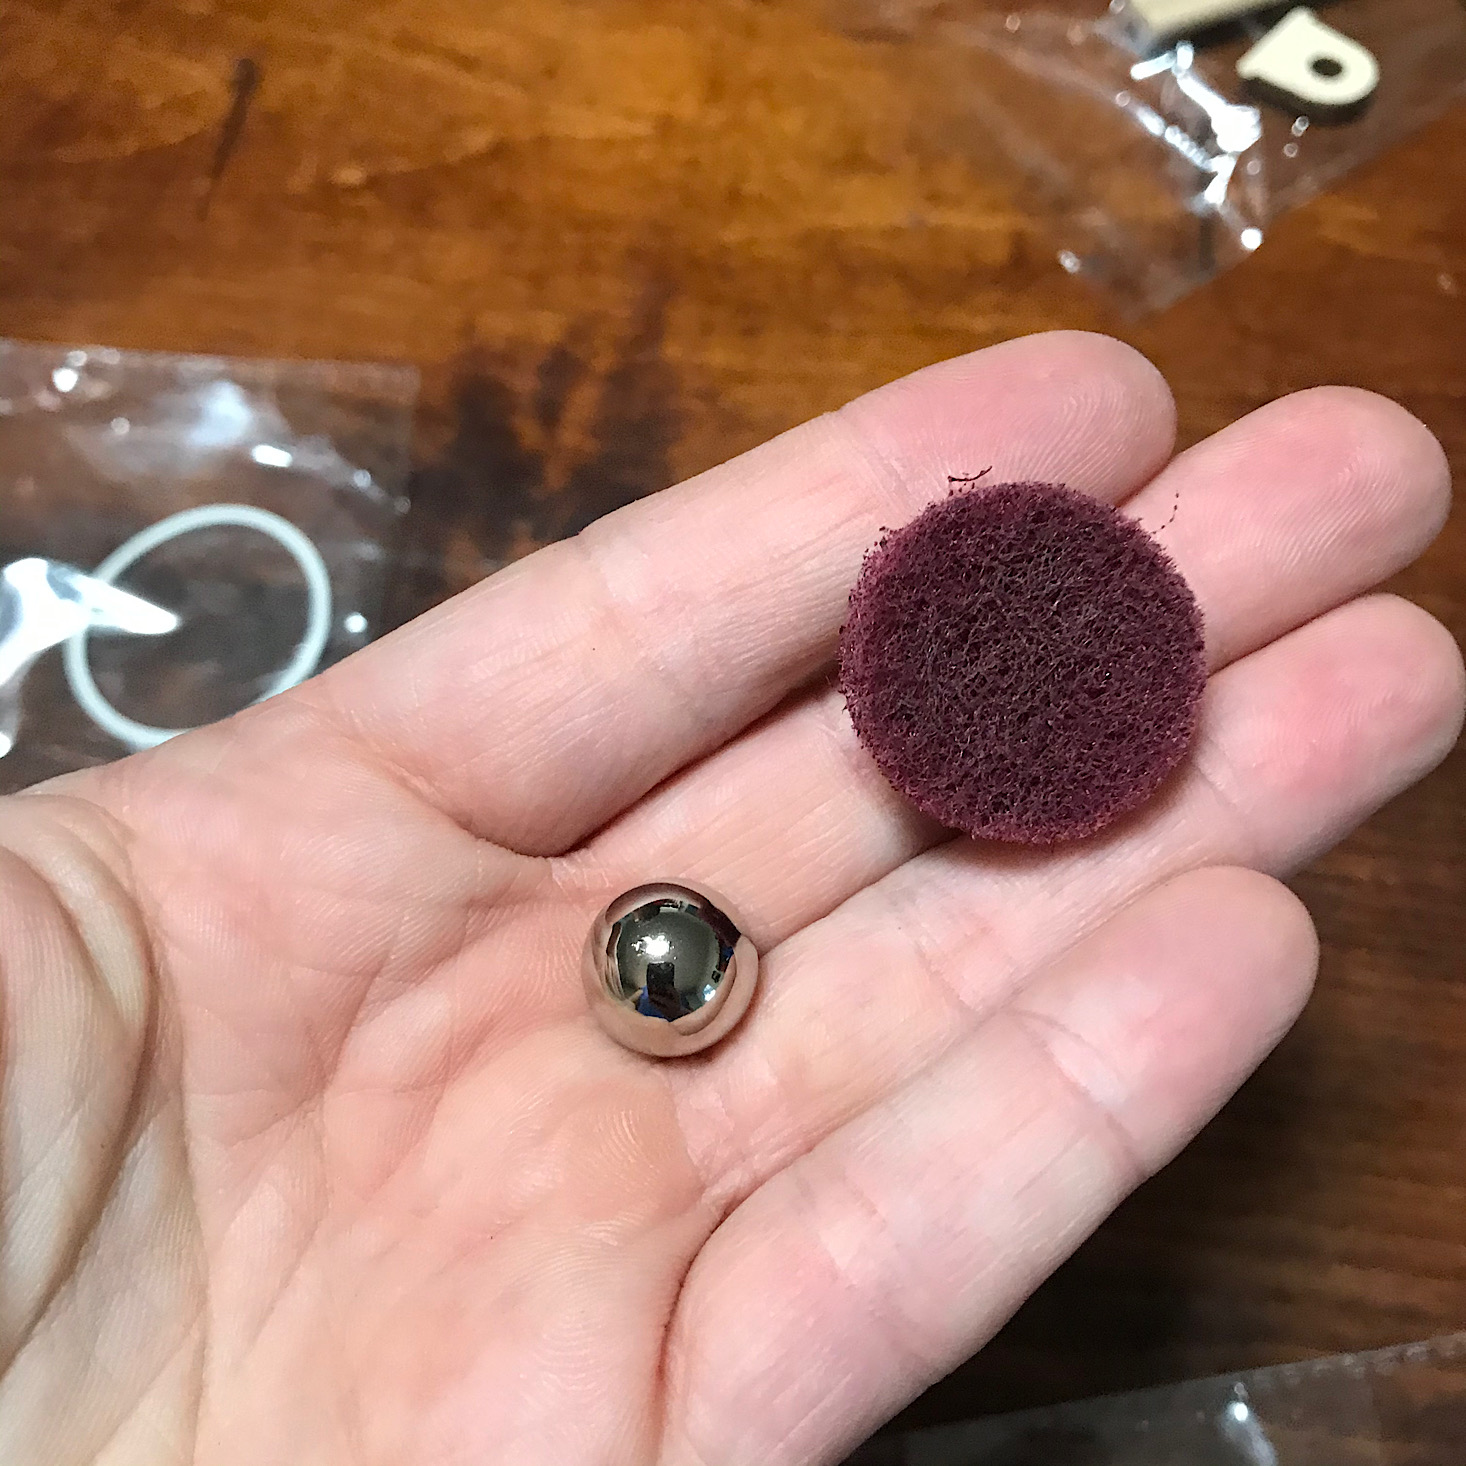
1 of 2
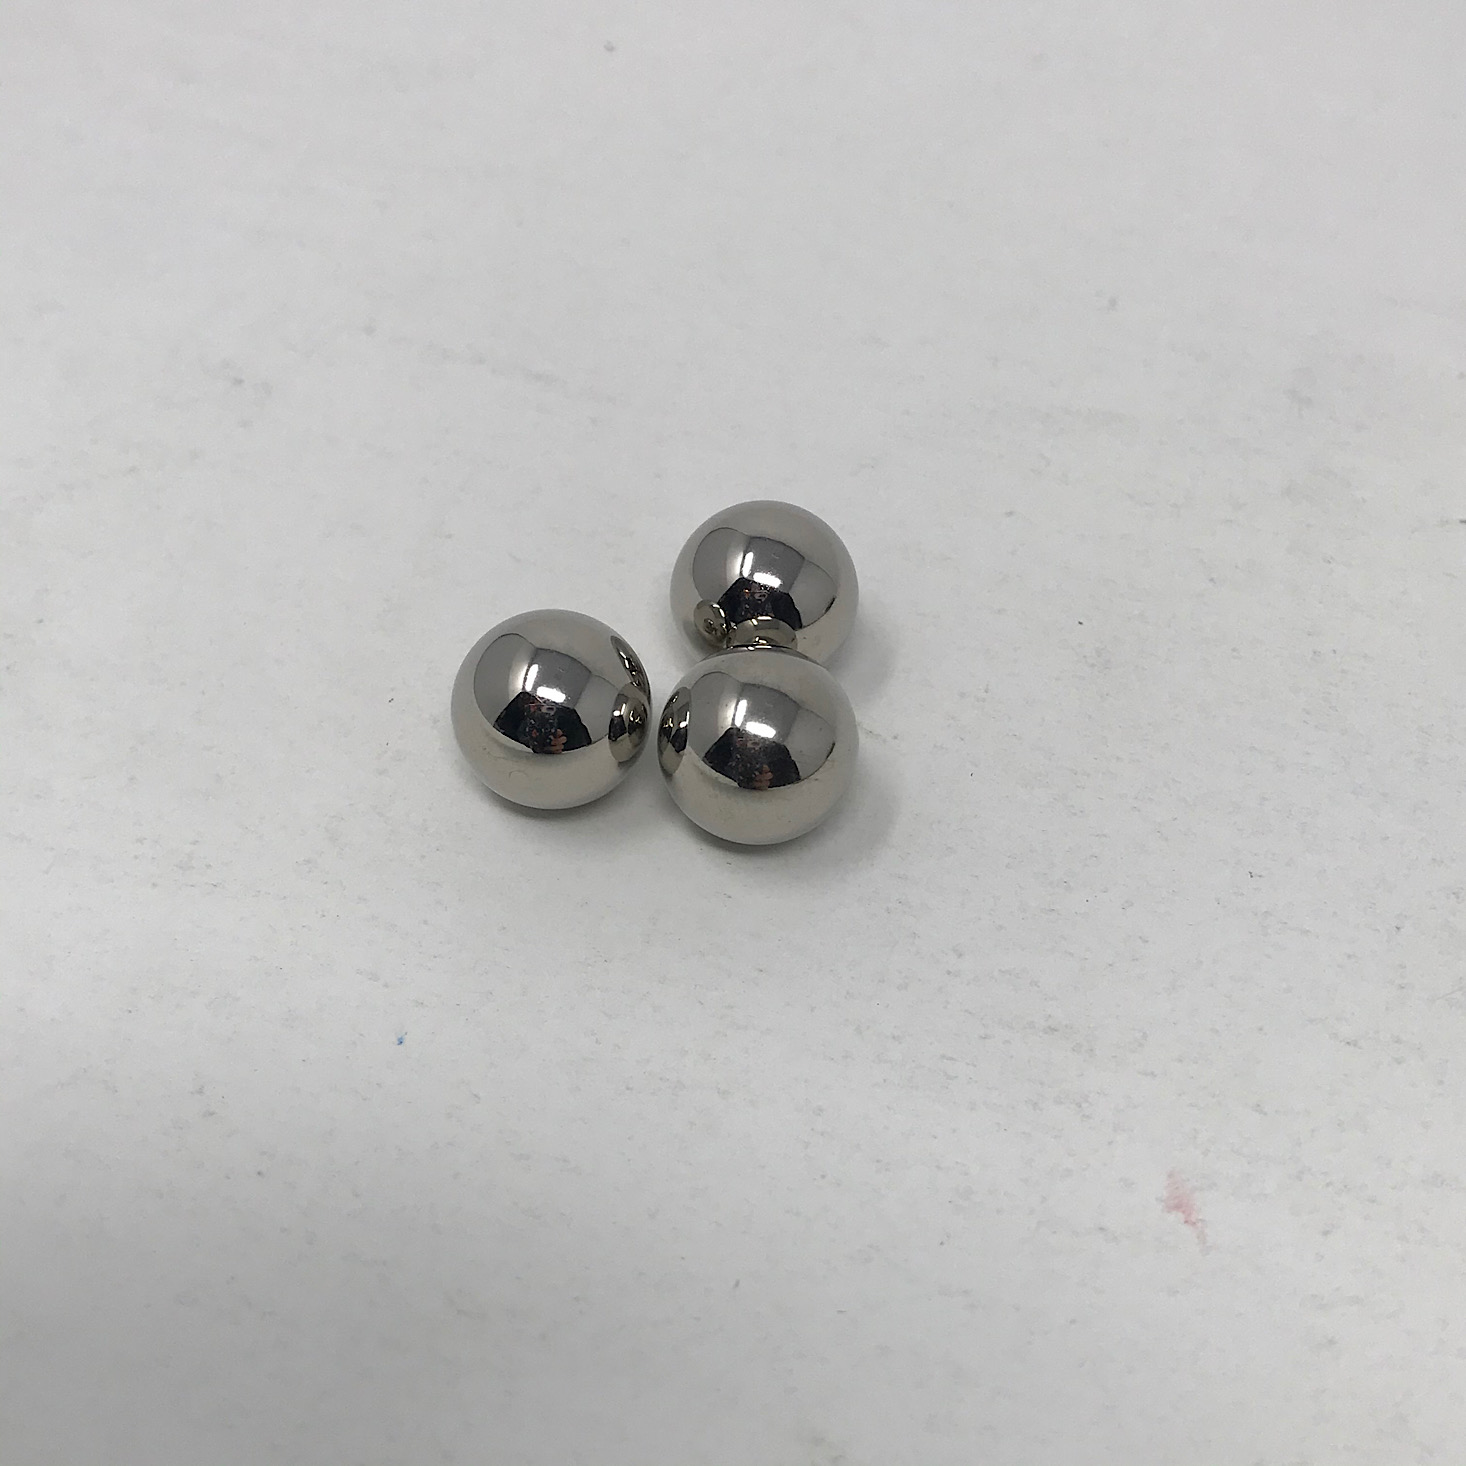
Then we scuffed up the surface of the three small metal balls they provided.

1 of 4


She slid one ball down each of the three channels of the game frame.
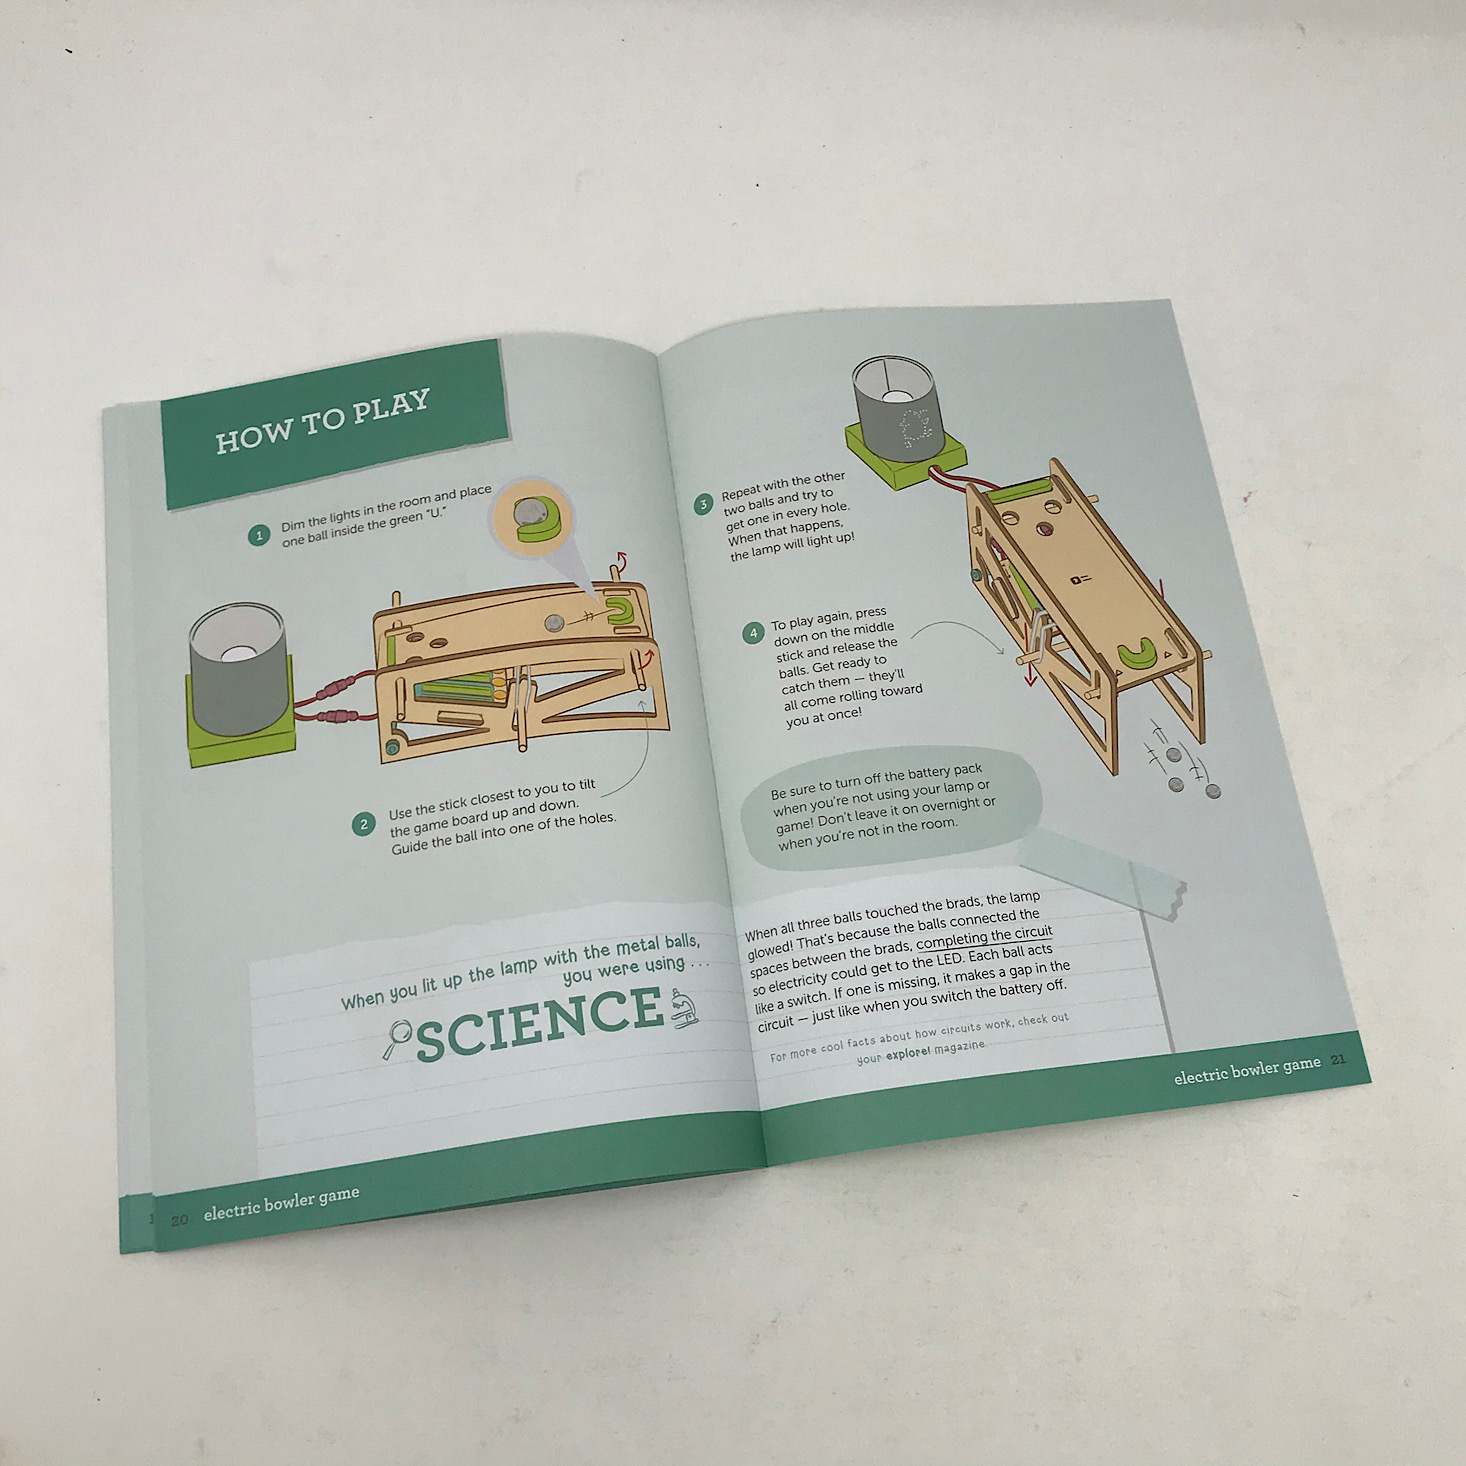
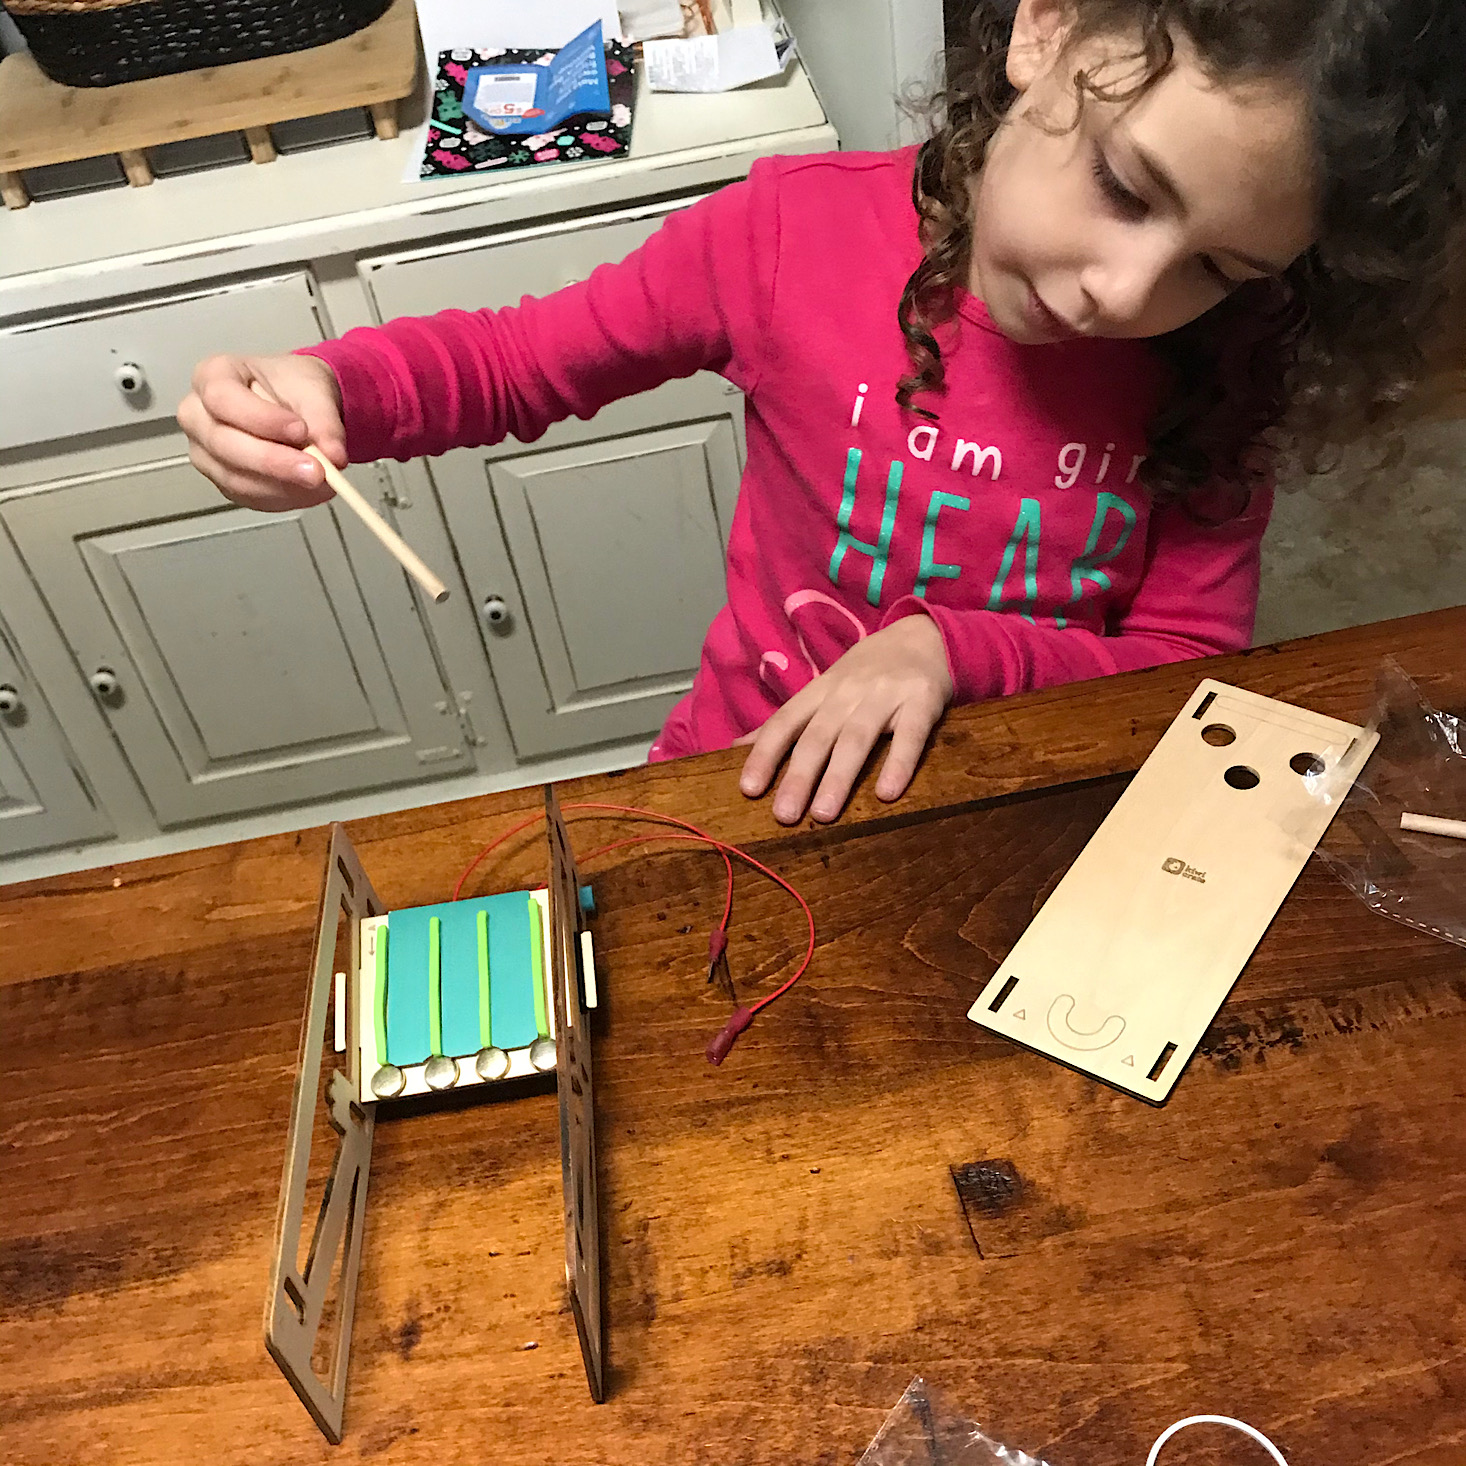
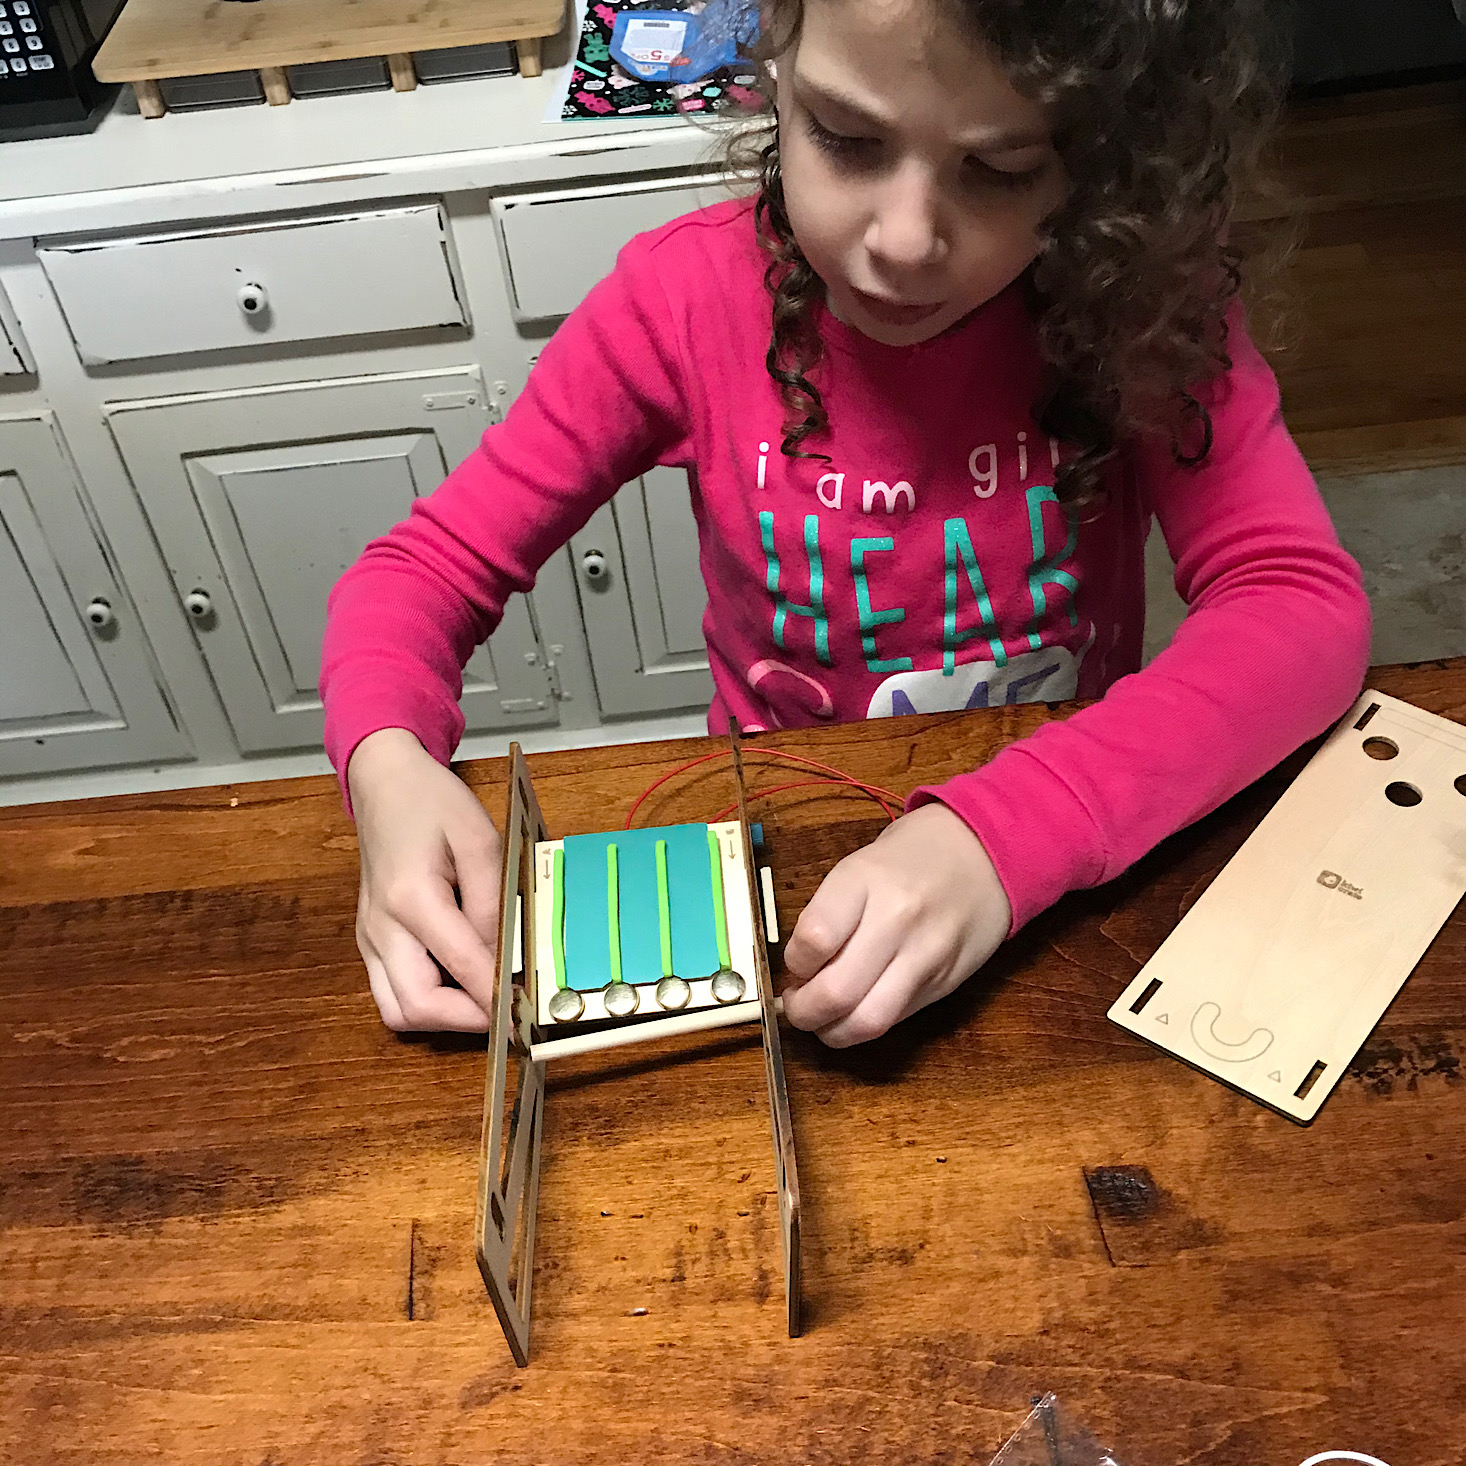
Here you can see her lighting it up for the first time by making sure each ball is touching a brad.
To release the balls, we had to pull down on the dowel and they would fall through which was a little bit tricky to do!
Part 2D: Add the Game Board

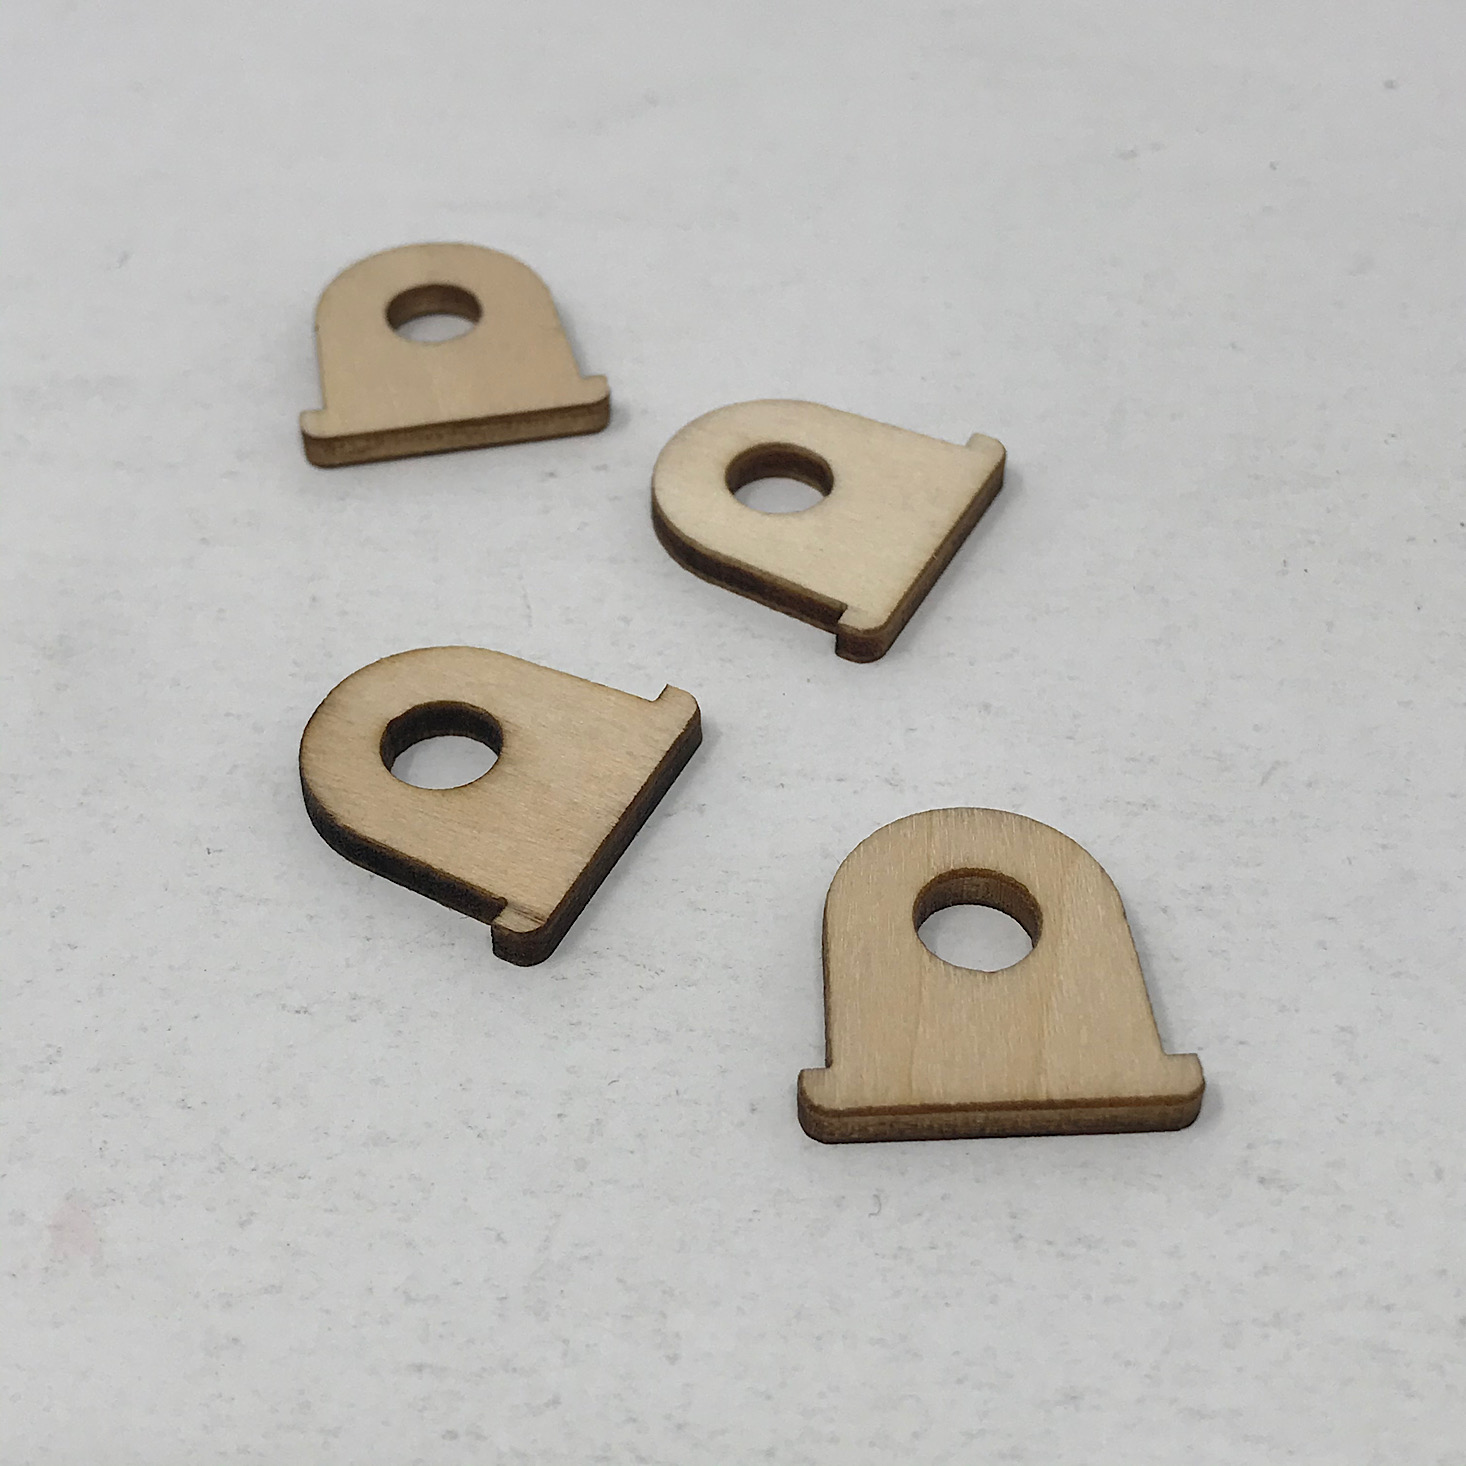
1 of 5

Next, we prepared our game board by adding the green adhesive U to it and then slipping these stick holders into the slots in each of the corners.
1 of 4

Then we inserted dowels on either side through the stick holders to hold the game board in place.
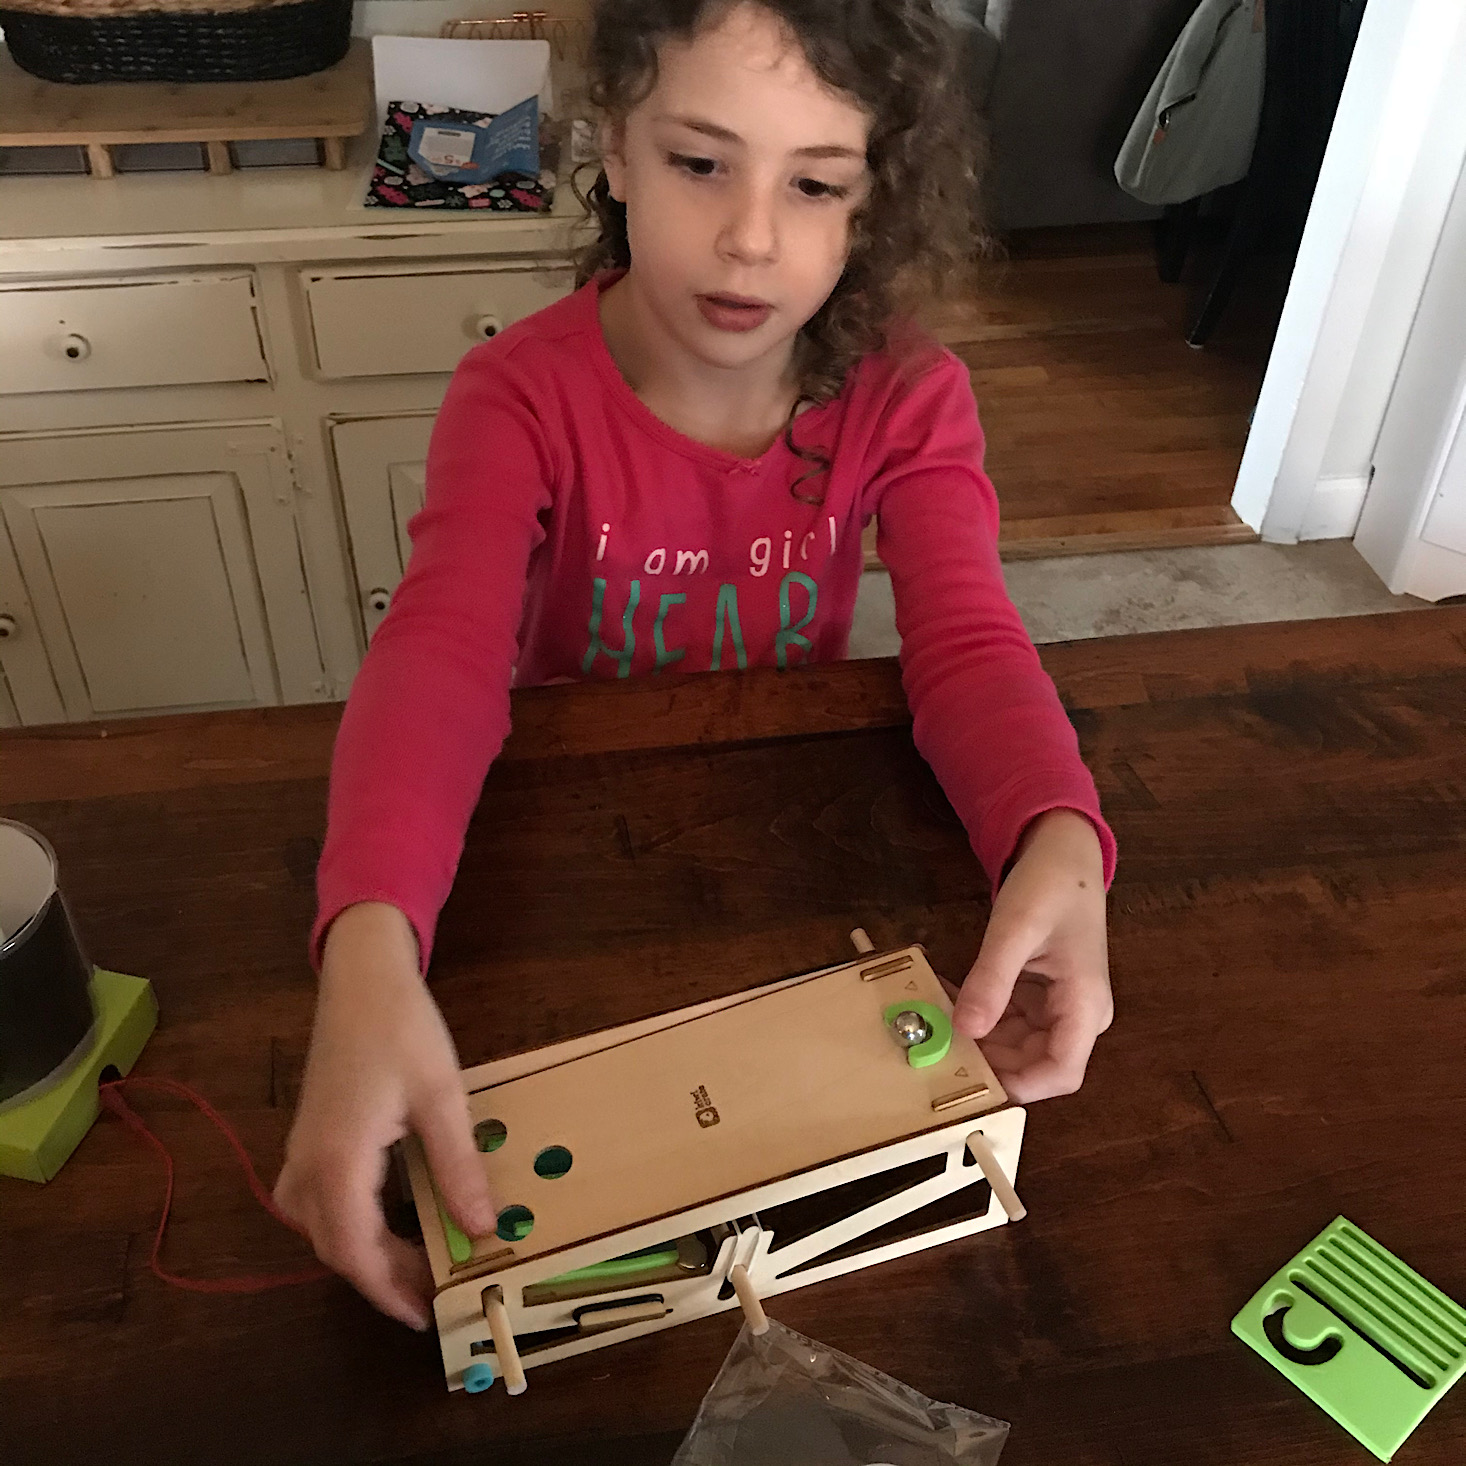
1 of 2
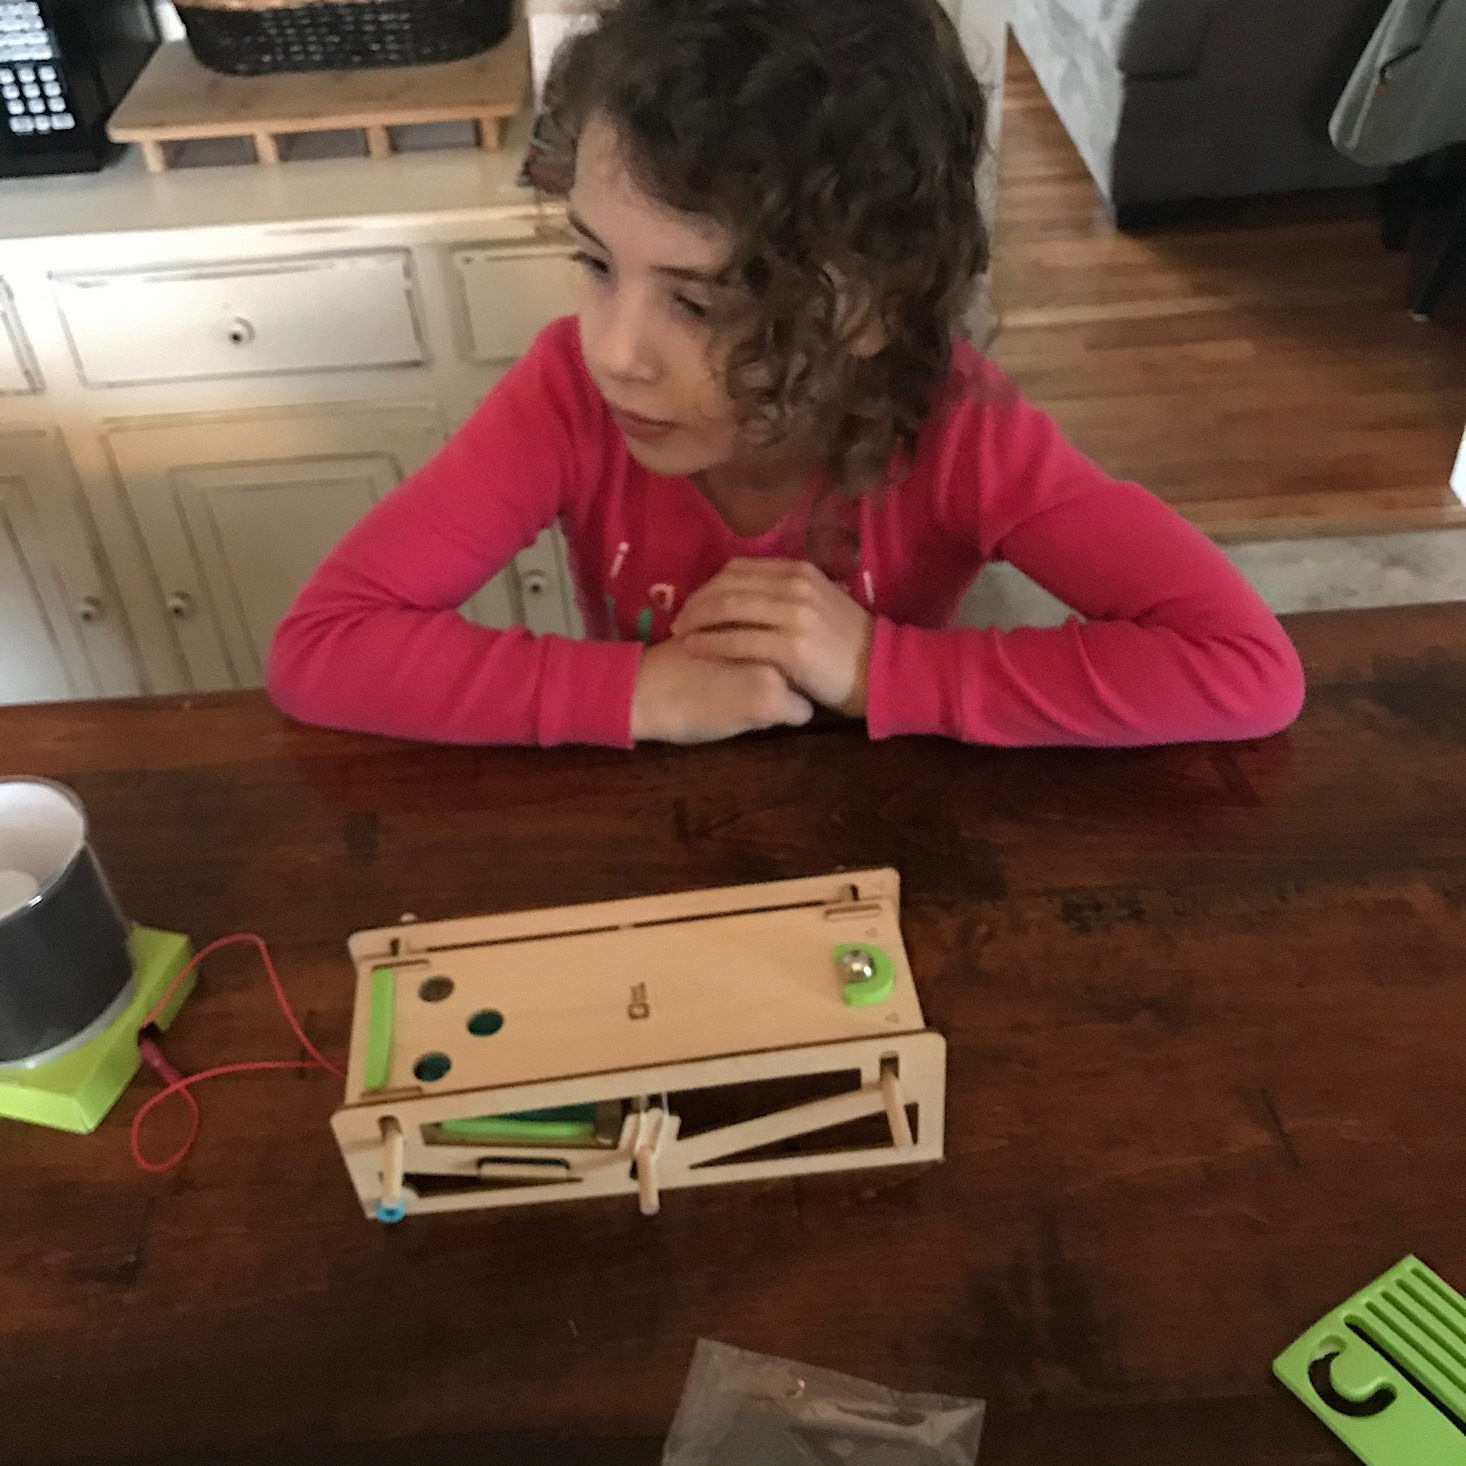
We dimmed the lights and got ready to play!
You add a ball to the U shape and then you lift up and tilt the board to make the balls roll into all three holes. You want one ball in each hole so that they will slide down each of the channels and turn on our lamp. She loved this, although she did find it a bit frustrating to get all of the balls in their place!
Verdict: What a great Kiwi Crate project this month! It really felt like two separate projects since we have a lamp with two shades to swap out and also a fun game to play. I also love that my five-year-old was wiring circuits together and was able to easily understand and see the concepts we learned in action. This was such a great learning experience and so much fun for a $19.95 (plus free shipping) box!
To Wrap Up:
Can you still get this box if you sign up today? It is possible you might get this crate, but it is not a guarantee. From KiwiCo:
Crates are assigned each month based on availability and your crate history - not all subscribers receive the same theme each month.
Check out all of our Kiwi Crate reviews and more boxes for ages 5-8 in the Kids Subscription Box Directory!
Keep Track of Your Subscriptions: Add this box to your subscription list or wishlist!
What do you think of Kiwi Crate?
Please do not enter your email address in the Name field or in the comment content. Your email address will not be published. Required fields are marked *. Remember to post with kindness and respect. Comments with offensive language, cruelness to others, etc will not be approved. See our full comment policy here.