


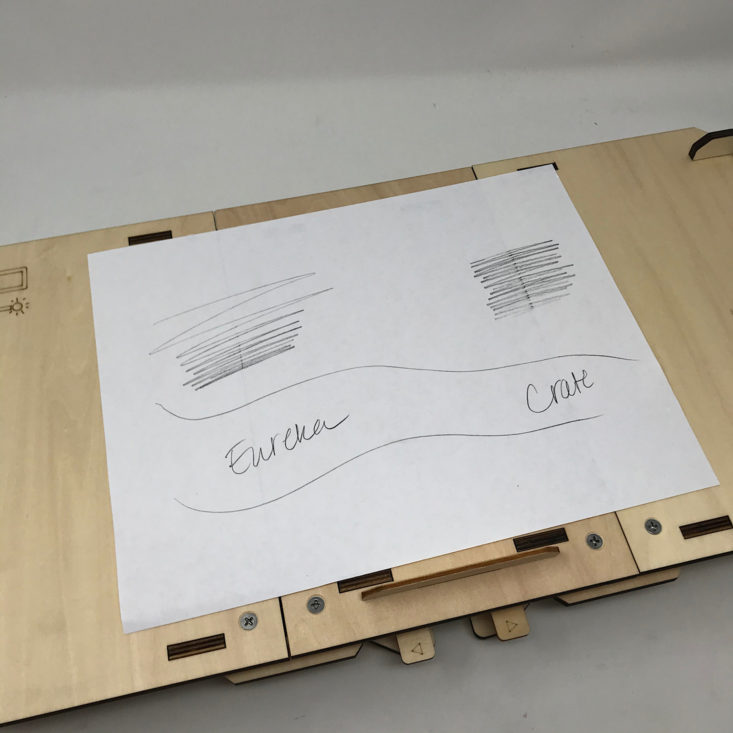
Eureka Crate (from parent company KiwiCo) is a subscription box for teens and adults ages 14-104. It arrives every month with all the materials and instructions needed to create a functional, lasting object with a focus on engineering. The goal of these projects is to use science and math to solve real-world problems while inspiring the recipients to become creative innovators.
KiwiCo offers boxes for a variety of different age groups:
- Panda Crate for 0-24-month-olds,
- Koala Crate for 2-4-year-olds,
- Kiwi Crate for 5-8-year-olds,
- Atlas Crate for 6-11-year-olds,
- Doodle Crate and Tinker Crate for 9-16+-year-olds,
- Eureka Crate and Maker Crate for ages 14 and up. There really is something for every age with this company.
This review is of the $29.95 a month Eureka Crate, for 14-year-olds and up.
This box was sent to us at no cost for review. (Check out the review process post to learn more about how we review boxes).
About Eureka Crate
The Subscription Box: Eureka Crate
The Cost: $29.95 per month + free shipping. Save with longer subscriptions.
The Products: Detailed instructions and all of the high-quality materials needed to create a unique, lasting, and functional engineering project as well as a Maker's Guide that explains the science and technology behind it.
Ships to: The U.S. for free, Canada for $3.95 per month, and worldwide from $4.95-$6.95.
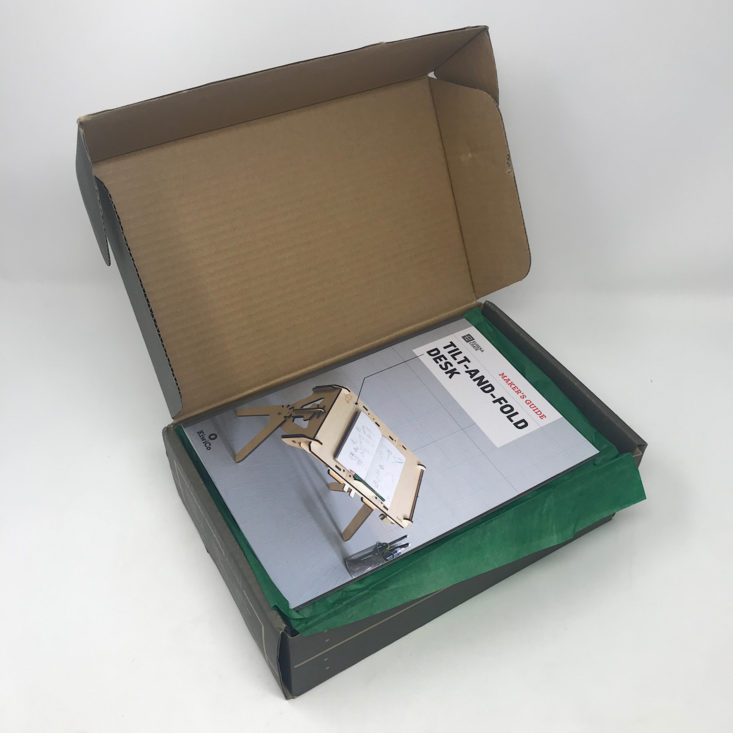
KiwiCo Eureka Crate "Tilt-and-Fold Desk" Review - January 2020

1 of 10

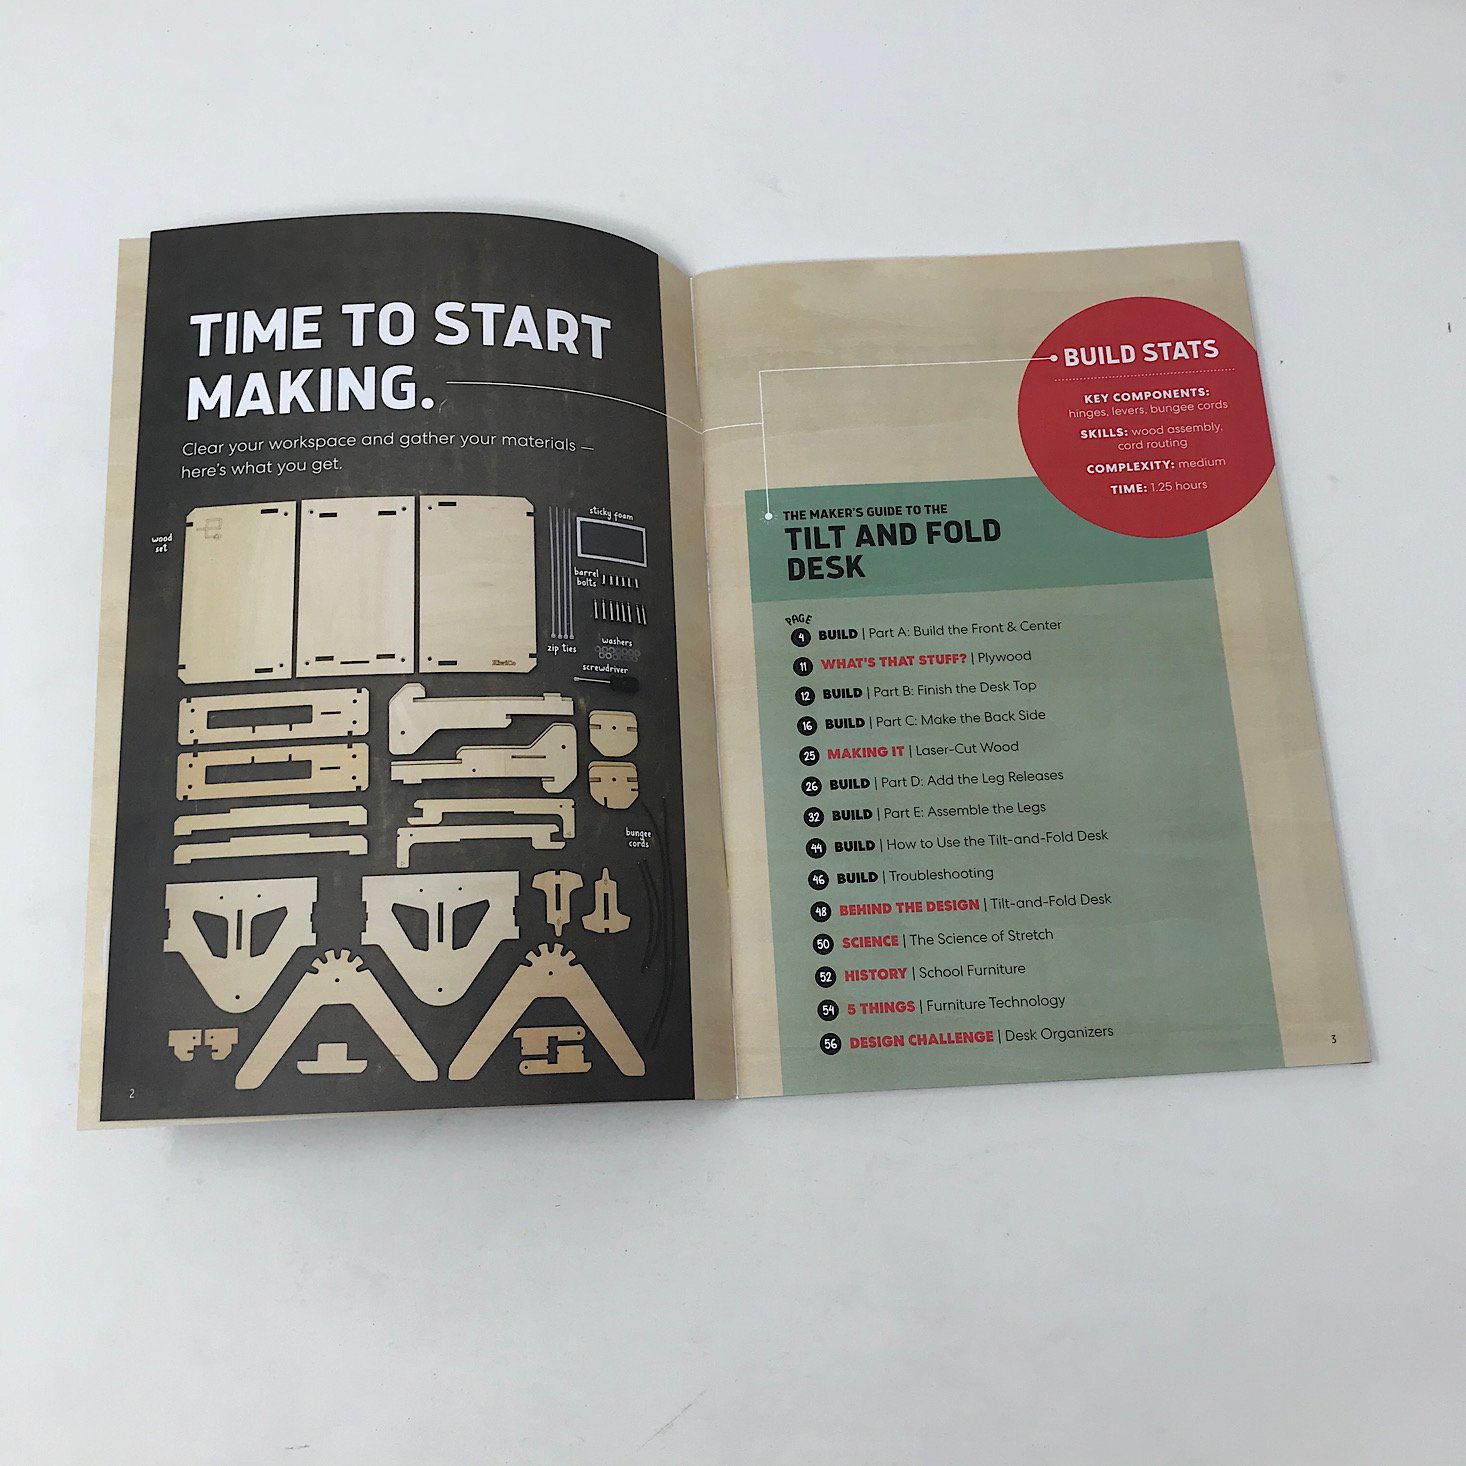


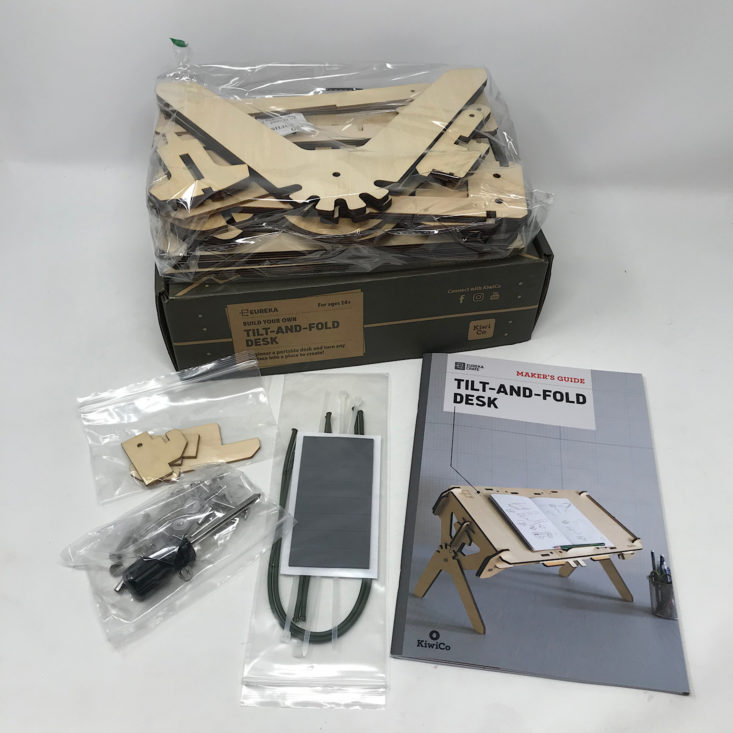
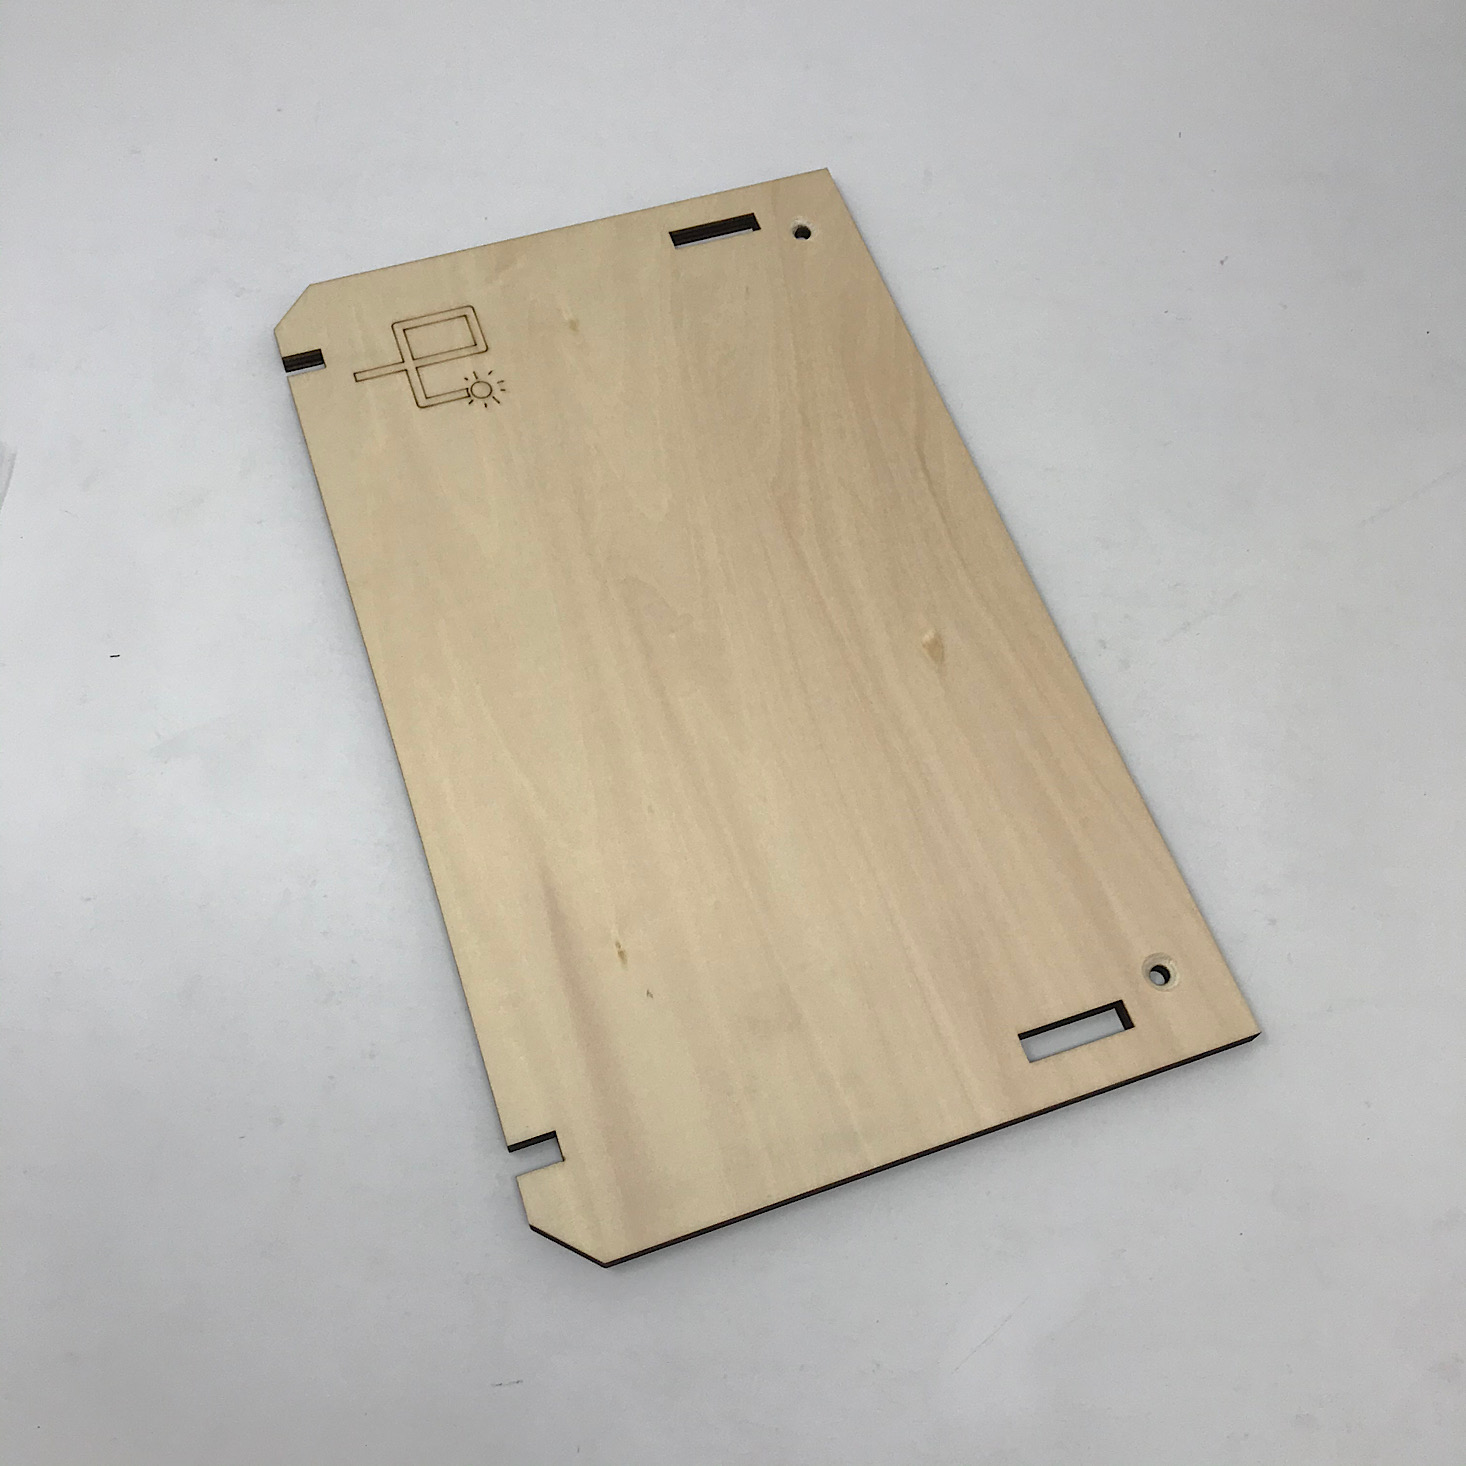
The project for this month is to make our own Tilt-and-Fold Desk. We received this Maker's Guide which is full of helpful information related to our project along with the directions. This month they included some information about furniture technology and the history of school furniture. My favorite section is the "Behind the Design" page where they go into detail about their own process in creating this month's project and it looks like they went through 10 different prototypes before settling on this one. Also, our desk will be able to support a maximum weight of 12 pounds when we're done!
1 of 5

Our directions are separated into various sections which makes it so much easier since it breaks it down into smaller, more manageable tasks. The instructions are always clear and easy to follow with detailed, colorful pictures to reference. They even include information on troubleshooting, which can be very helpful!
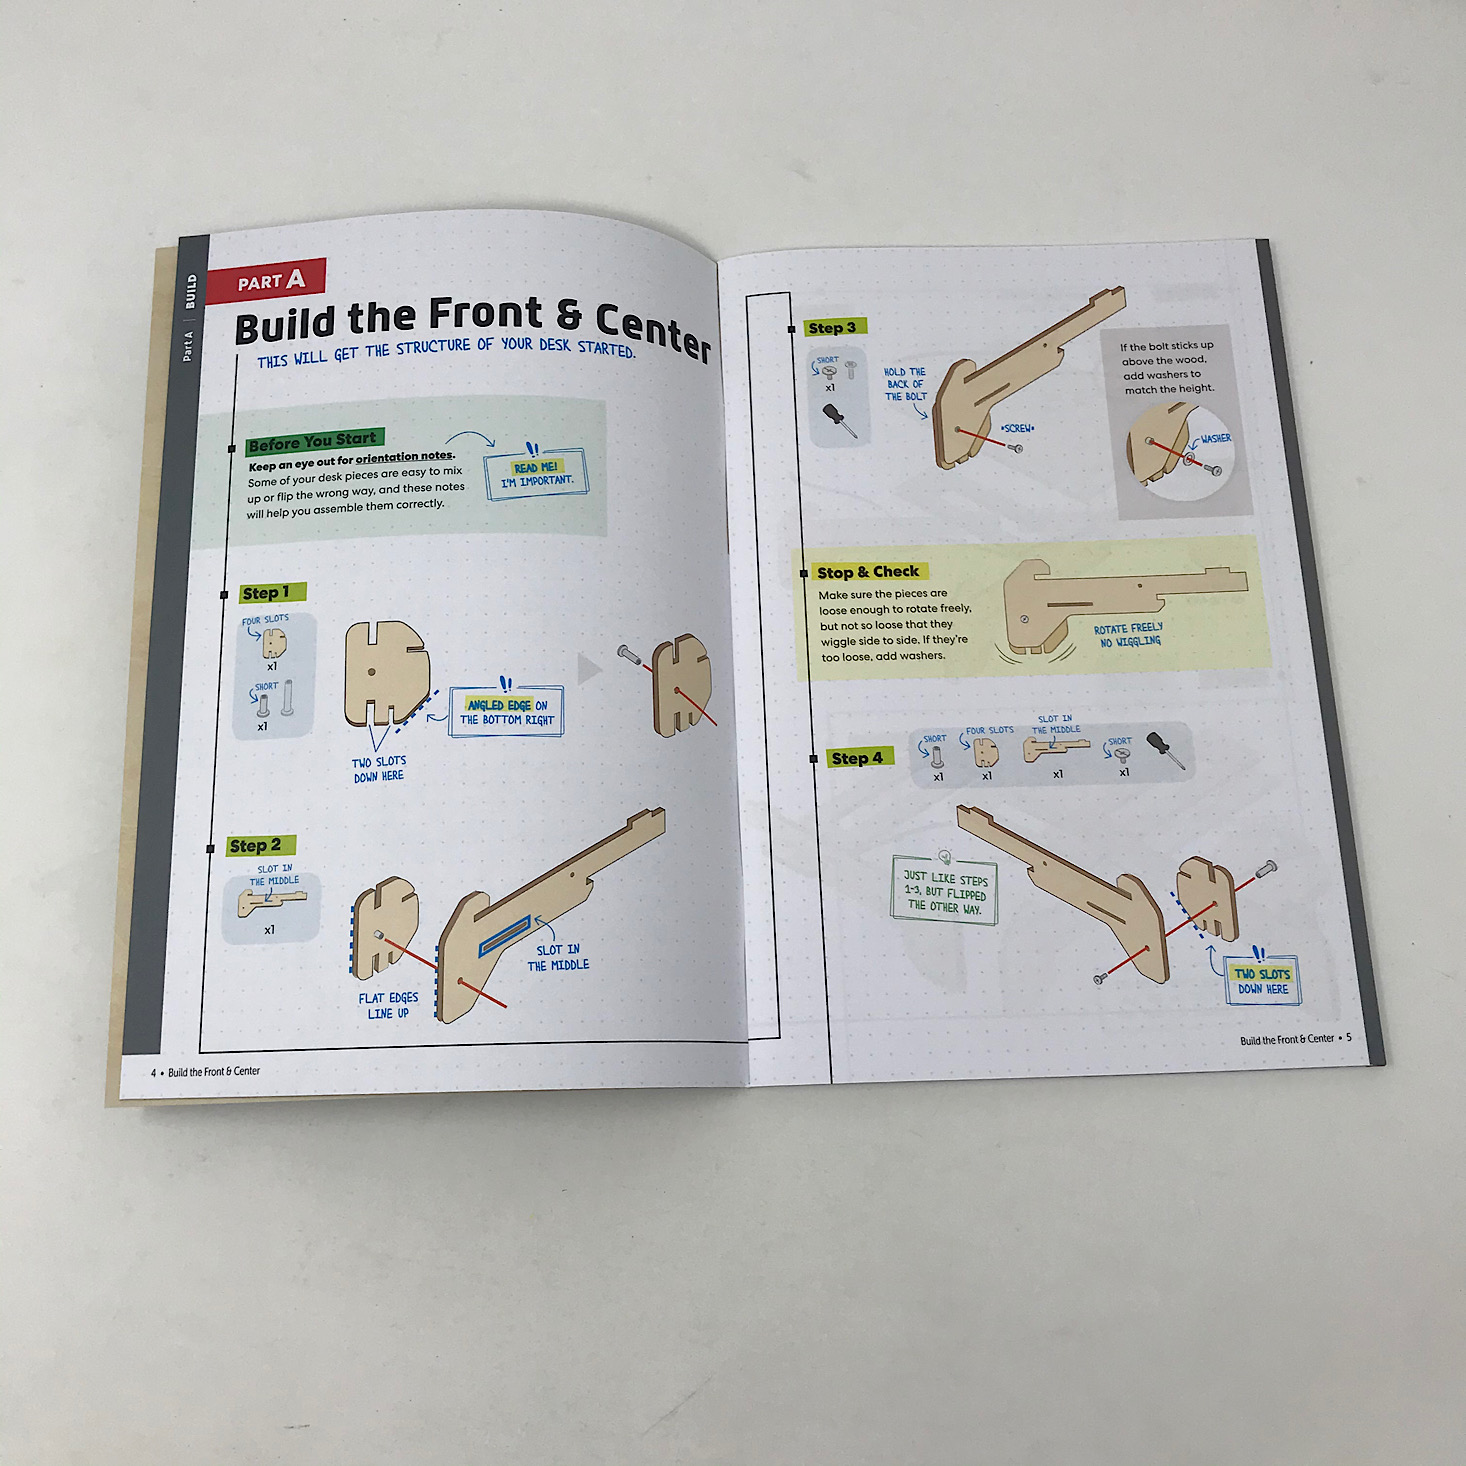
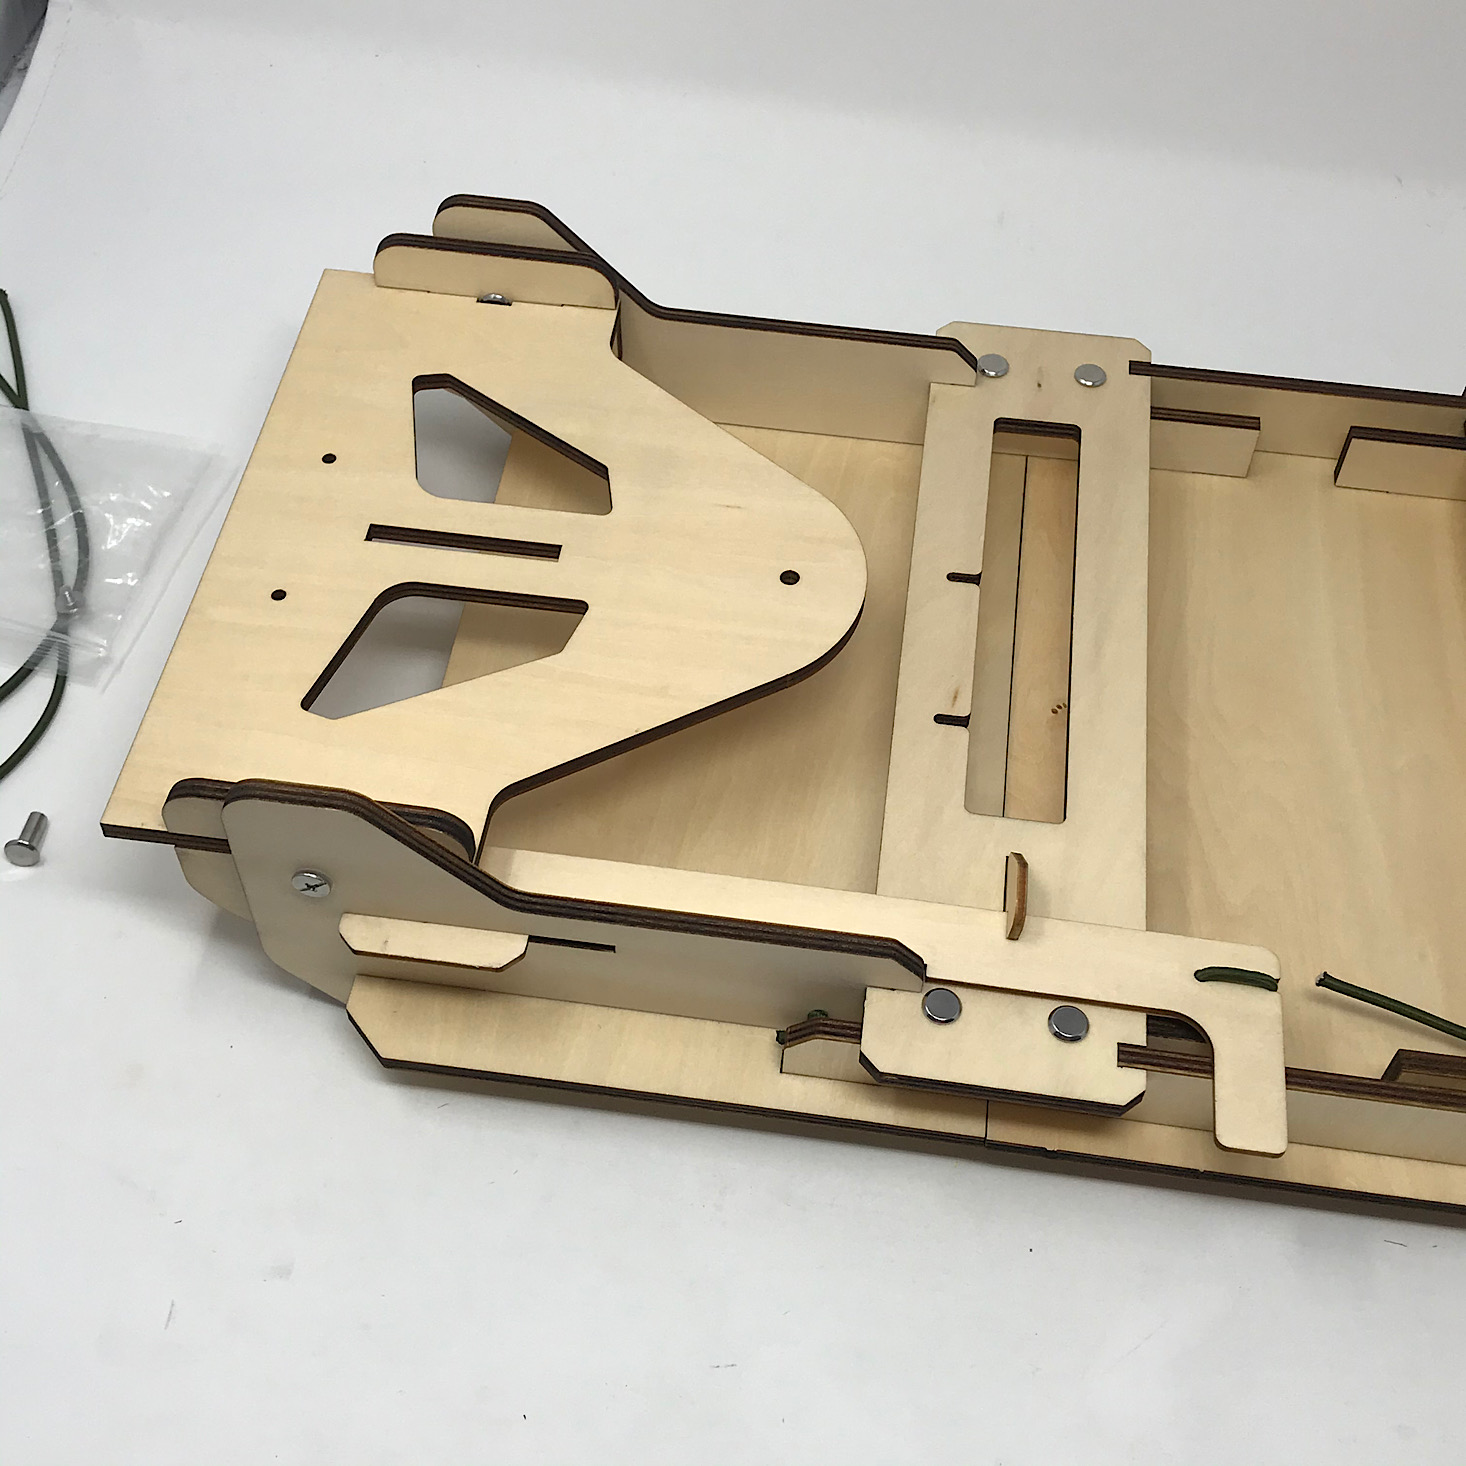
Part A: Build the Front & Center

1 of 2
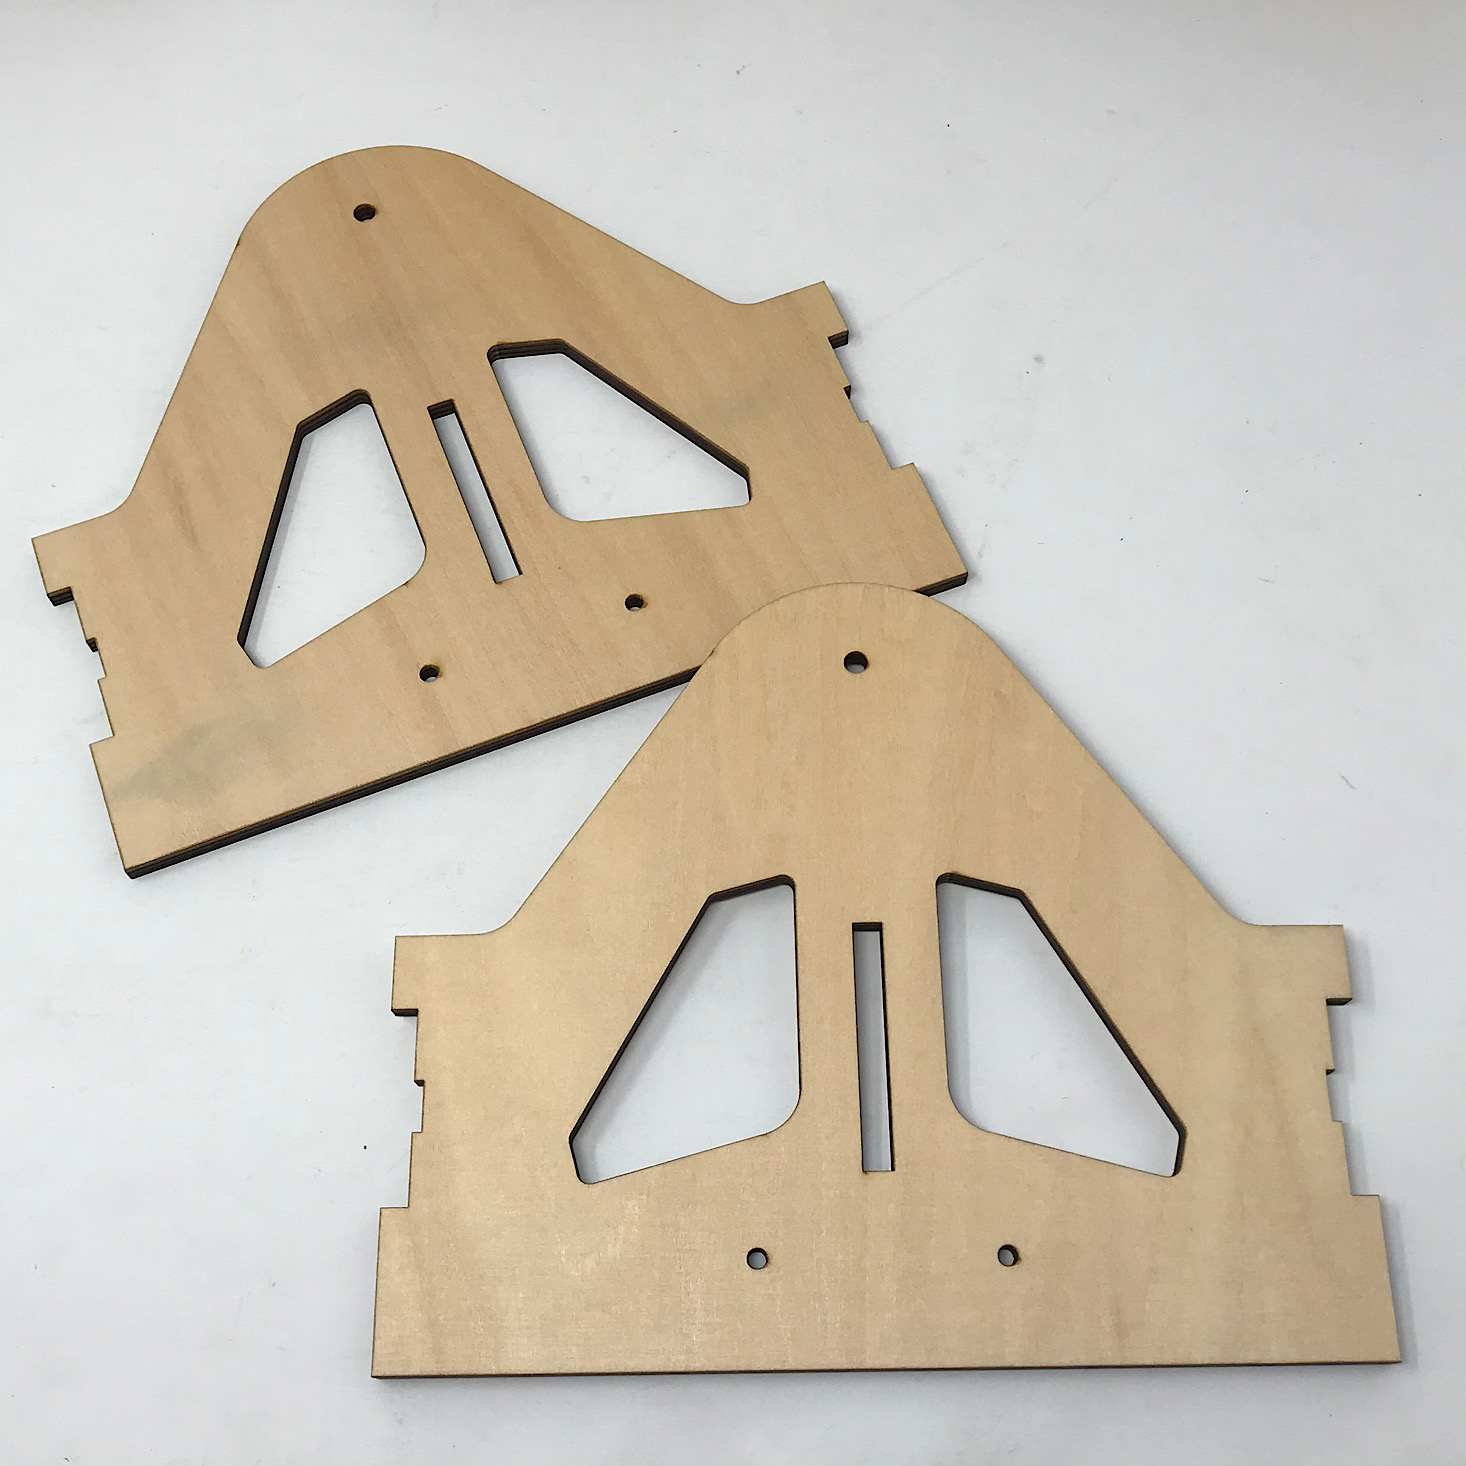
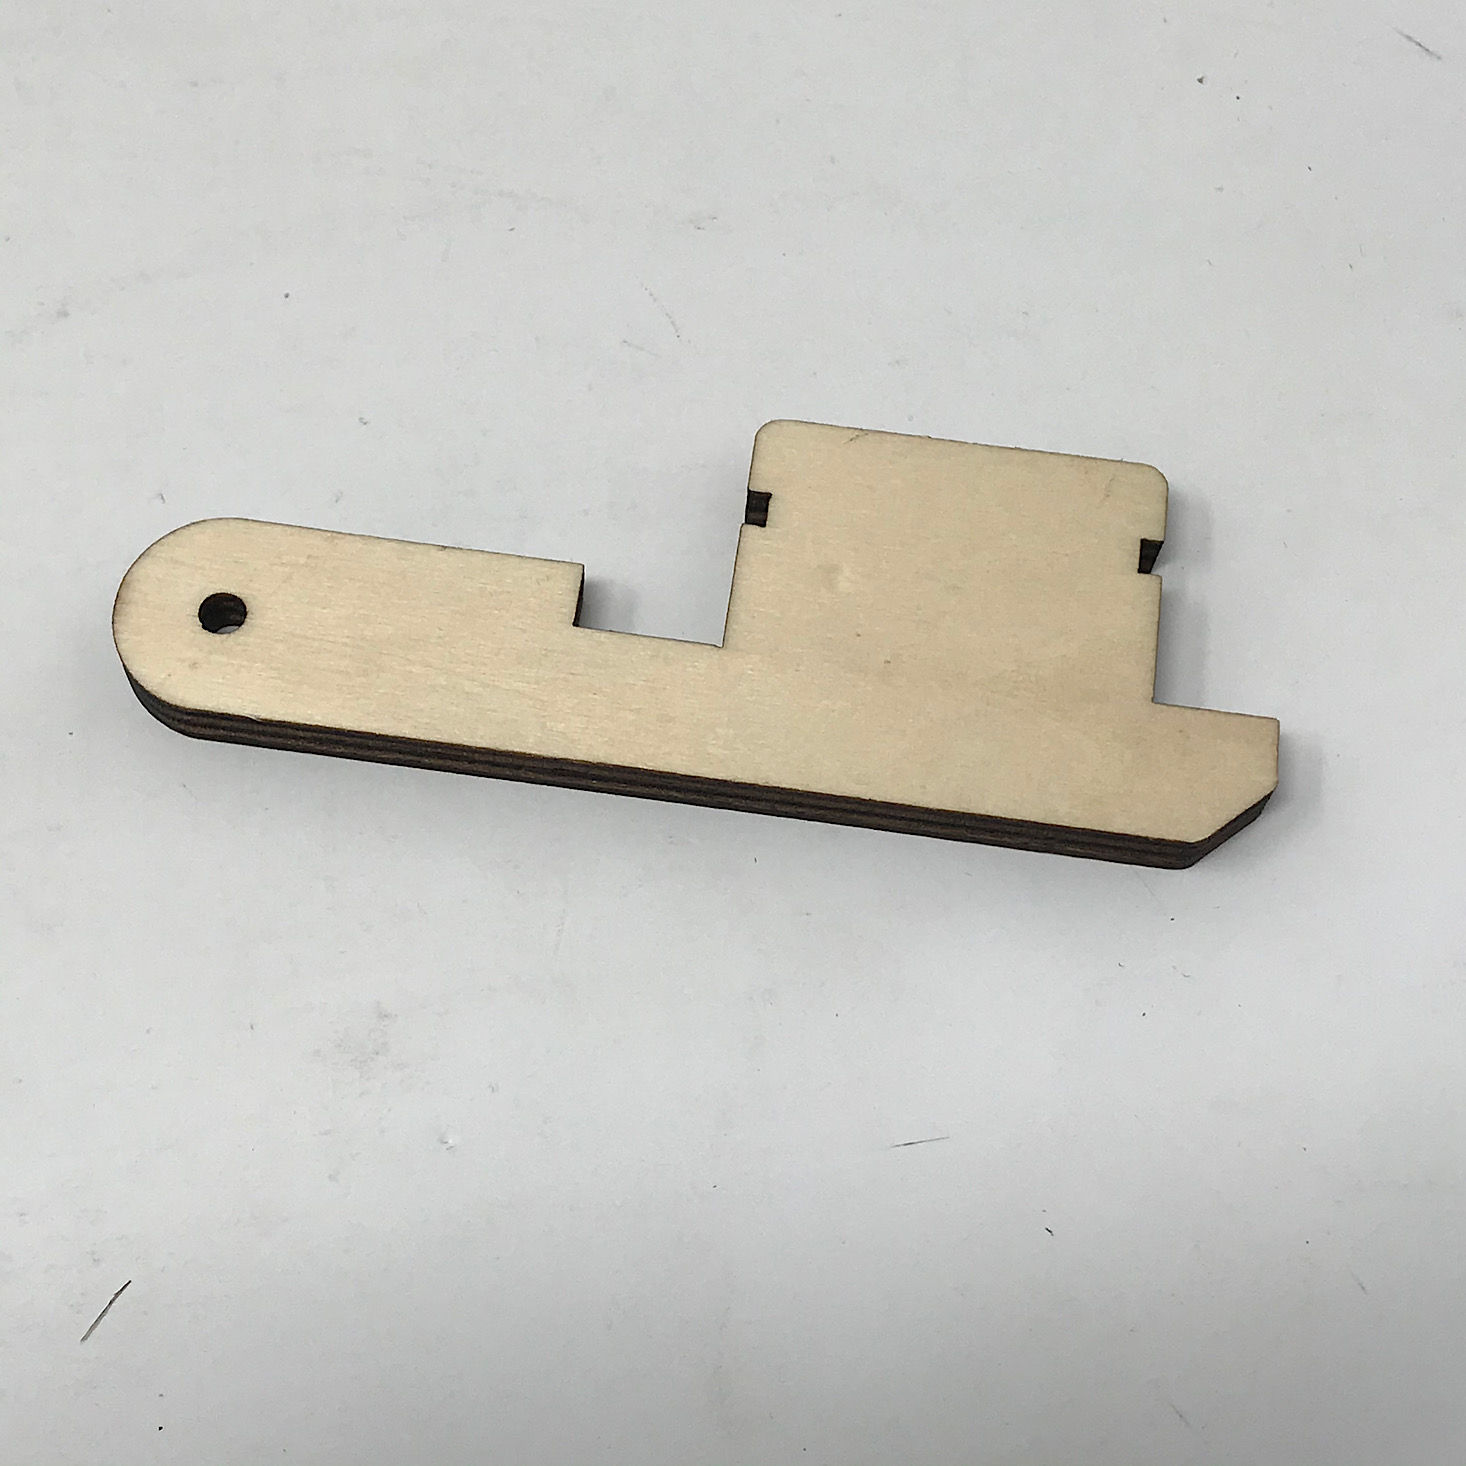
Our first step was to connect these pieces together.


1 of 3
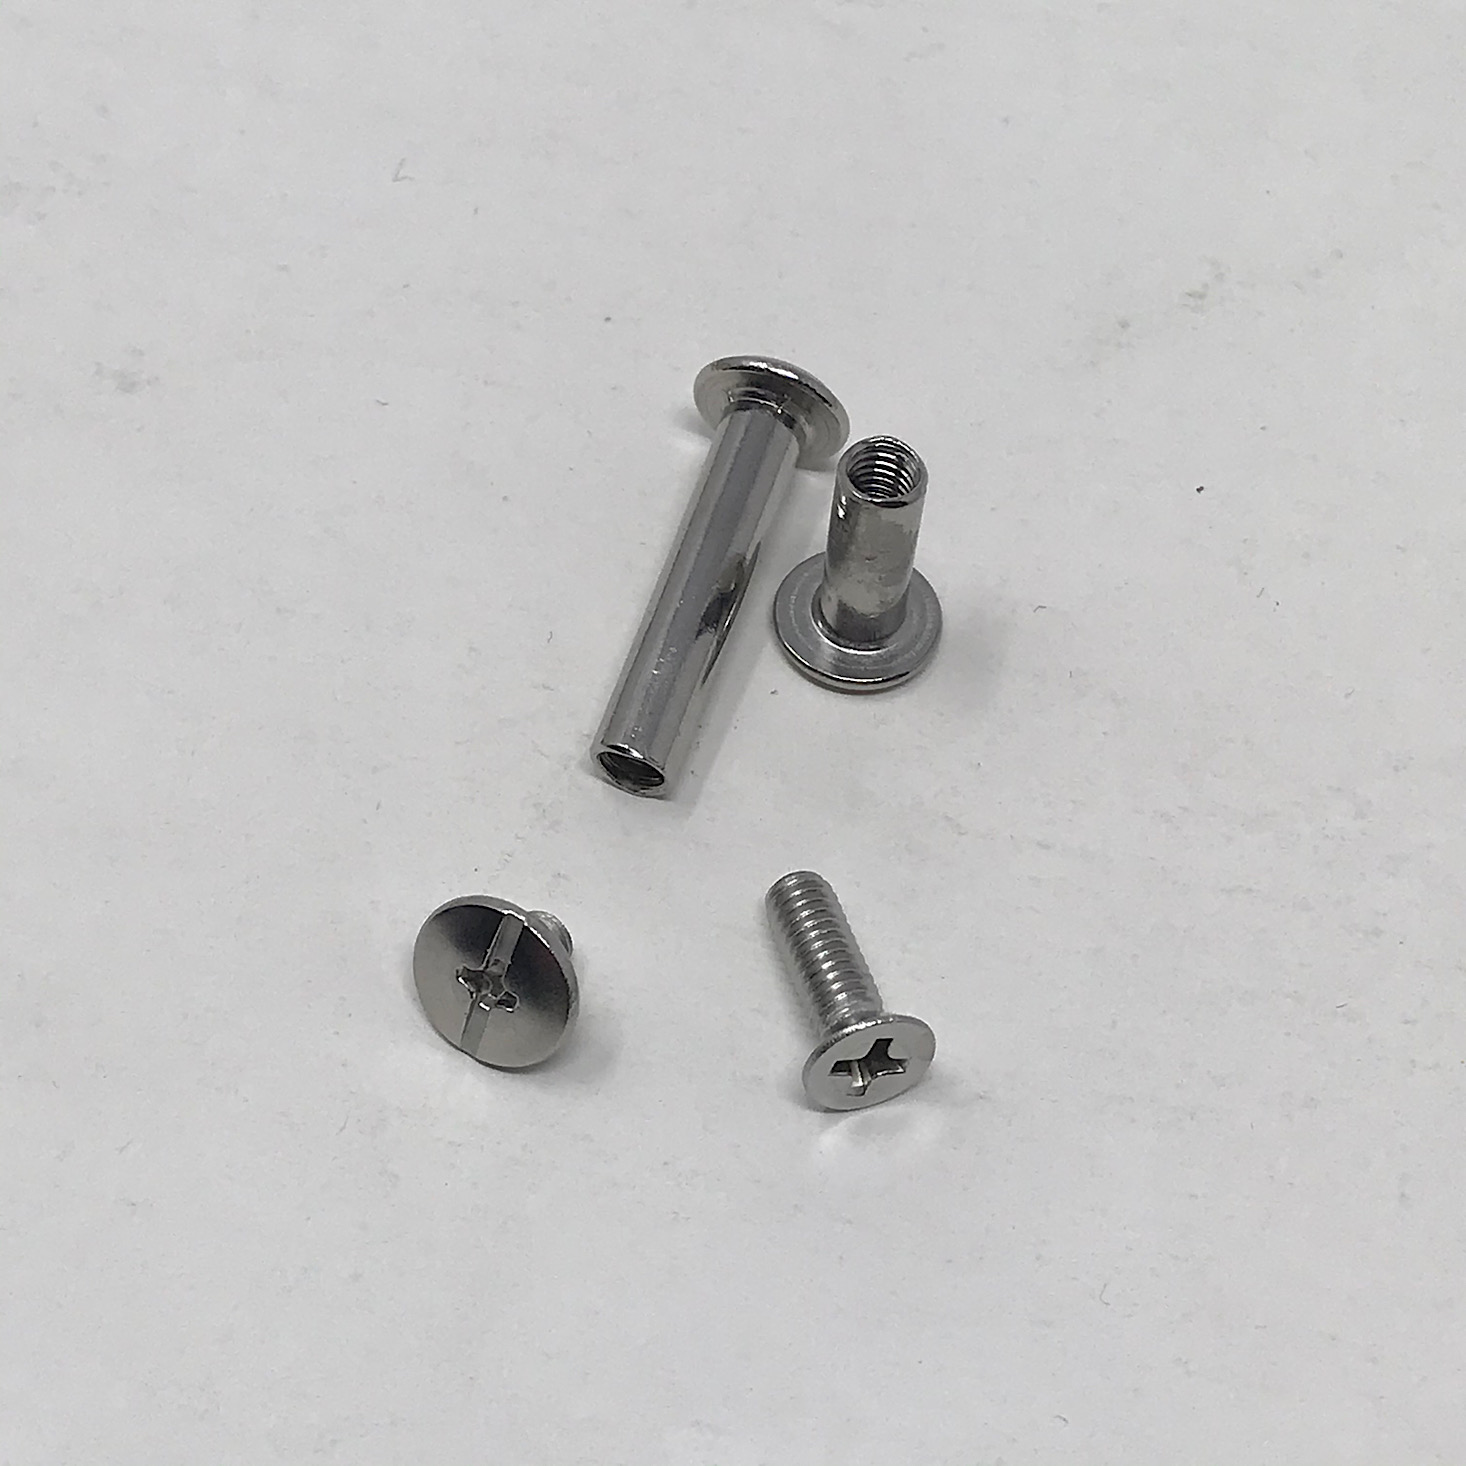
They provided a mini screwdriver, several washers and several bolts and screws in two different sizes.

1 of 3
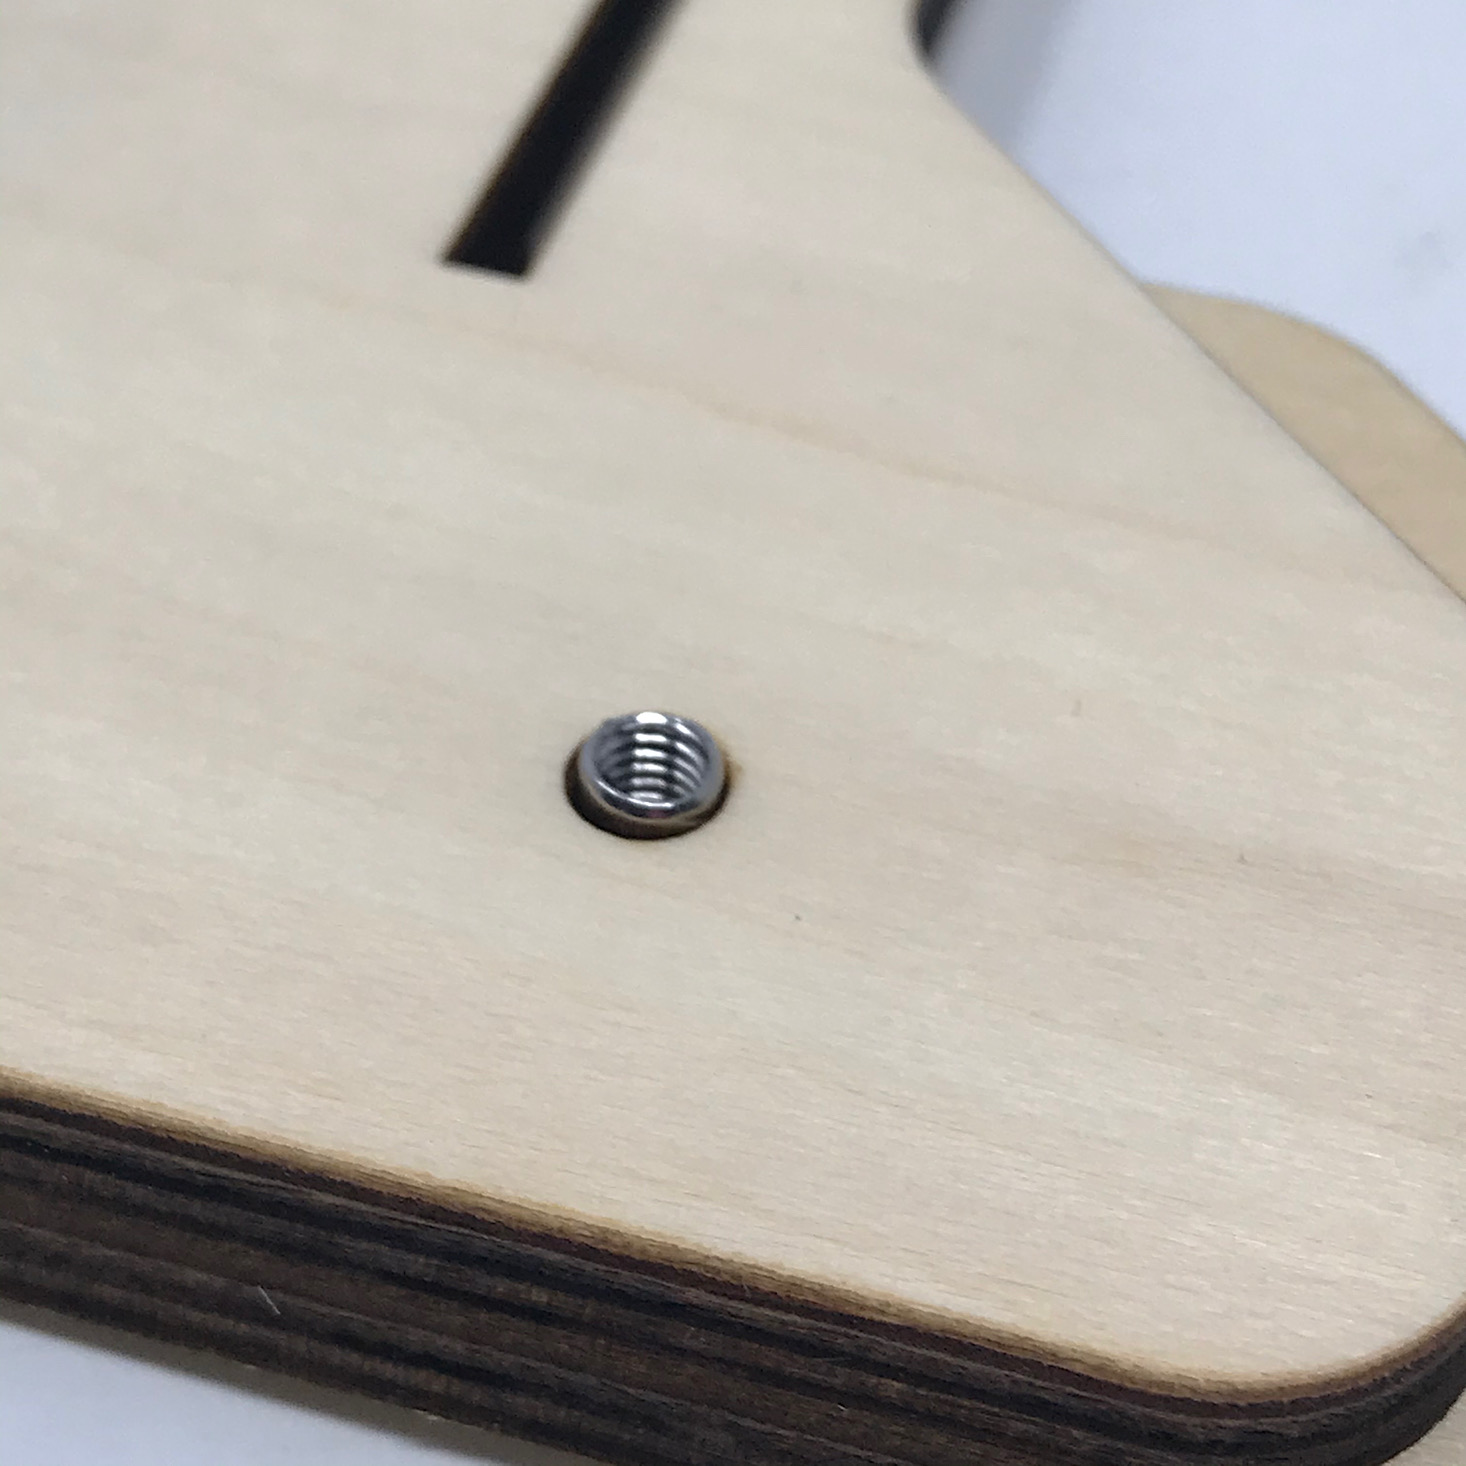
I connected the pieces using the shorter screws and bolts and added a few washers so that the pieces were able to move freely, but not swing apart.

1 of 4
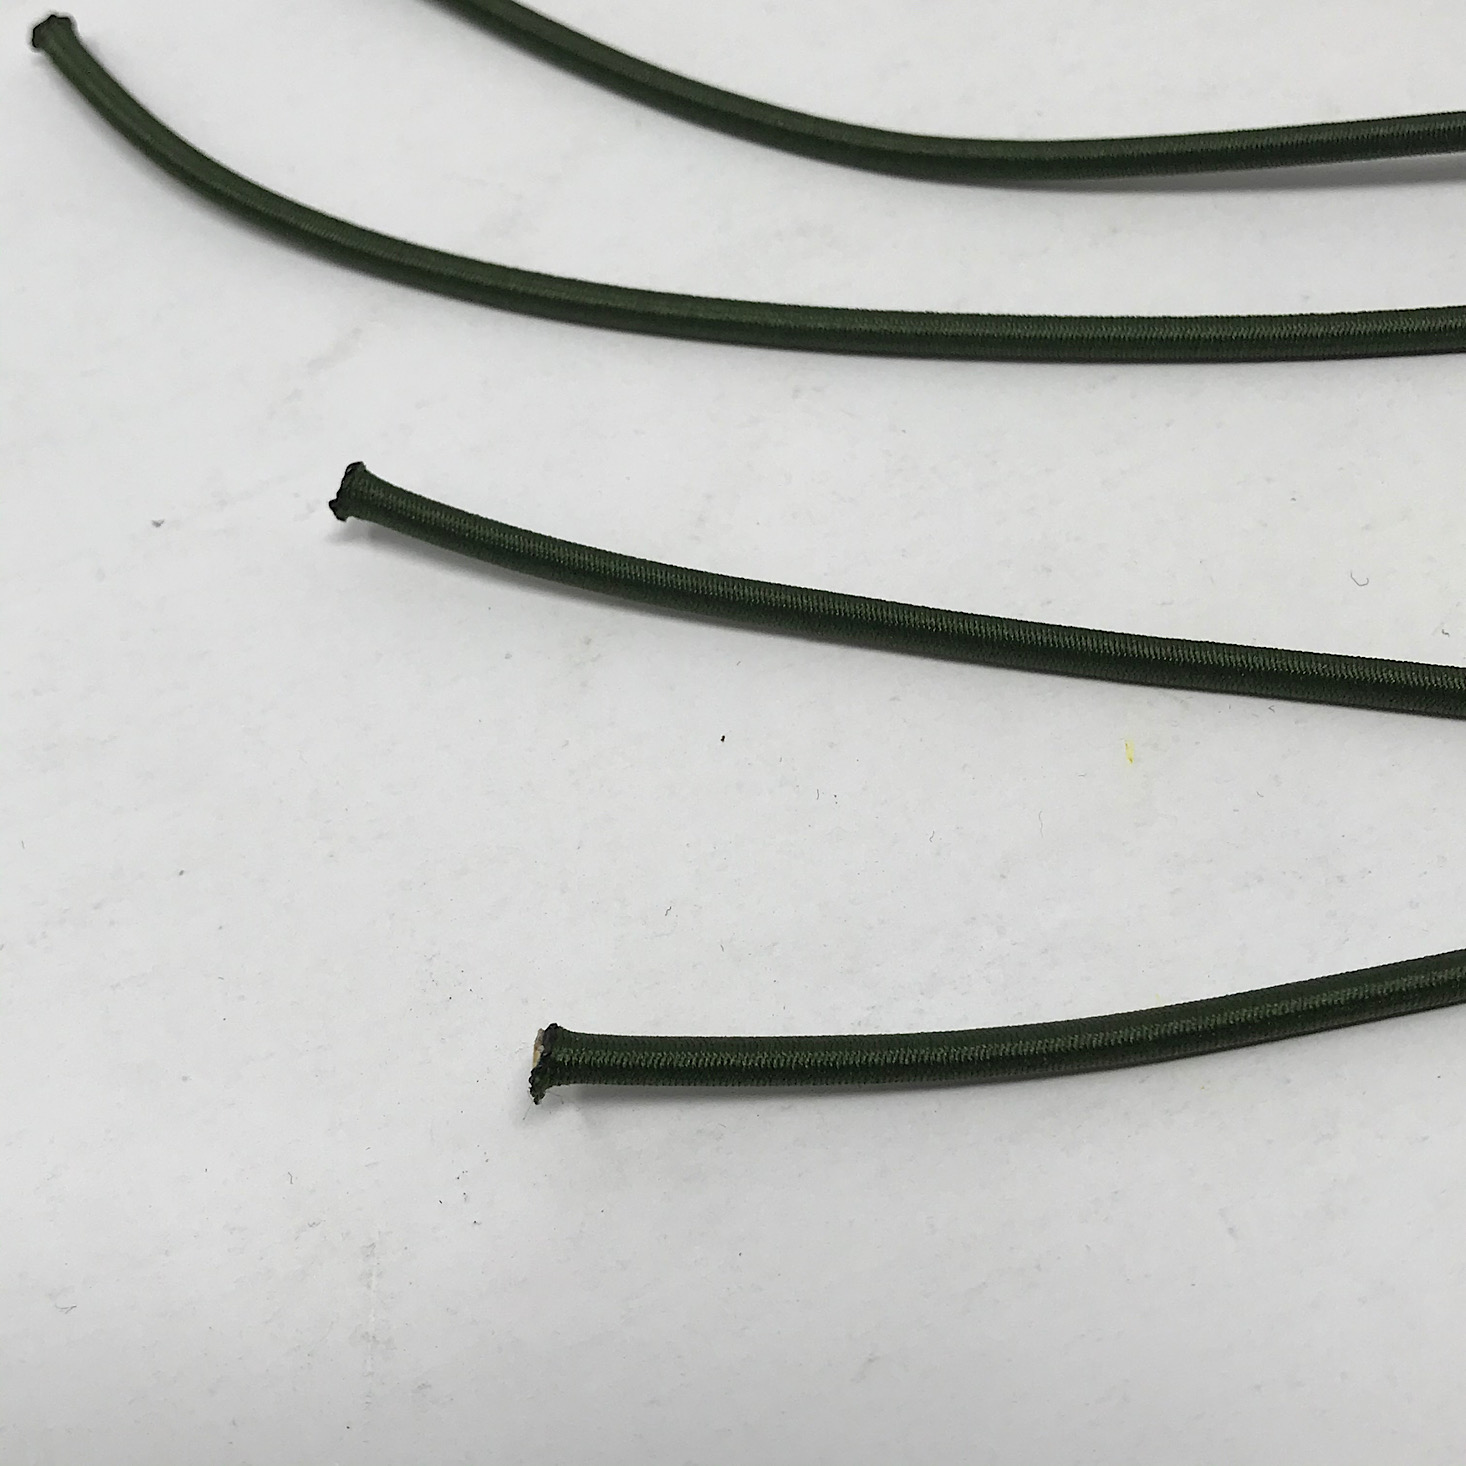
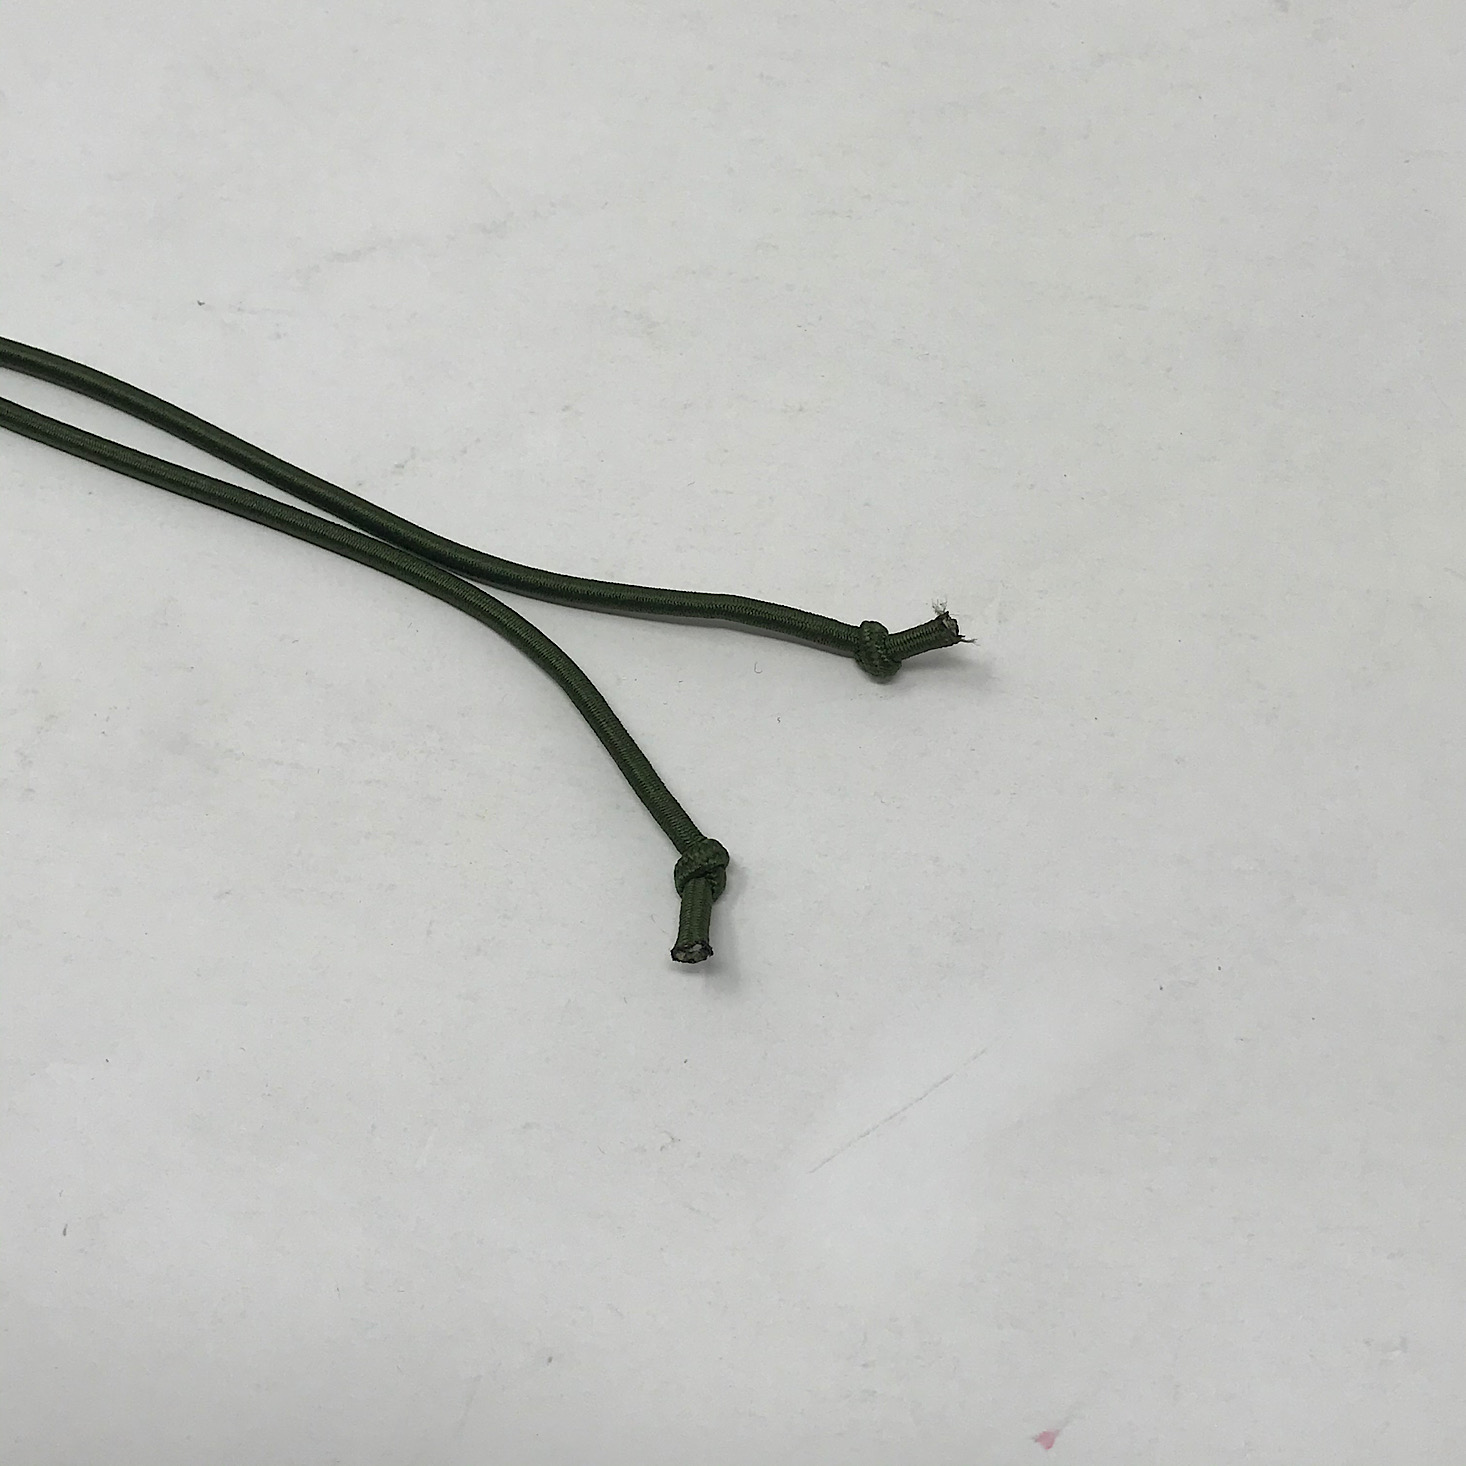
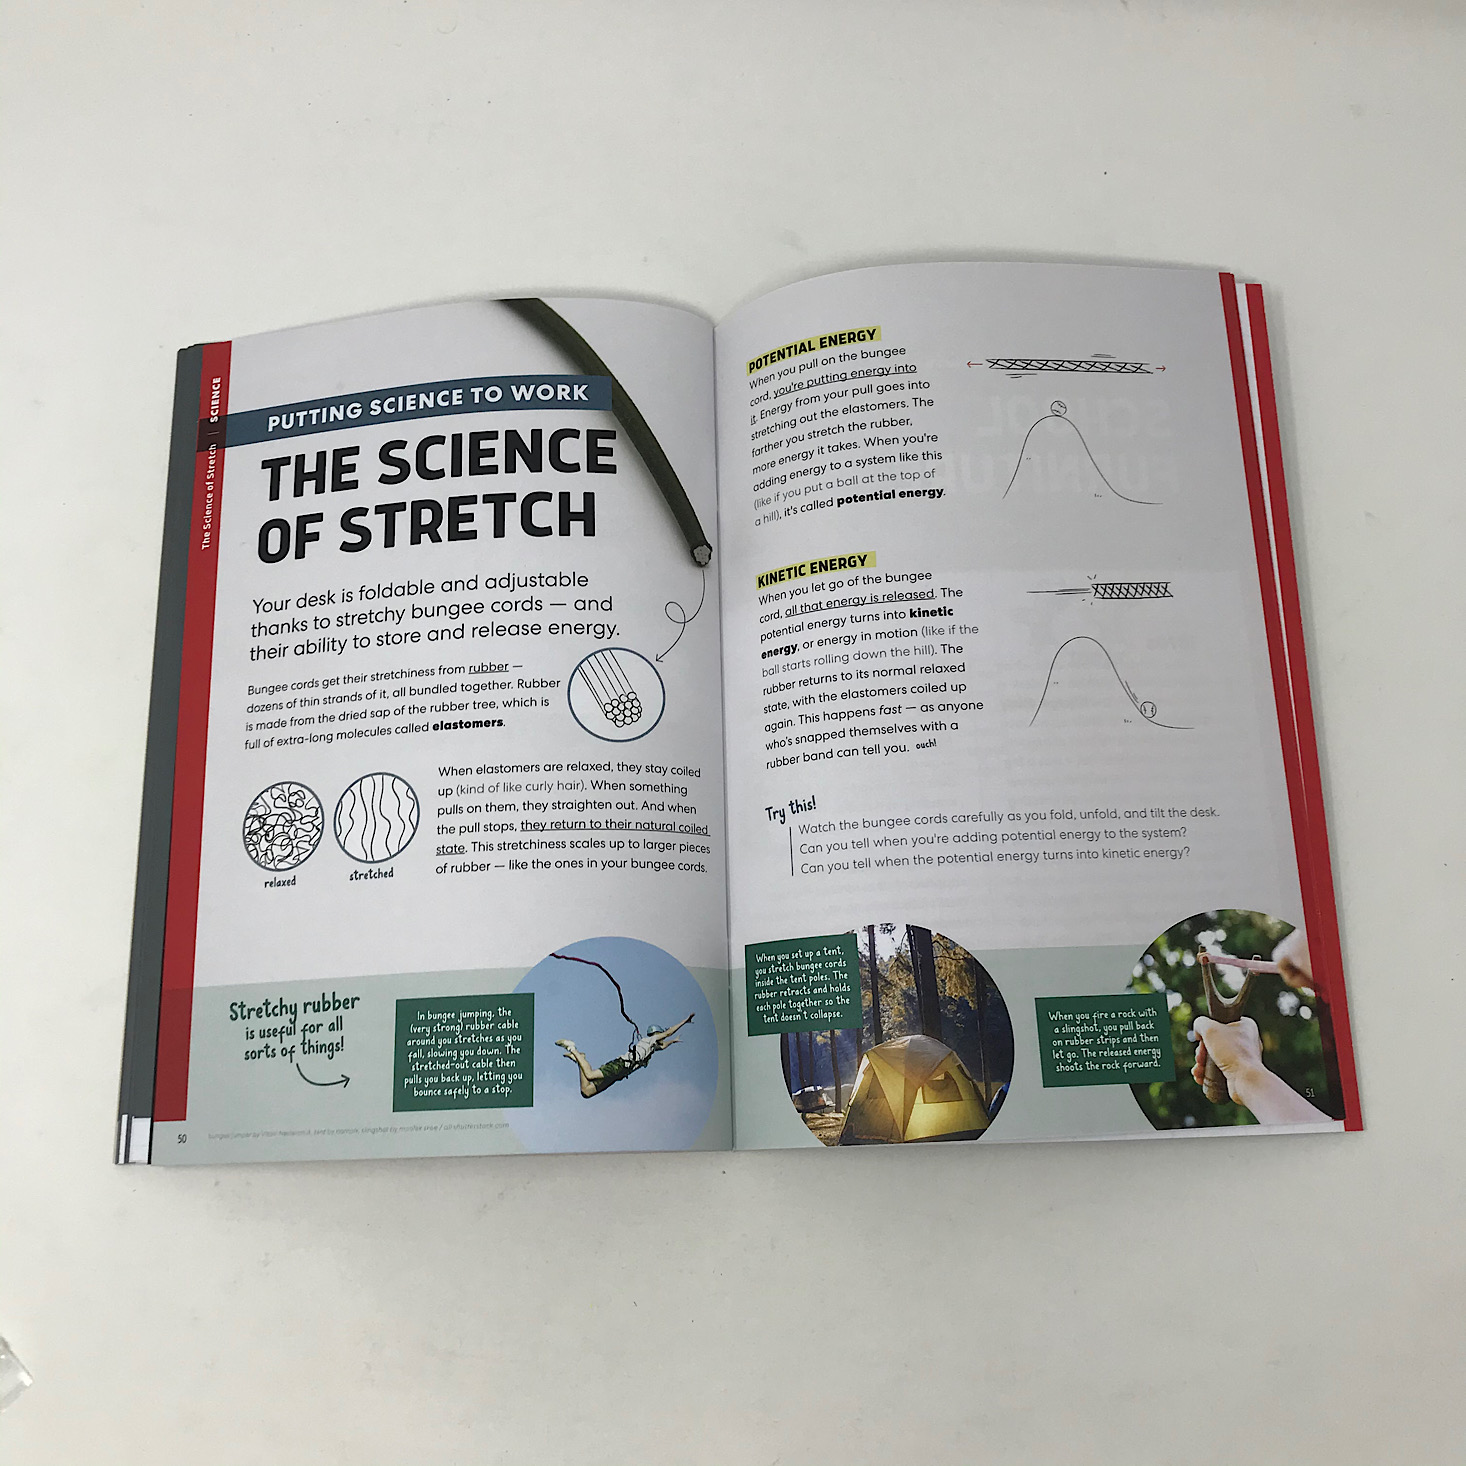
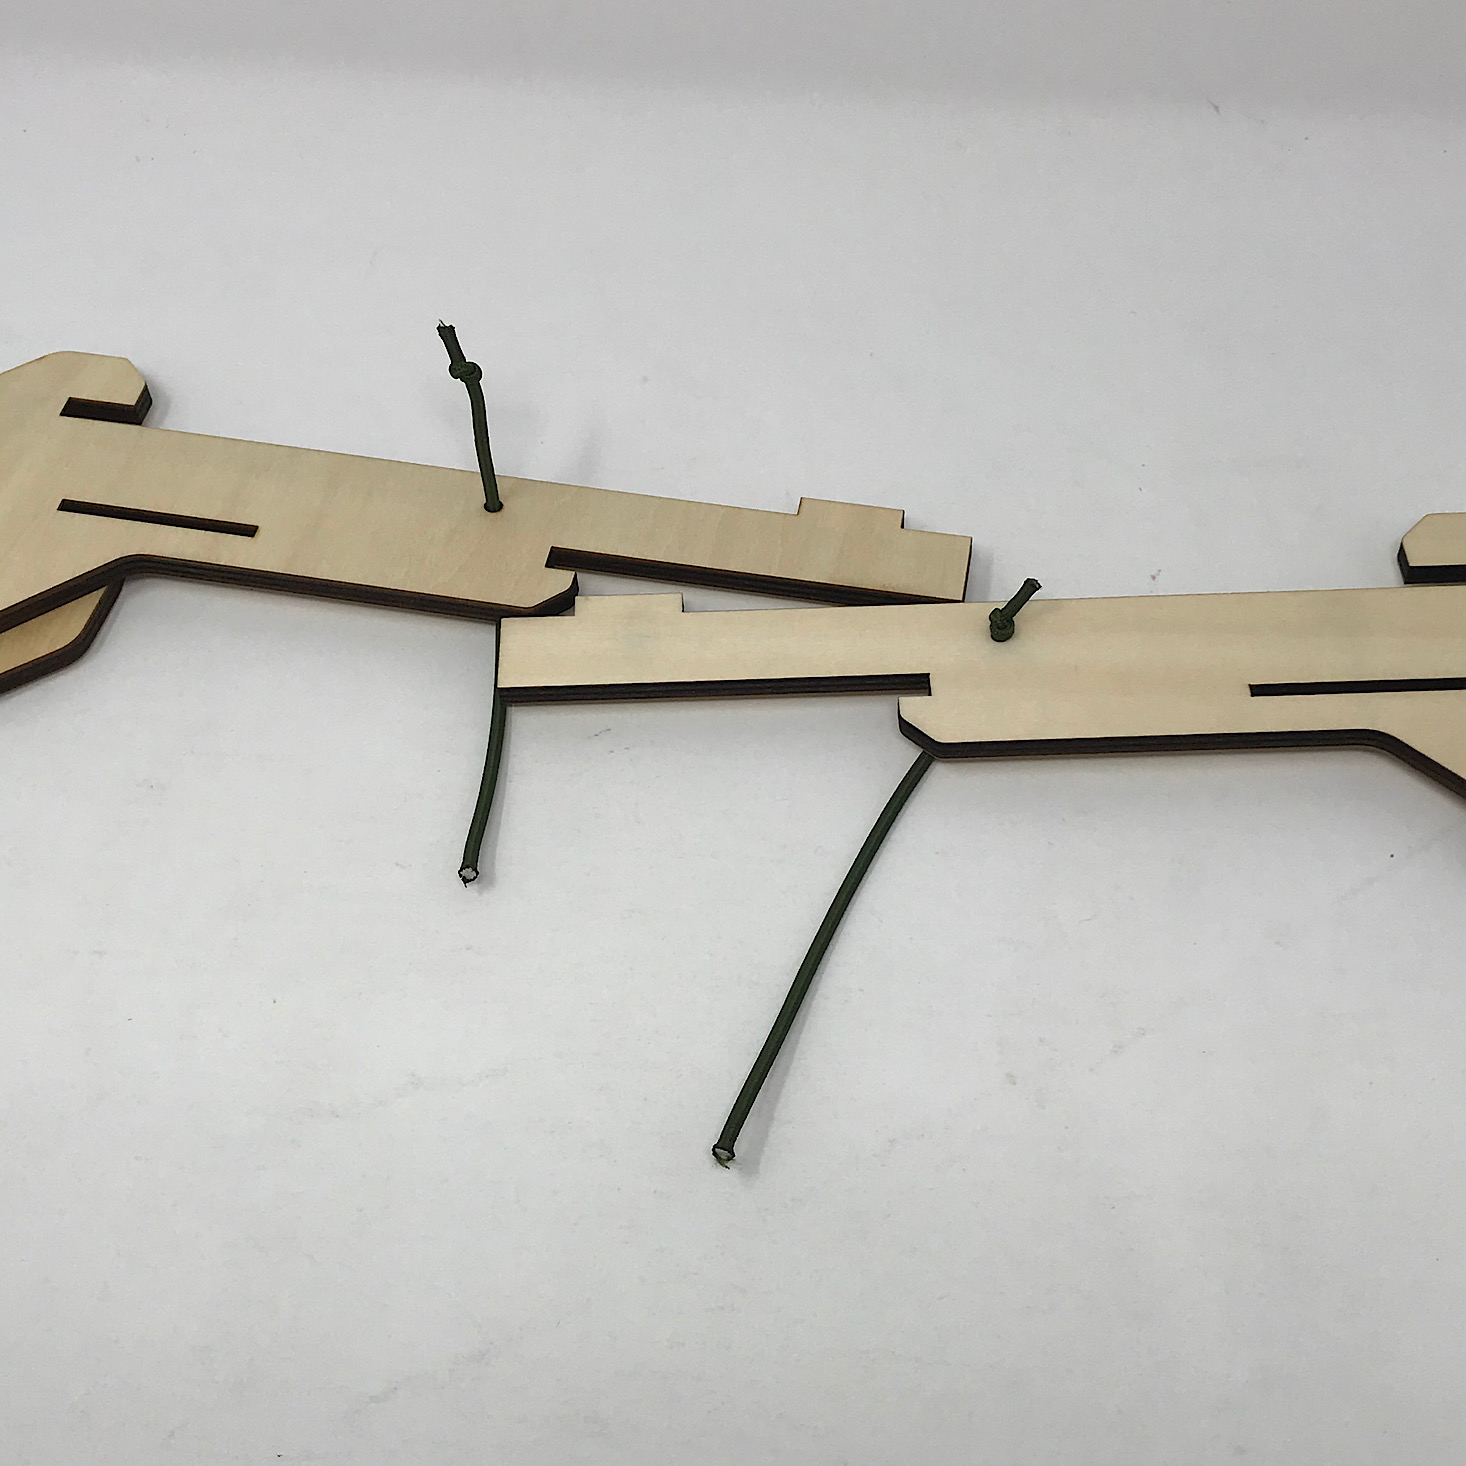
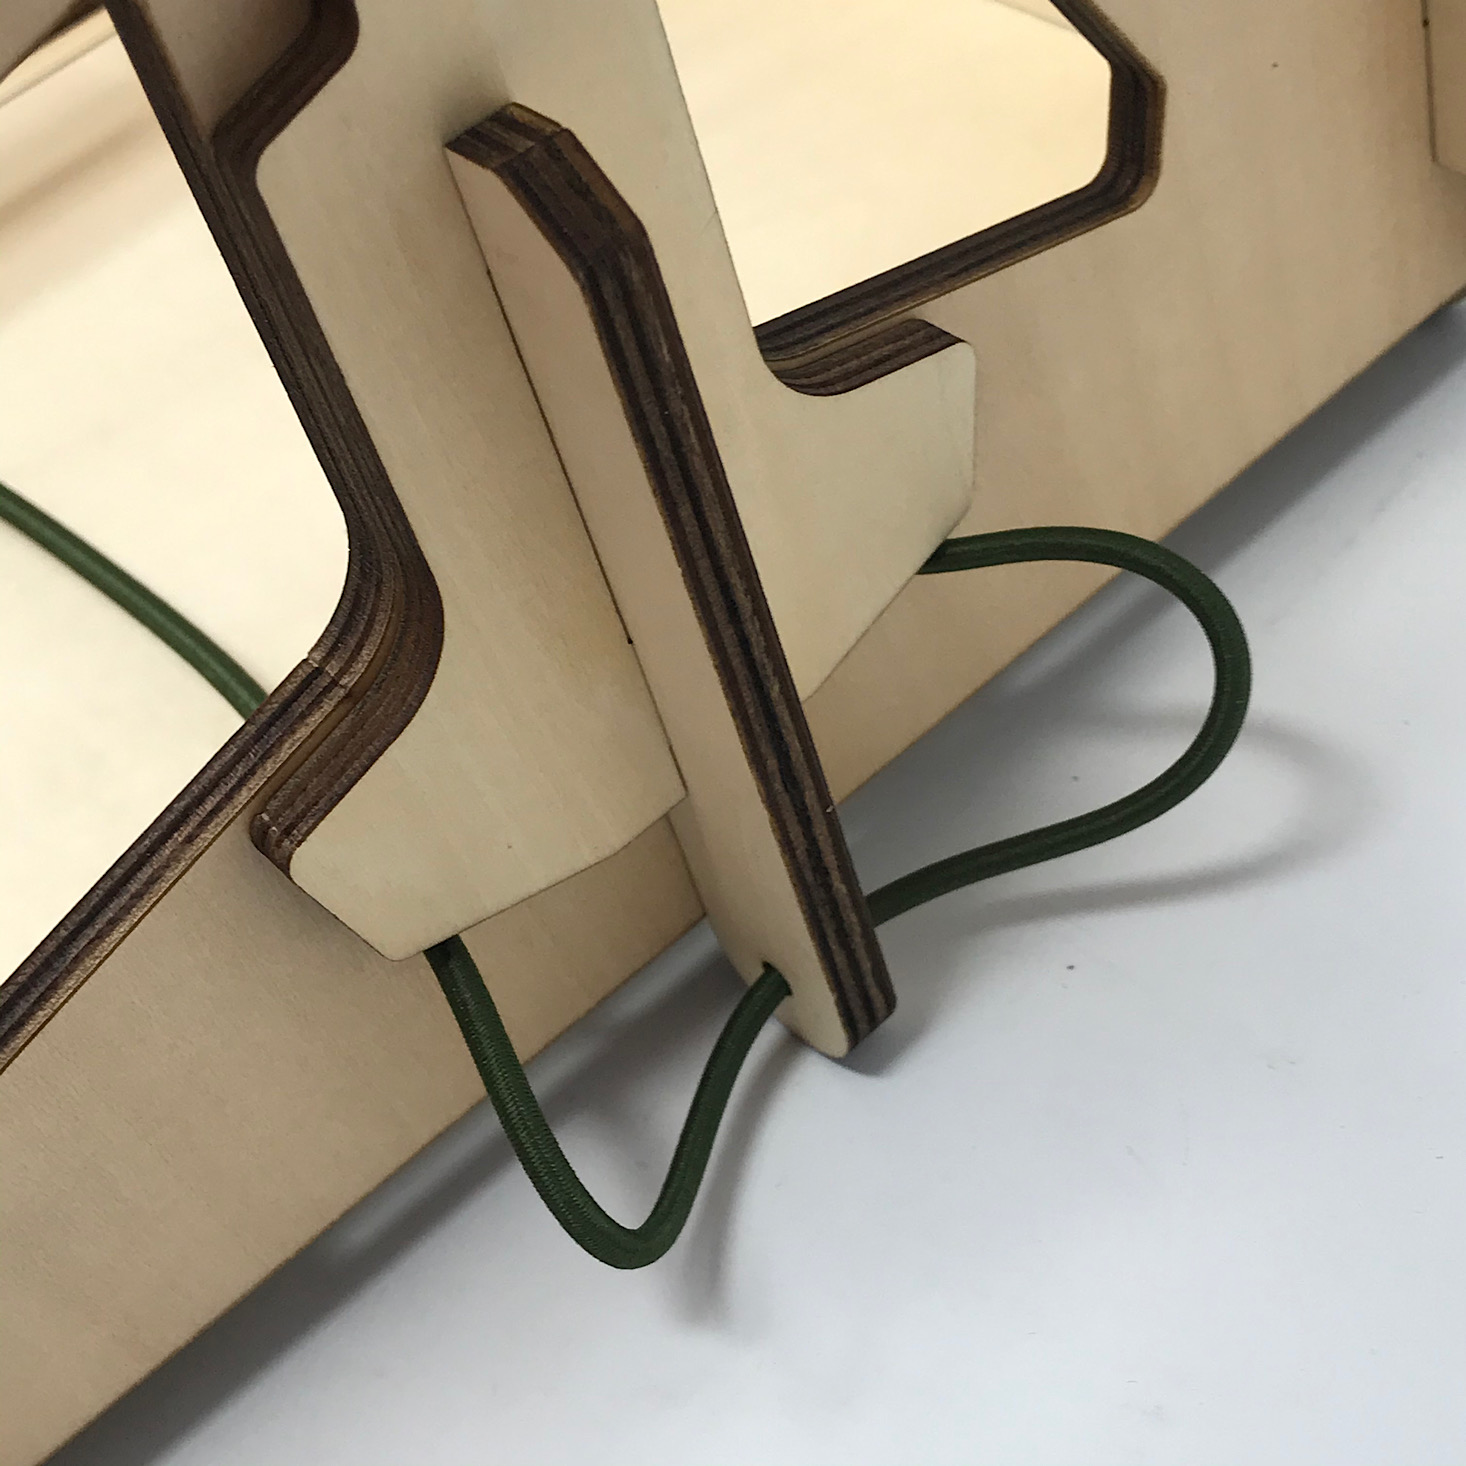
Then I tied a knot at the end of the shorter of these bungee strings and put them through the holes on the arm of the longer pieces.
1 of 2
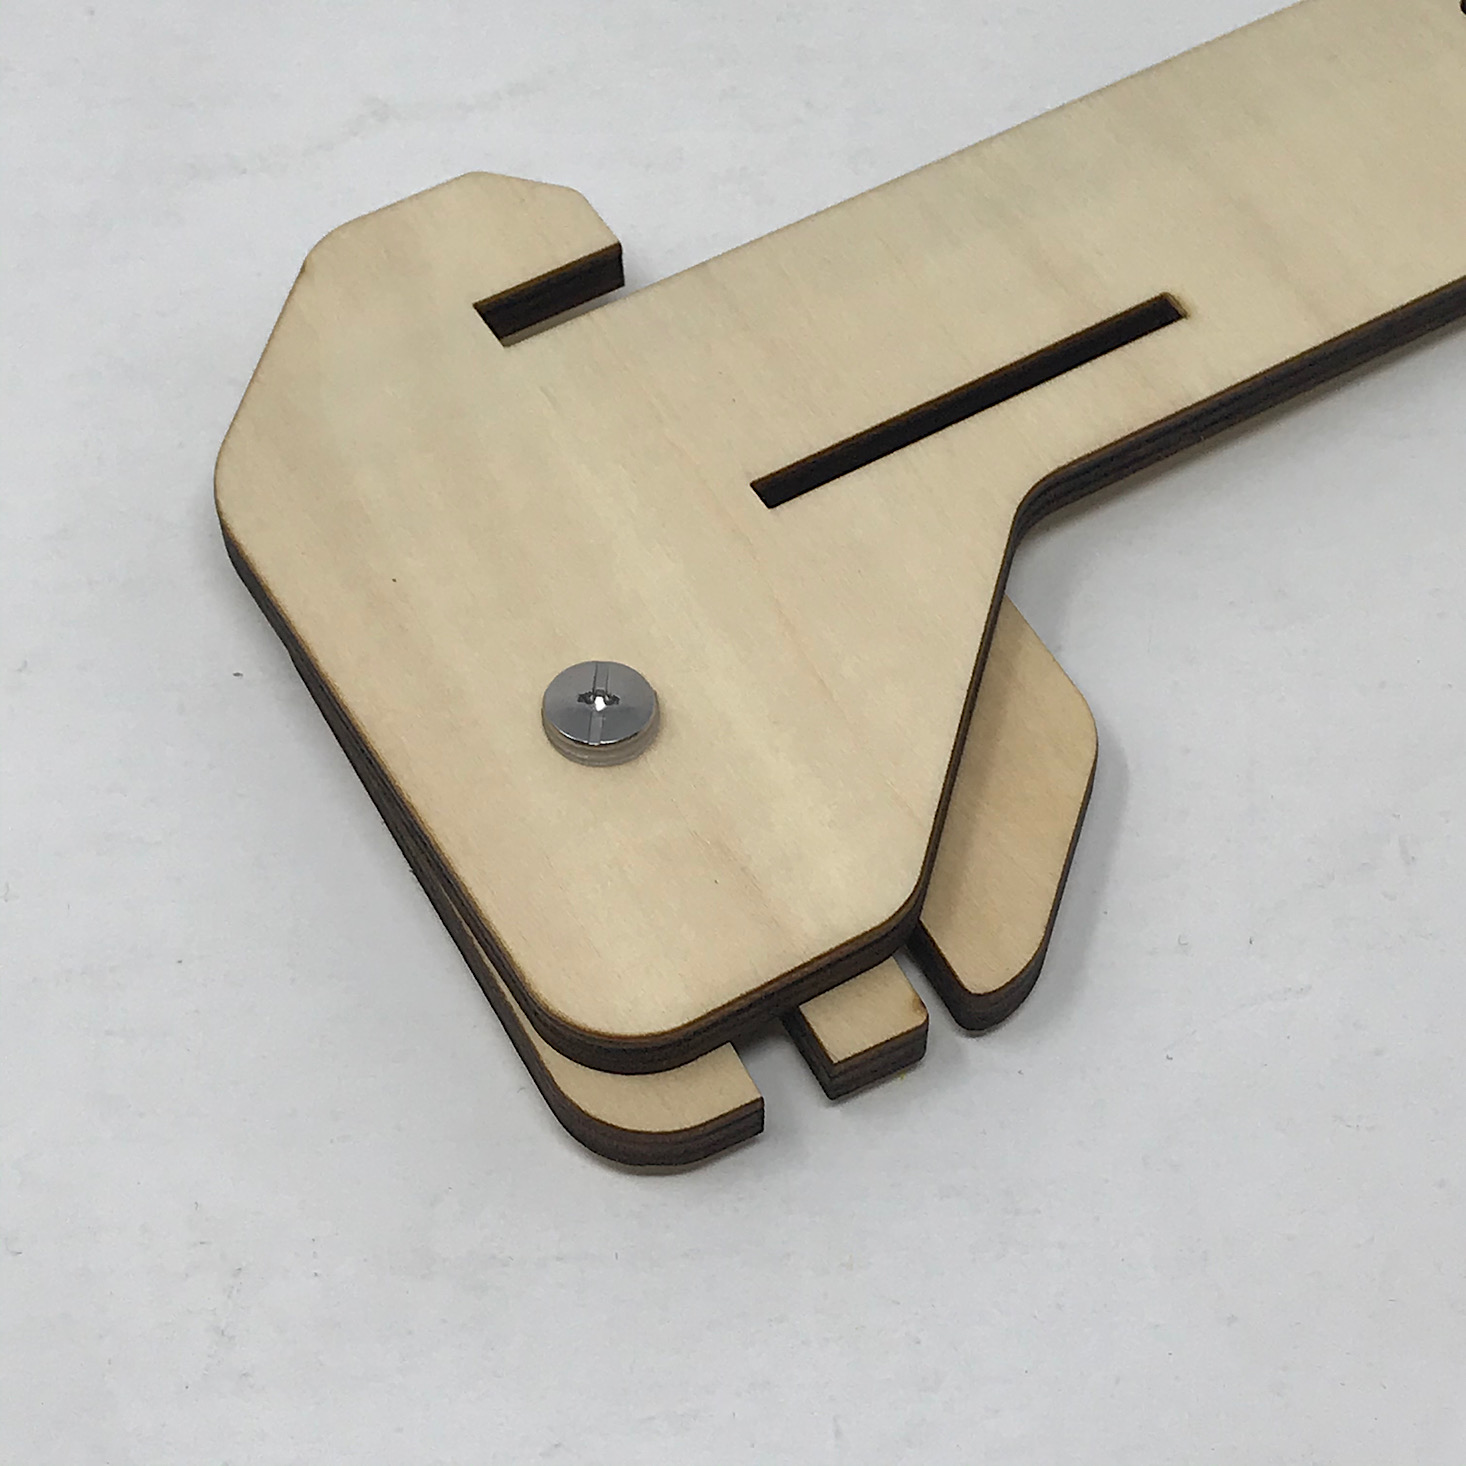
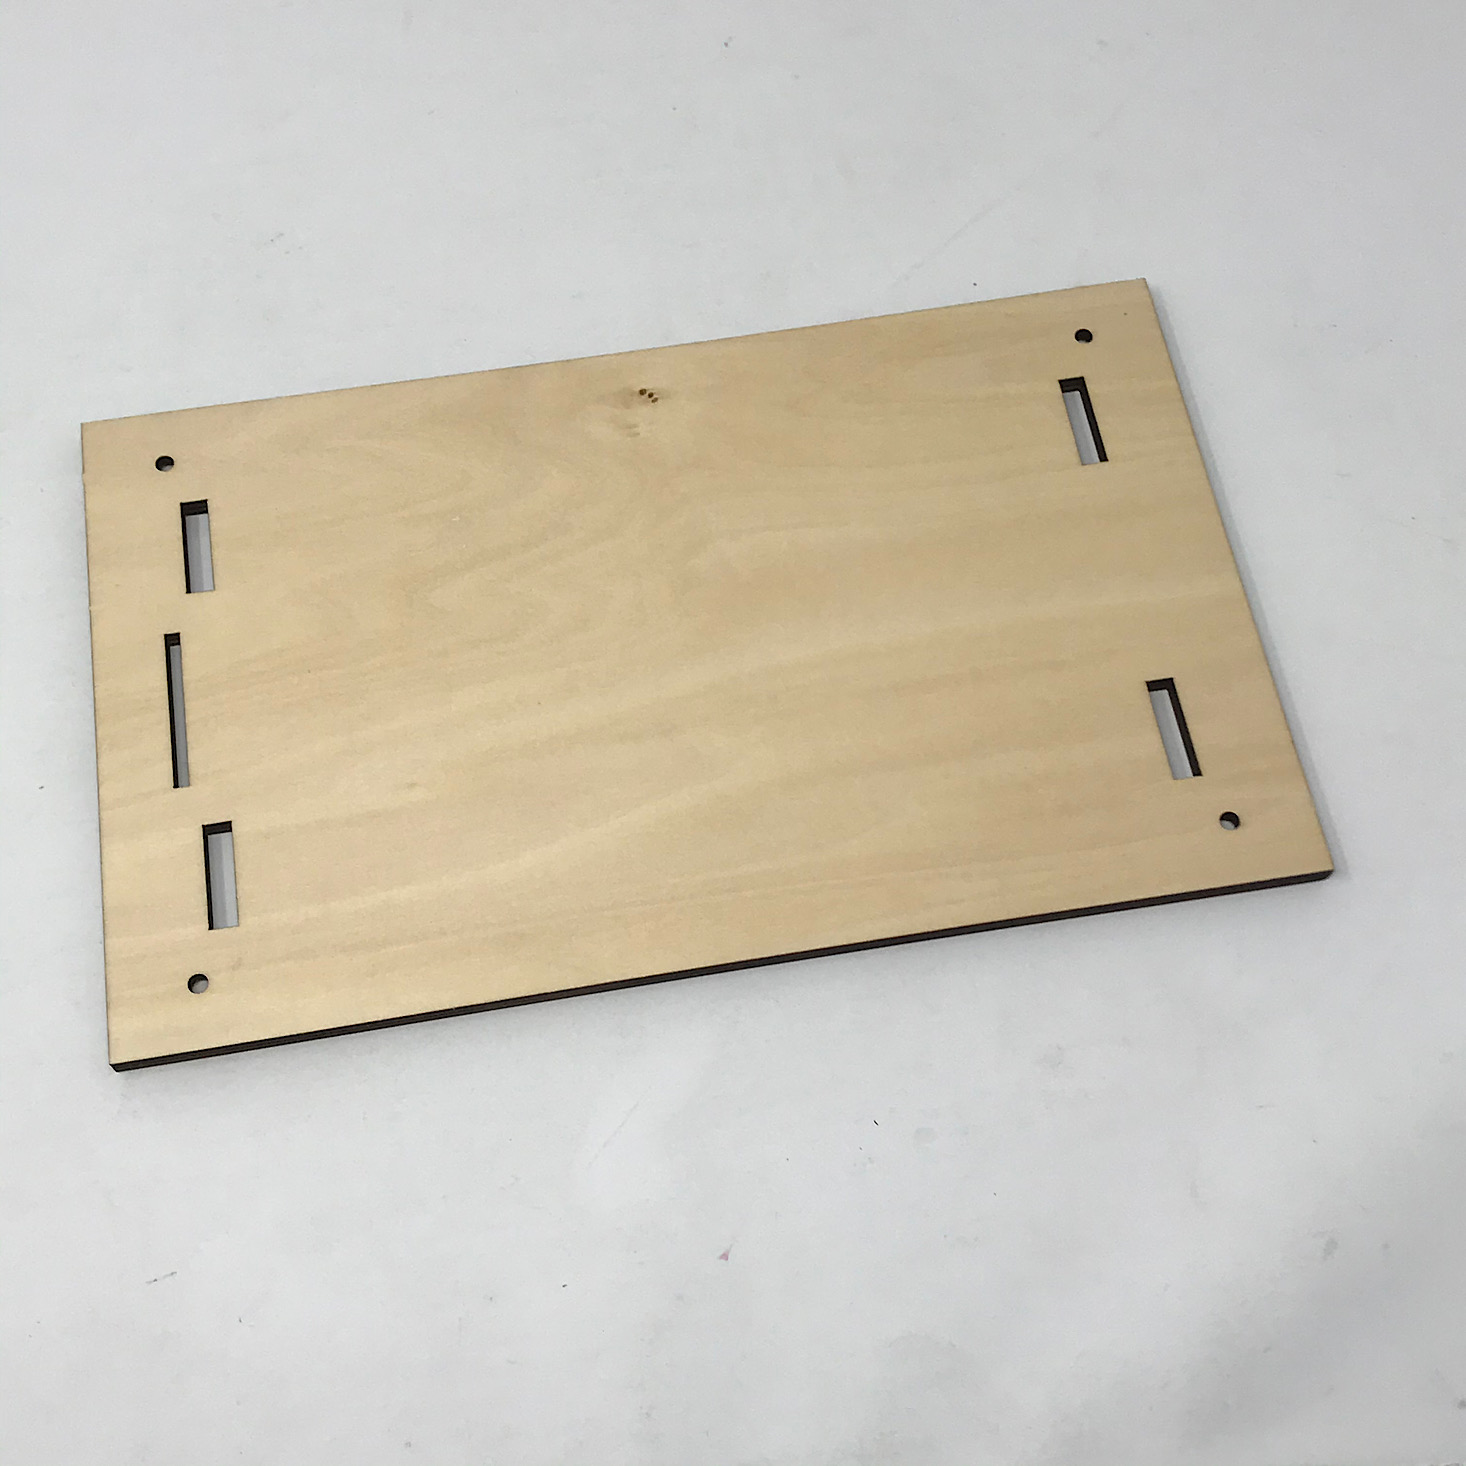
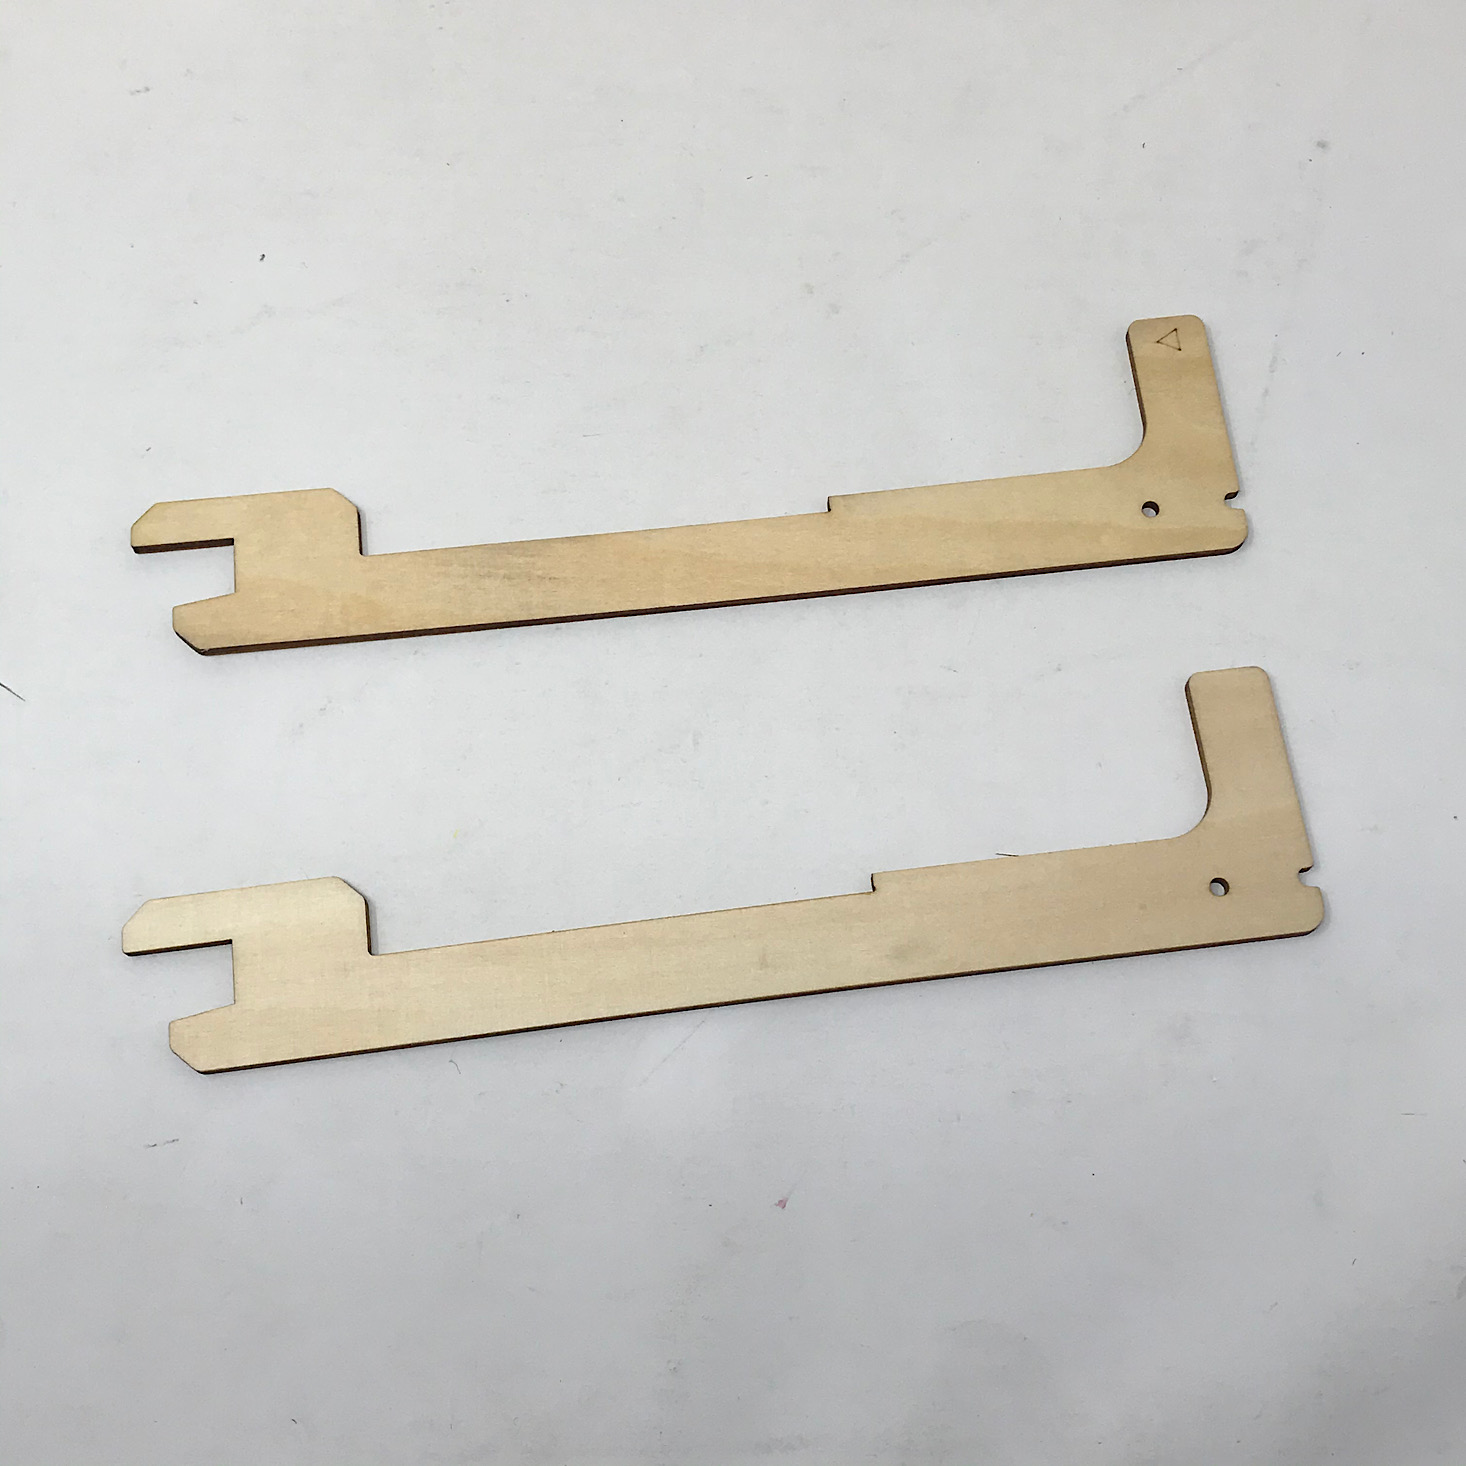
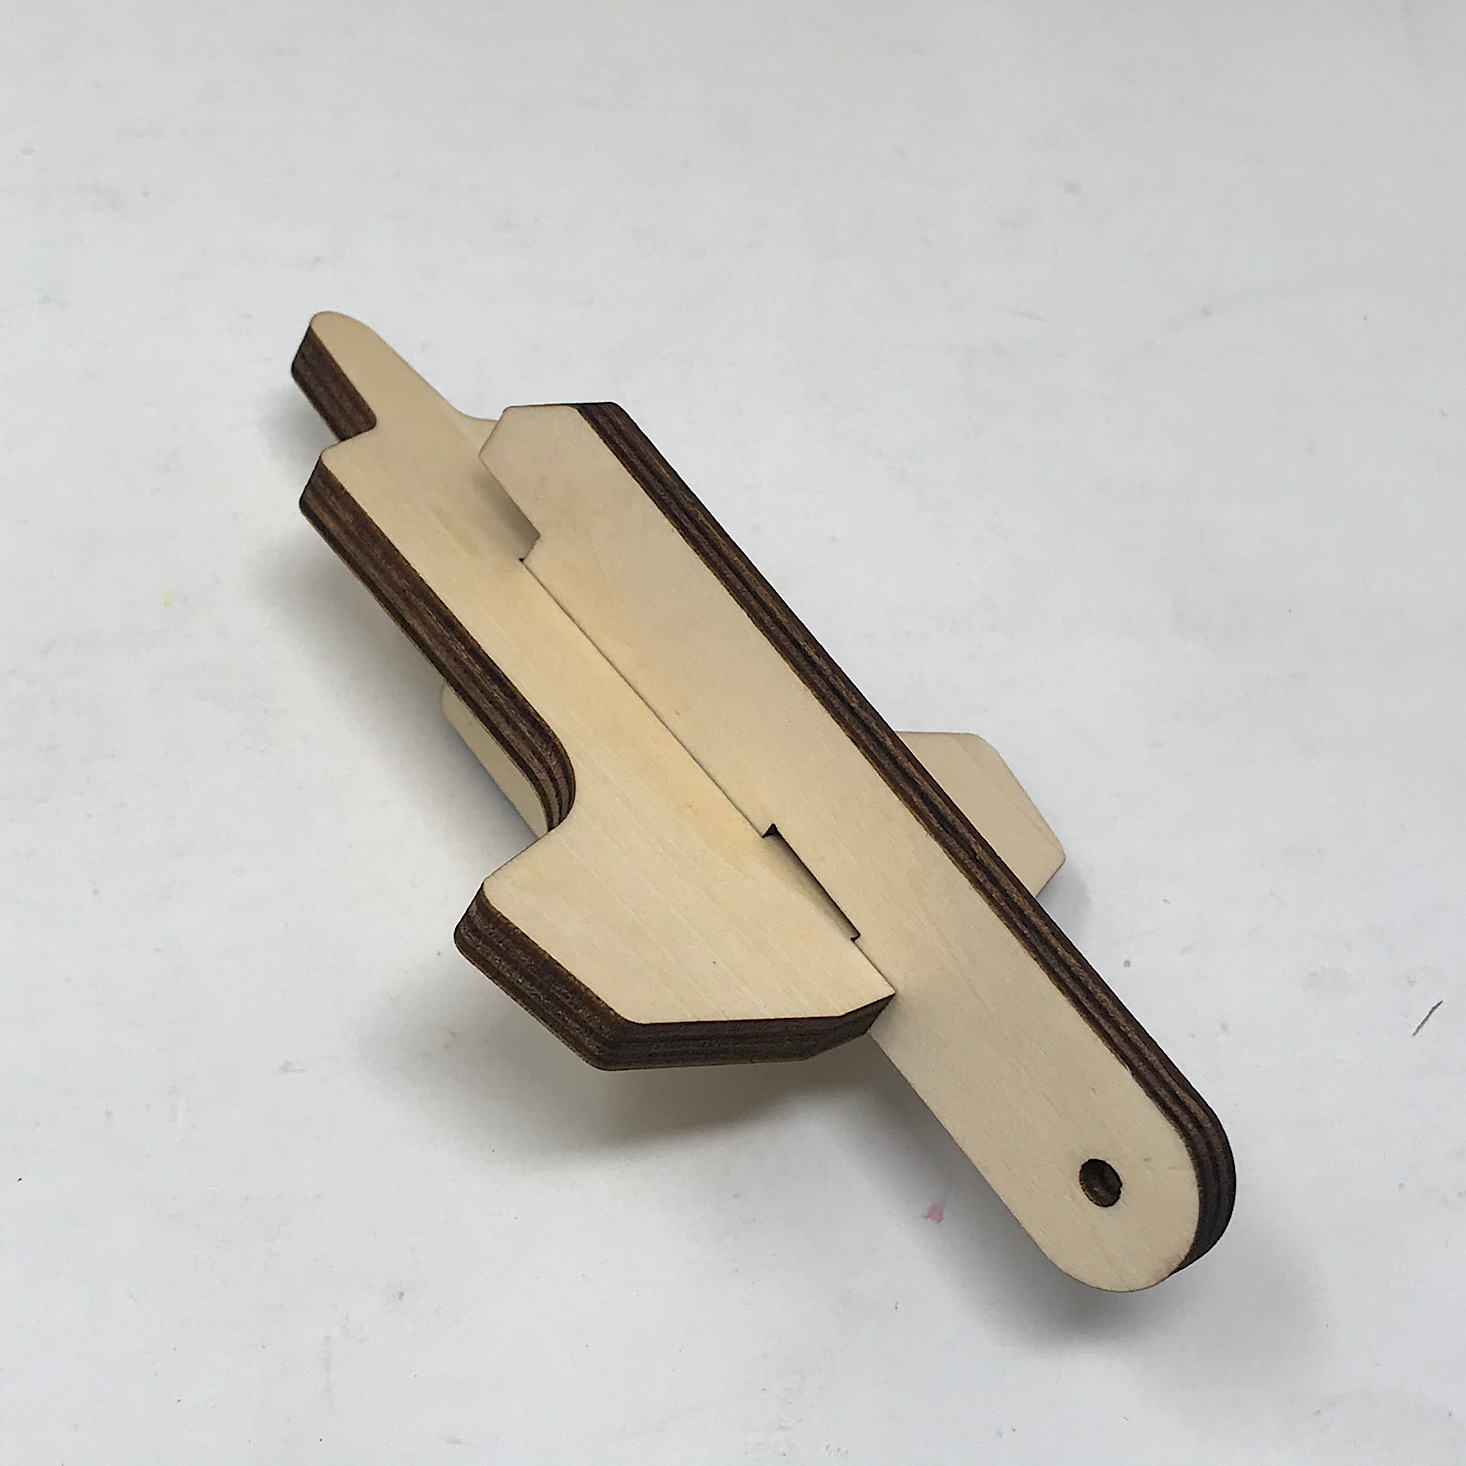
Next, I slid those arms into the notches on one of these rectangular pieces paying close attention to the orientation of the pieces, which is one thing I had to do throughout this entire project!

1 of 3
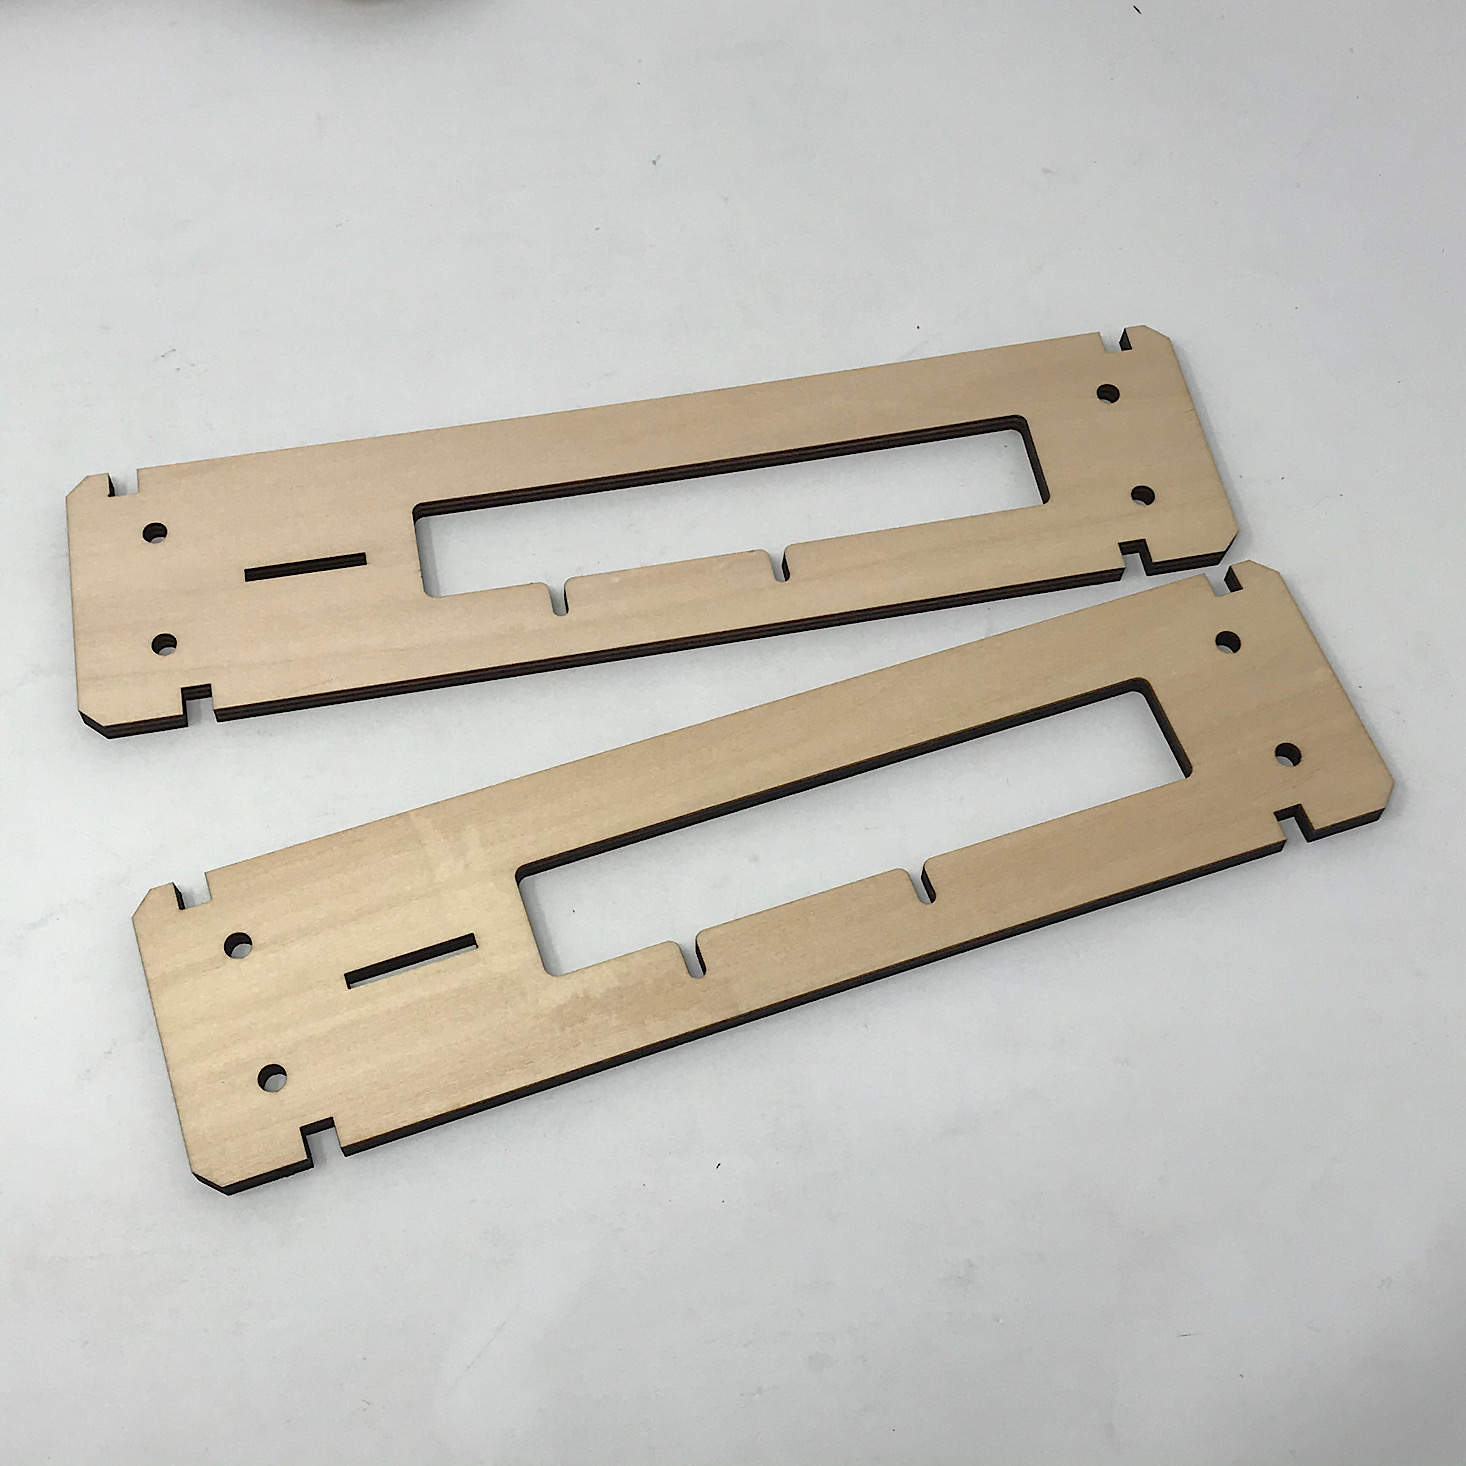
I added this larger rectangle on top and made sure to line up the notches before adding screws to secure these three wooden pieces all together.

1 of 3

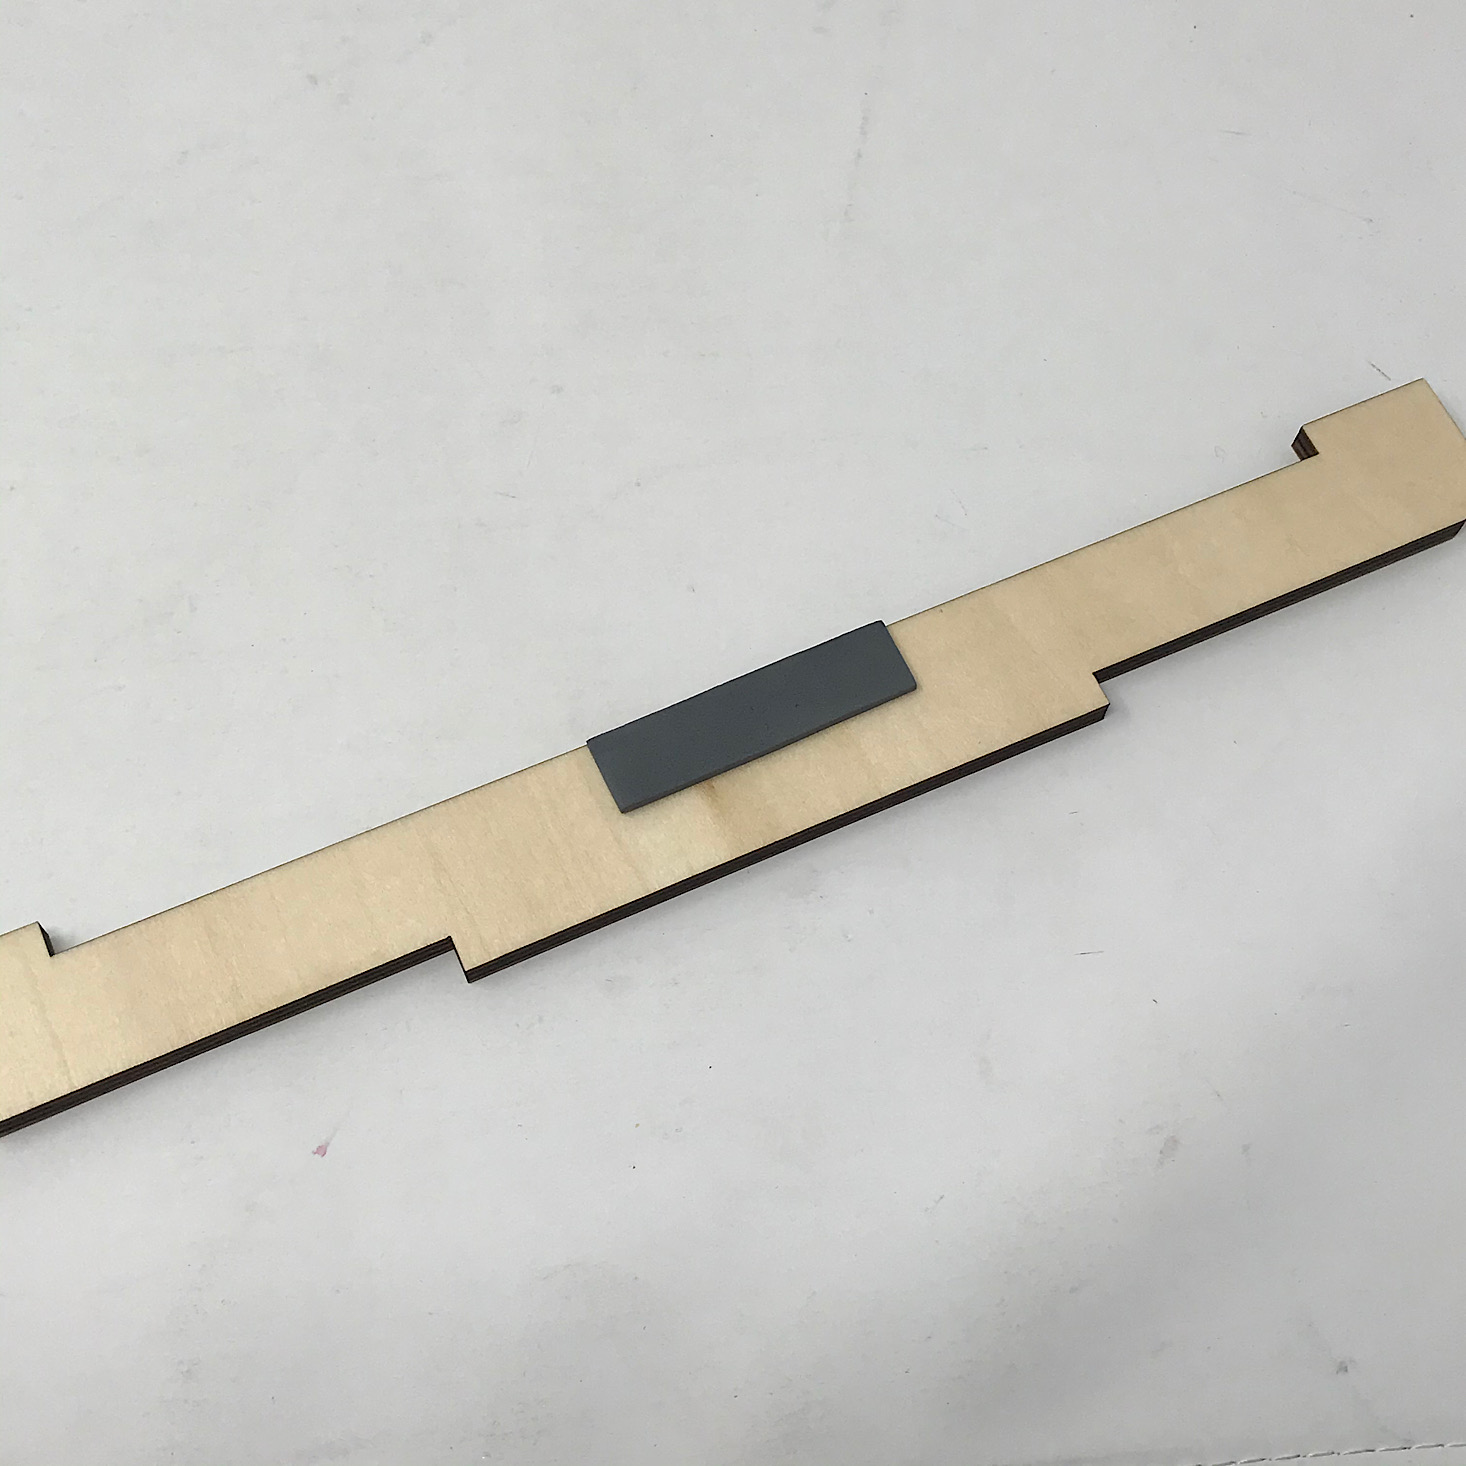
Then I added a foam rectangle to the center of this long wooden piece.
1 of 3

This fit snugly on the side of these pieces and I slid it into the notches to really hold it in place. Then I added the other arm piece I had prepared to the other side and the front piece was complete.
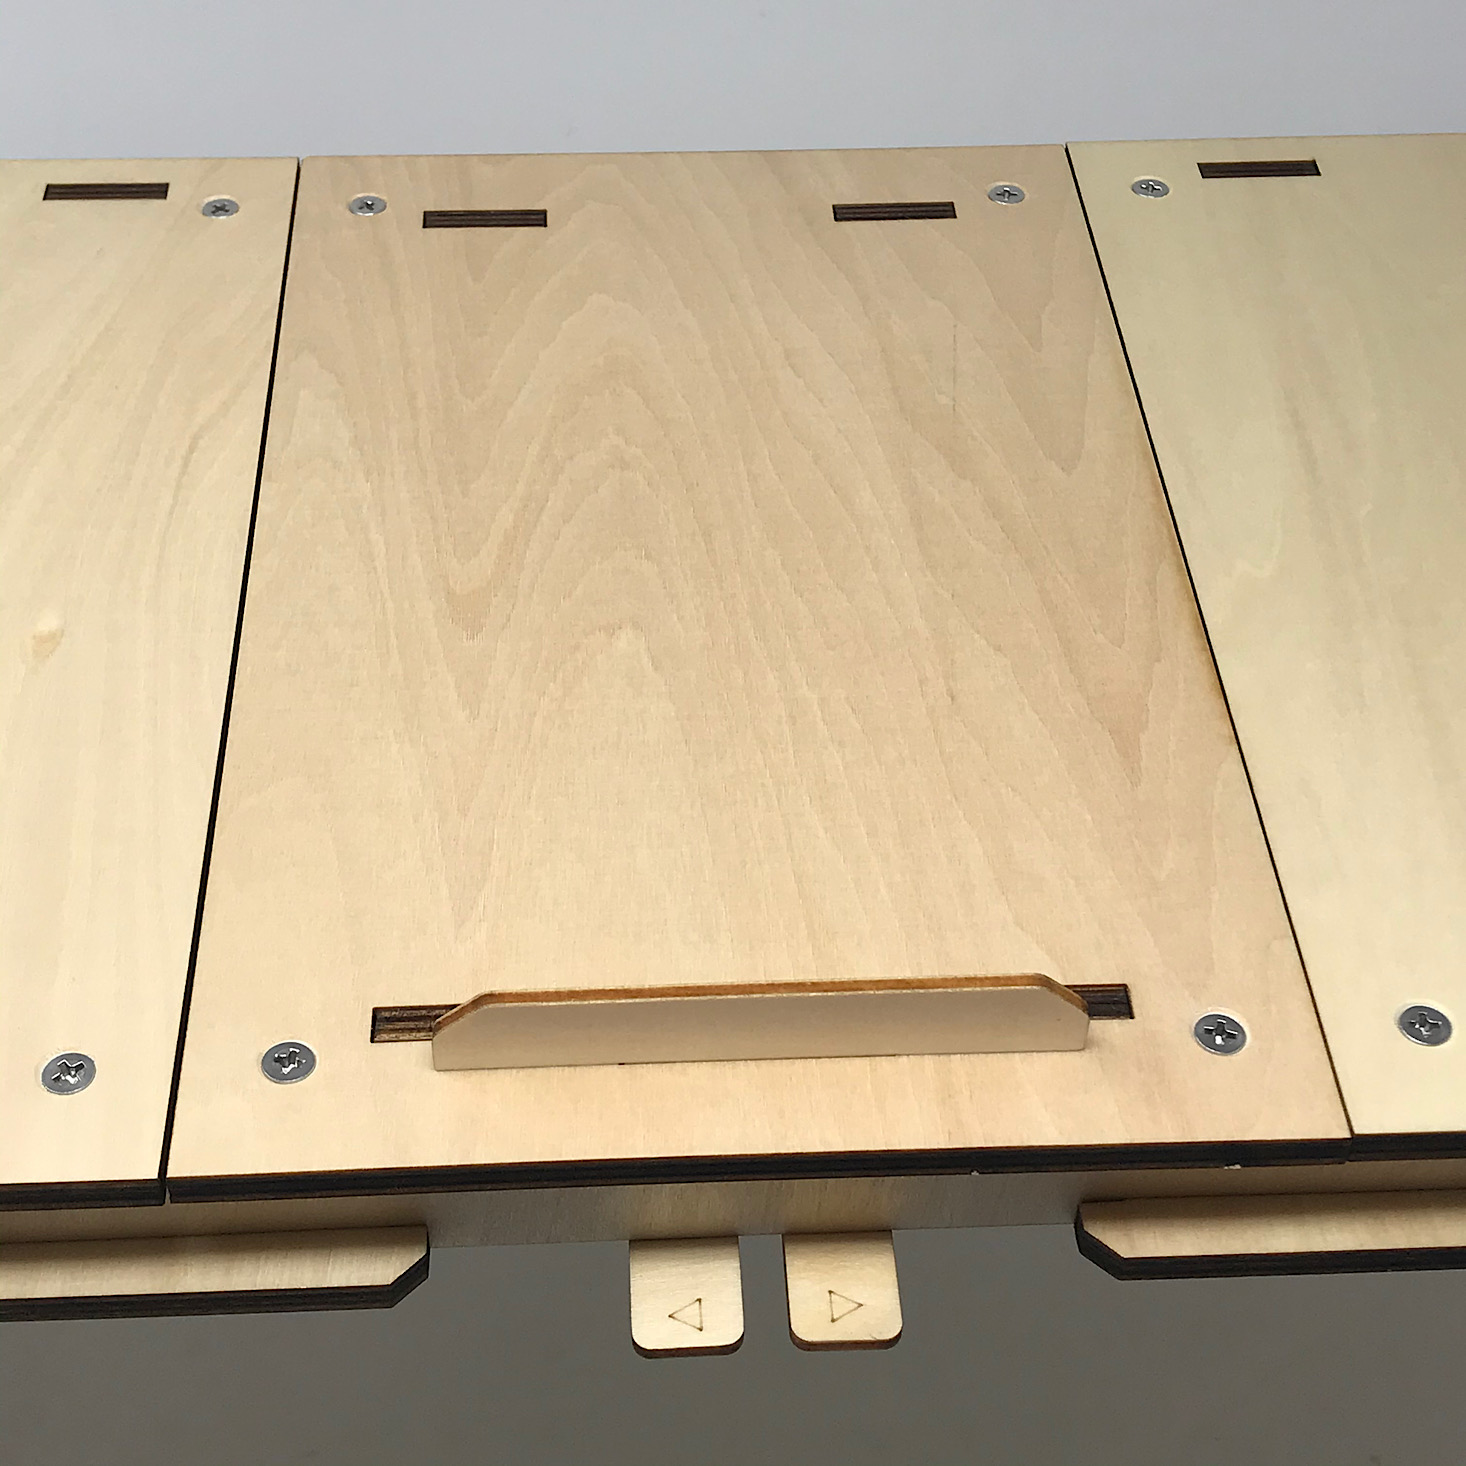
Part B: Finish the Desk Top

1 of 3
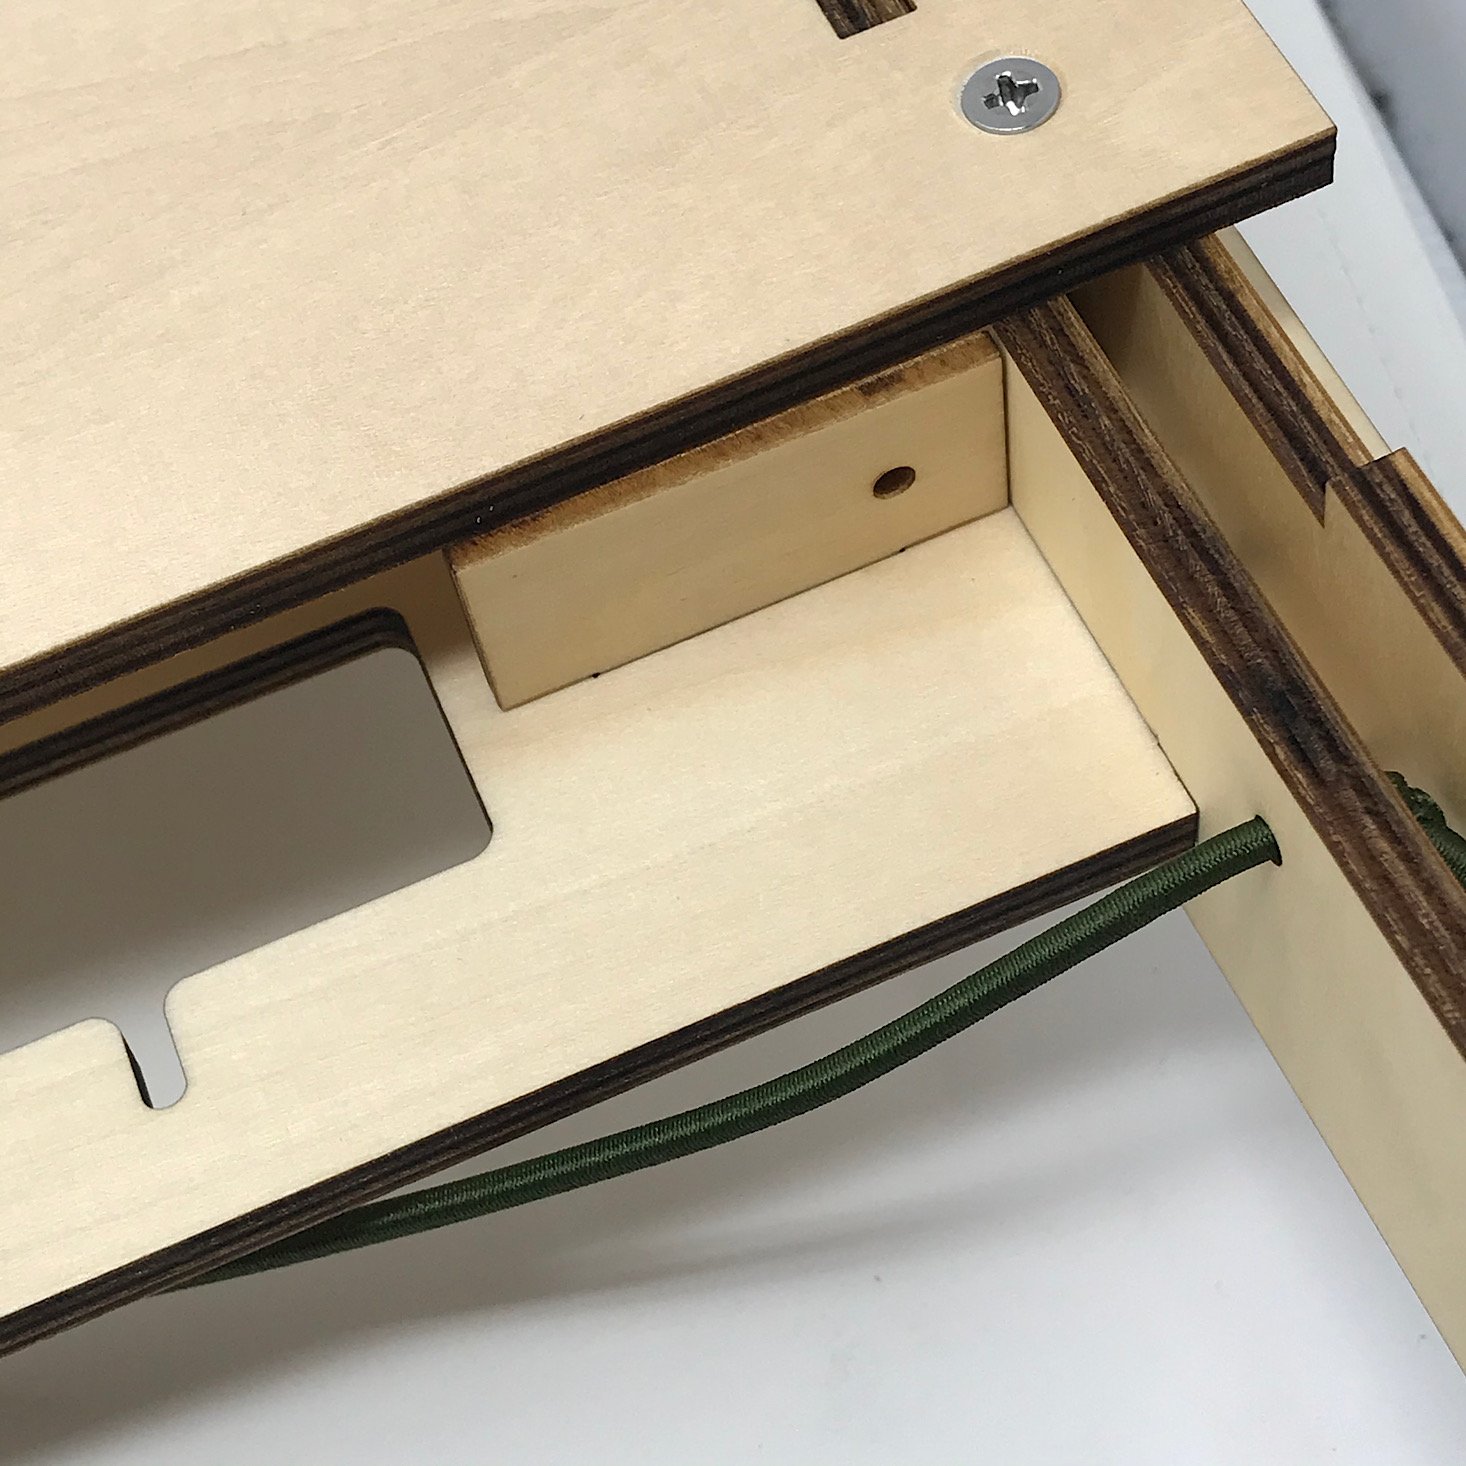
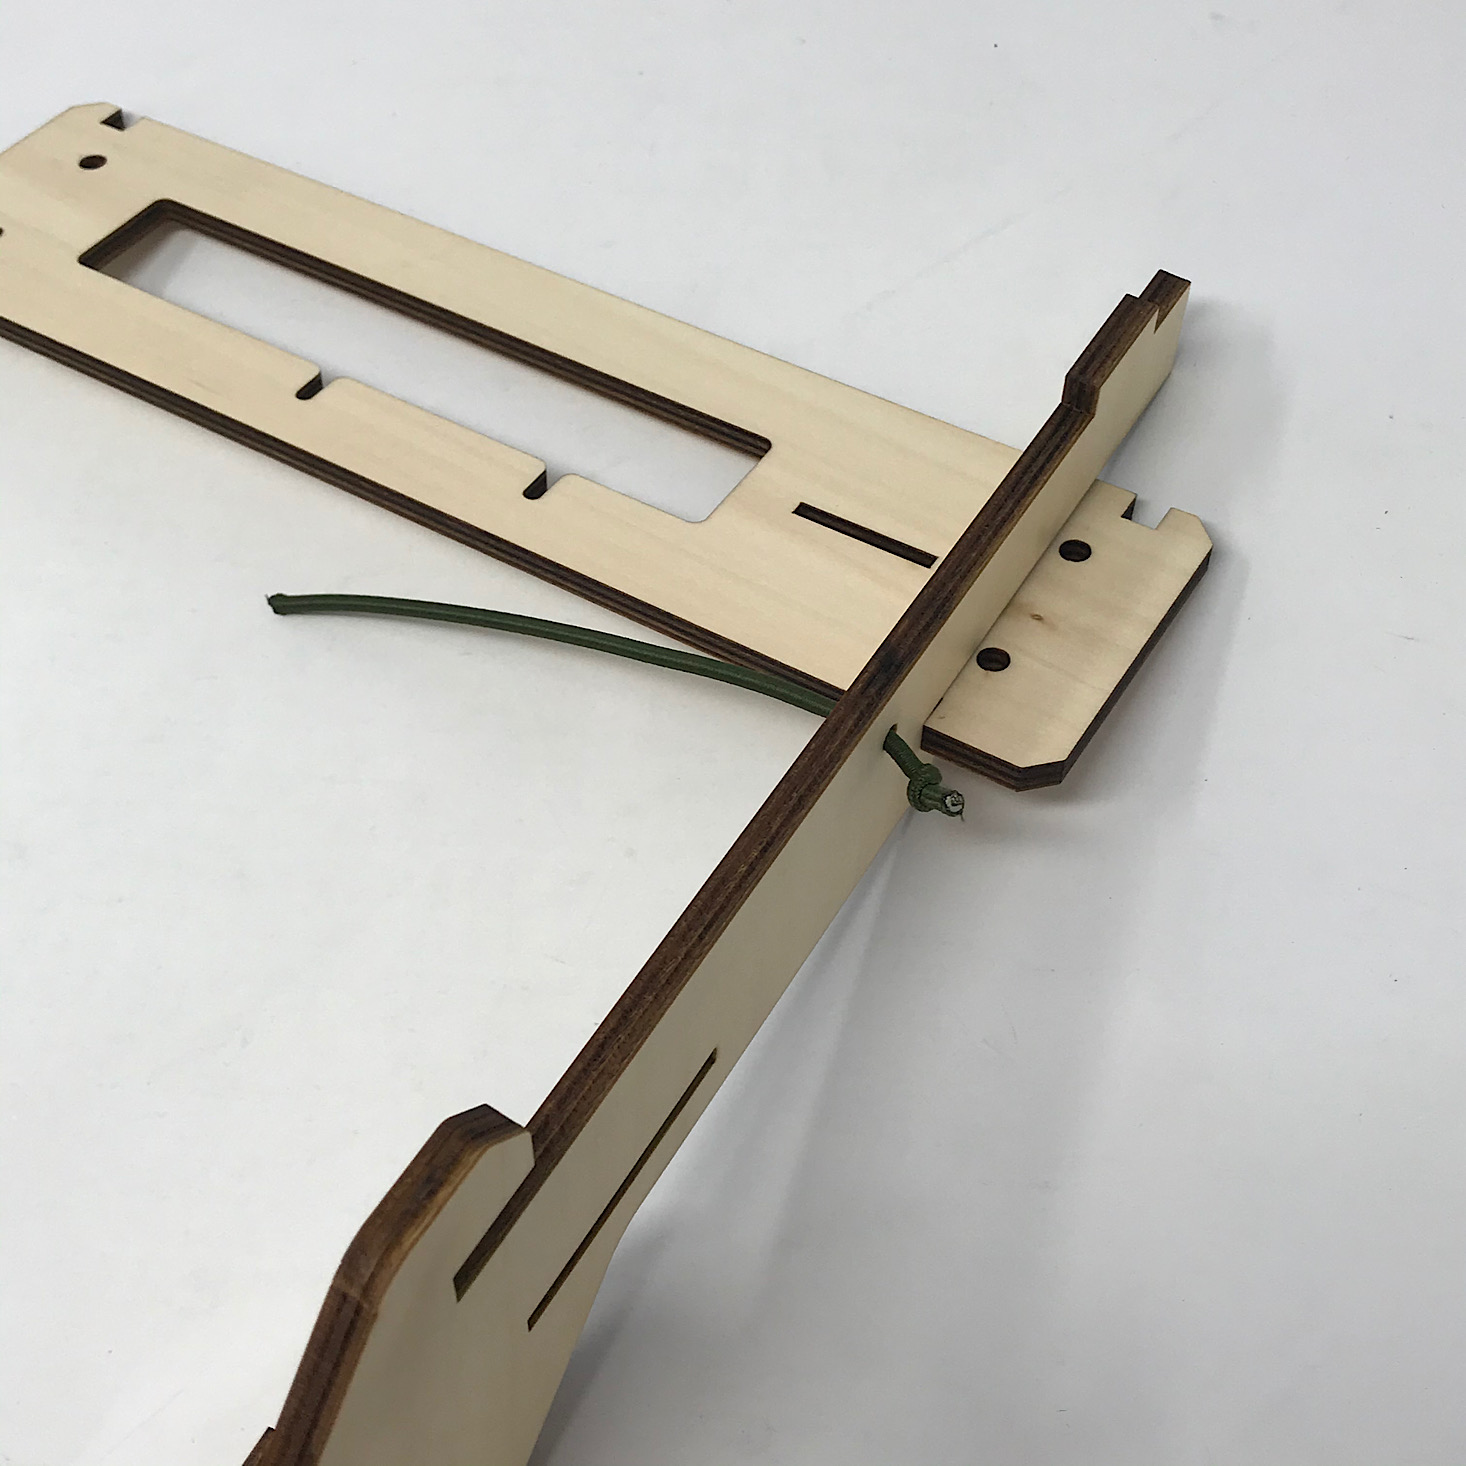
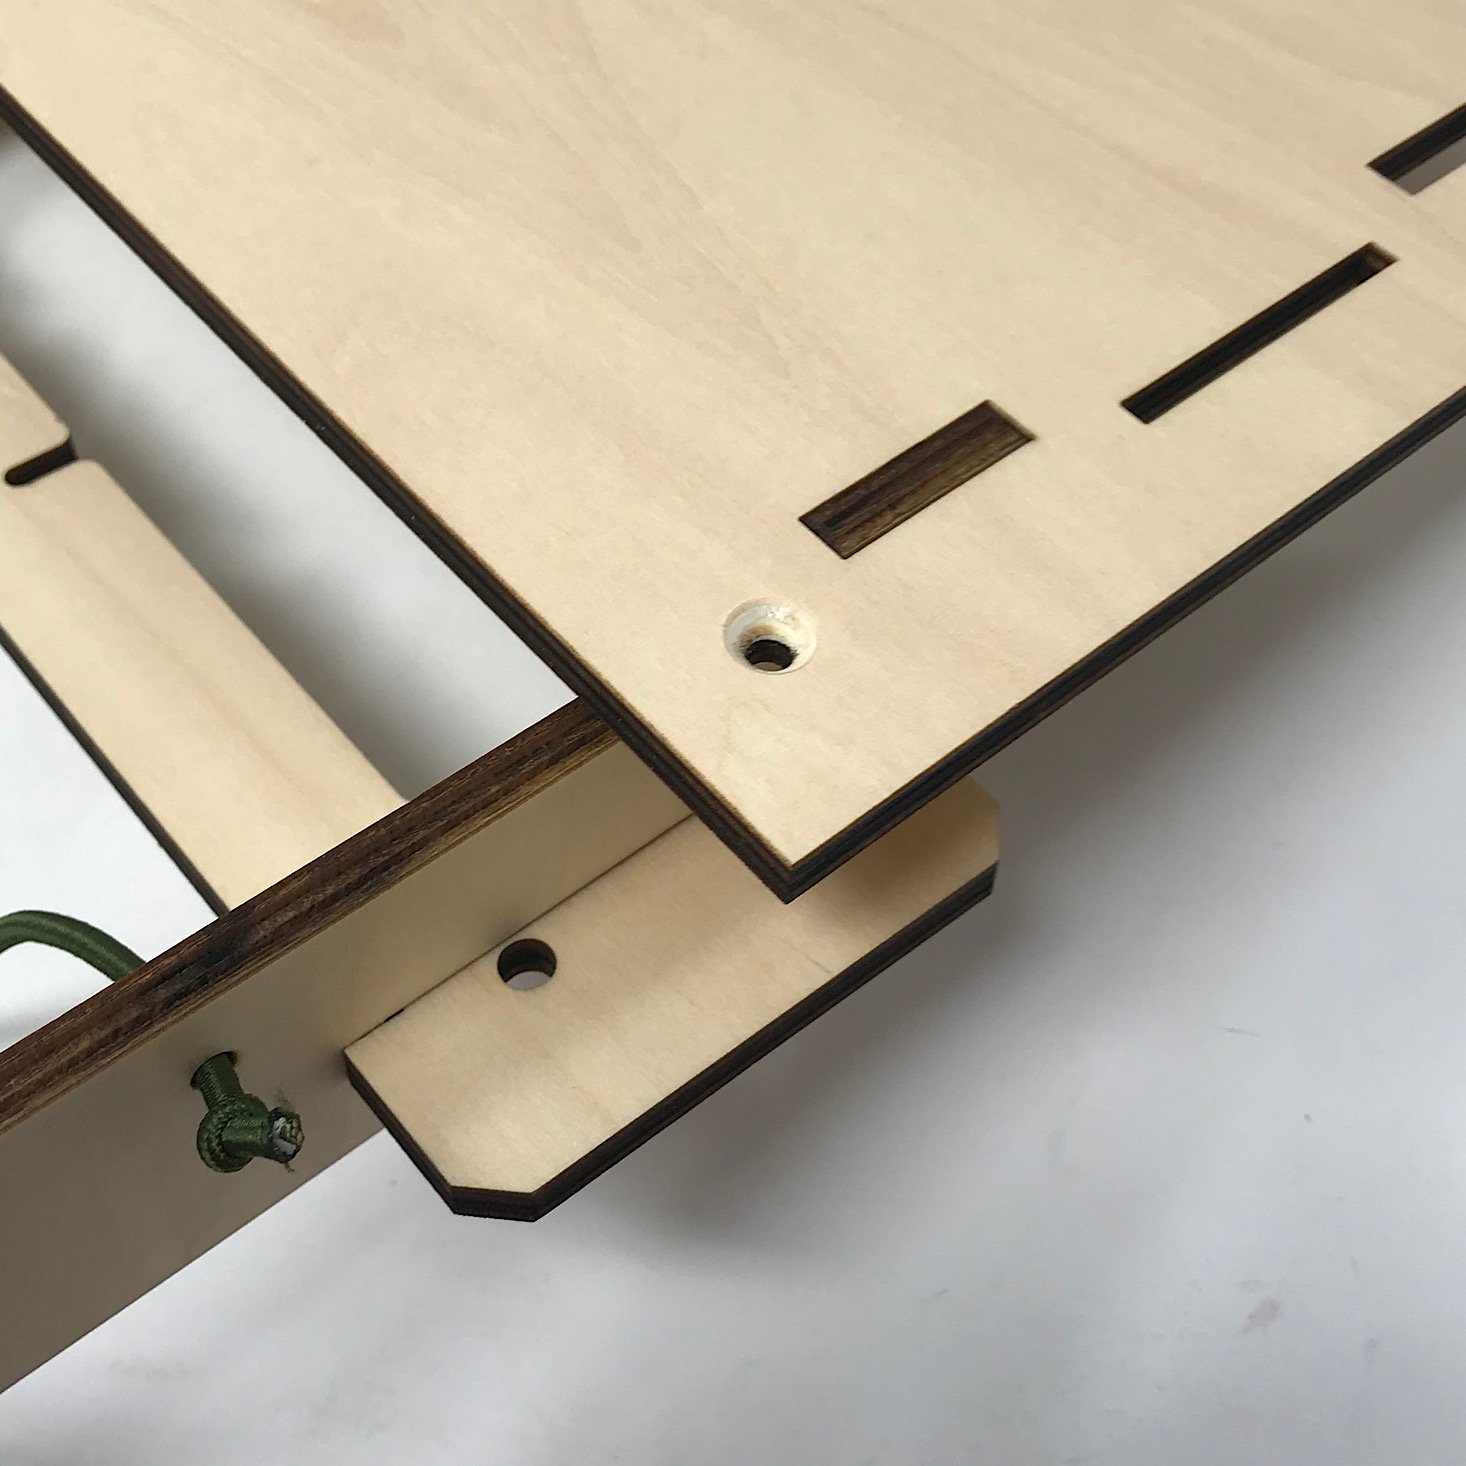
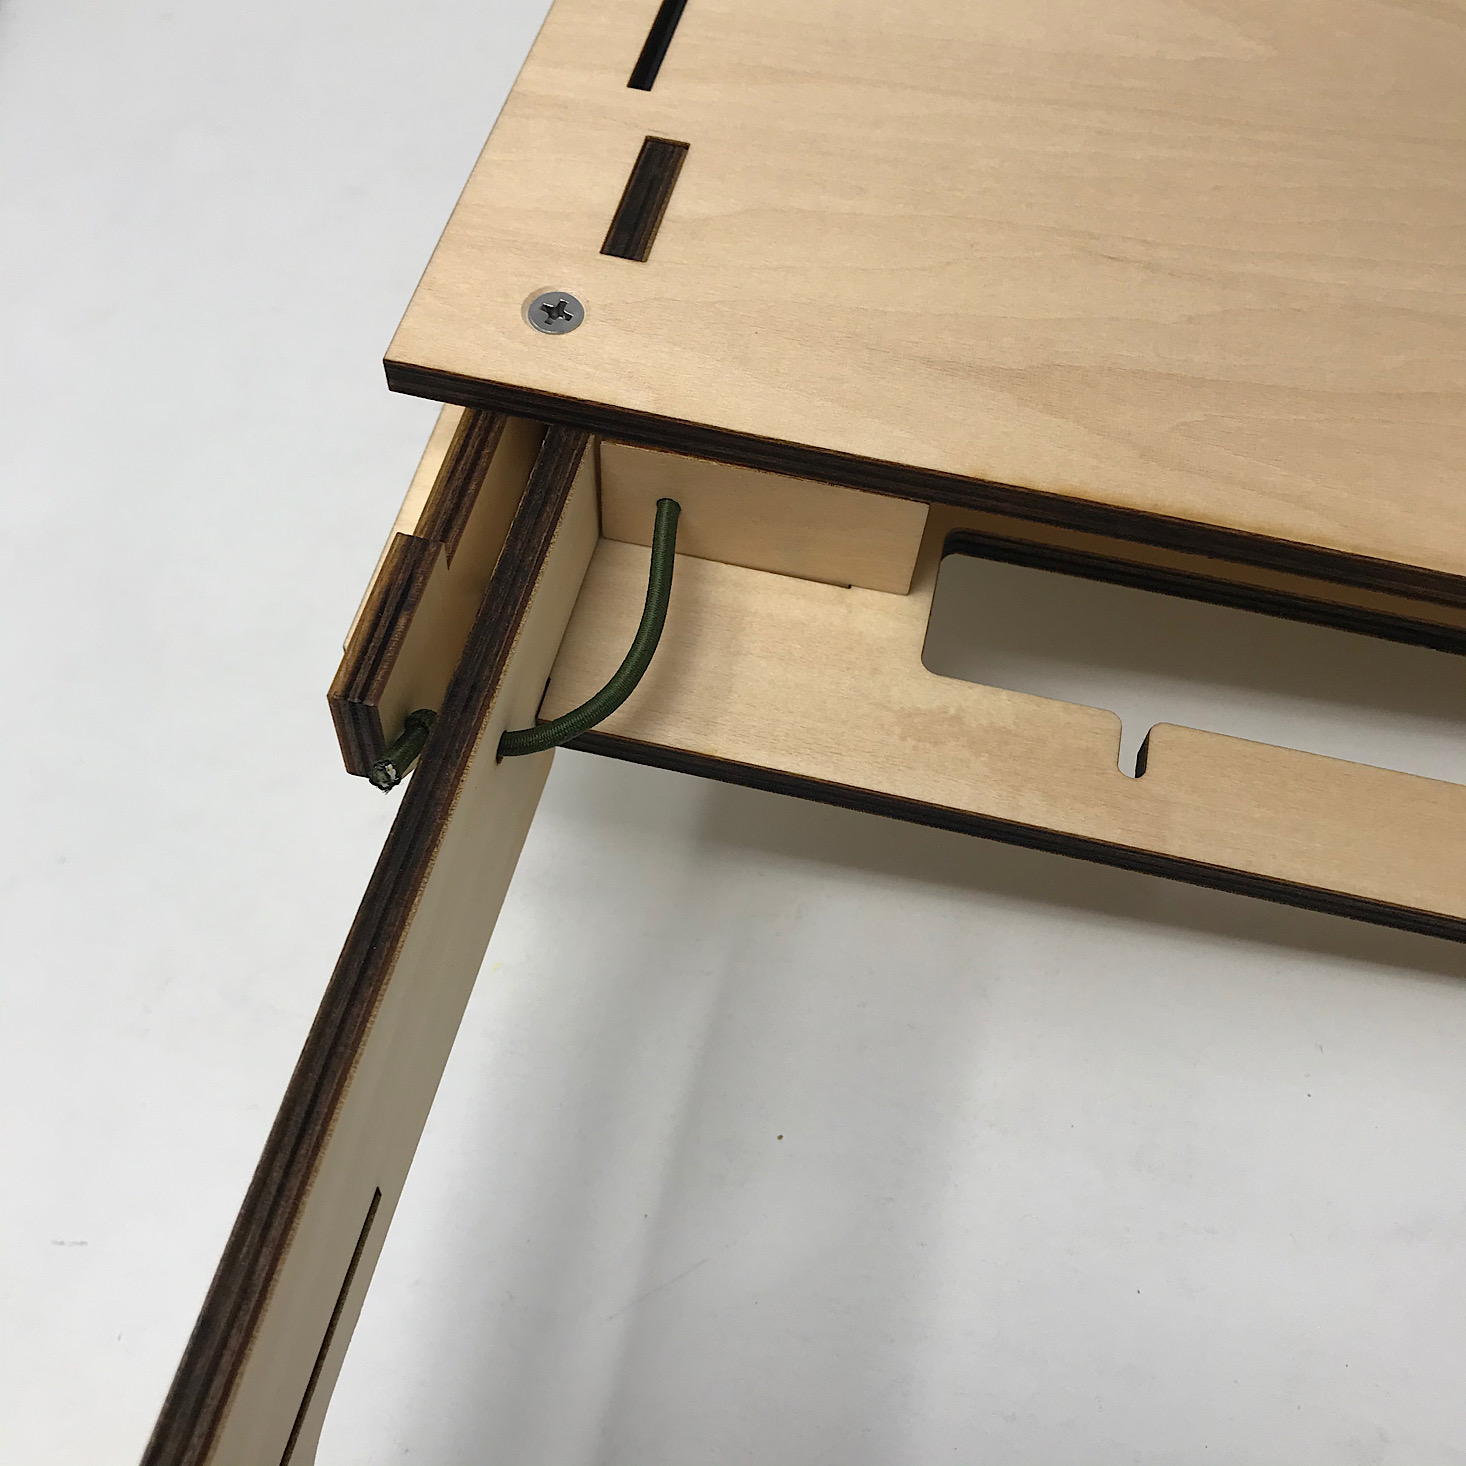
Next, I slid one of these wooden pieces into the notch behind the front of the desk and slipped the green bungee through the hole in that piece.
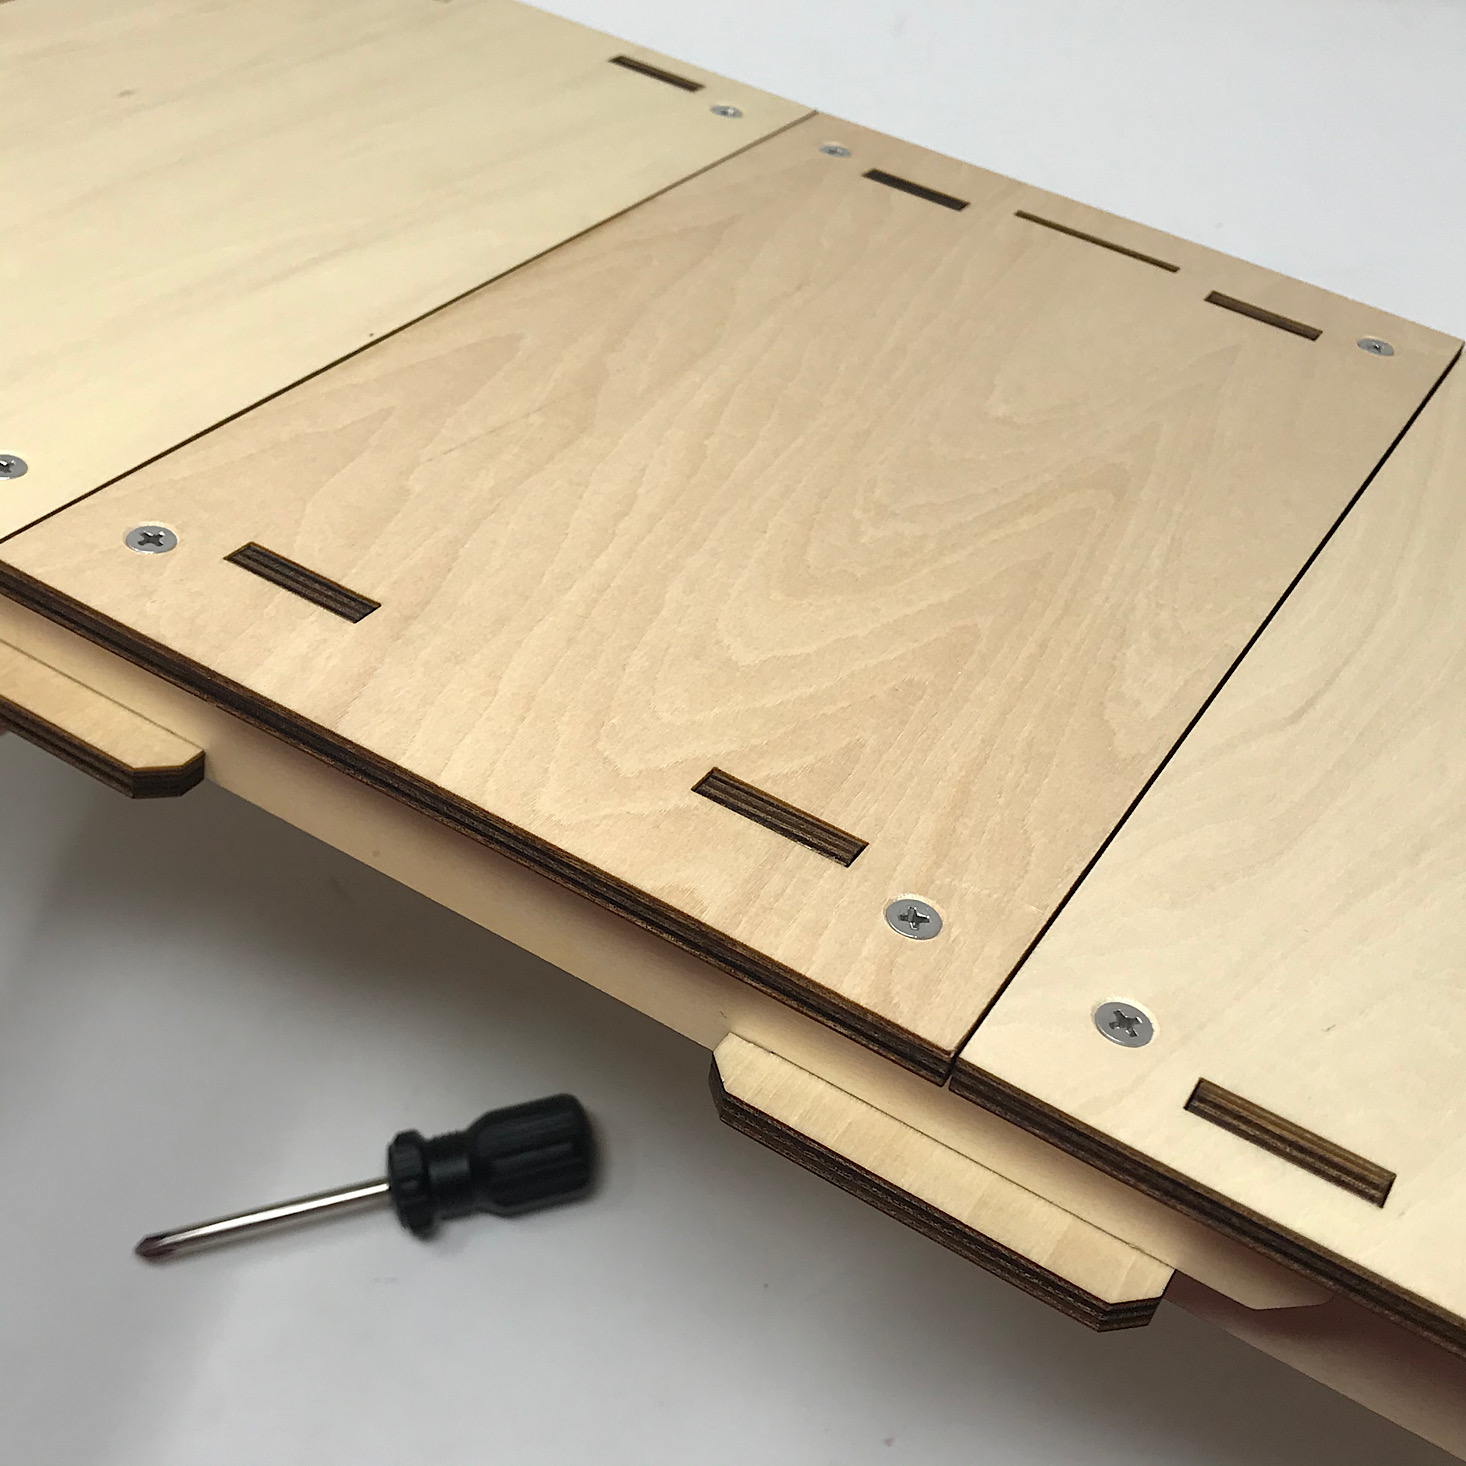
1 of 3

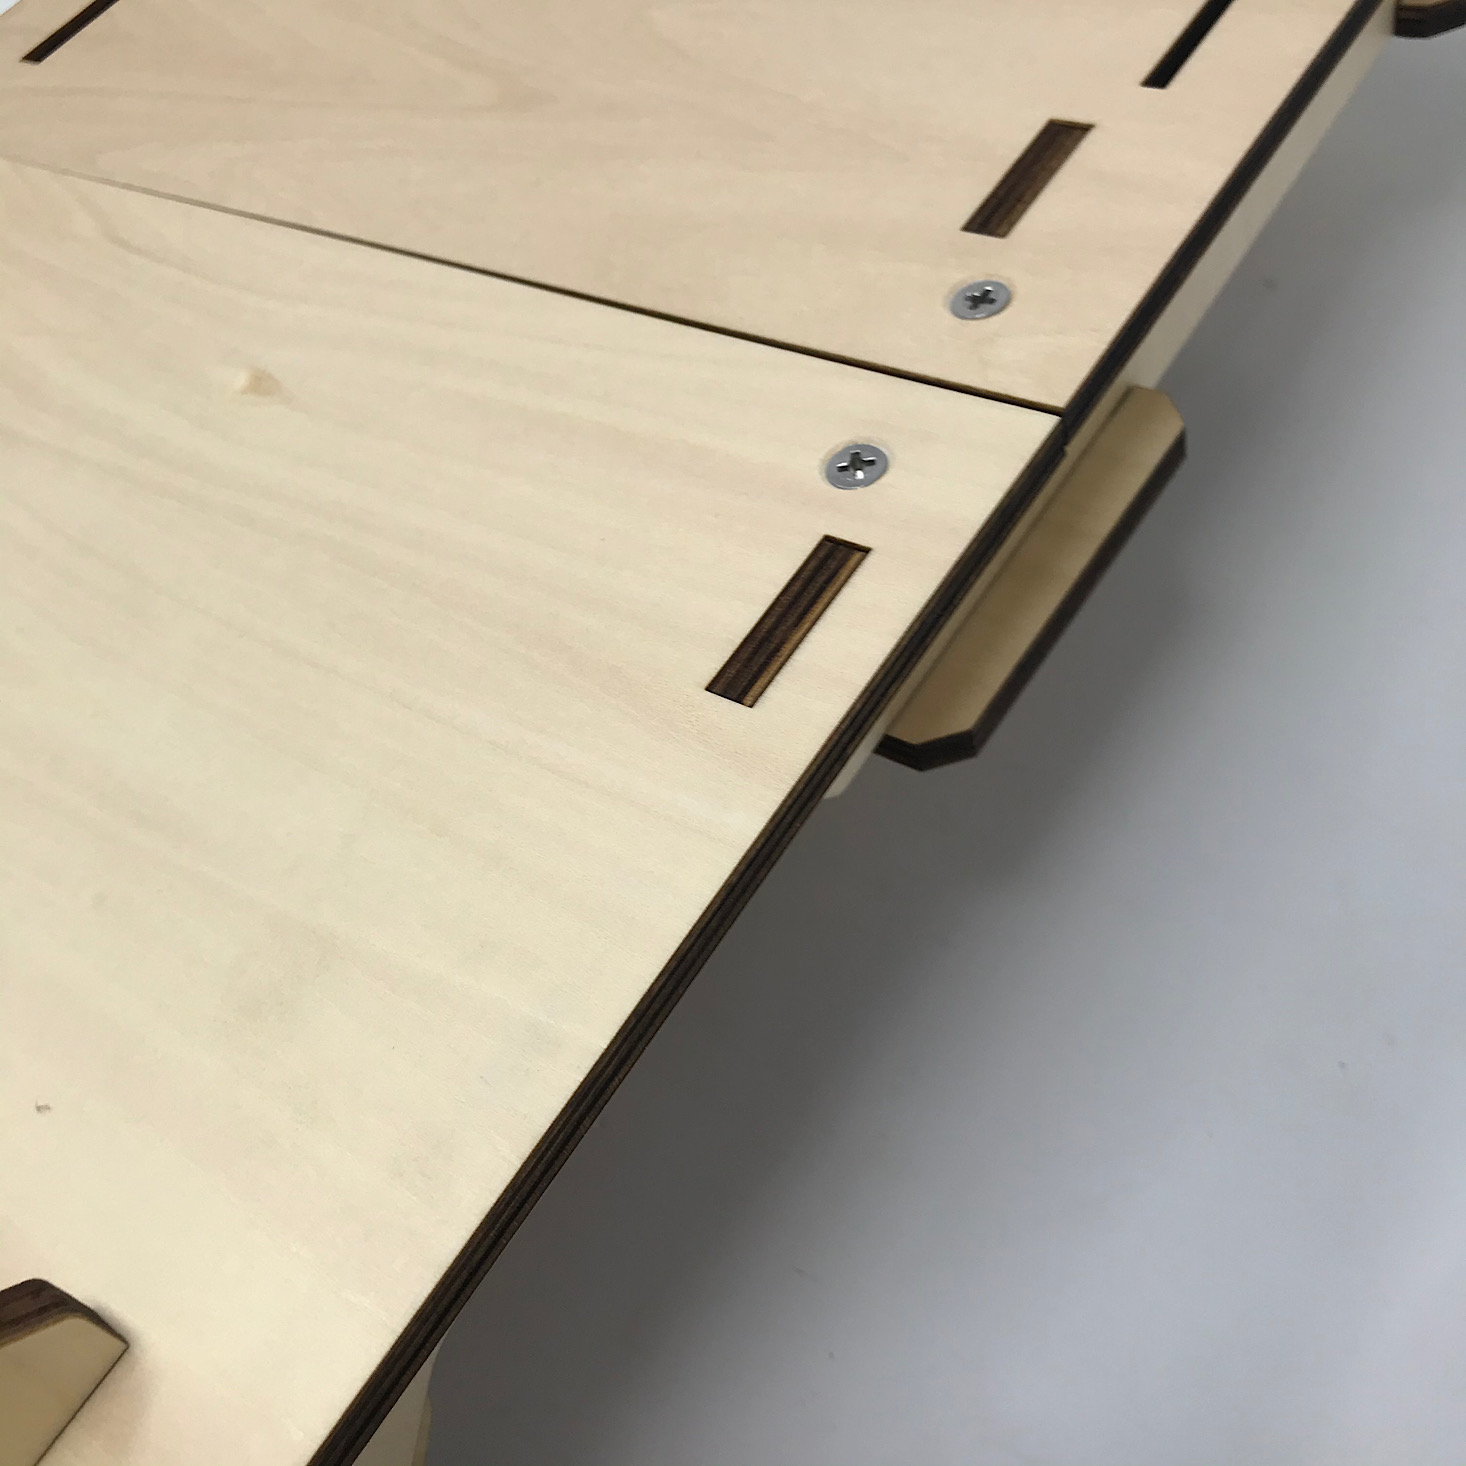
Then I slid this next top piece into place making sure to line up all of the notches and slide everything into place before securing it with a long screw.

1 of 2
I followed the same steps to get the other board in place on the other side.
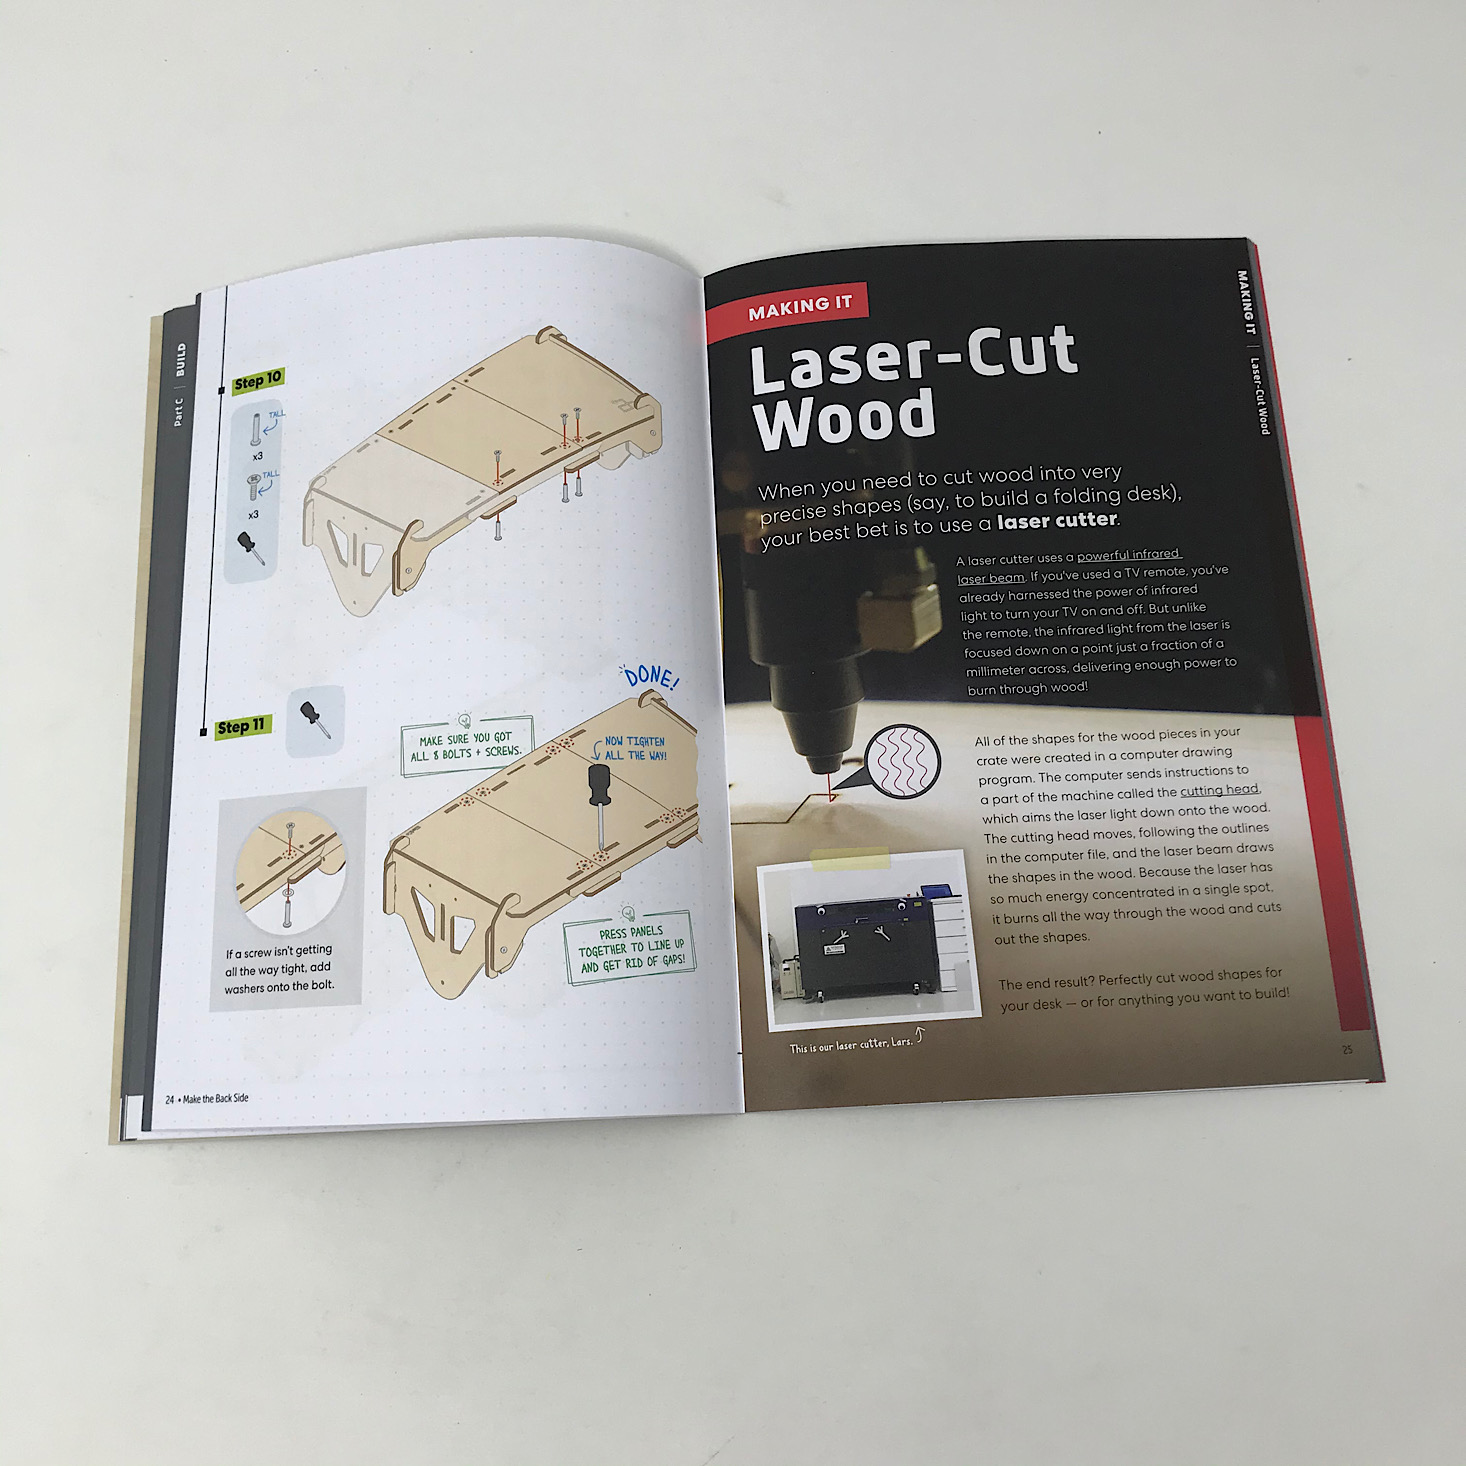
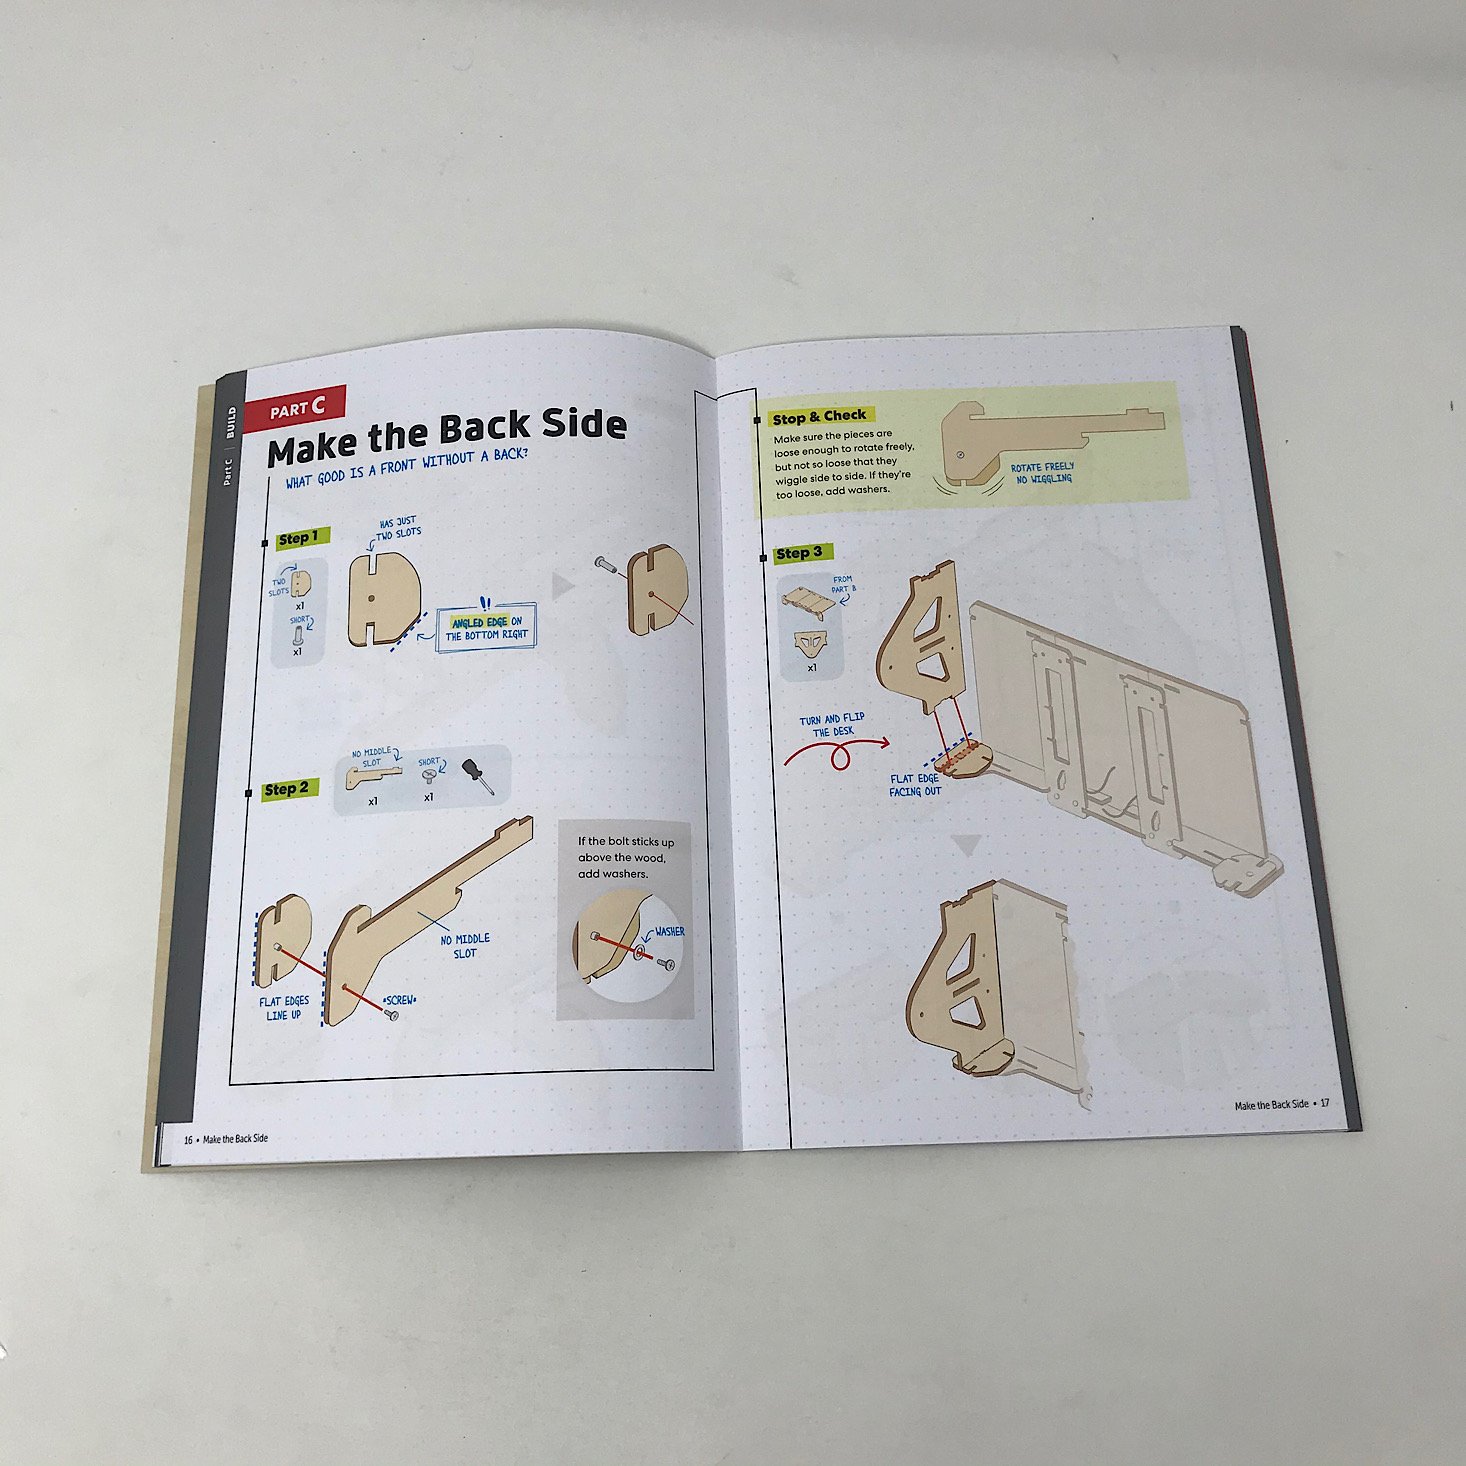
Part C: Making the Back Side


1 of 3
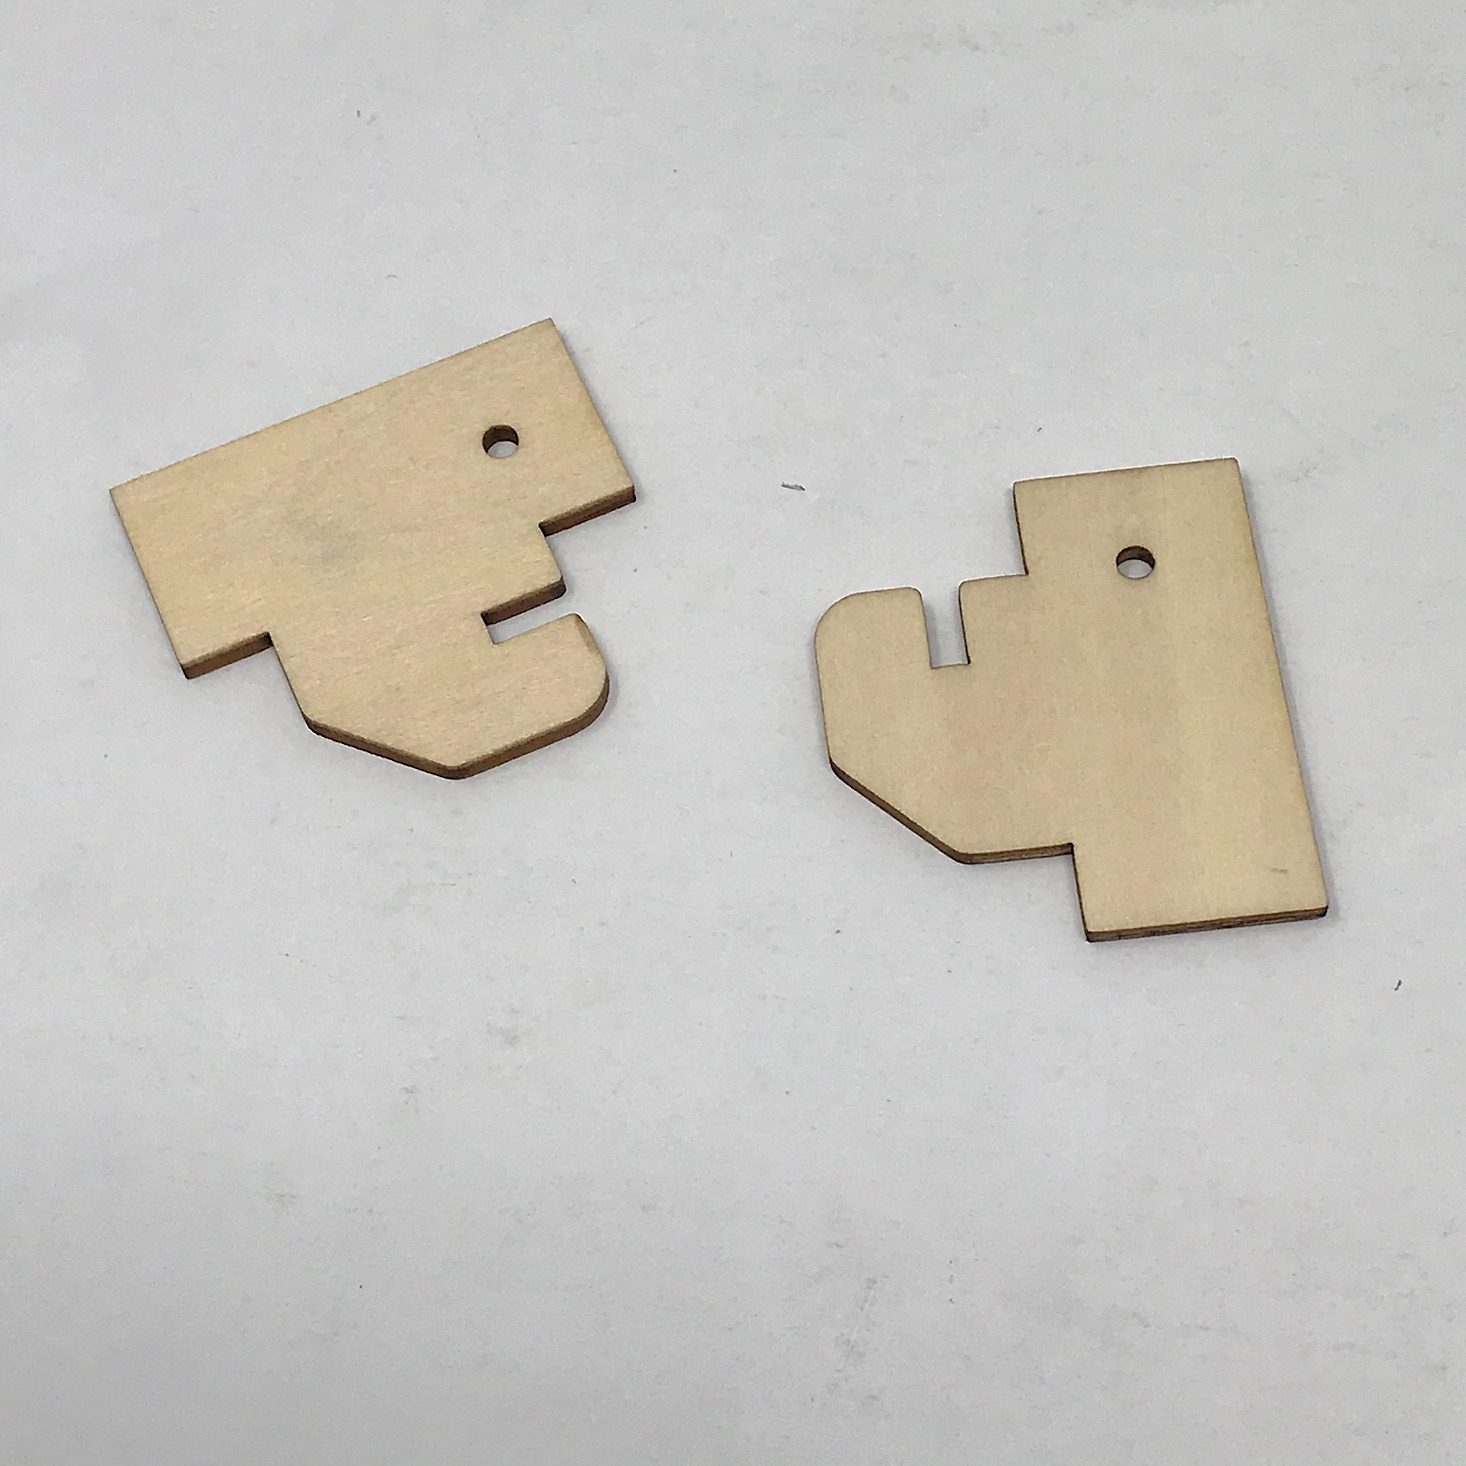
I secured these pieces together much like I did the pieces in the first step.
1 of 3

Then I added one of these larger pieces to the end and slid the arm I had just put together over the top of it to secure it in place.

1 of 4

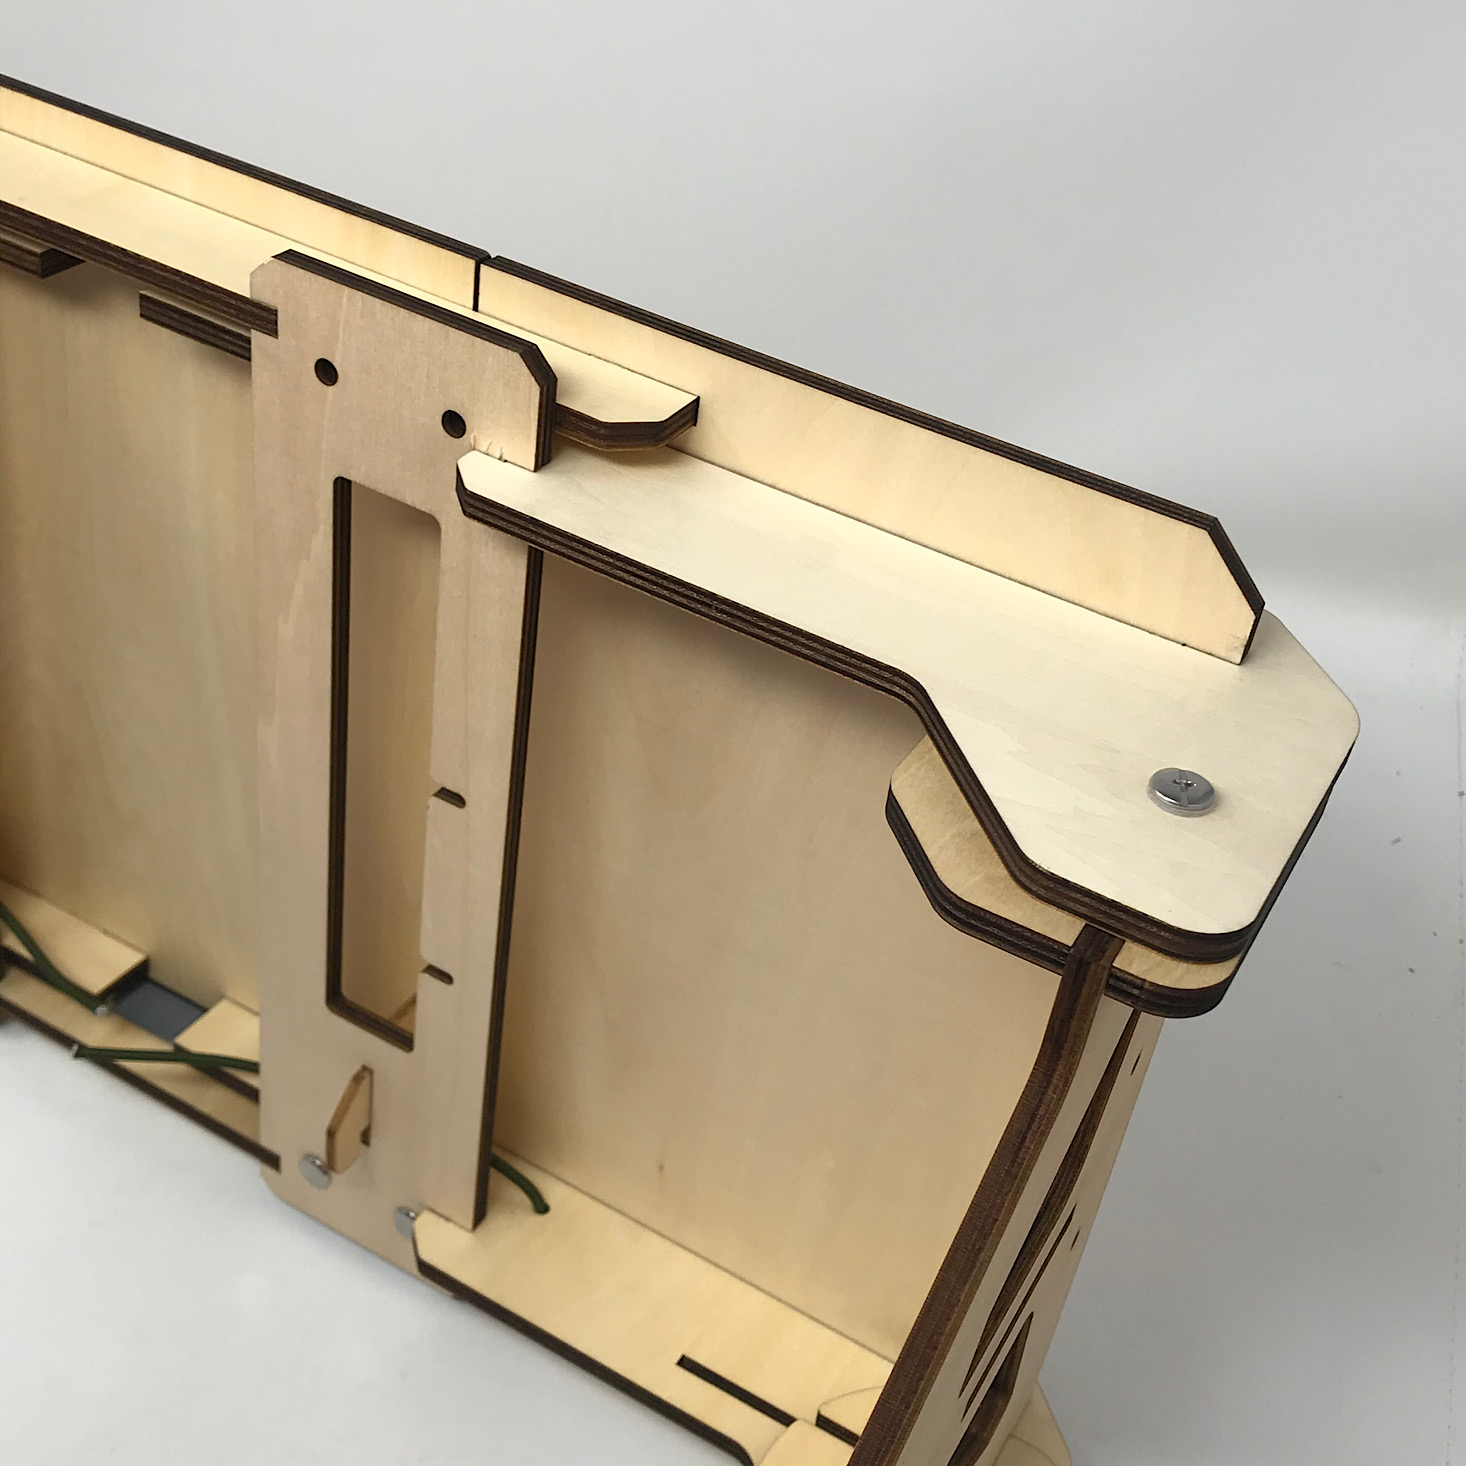
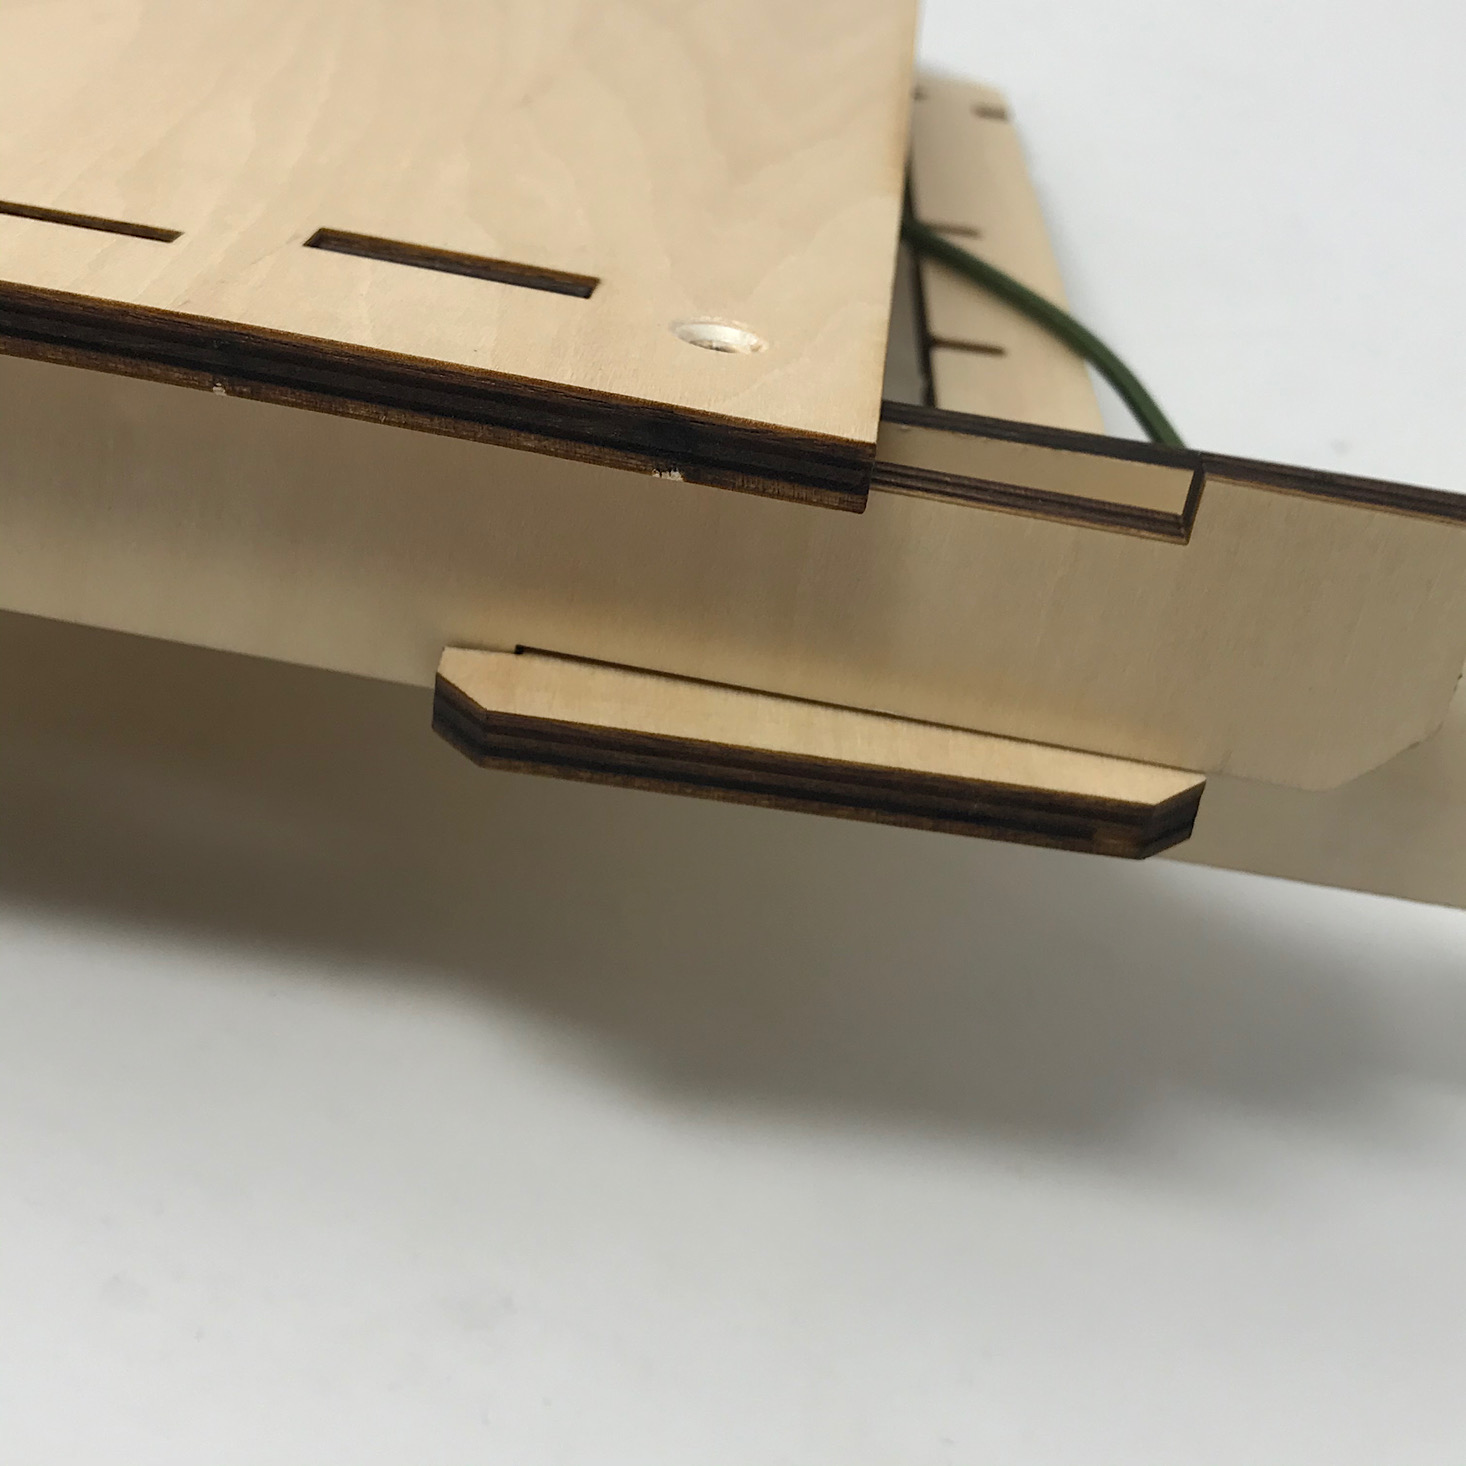
I repeated this for the other side making sure to maneuver all of the pieces into the right slots and notches which was a little tricky. Then I added screws to the tops to hold everything securely.
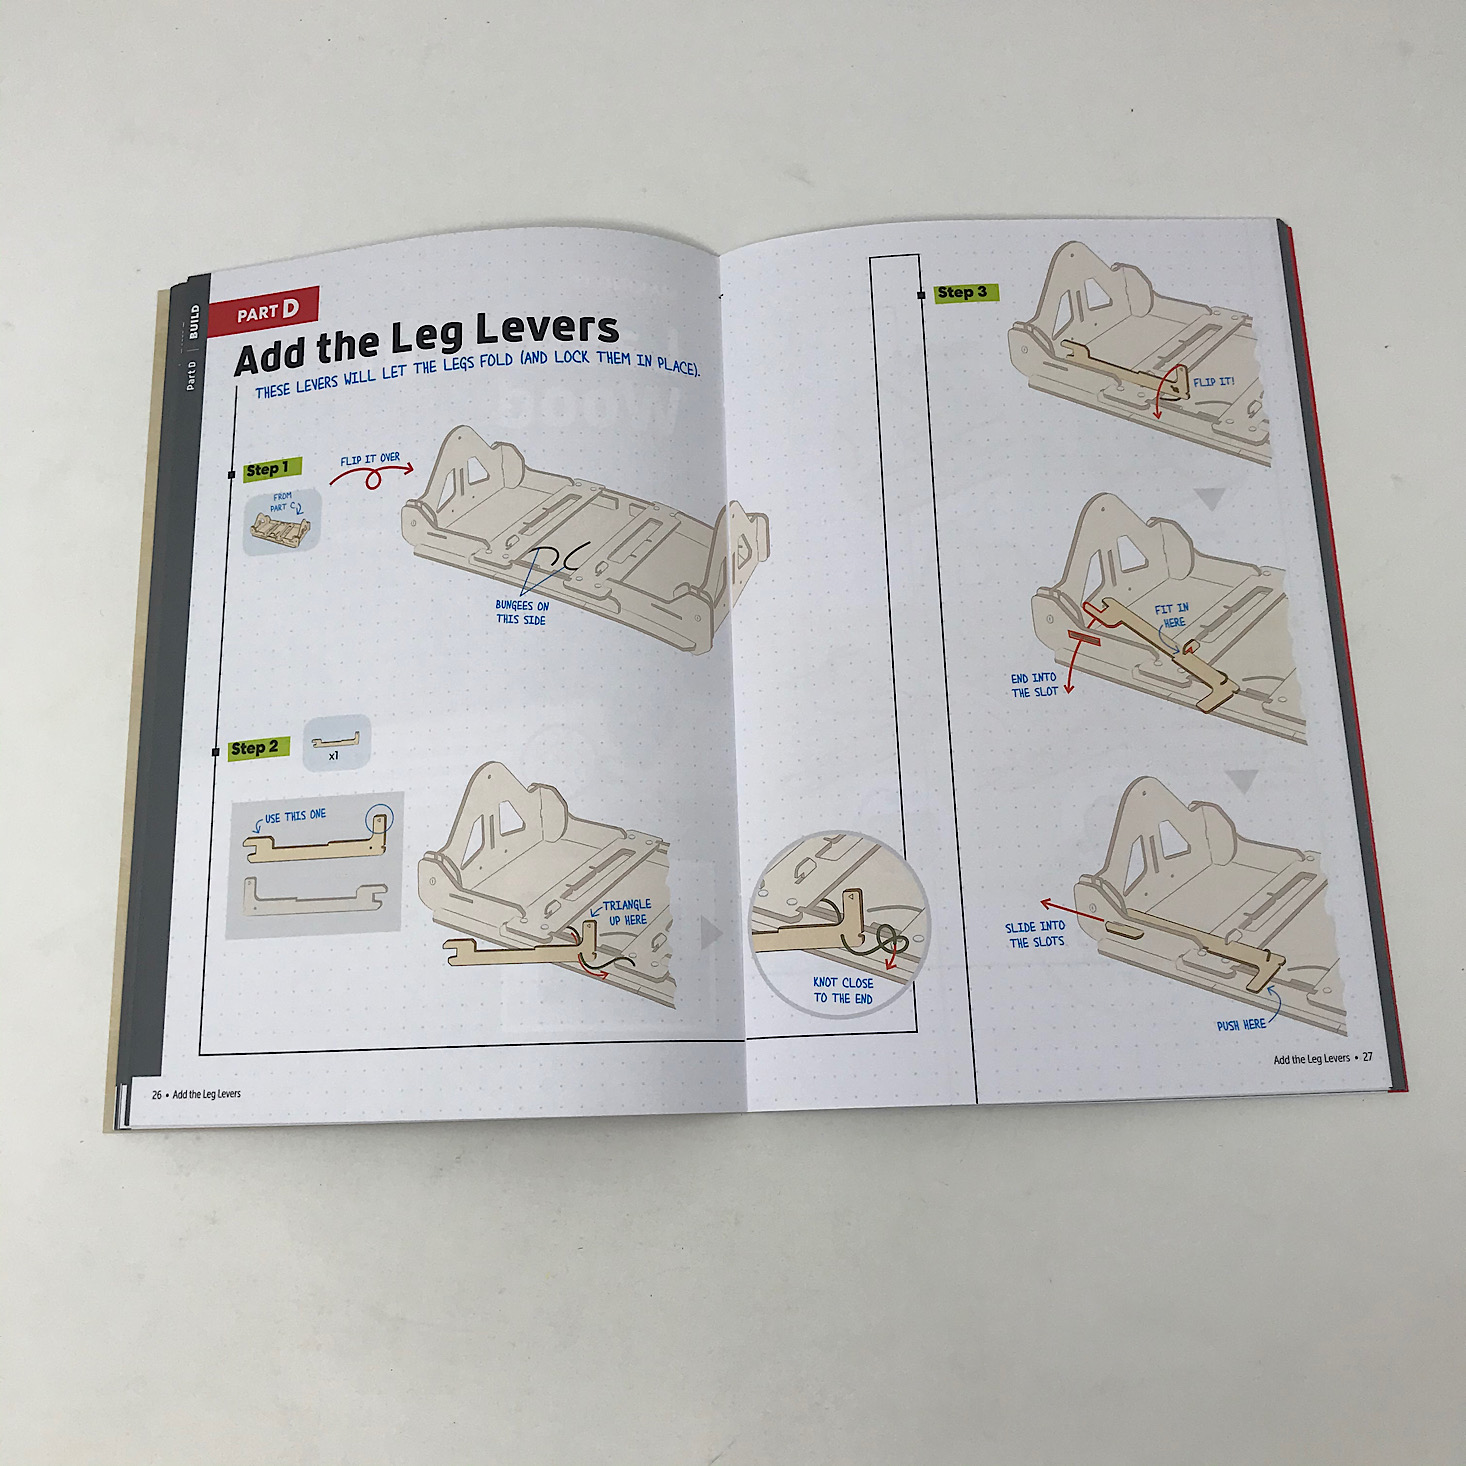
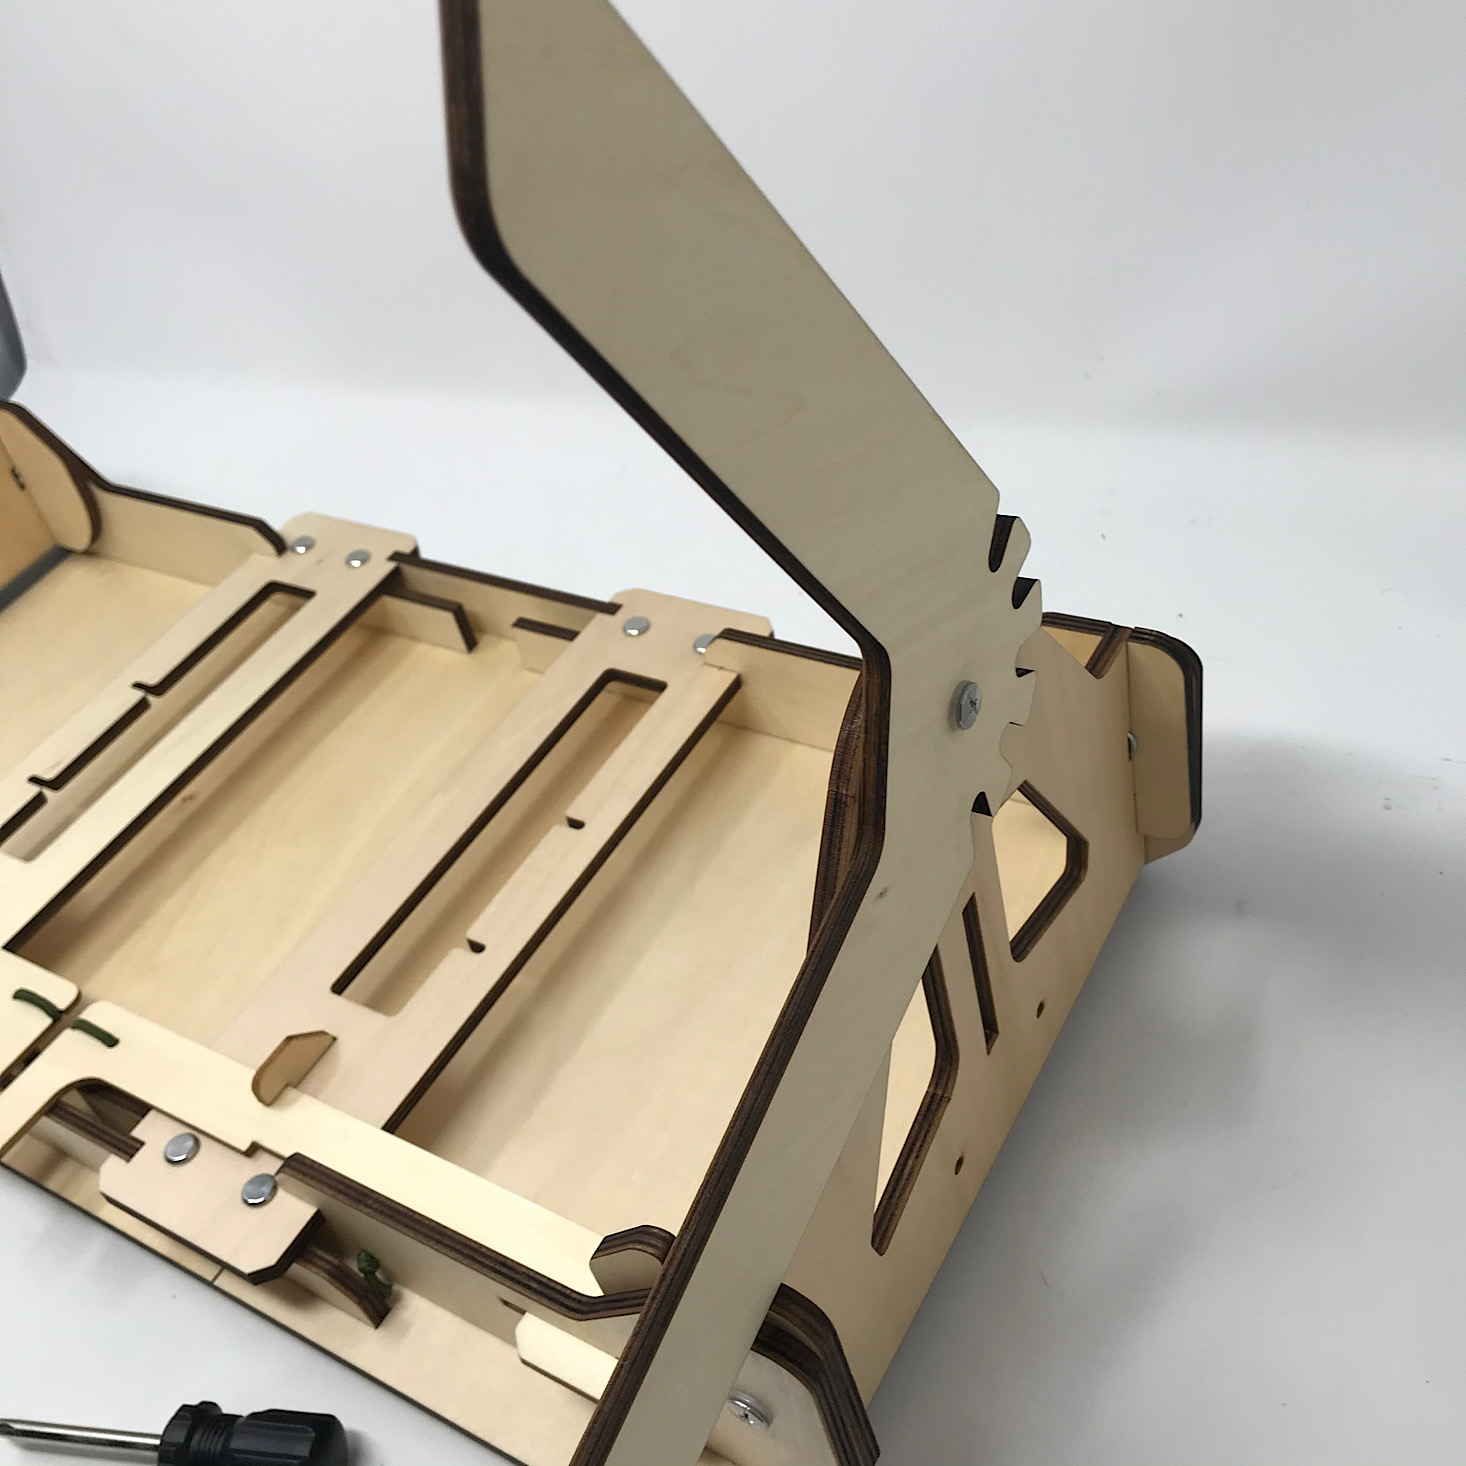
Part D: Add the Leg Levers
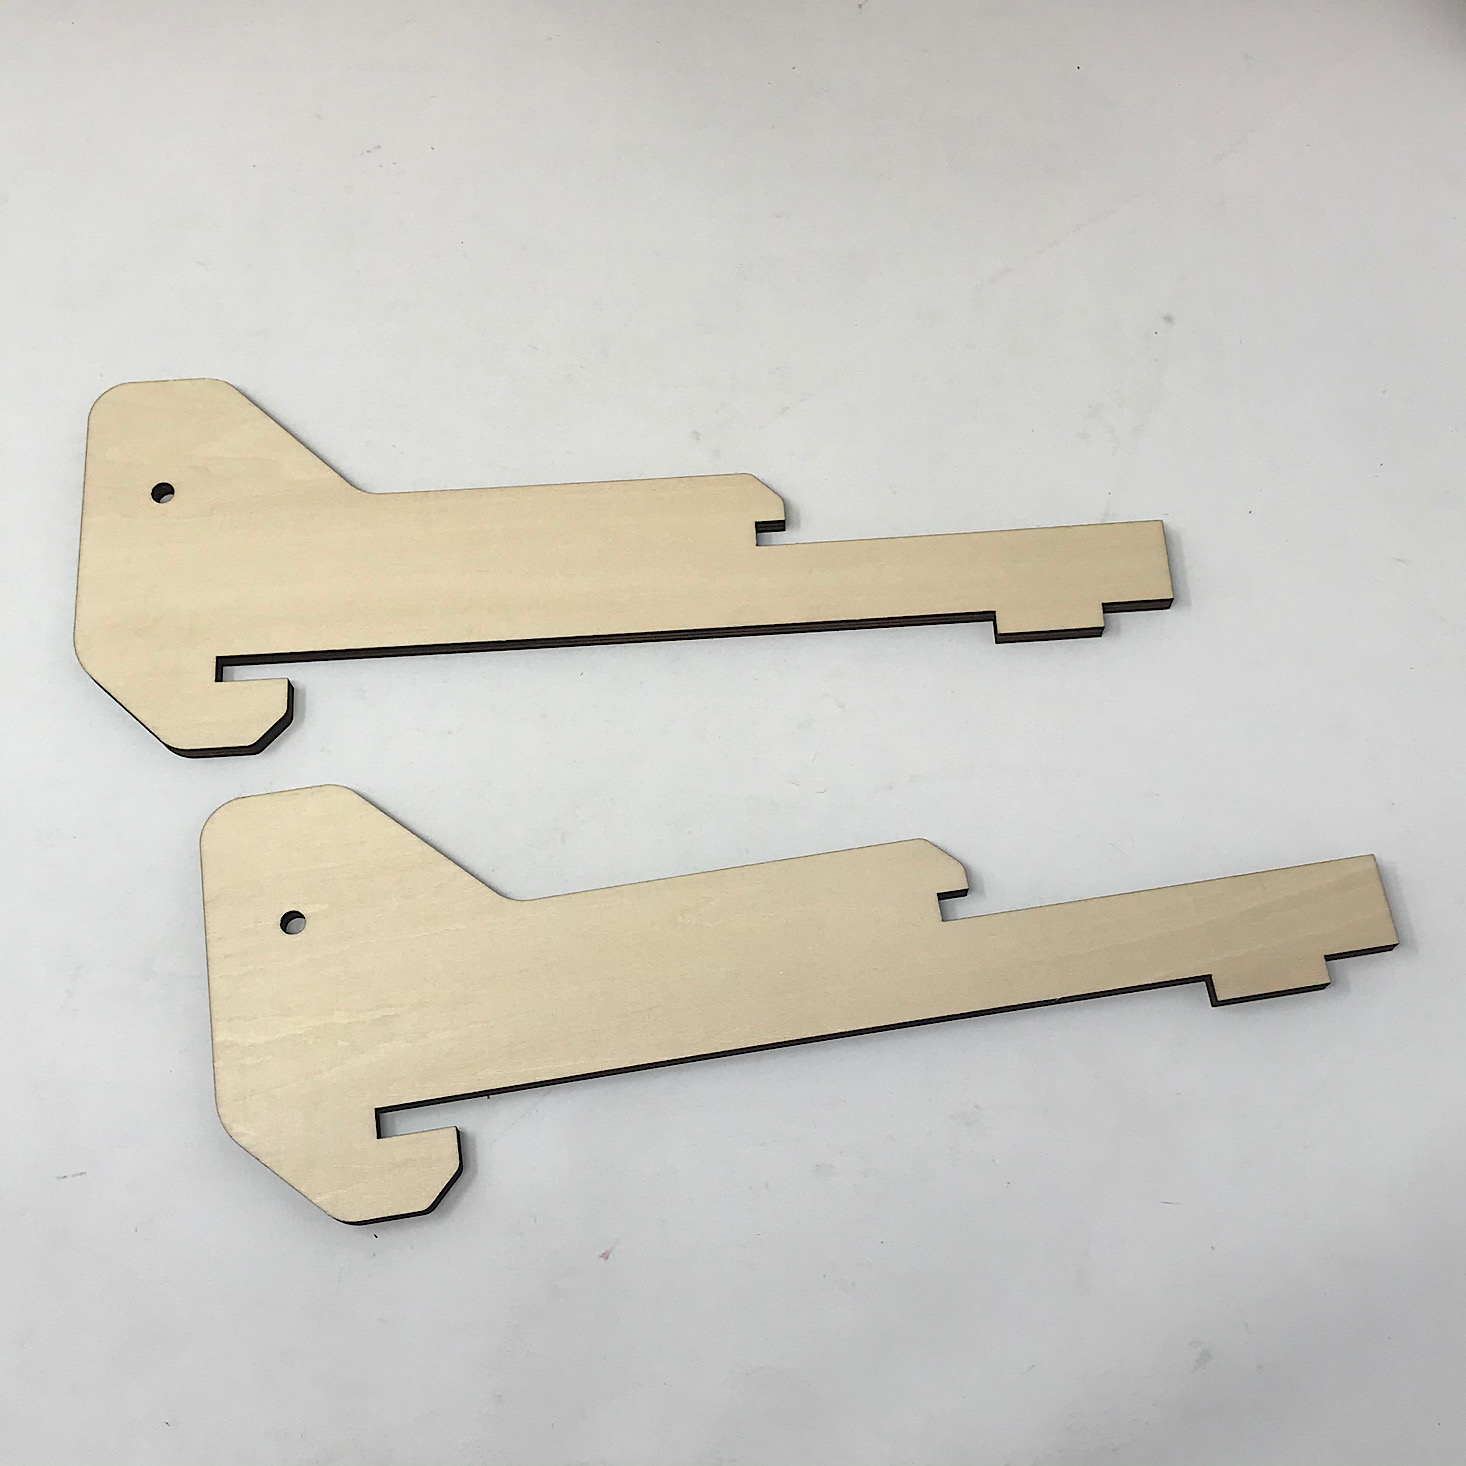
1 of 4
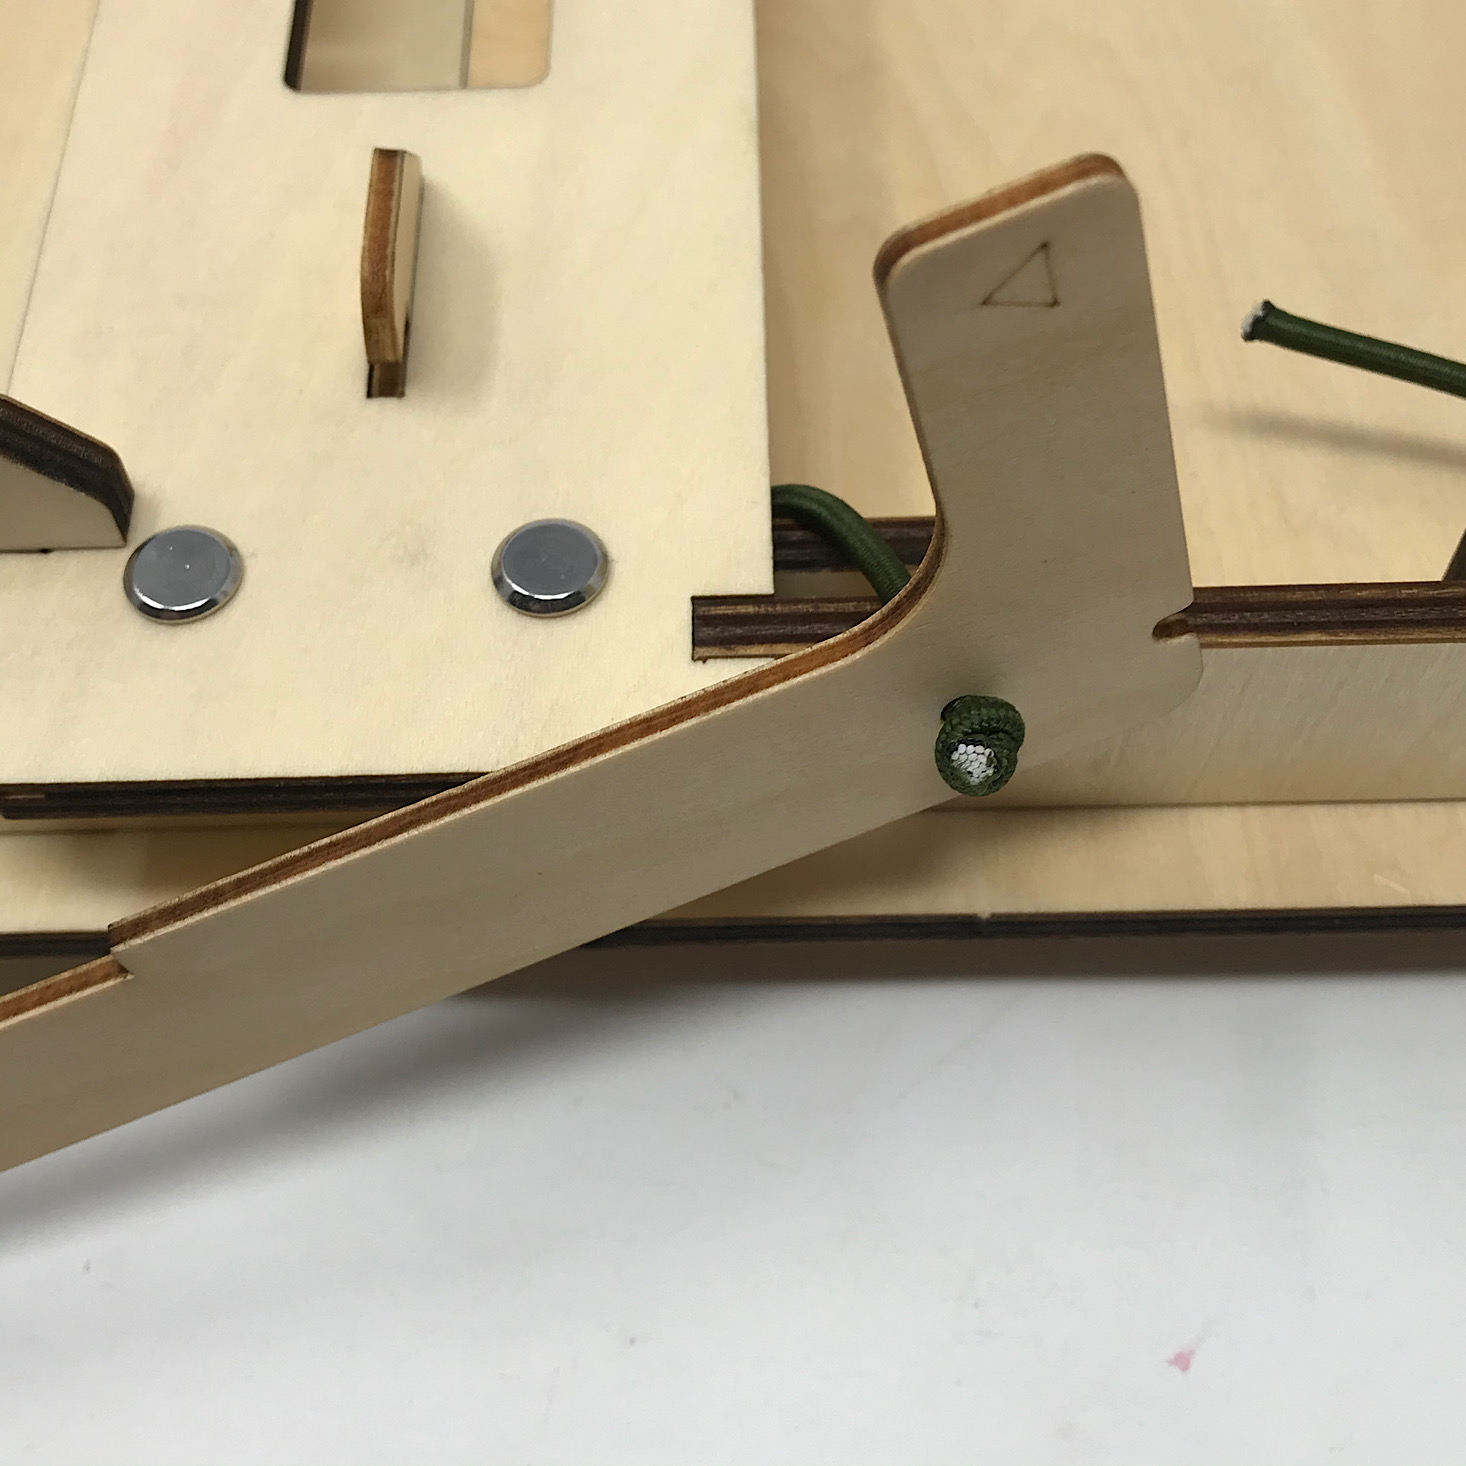
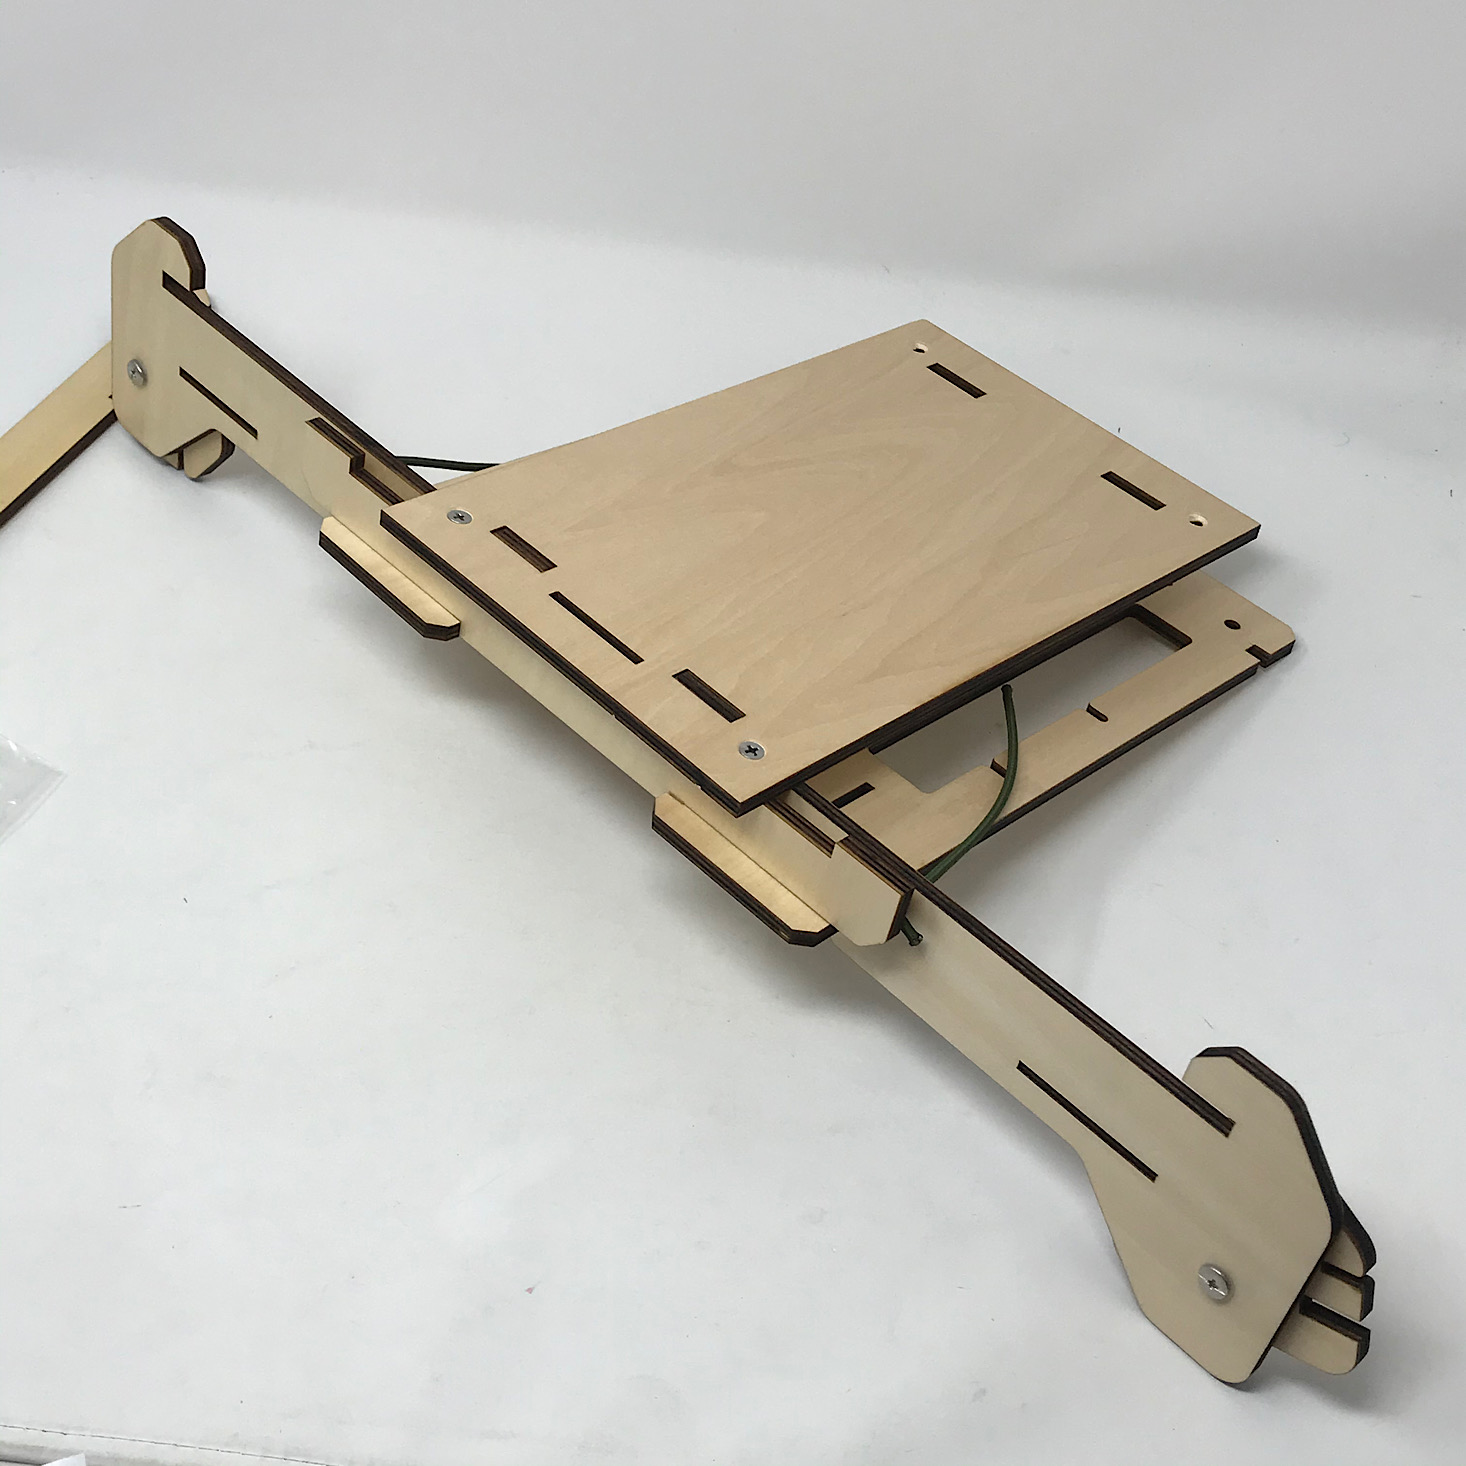
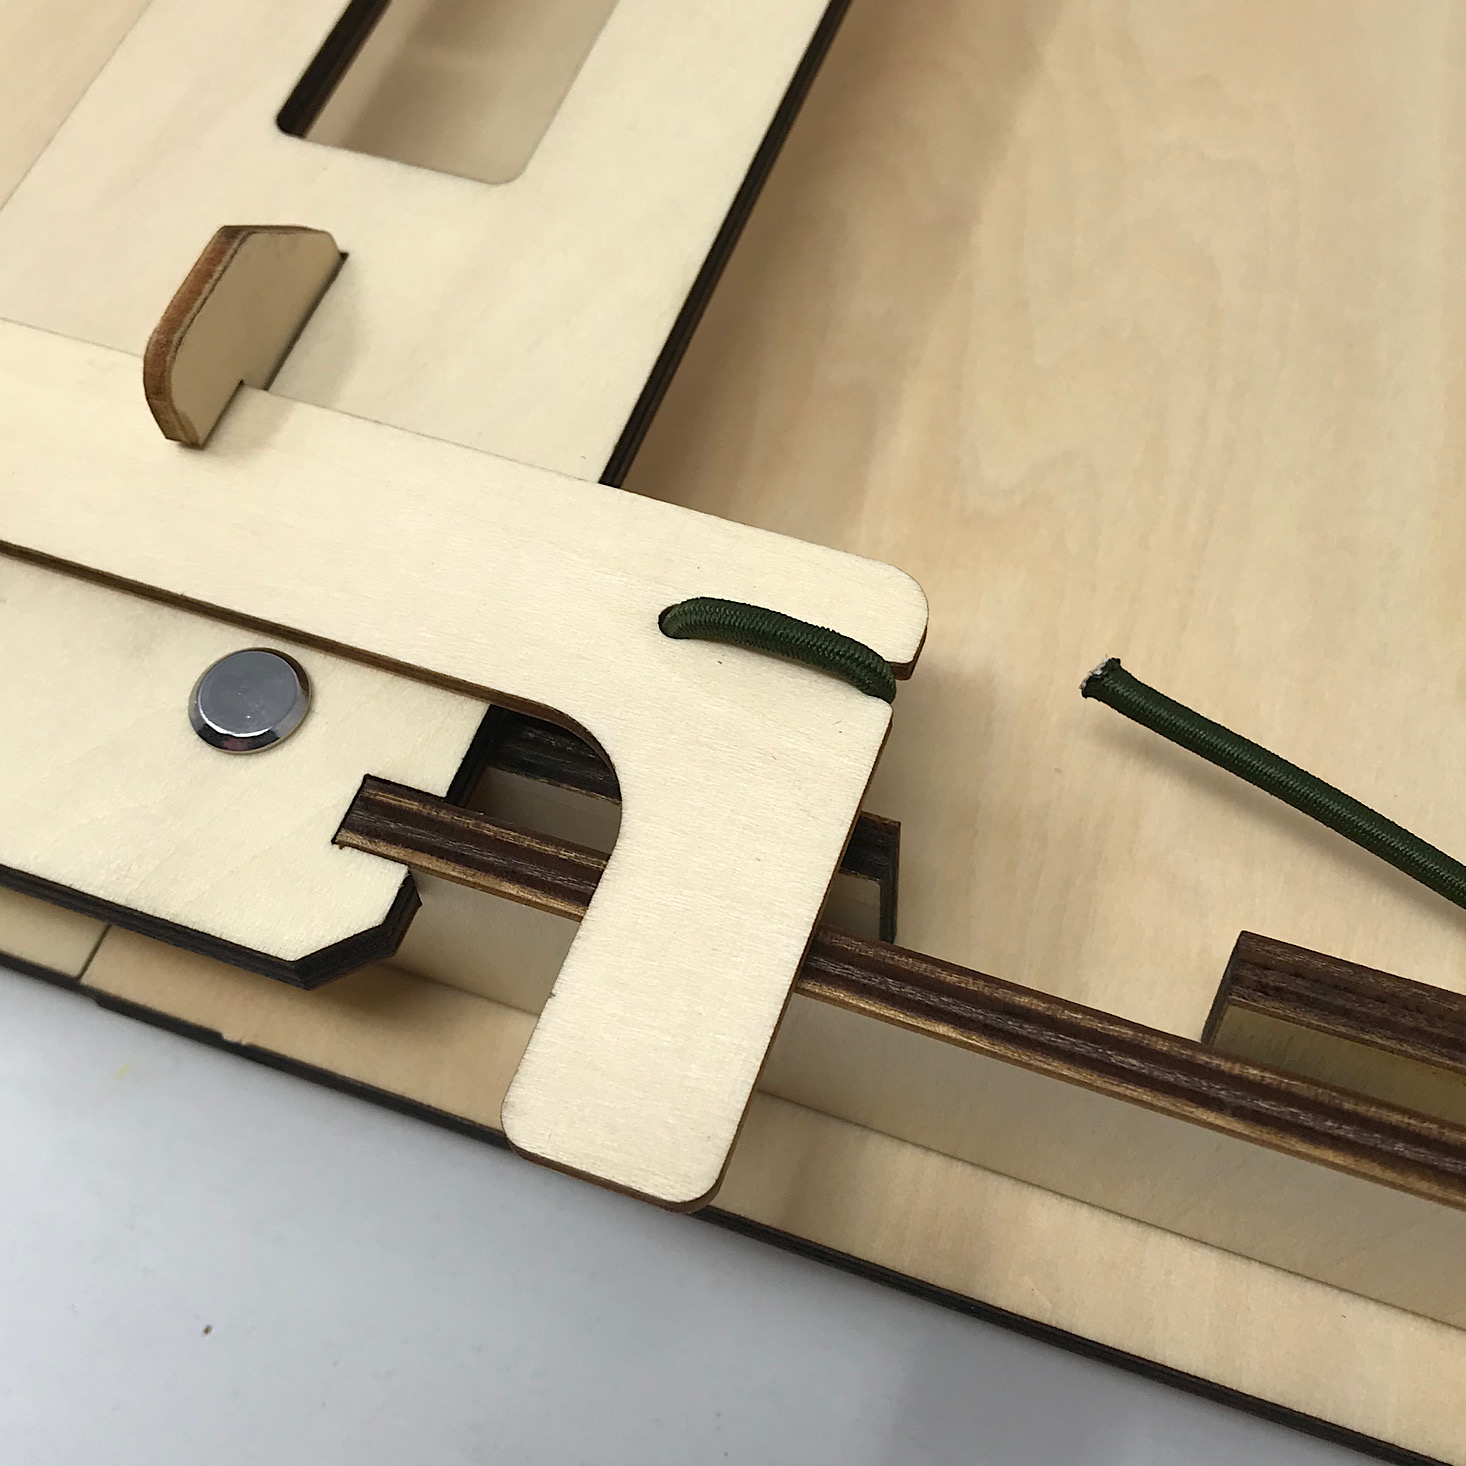
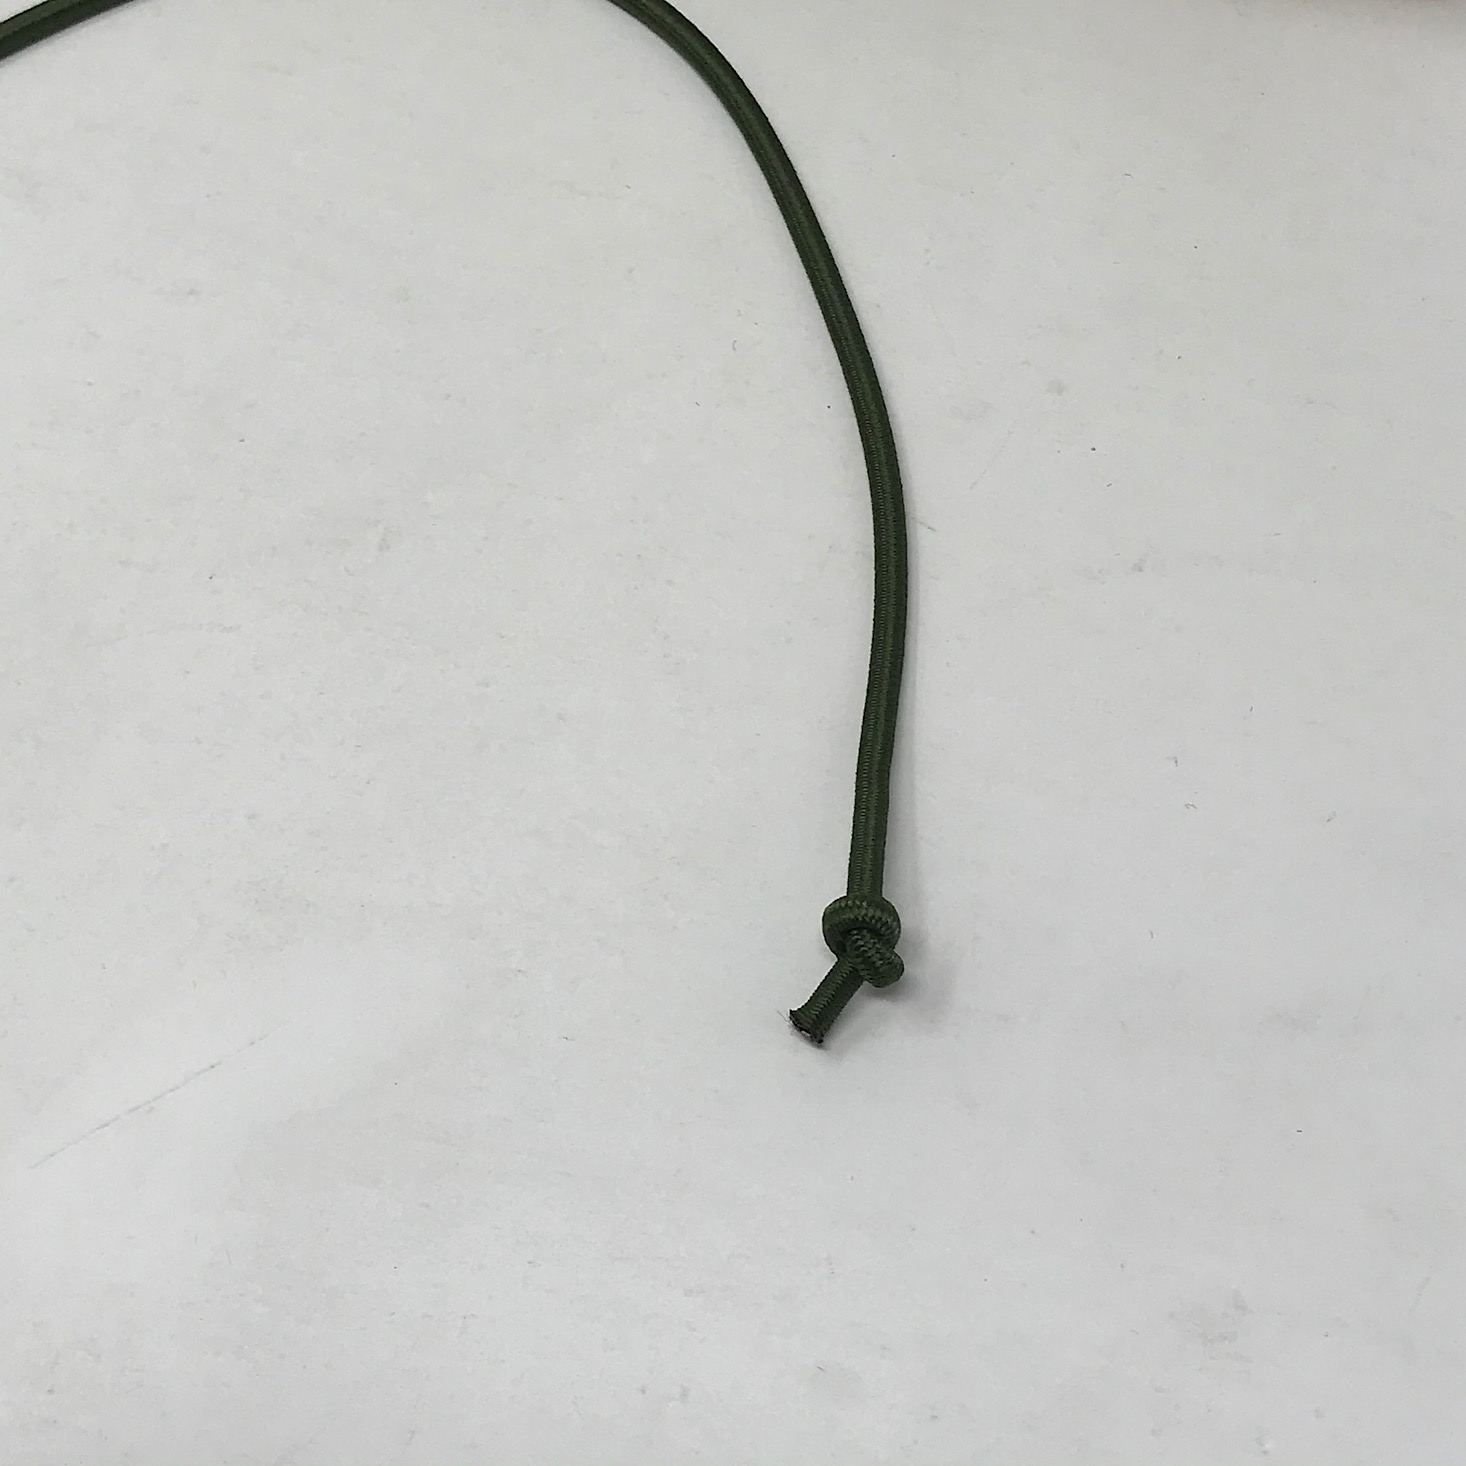
Now it was time to add the leg levers. I threaded the bungee through the holes in these long wooden levers and then tied a knot in the open end and flipped the lever over so that it could slide into place in the little notch behind the bolts.

1 of 4

I followed the same steps on the other side and then tested out the levers. When I pulled them in toward the center the leg piece would go up or down. Then I added two foam rectangles to each side of the leg pieces.
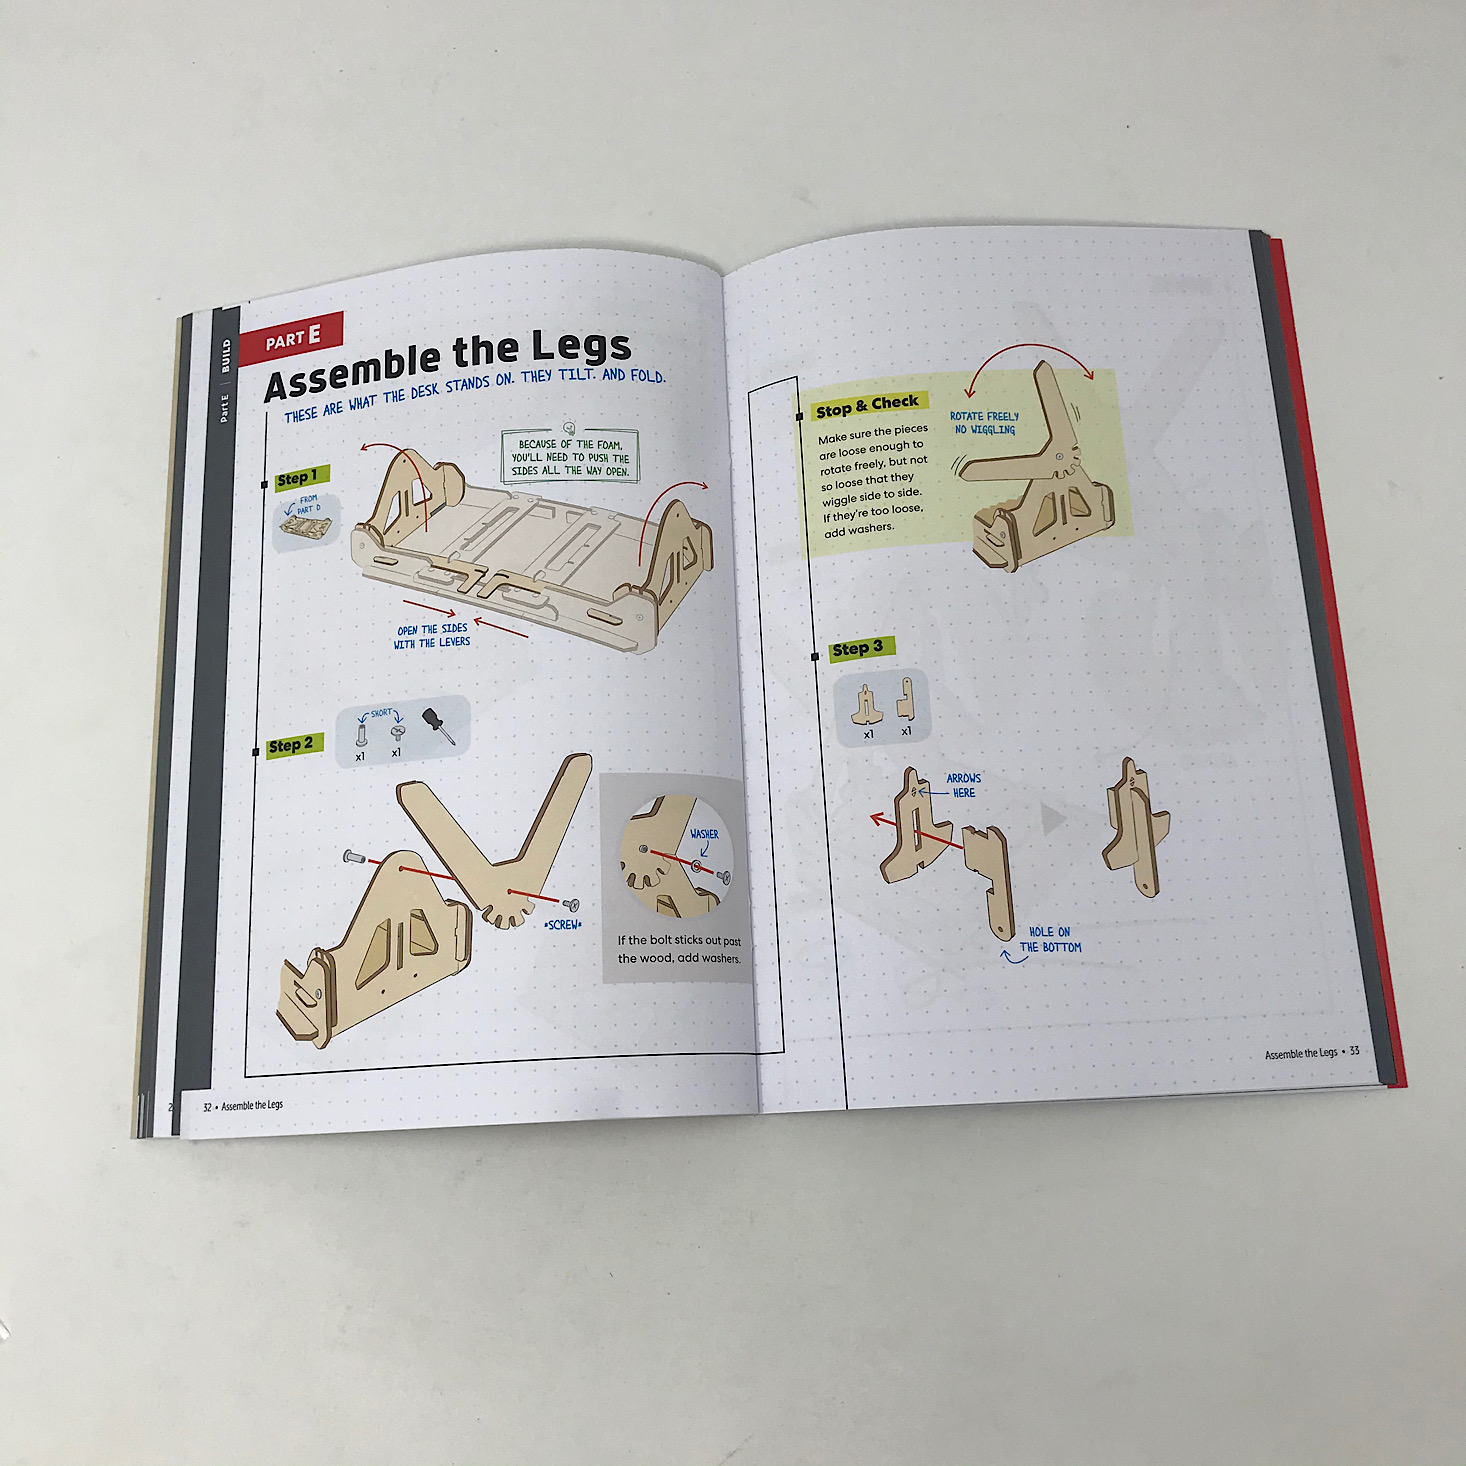
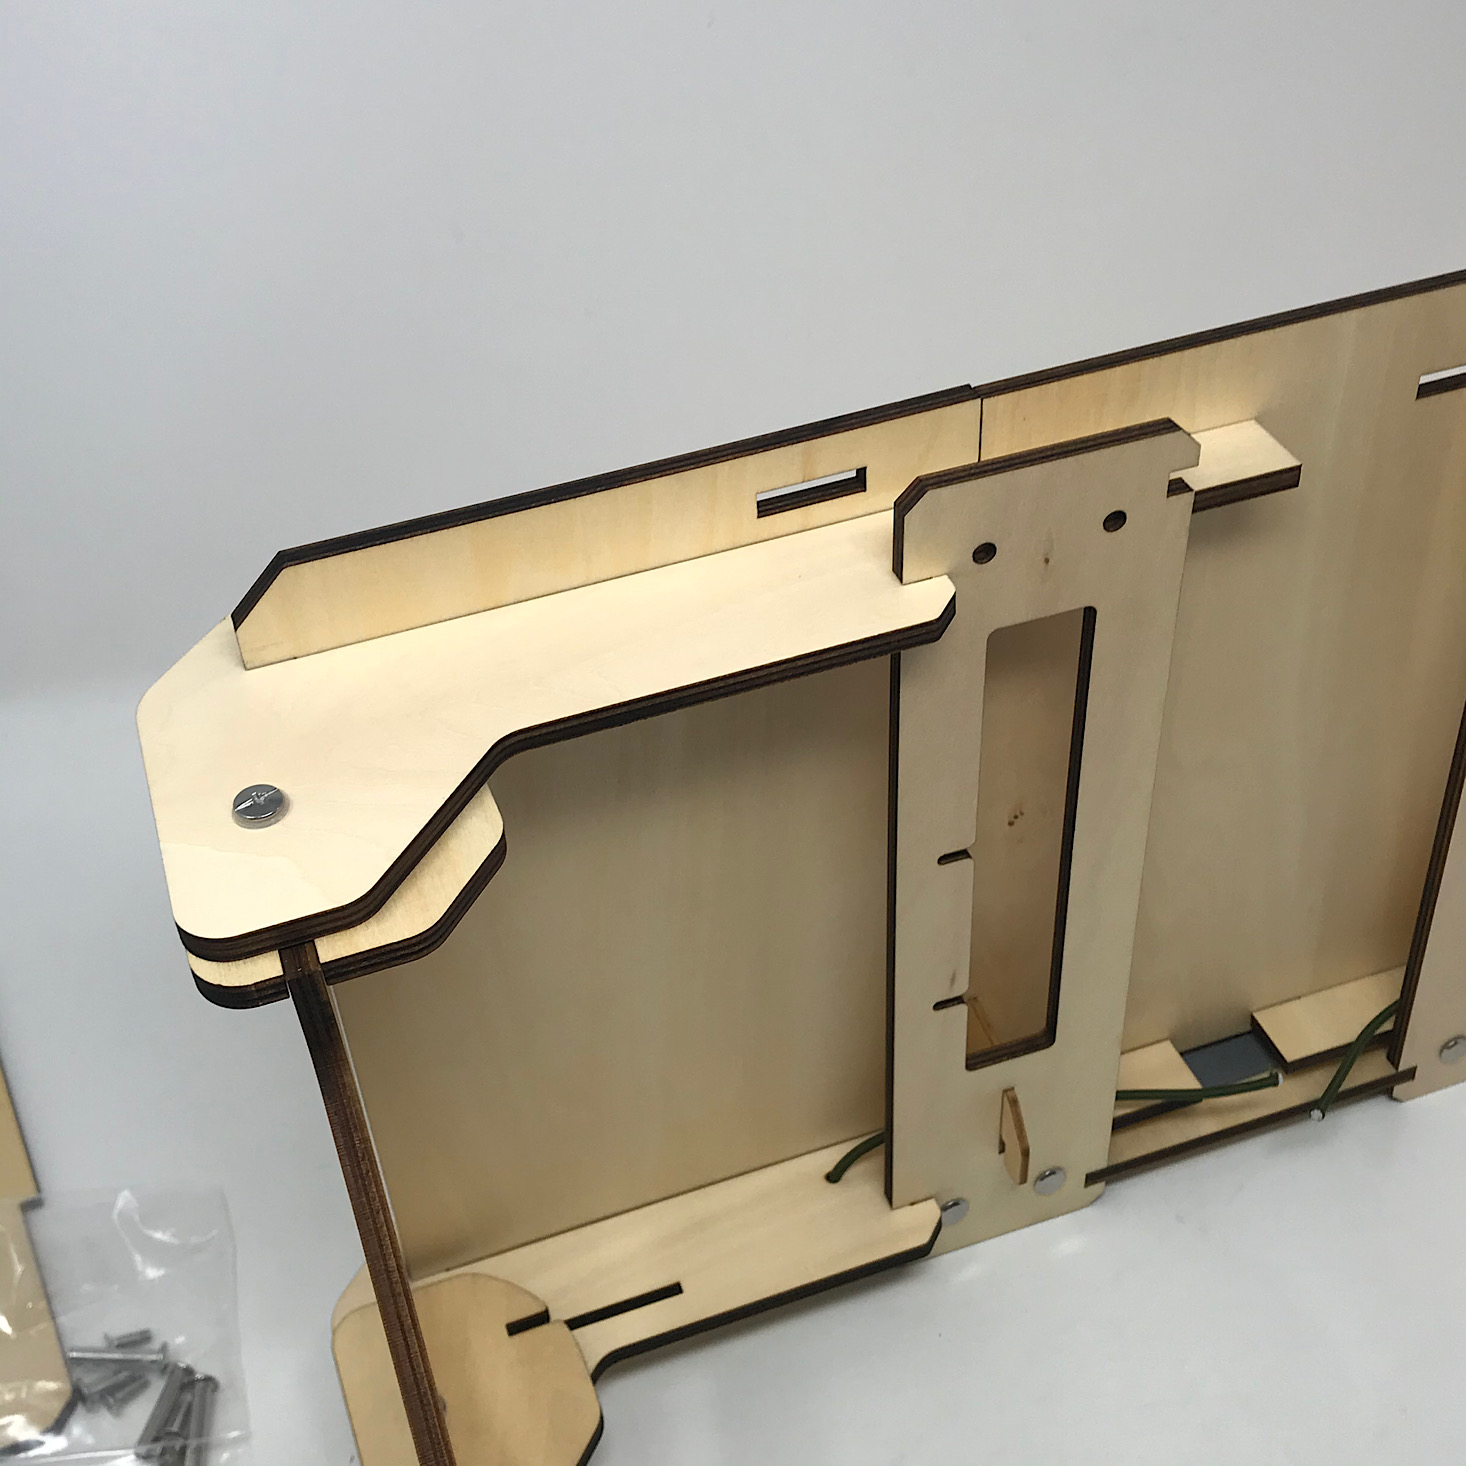
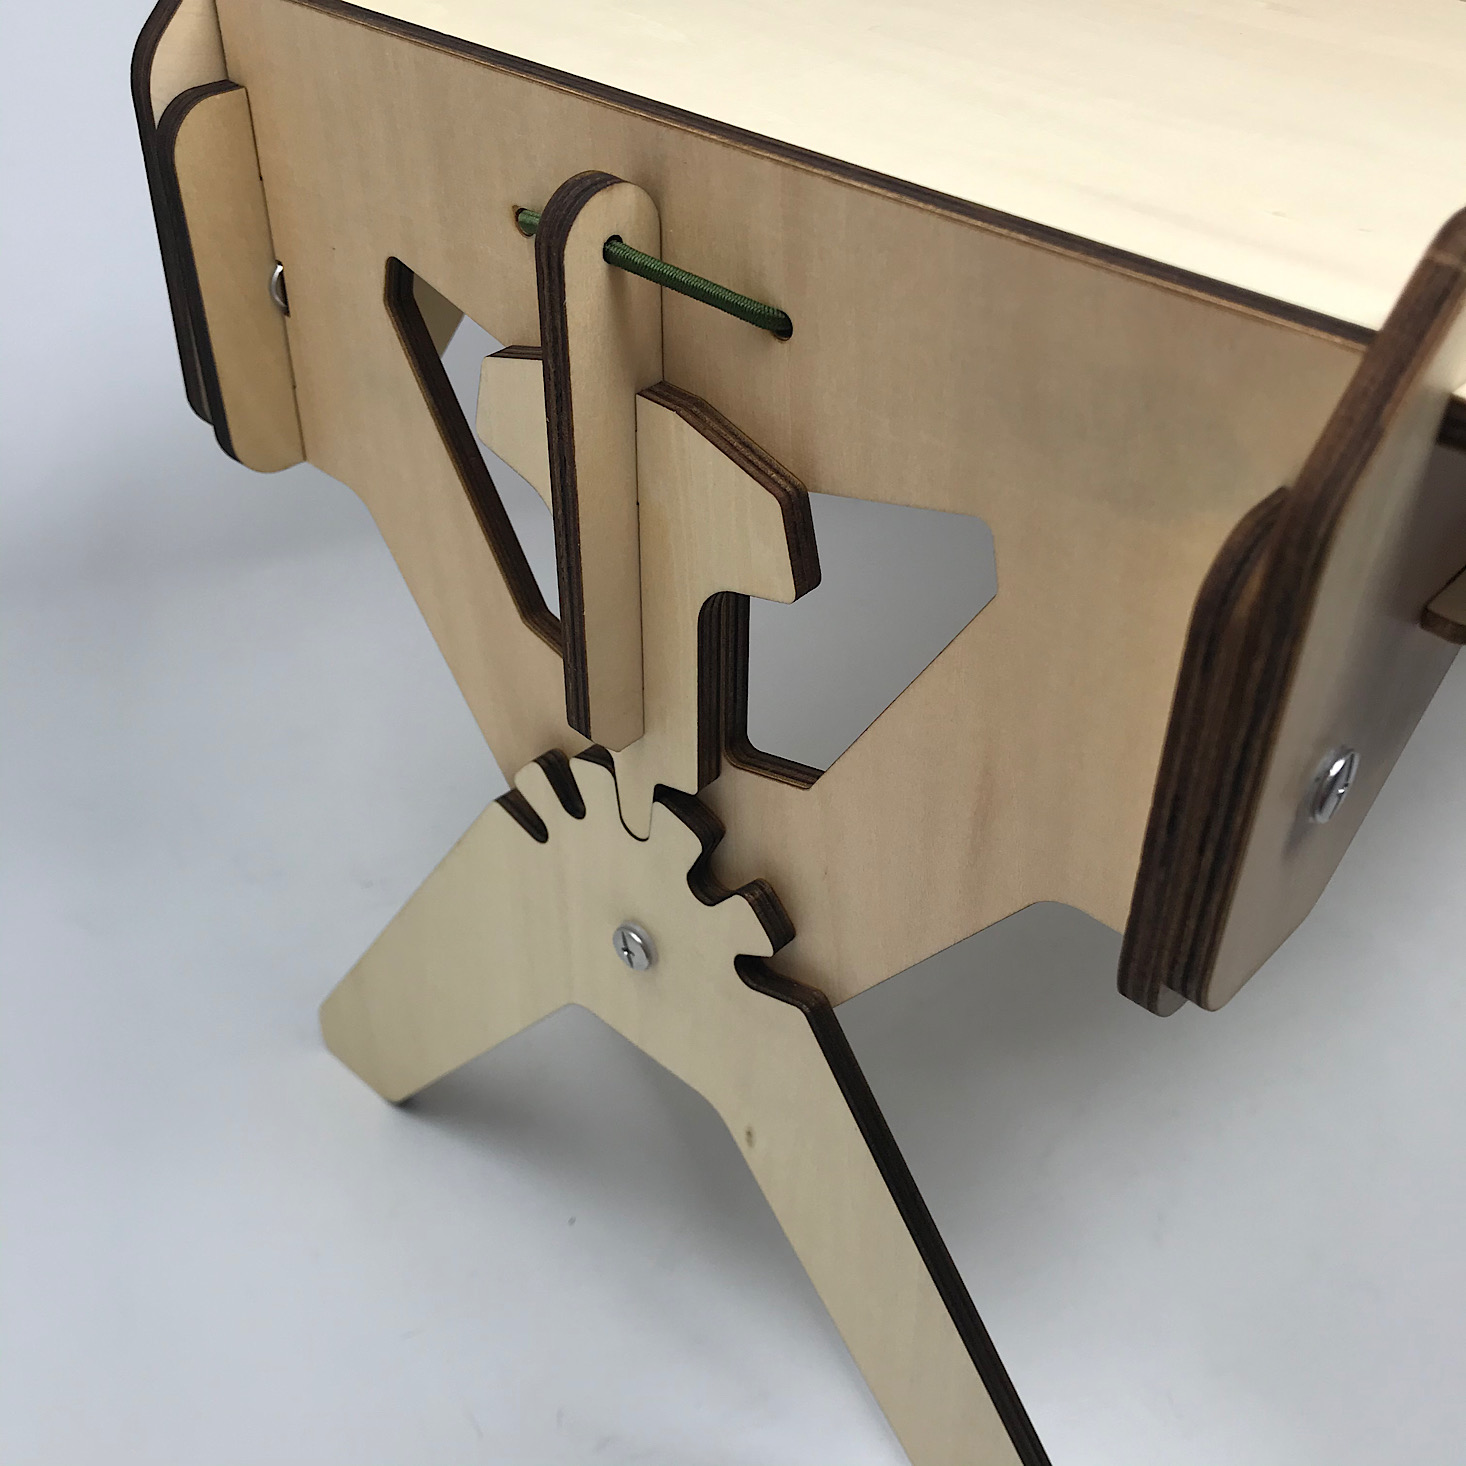
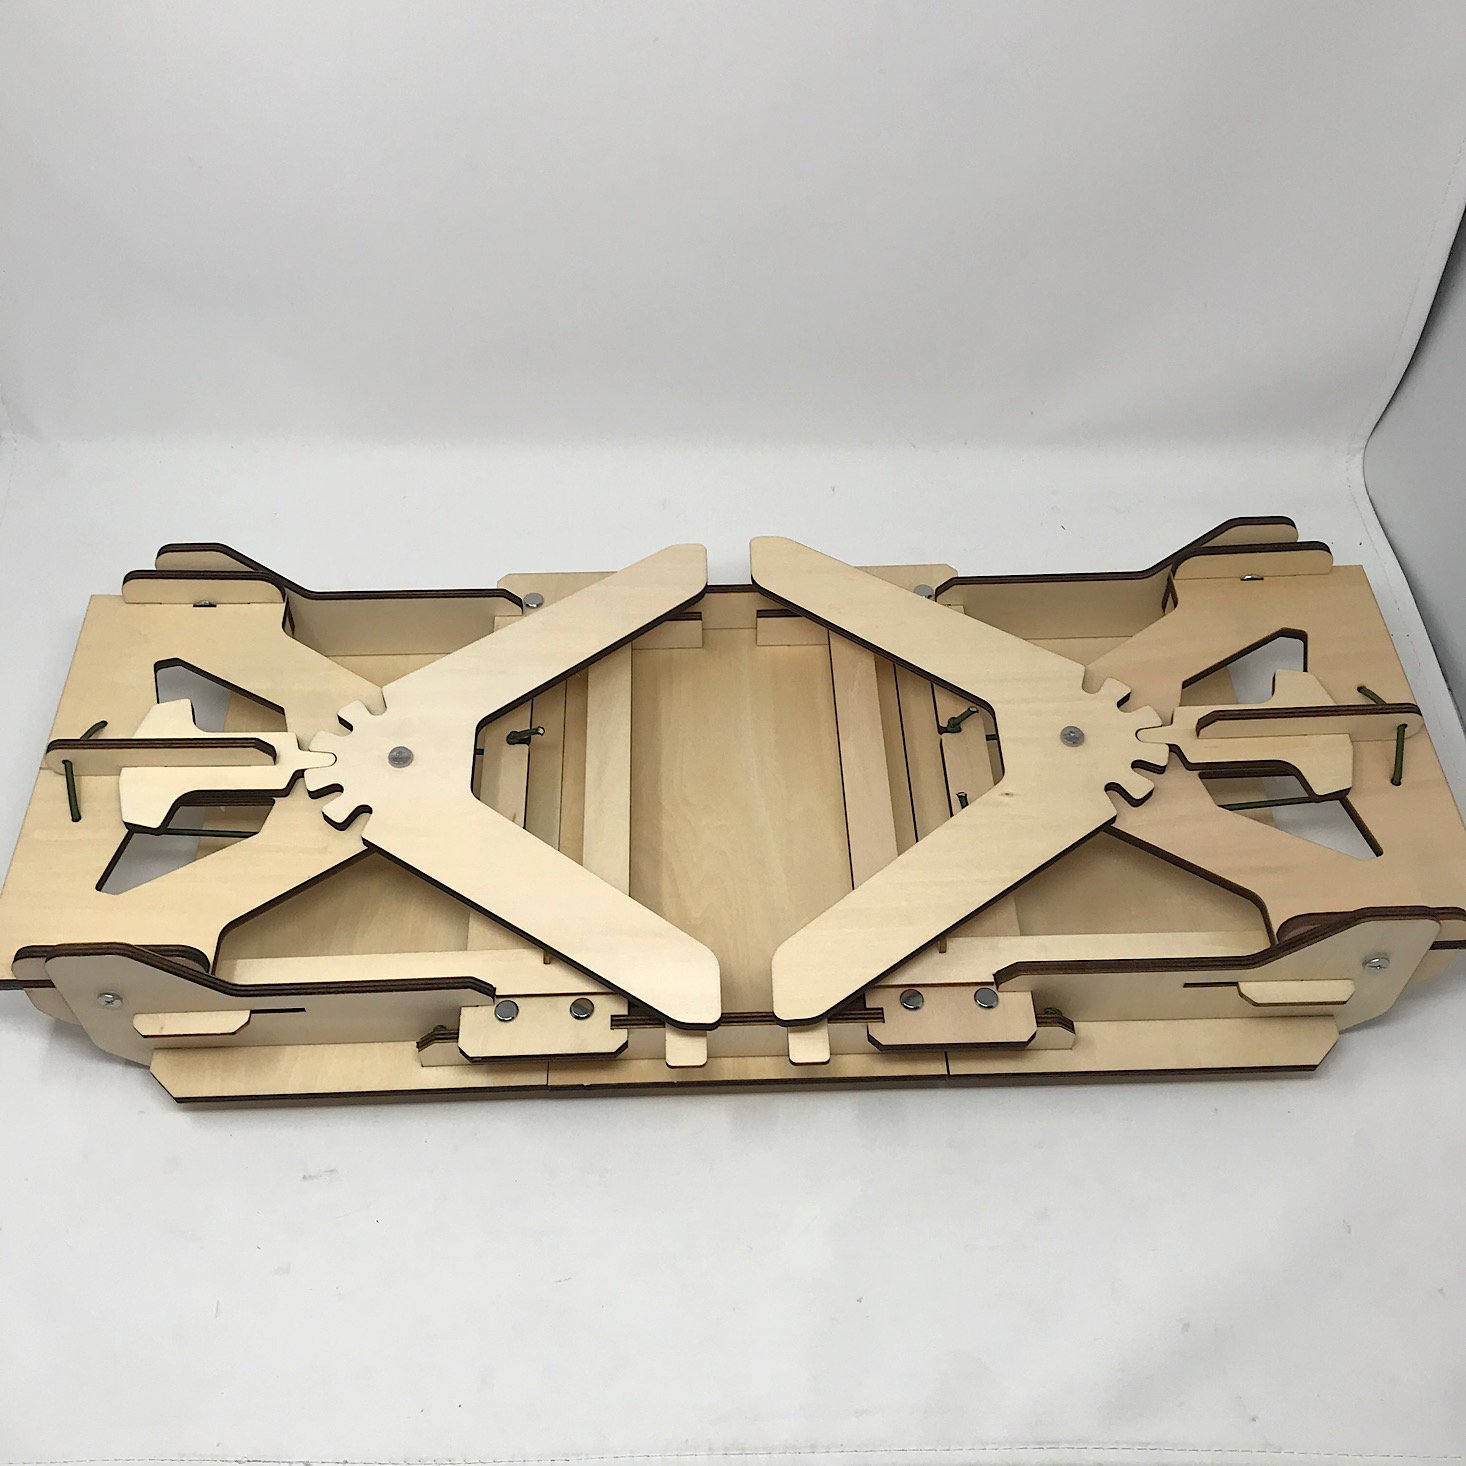
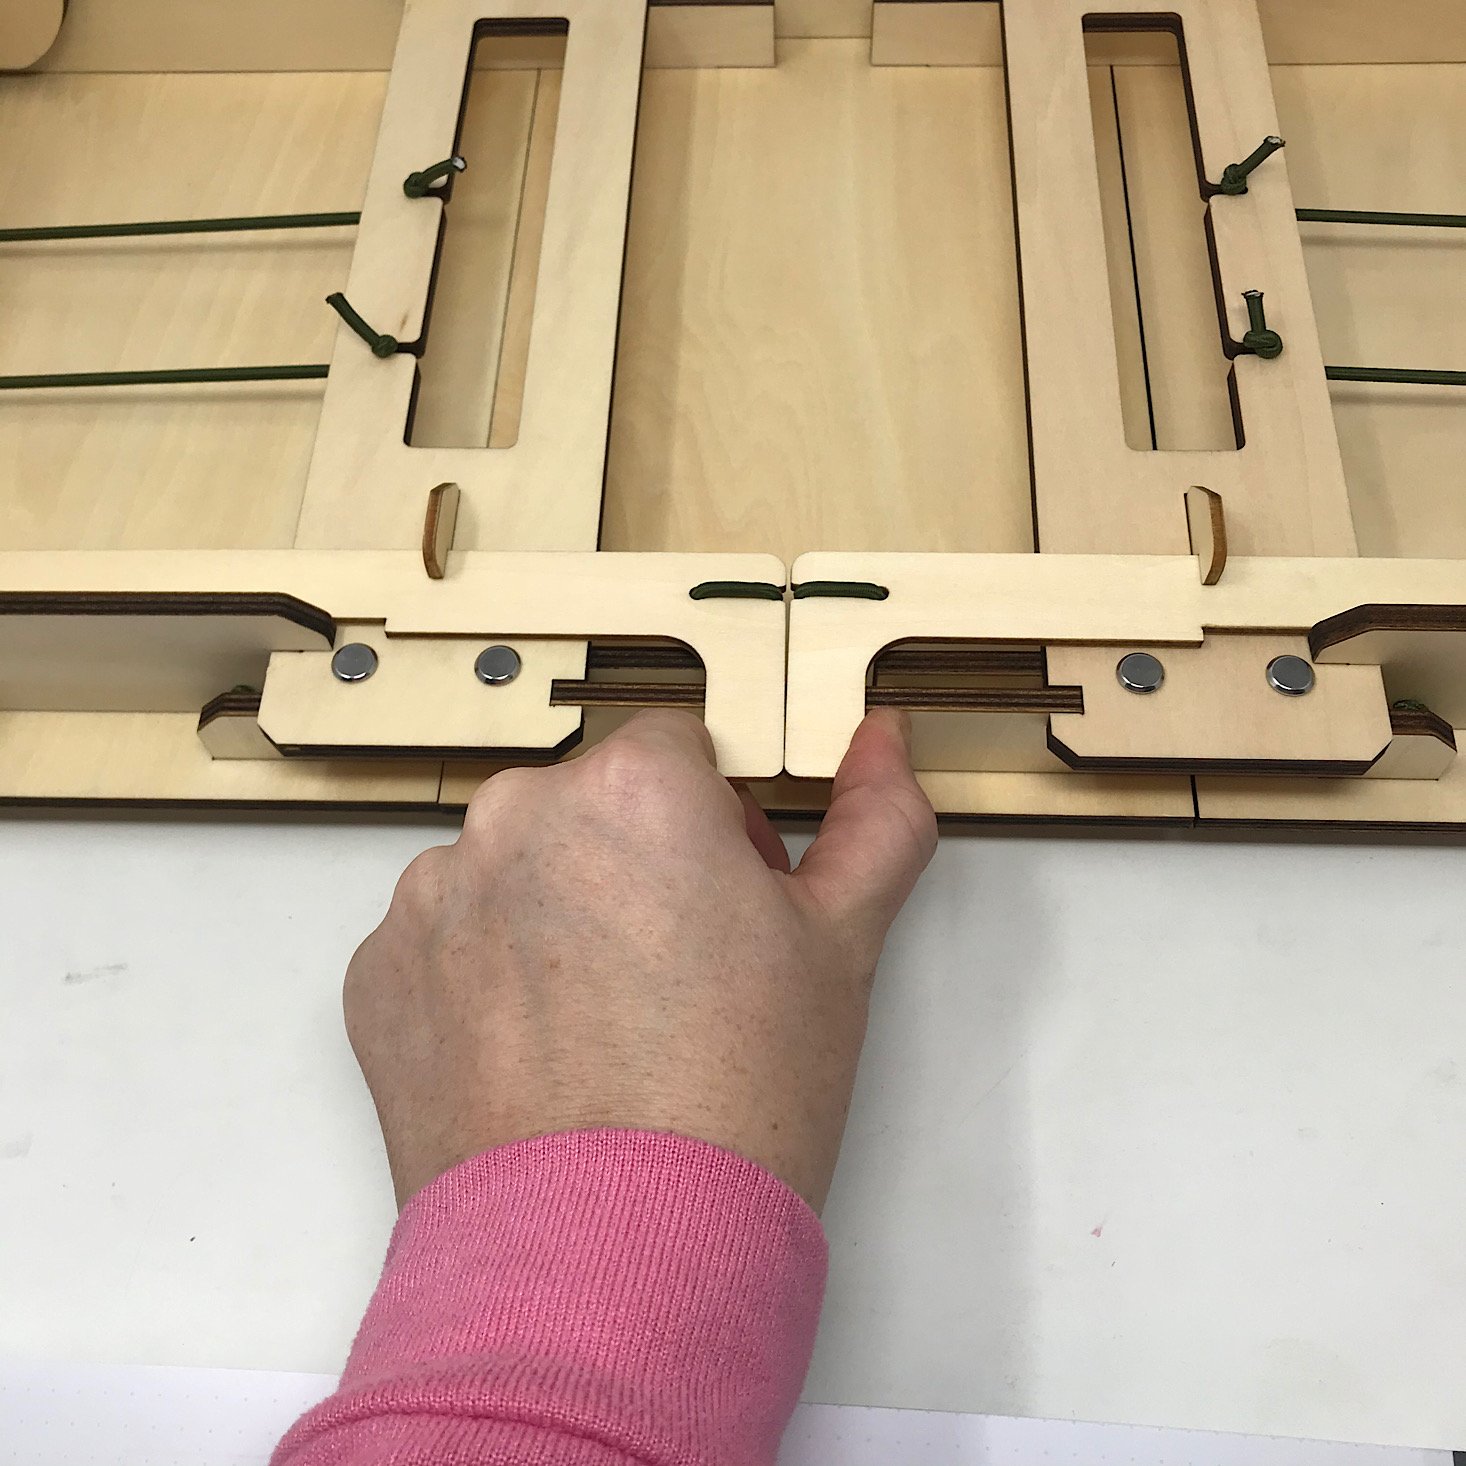
Part E: Assemble the Legs

1 of 2
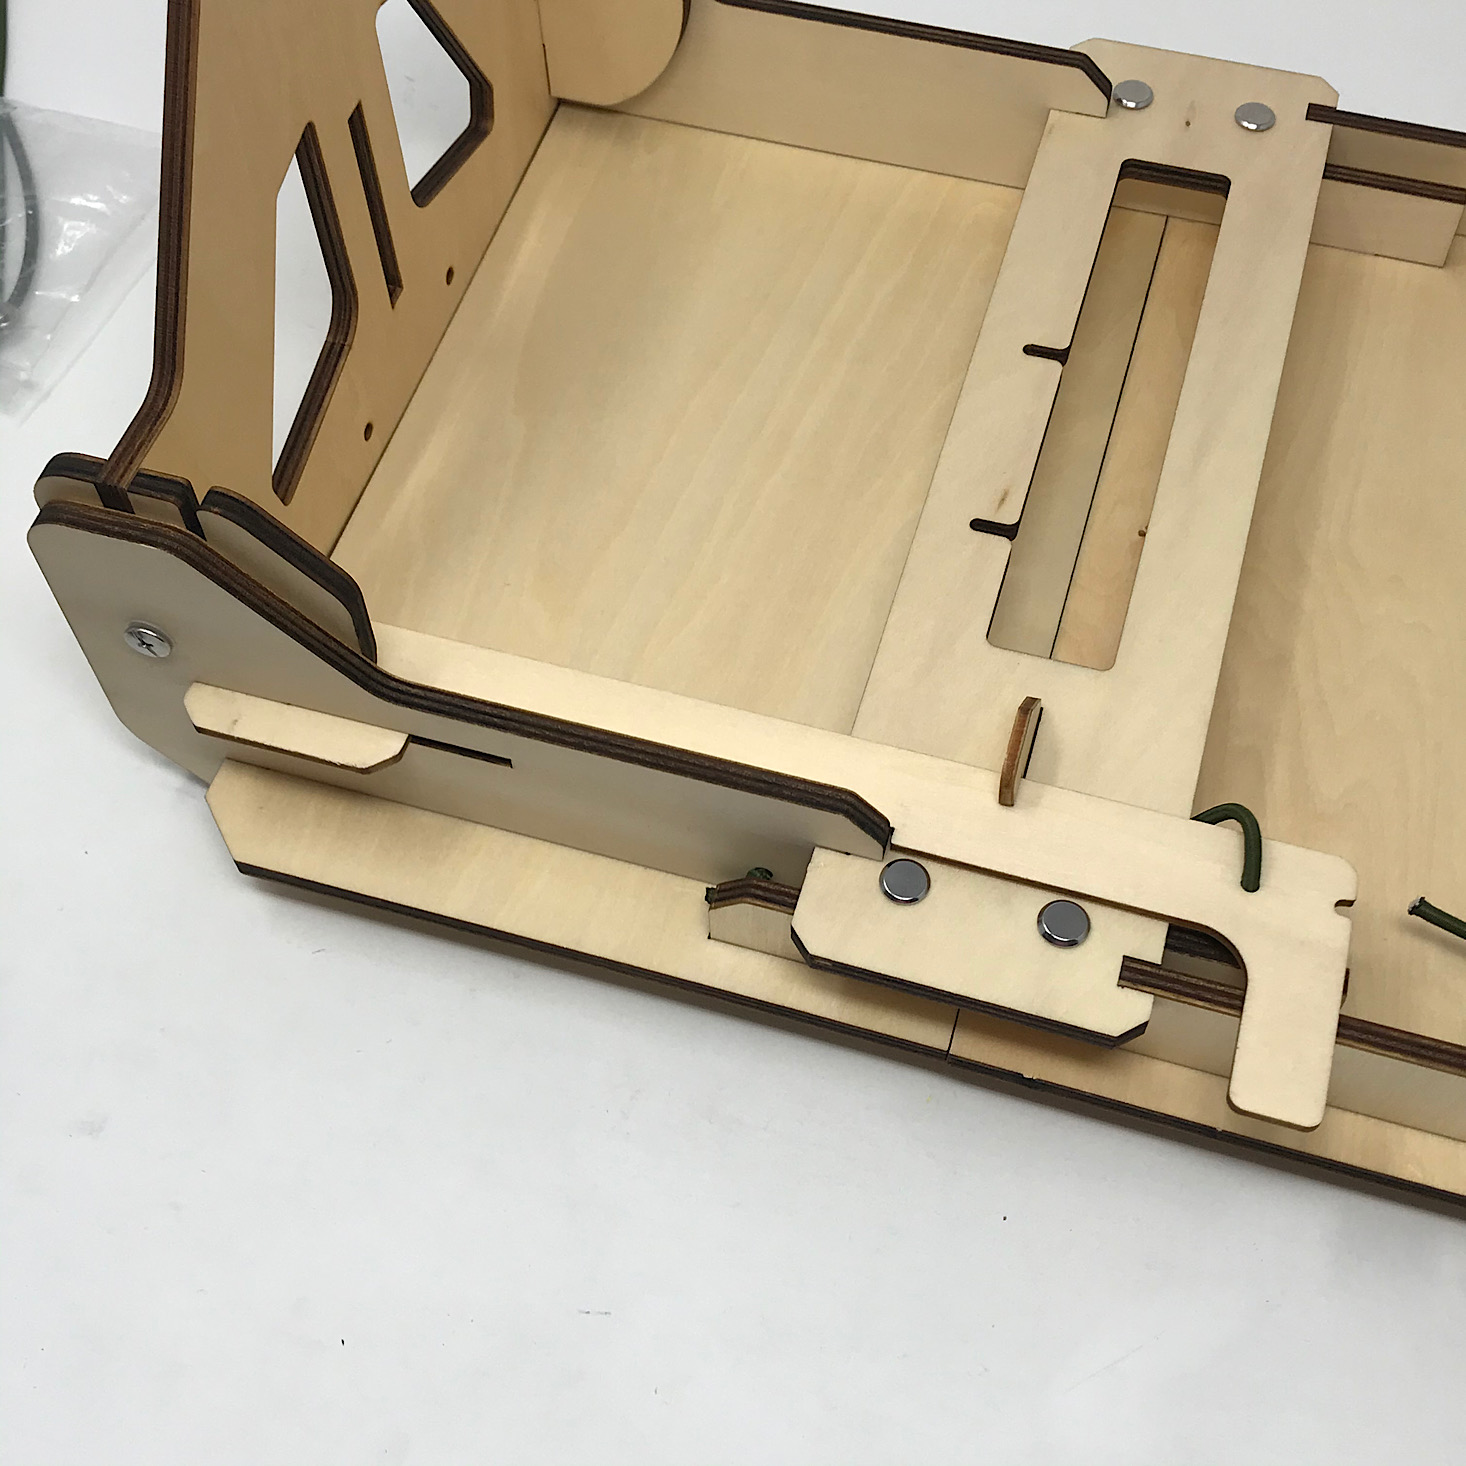
I added one of these leg pieces to either side, securing them with small screws and bolts.
1 of 4
I then put these two pieces together by just sliding them into one another before slipping the larger tab through the slot in our leg piece.

1 of 4
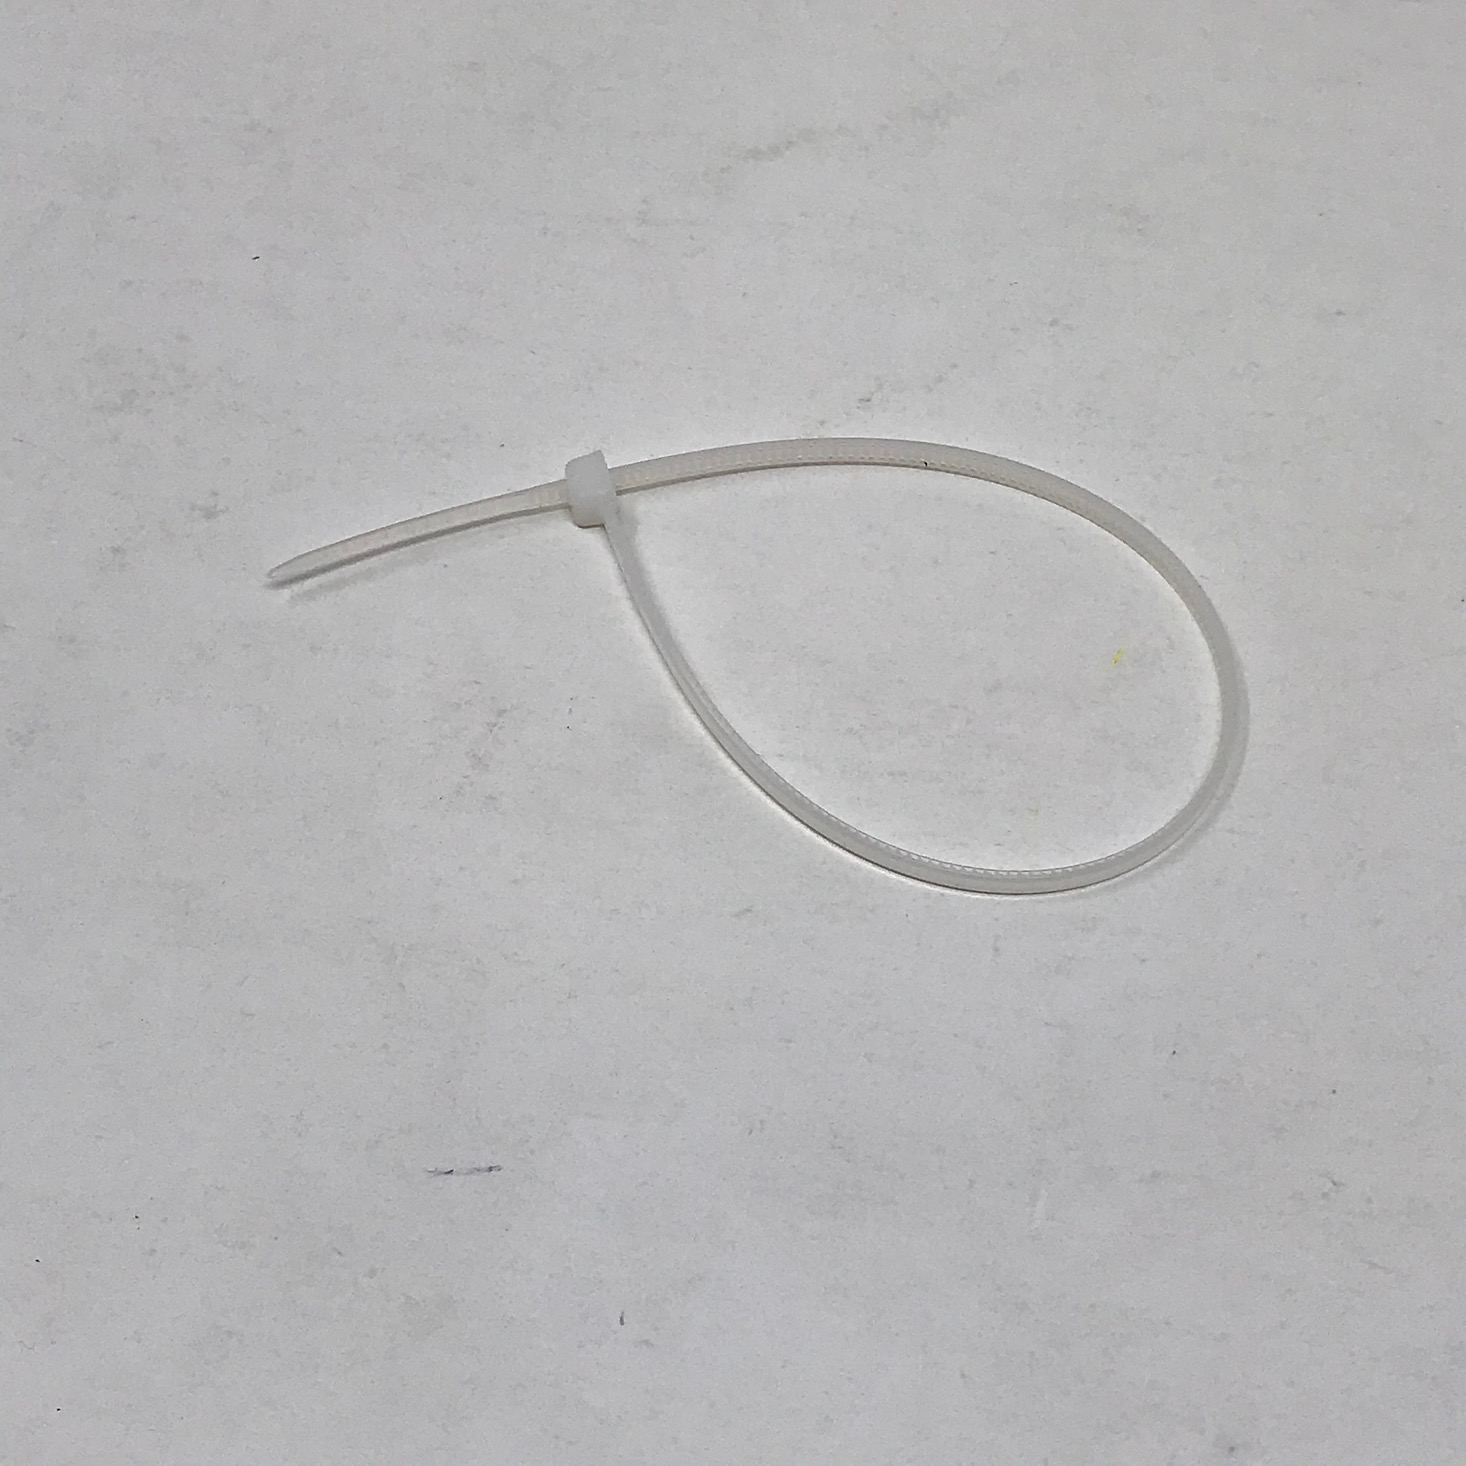

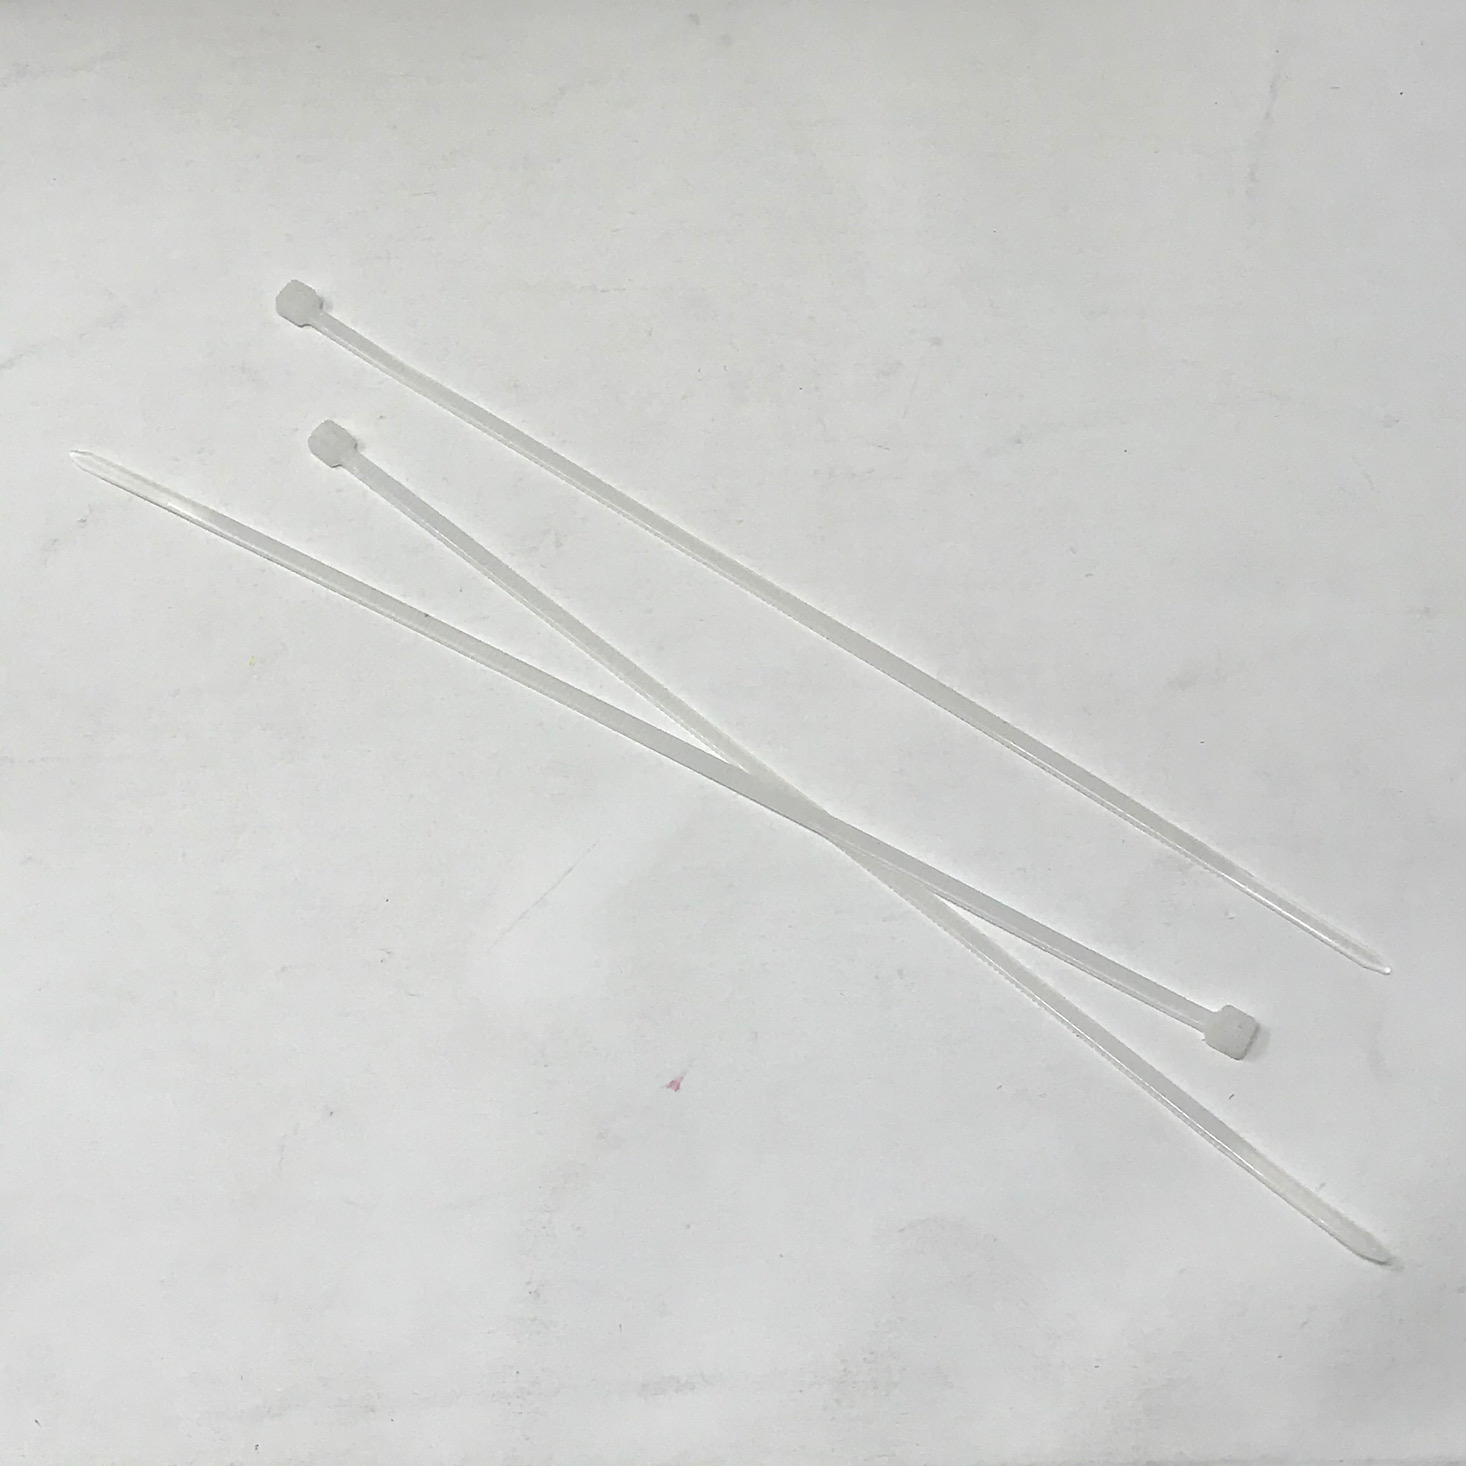
To secure these I closed up a twist tie and then tightened it around the notches and trimmed off the excess.
1 of 2
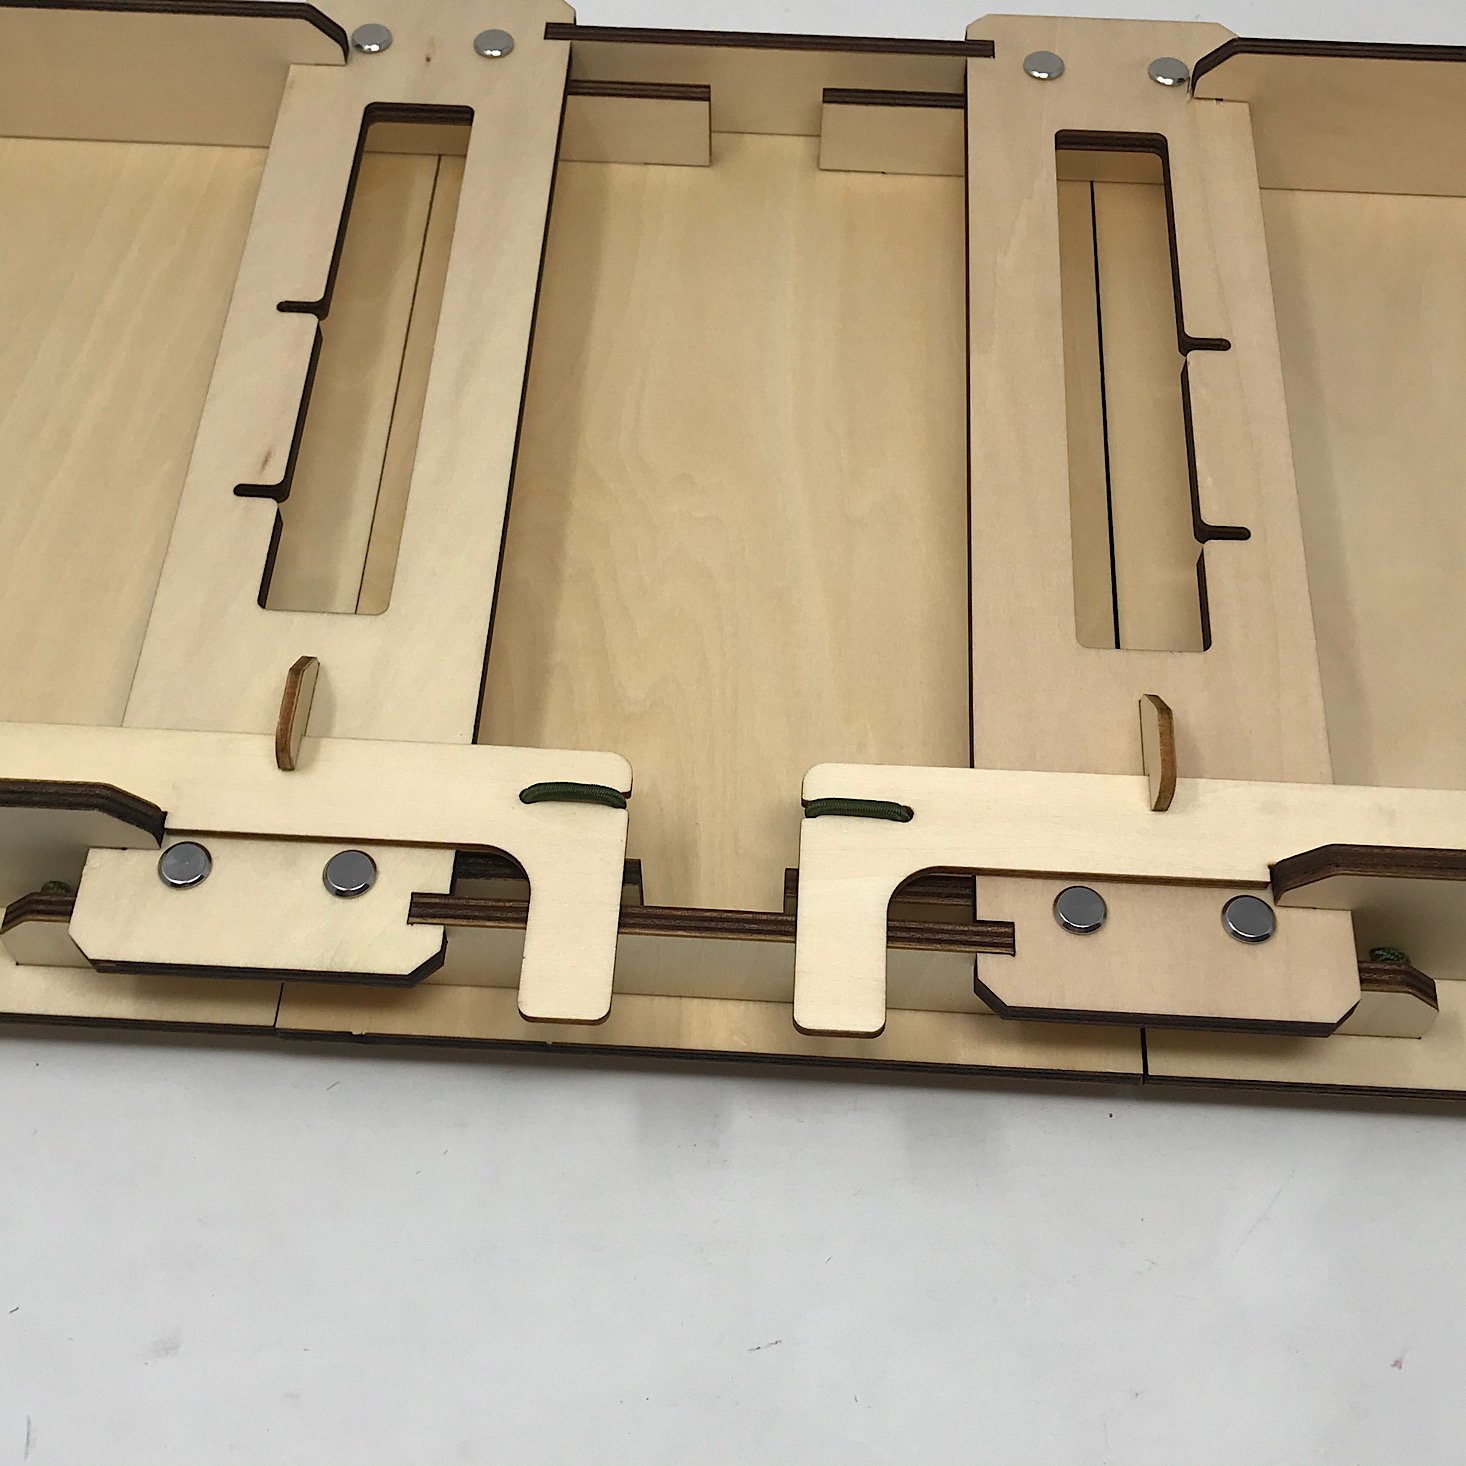
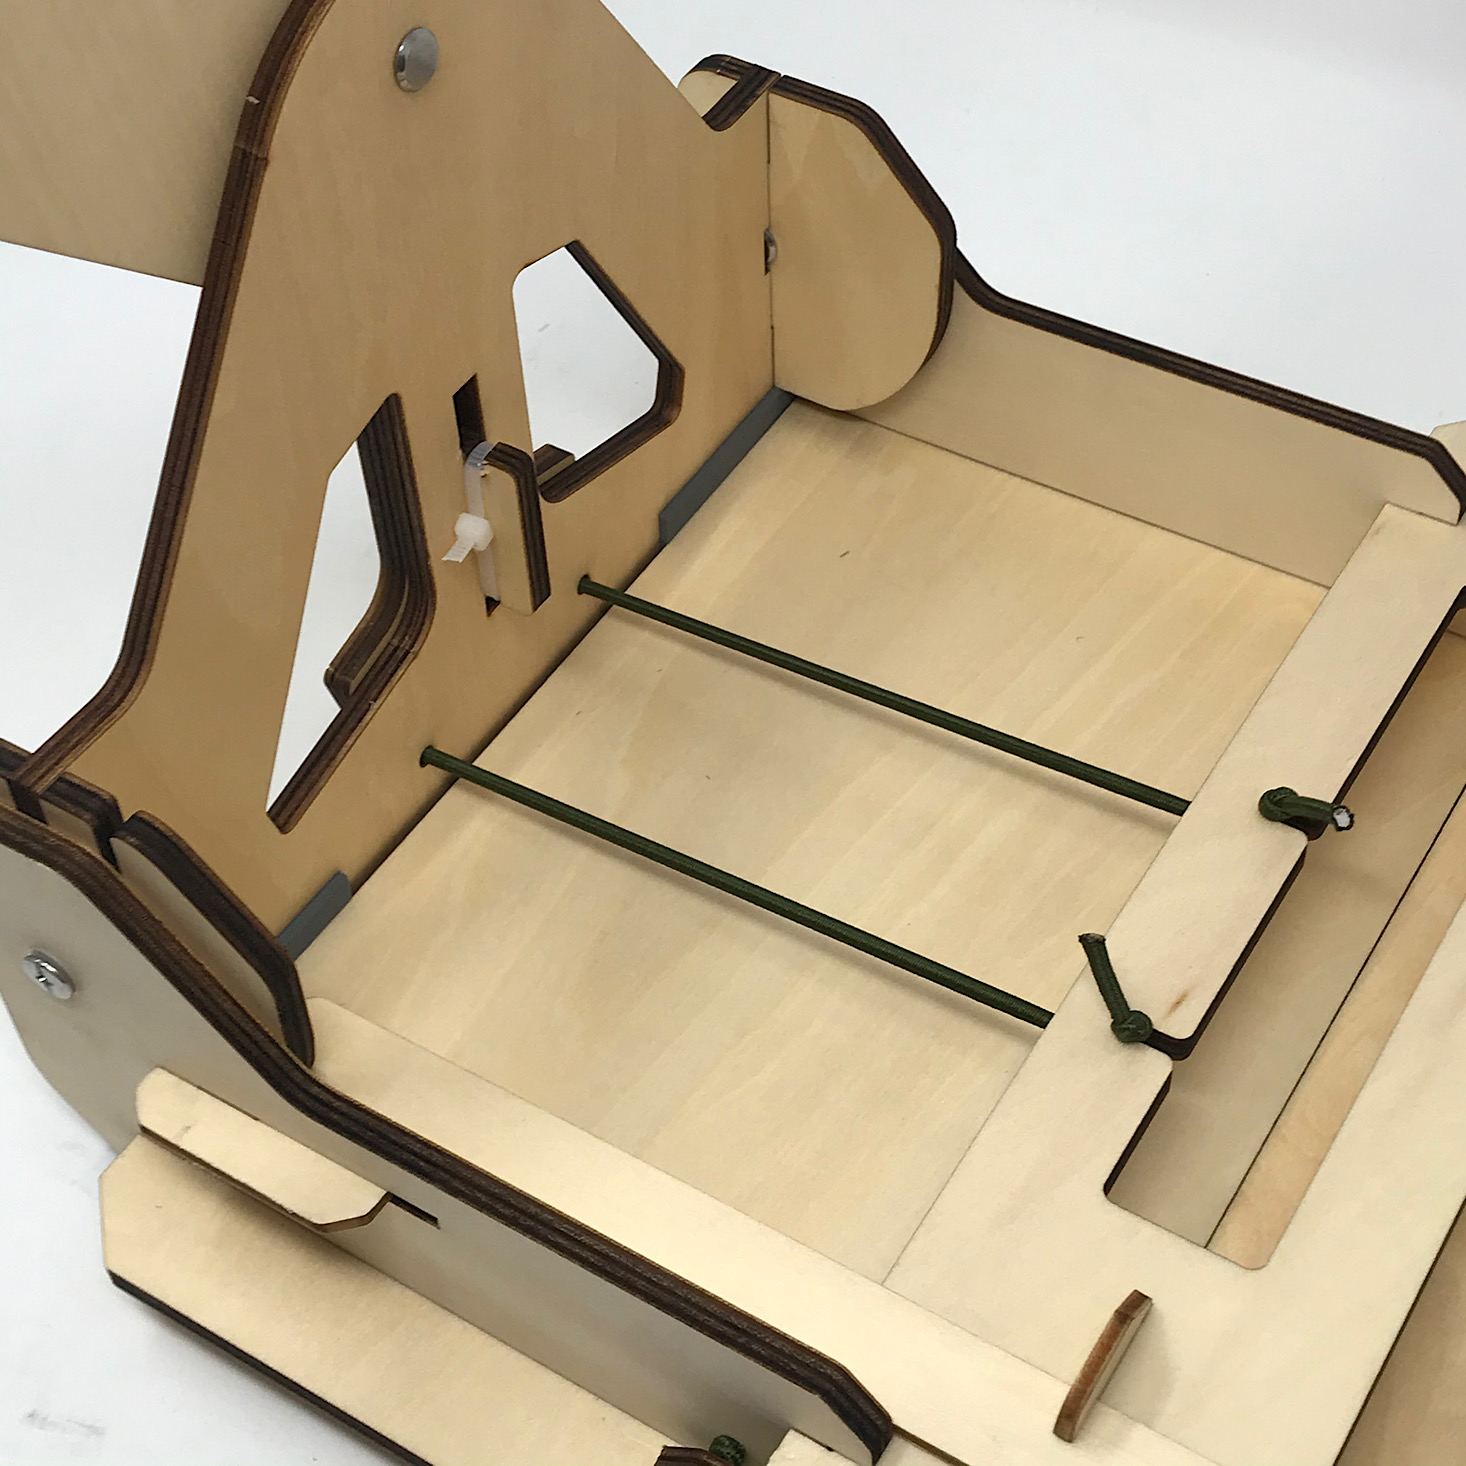
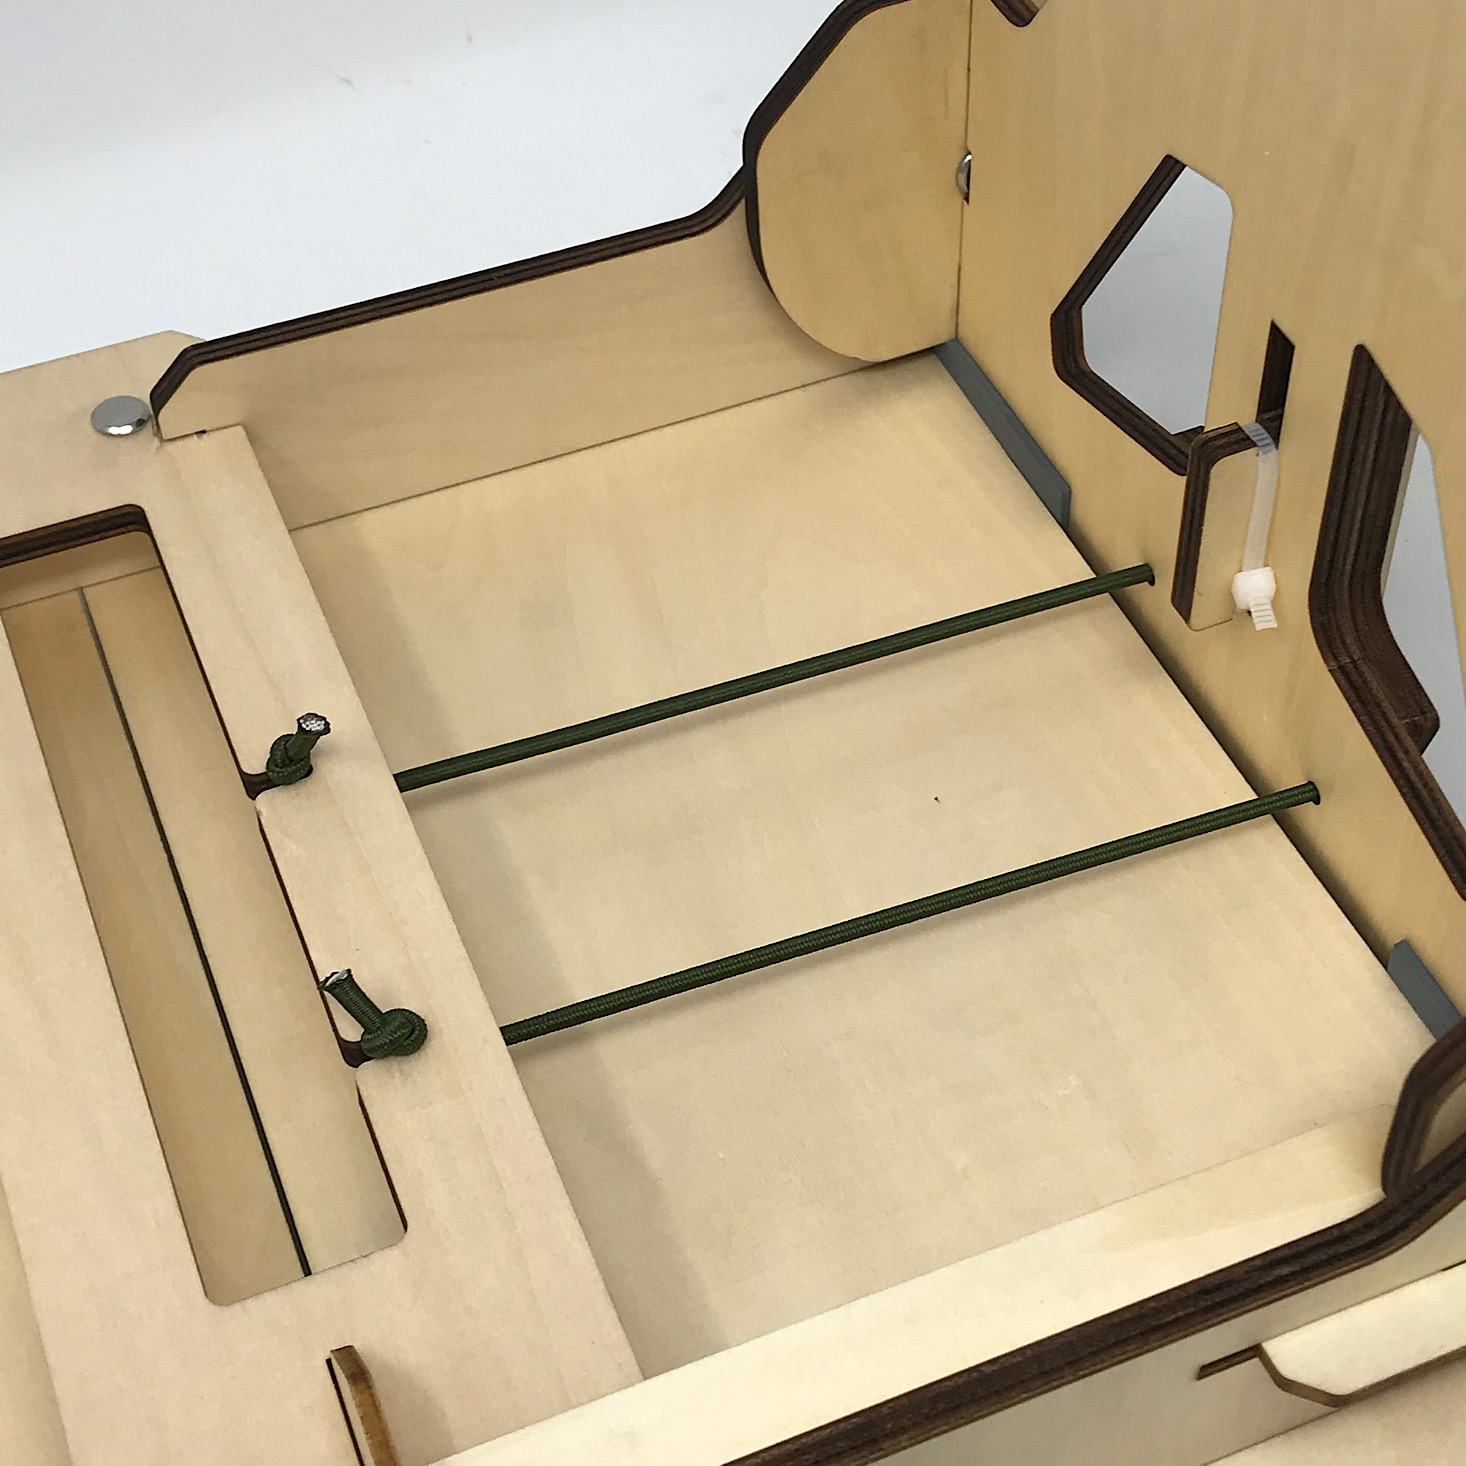
I tied a knot into the longer bungee string and then threaded it through the holes in each of the various wooden pieces I had put together.
1 of 2
Then I tied a knot in the other end and stretched the bungees and slid the knots into the notches in the center pieces so they were stretched tightly. I repeated this step for the other side as well.

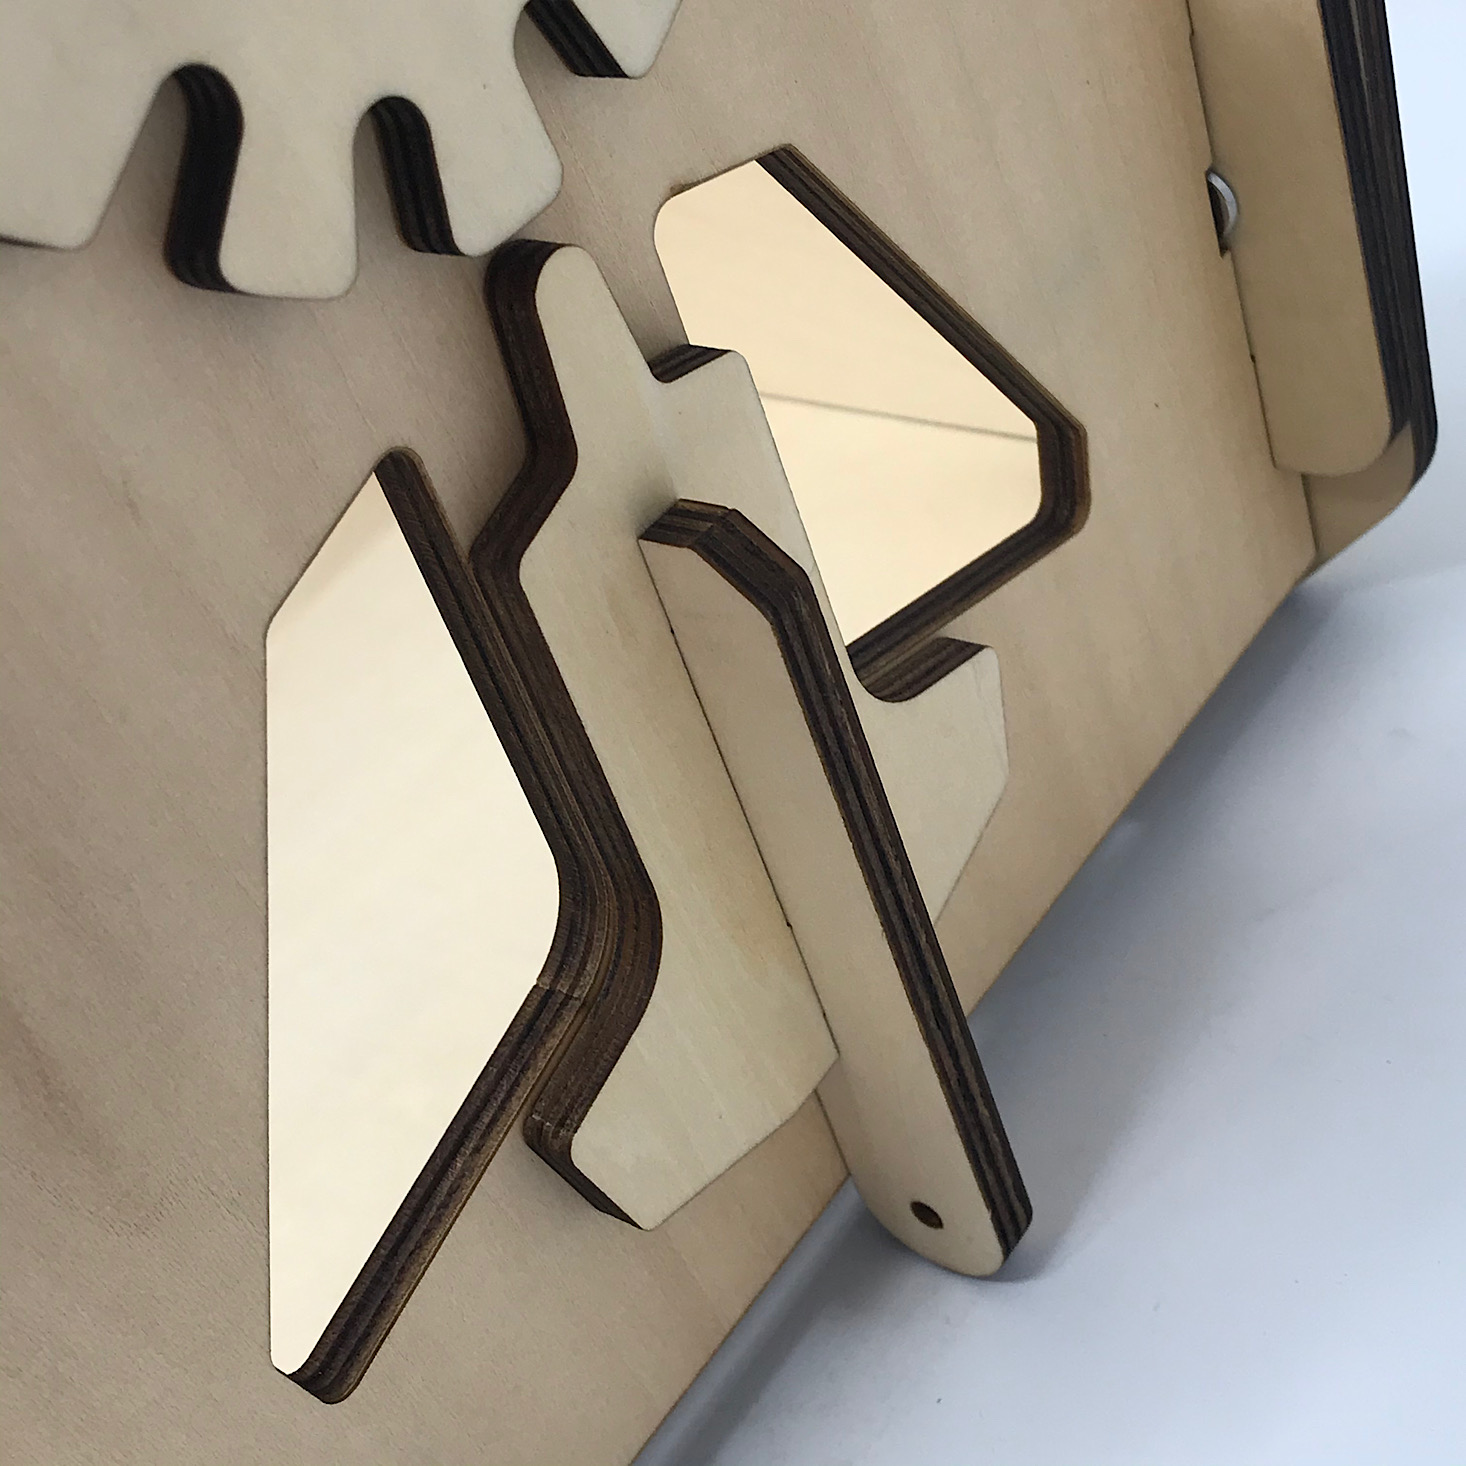
1 of 3
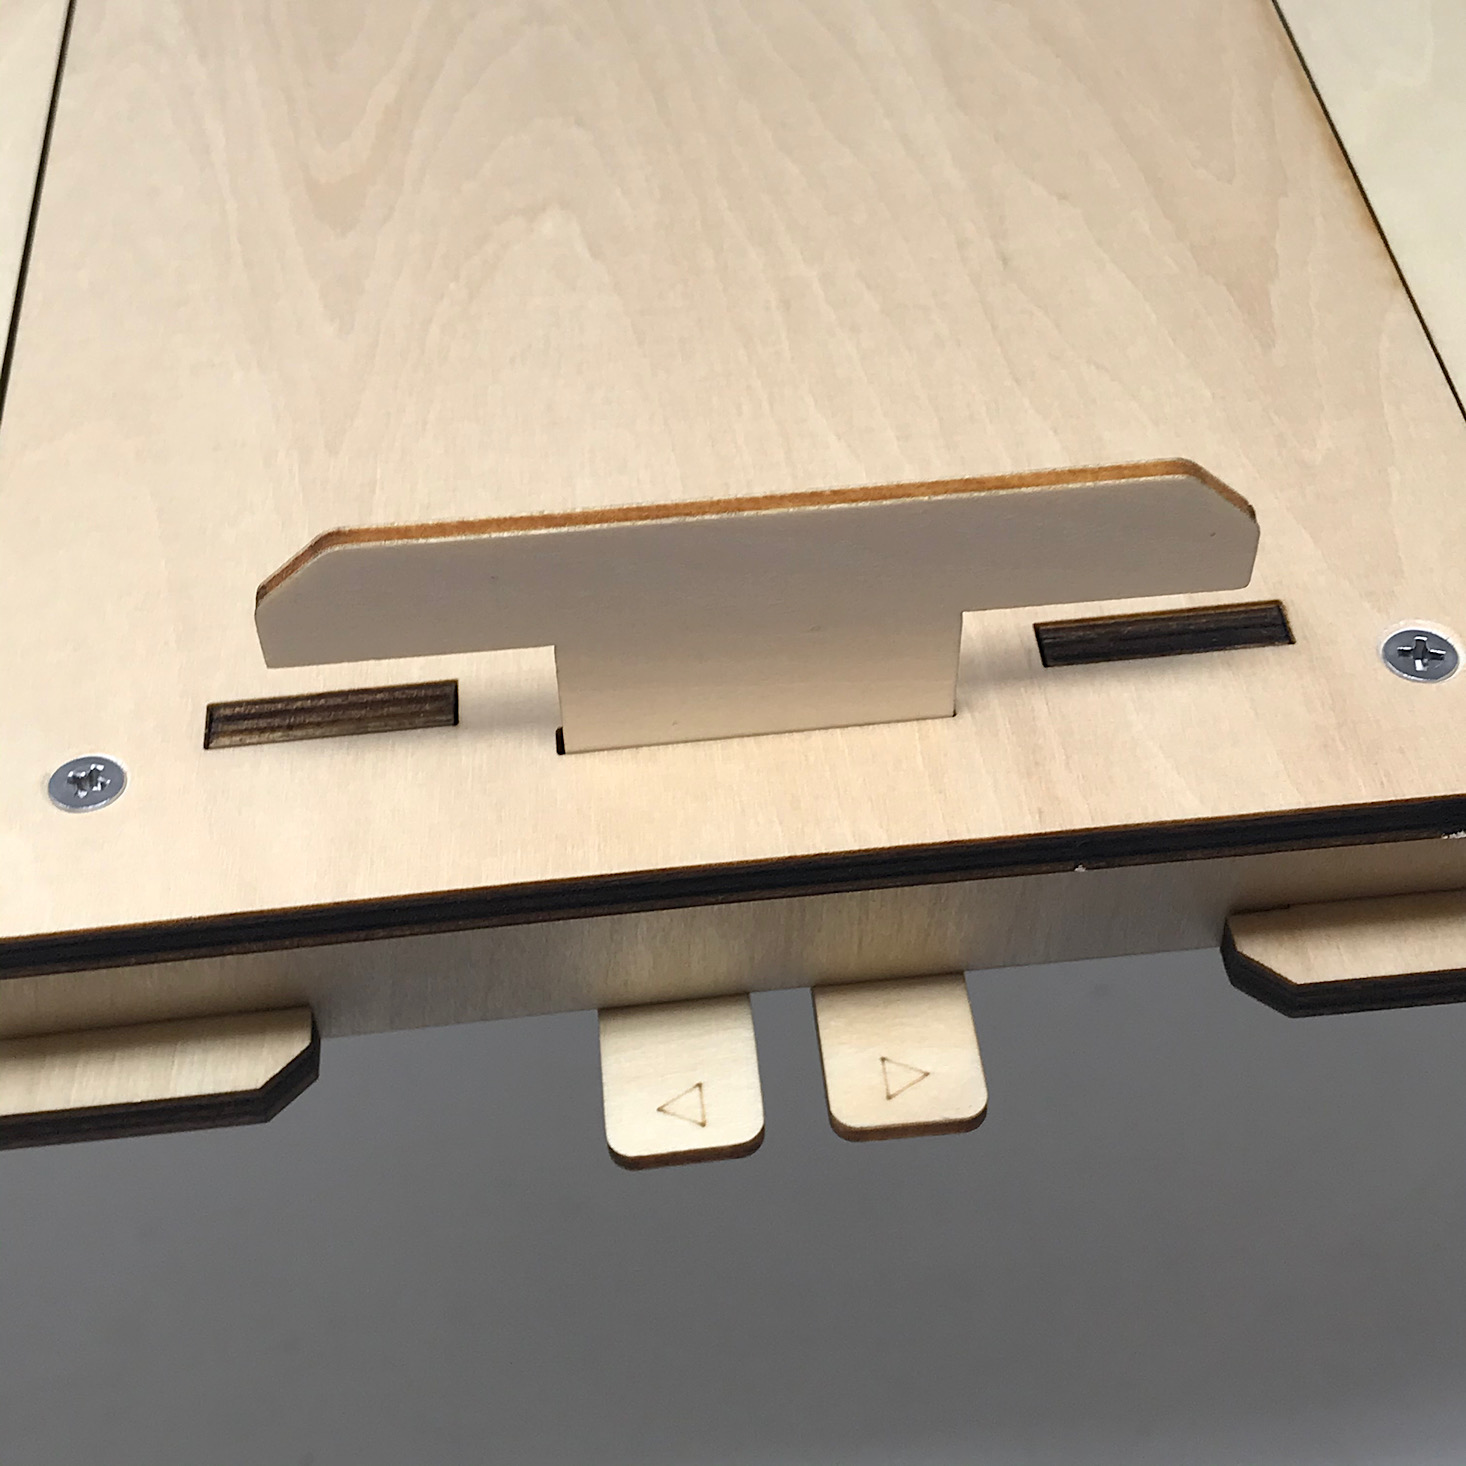
The last step was to slide this little tab into place at the bottom center of our desk.

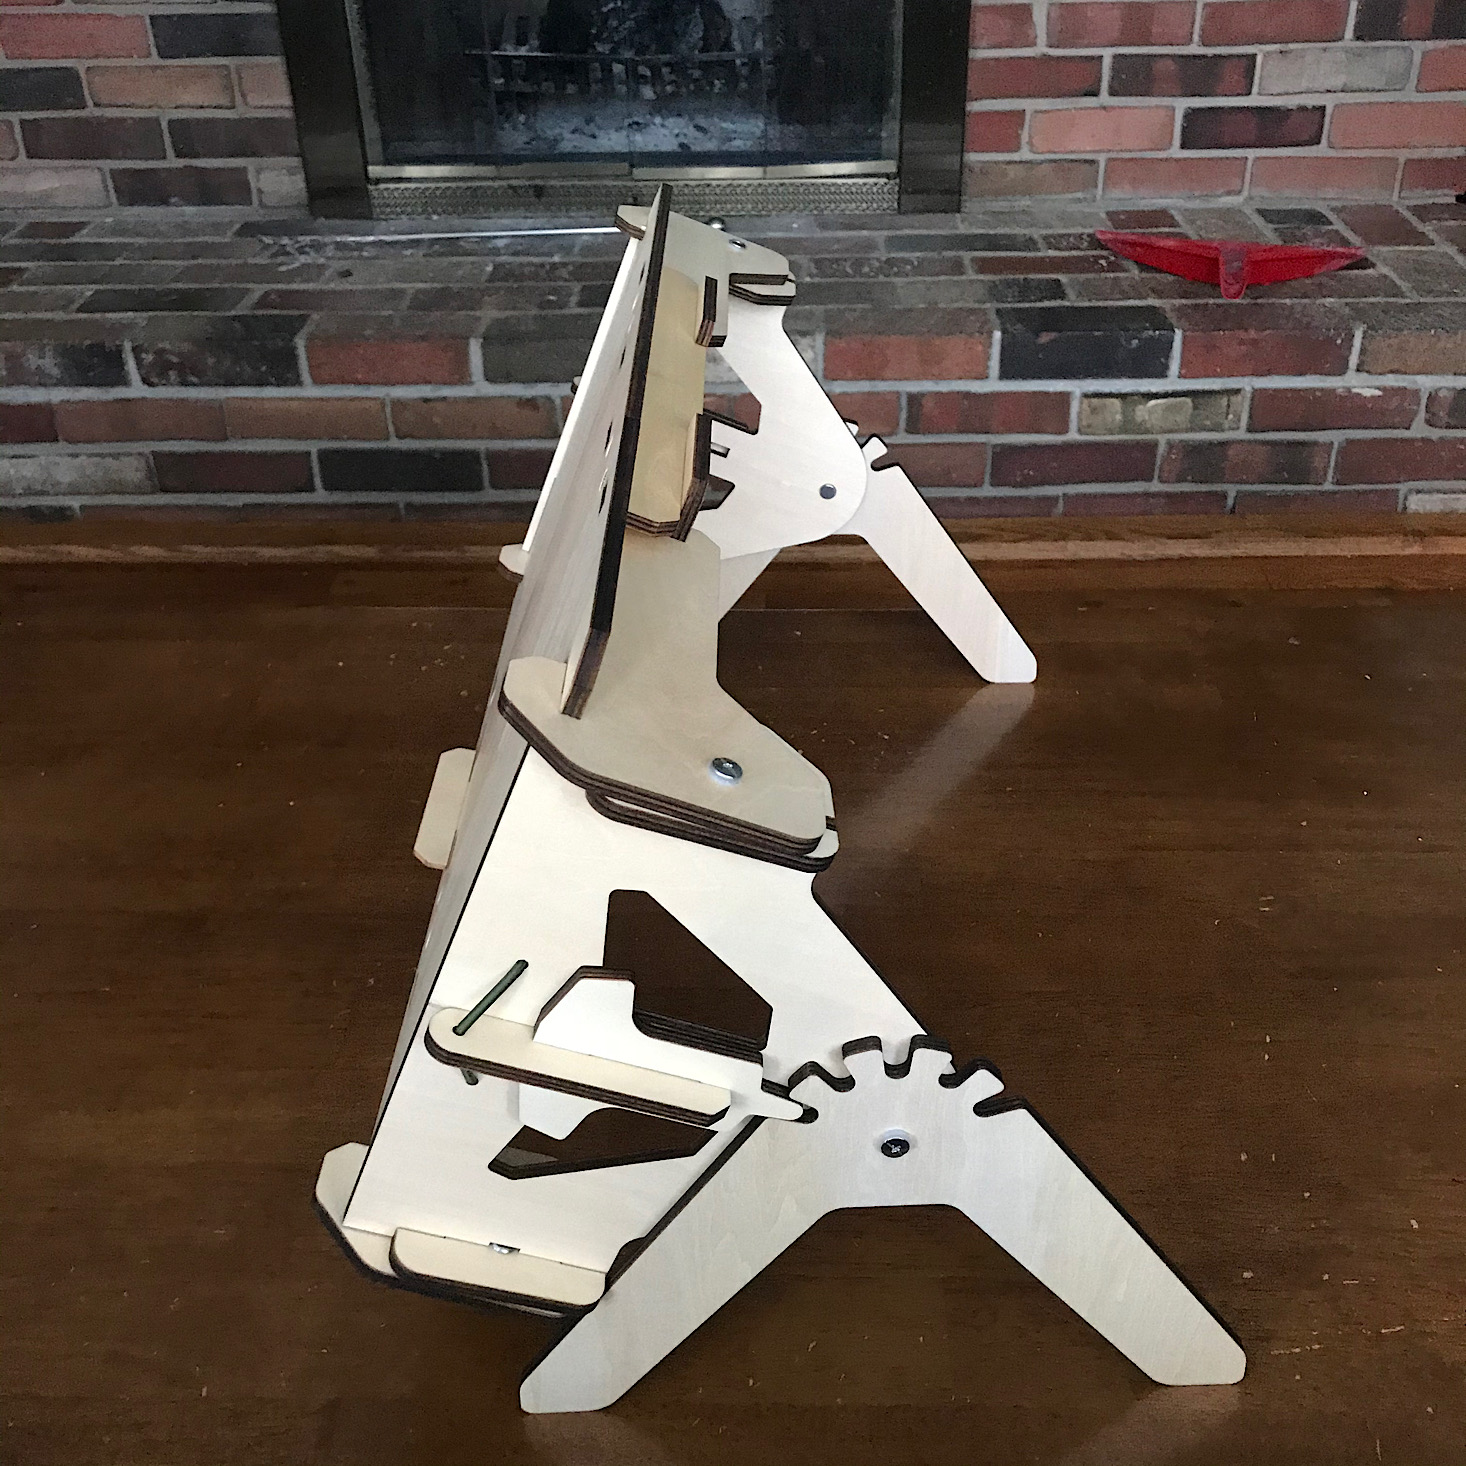
1 of 3
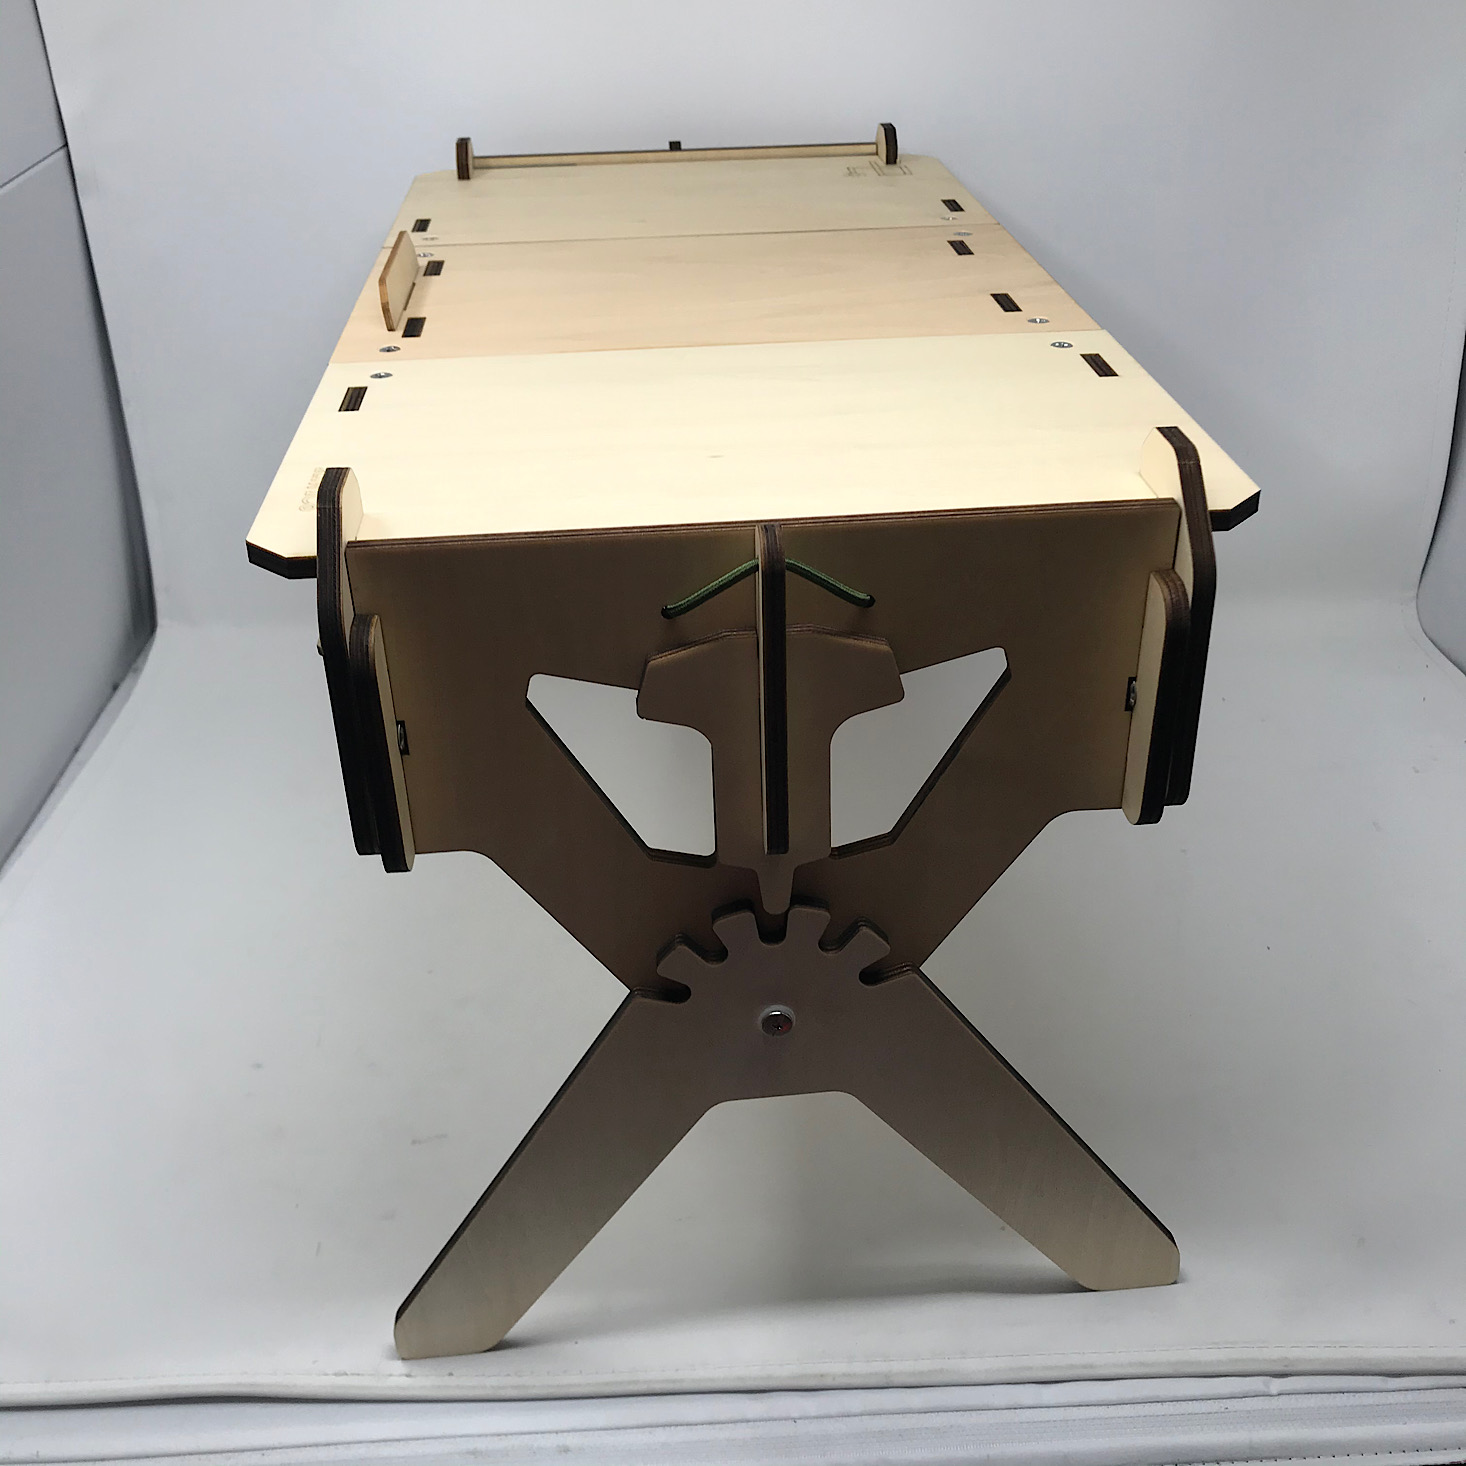
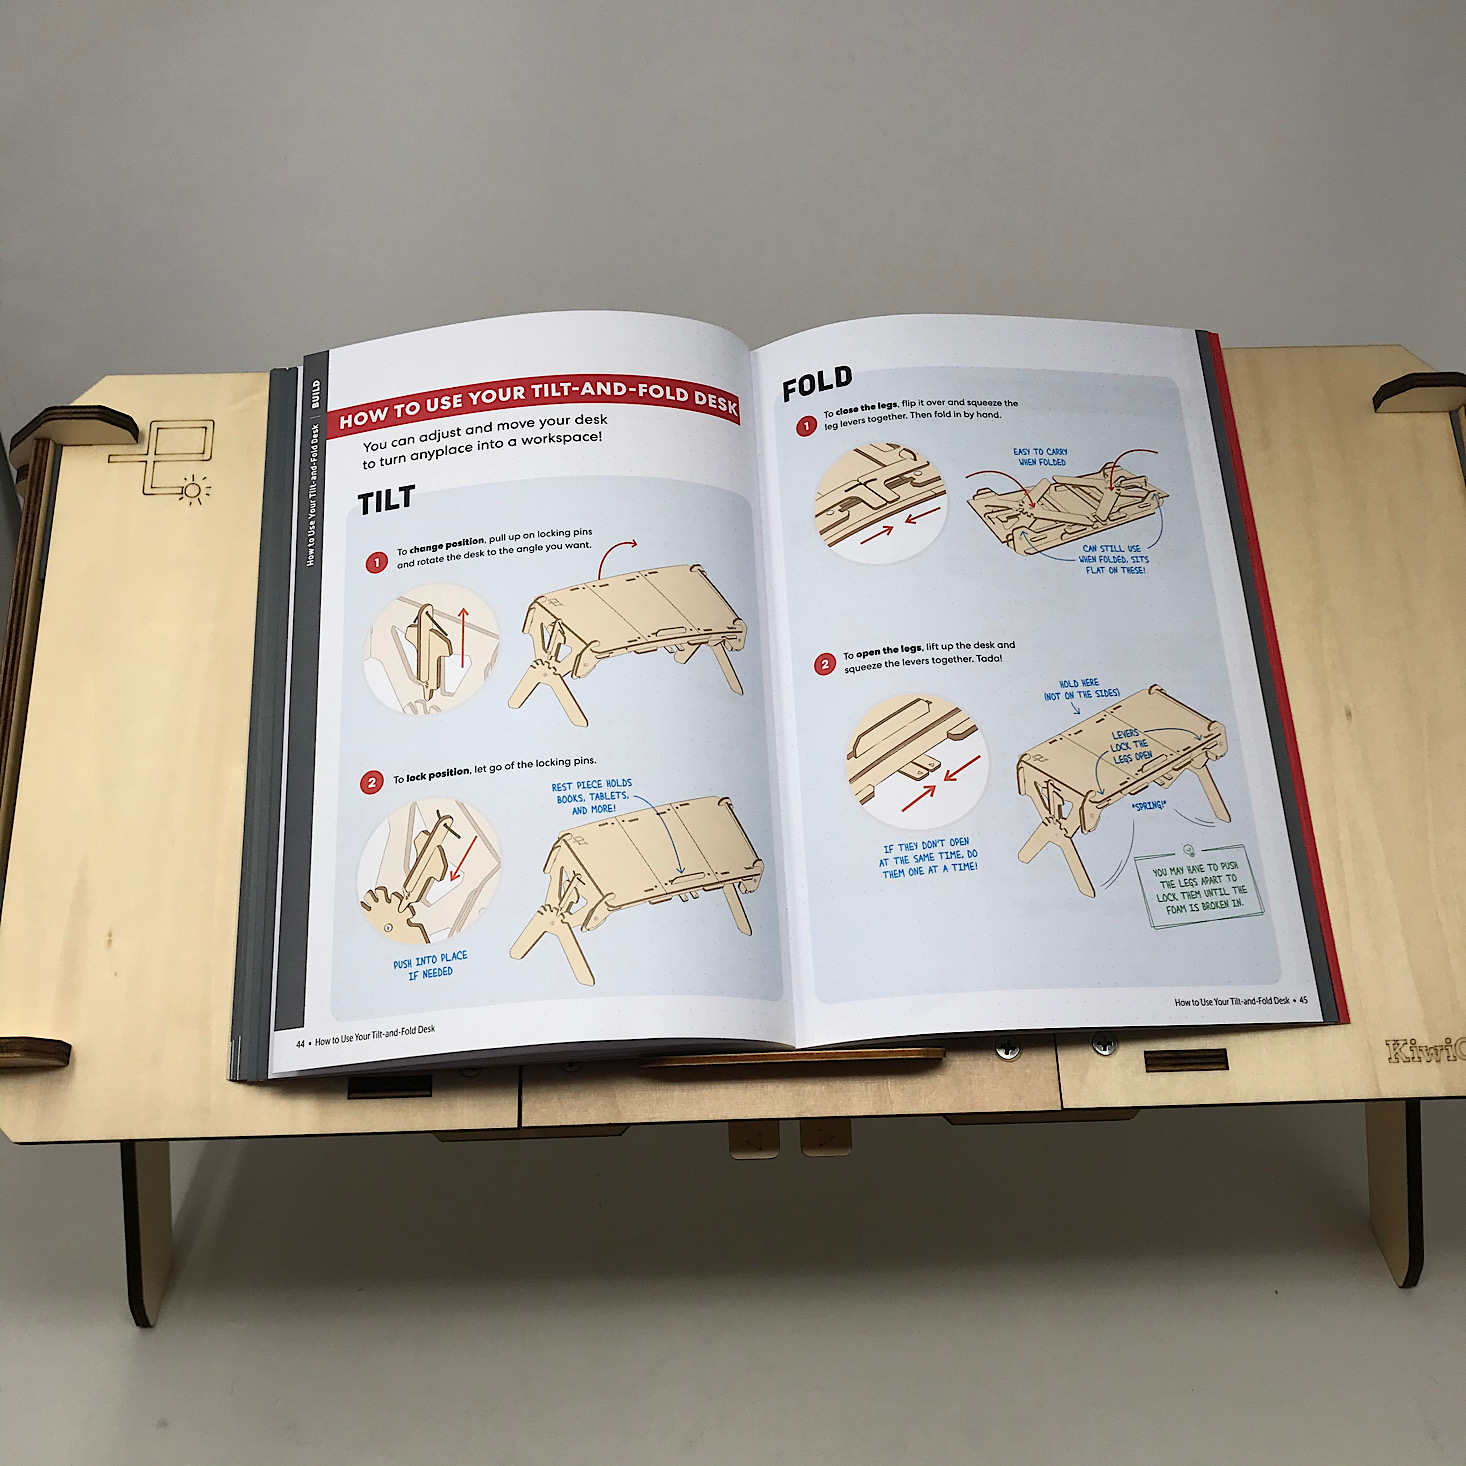
Here is our finished desk.

1 of 2
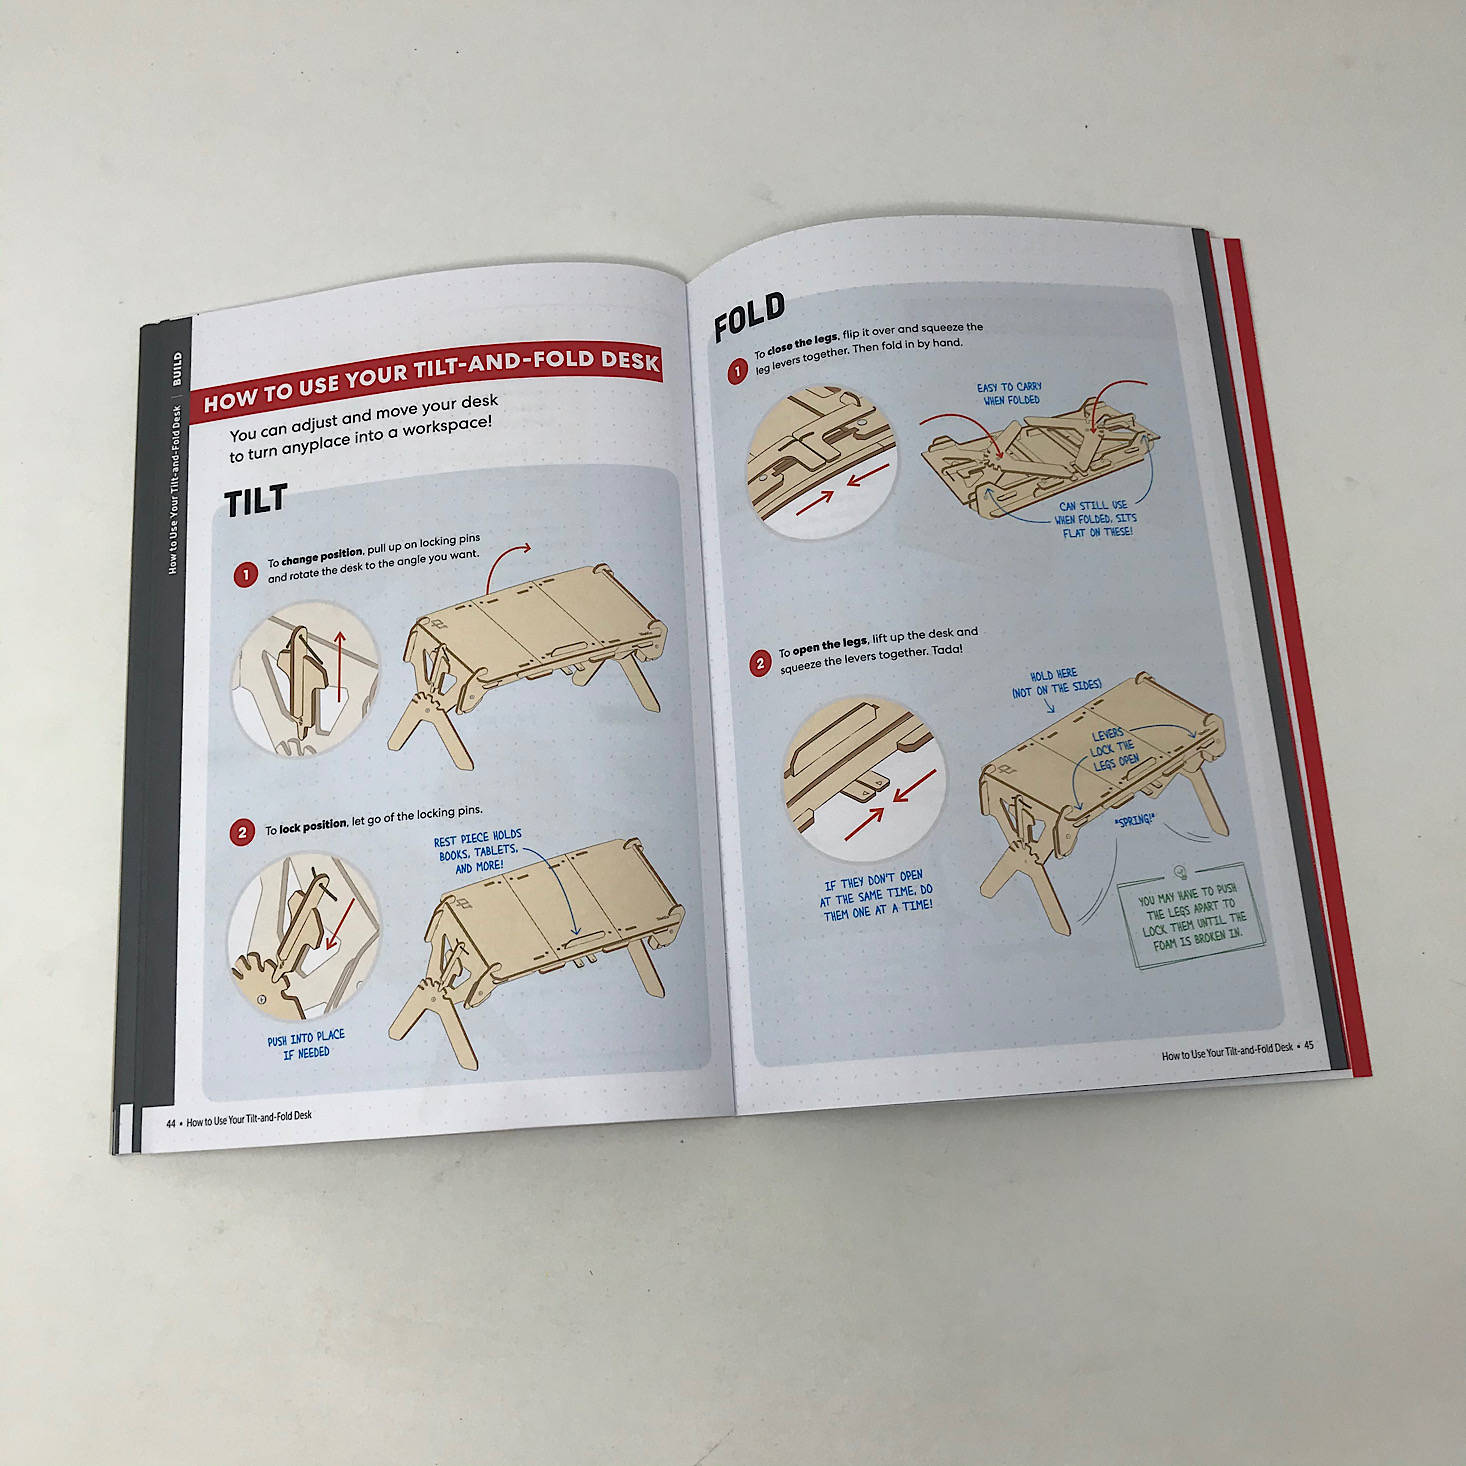
They provided instructions for how to tilt and fold your desk as well as some troubleshooting tips in case things aren't going so smoothly.
1 of 2
To fold up the legs, you simply squeeze the tabs in the center together and then the legs will either release and close inward on their own, or you may have to gently push them down. Then to open them back up, you just squeeze the levers again and they seem to open pretty well without much assistance.

1 of 3

When you pull up on the side pieces, you can tilt the desk so that it is at an angle by simply pulling up on the side pieces, tilting the desk and then sliding the piece back down into whichever notch you need for your angle. When it is at an angle, the little tab will hold your book or papers in place.
I was a little worried about the tiny gaps between each board, but it didn't affect my writing and really only showed up if I was doing a rubbing type motion with my pencil, so I don't foresee the gaps being an issue really.

1 of 2
This desk also tilts so that it can be upright and fully vertical as well as completely flat or at a slight angle.
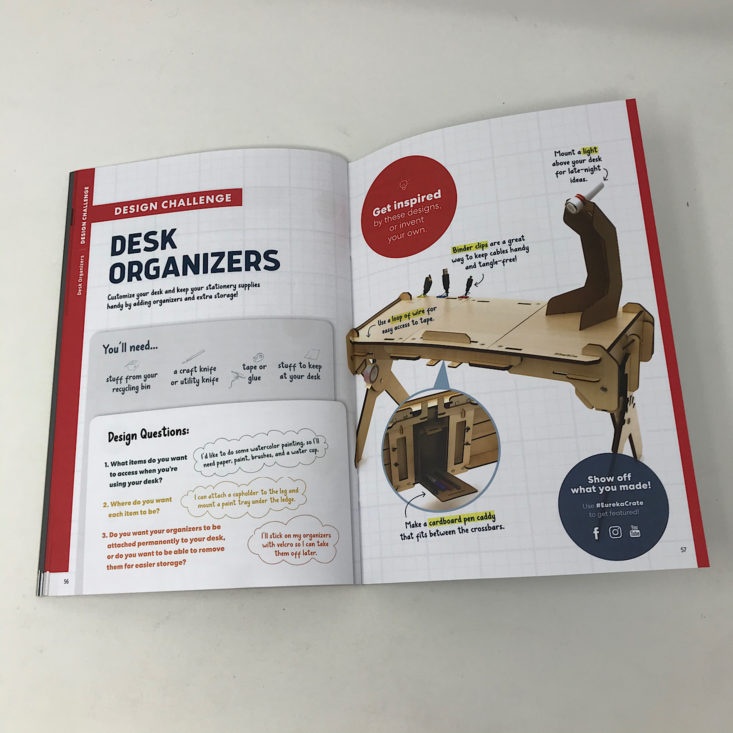
In our booklet, there was a design challenge section which is always a great extension of the project. This month they are challenging us to customize our desk by adding some storage or lighting to our desk.
Verdict: I was pretty impressed with how well my desk from Eureka Crate turned out! Not only is it a nice solid surface to work on, but it also folds down for simple storage and can tilt to many different angles to accommodate different tasks. This was probably one of the more difficult projects, but only because some of the pieces were pretty difficult to fit together and slide into place. Otherwise, the directions made it feel super easy and like a manageable task since they broke it down into such simple steps! I love that we got to create such a useful product with this $29.95 + free shipping box!
To Wrap Up:
Can you still get this box if you sign up today? It is possible you might get this crate, but it is not a guarantee. From KiwiCo:
Crates are assigned each month based on availability and your crate history - not all subscribers receive the same theme each month.
Check out all of our KiwiCo reviews and the best boxes for teens!
Keep Track of Your Subscriptions: Add this box to your subscription list or wishlist!
What do you think of Eureka Crate?
Please do not enter your email address in the Name field or in the comment content. Your email address will not be published. Required fields are marked *. Remember to post with kindness and respect. Comments with offensive language, cruelness to others, etc will not be approved. See our full comment policy here.