

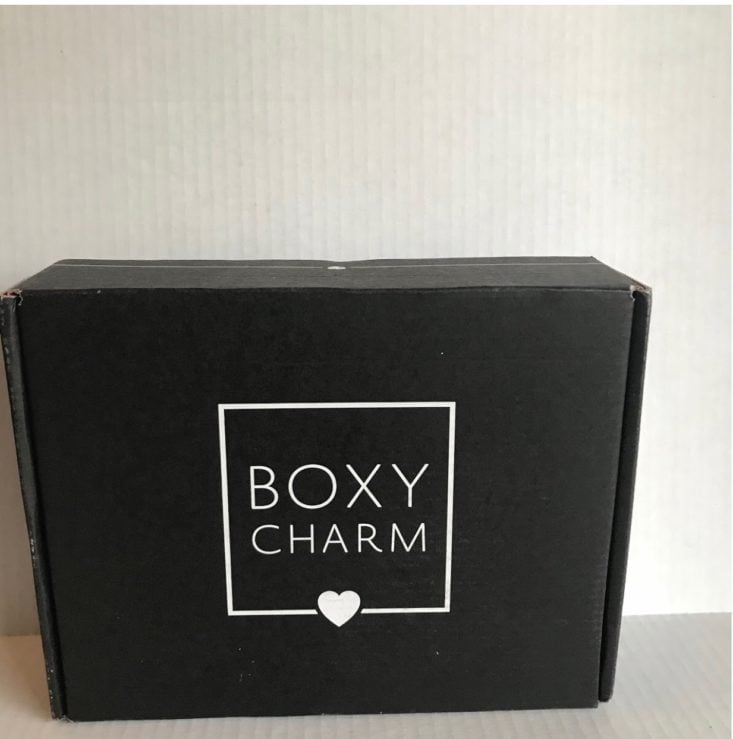
BoxyCharm is a popular full-size beauty and makeup subscription box. (Check out our full review of the November 2019 BoxyCharm box to learn more about each of the items this month.)
Today, I’ll be showing you how I used some of the items in my November BoxyCharm box! I’d love if you shared what products and techniques worked for you in the comments as well! What items were your favorites? Which products have you been reaching for all month? Let’s talk about all things November BoxyCharm.
But first, here are the box basics:
About BoxyCharm
The Subscription Box: BoxyCharm
The Cost: $25 a month
The Products: 5-6 beauty items that include nail care, skincare, makeup, haircare, fragrances and more. (At least 4 of those items will be full-sized).
Ships to: The contiguous US for free, Hawaii, Alaska, and Canada for $5
BoxyCharm November 2019 Tutorial + Review
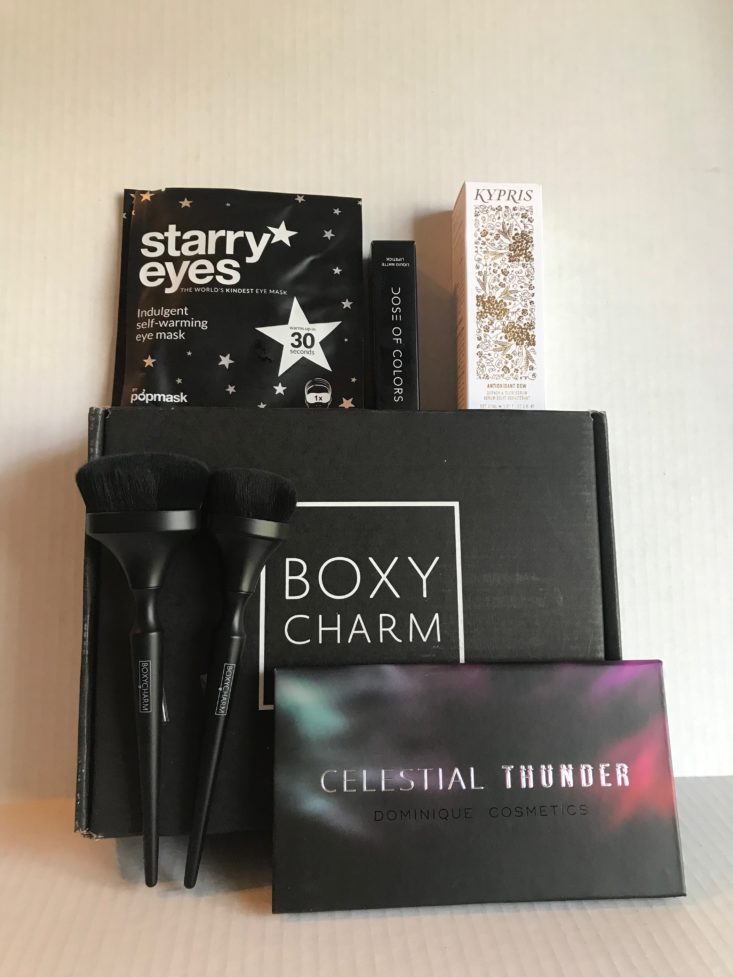
This month's BoxyCharm theme is called "Stellar" and it's fitting because we have some stellar items in this month's box! I already knew what we were getting from the awesome spoilers, so now it's time to put each product to the test.
The Products:
- Kypris Antioxidant Dew Quench & Glow Serum
- BoxyCharm 2-Piece Brush Set
- Starry Eyes Popmasks (Set of 2)
- Dose Of Colors Liquid Matte Lipstick
- Dominique Cosmetics Celestial Thunder Eyeshadow Palette
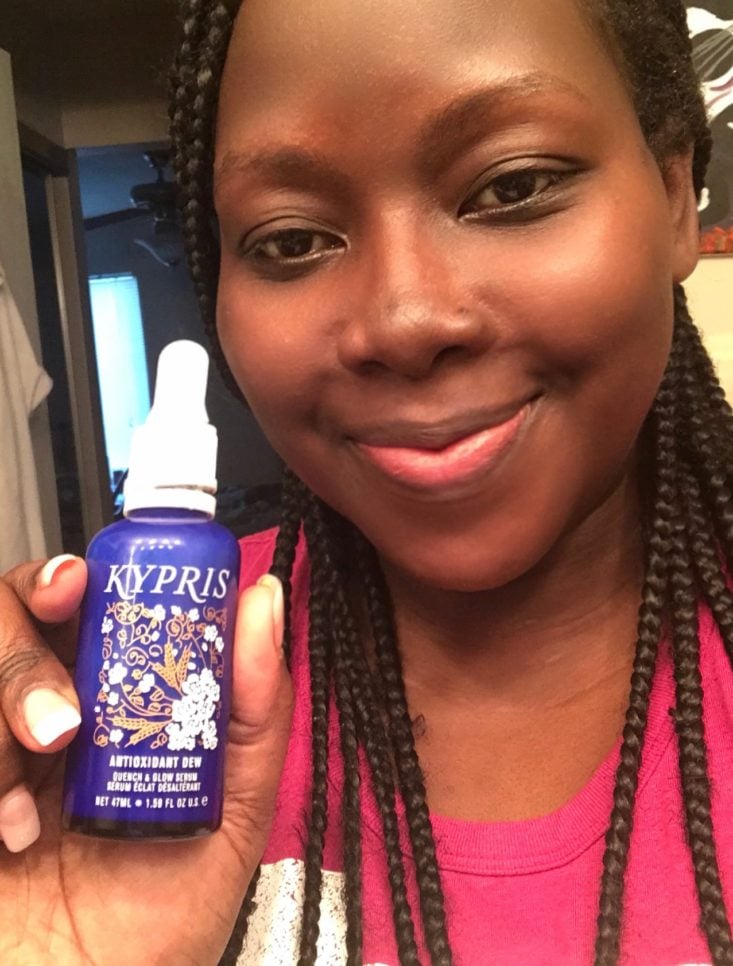
The first product is from Kypris Beauty and it's their Antioxidant Dew Quench & Glow Serum. It's a very lightweight serum that is supposed to serve intense hydration to the skin. It's packed with good-for-you skin ingredients, such as different botanicals and amino acids. You can use this along with other skincare products as well.
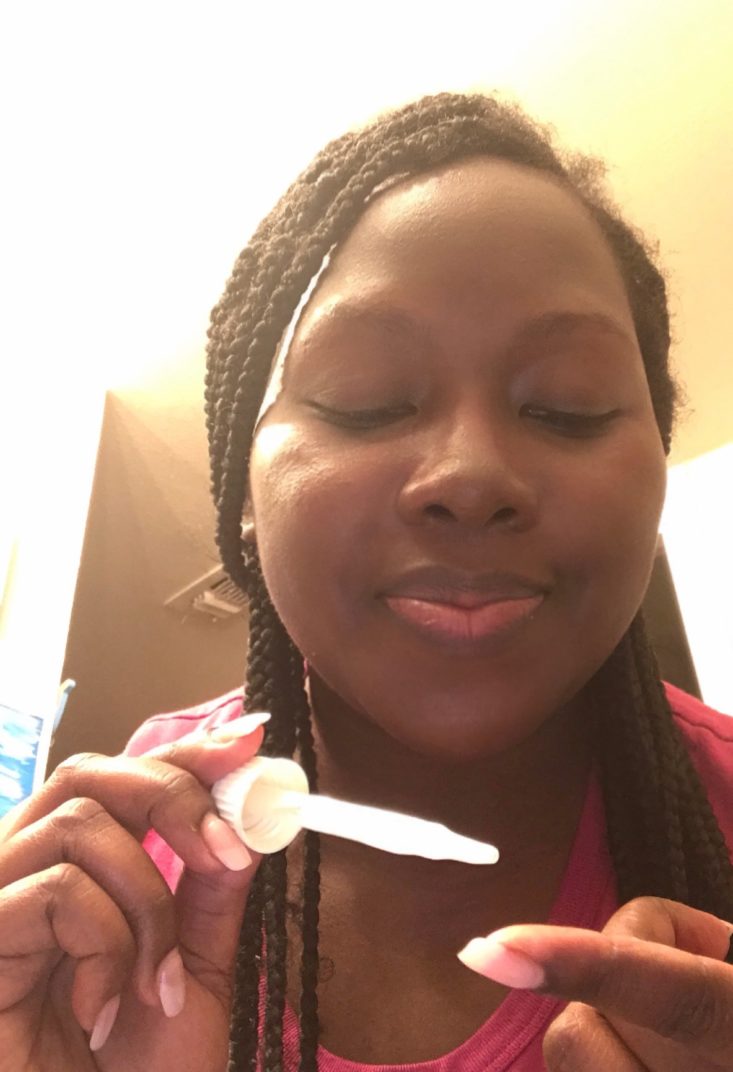
I added a few drops to clean and dry skin. It has a slightly tacky feeling to it that I’m hoping will go away after a few minutes. Not only am I using this to hydrate my skin, but I’m also going to use it as a primer substitute.
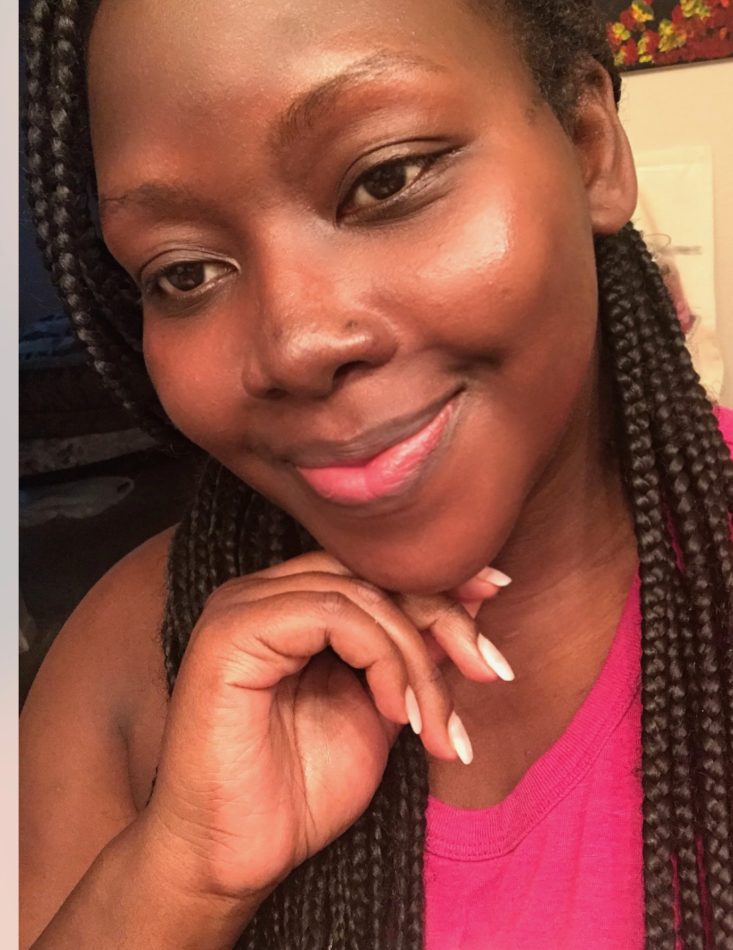
Here is how my bare face looks with the serum. The tackiness has subsided and now my skin just feels hydrated. This is clearly the type of product that needs time and continued use in order to see full results.
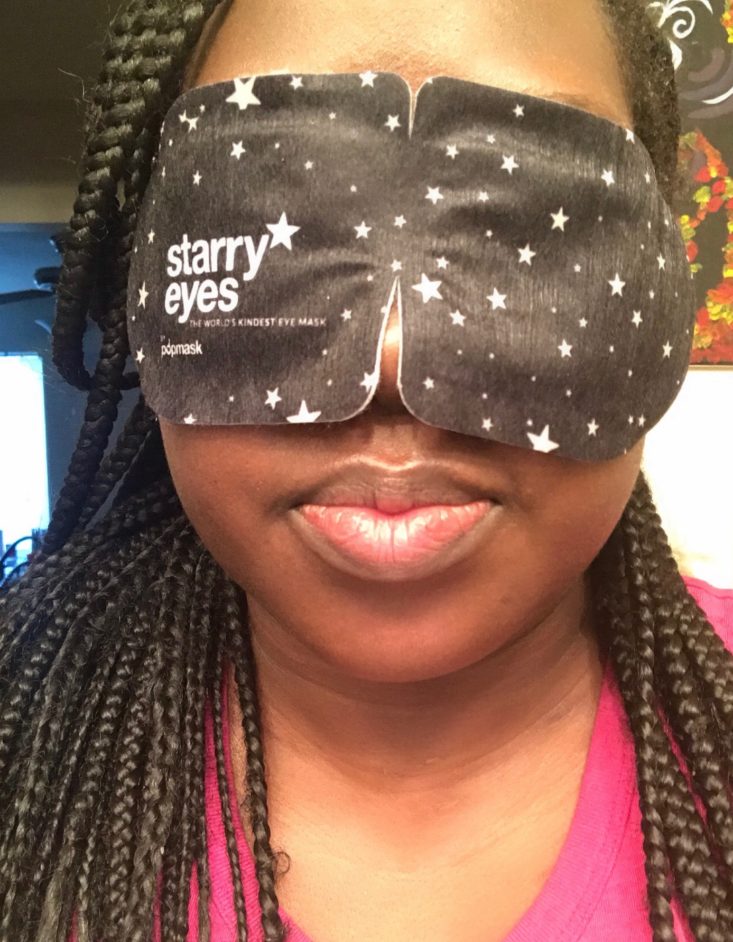
Our next item is a set of two eye masks from Popmasks. These Starry Eyes Popmasks are self-heating eye masks that are made to de-puff eyes, ease eye strain, ease headaches, and de-stress your day. They have iron powder, water, vermiculite, activated carbon, and salt. These ingredients help to heat things up and get you to relax. Heat has a way of relaxing just about any part of the body. I have tried tons of eye masks but never one that heats up, so I can't wait to pop these babies on and give them a try.
The masks start to heat up within 30 seconds of opening. After you open them, quickly take the loops and hang them over your ears. You want to do this quickly so you can enjoy all the warmth these eye masks offer. After taking this picture, I decided to lay back and relax in order to get the full experience. The heat was so enjoyable and I didn't want it to end. It lasted around 18 minutes and then started to cool down. I’m in love with this product and I’m so happy that we received two because I plan on using the second one in a tub full of hot water, with candles and soft music. This product will give us busy moms or just anyone some much needed me time!
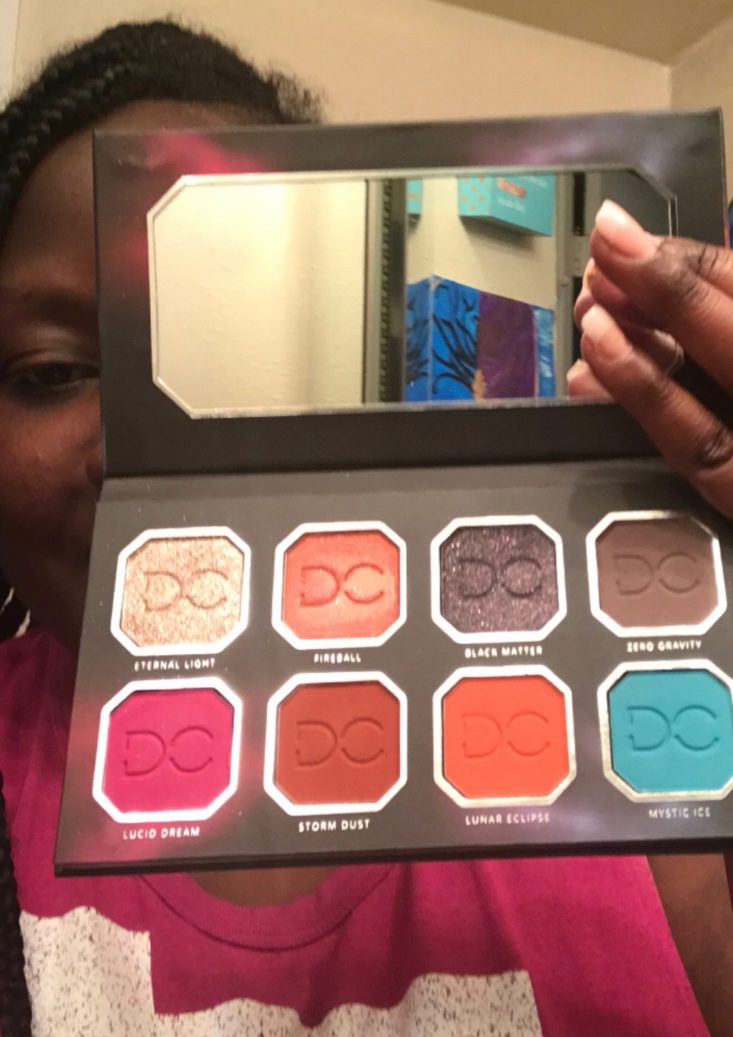
I must admit that when I first saw this palette in the BoxyCharm spoilers, I could hardly wait to get my hands on it. We received the Dominique Cosmetics Celestial Thunder Eyeshadow Palette. It's a beautiful eyeshadow palette with a variety of highly pigmented colors. There are eight shades in all, with some matte, shimmer and glitter foils. The shades are so different making it easy to come up with several eye looks, and plenty pops of color. Seeing as how the holidays are right around the corner, I thought I’d put together an easy-to-follow holiday eye look: something that you can wear to any holiday party while taking stunning photos. We're going to be using a lot of the shades in this palette, and there will be several steps to follow so let's get started.
Since there are plenty of pigmented shades and glitters, please do your eye makeup first, that way cleaning up the glitter and fallout is much easier. I also decided to add some eyeshadow primer to help the colors stand out more. There are eight steps to complete this eye look and I will do my best to explain them.
1. Using a small eyeshadow brush I added the color Storm Dust all over my lid and slightly above my crease. This color will be my transition shade.
2. I then took a medium flat brush and added the shade Lucid Dream directly in the middle of my lids. This matte fuschia pink color is so pretty on any skin tone.
3. I took a wet finger and added the shade Fireball on top of the Lucid Dream. The two colors together look amazing and stand out beautifully.

4. I used a medium fluffy brush and added Lucid Dream directly into my crease.
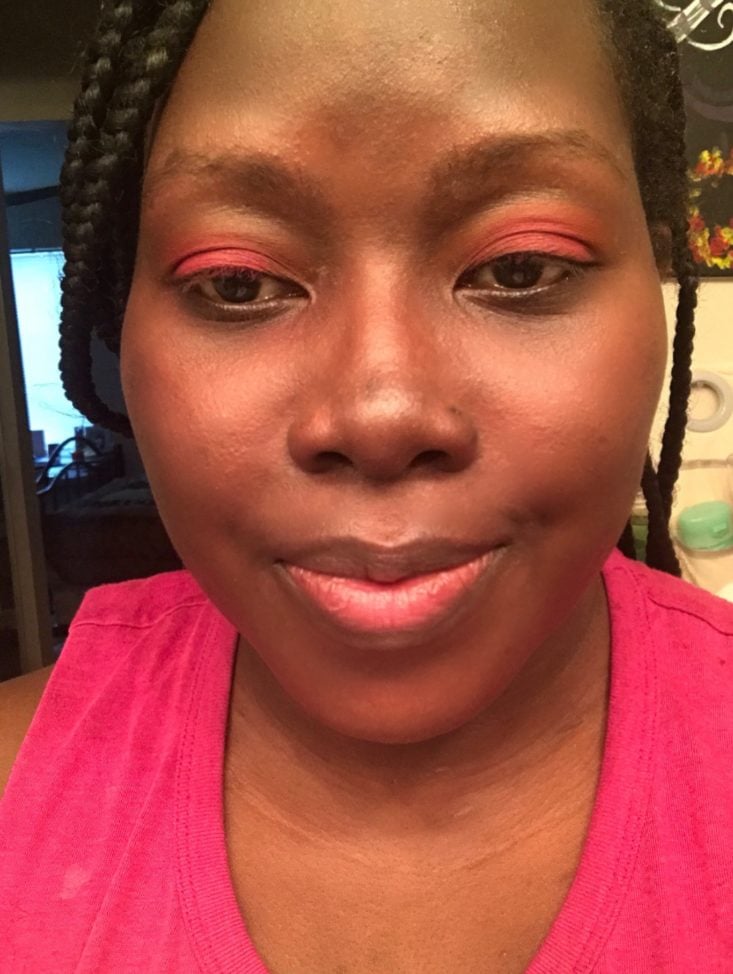
Here is how that pink shade looks added onto my crease.
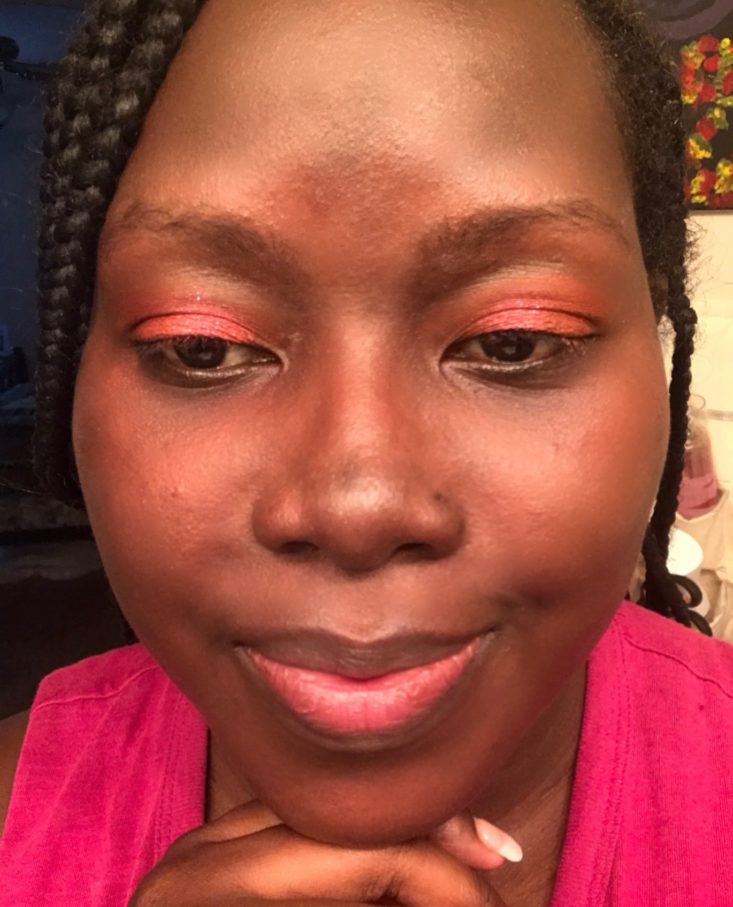
5. I took a smaller brush and added the shade Eternal Light onto the inner corners of my eyes, in the tear duct and above. I love to highlight this area of my eyes with light shades because it really changes the entire look. I think it gives an inner glow to the corners of your eyes. There is a tiny amount of fallout from the glitter shades, which is why it’s important to do your eye makeup first.
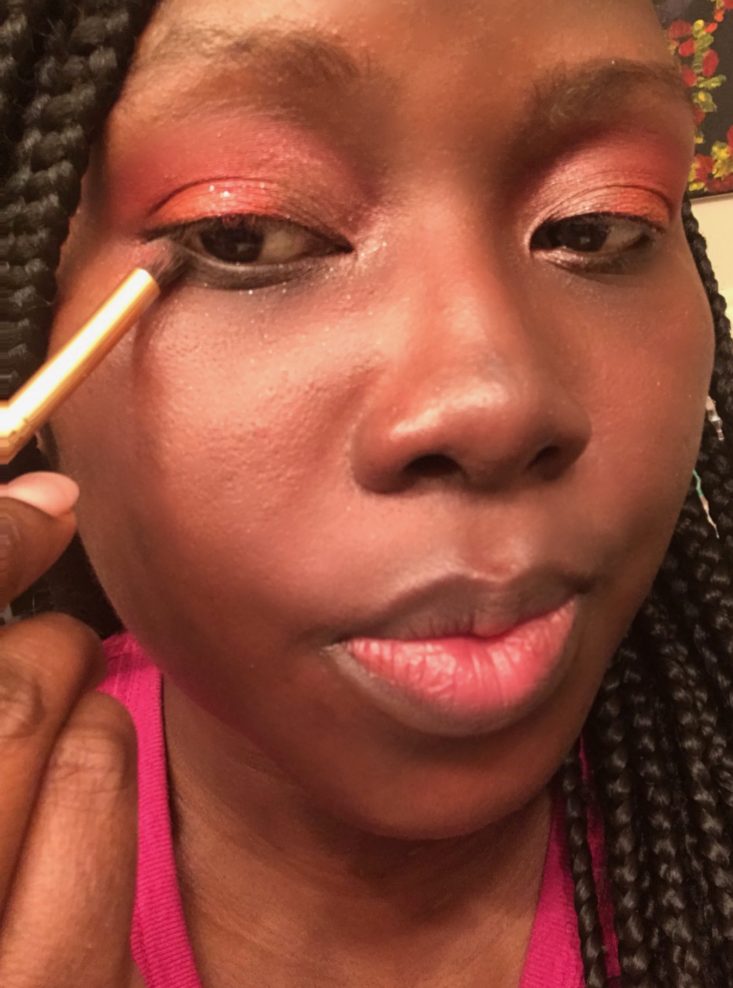
6. I took a tiny pencil brush and the shade Zero Gravity and added it to my lower lash line. We're using this shade as a foundation for the glitter shade we're going to be adding on top of it.
7. After cleaning my pencil brush, I used it to add shade Black Matter directly on top of Zero Gravity. I love how it helps to add a smokey and intense look to the eyes. I normally would have used a black eyeliner, but these two shadows together are a great substitute.
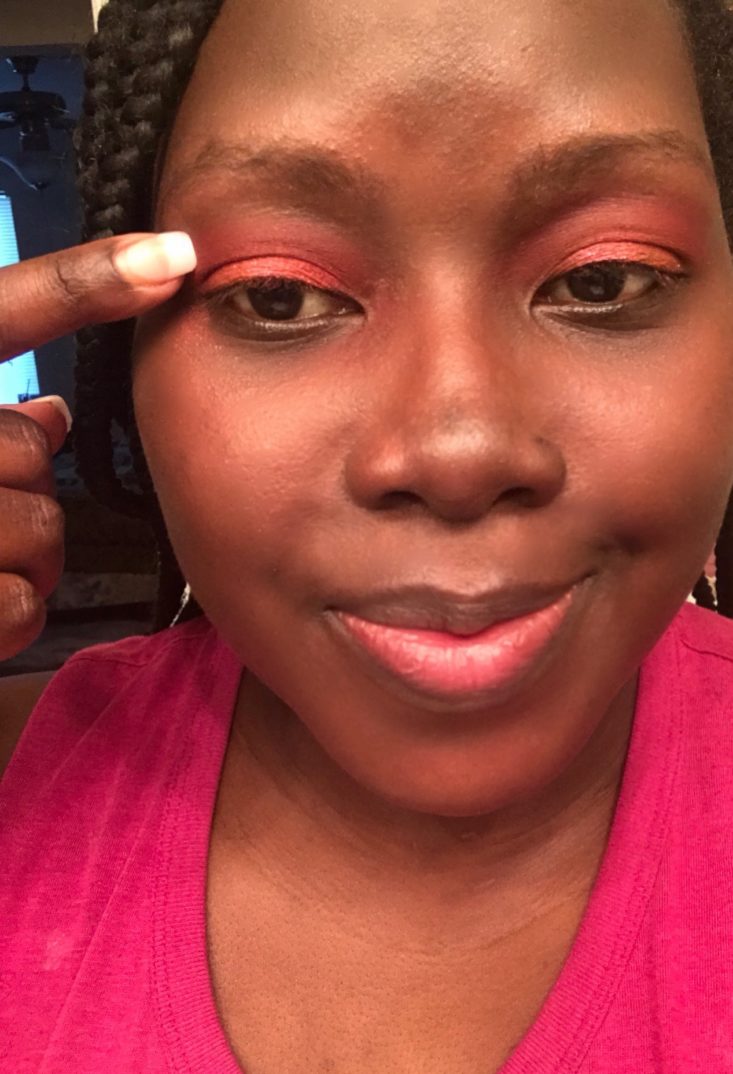
8. The final steps to complete this eye look are taking Black Matter and adding it to the outer corners of my eyes. Then using a tiny brush add shade Eternal Light right under the brow to highlight the brow bone.
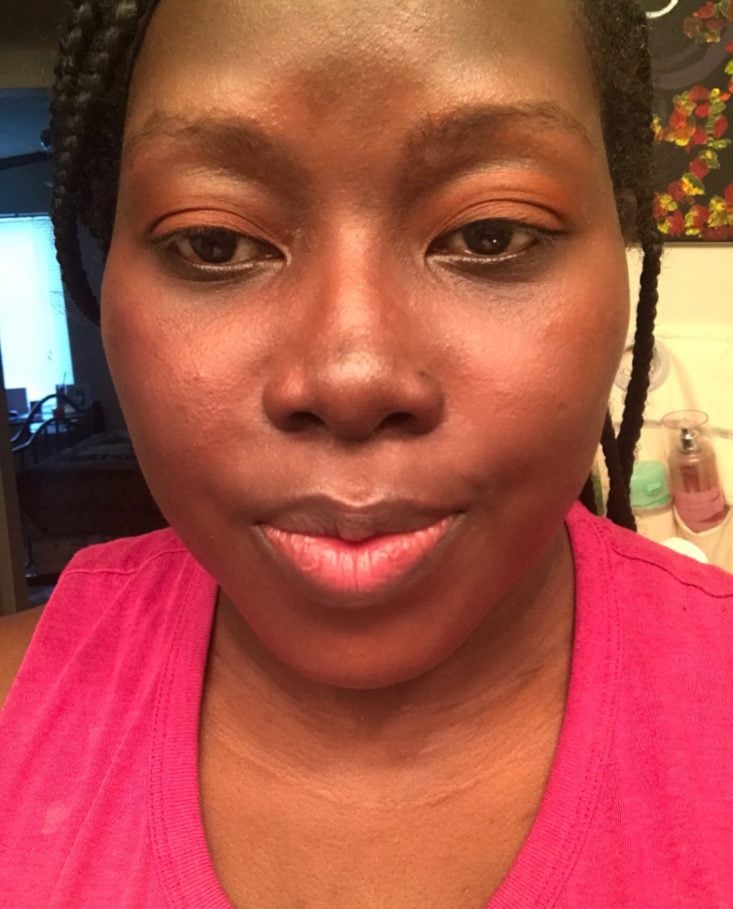
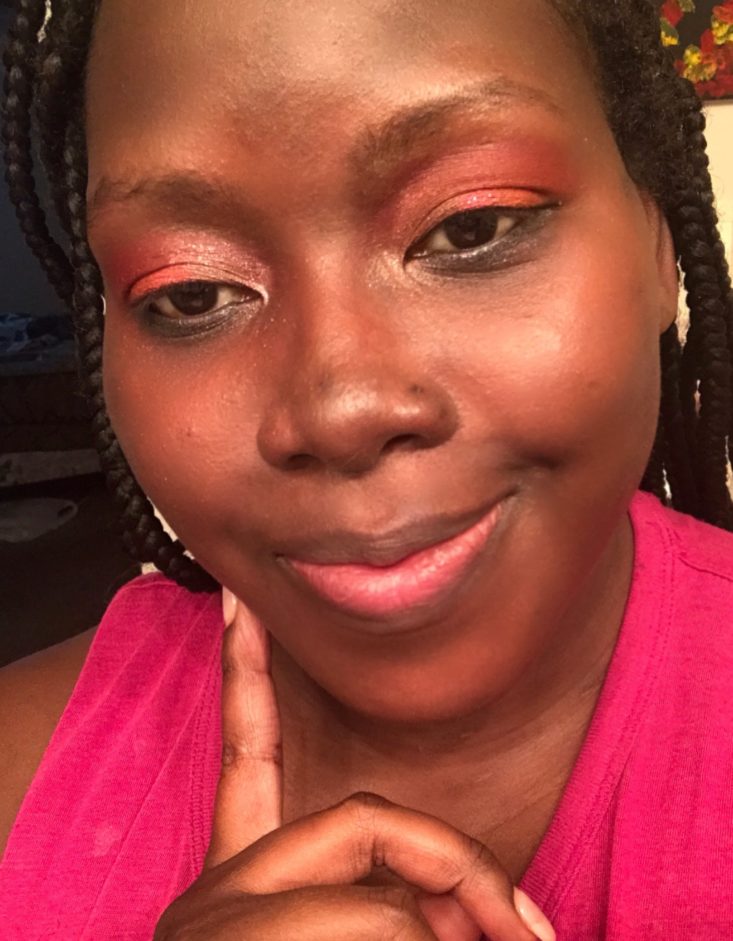
Here is how the eye look turned out after filling in my brows and adding two coats of black mascara. I loved how pigmented and silky smooth these shades were to work with. They were also super easy to blend out, which is very helpful when trying to create different eye looks.
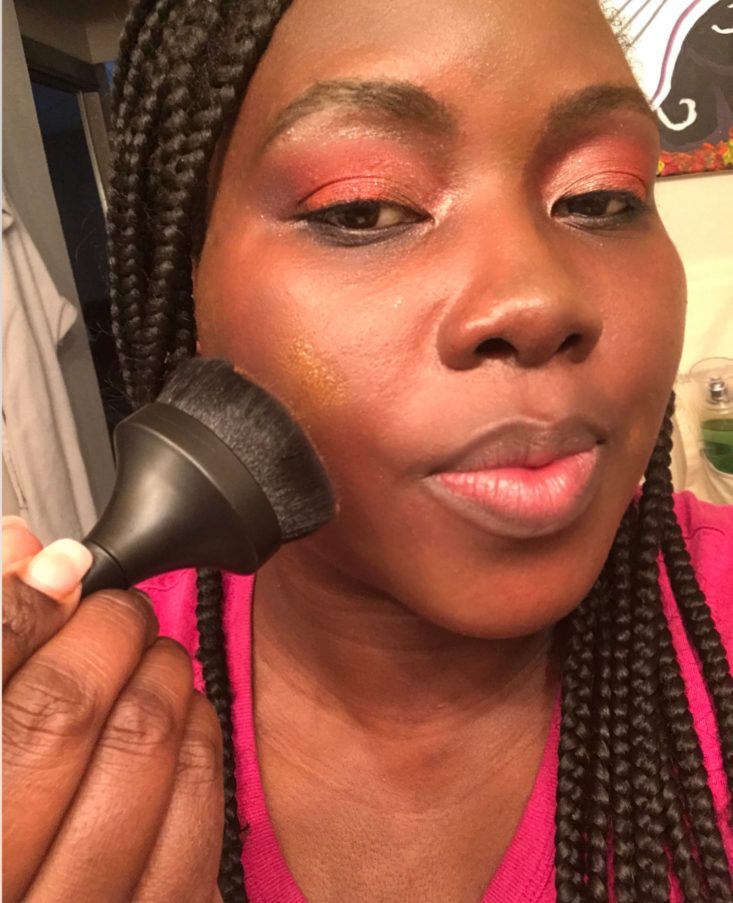
Our next product is also another BoxyCharm exclusive product. These two brushes are one of their first-ever BoxyCharm branded brush sets! The larger of the two is made for foundation, whether it's a powder or liquid. I used a liquid foundation and I loved how this brush performed. It's super soft and dense making applying my foundation so much easier. I used a sort of patting motion as I added foundation to my skin.
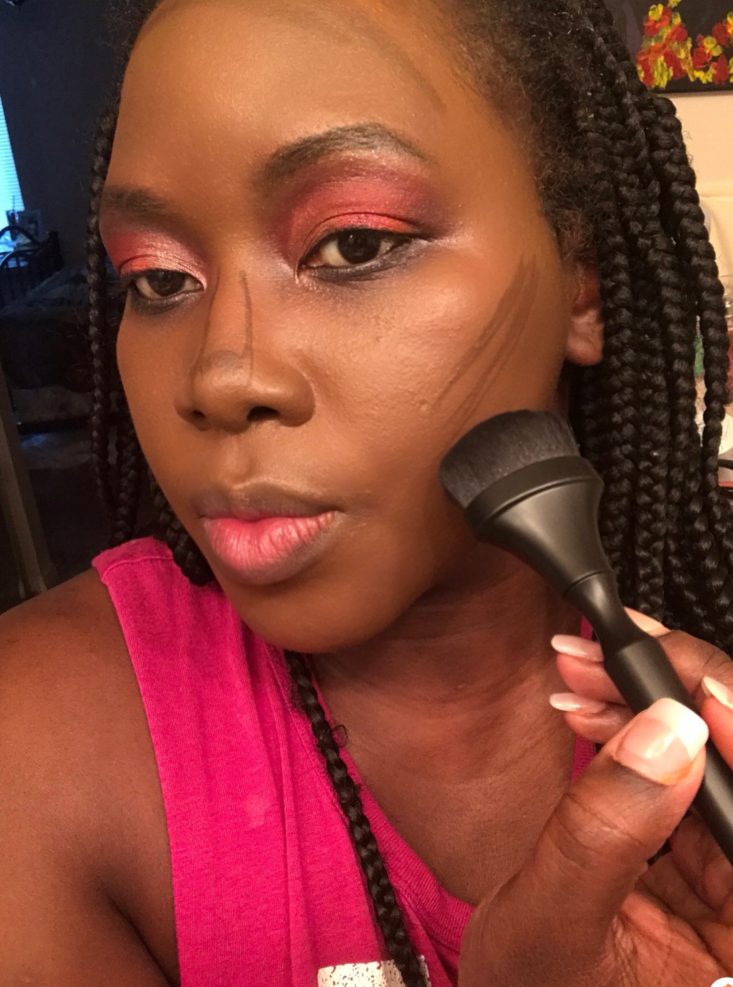
I took a dark brown pencil and started to create my contour. Using the pencil I carved out lines on both cheekbones, both sides of my nose, and my forehead area. I used the last brush to blend out my contour and it did an awesome job of lightly blending things out. Both brushes are so soft and easy to use, I can see myself reaching for these on a daily basis.
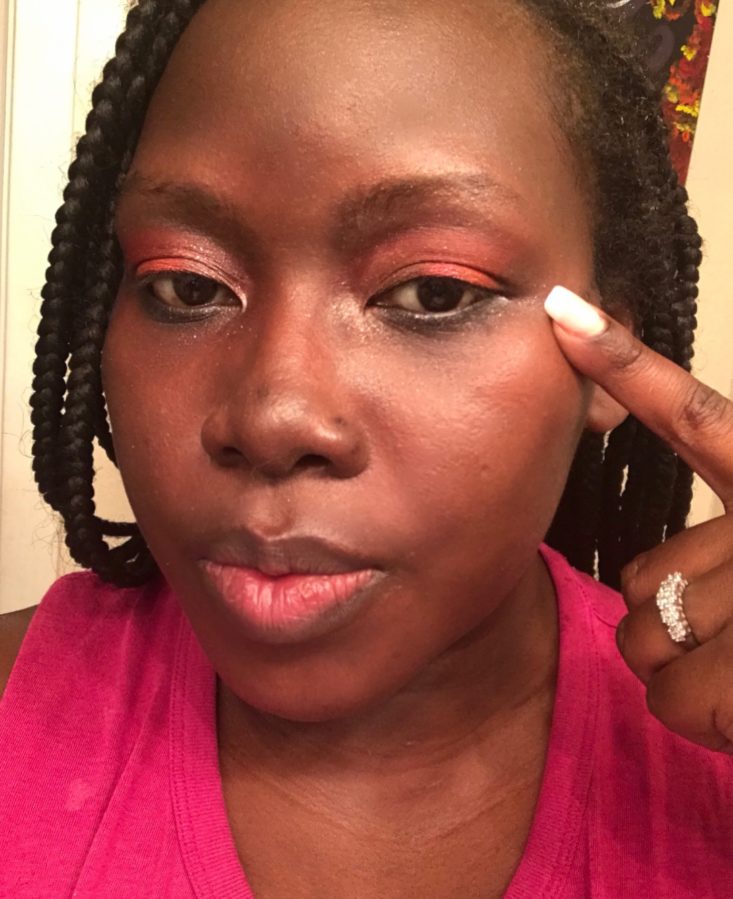
Here is how my contour looks blended out using the smaller BoxyCharm brush. I must admit that when I first saw the brushes and their domed shape, I wasn't sure how they would perform but I loved using them and they worked great.
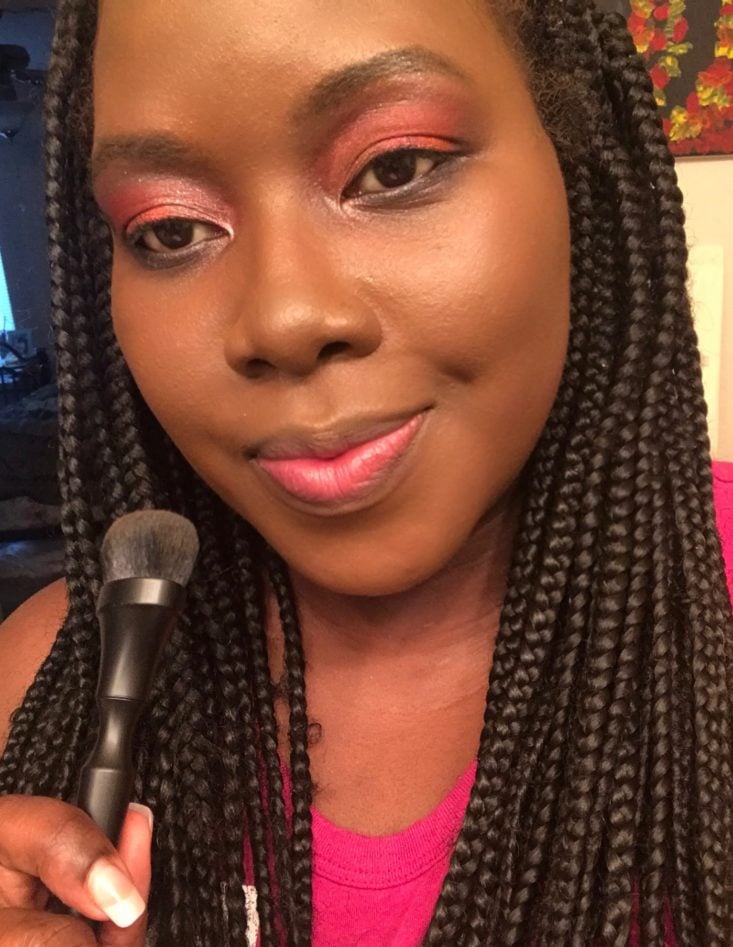
After adding tons of setting powder and highlighter to my cheekbones and tip of my nose, it was time to move on to our final product.
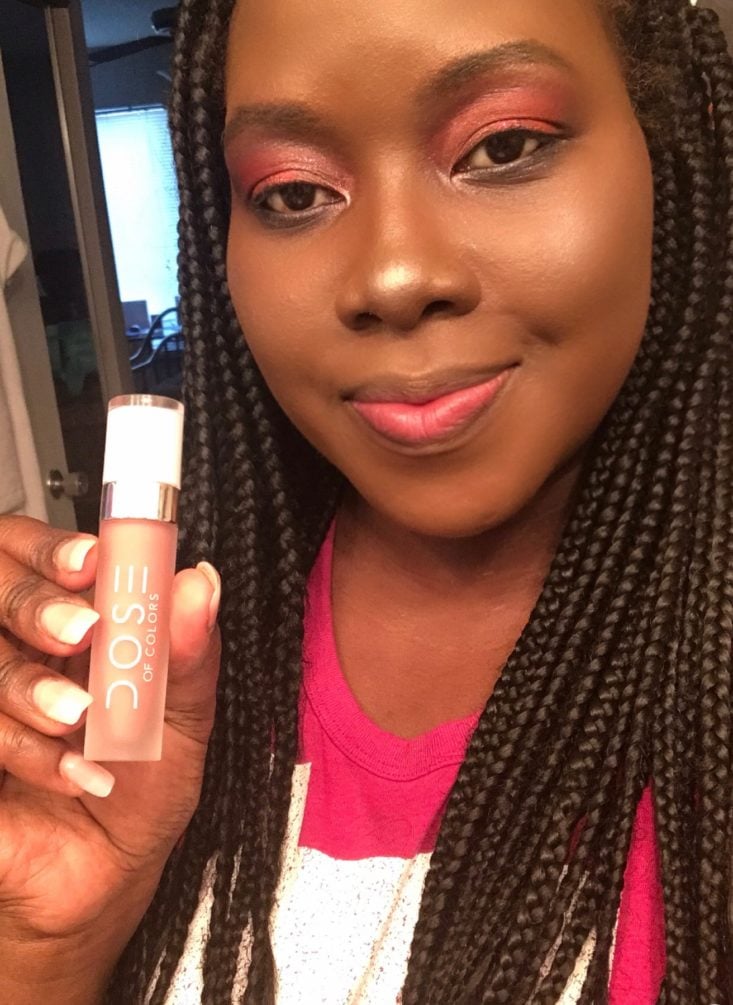
Our last product is from Dose Of Colors and it's their liquid matte lipstick. It'svVegan, cruelty-free, gluten-free, and also paraben-free. They are made to have a long-wearing and highly pigmented formula that goes creamy at first, then after a few minutes, it dries down to a matte finish. It's supposed to feel soft, weightless and comfortable on the lips. With all these positive claims, I couldn’t wait to give it a try.
I received the shade Flirty and it's a light peach shade. I didn't have to put this on to know that it wouldn’t look very well on me, unless I added a lip liner to it. So I decided to add a lip liner from Laritzy in the shade Jewel.

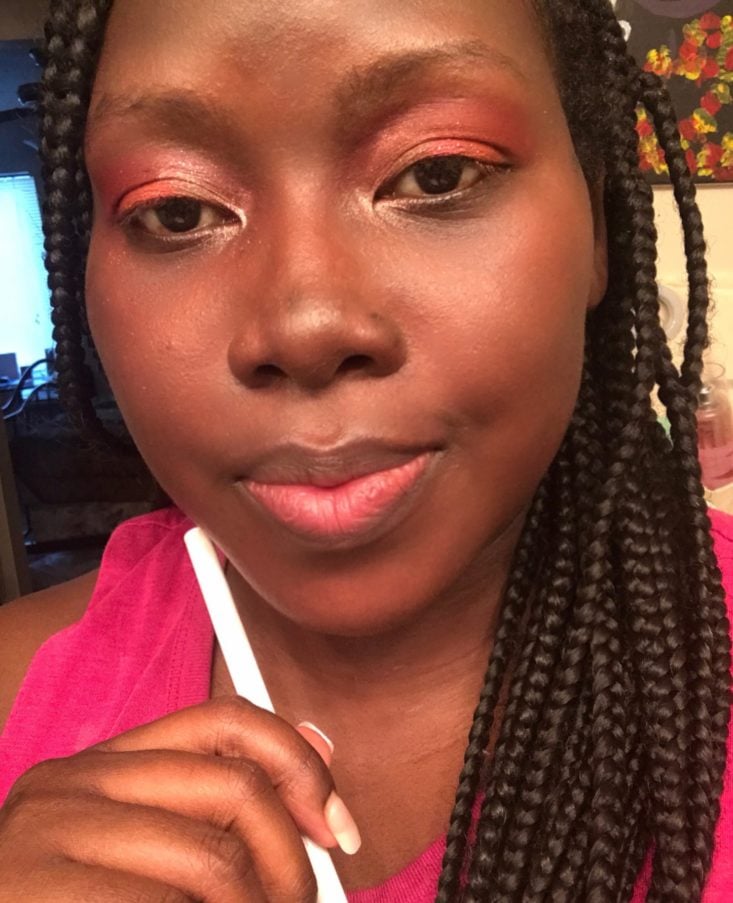
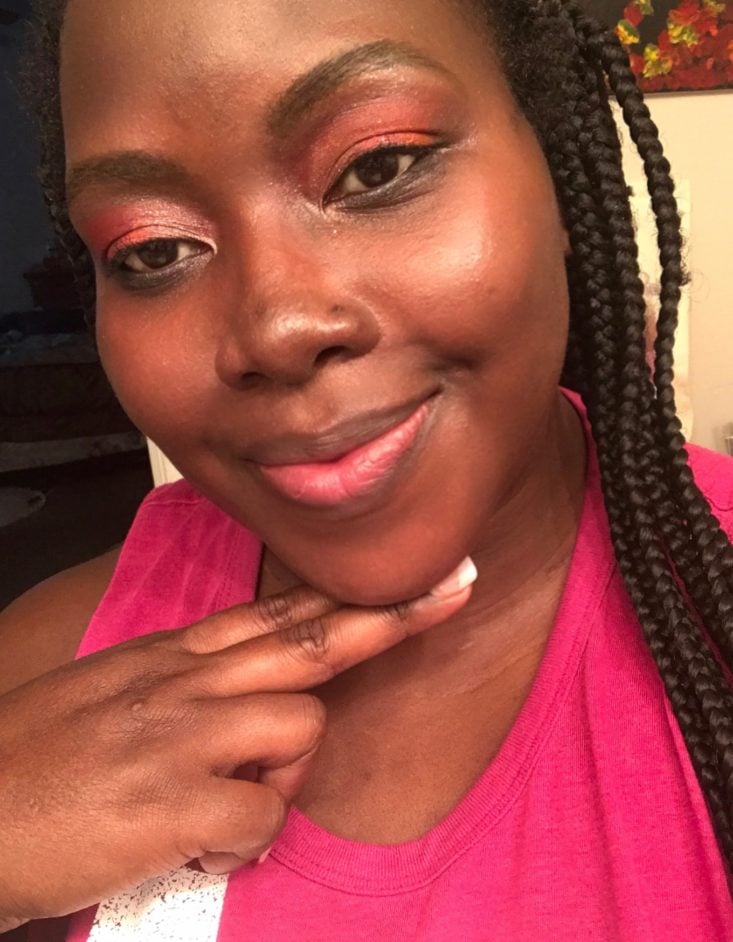
Here is my final makeup look completed. I hoped you guys enjoyed this holiday makeup look and found it easy to follow.
Verdict: My favorite product this month is hands down the eyeshadow palette. It has so many different shades, making it easy to come up with several eye looks. This was a pretty decent box and a few of the products cost way more than the box itself. That’s what I really love about BoxyCharm; they send quality name brand items each and every month.
To Wrap Up:
Can you still get this box if you sign up today? You'll likely receive the December box as your first.
Check out all of our BoxyCharm reviews and the best beauty subscription boxes of 2019, as recommended by our readers!
Keep Track of Your Subscriptions: Add this box to your subscription list or wishlist!
What’s your favorite item from the November BoxyCharm Box?

Please do not enter your email address in the Name field or in the comment content. Your email address will not be published. Required fields are marked *. Remember to post with kindness and respect. Comments with offensive language, cruelness to others, etc will not be approved. See our full comment policy here.