

Eureka Crate (from parent company KiwiCo) is a subscription box for teens and adults ages 14-104. It arrives every month with all the materials and instructions needed to create a functional, lasting object with a focus on engineering. The goal of these projects is to use science and math to solve real-world problems while inspiring the recipients to become creative innovators.
KiwiCo offers boxes for a variety of different age groups:
- Panda Crate for 0-24-month-olds,
- Koala Crate for 2-4-year-olds,
- Kiwi Crate for 5-8-year-olds,
- Atlas Crate for 6-11-year-olds,
- Doodle Crate and Tinker Crate for 9-16+-year-olds,
- Eureka Crate for ages 14 and up. There really is something for every age with this company.
This review is of the $29.95 a month Eureka Crate, for 14-year-olds and up.
This box was sent to us at no cost for review. (Check out the review process post to learn more about how we review boxes).
About Eureka Crate
The Subscription Box: Eureka Crate
The Cost: $29.95 per month + free shipping. Save with longer subscriptions.
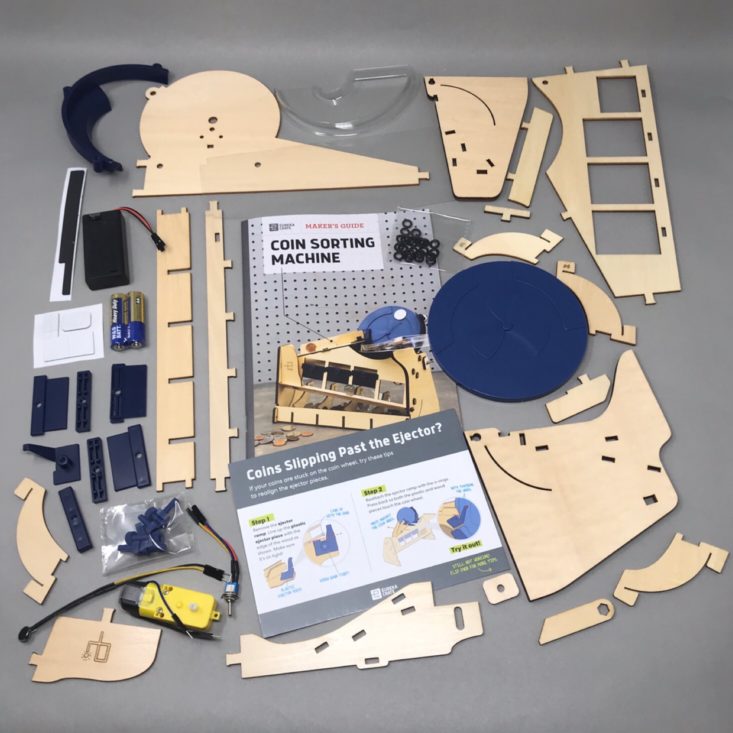
The Products: Detailed instructions and all of the high-quality materials needed to create a unique, lasting, and functional engineering project as well as a Maker's Guide that explains the science and technology behind it.
Ships to: The U.S. for free, Canada for $3.95 per month, worldwide from $4.95-$6.95.
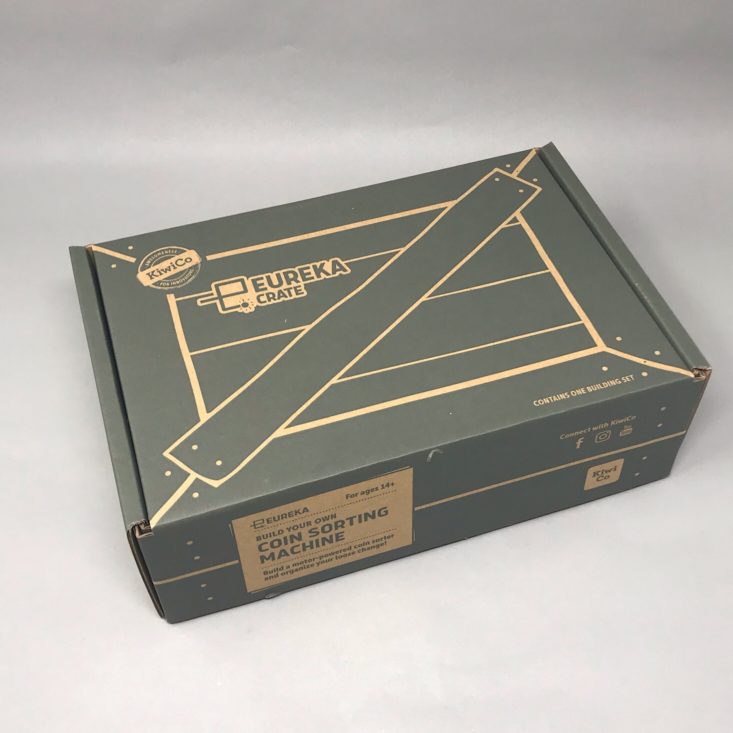
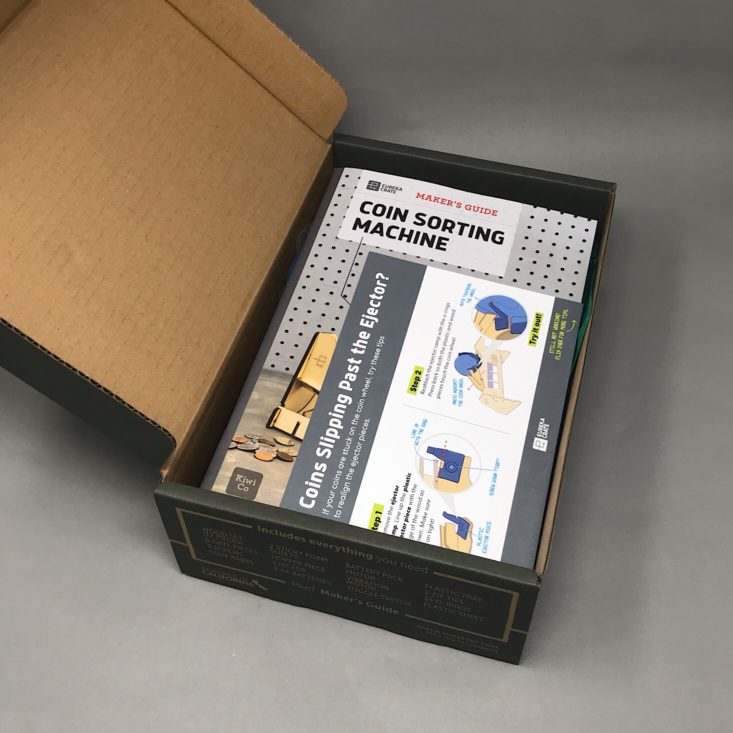
KiwiCo Eureka Crate "Coin Sorting Machine" Review

1 of 8
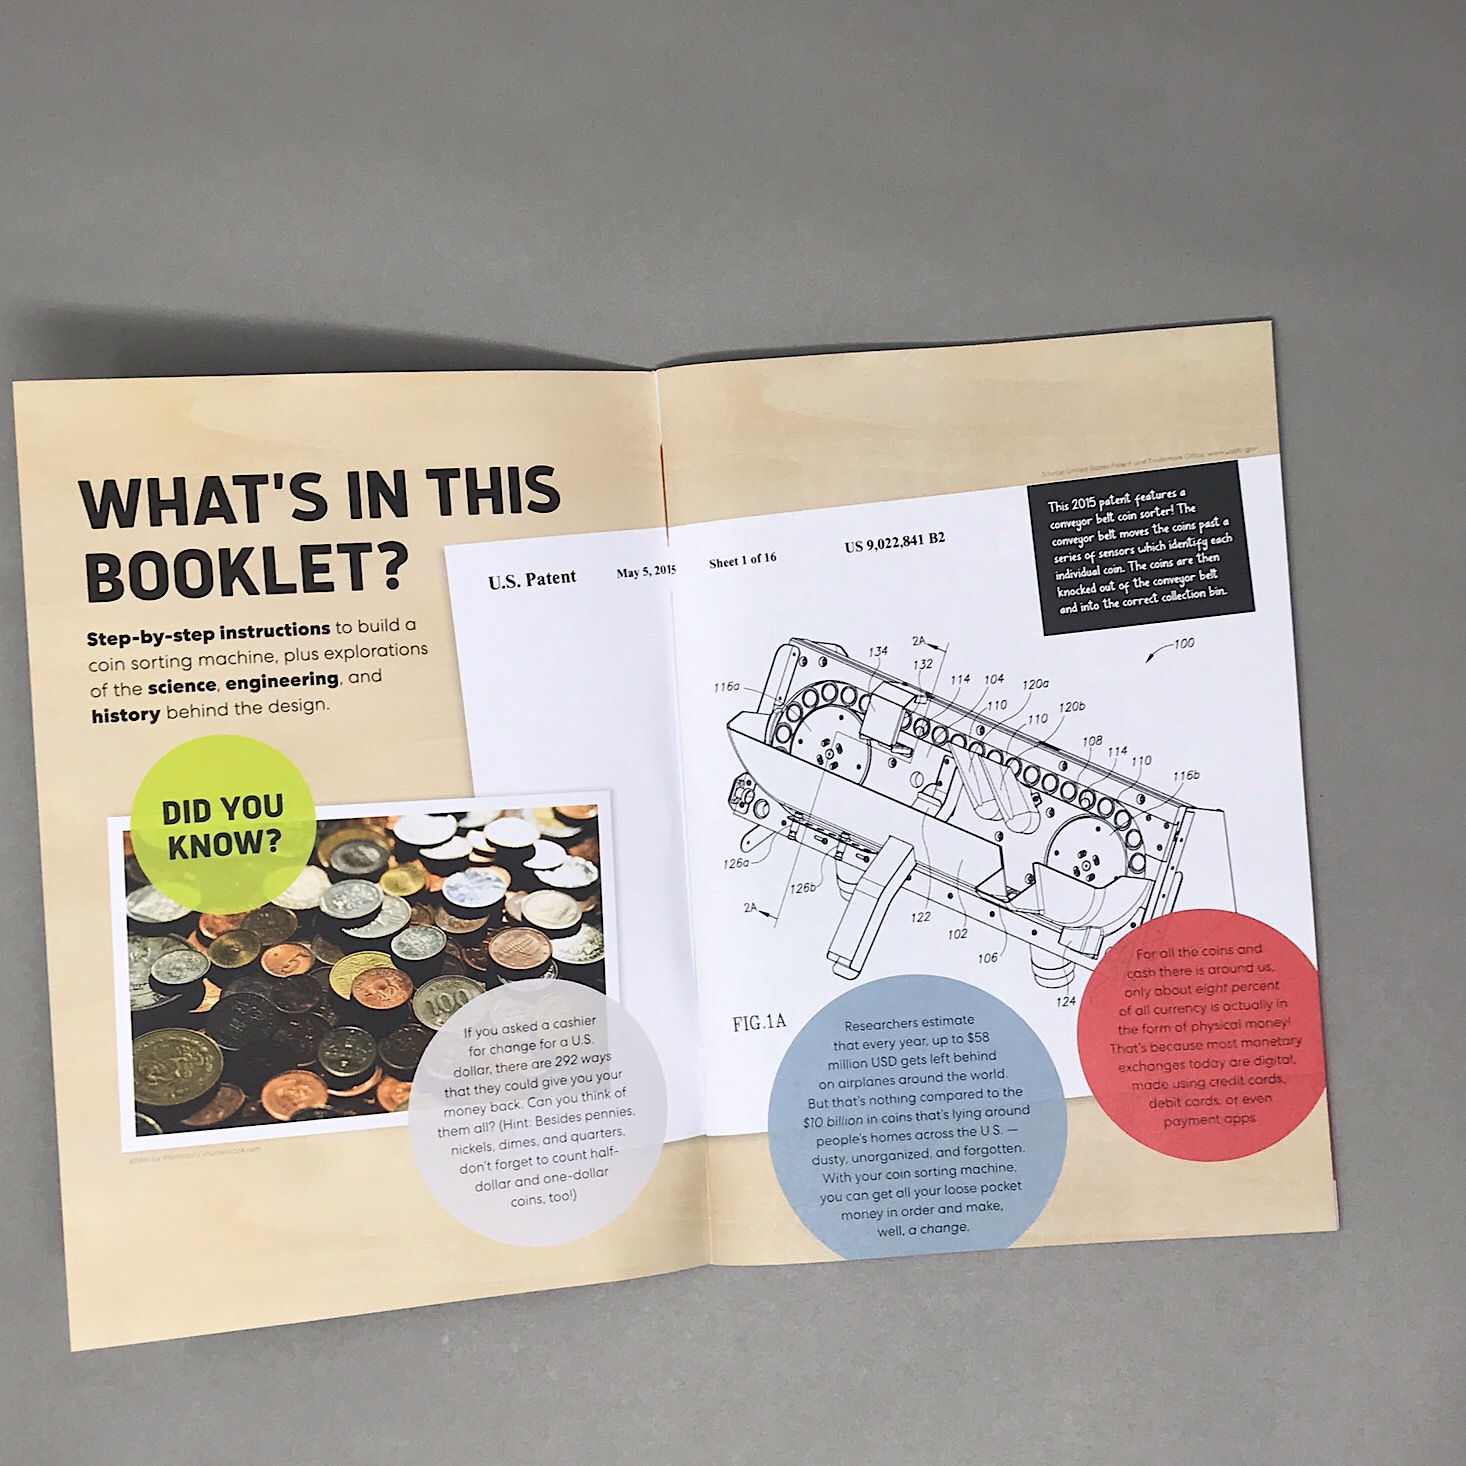

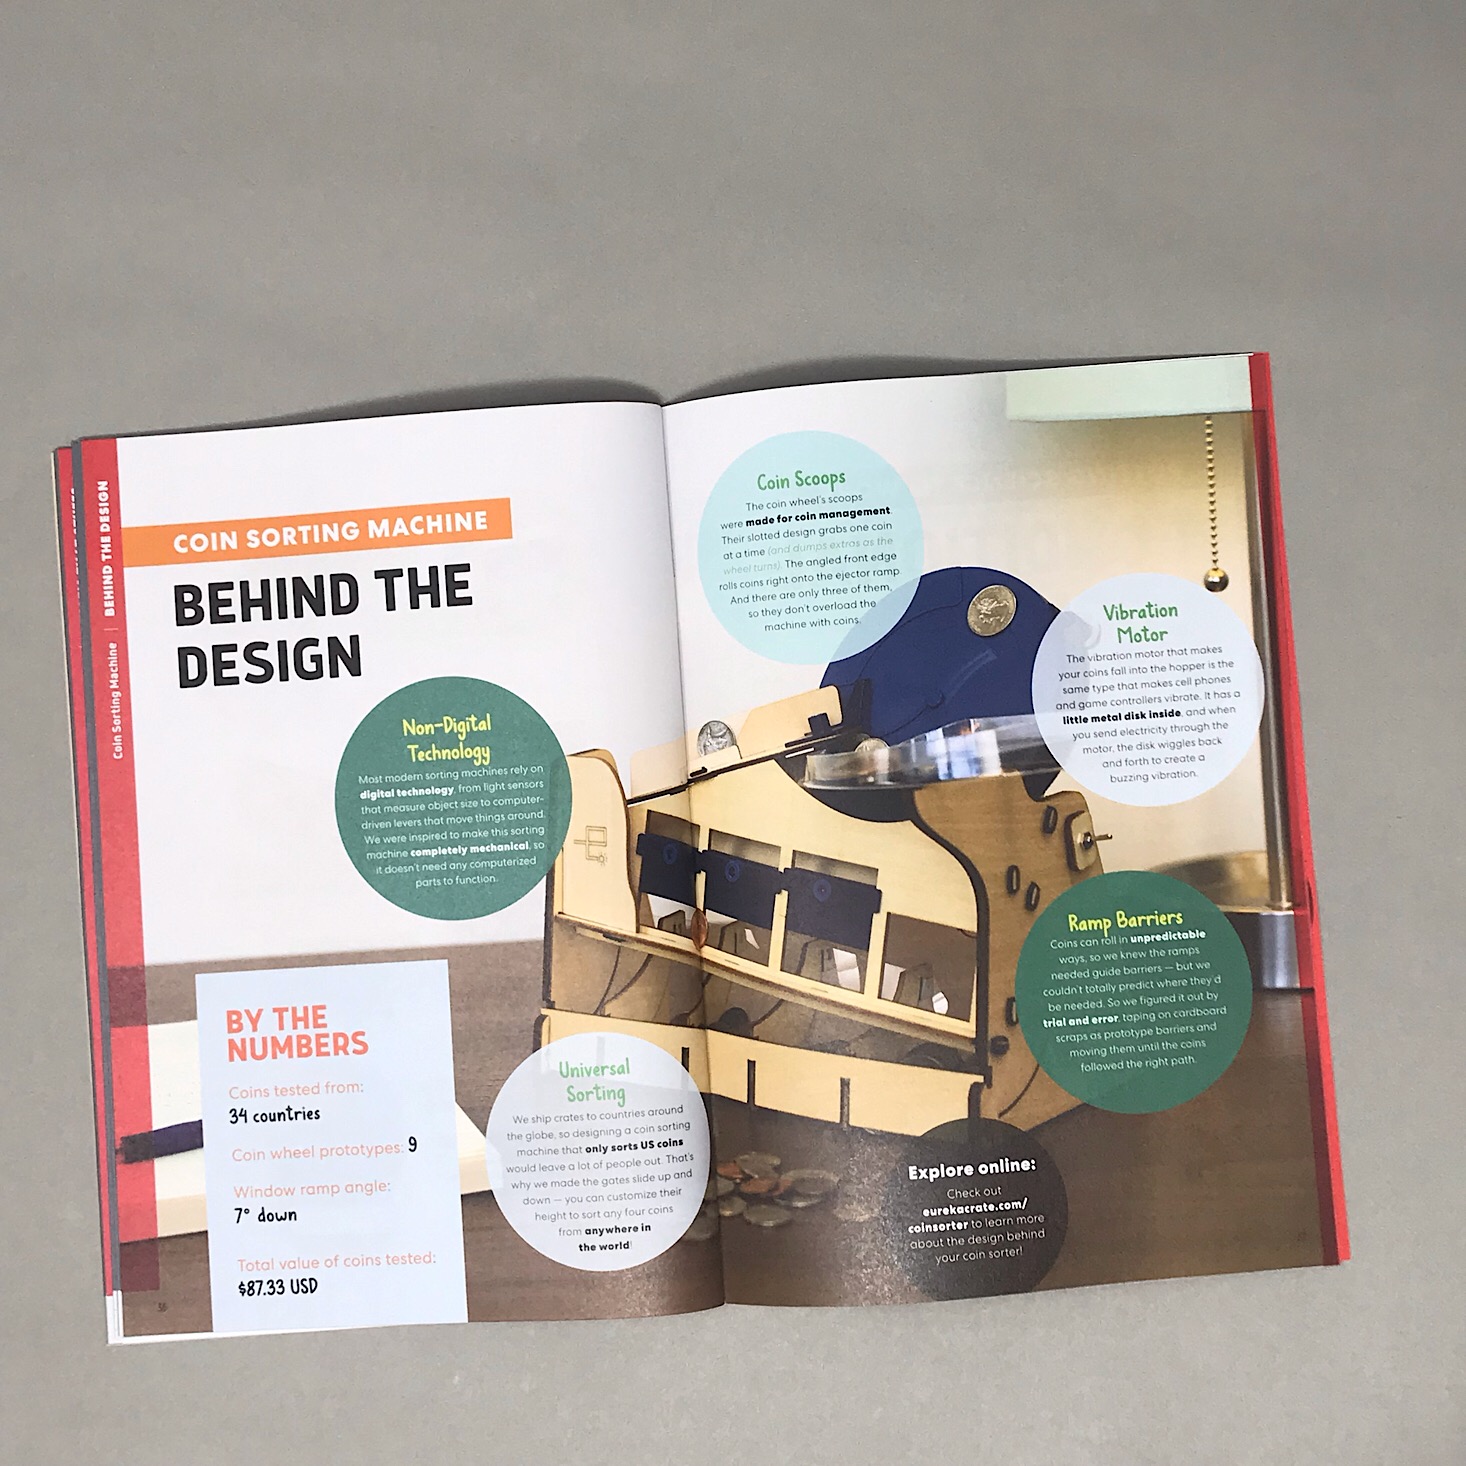


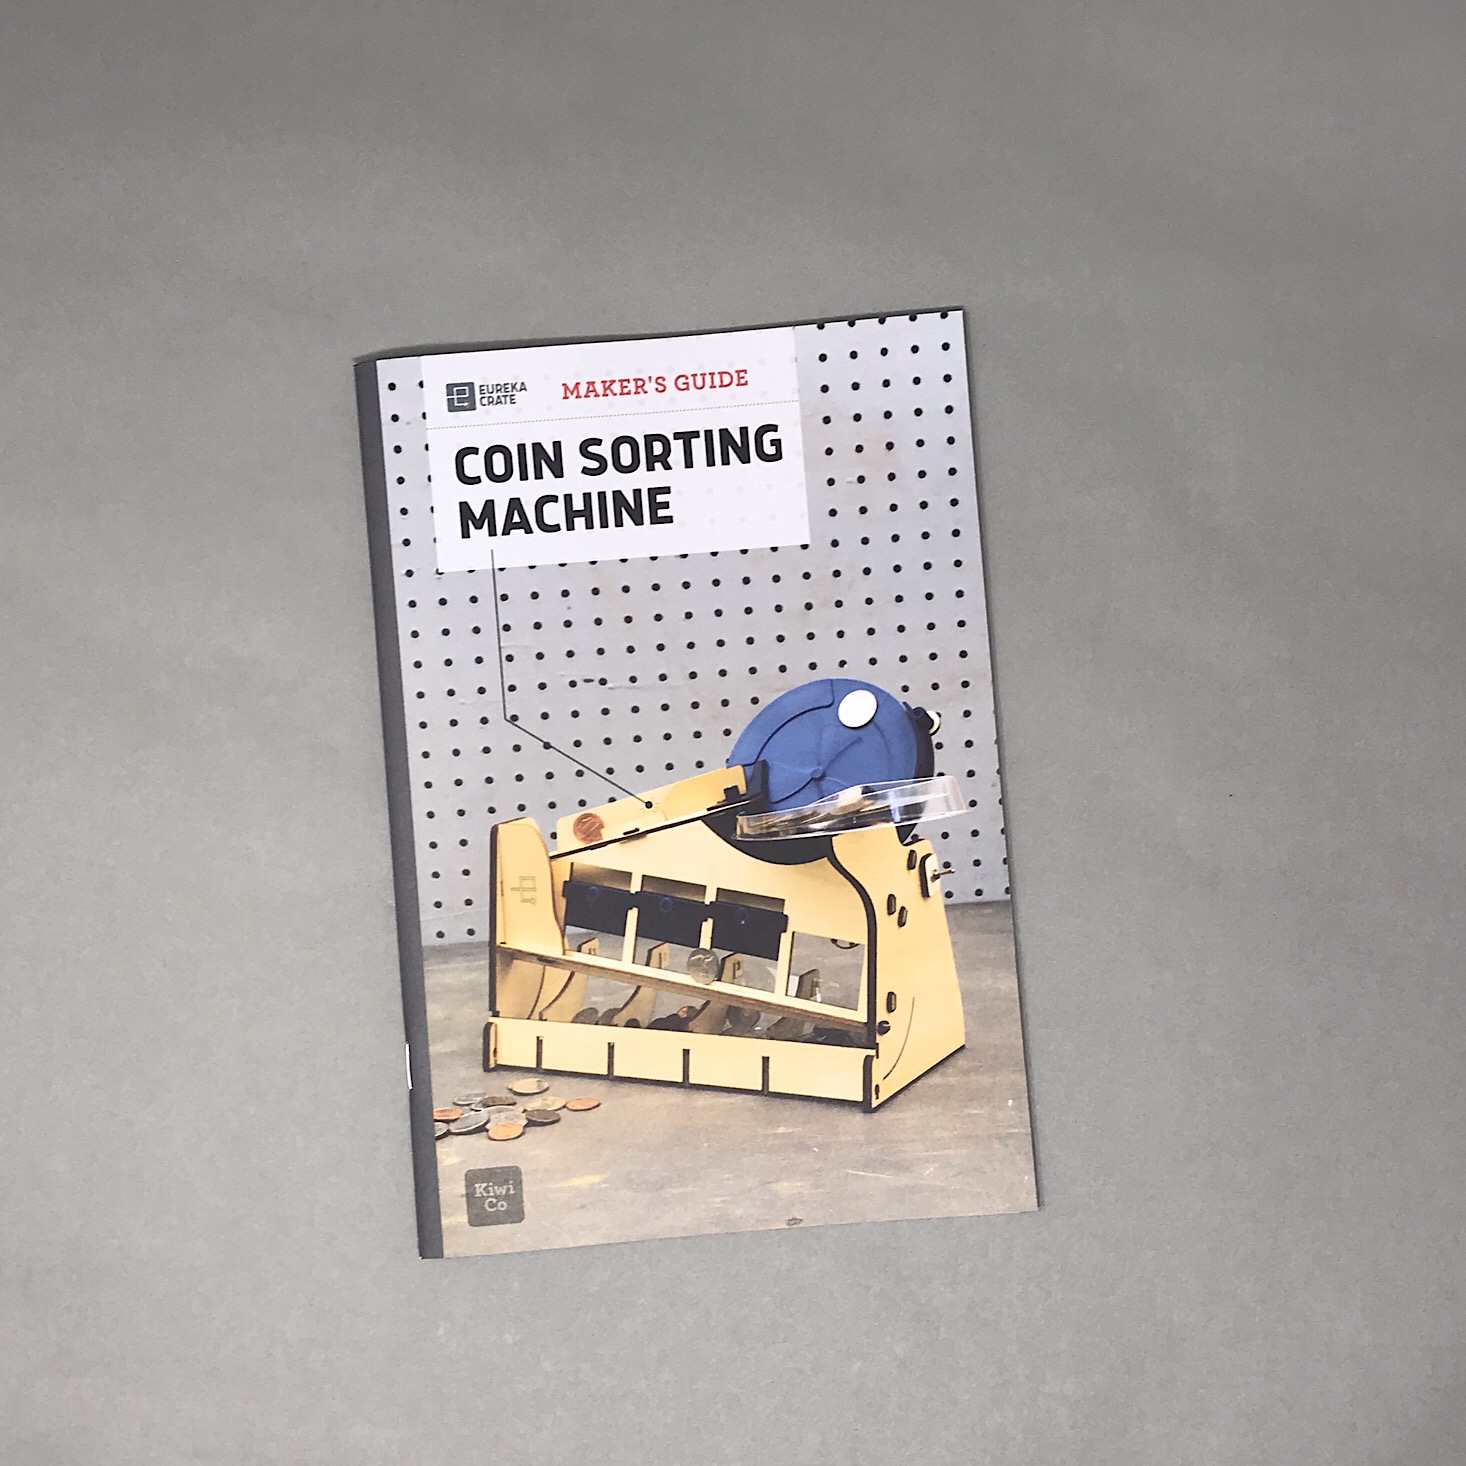
The project for this month is to make our own coin sorting machine. We received this Maker's Guide which is full of helpful information related to our project along with the directions. My favorite section is the "Behind the Design" page where they go into detail about their own process in creating this month's project!


1 of 7


Our directions are separated into various sections which makes it so much easier since it breaks it down into smaller, more manageable tasks. The instructions are always clear and easy to follow with detailed, colorful pictures to reference. They even include information on troubleshooting, which can be very helpful!
Part A: Build the Base


1 of 7
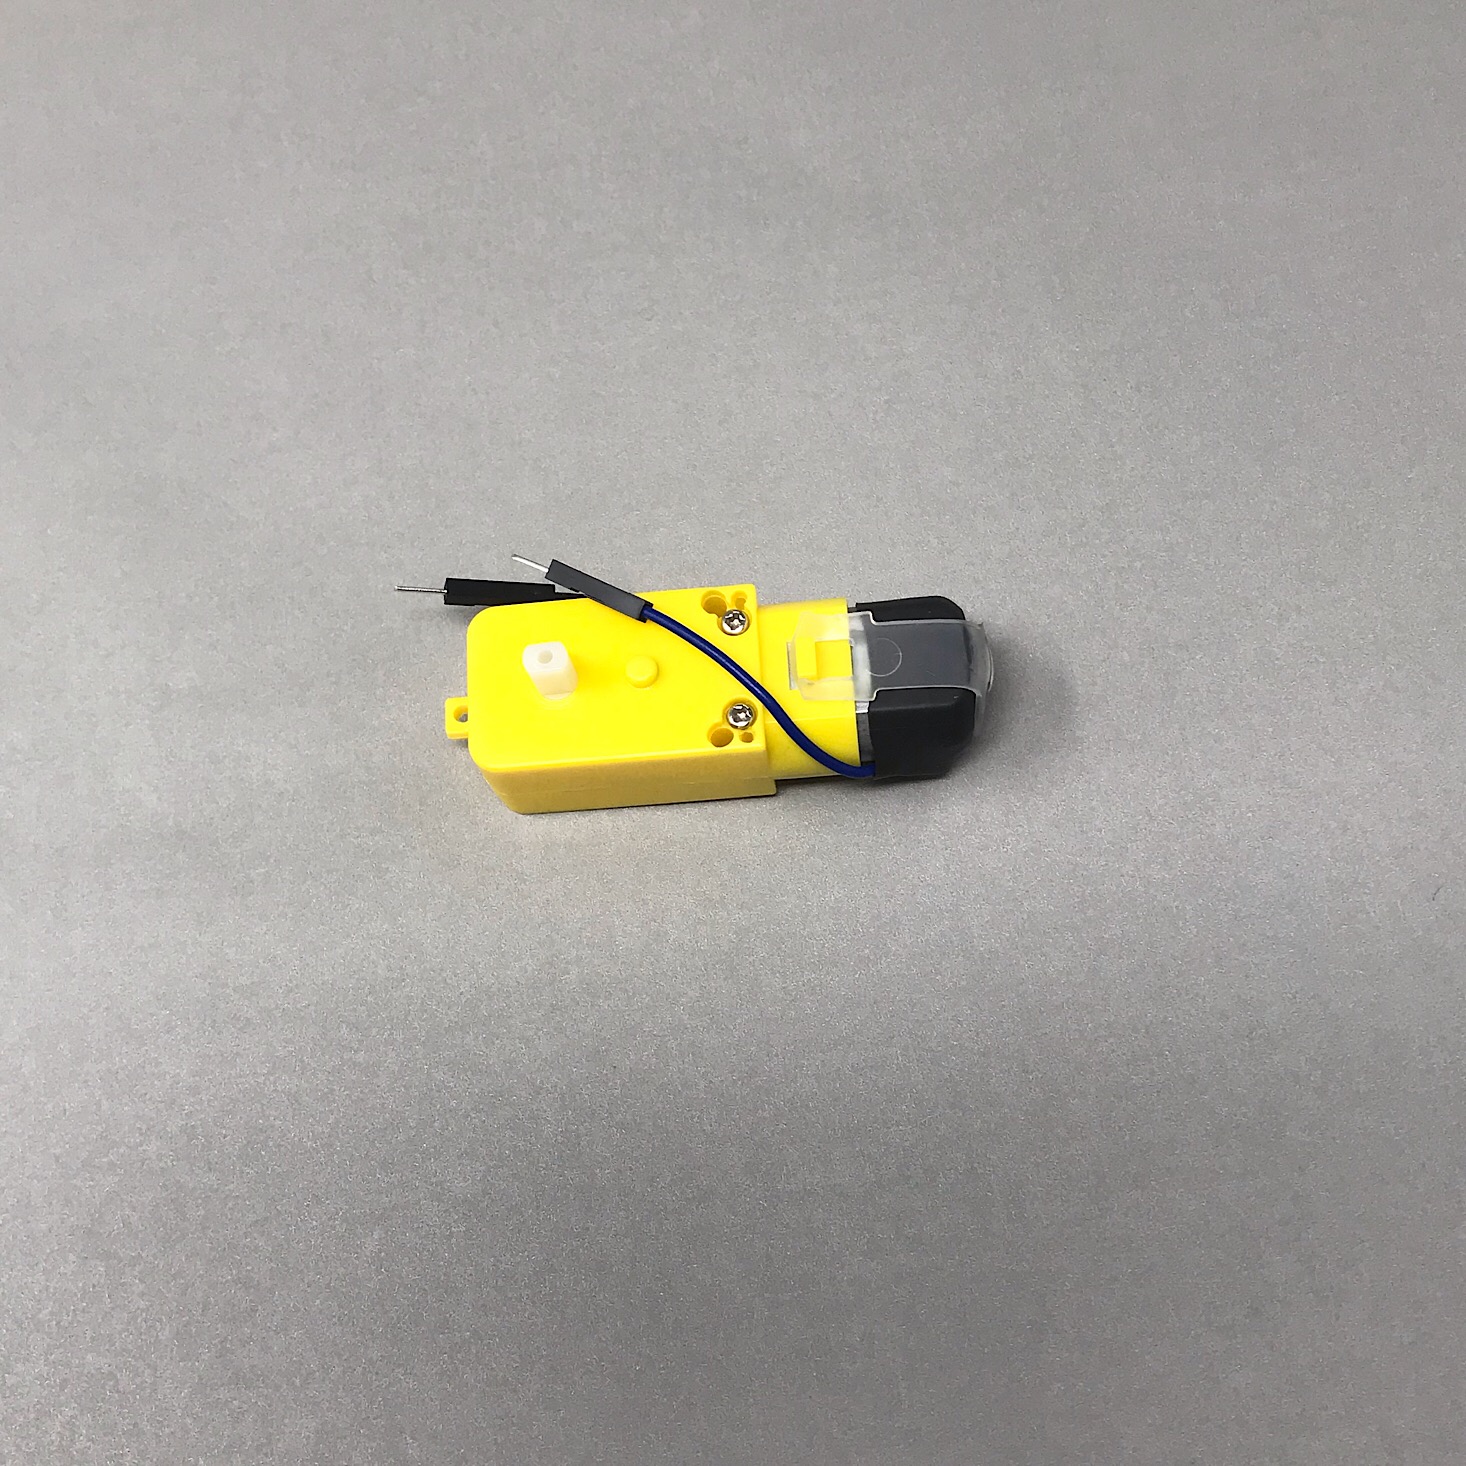
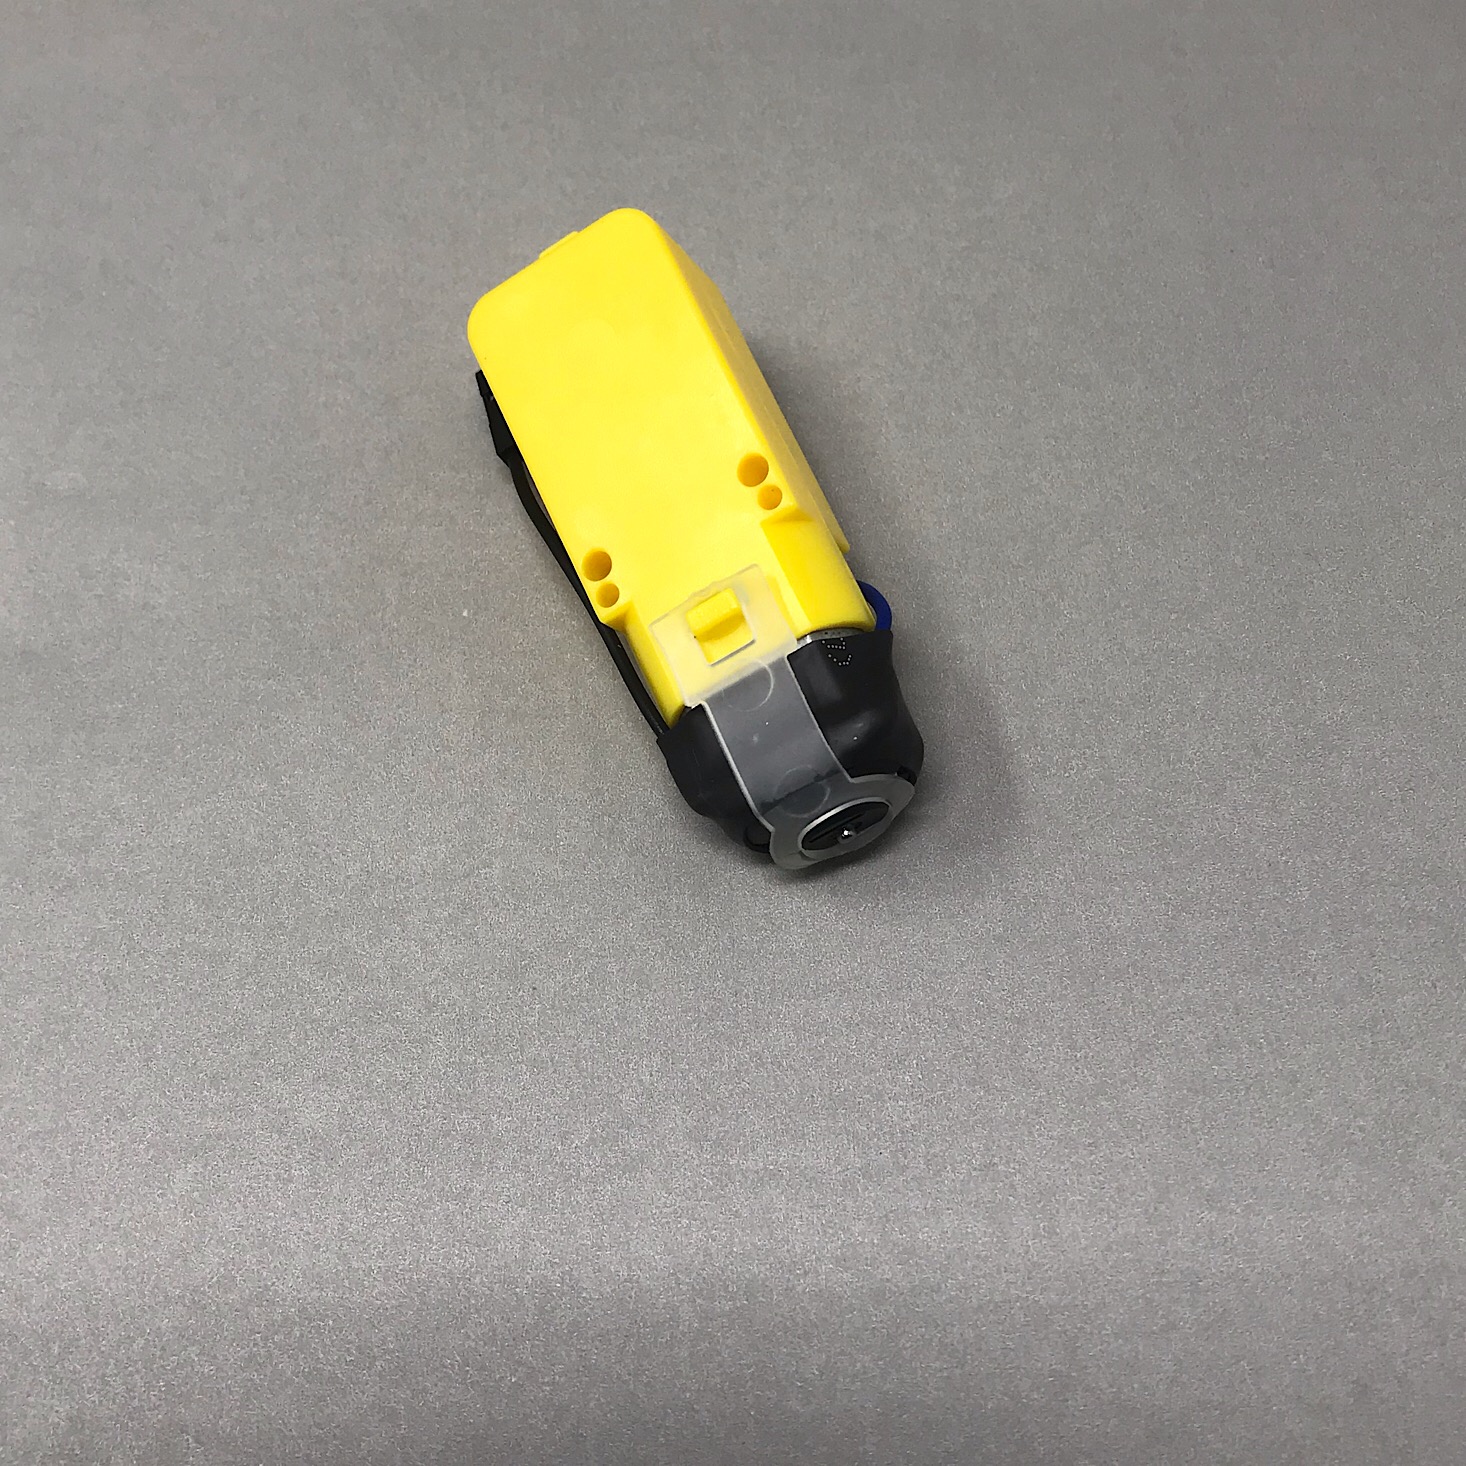
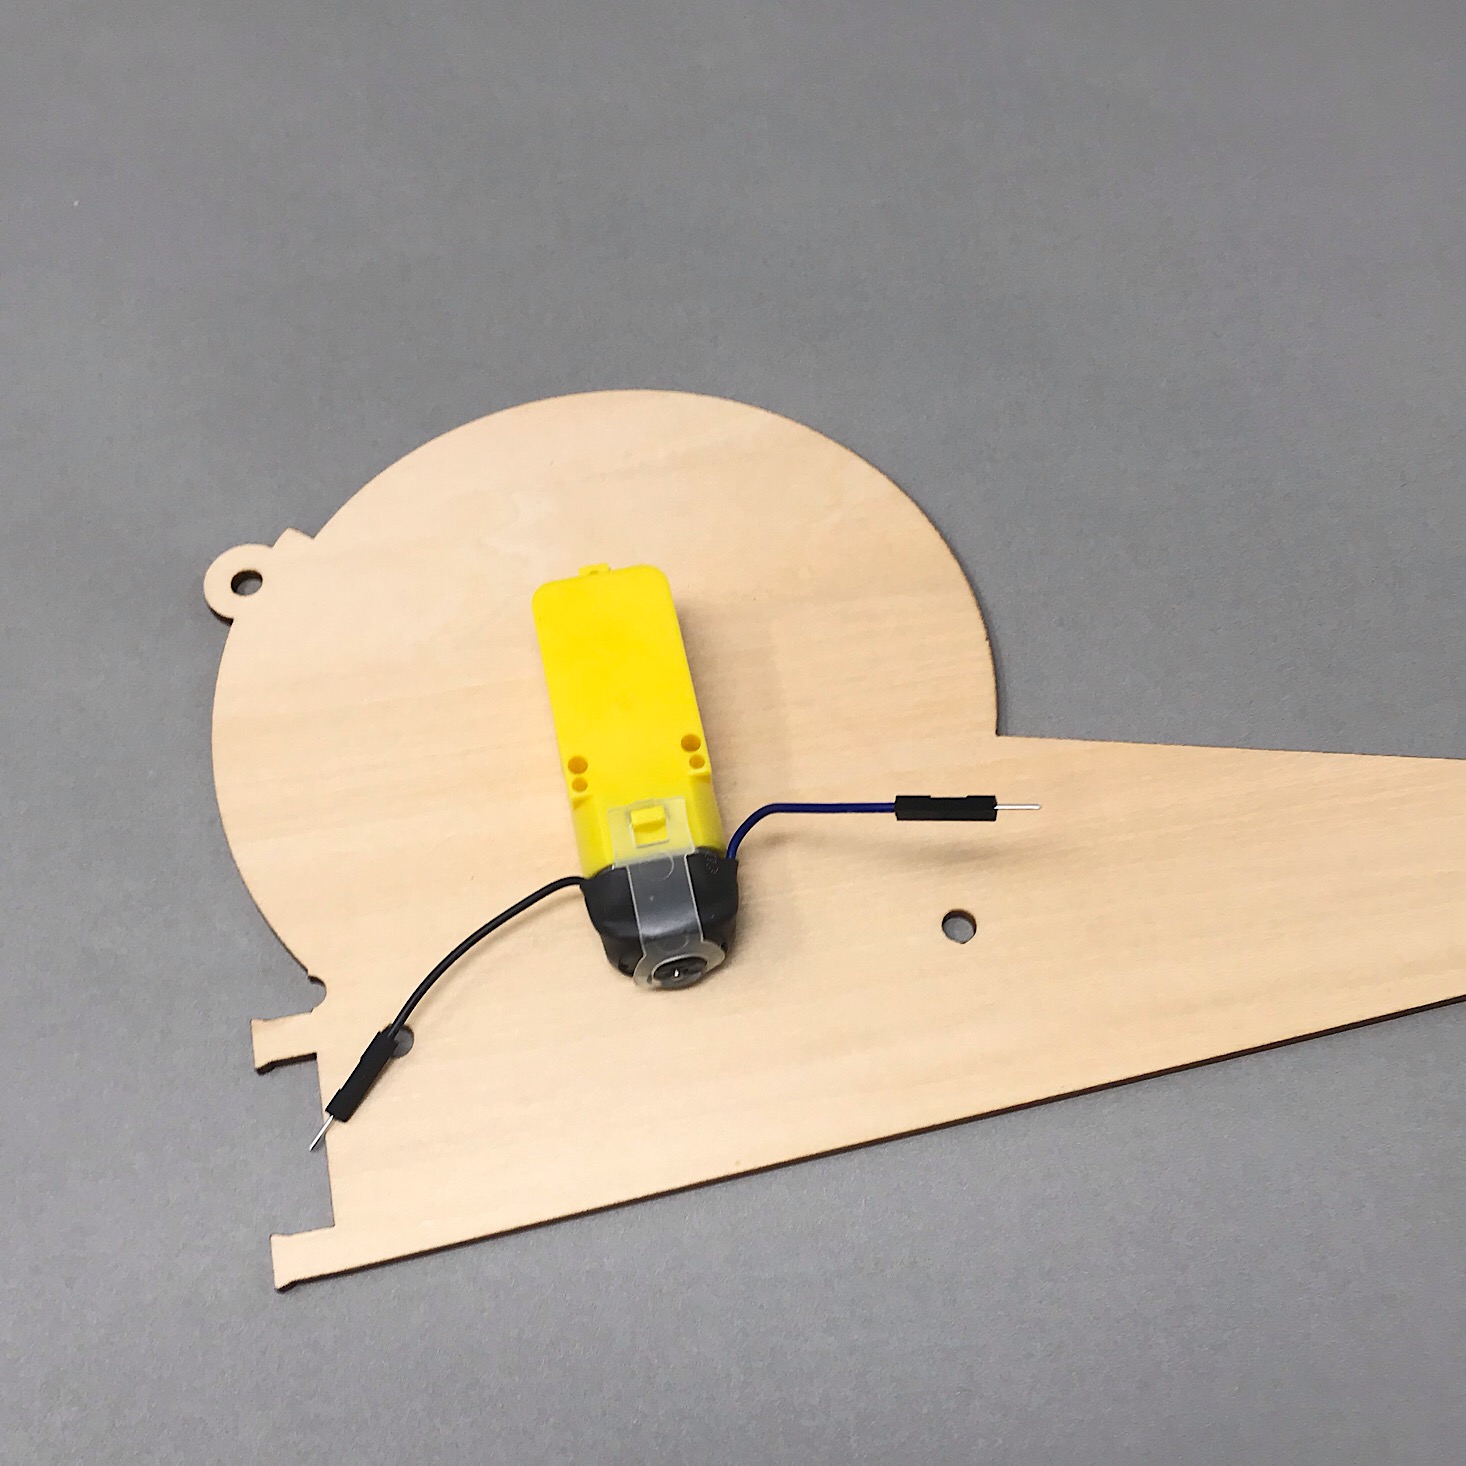

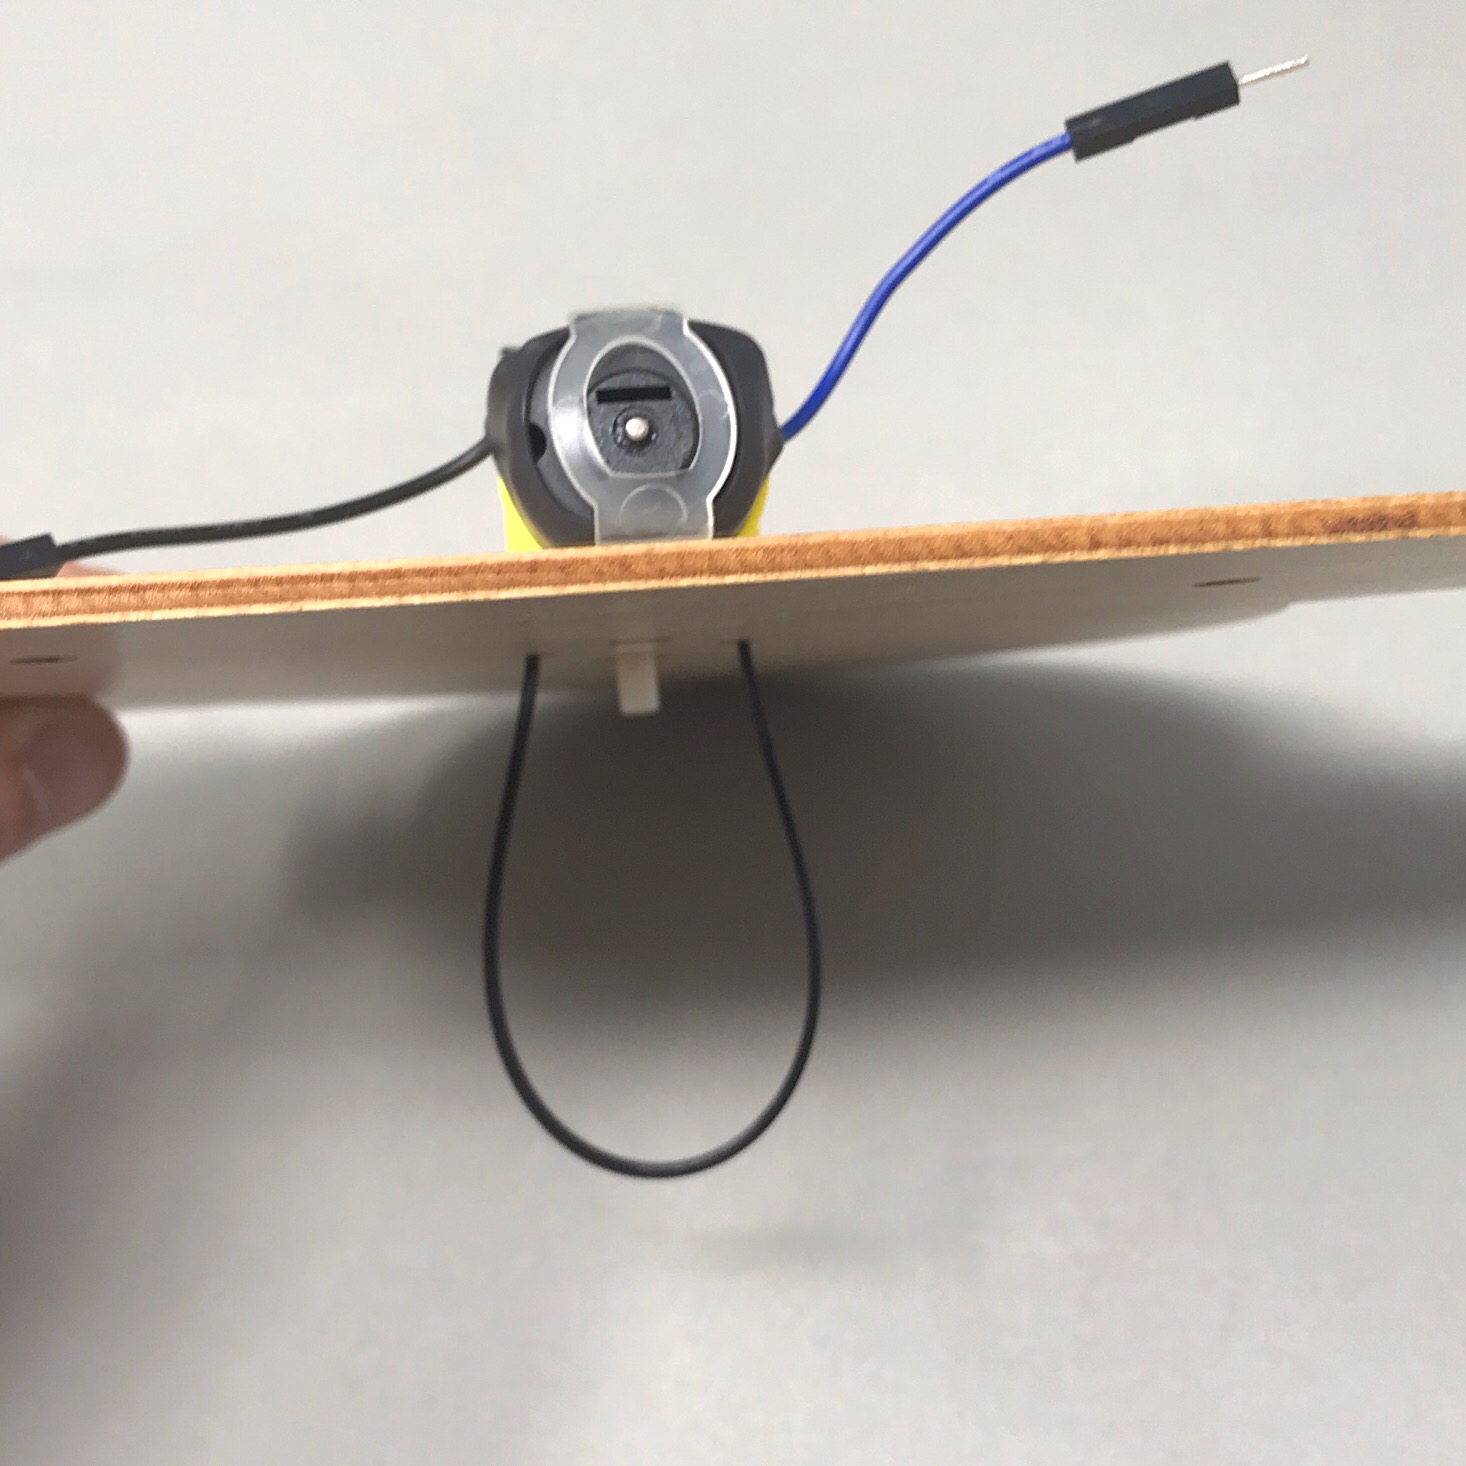
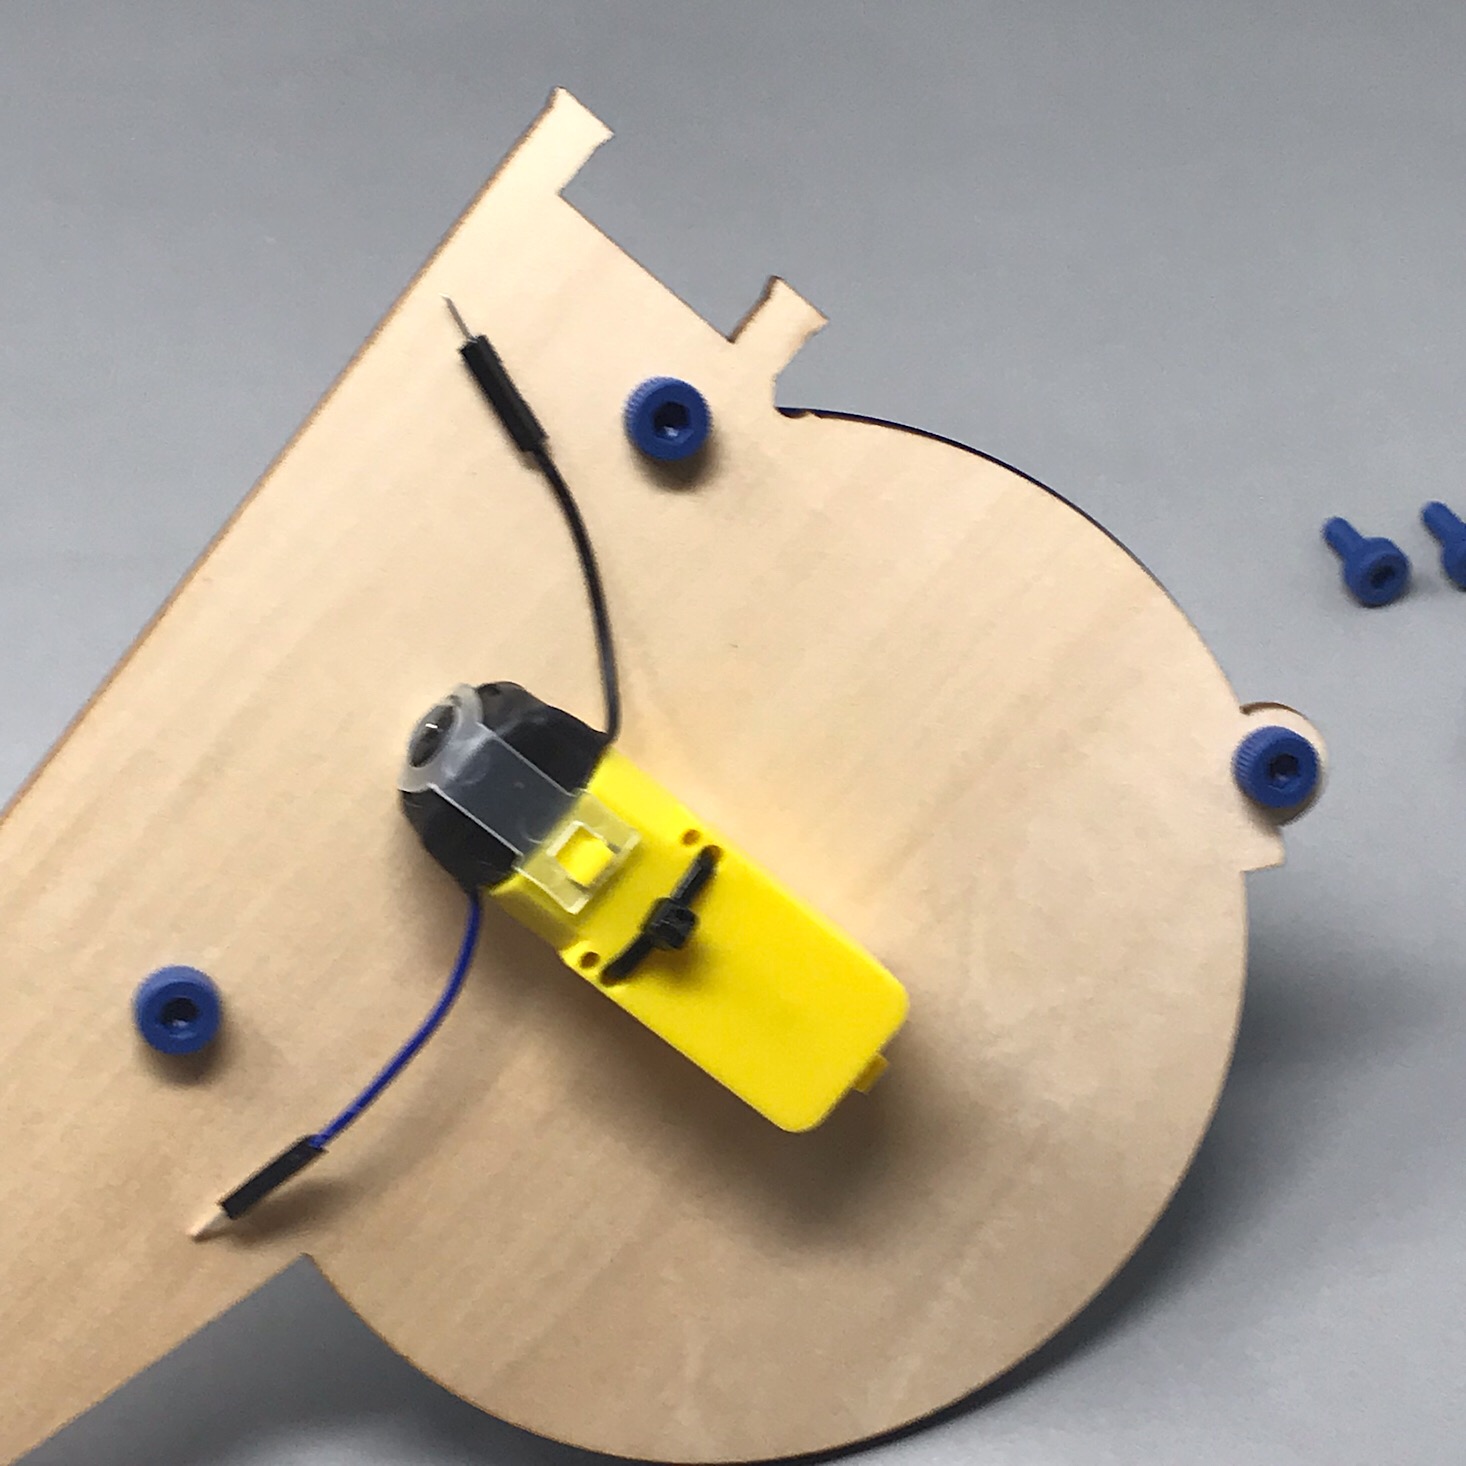
The first part of our project was to build the base. I began with securing the motor to the board using a ziptie to hold it in place.


1 of 4
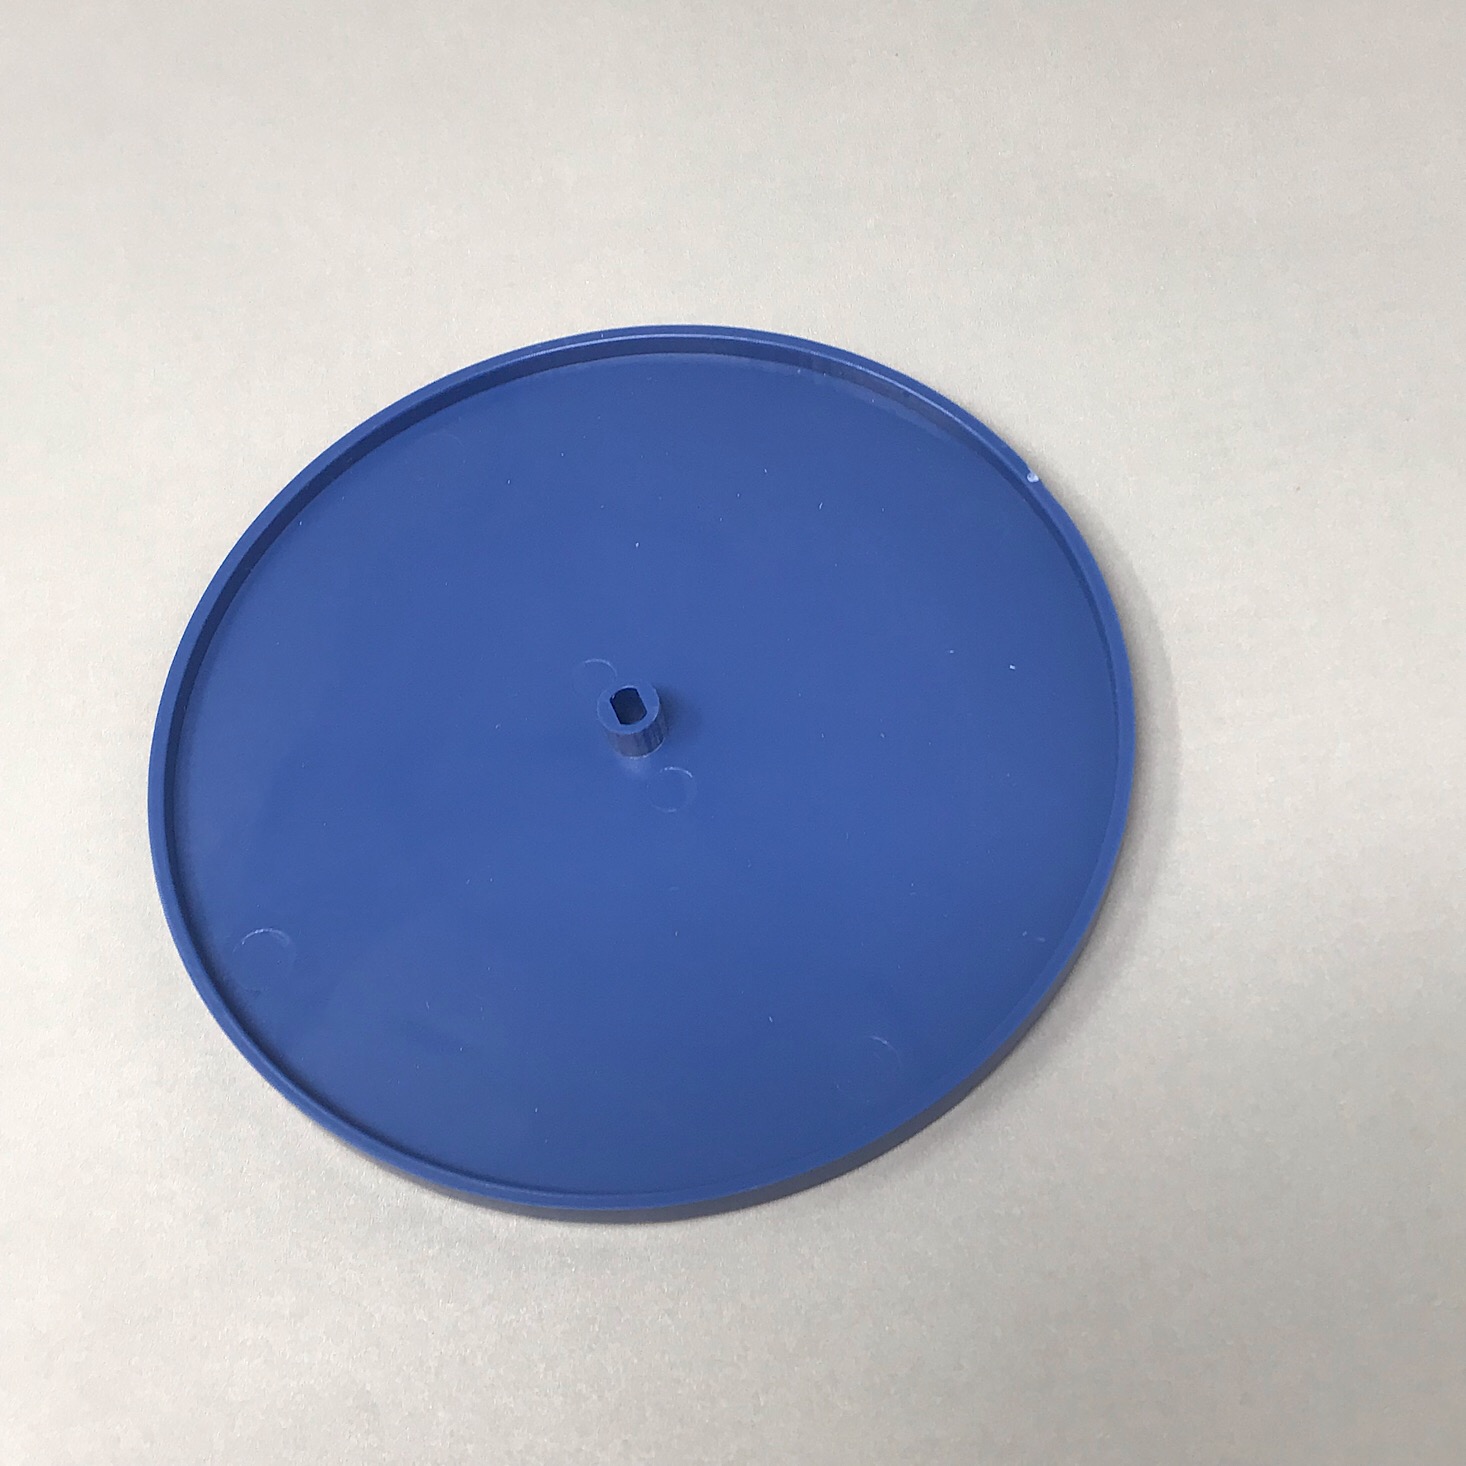

Next, I matched up the hole on the back of this blue wheel to the knob on the motor.


1 of 5
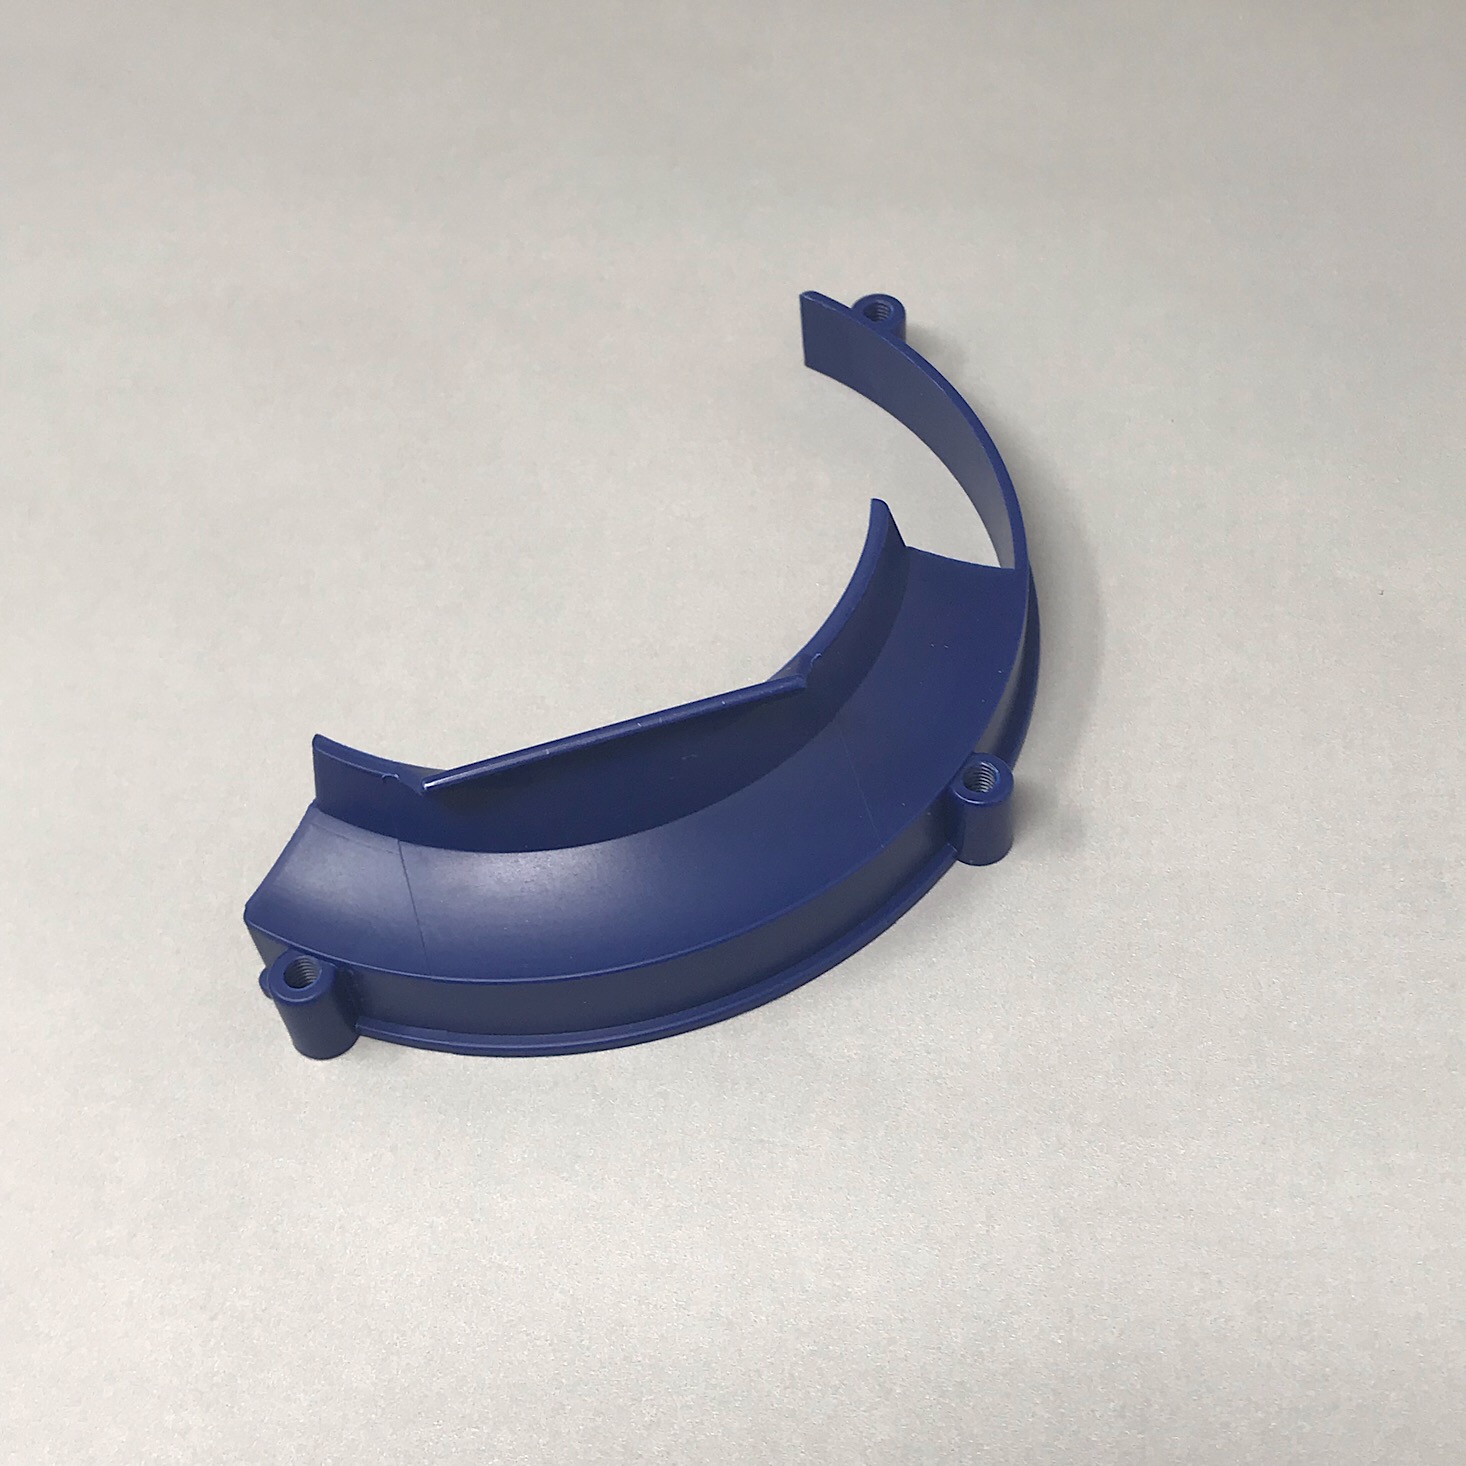
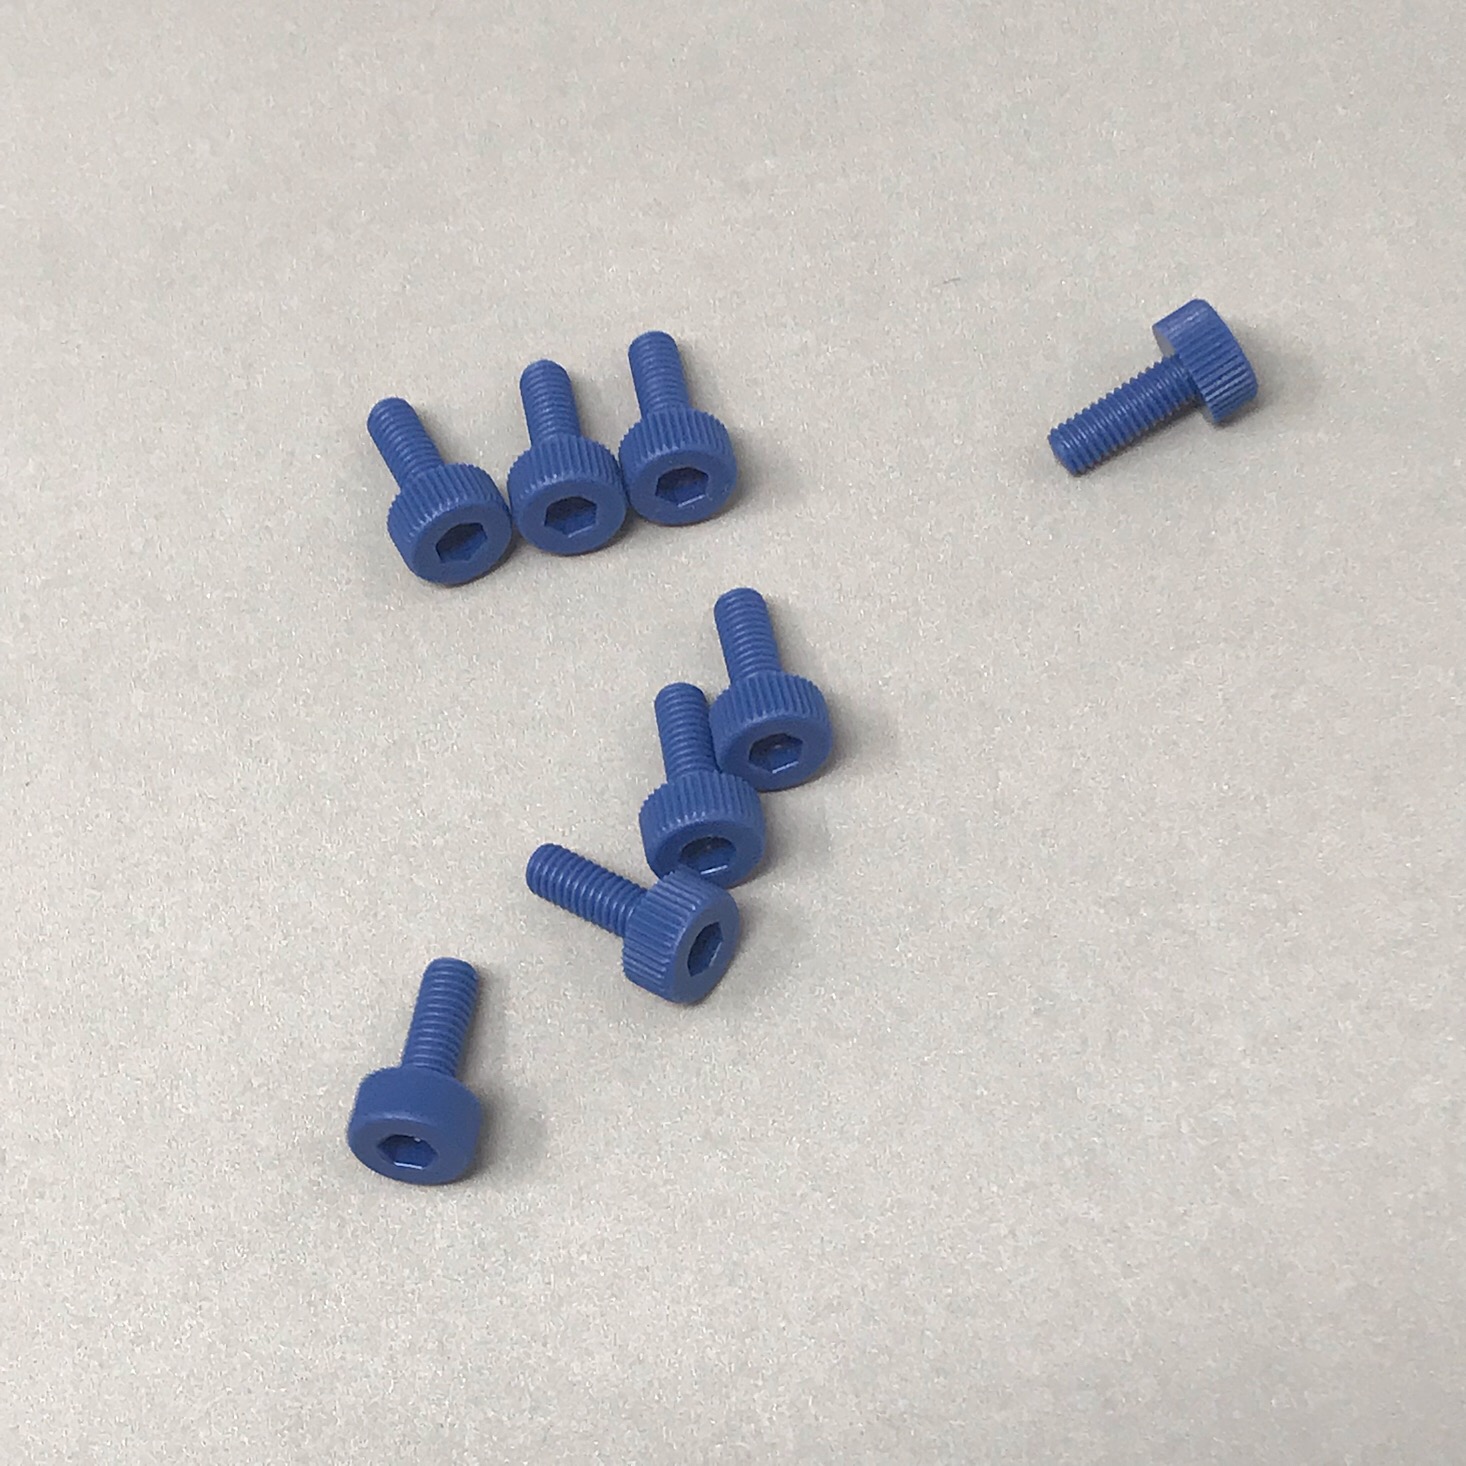
I then used the plastic screws to add this rim to the bottom of the wheel.
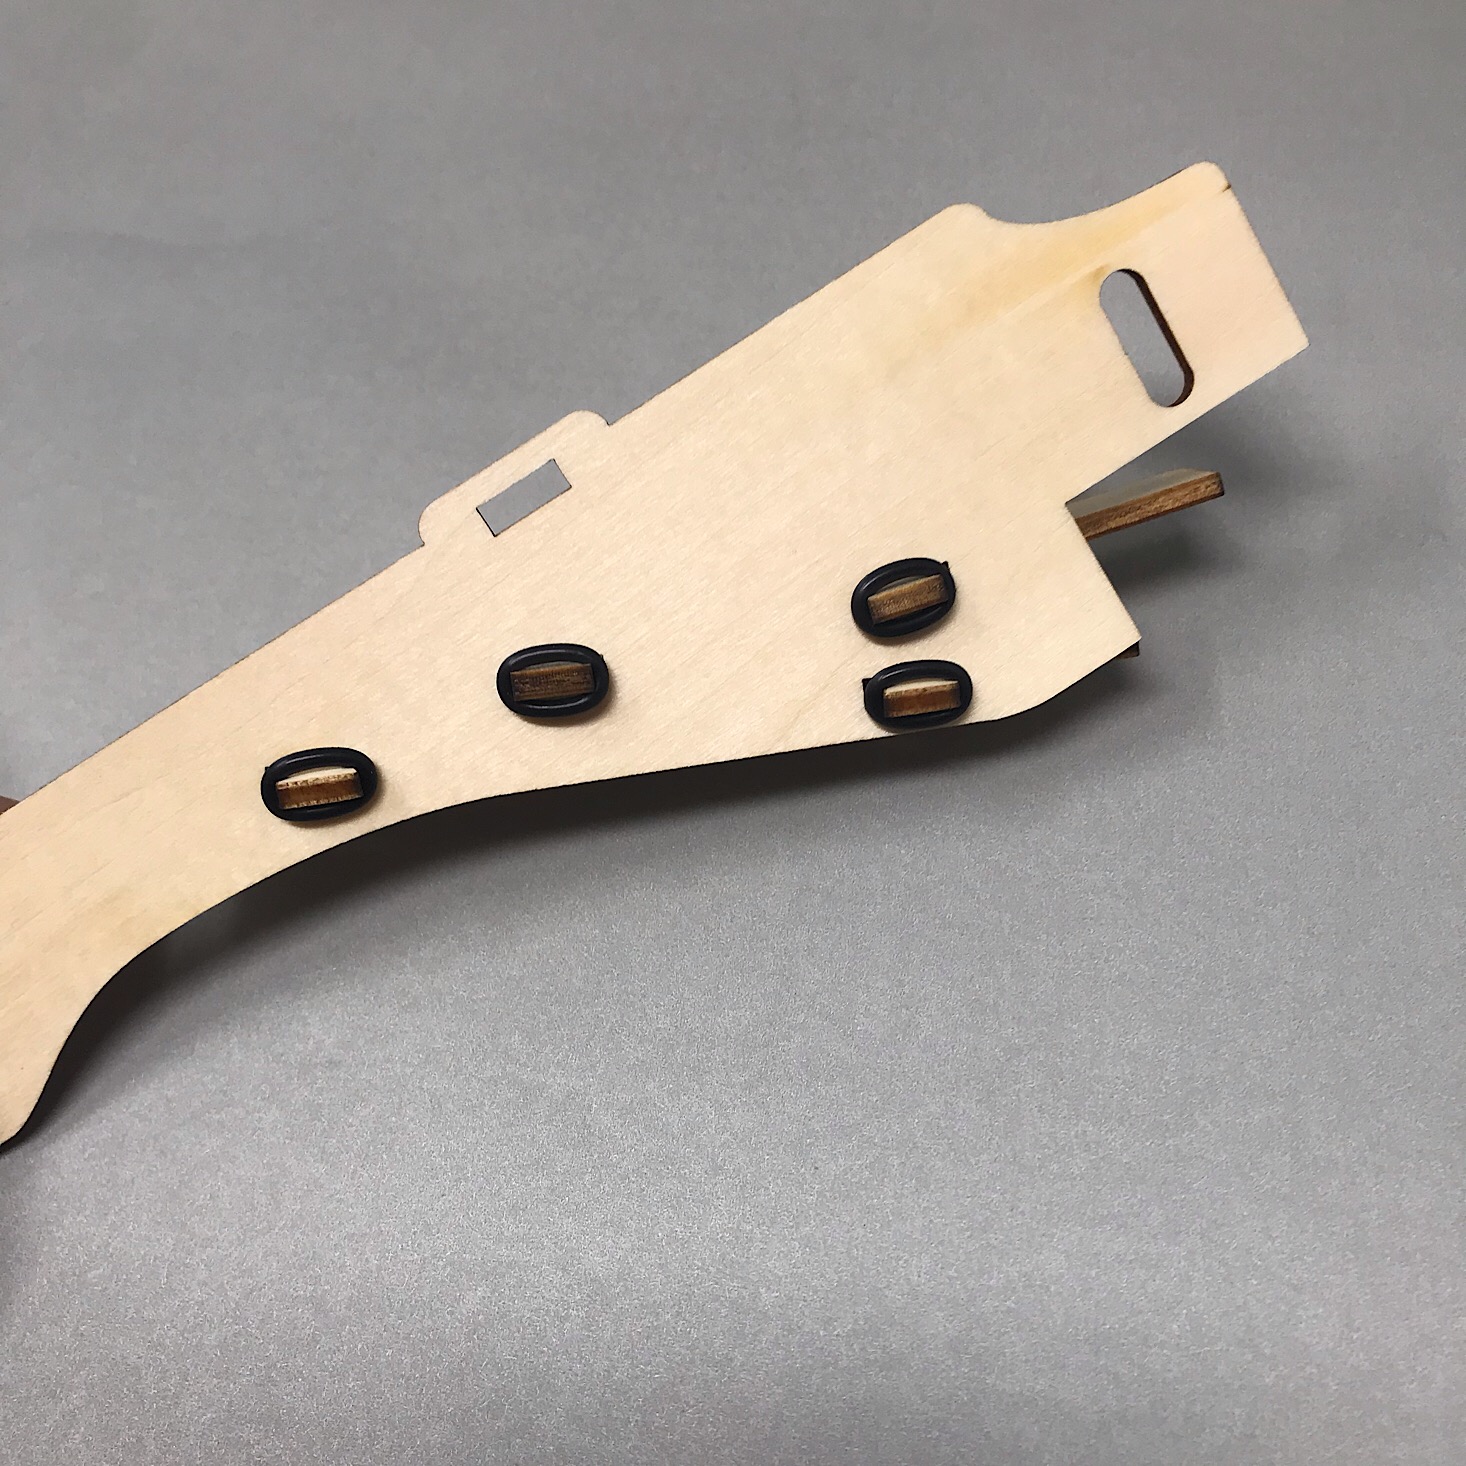
1 of 6


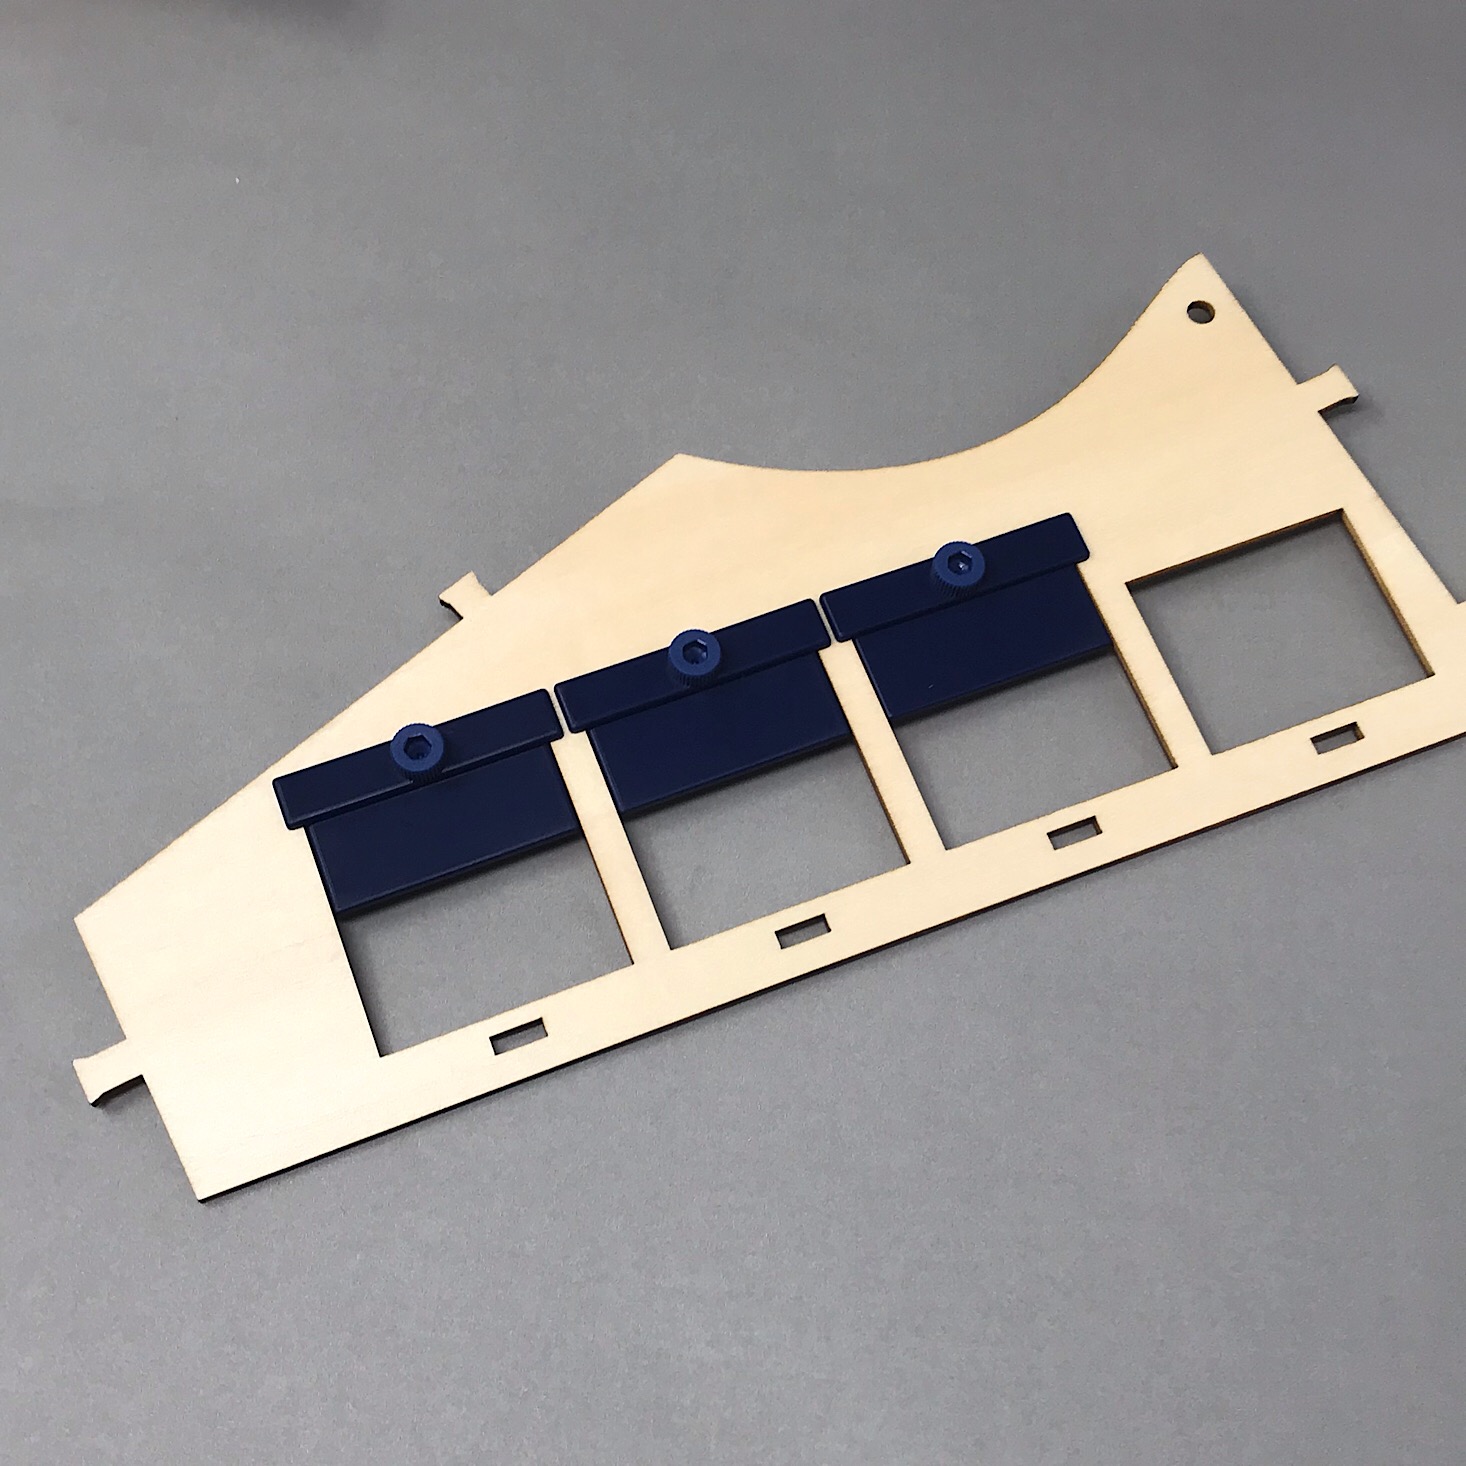
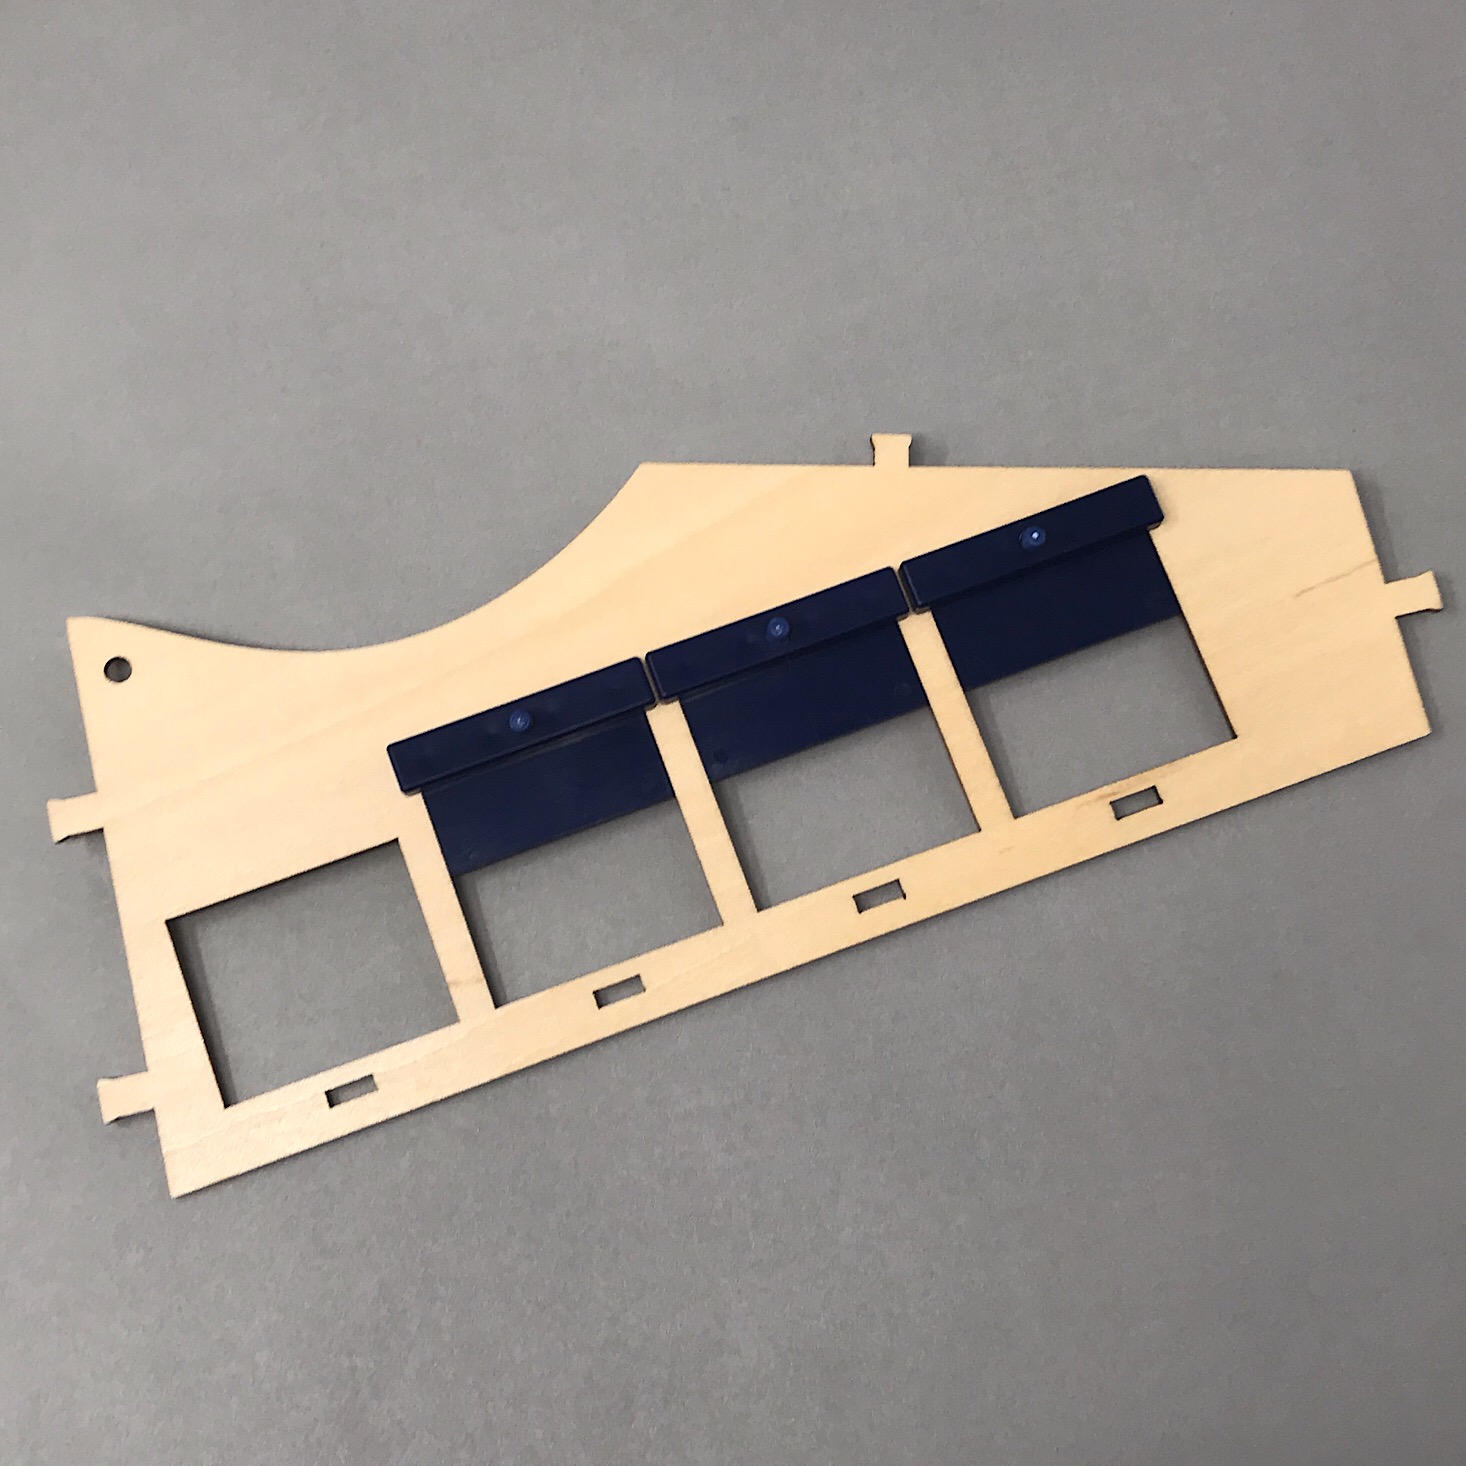
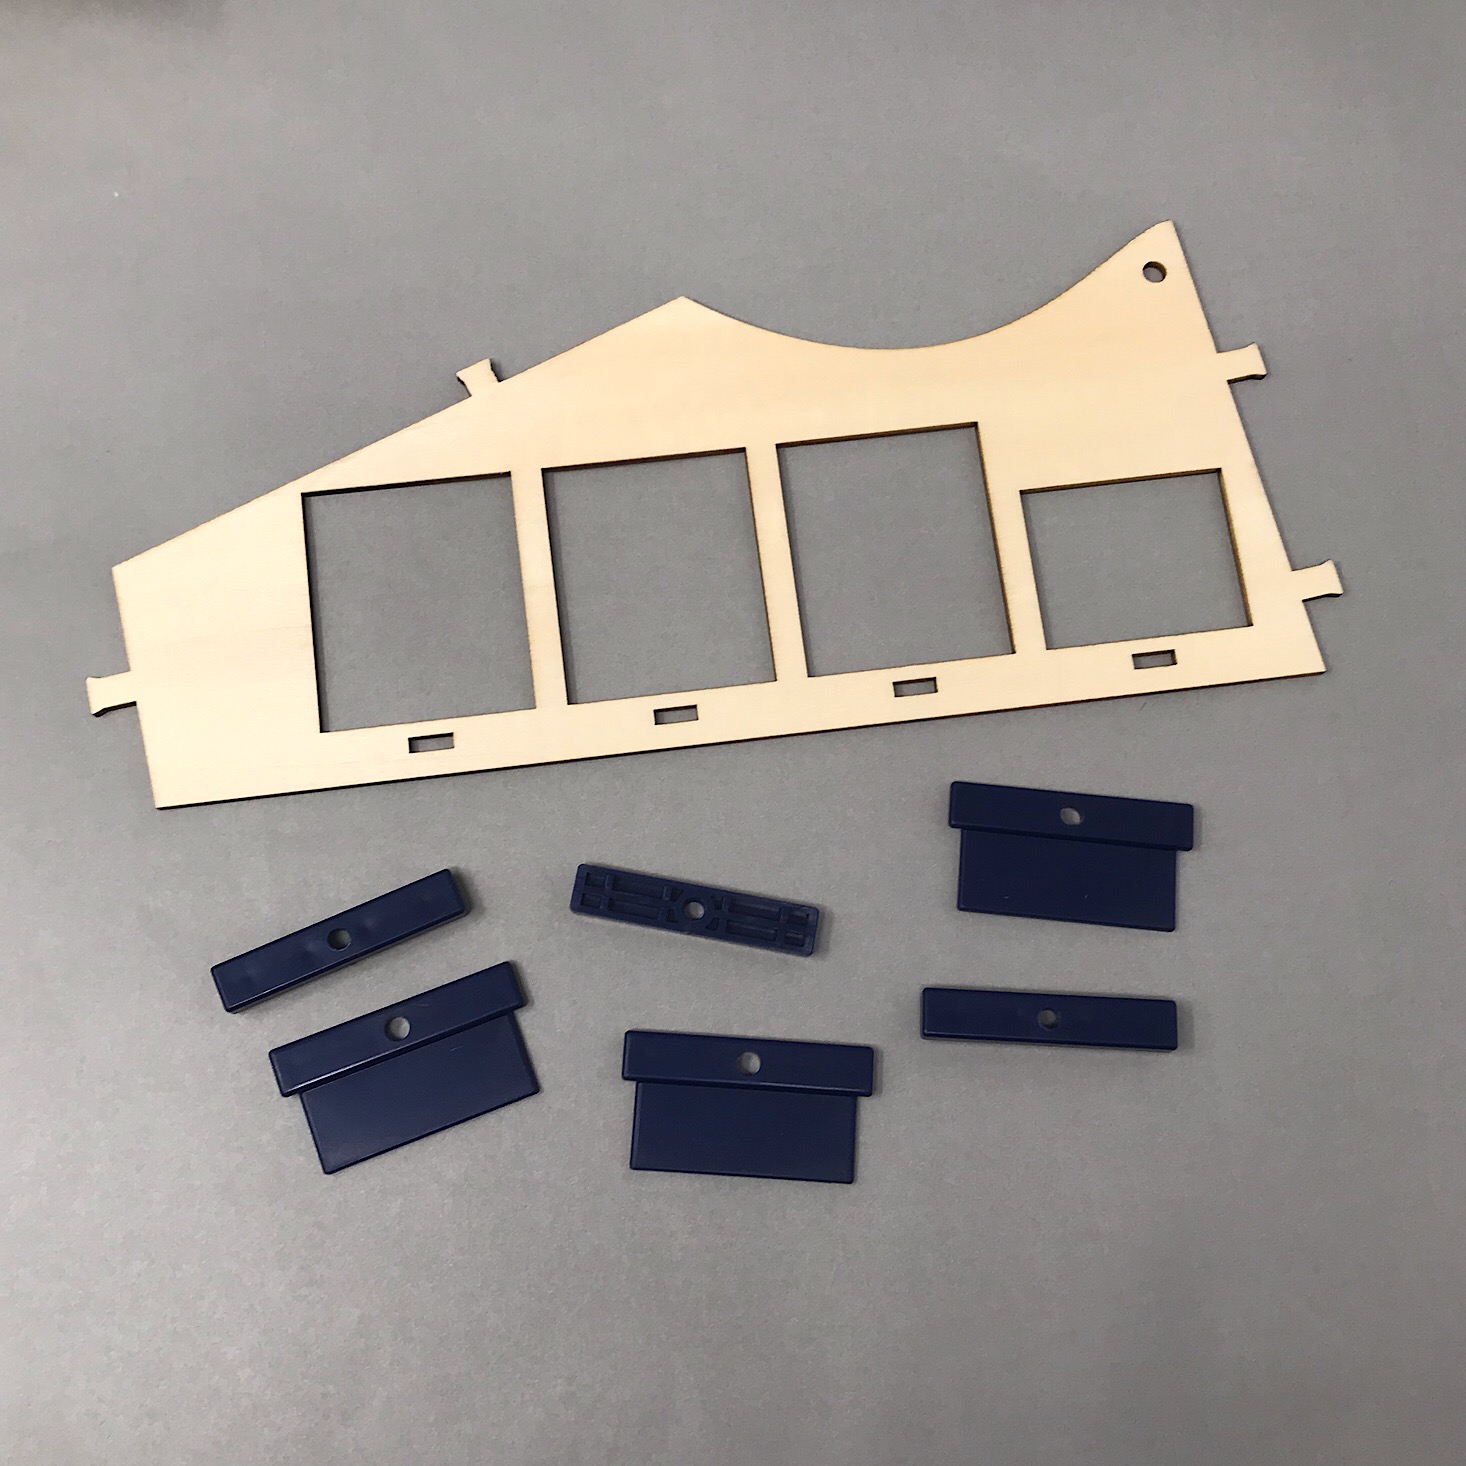
Next, it was time to put together the gates which would allow the coins to be sorted into various compartments. I simply screwed the pieces together with the wood wedged in between them.


1 of 5


Then I added this longer piece to the bottom of the gates and secured it by wrapping O-rings around the pegs that stuck out through the other side. Then I added this E piece to the hole at the end and secured it with another O-ring.


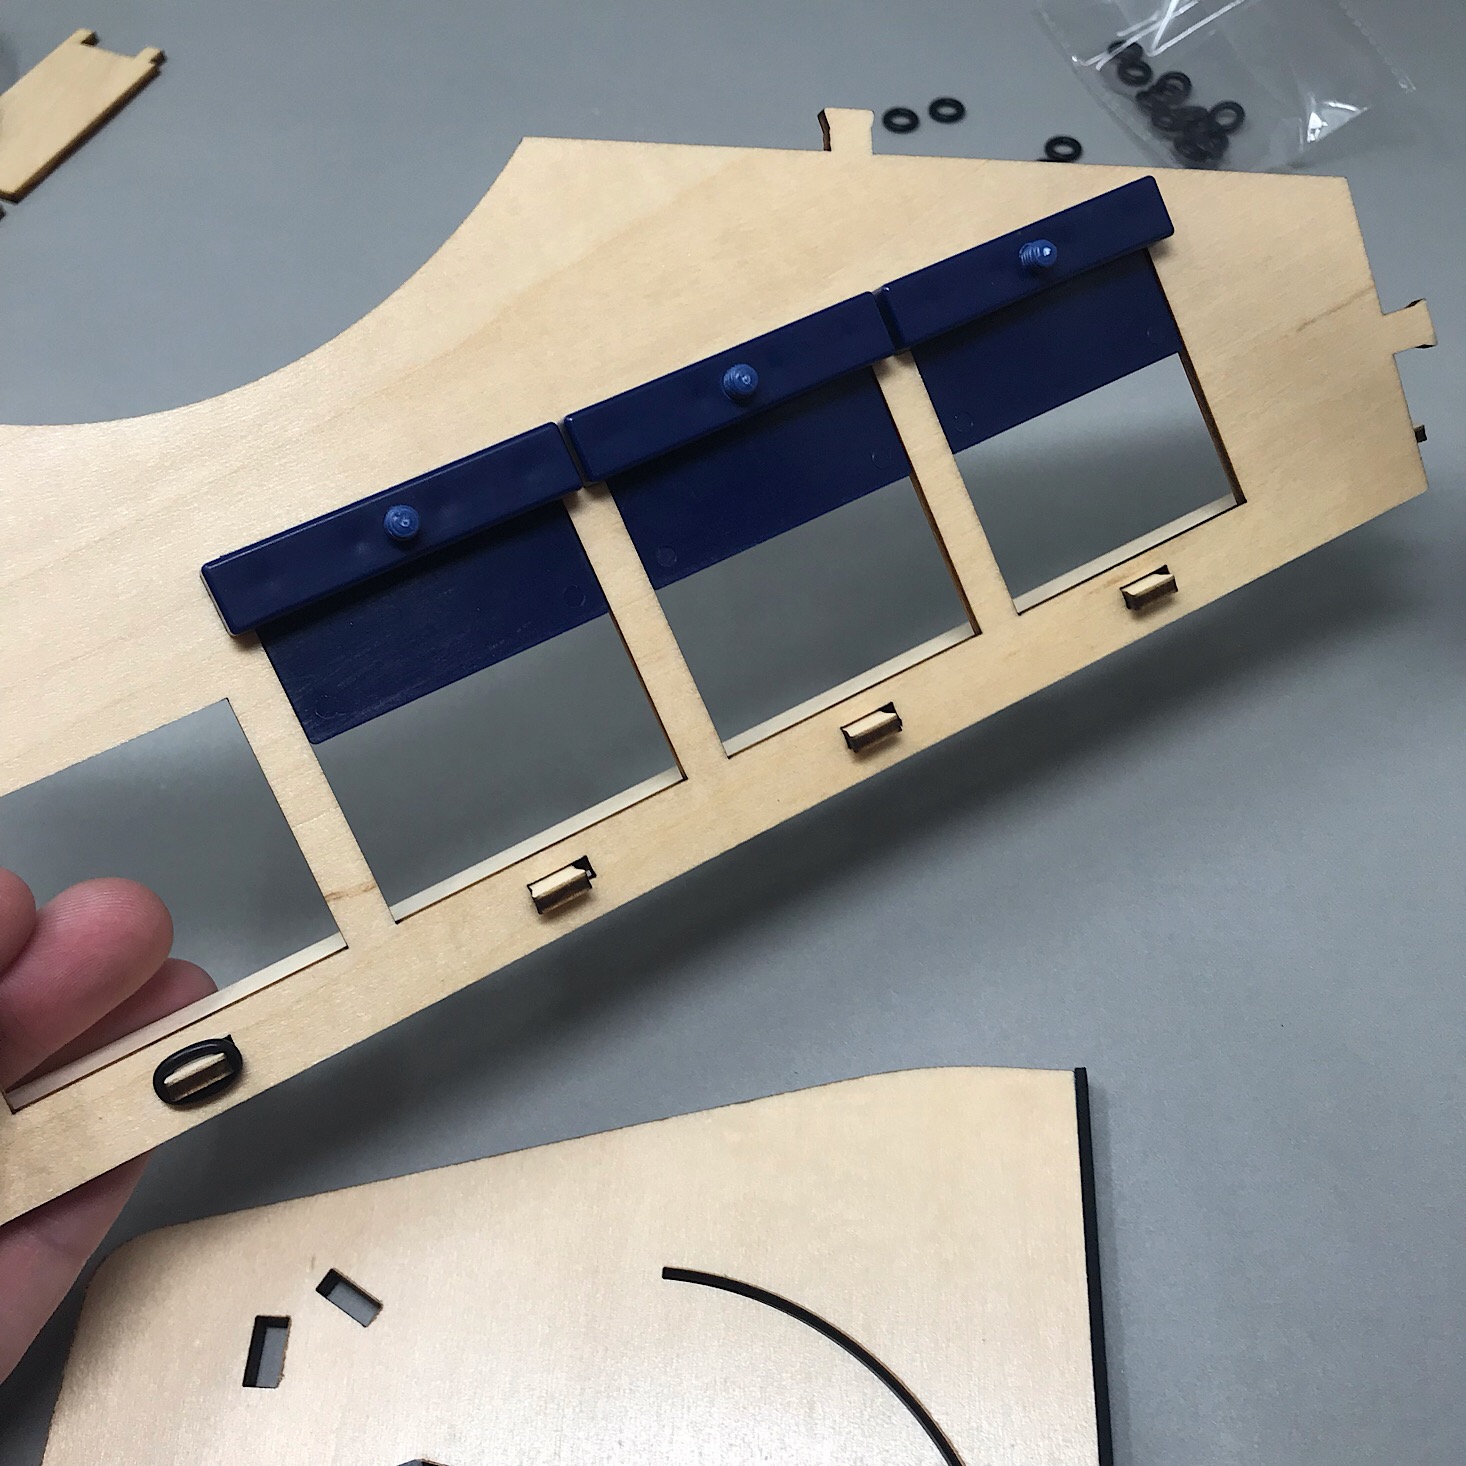
1 of 6


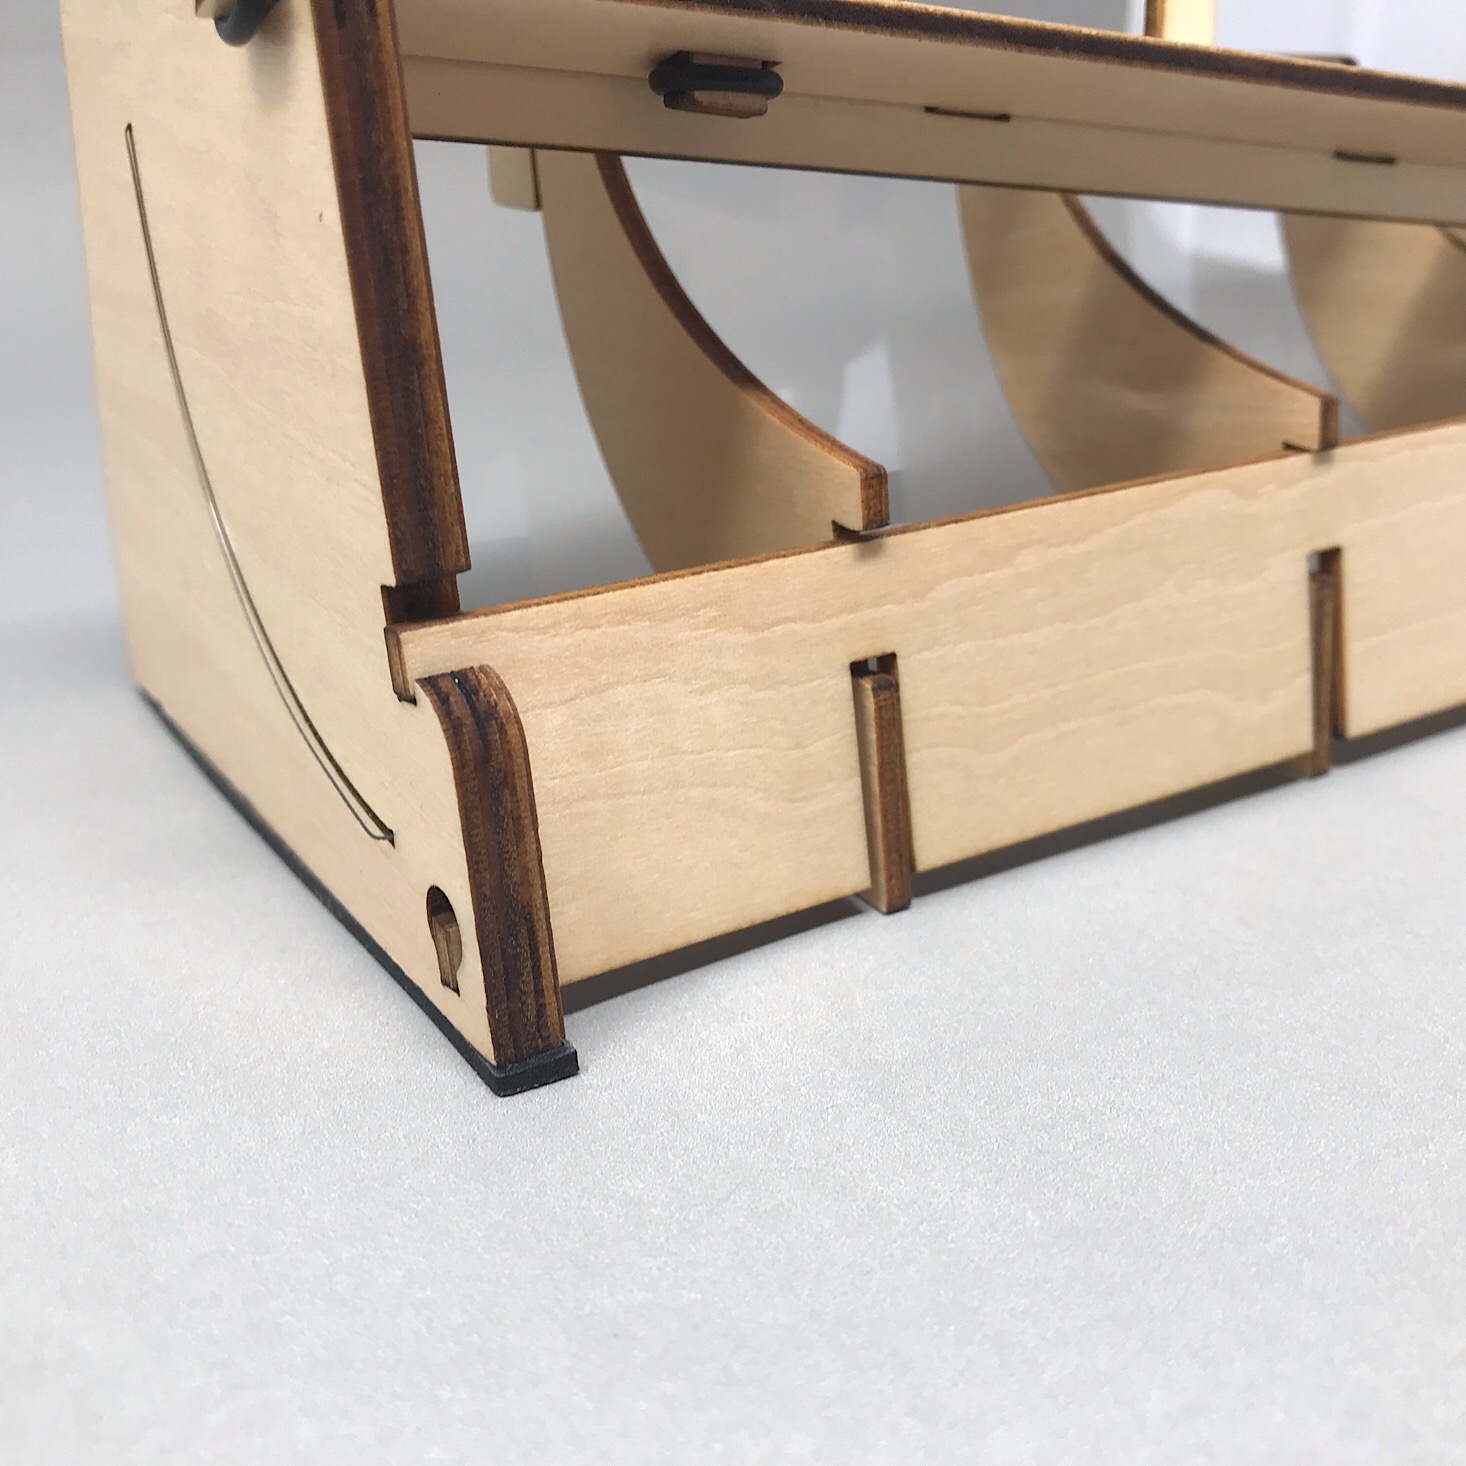
Next, I added grippers to the bottom of the two outside pieces and then matched up the pegs and notches and secured them with more O-rings. Now our base was complete and our sorter could stand up on its own.
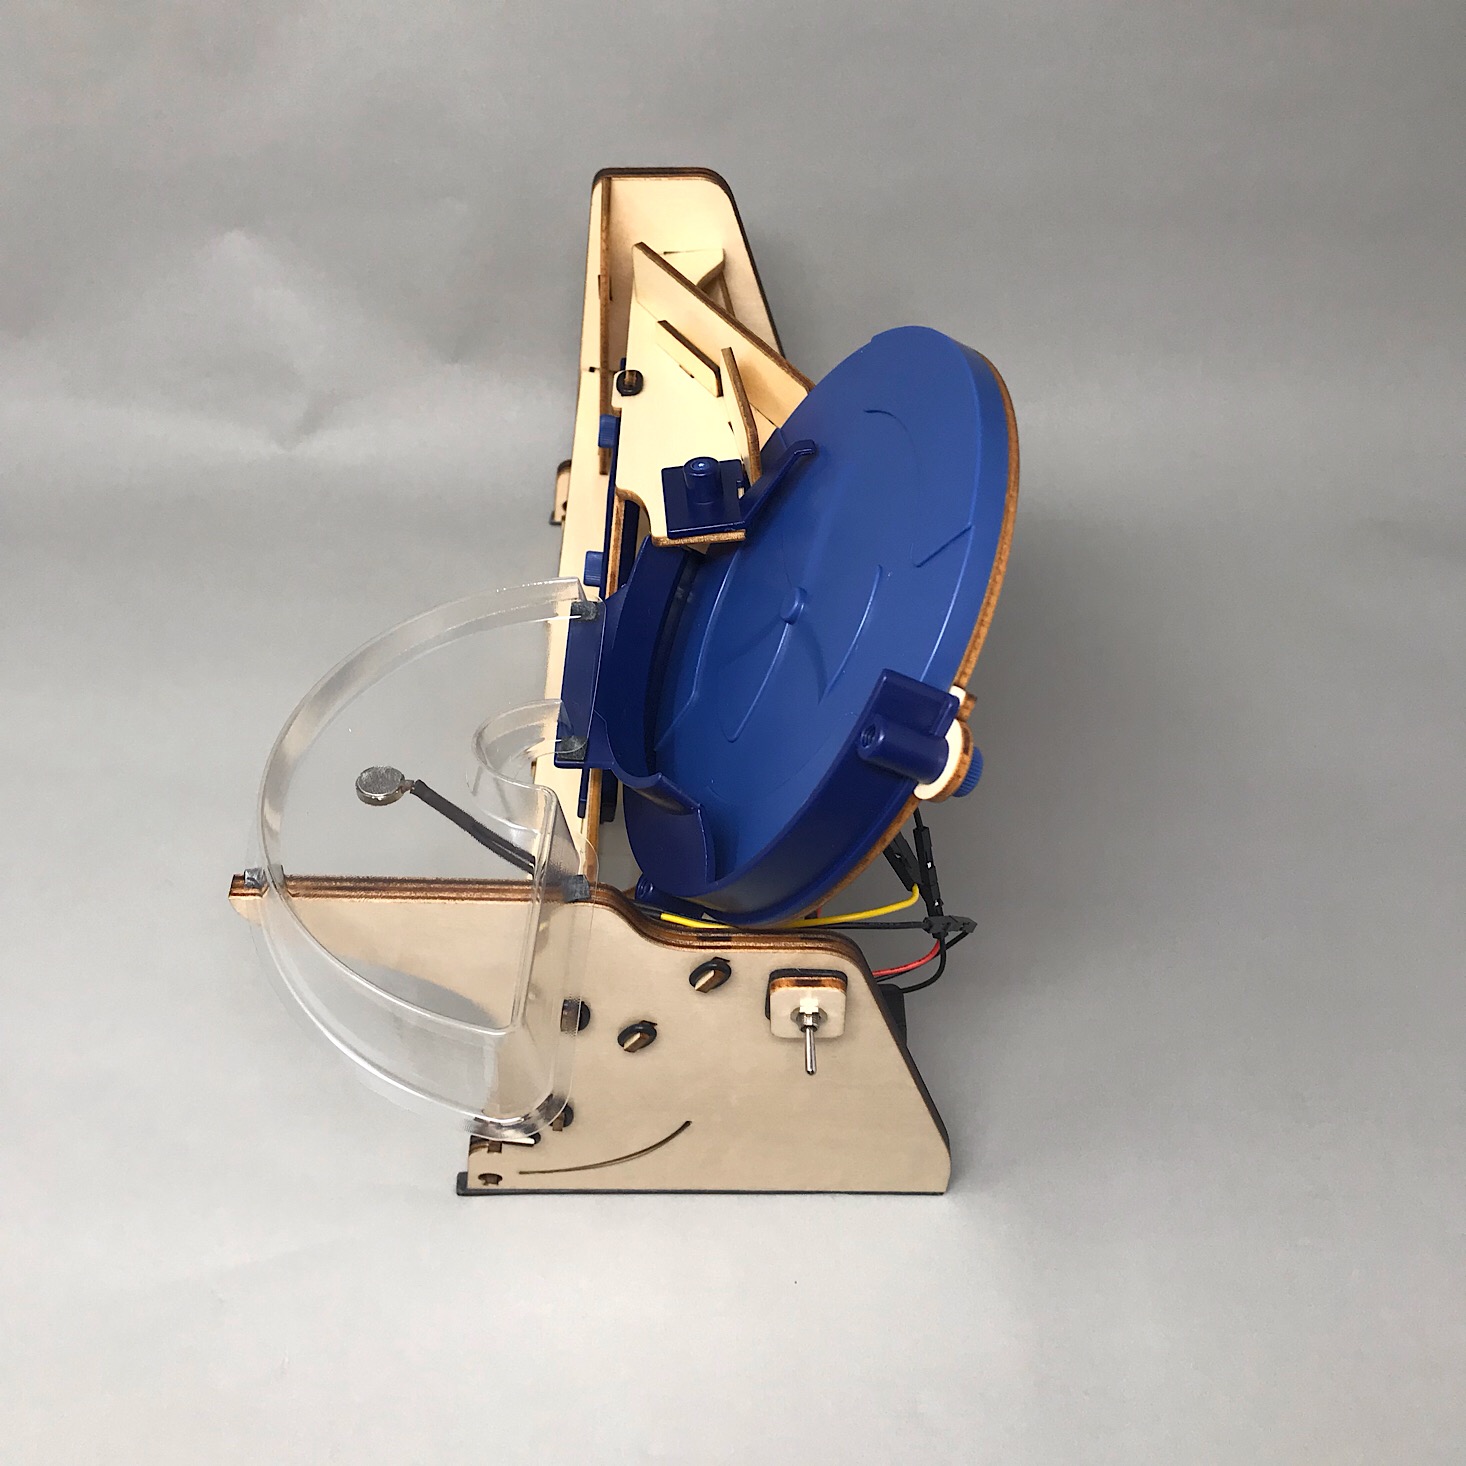
Part B: Add the Ejector Ramp


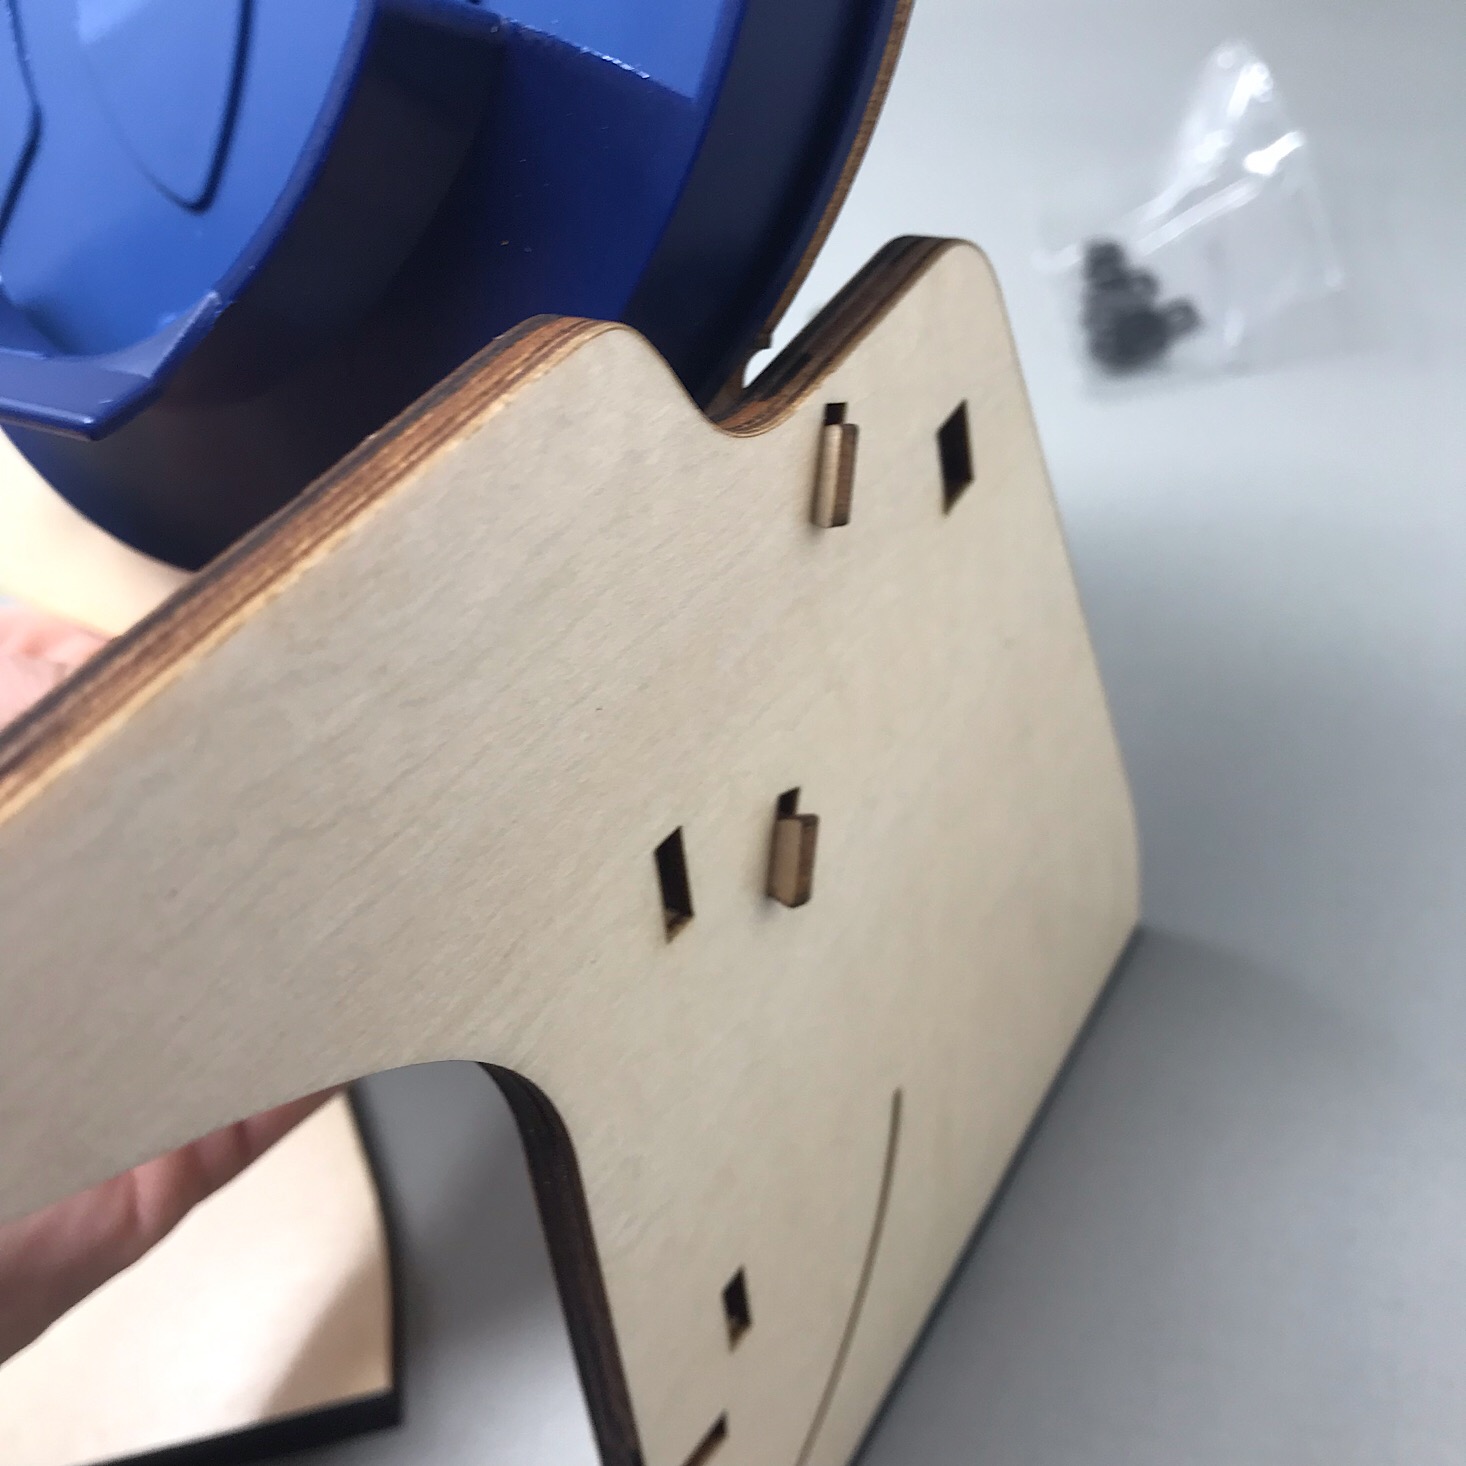
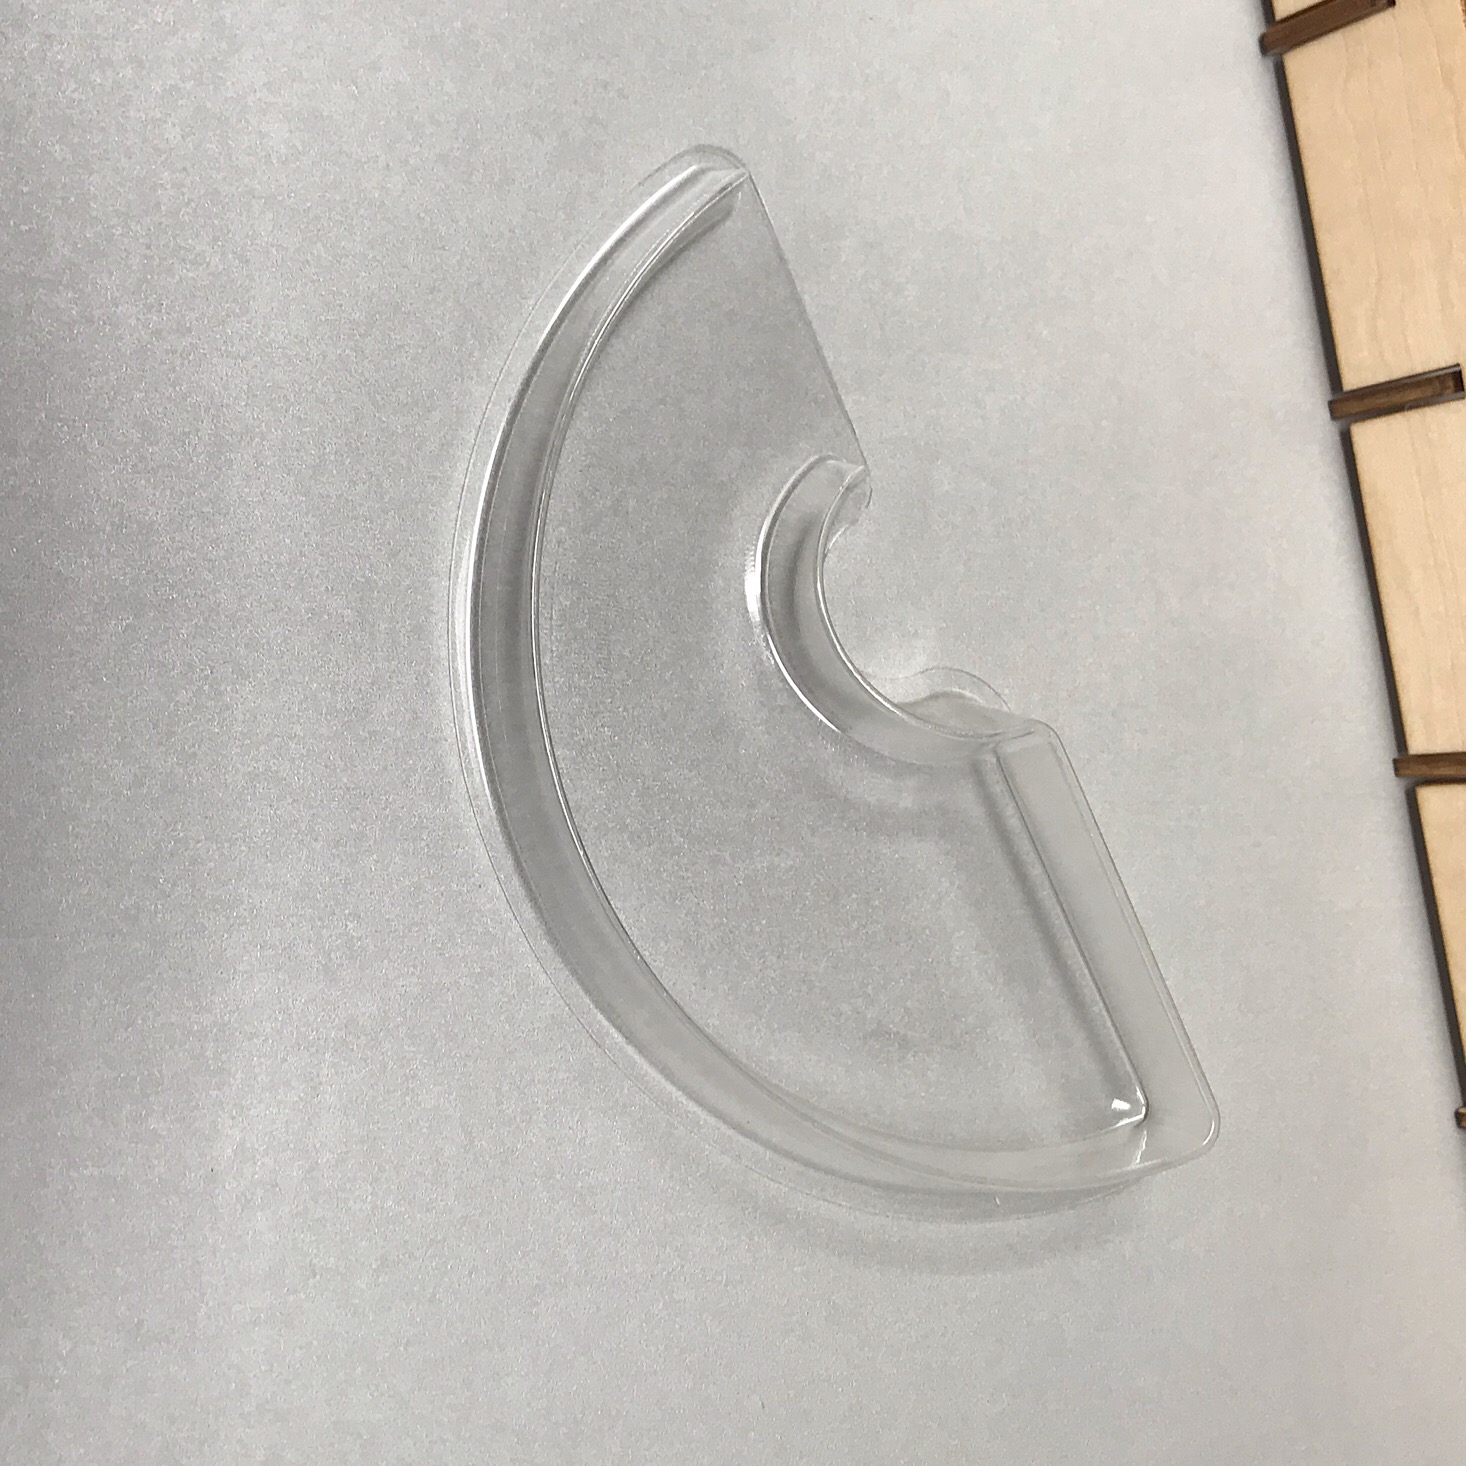
1 of 6
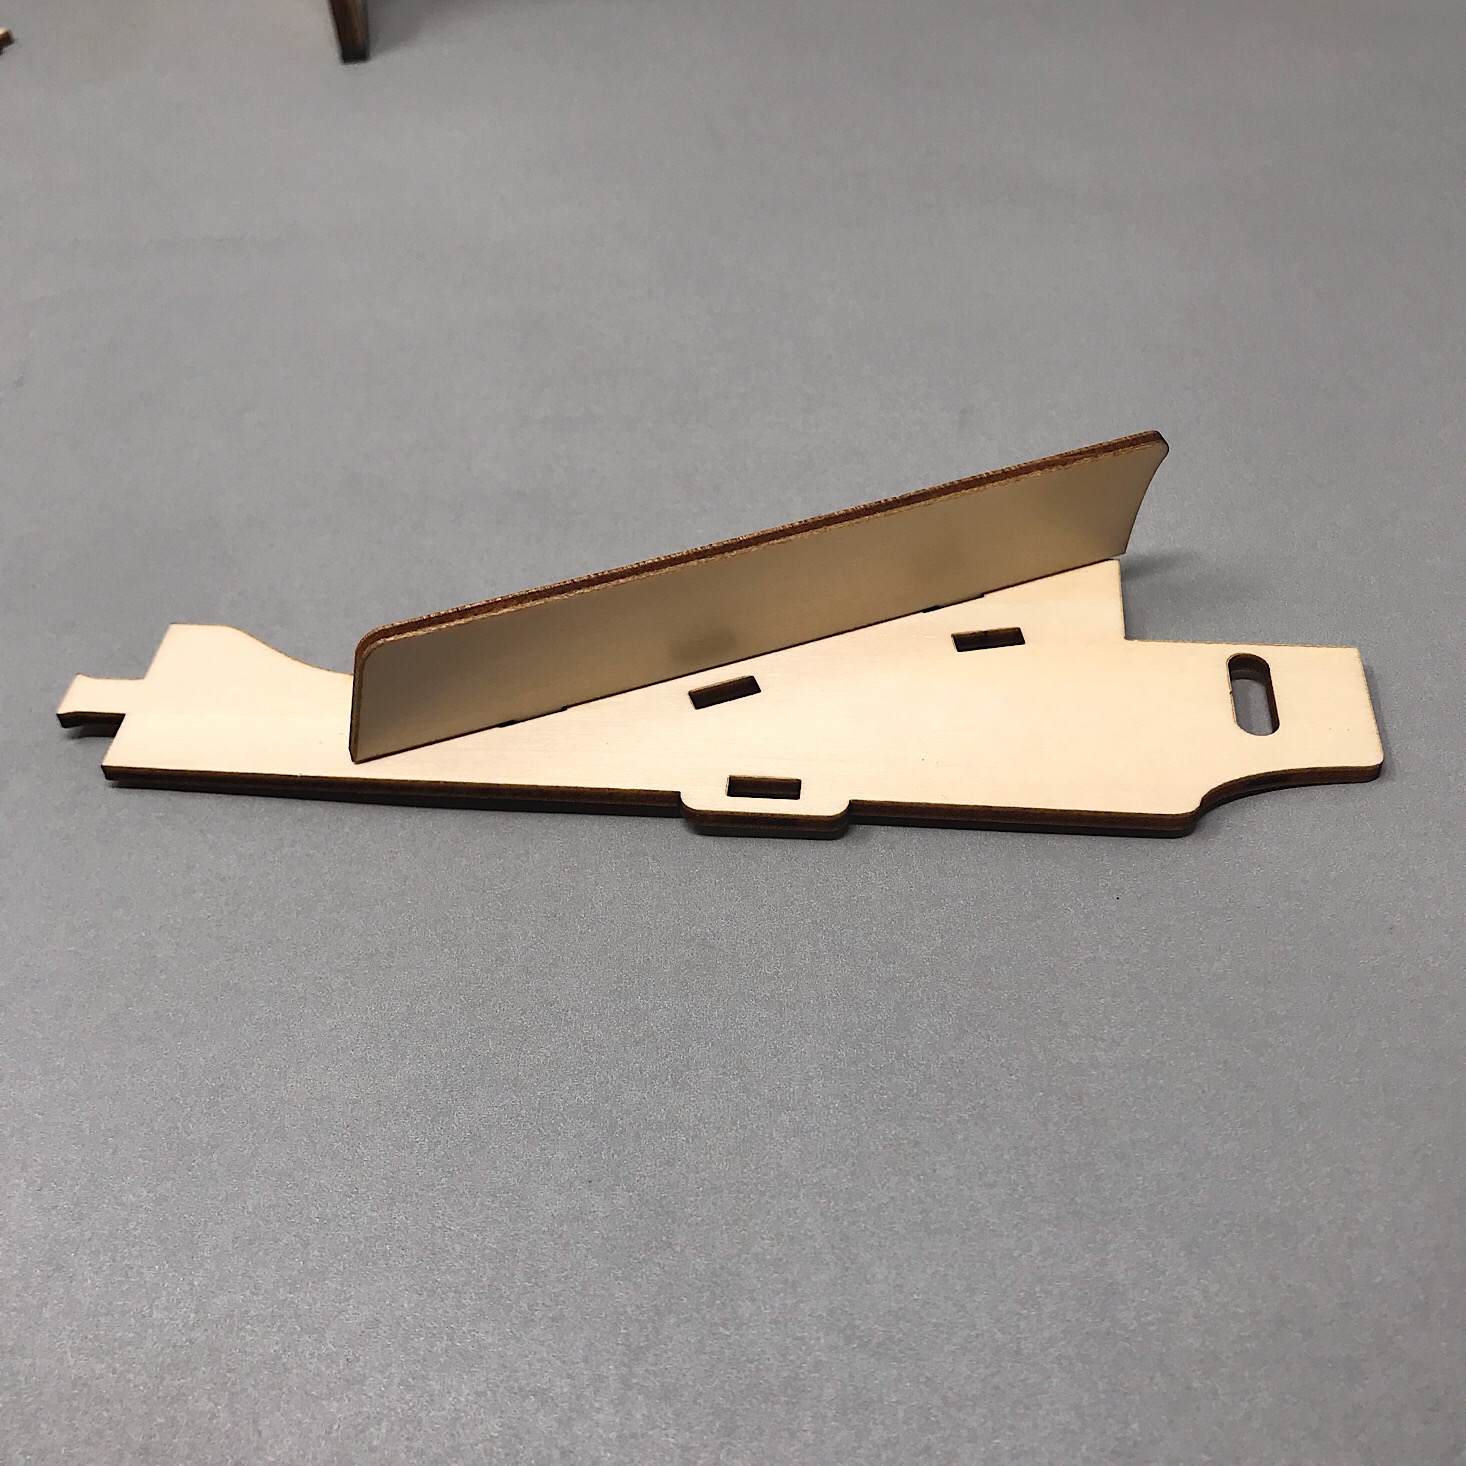


Next, I put these pieces together to form an ejector ramp. The wooden pieces fit together and then I secured them further with O-rings while the blue arm piece screwed on through the long oval hole so that it could move as needed.

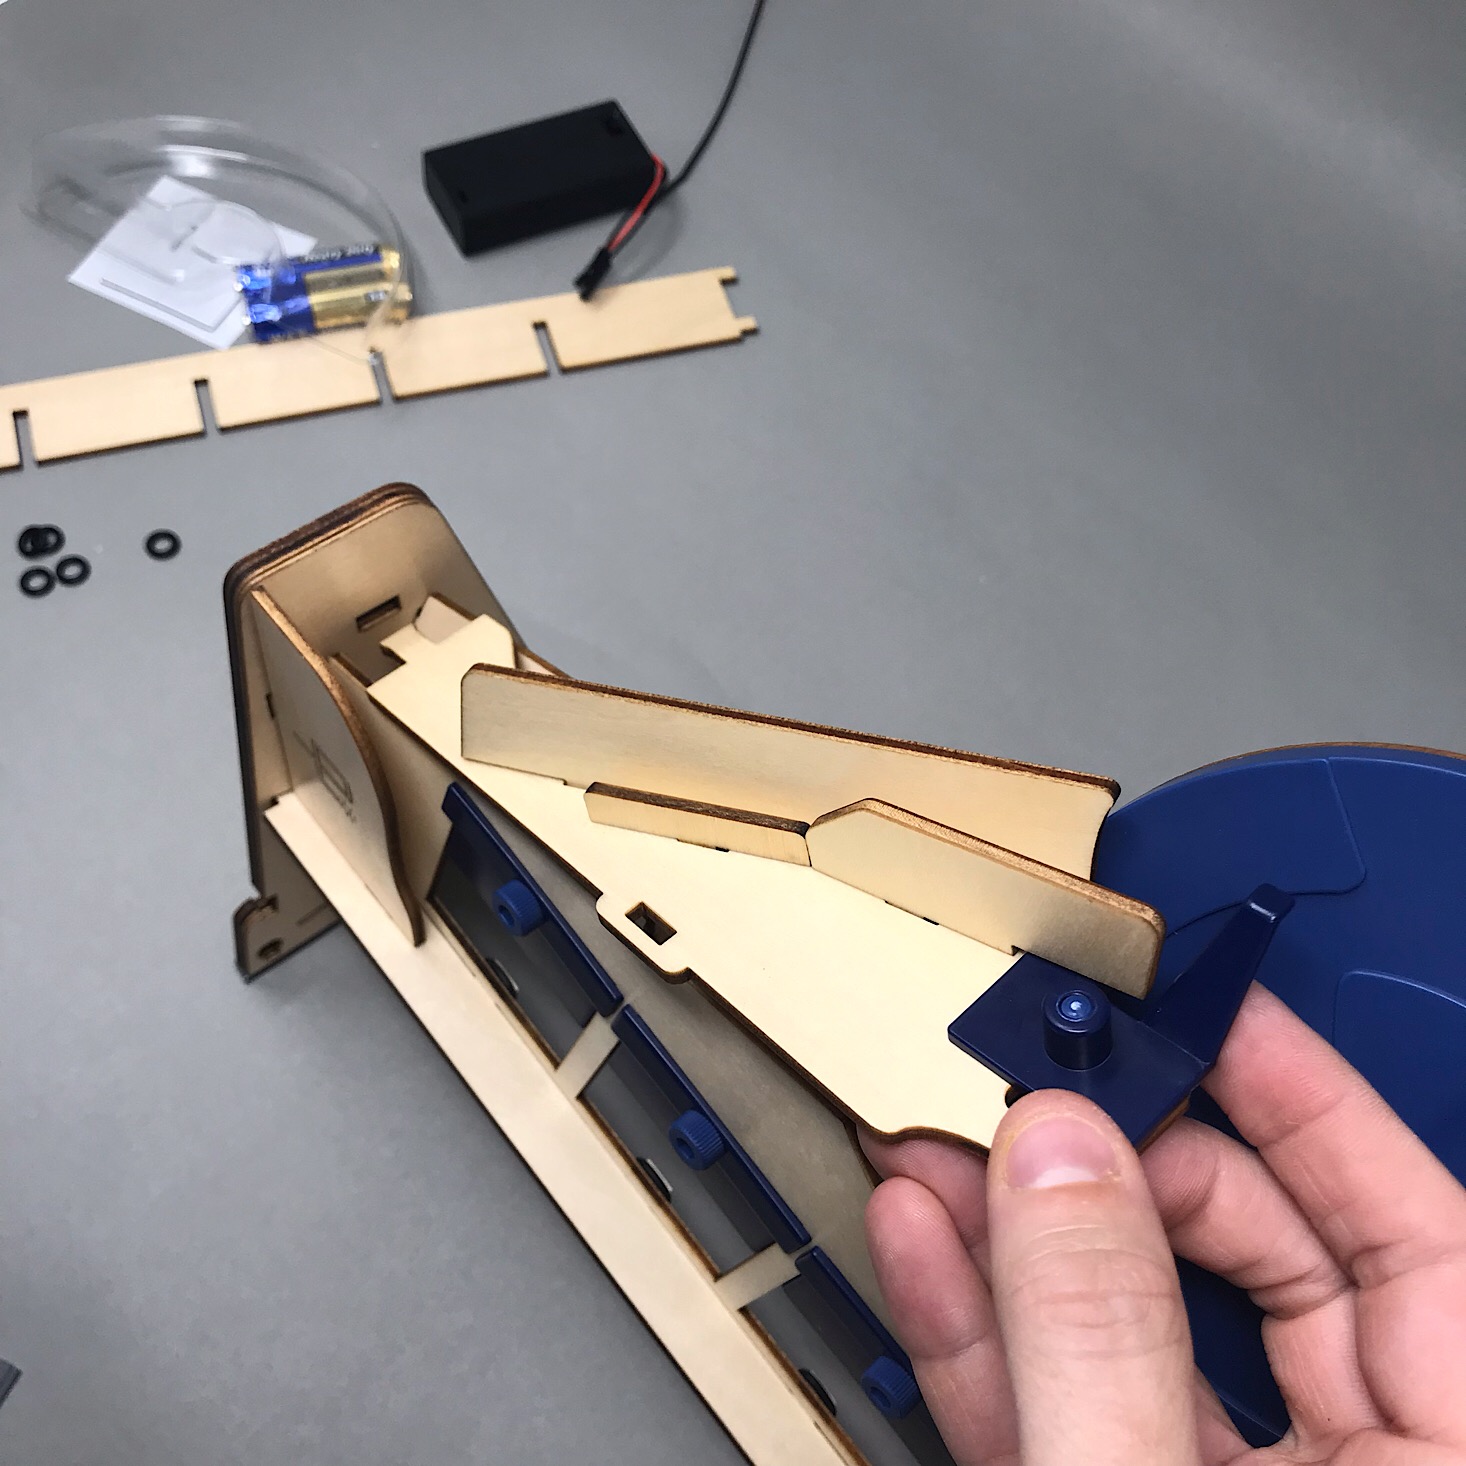
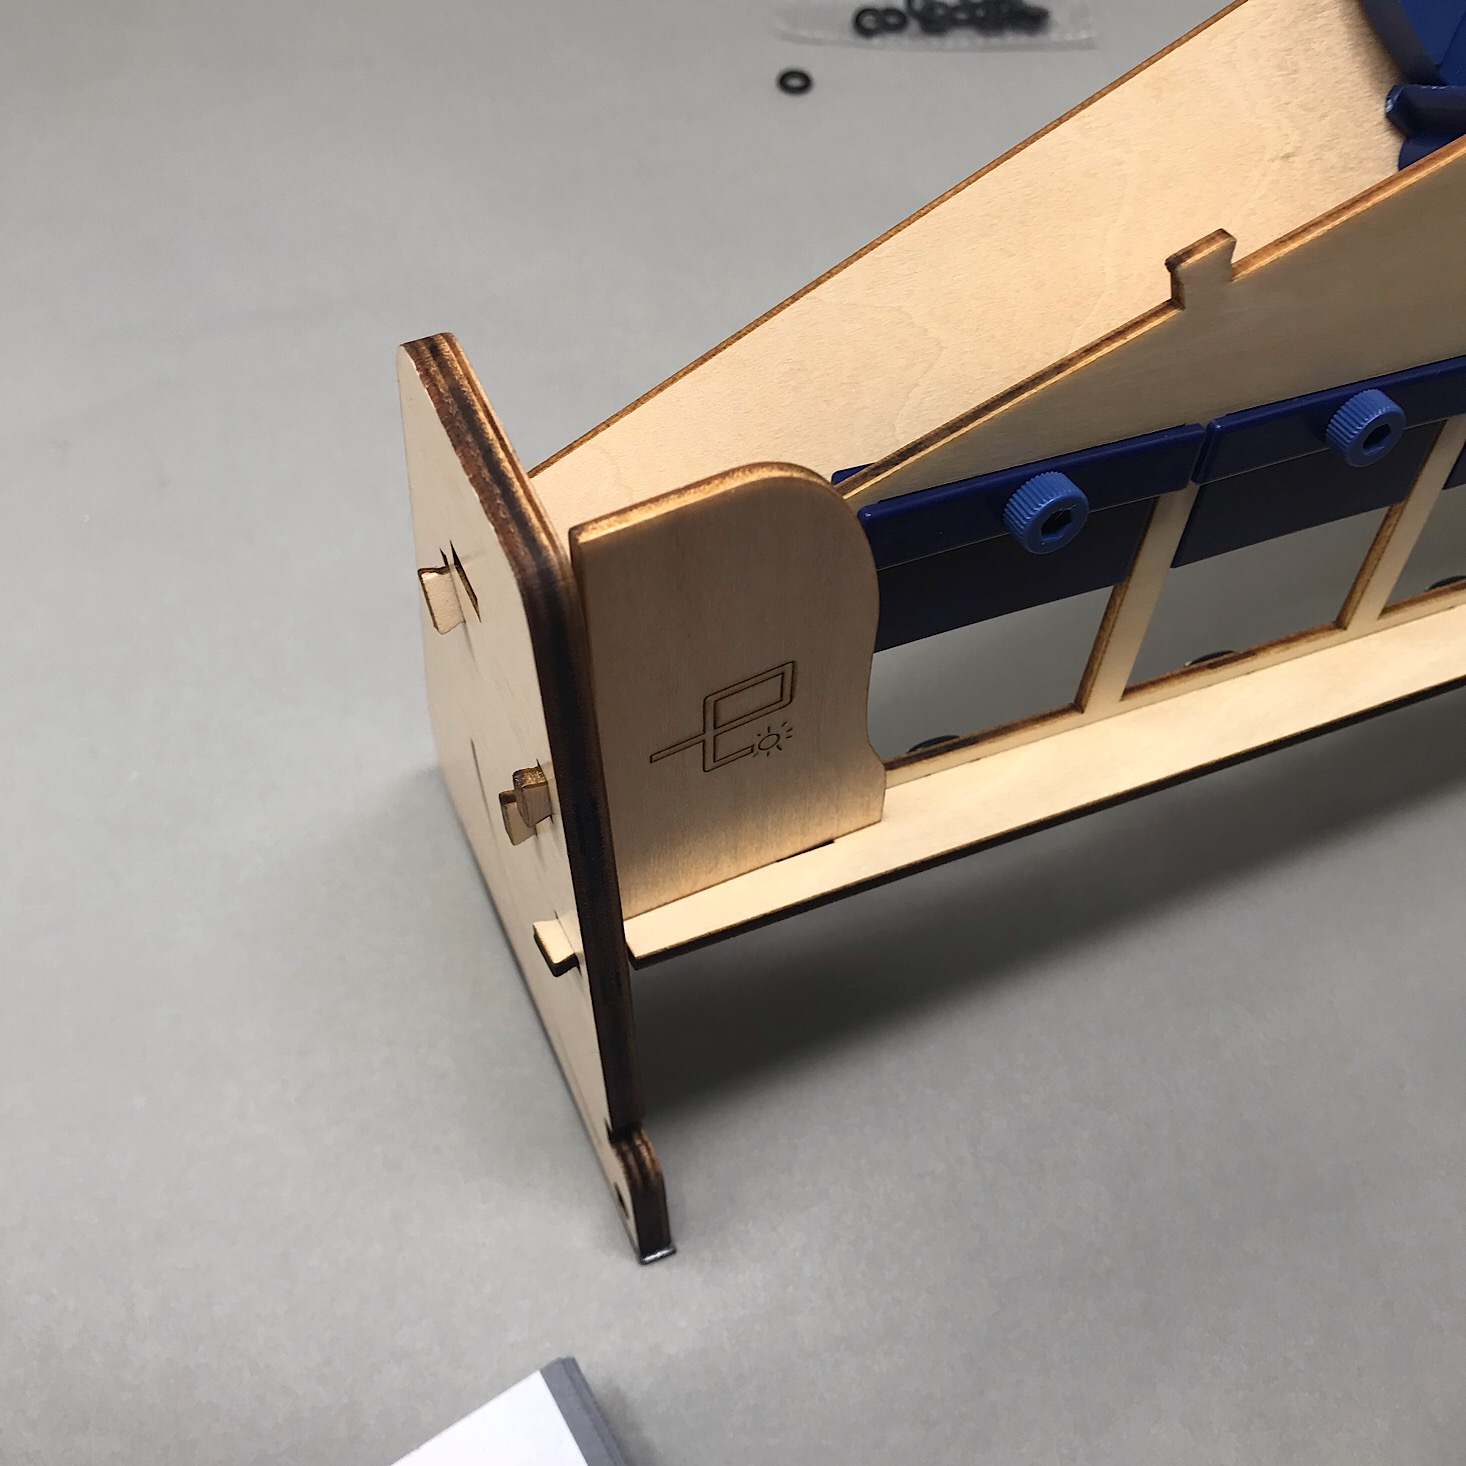
1 of 2
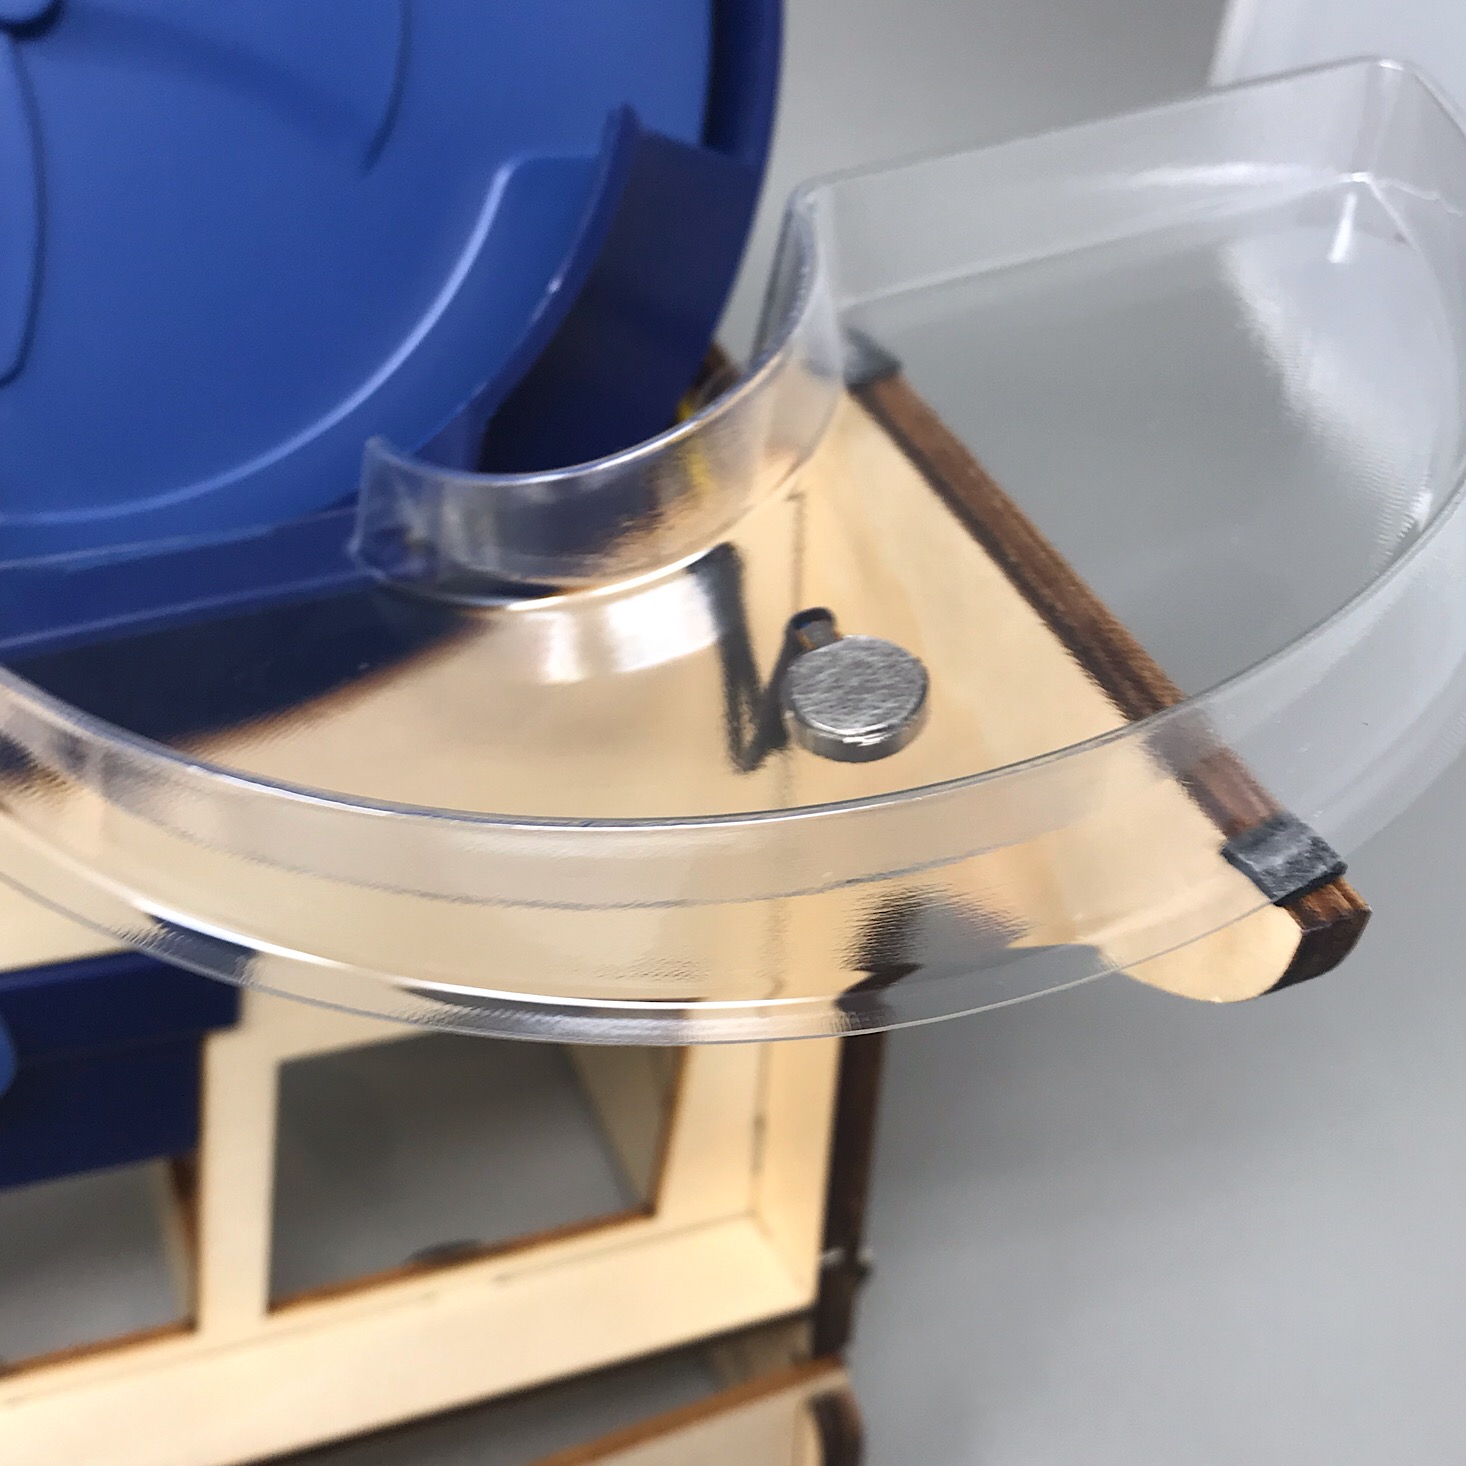
Then I secured the entire ramp to the sorter making sure that the wooden end and the blue arm were both touching our wheel.
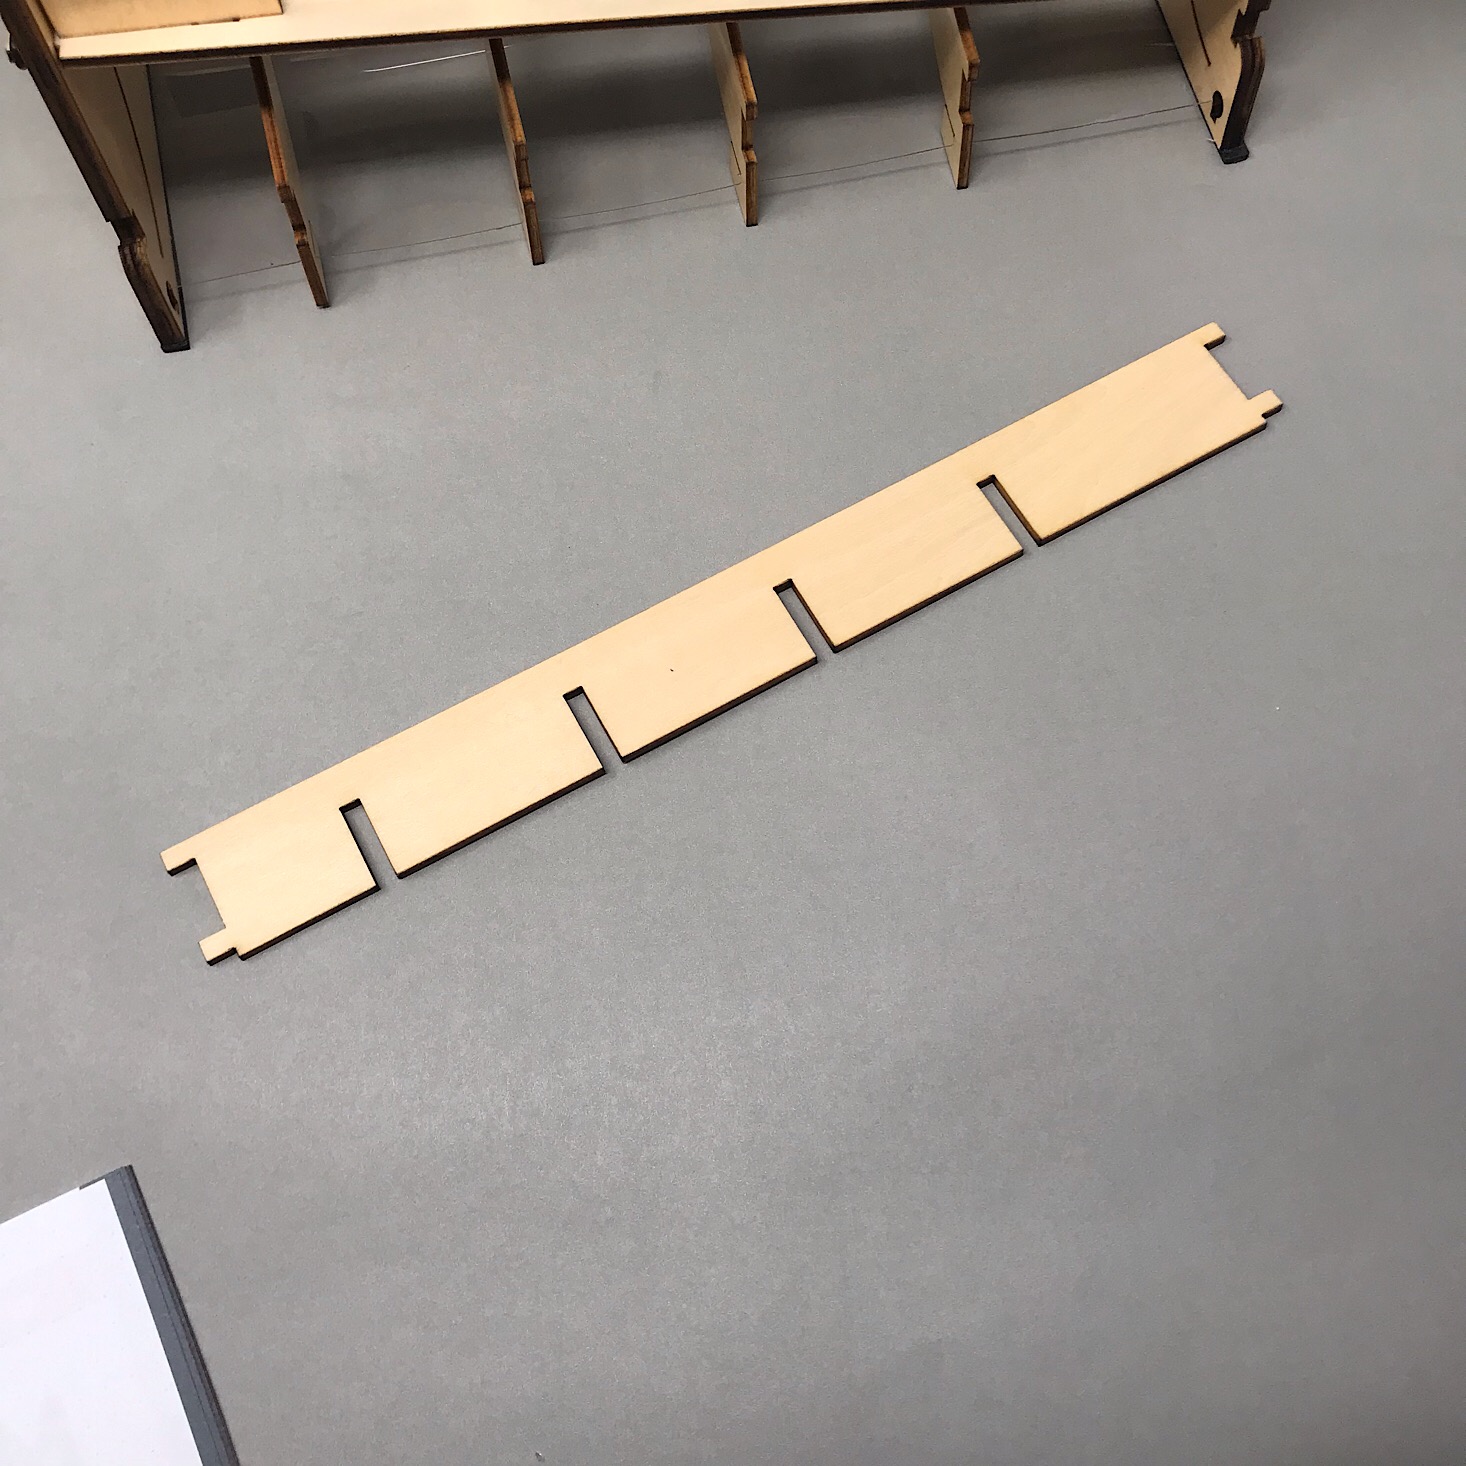
Part C: Add the Coin Catch


1 of 5

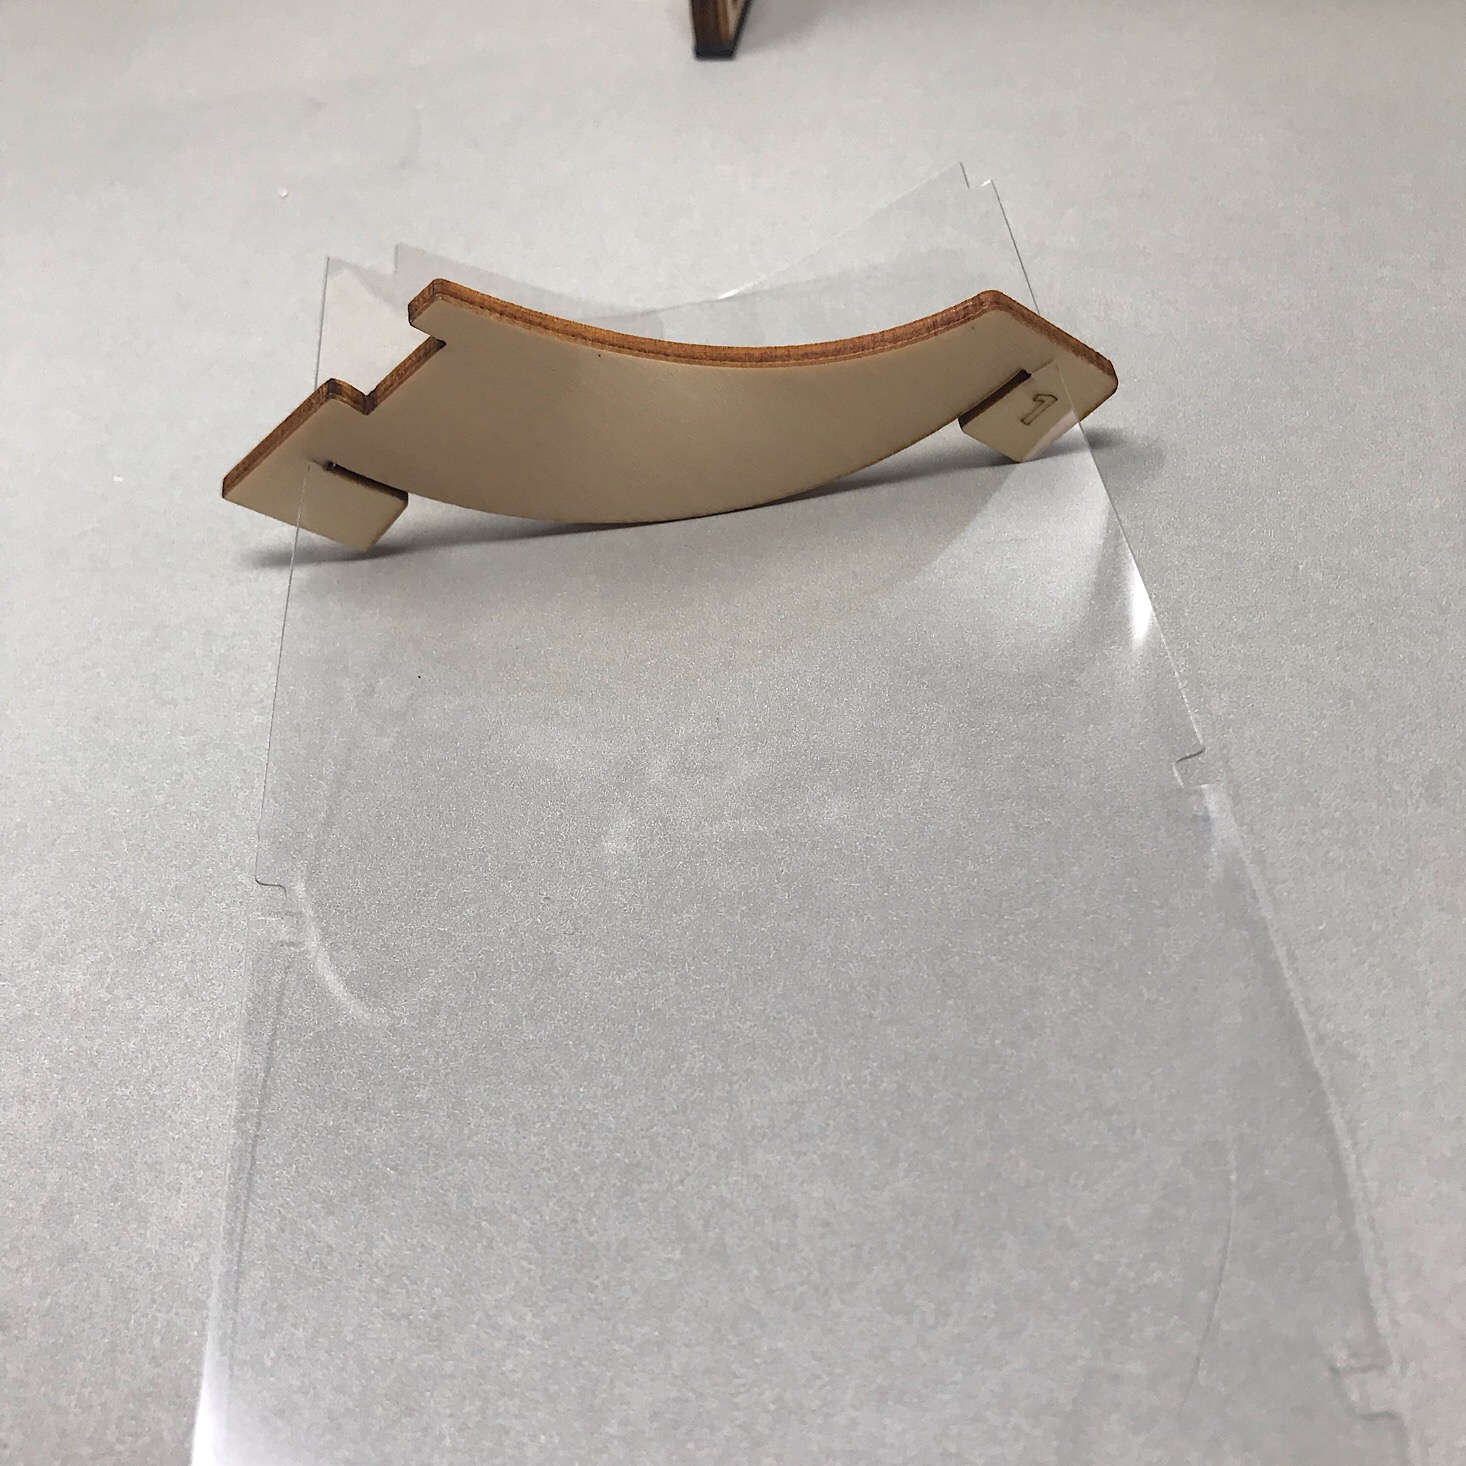
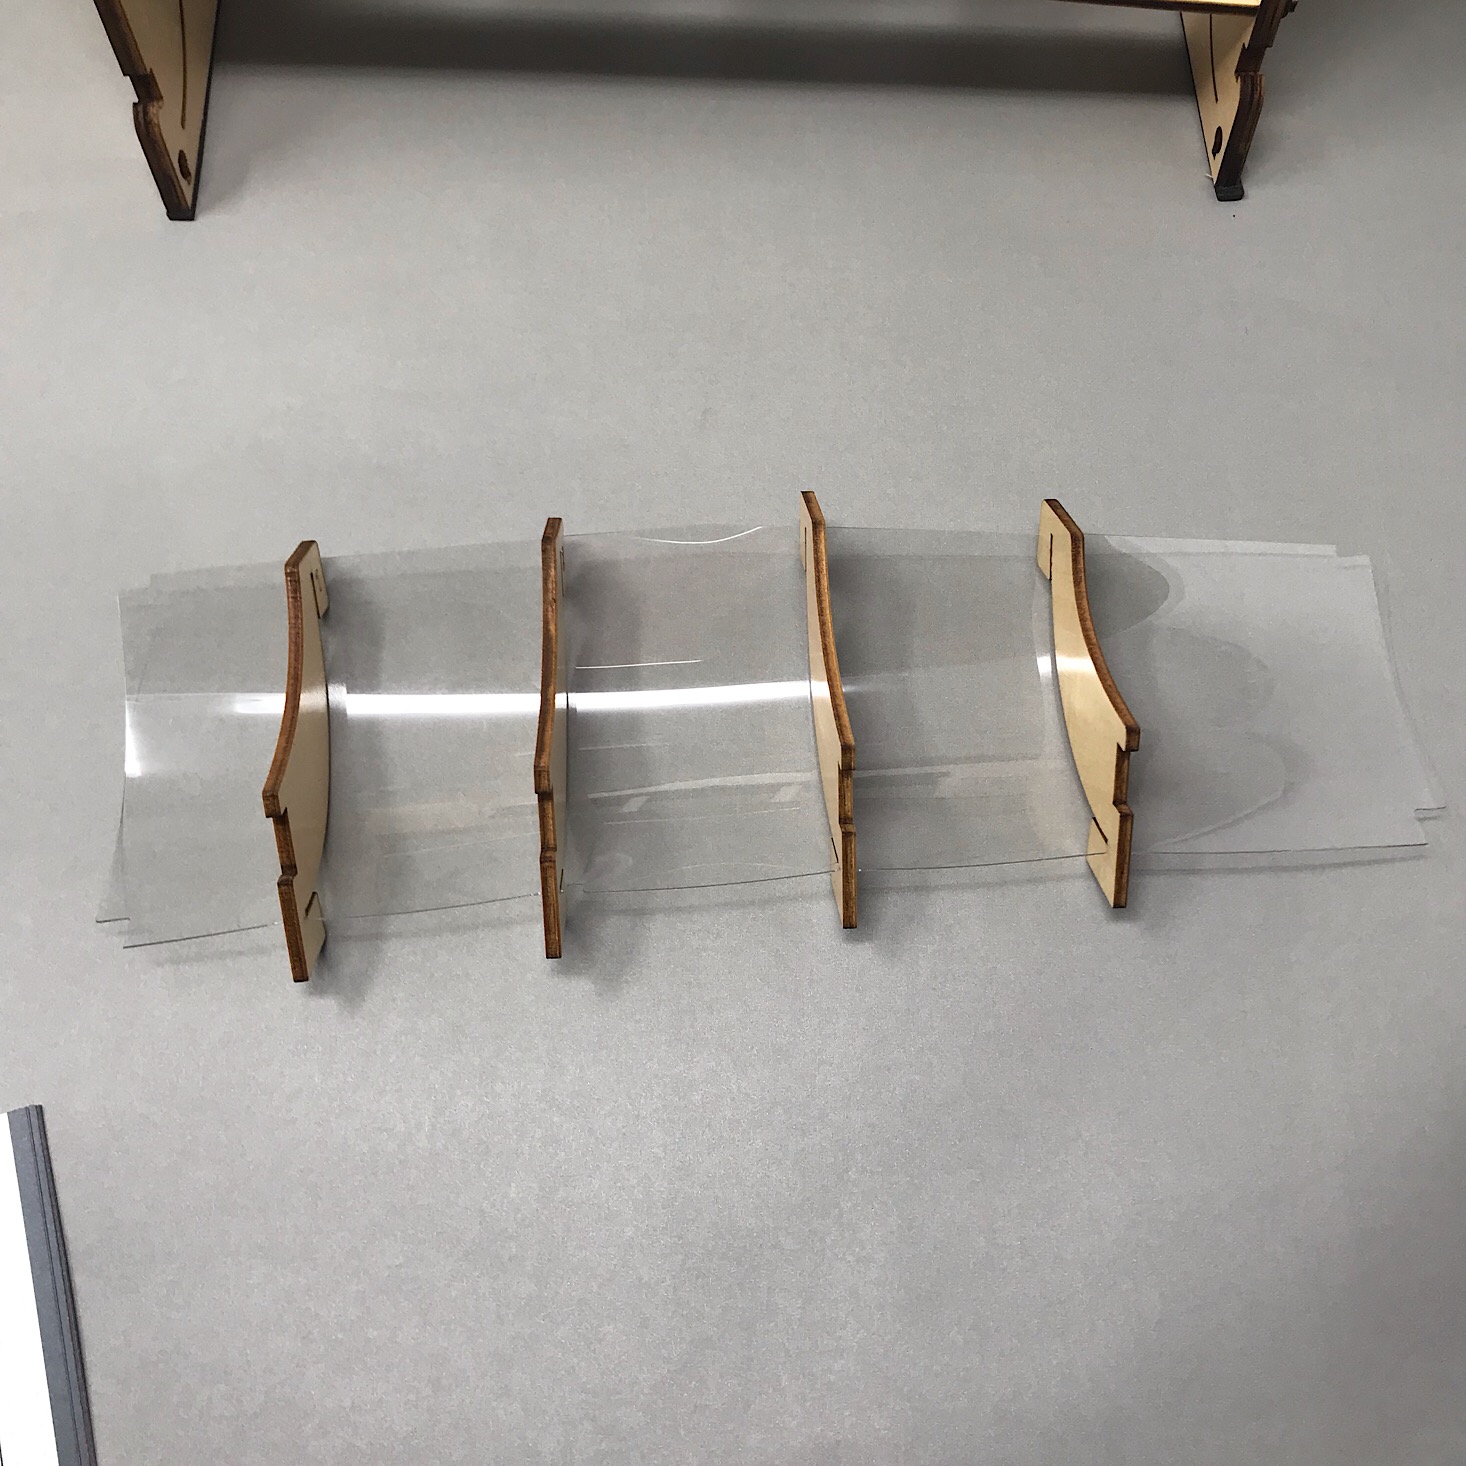
Our next step was to prepare the coin catch. I simply added these wooden pieces to our long flexible plastic in order by sliding them into the notches at the edges.


1 of 3

Then I inserted the coin catcher into the bottom of our sorter by wedging the ends into the slots at the bottom of our base sides.
1 of 5


To hold the coins in the coin catcher I added this wooden piece which latched into the holes on our base and locked it into place.
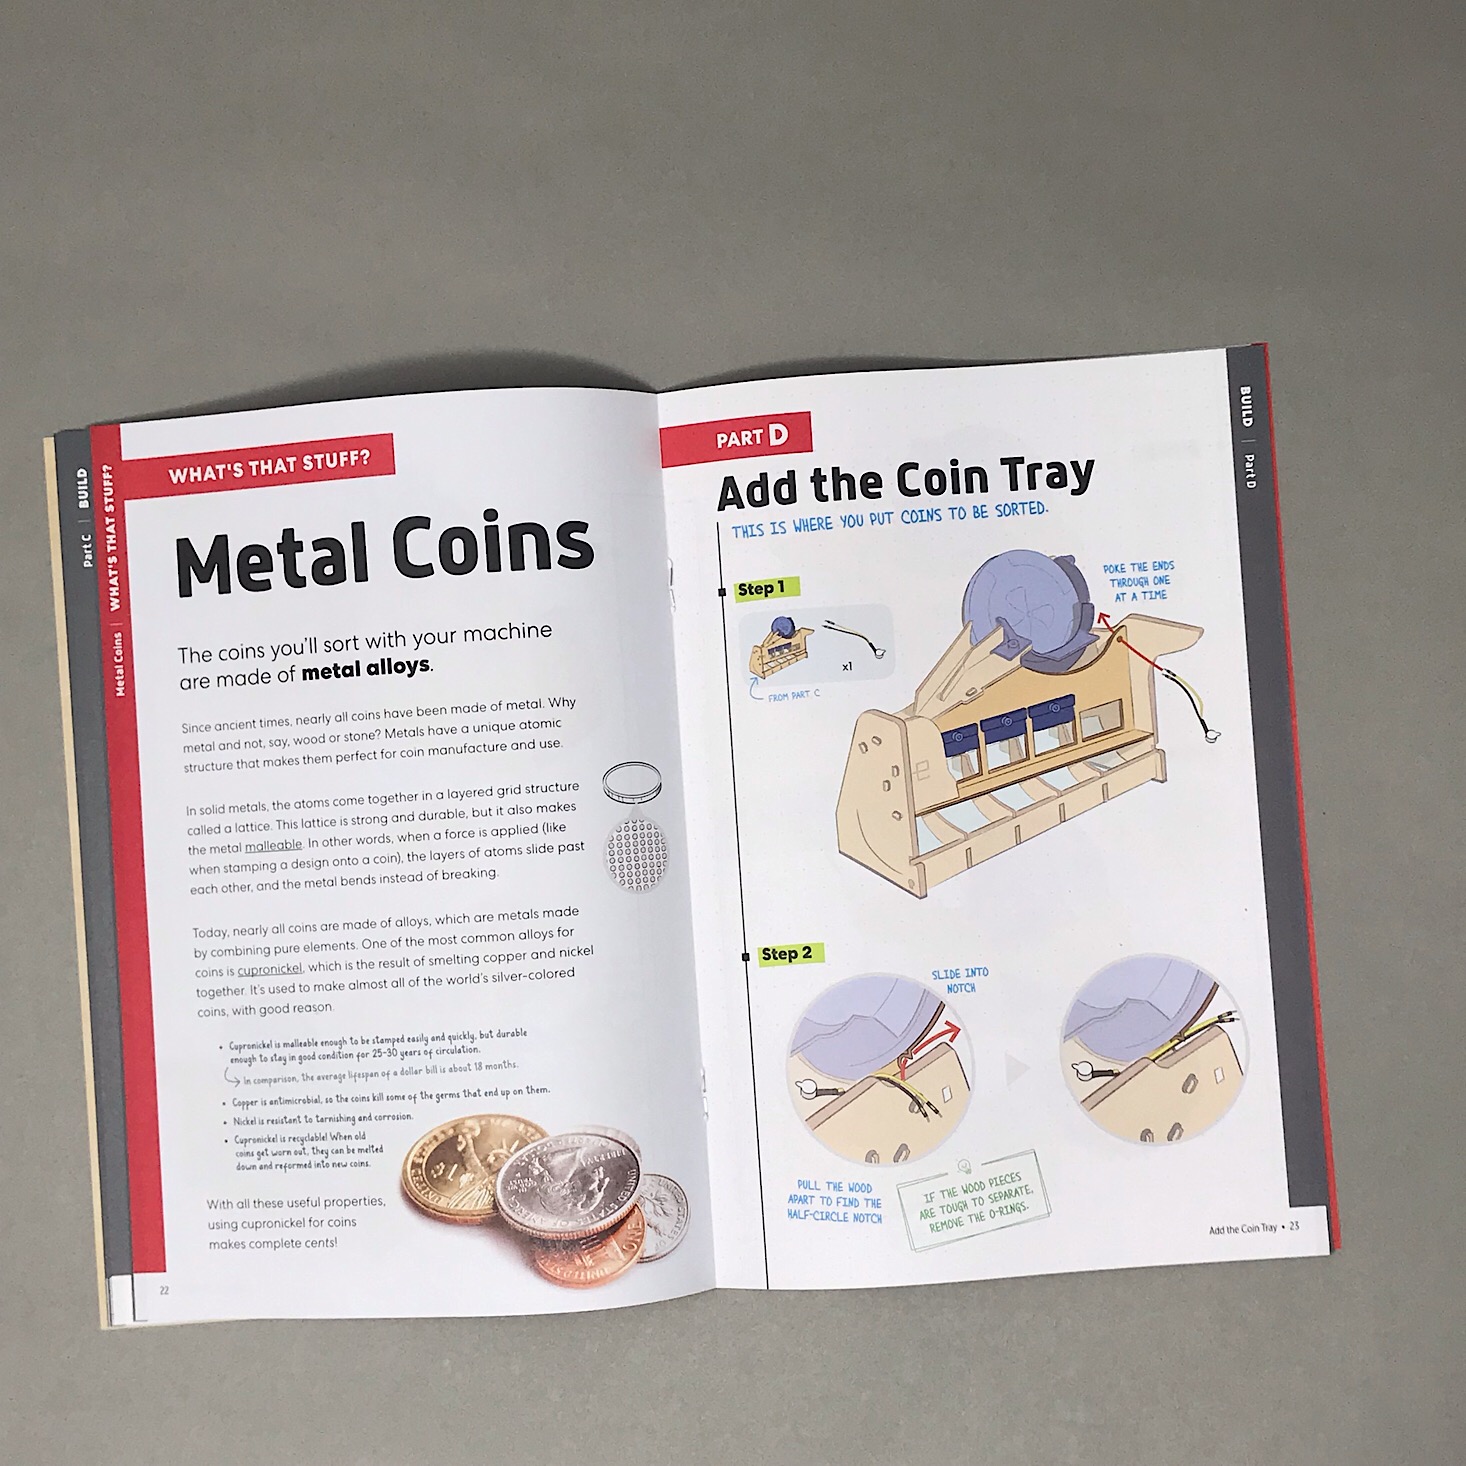
Part D: Add the Coin Tray


1 of 3
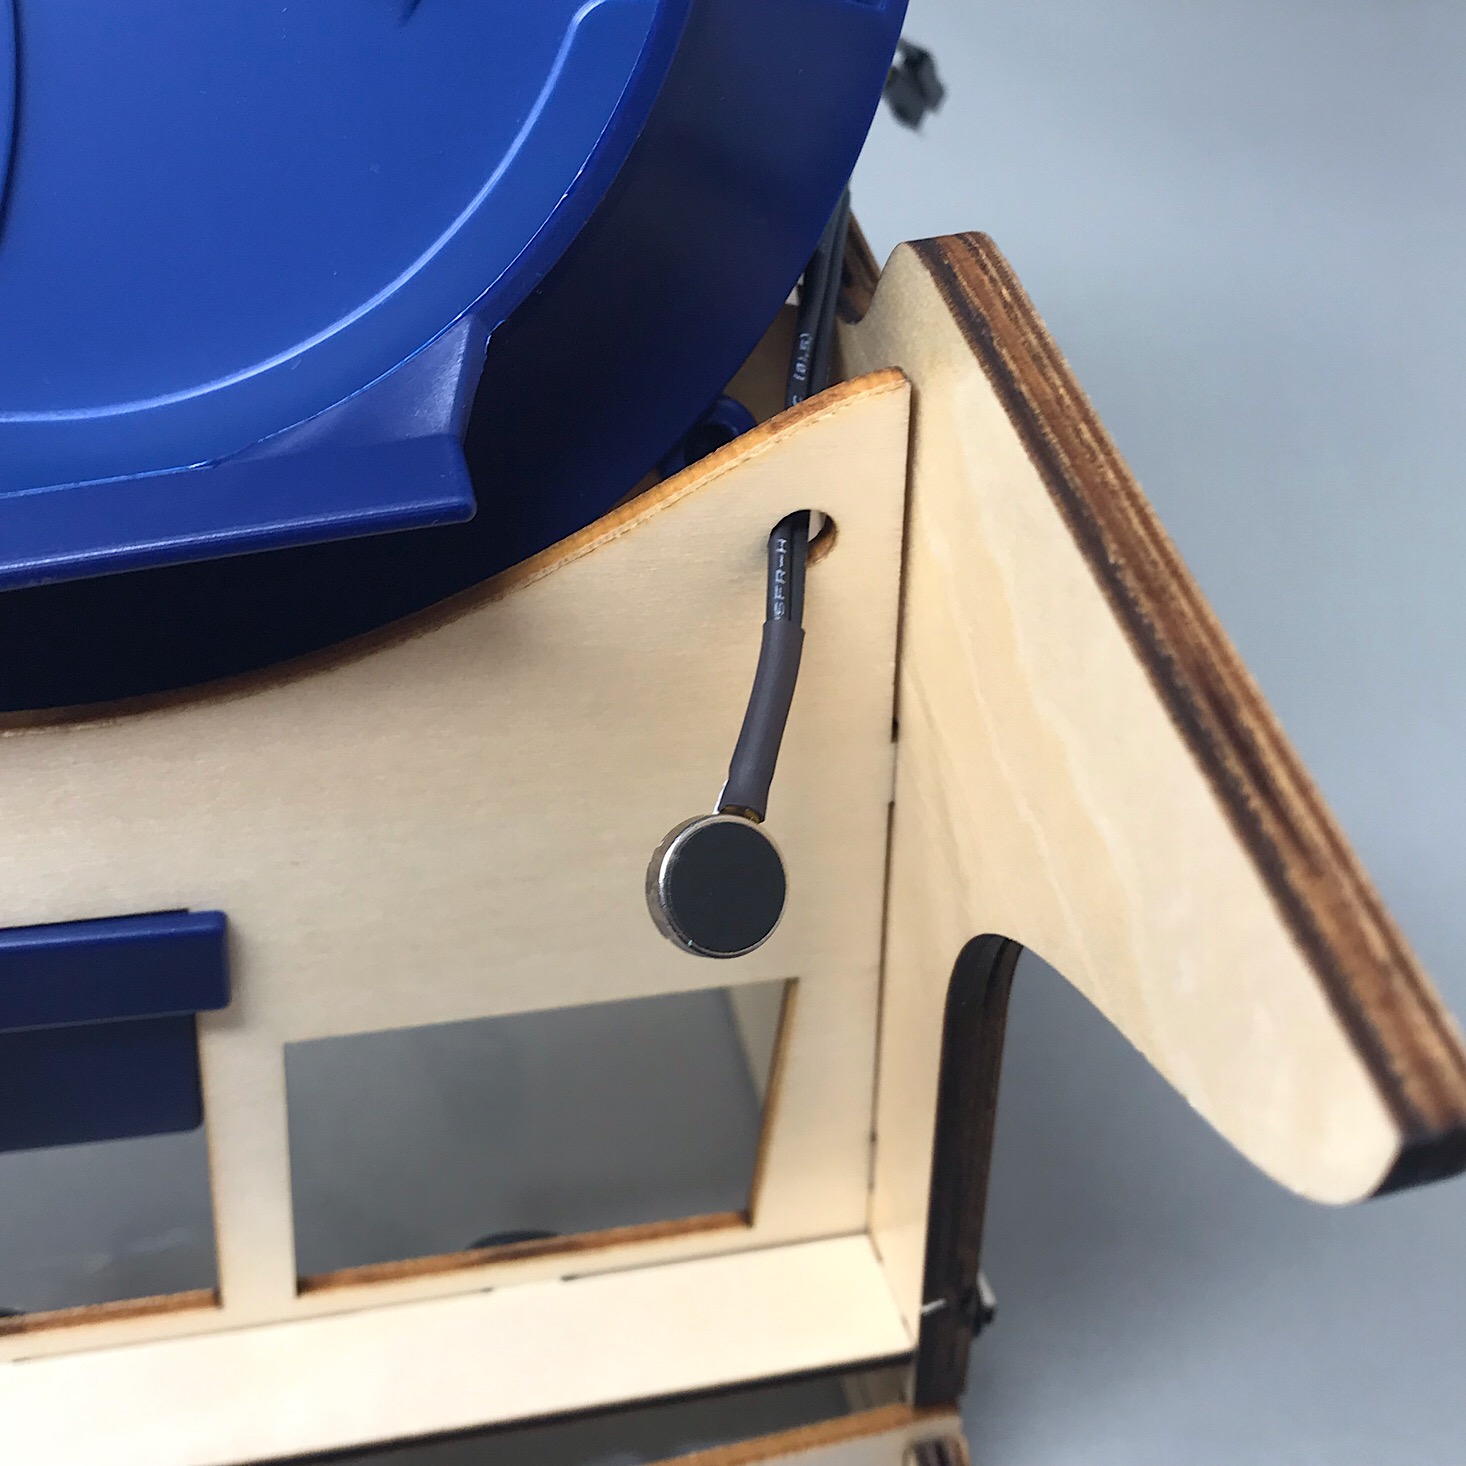
To prepare the coin tray I slid the wires from this piece into the hole under our wheel and towards the back of our machine.

1 of 5


Next, I used the adhesive pieces they provided to stick our tray to our machine. I then peeled off the backing from our vibrating wire and stuck it to the bottom of the center of our tray.
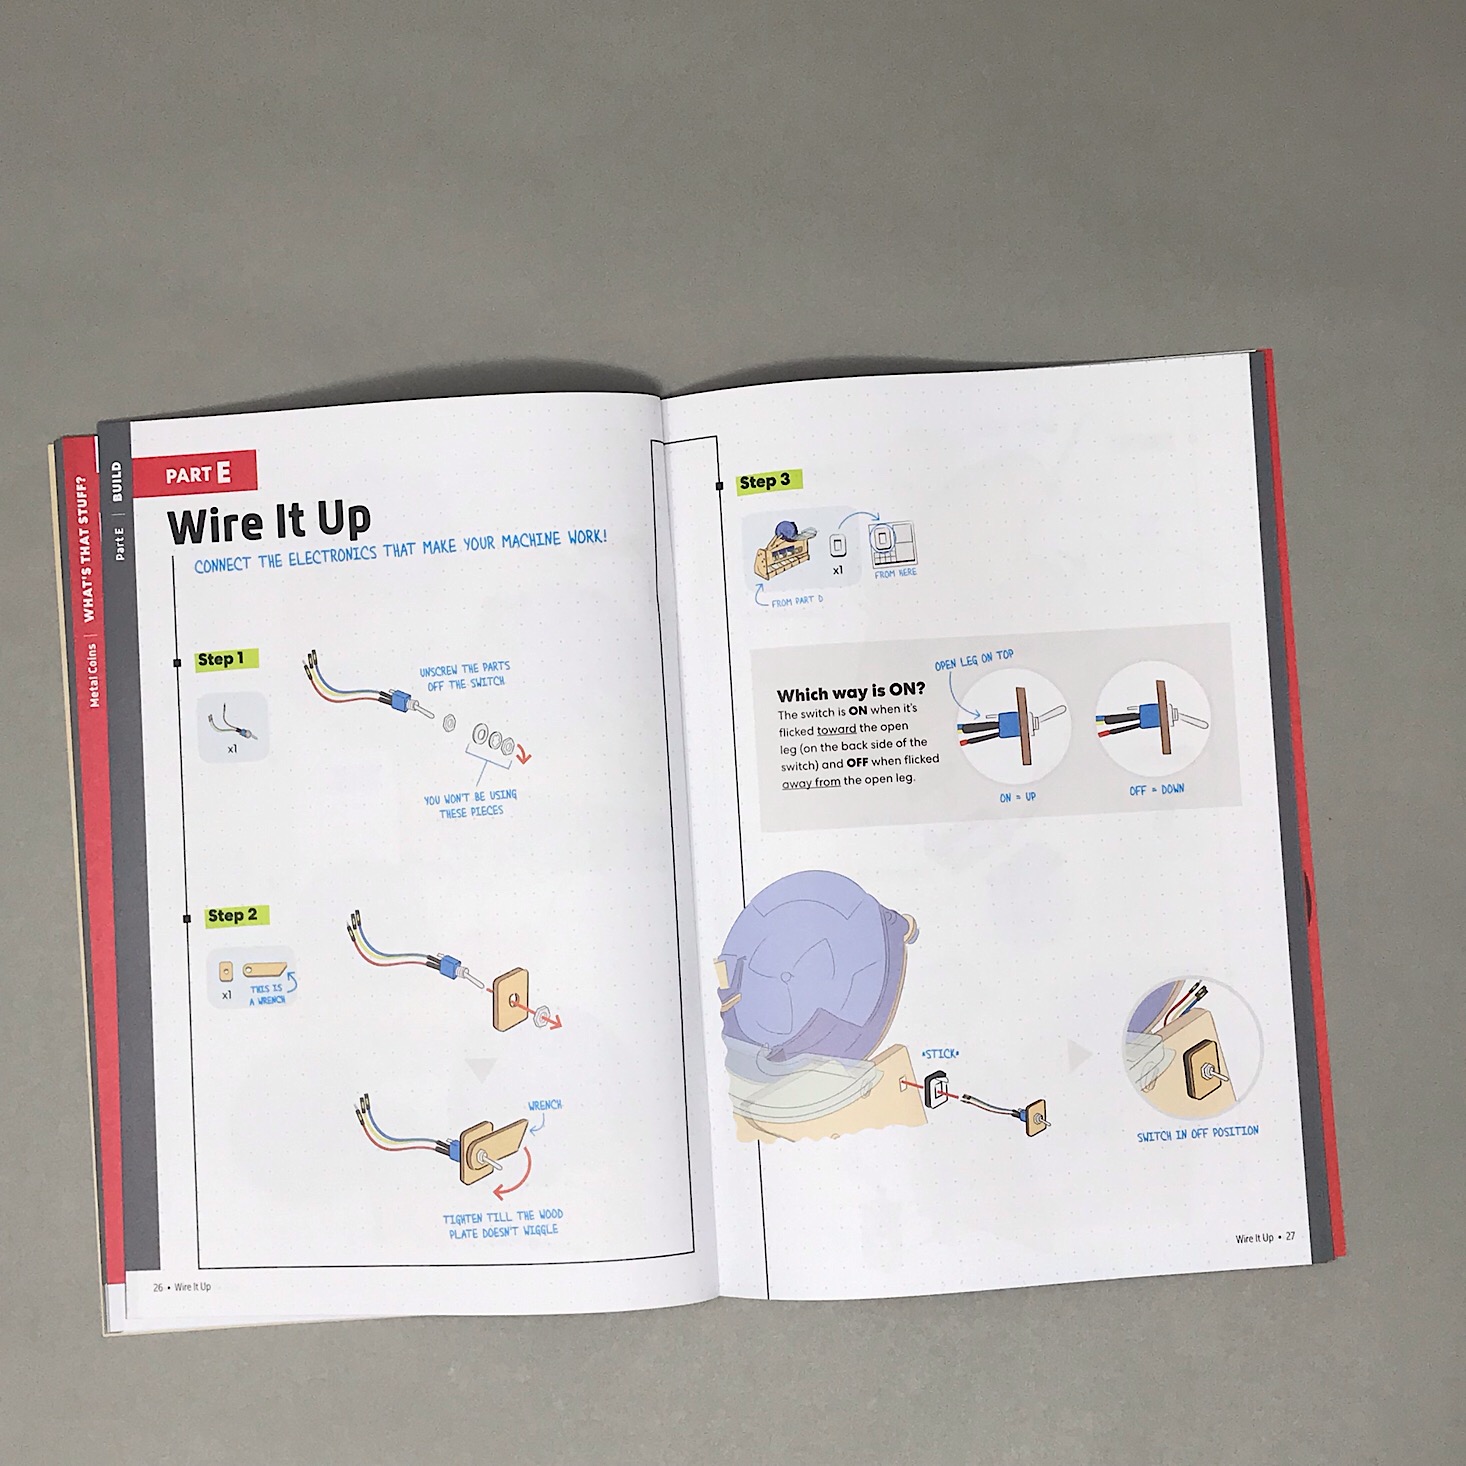
Part E: Wire It Up
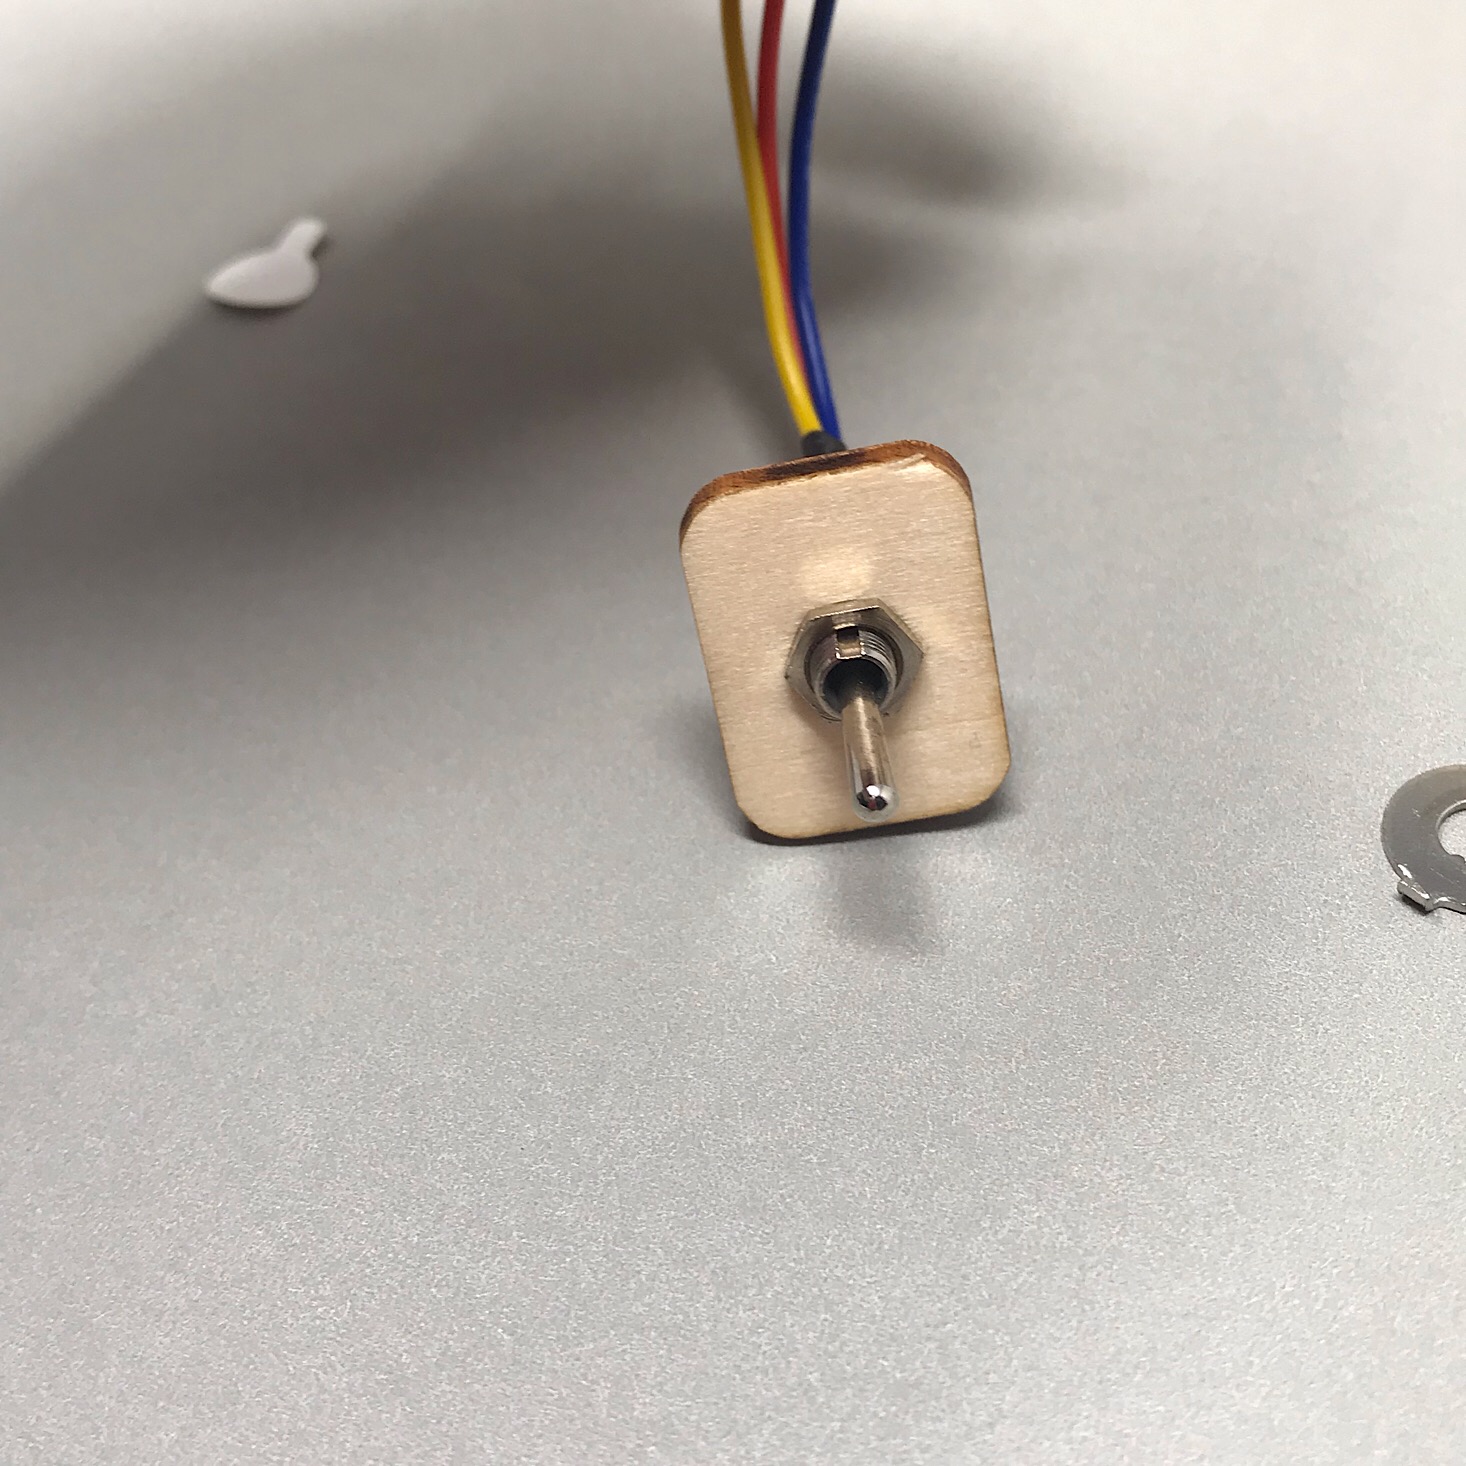
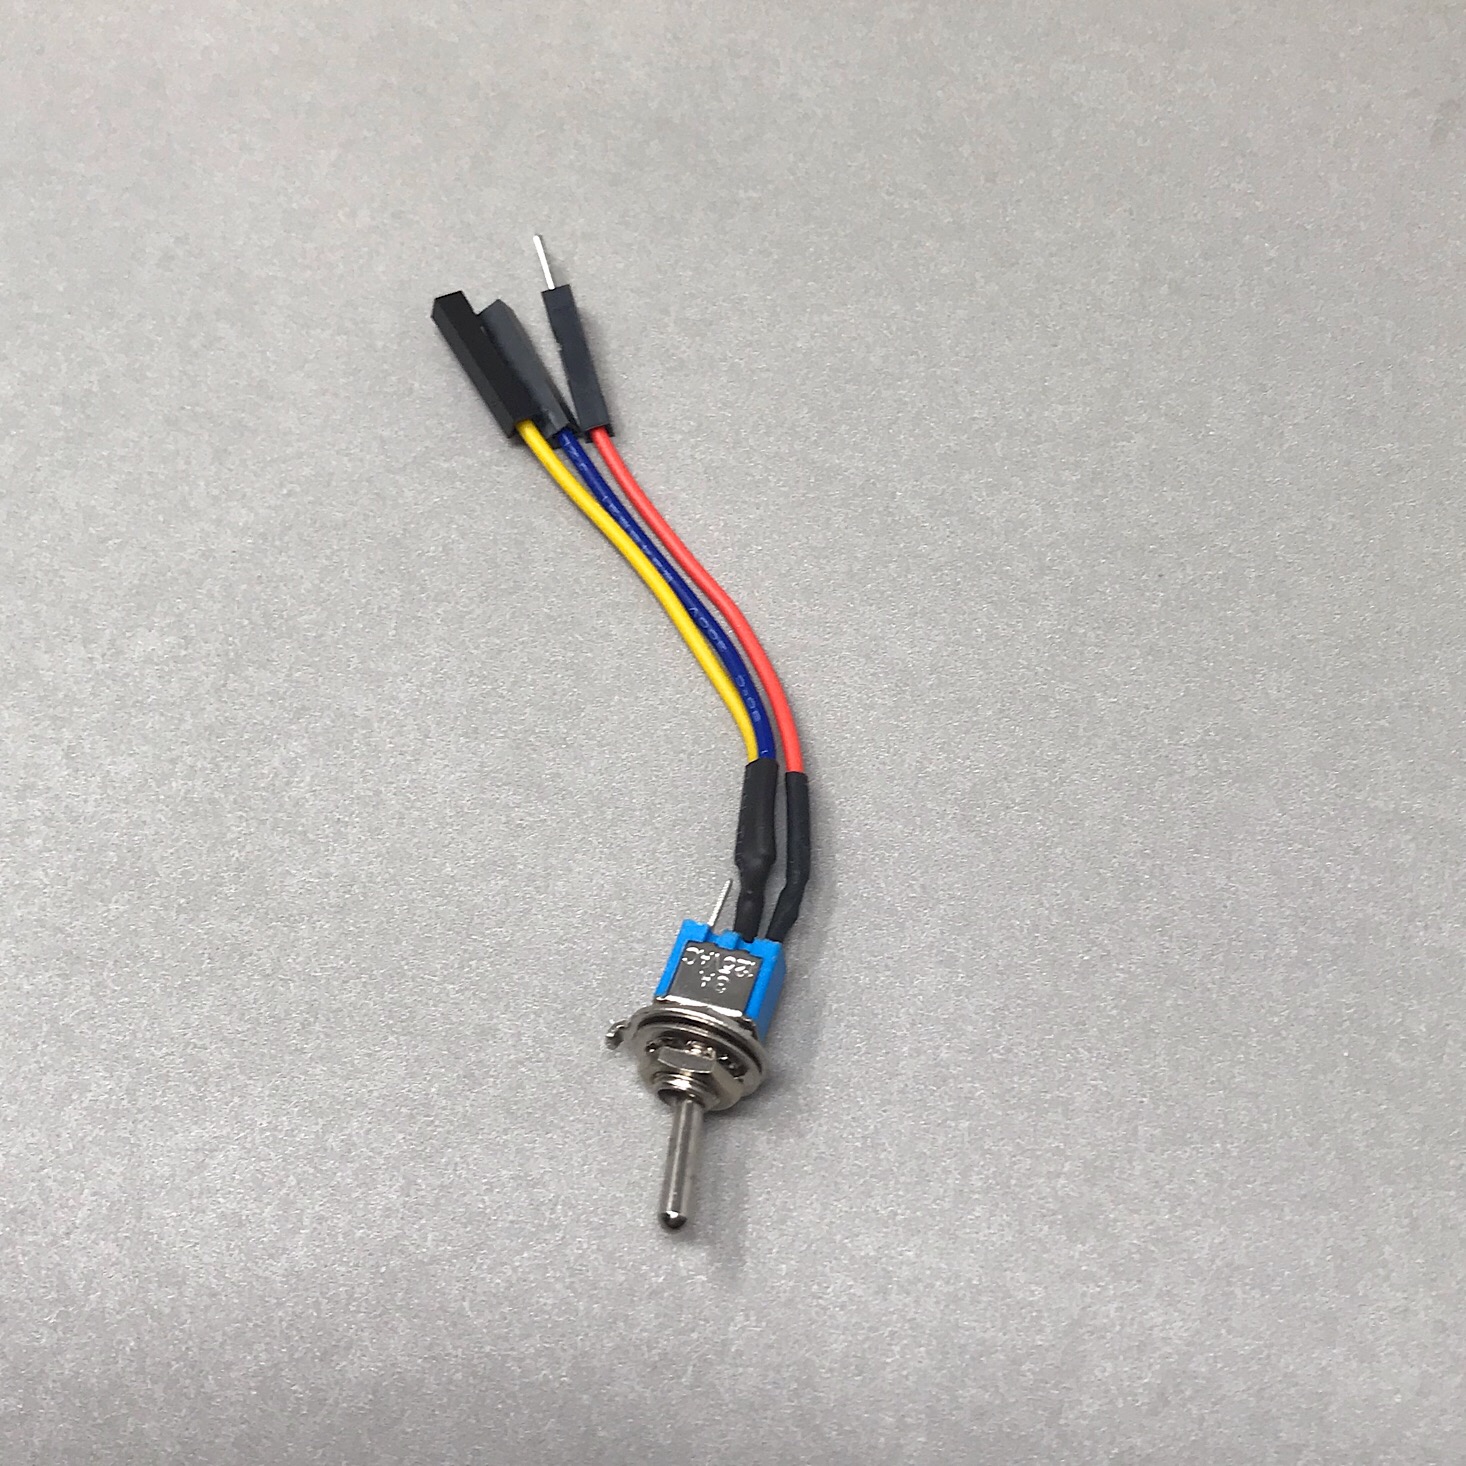
1 of 5


Next, I prepared the switch. I removed the extra pieces from the switch and then stuck the wires through the hole of this small wooden rectangle. Then I used the included wooden wrench they provided to tighten it up.


1 of 2
I then stuck the switch to the side of the machine using the adhesive piece they provided.
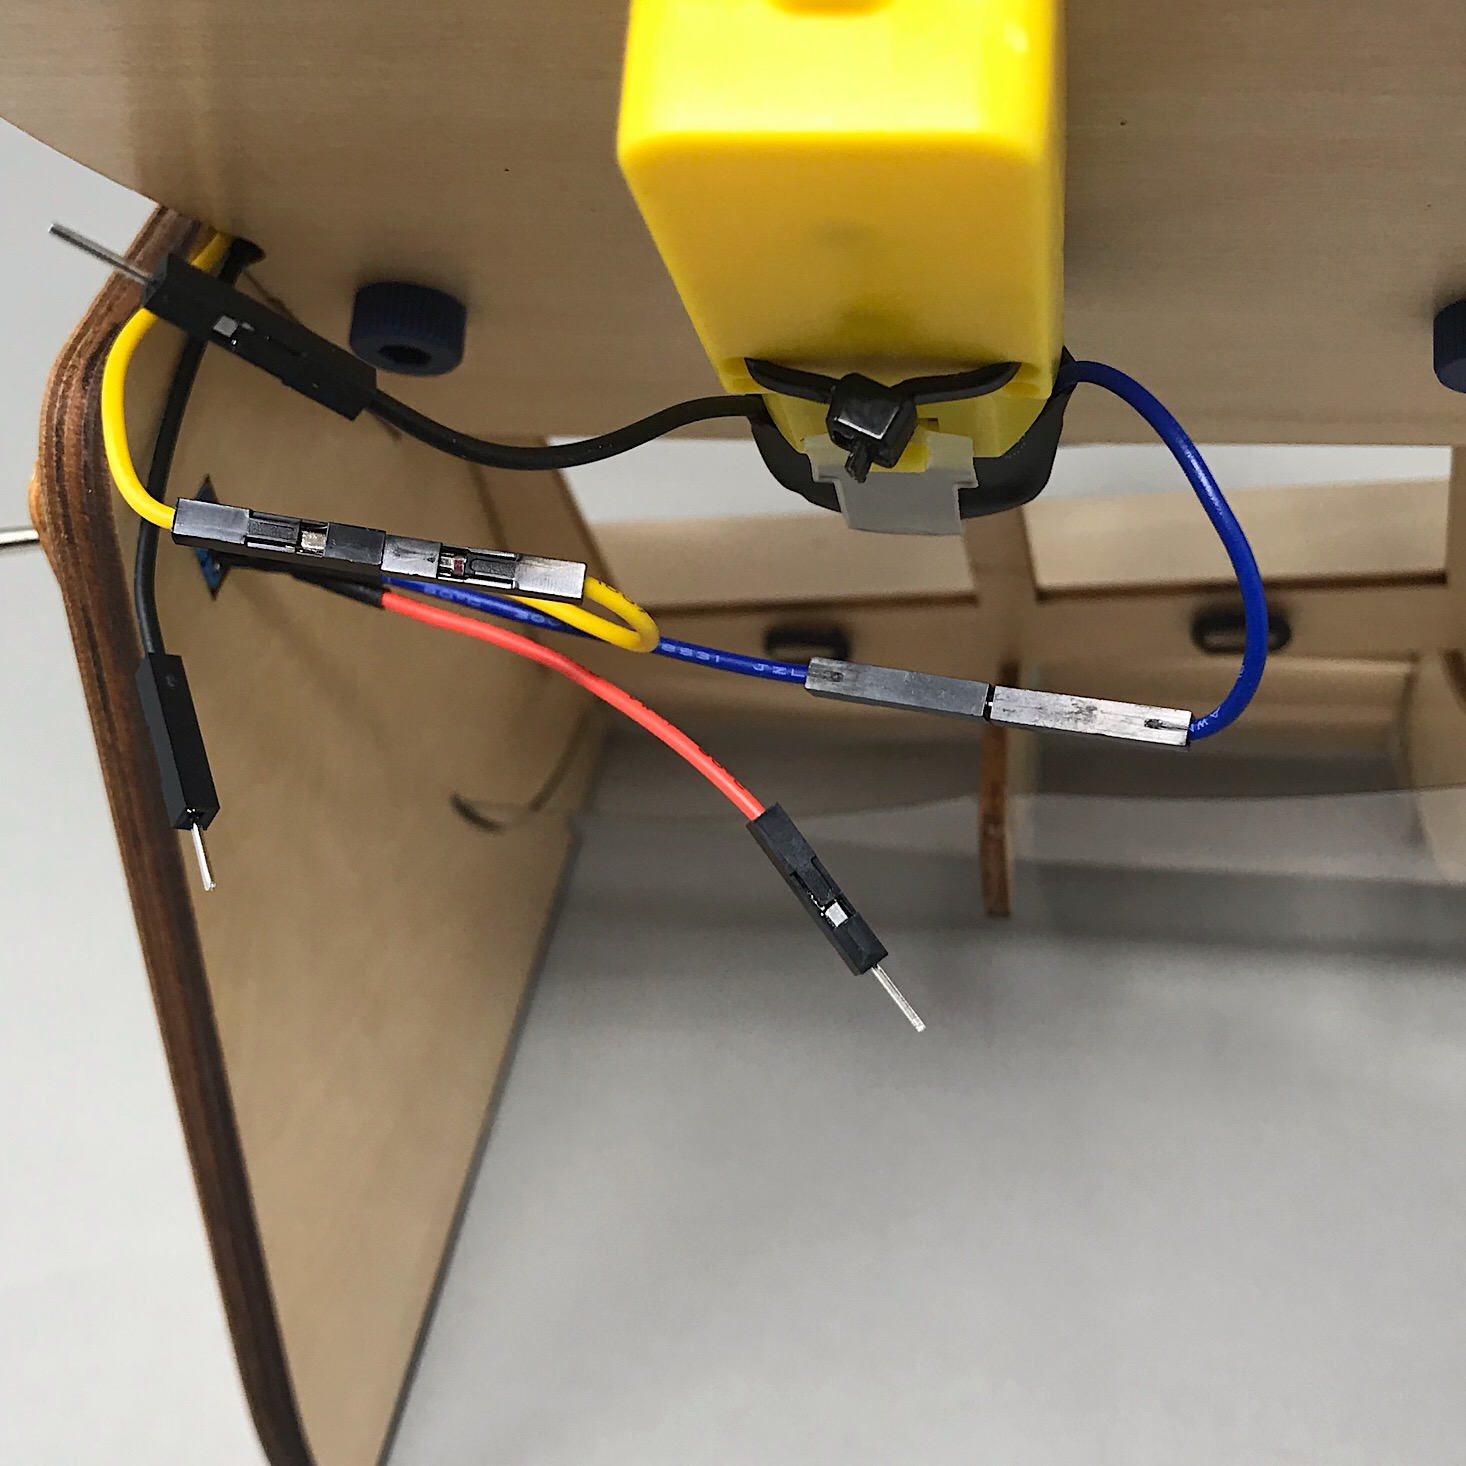
1 of 2
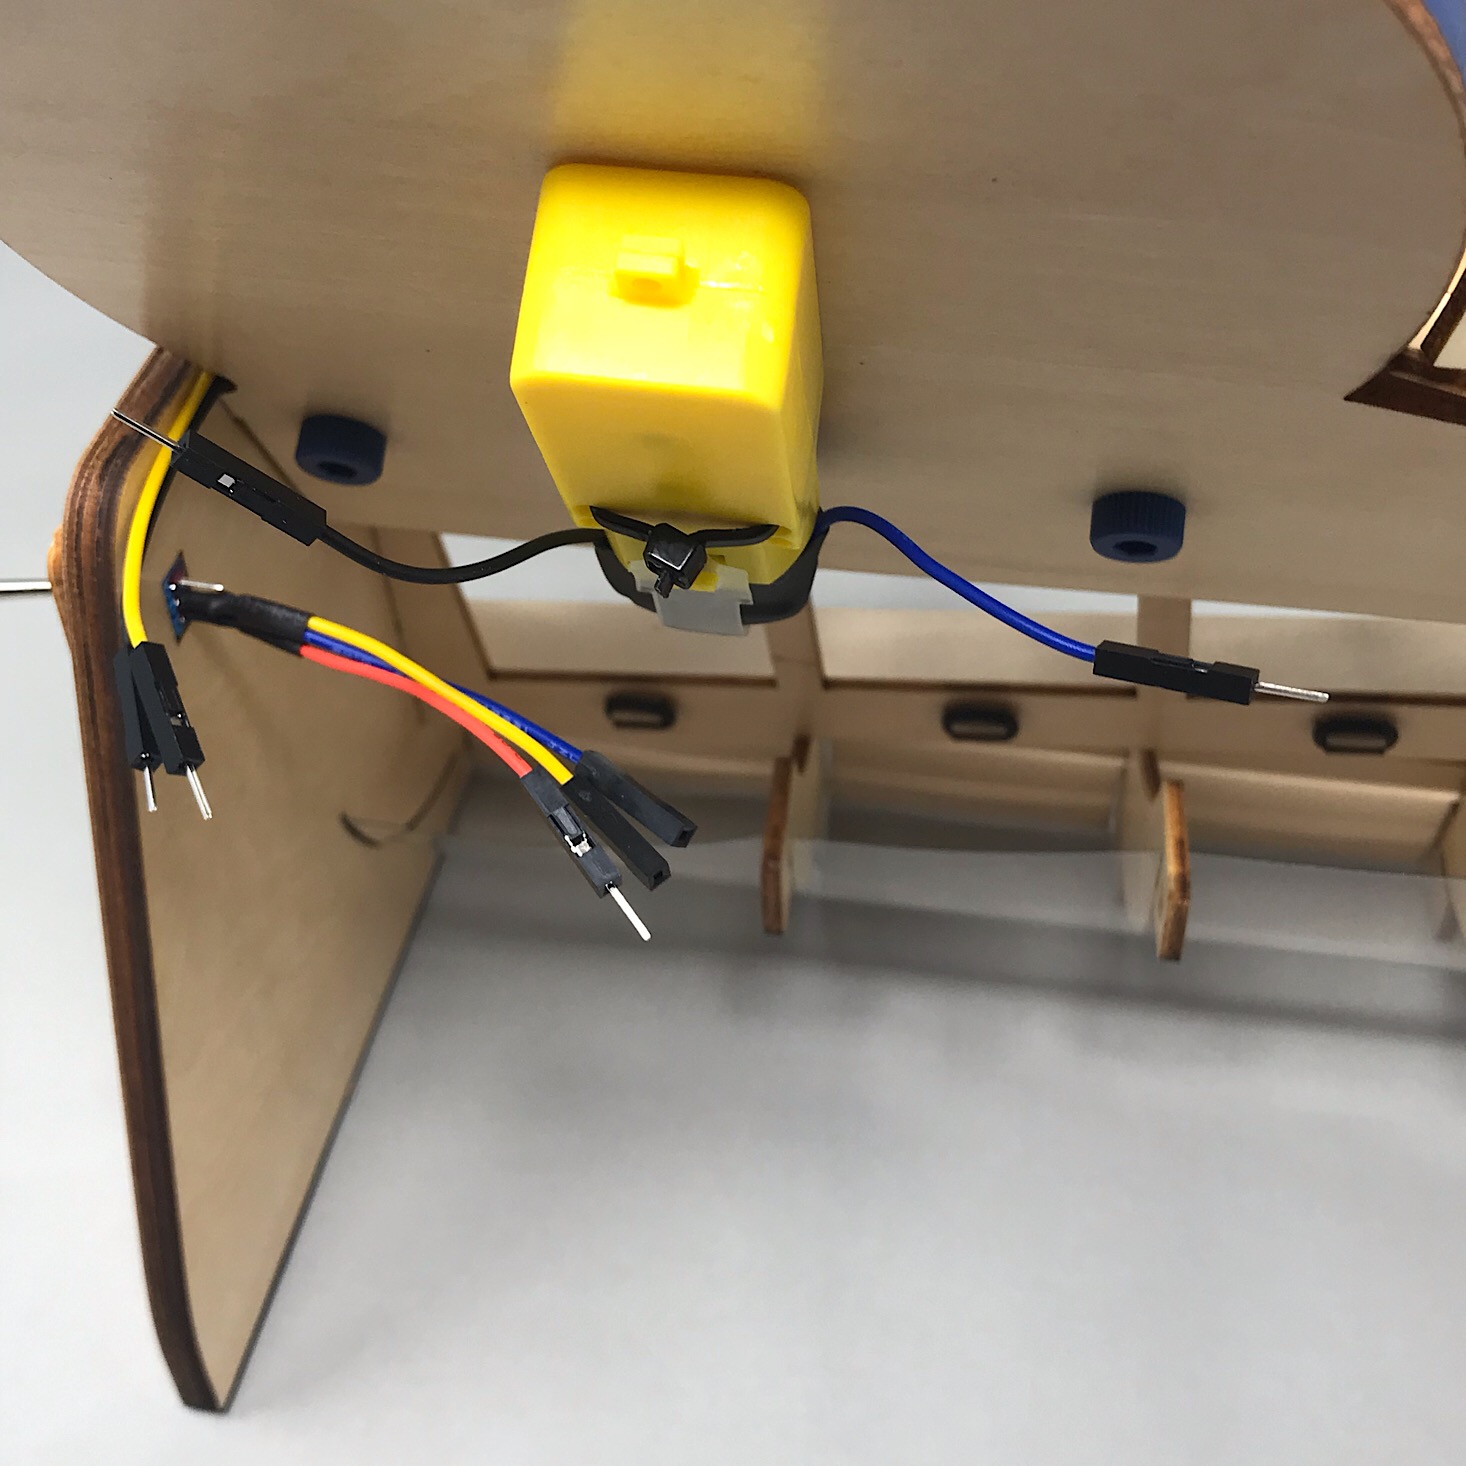
Then I matched up the wires from our motor and the tray vibrating wire.
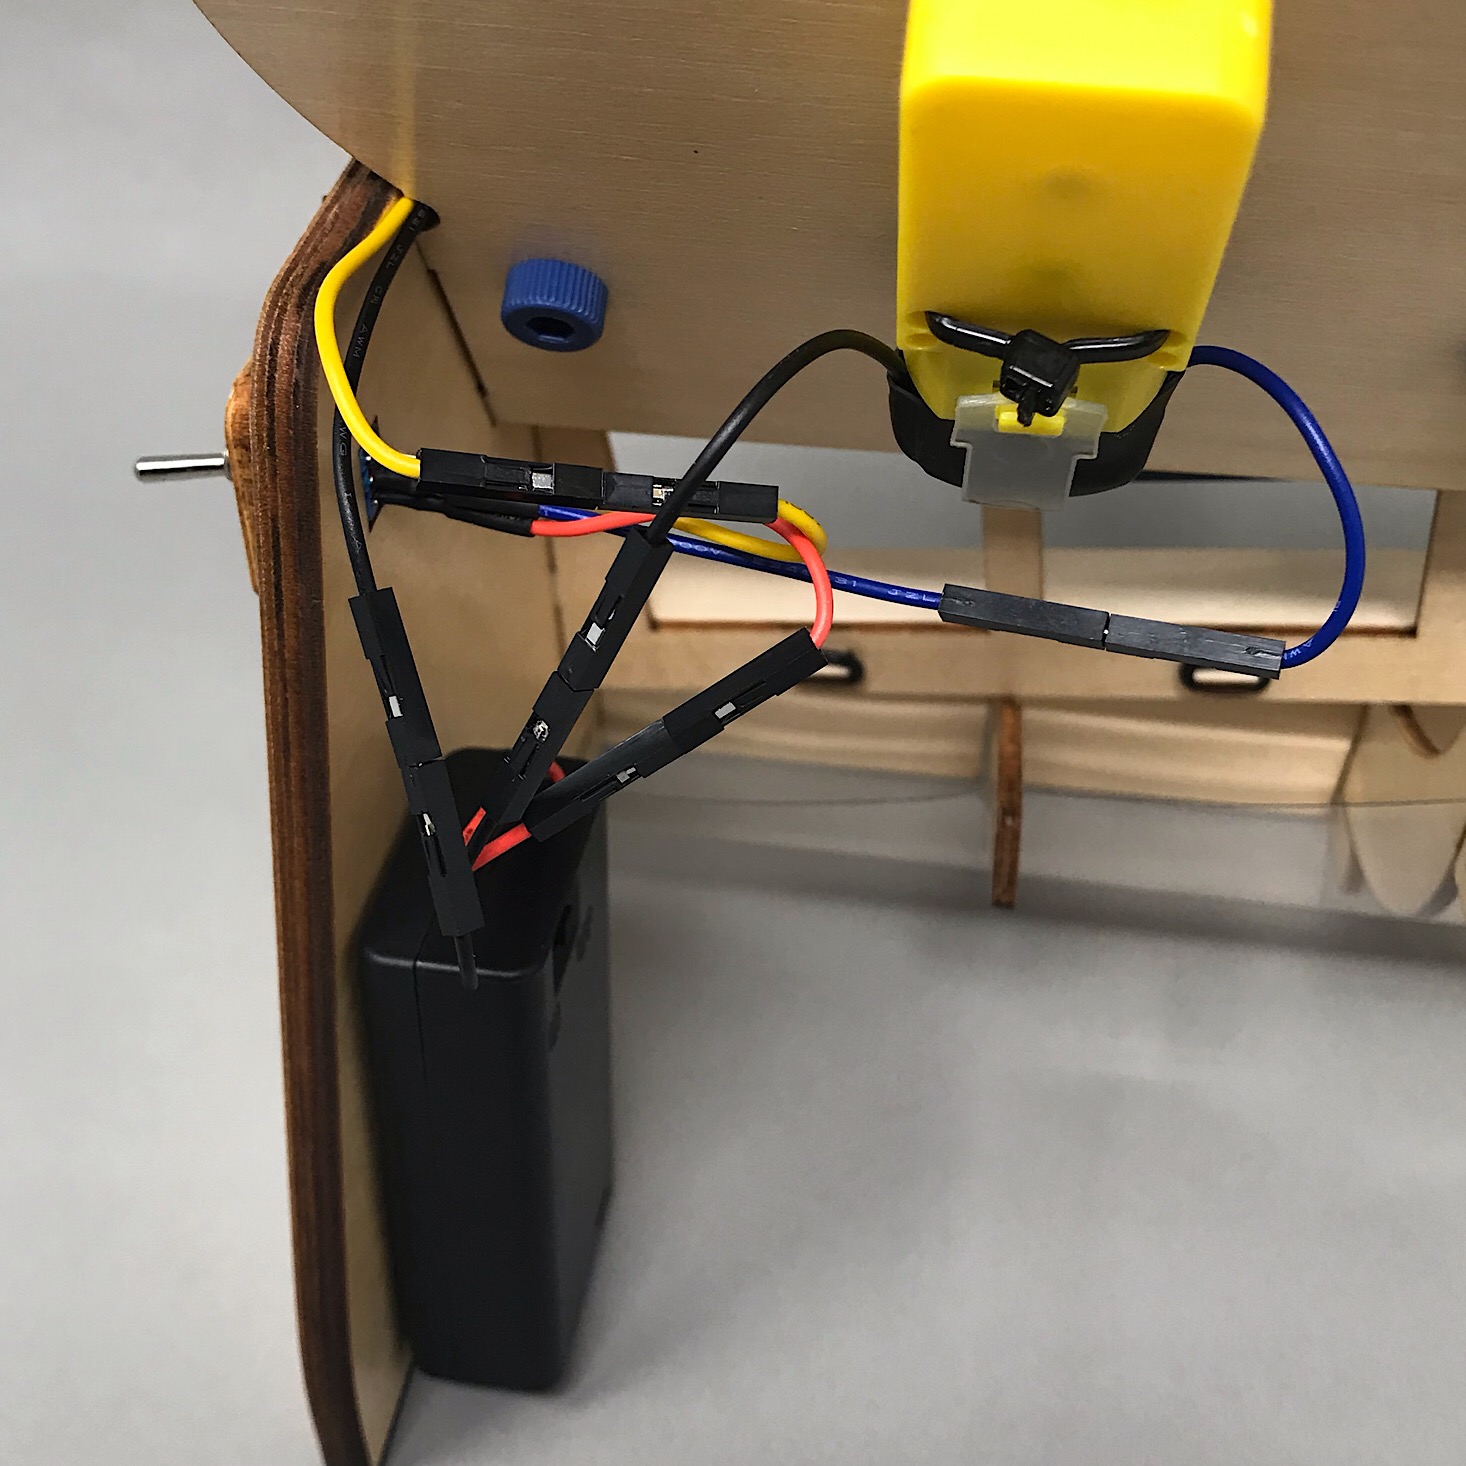

1 of 5
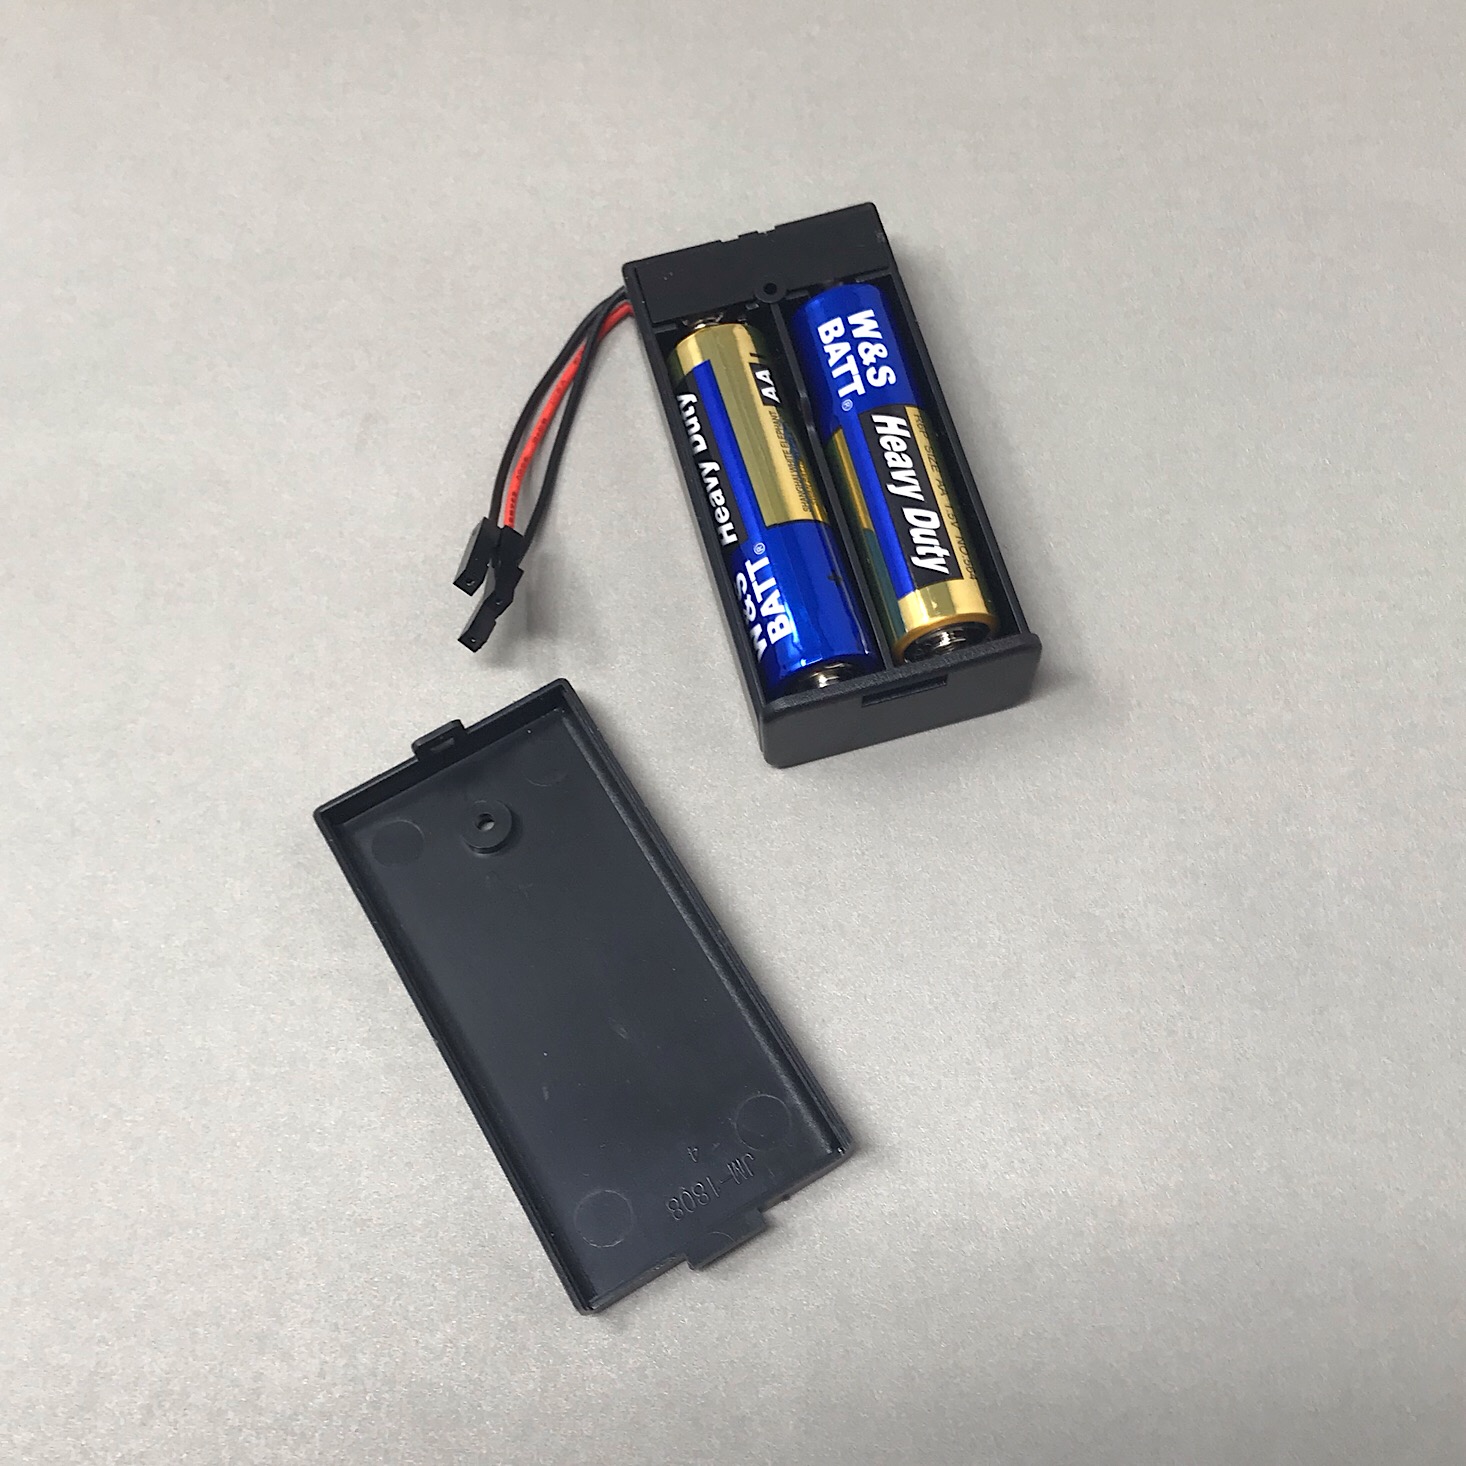

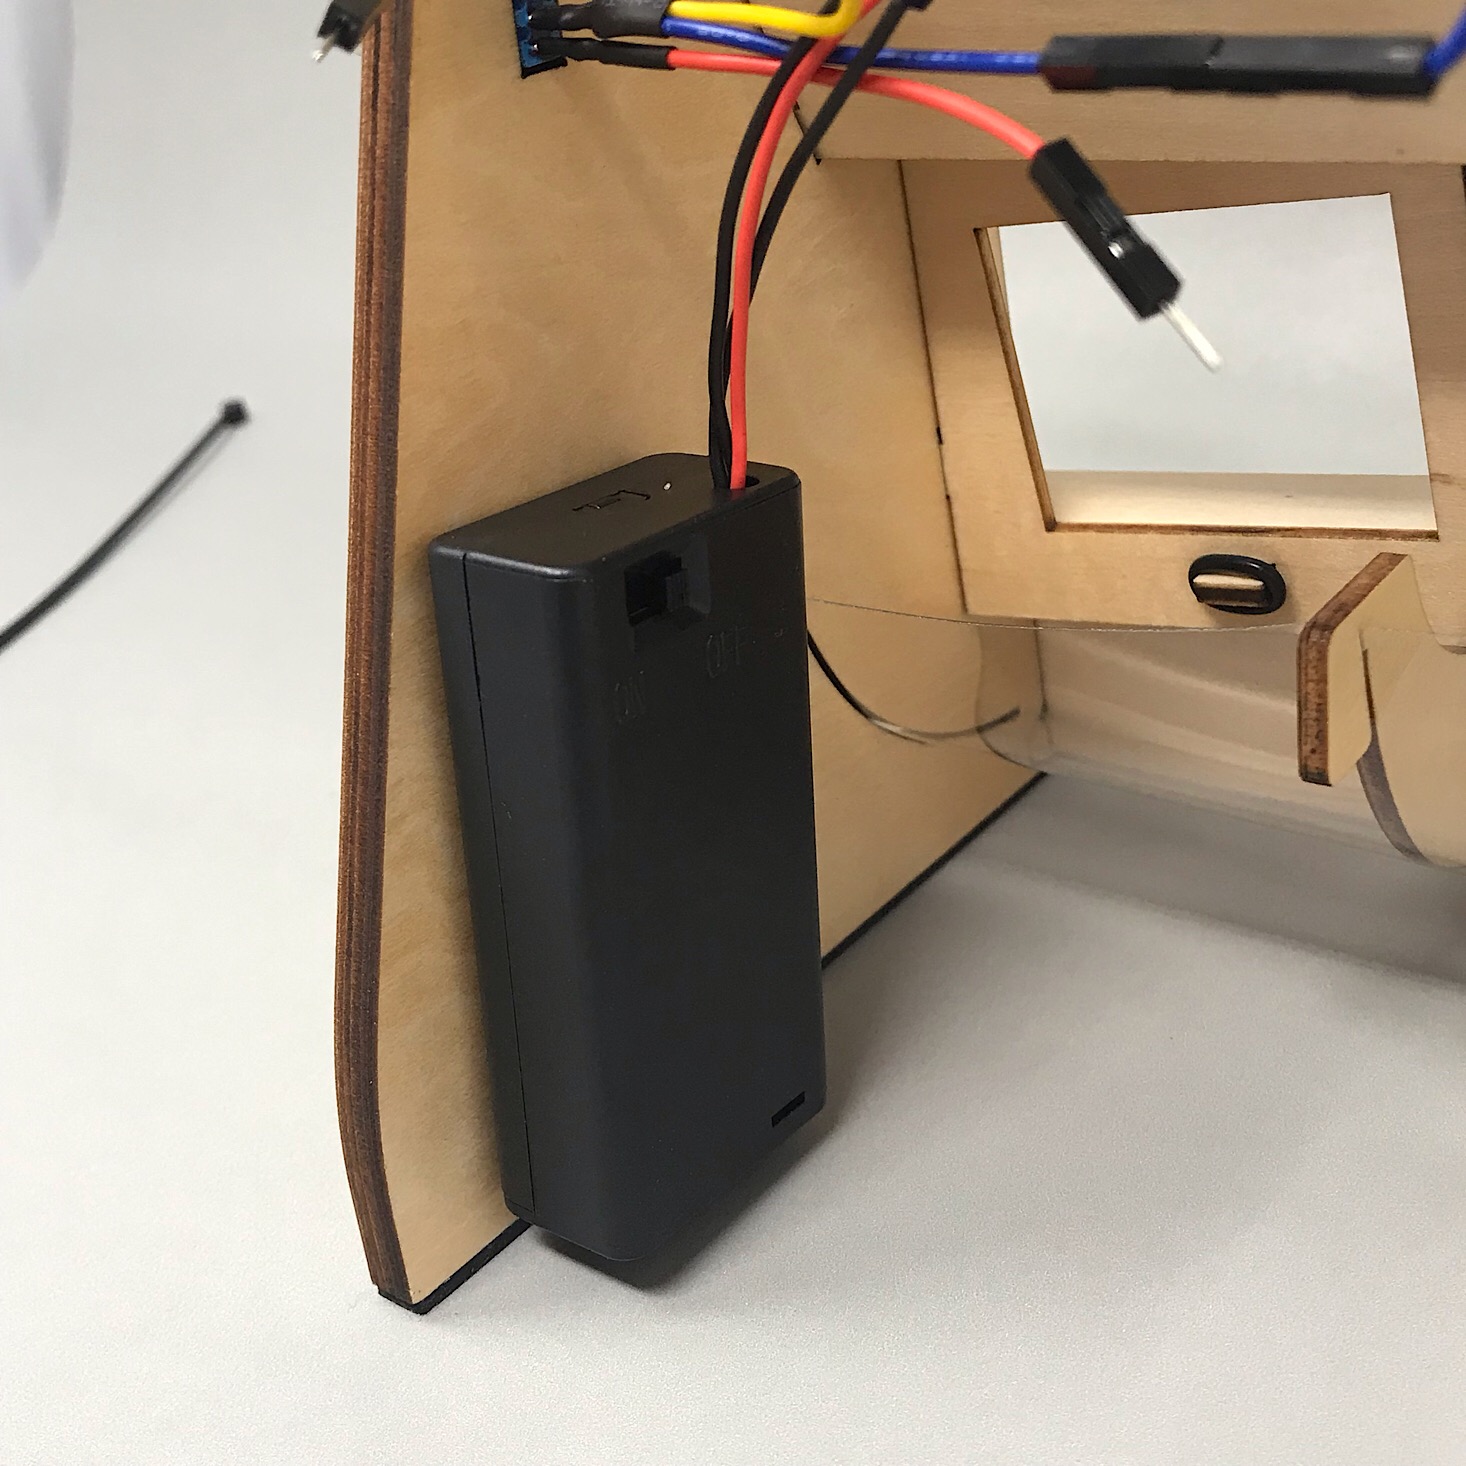
I added the batteries to our battery pack and stuck it to the inside of our side panel at the back and finished matching up the rest of our wires.
Then I turned on the battery pack, flipped our switch and saw that the wheel was turning correctly as it should.
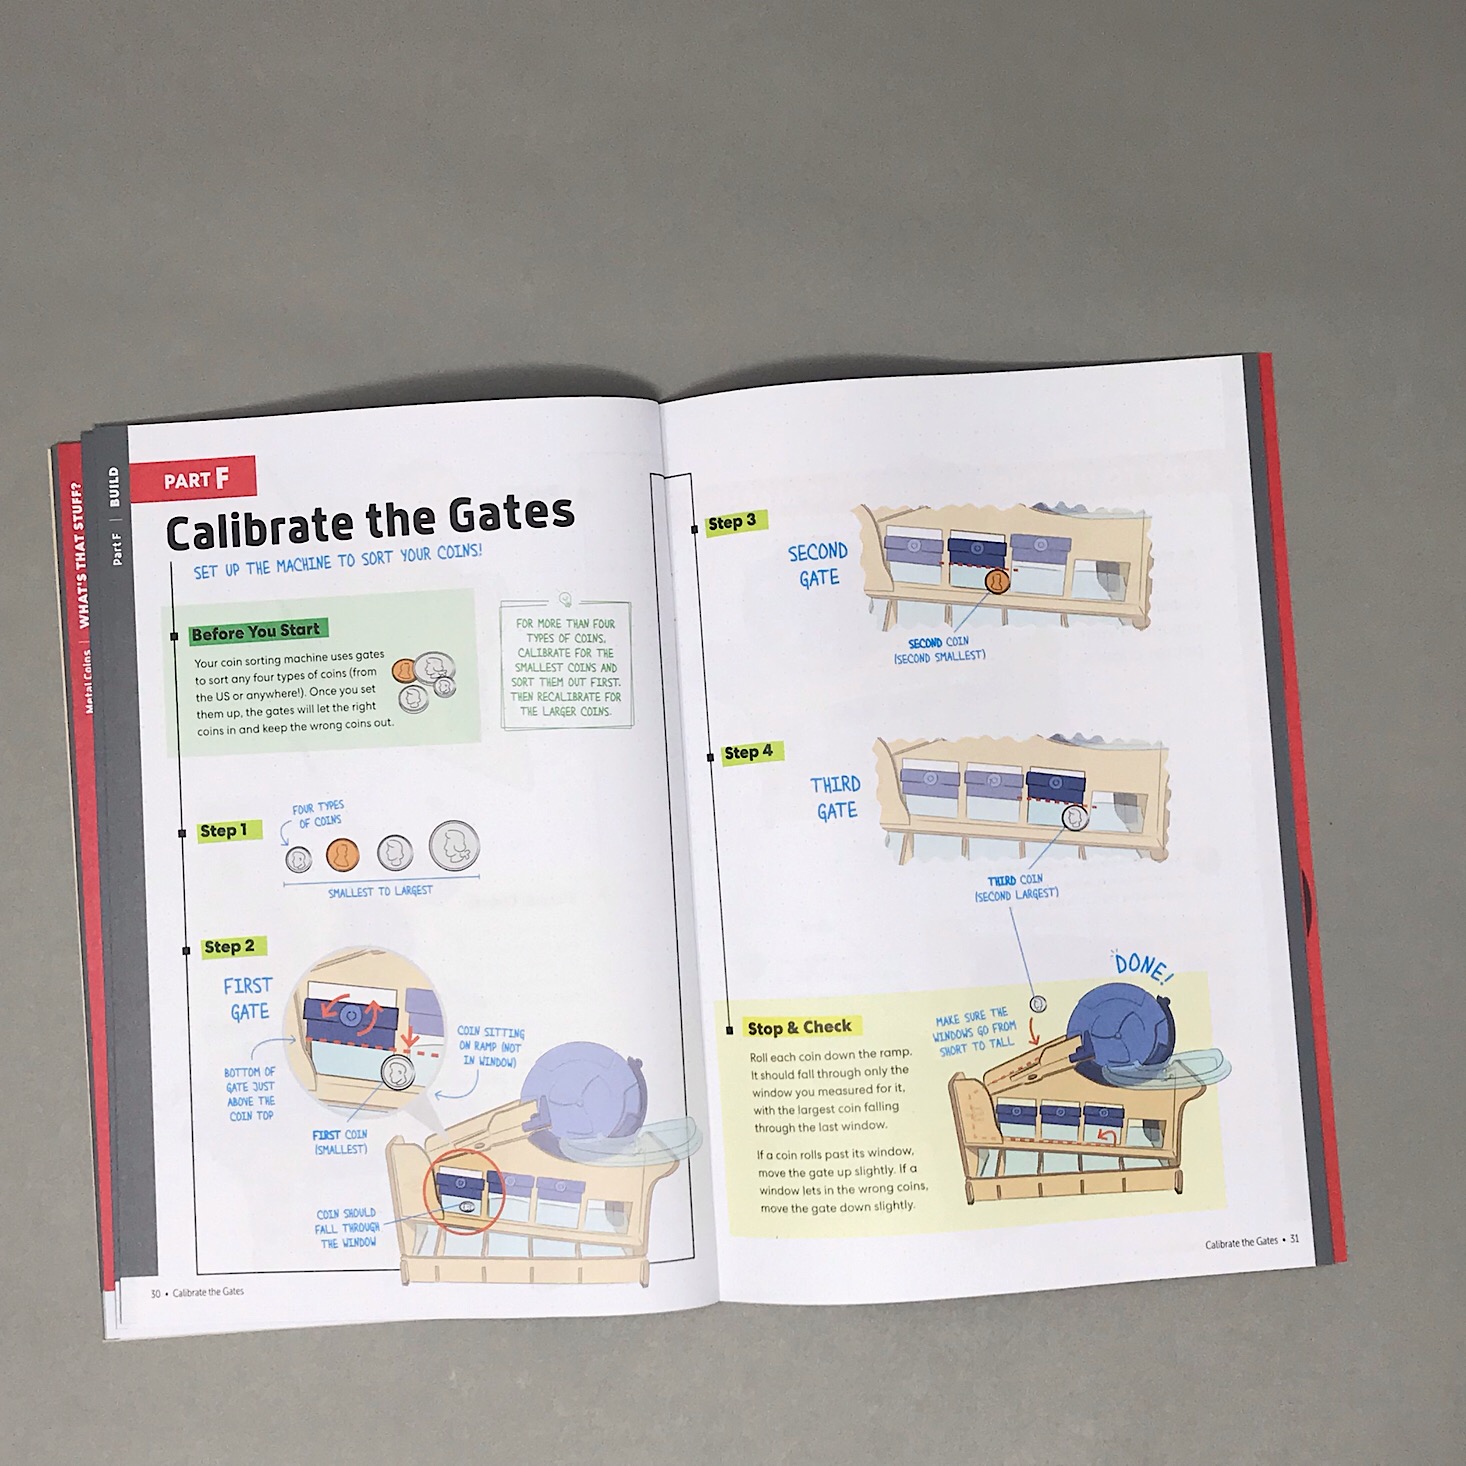
Part F: Calibrate the Gates
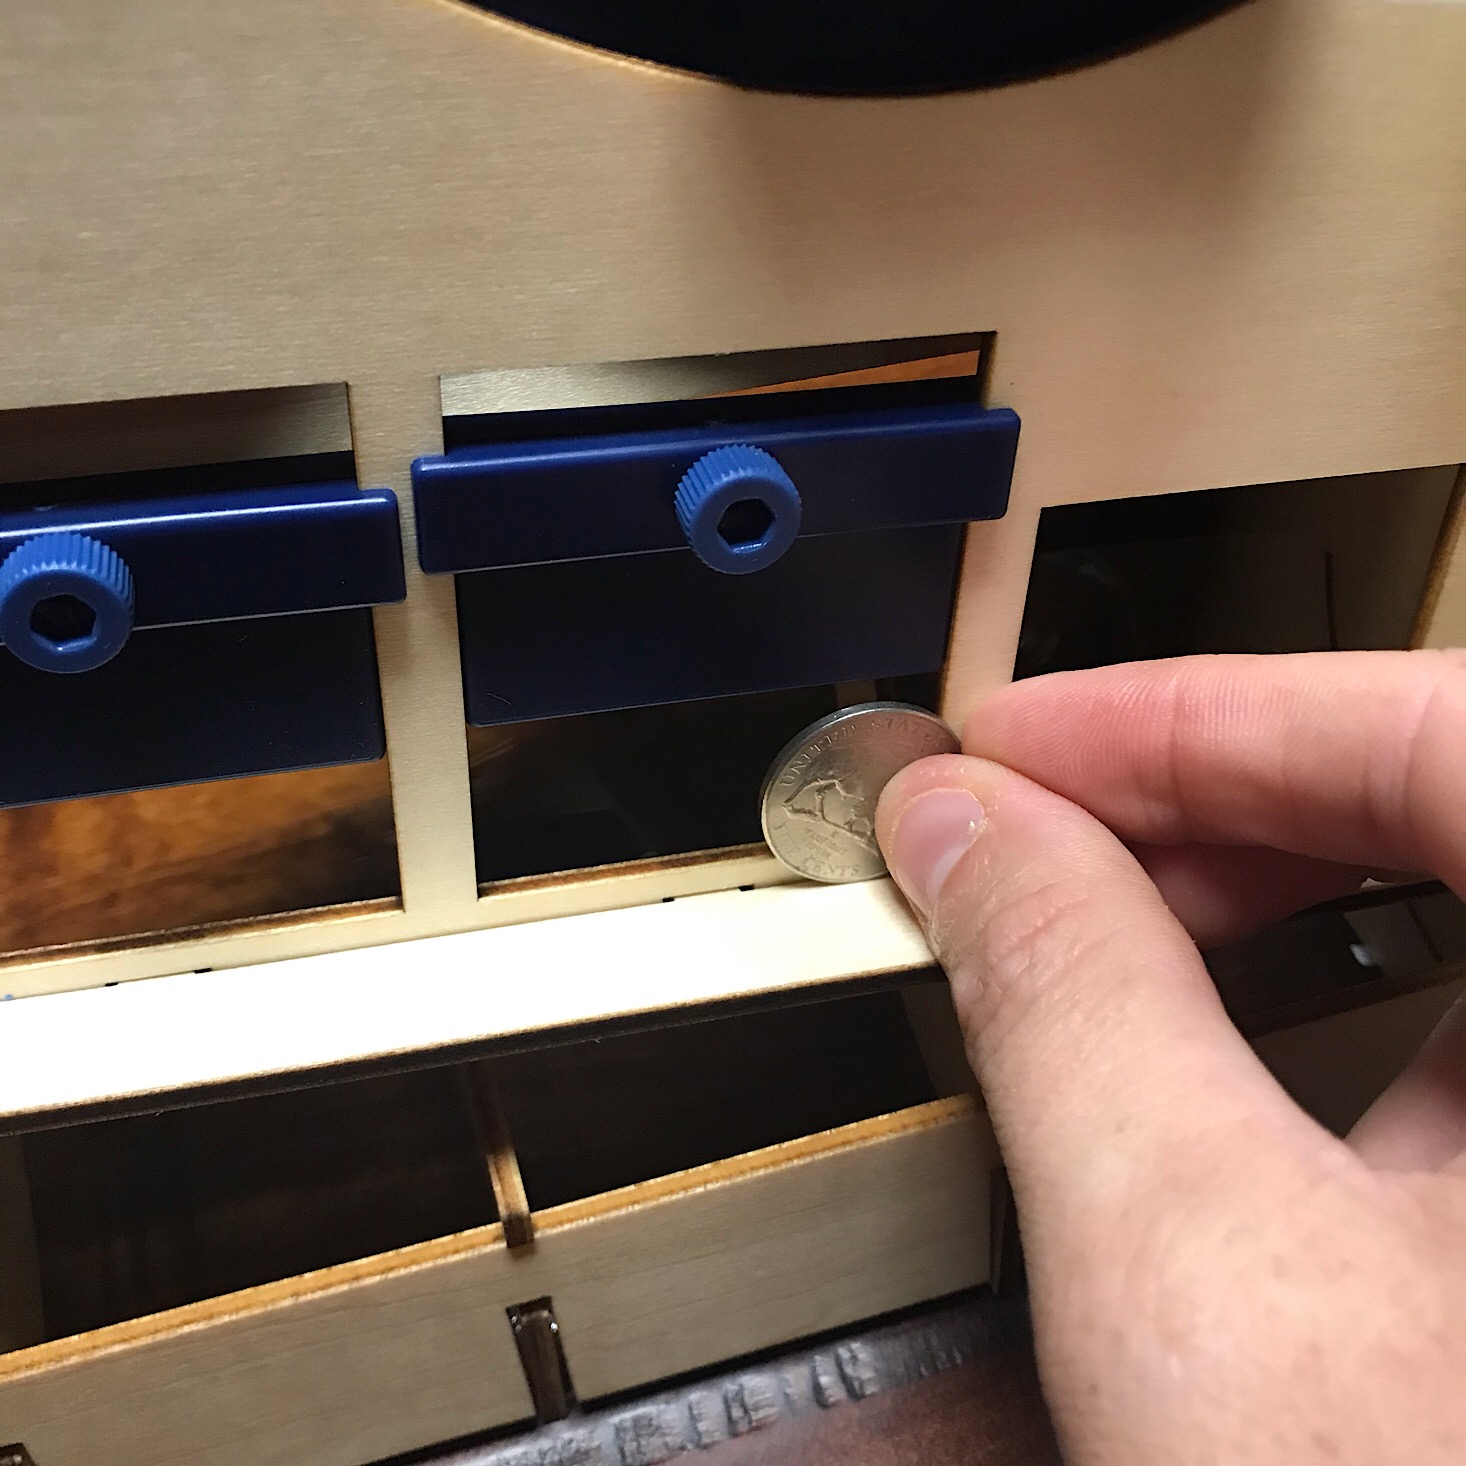

1 of 4

To calibrate the gates I sorted my coins by size from smallest to largest. Then I matched each coin to a gate and lowered the gate until it was just above the top of the coin. This meant each gate would get higher as you moved from left to right until the last open hole.

1 of 4
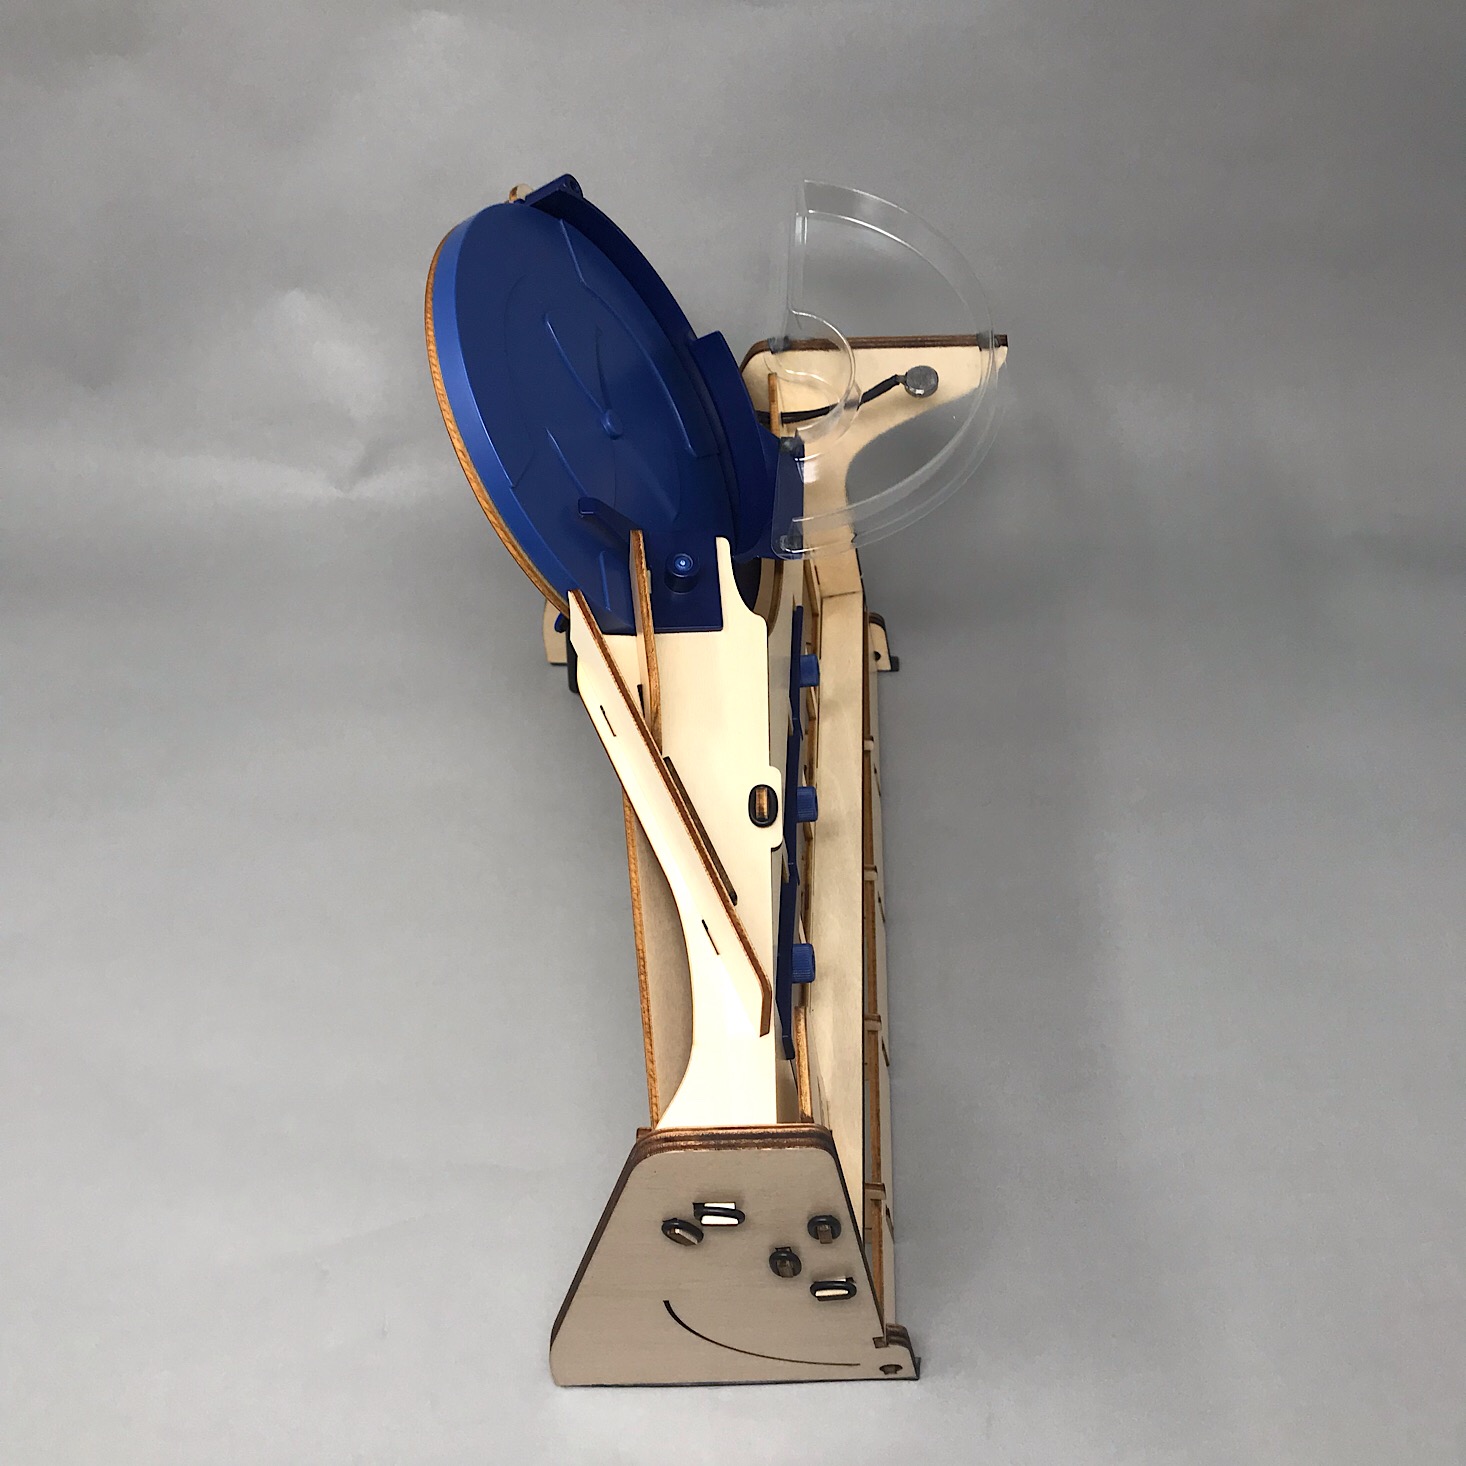

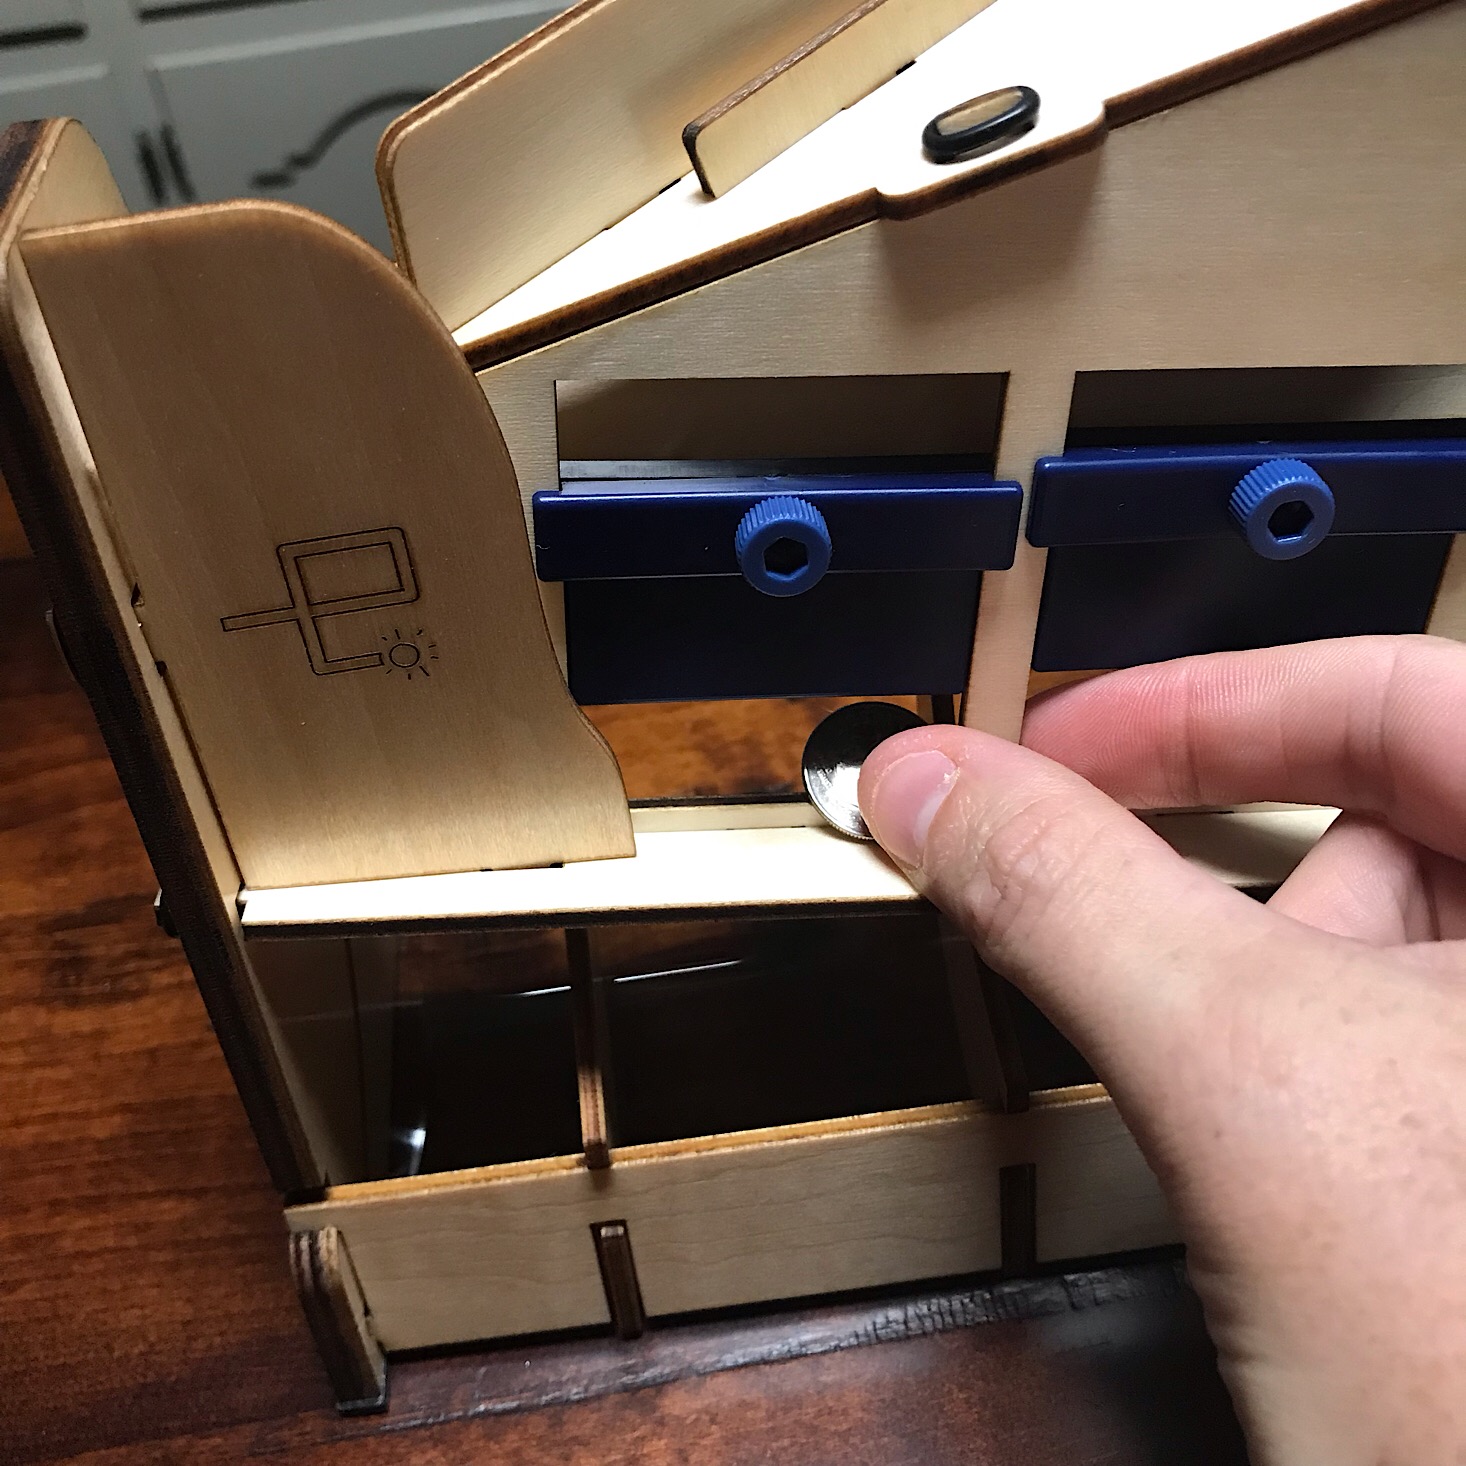
Here is our finished coin sorter!
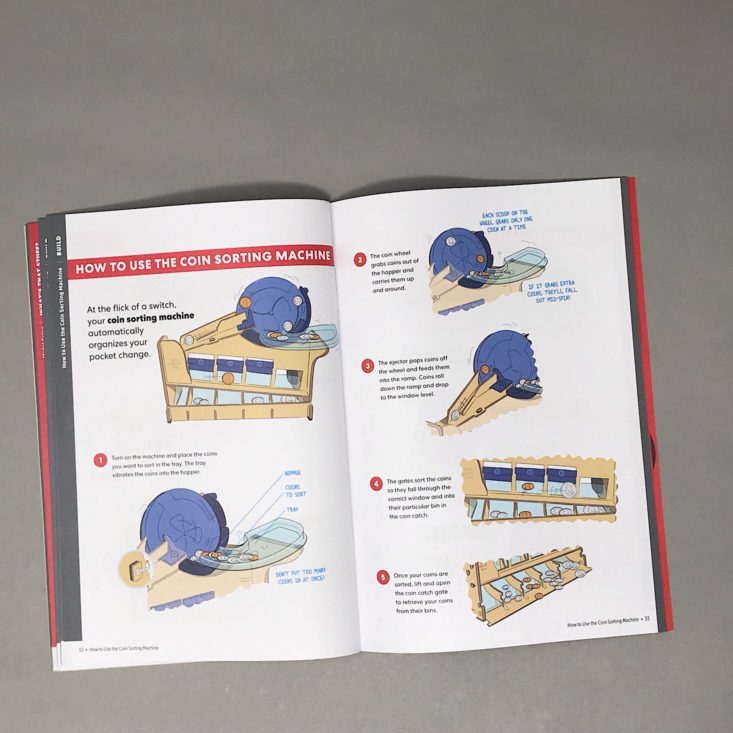
They provided some instructions for how to use our coin sorting machine.
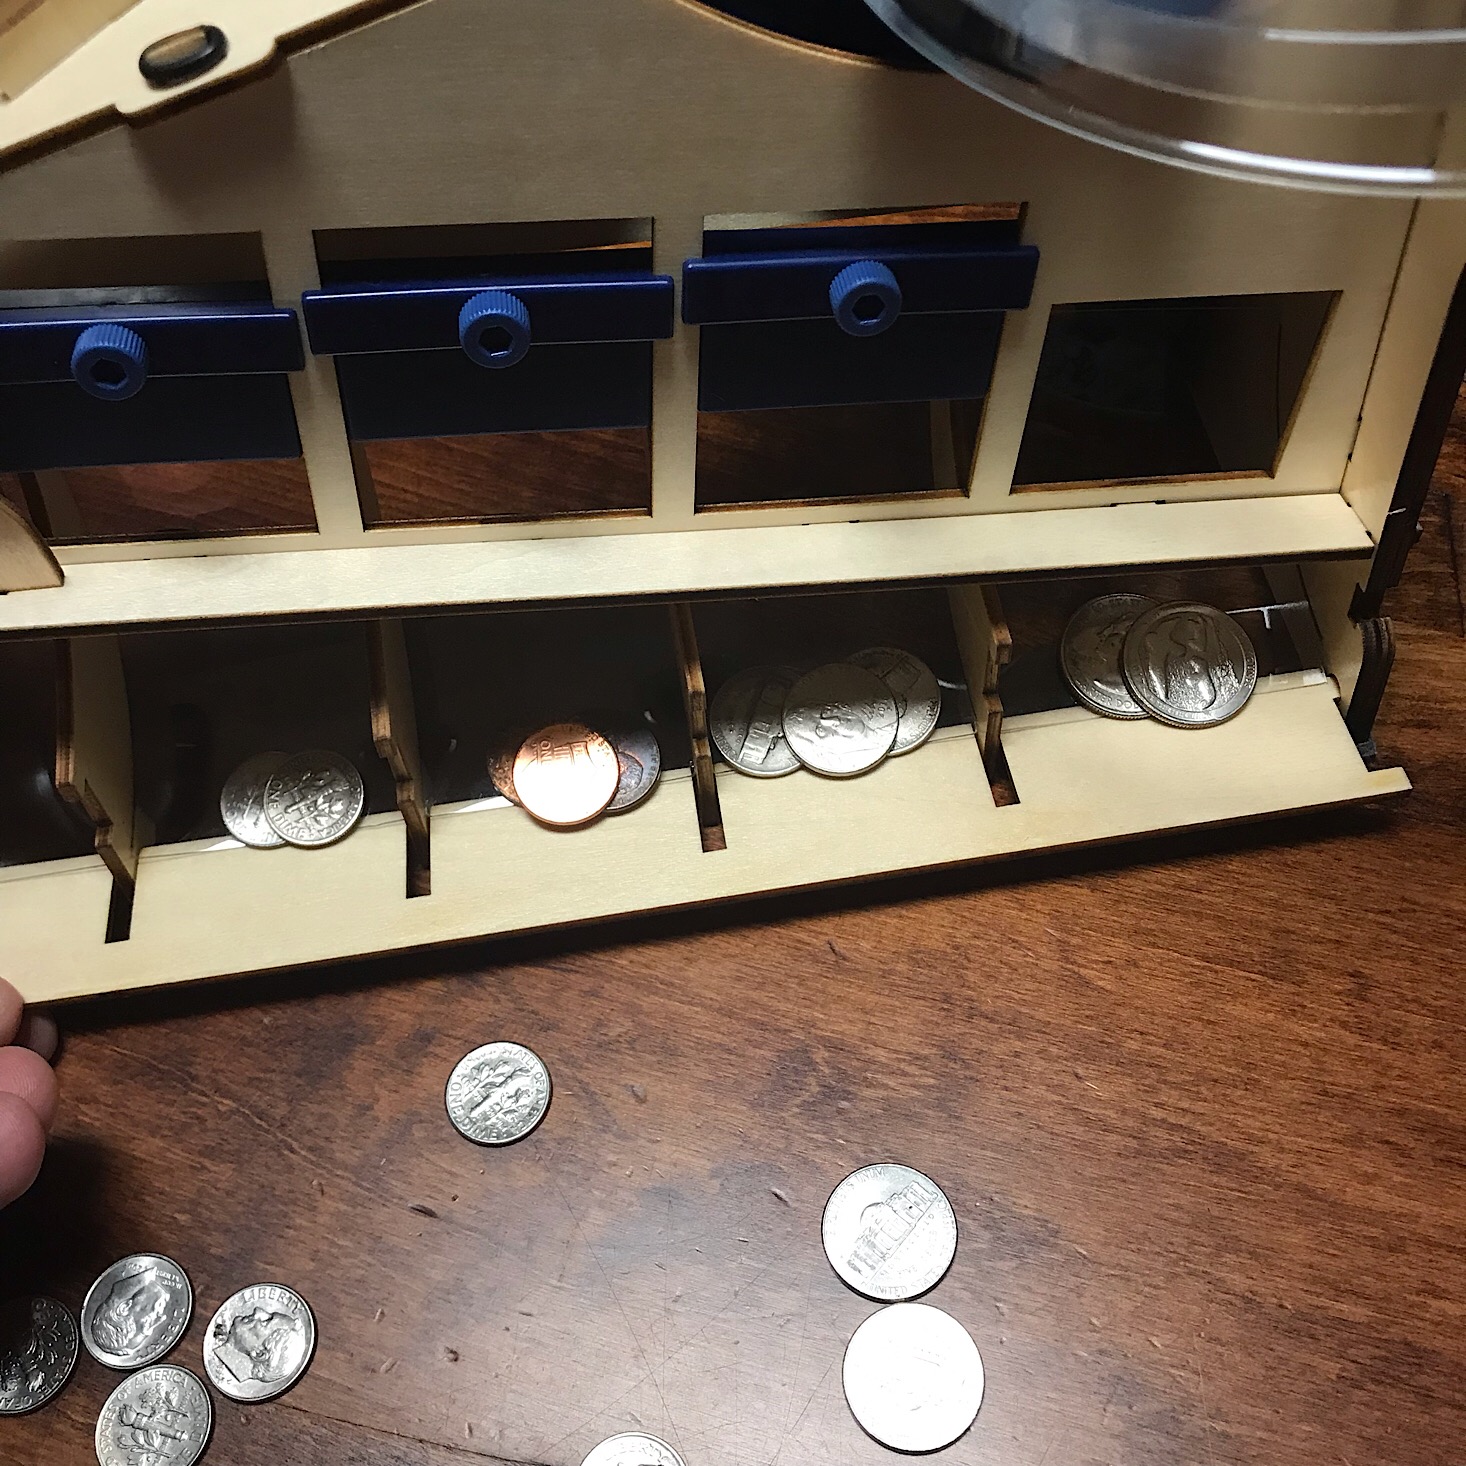
Here is my coin sorter working correctly and sending all of the coins into the right spots!
1 of 2
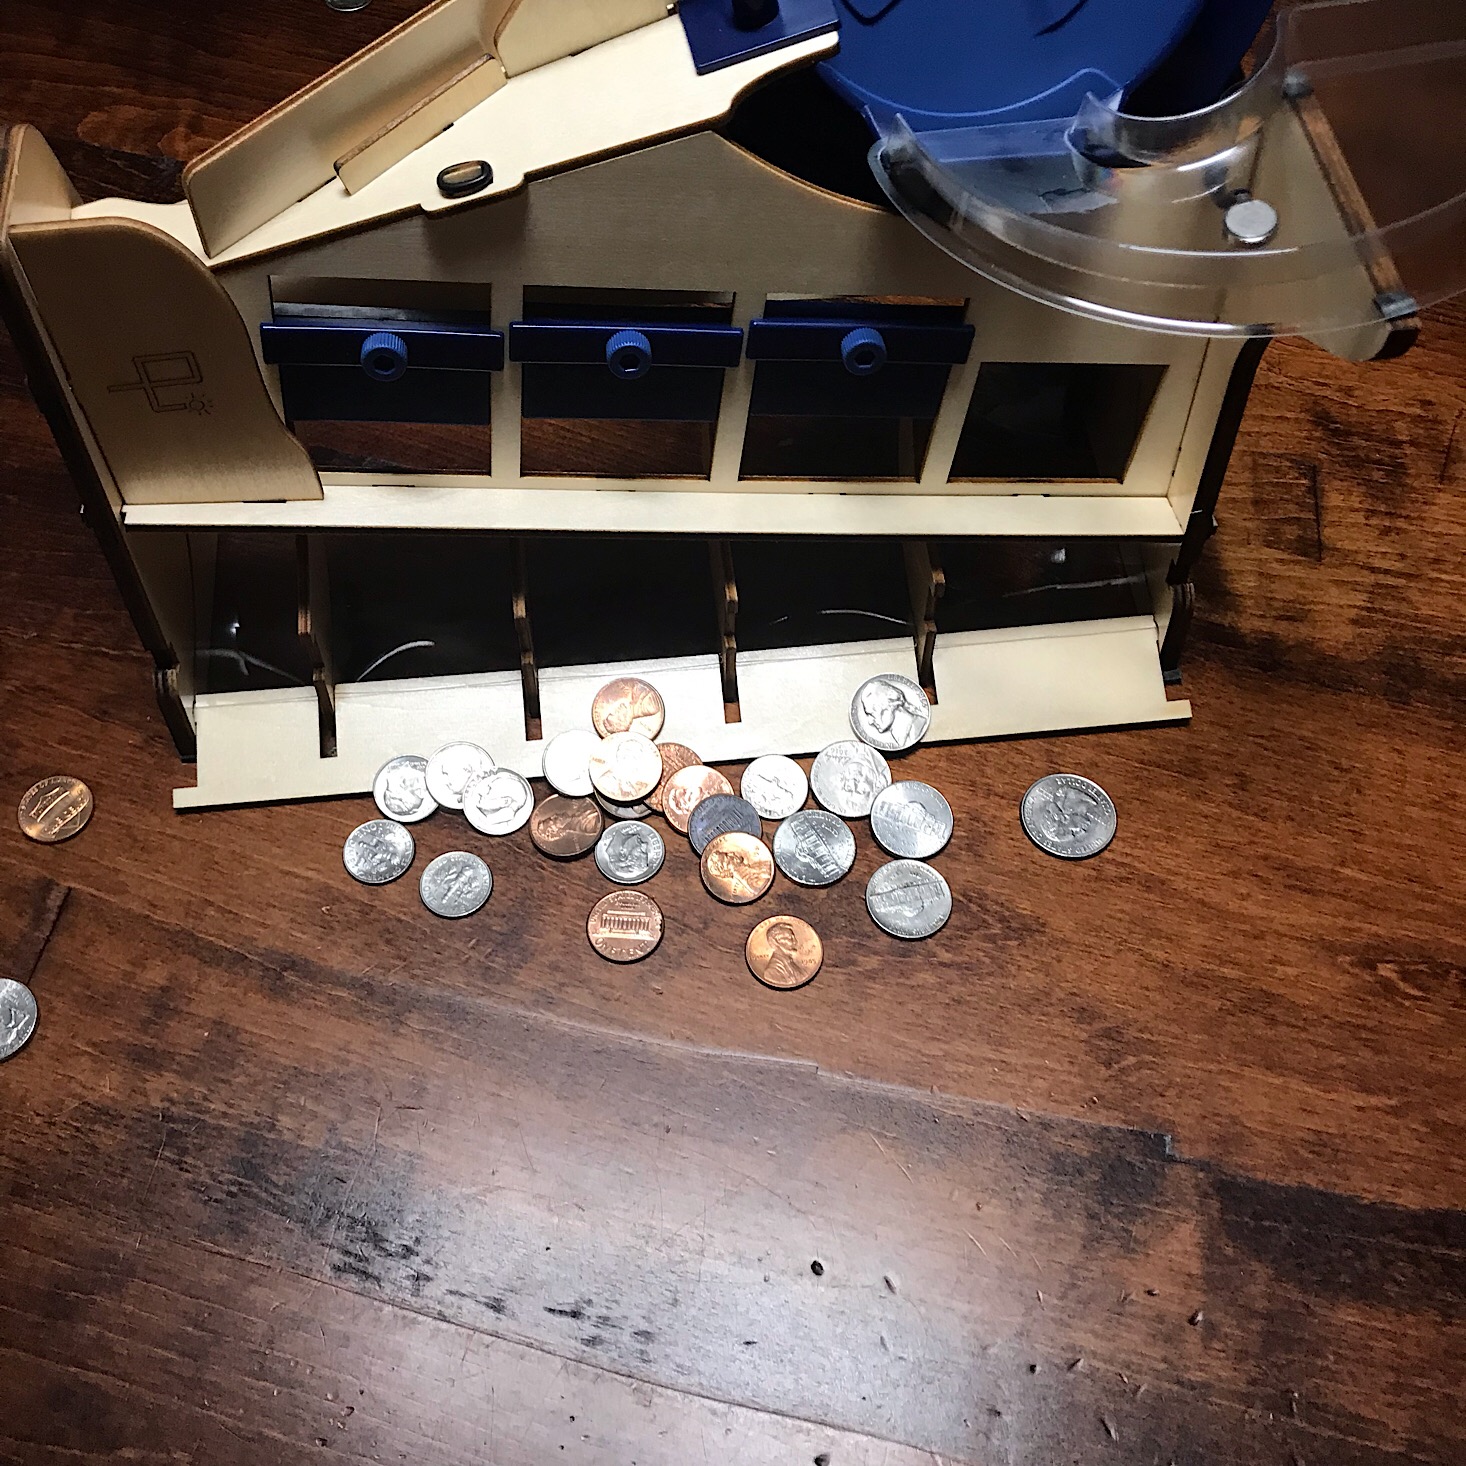
When you open up the wooden panel at the bottom all of the coins slide right out so that you can gather them up again.
Here it is in action.

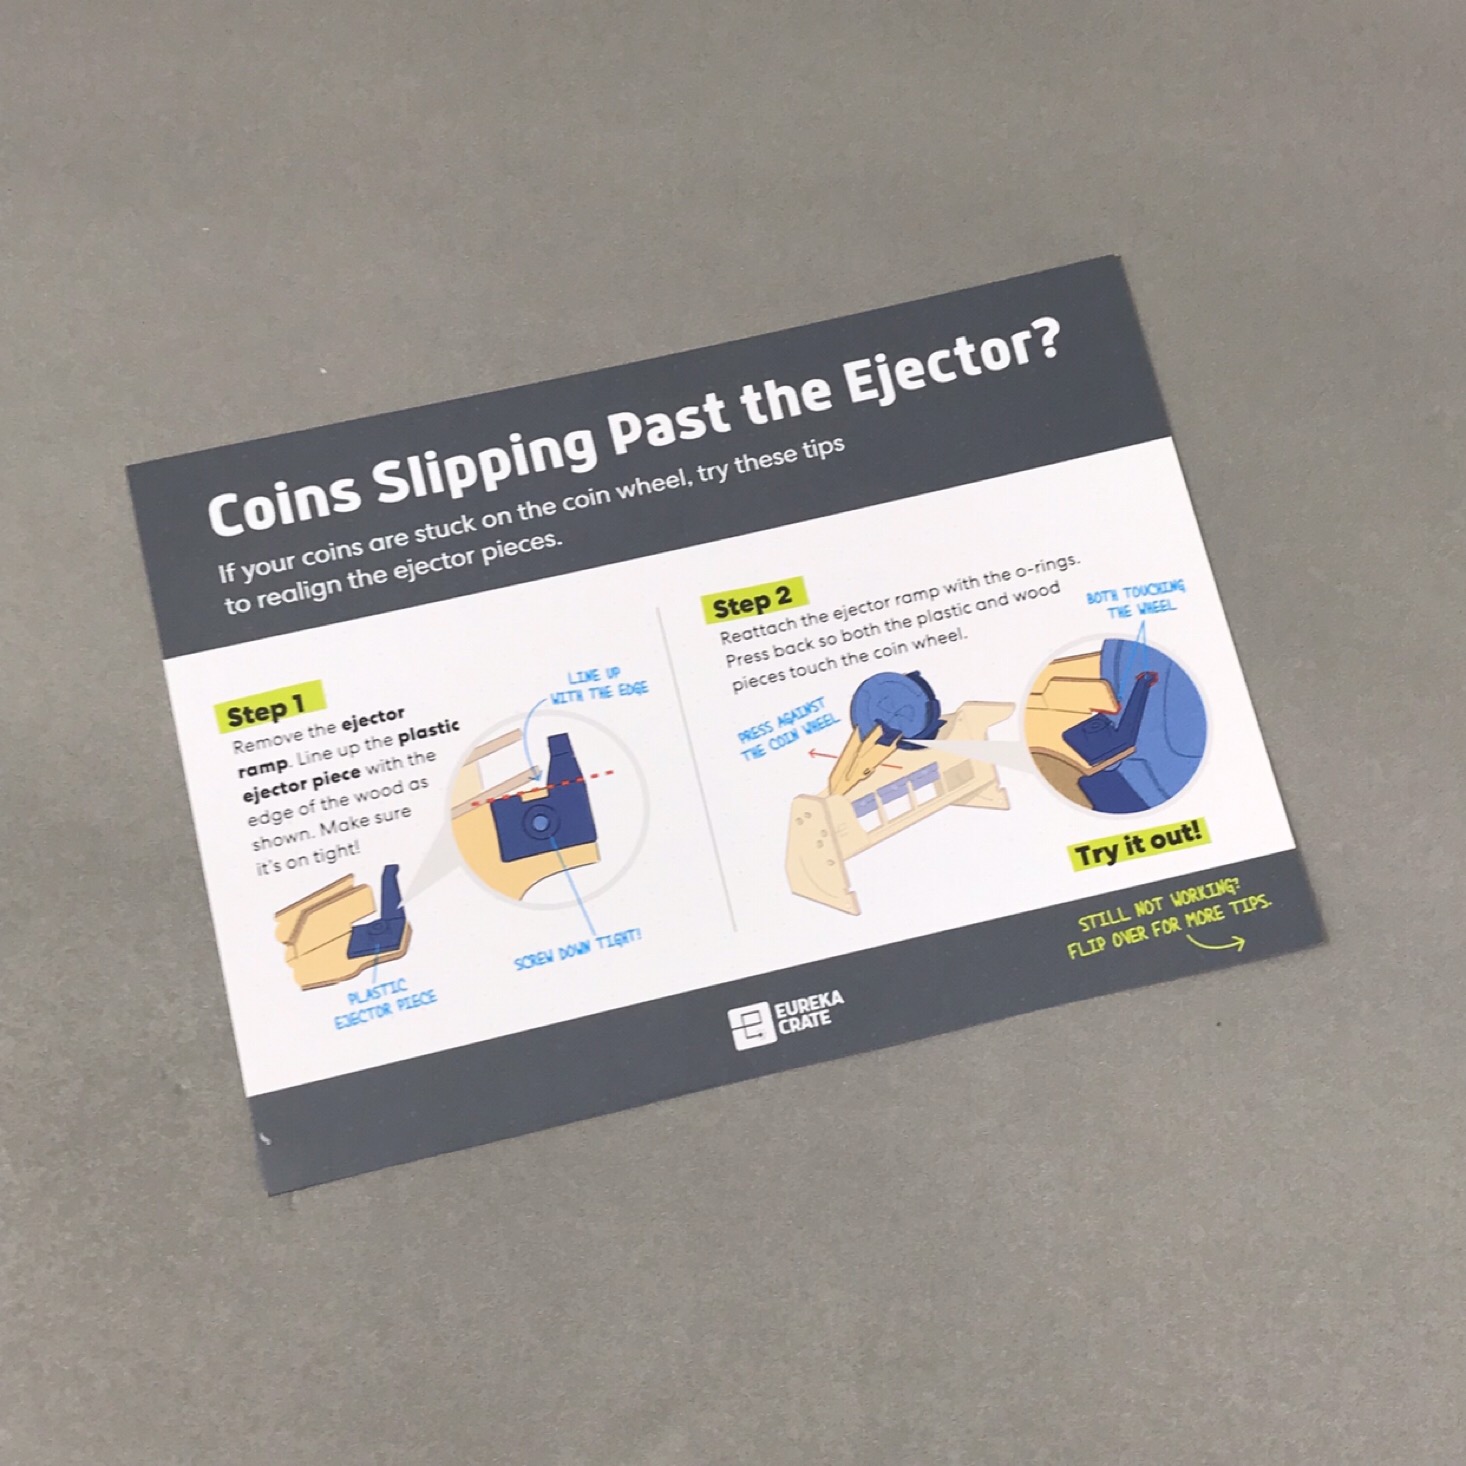
1 of 2
While my coin sorter is working well in the video, I actually had to do quite a bit of troubleshooting because I had a few coins that were slipping past the ejector and some sliding into the cracks in the machine. It was actually a bit frustrating, but luckily they did provide this extra sheet with some troubleshooting help for that exact problem. I think the issue is that the O-rings did not allow for a tight fit for the ejector ramp which would allow some coins to slip past. I'm glad they did think to provide this extra bit of information for help, although maybe the design needs to be reworked a bit if there are known issues with this part?
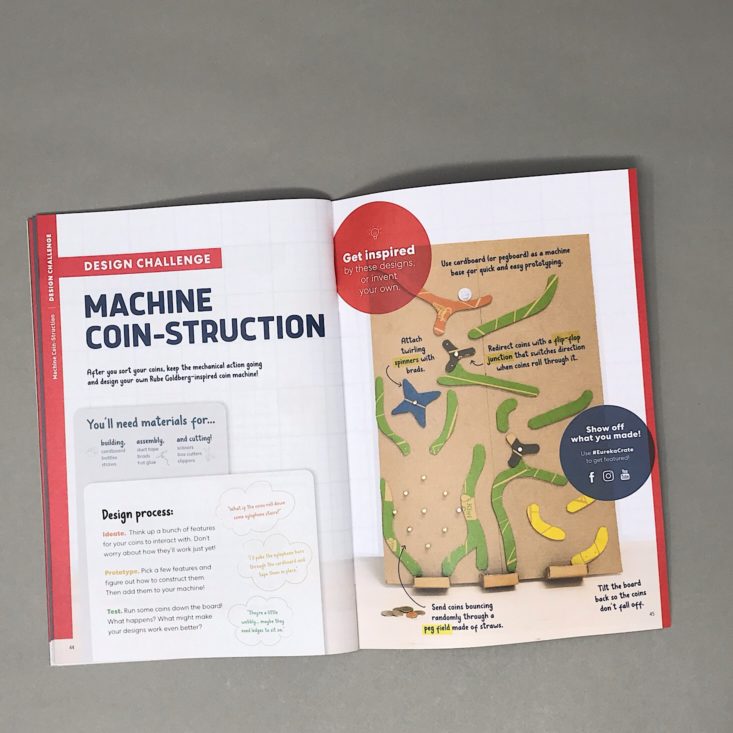
In our booklet, there was a design challenge section which is always a great extension of the project. This month they are challenging us to come up with a Rube Goldberg-inspired coin machine. The idea is to use various parts and materials so that coins can be directed down a pegboard to be sorted. It sounds fun and definitely challenging!
Verdict: This month's Eureka Crate project was pretty cool! I think almost everyone has coins laying around that need sorting and it was fun to make a machine that is actually capable of doing this. Although, I am actually really surprised they didn't include any coin sorting paper rolls because usually they always go that extra step! This machine was a bit frustrating for me since I had to really troubleshoot at the end with that coin ejector, but overall, I think the mechanics of our sorter were so interesting and provided a great educational experience. Seeing how the design works will certainly provide a basis to take it a step further and create a Rube Goldberg-inspired machine. This was another innovative and creative learning experience for $29.95 + free shipping!
To Wrap Up:
Can you still get this box if you sign up today? It is possible you might get this crate, but it is not a guarantee. From KiwiCo:
Crates are assigned each month based on availability and your crate history - not all subscribers receive the same theme each month.
Check out all of our KiwiCo reviews and the best boxes for teens!
Keep Track of Your Subscriptions: Add this box to your subscription list or wishlist!
What do you think of Eureka Crate?
Please do not enter your email address in the Name field or in the comment content. Your email address will not be published. Required fields are marked *. Remember to post with kindness and respect. Comments with offensive language, cruelness to others, etc will not be approved. See our full comment policy here.