

Atlas Crate is a subscription box for kids from parent company KiwiCo. This box is designed to spark the curiosity and sense of adventure in children ages 6-11 and help them become citizens of the world. Each month they will deliver materials and instructions to provide hands-on experiences to help them develop their sense of cultural awareness.
KiwiCo offers boxes for different age groups:
- Tadpole Crate for 0-36-month-olds,
- Koala Crate for 3-4-year-olds,
- Kiwi Crate for 5-8-year-olds,
- Atlas Crate for 6-11-year-olds,
- Doodle Crate and Tinker Crate for 9-16+-year-olds,
- Eureka Crate for ages 14 and up.
There really is something for every age with this company!
This review is of the $19.95 a month Atlas Crate box, for 6-11-year-olds.
This box was sent to us at no cost for review. (Check out the review process post to learn more about how we review boxes).
About Atlas Crate
The Subscription Box: Atlas Crate
The Cost: $19.95 per month + free shipping. Save with longer subscriptions.
The Products: Crafts and DIY projects for kids, with supplemental learning kits, booklets, and activities. Crates are filled with materials and inspiration to encourage creativity and curiosity about the world.
Ships to: U.S. for free, Canada for $5.95 per month, worldwide from $6.95-$7.95.
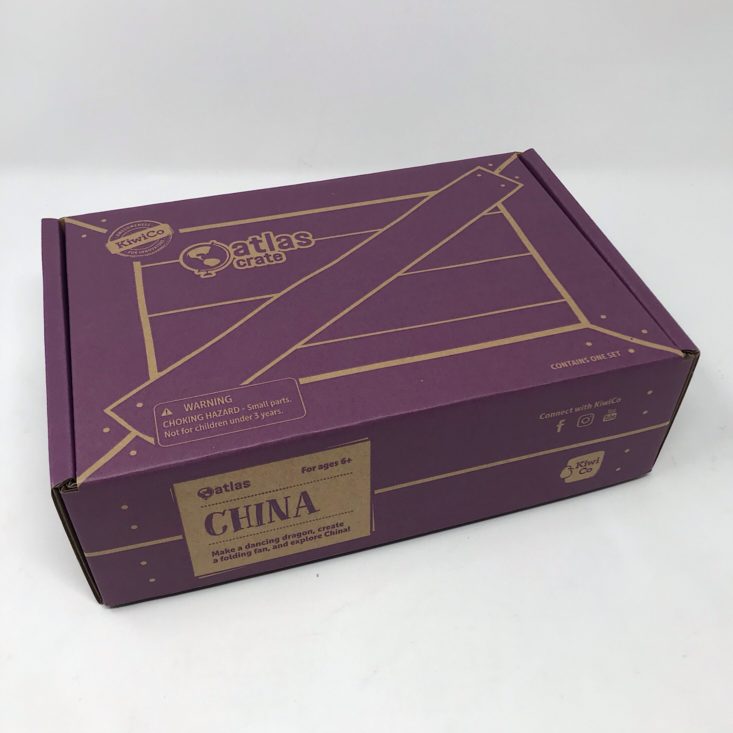
Atlas Crate July 2019 "China" Review


1 of 4
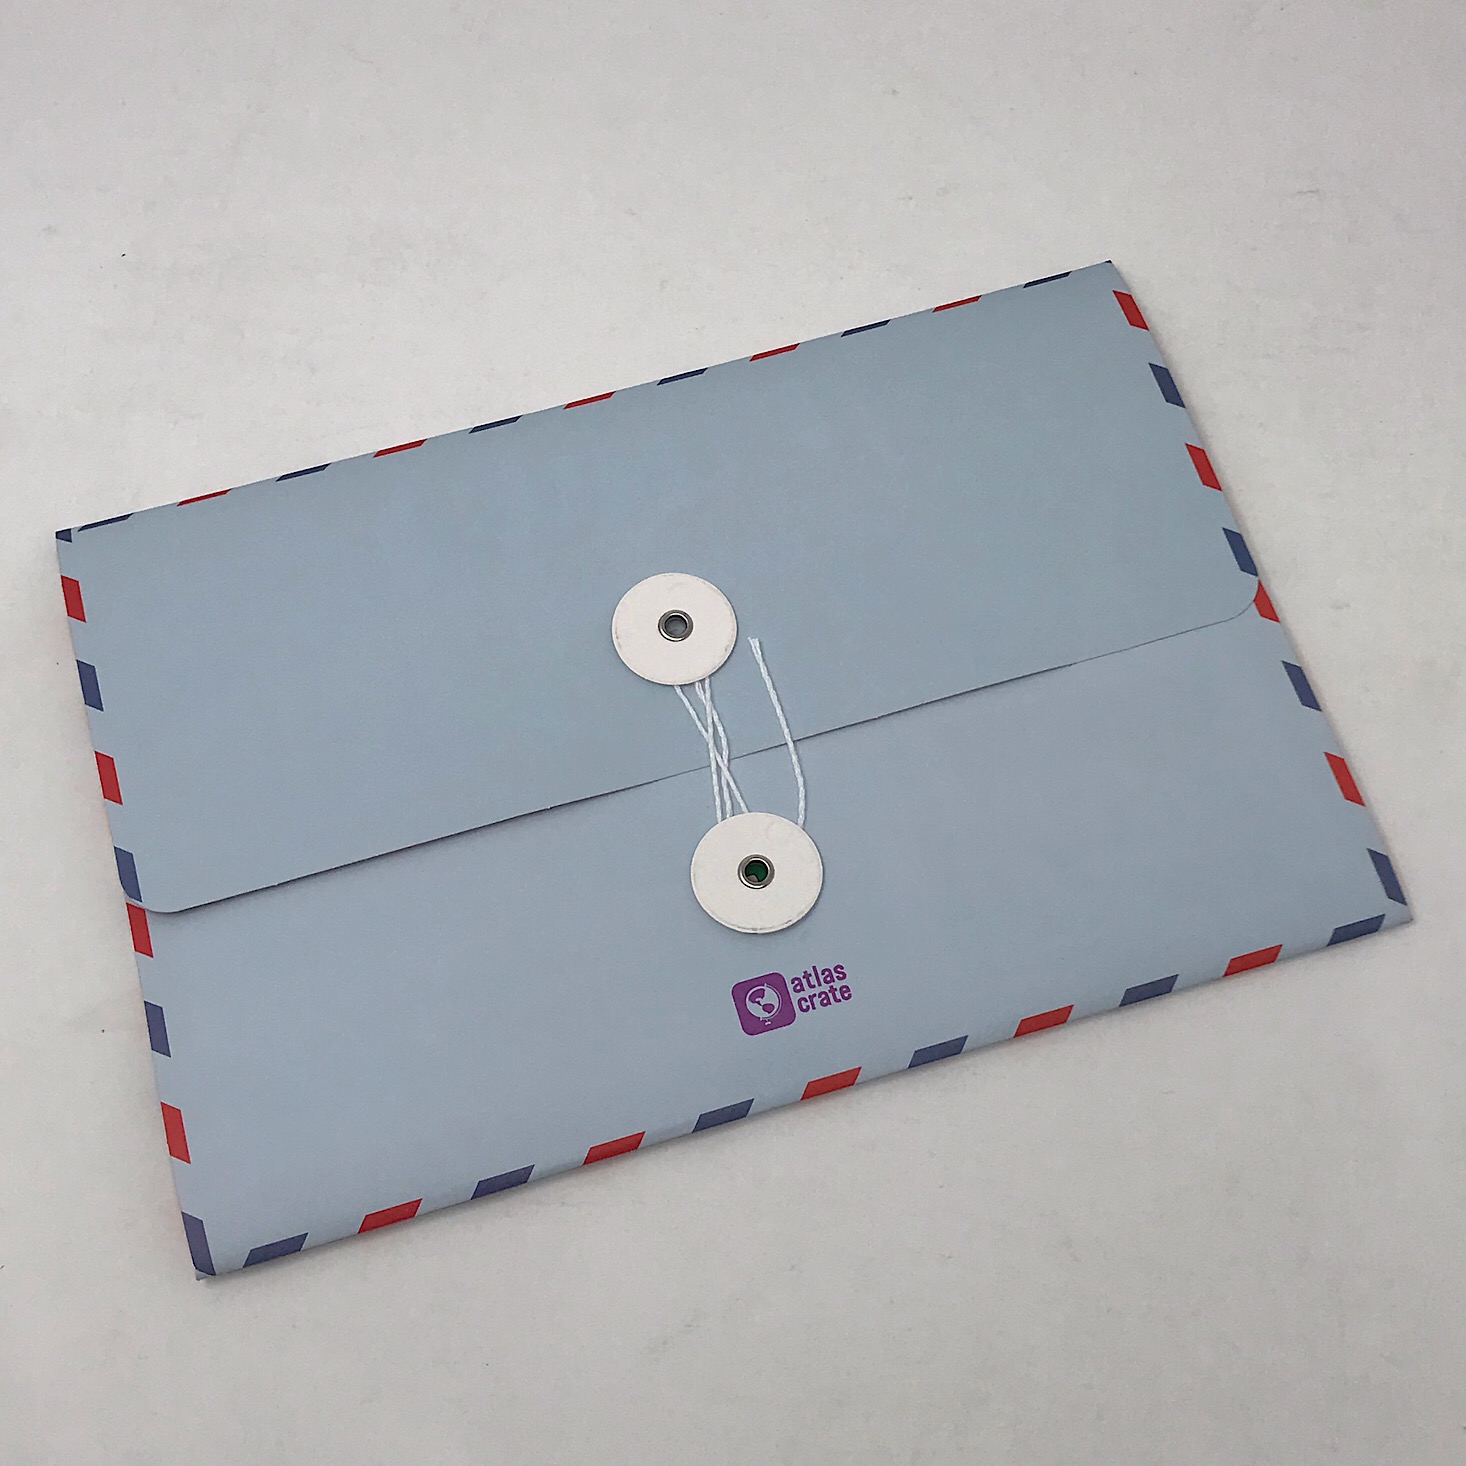

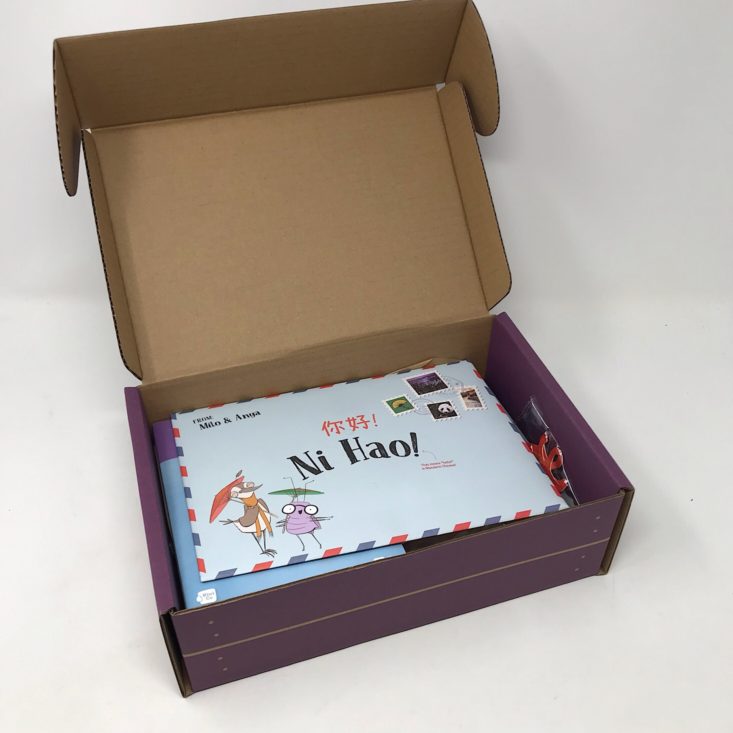
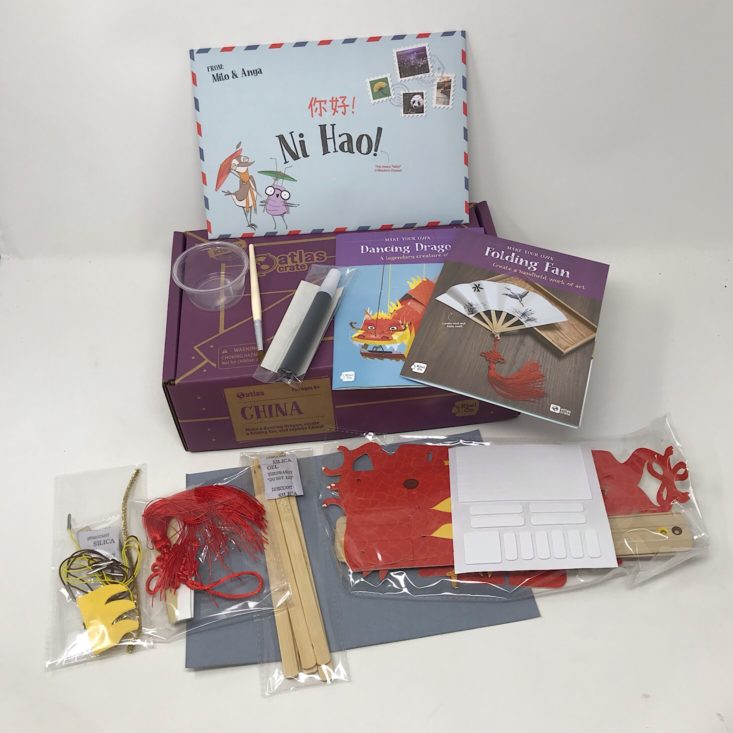
The country we explored this month was China and we received this envelope full of exciting information. I love the greeting in another language and the detail of the string closure on the back, it makes it just a smidge more exciting being able to physically open this! On the bottom of the envelope, there is a list of what is included in our crate and a fun Atlas Quest to complete using our newfound knowledge after exploring this month's country.

1 of 3
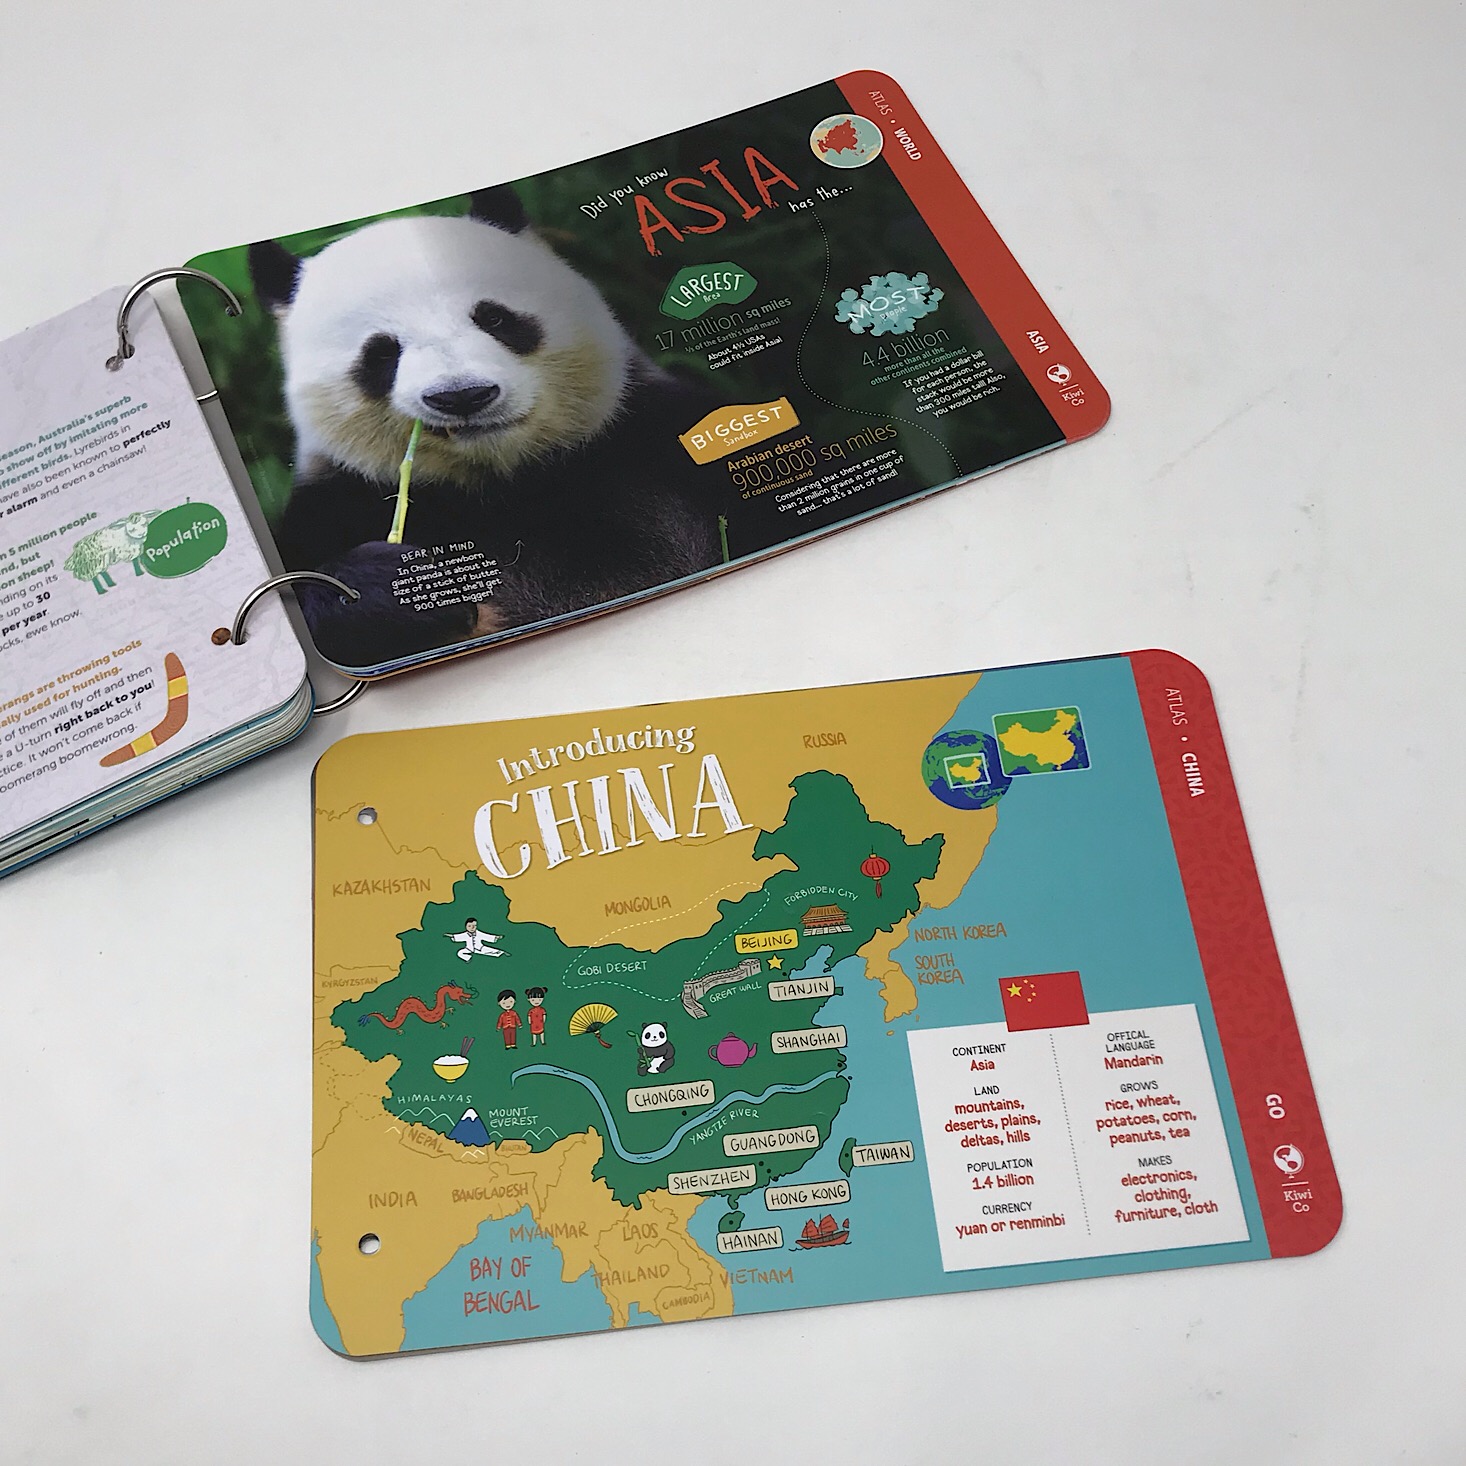
In our first box, which was based on the world, we received an Adventure Book that contained cards for each of the continents. It features rings that open up so that each month we can add our new country's pages behind the correct continent. They also provide a sticker for us to add to it as well which is a fun way to track our travels! Everything in this box is incredibly organized and nicely packaged making it easy to locate it all.


1 of 8

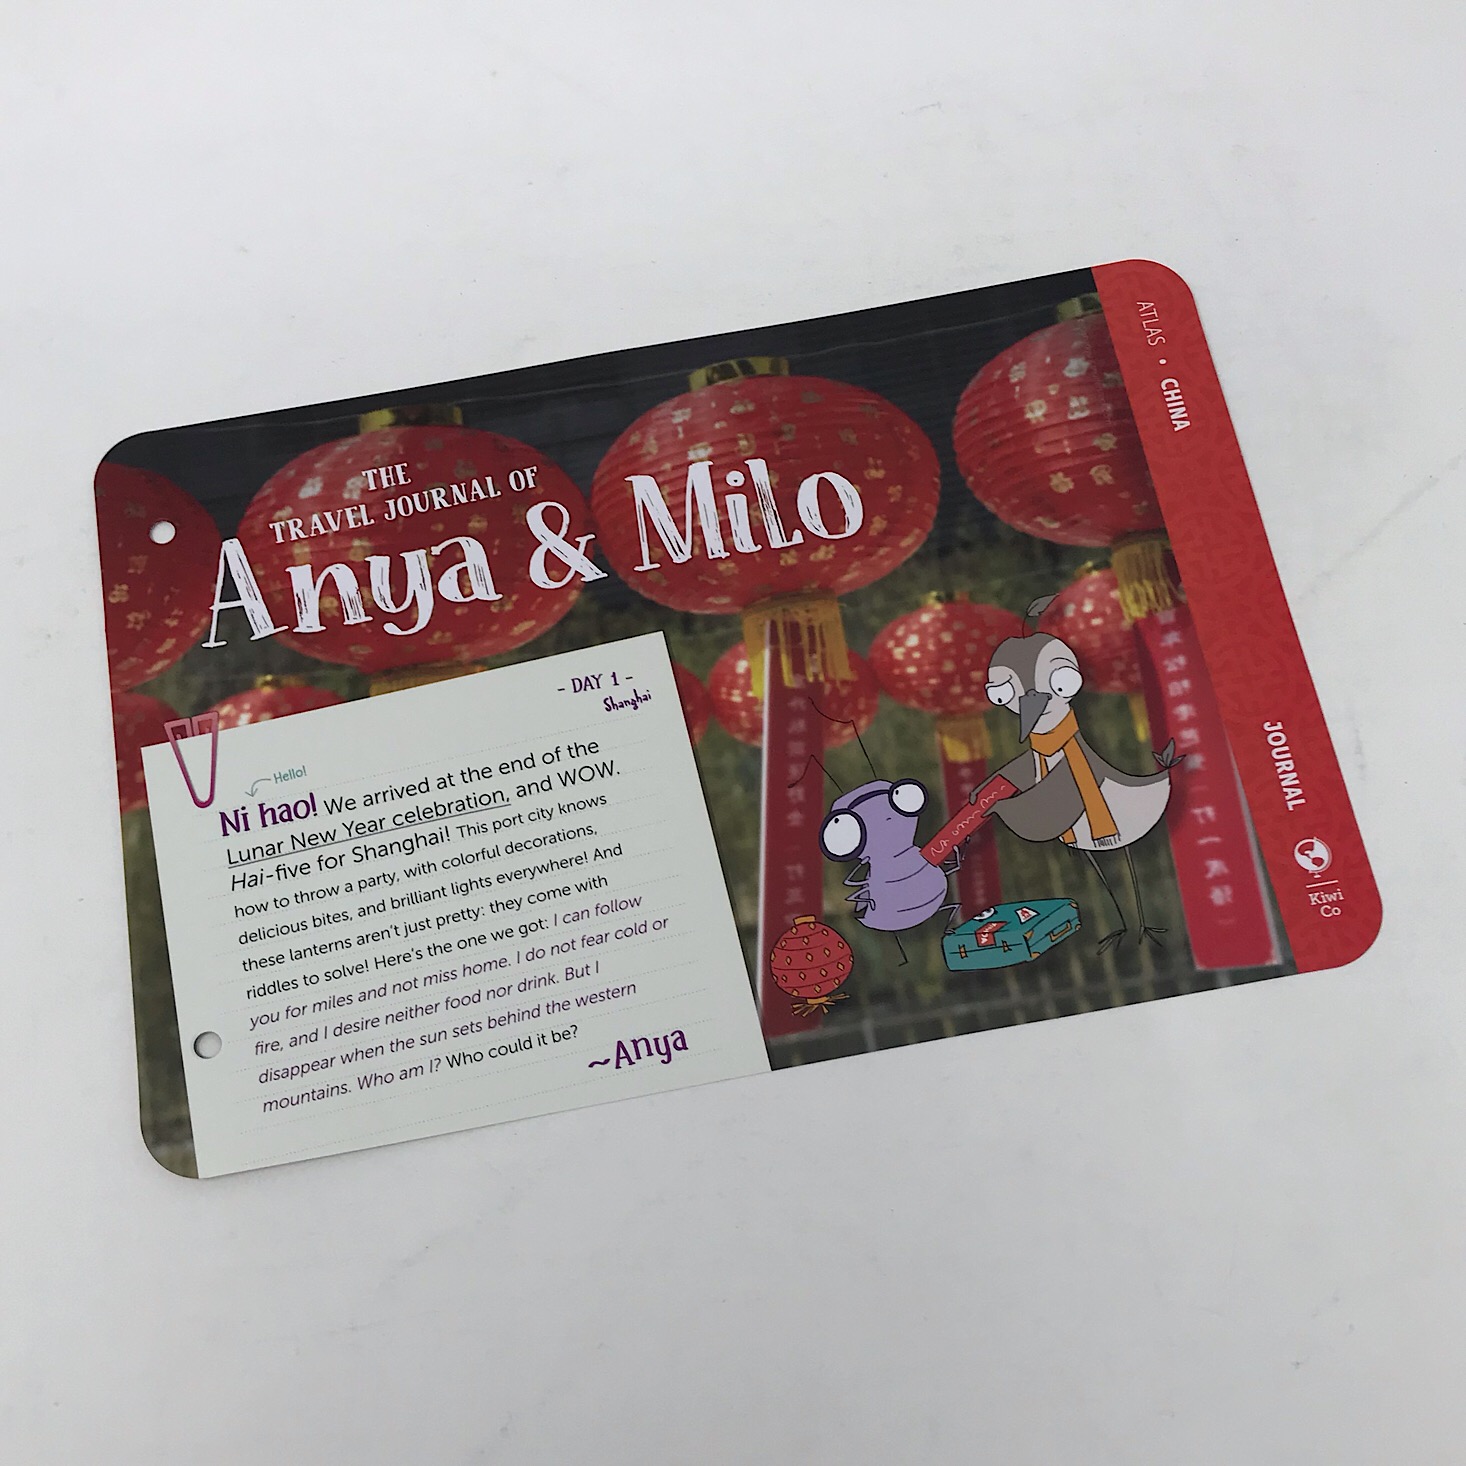
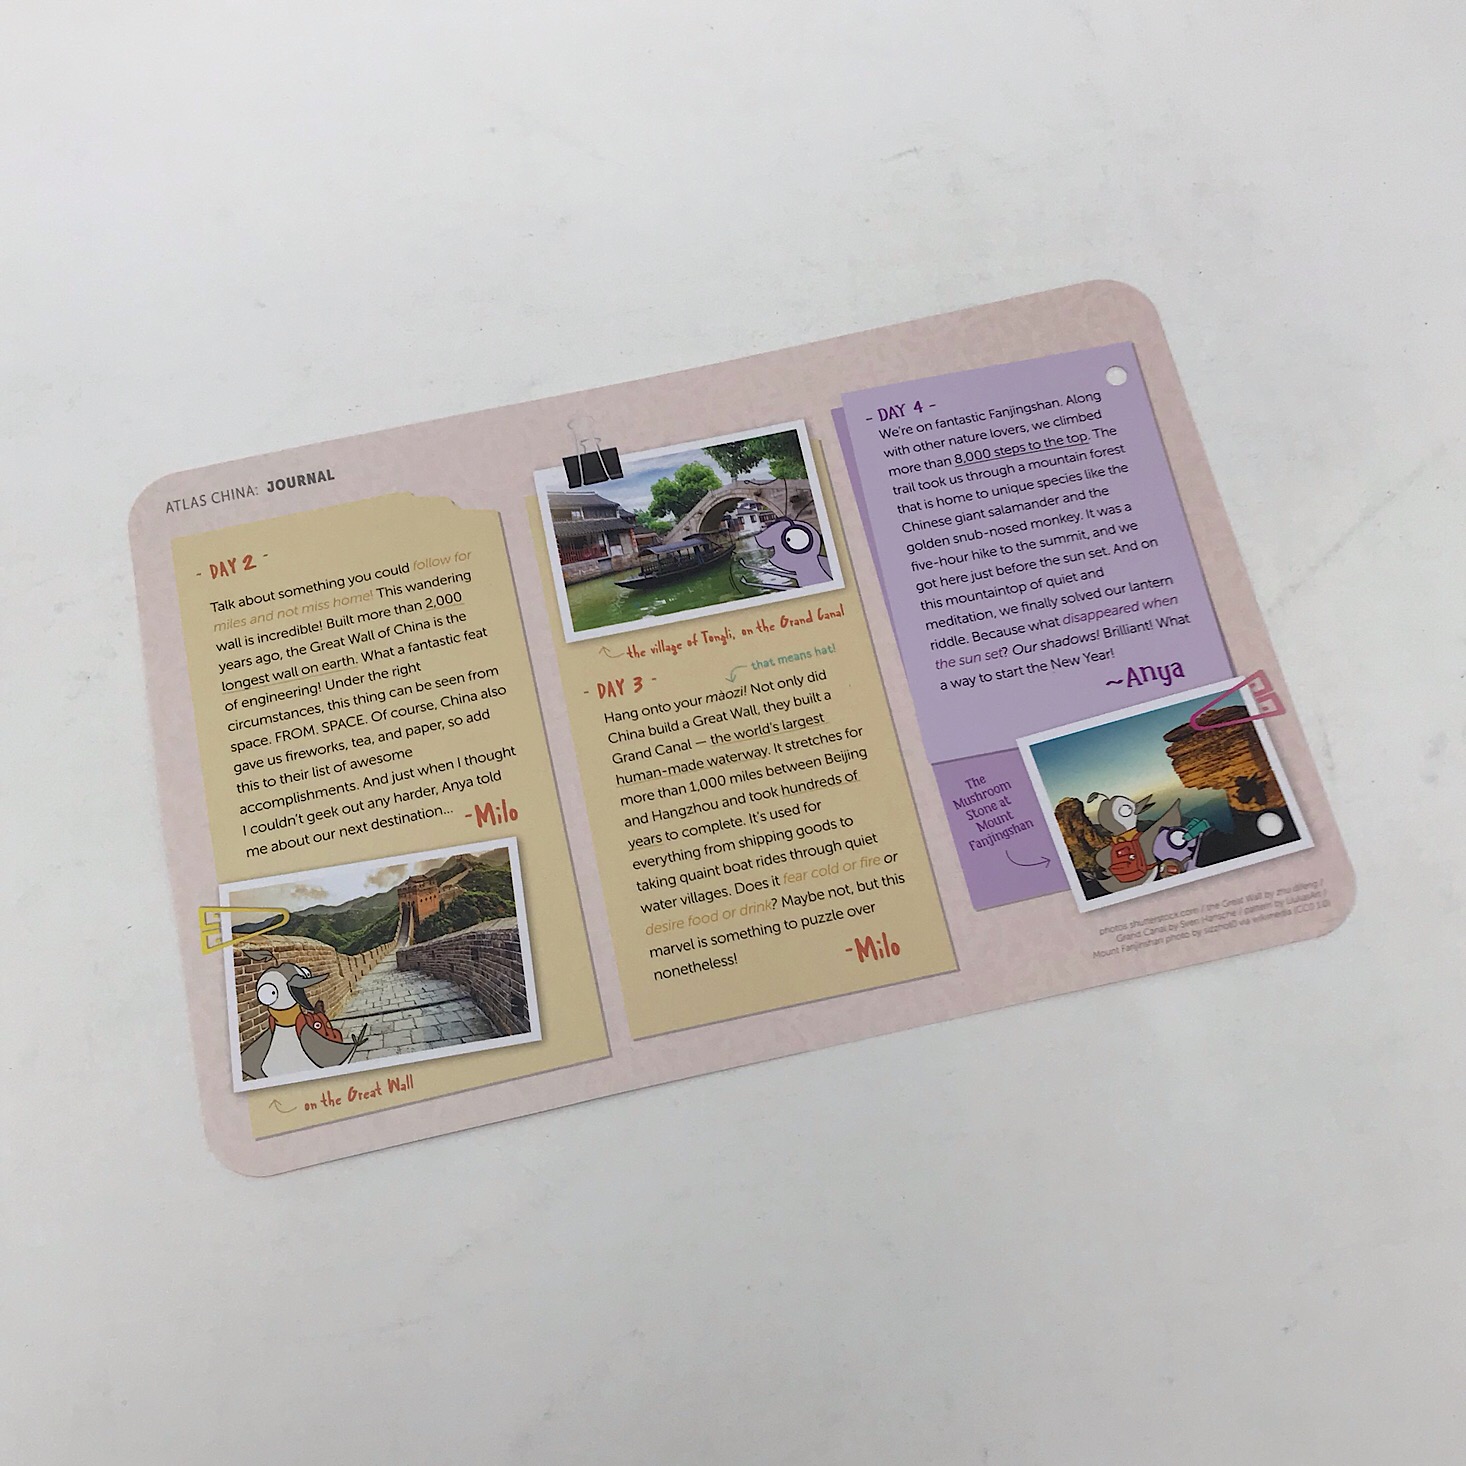
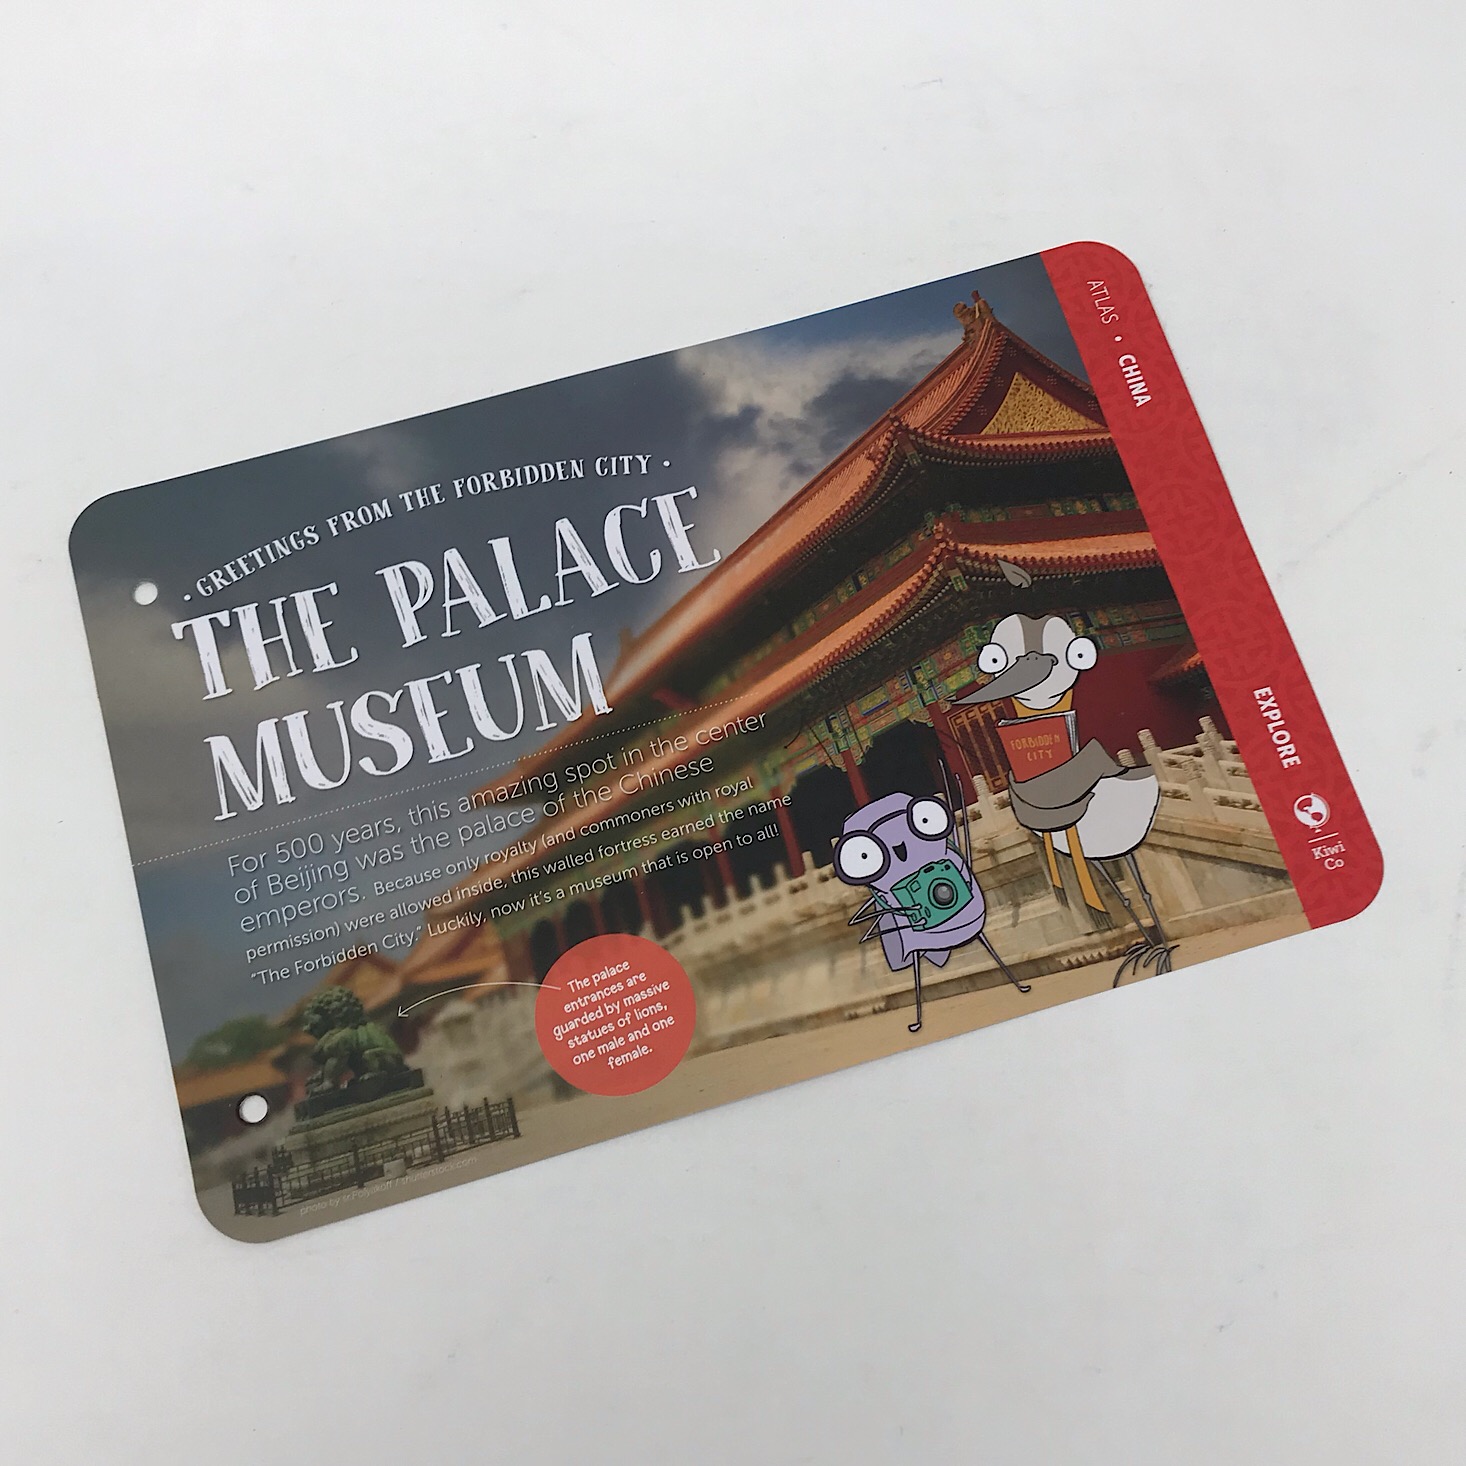
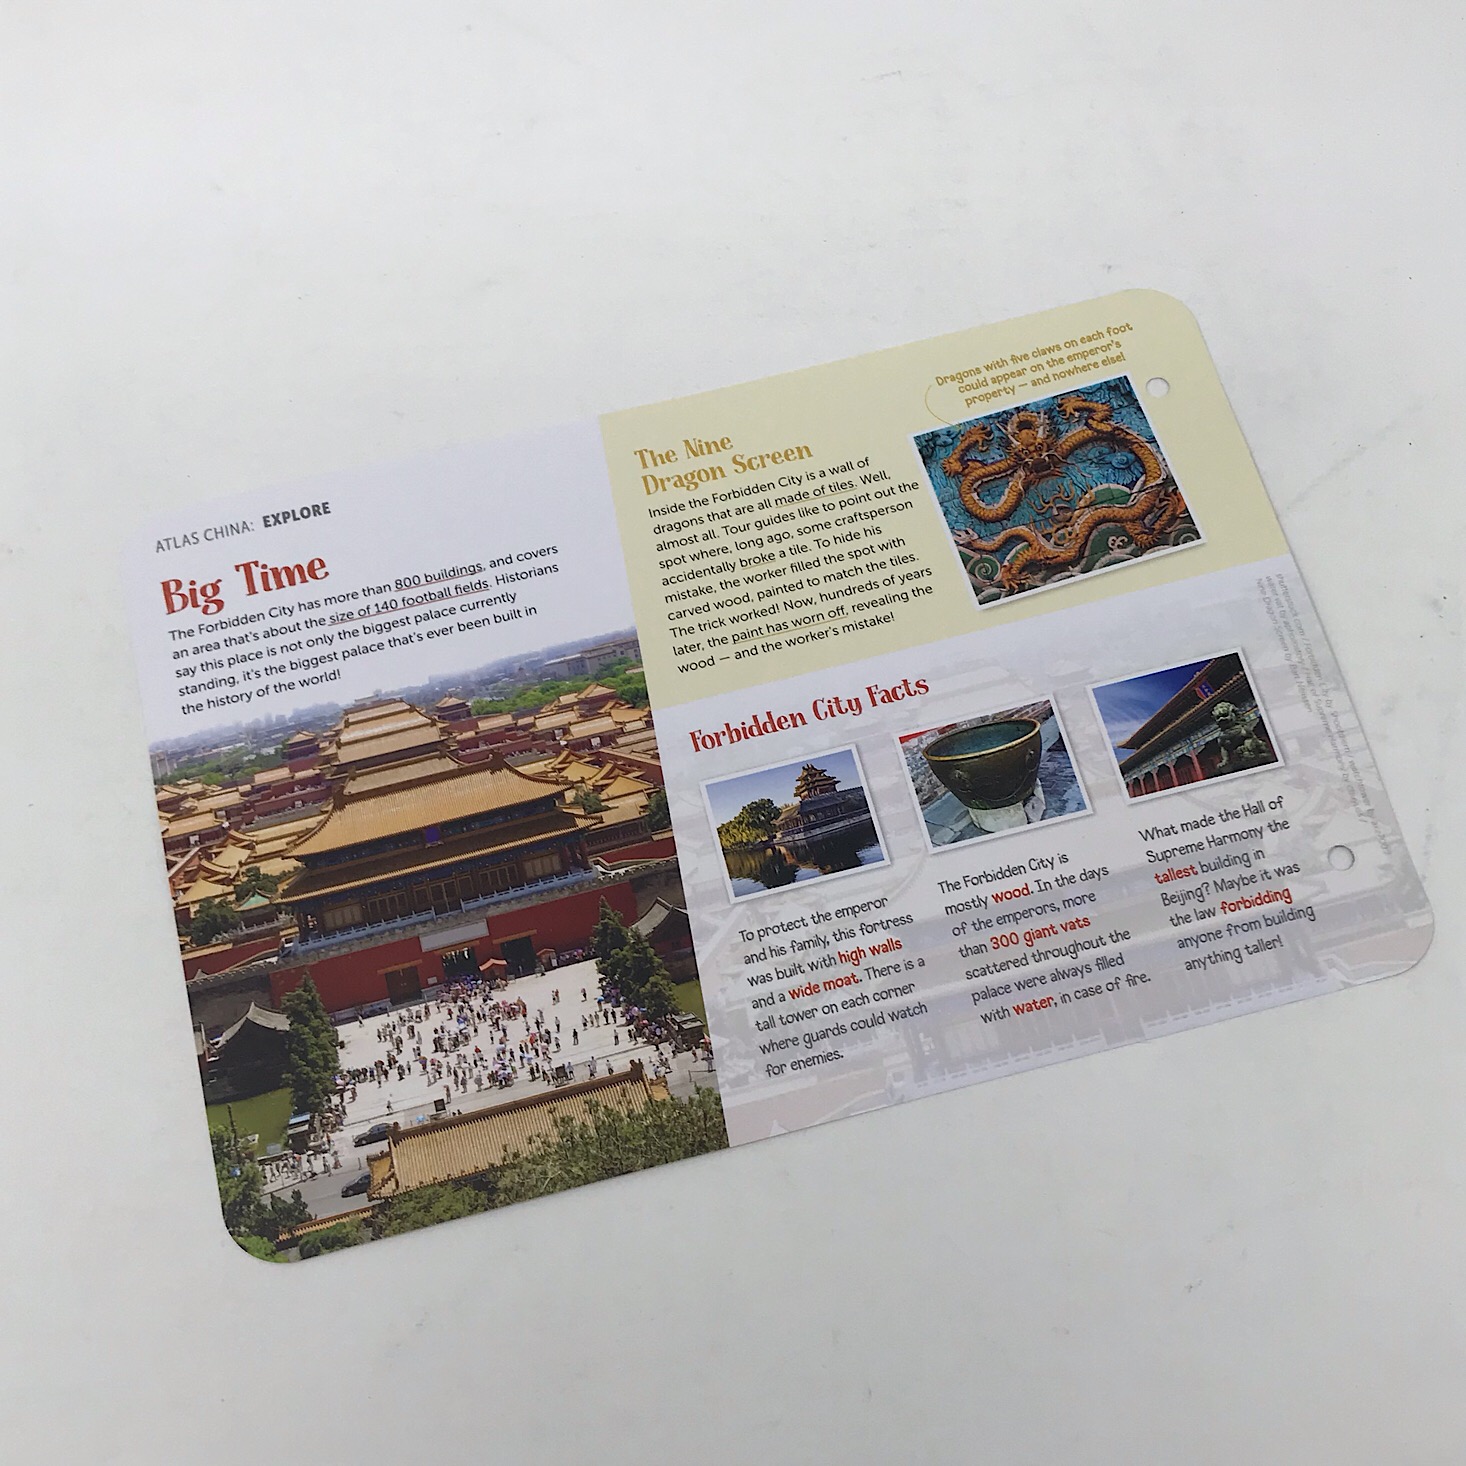
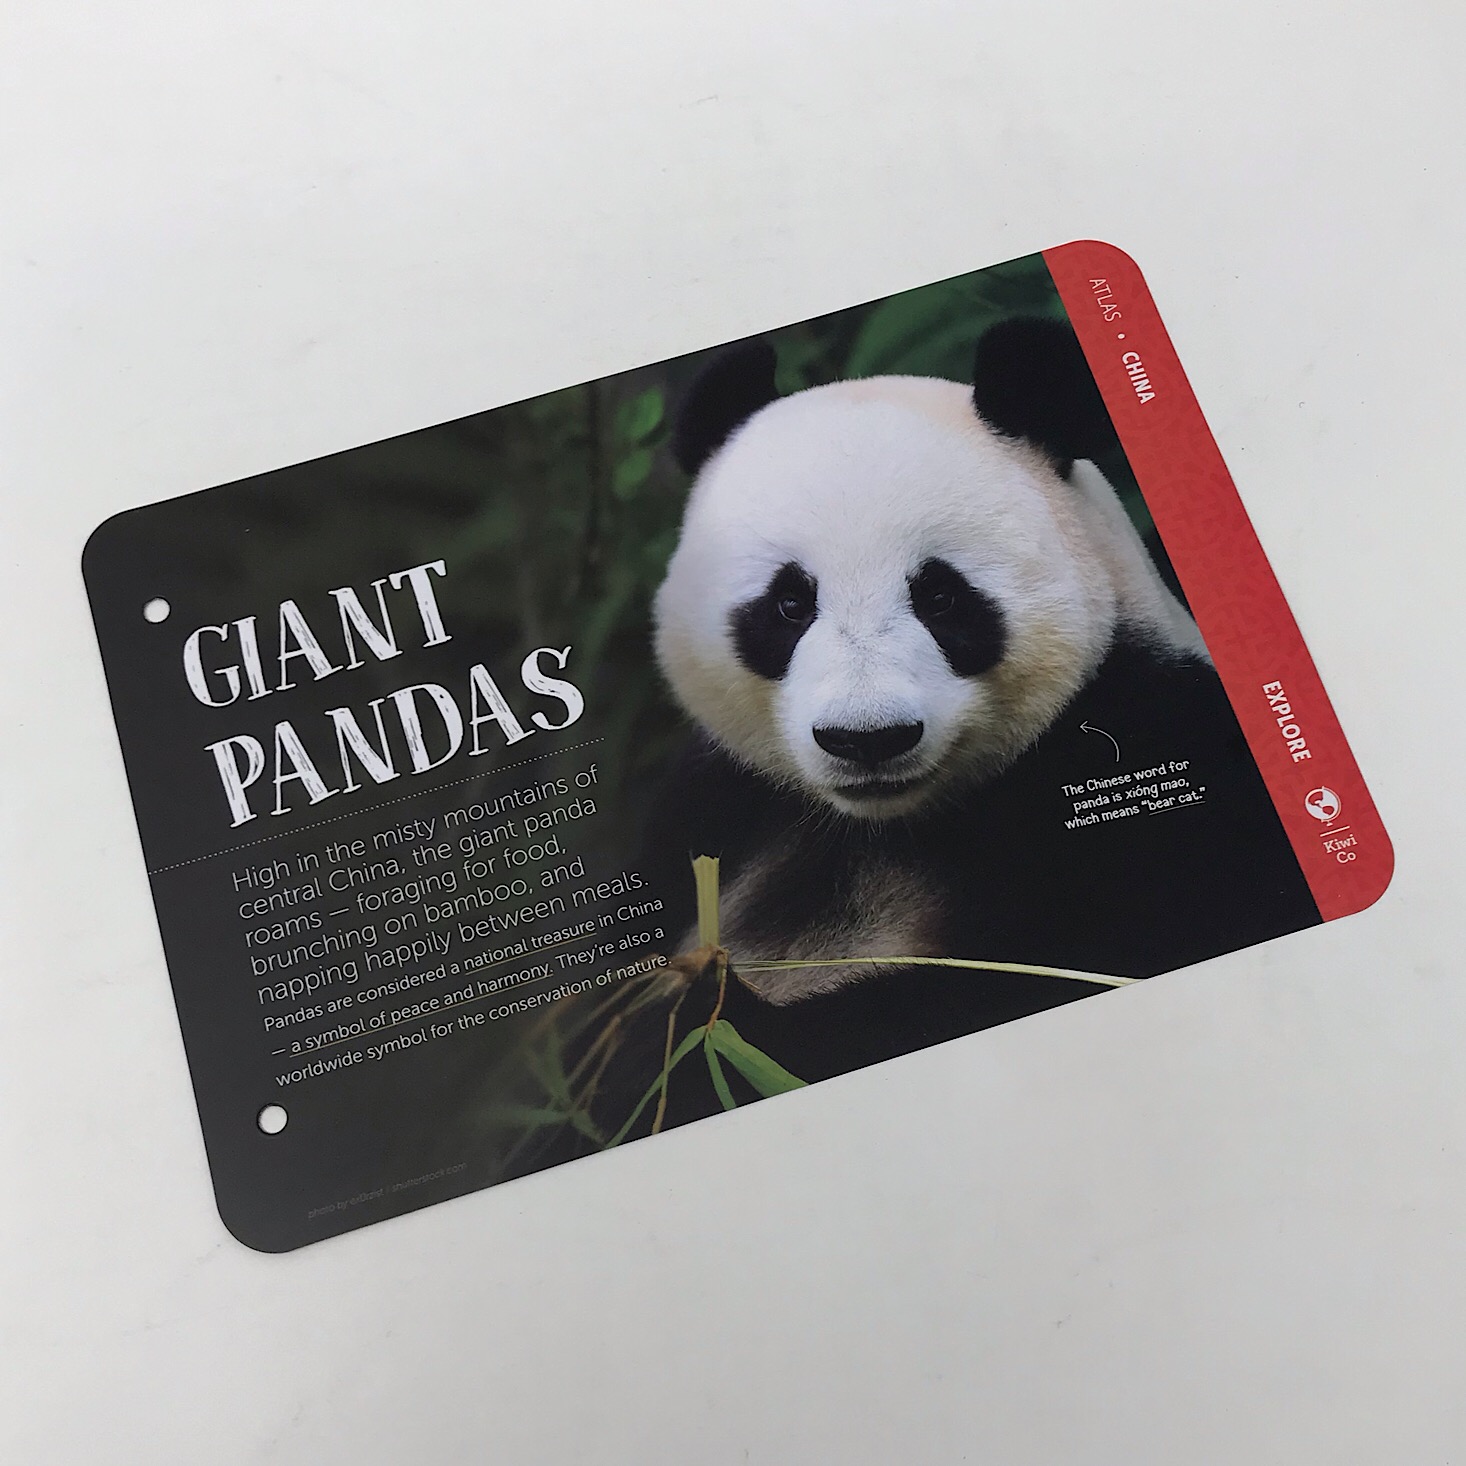
The cards for our adventure book are bright, vibrant, and full of tons of information about China on each side. I always enjoy the fun facts page and this month we also got to learn about the Palace Museum and giant pandas!

1 of 4

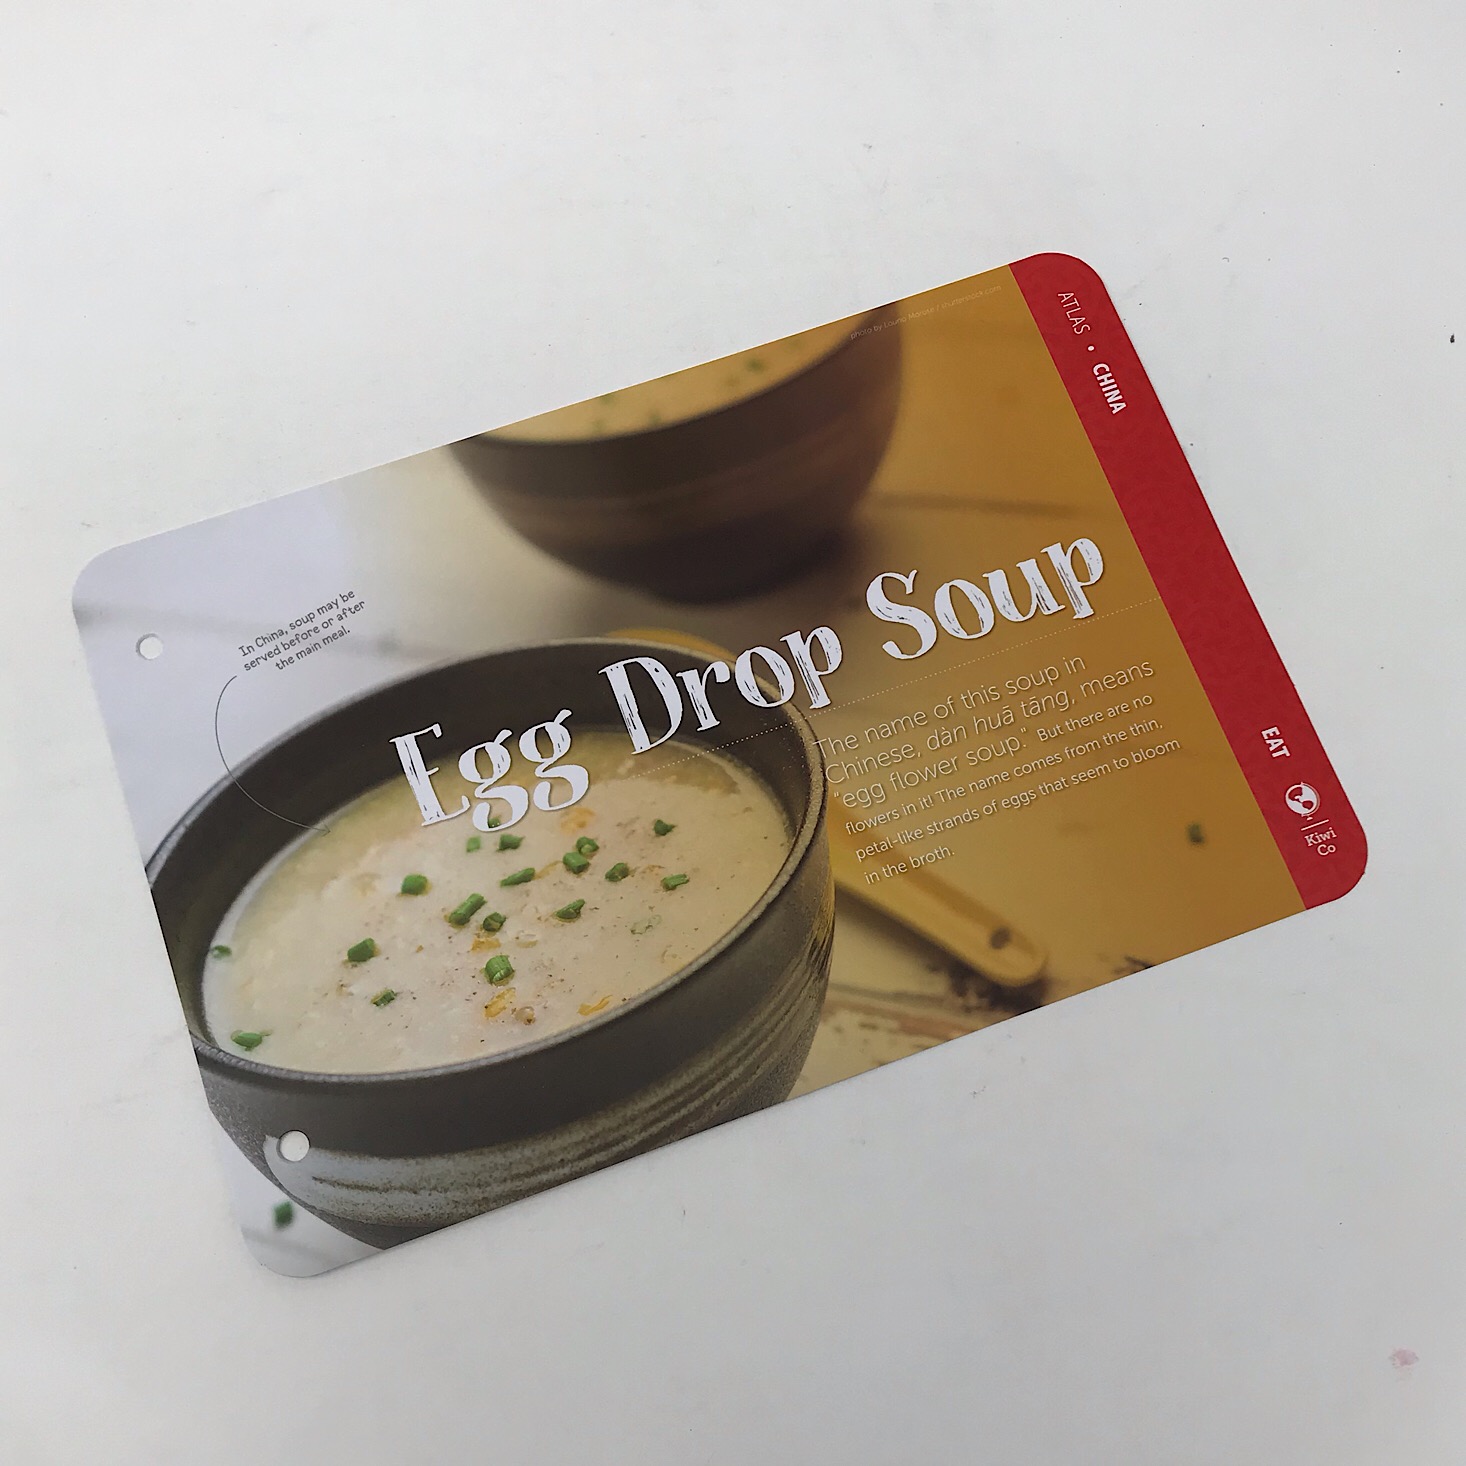
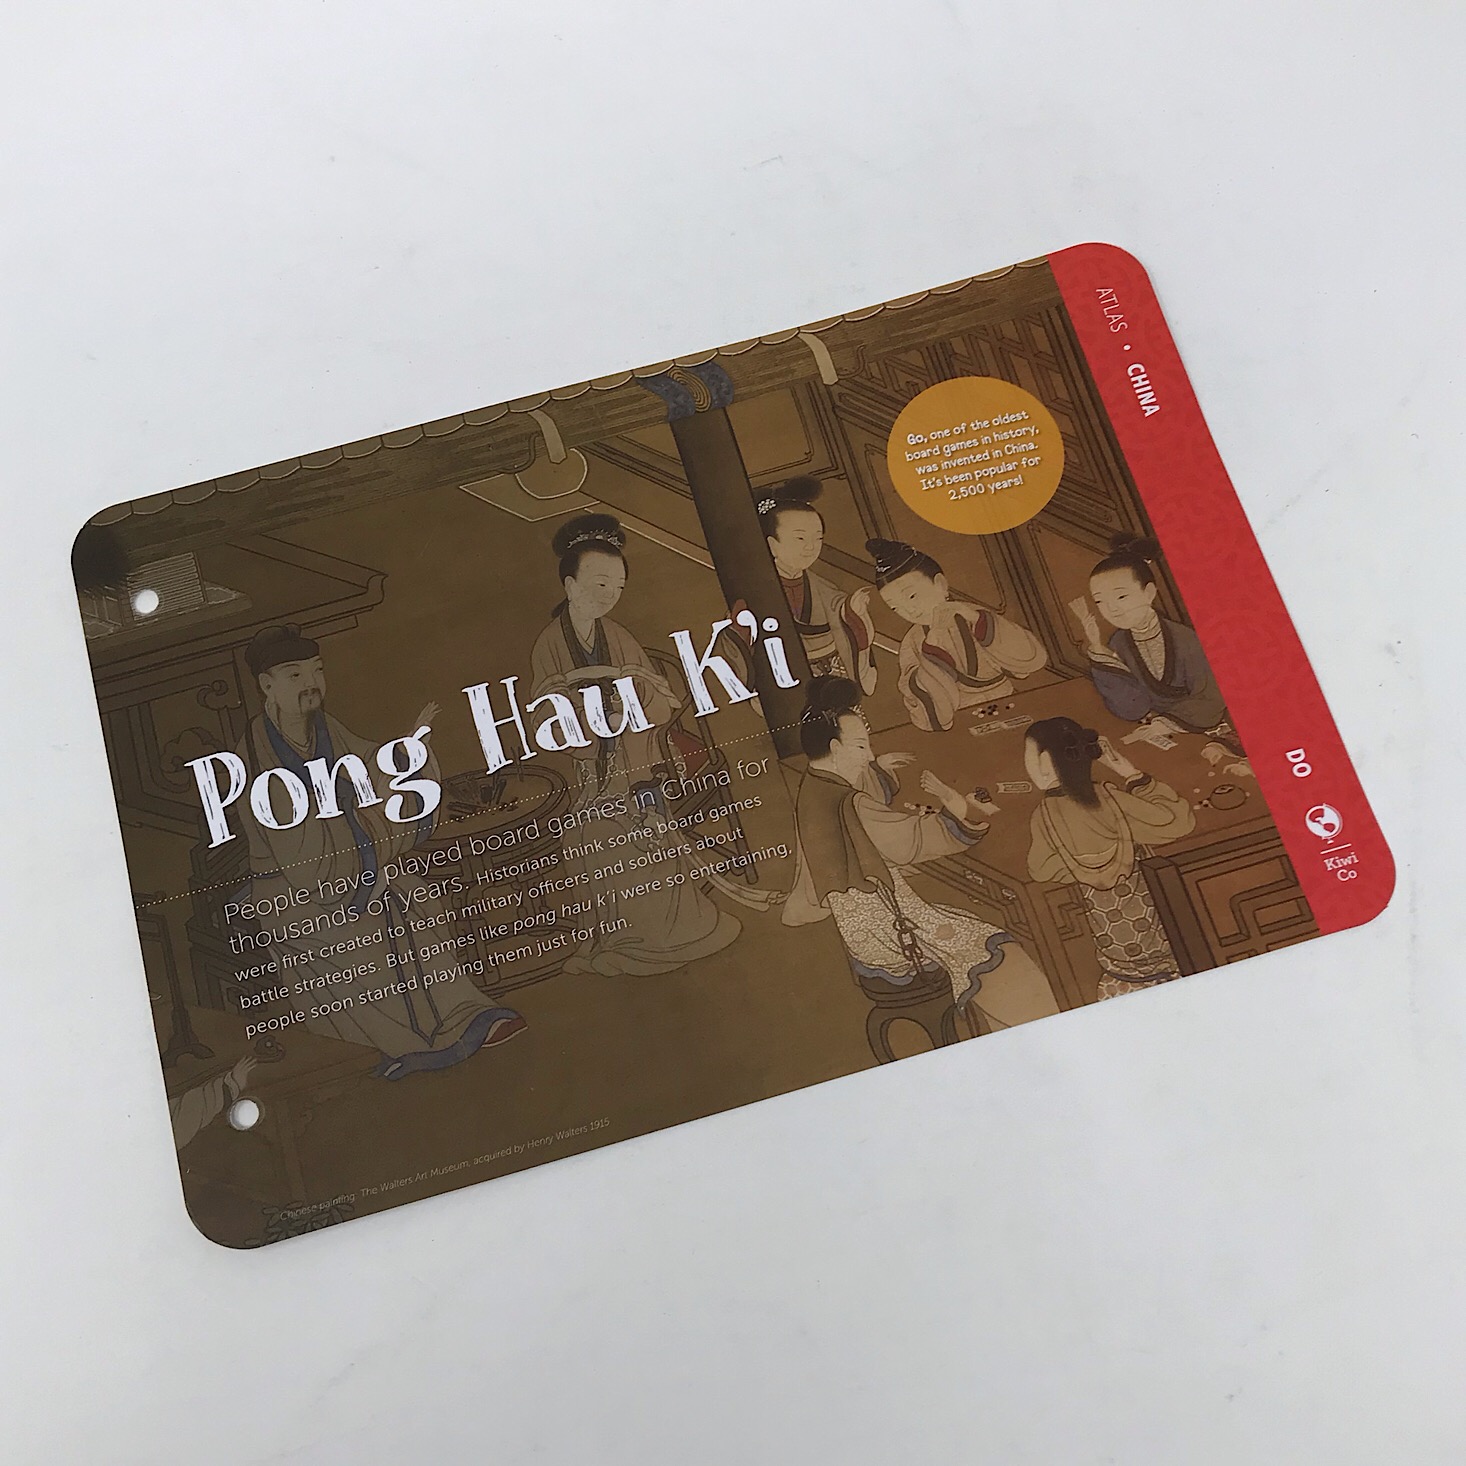
While most of the pages contain information for us to read, there are always a few "do" pages that provide instructions on activities related to the country. This month they provided a recipe for egg drop soup and some directions for how to play a game called Pong Hau K'i which looks fairly simple and only requires paper, pencil and some objects to use as playing pieces. These pages are always fun and I'm looking forward to trying my hand at making my own egg drop soup!
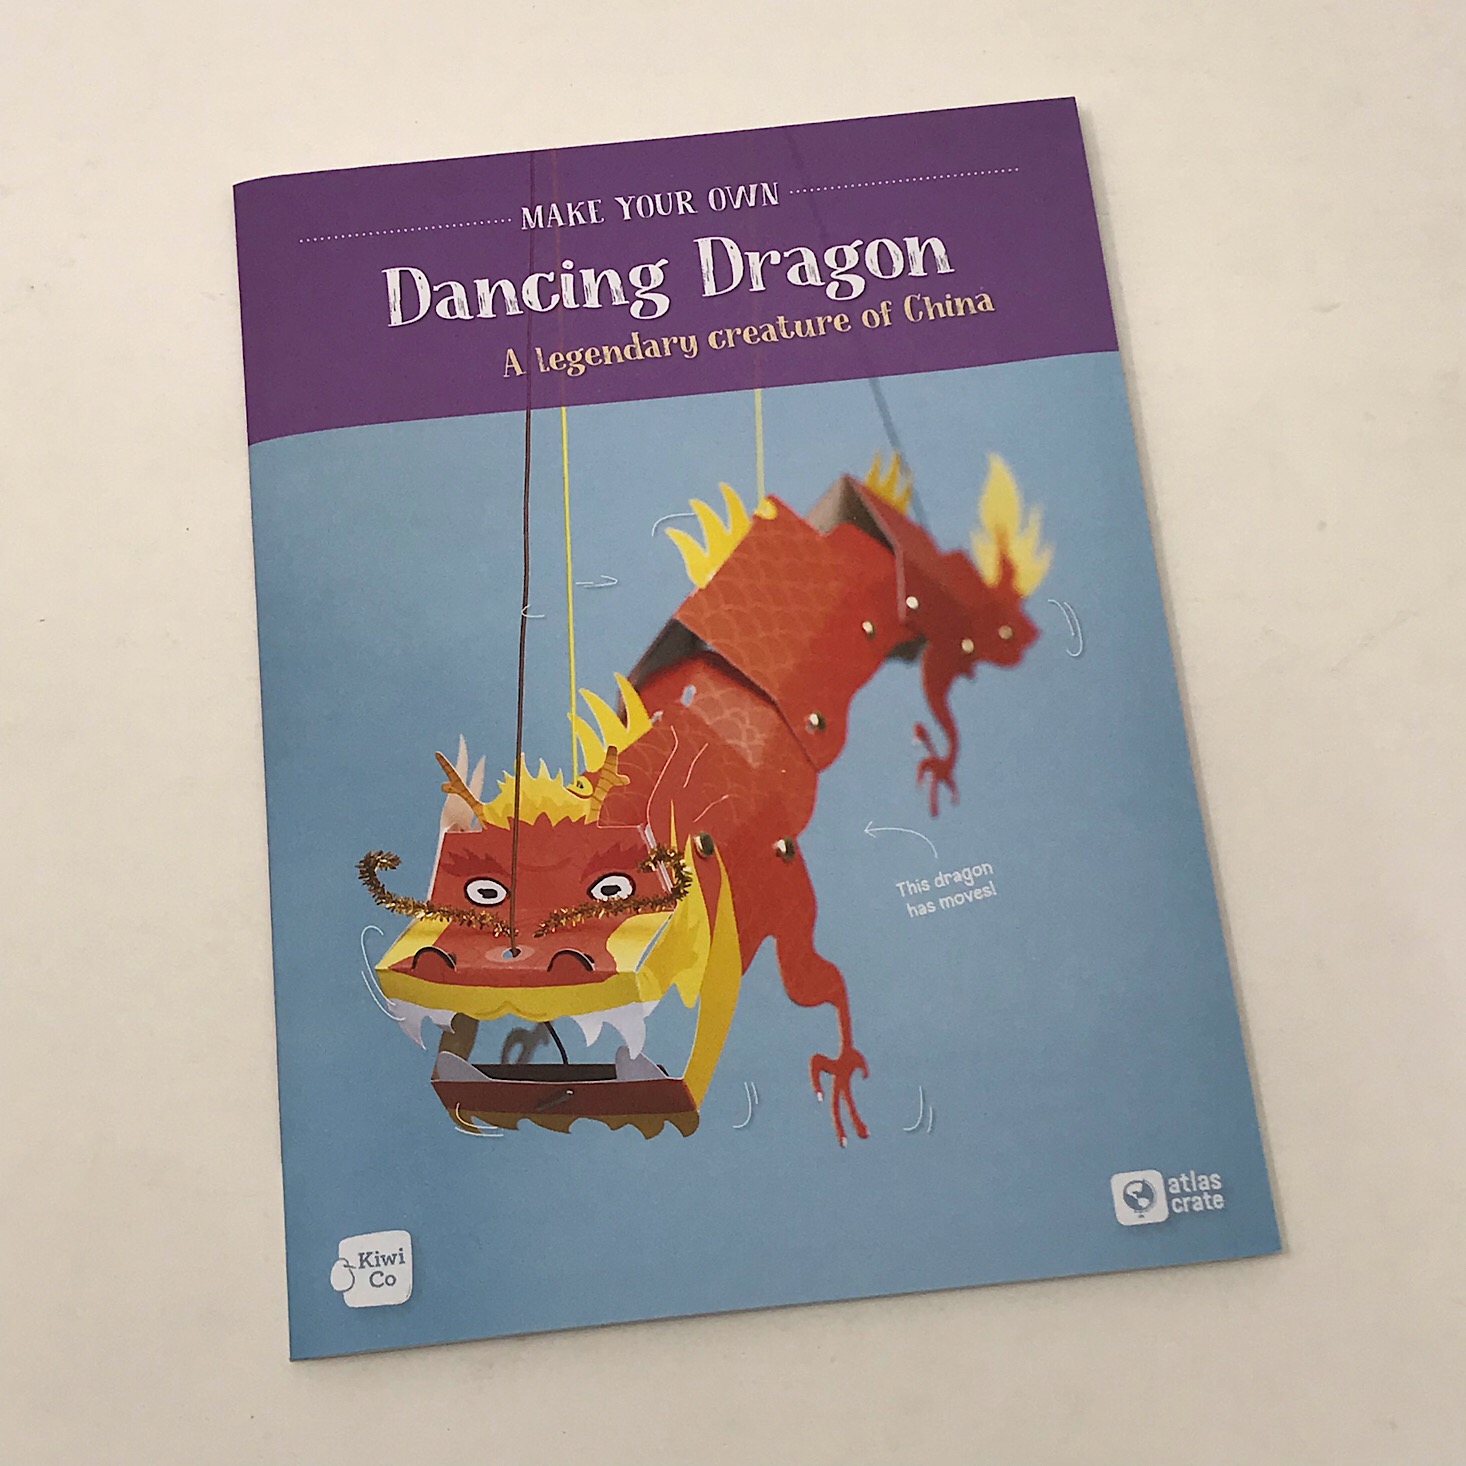
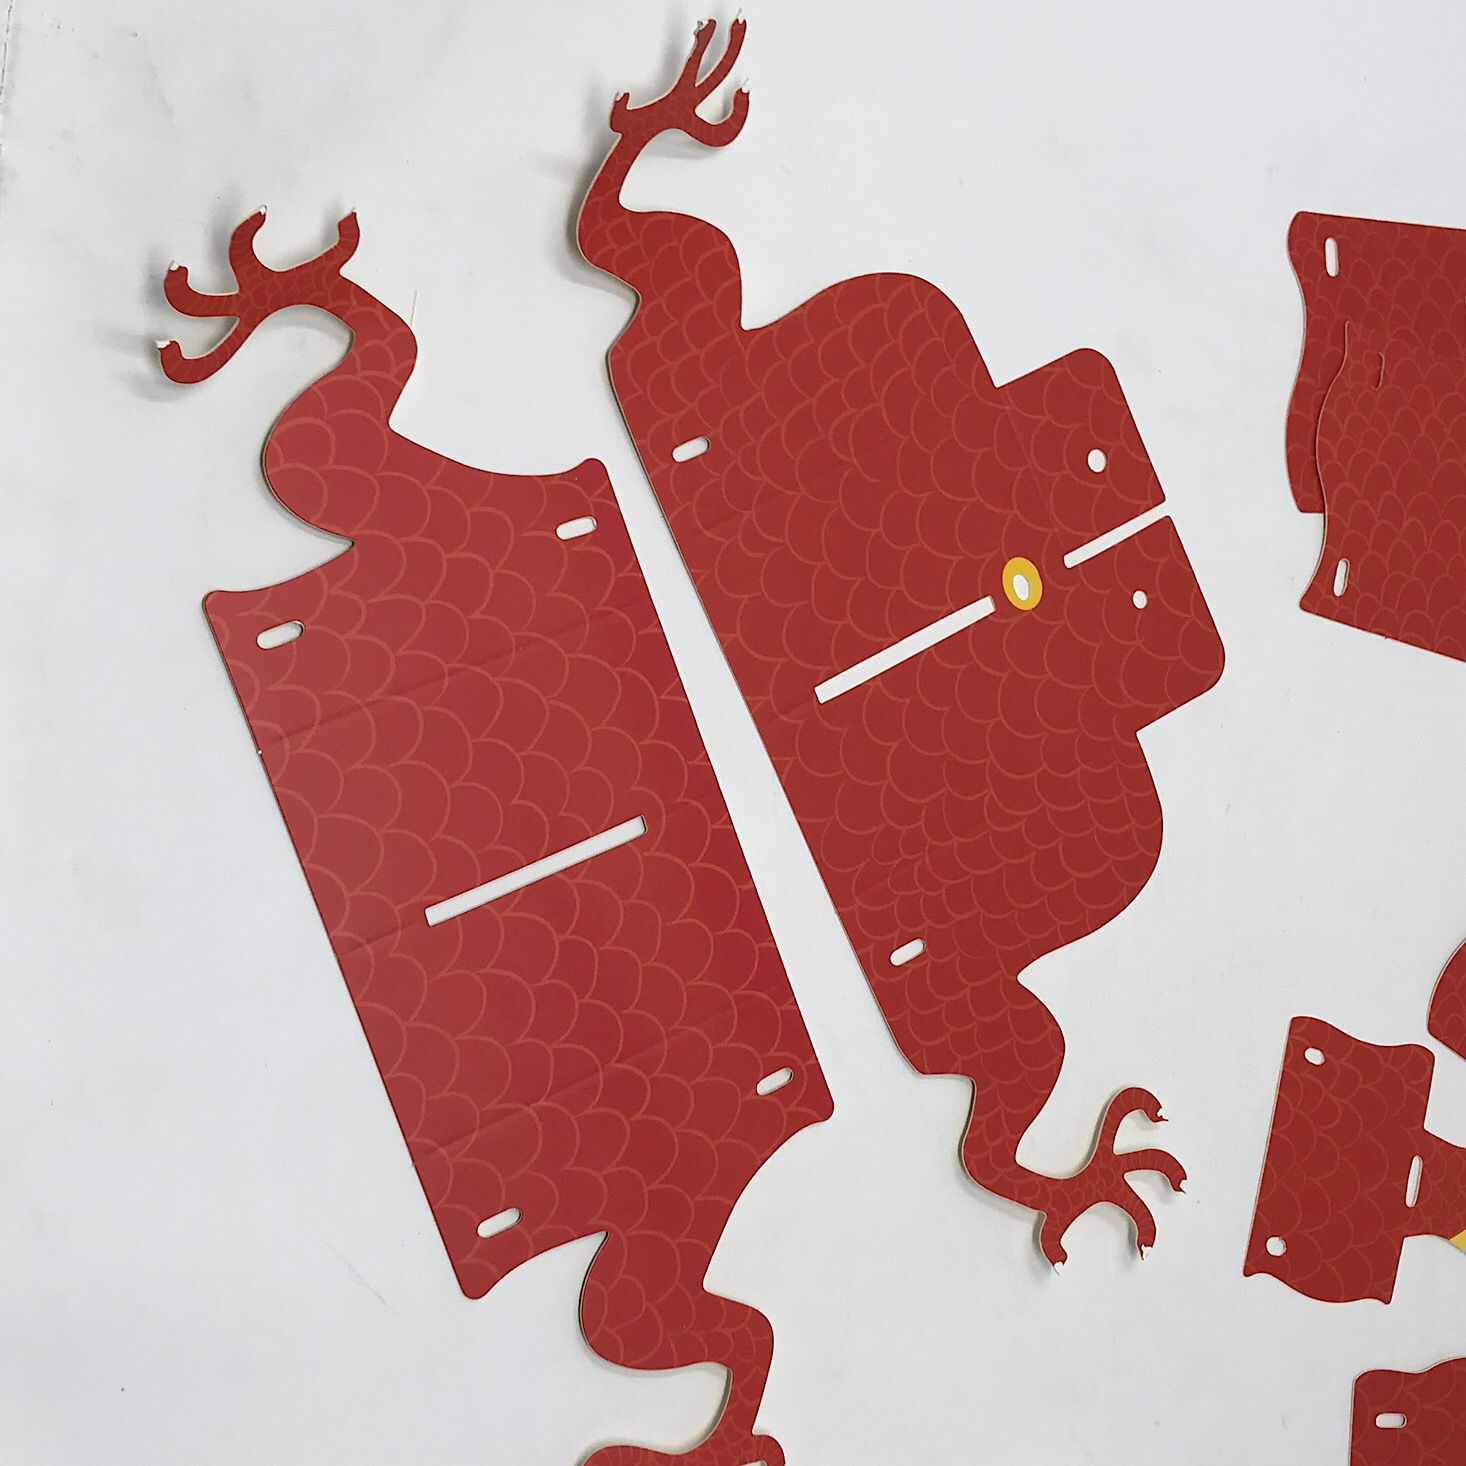
Activity #1: Dancing Dragon
1 of 3
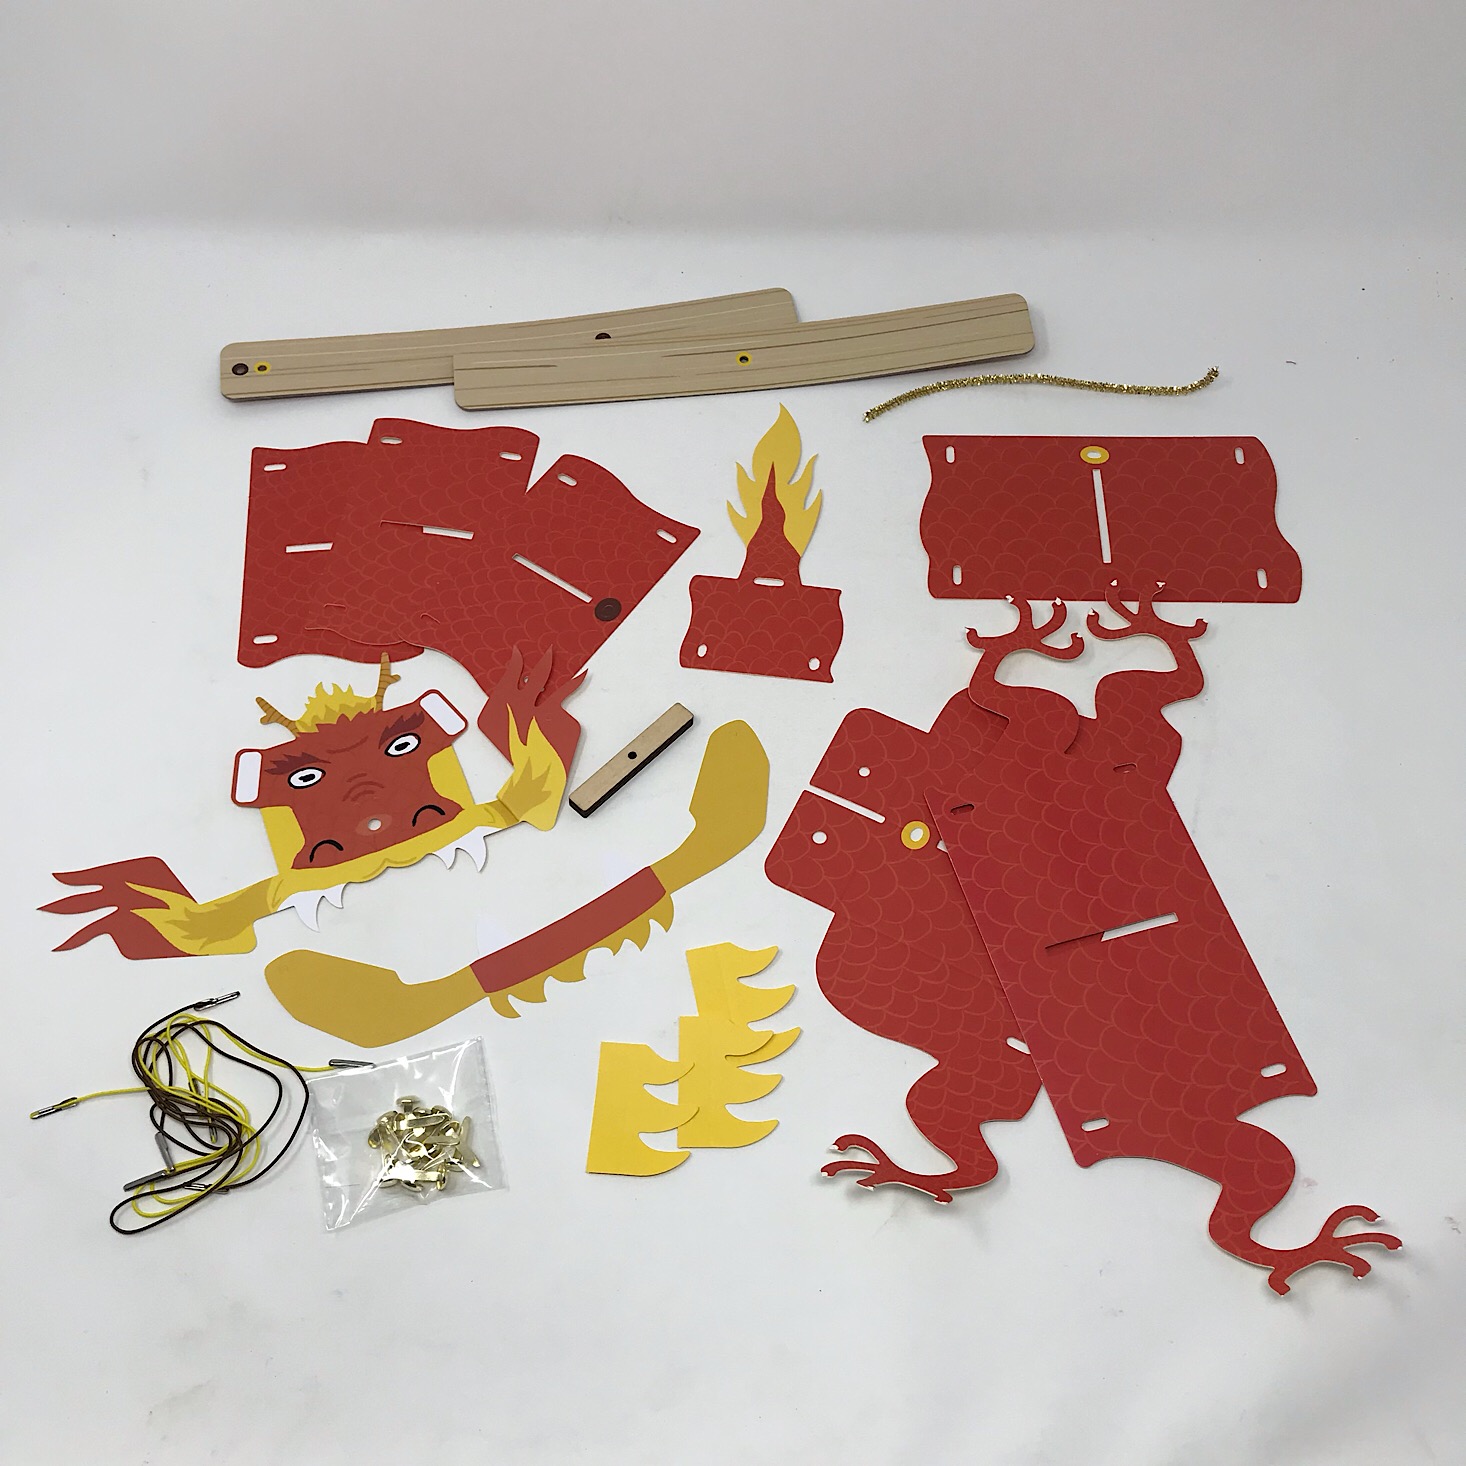
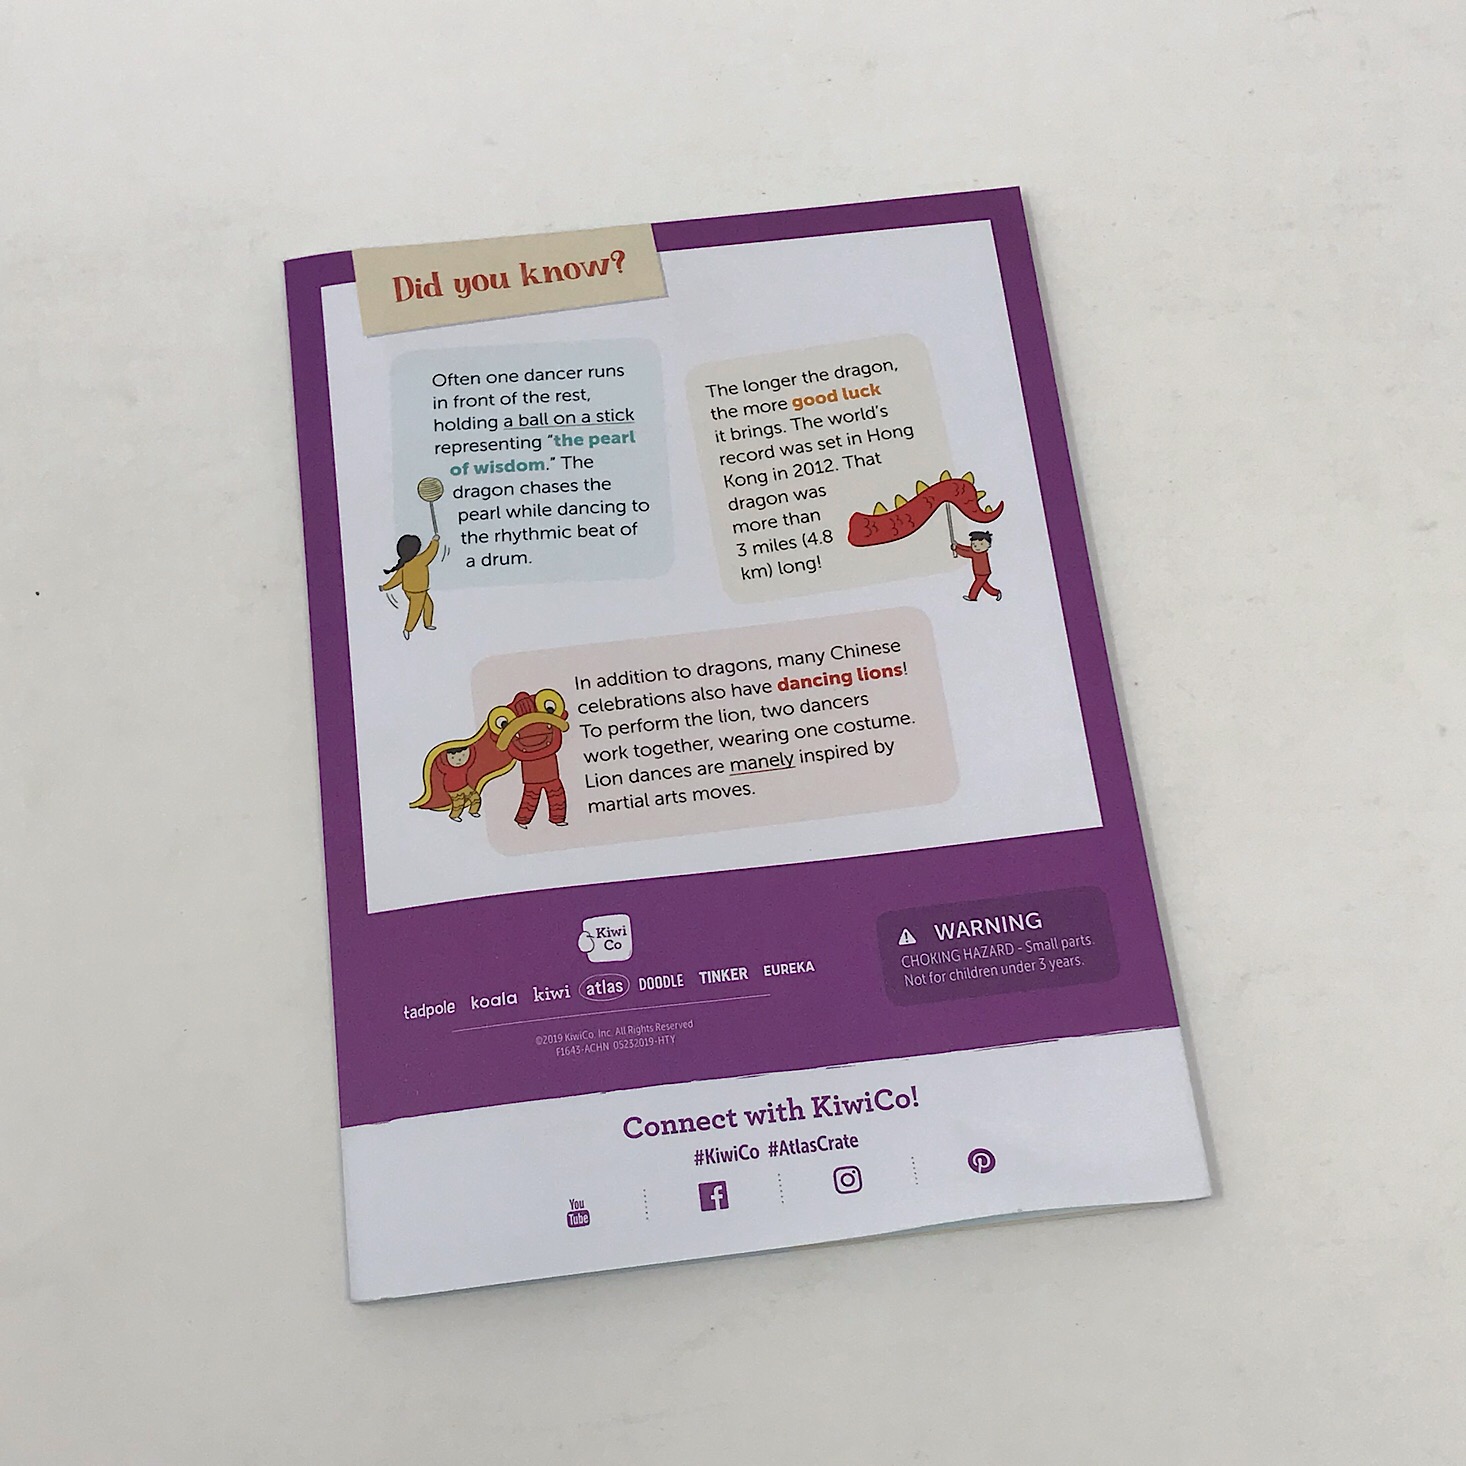
Our first activity was to make a dancing dragon. They provided these nice coated cardboard pieces and a lot of great facts to teach us about the tradition behind this. I thought they did a nice job explaining all of the tradition surrounding these magical creatures. My kids really enjoyed learning about them and we even started looking up some videos on our own of actual dragon dancers which was a great extension of this activity!

1 of 3
The directions were separated into parts and they were so clear, detailed and easy to follow with colorful pictures and diagrams.


1 of 4
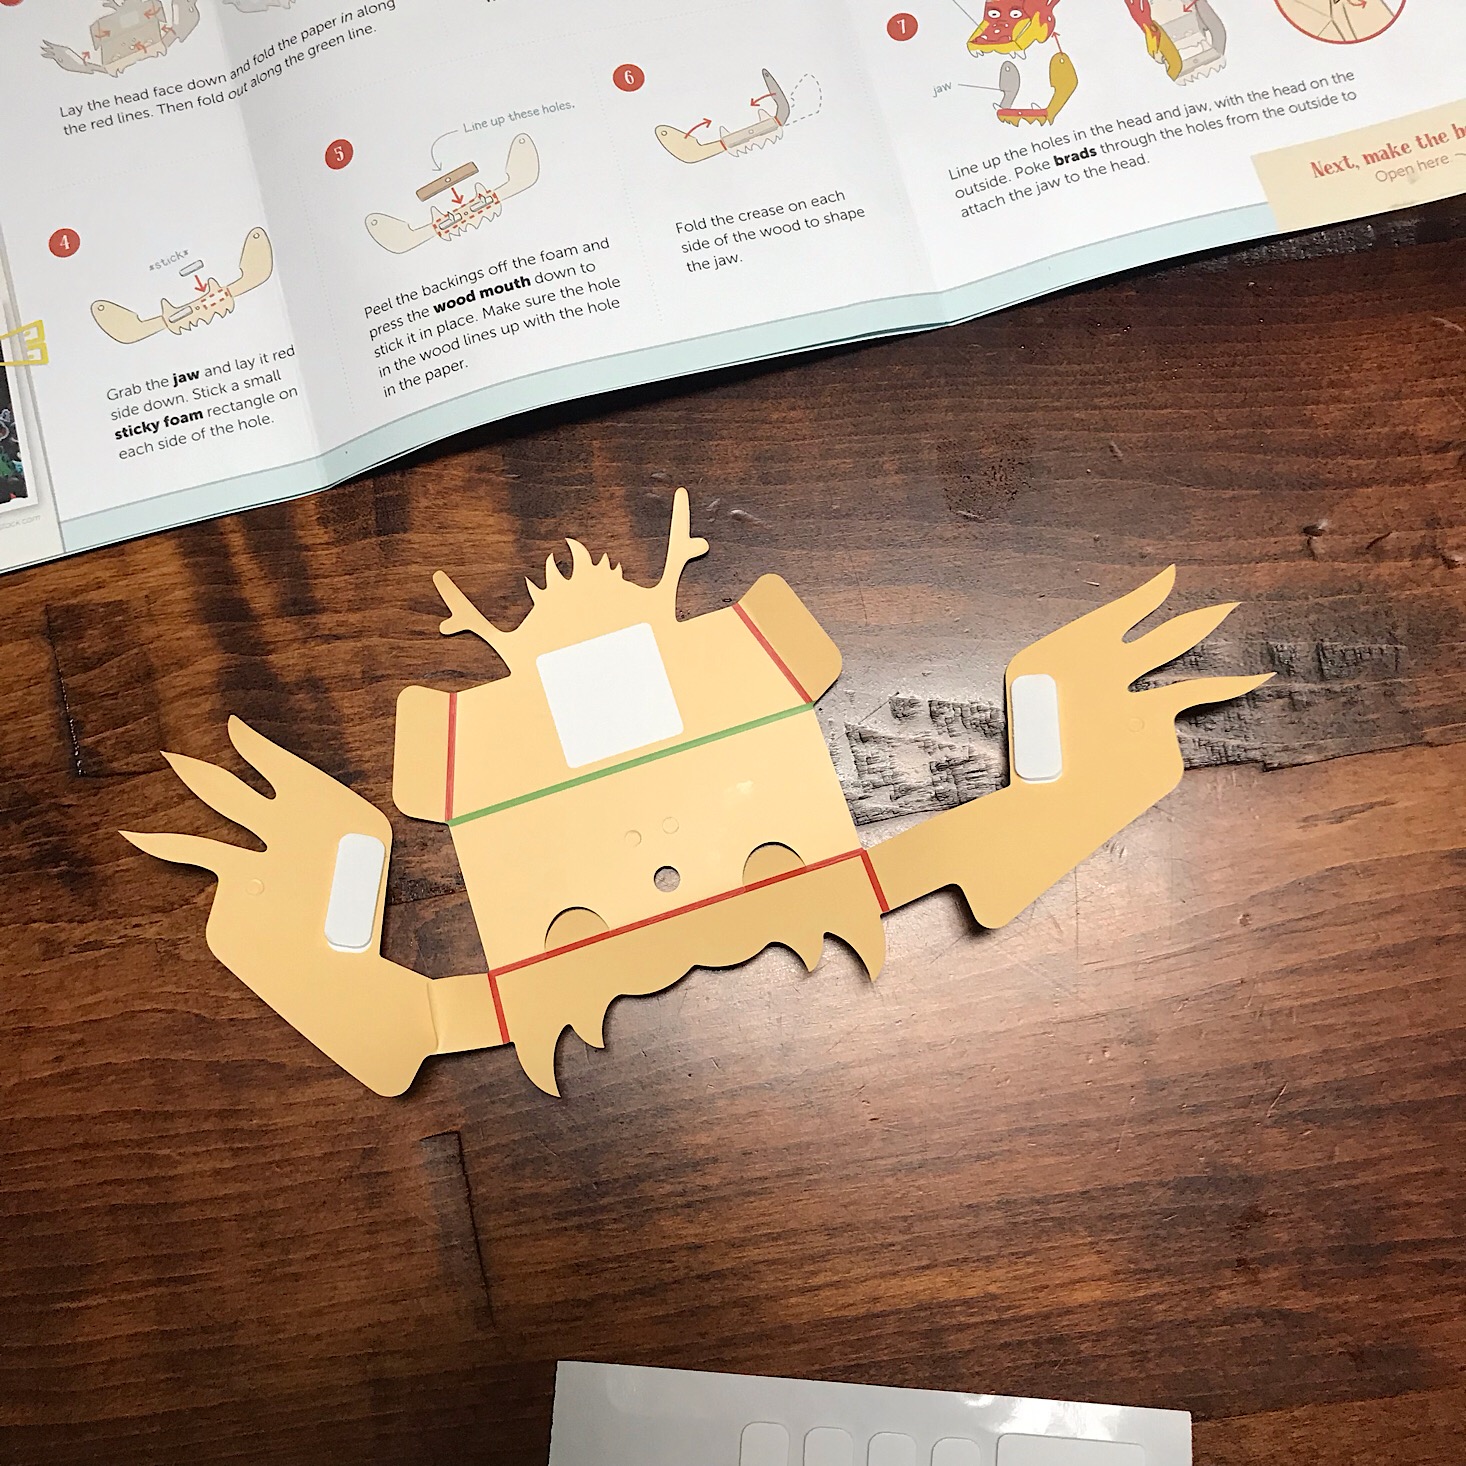
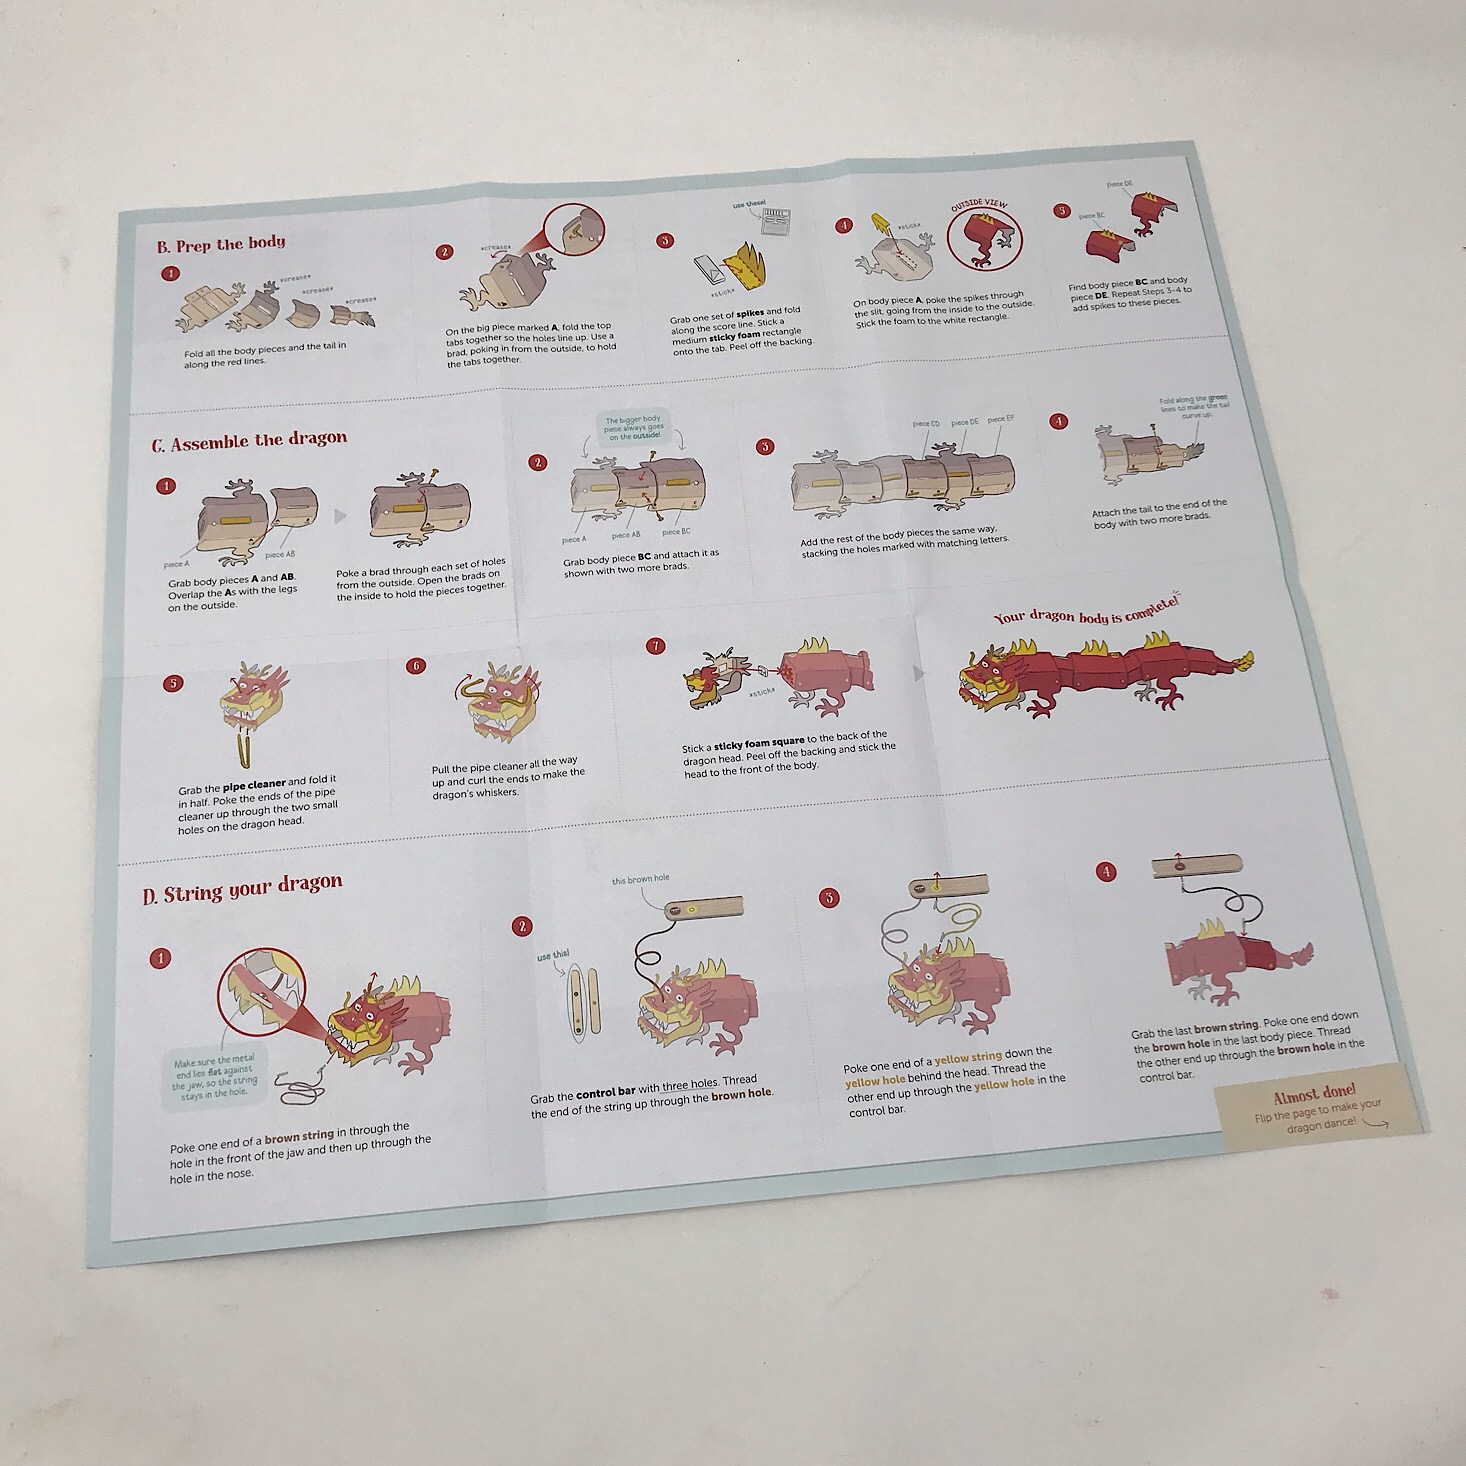
The first step was to assemble the head of the dragon using brads and cardboard pieces that had lines at the creases. I took a minute to fold and crease those areas.
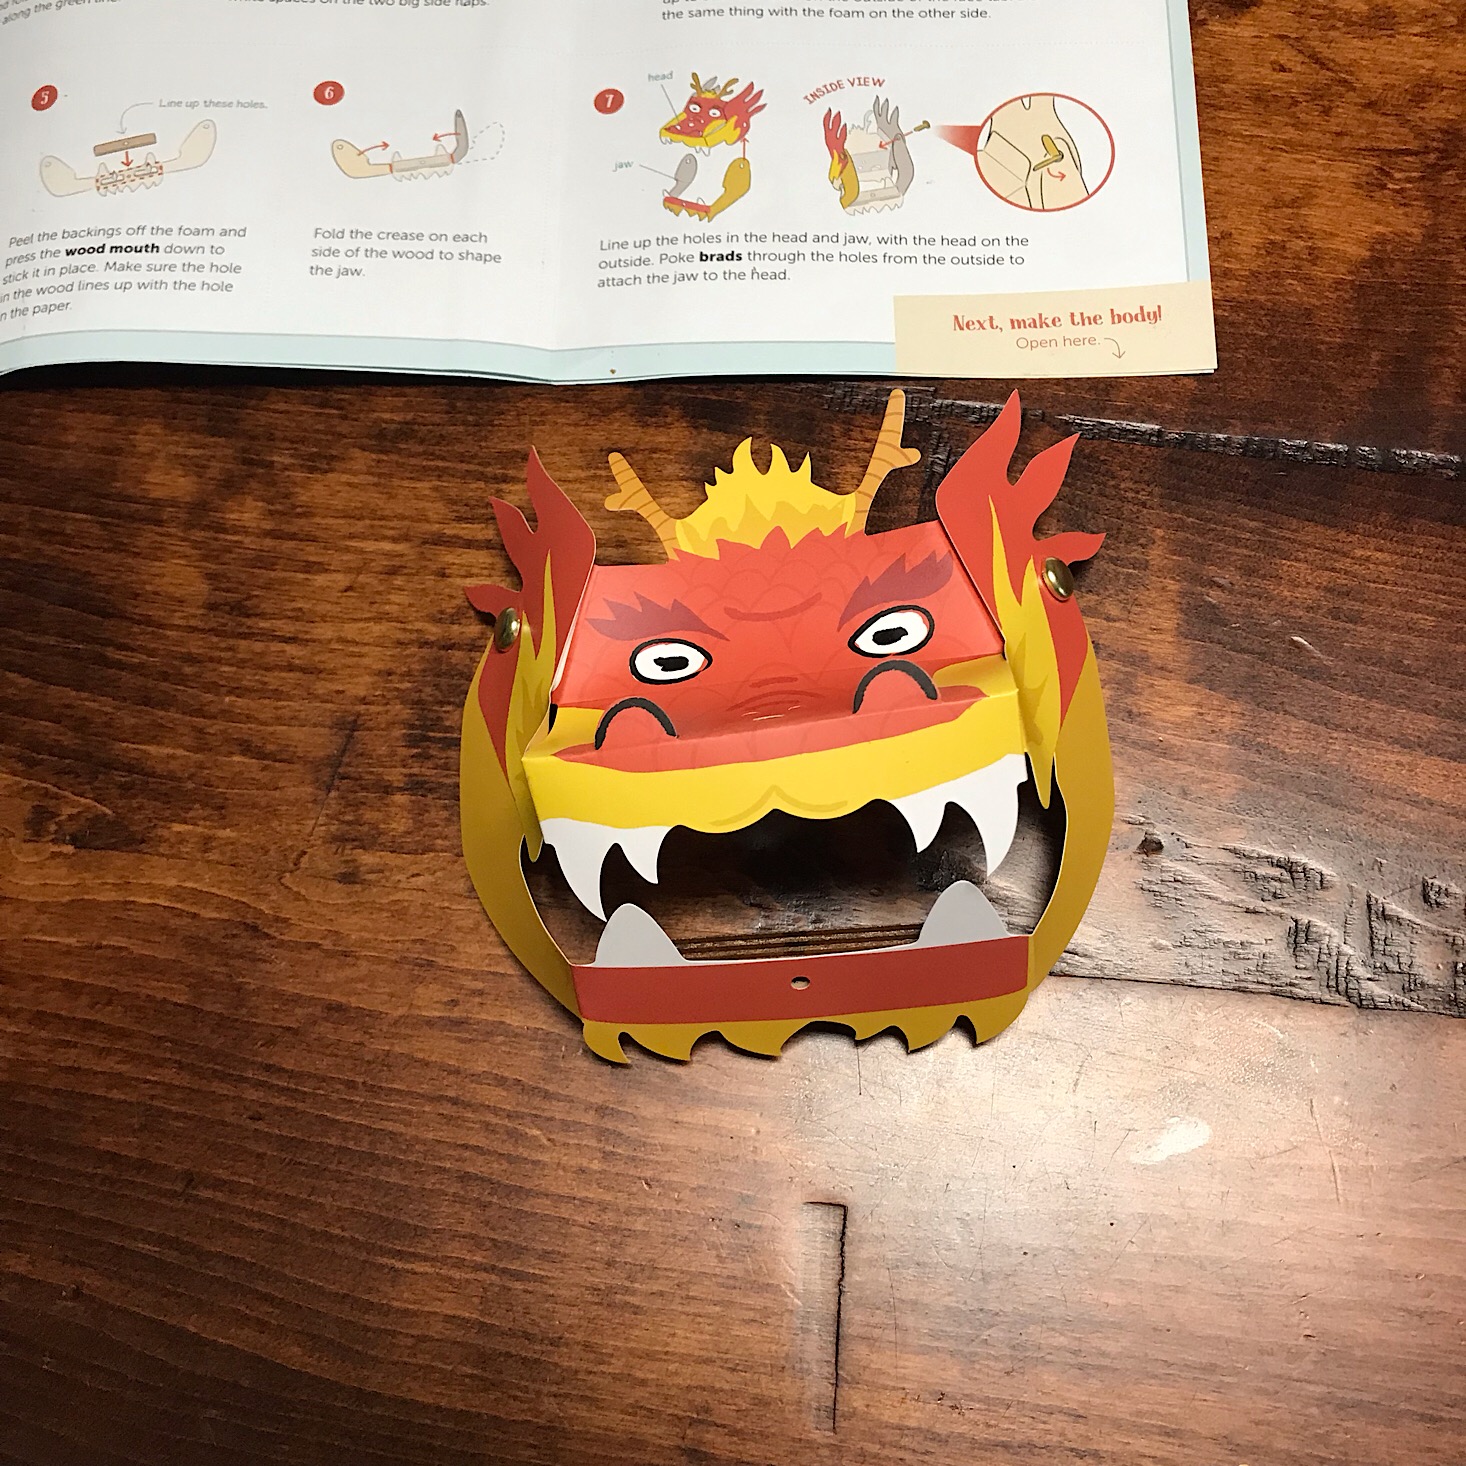

1 of 5
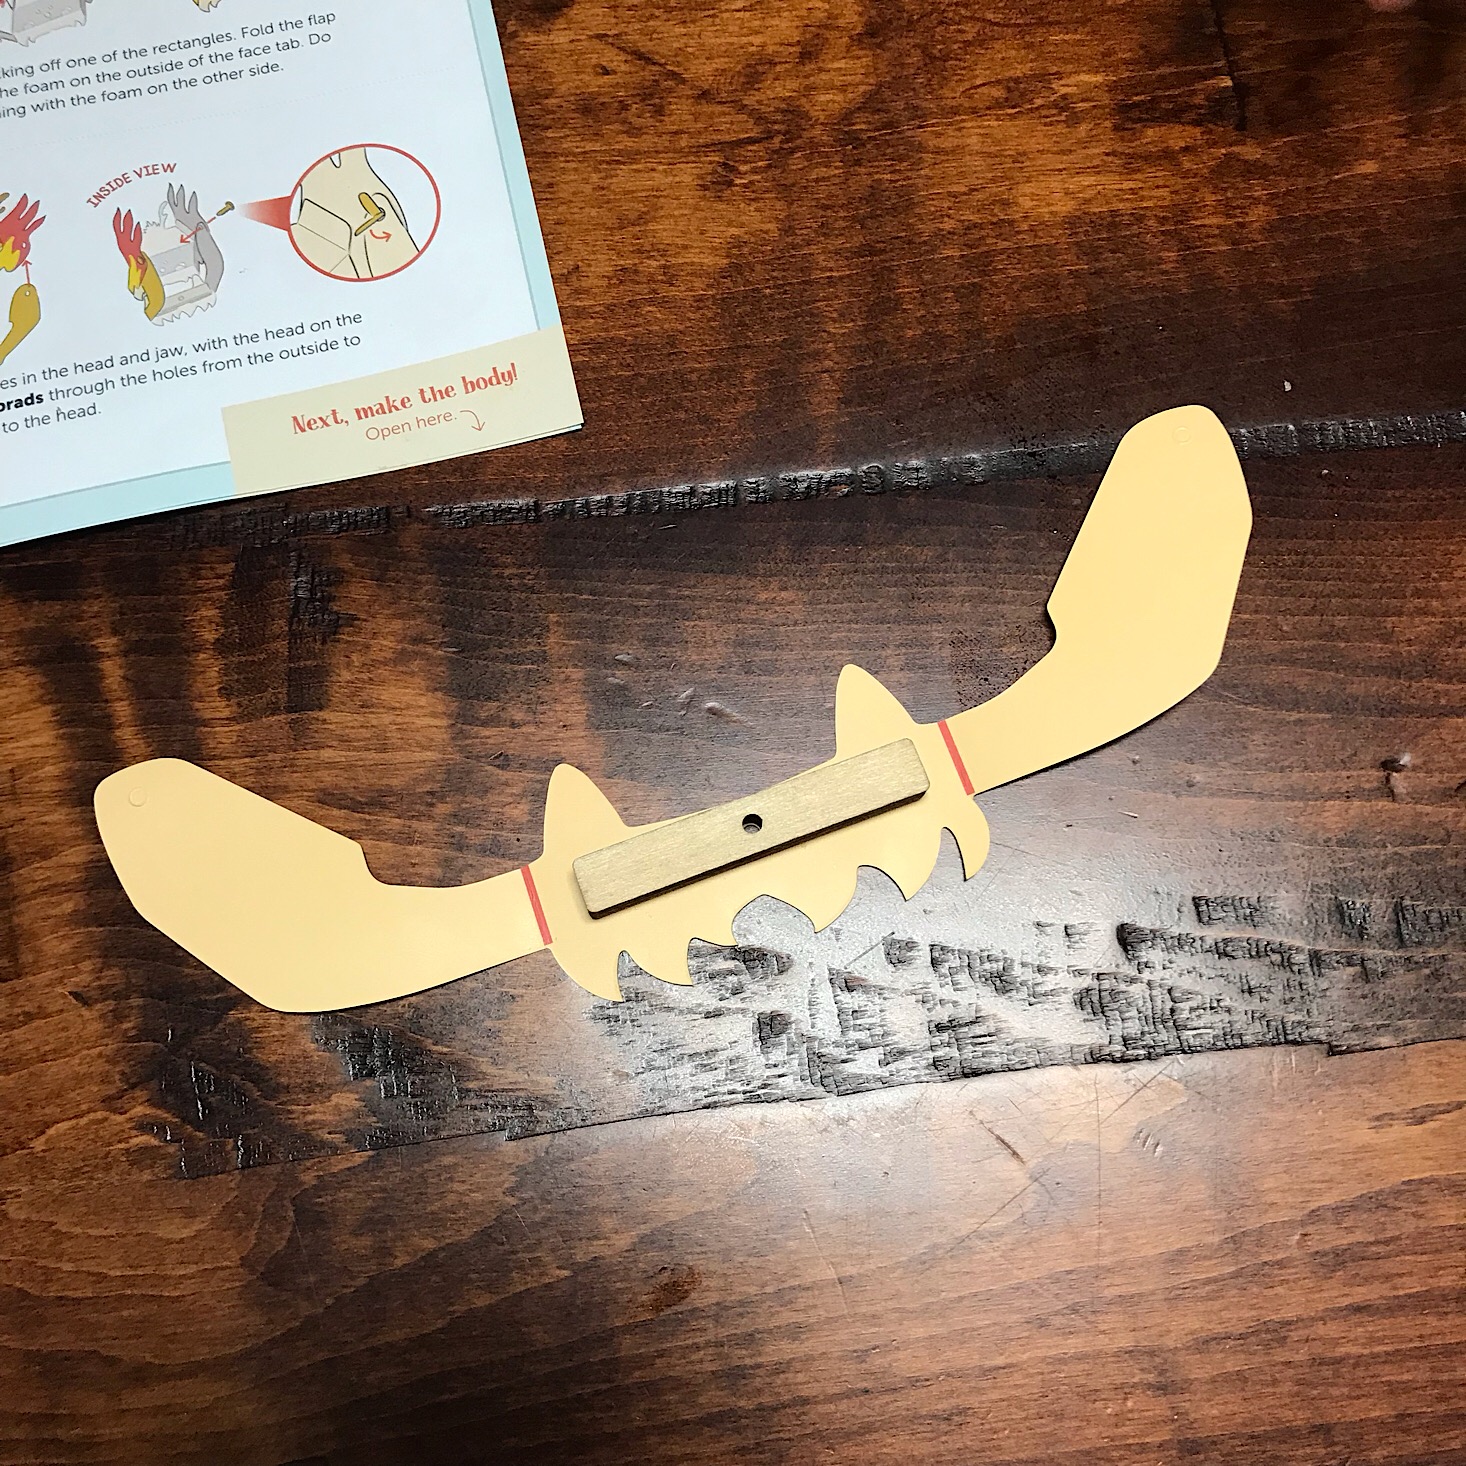

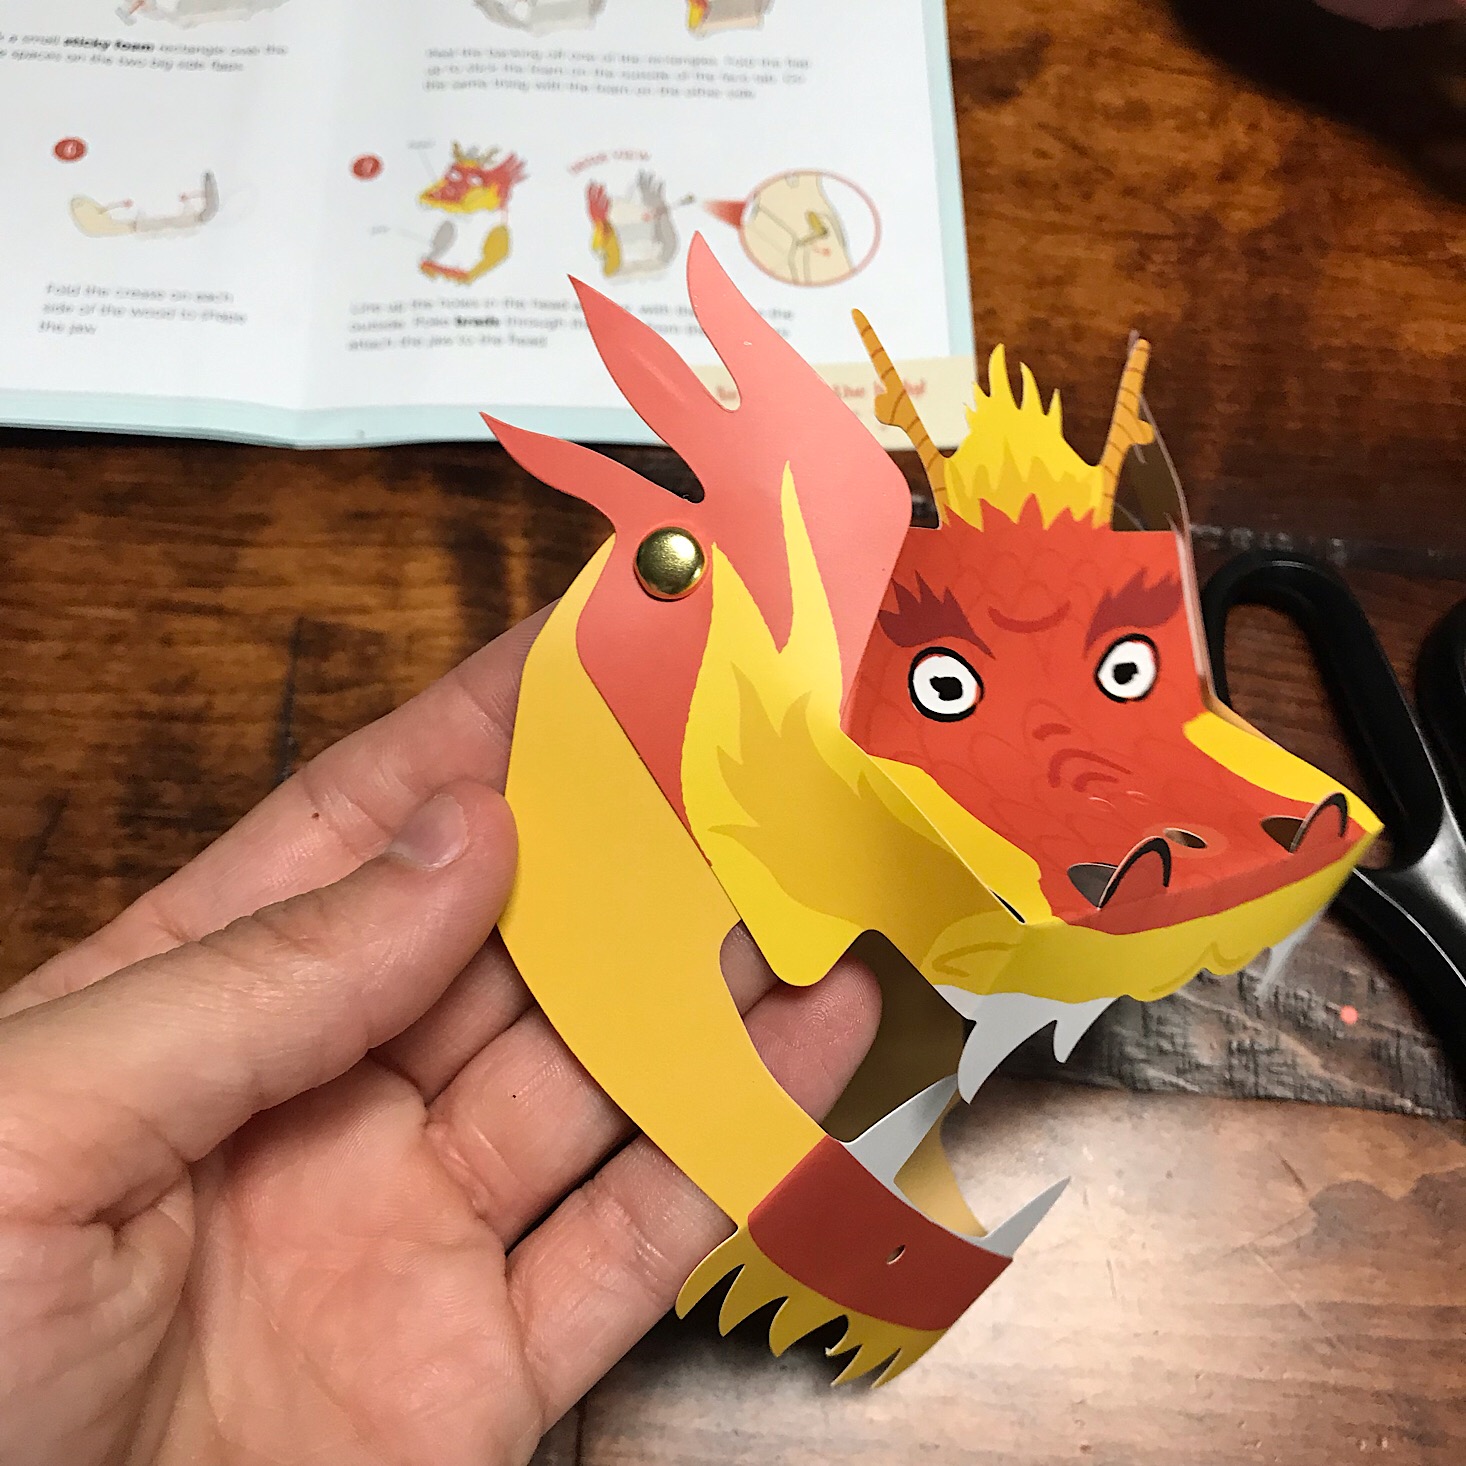
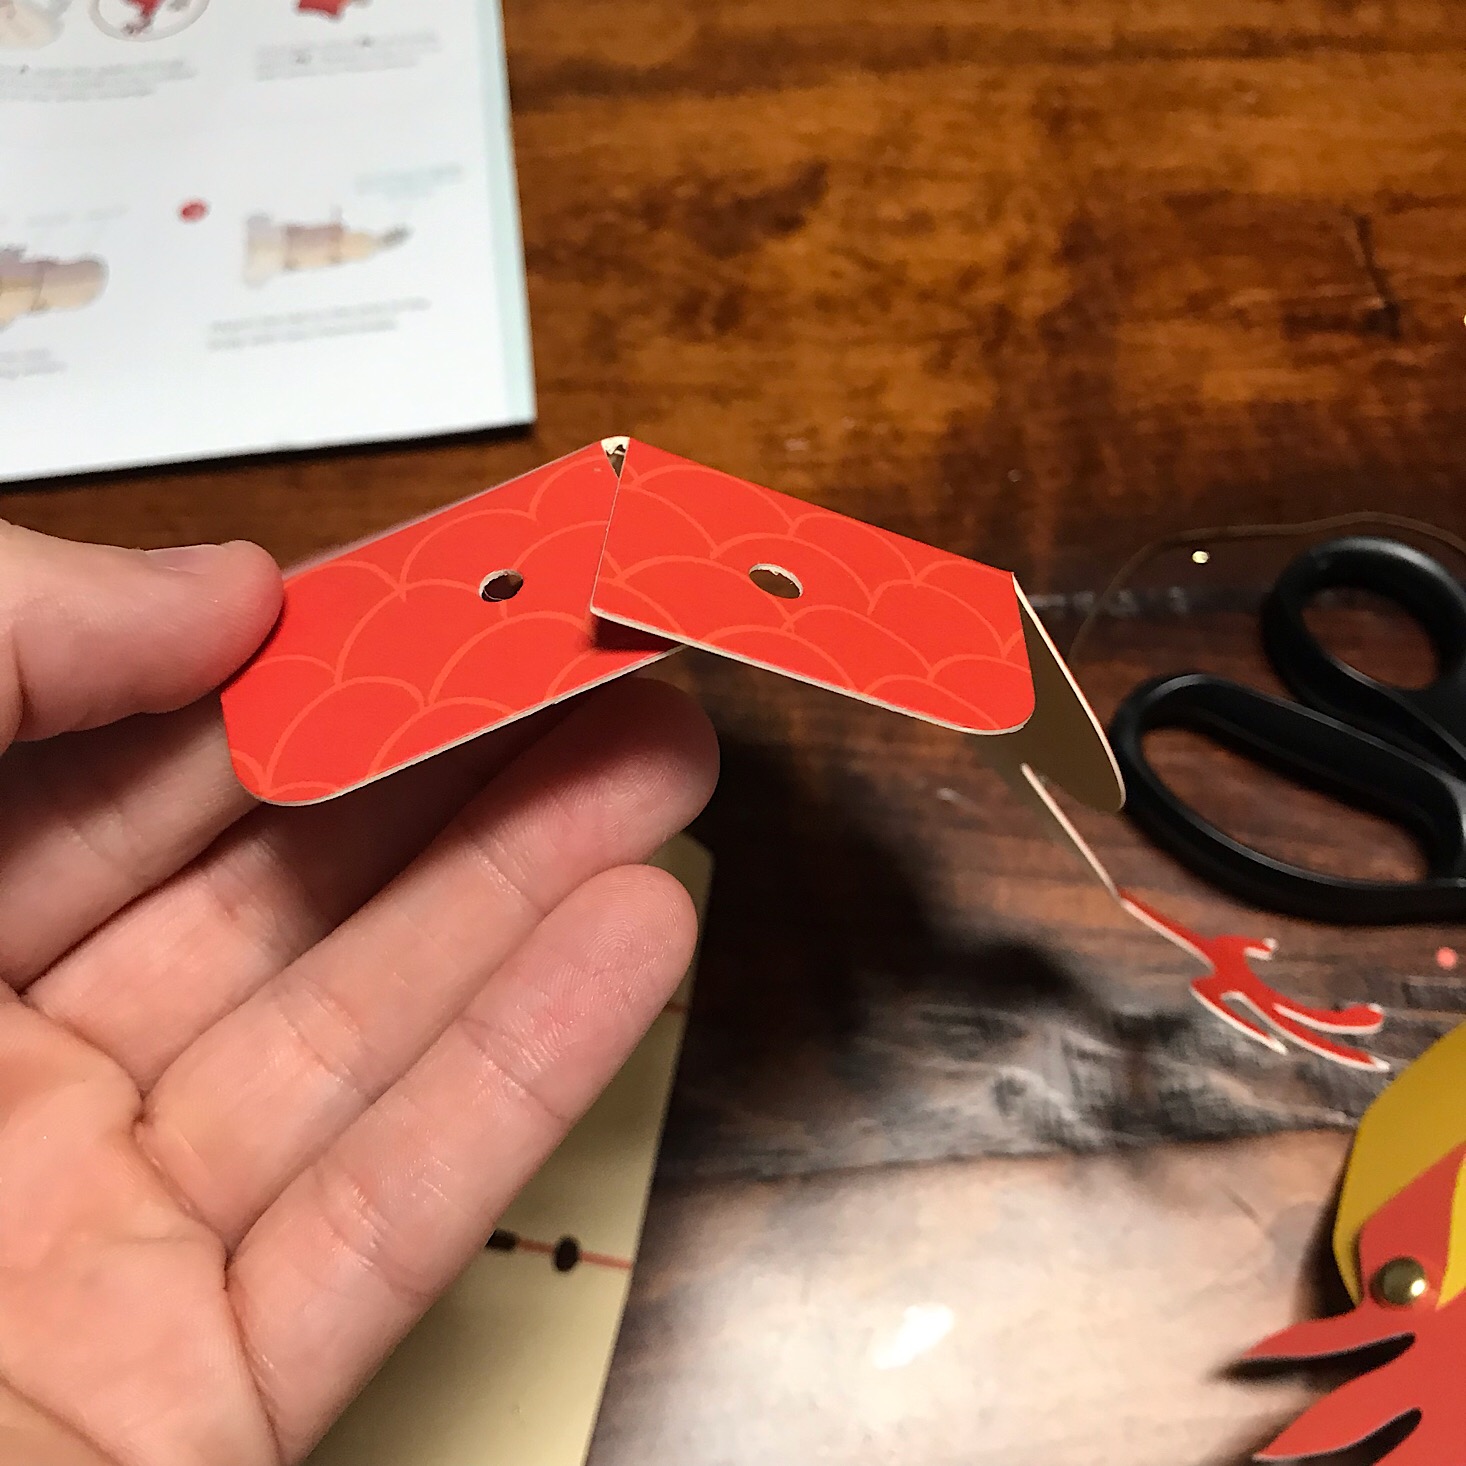
Then I placed the wooden bar over the bottom of the mouth using some sticky foam pieces. Next, I attached the bottom of the mouth to the top of the head by lining up the holes and inserting a brad into each of them to hold it in place. The brads allowed the jaw to move up and down freely.
1 of 4

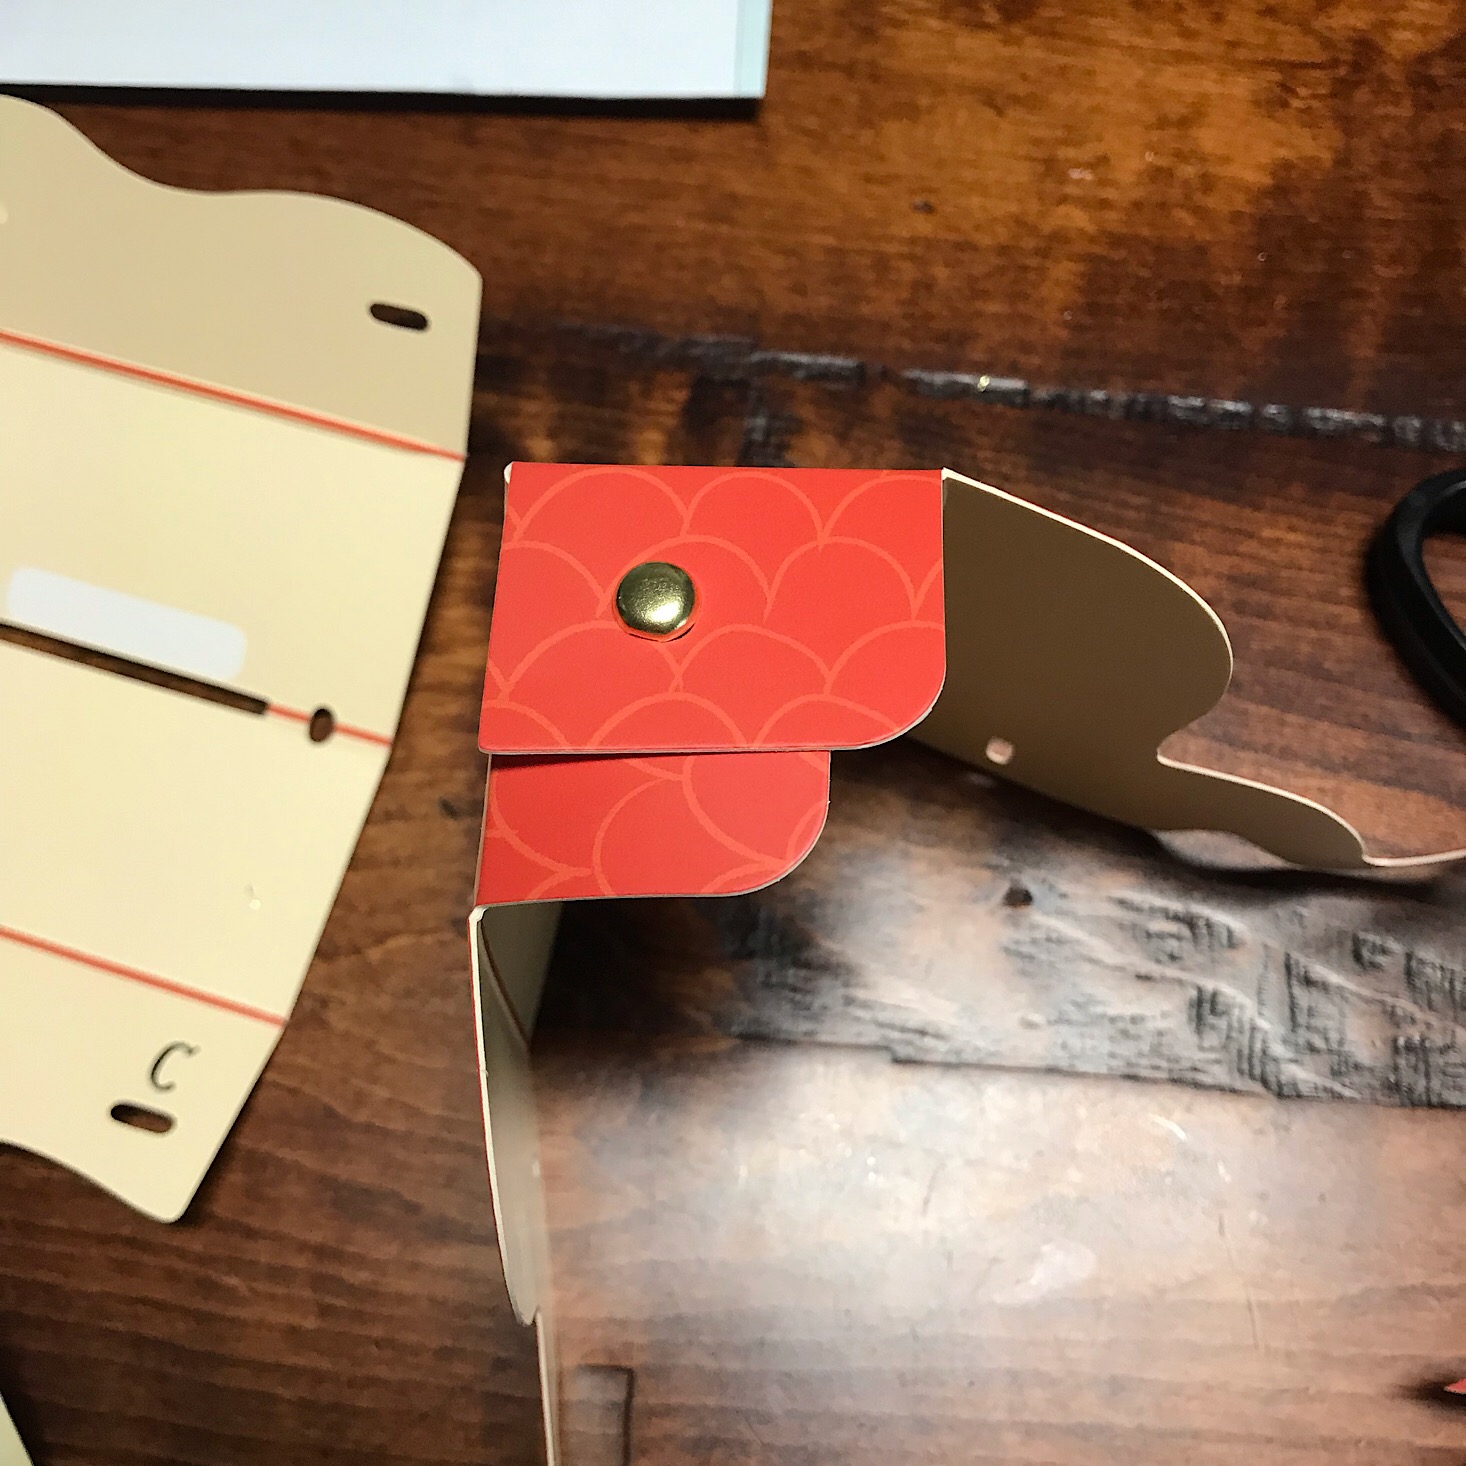
Then it was time to assemble the body. We started with the neck and upper body and folded the corner of the top of the neck in and secured the overlapping flaps with a brad. This is where we would add the head later on.


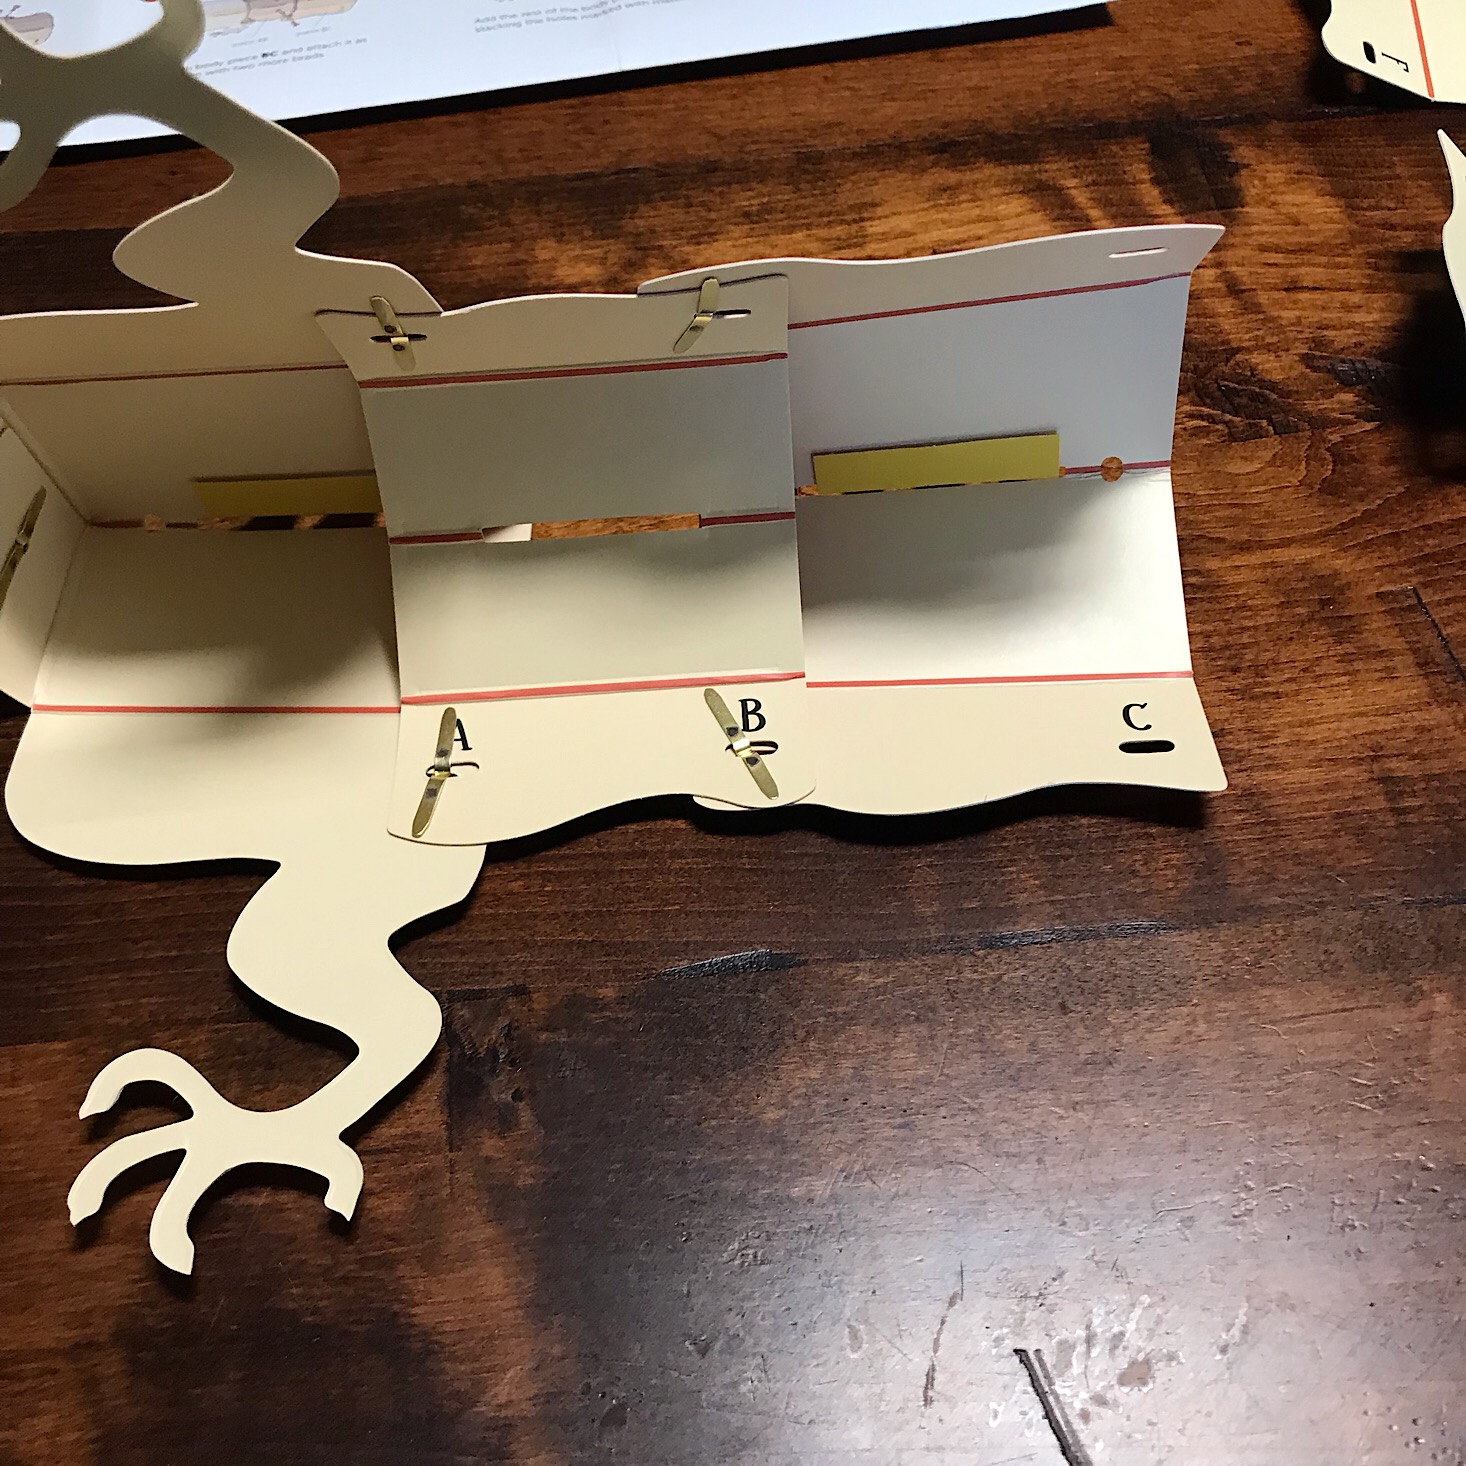
1 of 5
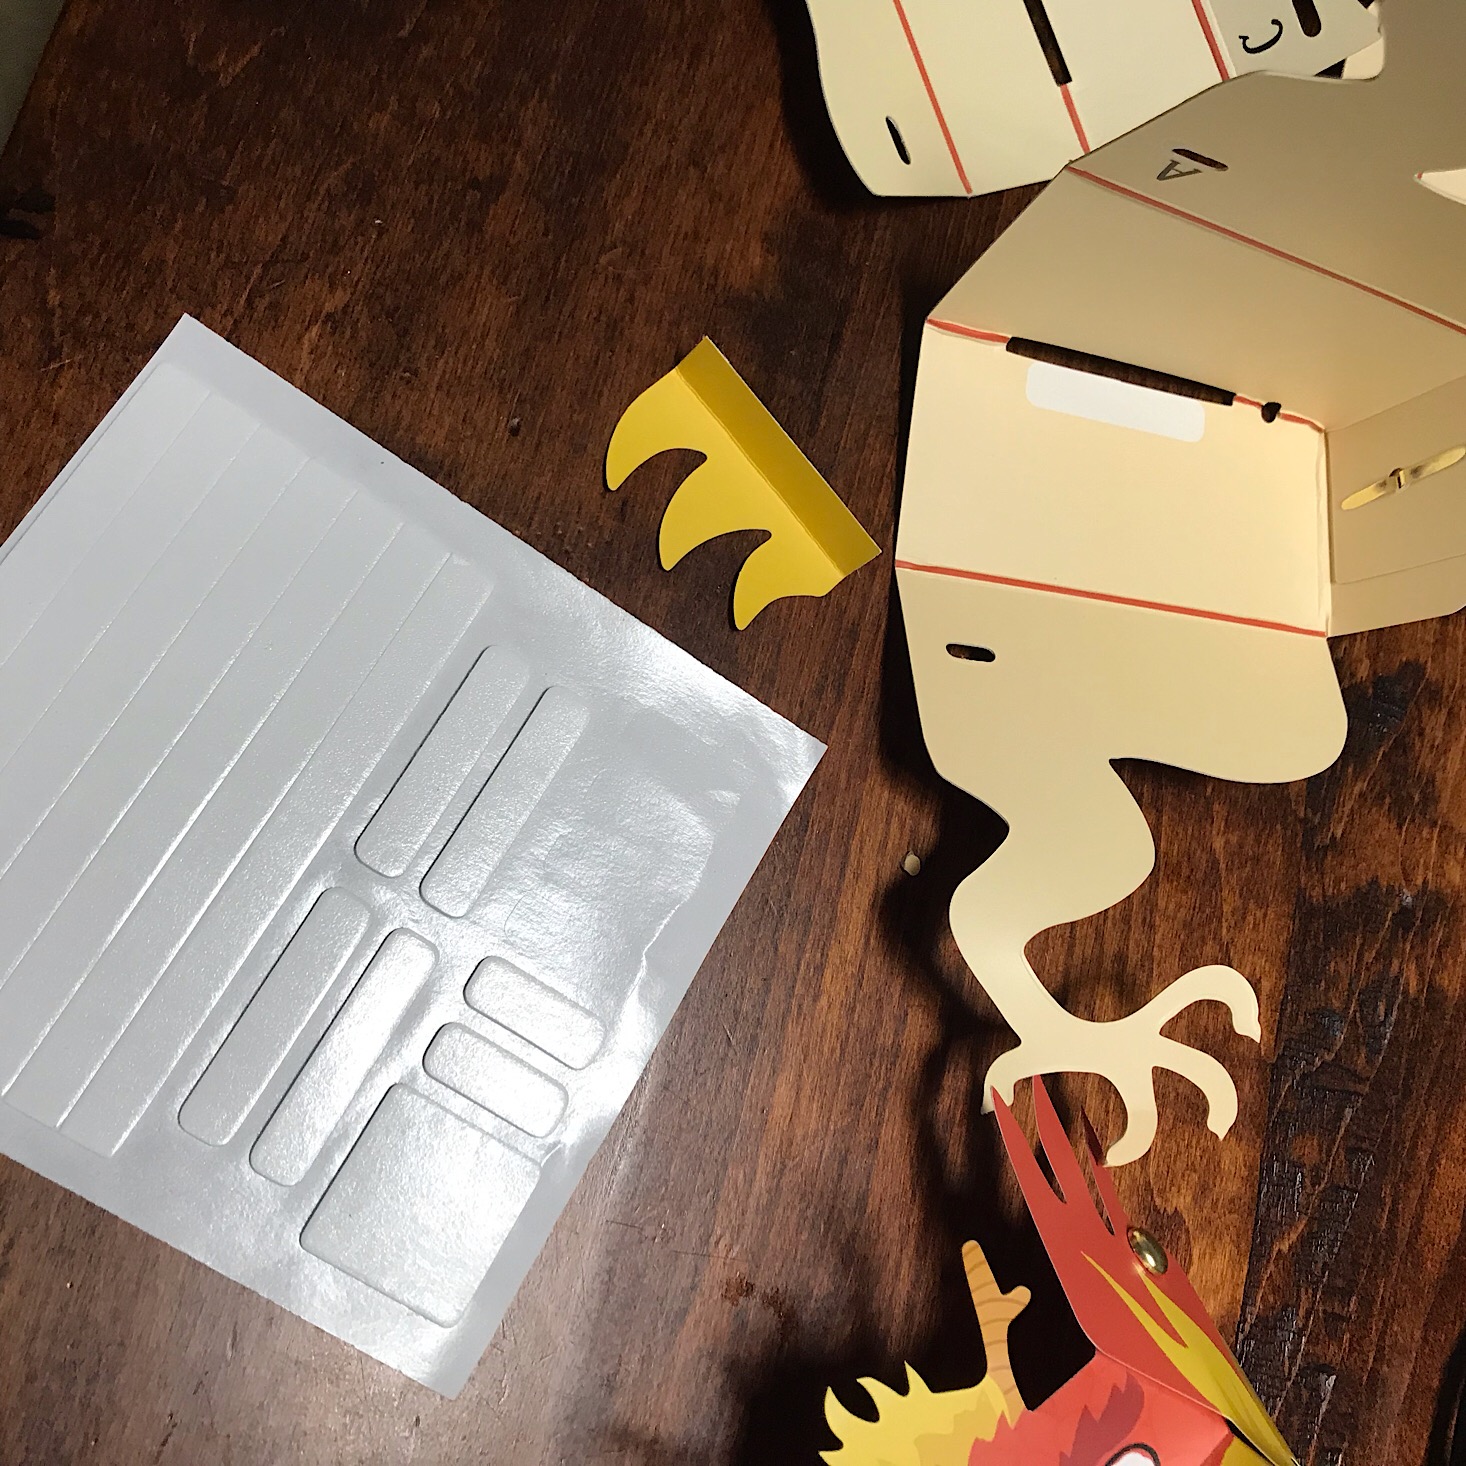


Next, I used the foam stickers and yellow flames and inserted them from underneath so that they would stick out at the top of his back. This was easy to do since the body pieces had white rectangles marking where the foam stickers should go.


1 of 3
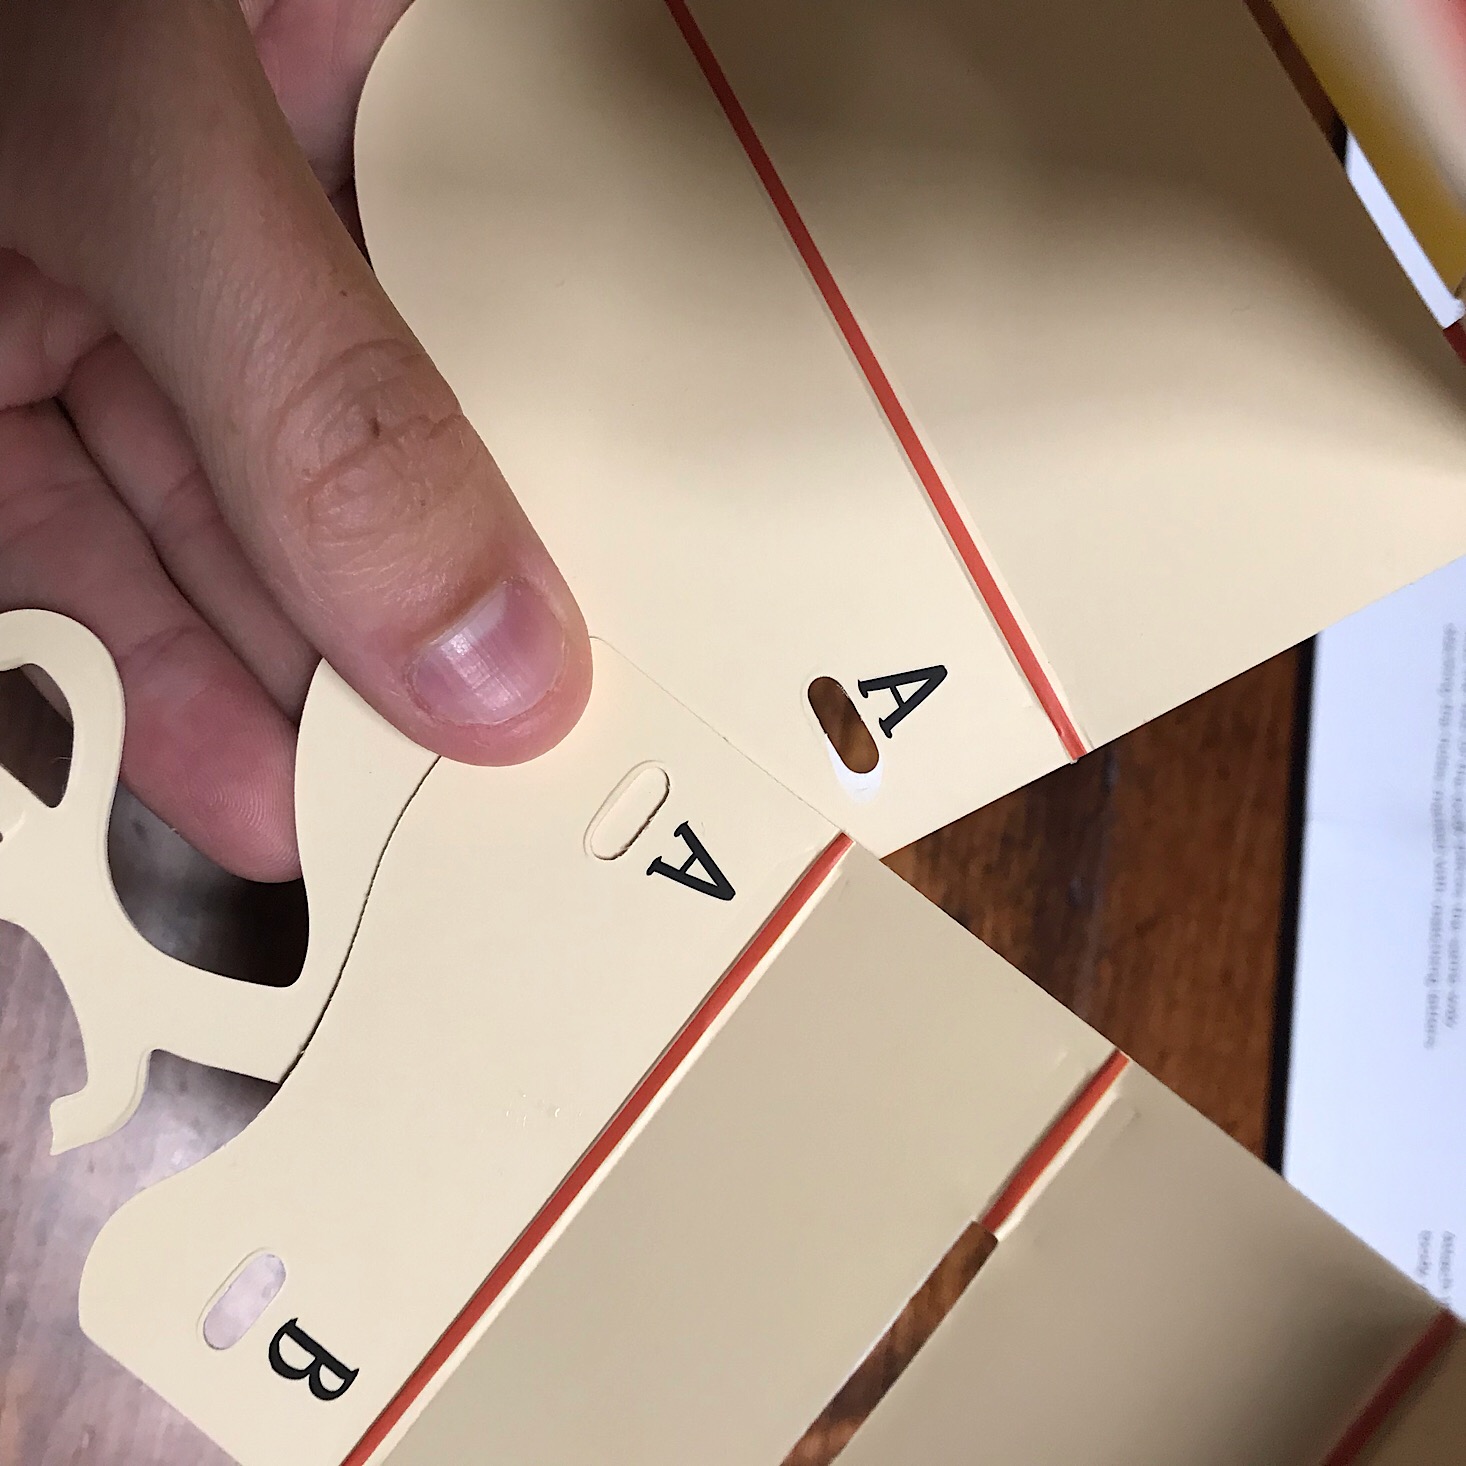
Then it was just a matter of matching up the body pieces which were marked A through E. After matching up the letters and lining up the holes, the brads were used to secure them all in place.
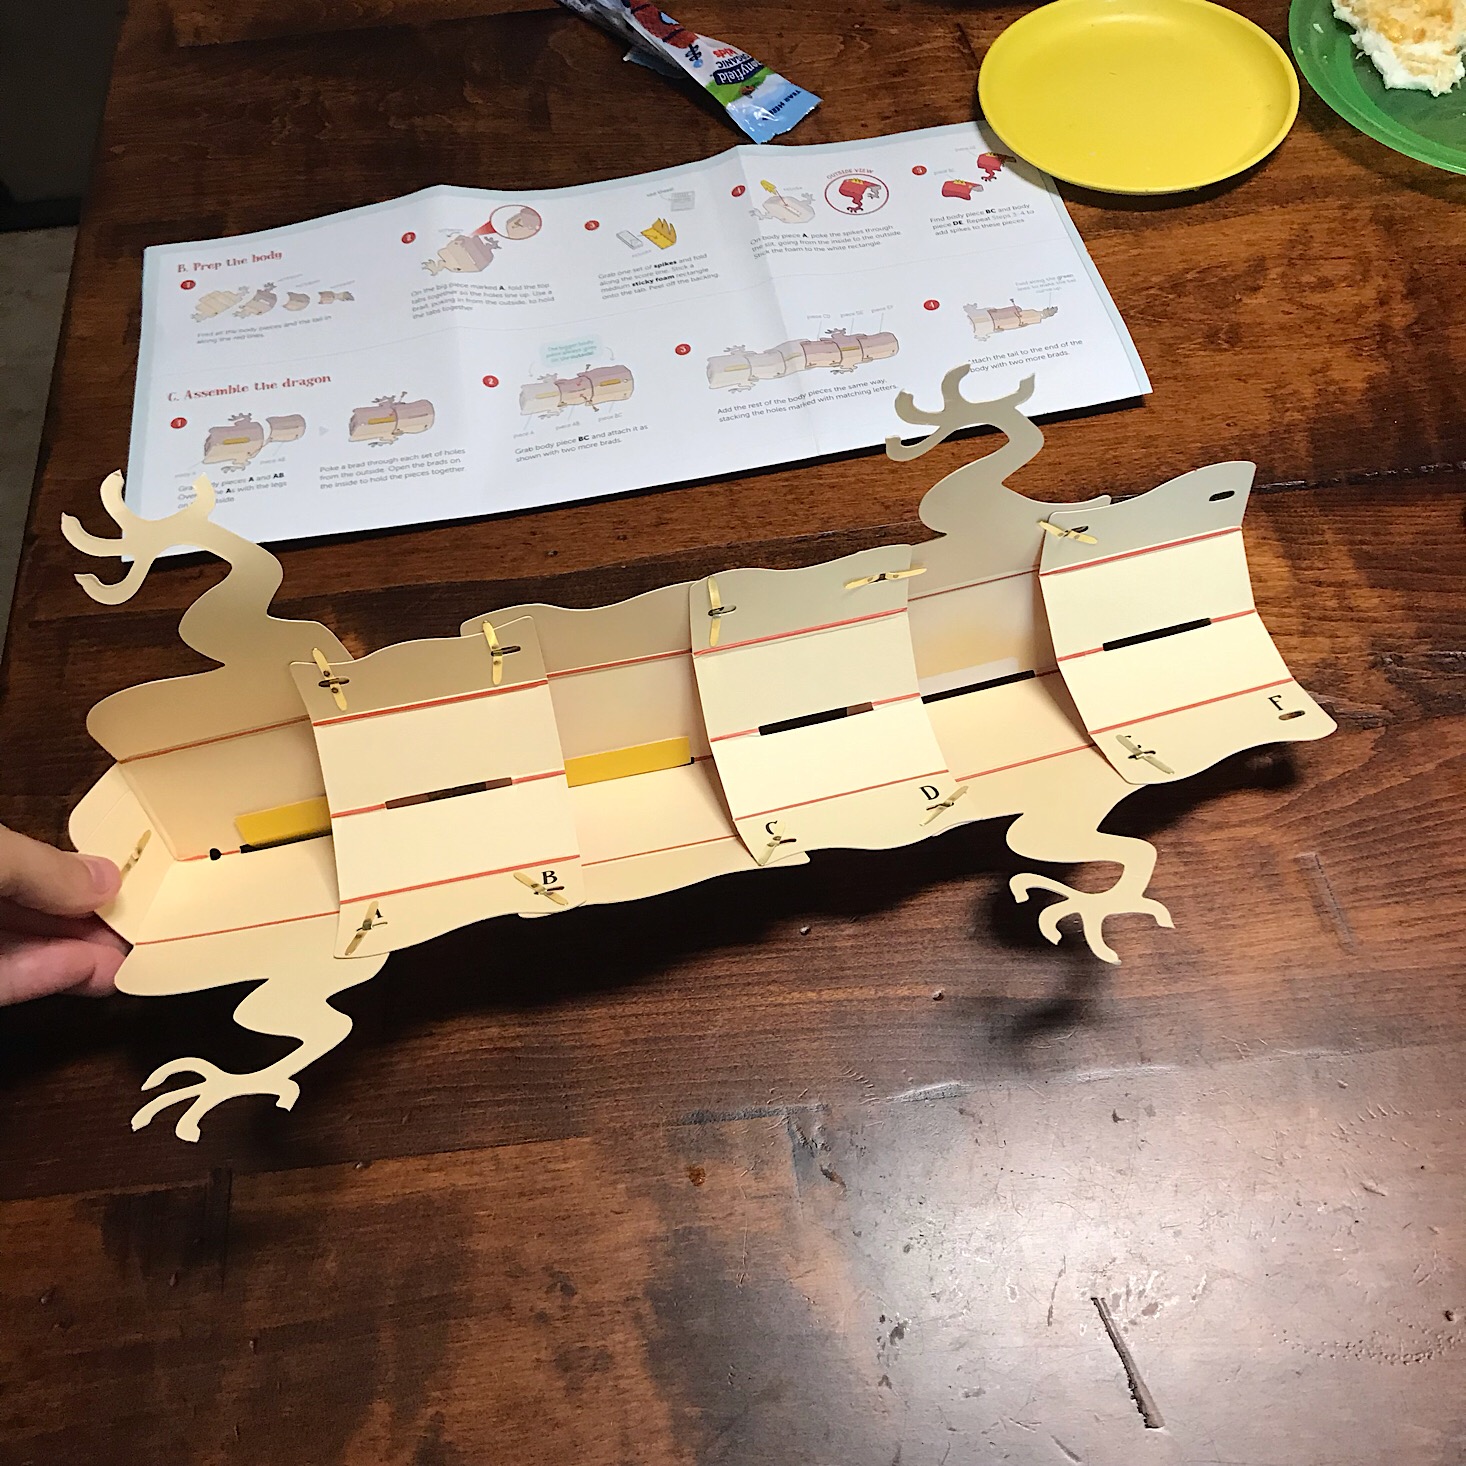
1 of 3
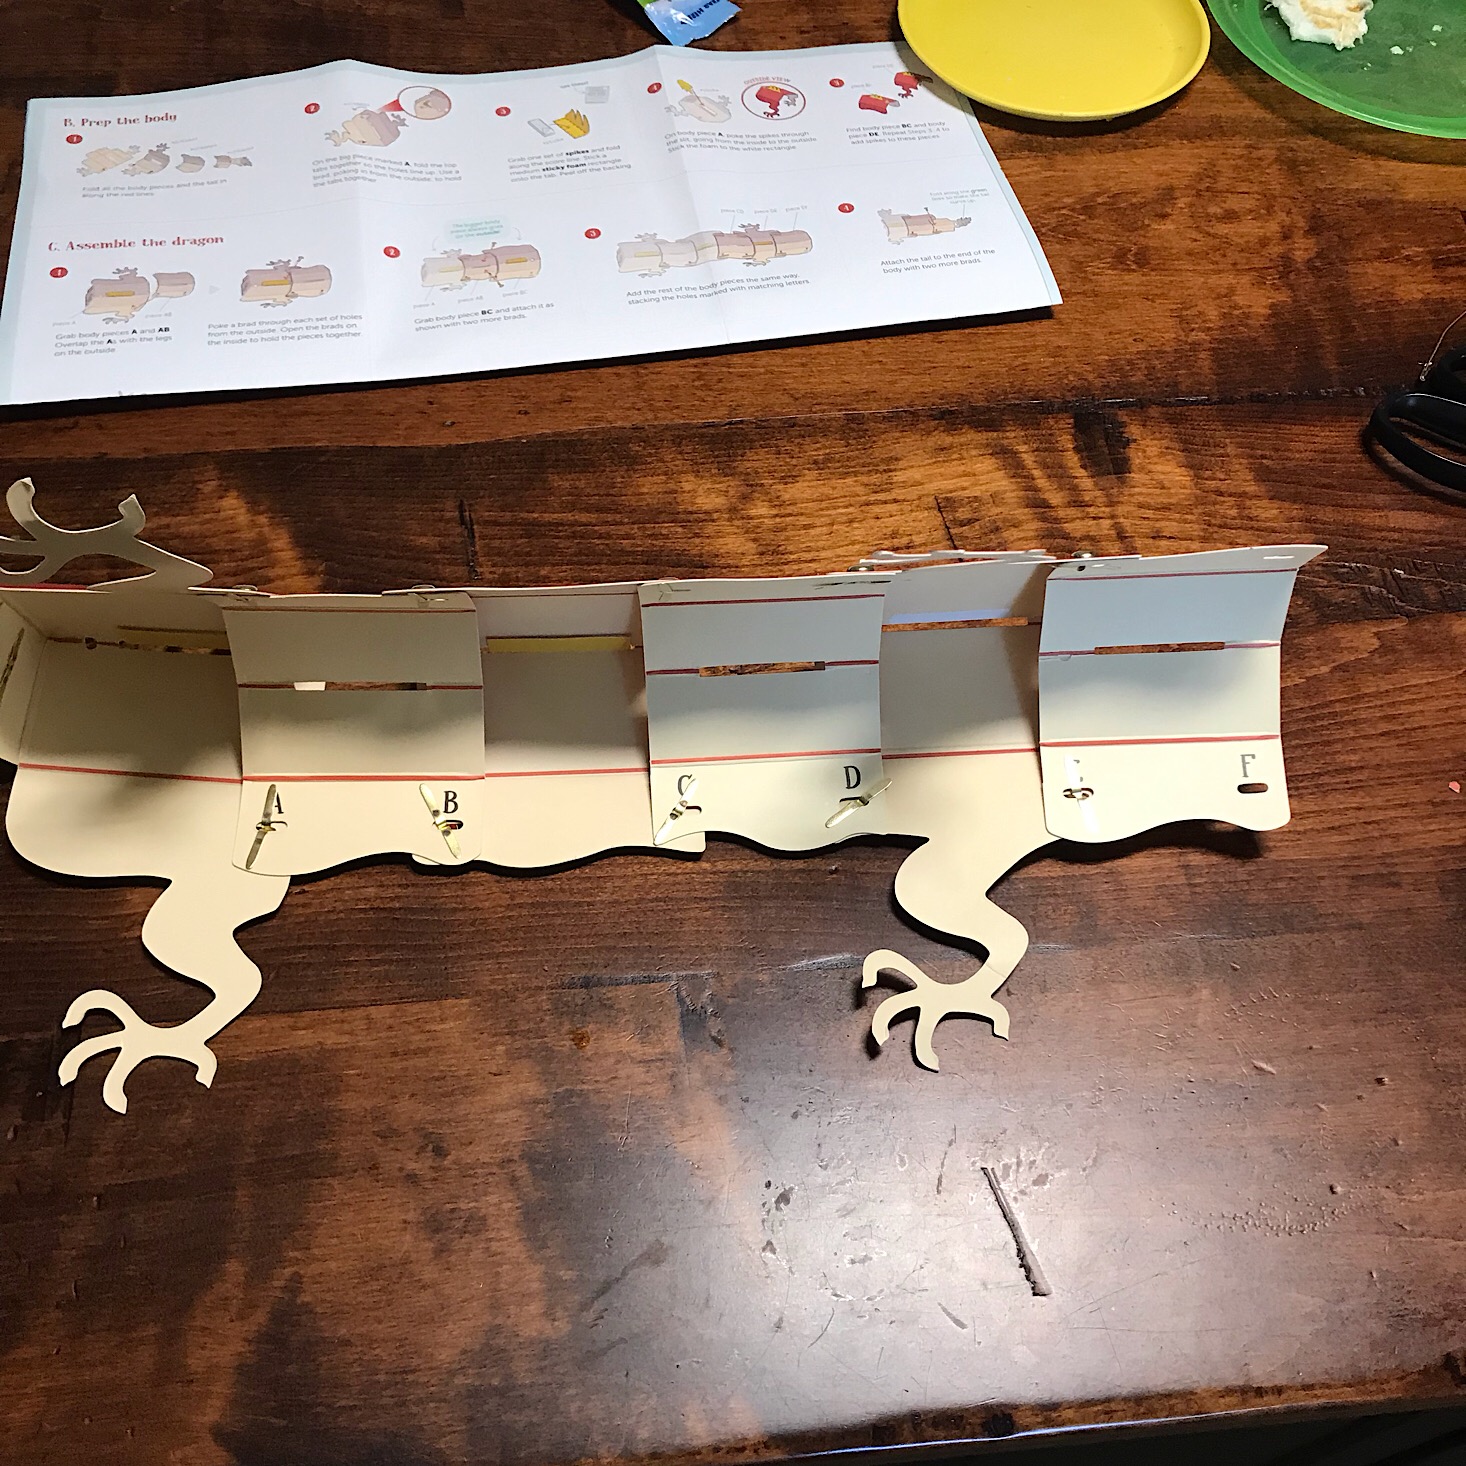
To finish assembling the body, I simply followed the directions which clearly indicated that smaller pieces should go underneath while larger pieces like the pieces with the feet should go on the outside. I added brads in all of the lettered holes and the body was complete.

1 of 2
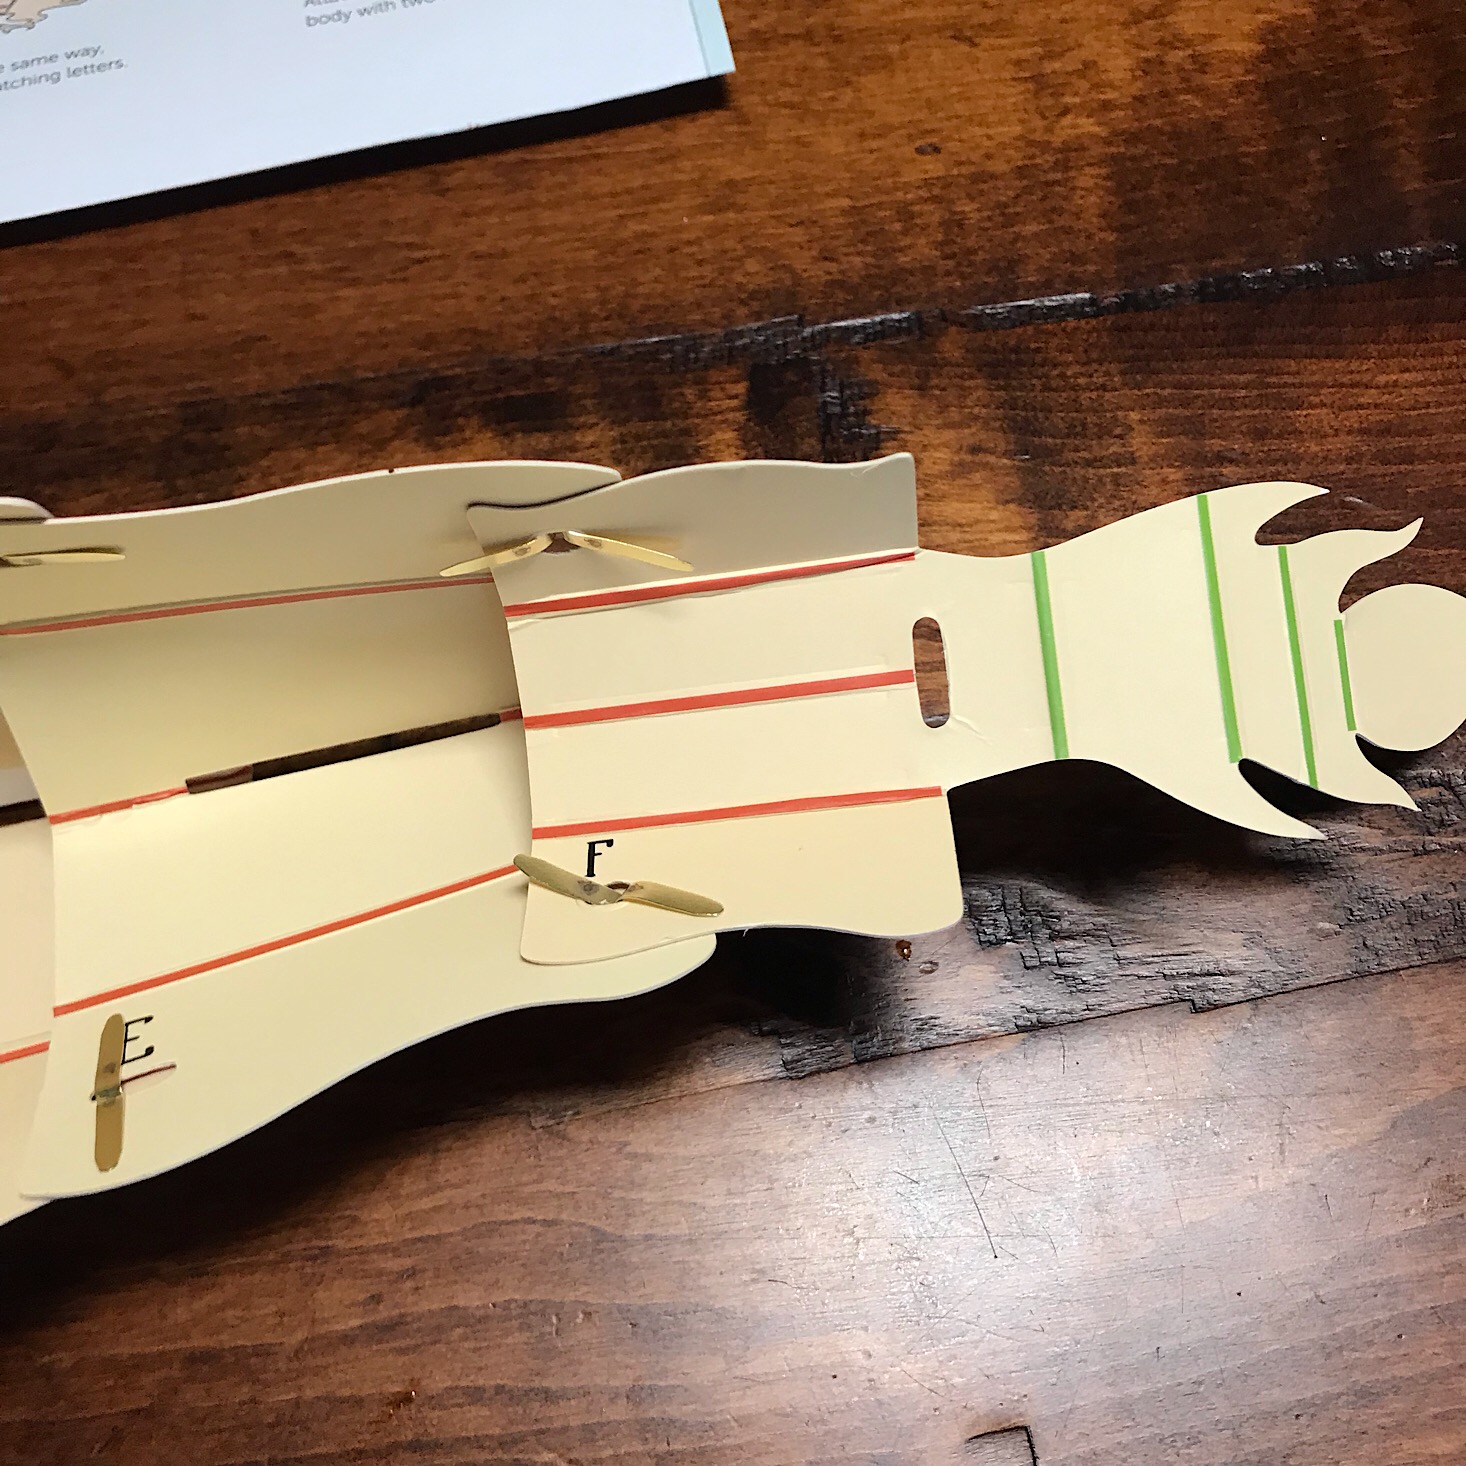
The last little piece to go on was the tail which I had to crease at all of the green lines before securing it with the brads.


1 of 2
To give him his whiskers they gave us a shiny gold pipe cleaner that I inserted through his nostrils from underneath and curled around at the top.

1 of 2
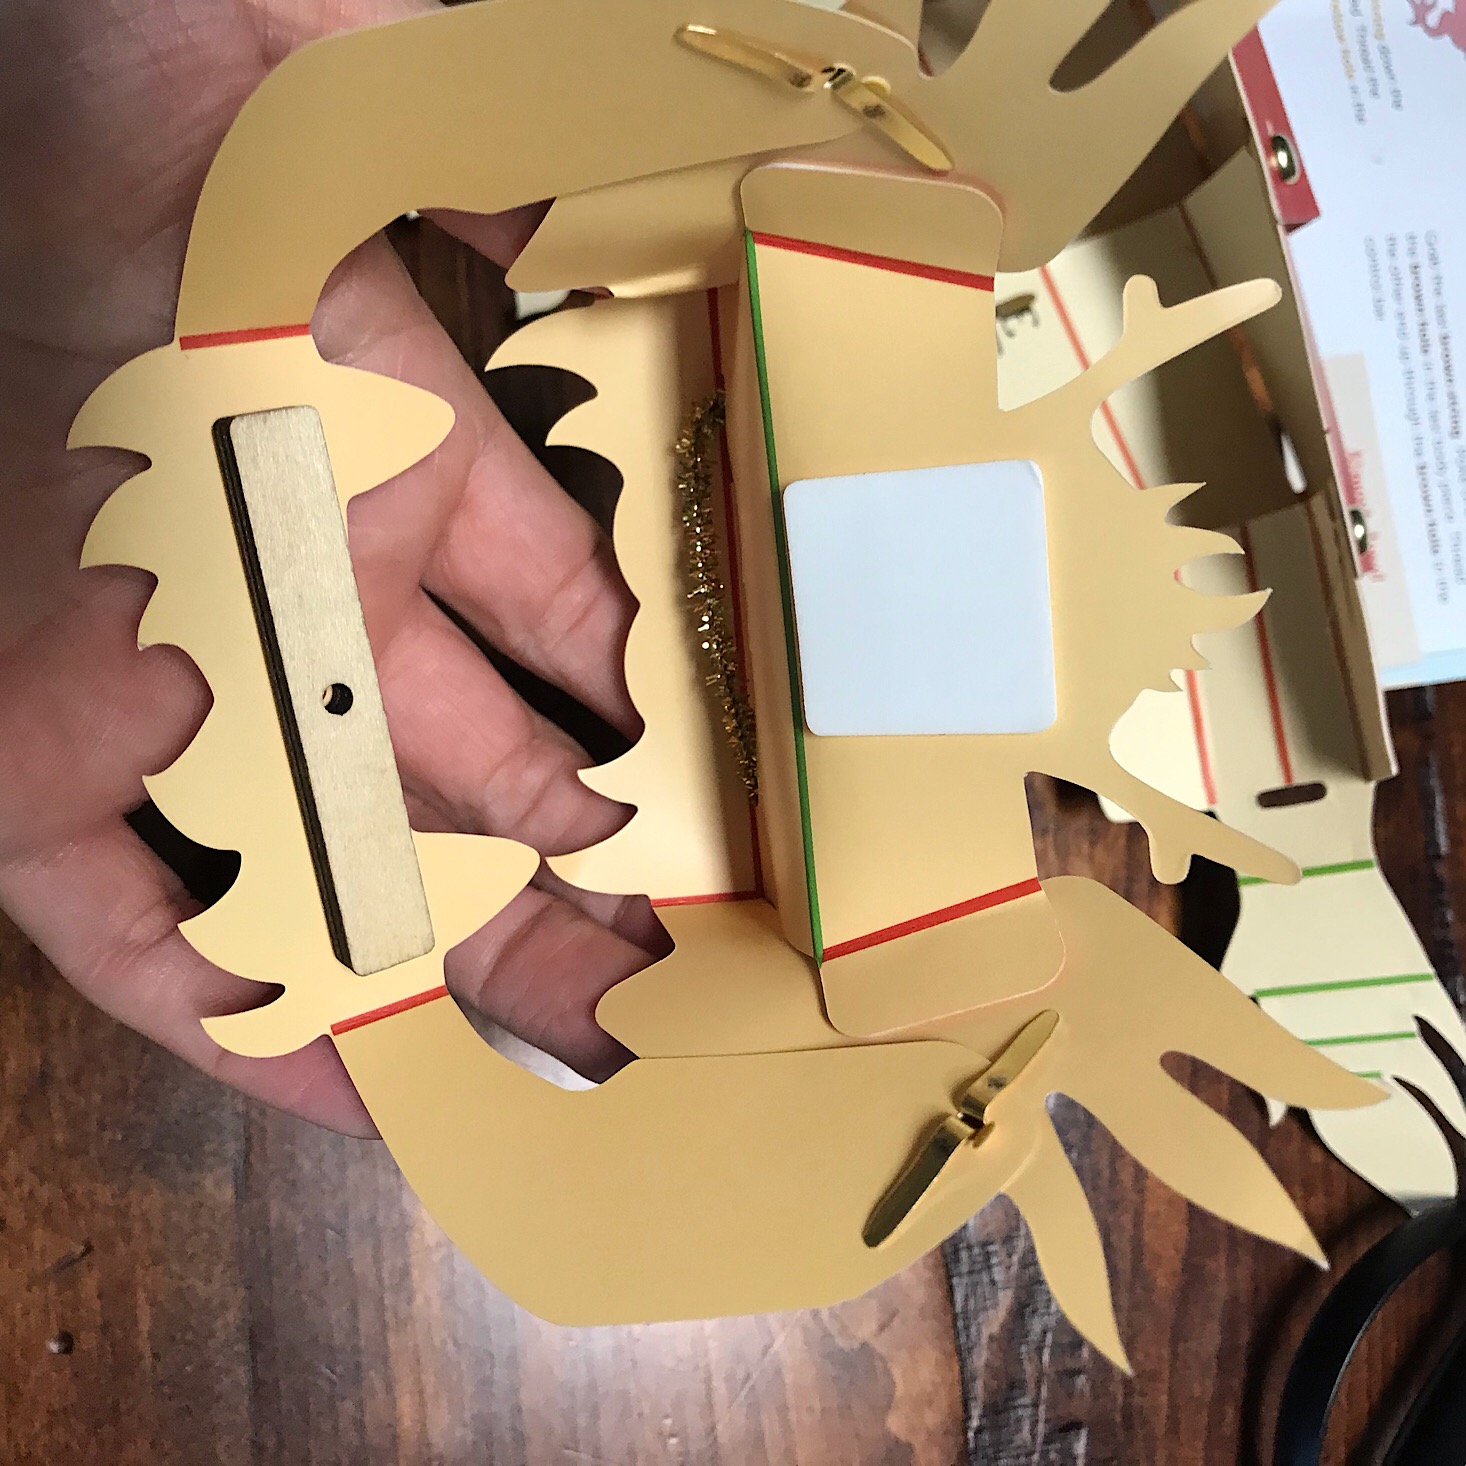
To secure the head to the body I placed a square foam sticker onto the marked spot and then I stuck it to the neck piece that we had secured together with a brad earlier.
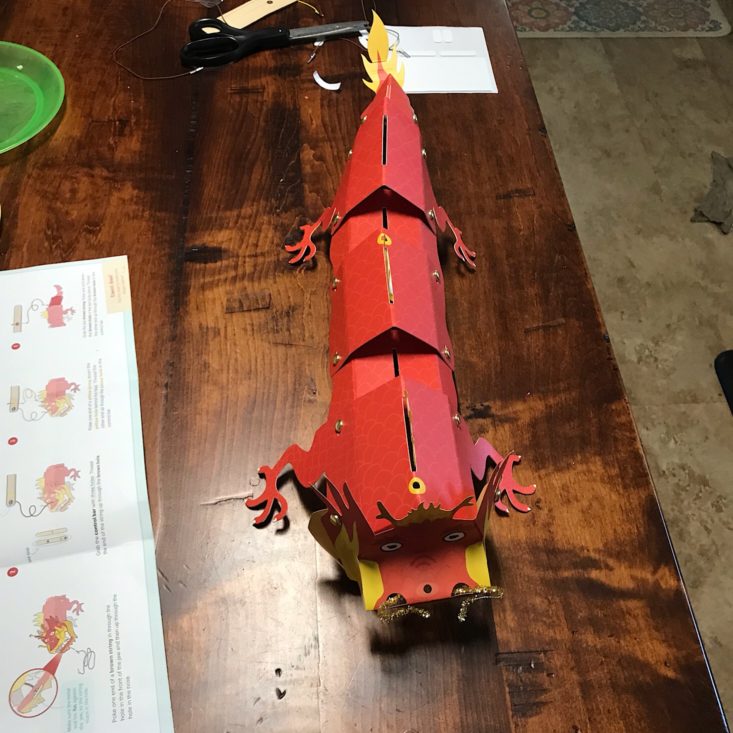
Here is our completed dragon! Next, we had to get him set up and ready to dance!
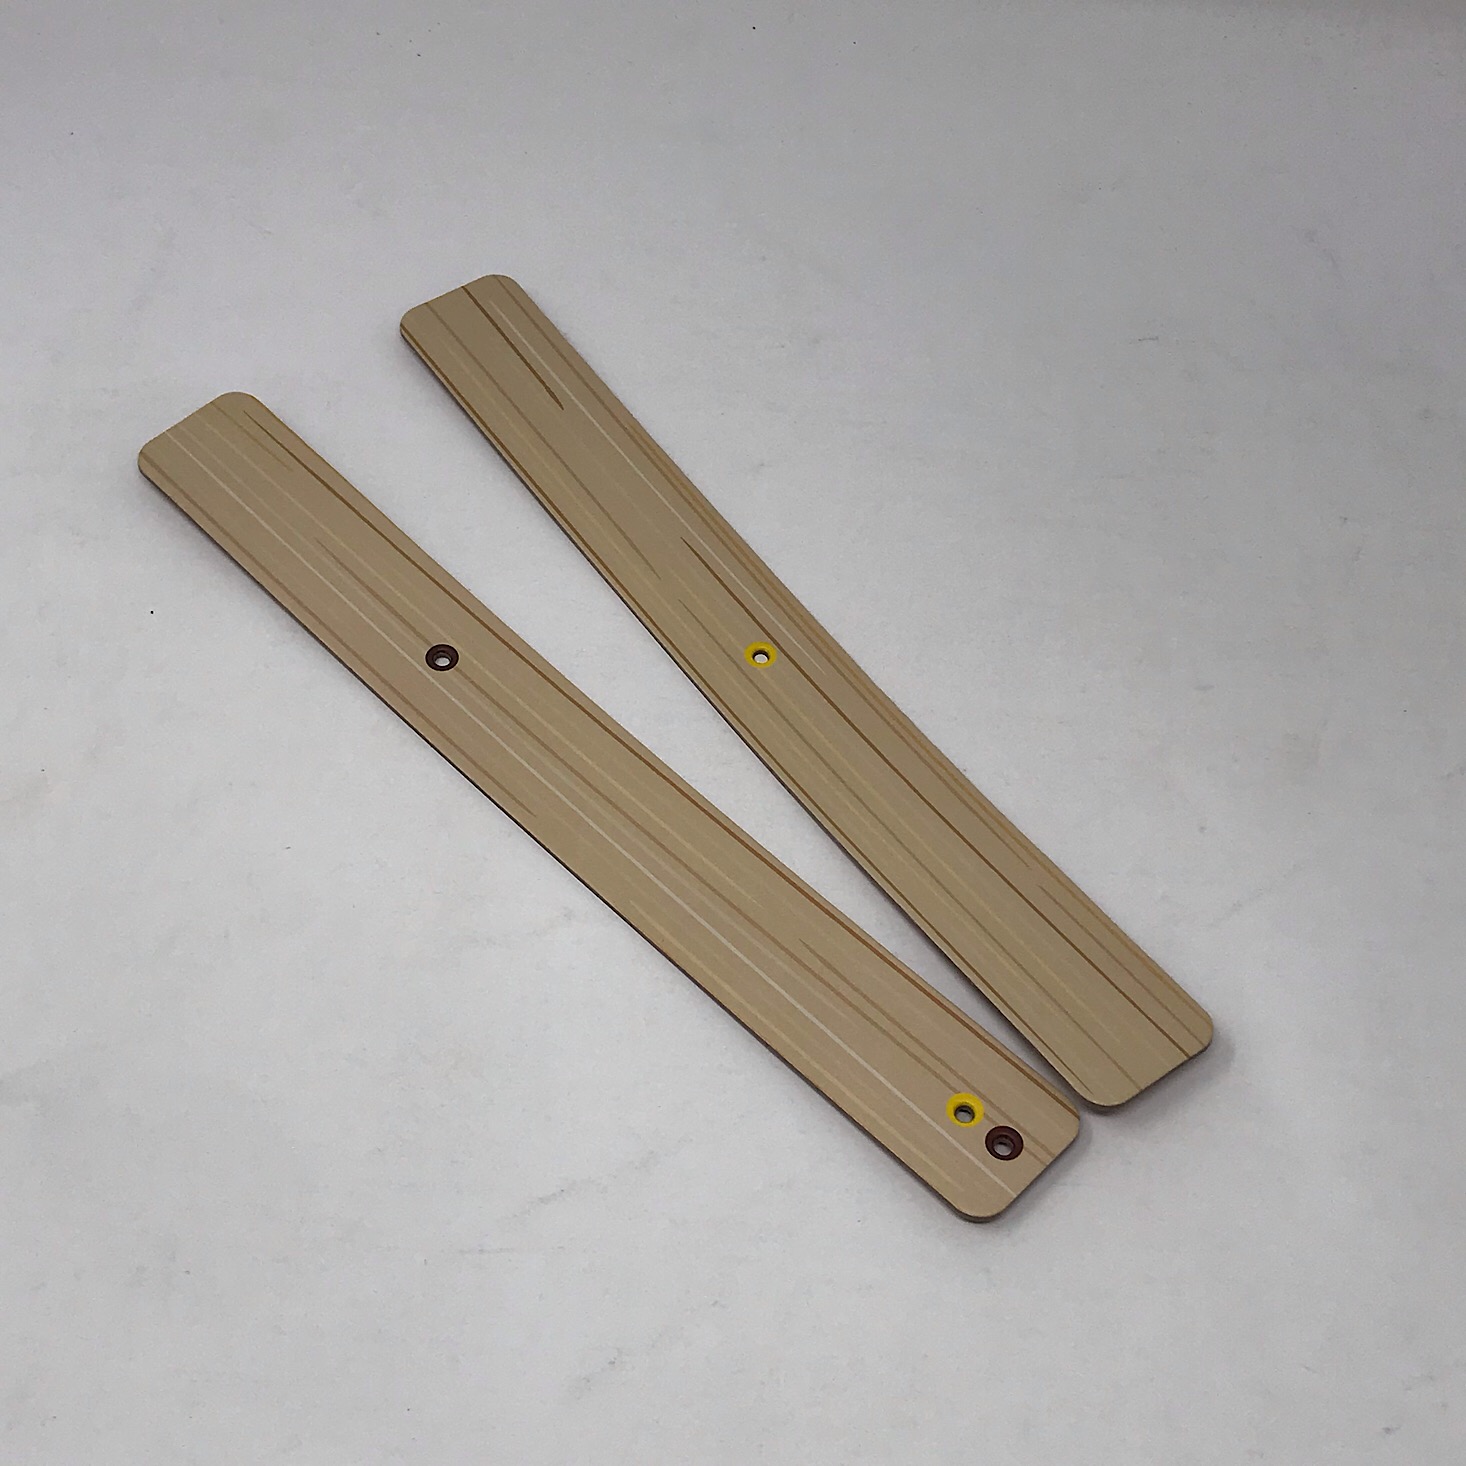
1 of 2
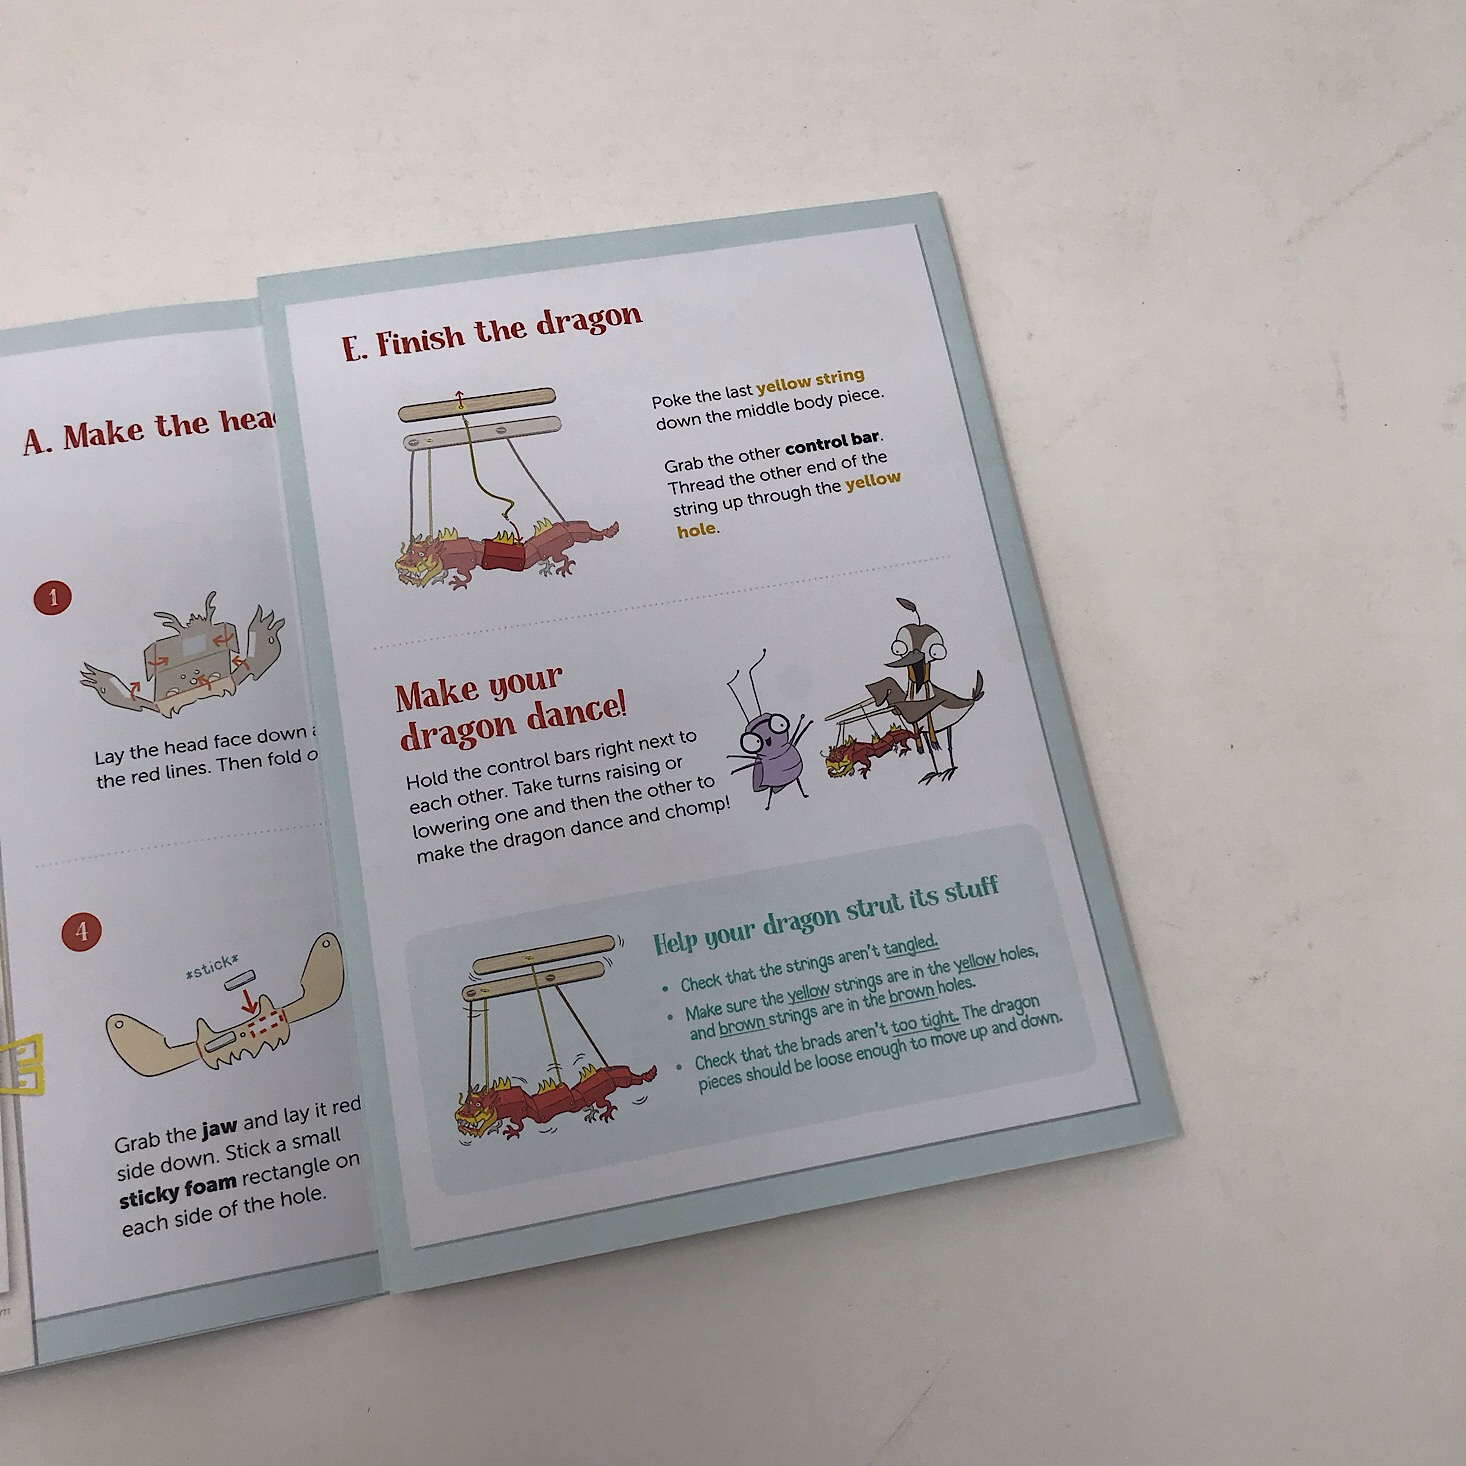
They provided two rectangles and a set of elastic bands for us to use to control our dragon's movements.
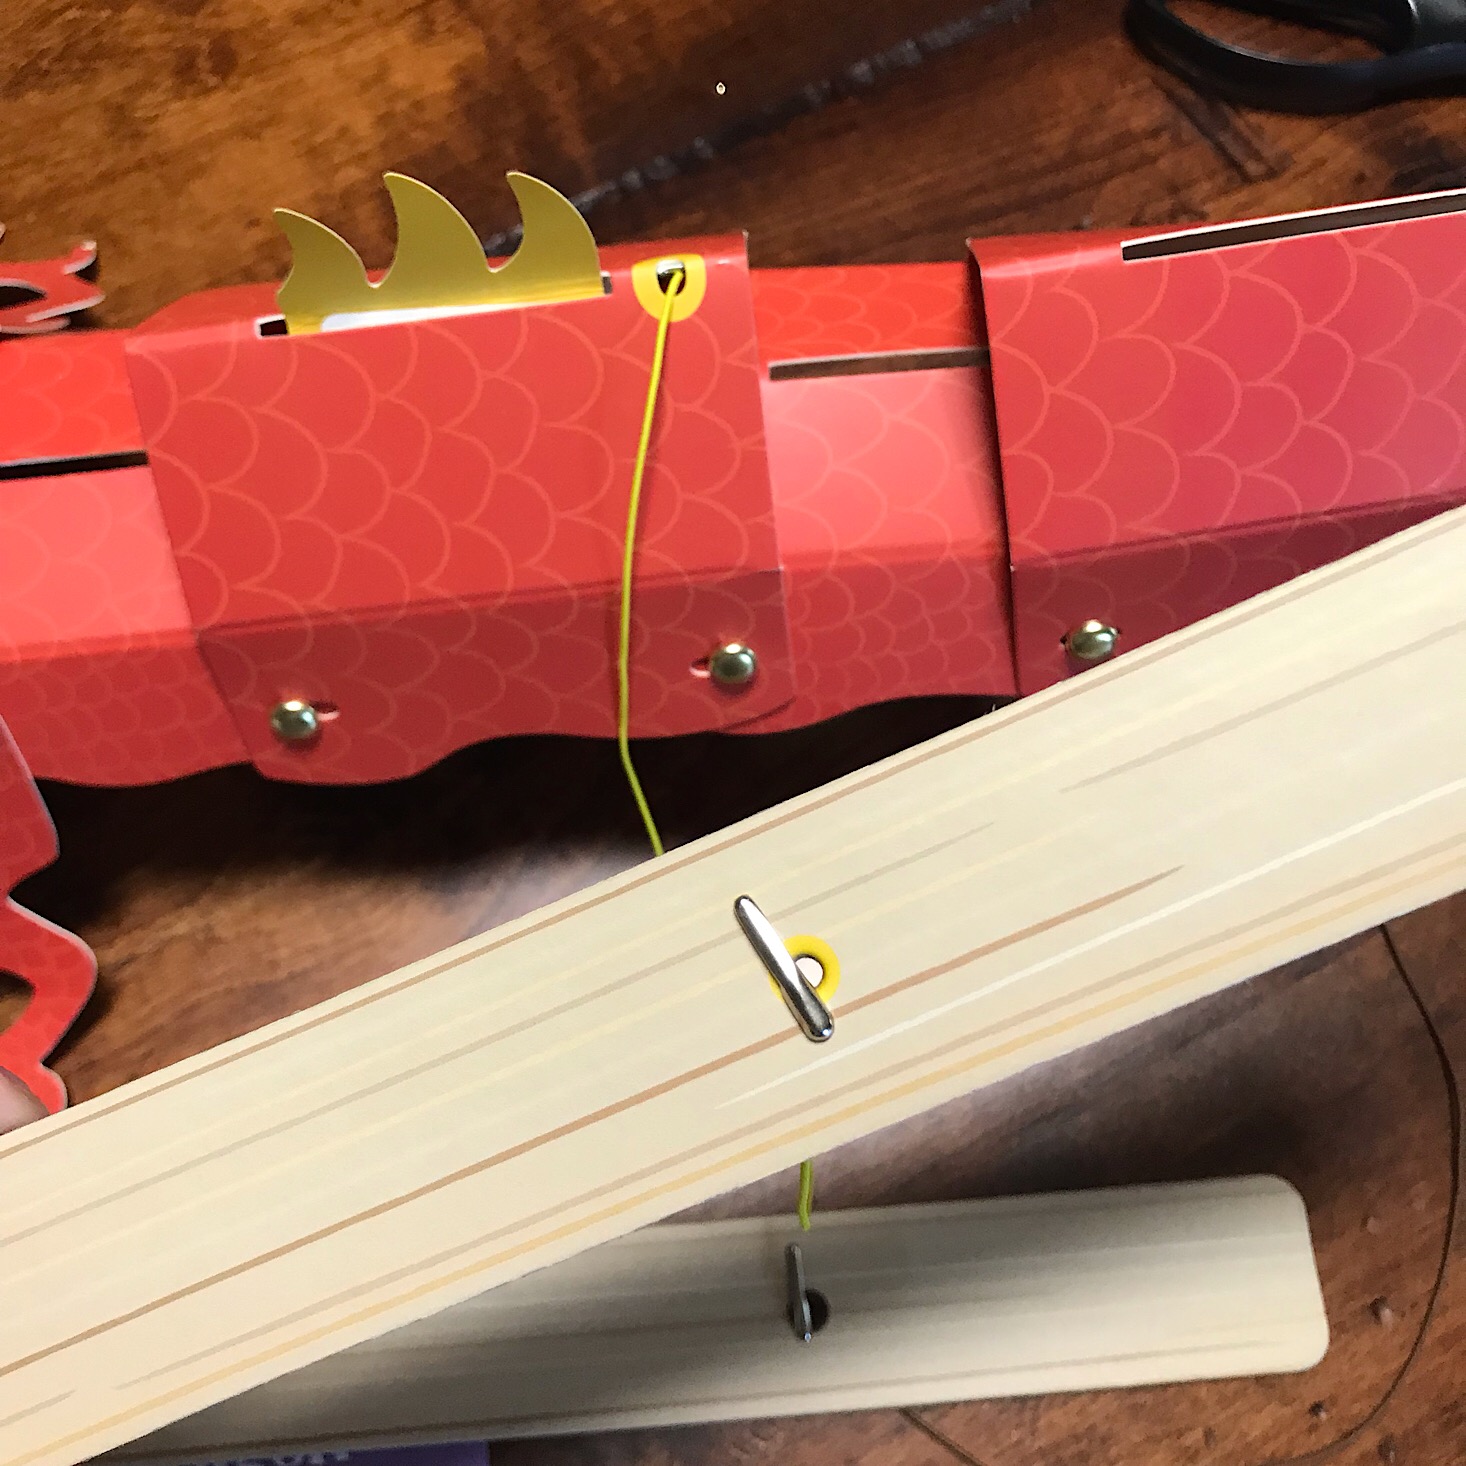
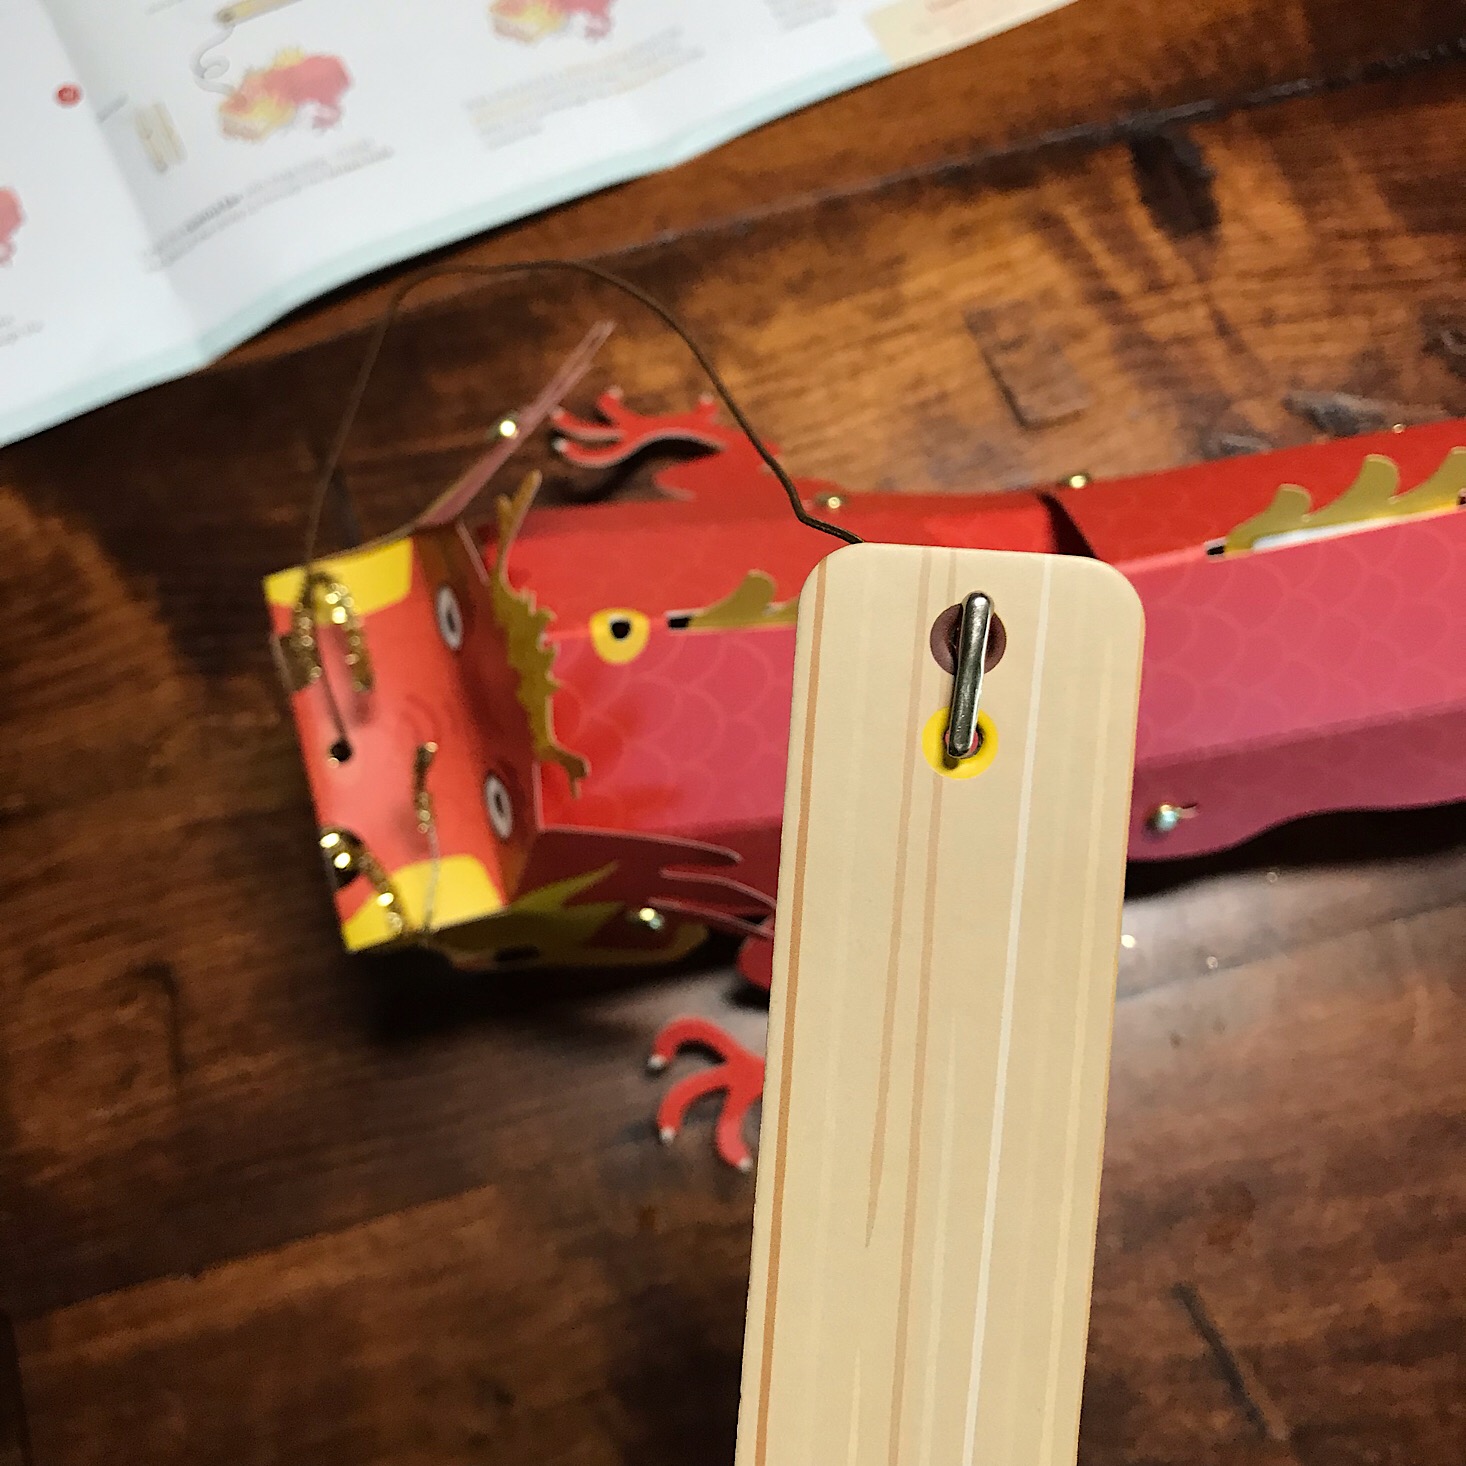
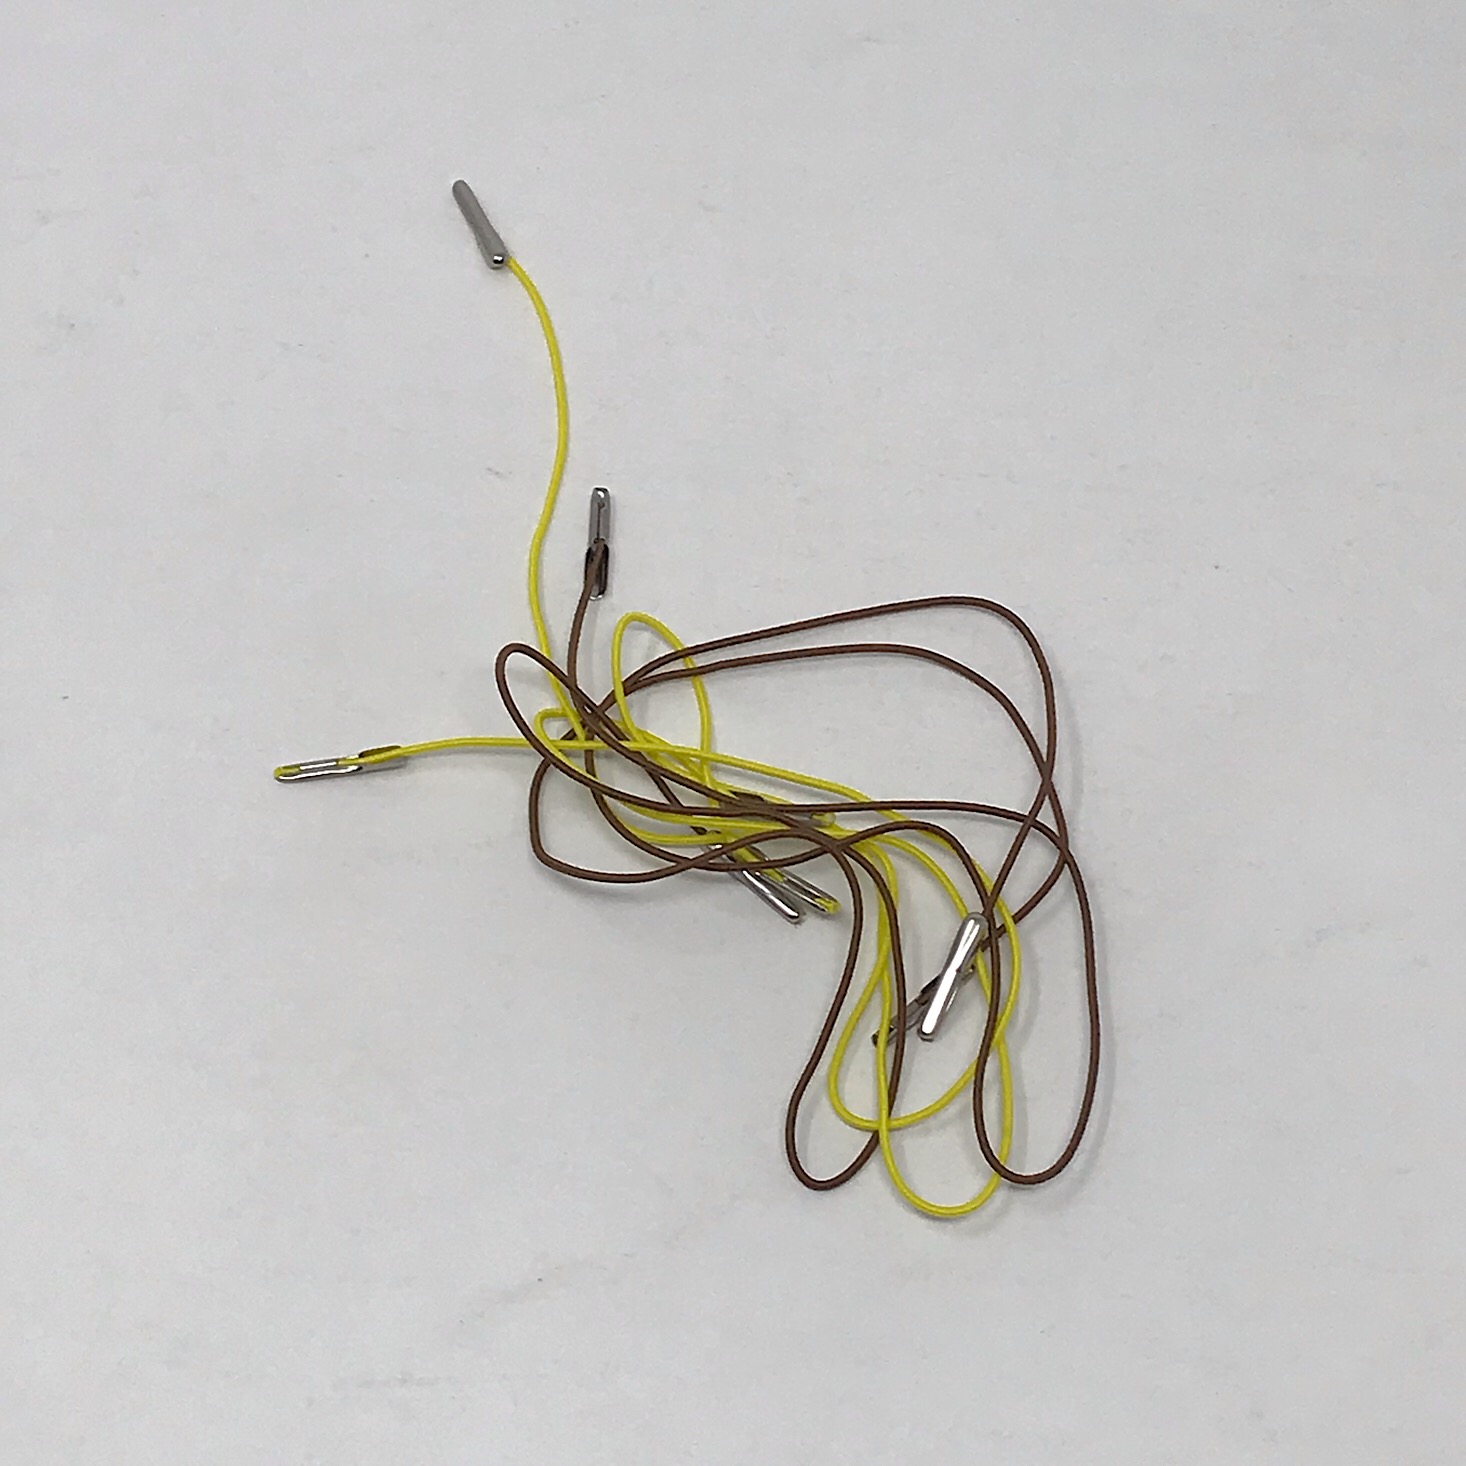
1 of 4
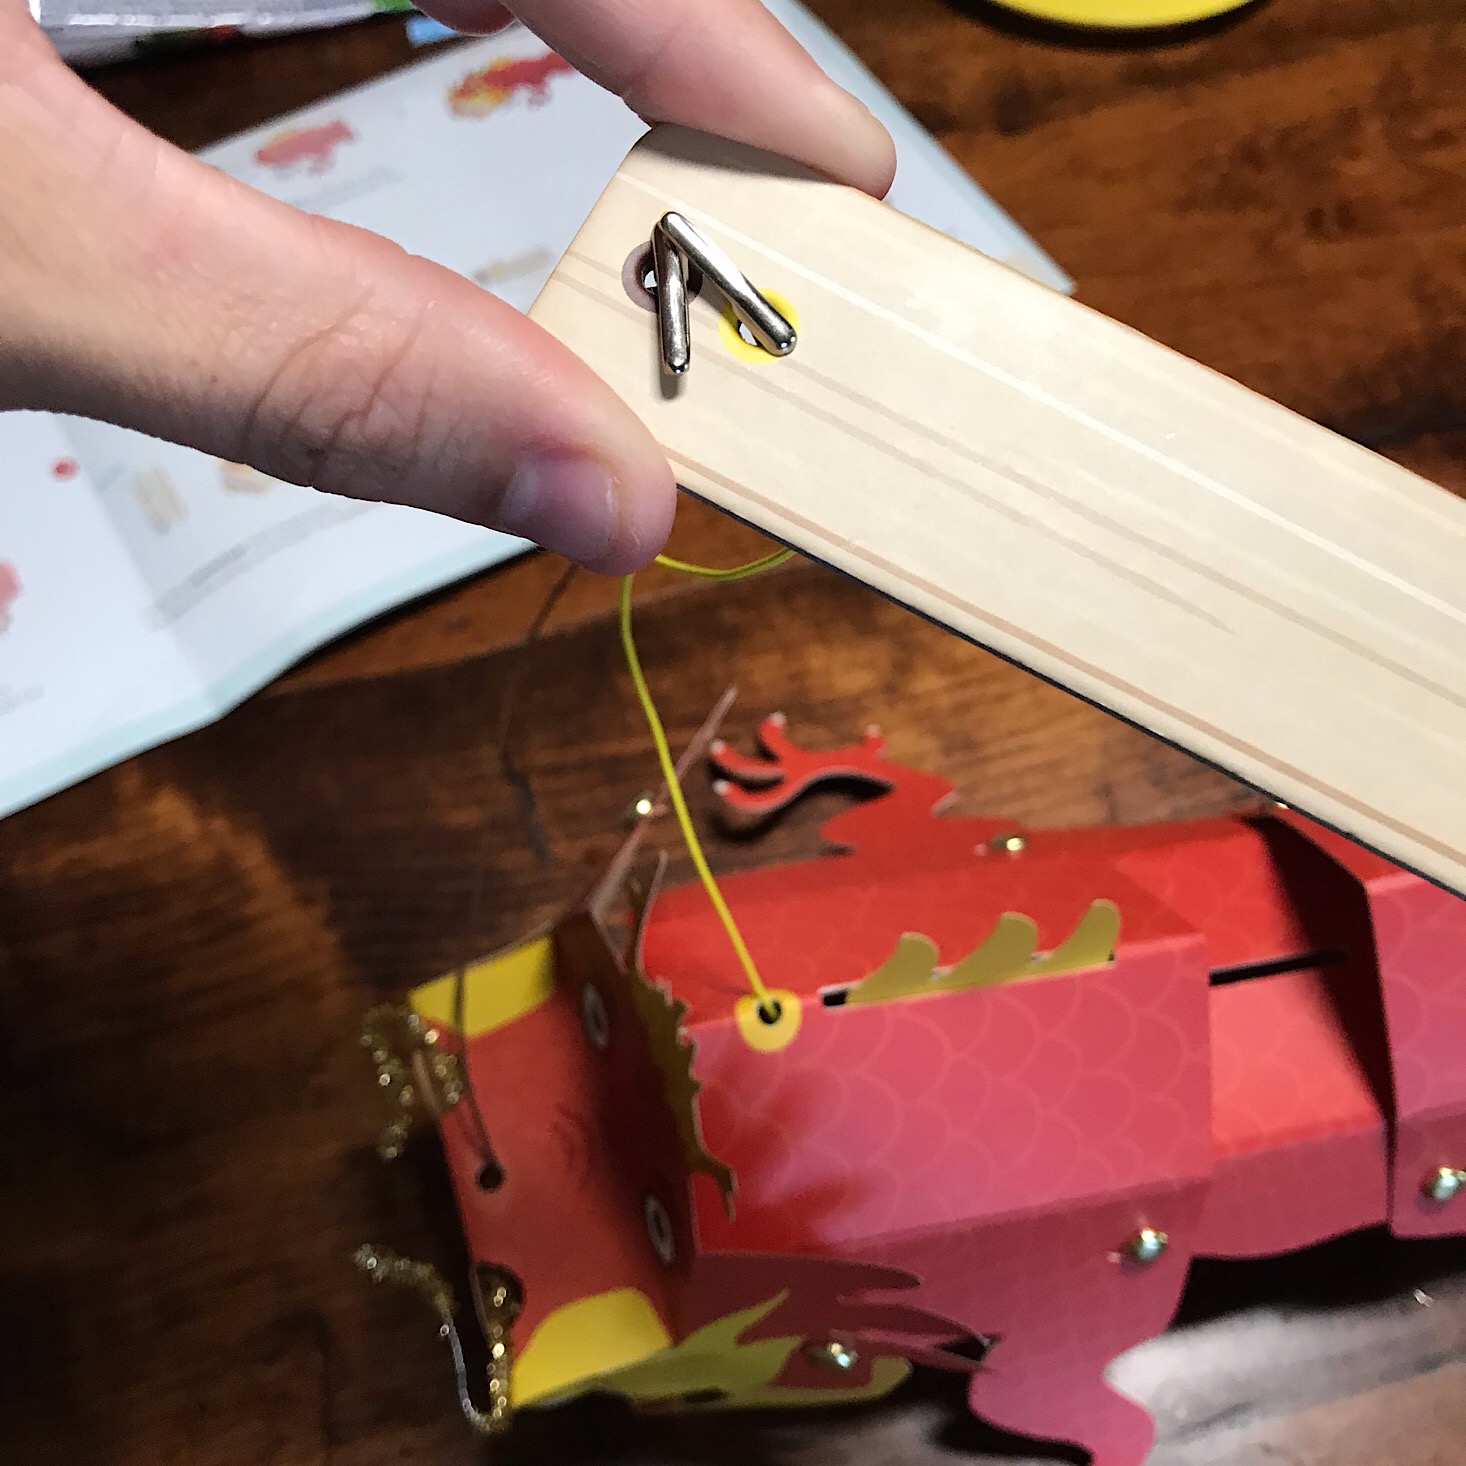

Then it was just a matter of adding the elastic pieces where it indicated in the directions. The strings came in yellow and brown and the holes where they would go were also marked with yellow or brown making it super easy to match them up!
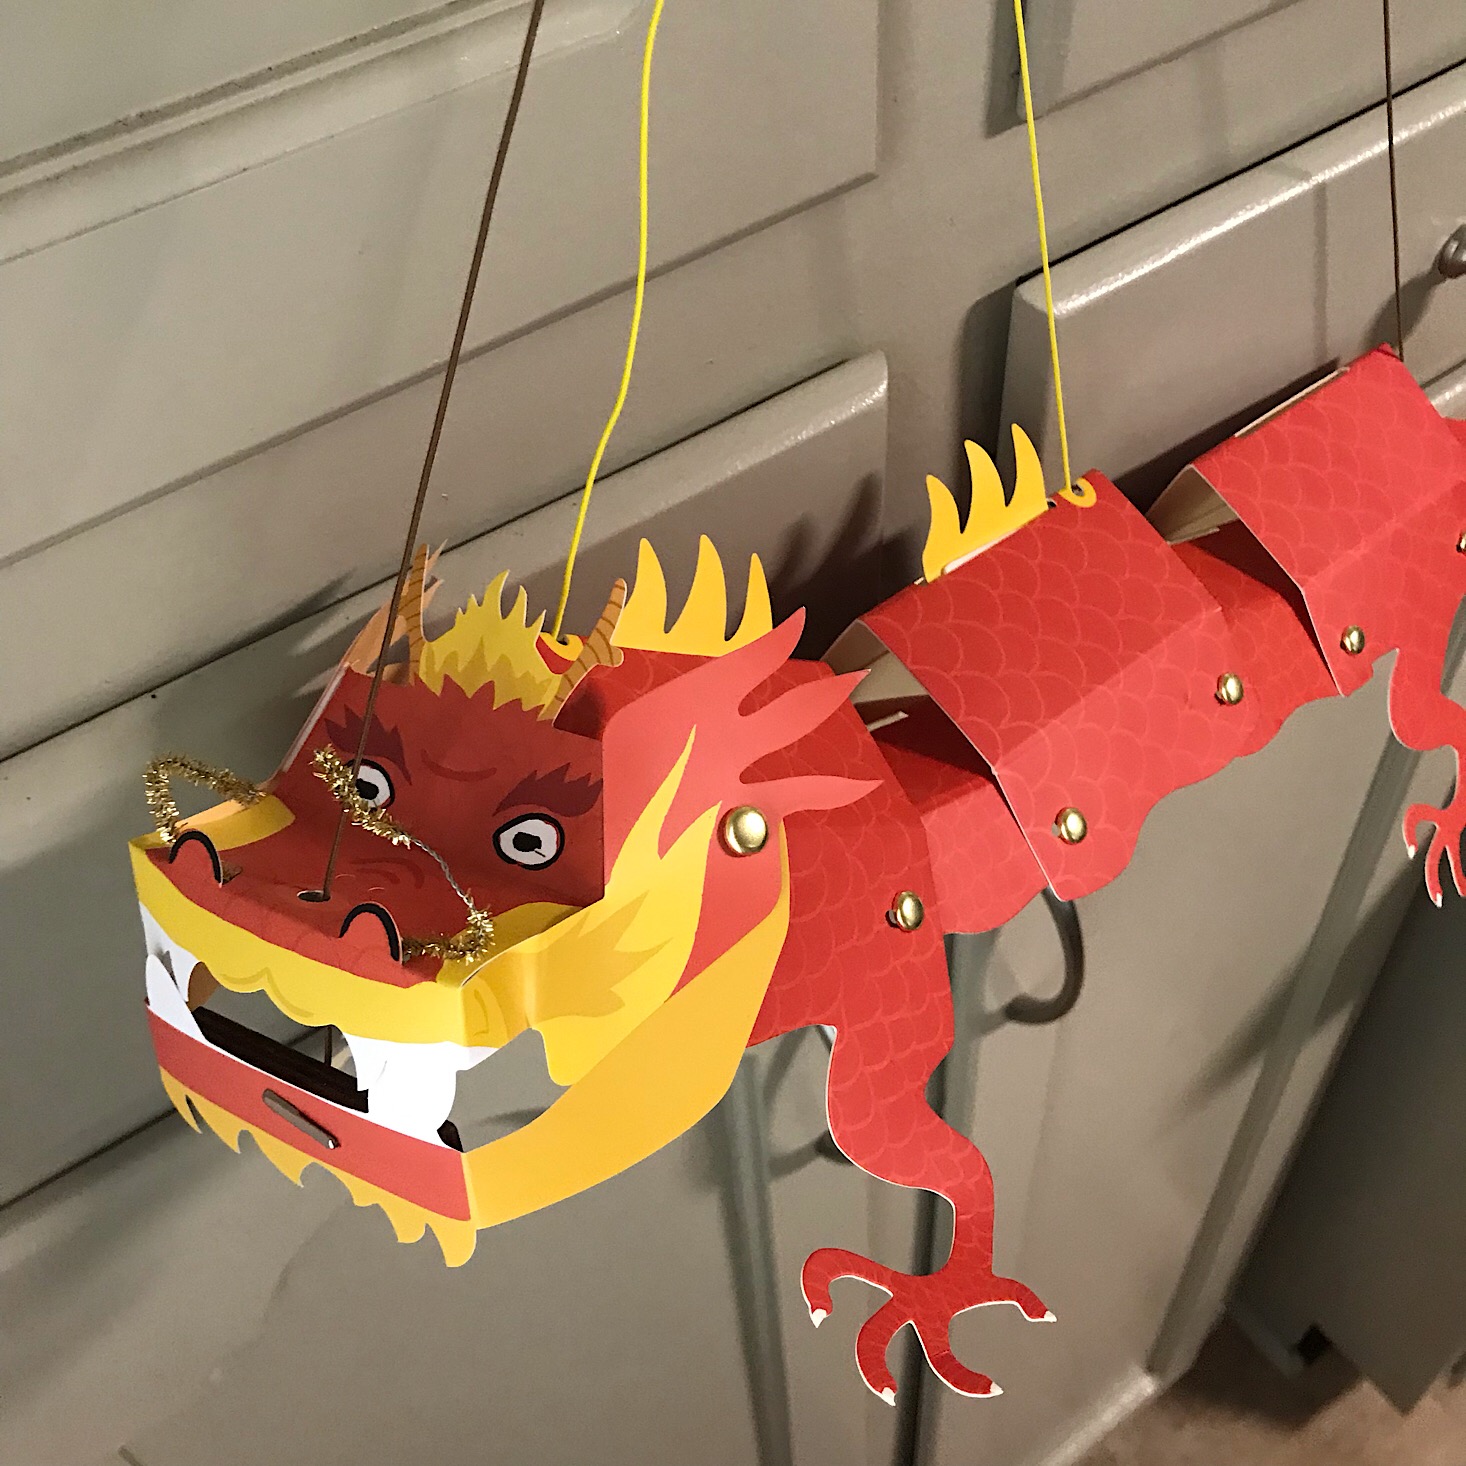

1 of 2
Here is our dragon, all ready to dance!
It took a minute to figure out the best way to move him to get his mouth to open and close, but once we got it down, it worked pretty well! This was a fun way to create a miniature version of the dragon dance!
Activity #2: Folding Fan


1 of 4


Our next project was to make our own folding fan. I love the artistic aspect of this project and I was excited to see how we could accomplish this one!


1 of 3
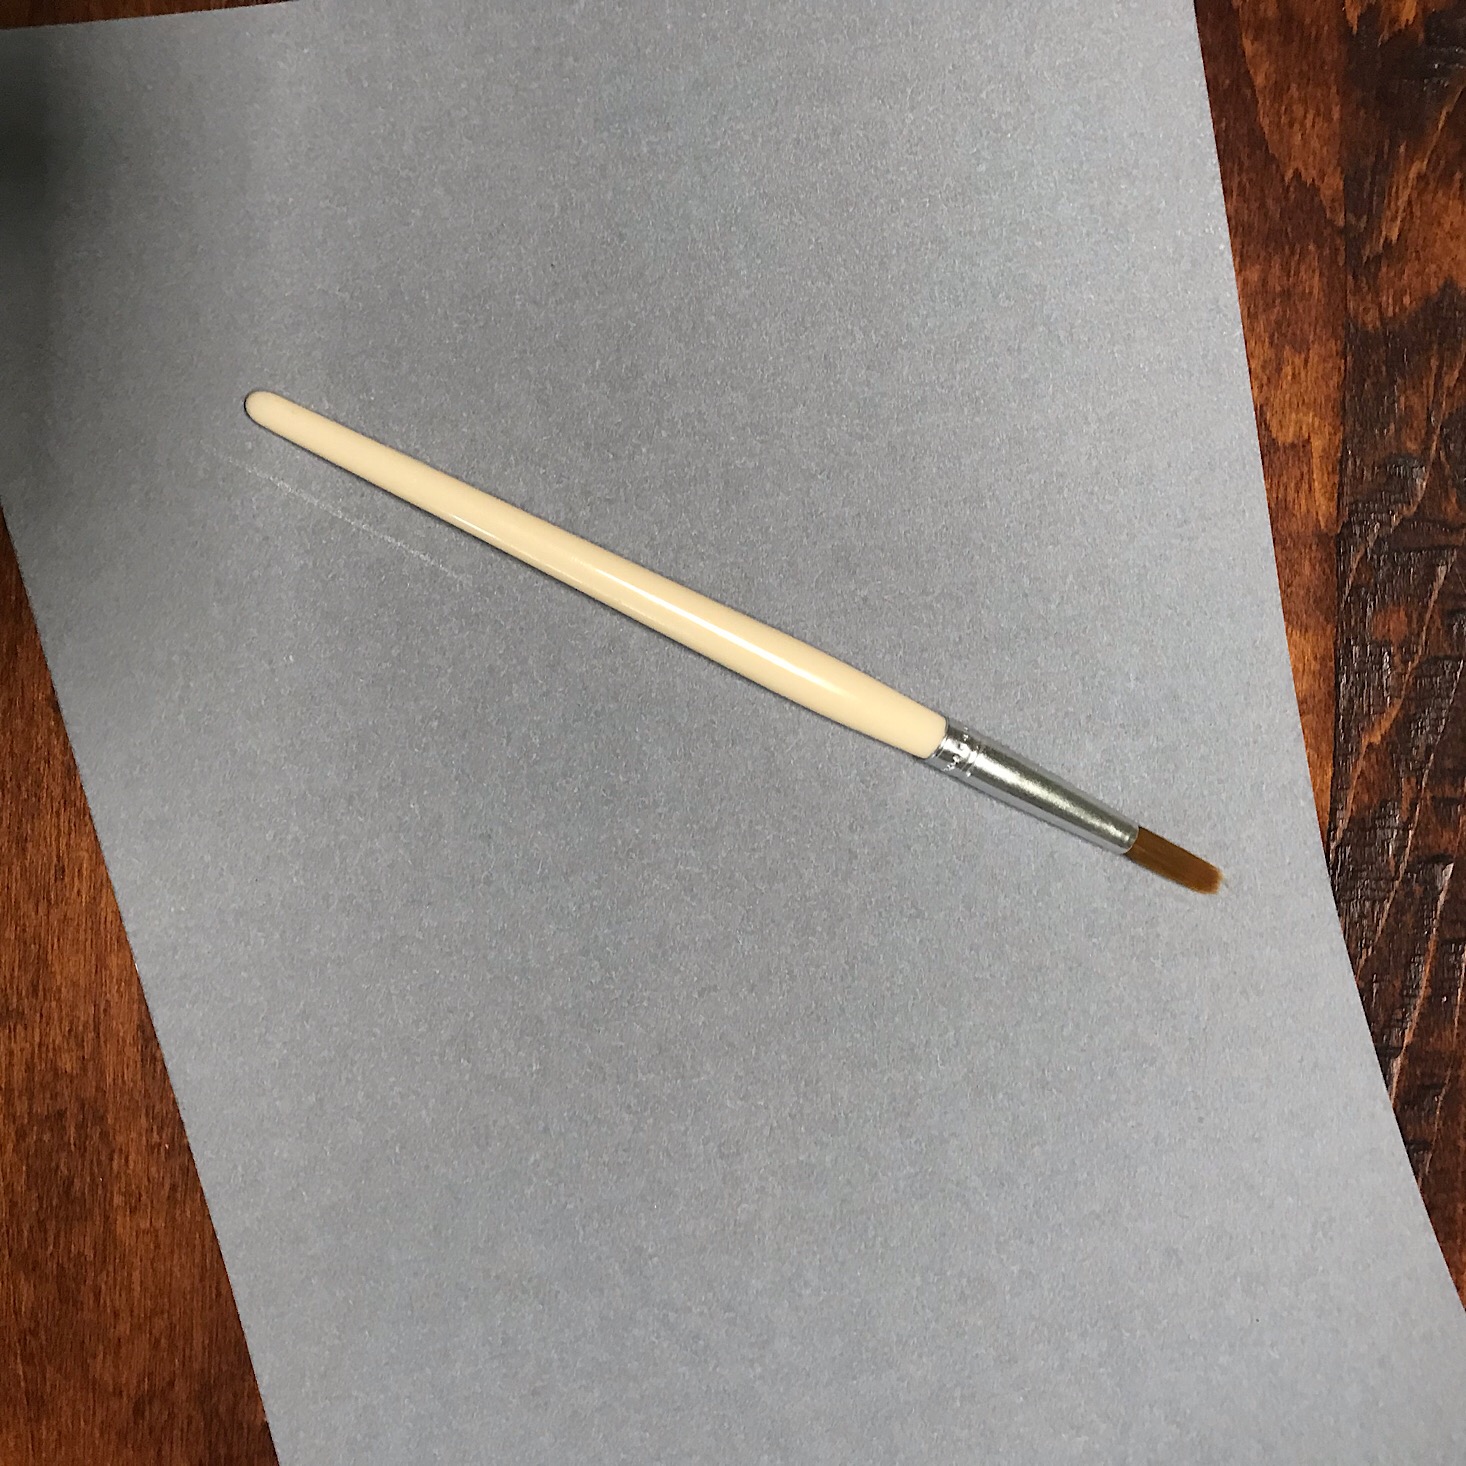
Our instructions sheet provided a lot of information about how fans could be an expression of wealth or power and sometimes people would get talented artists or poets to paint fans for them. I love that they included that information and that we get to design our own! They provided a brush and a little cup along with some magic paper for us to use to practice our painting.


1 of 3

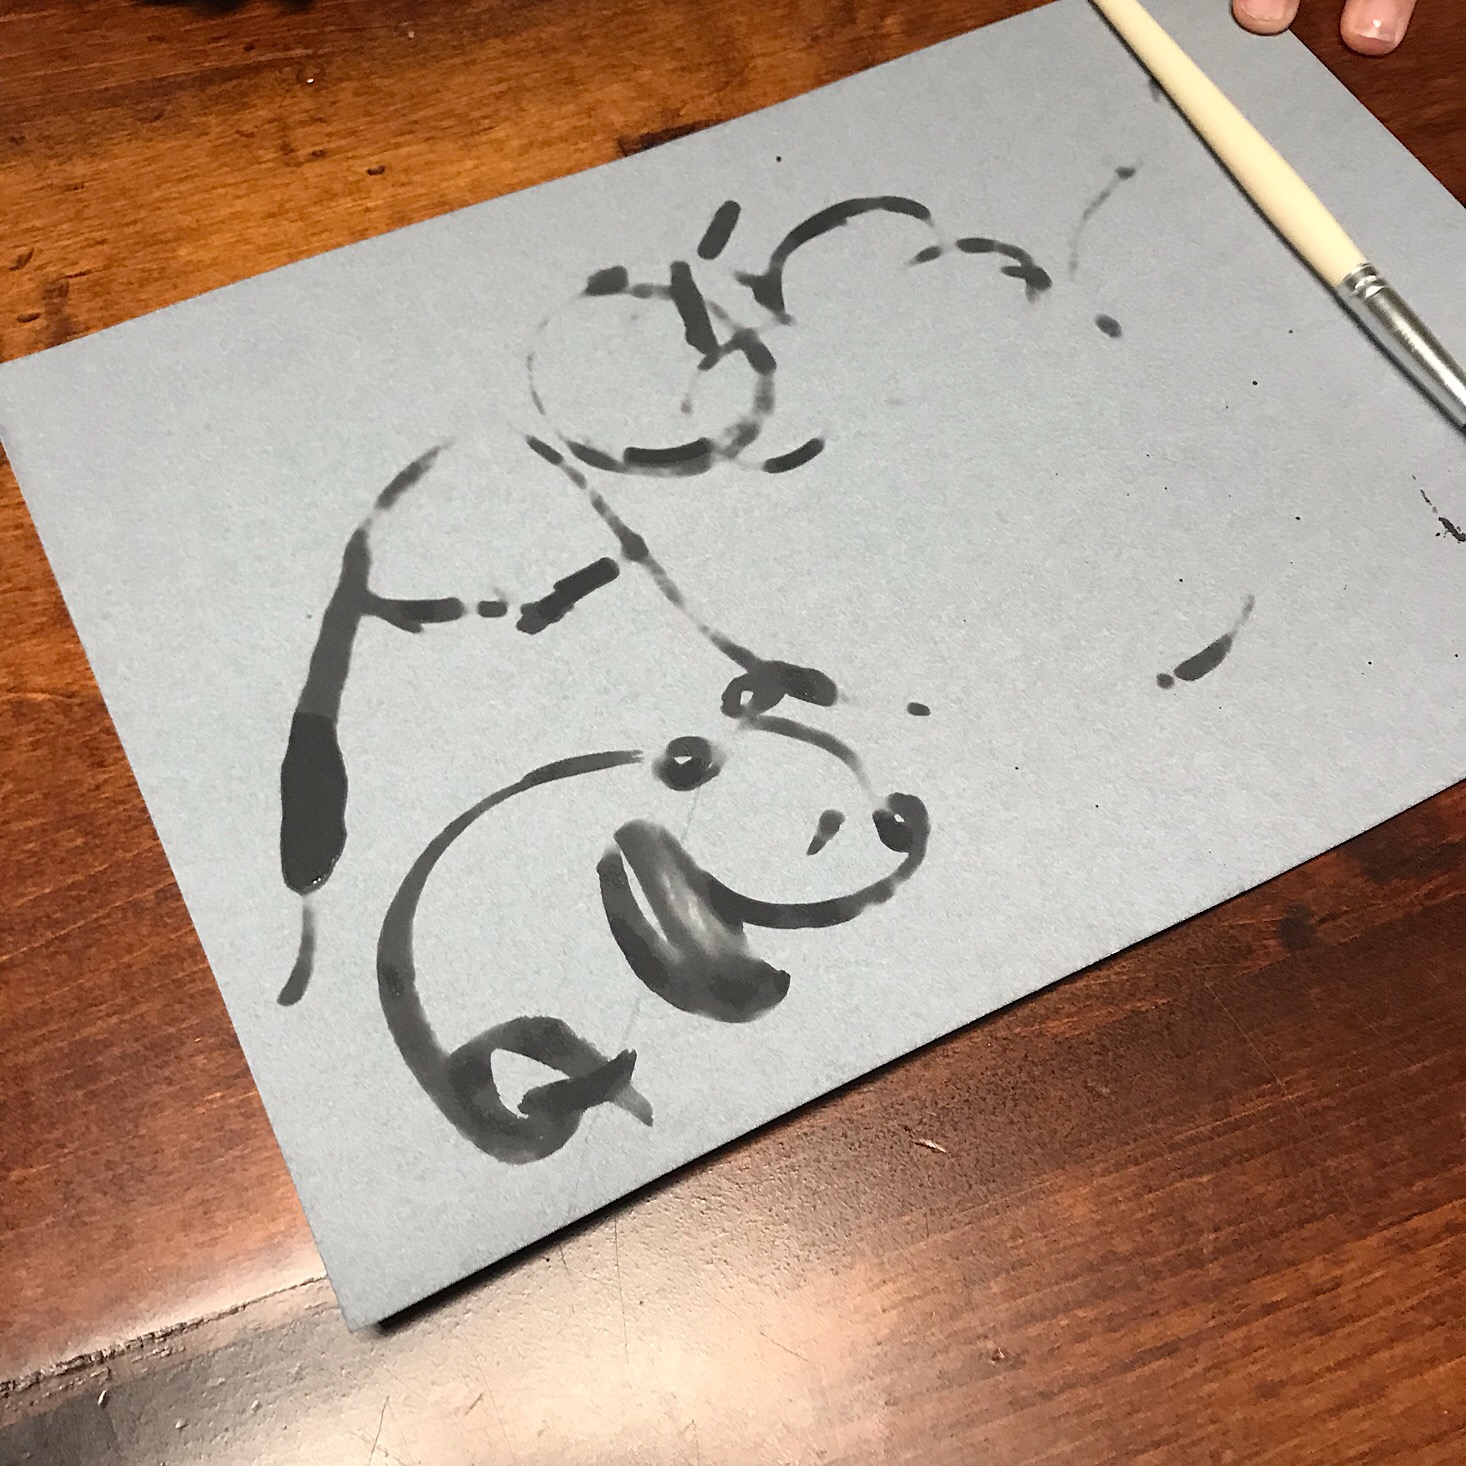
The magic paper certainly was magical! You could paint on it with water and shortly after your painting would dry up and disappear. They also provided some images and Chinese symbols in our book that we could use for our fans. This included the signs for water, fire, and sun.
1 of 2
We had a lot of fun practicing on the paper! It was much easier to work with than the actual rice paper!

1 of 3
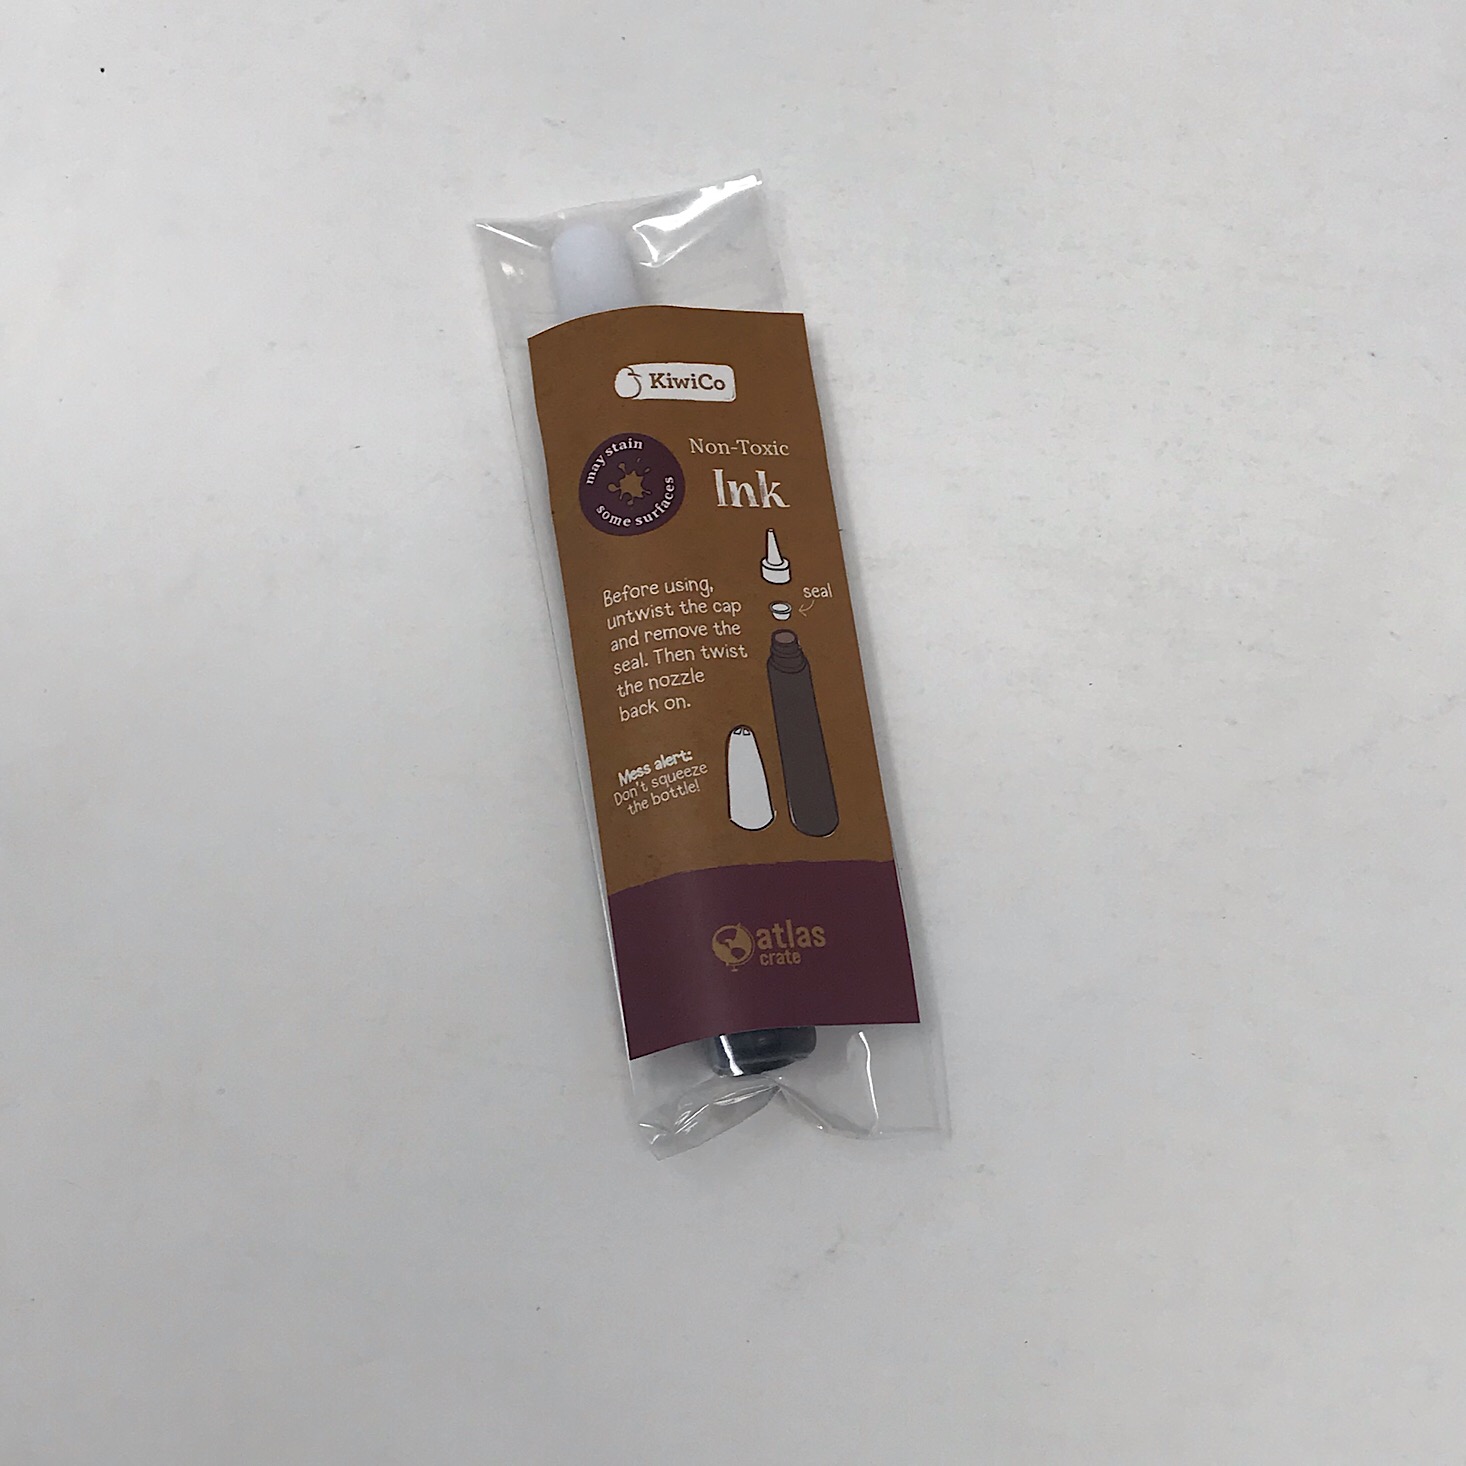
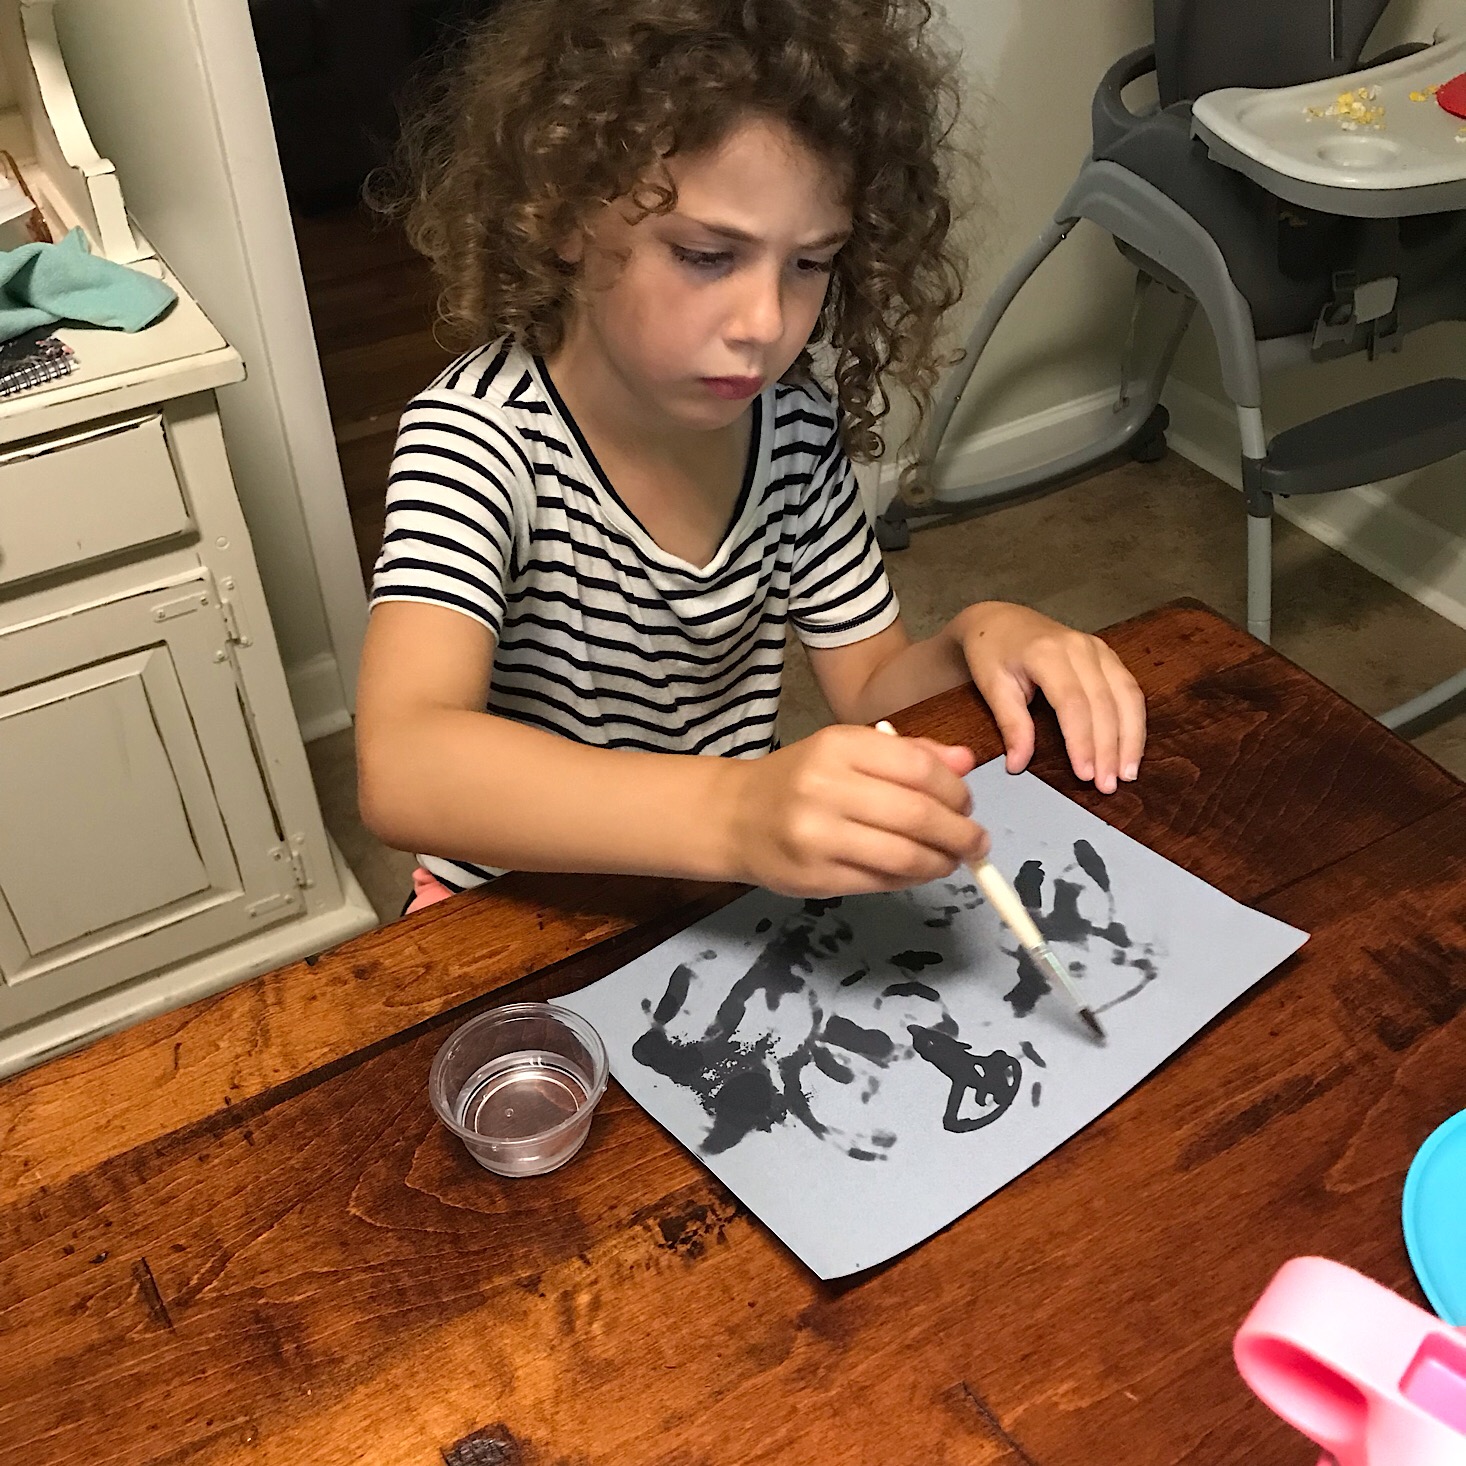
Once we had our design in mind it was time to use the ink they provided to paint on our rice paper fan.

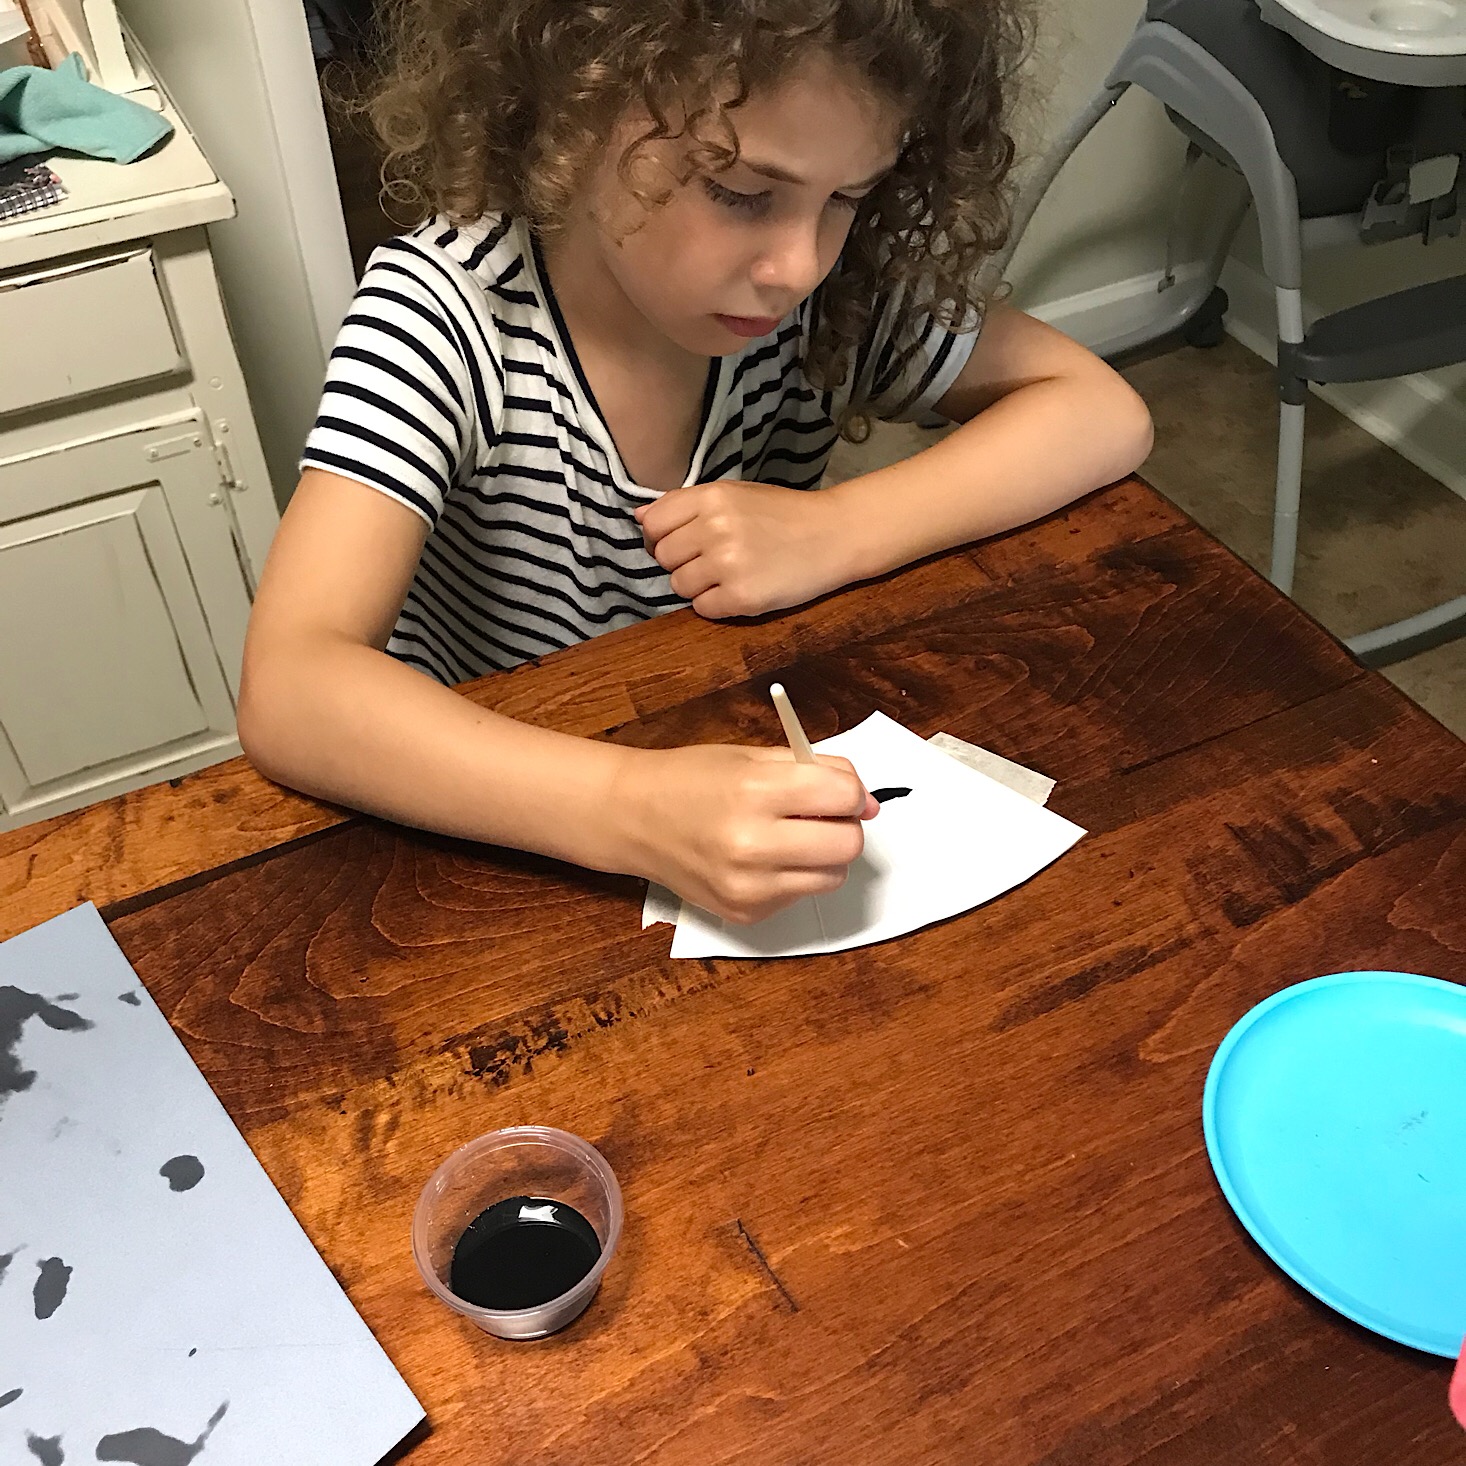
1 of 3
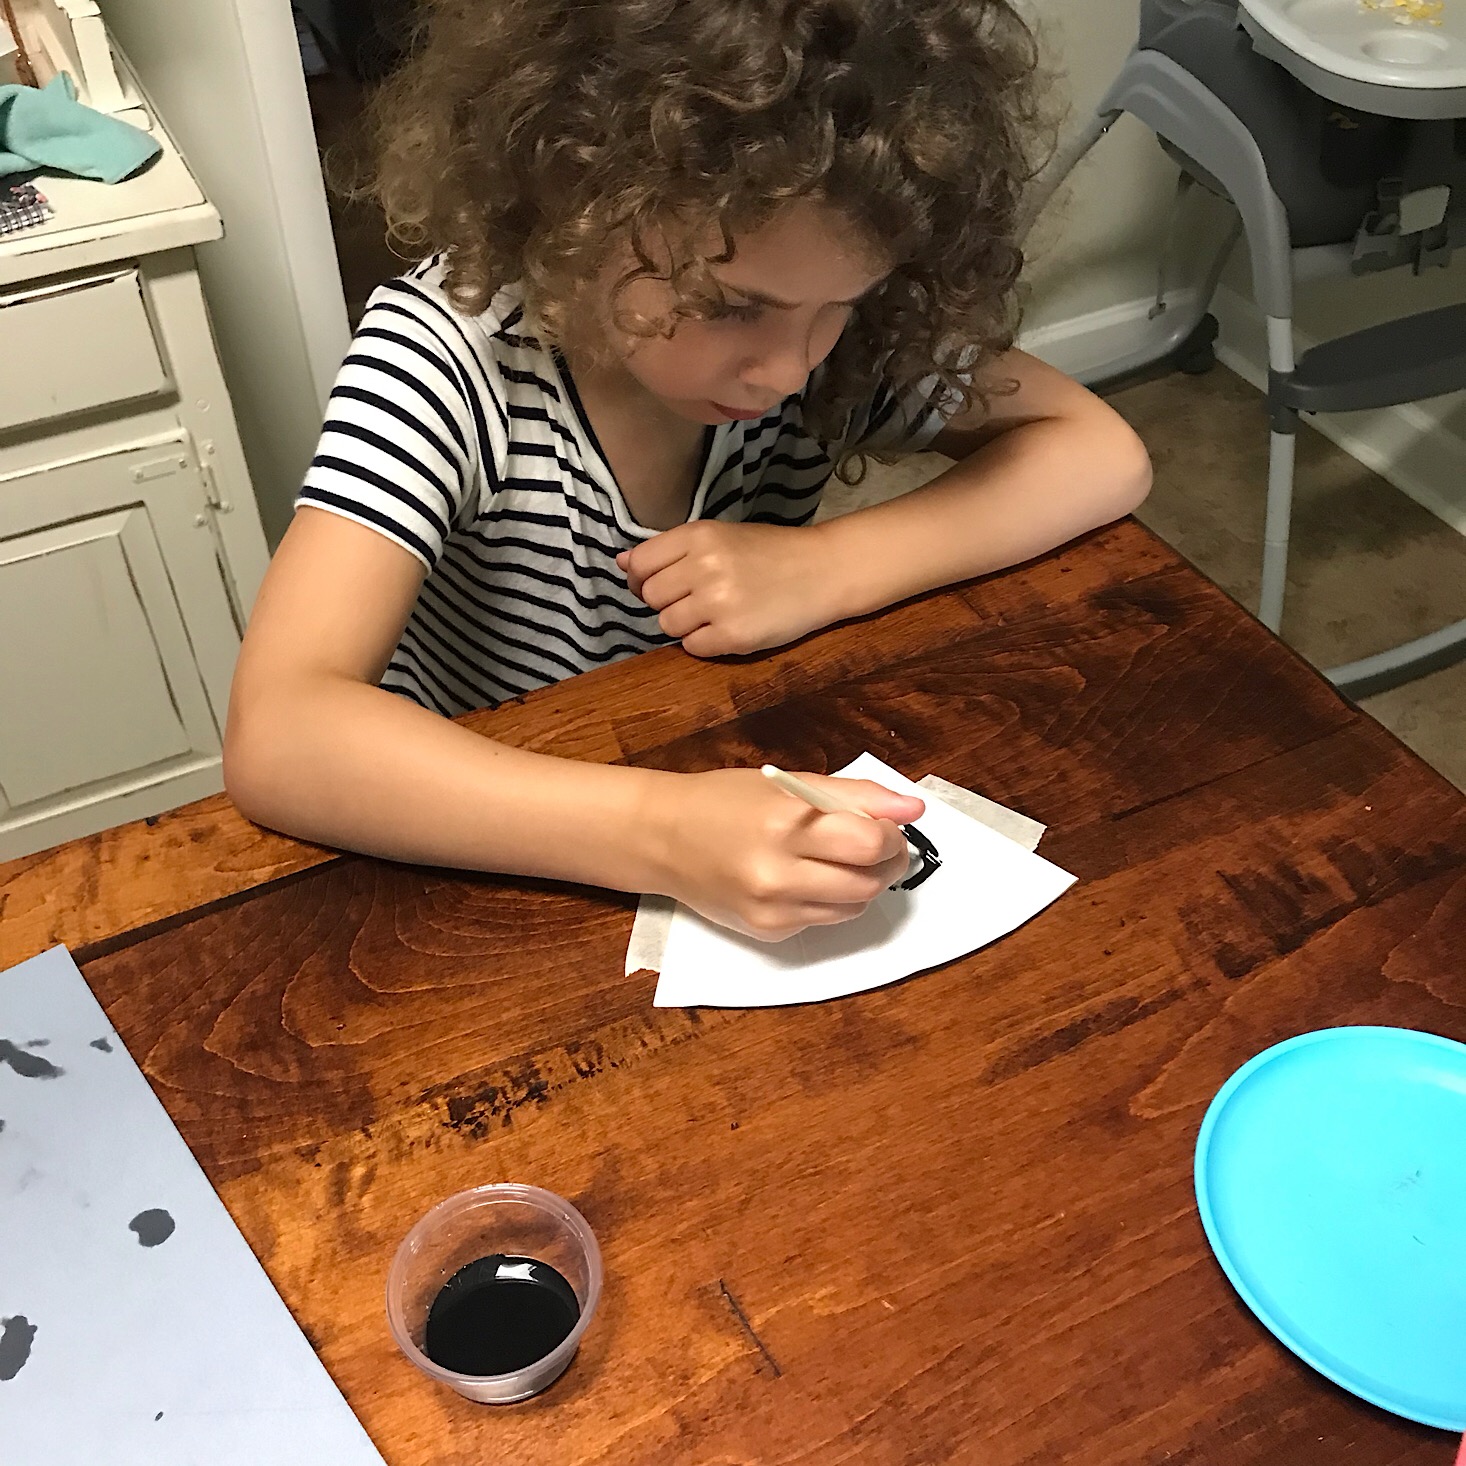
I taped down the edges of our fan to flatten it out for painting and then poured the ink in the cup for us to use. My daughter painted half and I painted the other. While I have actually done Chinese brush calligraphy before, I found the rice paper much more challenging since it bled so much, but I still thought it was such a fun and unique process to include in this box!
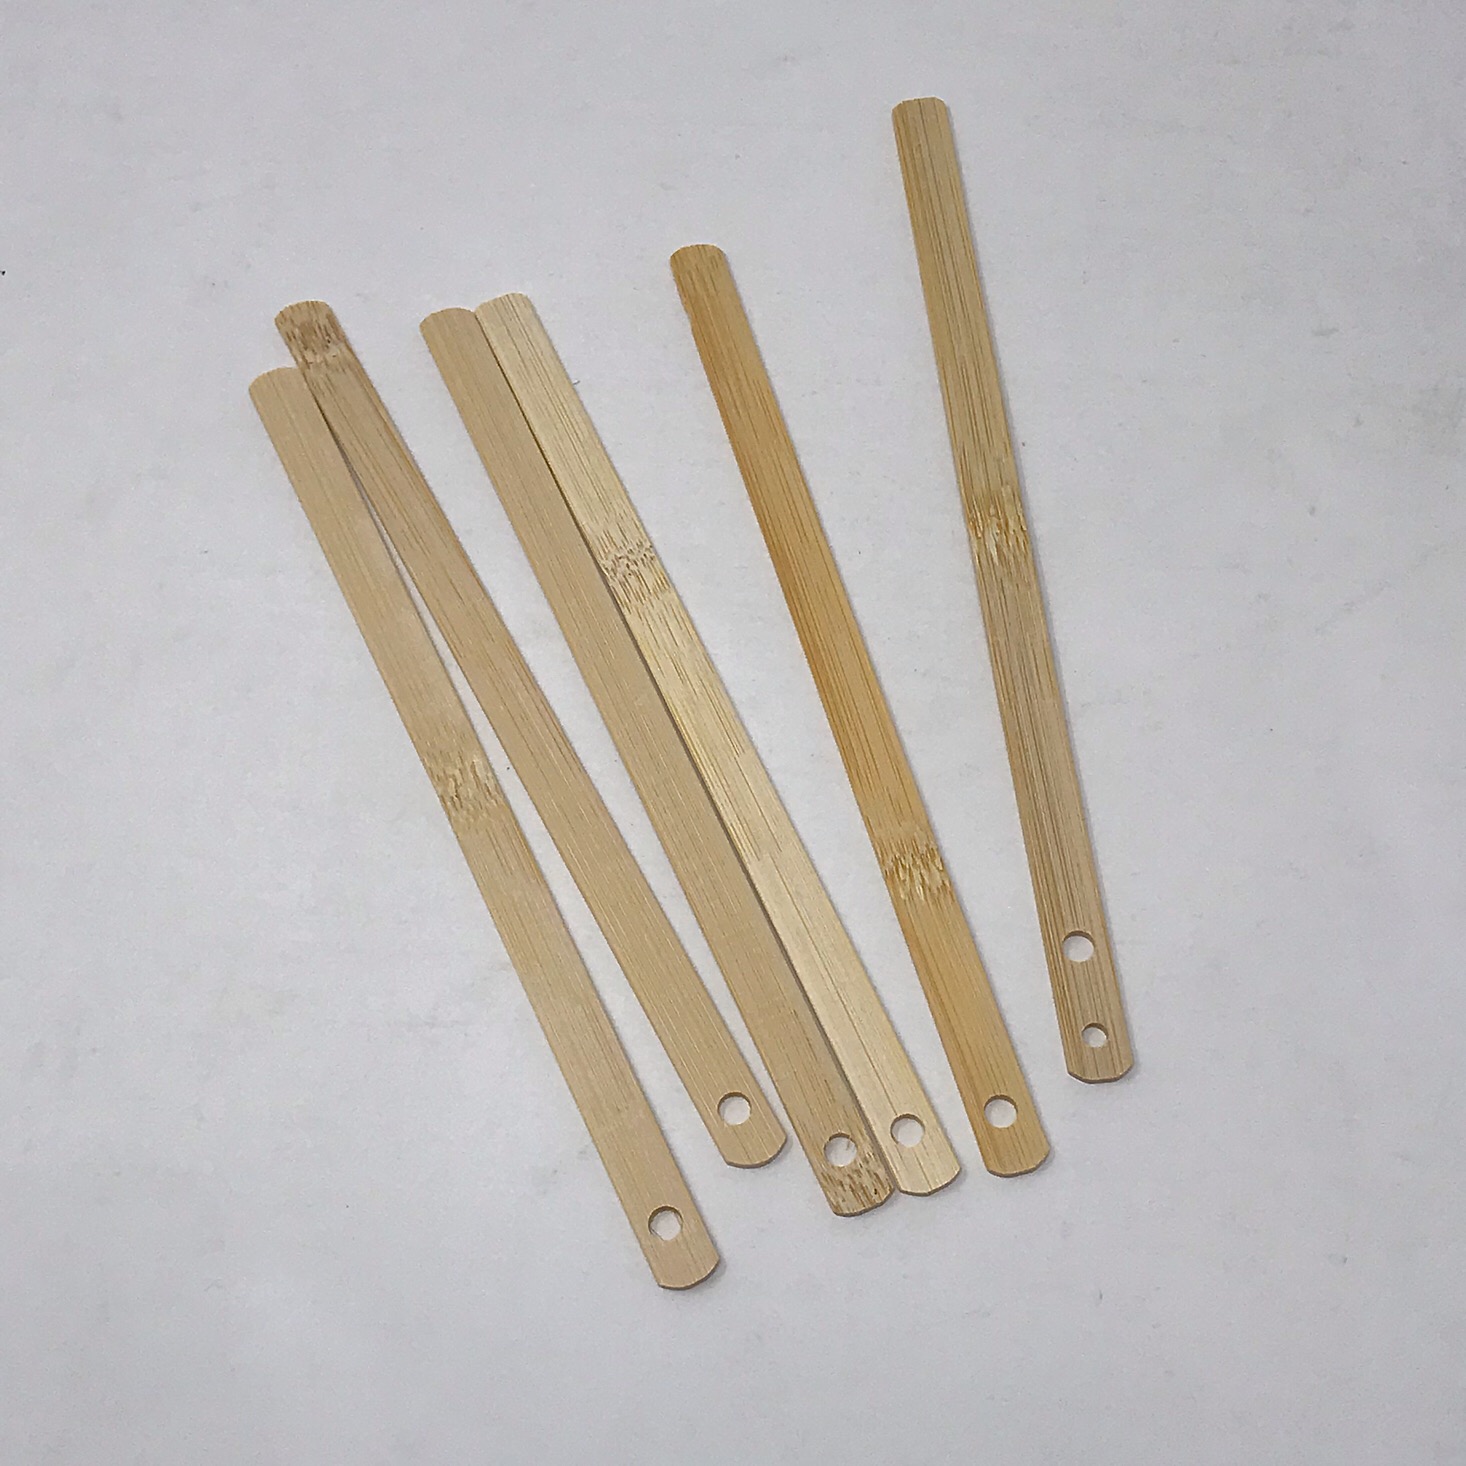
1 of 3
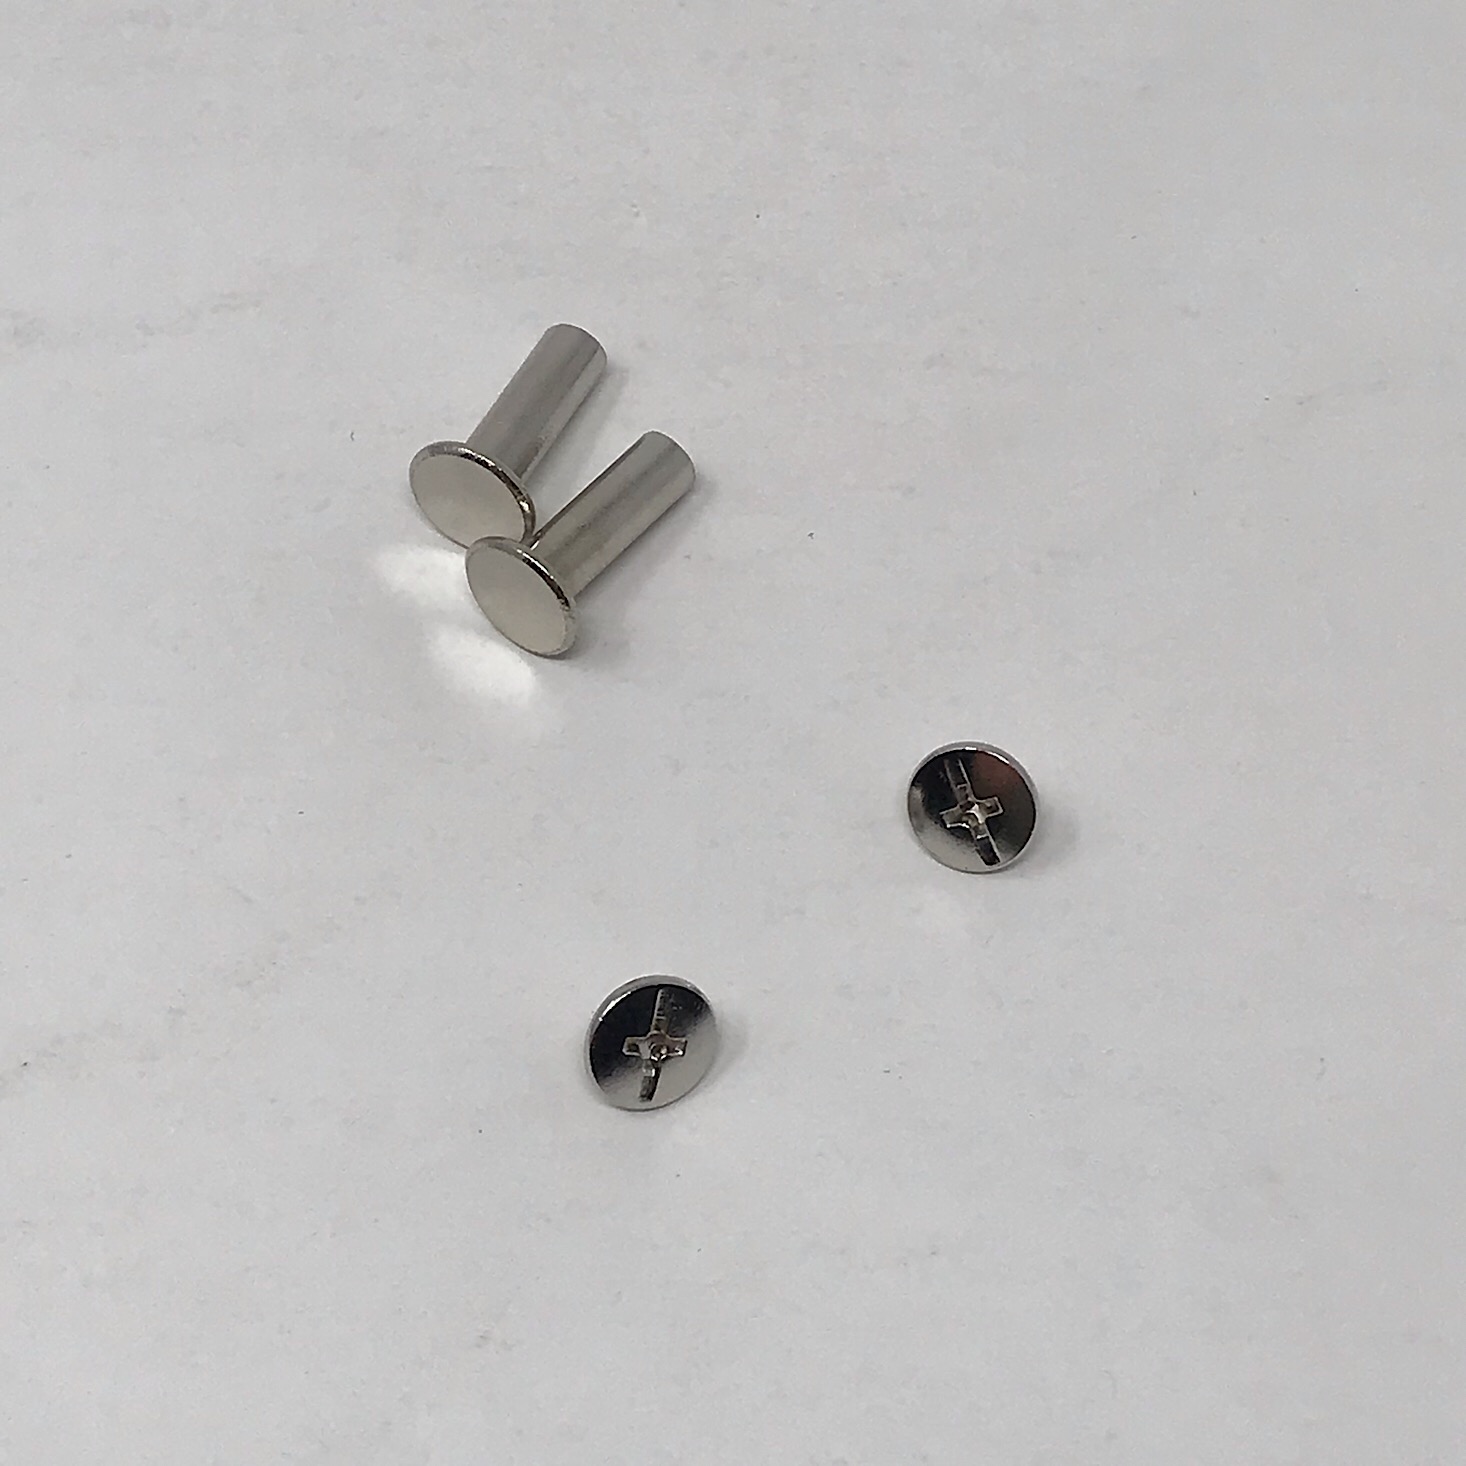
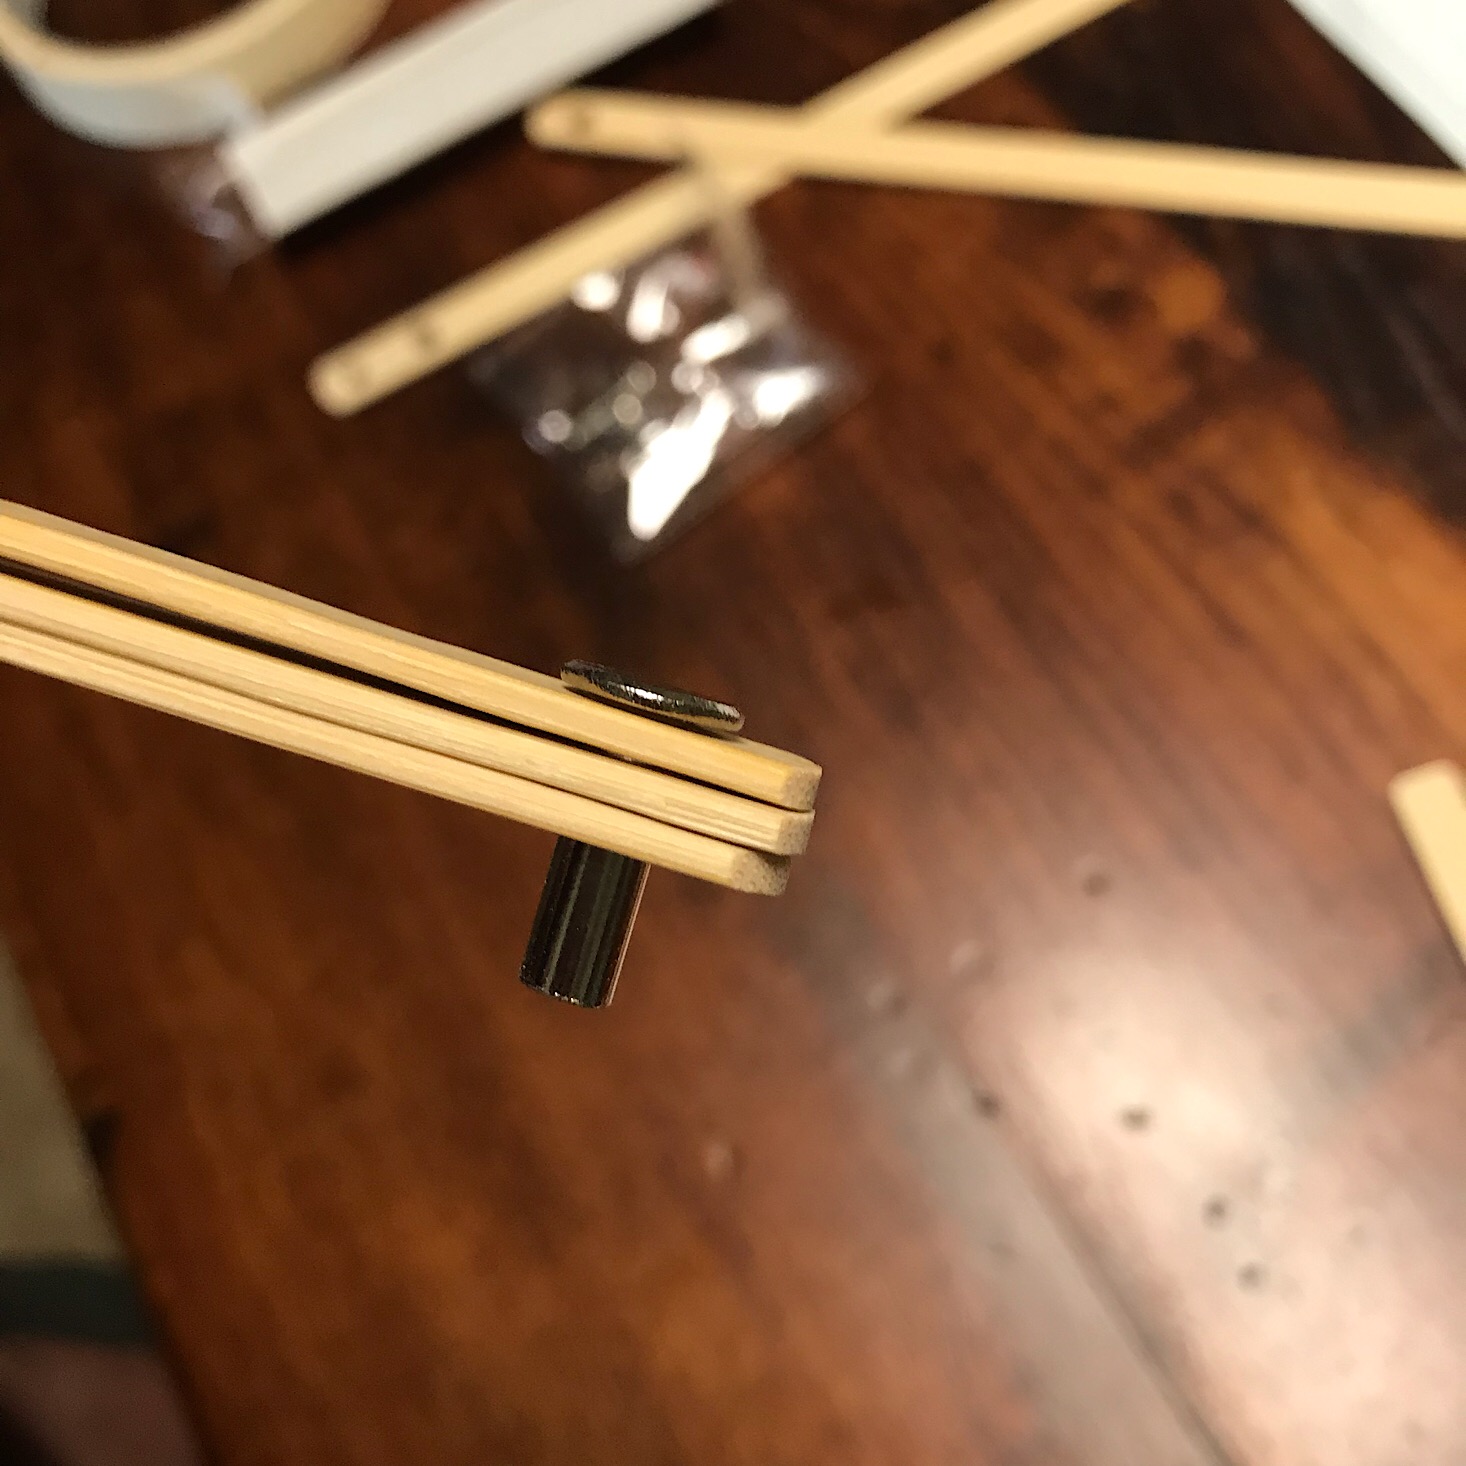
While our fan dried I got our little wooden sticks assembled. I used the metal bolts and put them through the holes at the end of the sticks.


1 of 3

They provided a certain order for us to use making sure to keep the stick with two holes with the smaller hole out. Our sticks fanned out smoothly!

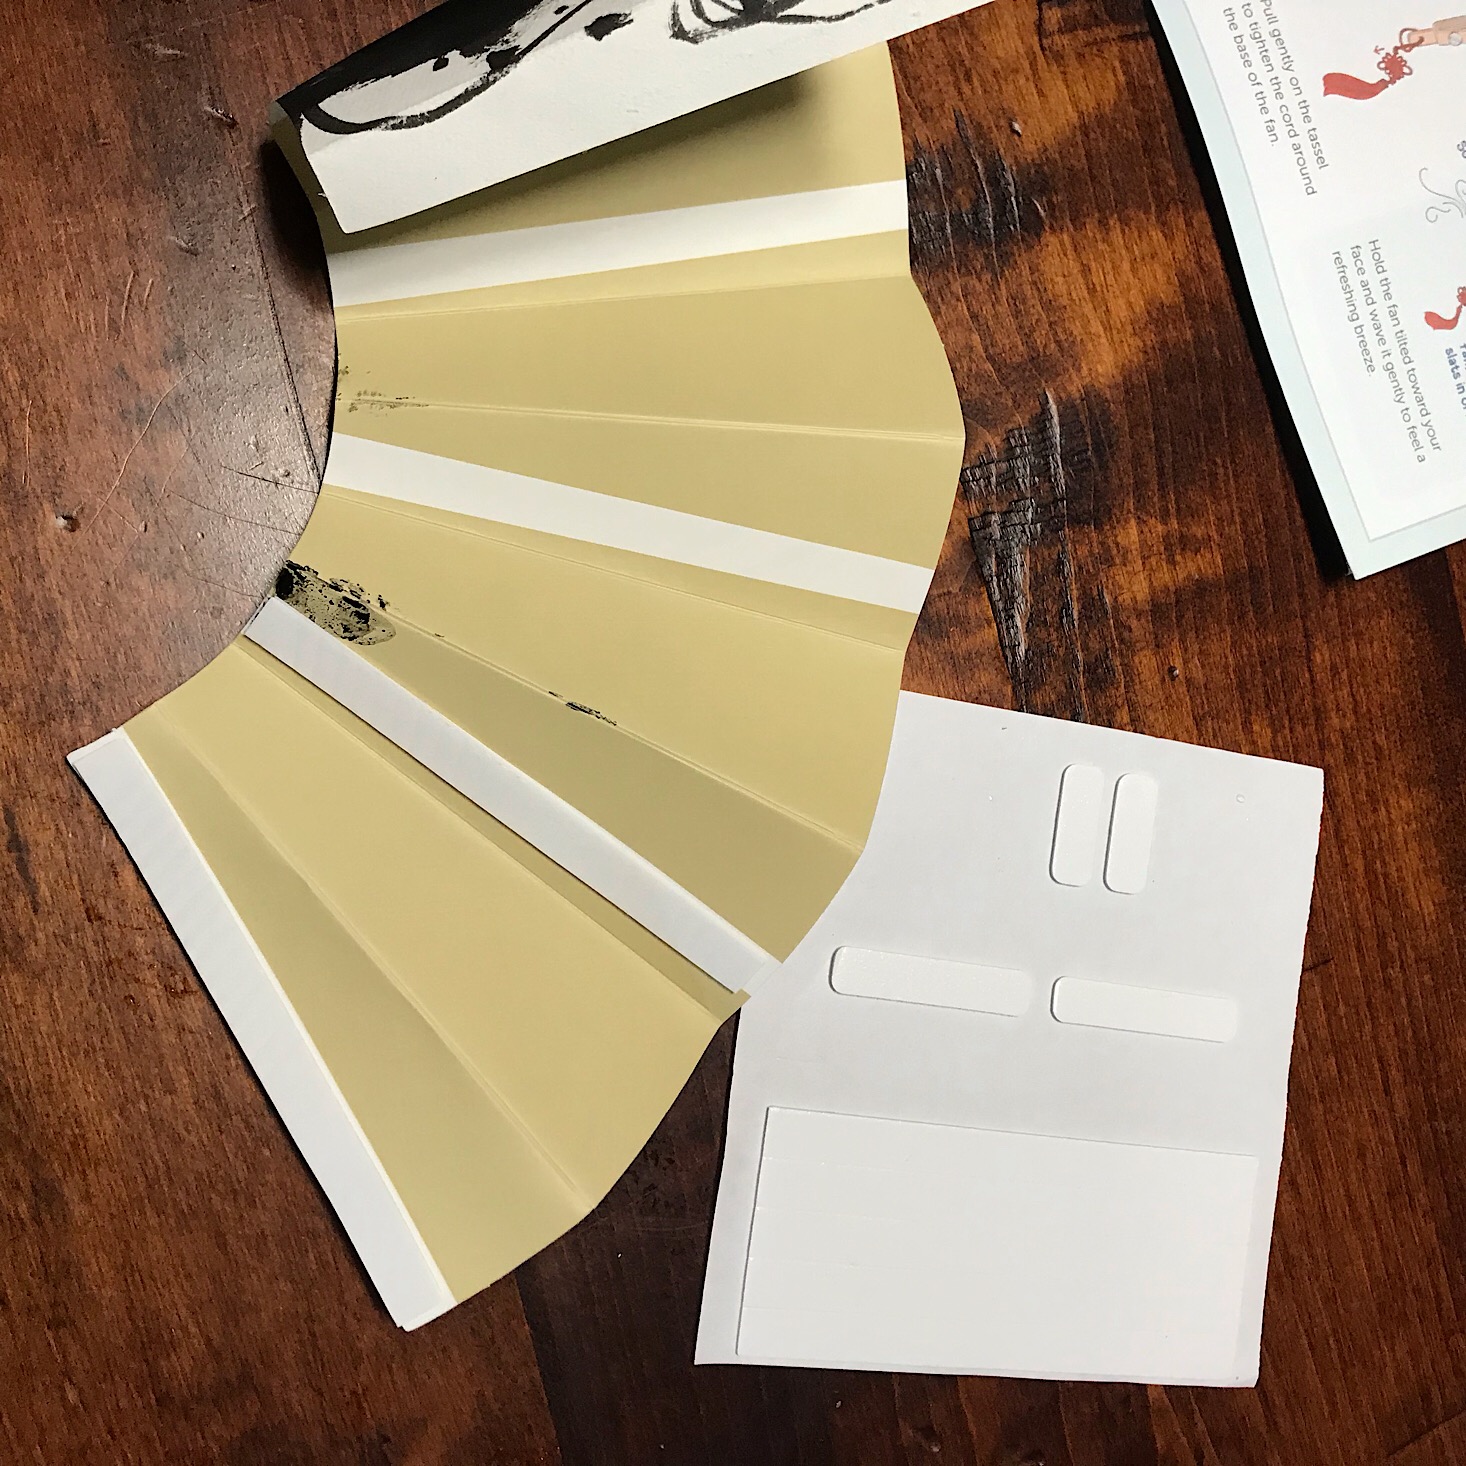
1 of 4
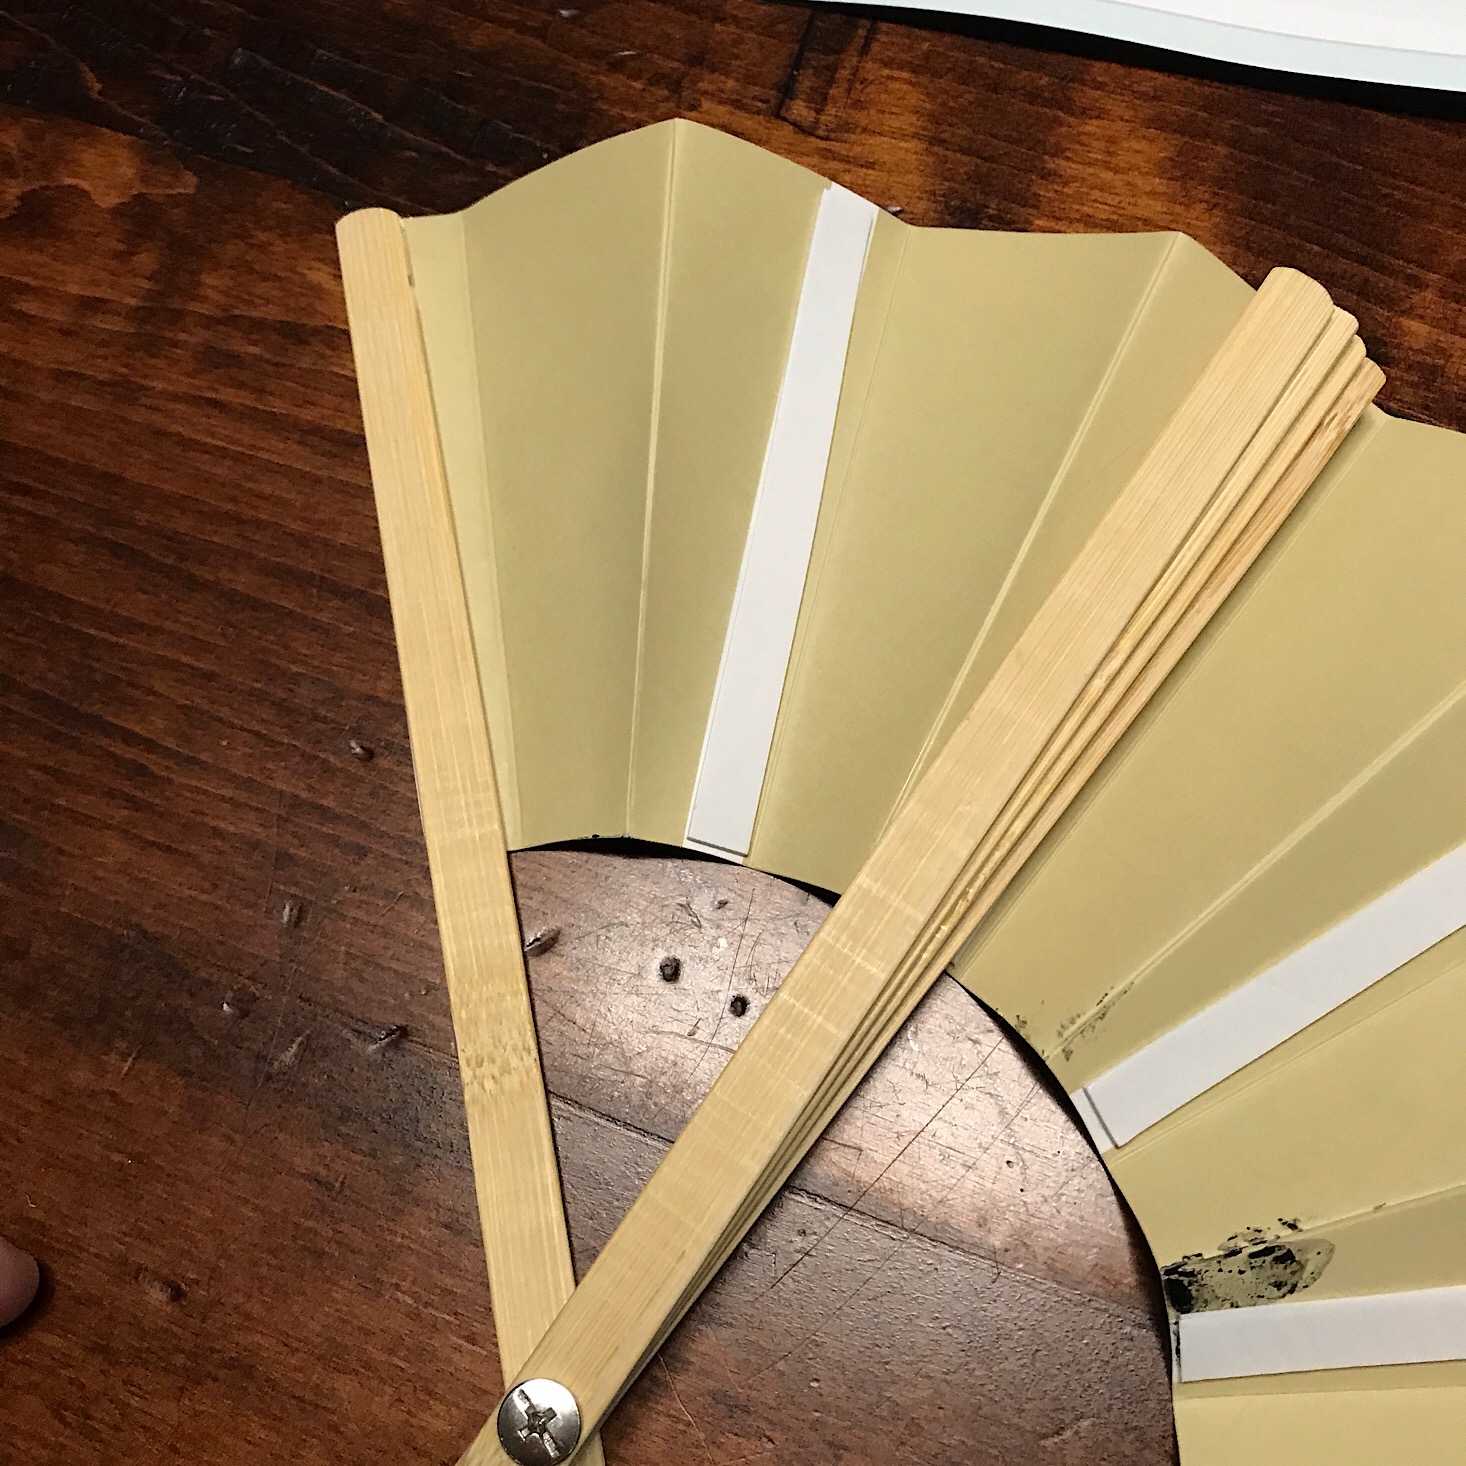

Once our painting was dry it was time to attach the fan piece to our sticks. This was easy enough since I just added long rectangle foam stickers to the marked white spaces on the back of the fan and then attached the fan sticks in order.

1 of 3

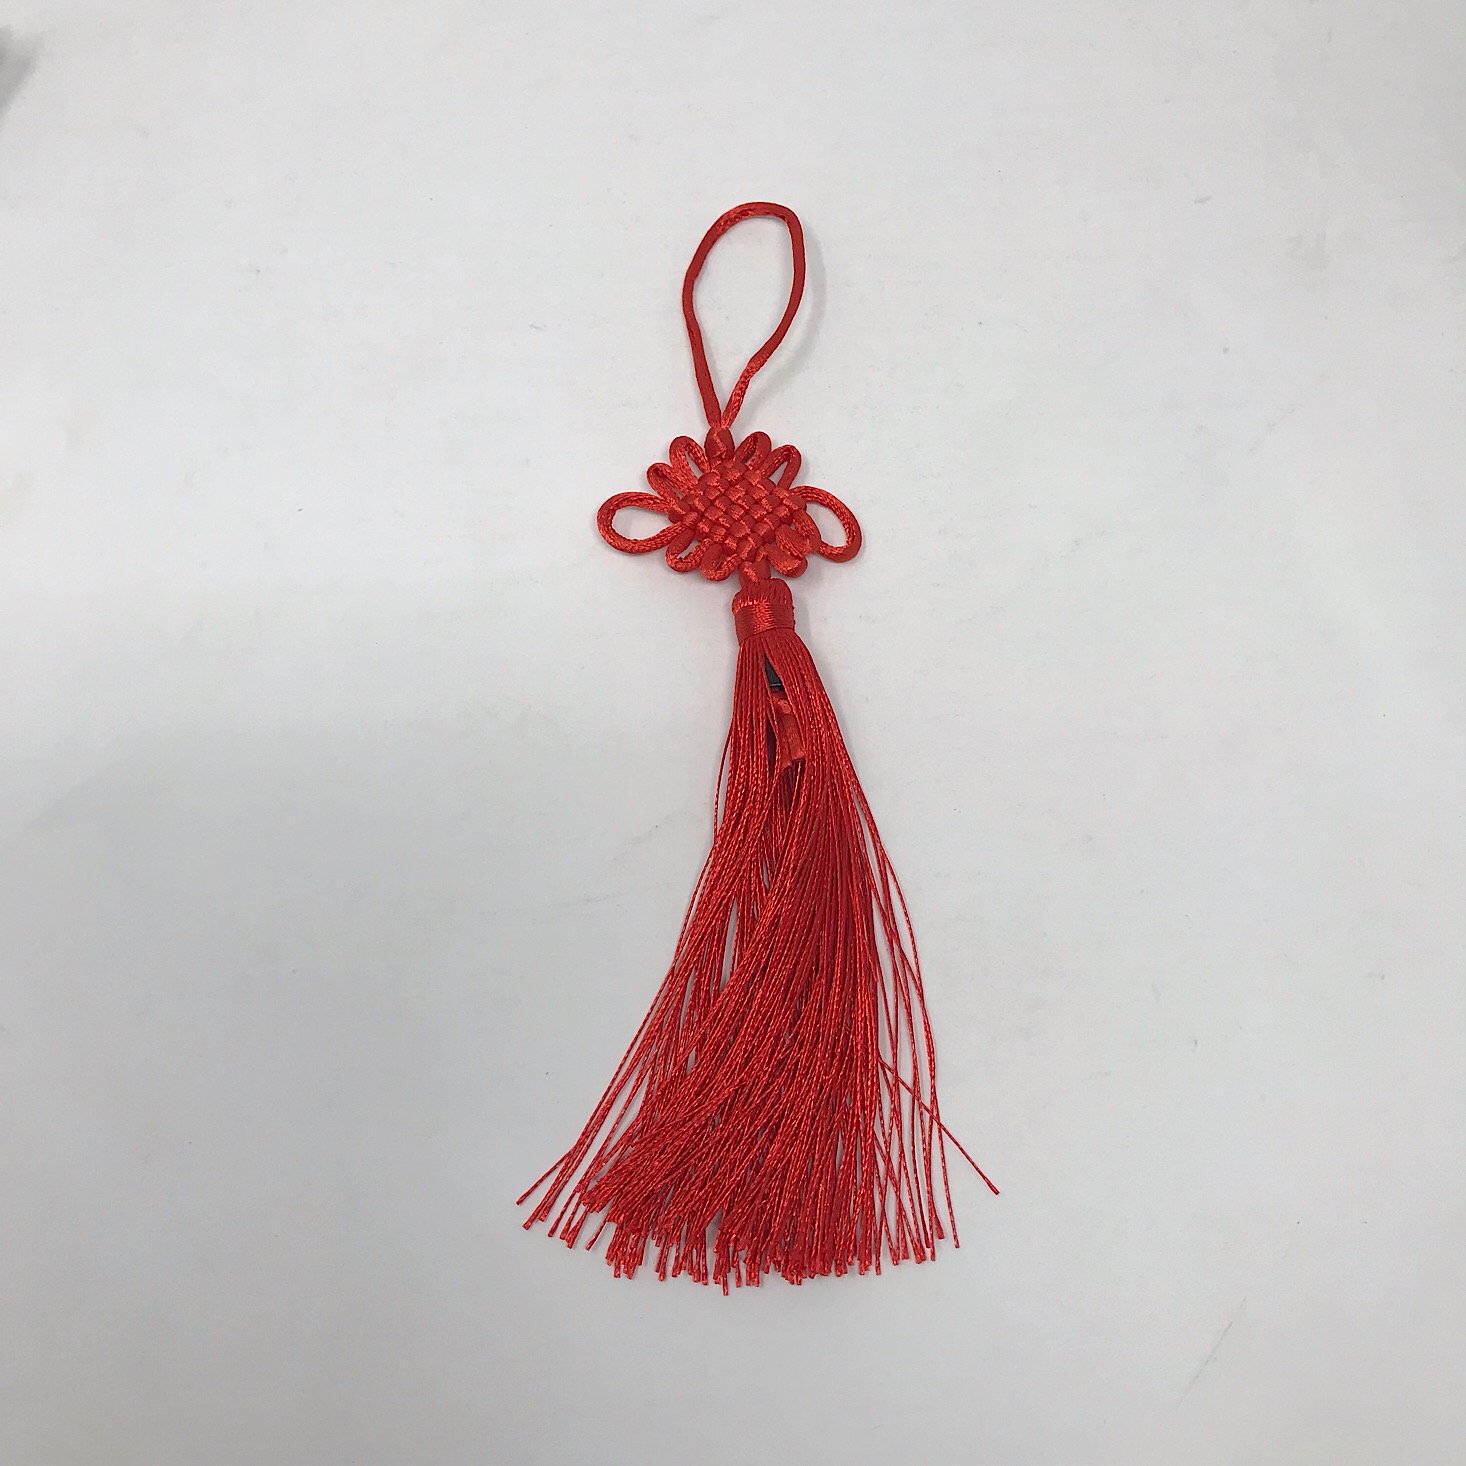
The final step was to add this red tassel to the hole in the bottom of our fan as a decorative accent.


1 of 3
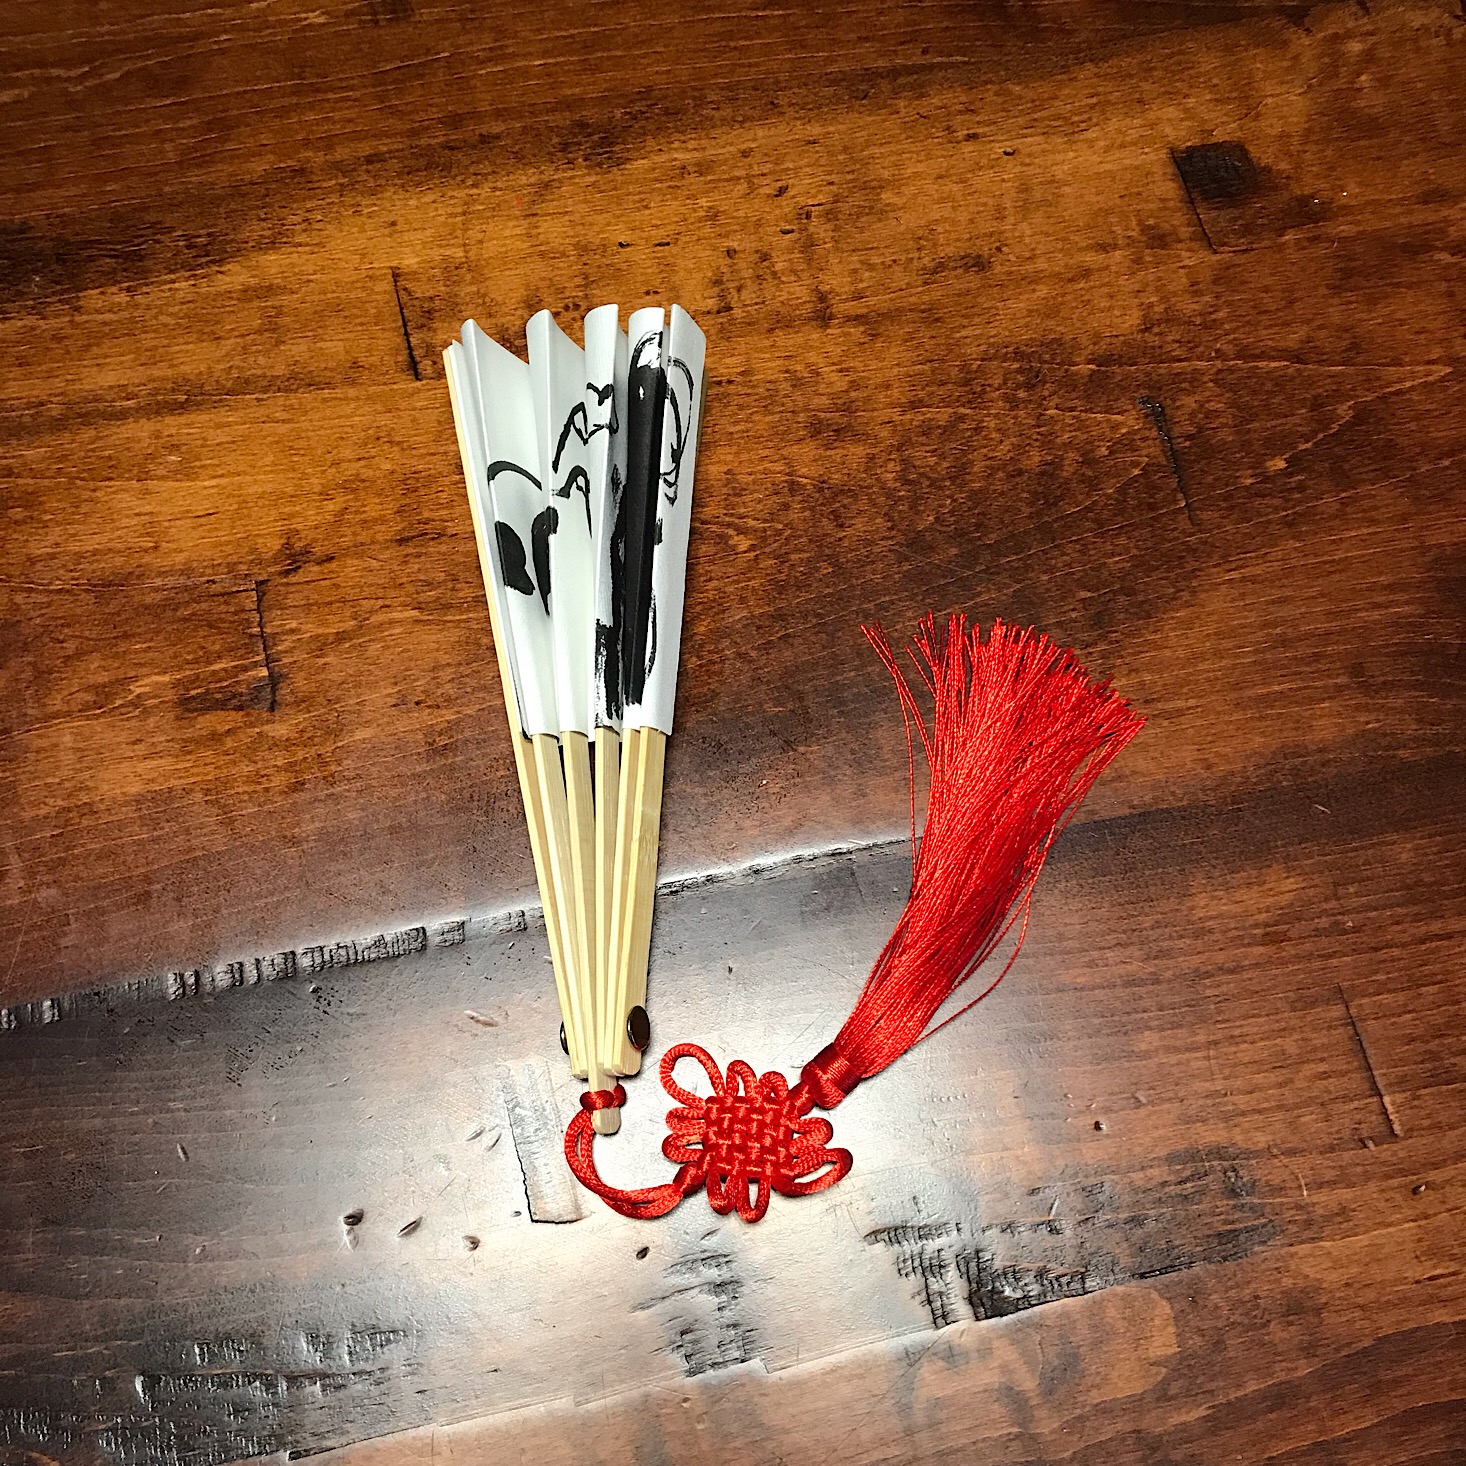
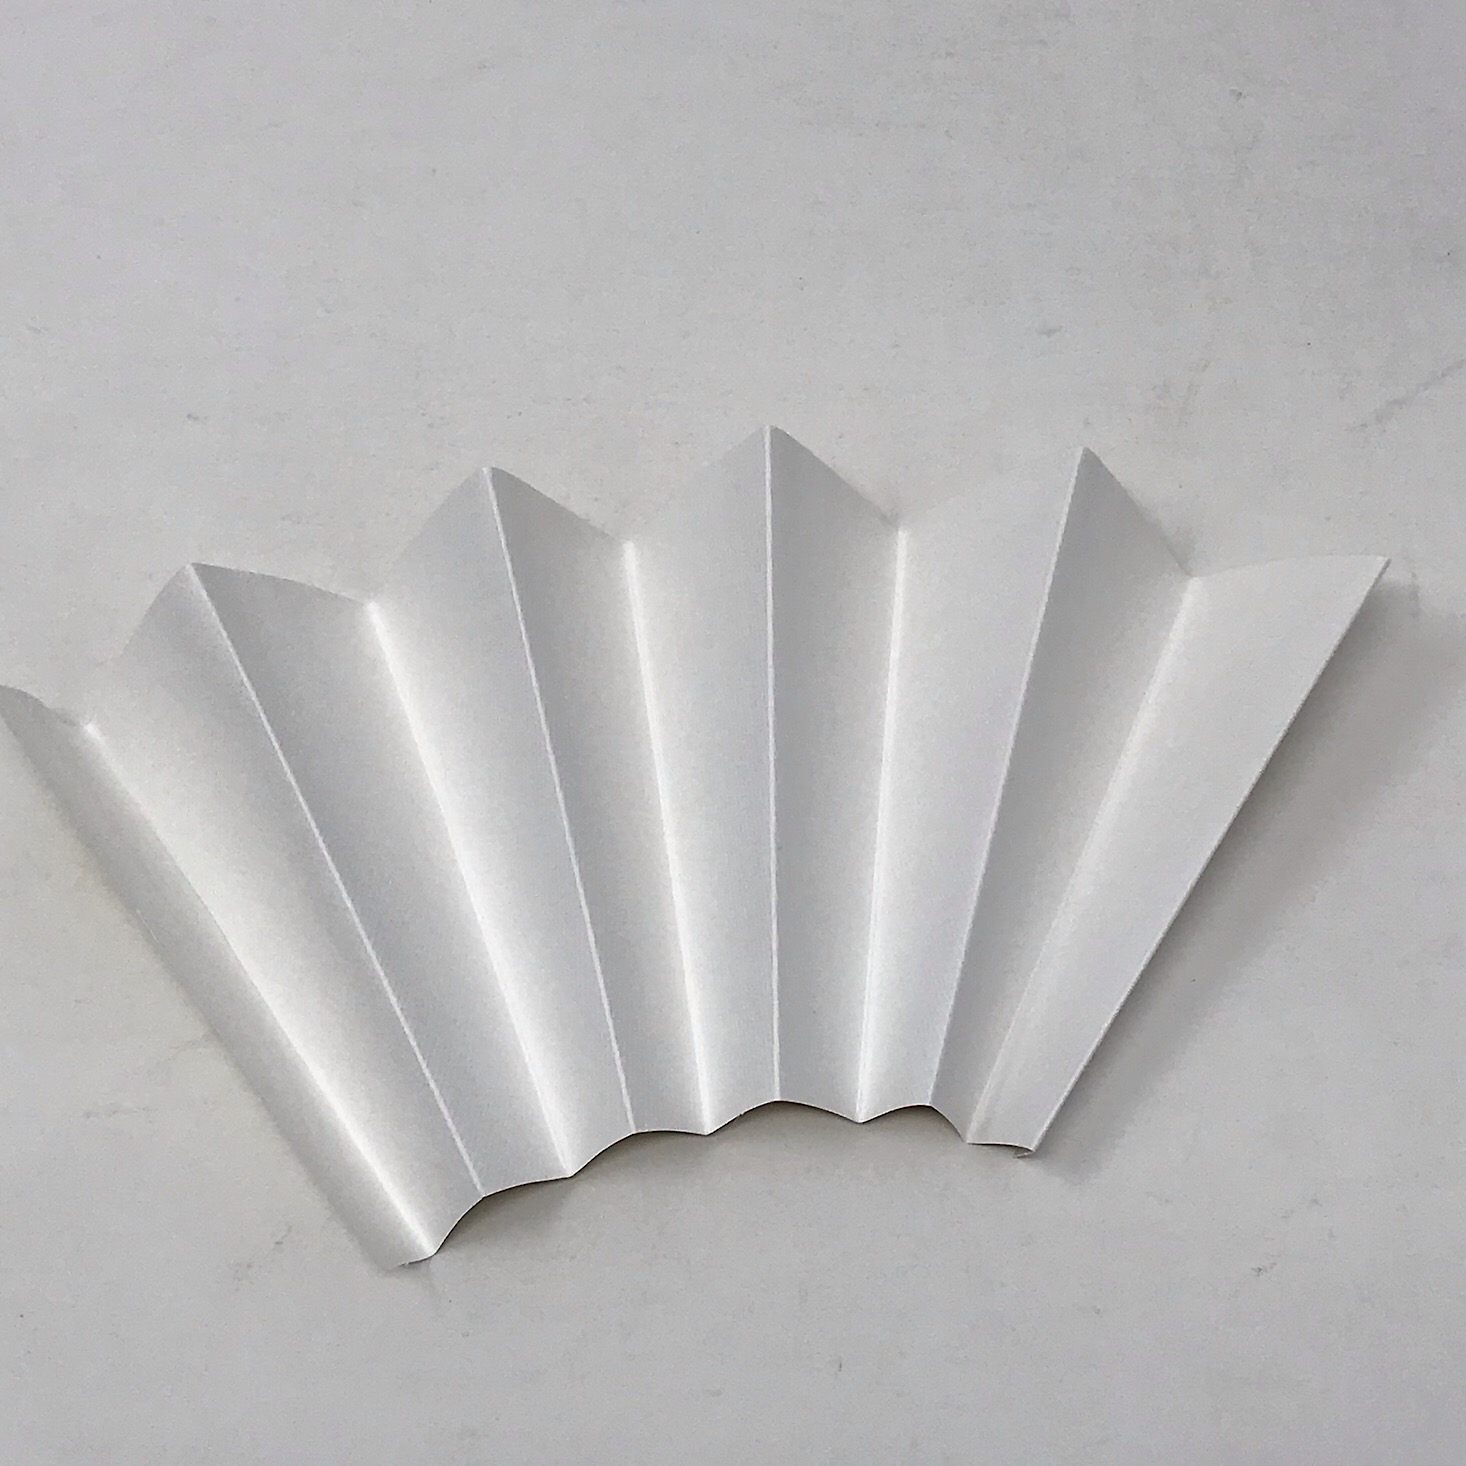
Here is our completed fan! It works very well and actually feels pretty sturdy since the rice paper has a nice thick backing. I can imagine how much an older child would enjoy making this one and really adding a lot of designs to their fan!
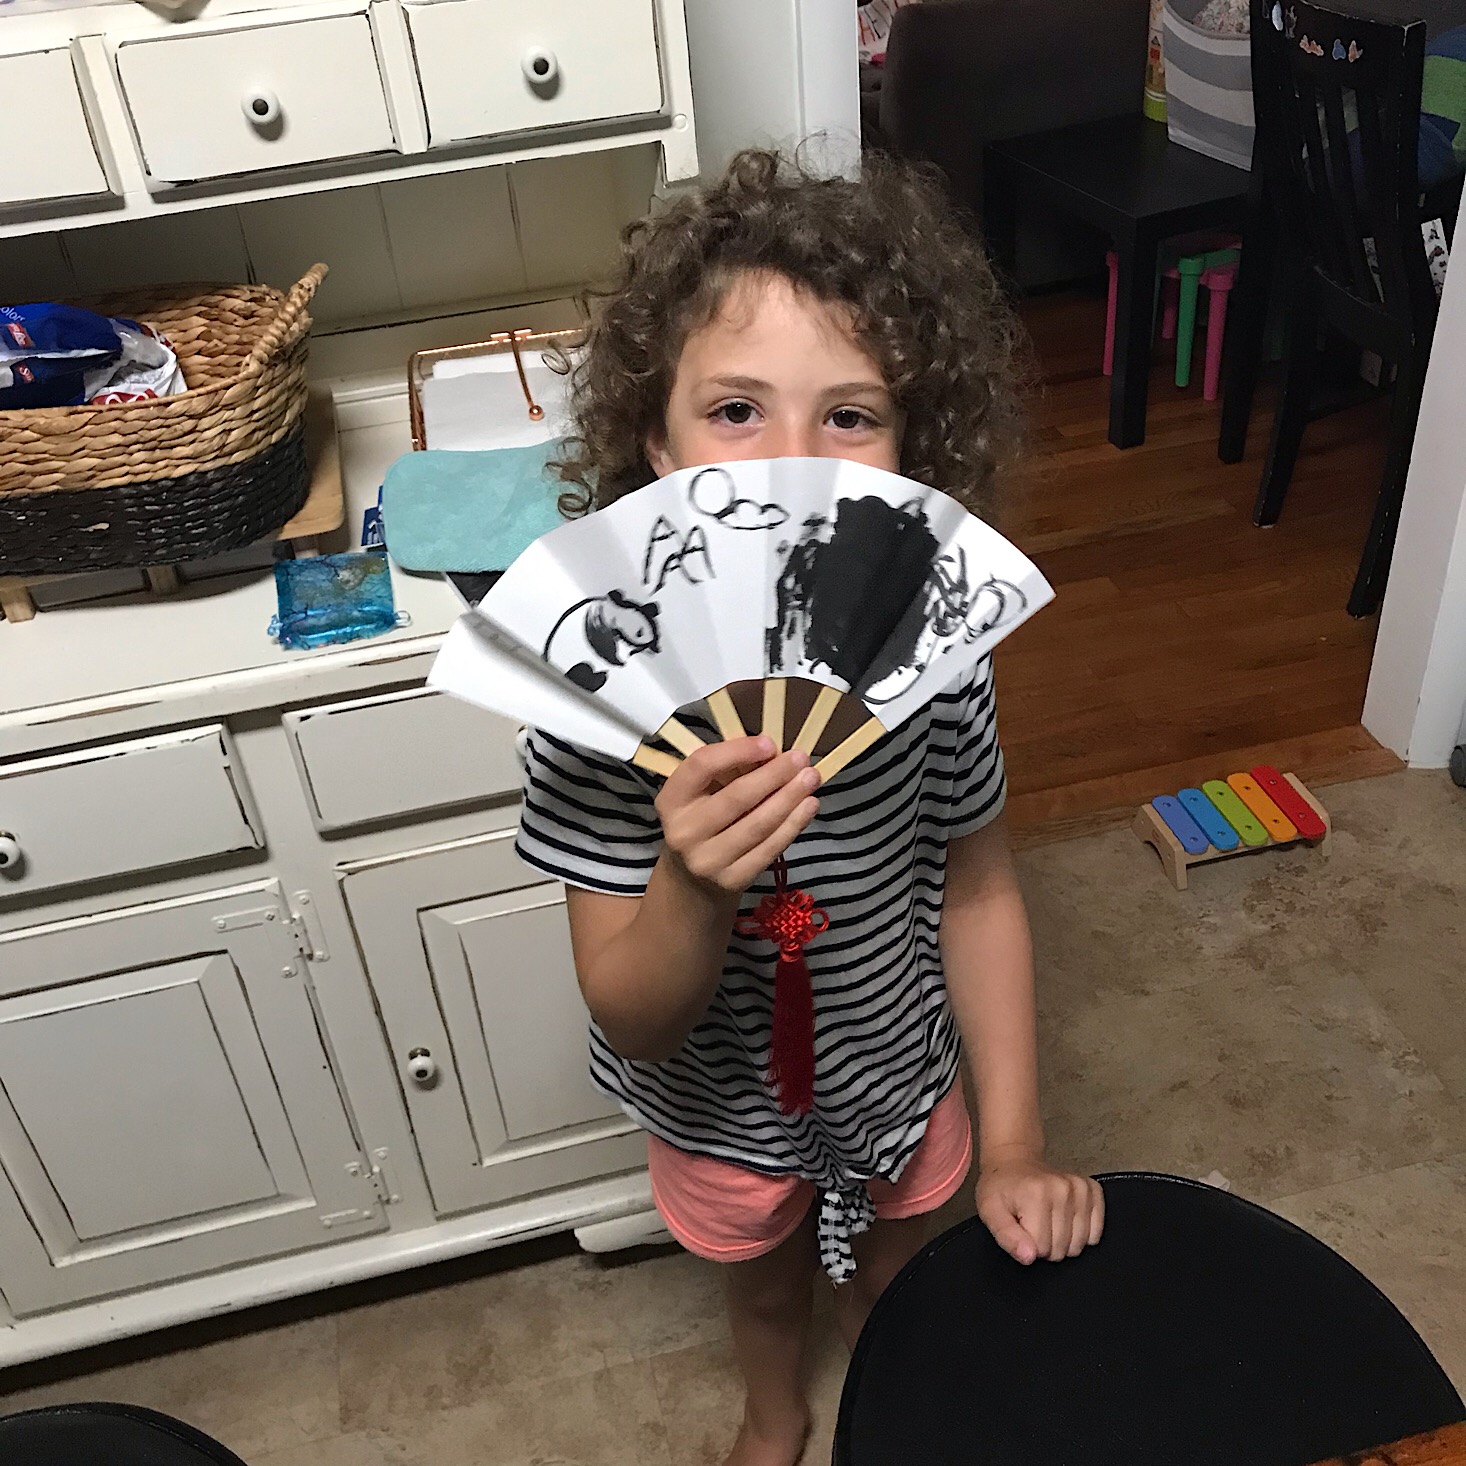

1 of 2
Here is my daughter modeling the finished fan!
Verdict: This was such a fun Atlas Crate box! I thought they did a nice job of including a lot of different aspects of Chinese culture and I liked that they introduced some ideas that we were able to explore a bit further on our own. When I taught art, I had a fun Chinese calligraphy lesson that I would do, so decorating our fan was a great reminder of a medium that my kids are not yet familiar with! The dragon was pretty cool, too, and my kids were way into the idea of Chinese dragon dancing and we enjoyed learning more about it through our own YouTube search. As usual, everything was well planned out, organized and so easy to complete thanks to their detailed instructions. This is always such a fun way to learn about a new culture for only $19.95 plus free shipping!
To Wrap Up:
Can you still get this box if you sign up today? From KiwiCo:
Crates are assigned each month based on availability and your crate history - not all subscribers receive the same theme each month.
Check out all of our KiwiCo reviews and the best subscription boxes for kids!
Keep Track of Your Subscriptions: Add this box to your subscription list or wishlist!
What do you think of Atlas Crate?
Please do not enter your email address in the Name field or in the comment content. Your email address will not be published. Required fields are marked *. Remember to post with kindness and respect. Comments with offensive language, cruelness to others, etc will not be approved. See our full comment policy here.