

Green Kid Crafts is a subscription box for children ages 2 to 10+ that delivers kits that include materials and instructions to complete six or more STEAM based projects each month for $19.95 (plus $4.95 shipping). You can choose between the Junior Discovery Box (ages 2-4) or the Discovery Box (ages 5-10+). They also offer two deluxe options for $29.95 (plus shipping): the Literary Discovery Box (ages 2-10+) which includes a book related to the theme or the Sibling Discovery Box (ages 2-10+) which provides two sets of each project.
This is a review of the $24.90 ($19.95 + $4.95 shipping)/month Discovery Box for ages 5-10+.
Not only does Green Kid Crafts focus on STEAM learning, but they also strive to encourage the growth of the "whole child" which includes fostering a sense of care for our environment:
We think a green company is one that not only strives for sustainability but takes a step beyond to try and create positive change. As a company founded by an environmental scientist, it makes sense that Green Kid Crafts is committed to ensuring that all of our activities, from process to product, have as little an impact on the environment as possible. Further, we view our work as a way to foster the next generation of environmental stewards by engaging kids with nature in positive, creative ways.
This box was sent to us at no cost for review purposes. (Check out the review process post to learn more about how we review boxes).
About Green Kid Crafts
The Subscription Box: Green Kid Crafts
The Cost: $19.95 per month + shipping (save with longer subscriptions)
LIMITED TIME DEAL: Use coupon code GET3FREE to get three free months when you get an annual Green Kids Crafts subscription!
The Products: materials and instructions to complete 6 or more STEAM projects
Ships to: the U.S. for $4.95/month ($7.95 for deluxe subscriptions), Canada for an additional $15.00/month
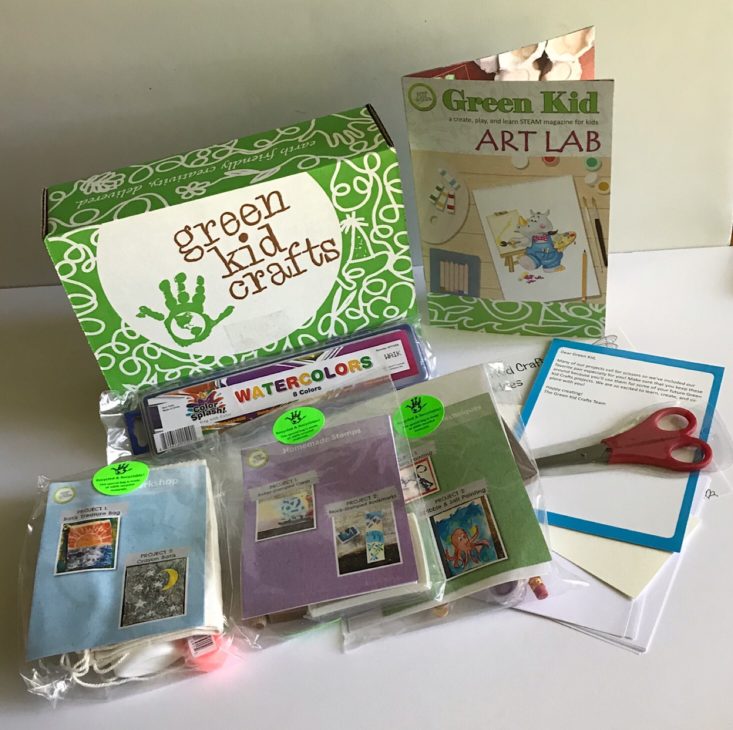
Green Kid Crafts Art Lab Review
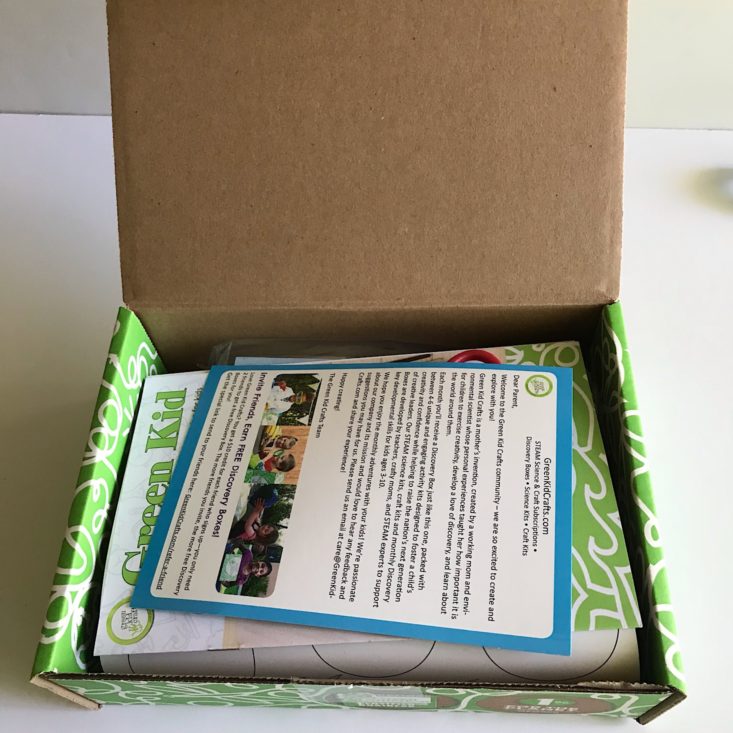
The first item in our box was this note to parents giving a brief overview of what you will receive each month.
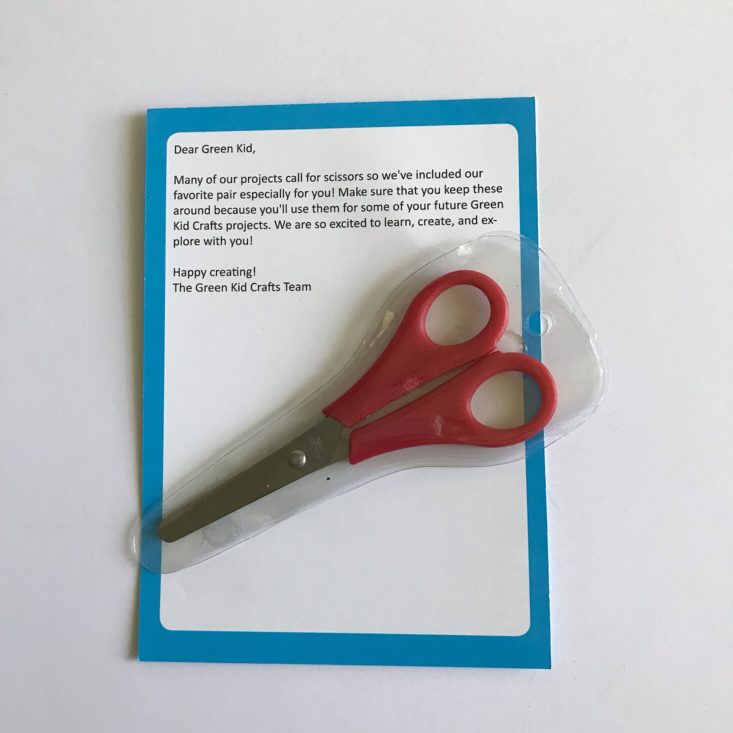
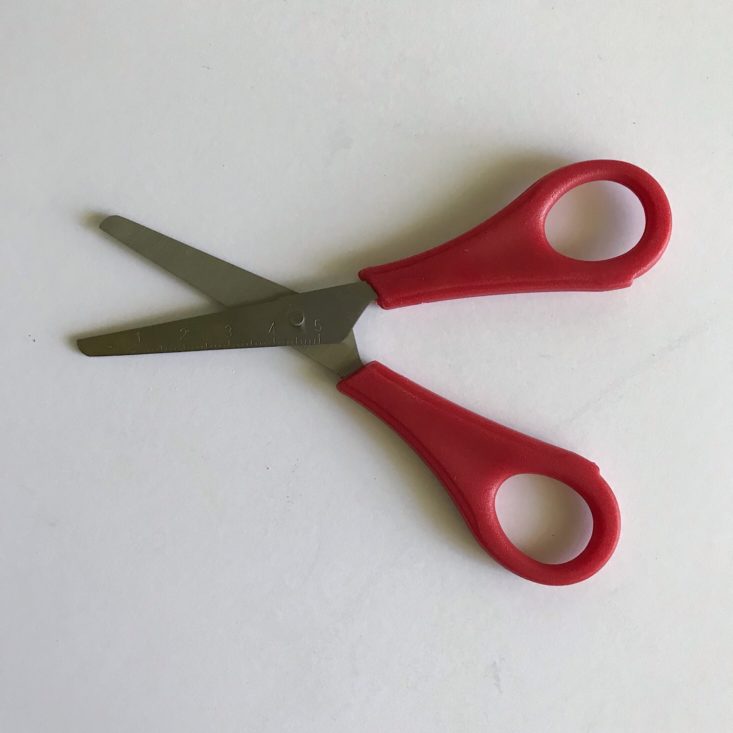
On the back were a pair of scissors and a note to kids telling them to keep these handy for future projects! I liked that they included marks for measuring on them.
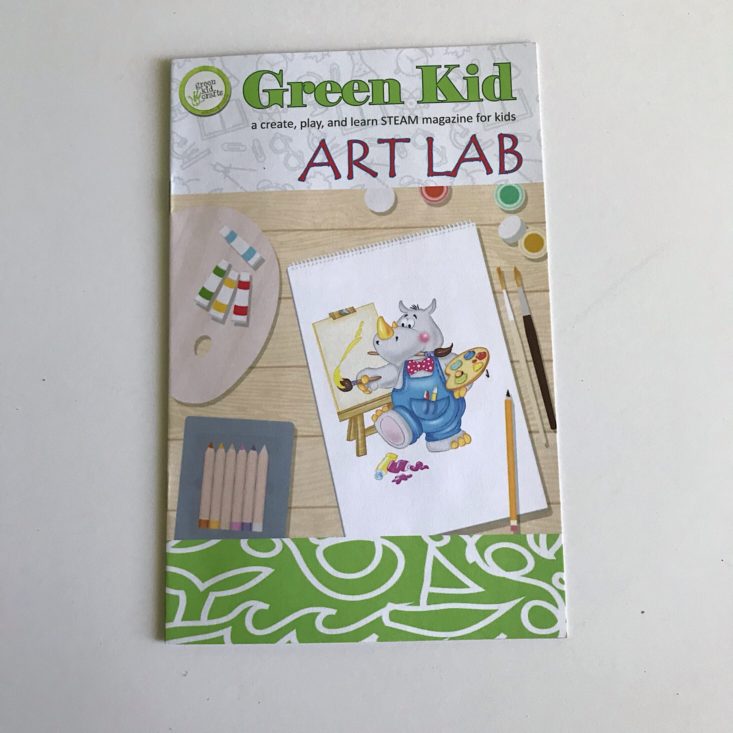
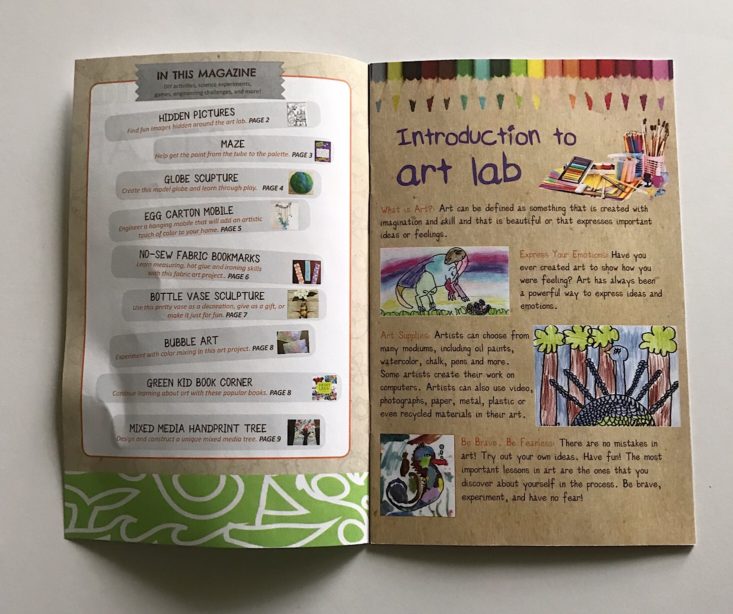
This is the included booklet that we received which tells us our theme, Art Lab. The first page was a table of contents as well as an introduction to art lab which highlighted some key points about art and what it looks like.
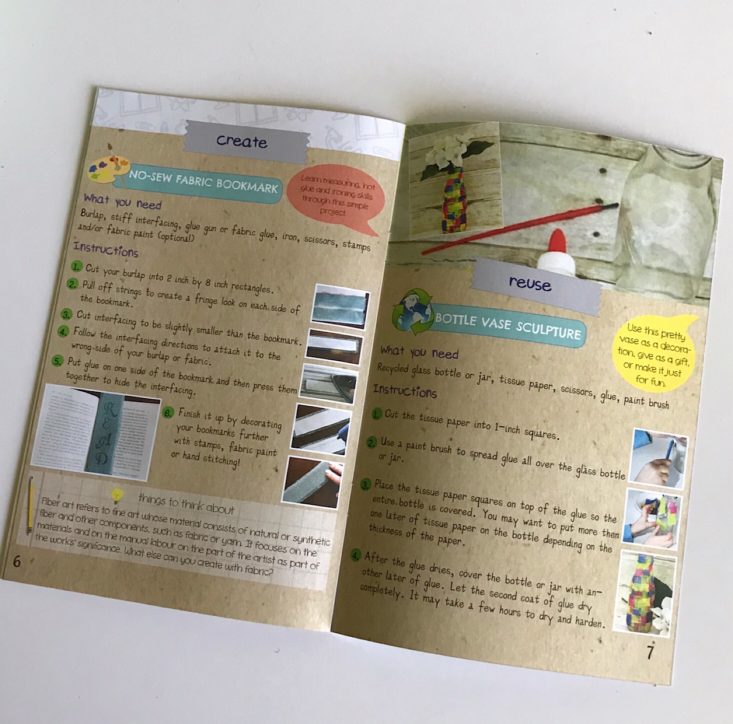
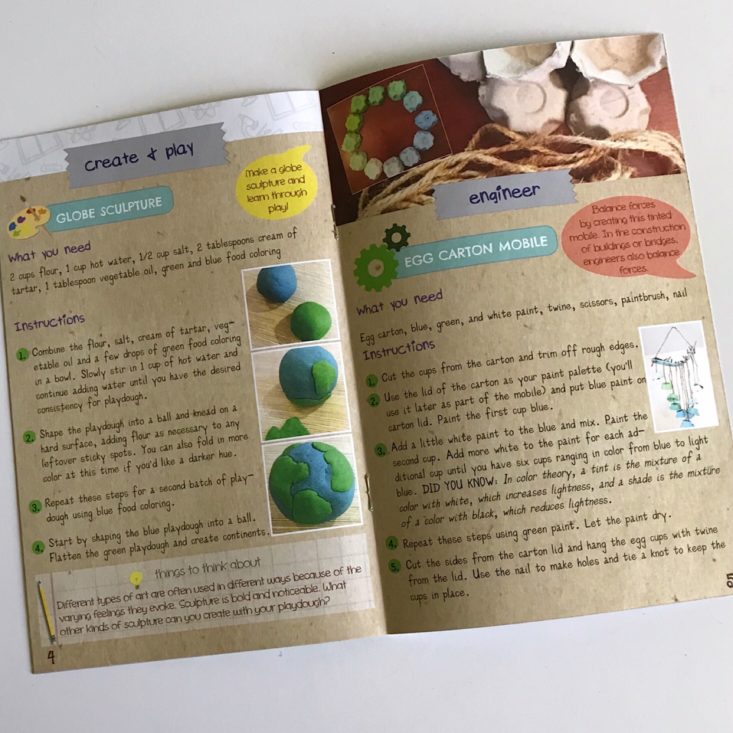

Inside the booklet were several art activities and experiments for kids to complete like bubble art and a globe sculpture. I'm excited to have these ideas on hand with winter around the corner so I can keep us all busy to avoid cabin fever!
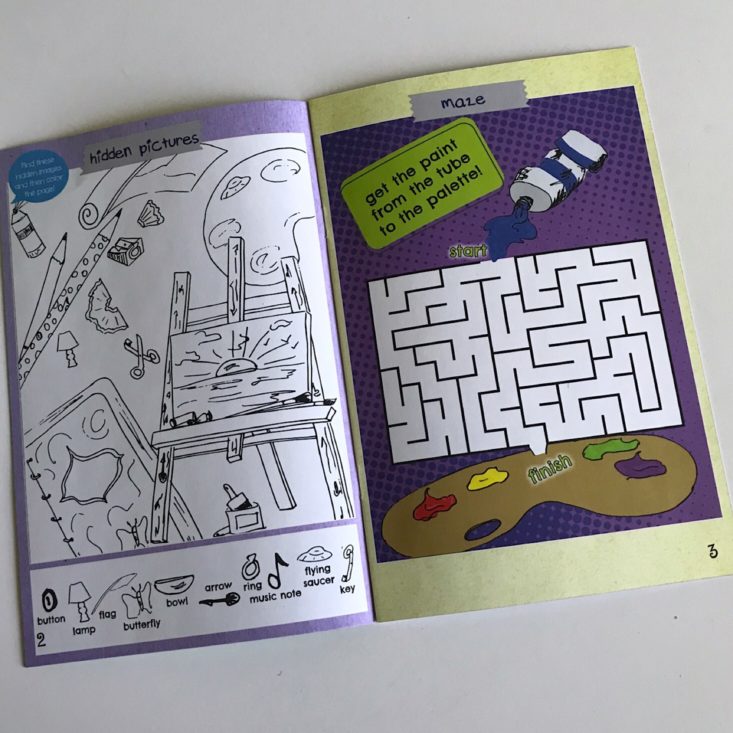
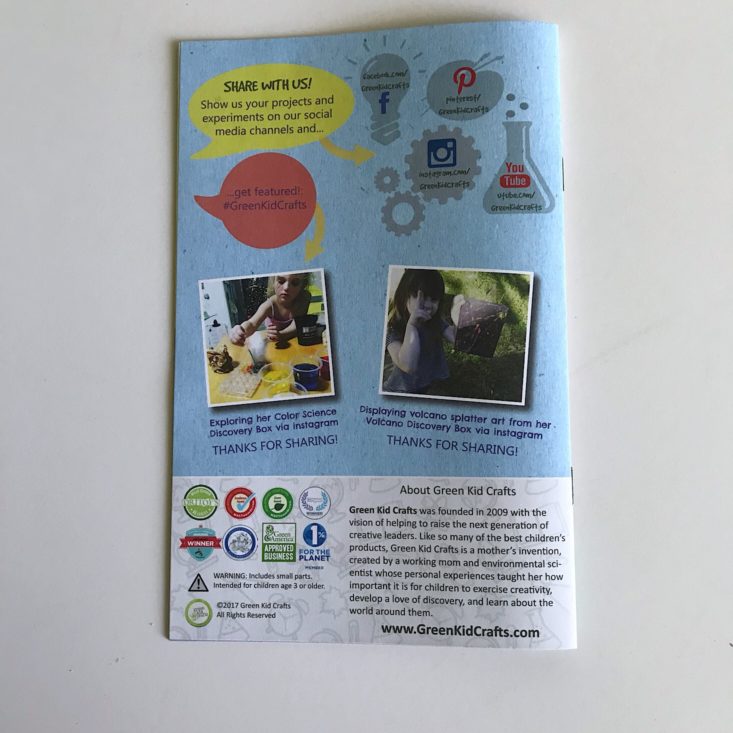
It also included a maze and a hidden pictures activity. The back provided their social media information.
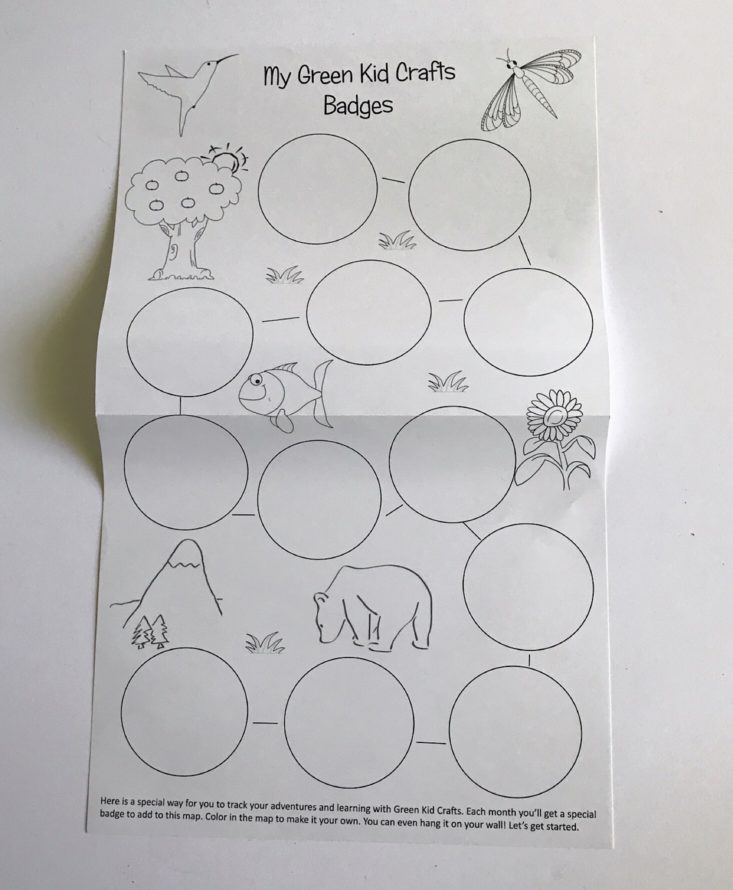
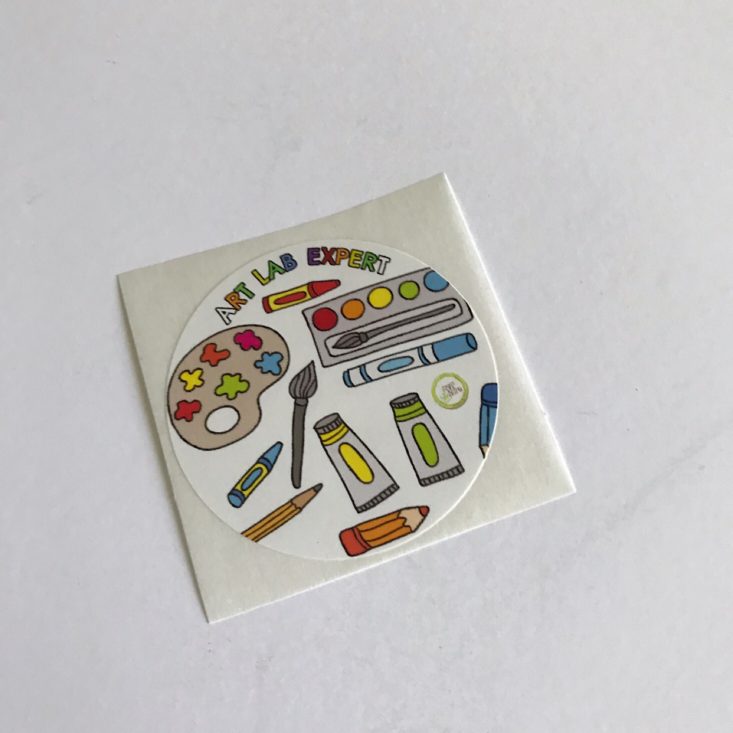
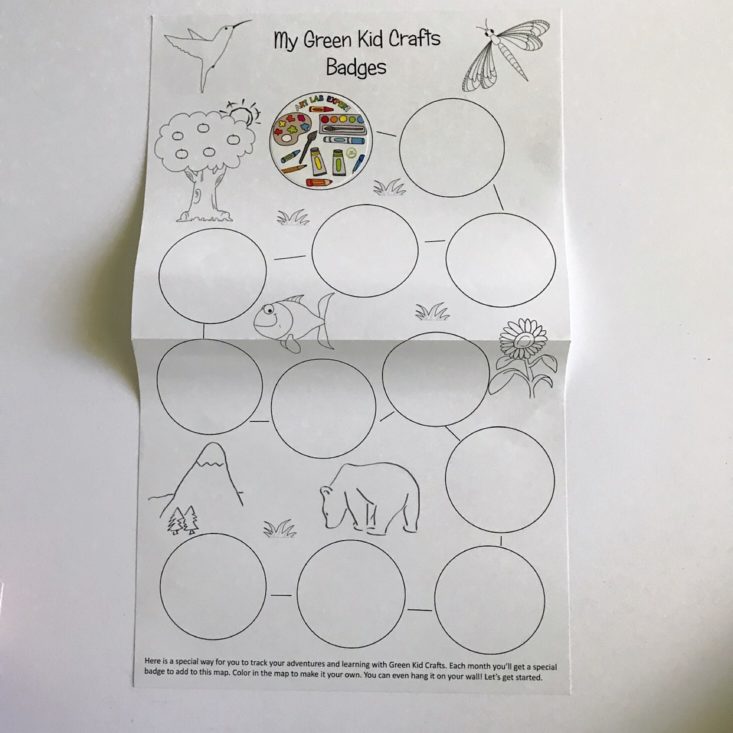
The next item is a chart for us to collect our Green Kid Crafts badges. This month we received the Art Lab Expert badge. We can also color in our chart to personalize it and save it for adding more badges next time!
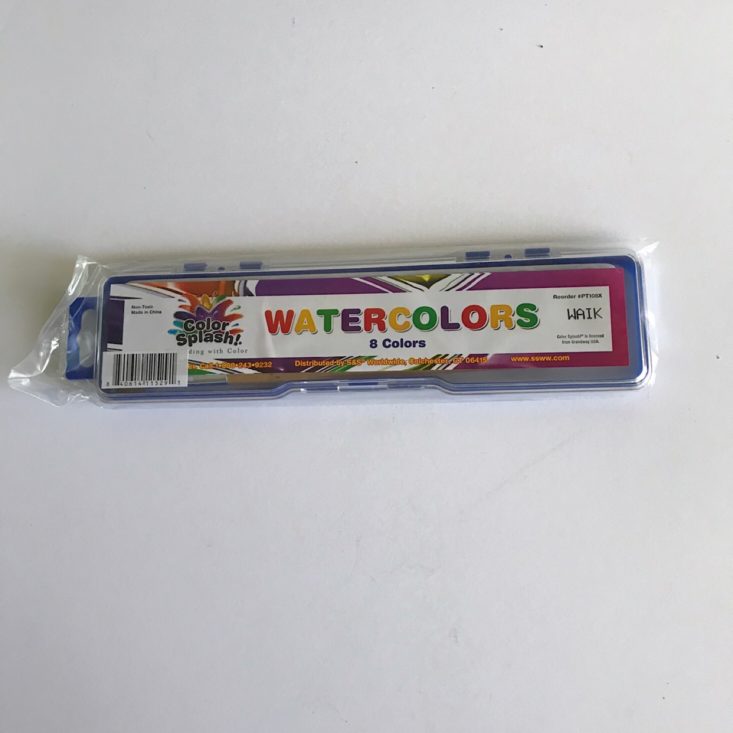
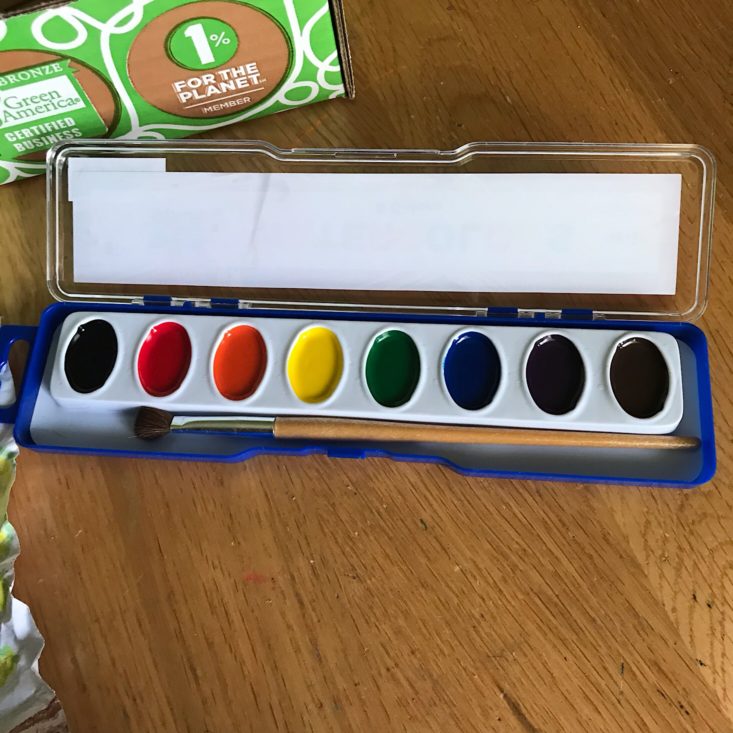
Color Splash Watercolors - Retail Value $2.40 (found here for $1.99)
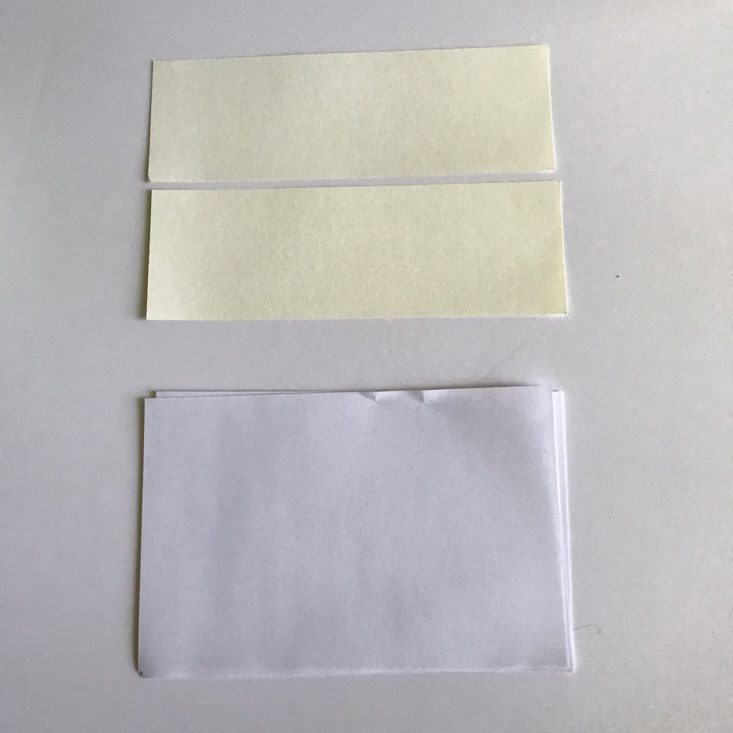
The other loose items in the box were a watercolor palette and a few pieces of paper in varying sizes.
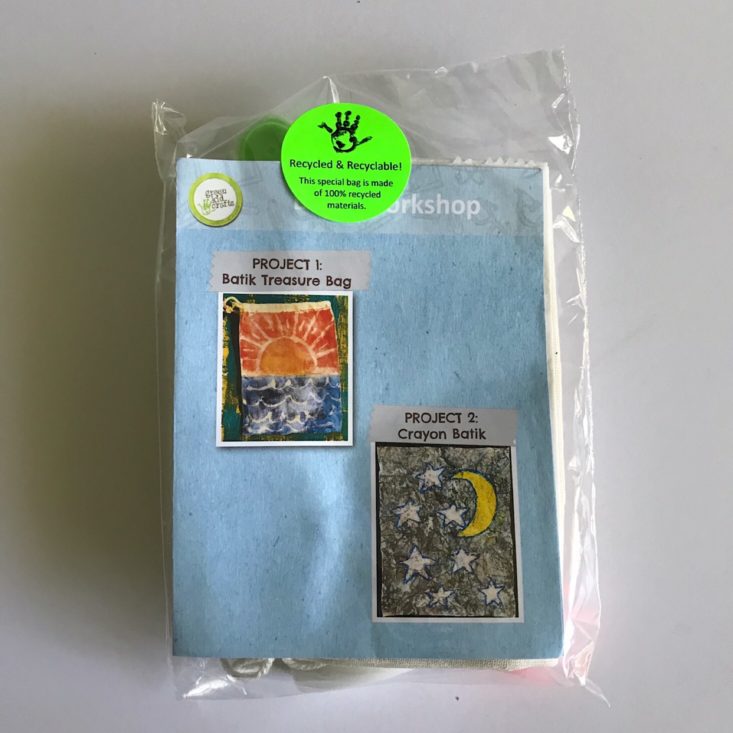
Kit 1: Batik Workshop
White Craft Glue 1.4 oz - Buy 12 for $5.09
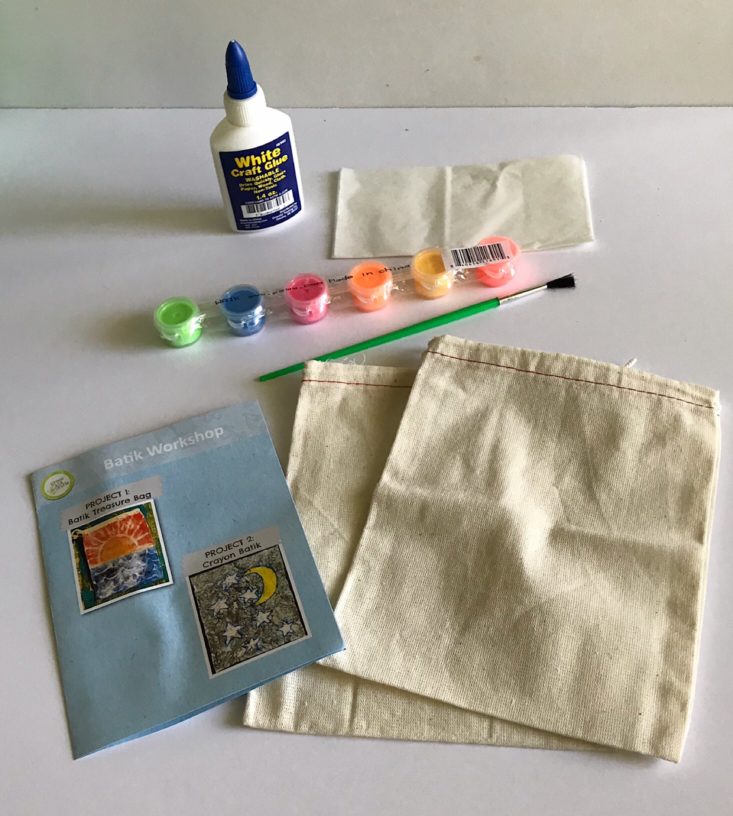
Our first kit was a Batik Workshop. It included a booklet with information and instructions as well as all the supplies for our projects.
Project 1: Batik Treasure Bag
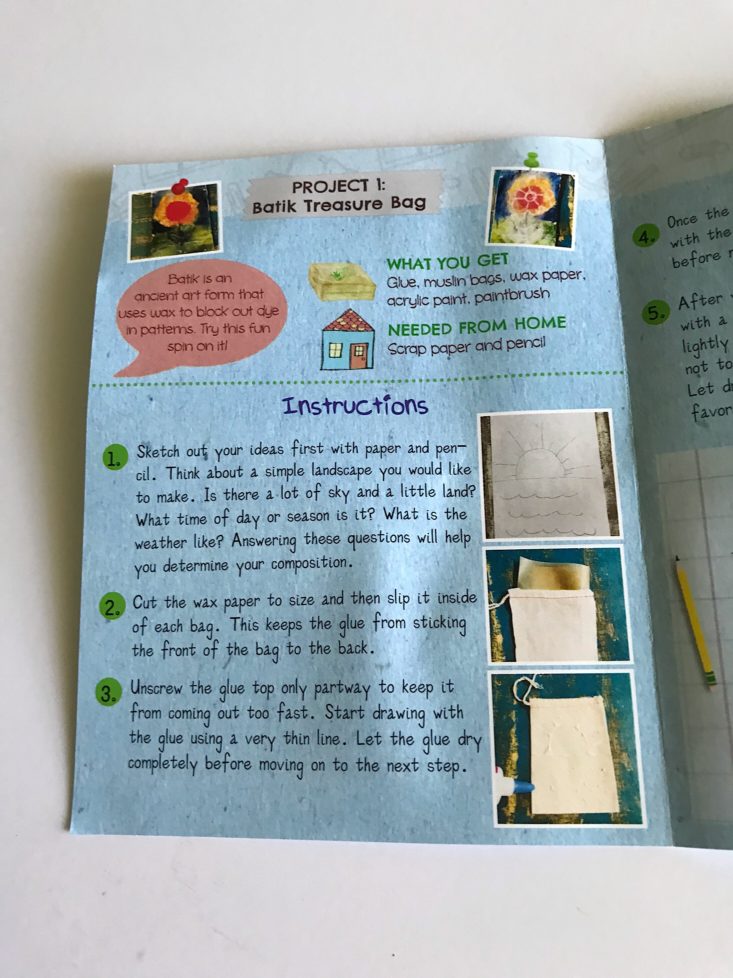
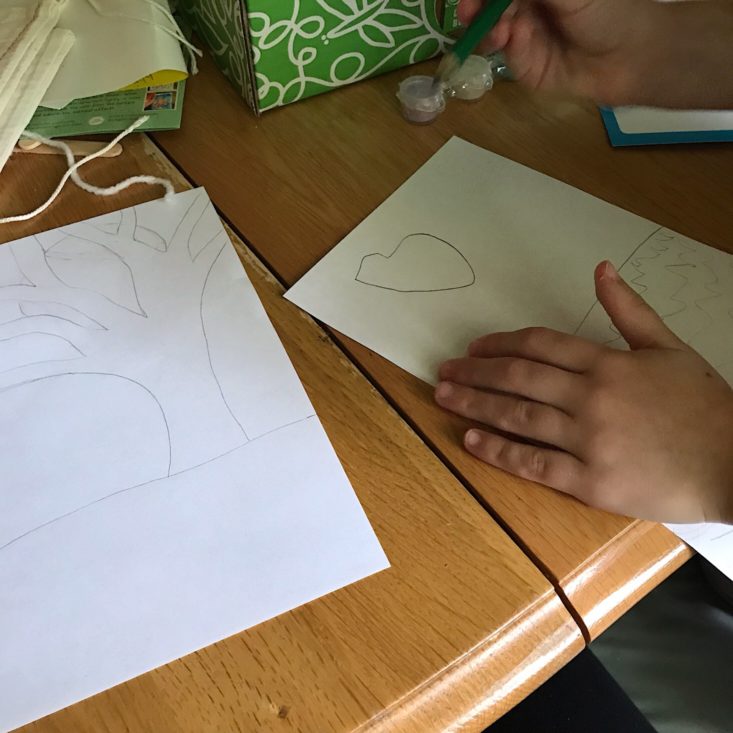
First up inside our kit was to make a Batik treasure bag. We used the white pieces of paper and the pencil they gave us to sketch out our ideas for a simple landscape. I liked that asked questions like what time of day it was and what the weather was like in our scene which really helped to guide our drawings.
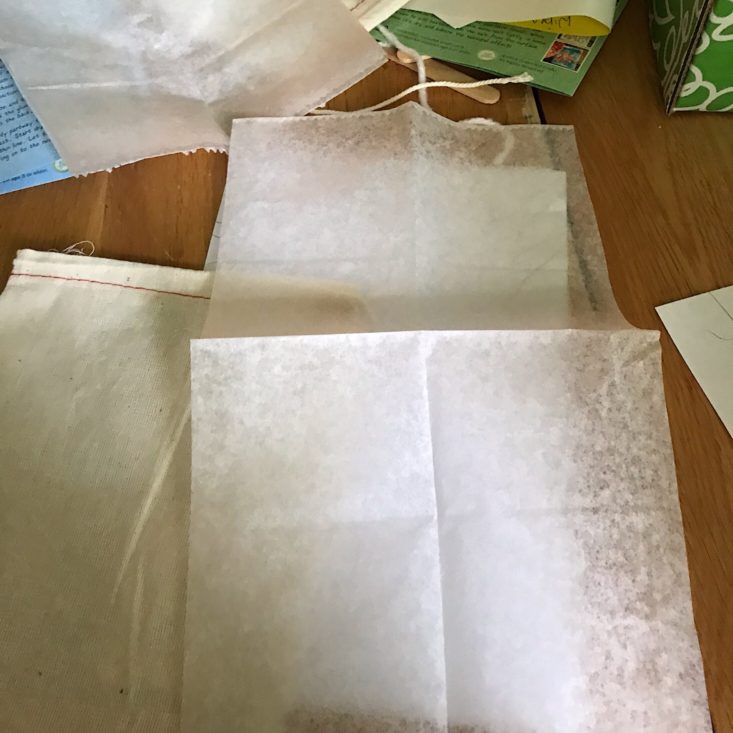
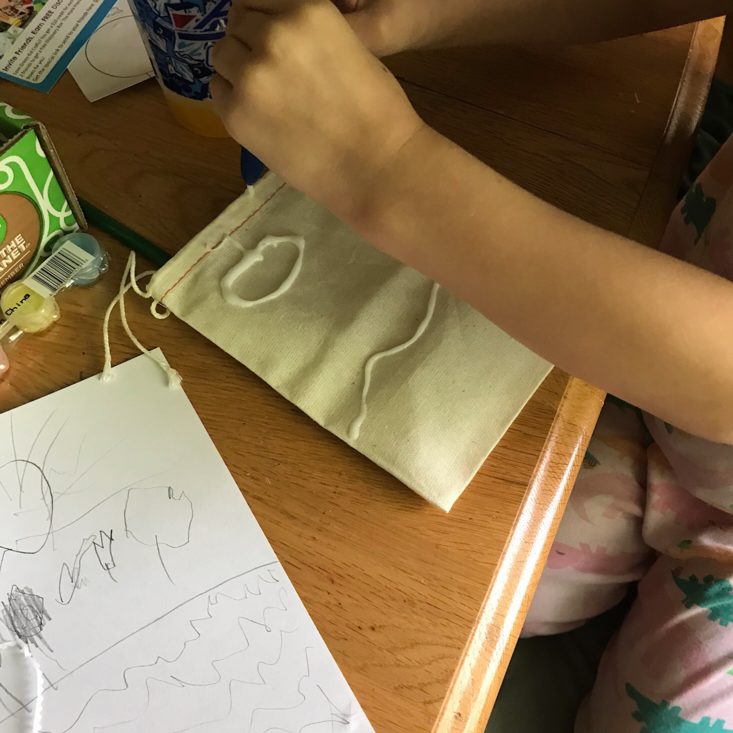
Then we put our piece of wax paper inside of our bag and began to draw our scene on top of our bags using glue.
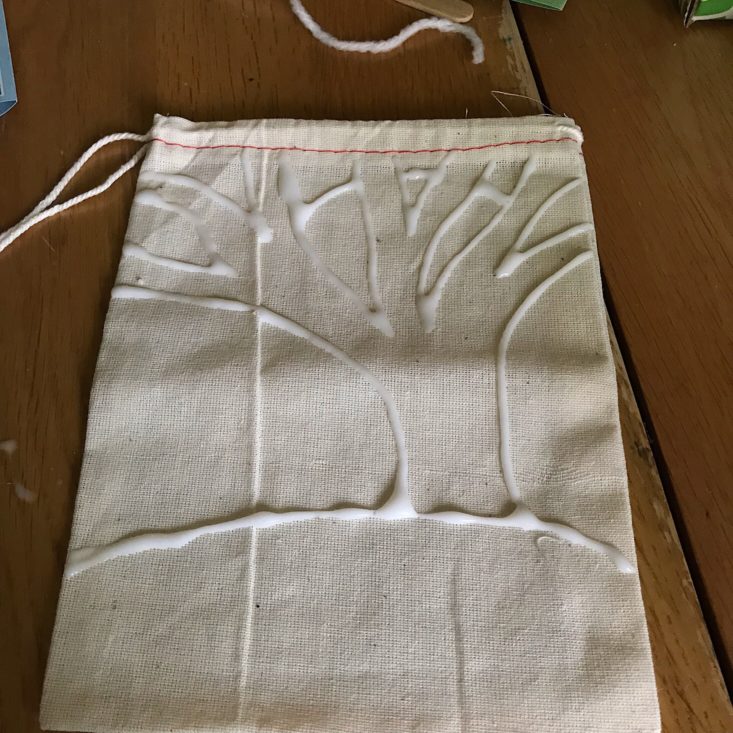
This was a little tricky, but we managed! Then we had to let our bags dry before painting them, which would be a huge pain, but since we had a second project in our kit, we just moved on to that and then came back to this later.
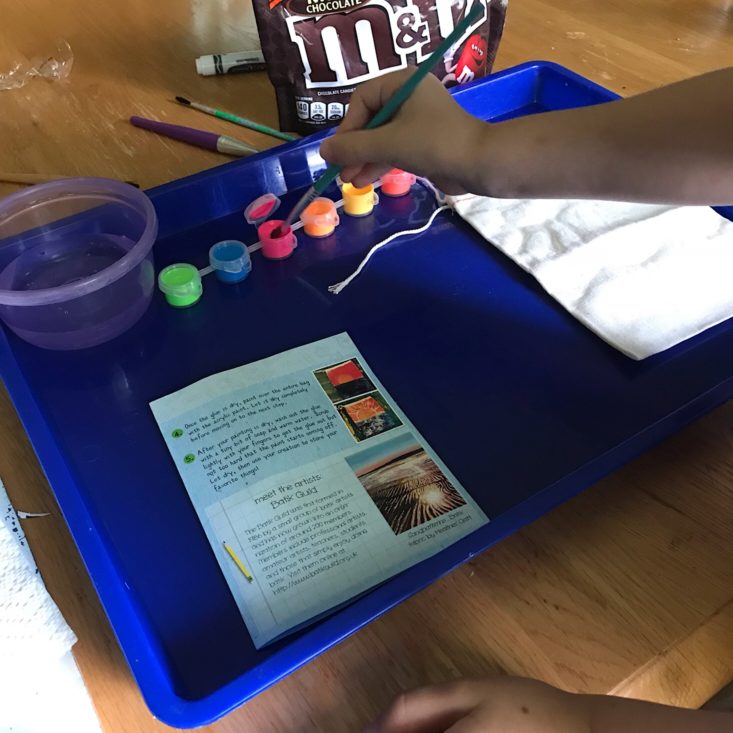
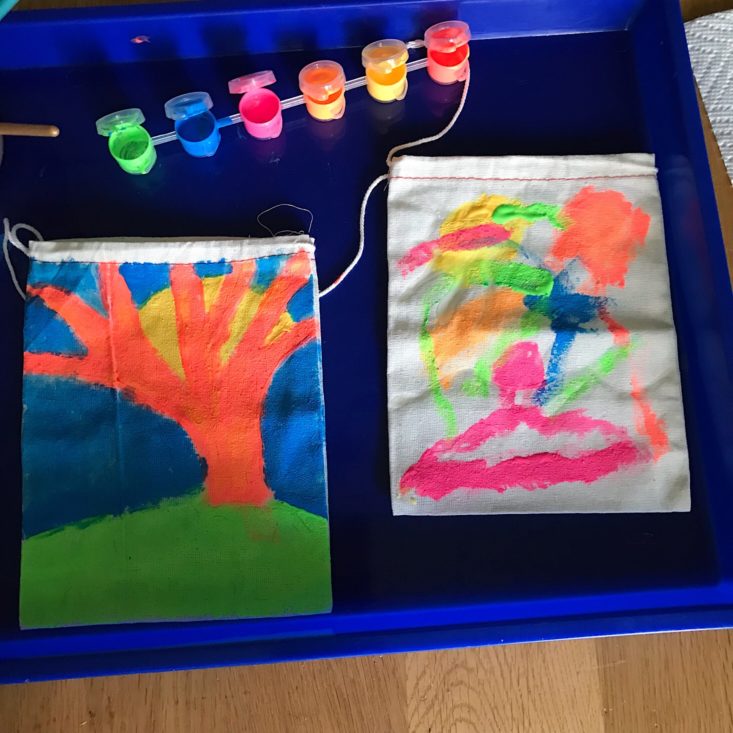
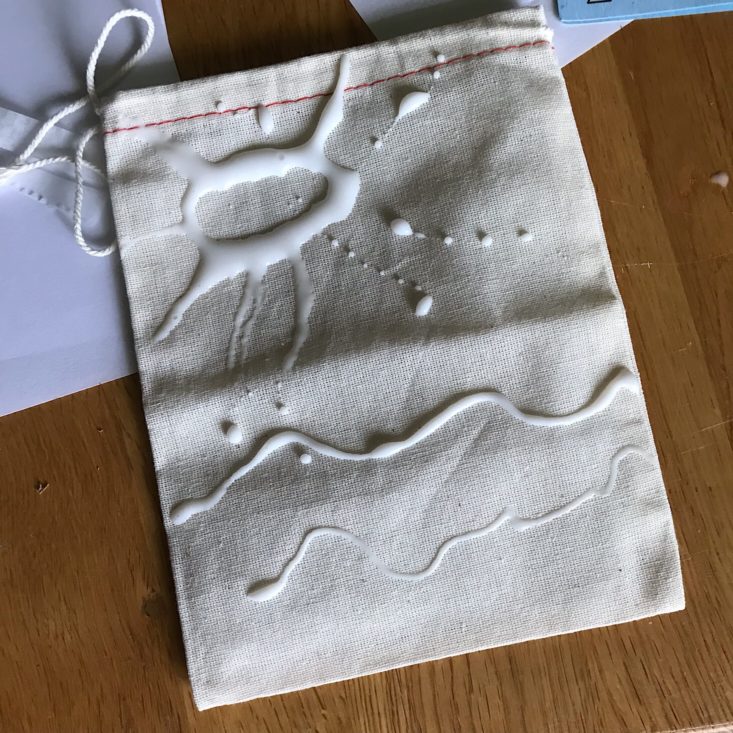
Once our glue was dry, we used the paintbrush and set of acrylic paints that they provided to paint our bags with. I was worried that 1) the paint would not spread well and 2) that we would not have quite enough paint. I am happy to report that I was wrong about both of those! The paint spread very well and adding just a smidge of water really helped us make the most of the paint we were given. It was just enough for our two bags.
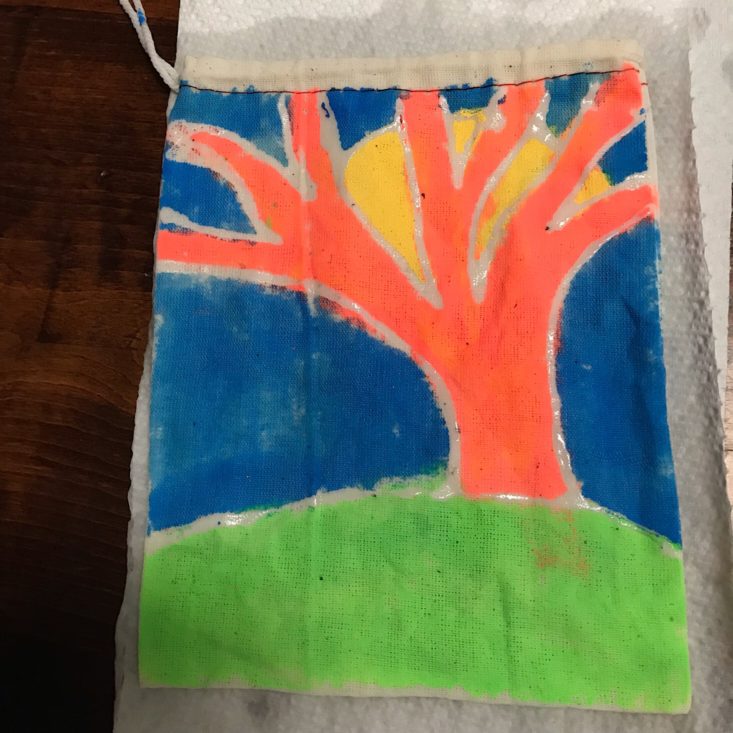
After letting them dry, I then washed out the glue with warm water and here is the result! My daughter didn't quite add enough acrylic to show the same effect on hers, but I love that this is a project we can definitely replicate easily with materials we already have around the house!
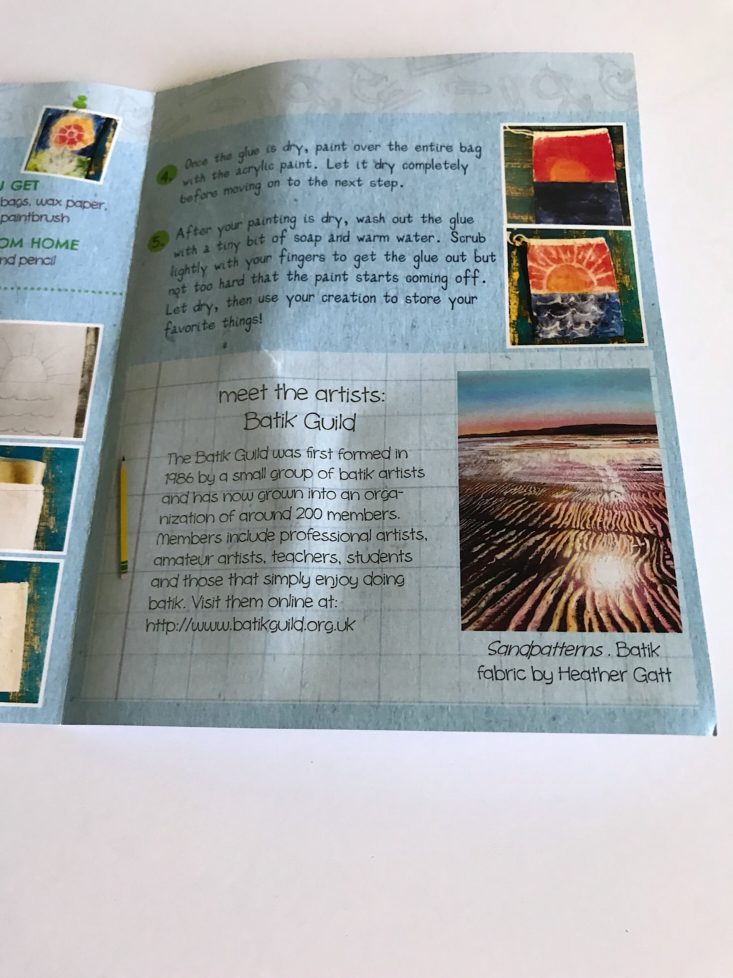
I also really liked that they included some information about the Batik Guild and artists who use this method!
Project 2: Crayon Batik
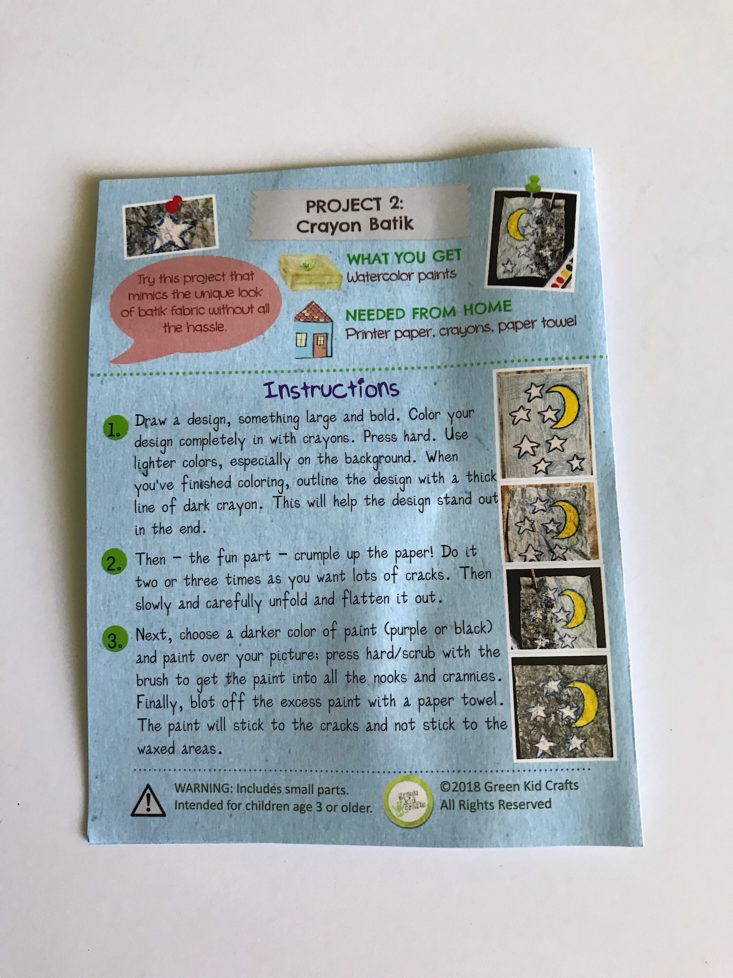
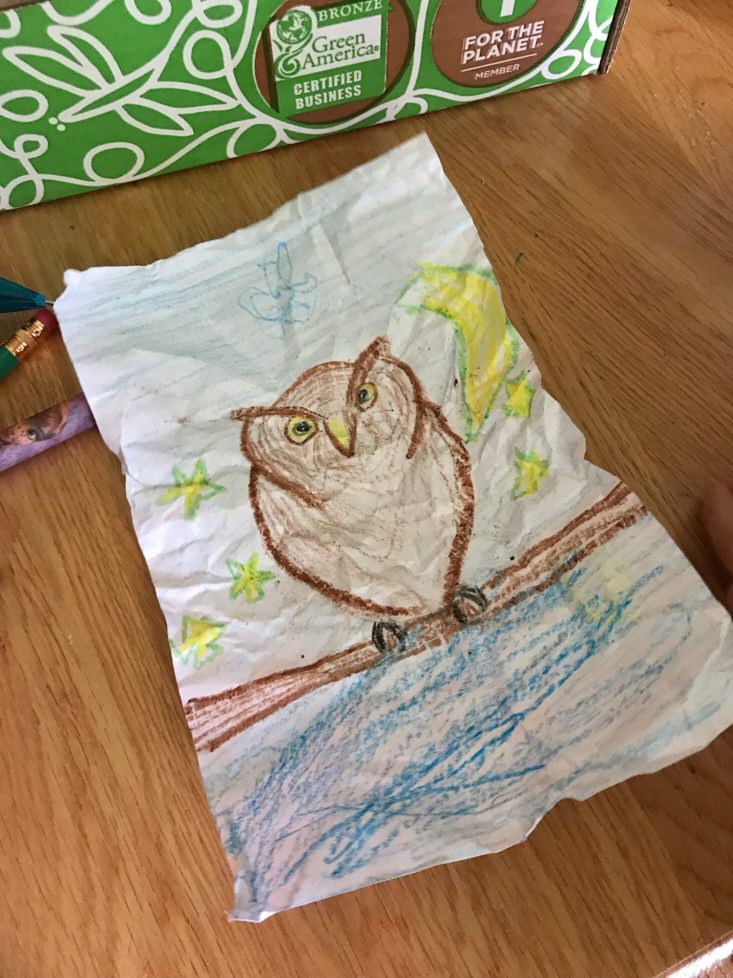
The second project was very simple and we drew a large owl and outlined our shapes in darker crayon. Then we crumpled up our paper and smoothed it back out.
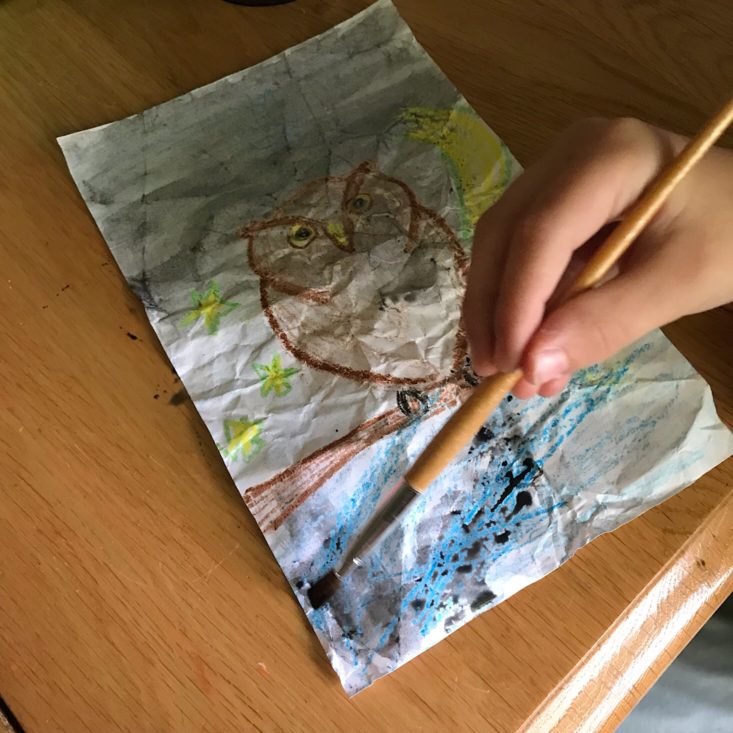
Then we took out our watercolors and painted over the entire scene and then blotted off the excess paint with a paper towel.
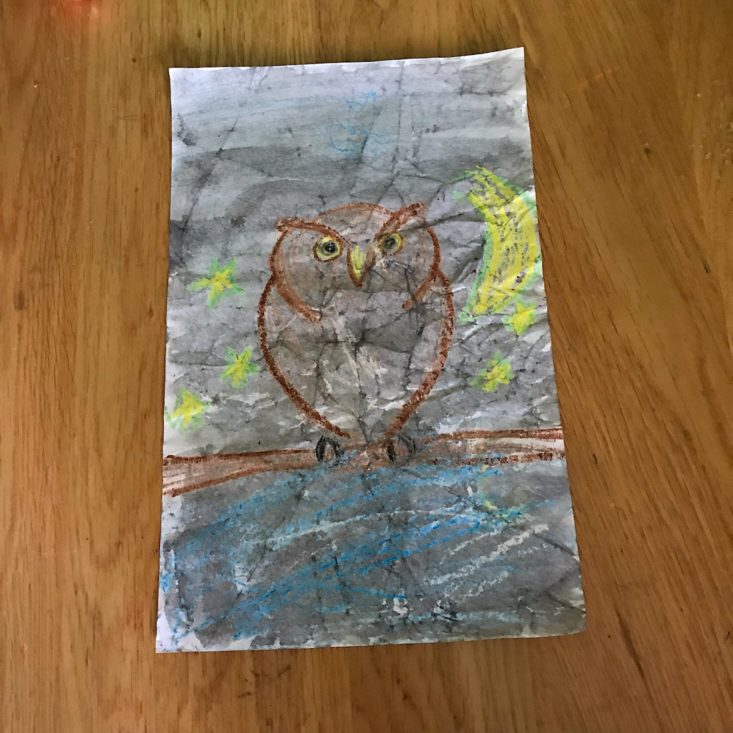
I don't think we colored thick enough with our crayons, but you can see a little bit of the Batik effect at the bottom where the crayon resisted the paint. I think if we had used a thicker paper other than printer paper, we might have had some more extreme results! Again, this is something we can easily recreate at any time and it's a nice lesson on how wax resists liquid.
Kit 2: Homemade Stamps

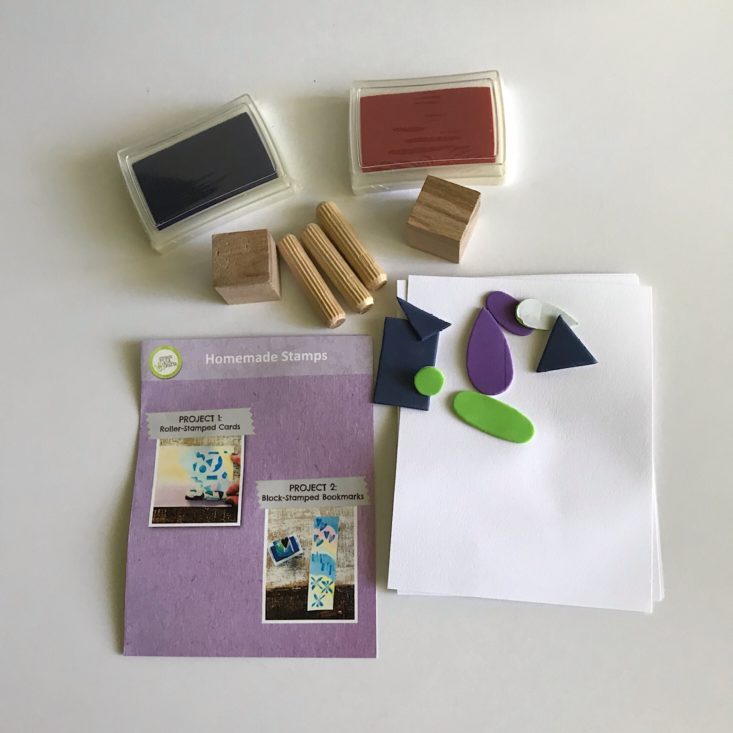
The next kit involved making homemade stamps. I love how the front of the book shows finished examples for us.
Project 1: Roller-Stamped Cards

I have seen Pinterest posts and come across this idea before, but I have never actually made my own stamps, so I was excited to test this out.
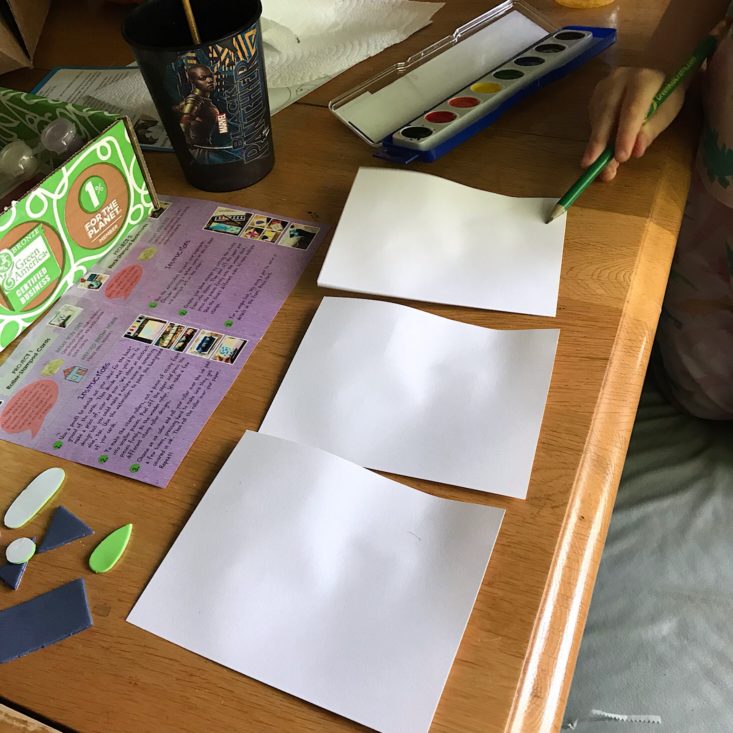
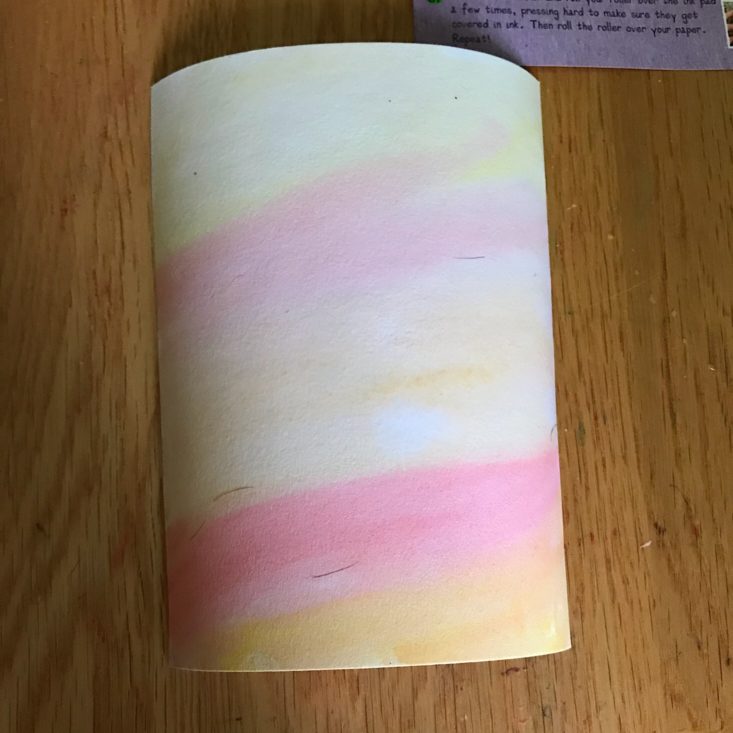
Since we were making cards, our first step was to paint the background of the three cards we received with watercolors. Then we set them aside to dry.
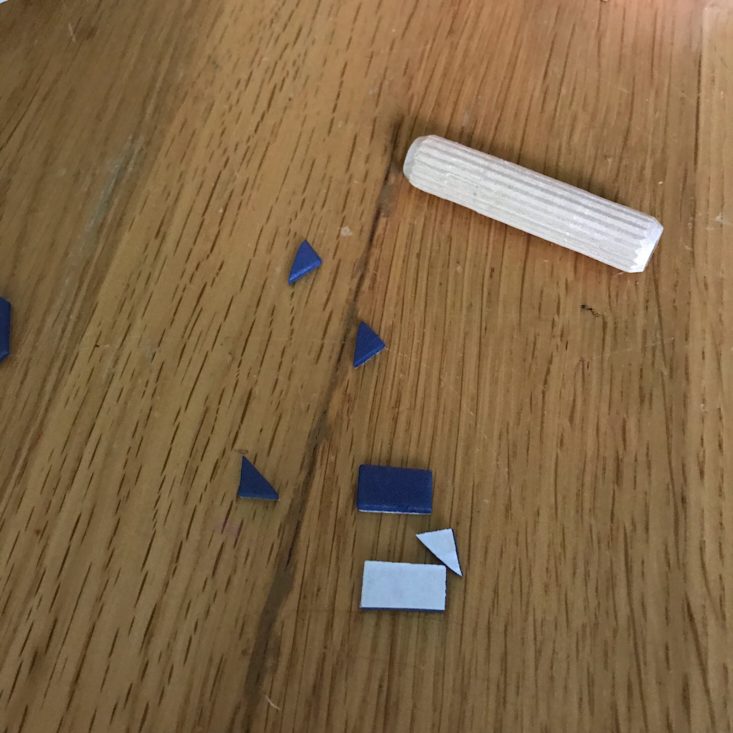
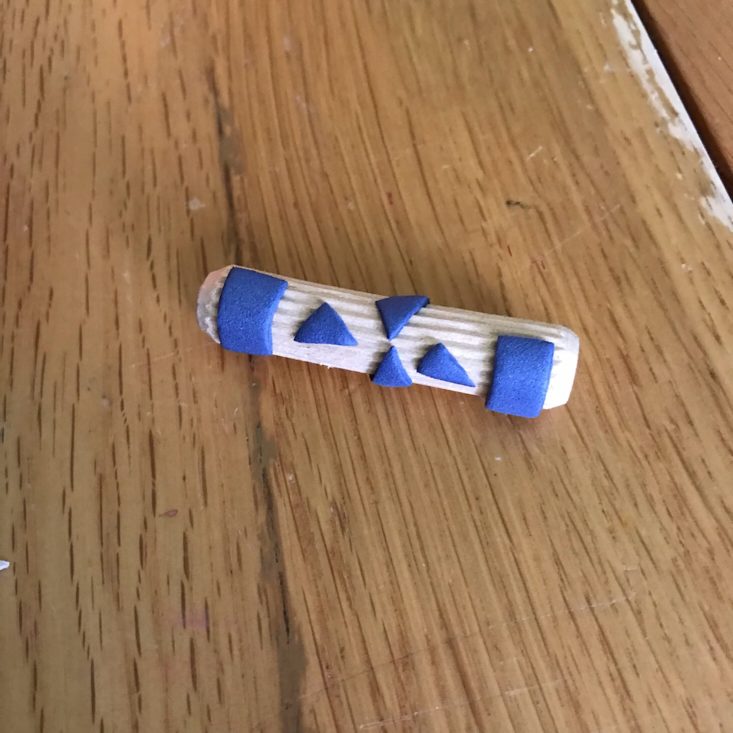
Next, we used our scissors to cut out tiny shapes from the foam stickers they gave us and stuck them onto the mini rollers (dowels?) to form a stamp roller.
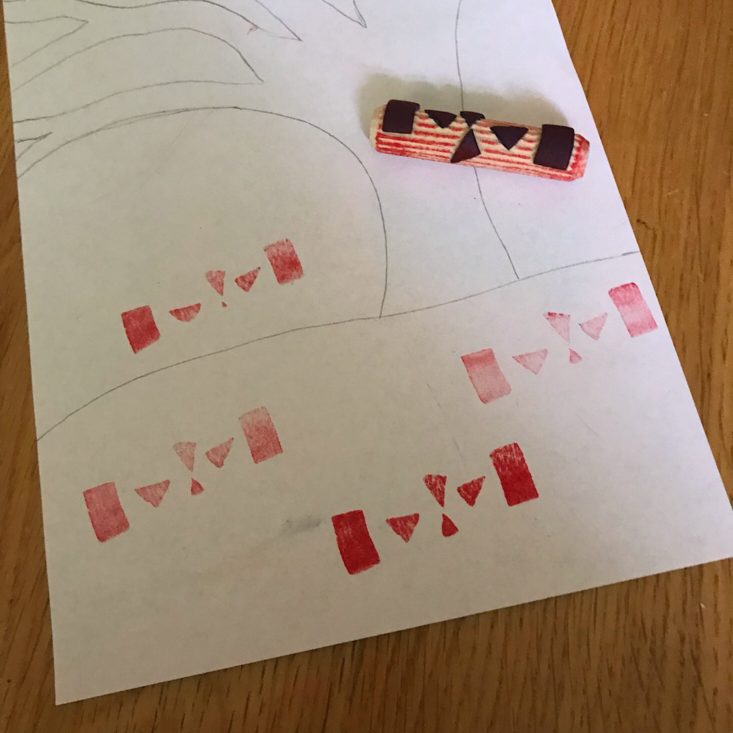
We received both red and blue ink and I tested it out on my sketch from my Batik bag design sketch (recycling!). This was the first one I did and I thought it was pretty cool, although I'd much prefer making these rollers on a larger scale since it got messy with my big clumsy fingers!
Project 2: Block-Stamped Bookmarks
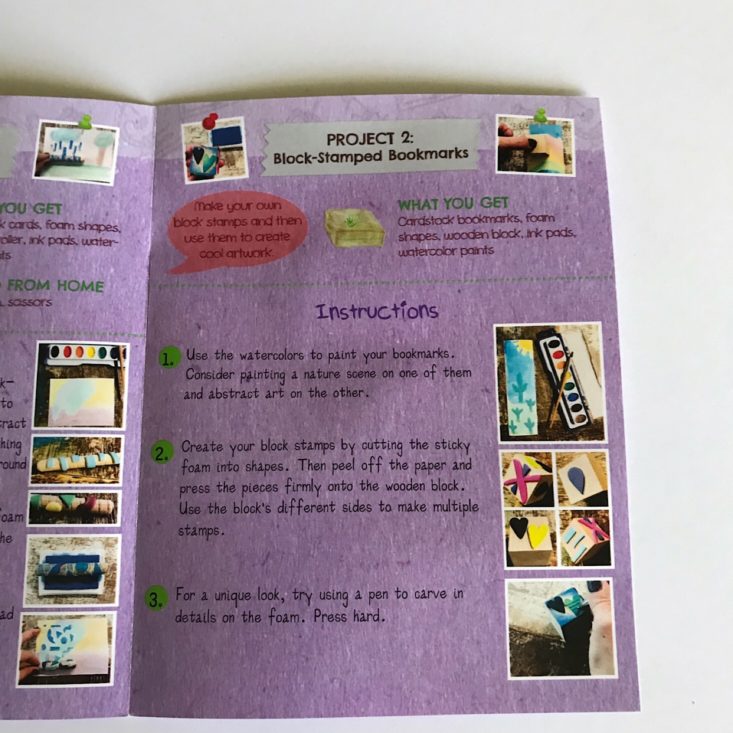
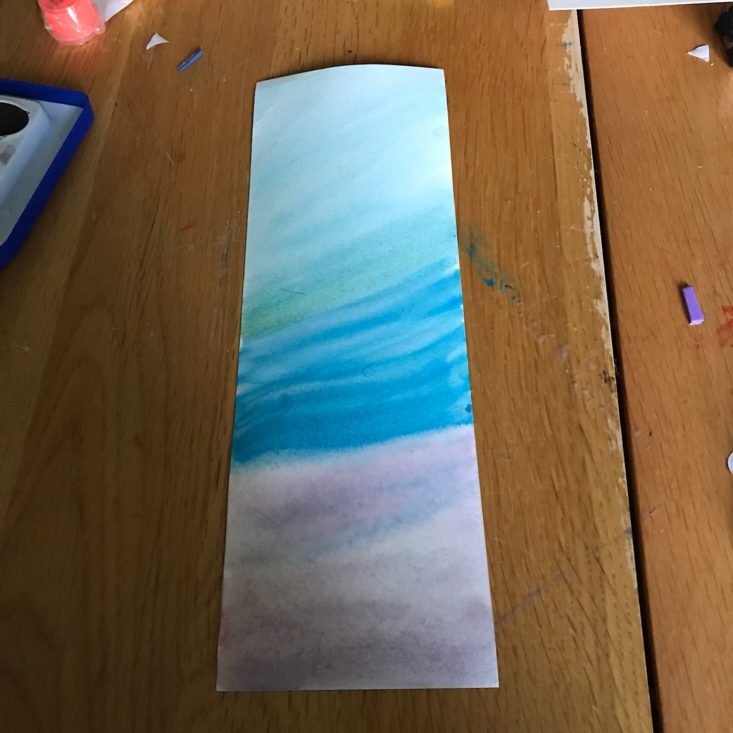
My watercolor paper was still drying, so I skipped ahead to the next part, which was to use the blocks to make more stampers for a bookmark. First I painted my bookmark with watercolors and set it aside.
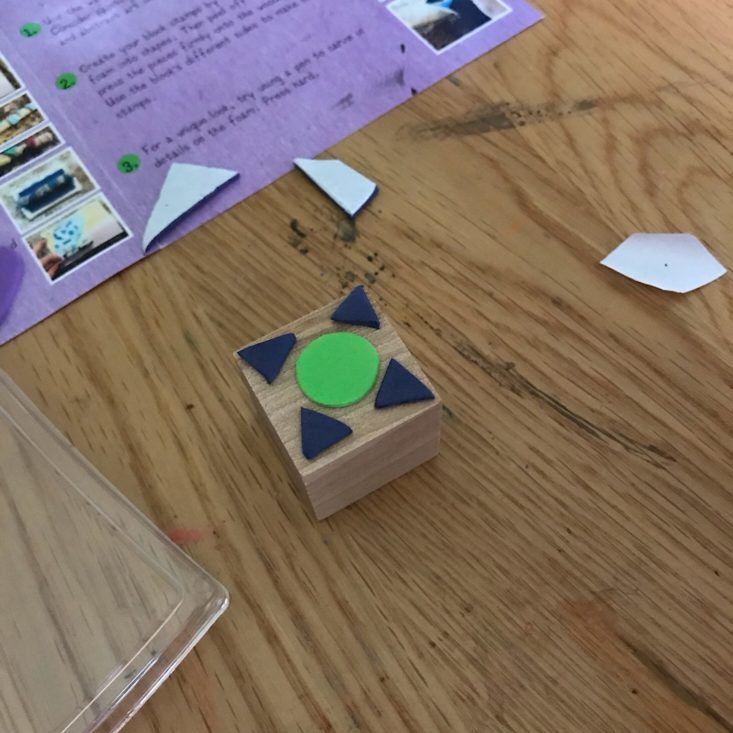
Then I added little foam shapes to my block and tested it out.

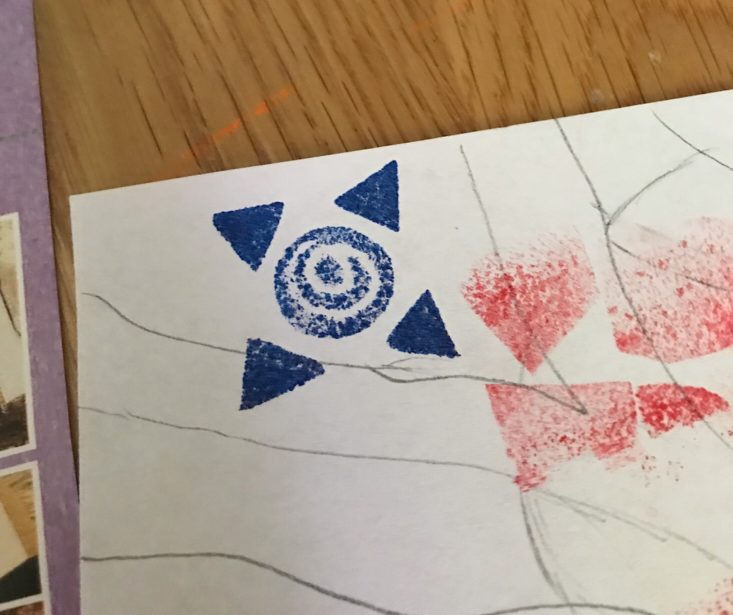
They recommended using a pen to carve a shape into the foam for more texture and it worked so well!
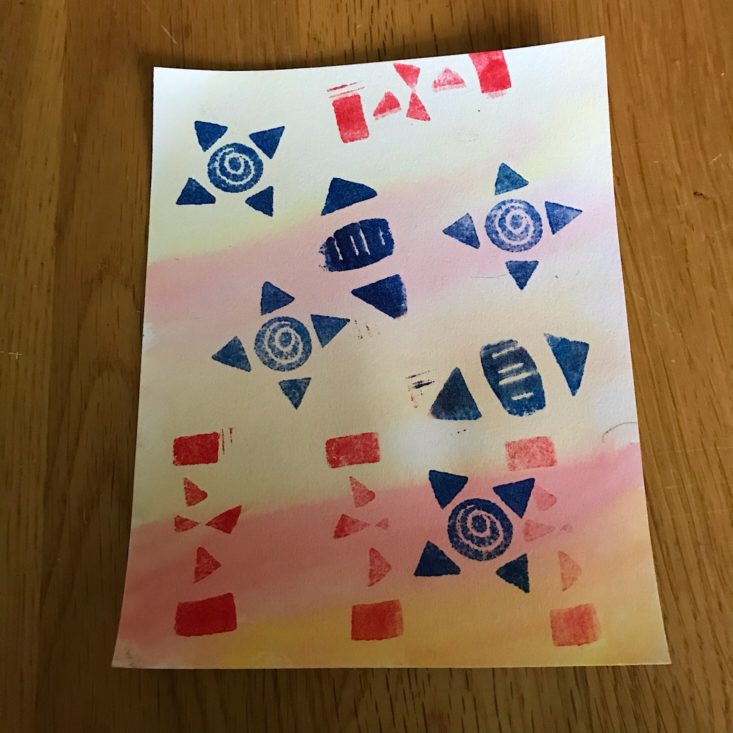
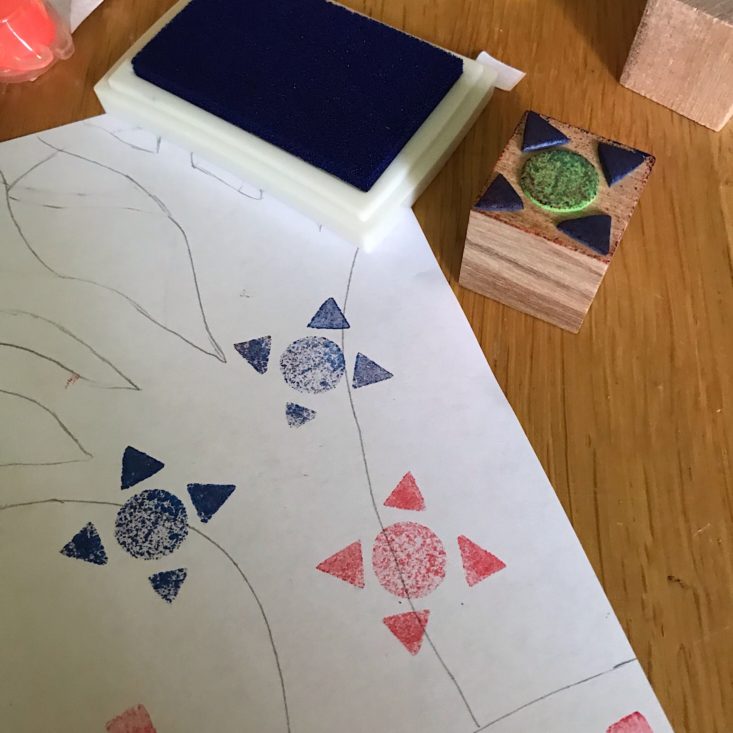
I tested out both stamps on my watercolor card and in retrospect, I really should have gone with more of a pattern than this abstract piece, but it was still fun to play with! And now that I have my stamps, I can test it out whenever I want.
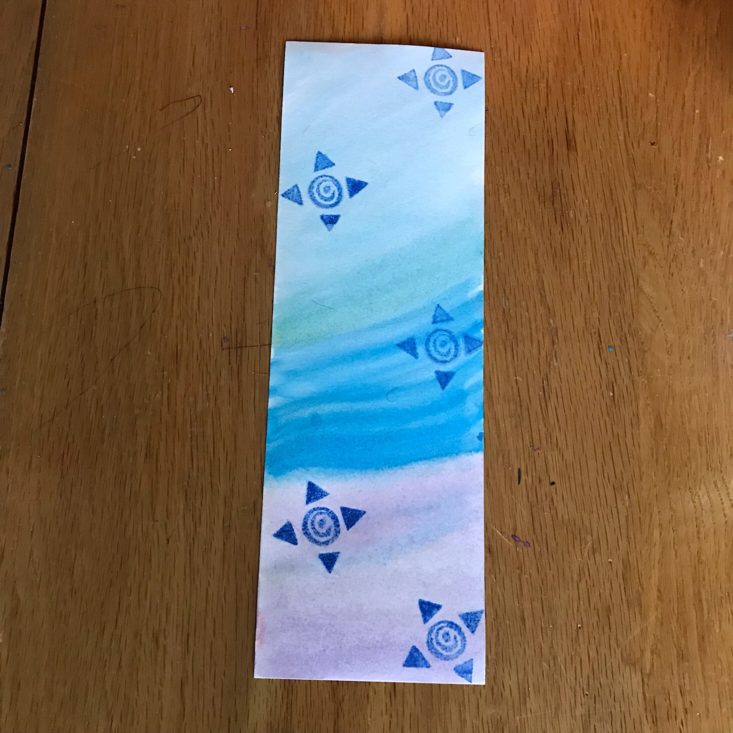
My bookmark turned out a little better! (My daughter had lost patience by this point since she could hear her father and brother playing loudly in the basement!)
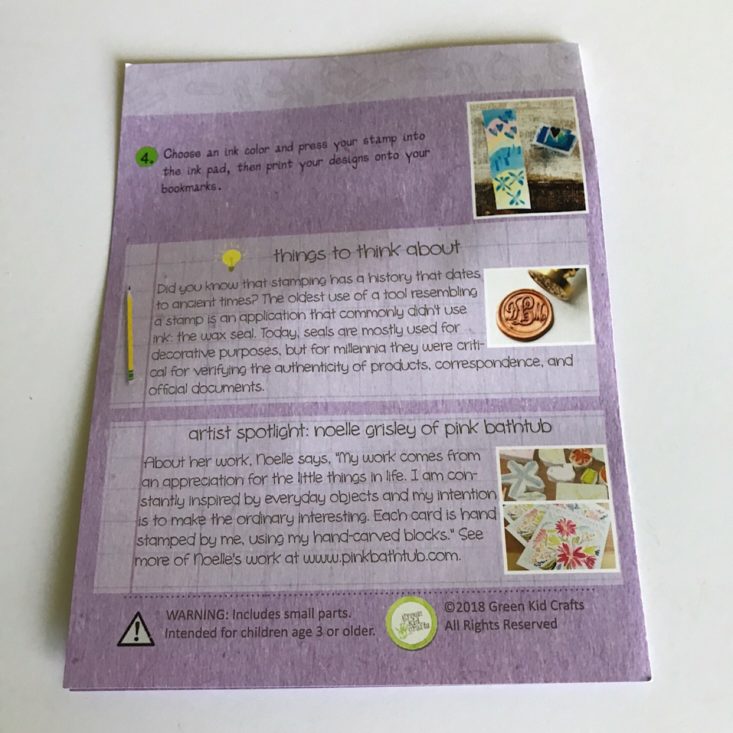
I like that they gave some information to think about and also highlighted another artist, Noelle Grisley with a link to her work!
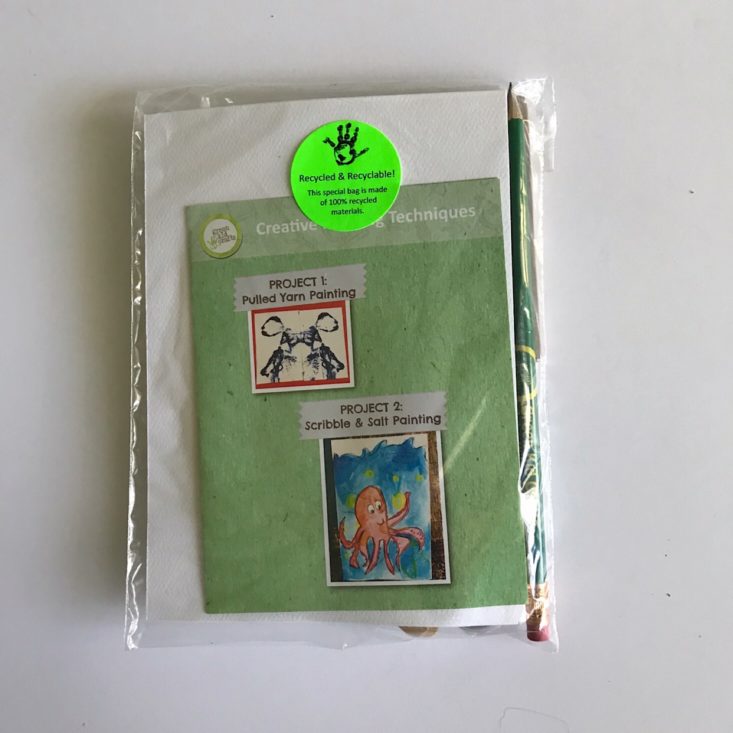
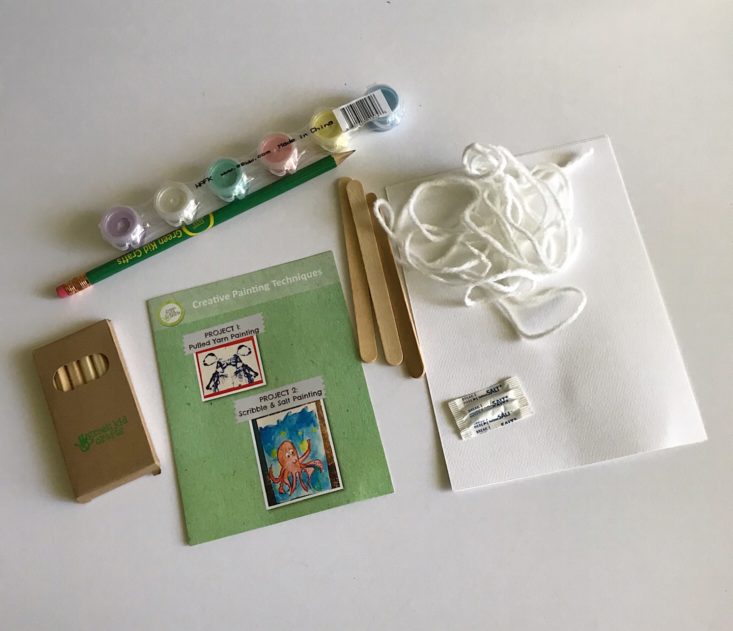
Kit 3: Creative Painting Techniques
This time I decided to try a project with my 2-year-old son.
Project 1: Pulled Yarn Painting
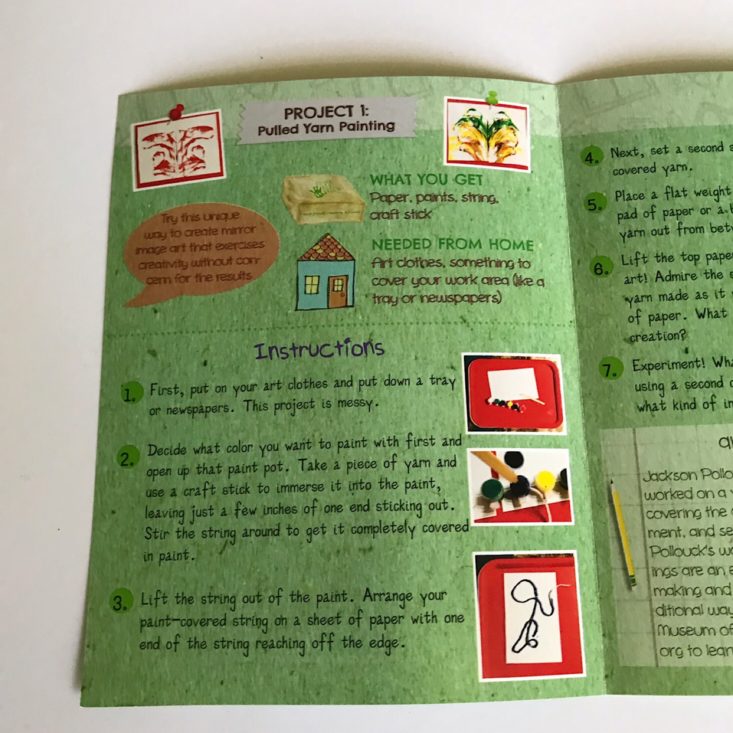
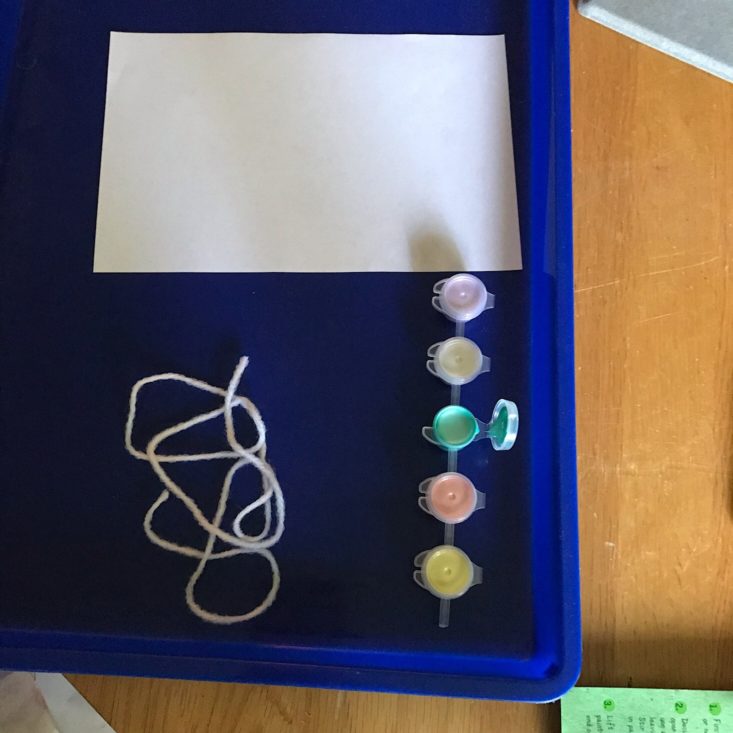
I got us all set up to do a pulled yarn painting with all of the materials we received. The paint was shimmery and metallic which was fun!
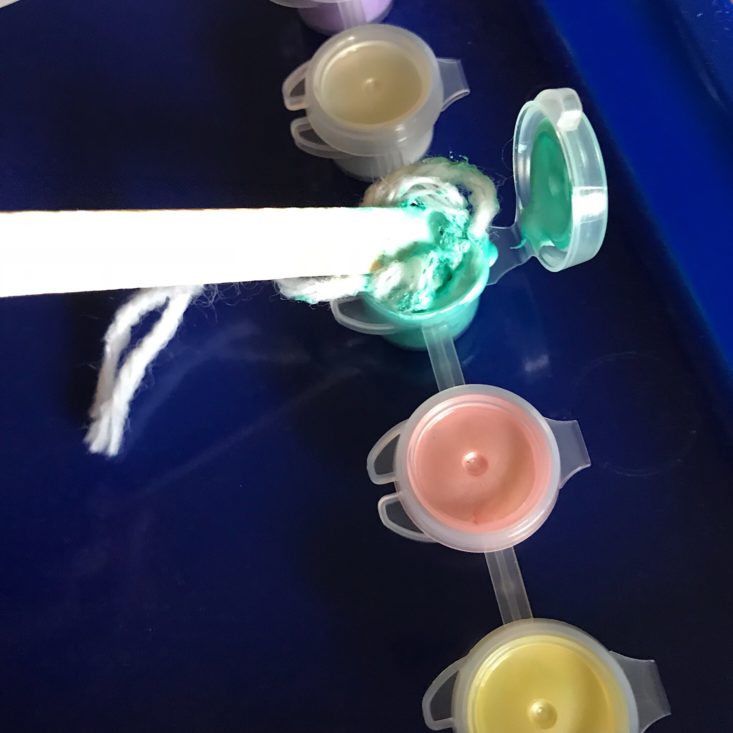
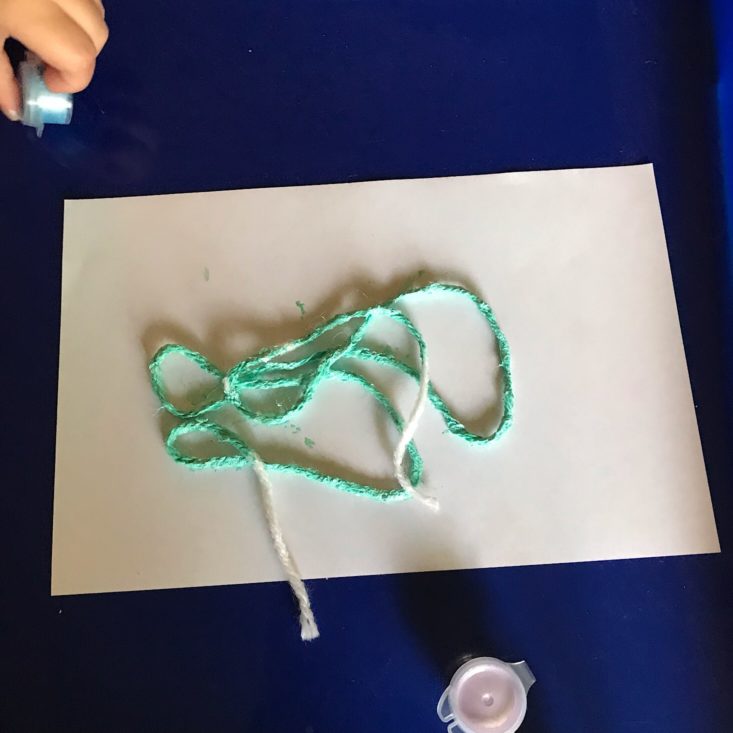
First I took the piece of yarn and I shoved it into a pot of paint using the popsicle sticks they provided and once it was saturated we just lay it on our paper in no specific shape.
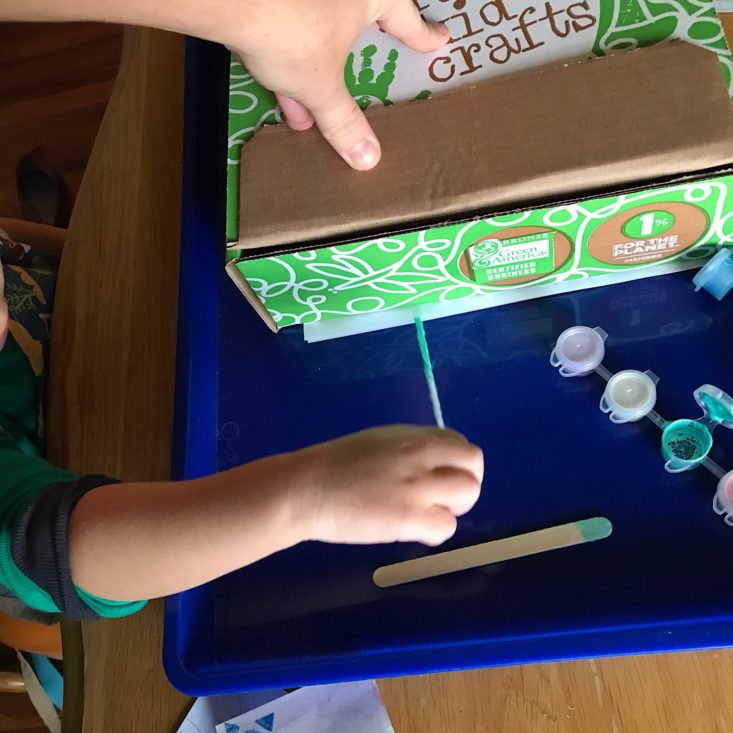
Then I placed a second piece of paper on top of it and I used our box to add some weight to it. I pushed down lightly and had my son grasp the end of the yarn and remove it slowly (he loved it!).
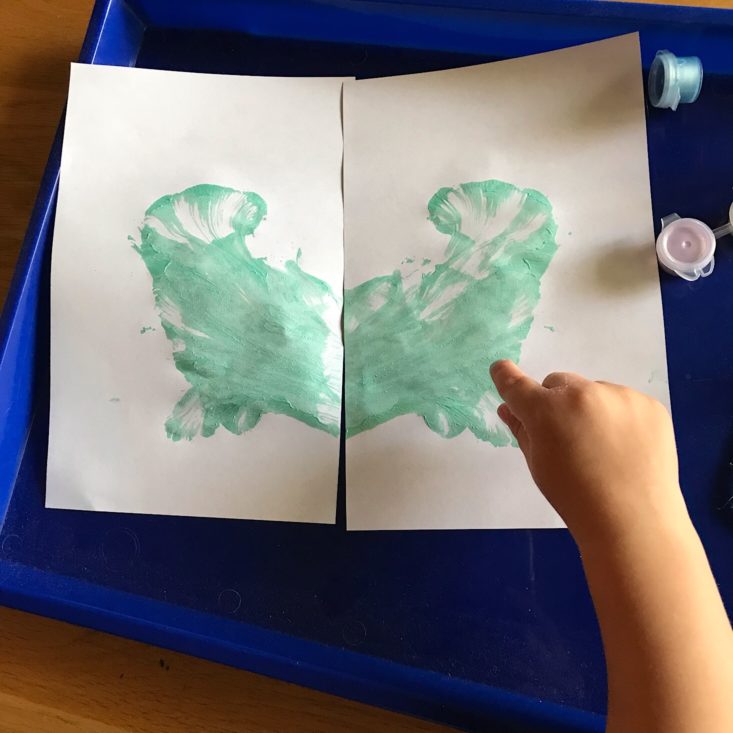
Here we have our crab! At least that's what he decided it was. We decided to try it again with a different color of paint over top.
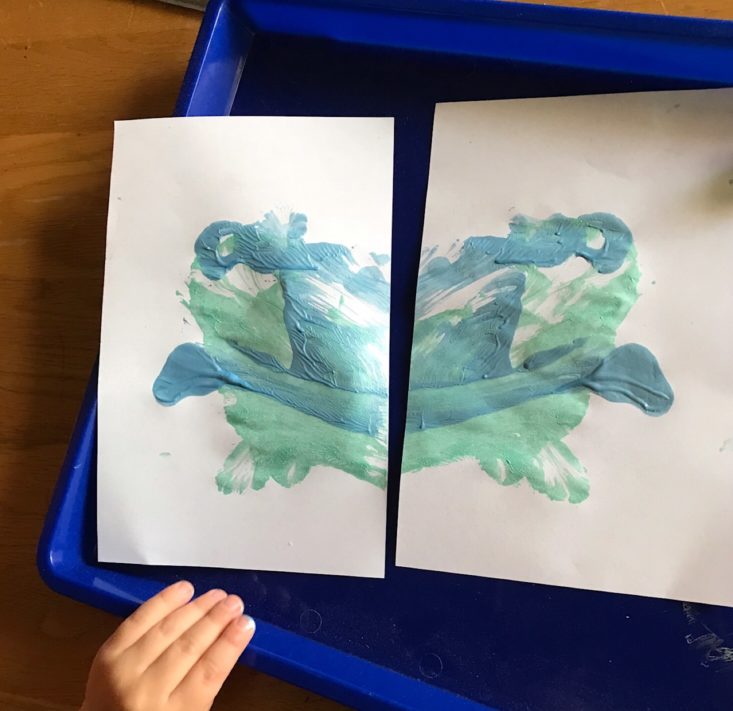
How fun is that? It's pretty messy, but working on top of a tray really helped and it was very simple to do. I think we could possibly make it even cleaner if we put our paint on a paper plate instead of a tiny pot and use a thinner paint! There was a lot of paint leftover so after this, I just let him free paint and he had a blast!
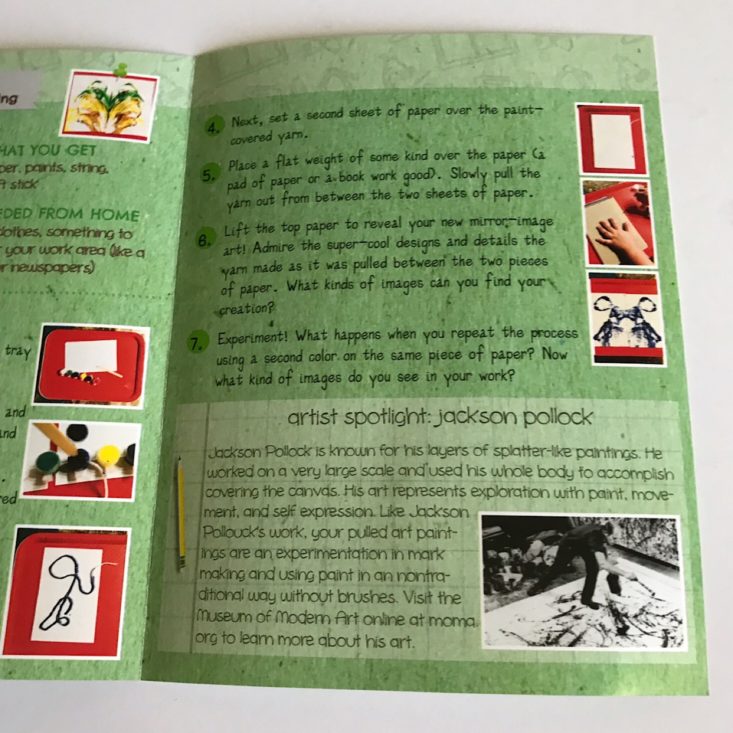
The artist spotlight here was on Jackson Pollock and they recommend visiting the MoMA site to learn more!
Project 2: Scribble & Salt Painting
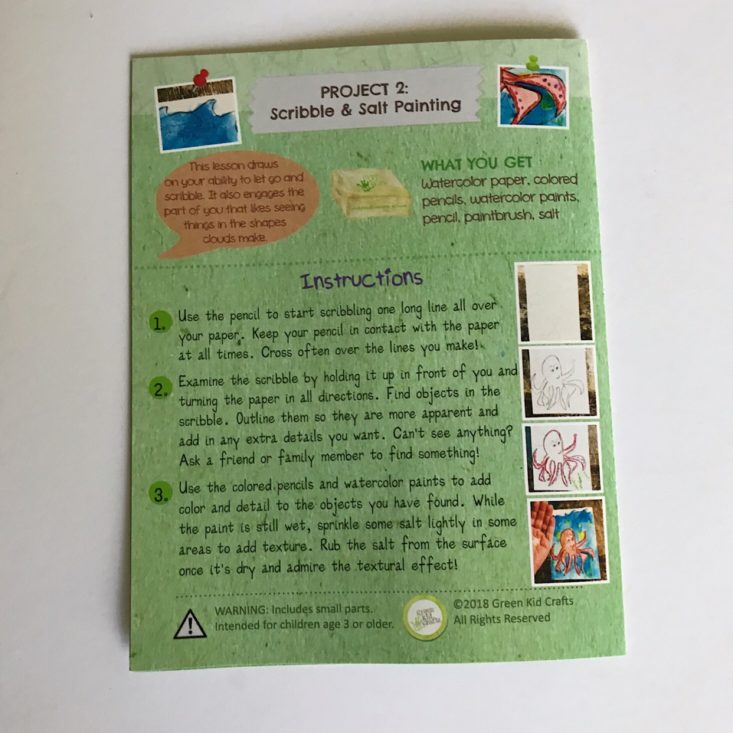

This project began with us using a piece of the watercolor paper and drawing a continuous line that looped and overlapped but never left the paper. Then we were to try and find a shape within the lines and use our colored pencils and watercolors to define the shapes. I have Halloween on the brain and all I could see were some ghosts, so that's what I went with!
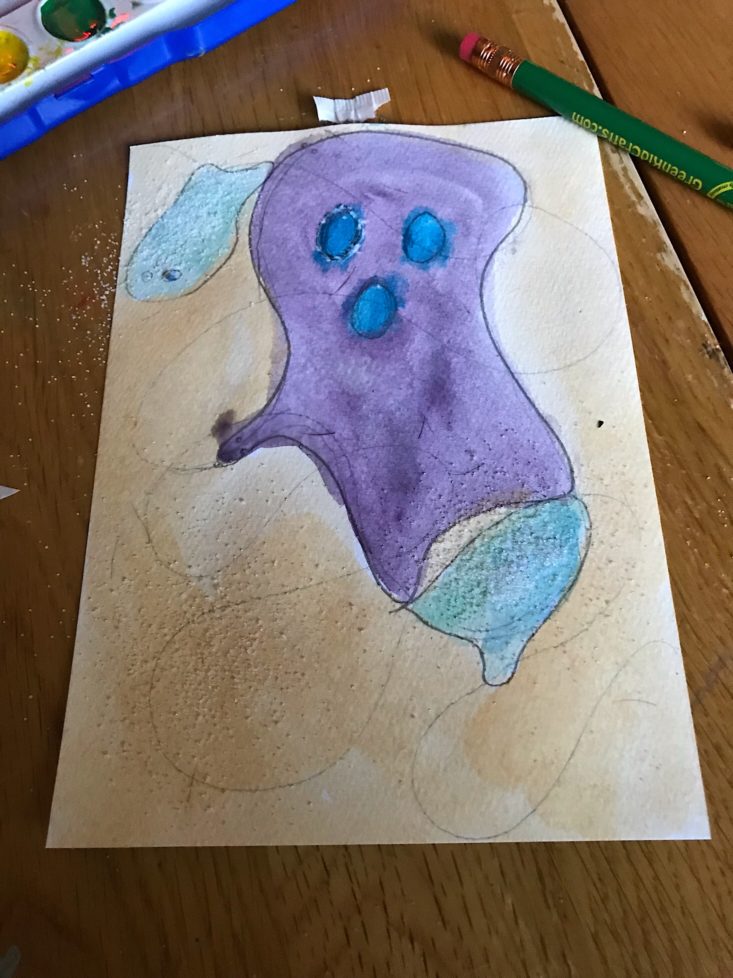
I completely forgot about the colored pencils and just used the watercolors. I tried to paint quickly because the next step was to sprinkle some of the salt from the included packet onto the painting before it dried, so the result is not my best work.
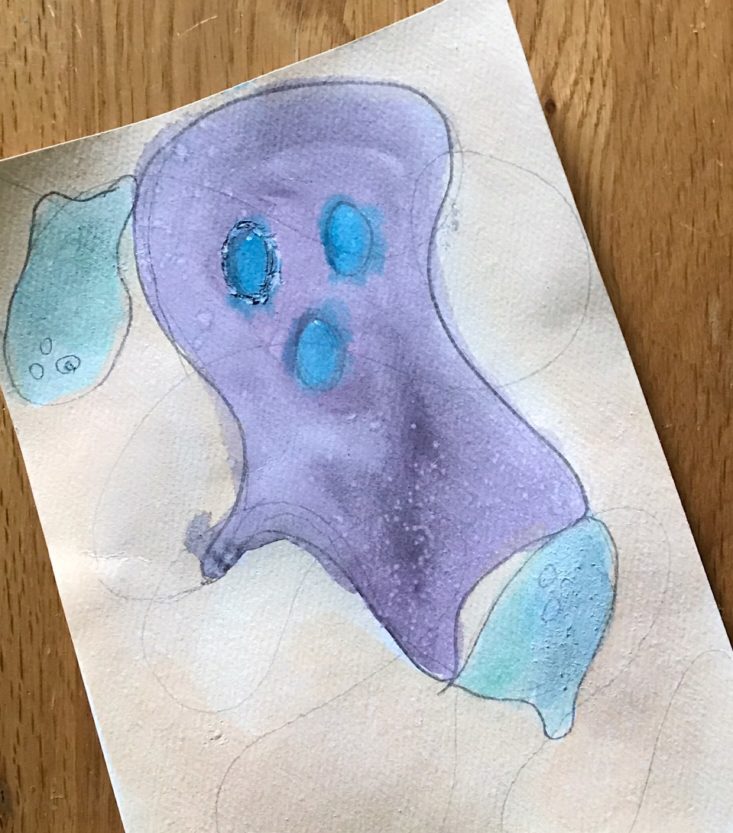
Once the salt dried, I brushed it off the painting and it left a fun textural effect, although it wasn't as dramatic as I was hoping for! I think the watercolor paper actually made it more difficult because it soaked up some of the paint quickly so the salt didn't get a chance to work. At least we have the technique now though so we can try it again!
Verdict: I really enjoyed all of the activities we received in our Green Kid Crafts Art Lab box. In addition to the 6 well-organized projects, they also had a book full of other activities for us to try, which is great! My kids are a bit young for this box so they definitely lost interest part of the way through, but as a former elementary art teacher, I think that all of these projects were appropriate for the 5-10+ age group that this is geared to. I love that they highlighted various artists and styles and that they linked to more information for any curious little artists! I also appreciate their mission of bringing STEAM projects to children with a goal towards sustainability through the materials and packaging that they use. I think that given all of the supplies we received and the various instructions, it was definitely worth the $24.90 ($19.95 + $4.95 shipping) cost of the box!
To Wrap Up:
Can you still get this box if you sign up today? Yes, it is possible that you will receive this box at some point in your subscription. They also offer it as a one time box.
LIMITED TIME DEAL: Use coupon code GET3FREE to get three free months when you get an annual Green Kids Crafts subscription!
Coupon - Use code SUBADDICT50 to save 50% off your first box!
Check out more kids activity boxes in the Kids Subscription Box List!
Keep Track of Your Subscriptions: Add this box to your subscription list or wishlist!
What do you think of the Green Kid Crafts box for kids?
Please do not enter your email address in the Name field or in the comment content. Your email address will not be published. Required fields are marked *. Remember to post with kindness and respect. Comments with offensive language, cruelness to others, etc will not be approved. See our full comment policy here.