

Olive & June Manicure Kit Review
Can I get salon-quality nails at home?
Olive & June was started in 2013 by mani-obsessed ex-sales trader Sarah Gibson Tuttle. Now with three California-based nail salons, they offer a full range of polish, nail care, and most importantly, manicure kits. They aim to give the highest quality experience to other nail-crazed women and even name their polishes after female entrepreneurs.
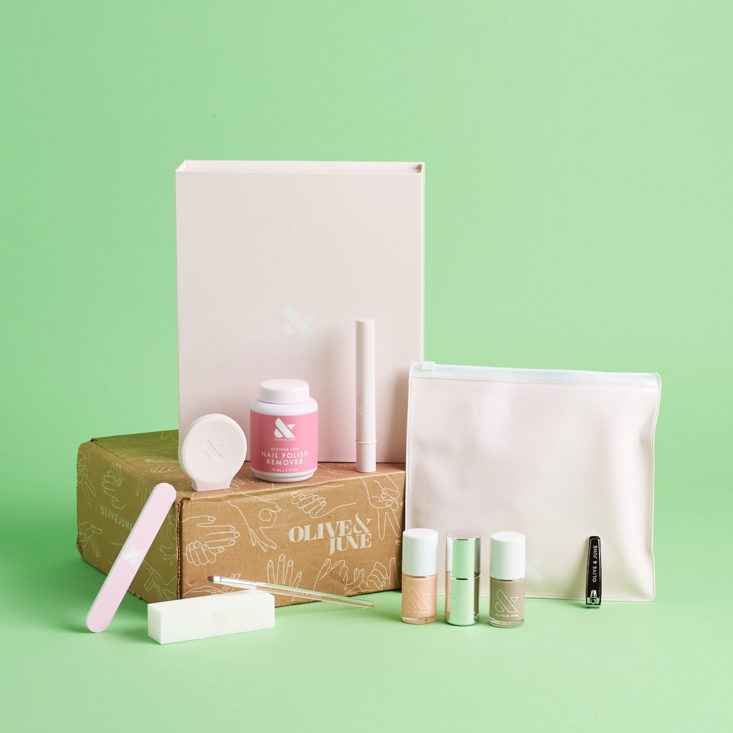
Having done my nails at home for years, then switching to getting acrylic manicures at the salon, and going au naturel again, I wanted to give one of their kits a try. Sure, nothing beats a professional manicurist, but with Olive & June's Studio Box including 9+ items plus a reusable box complete with a shelf for my phone to document the manicure process, I wondered if it was worth the $50 price tag.
About This DIY Manicure Kit
The Product: Olive & June Studio Box Mani Kit
The Cost: $50.00 (other kits available for varying prices)
What You Get:
- Nail Polish Remover Pot
- Clean-Up Brush
- Flat-Edge Nail Clipper
- Dual-Grit Nail File
- Buffer Cube
- The "Poppy" Universal Polish Bottle Handle
- Choice of 1 Nail P0lish
- The Top Coat
- Hydrating Cuticle Serum with Cactus Flower
- Bonus Nail P0lish Choice
- Bonus Pouch
Ships to: The contiguous United States except for Alaska, Hawaii, or Puerto Rico due to shipping restrictions.
My Subscription Addiction paid for this box. (Check out the review process post to learn more about how we review boxes).
Pros & Cons
| The Pros |
|
| The Cons |
|
| Is It Worth It? |
|
| I'd Recommend the Olive & June Studio Box If: |
|
Building Your Mani Kit from Olive & June
Olive & June has a ton of different sets available with different color combos but they mainly offer four manicure kits that range from $42-$88 dollars. I settled on the second-to-least expensive kit that included every tool but also a polish color of my choice. It also came with a bonus polish at the time I ordered, making the value even better. It's as simple as choosing which mani kit you want, selecting any preferences, and adding it to your cart. No subscription required. Some Olive & June products are also available at Target but I wasn't able to find any of their manicure kits on the Target website.
Before I begin, I want to mention that pretty much everything on the Olive & June website is currently sold out due to "unprecedented demand." It looks like they have pre-order available that ships June 8th which isn't far off. I first ordered the Studio Box on April 22nd knowing full well that there would probably some sort of COVID-19-related delay. I finally got a shipping notification and tracking over two weeks later on May 8th. Although shipping was free with my order, it somehow took another full two weeks to arrive, after the delivery date was pushed at least twice. I have no idea if their delays are still four weeks behind but just be warned that if you do pre-order it could take a while.
What comes in the kit?

Olive & June makes several different kits, but I ended up ordering The Studio Box. It comes with nine items, plus a couple of bonus items when I ordered back in April.


1 of 3

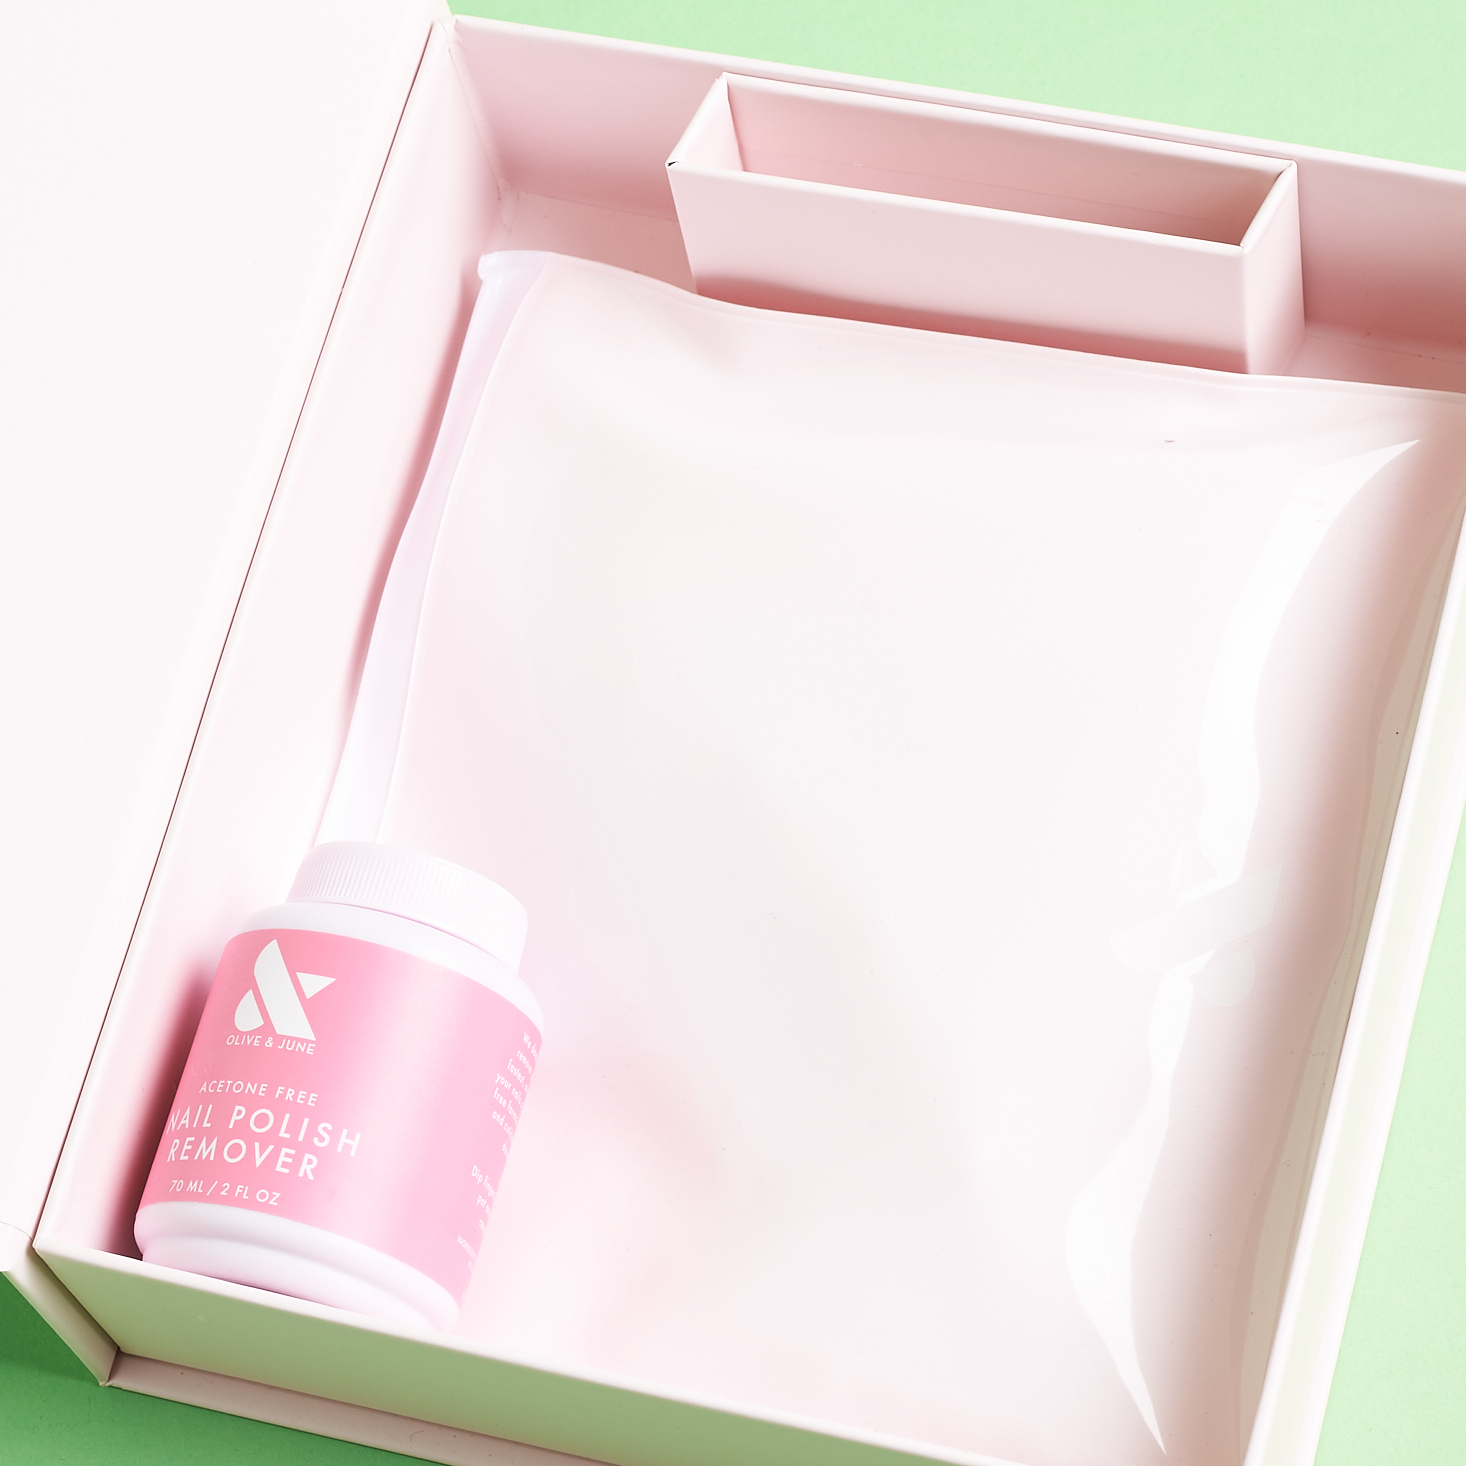
Nail Polish Remover Pot
Retail Value $8.00
I am blown away by this little pot of nail polish remover. It's so easy to use and works SO WELL. Just a dip or two of each nail into this and polish that I otherwise would have scrubbed at with several cotton balls to little success is completely gone. On top of that- this smells pretty nice considering it's nail polish remover.


1 of 3
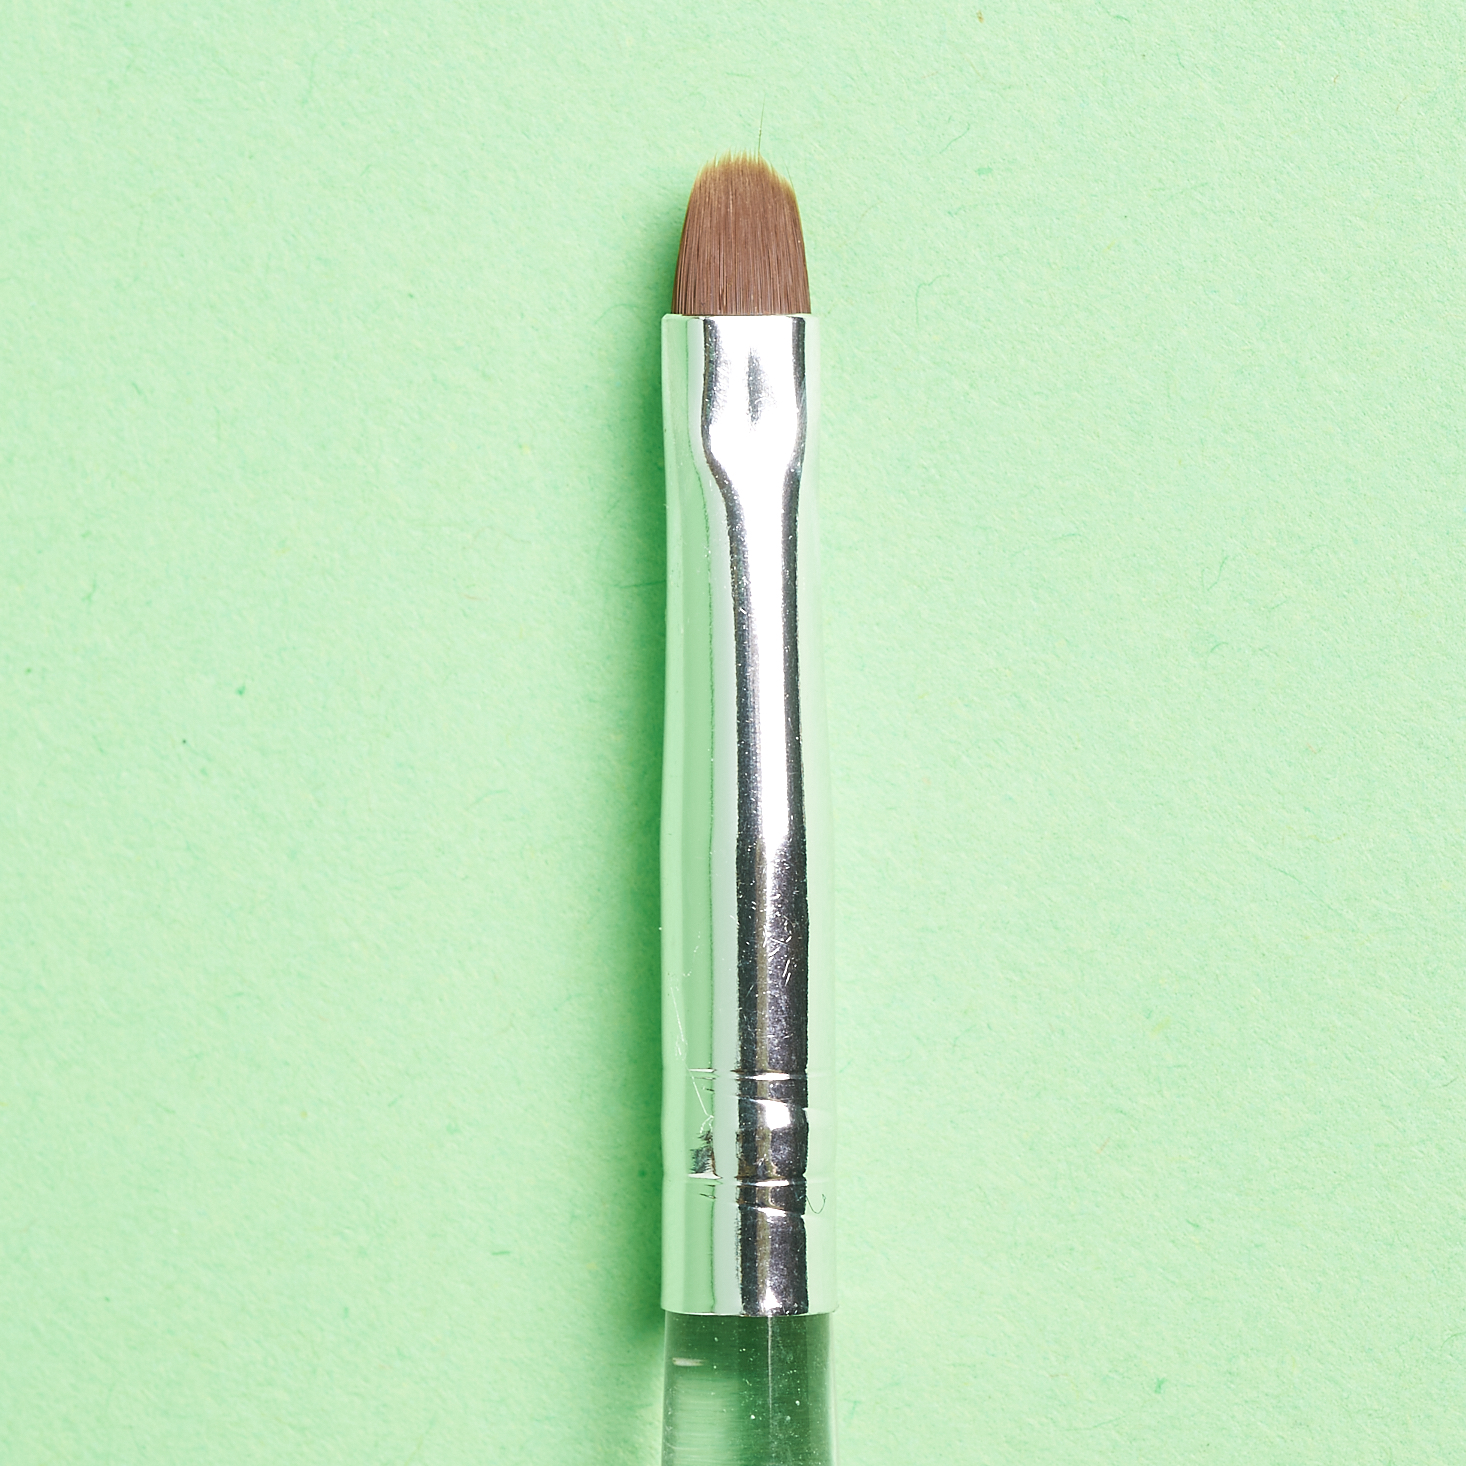
Clean-Up Brush
Retail Value $8.00
In all of the years of doing my own nails at home, I never had a cleanup brush like this. Now that I have it, I'm a little pumped that I don't feel the need to be so exact while painting. The brush is stiff and flat with a narrow tip that can easily glide under nails and around edges. I just have to dunk the brush into the pot and started cleaning. The handle is clear acrylic and has pink "Olive & June" branding down one side.
1 of 2
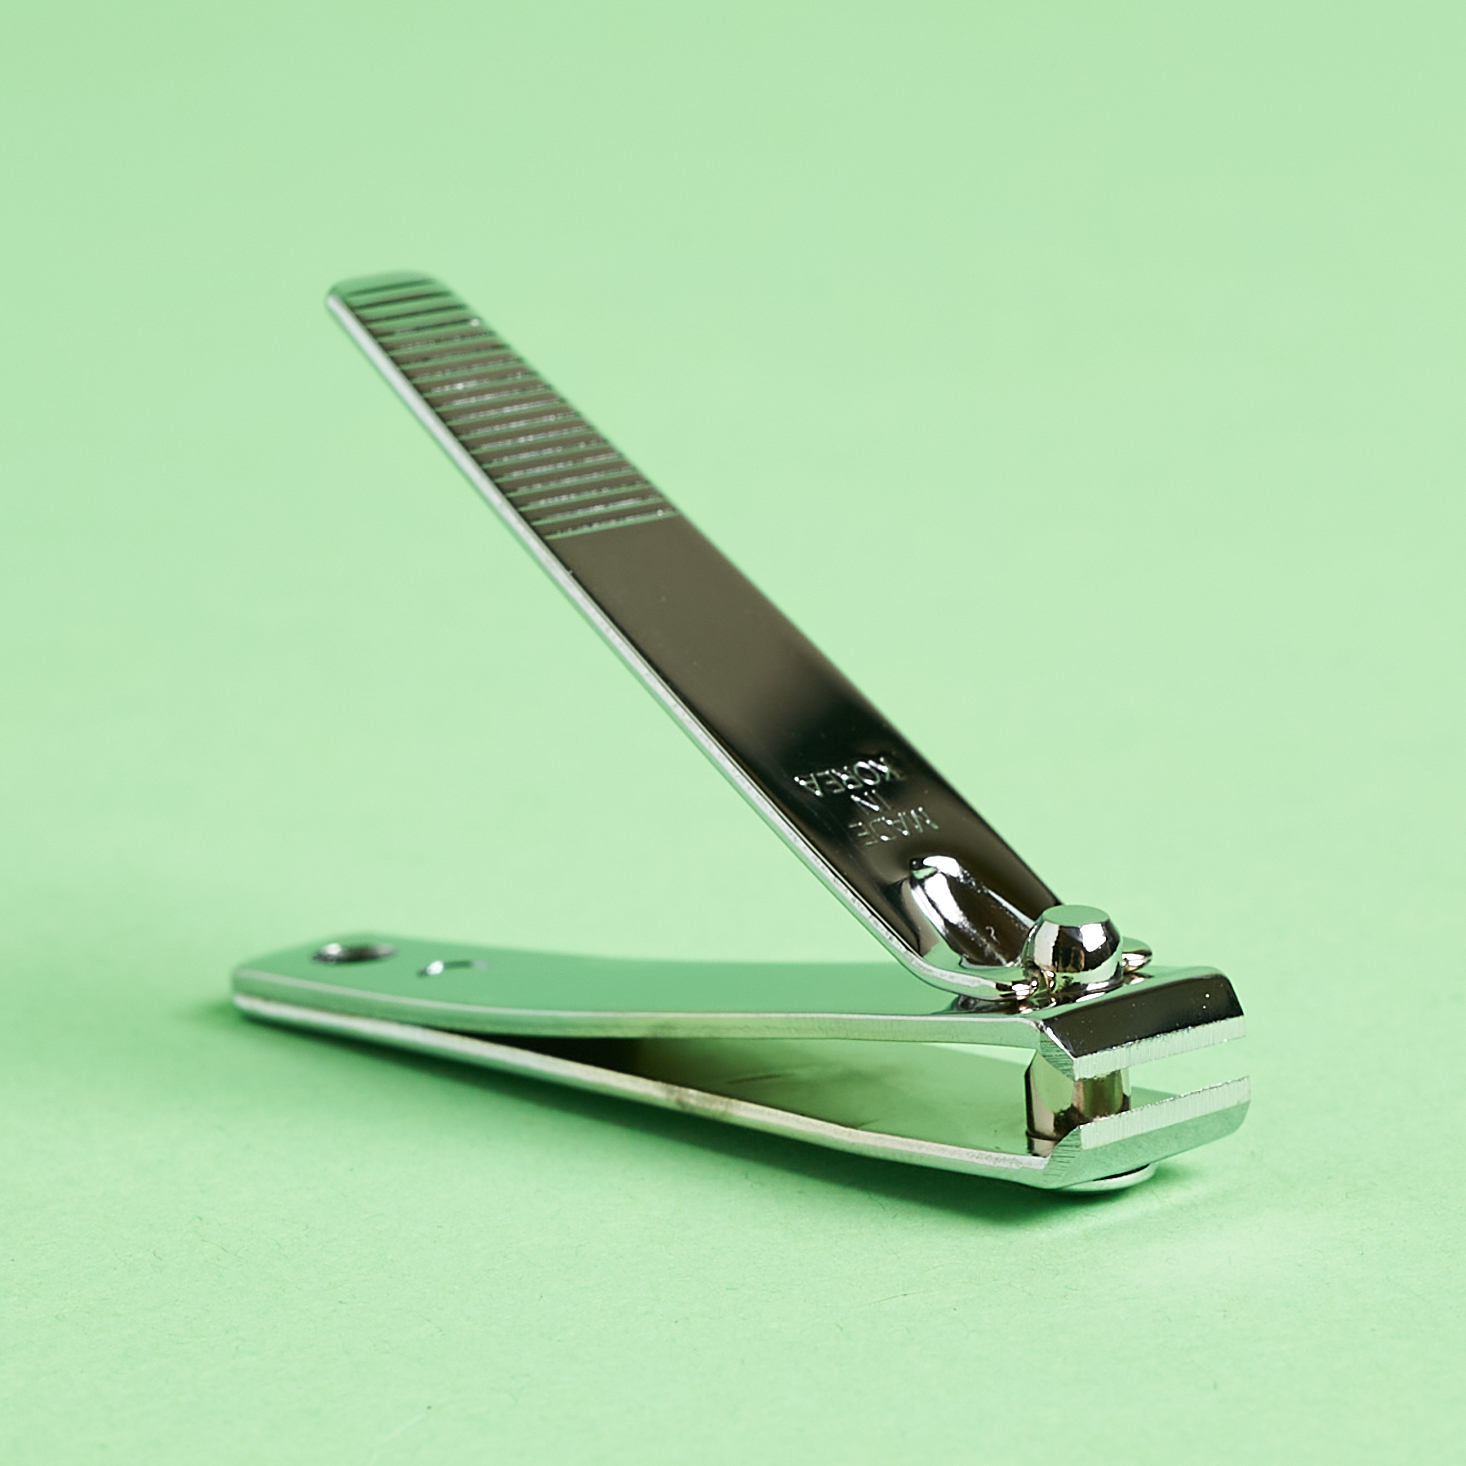
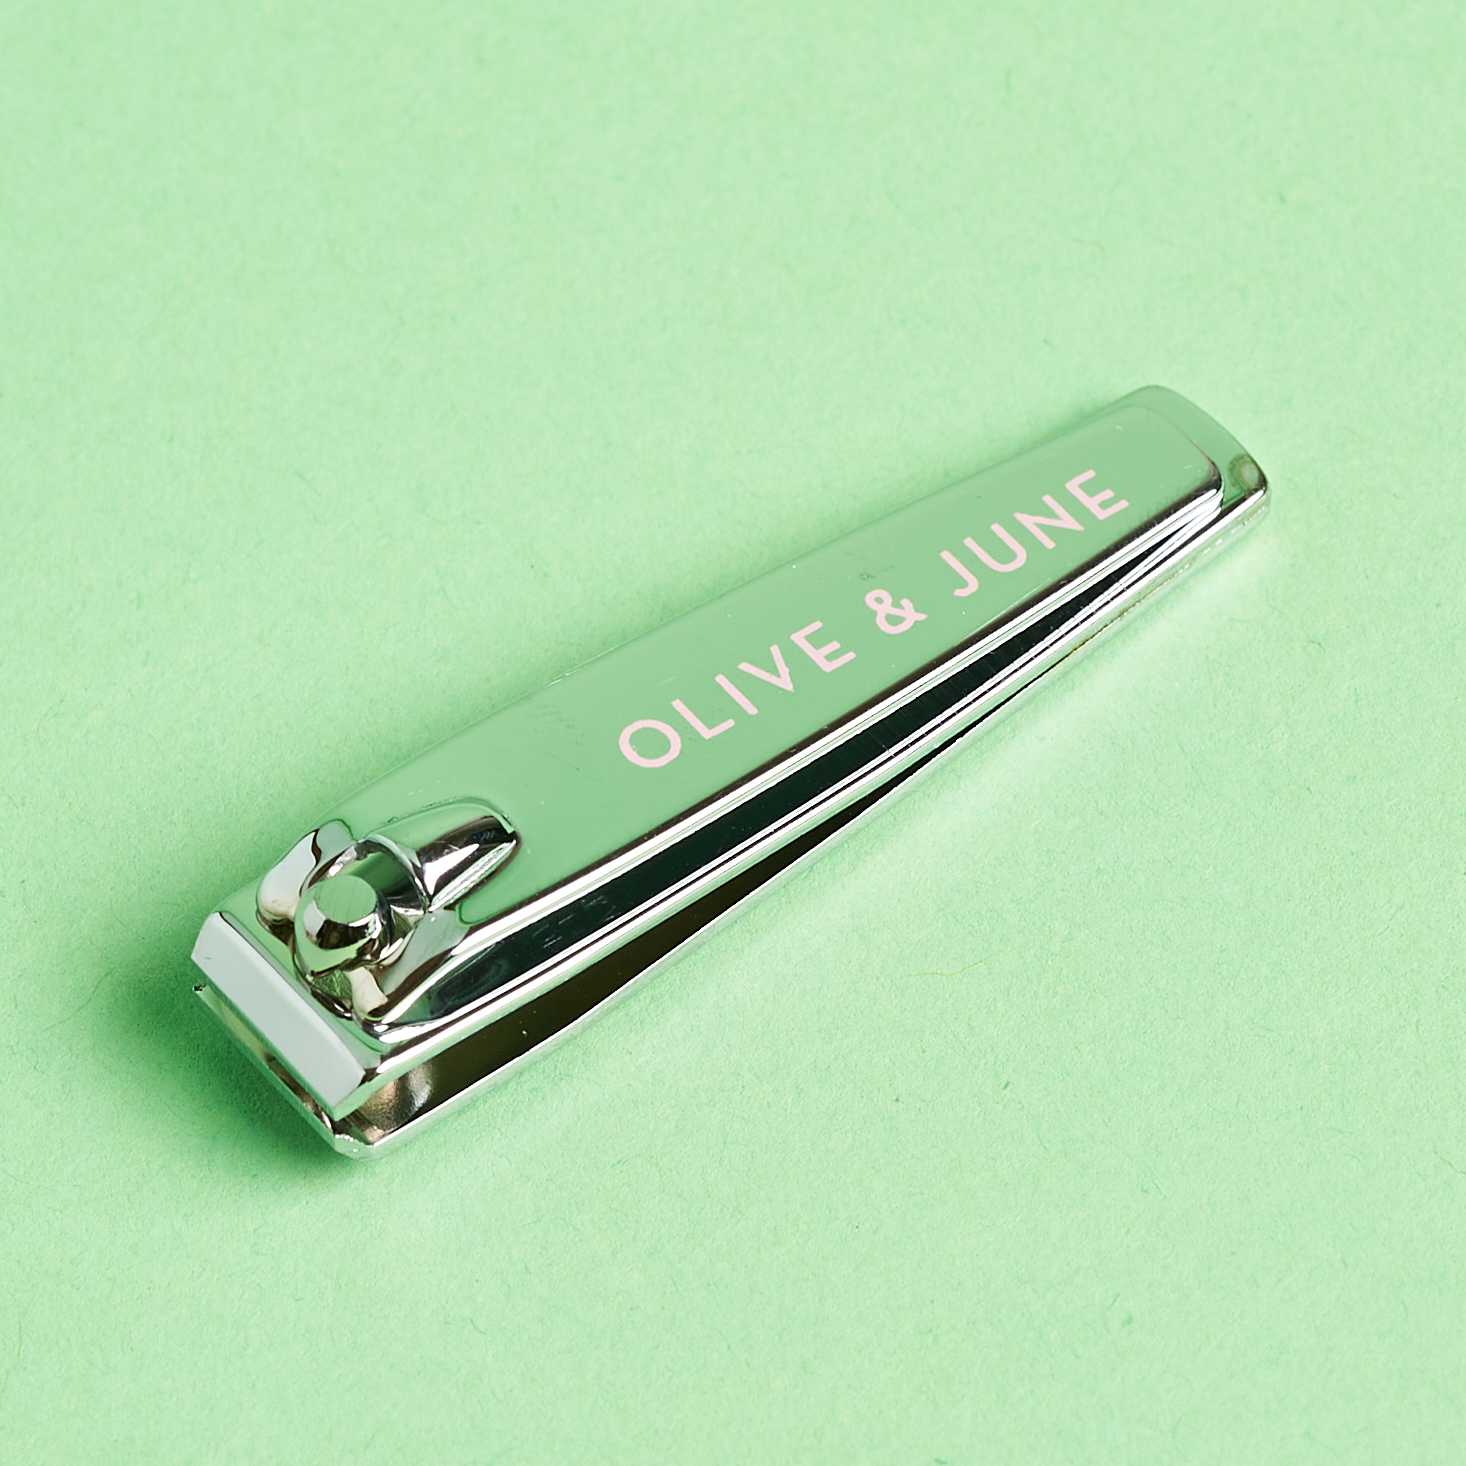
Flat-Edge Nail Clipper
Something I never thought about until now is that there are different types of nail clippers. Olive & June says that the flat edge clipper is "best for trimming and shaping the nail tip with a clean finish. It offers the most control and variation. The flat blades let you make any shape you want unlike the more typical curved edge clippers, which automatically create a rounder shape". That makes sense to me and means that these clippers are the first in my arsenal. They have pink "Olive & June" branding at the top and are made in Korea.

1 of 3

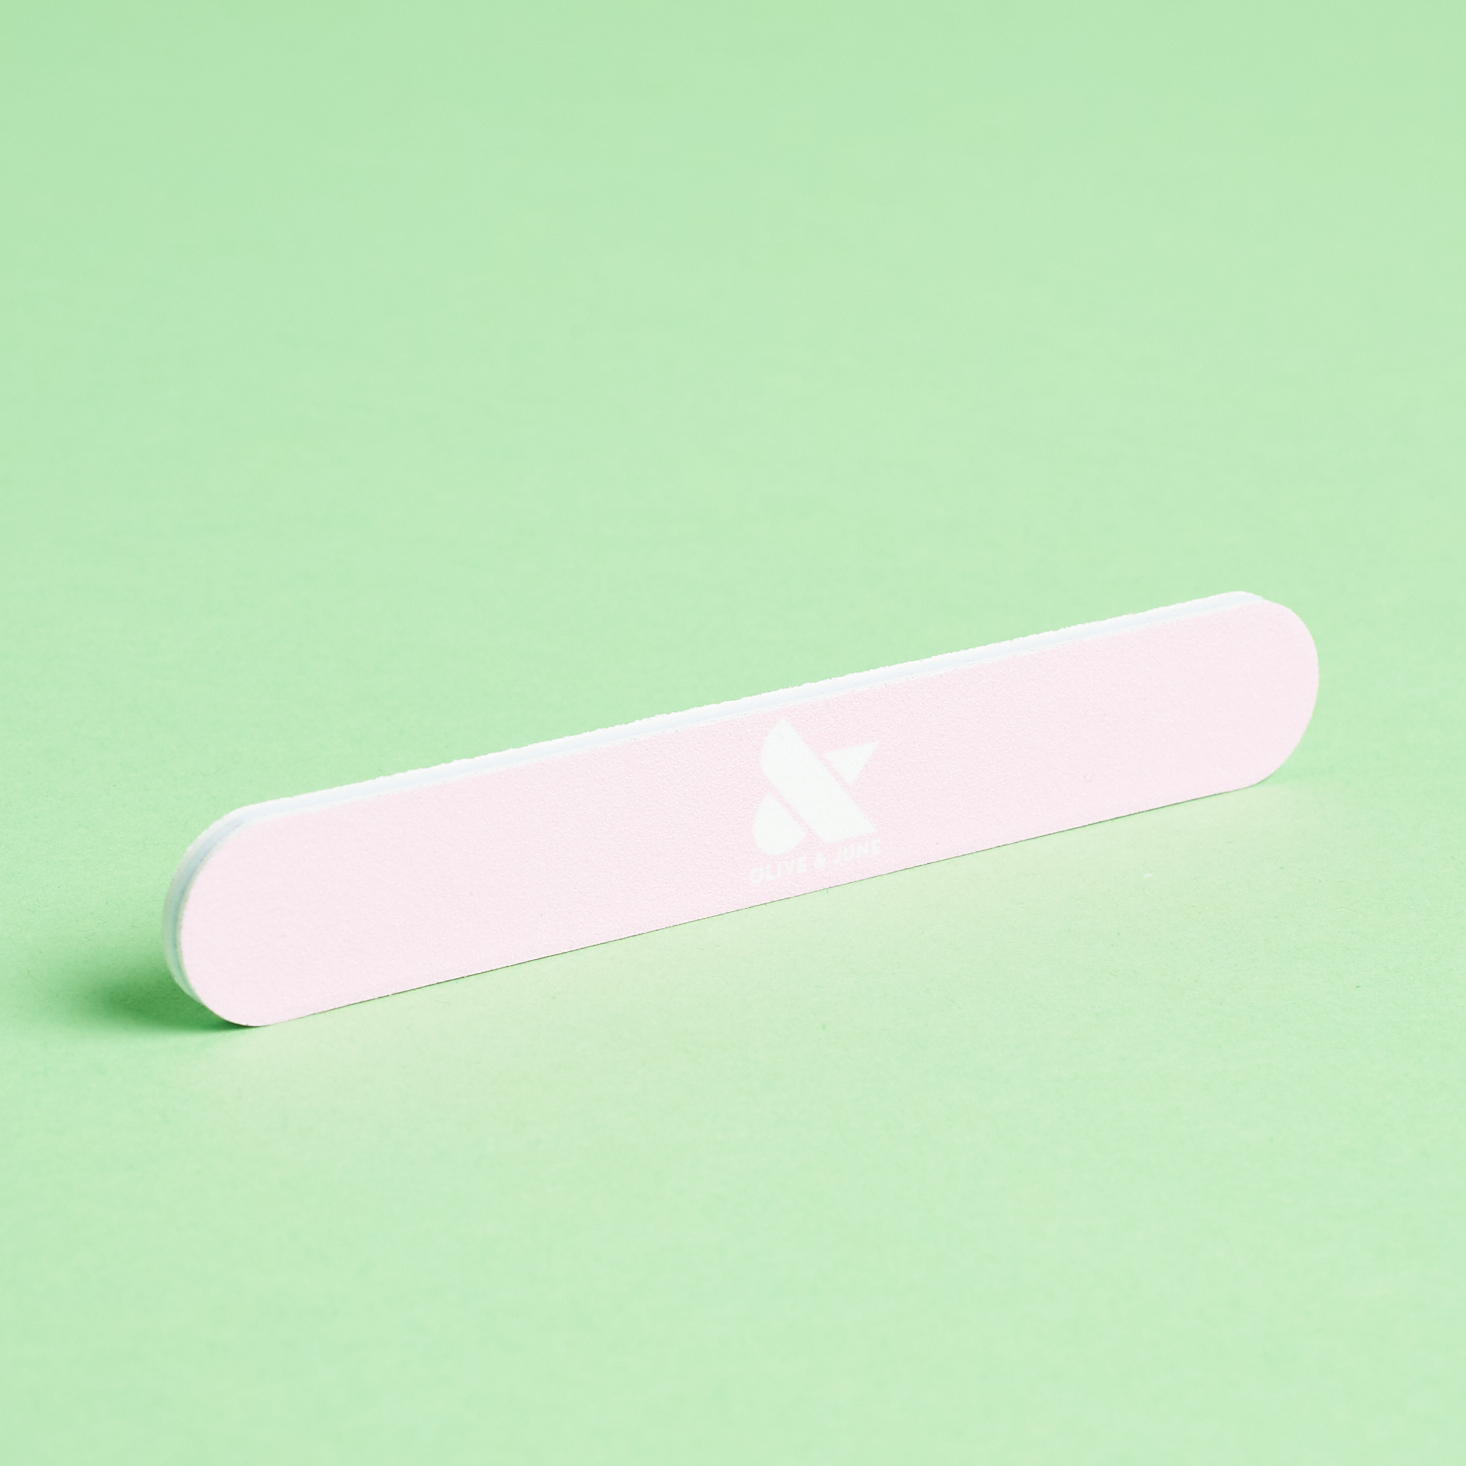
Dual-Grit Nail File
Nothing too groundbreaking here- but clearly an essential nail care product. The double-sided nail file is a different grit on each side and the same matching pink as their other branded items. One side has the hashtag #oliveyoumani on one side and their ampersand logo on the other.


1 of 3

Buffer Cube
I've always used buffer cubes to lessen the ridges on my nails (which I've always been told is hereditary and nothing can really be done about it). All four sides of the foam cube have the same grit which Olive & June suggests to use to gently remove excess cuticle.

1 of 3

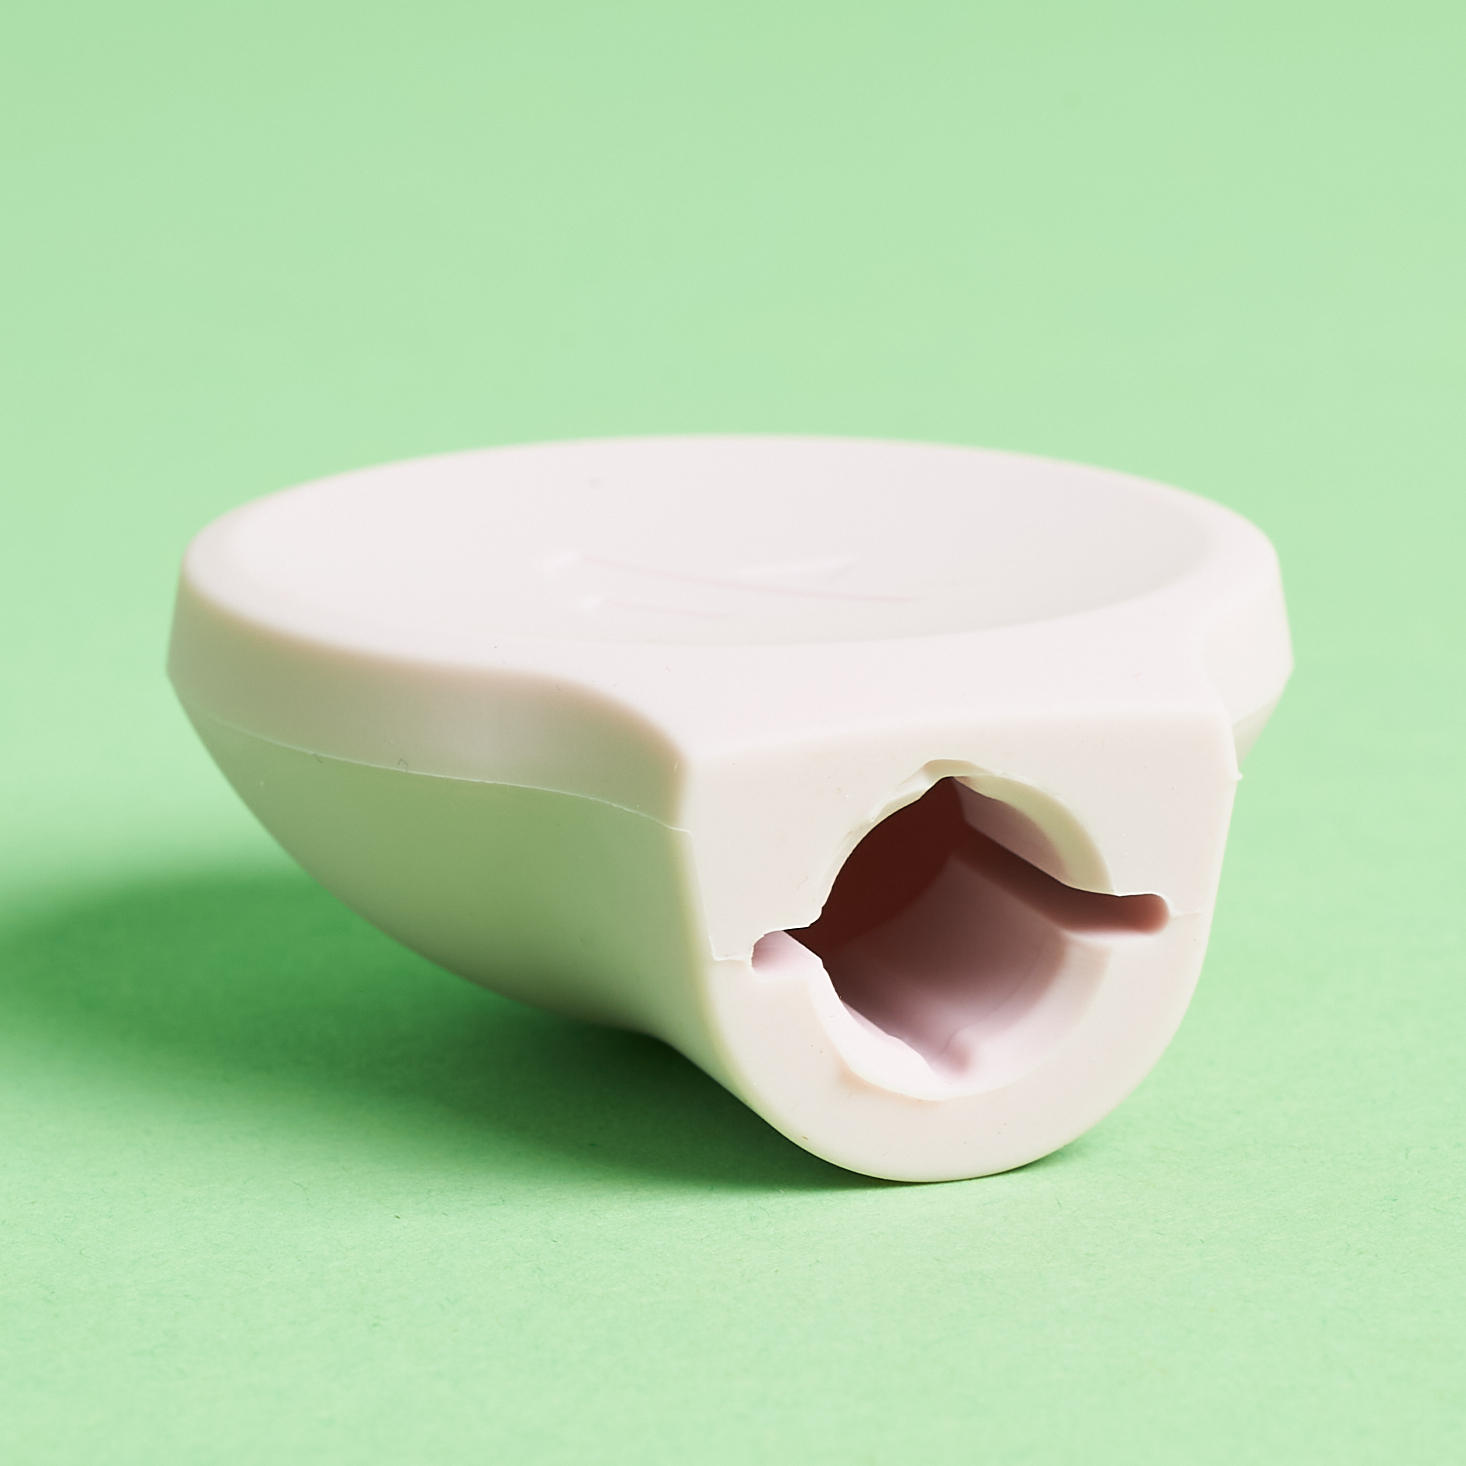
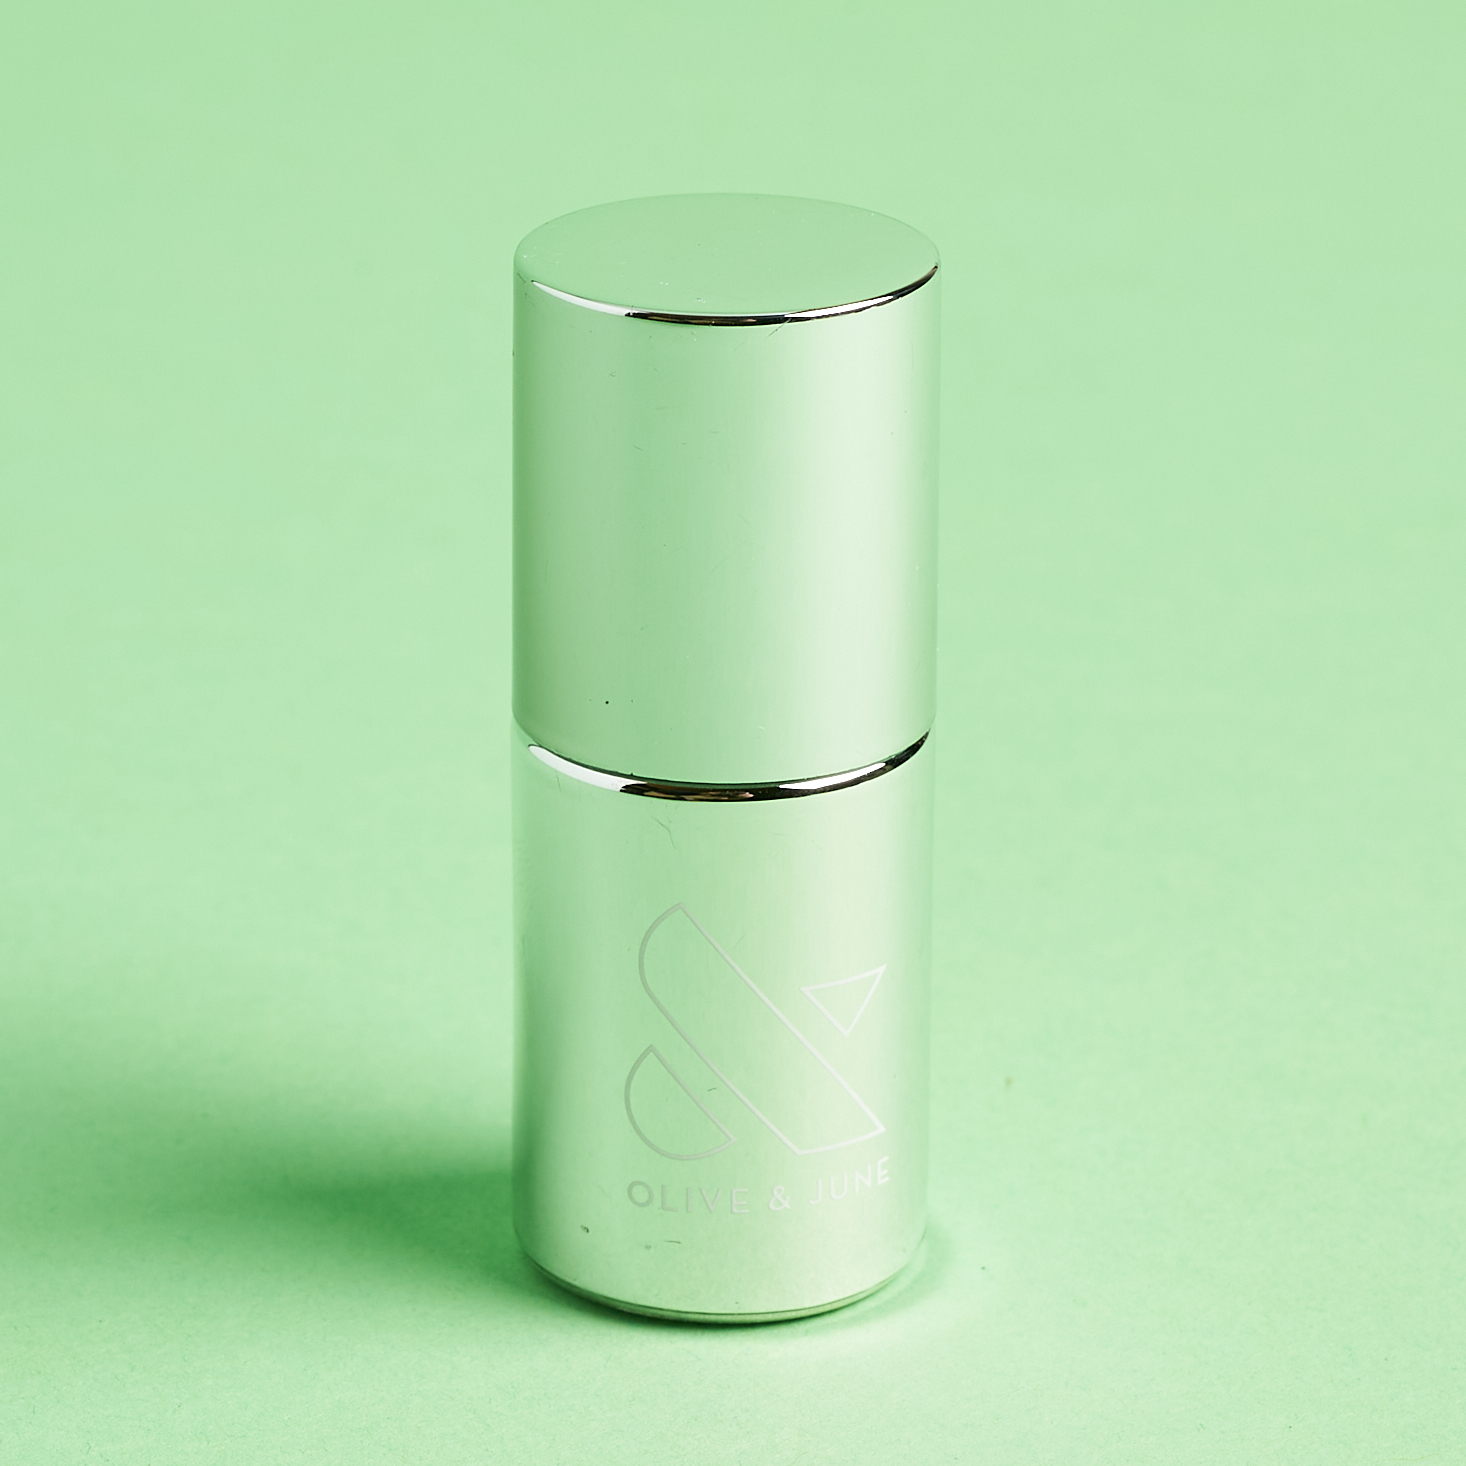
The Poppy Universal Polish Bottle Handle
Retail Value $16.00
I've never had trouble gripping my nail polish brushes, but I can see a manicurist who paints nails for hours a day would begin to feel fatigue holding such a small brush handle. The Poppy is super comfortable to hold and easy to "pop" onto any polish whether it's Olive & June's or another brand. As a seasoned veteran, I have mastered painting with my non-dominate hand as well but this tool will certainly make it easier for those who are just starting out.


1 of 3
Olive & June Nail Polish in RP
Retail Value $8.00
Each Studio Box comes with your choice of polish colors from their current collection of 39 hues. I'll admit that their two-letter names didn't really help the process of choosing since it gives you no inkling as to the color family it belongs to like most other brands do. What IS cool about the names is that each one is the initials of a female entrepreneur or friend of the brand. I ended up going with "RP" (named after Raina Penchansky, founder of Digital Brand Architects) because I love neutrals and wanted something opaque and classy. Two coats completely covered my nails with this lovely greige.

1 of 3
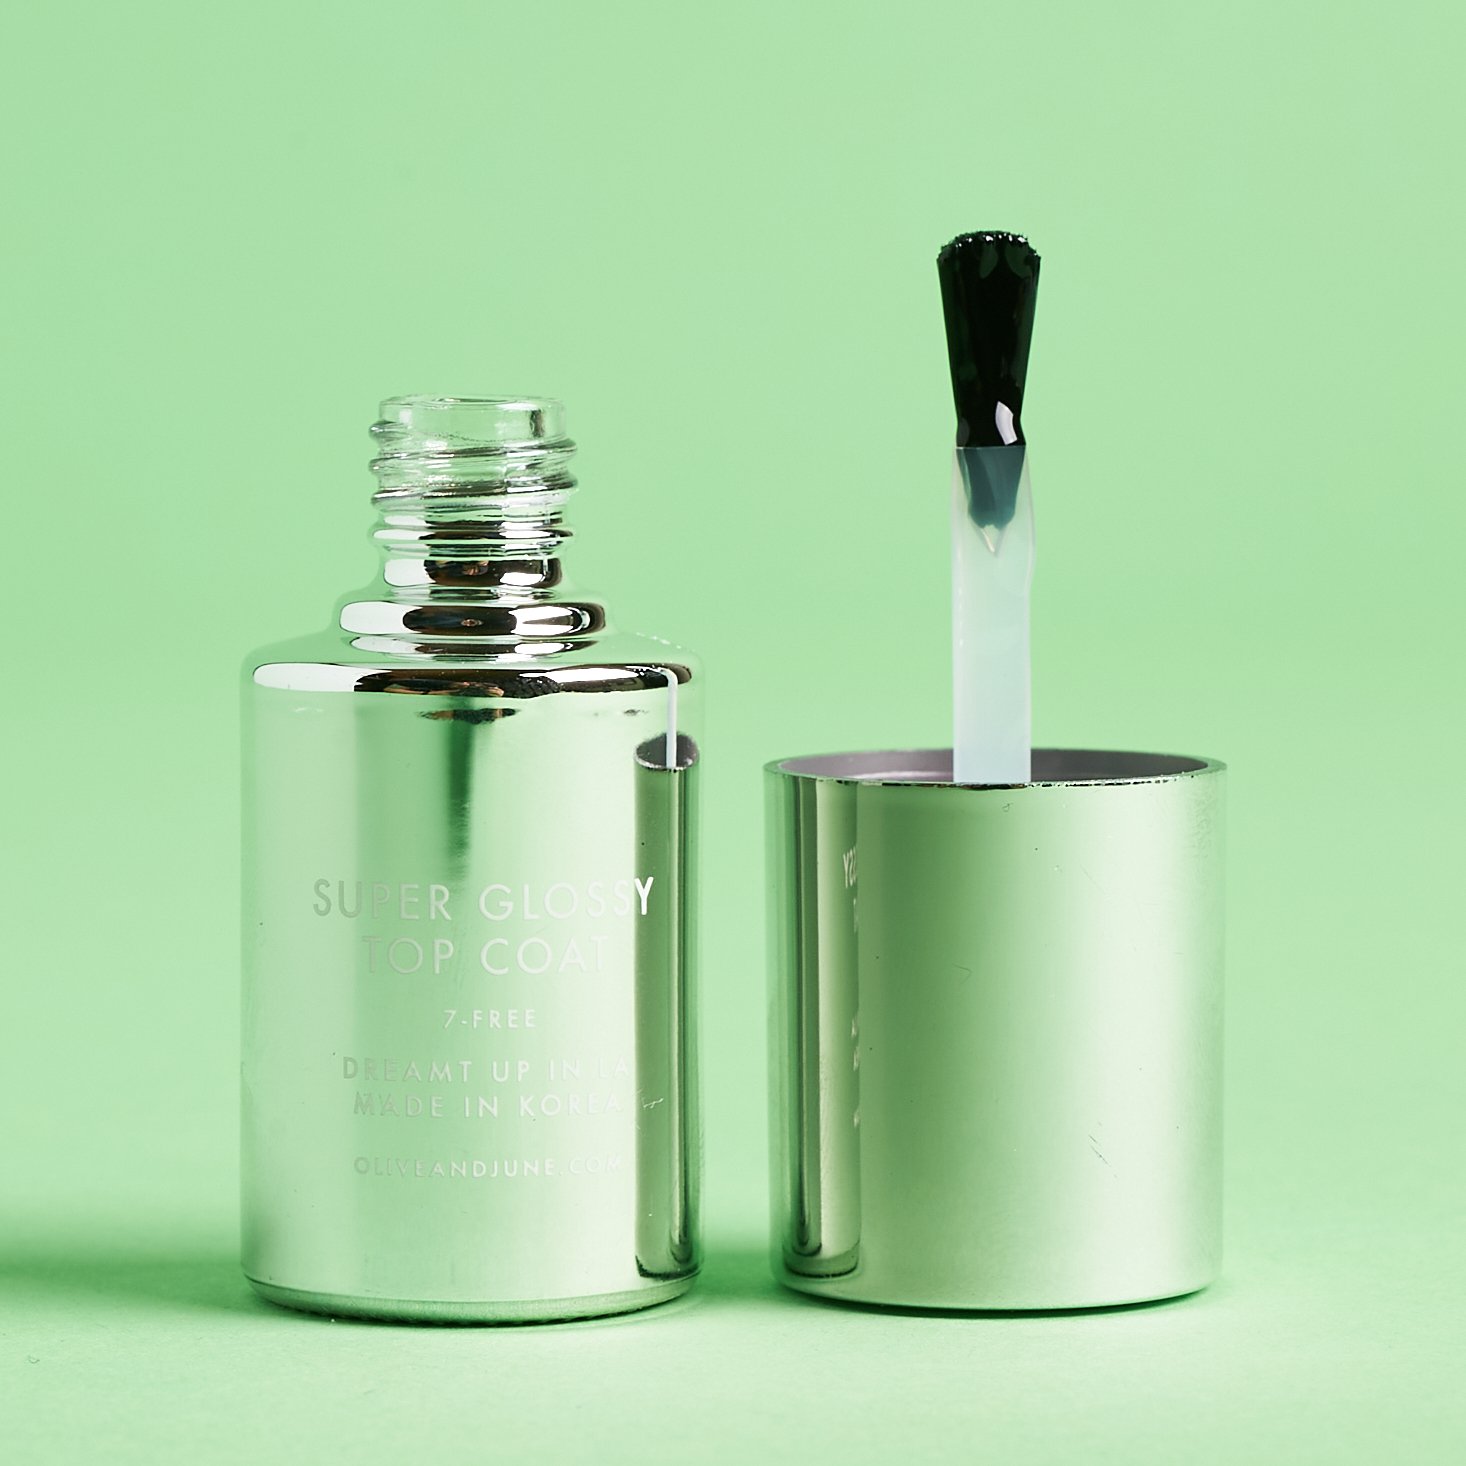
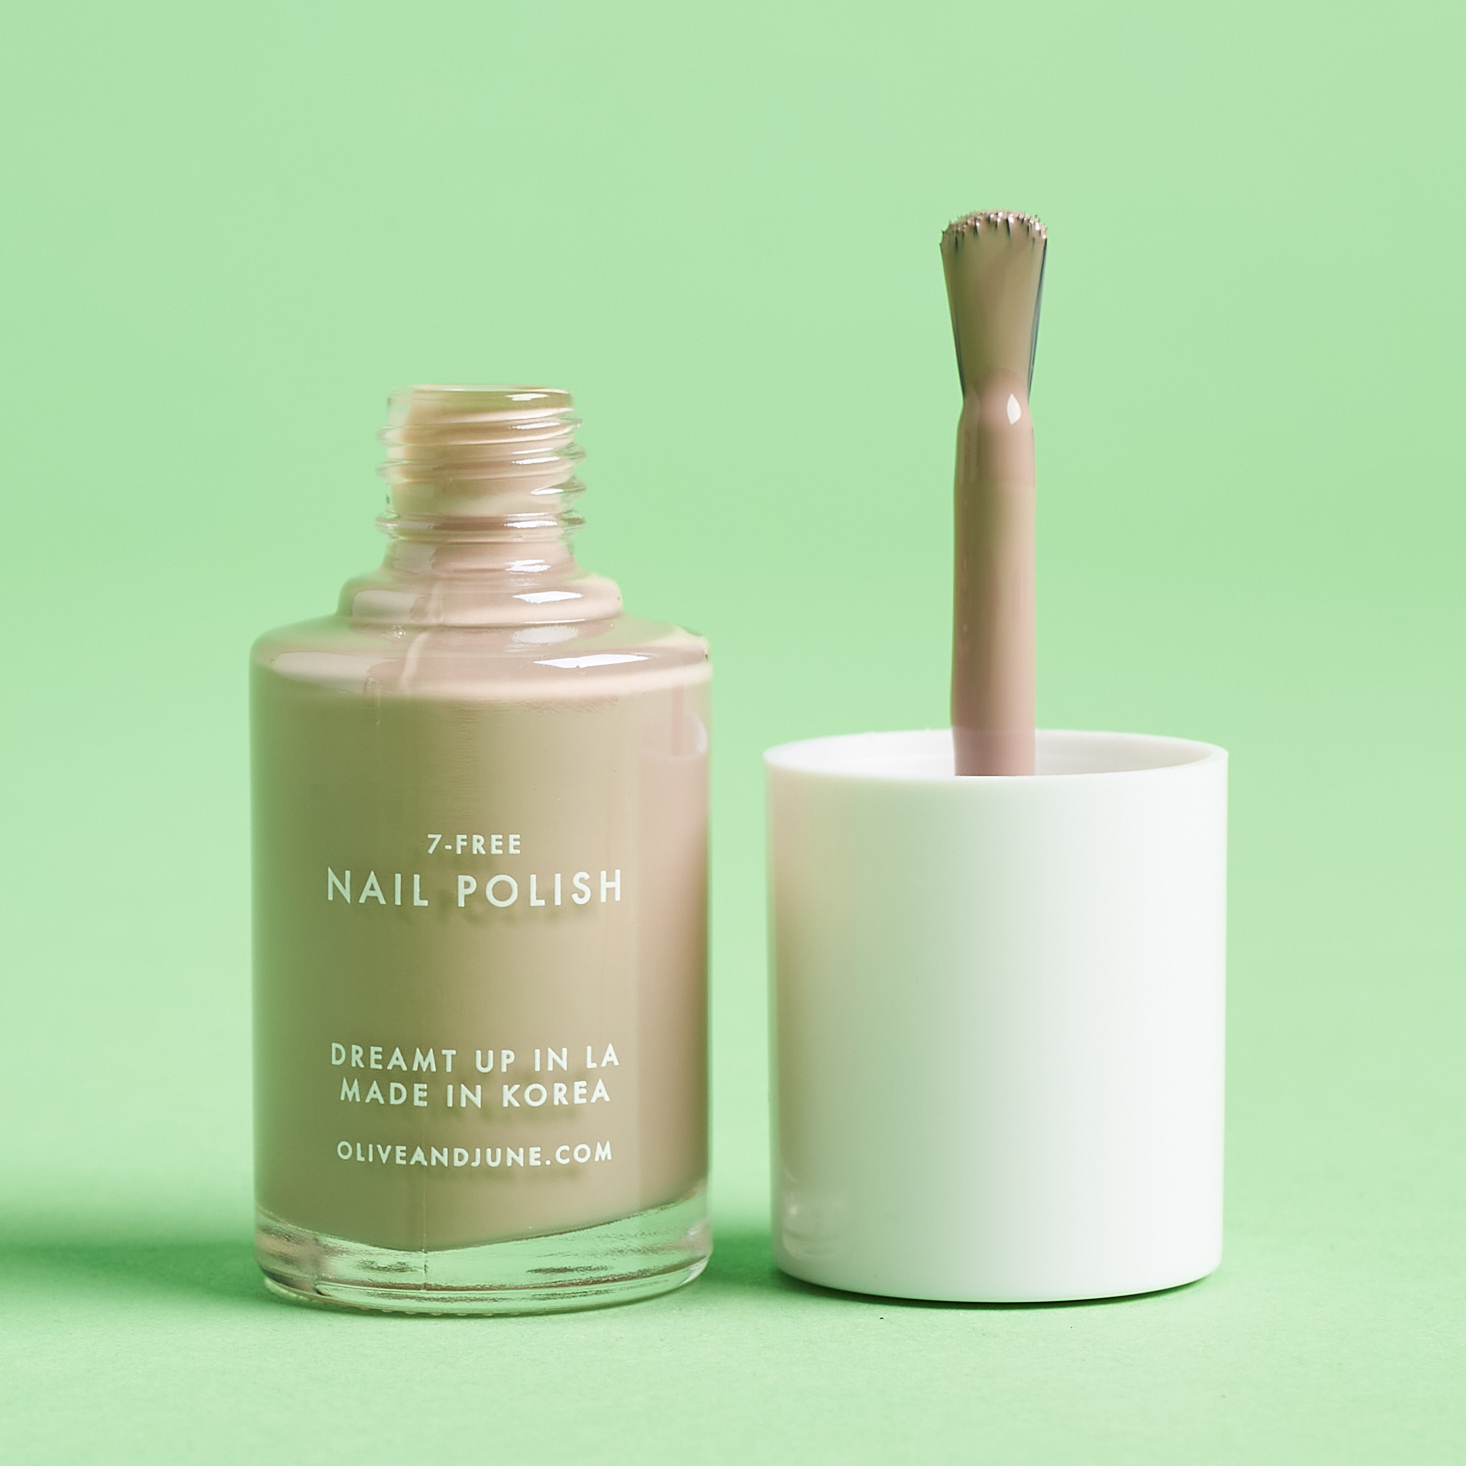
Olive & June The Top Coat
Retail Value $8.00
Top coat is a MUST for home nail care since it protects your color and prevents chipping. While I wish they also had a matte, this high gloss version is great! Another thing to point out about their polish is that the brush is flat with a slight curve on the end which makes painting SO much easier than a round brush. I wish all companies recognized this so I applaud Olive & June for doing so.

1 of 2
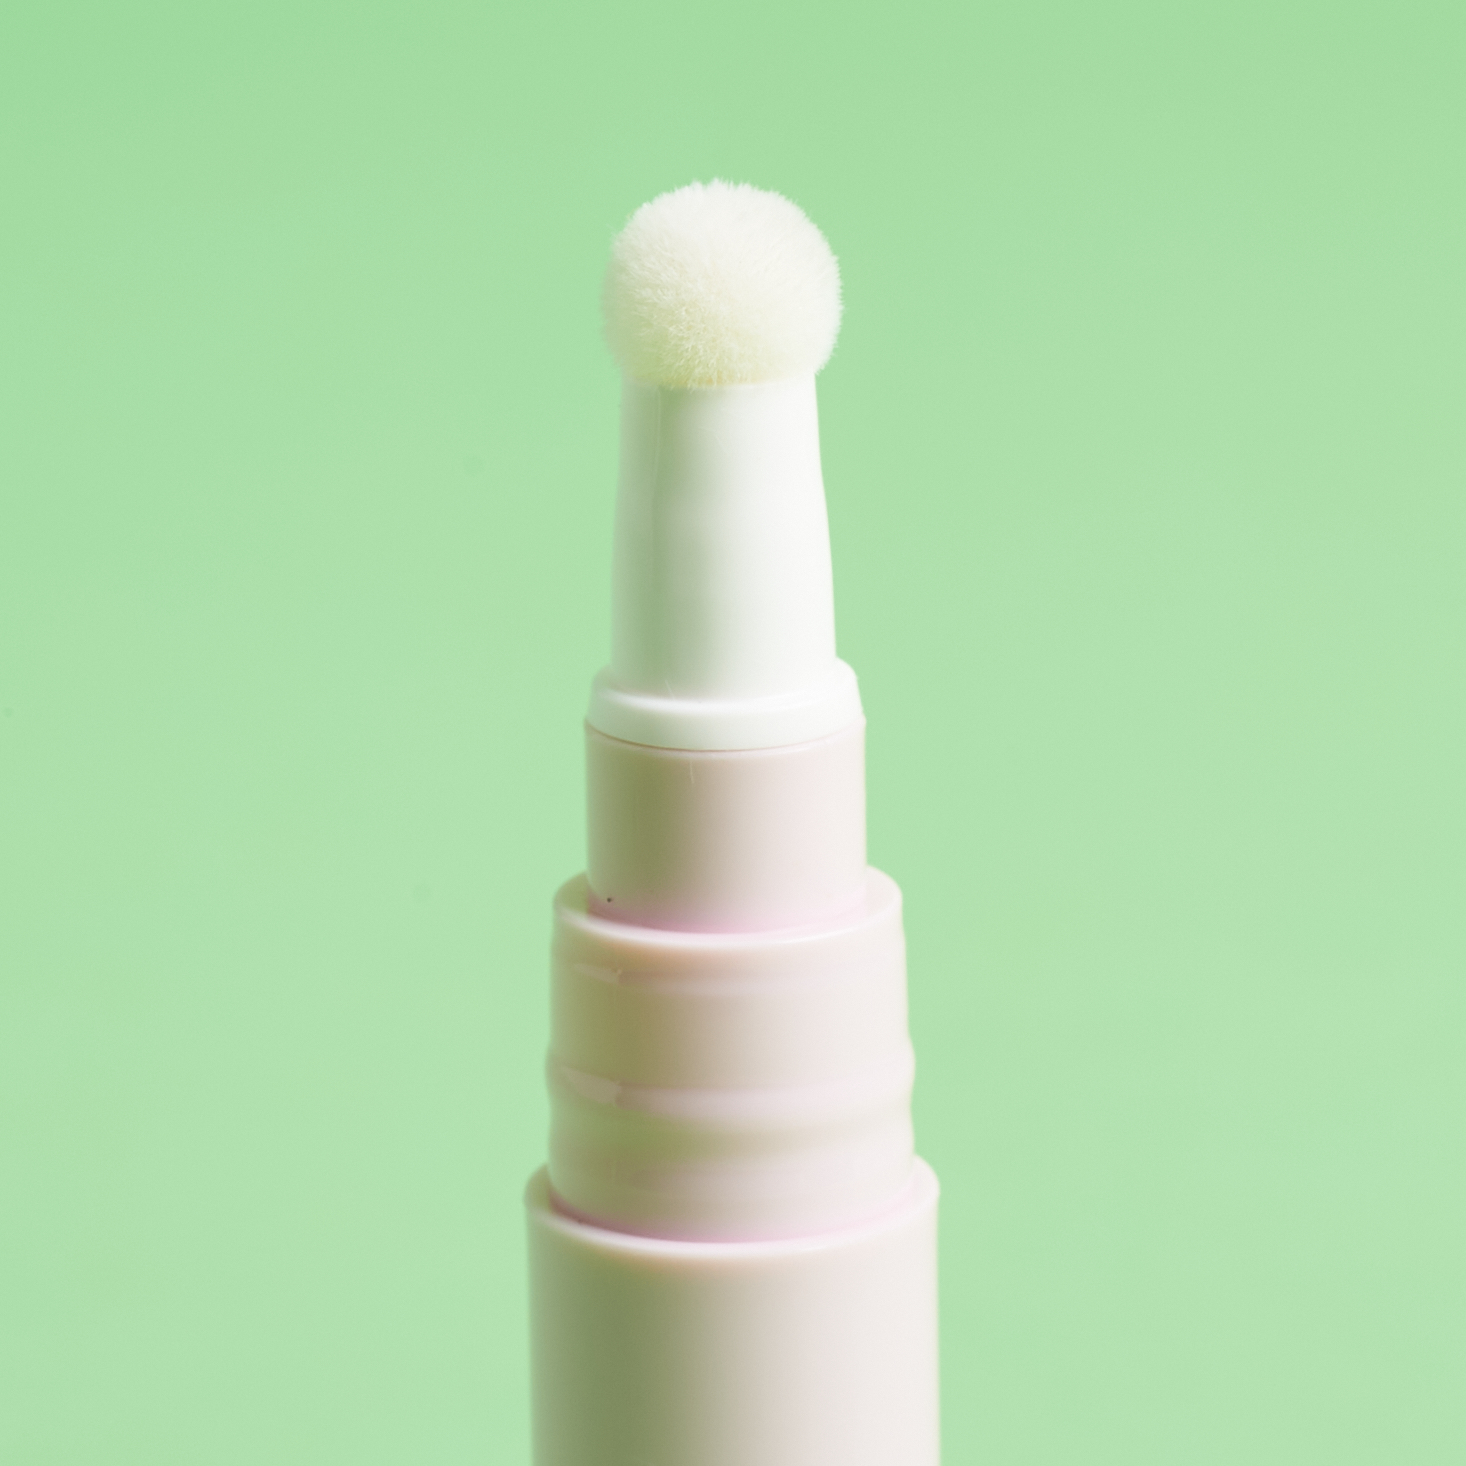
Hydrating Cuticle Serum
Retail Value $16.00 (Buy 2 for $30 and save $2)
Almost every cuticle serum I currently have comes with a brush or dropper to apply. Both are adequate, but each has its challenges of applying too much or not enough. This cuticle serum from Olive & June is in a handy pen and is applied via a squishy foam tip. I've found this to be really simple and quick to use. The formula includes cactus flower which moisturizes and repairs and it's not overly oily like some cuticle products.


1 of 3

Olive & June Nail Polish in BI (Bonus!)
Retail Value $8.00
For whatever reason, when I ordered my kit last month, it included a *bonus* polish which made this kit an even better value. Taking inventory of colors I already have at home, I decided to go with the light peachy "BI", named after Blair Imani who is a "Historian, Black & Bisexual & Muslim, and author" according to her Instagram. The coverage of this much lighter shade wasn't as great as "RP" (mainly due to my nail ridges) but three coats did the trick.
The Packaging

1 of 3
The pale pink Studio Box comes in an outer carton to keep this reusable one safe from travel grime. It has magnetic closures and everything fits neatly inside.

1 of 6


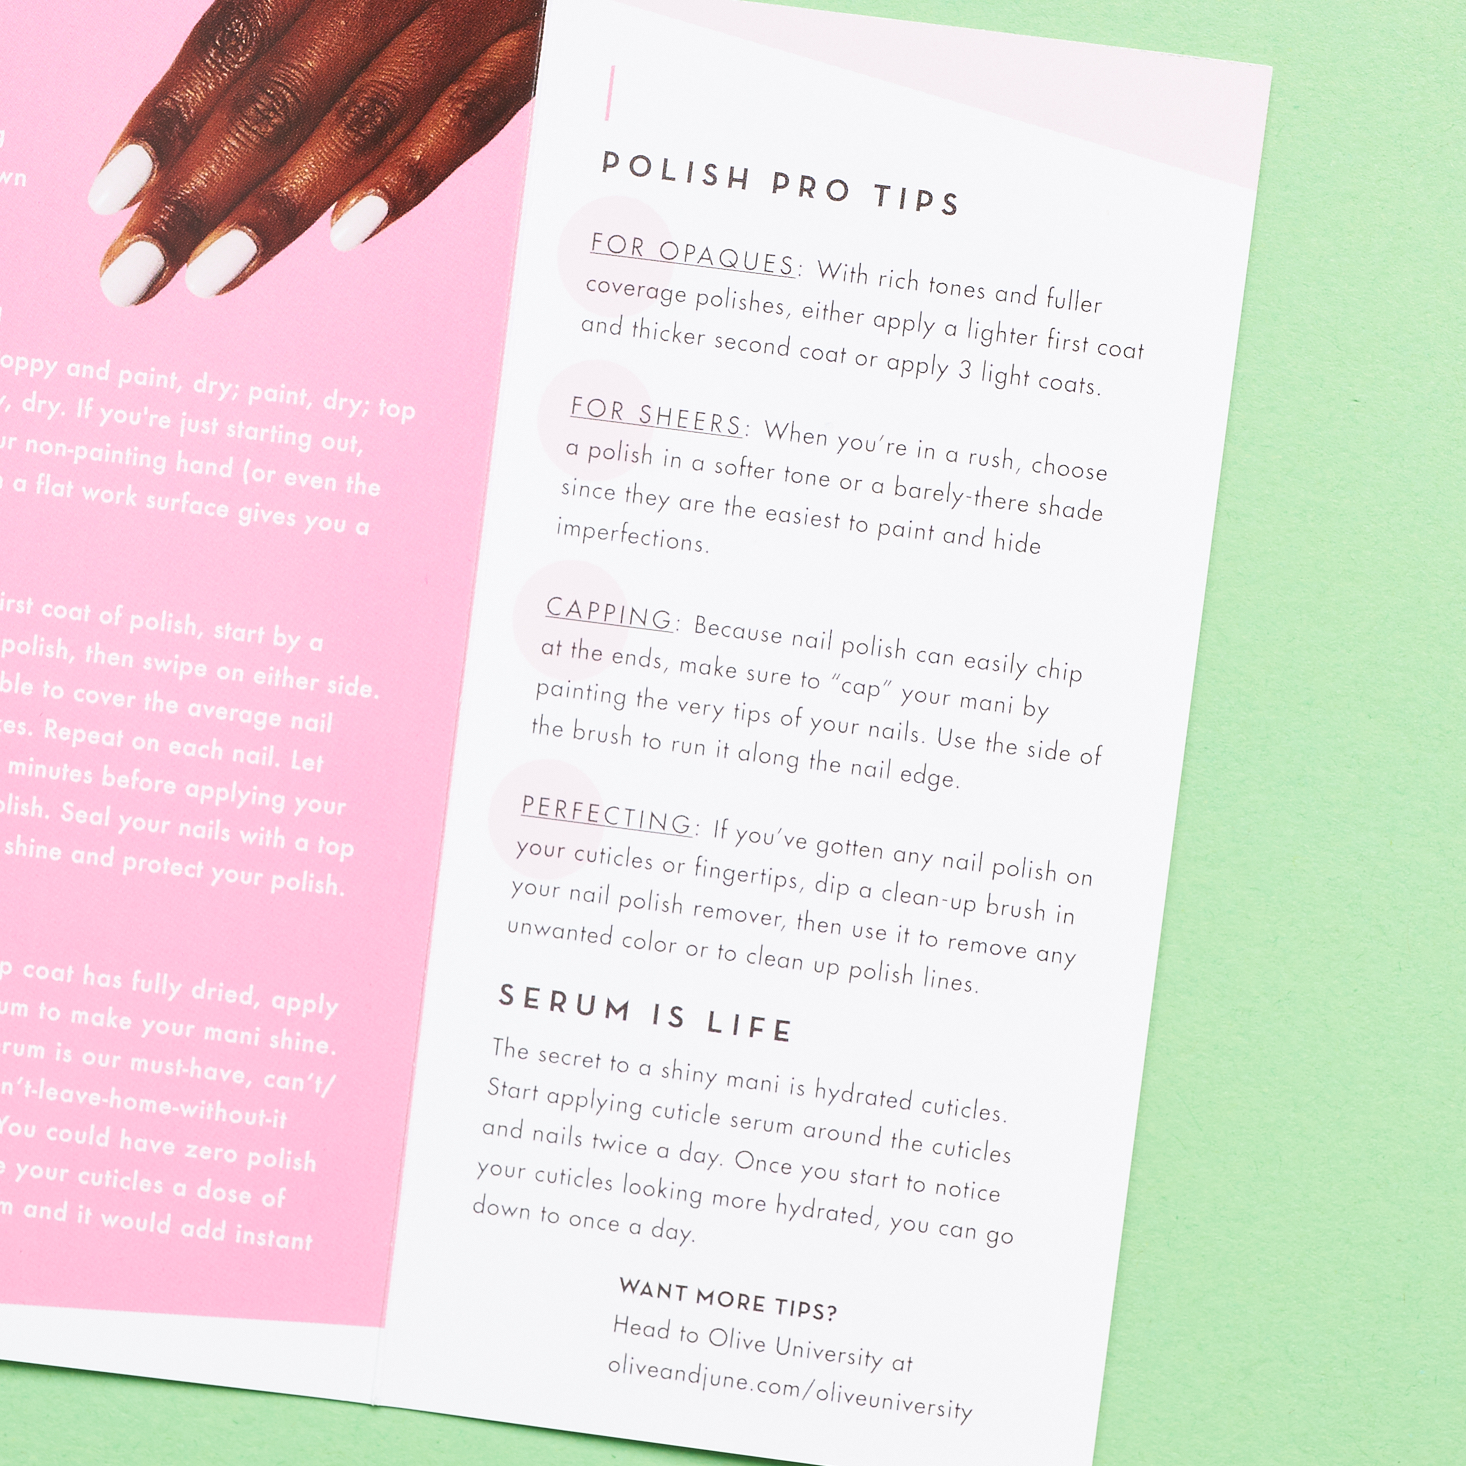
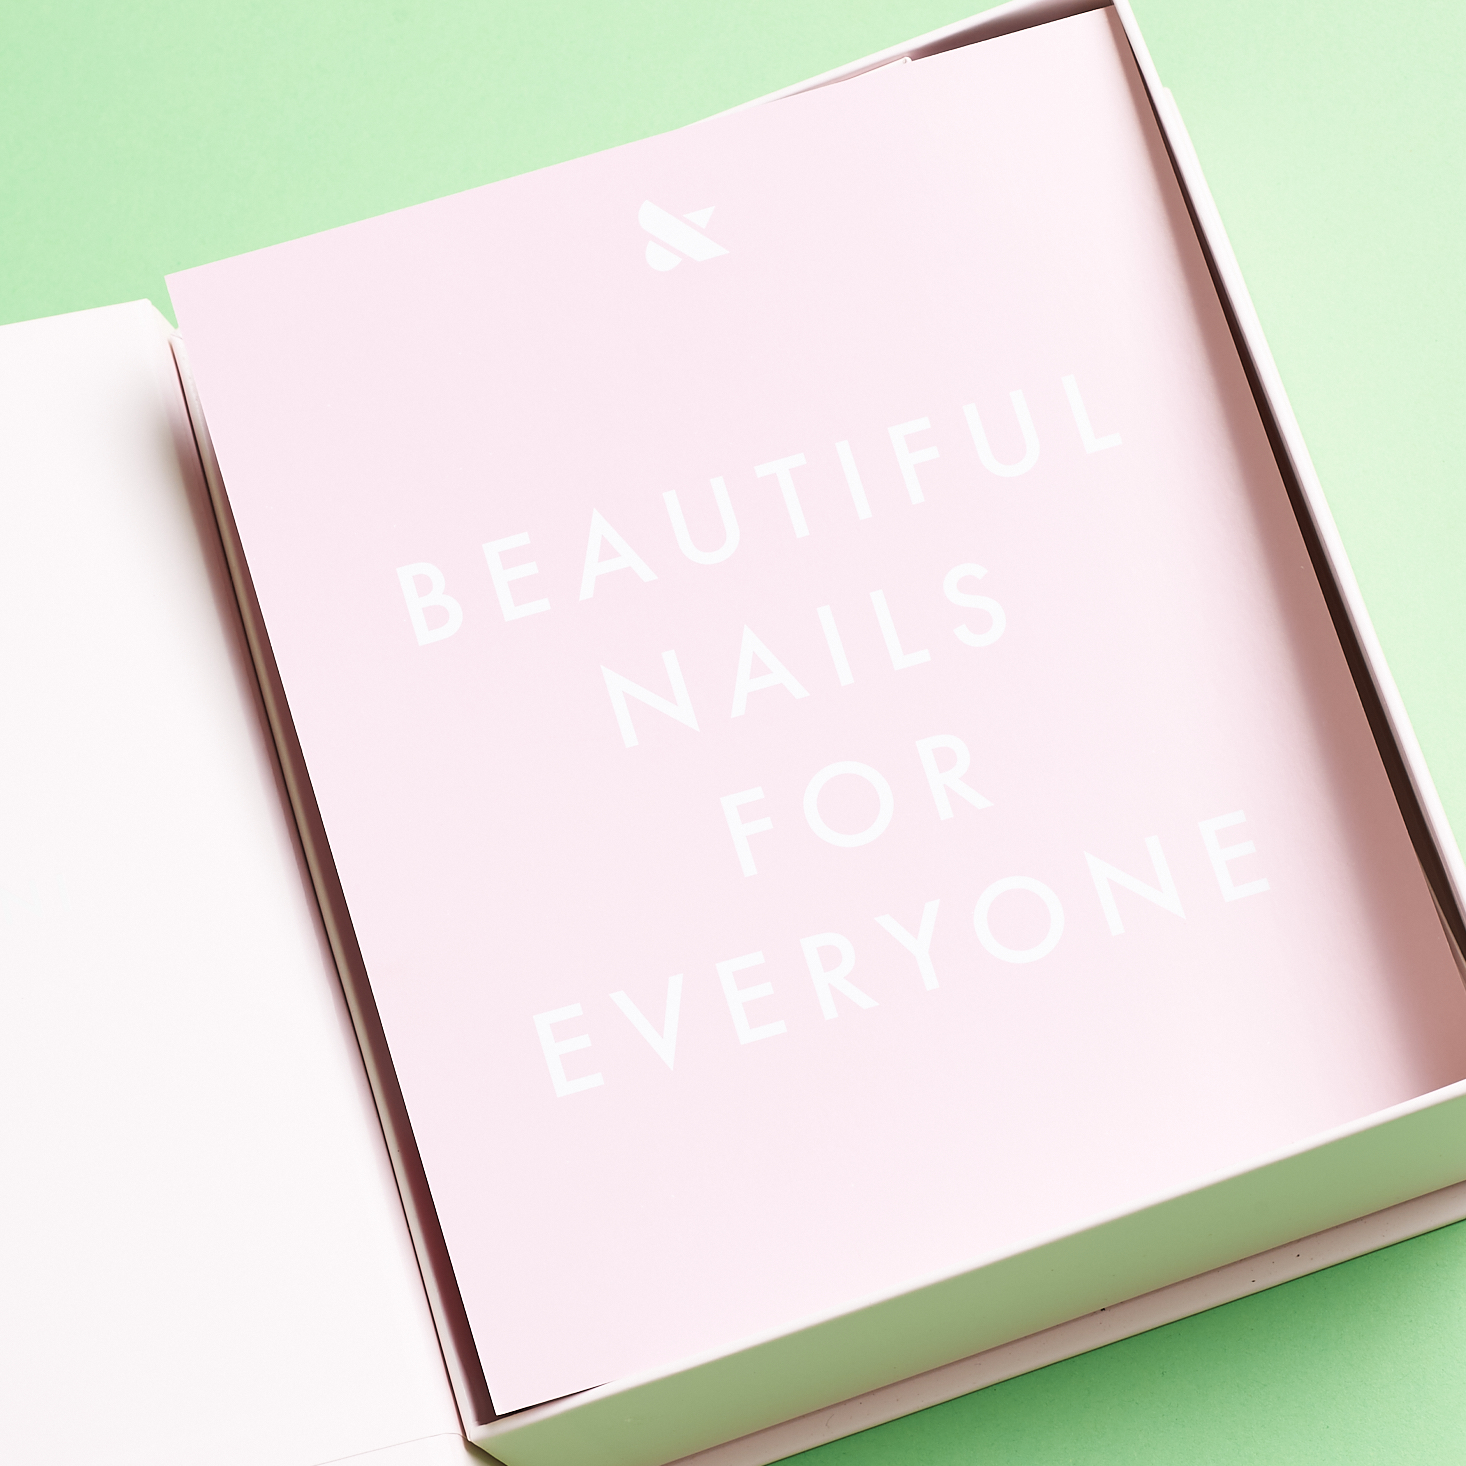
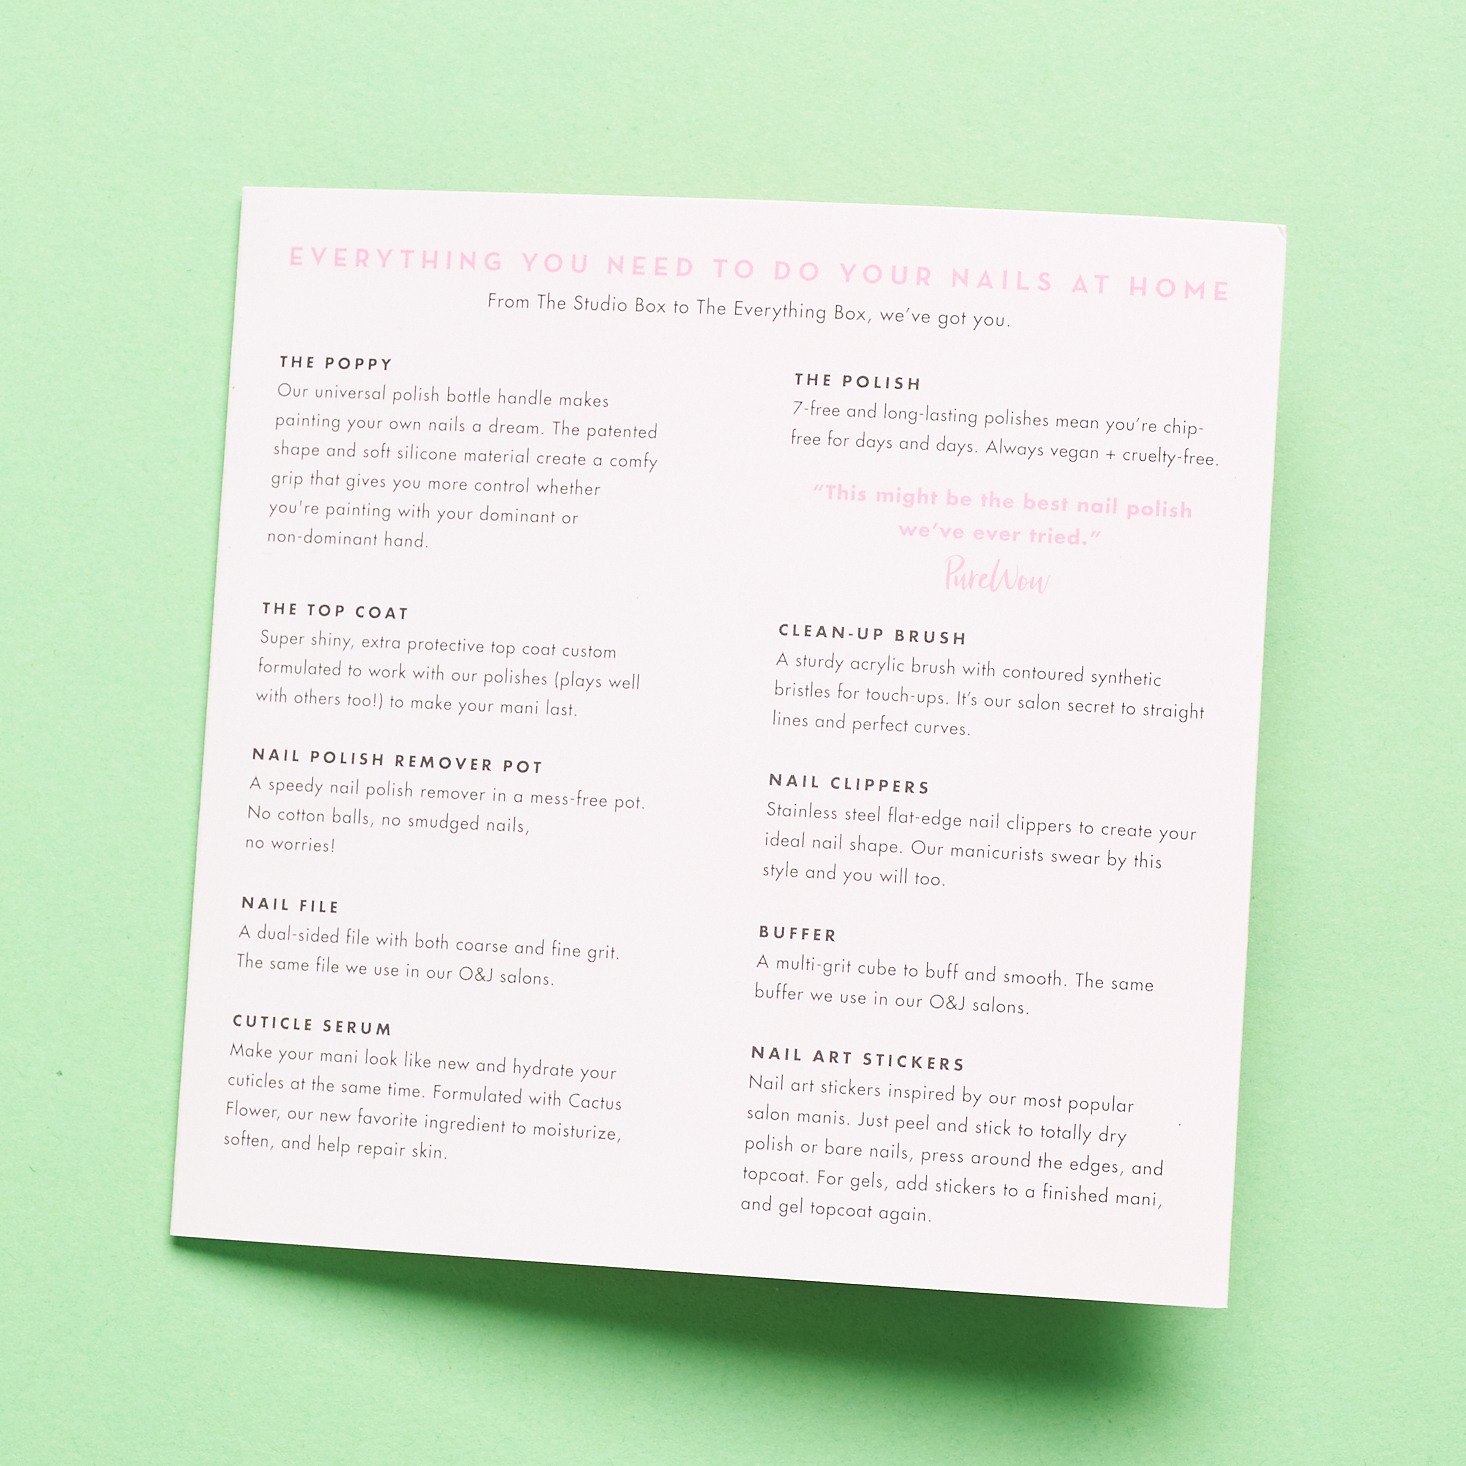
There are two pieces of paperwork. One is a single double-sided card that gives a short overview of the company from the founder, Sarah. The other page is a fold-out pamphlet that gives you an overview of everything they sell as well as some pro tips from Olive & June manicurists.

1 of 2
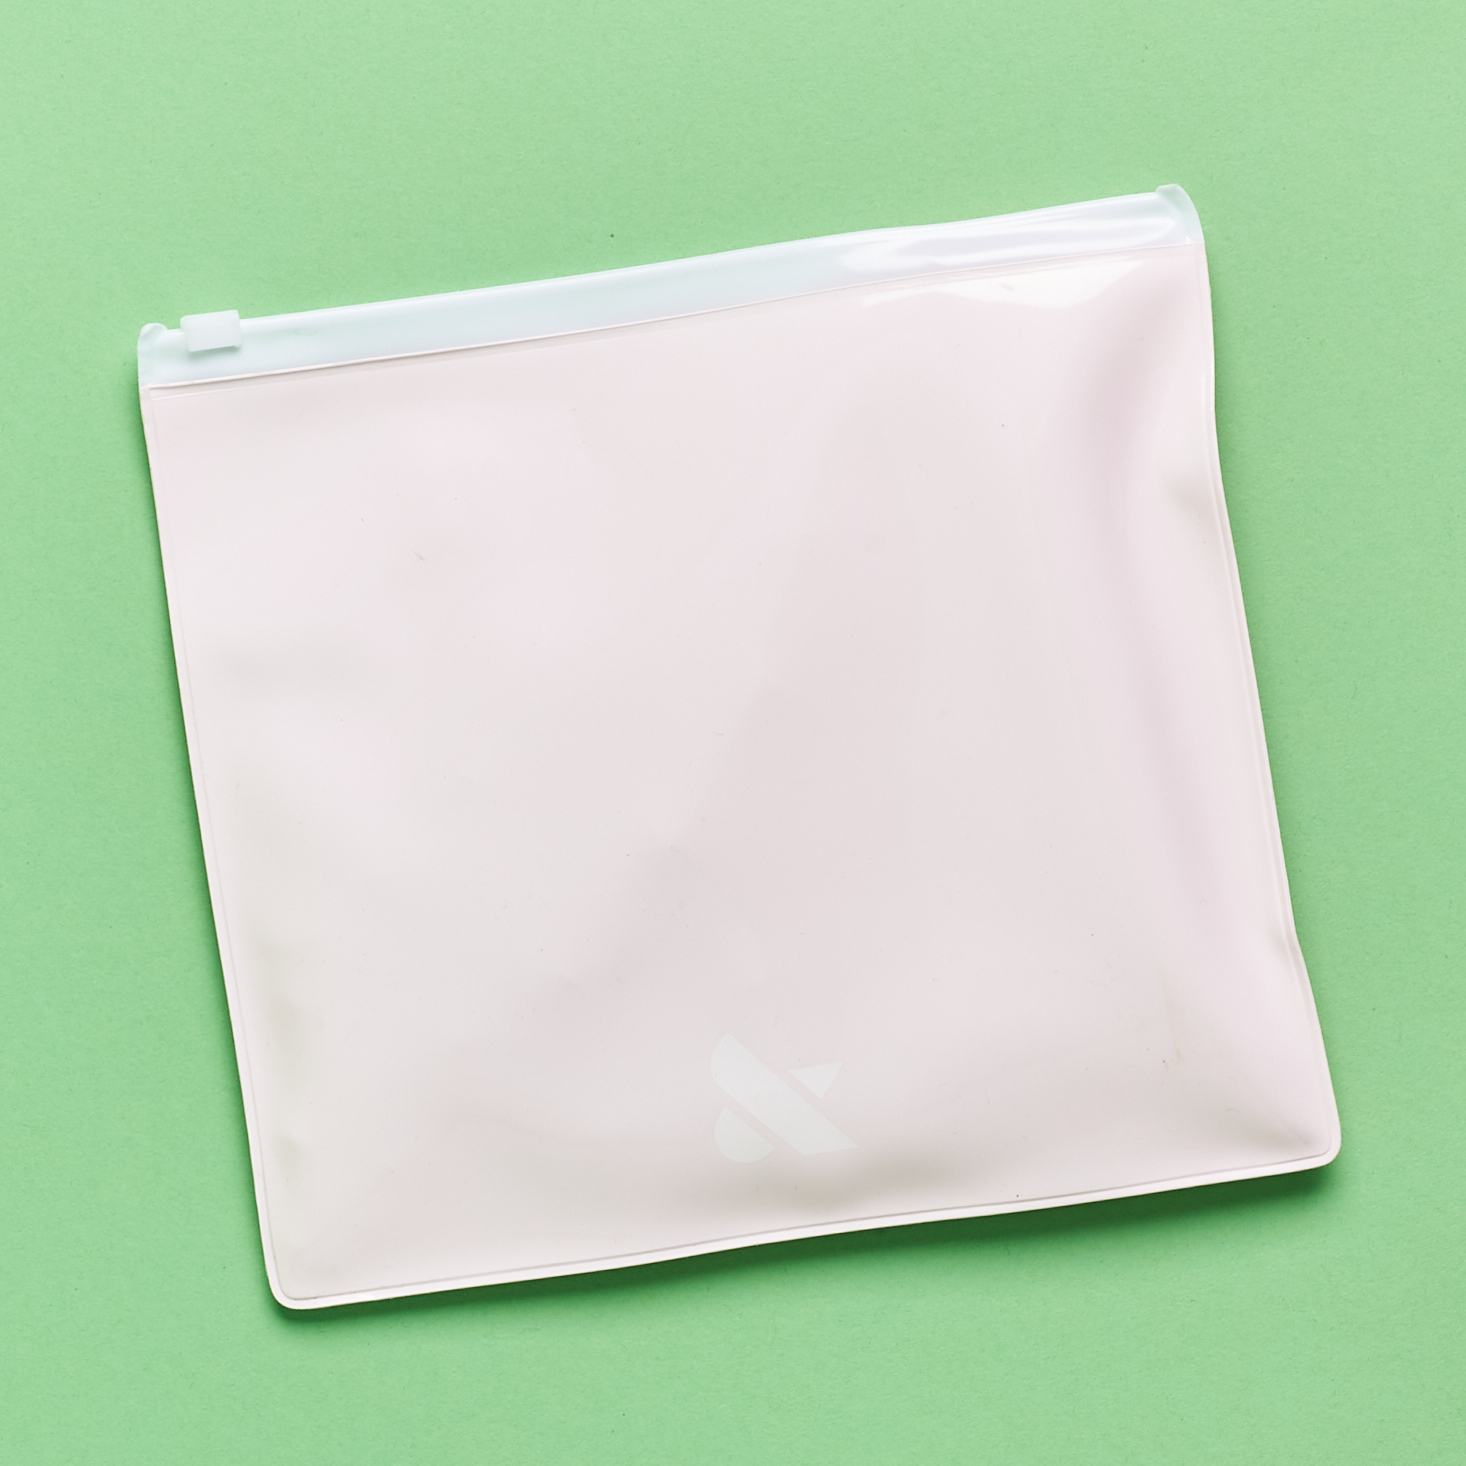
Bonus: Olive & June Ampersand Pouch
It's not listed as an item on the website, but the tools came in this cute soft pink plastic resealable pouch. Little things like this always excite me so I love it and it's a great place to keep all of my tools when not in use.
Using my Olive & June Studio Box Mani Kit
Below I'll go through the steps I took (as outlined in this handy video narrated by O&J founder Sarah) to do my first Olive & June at-home manicure. I swear I had nicer nails when I ordered this box, but over the time it took to arrive, I bit a lot of them off out of garden variety stress mixed with a little boredom. Please excuse the state of my gnarly little digits in the photos.

Remember the little built-in shelf in the box from the unboxing photos? That's to hold your phone while you get your mani on so you can take some hands-free nail selfies. I have to admit, this is a simple feature yet one that got me really excited when I first saw it in an Olive & June Instagram ad. I set the box on end (as pictured above) so I could take the process photos below. The shelf was a little tall so that my phone drooped a bit and needed something under it so that the angle was more straight on. It's unfortunately still a little too short to not catch the edge of the box, but I made do. Here we go!

The first step (following along with the video) is to use the clippers to do the major shaping (not much since my nails are so short), keeping the 90/10 rule in mind, as mentioned in the video. That means to use the clippers to cut your nails 90% of the way in terms of shaping. Sarah does this with her existing polish still on for visibility, but I didn't have any on already.

Next, I filed the last 10% of my nail (also not much) to get my desired shape. One of the tips Sarah mentions in the video is to just file in one direction so that you don't overdo it going back and forth too quickly.

The next step is to dip my fingies into the polish remover pot to get rid of any old polish I was wearing or oil on my nails. Once again, I have to say how freaking magical this is and how impressed I am. Perhaps this is normal fare for pots like this but I've always used cotton balls and a bottle of remover which I am NEVER going back to.

Using any of the four sides of the buffer, I gently buffed the ridges of my nails to try and get a more even surface. Also, instead of using my usual cuticle pusher and cutter, I simply used my thumbnails to push down my cuticles, then buffed them with the edge of the buffer. I found this to be a little clumsy since it's hard to see what I'm doing but Sarah says that unless you're in a salon, you don't want to use a cutter. I will trust the process.
Sarah then say that it's important to dip those digits into the pot again to remove any nail dust from buffing and to ensure they're completely clean before painting.


1 of 2
Now it's time to add The Poppy tool to my selected color. I took off the "over cap" of my RP polish (just learned that this was a thing) and popped on the silicone tool to make my grip a little more easily and comfortably. Sarah says that this is especially helpful for the non-dominate hand.

Now it's finally time to paint! Here's where that flat slightly angled brush comes in handy. Just two strokes practically cover my entire nail and it does so nice and evenly. The Poppy is a little strange at first, but it is quite comfortable and gives me a much larger surface to hold on to than just the typical brush cap. Each nail got 2 coats with 2 minutes in between each coat for drying. Sarah uses three but I didn't feel like this color needed it. A tip she mentions in the video- don't' forget to paint the top edge of the nail to prevent chipping.
After applying my color, Sarah suggests waiting 20 minutes until nails are fully dry before adding the top coat.

Knowing I had the cleanup brush, I allowed myself to be a bit more sloppy than I normally would. While waiting for my color to dry, I used the brush to clean any paint off of my skin under my nails or the edges around my cuticle.

After the color is completely dry, I'm ready for the final clear top coat. Just one will do! What I also didn't realize is that I should be re-applying top coat every 2-3 days to keep my mani looking super glossy. Ok!

The final step is to apply cuticle oil around each of my nails (after the top coat is dry, of course). Olive & June suggests twice a day which should be much easier to accomplish with this no-mess pen.


1 of 2
Voila! I know it doesn't look like much- but once my nails grow out a bit, this kit is going to make them look so much nicer. I'm also going to do my best to get that cuticle serum on twice a day because they really need it.
Ingredients: What does "7 Free" mean?
Olive & June polishes are free of the following seven harmful chemicals commonly found in nail polishes:
- Toluene
- Dibutyl Phthalate (DBP)
- Formaldehyde
- Formaldehyde Resin
- Camphor
- TPHP
- Xylene
We use di-Hema Trimethylhexly dicarbamate in our formula in order to help cure the formula (which hardens the formula so that it will last on your nails) - it's also a nail strengthening agent to help keep your nails strong. We use styrene (a water plastic) to harden the film and enhance the shine so your mani stays looking fresh.
So, what’s the verdict?
I thoroughly enjoyed painting my nails at home with the Olive & June Studio Mani Kit! I was initially missing the inclusion of a cuticle pusher and cutter, but in the video, they explain that using the buffer is better for my nails when not at the salon. Although some of the included tools are easily found for low costs at a drug store, their polish, remover, cuticle serum, and Poppy are all more exclusive to the brand. Having everything needed for home nail care delivered in one box with a video to help is also great- especially for those who are newbies. $50 is a little steep at first glance, but once I broke down the value of the Olive & June branded items that they sell on their site, it's quite a deal. With the bonus polish, seven of the 11 items that I was able to put an exact value on comes to $71. That means there is a savings of $21 by purchasing the kit without including the cost of the buffer, file, clippers, and travel pouch. I was most impressed with their remover, serum, and am stoked to now have a cleanup brush. The fact that their polishes are 7-free also makes me feel much better about supporting them.
What are you doing your nails with? Have you tried anything from Olive & June?

Please do not enter your email address in the Name field or in the comment content. Your email address will not be published. Required fields are marked *. Remember to post with kindness and respect. Comments with offensive language, cruelness to others, etc will not be approved. See our full comment policy here.