

Because of popular demand, the bi-monthly Confetti Grace Box is now offering a new monthly mini box! Lil' Grace DIY Box is a monthly DIY craft subscription that sends a box filled with enough craft supplies to create 2-3 featured projects that are just as high quality as the original box, but on a smaller scale!
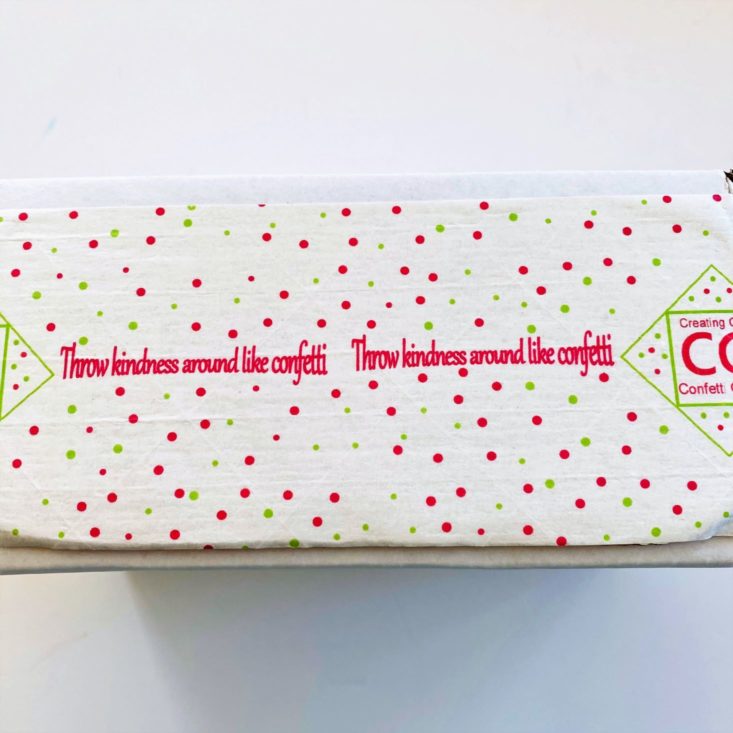
“Throw Kindness Around Like Confetti” is this company’s motto, and these projects give the gift of quality time with family and friends. To top it off, 20% of net profits are donated to worldwide charities!
This review is for the Lil' Grace Monthly DIY Box which is $14.95 + $4.95 for shipping each month.
This box was sent to us at no cost for review. (Check out the review process post to learn more about how we review boxes.)
About Confetti Grace
The Subscription Box: Lil' Grace Monthly DIY Box
The Cost: $14.95 monthly + $4.95 for U.S. shipping
The Products: A specially curated mini box filled with enough craft supplies to create 2 of one project: one to keep, and one to give away, or to share with a friend! (Recommended ages are 8 years - adult.)
Ships to: The continental U.S. for $4.95
Lil' Grace Monthly DIY Box February 2021 Review
Lil' Grace is a smaller monthly option that Confetti Grace offers, and it's one of my favorite subs to date. My crafting partners-in-crime were my 2 little boys and I have to say this month's projects were a little more complex than usual. Included were the necessary supplies to create two wood and faux leather decorations. We had the option of adding a St. Patrick's Day twist, or giving them more of a spring vibe. In all honesty, I became a bit frustrated while completing these crafts, but in the end, they turned out quite cute. Read below to find out how it went.
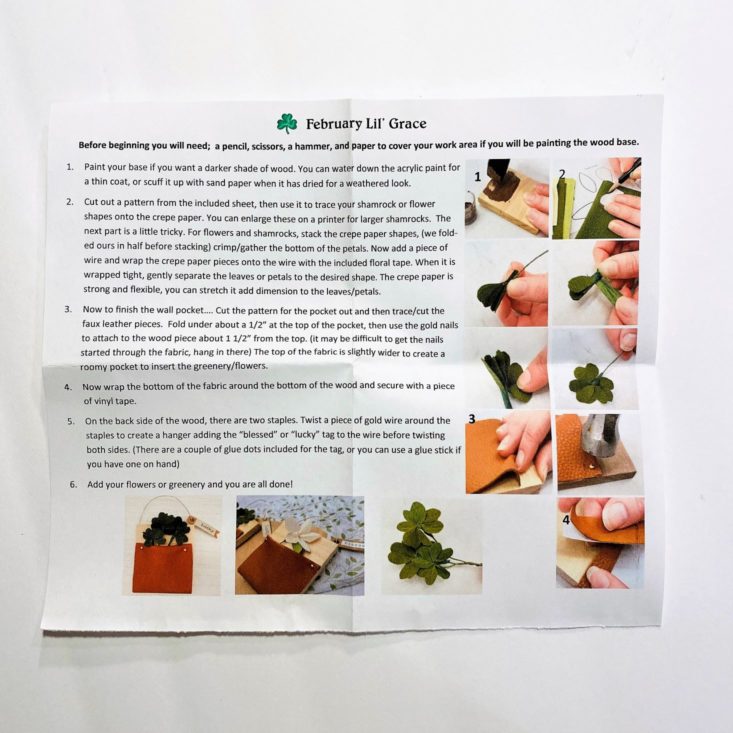
Included in our box was a set of instructions explaining how to create this month's project. I also received an email with more specific instructions, as a few fellow crafters had trouble with their wood bases cracking. I appreciate the step-by-step photos, and find the instructions easy to follow, but struggled with the use of the floral tape!!
Supplies


1 of 9


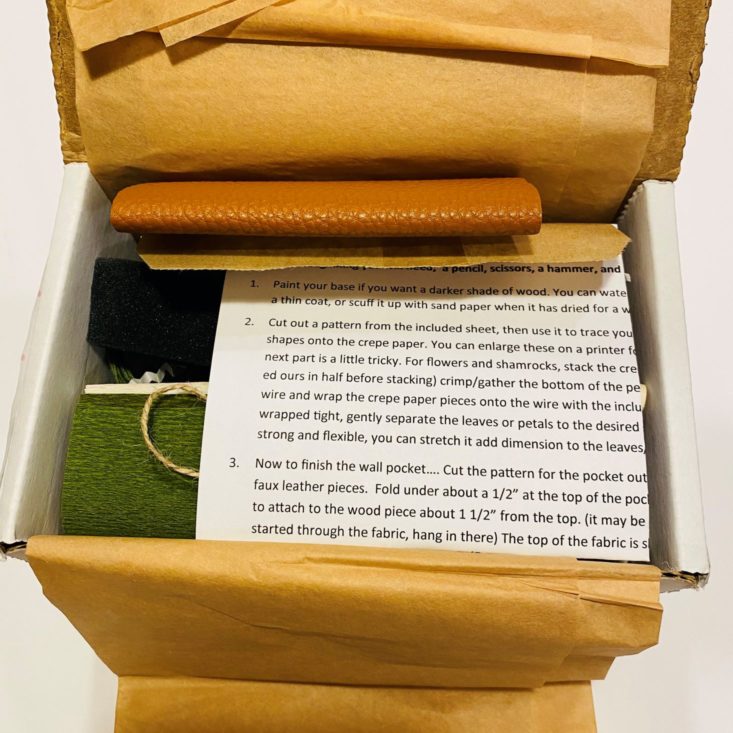
To create our wooden decorations, we received most of the necessary supplies. We did have to supply our own hammer, pencil, and scissors. Included with the wooden bases were staples, nails, embellishments, paint, patterns, floral wire, floral tape, faux leather, and a paintbrush.


1 of 2
Gift Bag with Card and Envelope
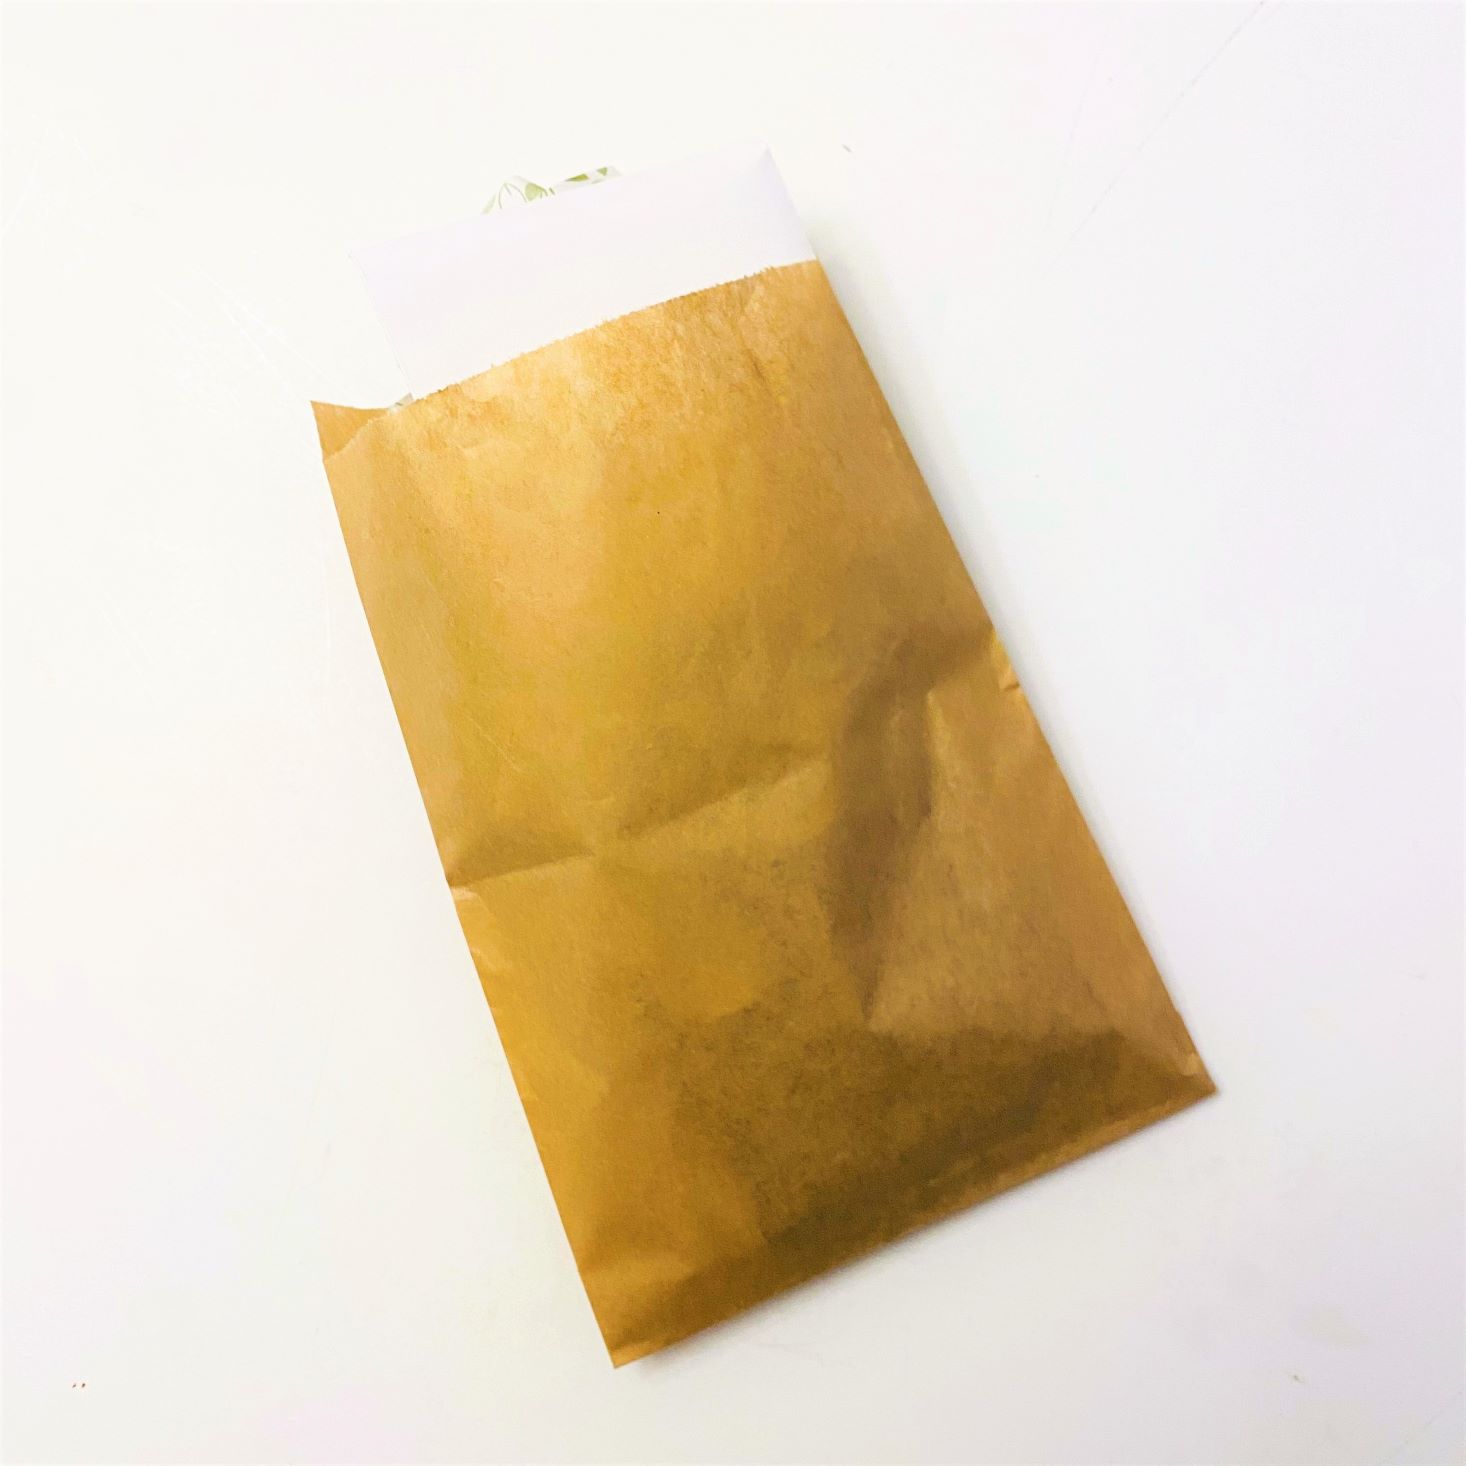
Because Confetti Graces' motto is "throw kindness around like confetti" they suggest keeping one of these gifts and giving the other one away. Each month we receive packaging supplies for one of the projects. This month we received a brown bag with adorable leaf-patterned tissue paper, complete with a shamrock card. I enjoy the minimalistic packaging details and really find the finished product handsome looking.
Creating the Décor


1 of 4


The first step in this month's project was to sand the wood piece and paint it. We received a container of brown paint, but Charlie asked if he could make his white. Because I had white paint saved from a previous box, he was able to do that, showing that these projects really can be customized to your choosing.

1 of 3

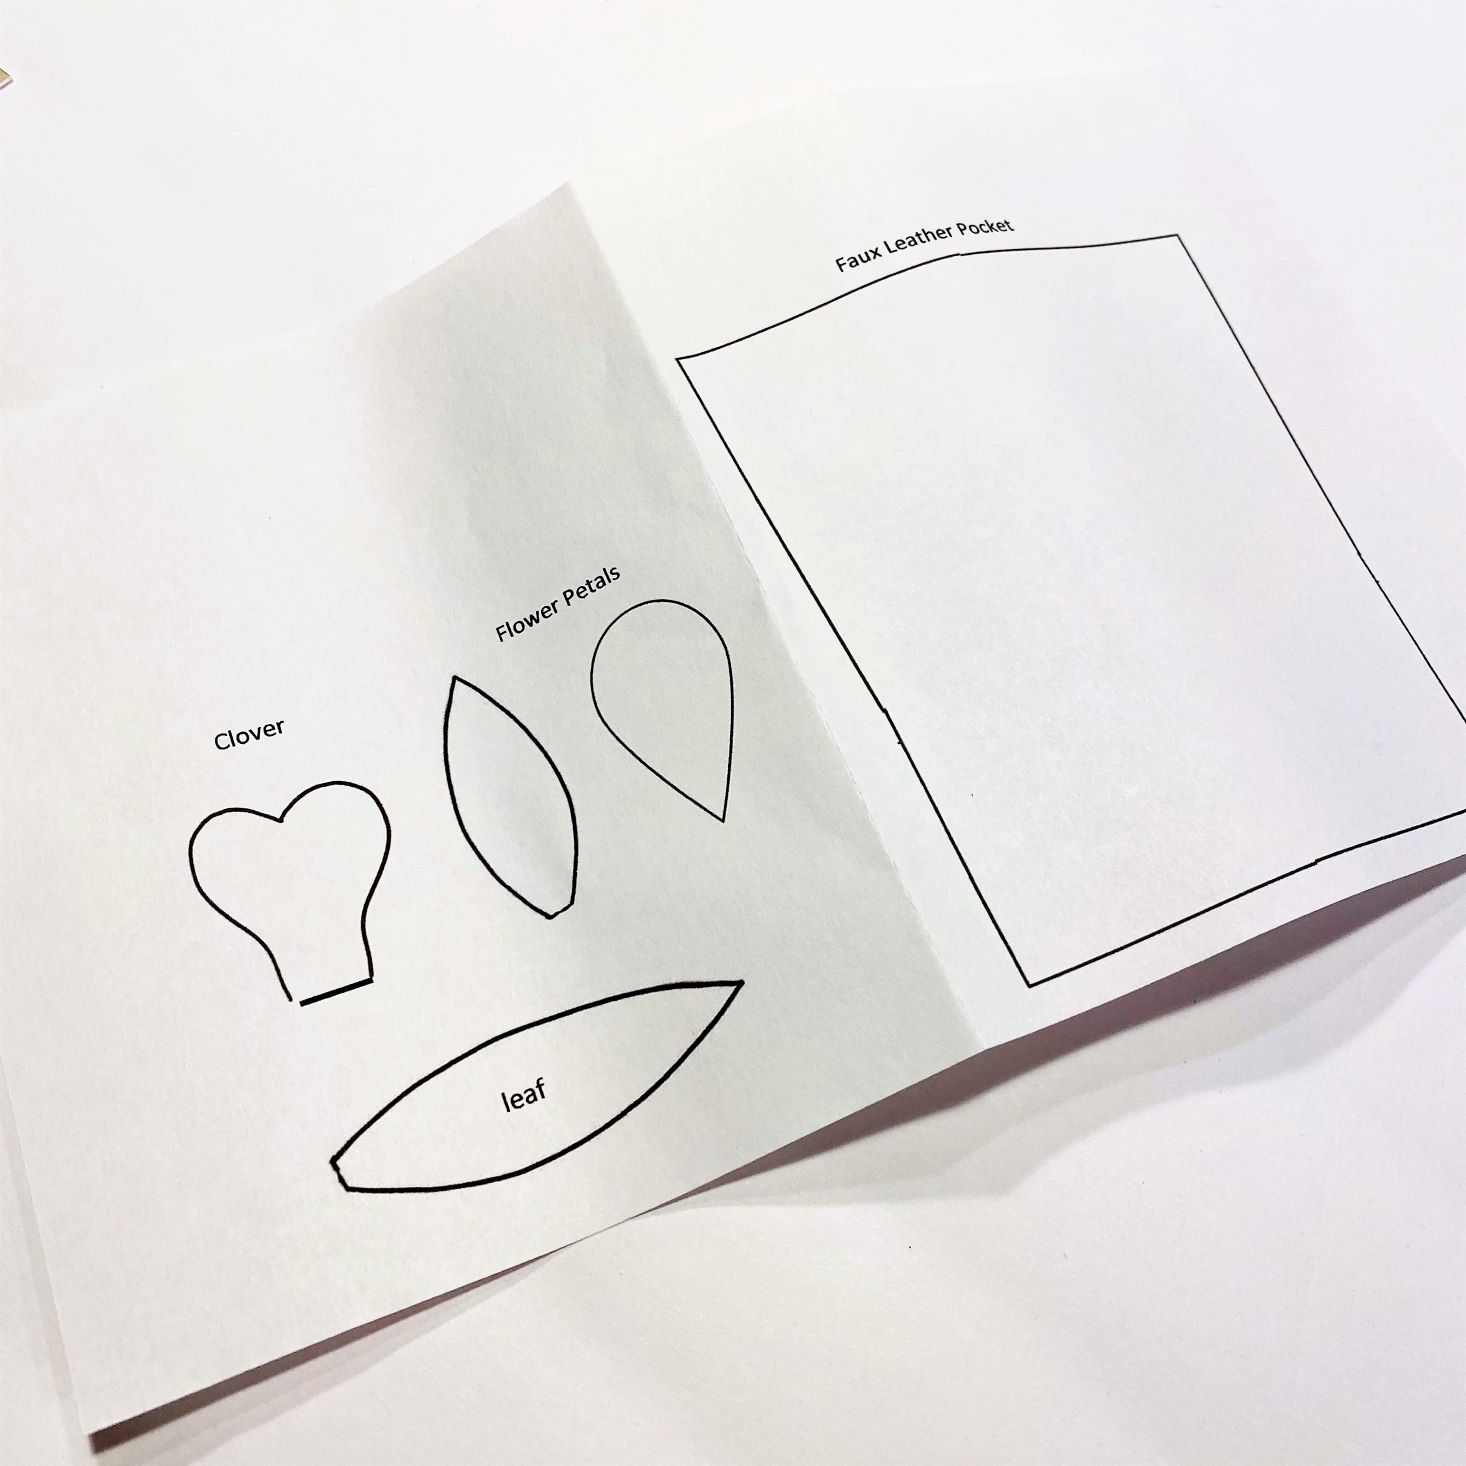
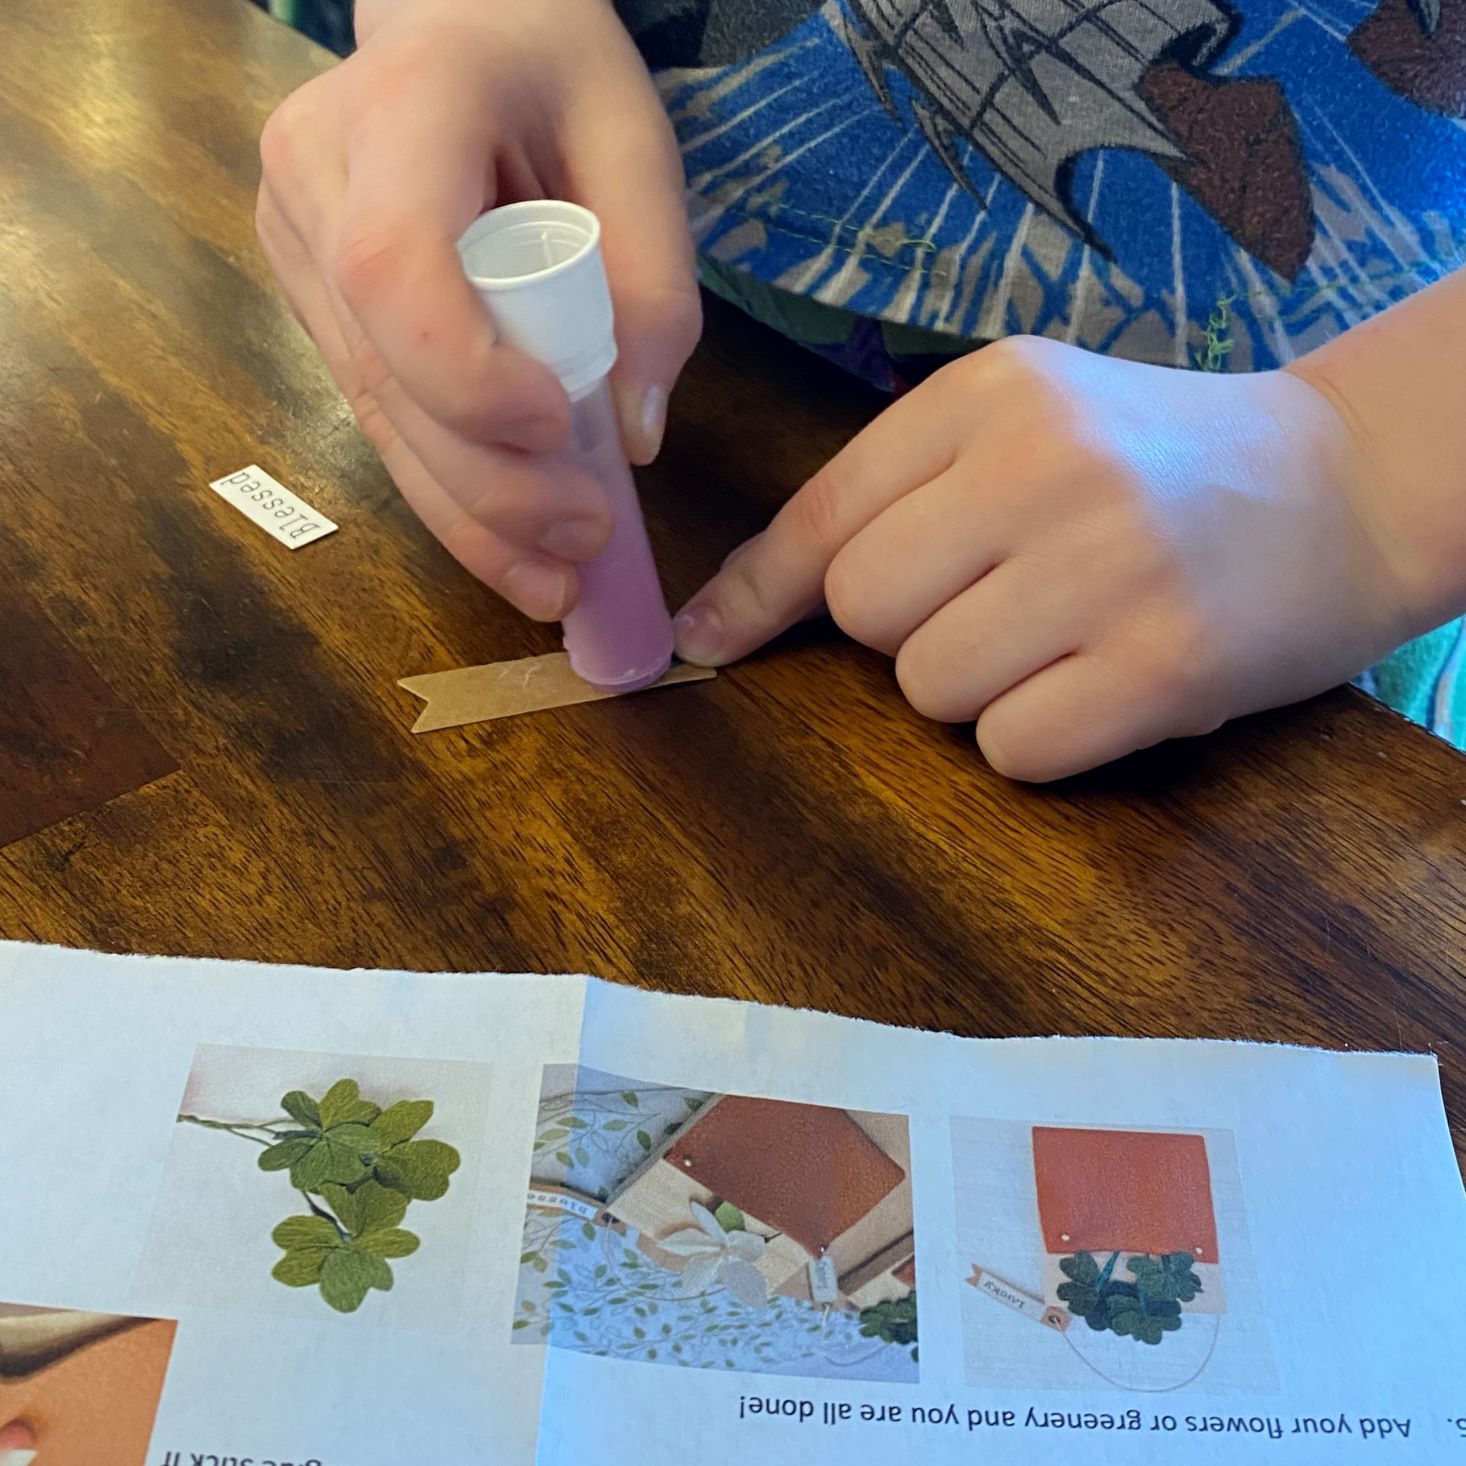
Once the painting was set to dry, the kids glued their saying onto the included tag. Charlie chose "Blessed" while Hank opted for "Lucky". Once the tags were glued, I cut the patterns out from the paper, and cut out the faux leather pocket for the front of our wood base. Next, I cut out the pattern for the clover and flower.


1 of 6


Then came the stressful part! The kids started helping me trace the patterns onto the crepe paper.... which actually went pretty well, but they needed me to cut out the shapes. The shape-cutting was fine, especially with my "CutterBee" scissors that are made for precision cutting (If you don't have these in your life, you need them). I folded all of my petals in half, and then put the wire in between the stack of leaves.....I was doing so well up to this point!! Then came the floral tape. I felt one side was a bit waxy compared to the other, so I laid that side down. Wrapping it as tightly as I could around the paper, my petals kept falling out, the tape would rip, or it would just fall apart. I did find the clovers were a bit easier to produce than the flowers as they had less of a stack to wrap the floral tape around, but boy, do I need practice with that stuff! Maybe next time I should watch a YouTube video on how that stuff works before I try it on my own. I made 4 clovers (that turned out adorable) and struggled to make two flowers, before I ran out of floral tape. The embellishments did turn out cute, but I just personally had a hard time with it!


1 of 4


Once the clovers and flowers were made, we moved onto the faux leather step. The directions explained this step beautifully, but in the additional instructions, they did mention you MUST lay the wood flat with the staples off the table so you don't crack your wood in half. Once you hammer the leather into place, you stretch the bottom to the back and adhere it with the provided vinyl tape. Once the leather was tacked into place, I added the wire to the top with our tag hanging on the side.


1 of 5

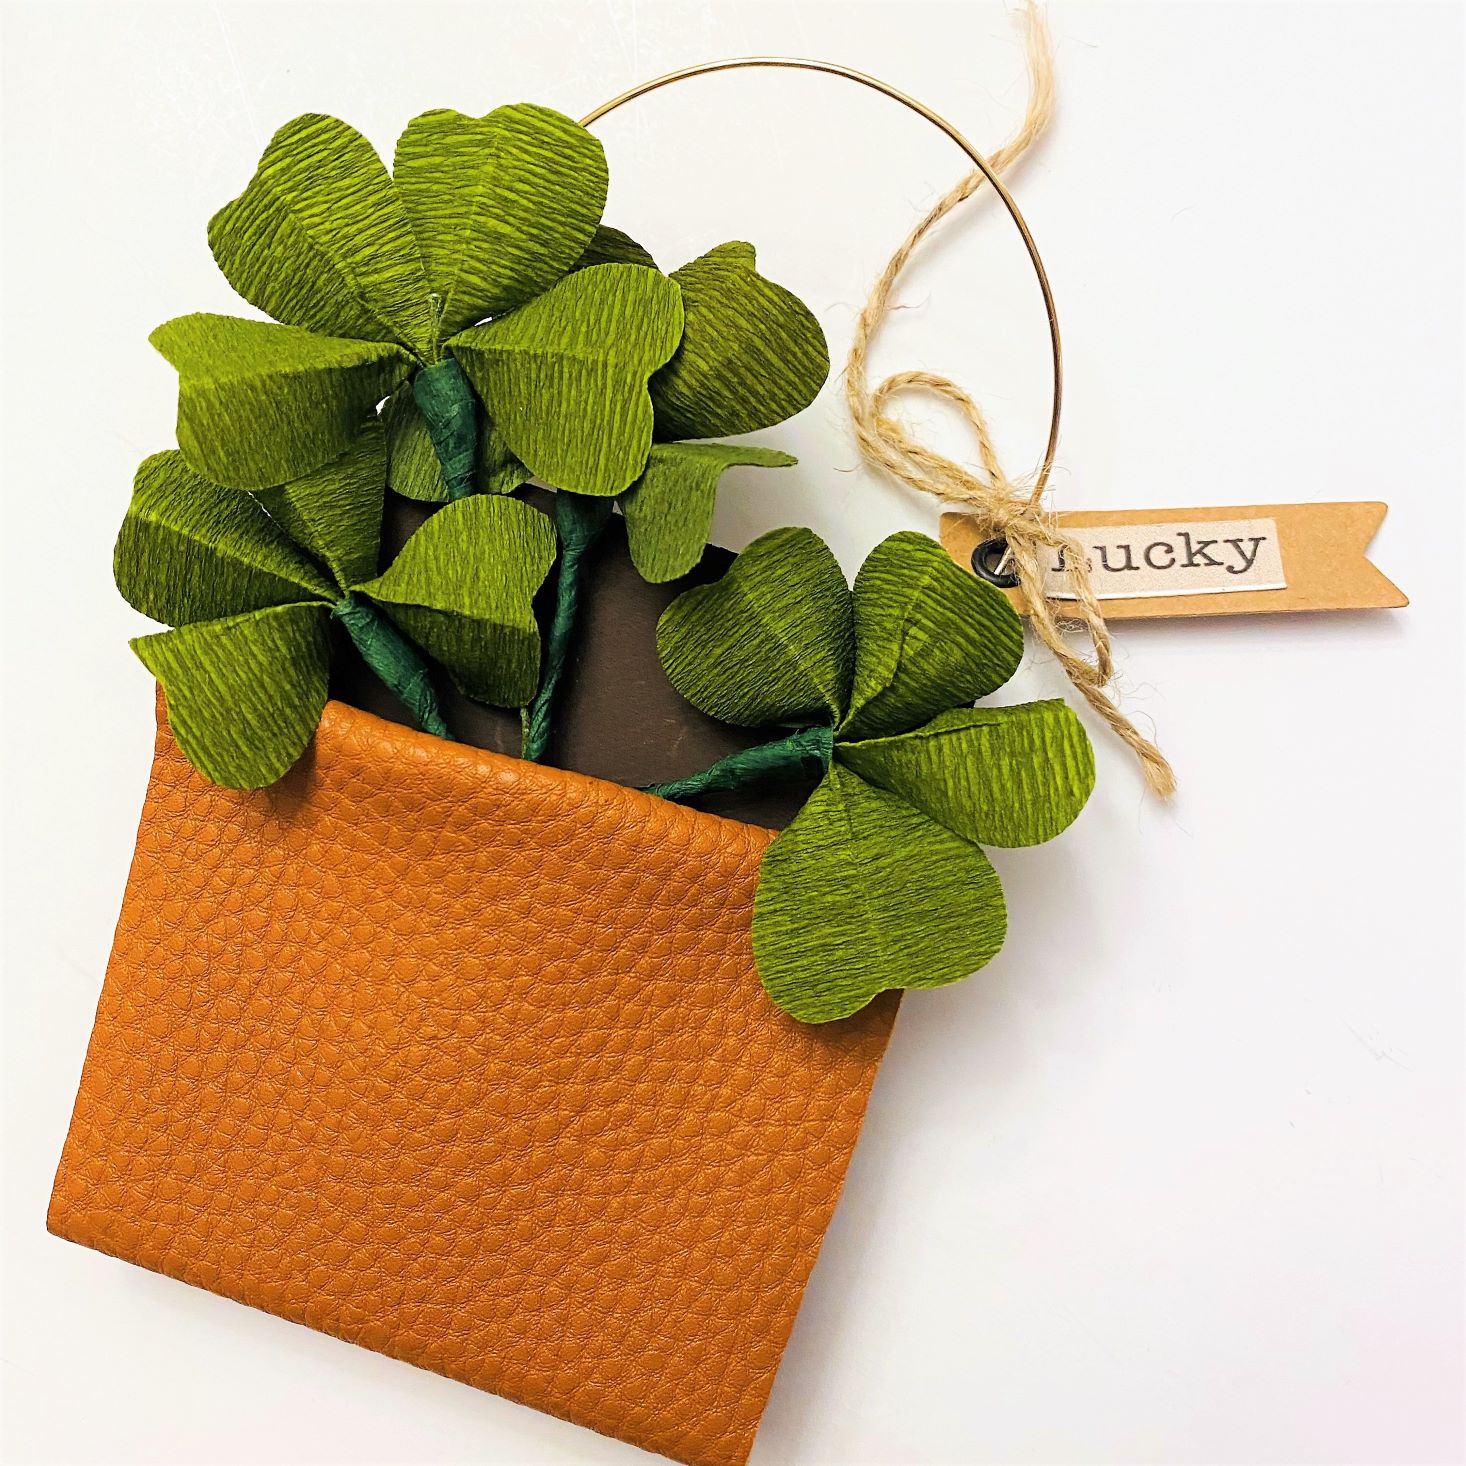

Adding the flower and clover embellishments was the finishing touch! I have to admit, while this project stressed me out a bit, the finishing results are quite gorgeous. I really think the crepe paper flowers look like a real pressed version and am happy to display this piece in my home! Charlie decided to give his to my mom, as her birthday is in March, so we packaged it up and tucked it away for next month.

1 of 2
Doesn't that look absolutely elegant? I hope my mom likes it as much as I do...or I'm taking it back!!! Ha!
Verdict: This month's Lil' Grace DIY Box was probably the most time-consuming box to date, but really turned out impeccably well. I admit, I struggled with creating those flowers and clovers, but the finished project was truly worth it. The kids were really excited to get to paint and hammer, and while I had to make the embellishments, it was really a group effort that made for a great date day. This month we decided to keep one of the gifts and give one away as part of my mom's birthday gift. Homemade gifts are my favorite ones to give, and I'm sure she will love it knowing her daughter and grandsons worked so dang hard on it for her. We love this box, and can't wait to see what's in store for March!
Lil' Grace Monthly DIY Box costs $14.95 + $4.95 per monthly delivery, so each decoration averages out to about $6.63. I feel this was a decent value as we also received a card and packaging supplies to give one as a gift. That coupled with the fact that we have leftover paint, crepe paper, and pearl stickers is a win for me!
To Wrap Up:
Can you still get this box if you sign up today? No, you'll receive the March delivery.
Check out all of our Confetti Grace reviews and our top craft box subscriptions as voted on by our readers!
Keep Track of Your Subscriptions: Add the original Confetti Grace box to your subscription list or wishlist!
What do you think of the Lil' Grace Monthly DIY Box? Who did you share your project with?

Please do not enter your email address in the Name field or in the comment content. Your email address will not be published. Required fields are marked *. Remember to post with kindness and respect. Comments with offensive language, cruelness to others, etc will not be approved. See our full comment policy here.