


Oyster is a monthly STEM & Art-based "profession" subscription for kids ages 5-9. Each month you will receive an educational kit made with the help of professionals and rigorously tested by kids, which includes equipment, information, and experiments to try out a different profession. According to Oyster, kids closer to 9 will be able to complete the tasks independently, while younger kids will require participation from their parents.
This box is being reviewed thanks to MSA reader request!
My Subscription Addiction pays for this subscription. (Check out the review process post to learn more about how we review boxes.)
About Oyster
The Subscription Box: Oyster Kit
The Cost: $39.95 a month + free shipping. Save with longer subscriptions.
The Products: A new profession to explore every month through STEM & Art learning materials, online tests, and DIY projects
Ships to: The U.S. only
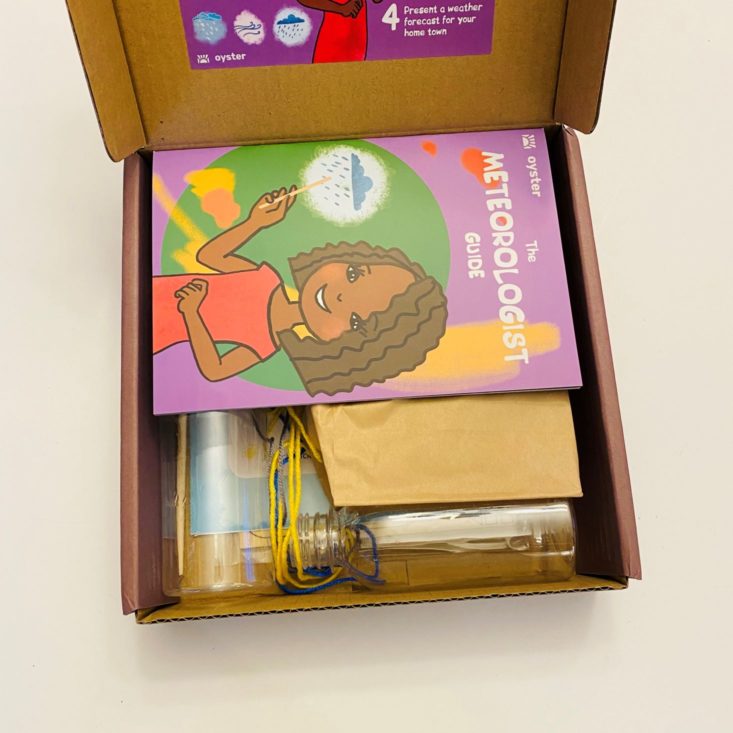
Oyster "Meteorologist" Kit October 2020 Review
7 weeks into "in-person" learning, and we are now making the transition to Distance Learning. Because I work at the school, I am now working from home, while trying to help my kindergartener and 2nd grader log onto zoom meetings, complete their daily checklists, keep them from destroying the house, and zoom with 45 other students all at once! While I know we will make it through this, I can't help but get a little down. We received this box during our 2-day "reset" period and my boys and I couldn't have been happier. It's so much fun to watch their faces light up with anticipation when we start opening this box, and they couldn't wait to become meteorologists this month. Read below to find out what they learned.

1 of 12

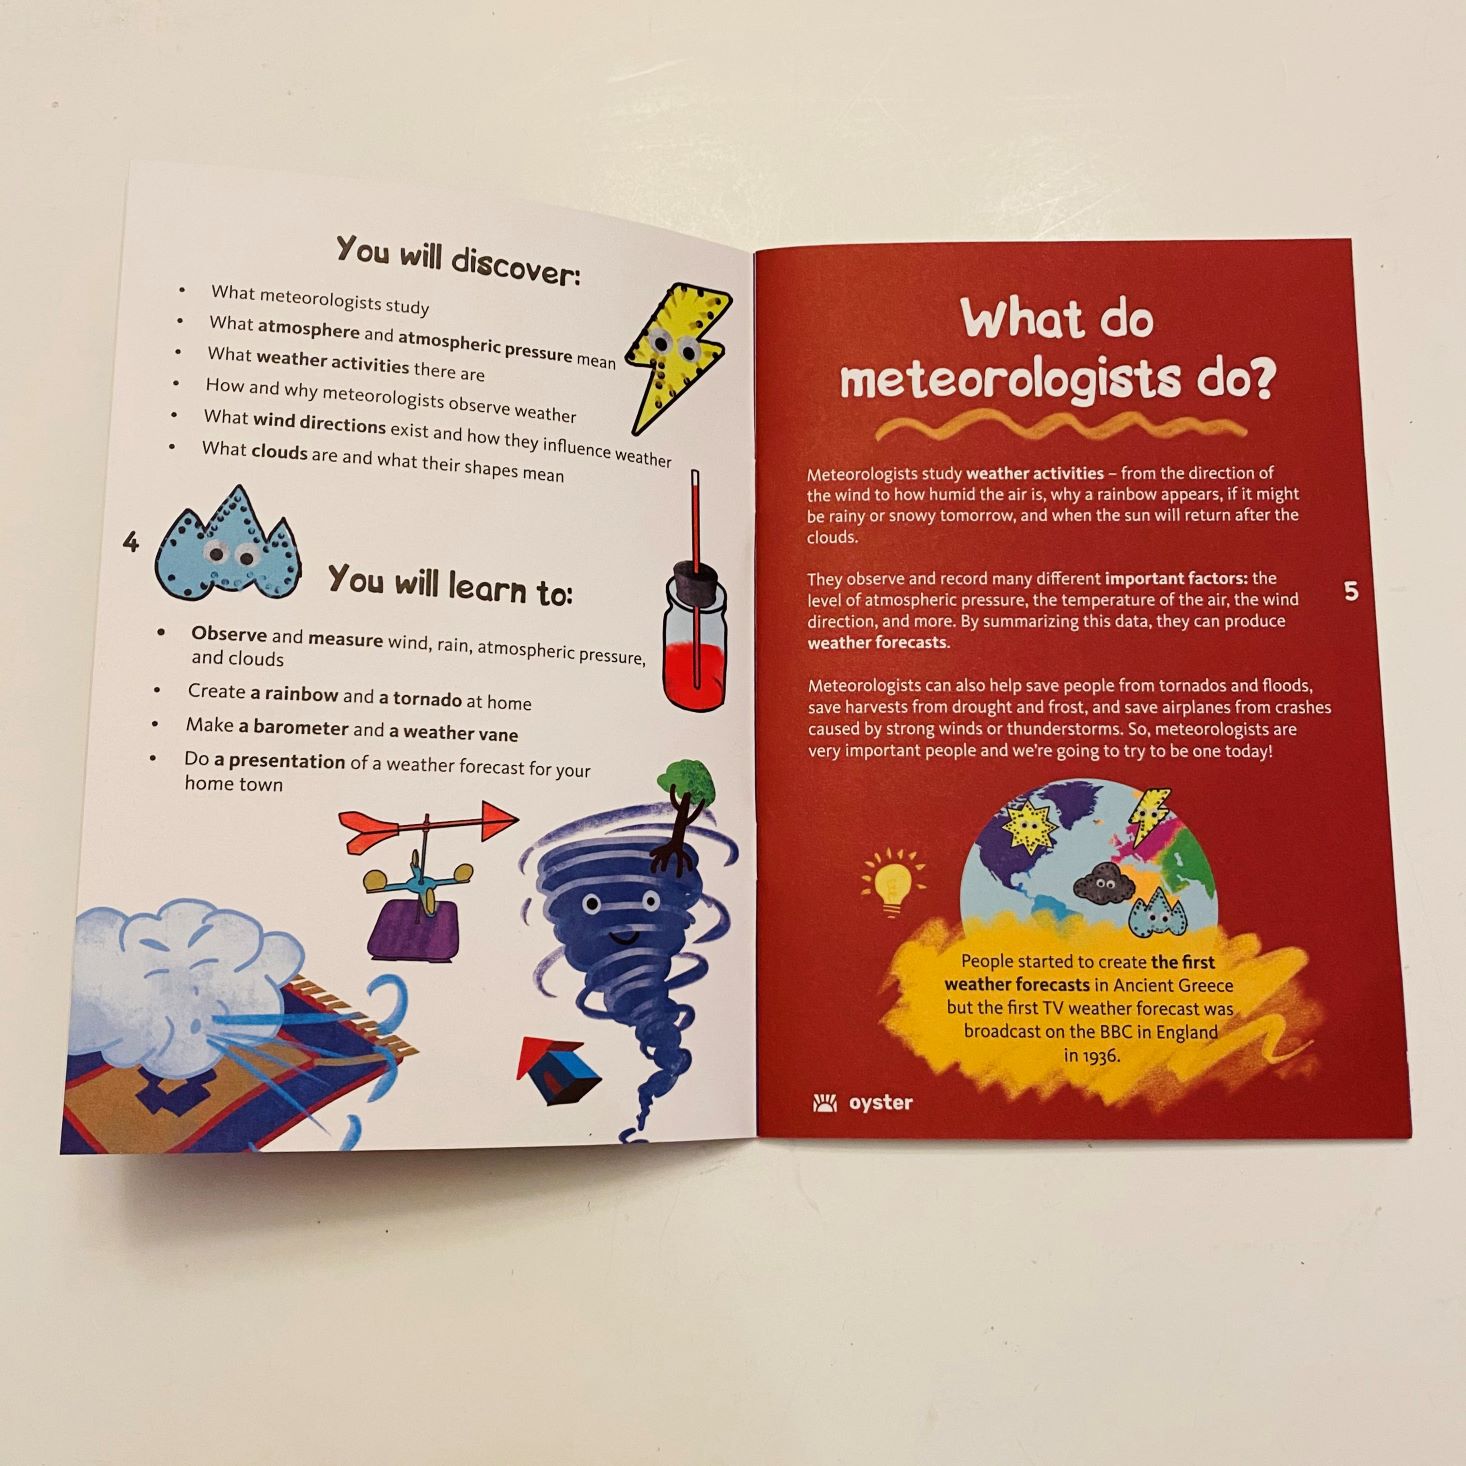

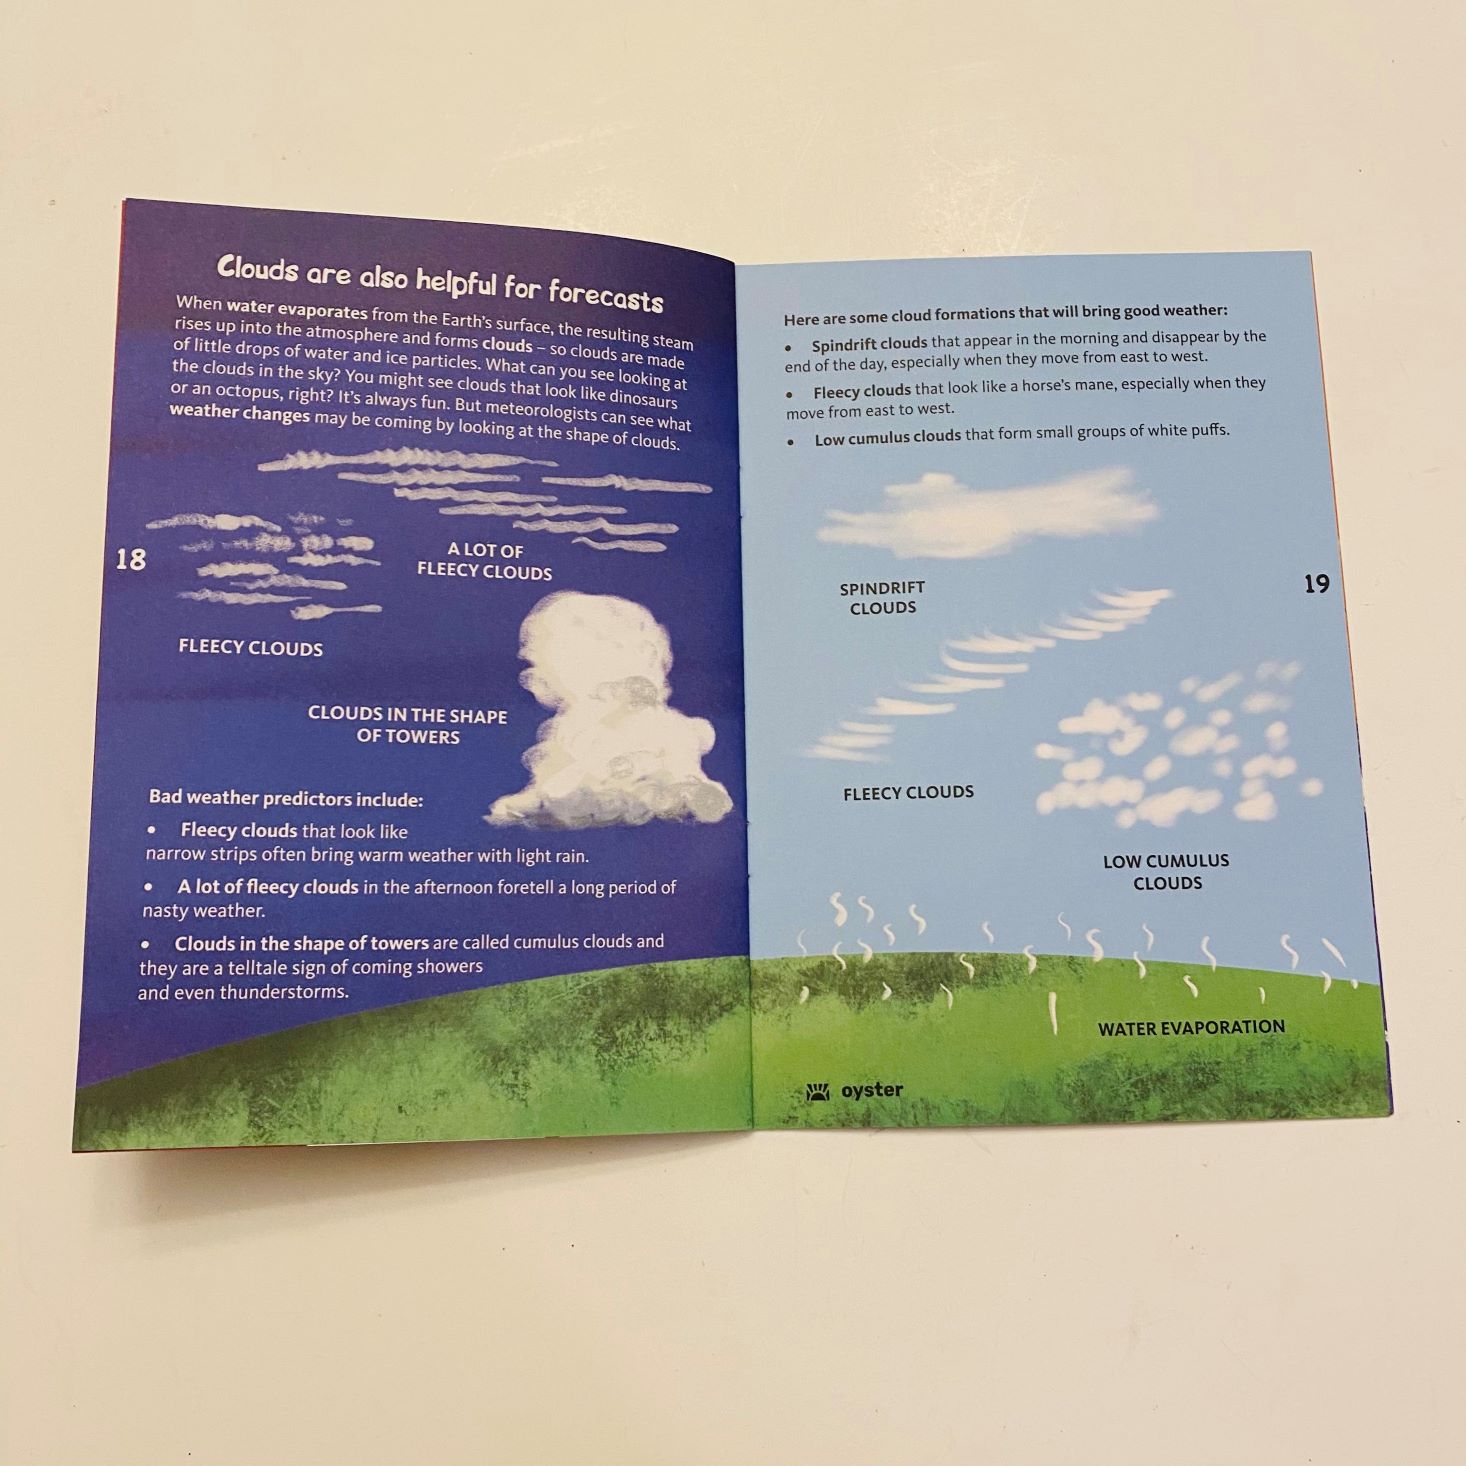
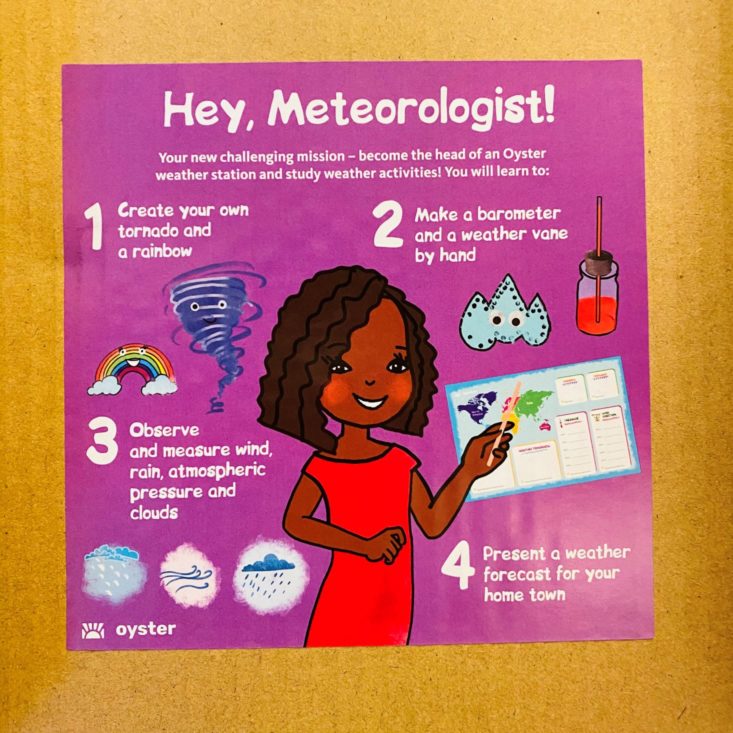
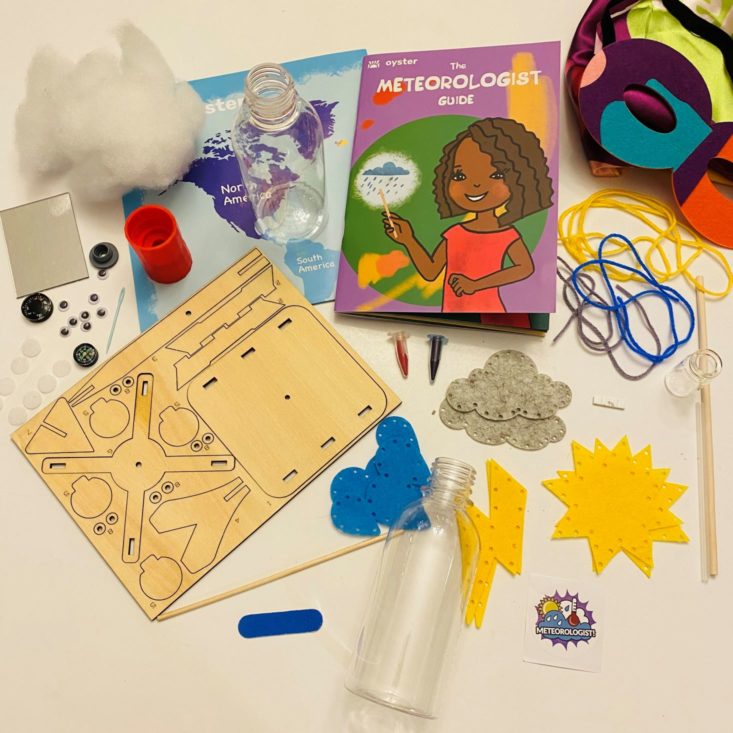
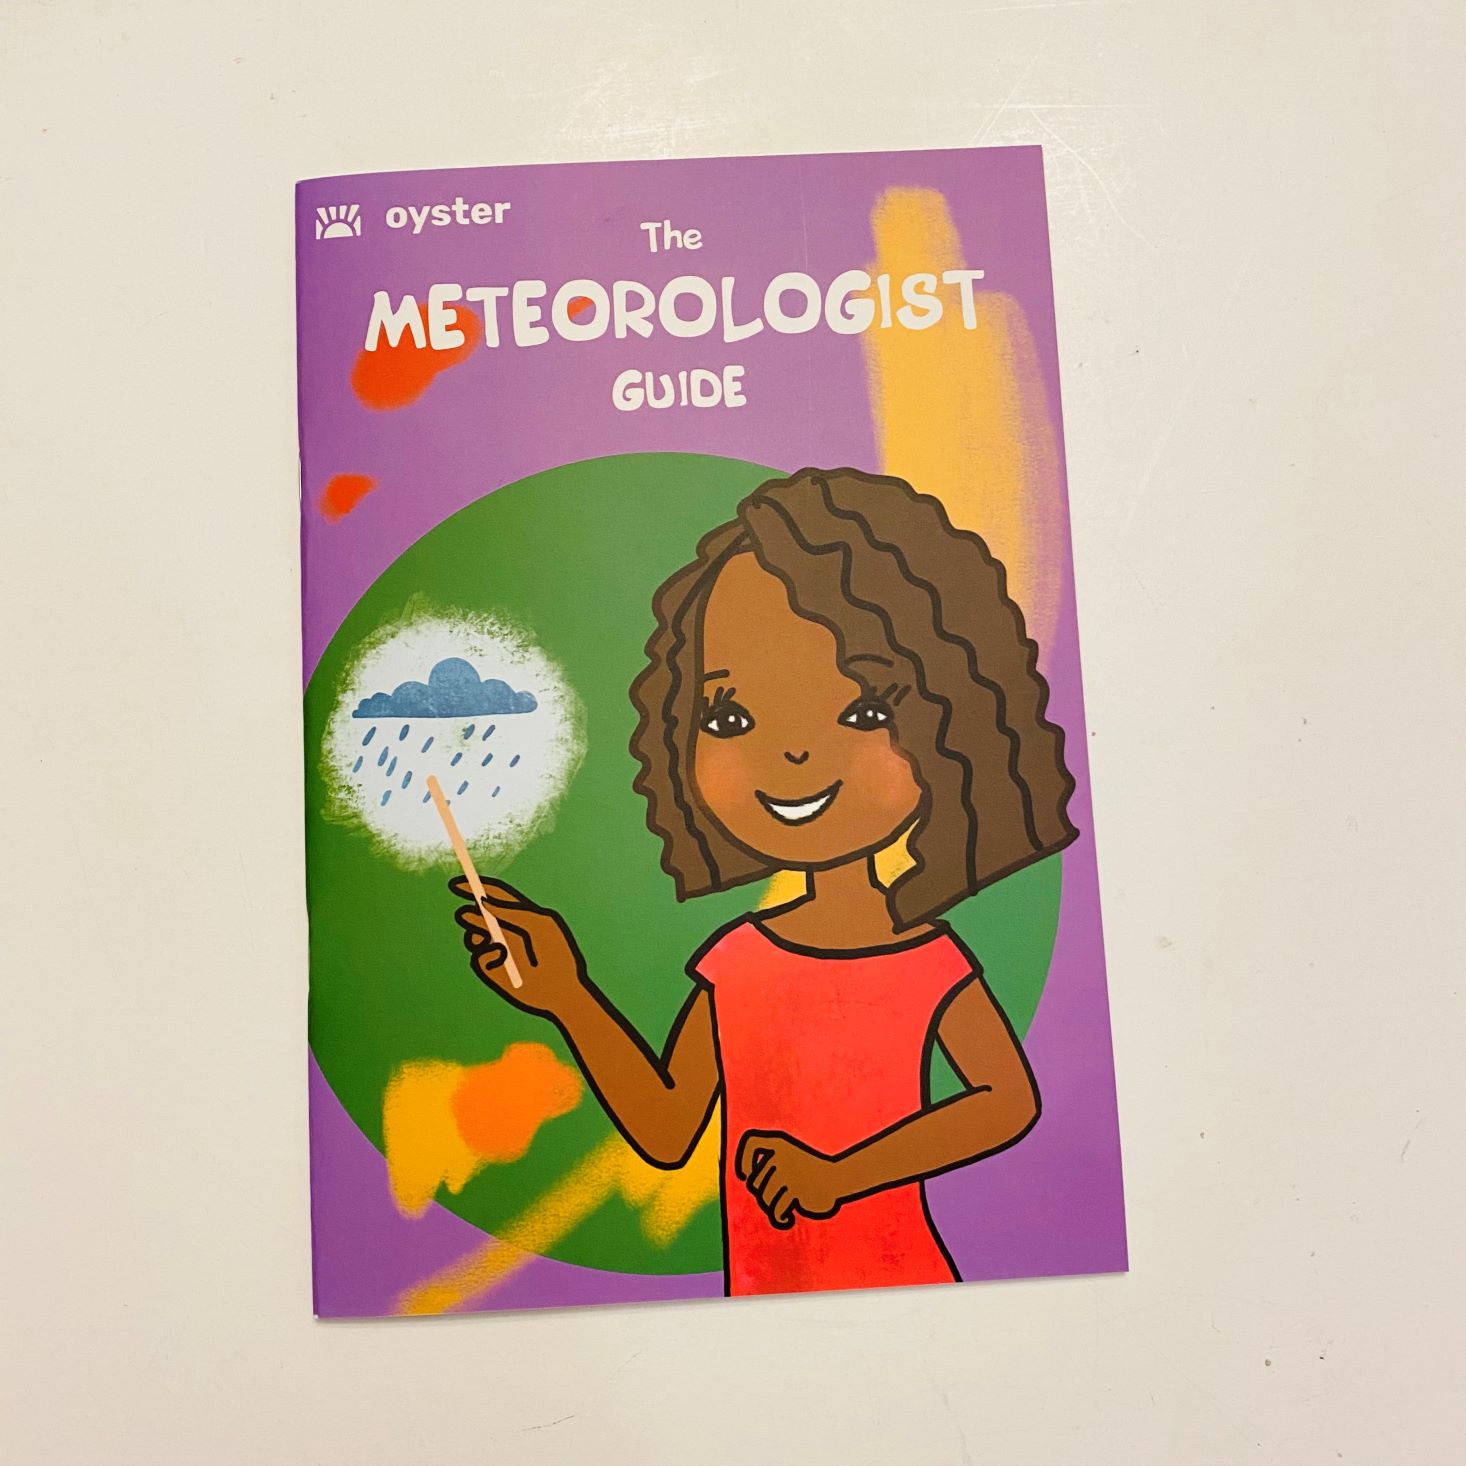
Meteorologist Guide: This month's Meteorologist Guide was packed full of useful information all about the weather, tools, forecasts, and experiments. My kids could hardly wait to dig into the experiments and learn about tornadoes. We learned a vast amount of new information and received multiple projects to complete. How did the projects turn out? Read below to see.

Hank loves going through and reading the guides before digging into any of the projects. It's not only boosted his reading skills but has taught him new information and skills that he otherwise may not have ever thought about.
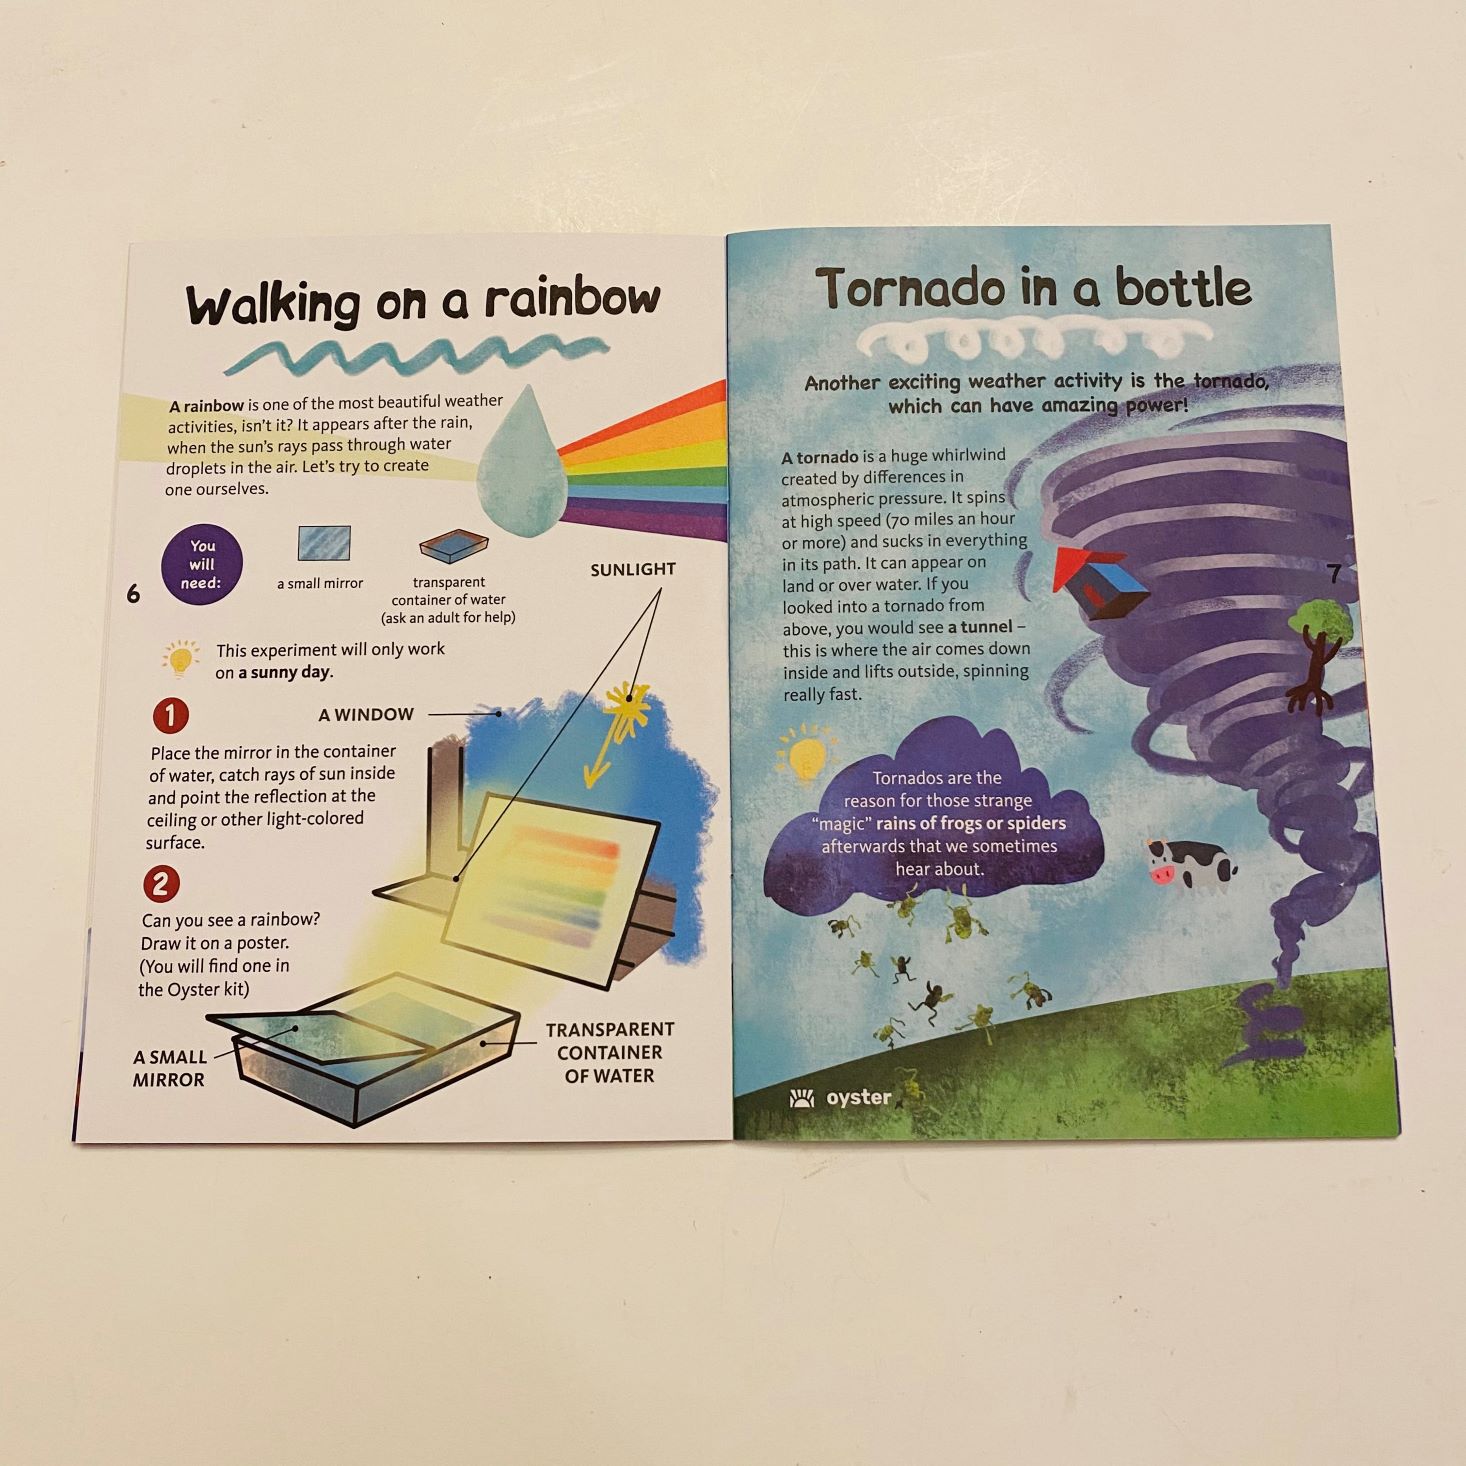
Experiment 1: Walking on a Rainbow
Our first experiment used a small mirror and a transparent container of water to try and create a rainbow.

1 of 2
The directions for this experiment were easy to follow and we had the perfect day for it. We had to place the mirror in the container of water, and catch the rays of the sun inside to point the reflection at the ceiling. We followed the directions completely, but when we reflected it to the ceiling, we did not see a rainbow, but a bright colorless reflection. The kids were a little disappointed, but when we did this with my wedding ring we were able to see the rainbow, and they were able to record that on their poster. A little deviated from the original experiment, but we got the point across anyway.
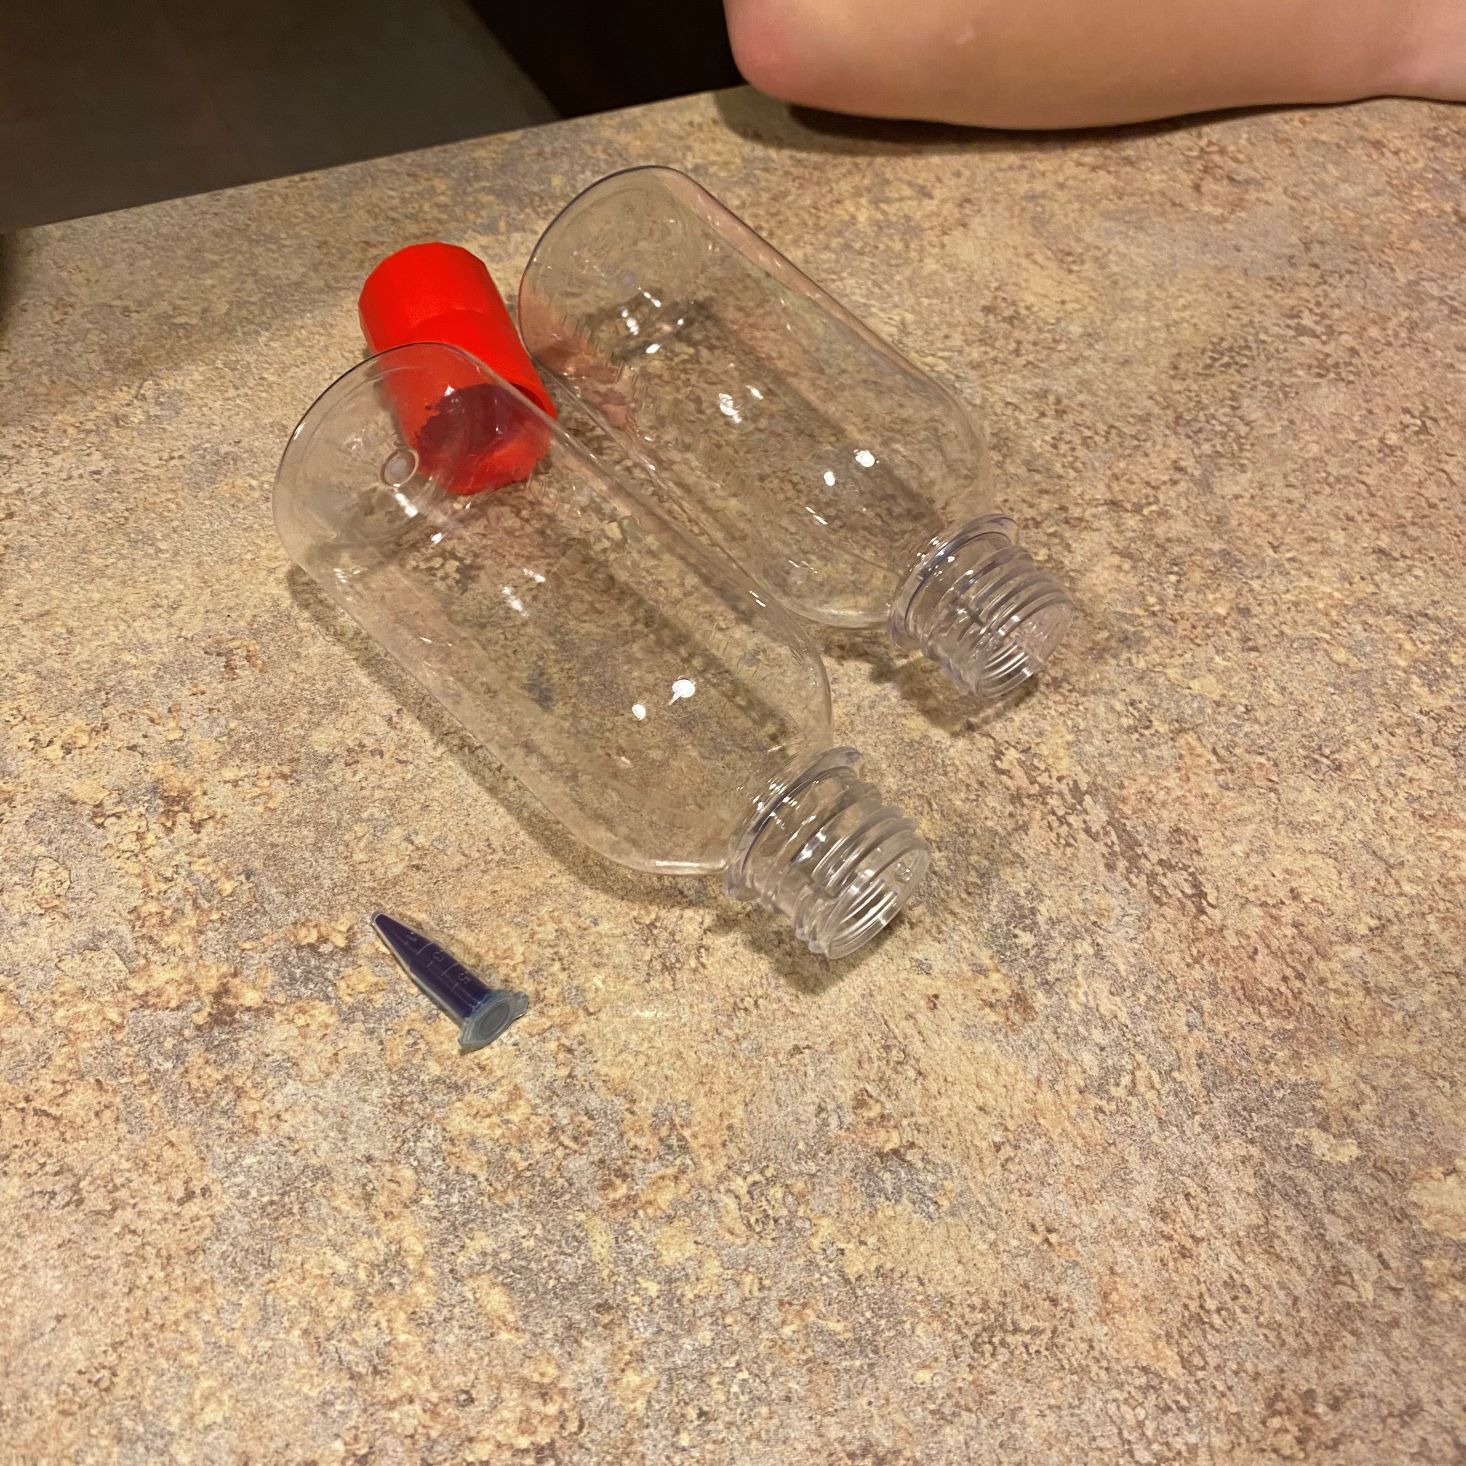
Project 2: Tornado in a Bottle
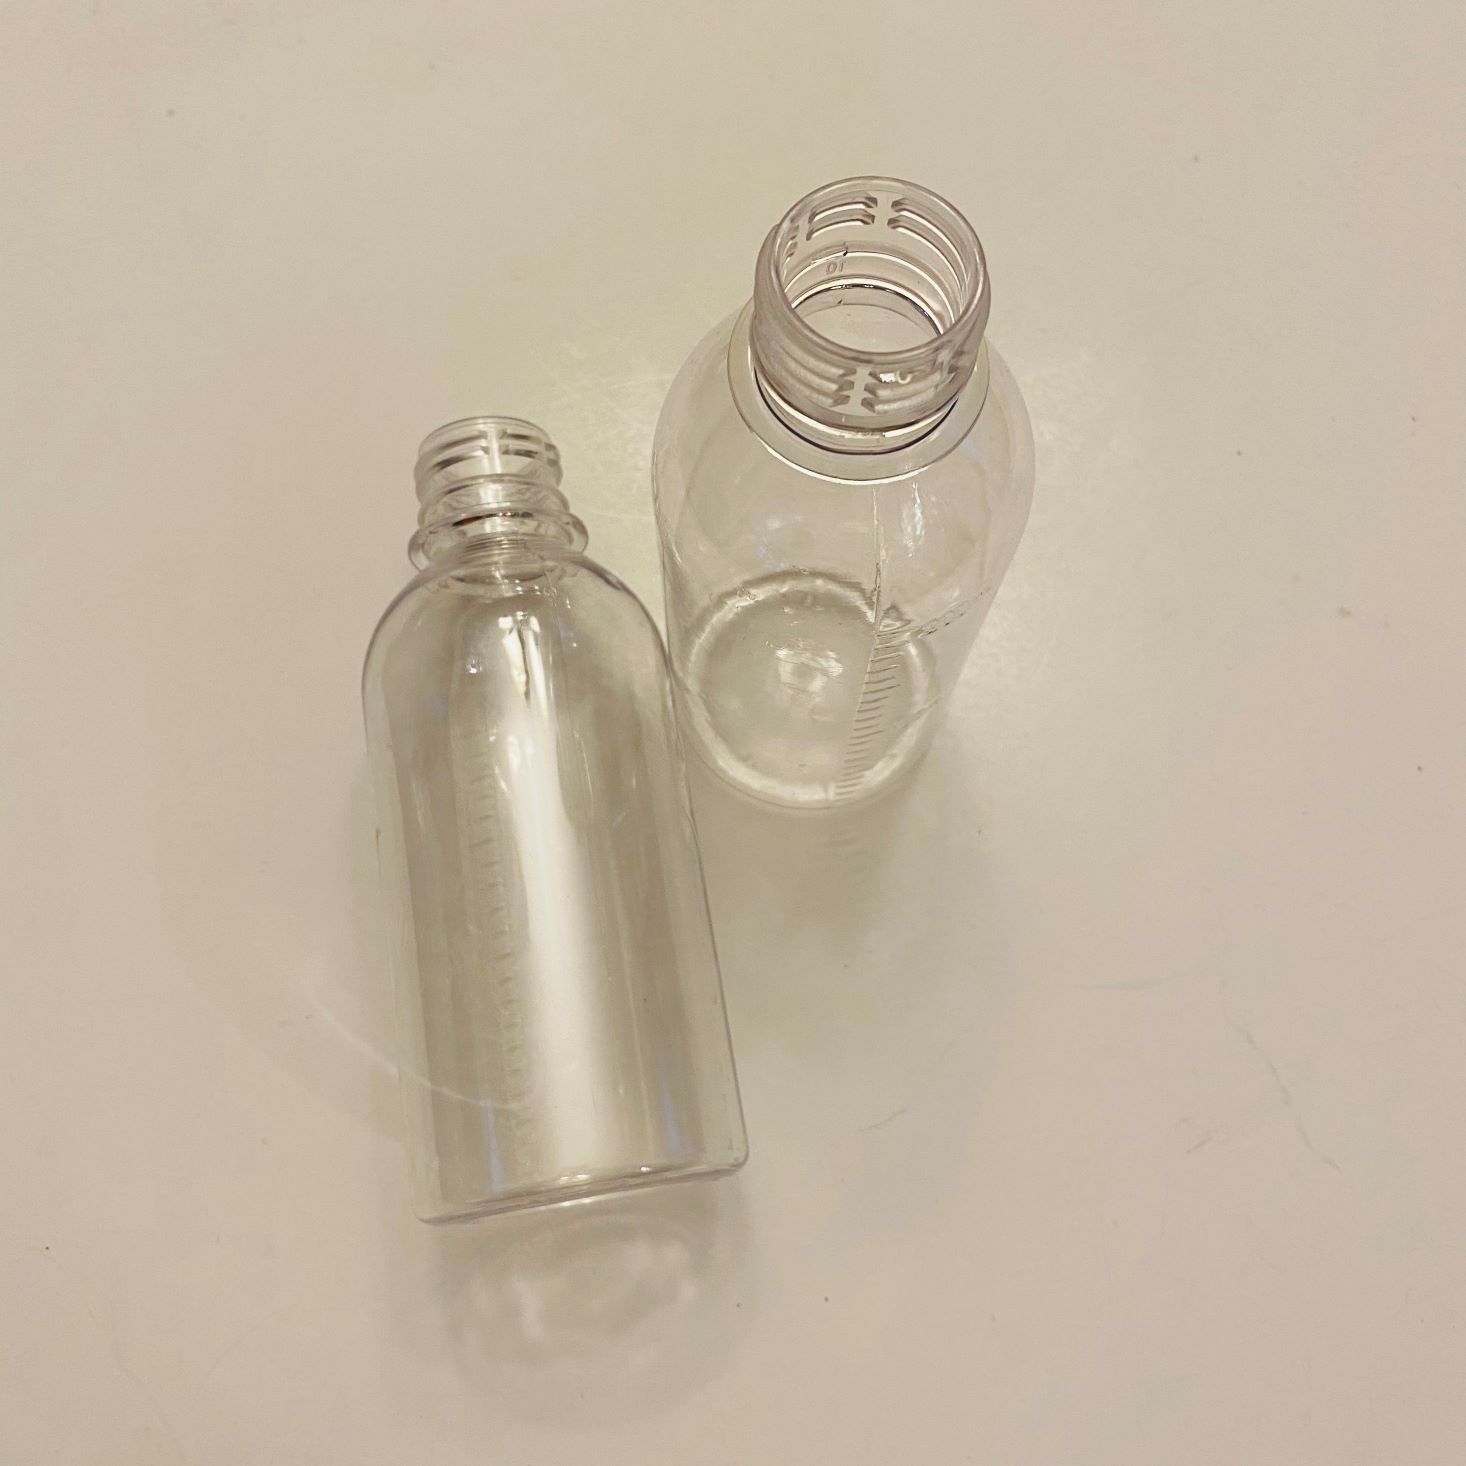
1 of 3
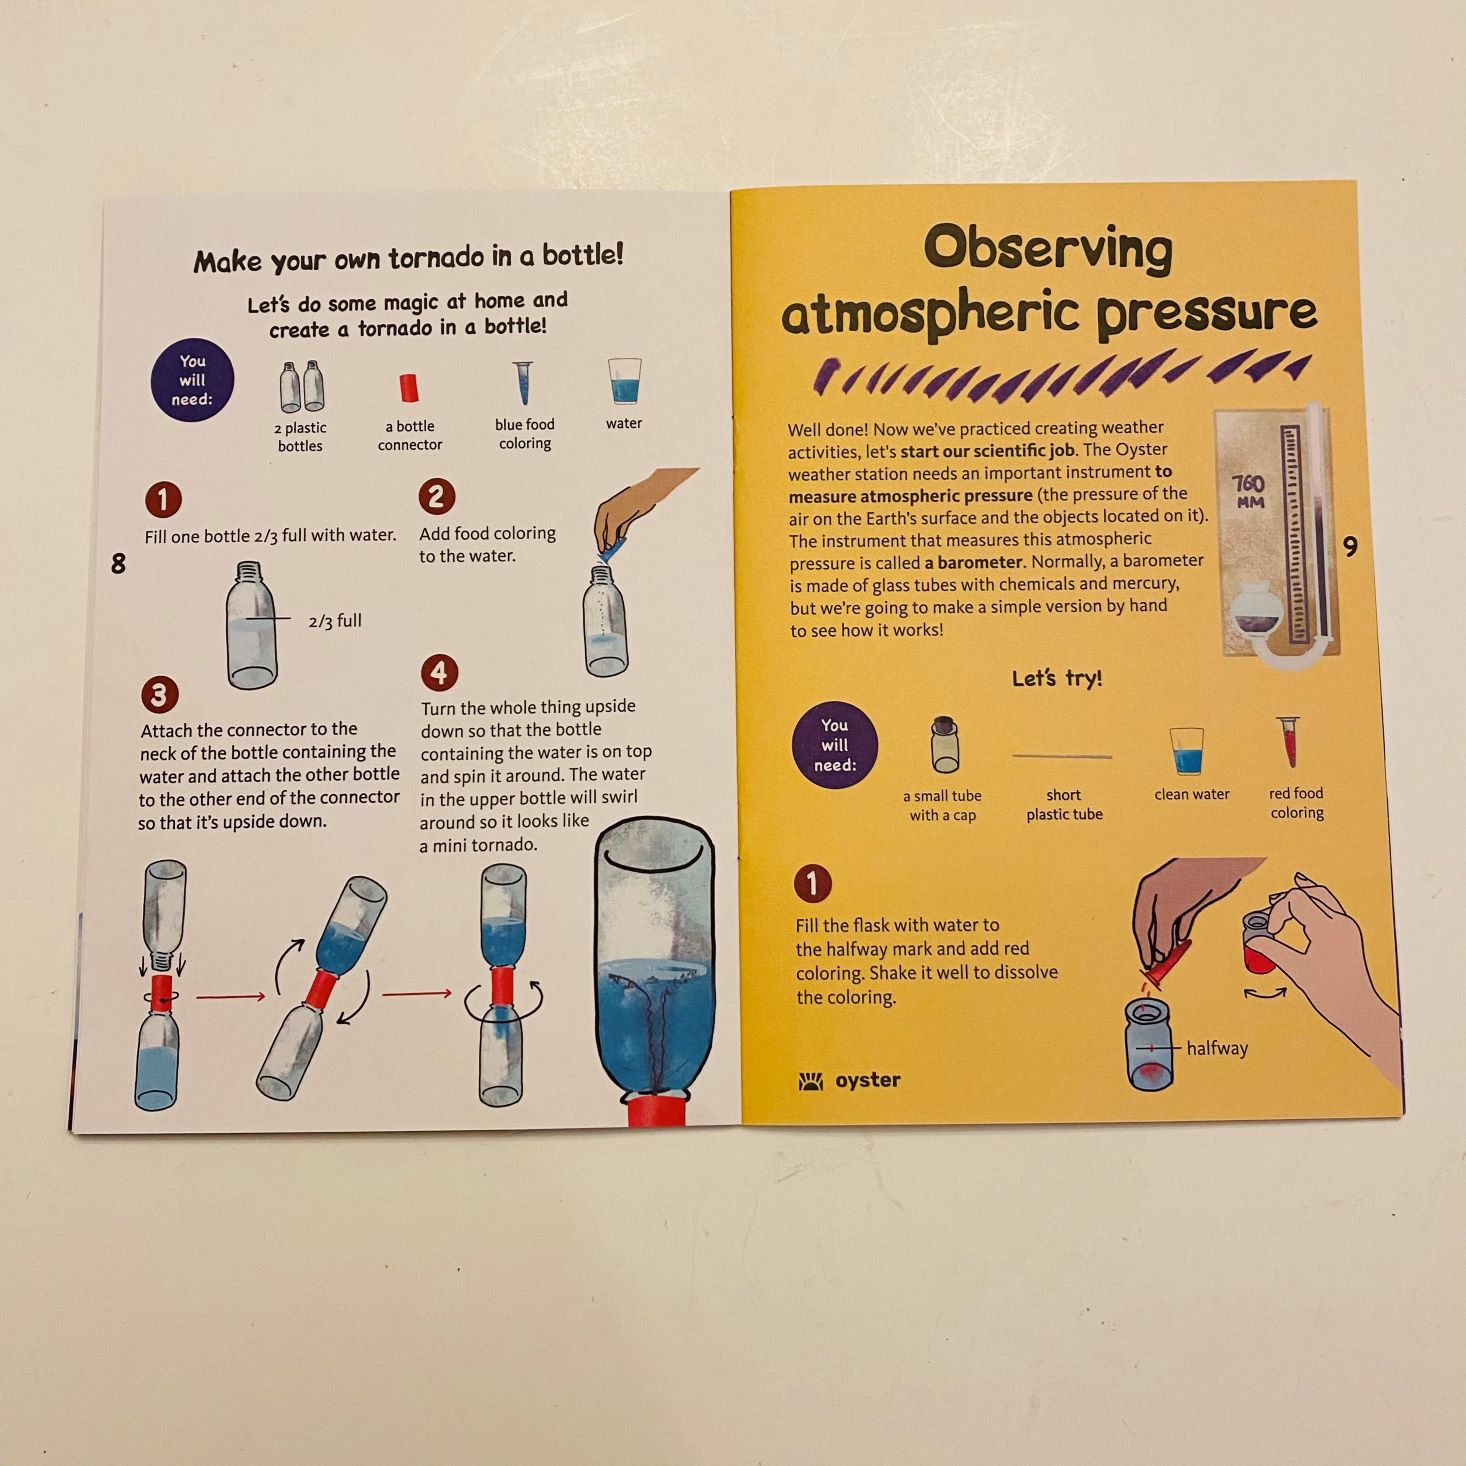
Our next experiment was to make a tornado in a bottle. We learned that a tornado is a huge whirlwind created by differences in atmospheric pressure and that if you were to look into a tornado from above, you would see a tunnel, which is where the air comes down inside and lifts outside, spinning really fast! Neat huh?

1 of 9


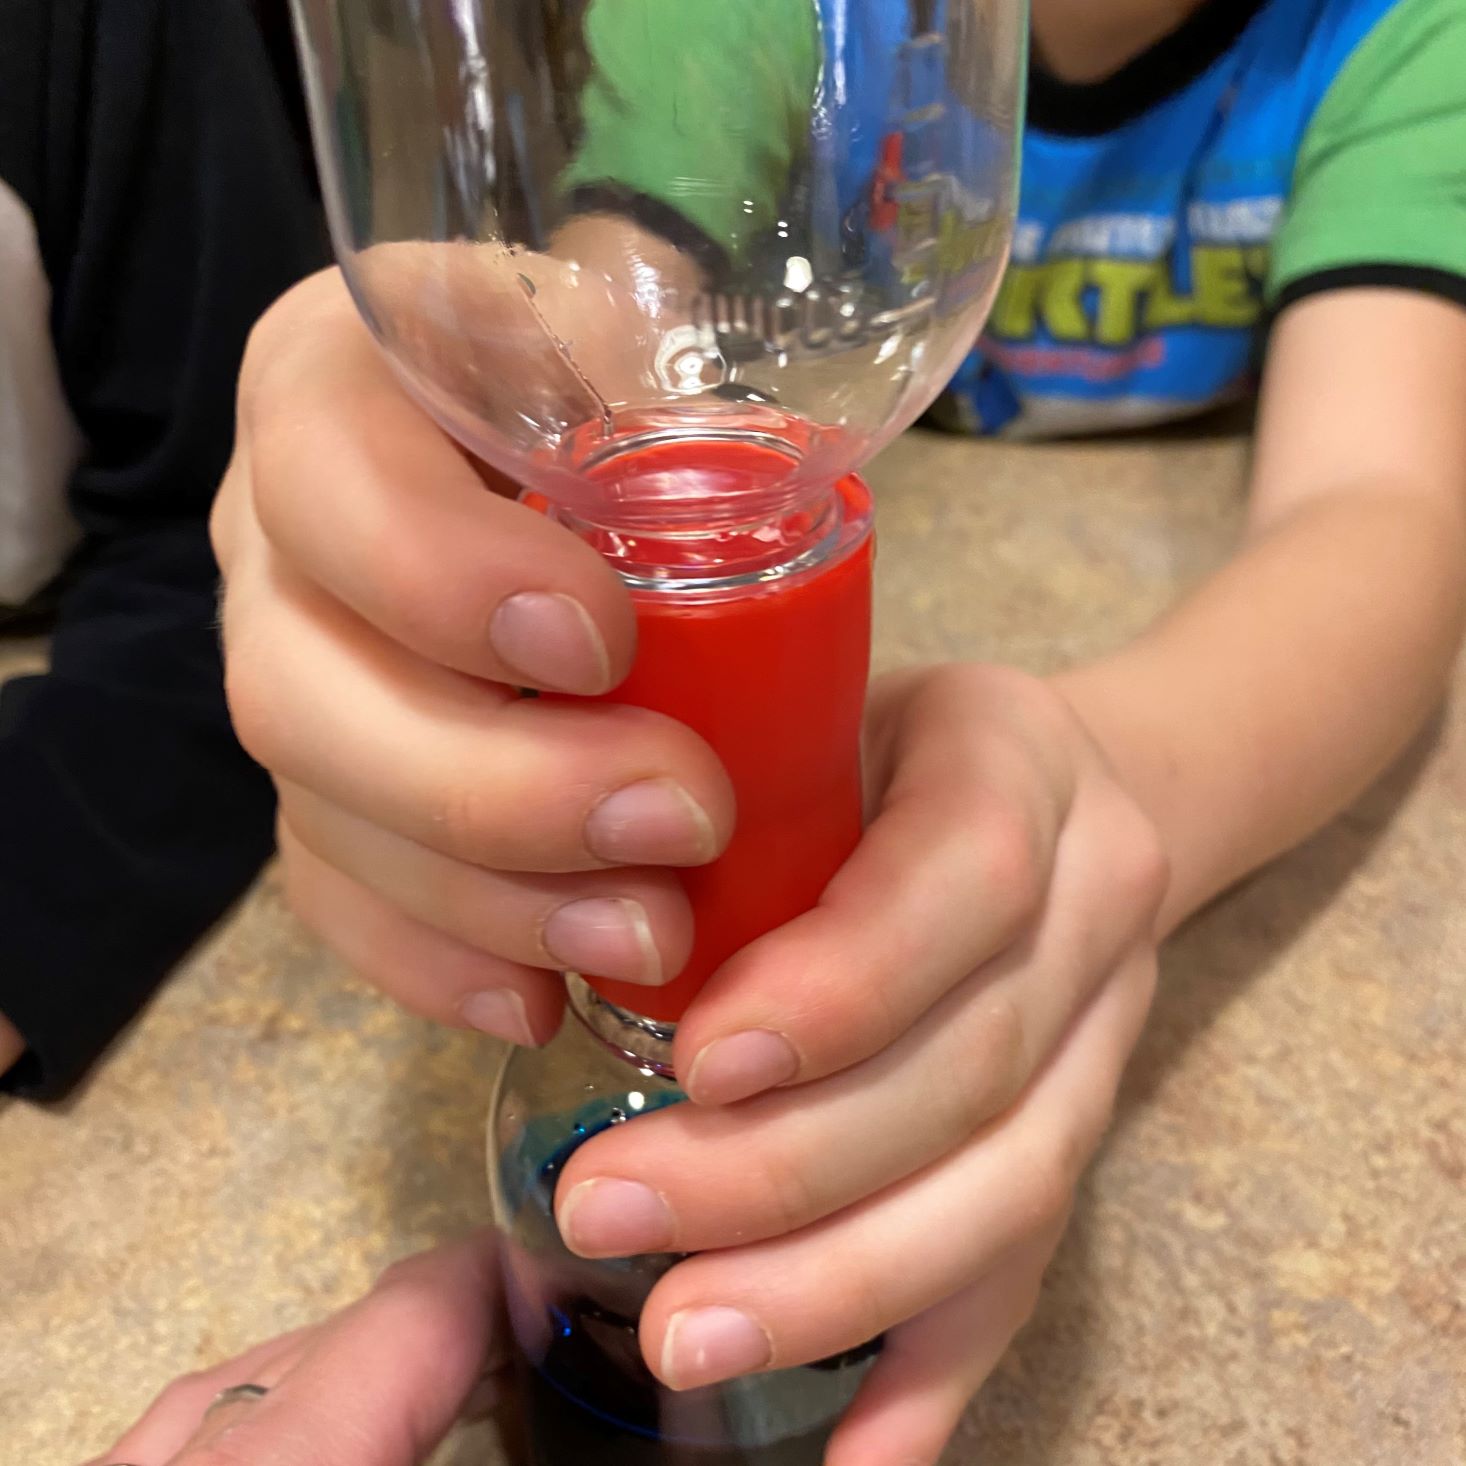
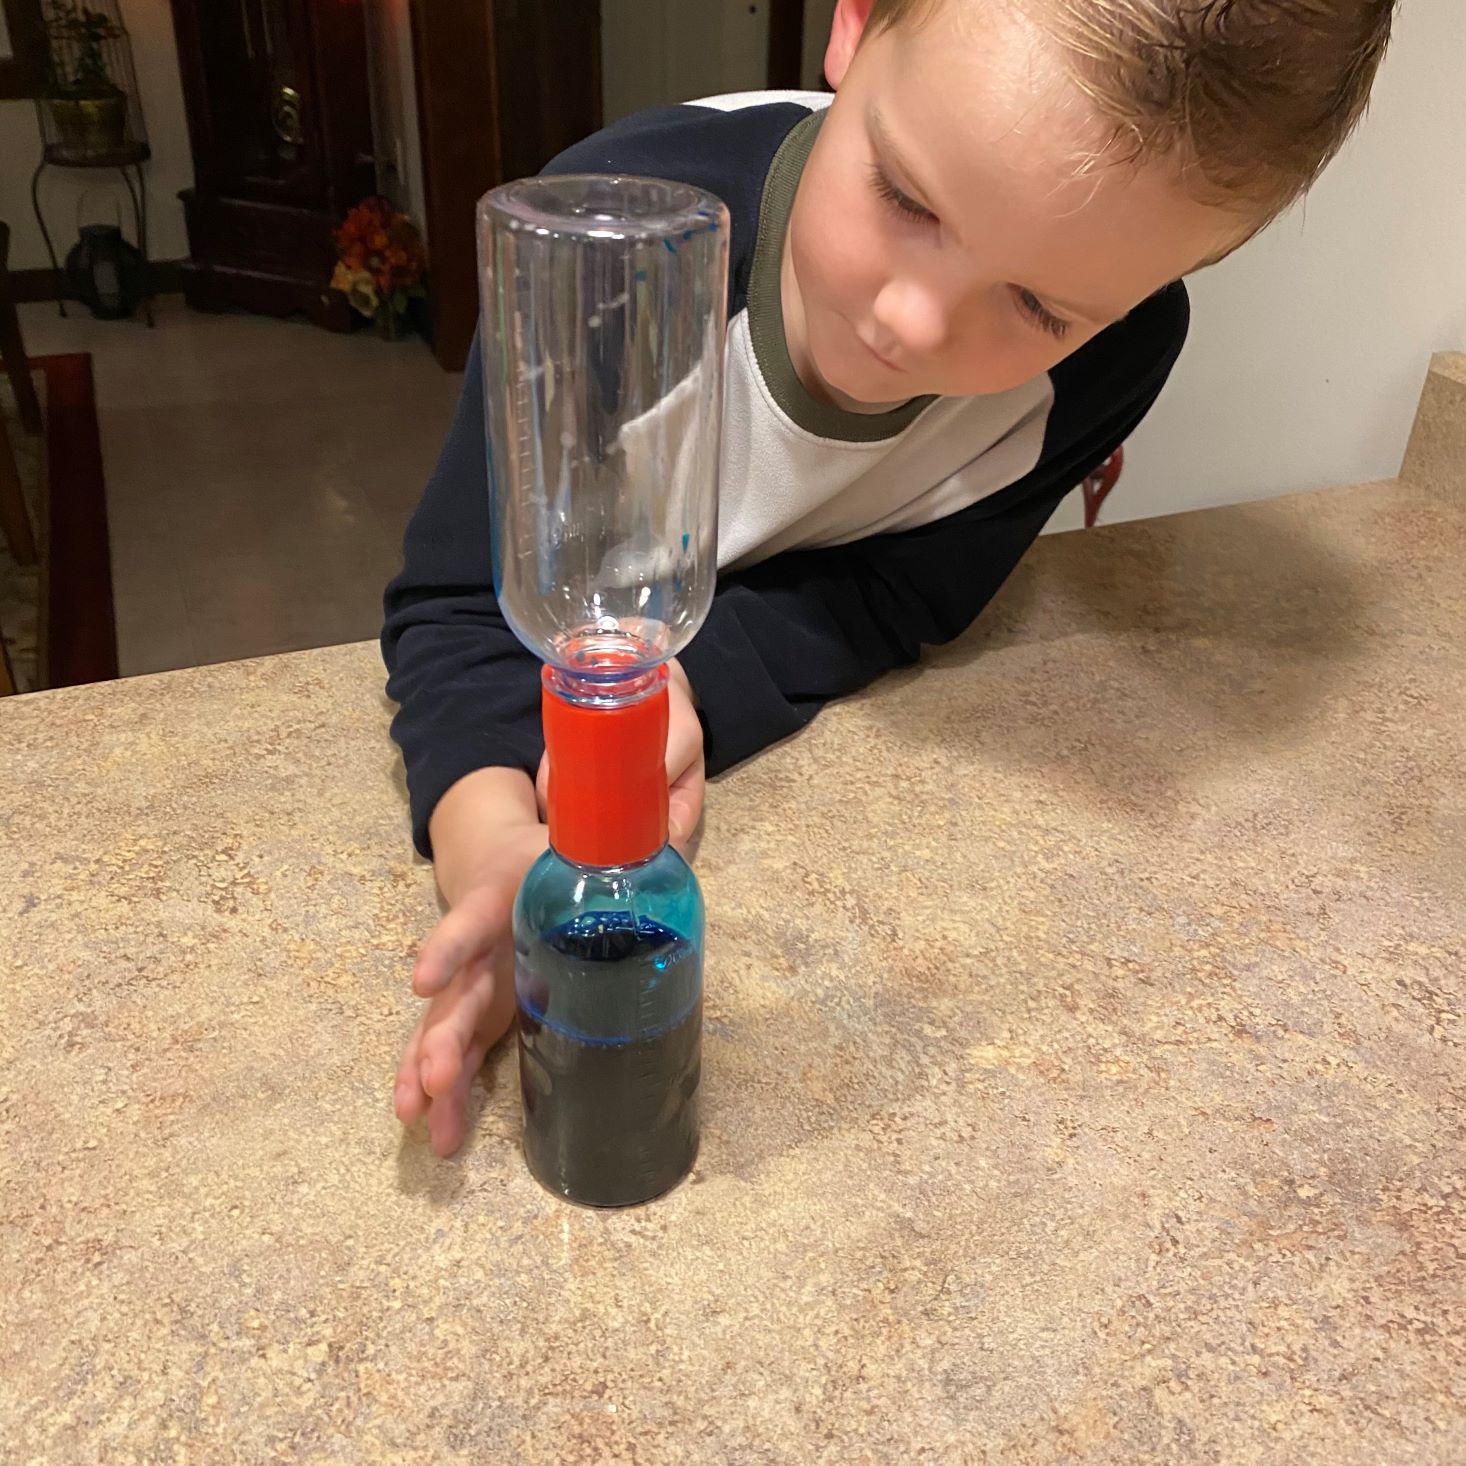
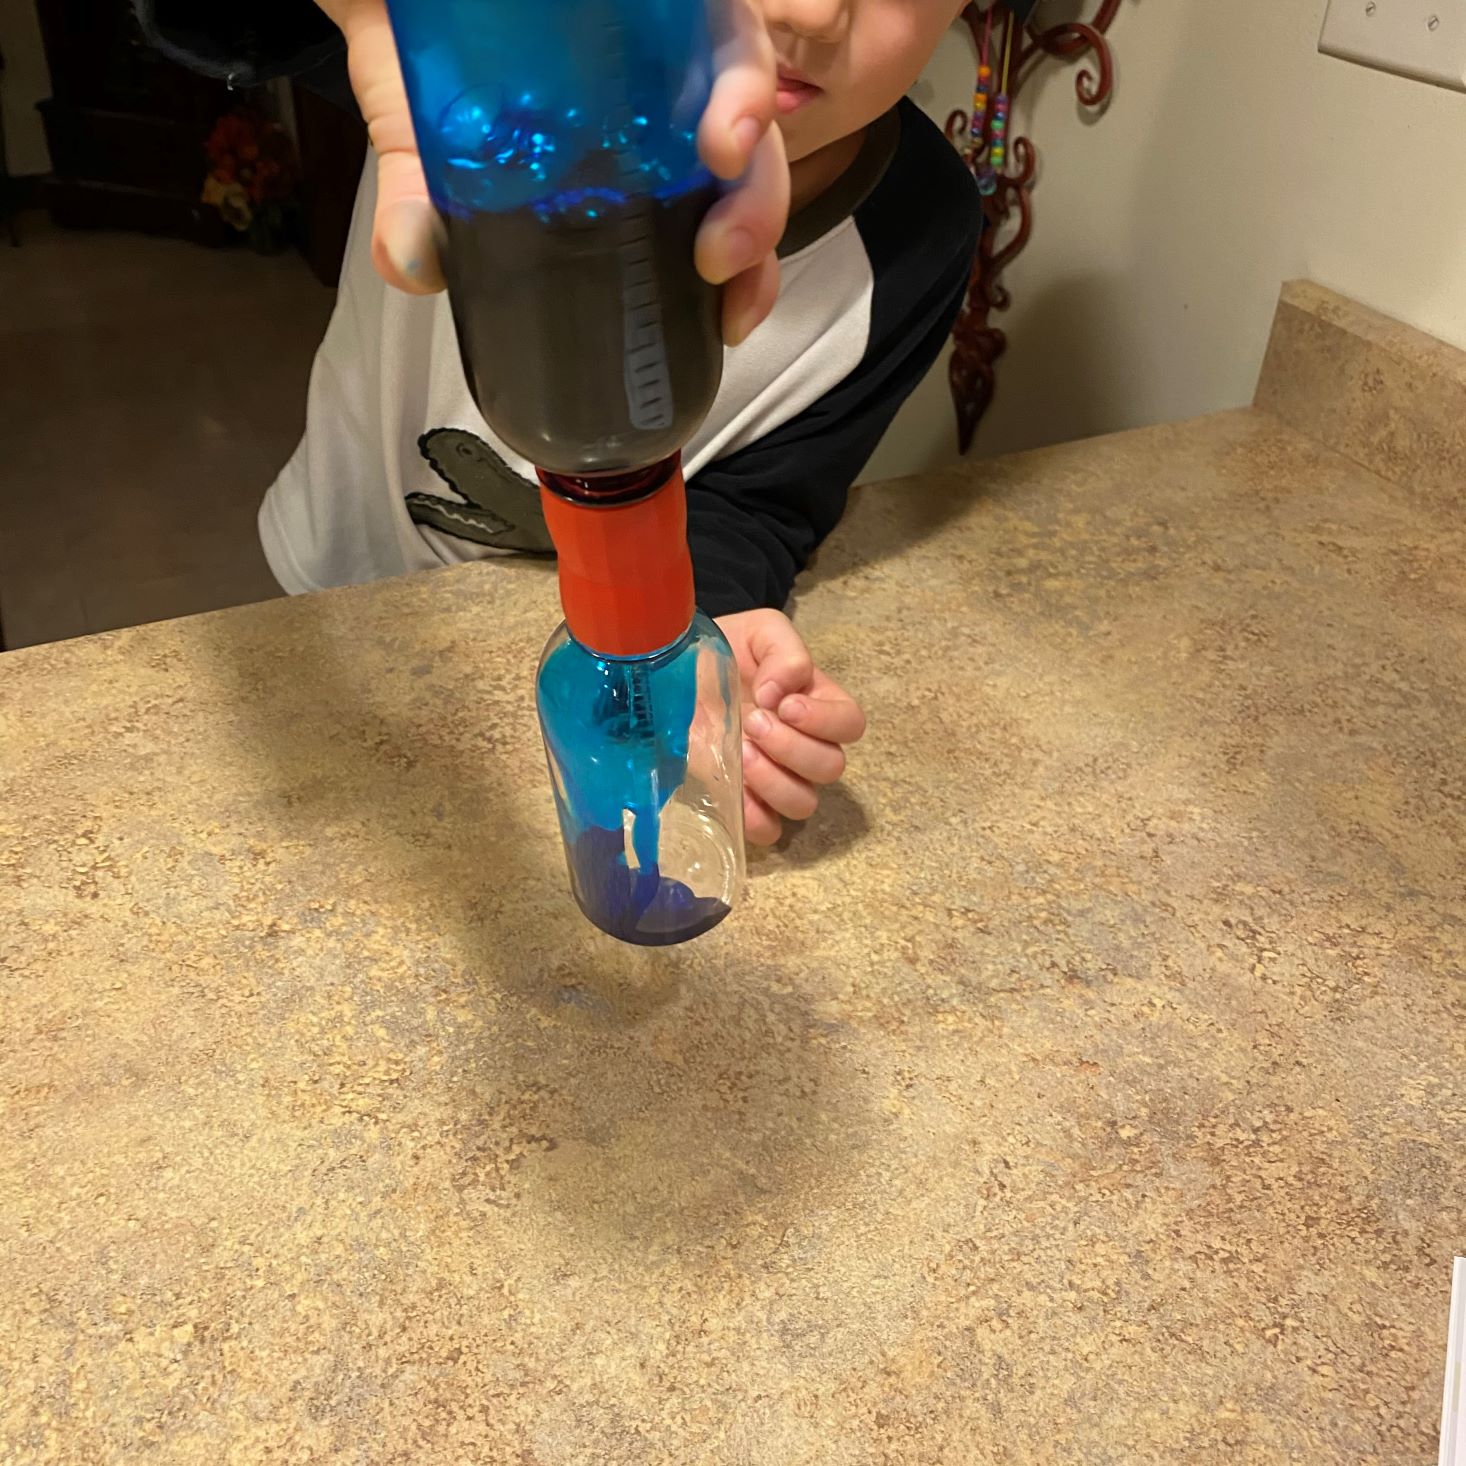
To make our own tornado in a bottle, we first filled one of the bottles 2/3 of the way full with water. We then added the powdered food coloring (be careful with this... we discovered that even if a grain of it escapes onto the counter, once it gets wet you will have blue everywhere!) After the food coloring is added, you attach the connector to the neck of the bottle containing the water and attach the other bottle to the other end. Please make sure this connecter is tight... you DO NOT want this brilliant blue water to leak out! Once it is tightened, you can turn the whole thing upside down so the bottle containing the water is on top and spin it around... if everything is done correctly it is supposed to swirl around and look like a mini-tornado. I say "supposed to" because ours had so many bubbles in it that you couldn't see anything. We used our regular tap water from the refrigerator and only added the food coloring. We even tried letting it sit overnight to settle down and we still had mega bubbles. The next day my son got a little crazy with it and somehow cracked the bottle, which led to blue leakage everywhere. It was fun while it lasted, but honestly, we never did see that mini-tornado.
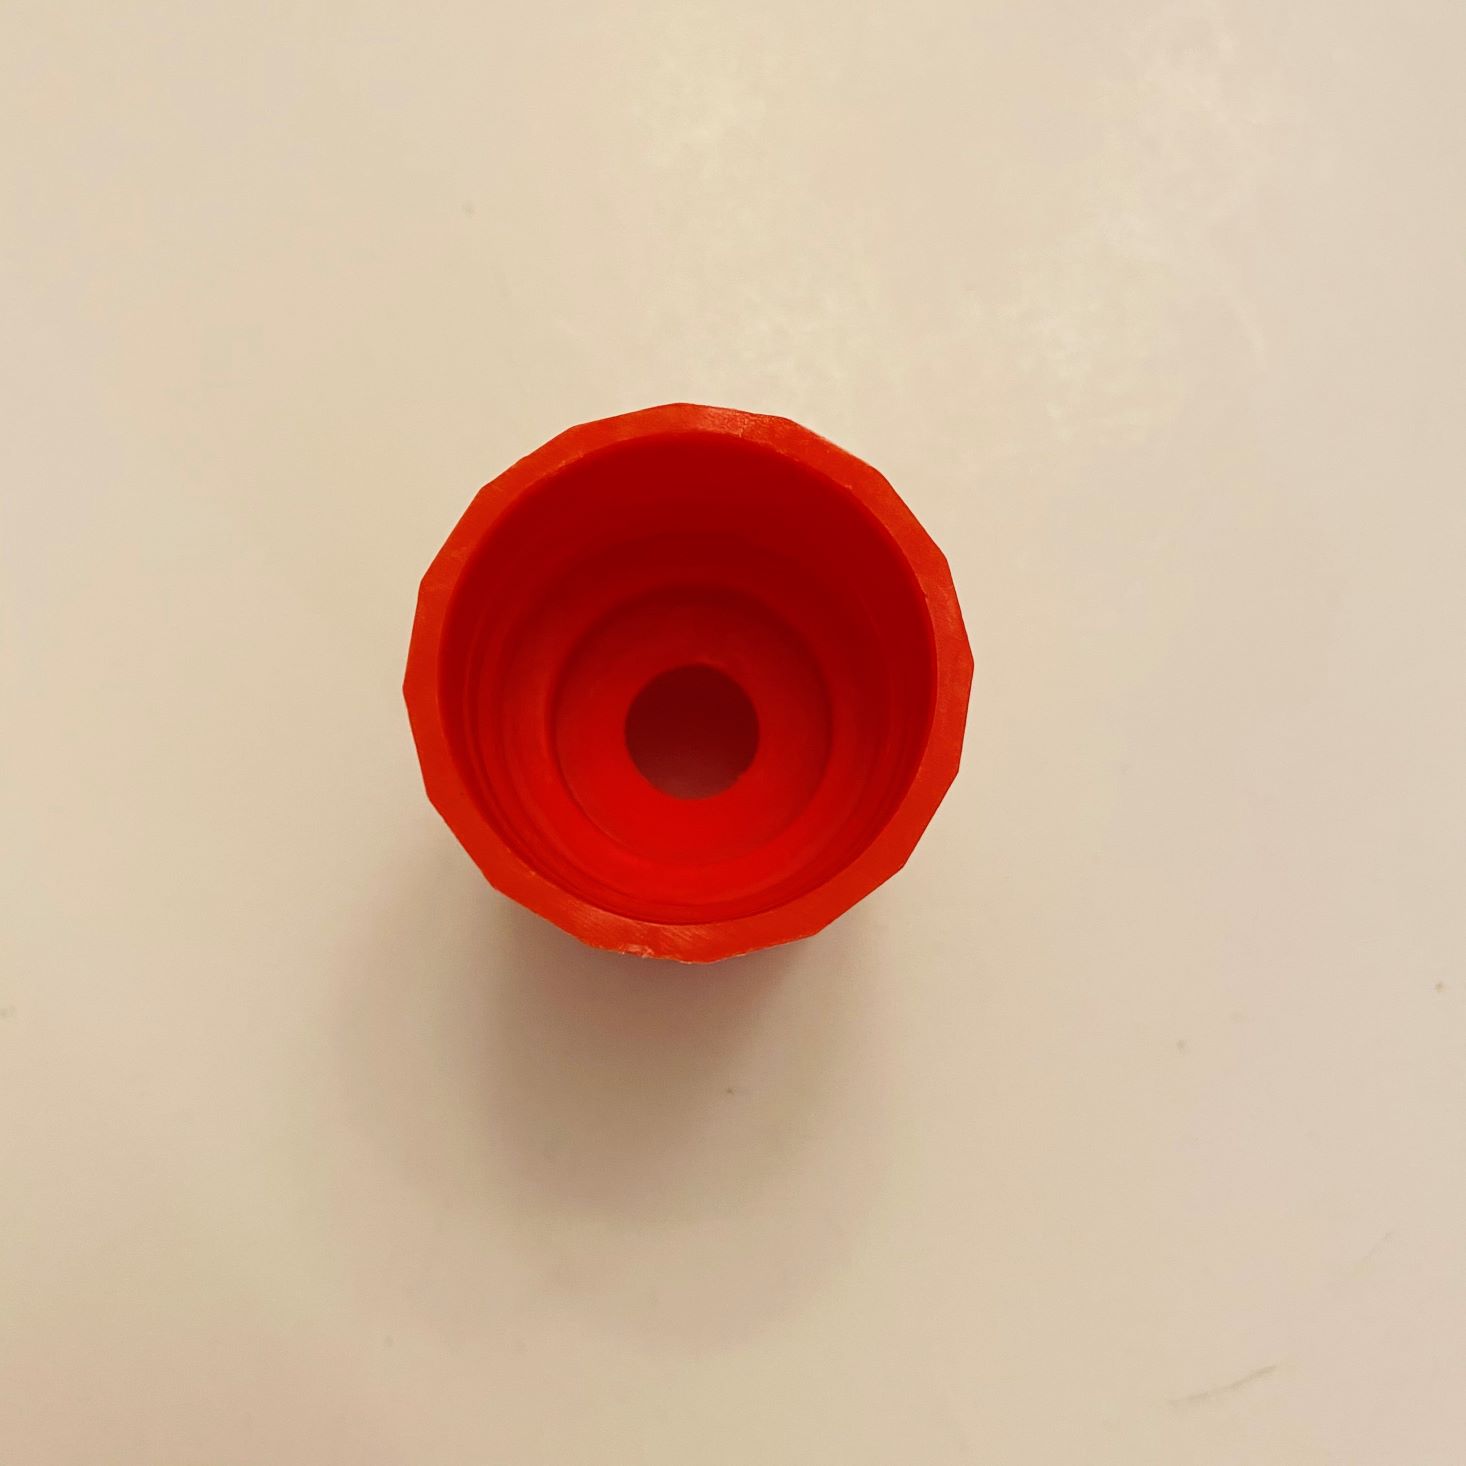
Project 3: Barometer Project
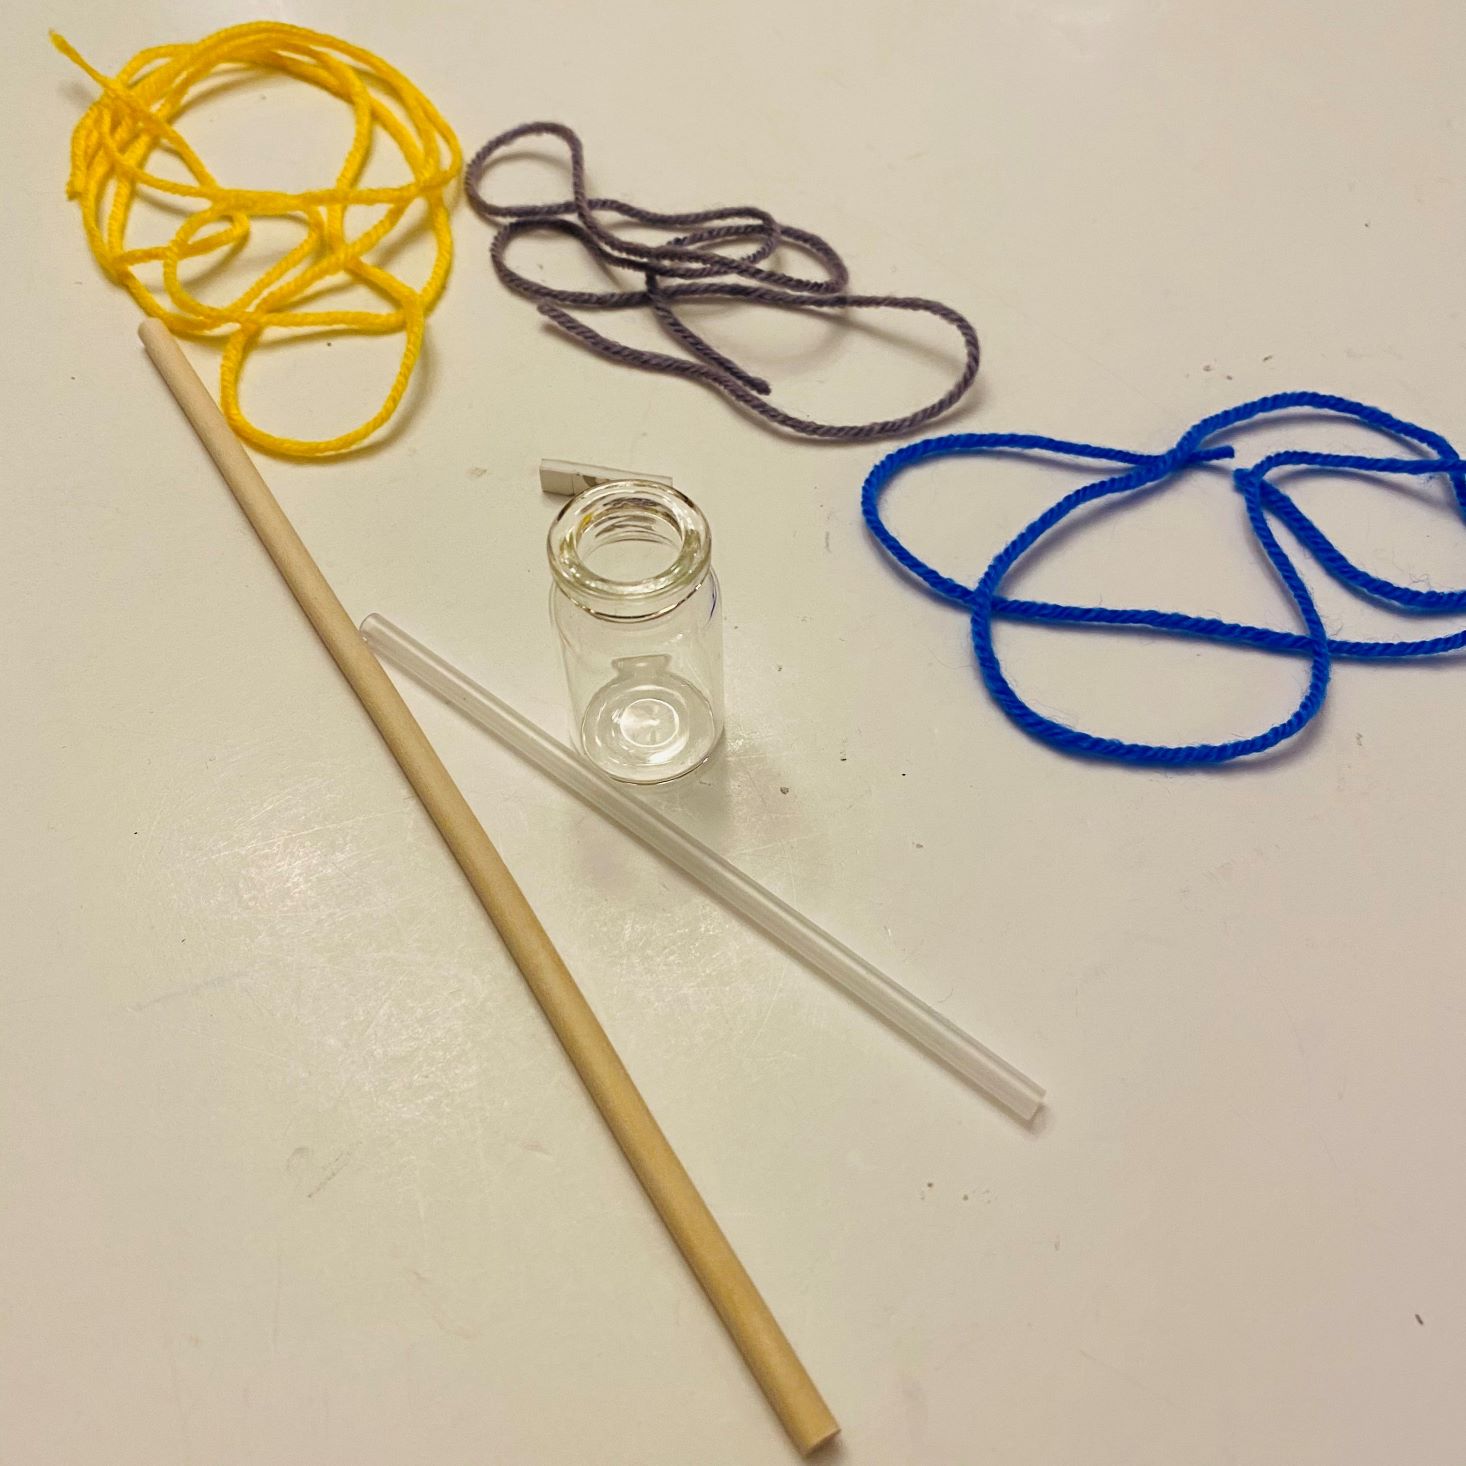
1 of 2
For our third project, we received a small tube with a cap, a short plastic tube, and red food coloring along with instructions to create our very own barometer.
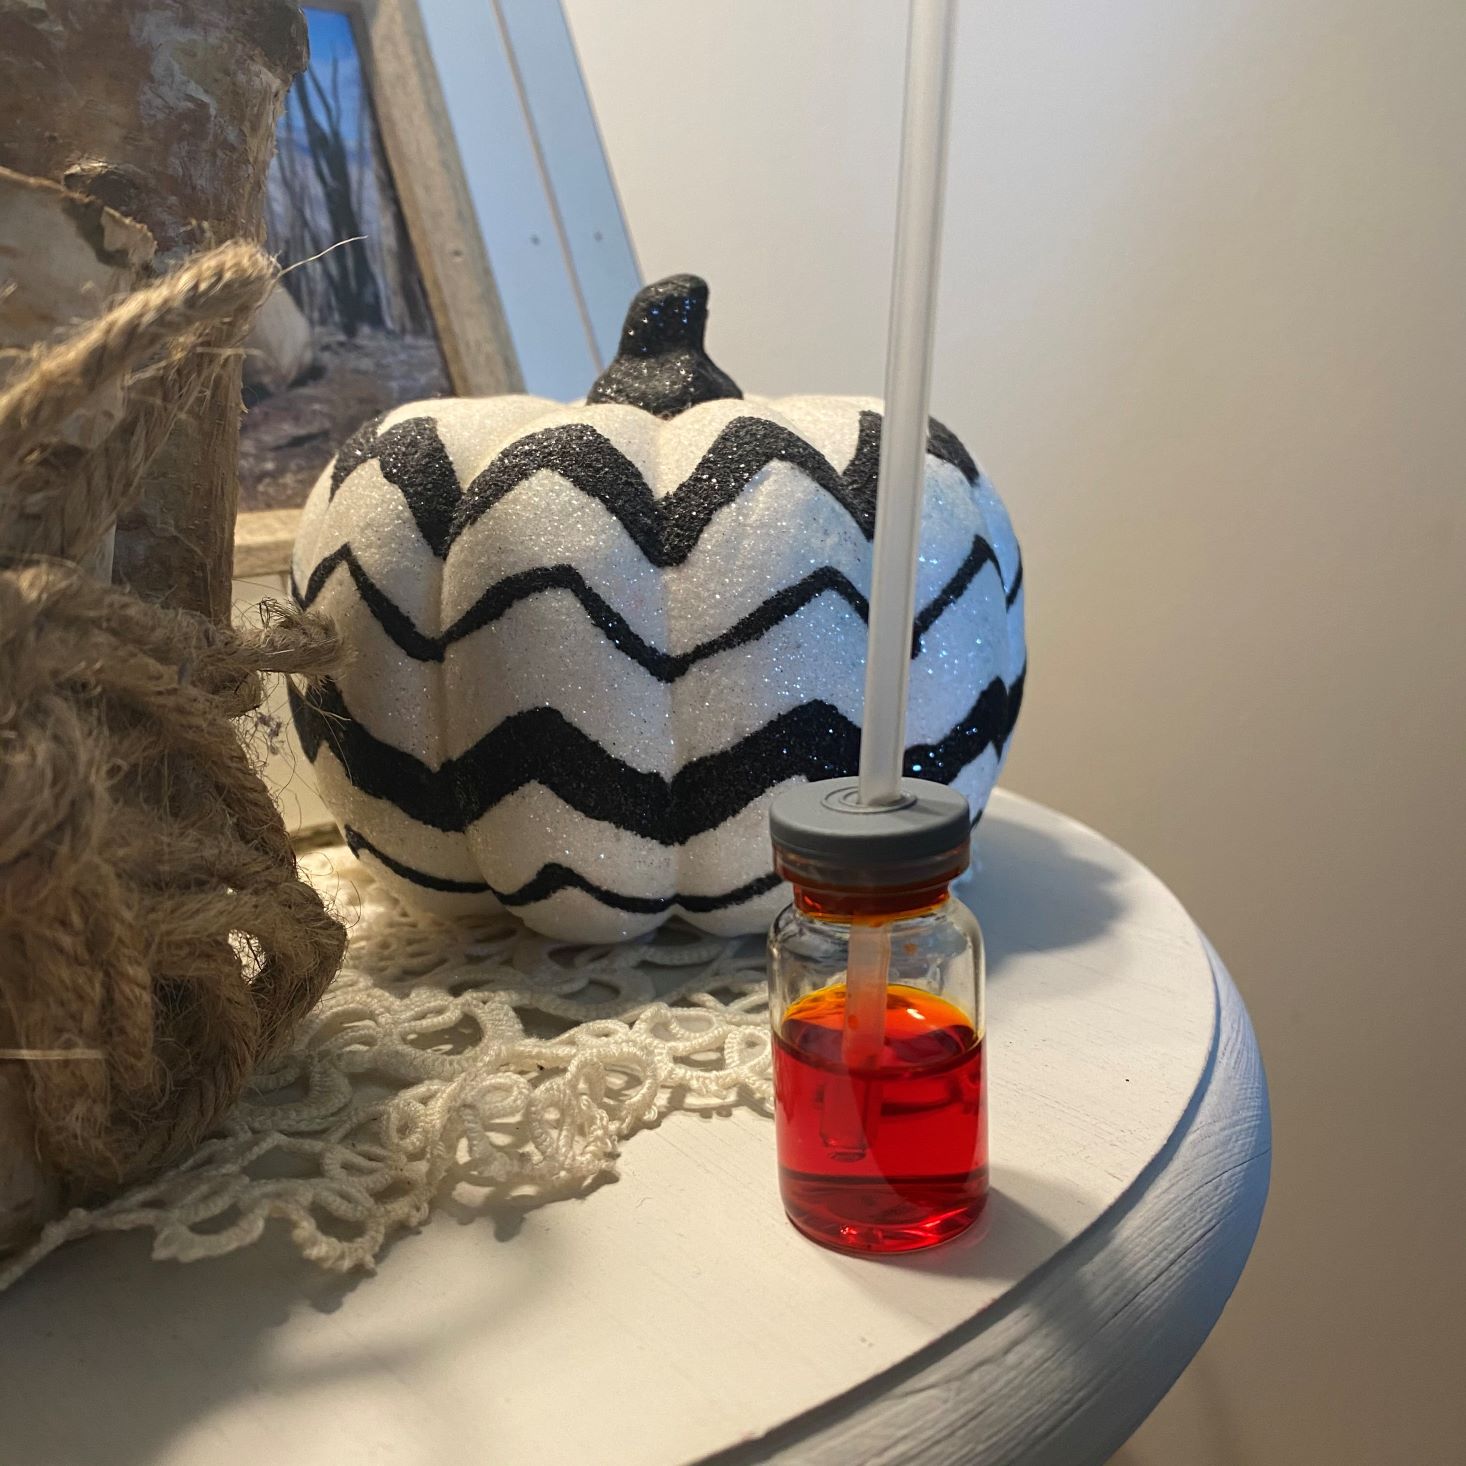
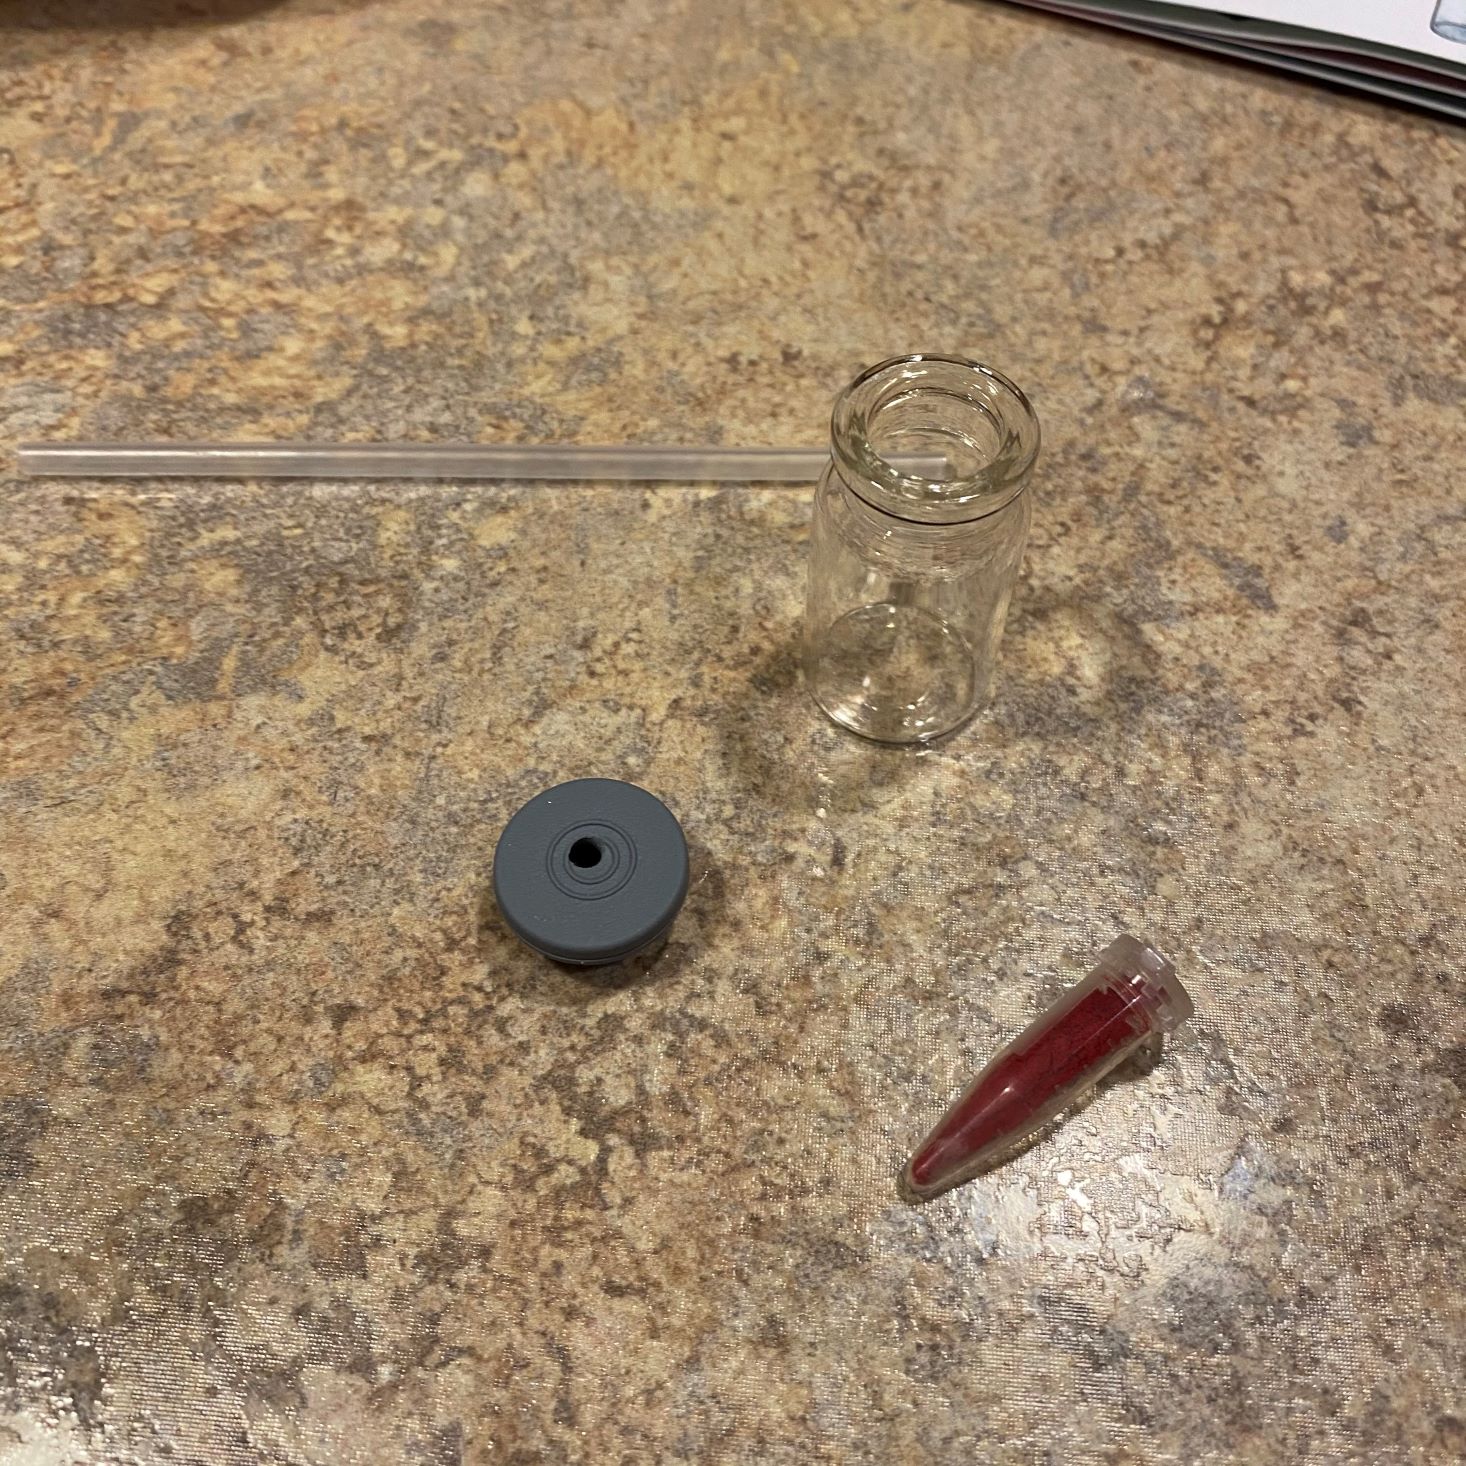
1 of 7
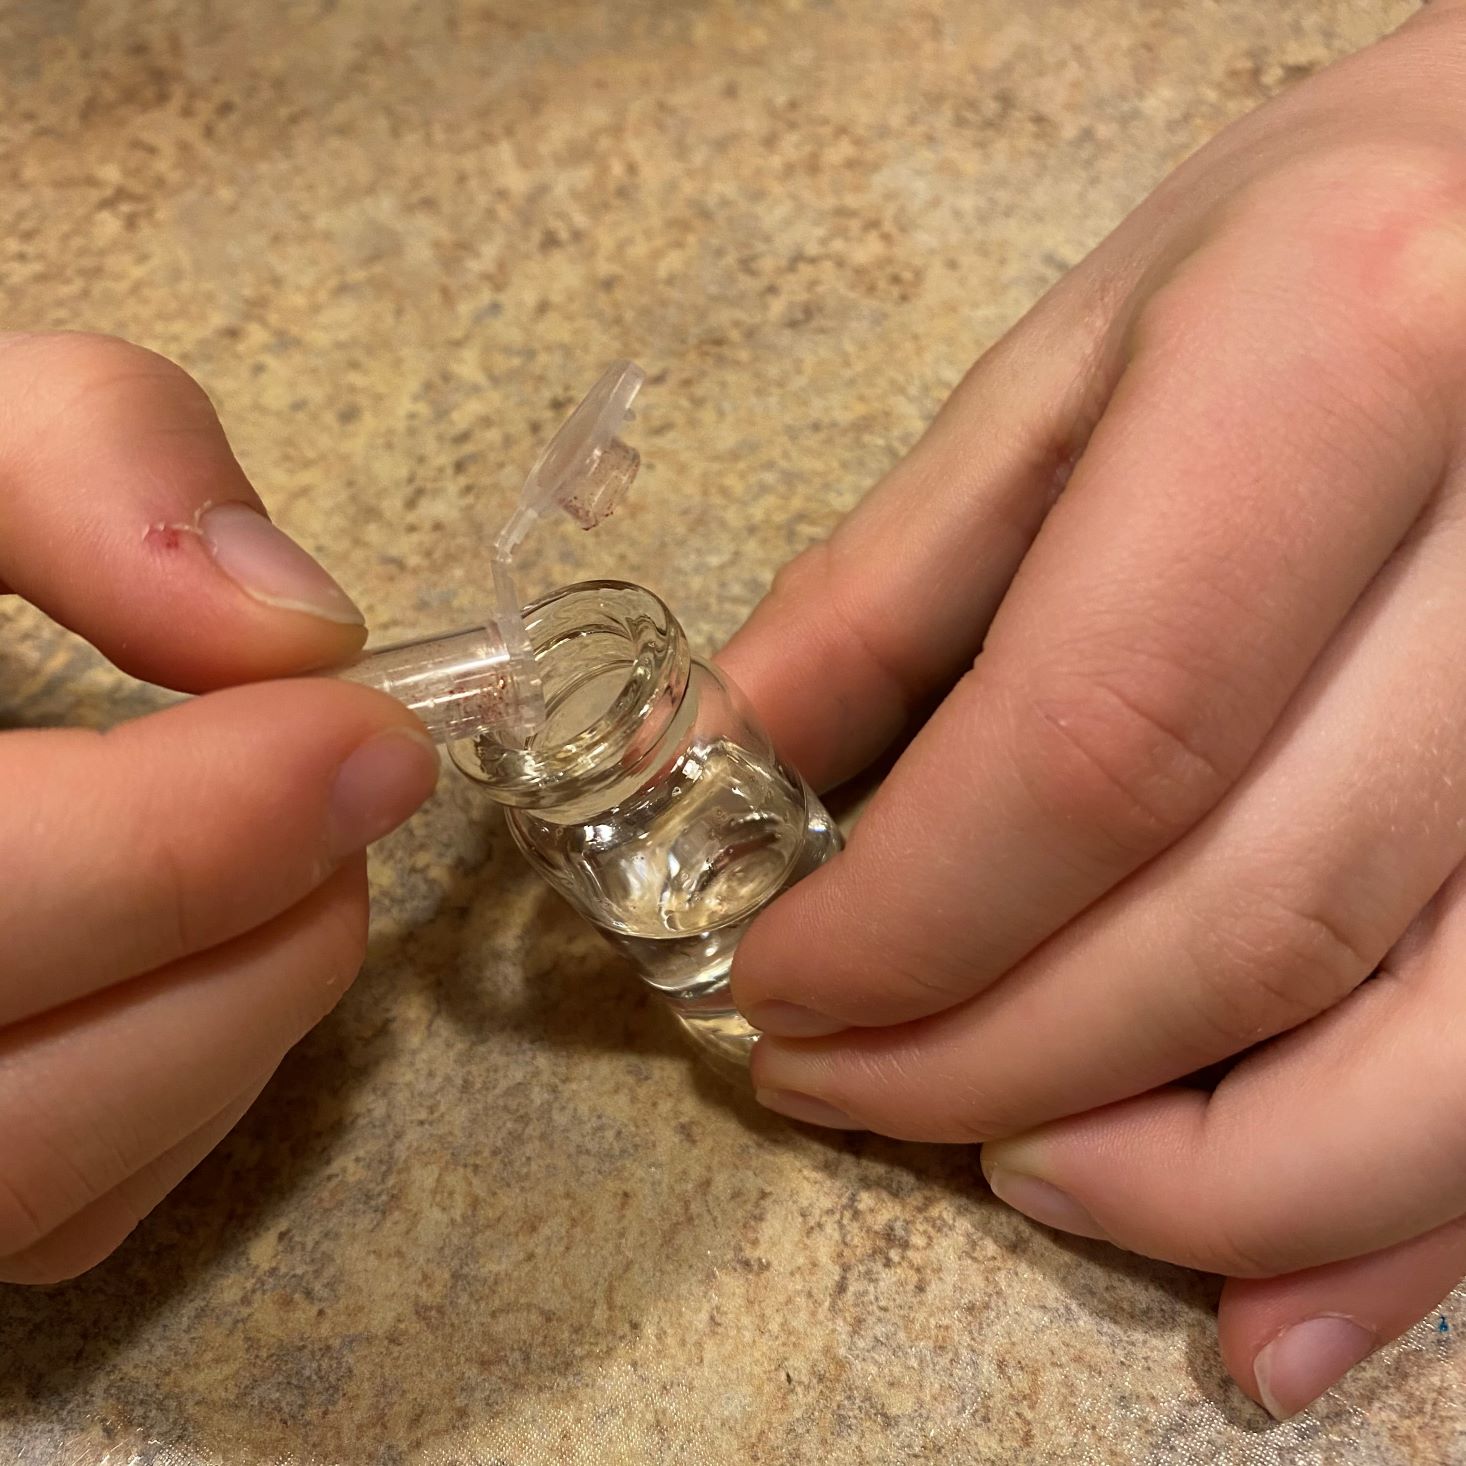

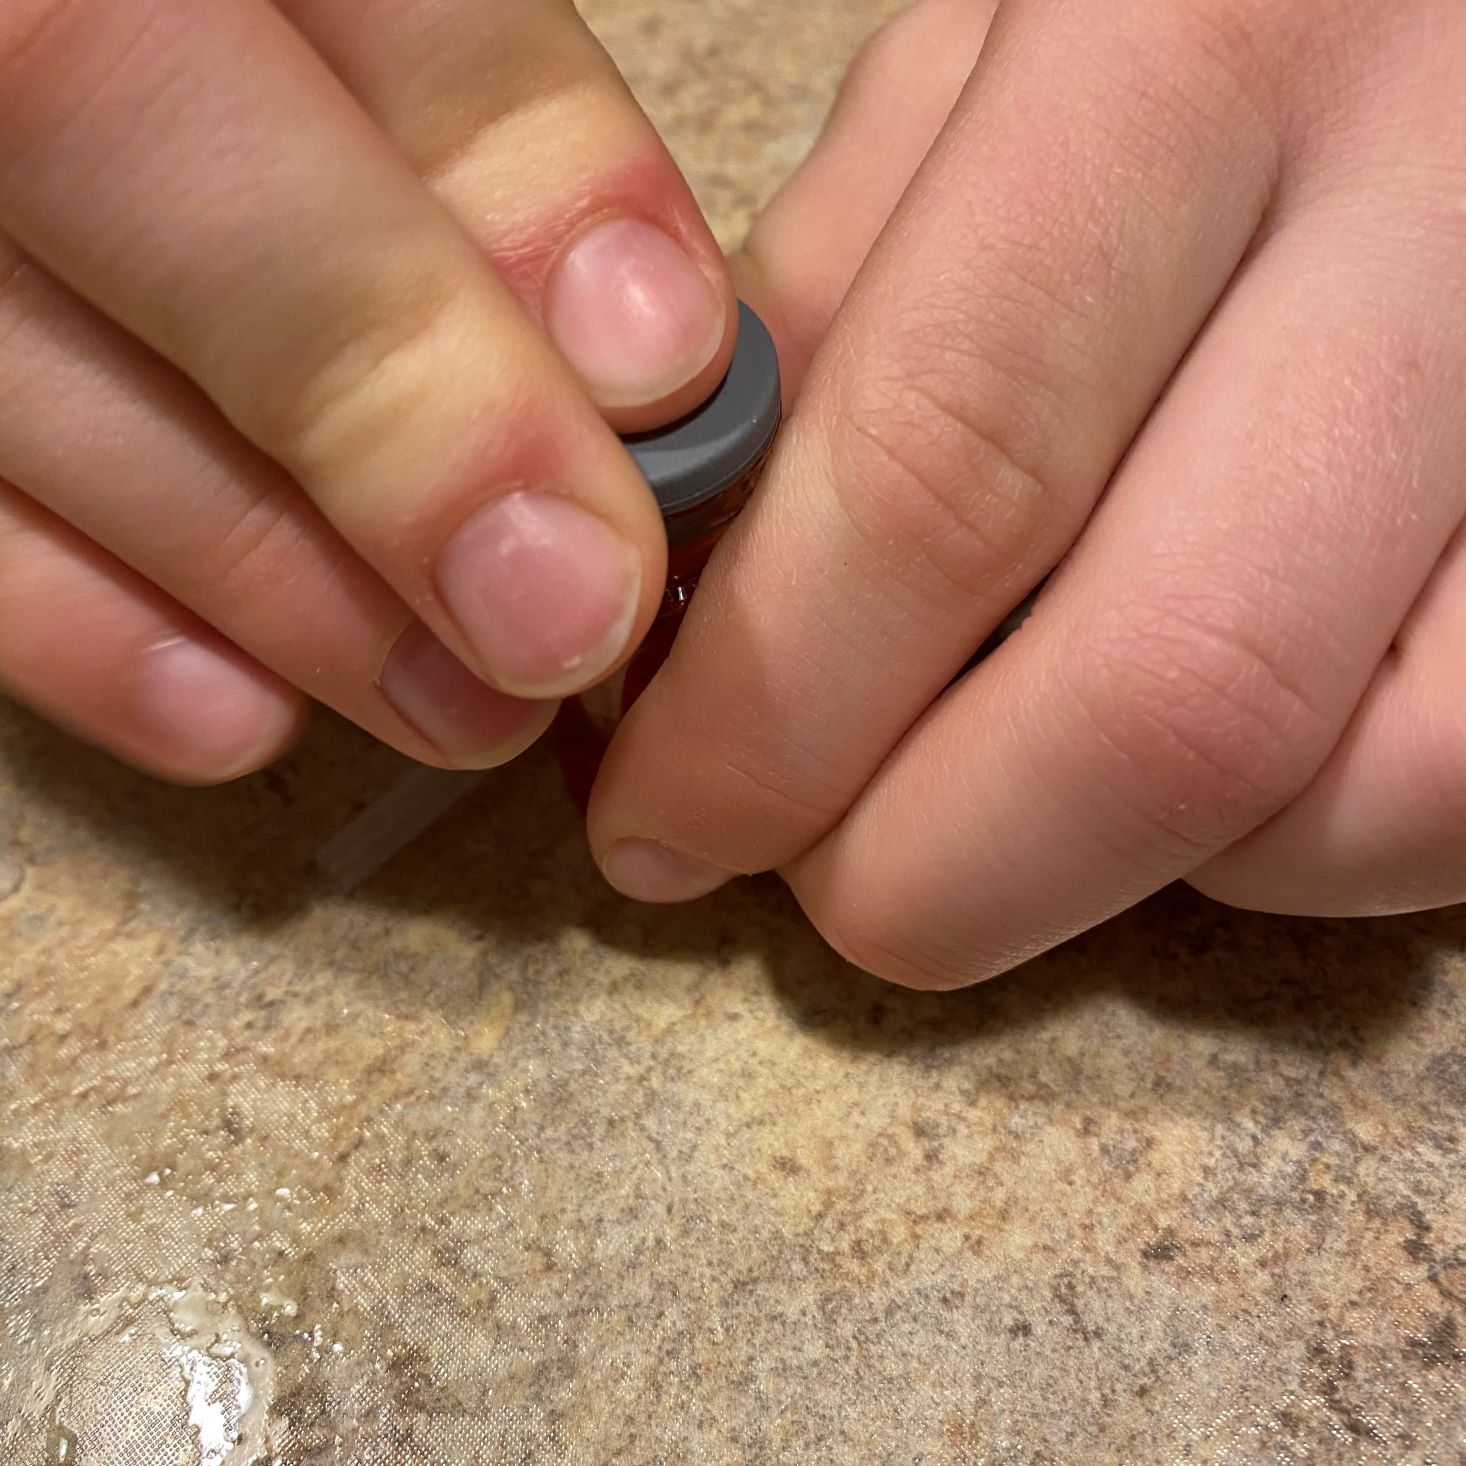


To create our barometer, we filled the flask with water to the halfway mark and added the red food coloring, shaking it well to dissolve it. When then placed the cap on the container and pushed the plastic tube into the flask until the end was half in the water. Next, we placed it in an area where the temperature doesn't change much (our living room) and waited... and waited... it said it would take a full day before our barometer would start working, and it took two. We received a lot of background information as to what atmospheric pressure does, and in the book, it mentioned that if the water level is low in our barometer, bad weather is to come... interestingly enough we are in the middle of a 70-degree warm spell so I'm not sure our low level is accurate... interesting, but a little confusing!!
Project 4: Observing the Wind
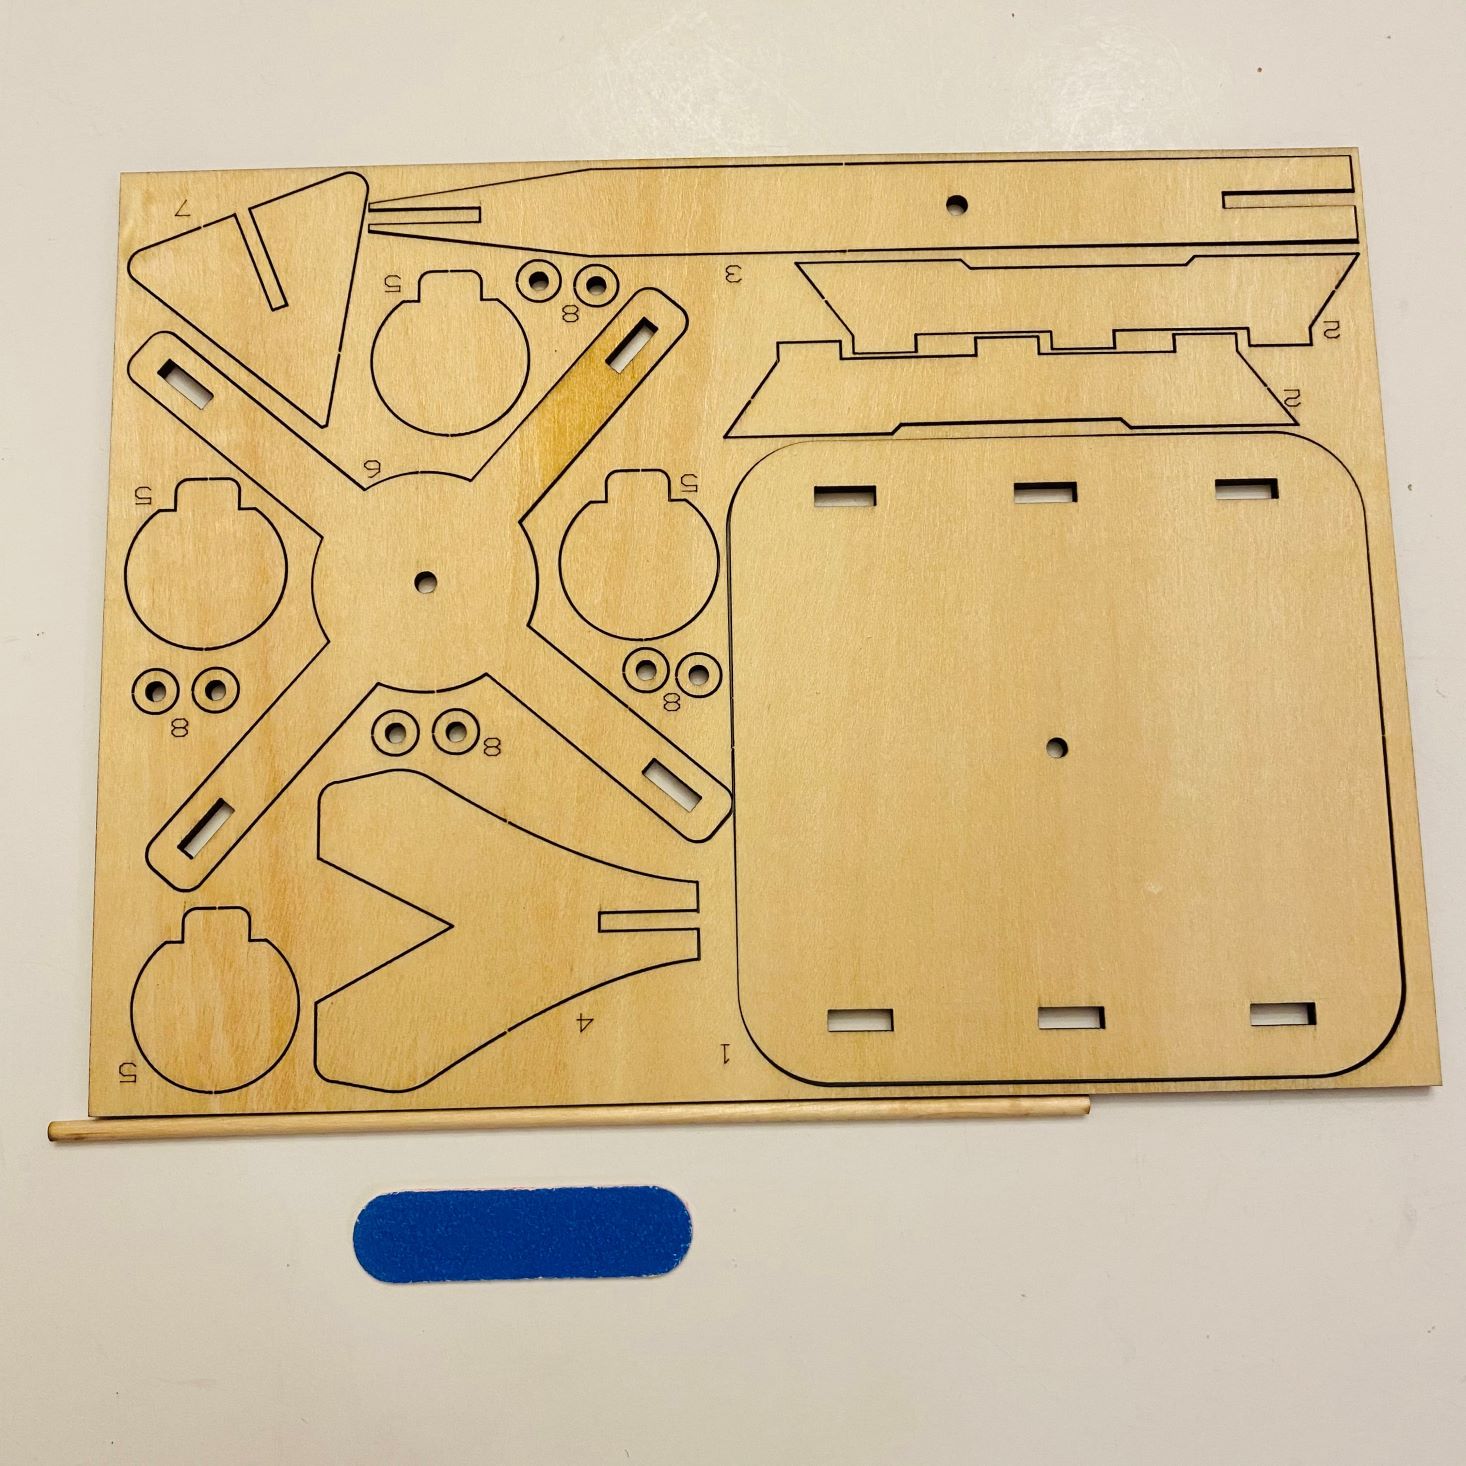
1 of 2
Our next project consisted of making a weather vane. We received this little wooden kit to learn about reading wind direction!
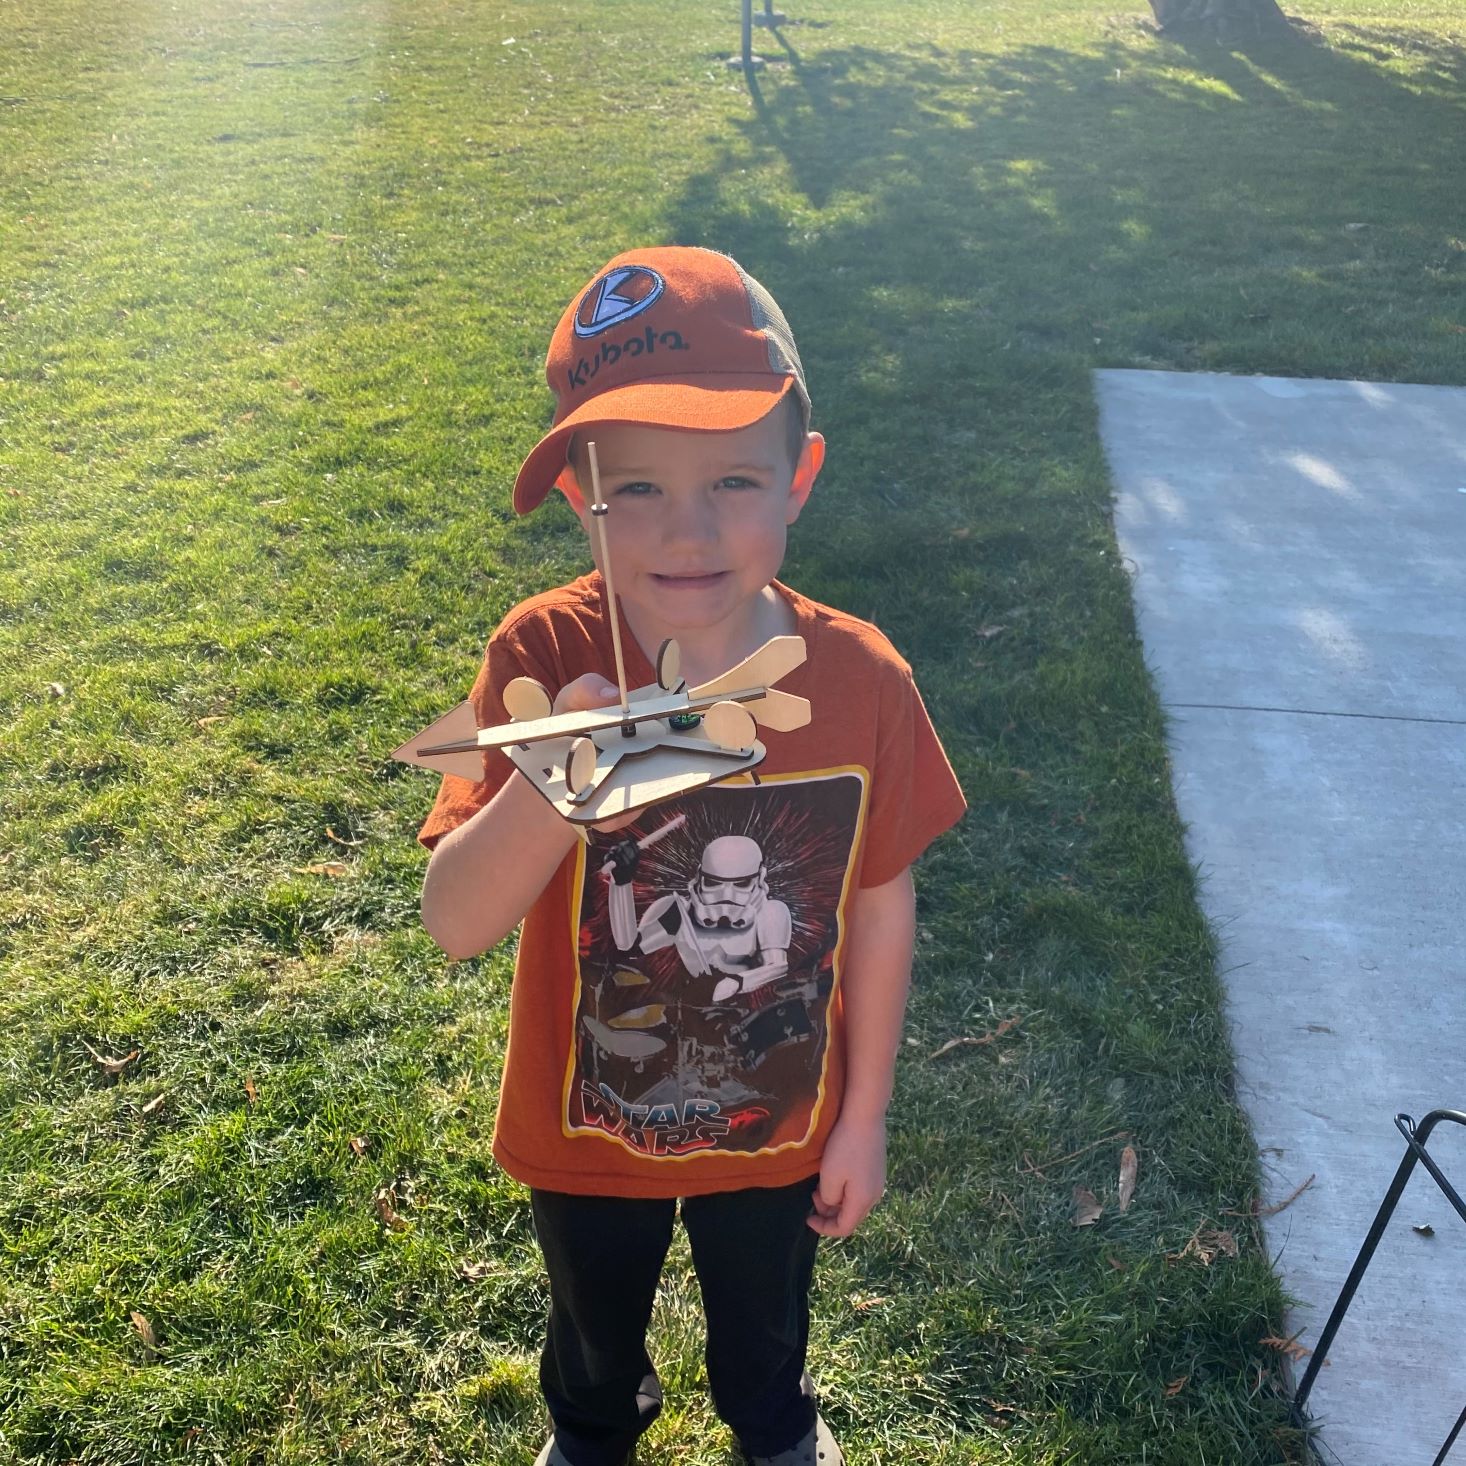
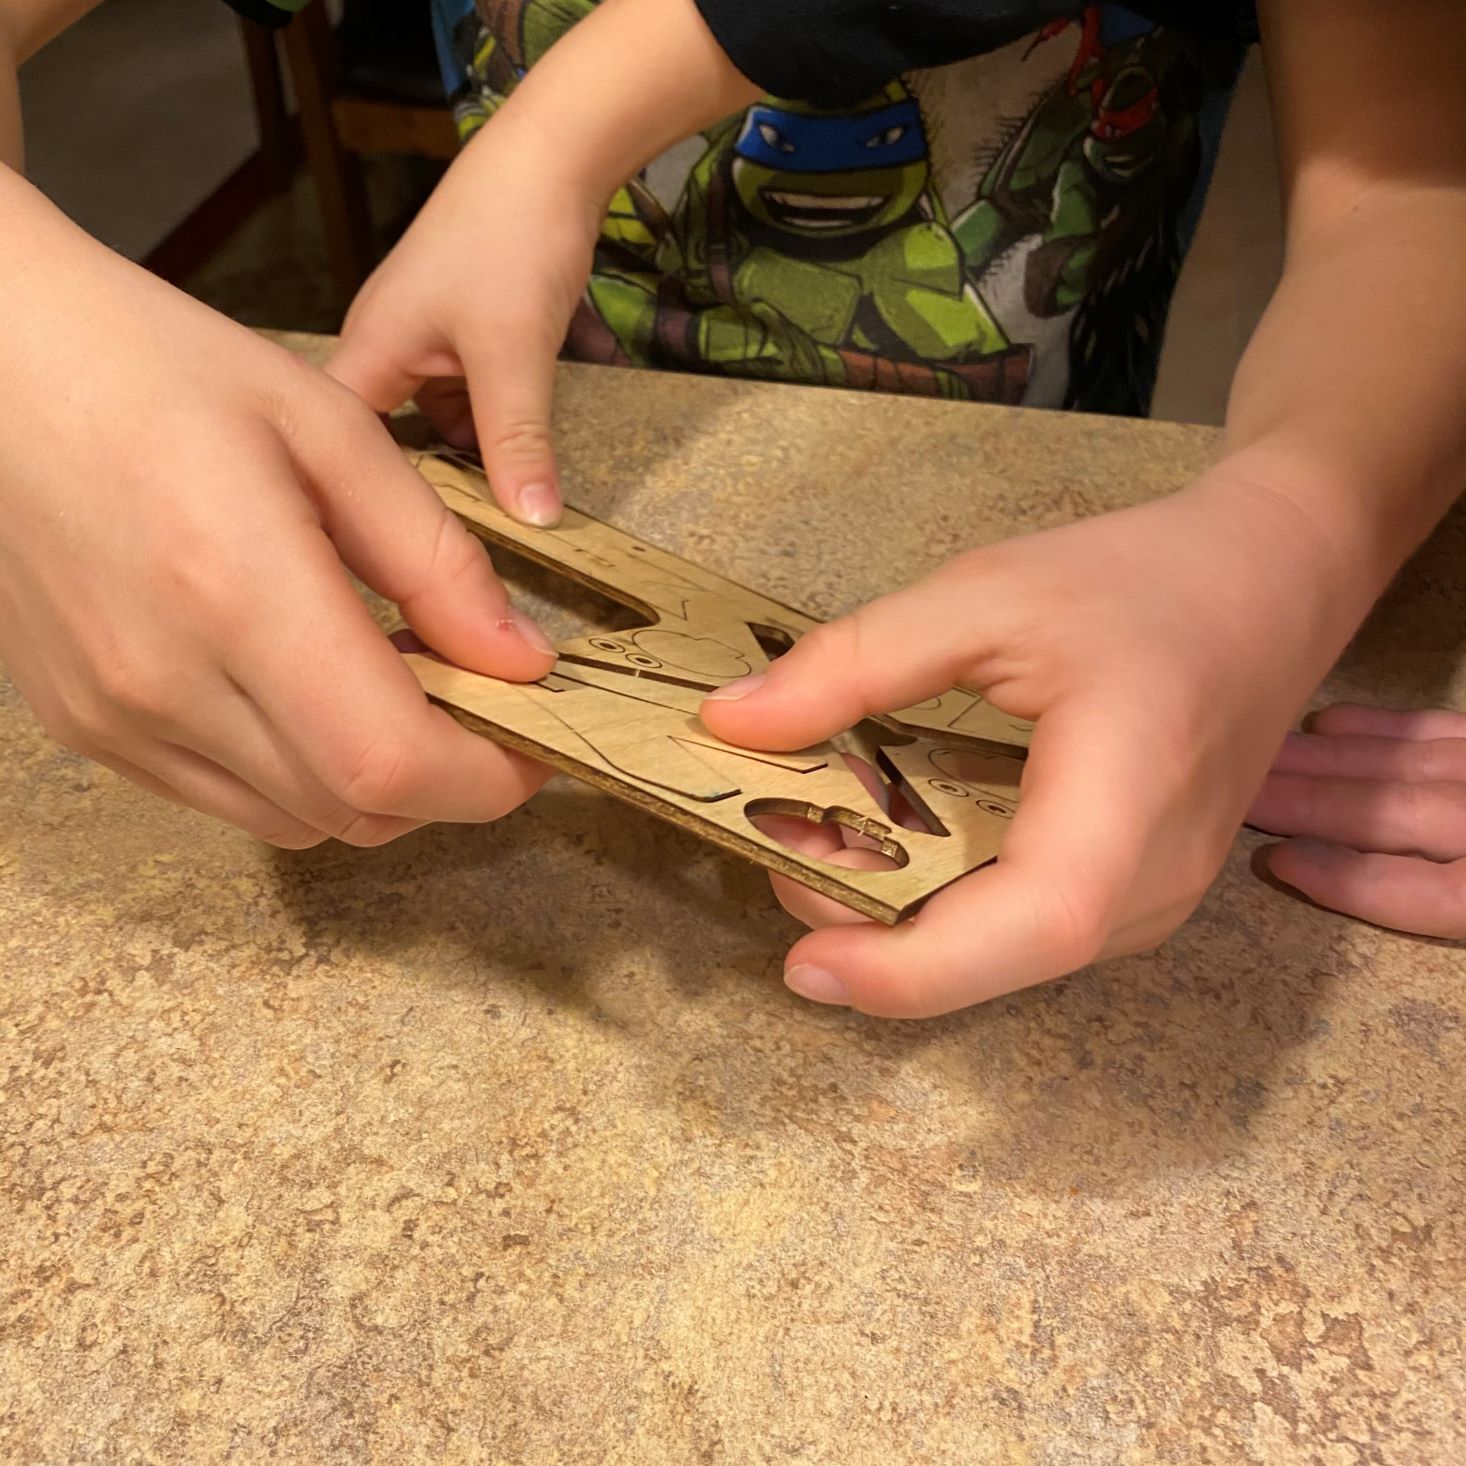
1 of 10

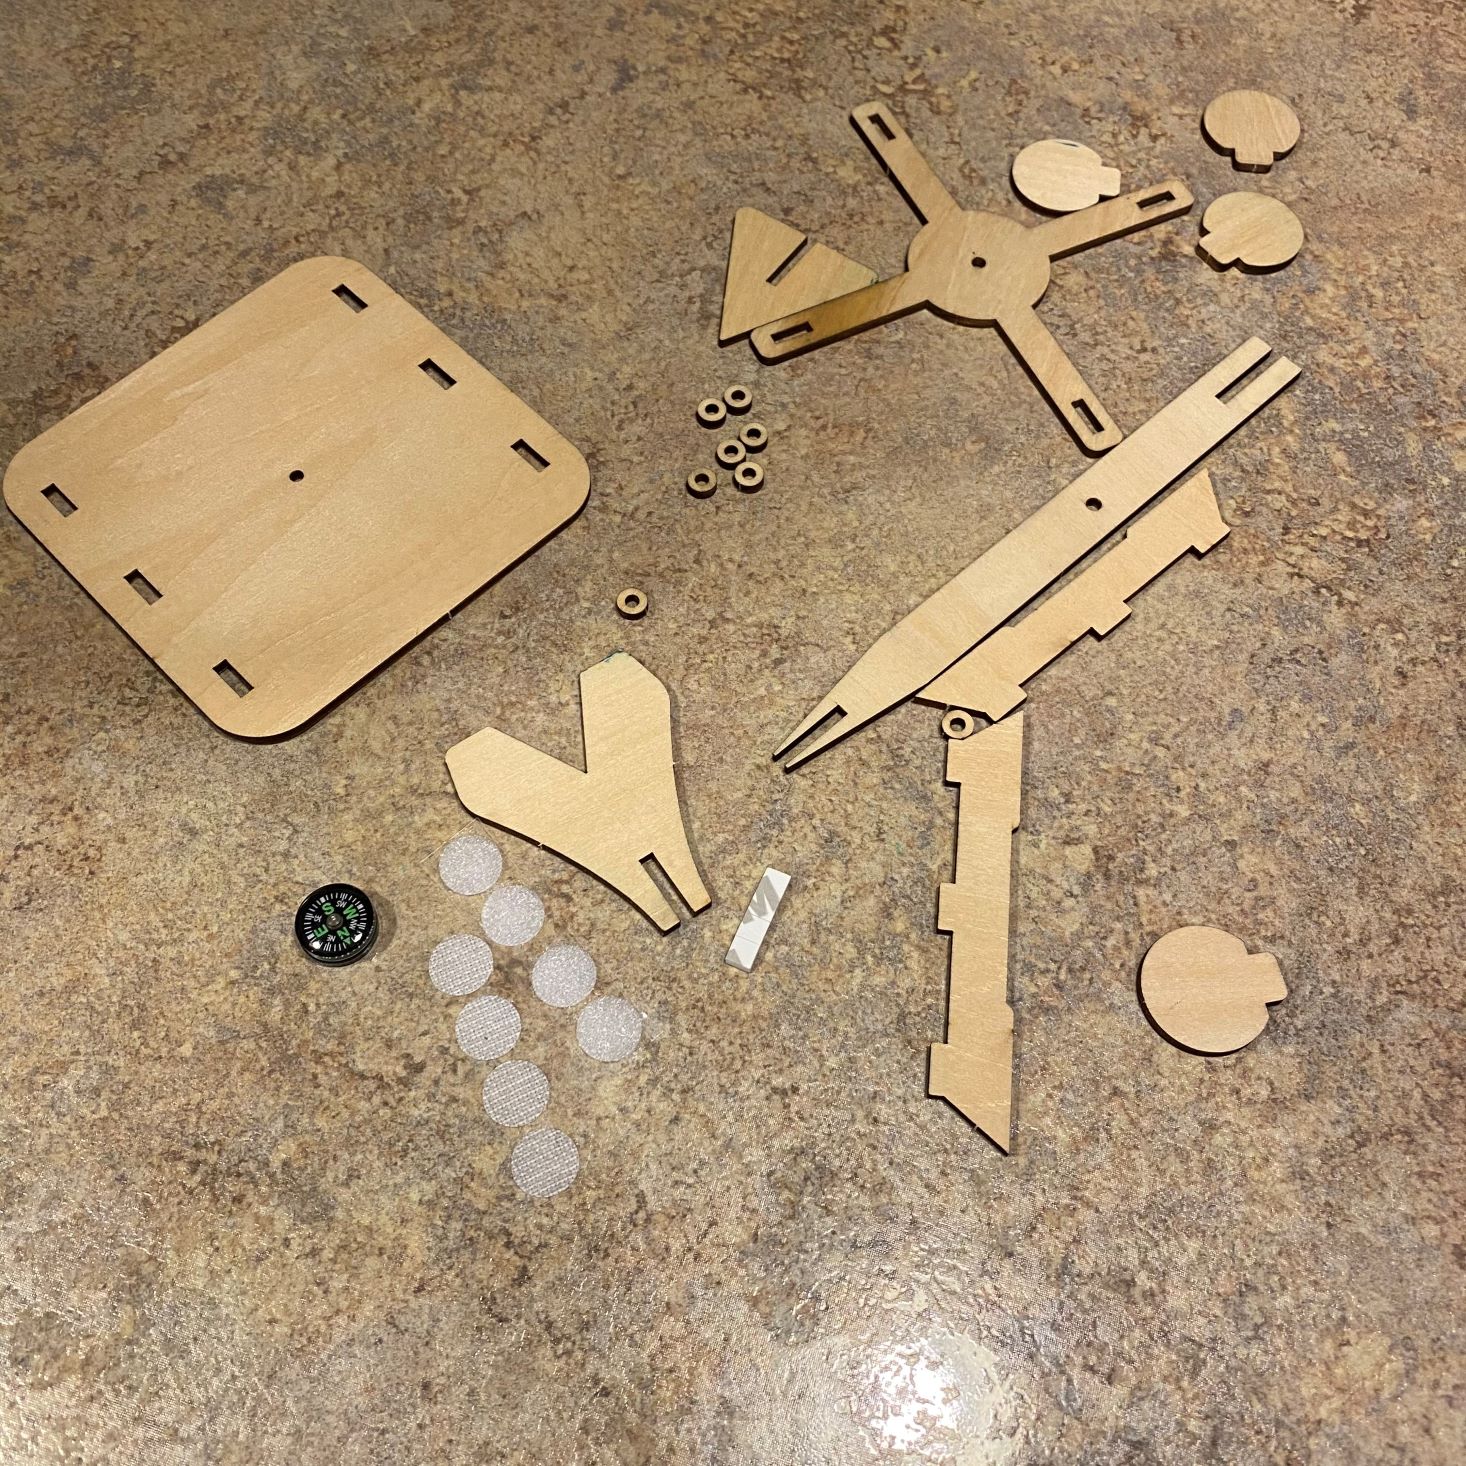

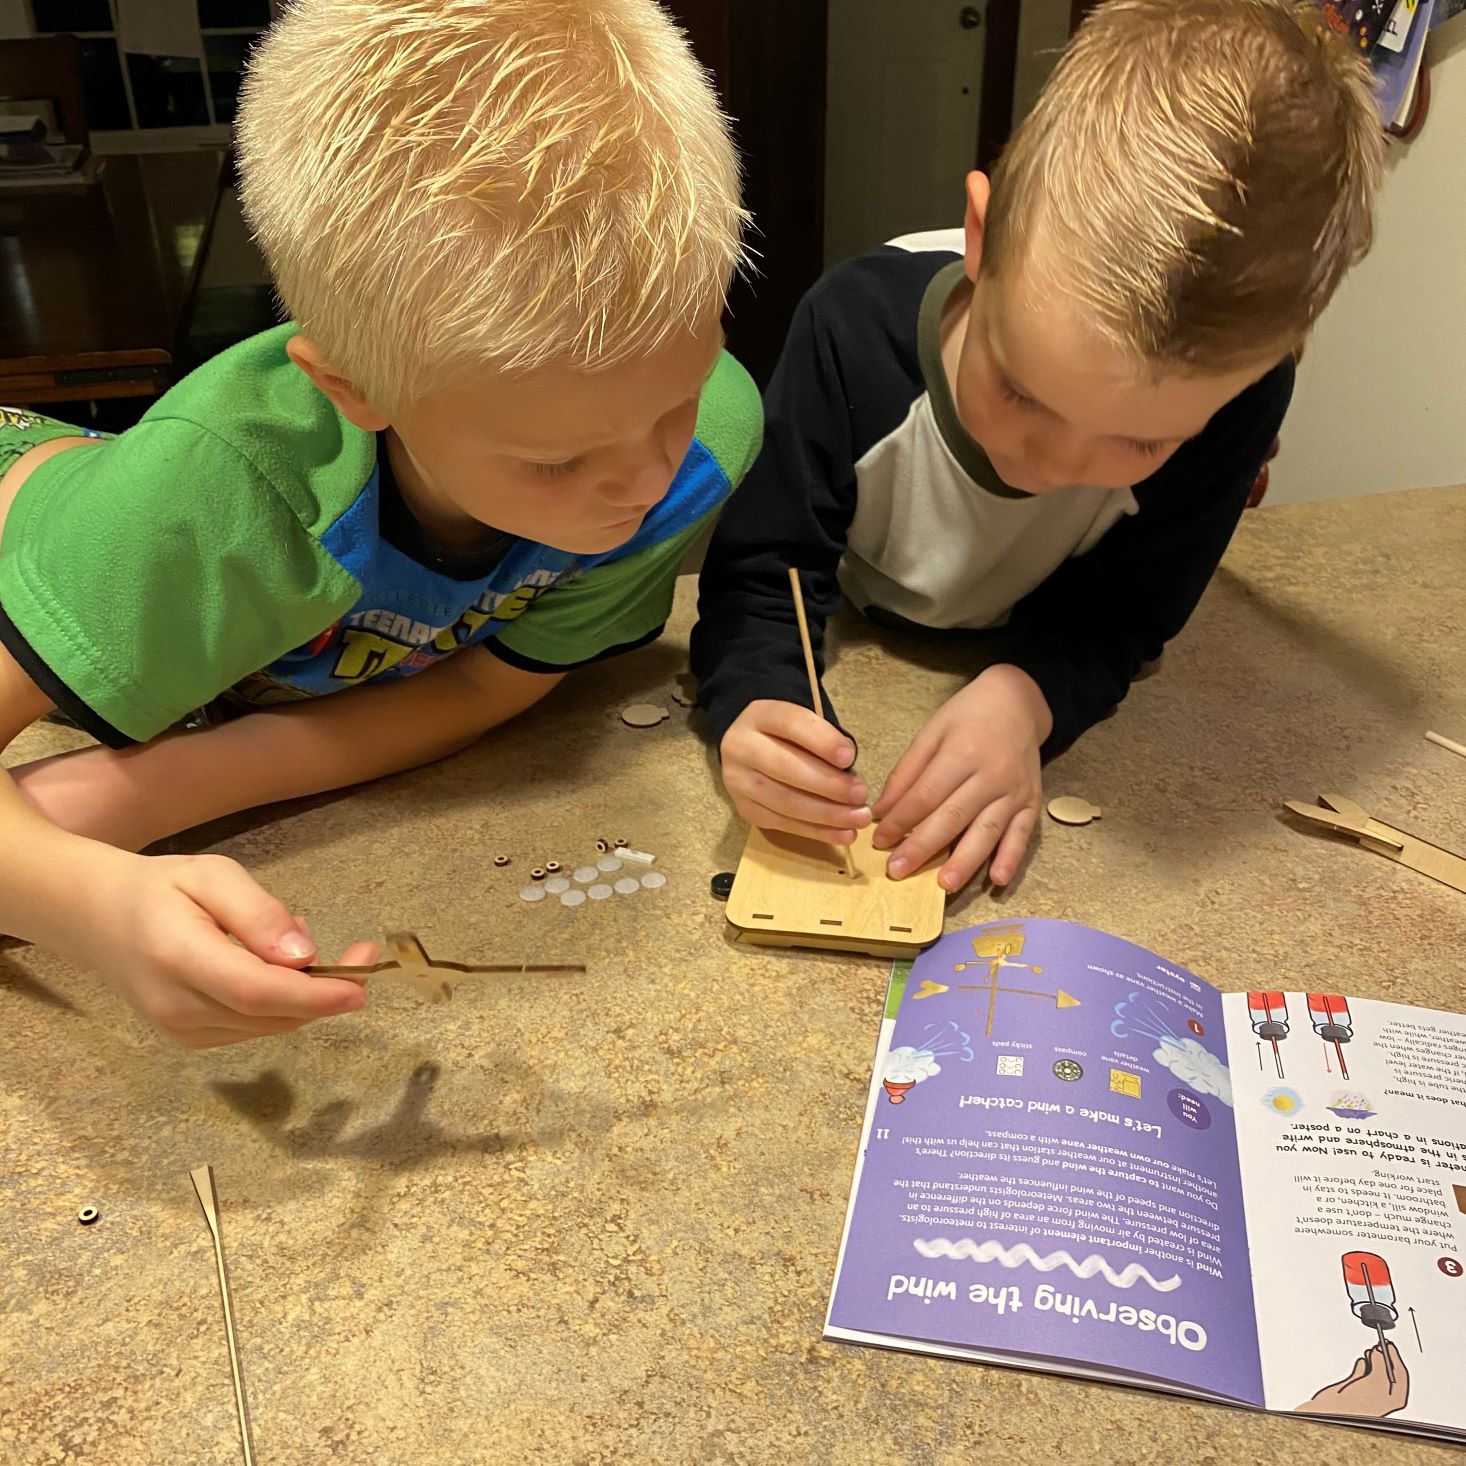
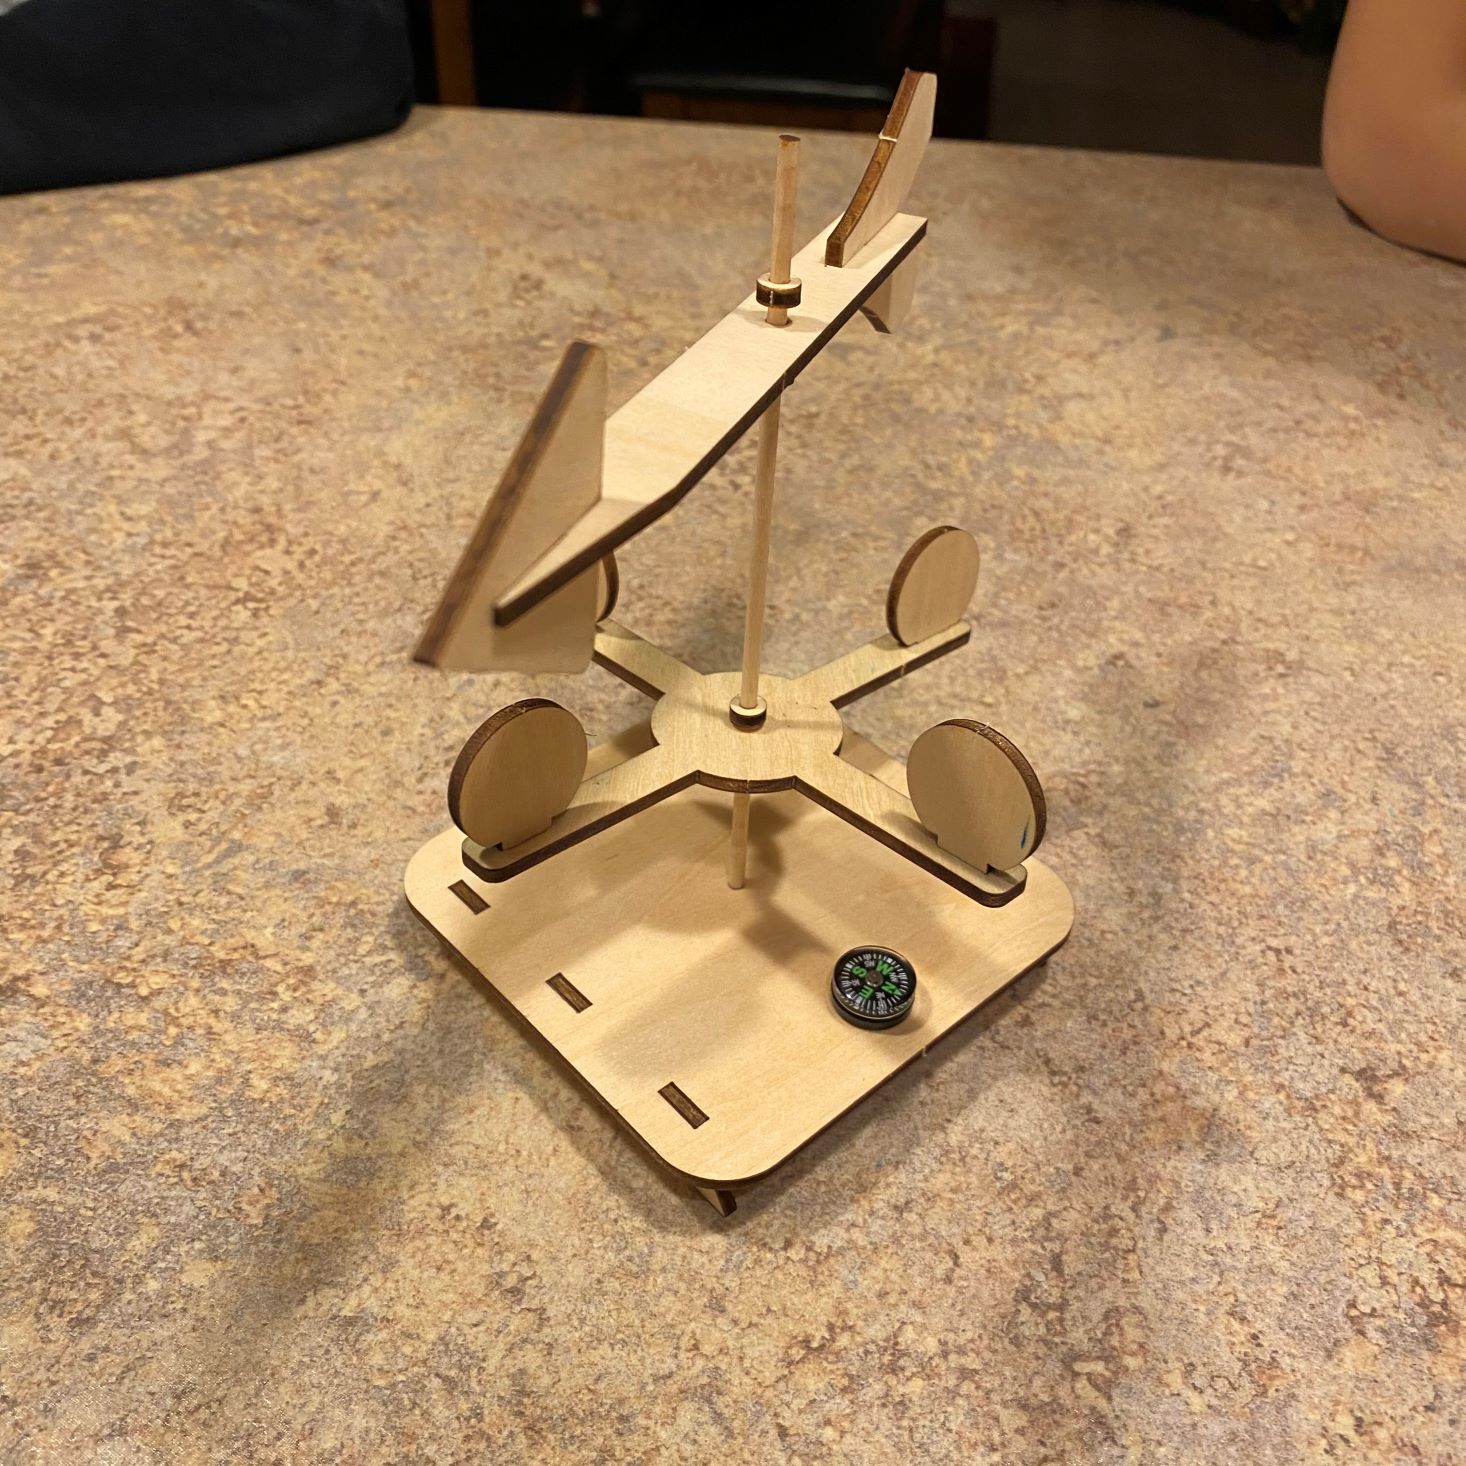
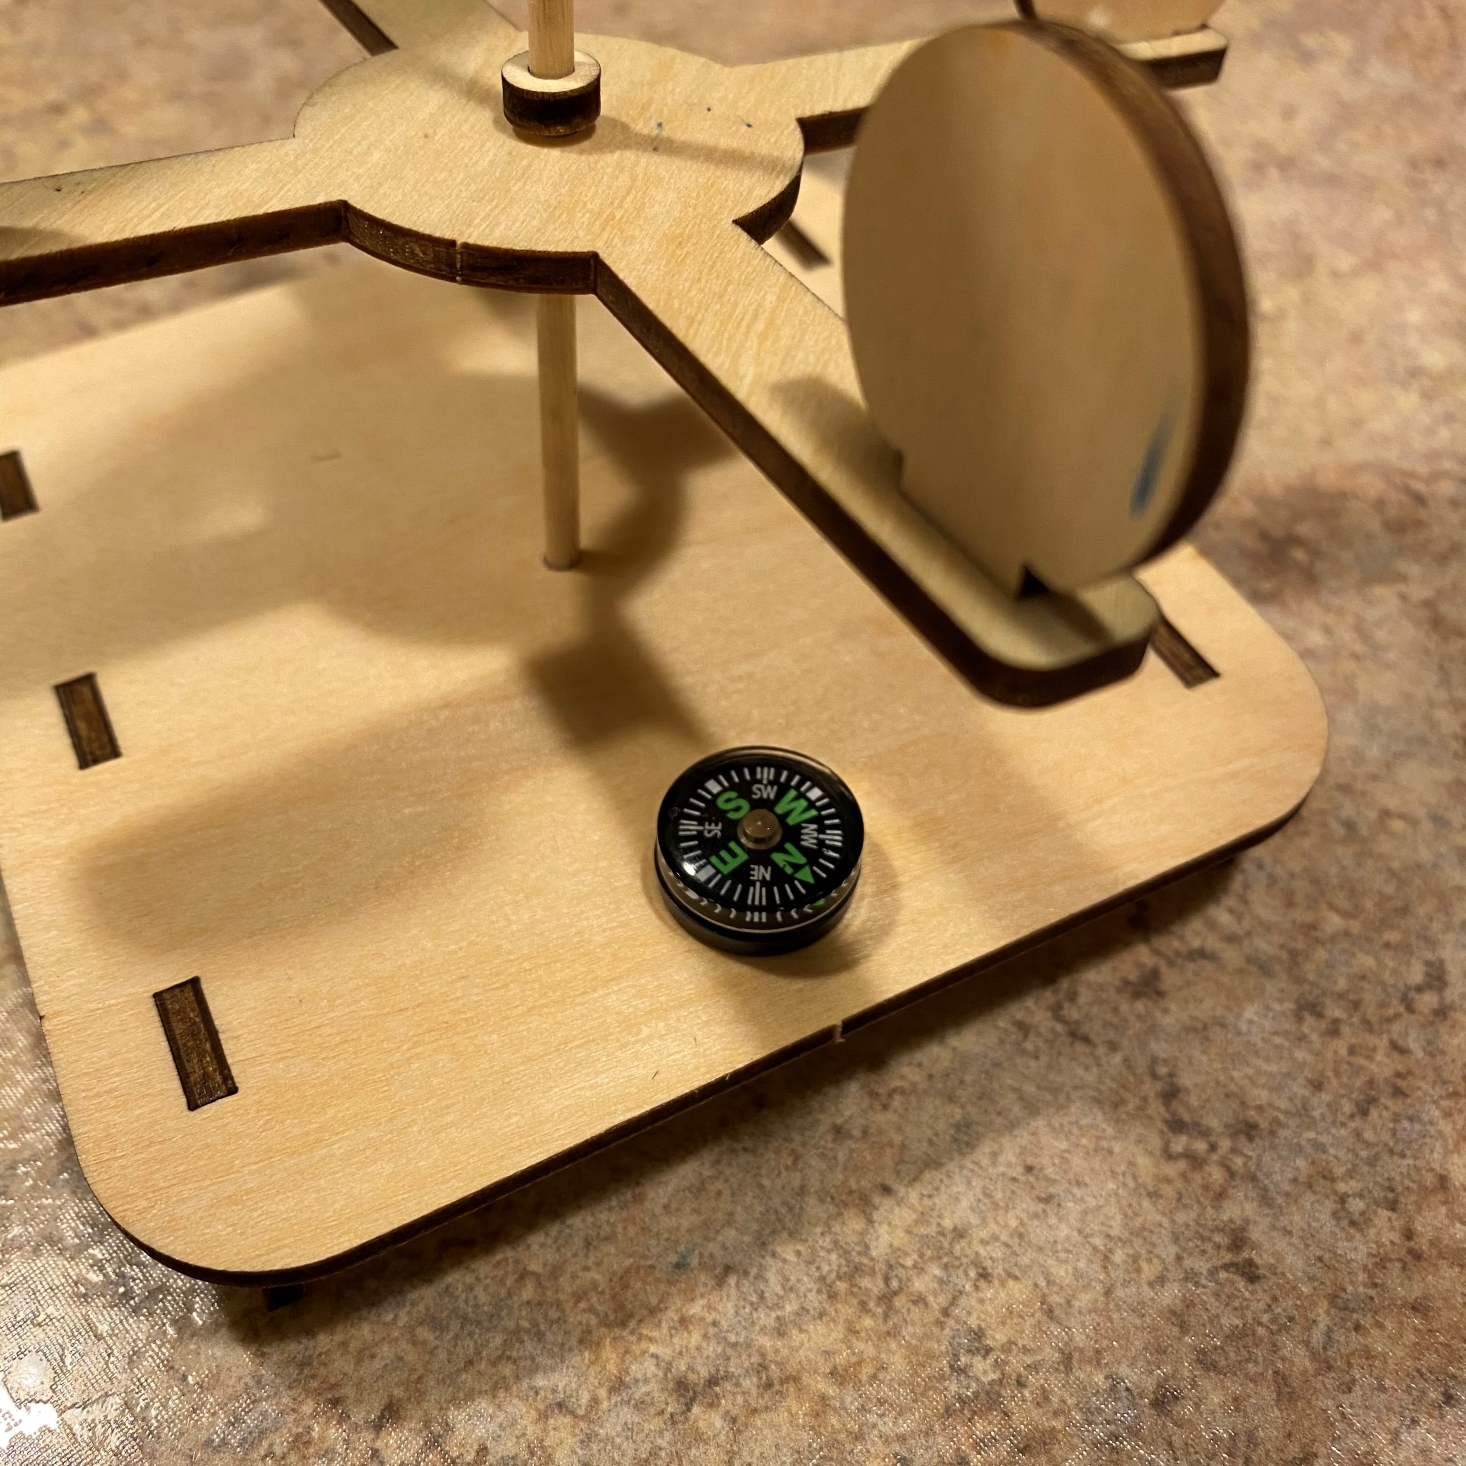
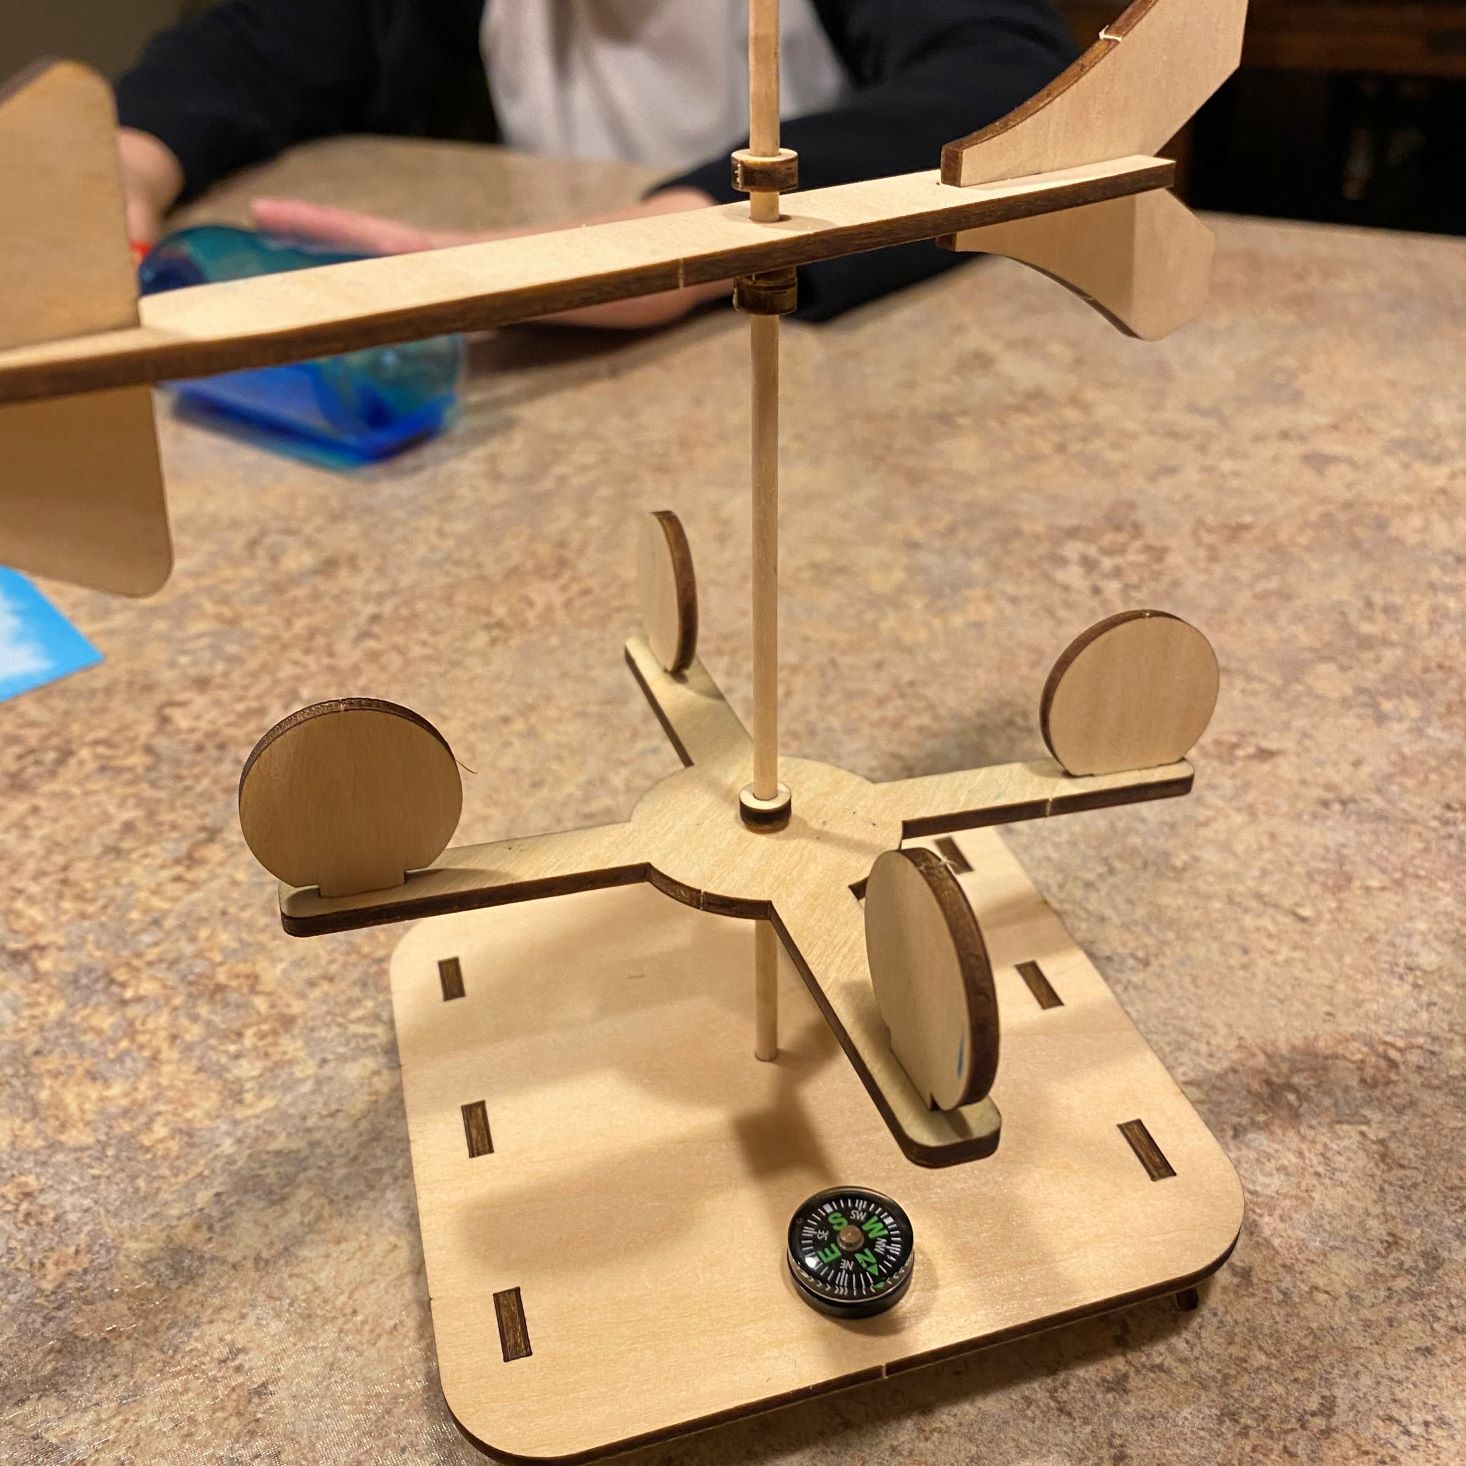

In all honesty, this was the project I was most excited for, and the one I was most disappointed with. To create it, we received a very poor illustration of instructions in the booklet that left my kids confused. When we turned the page they showed a bit of a different angle, but still didn't walk you through it step by step. I was able to help them out, but the round pieces that were supposed to be used to keep the vane up kept slipping as they didn't fit tight enough, causing our entire weather vane to collapse on itself. Once the wooden pieces were together we added our compass, but the vane kept slipping down and really never worked. The kids liked the compass part and we used that component the most, practicing directions, but we were really bummed about the lack of quality in the weather vane.
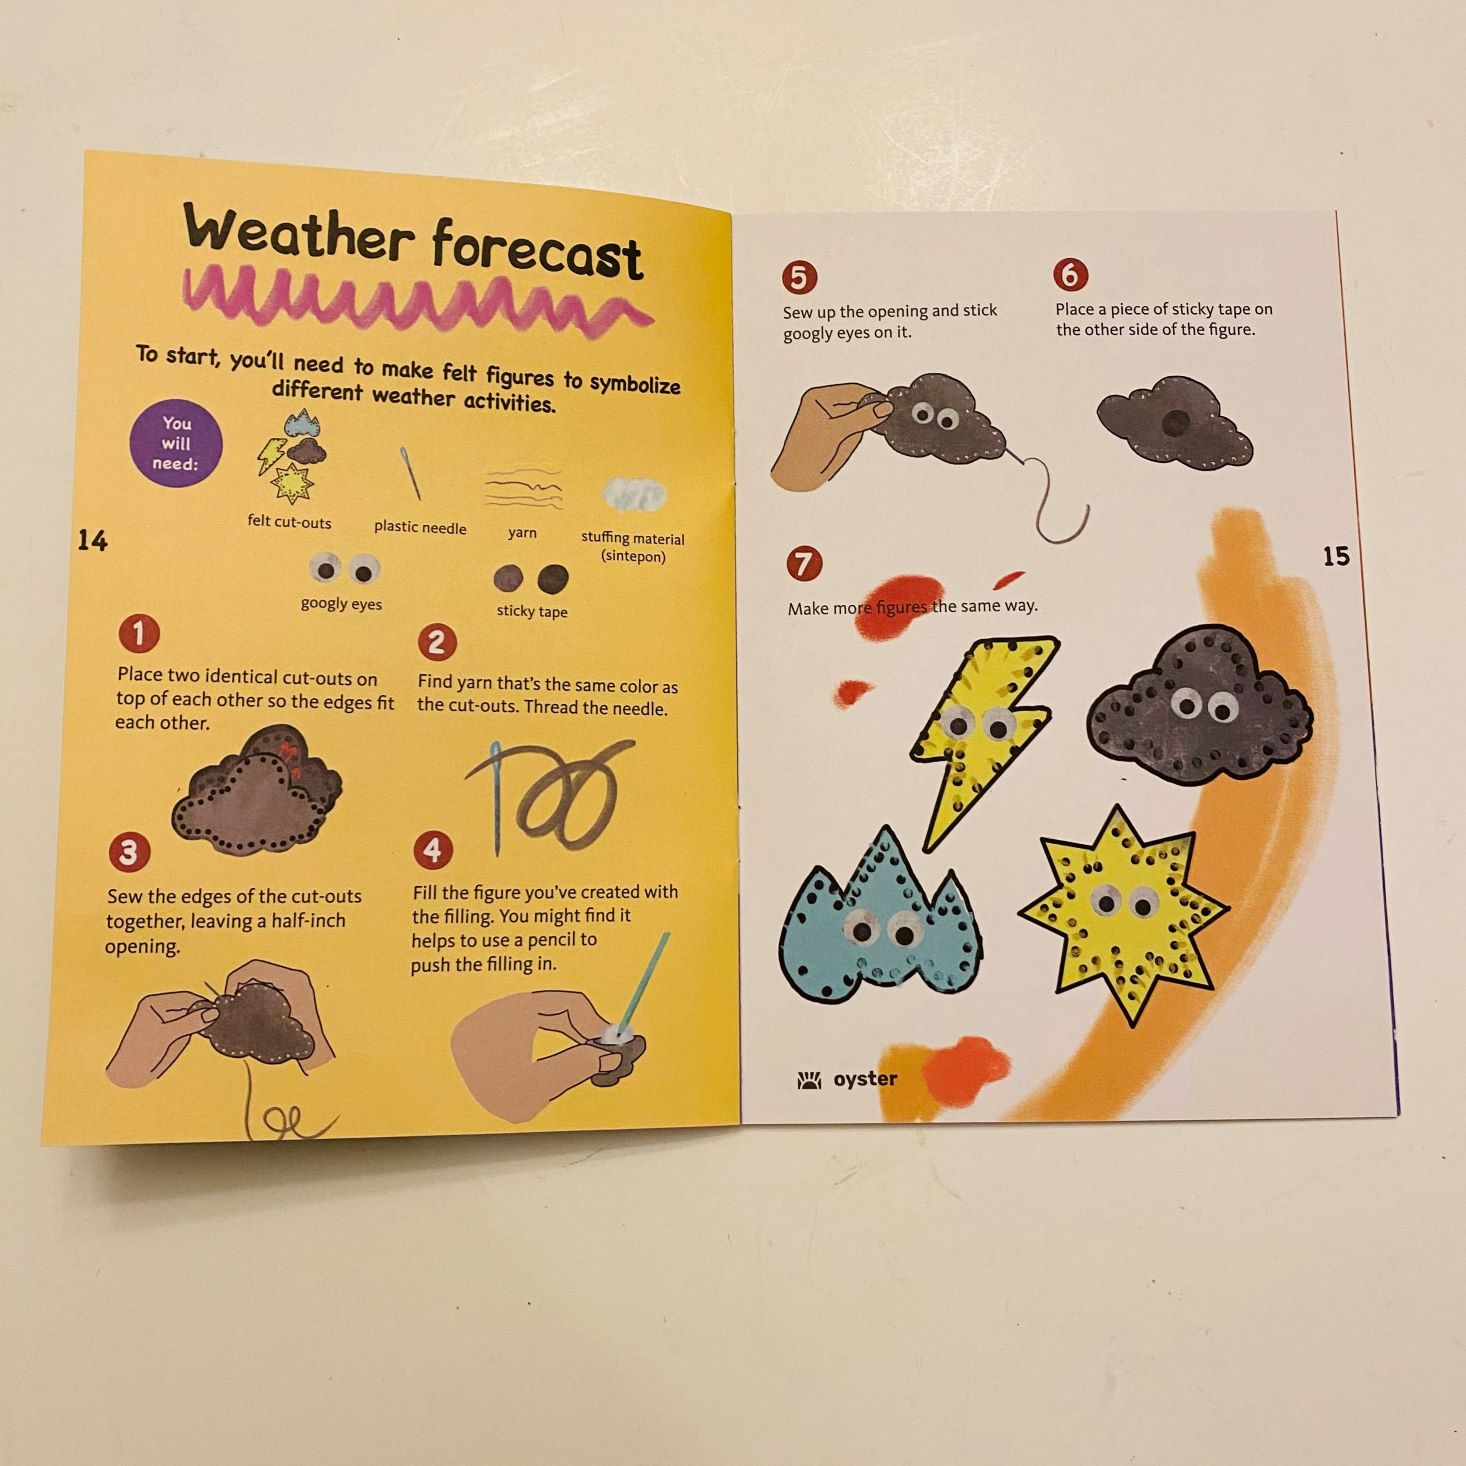
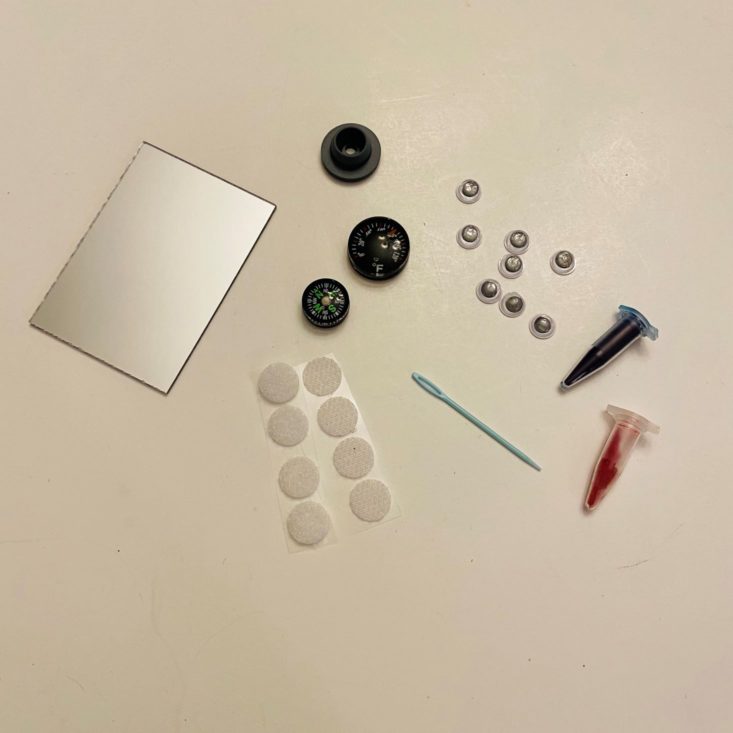
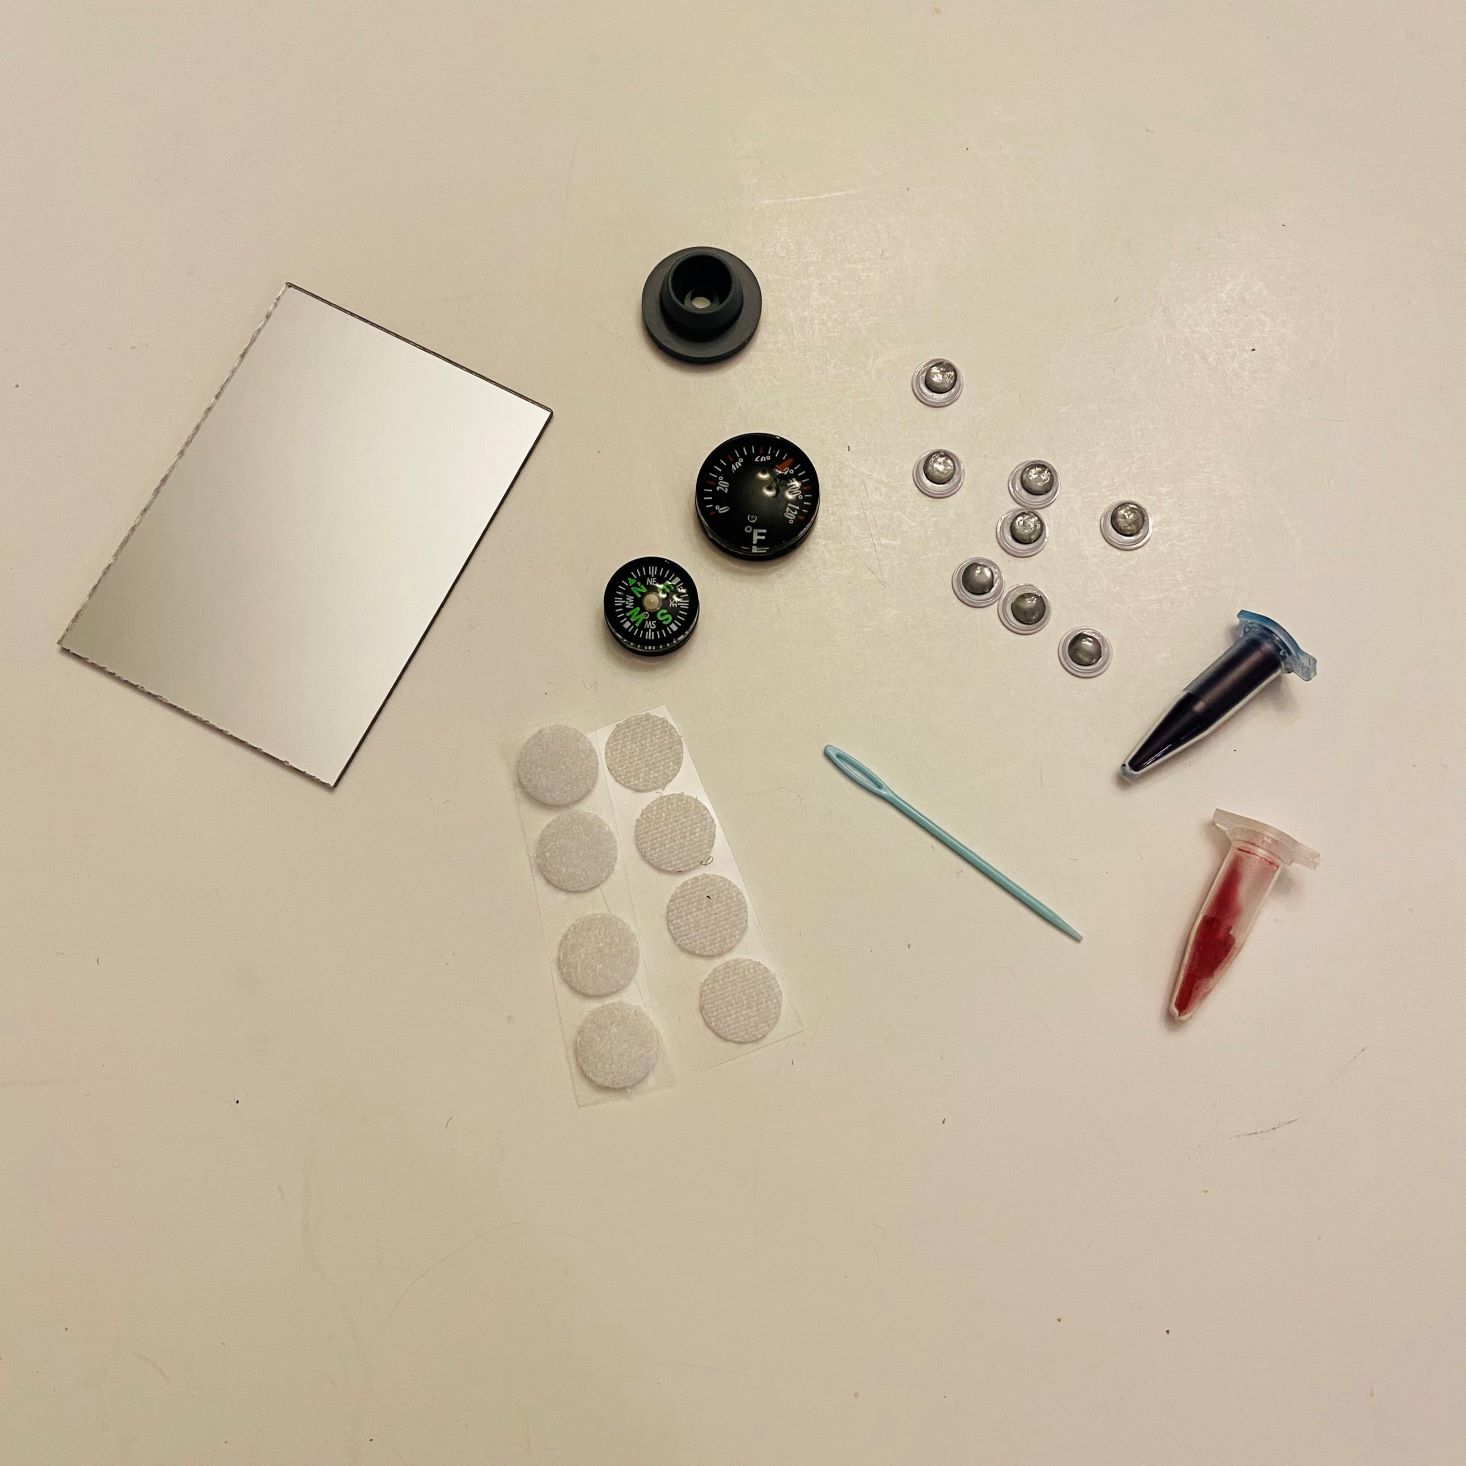
Project 5: Weather Symbols
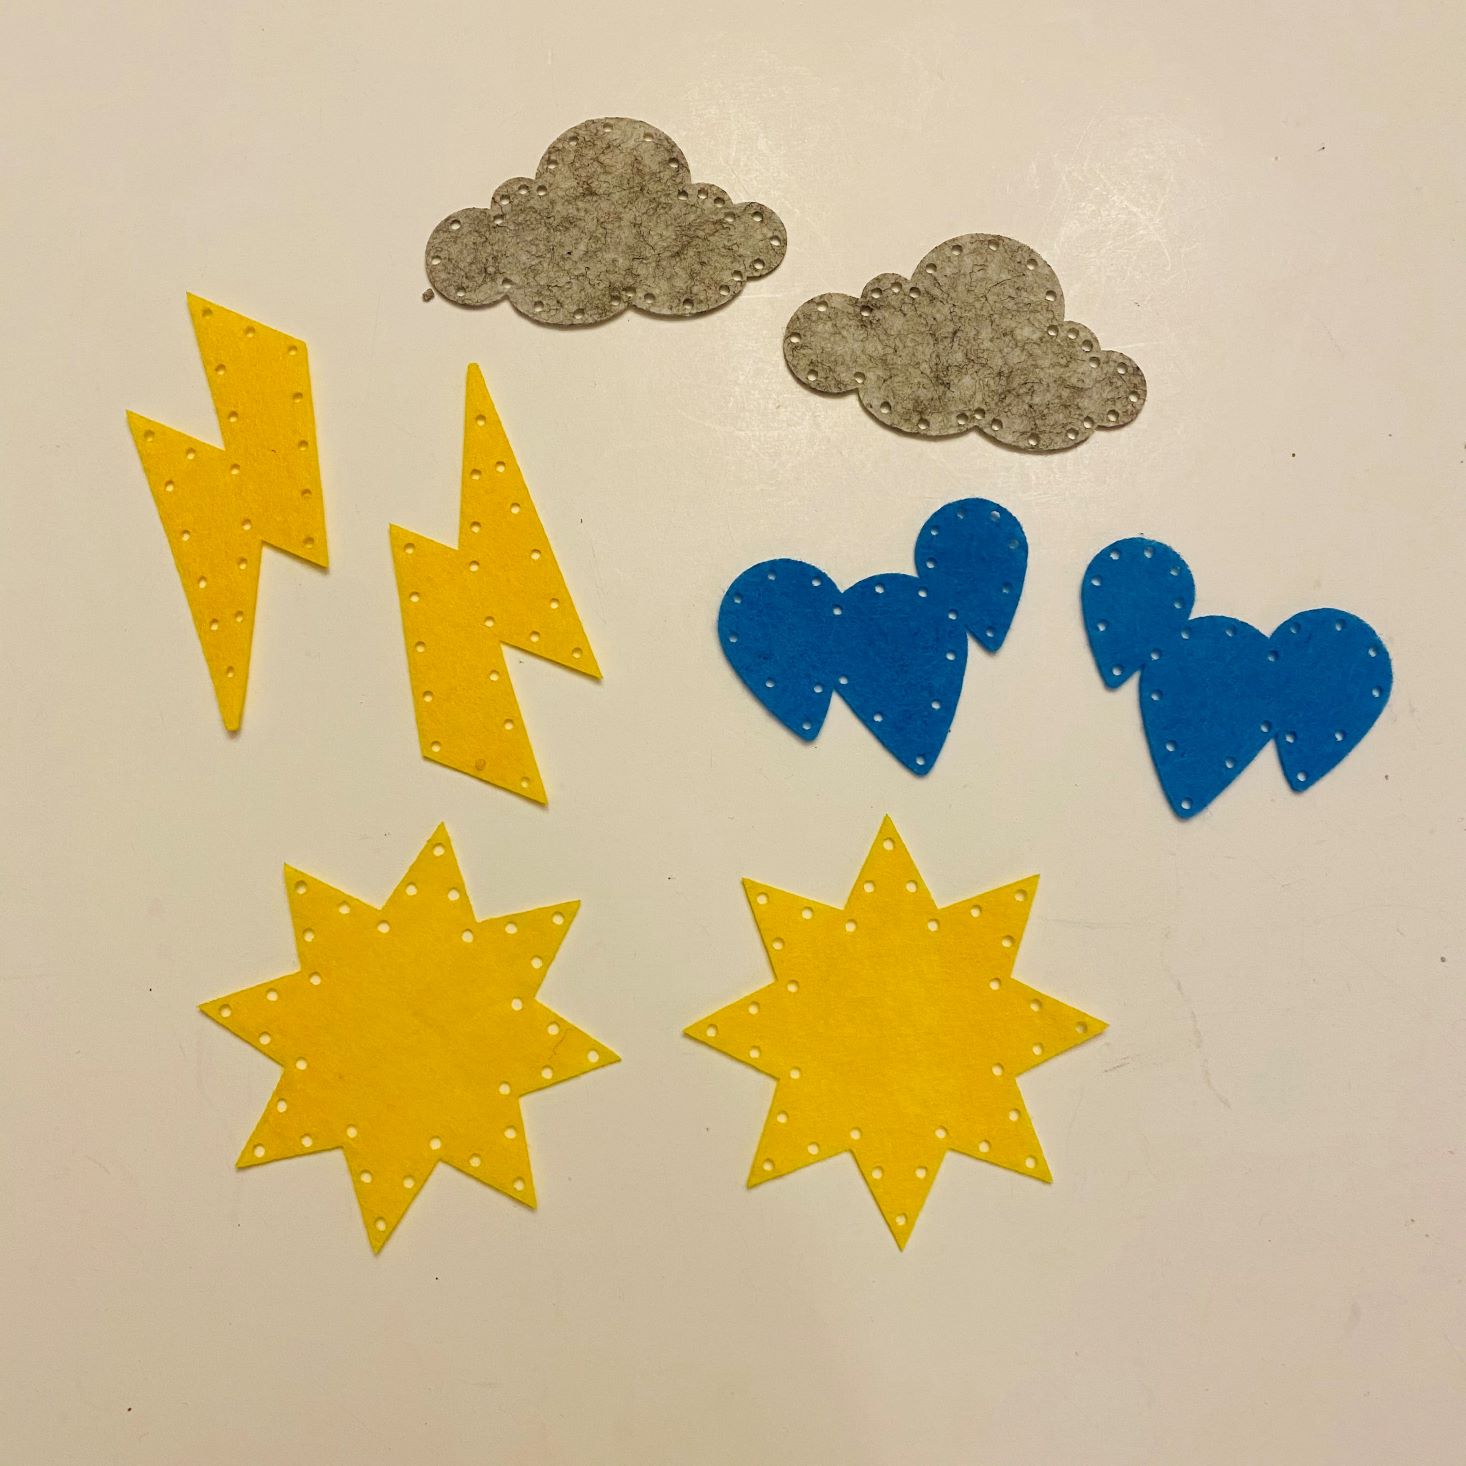
1 of 3
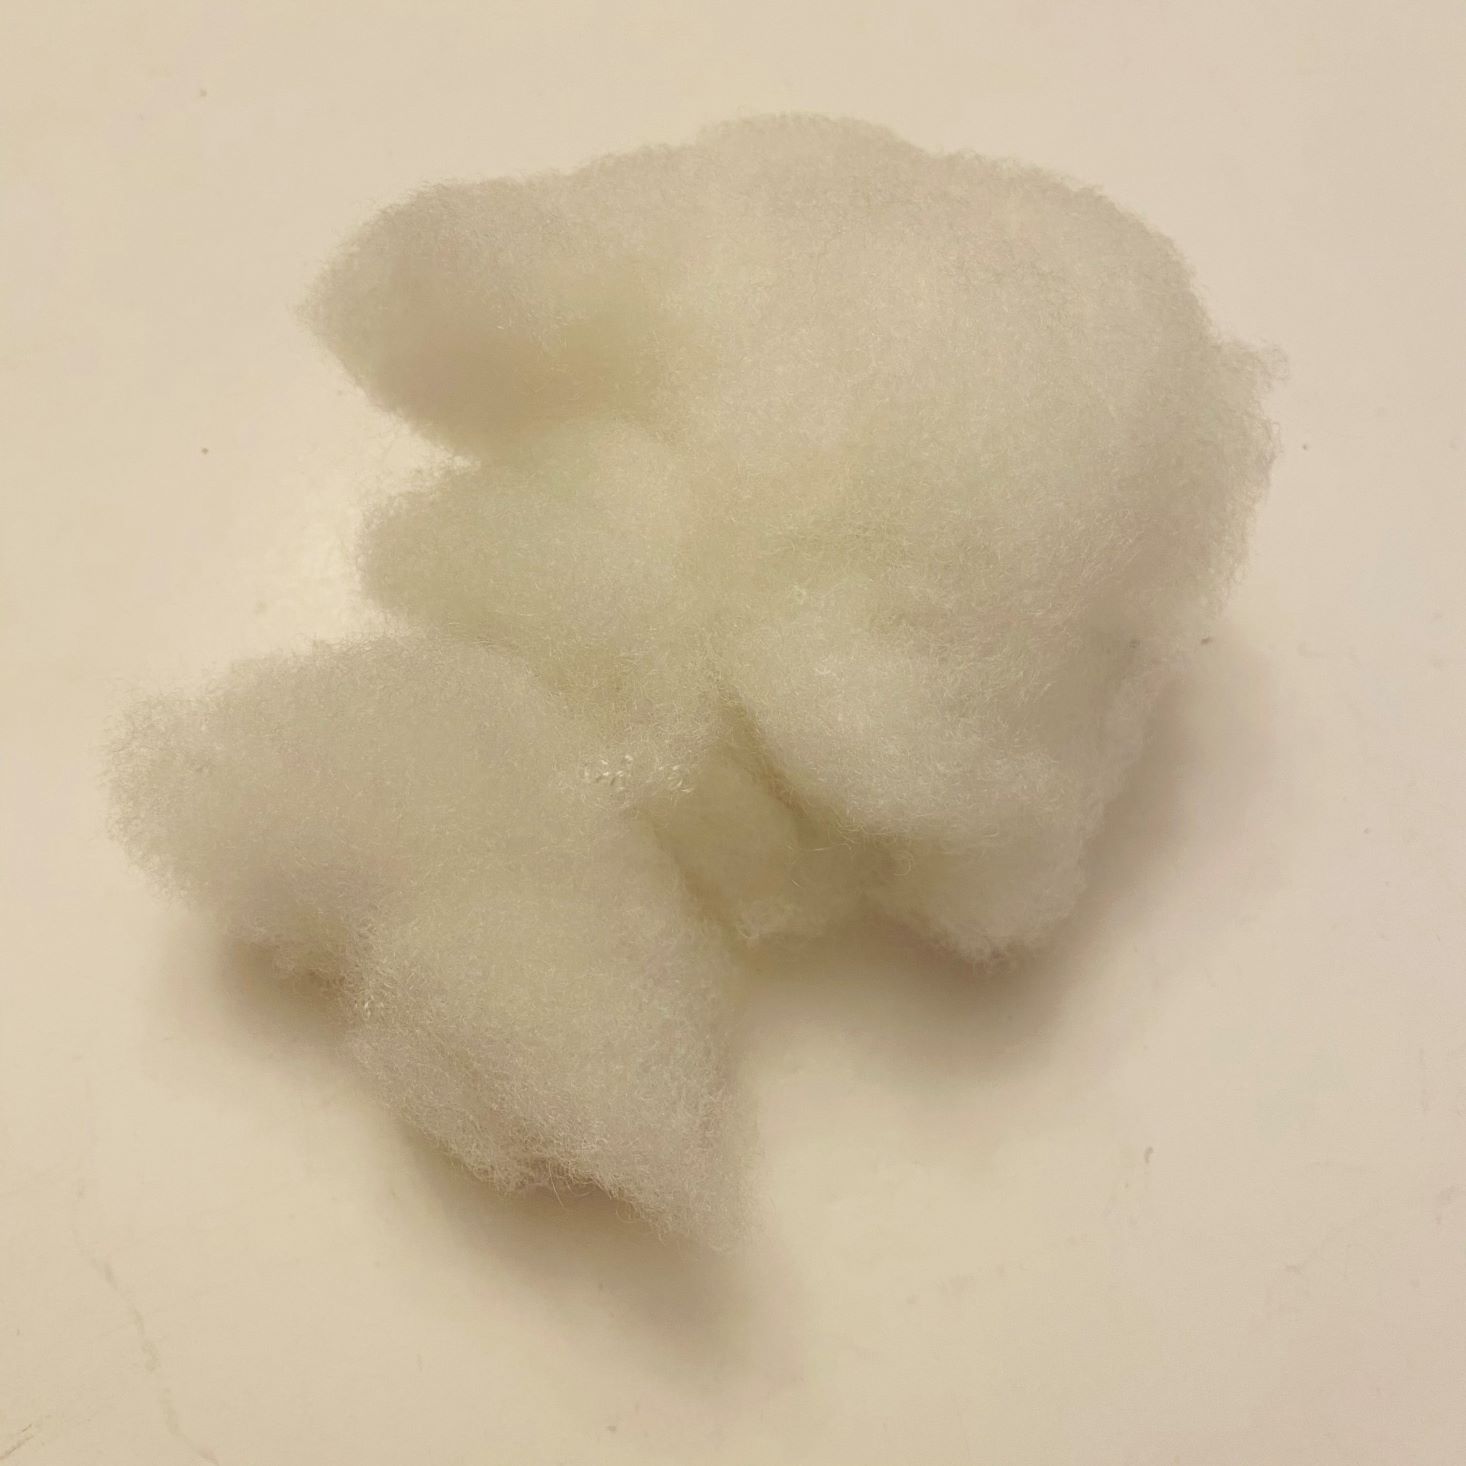
You can't be a meteorologist without the shapes to symbolize different weather events, can you? We received the supplies to create a cloud, raindrops, lightning bolt, and sun.

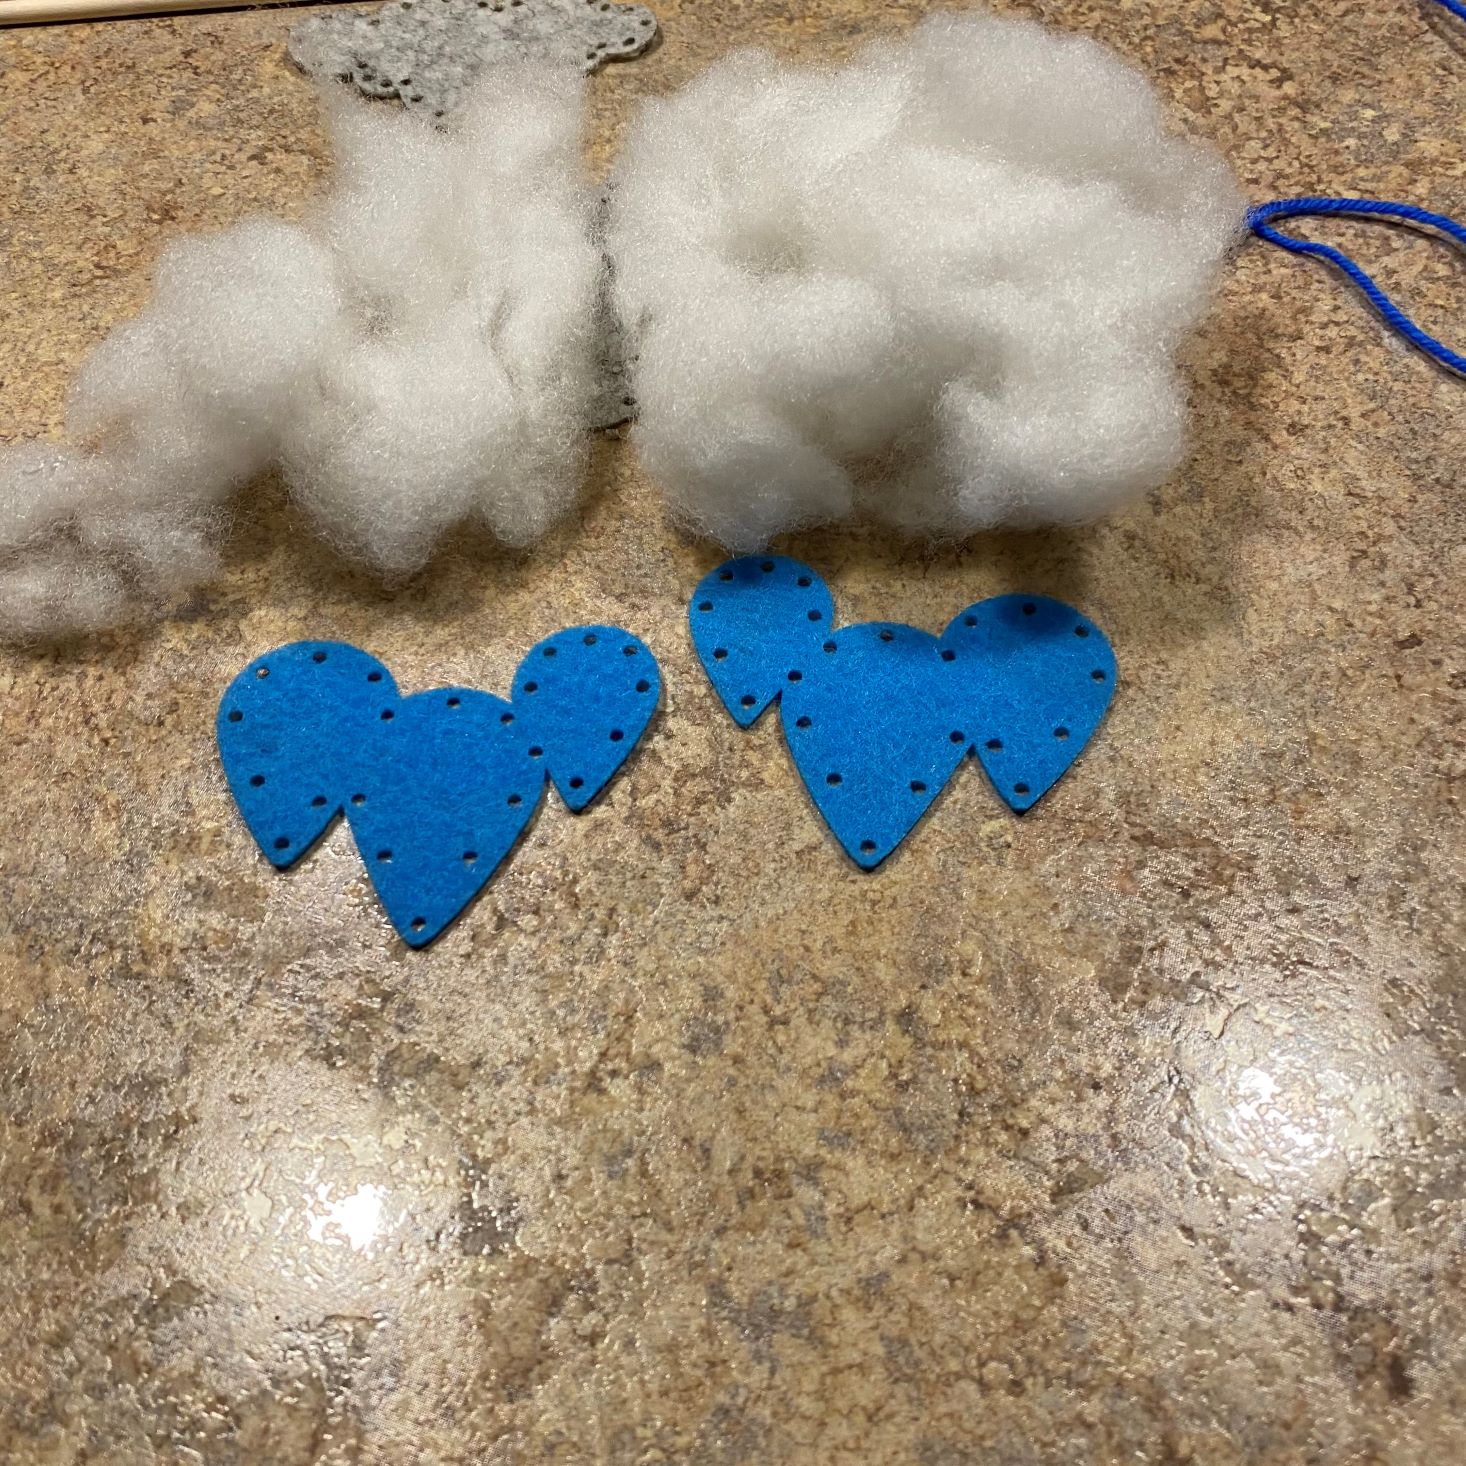
1 of 8
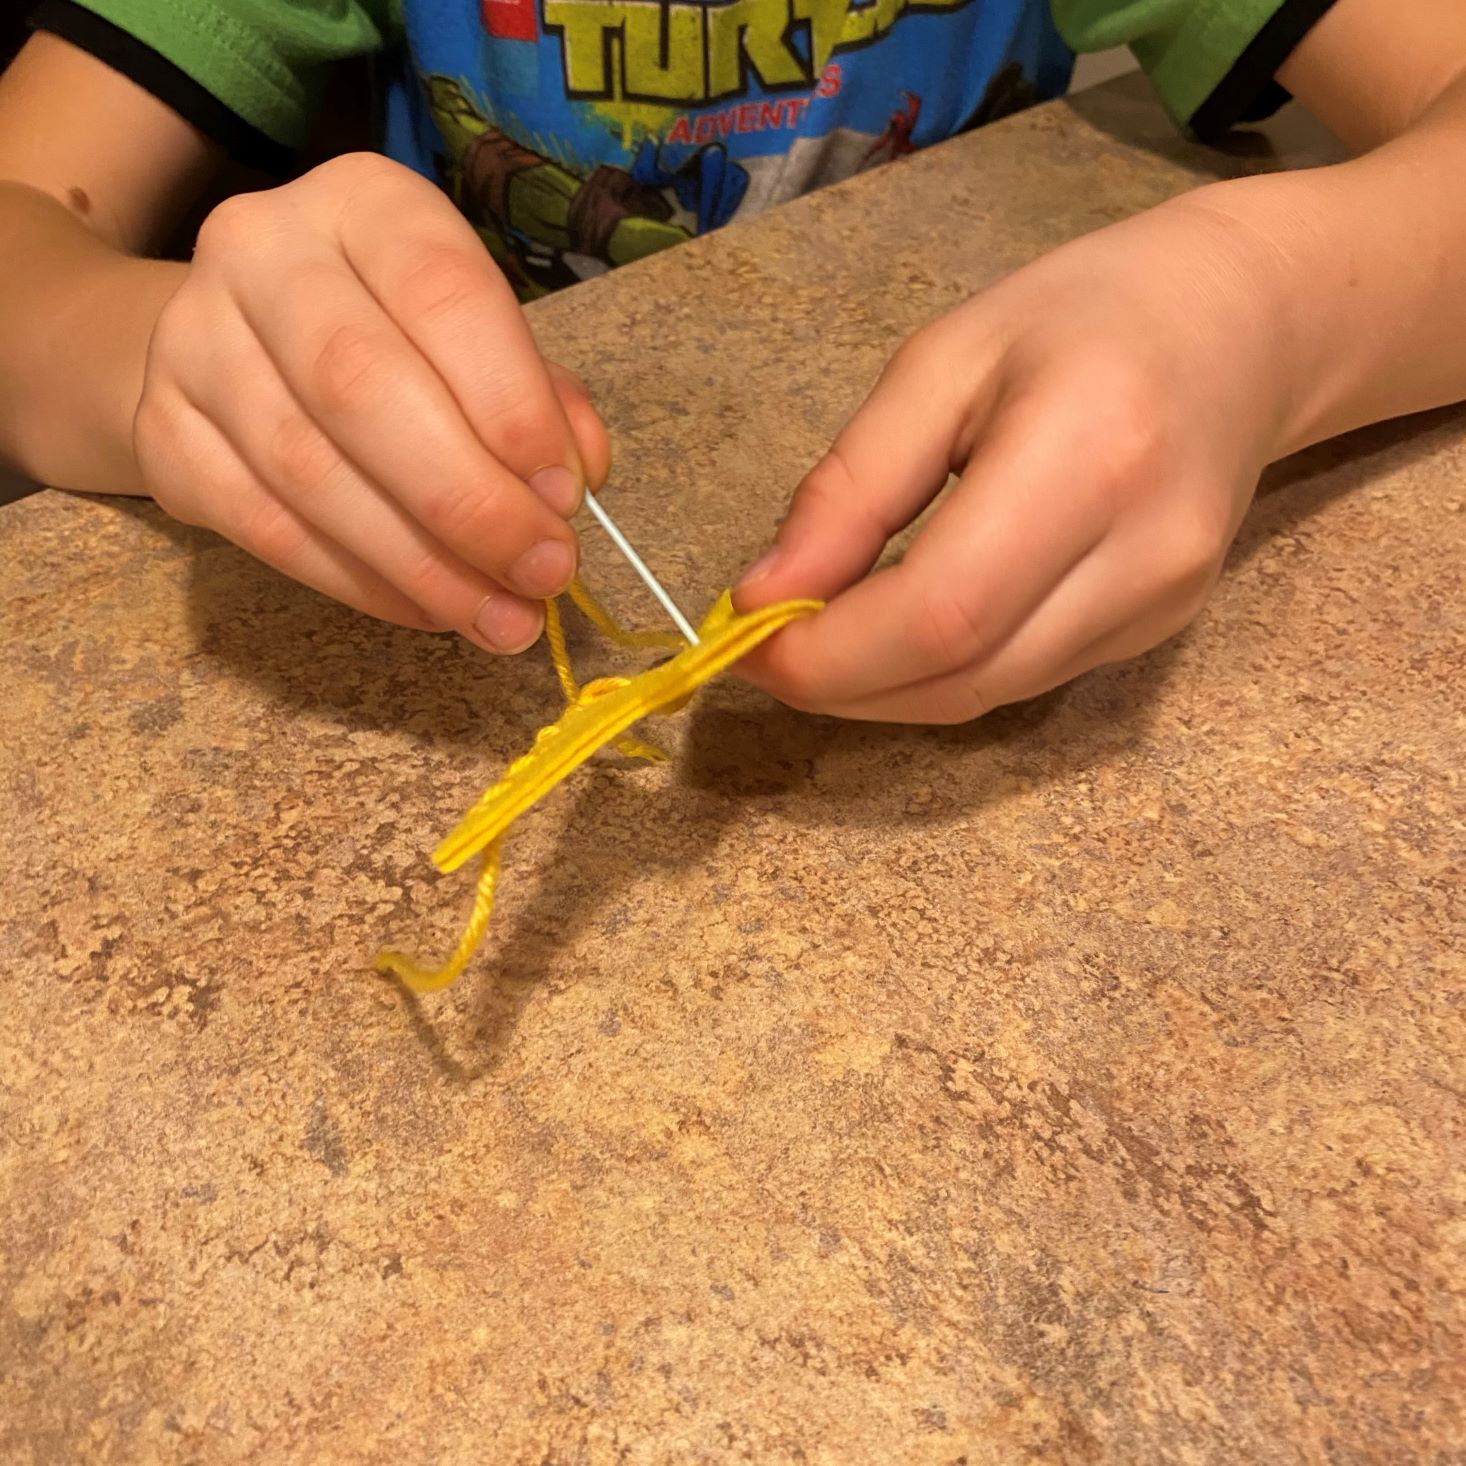
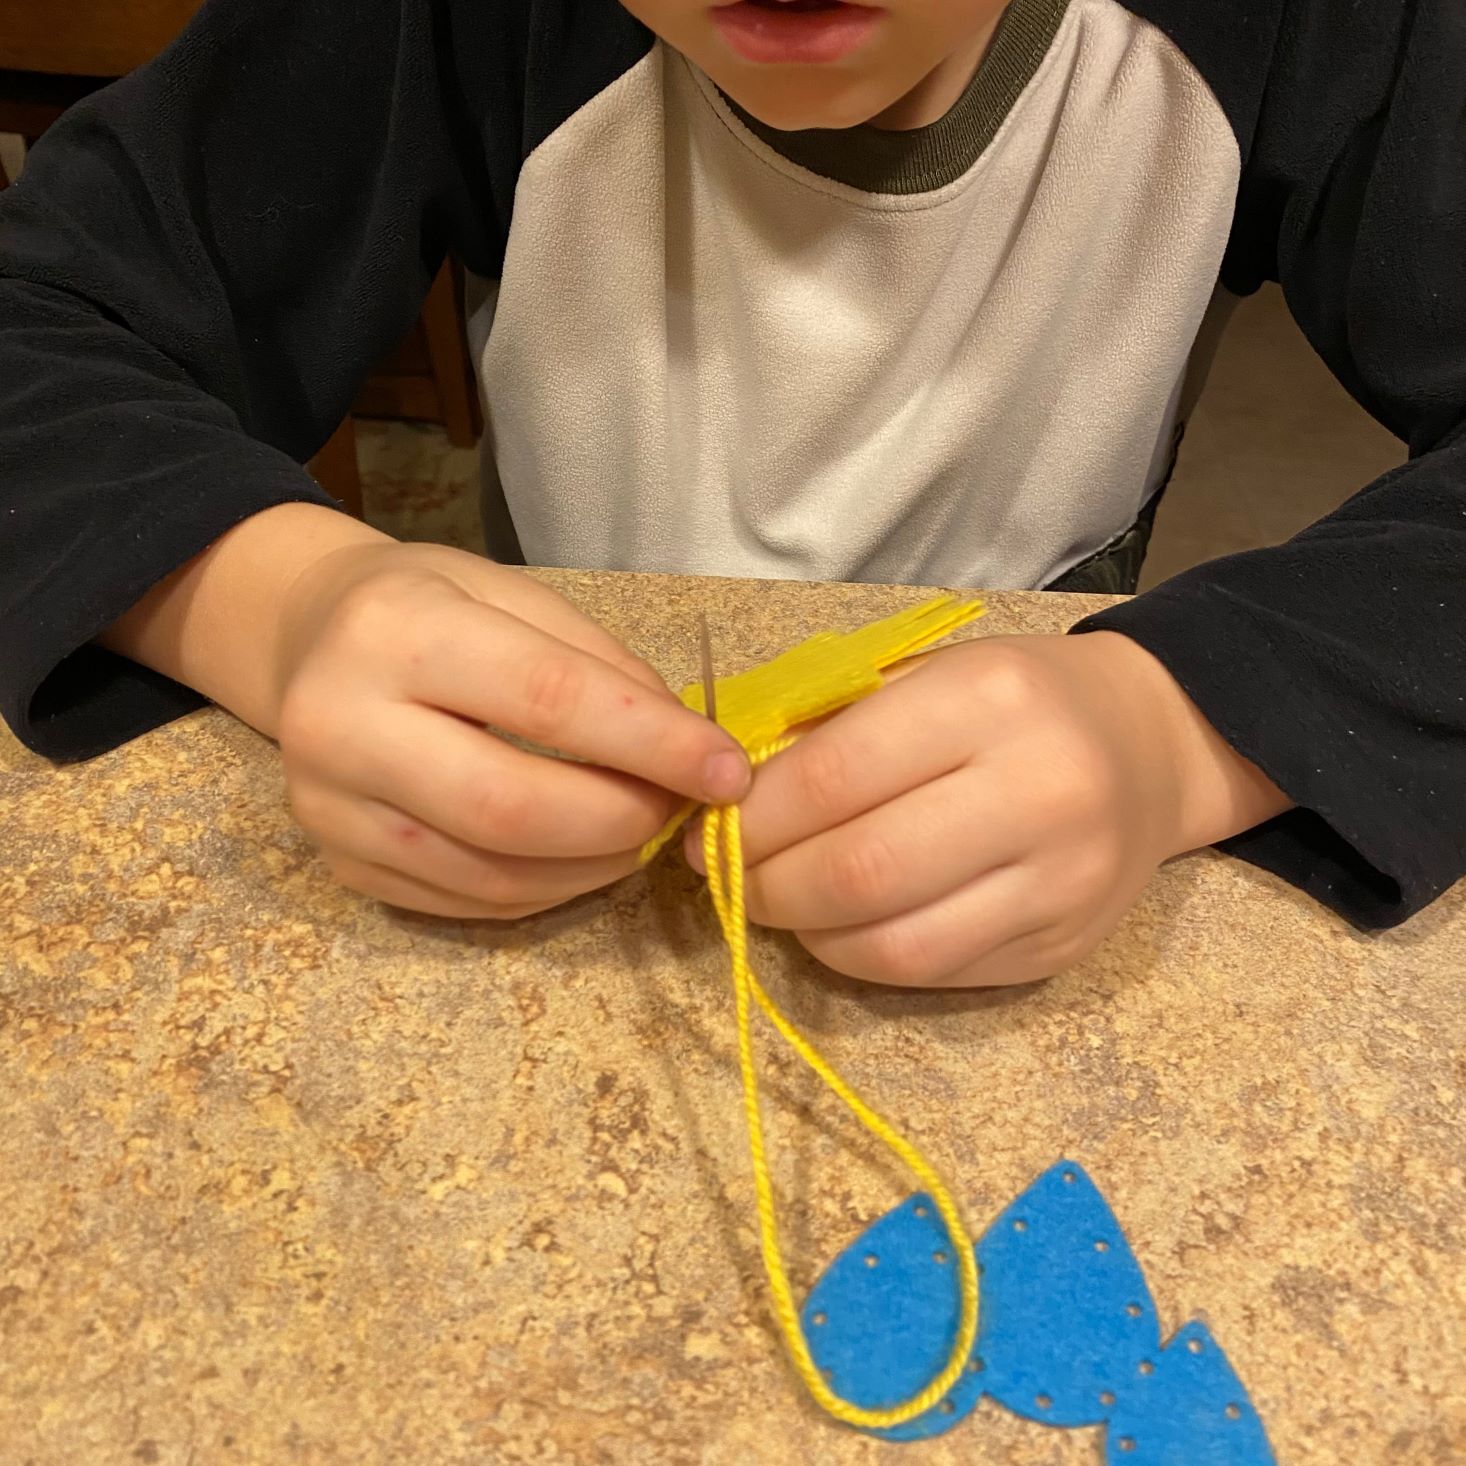
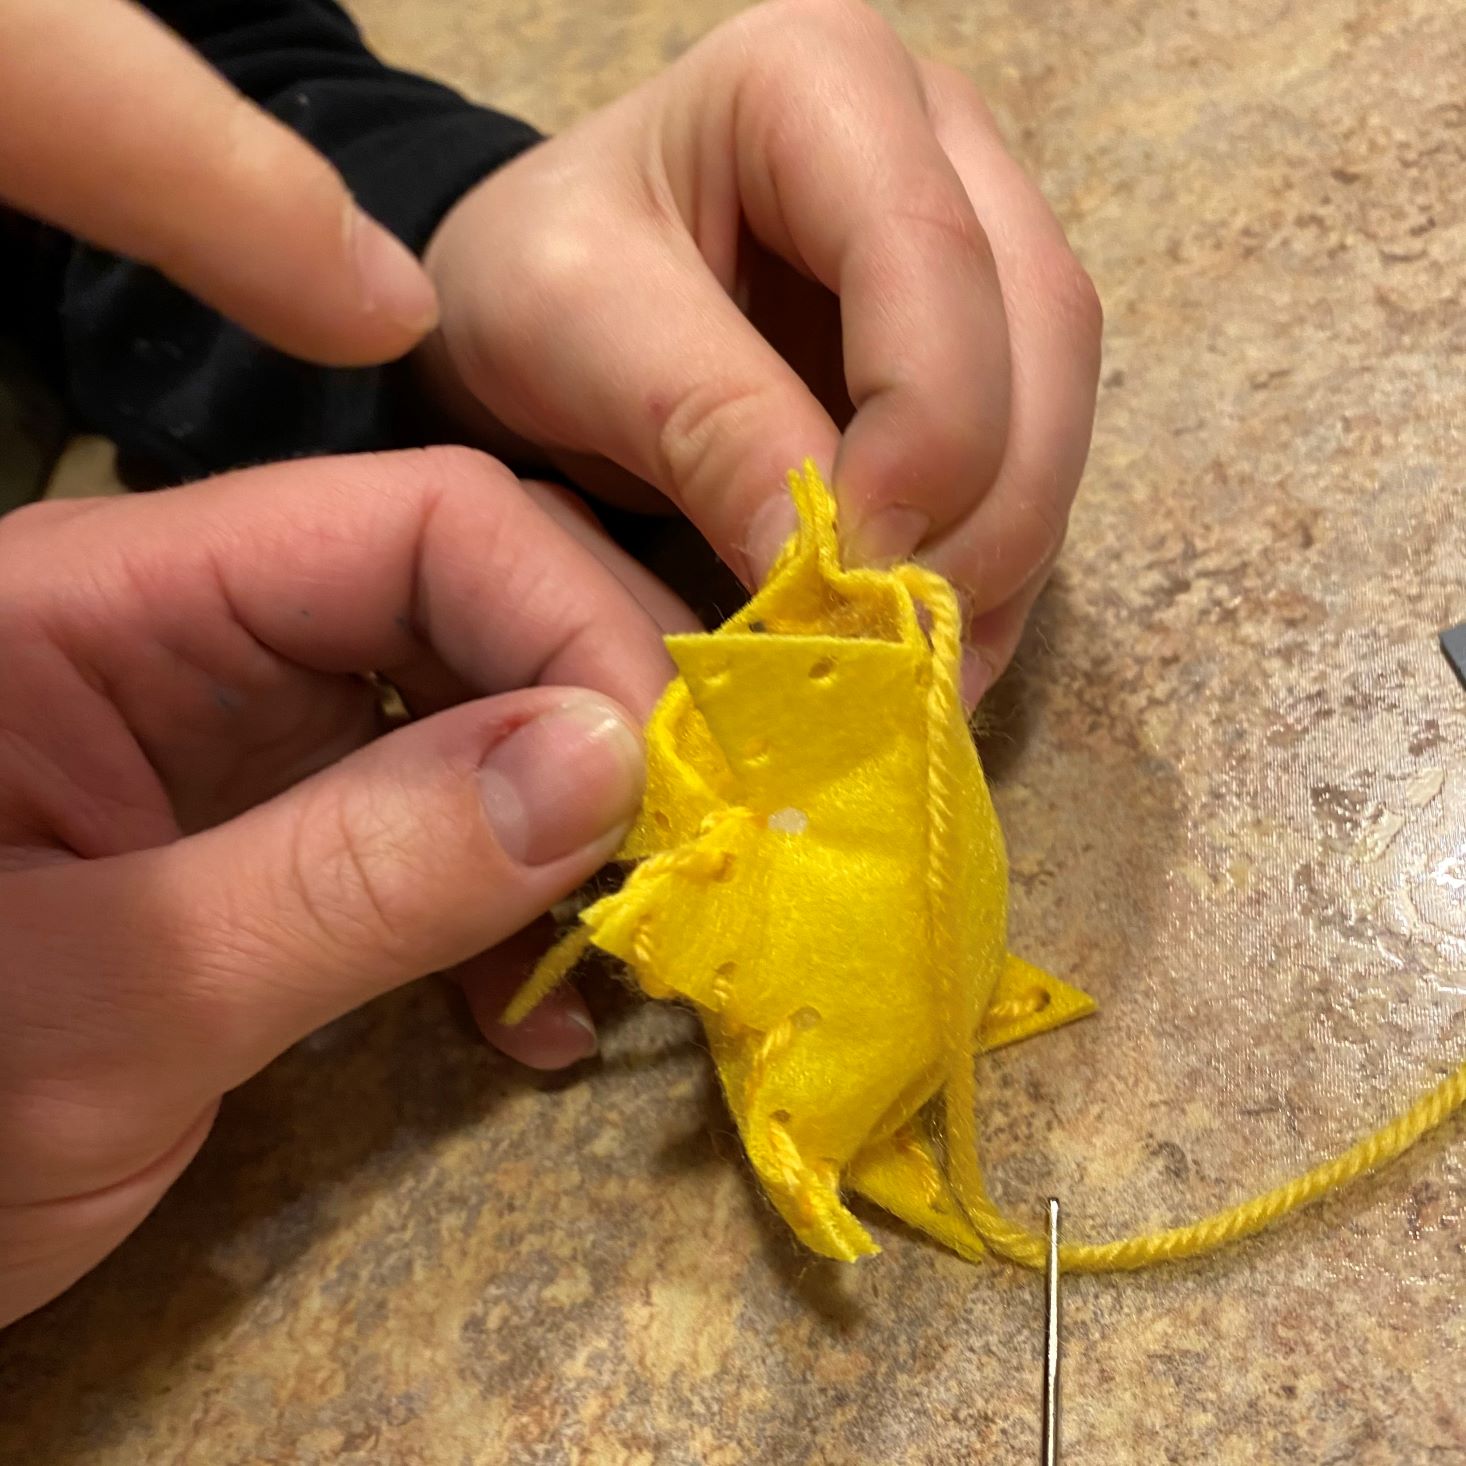


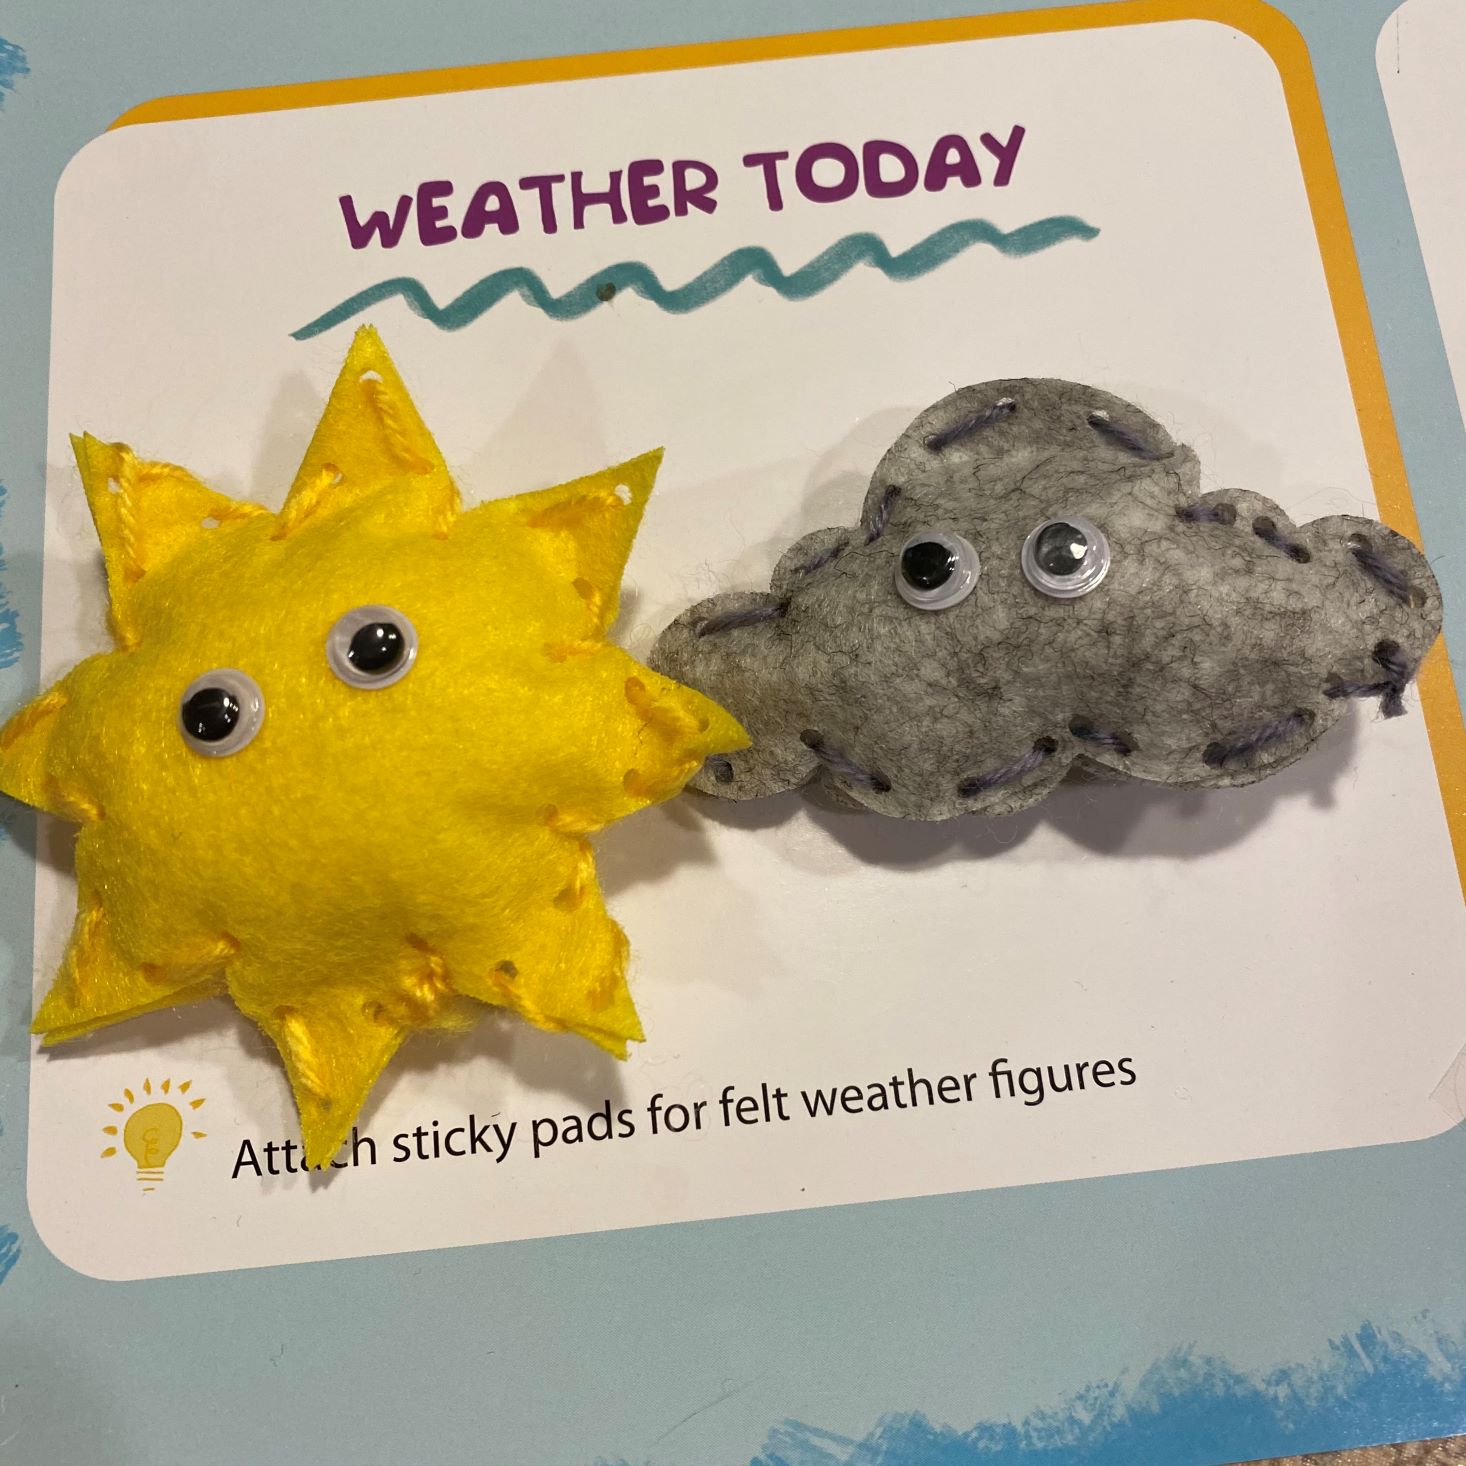
When my boys saw this project, they were really excited. I mean how cute are these plush little guys with eyeballs? My kids have sewed projects before, but they struggled to keep the yarn tight enough without having large gaps between the fabric pieces. The instructions said to come out the back and down the front for each stitch with the yarn, but we soon realized they didn't provide enough yarn for that method. With two frustrated kids, I ended up sewing two out of the four shapes, although they were happy to put the eyeballs on. Even though they turned out a little different than the instructions, I thought they turned out cute, but hope they send enough supplies next time!
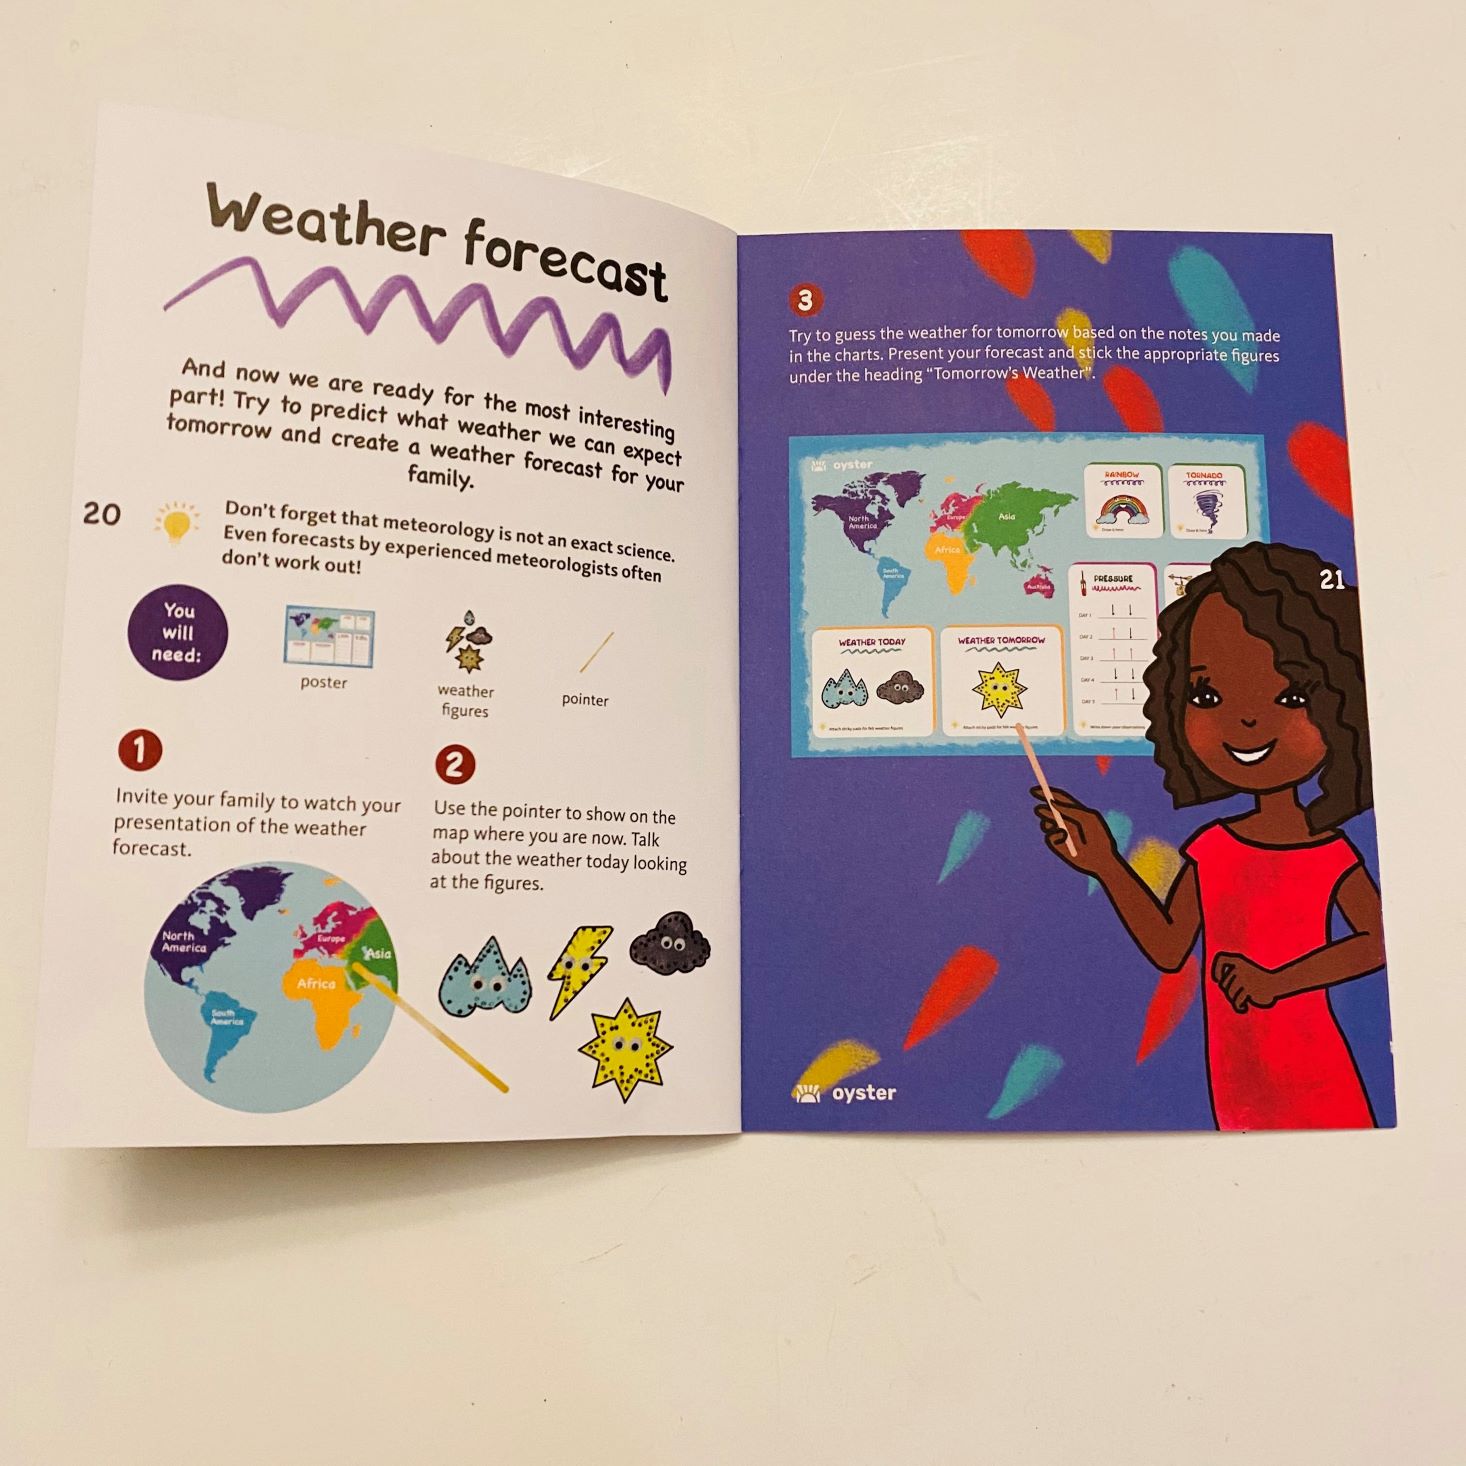
Project #6: Weather Poster
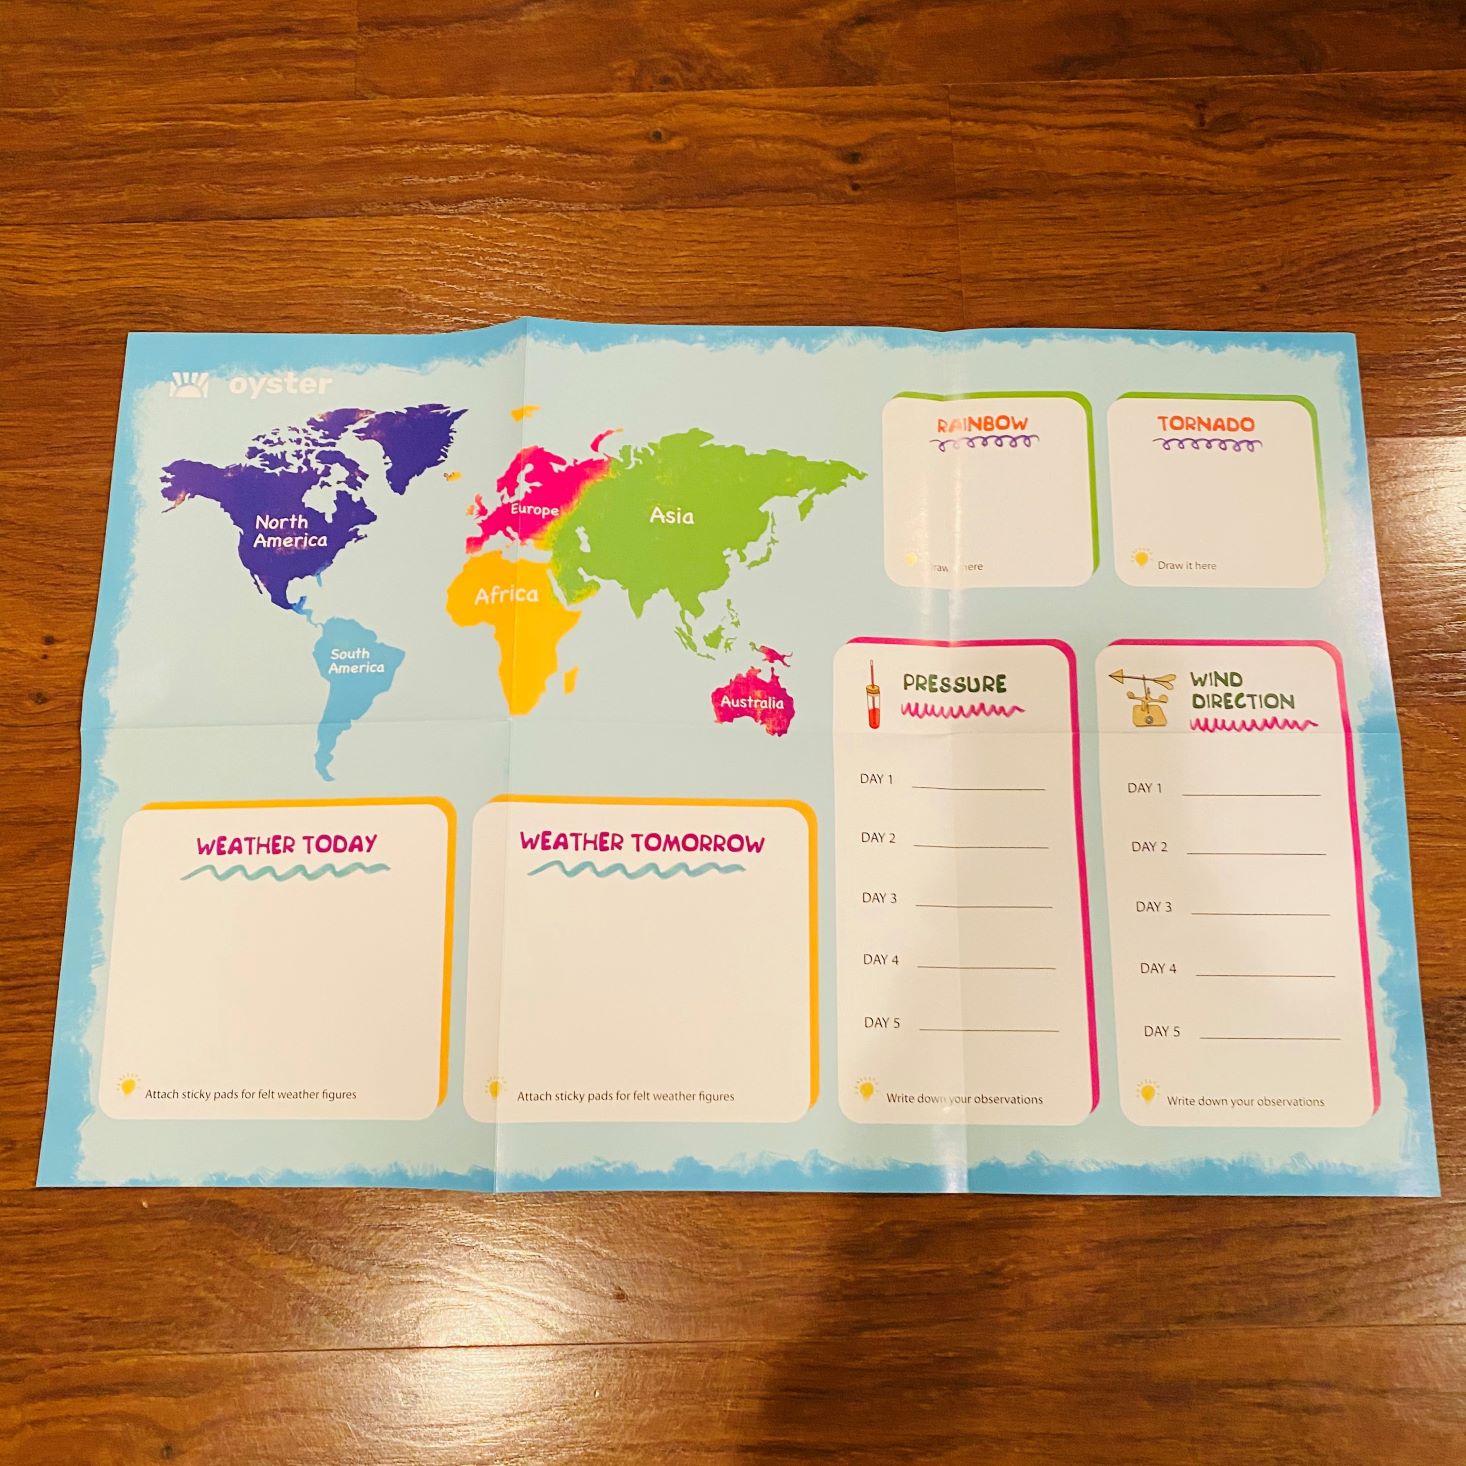

1 of 2
The last project we received is this large weather poster. Included on it are a map, space to color a rainbow and a tornado, pressure charts, wind direction charts, and weather predictions.

1 of 3
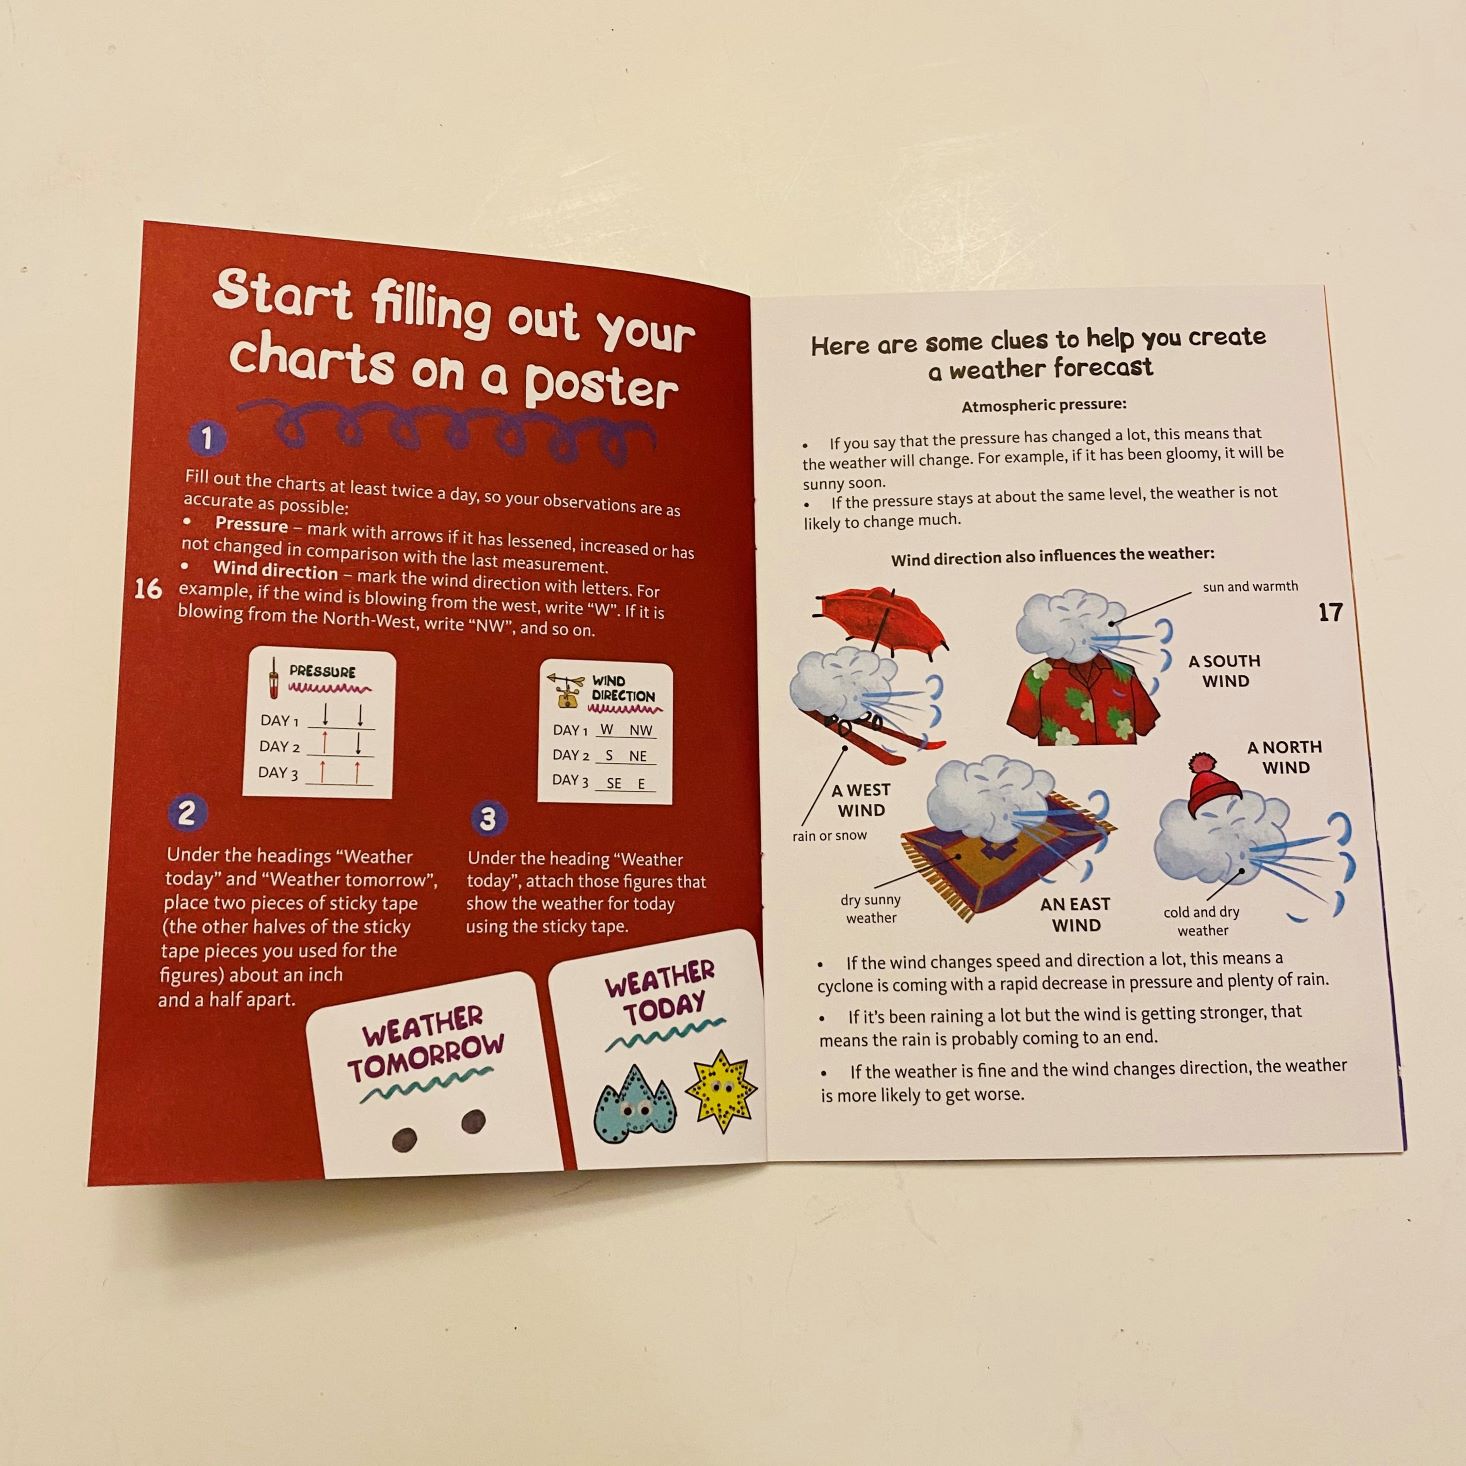
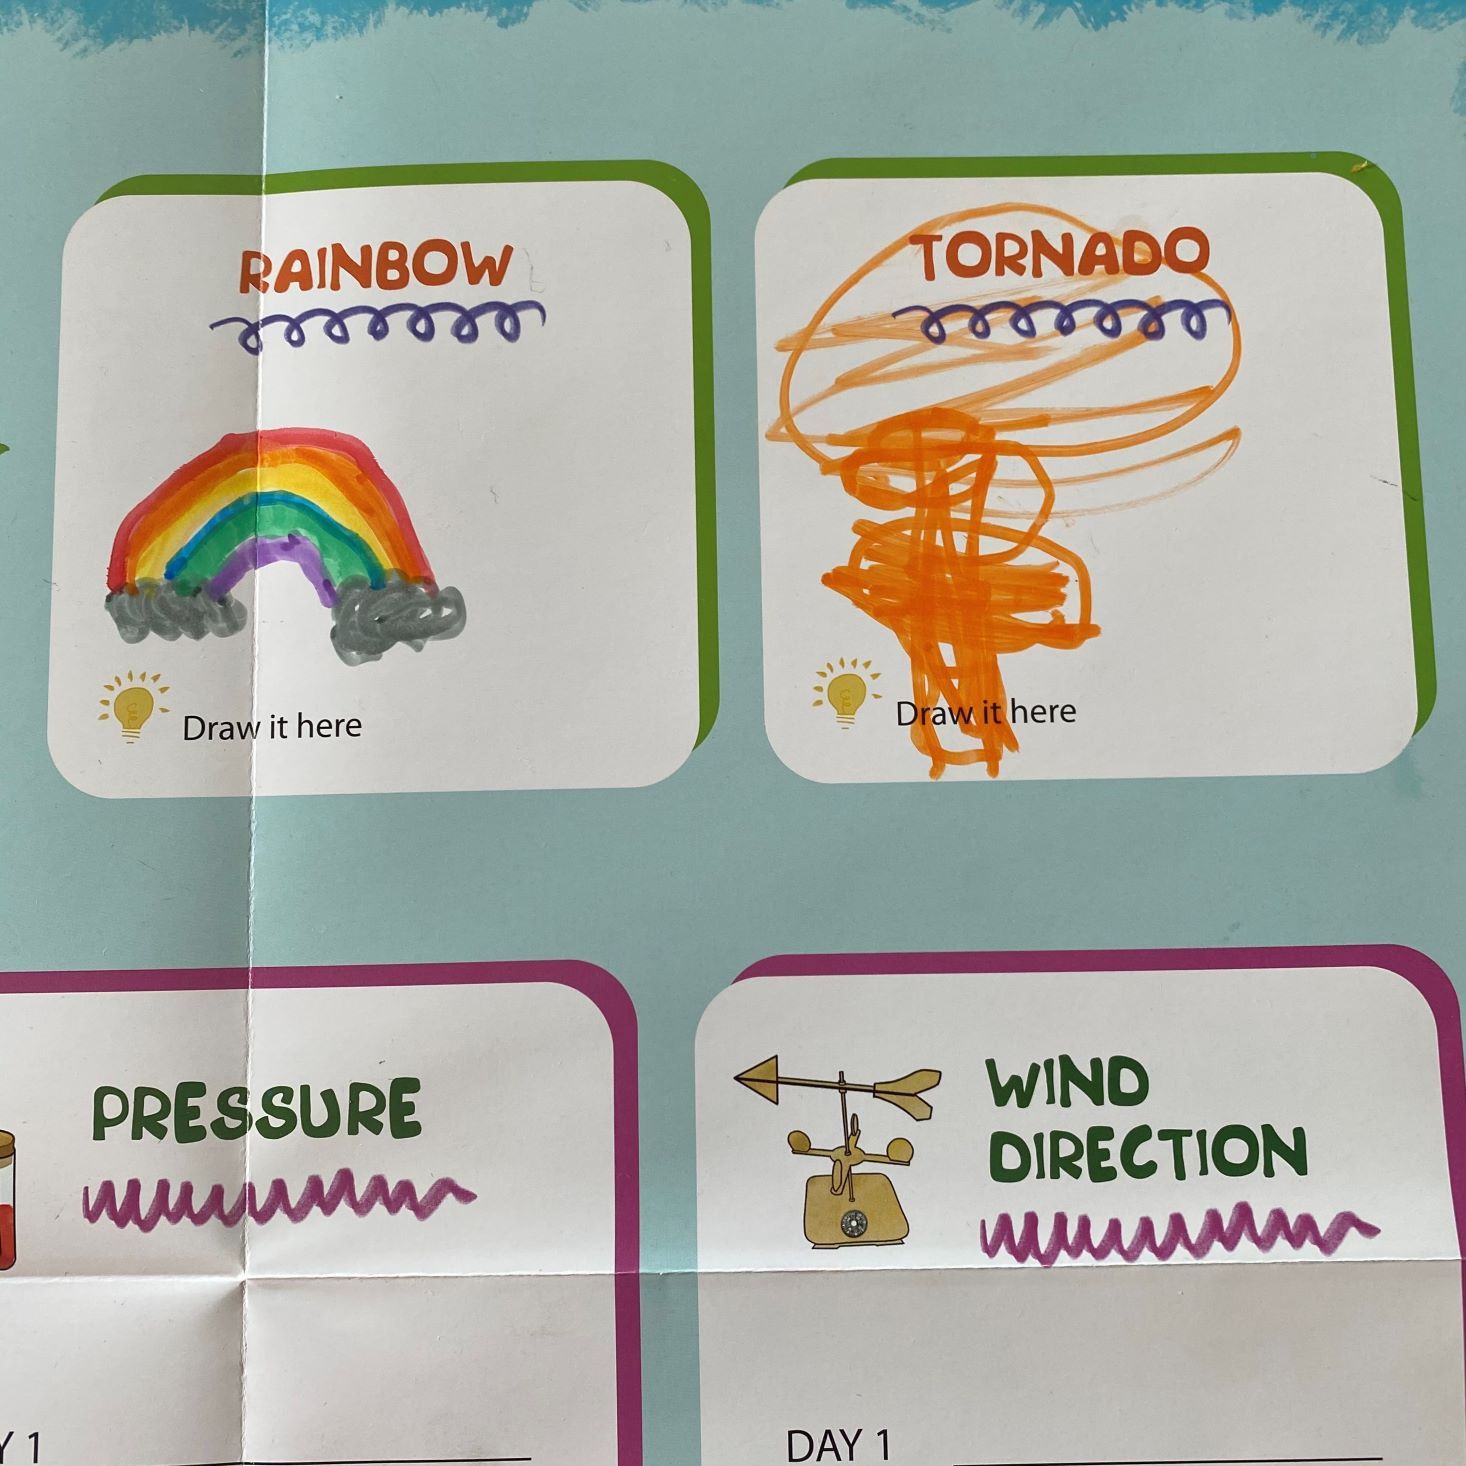
There were quite a few little projects incorporated into this large poster. We were able to draw a picture of a rainbow and tornado which we learned about in the pamphlet, predict the weather for tomorrow and document the weather of today using our symbols, add the pressure and wind direction (which we struggled with as our tools didn't really work properly), and use the pointer to be a meteorologist and present it to the family! The kids enjoyed doing this part, and said they now know how the reporters feel on TV!
Bonus

1 of 5
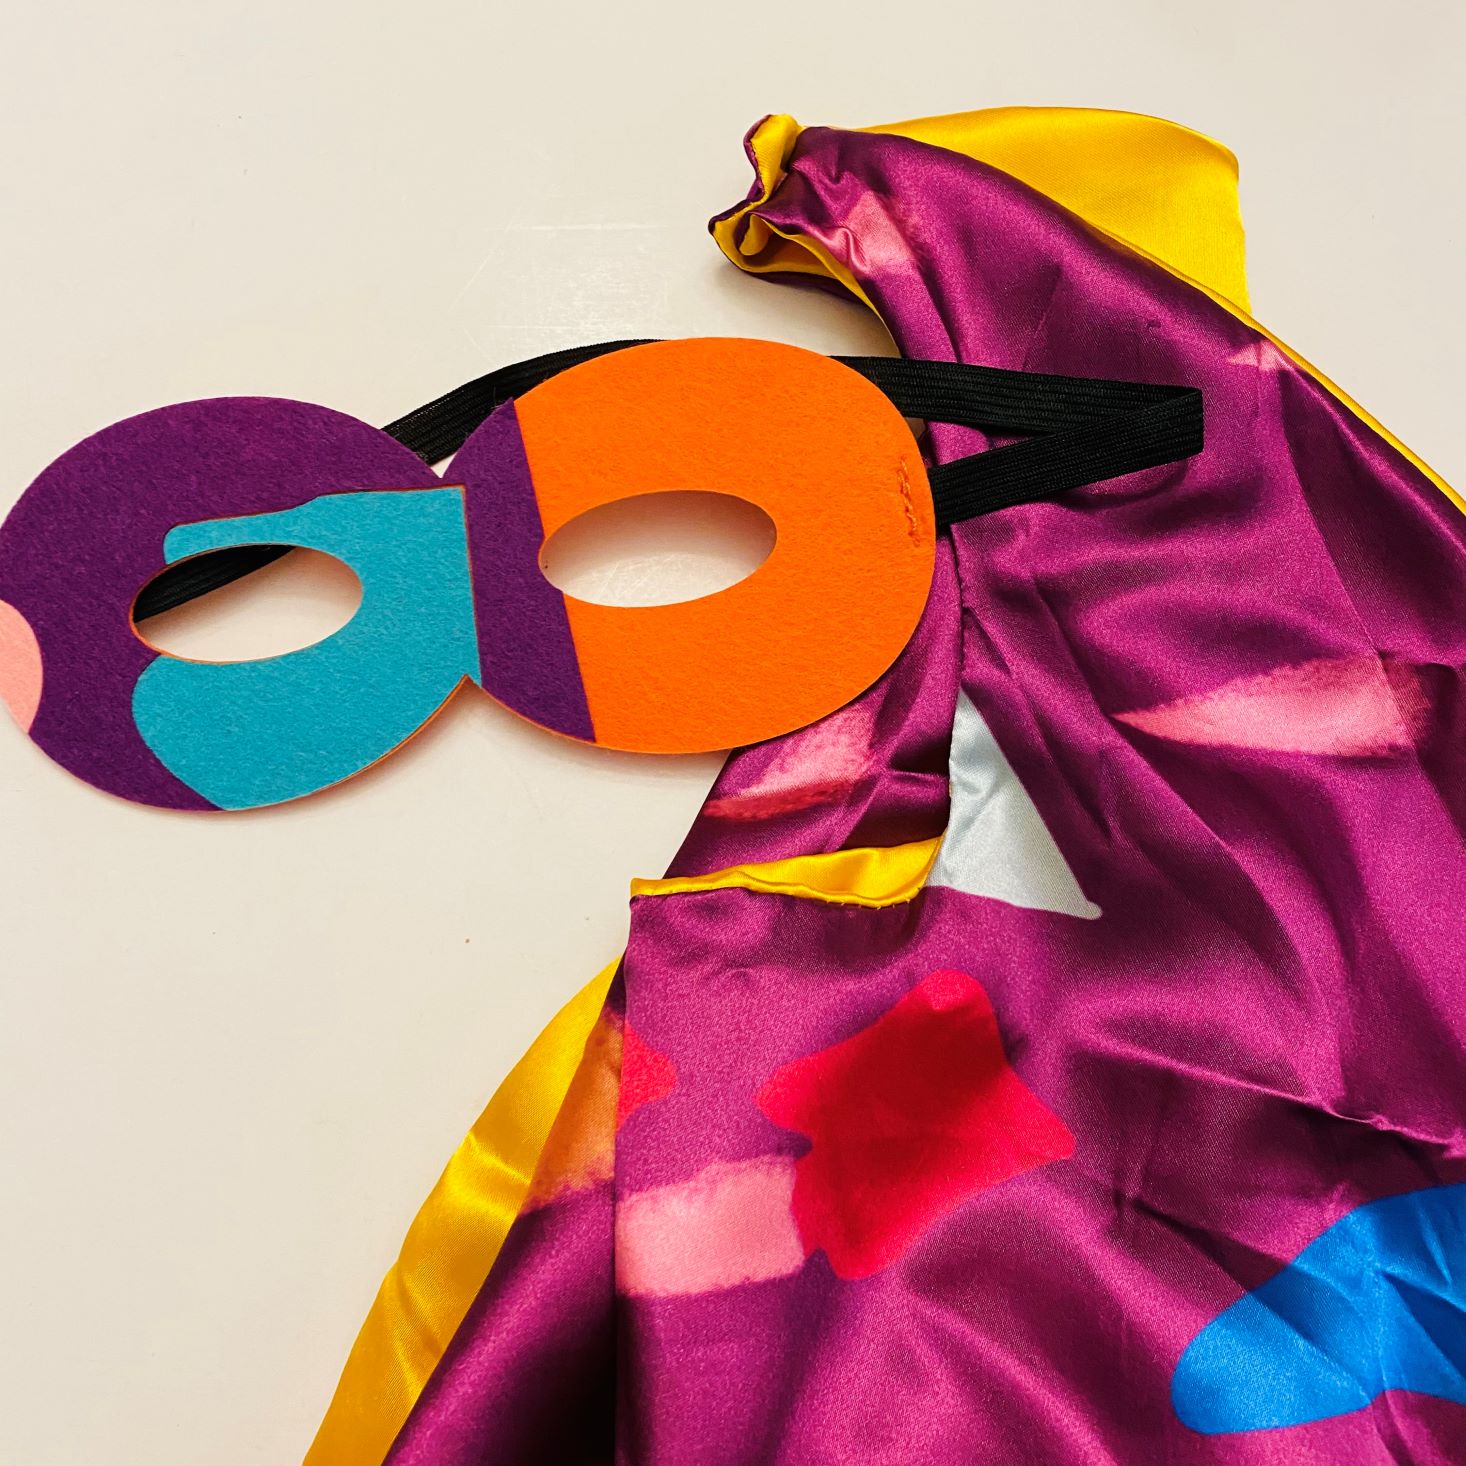
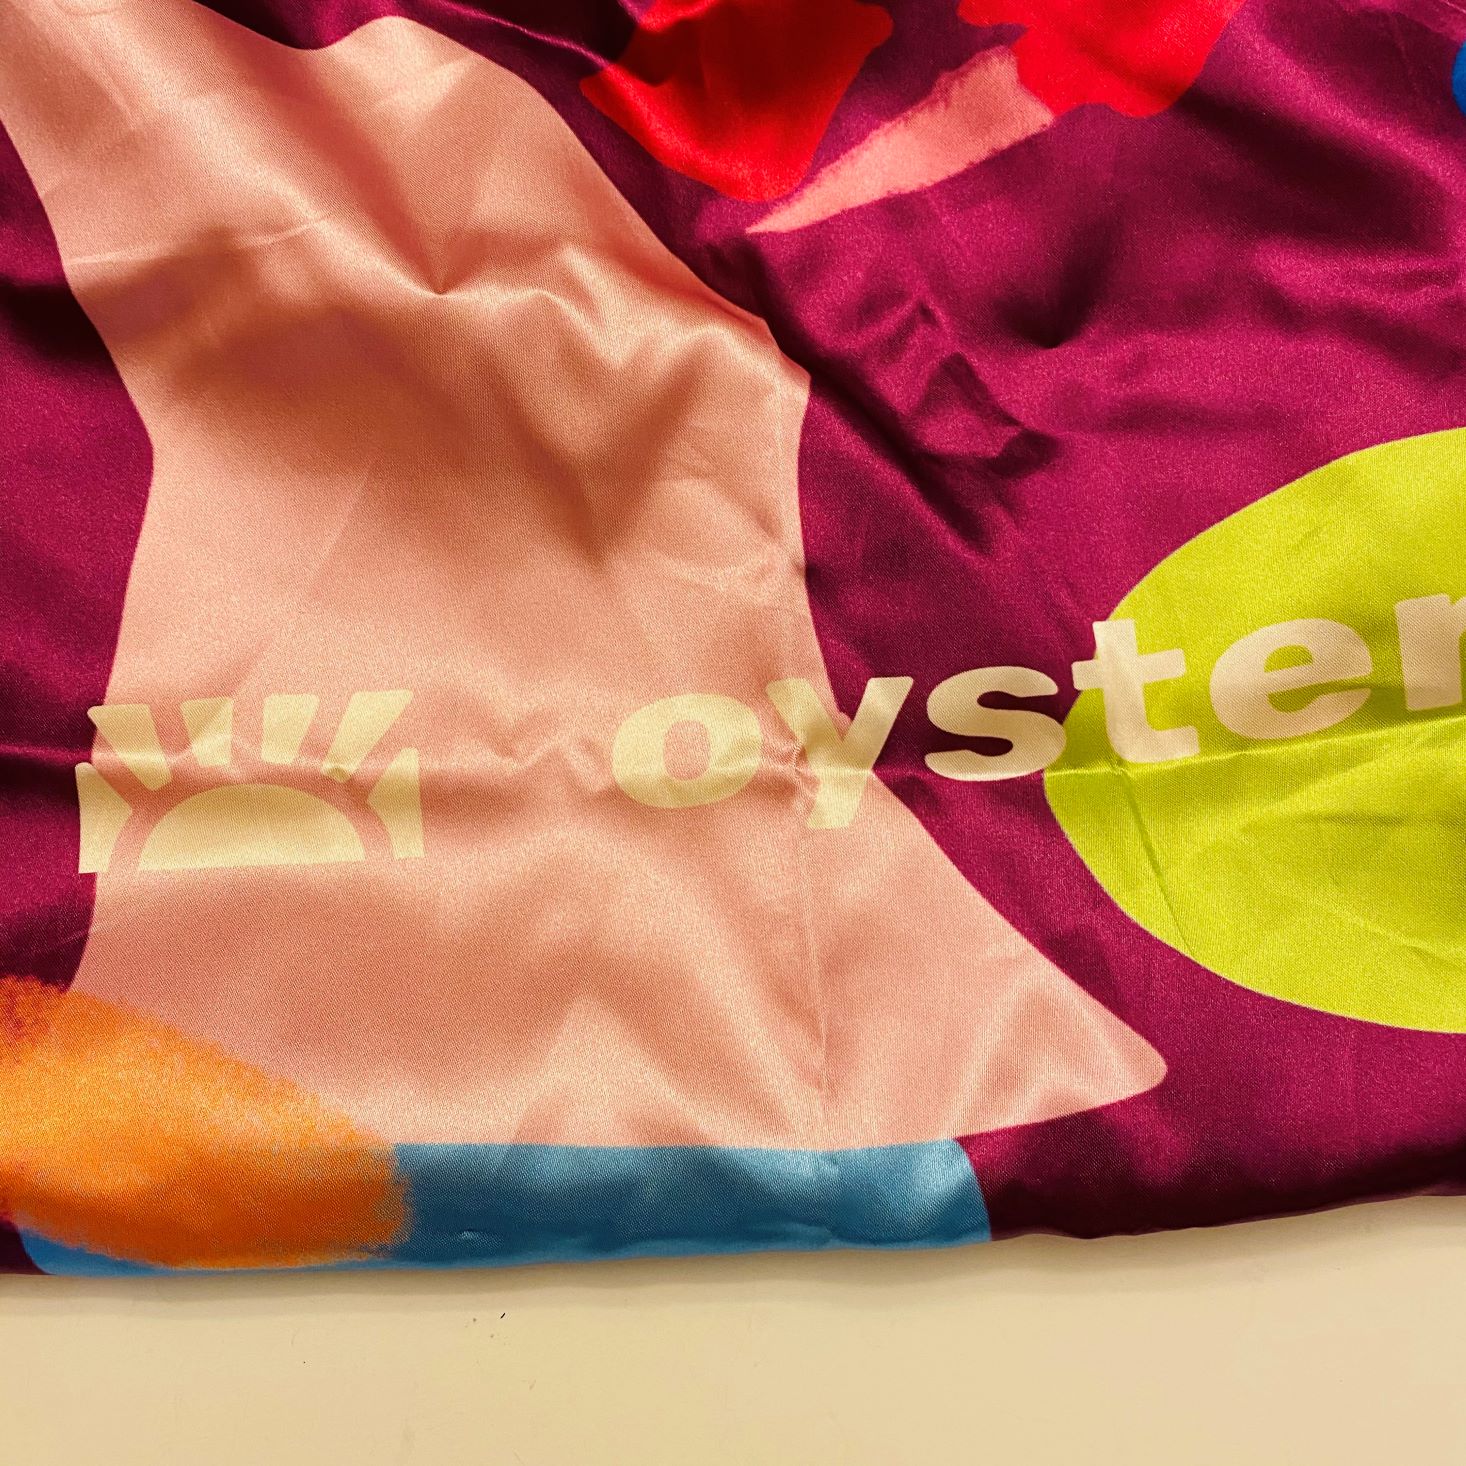

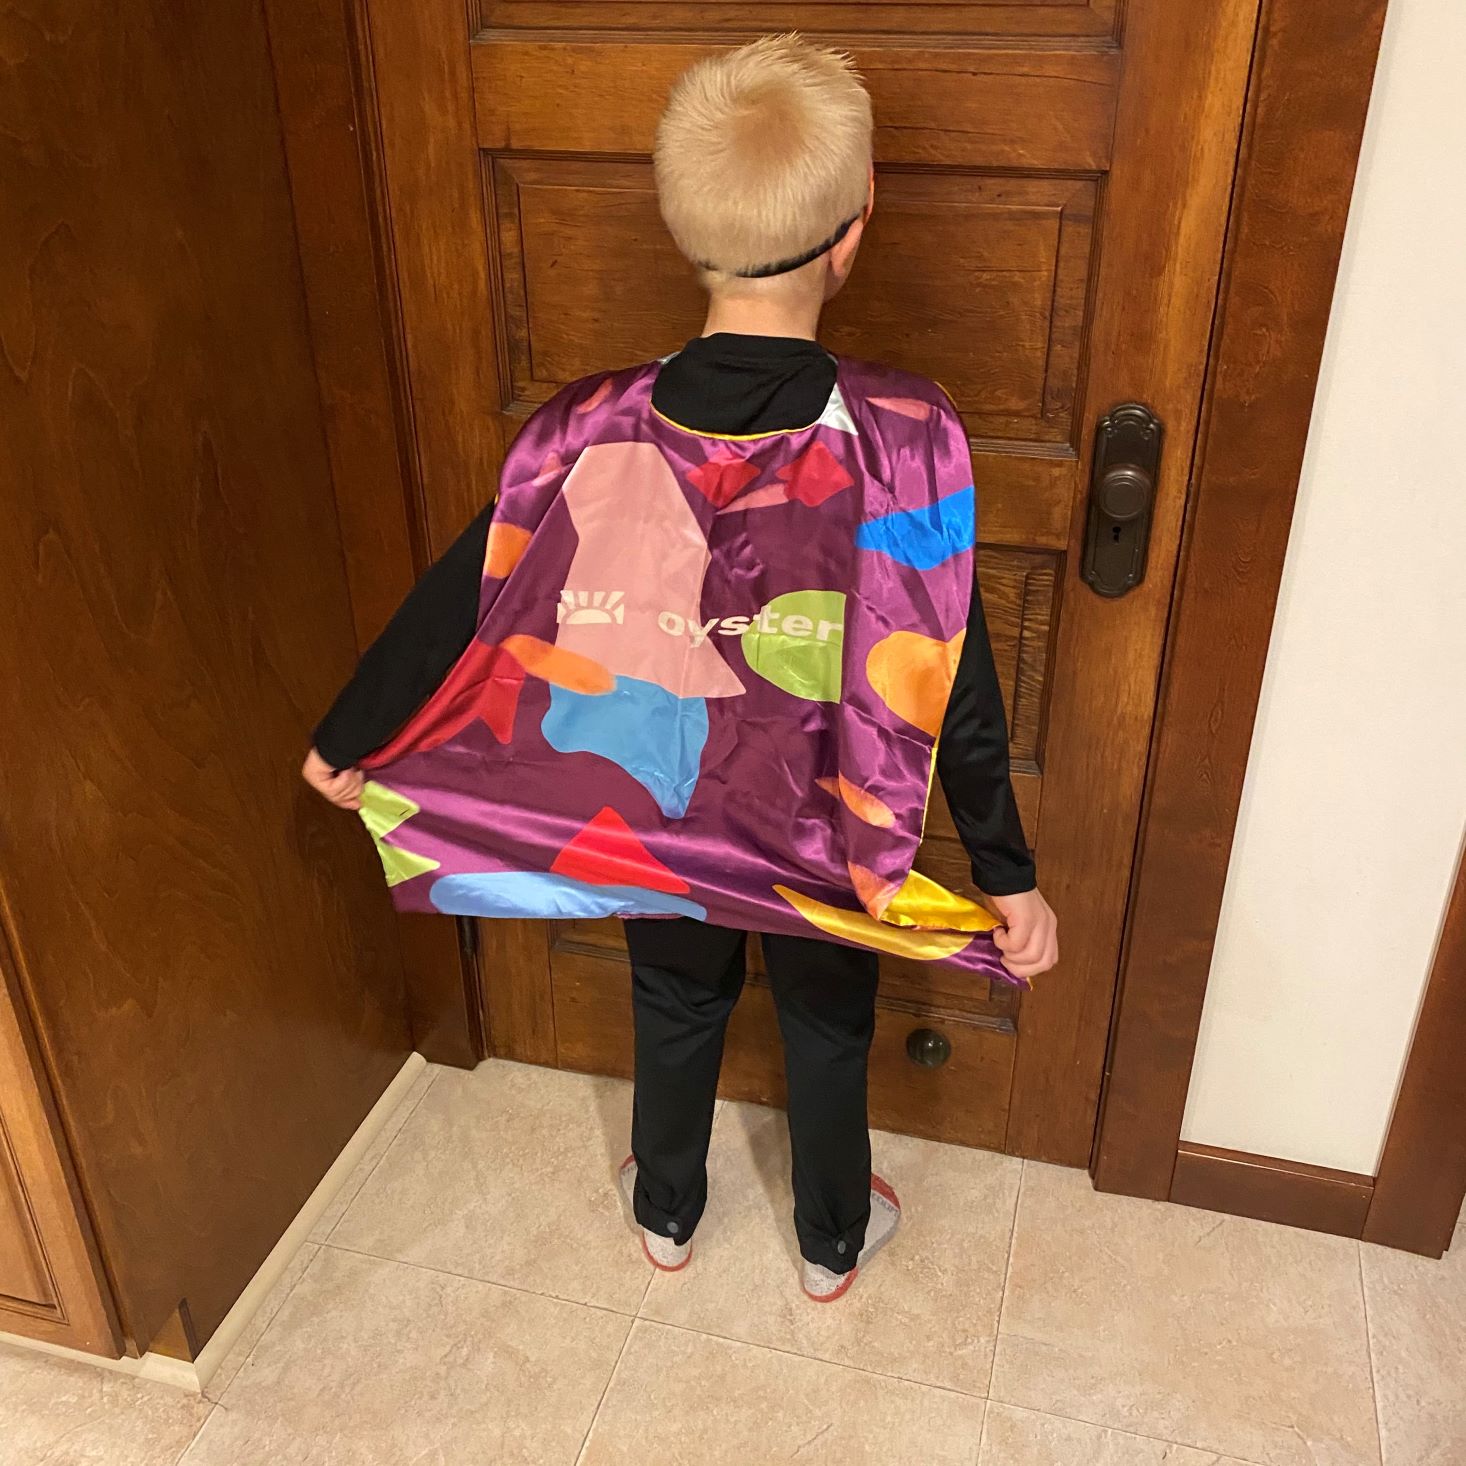
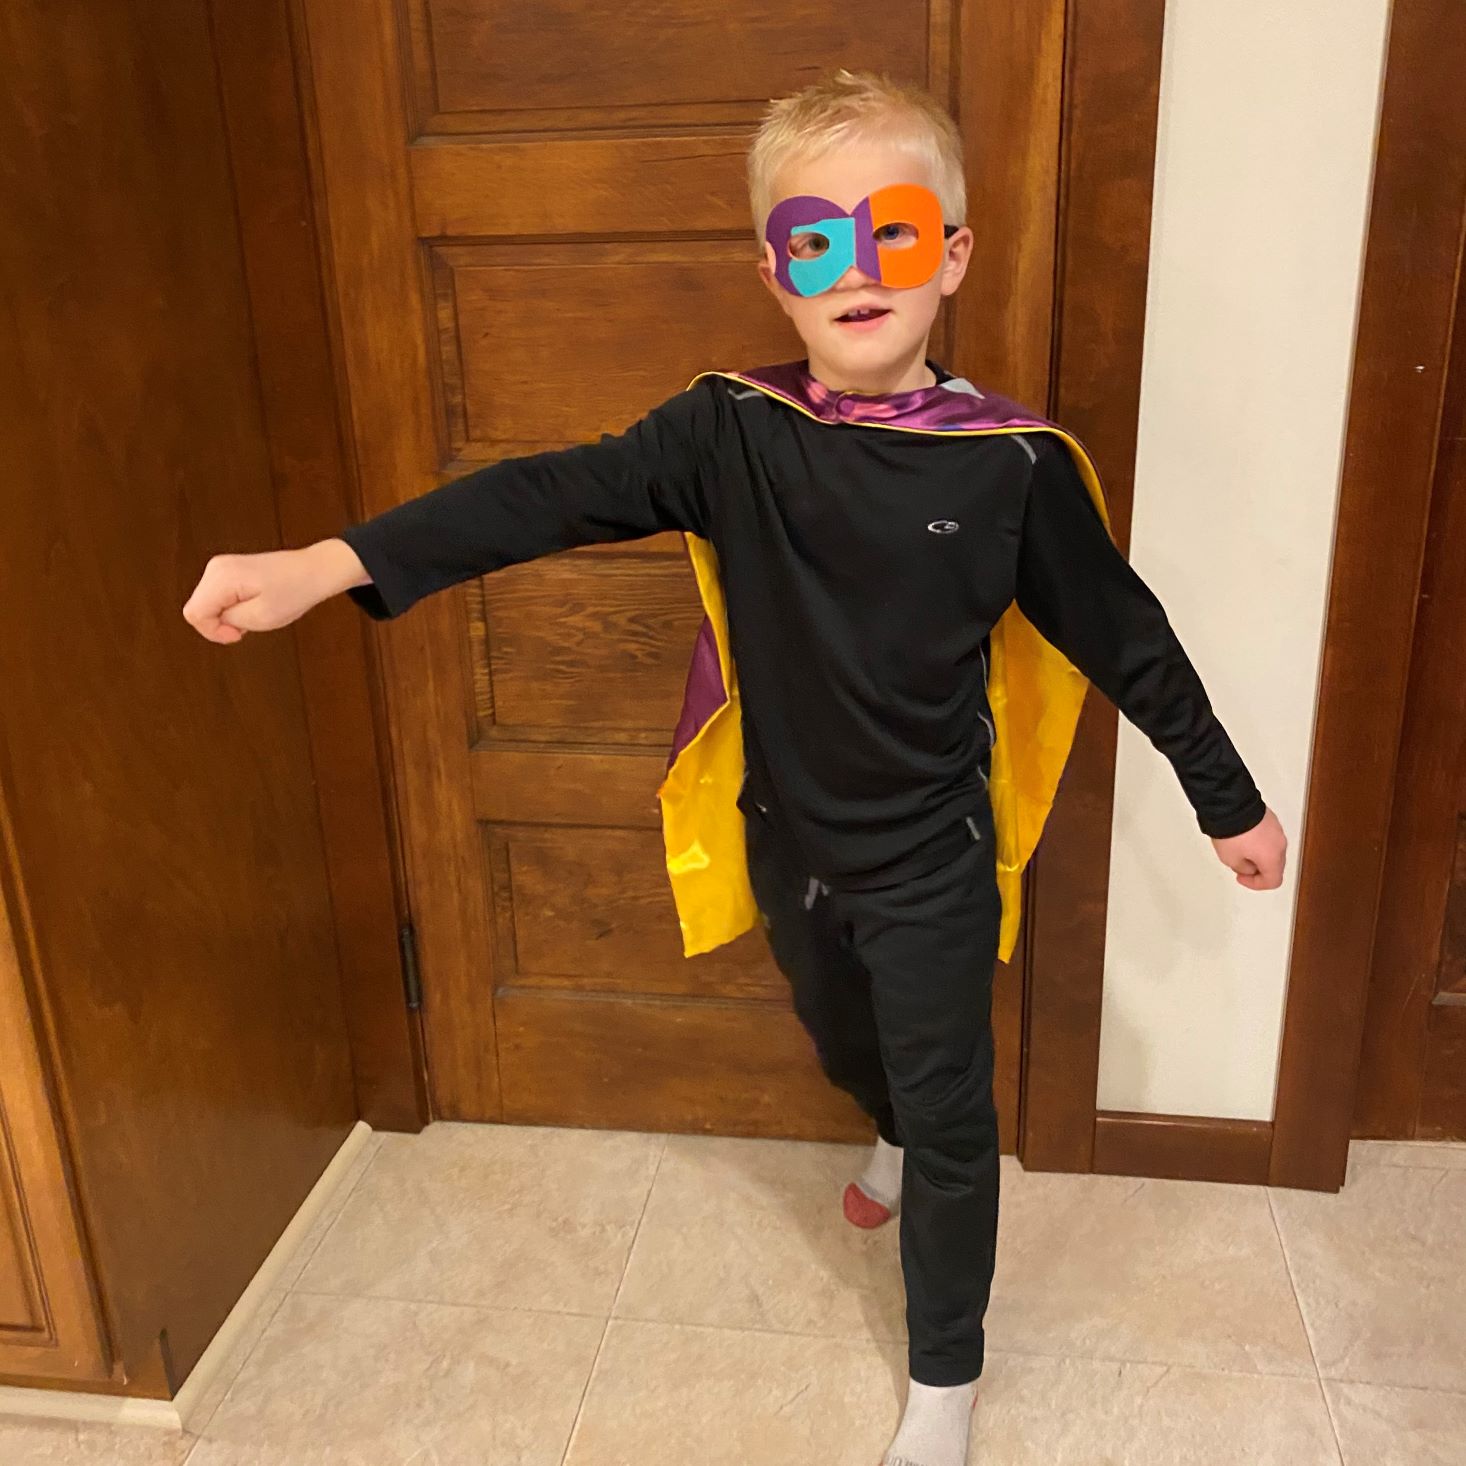
This is our 11th month of Oyster Kit and once in a while we receive a special gift. This month we received a colorful silky cape and matching mask.
1 of 3

How cute is this little superhero?!
Verdict: Oyster Kit was interesting this month and not in the best way. I usually love this subscription, but the lack of instruction and the lack of quality in the projects this month left me a little disappointed. I enjoyed the fact that the booklet was so well put together and offered interesting and useful information, but because our weathervane, tornado, and barometer didn't really work I just wasn't satisfied. The poster aspect was fun, and my kids really enjoyed pretending they were on TV (I actually have a sweet video of Charlie giving the daily weather report). We did learn some really cool things, so this wasn't a complete bust, but I hope the quality bumps back up with our next profession.
This month included supplies to create 6 projects that were educational but lacking in quality. For $39.95 I wish we would have received higher quality items to really help our experiments stand out, but as I said above, we learned a lot about meteorologists and had fun doing it.
To Wrap Up:
Can you still get this box if you sign up today? Possibly; it depends on kit availability.
Check out all of our Oyster Kit reviews and our list of 2020's best subscription boxes for kids!
Keep Track of Your Subscriptions: Add this box to your subscription list or wishlist!
What do you think of Oyster?

Please do not enter your email address in the Name field or in the comment content. Your email address will not be published. Required fields are marked *. Remember to post with kindness and respect. Comments with offensive language, cruelness to others, etc will not be approved. See our full comment policy here.