

Because of popular demand, the bi-monthly Confetti Grace Box is now offering a new monthly mini box! Lil' Grace DIY Box is a new monthly DIY craft subscription that sends a box filled with enough craft supplies to create 2-3 featured projects that are just as high quality as the original box, but on a smaller scale!
“Throw Kindness Around Like Confetti” is this company’s motto, and these projects give the gift of quality time with family and friends. To top it off, 20% of net profits are donated to worldwide charities!
This review is for the Lil' Grace Monthly DIY Box which is $14.95 + $4.95 for shipping each month.
This box was sent to us at no cost for review. (Check out the review process post to learn more about how we review boxes.)

About Confetti Grace
The Subscription Box: Lil' Grace Monthly DIY Box
The Cost: $14.95 monthly + $4.95 for US shipping
The Products: A specially curated mini box filled with enough craft supplies to create 2 of one project: one to keep, and one to give away, or to share with a friend! (Recommended ages are 8 years - adult.)
Ships to: The continental US for $4.95
Lil' Grace Monthly DIY Box September 2020 Review
Last month was the debut of Lil' Grace Monthly DIY Box and I was sooo impressed. I just couldn't wait to see what they came up with for September, and I have to say I am obsessed!


1 of 4
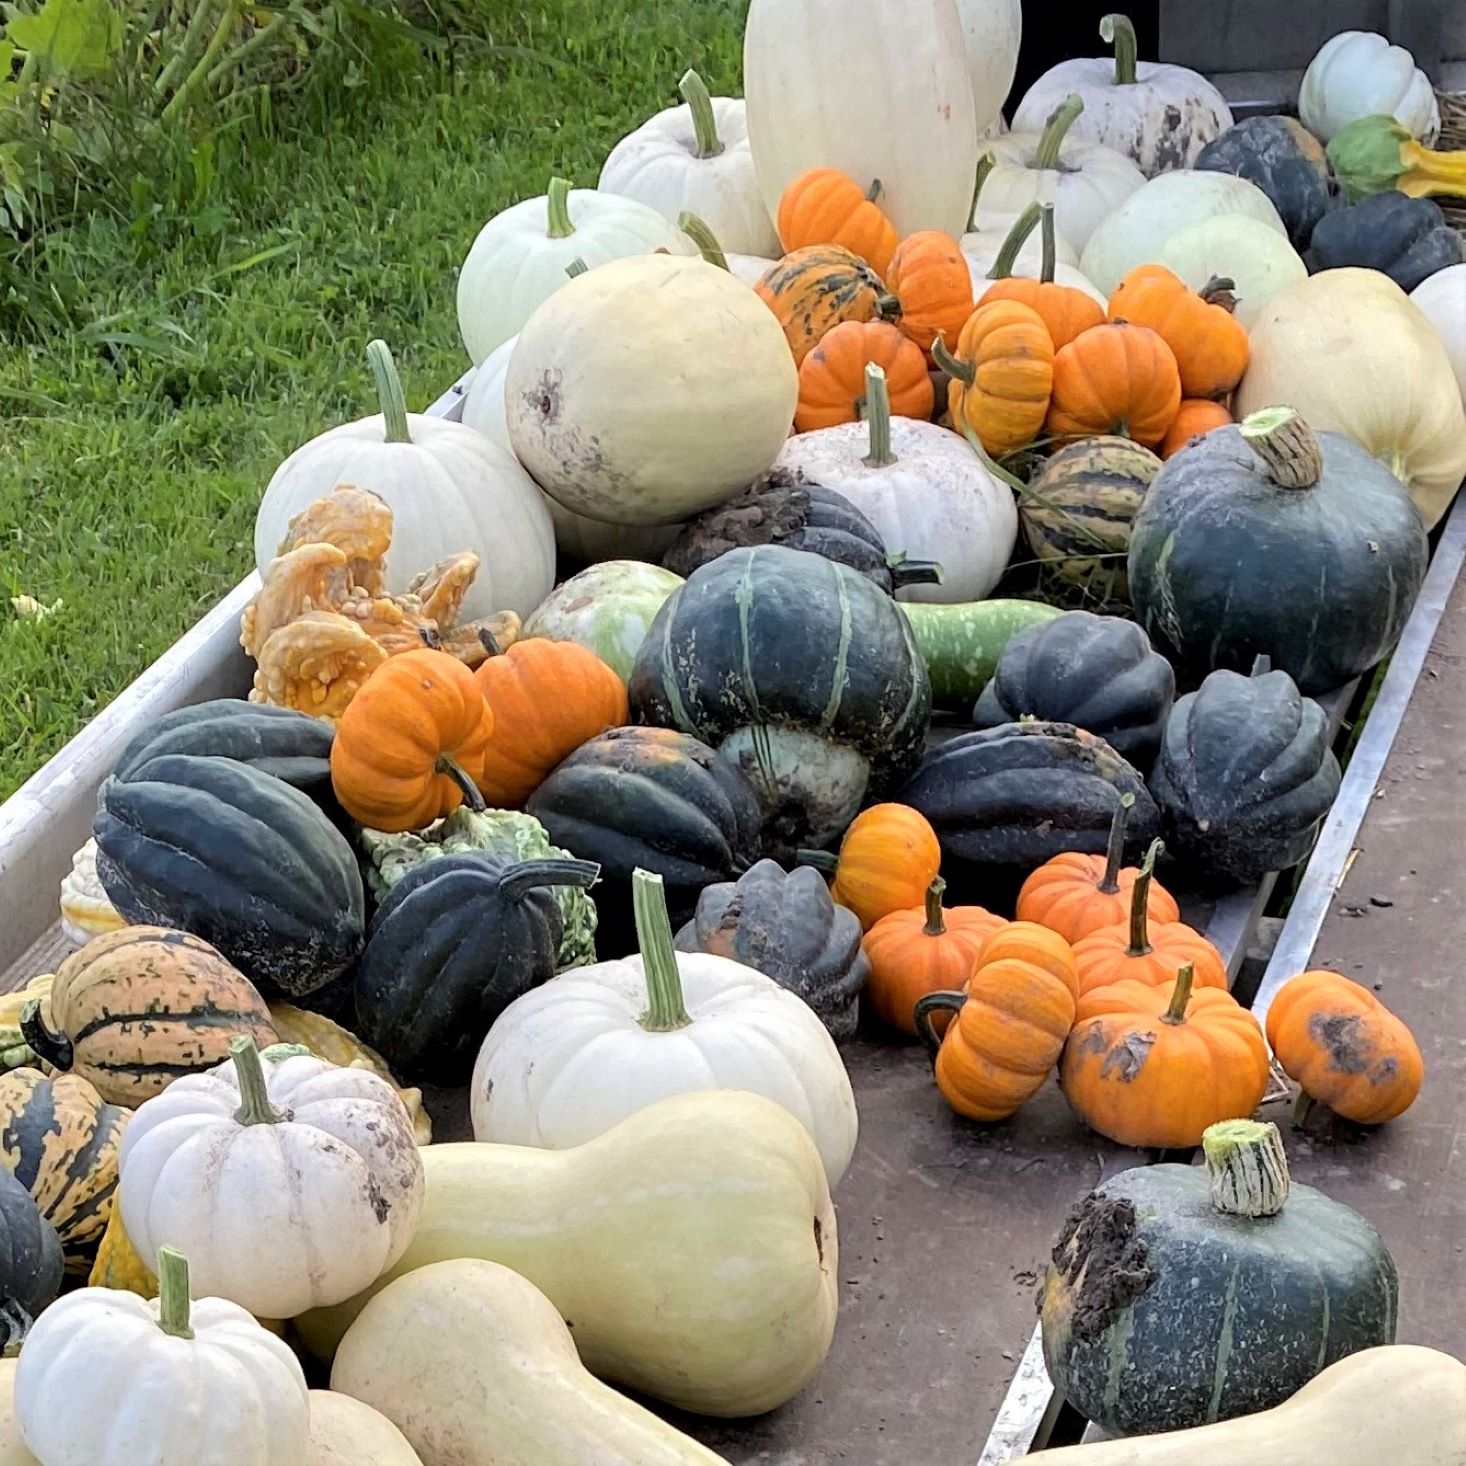

Because we have a little hobby pumpkin farm, I love anything to do with pumpkins... growing them, baking with them, and as you can see: even putting my kids in them! I love how this month's project was based on my favorite fall produce and how amazing it turned out. Check out below to see what we made this month.
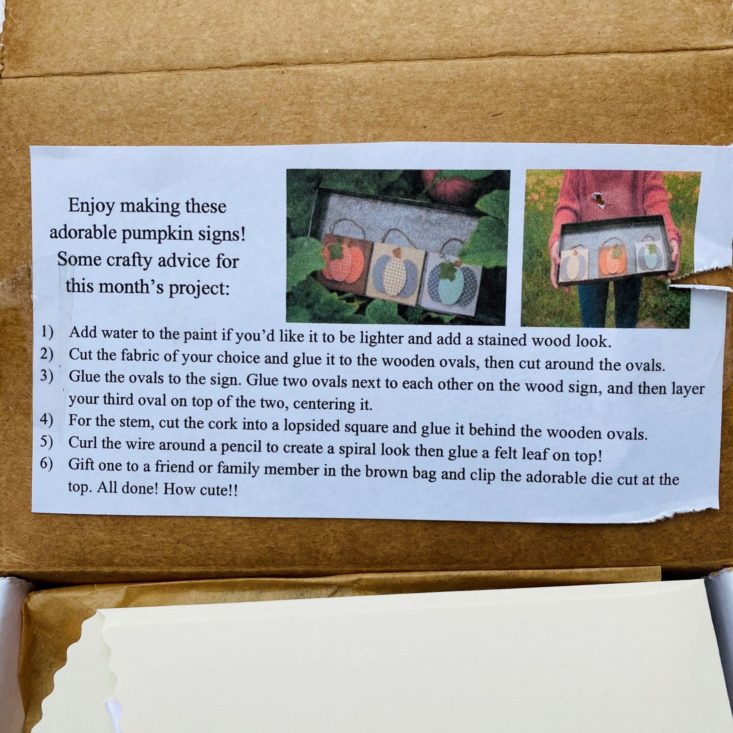
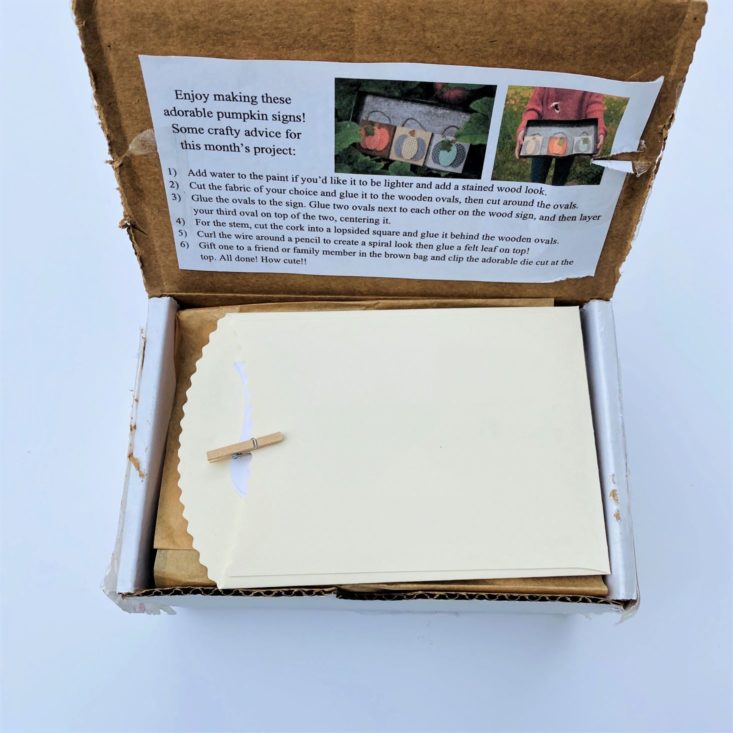
The instructions for this month's project were adhered to the lid of the box. This method was great as I didn't misplace them, or lose them in my chaos! I love the fact that the instructions are pretty loose, giving us suggestions on how to personalize our pumpkin signs exactly how we wanted.
Wooden Pumpkin Signs
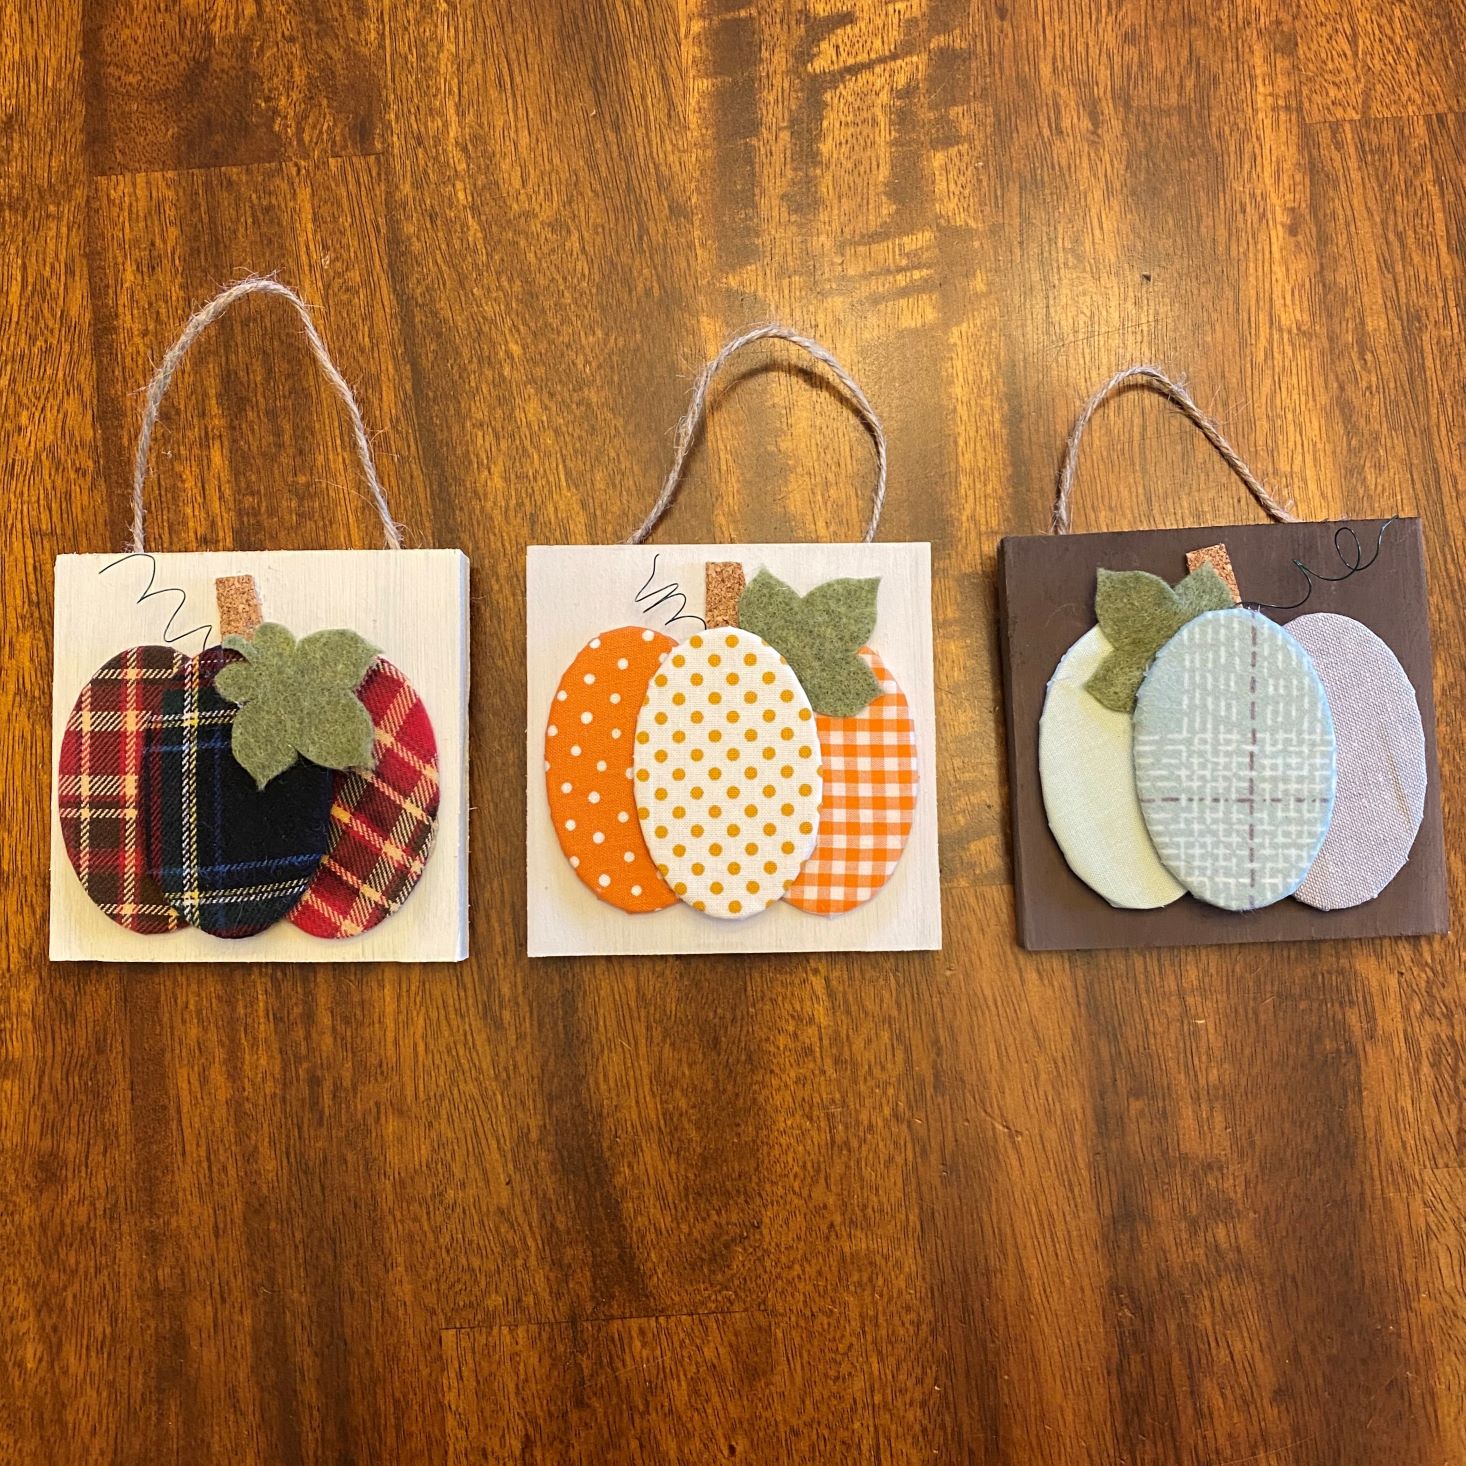
For our mini project this month, we received not two, but THREE individual pumpkin signs with all of the necessary materials. While I again went a little off course, they turned out so stinkin' cute and were a blast to make.
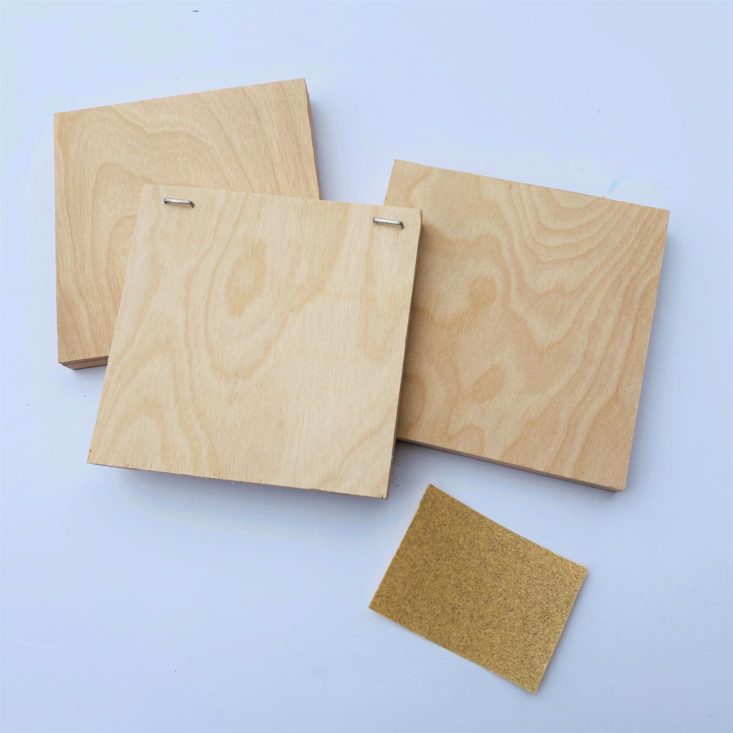
Pumpkin Signs and Sandpaper
The base of our project is a 4" X 4" piece of wood. Attached on the back are 2 staples to string our twine through. We also received a tiny piece of sandpaper to smooth out any rough edges.

1 of 2
Pumpkin Embellishments
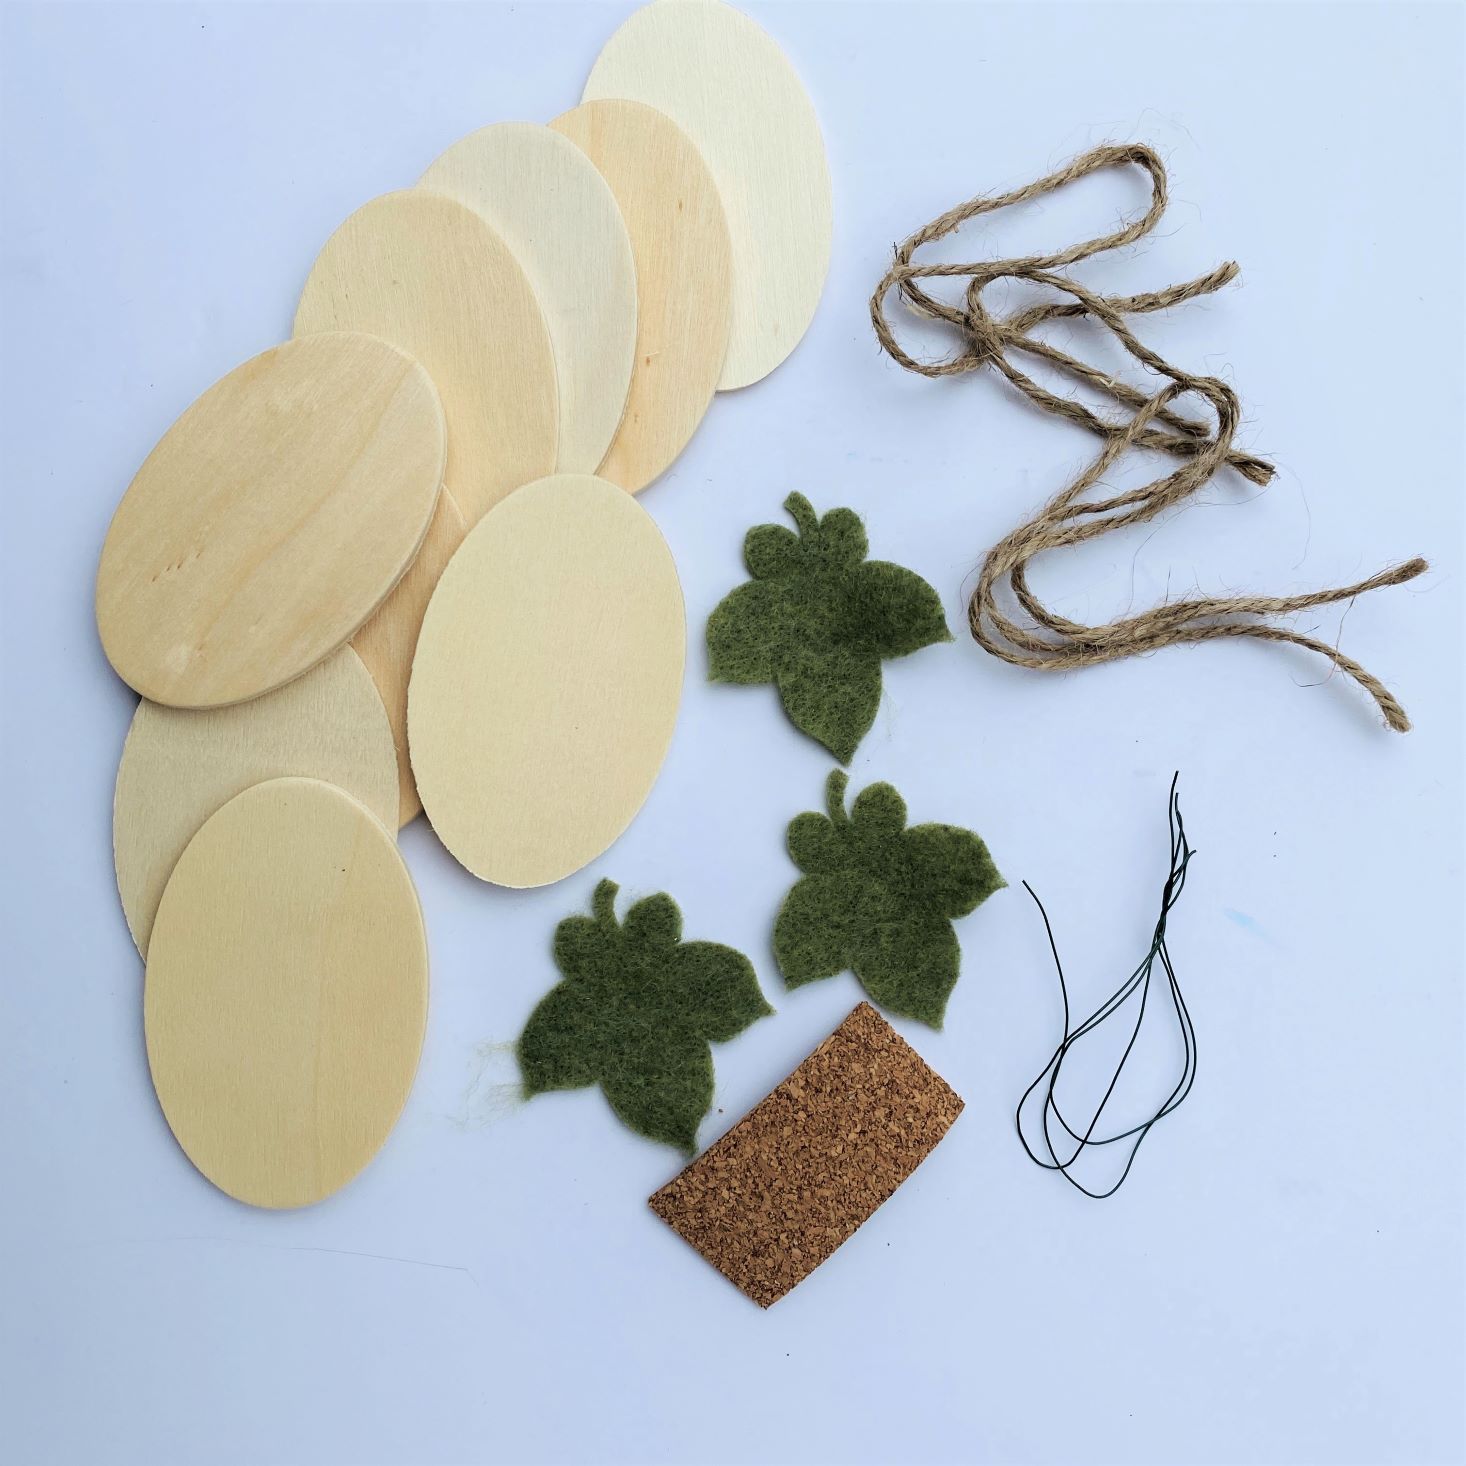
I just love opening up the embellishment packs with this subscription, as they always include neat little items. This month we received a total of 12 wooden ovals, 3 felt leaves, 3 small pieces of green wire, twine, and a small piece of cork.
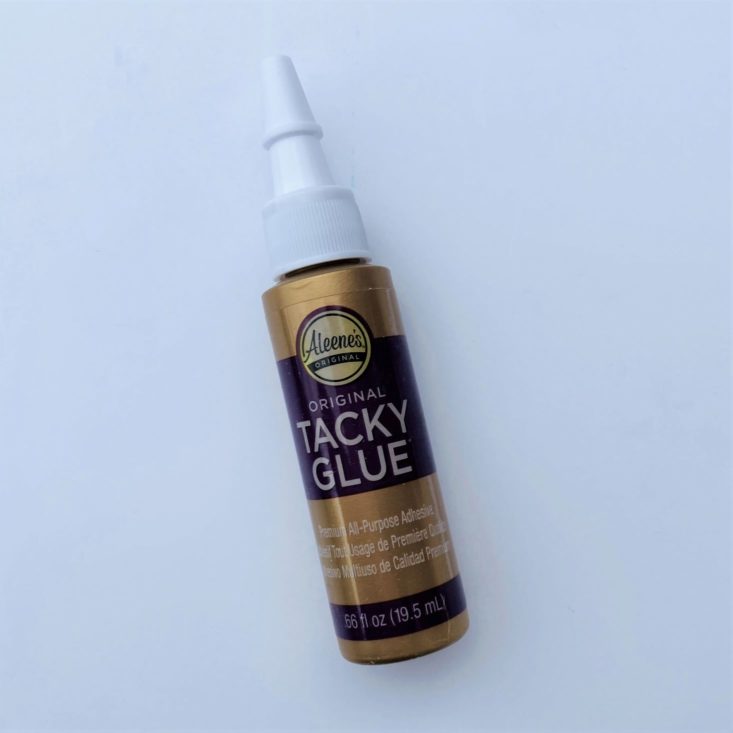
Aleene's Original Tacky Glue - Retail Value $0.99
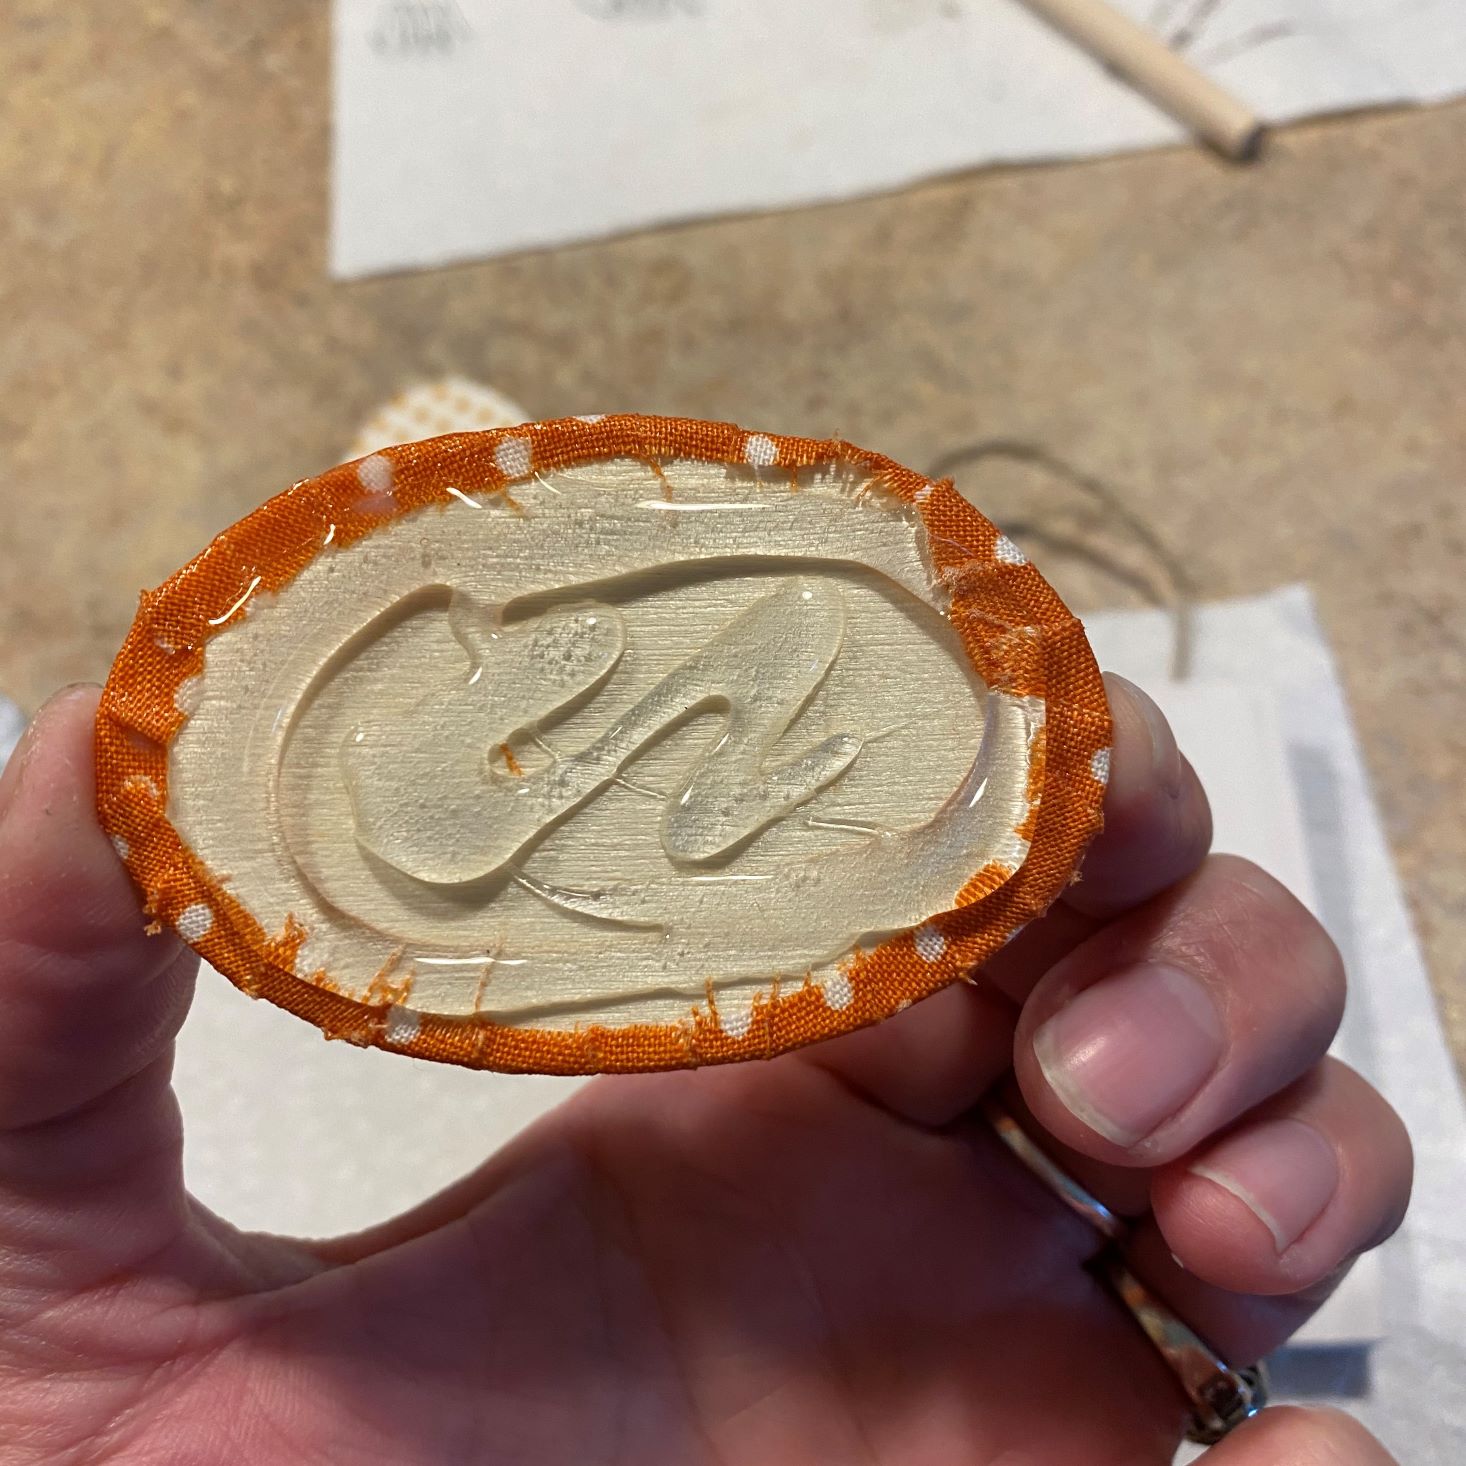
To adhere our fabric onto our wooden ovals we received a bottle of Aleene's Original Tacky Glue. My grandma always used this exact version, and it really worked well for the fabric. I did end up using my hot glue gun to actually adhere my ovals onto the base though just because I wanted them to be extra secure.
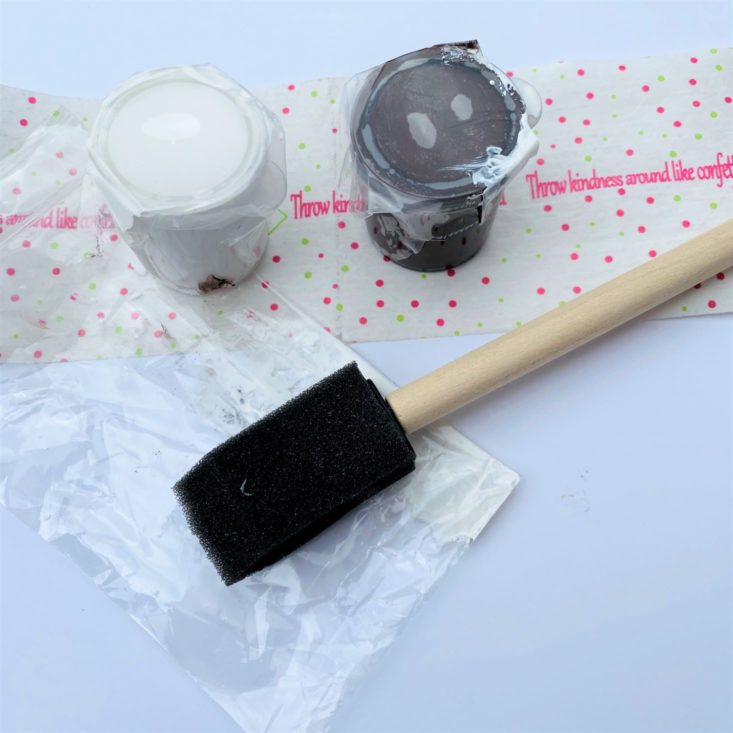
Paint and Paintbrush
This month we received a pot of white and a pot of brown paint with a foam brush. Our paints came in a separate sealed baggie to be contained in case of an accident, and this month I was very happy for that, as both containers leaked a bit. We still had plenty of paint to complete our project, just a little bit of a mess to clean up after opening the wet lids.
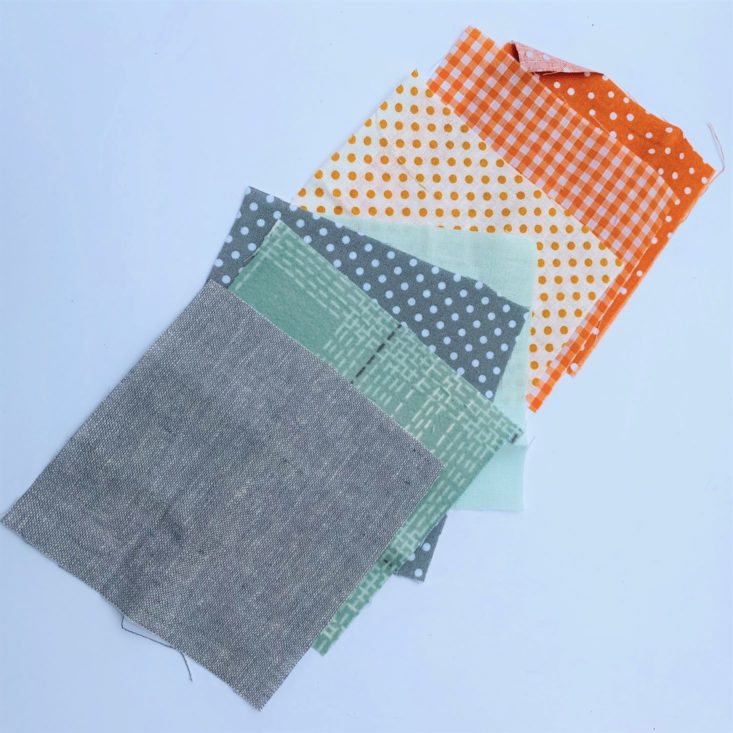
Fabric
Aren't these coordinating fabrics dreamy? I just love the oranges mixed with the greys and greens, and couldn't wait to start getting my projects underway!

1 of 8

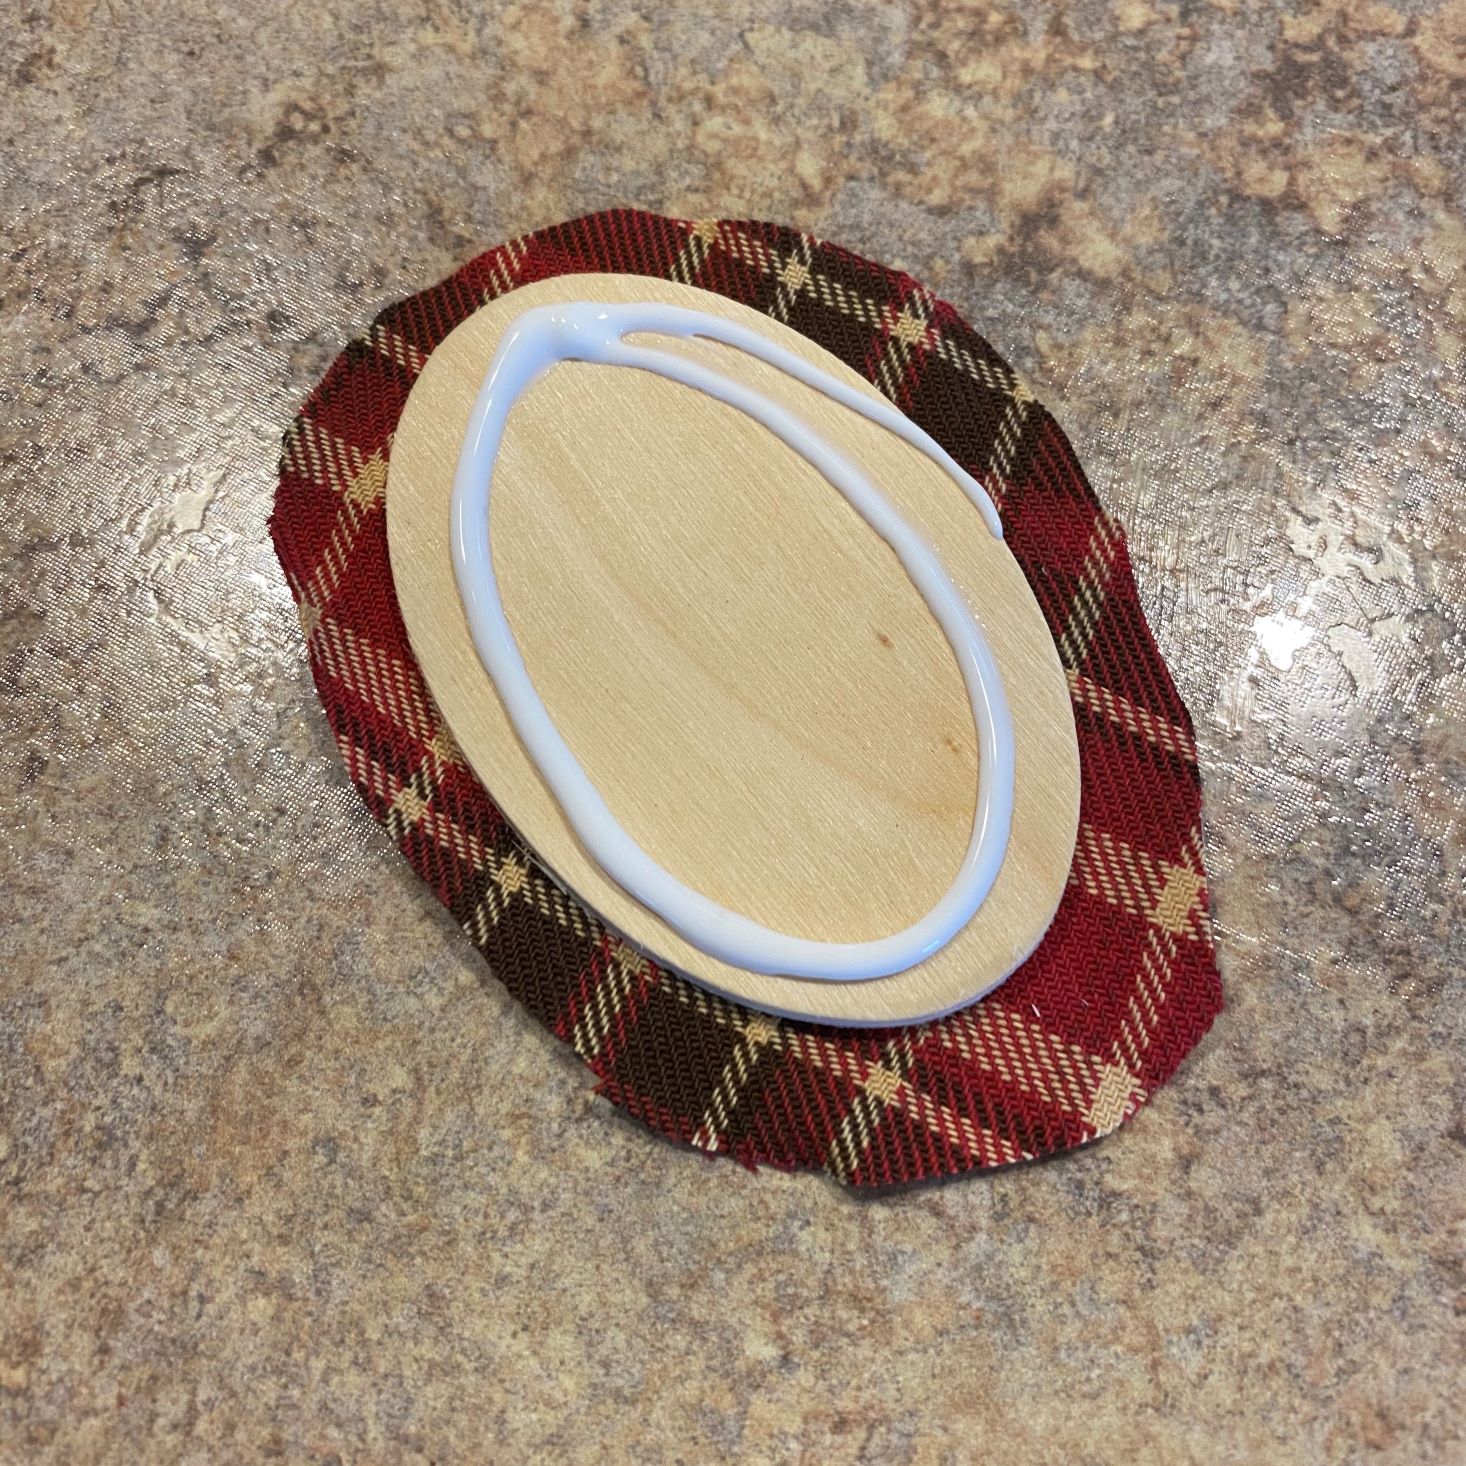
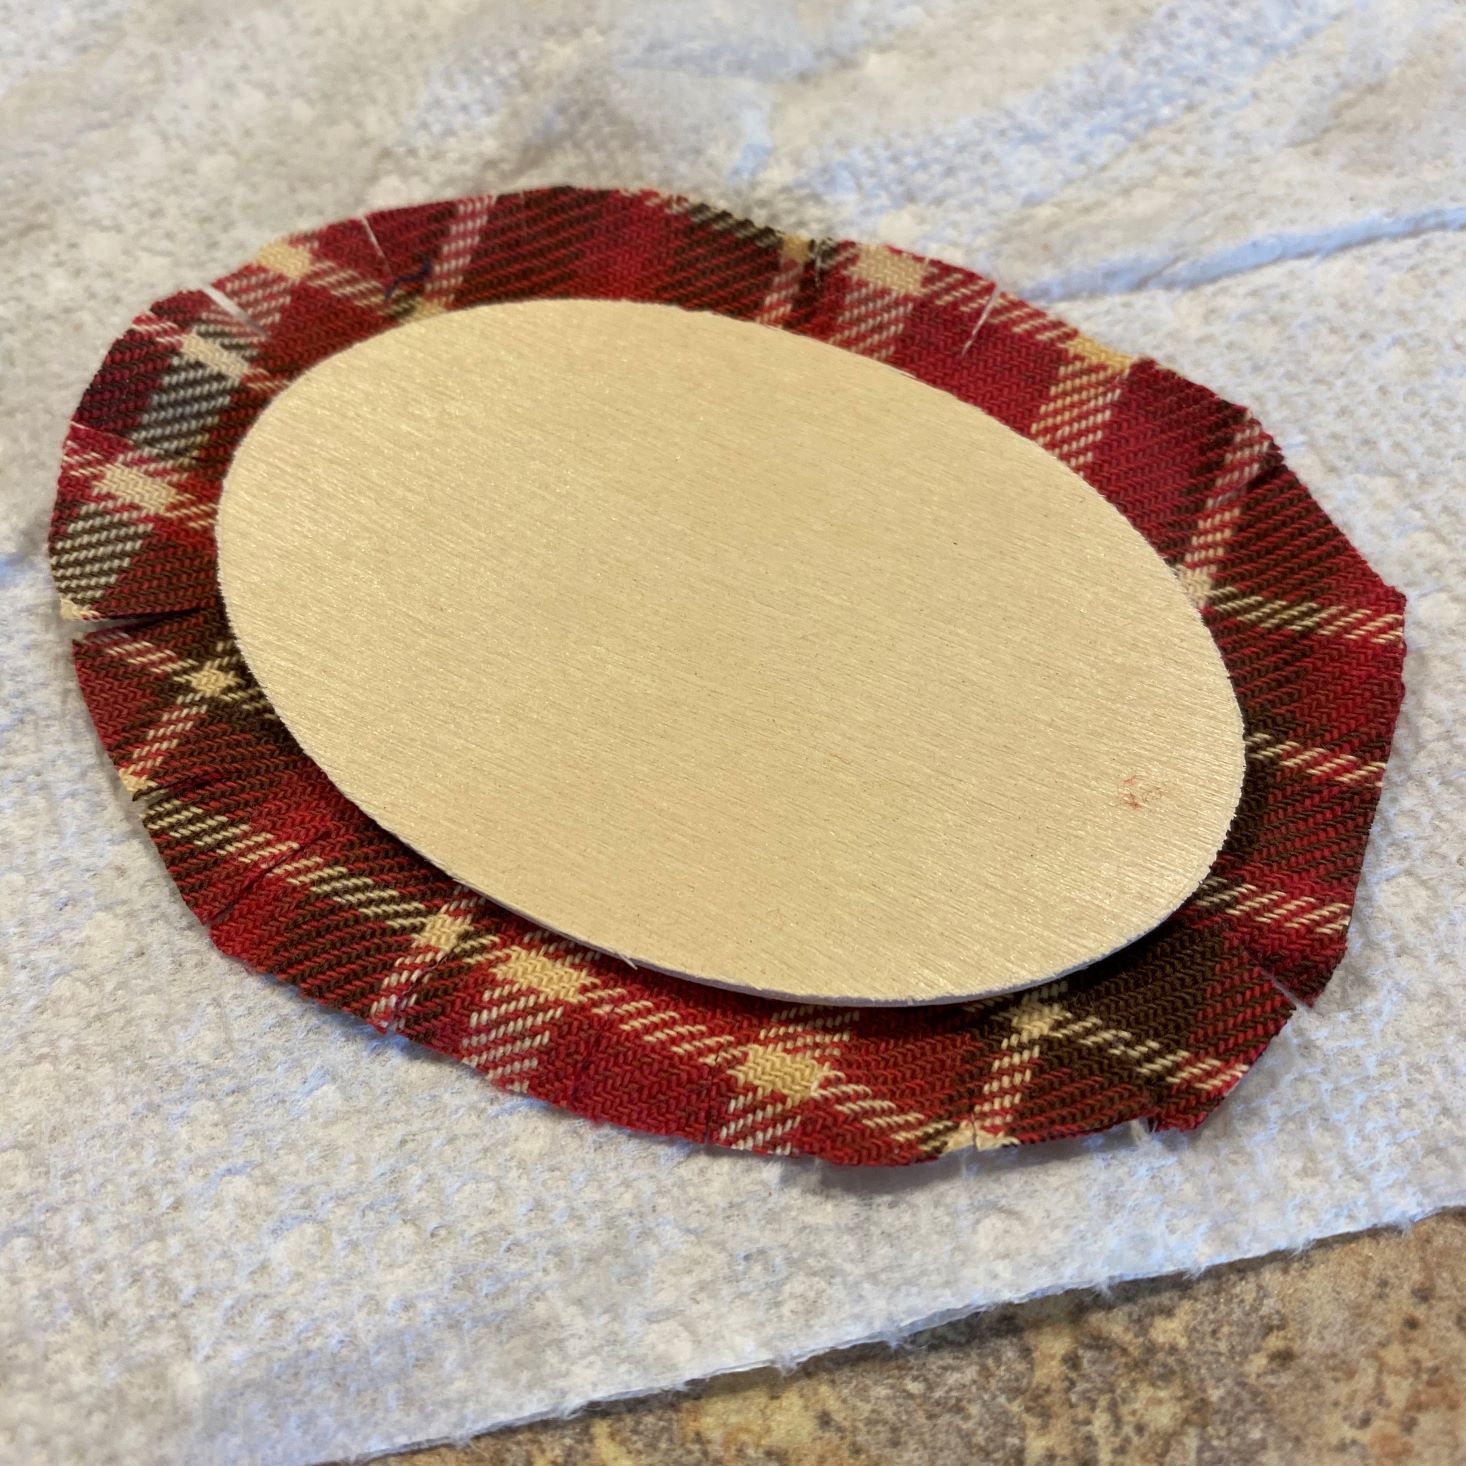

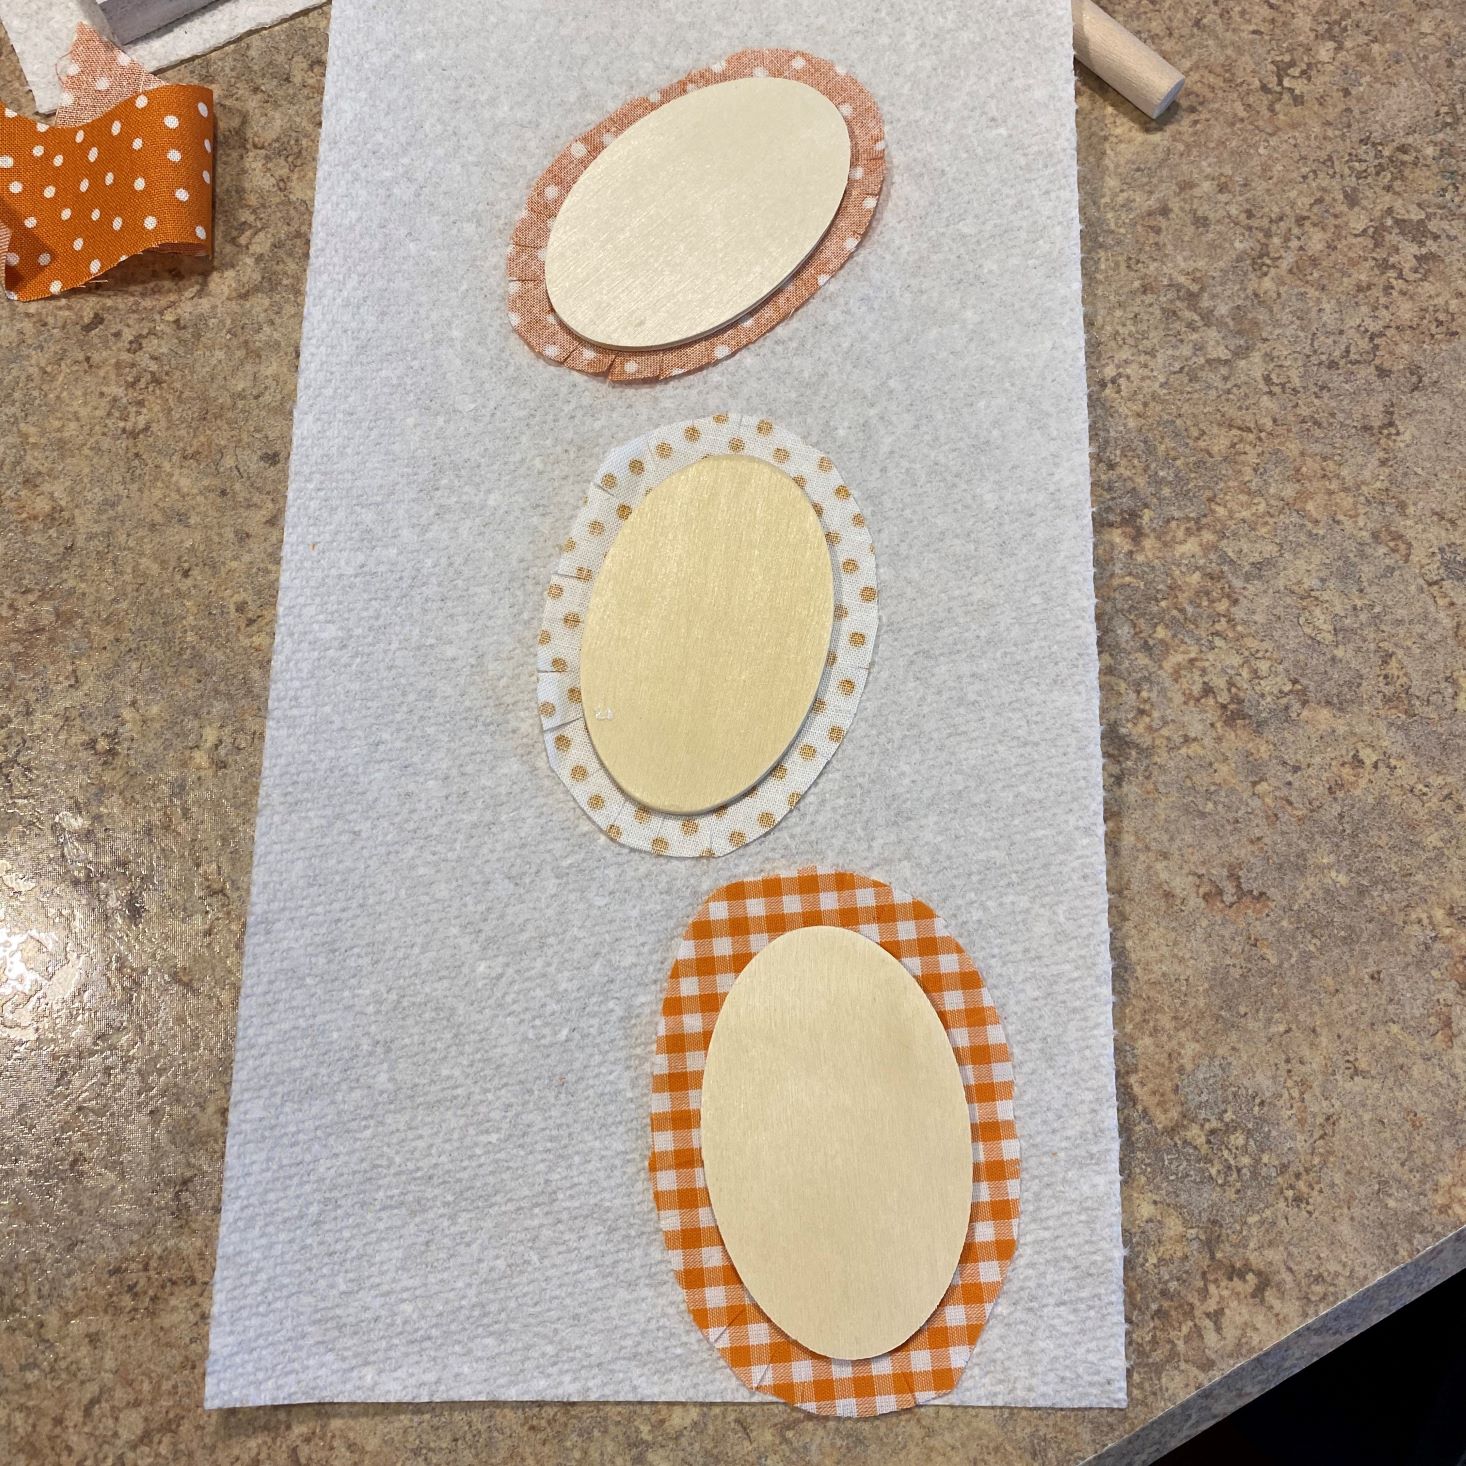
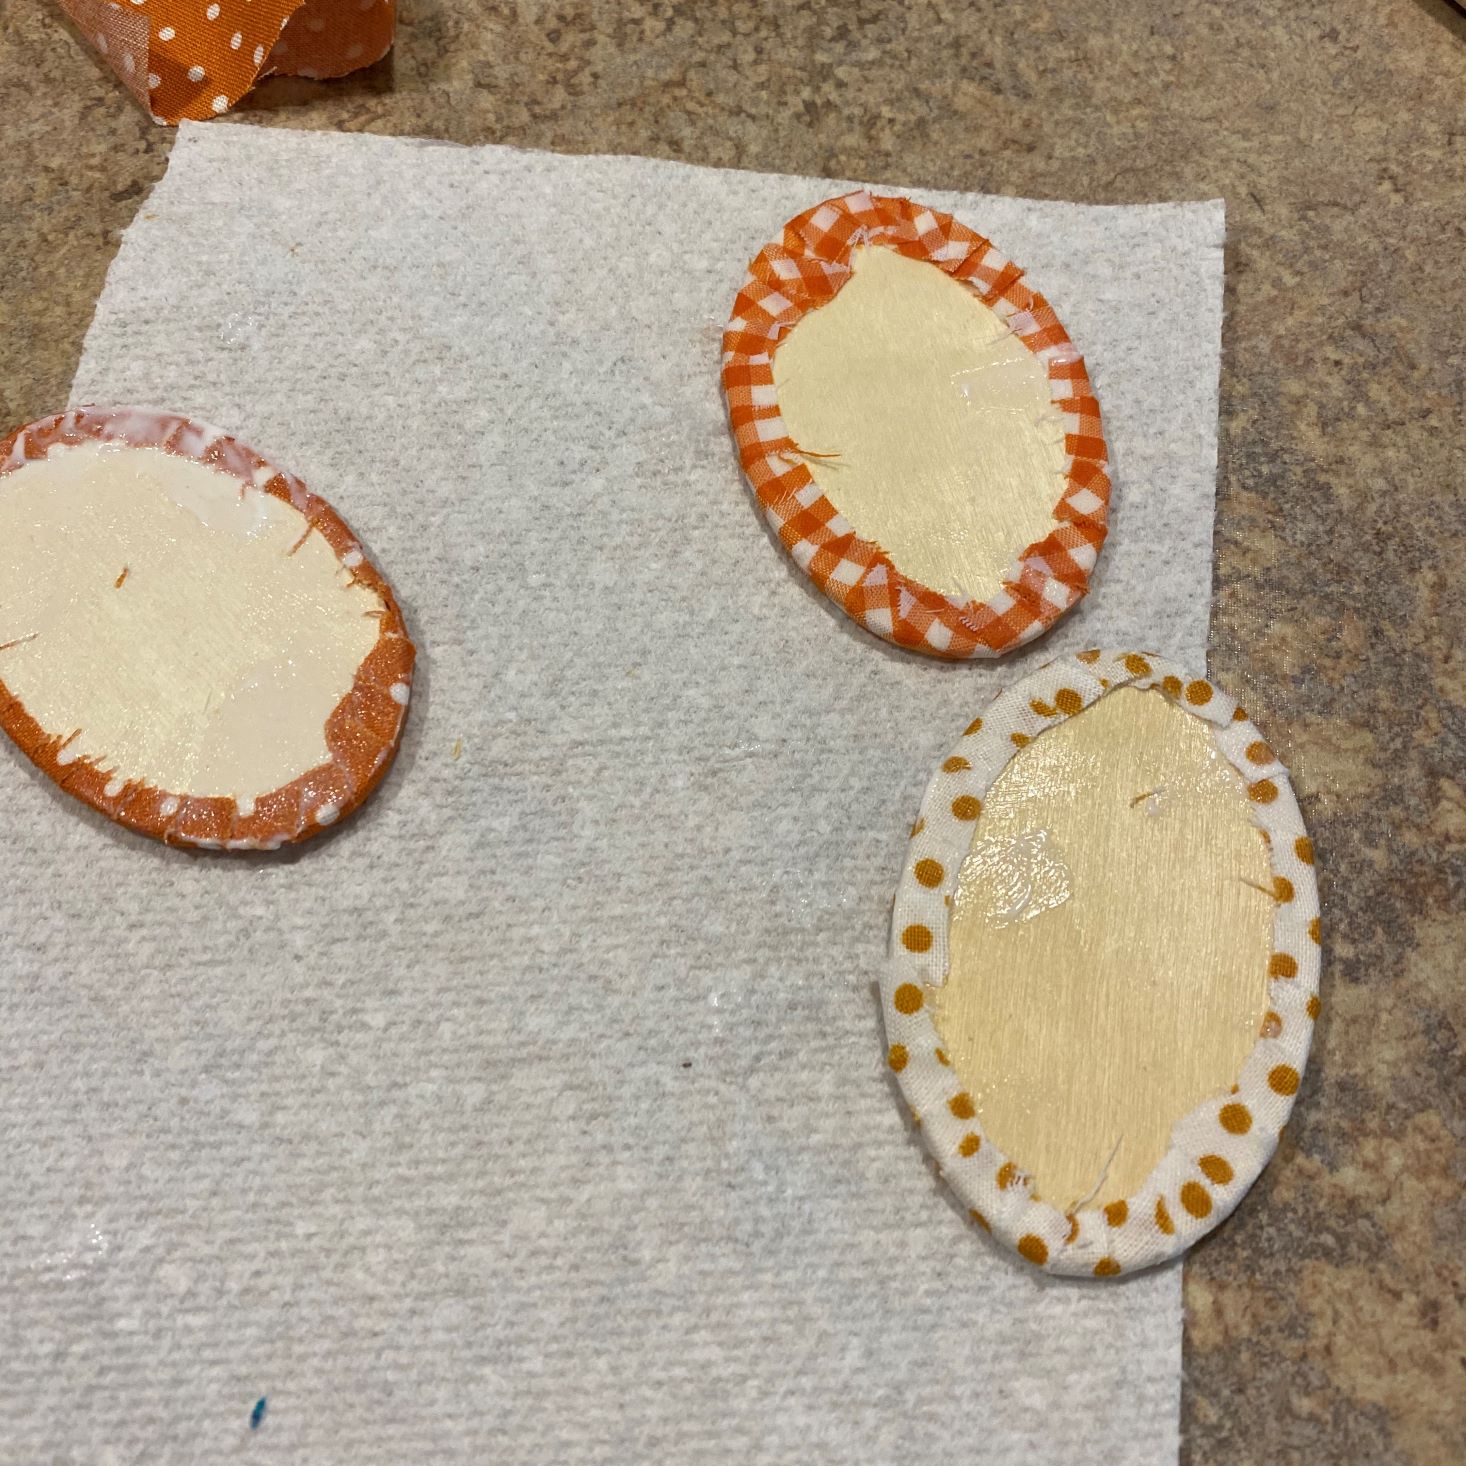
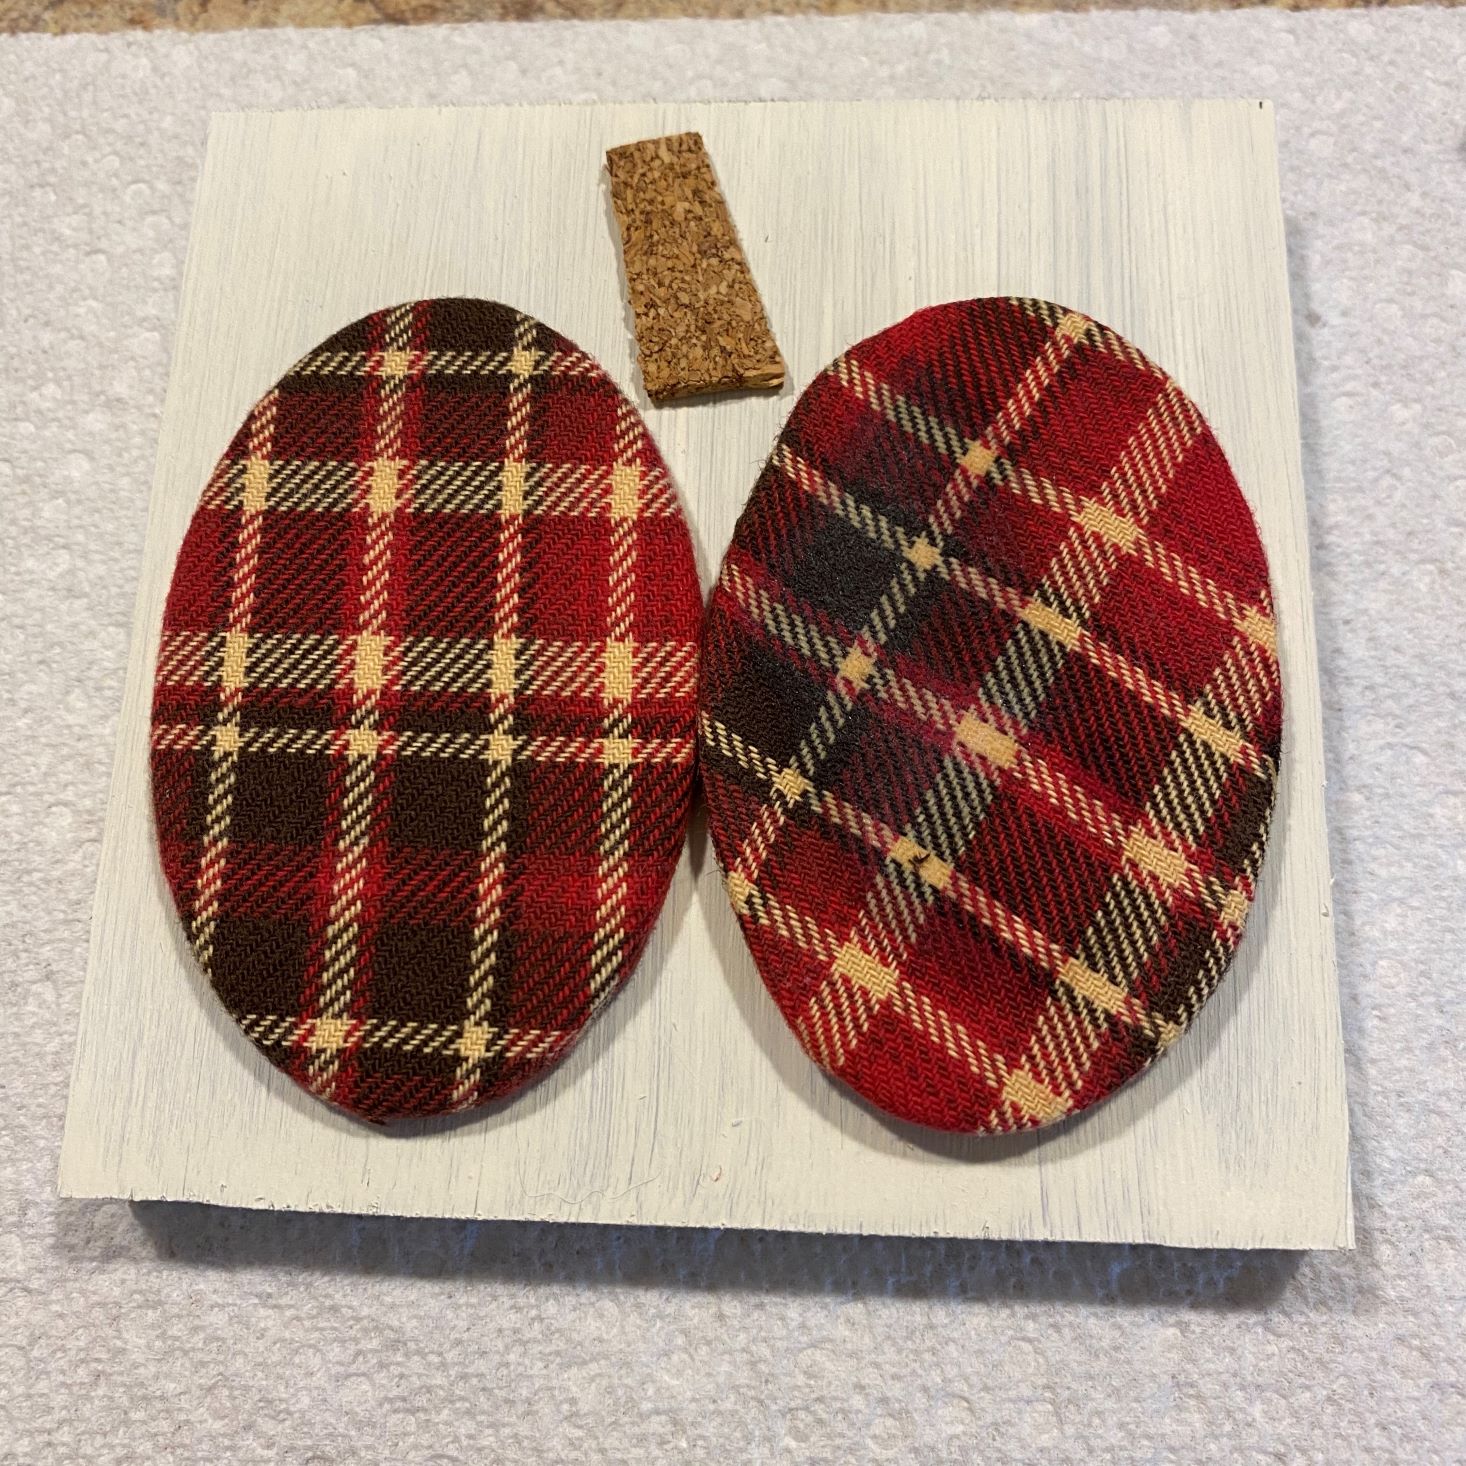
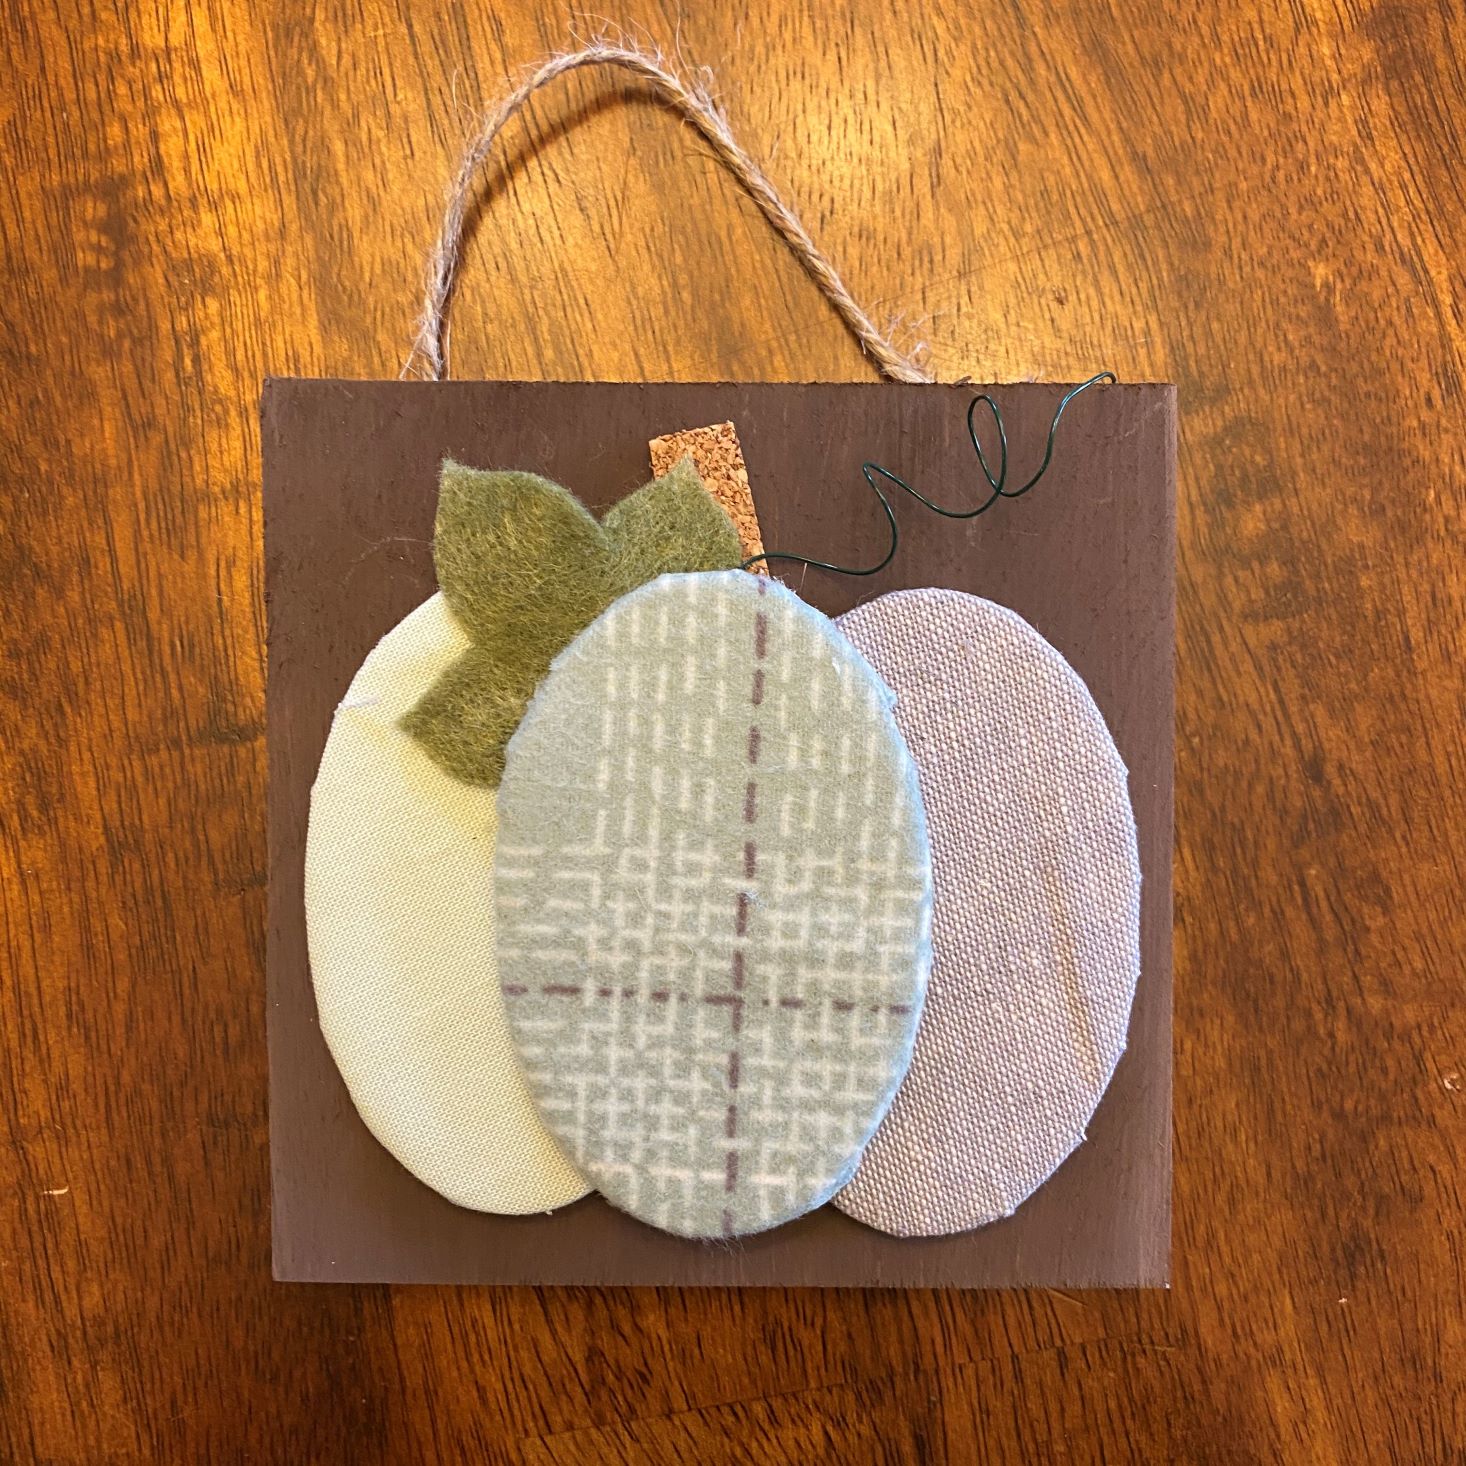
This month's project was really cute and actually didn't take long to complete. I started out by laying down a paper towel to protect my workspace. I then went ahead and painted my wooden bases (just the front and sides) and set aside to dry. While the bases were drying, I went ahead and started working on my ovals. This month you did need a scissor from home, so when I went up to my craft room to get my scissors, I noticed some leftover flannel from a Memory Bear project I made from my grandma's shirts sitting by my scissors, so I decided to grab that as well and veer off course a bit. Because I was so excited to incorporate my grandma's shirt into a pumpkin, I first started with that one. Cutting an oval slightly bigger than the wooden piece, I snipped little tabs so it would fold over nice and cover the sides of the wood. Using the adhesive, I smeared a line along the outer edge of the oval and slowly folded over the flaps to create a nice edge.

1 of 6
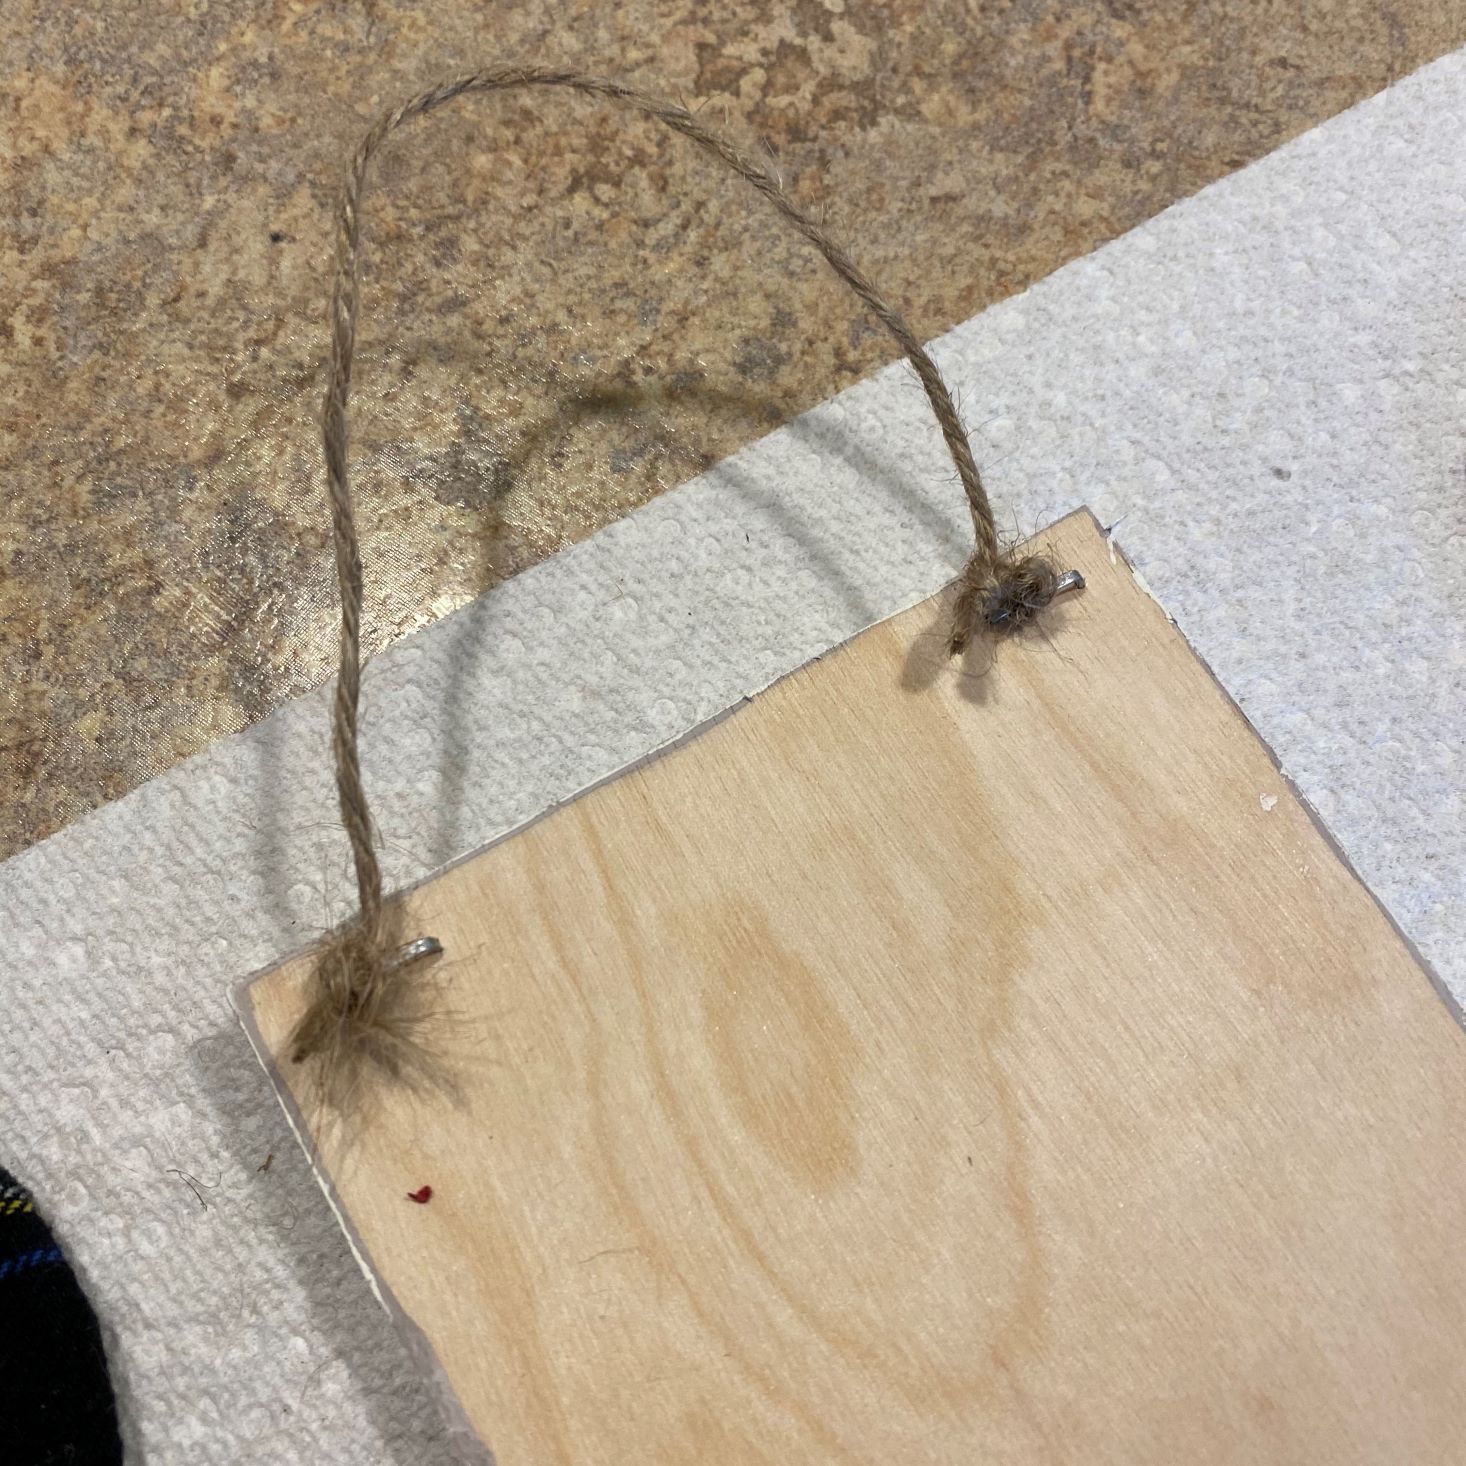
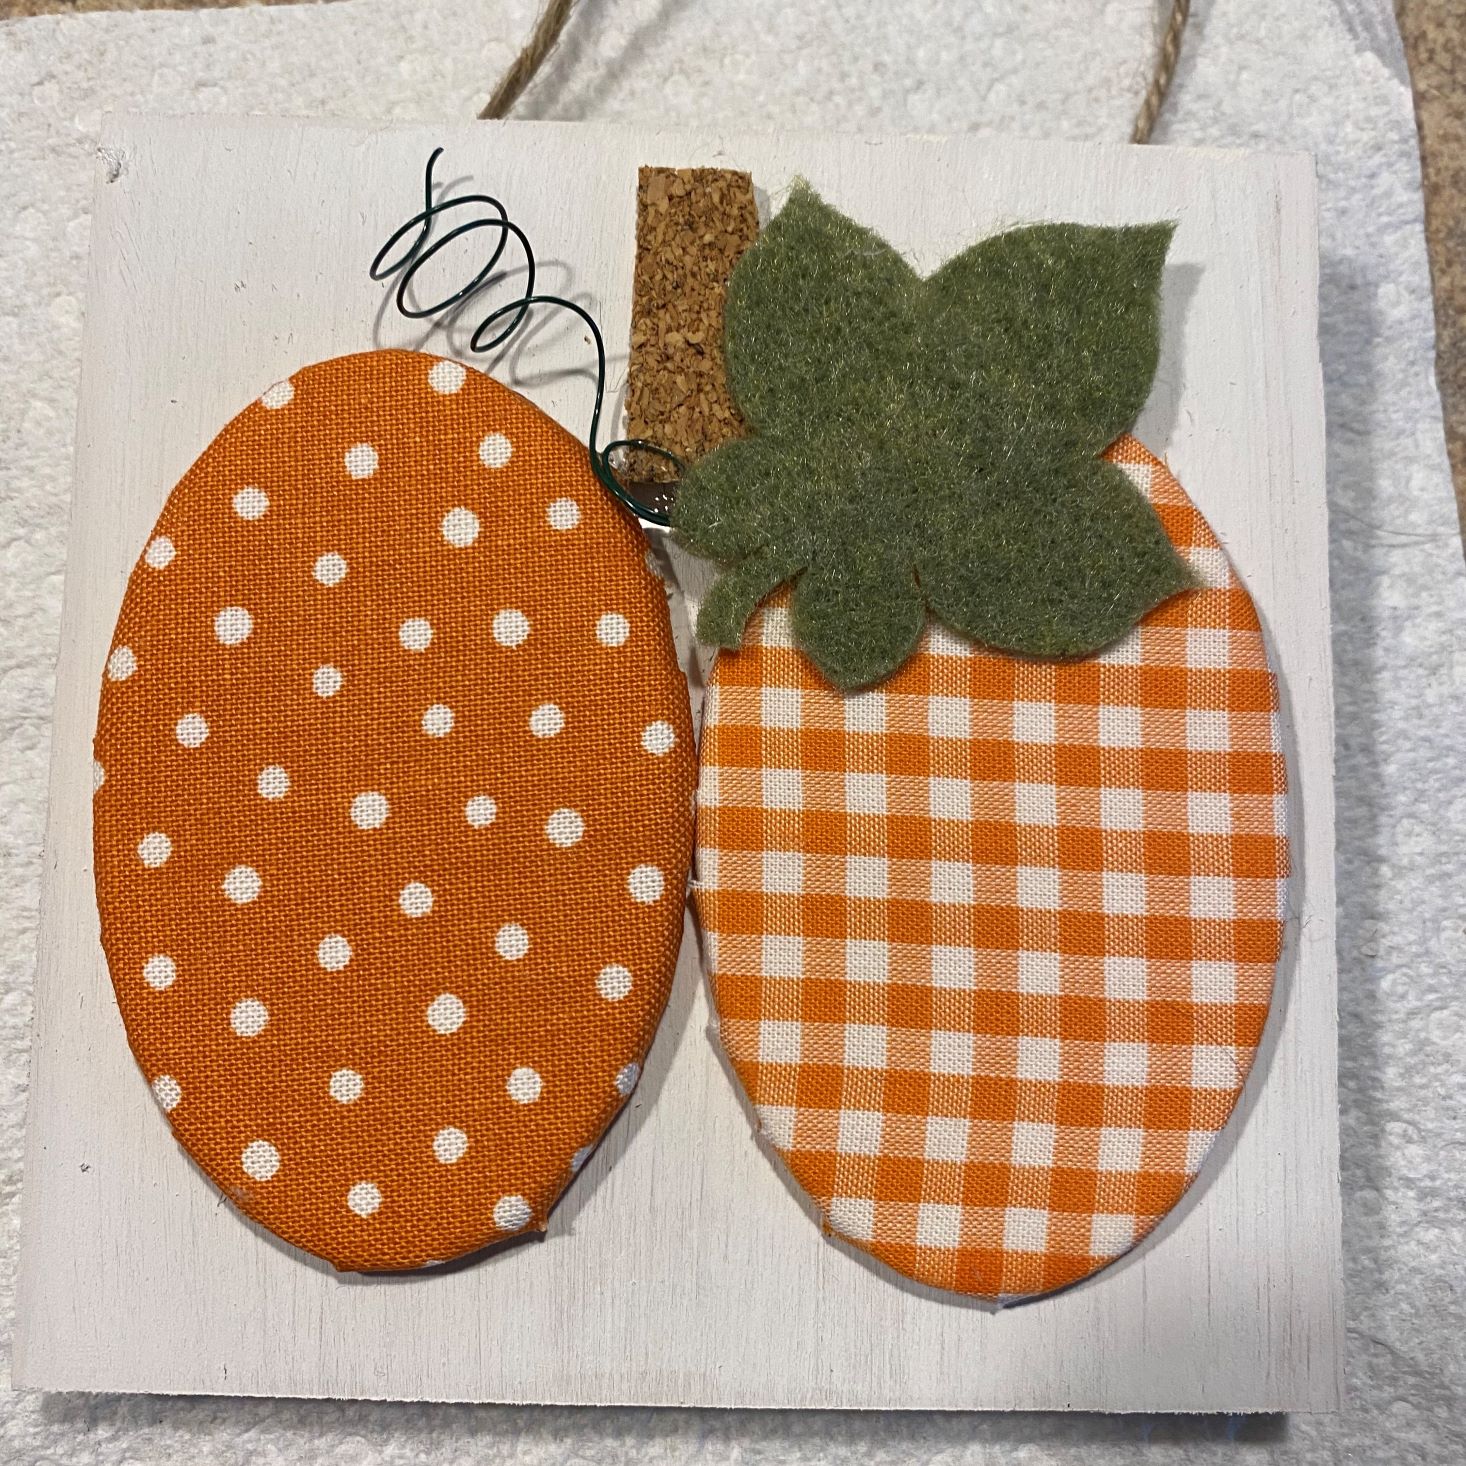
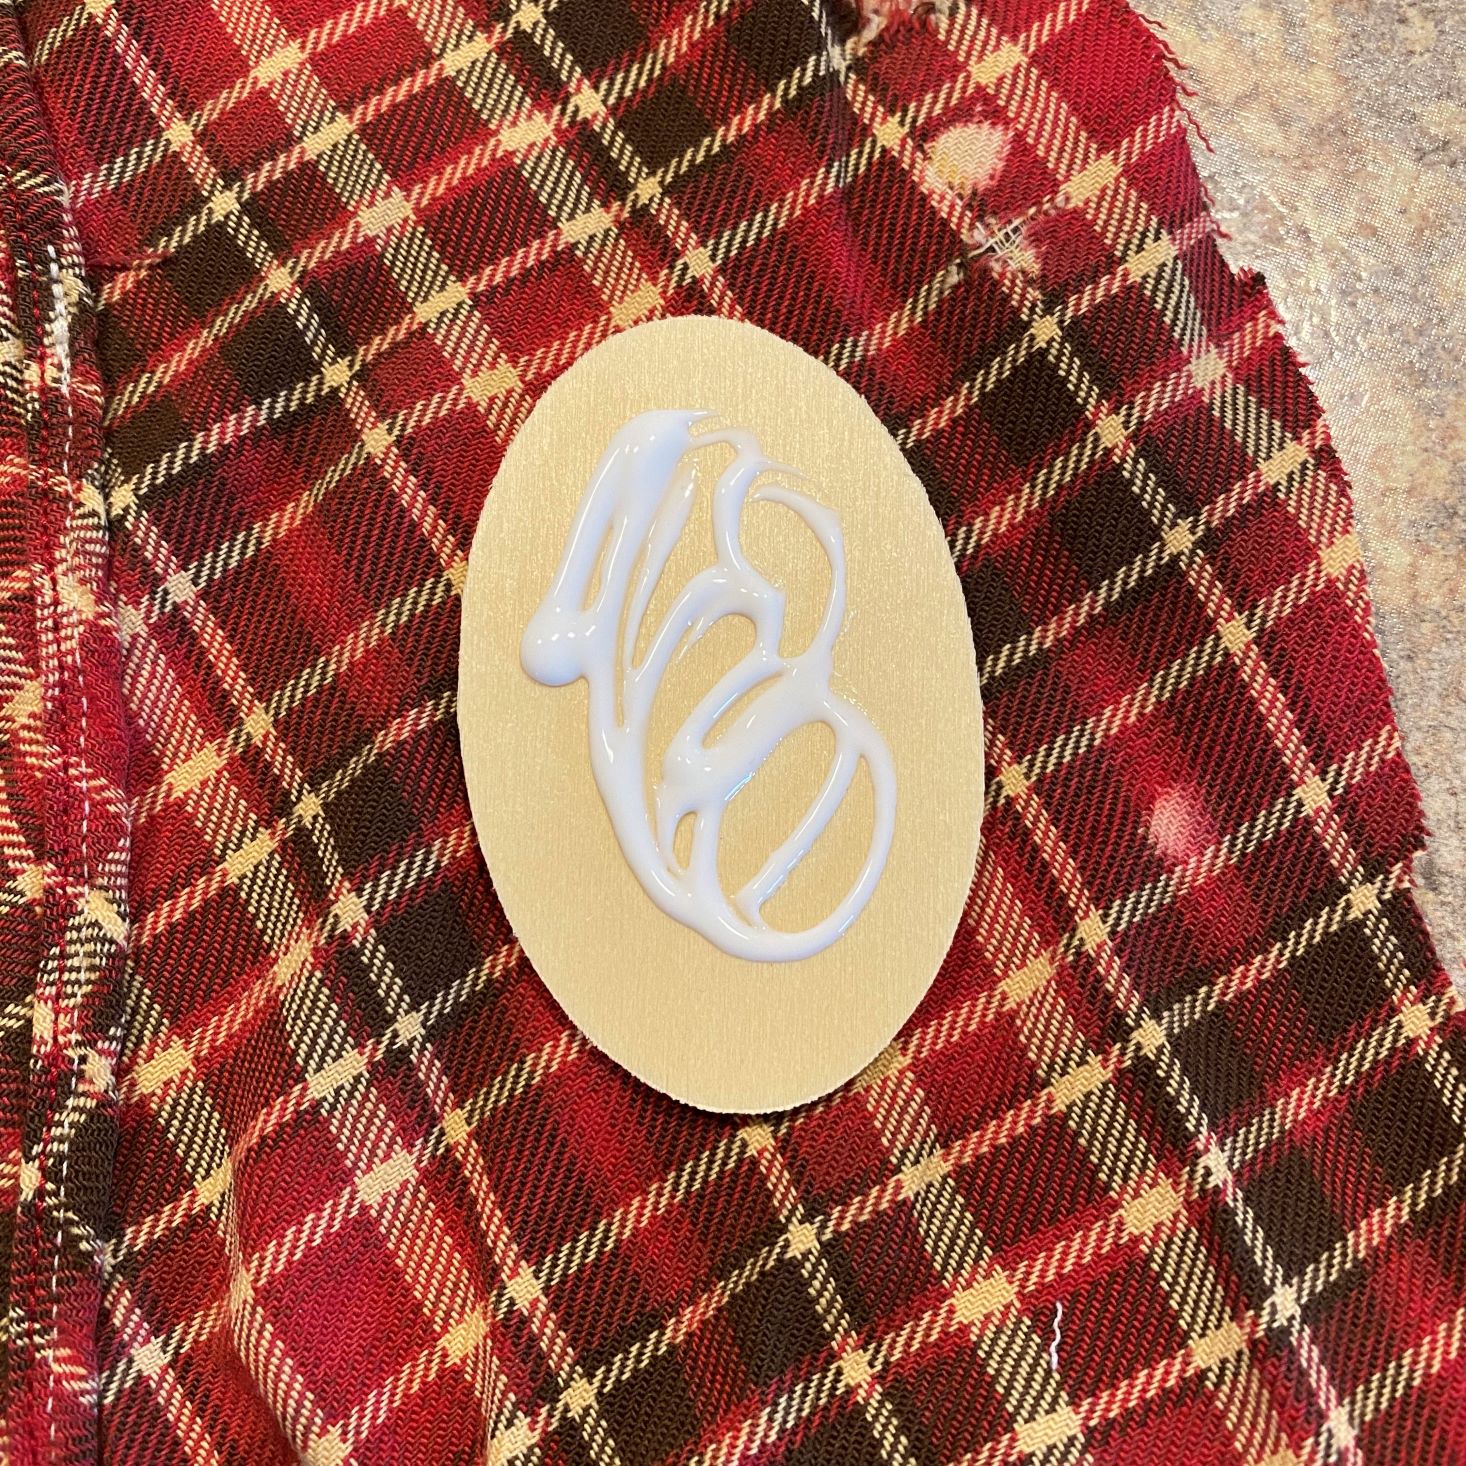
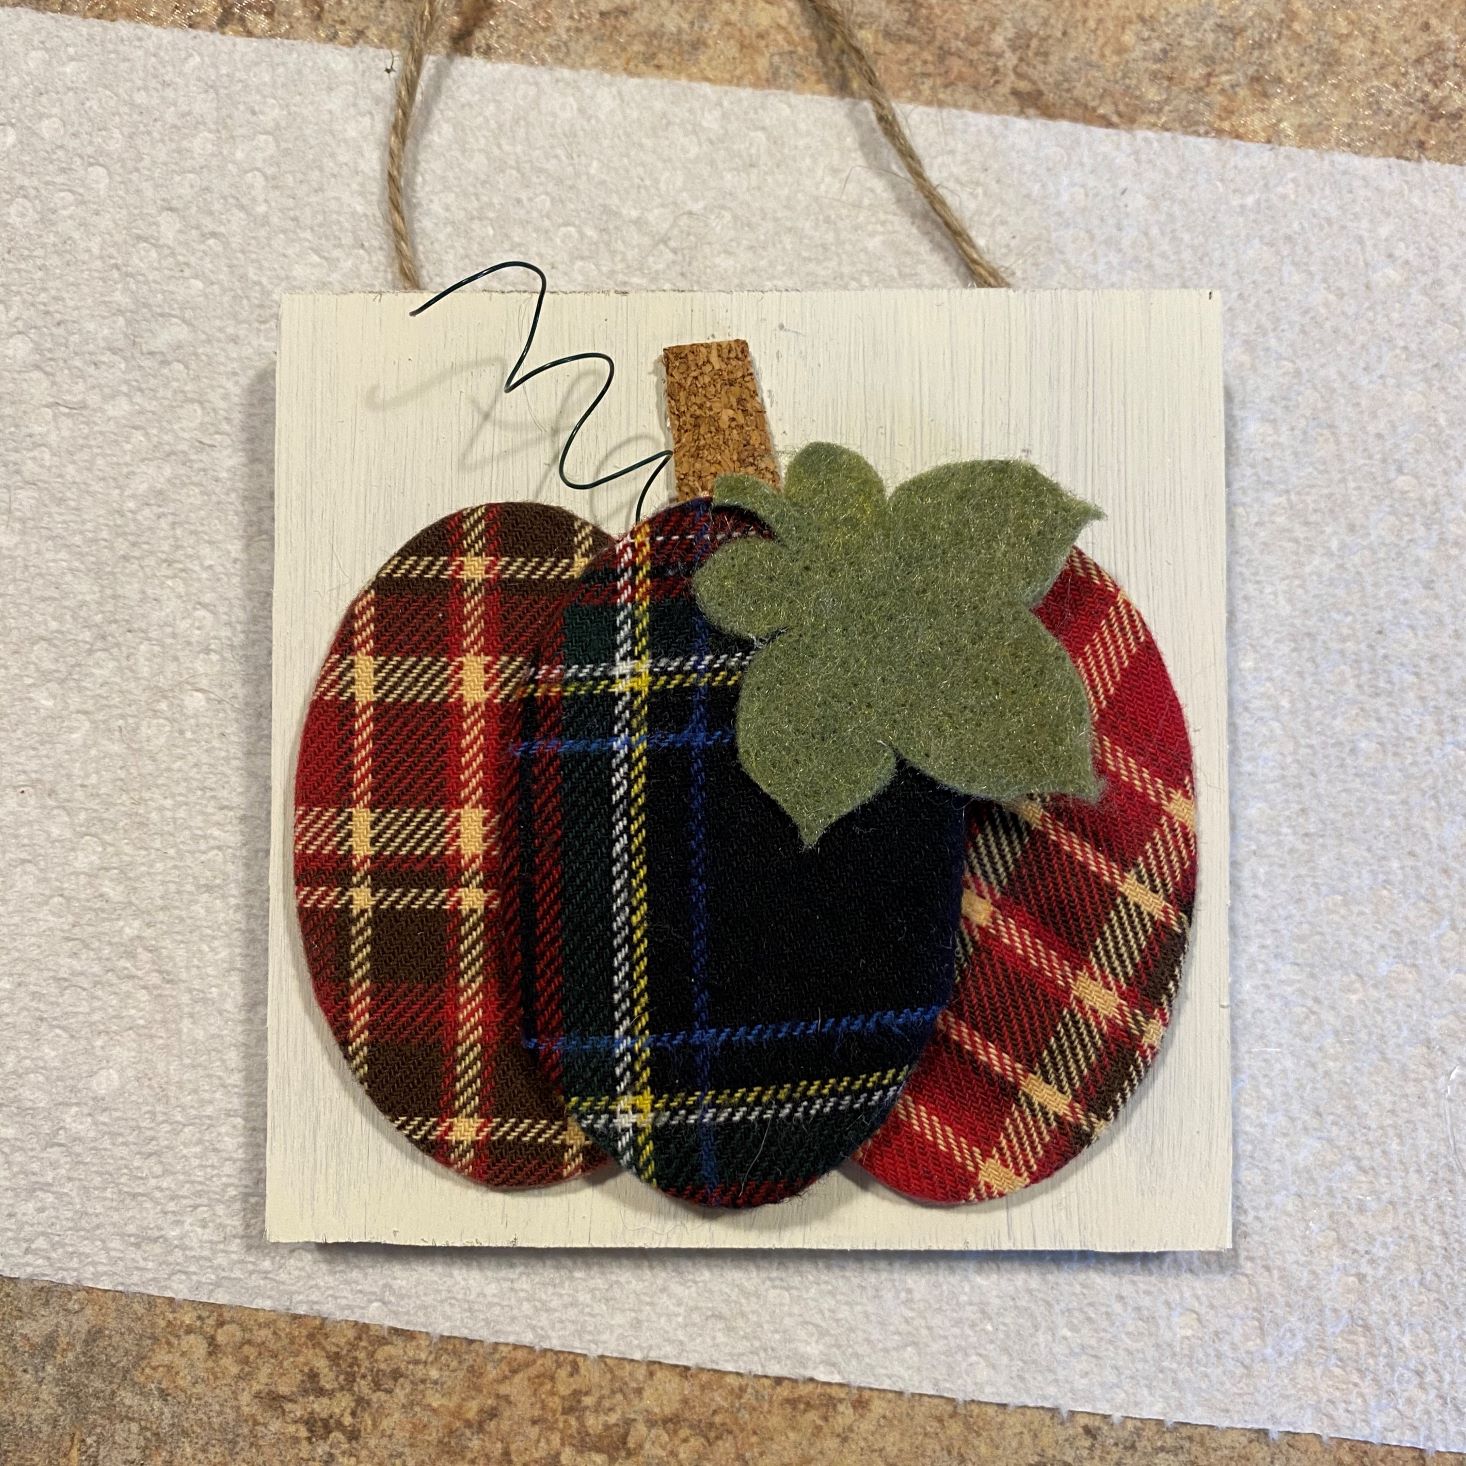
Once the fabric was glued into place I set those aside to dry and started curling my wire. To do that, I just wrapped it gently around the handle of the paintbrush. When my fabric ovals and wooden base were dry, I used my hot glue gun and adhered them together. Cutting a rectangle out of the cork, I added that between the two ovals and glued it into place for the stem of the pumpkin. Flipping the project over I decided now would be a good time to add my string by knotting it on either side of the staple. Using a bit more hot glue, I added the last fabric oval on top of the two that are already placed down. I added the embellishments a bit different to every pumpkin, some being underneath the middle oval, and one on top. Both ways looked cute, but now looking at them, I think I prefer it on top. Lastly, I glued on my wire "vine."
1 of 4
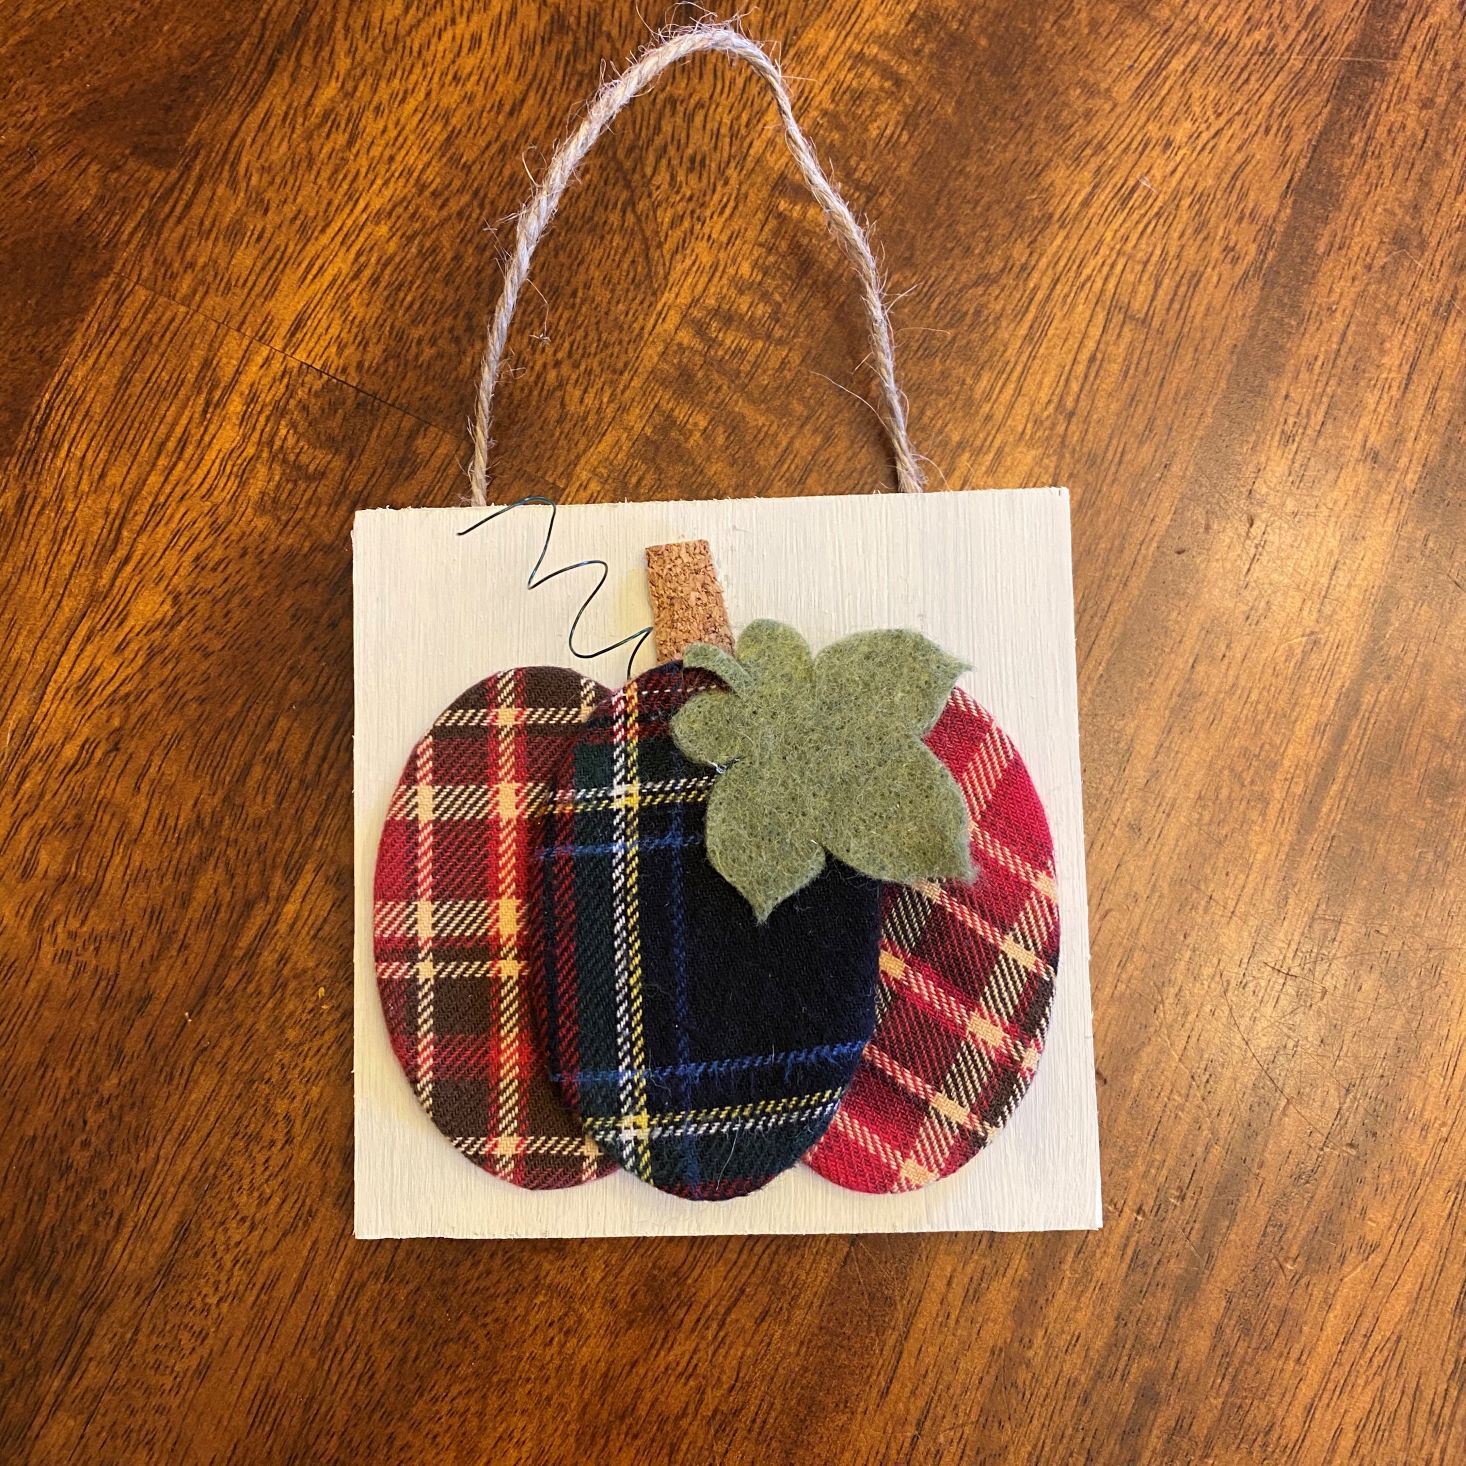

I am absolutely delighted how well these turned out, and I am loving the fact that the memory of my grandma is making its way into all of my home décor!

1 of 4
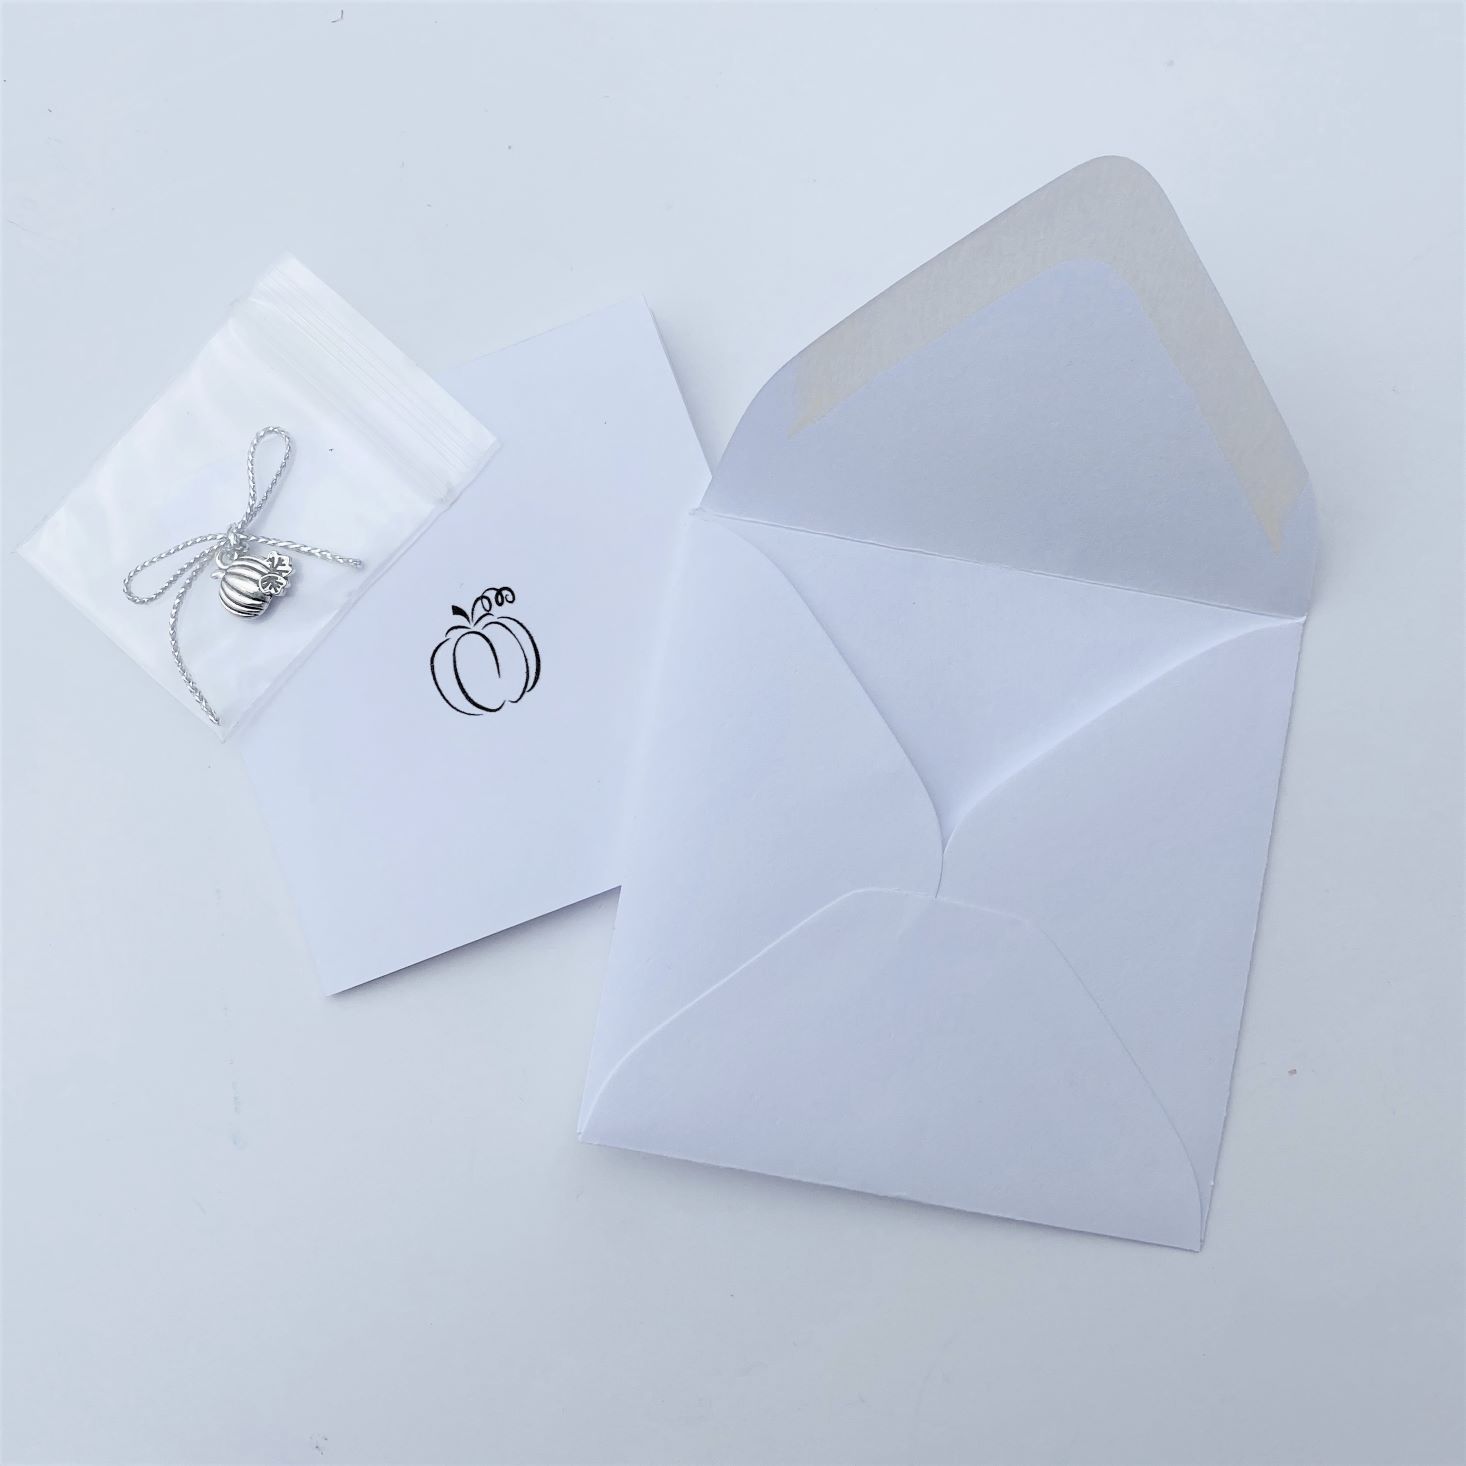
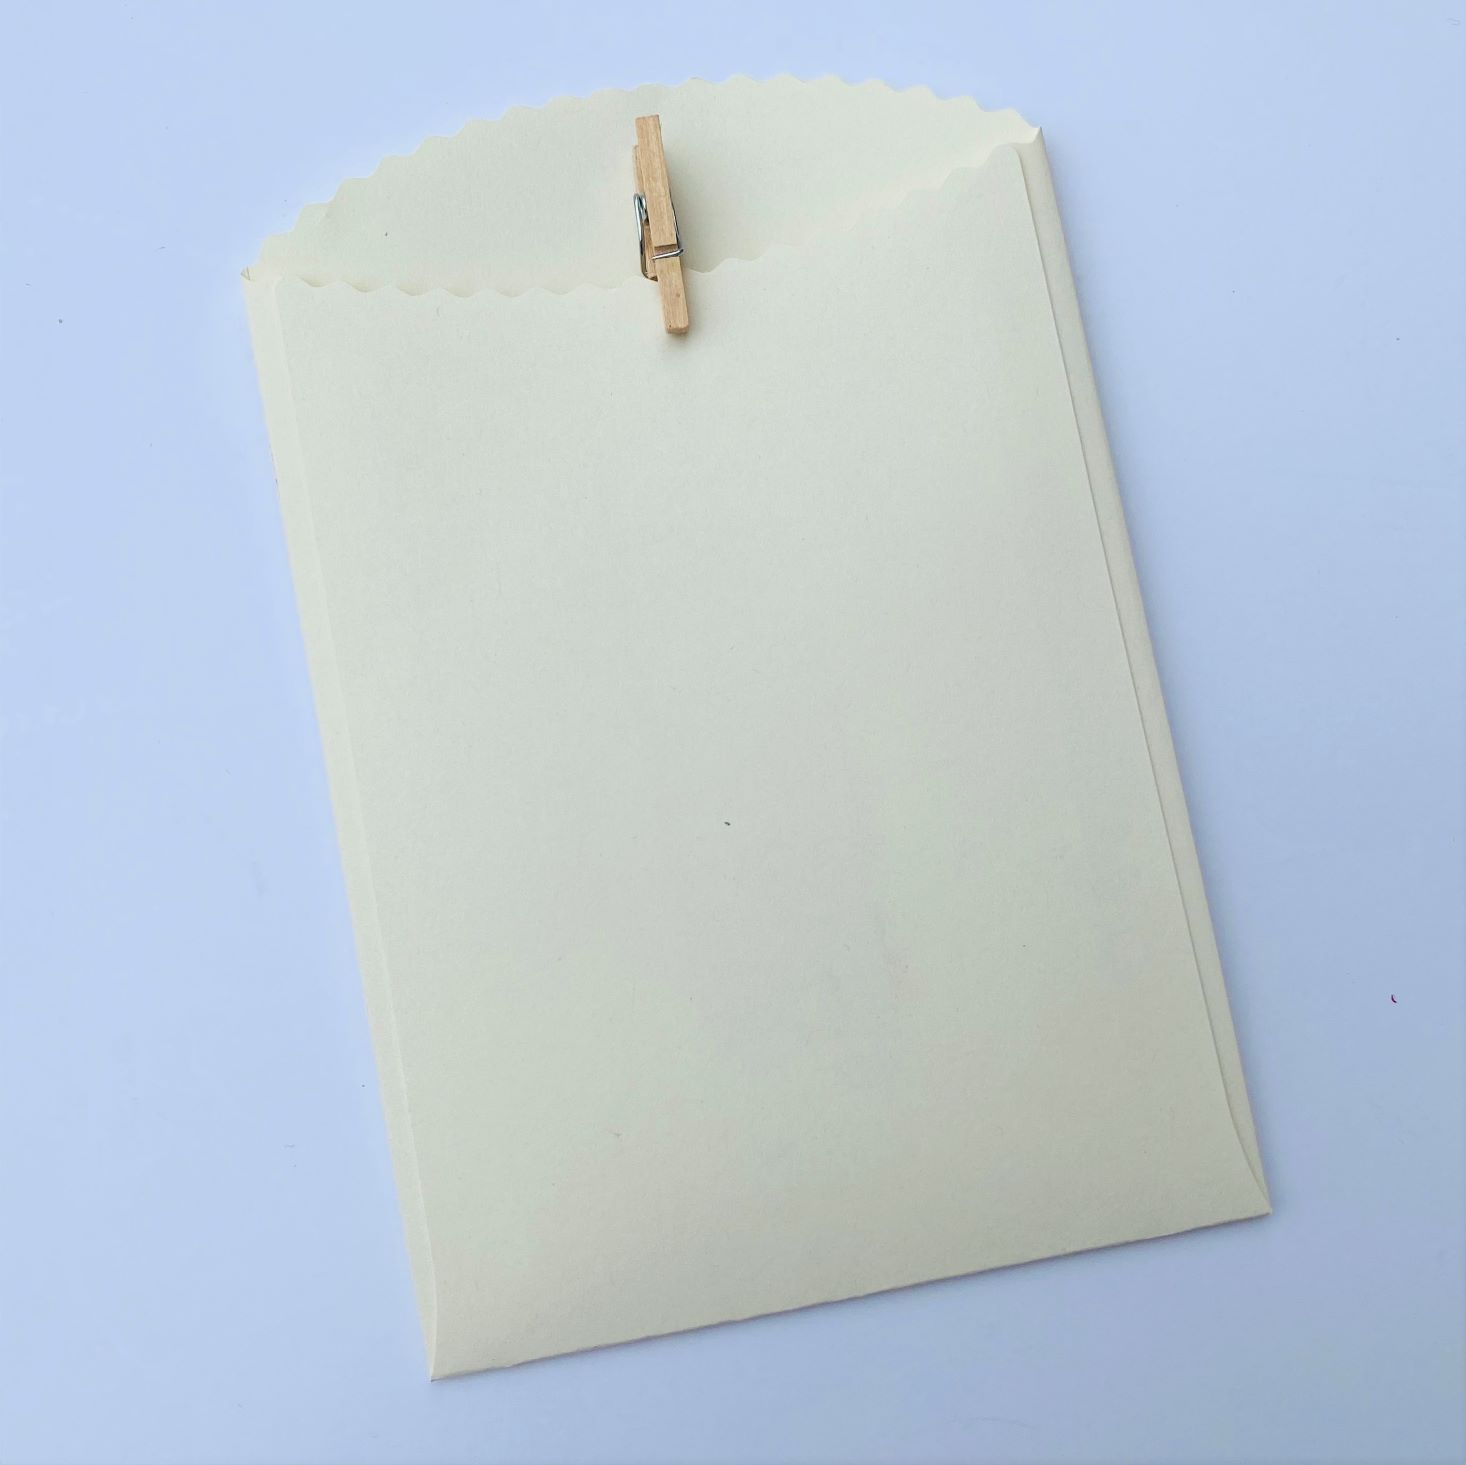
Paper Packet
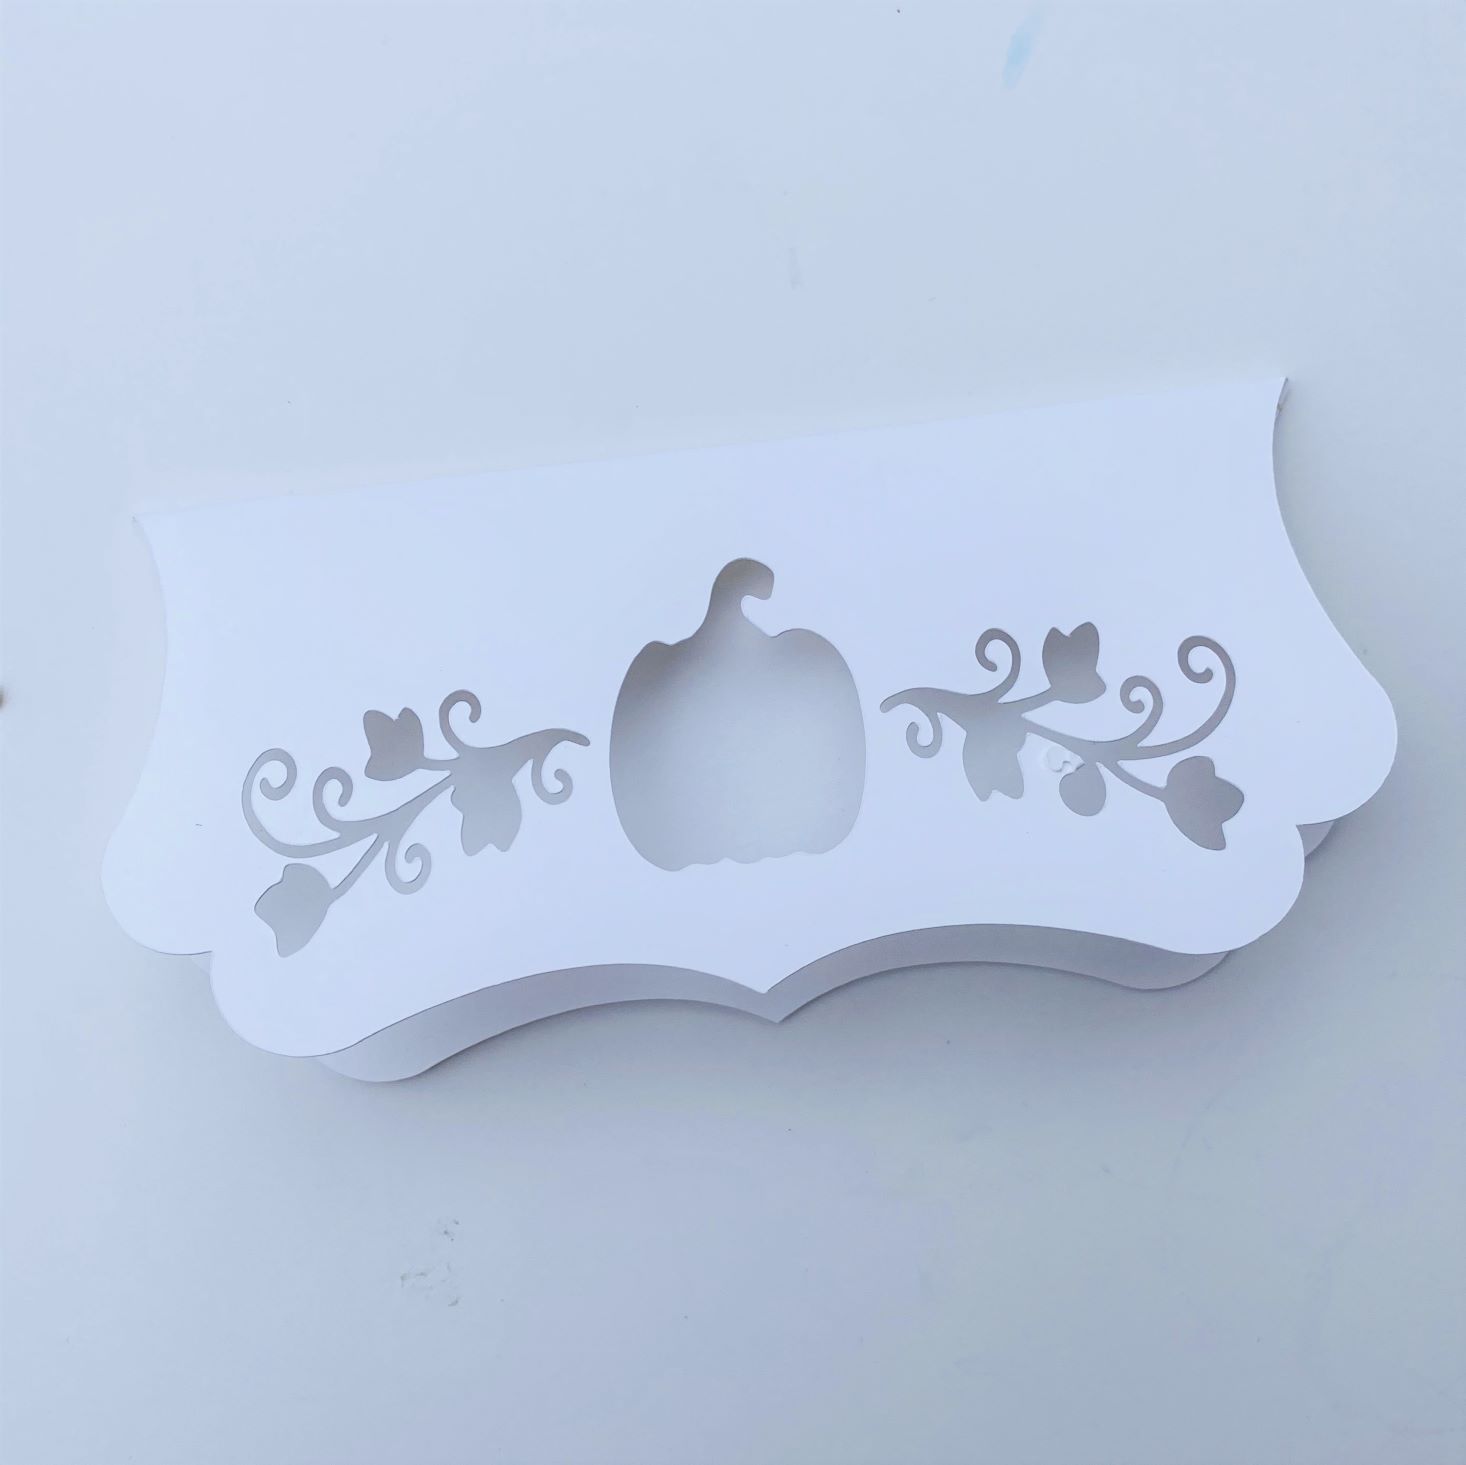
Along with our project supplies, we received a cute scalloped edged envelope with the tiniest clothespin I've ever seen. Inside was a tiny pumpkin card, a sweet pumpkin charm, a pumpkin design die-cut, and a business card.
1 of 2
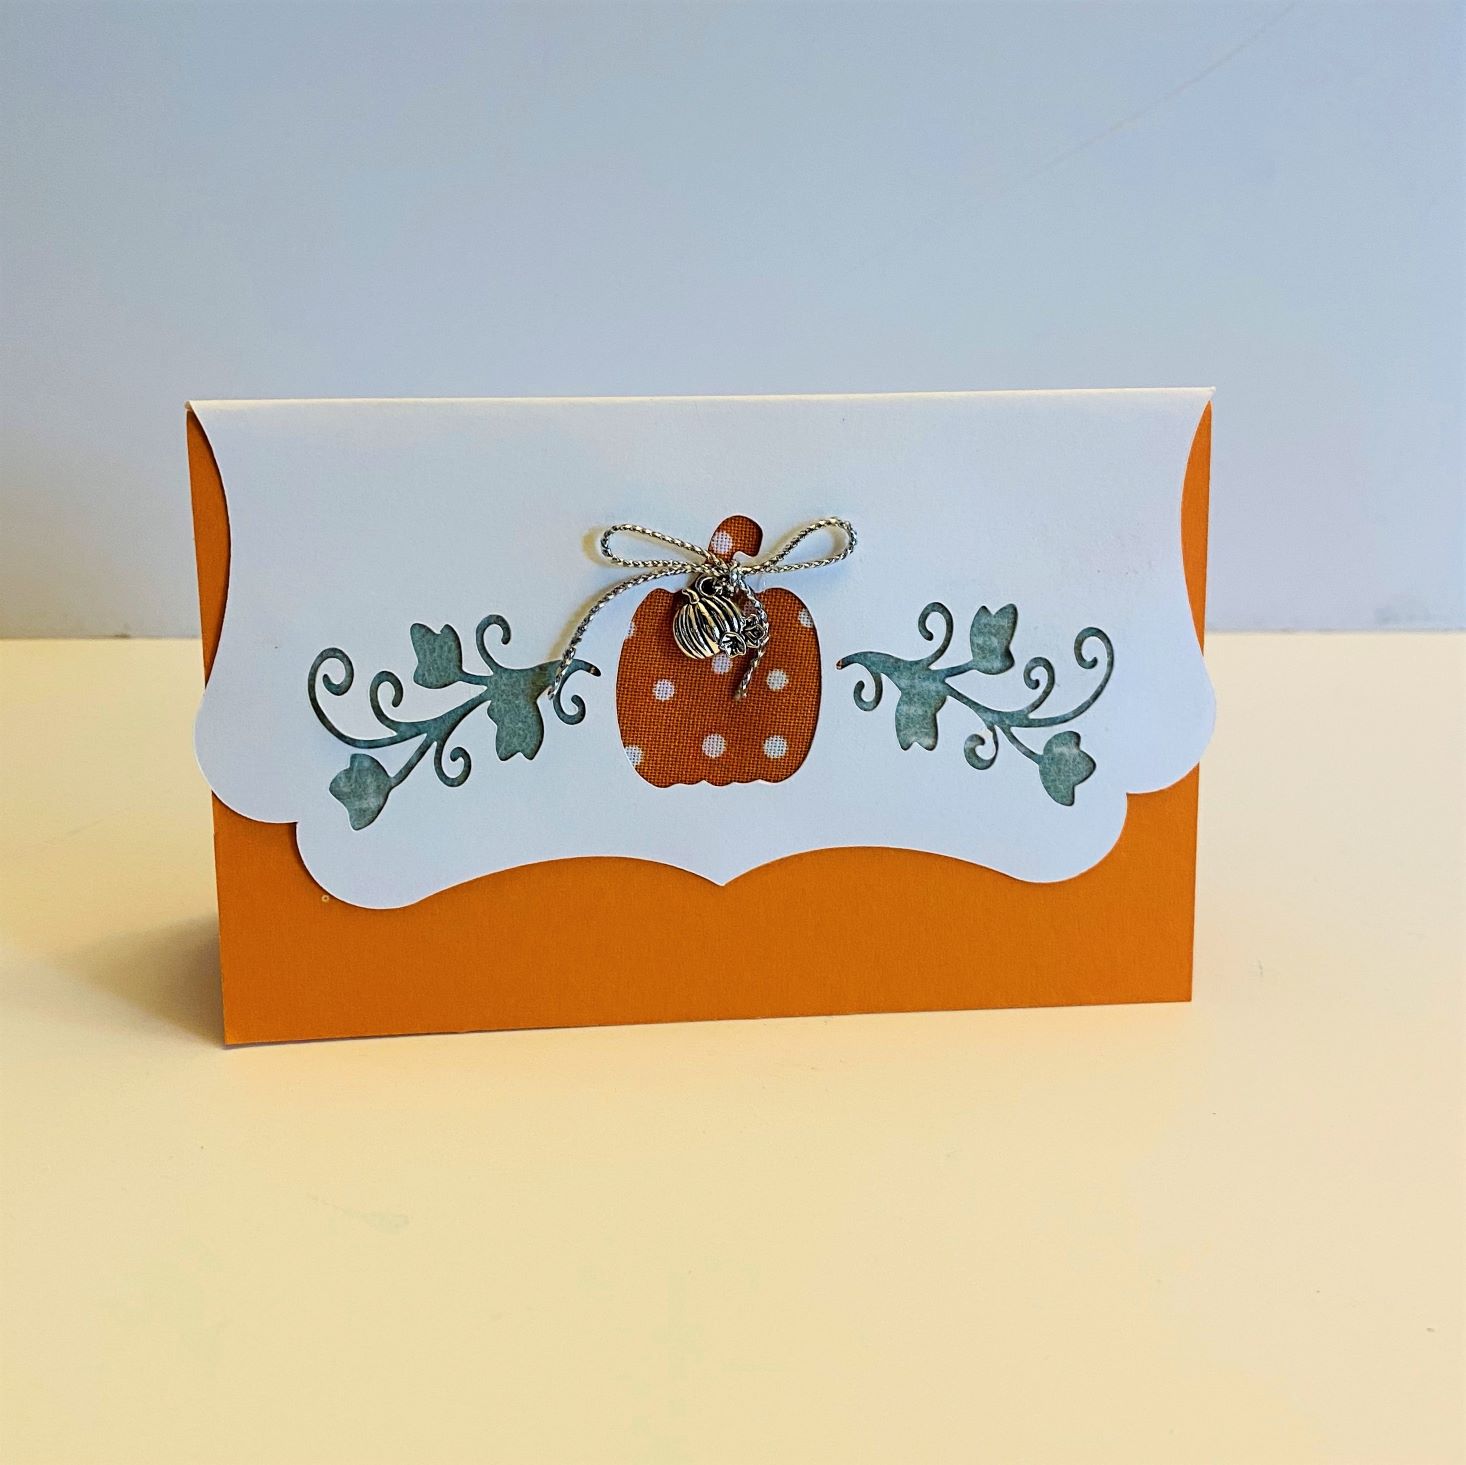
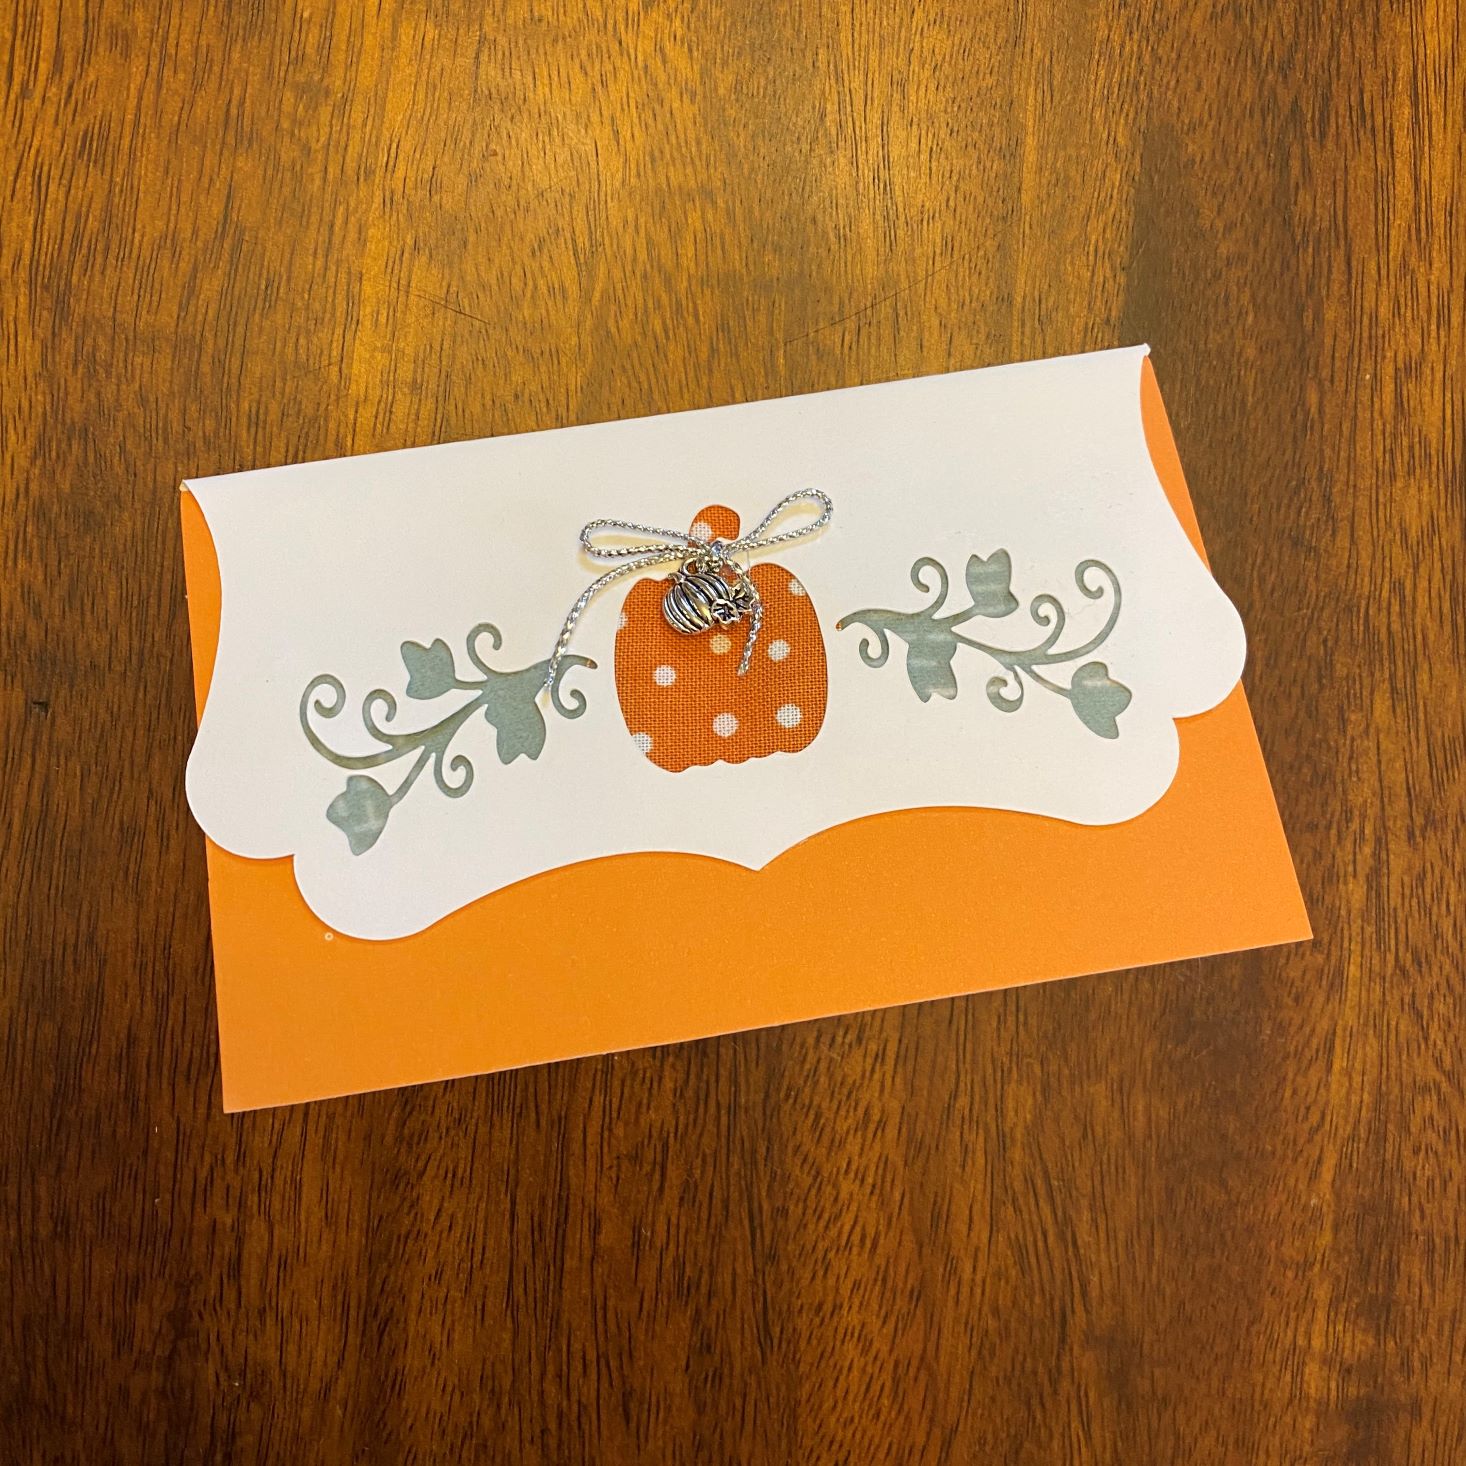
While they included one finished card, we also received a white die-cut with a pumpkin design and some leaves. I had no idea what we were supposed to do with it, so I set it aside until after my project was complete. After re-reading the instructions, I noticed there was no direction as to what this was exactly for, so I decided to spruce it up with some fabric remnants, the included charm, and some orange paper. The finished card turned out darling, and I love how the fabric matches one of my finished signs. This would be the perfect token of appreciation for someone hosting a get-together or as a small thank you gift. I can't wait to share it with someone!
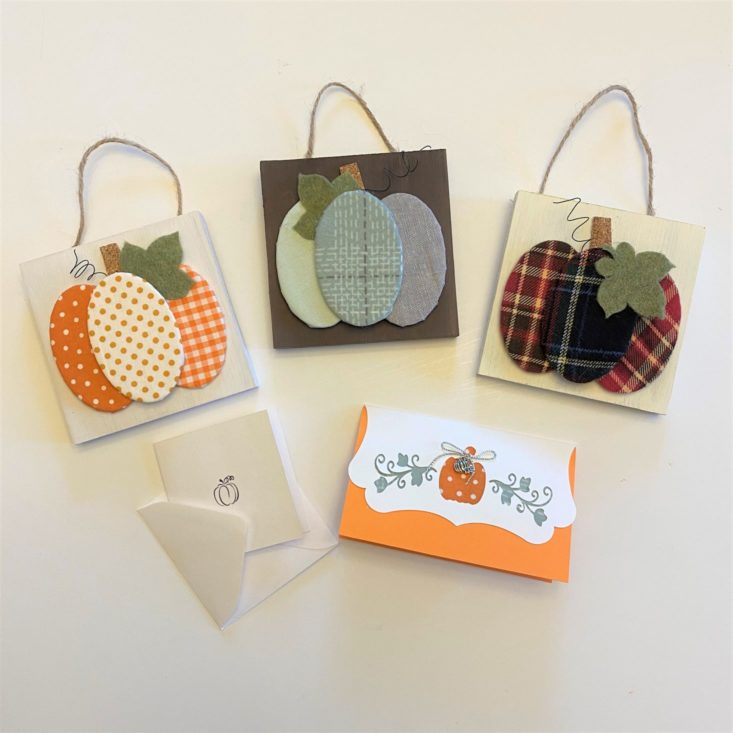
And here are this month's finished projects. While I am partial to the one that is made with my grandma's shirts, I absolutely love how the card and the orange pumpkin sign coordinate, and can't wait to give that as a gift. The mint and grey pumpkin is also very cute, and I plan on giving that one to my mom with the mini card...I hope she likes it as much as I do!
Verdict: This was my second Lil' Grace DIY Box and they are knocking it out of the park! This mini box was awesome! While fairly straight forward and easy to make, the finished product is something that I would have probably bought in a boutique. Adding the fact that I could use my own material and make it really special was another bonus. I love that they give a variety of supplies so you are able to create it just the way you want while giving enough direction to create something really nice. While I wasn't sure about the inclusion of the die-cut, I am really pleased with how it transformed so well into a card, and am very satisfied with this box as a whole. I can't wait to see what's in store for next month!
Lil' Grace Monthly DIY Box costs $14.95 + $4.95 per monthly delivery, so each pumpkin sign averages out to about $9.95. I feel this was a great value as we also received a card, die-cut, charm, and packaging supplies to give one, two, OR three, as a gift. That coupled with the fact that we have paint, glue, and the paintbrush left over for other craft projects is a win for me!
To Wrap Up:
Can you still get this box if you sign up today? You'll receive the October delivery.
Check out all of our Confetti Grace reviews and our top craft box subscriptions as voted on by our readers!
Keep Track of Your Subscriptions: Add the original Confetti Grace box to your subscription list or wishlist!
What do you think of the Lil' Grace Monthly DIY Box? Who did you share your project with?

Please do not enter your email address in the Name field or in the comment content. Your email address will not be published. Required fields are marked *. Remember to post with kindness and respect. Comments with offensive language, cruelness to others, etc will not be approved. See our full comment policy here.