


Adults and Crafts is a monthly DIY subscription that encourages subscribers to “learn new crafting techniques to help create useful, beautiful products you will be proud to have made."

This box was sent to us at no cost for review. (Check out the review process post to learn more about how we review boxes.)
About this Monthly DIY Subscription
The Subscription Box: Adults & Crafts
The Cost: $33 + $6.95 shipping per month, with discounts for 3-, 6-, and 12-month prepaid subscriptions.
The Products: A kit with printed instructions for an adult-level project to use or display in your home.
Ships to: The US for $6.95 and worldwide for $20
Adults & Crafts "Agate Resin Coasters Kit" Review April 2020

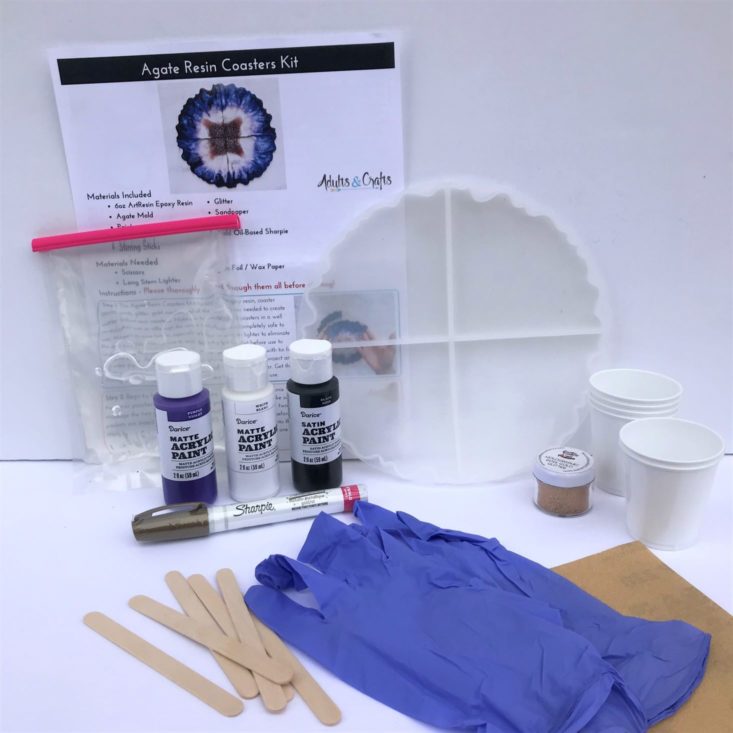
In this extremely unique Adults & Crafts project, they have provided all of the necessary items to create a set of four agate resin coasters! I have never worked with this medium before, so let's see how they turned out!

1 of 5

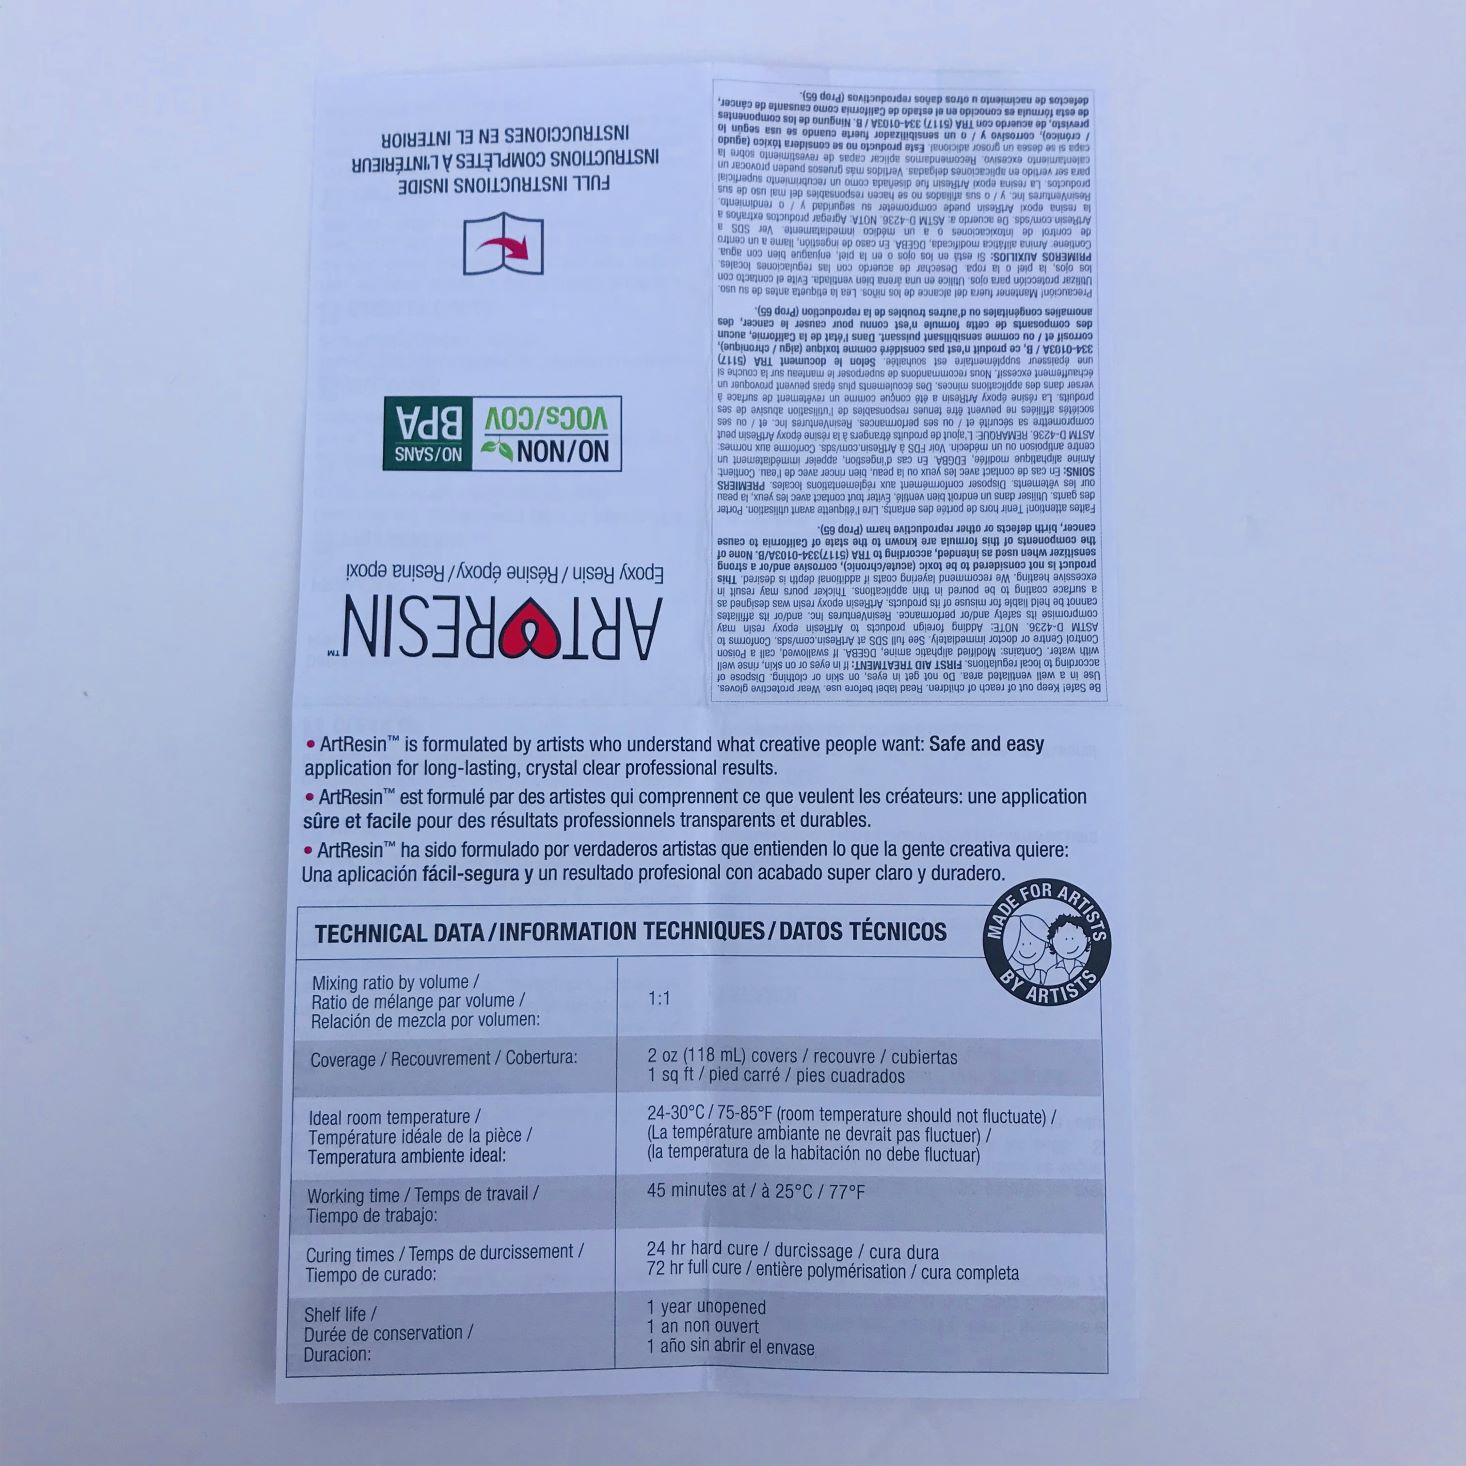
Art Resin, 6 oz - Similar 8 oz version found for $29.00
The main media used in this month's project is this package of epoxy resin. I have personally never worked with resin, so I was pretty excited to get started. I noticed the instructions mentioned reading the resin instructions before starting, as well as reading the included project instructions before starting. This project gave you one shot only, so I wanted to make sure it was done correctly!

Silicone Agate Mold - Retail Value $8.00
Another component for this month's project is this 8" silicone agate mold. This is where all the magic will happen! It seems well made and worked really well for my project. Now that my project is finished though, I feel like it probably won't get used again...any ideas on what else I could use it for?

1 of 2
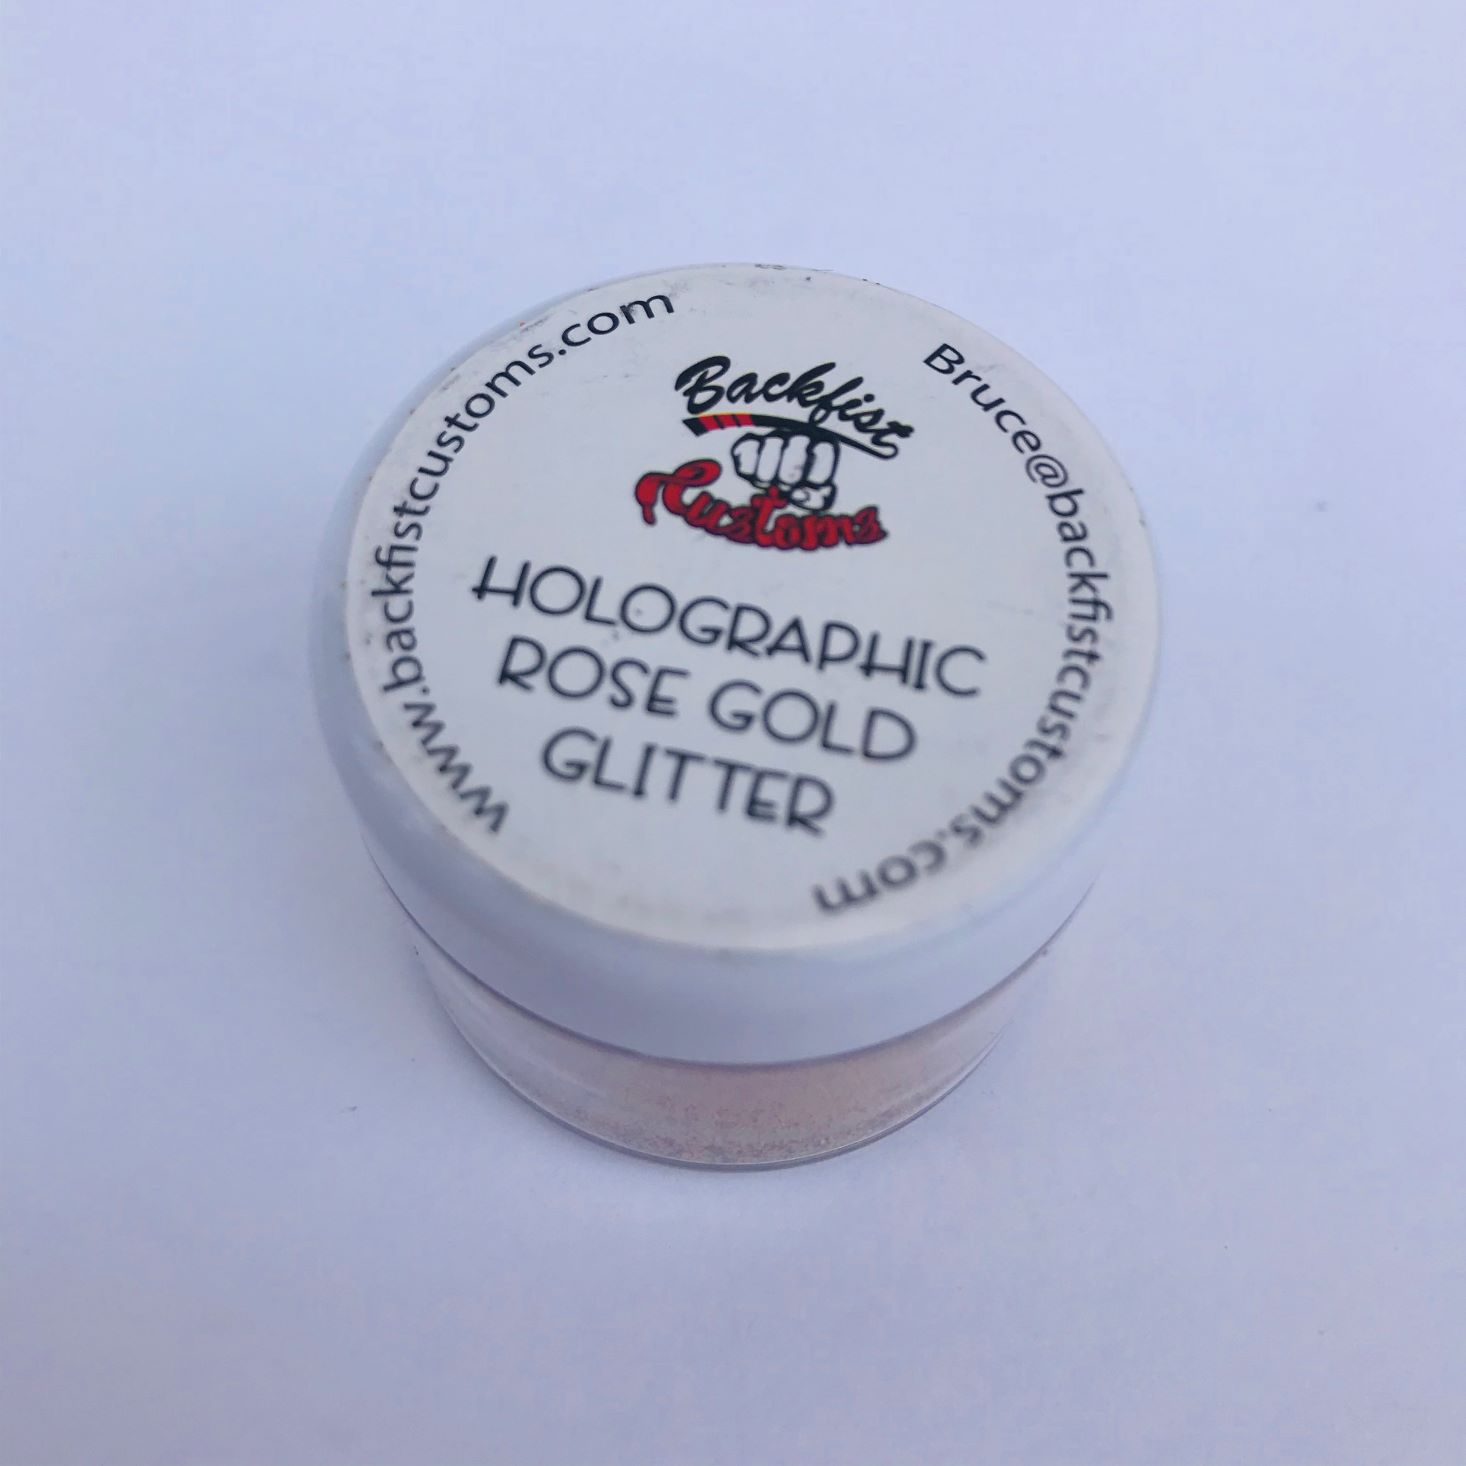
Holographic Rose Gold Glitter - Retail Value $6.50
Look at this beautiful glitter! In my life, there is no such thing as too much glitter, so I was absolutely tickled to receive this much glitter for our project! Turns out we only needed a small amount, so I can glam up a whole lot more projects in the future with the leftovers! Hooray!
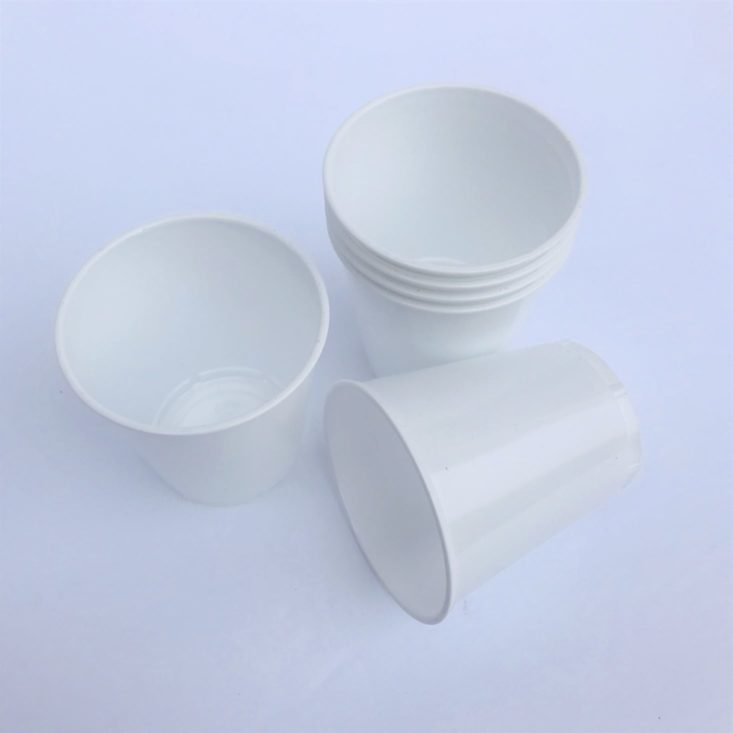
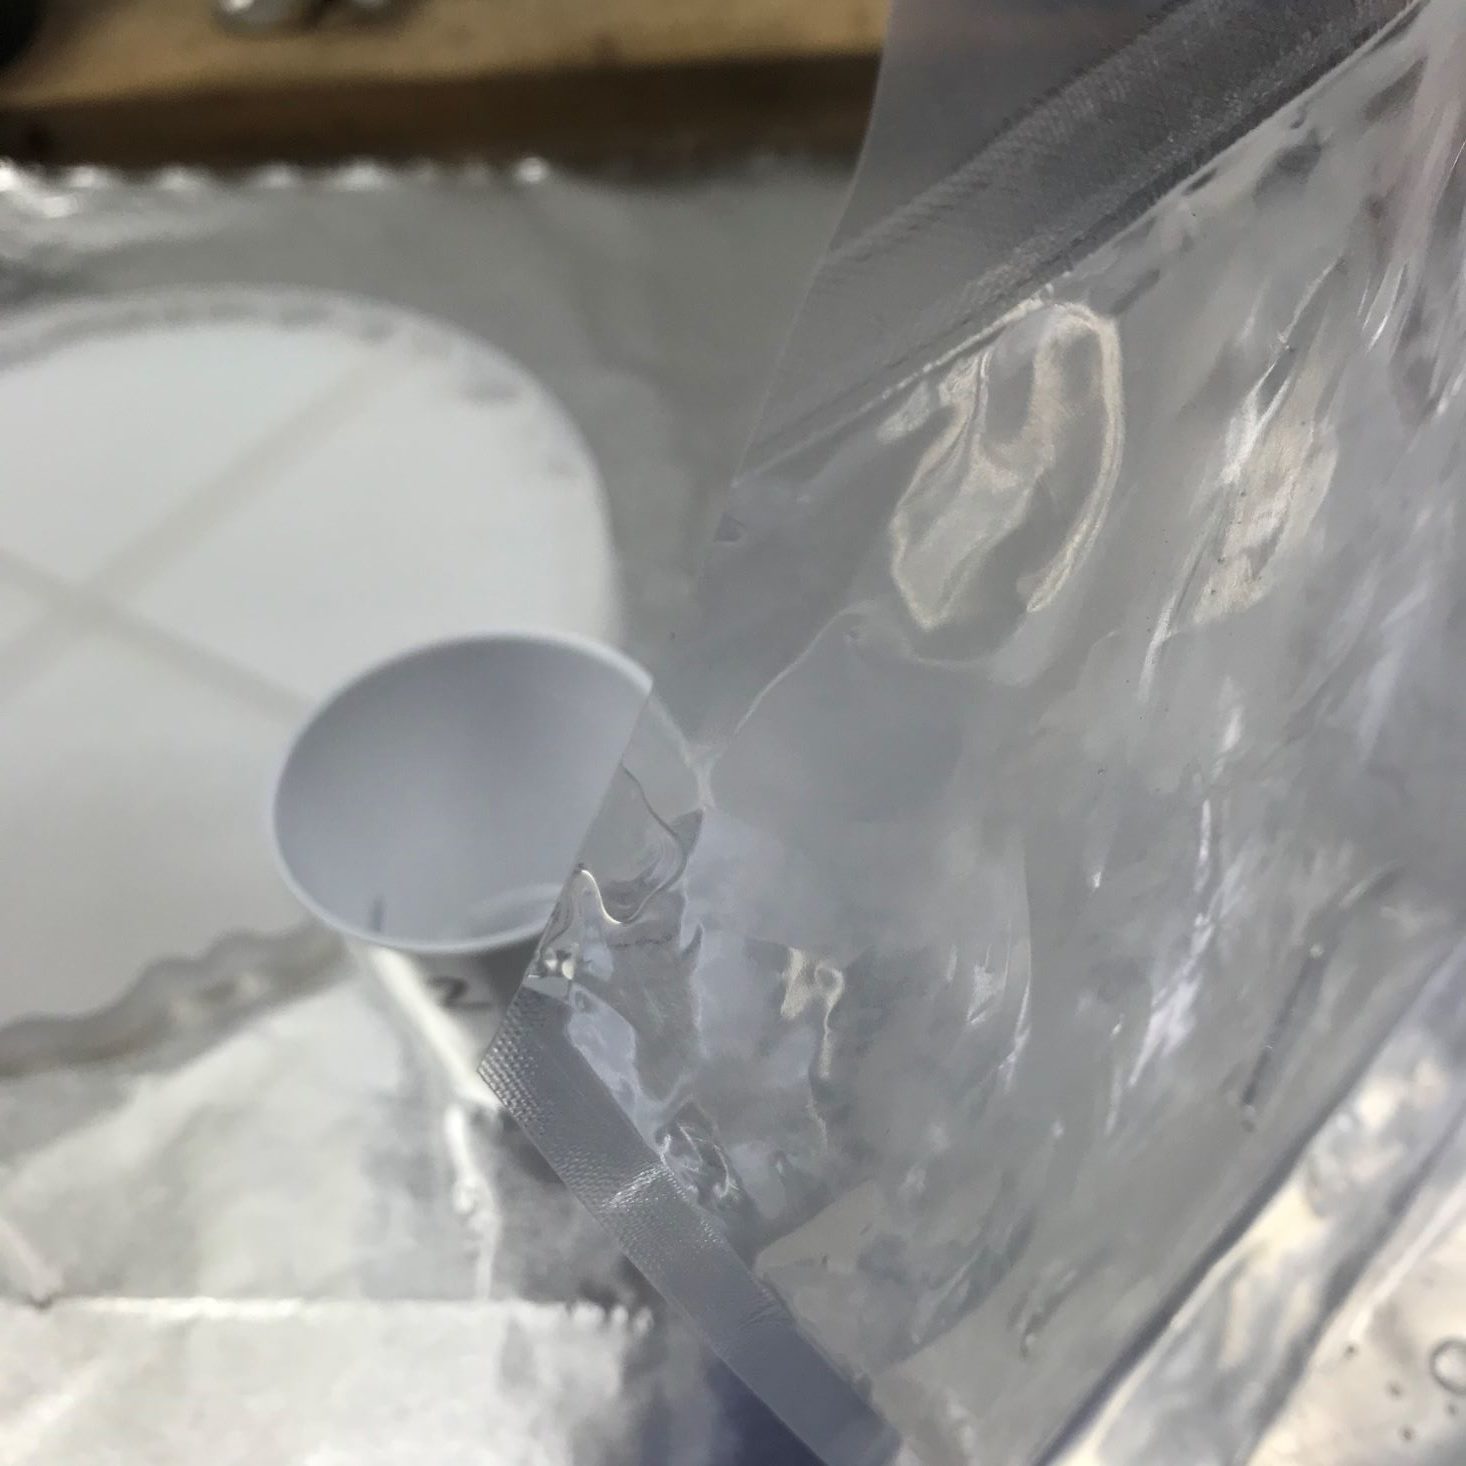
Plastic Cups
We received 6 plastic cups to mix our resin in.
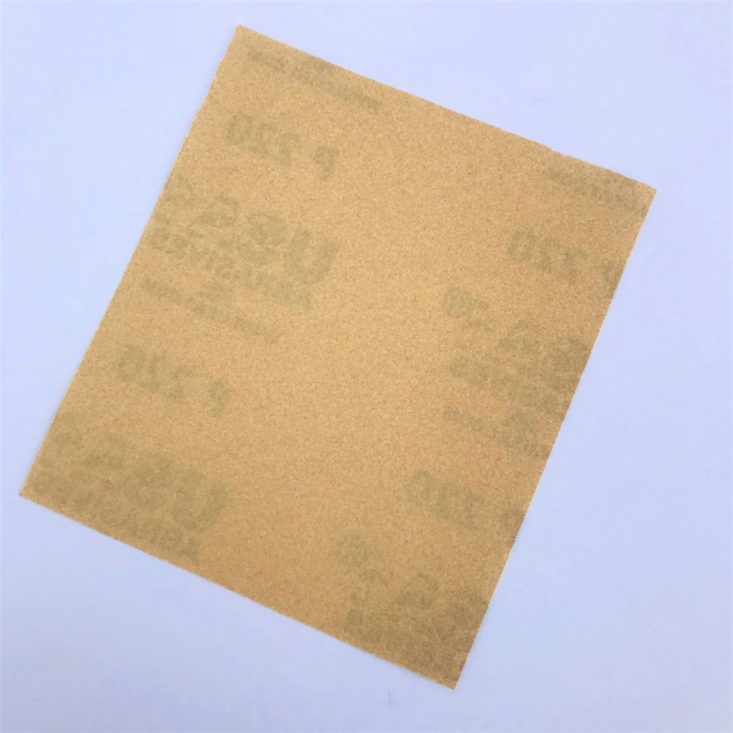
Sandpaper
To finish out our edges, we were supplied with a piece of sandpaper. I honestly didn't use this, but it sure is handy to have in the garage!
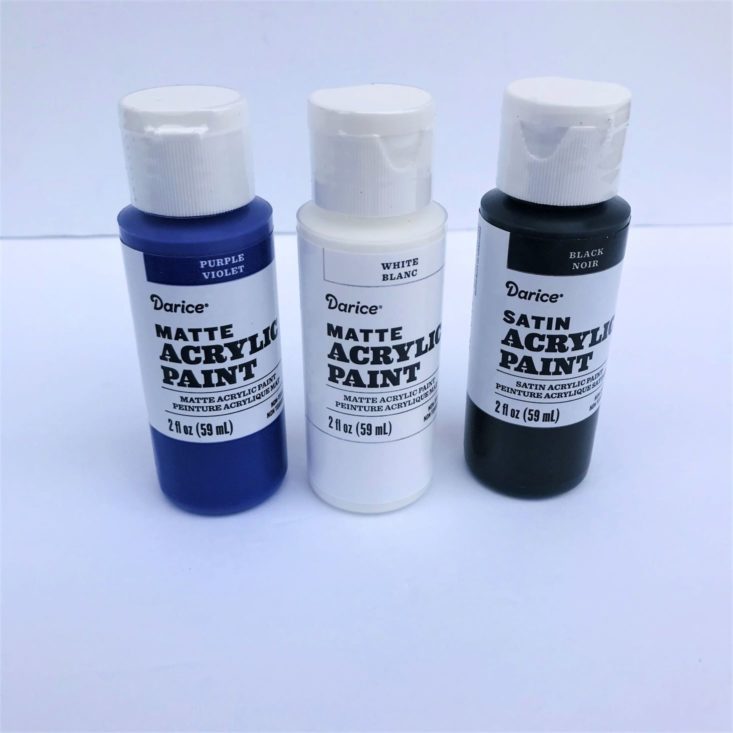
Darice Acrylic Paint in Purple Matte, White Matte, and Black Satin - Retail Value $0.79/each
To create the agate effect, we received 3 different colors of acrylic paint. Darice acrylic paint is non-toxic and comes in plastic, easy to pour bottles. While I don't have a lot of purple decor in my home, I was pleased with how these colors melted together to really look like an agate!
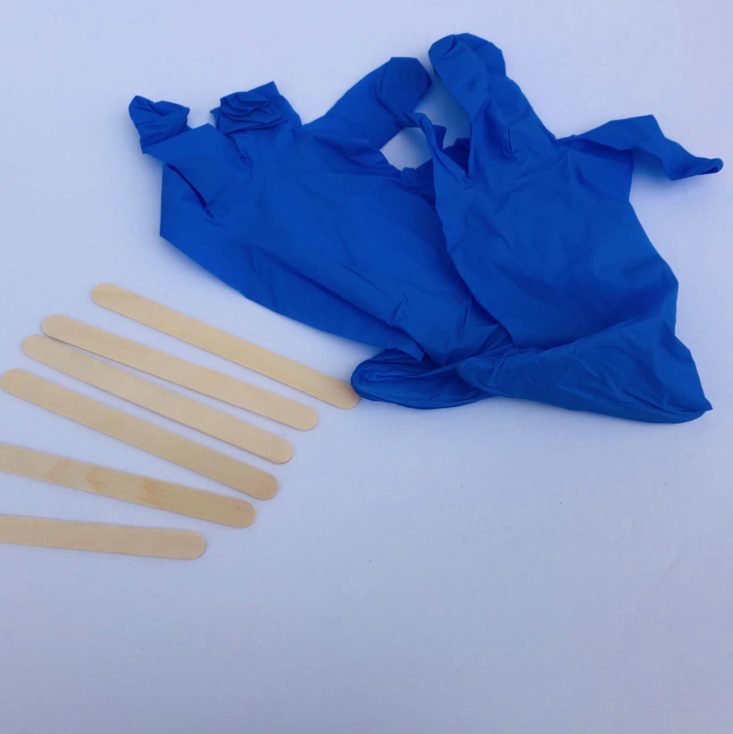
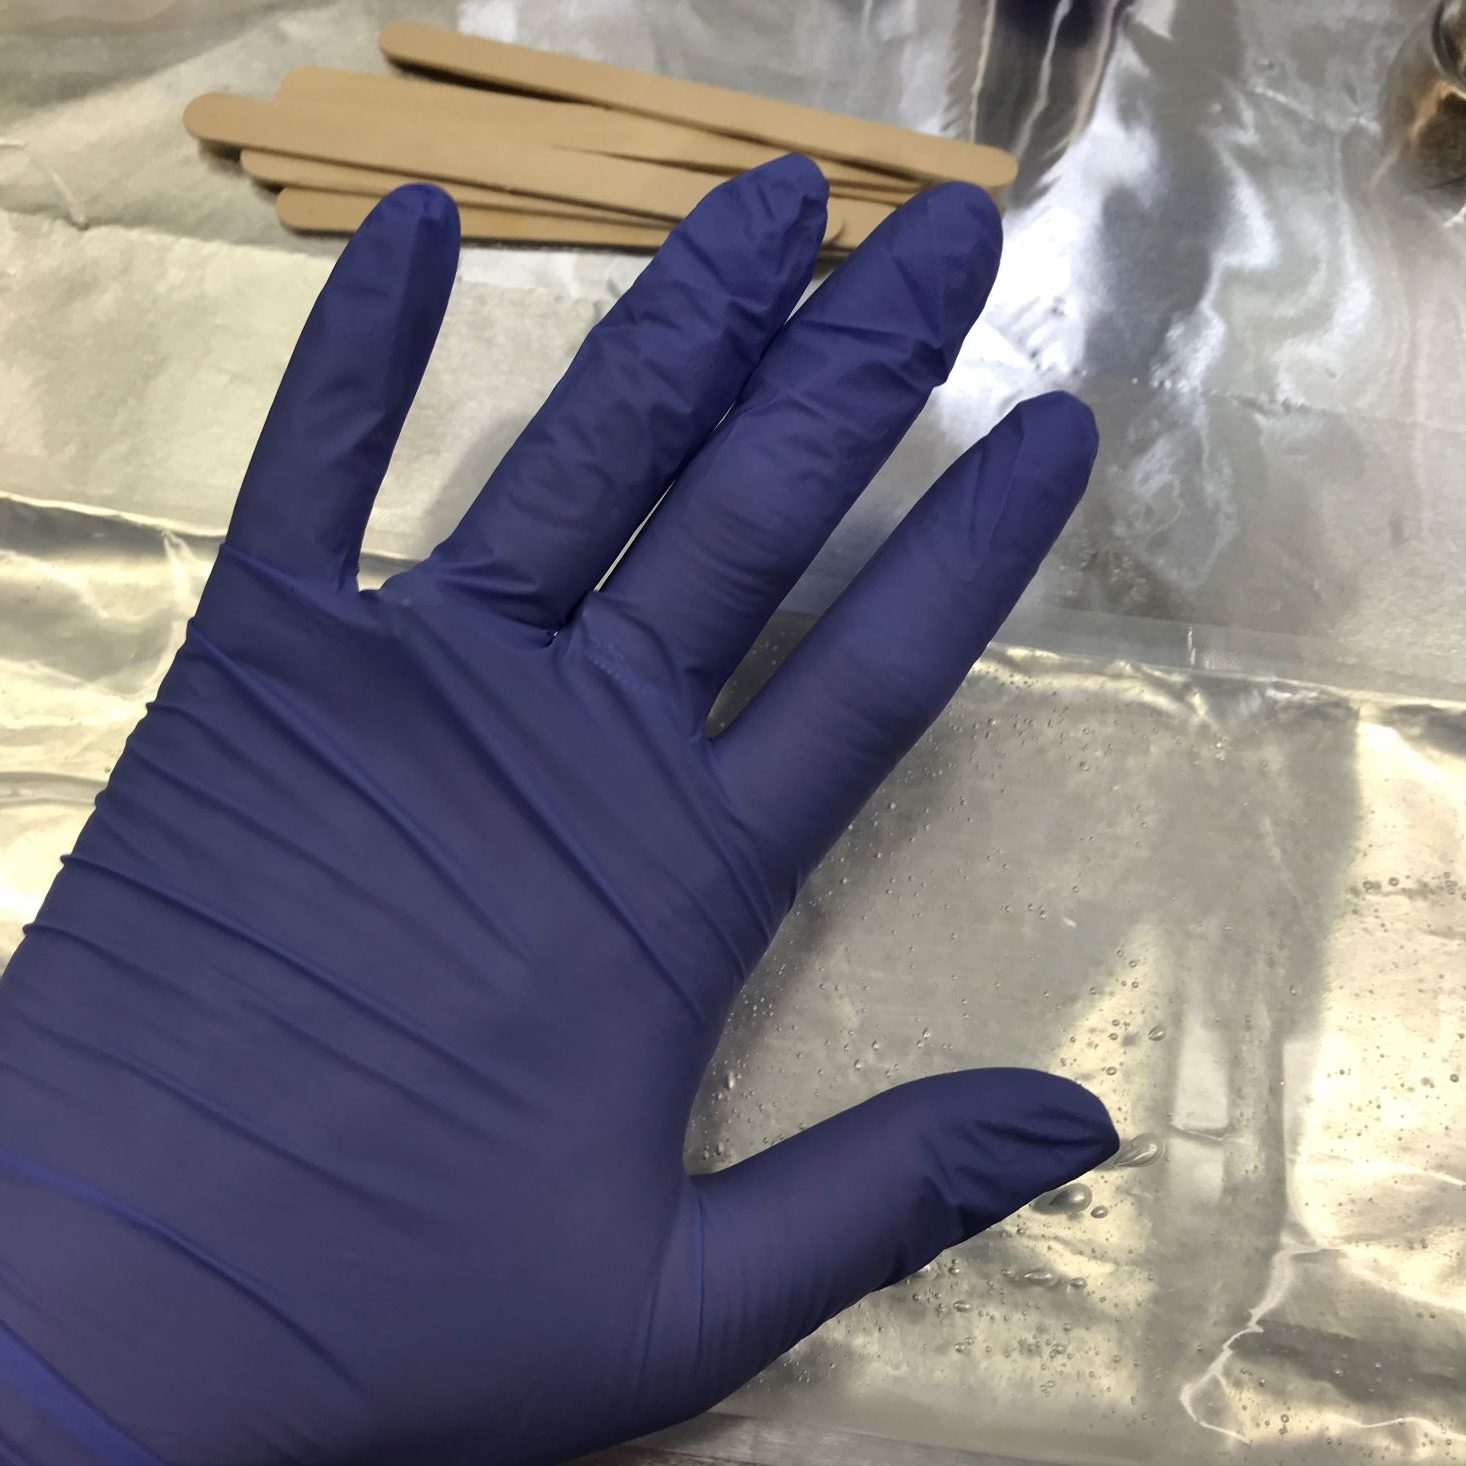
Gloves and Stir Sticks
When working with resin, you should always wear gloves, and we were supplied with one pair. We also were given 6 wooden sticks to mix up our resin.
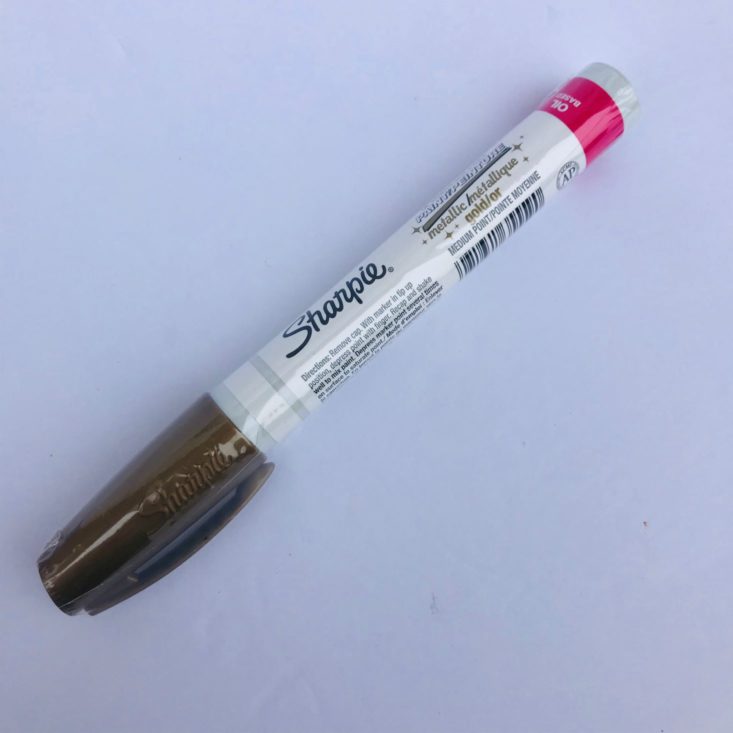
Metallic Gold Oil-Based Paint Sharpie - Retail Value $4.14
I LOVE this Sharpie!!! It writes absolutely beautifully! The medium tip is the perfect size to finish our project with, but it also writes exceedingly well. The shine it gave the edge of the coasters was amazing! It covered the resin with ease, and is just plain pretty! I am totally signing all of my kids' homework with this!

1 of 5

The first step in this project is to fully read the directions. I did this step multiple times because each step seemed to have a lot of additional steps included in each one. Because we only received one package of resin, I was determined to not screw this up, so I went slow, and was extra careful to follow all of the guidelines. The instructions suggested that even though the included resin is non-toxic and completely safe to use, it is best to be done in a well-ventilated room. Because of this, I decided to take this month's project out to the garage.
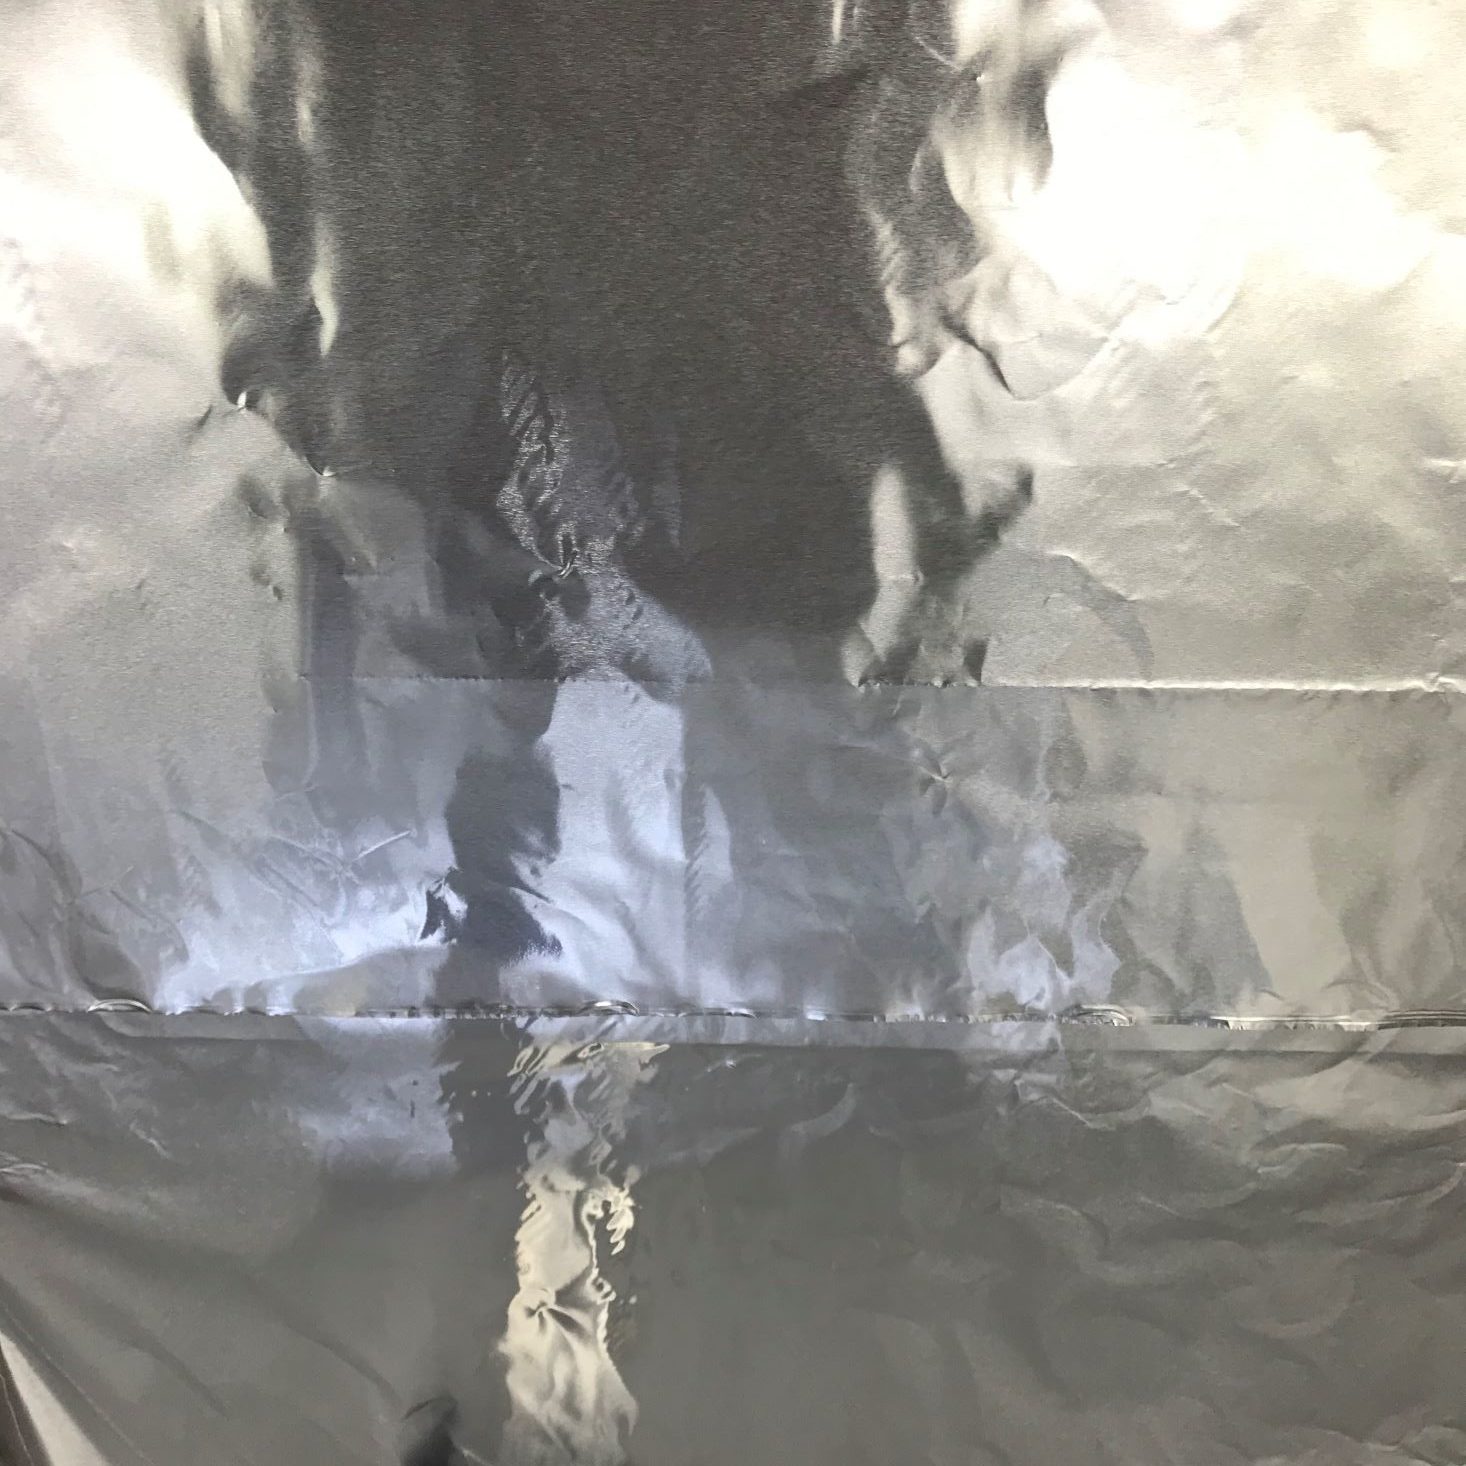
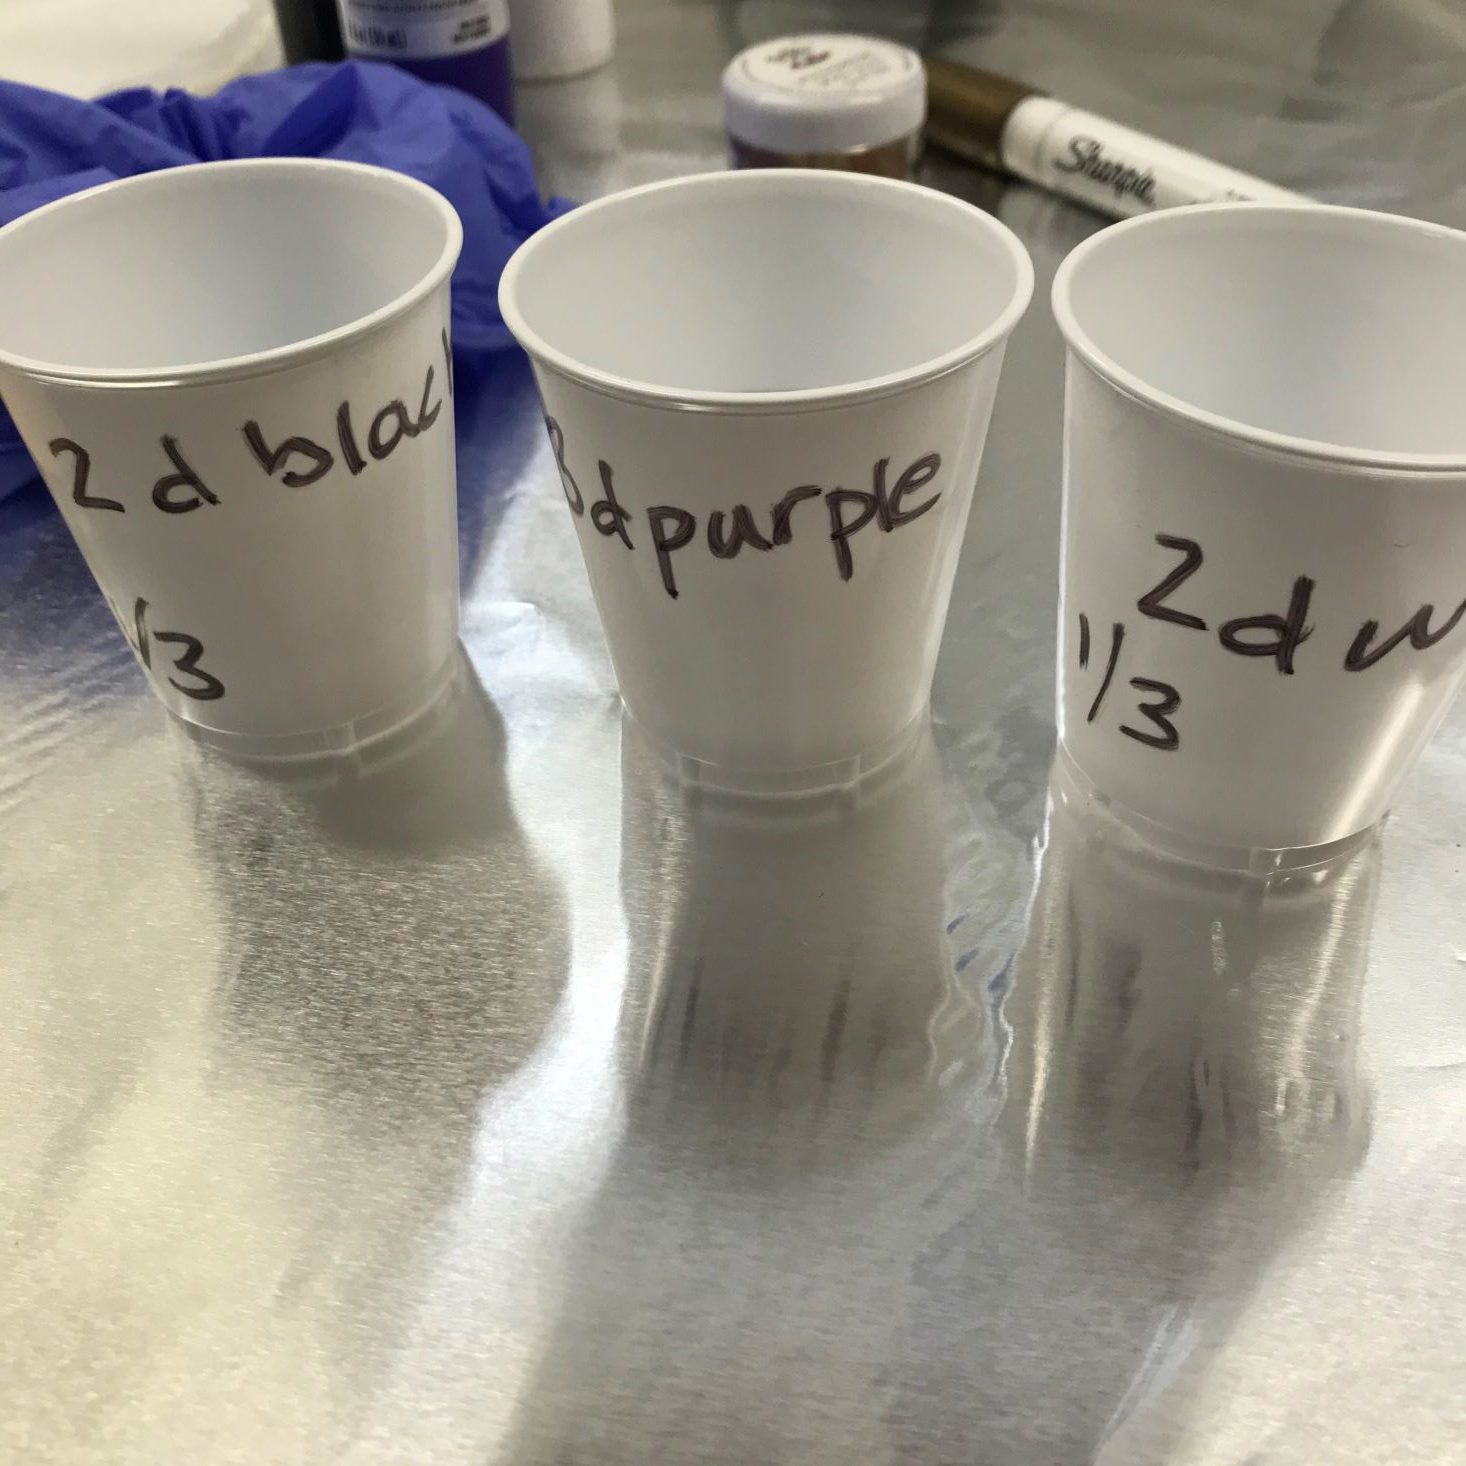
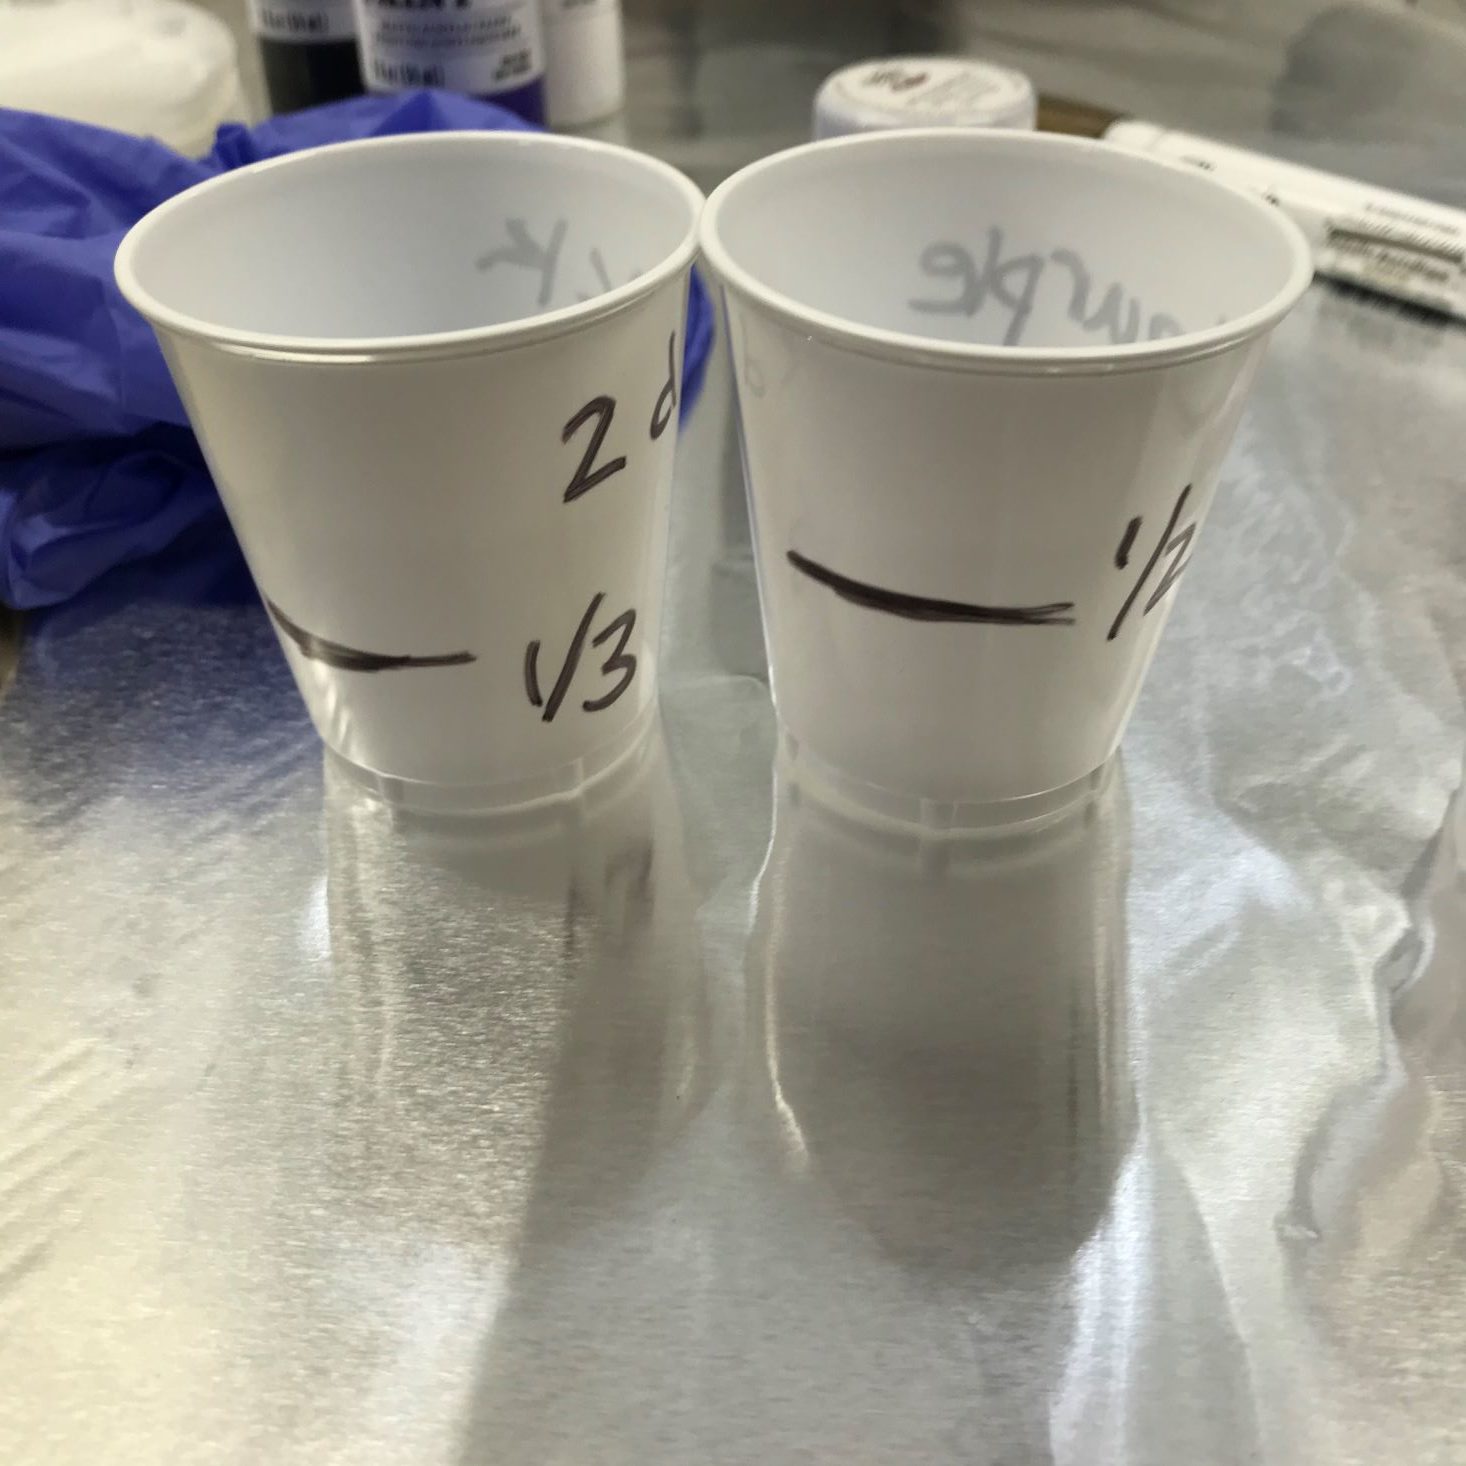
To protect our workspace, I laid down 2 sheets of heavy-duty aluminum foil and set out all of my supplies. To make things easier for myself, I labeled the included cups to match the directions. We needed to pour certain amounts of resin into each cup with certain colors and I labeled everything ahead of time so I didn't mess anything up. Because I was really paranoid about missing a step, I went through the directions and highlighted where each color was supposed to be poured before I even started.

1 of 4


Once I had everything labeled and ready to go, I followed the resin package instructions, pulled the pin, and mixed for 3 minutes. This was a very important step, as it will not cure properly if you don't fully mix. It is also important to note that after you pull the pin and mix the resin, you have 45 minutes to work with it before it starts to cure. Once I was done mixing, I got my gloves on and was ready to start.
1 of 5
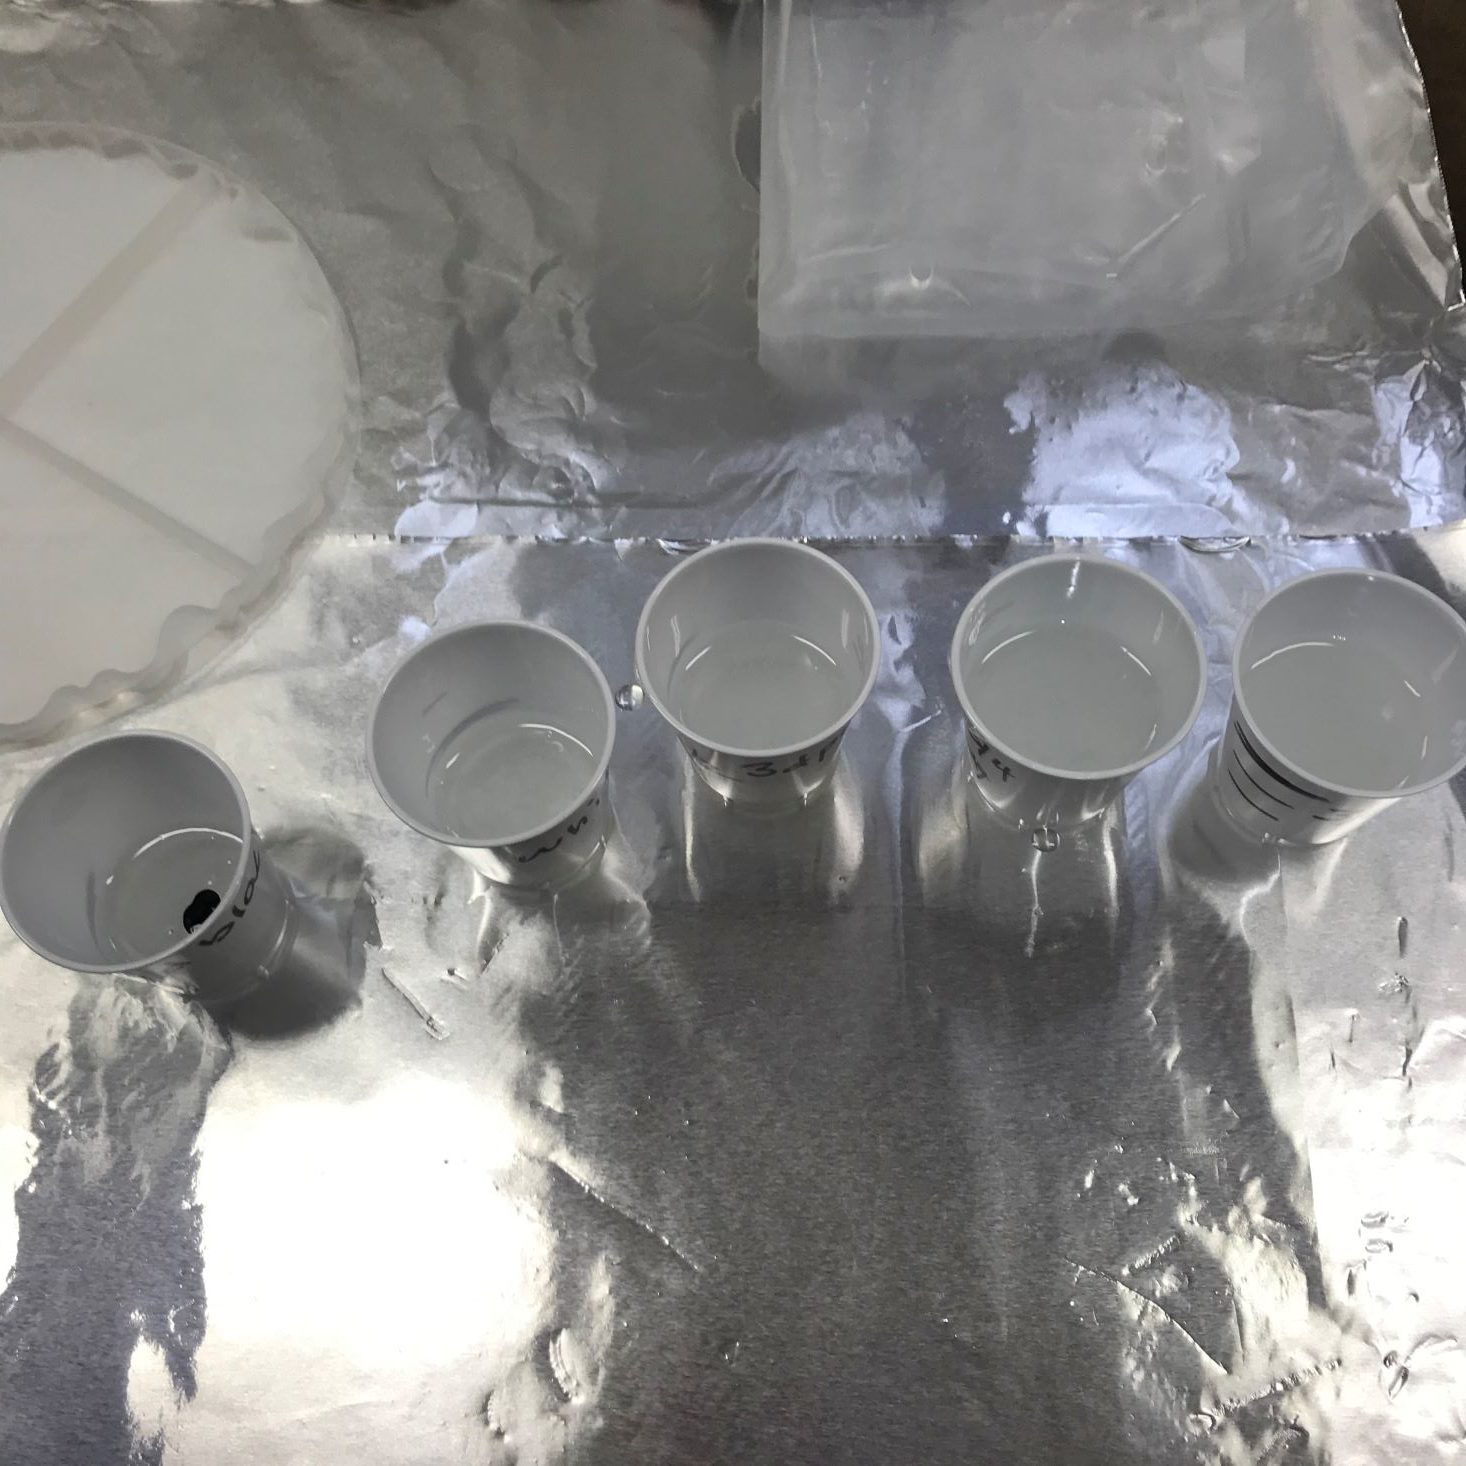
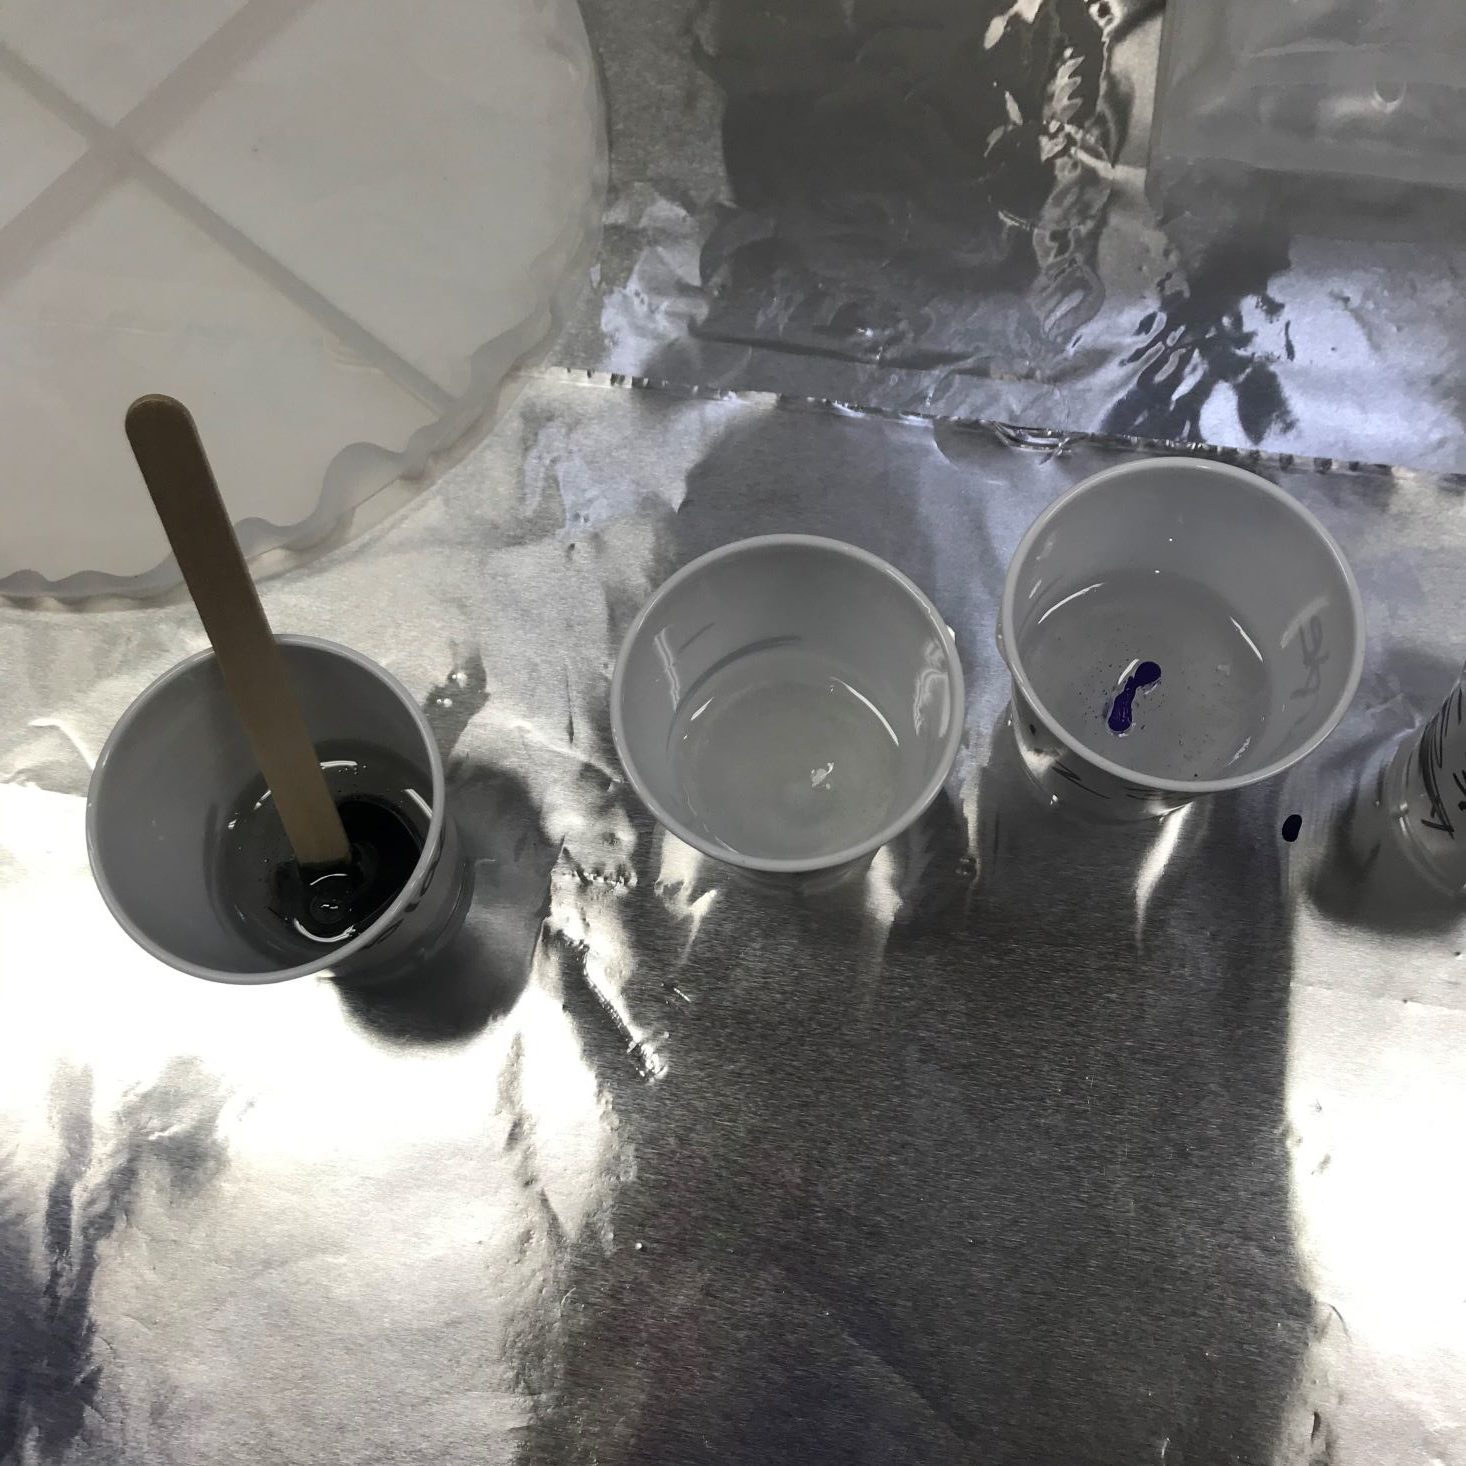

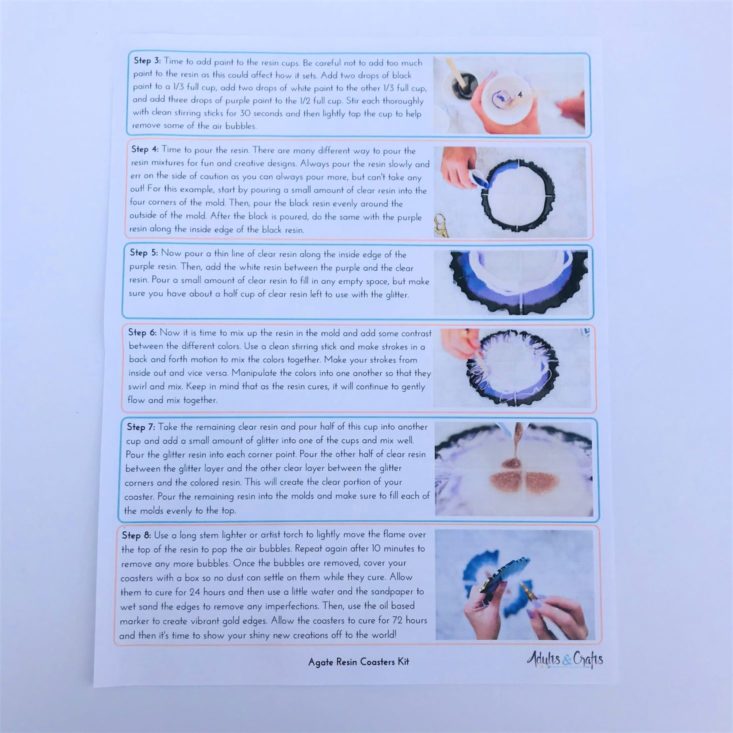
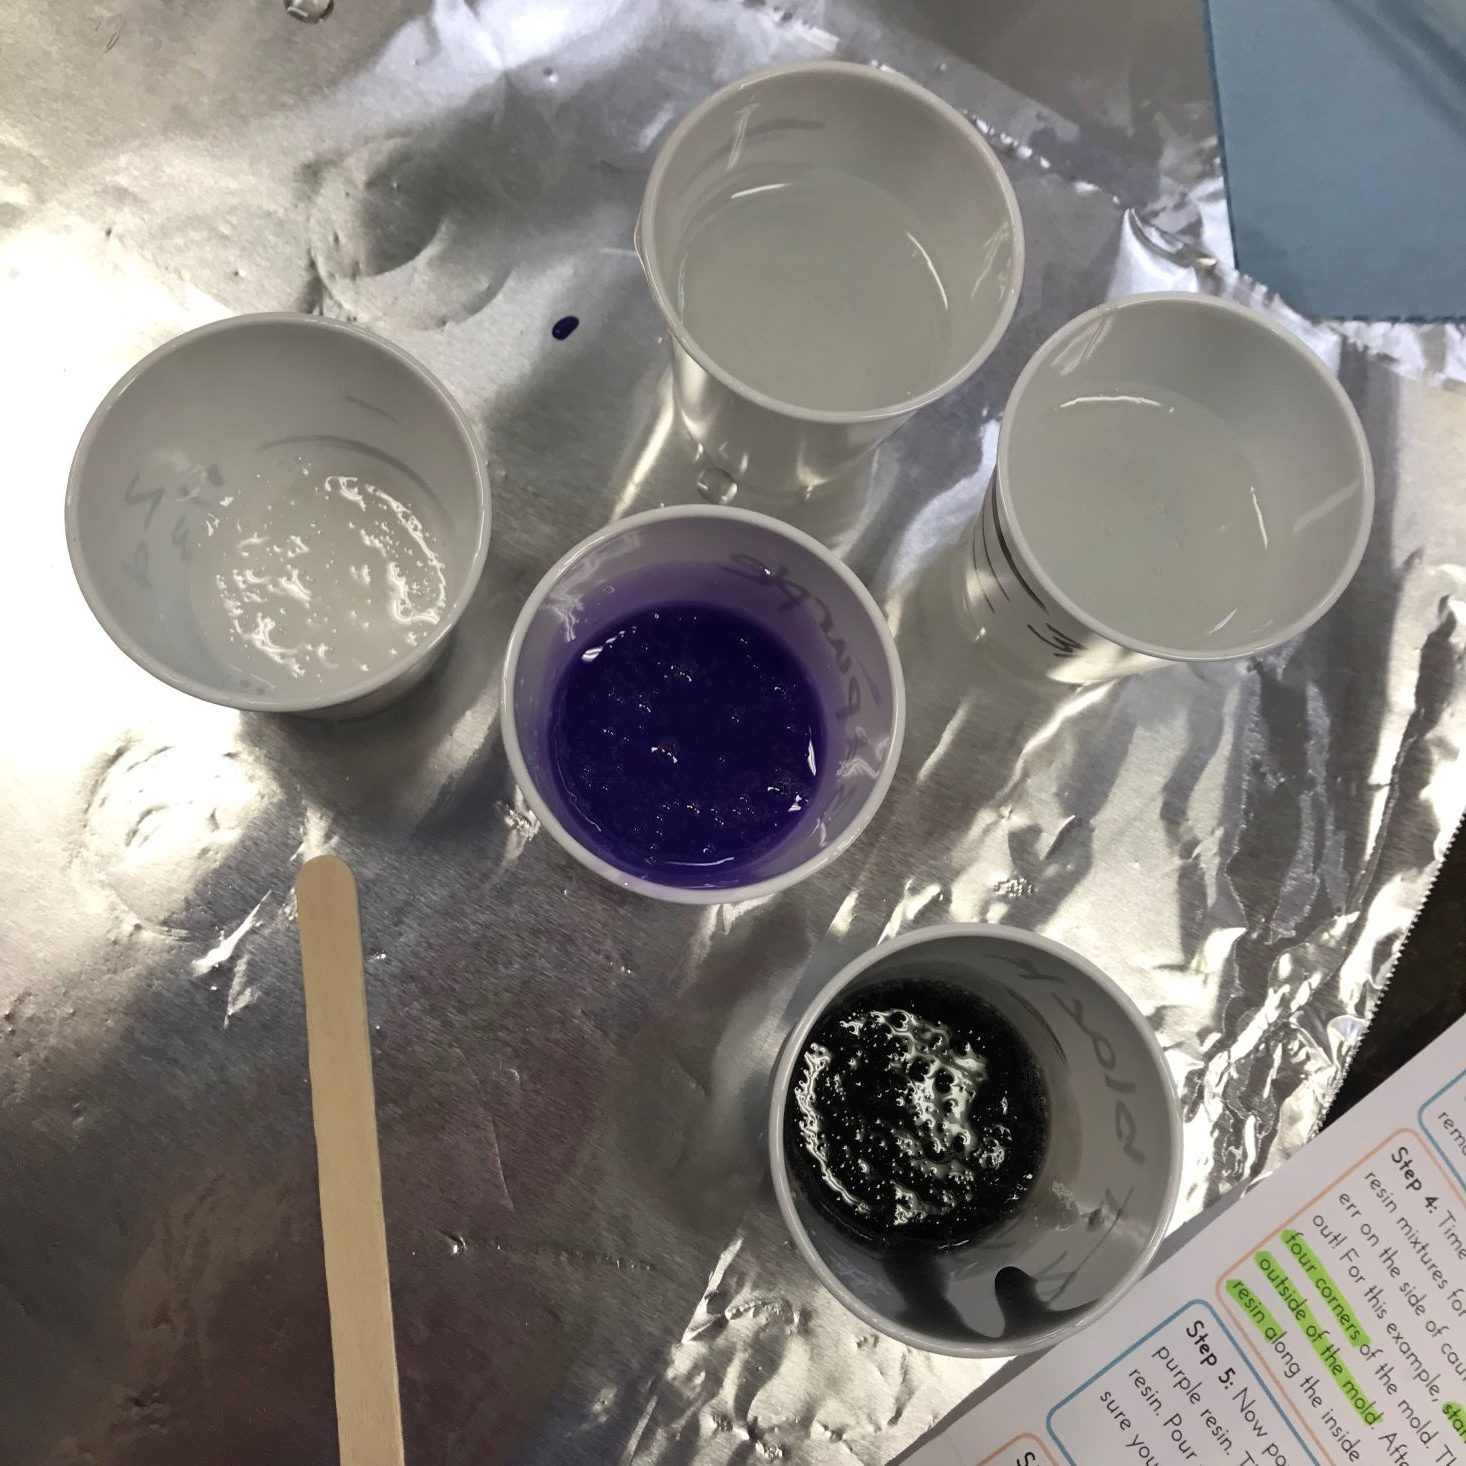
Like I told you above, I didn't want to mess anything up, so I carefully measured out each cup and labeled everything...well it turns out I was wayyy too generous on my markings, and ended up having to take some resin from some cups and add to others so it all balanced out per the instructions. At least I poured them all at the same time so I hadn't added any color yet! Once I had two cups 3/4 full, one cup 1/2 full, and the remaining cups 1/3 full, I went ahead and added the colors. We only had to add 2-3 drops of acrylic paint to each cup - the bottles barely looked used! I will get to paint all kinds of things with what I have left! Anyways, once the paint is dropped in, you mix for 30 seconds with the included stir sticks and tap the cup to help remove bubbles.
1 of 9
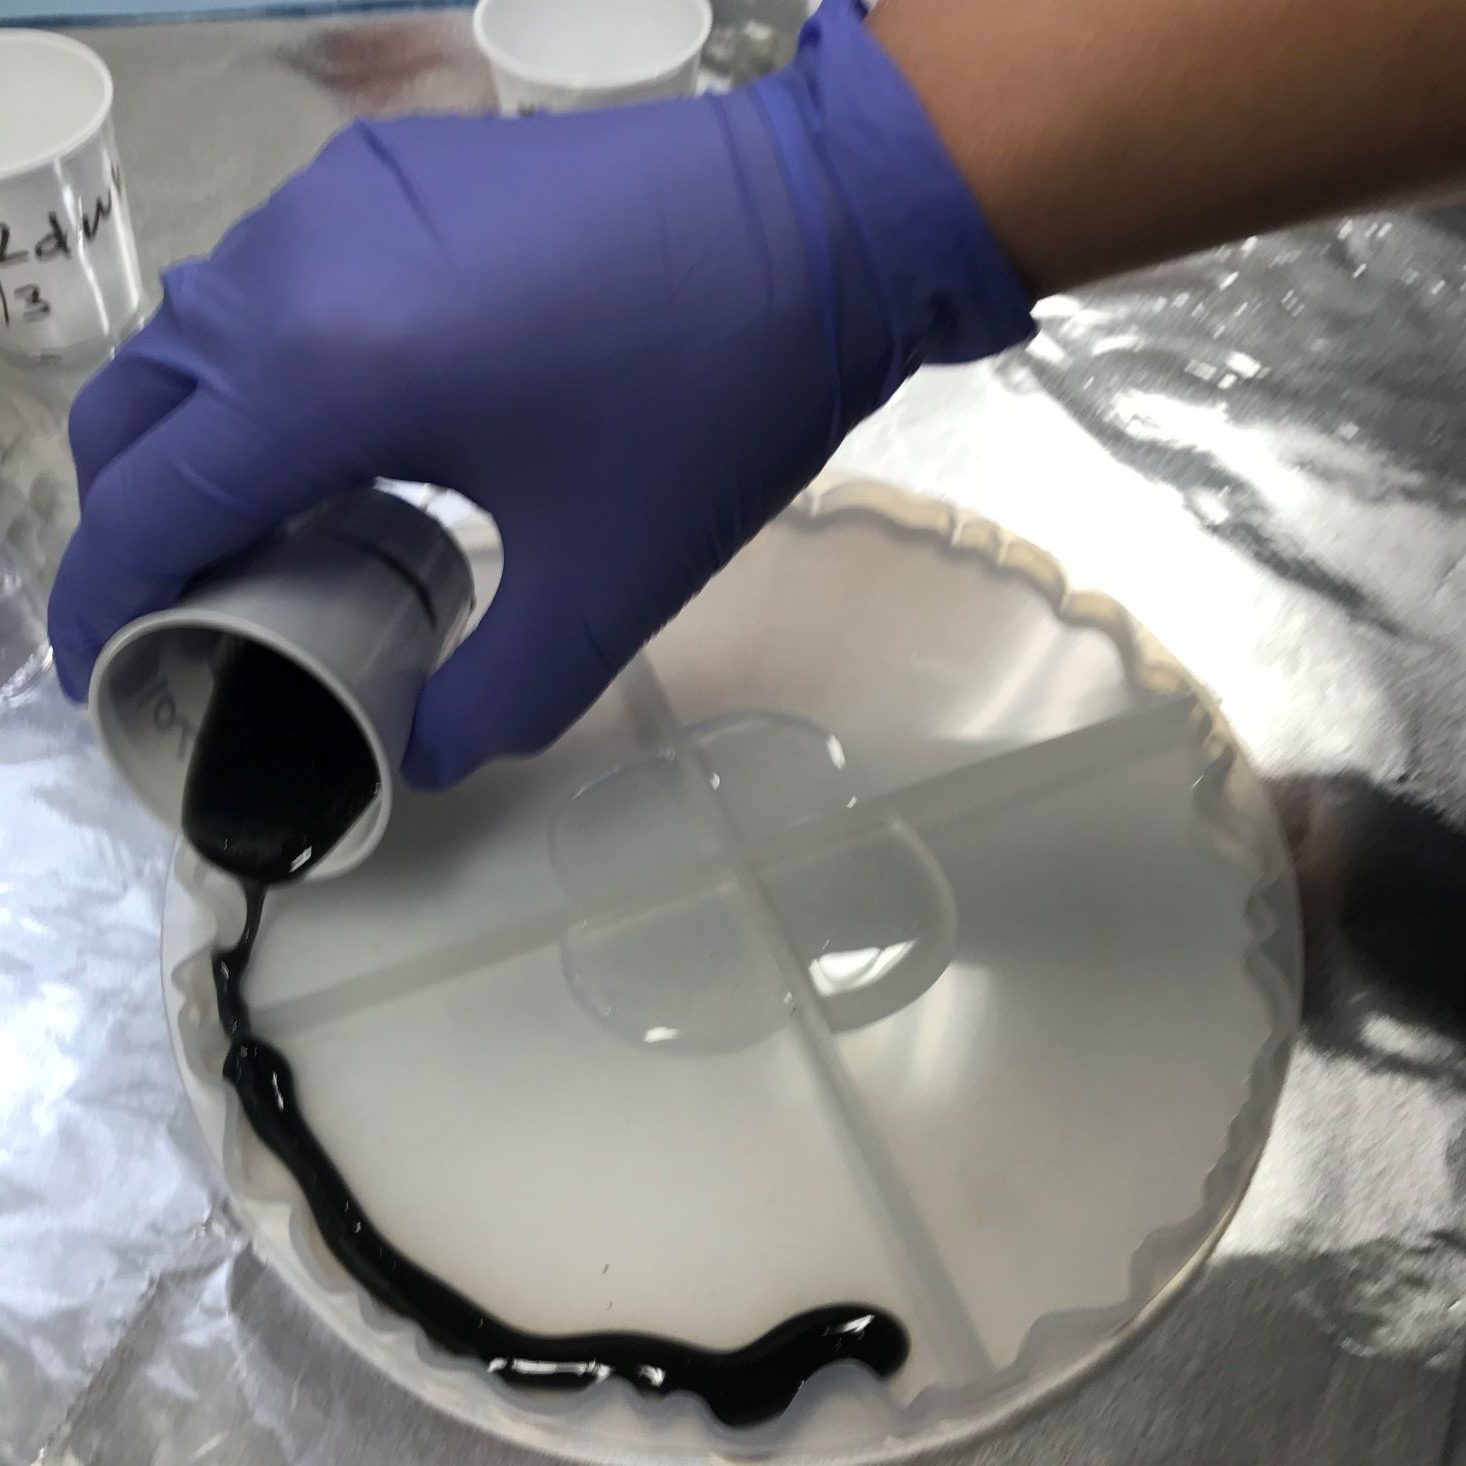
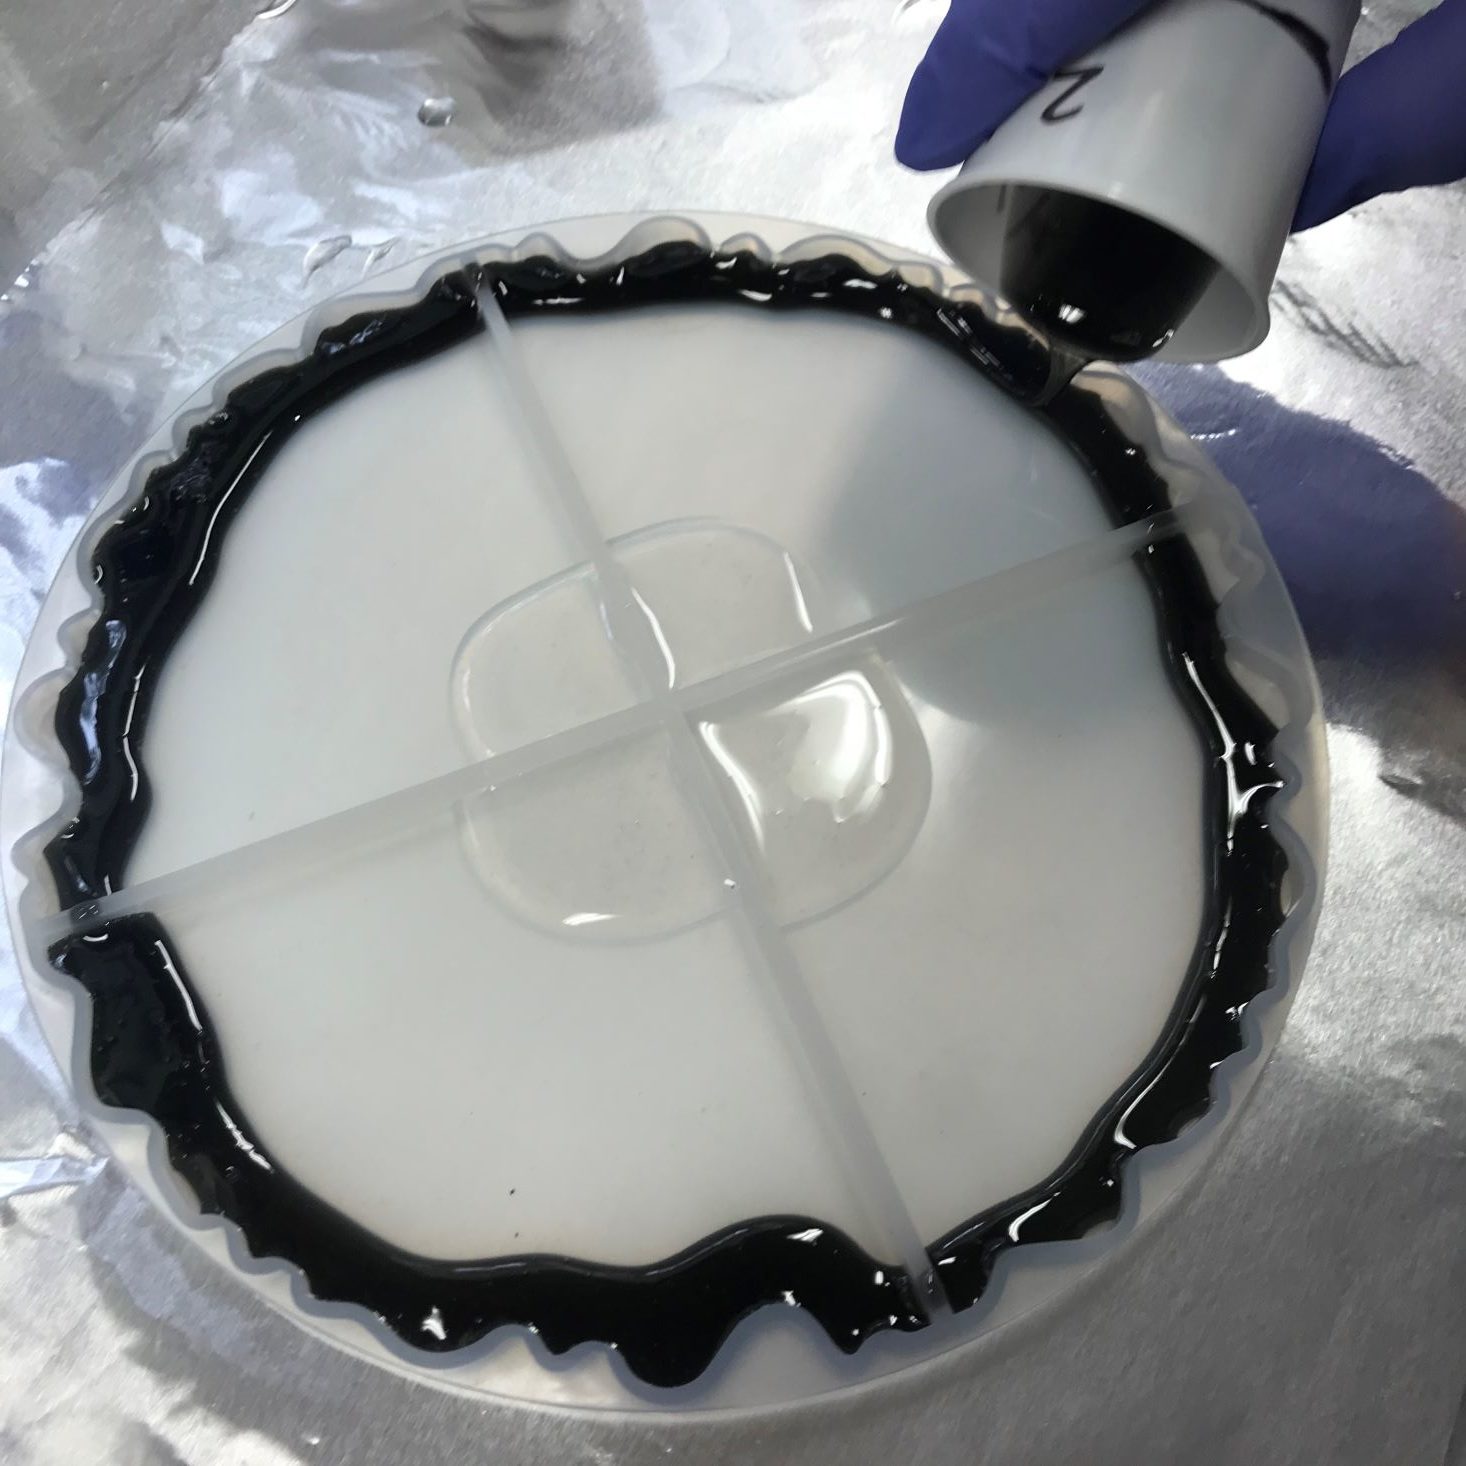
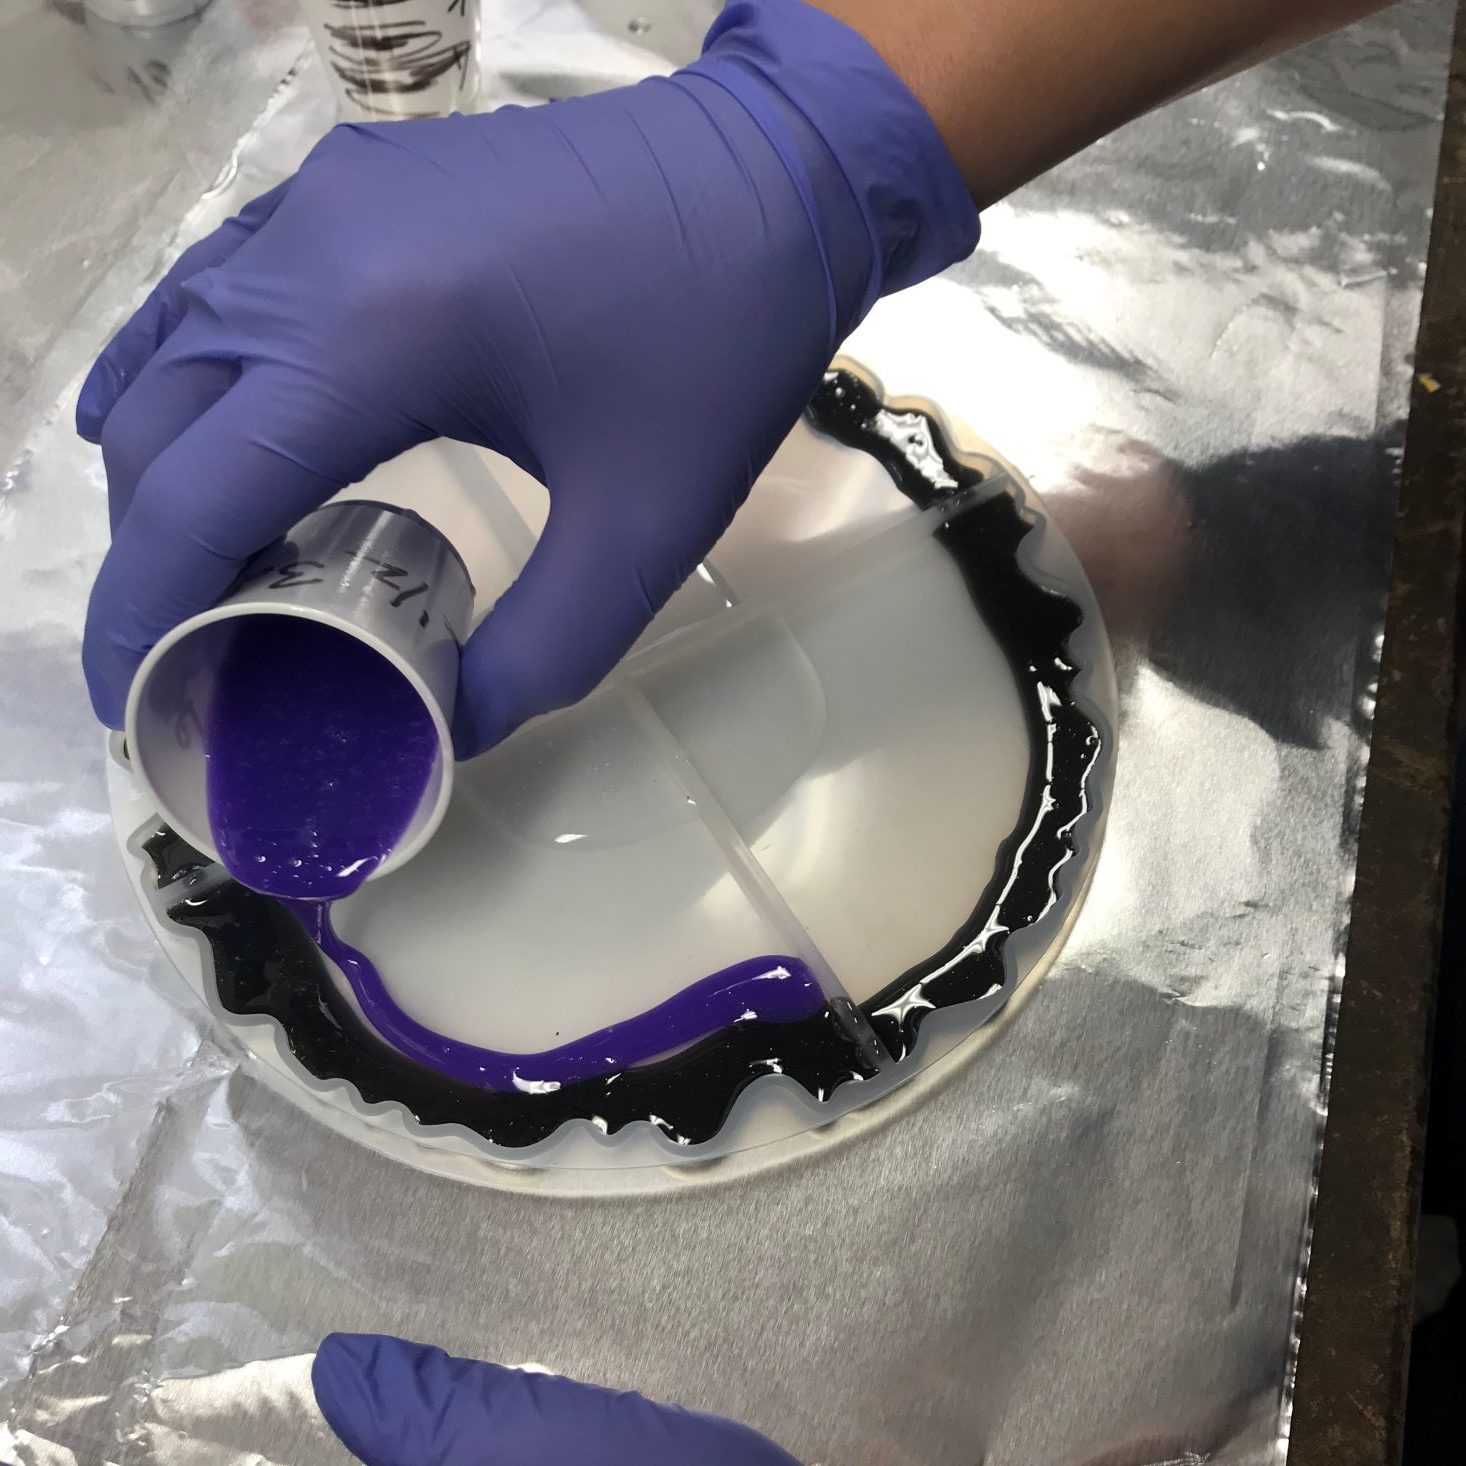
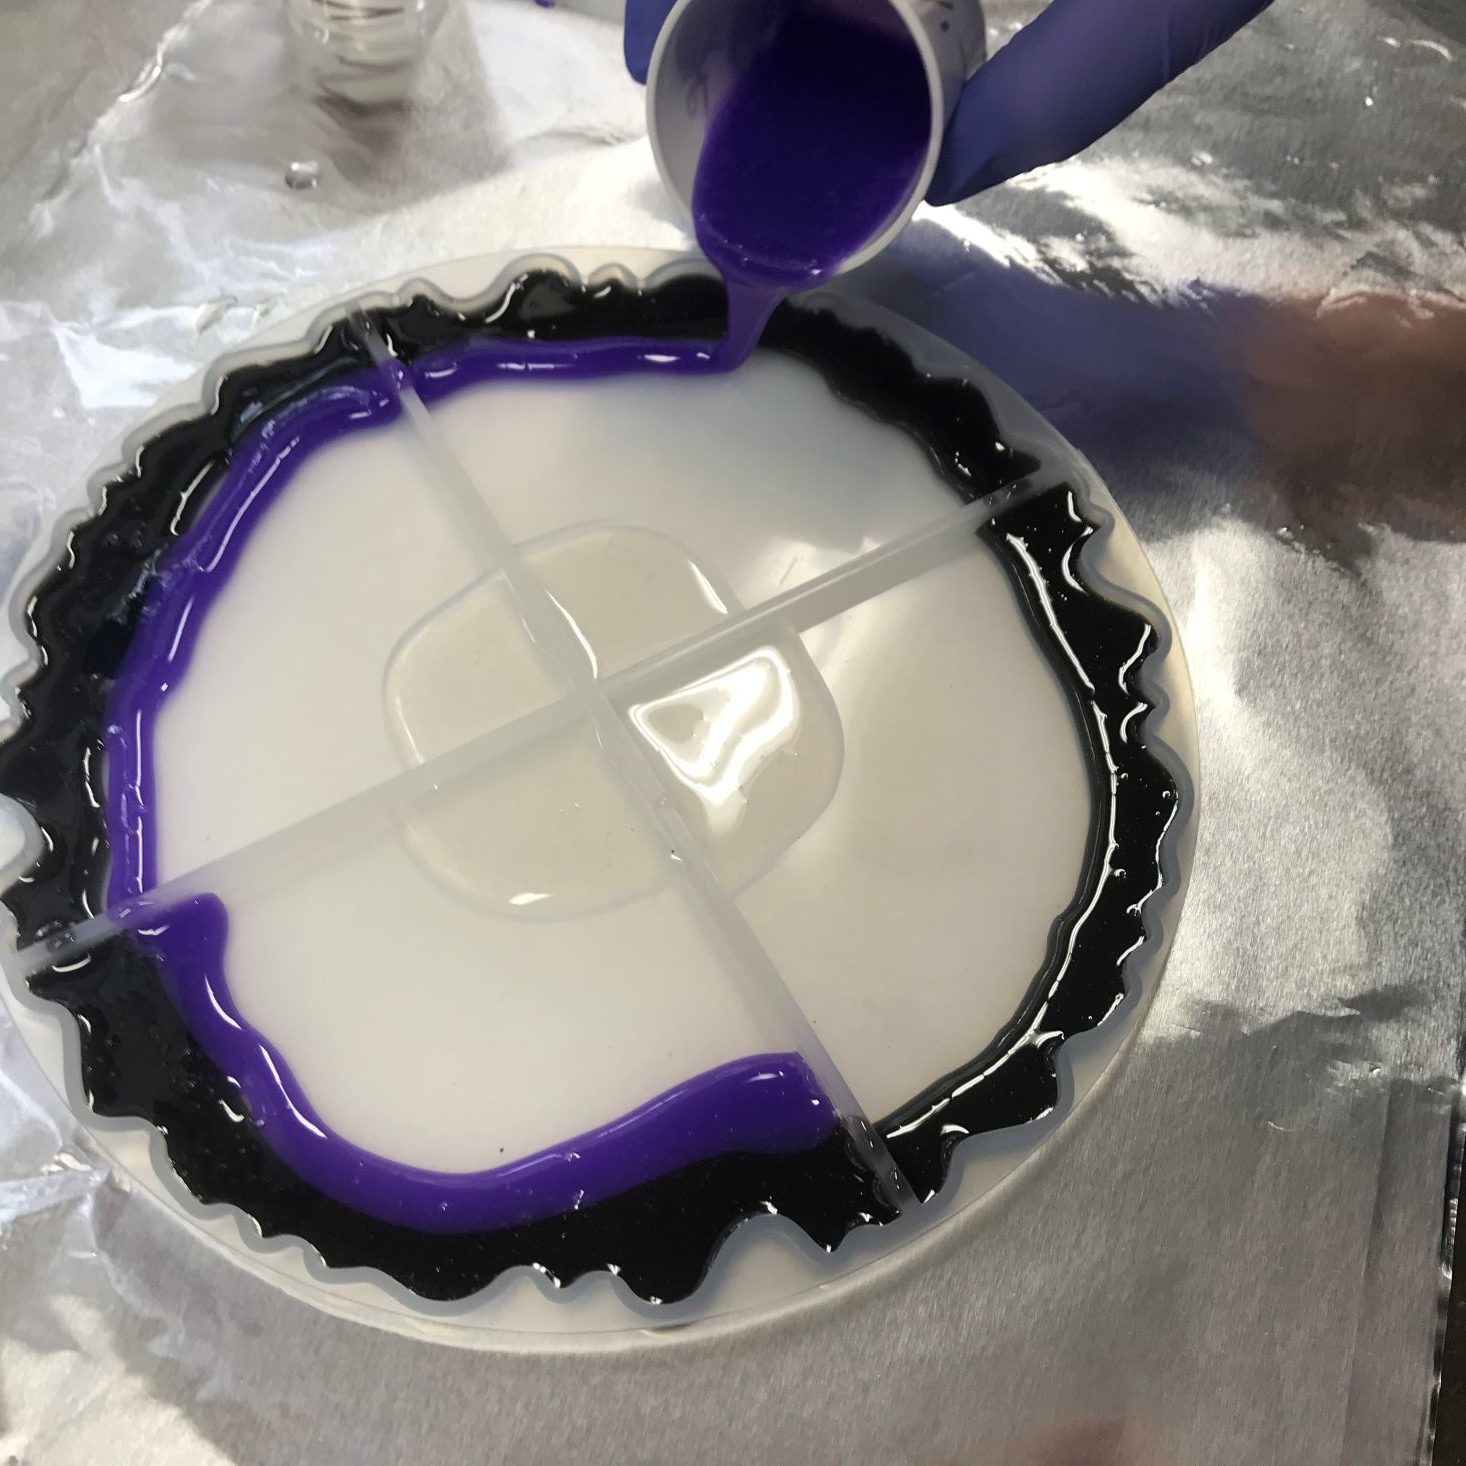

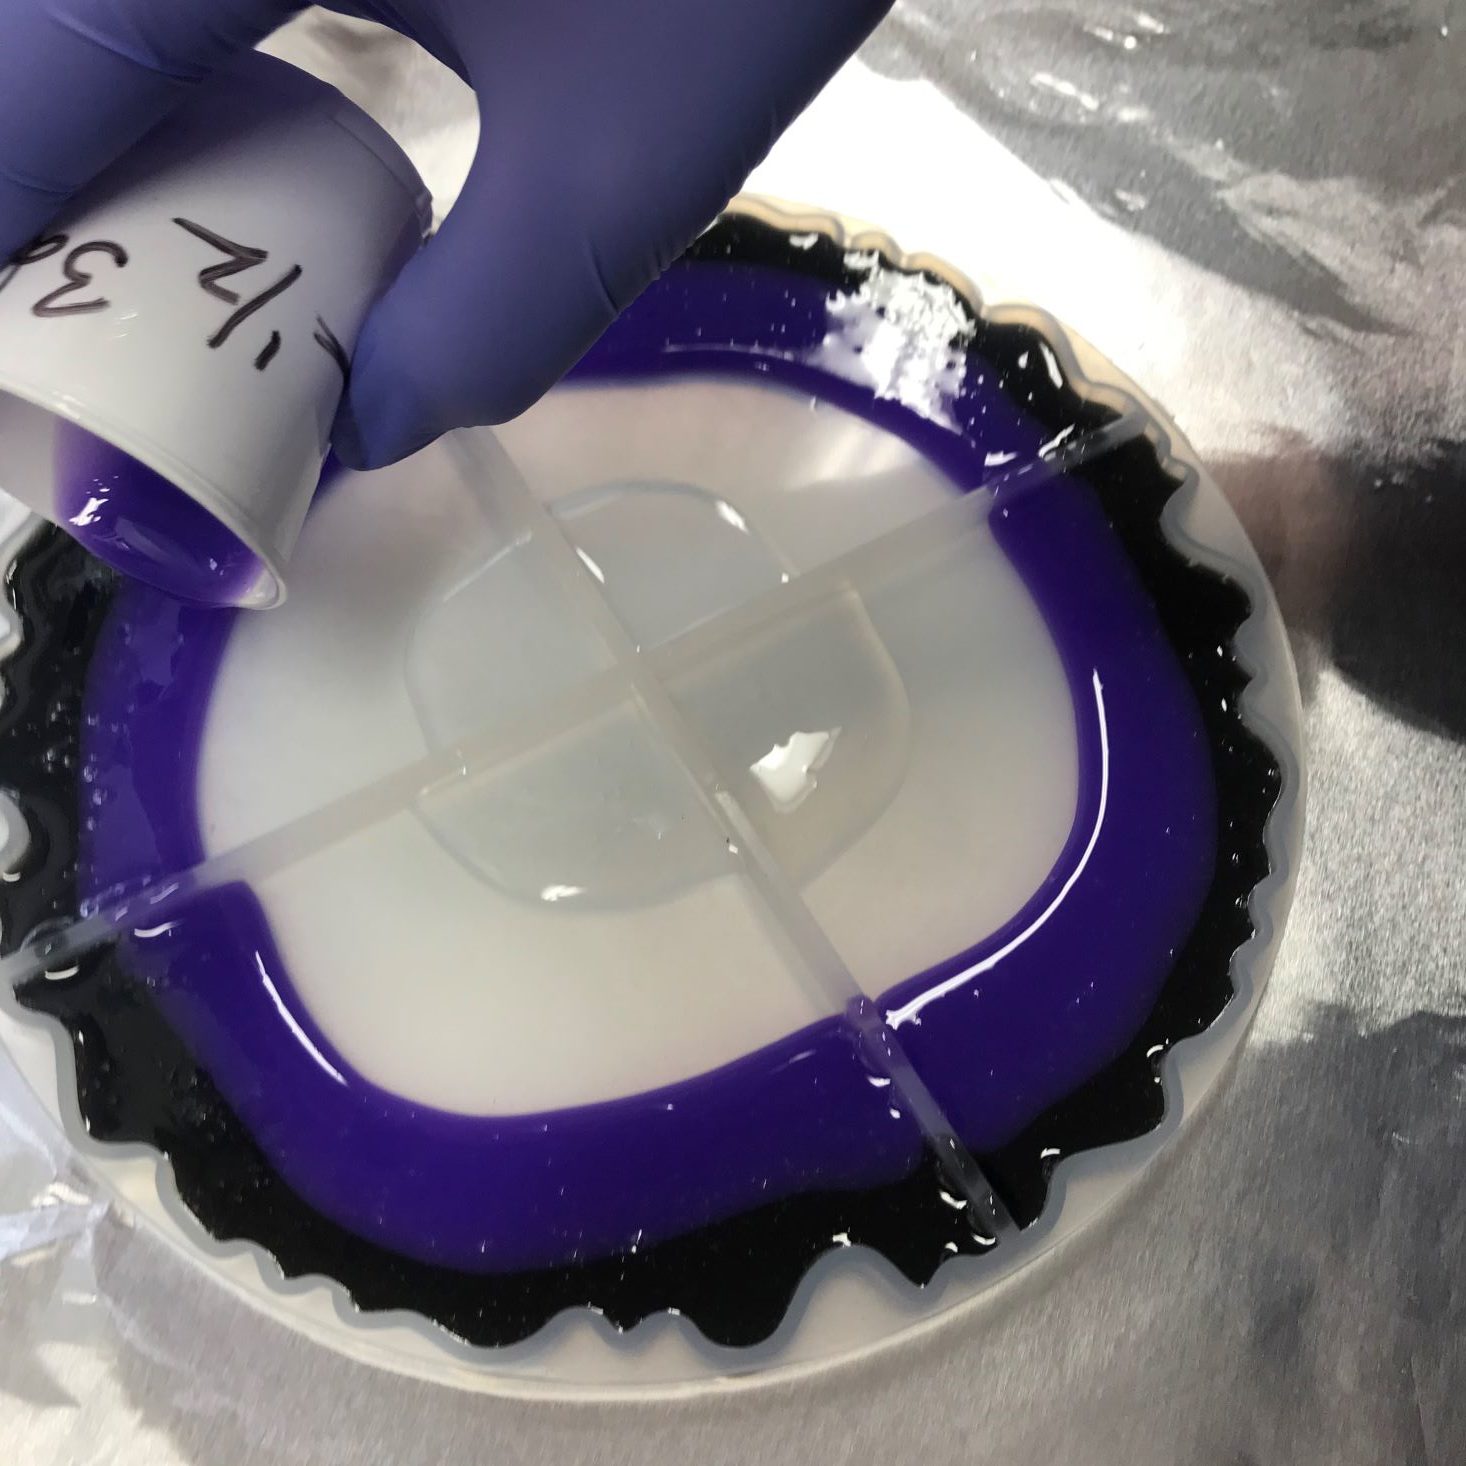
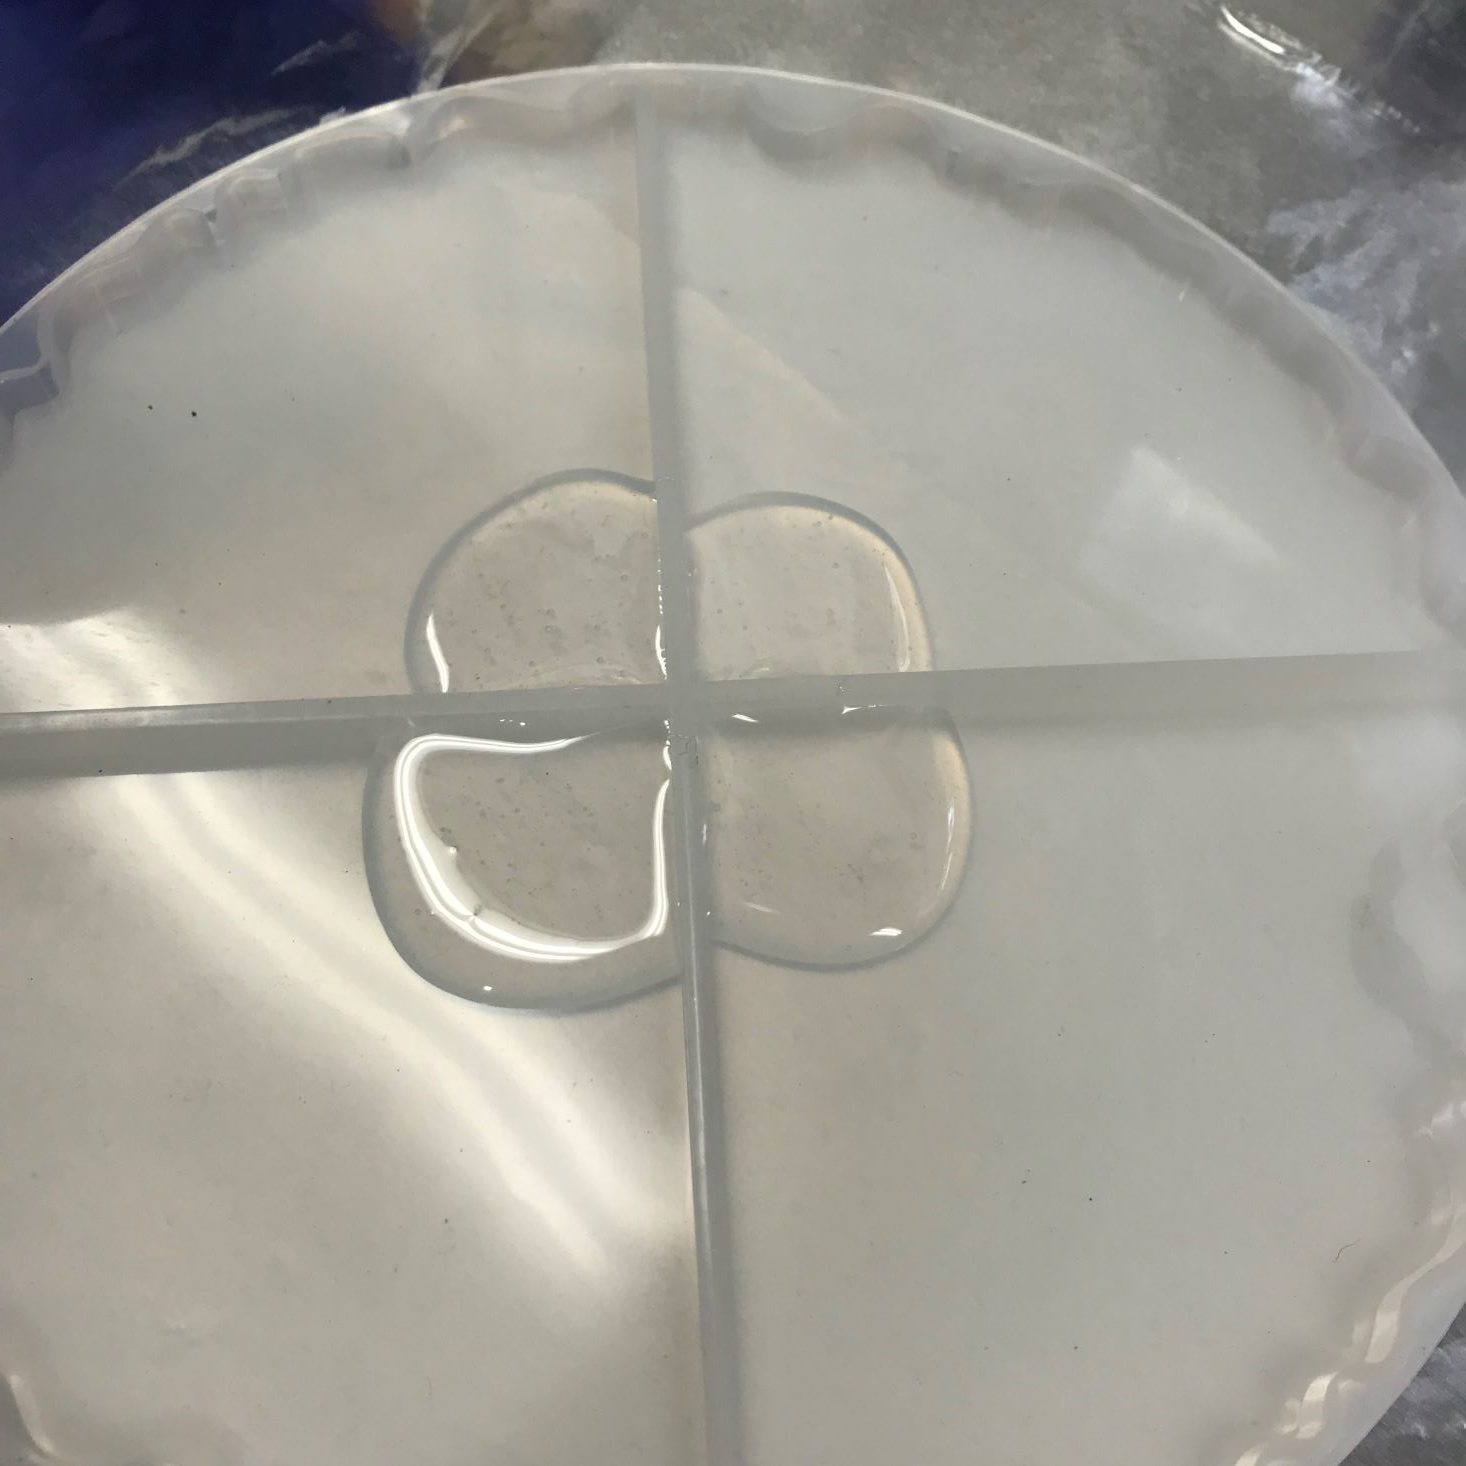
Thank goodness for my sweet husband, because he was my photographer while I shakily worked on my pouring. For some reason this project made me so nervous, and I wanted to do it perfectly, so I followed the instructions and started with the four corners and clear, went to the outer edge and added the black, went with purple, another ring of clear, a little white, and more clear. The instructions were pretty lax on exactly how much resin you should be using, and some of the verbiage was confusing, but I eventually just let go and dumped.

1 of 2
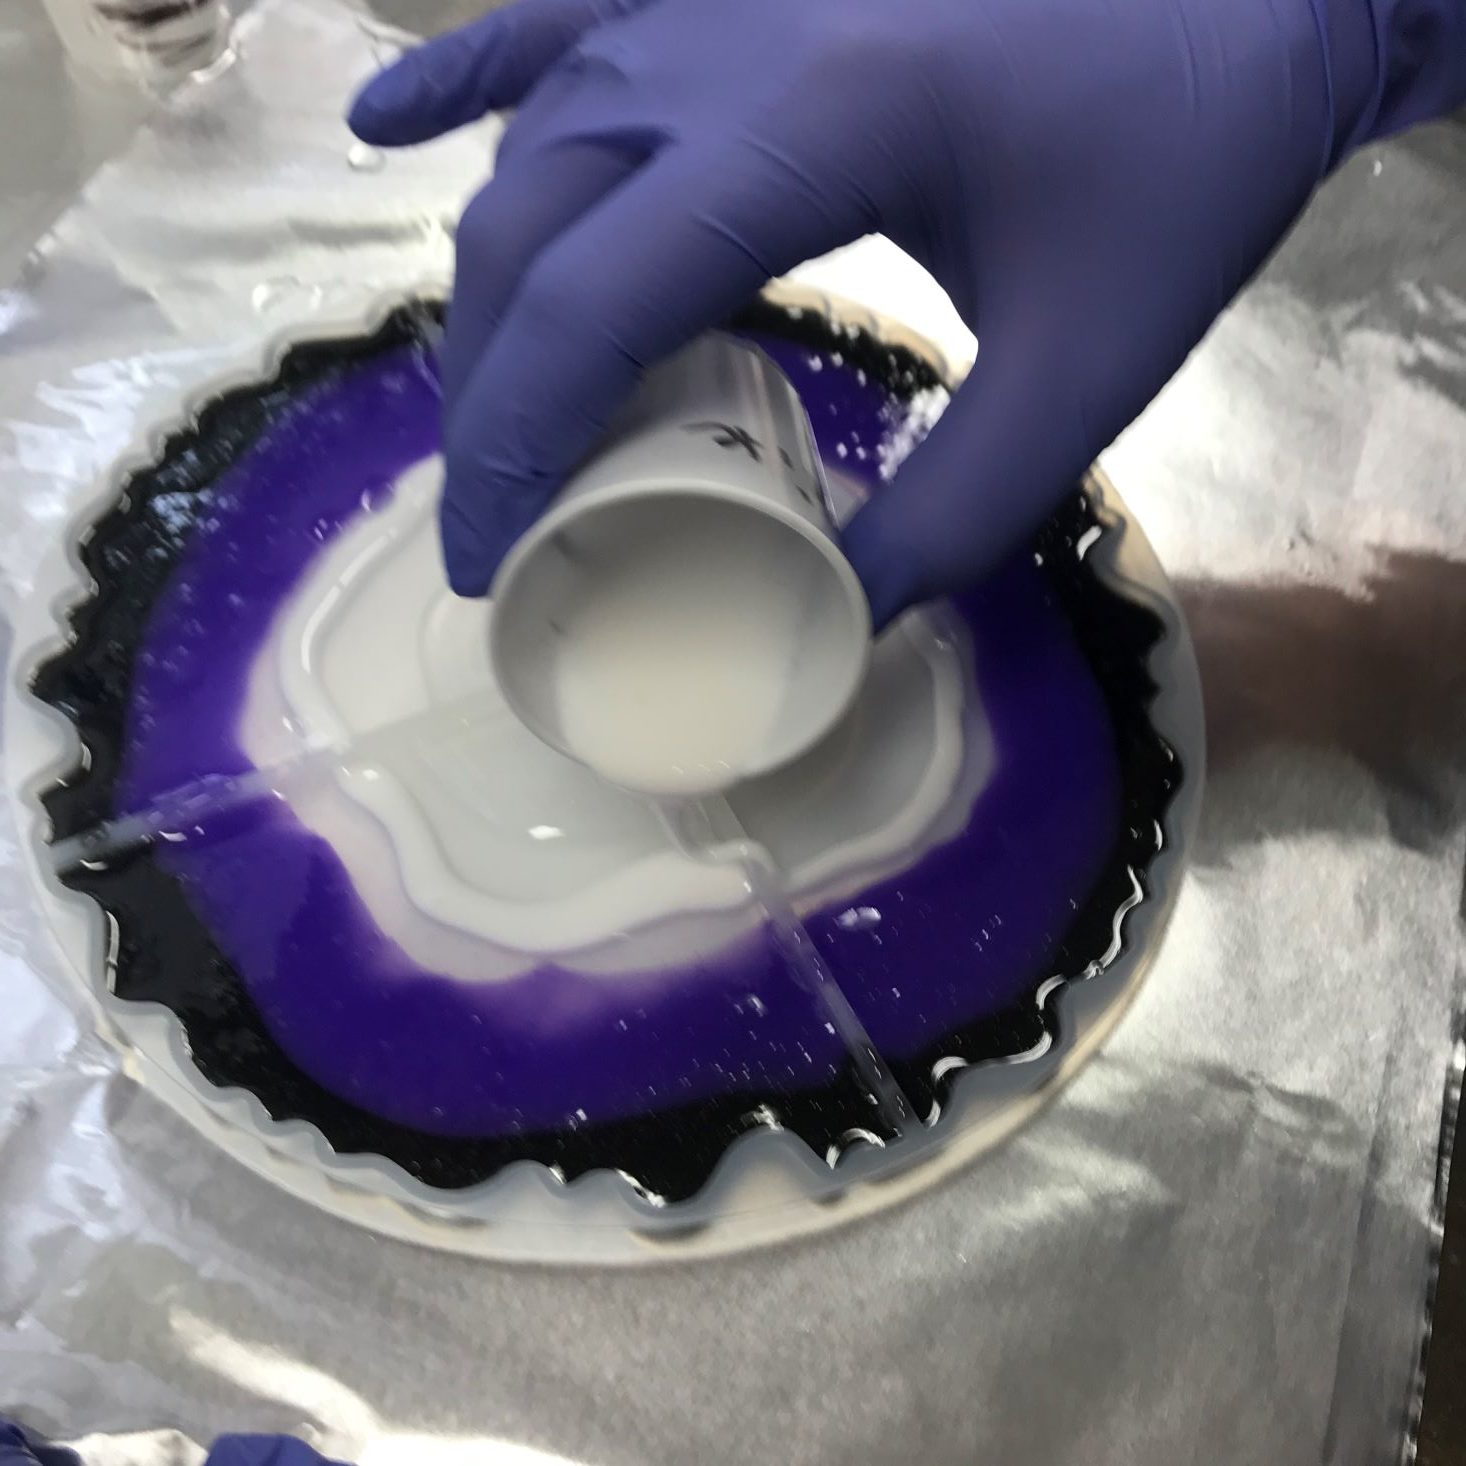
Once the main colors were poured, I used a clean wooden stick and swirled the colors together a bit. I didn't know how far to go, or if I should mix in the clear, so I just winged it. Like I said, I've never worked with this medium before so I had no clue what to expect!
1 of 6


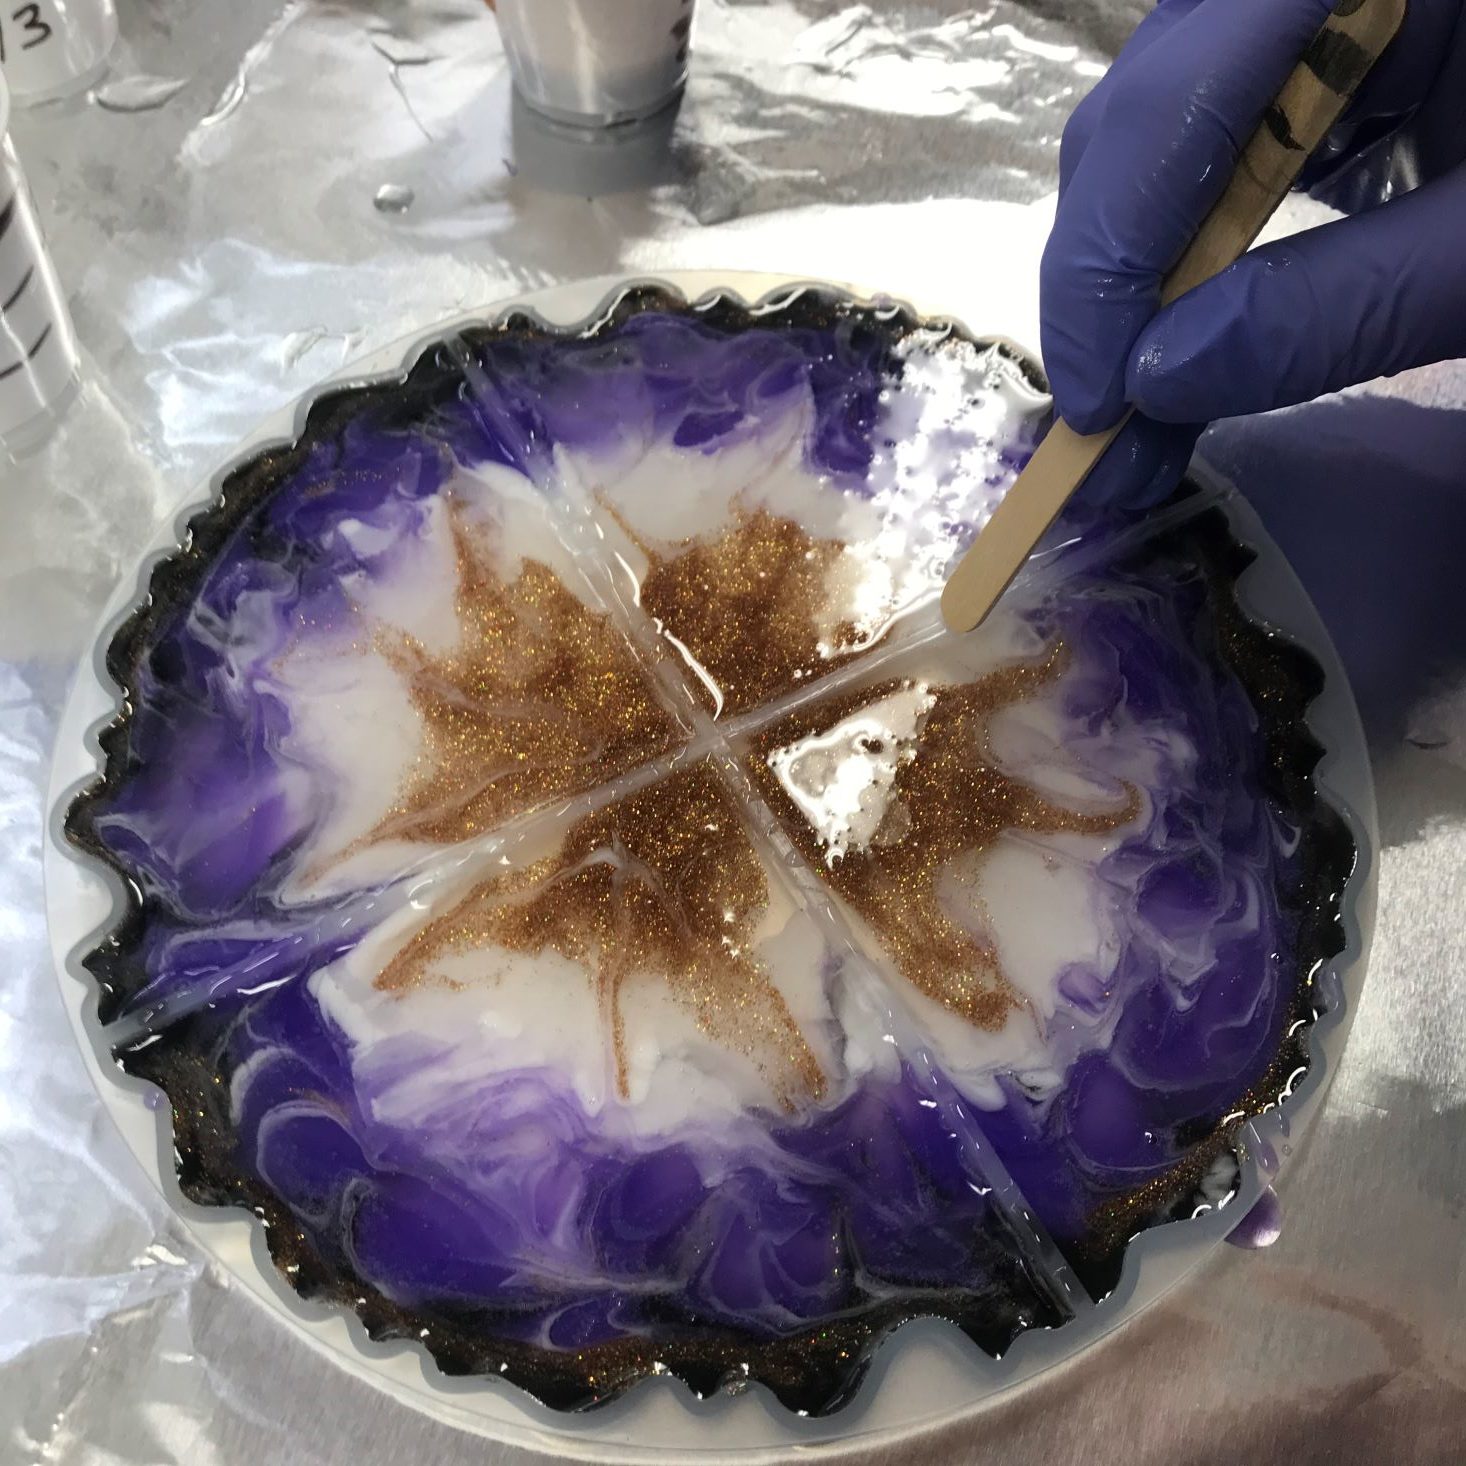
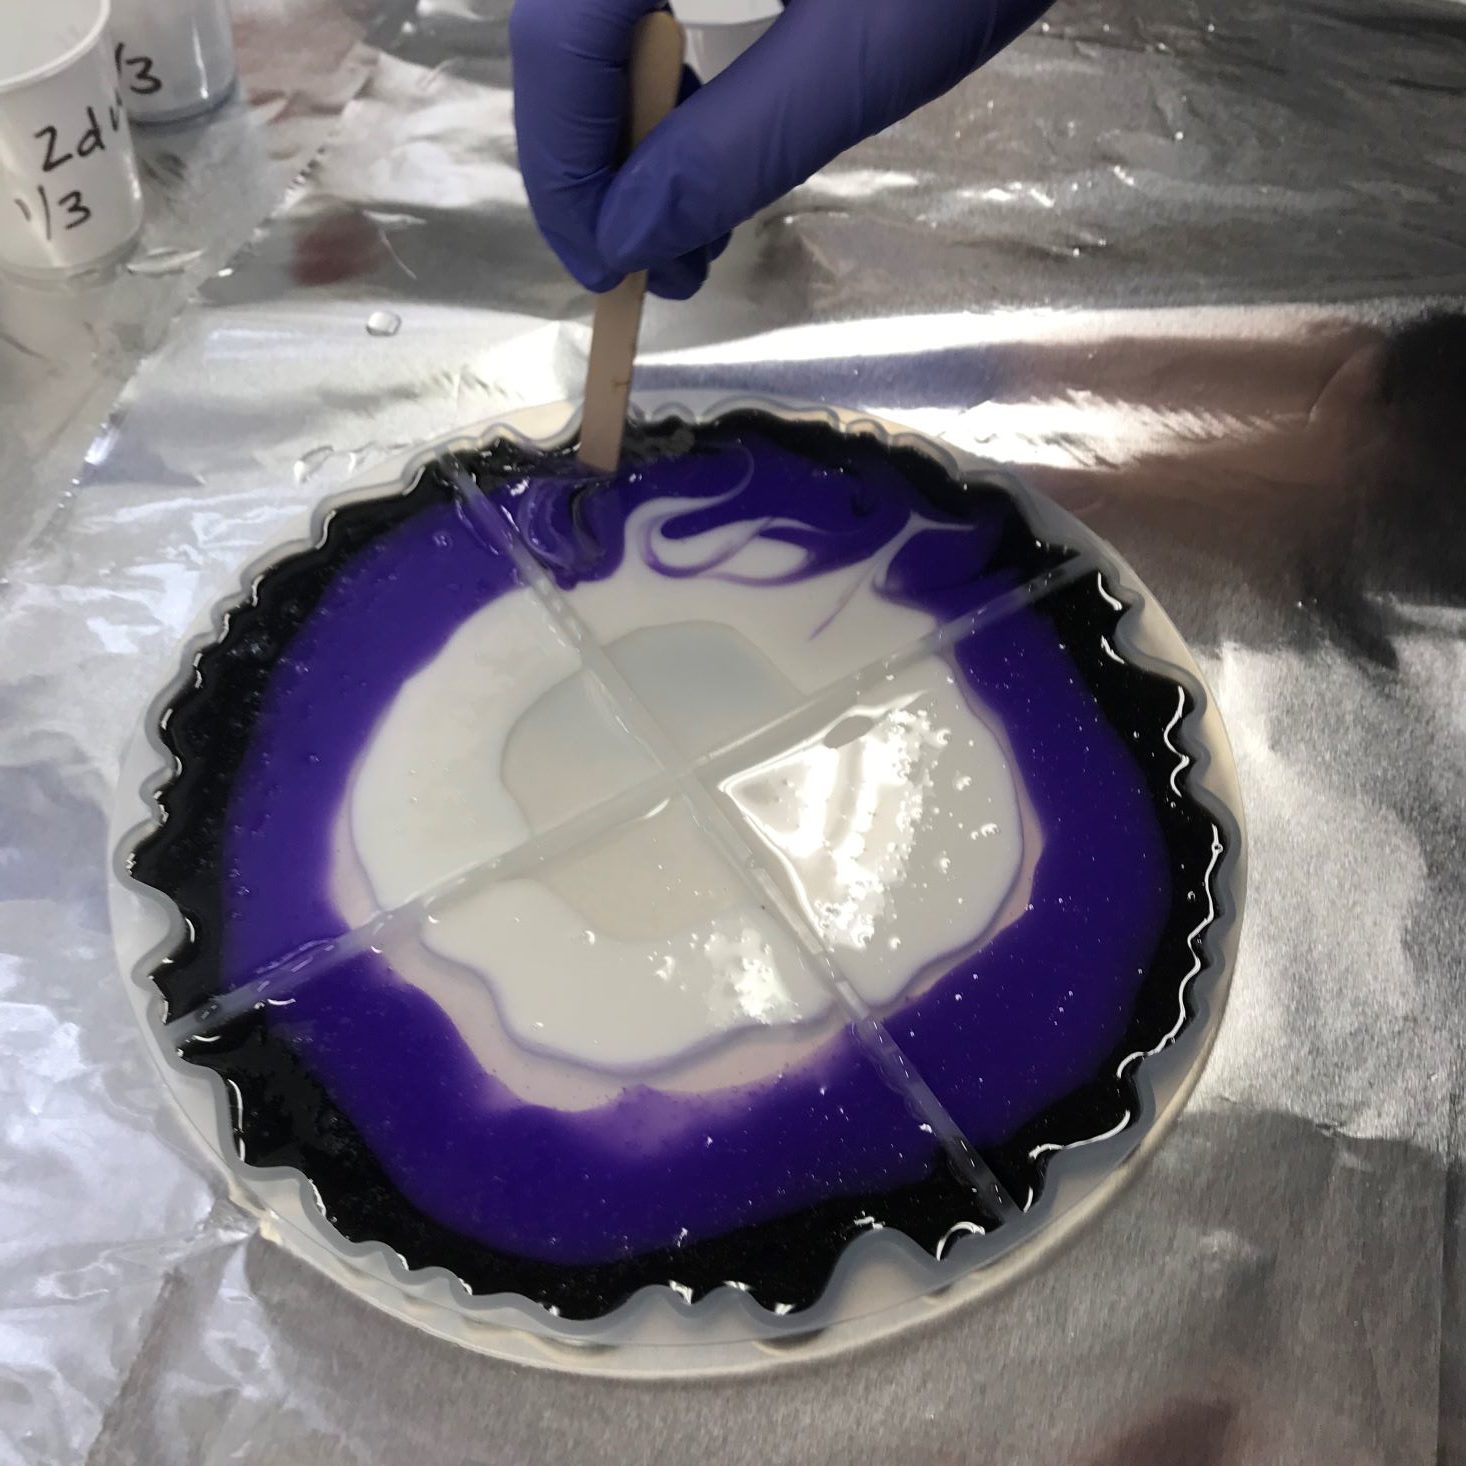
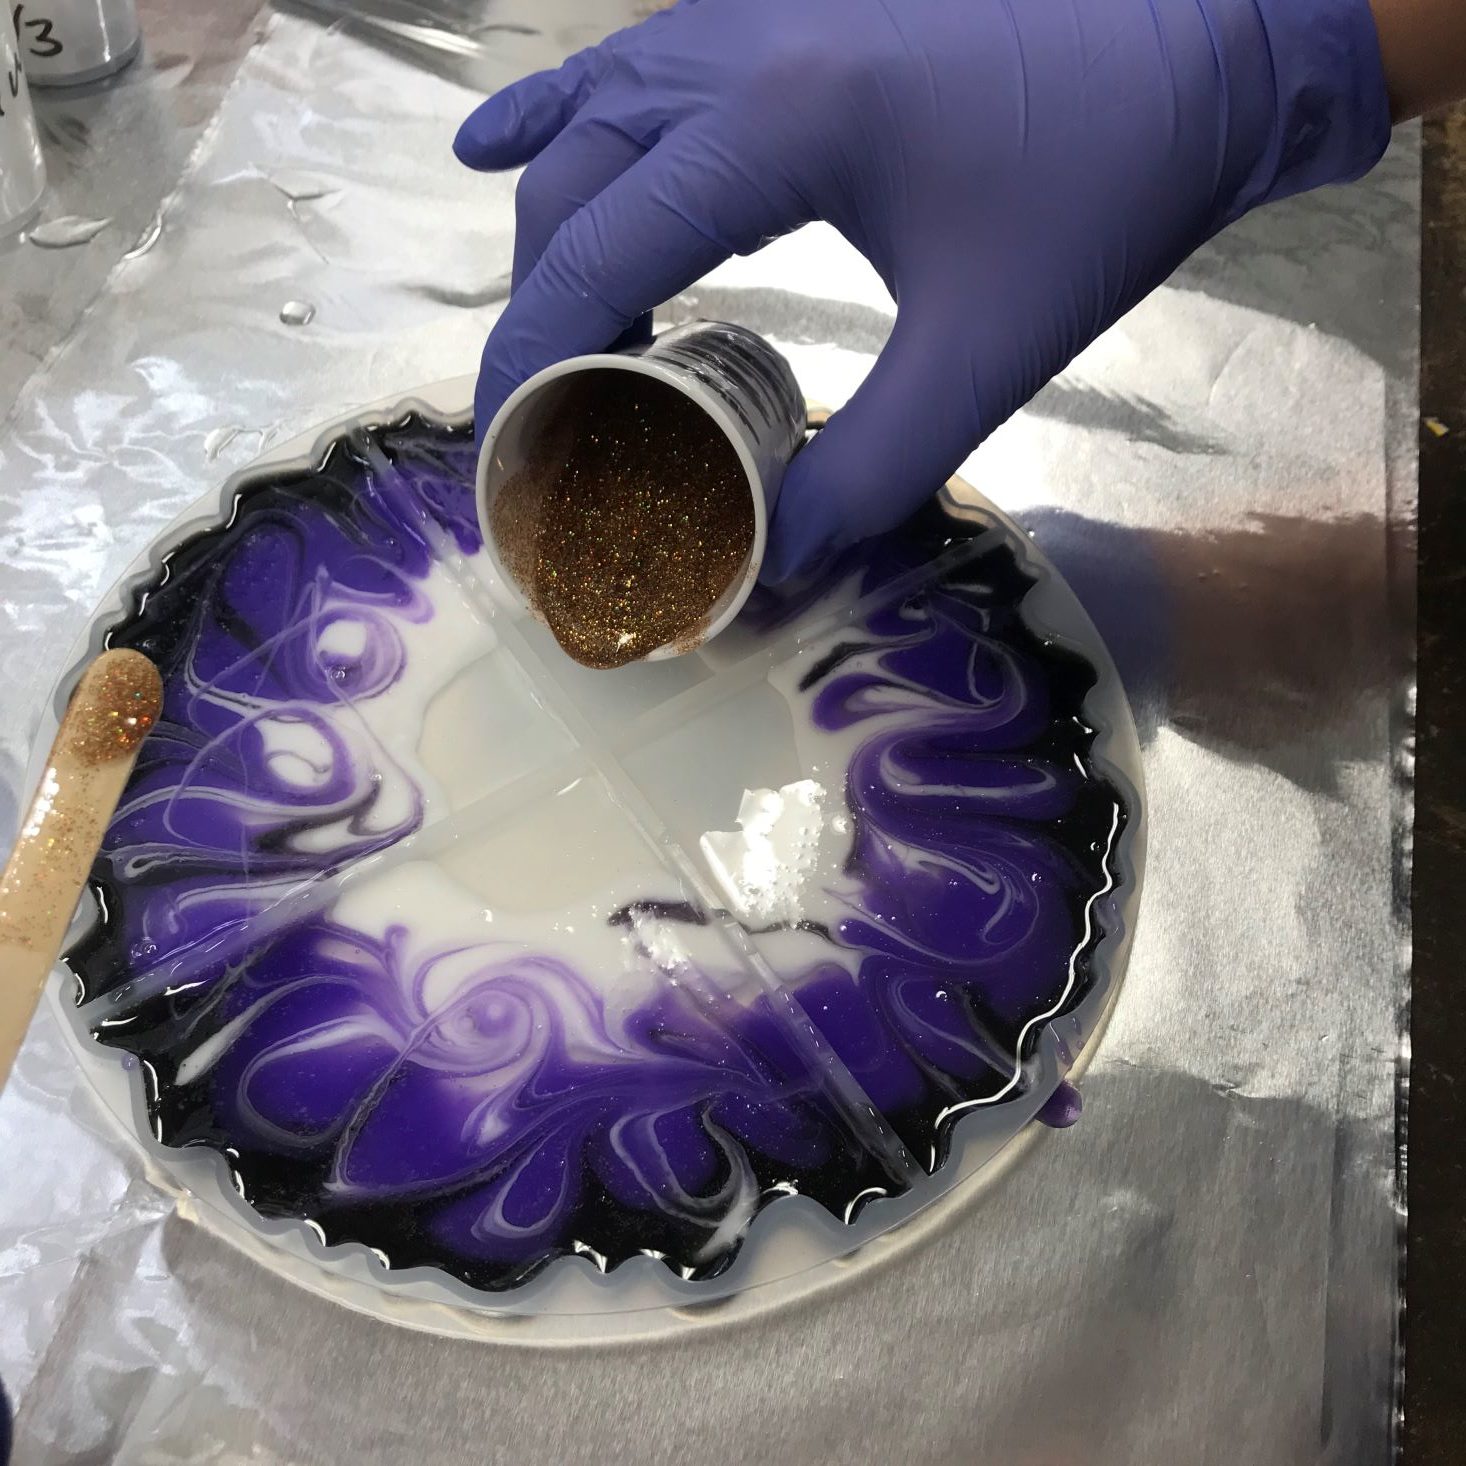
The best part of this project was getting to add the glitter resin! The instructions said to add a "small amount" of glitter to the resin...what is a small amount of glitter? I had no idea if I used too much or too little, but just went with it, and poured it into the corner edges. My husband said I needed to make the glitter explode, so I took his advice and swirled out the glitter a little bit. We also decided it needed a little glitz on the outside edges. Once that was complete, I ran a clean wooden stick over the edges to remove extra resin. After that I used a torch to remove bubbles from the surface. My husband was vacuuming his car at that point, so he wasn't able to get photos of that, but I can tell you it was an experience!!! Once it was torched, it sat in the garage (under a box to protect it from dust) for 24 hours to harden.
1 of 2
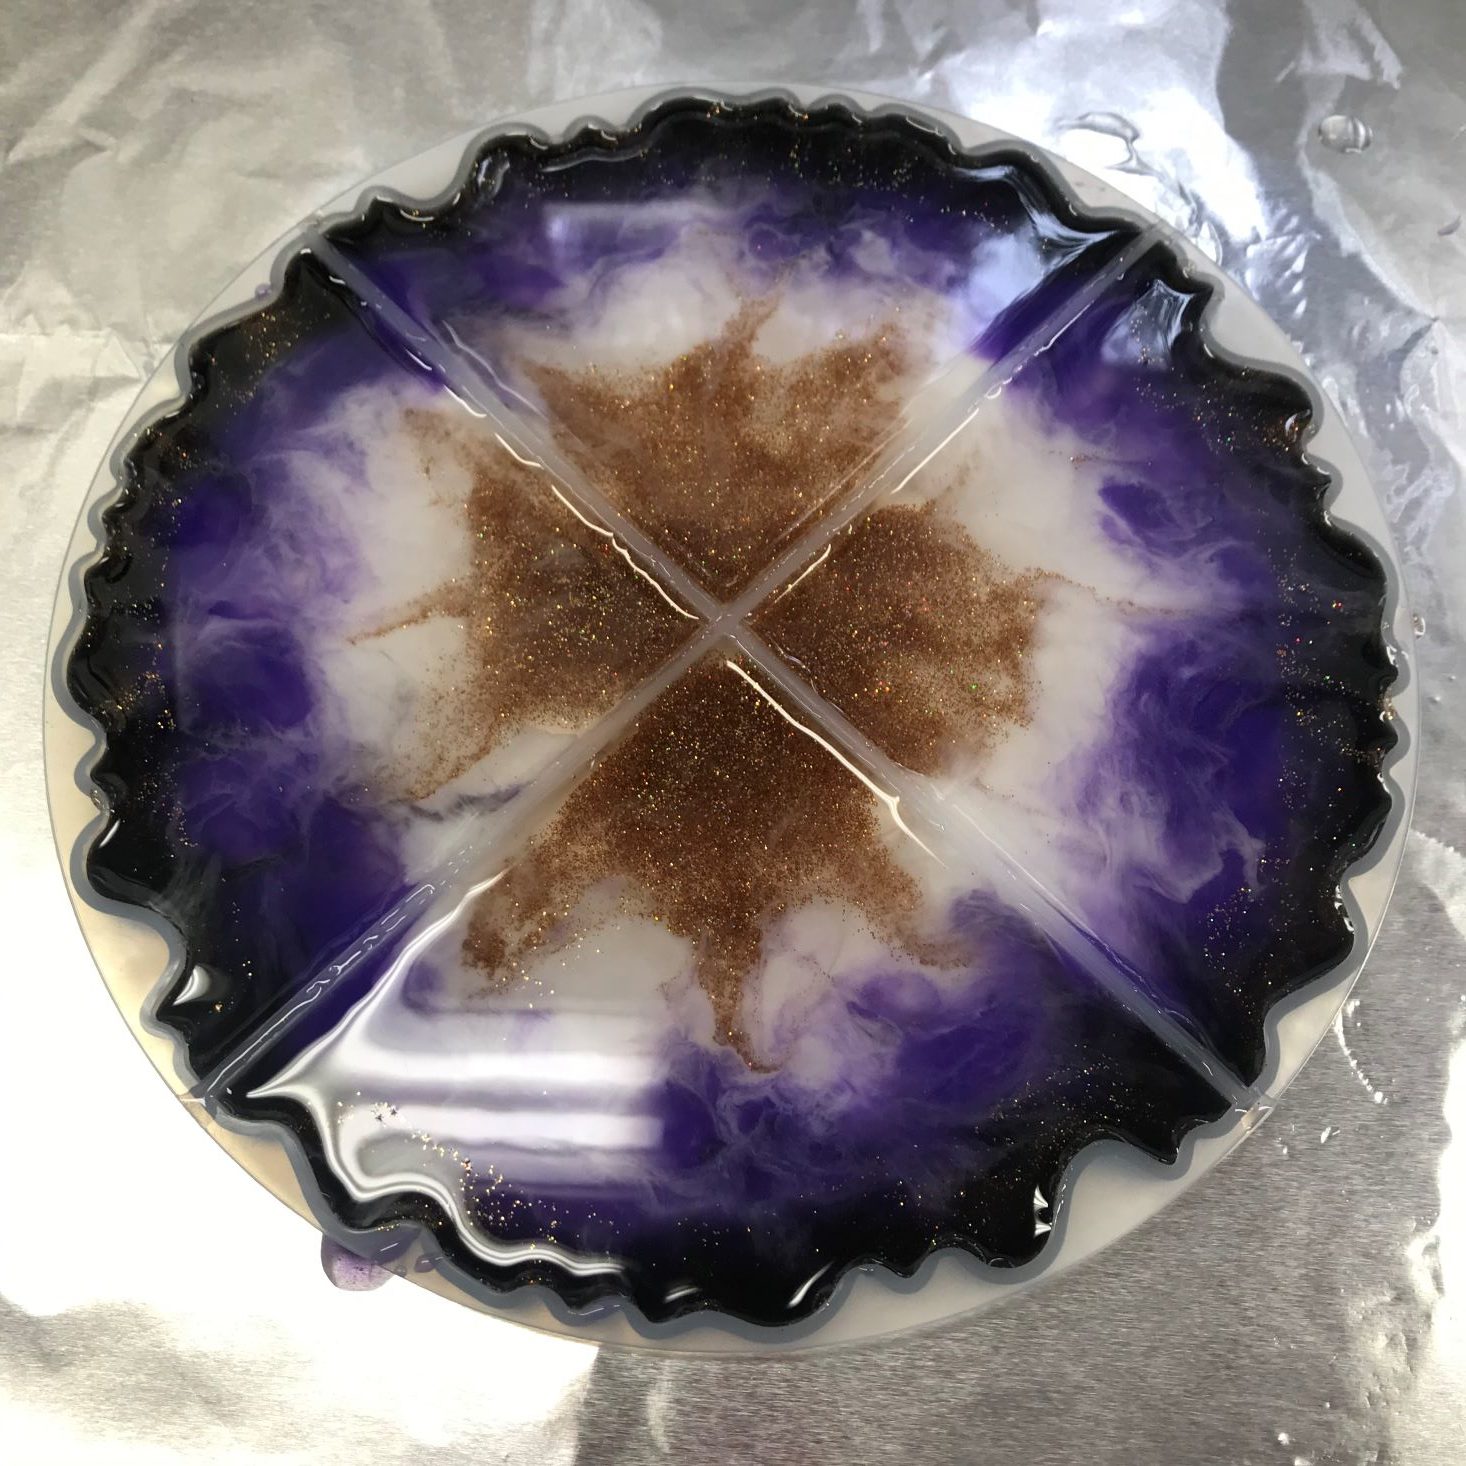
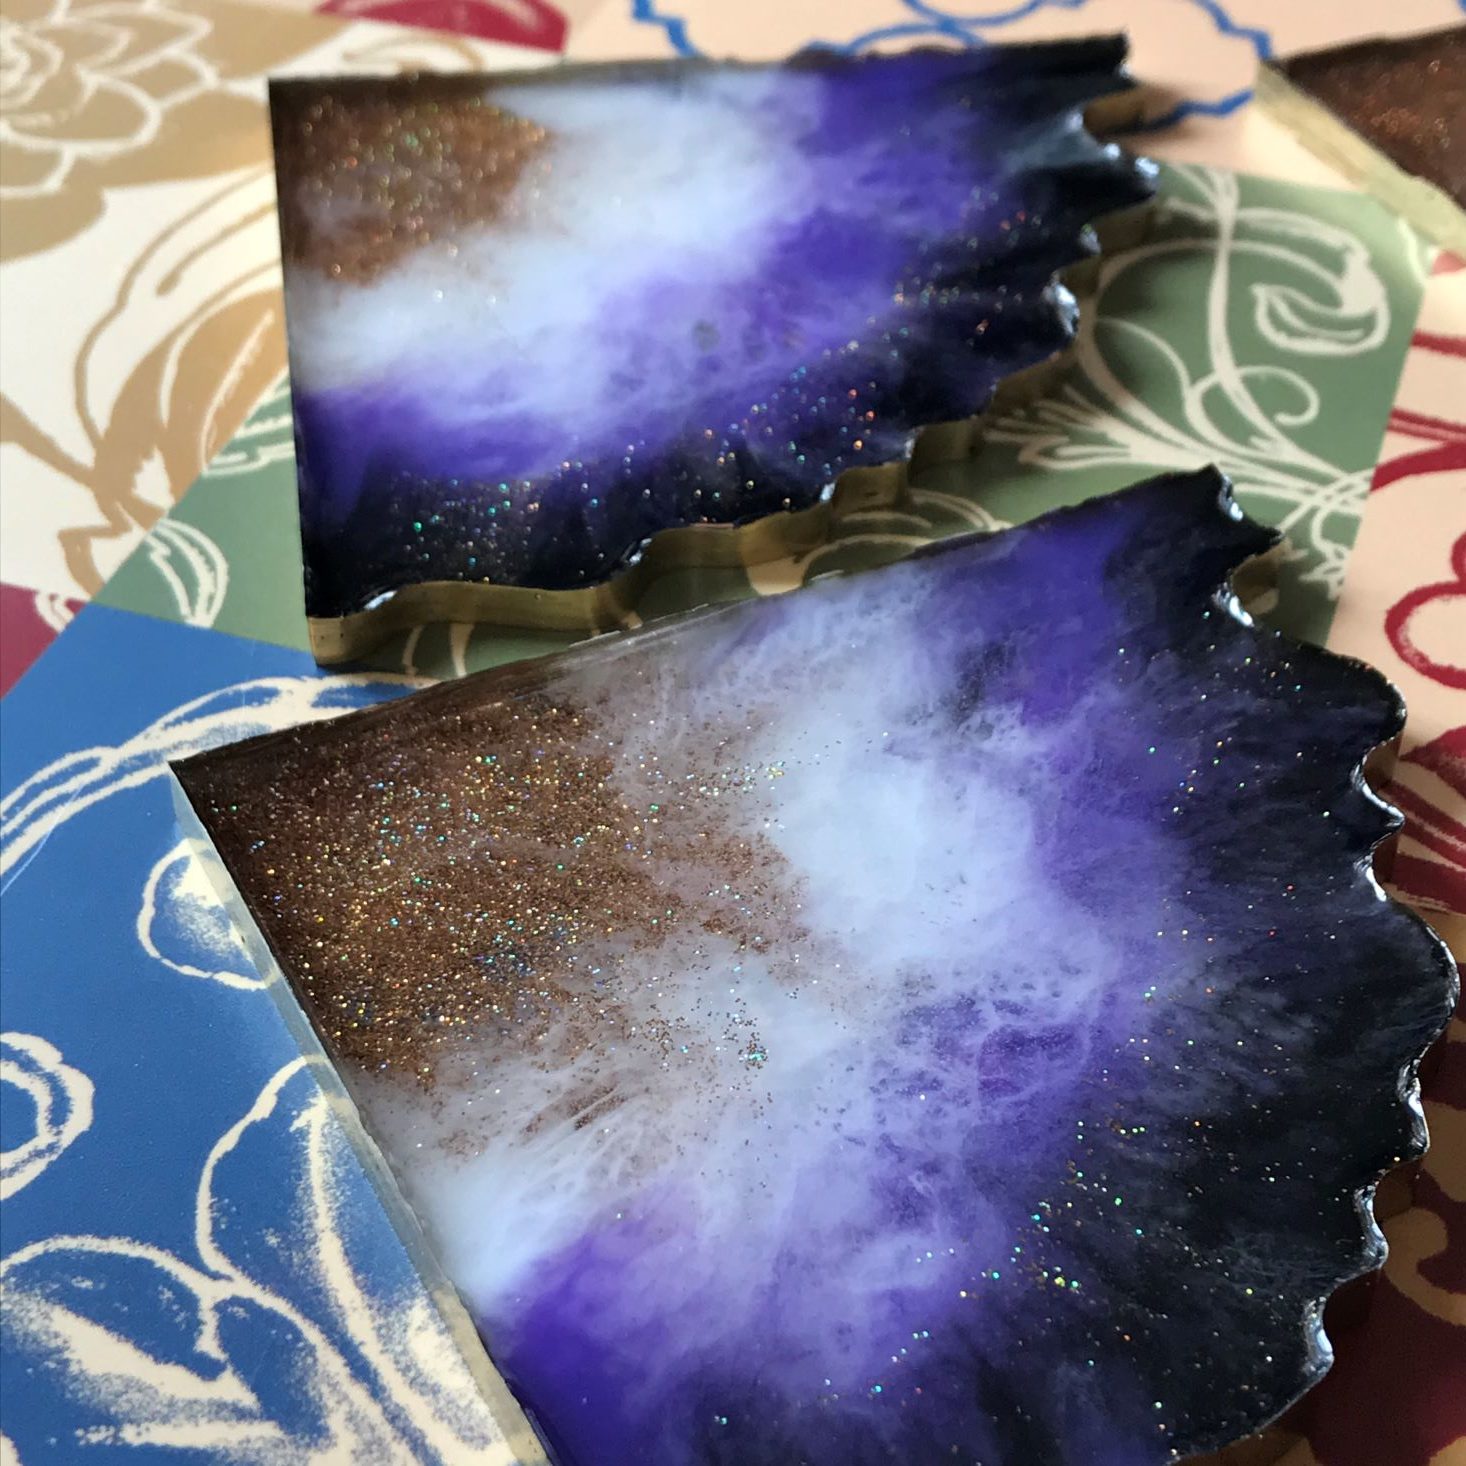
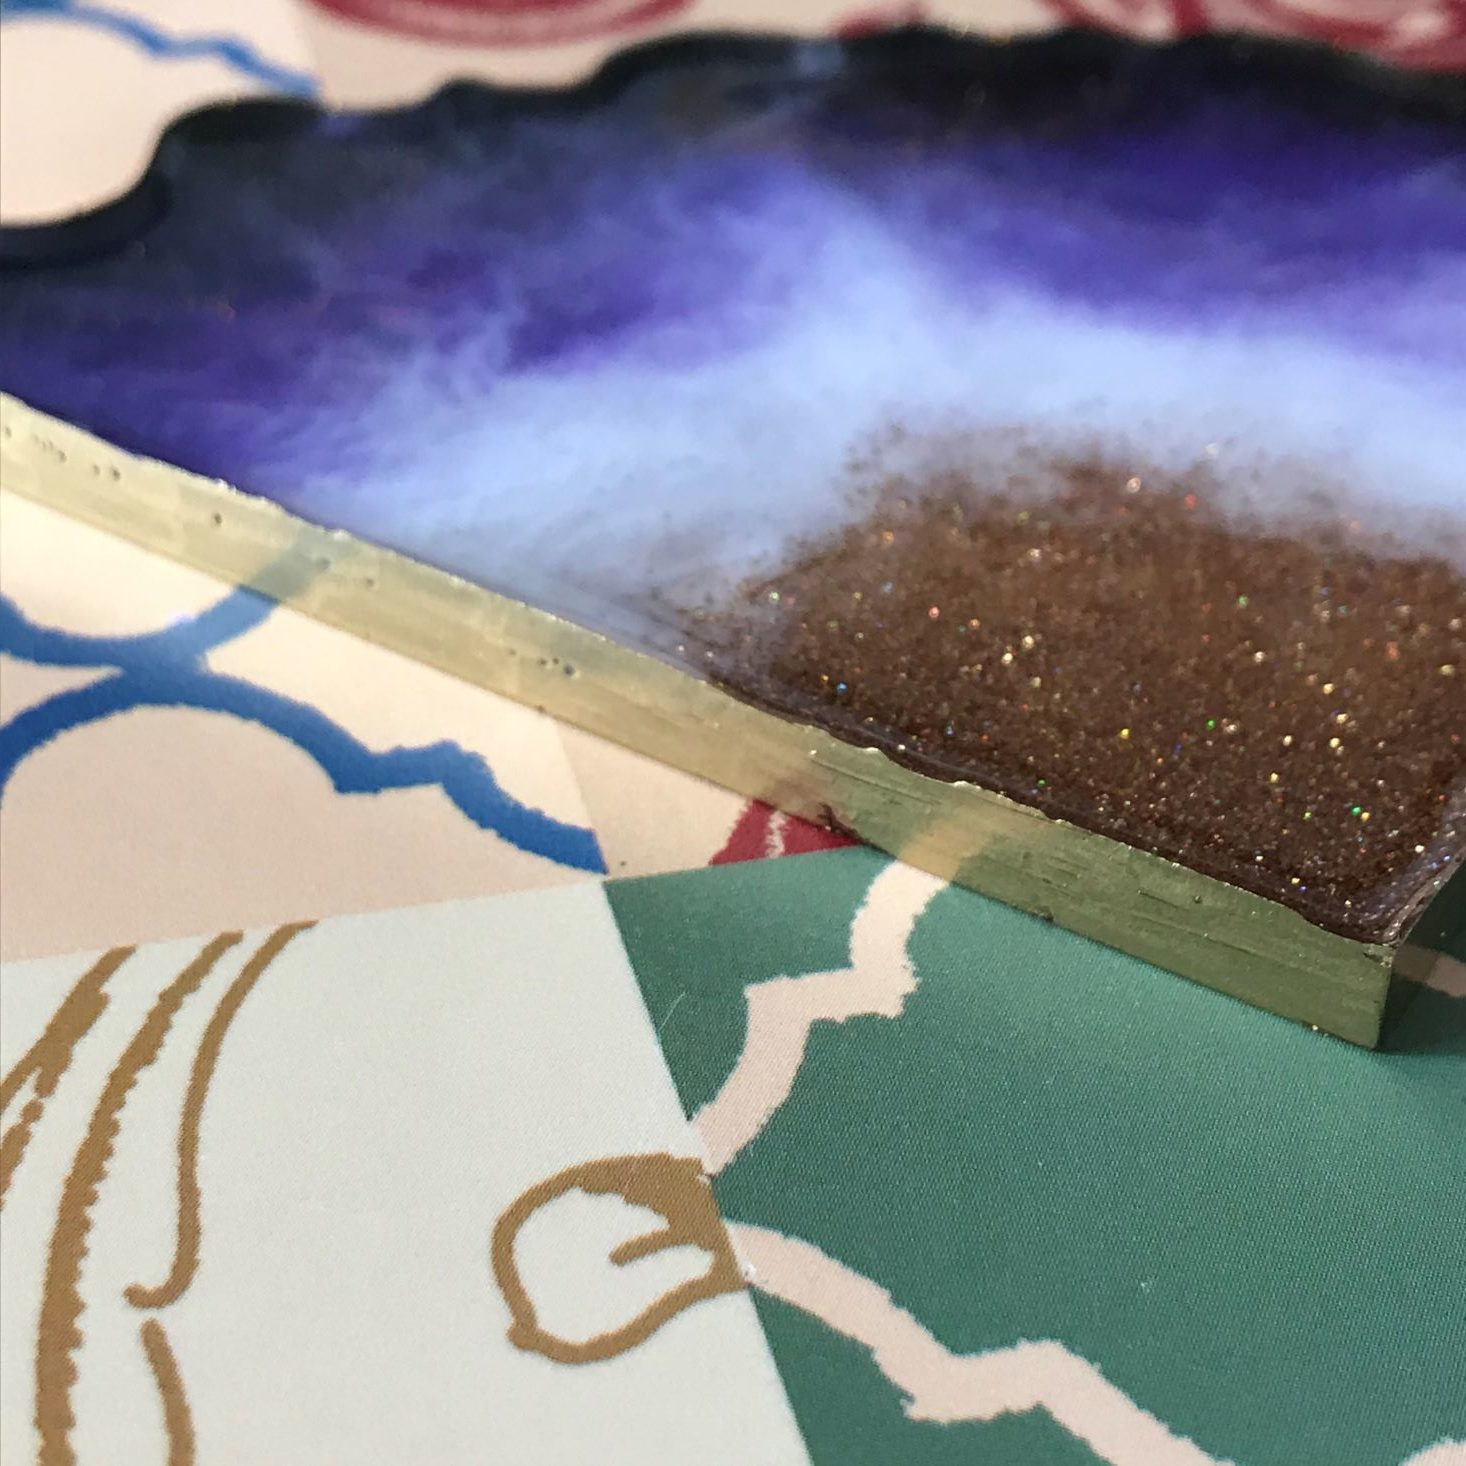
After 24 hours, I used the metallic gold Sharpie and colored the edges of the coasters. The marker was awesome for this project and left a great looking edge. The paint glided on and really shines! Because it takes 72 hours to fully cure, I let the coasters rest on my counter.
1 of 3

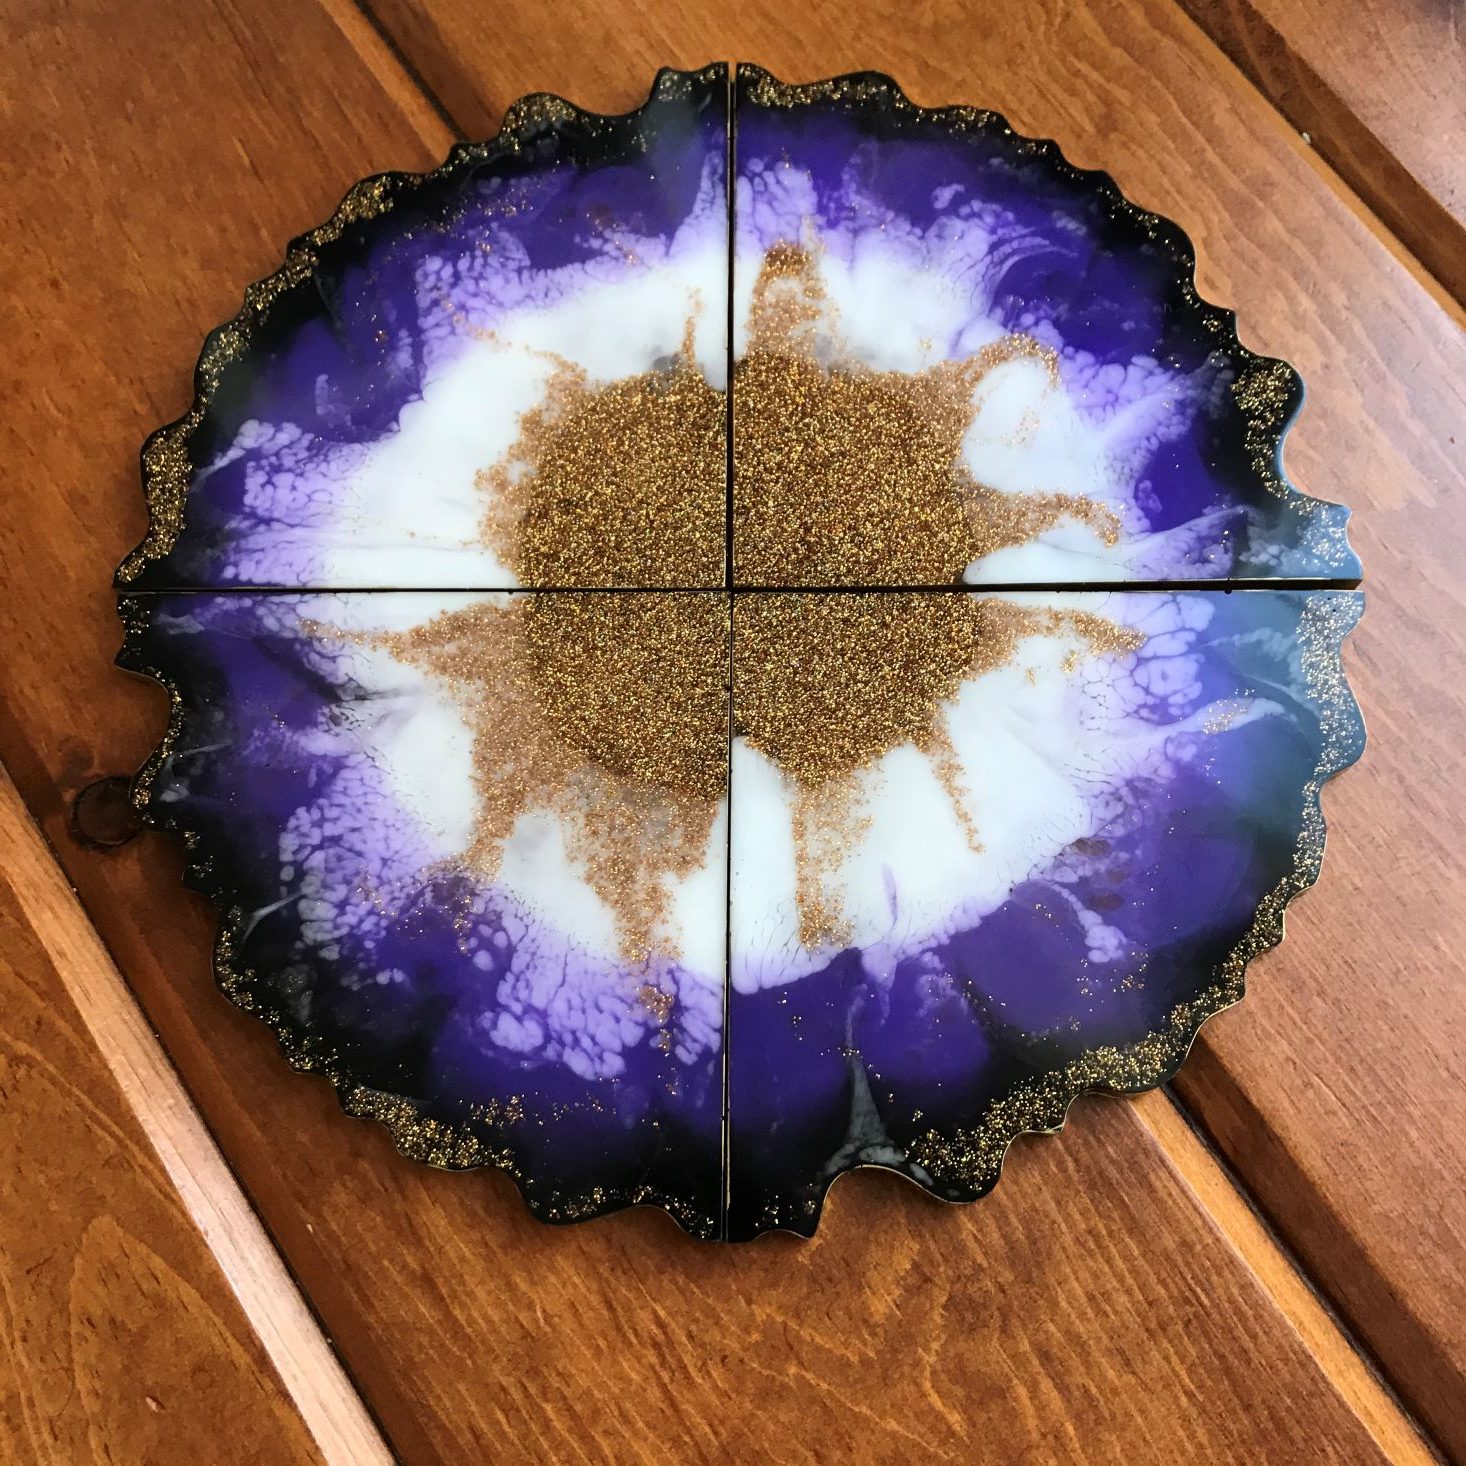
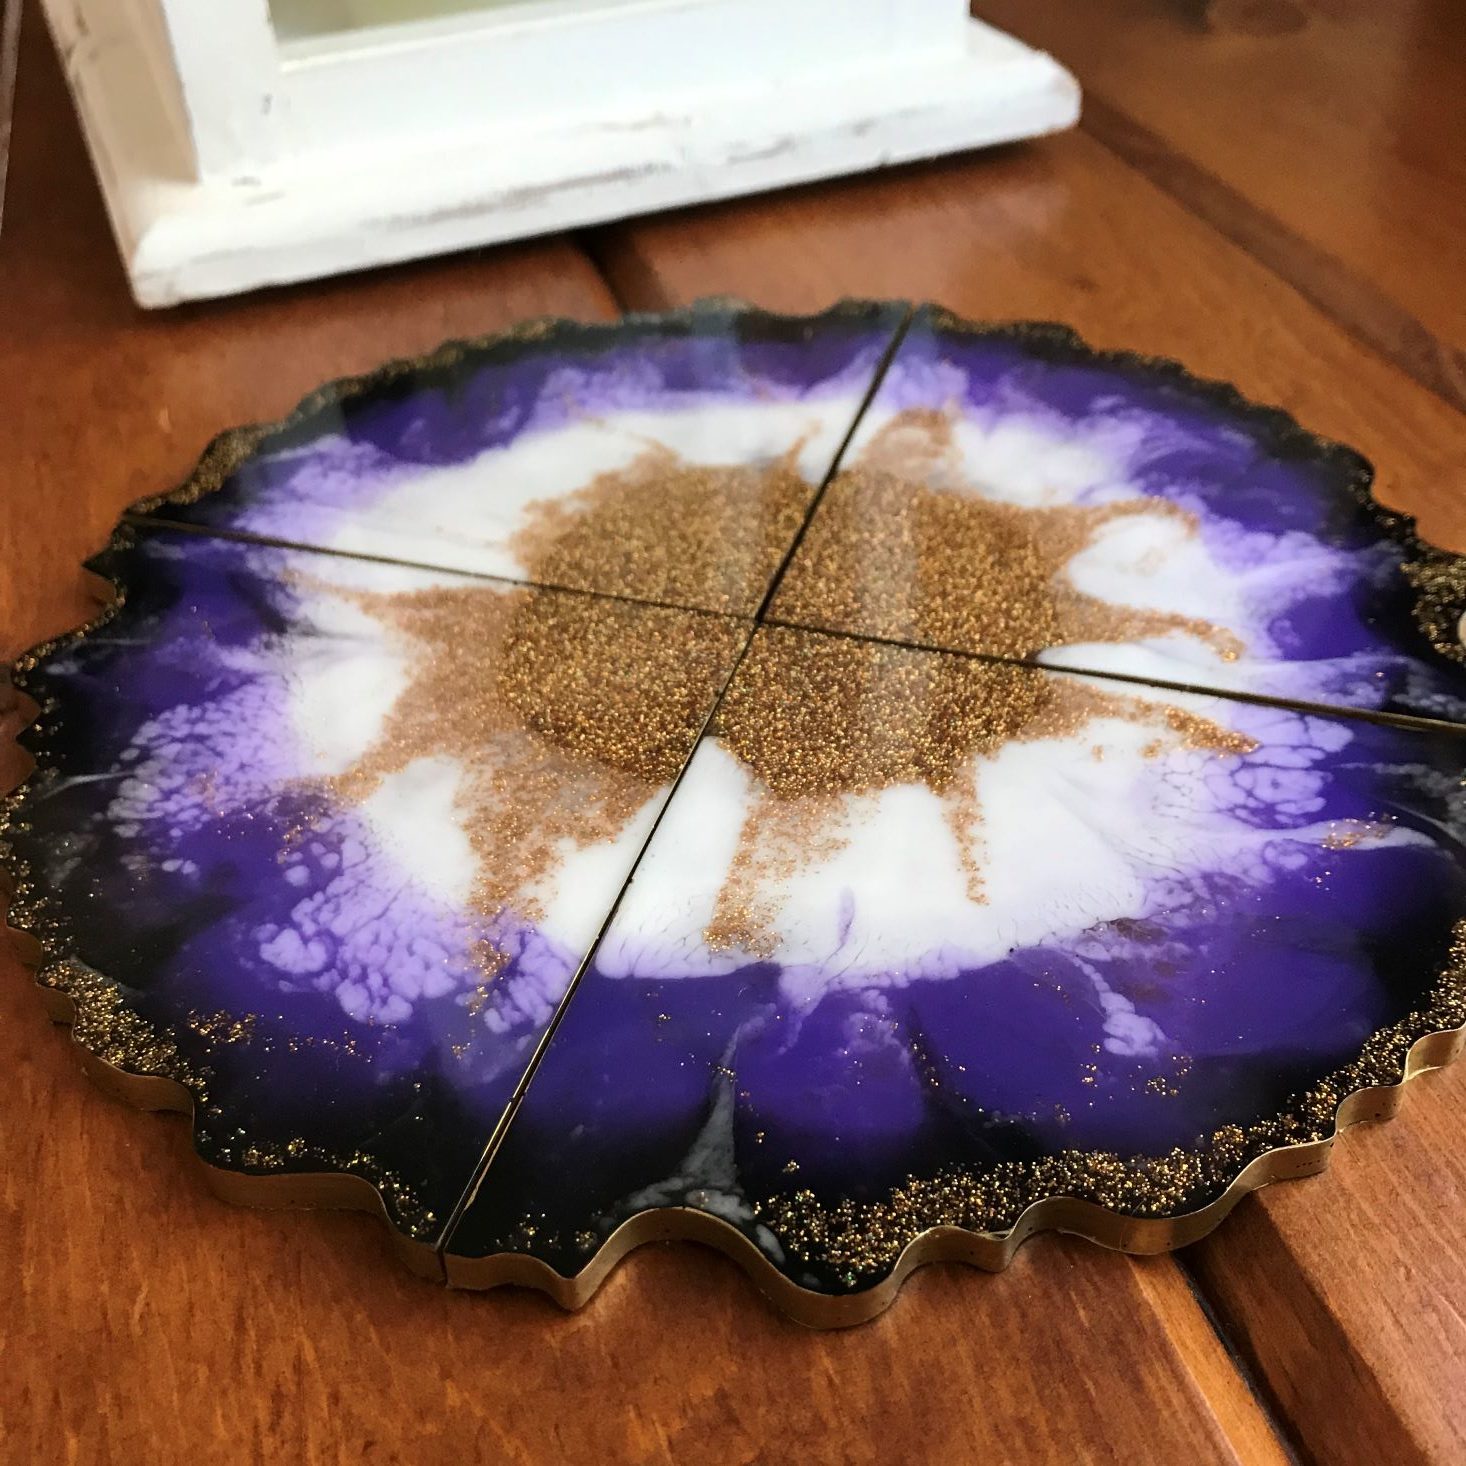
And there is my completed project! I have to say, it was quite an experience! While I have basically no purple decor, I really like the fact that this does look like an agate, and while I would usually use only 1 coaster for my wine glass, you couldn't see the beauty in the photo, so I put it on top of all 4. Don't you just love all that glitter?!
Verdict: Adults & Crafts really knows how to pull me out of my comfort zone! While I have skimmed some resin projects on Pinterest, I have never thought about actually trying anything involving it, so this was really fun and stressful for me! I am the type of person who wants to know EXACTLY how to make something. I want measurements and exact details. These instructions gave the important information but left a lot of it for me to decide how to do it. I didn't like that part! Maybe if we would have received 2 packages of resin I would have been able to relax a little bit, but I didn't know what I was doing, or how it would turn out! That being said, I did have fun with this project, and would actually like to try it again. I think the coasters turned out really cool, and while we don't normally use coasters, it looks pretty cool with my vase of flowers sitting on top of it! I can't wait to see what they send next month!
To Wrap Up:
Can I get this box if I sign up today? This was the April box, so your subscription will likely begin with the May box.
Value Breakdown: The cost of this box is $39.95 ($33 + $6.95 shipping) and it gives you enough supplies to create a set of four agate resin coasters.
Check out all of our Adults and Crafts reviews and the DIY + Crafting Subscription Box Directory for more crafting options!
Keep Track of Your Subscriptions: Add this box to your subscription list or wishlist!
What do you think of April's Adults and Crafts project?

Please do not enter your email address in the Name field or in the comment content. Your email address will not be published. Required fields are marked *. Remember to post with kindness and respect. Comments with offensive language, cruelness to others, etc will not be approved. See our full comment policy here.