

Home Made Luxe is a crafting subscription box that delivers a different Pinterest-inspired craft kit to your doorstep each month. Each box will feature a craft to create your own DIY home decor.
1 of 2
This box was sent to us at no cost for review. (Check out the review process post to learn more about how we review boxes).
About Home Made Luxe
The Subscription Box: Home Made Luxe
The Cost: $39.99 per month (save with longer subscriptions)
The Products: Materials to create a Pinterest-inspired craft with video tutorials to go along with it.
Ships to: The US for free and to Canada for $5
Good to Know: Subscriptions for each particular month end on the 1st of the month, and then boxes ship out on the first Saturday of the month. Projects are designed for ages 10+.
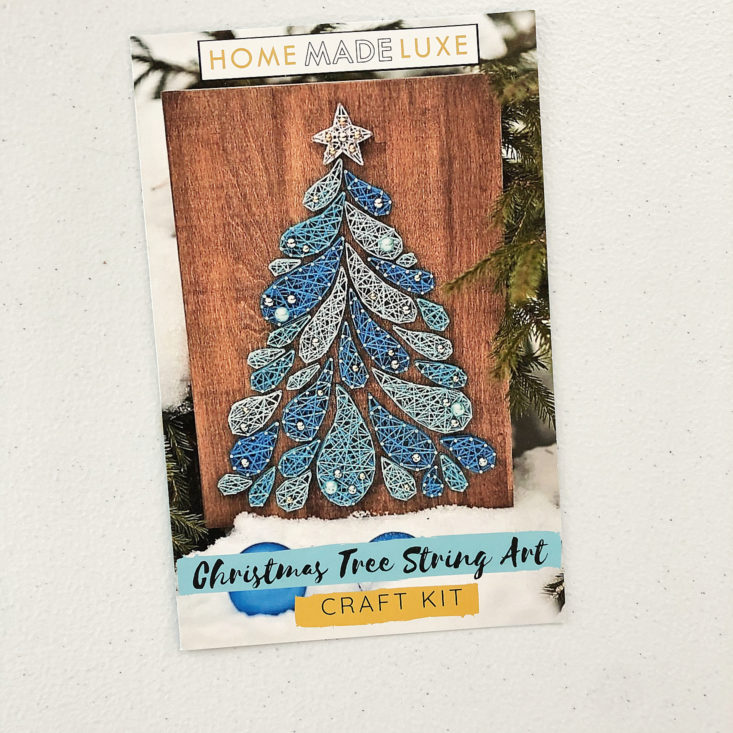
Home Made Luxe December 2019 Review
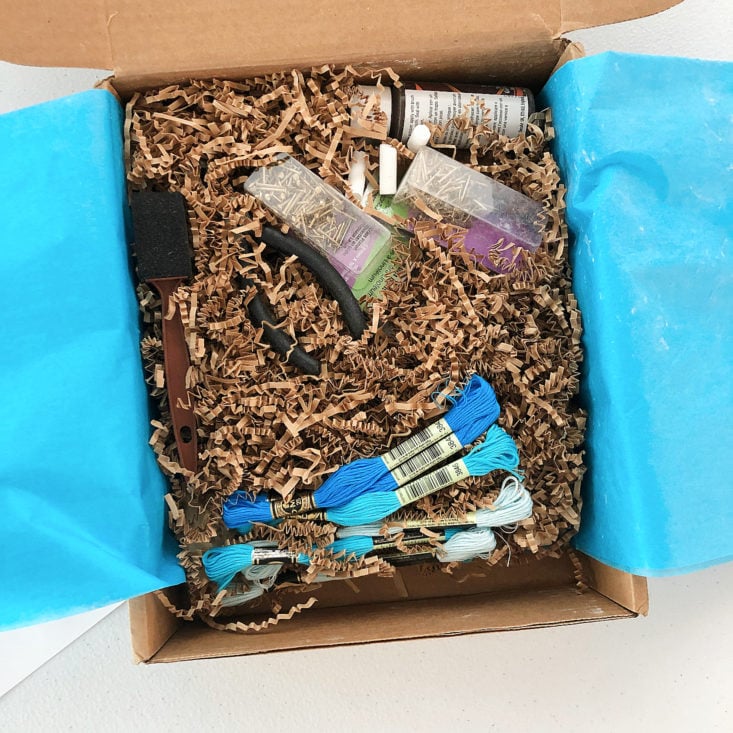
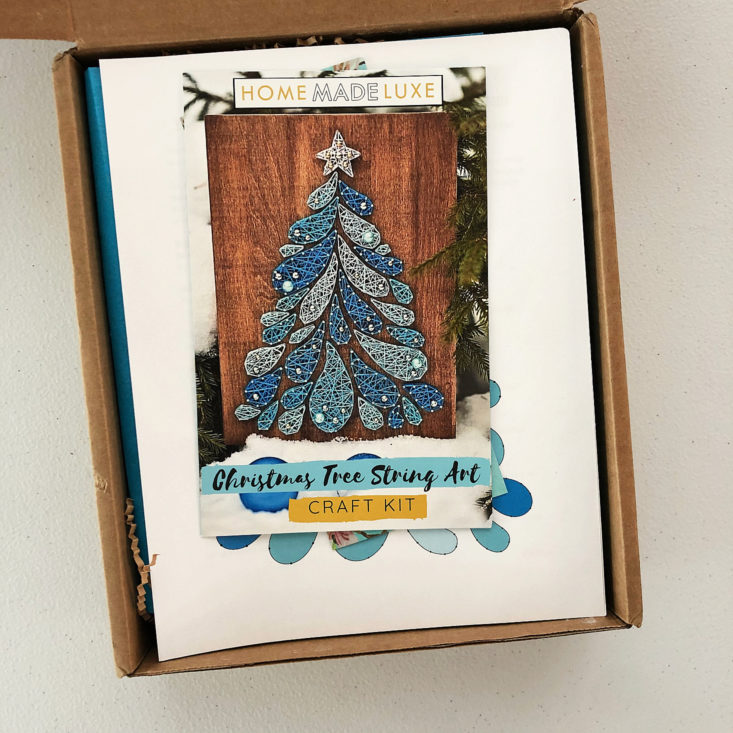
Let's take a look inside December's Home Made Luxe box - this month the craft is string art!

1 of 2
At the top of the box was a folded pamphlet with a photo of the finished object and step-by-step instructions for creating the project. The project this month is a string art Christmas tree in different shades of modern blue - it's so cute! There is also a link to the online video tutorial for this project. I watched the video before starting and it's concise while still giving you all of the information you need to re-create this design.
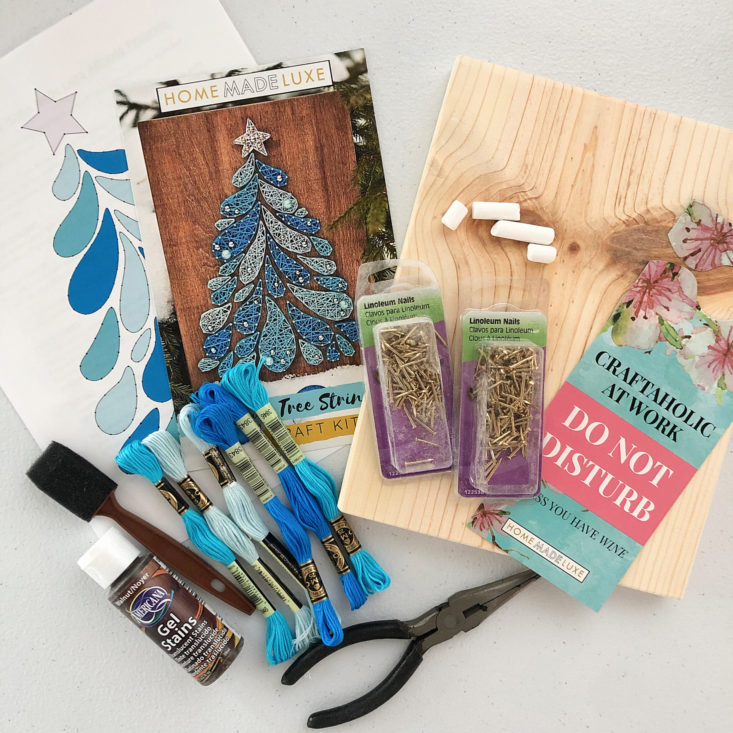
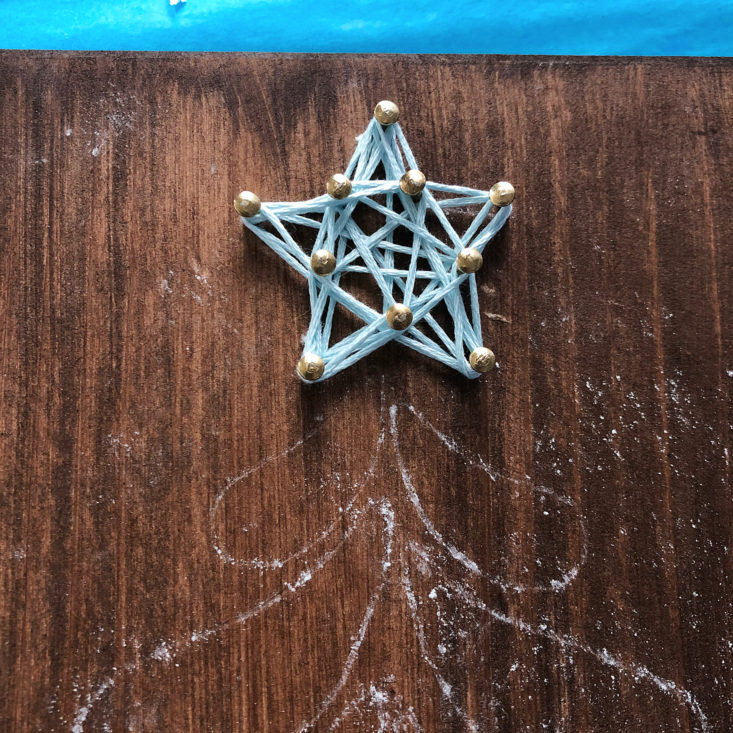
One thing to note - the finsihed photo shows two things that were not included in our box. One is that the star at the top of the tree is shown in white string, while we only received three colors of blue string for the project. The other more obvious chage is that the photo shows beads and embellishments on the finished tree - we did not receive anything like this. It's not a huge deal but I wanted to mention it!

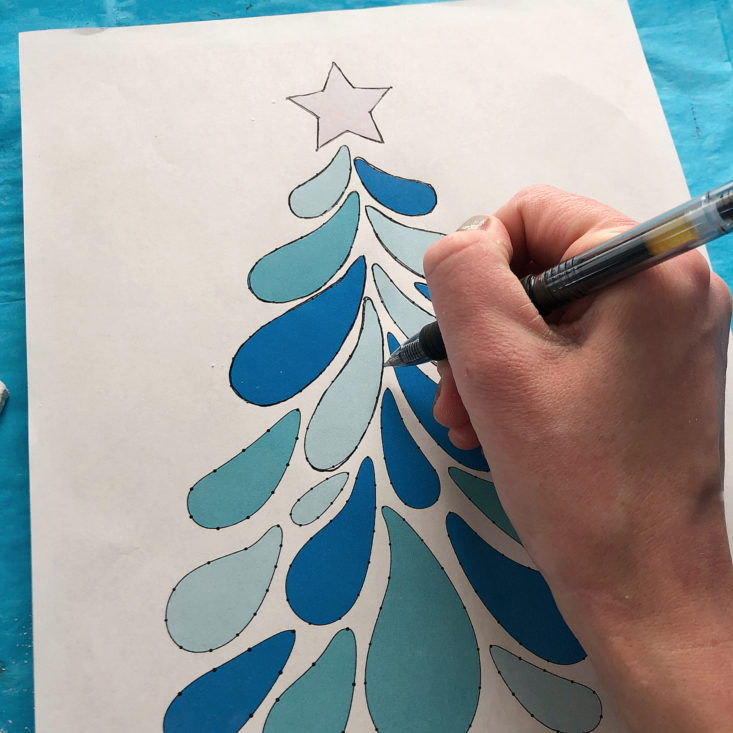
There is a full-size color-coded template with the tree design. I love that they went the extra mile and showed dots of where exactly to place the nails for your string art - I will take as much direction as I can!
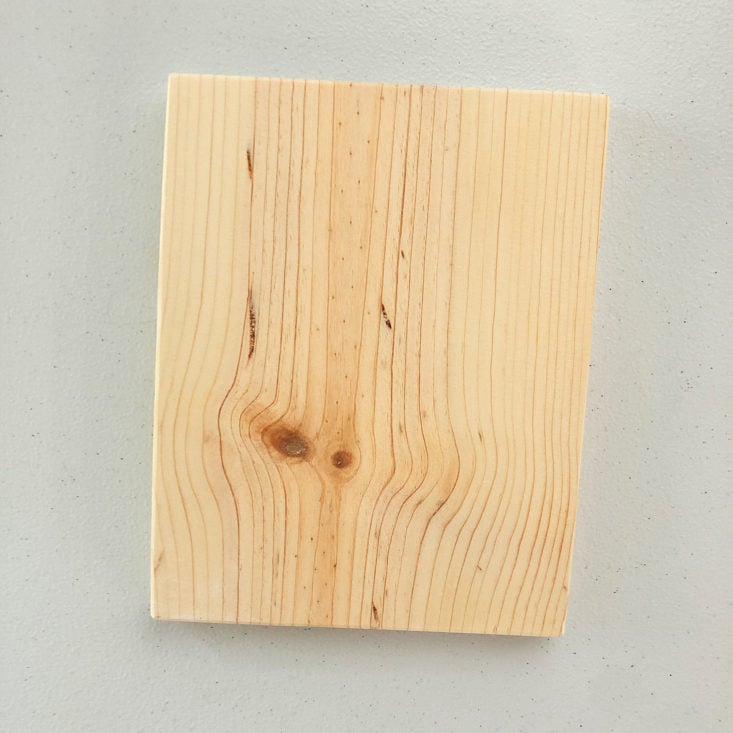
Next up is a wooden board to use with our project. My board had a lot of knotting in it that gave it a wonderfully rustic character.
1 of 2
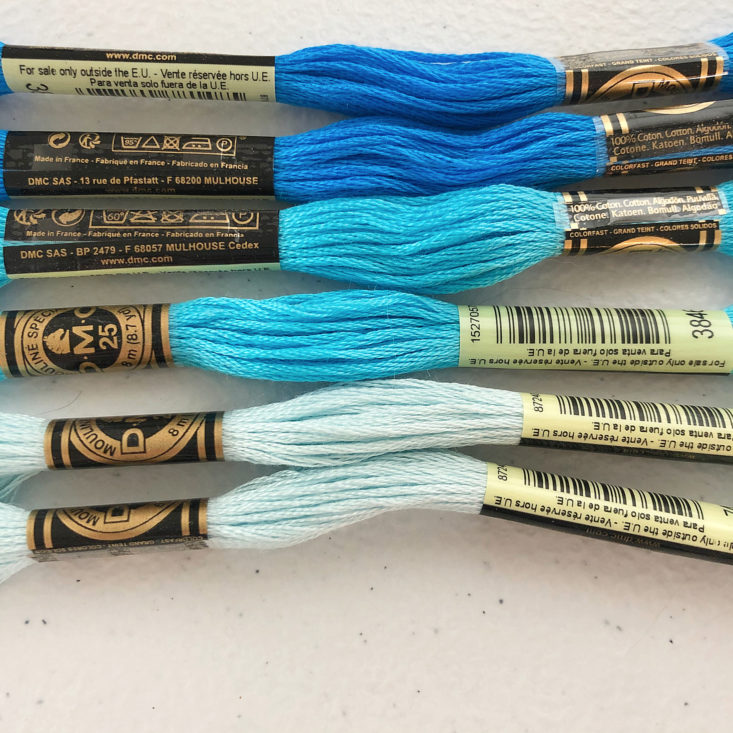
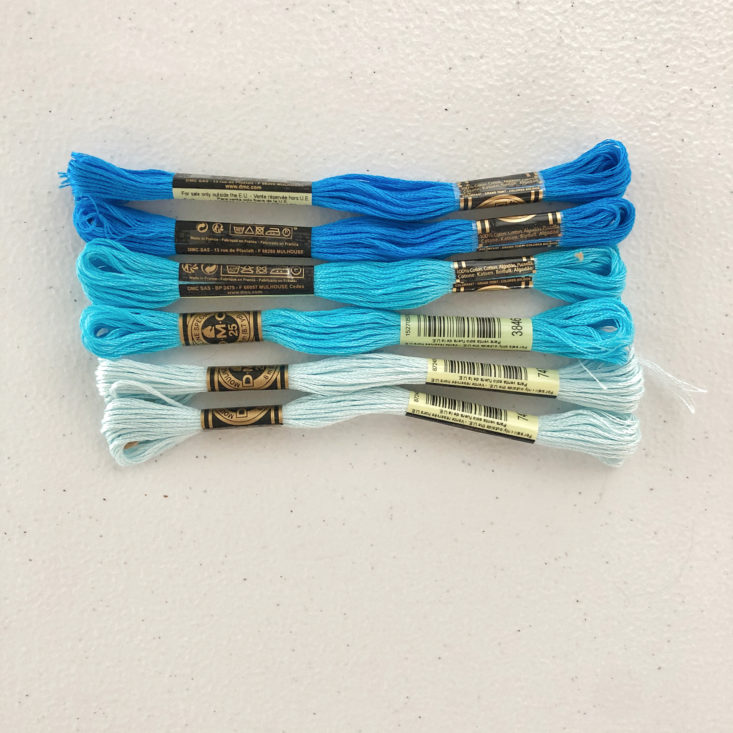
We received two skeins each of three different colors of embroidery floss - a light, medium, and dark blue.
1 of 2
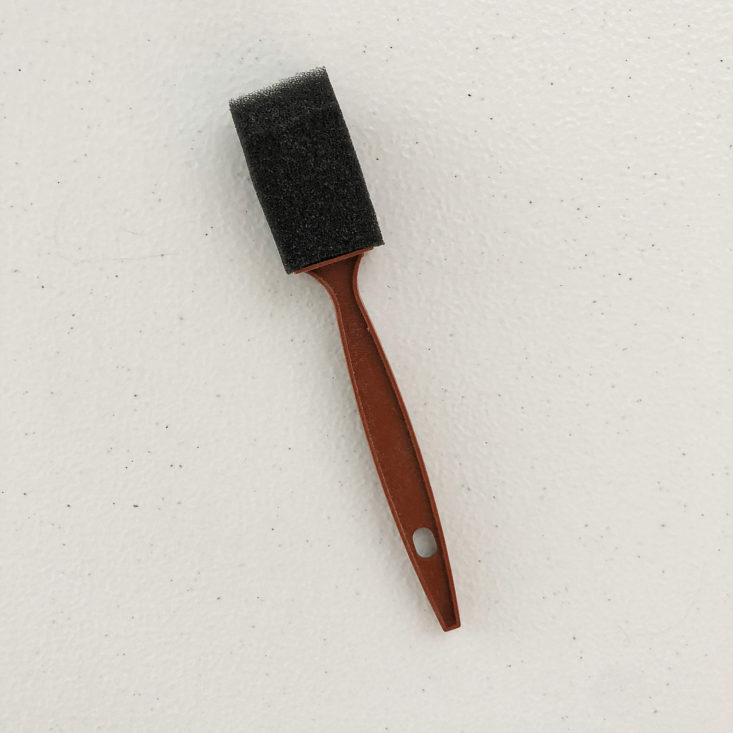
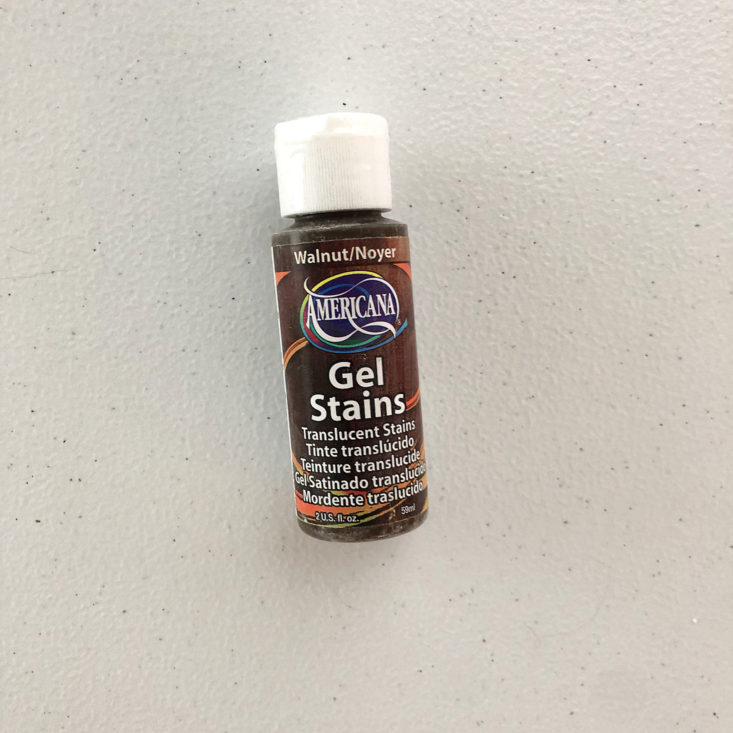
We also received a walnut-colored wood stain and a small foam brush for staining the wood before creating our art.

1 of 2
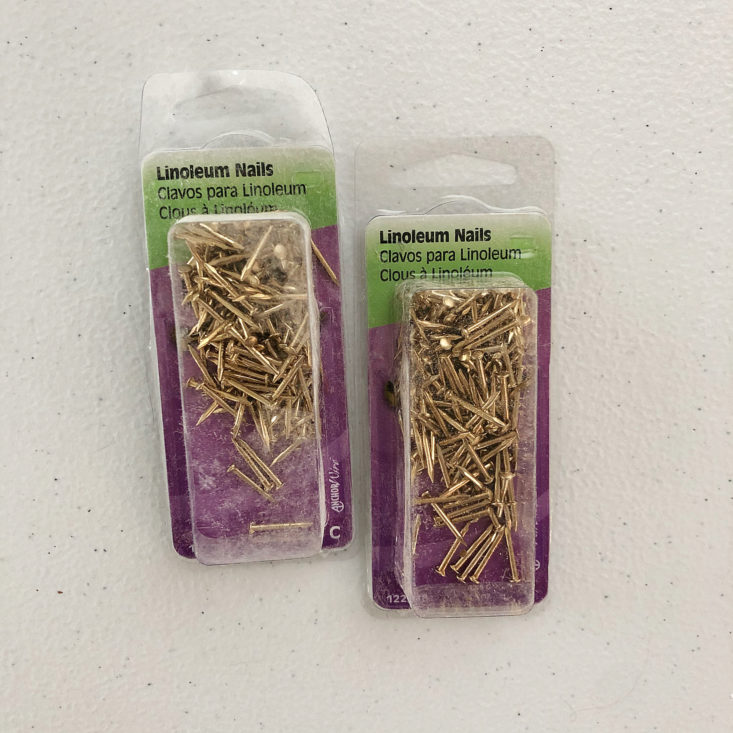
Finally, we received two packages of small gold nails with flat heads, as well as a pair of unmarked and unpackaged pliers. I think it's interesting that the box assumes that we own a hammer, but possibly do not own a pair of pliers. To me, the hammer is the more important tool in this craft!
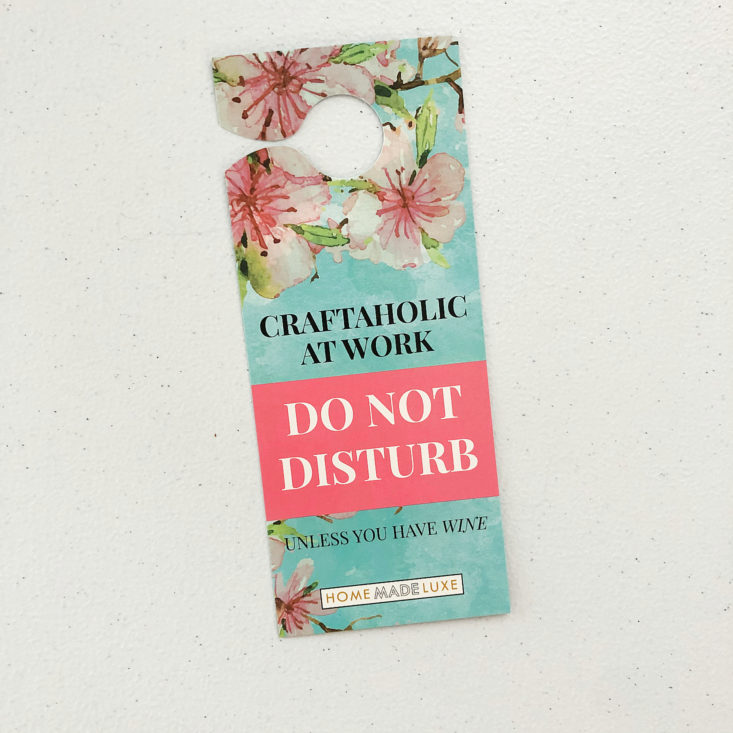
There was also a bonus hang tag for a door with the phrase "Craftaholic at work: do not disturb, unless you have wine" - so funny, and so true!
Now, let's craft!

1 of 2
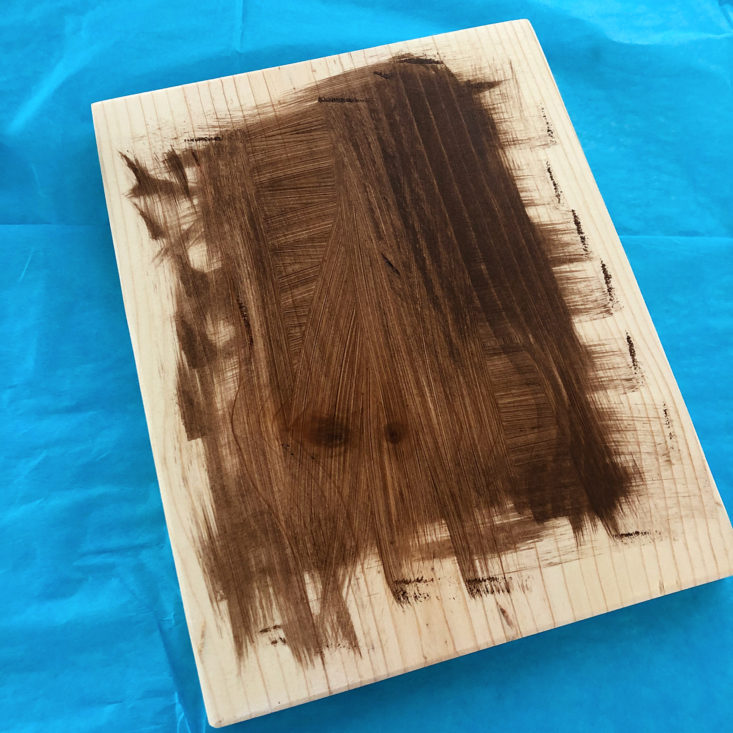
The first step was to stain my wood board. I love this color of stain! It's a perfect warm neutral and I'm definitely keeping this in my stash to use for future projects! The stain felt dry to the touch within minutes, but I let it dry overnight just to be safe.
1 of 2
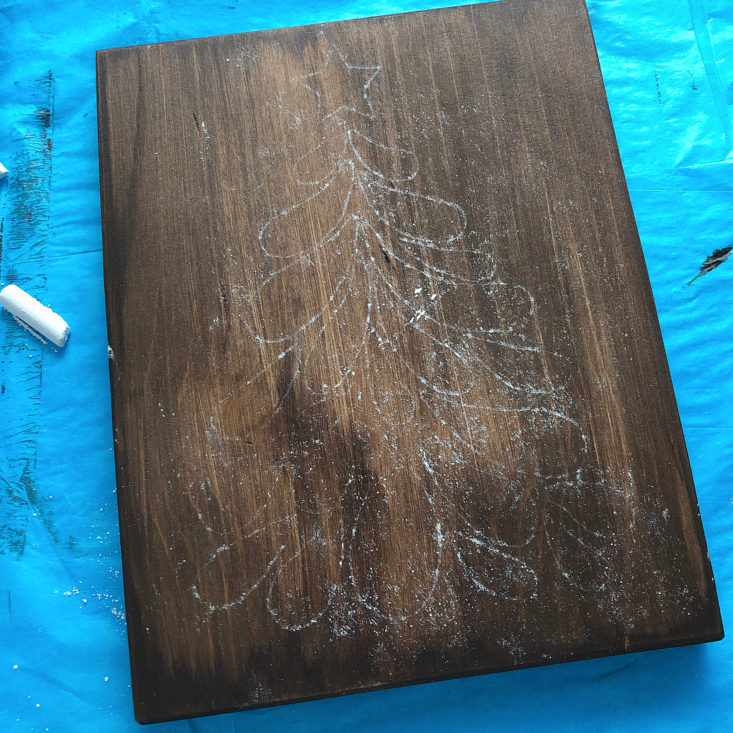
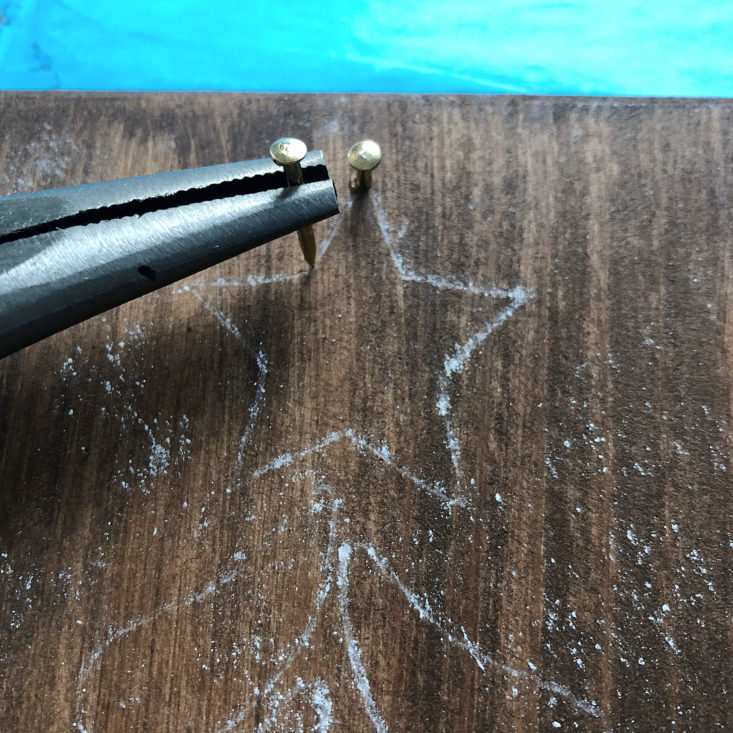
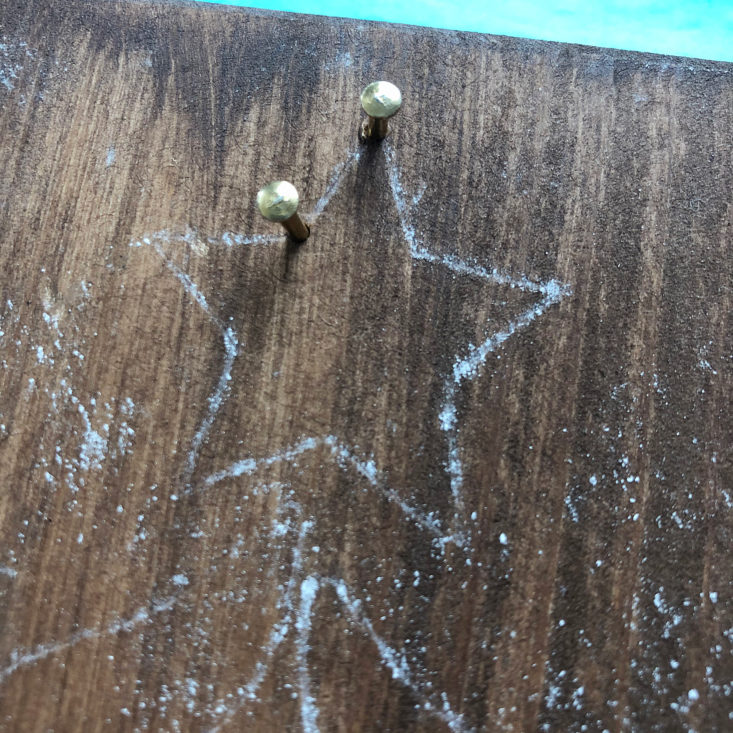
The next step was to cover the back of the template paper with chalk, and then trace out the design with a pen. The chalk that came in my box was broken and crumbled to pieces when I took it out - you can see it in the photo at the top of the review that shows all of the items, but I didn't capture a photo of the chalk by itself.
The chalk method worked, but it's quite messy. The instructions said to be careful not to press too hard into the wood so that you don't leave an indent, but I found that I had to press decently hard in order to get the chalk to transfer. I did have small indentations in the wood, but it didn't bother me because I knew I would be covering those lines up with the string soon.
1 of 5
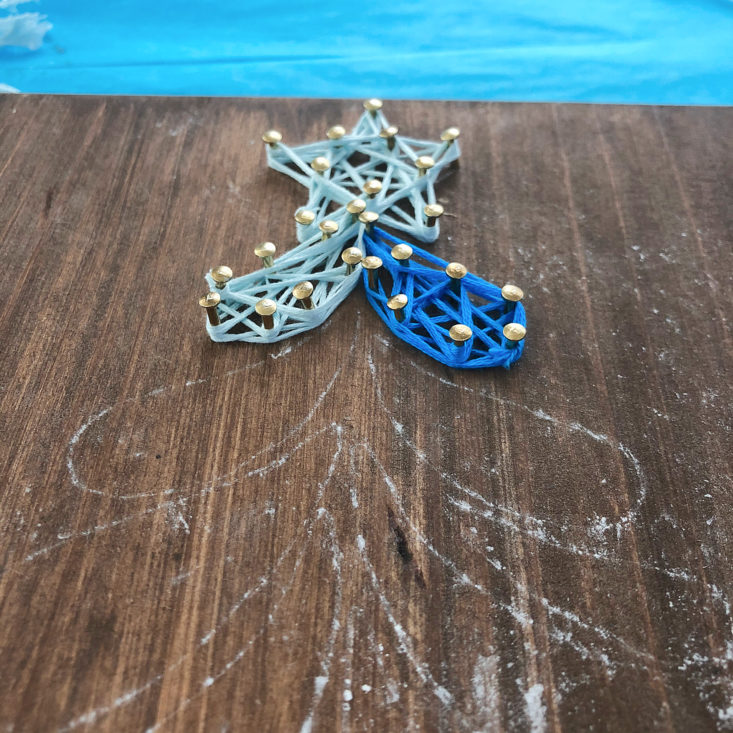
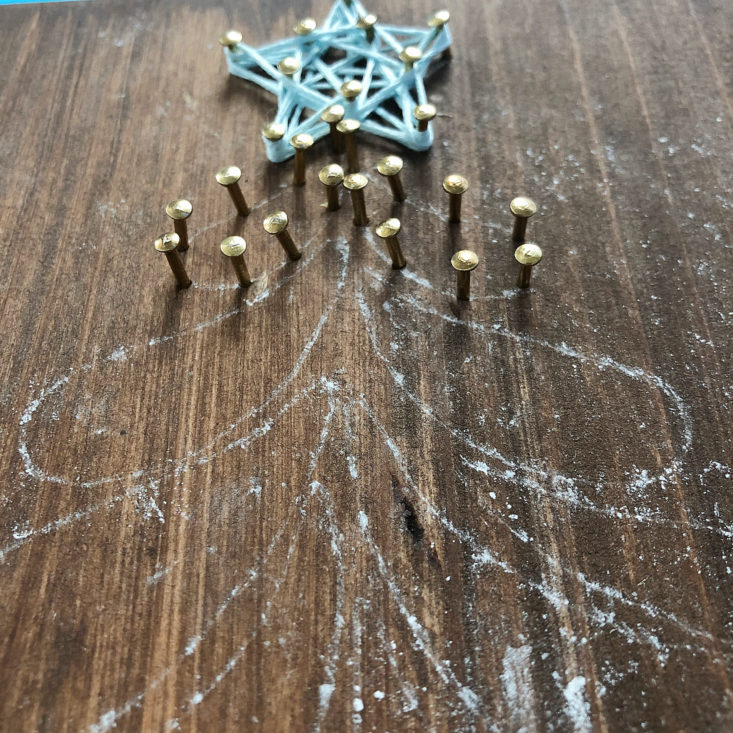
A helpful tip I learned in the video tutorial was to complete one section at a time, rather than putting in all the nails first and then stringing each section. The teardrop sections of the tree are very close to each other, so it would get difficult to do the stringing with all the nails in place.
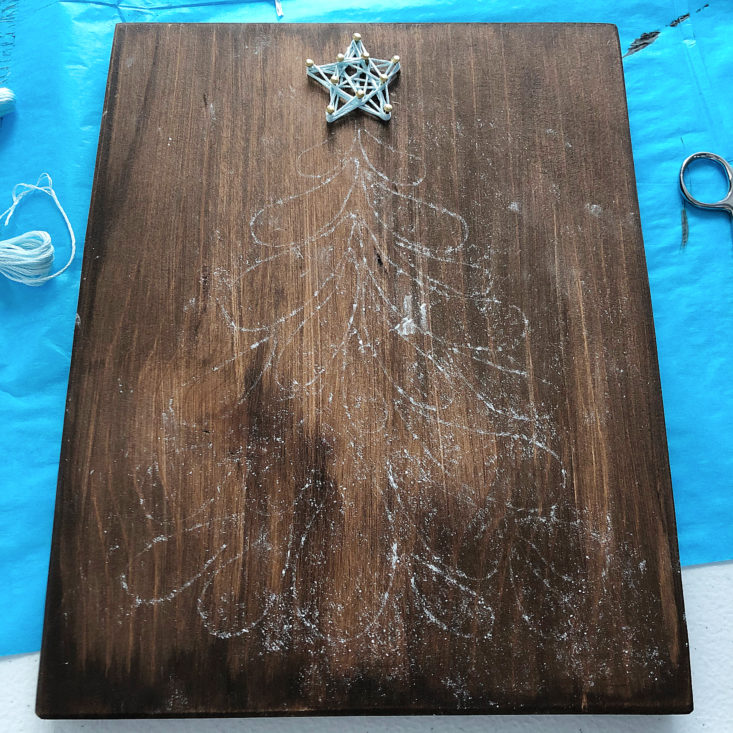
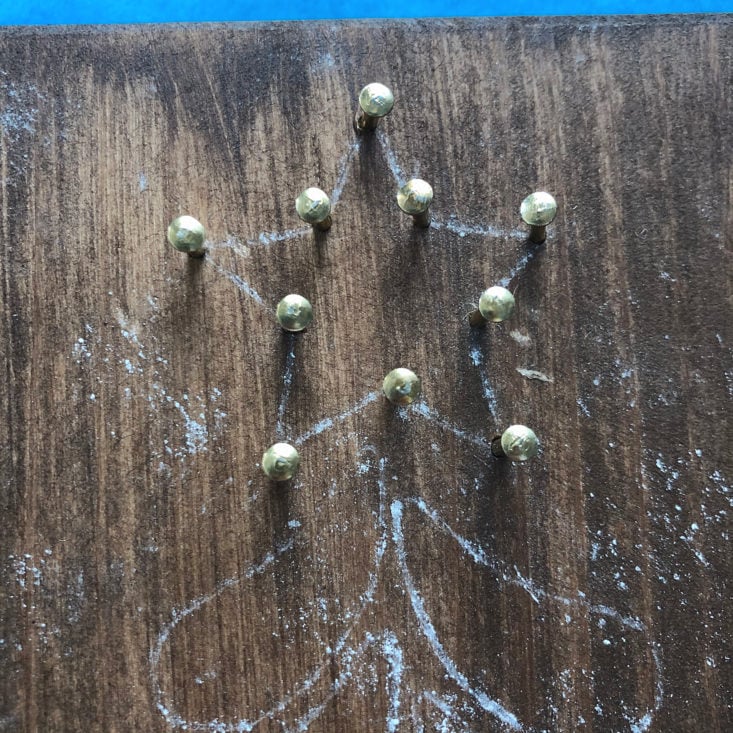
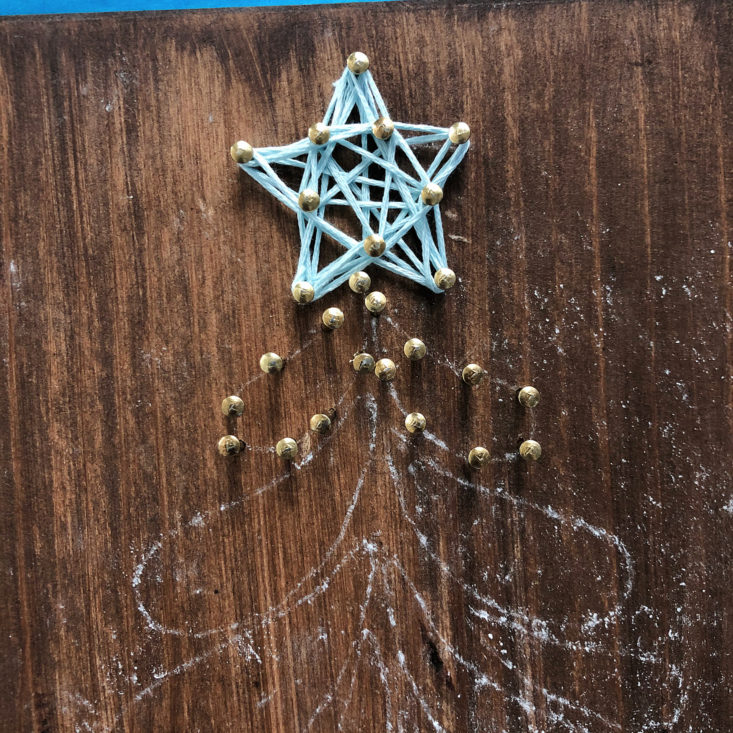
I started with the star at the top of the tree. The tips also said to use the pliers to hold the nail steady while hammering them in, but I found this to be very cumbersome and hard to keep the nail angled straight. I liked the idea of saving my fingers from getting accidentally hammered though!
1 of 5
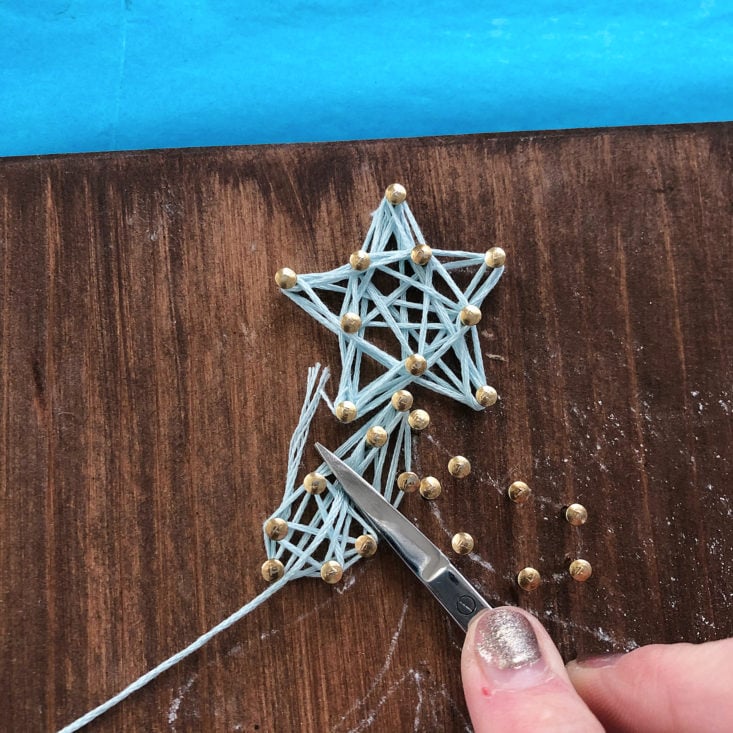
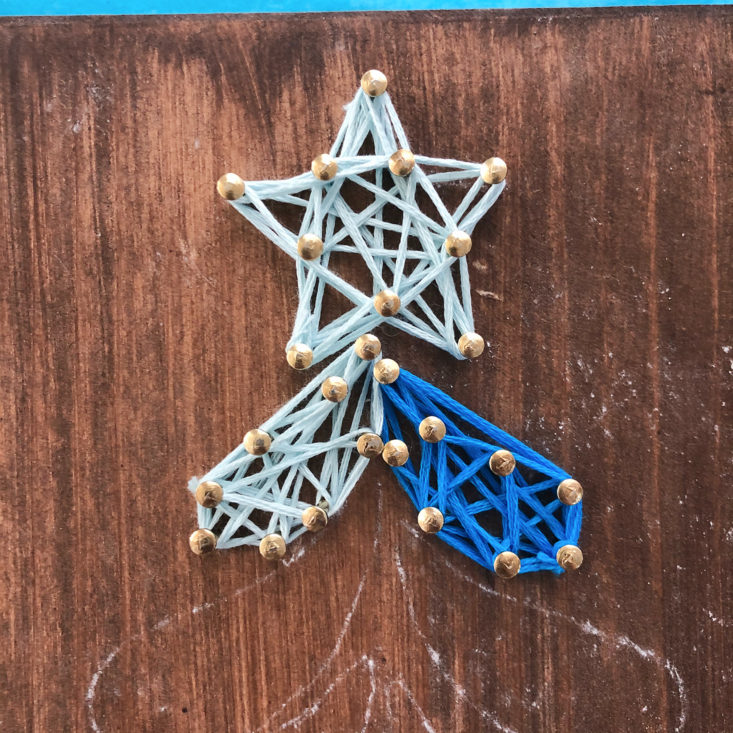
I then moved onto the top tier of teardrop leaf sections. You can see that I struggled with the angulation of the nails - it was very difficult to get them all perfectly parallel! After you string the floss, however, the small amount of off-kilter angles in the nails wasn't very noticeable. I used the flat edge of my small scissors to help hold the floss down while I wrapped it around the nails.
There were no instructions on how to do the wrapping itself - it is just supposed to be free-form. I started with the outline and then went back and forth inside the nails until the section looked full to me.
At this point, I had thoroughly freaked out both of my cats and had smacked one of my fingers with the hammer (don't worry, I'll live!), so I decided to call it a day on this project. I still think the finished tree is super adorable, so I know I'll come back to this project and finish it someday soon!
Verdict: I thought this was a fun box! I like the idea that I am given all of the materials to make a project straight from the top feeds of Pinterest, and I thought the presentation of the supplies and instructional materials were very well put-together. Although I may not be the next top string artist of the world, I enjoyed getting to try a new craft and love that I can create a modern, handmade decoration for my home.
For about $39.99, we received supplies and materials to make one string art design on a wooden board, along with a video tutorial. I think this is a fair price for what we received, especially when taking into consideration the curation and planning of the box.
To Wrap Up:
Can you still get this box if you sign up today? No, you will receive the January 2020 box.
Check out our other Home Made Luxe reviews and the top-rated craft subscription boxes for 2019!
Keep Track of Your Subscriptions: Add this box to your subscription list or wishlist!
What did you think of the December 2019 Home Made Luxe box? Let us know in the comments!

Please do not enter your email address in the Name field or in the comment content. Your email address will not be published. Required fields are marked *. Remember to post with kindness and respect. Comments with offensive language, cruelness to others, etc will not be approved. See our full comment policy here.