

Creation Crate is a subscription box for teens and adults ages 12 and up who want to learn how to build and program electronics. Each month you will receive the necessary electronic components and access to a thorough online curriculum to create your tech projects. These projects build on skills learned and increase in difficulty. You'll need access to a computer, the internet, and a USB port, but everything else you need is included in the box!

This box was sent to us at no cost for review. (Check out the review process post to learn more about how we review boxes).

About Creation Crate
The Subscription Box: Creation Crate
The Cost: $29.99 per month. Save with longer subscriptions.
The Products: All of the required components to complete the month's project along with access to an online classroom with tutorials, exercises, and instructions on how to write your code.
Ships to: The U.S. for $4.99, Canada and worldwide for $8.99
Creation Crate Project 1: "Mood Lamp" Review
When you subscribe to a quarterly, semi-annual or annual plan, you will receive a few bonus gifts depending on which subscription option you choose. Creation Crate was kind enough to send me a few items to share with you!
Note: Annual subscribers will also receive a digital multimeter, but we received an email that they are experiencing a slight delay in shipping and that ours would be shipped out soon. Since this is a bonus gift and isn't required for our projects, it doesn't affect anything, fortunately!


1 of 2
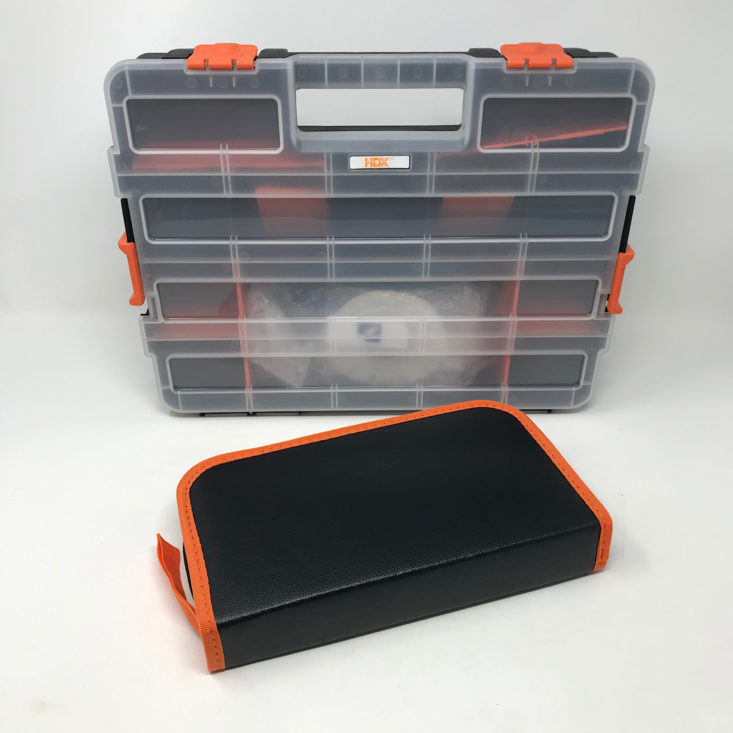
Bonus Gift: Component Case XL
This is the Component Case XL (included with annual subscriptions). You can see that it is a large box with several spaces for organizing all of the many components you will receive. This case is nice and sturdy and has both slides and latches to keep it closed. I like that it is also slim so you can easily stash it in a narrow space!


1 of 14


Bonus Gift: Soldering Kit
This is the soldering kit (included with annual subscriptions) and it is full of everything you might need for soldering including the soldering iron, wick, wick stand, sponge, and several other useful accessories. This seems like a nice kit, all contained in this great zippered case. Now let's get into the review!


1 of 2
The project for this month is to make our own mood lamp. They included this parts list along with instructions for how to access the online course.


1 of 4


All of our supplies were packaged neatly inside of our component case. They included two cool stickers which will look nice on my new component case!

1 of 4


Breadboard
We received this breadboard which will be used to wire our lamp.

1 of 5


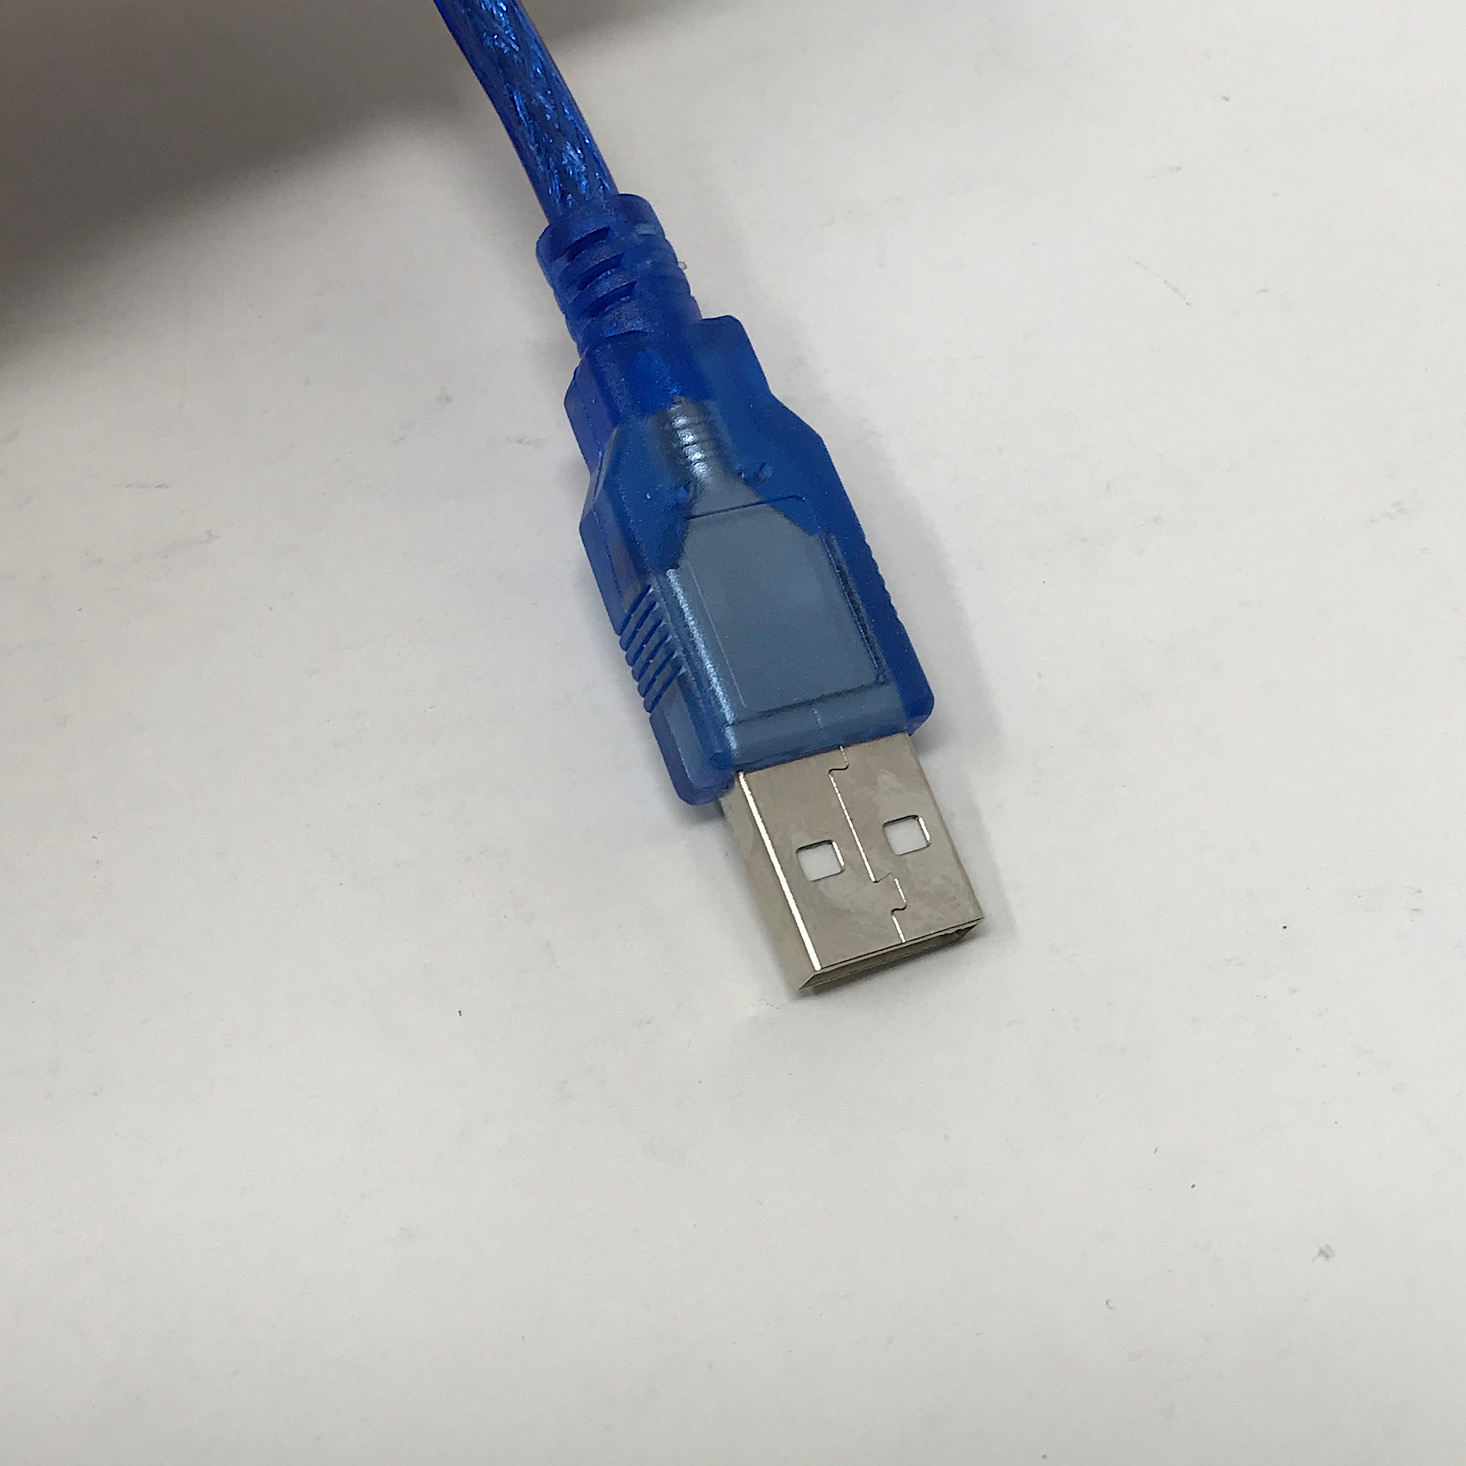
UNO R3 + USB Cable
The other main component we needed was this UNO R3 and this cable with a USB port at one end to hook our lamp up to our computer for programming.


1 of 4


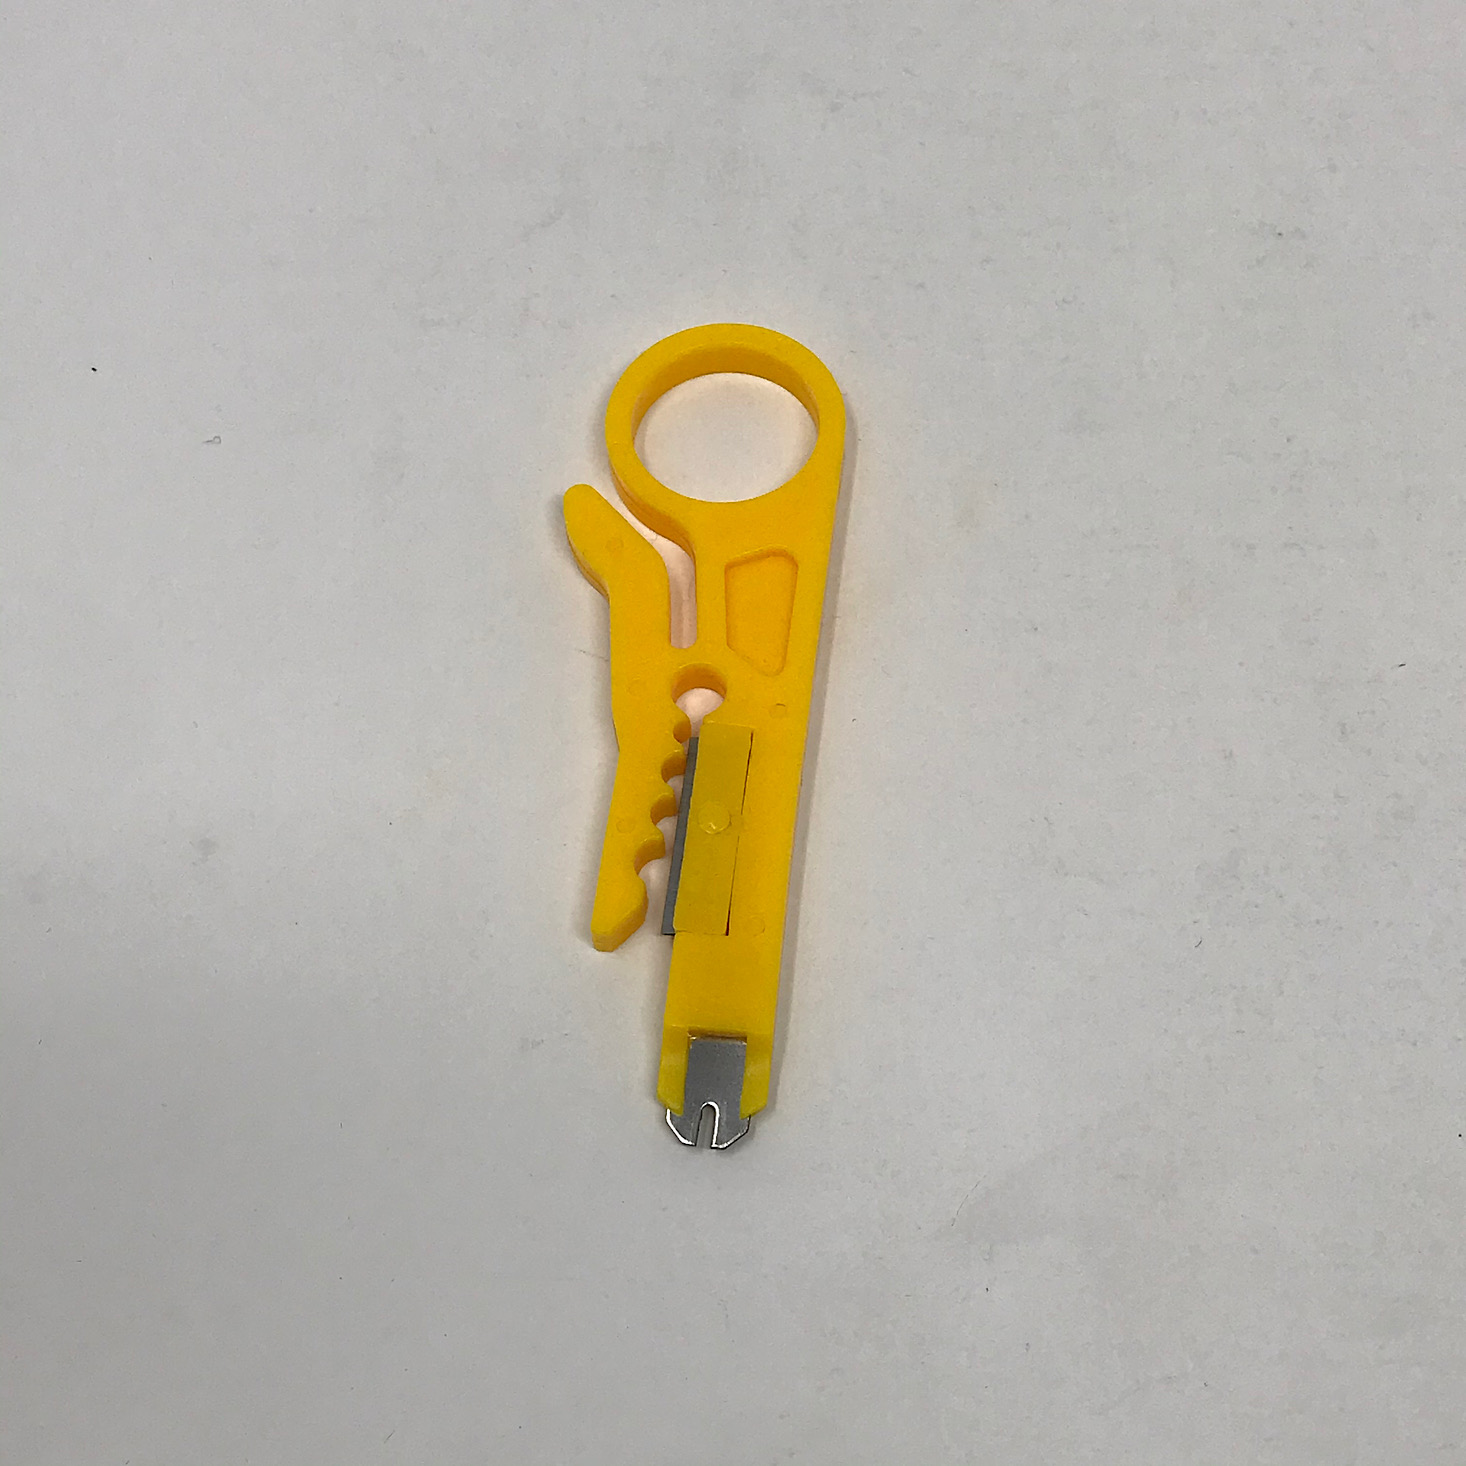
Jumper Wires, LEDs, Resistors, and Lantern
The rest of the components included various jumper wires, LEDs in blue, red, and green, and two resistors; an LDR and a 2.2k OHM. They also provided a paper lantern which would be our lampshade.
Logging into the Course


1 of 5


You'll have to bear with me as I have a few screenshots from my phone showing the login process, but everything else is just photos of my computer since I had to work on there! Logging in was a little tricky since it was my first time. I had to go to the website and then search for the project. Then I had to find the lesson I wanted and create a new account before enrolling in the course. When I did enroll it looked like I was going to be charged, but then I was able to just enter in the code that was included on the instruction sheet in our box and I was able to log in without payment.

1 of 4


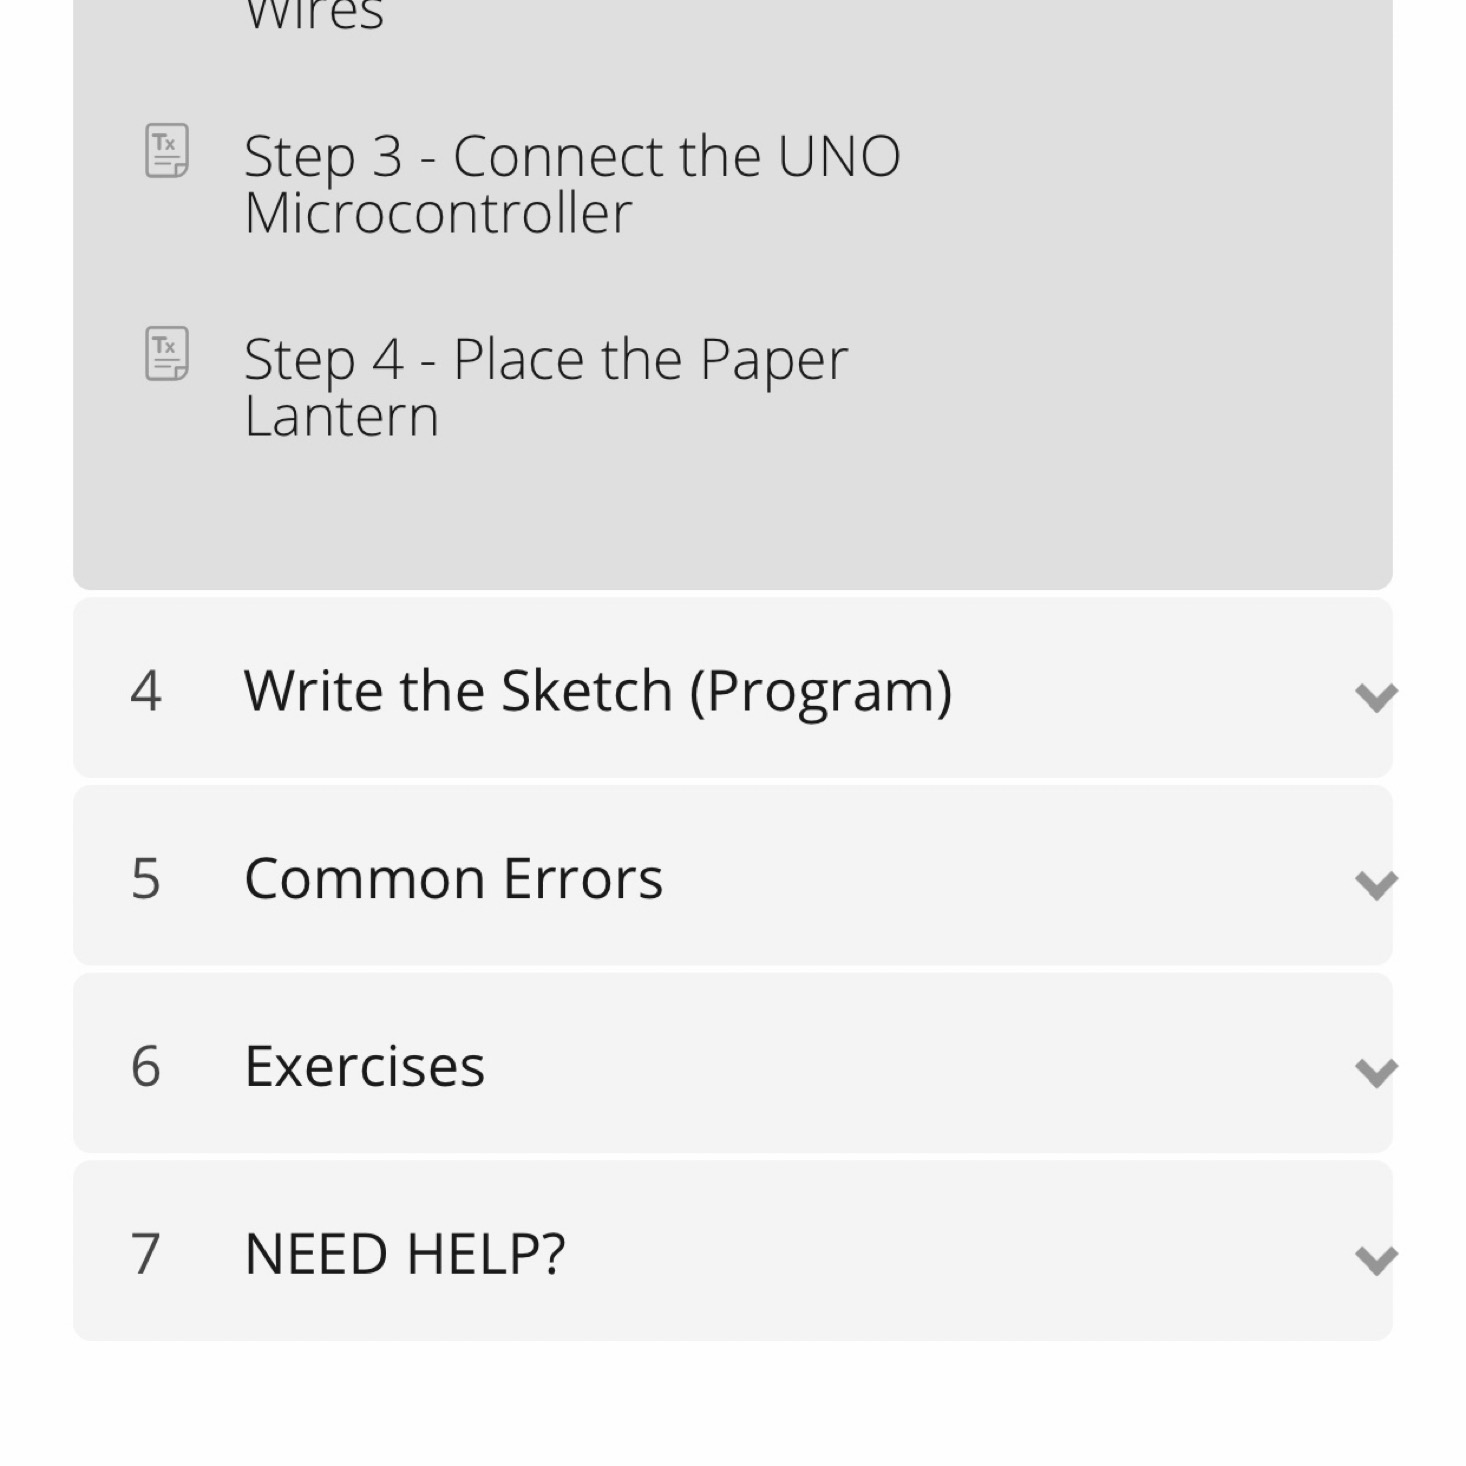
The course curriculum was very well organized and easy to follow with many subsections within each step.


1 of 4


First, they introduced our project and displayed a parts list. I gathered everything that I would need. They also provided a PDF version of the instructions for us to download which I thought was helpful.


1 of 4


While you could just dive right into the first project like I did, they also provided a bonus project to ease your way into it. There was even a "Getting Started Course" for those who are beginners. I was thoroughly impressed with this course. They went into all of the details about currents, amps, power, and voltage. They also explained circuits and how batteries can power LEDs, even including visual demonstrations. I thought they had a great way of explaining and making real-life comparisons to help us gain an understanding of the concepts. This felt like a true educational course and was on par with something you might take in college!
Part 1: Assembling the Hardware/Circuit
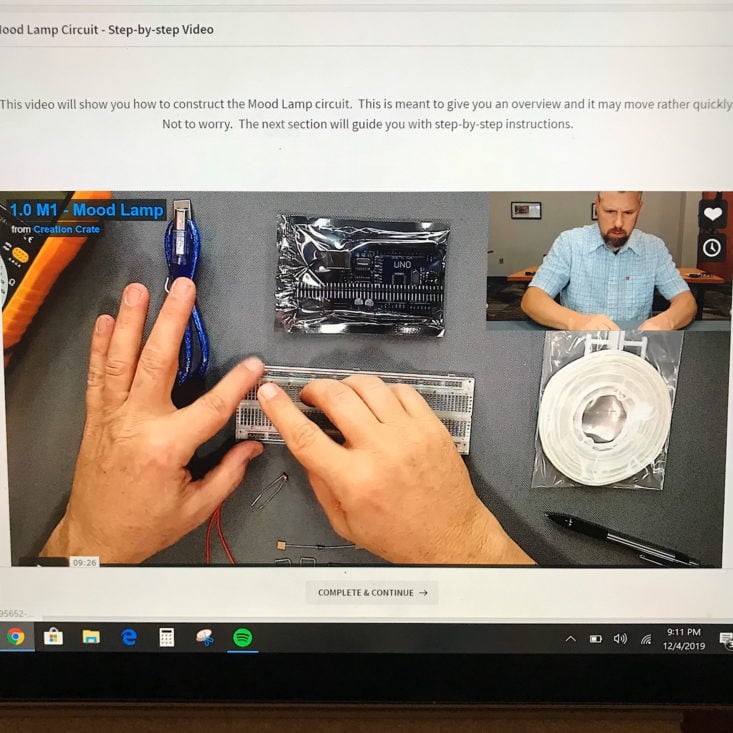
When it came time to start the project they first provided a step-by-step video for us to watch. They went through everything we had in our box and a quick overview. They made sure to note that the longer wire on the LEDs was the positive end, which would be very helpful in assembling our circuit. The video was slow enough to follow along with and they explained each step very thoroughly.

After watching the video, it was time to assemble our circuit. They provided these large, detailed diagrams for us to follow.


1 of 2
The first step was to insert our LED leads. We had to make sure that they crossed over the center of the breadboard with the positive end at the bottom. The negative end had to be in a separate column, too. Then at the other end, we added our LDR: the Light Dependent Resistor.


1 of 3

Next, we added our 2.2k OHM resistor making sure that one end was in the same column as our LDR. Then we used these tiny jumper wires and added them to the same column as our LEDs making sure to cross over that blue line. (I actually did this part wrong, which I didn't realize until later on! The ends should have been in the + row and not the - row! But this was an easy fix.


1 of 2
Then it was time to place our longer jumper wires following the guide they provided. It was all about making sure everything was in the right rows and columns and matching up with other components.


1 of 4


Next, it was all about connecting these jumper wires between the breadboard and the UNO R3 microcontroller that they provided.


1 of 2
I opened up our paper lantern and set it over the LEDs and our hardware/circuit was assembled! This part really was fairly easy using all of the diagrams and detailed instructions they provided!
Part 2: Write the Program


1 of 2
The next part had to do with coding and writing the program that would make our lamp run. We had to download Arduino's free software which was so easy thanks to them providing different instructions for all of the various versions! Once I got it running, I started a new program and named it "Mood Lamp."


1 of 2
They provided the code for us to write and included notations throughout about what each part of the code was controlling and doing to help us understand what we were actually doing as we were entering it. They did provide a coding video for us, too, which explained the basics of coding and the three parts of a program, which also helped to further my understanding. Writing the code was the most tedious part of this process and it was really as simple as typing everything word for word. While I am definitely a beginner, I didn't find this to be too difficult.


1 of 2
Once the code was written, it was time to plug the UNO R3 into the computer using the USB cable. Then I uploaded my program and...received a ton of errors. Most were simple fixes, a missed line or something that wasn't capitalized, but I actually had quite a few to correct because on my computer a lot of the commas and semi-colons looked like periods and colons to me so I had to go through and correct all of those. This was a bit tricky, but not difficult to just go back and read through the original code to spot the differences.


1 of 4


Once the errors were corrected, the program uploaded and my lamp still didn't work. Luckily I was able to visit the troubleshooting section on hardware and saw where I had misplaced some of my jumper wires as I mentioned before. Once I moved those to the right spots, my mood lamp worked! You can see it changes colors and really does set the mood!


1 of 4


Now that we had a working mood lamp, they provided some exercises for us to test our knowledge. First, they wanted us to adjust the numbers in our code to change the brightness of our lamp, which you can see I accomplished! I was actually able to do all of the tasks and even completed the bonus exercise! I definitely didn't do all of these on the first try and had to do some tinkering and playing around with the code, but I felt confident in trying new things since they provided the original code for me to copy and paste back in if I happened to really mess something up!
For instance, I am not sure how I made this happen, but it was pretty cool!


1 of 2
If we did have any issues, they have a classroom discussion that we can use to ask questions. It looks like Creation Crate responds very quickly to any concerns, too! I really do appreciate all of the information and assistance that they provided throughout this whole process.

1 of 2
It was easy to see once we had completed everything in the course thanks to the side menu here. They also encourage you to share your work in exchange for some cool rewards, which was the other 4% that I didn't yet complete!
Verdict: This box is so cool! Creation Crate definitely has its niche audience, but this really felt like a legitimate educational course and it was so well done! I was so impressed with how thorough the curriculum was and how much time and effort they put into making sure we had all of the background knowledge necessary to get started no matter what our experience level is. As for the project itself, it was a perfect beginner project, but anyone who is more technologically-inclined could probably take it even further with their coding knowledge. This would be perfect for techy kids or as part of a homeschool curriculum. I think that anyone who is sincerely interested in learning this material would be pleased with everything they had to offer! As for me, I had a lot of fun playing around with it and I think this box was a great value for $34.98 ($29.99 + $4.99 shipping)! I am excited to see how these projects build on one another and how much I learn in the process!
To Wrap Up:
Can you still get this box if you sign up today? Yes! Since the projects build upon one another, this would be your first box! From Creation Crate:
Creation Crate projects are a combination of building hardware and programming software with a focus on helping you understand how it works. Each month, you'll be given a new project that's slightly harder than the last.
Check out our list of the best boxes for teens, as voted by MSA readers!
Keep Track of Your Subscriptions: Add this box to your subscription list or wishlist!
What do you think of Creation Crate?

Please do not enter your email address in the Name field or in the comment content. Your email address will not be published. Required fields are marked *. Remember to post with kindness and respect. Comments with offensive language, cruelness to others, etc will not be approved. See our full comment policy here.