

Amazon has launched a STEM Club Toy subscription box! This monthly kid's subscription delivers "handpicked, high-quality Science, Technology, Engineering, and Math toys" to your door for $19.99/month.
This subscription looks like any other shipment from Amazon, with no exterior branding on the box or special insert.
There are 3 age range options:
- 3-4 year-olds (counting, building, and cause and effect)
- 5-7 year-olds (hands-on experiments and explorations of electricity, earth science, and simple math)
- 8-13 year-olds (more complex projects and experiments based on principals of physics, chemistry, and engineering)
This is a review of the 5 to 7-year-old age range Amazon STEM Club for $19.99/month.
My Subscription Addiction paid for this box. (Check out the review process post to learn more about how we review boxes.)
About this Educational Subscription Box for Kids
The Subscription Box: Amazon STEM Toy Club
The Cost: $19.99 per month
The Products: Each month you will receive a different, age-appropriate STEM toy.
Ships to: The U.S. (free shipping)
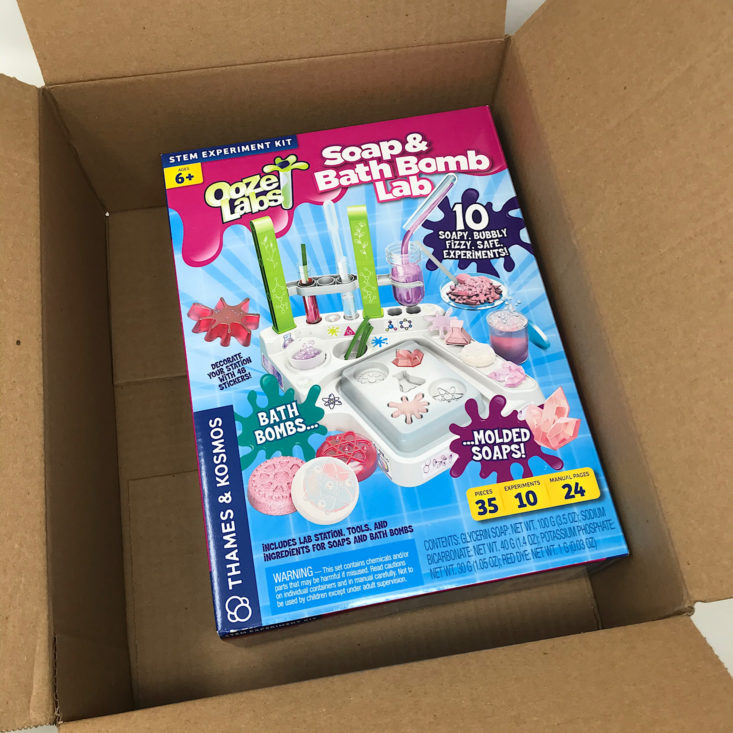
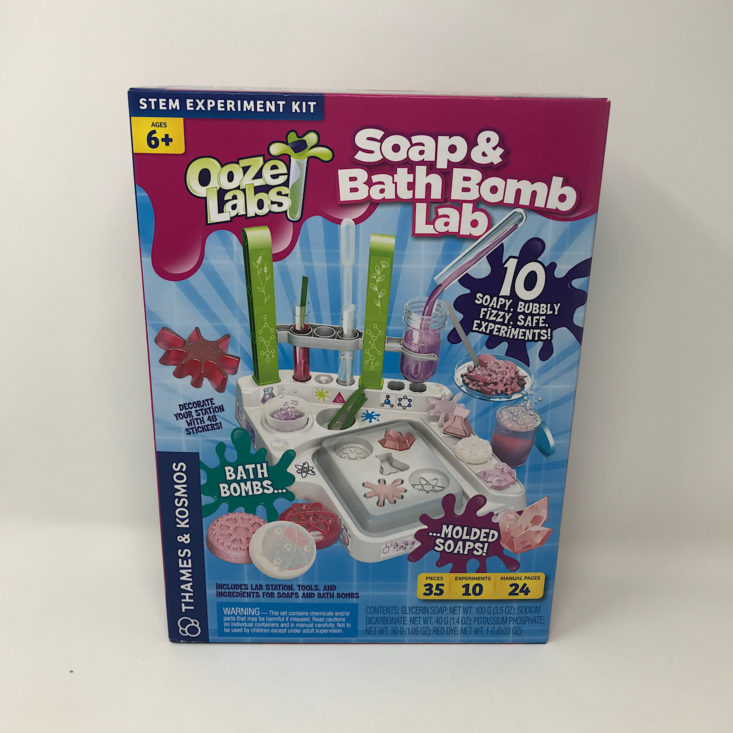
October's Toy: Thames & Kosmos Ooze Labs Soap & Bath Bomb Lab

1 of 2
Thames & Kosmos Ooze Labs Soap & Bath Bomb Lab - Retail Value $31.37
Our toy this month is designed for ages 6+ and has everything we need inside to conduct 10 experiments including a little lab station. It looks like we will be making some soap and bath bombs!


1 of 5

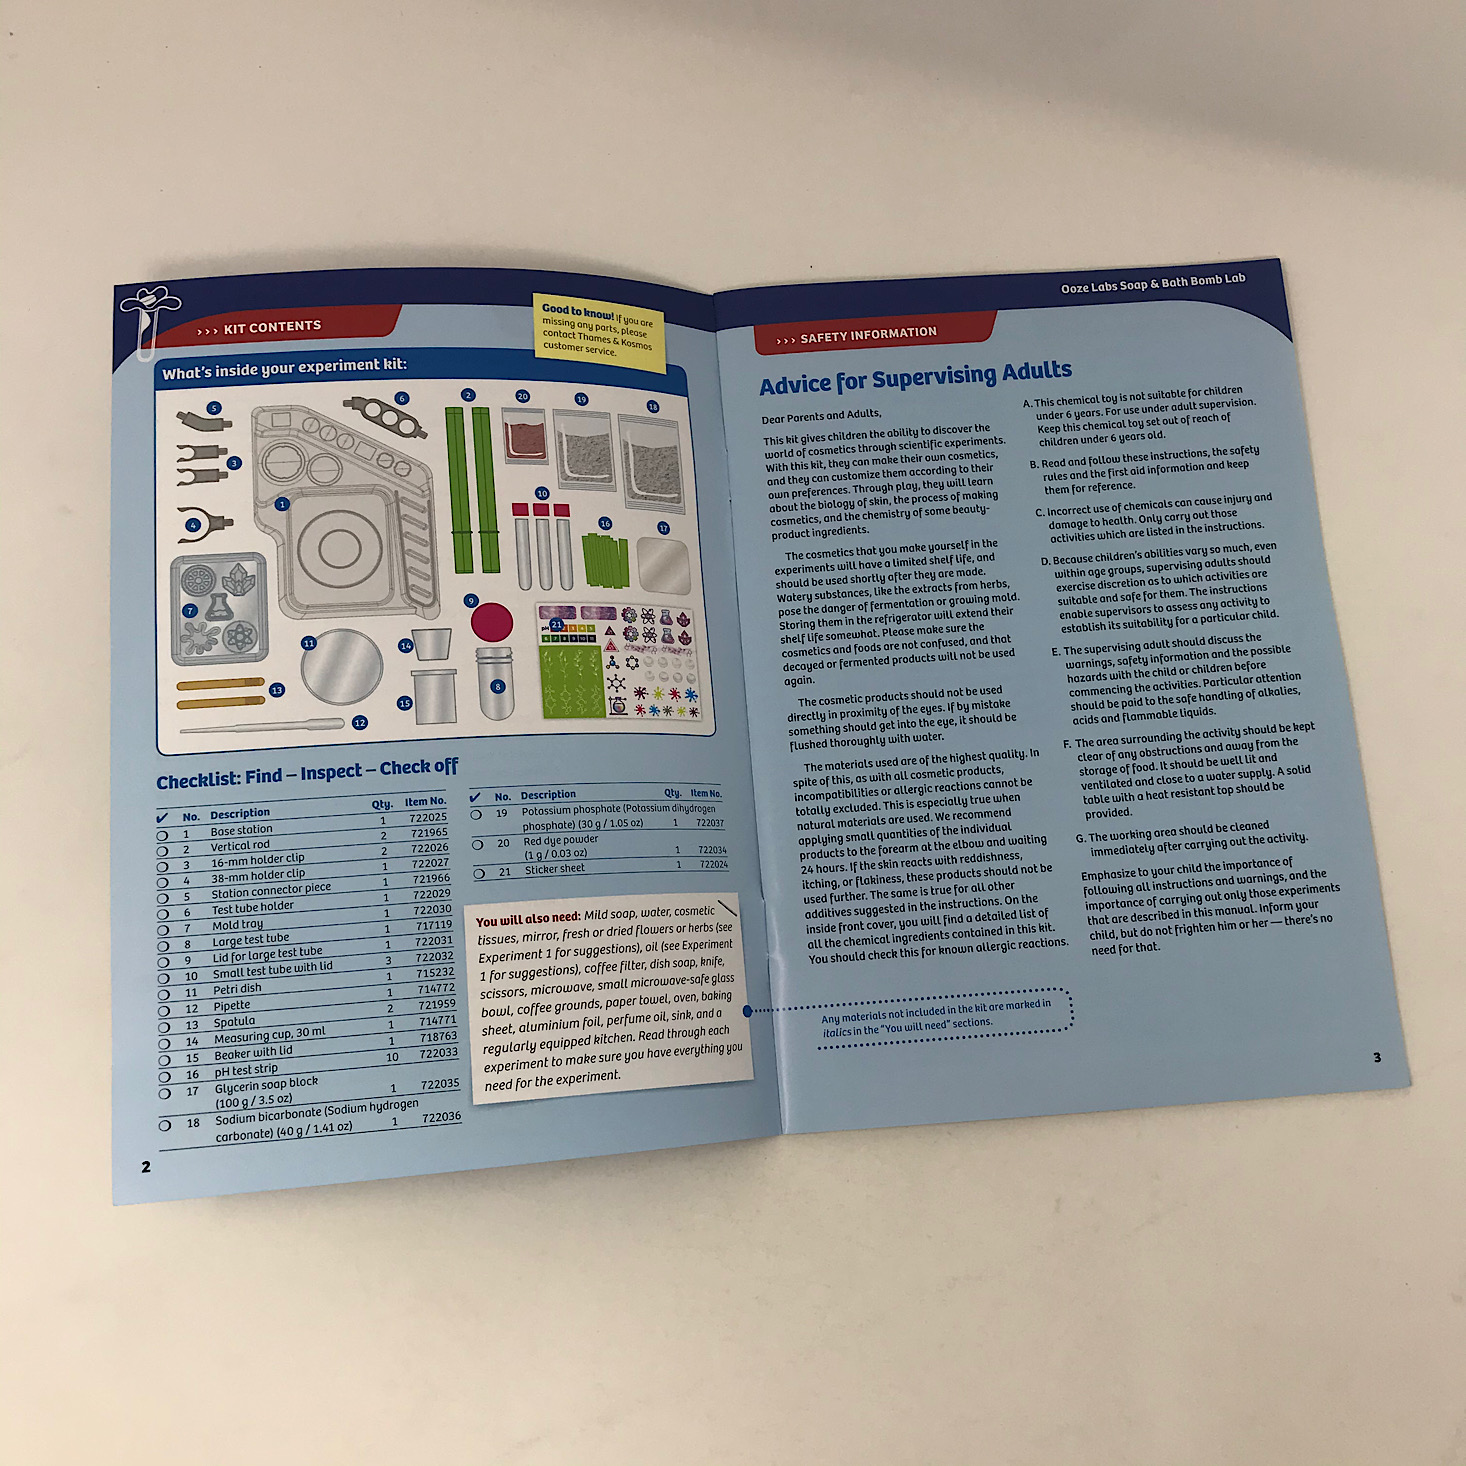

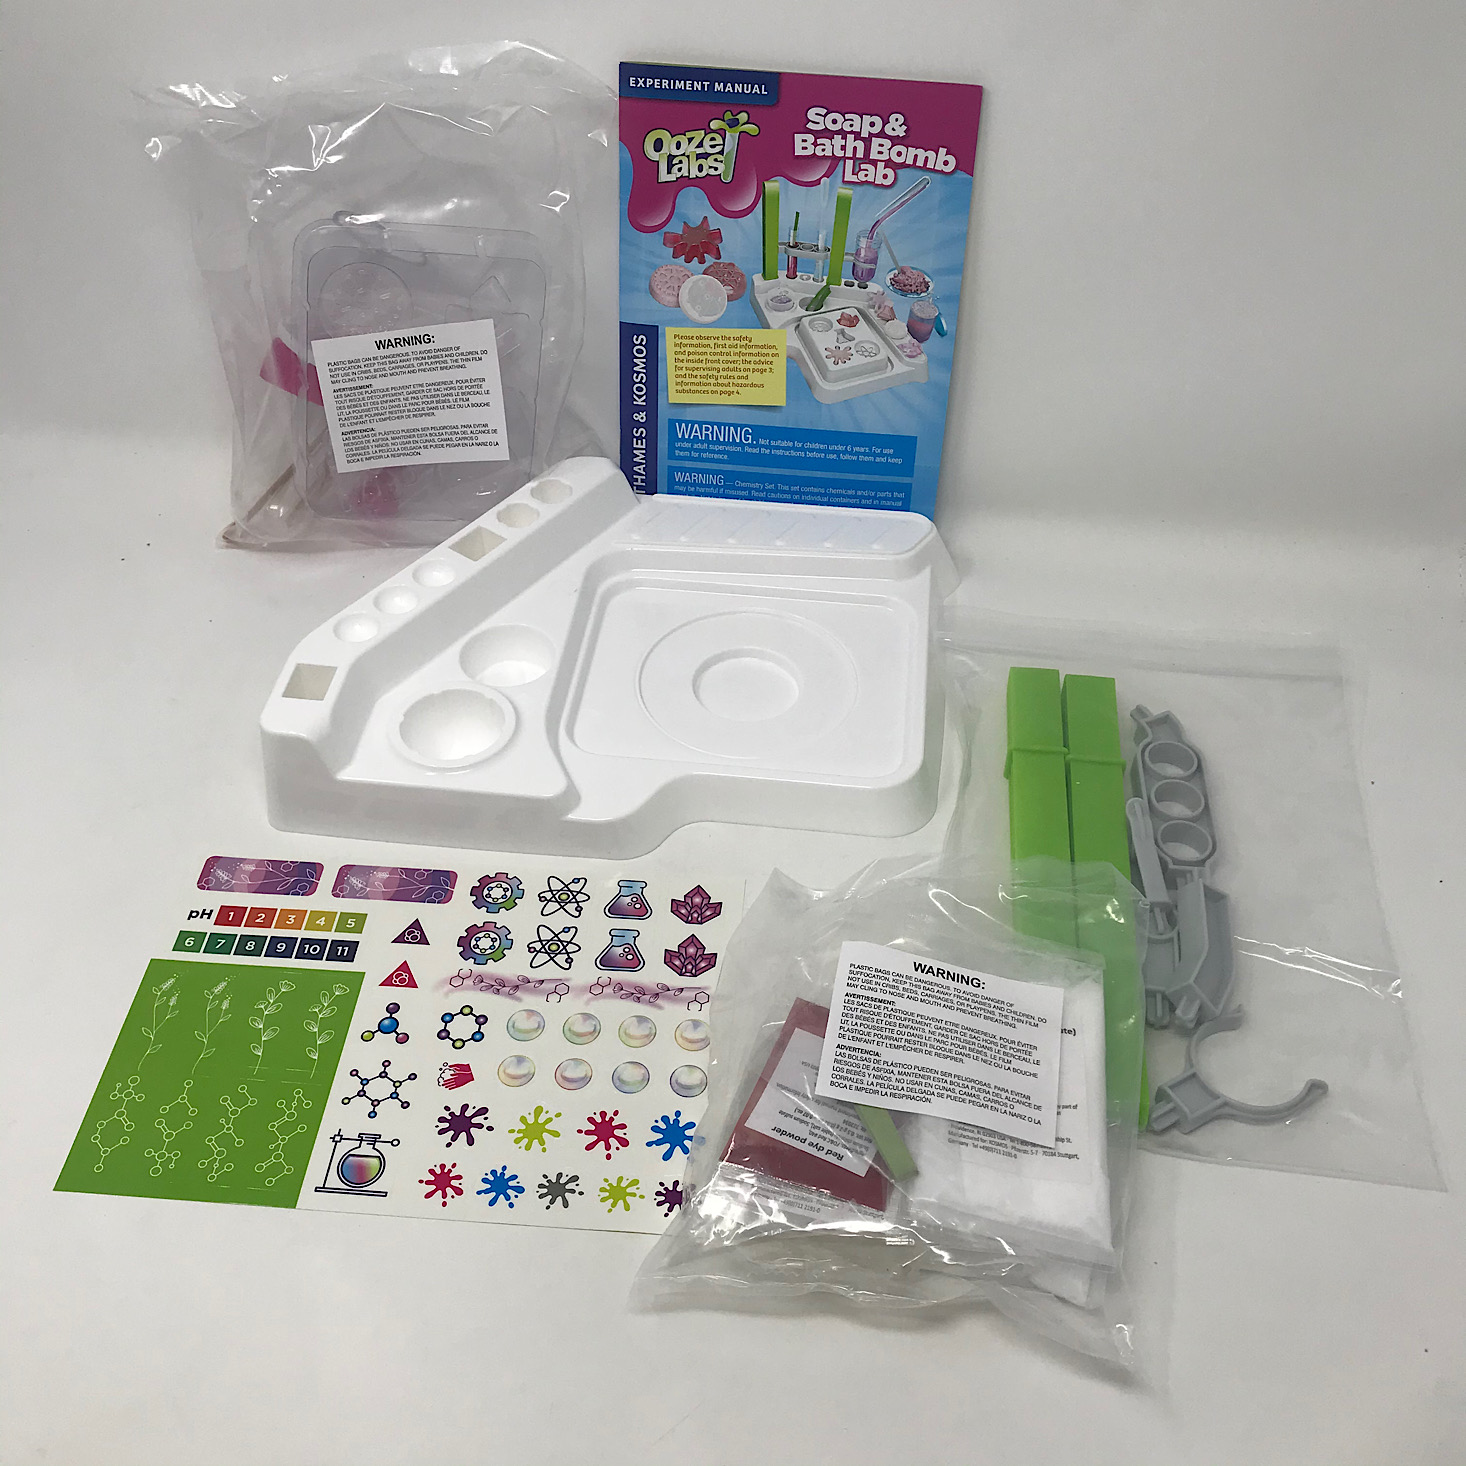
Inside our box was a booklet with all of the information we needed including a lot of safety information including the number for the Poison Control Center. It was pretty thorough - although it did make it feel a bit intense to me as a parent! There was a table of contents, a checklist of items that could be found inside our box, and a page with advice for the supervising adult. They also included safety rules and several assignments for the "lab researcher." These were basically some questions that could be answered after conducting various experiments.
1 of 4


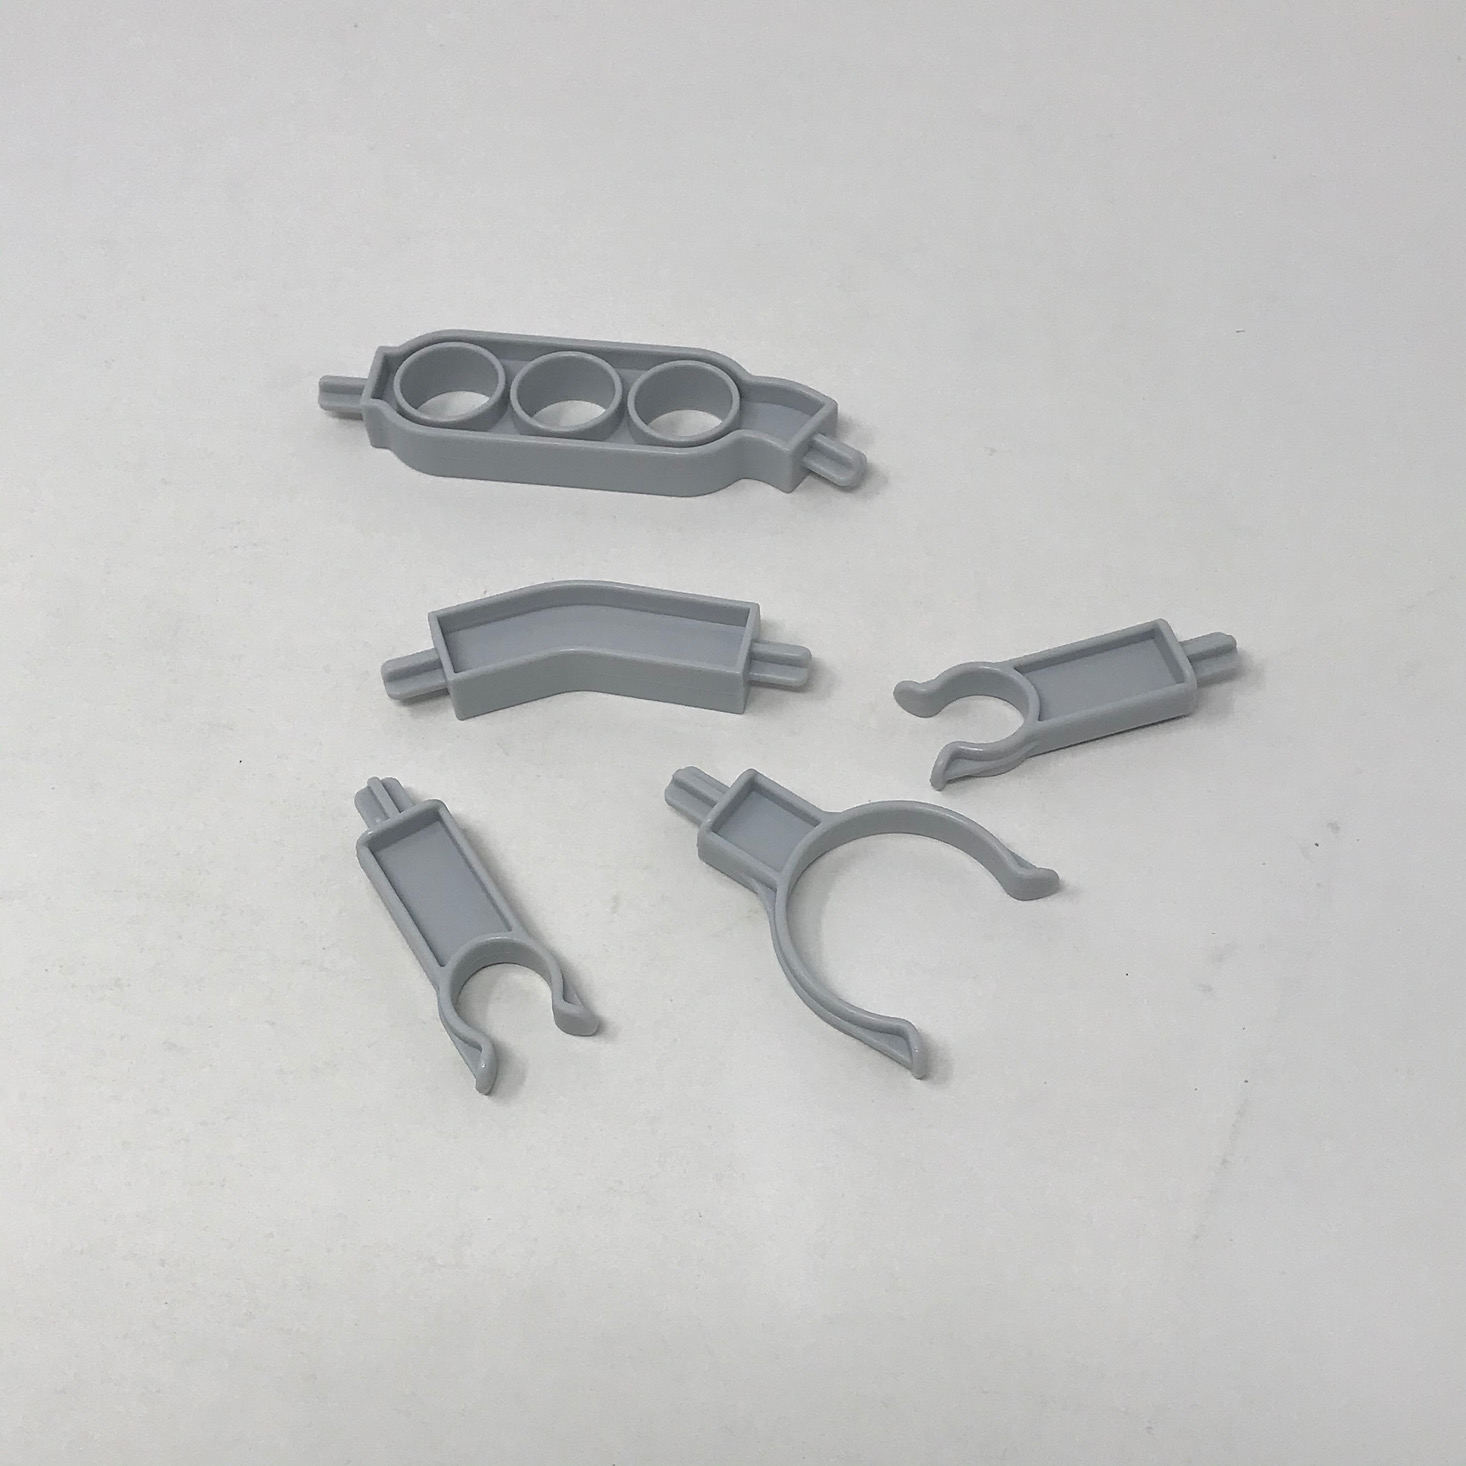
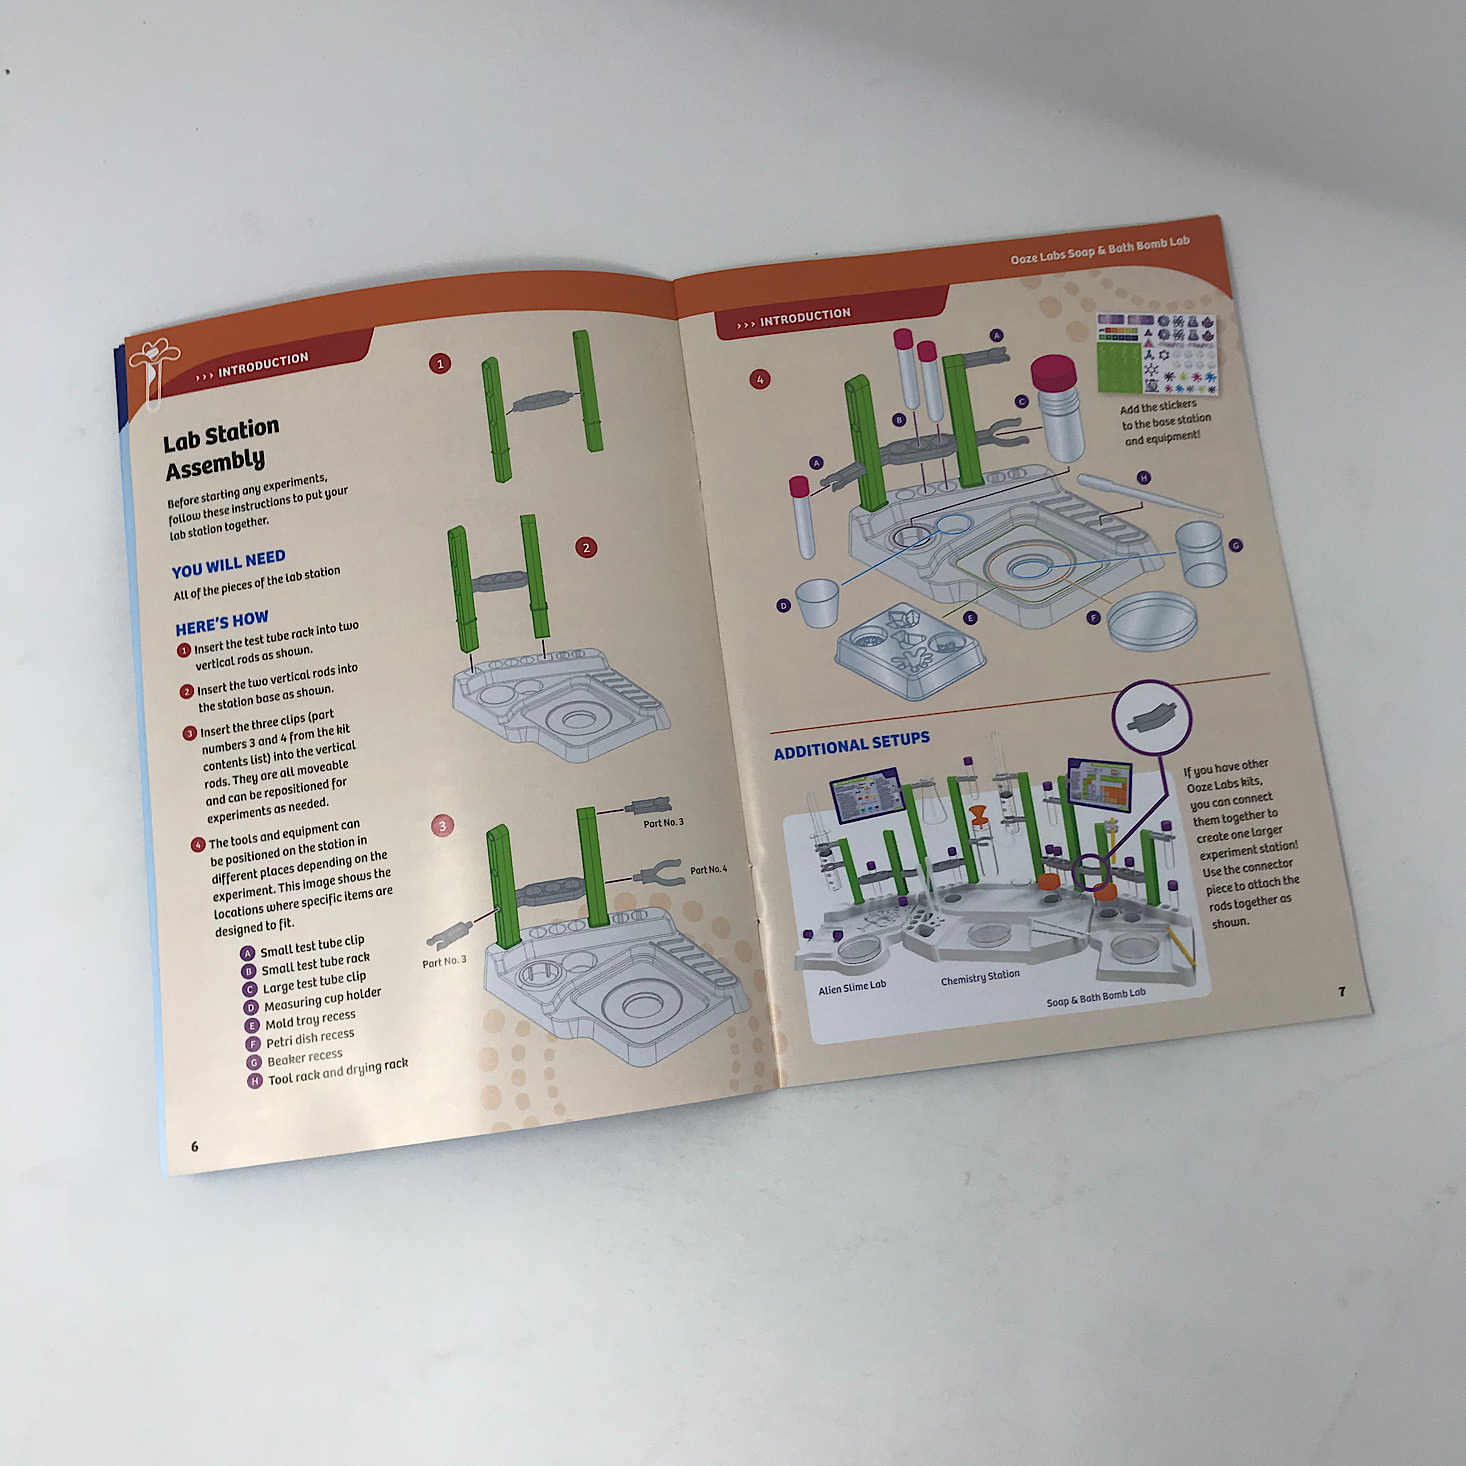
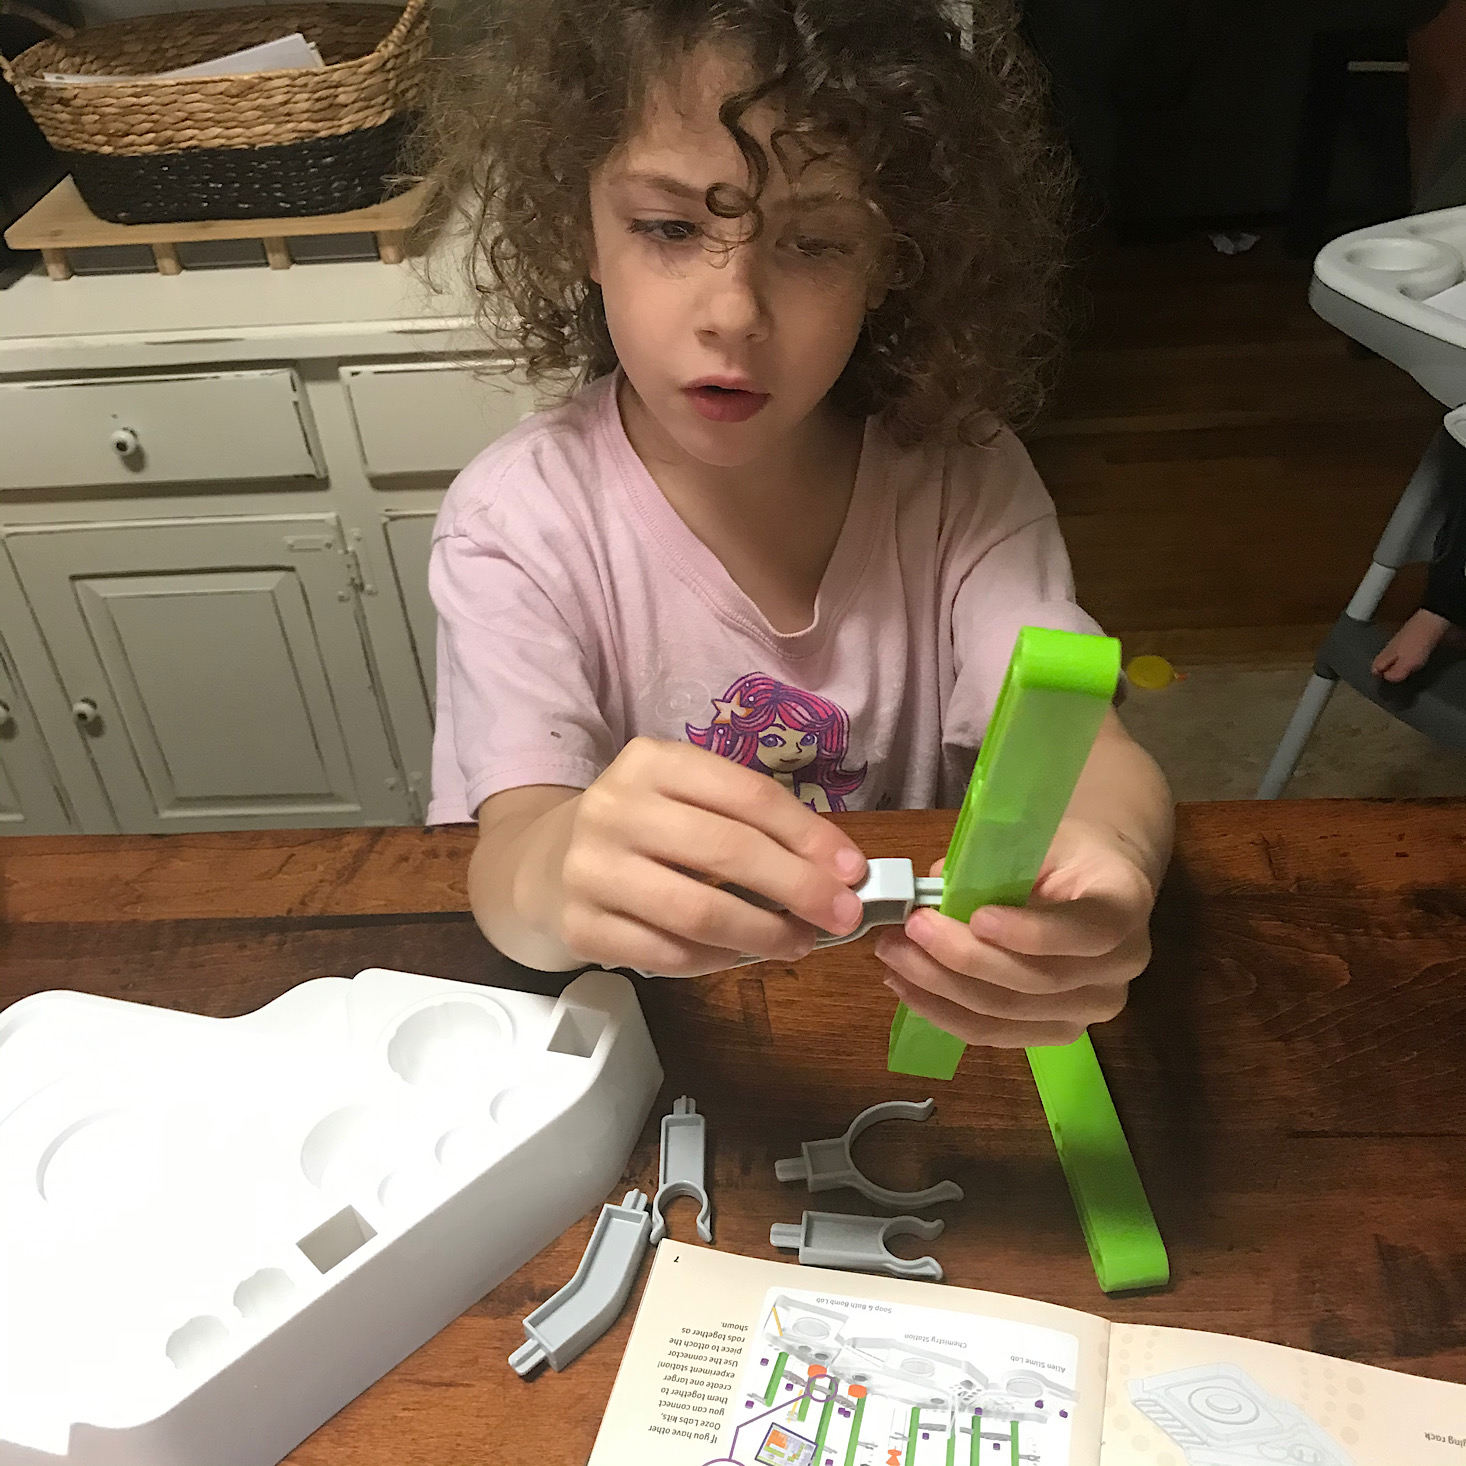
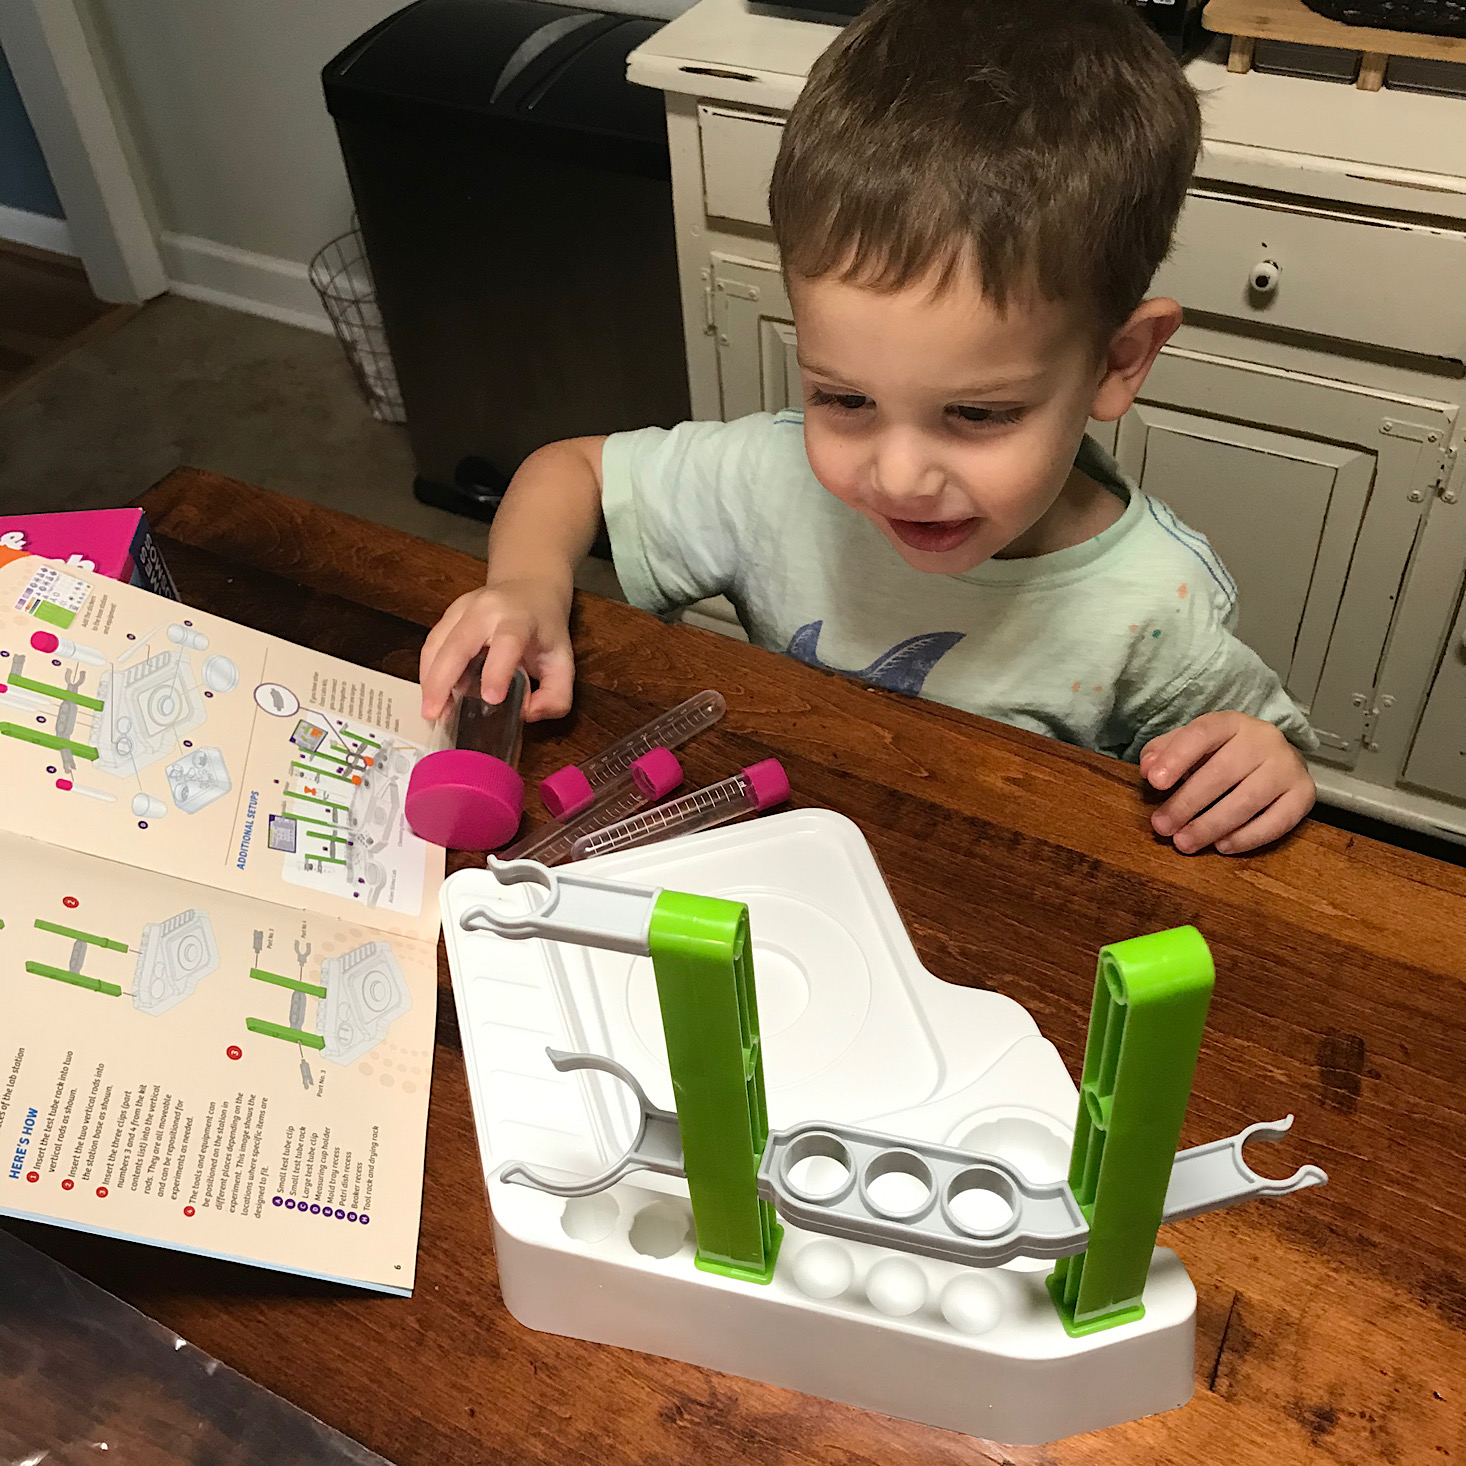
Firstly, we had to assemble our lab station. They provided this nice base and several pieces that needed to be put together.
1 of 5
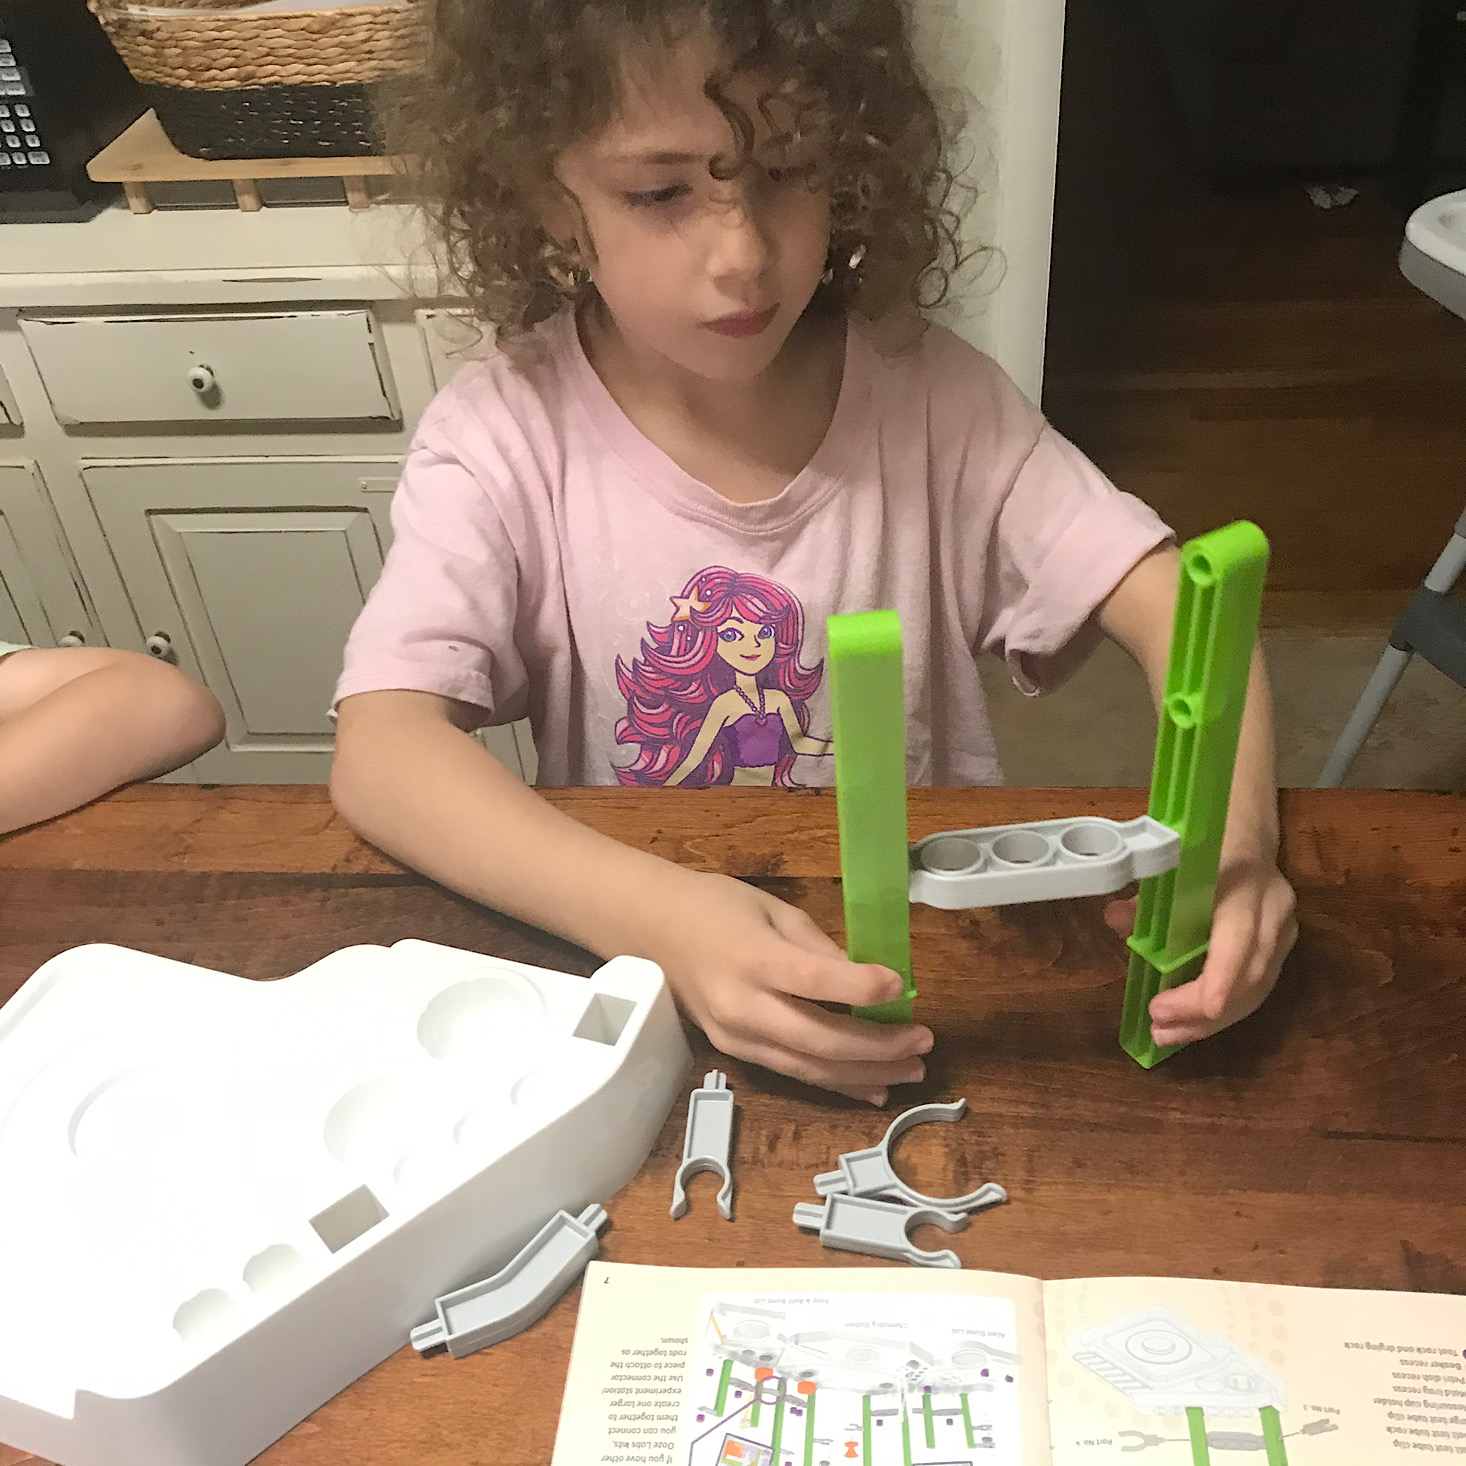

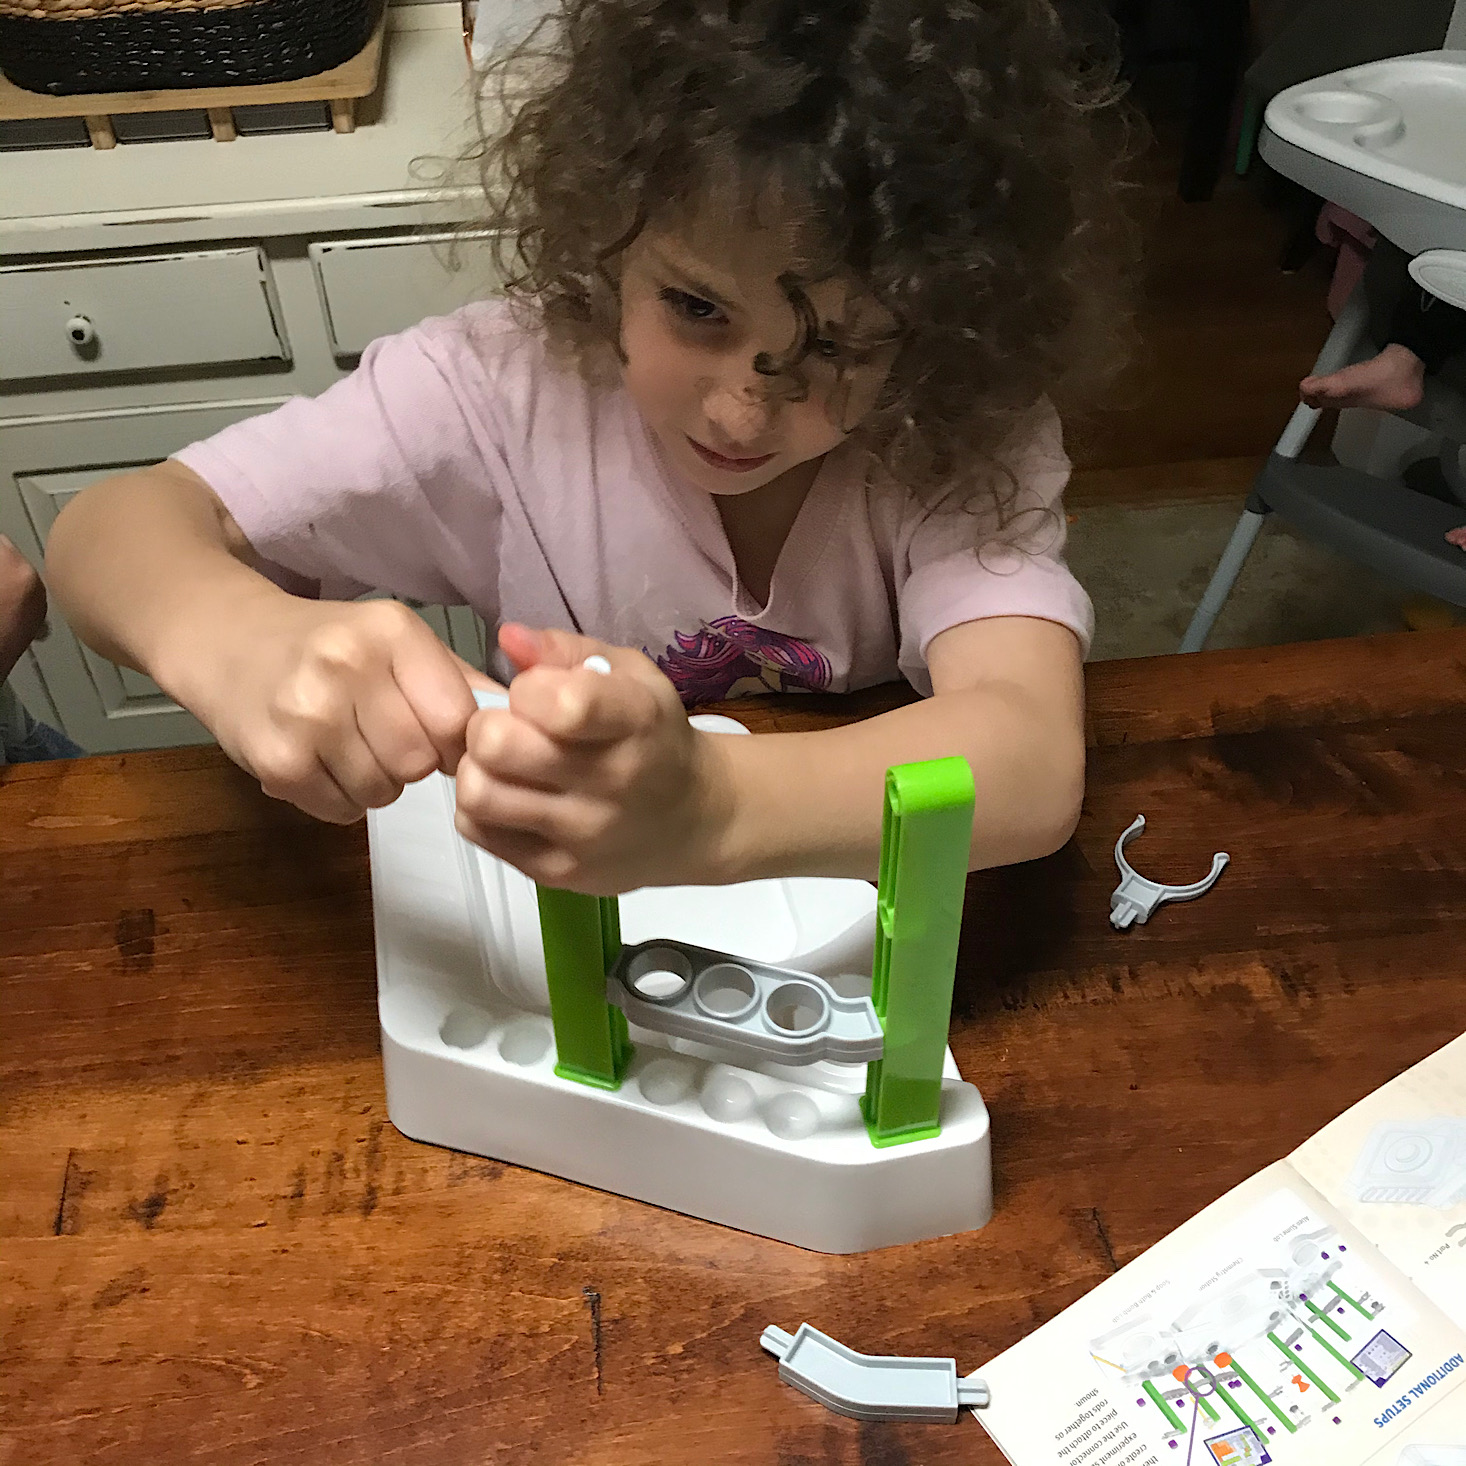
My daughter connected the green tubes with the gray piece and then inserted it into the base. She then added the extra gray pieces by following the illustrated instructions which were clear and easy to follow.
1 of 7
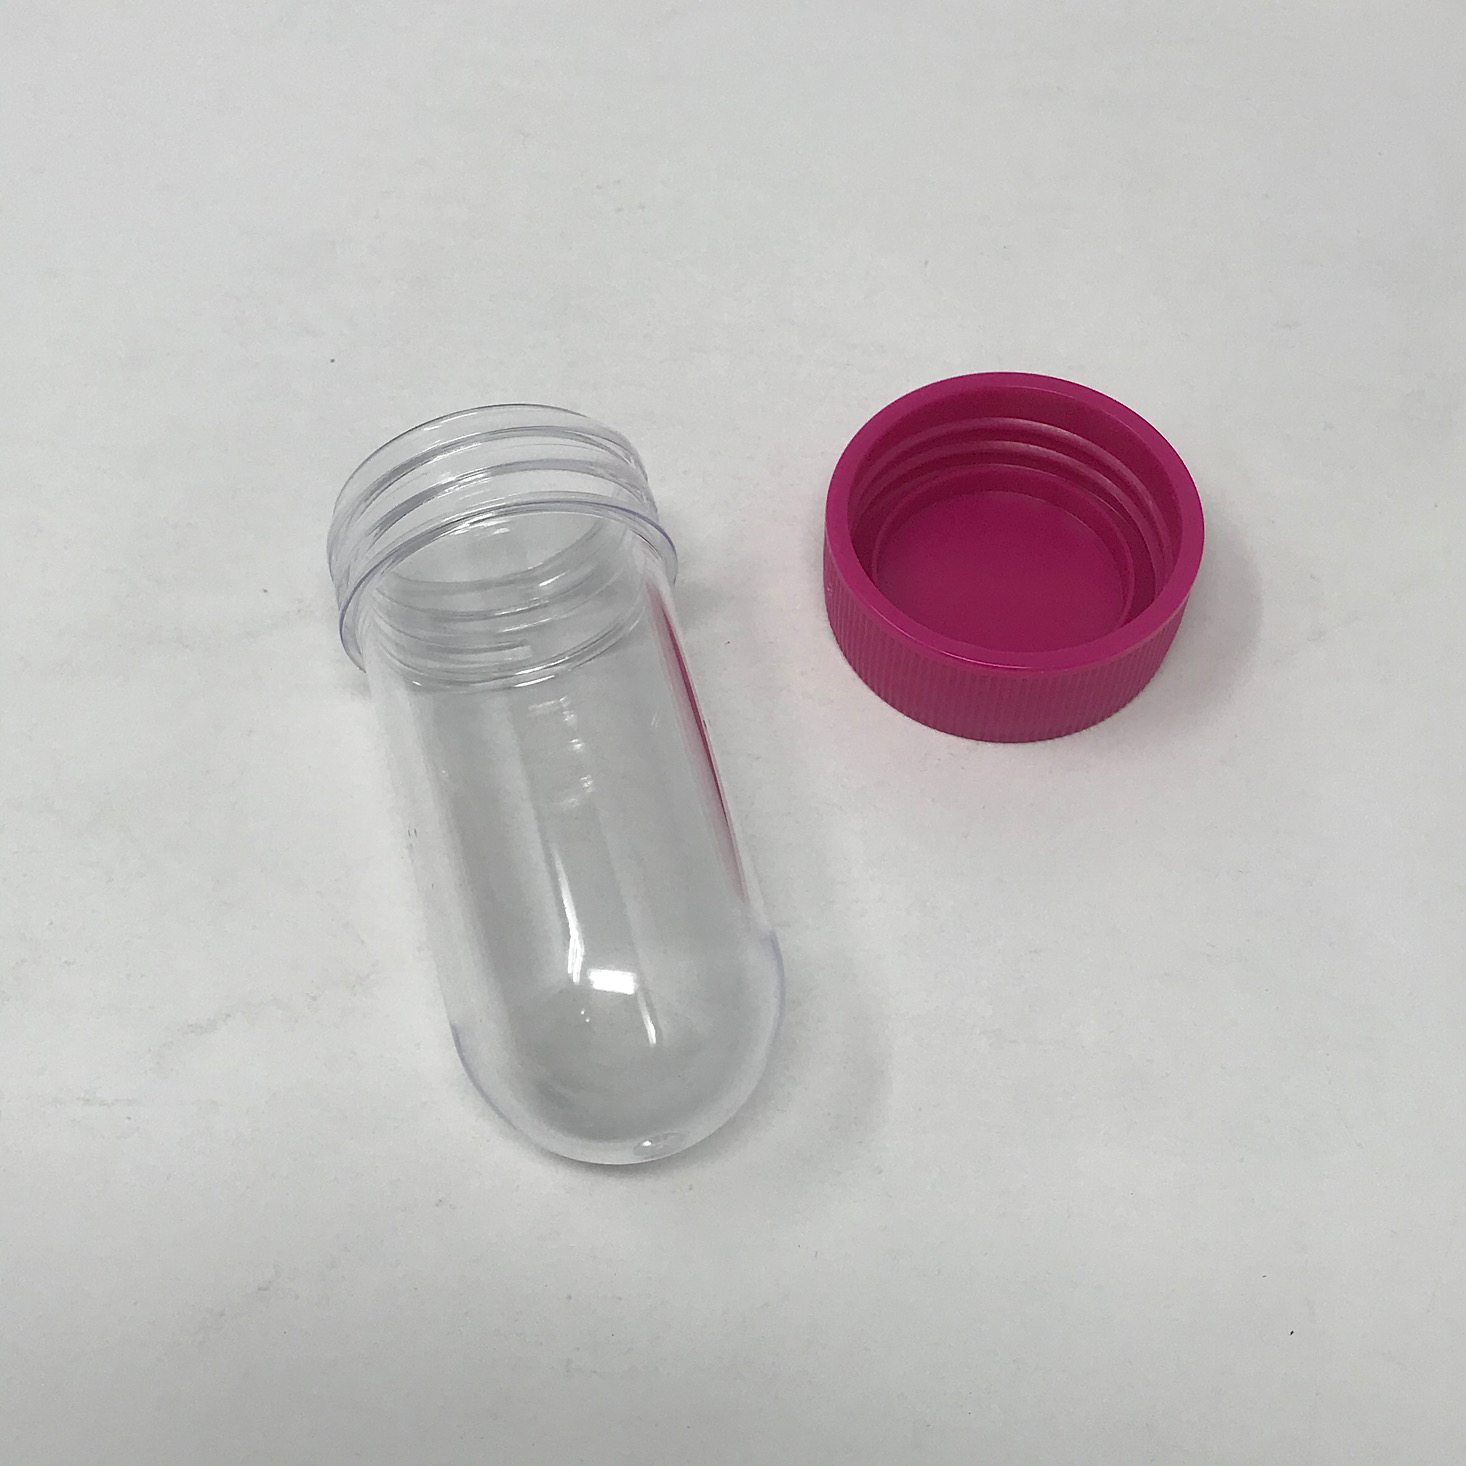
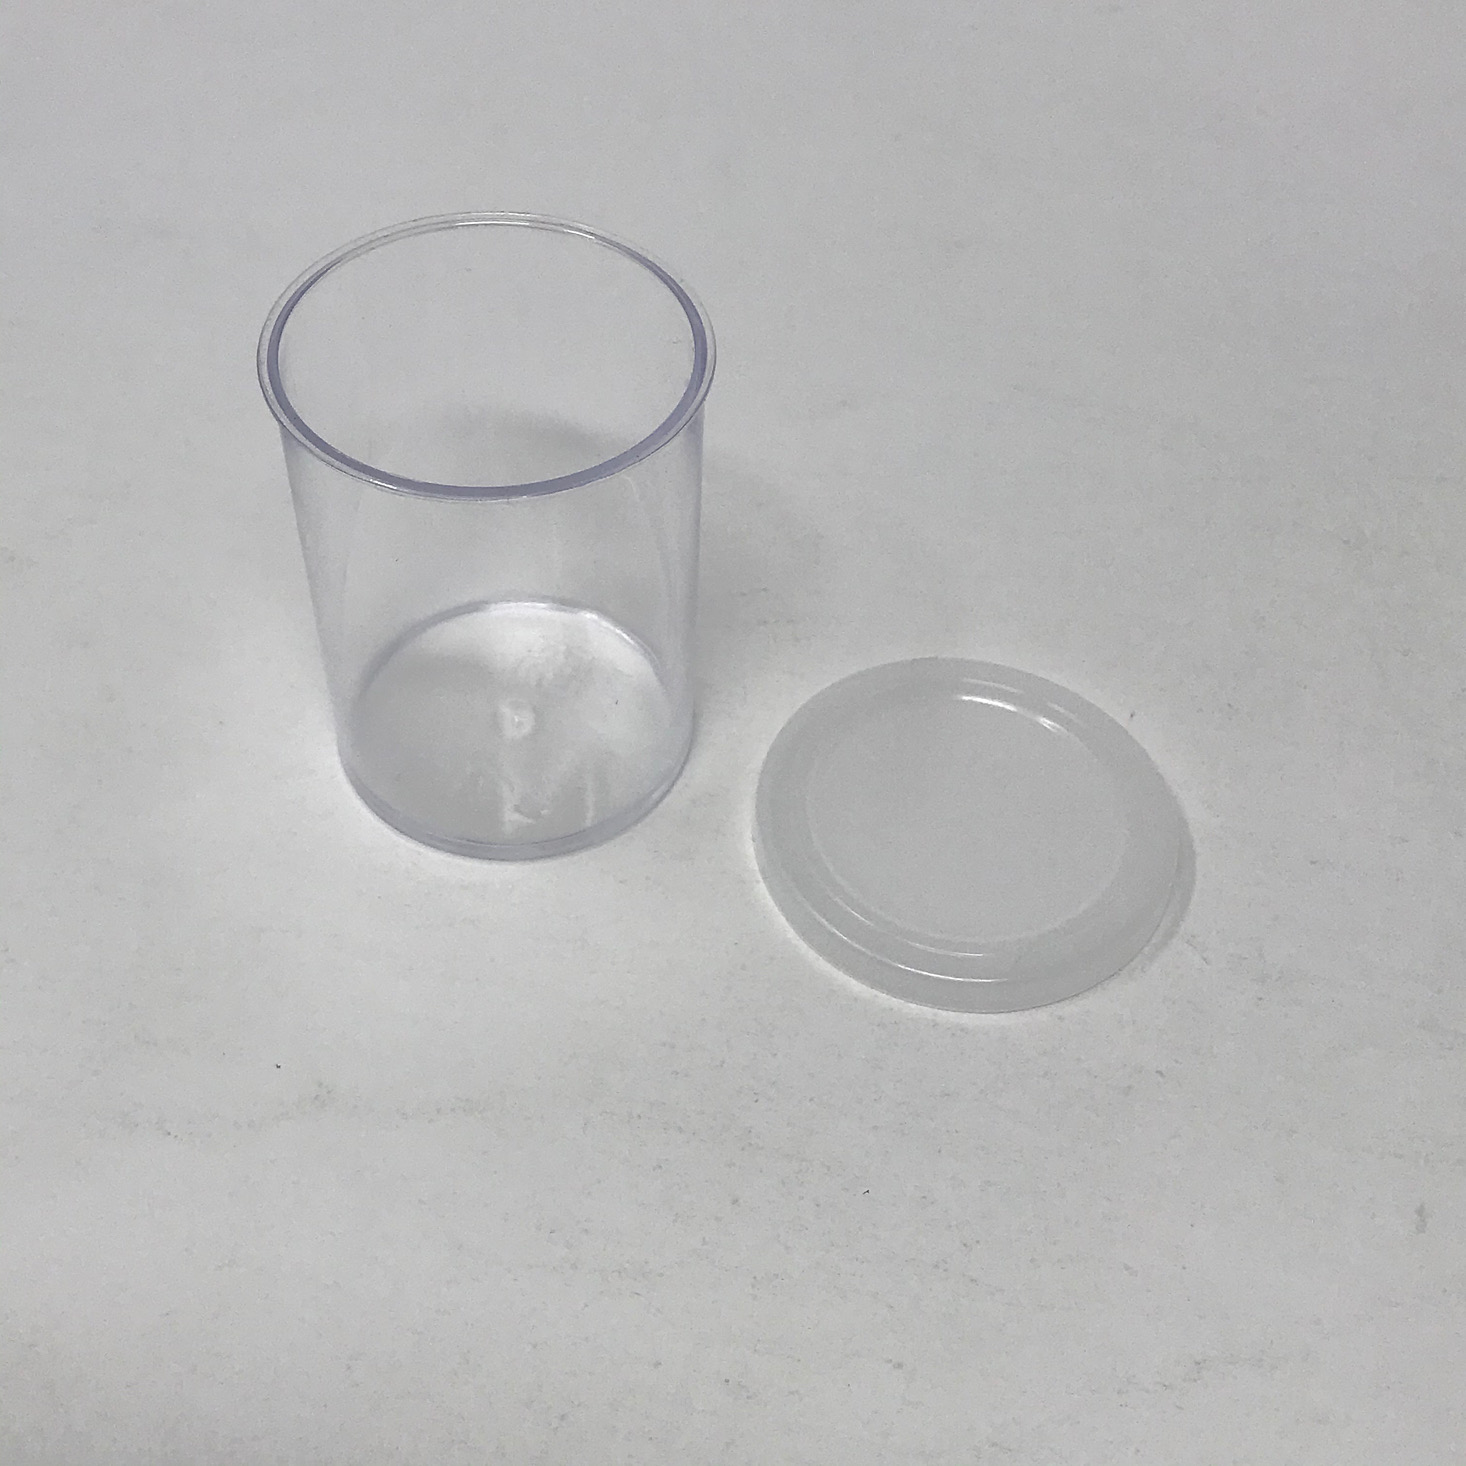
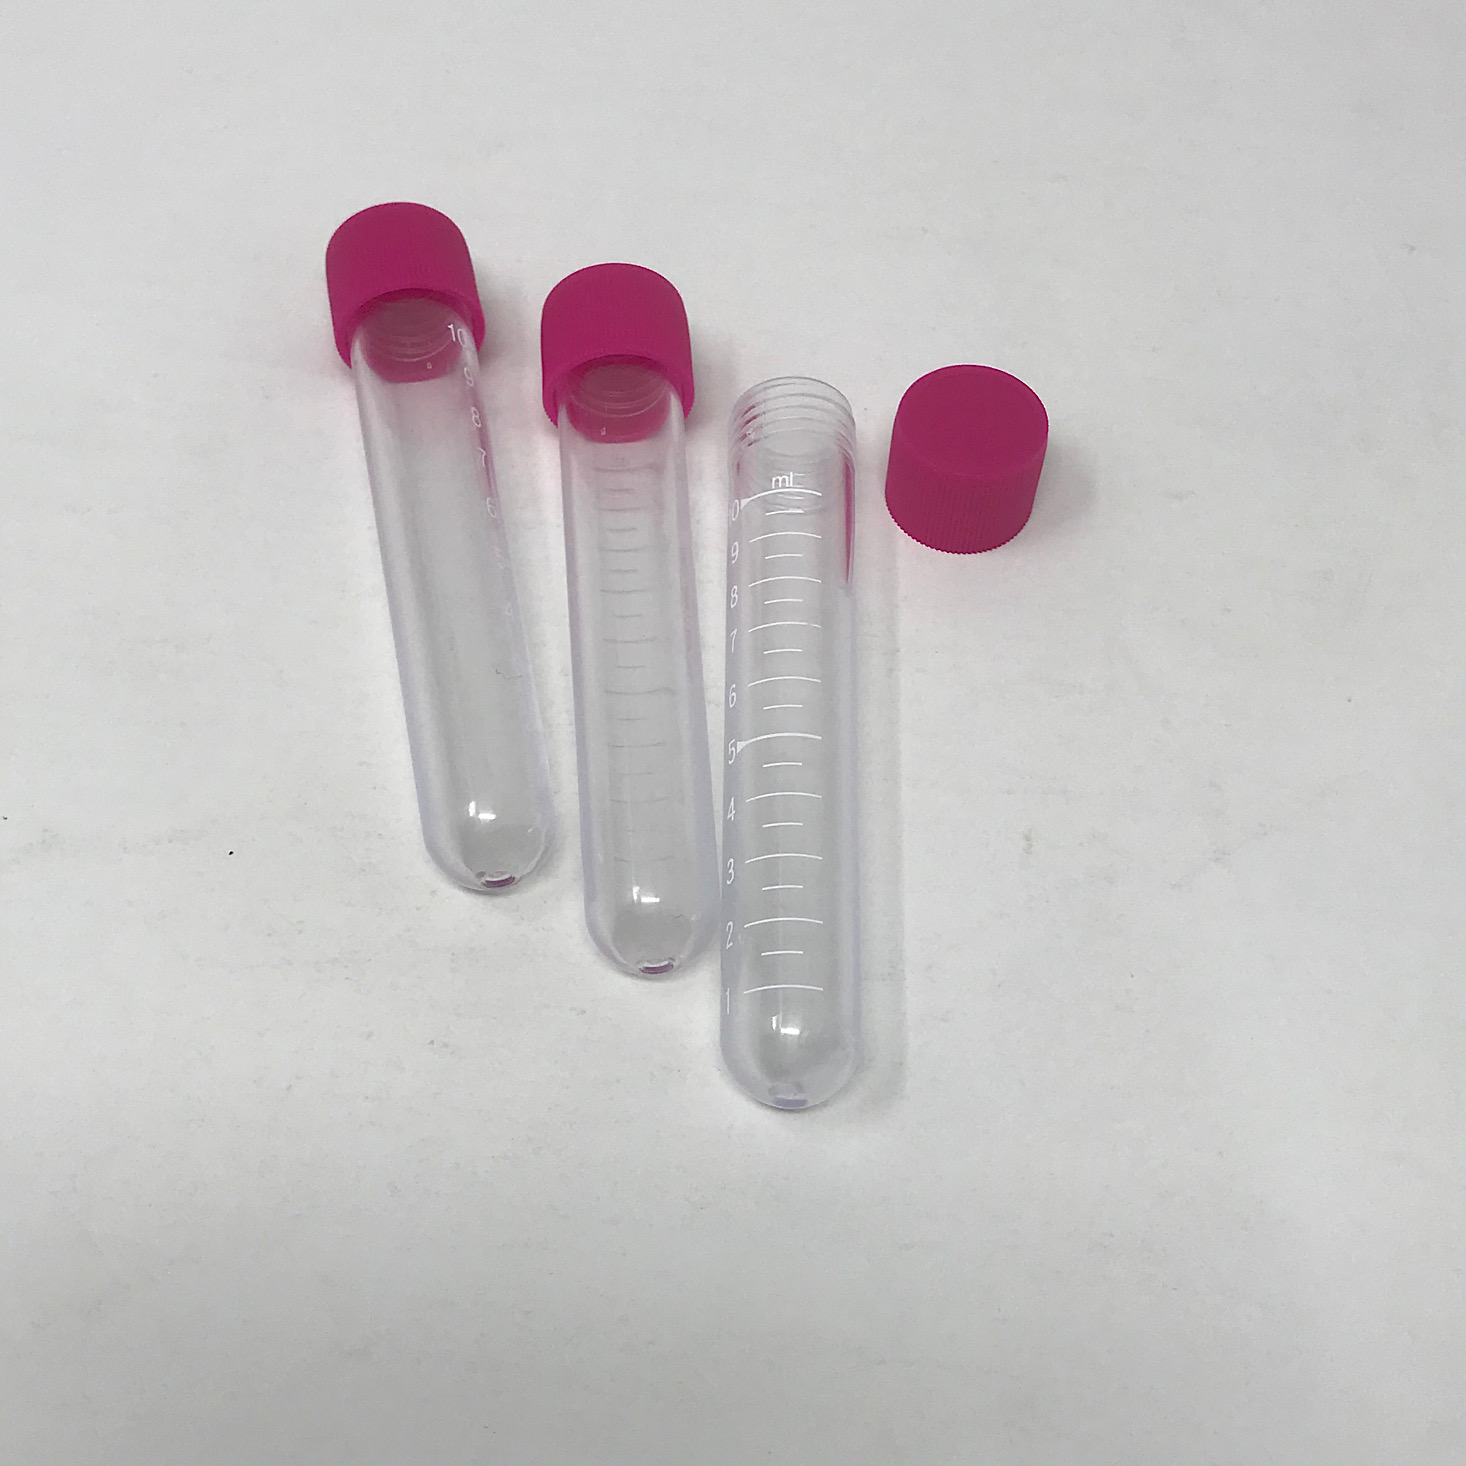
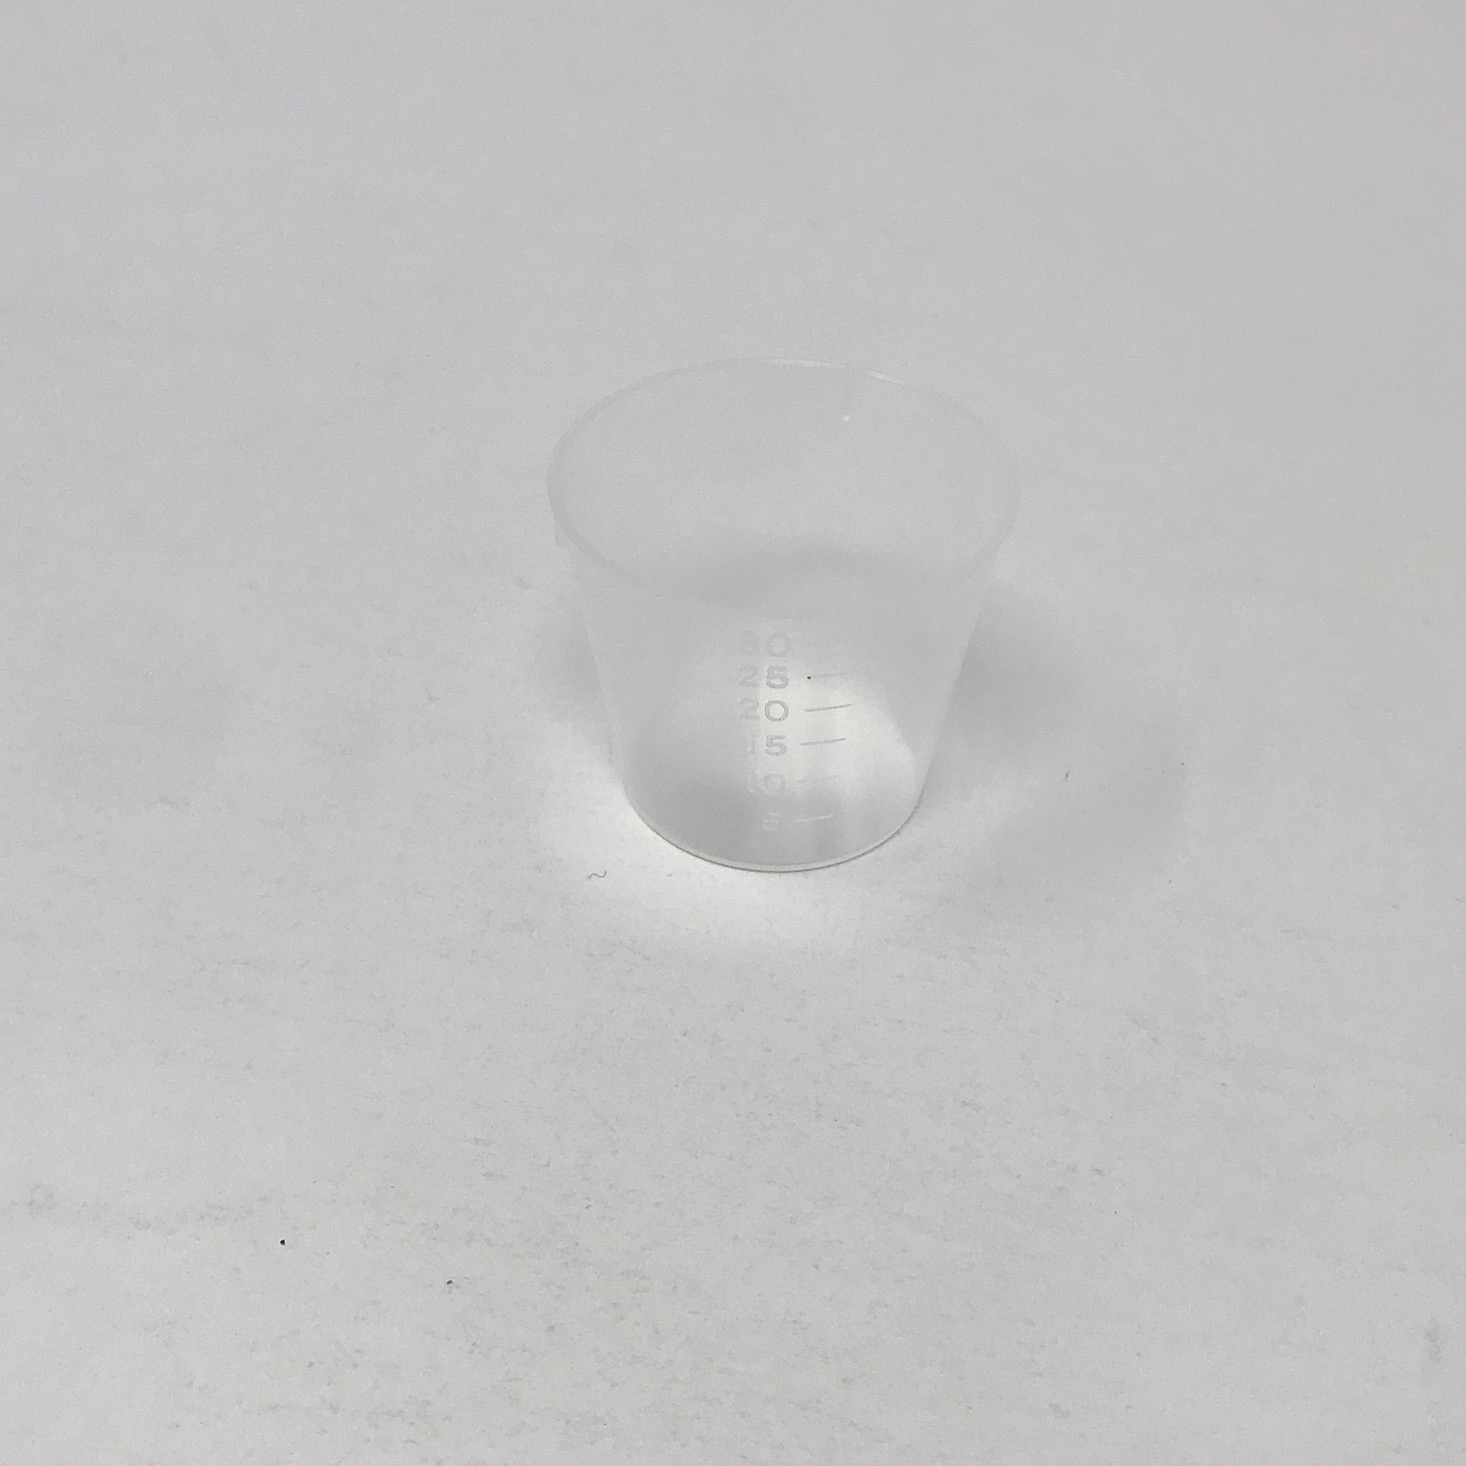
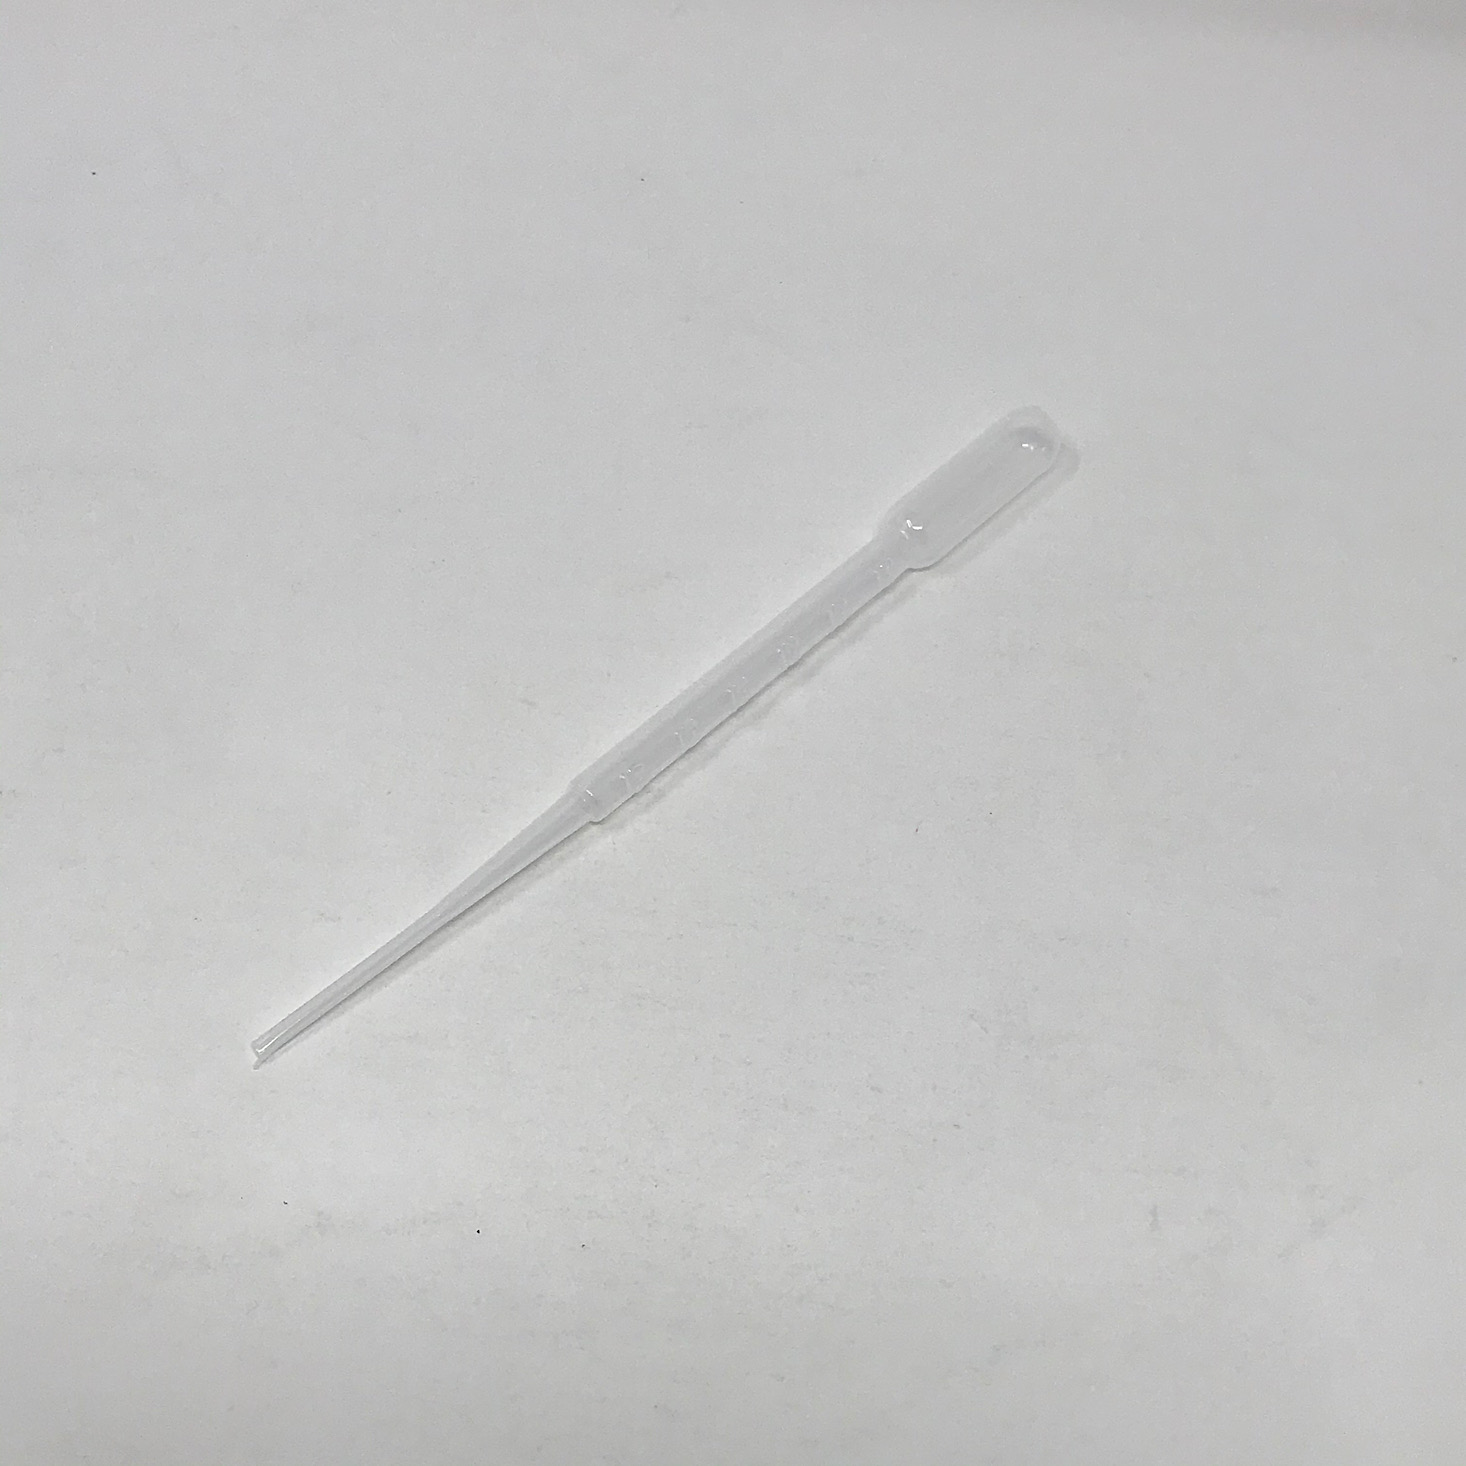
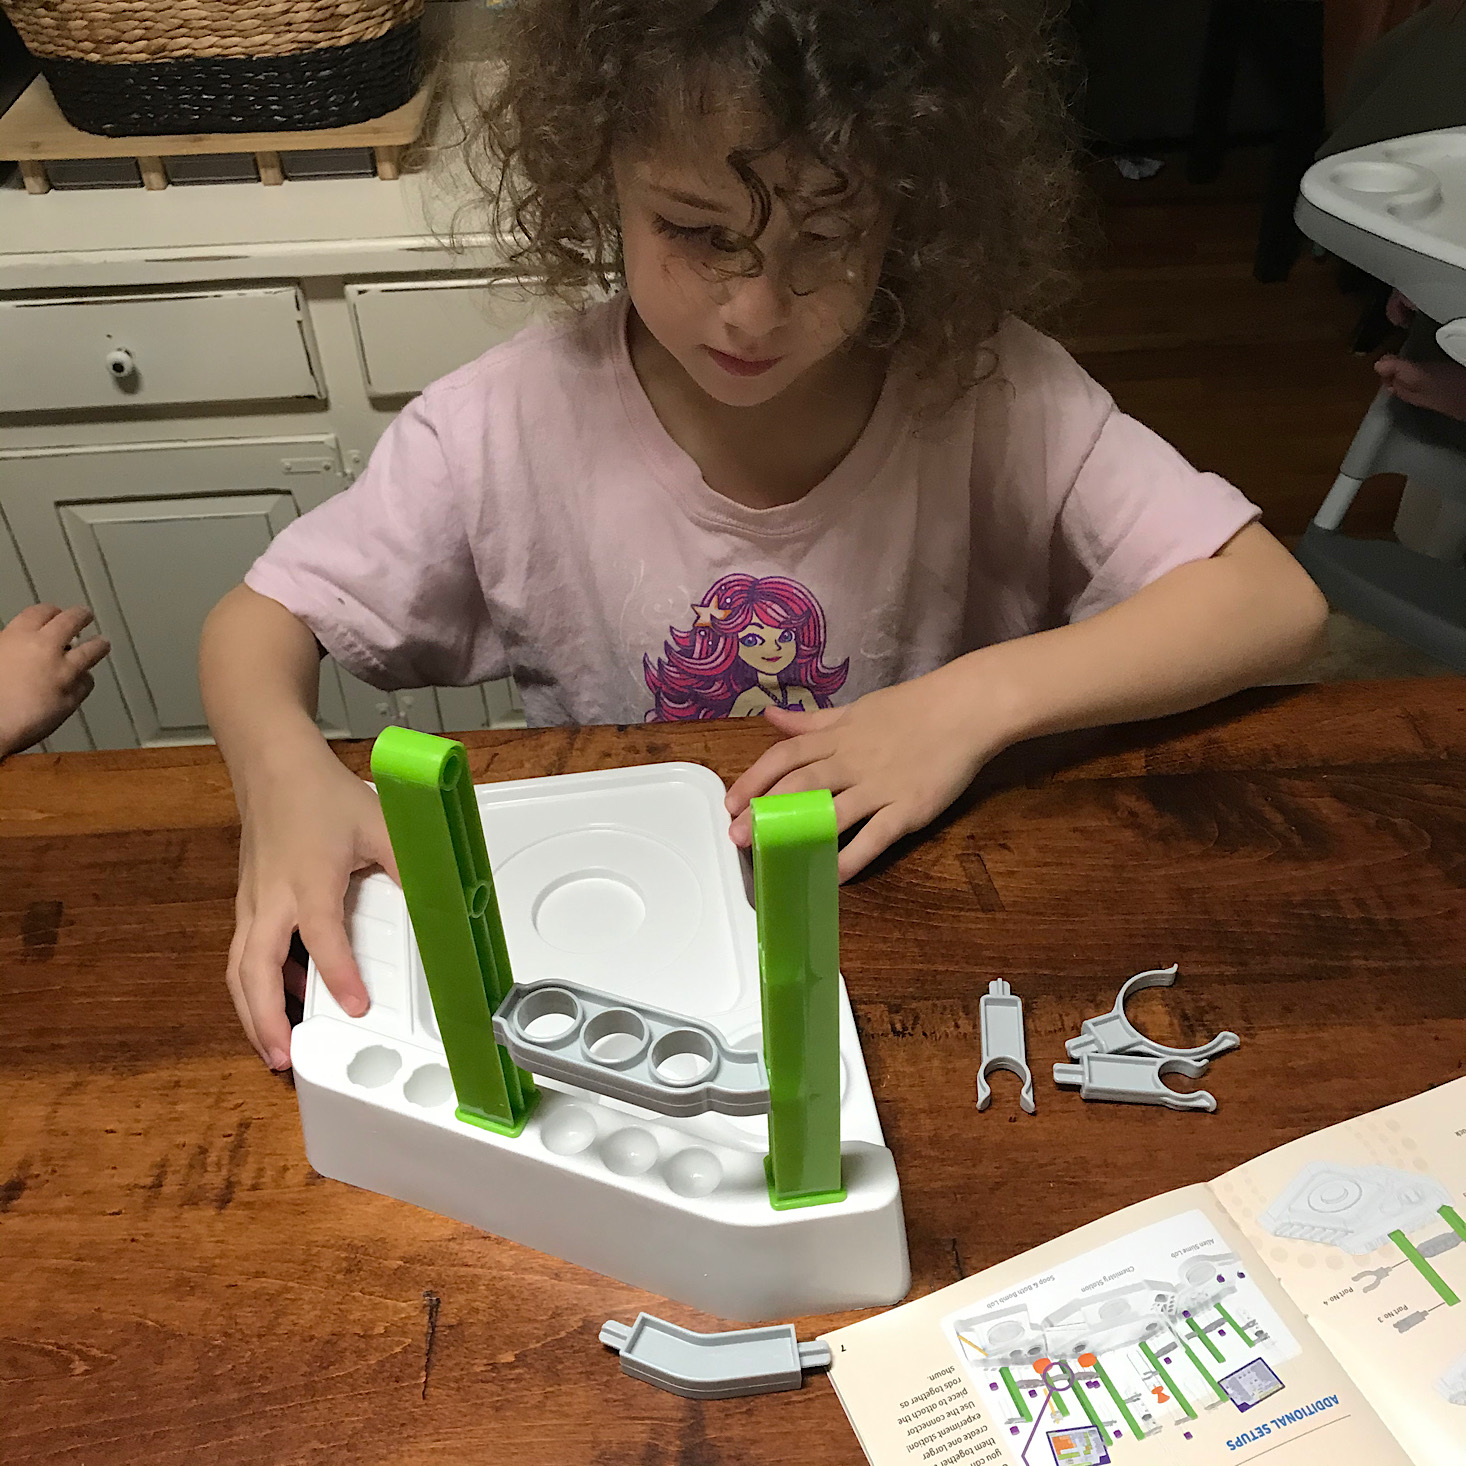
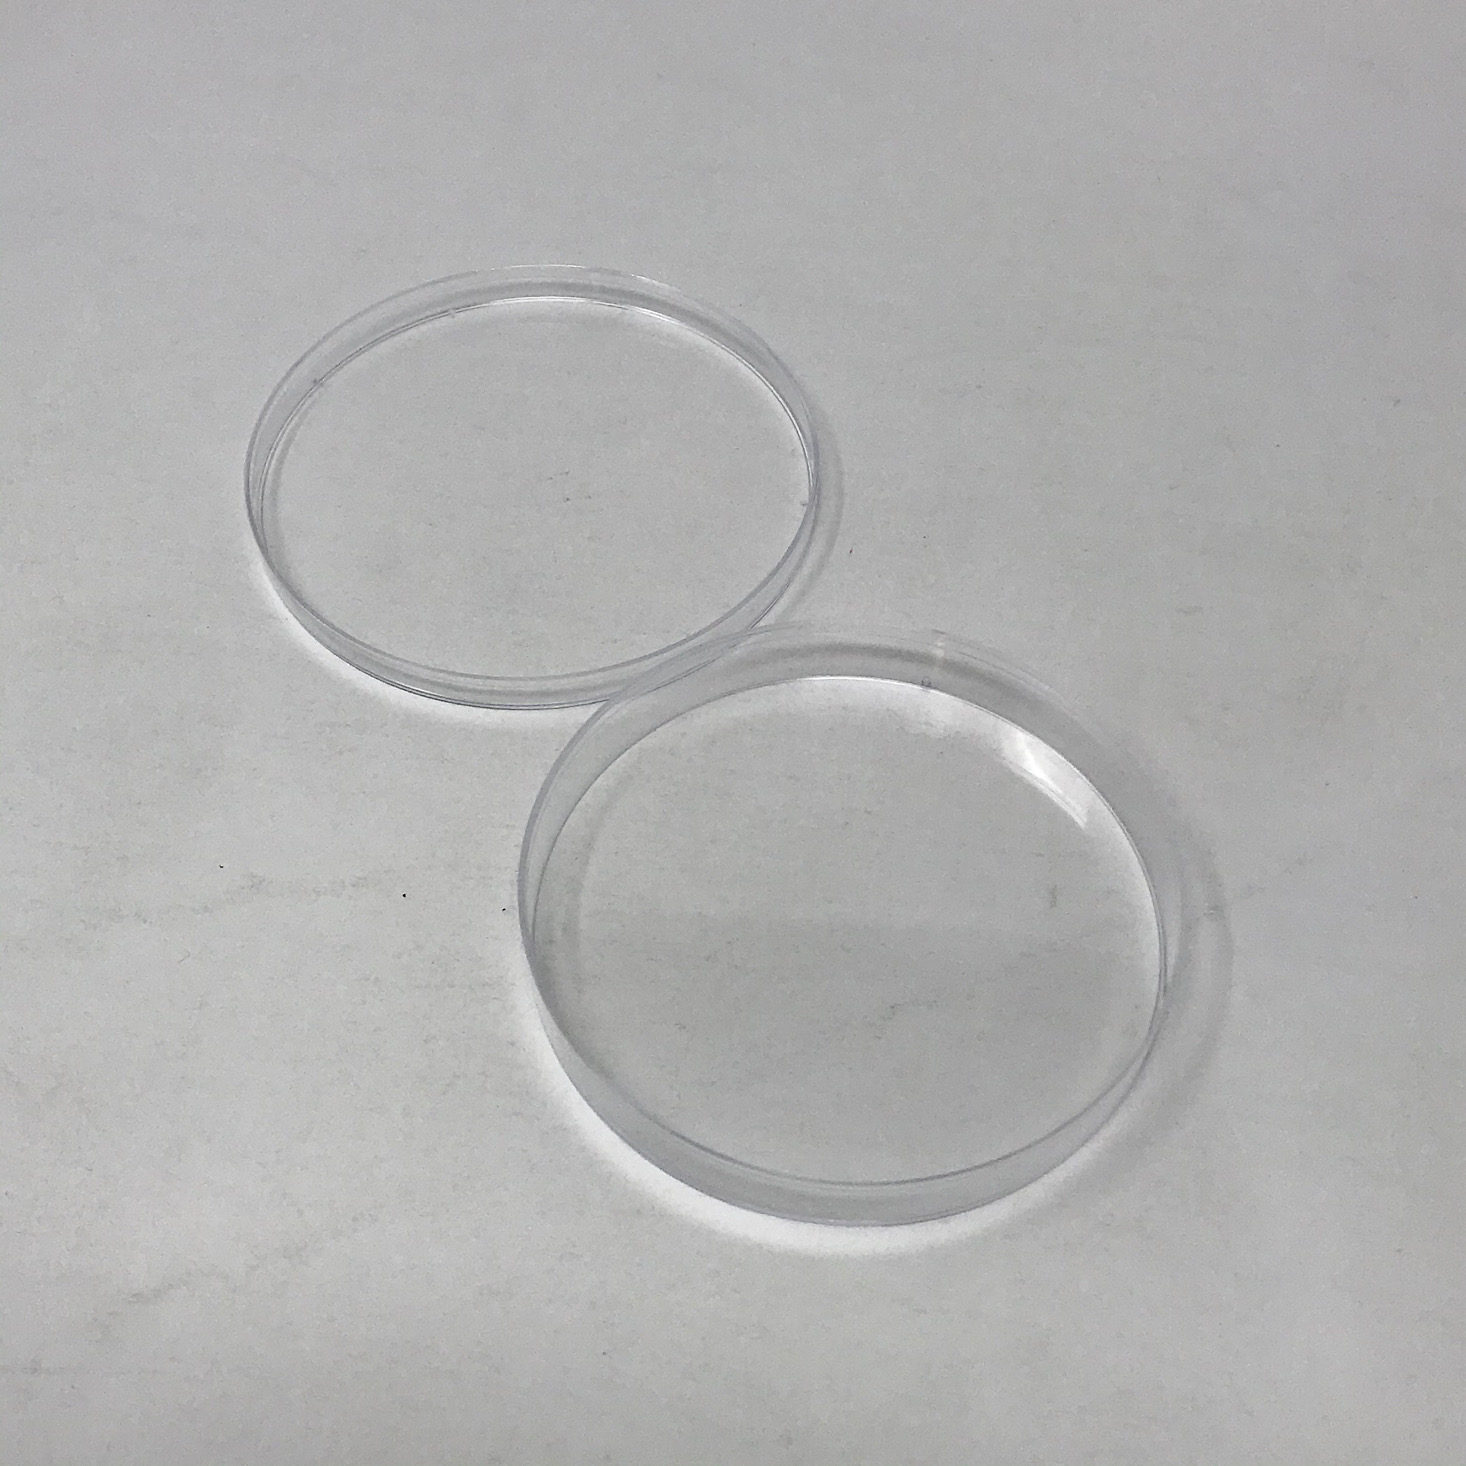
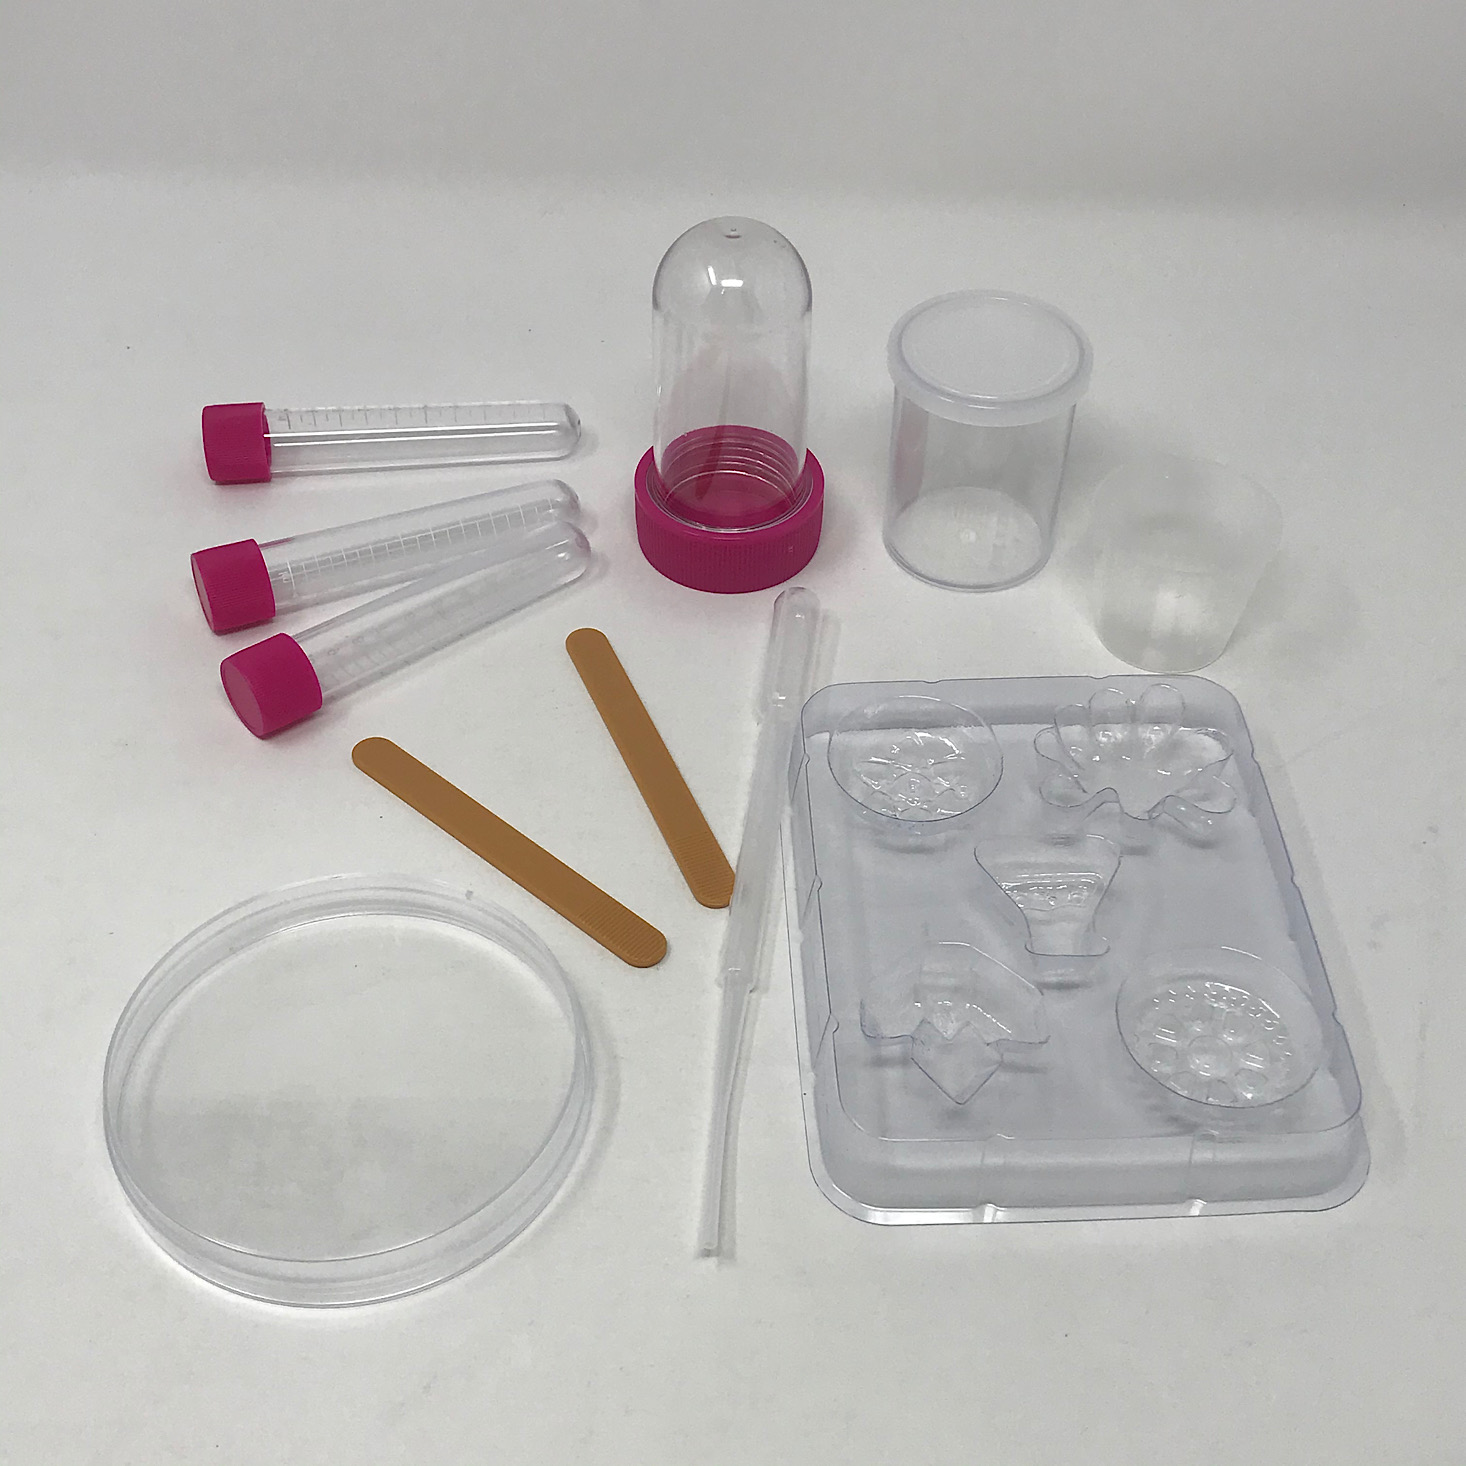
They provided several pieces that could be placed throughout the base such as some different sized test tubes with lids, a measuring cup, and a beaker with a lid. They also provided a pipette and a petri dish with a lid.

1 of 3

I had my son consult the diagram to see where to place everything and he finished setting it all up for us.

1 of 2
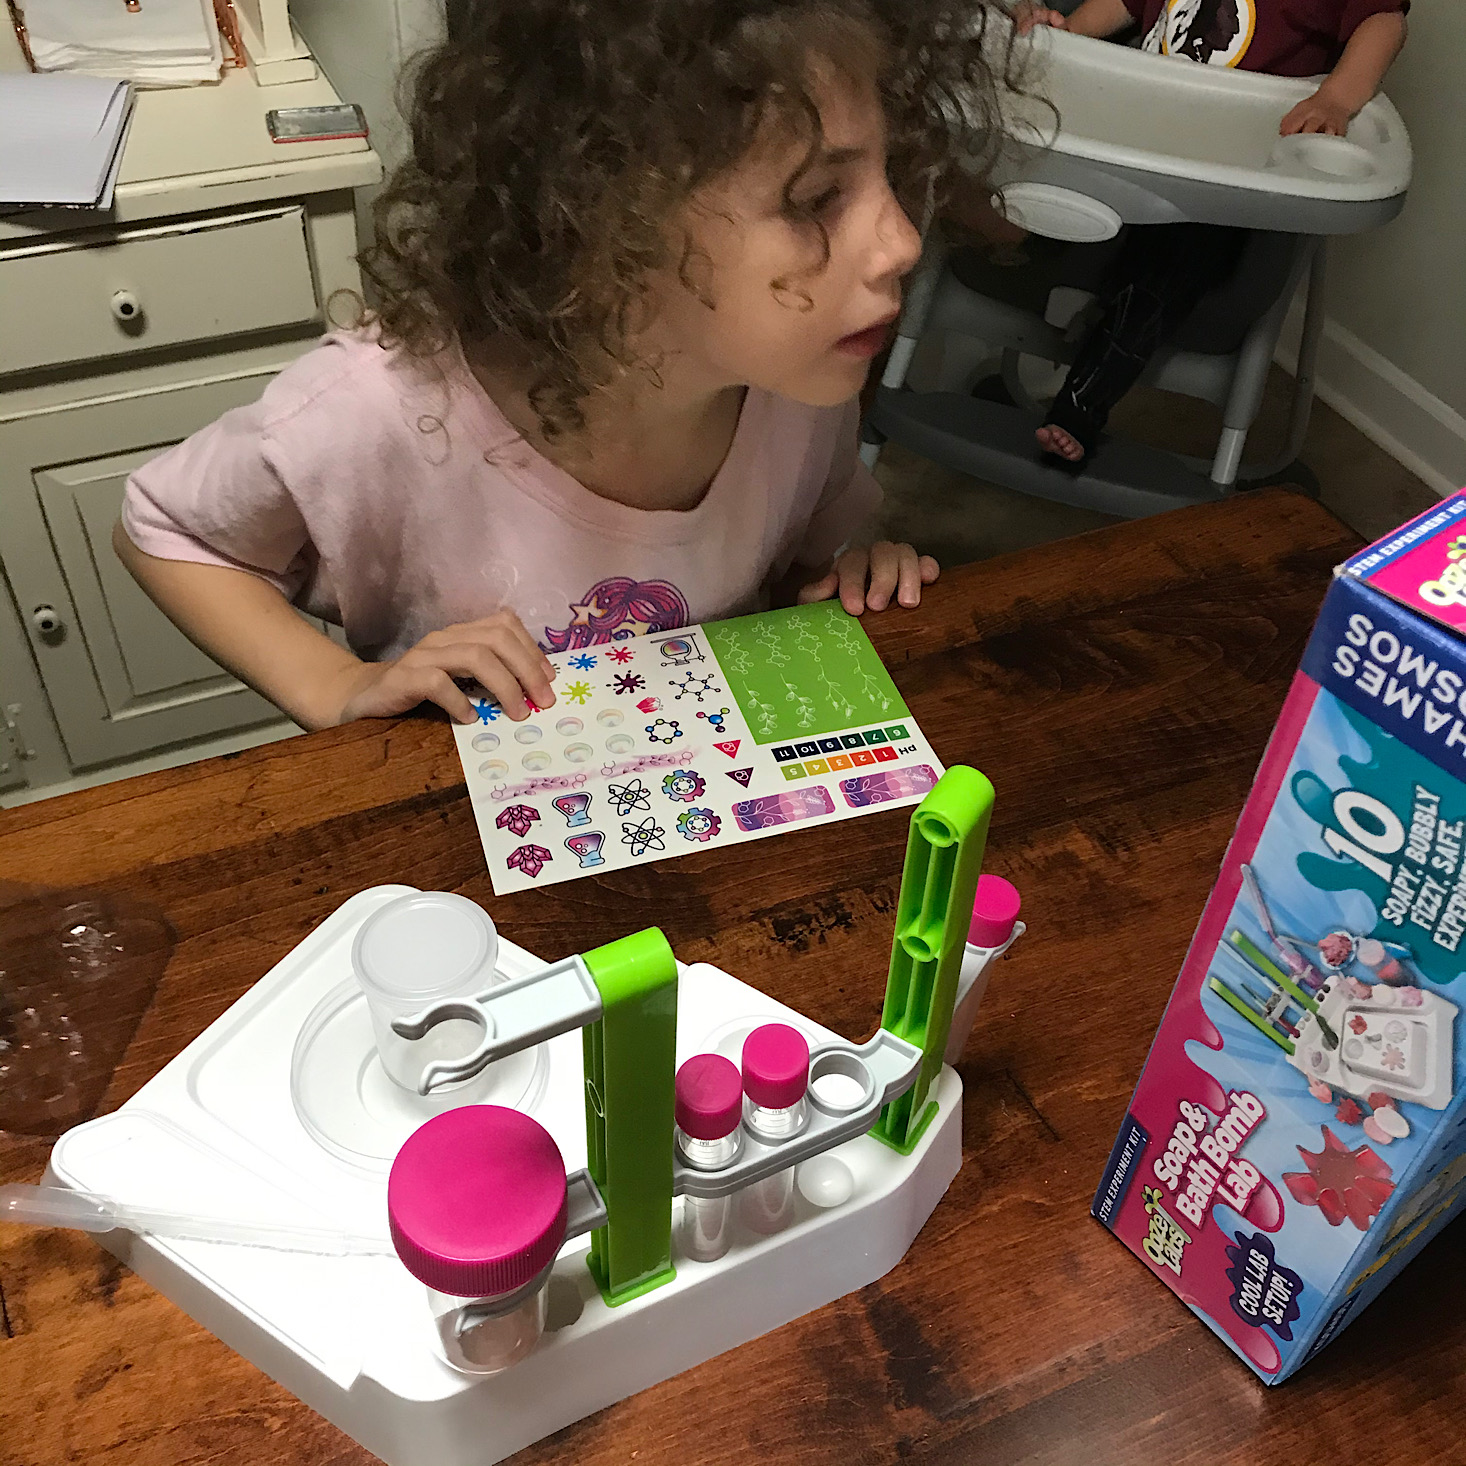
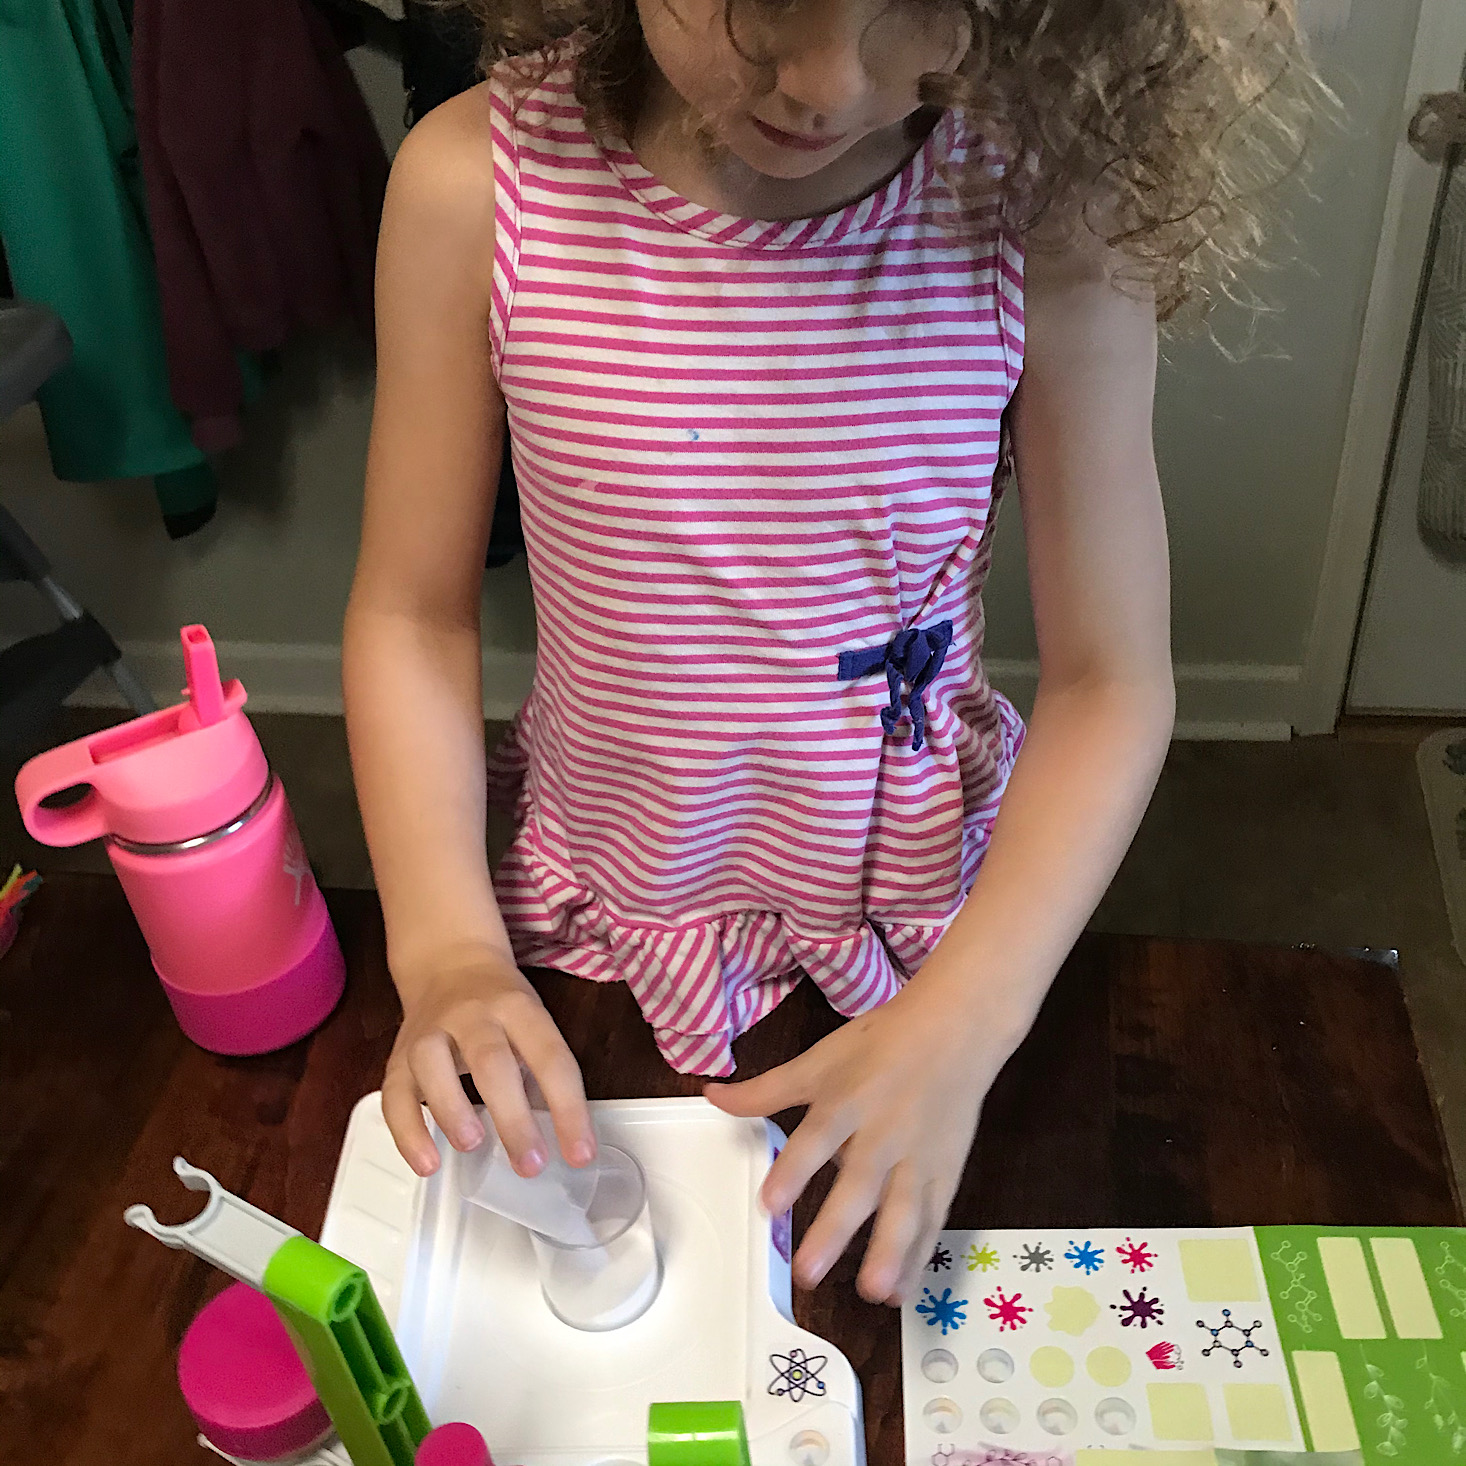
They provided this great sheet of stickers for us to add to our lab to make it feel complete. My daughter enjoyed placing them for us, but I just wish that there was a diagram for this part! Instead, she had to consult the photo on the box to see where they might go and a lot of them weren't actually pictured. I think both of us would have preferred a bit more guidance for this part, although others might prefer the freedom to make it their own!
1 of 2
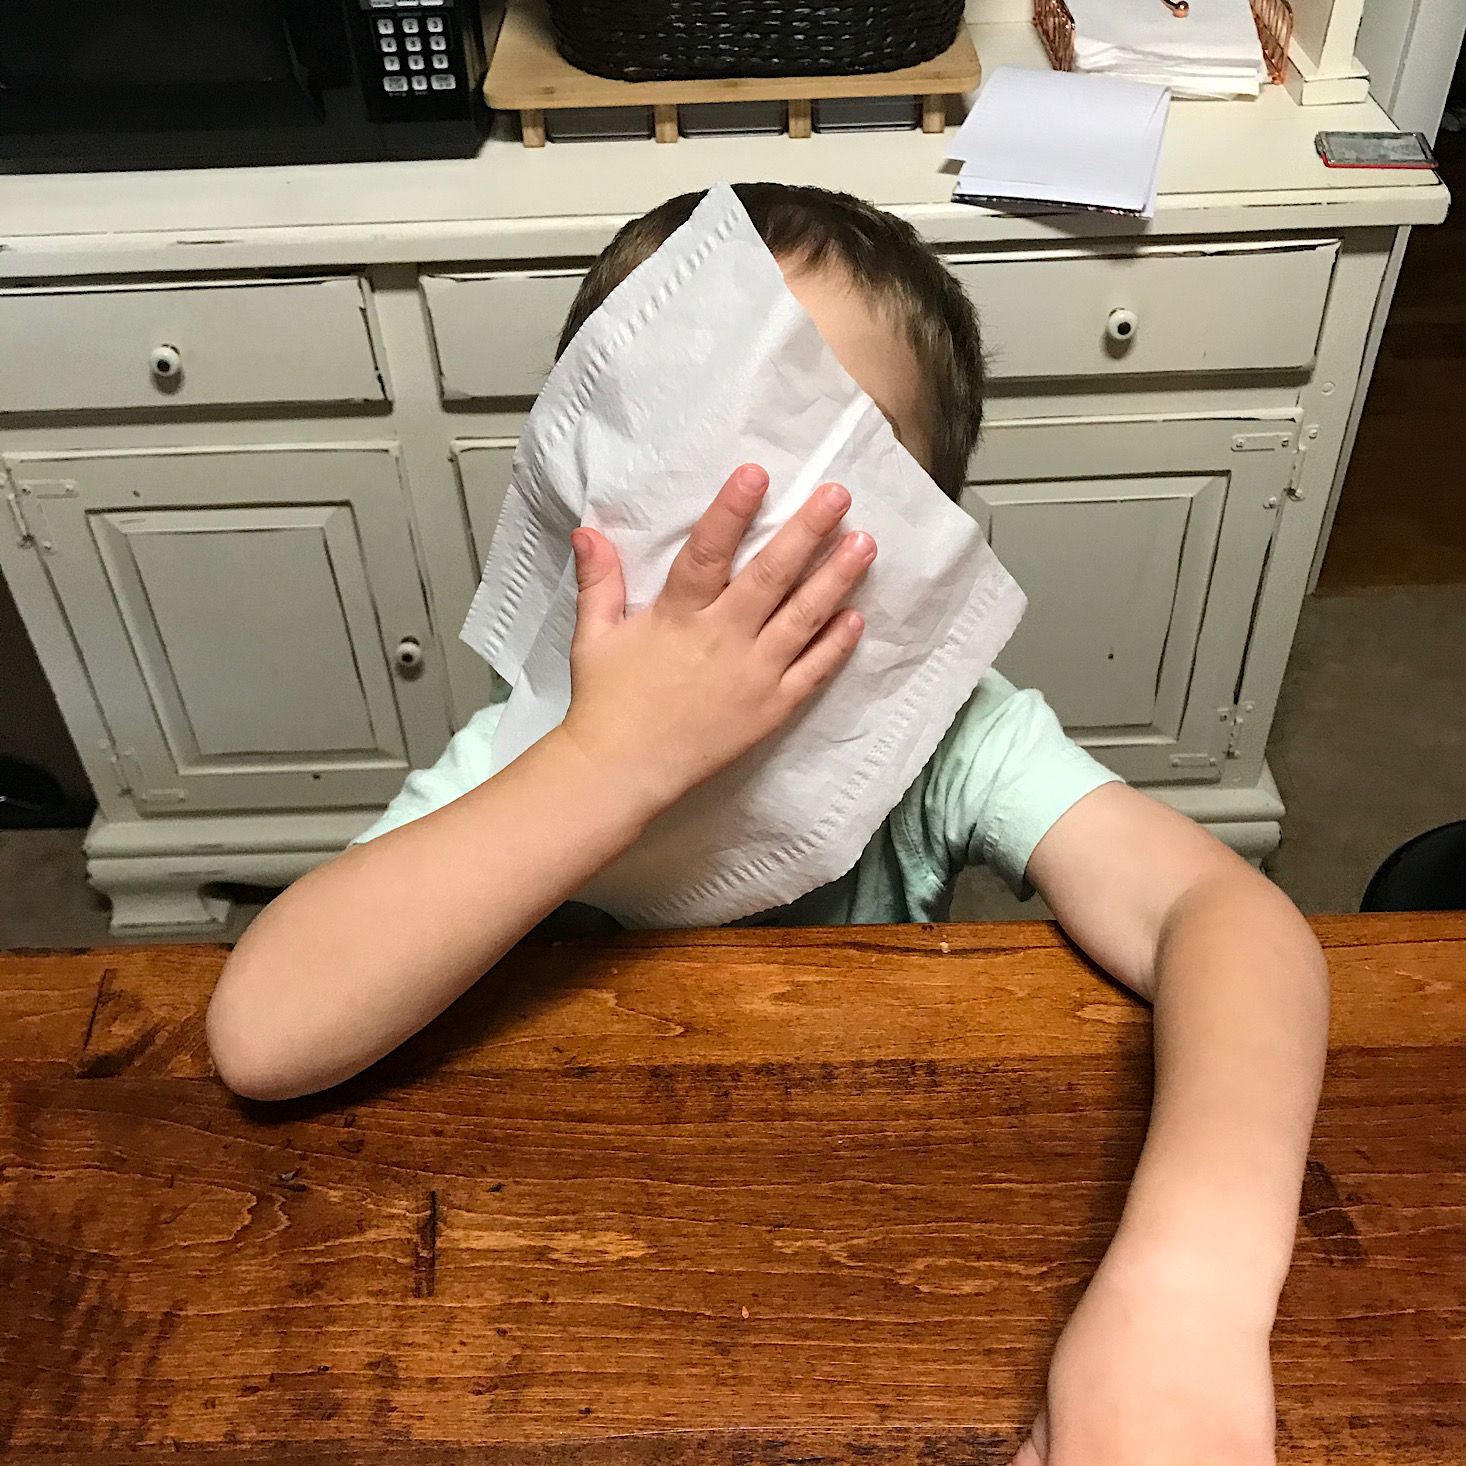
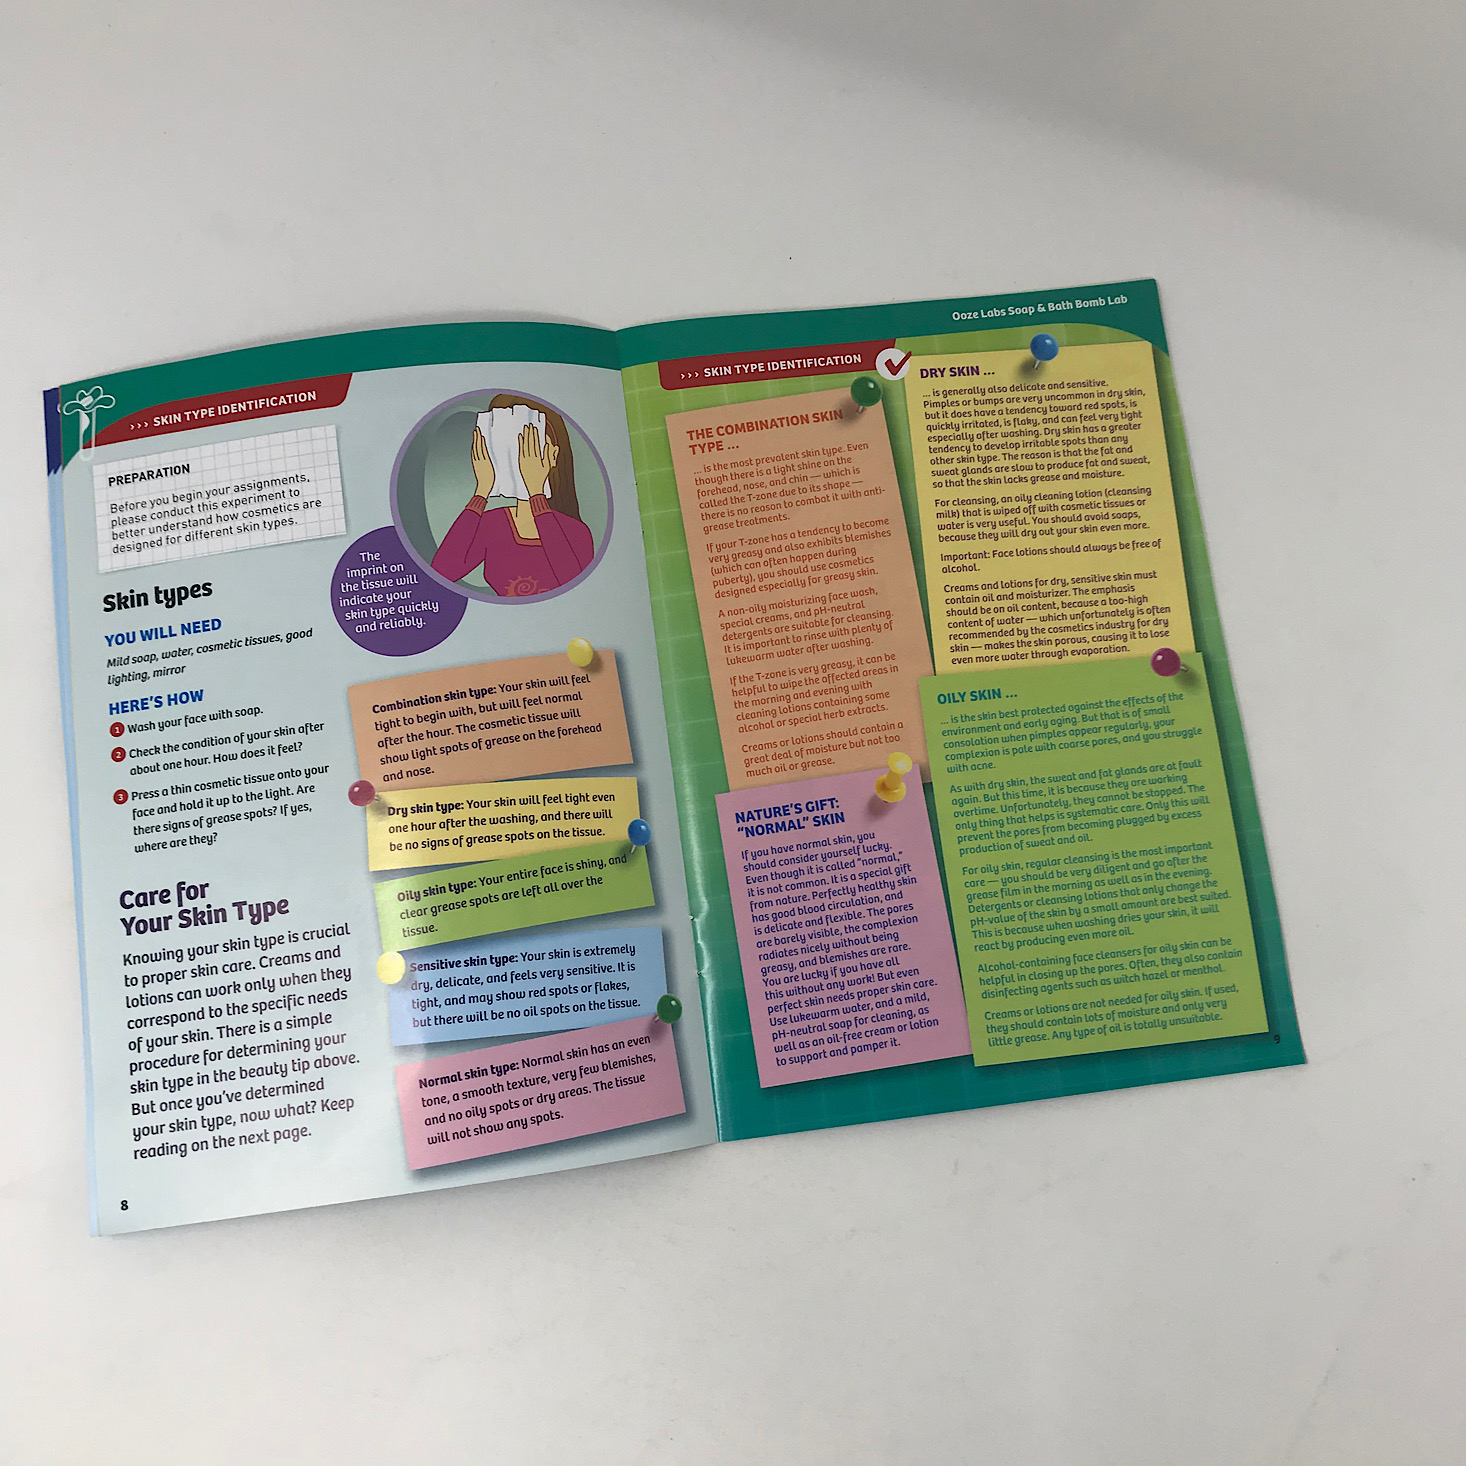
Before we began any experiments, we read some detailed information about different skin types. They provided a method for us to figure out our skin type by placing a tissue on our face after washing it. While we didn't get to wash our faces, I did have my son test out the tissue method! They also provided a lot of helpful information on how to care for your skin type, which I thought was actually kind of a cool thing to teach kids and it had a lot of relevance to our experiments!
Experiment 2: Oil and Water

1 of 5
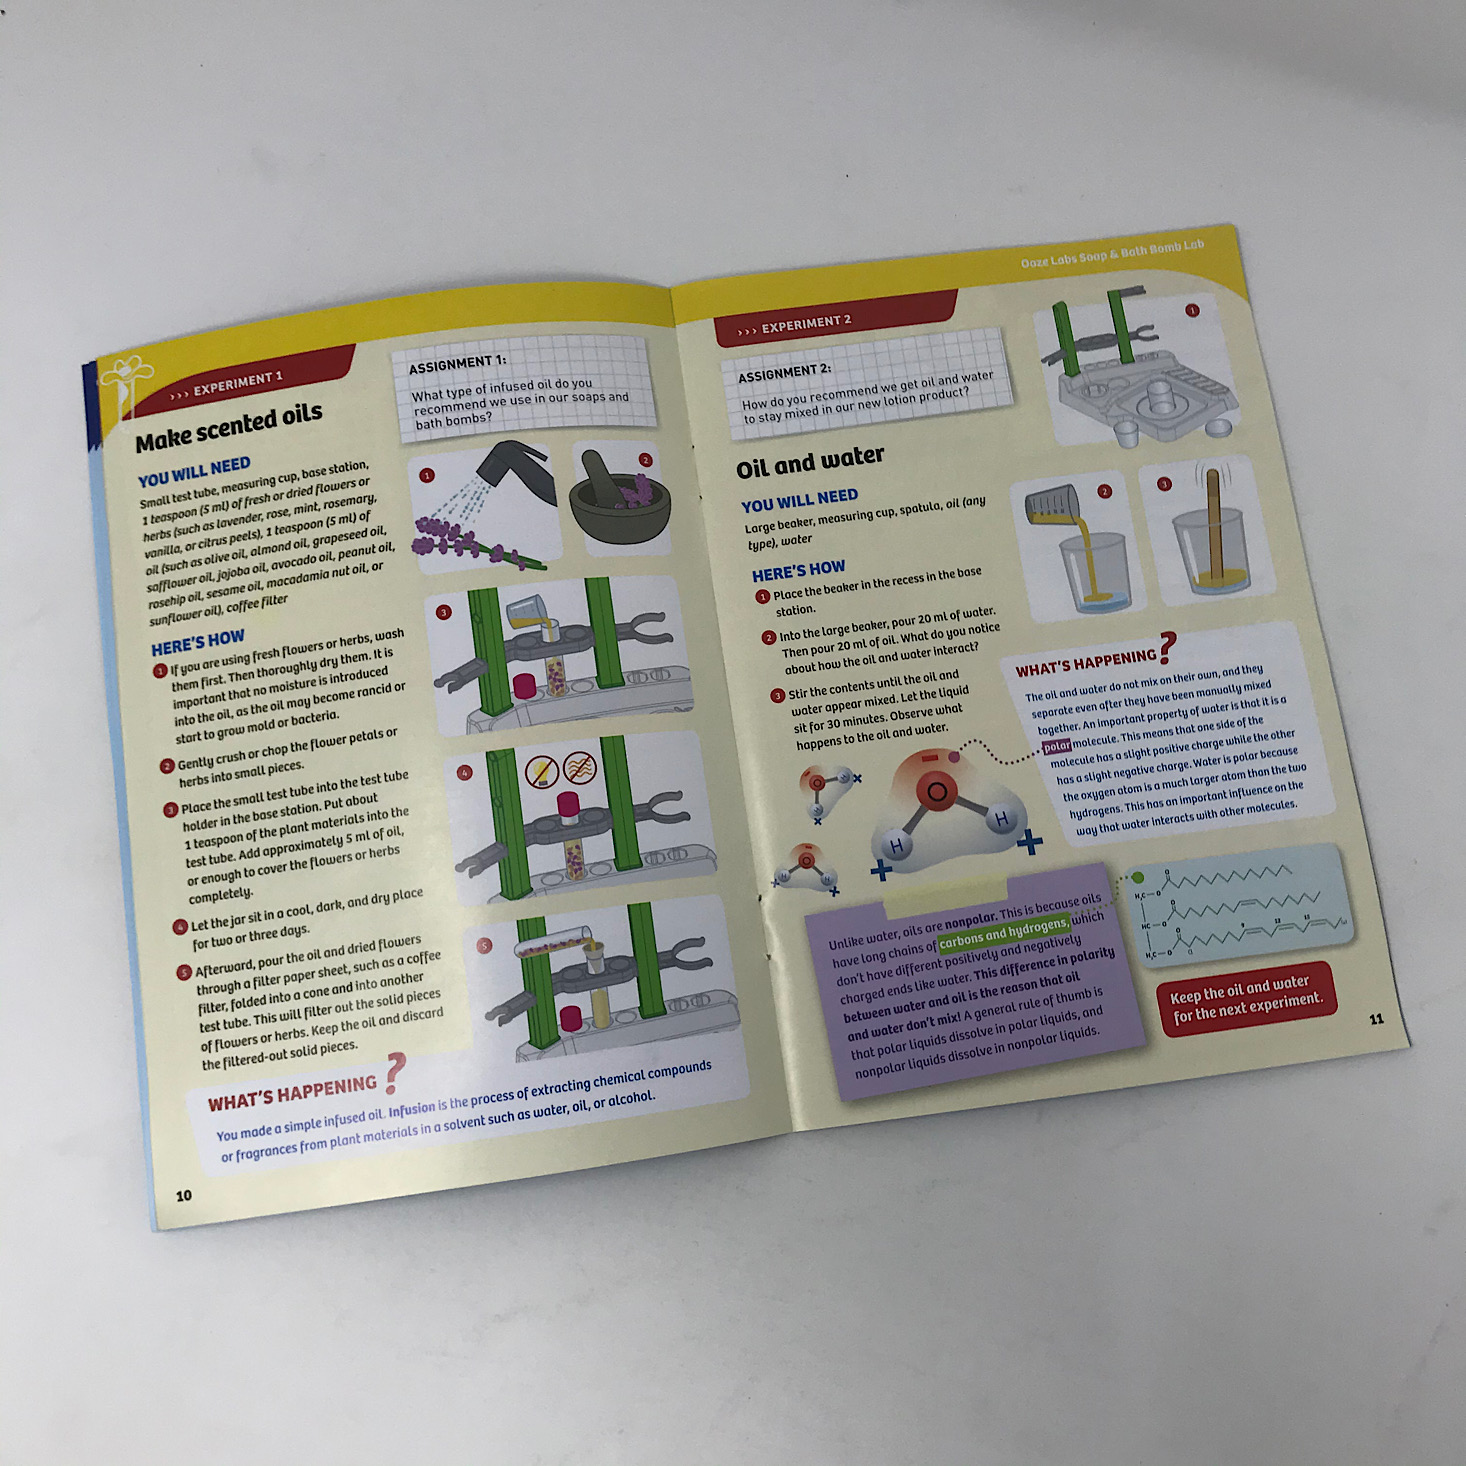
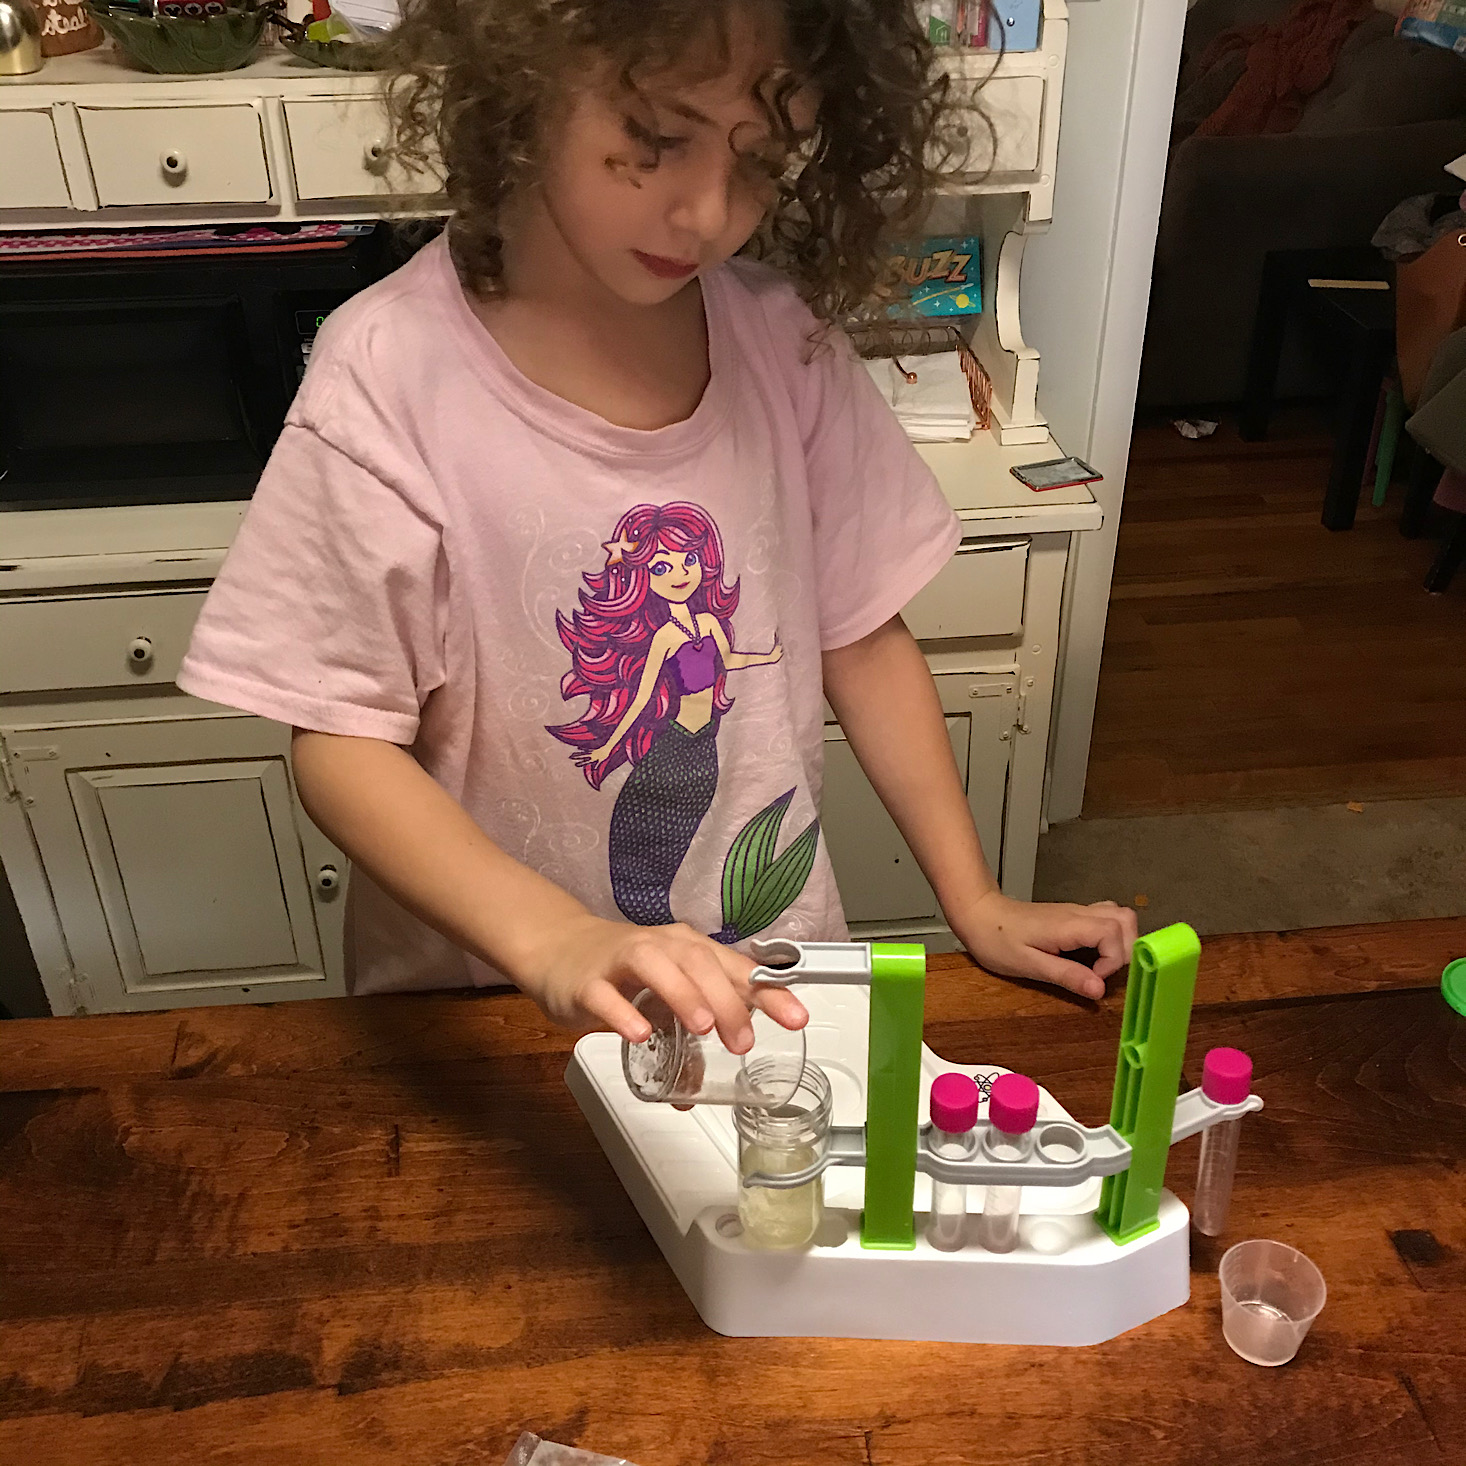
There were 10 experiments in this box and we got through most of them, although the first one was to make scented oils using fresh or dried flowers or herbs. In retrospect, I guess I could have used some kitchen herbs for this one, but I think this would be more fun with some fresh flowers! Instead, we started with experiment two. We simply added equal parts water and oil to our beaker after measuring it with the measuring cup.
1 of 3

Next, my son used one of the sticks they provided to stir the two and try to combine them. My daughter offered to lend him a hand and held the cup for him (and my mommy heart melted into a puddle) and then we let it sit for about 30 minutes. When we came back to it, we could see that the oil and water had separated despite the fact that we had mixed them up. They provided a few blurbs about what was happening and how oils are nonpolar.
Experiment 3: Emulsions
1 of 3
Our next experiment built upon that oil and water we had mixed up. We poured the mixture into the large test tube and then used the pipette to add a few drops of dish soap. Then we put the lid on and shook it all up until they were mixed. We set it aside for another 30 minutes. When we came back we noticed that they stayed mixed and learned that it was because the dish soap acted as an emulsifier.
Experiment 4: Make Molded Glycerin Soaps
1 of 2
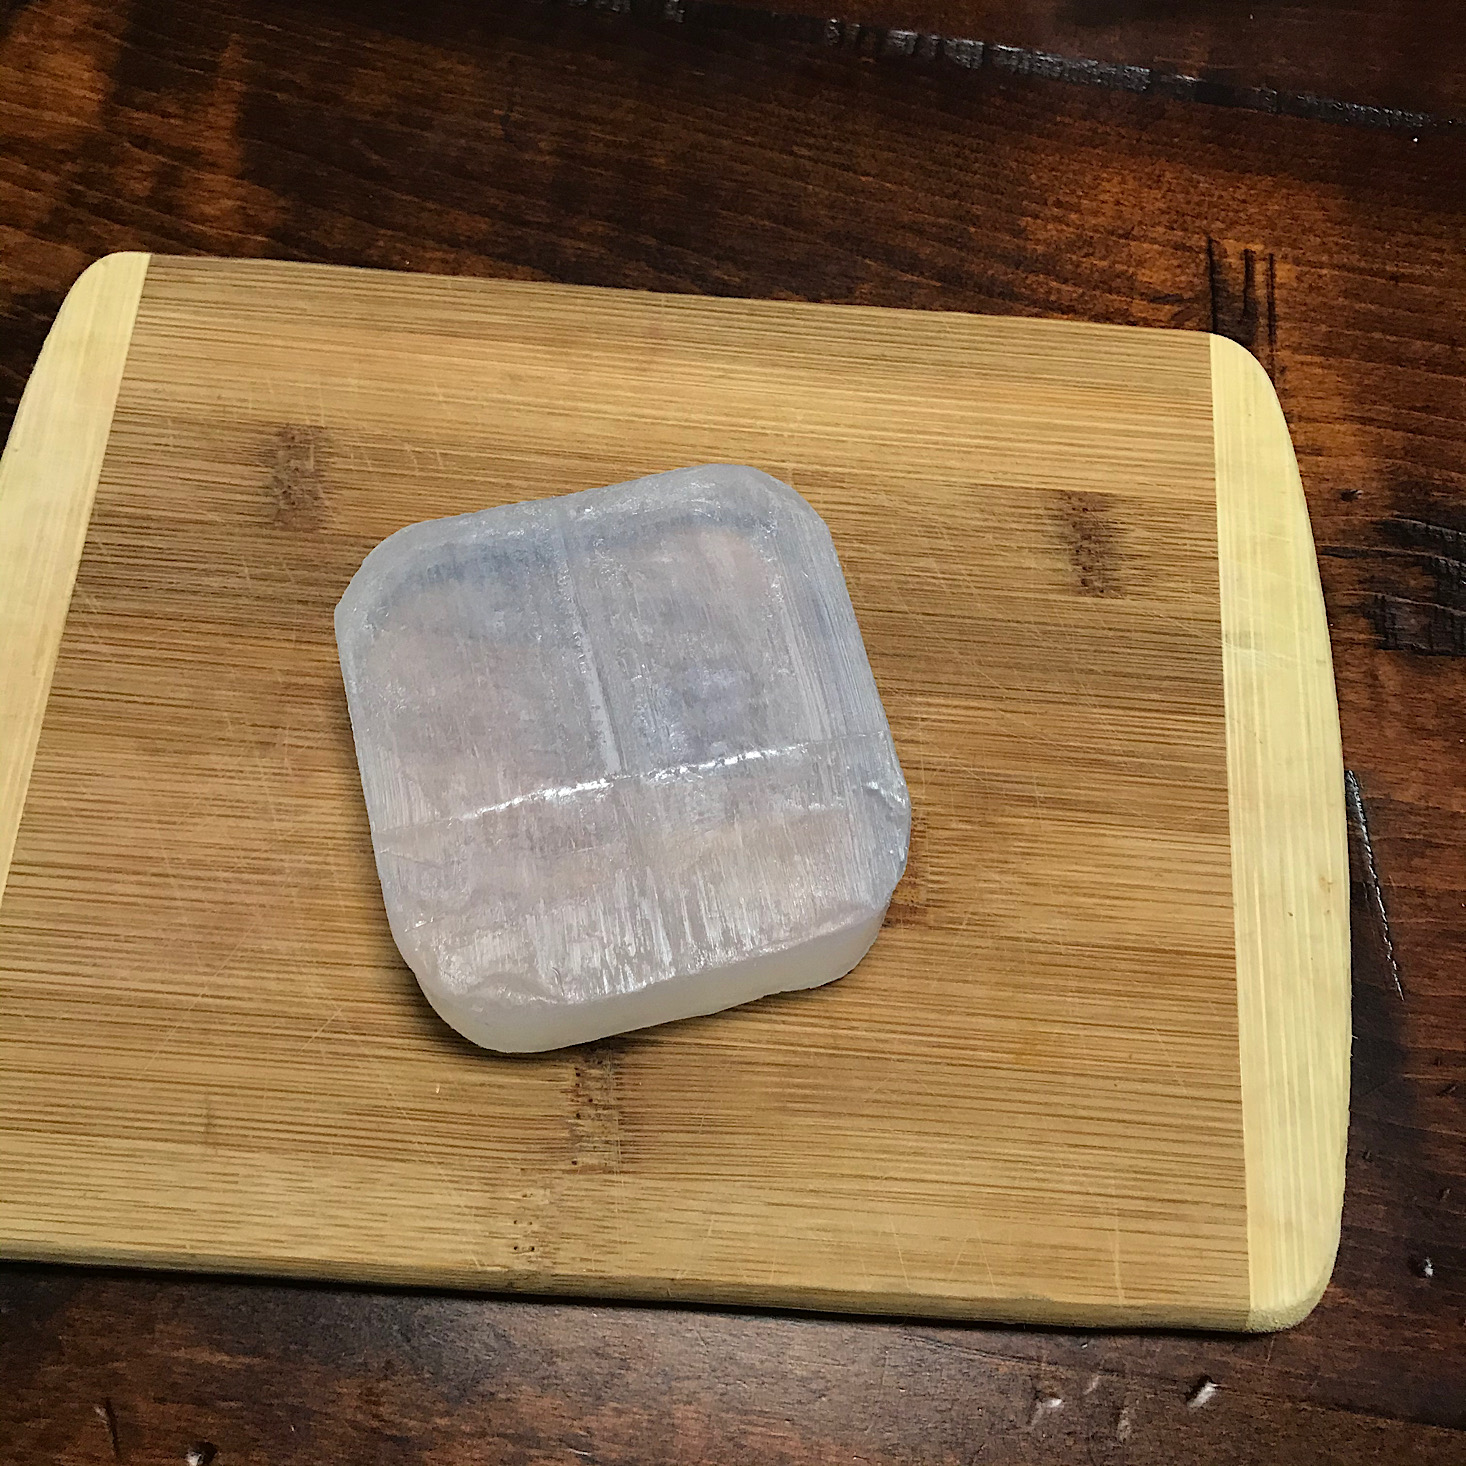
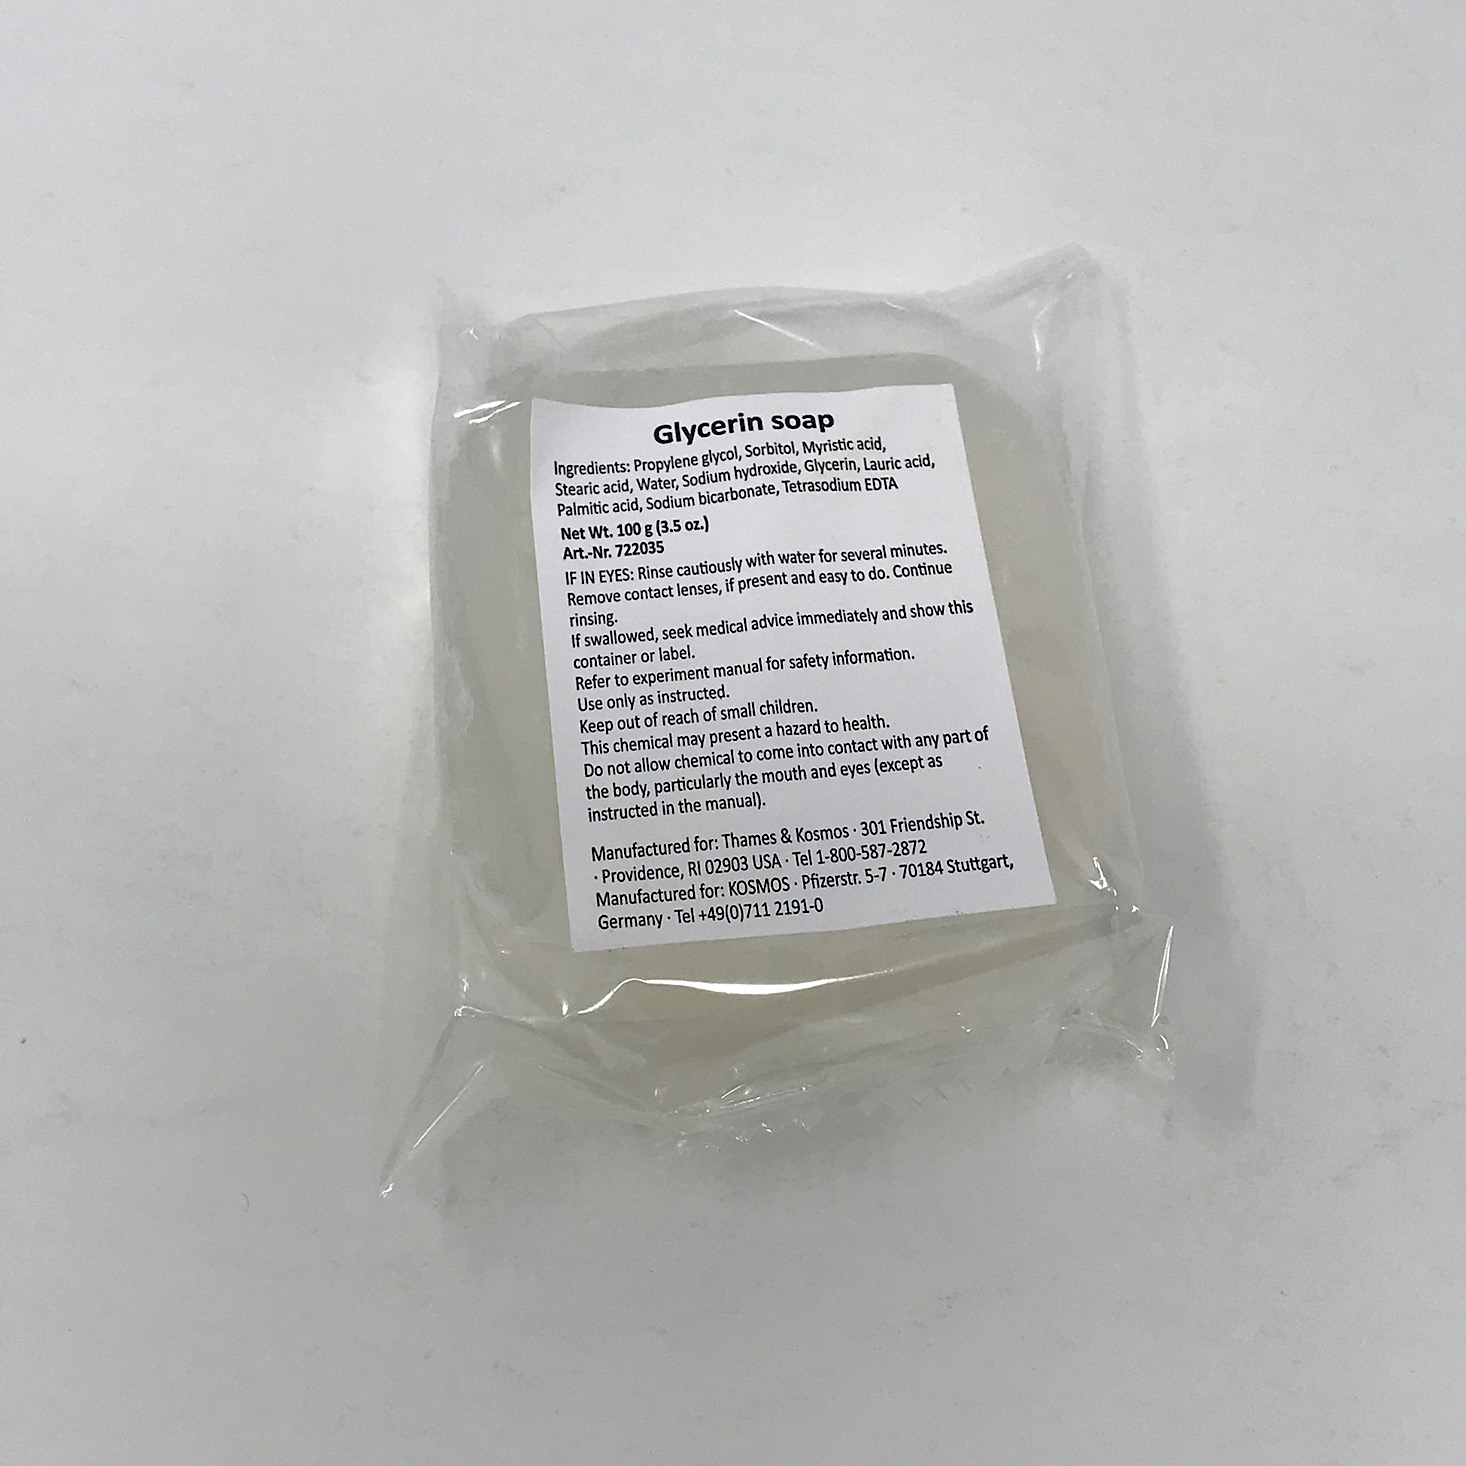
Next, we got to make our own glycerin soap molds. They provided a decent-sized chunk of soap which I cut into four pieces.

1 of 2
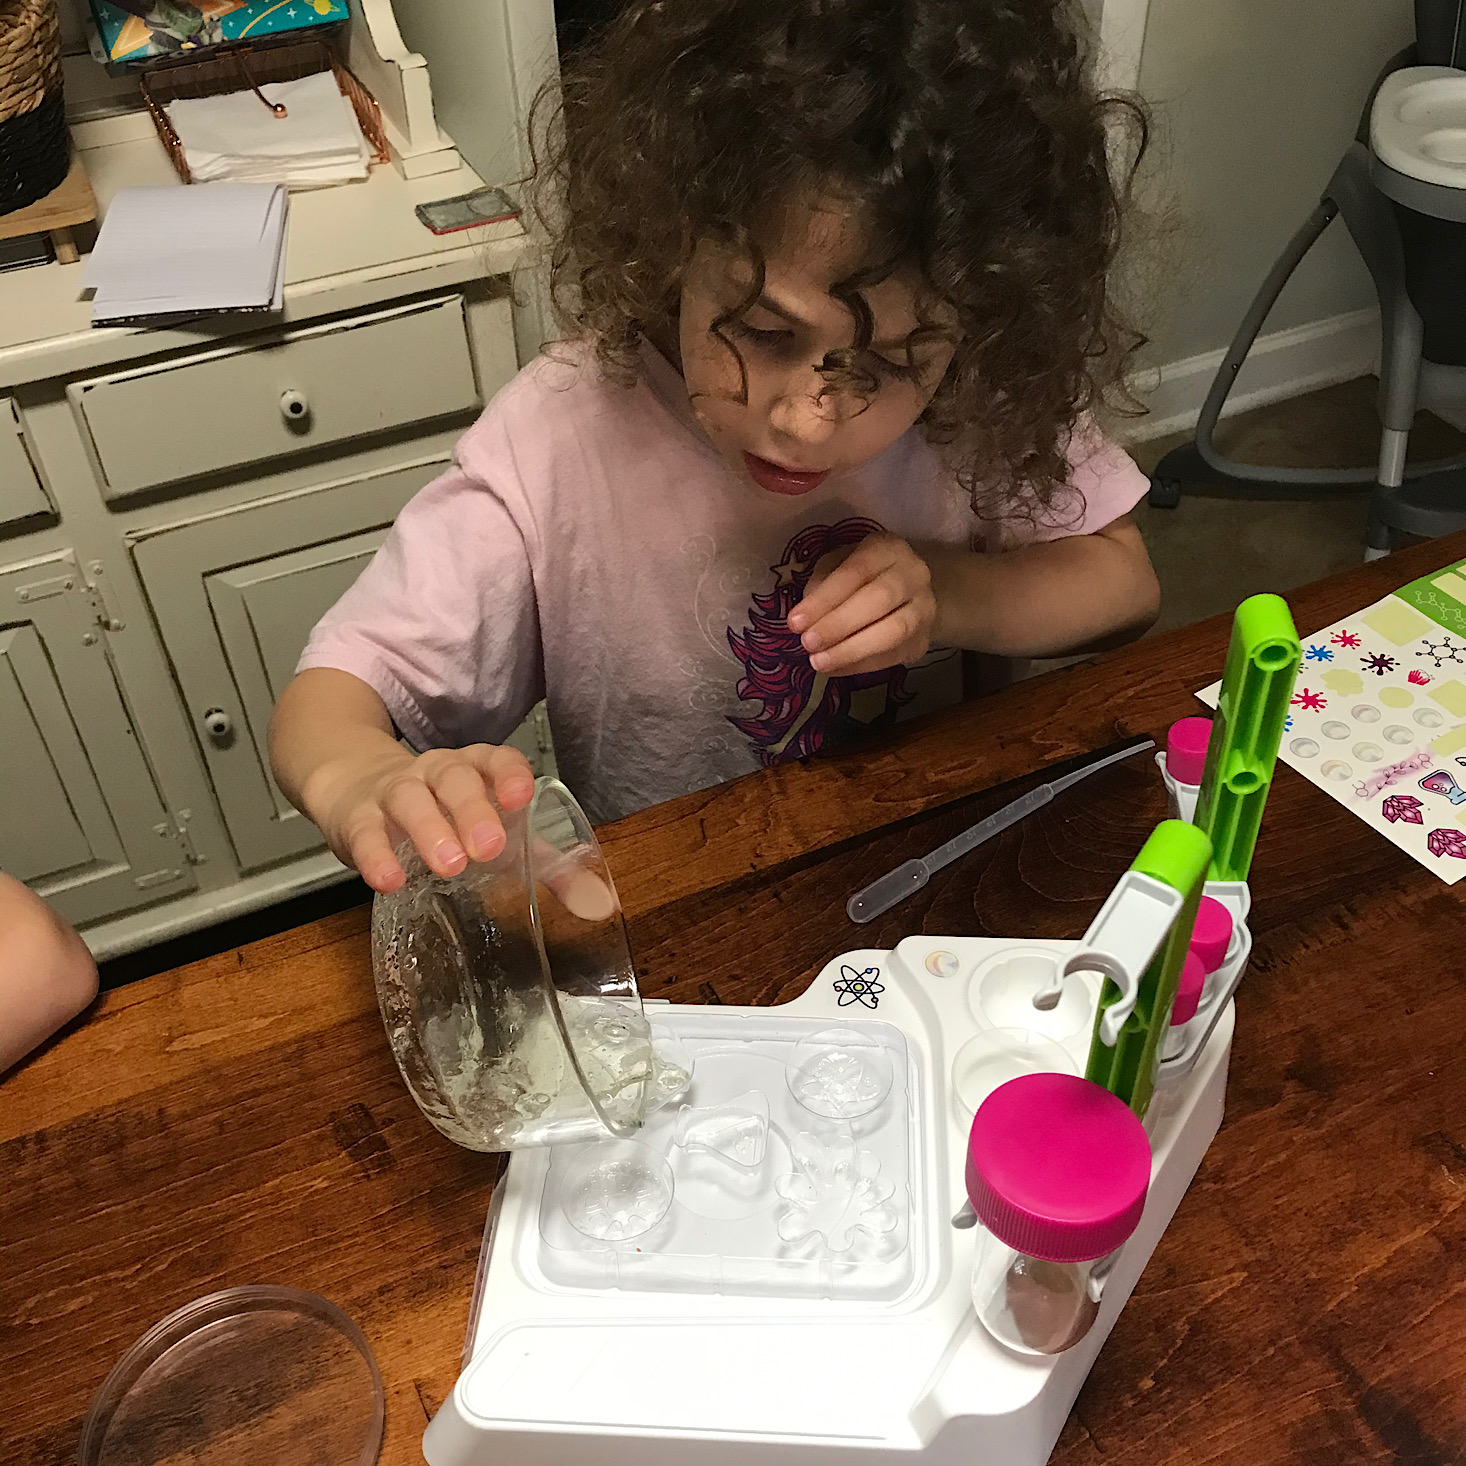
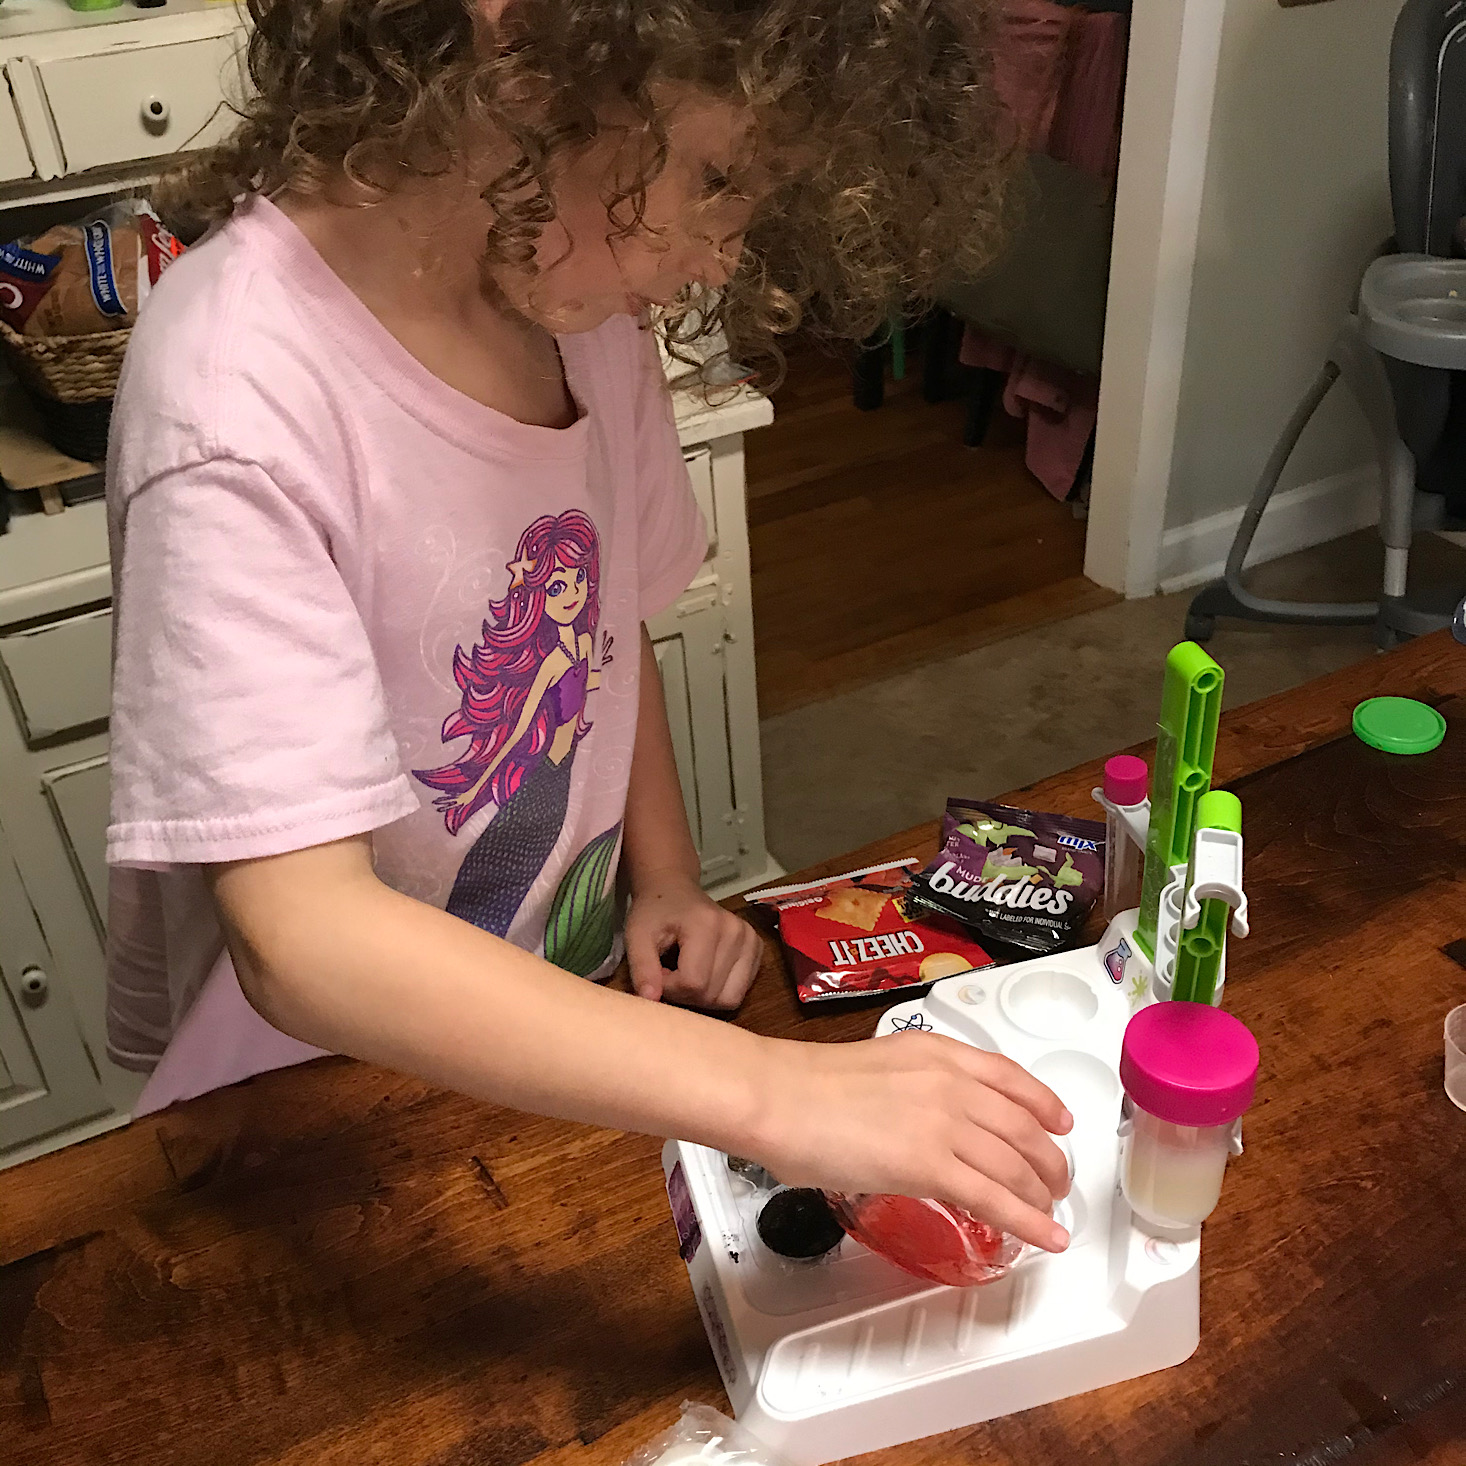
I added one piece to a glass bowl and put it in the microwave. My son stirred it up for us and while we were supposed to use a drop of whatever oil we created in experiment 1, we simply used some essential oil I had on hand instead. Then my daughter poured the melted soap into the molds they provided.
1 of 2
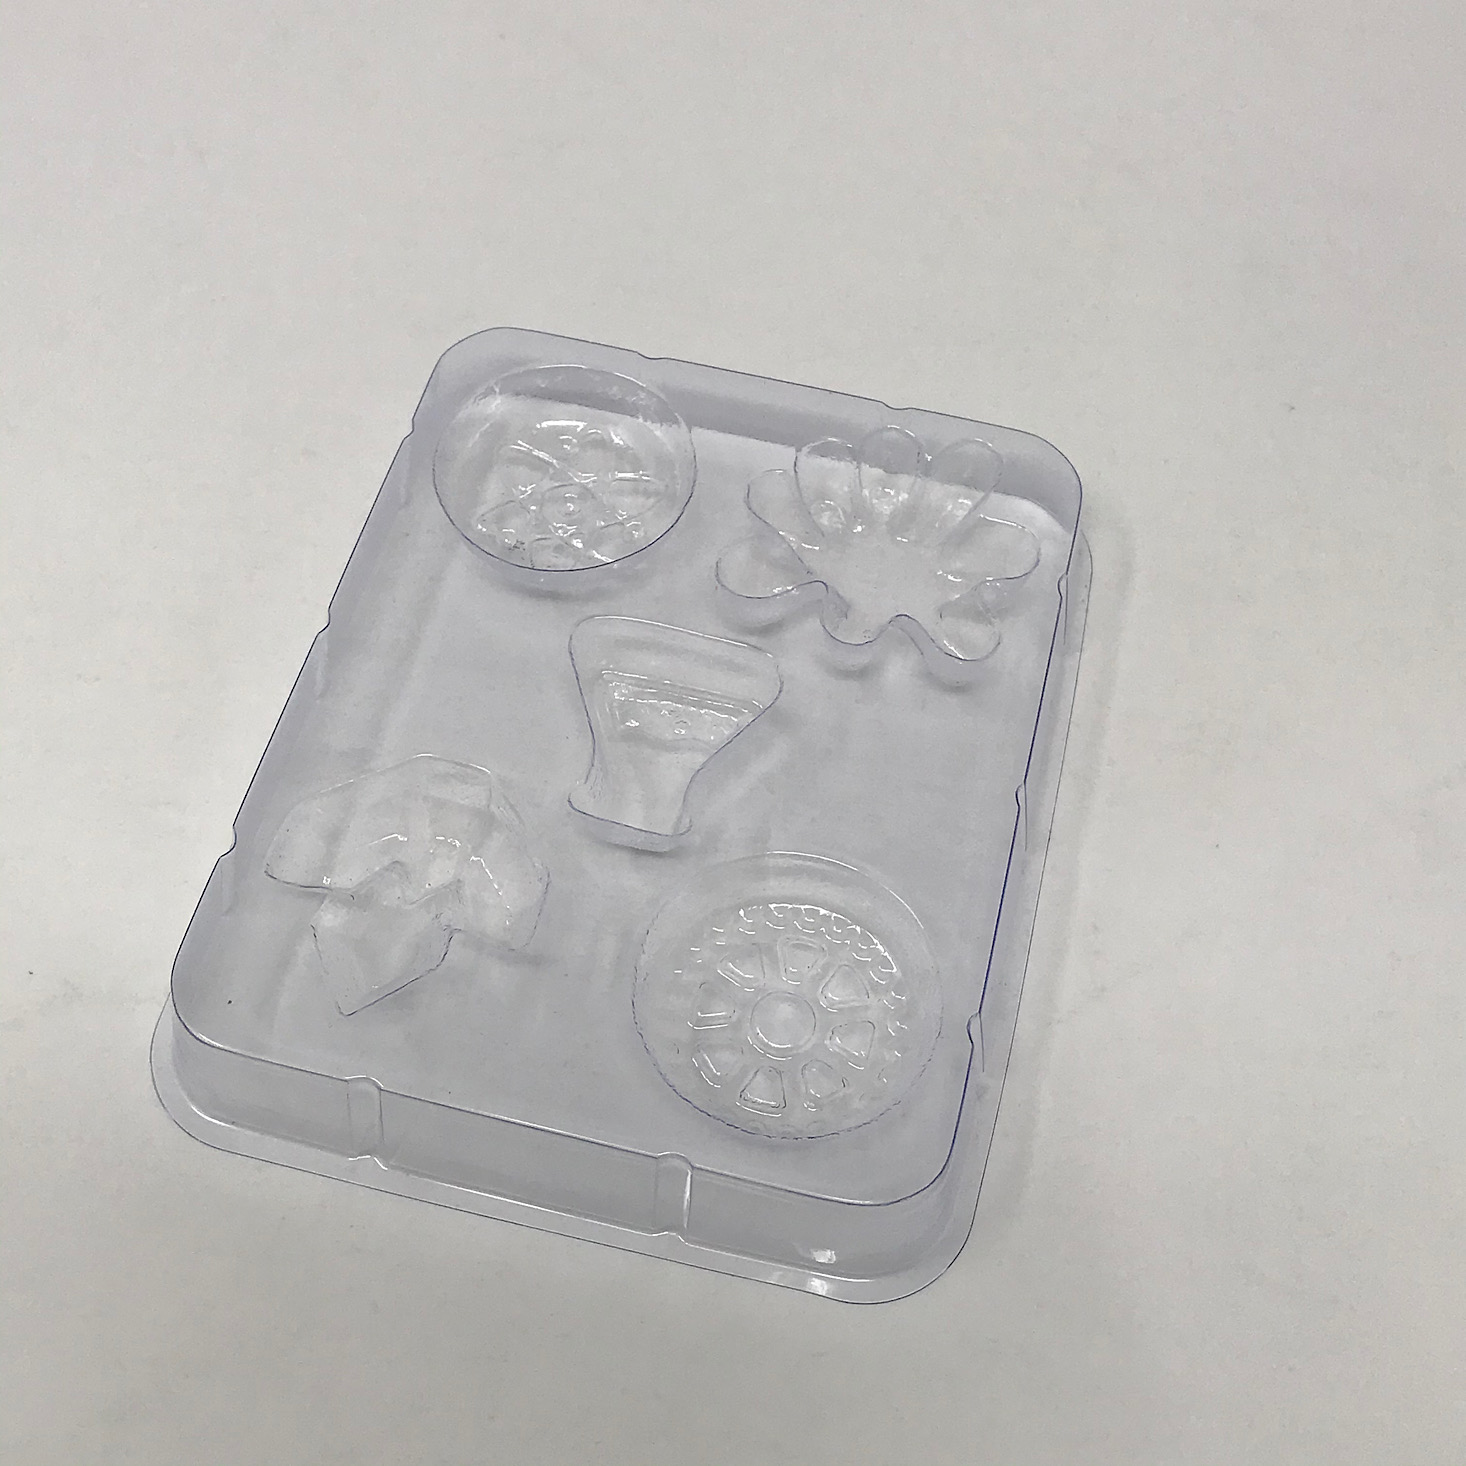
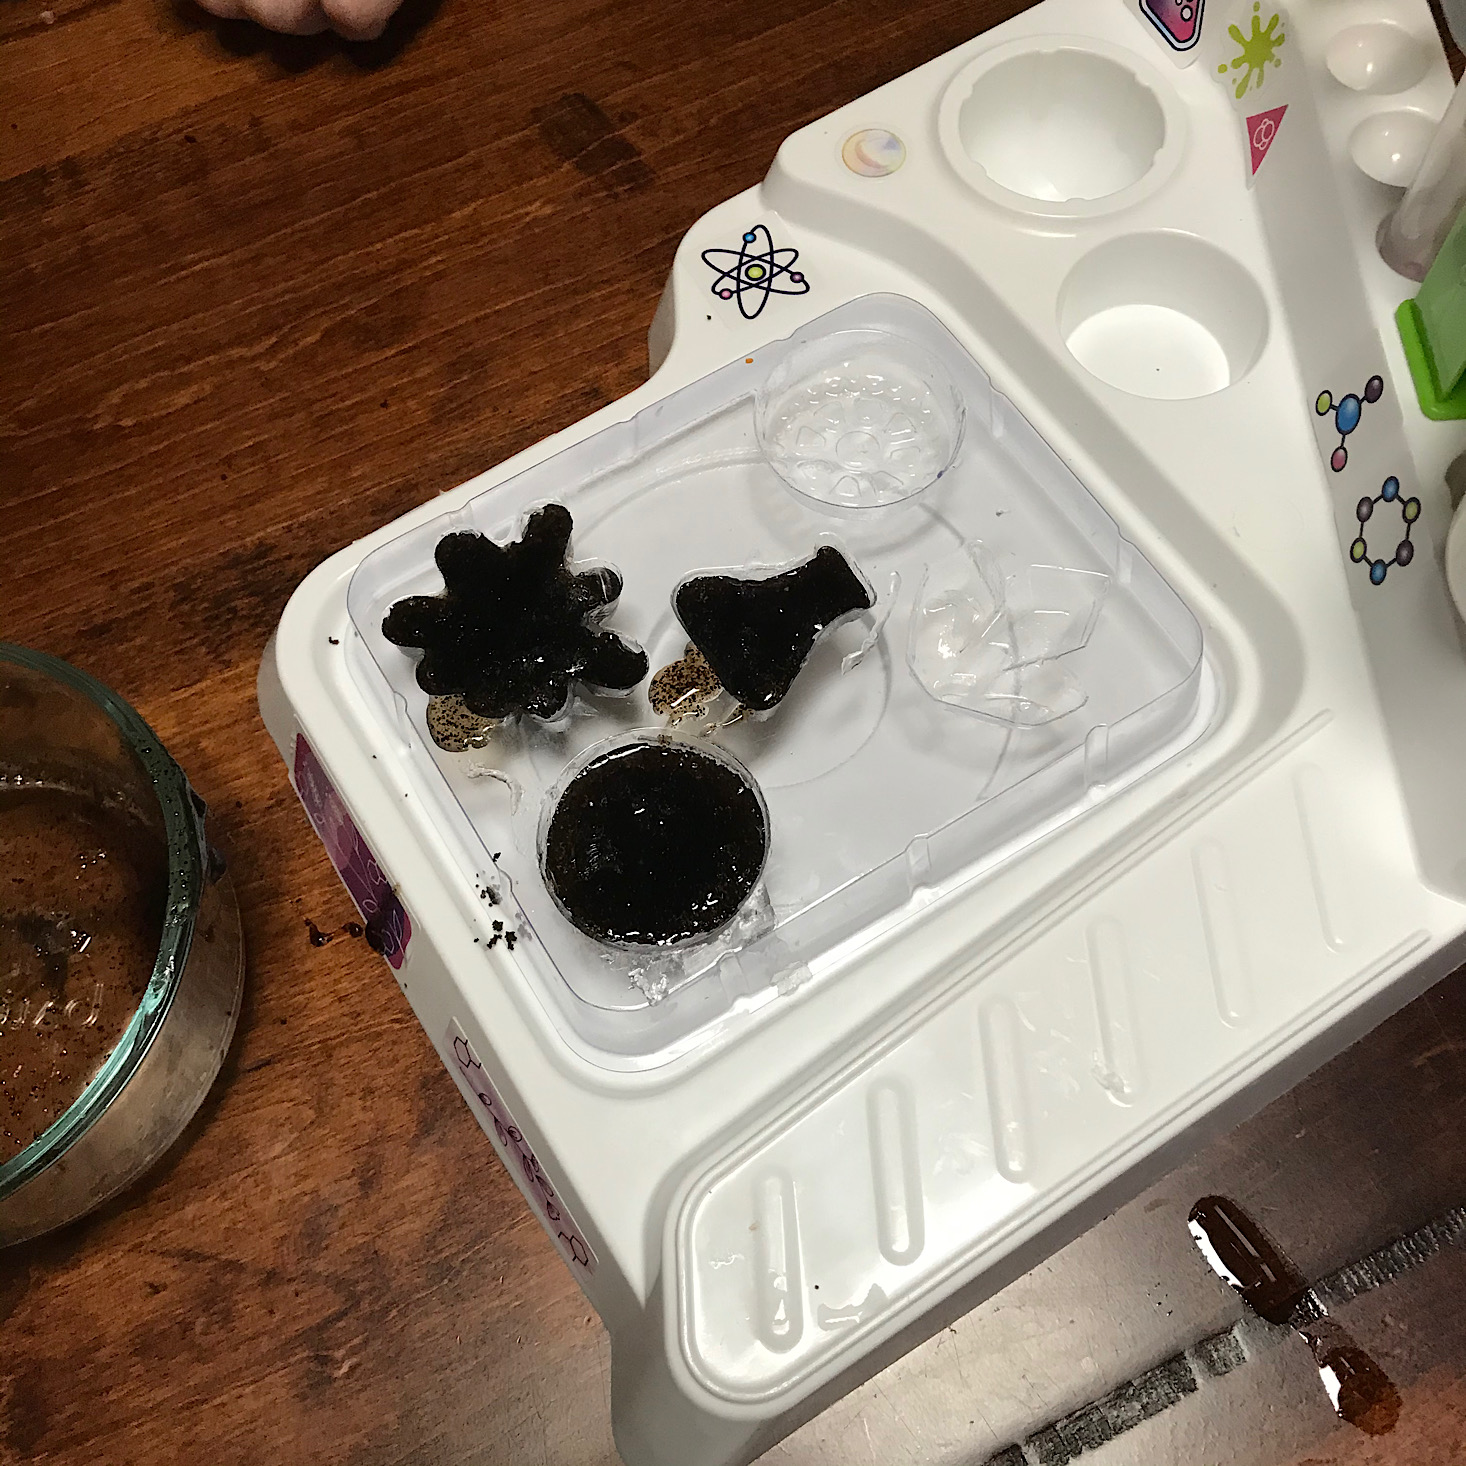
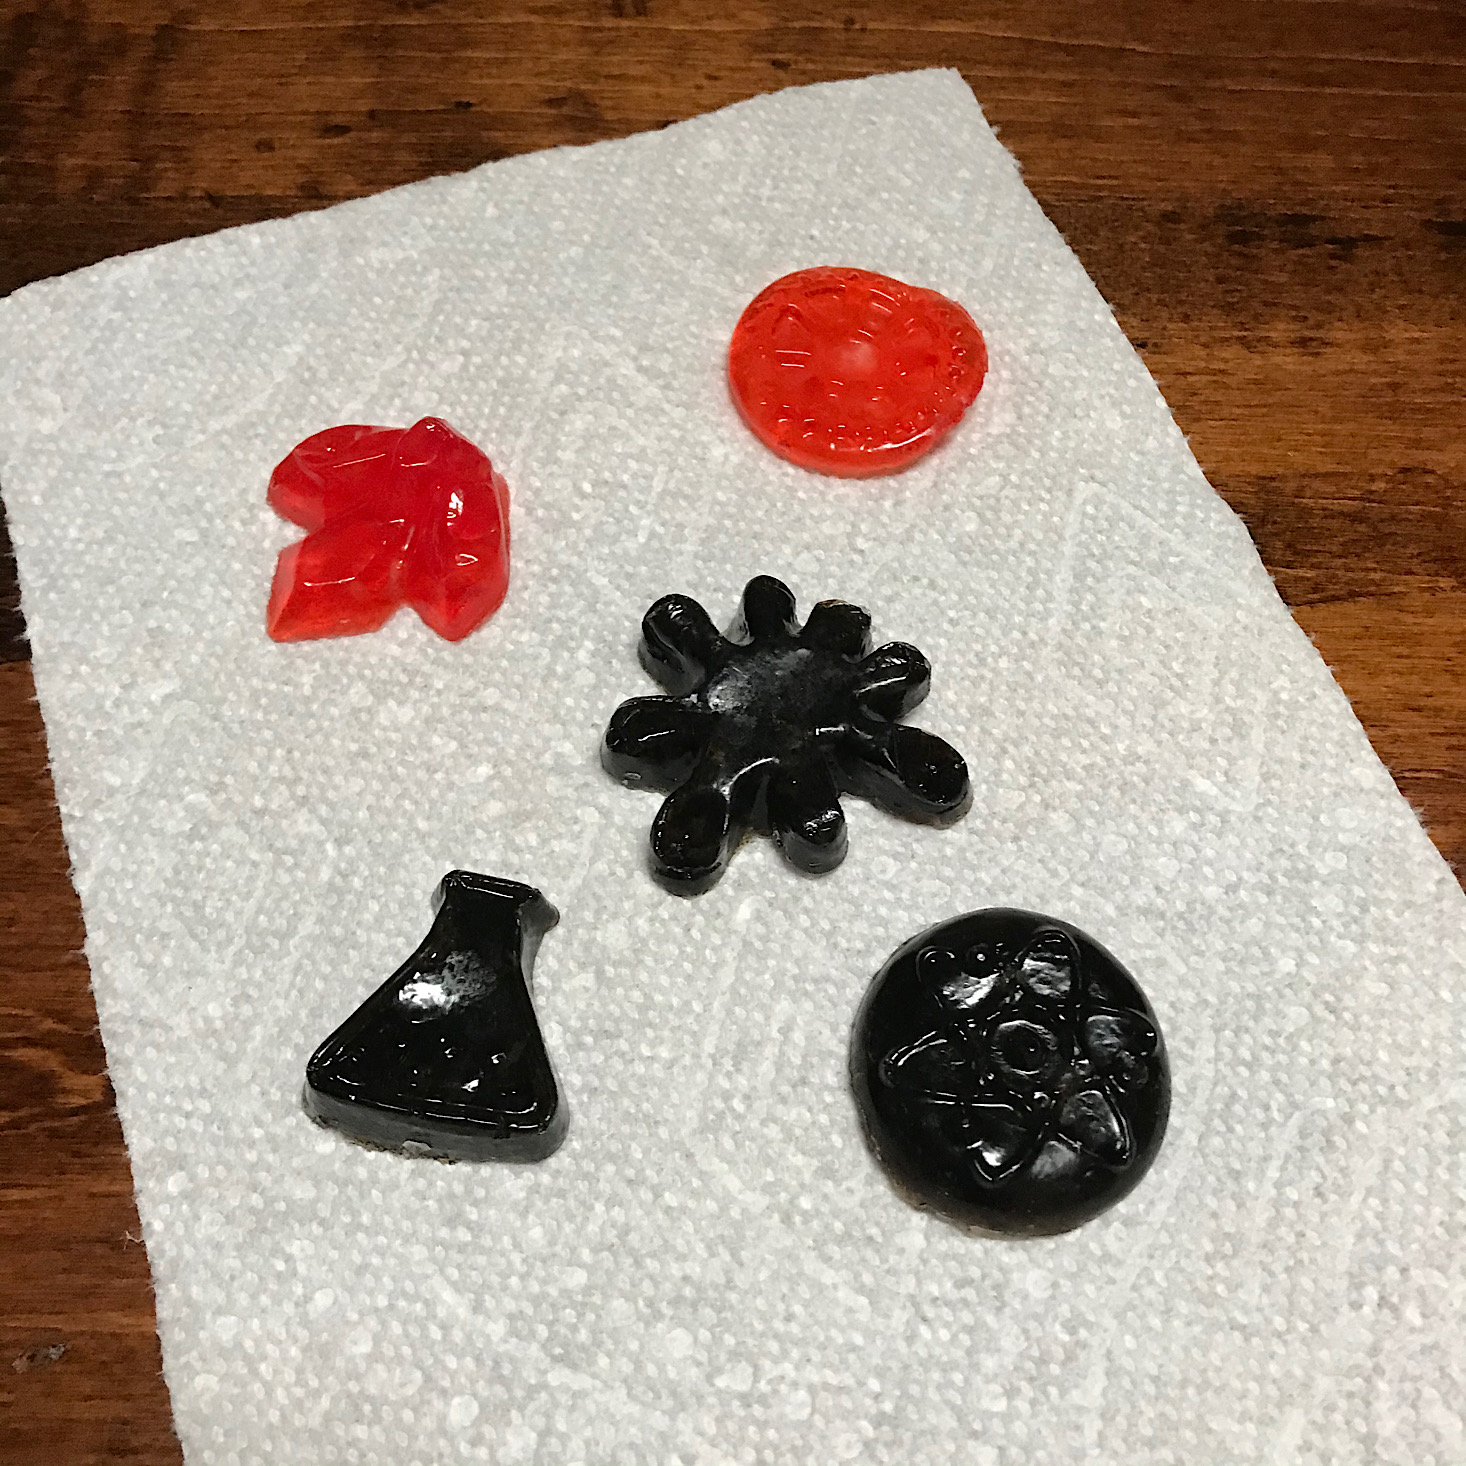
The mold had five different shapes, all of which were fairly shallow. We set those aside to harden.
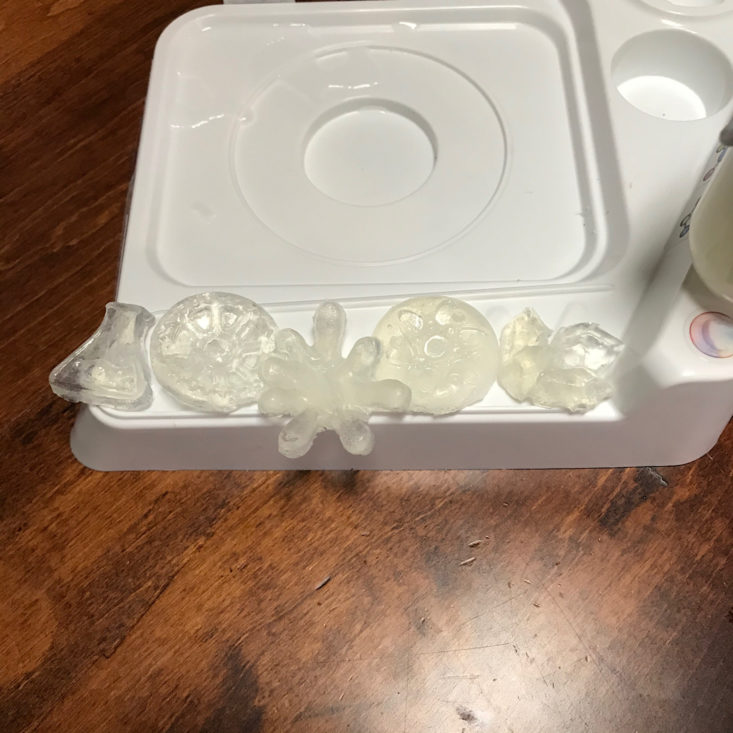
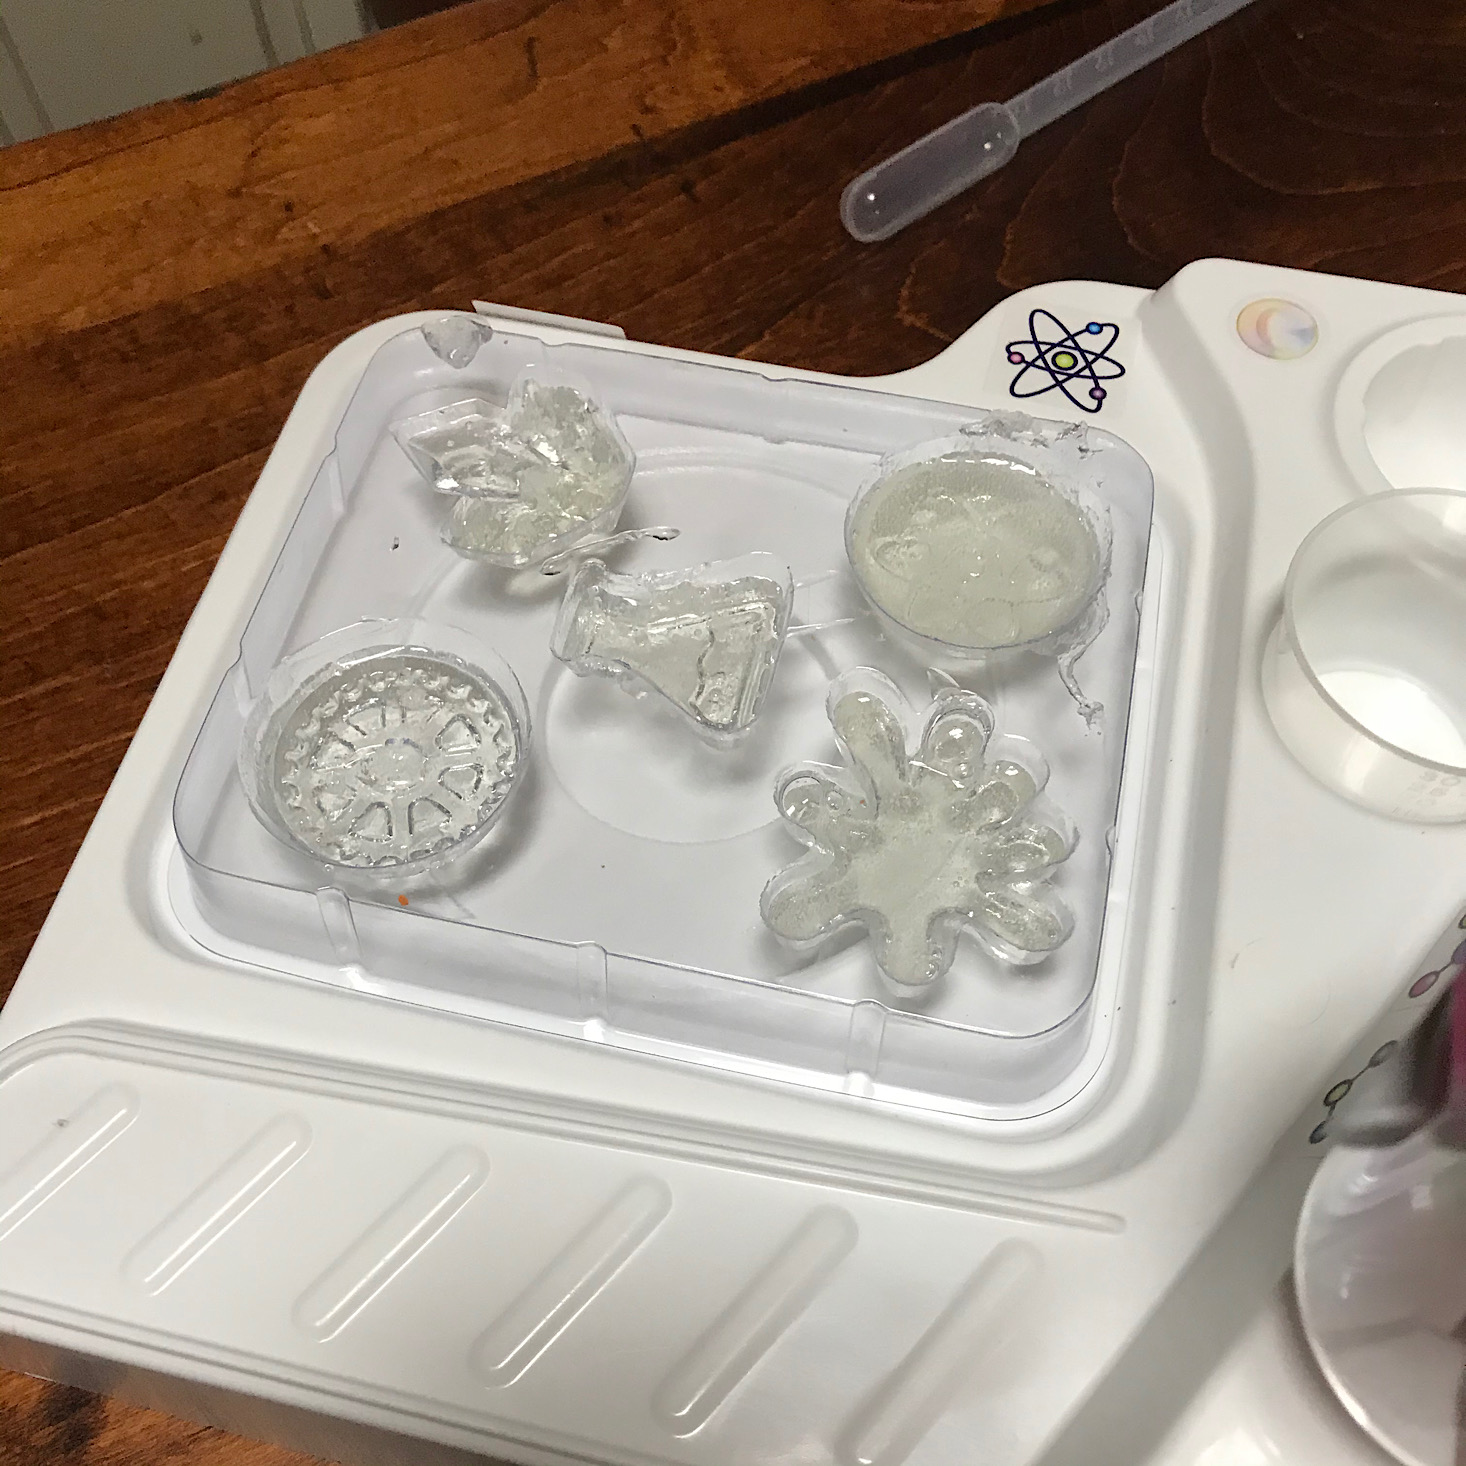
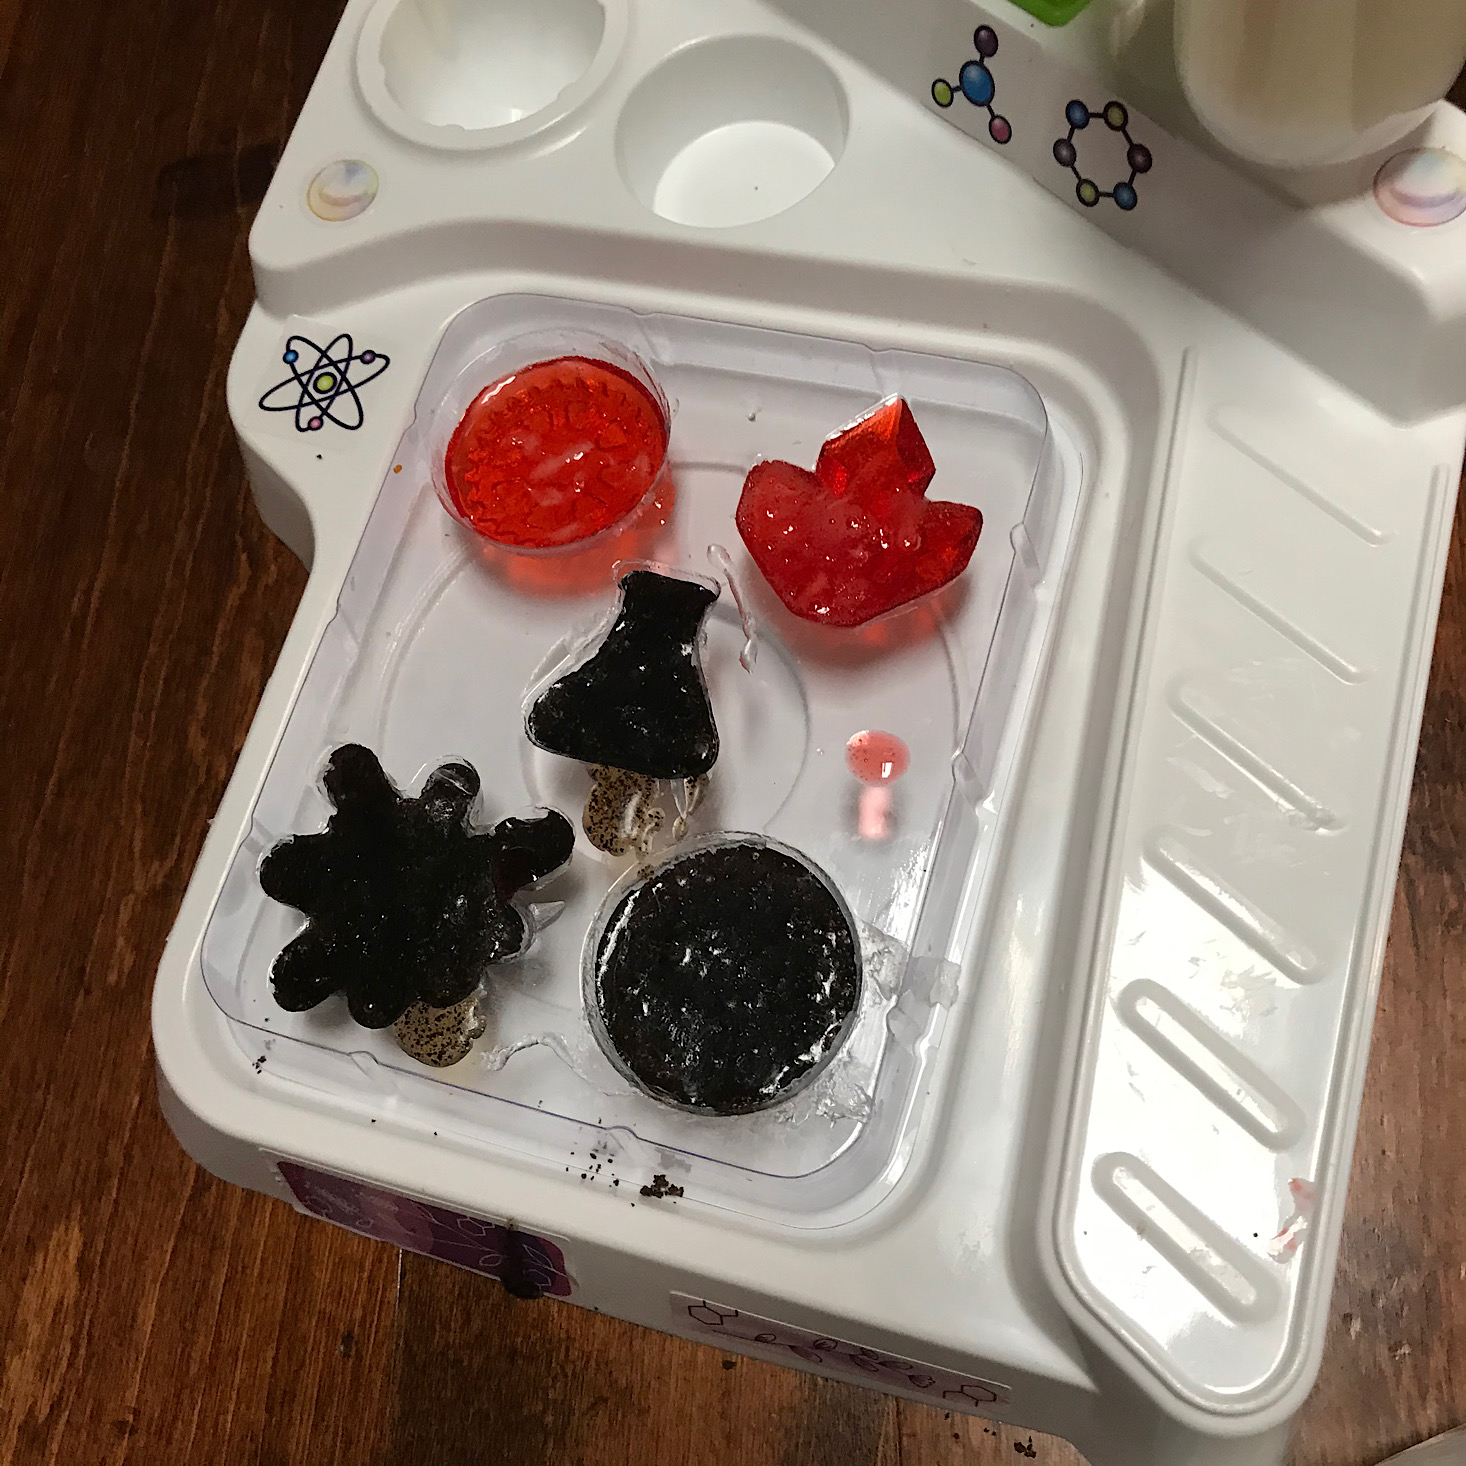
Here are our five molded soaps. We had one fall apart, but the rest held up nicely and were easy to pop out of the mold!
Experiment 5: Colorful Molded Soaps
1 of 3
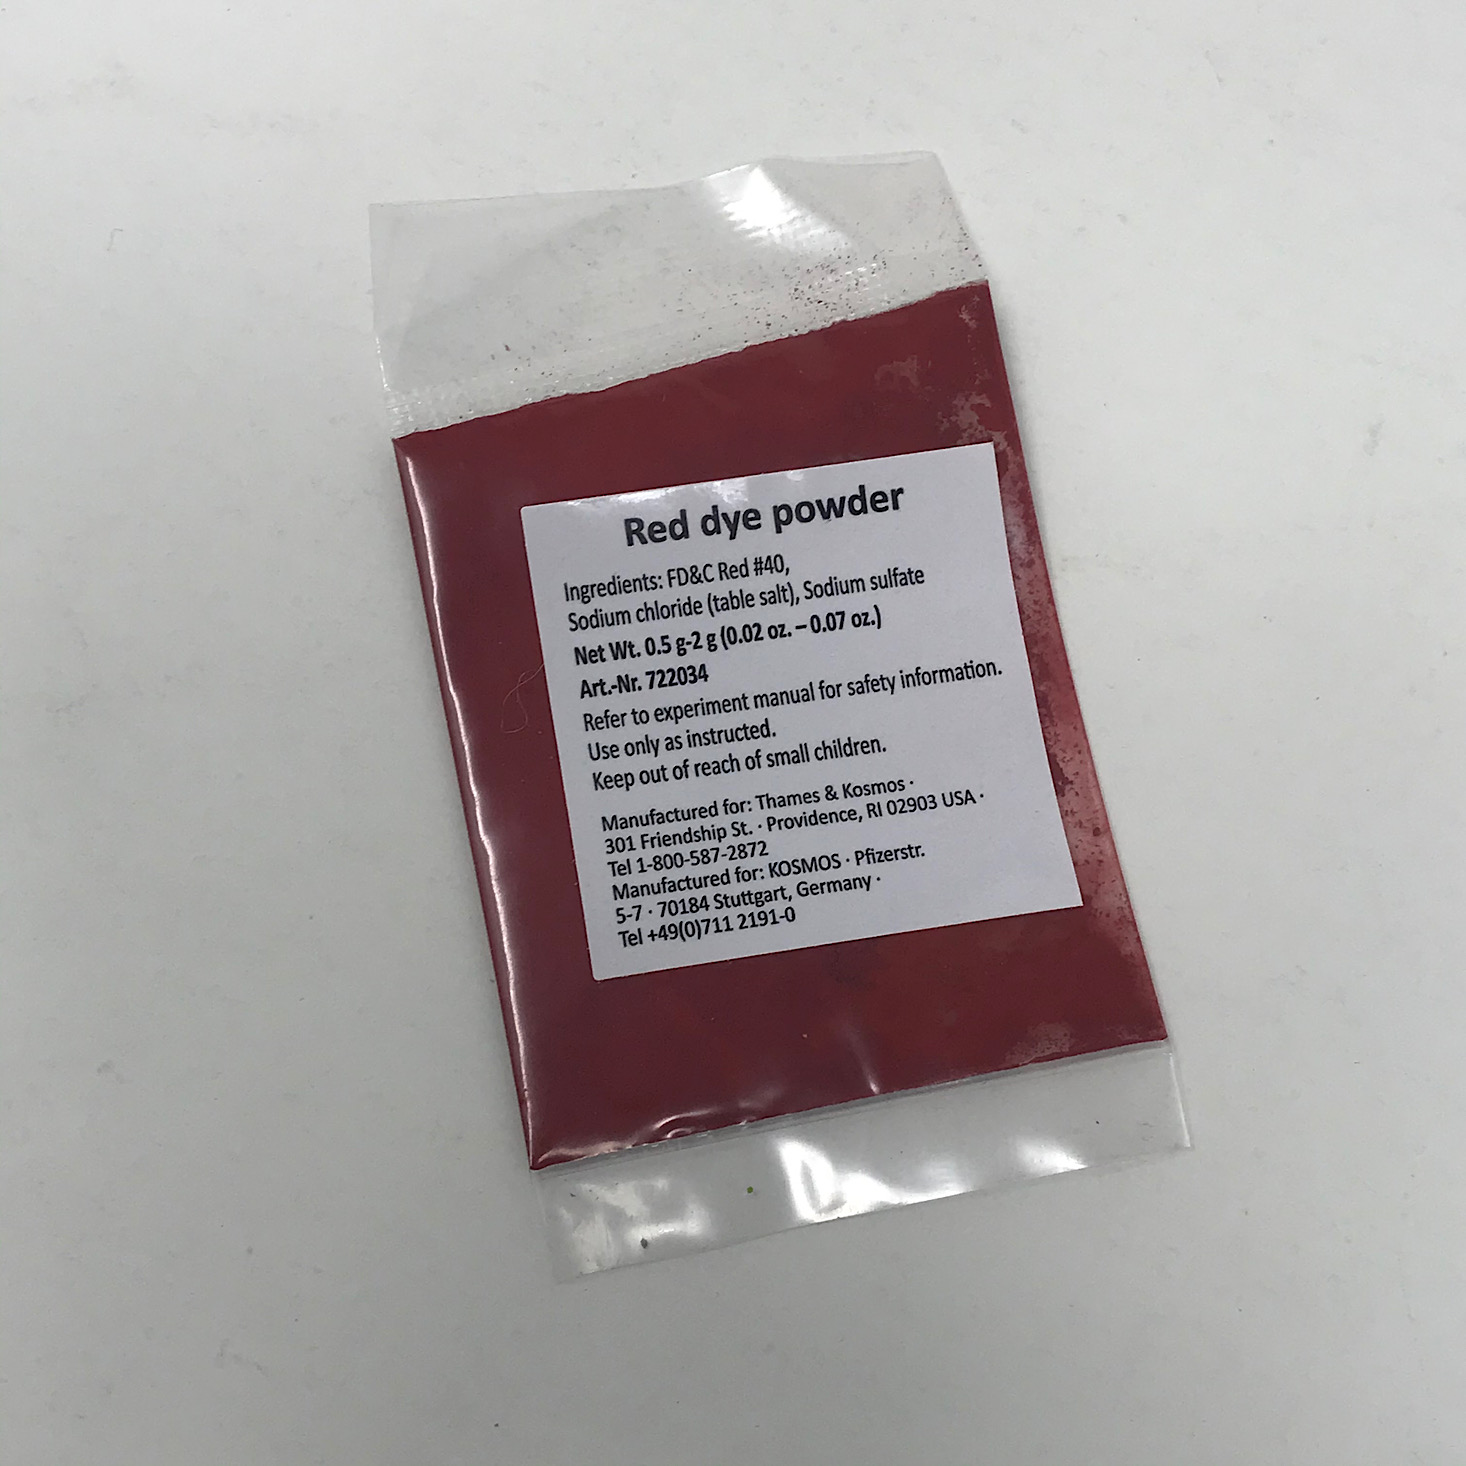
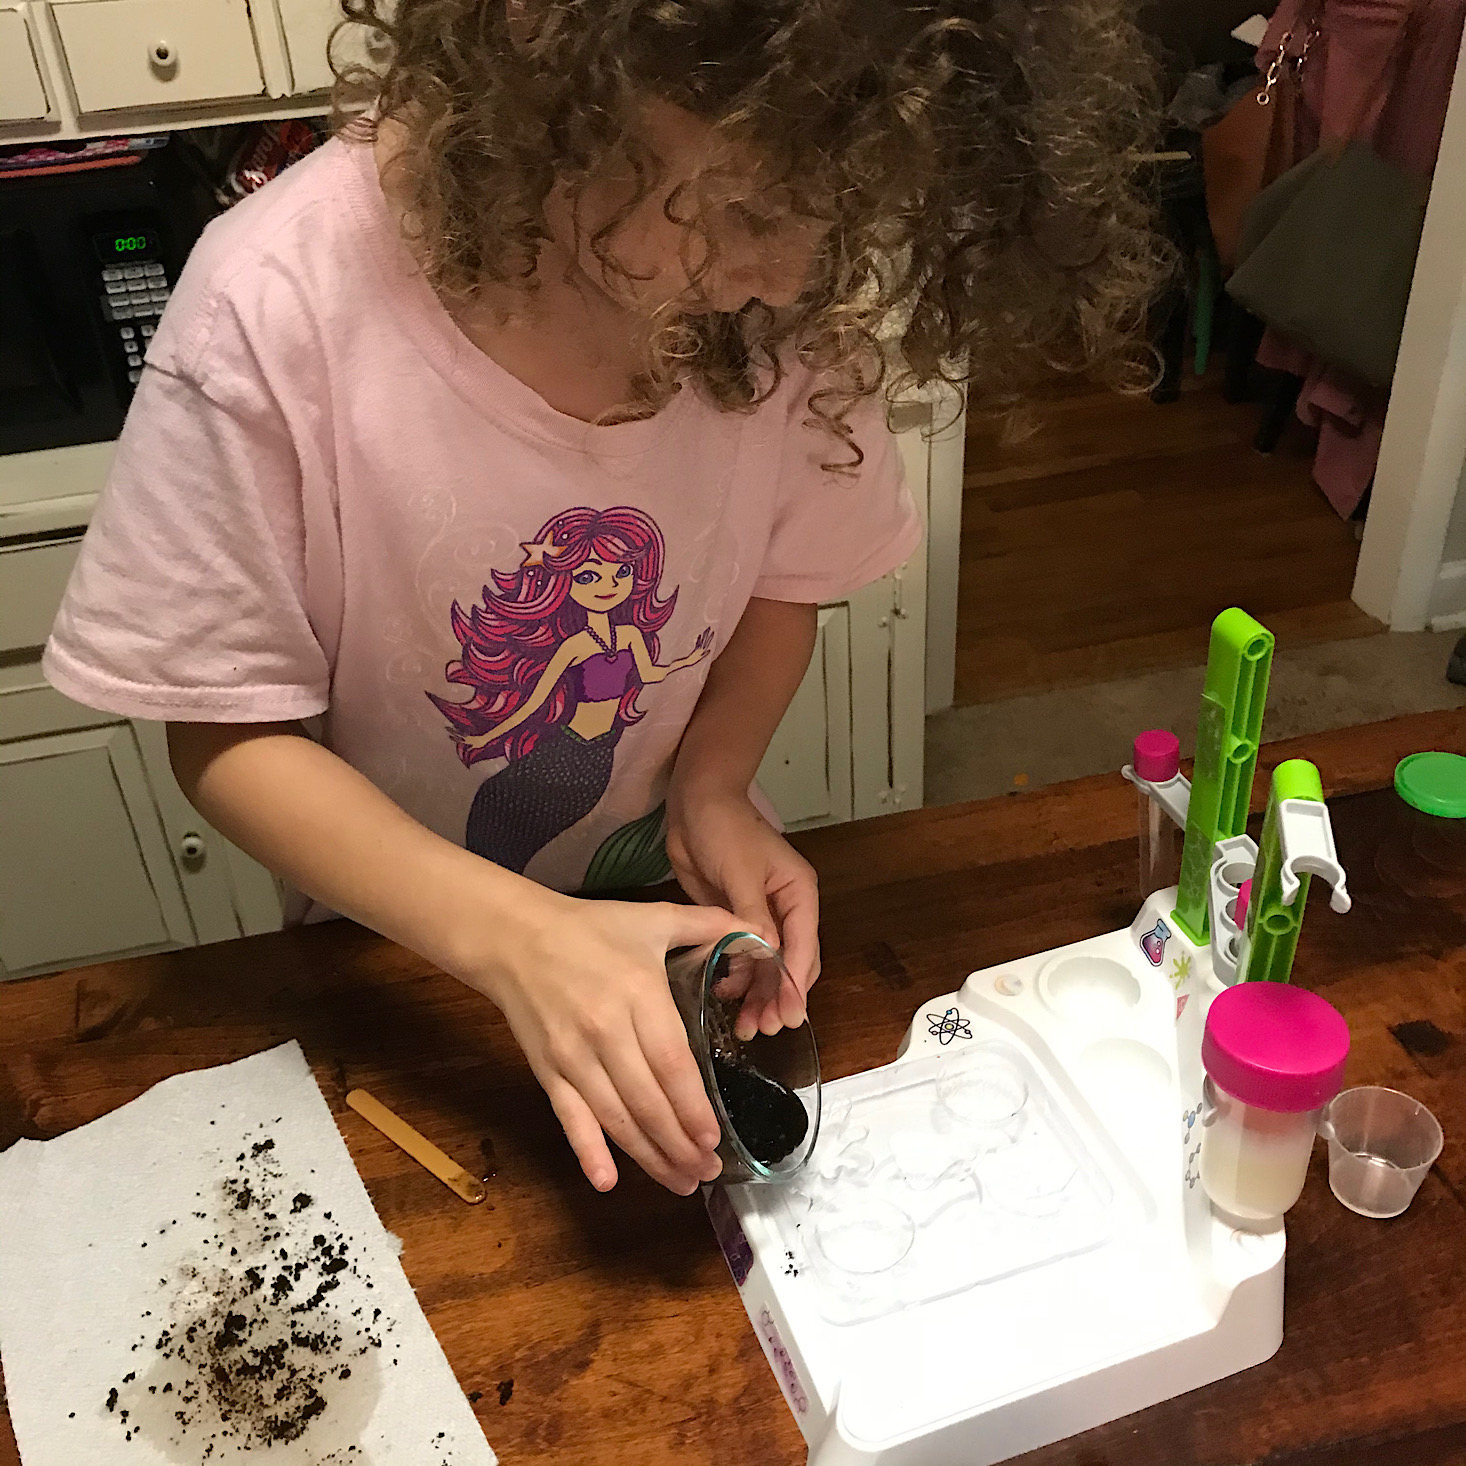
Next, we used the little packet of red dye powder to make colorful soaps. First, I melted another chunk of soap in the microwave. Then we added some water to a test tube, mixed in a little bit of the red powder and then added that to our melted soap and poured the red mixture into the mold. We set that aside to harden.
Experiment 7: Coffee Soaps
1 of 2
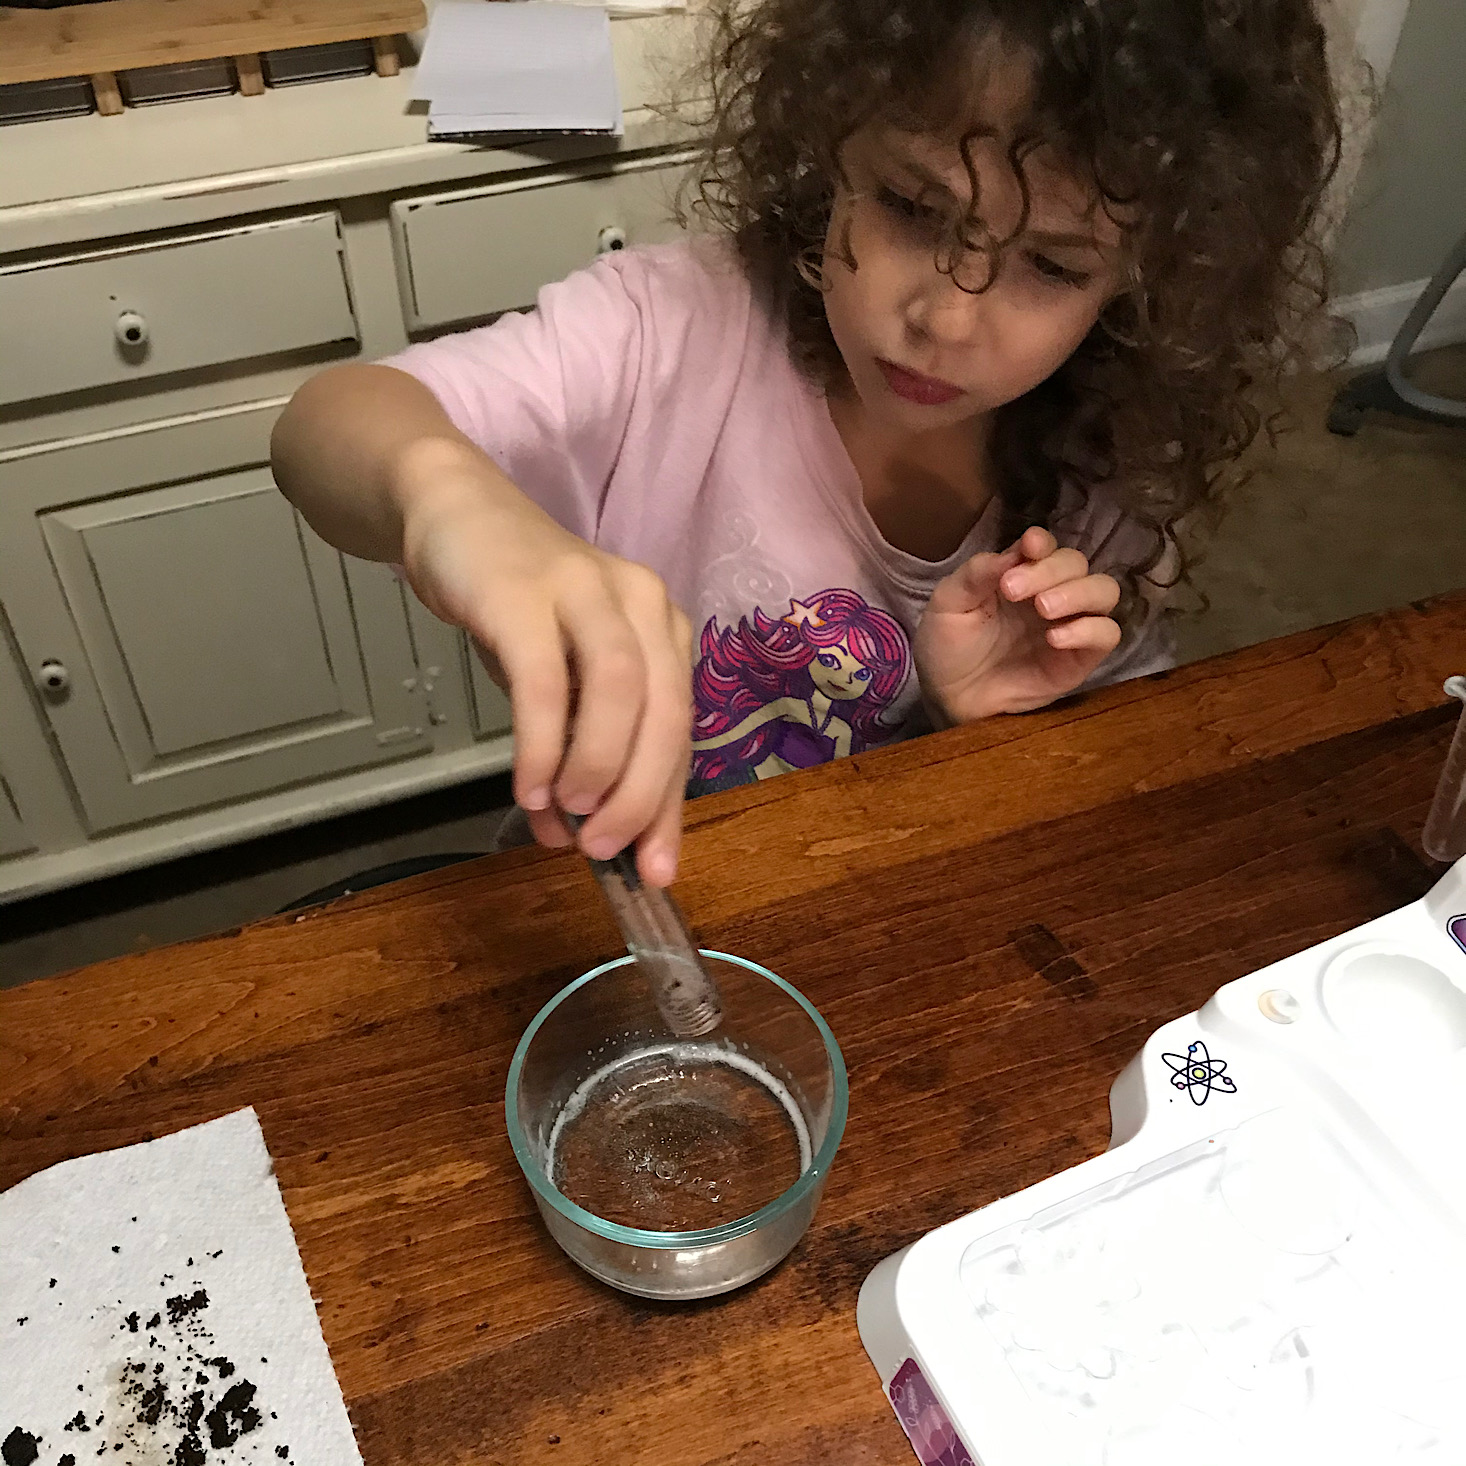
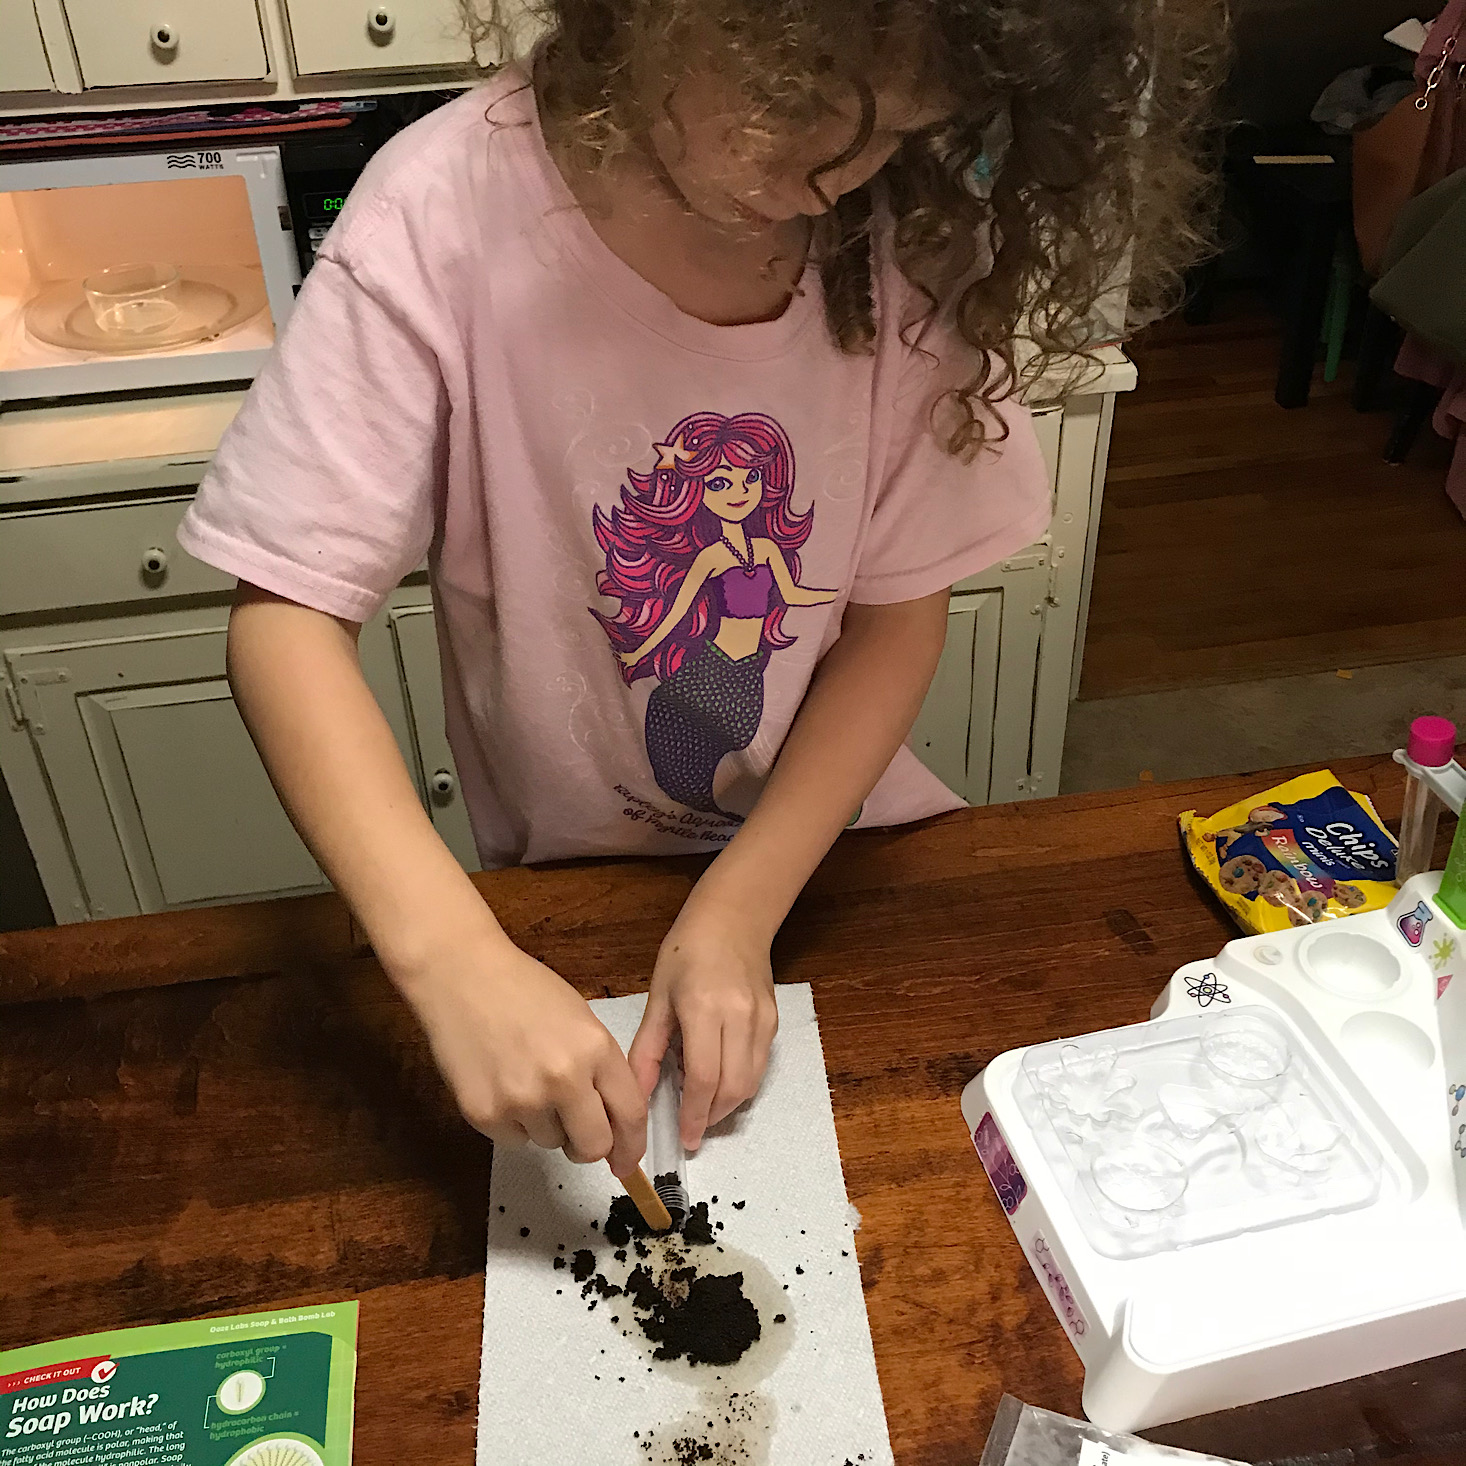
Experiment 6 was to make some botanical soaps using fresh or dried flowers or herbs, and again, I wanted to wait until we had some pretty and fragrant flowers to add to it so we moved on to experiment 7. We took some brewed coffee grounds, measured them out using a test tube, and then added them to a bowl with another chunk of melted soap.
1 of 2
Then, she poured the mixture into the mold. You may notice we actually did this experiment before our colorful soap experiment, but I read ahead and knew we needed the coffee soap for a later experiment and since we had run out of coffee soap we decided to backtrack and just use the same tray for them!
1 of 2
Both the colorful soaps and the coffee soaps turned out nicely! The coffee soap was meant to be mildly abrasive and now that we had several different types to test out, we were asked which was our favorite. I prefer the coffee soap, but that's because I'm obsessed with coffee. My daughter liked the colorful soap!

1 of 2
Our booklet provided some information about soap and glycerin and then transitioned into discussing pH.
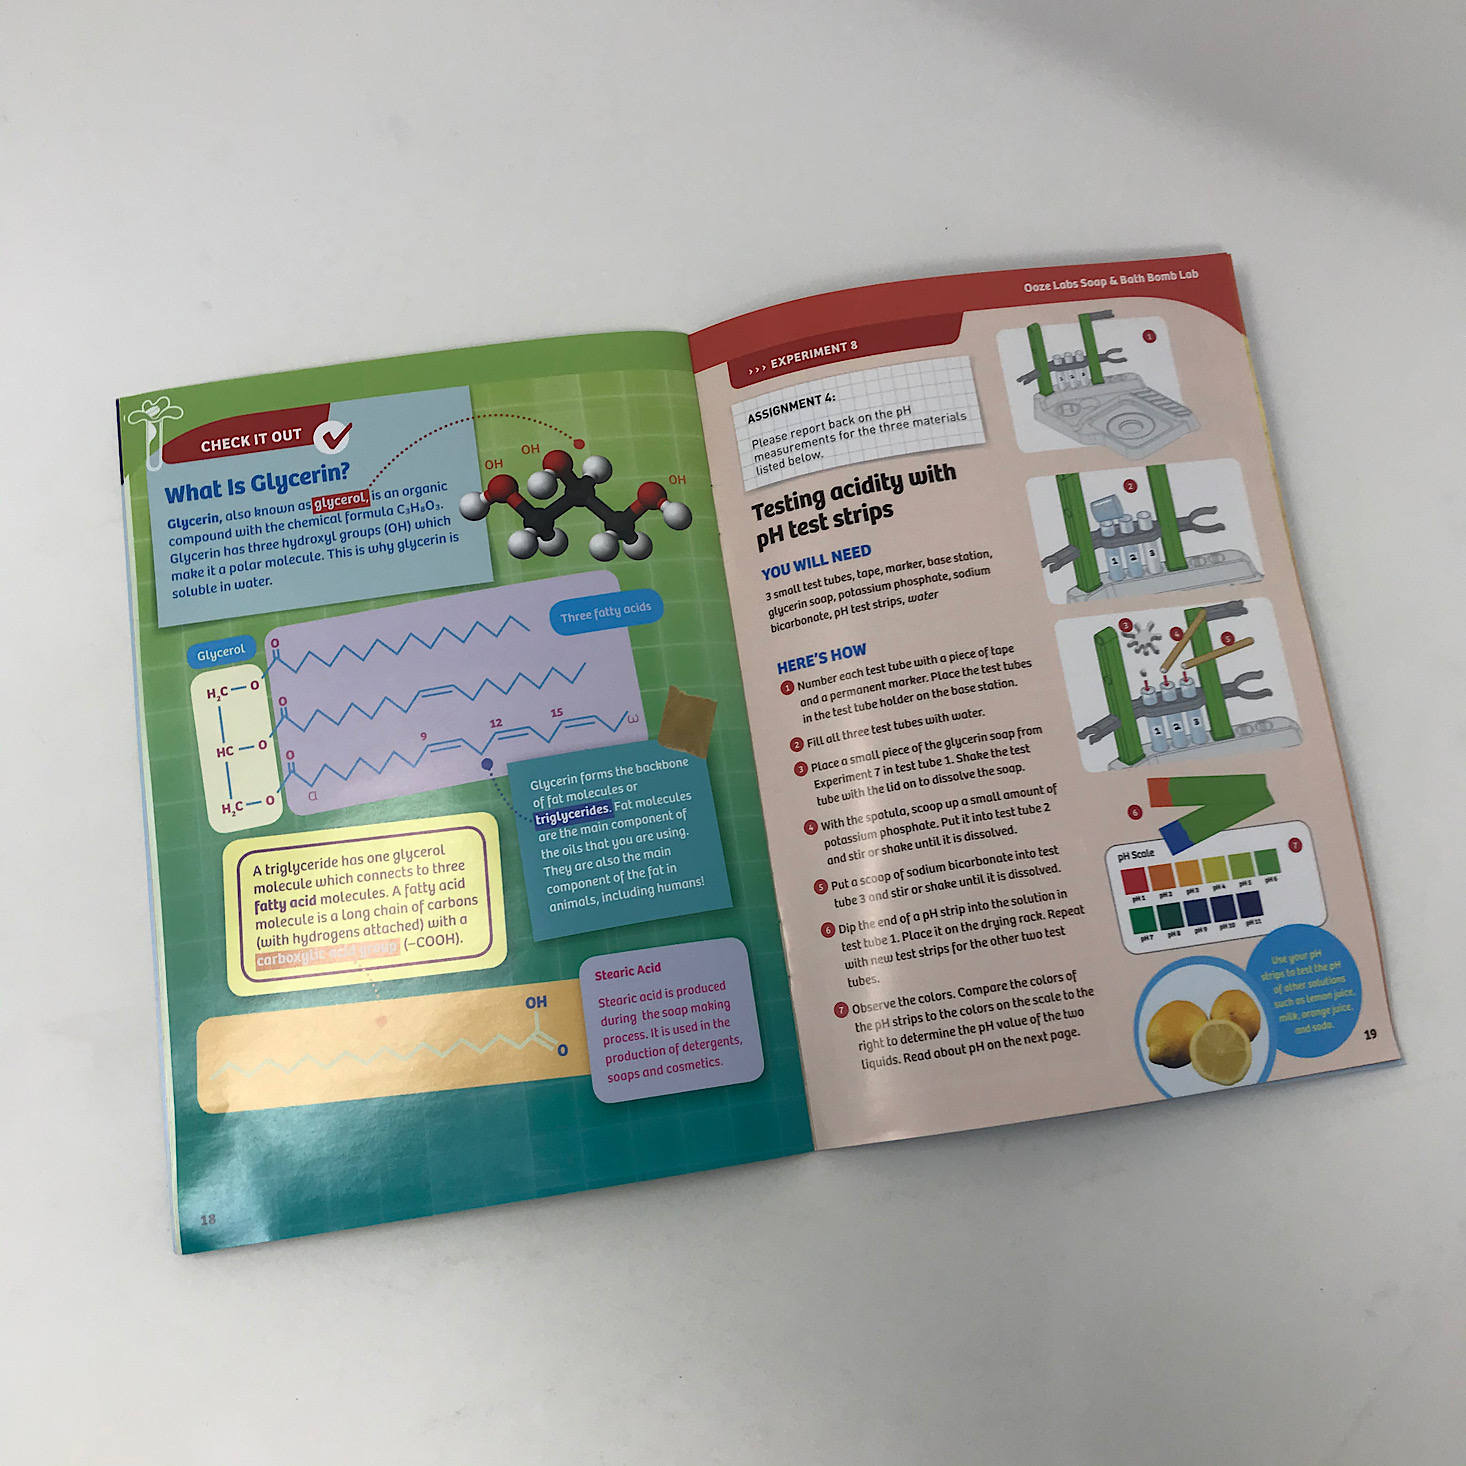
Experiment 8: Testing Acidity with pH Strips
1 of 3

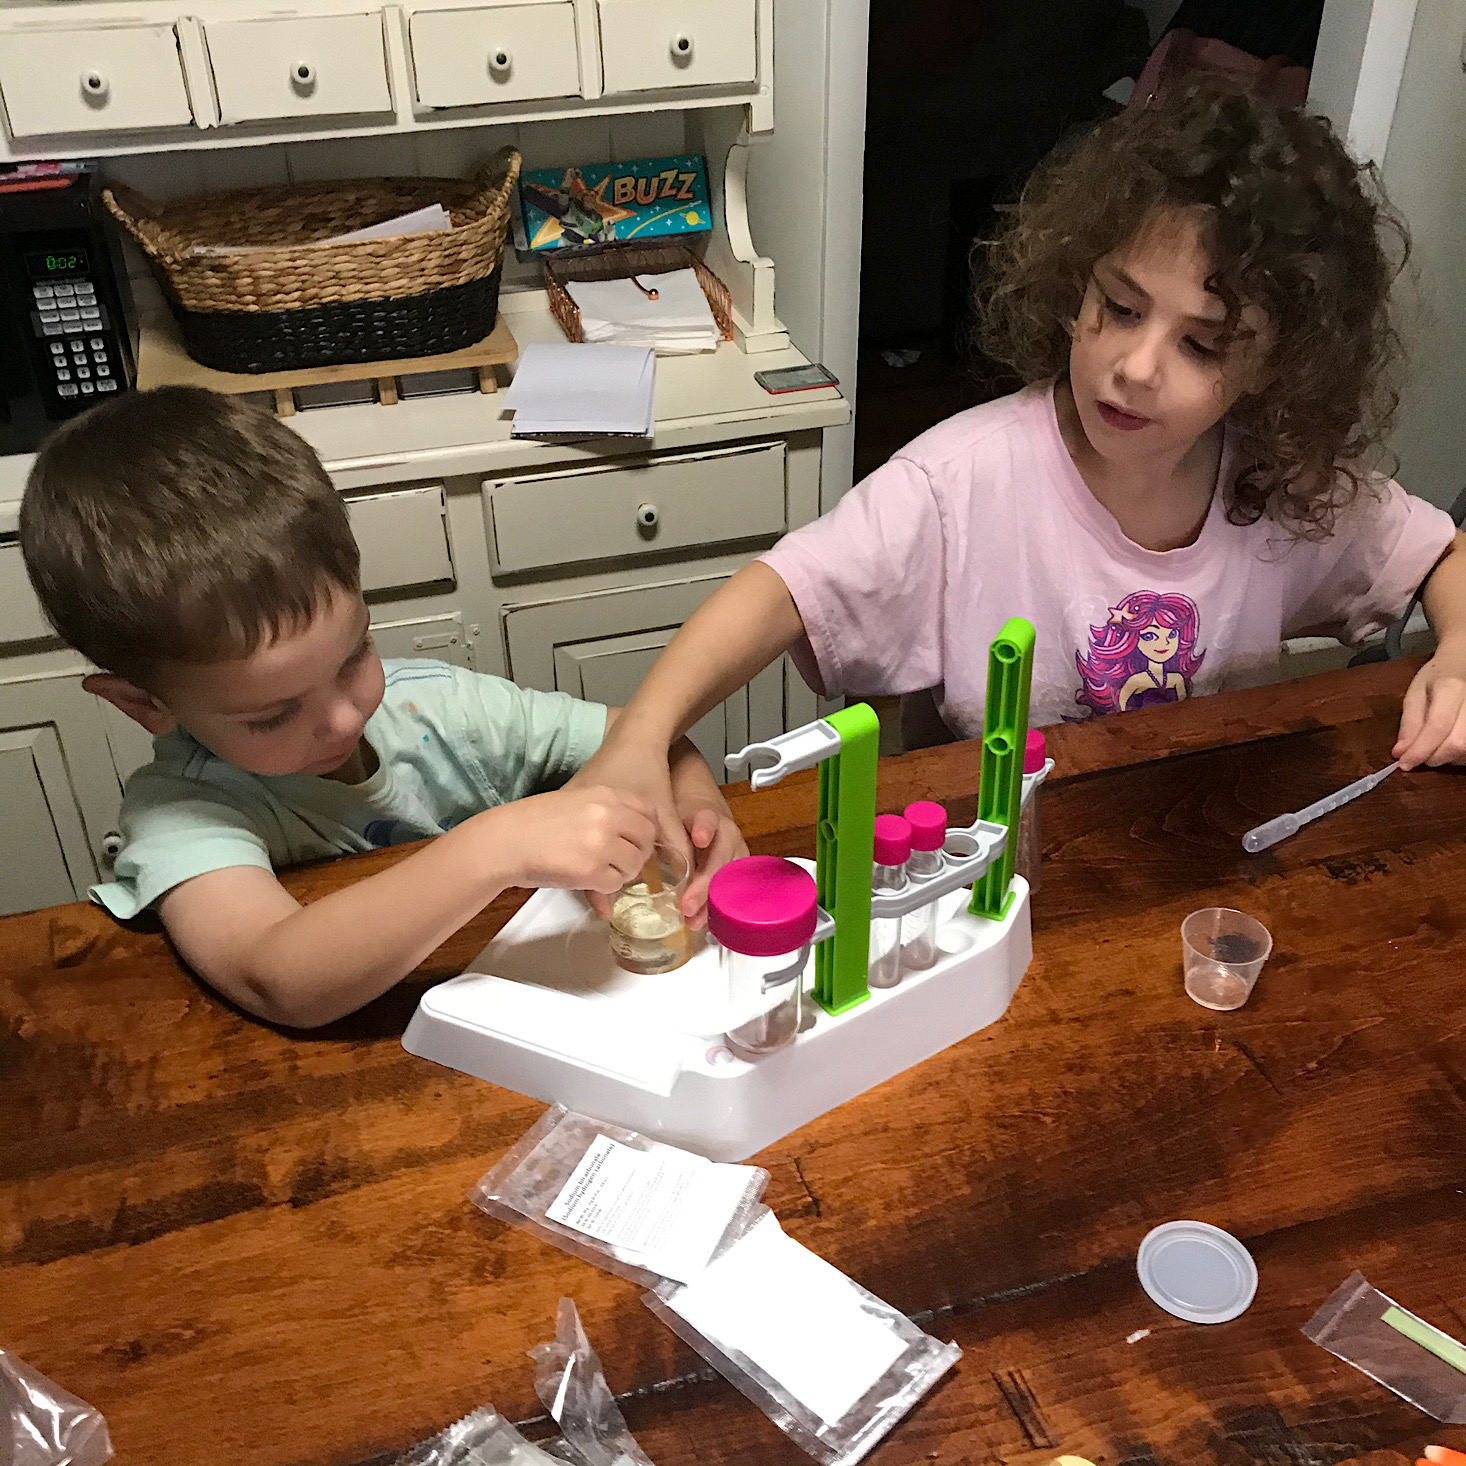
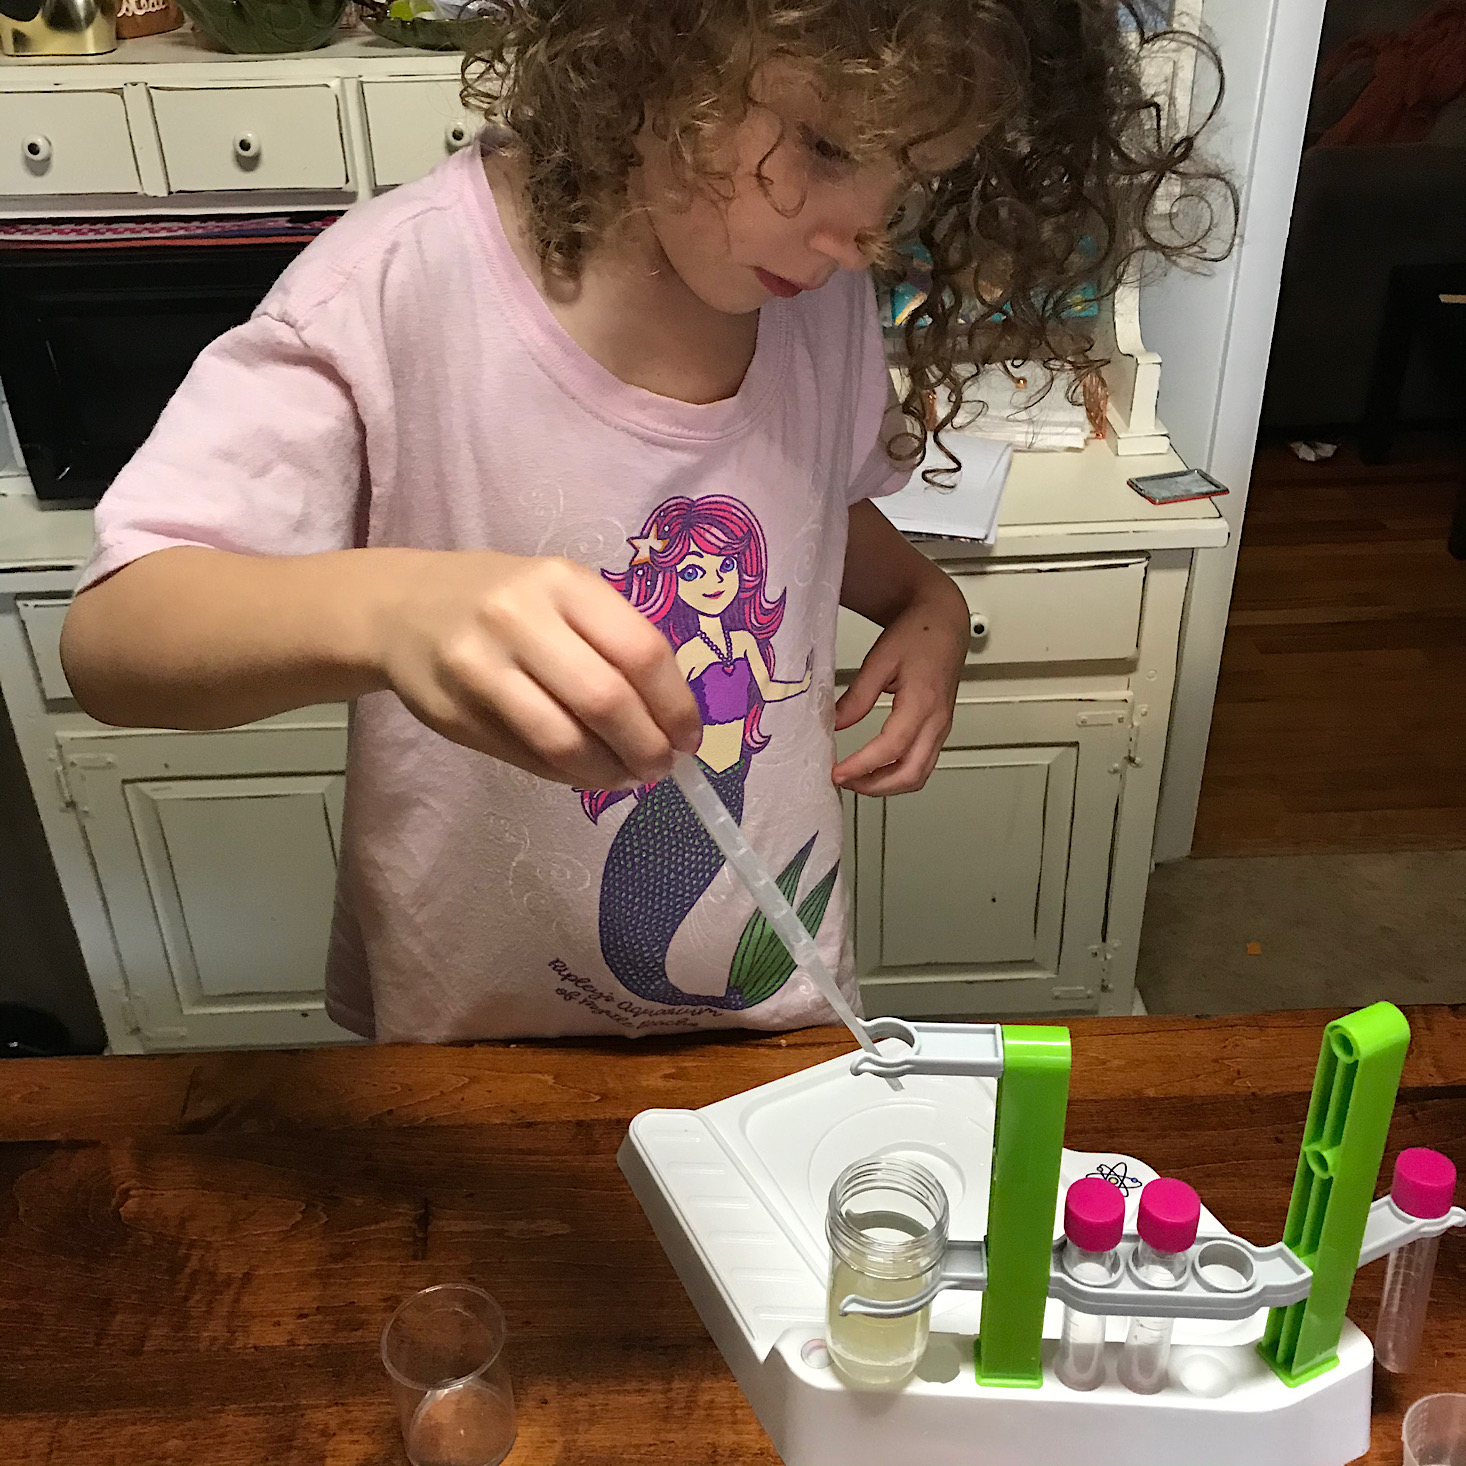
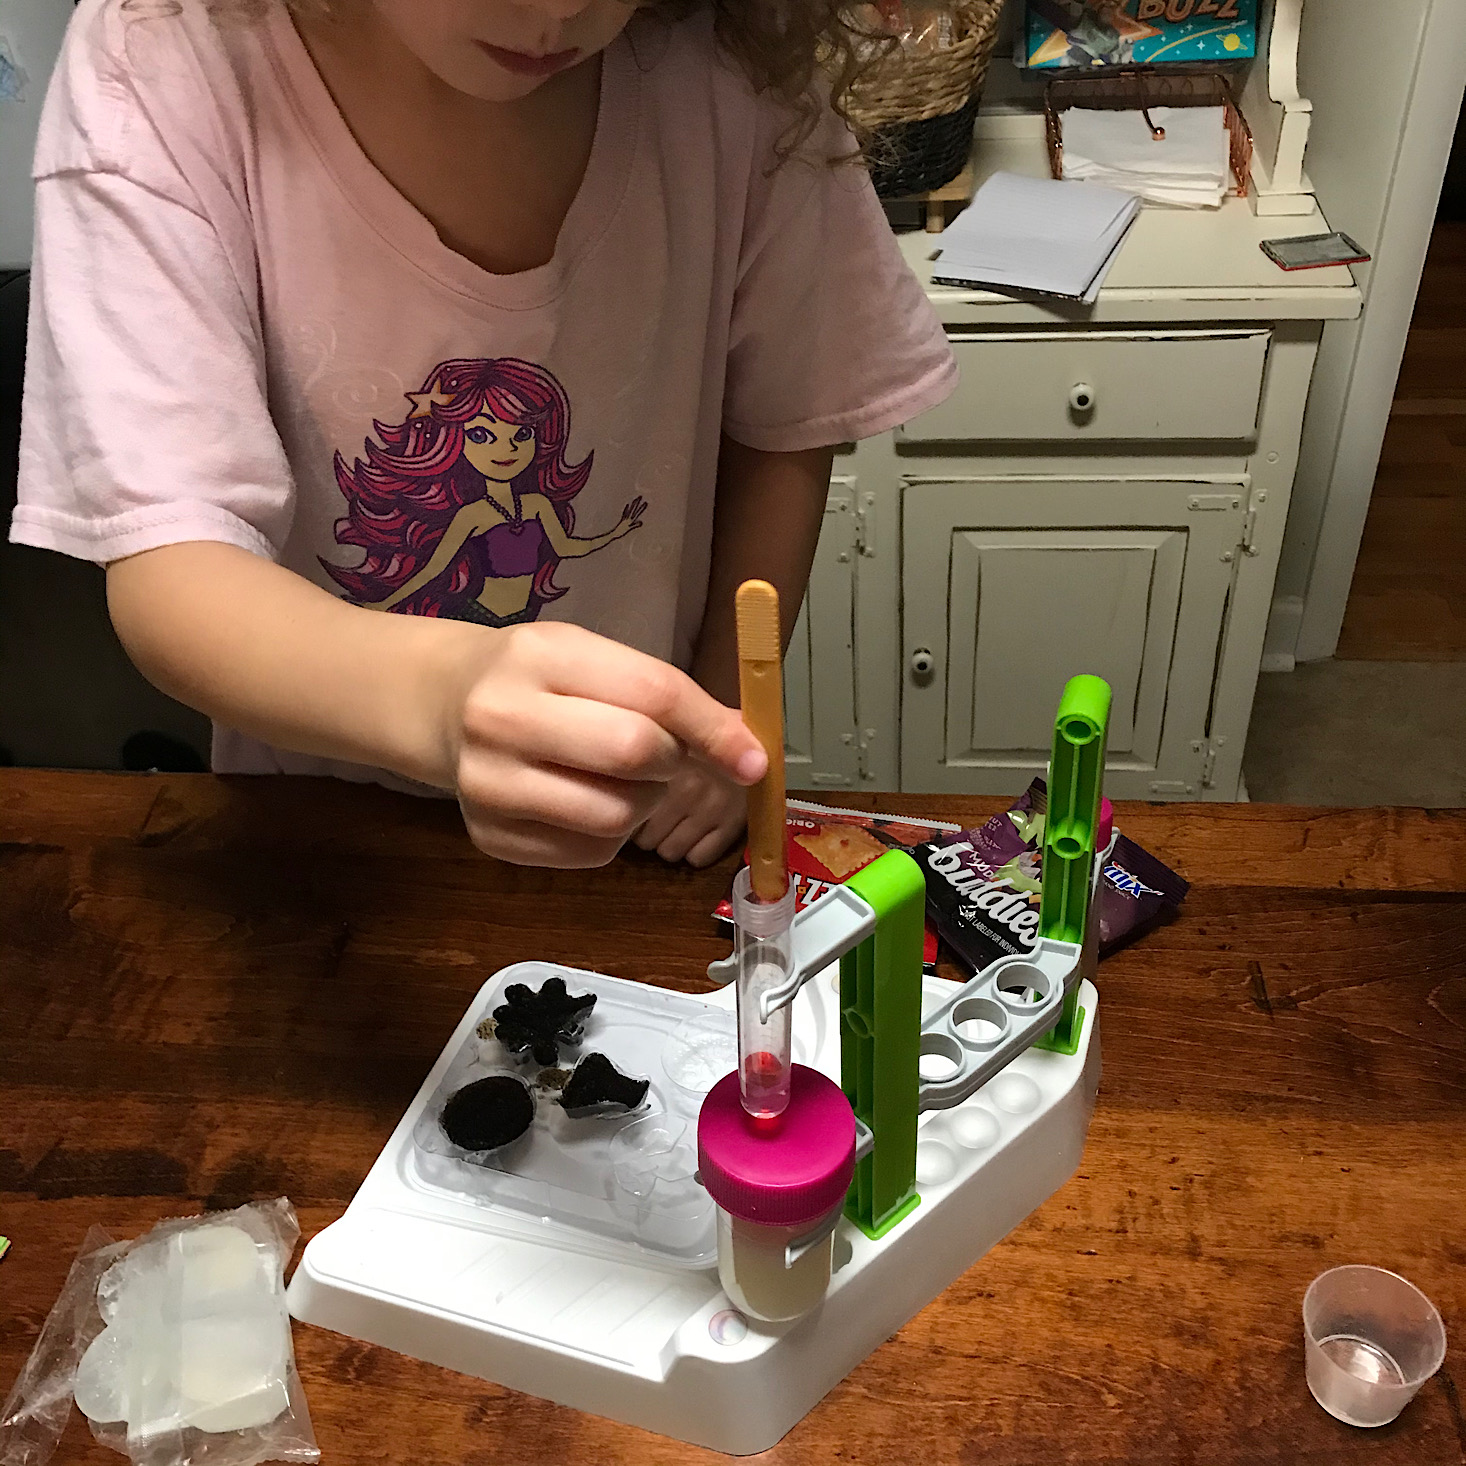
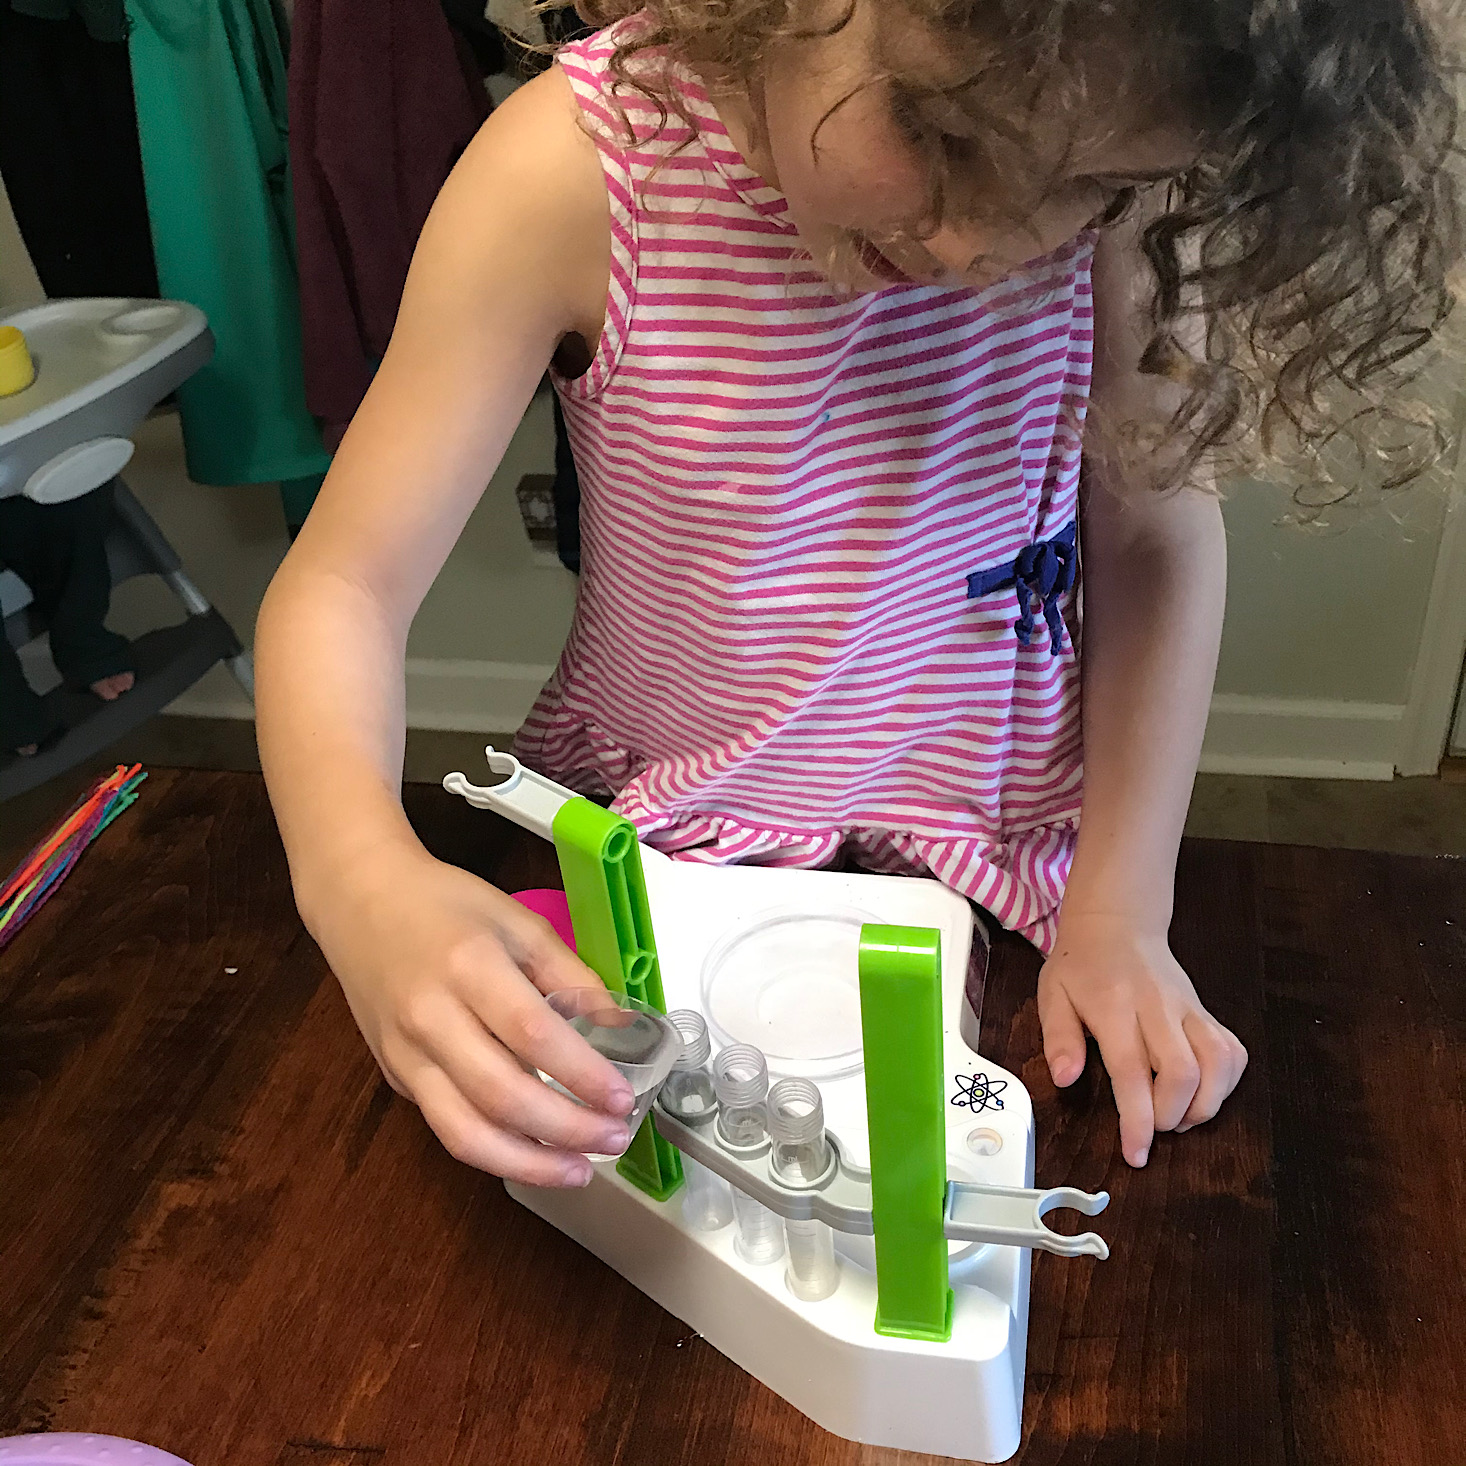
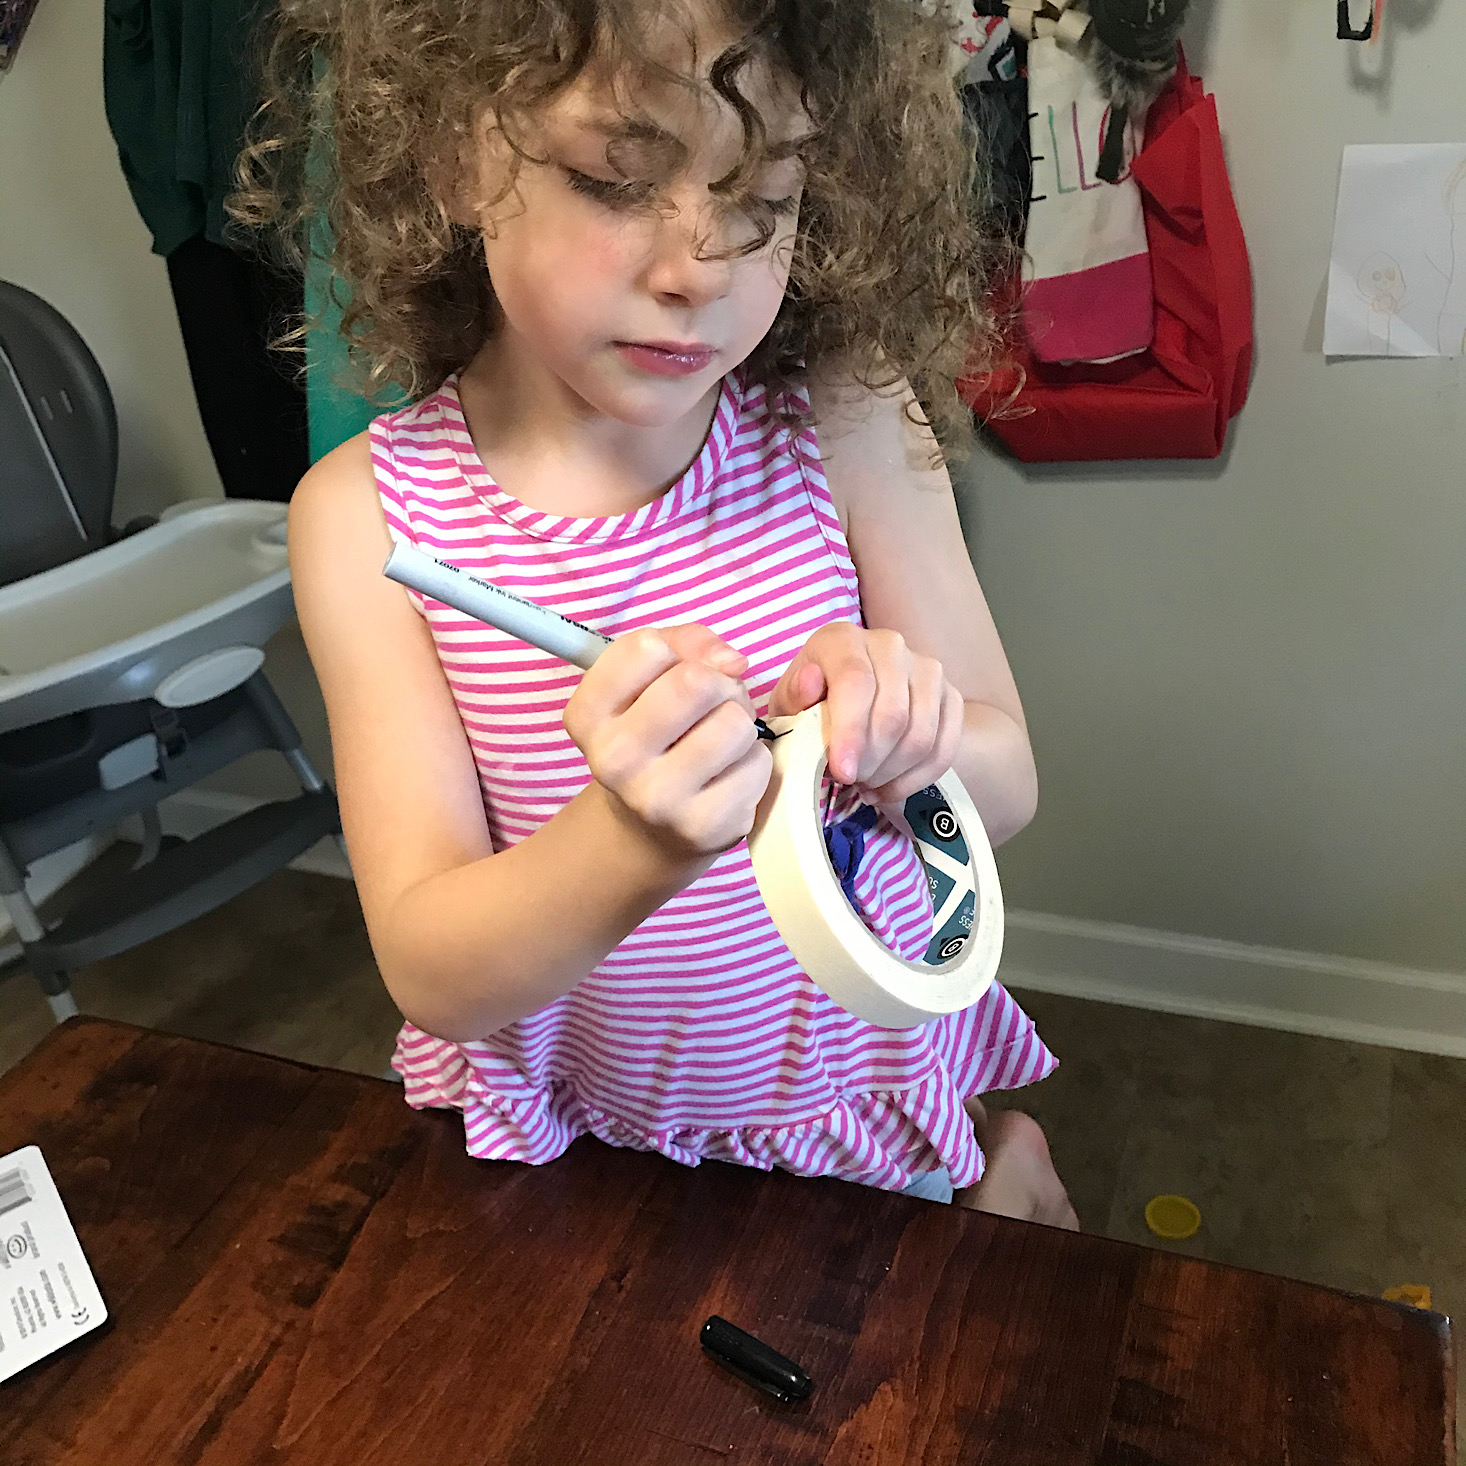
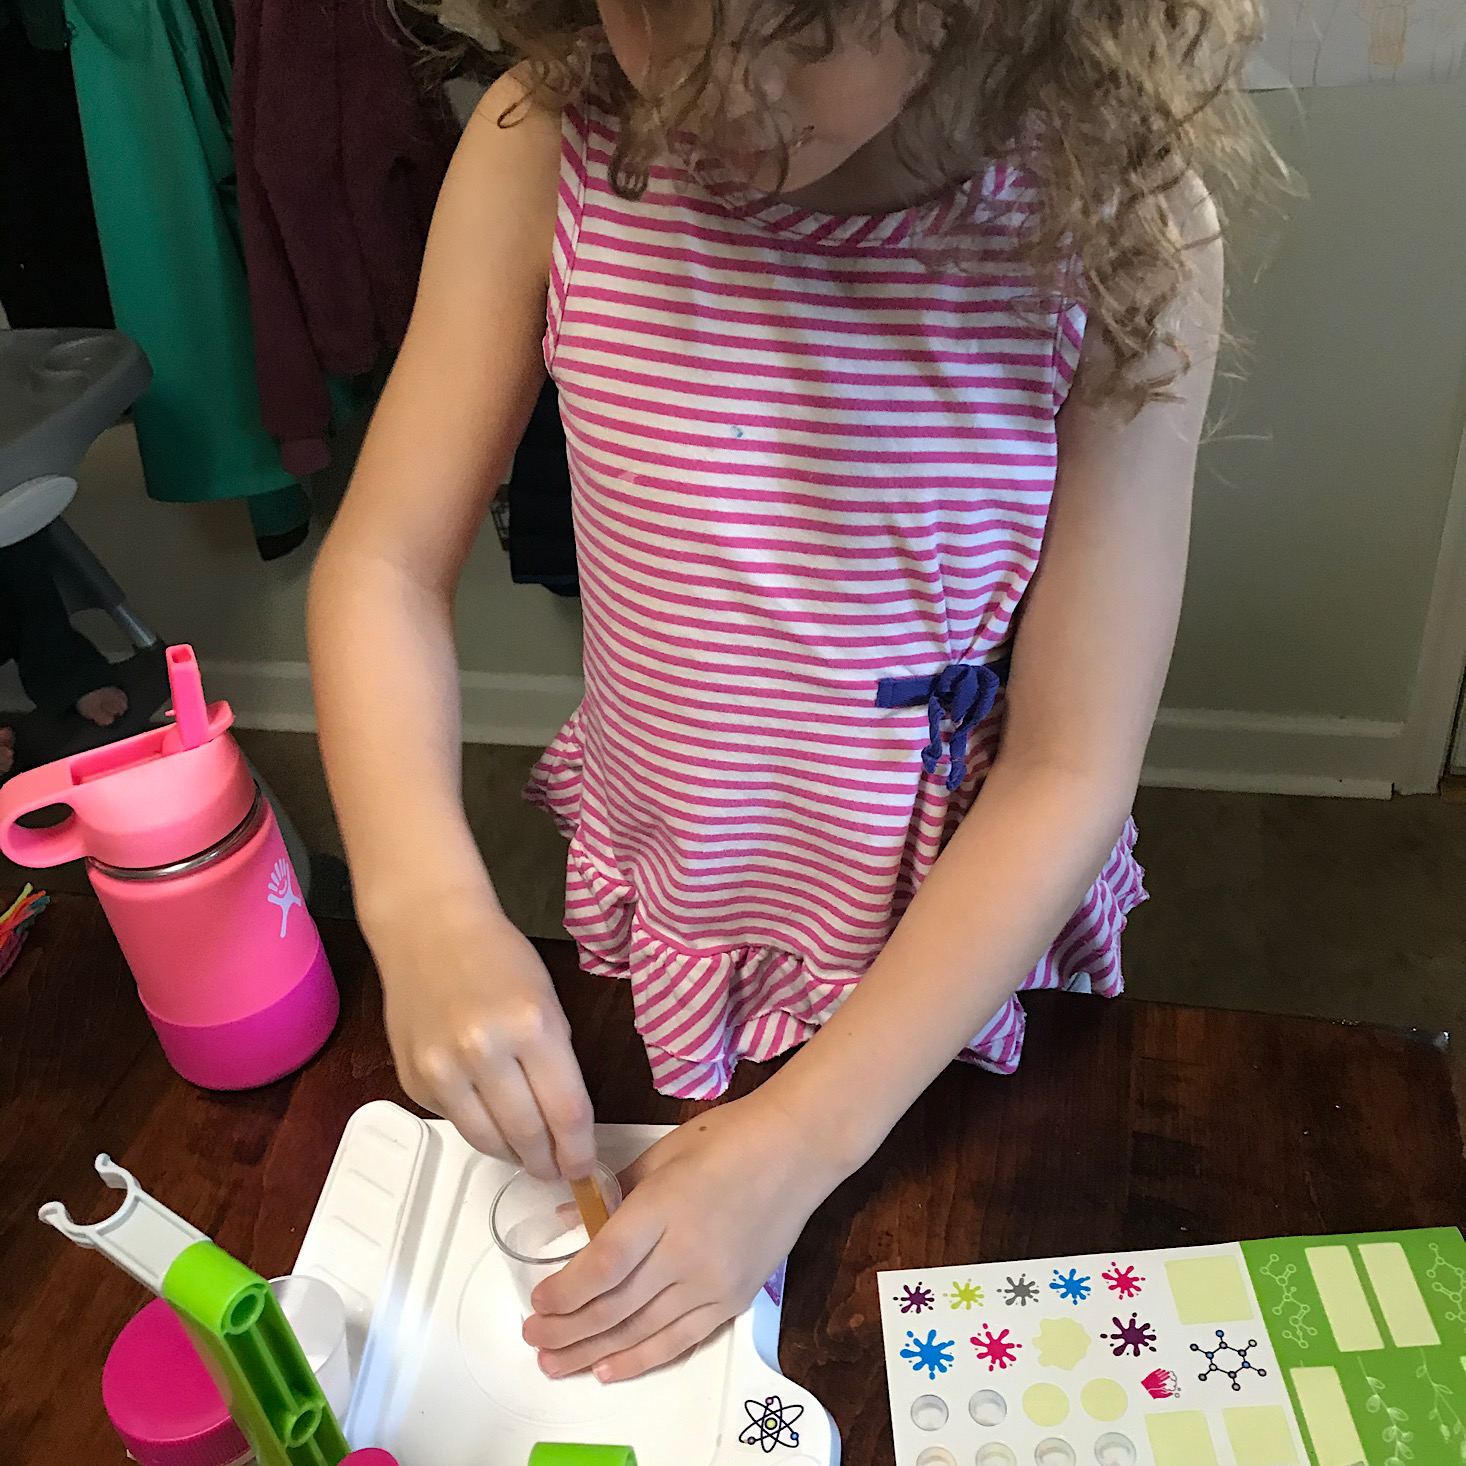
My daughter made labels "1,2,3" for our test tubes and we set them into the lab stand. Then we added water to each test tube.

1 of 4


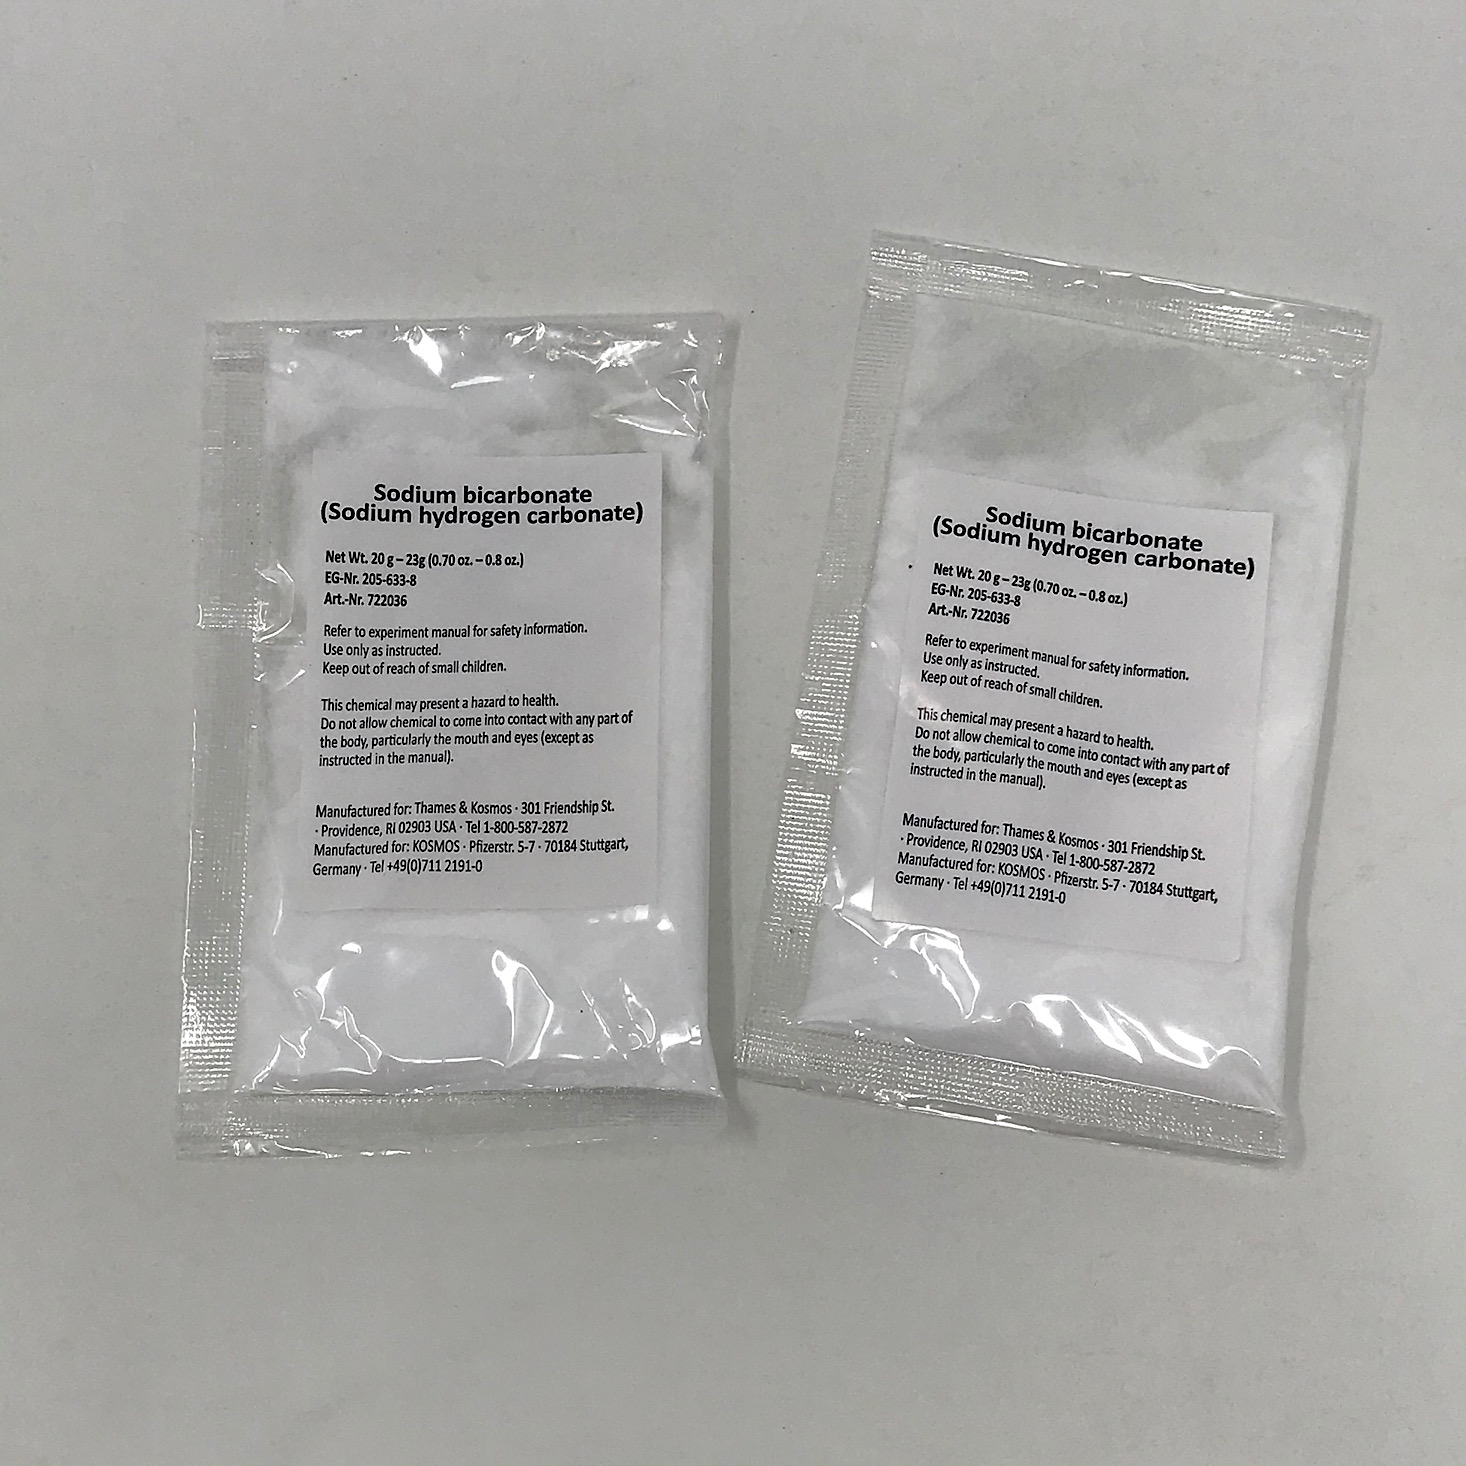
To the first tube we added a tiny chunk of our coffee soap, to the second we added a little bit of potassium phosphate, and to the last, we added a little bit of sodium bicarbonate, both of which they had provided for us. Then we replaced the lids and shook them all up to mix them well.
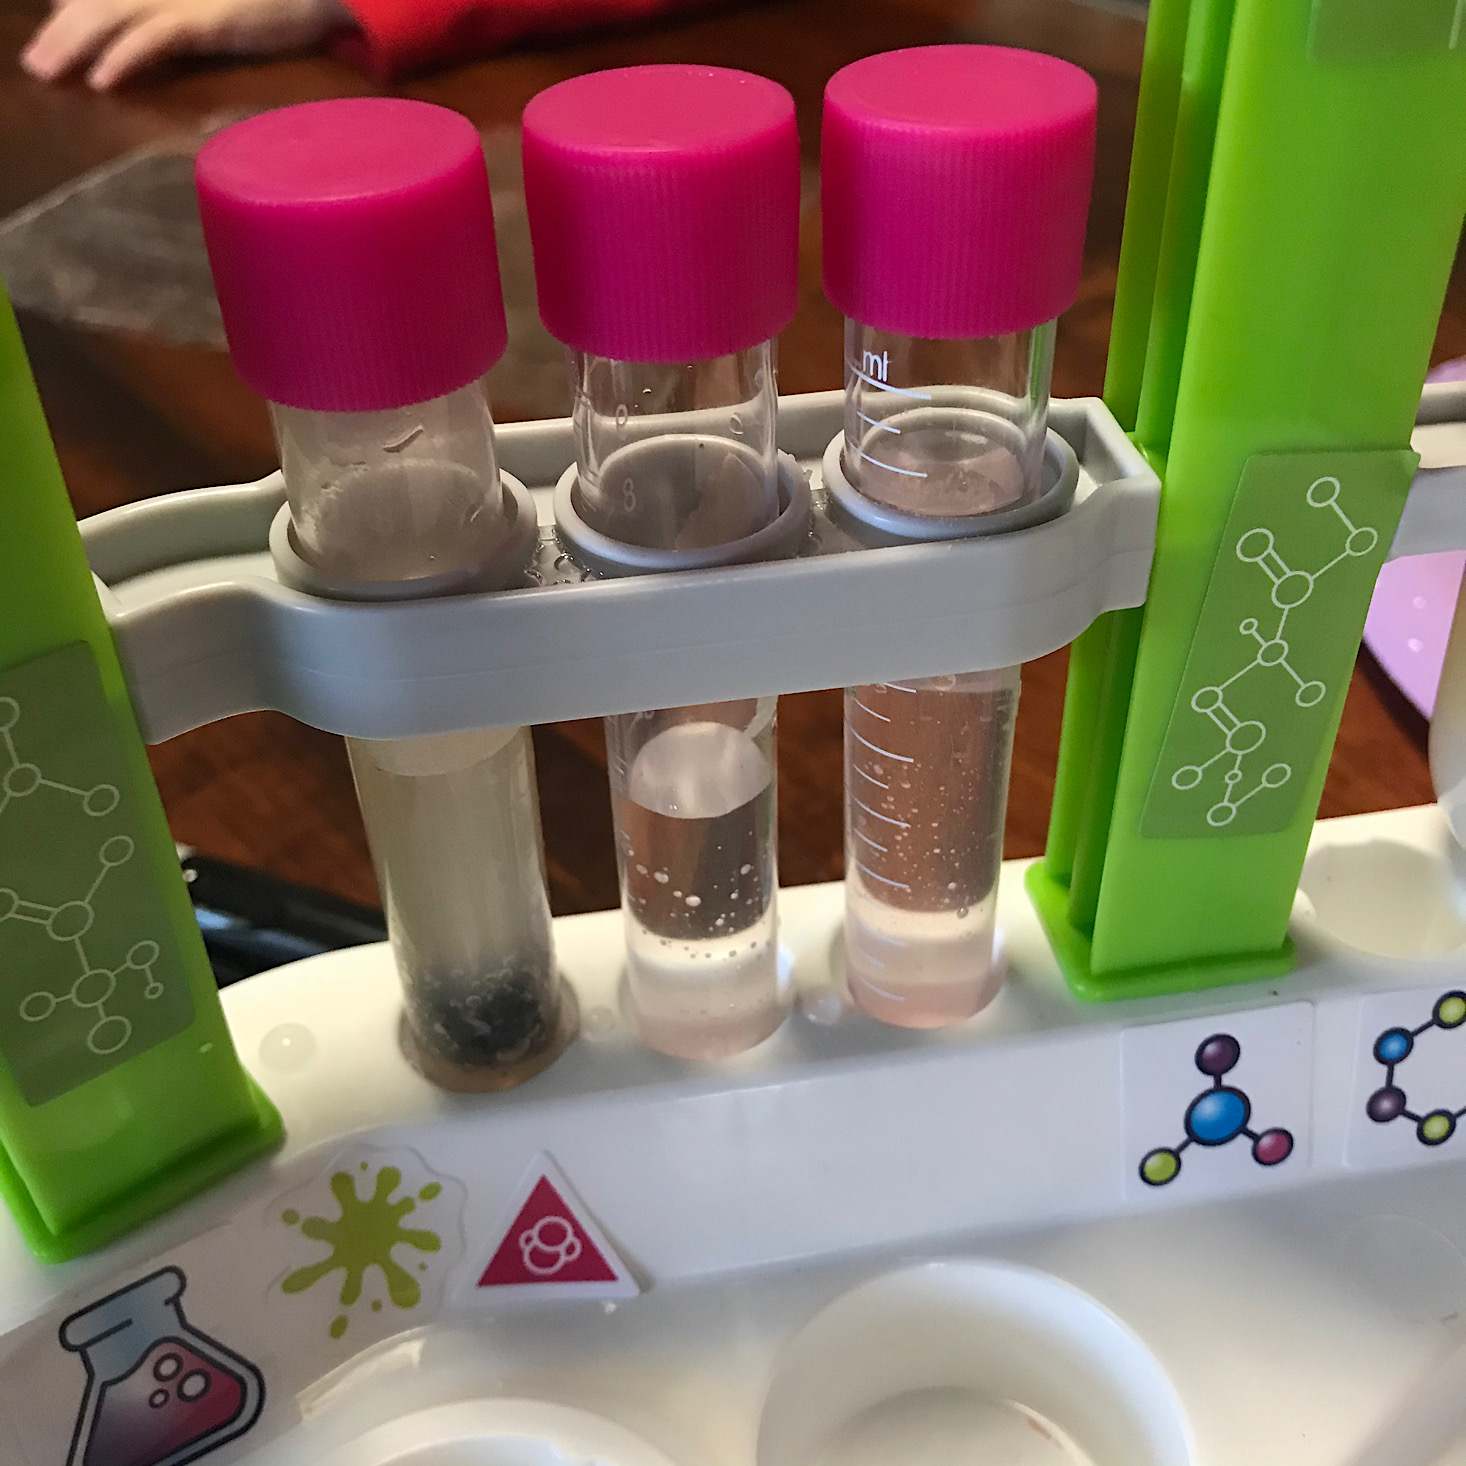
1 of 2
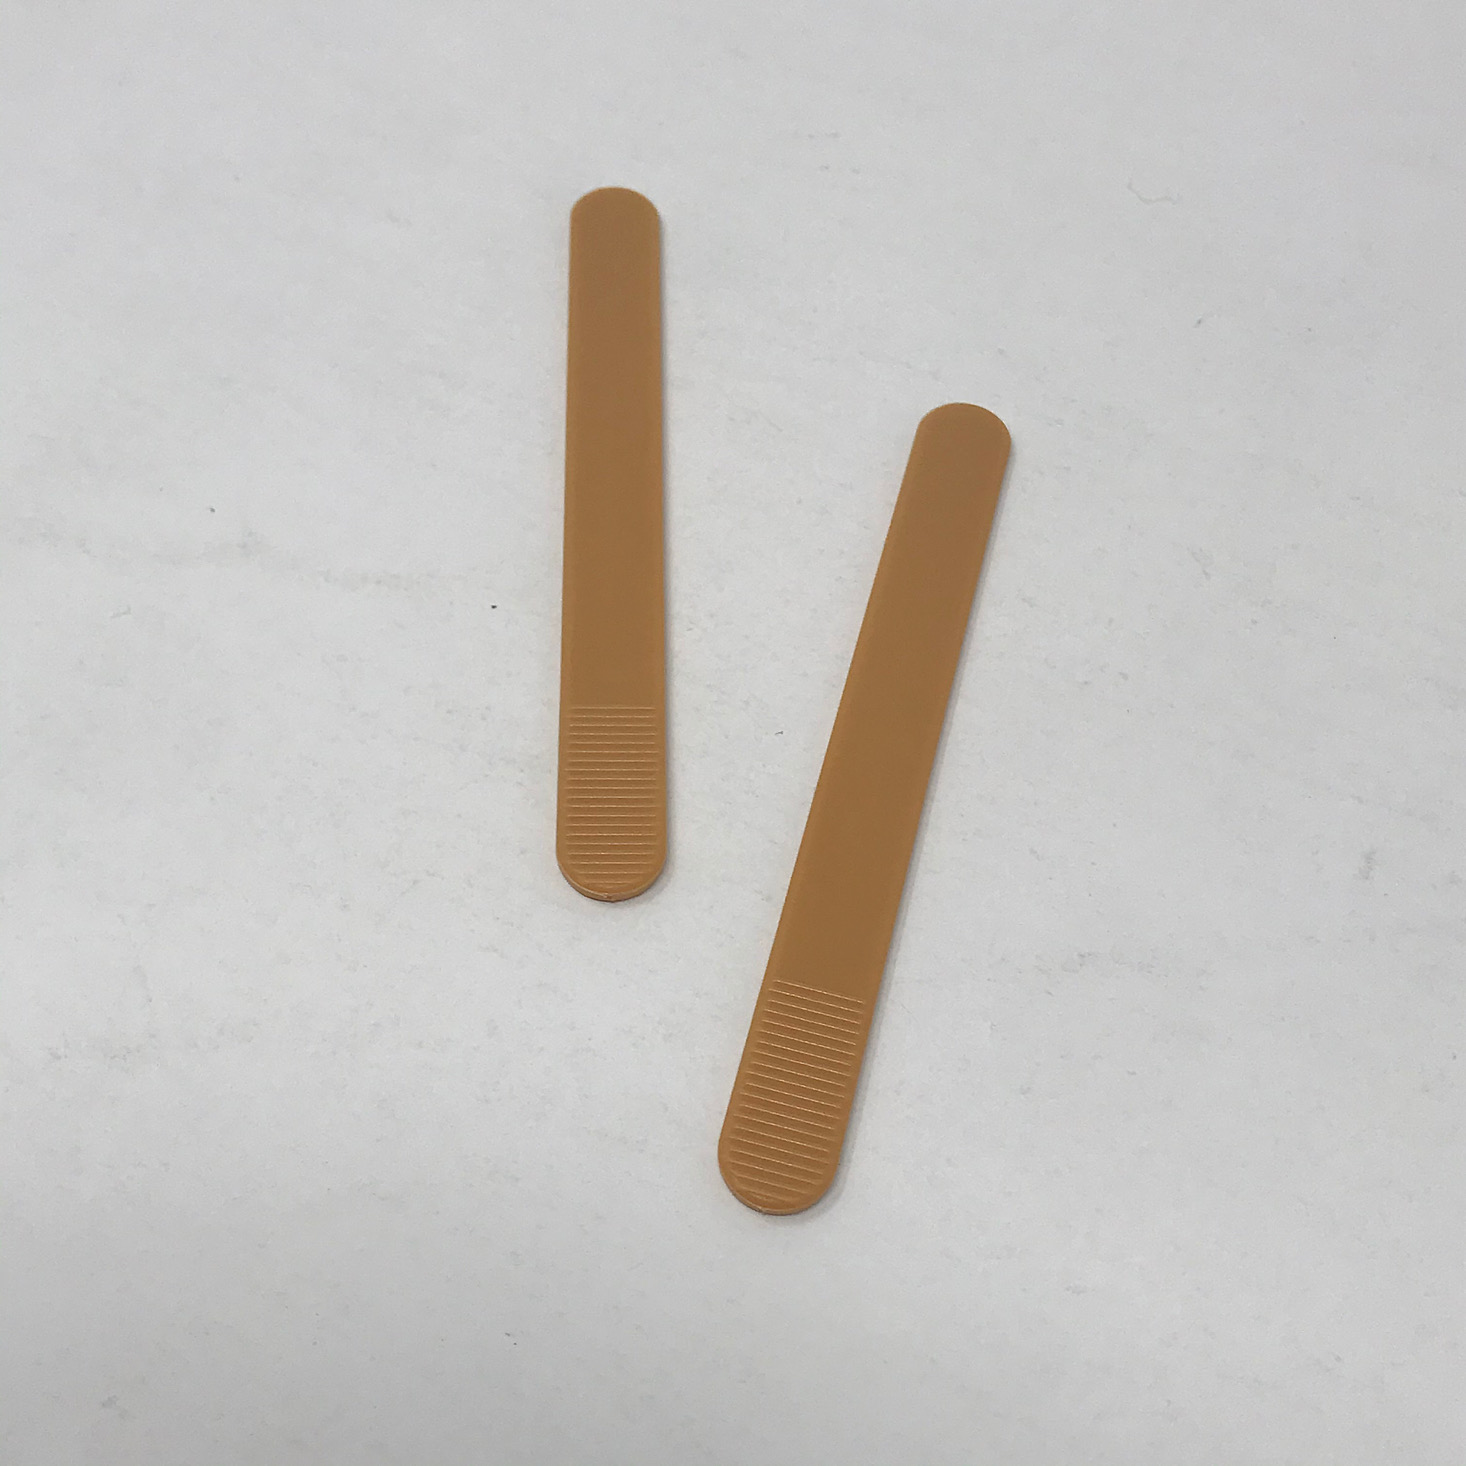
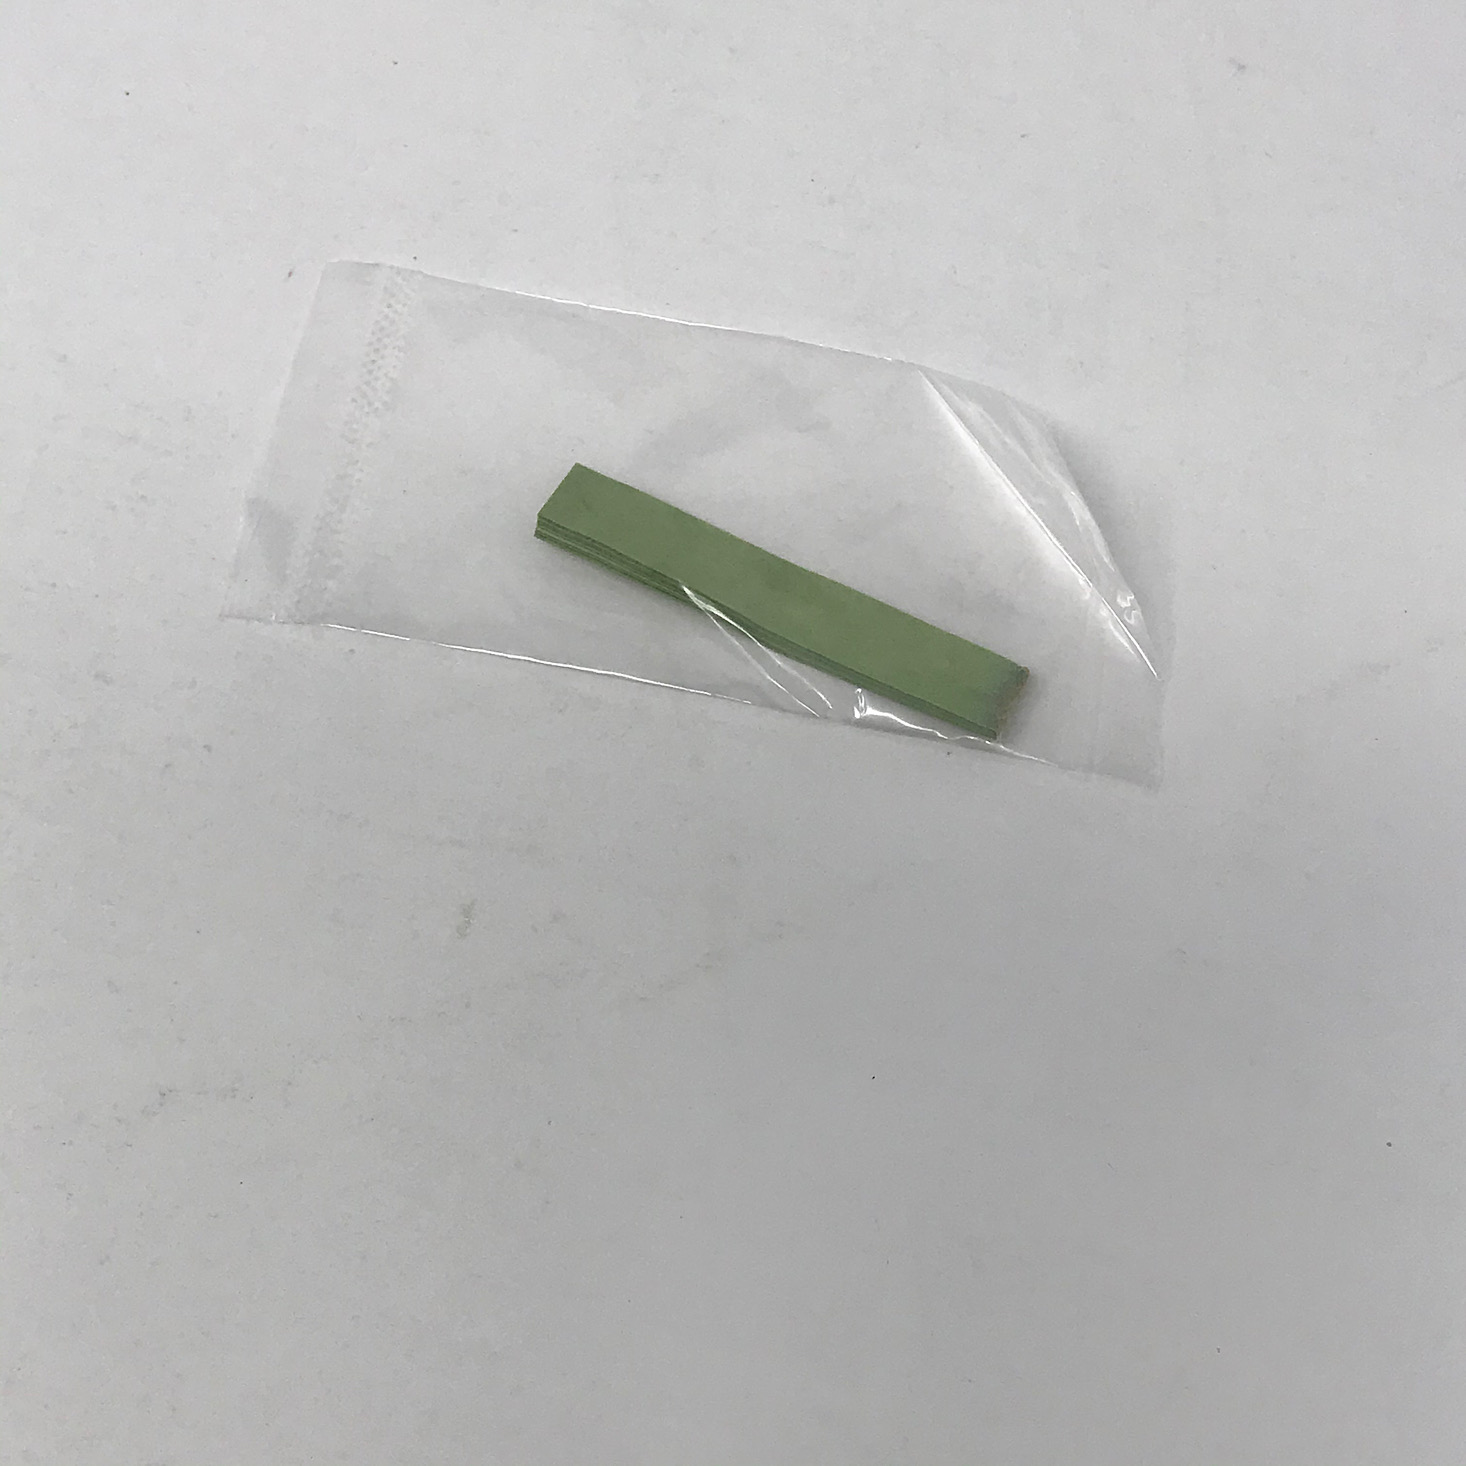
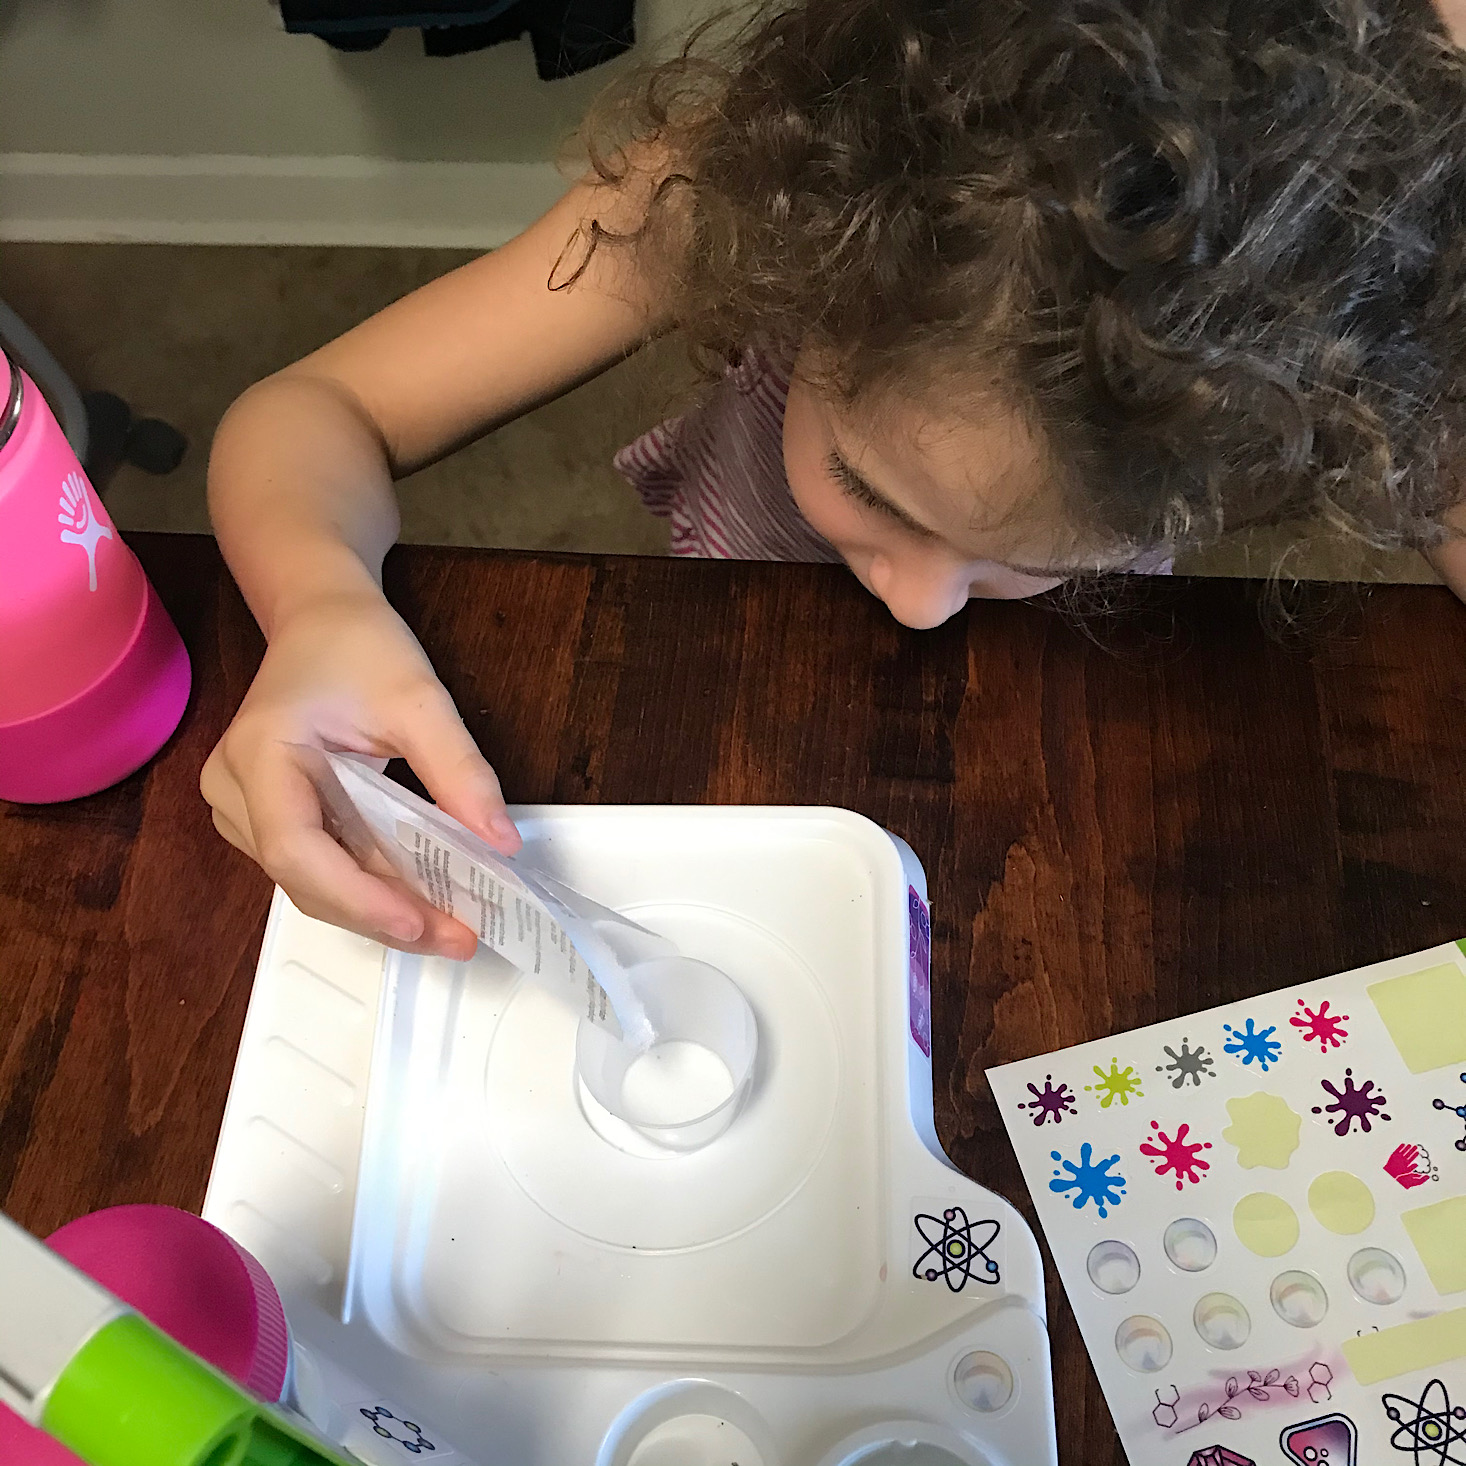
With them all well mixed, it was now time to test their pH. They provided this set of pH strips for us to use.

1 of 3

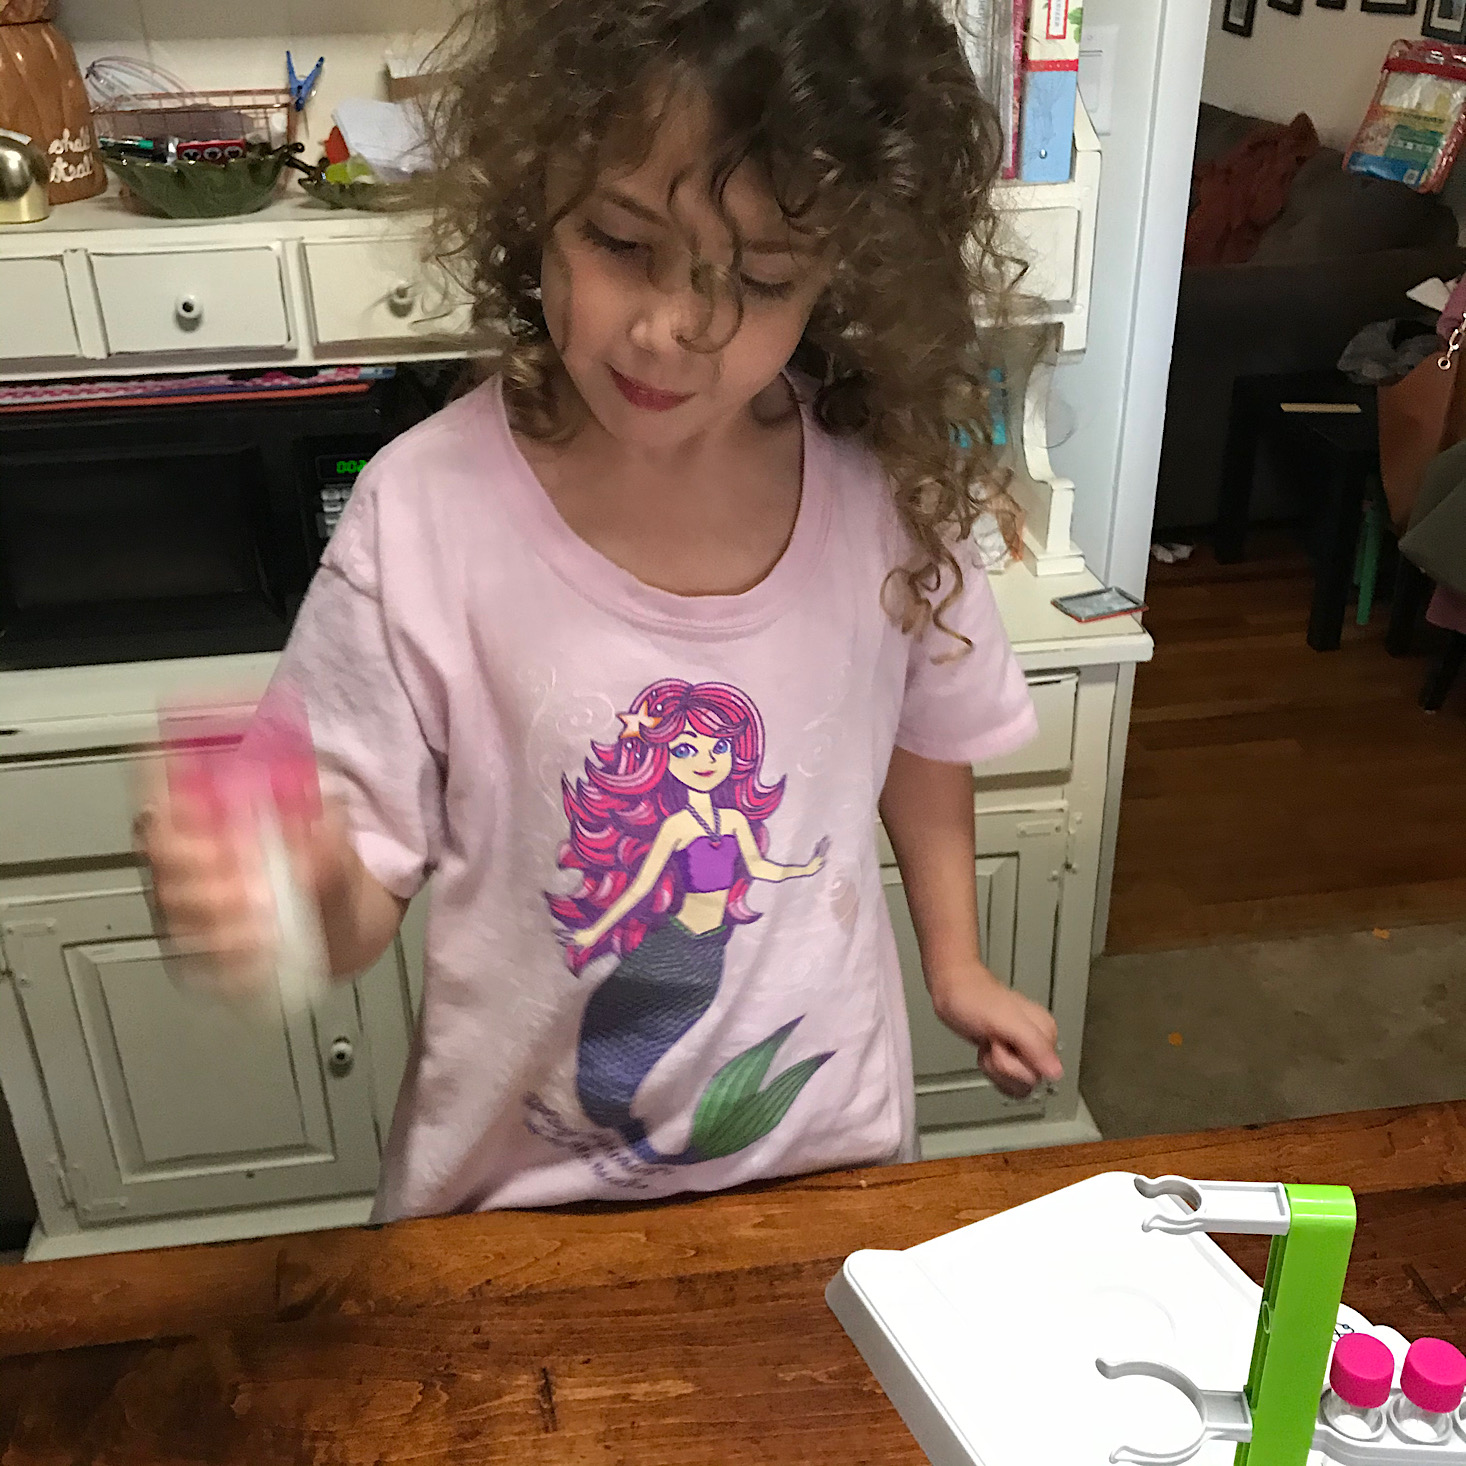
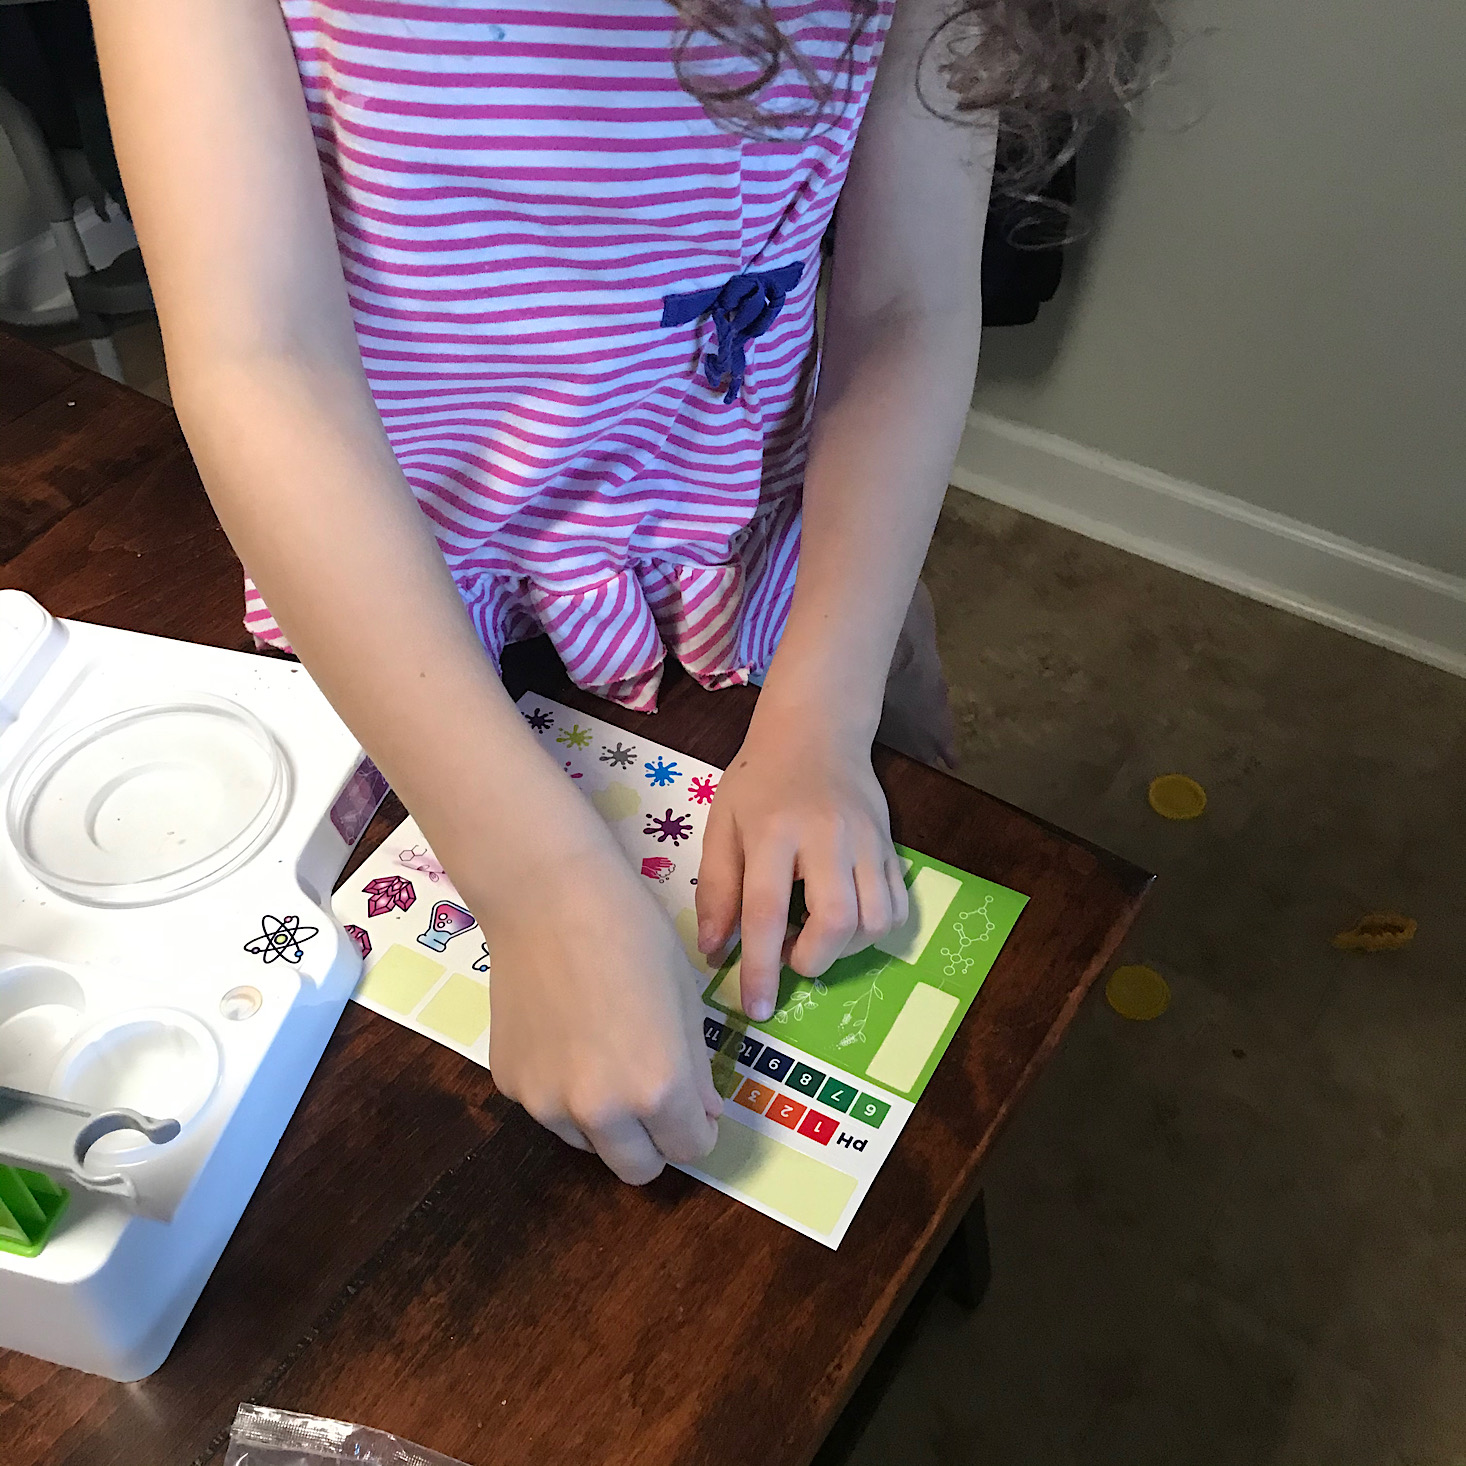
My daughter stuck a strip into each tube and then set it aside for a minute. Once they changed colors, we began to compare them to the pH chart on our stickers.


1 of 2
They also had a pH chart in our book and some information about it. They made a great point of what the pH level of healthy skin is and how hand-washing can affect it. We discussed how we should choose products that help our skin maintain a healthy pH level of 5.5 to 6.5. I then asked her which of our three test tubes was best for helping keep our skin at that pH level according to the chart and she was easily able to respond with the answer of glycerin soap. This was such a great teachable moment that I could tell it really clicked with her thanks to the way the information was presented!
Experiment 9: Fizzing Bath Bombs


1 of 4
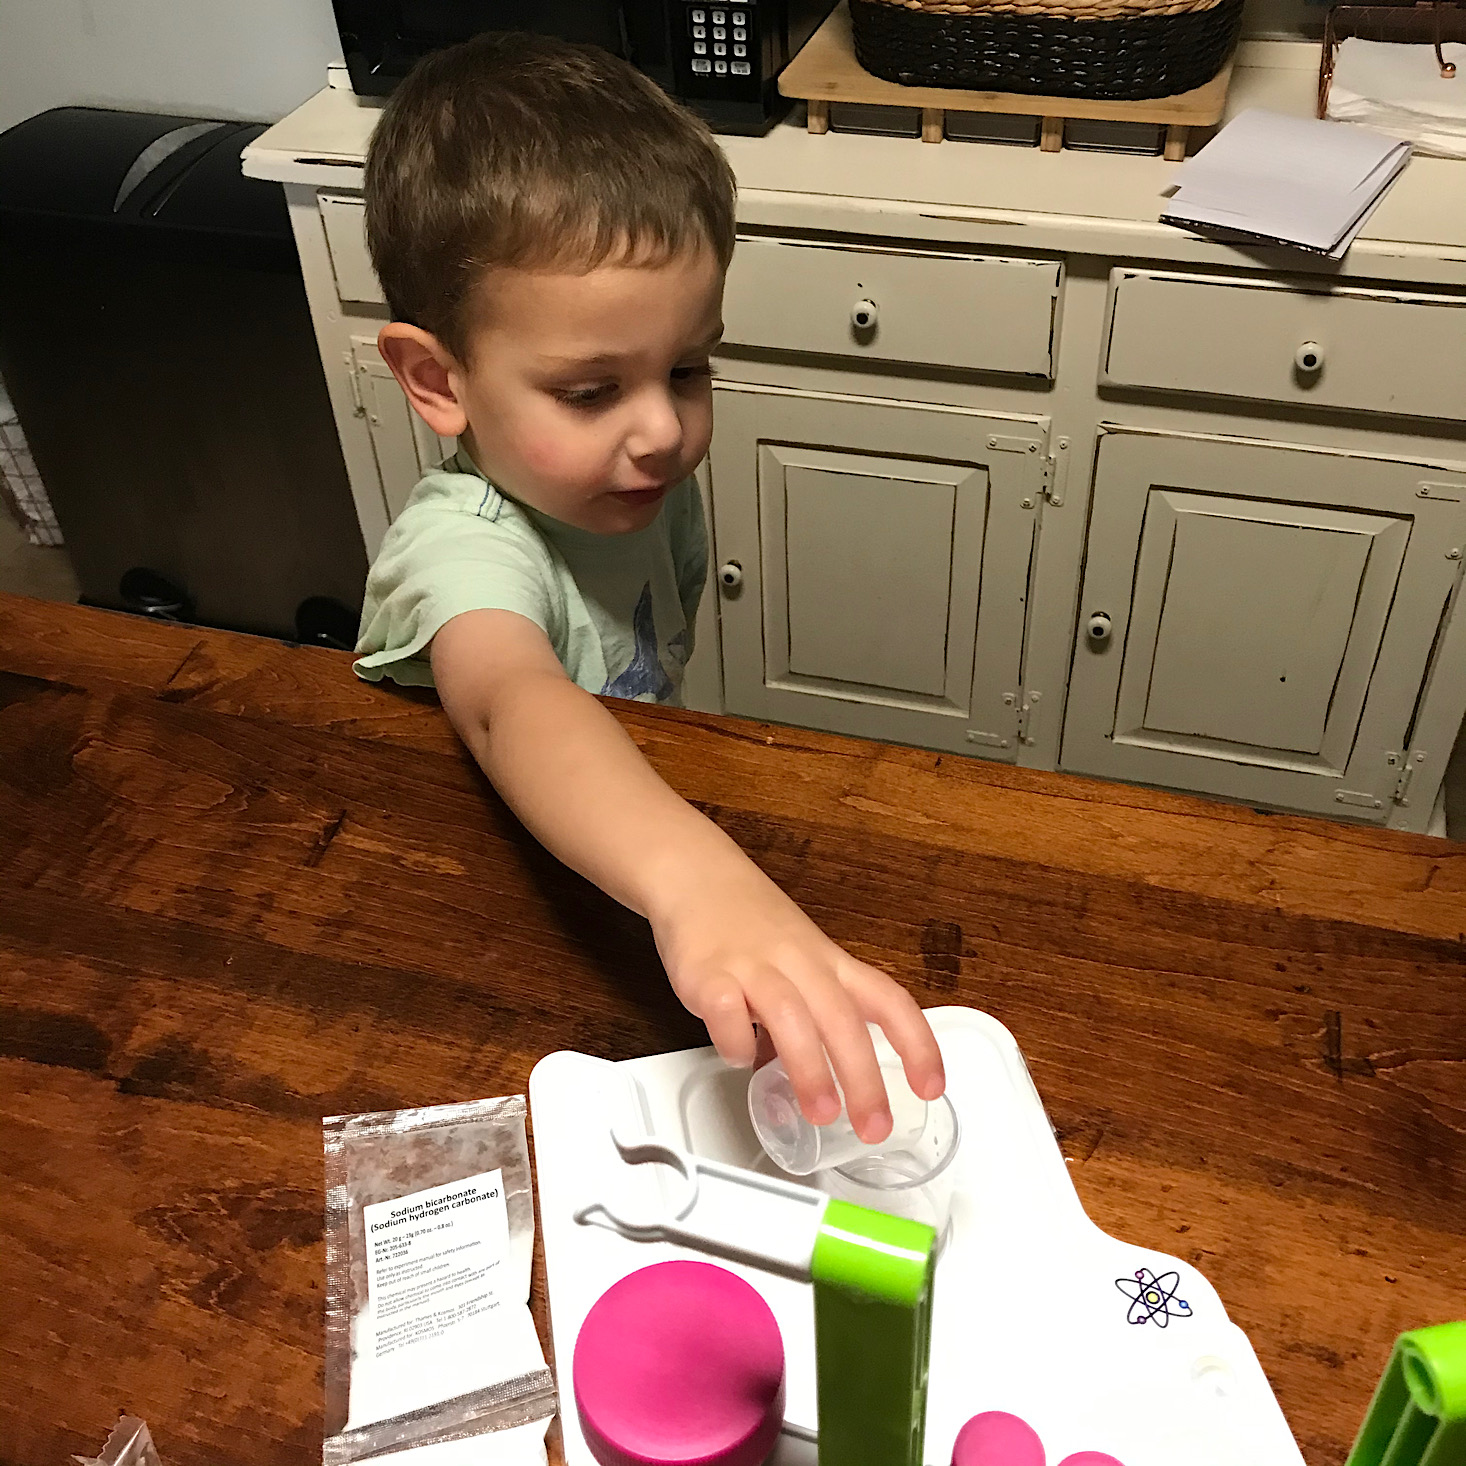
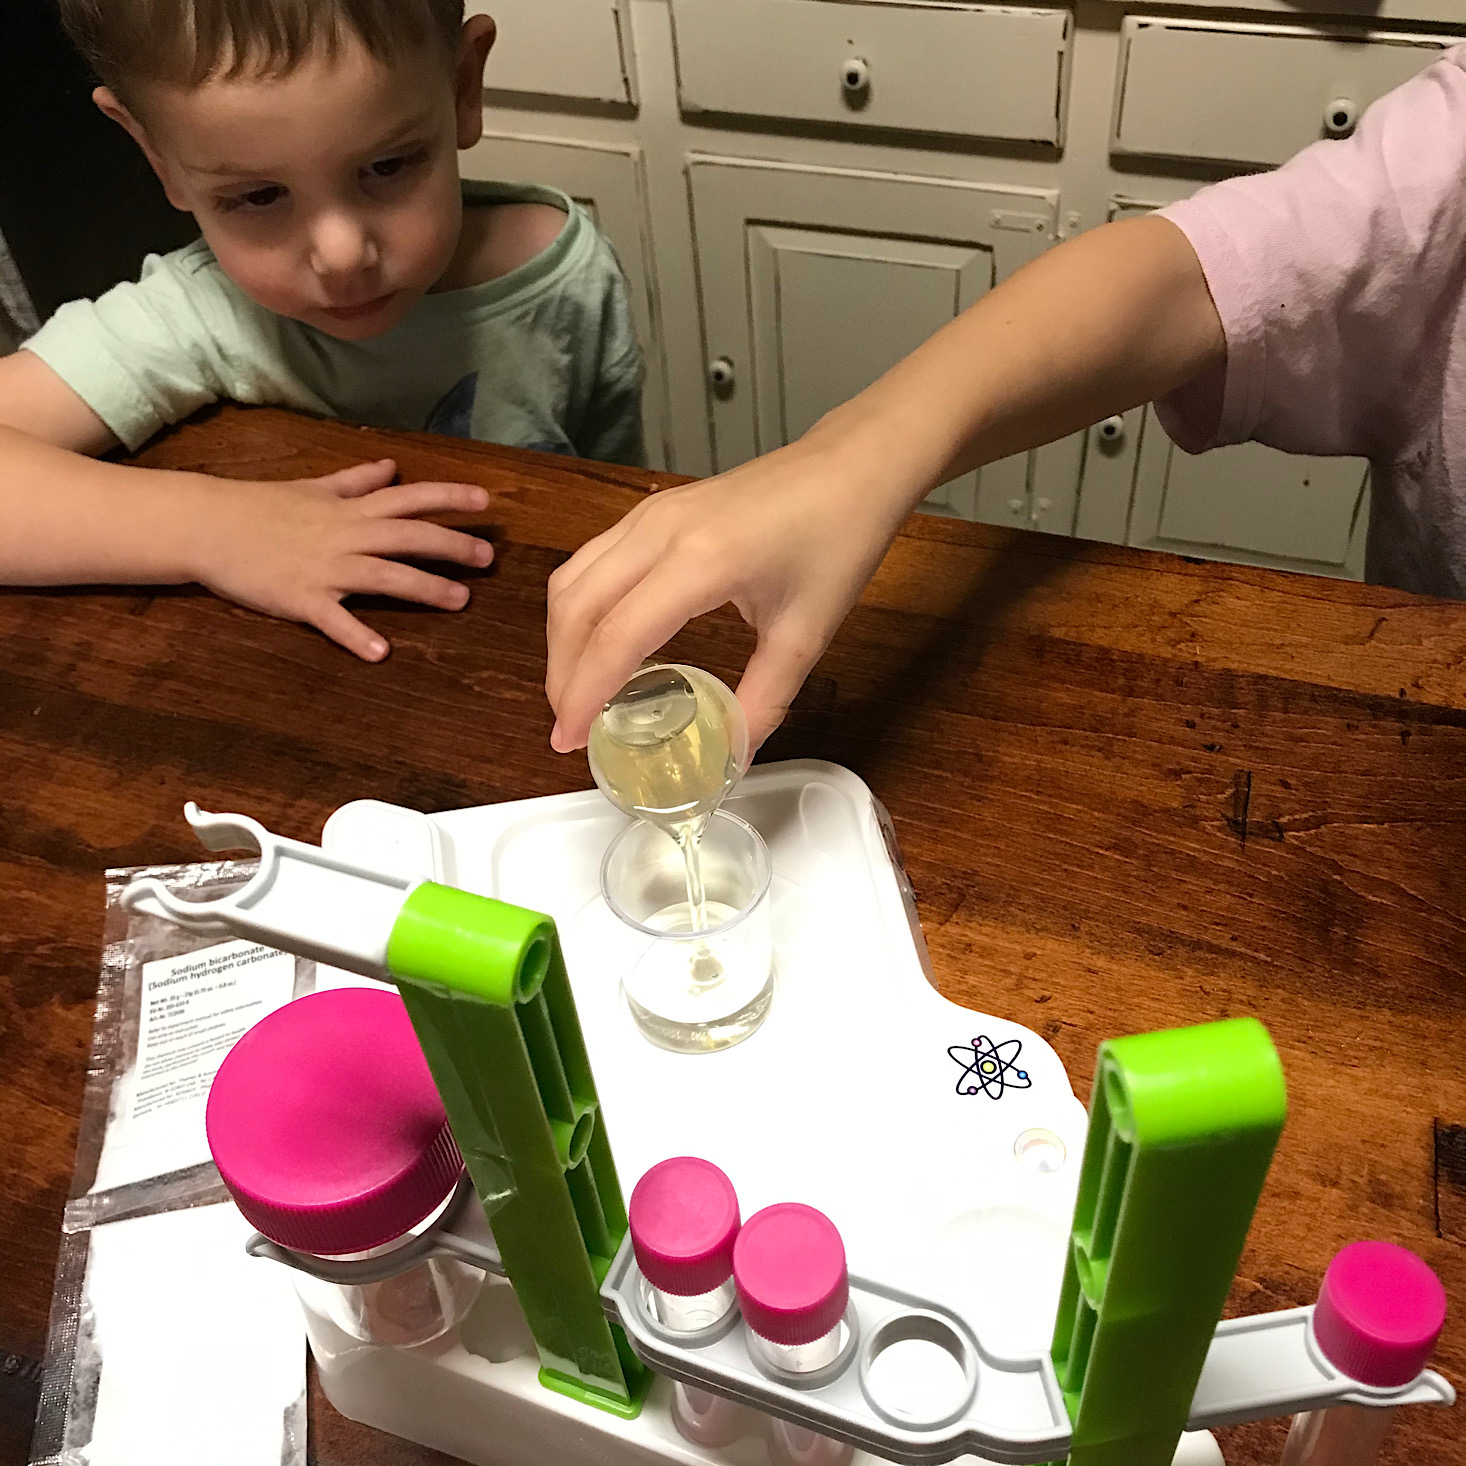
Our next experiment was to make a bath bomb using the sodium bicarbonate and potassium phosphate. We measured out the correct amount of each powder and then added it to our beaker.

1 of 3

We stirred it up, added a little bit of water and then stirred some more. I attempted to roll them into balls, but they fell pretty flat. I have about a 50/50 success rate when it comes to bath bomb-making (I don't know what I do wrong!?) so this is pretty par for the course for me. This was a first though - we actually had to bake these in the oven for 20 minutes at low heat.


1 of 2
Once they came out, we let them cool and then we were supposed to add a drop of our perfume oil to them, but we didn't bother with that part since they came out looking this way! Oops!
Experiment 10: Fizzy Bath Bomb Experiment

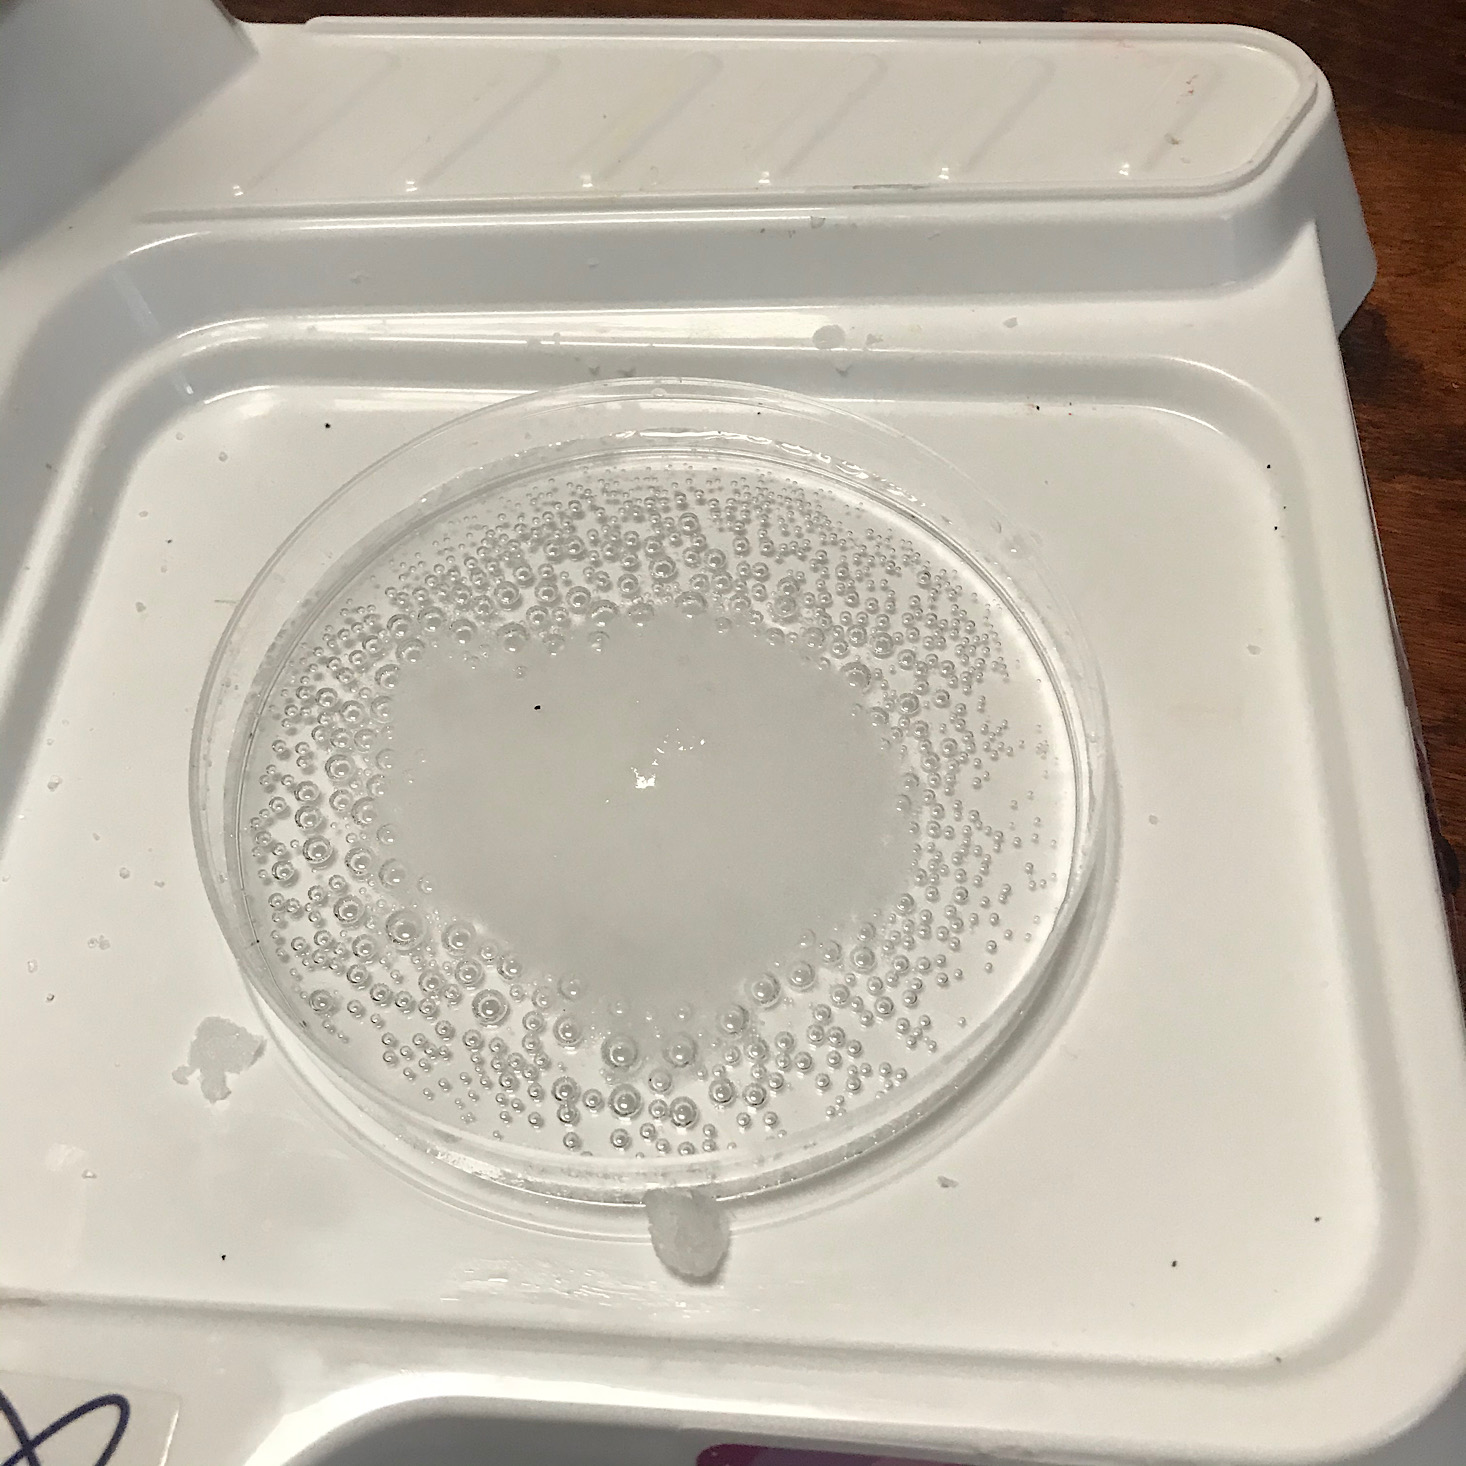
1 of 3
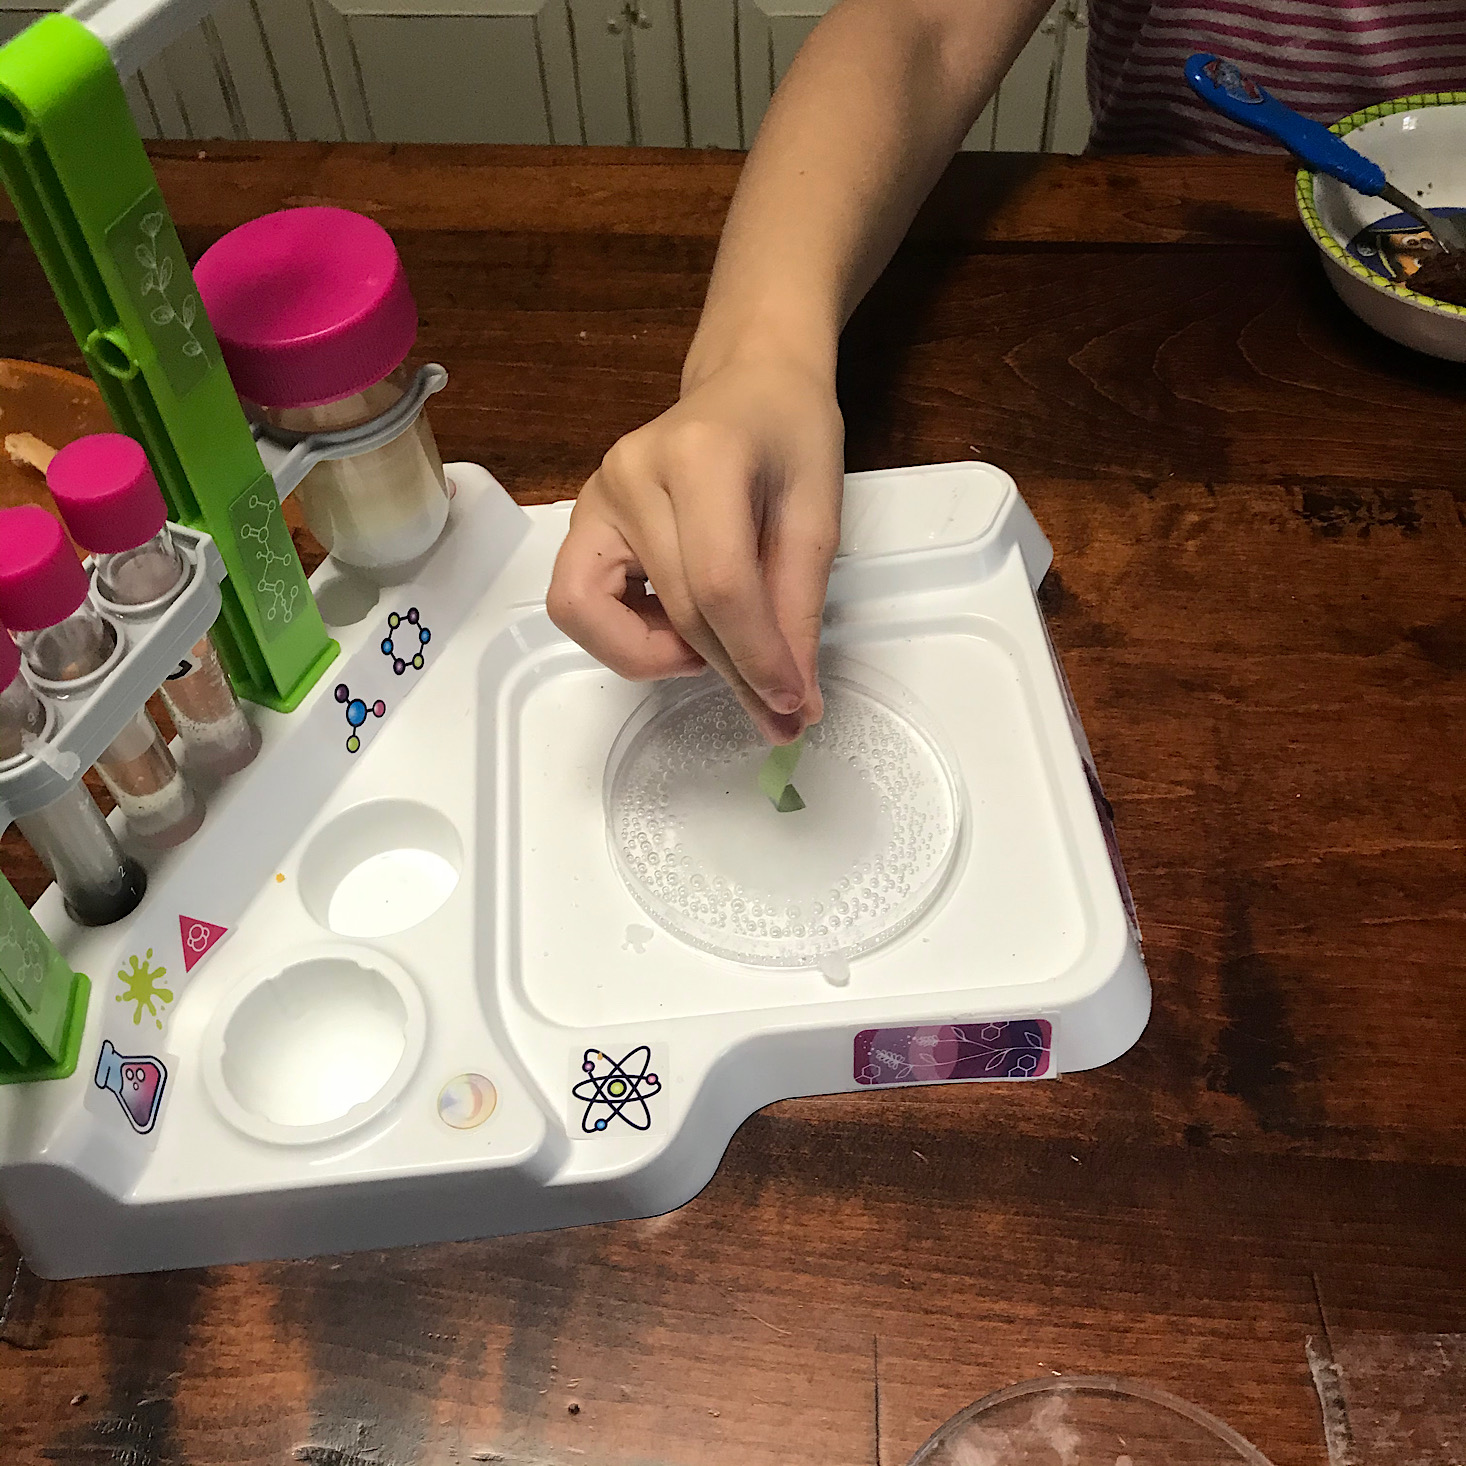
Our final experiment was to test out our bath bomb. We filled our petri dish with water and then added a piece of bath bomb to it and watched it fizz. Then we tested its pH with a strip. They provided some more information about what was happening here.

Our experiment booklet finished out with some information about the skin being our largest organ and some interesting facts about it.
Verdict: This month's Amazon’s STEM Toy Club provided a great set of science experiments with all of the tools we needed to conduct them. The directions were detailed, clear, and easy to follow and I love that they built upon one another and included little educational blurbs within each experiment. This made the learning feel more natural and also meant that these experiments could easily be broken up into different lessons if you wanted. The only thing I didn't really enjoy was how much wait time there was in between experiments. Normally, this wouldn't be such a huge deal, but since the projects built upon each other, we often had to wait for one experiment to be completely finished (emulsions to settle and soap to harden) before moving on to the next. Overall, we enjoyed the kit and had some fun learning and I really loved that they related the learning to our skin which allowed the kids to engage with the information a bit better. I think it was a pretty great value for a $19.99 subscription!
To Wrap Up:
Can you still get this box if you sign up today? Based on feedback from other subscribers, we've learned that you might receive any of the toys featured in previous reviews as your first box for this subscription– not all subscribers receive the same toy each month.
Value Breakdown: The cost of the subscription was $19.99 and we received a toy valued at $31.37. That’s a savings of $11.38 (or about 36%) on this toy.
If you like this box, you might also like: Tinker Crate (ages 9+), Groovy Lab in a Box (ages 8+), or Bitsbox (ages 6-12)
Check out all of our Amazon STEM Toy Club reviews, our best boxes for kids, more educational and STEM subscriptions for kids, and all Amazon subscription boxes in our subscription box directory!
Keep Track of Your Subscriptions: Add this box to your subscription list or wishlist!
What do you think of this month's toy from the Amazon STEM Club Toy subscription box?
Please do not enter your email address in the Name field or in the comment content. Your email address will not be published. Required fields are marked *. Remember to post with kindness and respect. Comments with offensive language, cruelness to others, etc will not be approved. See our full comment policy here.