

Tinker Crate (from parent company KiwiCo) is a subscription box for kids and tweens ages 9-16+. It arrives every month with all the materials and instructions needed to create innovative hands-on STEM projects along with a Tinker Zine full of educational information and additional activities.
KiwiCo offers boxes for different age groups: Tadpole Crate for 0-36-month-olds, Koala Crate for 3-4-year-olds, Kiwi Crate for 5-8-year-olds, Atlas Crate for 6-11-year-olds, Doodle Crate and Tinker Crate for 9-16+-year-olds, and Eureka Crate for ages 14 and up. There really is something for every age with this company.
This review is of the $19.95 a month Tinker Crate, for ages 9-16+.
This box was sent to us at no cost for review. (Check out the review process post to learn more about how we review boxes).
About Tinker Crate
The Subscription Box: Tinker Crate
The Cost: $19.95 per month + free shipping
The Products: Detailed instructions and materials to create innovative hands-on STEM projects along with a Tinker Zine full of educational information and additional activities.
Ships to: U.S. for free, Canada for $6.95 per month
KiwiCo Tinker Crate "Spin Art Machine" Review
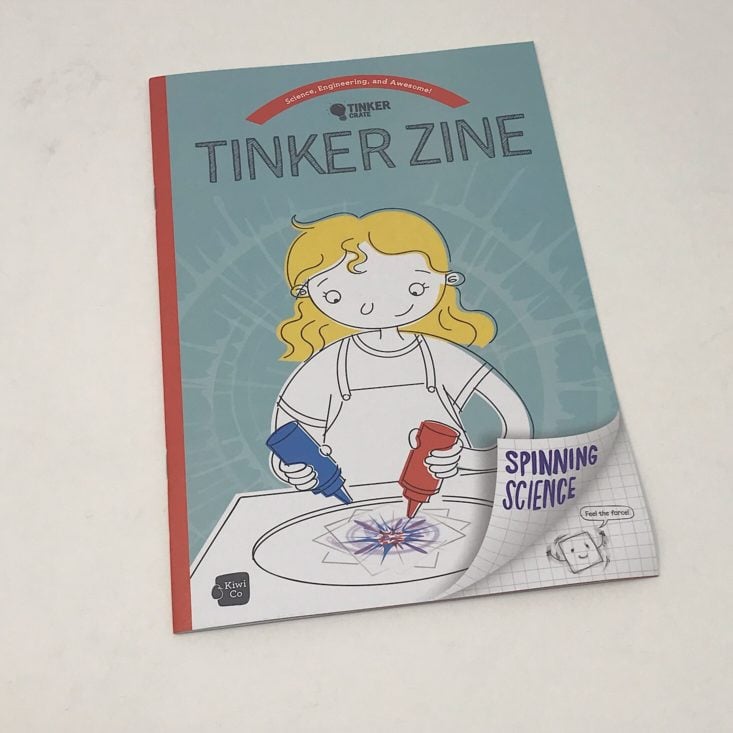
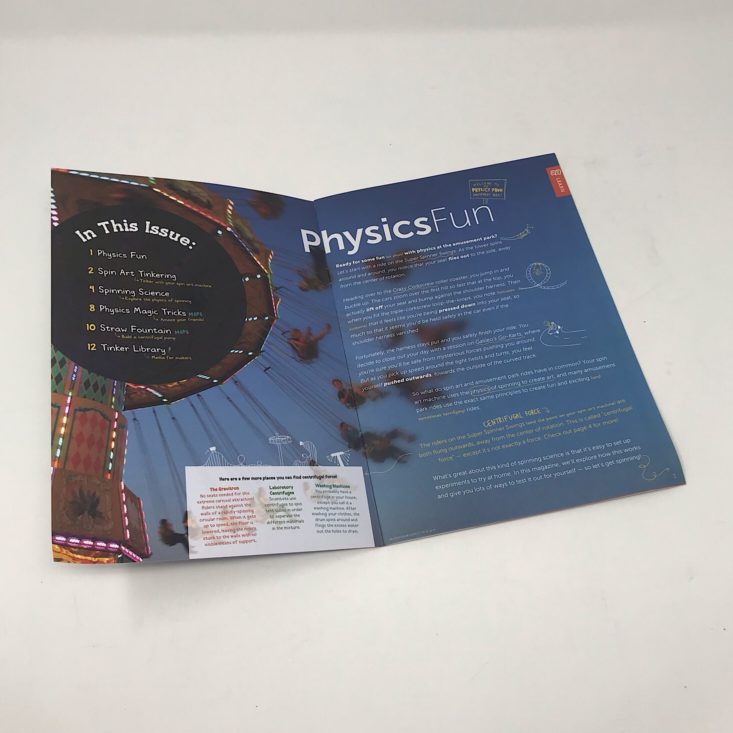
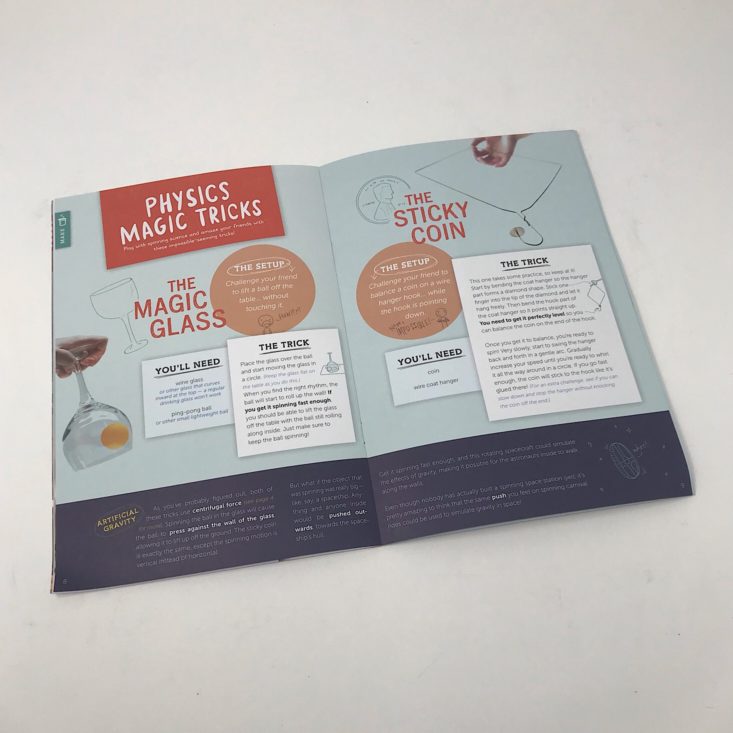
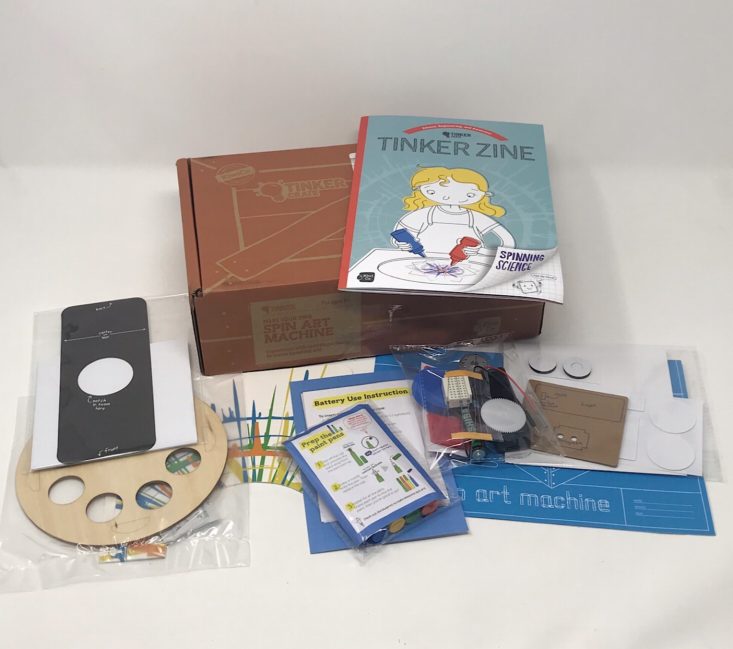
In our box, we received this Tinker Zine which is full of educational information related to the month's project. This month's theme is Spinning Science to go along with our Spin Art Machine project. They included a section on physics and even some fun physics magic tricks to try as extra activities.
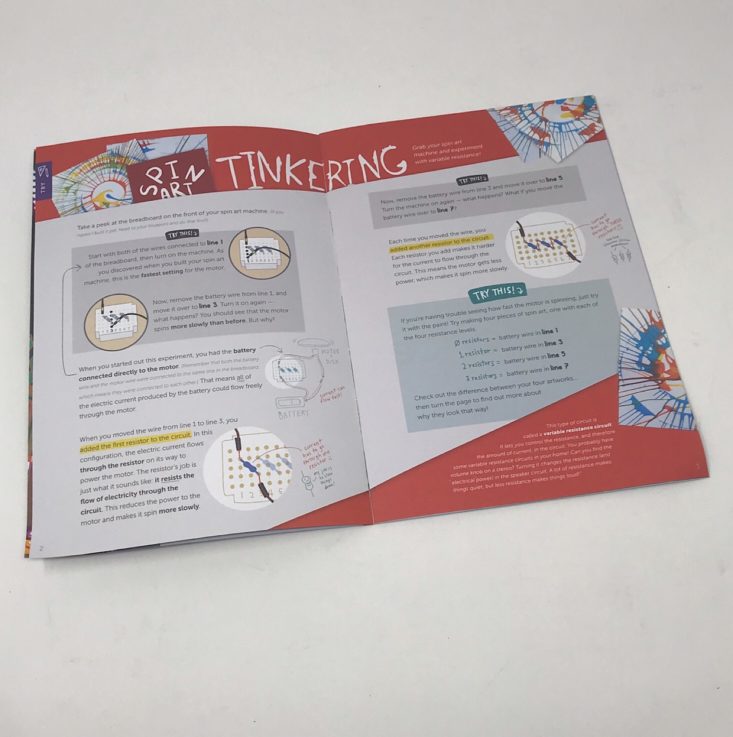
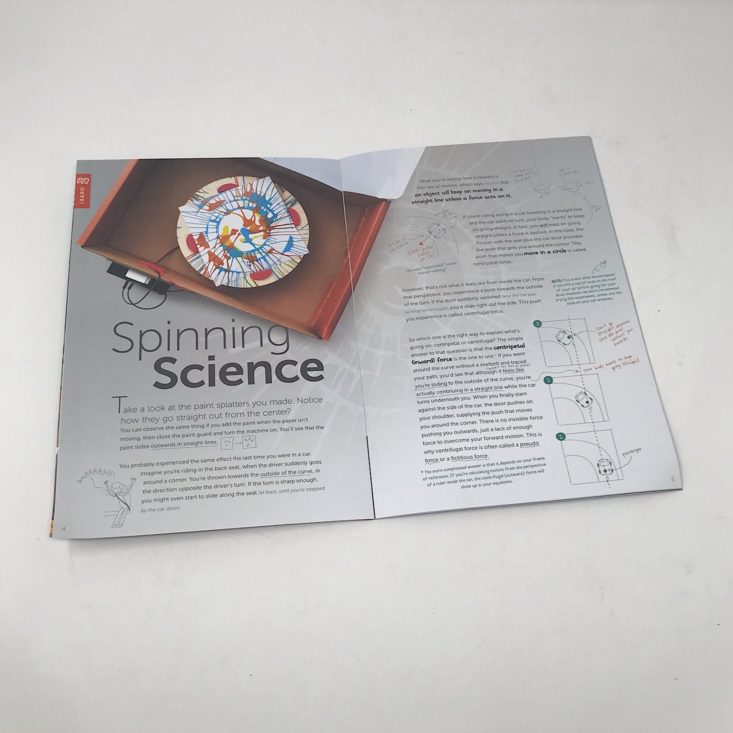
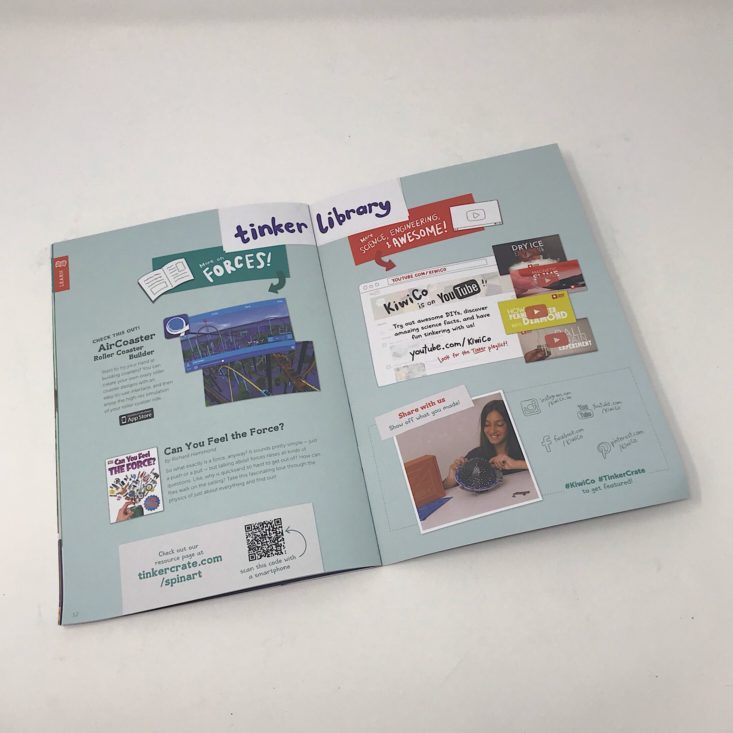
There was also a section on Spinning Science that explains what will happen when our spin art machine is in operation. Another section was about Spin Art Tinkering and included a few experiments to try with our machine once it is built to explore the concept of variable resistance. I thought this was such a great way to expand on the project! At the back of the magazine, they highlighted some reading materials related to our project in various forms of media such as apps, books, and videos.

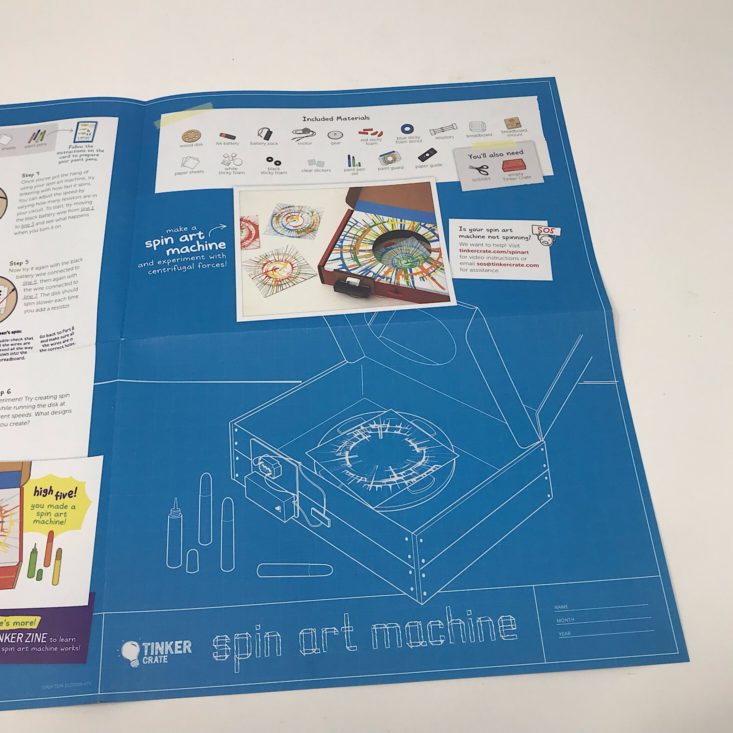
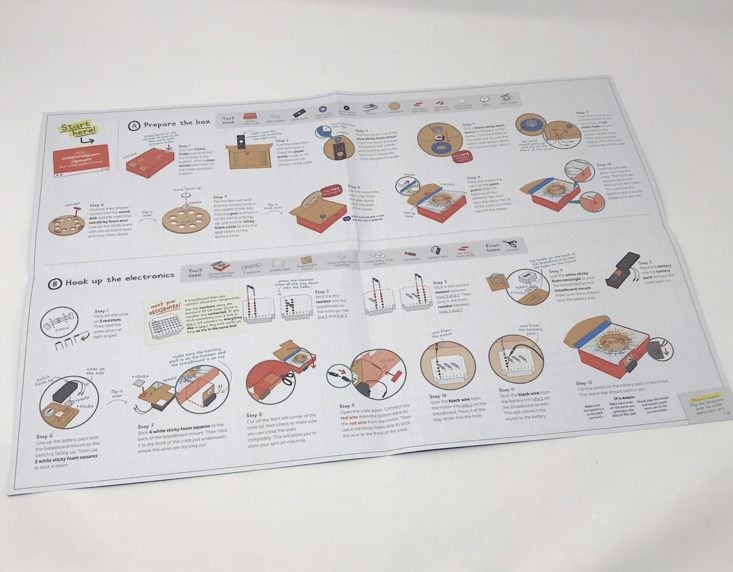
The instructions were contained in a separate booklet that included colored illustrations, a list of our materials, and detailed directions for how to complete the project. As with any box I have received from KiwiCo, these are clear and easy to follow.
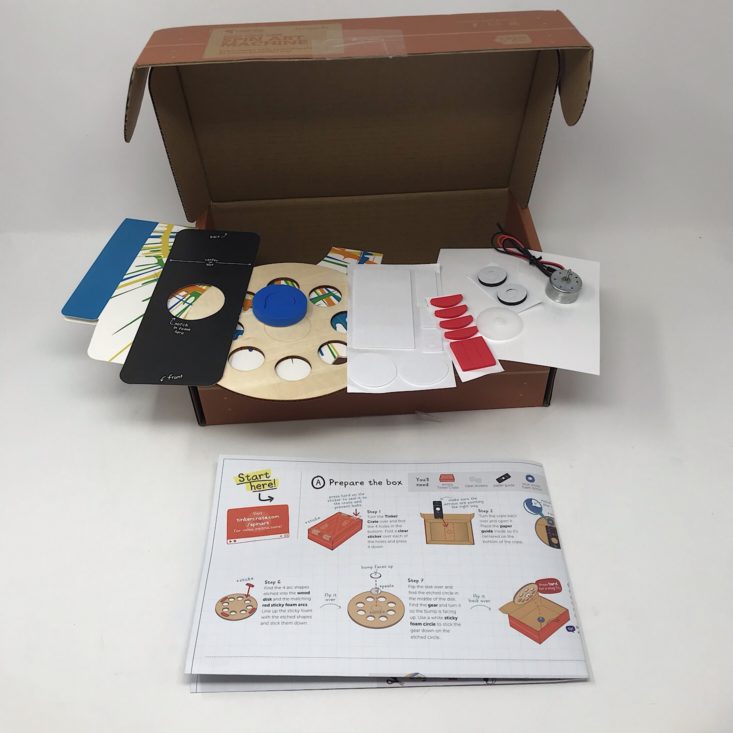
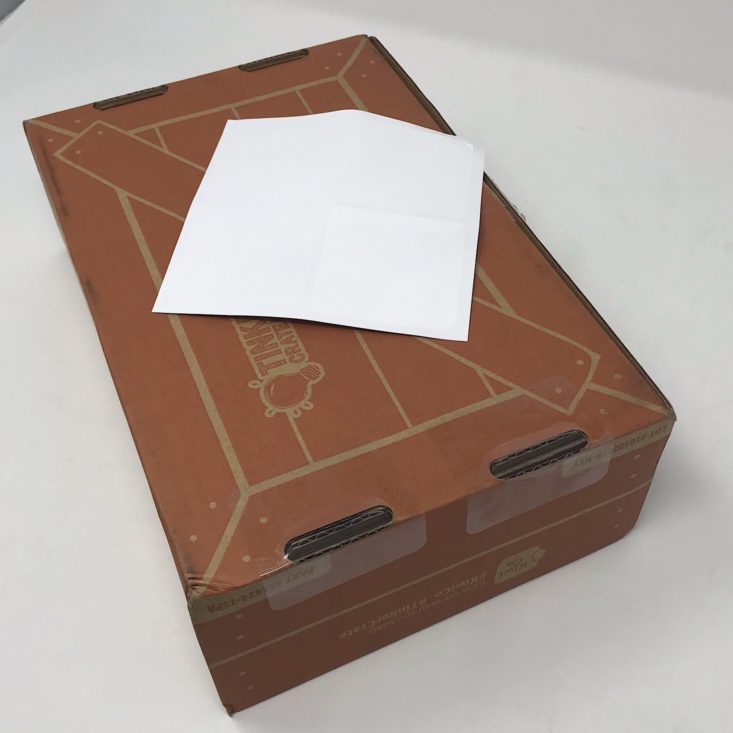
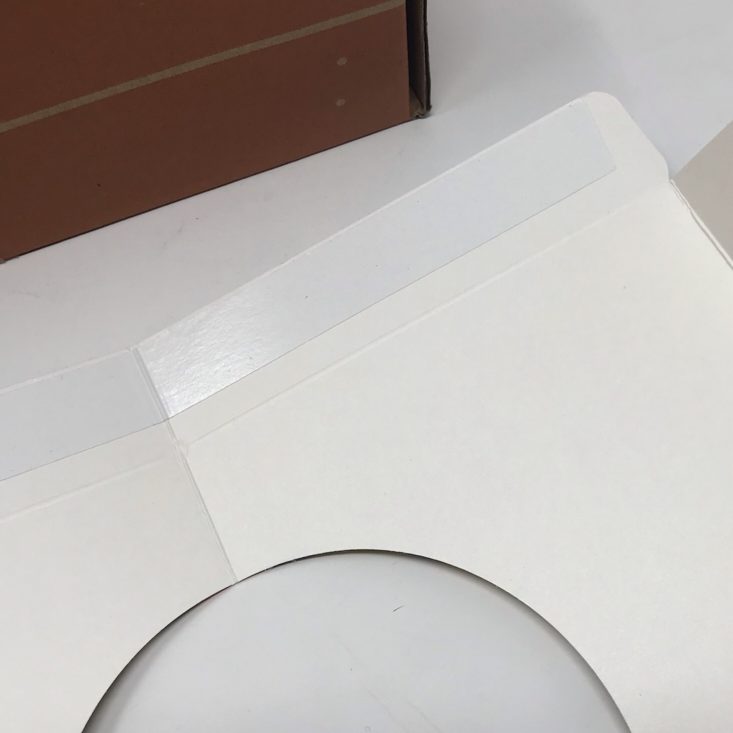
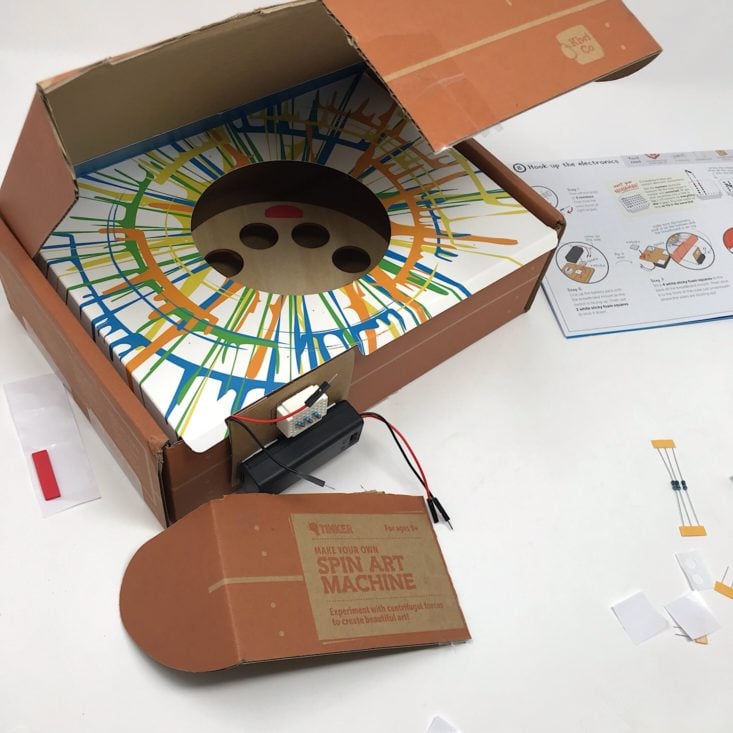
The first step was to prepare our box and I love that we were recycling the box that was sent to us! They provided four clear square stickers that we used to cover the holes on the bottom of it.
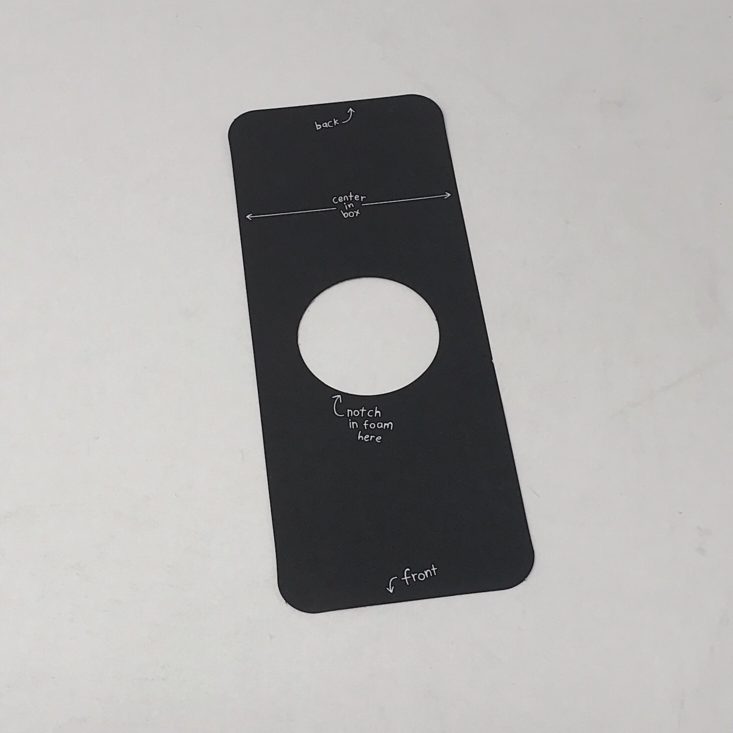
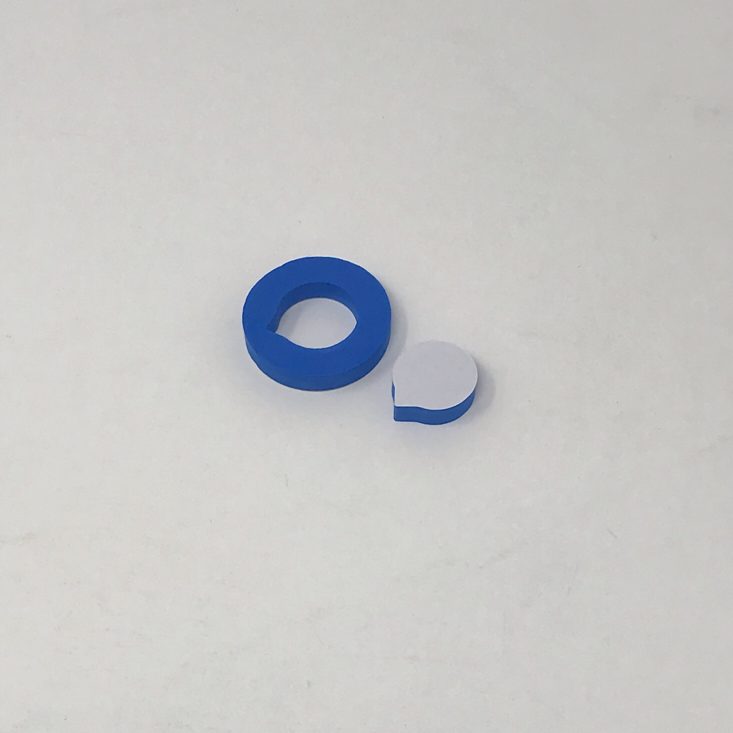
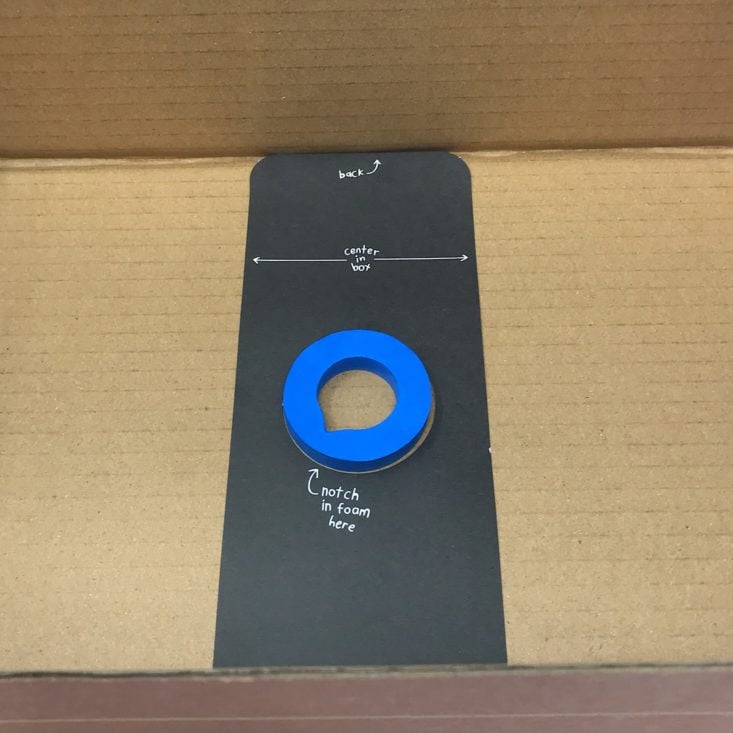
Next, I used the included guide and placed it in the center of the box. Then I added the foam circle to the marked hole in the center of the guide and stuck it down by peeling off the blue foam's backing to reveal the adhesive underneath. Then I removed the guide.
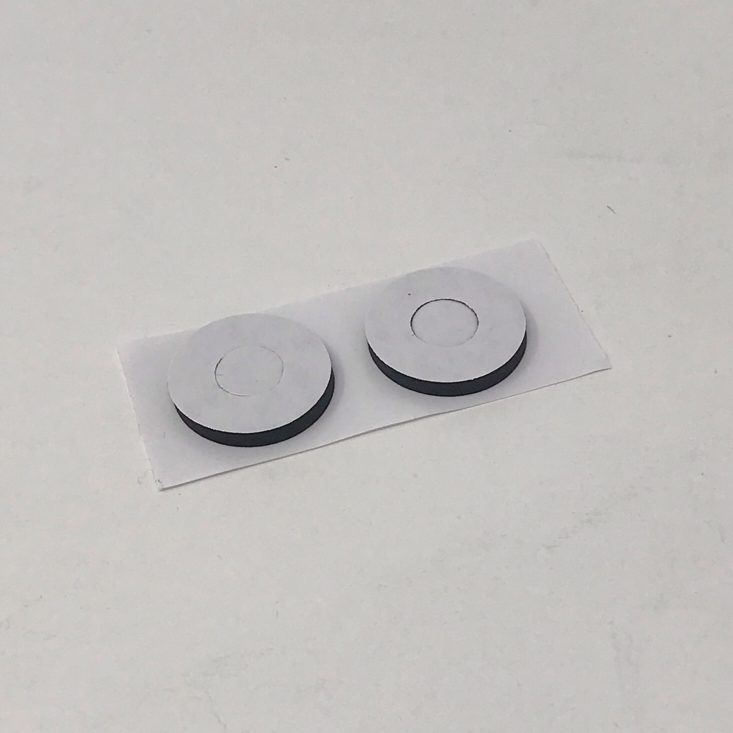
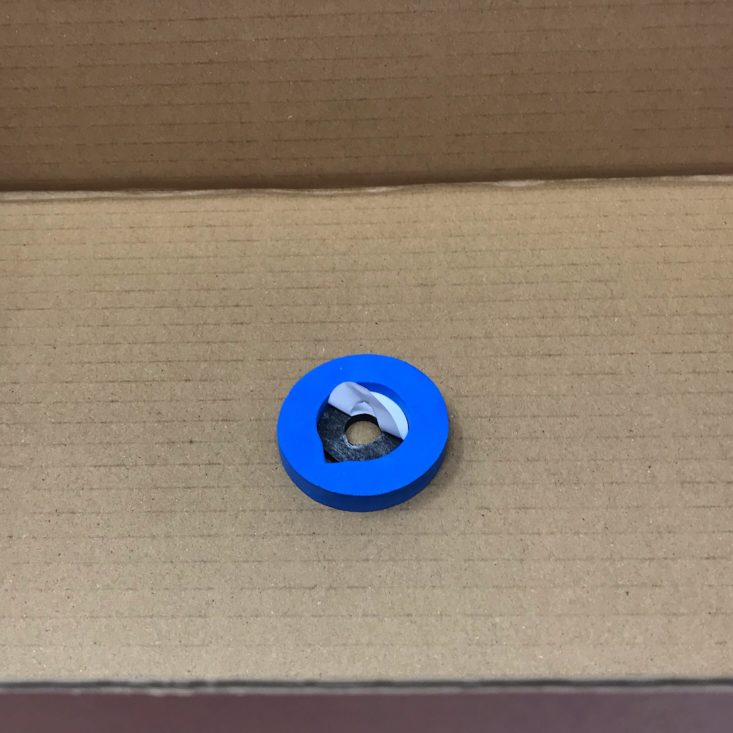
Next, I added a black foam circle in the center of the blue circle.
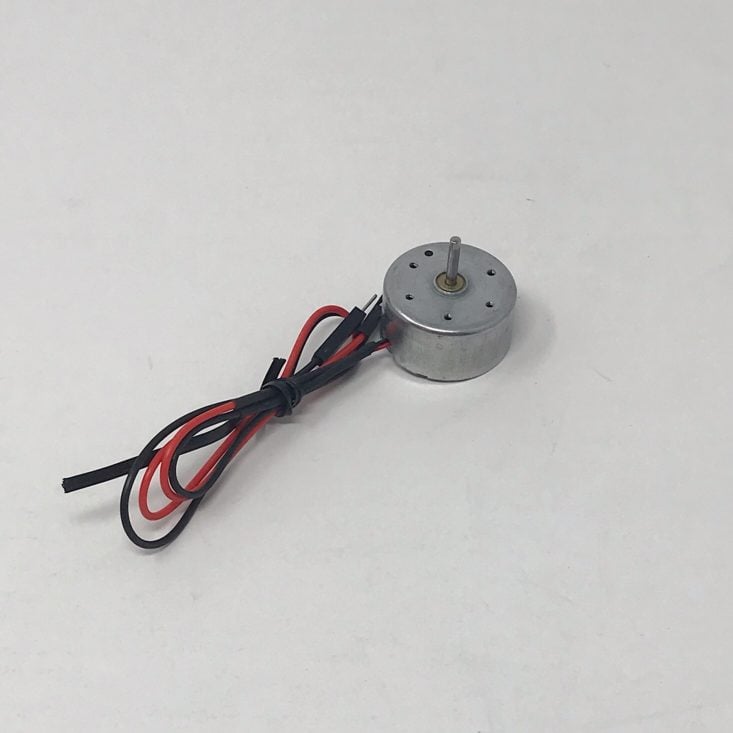
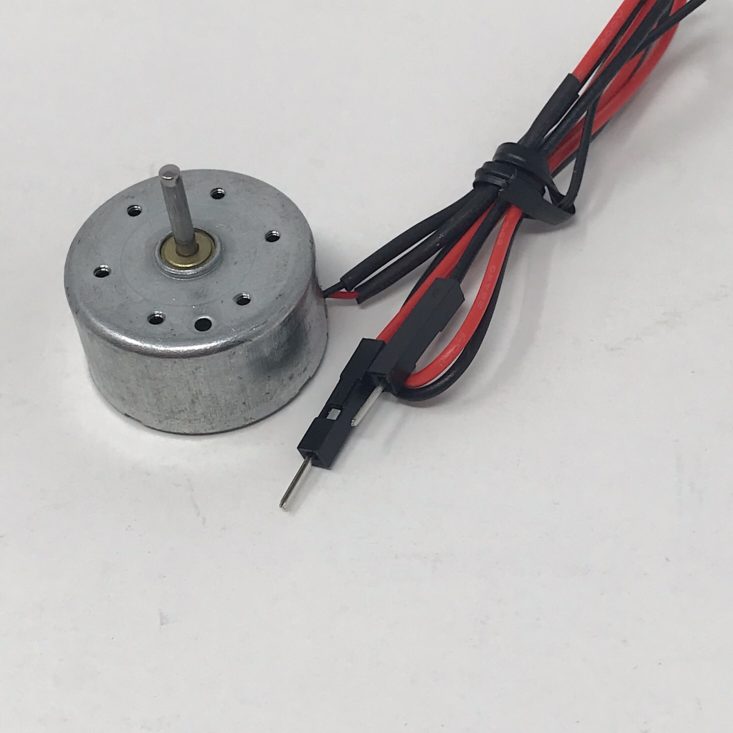
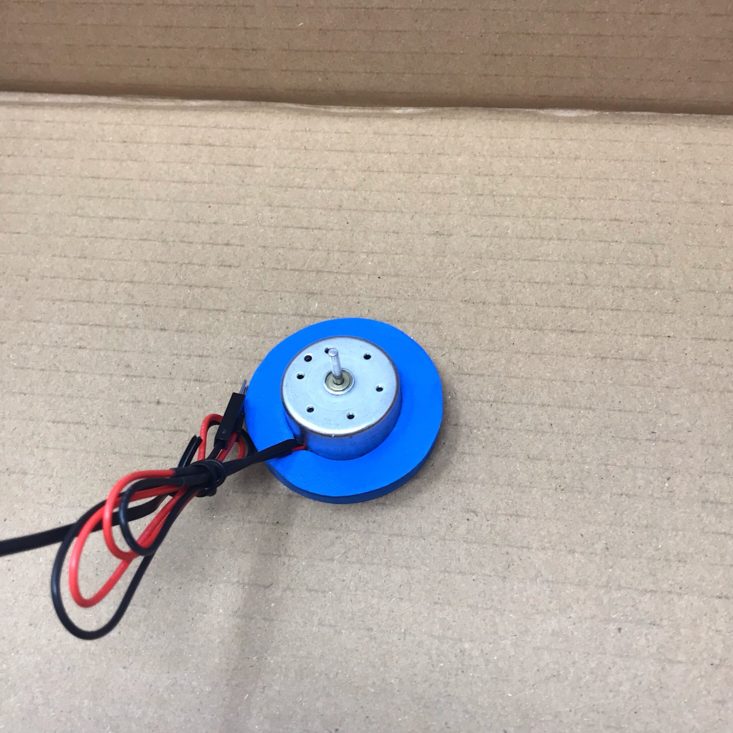
I placed the motor on top of the black circle, which also had adhesive on it, and made sure that my wires were lined up with the little notch in the blue circle.
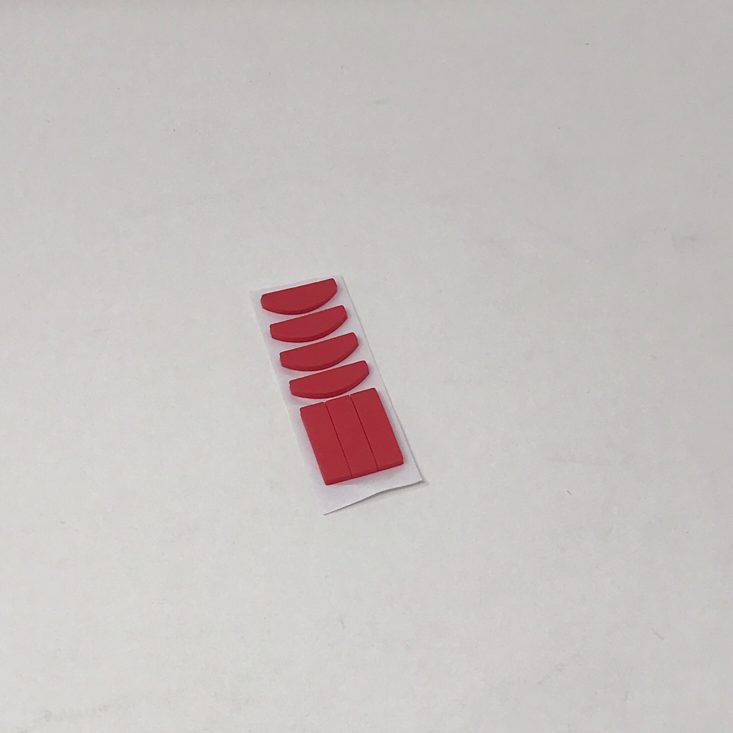
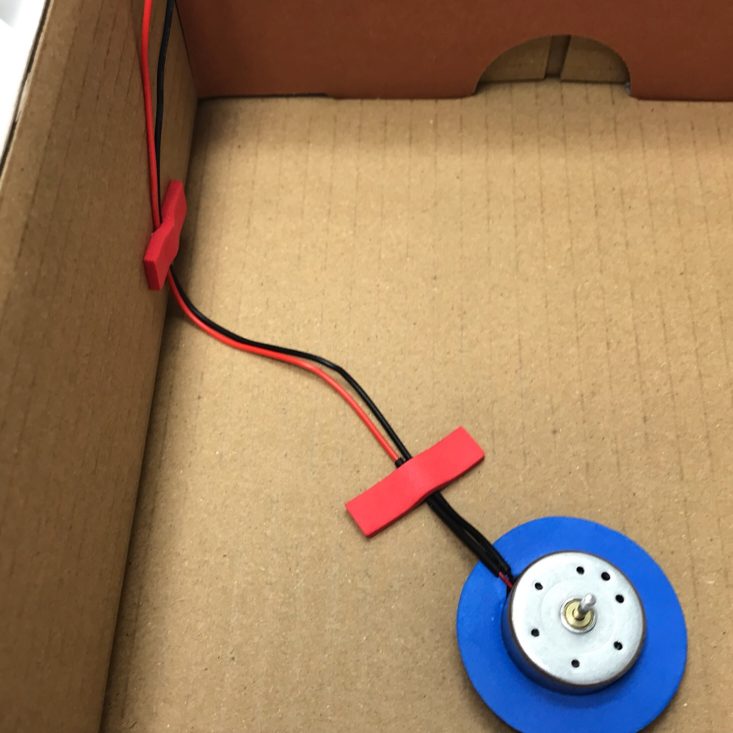
Then I used the red foam rectangles to hold down the wires and attach them to the box.
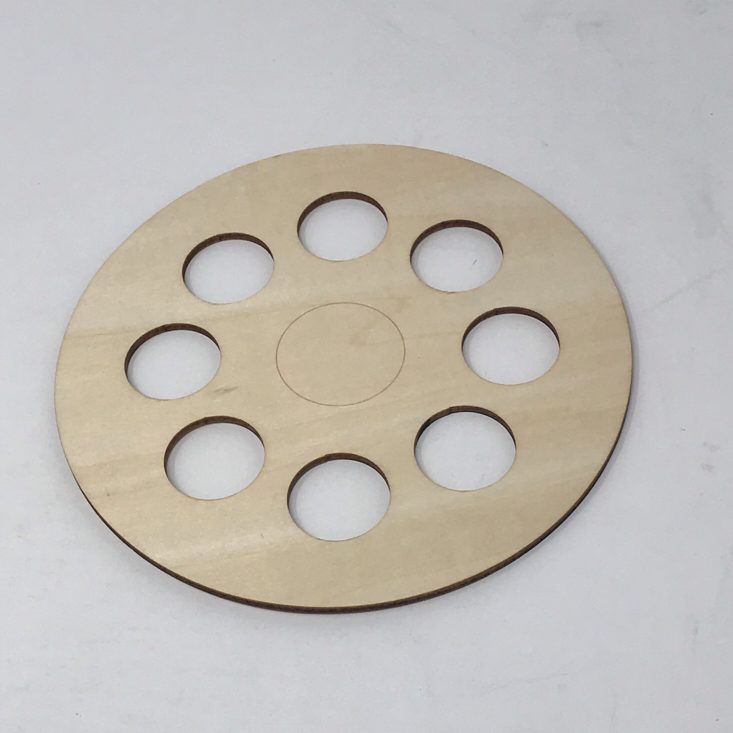

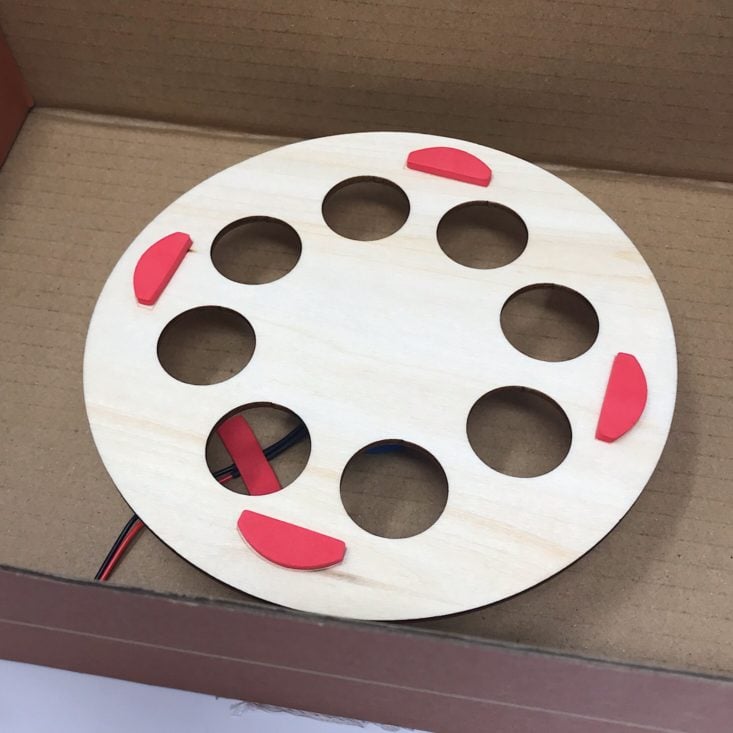
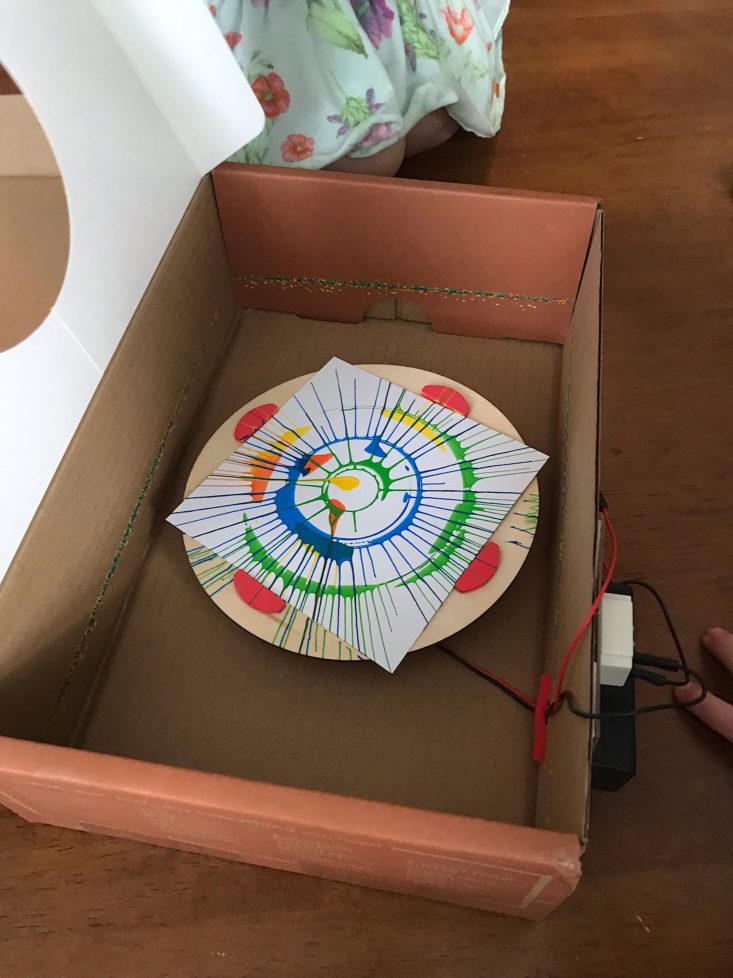
Then I added these red foam arcs to the marked spots on the wooden disk.

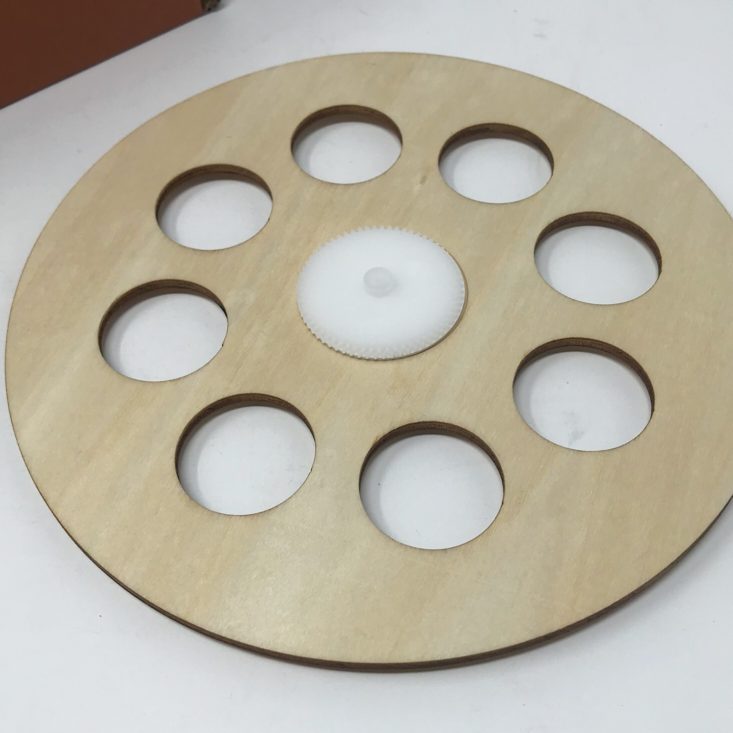
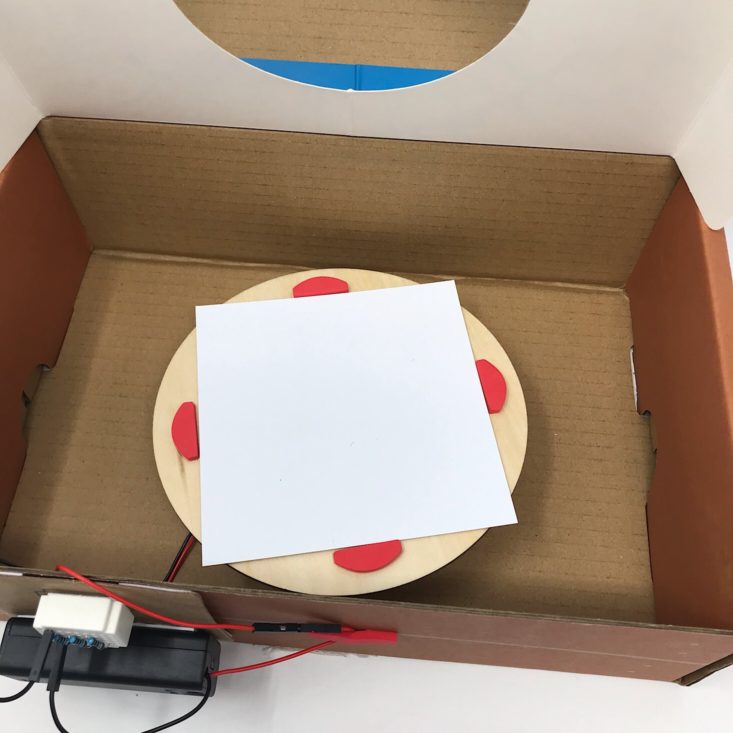
I added a large white foam circle sticker to the center of the disk and then placed the plastic gear on top.
Then I flipped the gear over and placed the hole of the gear onto the center pin of our motor.
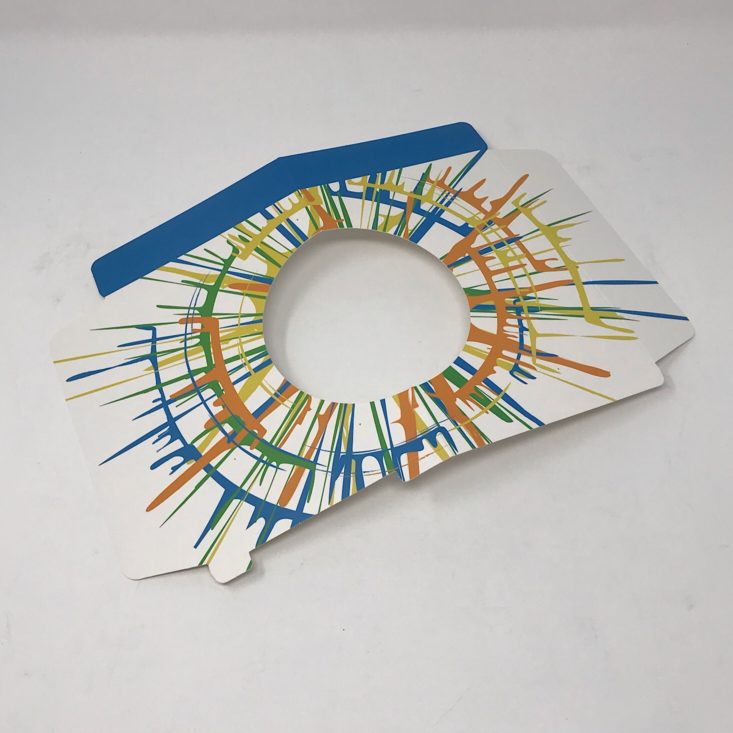
I folded this paint guard along the creases and removed the paper from the adhesive on the back of the blue strip and inserted it into the top of the box.
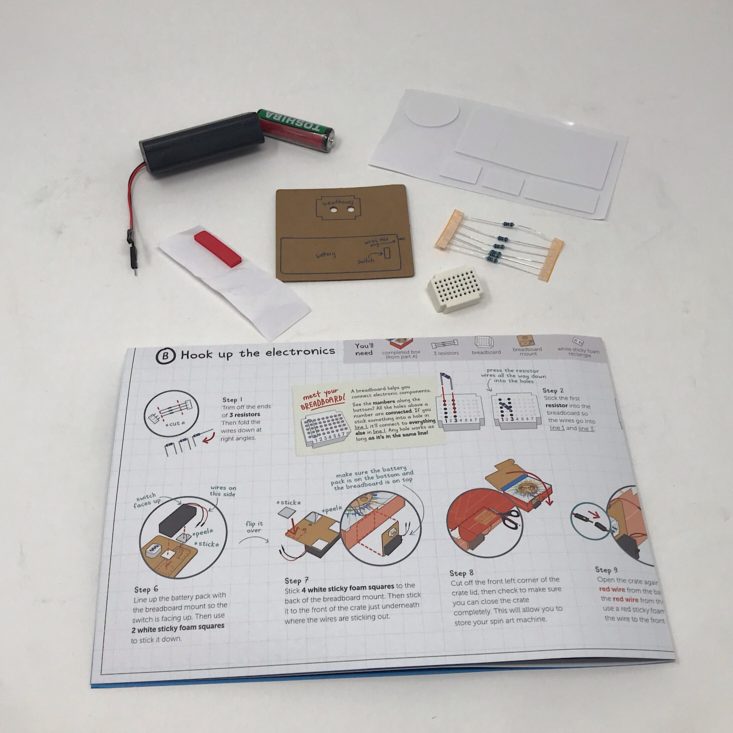
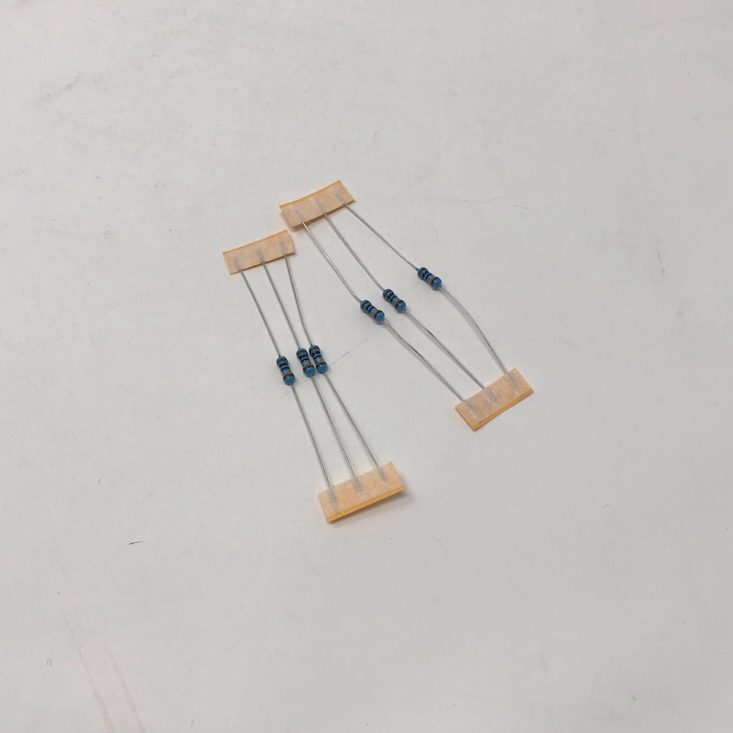

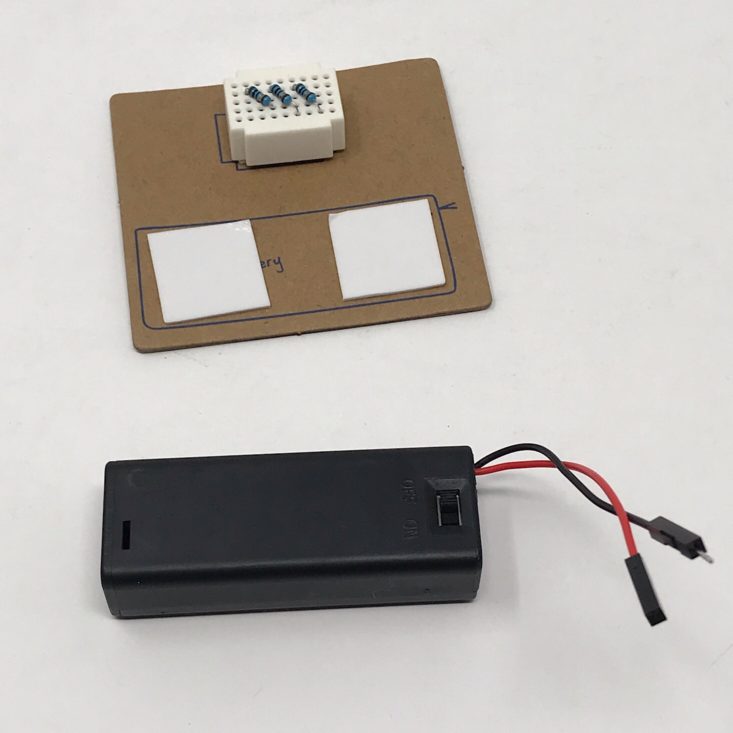
Now it was time to hook up the electronics, which included these resistors and this breadboard.
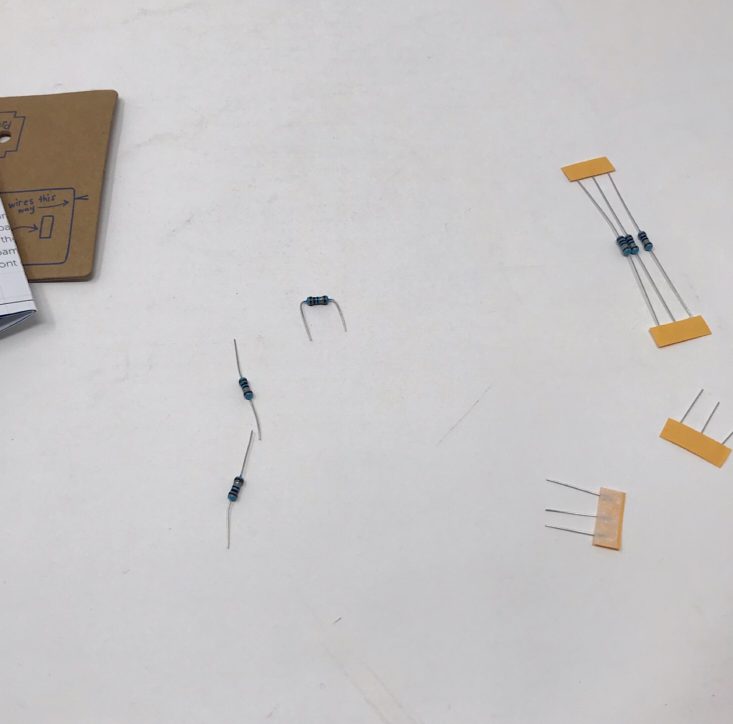
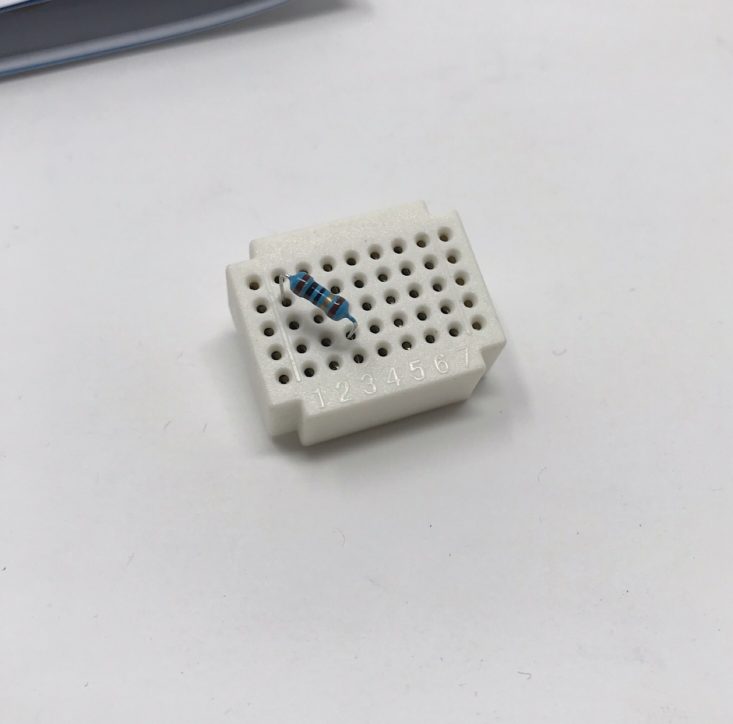
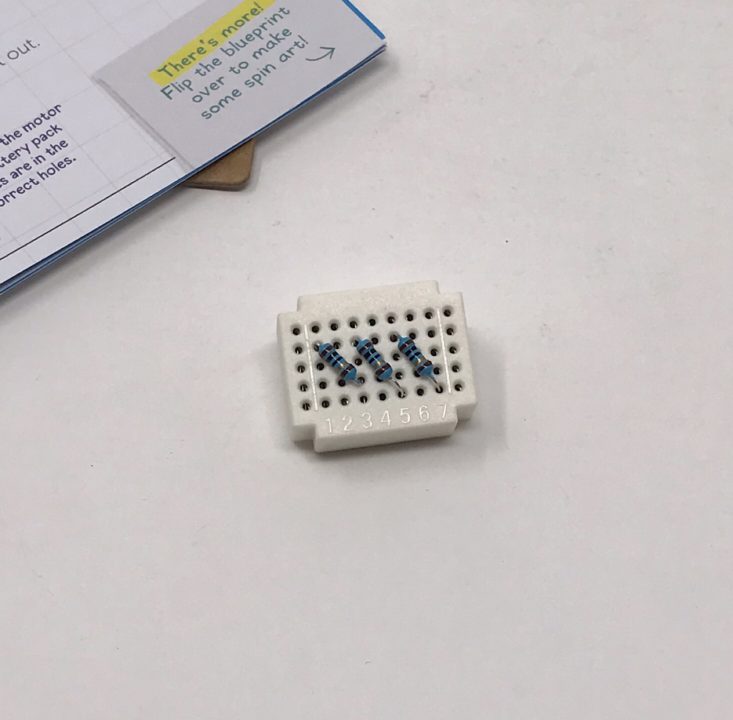
I cut the ends off of three of the resistors and then bent the ends down at right angles and added them to the breadboard. We were to add them at diagonals to lines 1 & 3, 3 & 5 and 5 & 7.
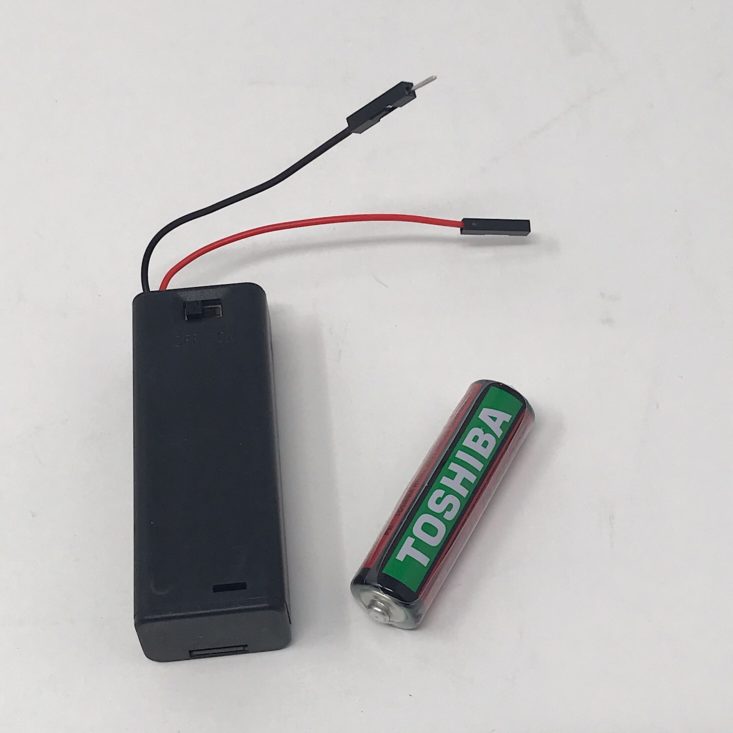
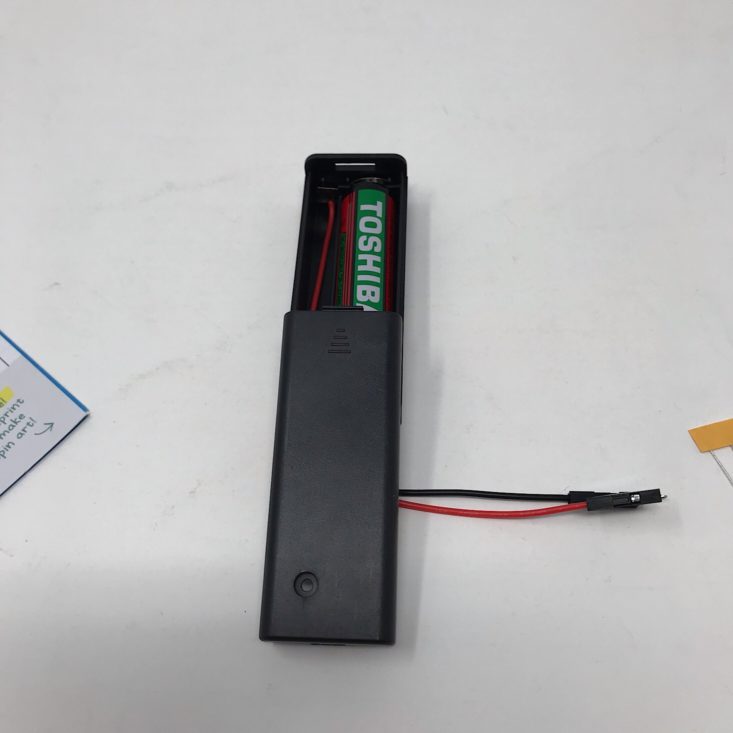
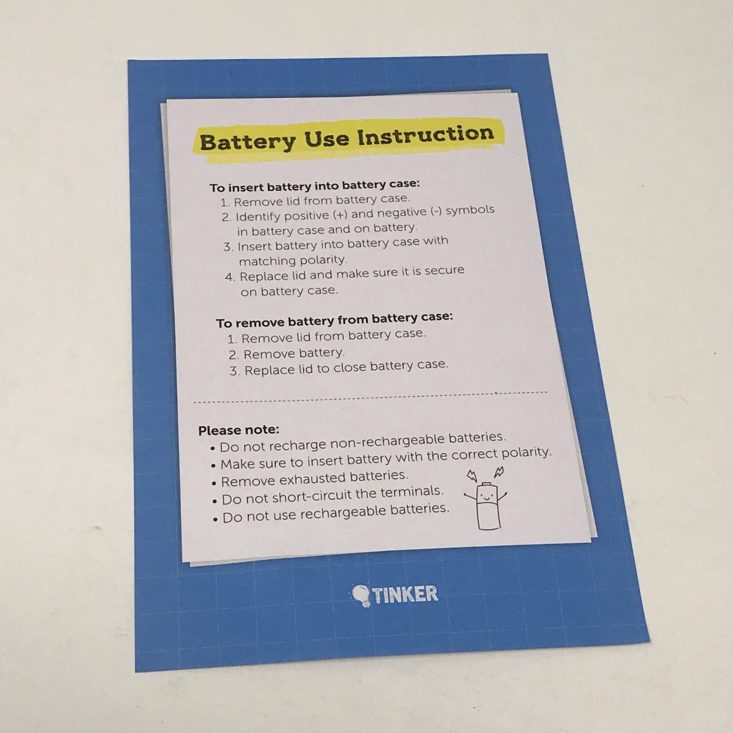
Next, I added the AA battery to our battery pack. They even included some instructions about the battery and how to use the battery pack.
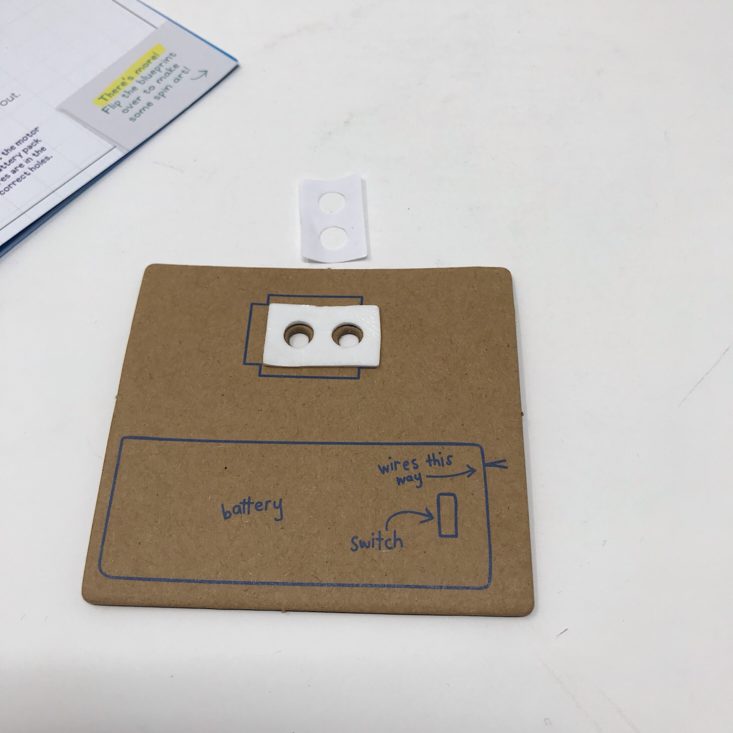
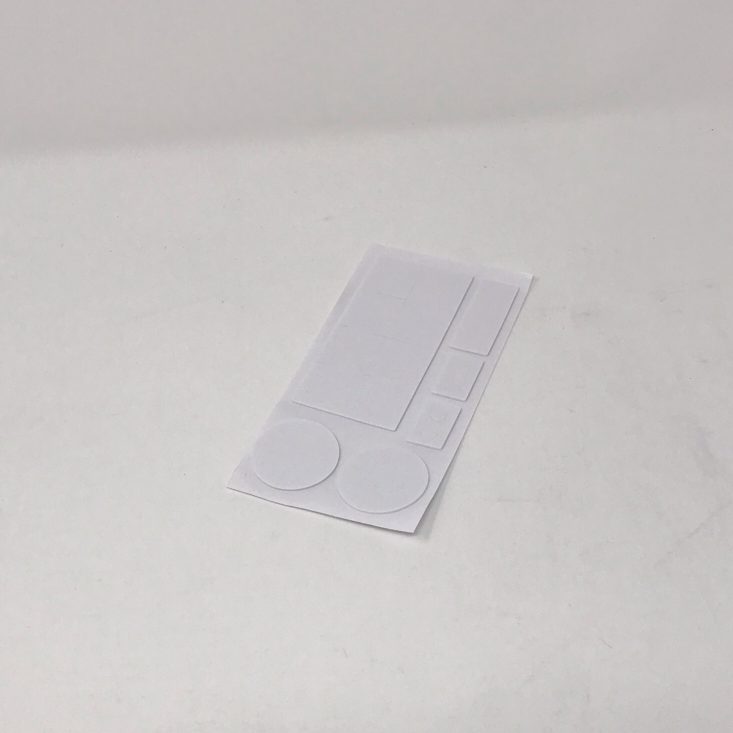
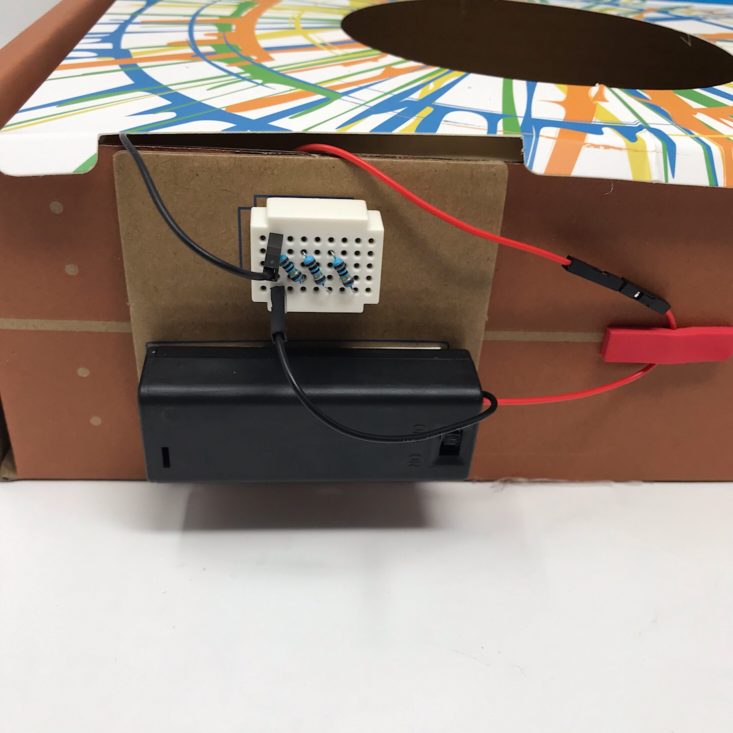
Next, I used the white foam adhesive pieces to stick the breadboard and battery pack to the cardboard guide.
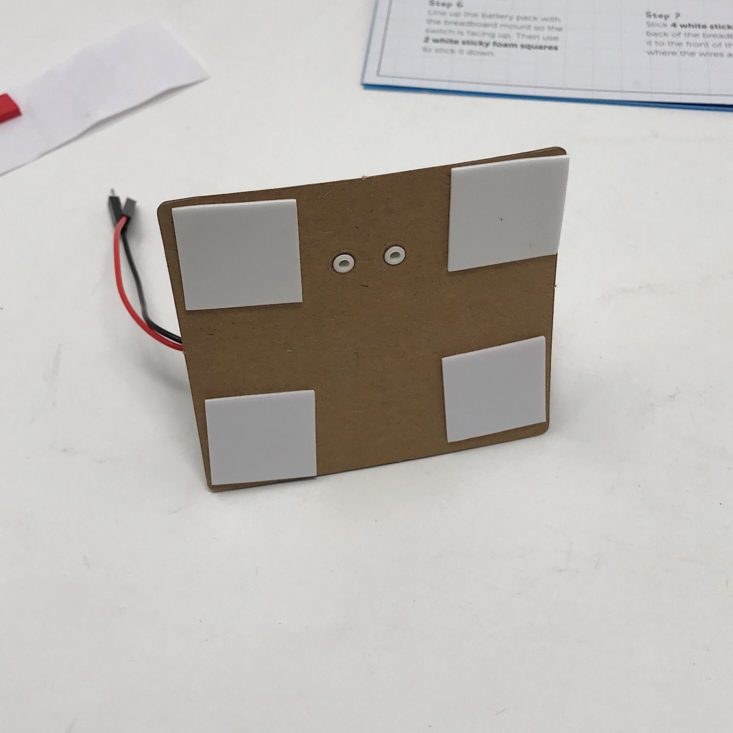
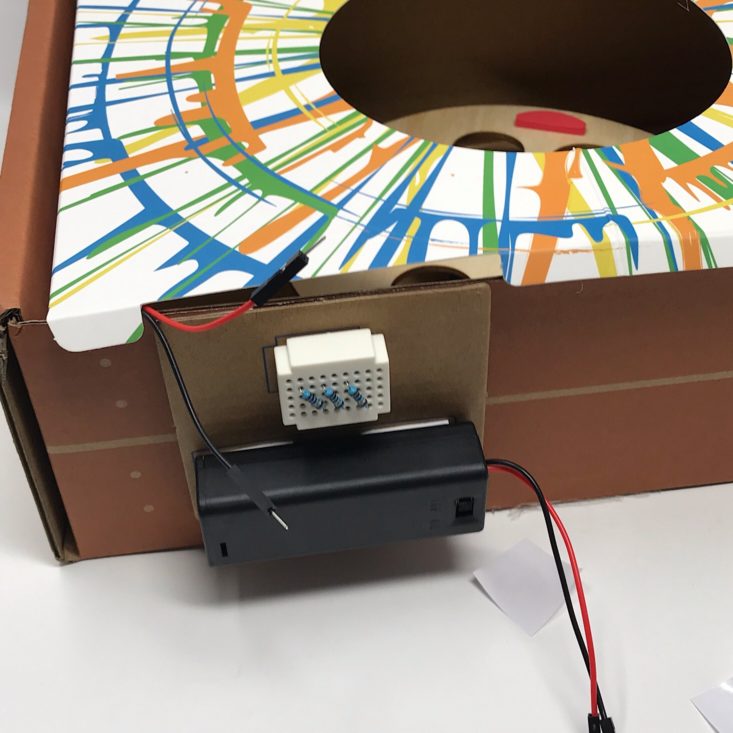
I added four more foam adhesives to the bottom of the guide and stuck it to the front of the box just between the two flaps and underneath of where the wires came out.
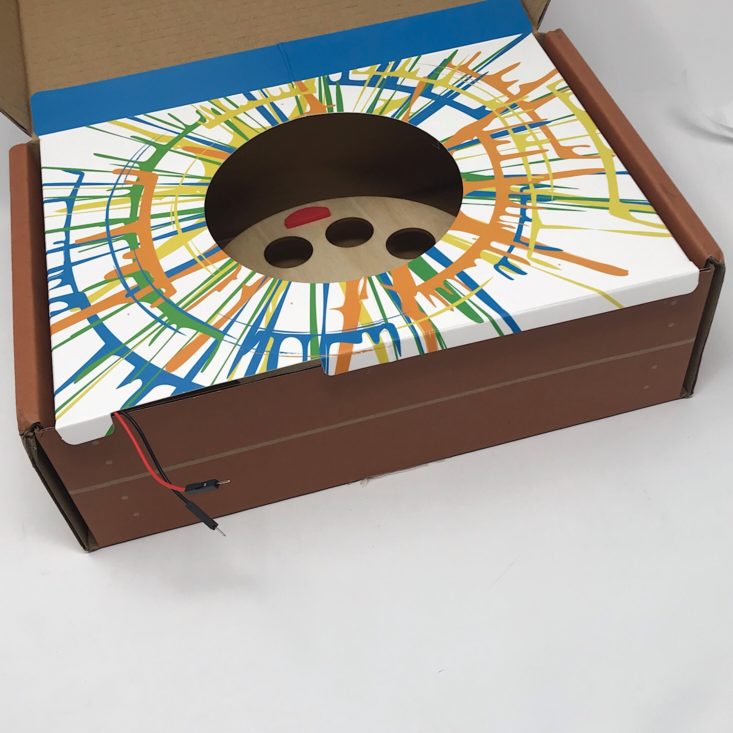
I cut a rectangular piece out of the front flap of my box which allowed me to close it completely. This means it will be easy to store when it's not in use!
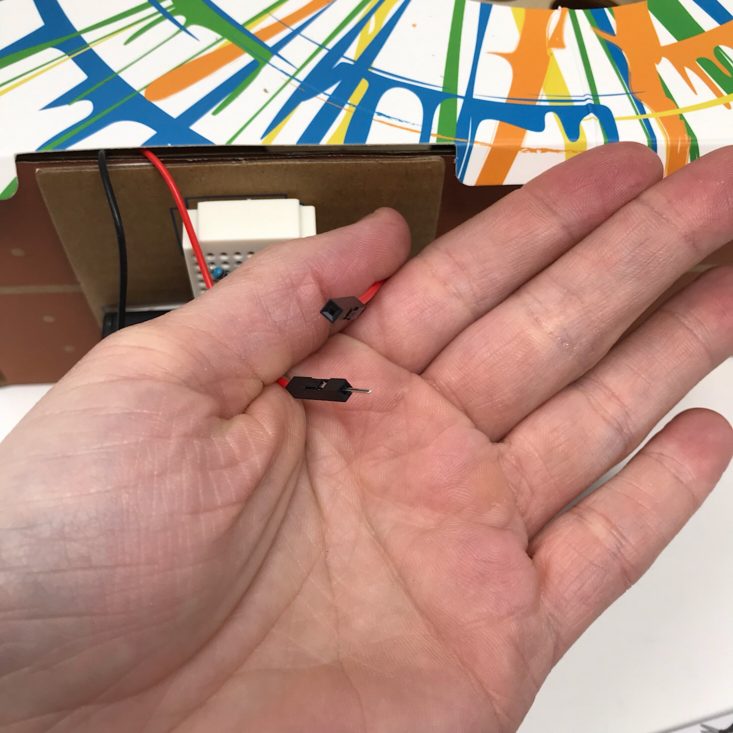

Now it was time to connect our motor to our battery. First up were the red wires. Once connected, I used another red foam rectangle to stick them to the side of the box.
Then I added the black wires to the breadboard and then used the switch to turn it on.
Success! It worked!
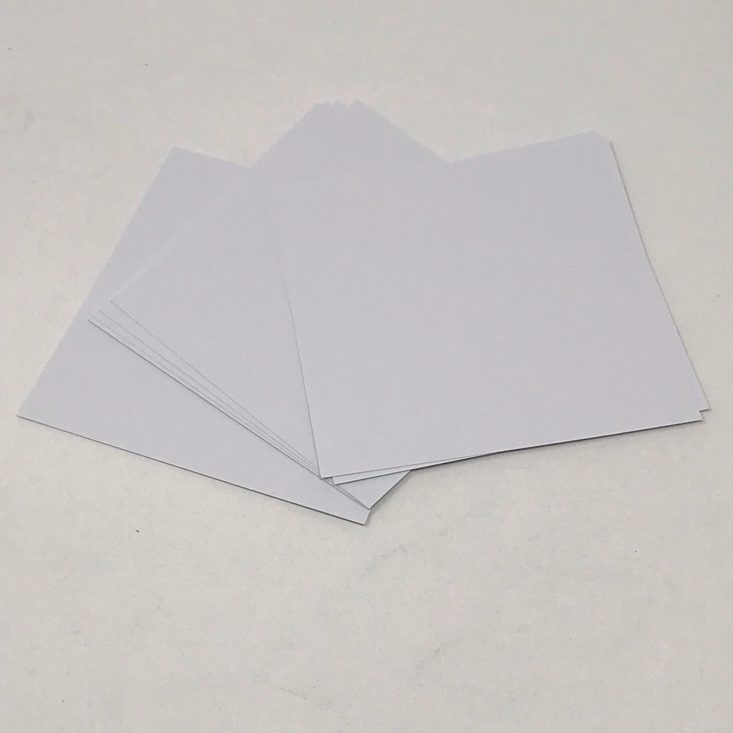
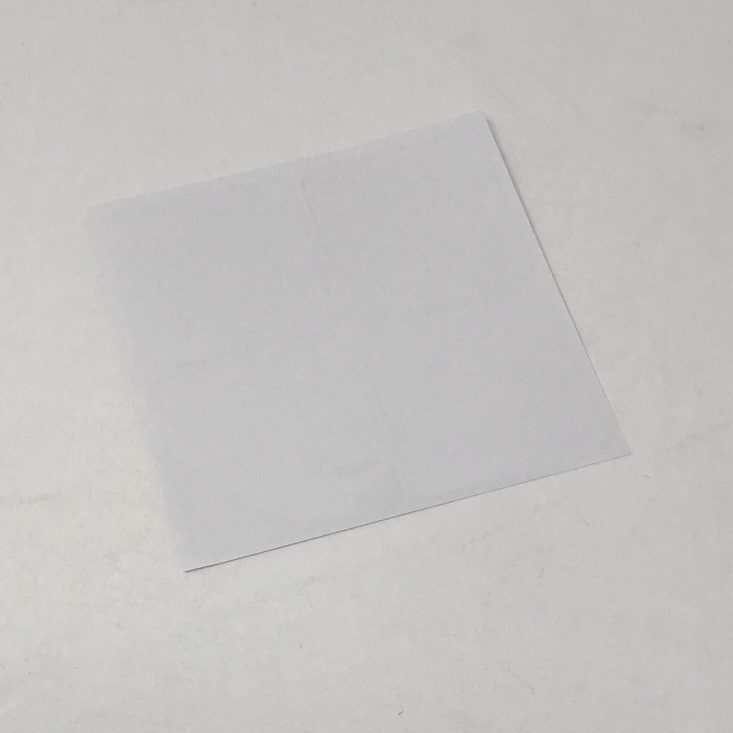
They provided several of these little squares of paper for us to use for our artwork. They fit perfectly between our arc guides and were just a bit thicker than copy paper, but not quite as thick as cardstock.
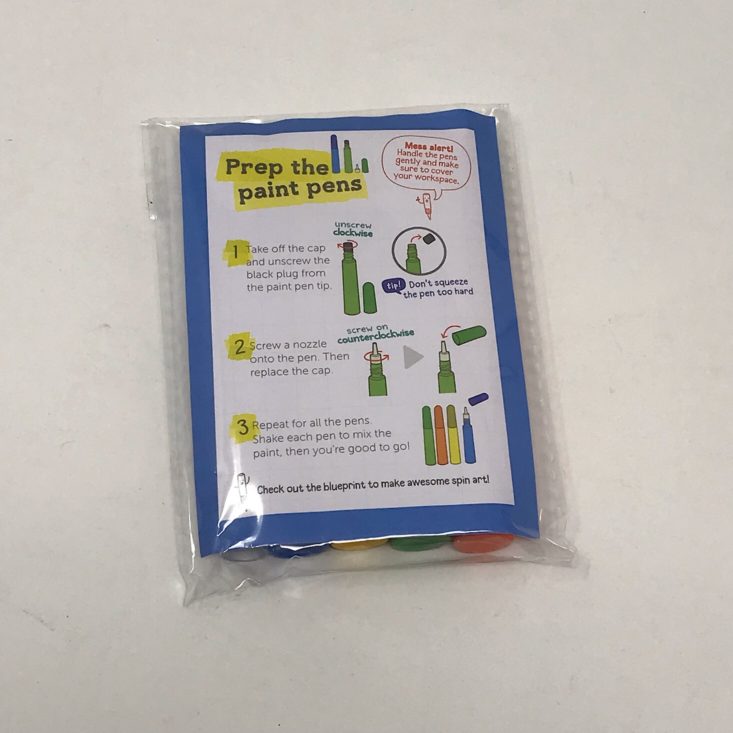
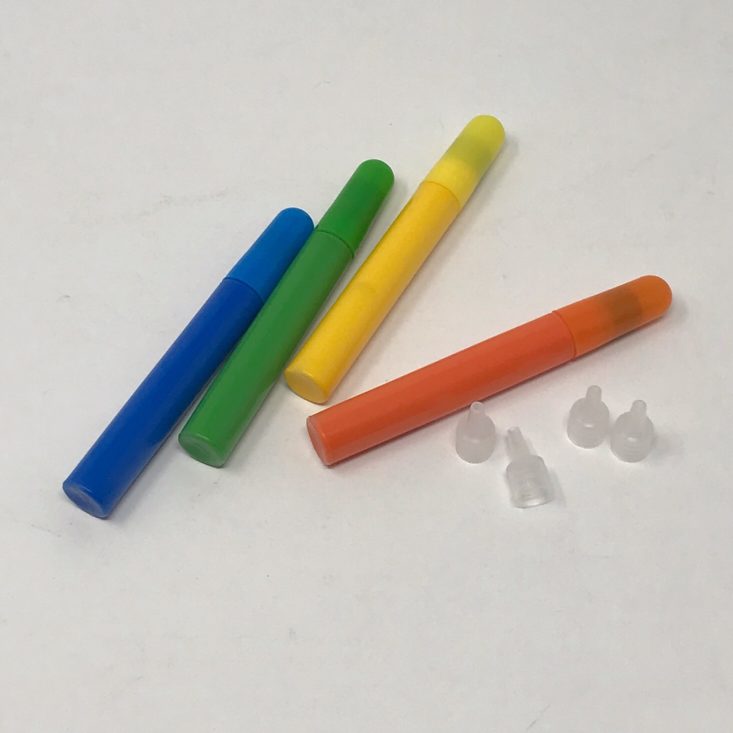
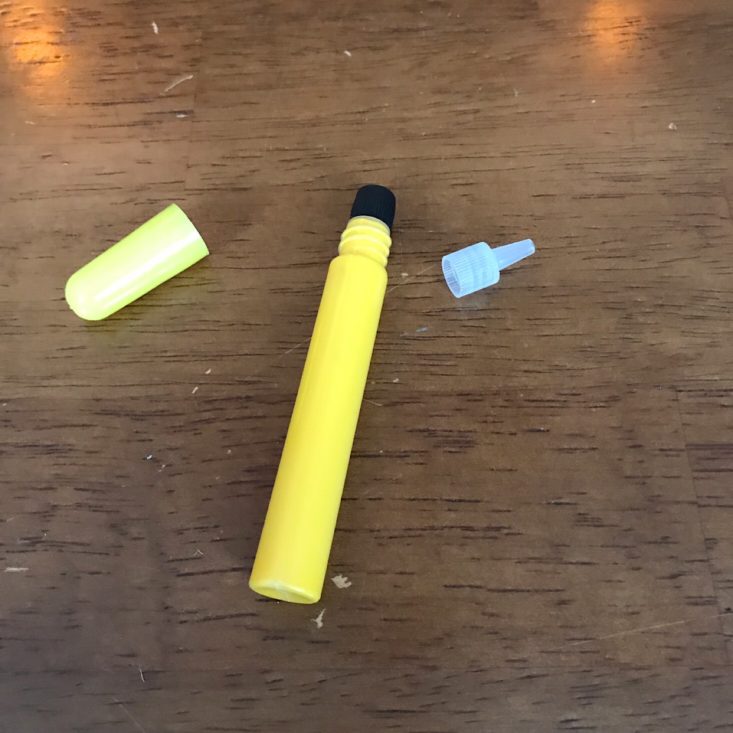
They provided four paint tubes in bright yellow, orange, green and blue, and instructions for how to prep them. We removed the closed black cap and replaced it with a clear nozzle cap. We gave them a shake and they were ready to go.

We turned our machine on and dripped paint one drop at a time onto the surface of our spinning paper from the top of our paint guard. We didn't experience any real mess and found it was all contained within the box!
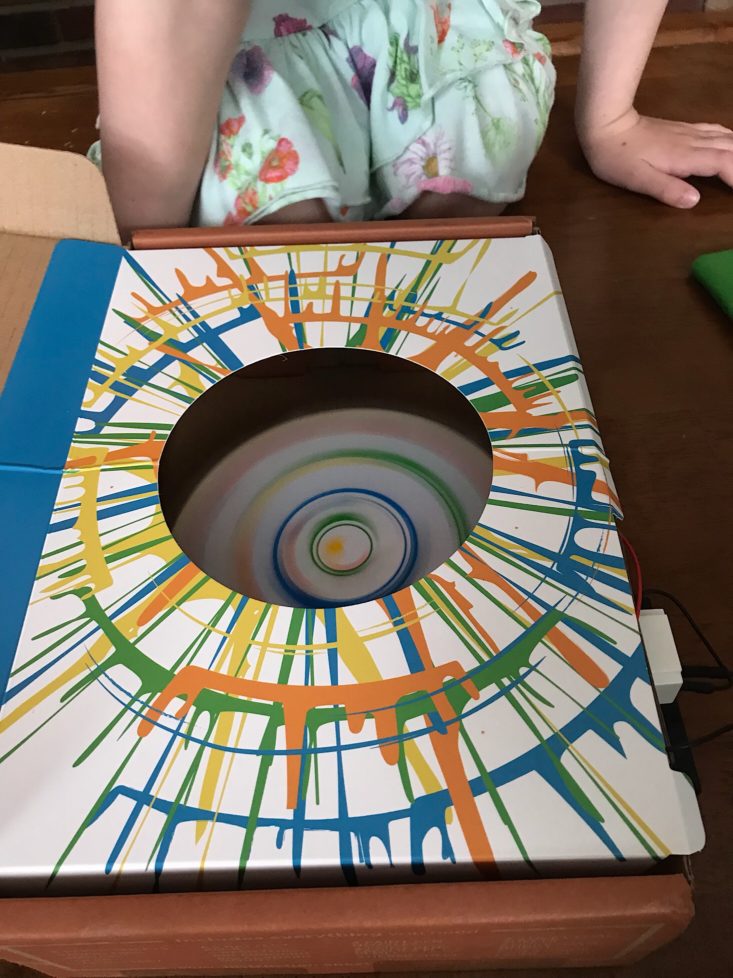
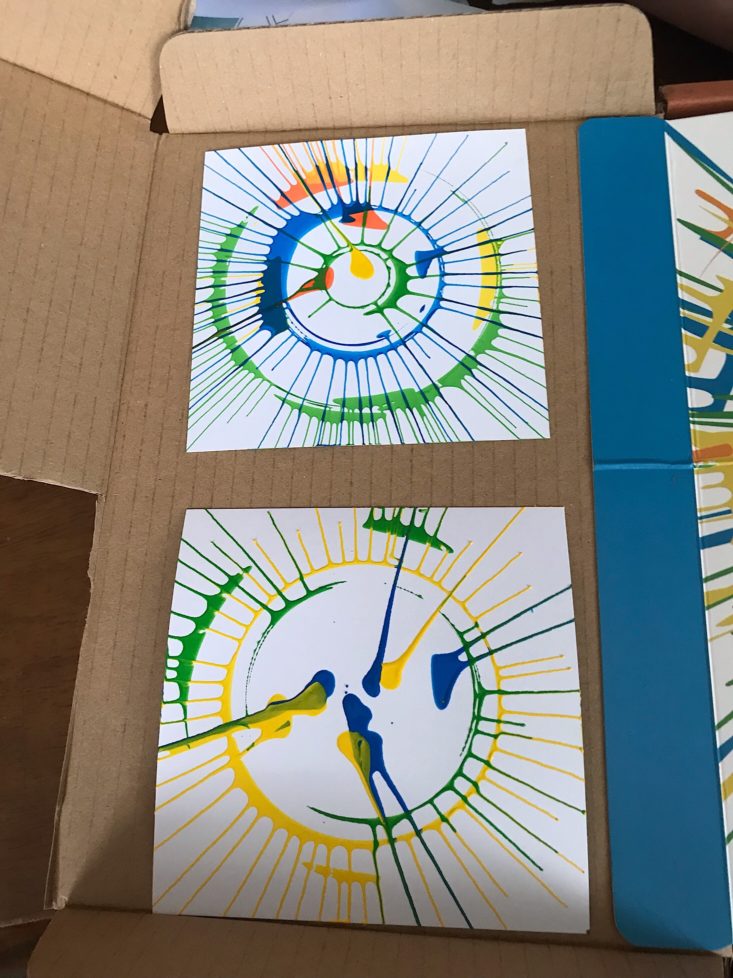
We experimented with different colors which was really fun to watch and the results were pretty different each time!
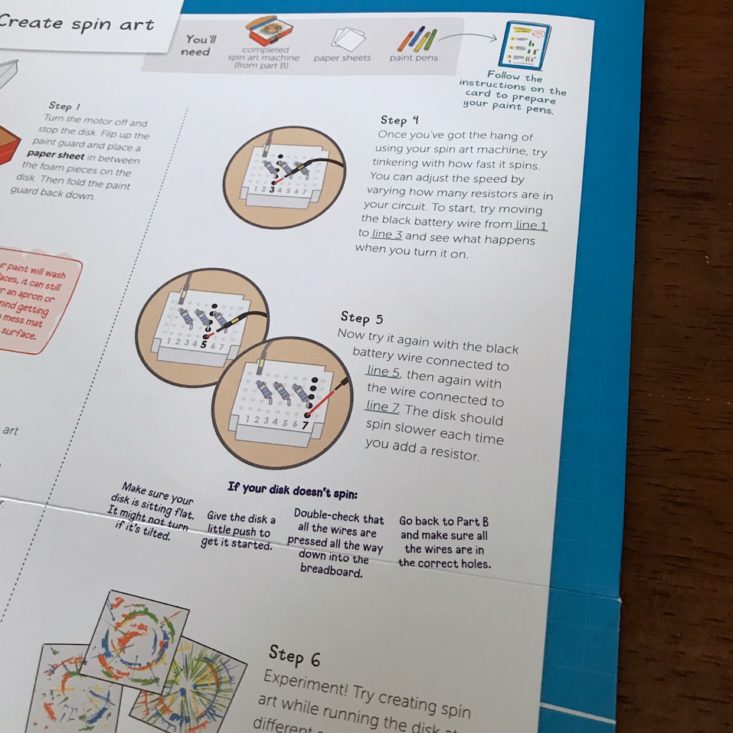
We also used the advice from our directions to experiment with different speeds by simply moving the black wires to another hole on our breadboard.
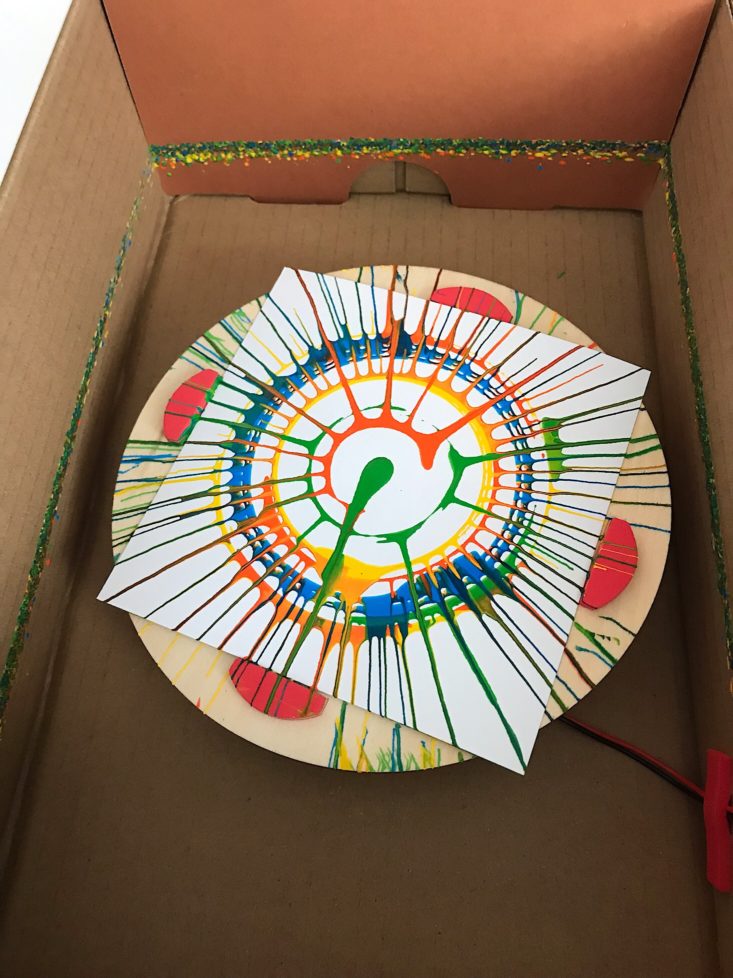
This was probably my favorite variation that my 4-year-old daughter made by herself!
Verdict: I am a big fan of KiwiCo and their boxes due to the fact that they are so well thought out and organized and this Tinker Crate was no exception! I really love that we got to create and build something and more importantly, that the fun doesn't end there! Now that we have our own spin art machine, we can create spin art using paint from home and different paper any time we want. I was surprised at how simple it was to make, but that is thanks in part to the incredible planning that went into this design! In addition to this main project, there are still so many ways to expand on these principles through the extra experiments and activities in our Tinker Zine. This was such a fun and unique learning experience for only $19.95 + free shipping!
To Wrap Up:
Can you still get this box if you sign up today? It is possible you might get this crate, but it is not a guarantee. From KiwiCo:
Crates are assigned each month based on availability and your crate history - not all subscribers receive the same theme each month.
Check out all of our KiwiCo reviews and the best subscription boxes for kids, along with the Tweens Subscription Box List!
Keep Track of Your Subscriptions: Add this box to your subscription list or wishlist!
What do you think of Tinker Crate?
Please do not enter your email address in the Name field or in the comment content. Your email address will not be published. Required fields are marked *. Remember to post with kindness and respect. Comments with offensive language, cruelness to others, etc will not be approved. See our full comment policy here.