


MakeCrate is a subscription box designed to teach basic circuit building, electronics, and coding through Arduino controller based projects.
This box was sent to us at no cost for review. (Check out the review process post to learn more about how we review boxes.)
The Subscription Box: MakeCrate
The Cost: $60 for your Starter Kit (which contains the Arduino controller you'll need for future projects), and then $30/month after
The Products: "all the tools and parts you’ll need to build a new circuit, along with step-by-step, teacher-written, fully-illustrated instructions." Each month includes a new project. Membership includes online access to tutorials, videos, and more content, including additional challenges you can try with the materials you've received.
Ships to: US
Good to know: You will need a computer with a USB port and internet connection in order to complete any of the projects. MakeCrate does not specify an age range for their product, but the box is family friendly and appropriate for anyone with a burgeoning interest in electronics and coding.
Keep Track of Your Subscriptions: Add this box to your subscription list or wish list!
This is our second month reviewing MakeCrate. This is a curriculum based subscription, which means all subscribers get the same boxes in the same order rather than receiving the same box in a given calendar month. You can read our review of the Make Crate Starter Kit to learn more about this box in general, but here's a quick summary about this subscription if you want to jump right in:
In your first month, you receive a Starter Kit, which includes an intro booklet, basic circuit supplies, and the Arduino controller you'll need to complete your all of the projects in this subscription. Since that piece of hardware is more expensive, your first box costs $60, but future months are $30.
What's Arduino? According to the website:
Arduino is an open-source electronics platform based on easy-to-use hardware and software. Arduino boards are able to read inputs - light on a sensor, a finger on a button, or a Twitter message - and turn it into an output - activating a motor, turning on an LED, publishing something online.
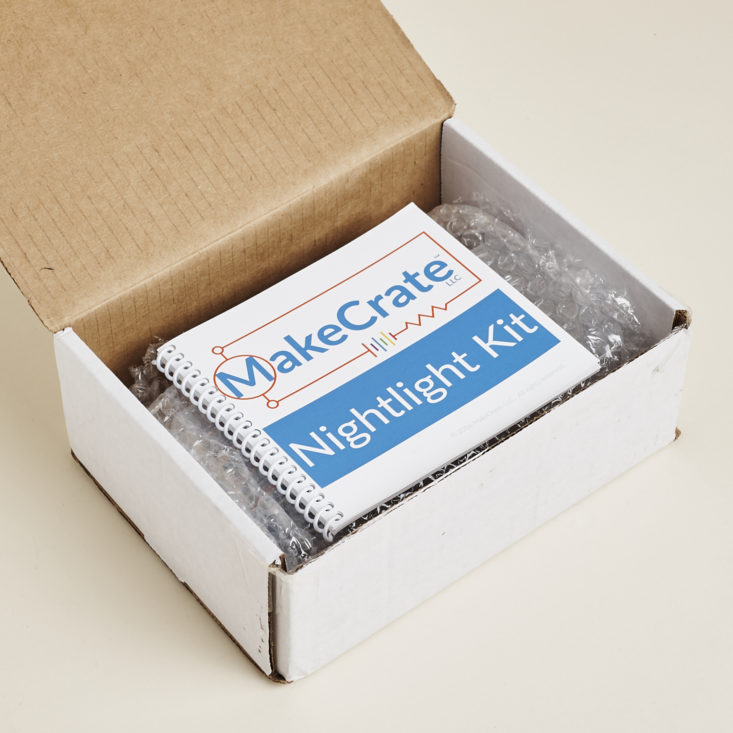
All set? Our second month is a Nightlight Kit!
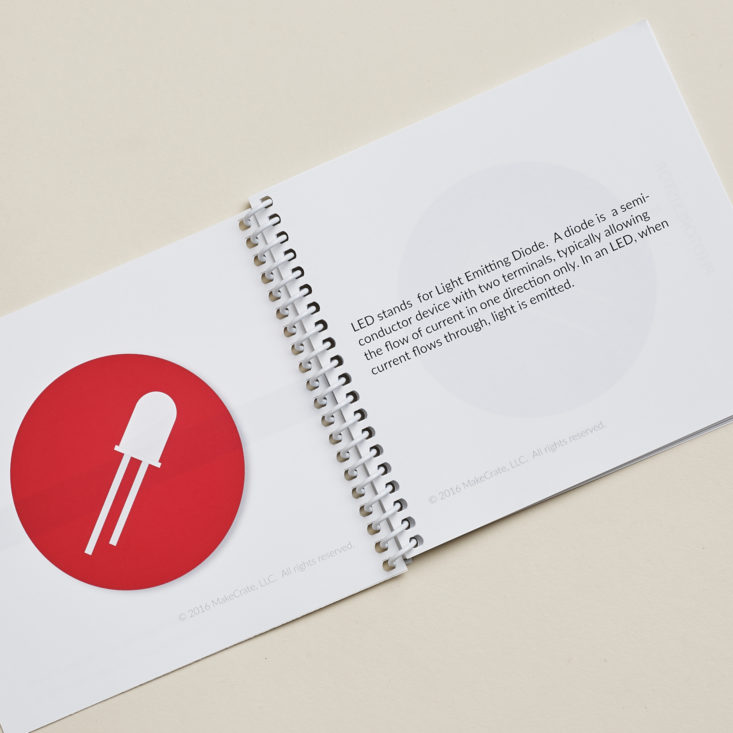
The instruction booklet recaps some helpful definitions for you and introduces you to the new components in this kit.
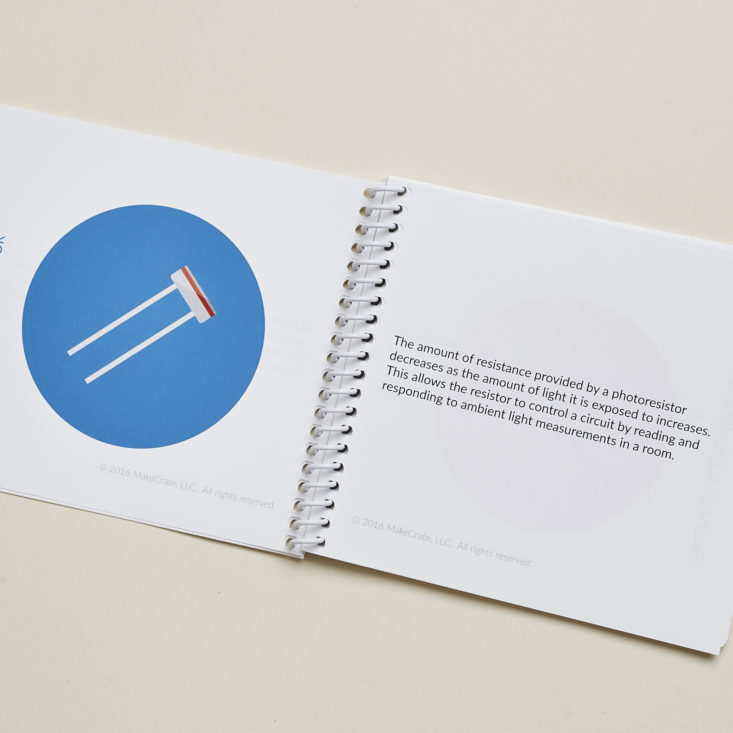
Photoresistors are new this month!
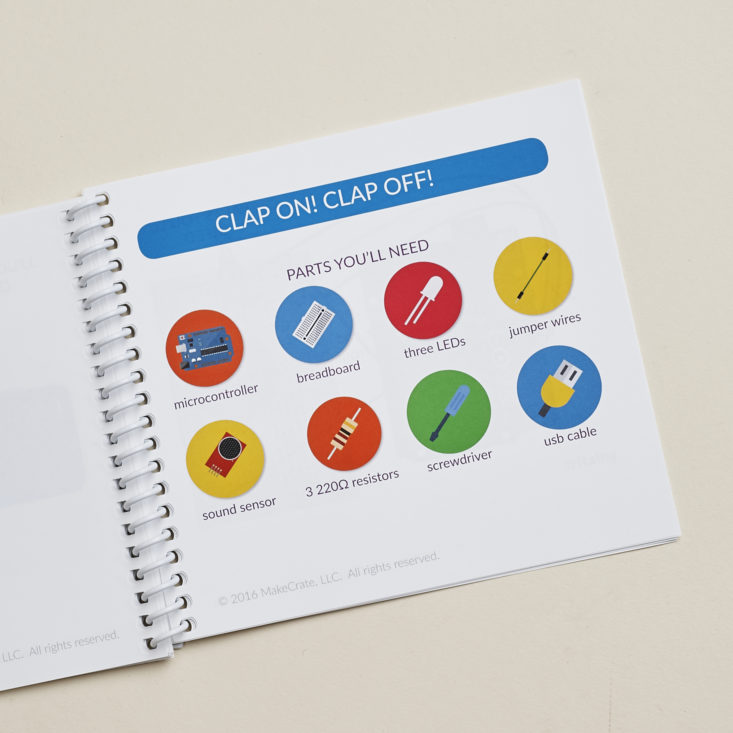
This month's kit comes with two projects: a simple nightlight that uses the photoresistor to determine how much light to output depending on the brightness of the room, and a light that can be turned off and on by clapping!

(I immediately heard The Clapper jingle in my head when I was reading this and it will probably be stuck in my head for the rest of the day. Clap on! Clap off!)
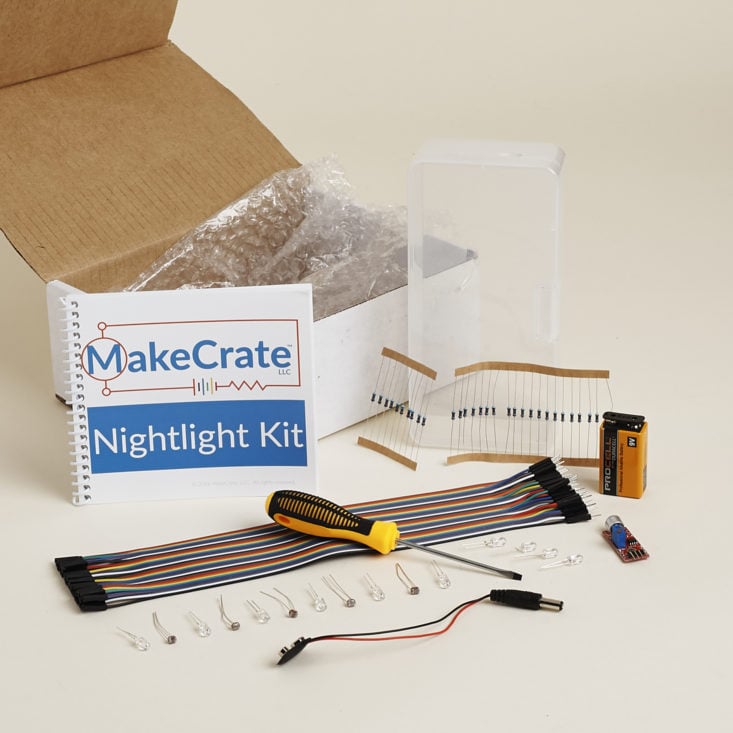
Once again, all of our supplies come nicely organized in a clear plastic case. I am so happy when I have proper storage for projects like this!
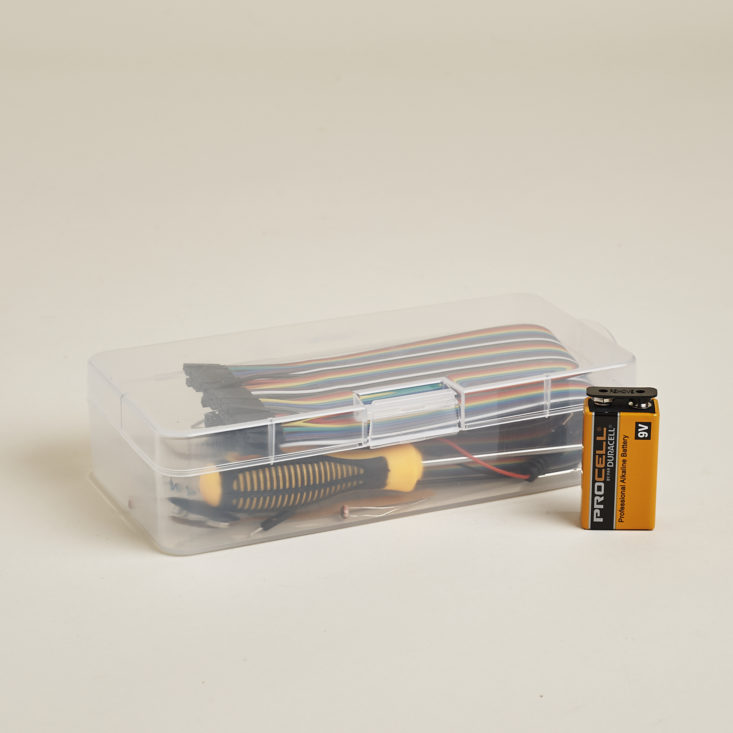
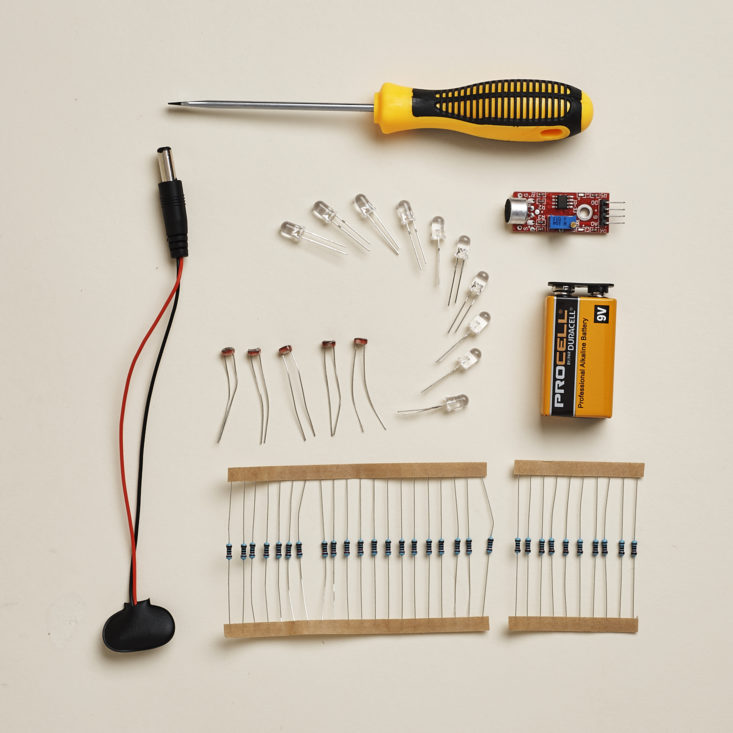
There are a lot of new components this time: resistors in new strengths, the photoelectric sensors, battery power, male-female jumper wires, and a microphone.
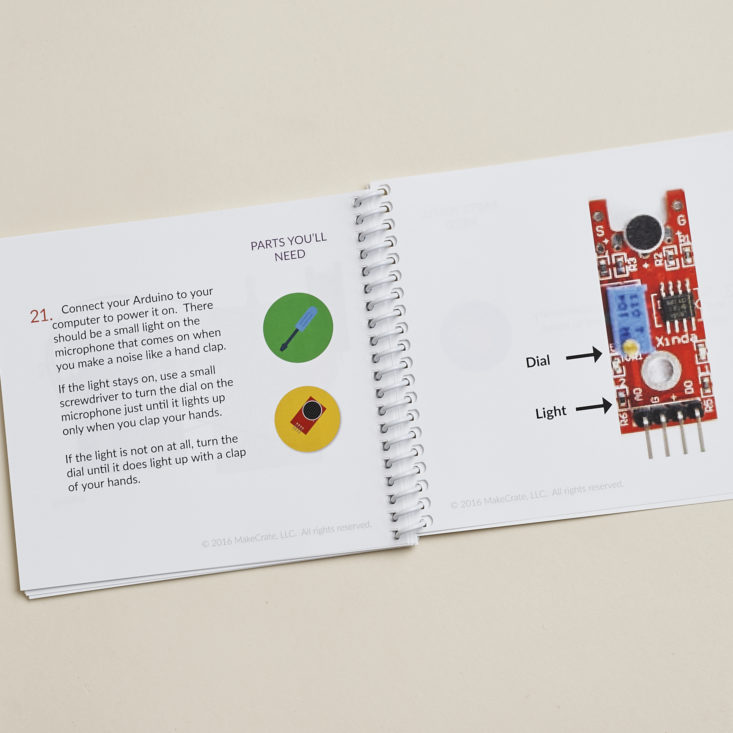
I couldn't figure out what the screwdriver was for at first since there are no screws, but it turns out it's just to adjust a dial on your microphone for fine tuning the input level. Love that this was included so I don't need to worry about finding one on my own when it's time for that step!

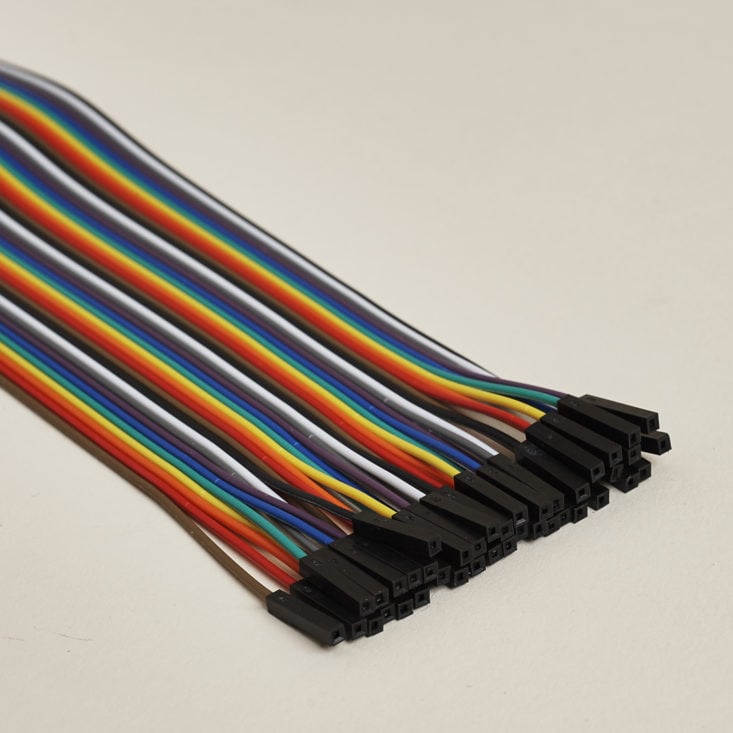
The previous kit just used male-male jumper wires... I admittedly grabbed one of the new ones by mistake when I was building the first project and it took me a minute to realize why I couldn't plug it in!
Just like last month, I tried following along with the booklet first but ended up having to access the online portal to watch the video tutorial. The video explained one really key concept this month in more detail: Resistors come in different strengths, and the strength is indicated by a color coded formula that is different depending on whether your resistors have 4 or 5 stripes.
The booklet shows 4-stripe versions, but I only had 5 stripes, so I really needed the video to help explain which ones to use for each component!
Just like last month, once I had the board assembled, I went to the online code editor and grabbed the code and tried uploading it. Initially, all three LEDs on my board lit up and wouldn't dim... so I went into troubleshooting mode.
Since it looked like my photoresistor wasn't responding, I tried:
- Making sure all of my connections were solid
- Making sure I had the correct resistor in that row (in fact I didn't, and had to watch the video again to find the right one!)
- Using a different photoresistor, in case mine was broken
- Moving the photoresistor to a new row on the breadboard, in case there was an issue with the breadboard
After all that, still nothing. Then I spotted this line in the code file:
int sensorPin=A5;
But in the instructions, you put the photo sensor into the analog input A0! Aha!
I updated the line to int sensorPin=A0; and reuploaded the file, and to my delight, I now have a semi-working nightlight:
One light turns on and off when I cover the photo sensor. I haven't been able to get those other two LEDs to light up, though, so I am going to have to troubleshoot a bit more before I can move on to the microphone/clapper project.
There are some extra challenges this month too: I particularly liked one suggested project to replace your clapper-enabled LEDs with a buzzer from the Starter Kit, to make an 'alarm' that goes off when someone makes too much noise. Ha!
Verdict: My verdict is essentially the same as last month. MakeCrate made it relatively easy for me to jump right into playing with code and building circuits. I didn't have to do all the research about what to buy and learn to get started with Arduino - instead, I can just get started! I see this as a big benefit to parents who maybe aren't technologically very savvy, but want to get something for kids who are into this hobby.
Like other online-based tutorials I've done, you do have to rely on yourself to some degree in order to make the lessons 'stick'. It's easy to just follow the instructions, copy the code, and finish a project, so you'll need to force yourself to stop and think about what you're doing. Troubleshooting can be pretty hard, as I learned this month. Since I have some previous exposure to coding concepts, I was able to logically run through what could possibly be wrong, but it might have been a little more difficult for someone with less experience. MakeCrate seems pretty responsible on their Facebook page if you have questions, though!
Value-wise, I think MakeCrate is a really fair price point for the amount of online content and the components that you're receiving. You can order Arduino starter kits elsewhere for more, and a basic kit plus the controller would end up being comparable to the $60 first month of this box... and you wouldn't get all the online content from MakeCrate. (If you decide to go that route, though, they do offer online-only access for $10/month.)
What do you think about MakeCrate? Do you know someone who'd love to try this box?

Please do not enter your email address in the Name field or in the comment content. Your email address will not be published. Required fields are marked *. Remember to post with kindness and respect. Comments with offensive language, cruelness to others, etc will not be approved. See our full comment policy here.