


Eyeshadow palettes are a beauty box staple, but if you subscribe to more than one you might feel a bit overrun by them. When you first start getting new palettes it can feel fun and exciting and then it can be hard to figure out how to use them all and where to put them. If you are like me, you have your go-to palettes; a stack that you love but don't really use, and the ones that you need to give to a friend but are holding onto in case one day you want to use it. I decided to break through these blocks and call in the help of my amazing mom, Ann, who just so happens to be a professional makeup artist and owner of Esthetics of Sewickley Salon and Spa and figure out how to use two of the many palettes in my collection!

I love makeup, but I relied on my mom when it came to my own eyeshadow growing up. Basically, I would wake her up every morning when I was in high school to do my makeup before I went off to school (I kind of can't believe she actually did it). She did my makeup for every school dance, cheerleading photo, football game, and all the way to my wedding. Since I relied on her so much, sometimes new palettes and colors scare me. I decided to pick two palettes that I really love, but don't use a ton or have felt a little nervous to diving into, and enlisted my mom's help to create two looks.
Let's see how this mother-daughter makeup lesson went!
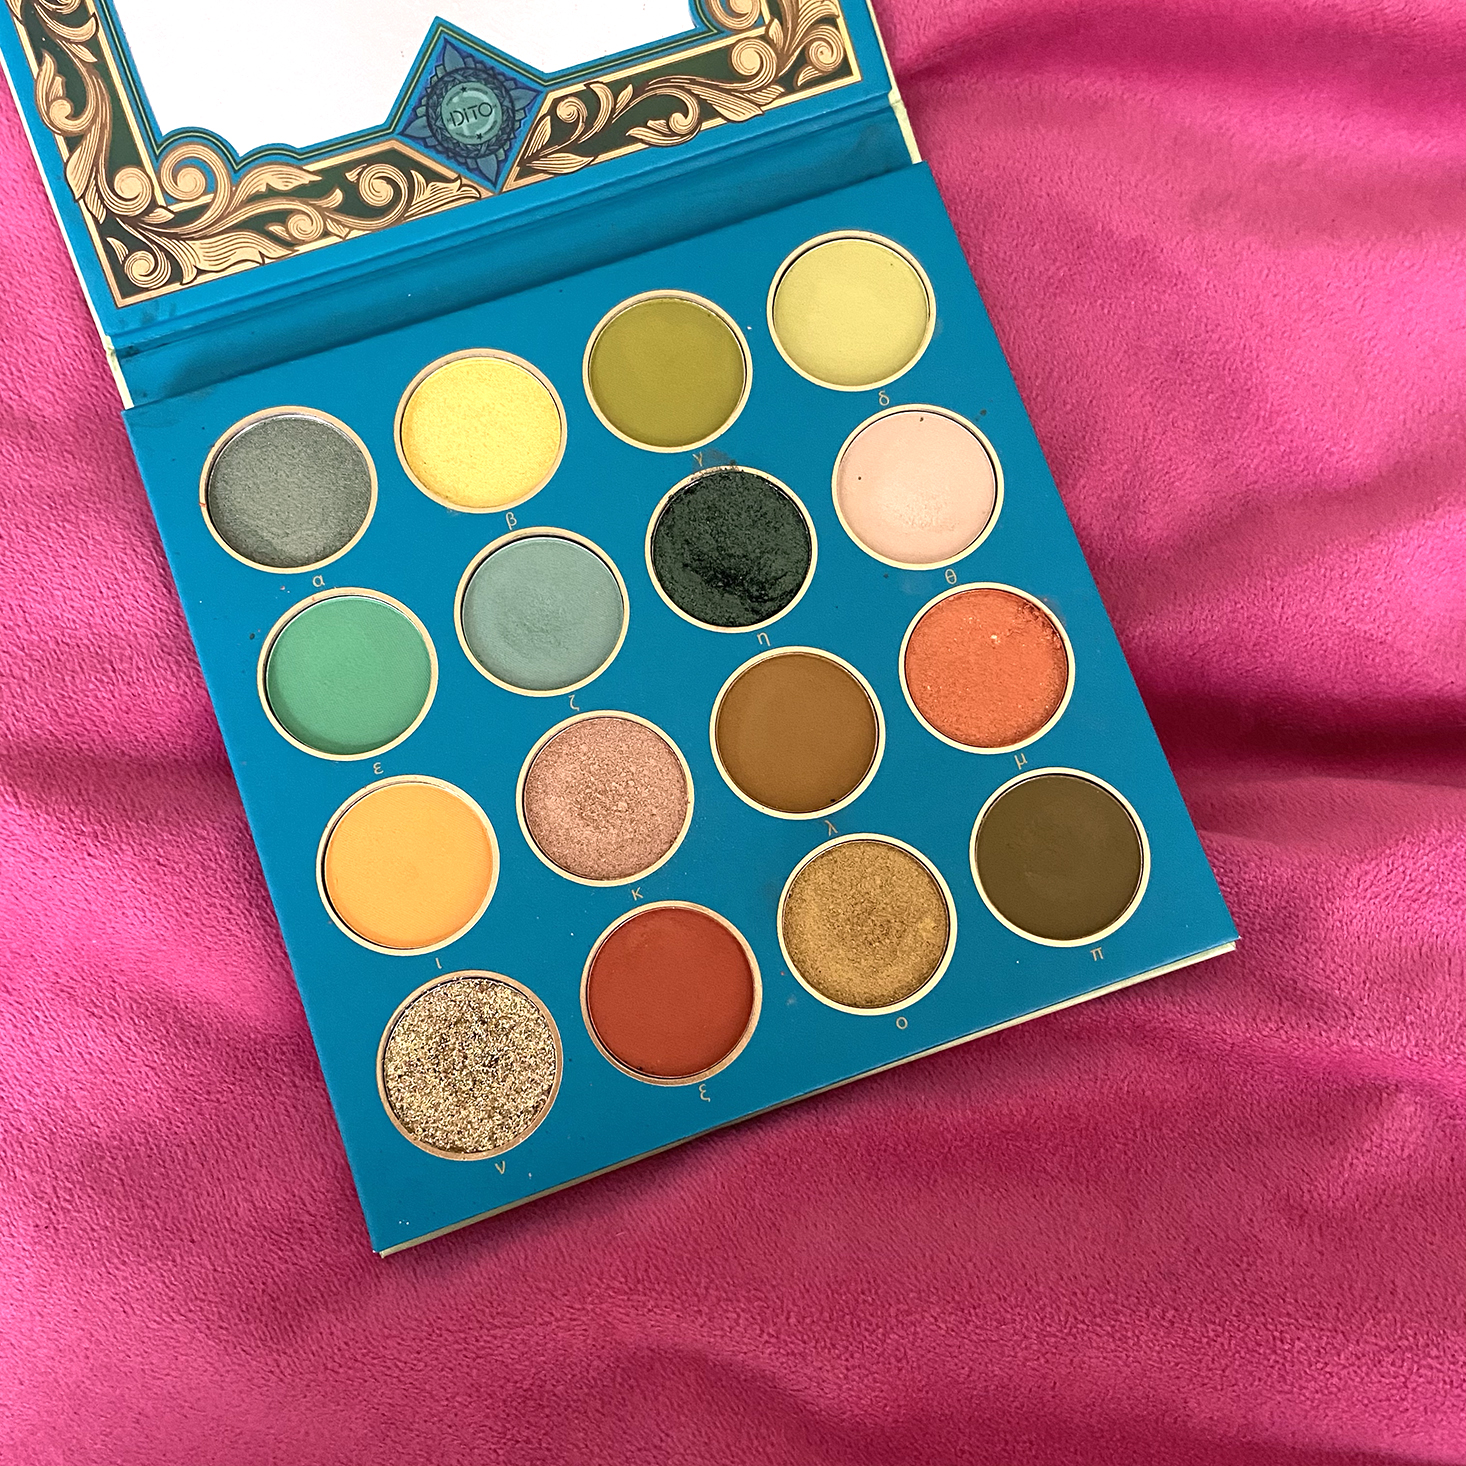
Dito Muse Athena 16-Color Palette

1 of 2
The Product: Dito Muse Athena 16-Color Palette
The Cost: $28.99
The Matchmaker: The Box by Fashionsta
I loved this palette when I first received it. It is so bold and comes with 16 shadows ranging from neutrals, oranges, and various greens. I used this a few times, but then sort of hit a wall, and wasn't loving the looks I made with the green shadows. I got defeated and set this under my bathroom sink, hoping to revisit it in the summer. This palette was number one in asking my mom what to do with it. I really want to start using brighter colors and mixing up my typical neutrals so this felt like the perfect palette to get me out of my comfort zone.
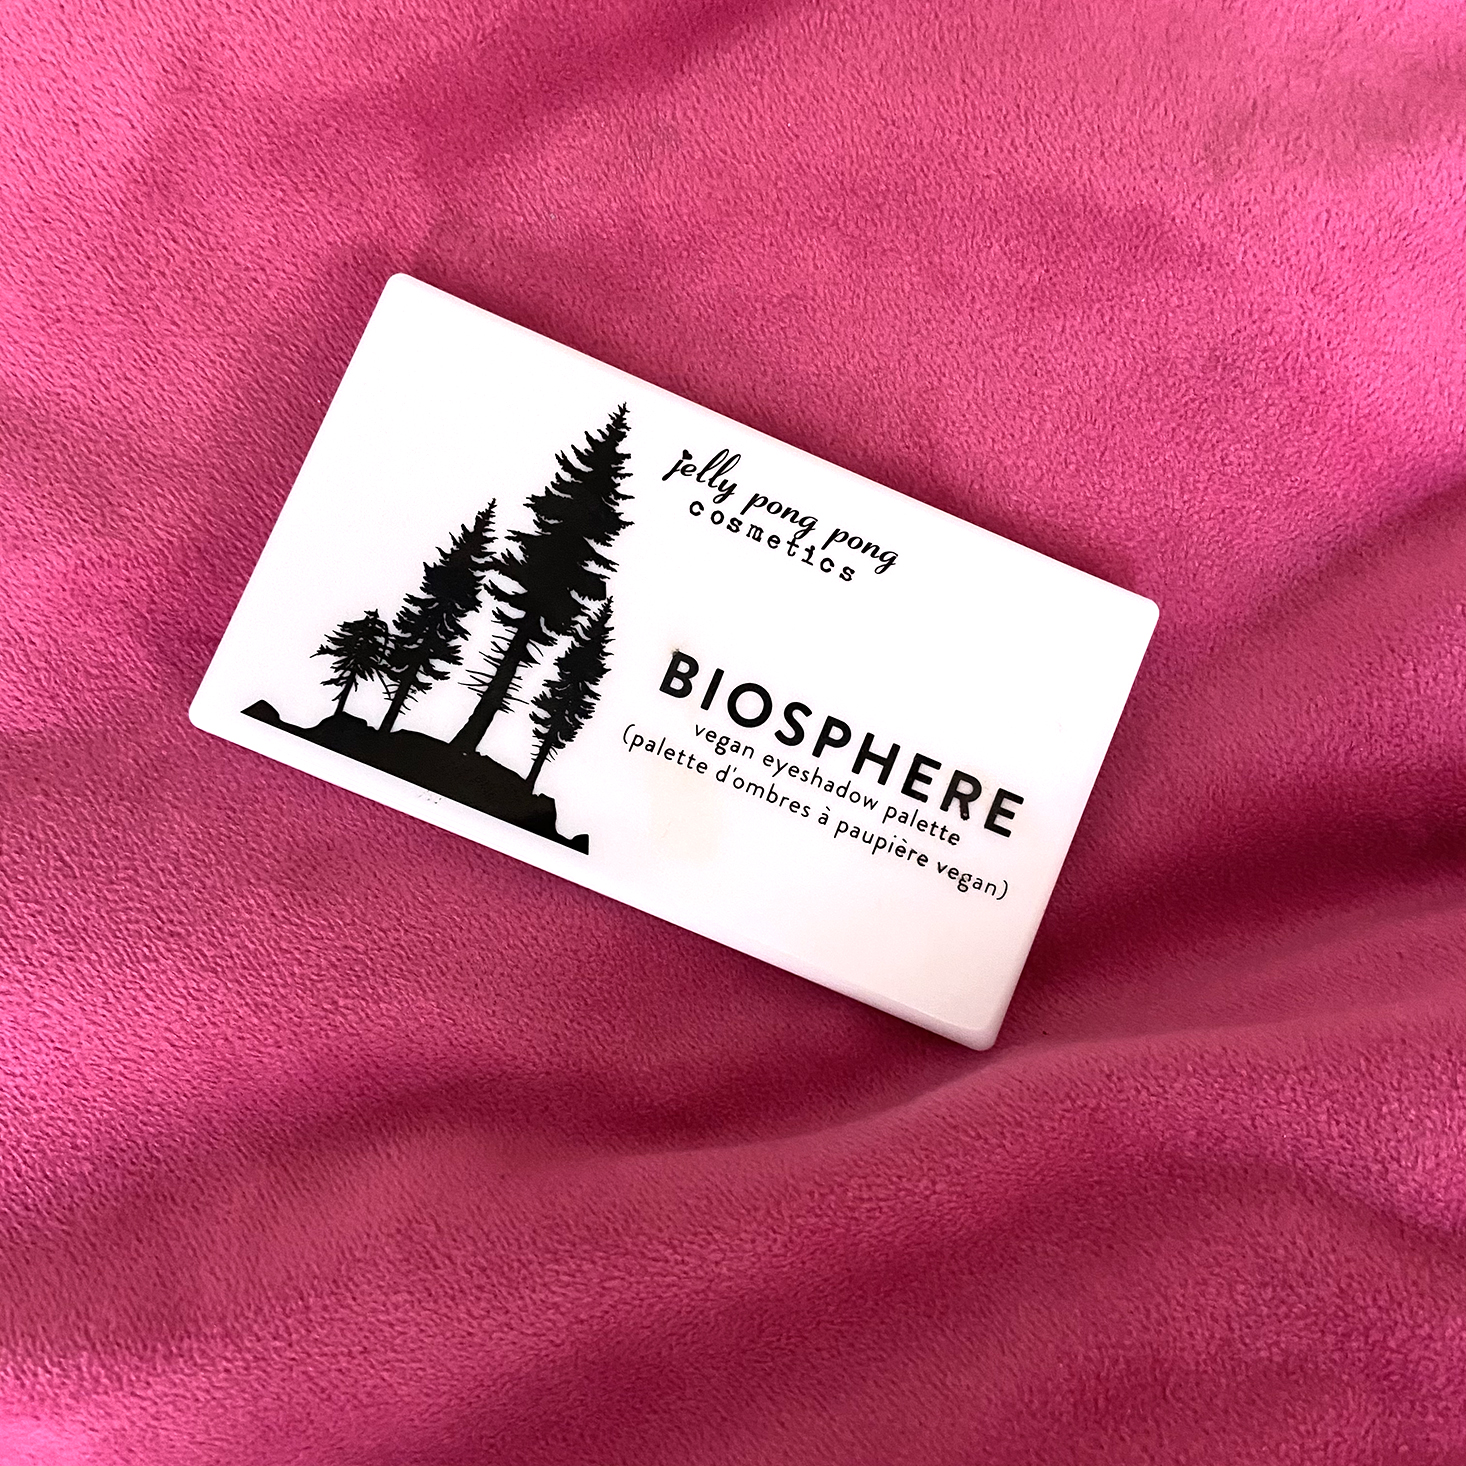
Jelly Pong Pong Cosmetics Biosphere Vegan Eyeshadow Palette

1 of 2
The Product: Jelly Pong Pong Cosmetics Biosphere Vegan Eyeshadow Palette in Woodland
The Cost: $38.00
The Matchmaker: So Susan Color Curate
This is a new palette that I am totally loving! I've been using it a lot so far, but I was having some issues with the application in terms of my overall technique. I also wasn't sure how to utilize each of the shades since they are all so similar. My goal was to learn how to use this palette every day correctly while still feeling fun and fresh.
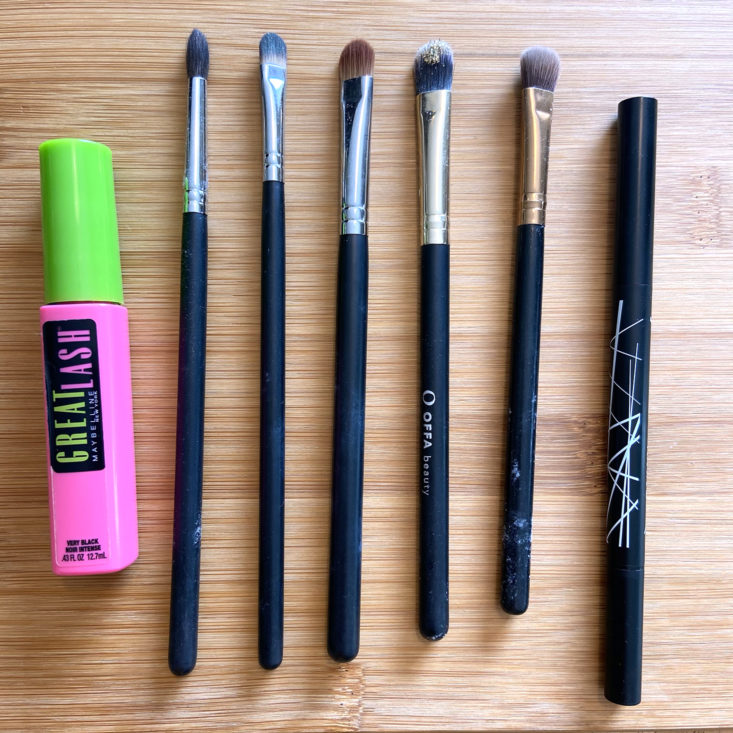
Here is a glimpse at the brushes, mascara, and eyeliner that my Mom used to create both looks.

Here is my fresh face with newly applied foundation and blush. The first look that my mom worked on was with the Athena palette creating an evening look that she described as being inspired by a Peacock for creating it.
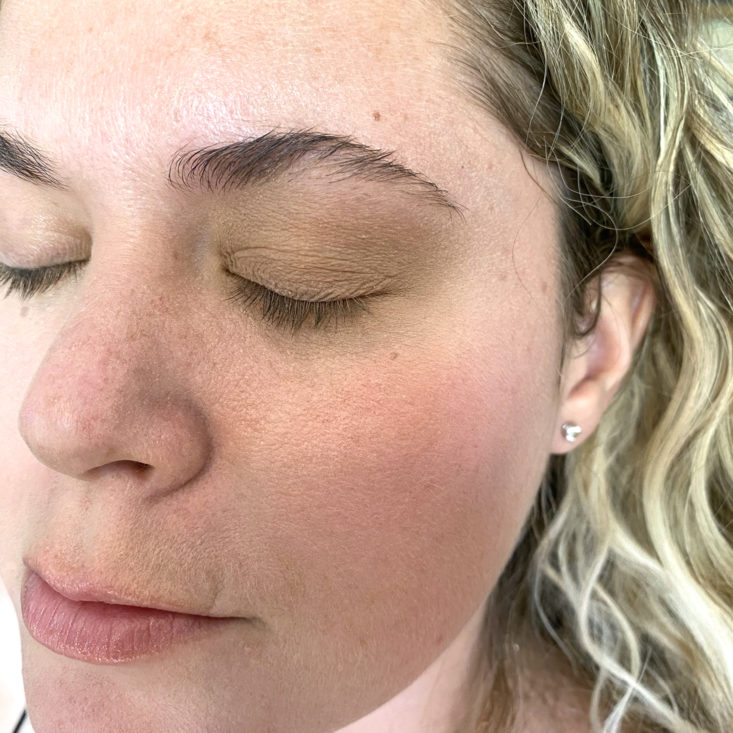
The first step in creating when building your shadow is to start with a neutral base.
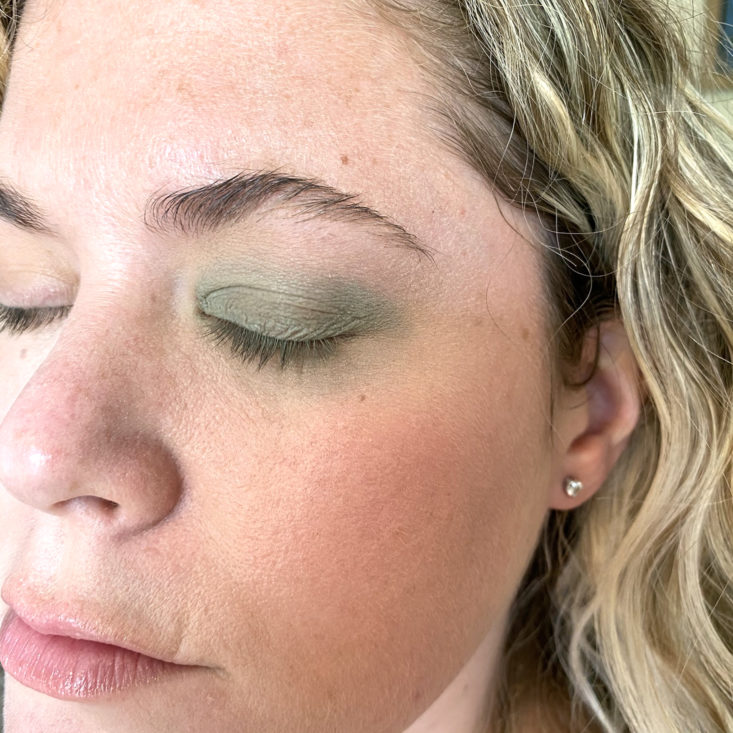
Her next step in the process was to select three colors that are in a similar family to build on. She started with a light blue shade which is the lightest blue that she will use for this look.


1 of 3
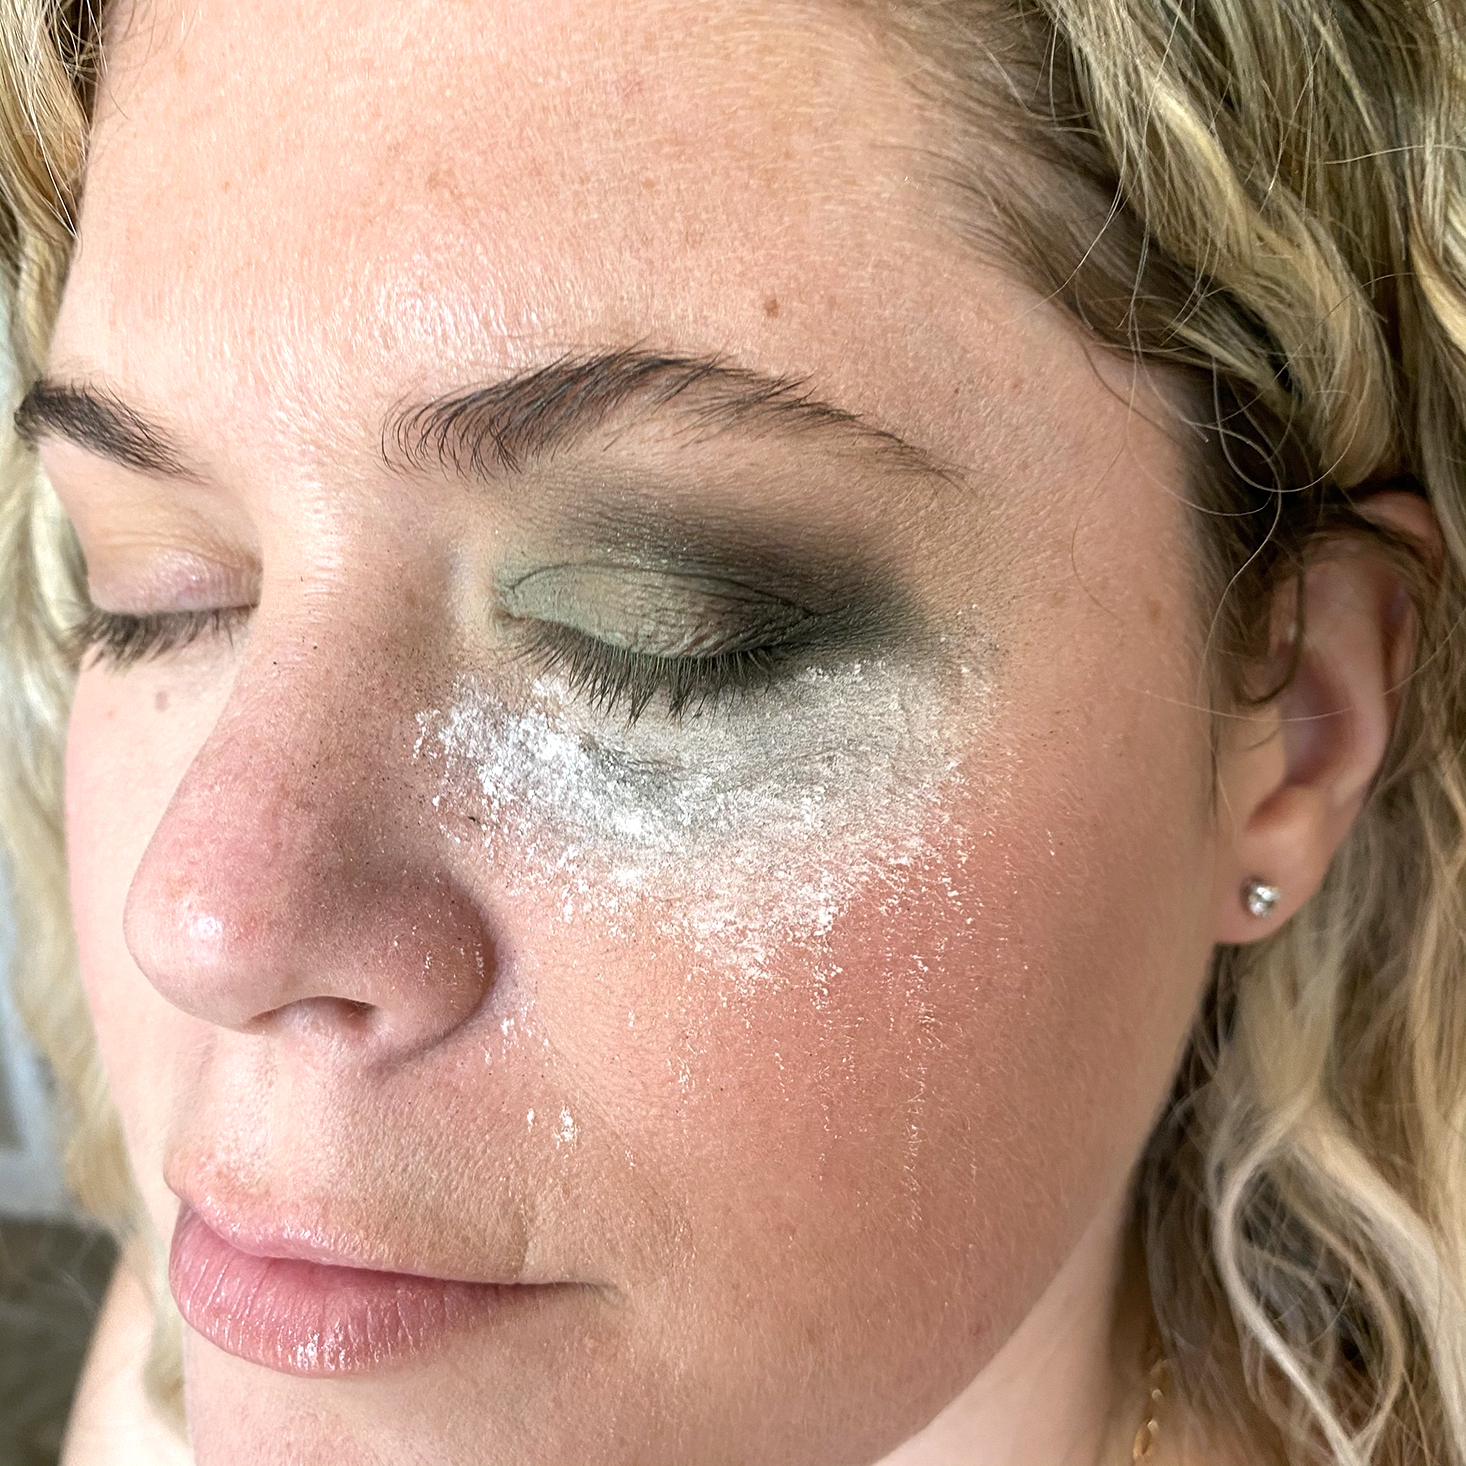
She moved onto the green shimmer shade to start shaping the eye and adding layers to that light blue shade from the last step. What we didn't expect was how much fallout this shimmering shade would have! The matte colors have some fallout but nothing major. Once we used this shimmering green we saw just how messy it was going to be! I oddly could not find any setting powder to correct the fallout, but my mom said that if you don't have any on hand, then baking powder can work as a substitute to clean the under-eye area. It was crazy how messy this step was, but the baking powder really worked!

1 of 2
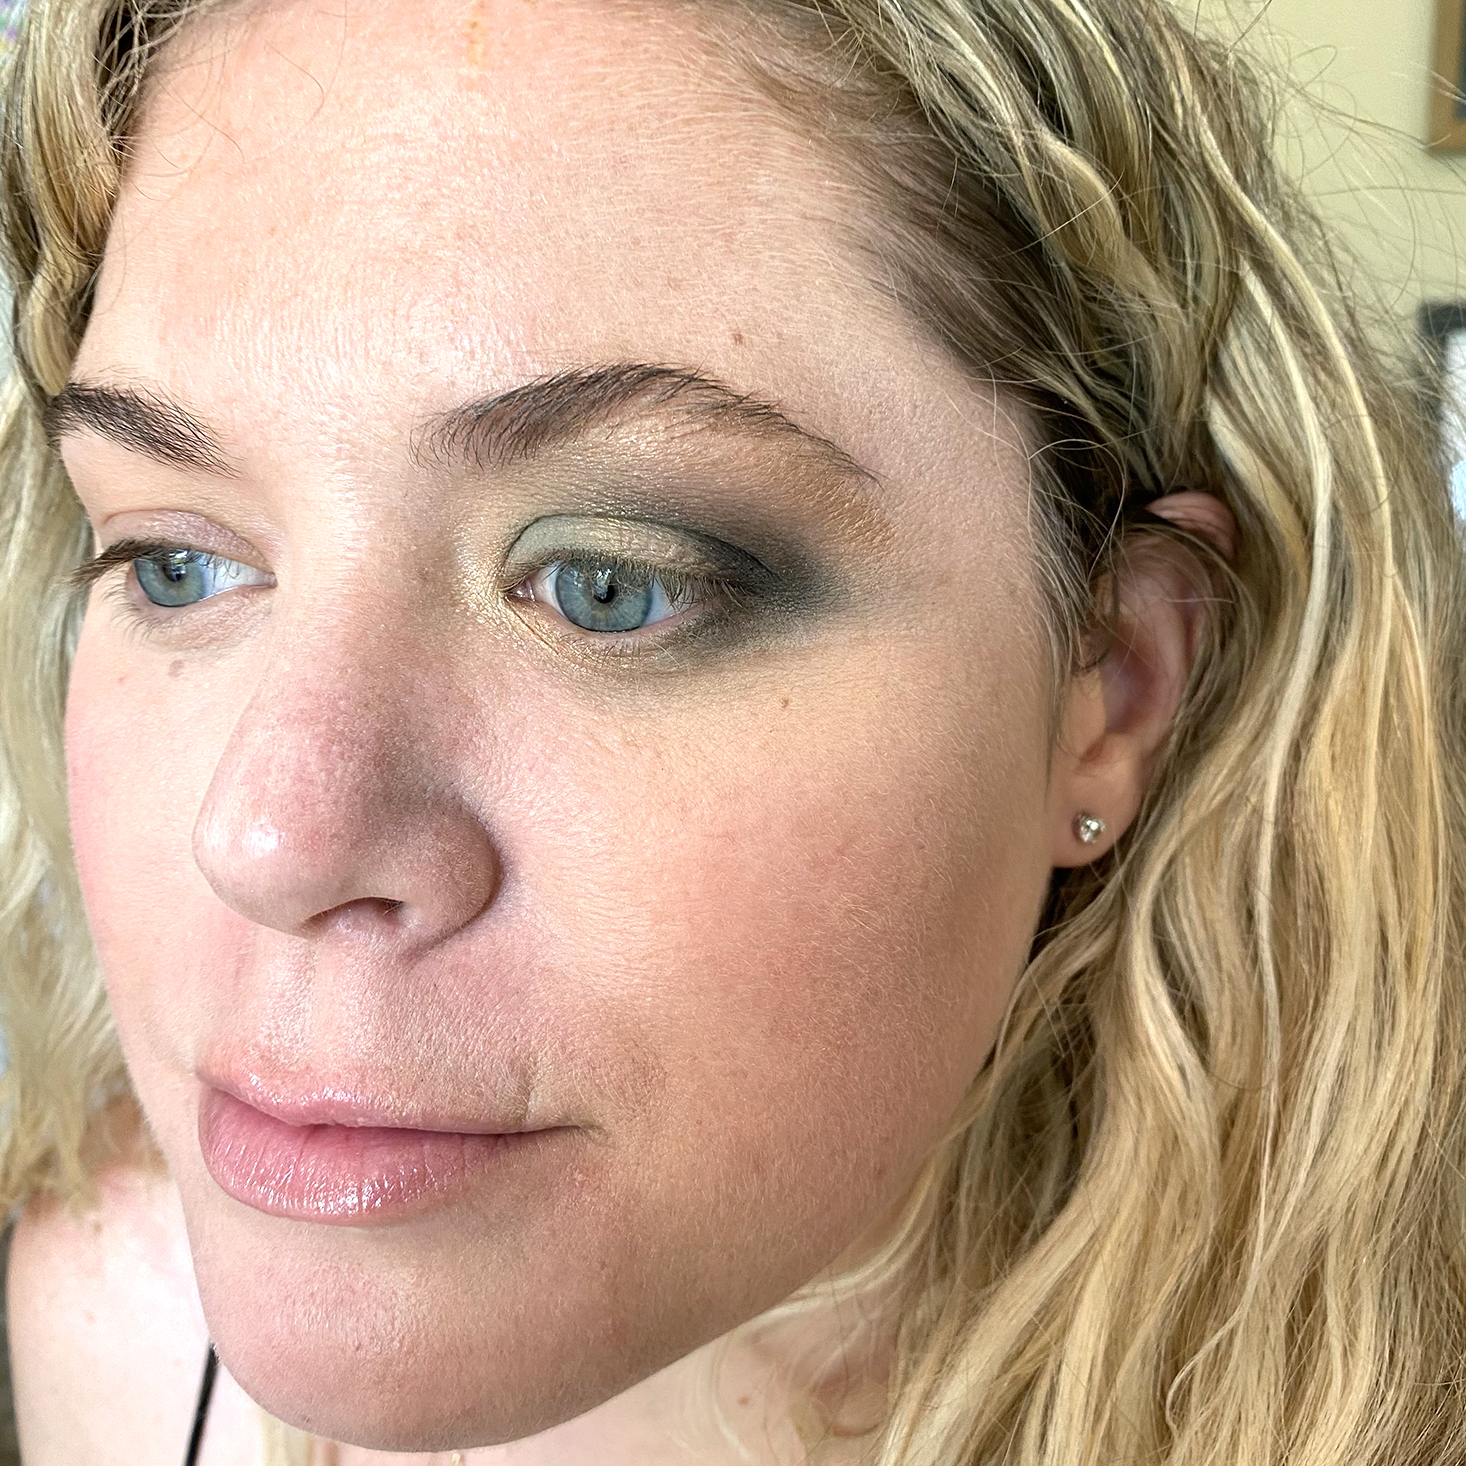
The next step was to add some pink shimmer to highlight at the brow bone and the corner of my eye.

1 of 5
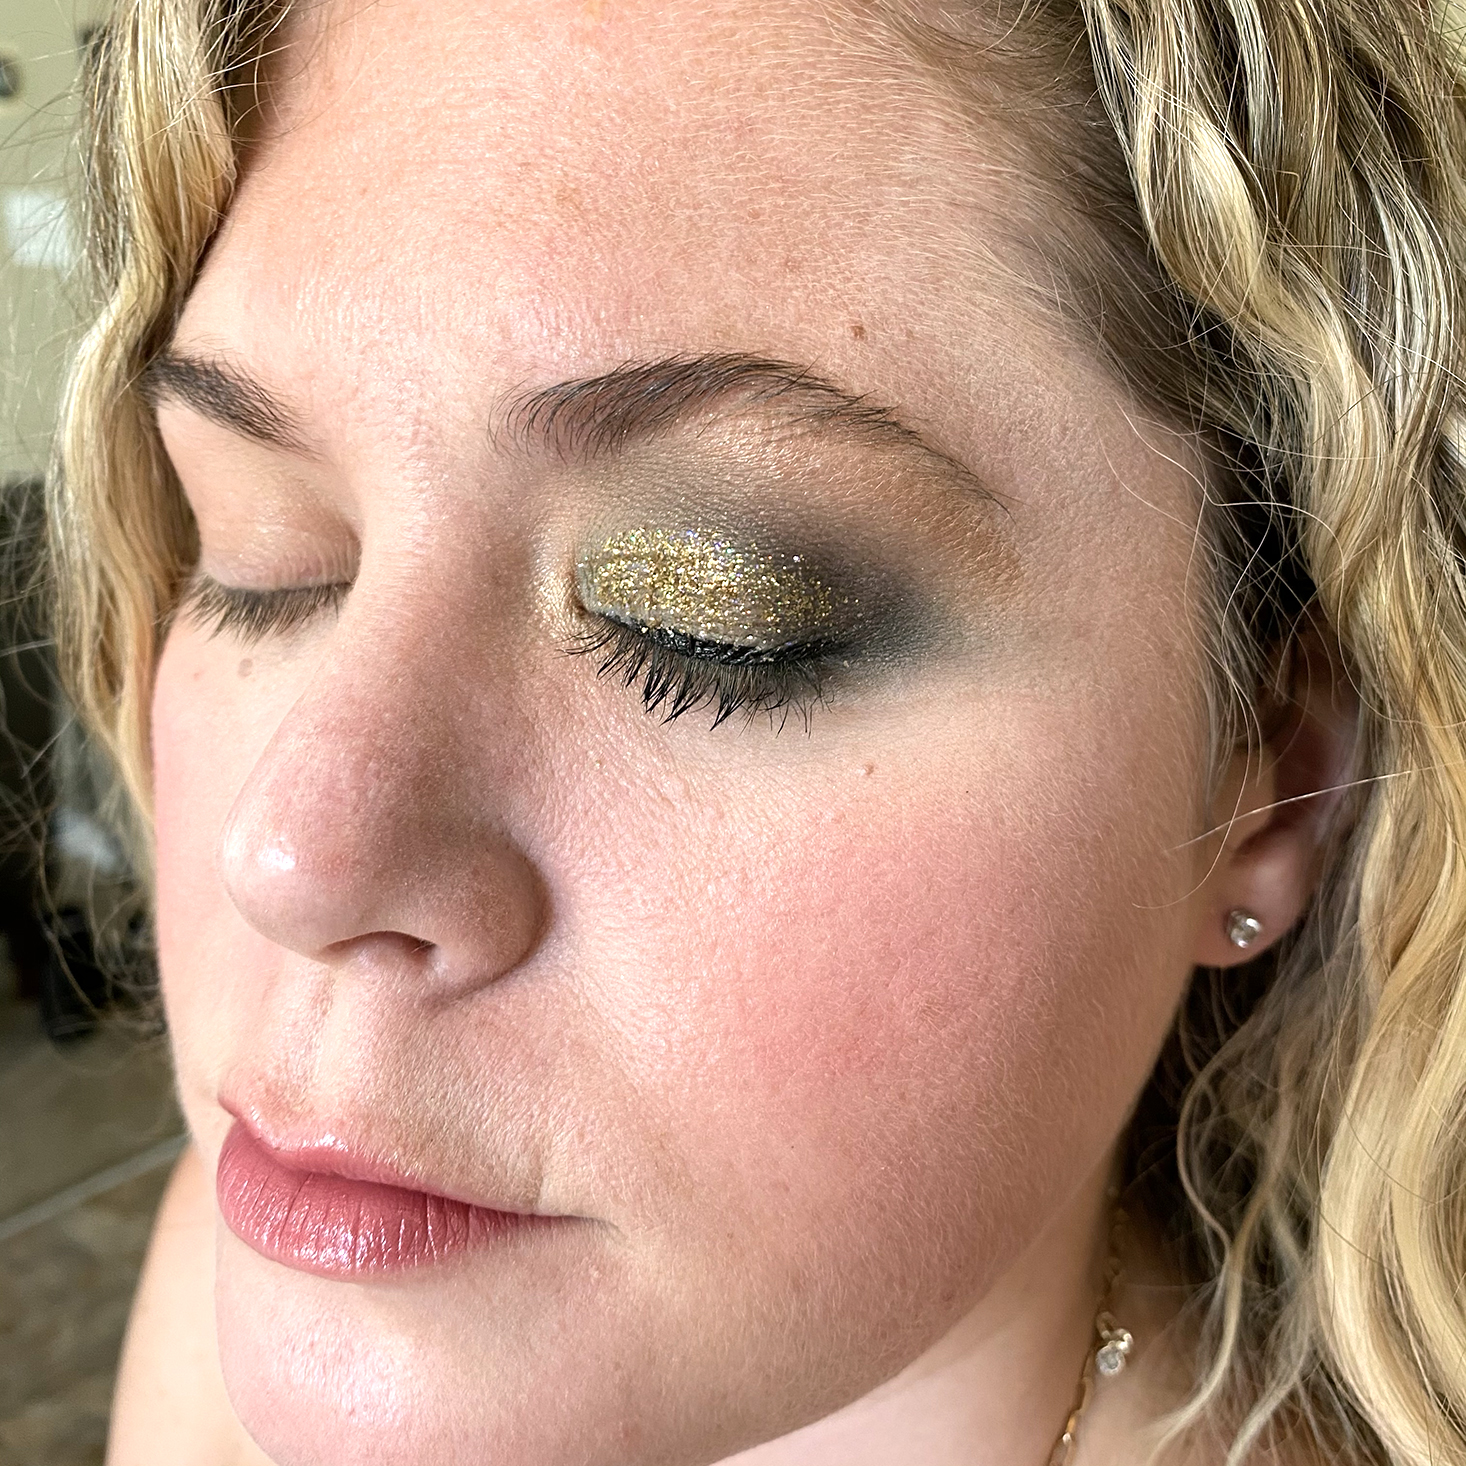


The final steps were to press some of the gold sparkles throughout the lid to add a bit more drama- perfect for a night out. She added liquid eyeliner and mascara to finish everything off. I am obsessed with this peacock-inspired look that is perfect for a night out or any special occasion. This is a truly stunning look that makes my eyes pop, I was so turned off by green shades because I thought it washed me out, but this look makes me rethink that completely! Maybe my Mom can come over to create this again before my next date night with my husband.
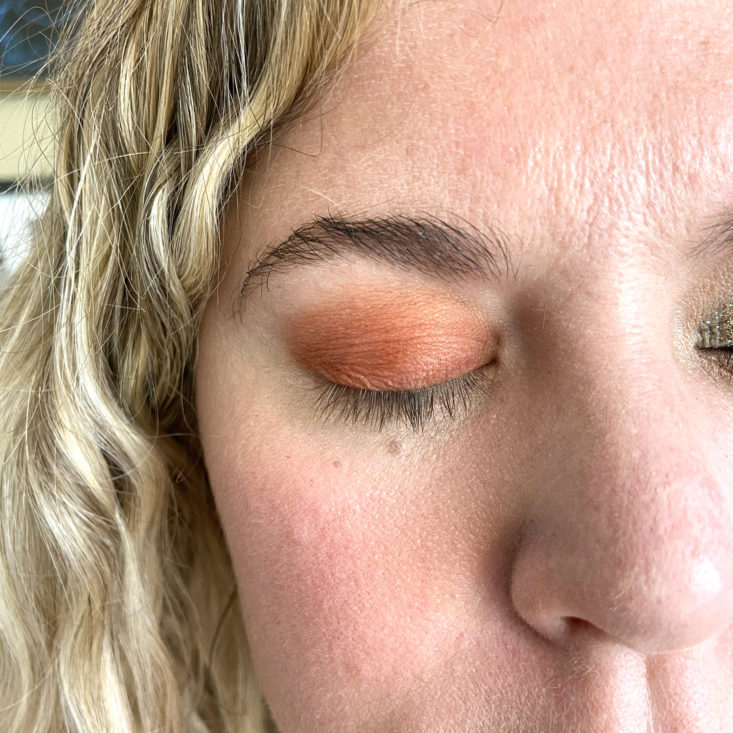
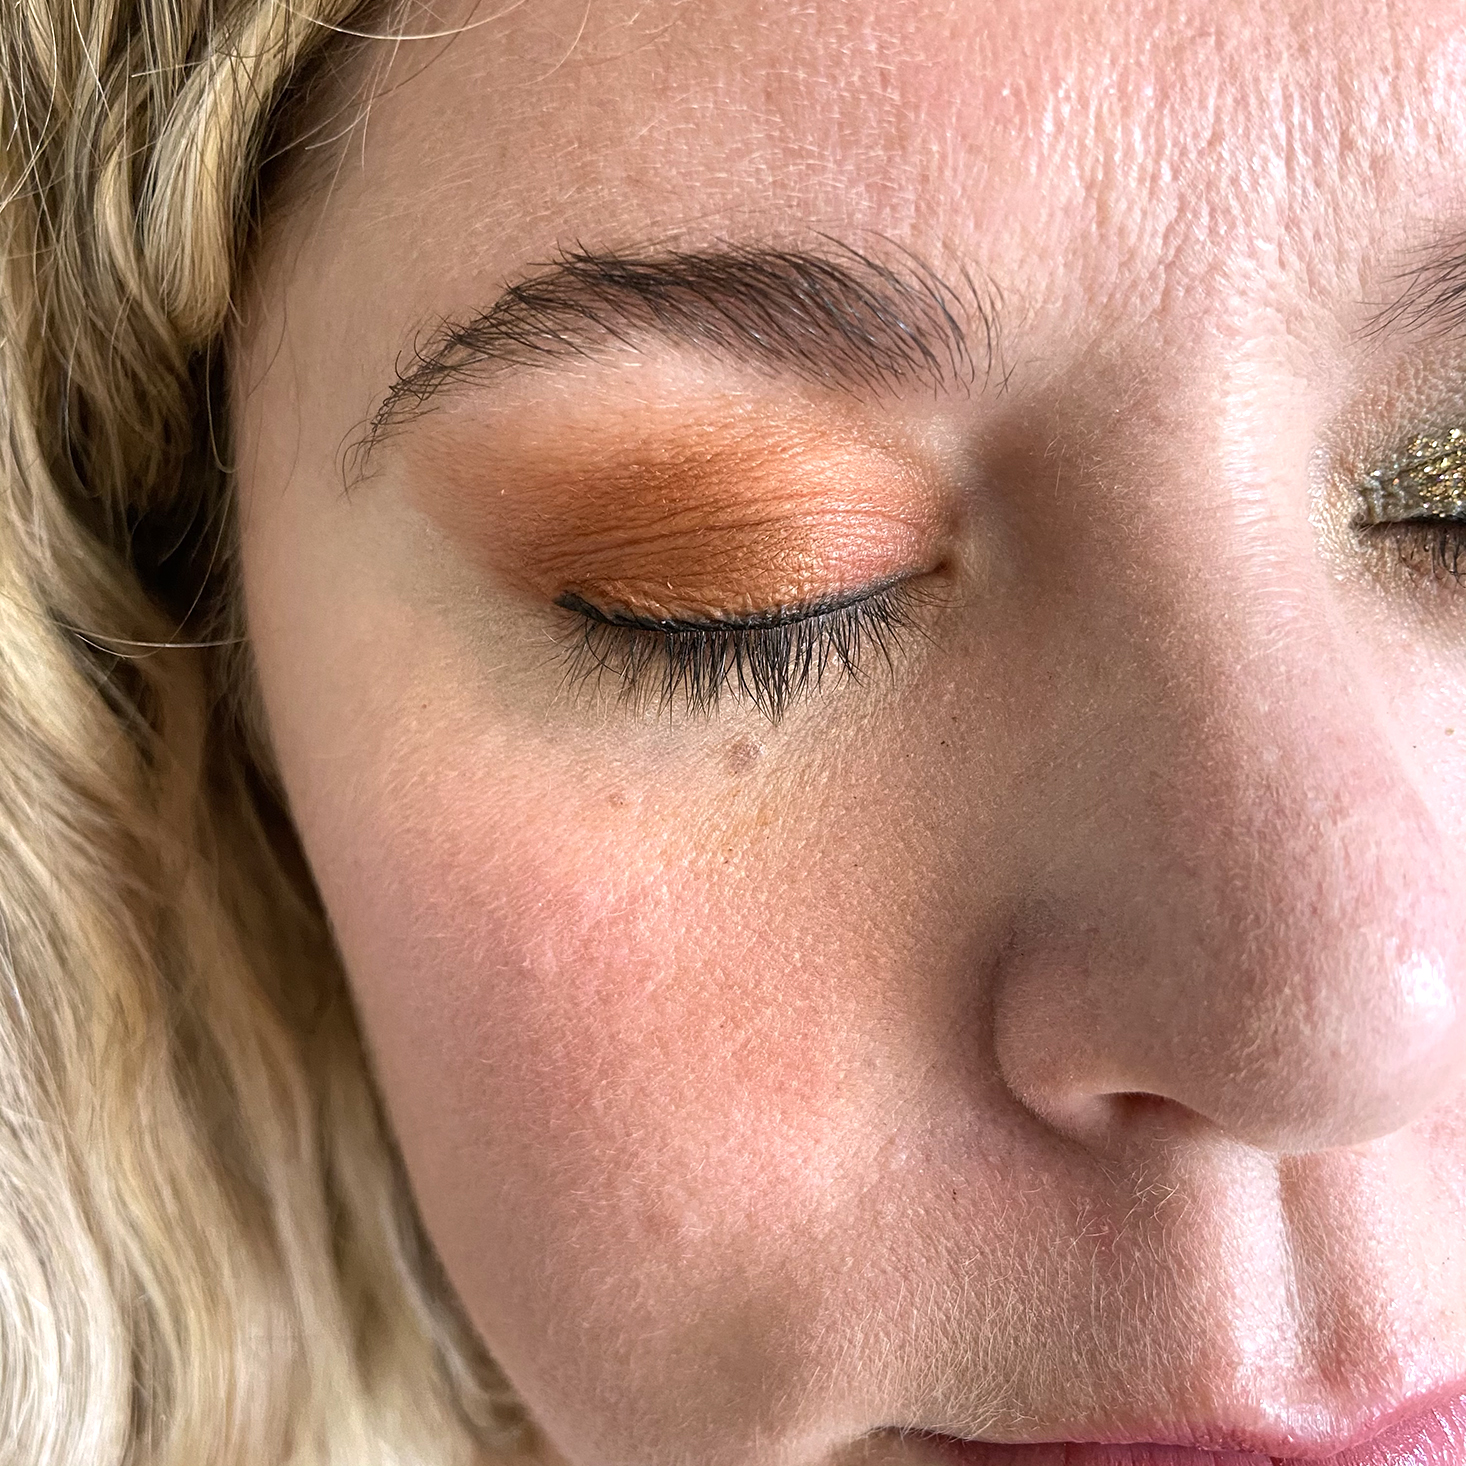
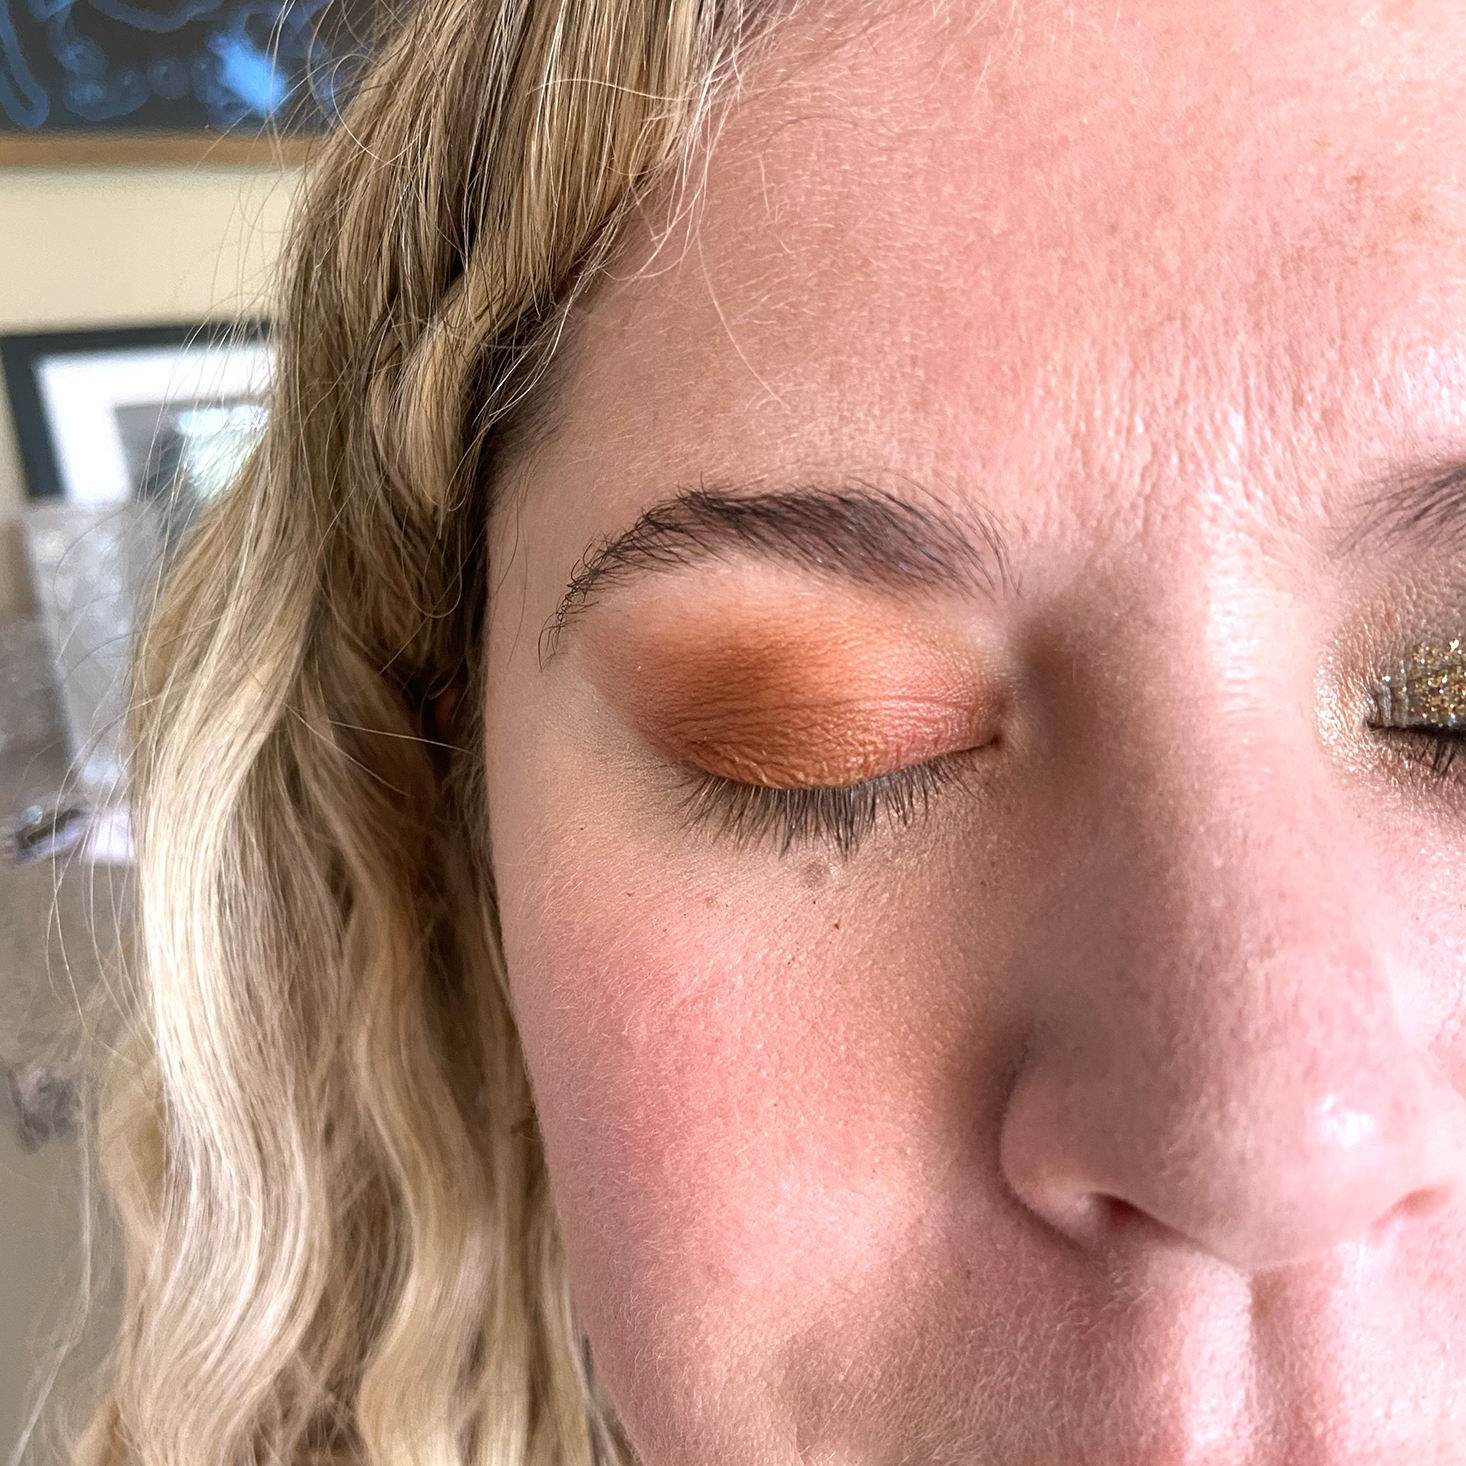
The second look that my mom created is with the Jelly Pong Pong palette. This is a quick and easy look that I can do every day to make me feel put together without being overdone. She started with this beautiful orange by applying to the eyelid. She starts by making it darker in the corner and then lightly blend up and over. This allows the colors to blend upward to shape your eye and creates an even look without having a harsh line (which I do).
1 of 2
Here she added a darker orange from the mid eye to the corner and continued to blend upward to blur the lines. She added a soft eyeliner and some mascara to finish this look off. We didn't add a highlight but you could use a light gold or pink shimmer shade to create that extra lift.

1 of 2
The finished look is so perfect for me! It is simple while still feeling youthful and put together. I love how the oranges are layered without feeling harsh. I really learned a lot about how to blend and where to blend to blur the shadow line which I never do and always have that harsh line near my brow bone. This is so beautiful I can't wait to reproduce it!


1 of 2
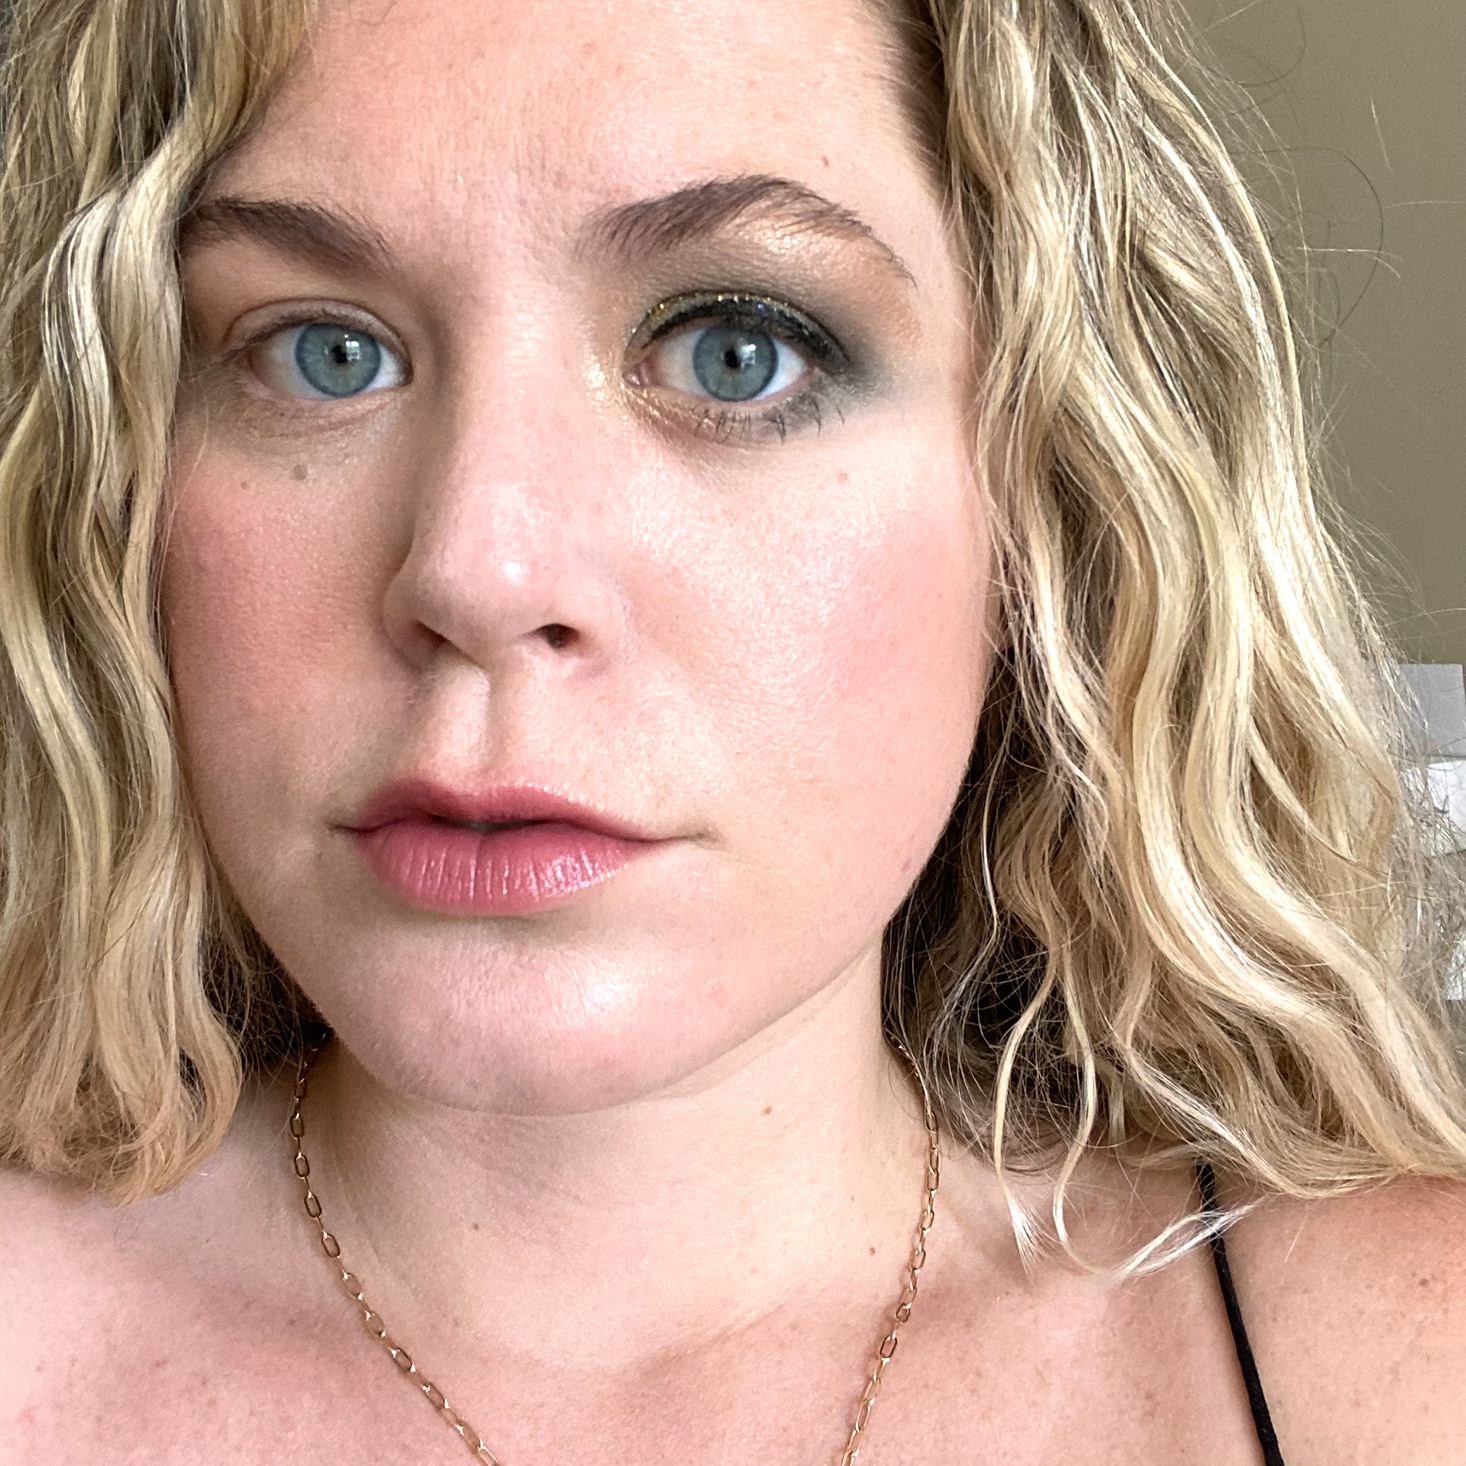
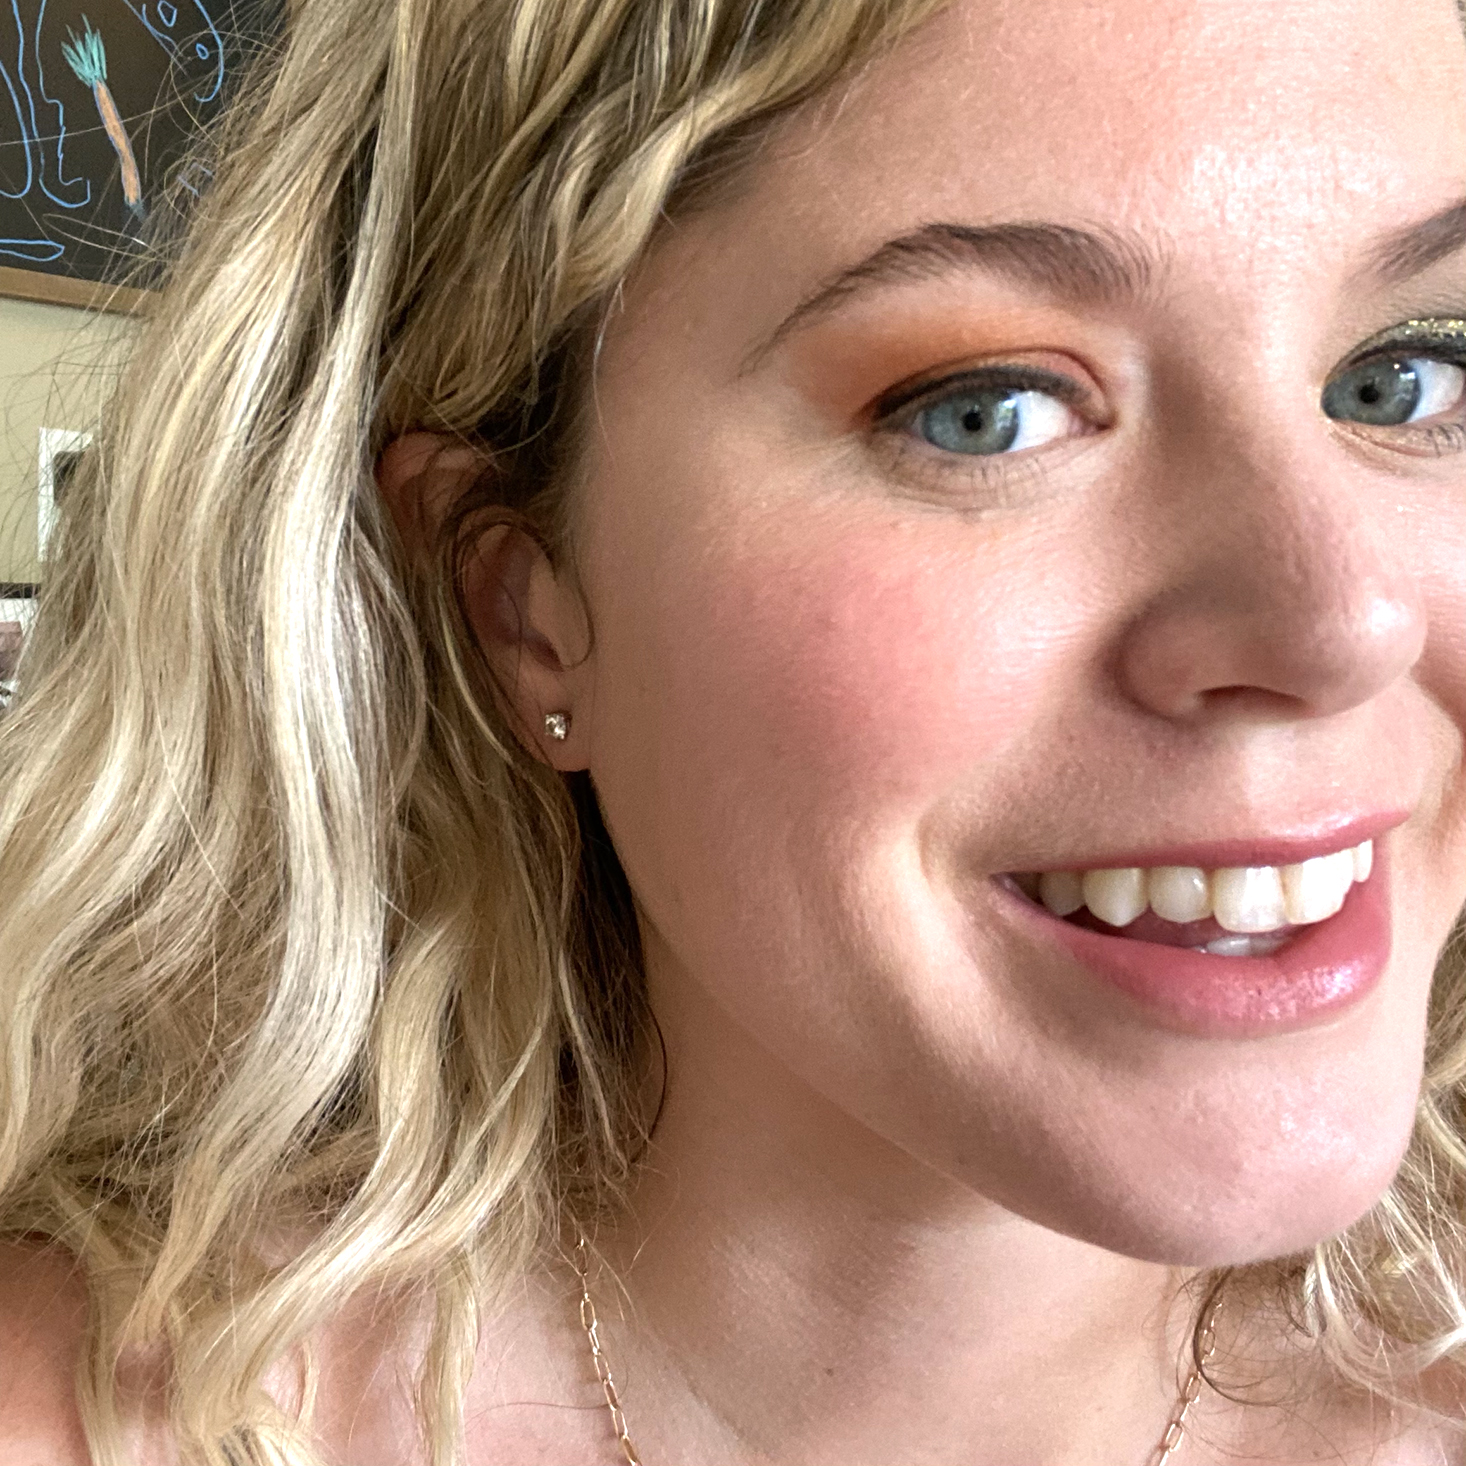
You can see the final product, one eye for day and one for night. I feel ready to tackle my growing collection of palettes with a better understanding of technique, how to layer properly, and how to select the right colors to build a cohesive look.
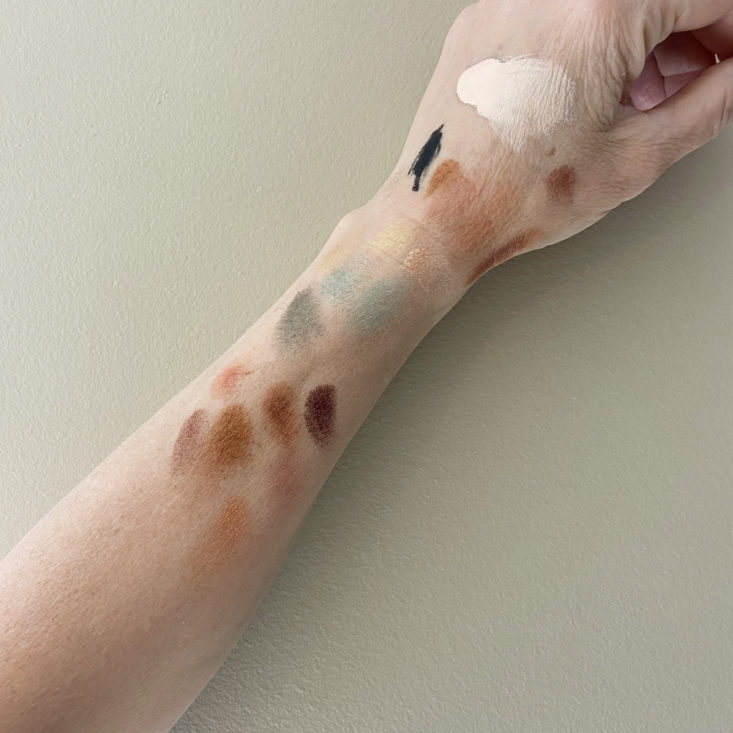
The palette of a makeup artist! My mom is so drawn to bold colors and loves testing eyeshadows. She recommends testing every color on your arm before application to really get a better look at how it will look on your skin tone and the texture of the shadow. It was so much fun to see my mom at work again doing what she loves, but I also appreciate learning how to really utilize all of the palettes that I have, thanks to some amazing beauty boxes!
What was your favorite look that we created? Is there a palette that you still aren't sure how to use from your collection? Let me know in the comments!

Please do not enter your email address in the Name field or in the comment content. Your email address will not be published. Required fields are marked *. Remember to post with kindness and respect. Comments with offensive language, cruelness to others, etc will not be approved. See our full comment policy here.