


Why I Almost Didn't Do This
I'll be honest – ordering prescription glasses online felt like a risk. What if I entered my prescription wrong? What if the frames didn't fit? How long do the glasses take to arrive?
Those concerns are valid. And they're exactly why I want to walk you through what I actually did – once you know what to expect, there's nothing to be afraid of.
Before starting, grab your written prescription. You'll need your SPH, CYL, axis, and pupillary distance (PD). That's the only prep.
Don't have your PD? Zenni has a "Help me find my PD" link right on the prescription page that walks you through it.
Step 1: I Found a Frame I Actually Liked
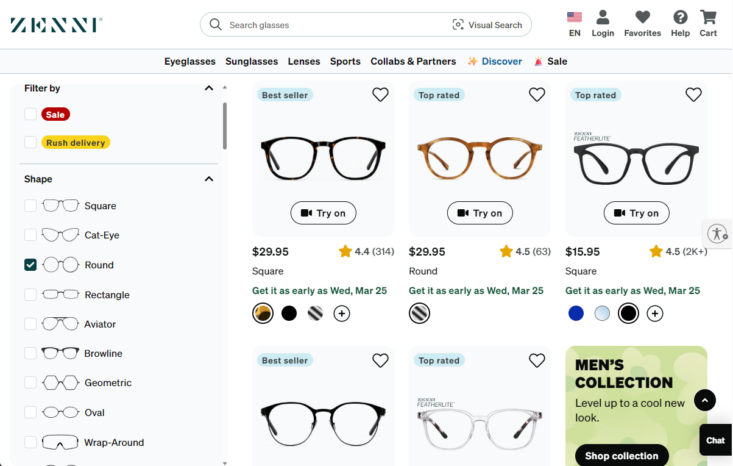
I started by browsing Zenni's frame collection. The filter panel was the key – I narrowed by shape, size, material, and price, and went from an overwhelming wall of options to a short, manageable list in minutes.
Not sure if a frame suits you? The Virtual Try-On button on any frame's page uses your device's camera to show you exactly how the frames look on your face in real time. I tried on about six frames in ten minutes and narrowed it down quickly.
For someone who cares about how they present themselves – I am known as the Bow Tie Guy, after all – seeing the frames on my actual face before committing made a real difference.
Step 2: I Selected How I'd Be Using My Glasses
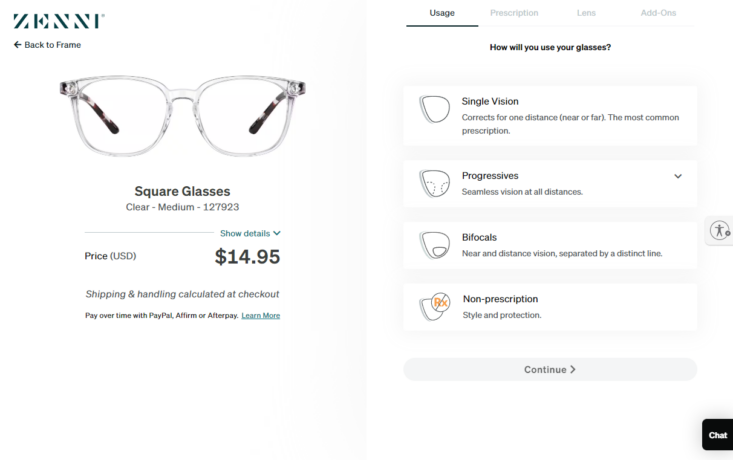
Once I picked a frame, I clicked Select Lenses. The first screen asked: How will you use your glasses? The options are Single Vision, Progressives, Bifocals, Reading, and Non-prescription. I picked what matched my prescription and hit Continue.
If you're not sure which applies to you, it's on your written prescription – or your eye doctor can tell you in one quick call.
Quick tip from my optometrist: if there is no "ADD" value, it’s most likely a single-vision prescription. Having an "ADD" value indicates progressive or bifocal lenses.
Step 3: I Entered My Prescription – Carefully
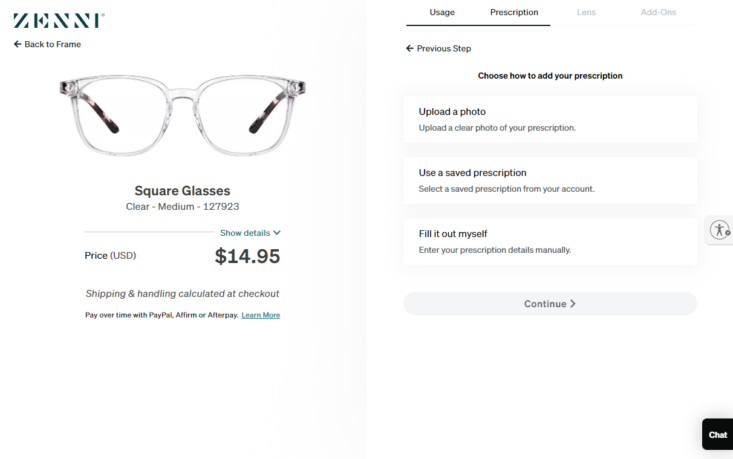
Zenni gives you three ways to add your prescription: upload a photo of it, use a saved prescription from your account, or fill it out manually. I chose Fill it out myself.
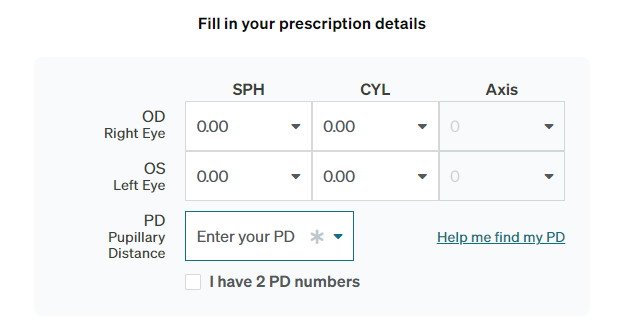
The form has clearly labeled fields for each eye – OD (right) and OS (left) – with columns for SPH, CYL, Axis and PD. I just matched each number from my written prescription to the right box. Take your time here, and pay close attention to plus (+) or minus (−) signs – those matter.
No PD? Click "Help me find my PD" right on that screen – Zenni walks you through it.
After continuing, Zenni pulls up a Confirm Your Prescription screen so you can review everything before moving forward. I read through mine twice before moving on.
Step 4: Choosing Lenses and Reviewing Before Ordering
This is where I expected things to get confusing - but it didn’t.
Zenni walks you through lens options step by step, explaining each choice in plain language. I selected what matched my needs and took my time reading through everything.
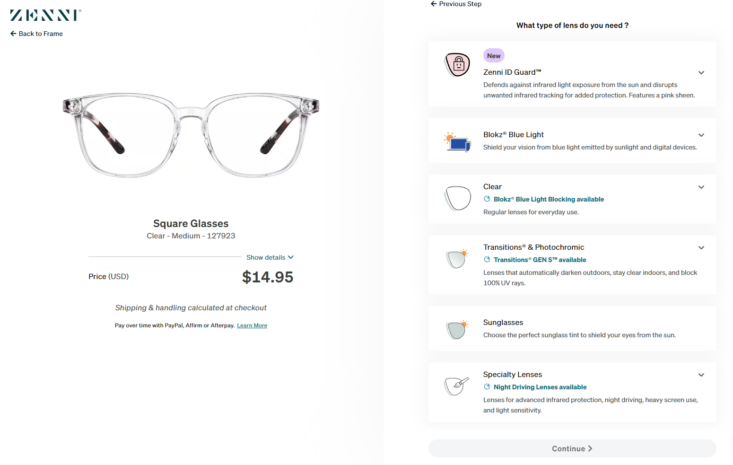
This screen has a few options, but each one is clearly explained. For most people it comes down to three:
- Clear – standard everyday lenses
- Blokz Blue Light – shields against blue light from screens and sunlight. Standard Blokz lenses are virtually clear, but there are tinted options, too.
- Transitions – lenses that automatically darken outdoors and stay clear indoors
I went with Clear plus Blokz. After that, Zenni walked me through lens thickness – and automatically highlighted the recommended index for my prescription, so there was no guesswork involved.
Generally, the higher the index number is, the thinner your lenses will be. So if you have a strong prescription, you should opt for a higher-index lens so it’s not too thick. There are also options for impact-resistent lenses for kids or active users.
Step 5: I Checked Out…

…And that’s it! My glasses arrived in about two weeks, and everything was correct right out of the box.
Still nervous about committing? Zenni offers a 14-day refund window and up to 30 days for store credit – so if something isn't right, you're not stuck.
My Honest Takeaway
Going in, I thought this process would be complicated. It wasn't. 5 steps, each clearly explained, all completely within your control.
I got the right prescription, frames I feel good in, and paid far less than I ever would have at a traditional optical store.
For anyone who's been on the fence – it's worth trying.