


Eureka Crate (from parent company KiwiCo) is a subscription box for teens and adults ages 14-104. It arrives every month with all the materials and instructions needed to create a functional, lasting object with a focus on engineering. The goal of these projects is to use science and math to solve real-world problems while inspiring the recipients to become creative innovators.

KiwiCo offers boxes for a variety of different age groups:
- Panda Crate for 0-24-month-olds,
- Koala Crate for 2-4-year-olds,
- Kiwi Crate for 5-8-year-olds,
- Atlas Crate for 6-11-year-olds,
- Doodle Crate and Tinker Crate for 9-16+-year-olds,
- Eureka Crate and Maker Crate for ages 14 and up. There really is something for every age with this company.
This review is of the $29.95 a month Eureka Crate, for 14-year-olds and up.
This box was sent to us at no cost for review. (Check out the review process post to learn more about how we review boxes).

About Eureka Crate
The Subscription Box: Eureka Crate
The Cost: $29.95 per month + free shipping. Save with longer subscriptions.
The Products: Detailed instructions and all of the high-quality materials needed to create a unique, lasting, and functional engineering project as well as a Maker's Guide that explains the science and technology behind it.
Ships to: The U.S. for free, Canada for $3.95 per month, and worldwide from $4.95-$6.95.
KiwiCo Eureka Crate "Programmable Music Box" Review - July 2020


1 of 8
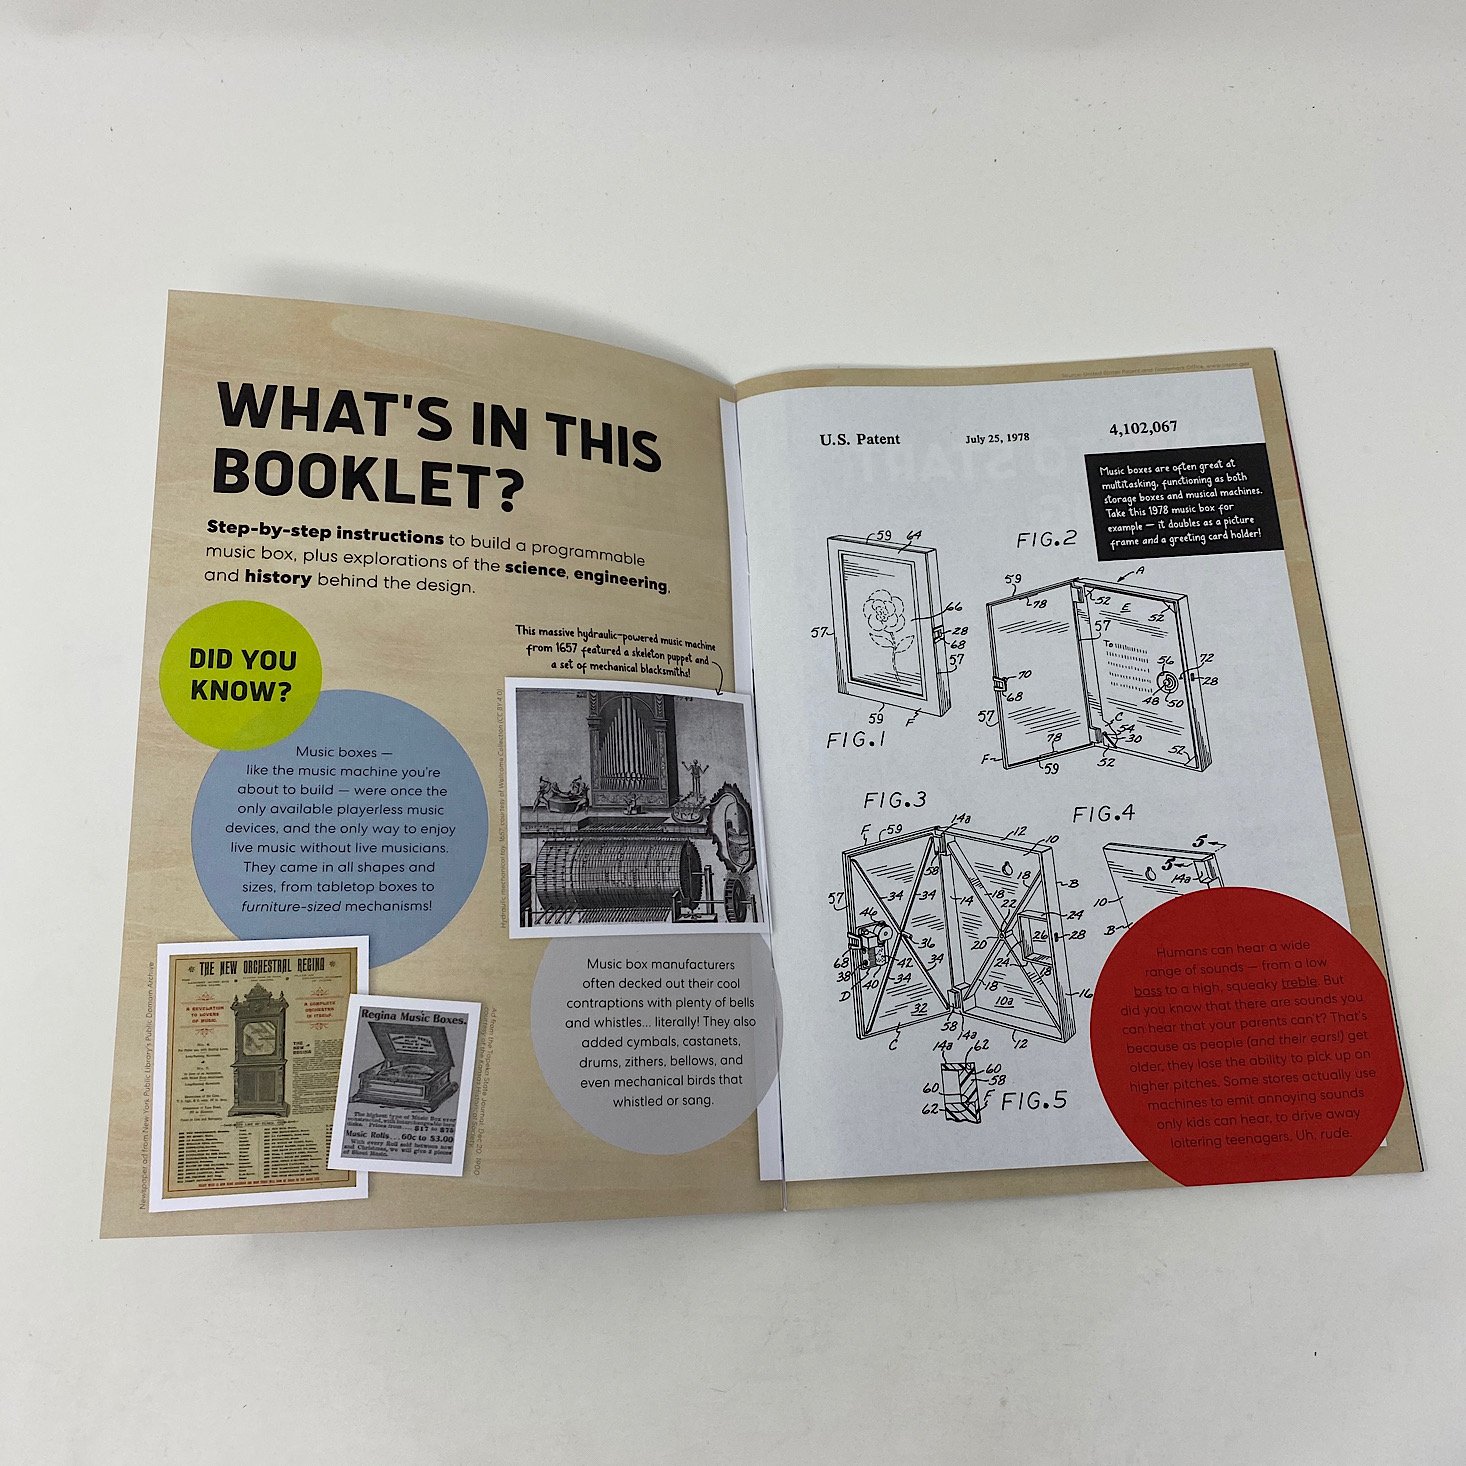


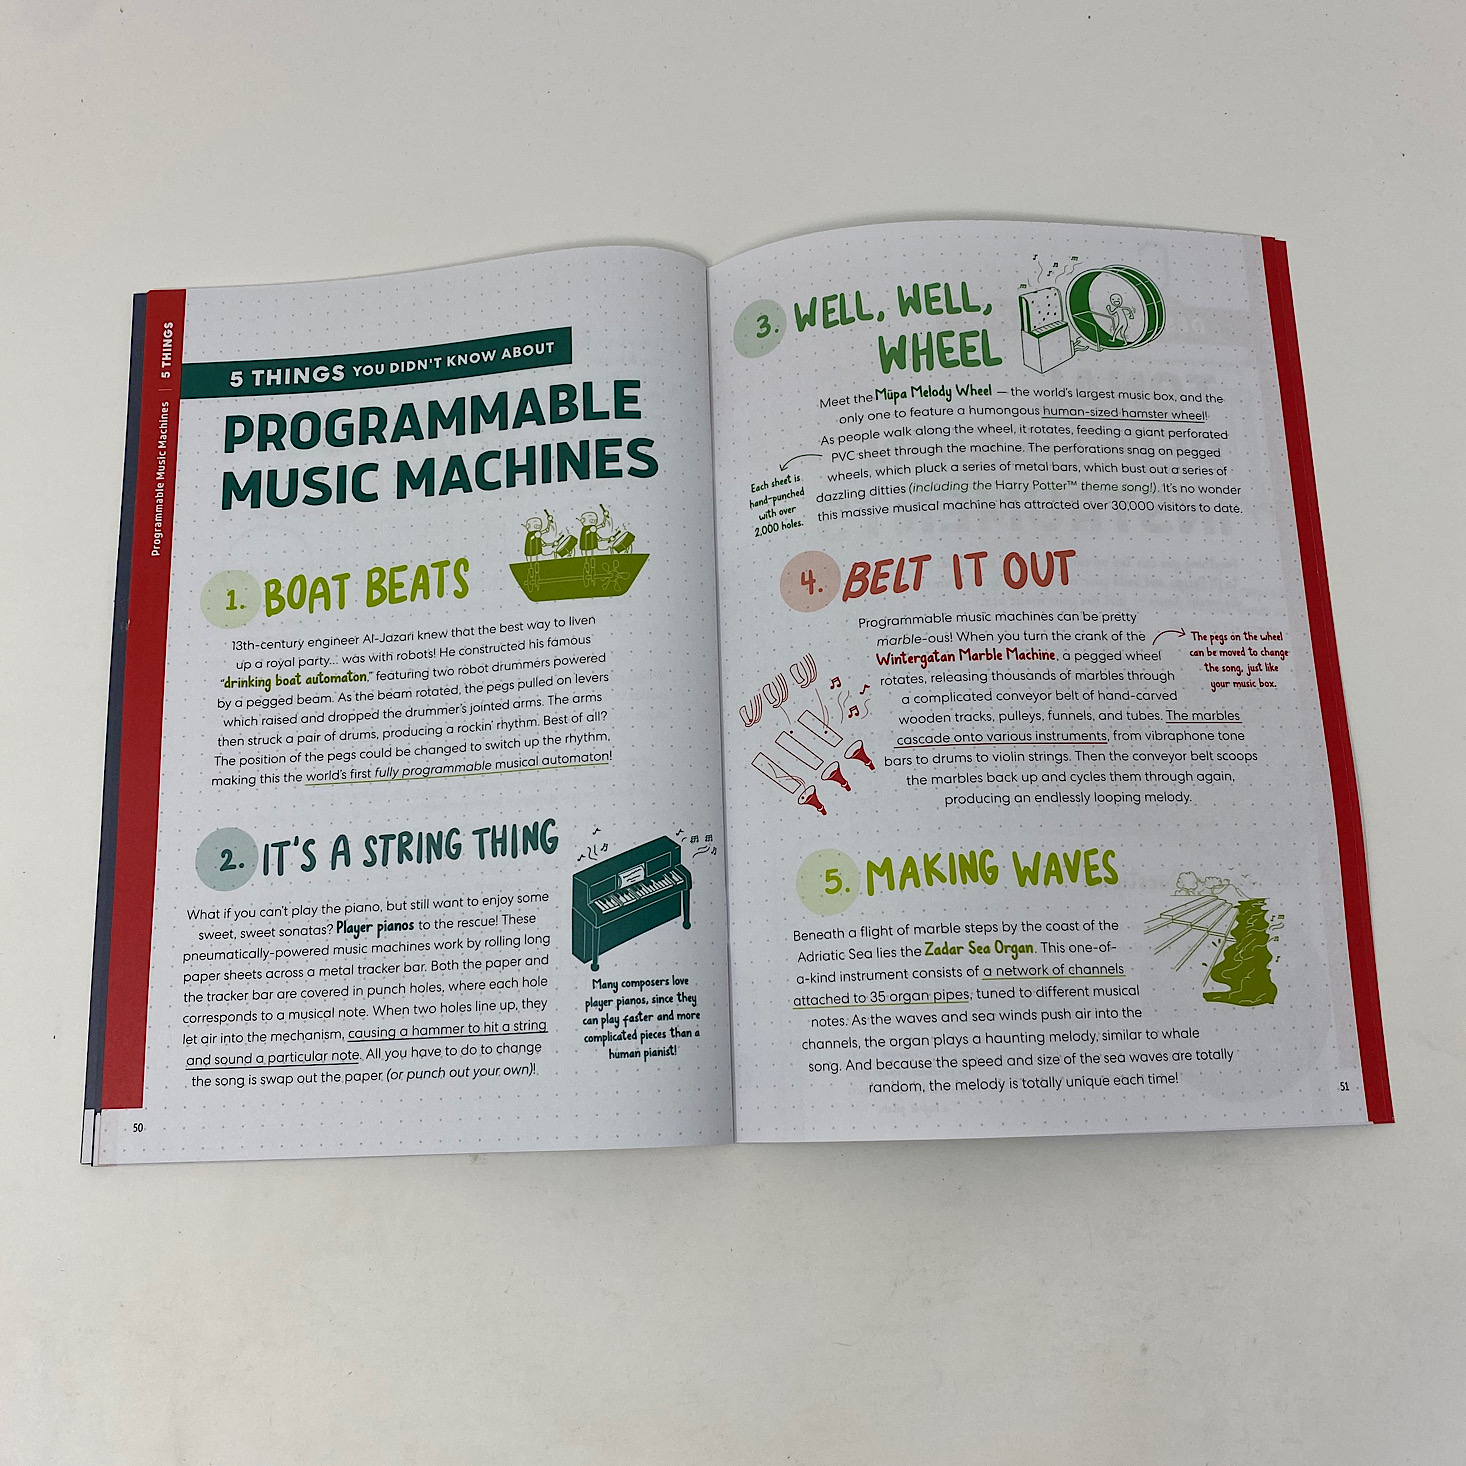
The project for this month was to make our own Programmable Music Box. We received this Maker's Guide which is full of helpful information related to our project along with the directions. They also included some educational information about the evolution of music boxes, pitch, and frequency. My favorite section is the "Behind the Design" page where they describe their process. They went through 28 prototypes for the keyboard on this project!

1 of 6


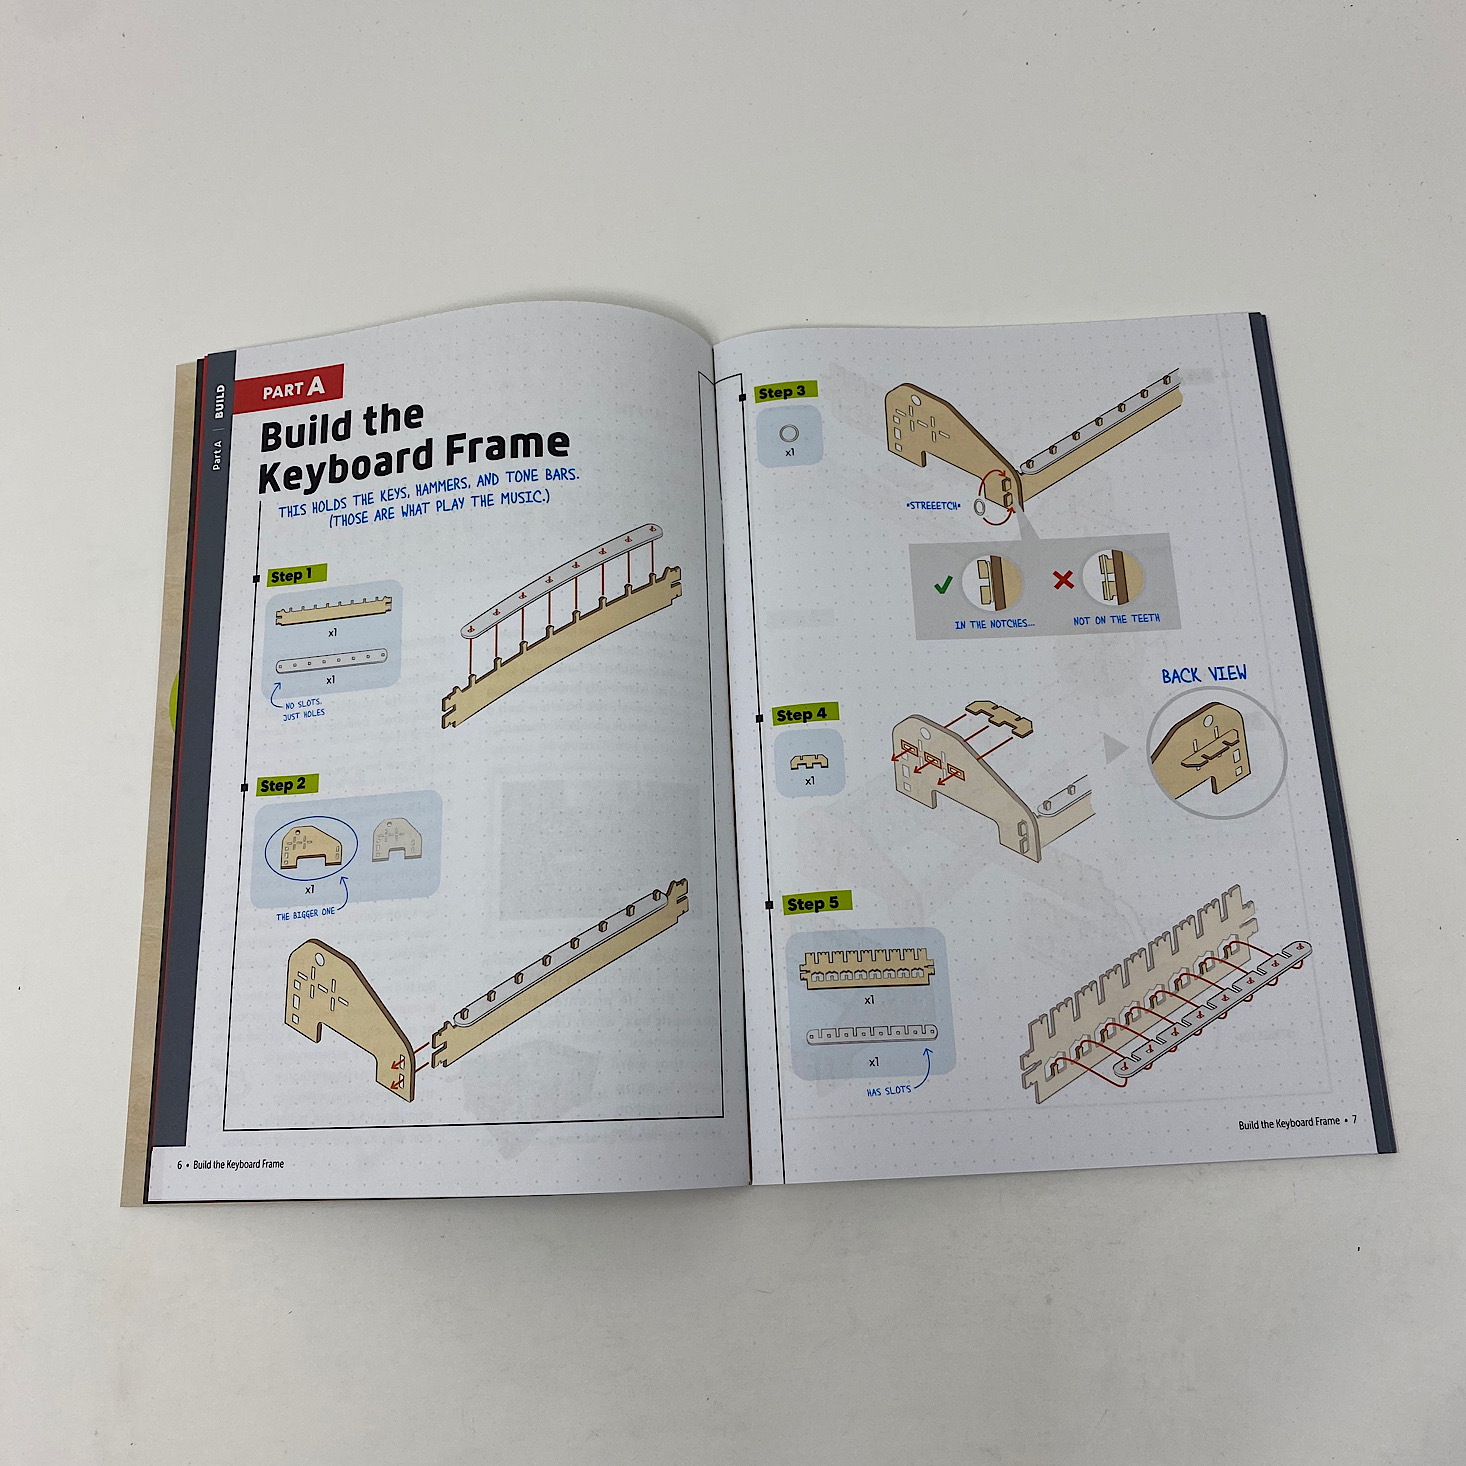
Our directions are separated into various sections which makes it so much easier since it breaks it down into smaller, more manageable tasks. The instructions are always clear and easy to follow with detailed, colorful pictures to reference. They even include information on troubleshooting, which can be very helpful!
Part A: Build the Keyboard Frame

1 of 4
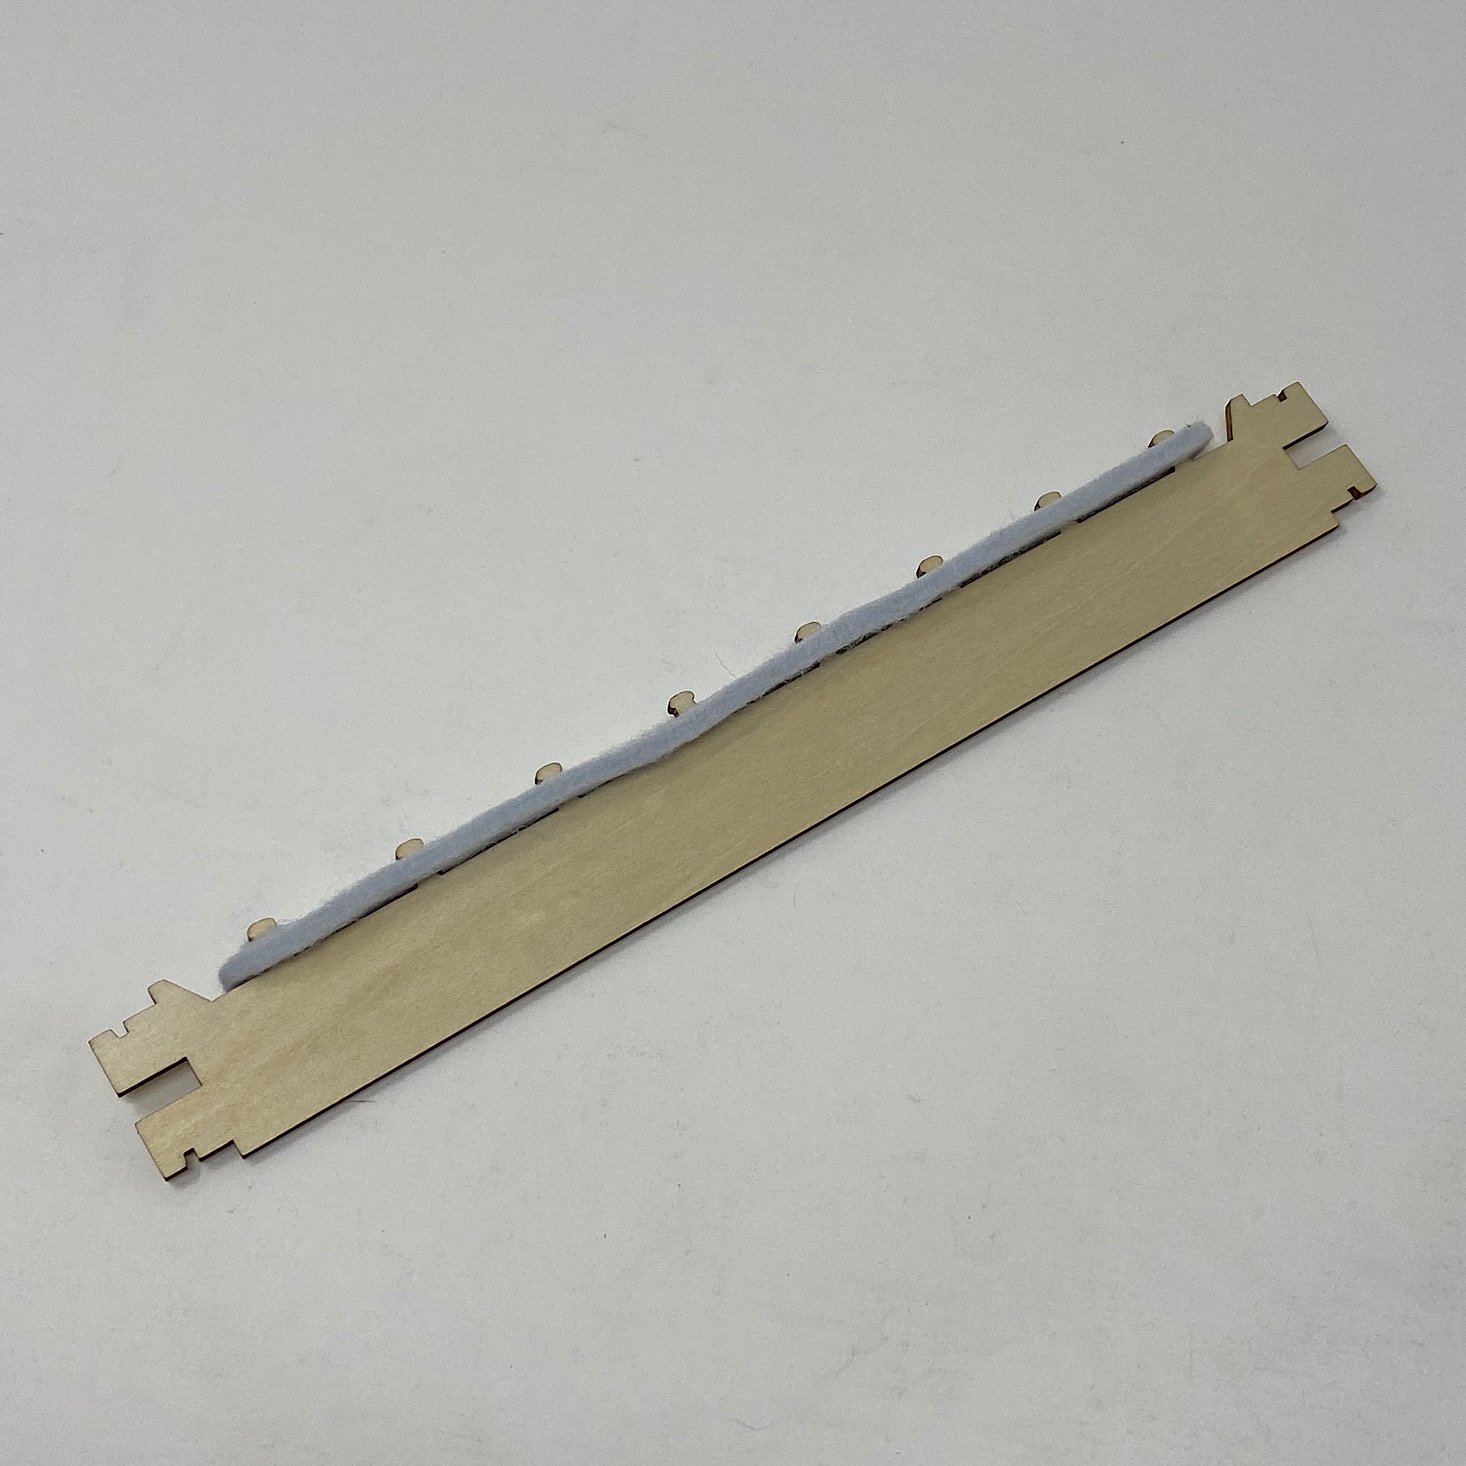

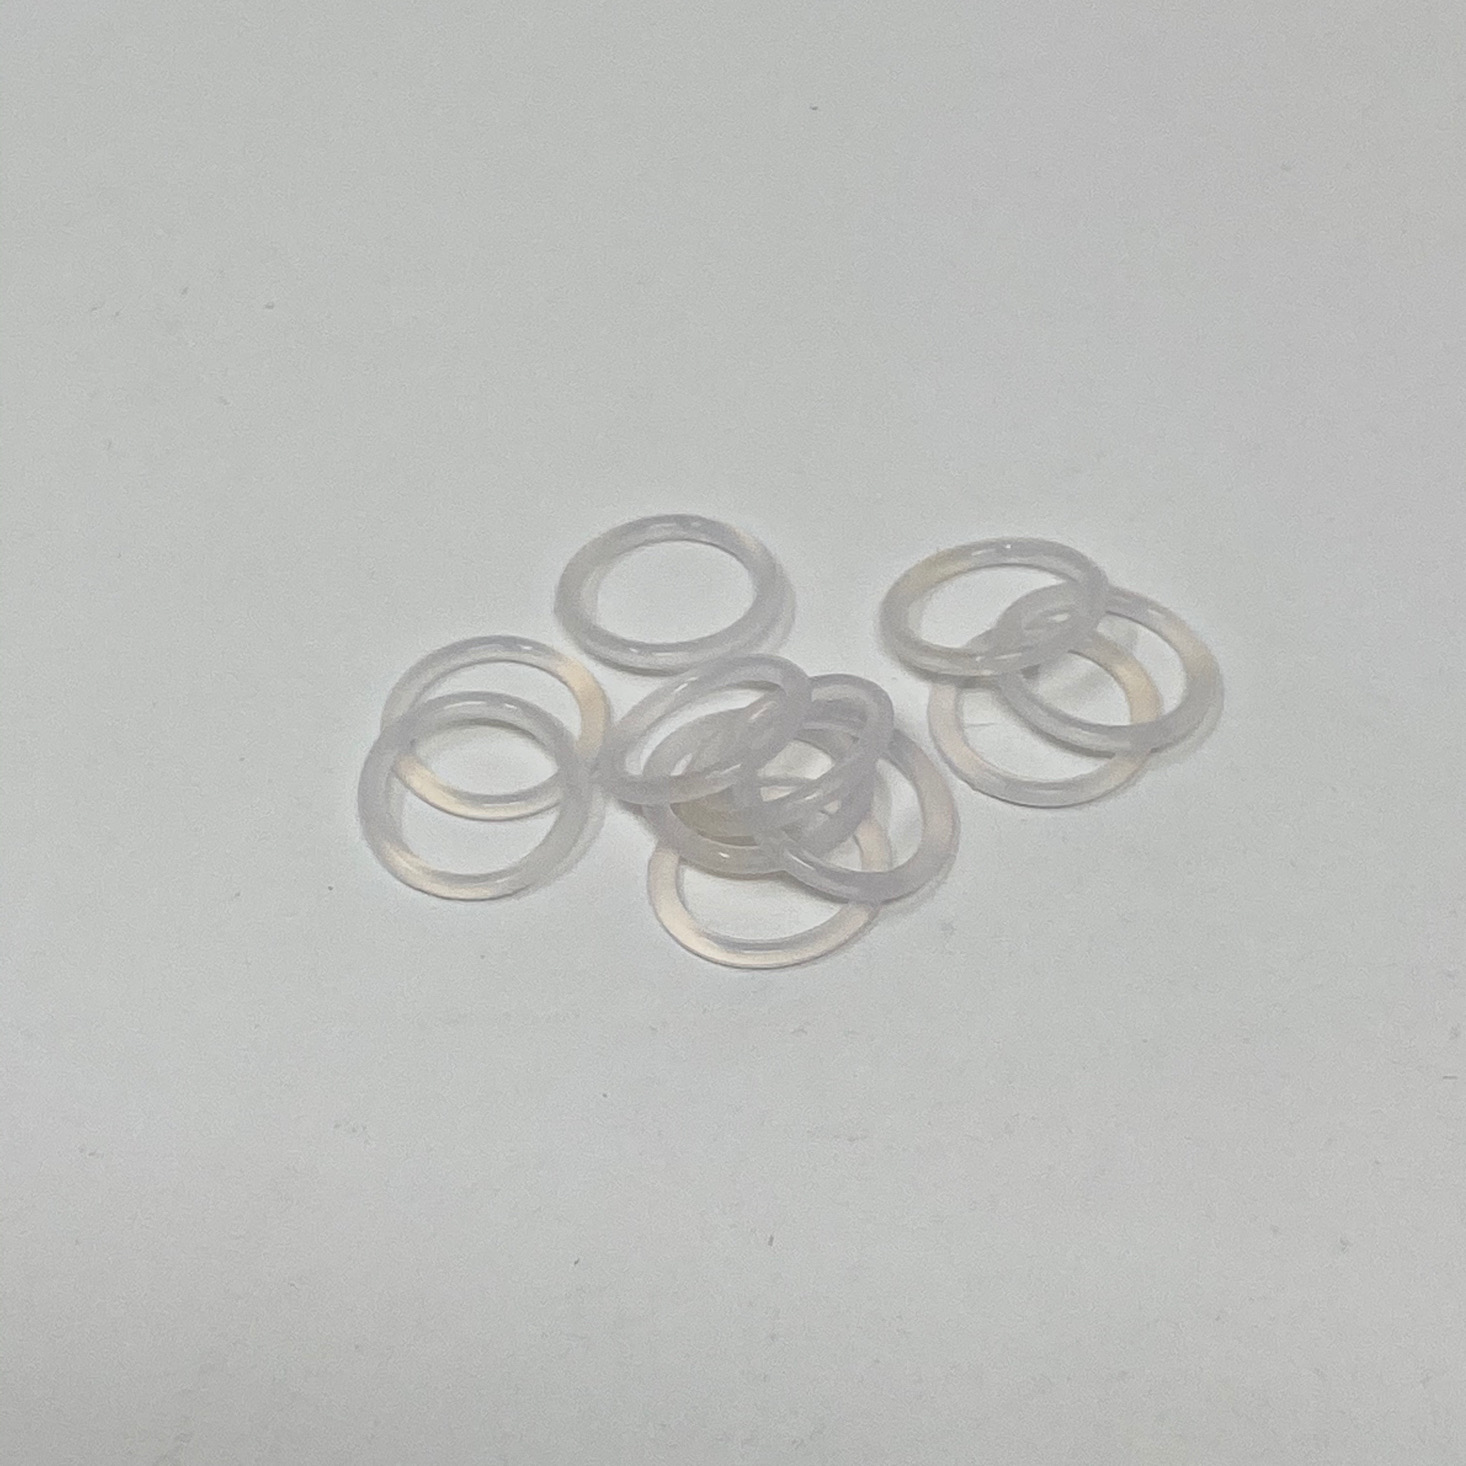
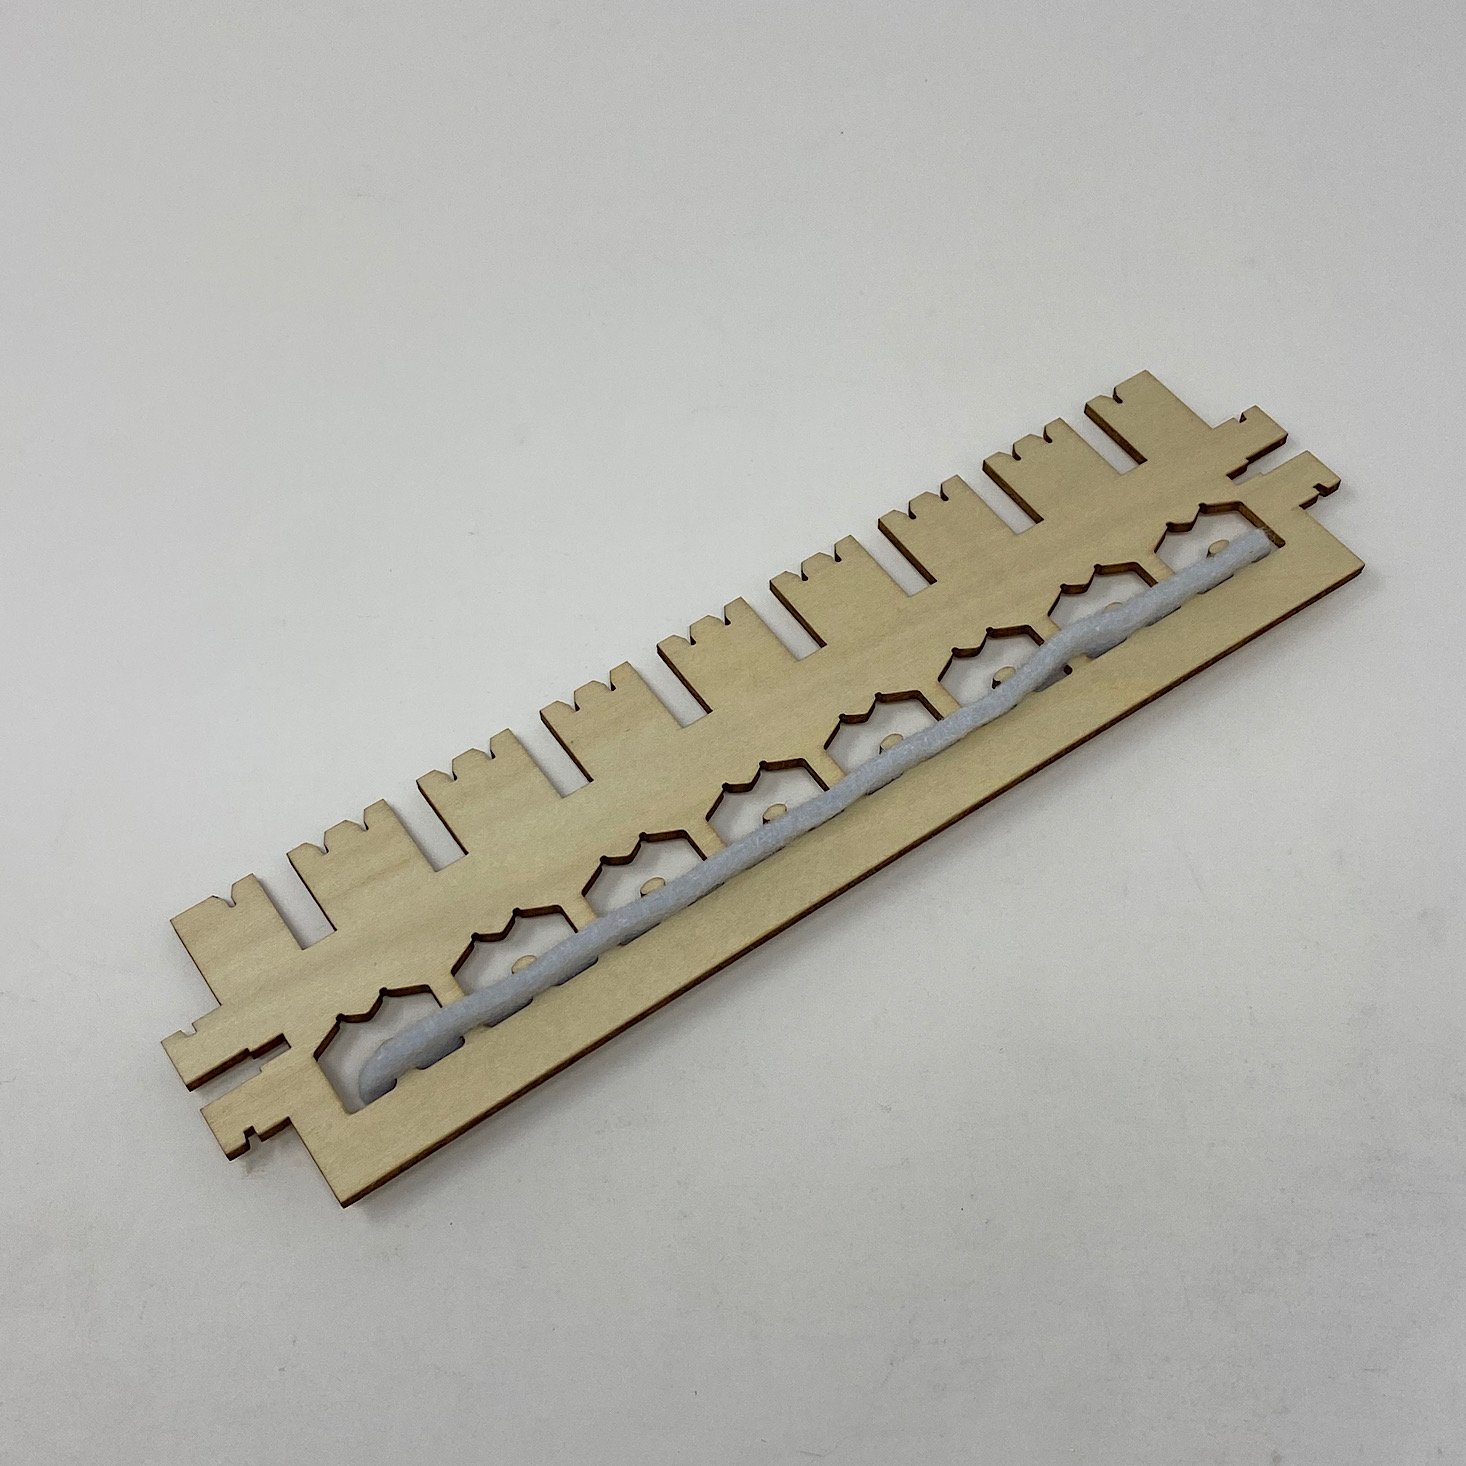
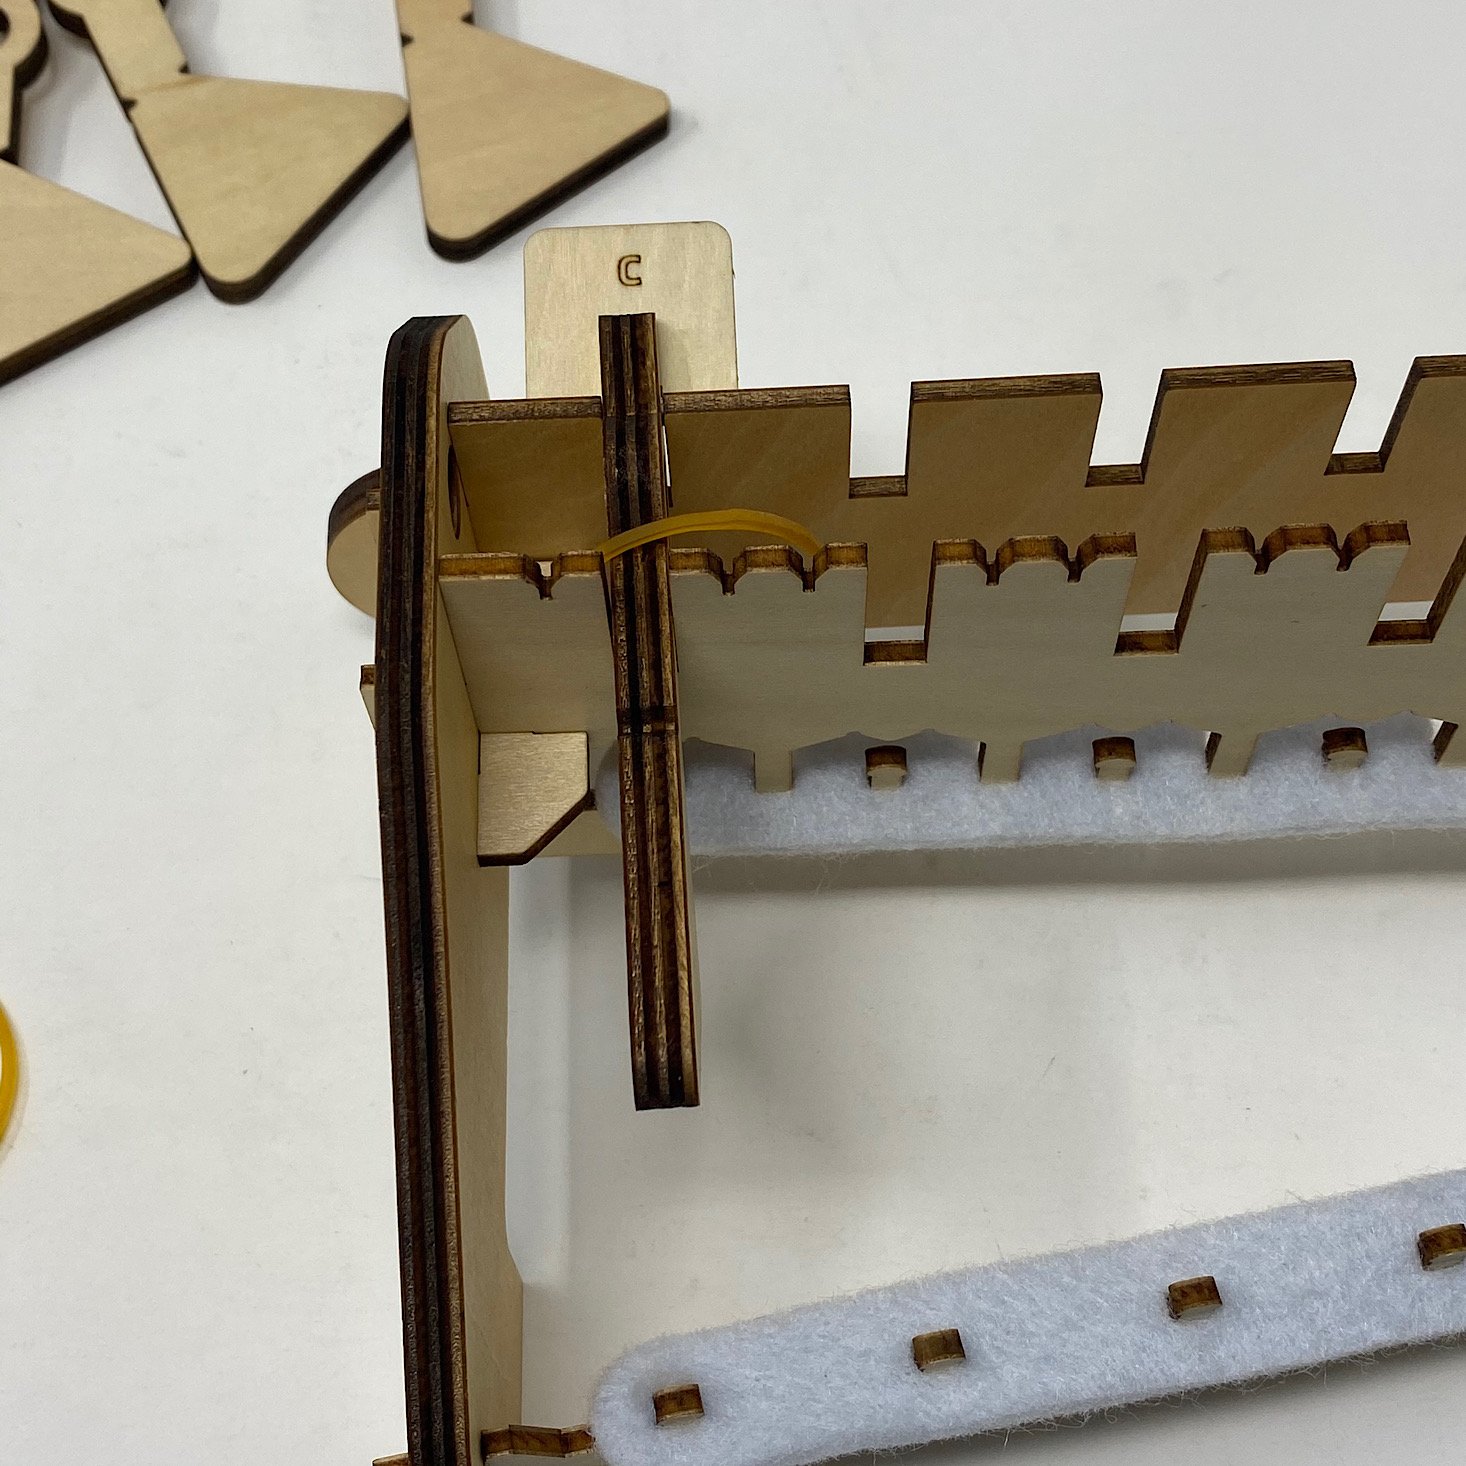
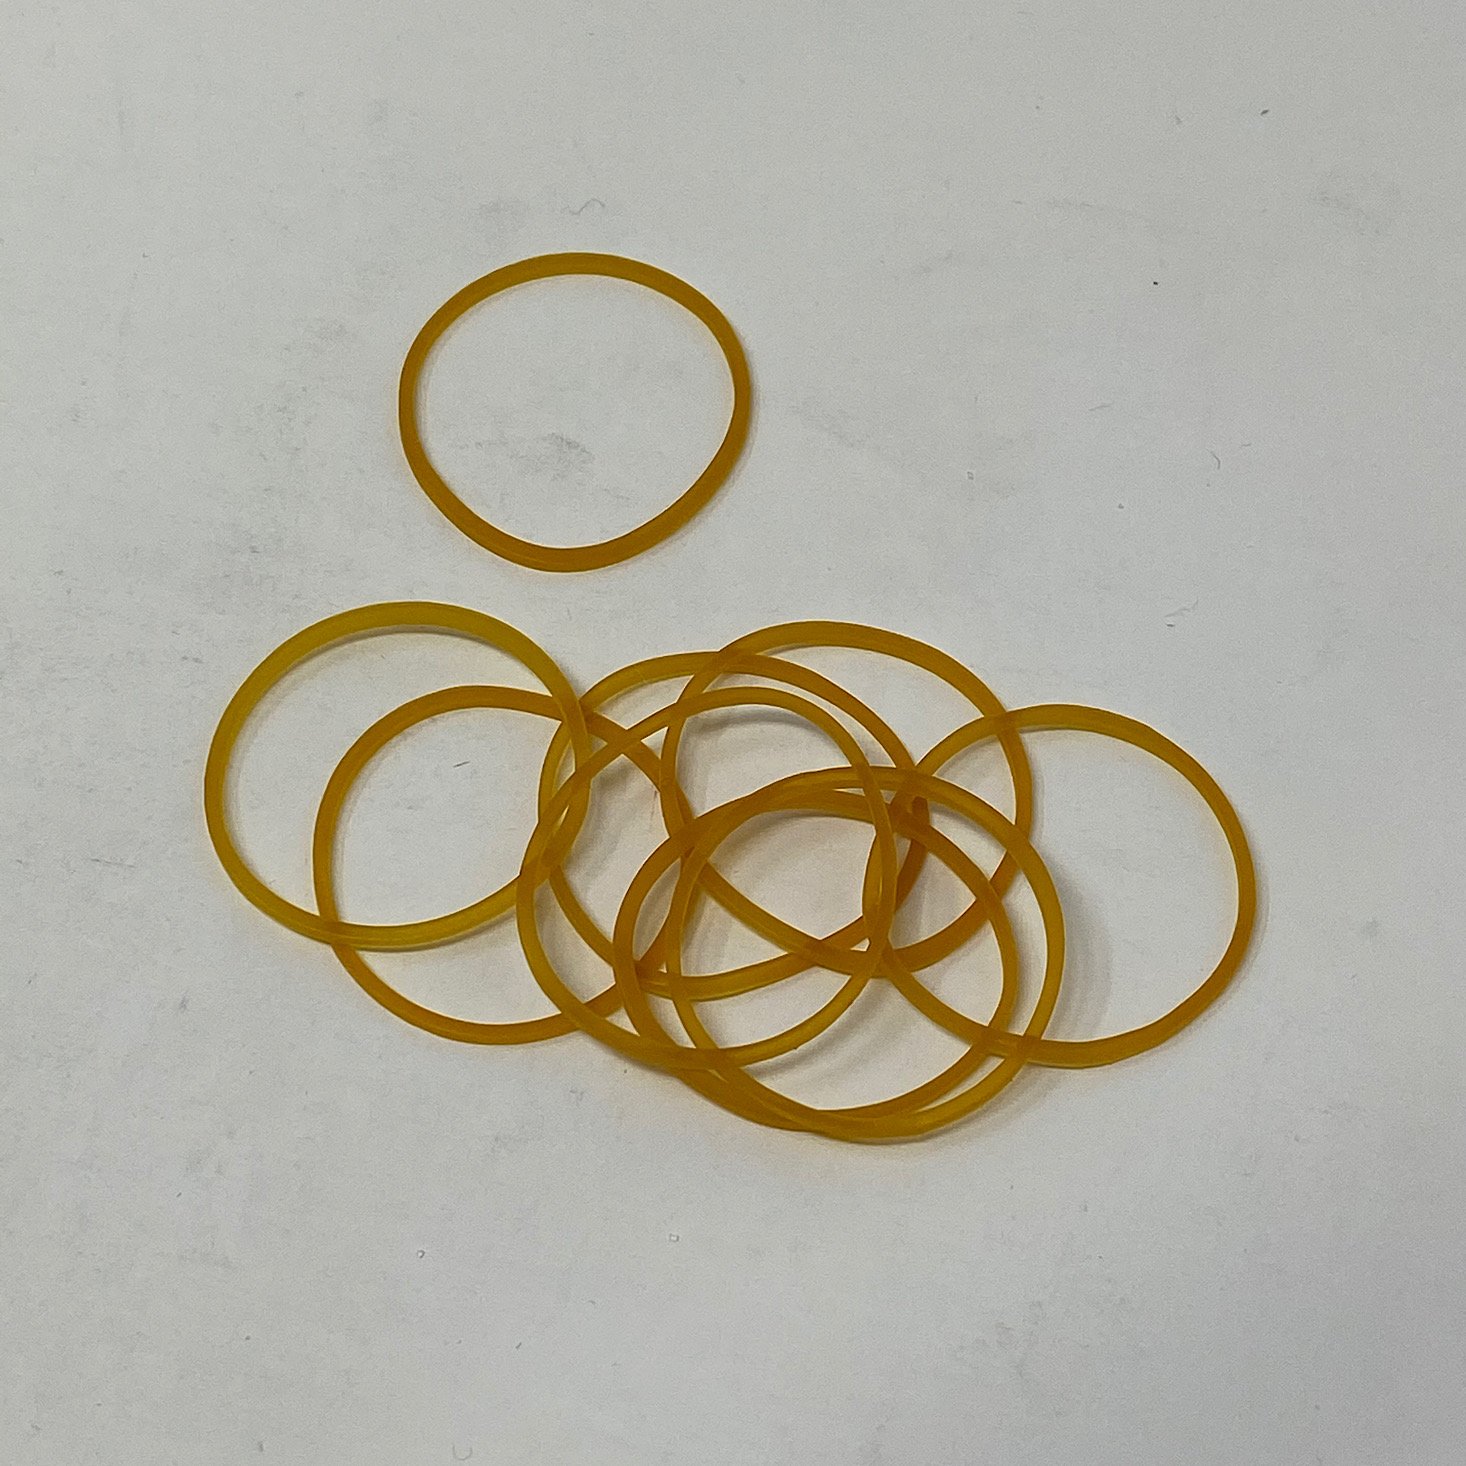
The first step was to place this felt strip onto the bar and then slip it into the side piece and secure it with a small rubber band.
1 of 2
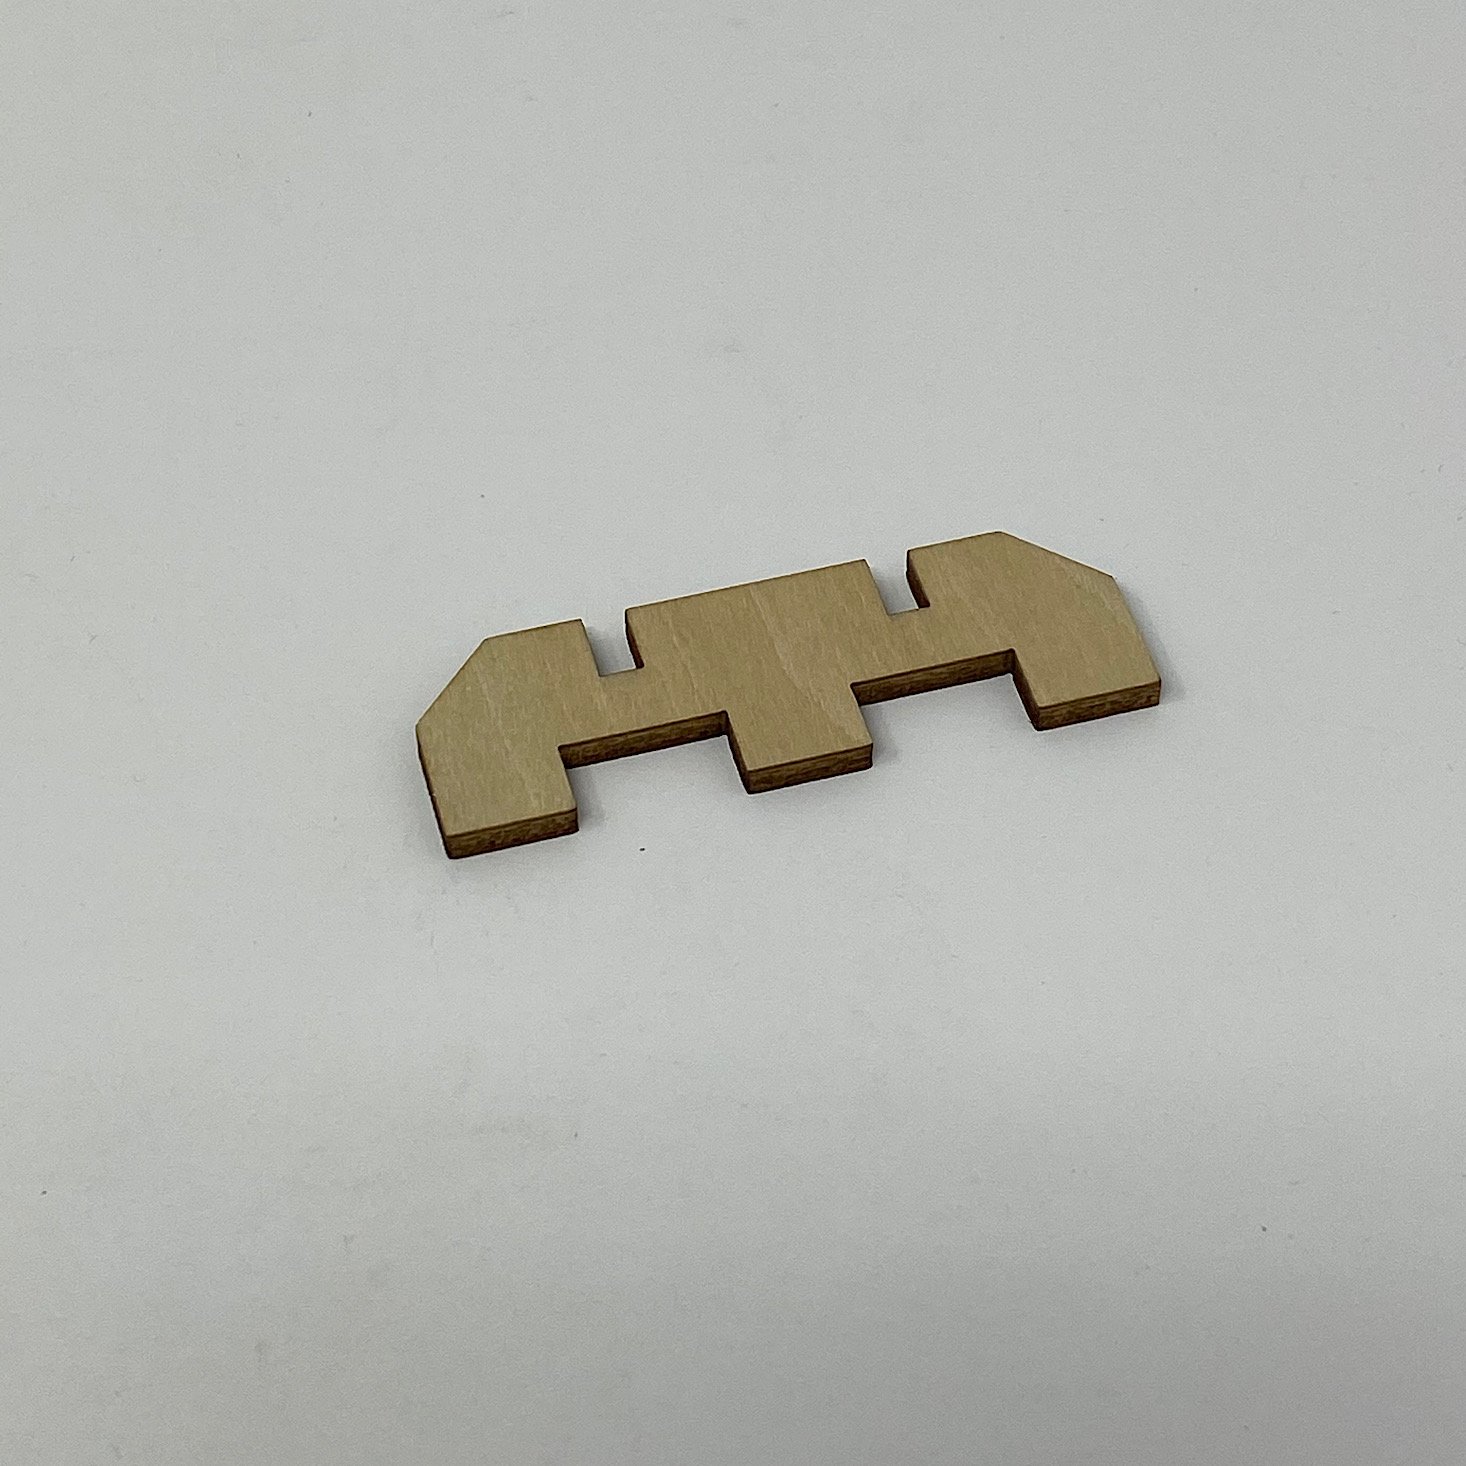
Then I added this small wooden piece to the top of the side piece.

1 of 4
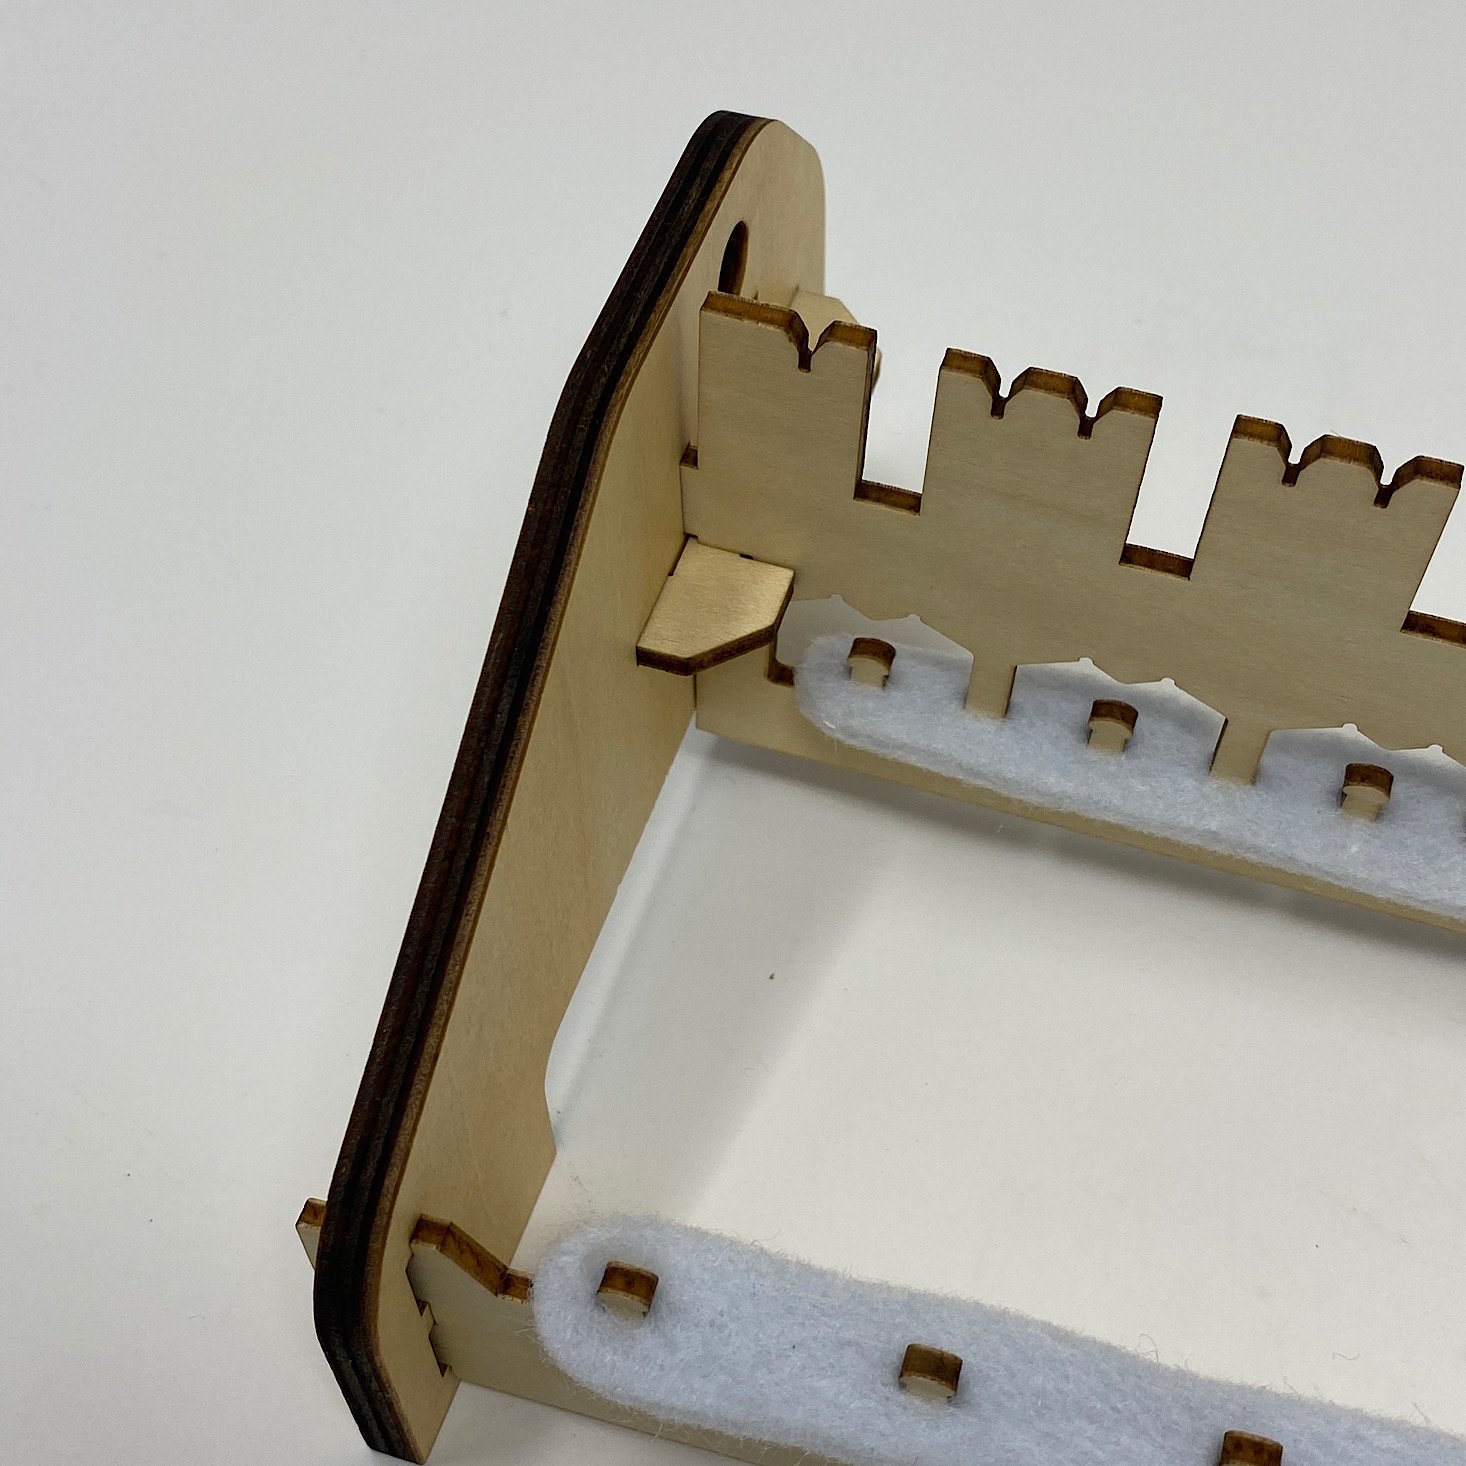
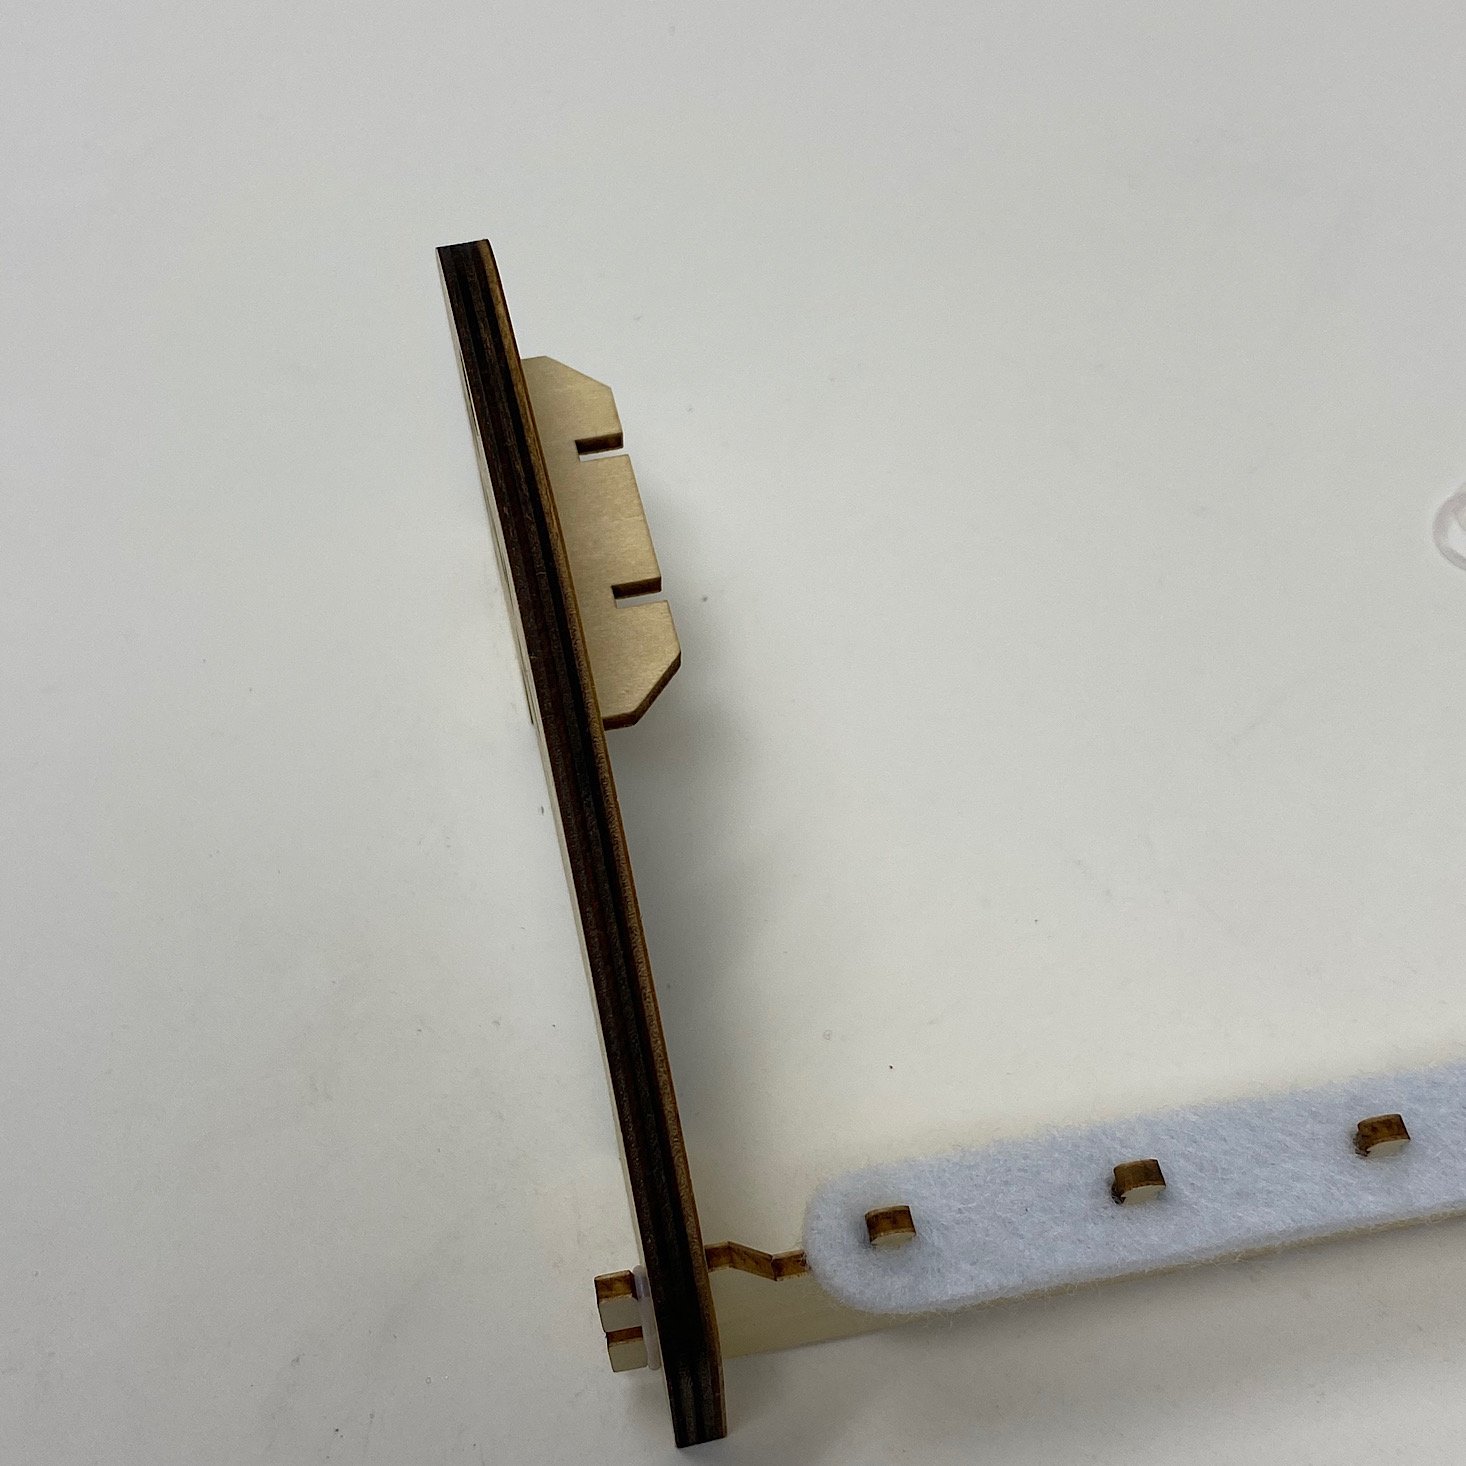
I added the other felt piece to the larger wooden piece and then added it to the notches at the back our side piece securing with another rubber band.

1 of 4

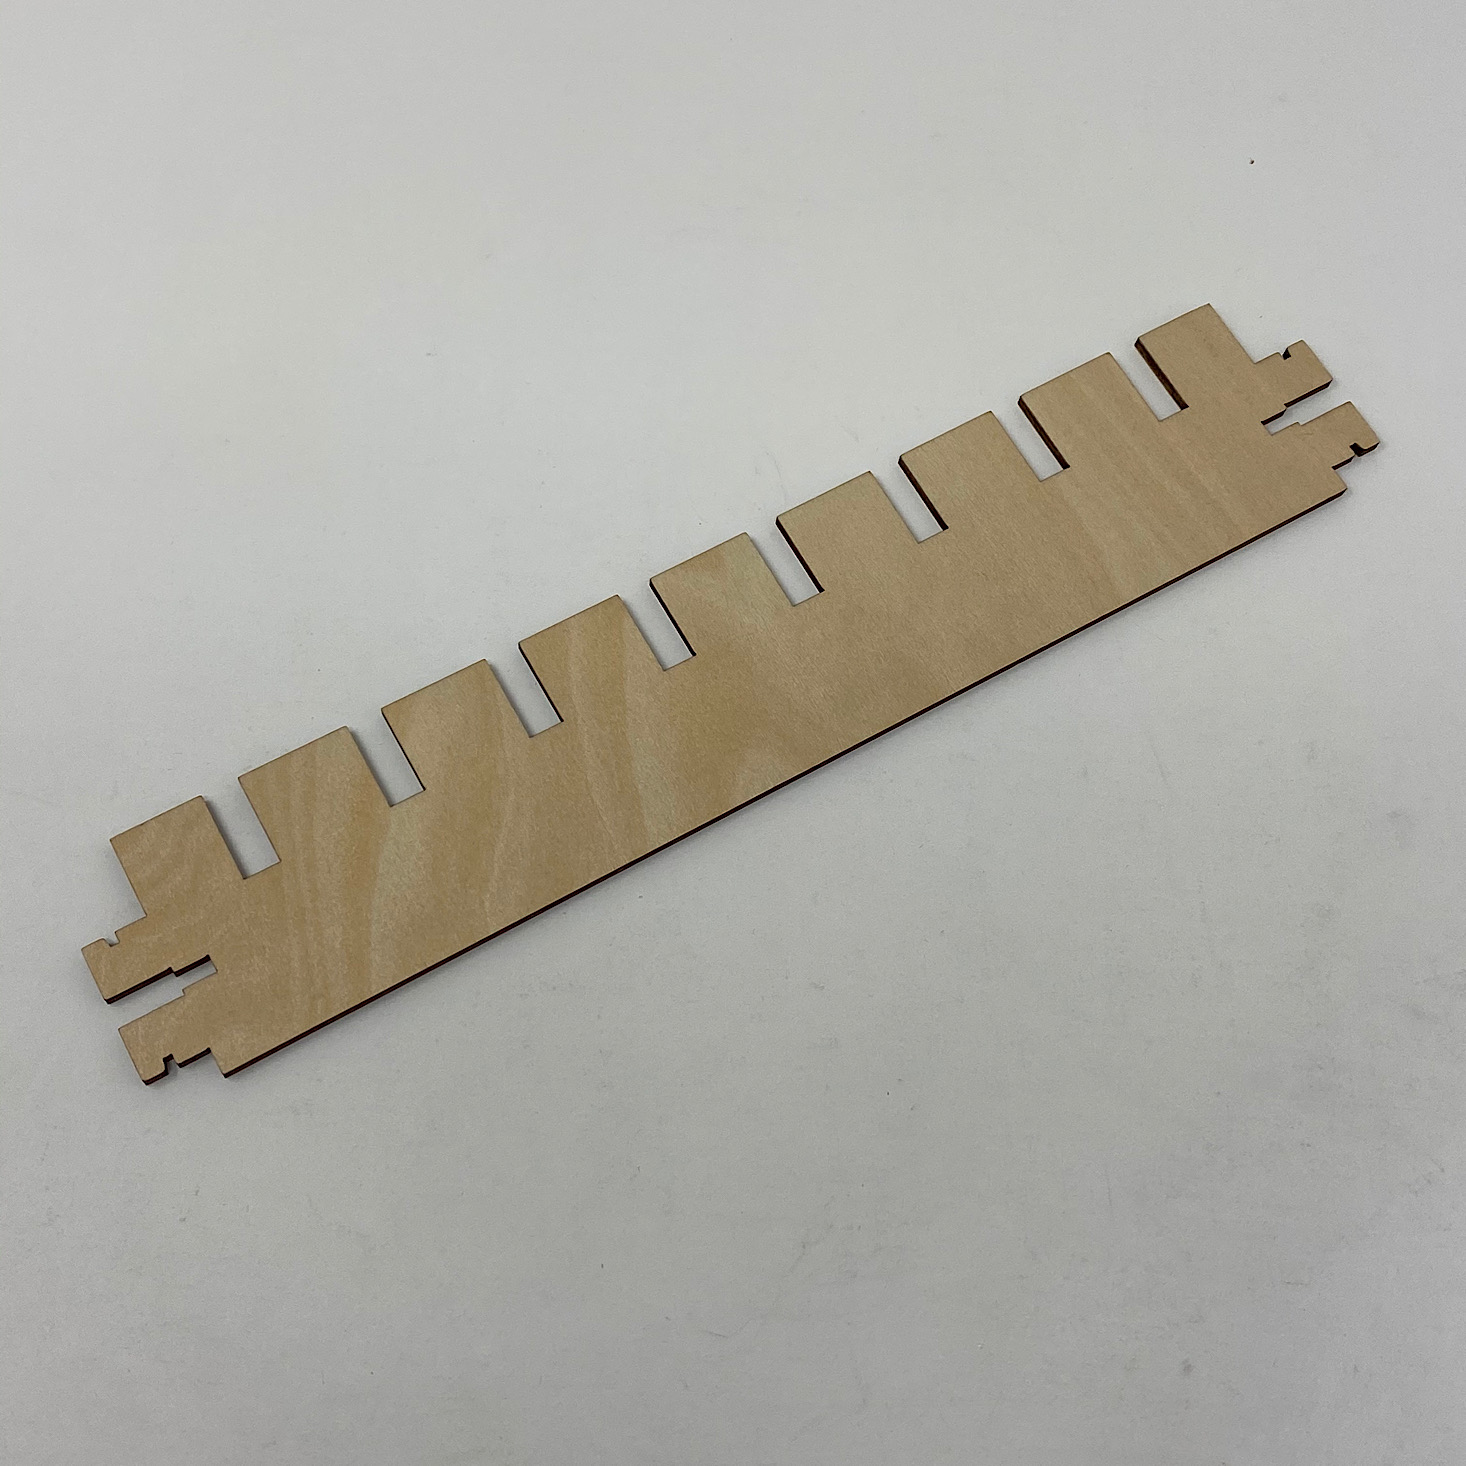
Then I added a larger bar behind that and it was time to add the other side piece to it and secure it with more rubber bands. The front piece went back at an angle.


1 of 2
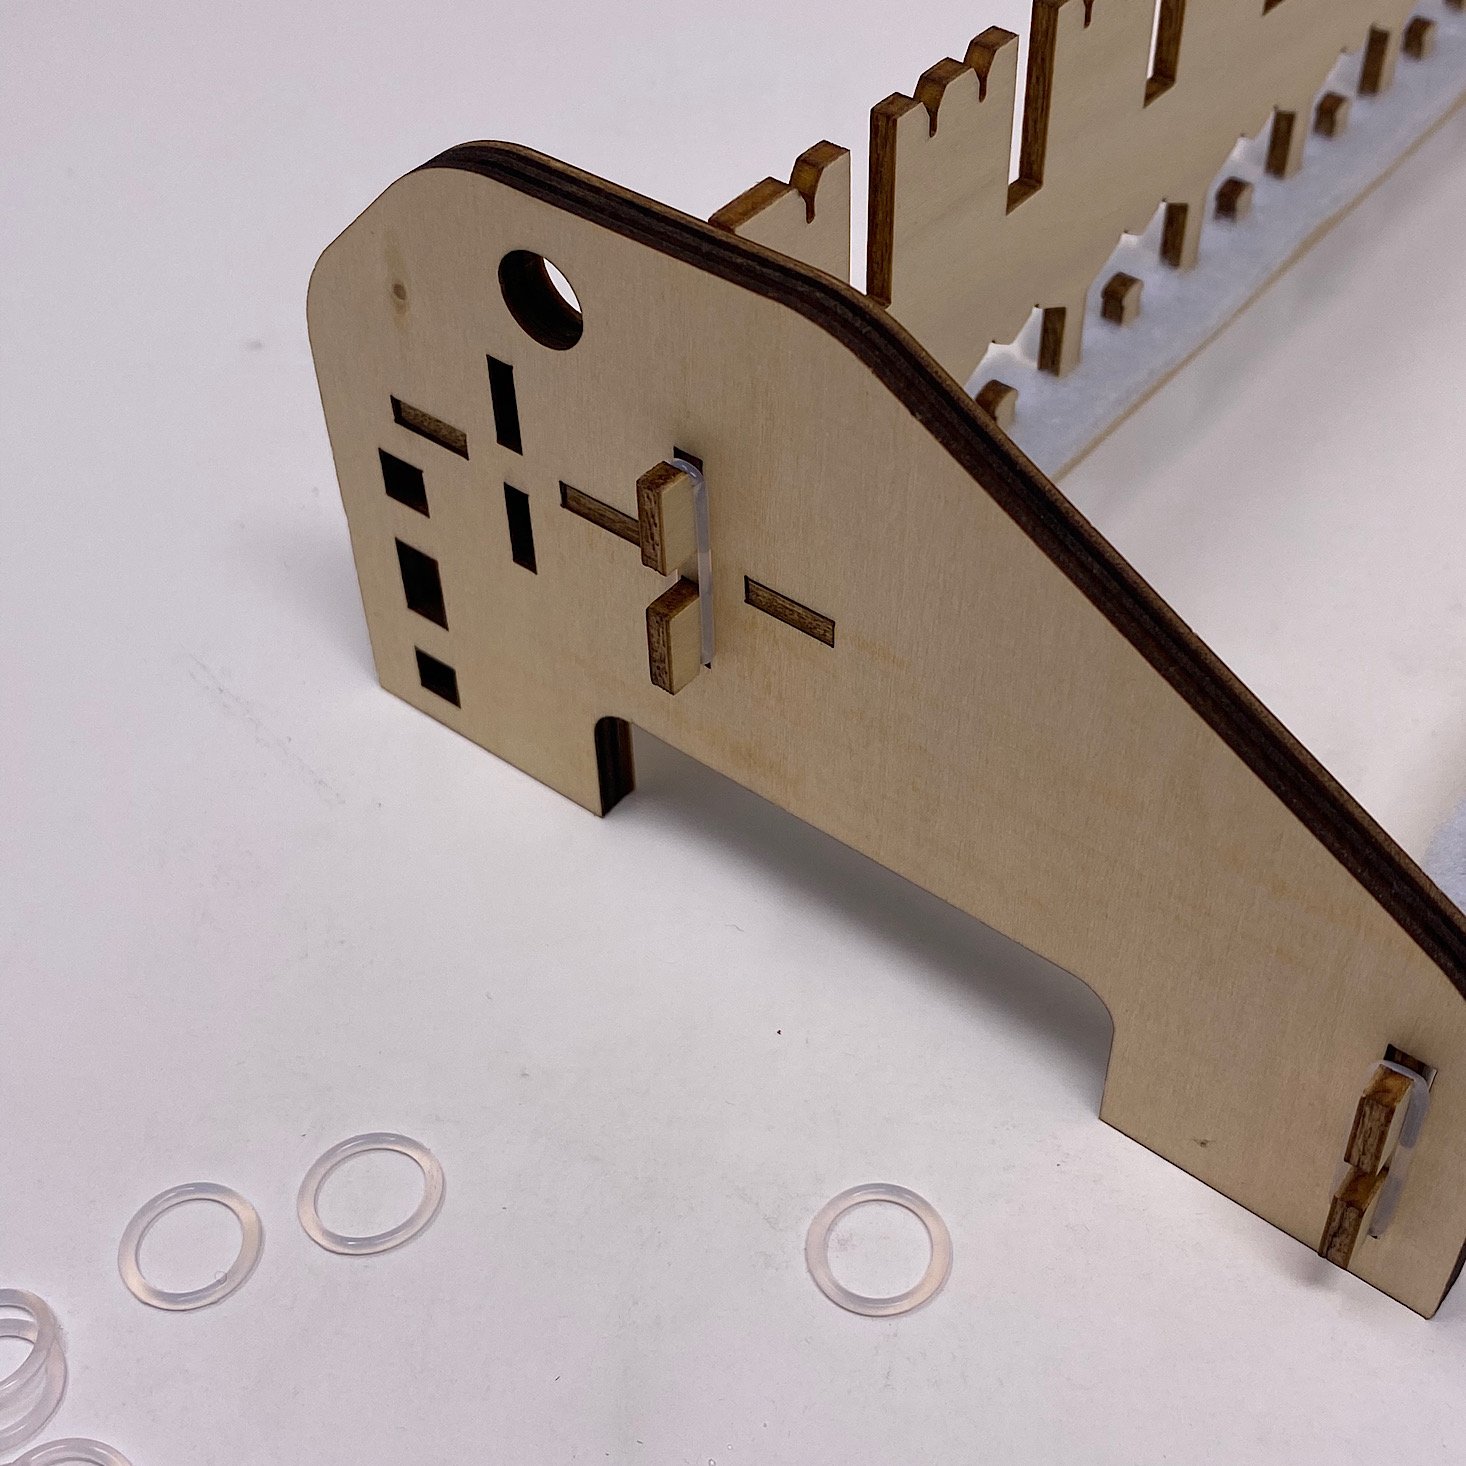
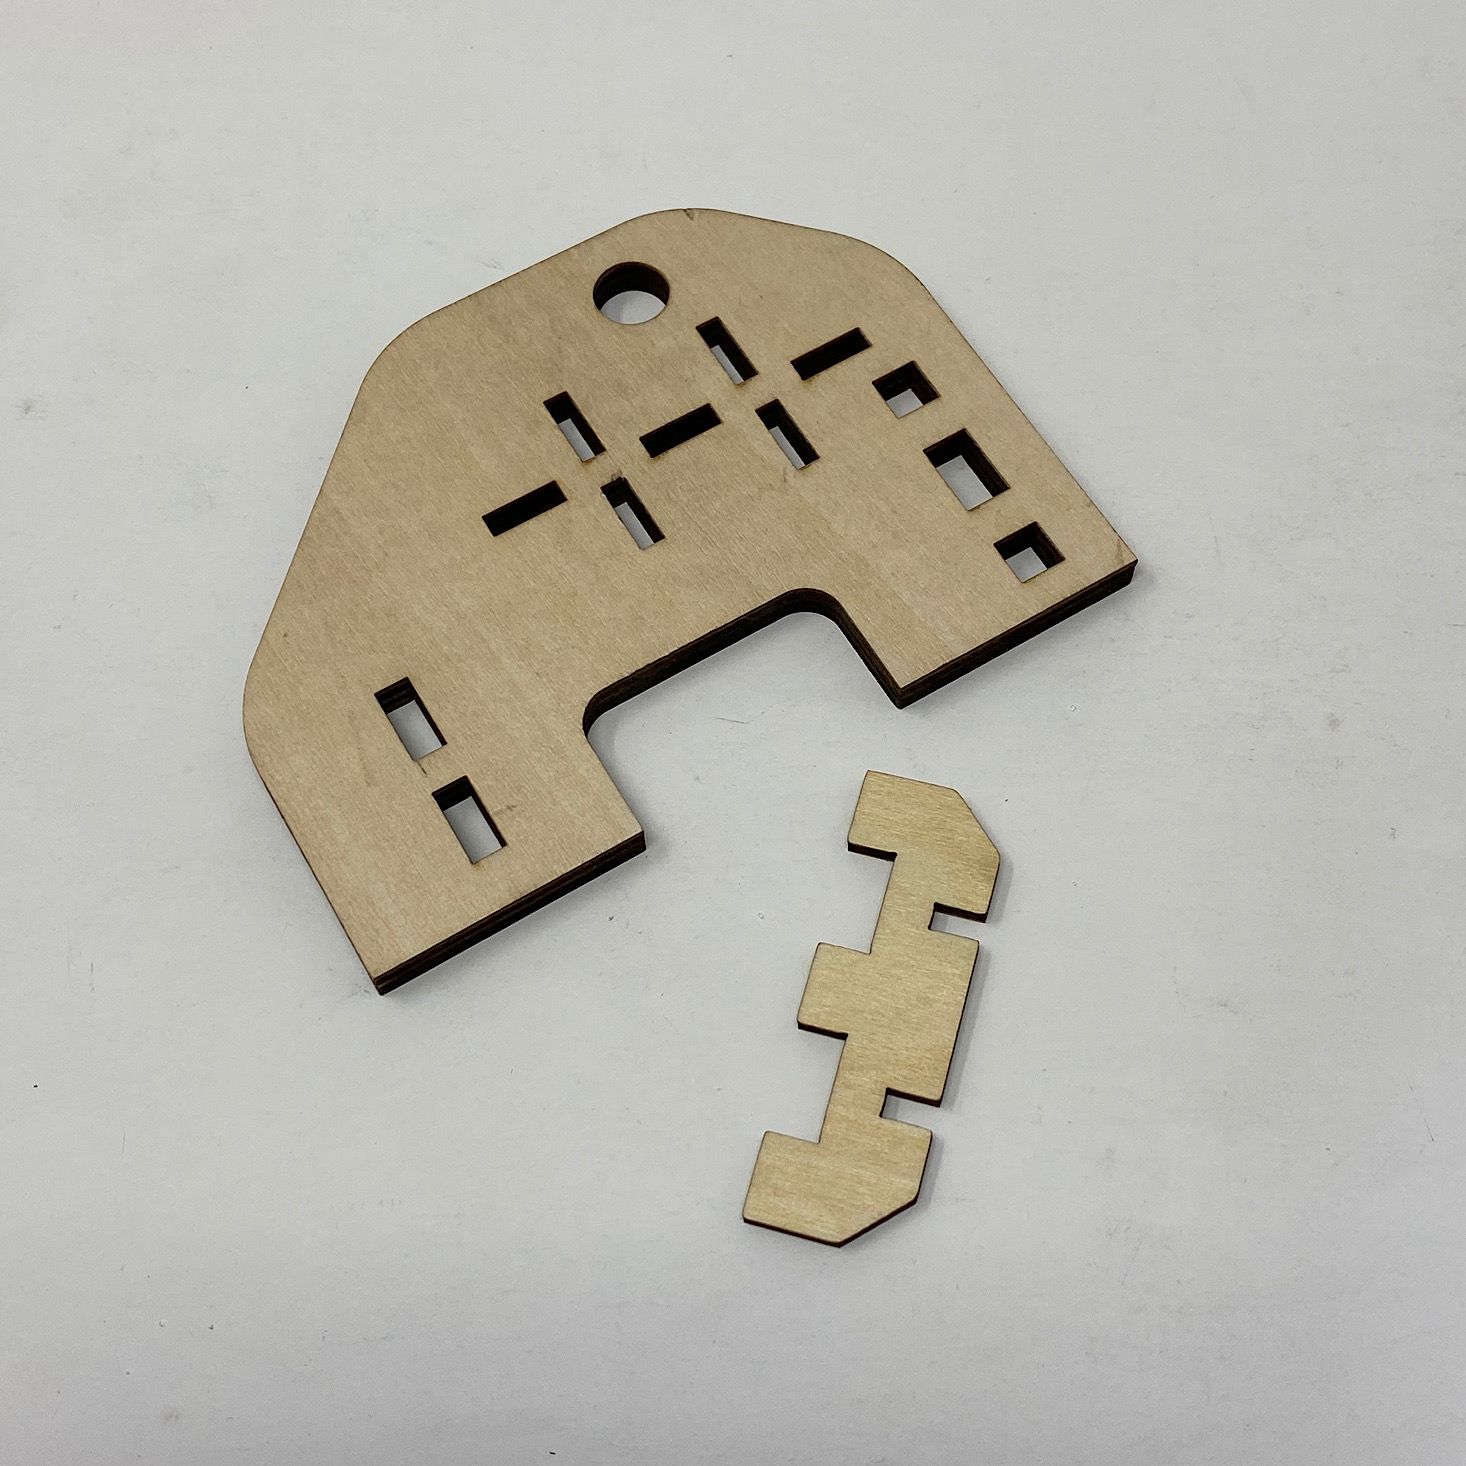
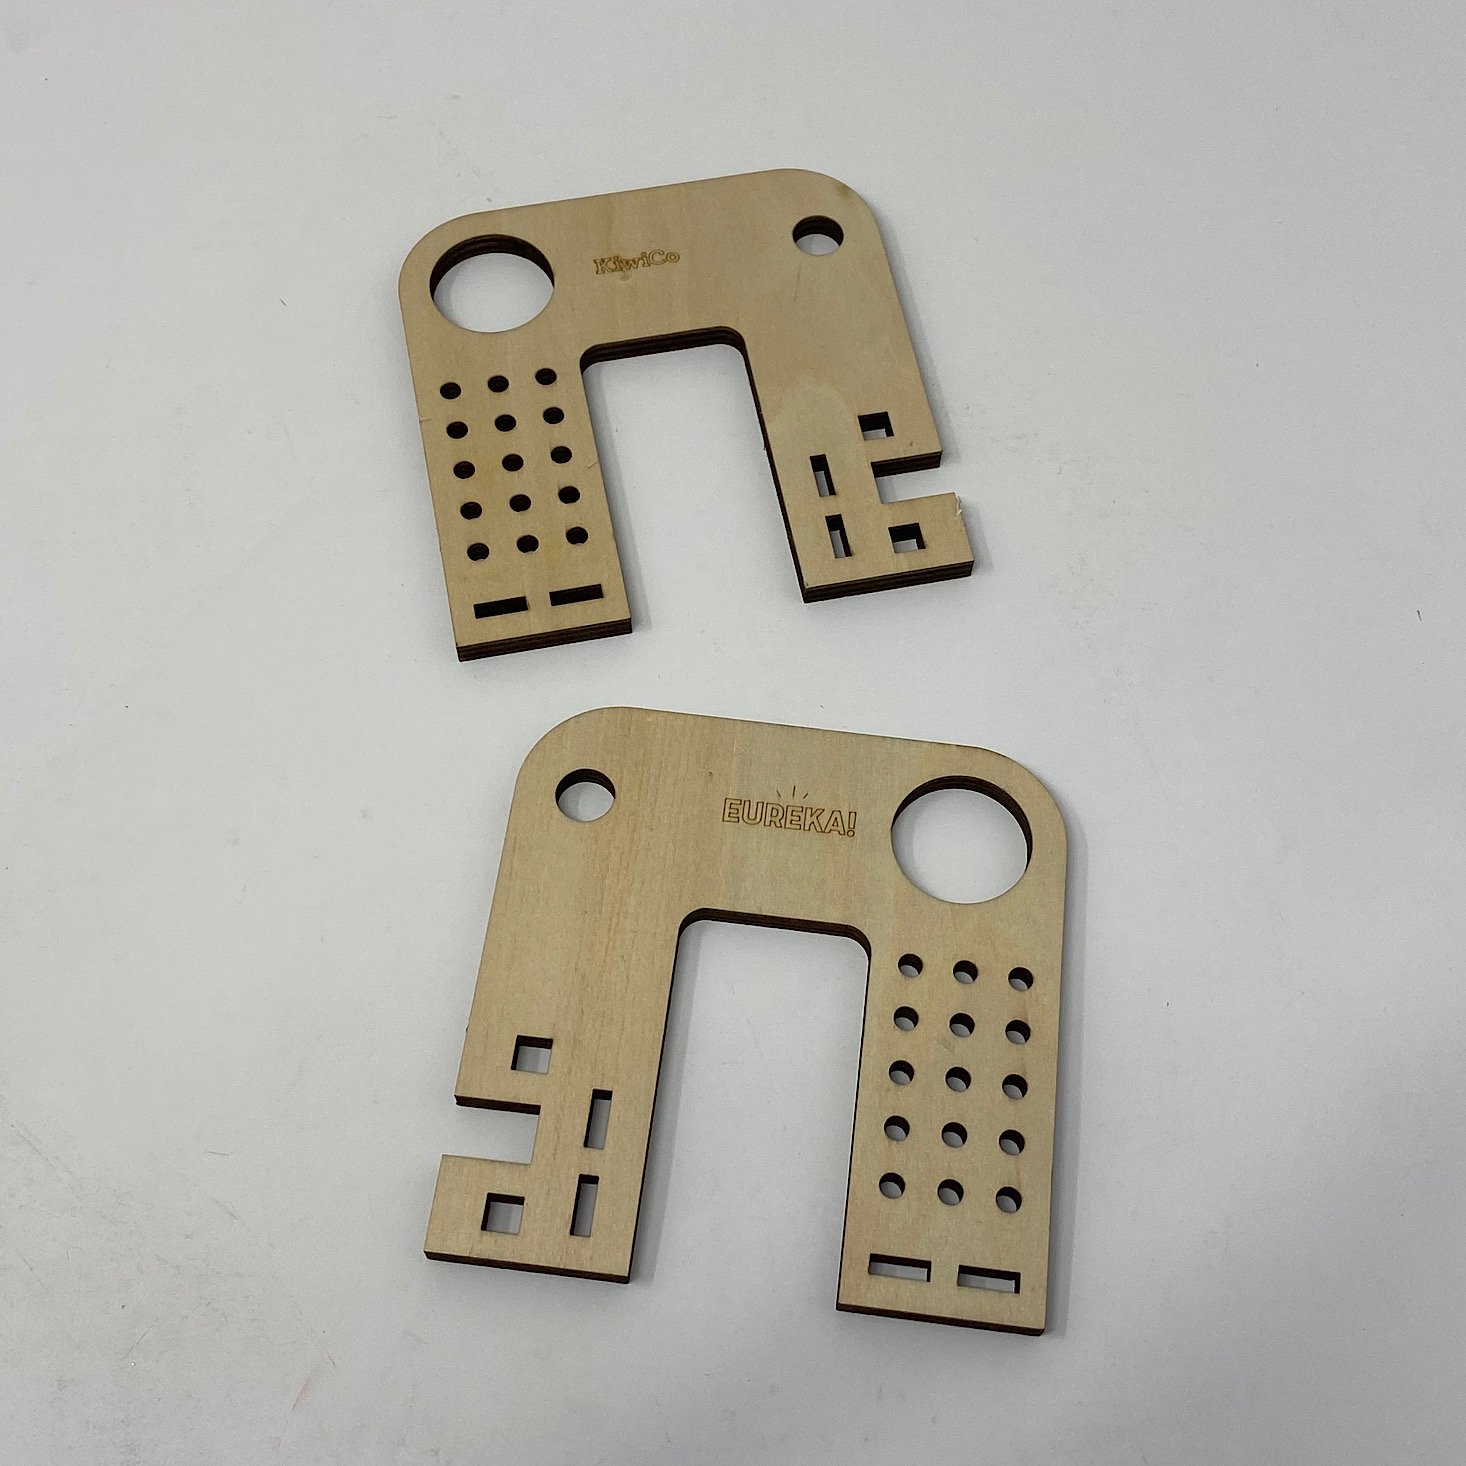
I then added these two pieces with arrows on them to the sides at the back and secured them by tying an elastic cord between them.
Part B: Finish the Keyboard

1 of 4

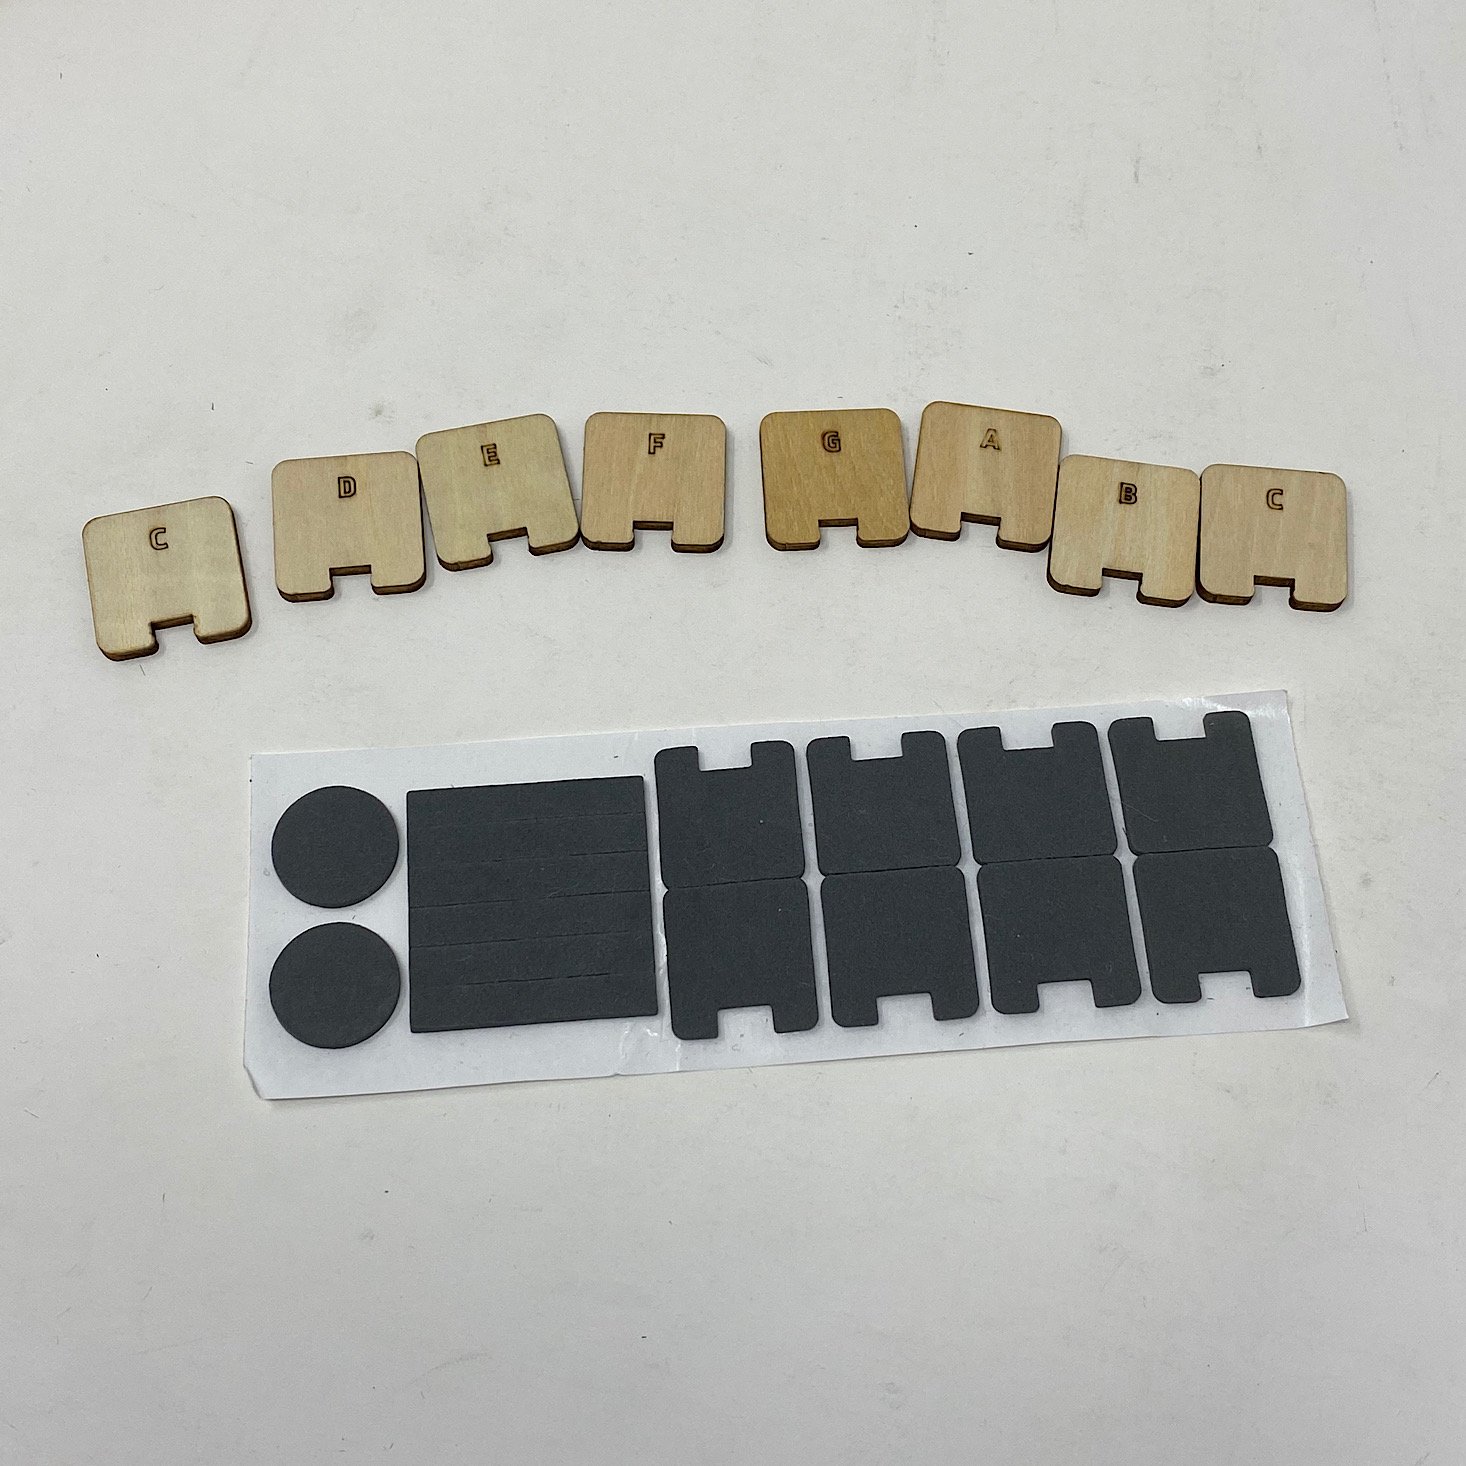
Now it was time to finish the keyboard. I added some foam pieces to the keys which were labeled by note. Then I slipped them into the ends of each hammer repeating for all 8 notes/keys.

1 of 3
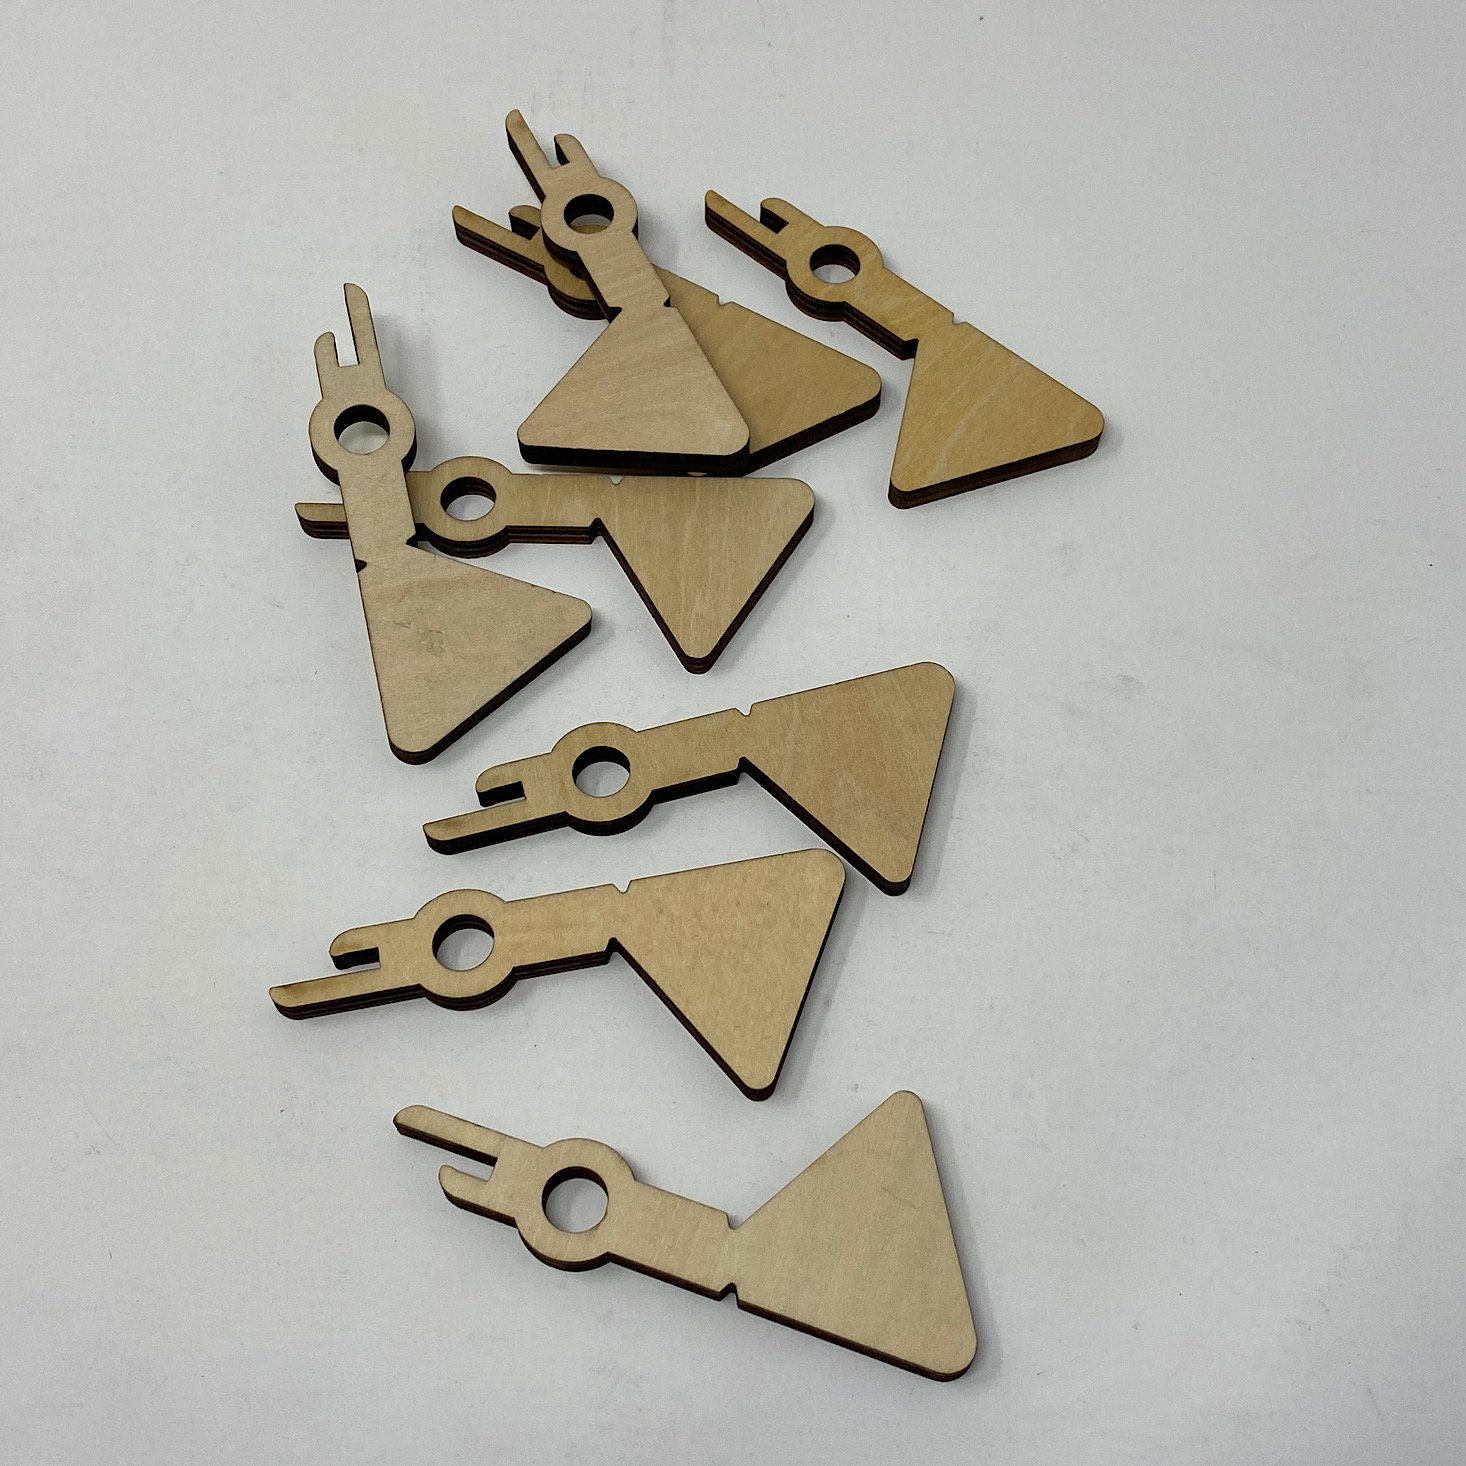
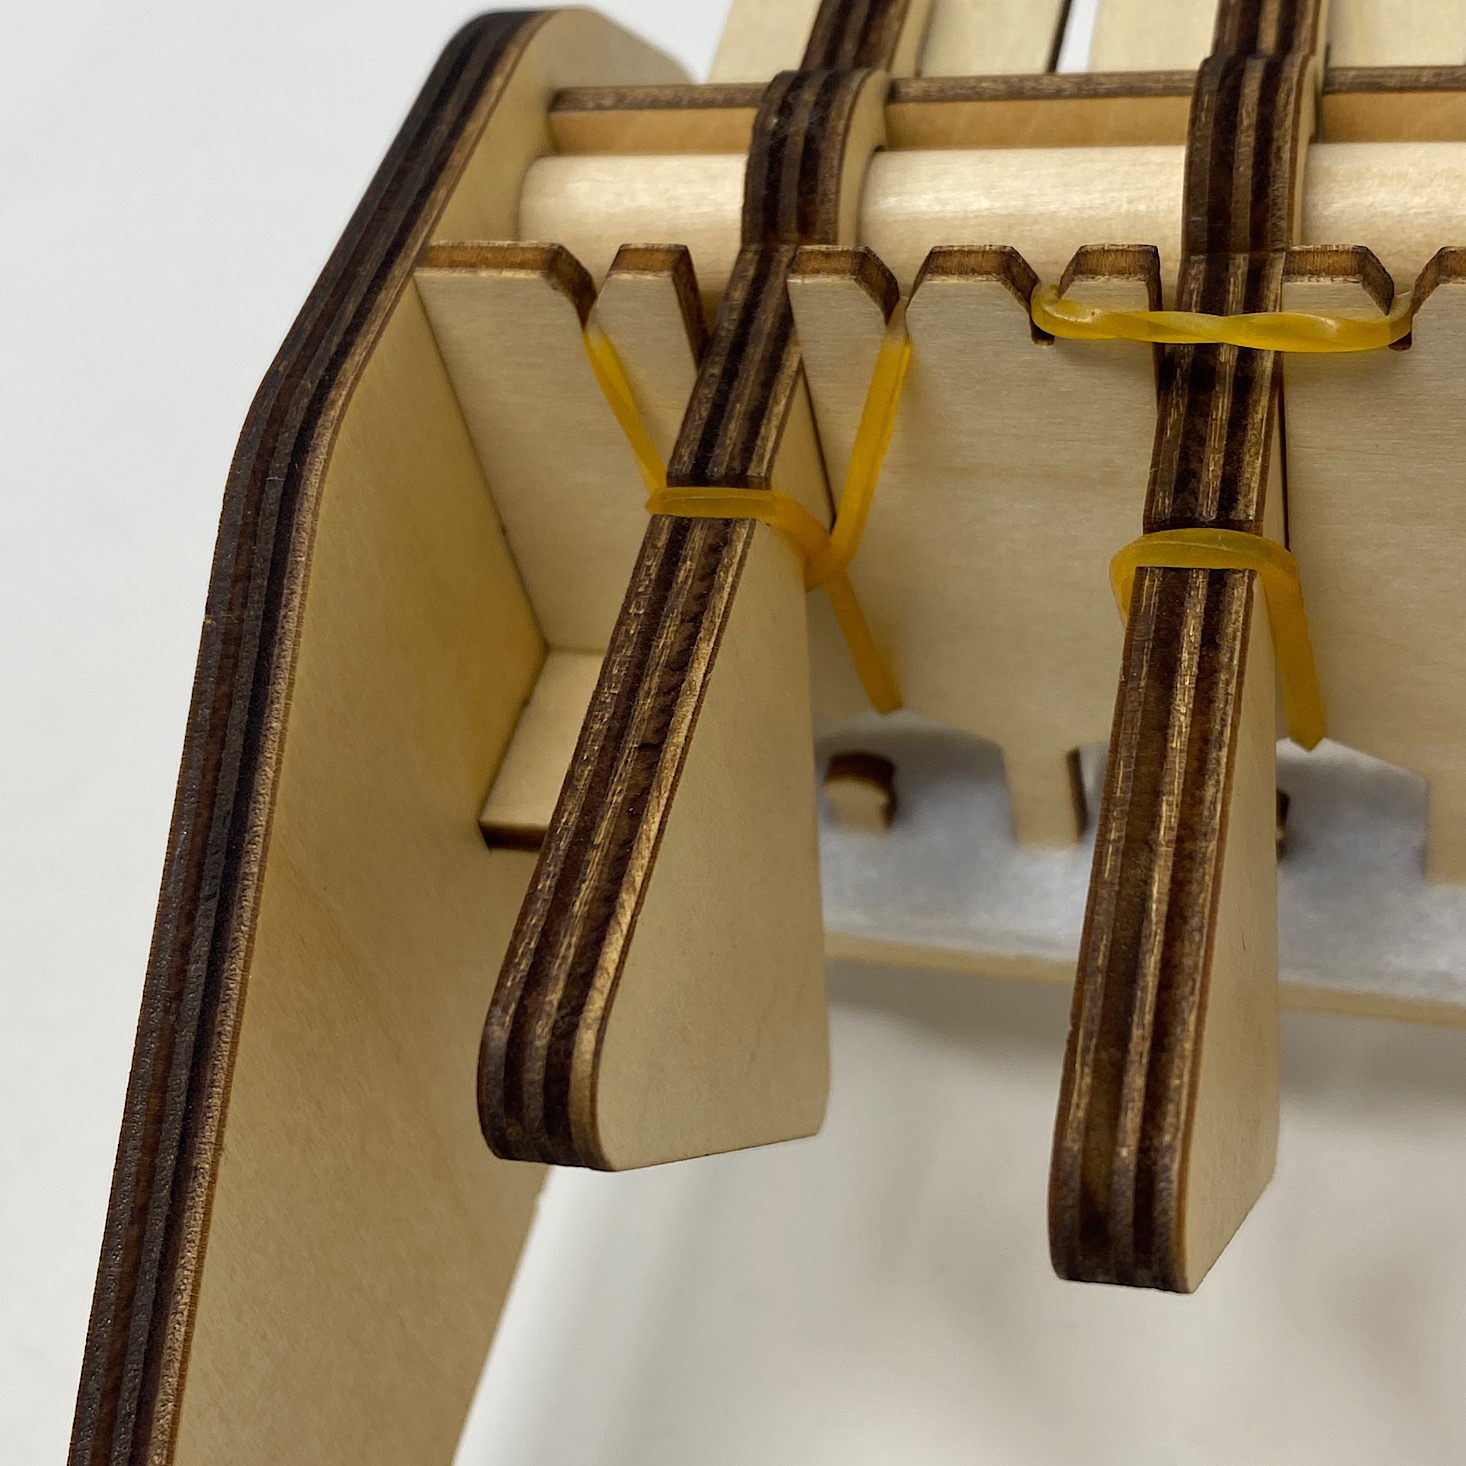
Then I began adding these hammers to the wooden frame making sure to slip a rubber band in between the back two pieces.

1 of 2
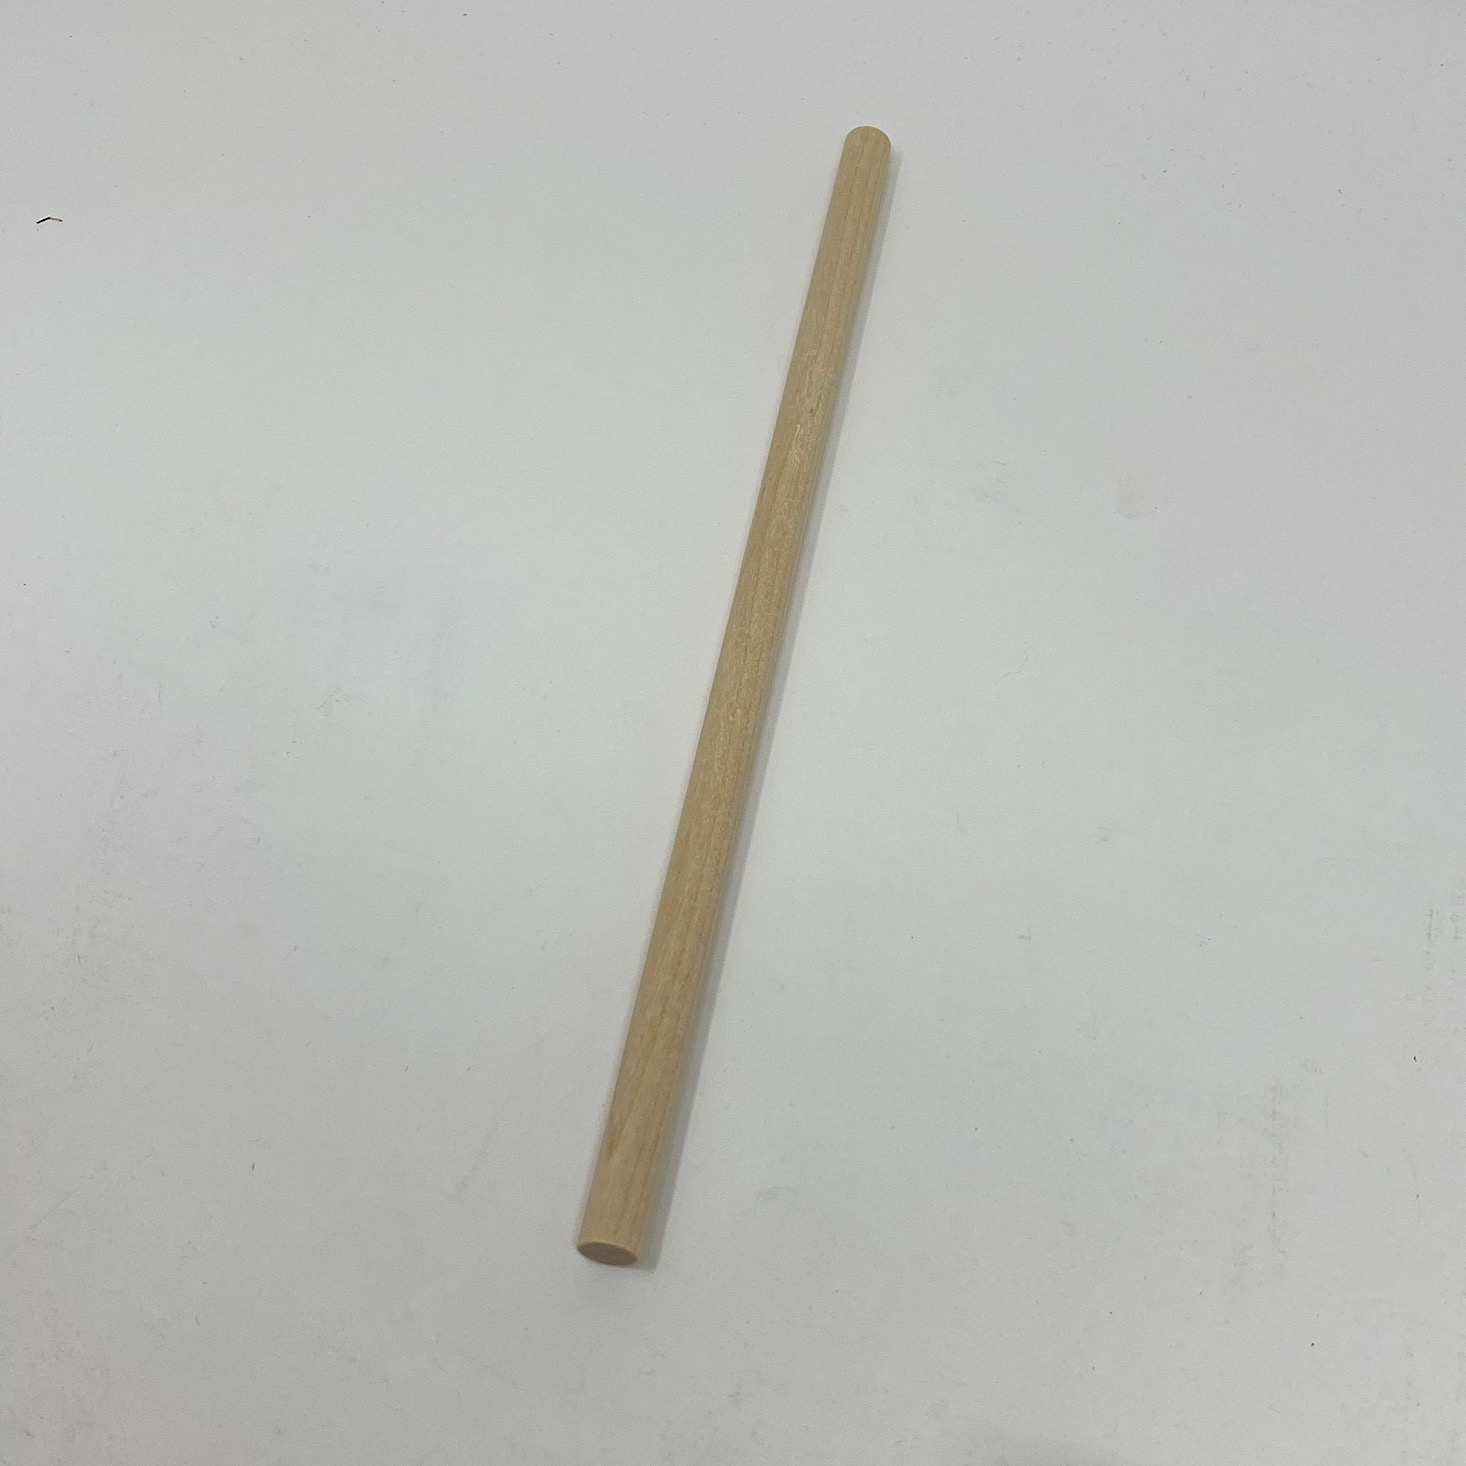
Then I slipped this dowel into the holes at the back, sliding through the hole in each of the hammers.

1 of 4
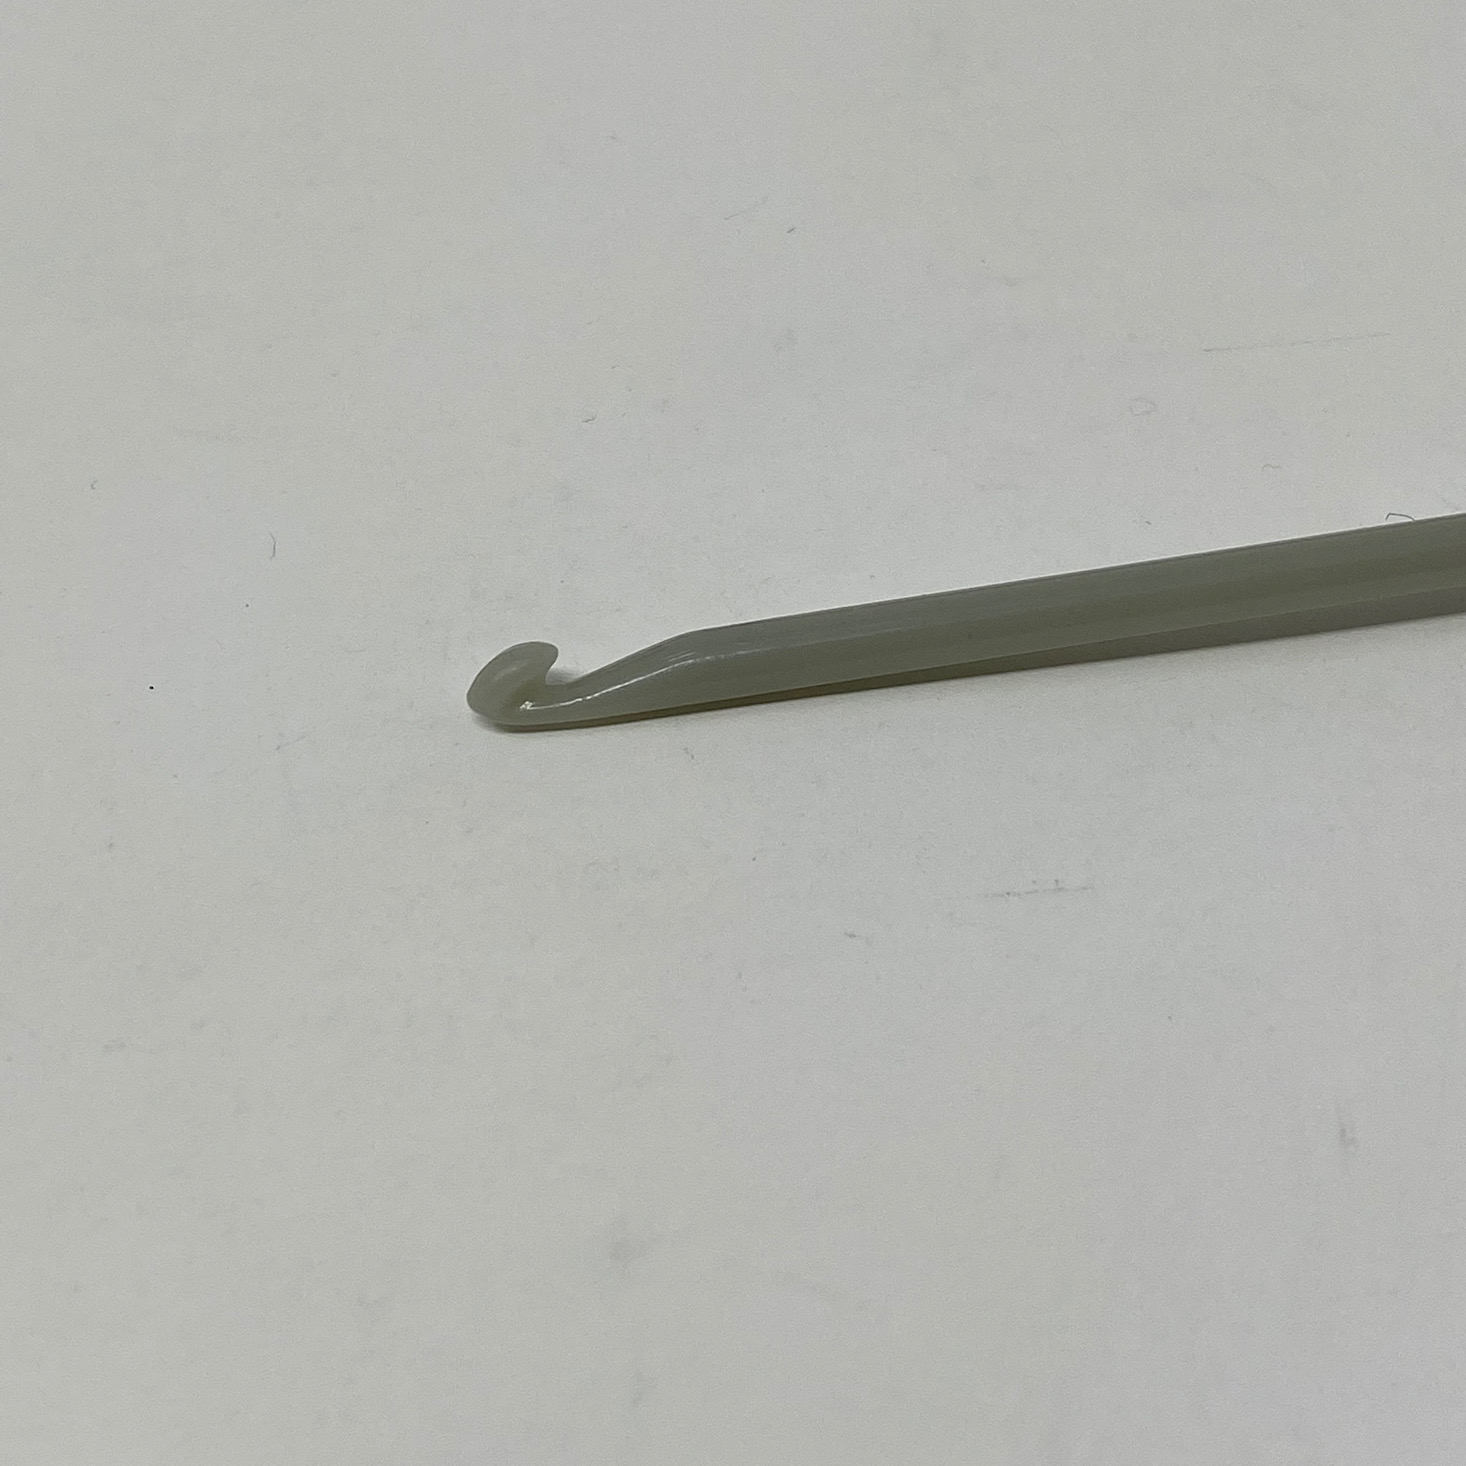

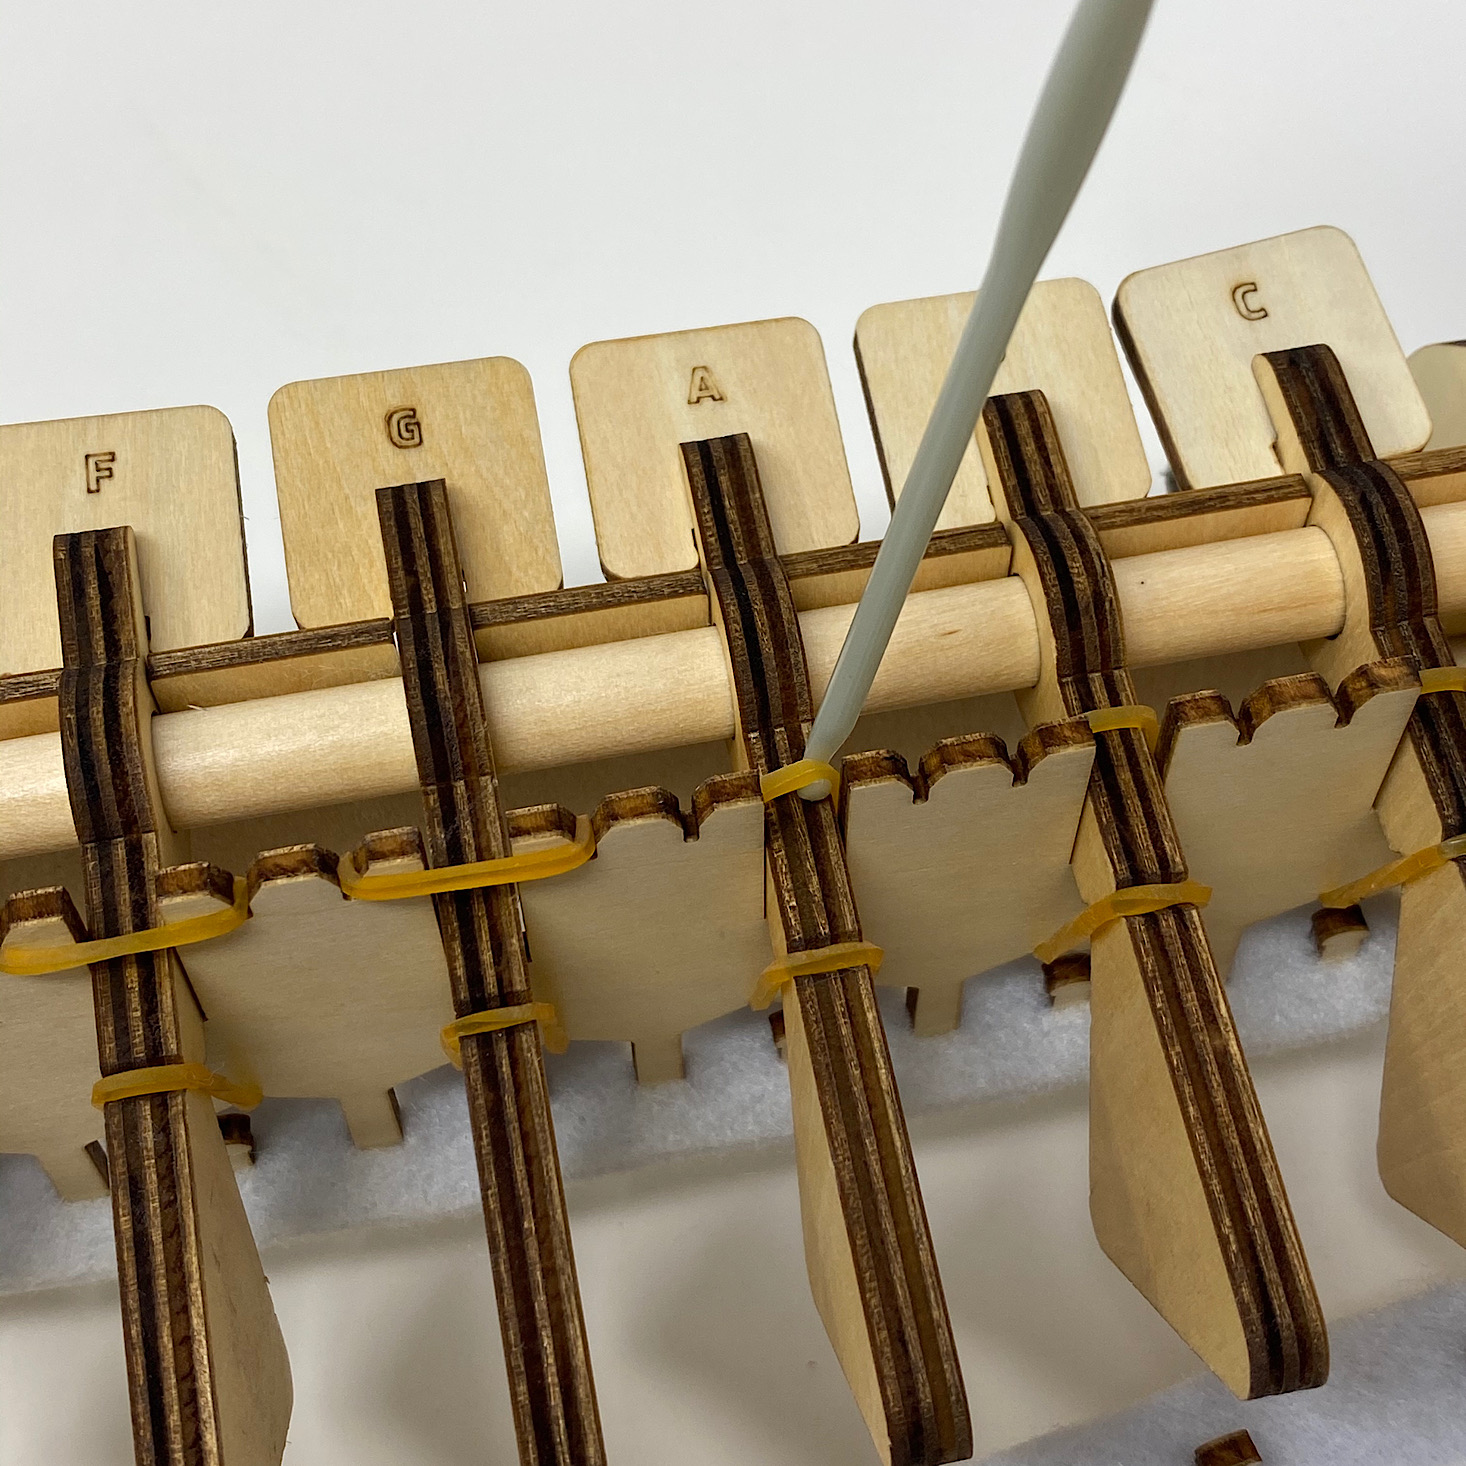
Then it was time to wrap the rubber bands around each hammer and secure it in the notches. This was made easy since they included a plastic crochet hook for us to use to grab the rubber band and stretch it into place.
1 of 3
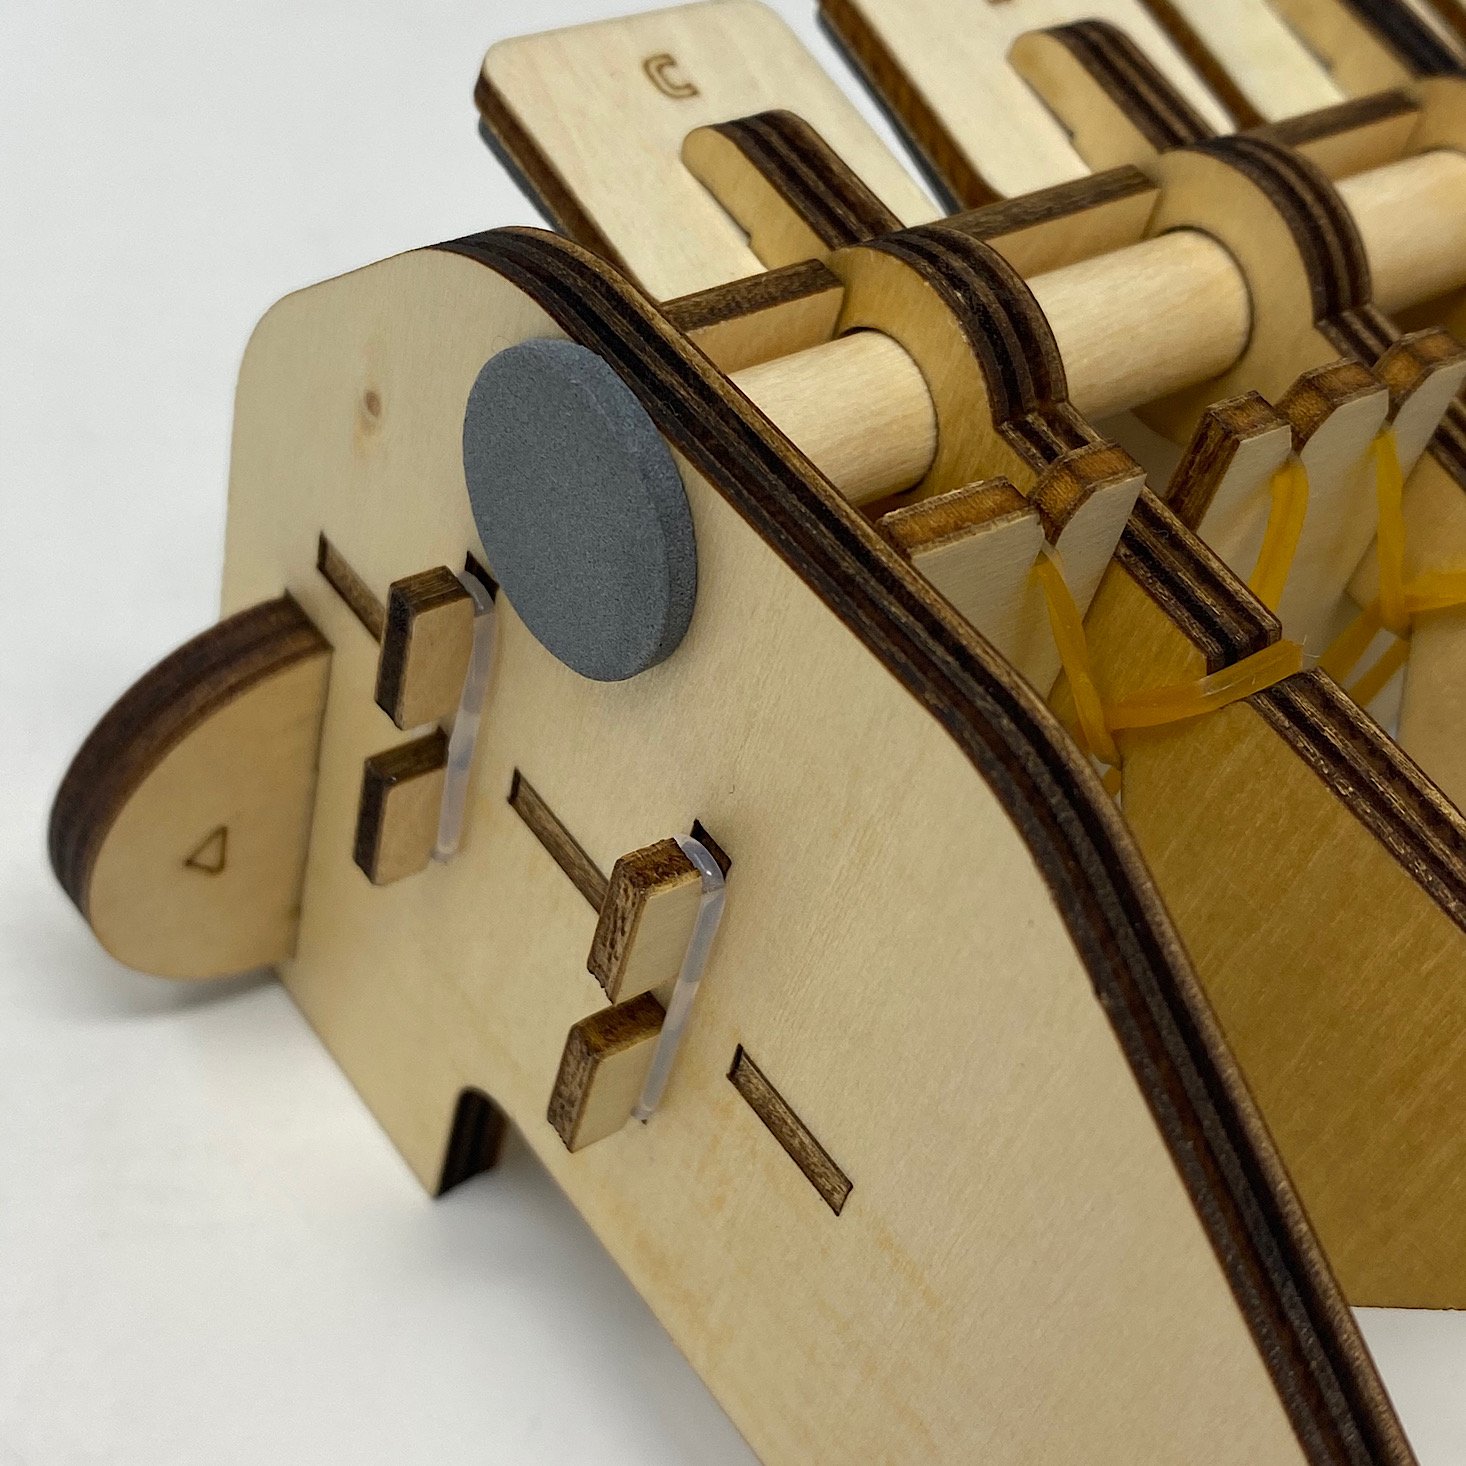
I got all the rubber bands in place and then I added a foam circle to the ends over the dowel so that it would stay in place.
1 of 3
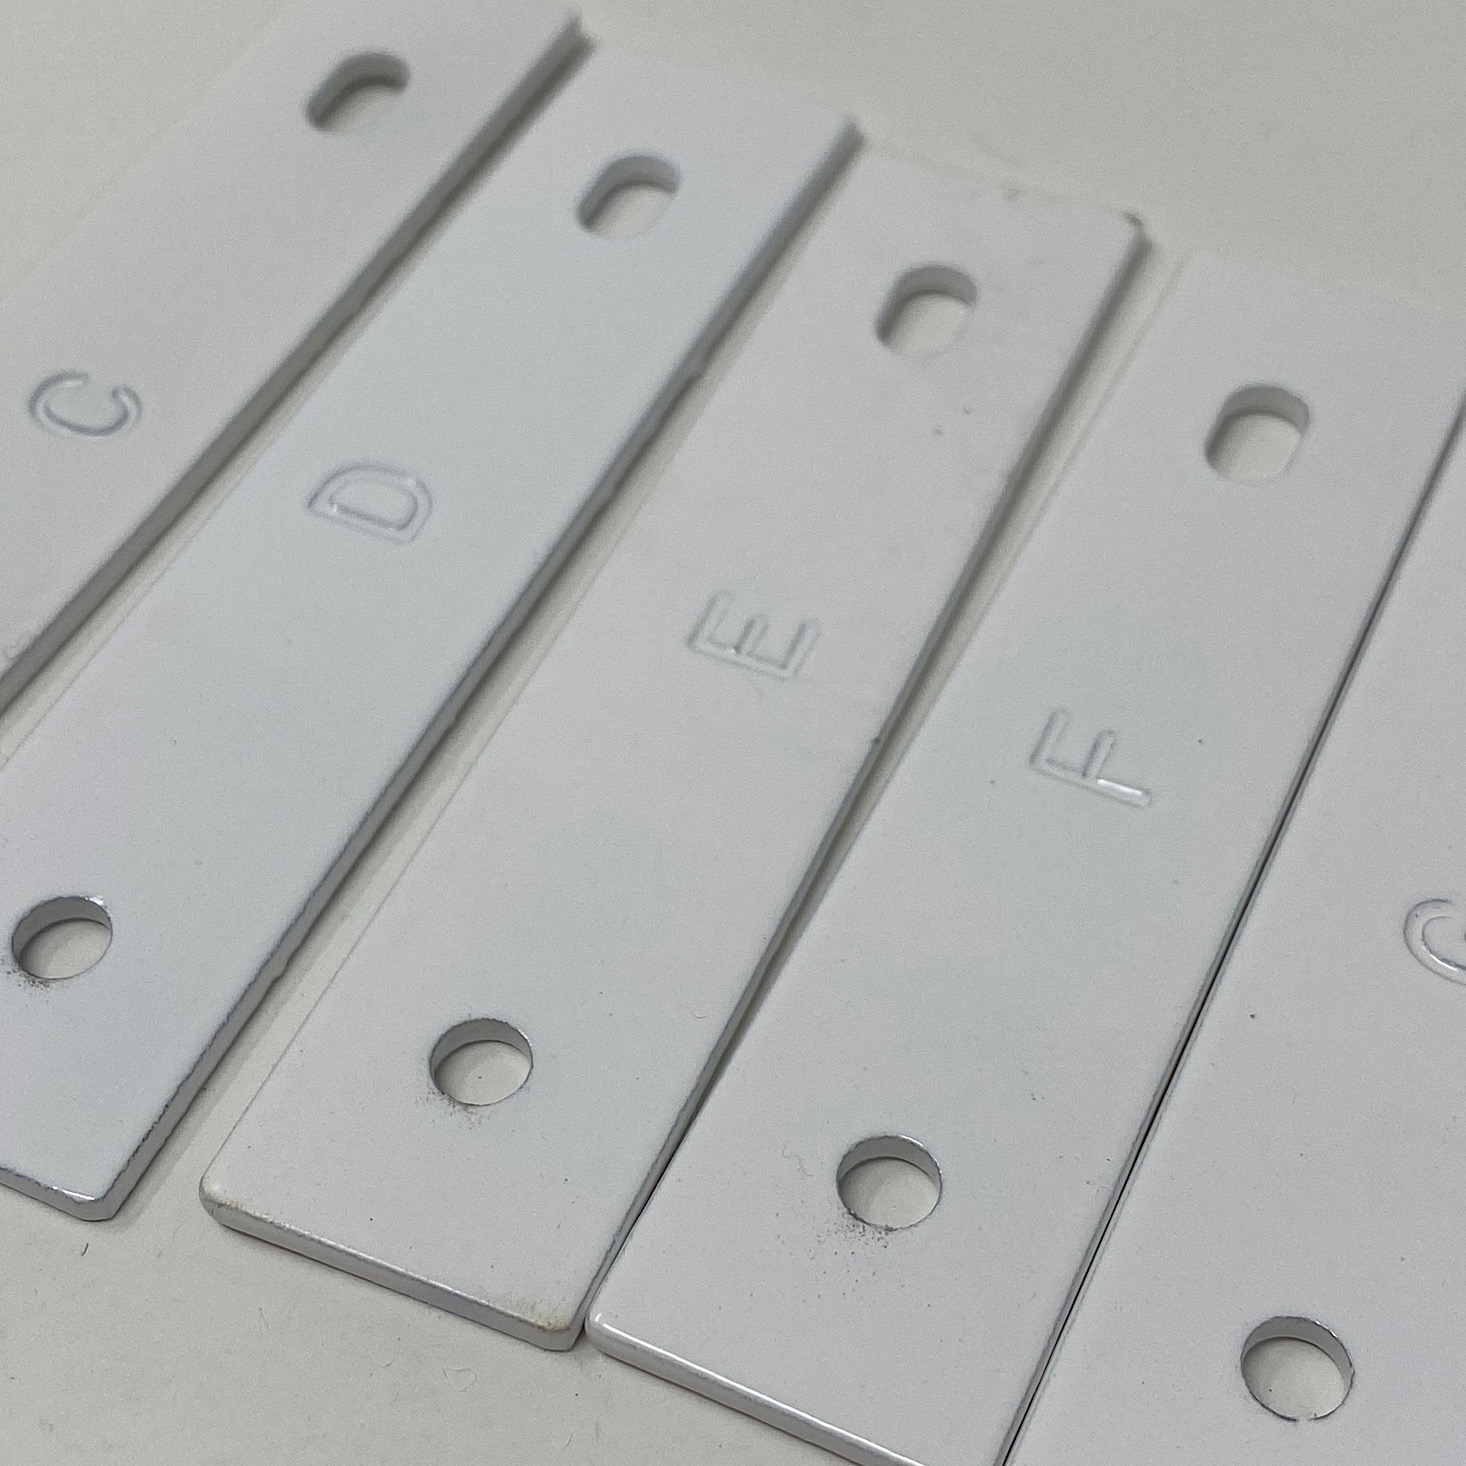
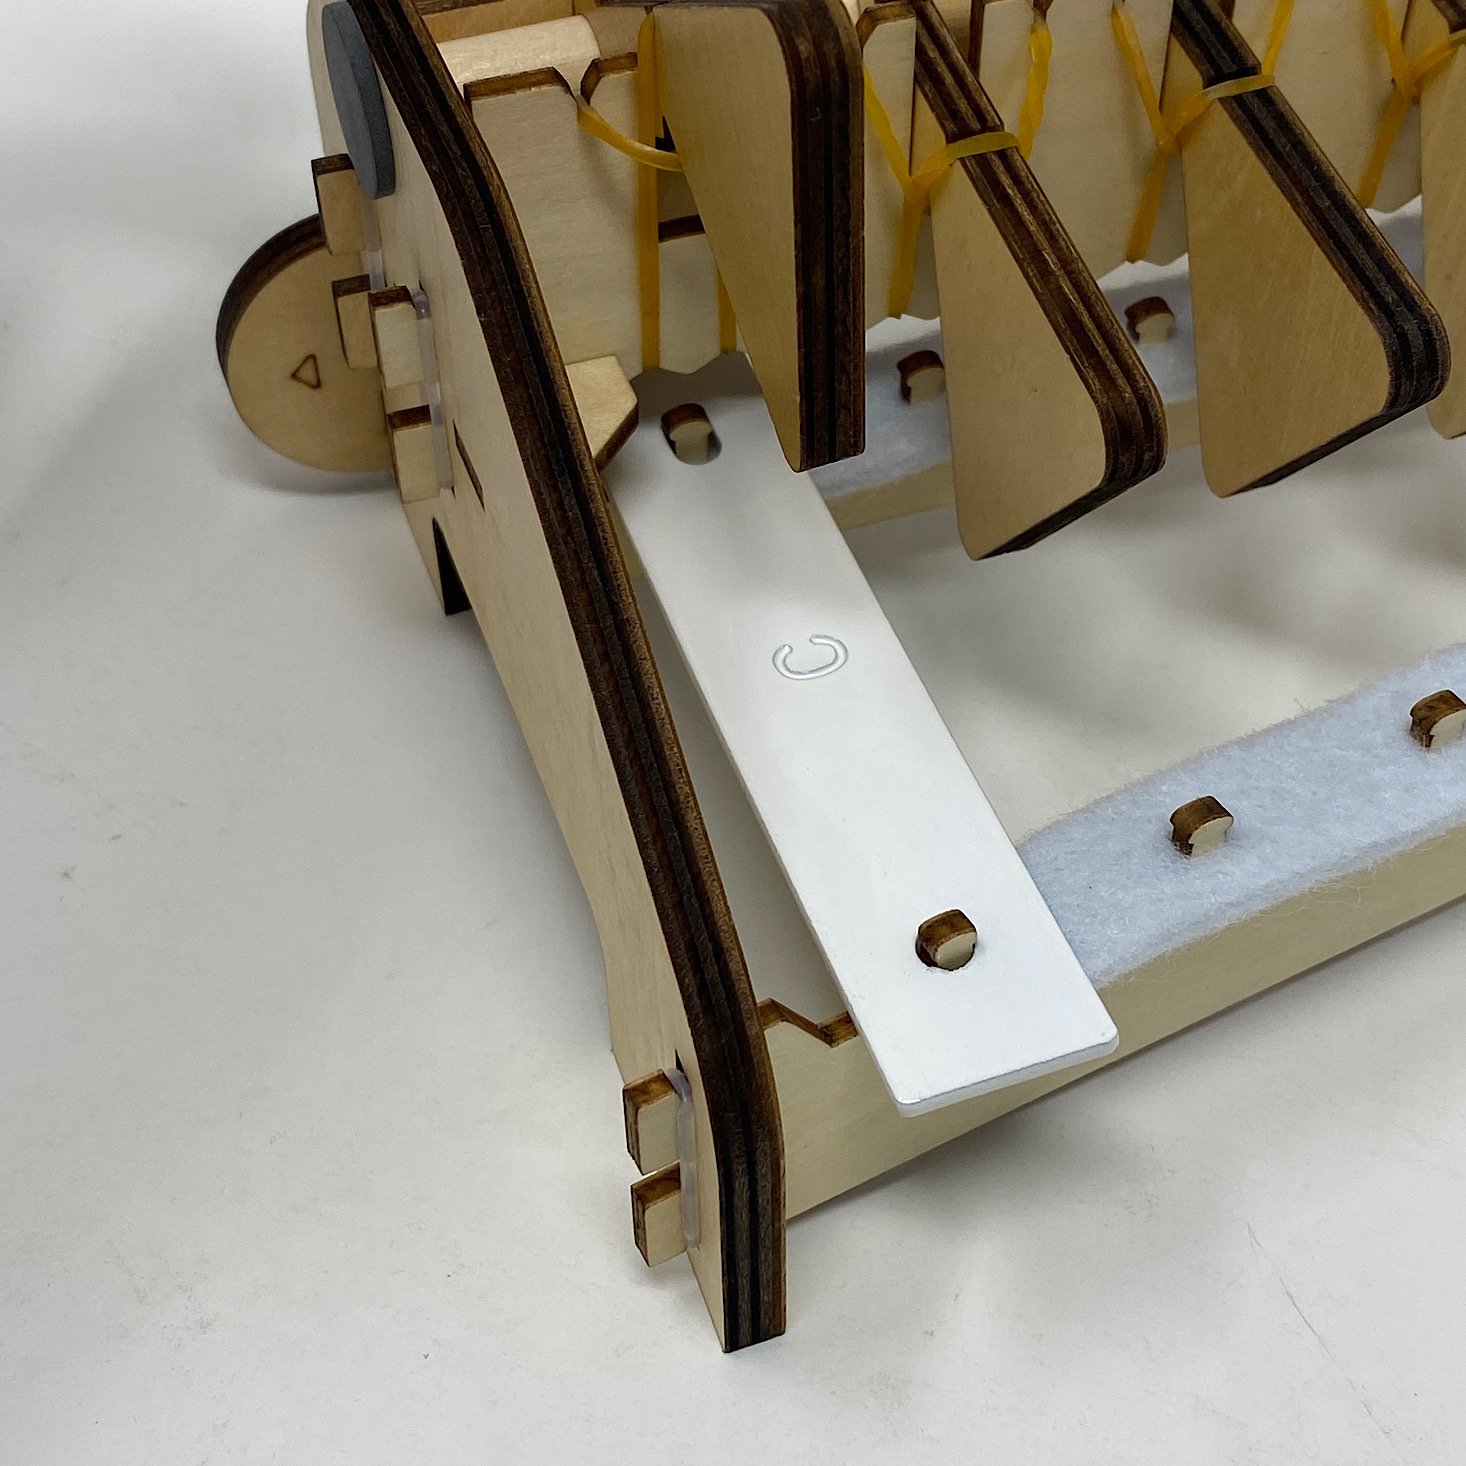
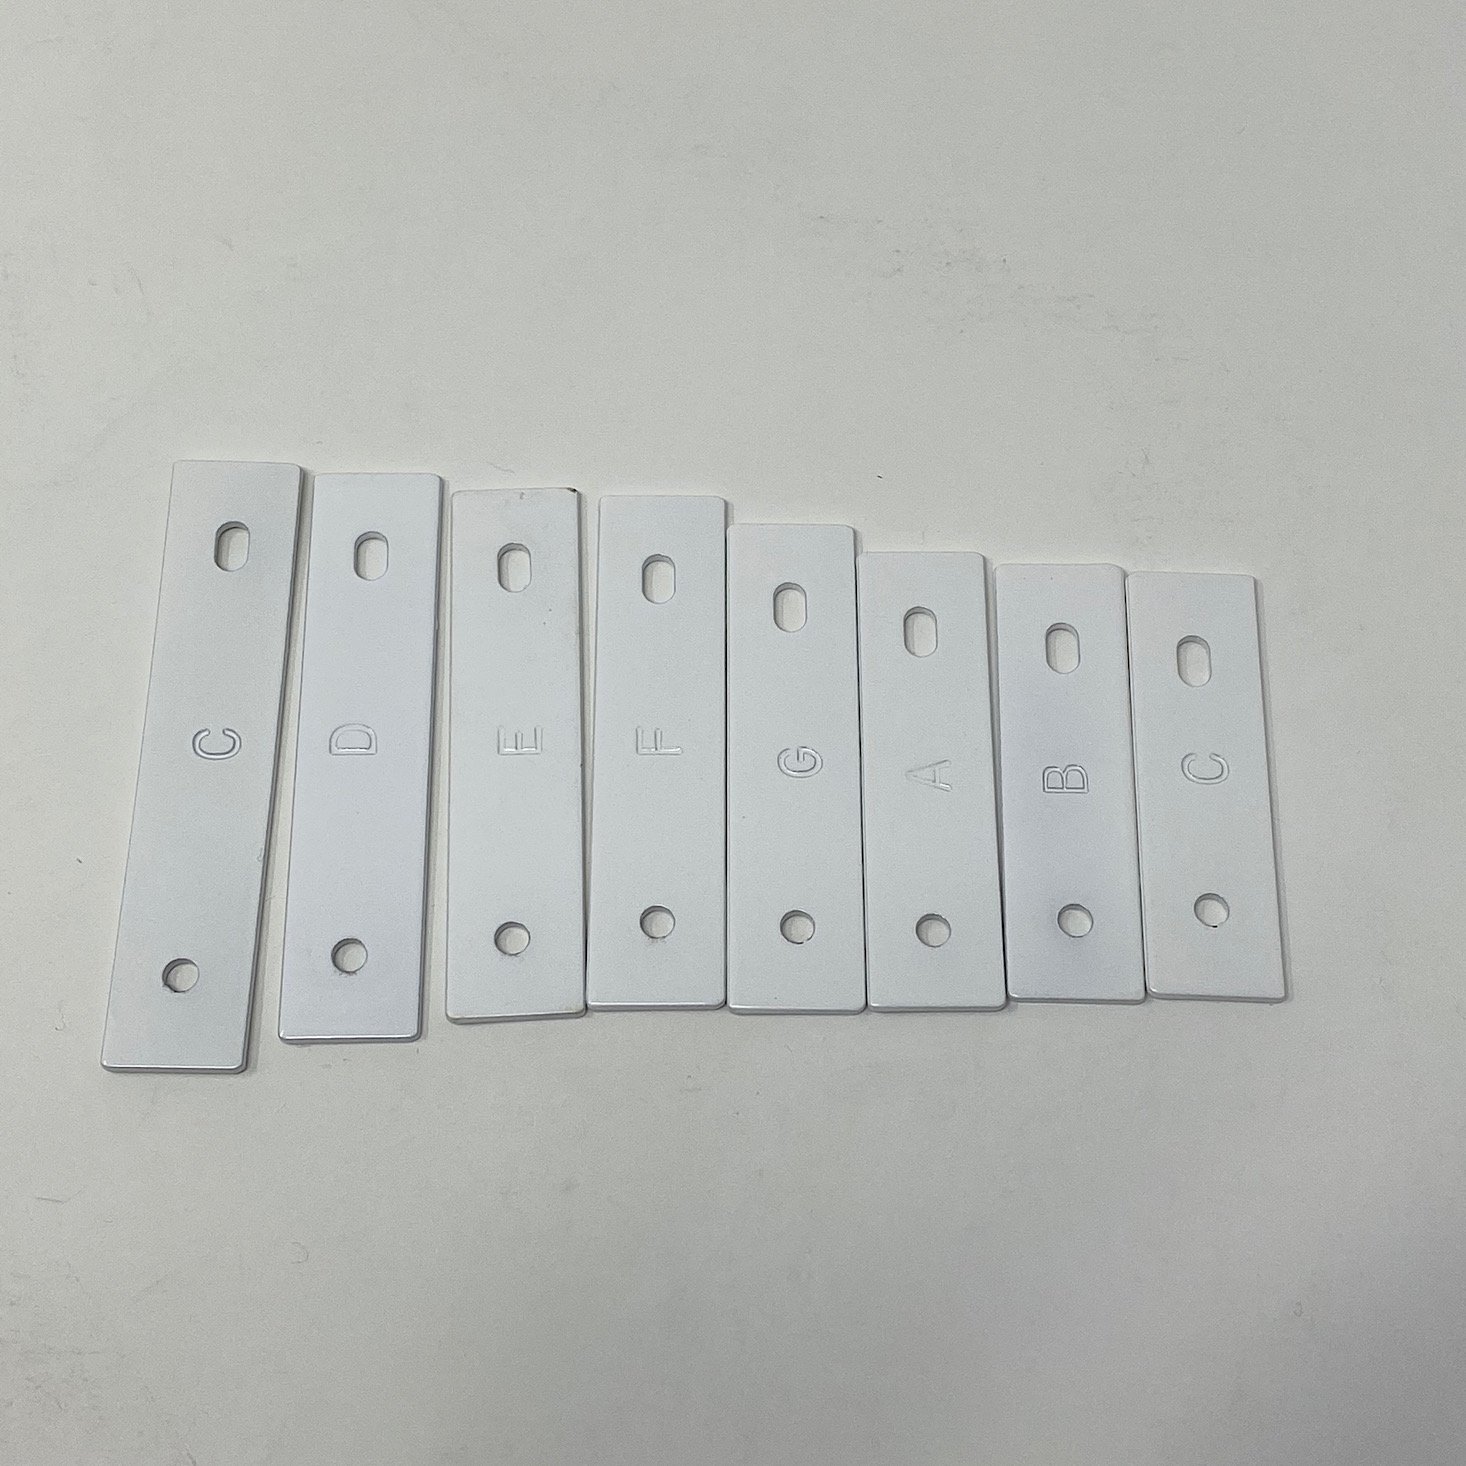
It was time to add the tone bars in order from longest to shortest. They were all labeled as well so this part was very simple thanks to the detailed instructions.

1 of 2
I did have to tune the keys a little bit by making sure the rubber band was slightly tight, keeping the hammers just hovering above each tone bar.
Part C: Build the Drum

1 of 5
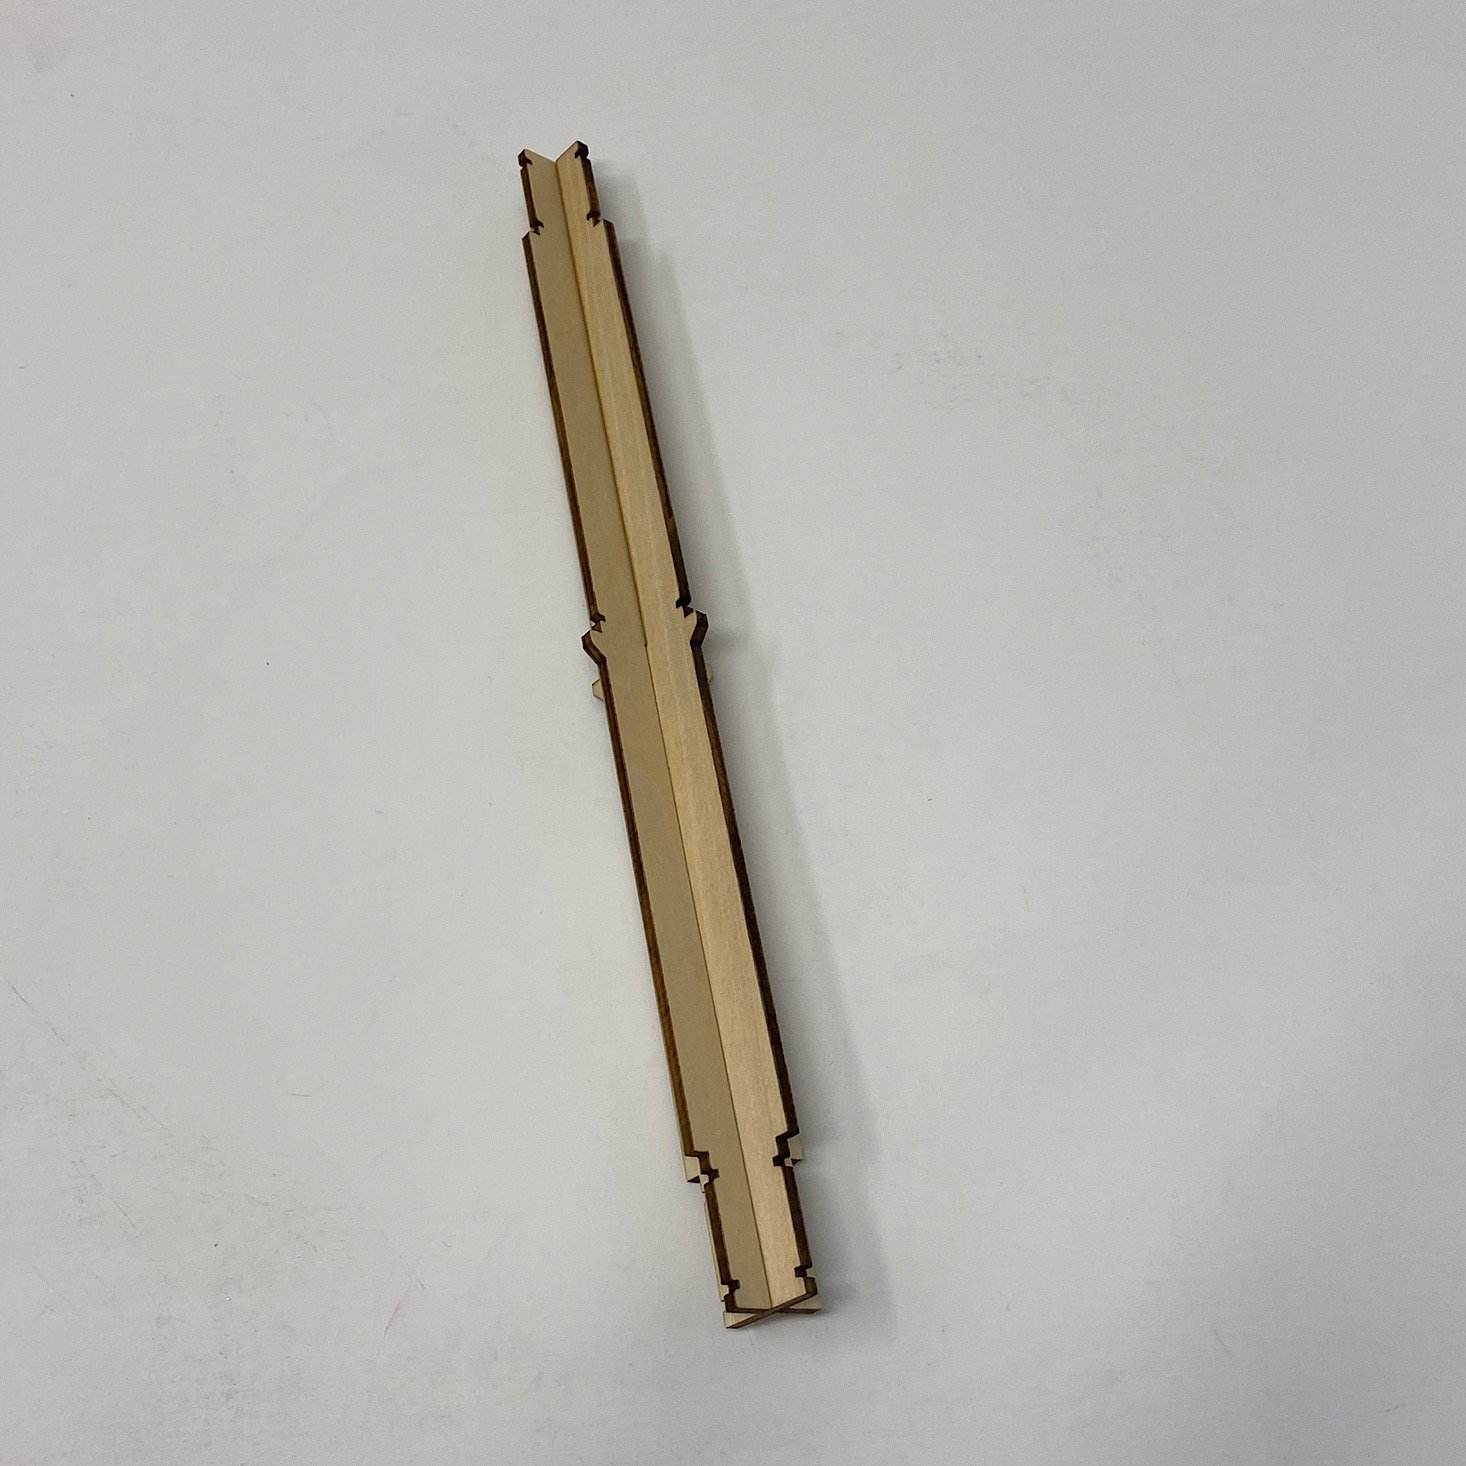

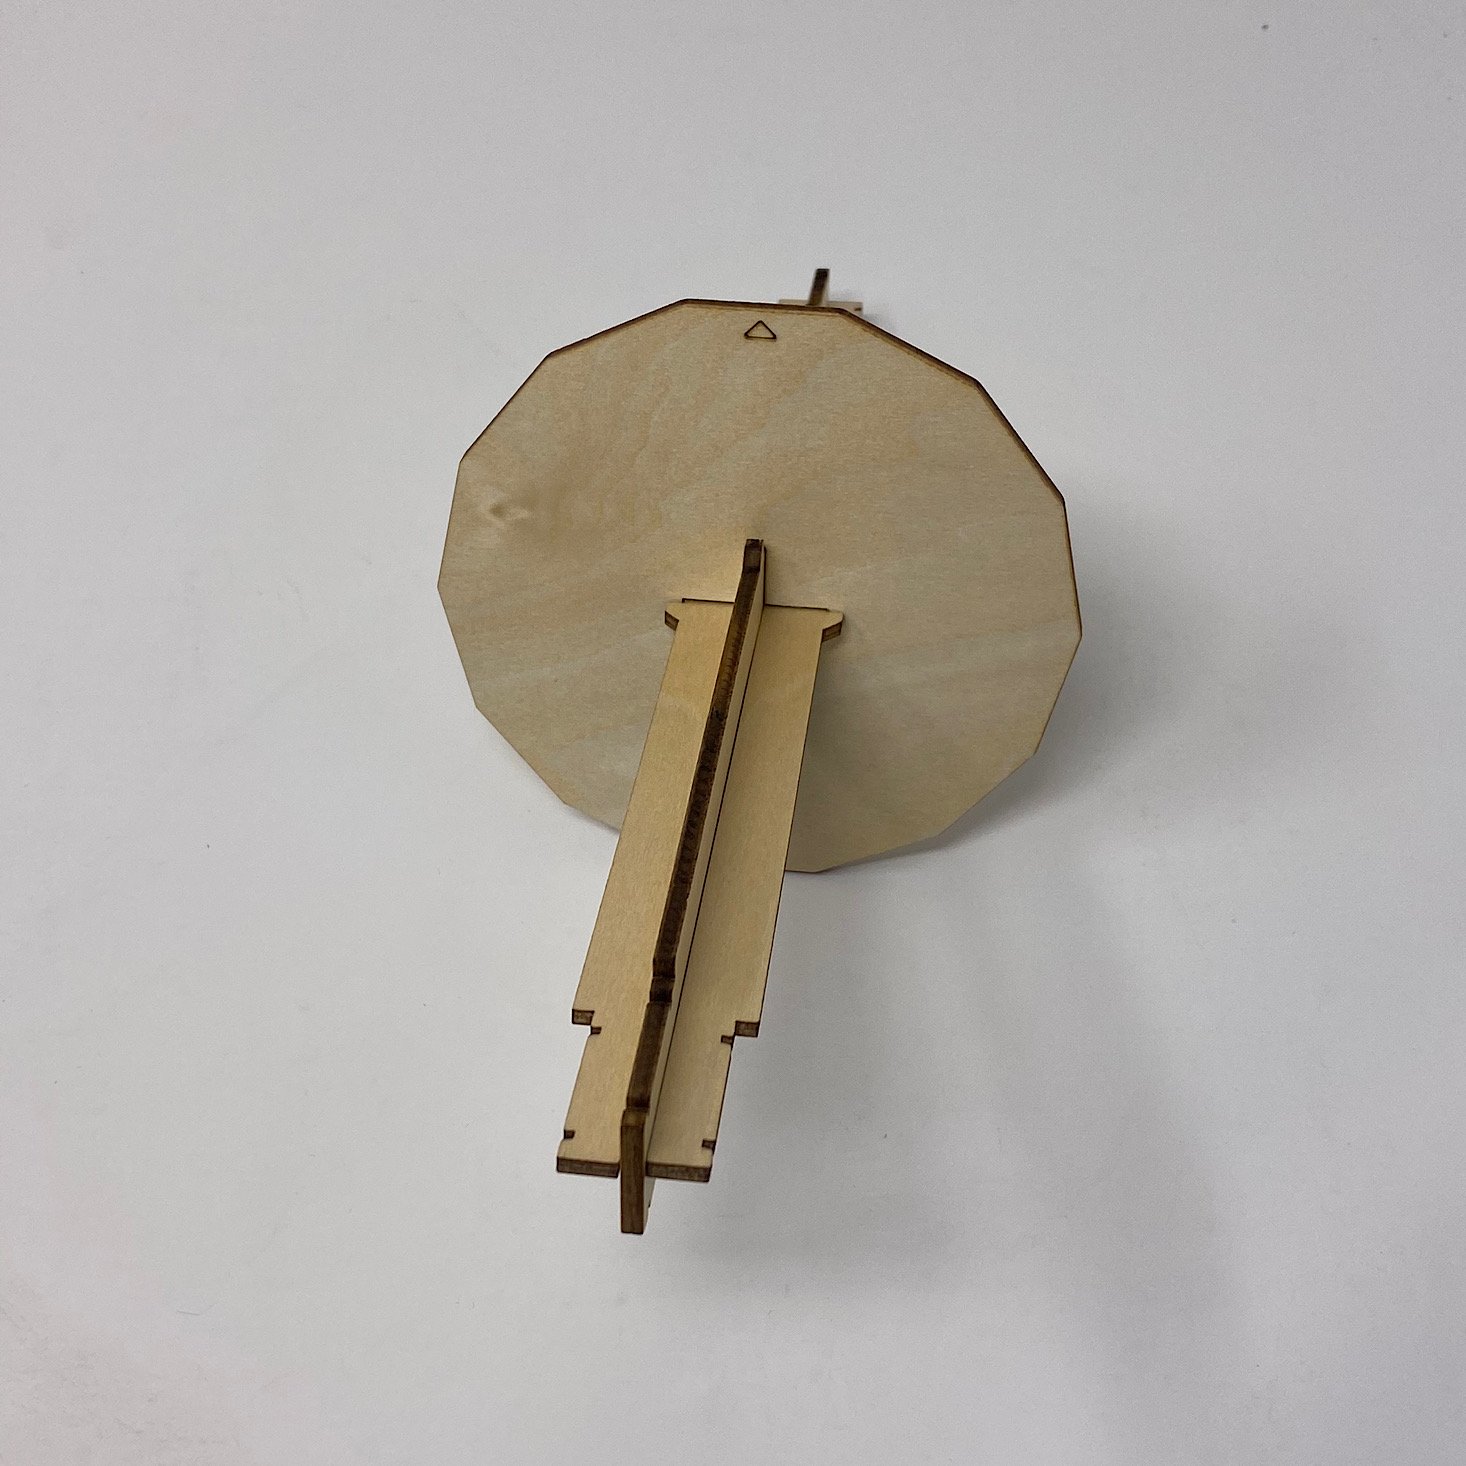
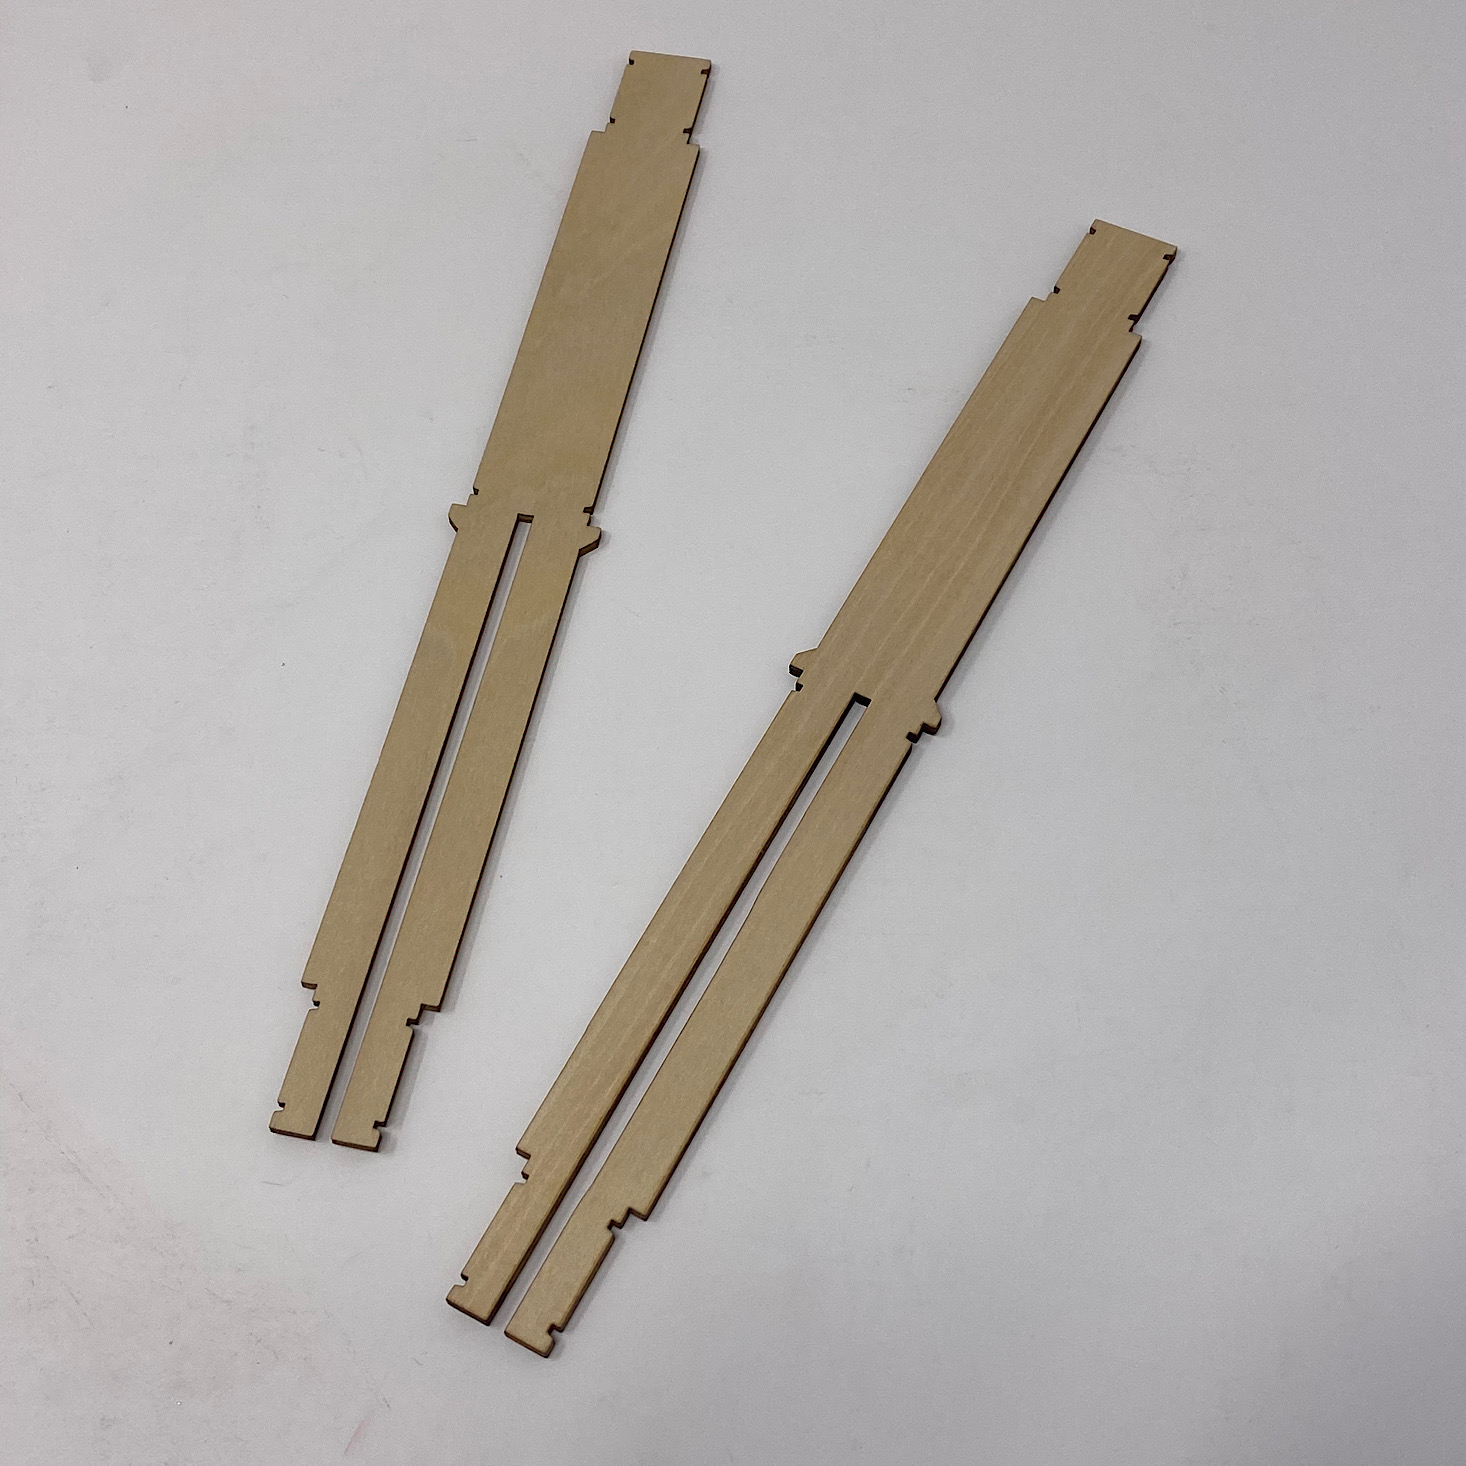
With the keyboard complete, it was time to build the drum. I slid the two longer wooden pieces together and then slipped the rounded wooden piece over it until it fit into the notches. Then I added a rubber band to hold it in place.
1 of 2
Then I added a wooden piece to either side with more rubber bands. I just had to make sure all of the arrows lined up.

1 of 3
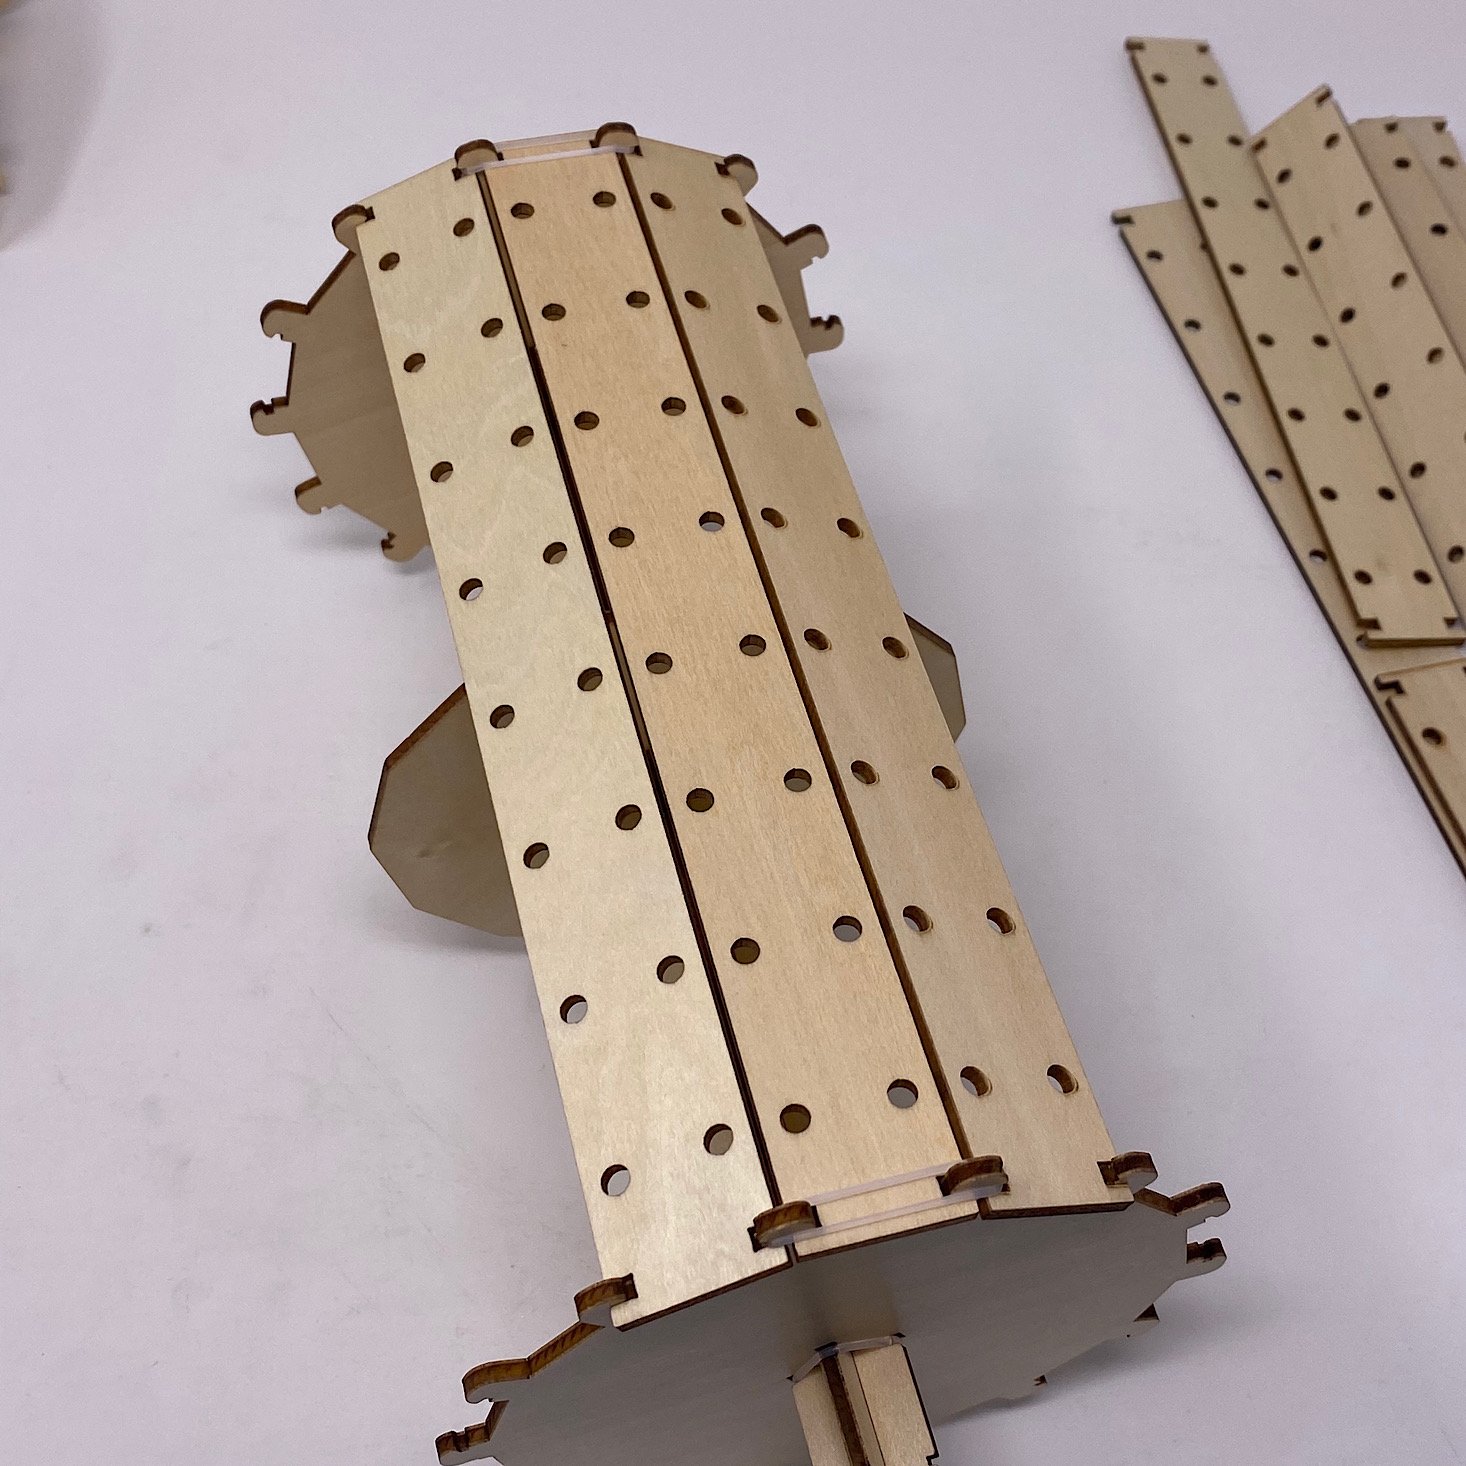
Then came the tedious part. I had to add these pieces two at a time securing every other section with a rubber band until the entire piece was covered.
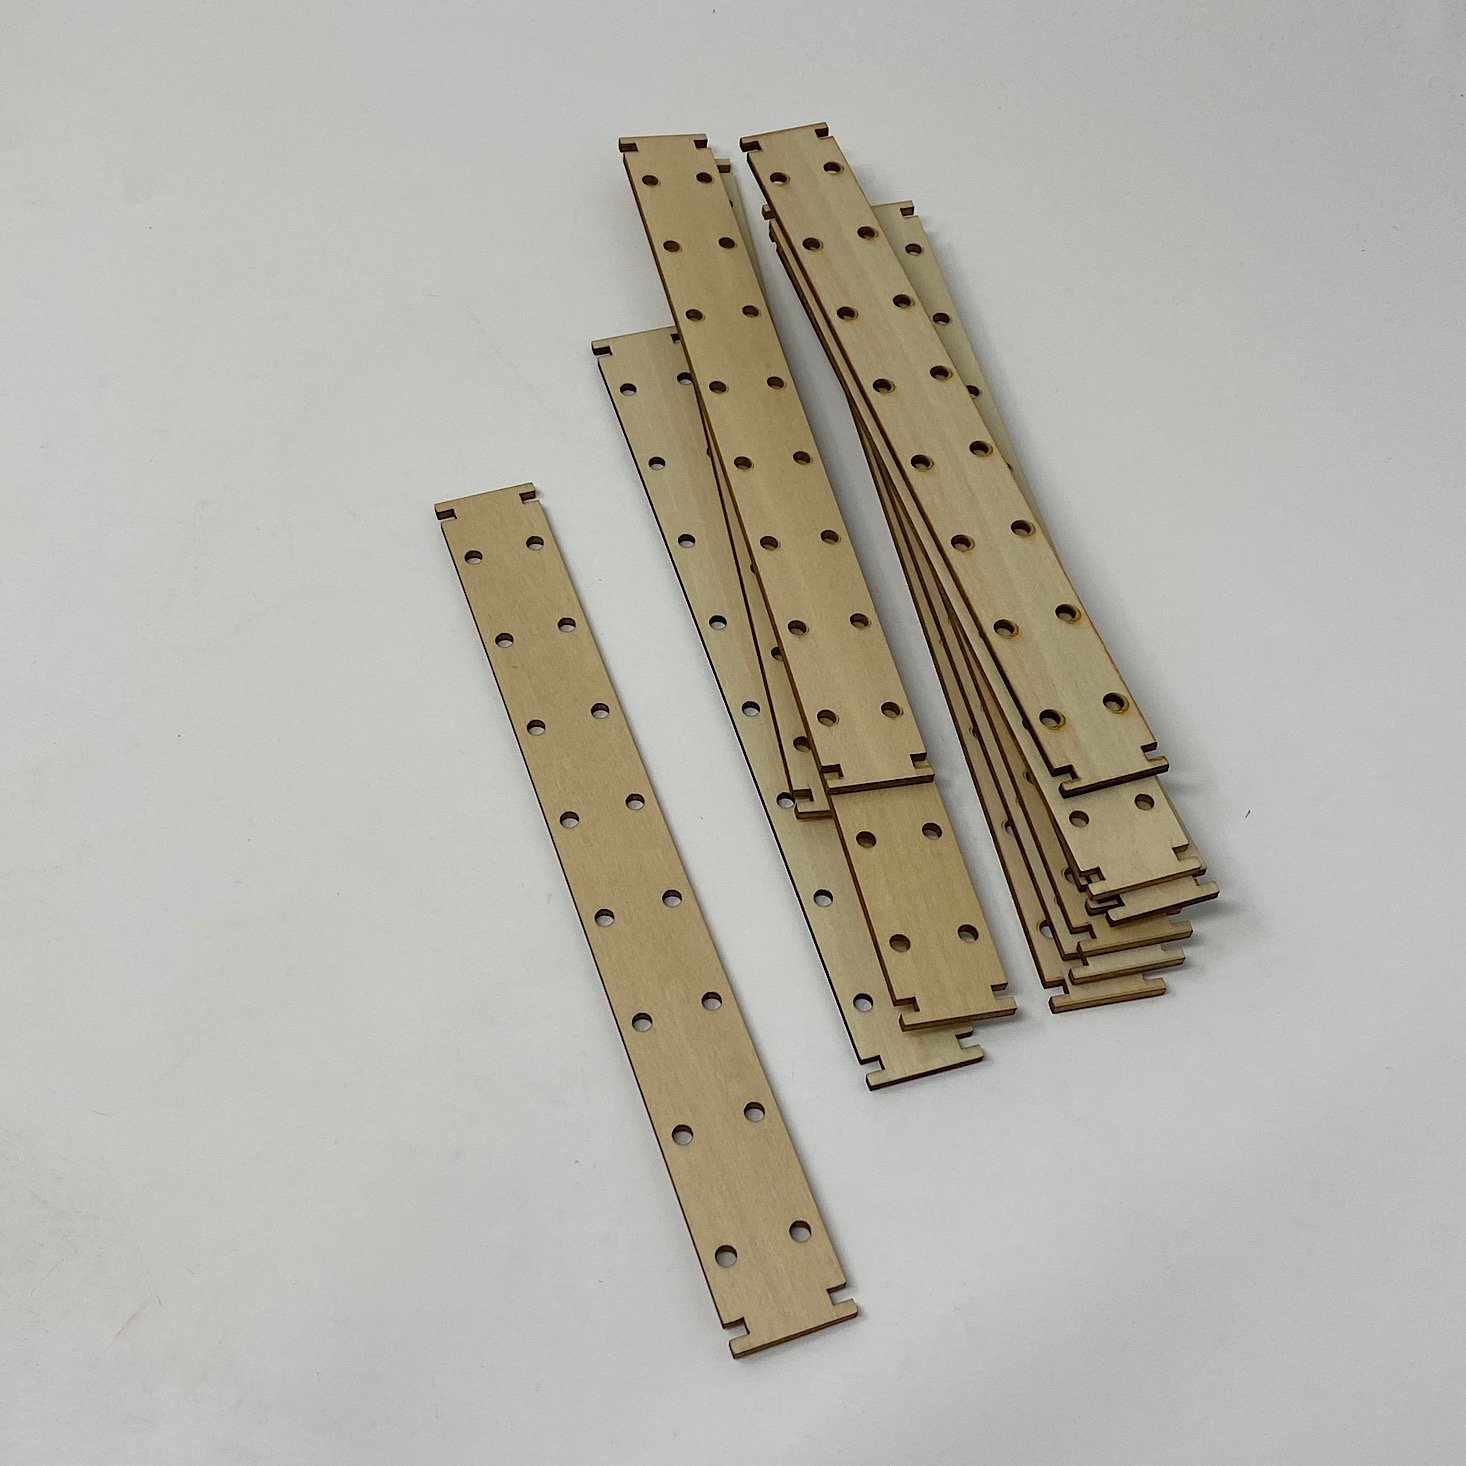
Part D: Build the Drum Frame
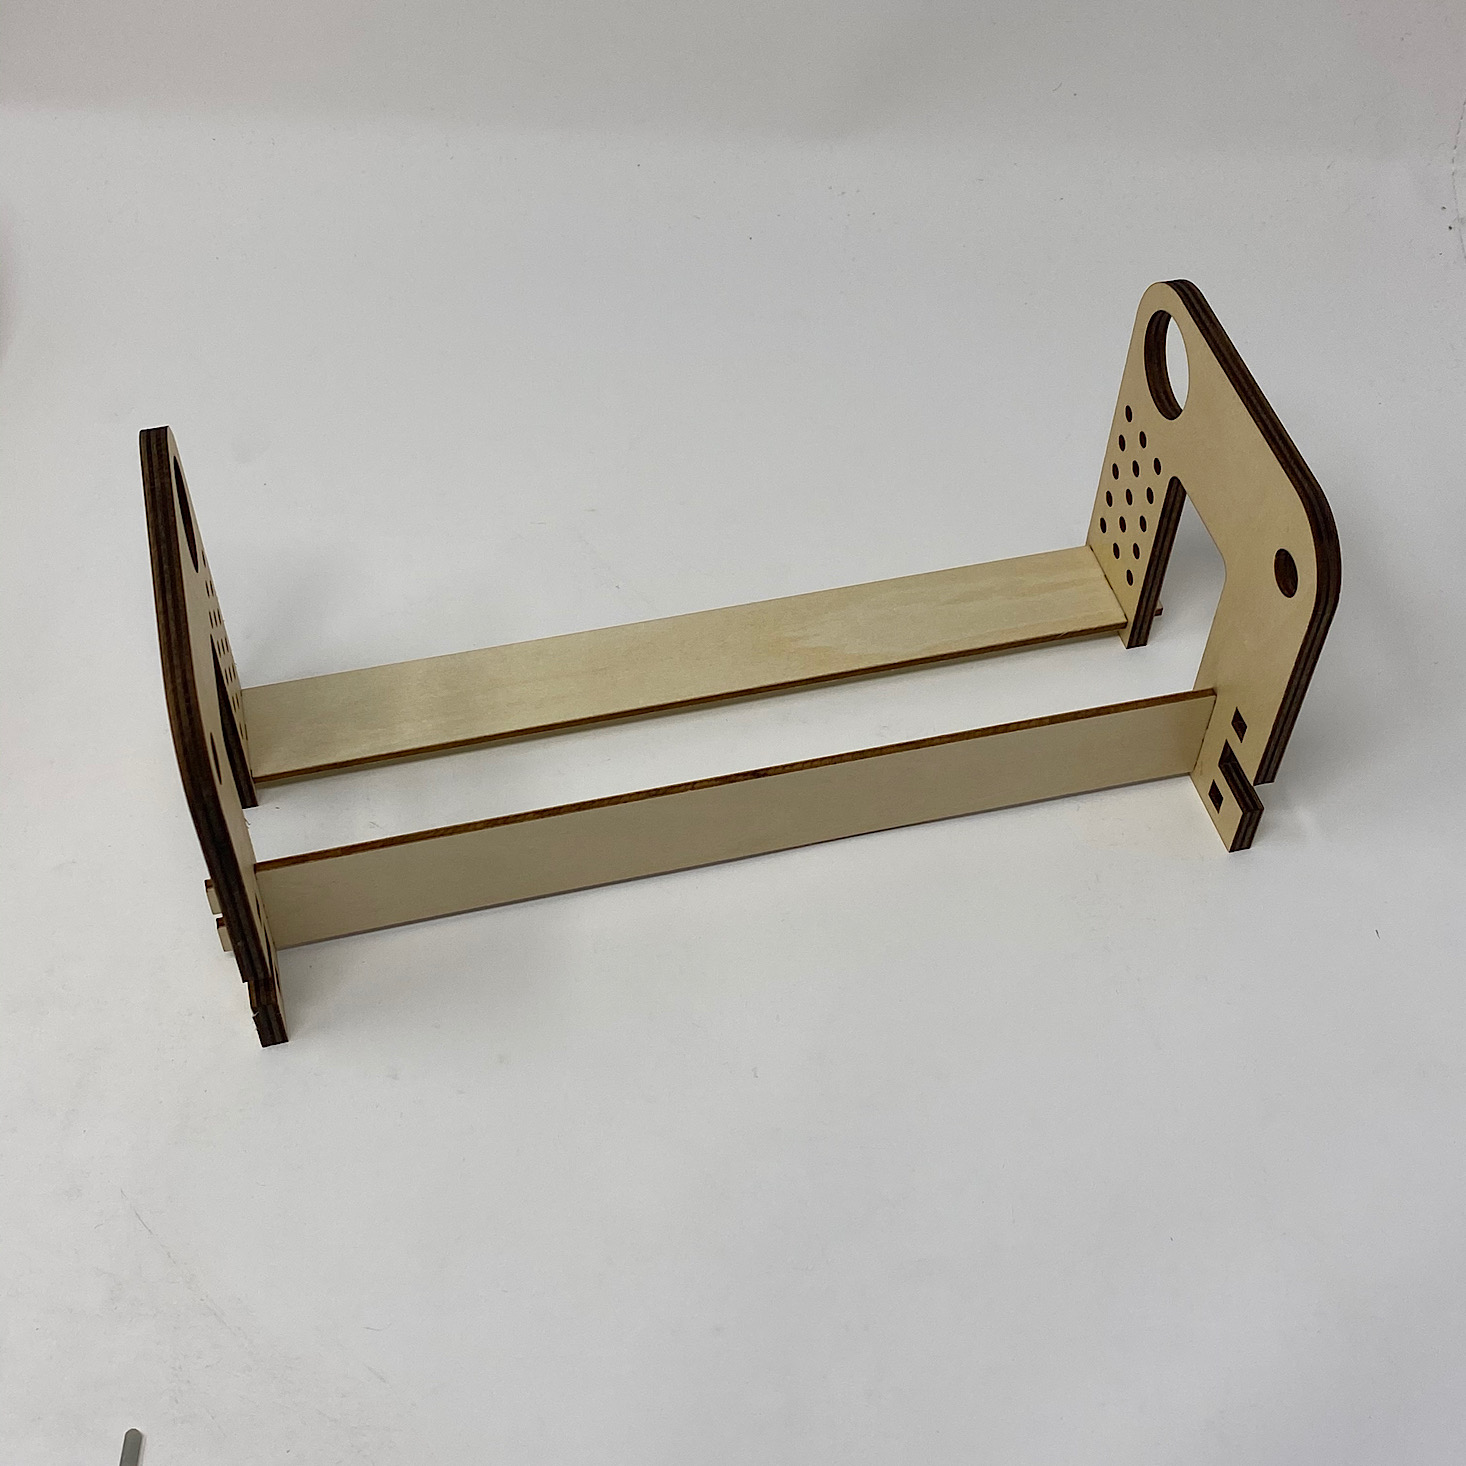

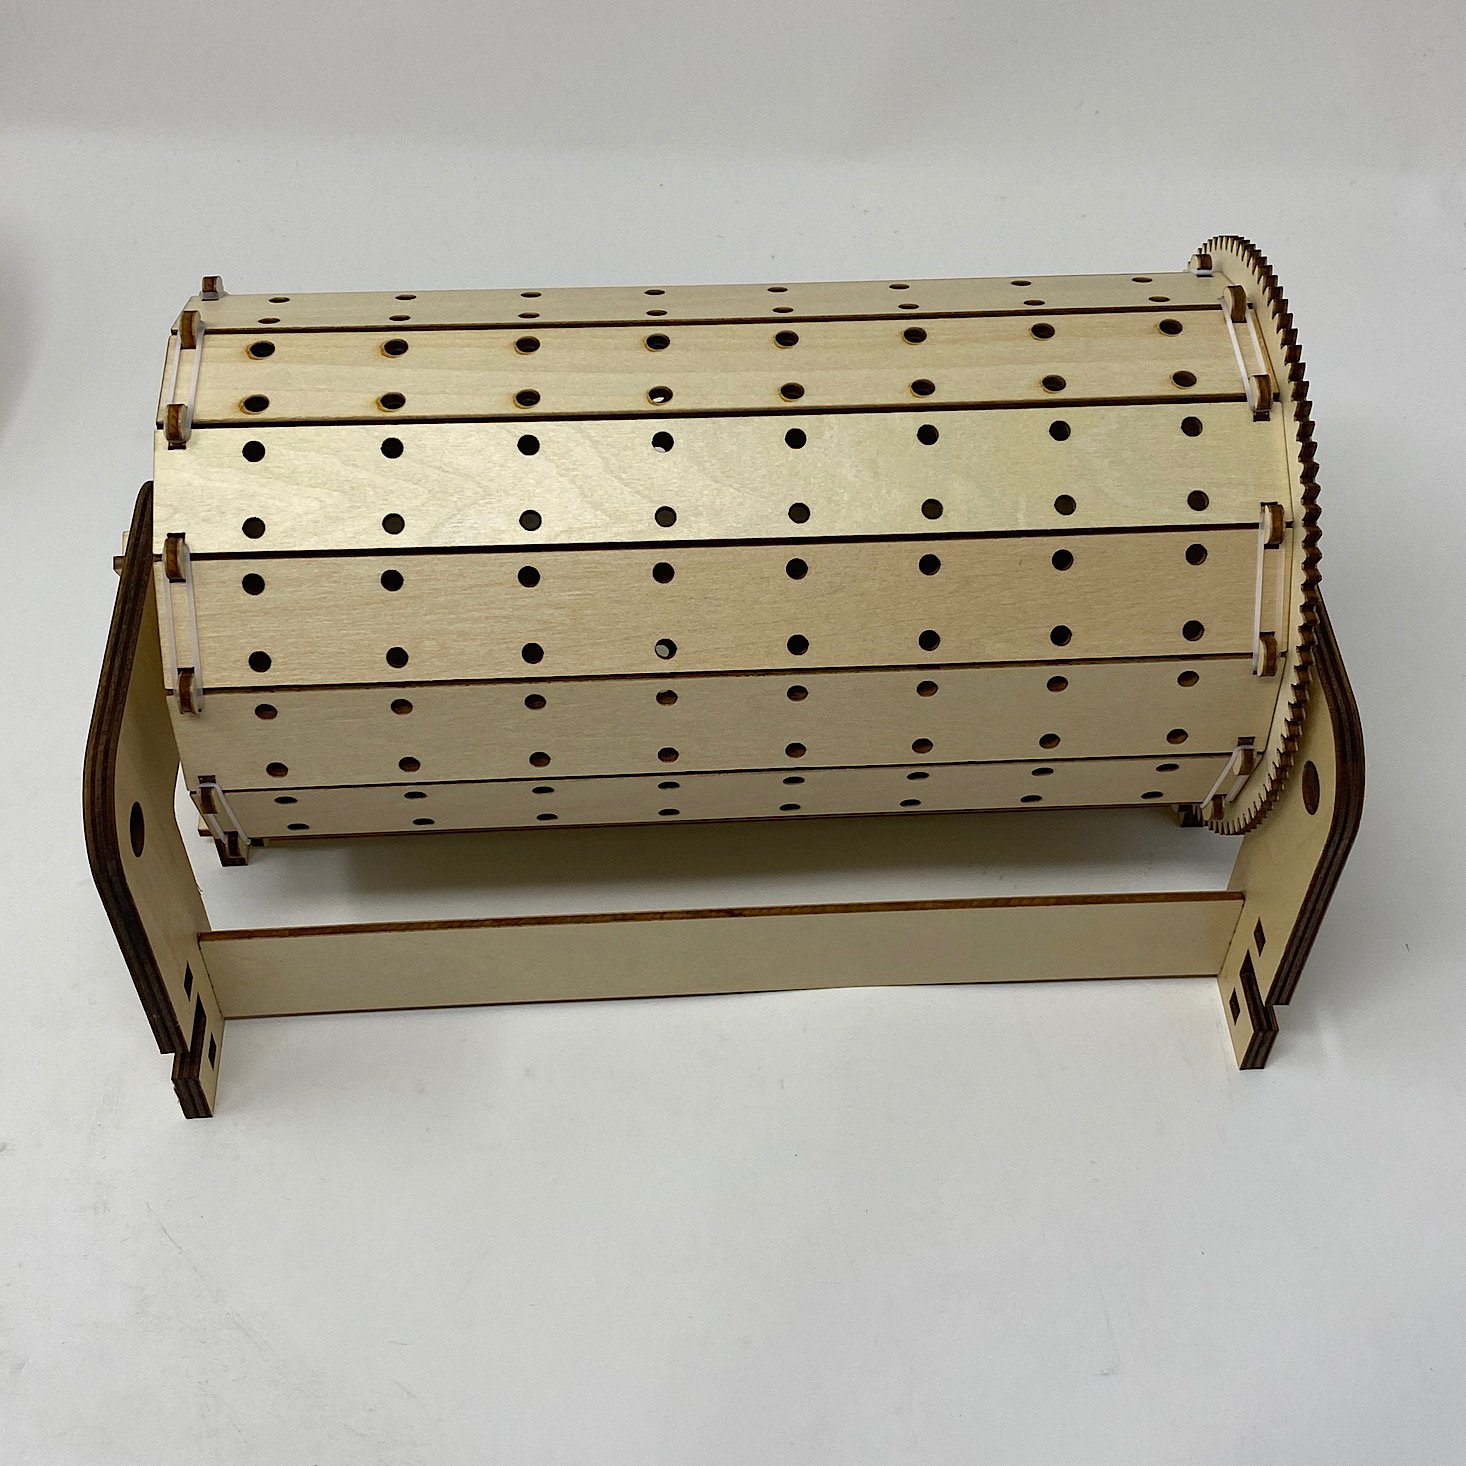
1 of 4
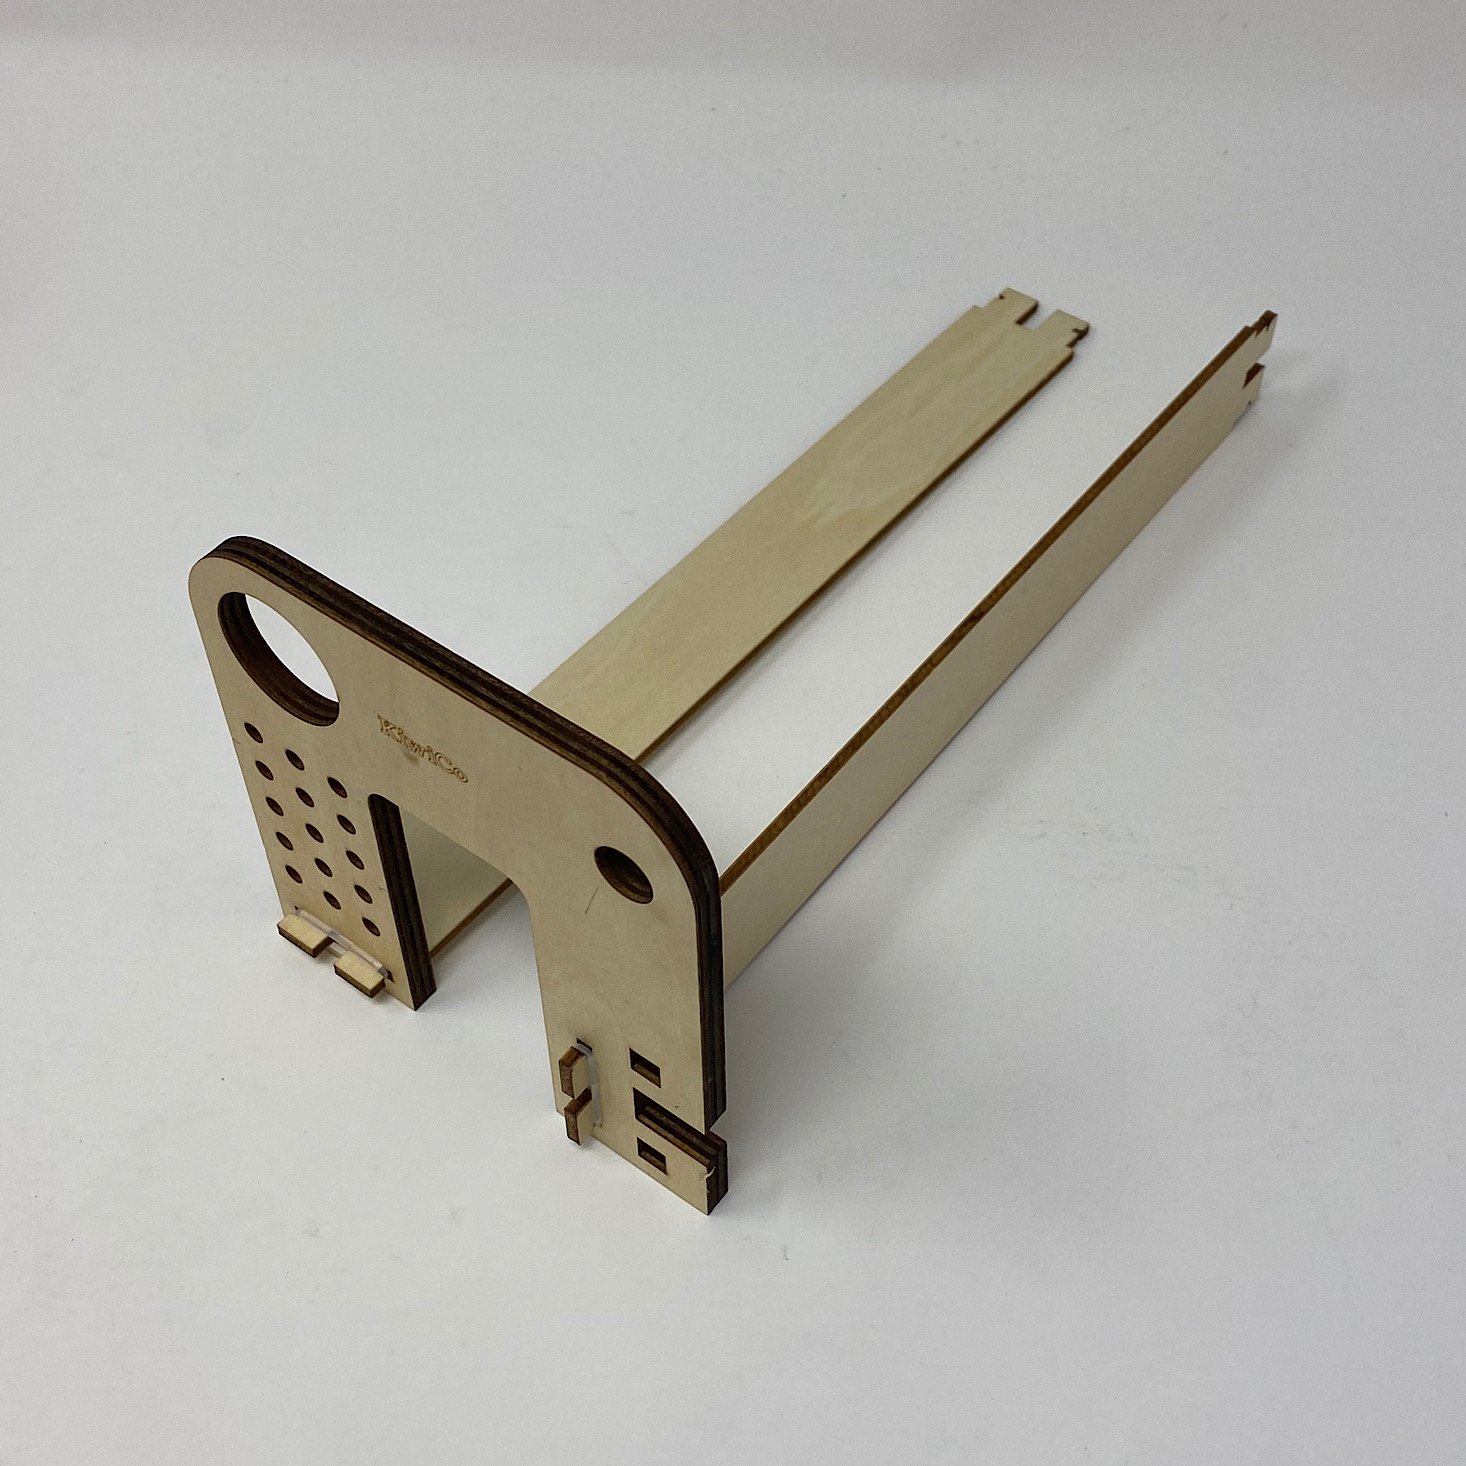
To build the drum frame I added the bars in between the two side pieces securing them with rubber bands.

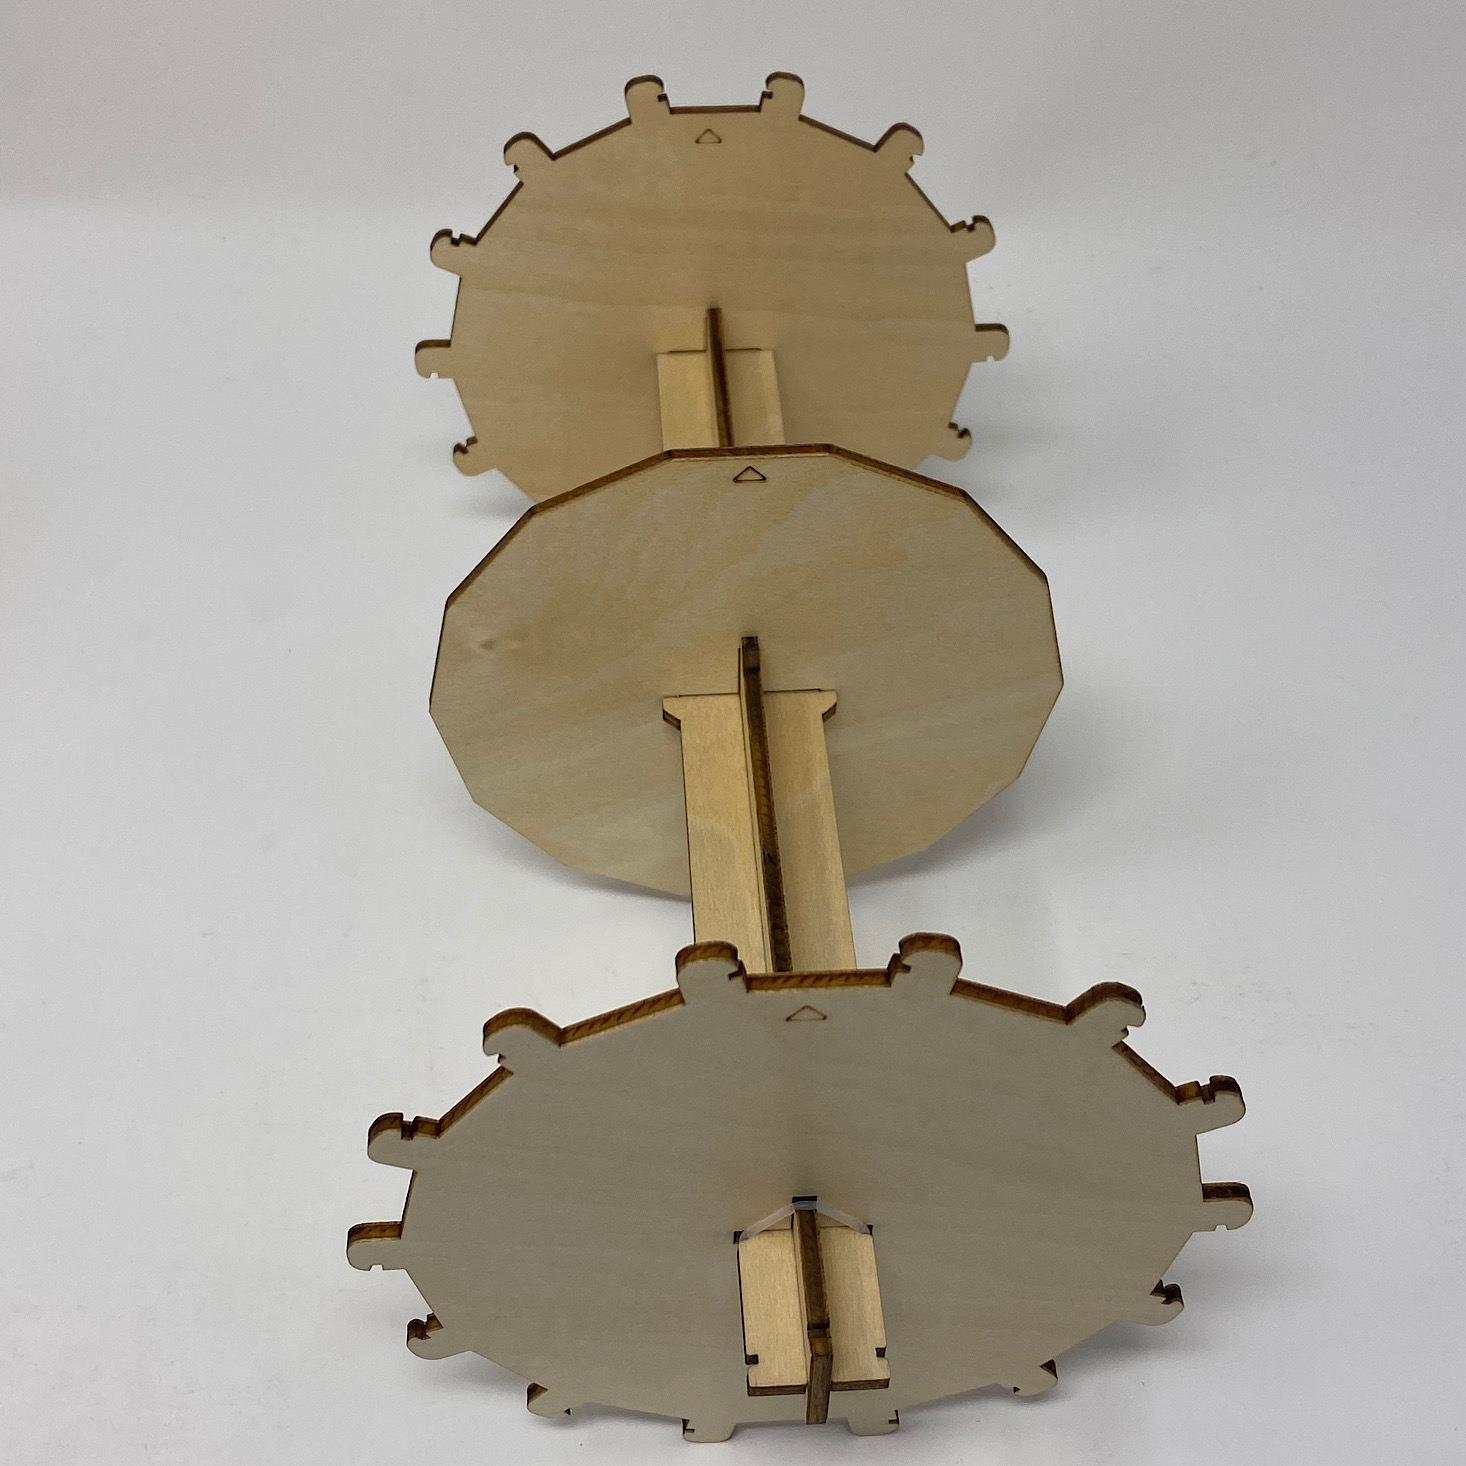
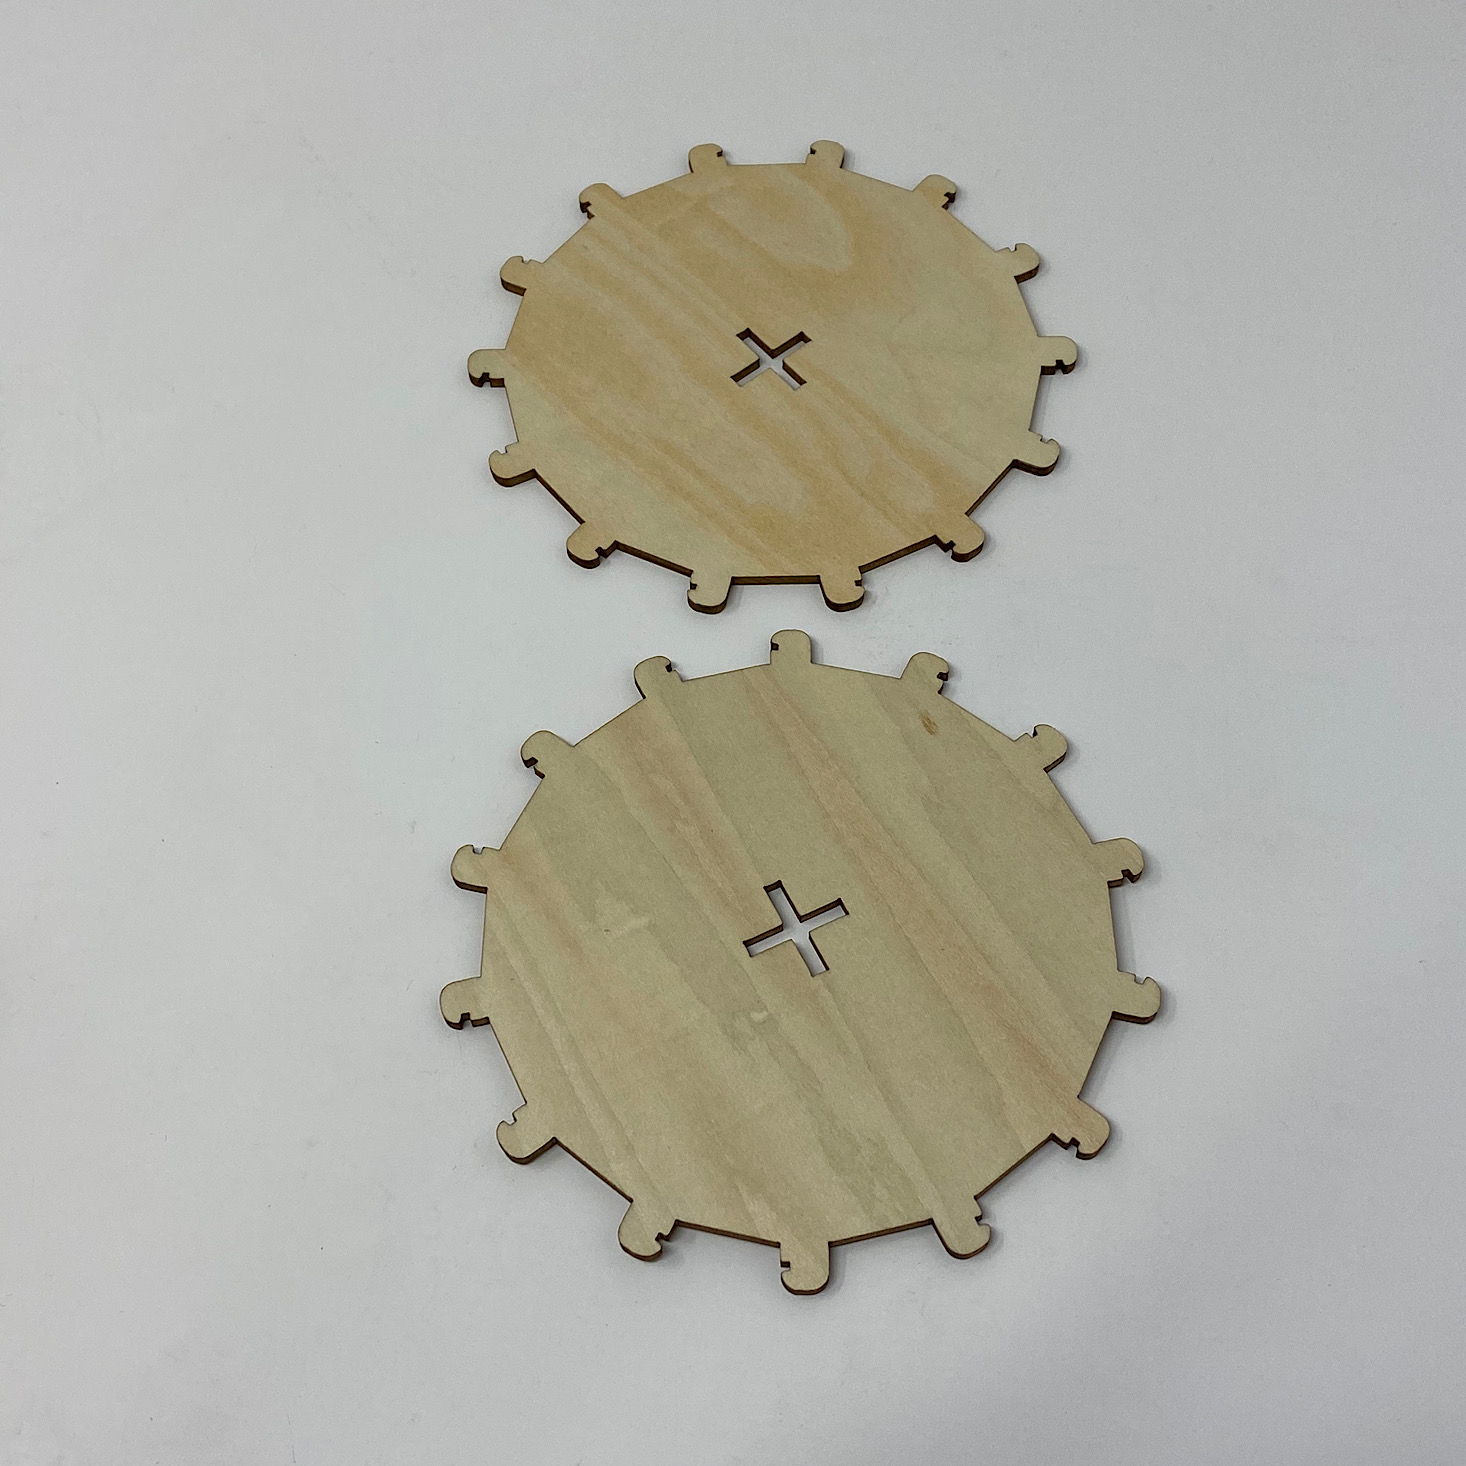
1 of 3
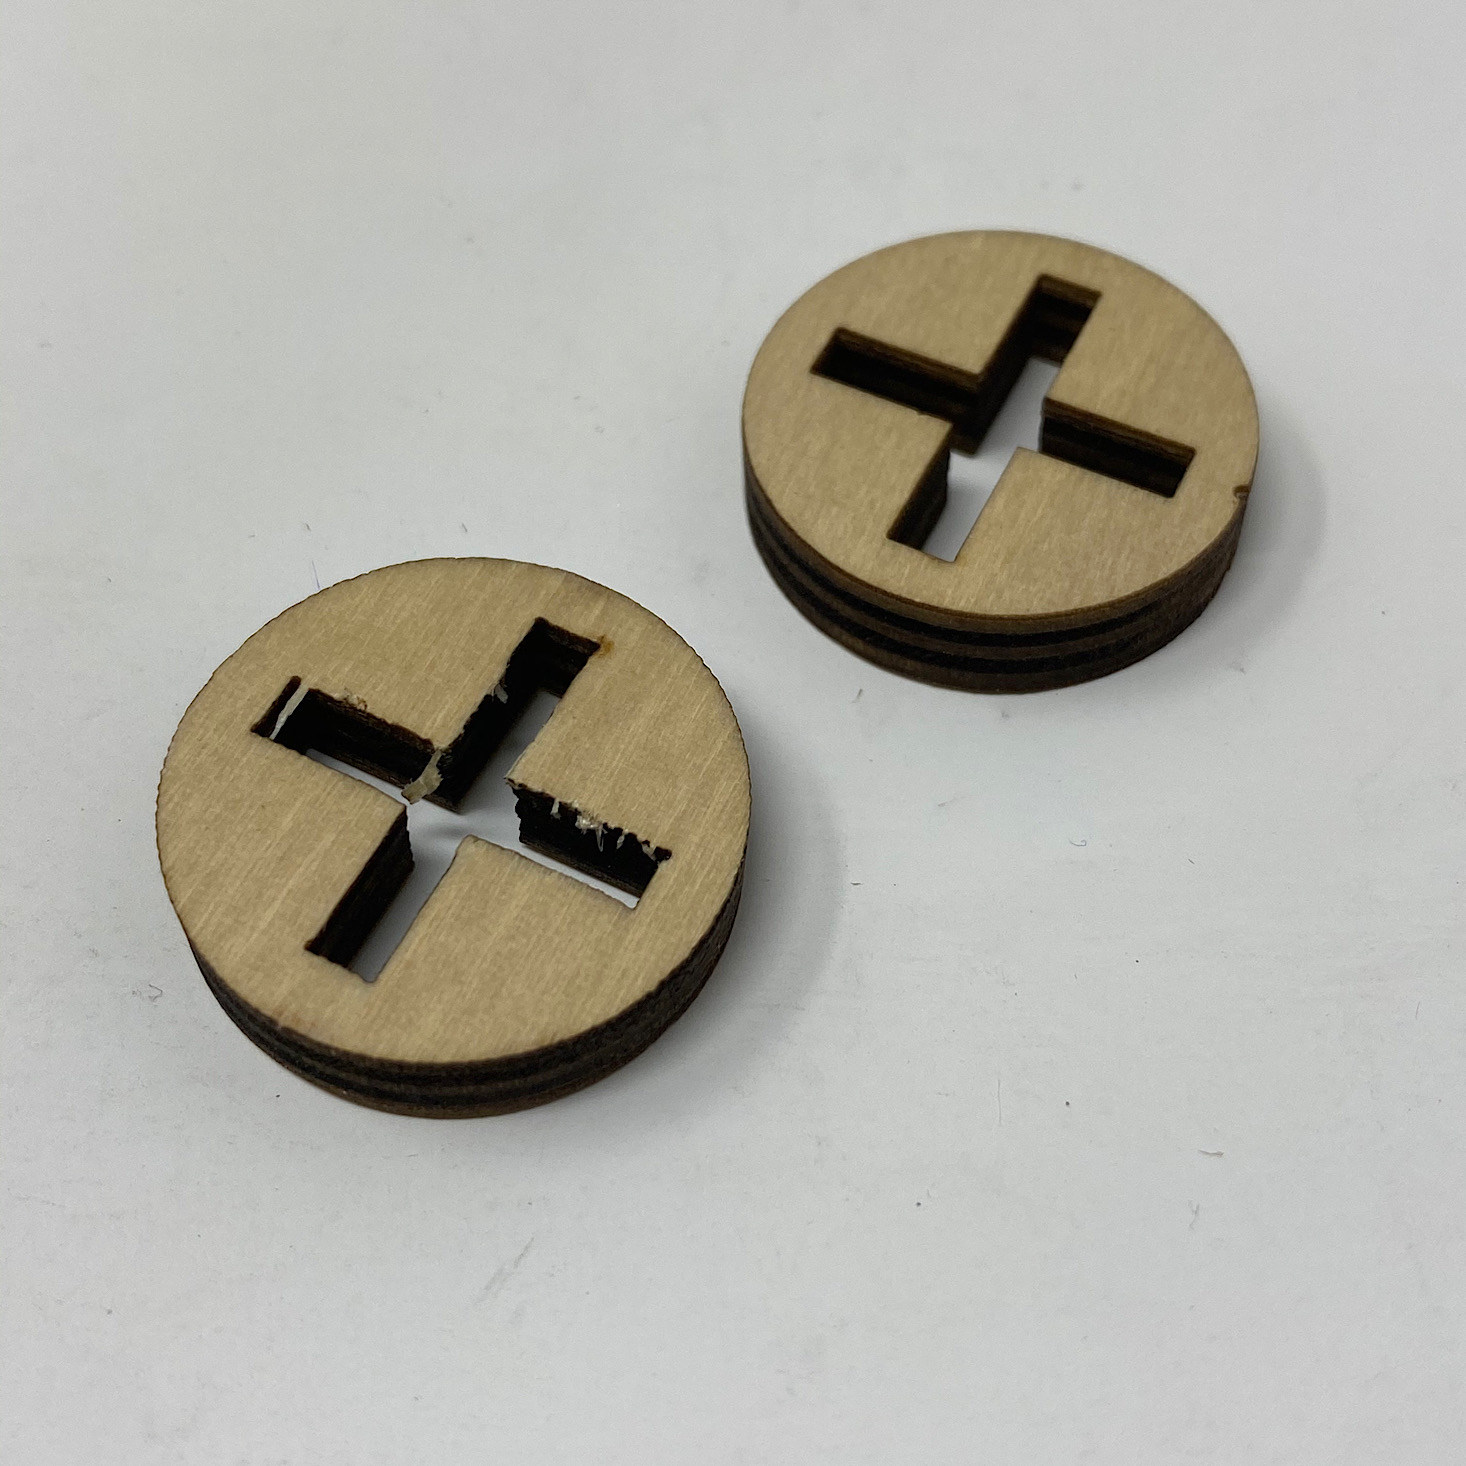
Then I added these circular pieces to the sides of my drum.
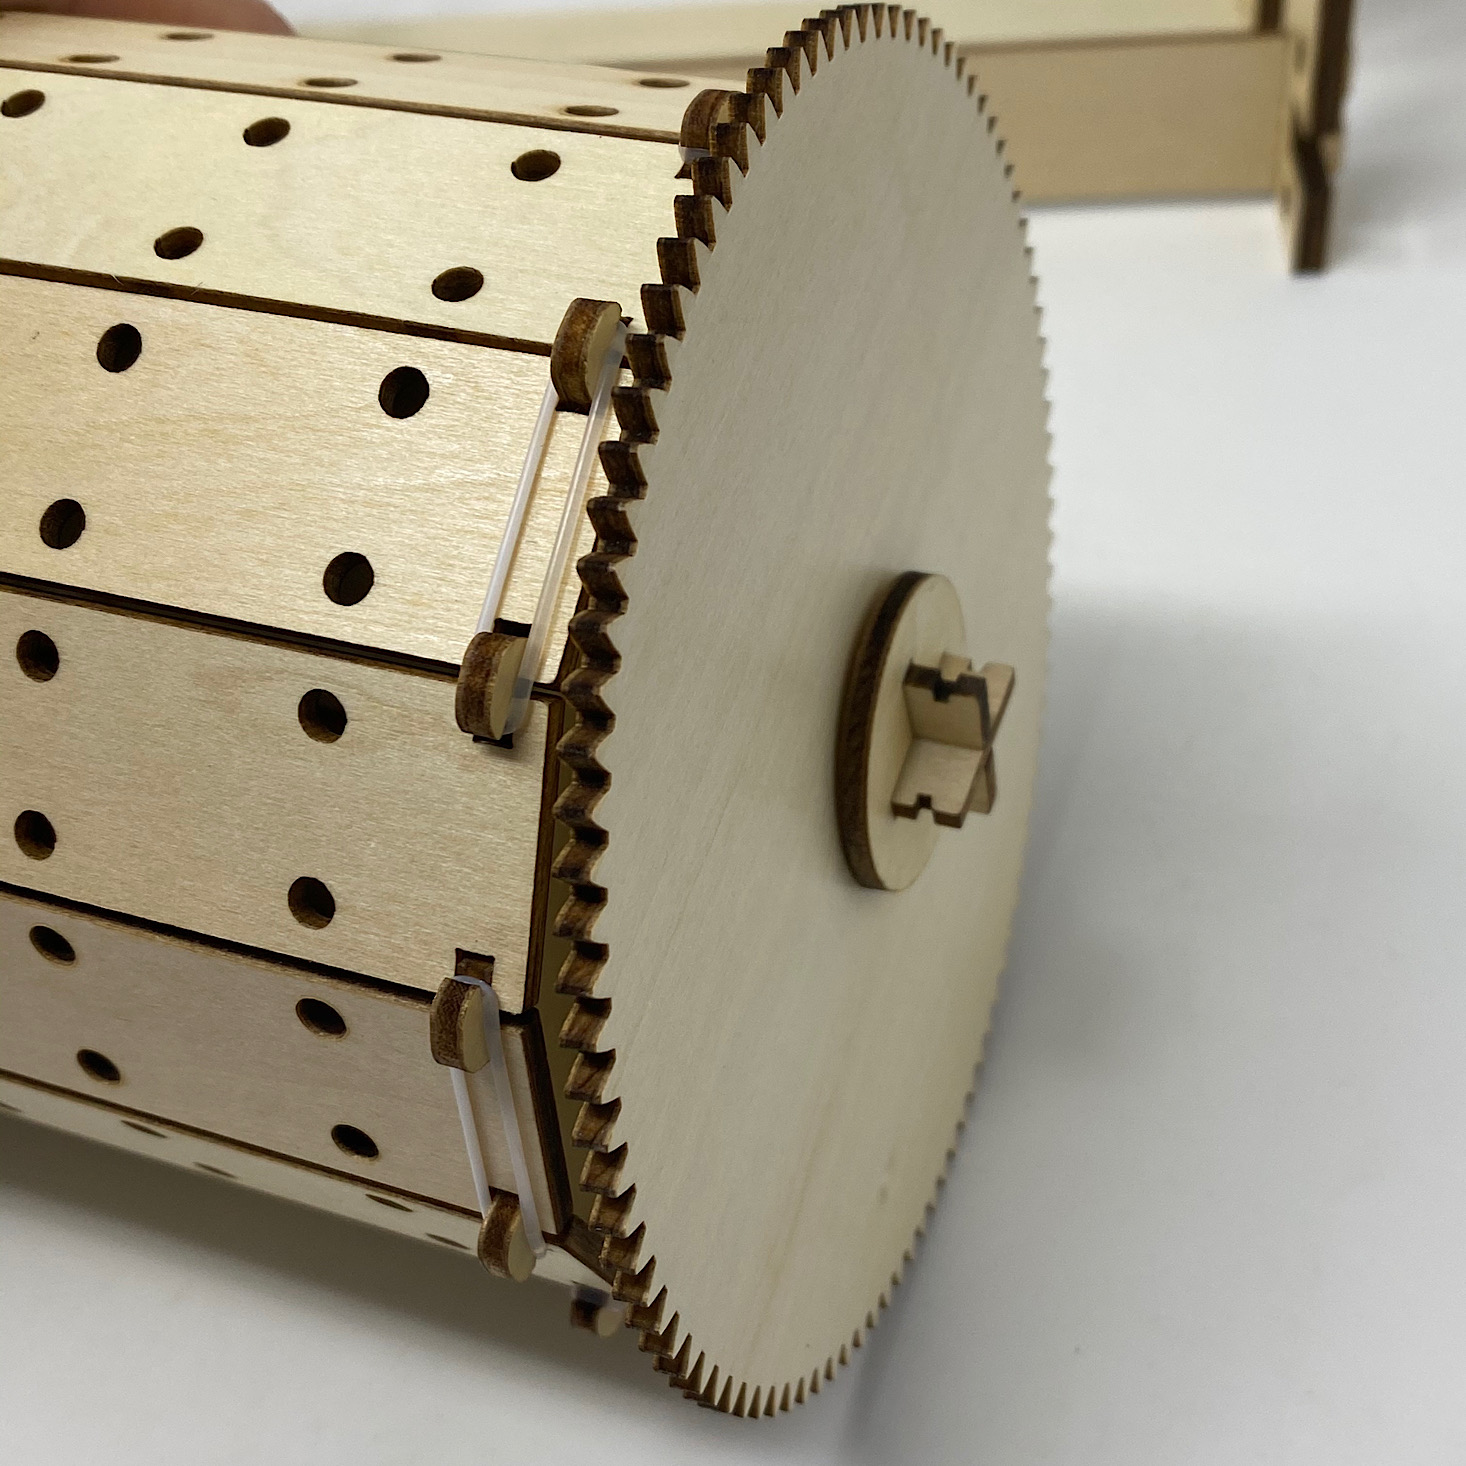
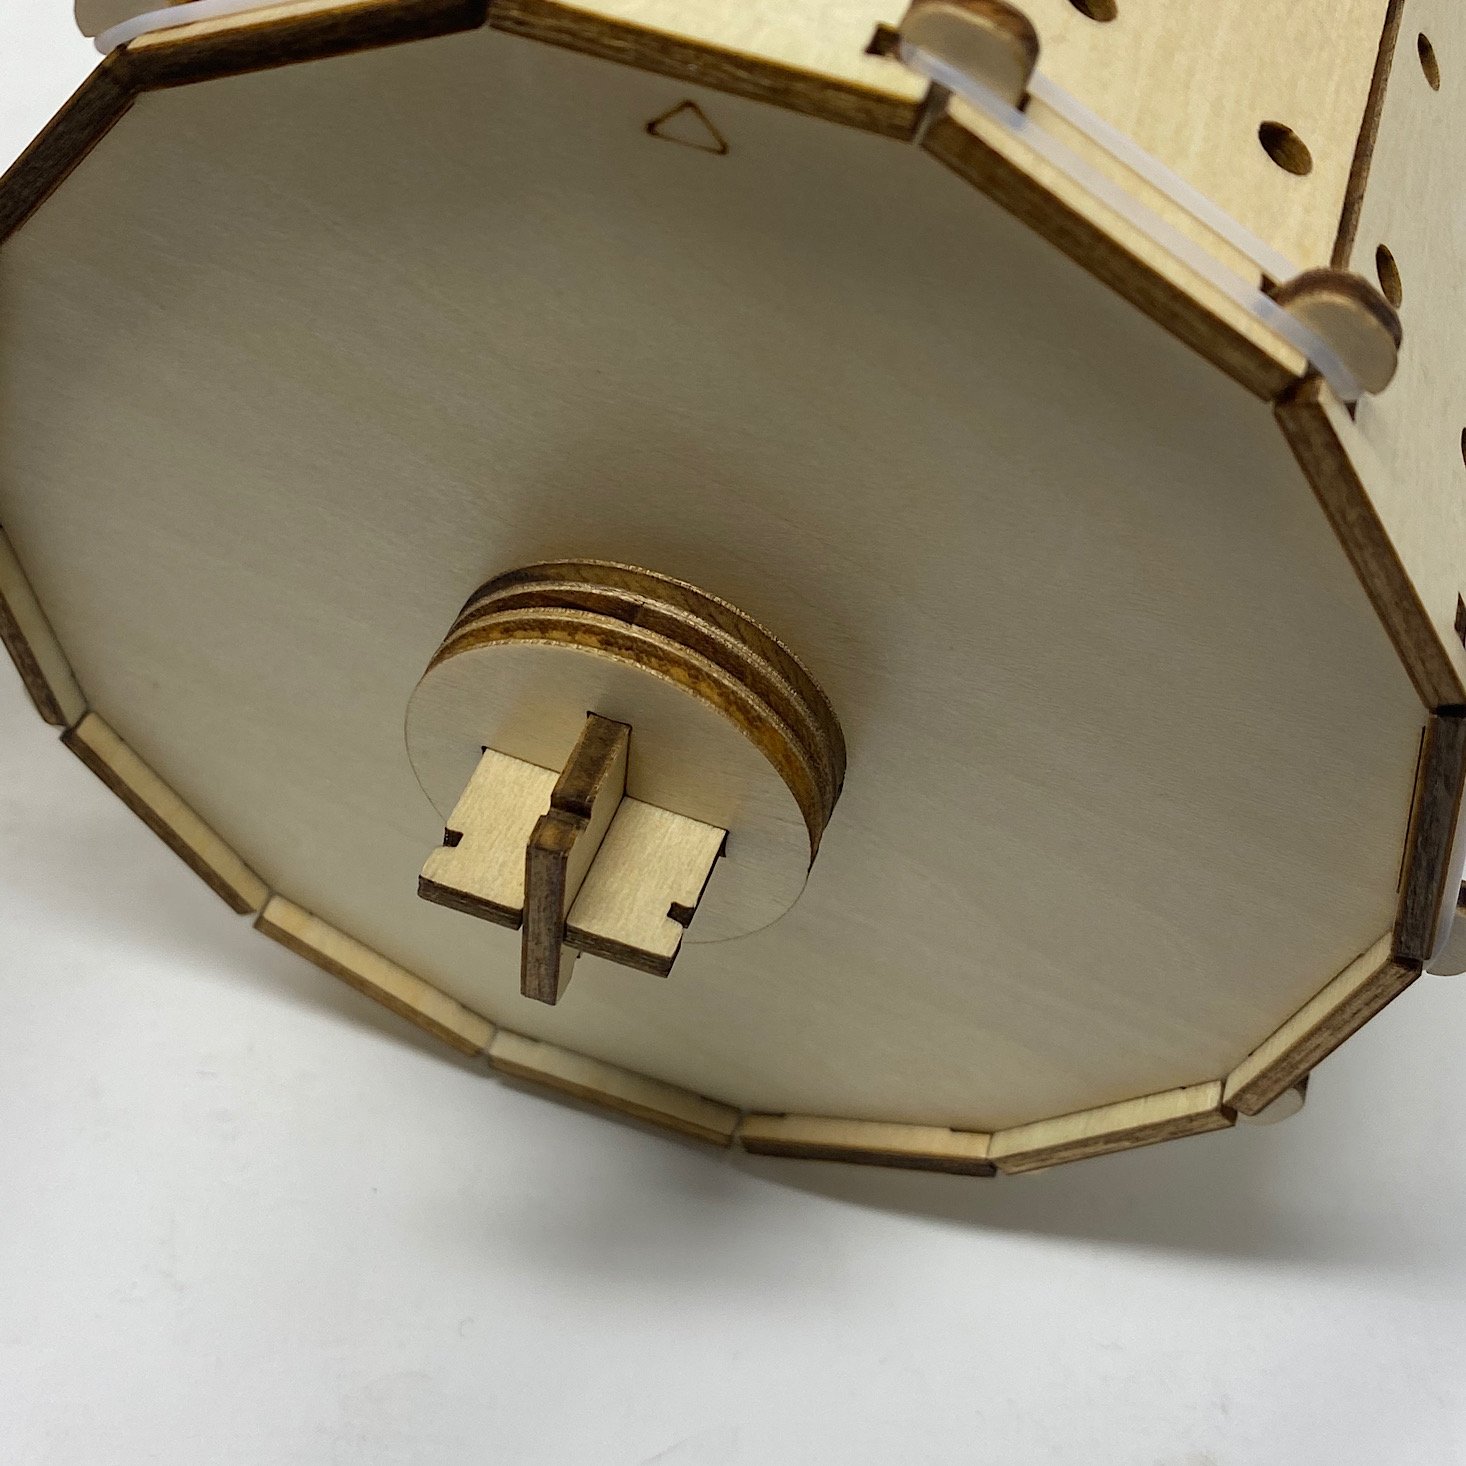
1 of 4

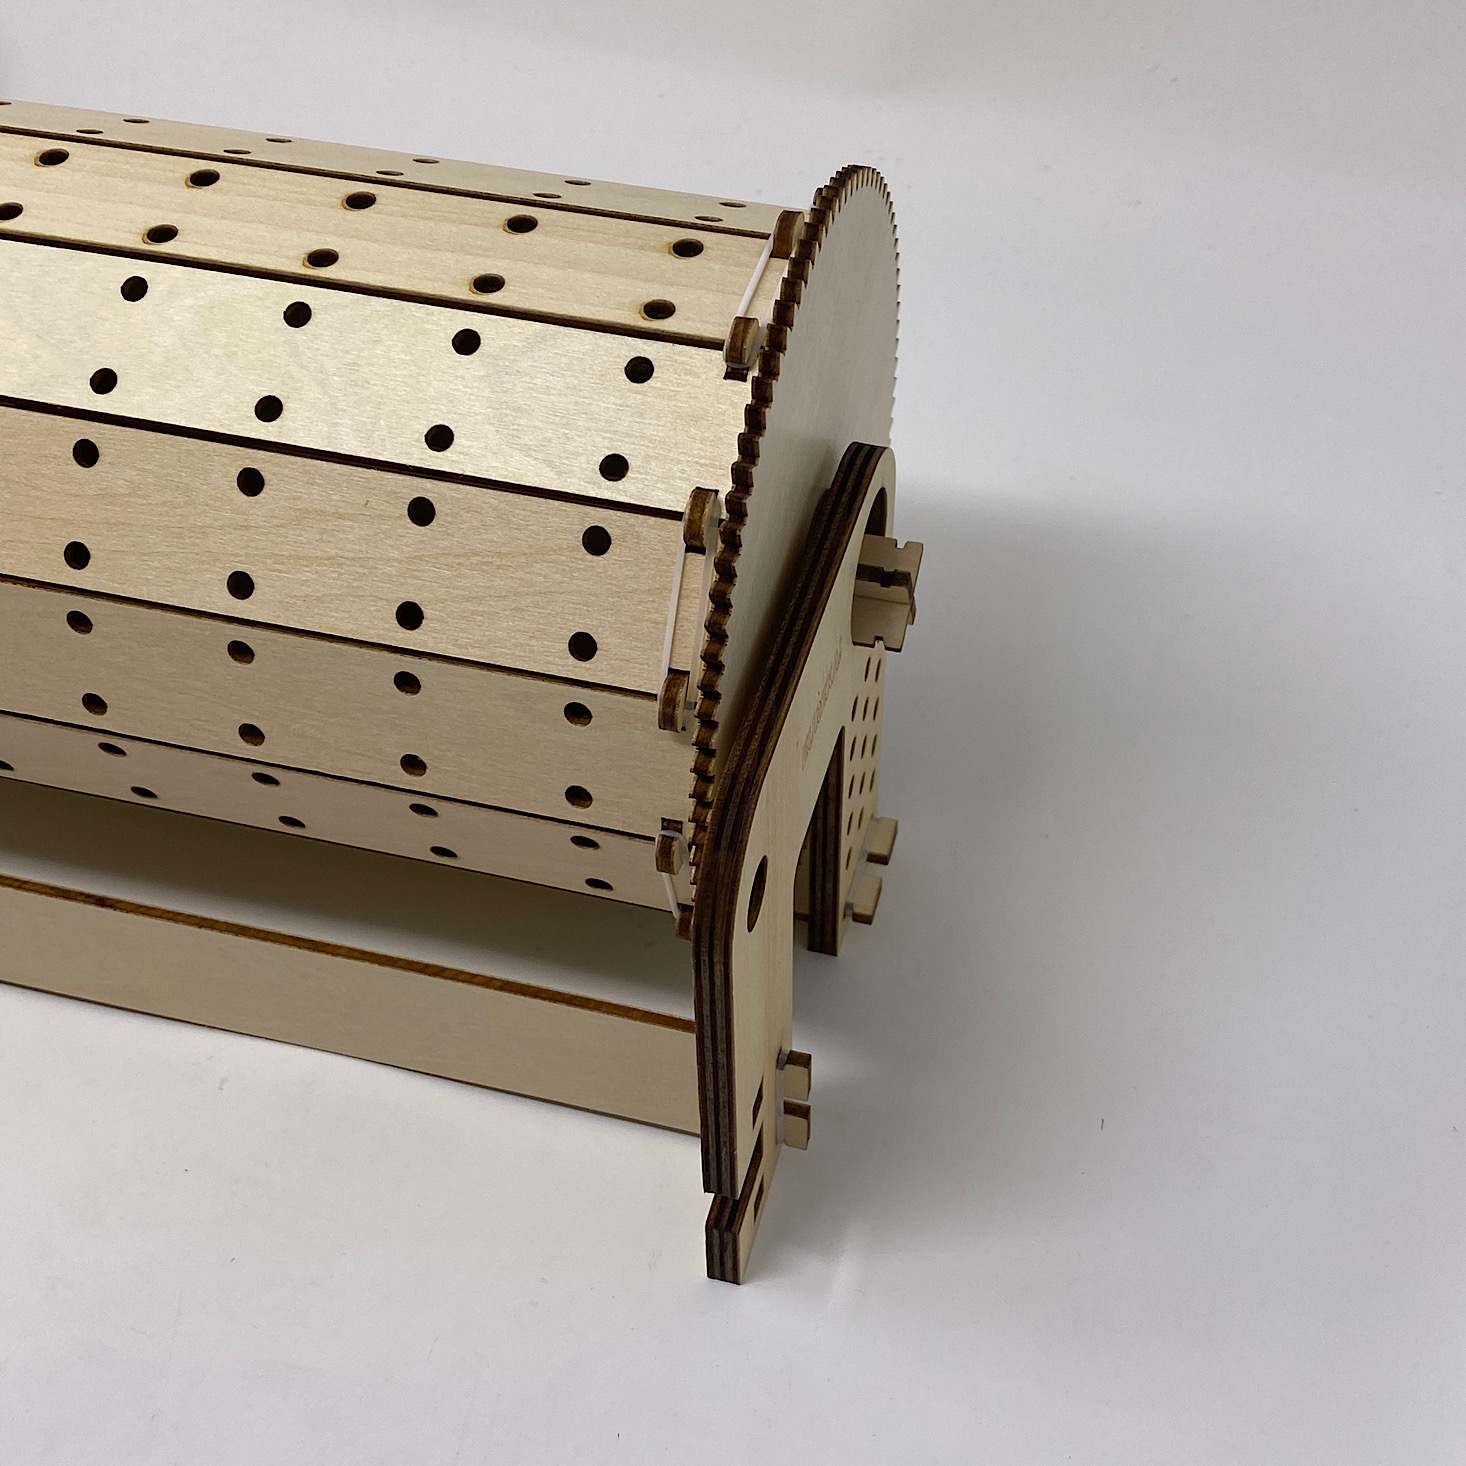
I slid the entire drum into the frame and then added some thicker wooden circles sliding them into the holes in the side.
1 of 2
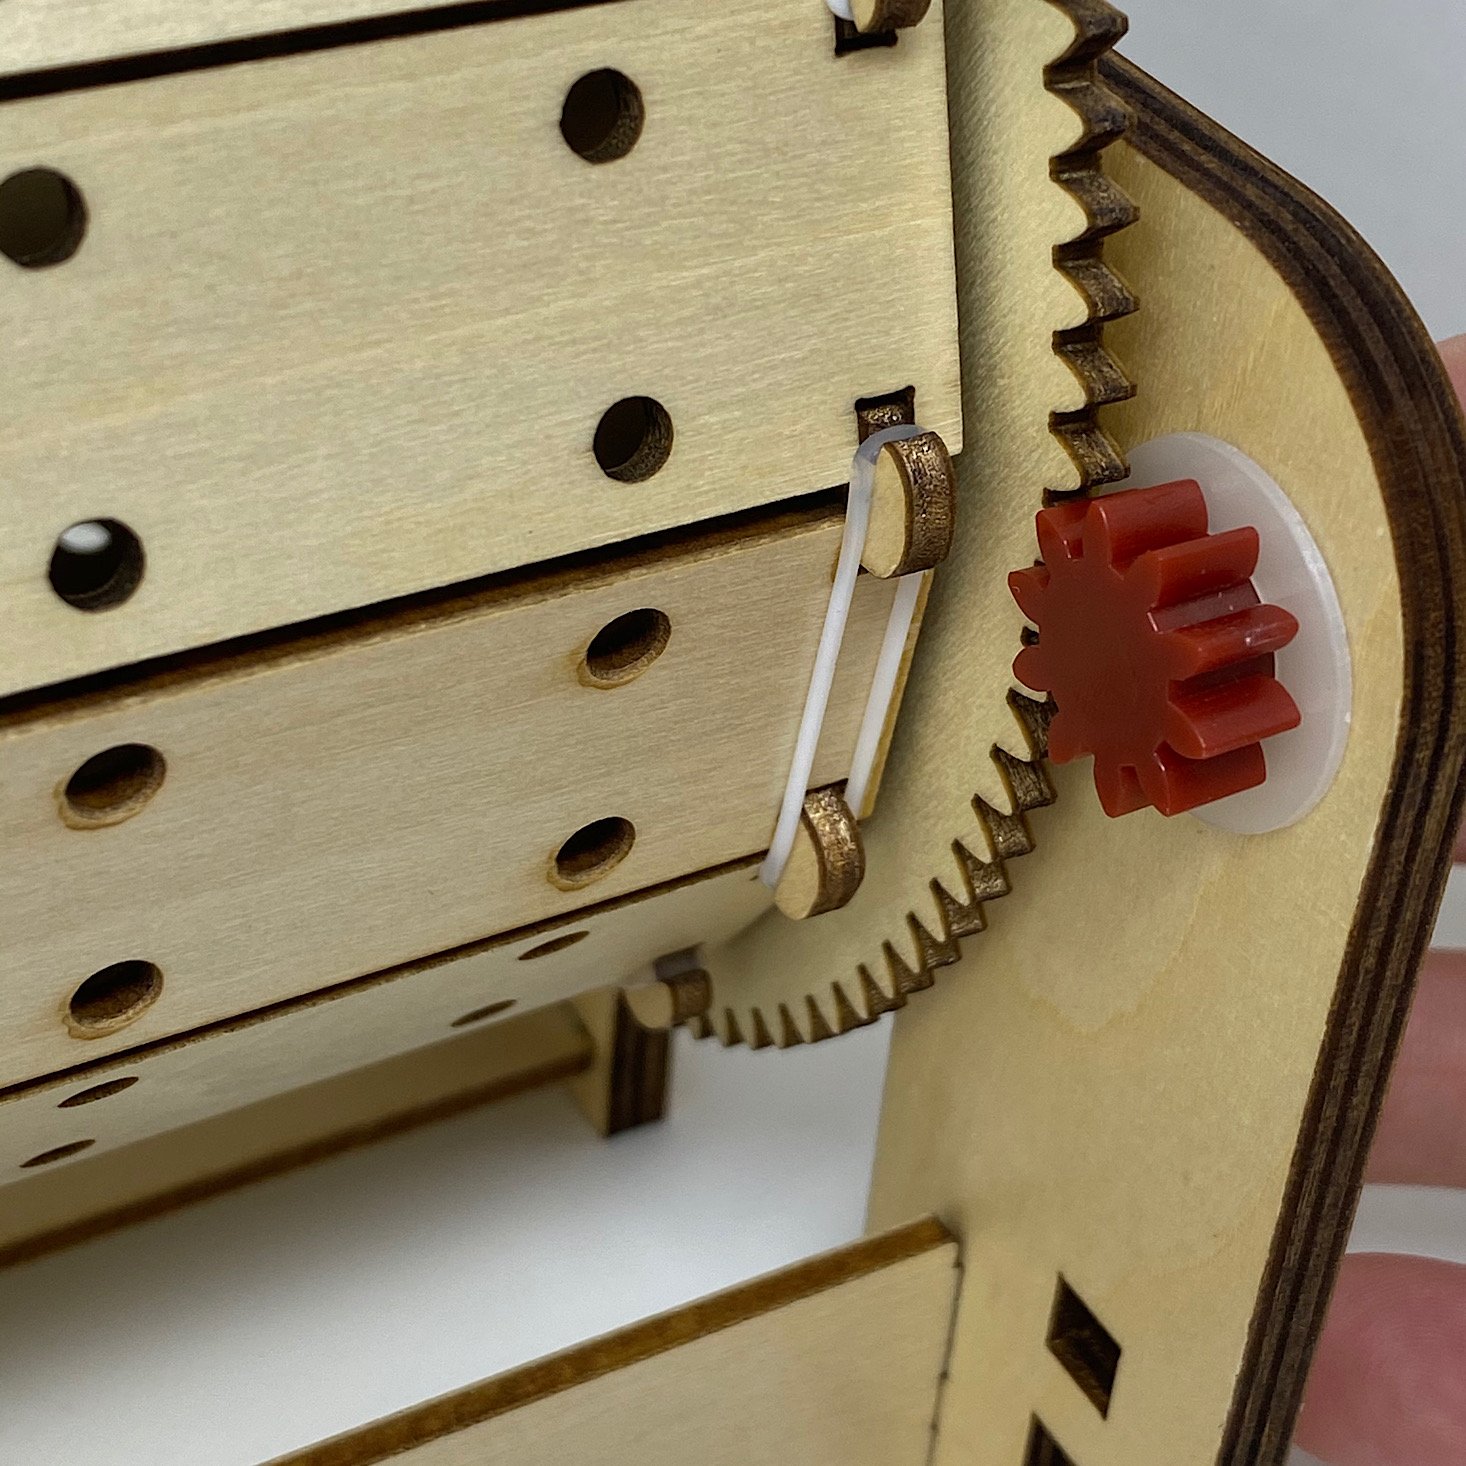
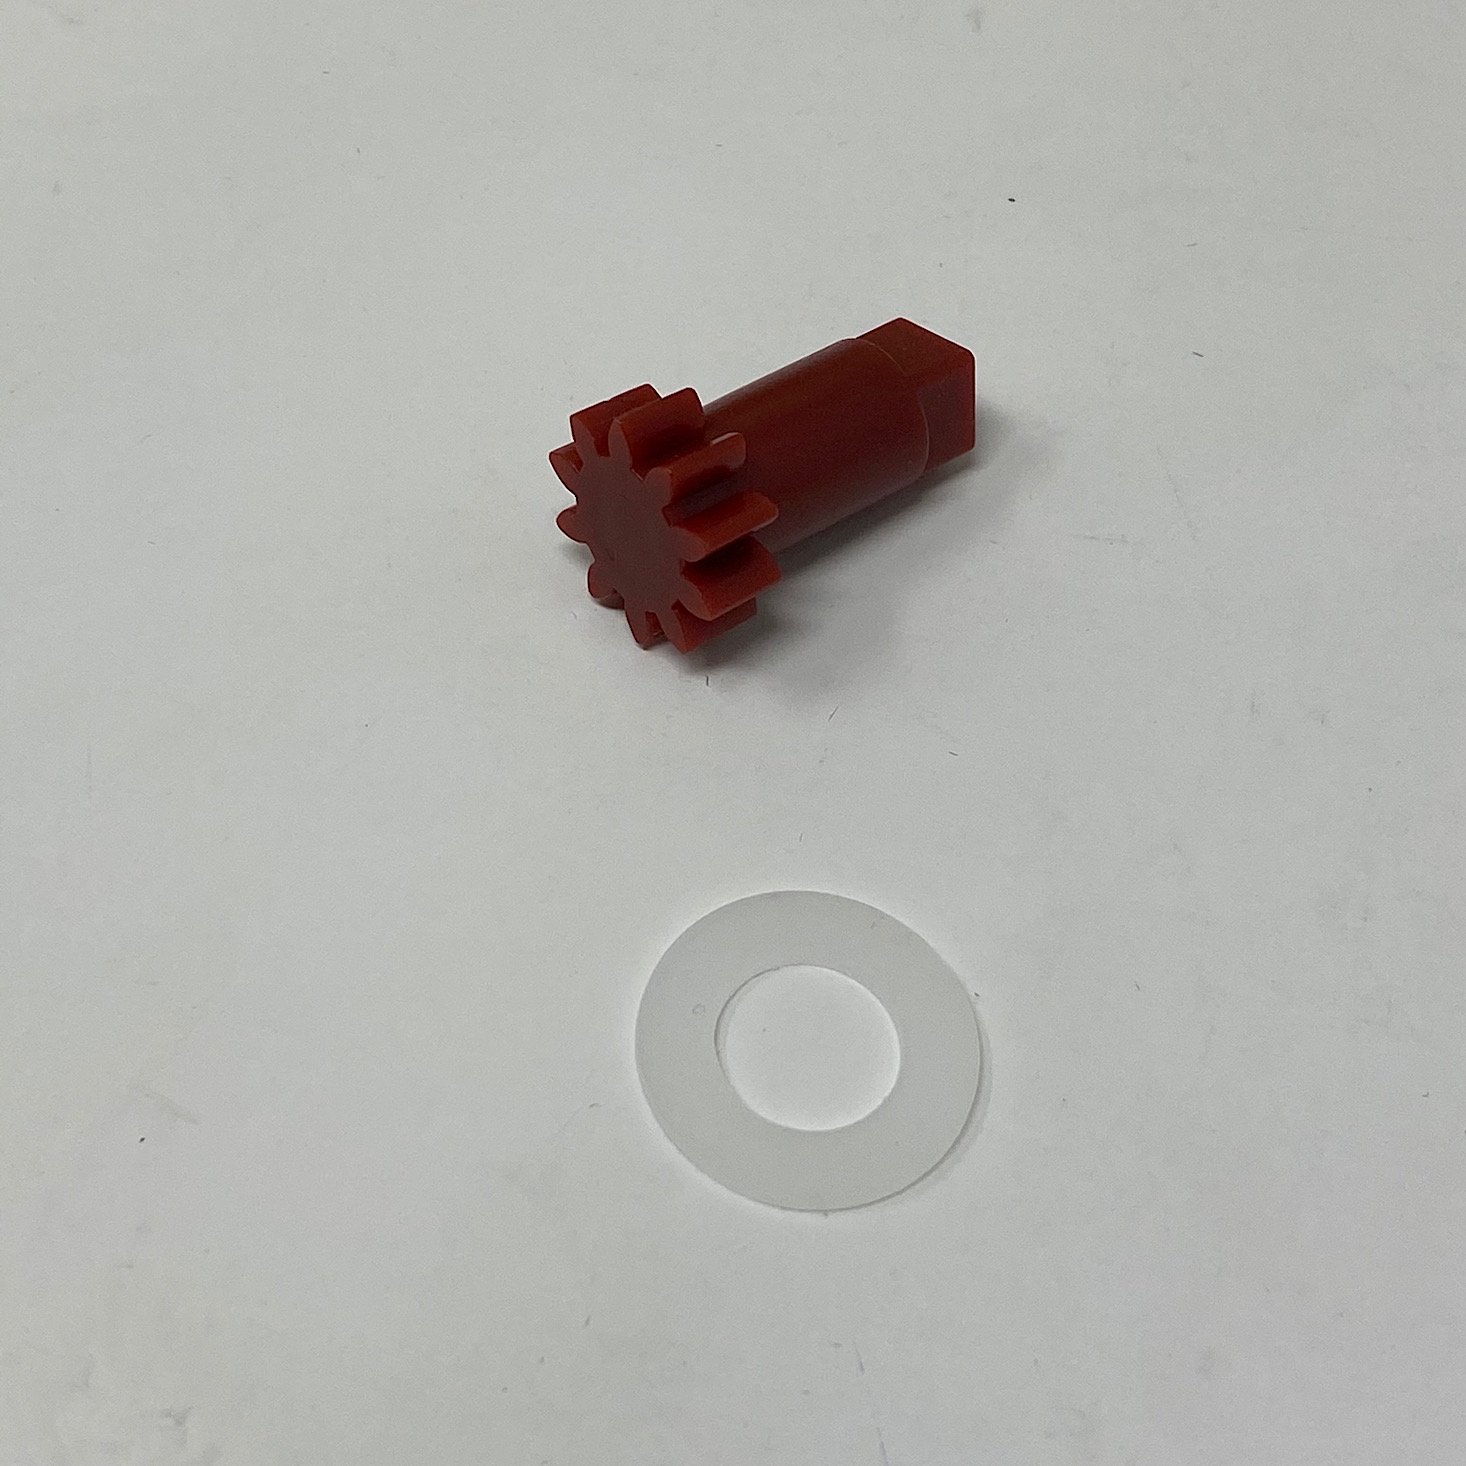
I added this little red piece to the side with a spacer making sure to fit the teeth together.


1 of 6


Then I added various pieces and screws to form the handle which would act as our crank. That completed the drum build.
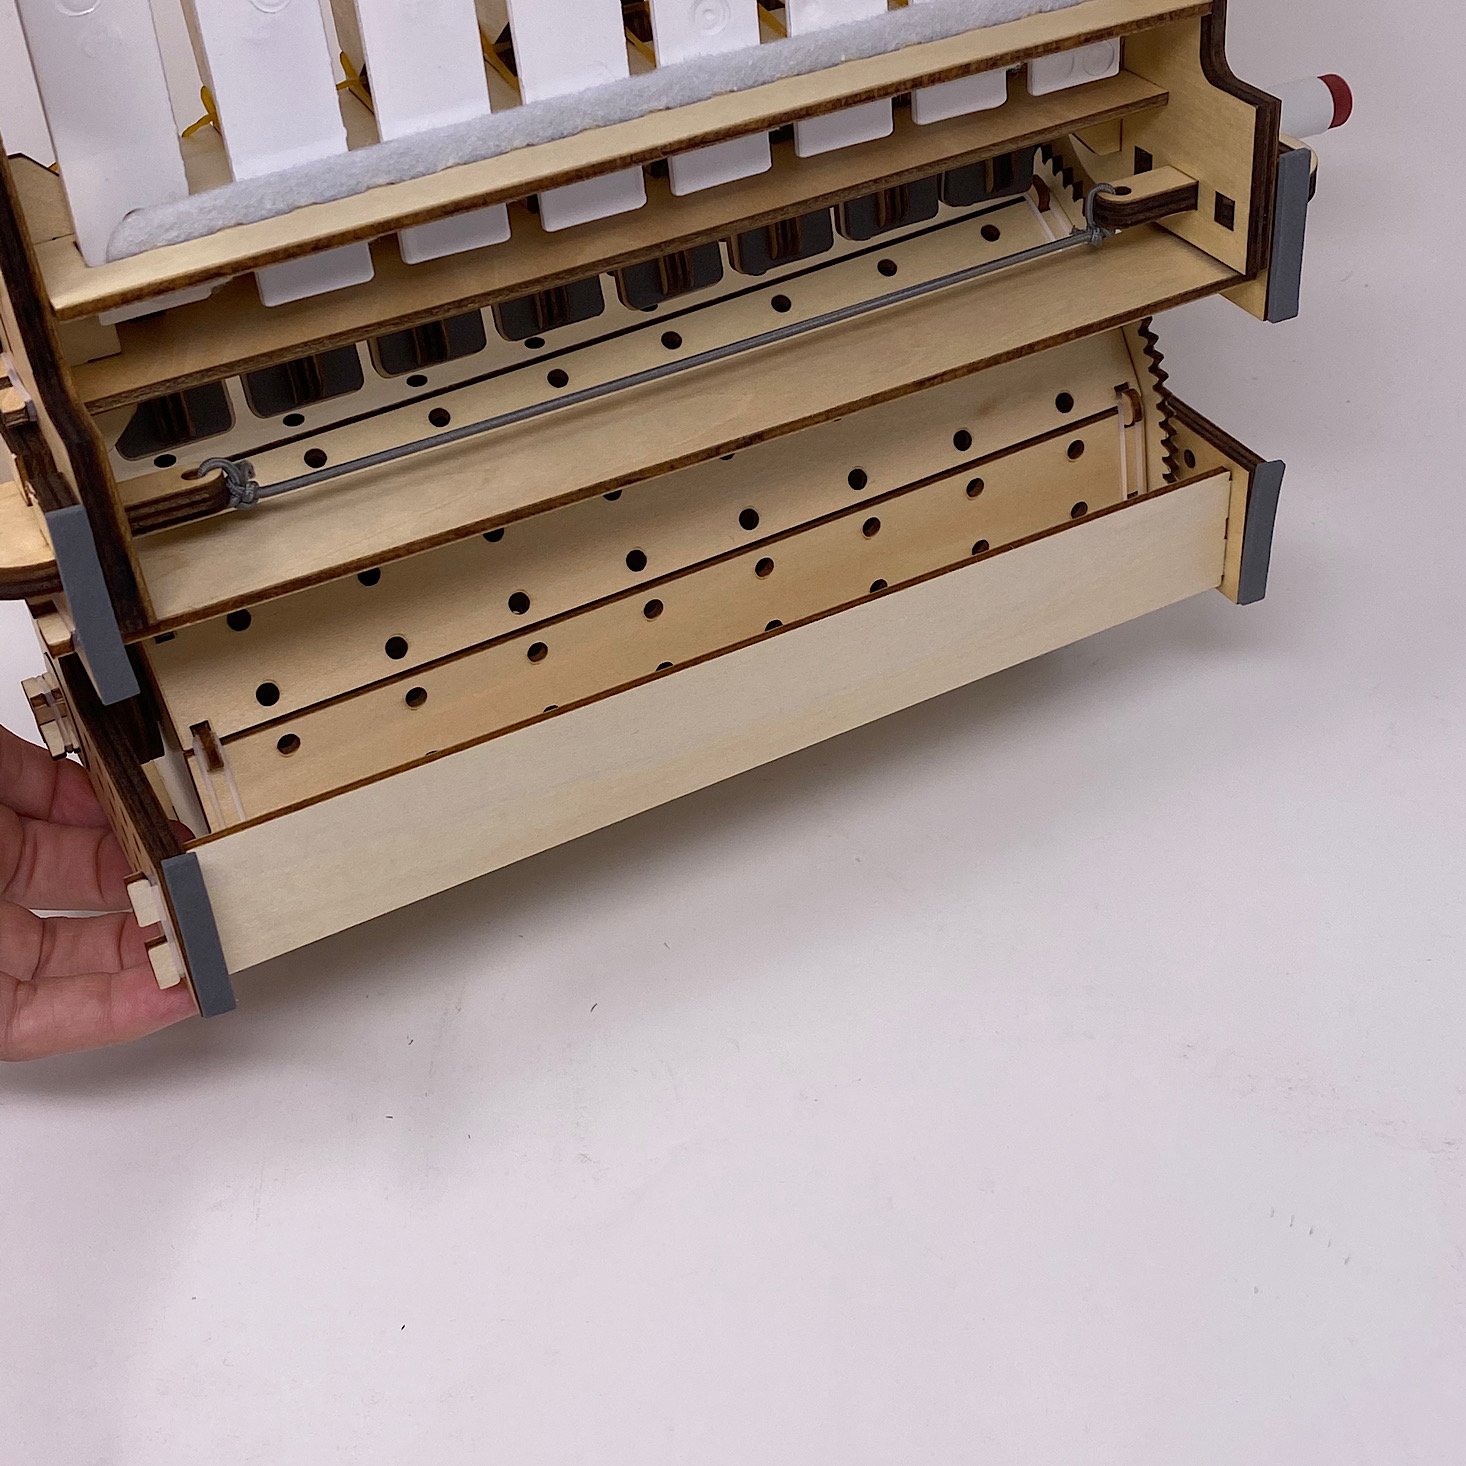
Part E: Attach the Keyboard

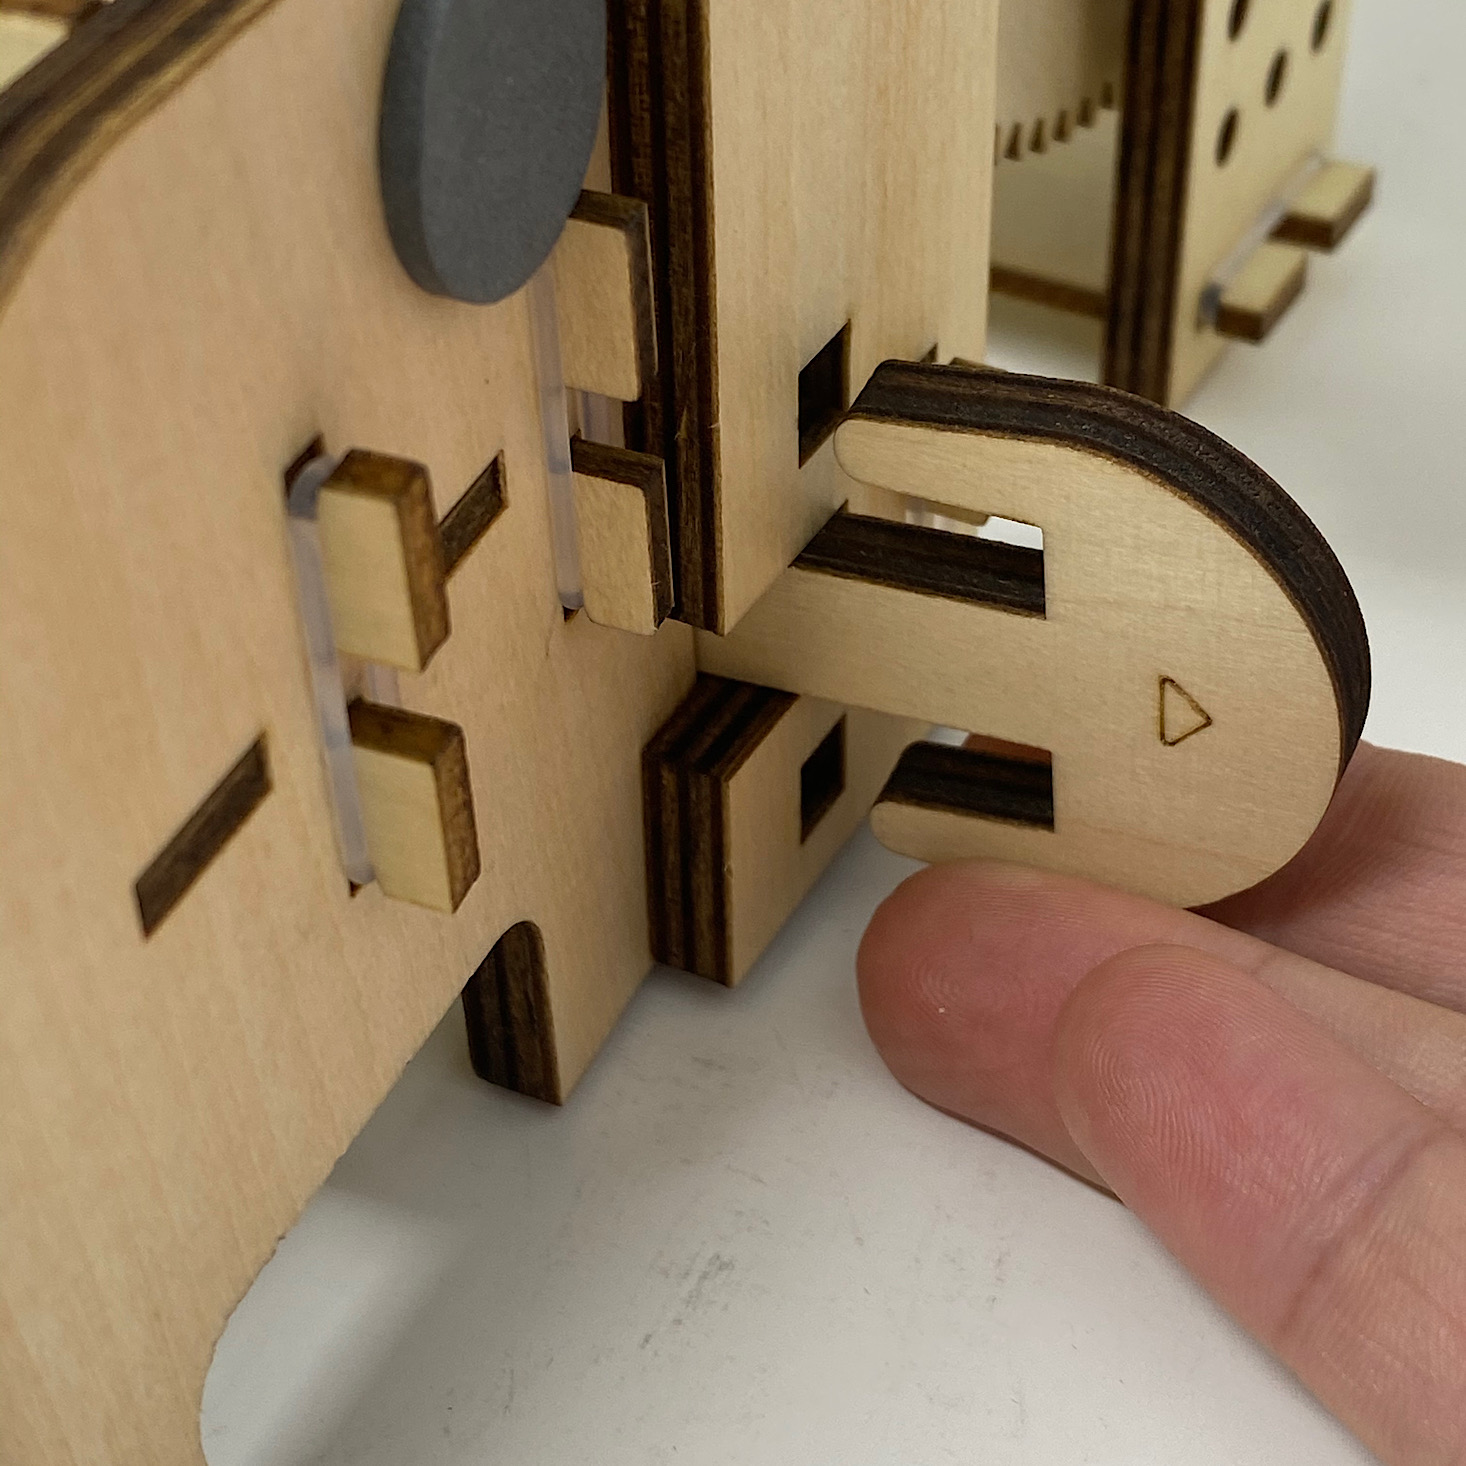
1 of 2
Now it was time to put the keyboard and drum together. This was another great design! I literally just pulled out those side tabs, slid the keyboard into the drum piece, and then let the notch go into the holes, connecting them!

1 of 2
I was putting away the few extra pieces when I realized I never added the strips to the bottom! Luckily it was a quick fix!


1 of 3
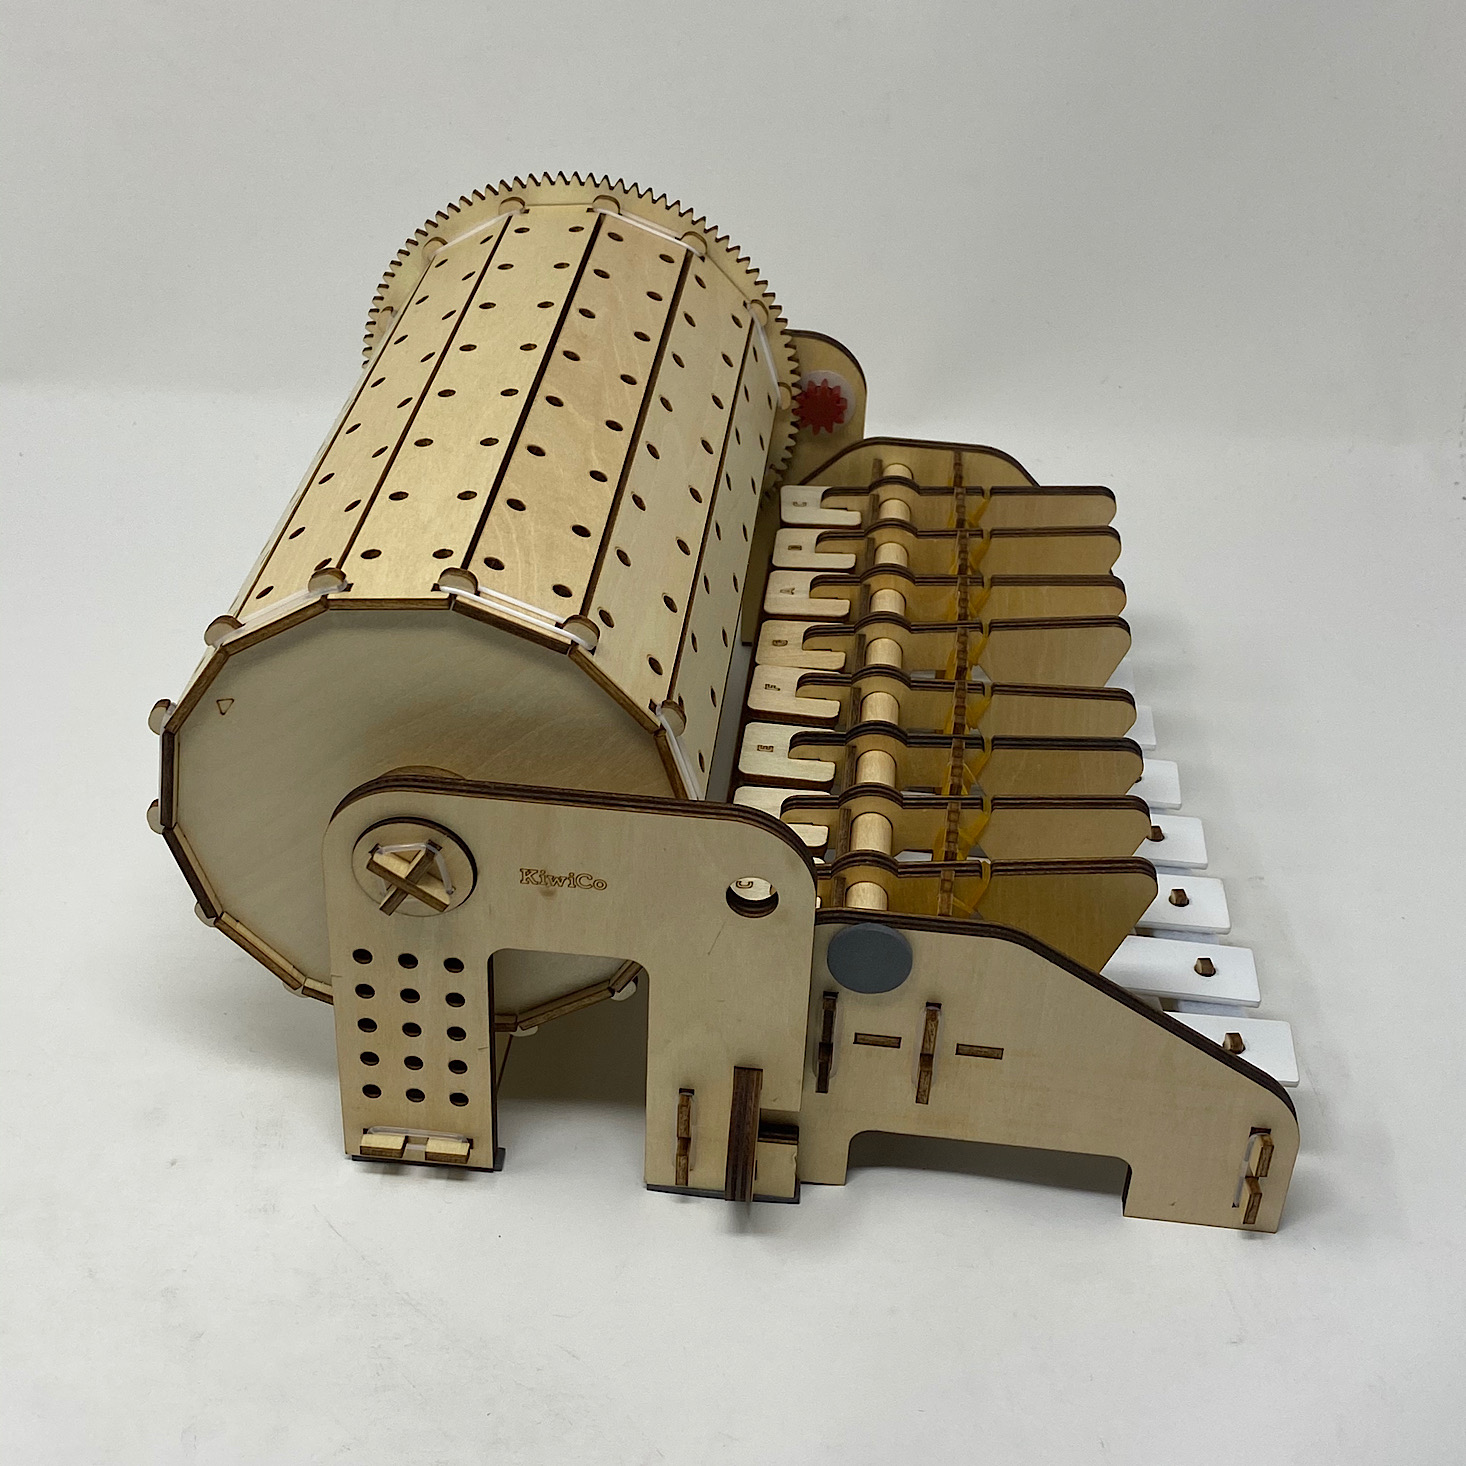
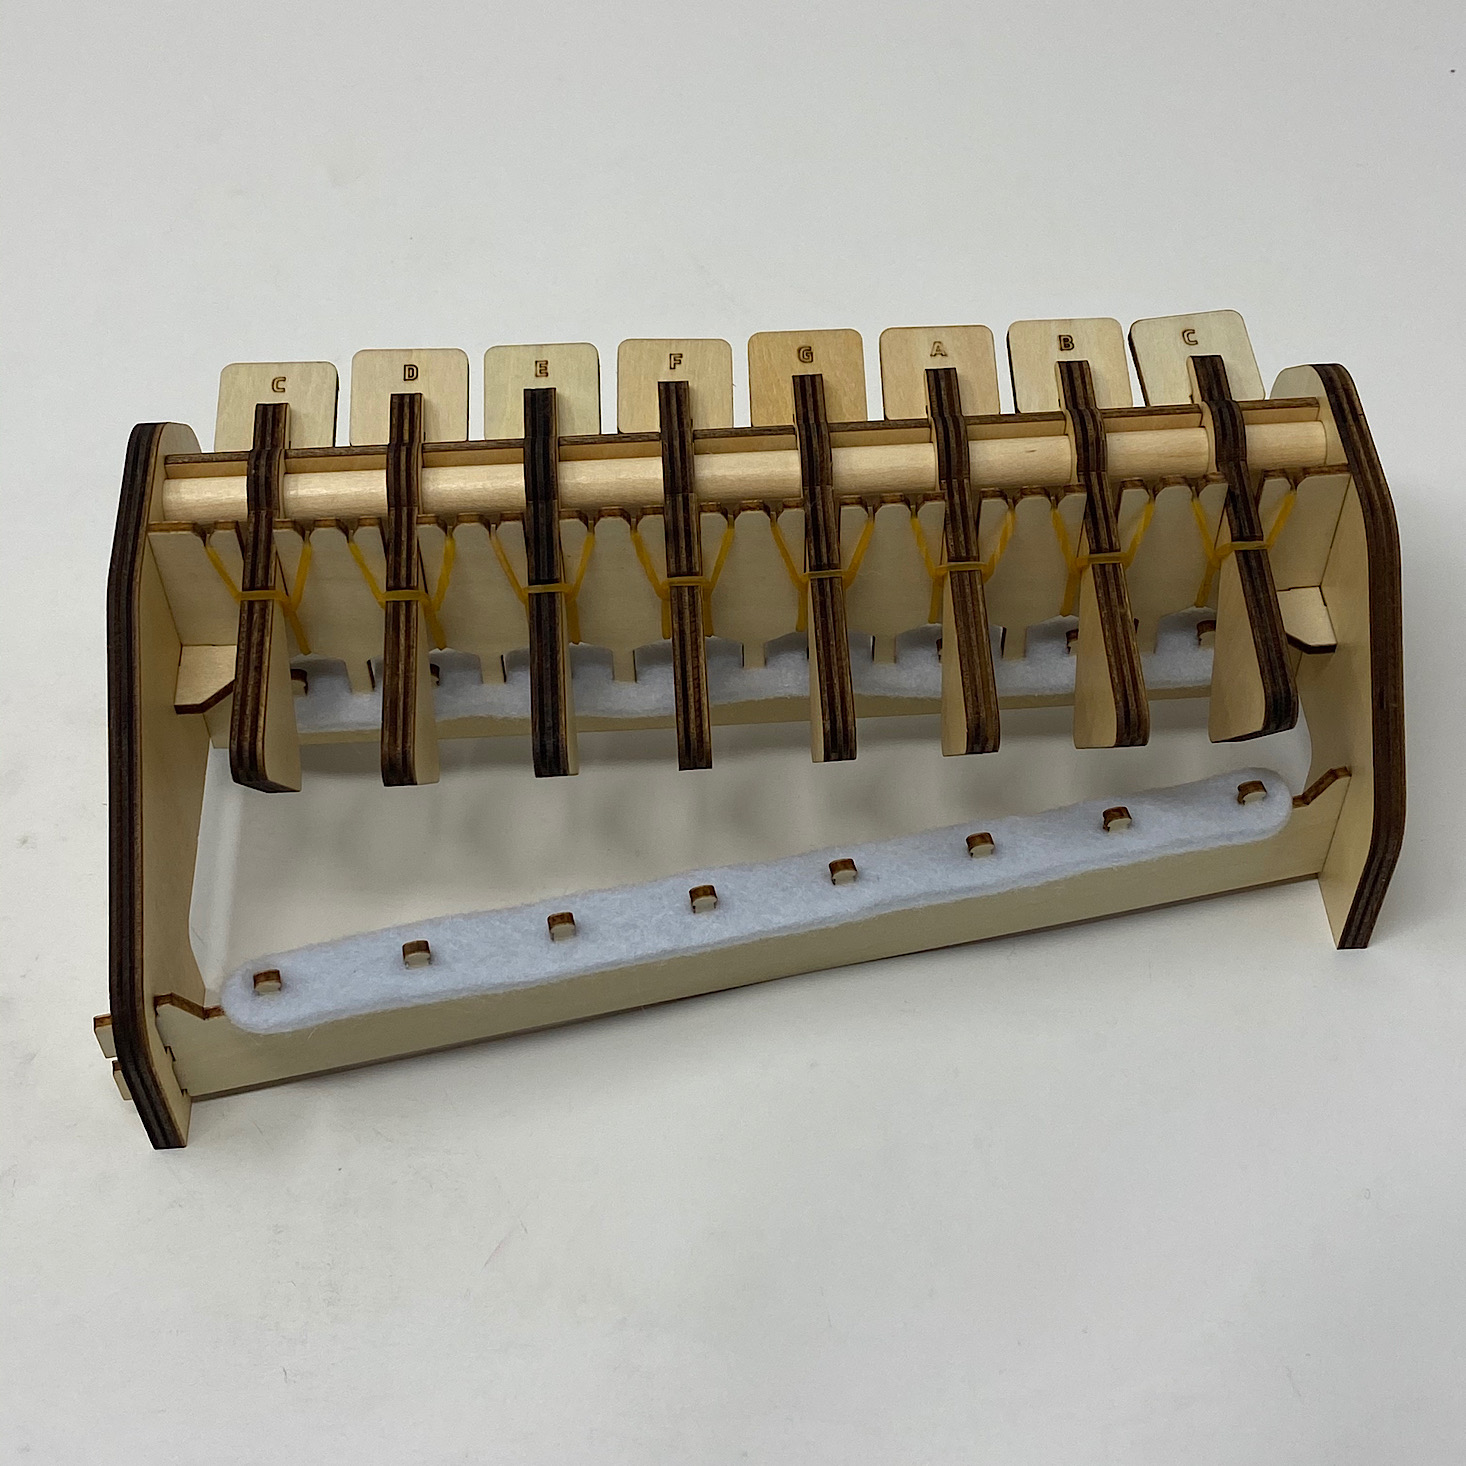
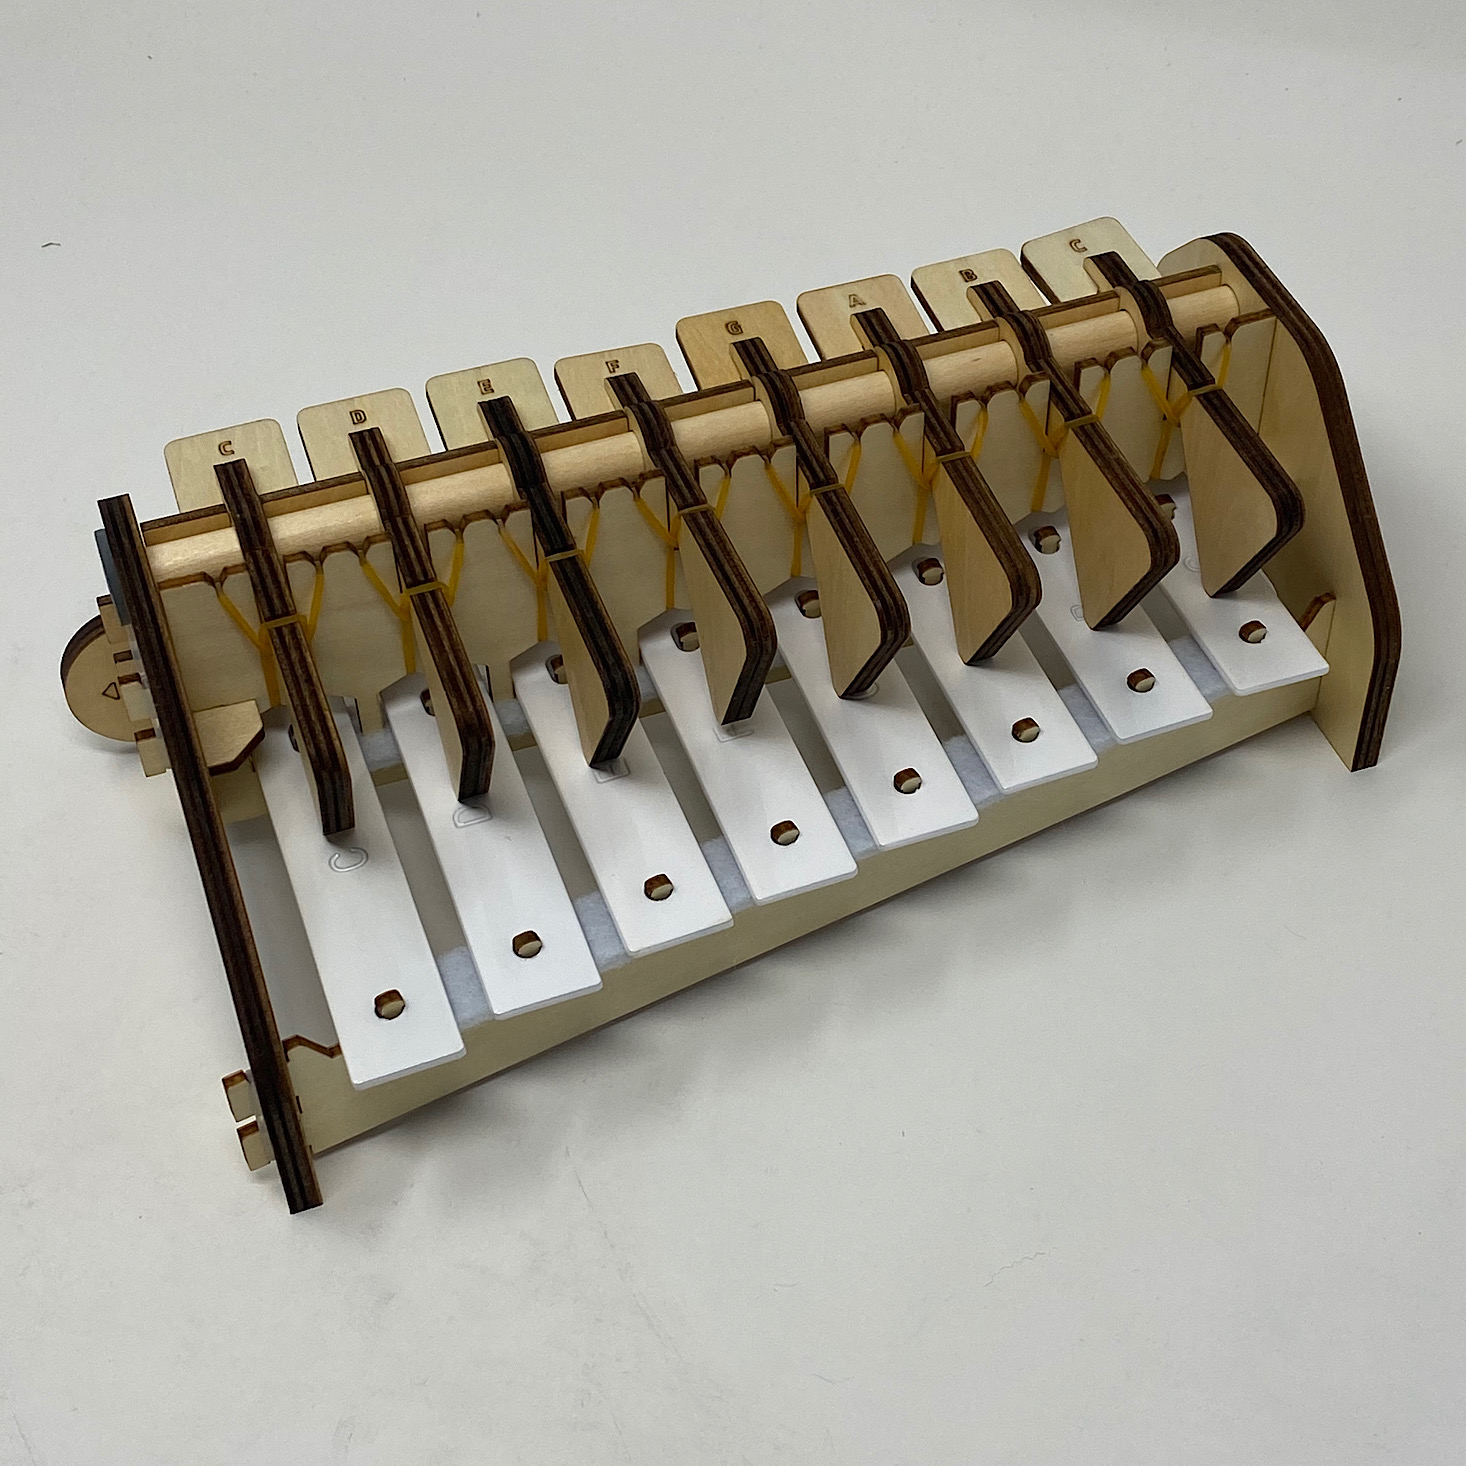
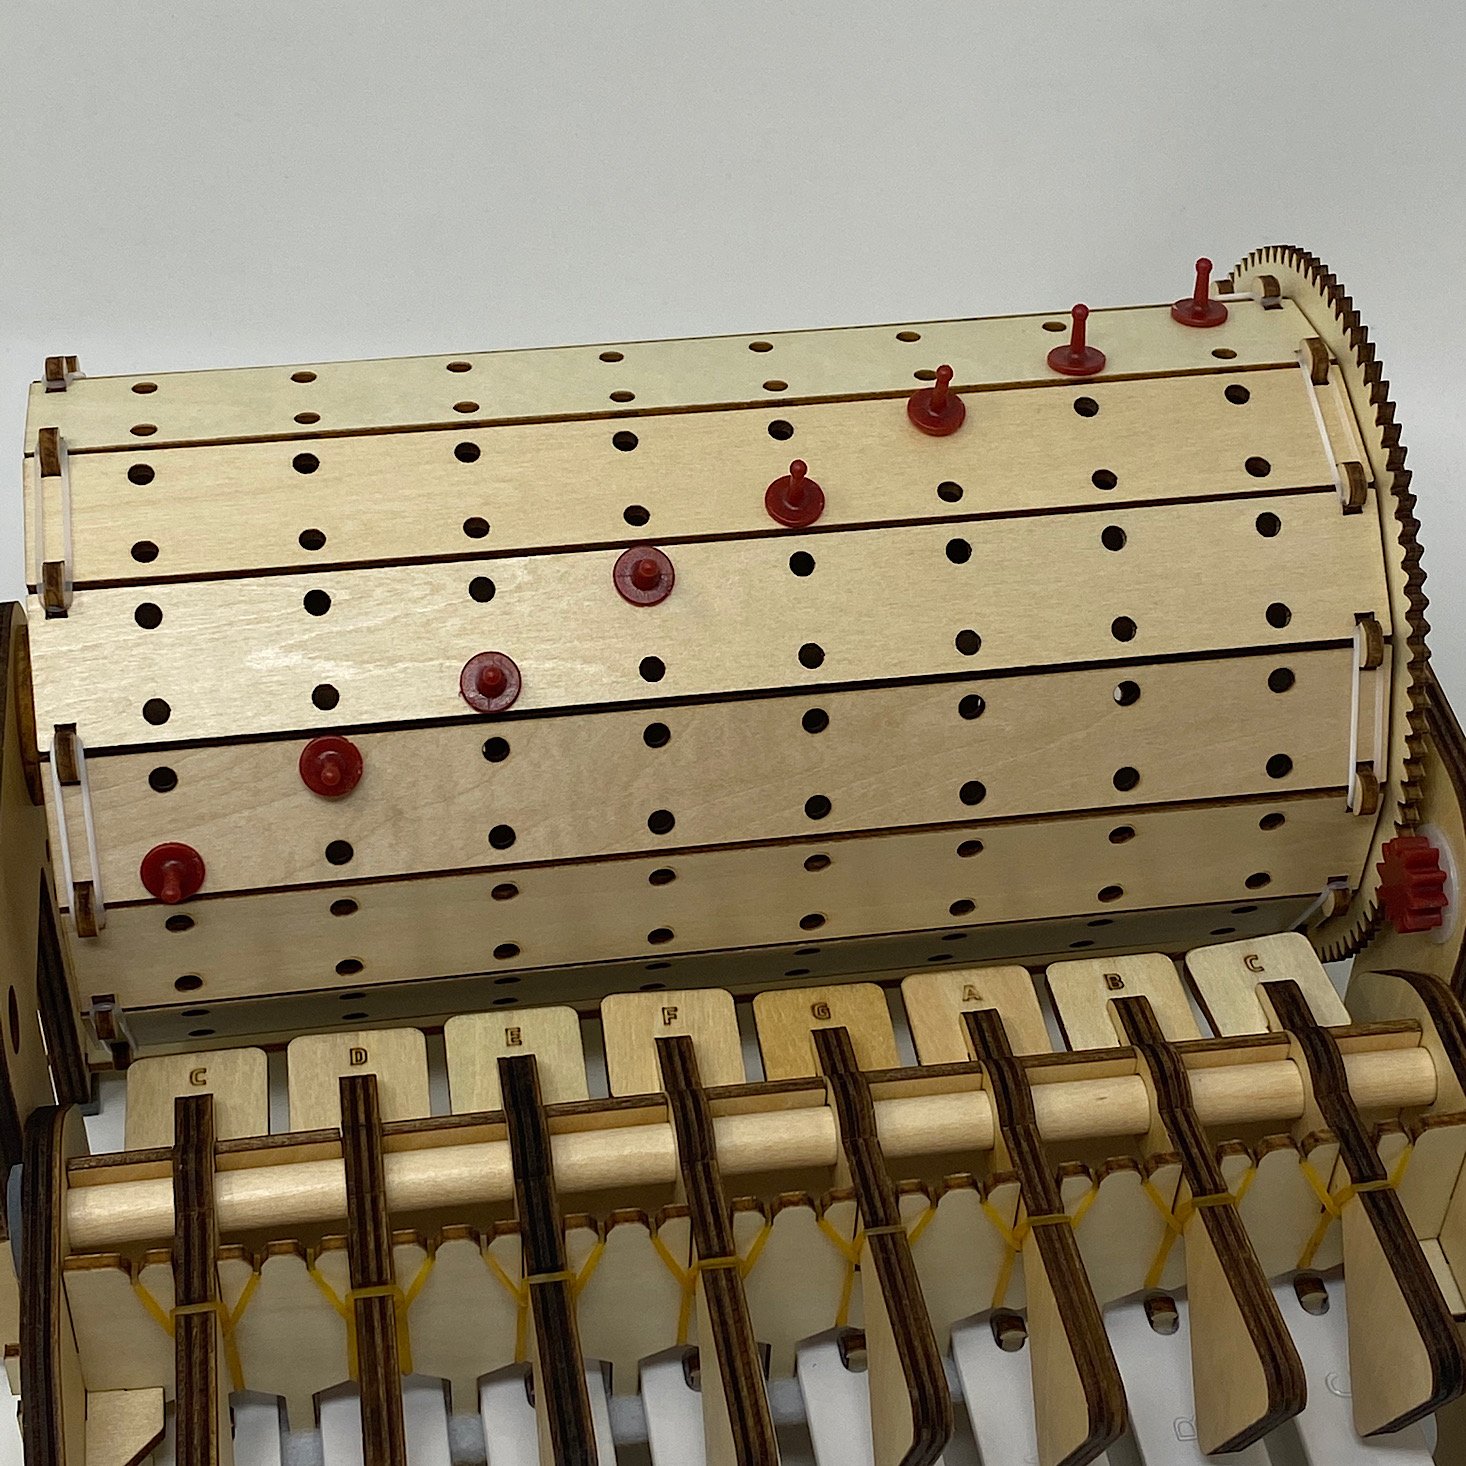
Here is the finished product.
1 of 2
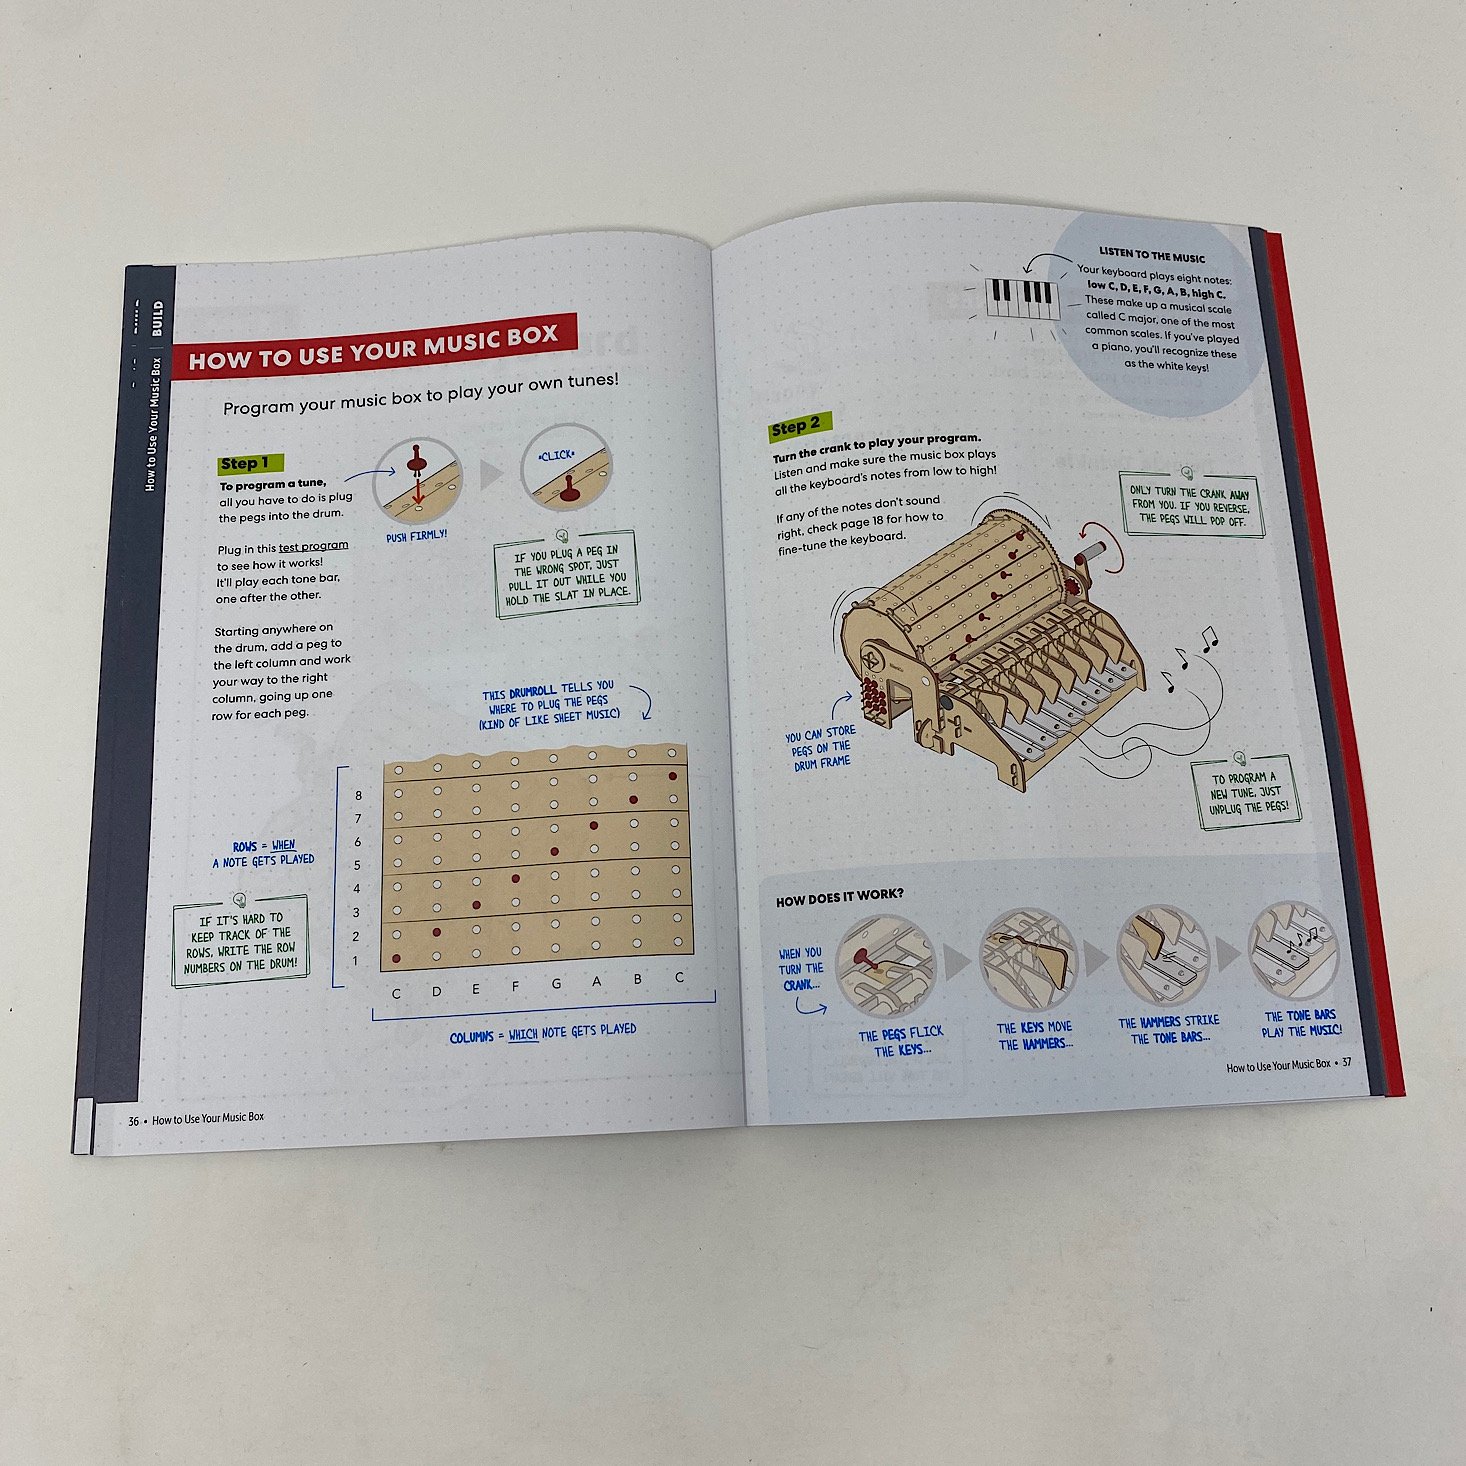
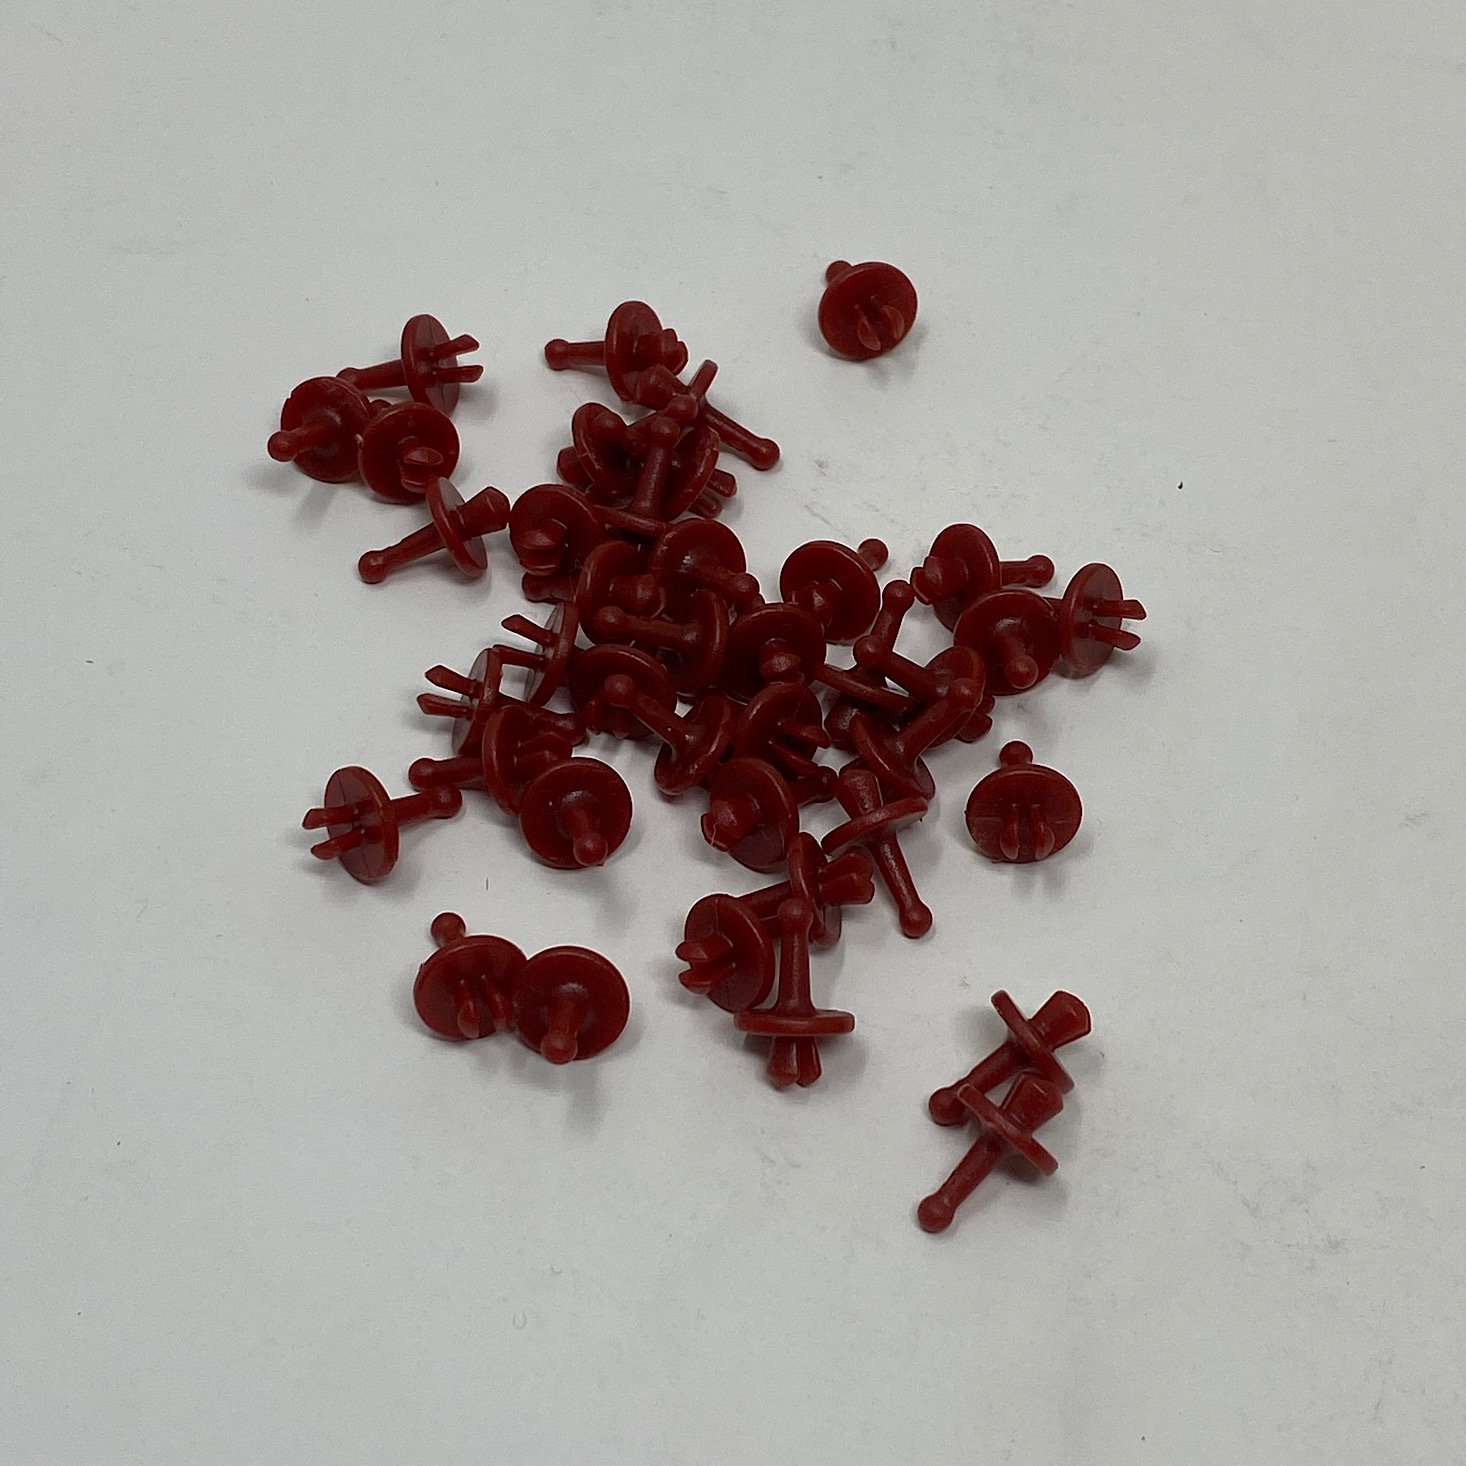
With my music box complete, they gave us some tips on how it works and also provided several different tunes for us to program by adding our little pegs. You add the little pegs and when you turn the crank, the drum rolls and those hit the keys which move the hammer that strikes the tone bars. What a genius design!
1 of 2
I started out with the test program they provided and was able to adjust a few of my hammers. I didn't realize it until now, but the spare pegs can actually be stored in the holes on the side of the music box. They really think of everything!
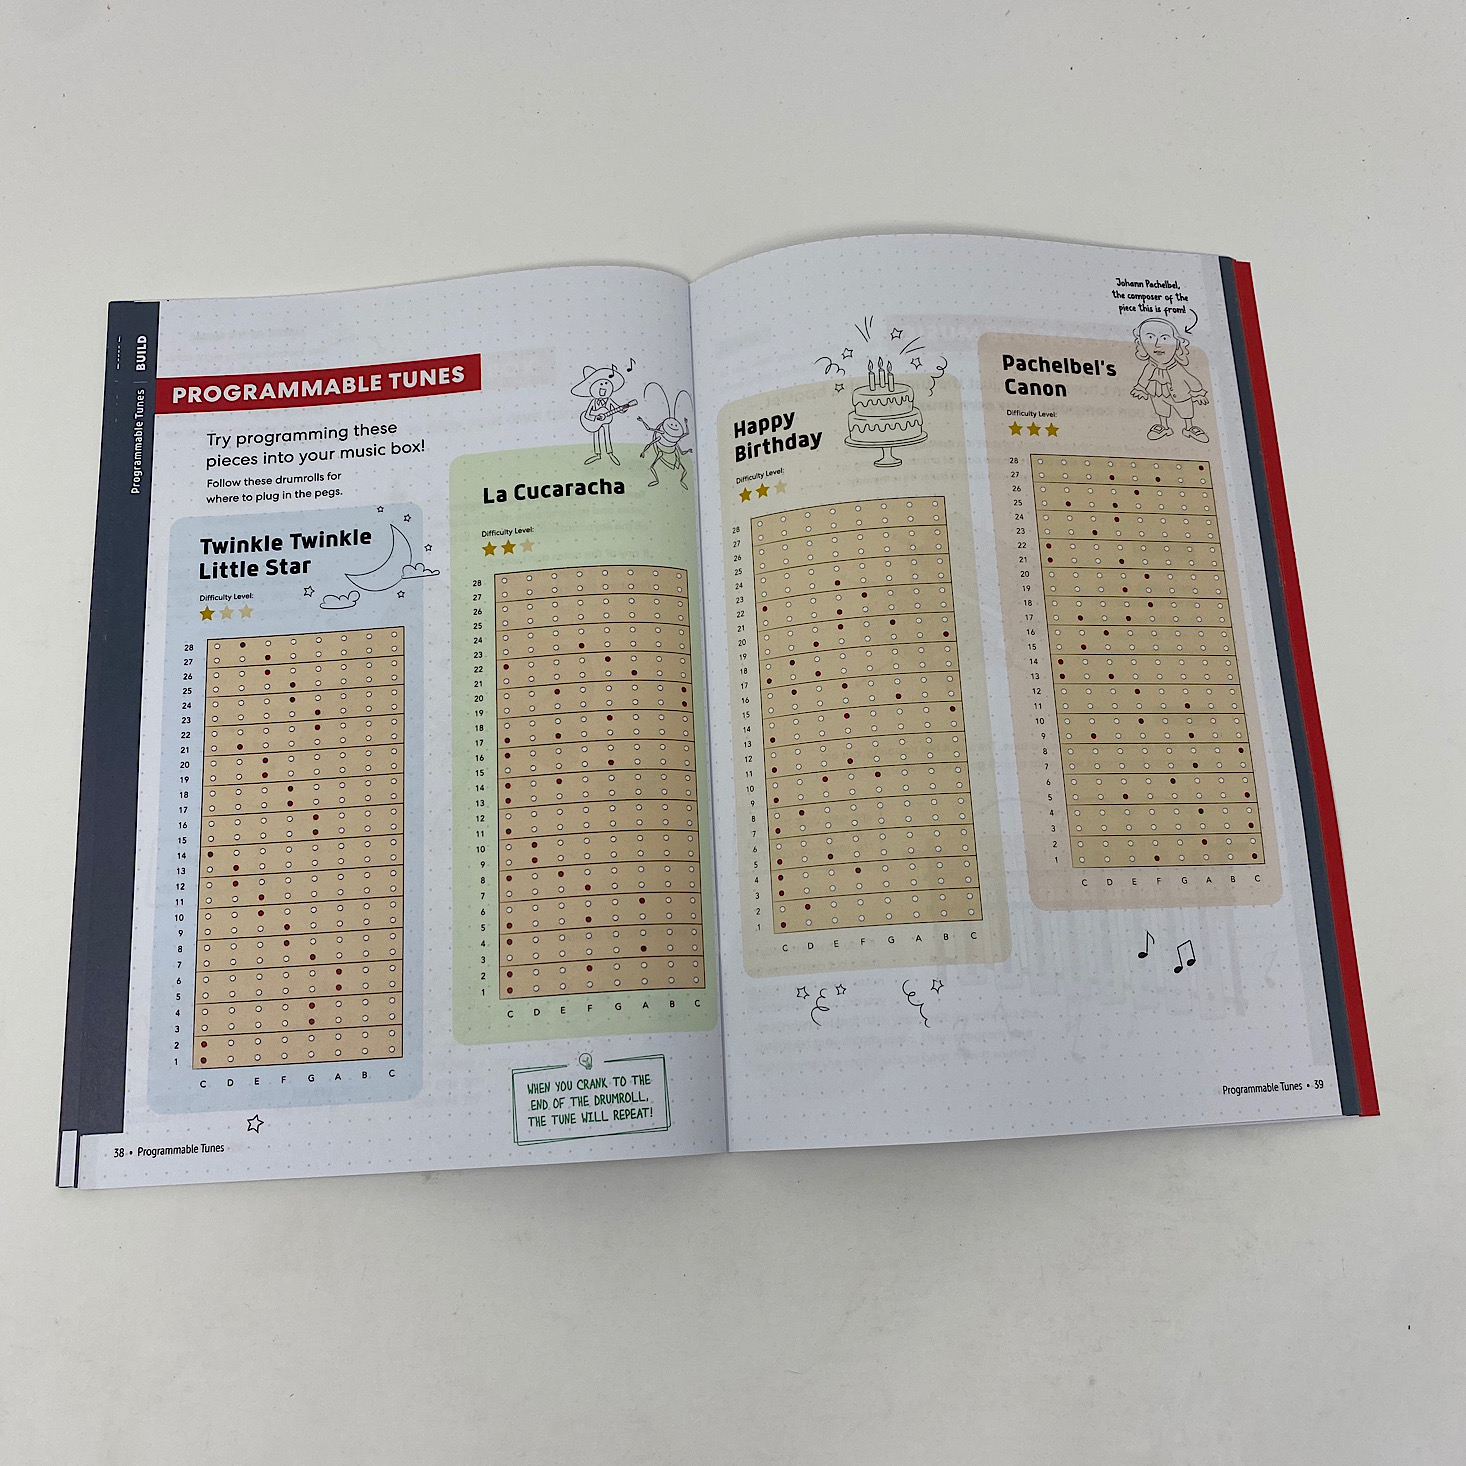
After testing it out and fine tuning it, I chose to do Twinkle, Twinkle, Little Star. You can get an idea of how it works here. I thought it was pretty cool and my kids were so excited to see this and test it out. My daughter is already planning on making her own music. I love that this will be a creative challenge for her and even some great fine motor practice and possibly even a little lesson on patience as she adds pegs to create her sounds!

1 of 2
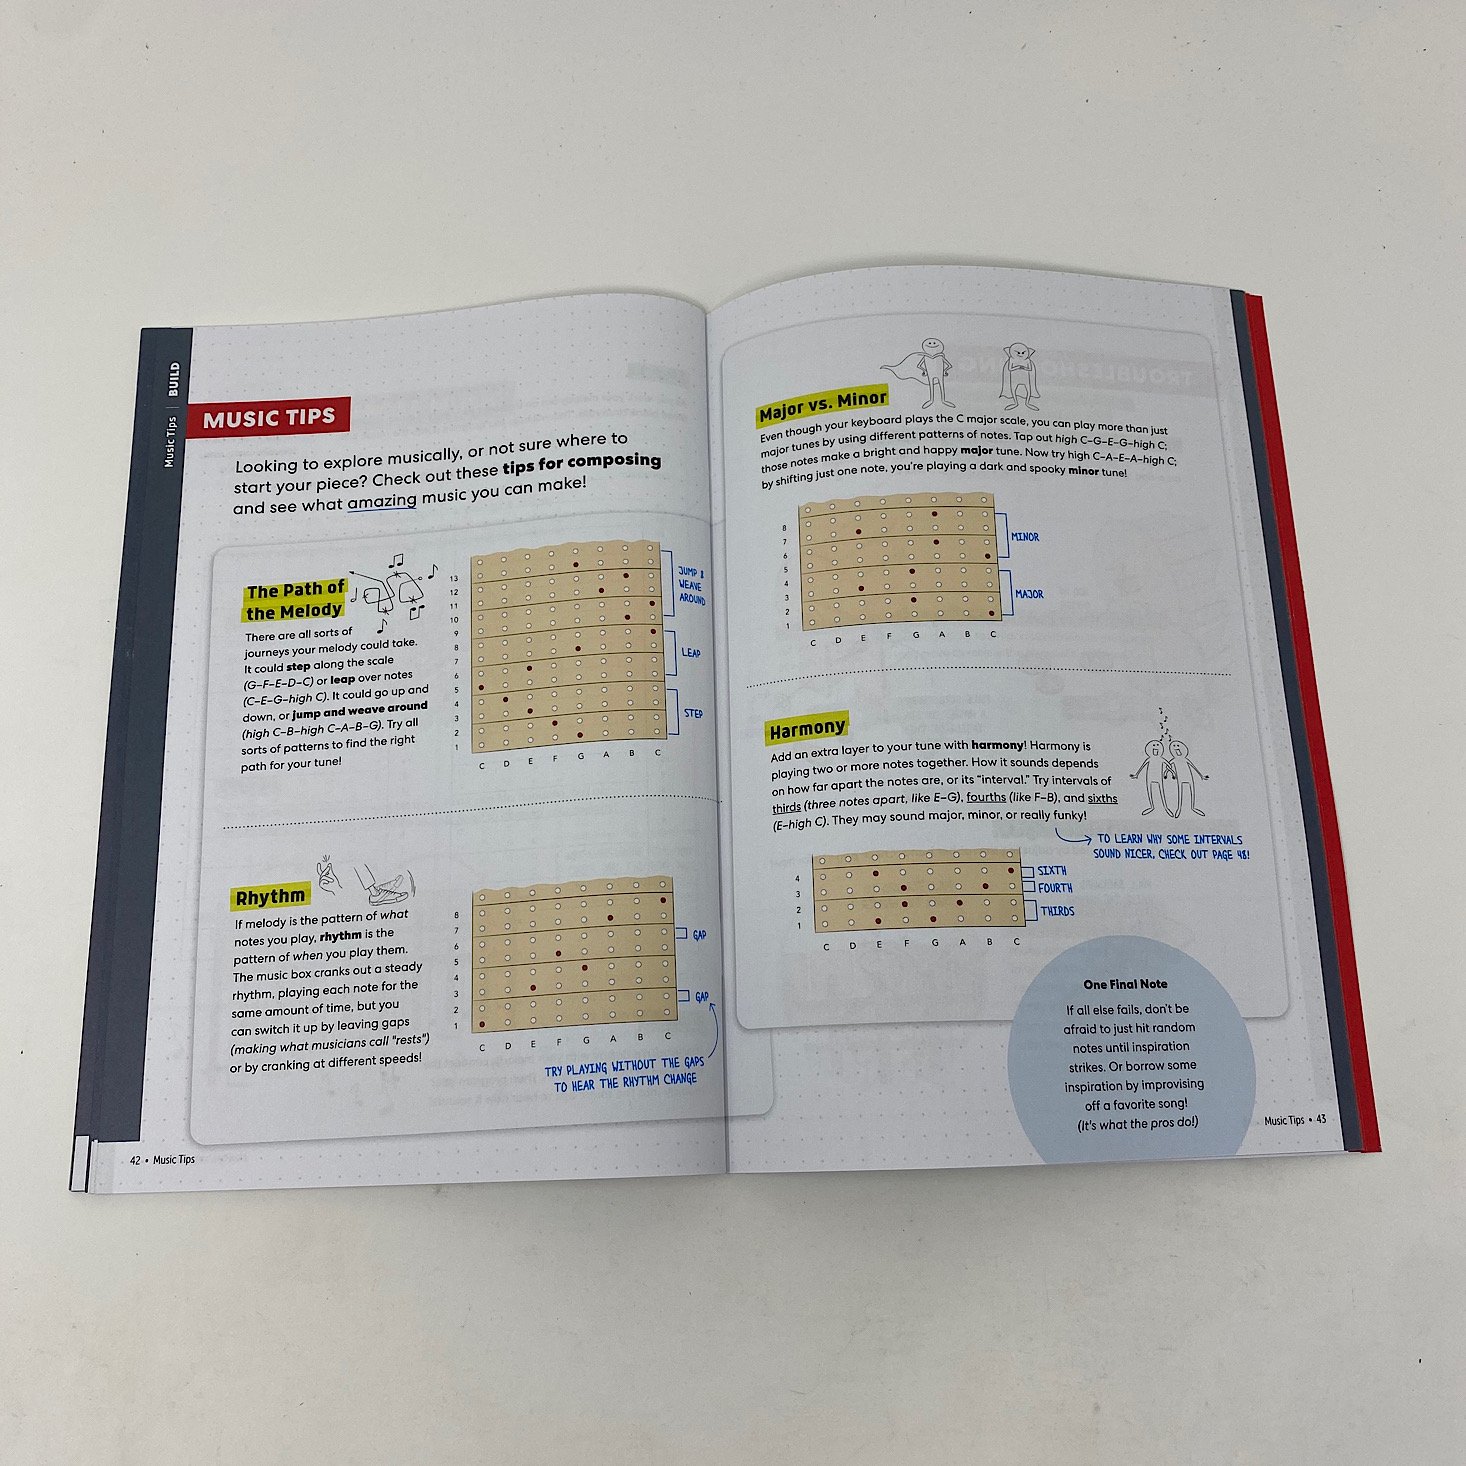
I love that they always do what they can to extend the projects! They provided some insight on how to compose our own music and even some music tips about harmony, rhythm, and other factors that can help us when composing. So cool!
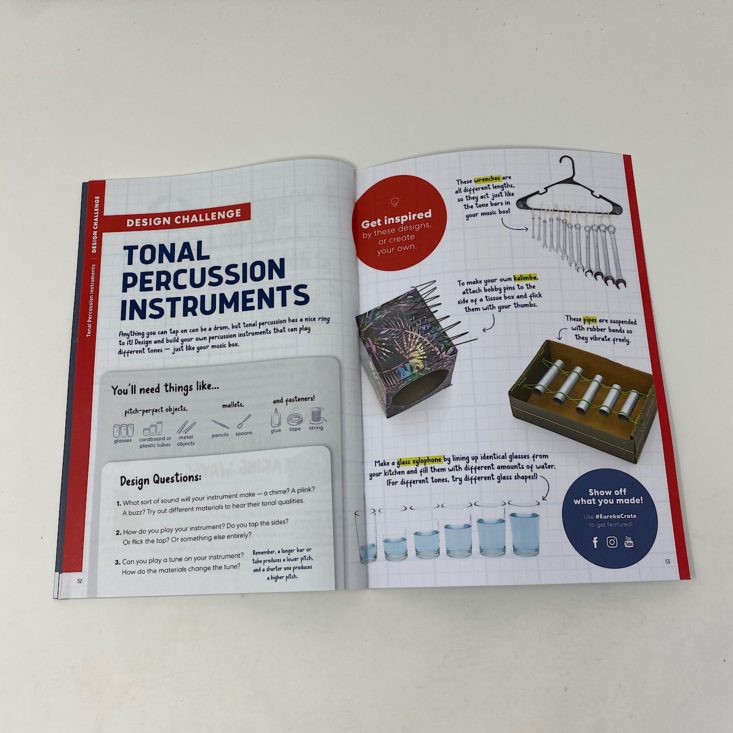
In our booklet, there is always a design challenge. This month they are challenging us to create our own tonal percussion instruments using household objects. Fun!
Verdict: I was so impressed with the design of this month's Eureka Crate project! This was such a complex machine, but they managed to make it really simple for us and the end result was so cool! I love that they included some music for us to test out and also that they encouraged us to compose our own music along with some tips. This was such a thorough and complete project and it's one that I enjoyed. These boxes are pretty awesome and the educational information they provided makes it such a well-rounded experience!
To Wrap Up:
Can you still get this box if you sign up today? It is possible you might get this crate, but it is not a guarantee. From KiwiCo:
Crates are assigned each month based on availability and your crate history - not all subscribers receive the same theme each month.
Check out all of our KiwiCo reviews and the best boxes for teens!
Keep Track of Your Subscriptions: Add this box to your subscription list or wishlist!
What do you think of Eureka Crate?

Please do not enter your email address in the Name field or in the comment content. Your email address will not be published. Required fields are marked *. Remember to post with kindness and respect. Comments with offensive language, cruelness to others, etc will not be approved. See our full comment policy here.