Creation Crate is a subscription box for teens and adults ages 12 and up who want to learn how to build and program electronics. Each month you will receive the necessary electronic components and access to a thorough online curriculum to create your tech projects. These projects build on skills learned and increase in difficulty. You'll need access to a computer, the internet, and a USB port, but everything else you need is included in the box!
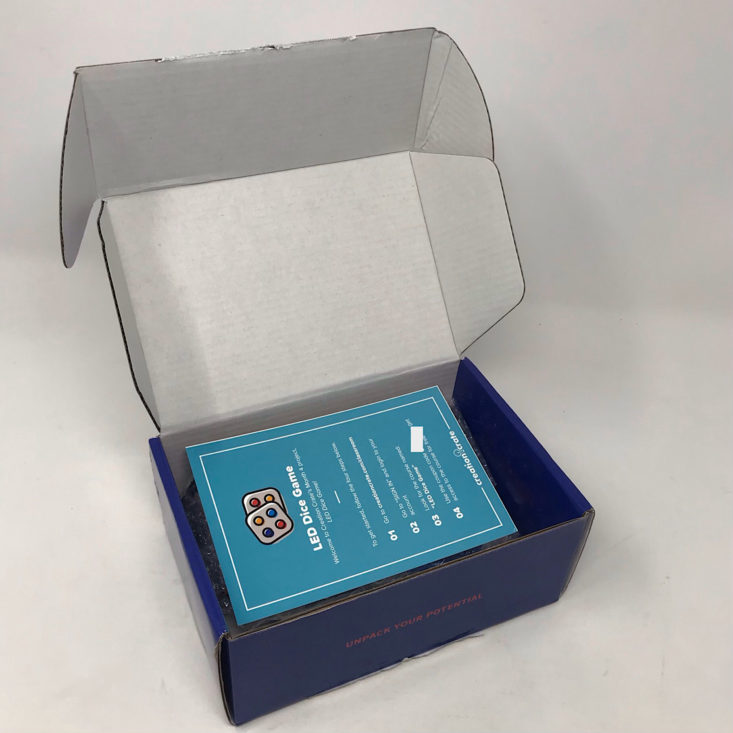
This box was sent to us at no cost for review. (Check out the review process post to learn more about how we review boxes).
About Creation Crate
The Subscription Box: Creation Crate
The Cost: $29.99 per month. Save with longer subscriptions.
The Products: All of the required components to complete the month's project along with access to an online classroom with tutorials, exercises, and instructions on how to write your code.
Ships to: The U.S. for $4.99, Canada and worldwide for $8.99
Creation Crate Project 4: "LED Dice Game" Review
Bonus Gifts: Component Case XL, Soldering Kit, and Digital Multimeter
When you subscribe to a quarterly, semi-annual or annual plan, you will receive a few bonus gifts depending on which subscription option you choose. Creation Crate was kind enough to send me a few items to share with you! To read more about the component case and soldering kit, check out my first review here! To learn more about the multimeter, check out the details in this review! While these are great to have on hand, they are not necessary for your projects each month.
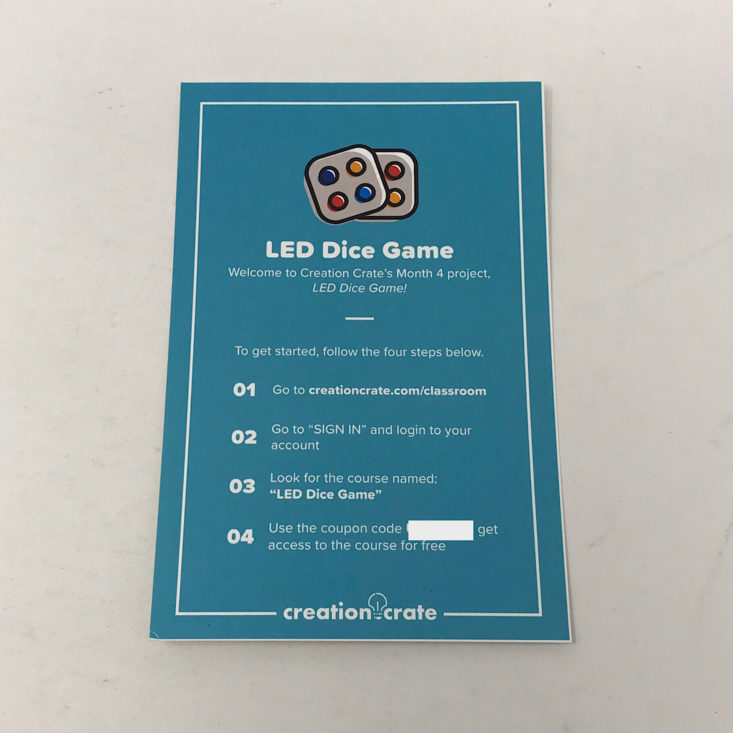
The project for this month is to make our own LED dice game and this sheet provides instructions for how to access the online course. While the projects do build upon one another in skill each month, I did not need any other items besides what is in this month's box and my computer.
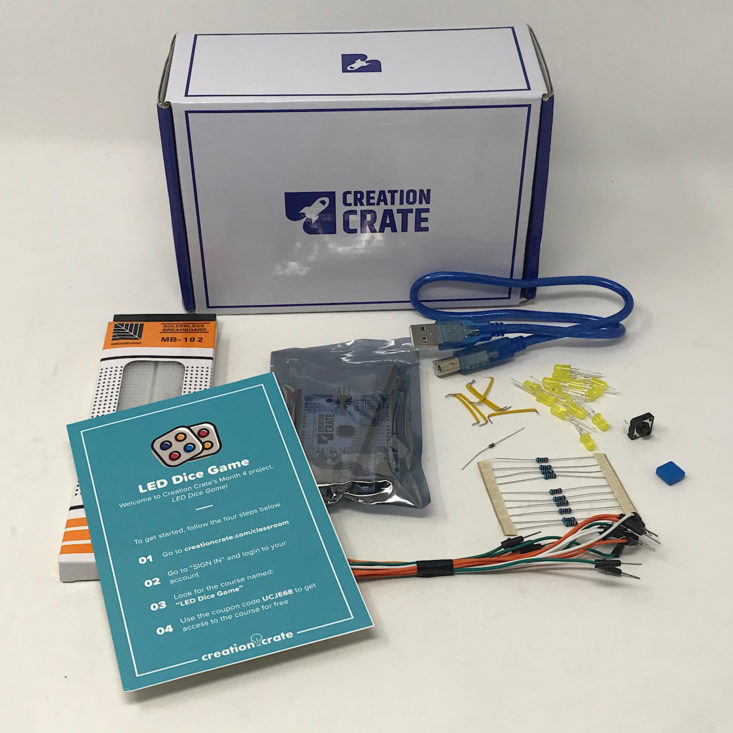
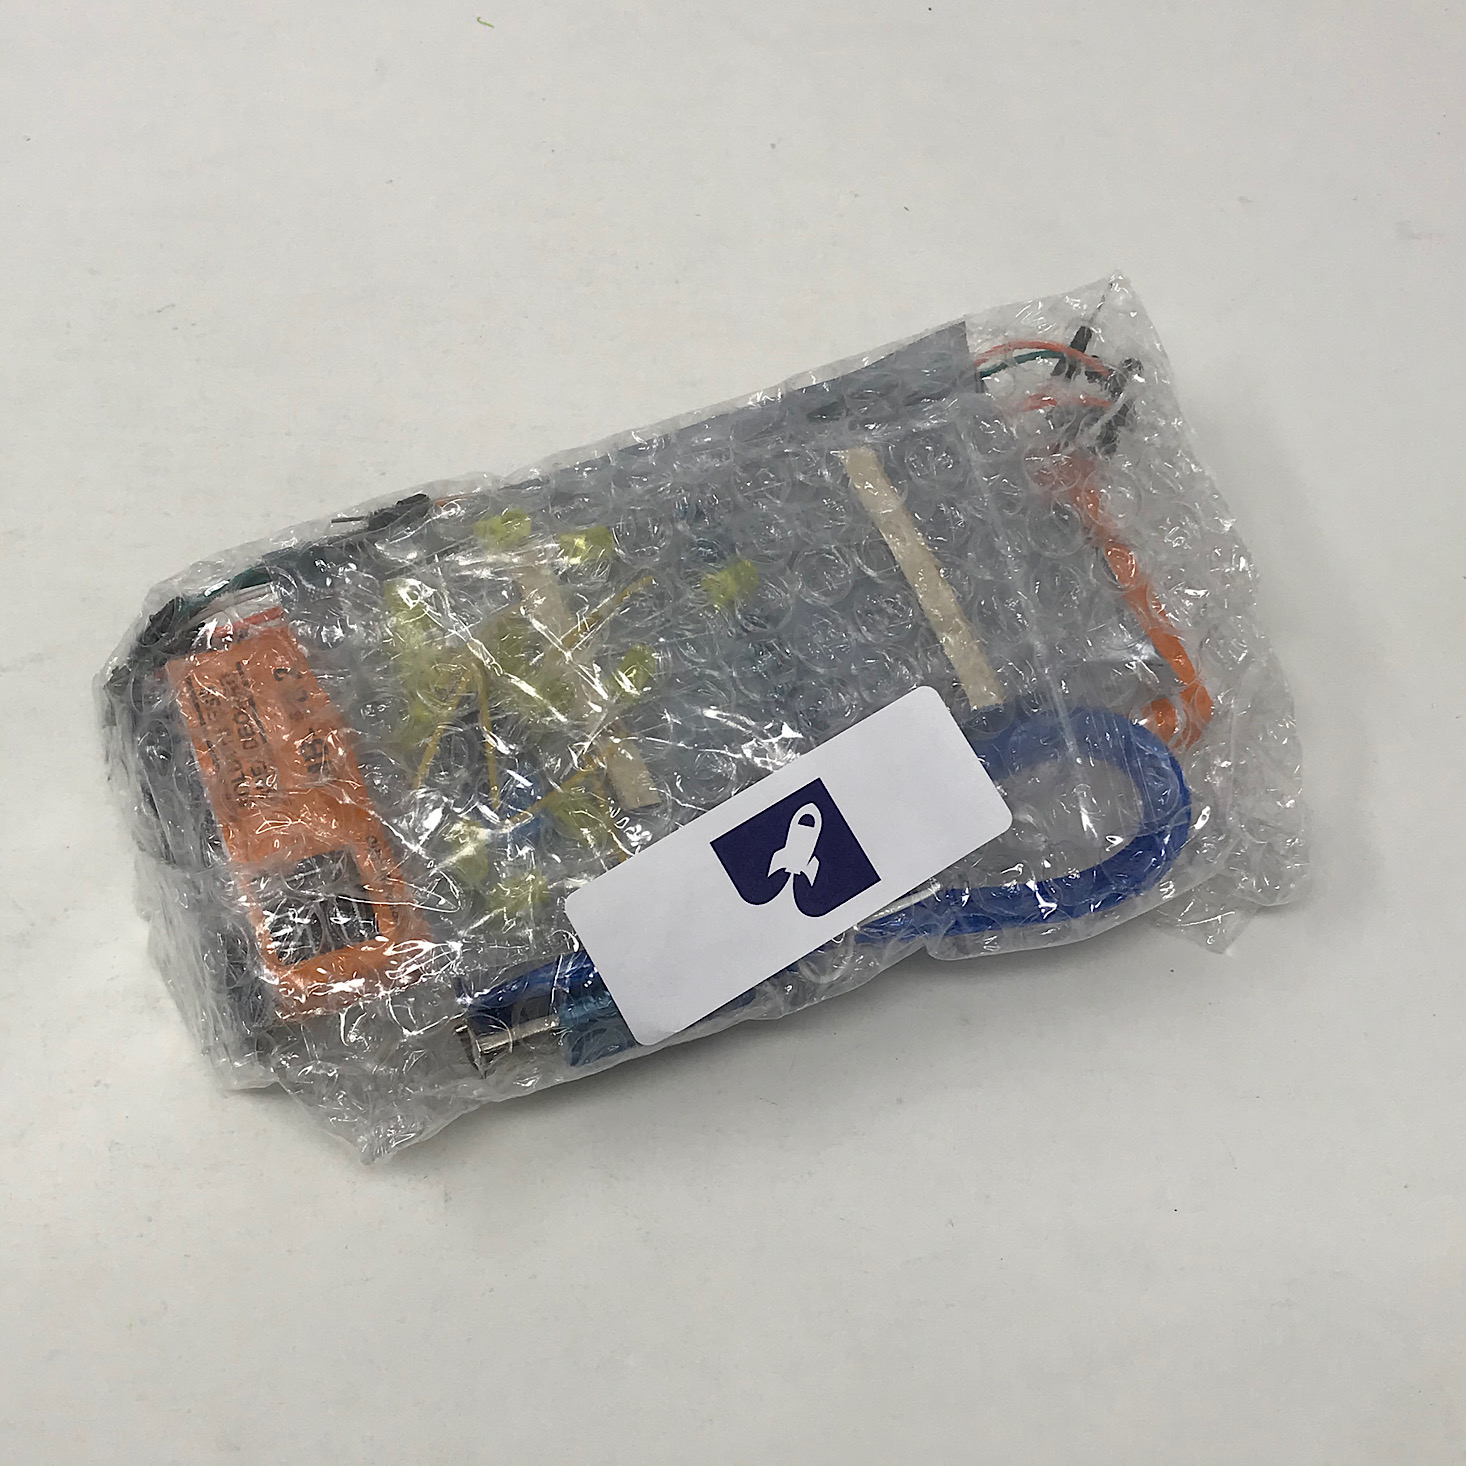
All of our supplies were packaged neatly protected by a piece of bubble wrap.
Breadboard and UNO R3
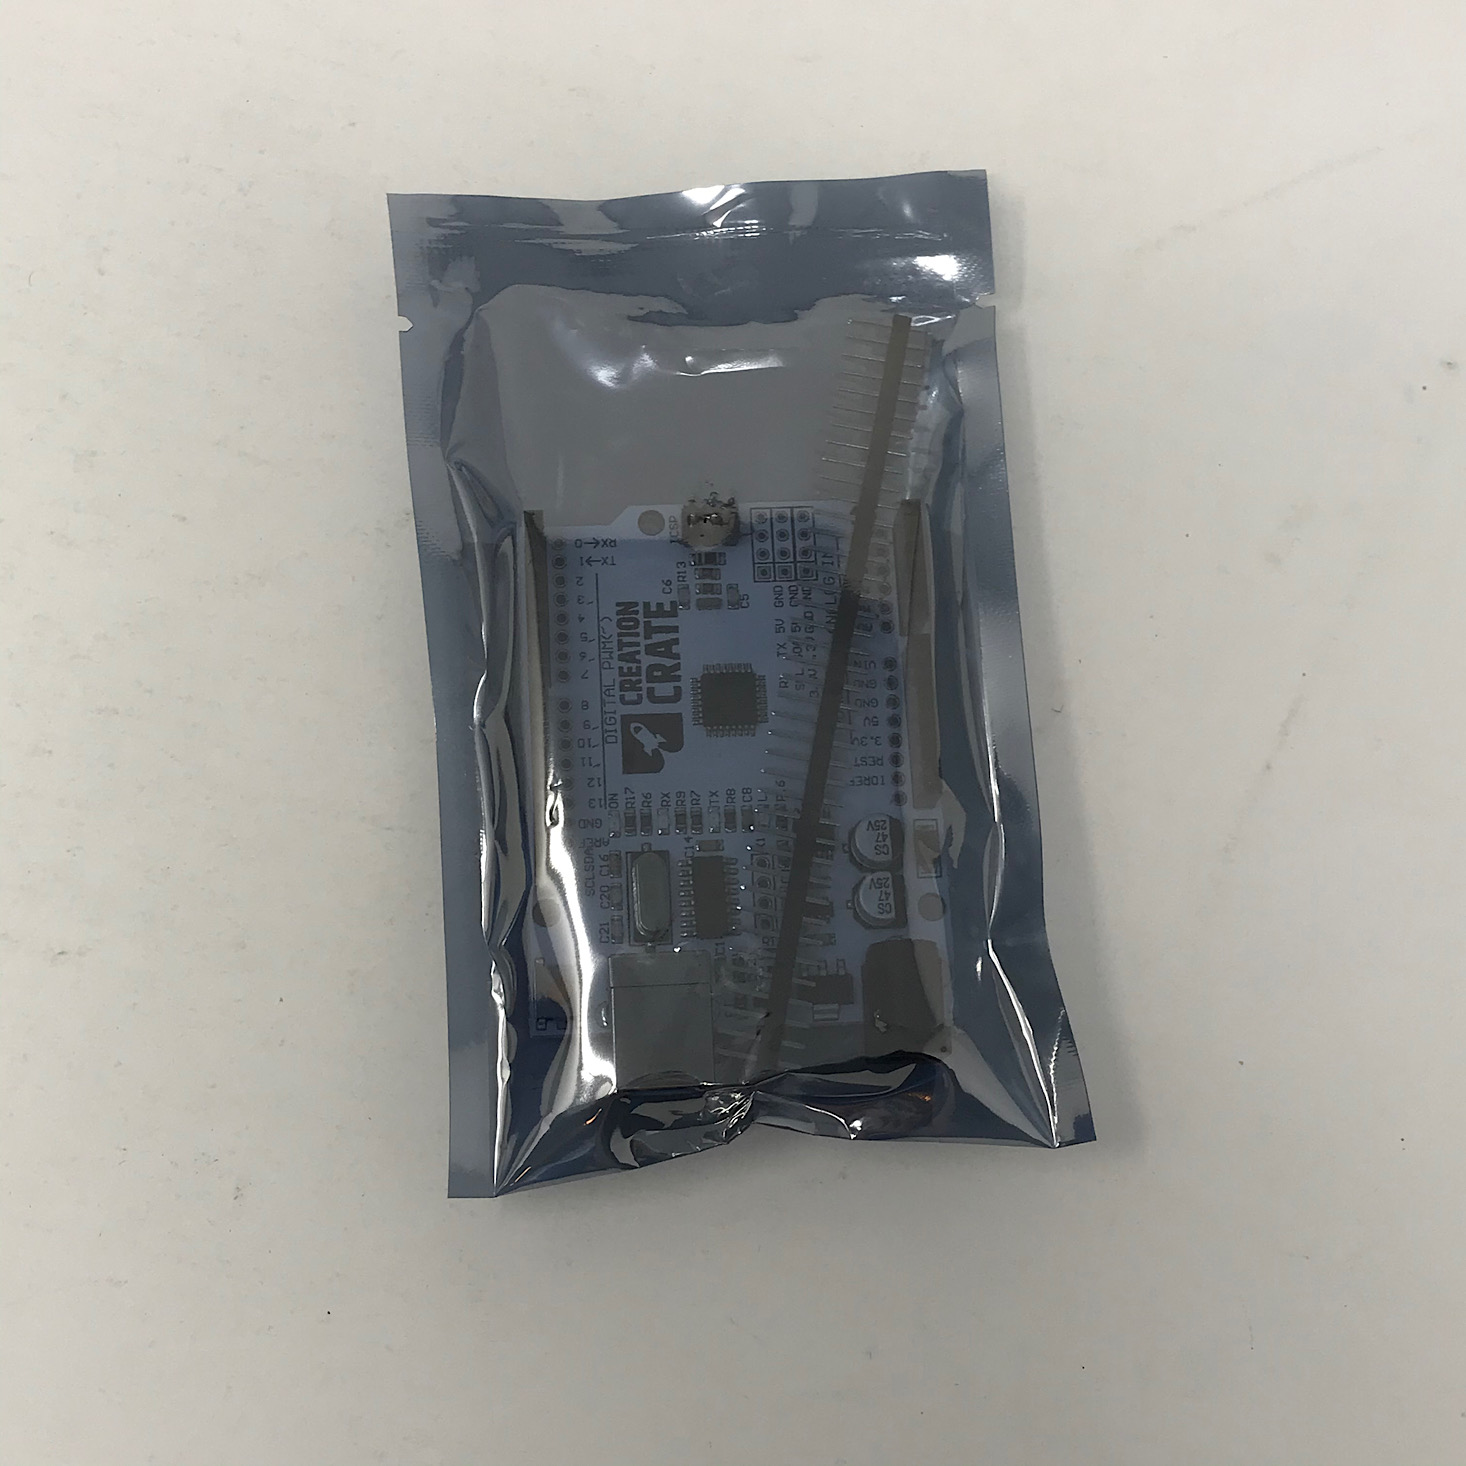
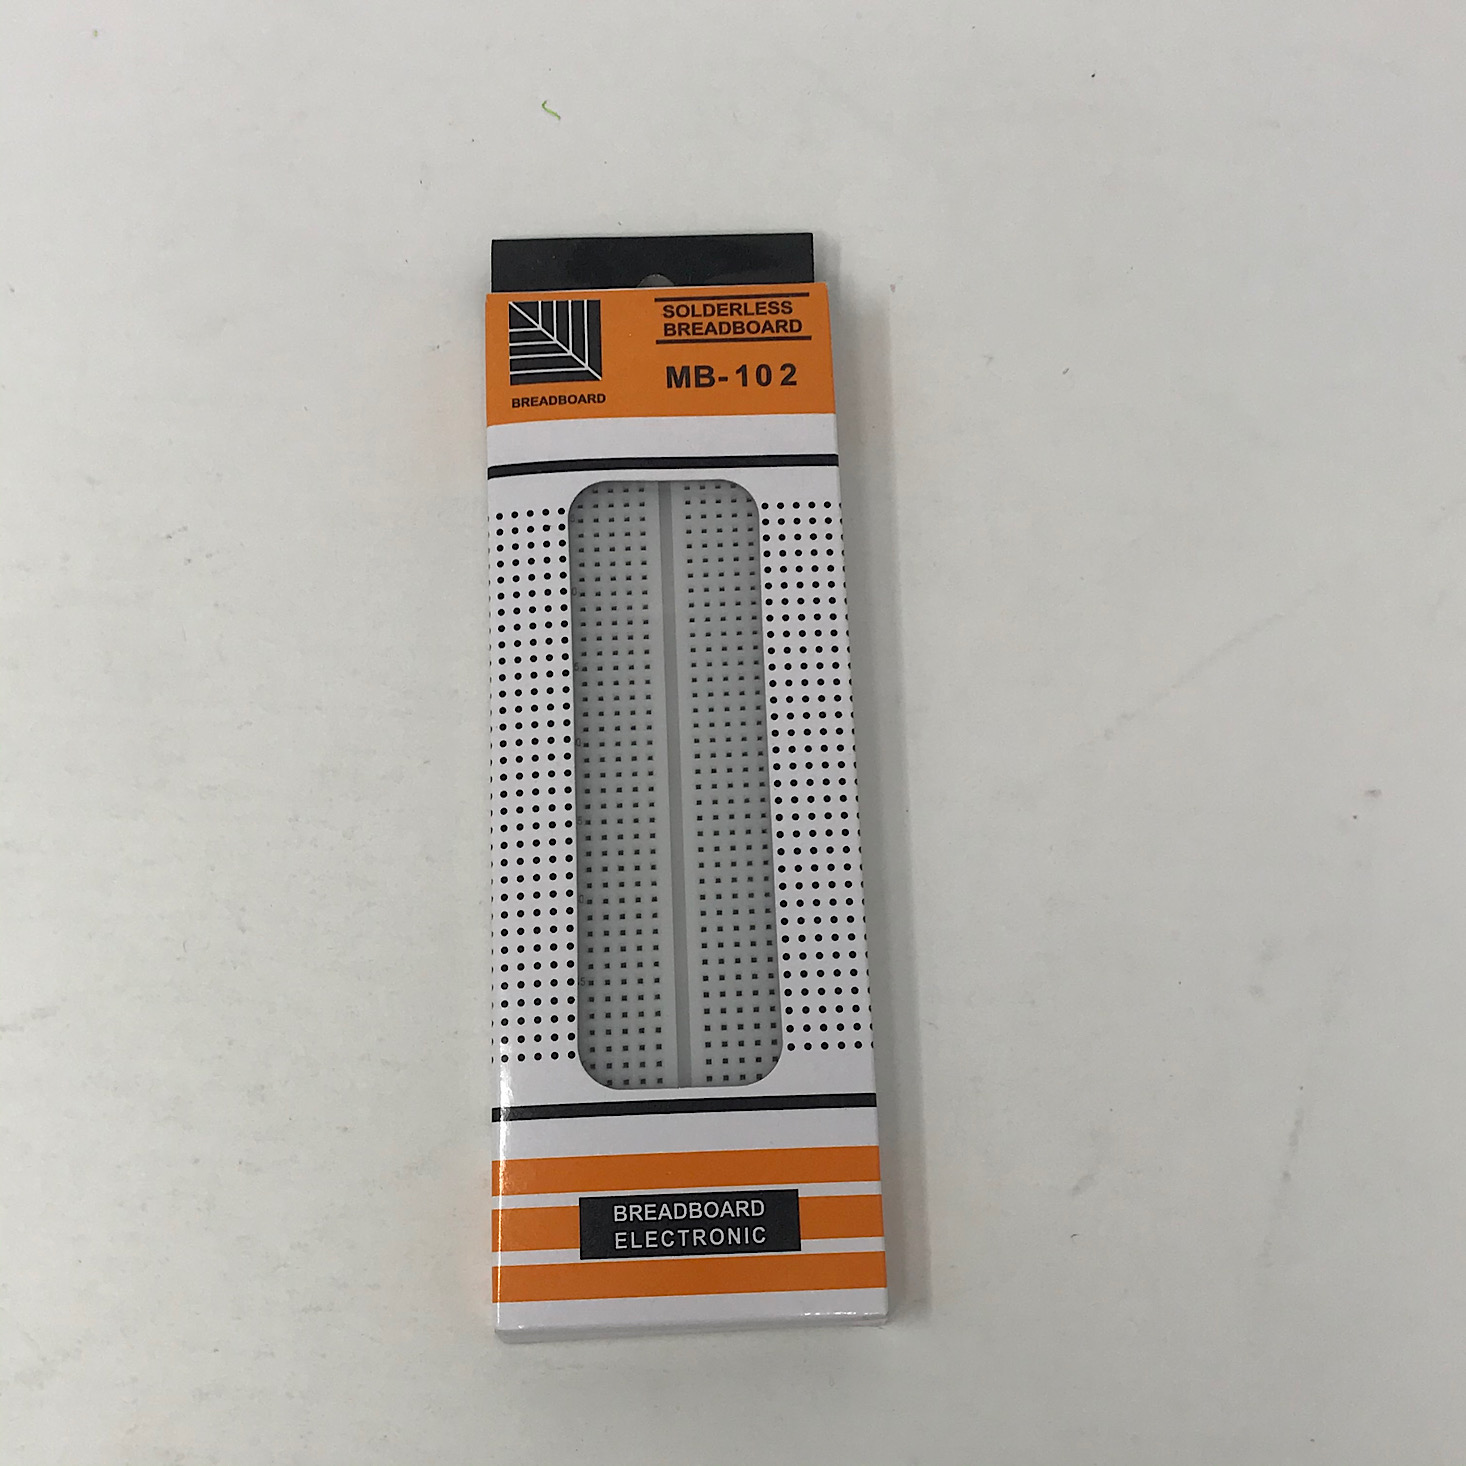
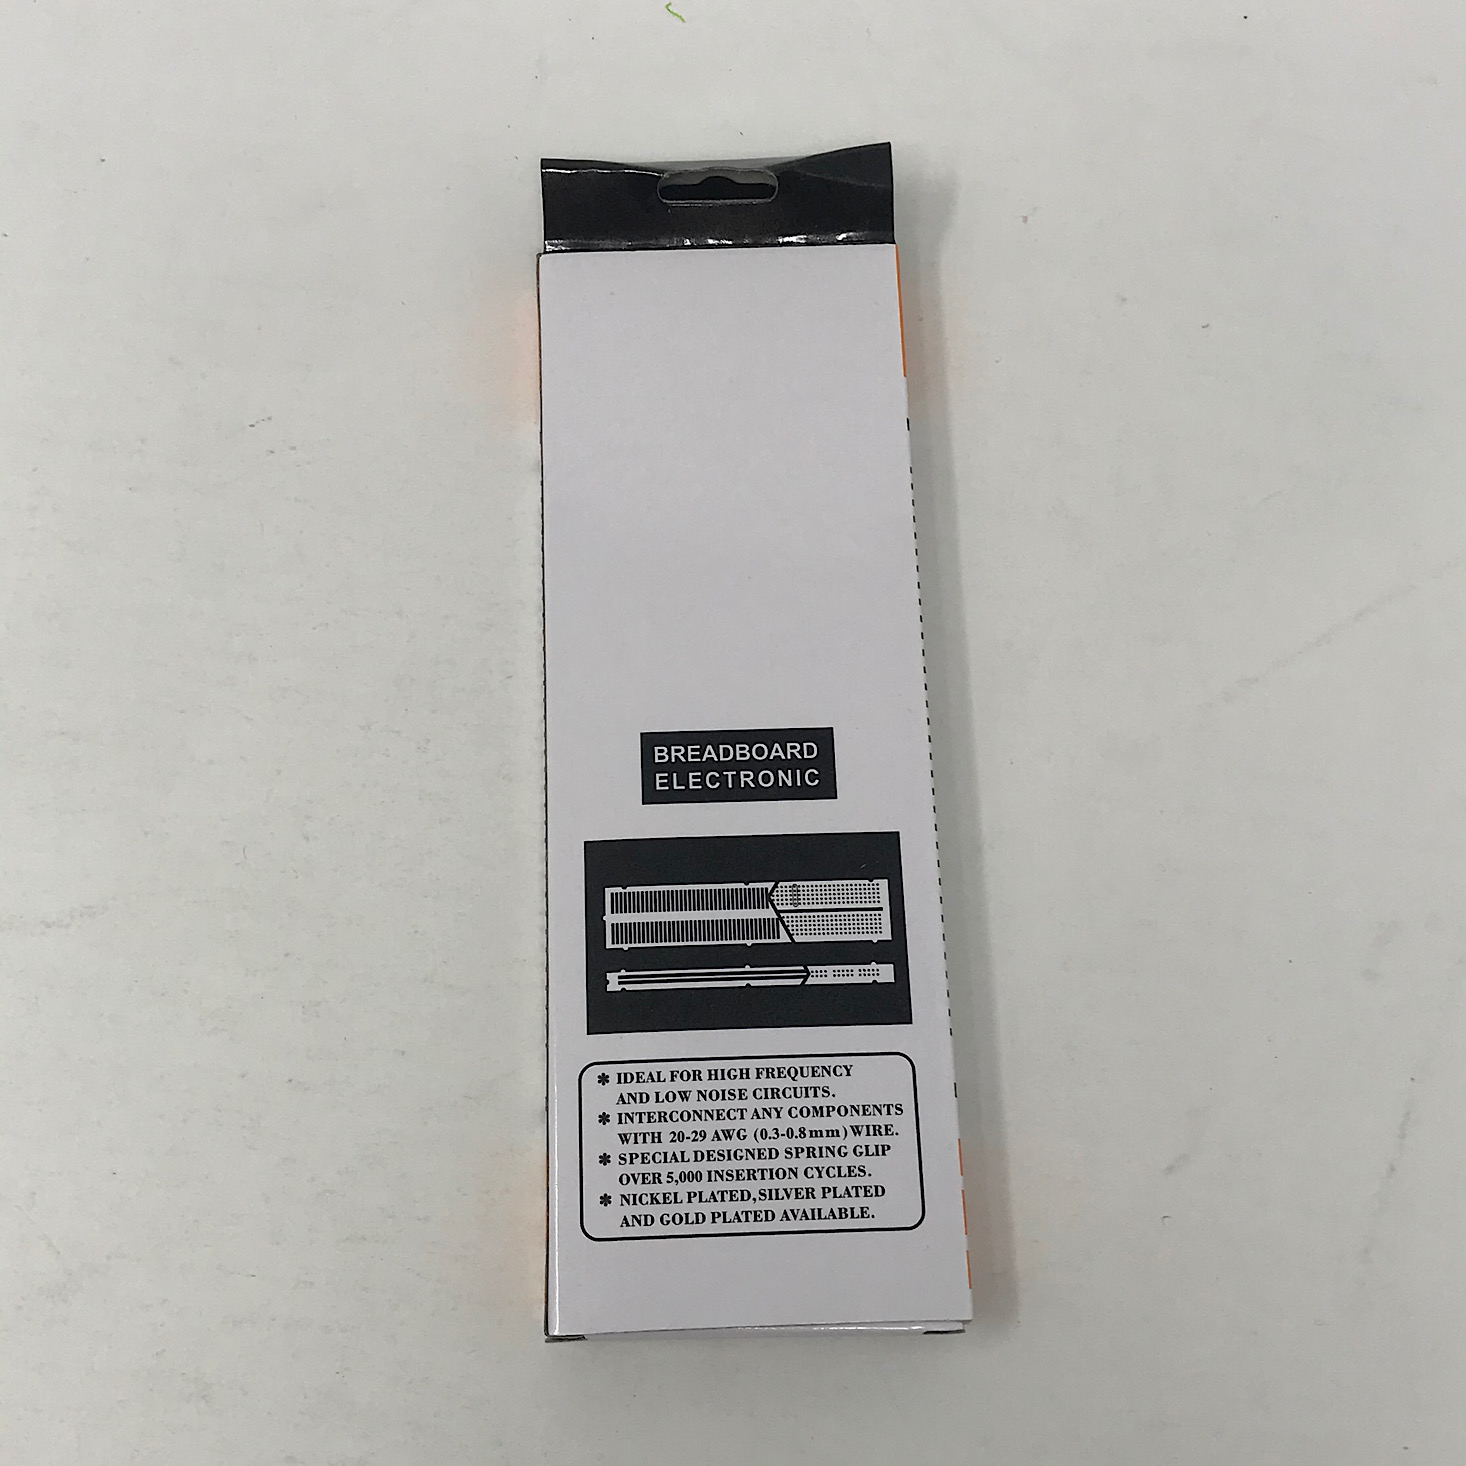
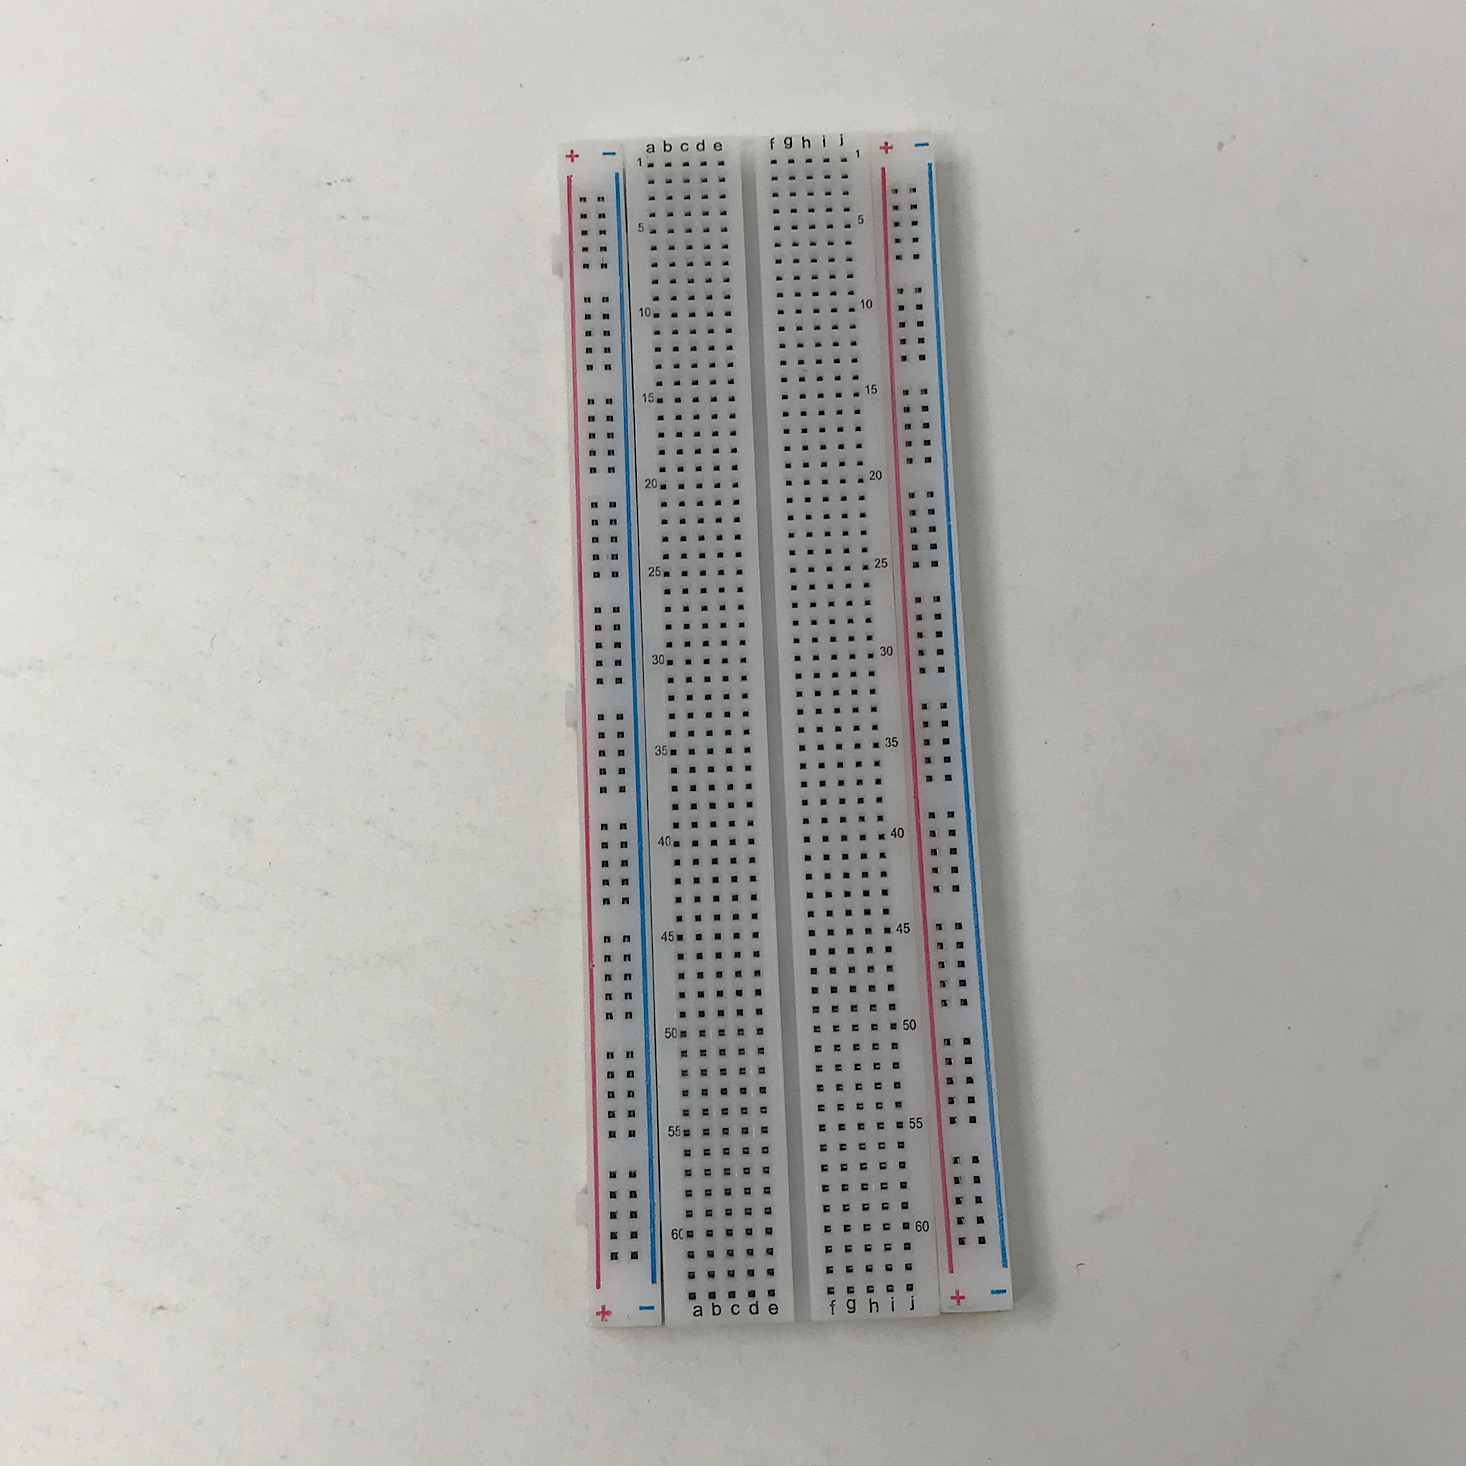
The two main components we needed were a breadboard and this UNO R3 they provided.
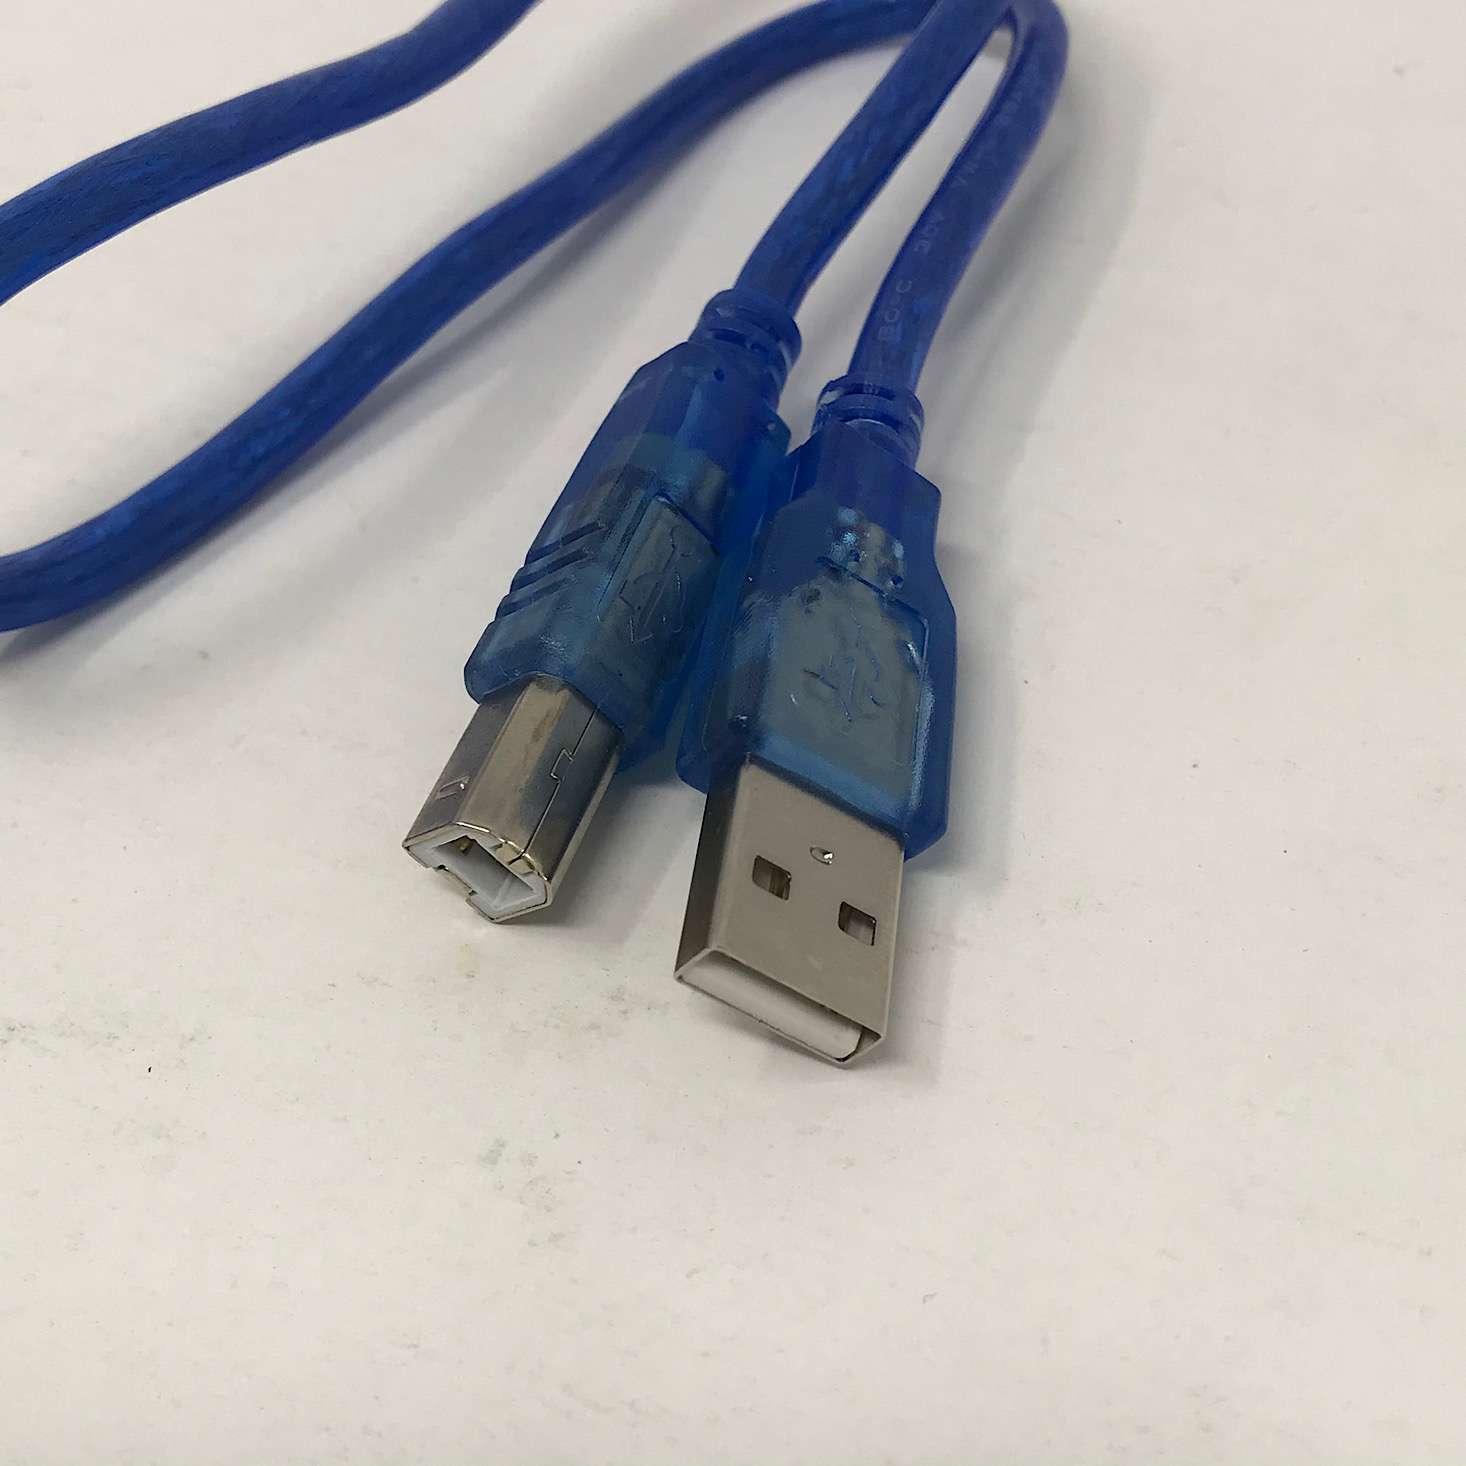
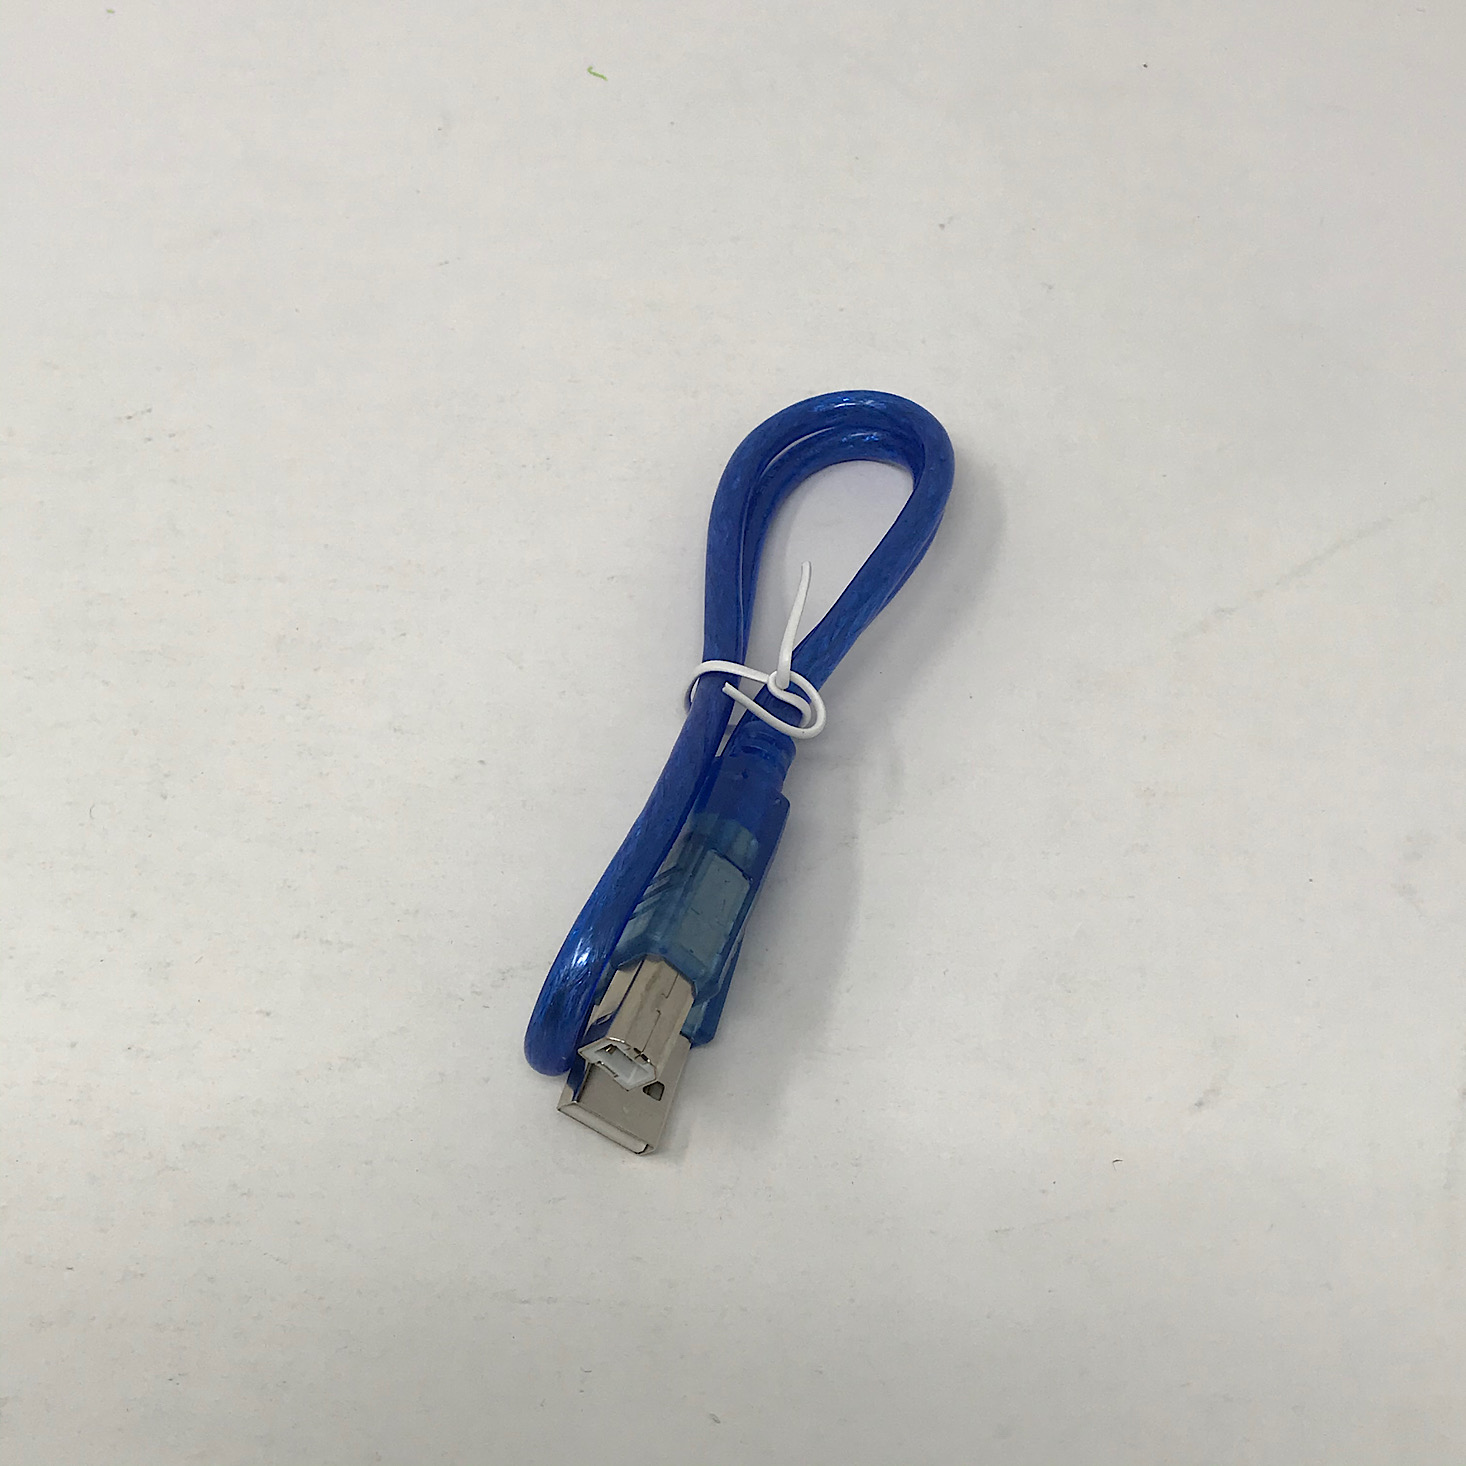
USB Cable
They also provided this cable with a USB port at one end to hook our project up to our computer for programming.
Jumper Wires and Resistors
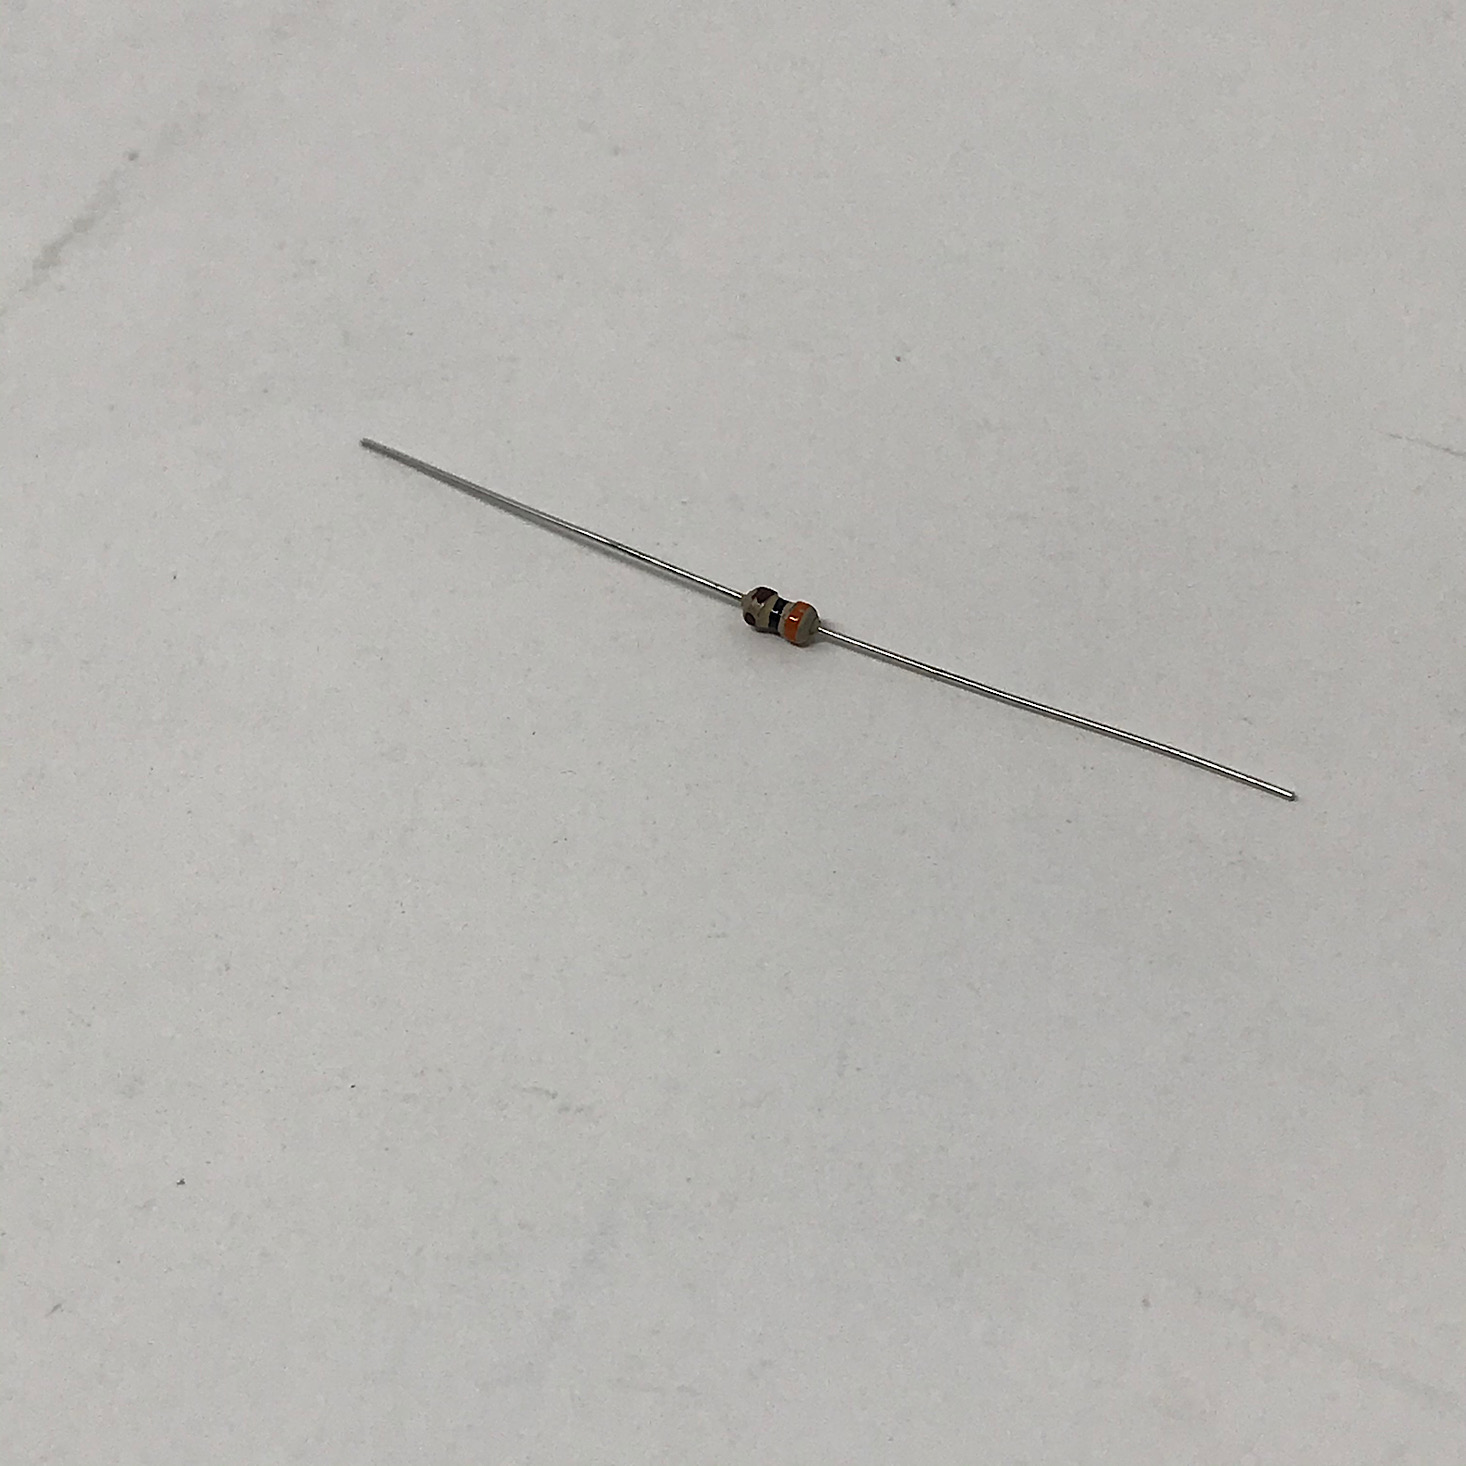
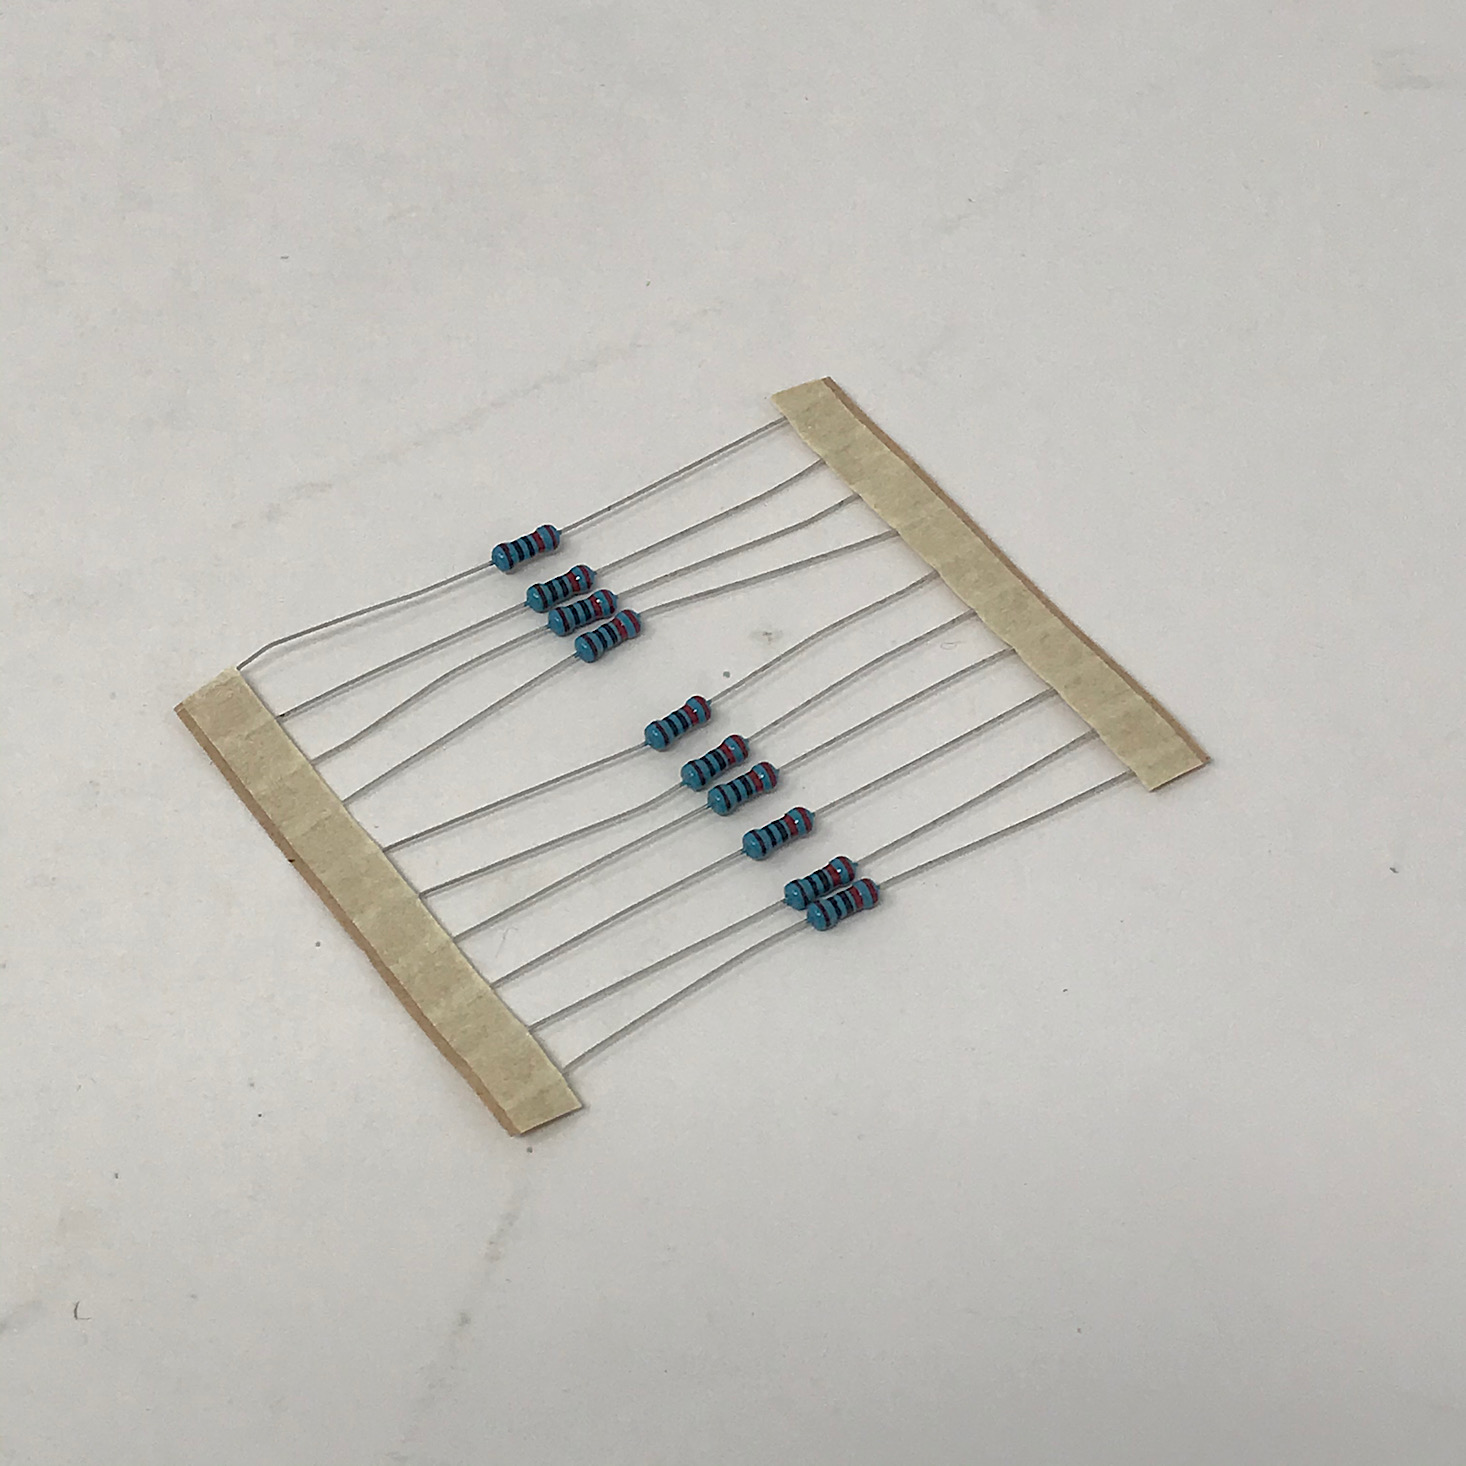
We also received several jumper wires and 220k OHM resistors and one 10k OHM resistor.
LEDs, U-shaped Jumpers, Button, and Button Cover
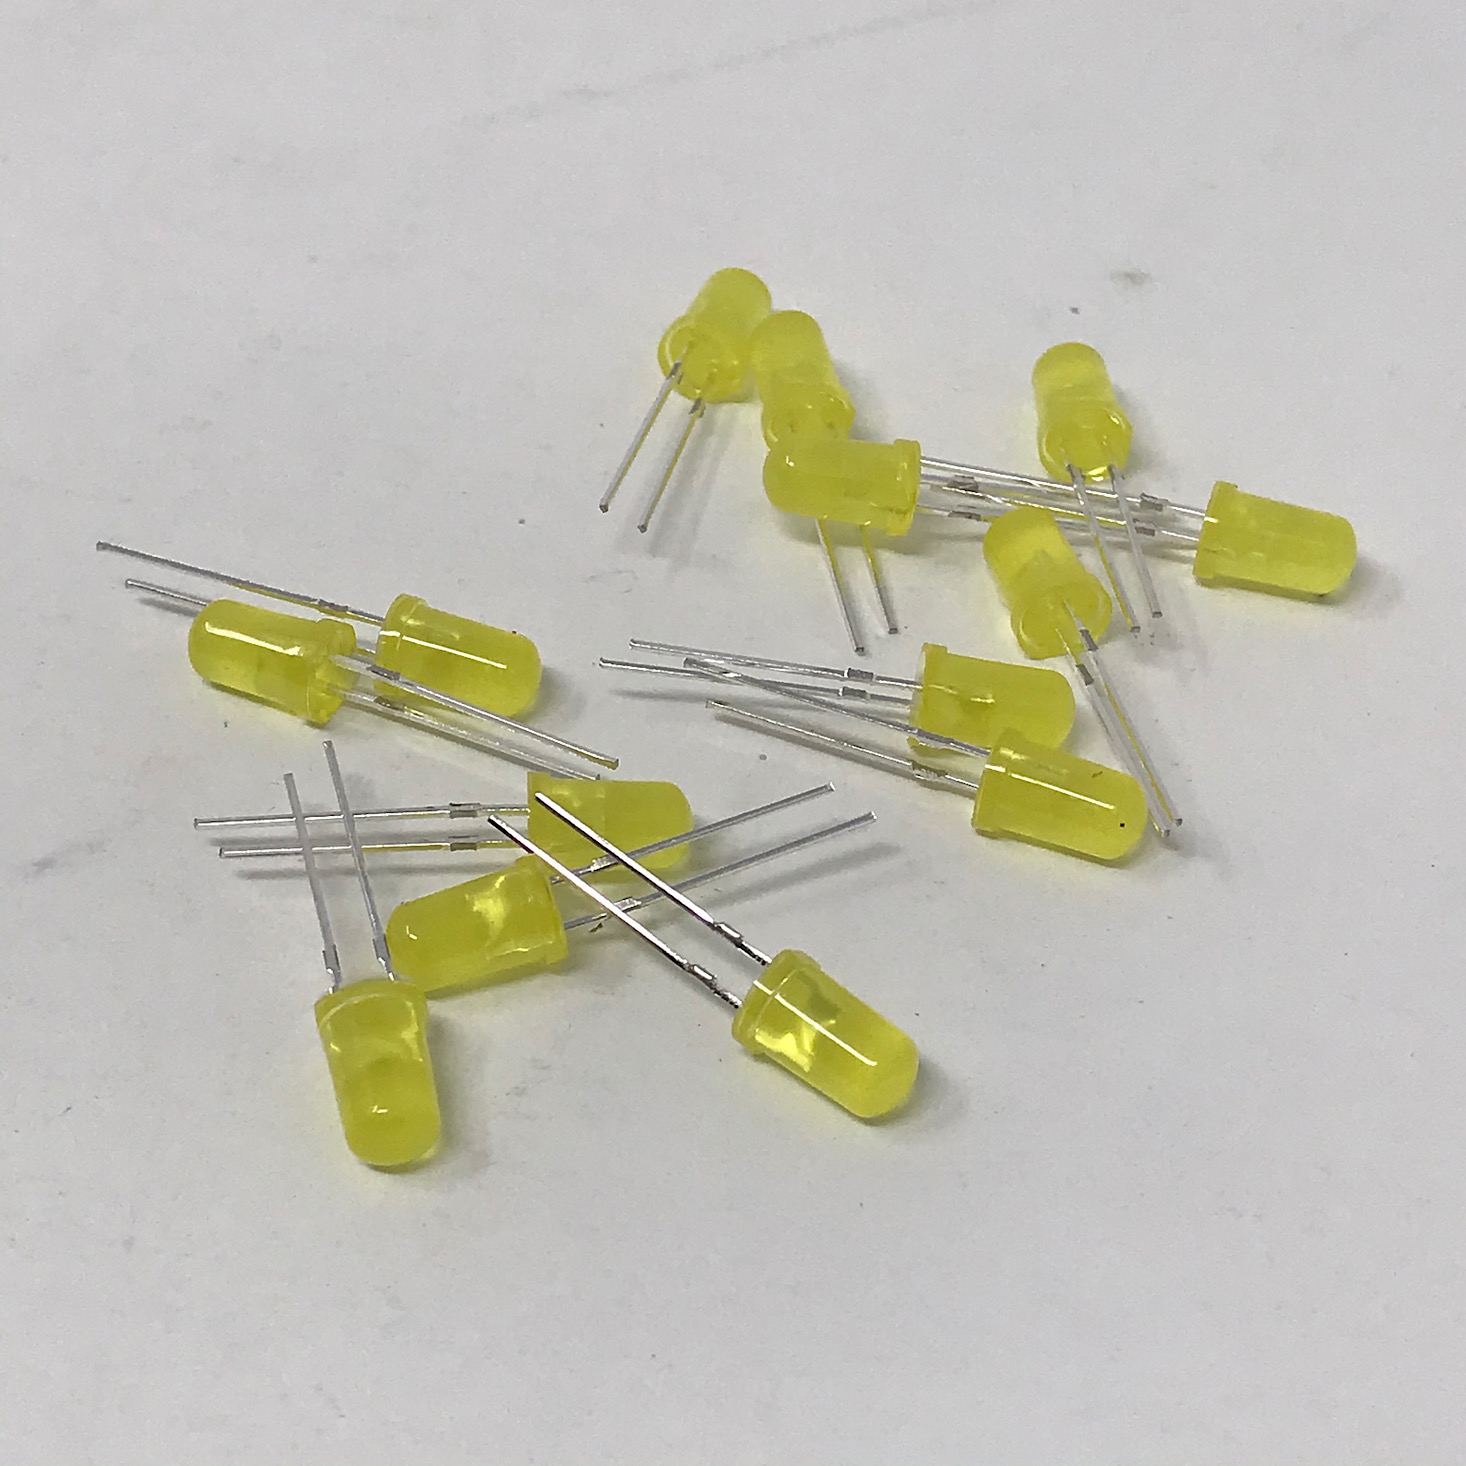
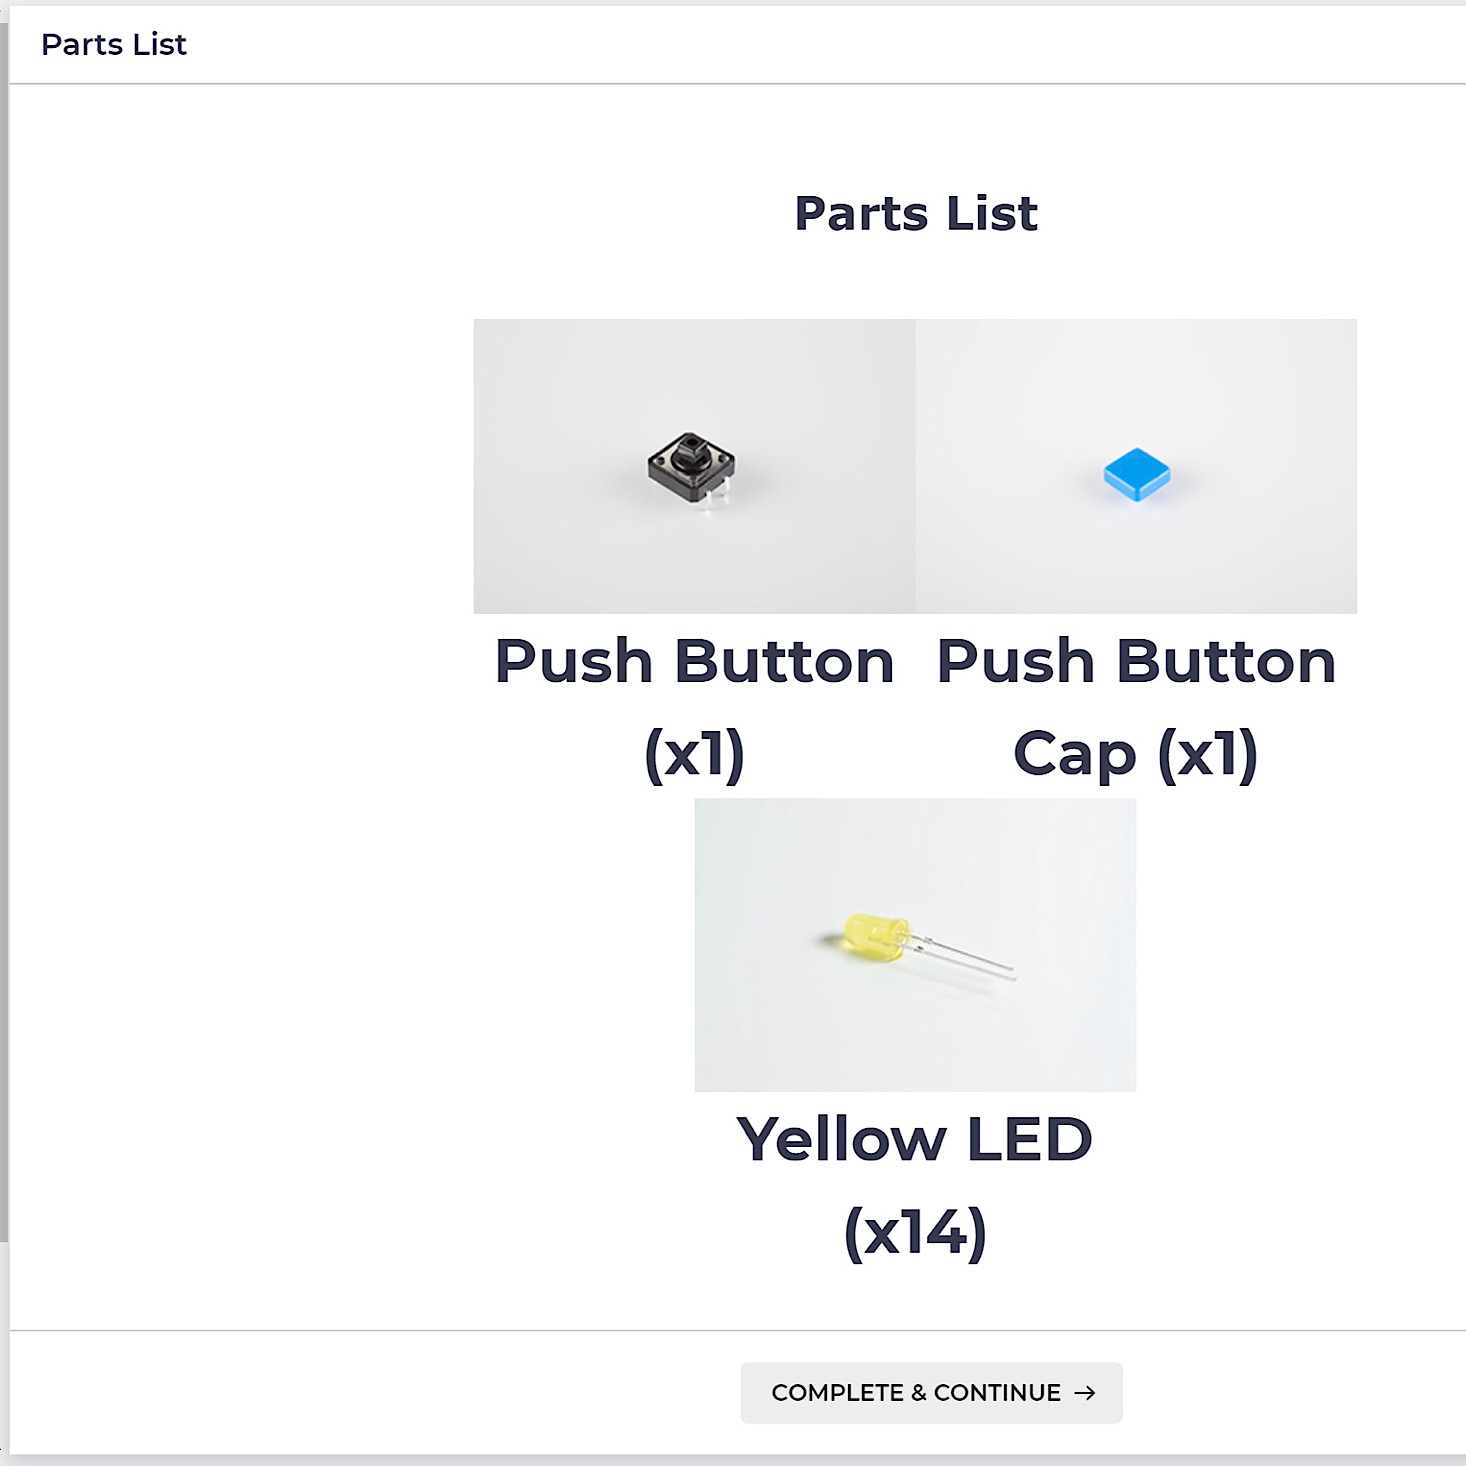
They included yellow LEDs, some smaller U-shaped jumper wires, a button, and a button cover.
Logging into the Course
Logging into your course can be a little tricky the first time, so I've included some screenshots of the steps. After navigating to the classroom, you'll select "All Courses" and scroll down to find the "Original Courses" button. Then you select the course you want and hit the "buy" button. From here you'll be prompted to create a new account or log in if you already have an account. There will be a section to enter your access code which can be found on the Parts List in your box and it will bring your total to $0.00 and allow you access to the course.
Course Layout
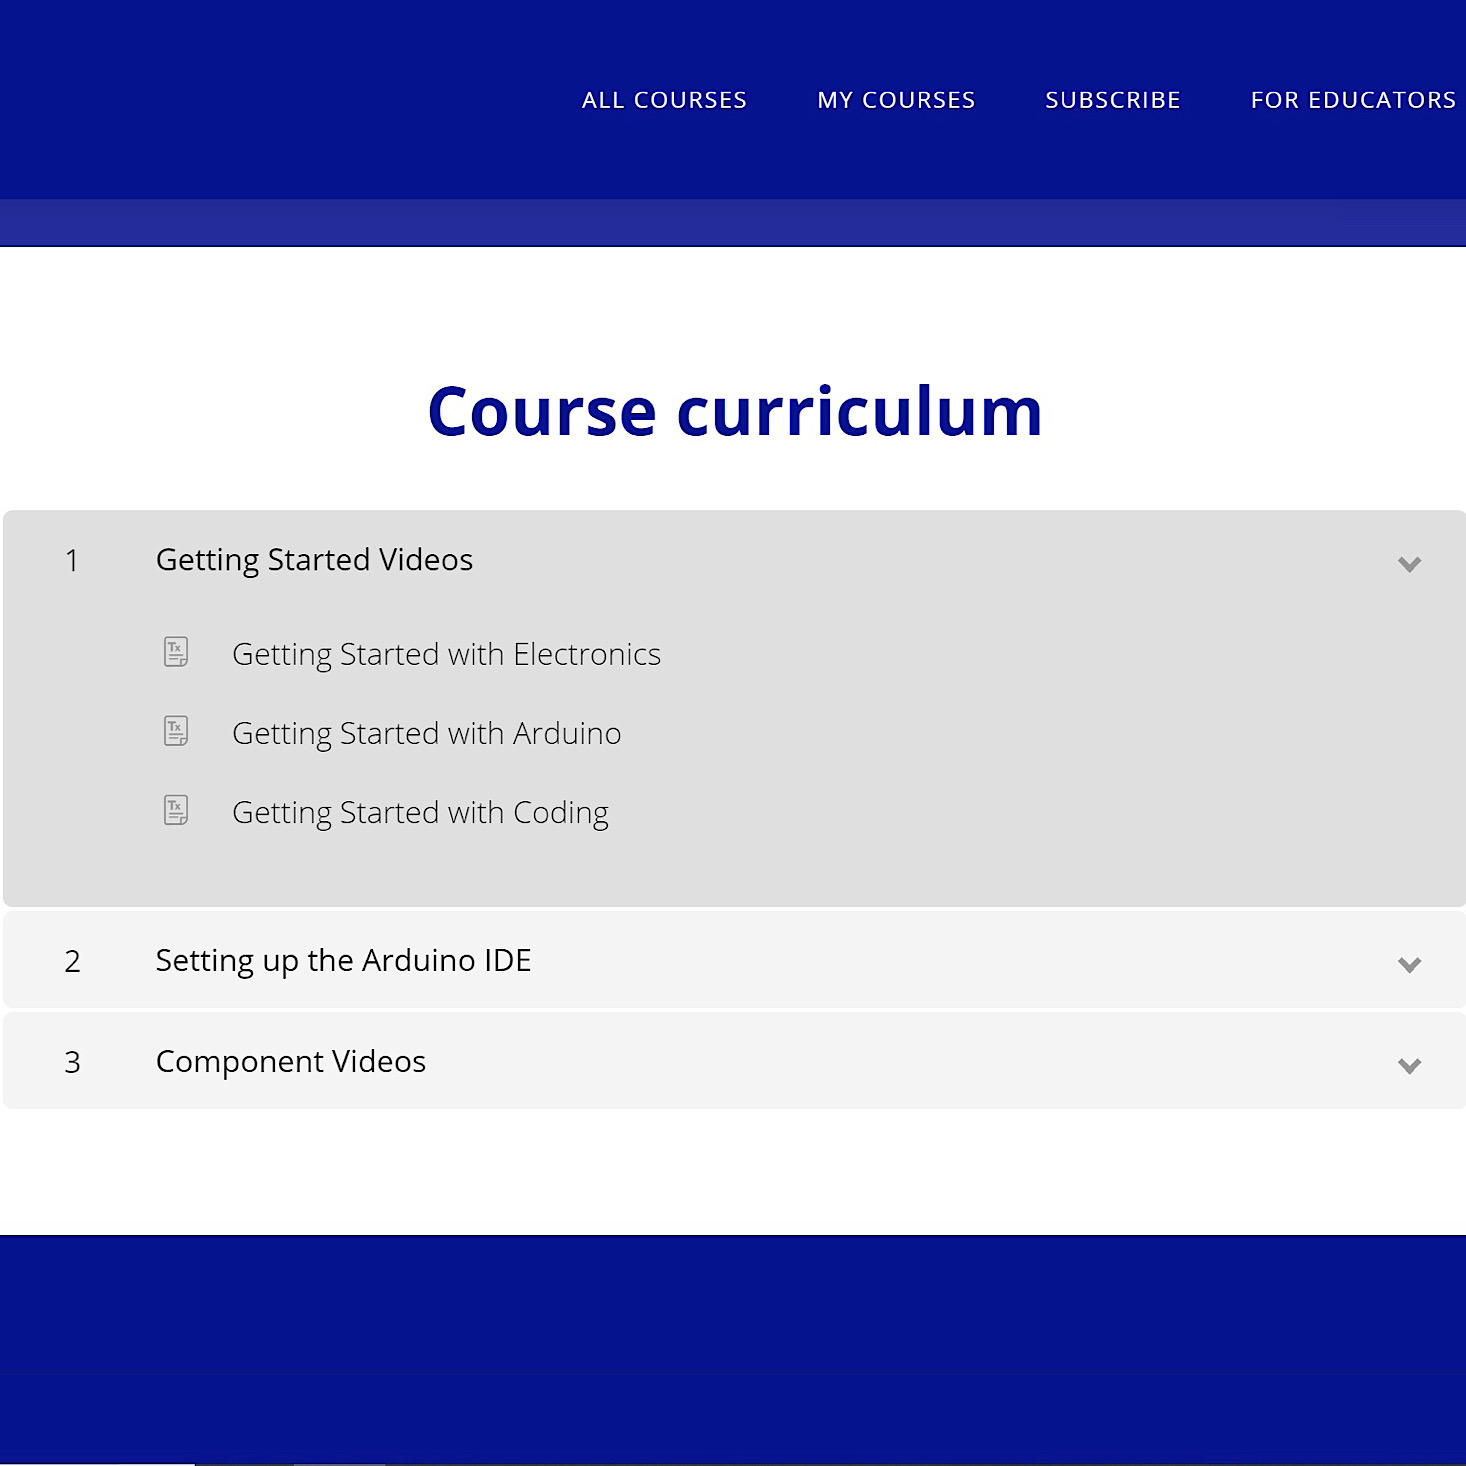
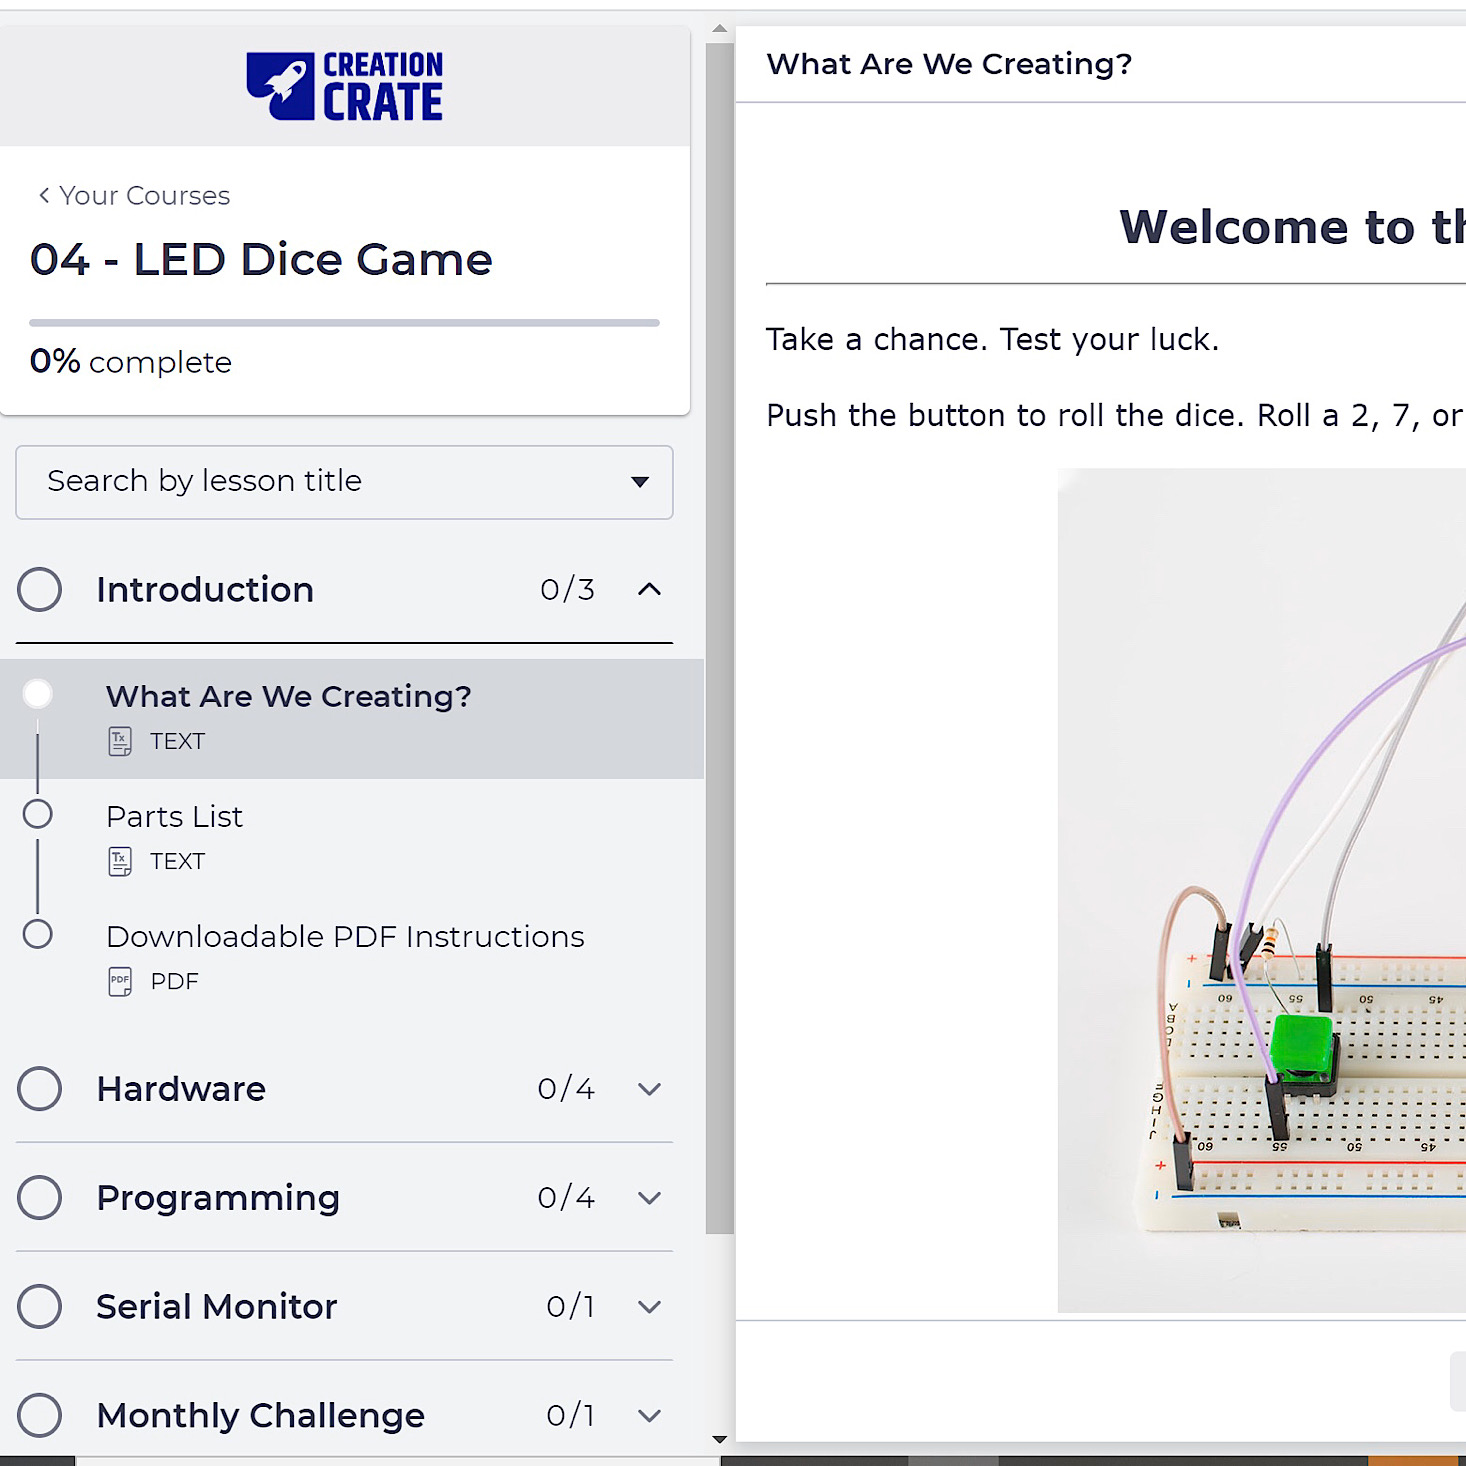
Once you begin your project, you'll notice a little sidebar that provides your progress throughout the course. While the components may be different each time, the course will be divided into many subsections that follow a logical order making it easy to follow along with since it is so well organized. There are even some troubleshooting sections.
One thing that I think is so great about Creation Crate is they provide access to a "Getting Started Course" for those who are beginners. I was thoroughly impressed with this course. They went into all of the details about currents, amps, power, and voltage. They provided visual demonstrations of how things work and explained each of the components that we would be working with such as breadboards, jumper wires, and LEDs. I thought they had a great way of explaining and making real-life comparisons to help us gain an understanding of the concepts. This felt like a true educational course and was on par with something you might take in college!
Part 1: Assembling the Hardware
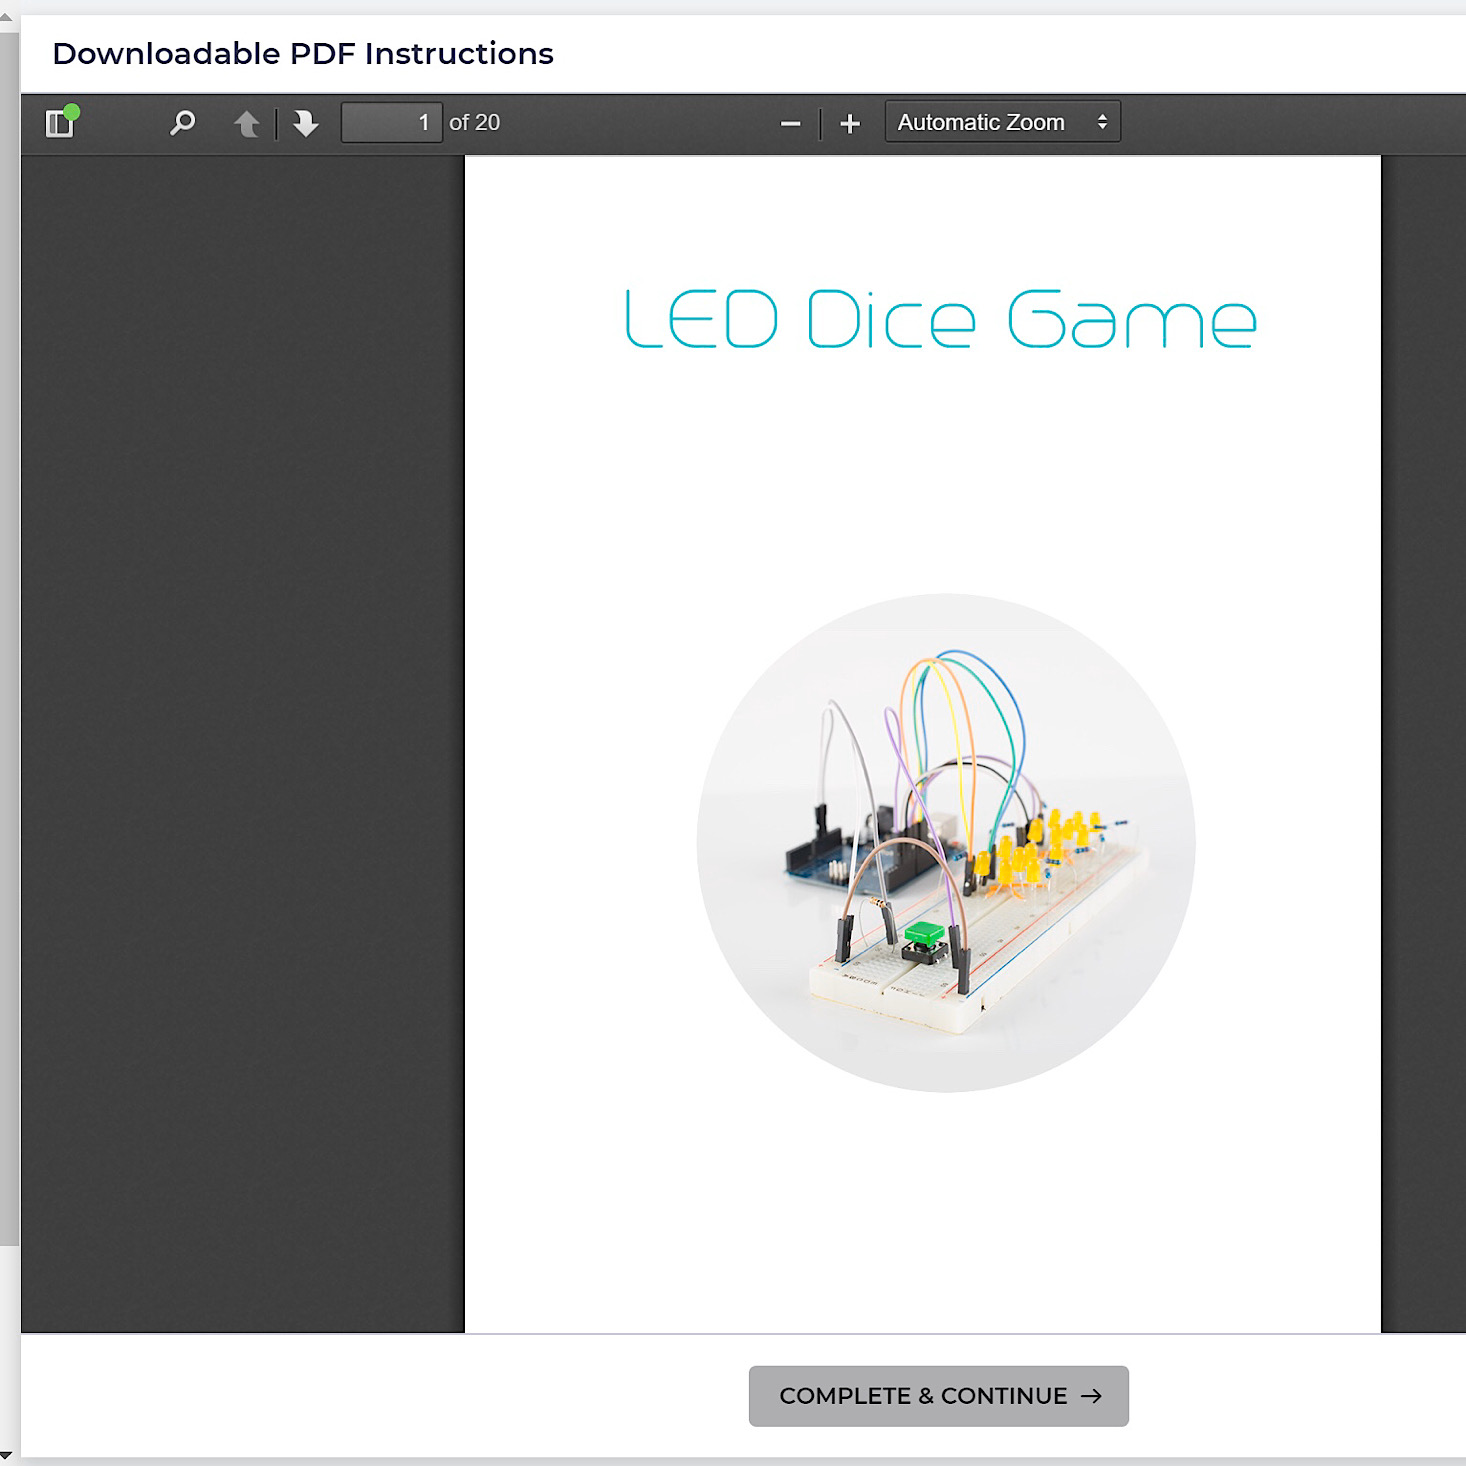
Now let's get to this month's project! First, they introduced our project and displayed a parts list. They also provided a PDF version of the instructions for us to download.
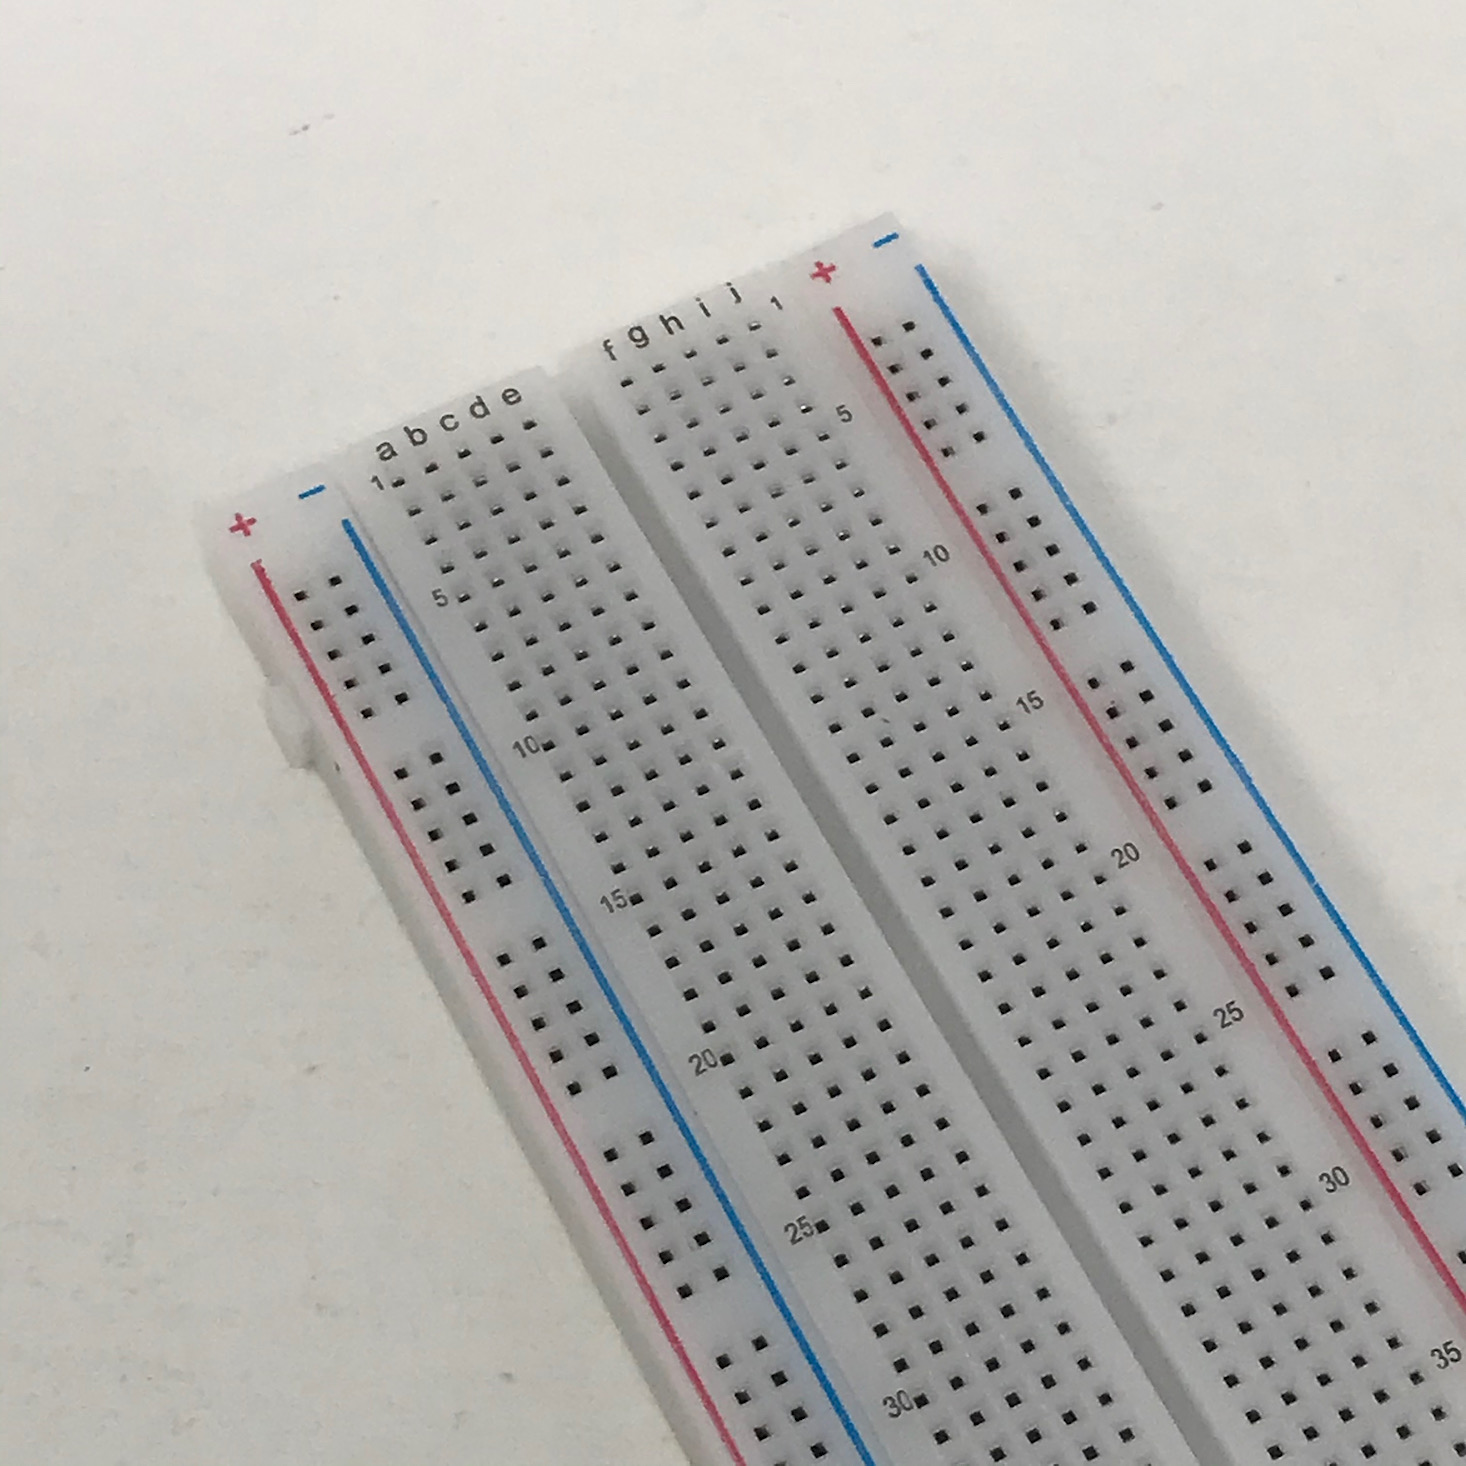
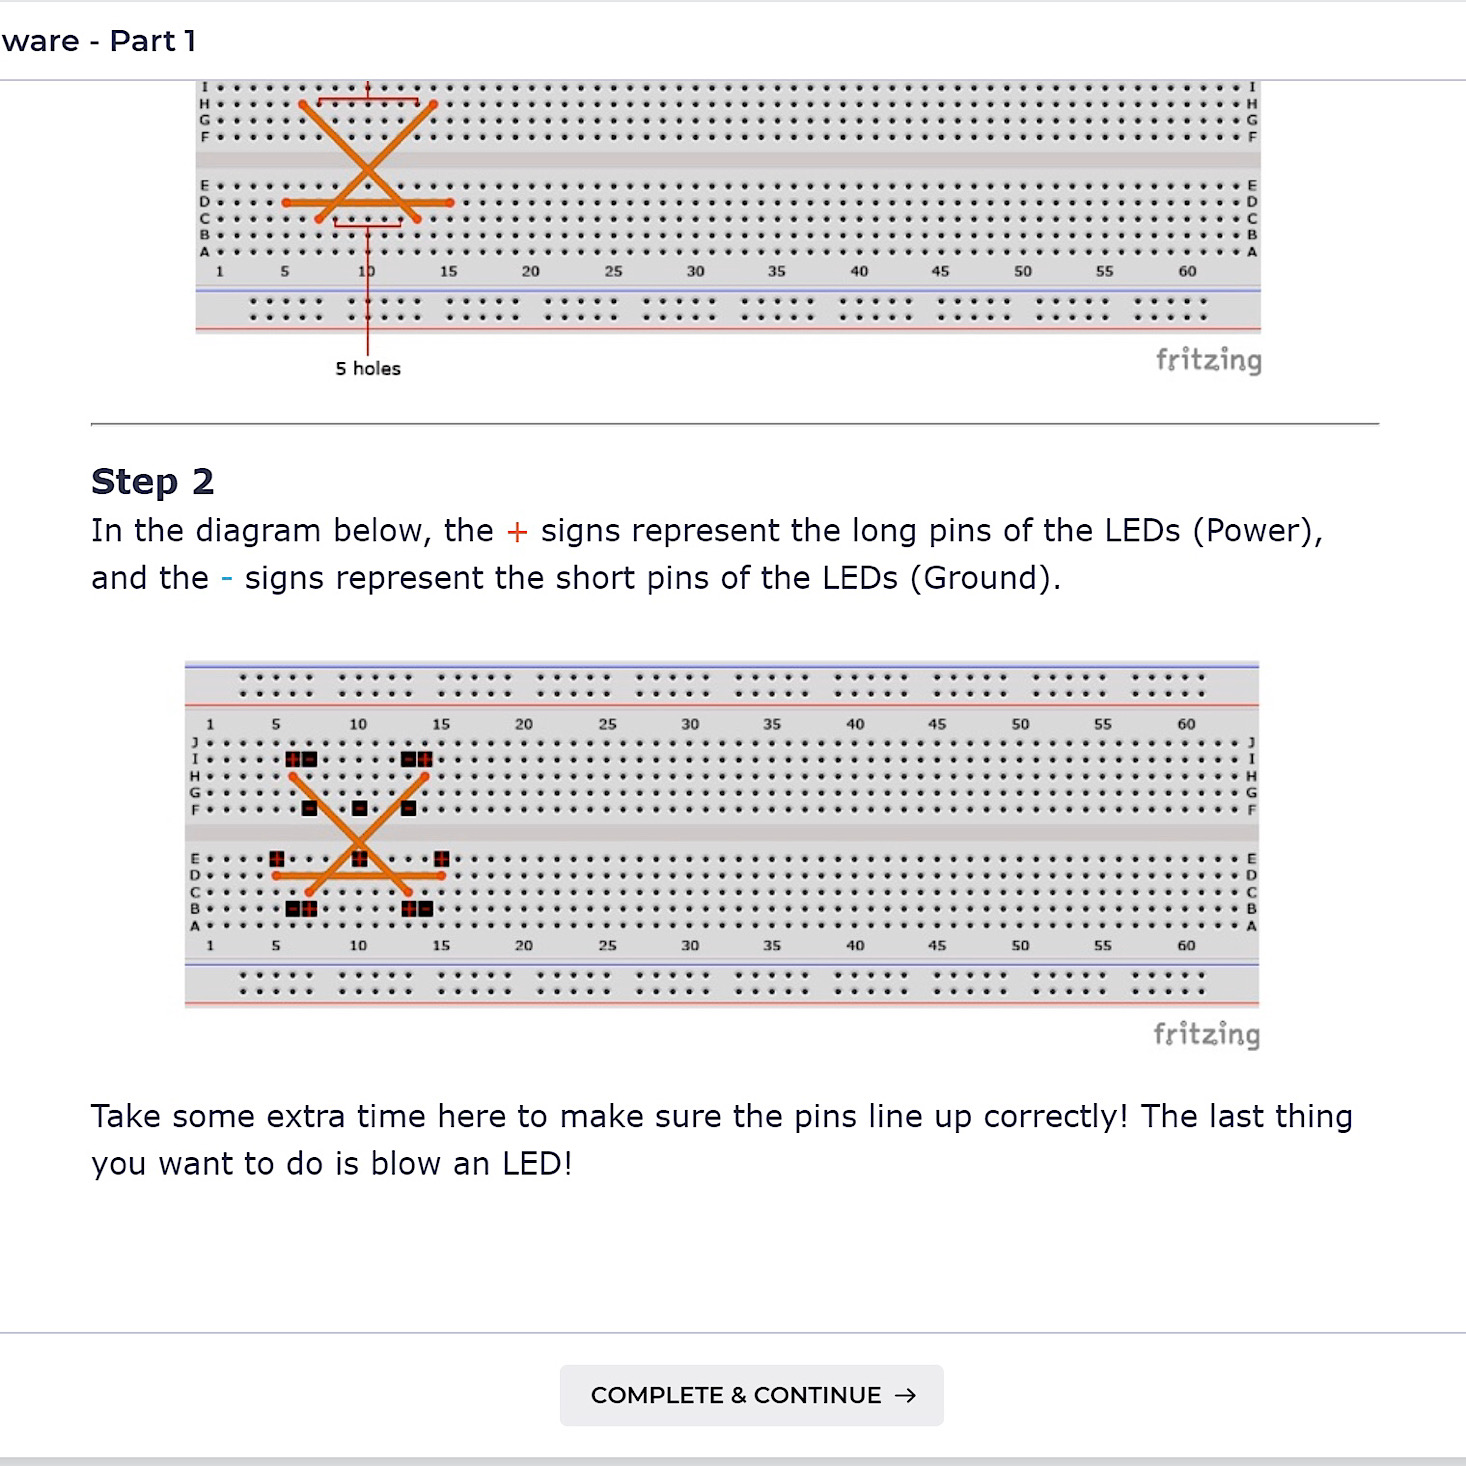
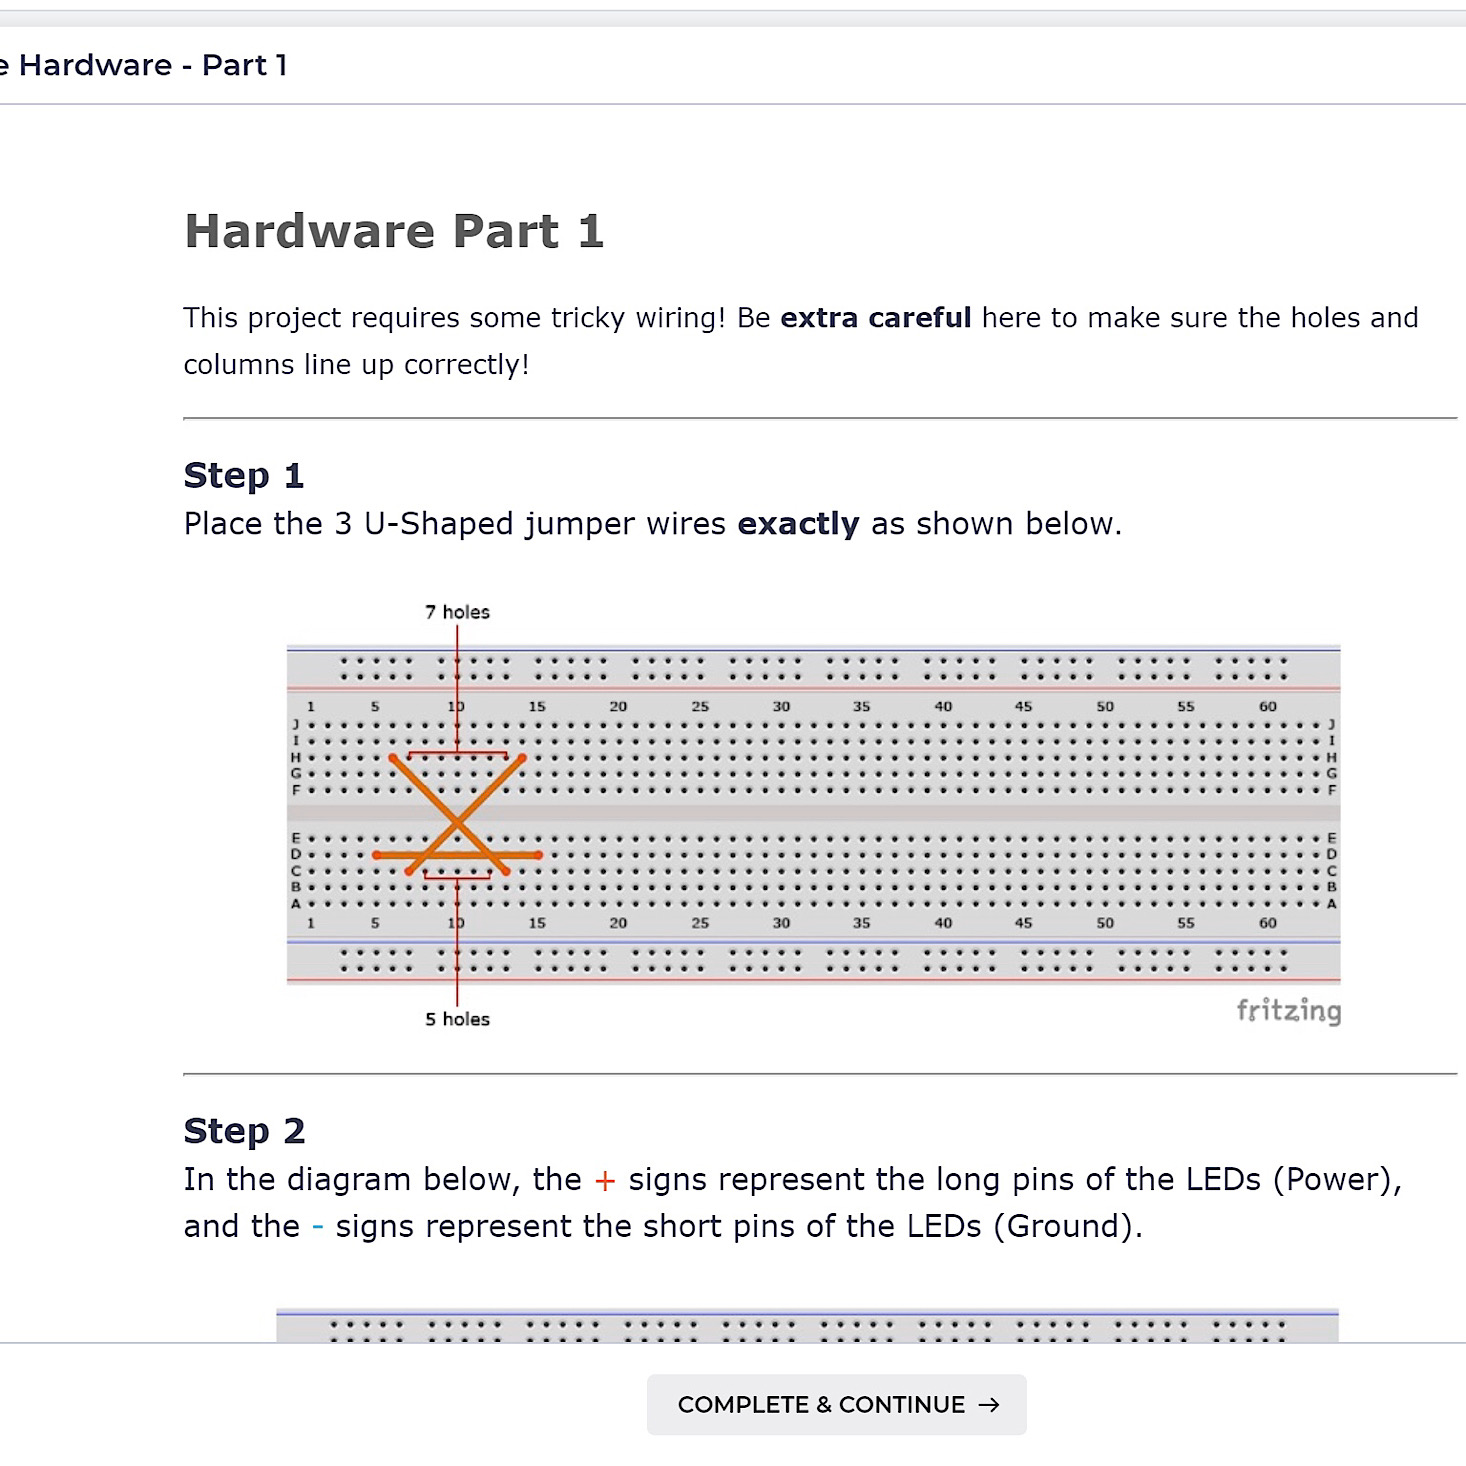
These are the instructions for adding the components to our breadboard. You can see how specific the directions are with the pins needing to be in the right spots. The breadboard reads like a grid with numbers going vertically and letters horizontally which makes it a little easier to place items, but I always find it a little tricky working within such a small space.
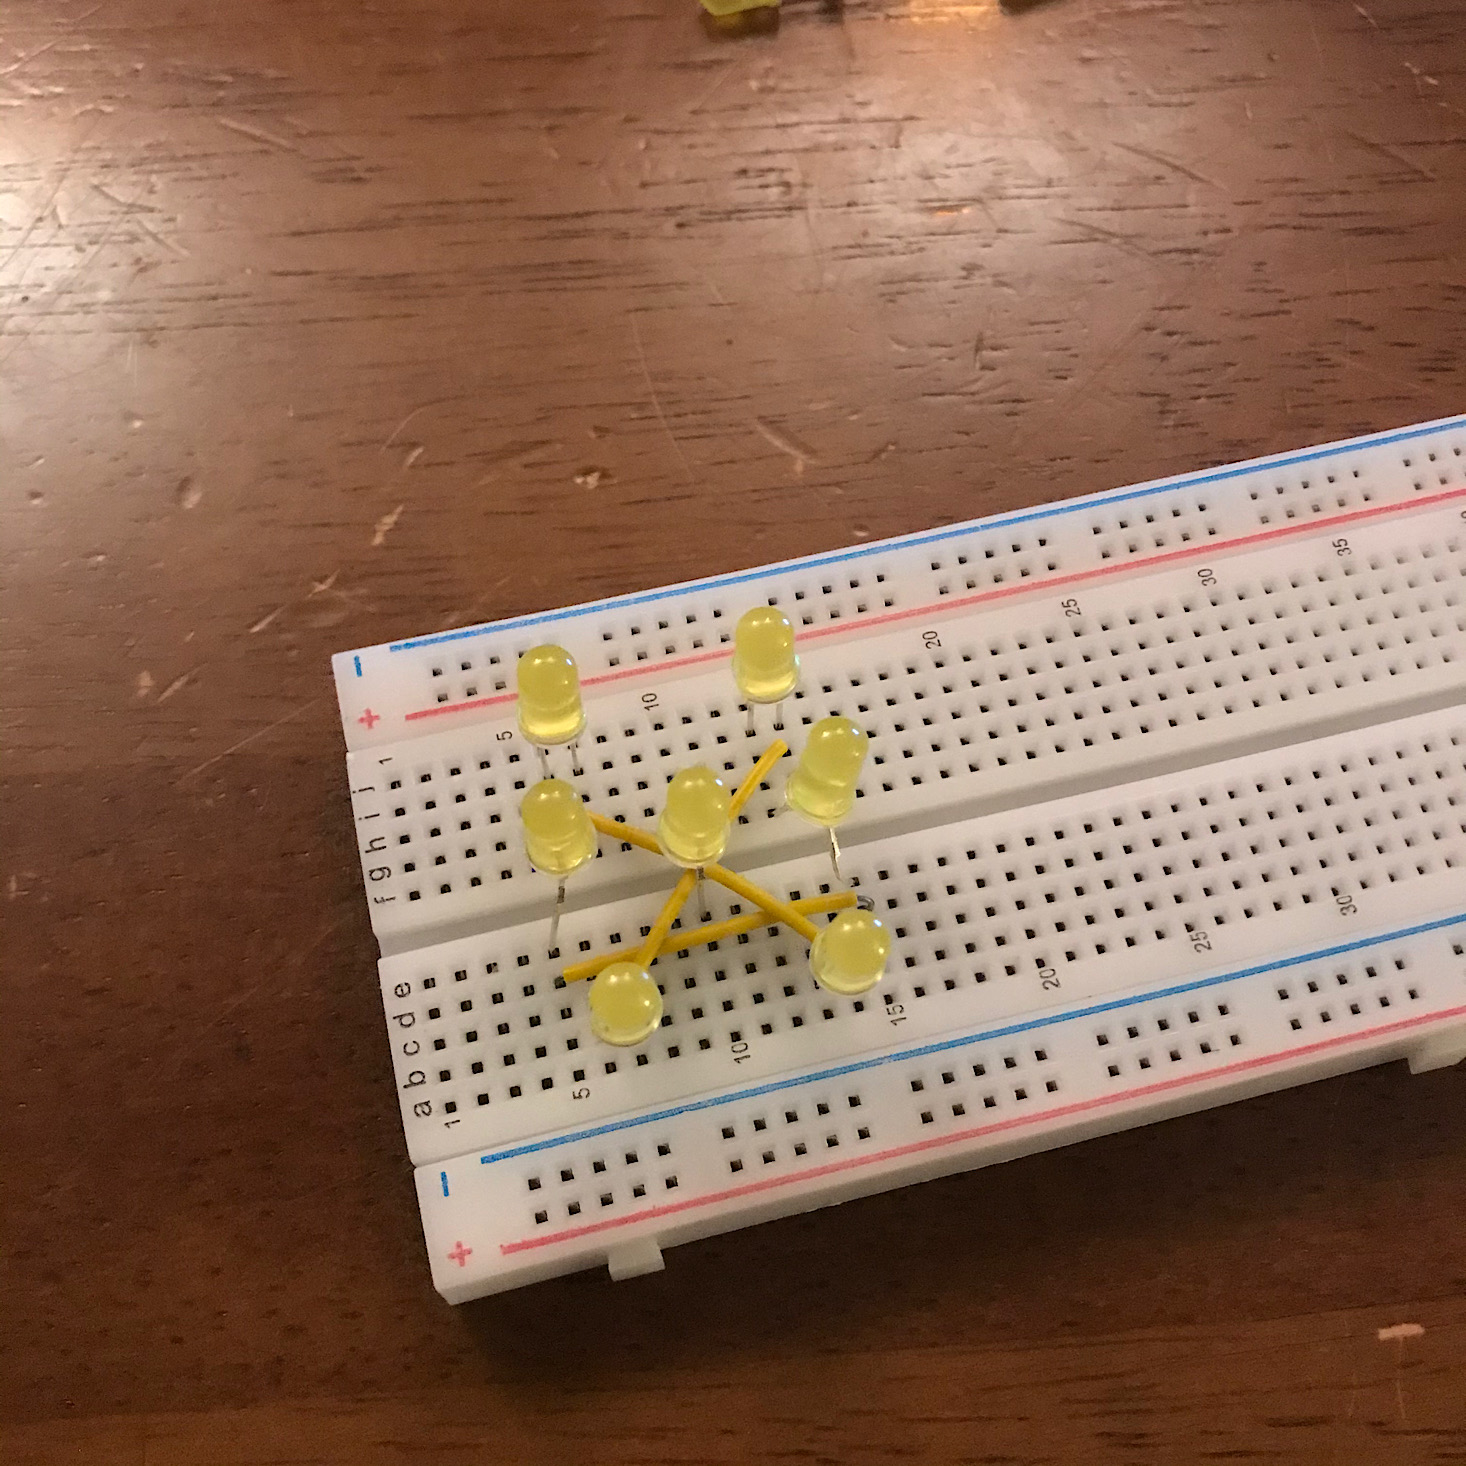
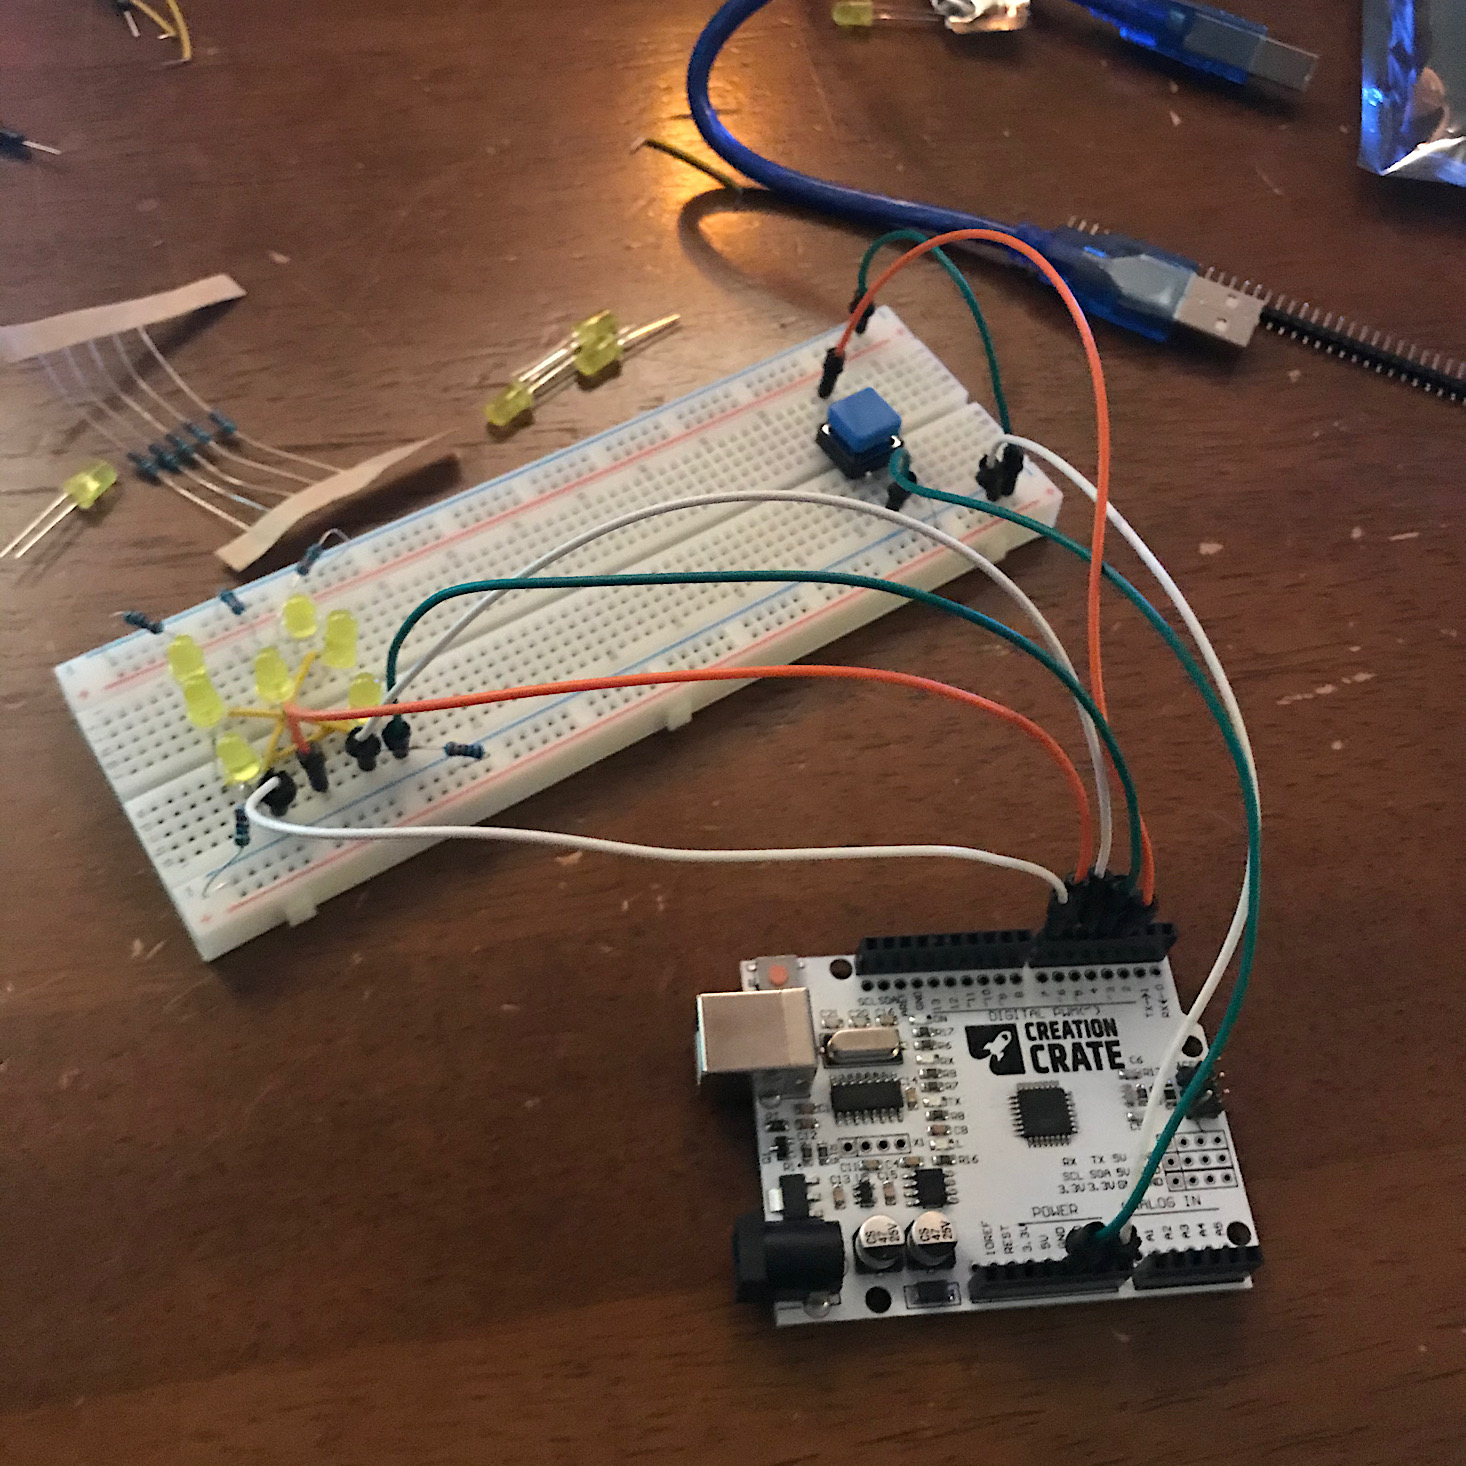
First, I placed the smaller U-shaped jumper wires according to the diagram so that they overlapped. I then placed the 7 yellow LEDs into the correct spots paying close attention to where the positive and negative pins should go.
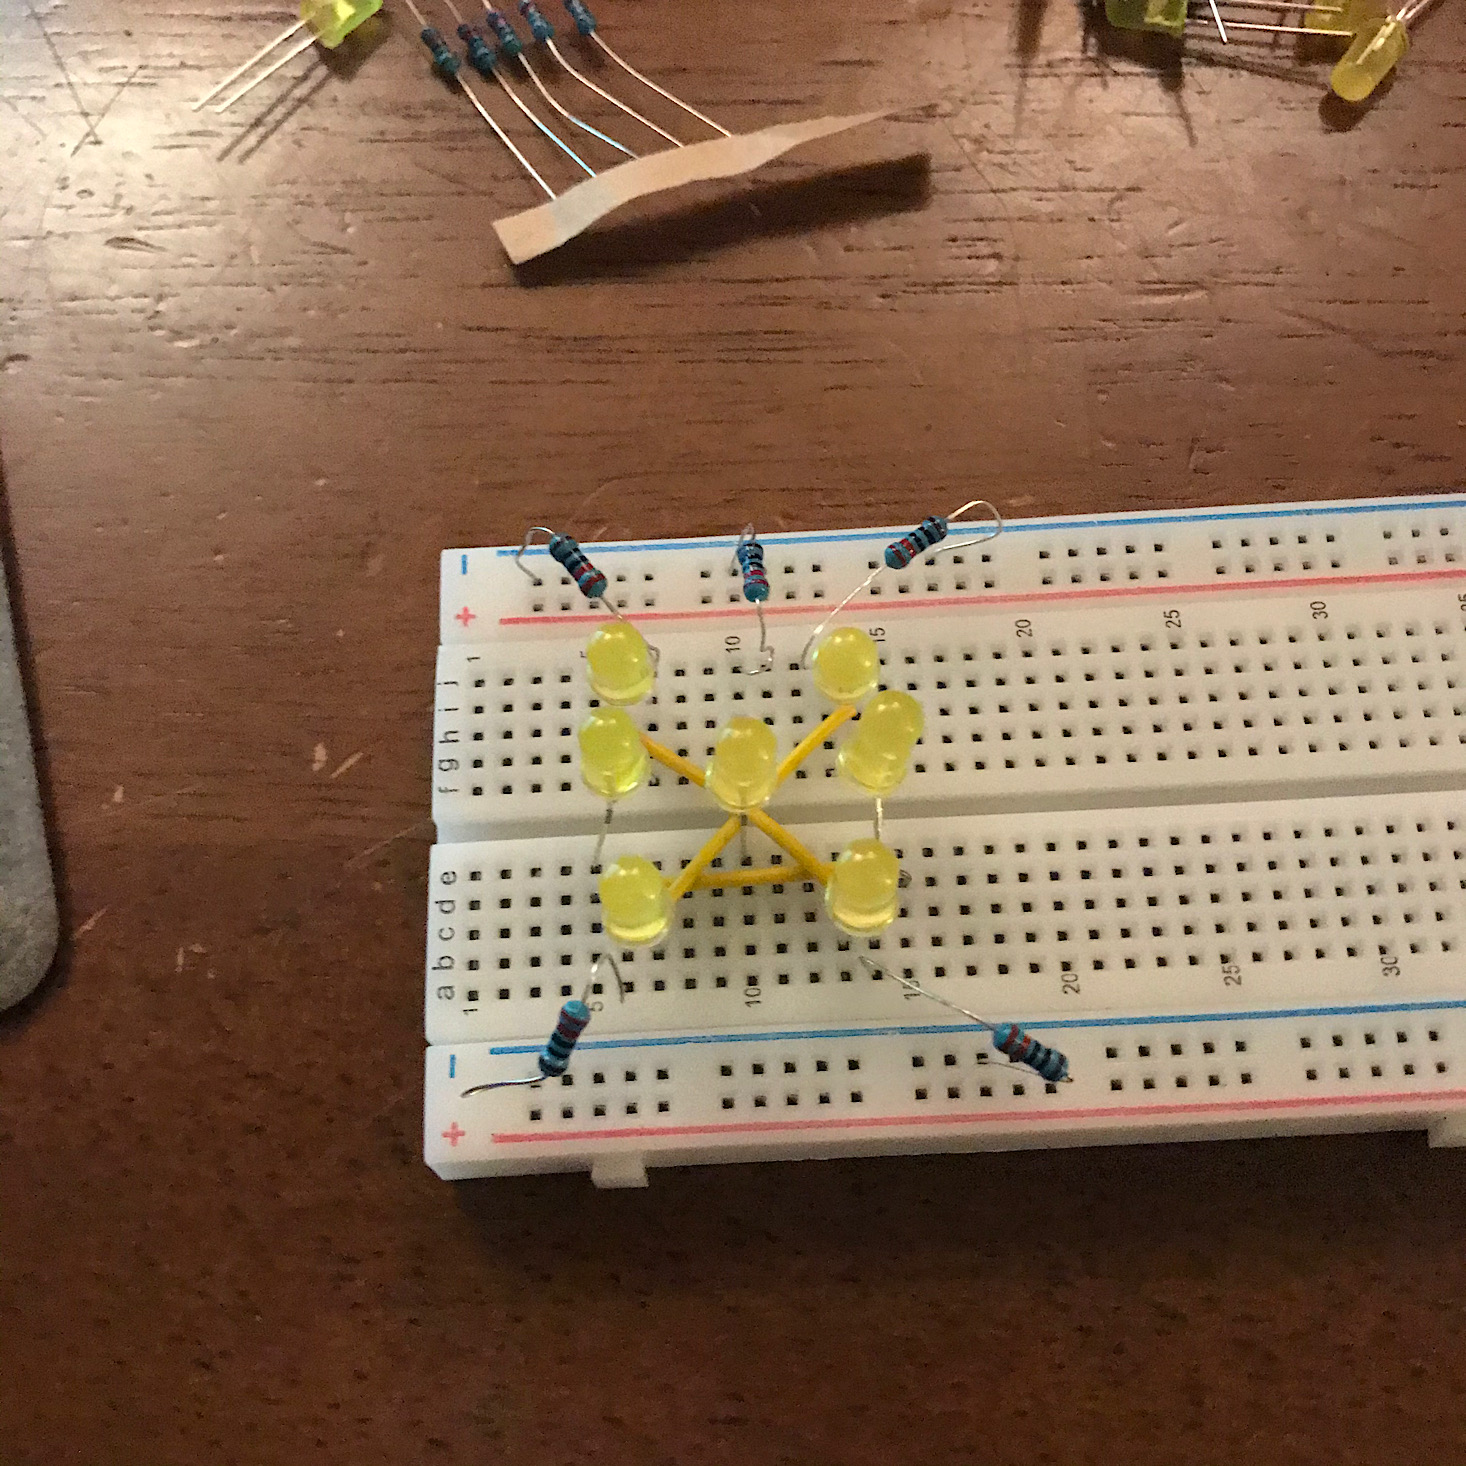
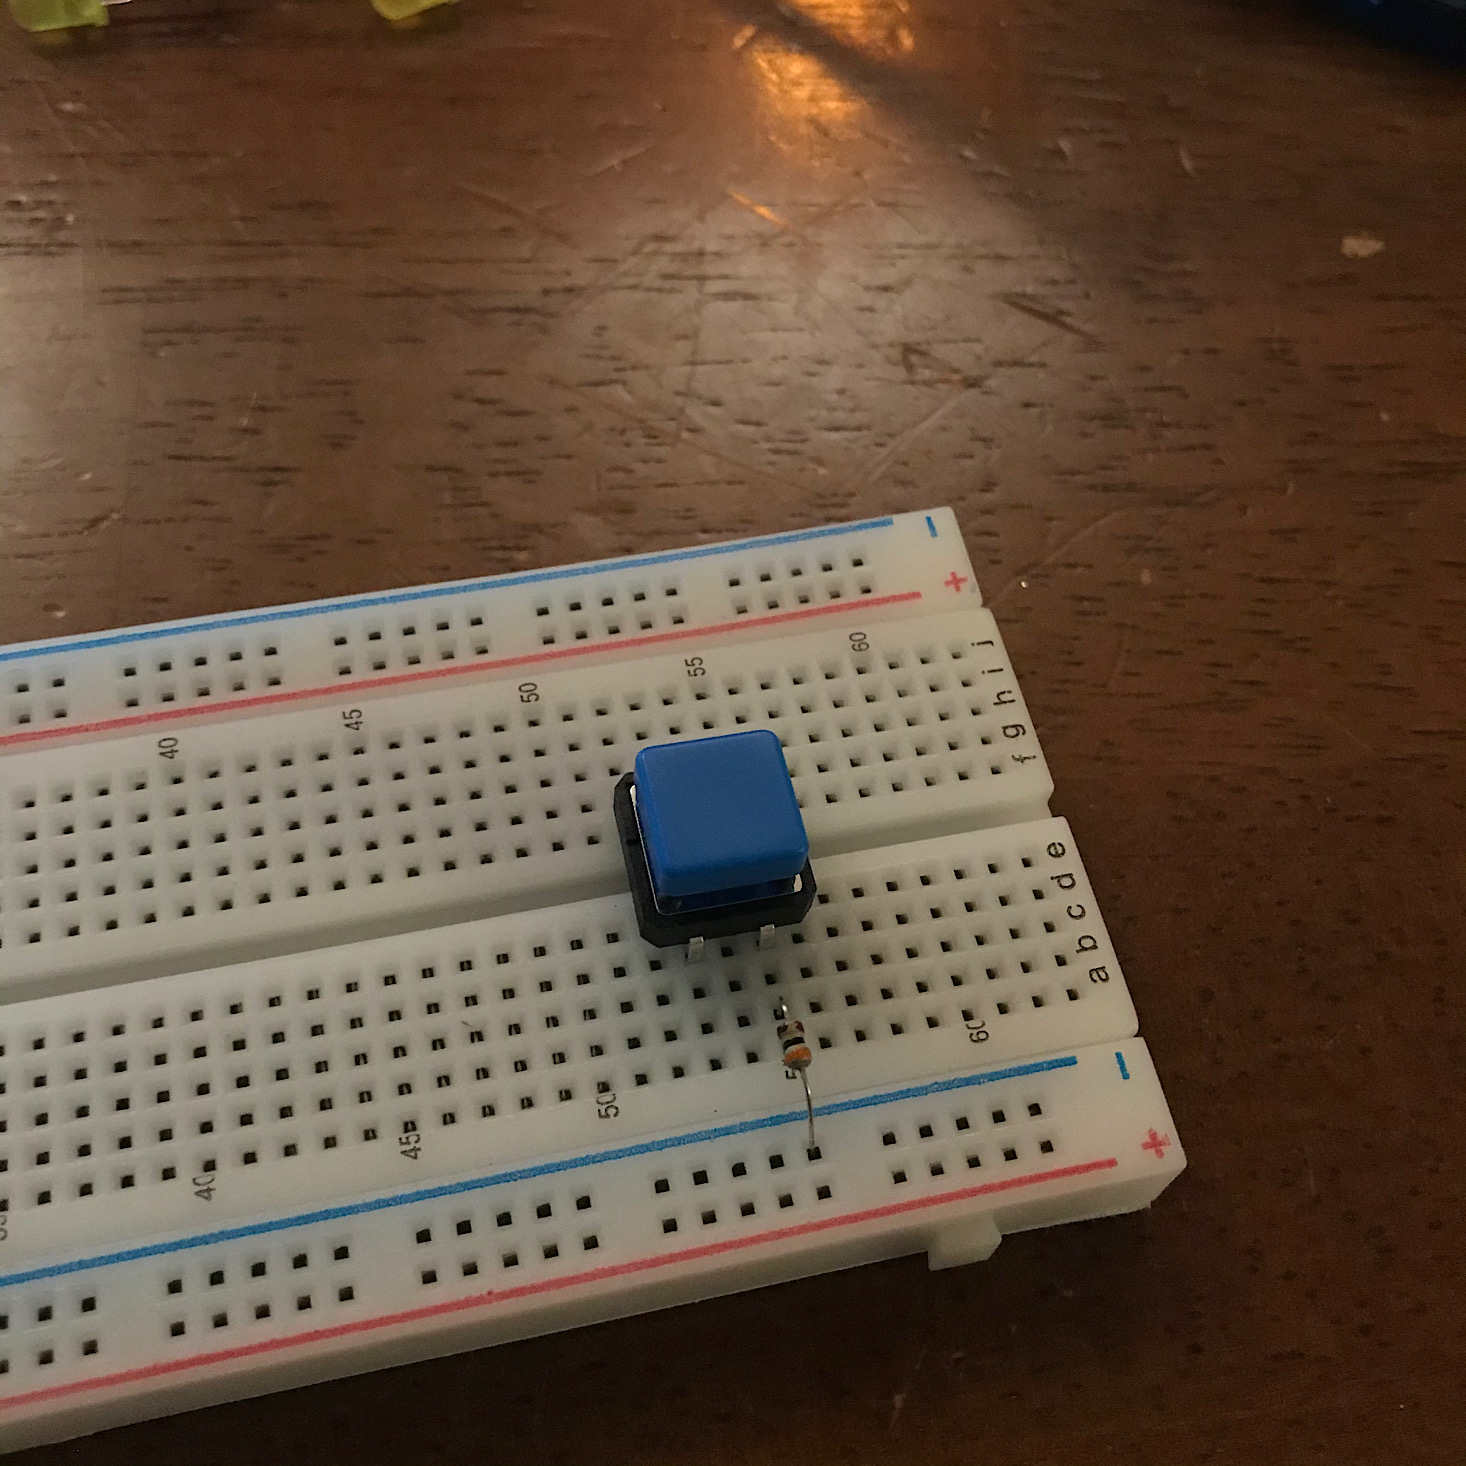
Then I placed our button and button cover at the opposite end before adding our 220k OHM resistors around the outside of the LEDs.
Next, it was time to add the longer jumper wires to connect the breadboard to the UNO R3. This part is always a bit tricky since everything is so small and you have to be sure to place them correctly in order for everything to work.
Part 2: Write the Program
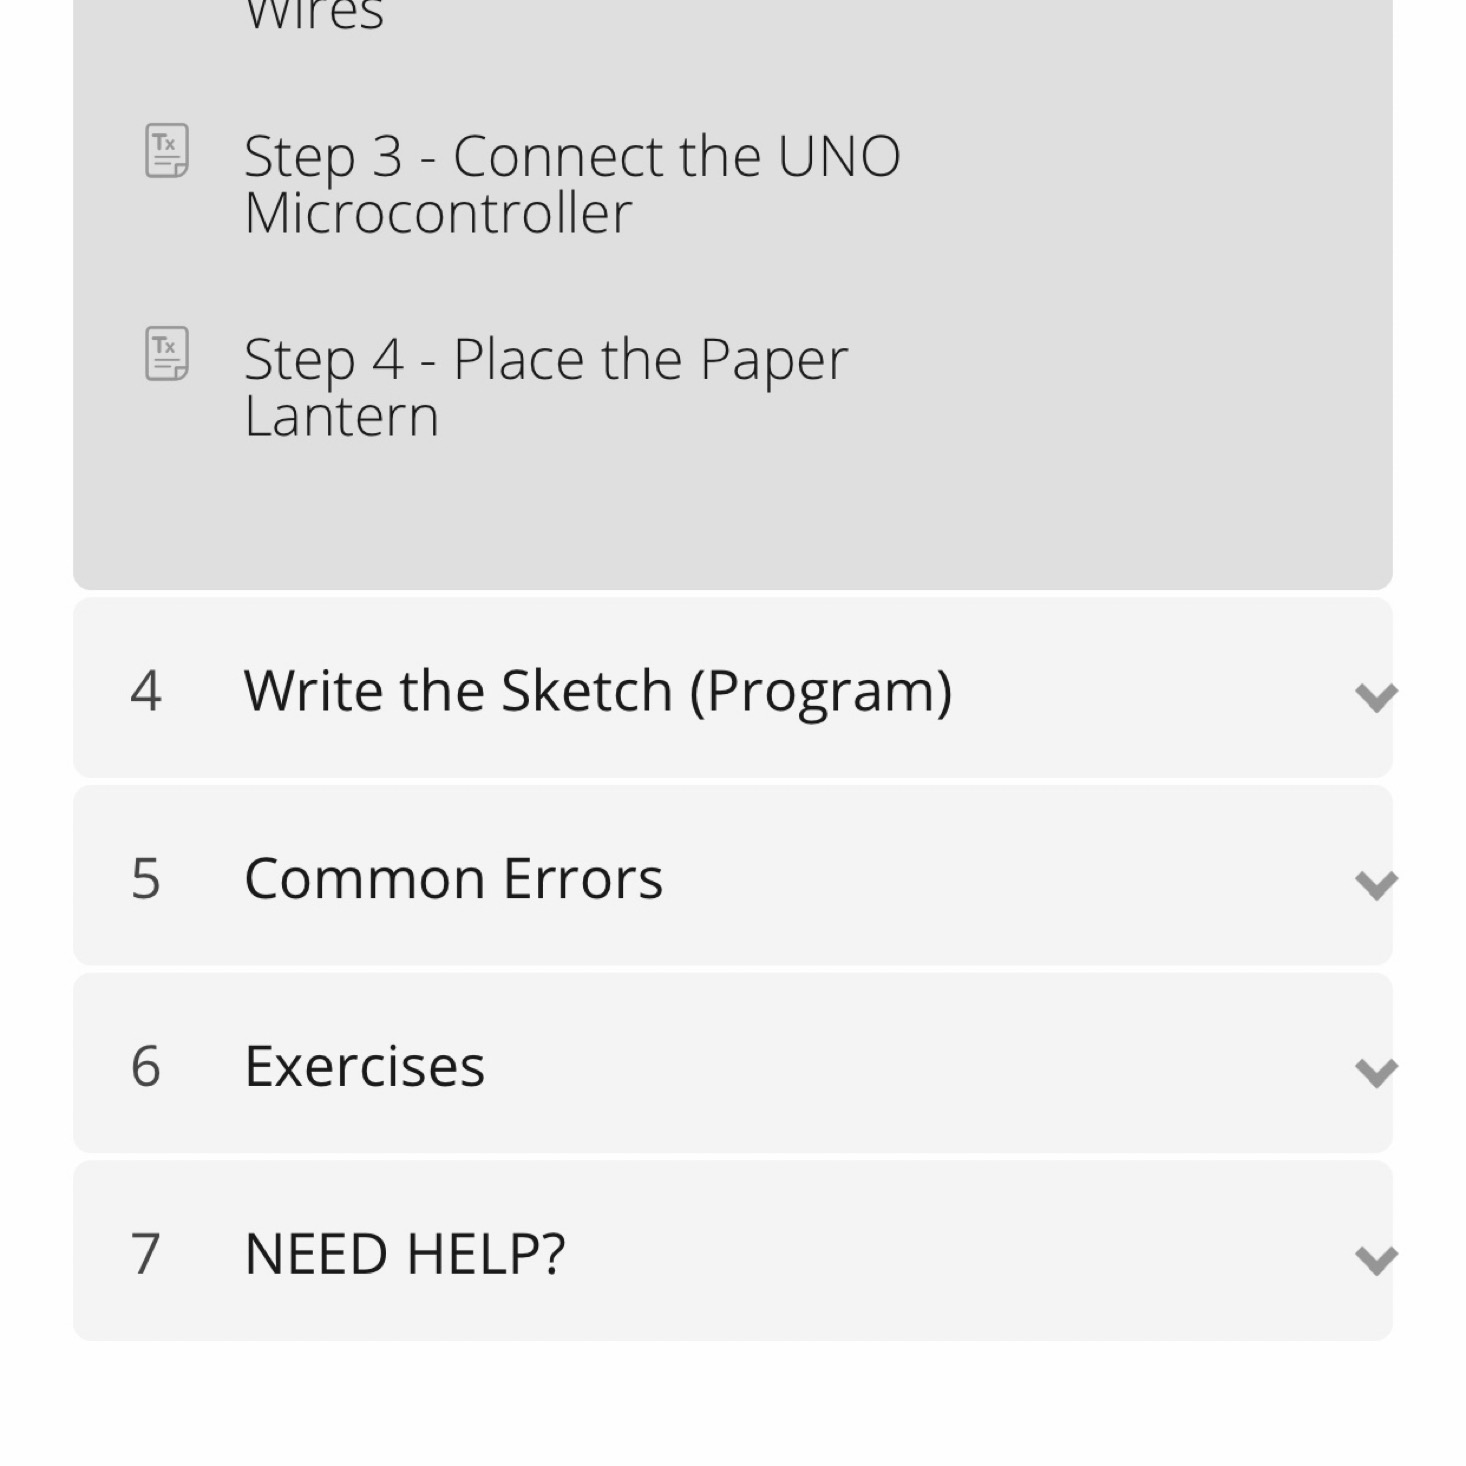
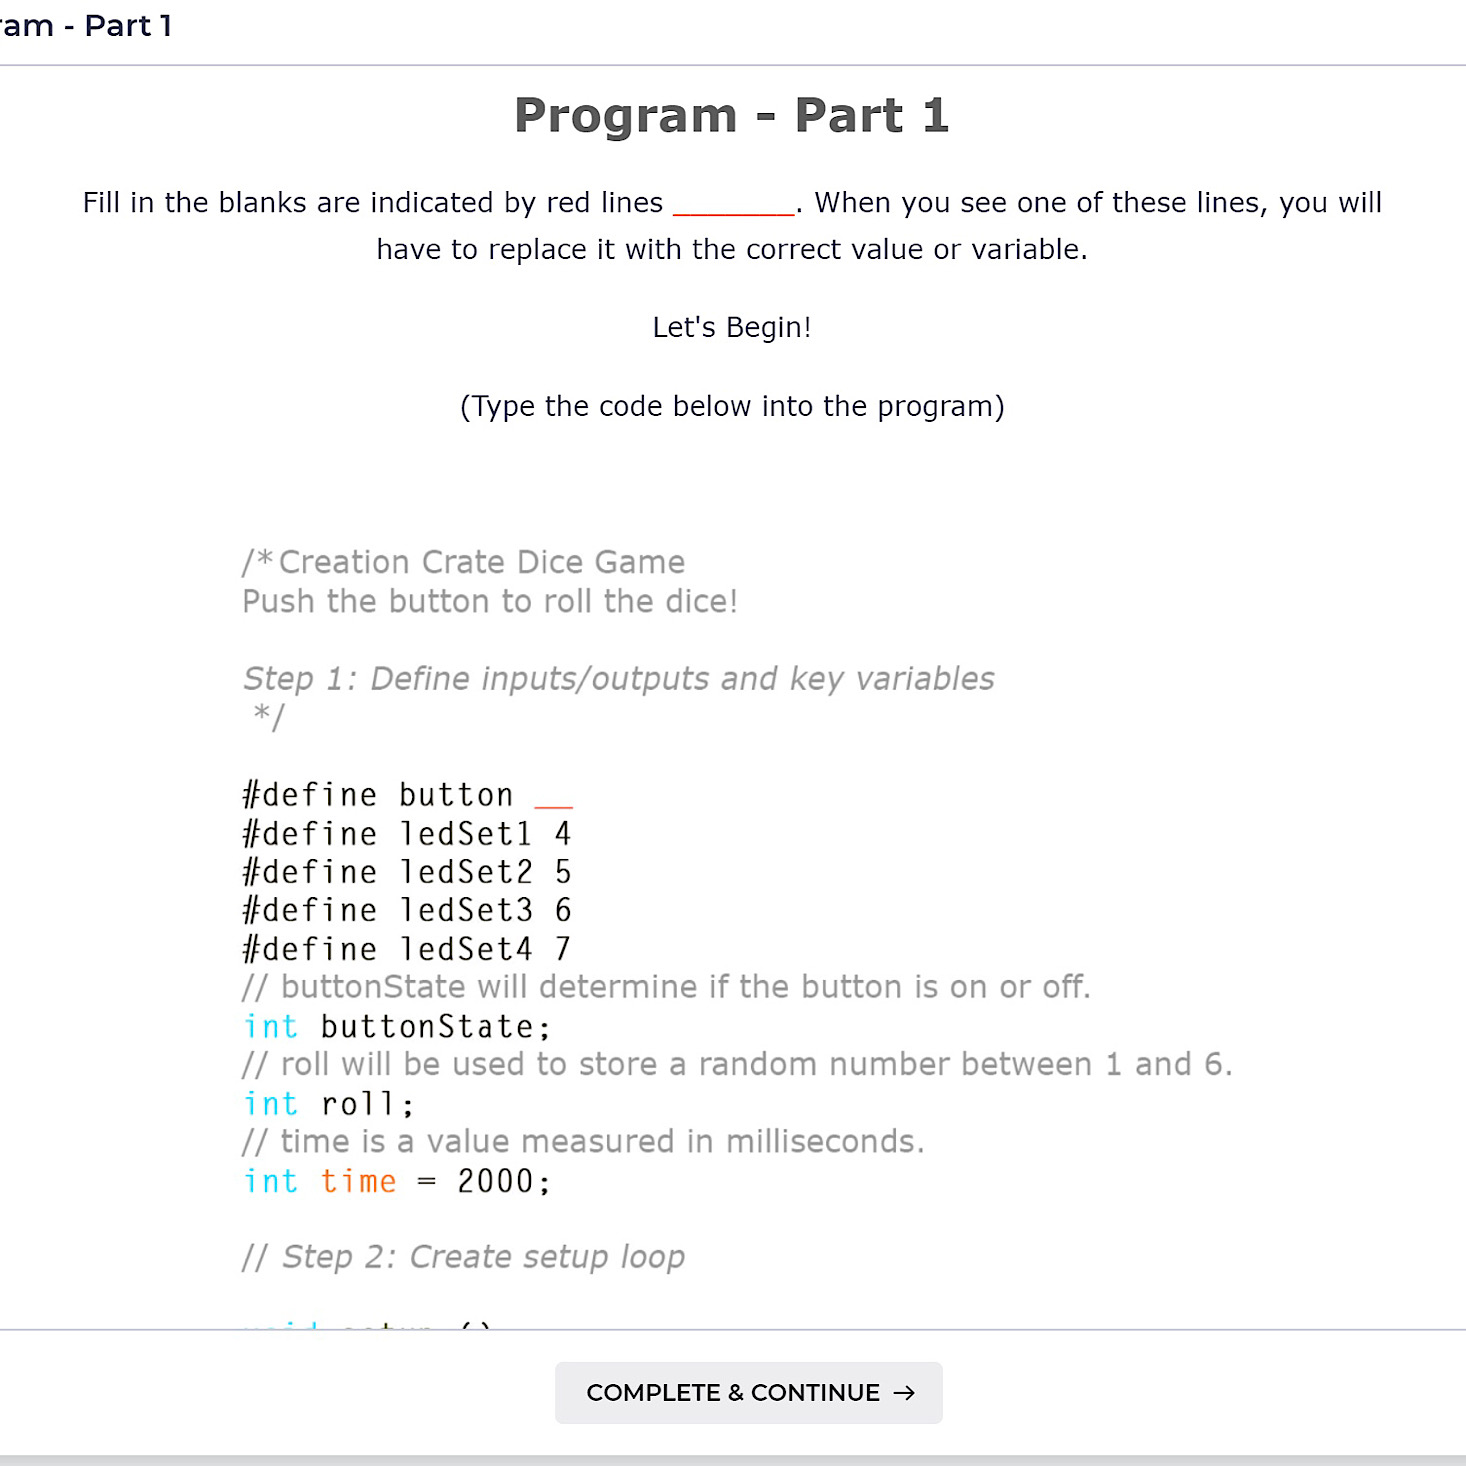
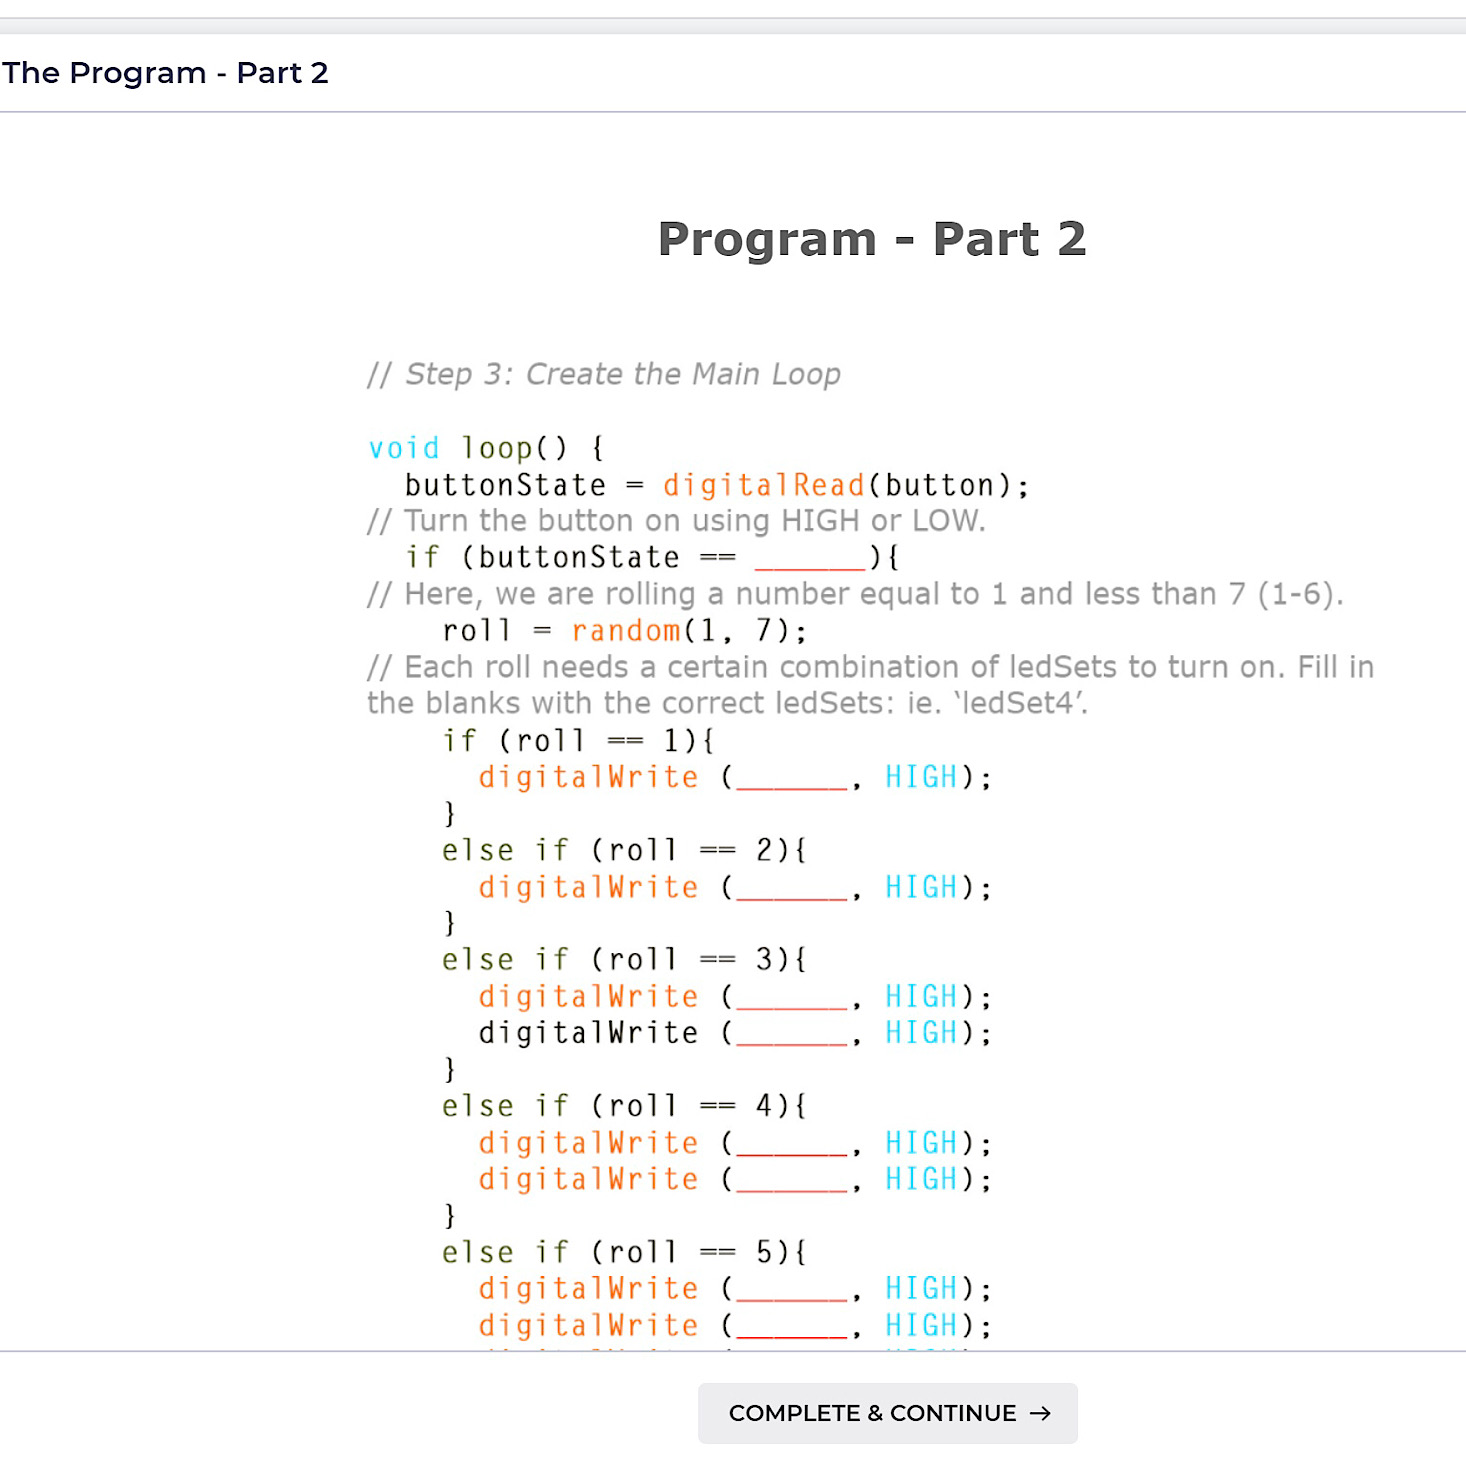
With our components in place, it was now time to type in the code using Arduino. With our first project, they provided directions for how to download Arduino's free software along with a coding video that explained the basics to us. While entering code is essentially just typing in what they give you word for word, it can be quite tedious and it's easy to make a mistake. Luckily, they include a section on common errors to help us troubleshoot. They break down the coding into sections and use notations to help us understand what each section is for.
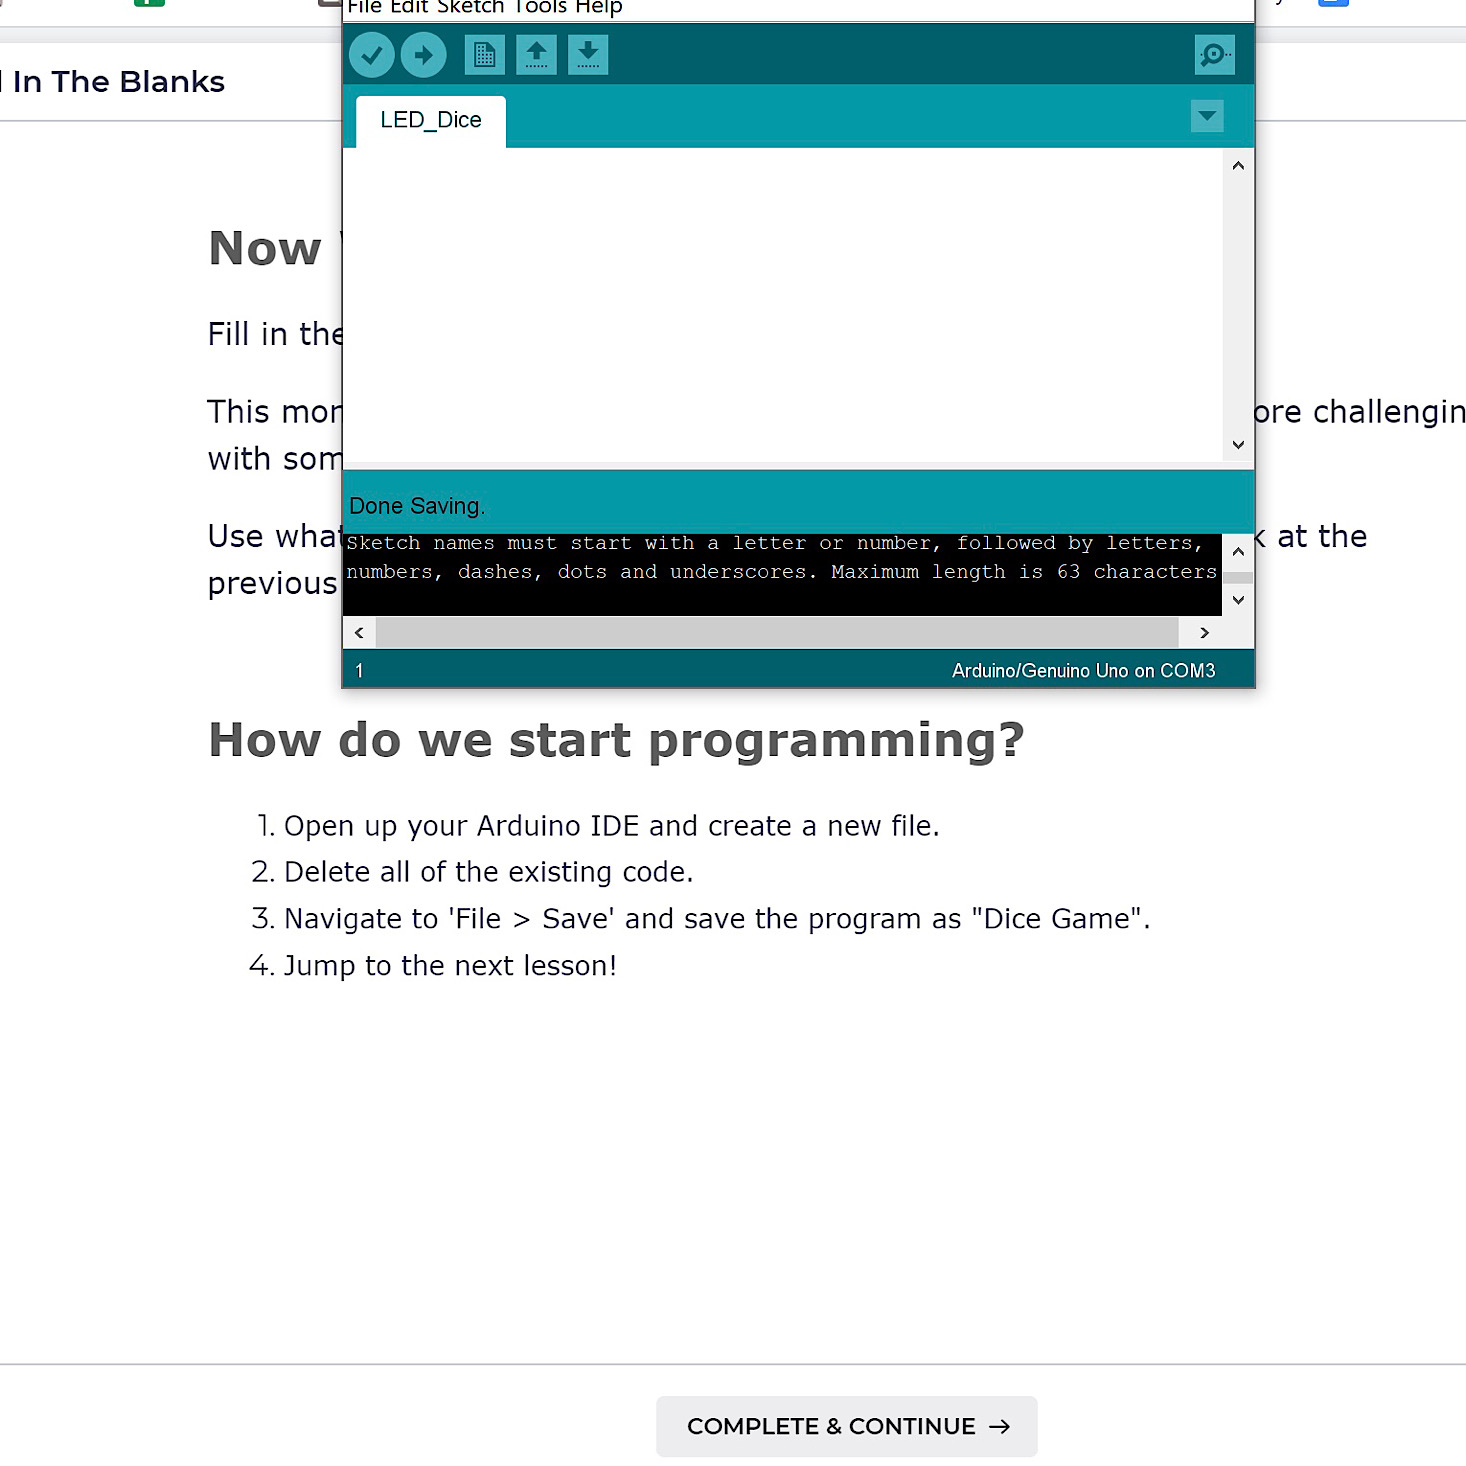
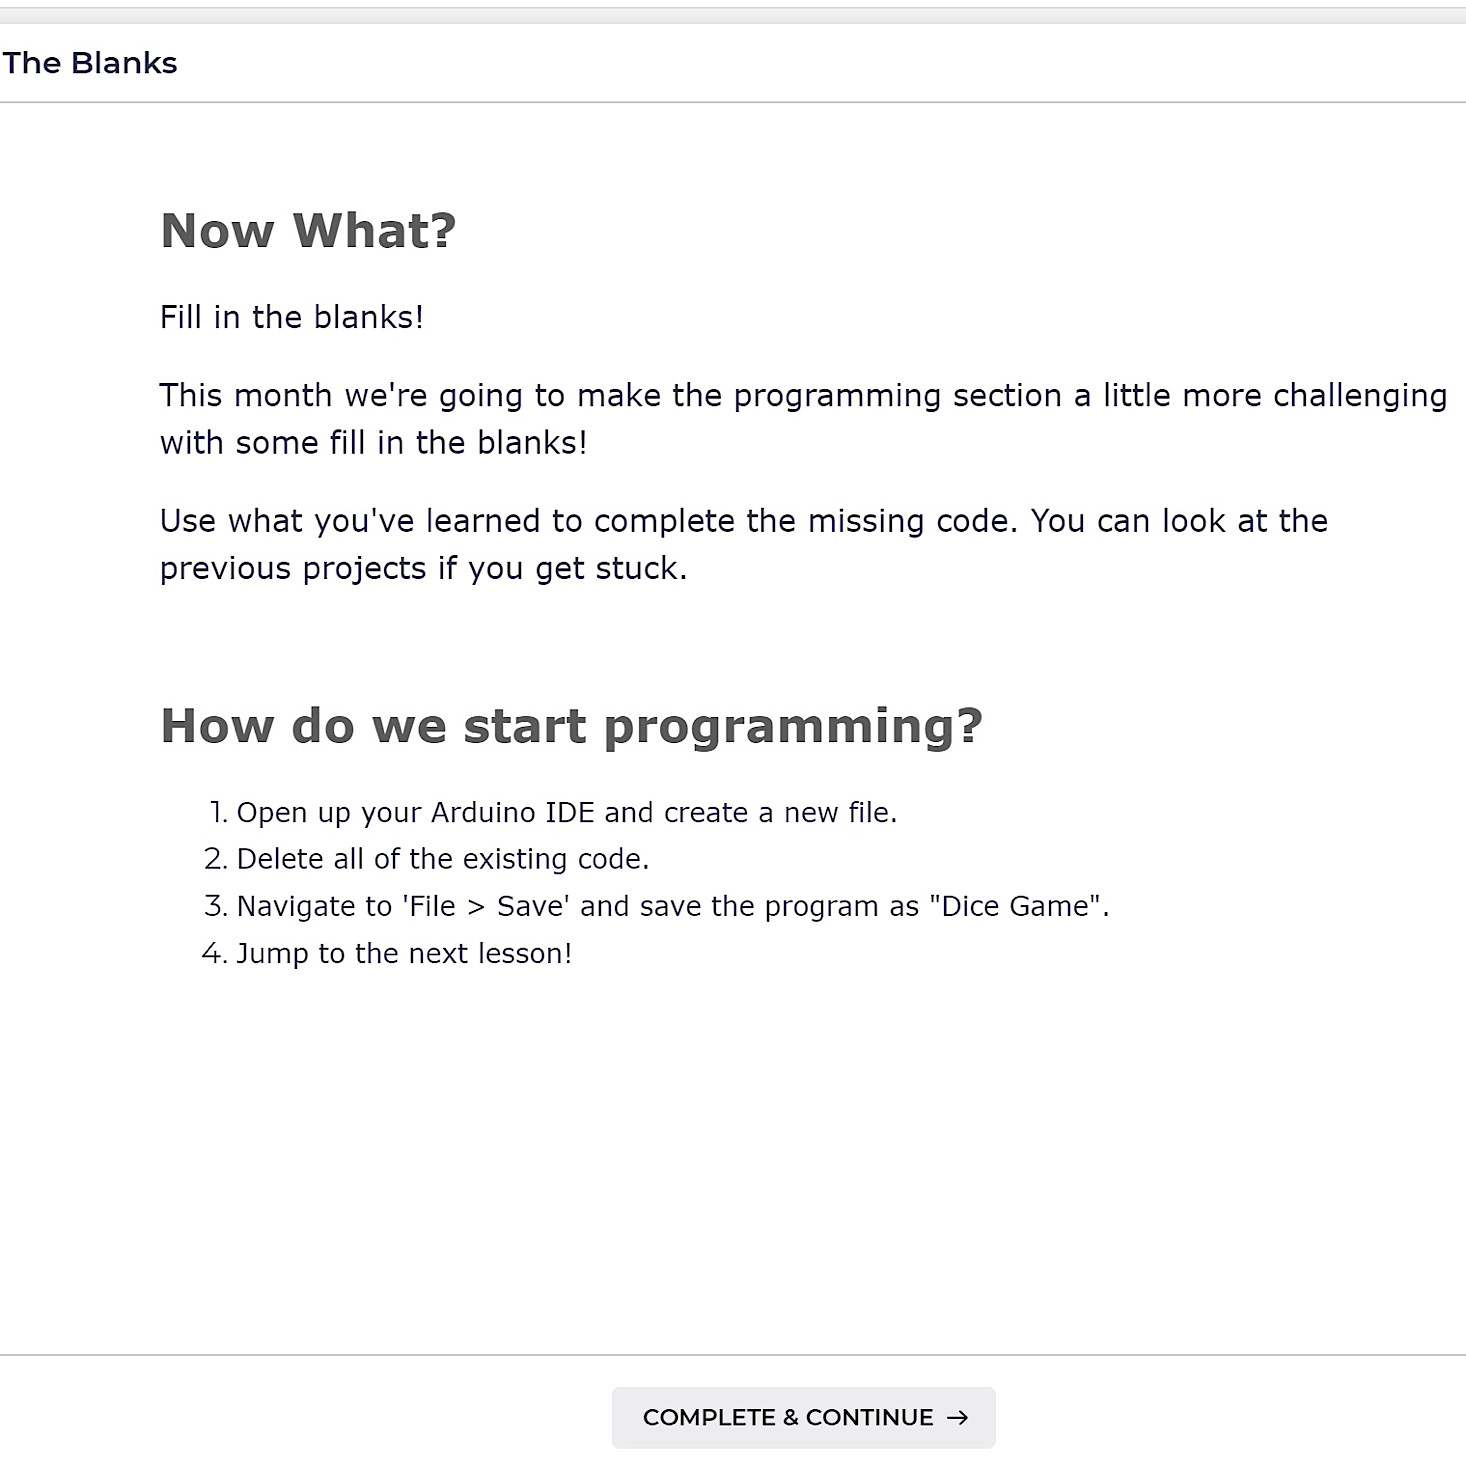
This month, our programming gets a bit trickier because we had to fill in some blanks within the coding. I opened up our programming app and renamed a new file for our LED dice game.
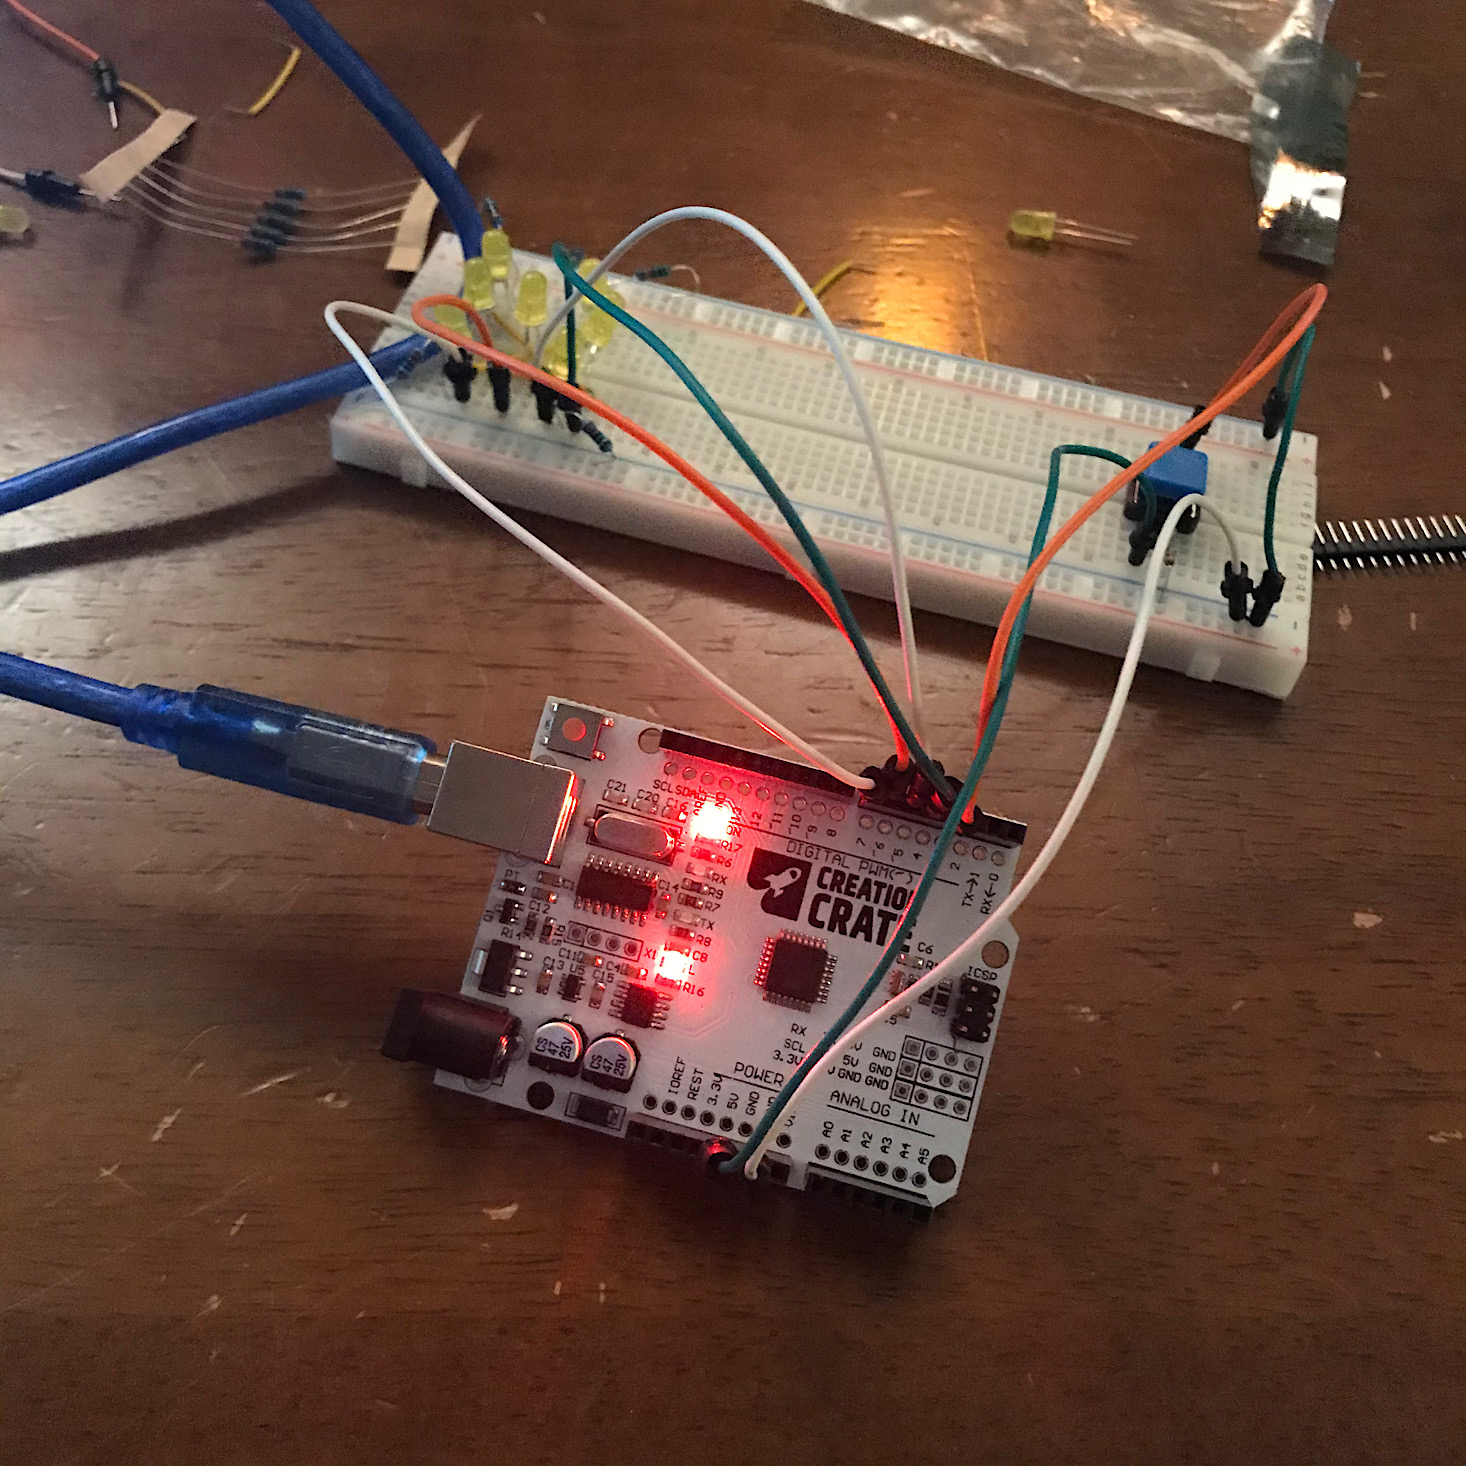
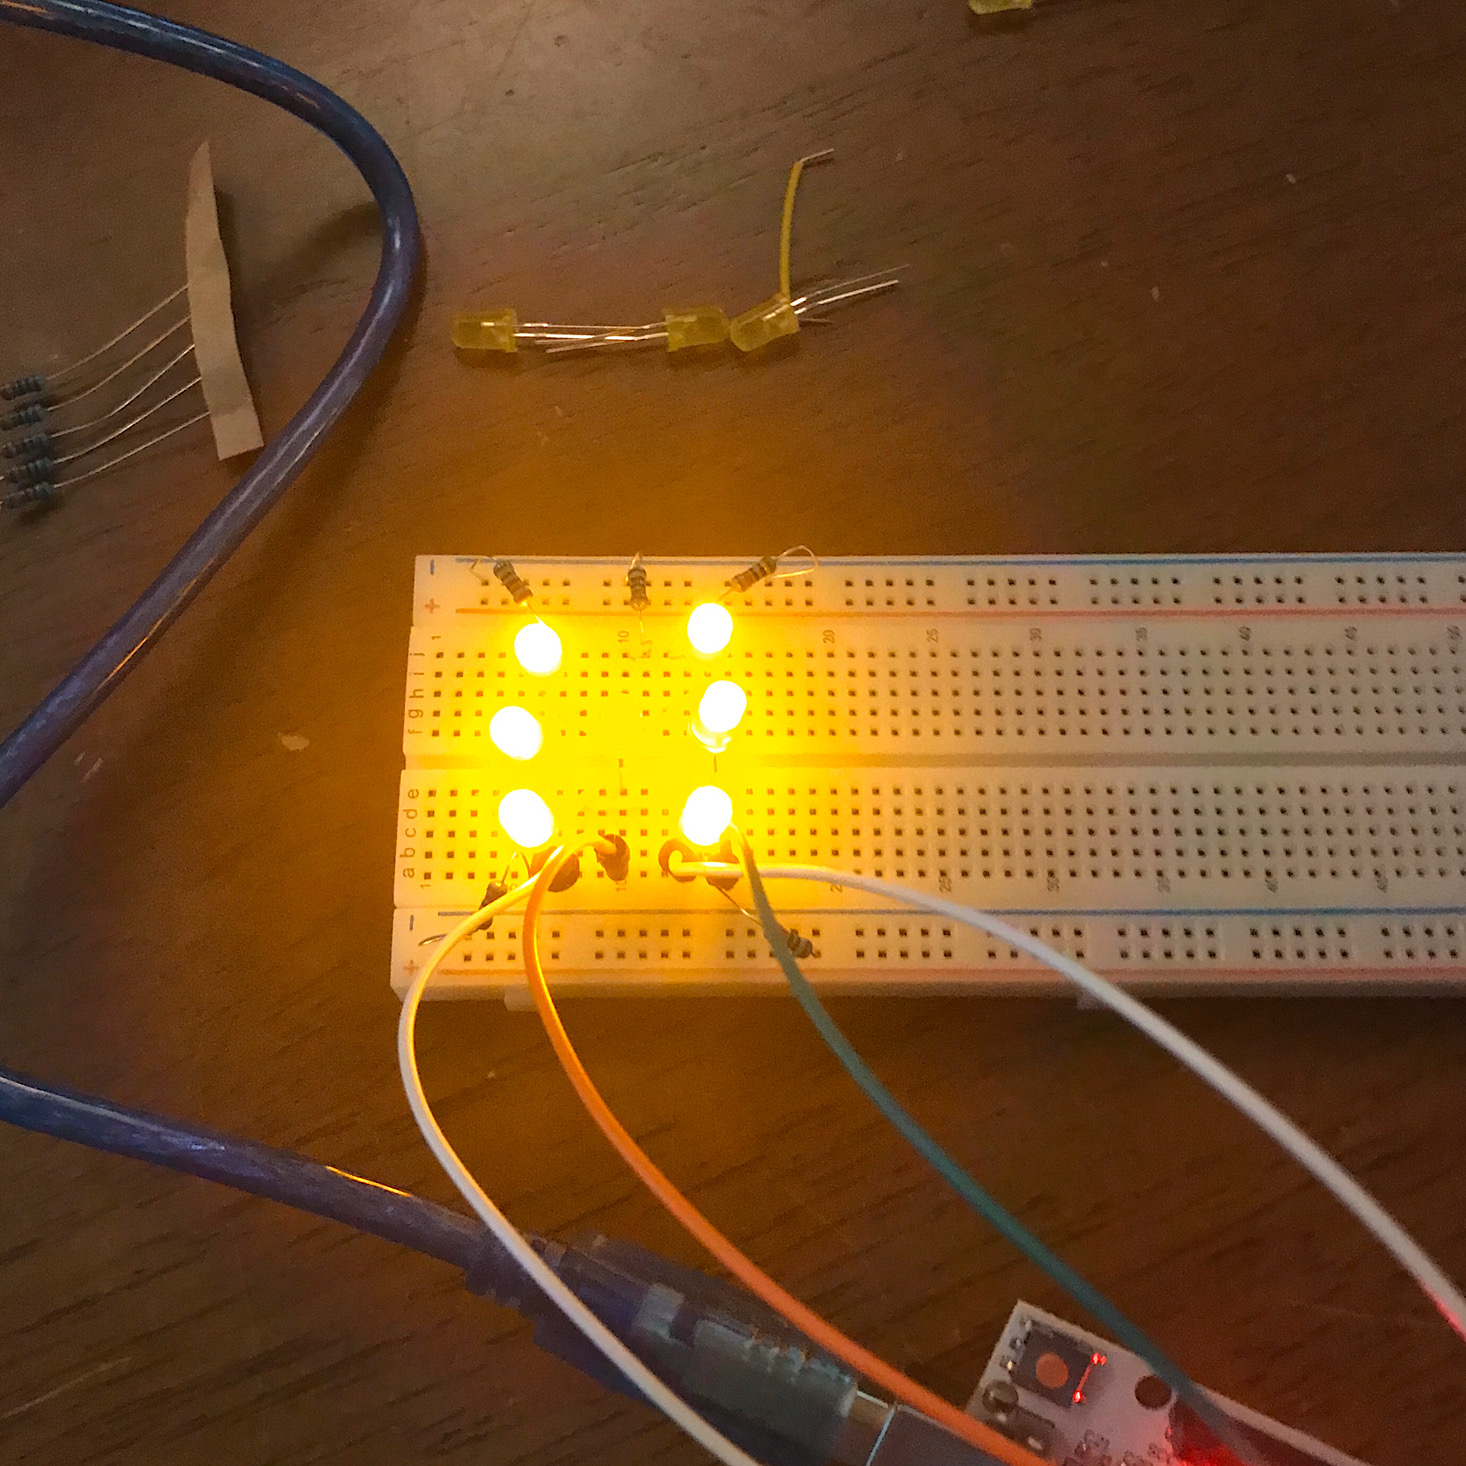
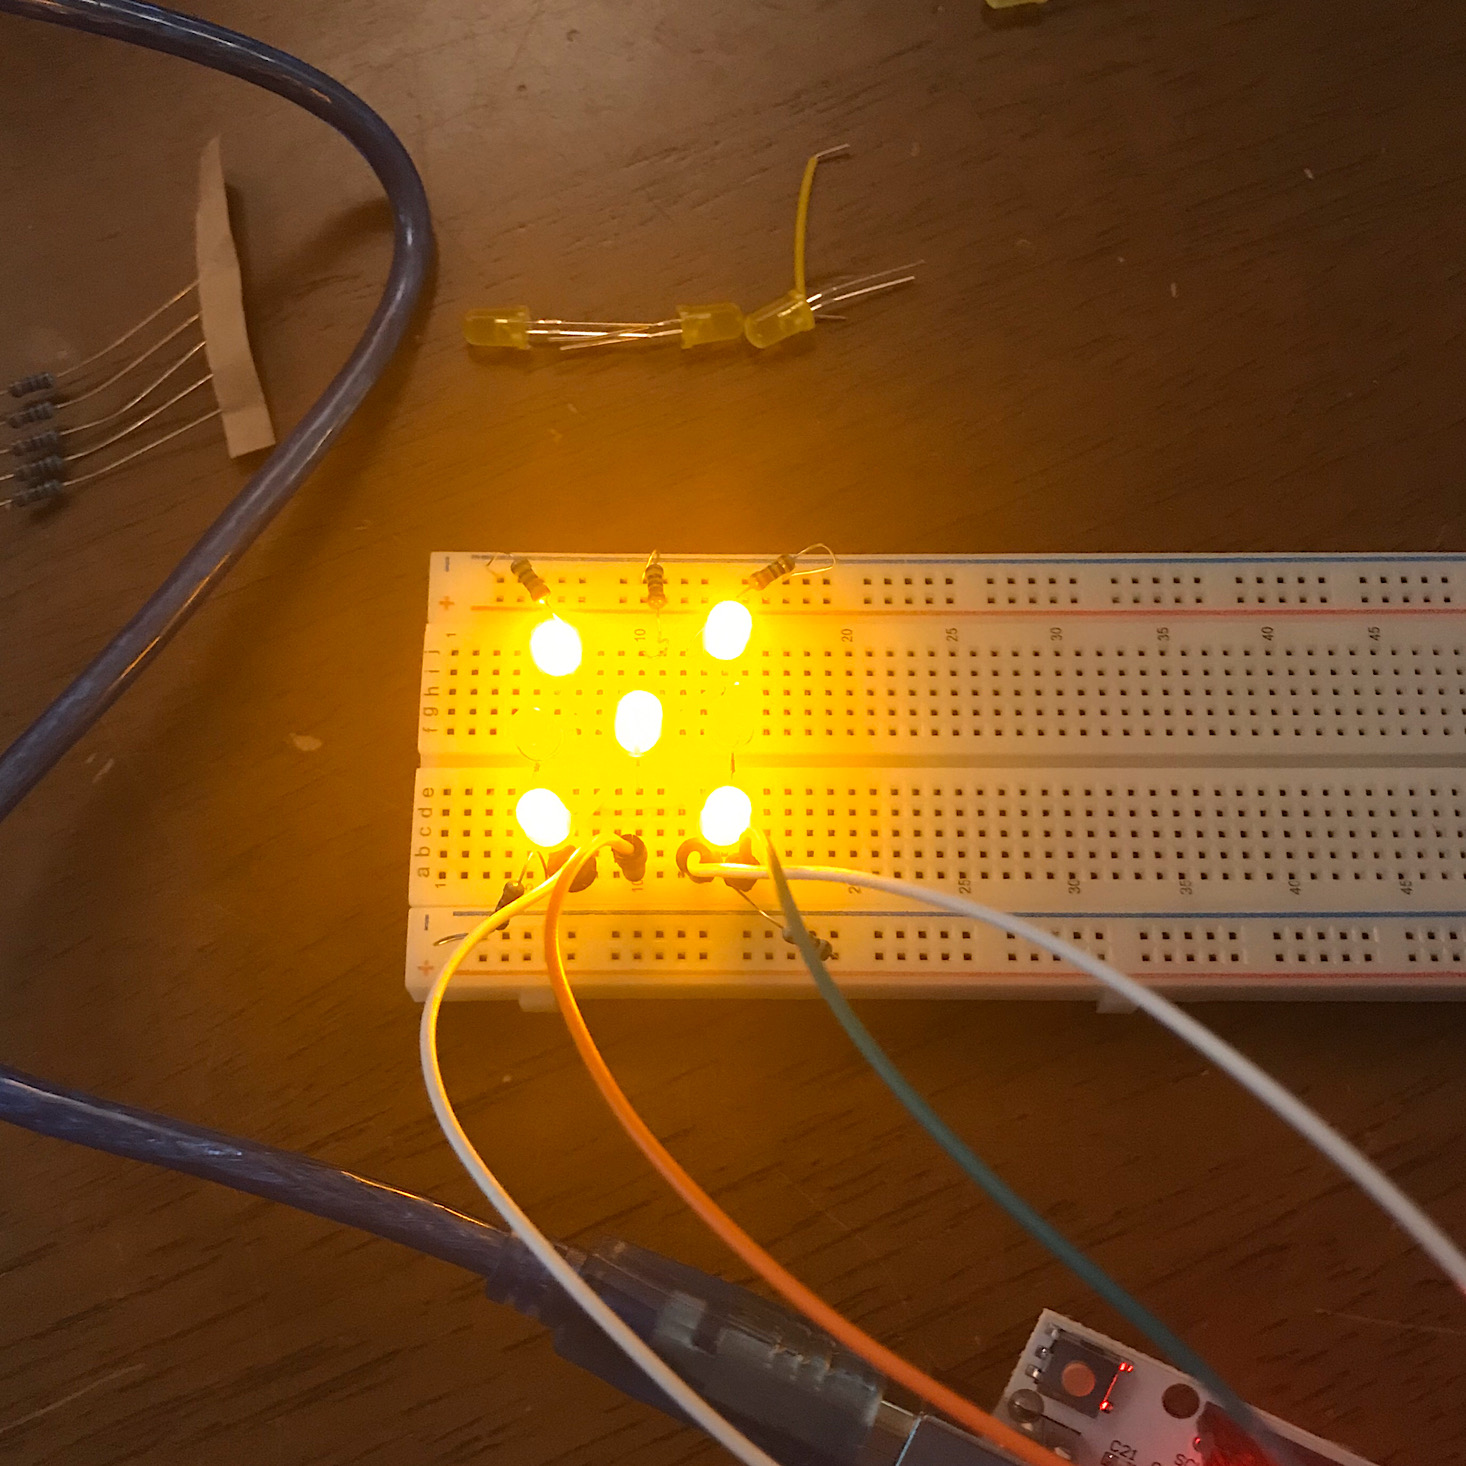
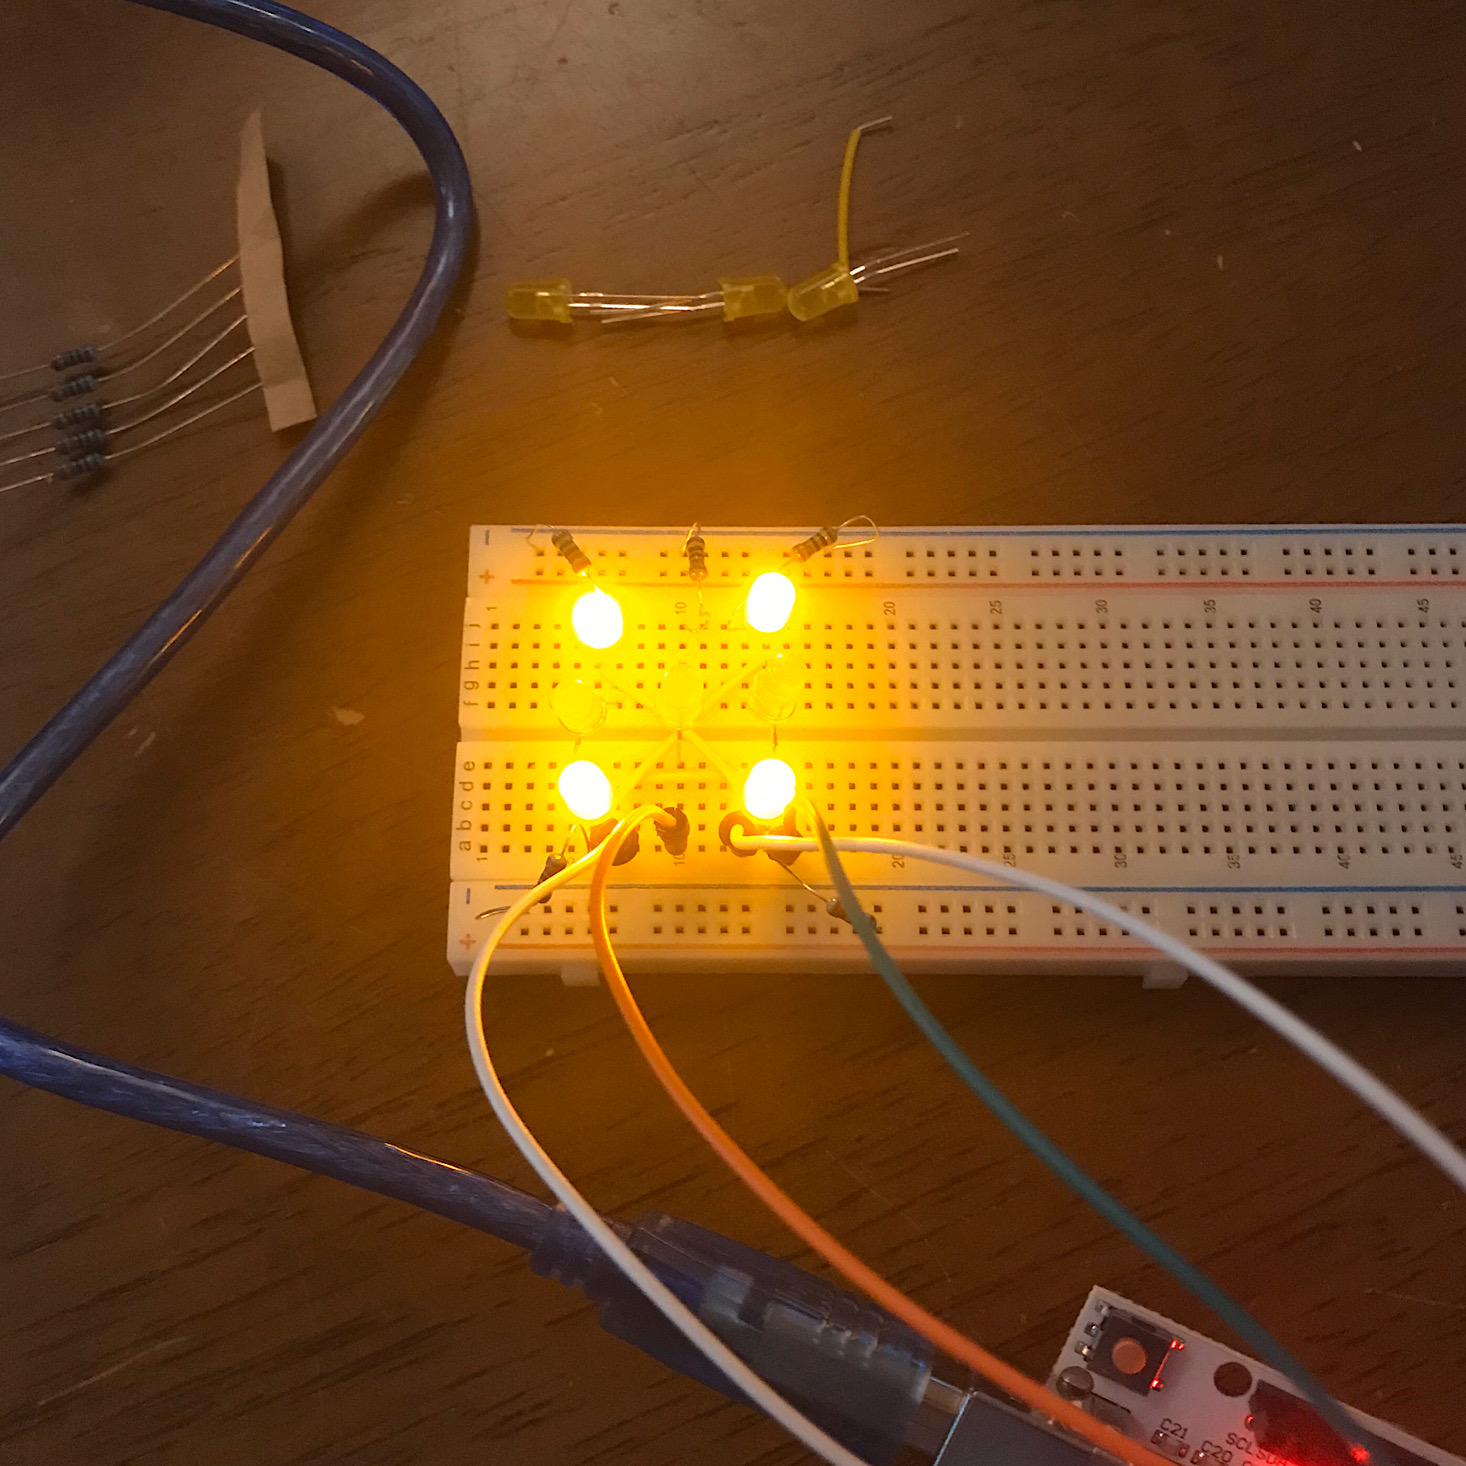
With the coding completed and no errors found, it was time to upload the program and see if my "die" worked. You can see that it did! The placement of the LEDs really made it look like a little die and they provided a diagram to show you what you should see to double-check your work.
Next, we had to add some code and run the serial monitor which would show us with text what we rolled each time.
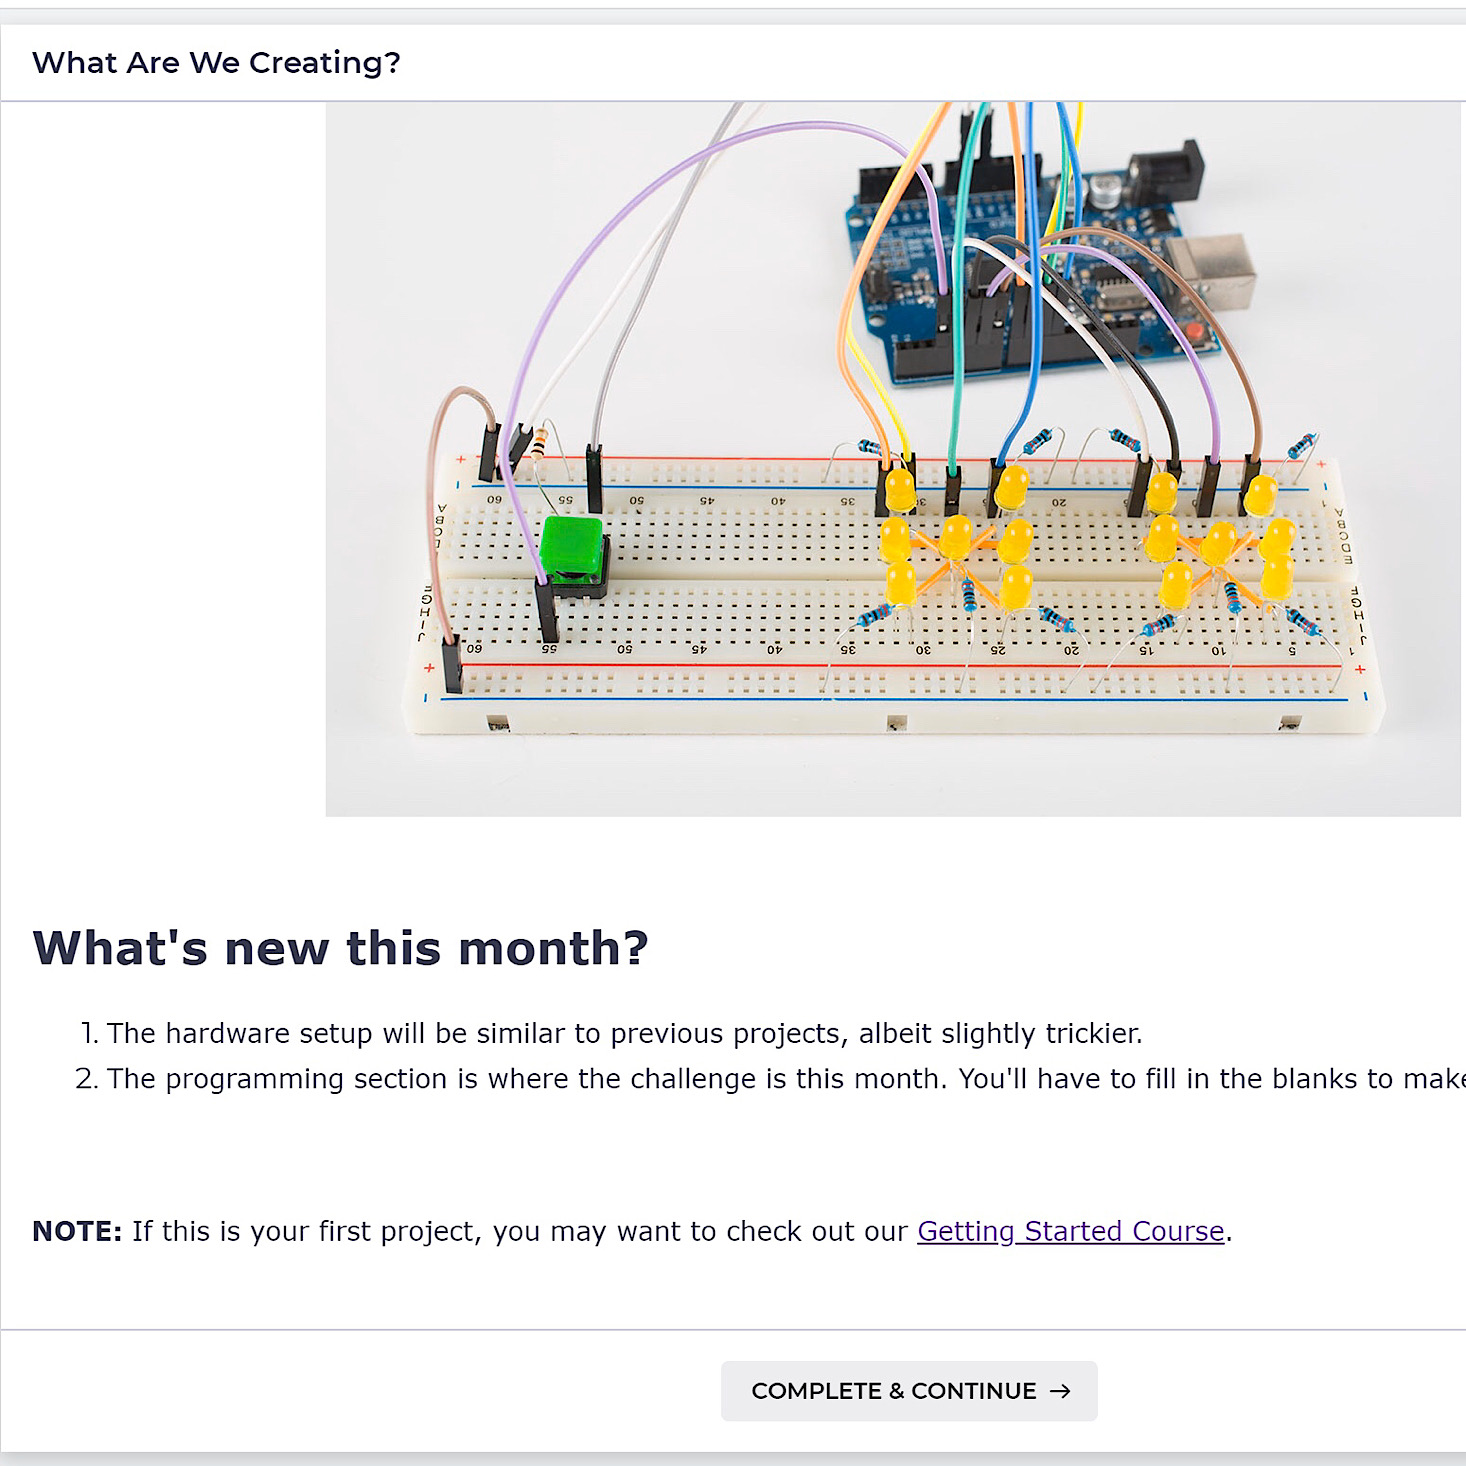
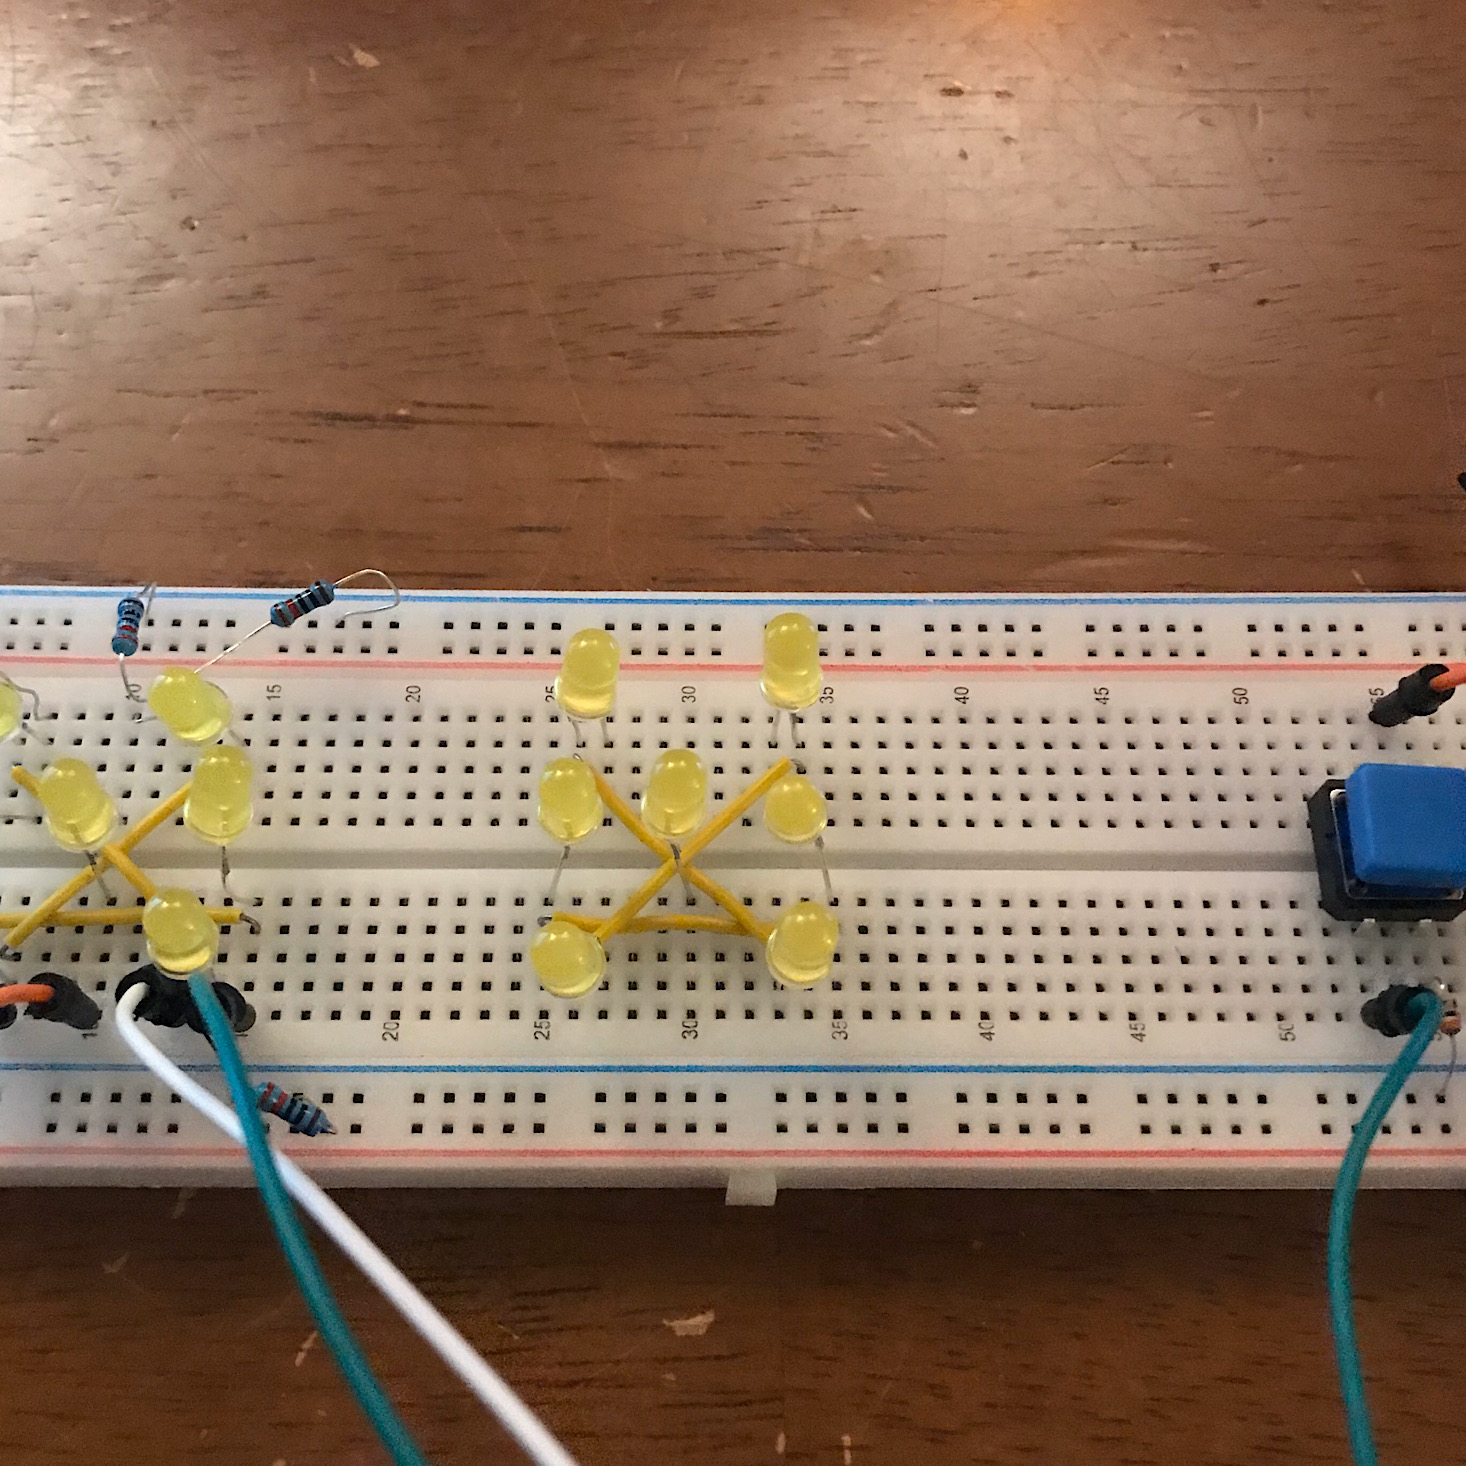
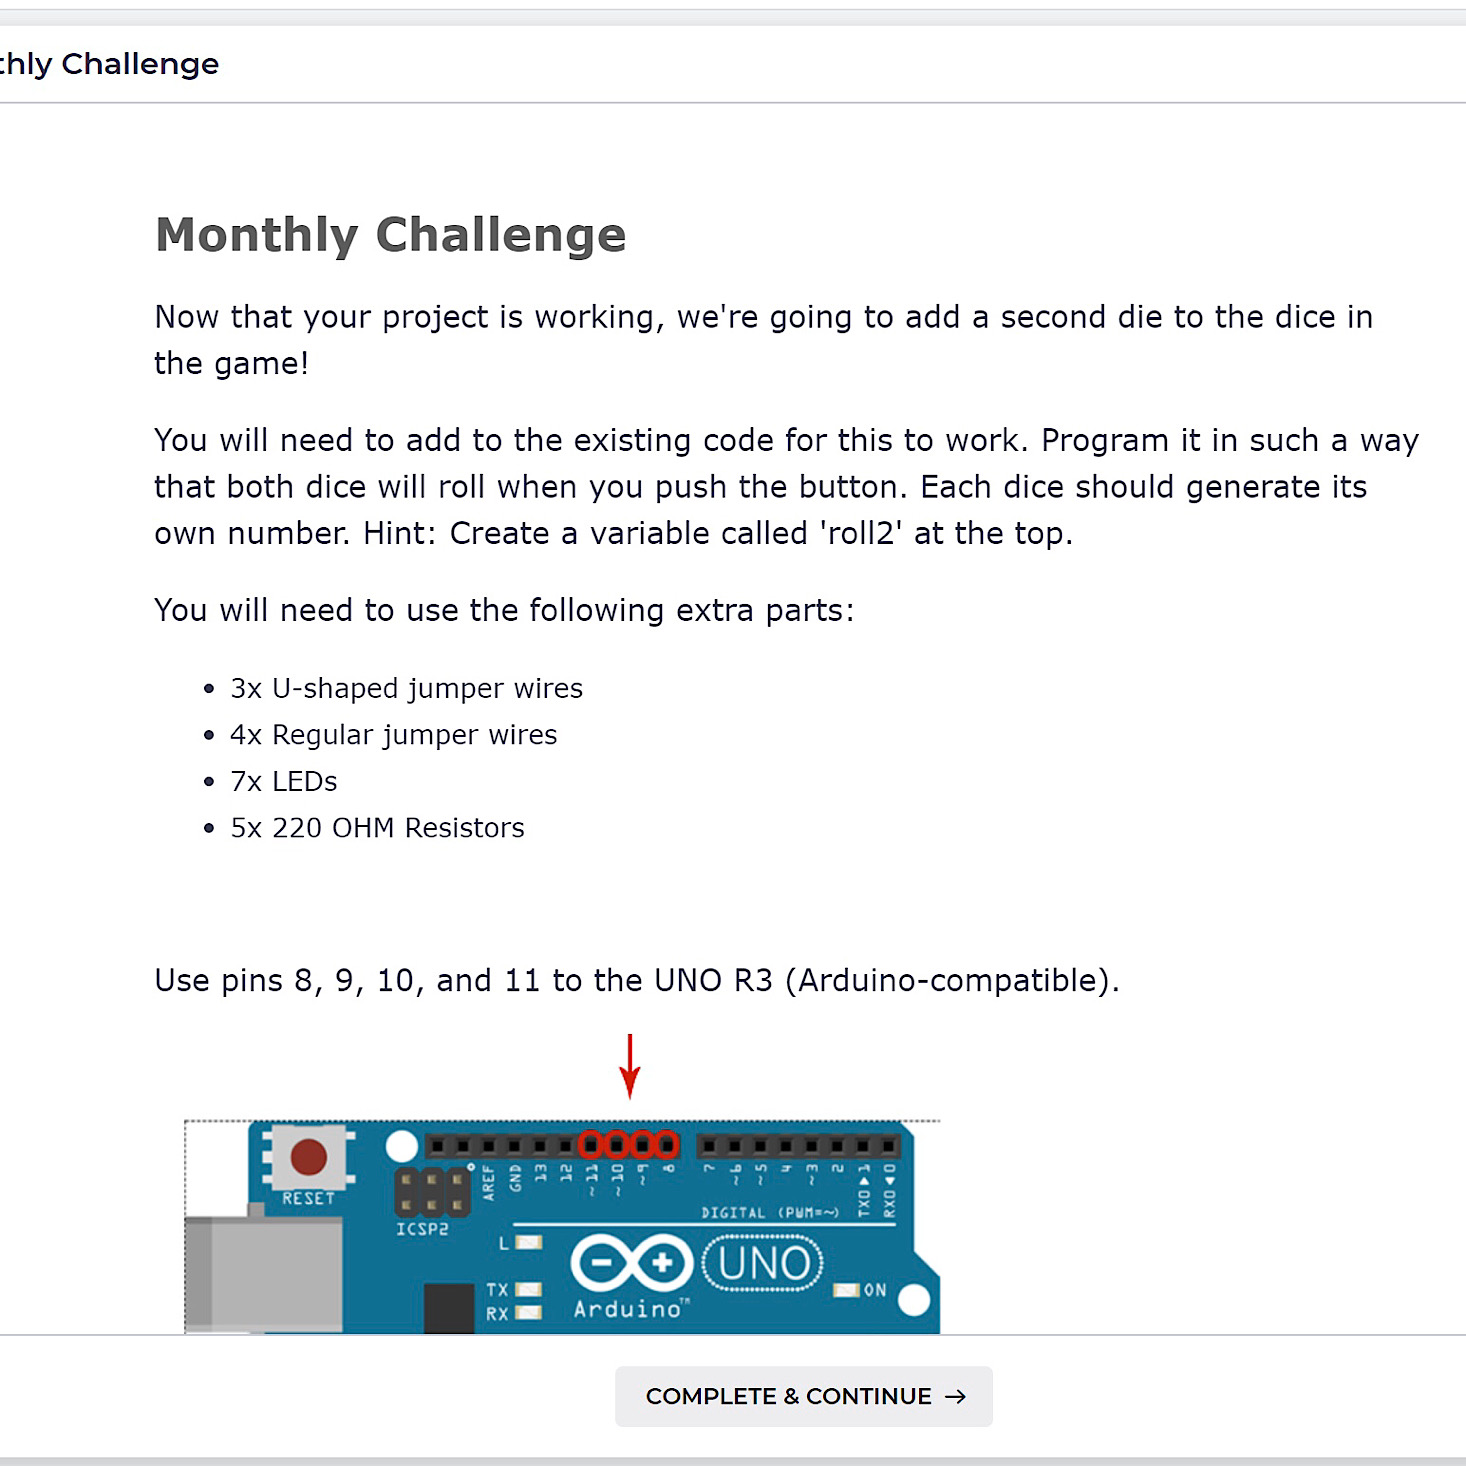
I was pretty stoked about our monthly challenge! They wanted us to create a second die on the board and program it to run! This felt like such a great next step and a perfect way to apply what I had learned. The LED placement was fairly easy.
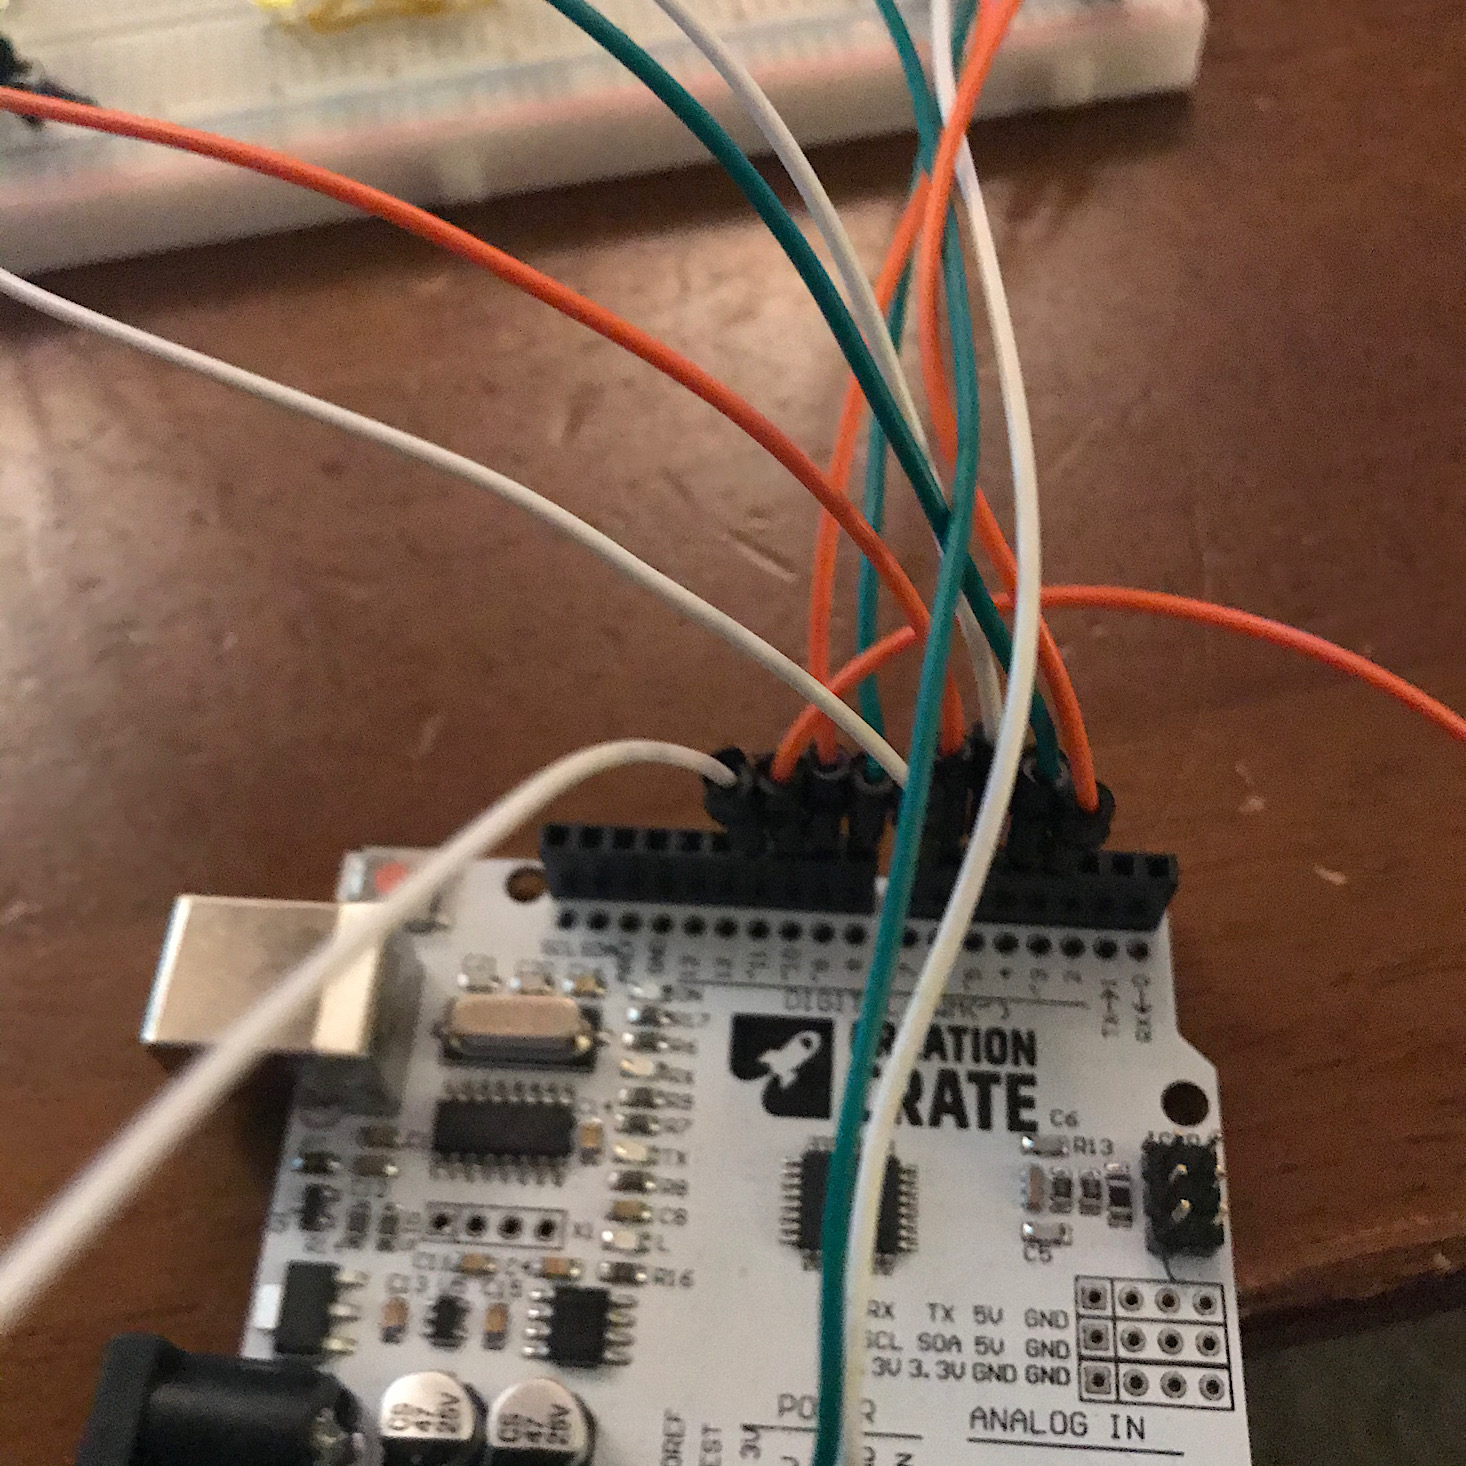
Wiring to the UNO R3 was a little trickier, but they provided some hints that proved to be very helpful.
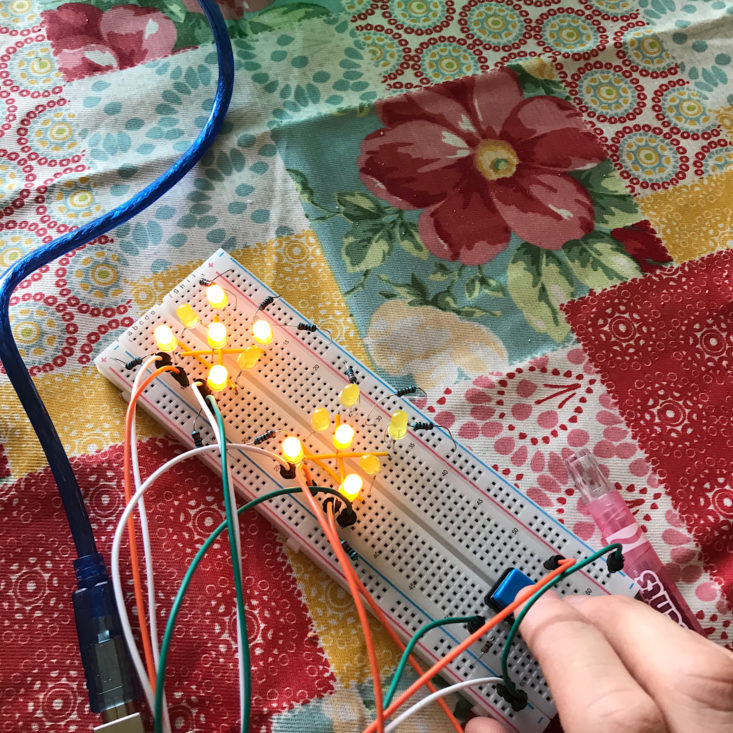
As for the programming, this was much harder for me. In fact, I had to put it away and try again the next day because I was having so much trouble. I did get it to run successfully though and it gave me a tremendous amount of satisfaction when it did!
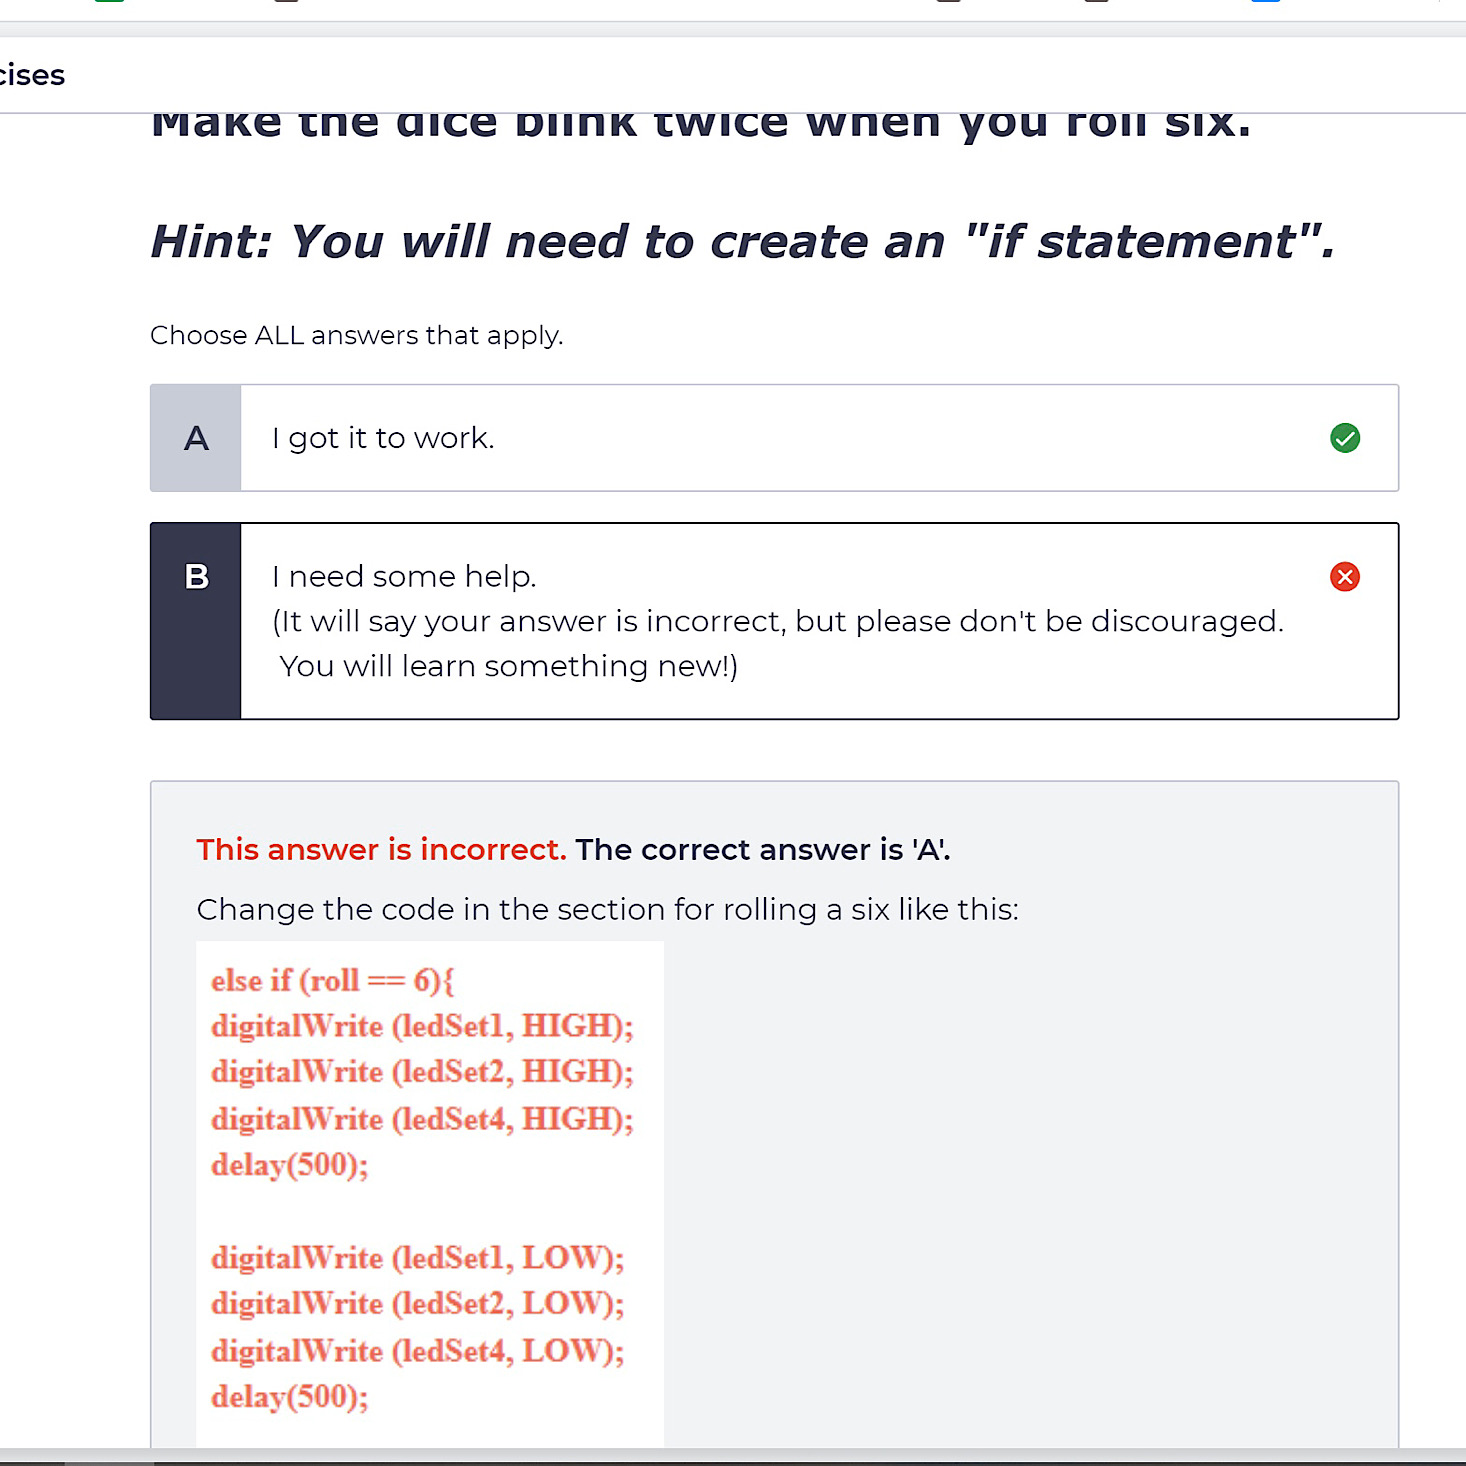
With the second die up and running, it was now time to complete some exercises. First, I had to figure out how to make the first die roll a seven. I actually came across this on accident when on my quest to get the second die running, so I didn't find this to be too difficult. I did have some trouble with the second exercise and getting the dice to blink twice when I rolled a six. I admit, I didn't spend as much time trying to solve this one as I could have, but instead selected that I needed some help and I was provided with some tips that really clicked for me and allowed me to complete the exercise. I loved that they provided assistance and how they told us not to be discouraged by this.
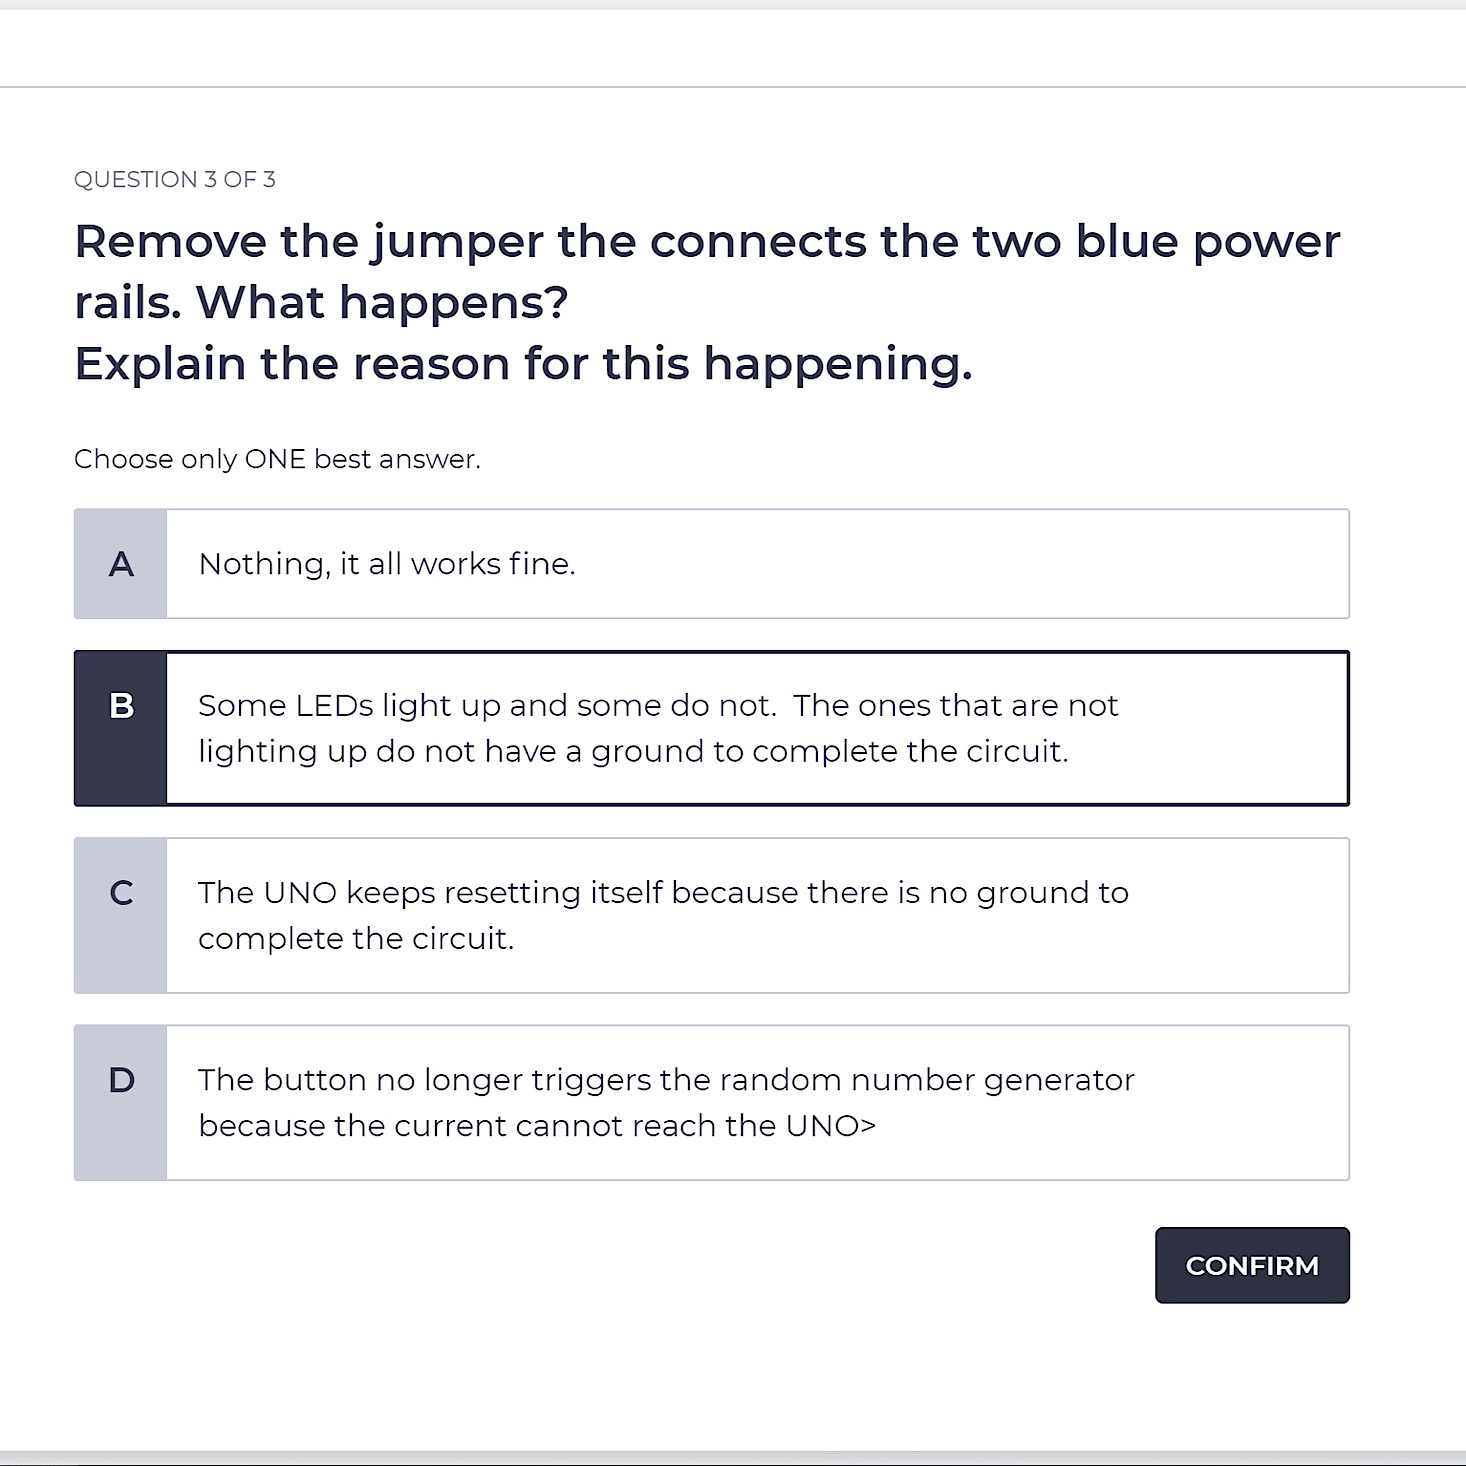
The last question just asked us to remove one of the jumper wires and then determine what was happening. Thanks to the understanding I gained throughout the process, I was able to correctly answer this one, resulting in a 67% for the quiz.
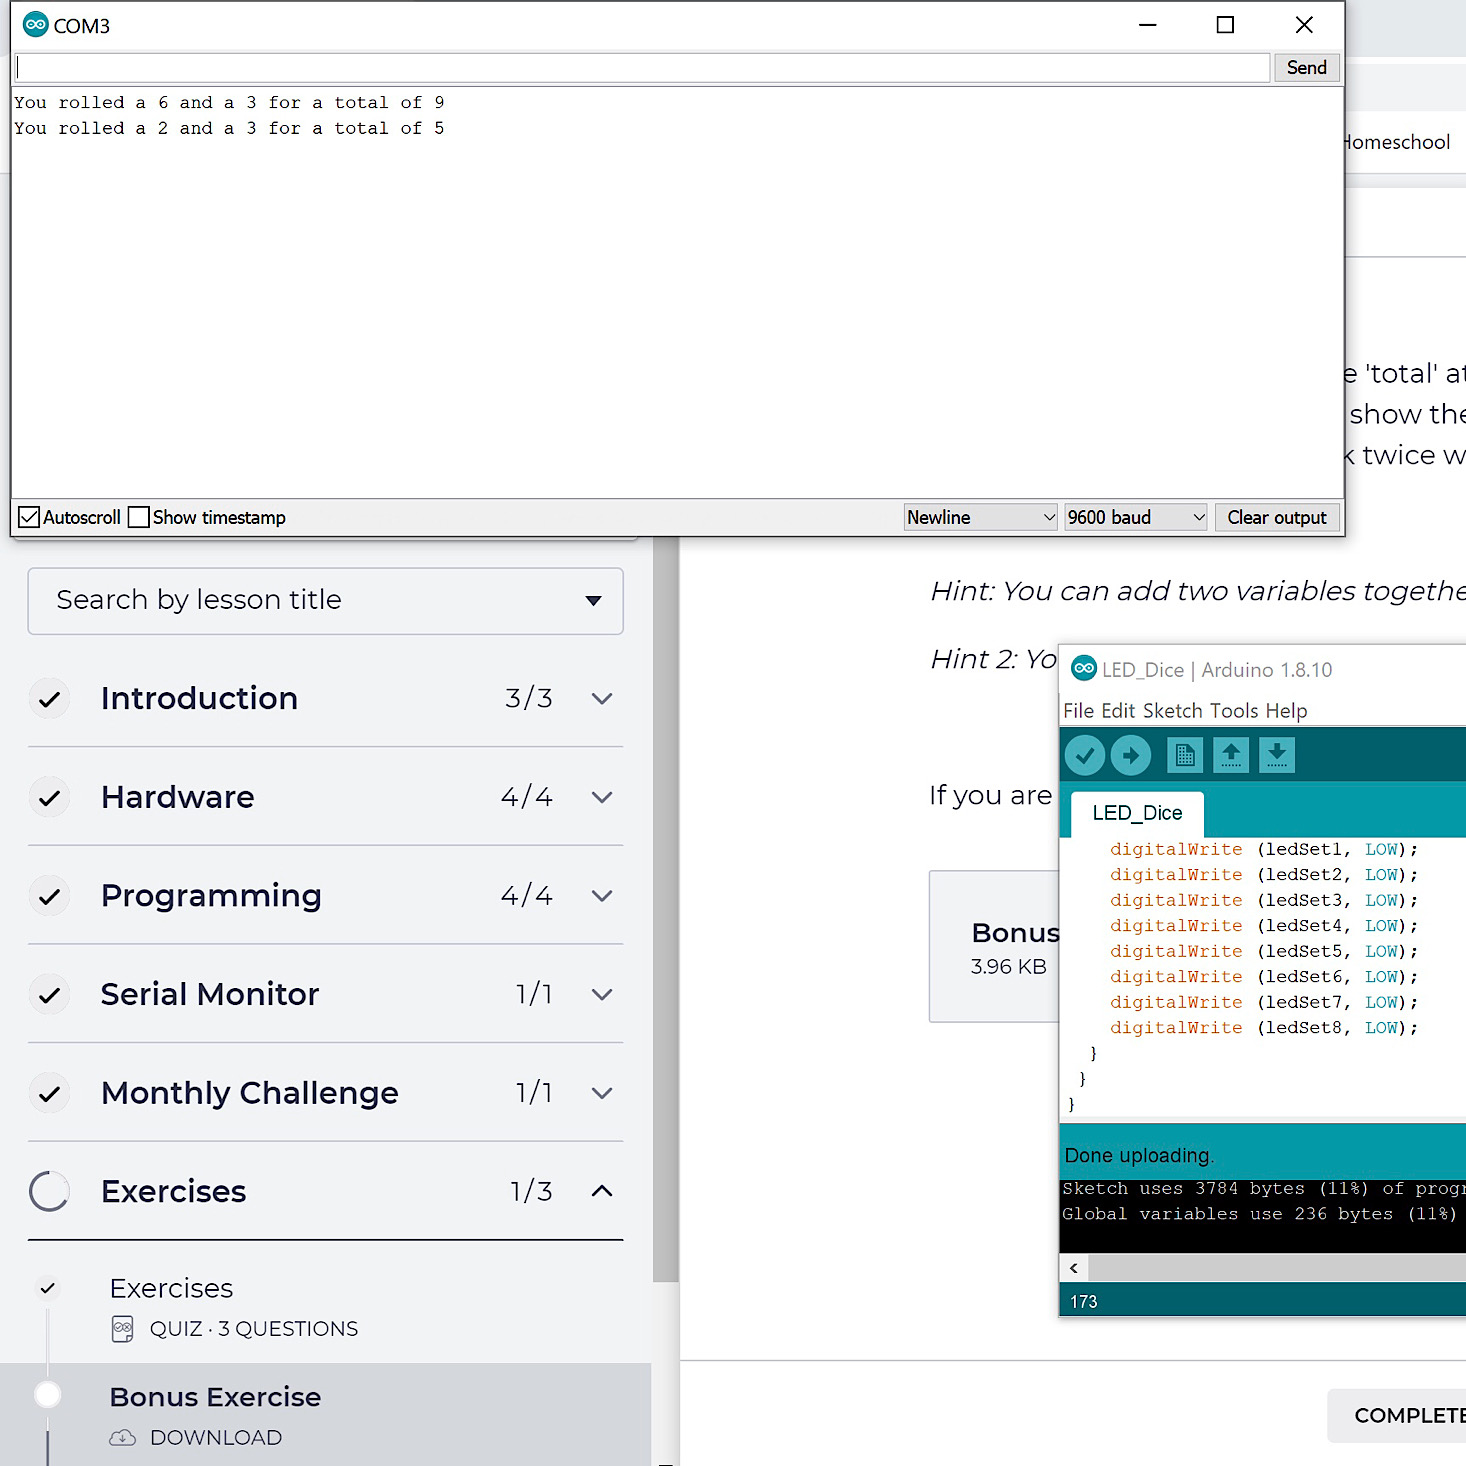
There was a bonus exercise that asked us to run the serial monitor to come up with a total for the two dice. I tried to work this one out using the hints they provided and I came so close to getting it, but I had one thing out of place. Luckily, they provided the program for this one so I was able to check it and fix my mistake to get it to run. So while I wasn't completely successful with everything this month, I think I managed to apply and demonstrate a lot of the skills I've acquired so far from the three previous projects!

If we did have any major issues, they have a classroom discussion that we can use to ask questions. It looks like Creation Crate responds very quickly to any concerns, too! I really do appreciate all of the information and assistance that they provided throughout this whole process.

It was easy to see once we had completed everything in the course thanks to the side menu. The last section is where they encourage you to share your work in exchange for some cool rewards.
Verdict: Wow! This month's Creation Crate was so challenging, but I felt prepared for it thanks to all of the other projects leading up to this one! I really dig the hardware challenges each month and creating and wiring a second die felt like a very manageable task to me. Programming the second die to work was definitely more challenging, but I managed to impress myself by accomplishing most of the exercises with little help! I love that they do provide some assistance in case you happen to get stuck and once I saw the solution it was more of a "duh" moment than a sense of confusion, which was reassuring that I was on the right path! I am learning just a little bit more each month and I am having fun with this $34.98 ($29.99 + $4.99 shipping) subscription!
To Wrap Up:
Can you still get this box if you sign up today? Because the projects build upon one another, you'll receive the Project 1 box first! From Creation Crate:
Creation Crate projects are a combination of building hardware and programming software with a focus on helping you understand how it works. Each month, you'll be given a new project that's slightly harder than the last.
Check out our other Creation Crate reviews and our list of the best boxes for teens, as voted by MSA readers!
Keep Track of Your Subscriptions: Add this box to your subscription list or wishlist!
What do you think of Creation Crate?























Please do not enter your email address in the Name field or in the comment content. Your email address will not be published. Required fields are marked *. Remember to post with kindness and respect. Comments with offensive language, cruelness to others, etc will not be approved. See our full comment policy here.