


The Crafter's Box is a monthly maker subscription box:
As a member of The Crafter's Box, we'll send a lovingly kitted box of tools and materials to your doorstep on a monthly basis. Each month we feature a new expert maker and that maker has built for us a unique, grown-up, on-trend project that reflects their artistic style. In addition to the monthly box, our featured maker has created an educational, digital workshop to teach their crafting medium and to offer their tips and tricks.
The best part of this model is the ability to revisit workshops in the future to create again and again. Happy making!
The Crafter's Box offers three different subscription models:
- Individual Membership: $65.00 per month for a kit of curated tools and materials + a new digital workshop by the featured maker
- Crafter's Night: $60.00 per person (minimum of 3 people necessary) per month for a group kit of the curated tools and materials sent to one host + individual video access for each person
- Video-Only Access: $20.00 per month for access to the digital workshop created by the featured maker (no tools or materials included)
This review is of the Individual Membership for $65.00 per month.

My Subscription Addiction paid for this box. (Check out the review process post to learn more about how we review boxes.)

About The Crafter's Box
The Subscription Box: The Crafter's Box
The Cost: $65.00 per month + free US shipping (other plans available from $20.00 per month)
ACTIVE DEAL: Get 25% off your first box!
CODE: GETCREATIVE
The Products: A shipped kit of curated tools and materials + a new digital workshop by the featured maker of the month
Ships to: The US for free and internationally for varying rates
Good to Know: Membership enrollment is open between the 10th - 20th of each month. Subscriptions automatically renew on the 15th. Projects are designed to be for ages 18+.
The Crafter's Box December 2019 Review
The Crafter's Box seems to be what my crafting subscription box dreams are made of! Each month they feature a different, unique craft that is designed with the crafty adult in mind. The items you get to create are thoughtfully curated and created with high-end materials, so that your finished products are modern and luxe.
Let's take a look inside December's box - the craft this month is naturally dyed ribbon!
1 of 7


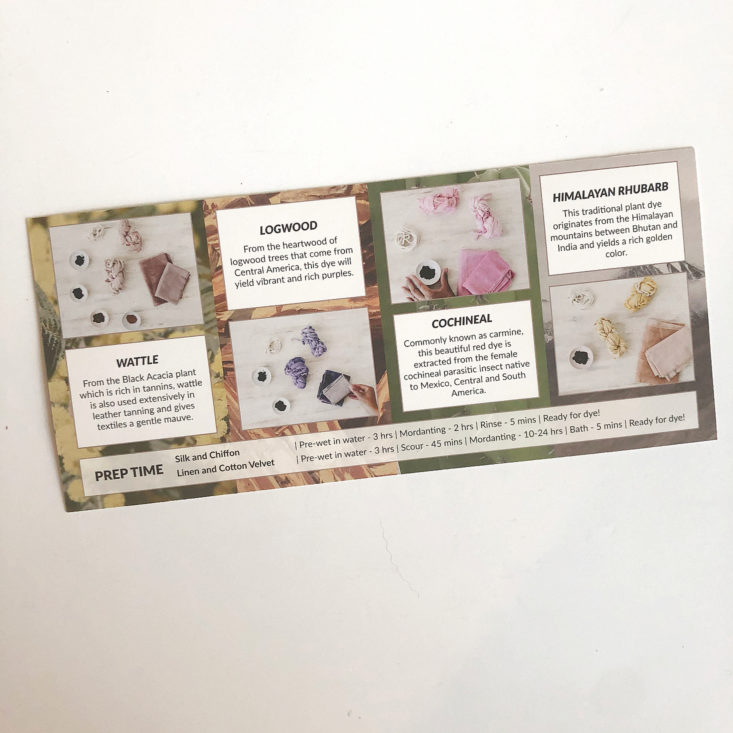
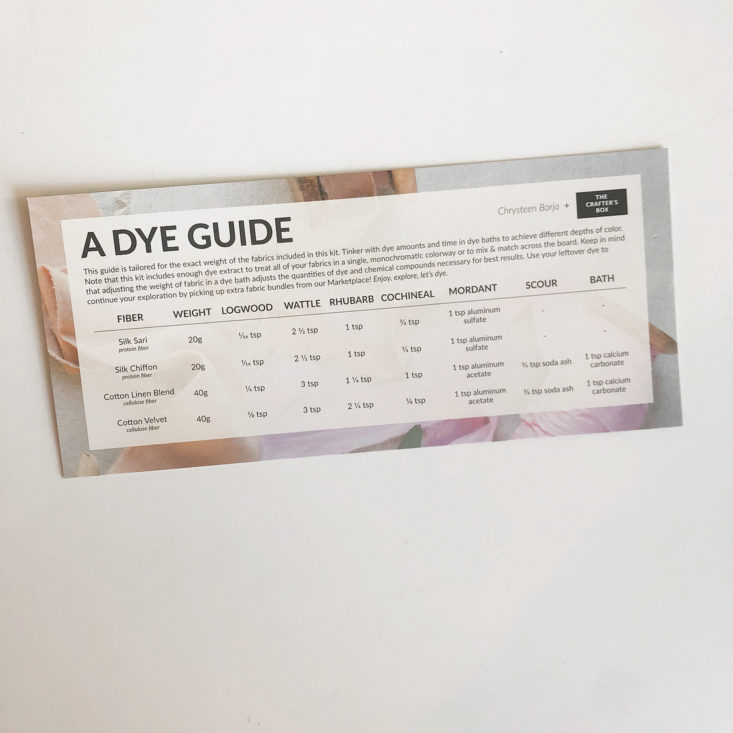
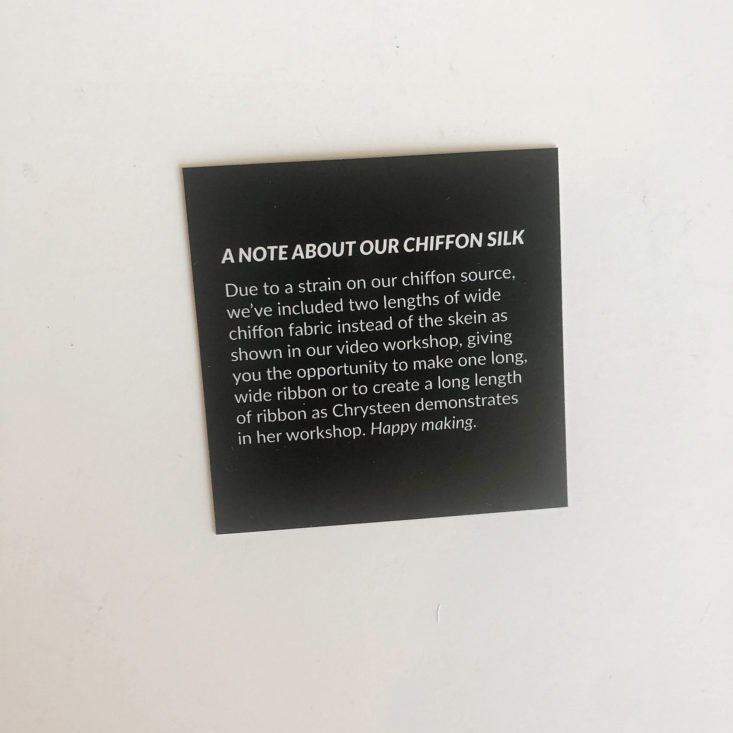
First up in the box are several info cards about the project we will be making this month. The featured maker is Chrysteen Borja, who is a natural dyer. We also got a list of the materials included in the box and a handy dye guide with a table of information about dyeing the fibers we received. The box sent four different types of natural dyes - wattle, logwood, cochineal, and Himalayan rhubarb. I love that we get to try out so many different colors! There is also a note about how the chiffon silk fabric was substituted for a different format than seen in the video tutorials.

1 of 6


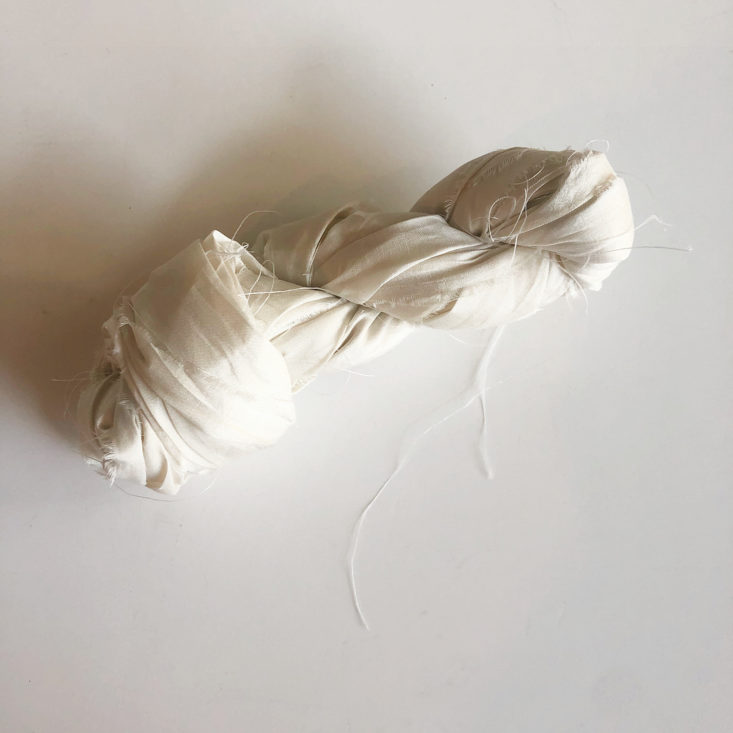
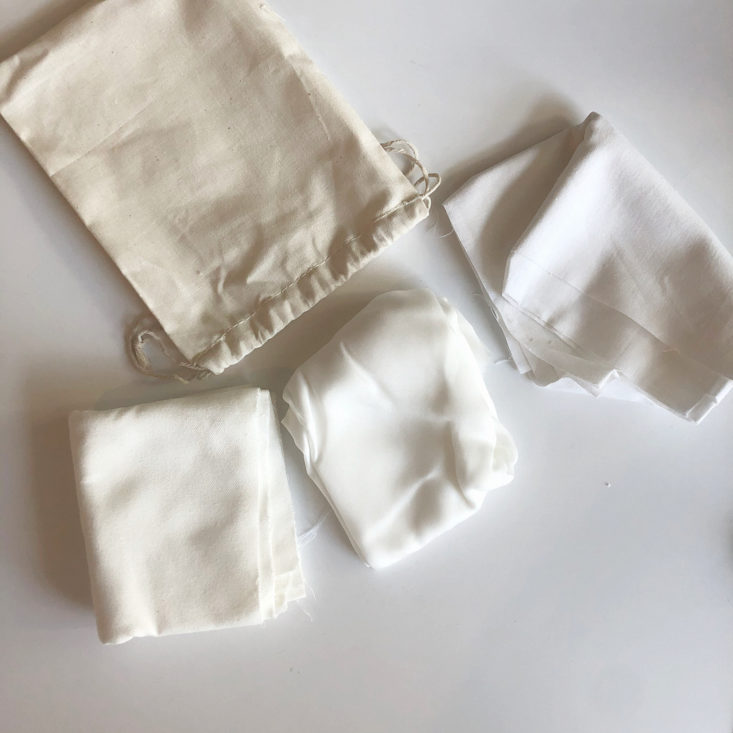
Fabric - sari silk ribbon, chiffon silk, linen blend, and cotton velvet
Not only did we receive four different types of dye to experiment with, but we also received four different types of fiber to play with. Two of the fibers are animal-based fibers - sari silk and chiffon silk - and two are plant-based fibers - linen and cotton blends.

1 of 7

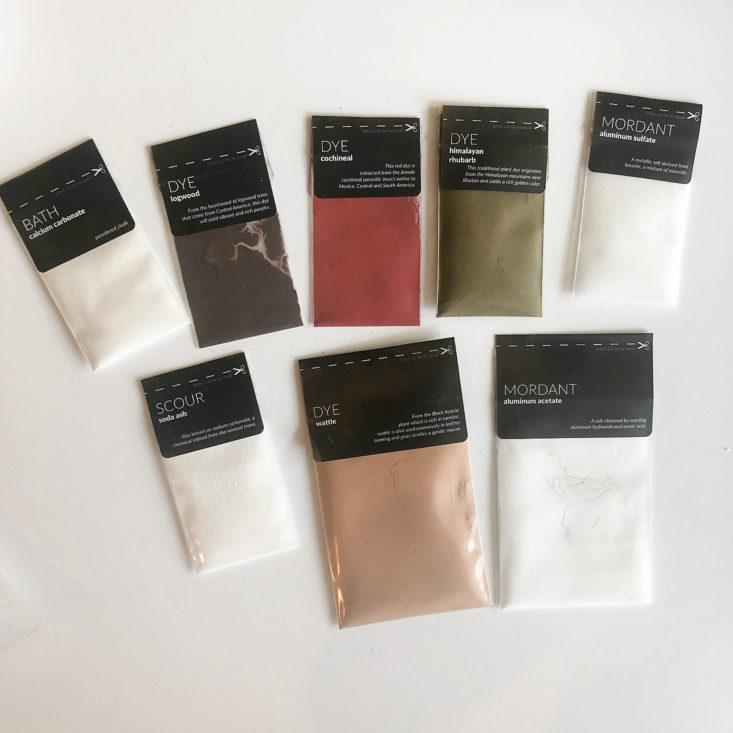
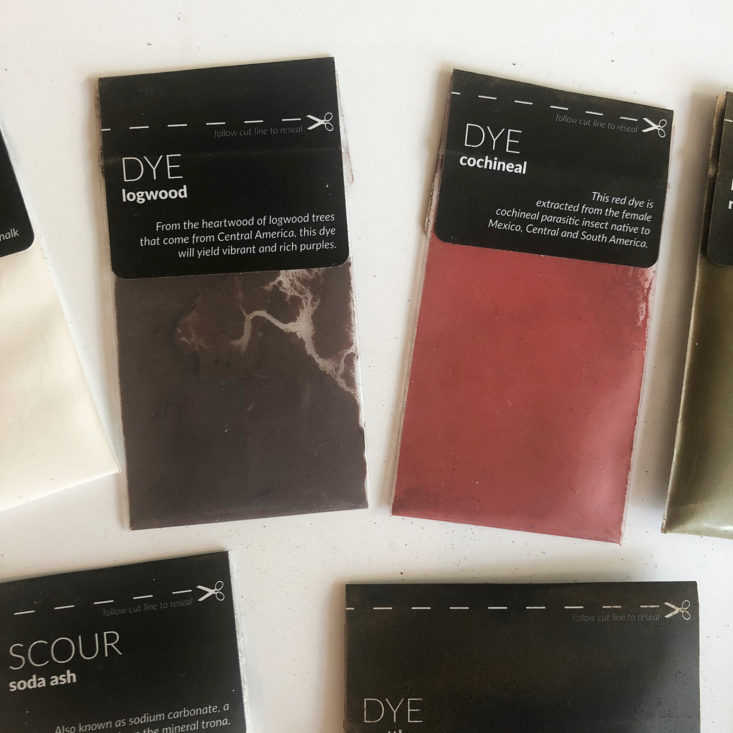

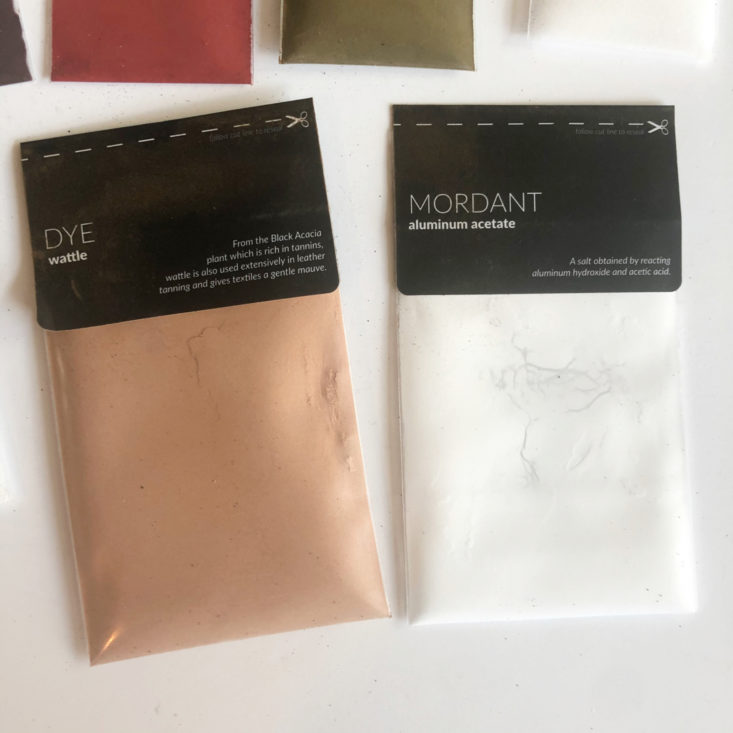
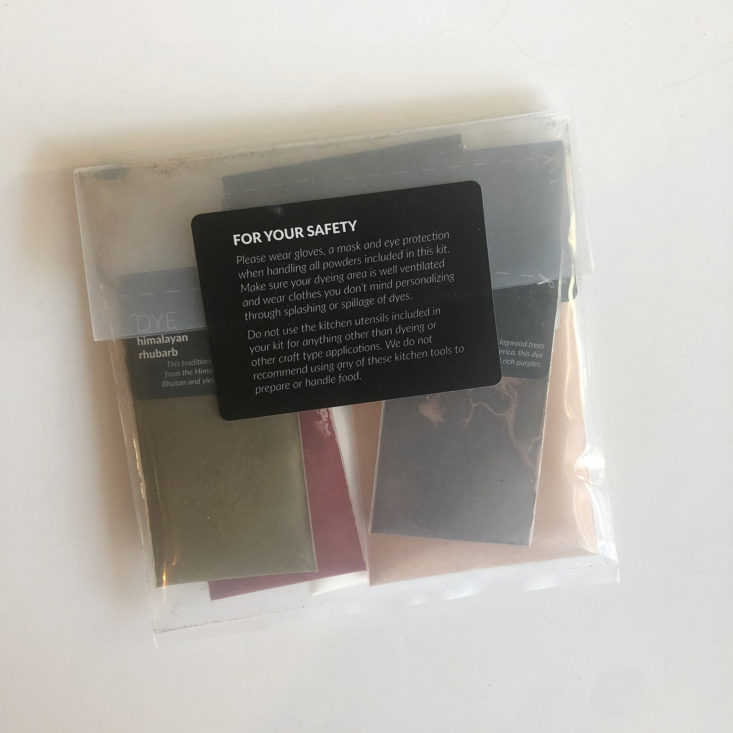
Natural dyes, mordants, and scour powders
All of the powders needed for natural dyeing came in their own tiny ziplock bags and were clearly labeled. Along with the four colors of dye material, we also received two different types of mordant powder, a scouring powder, and bath powder. Just a note of caution - although the bags were sealed when they arrived in the box, they had a small amount of loose powder on them (you can see the remnants of that in the last photo above). Natural dyes are non-toxic, but they still shouldn't be ingested or inhaled, so if you received this box be careful when opening it up!


1 of 9


Dye Tools - tongs, whisk, measuring spoons, thermometer, and plastic measuring cup
One of my favorite parts about The Crafter's Box is that they send you all the materials and tools you need to complete the project, down to the tiniest details. There are several hazard warnings in this box reminding you to not use your cooking tools to naturally dye, and I love that they sent along pretty much everything you need so that you don't have to worry about cross-contamination of your kitchen items. The tools that were included are not the highest quality items, but they are definitely functional and perfectly adequate for the craft.
One thing to note is that you do need to supply your own pot to dye in. While I wish that the box was complete and sent absolutely everything needed to make this craft, I realize that sending a pot in the box likely would have raised costs substantially - not only for the cost of the item but also the fact that a pot is rather large and would have required a much larger box to ship in this month. There is a note that they recommend shopping secondhand for a dye pot, which is a great idea!

1 of 4
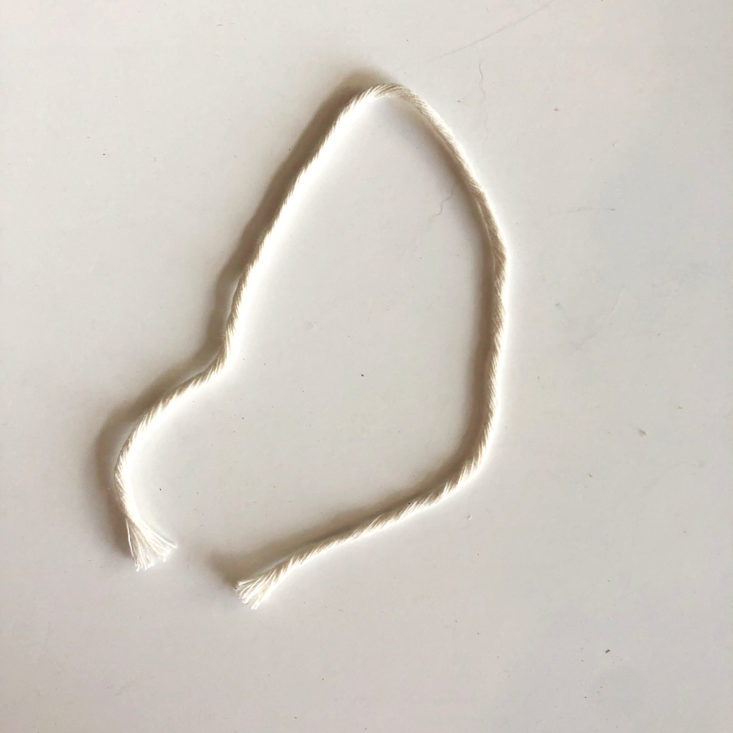
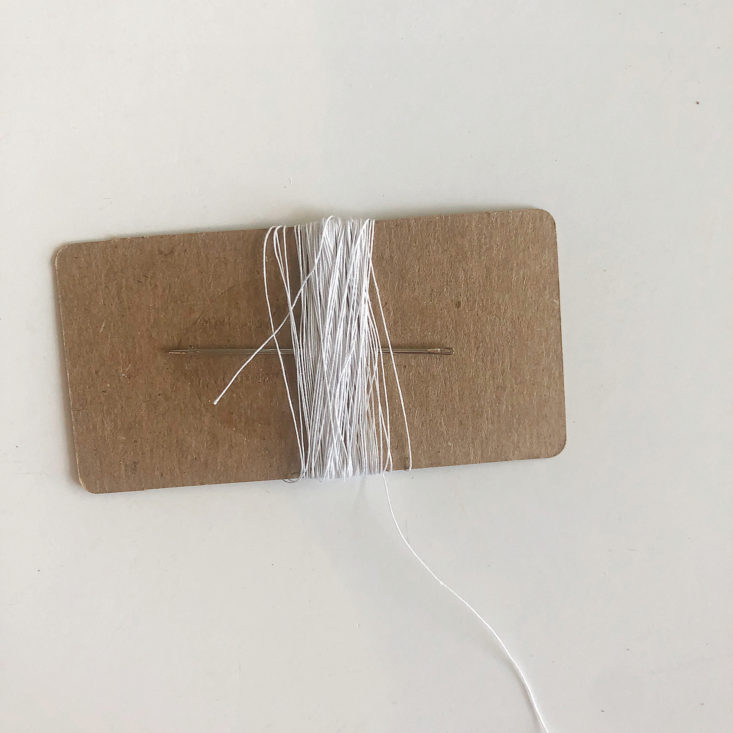
Extra Supplies - mask and gloves, cotton rope, sewing thread and needle
The small extra supplies that you need for dyeing were also included in the box! The mask and gloves are a must for safety, so I'm glad they were included. The cotton rope is to use to keep your ribbon tangle-free during dyeing, and the needle and thread are to sew strips of fabric together to make a long ribbon.
Now that we've seen all the supplies, let's get to dyeing! I have never dyed anything before, so come along for the ride with me as I try this craft for the first time! Luckily, the video tutorial included with the subscription was very informative and takes you step by step through the process. I watched the whole video (which was about one hour long) before getting started, and then as I went through the process I went back through it and was able to pause and re-watch sections that I wanted to see again.
While I love the video content because it's so helpful to see someone actually doing each step, for this craft I would have appreciated a quick bullet point-type of written list of all the steps. At times I was confused from the video because it jumped through certain steps pretty quickly, and sometimes the instructor contradicted herself. For example, in one step she said, "let this sit for a couple of hours," and then in the next section she said, "now that your fabric has soaked overnight, we can continue" - to me, a couple of hours vs. overnight are two very different things. I searched on the internet for natural dyeing instructions to clarify how long each step was supposed to take, and there isn't a lot of information out there on this subject! I ended up using my best judgment and just winging it on some of these decisions.


1 of 3

The process for dyeing animal fibers (the silk) and the plant fibers (the cotton and linen) are very different. The process for animal fibers is simpler and takes less time, so I started with dyeing the two silk fabrics that we received. The first step is to pre-soak your material in warm water. I used the cotton rope provided to tie my silk sari ribbon for easy handling, and separated the two lengths of silk chiffon. I soaked my fabric for about three hours.

1 of 9


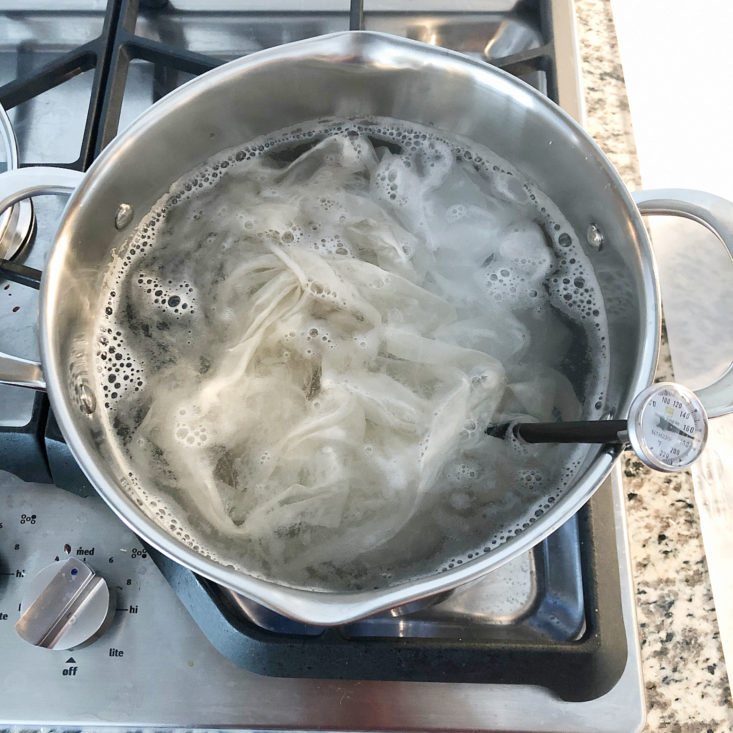
The next step is to mordant the silks. Mordanting is the process of preparing your fiber for the dye to bind to it so that your dye binds evenly and stays color-fast with time. For animal fibers, the instructions said to use the aluminum sulfate powder for this step. You first mix up the powder in the measuring cup by pouring hot water into the powder (I heated up tap water in the microwave for this). You then add the mordant mixture to your dye pot, which is heating on the stove. The thermometer is super important here, as you want to maintain a temperature of 160-180 degrees F. I liked the clip attachment on the thermometer included in the box, as it stayed clipped onto my pot throughout my dyeing process.
The mordanting step is where I had the most confusion in timing. It said to do a minimum of 2-3 hours, but that the longer you could let the fibers soak the better. I kept mine on the heat for about three hours, and then turned off the heat and let the fibers sit in the mordant water until the water had cooled.


1 of 9


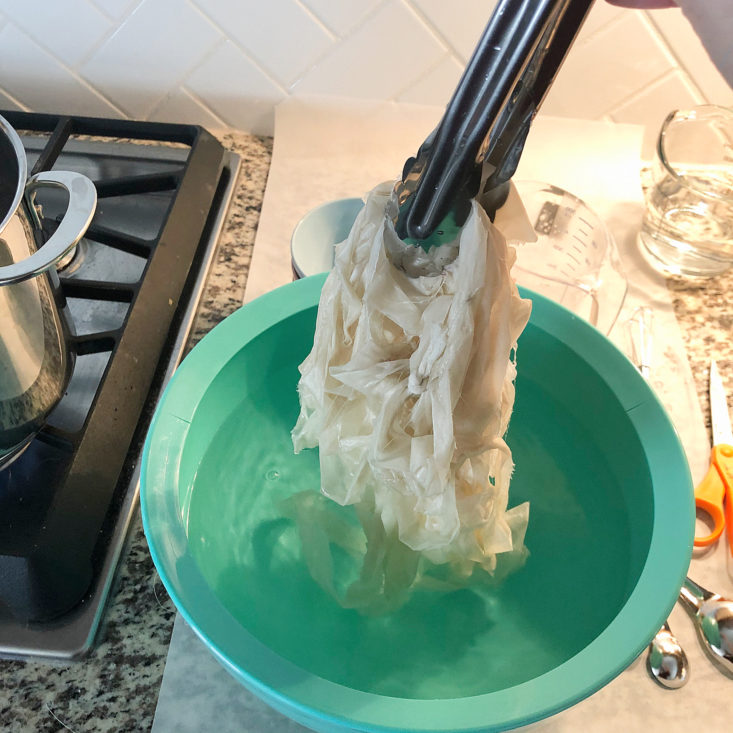
Now that you've spent half a day (or more!) preparing your fiber for dyeing, it's finally time to add the color in! I chose to use the wattle powder because blush and mauve tones are some of my favorite. I measured out the powder and mixed it with hot water in my measuring cup before adding it to the dye pot. The color looked kind of like a gross orange when I first added it, so I was a little bit worried, but I quickly learned the magic of natural dyeing - check out the last photo above for the gorgeous rosy pink that the color became after turning the heat on! I heated the dye pot for about three hours (turning the fiber every 15-30 minutes), and then turned off the heat and left the dye in the water overnight. The next morning, I rinsed my fibers and hung them up to dry.
There was still color left in the dye water, so I saved it aside to use for my next dyeing.


1 of 3
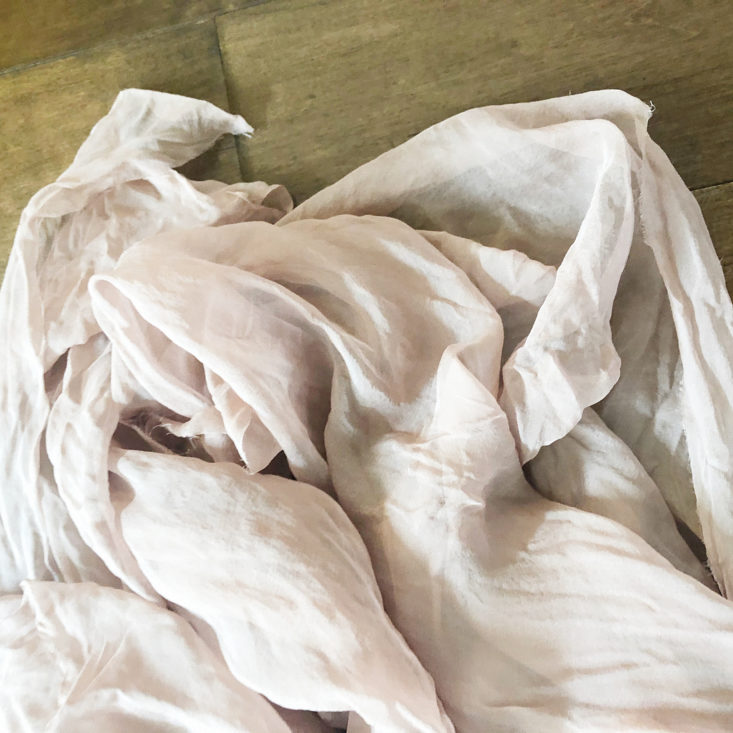
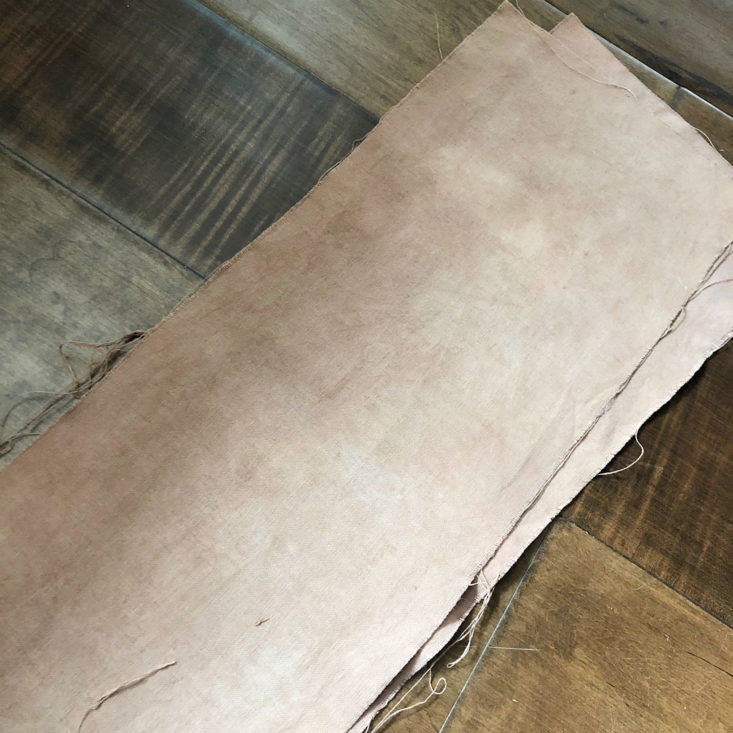
Here's the silk chiffon after it dried! It was hard to capture the true color of the fiber - it turned out to be a gorgeous blush pink that I love. The box intends for you to cut this fabric into strips, then sew the strips together to make a long ribbon, but I loved this finished product so much that I couldn't bring myself to cut it up! I think I might try to make a scarf of some sort with it.


1 of 7
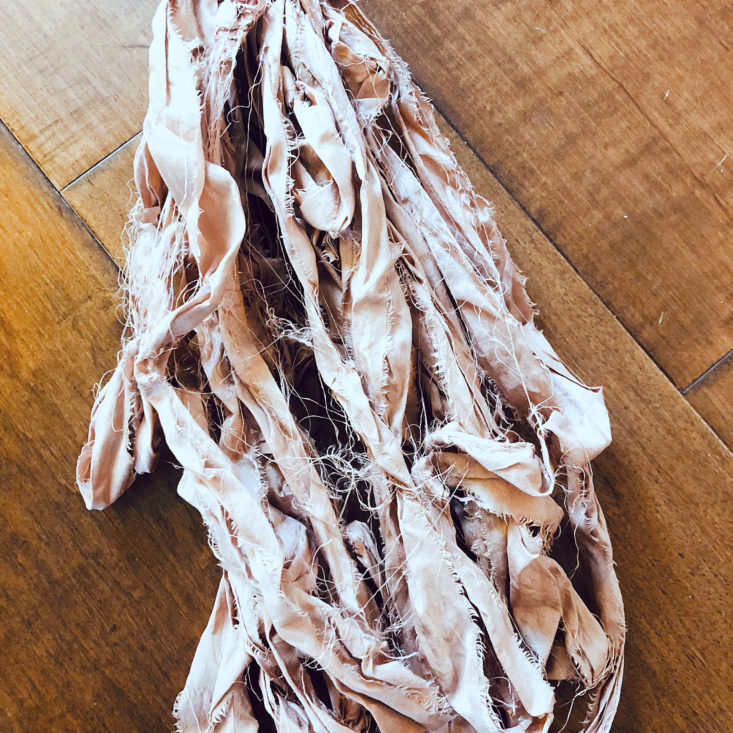
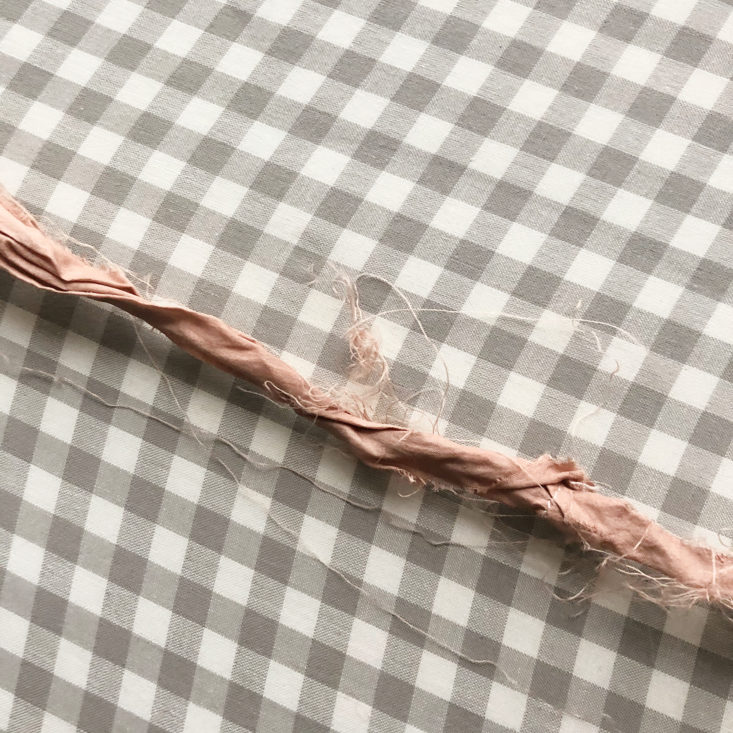

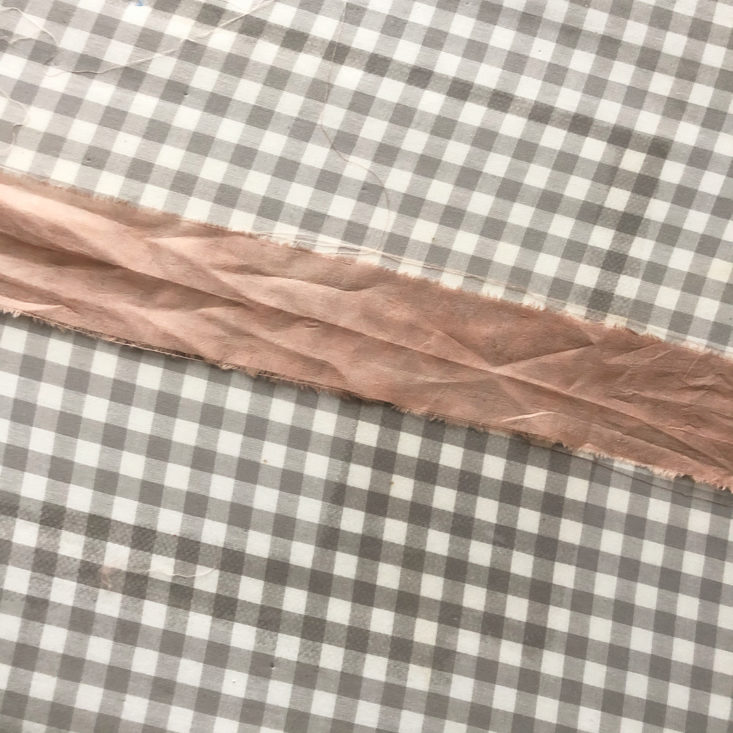

Here's the sari silk ribbon after dyeing! This fiber seemed to soak up more of the color than the silk chiffon did - it is a deeper rose or mauve hue than the chiffon. The ribbon was a horrible tangled and wrinkled mess when it dried (see in the first photos above), so I spent some time ironing it smooth and trimming off the straggly thread ends. It looks so much better afterward!


1 of 3

I wanted to make something special to commemorate my first dyeing experience, so I ended up deciding to crochet the ribbon into an ornament for my Christmas tree. I used a large hook and crocheted a simple circle to make a little festive wreath. I had enough ribbon to make three of these little ornaments - I kept one and the other two made great stocking stuffers!


1 of 4

After feeling successful in dyeing the silks, I felt confident enough to take on the next challenge - dyeing the plant fibers. This was a much more involved process, as there were a lot more steps that I had to take in order to prepare the fabric for dyeing. Instead of just mordanting, I also had to scour the fabric and give it a calcium salt bath. This review already has over 80 photos, so I didn't include photos of that process - it would have been just a series of this fabric soaking in different clear mixtures. The process took me over two days to complete, so I learned that you need to have patience if you are going to be a natural dyer!
The finished result isn't as evenly dyed or as pretty, in my opinion, as the silks were. Even though I tried to be consistent with moving and flipping the fibers over in the mixtures, the fabrics still ended up fairly mottled and uneven. They look hand-dyed to me, so I don't mind the effect - I like the natural and homemade look to them. The other thing I experienced with these fabrics is that they feel crunchy or gritty now. I rinsed them really well and even hand washed them in the sink, but they still feel kind of stiff and dirty to me.
Although dyeing silk, cotton, and linen was fun, those of you that read my reviews know that I love to knit, so I couldn't pack up these new dyeing tools before trying my hand at dyeing some yarn! Please note that the yarn pictured did not come in the box, however I wanted to show you these photos in case you were curious about naturally dyeing yarn as well!


1 of 4


I used my leftover dye from the silks' wattle dye bath to dye a skein of undyed wool that I had in my stash (it's from a Knit Picks subscription box I reviewed here!). The wool soaked up the dye right away, leaving the water clear. The yarn looked like a really pretty blush pink in the water, but after I rinsed it and let it dry, it hardly had any color to it - it looked like a really bad pale nude color (I'm sorry I don't have a photo of that!). I decided to try dyeing it again, so I made a new dye mixture that combined wattle with a small amount of cochineal. I absolutely love the color that this created! It was hard to photograph, but the true color is what you see in the close-up photos above - it's a beautiful rose color that I can't wait to knit with.
Verdict: I thought this was such a fun and enjoyable box! The presentation is lovely, and I thought it was great how the box includes absolutely everything you need to do the project. I like that The Crafter's Box showcases more unique types of crafts than a lot of other craft subscription boxes, and I love that I was able to experiment so much with this new craft medium. I also really appreciate the modern, upscale vibe that I get from this box - it feels like I'm making and creating for a purpose, rather than just crafting to craft. Although this project took me quite a bit of time to do, I really enjoyed the process and look forward to experimenting with more natural dyes in the future. It was the perfect activity for a long weekend!
For $65.00, we received materials and supplies to create four different hand-dyed fabrics. The box has a very careful curation and extremely well-made video tutorial content. I think this is a very fair price for what we received. Overall, the experience of creating from this box was fantastic and I highly recommend it!
To Wrap Up:
Can you still get this box if you sign up today? No, you will receive the February 2020 box (if you sign up between January 10th - 20th).
ACTIVE DEAL: Get 25% off your first box!
CODE: GETCREATIVE
Check out our other reviews of The Crafter's Box and the top-rated craft subscription boxes for 2019!
Keep Track of Your Subscriptions: Add this box to your subscription list or wishlist!
What did you think of The Crafter's Box for December 2019? Let us know in the comments!


Please do not enter your email address in the Name field or in the comment content. Your email address will not be published. Required fields are marked *. Remember to post with kindness and respect. Comments with offensive language, cruelness to others, etc will not be approved. See our full comment policy here.