


Creation Crate is a subscription box for teens and adults ages 12 and up who want to learn how to build and program electronics. Each month you will receive the necessary electronic components and access to a thorough online curriculum to create your tech projects. These projects build on skills learned and increase in difficulty. You'll need access to a computer, the internet, and a USB port, but everything else you need is included in the box!
This box was sent to us at no cost for review. (Check out the review process post to learn more about how we review boxes).

About Creation Crate
The Subscription Box: Creation Crate
The Cost: $29.99 per month. Save with longer subscriptions.
The Products: All of the required components to complete the month's project along with access to an online classroom with tutorials, exercises, and instructions on how to write your code.
Ships to: The U.S. for $4.99, Canada and worldwide for $8.99
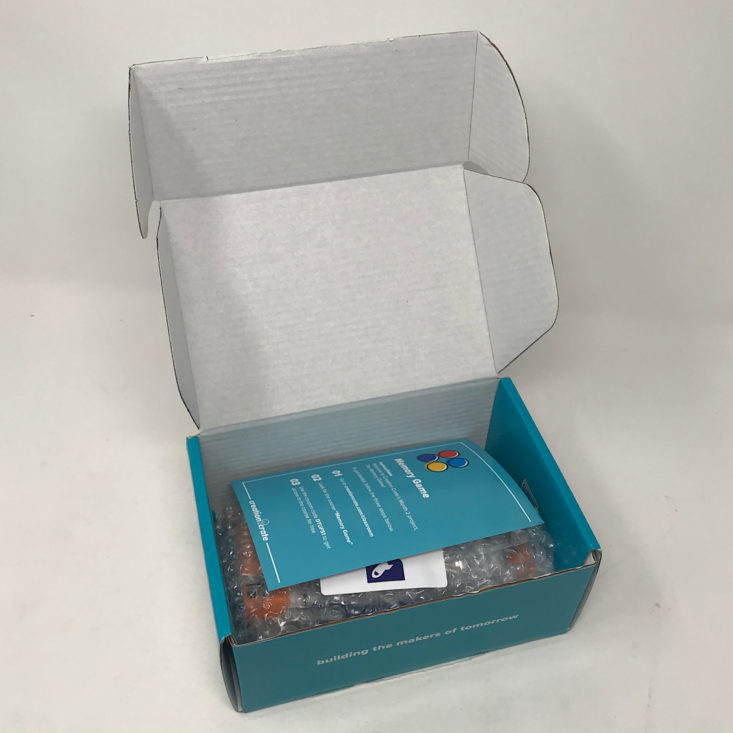
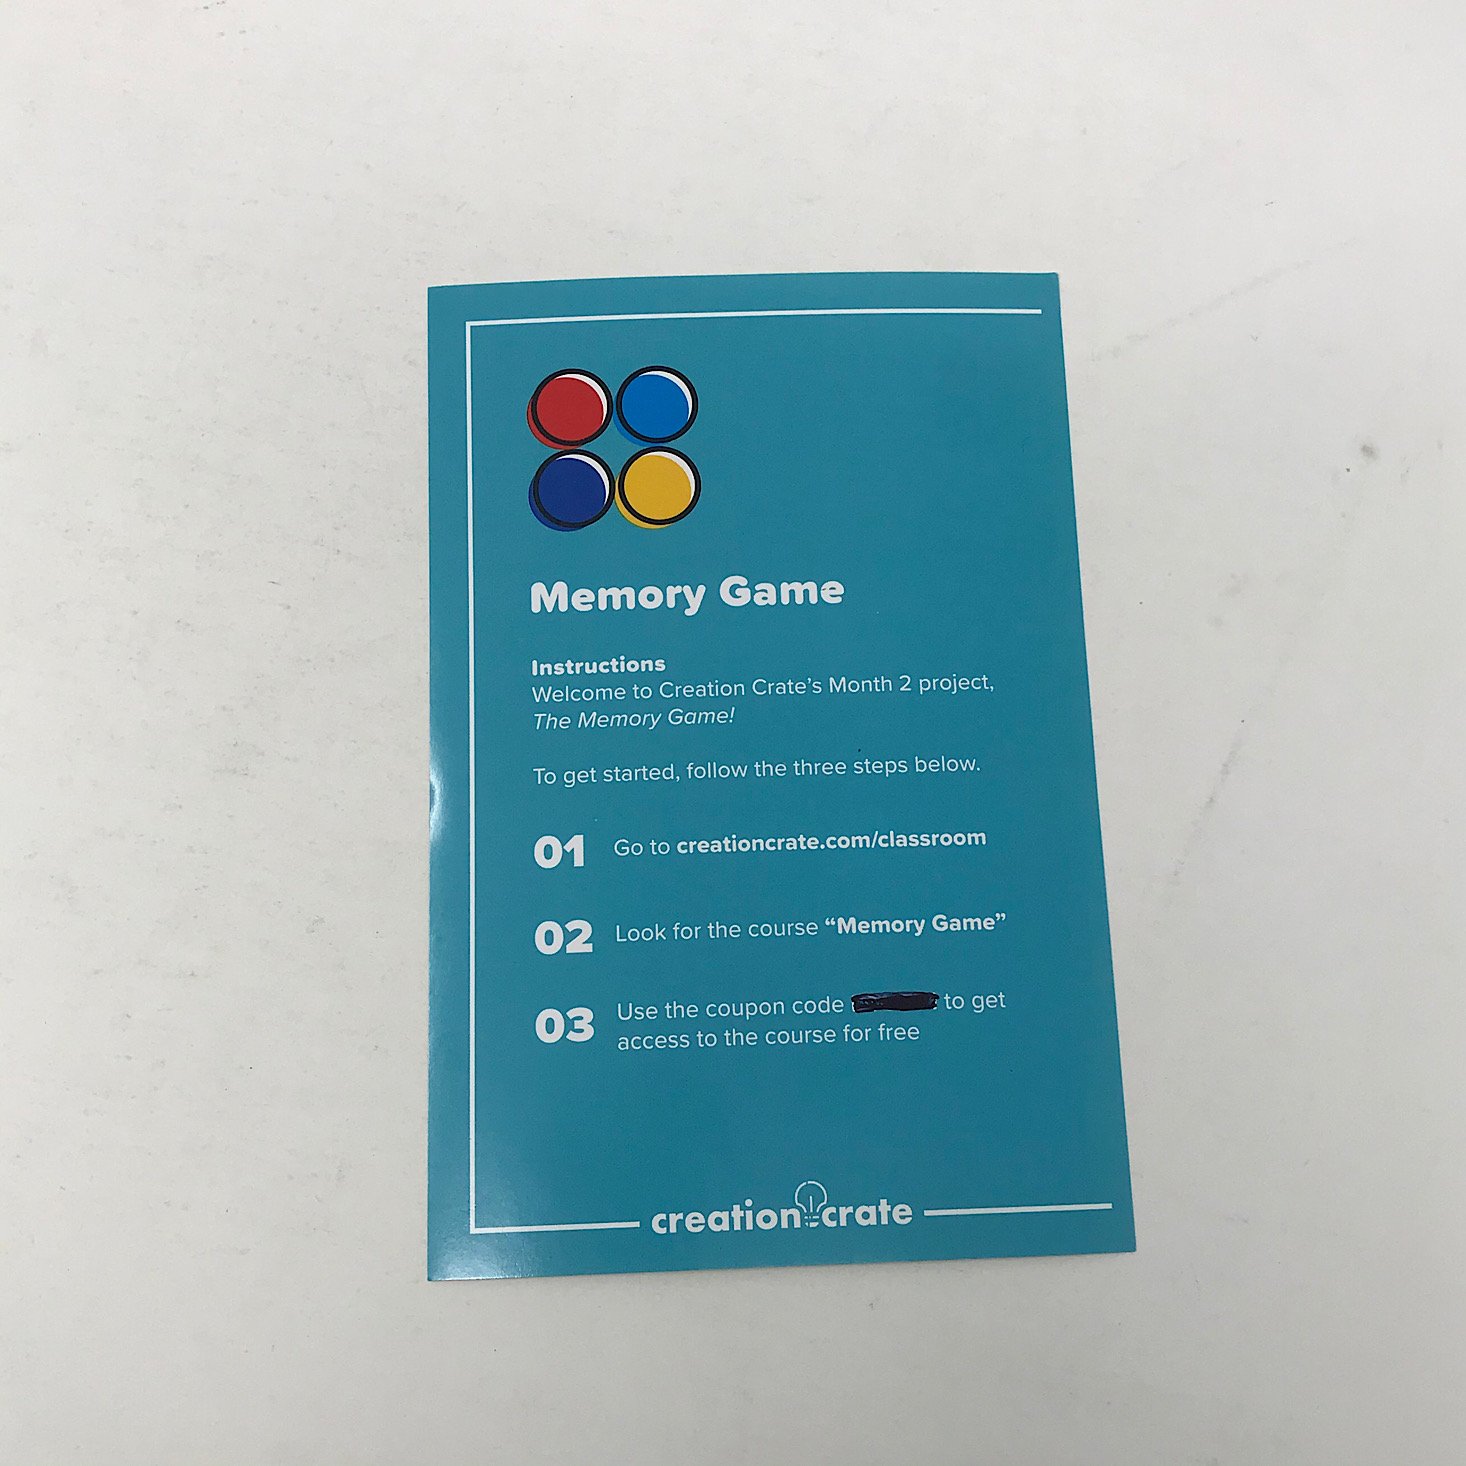
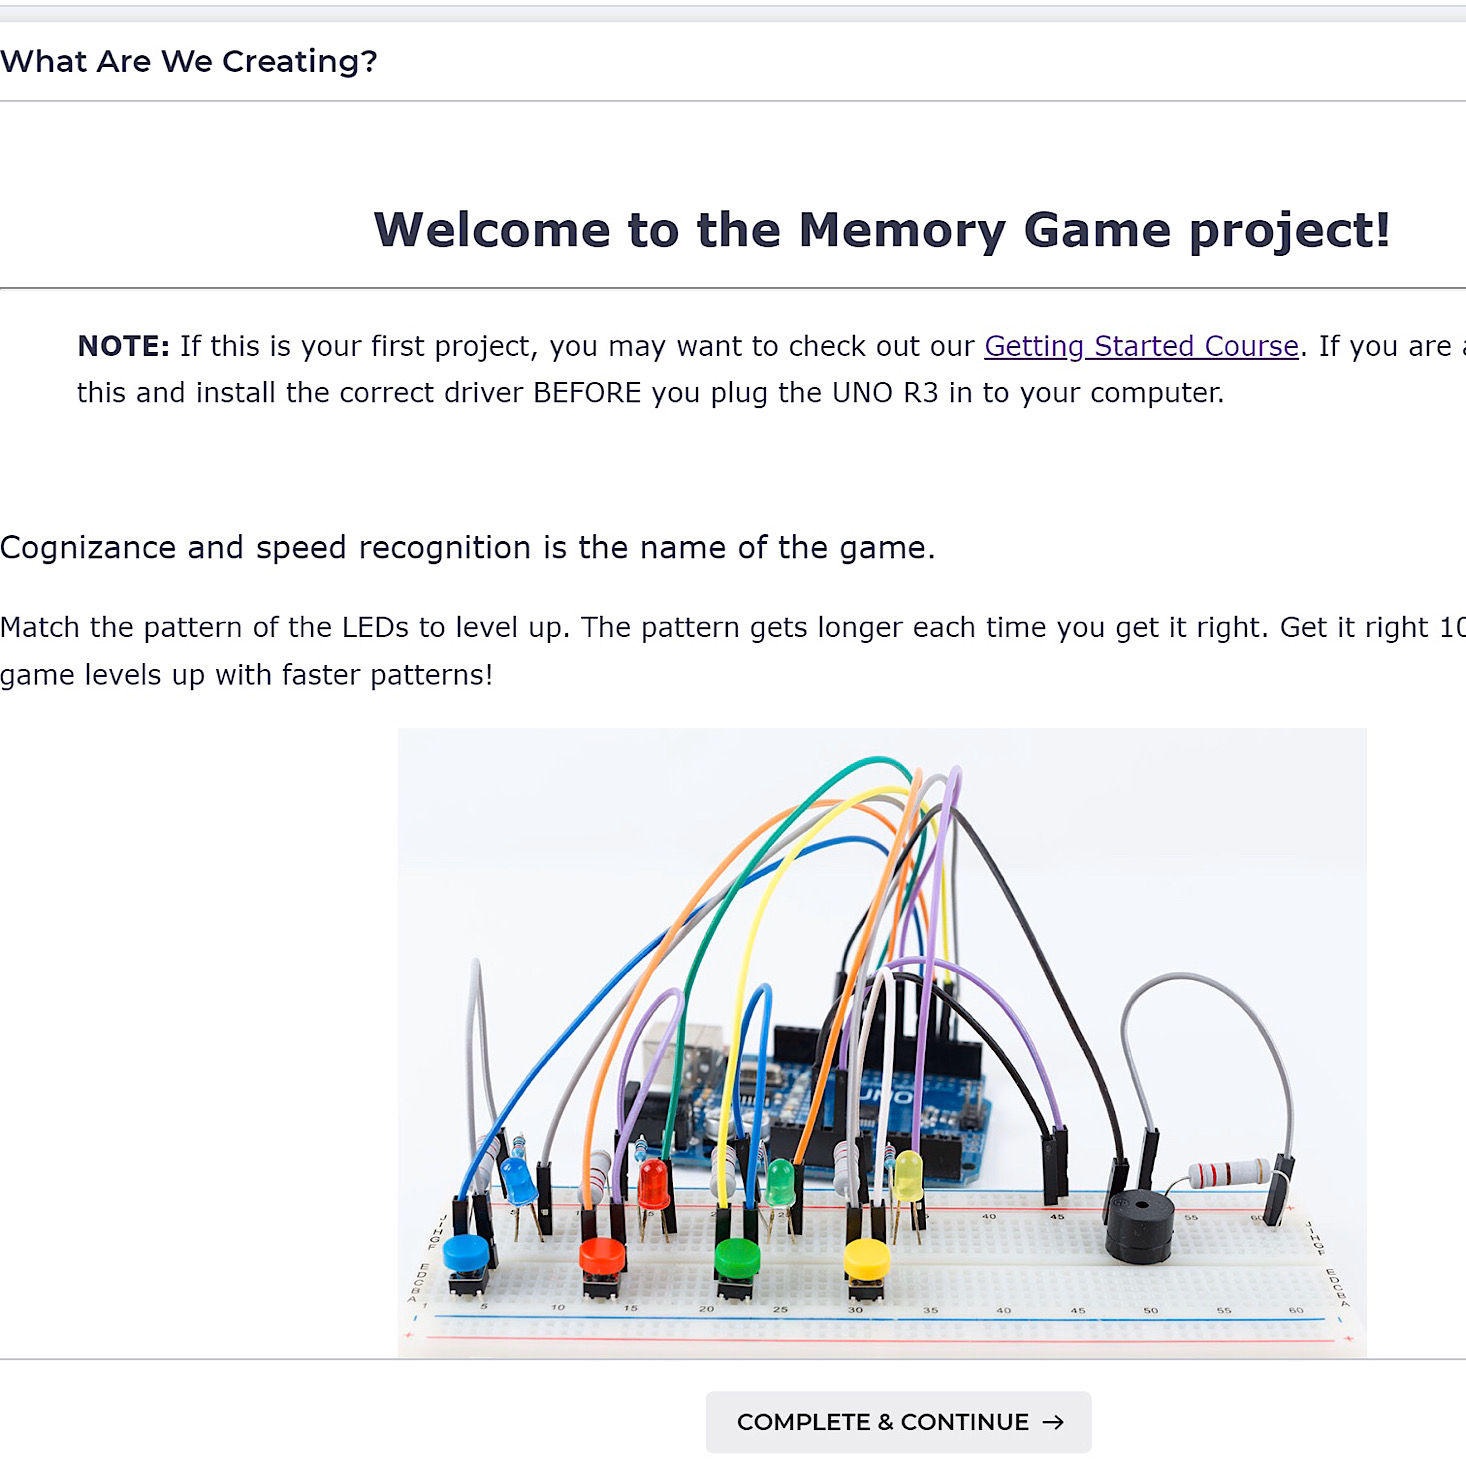
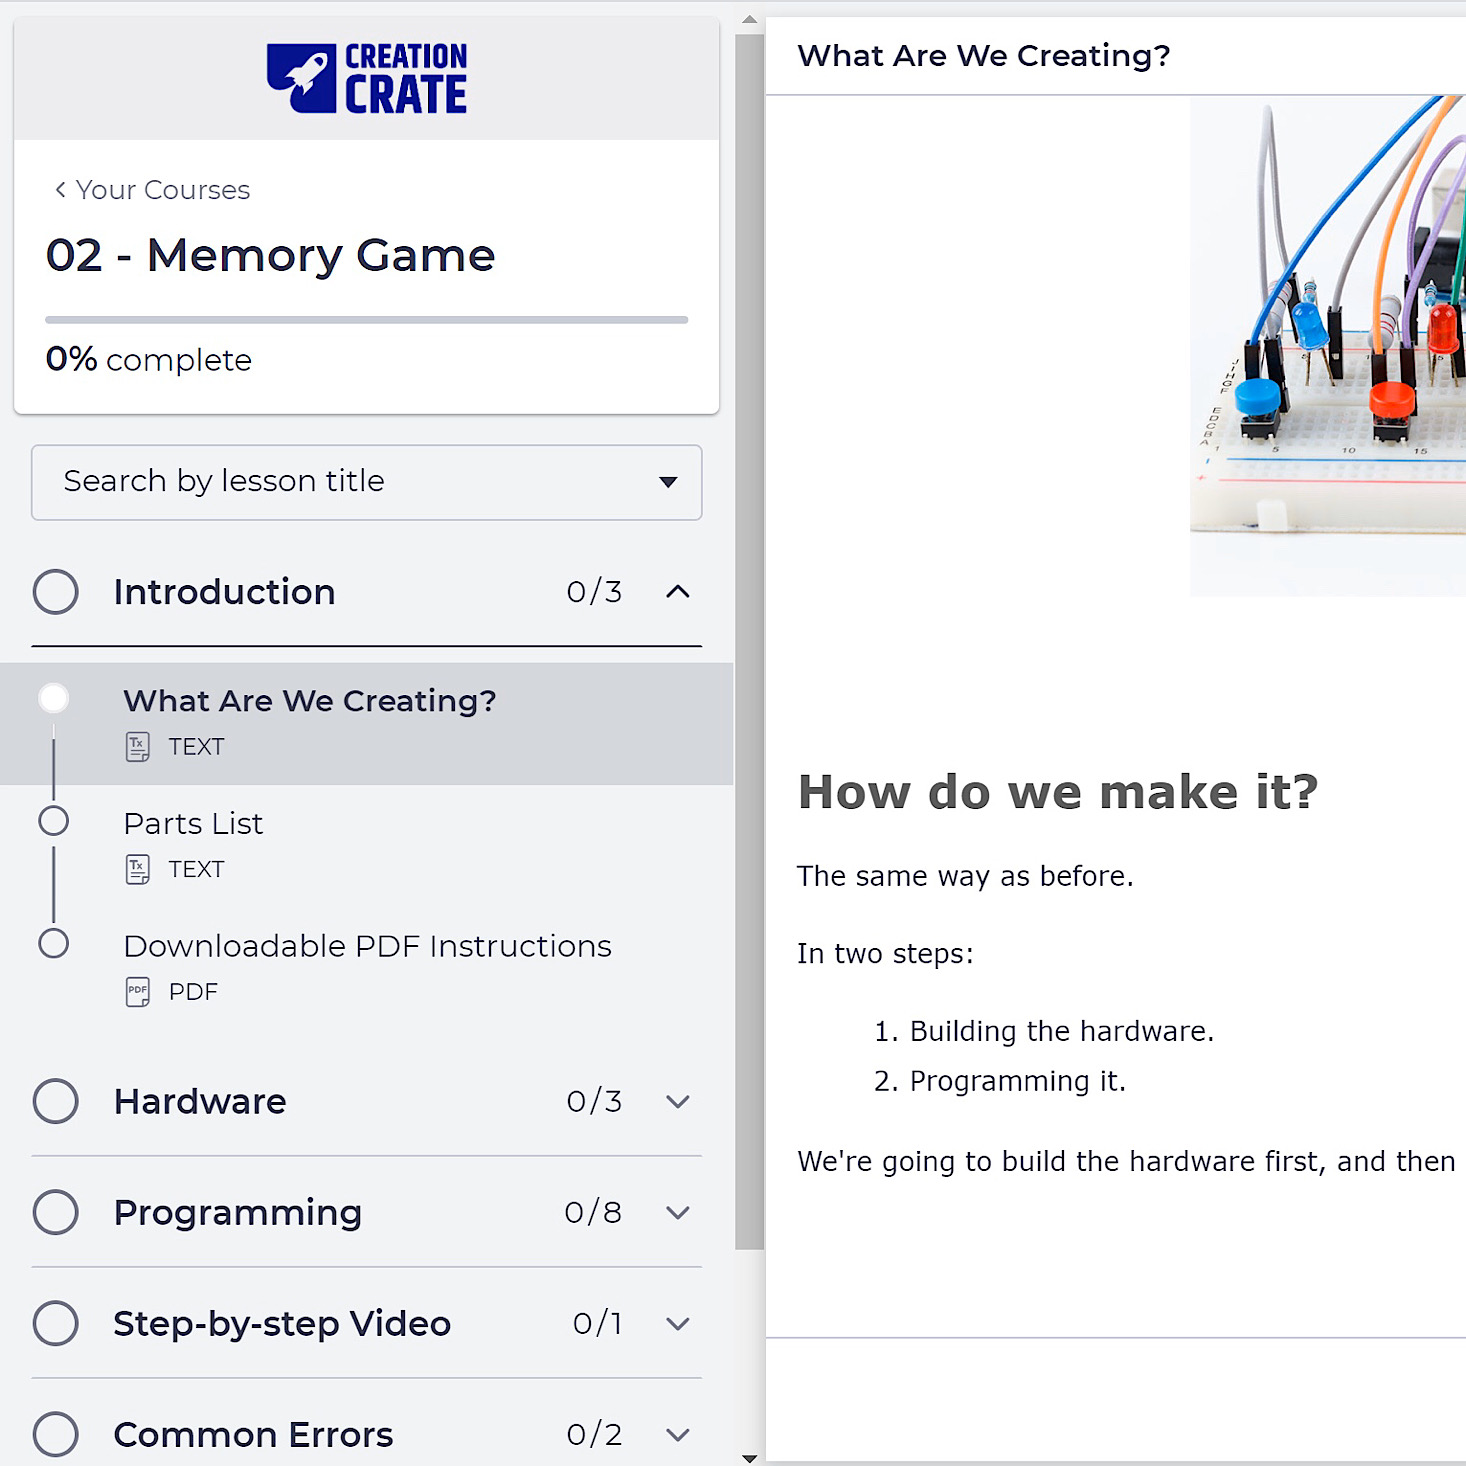
Creation Crate Project 2: "Memory Game" Review


1 of 5


Bonus Gifts: Component Case XL and Soldering Kit
When you subscribe to a quarterly, semi-annual or annual plan, you will receive a few bonus gifts depending on which subscription option you choose. Creation Crate was kind enough to send me a few items to share with you! To read more about this, check out my first review here! While these are great to have on hand, they are not necessary for your projects each month.

1 of 2
The project for this month is to make our own memory game. They included this parts list along with instructions for how to access the online course. While the projects do build upon one another in skill each month, I did not need any of the parts that I received in my first box which I appreciated.


1 of 2
All of our supplies were packaged neatly protected by a piece of bubble wrap.

1 of 6


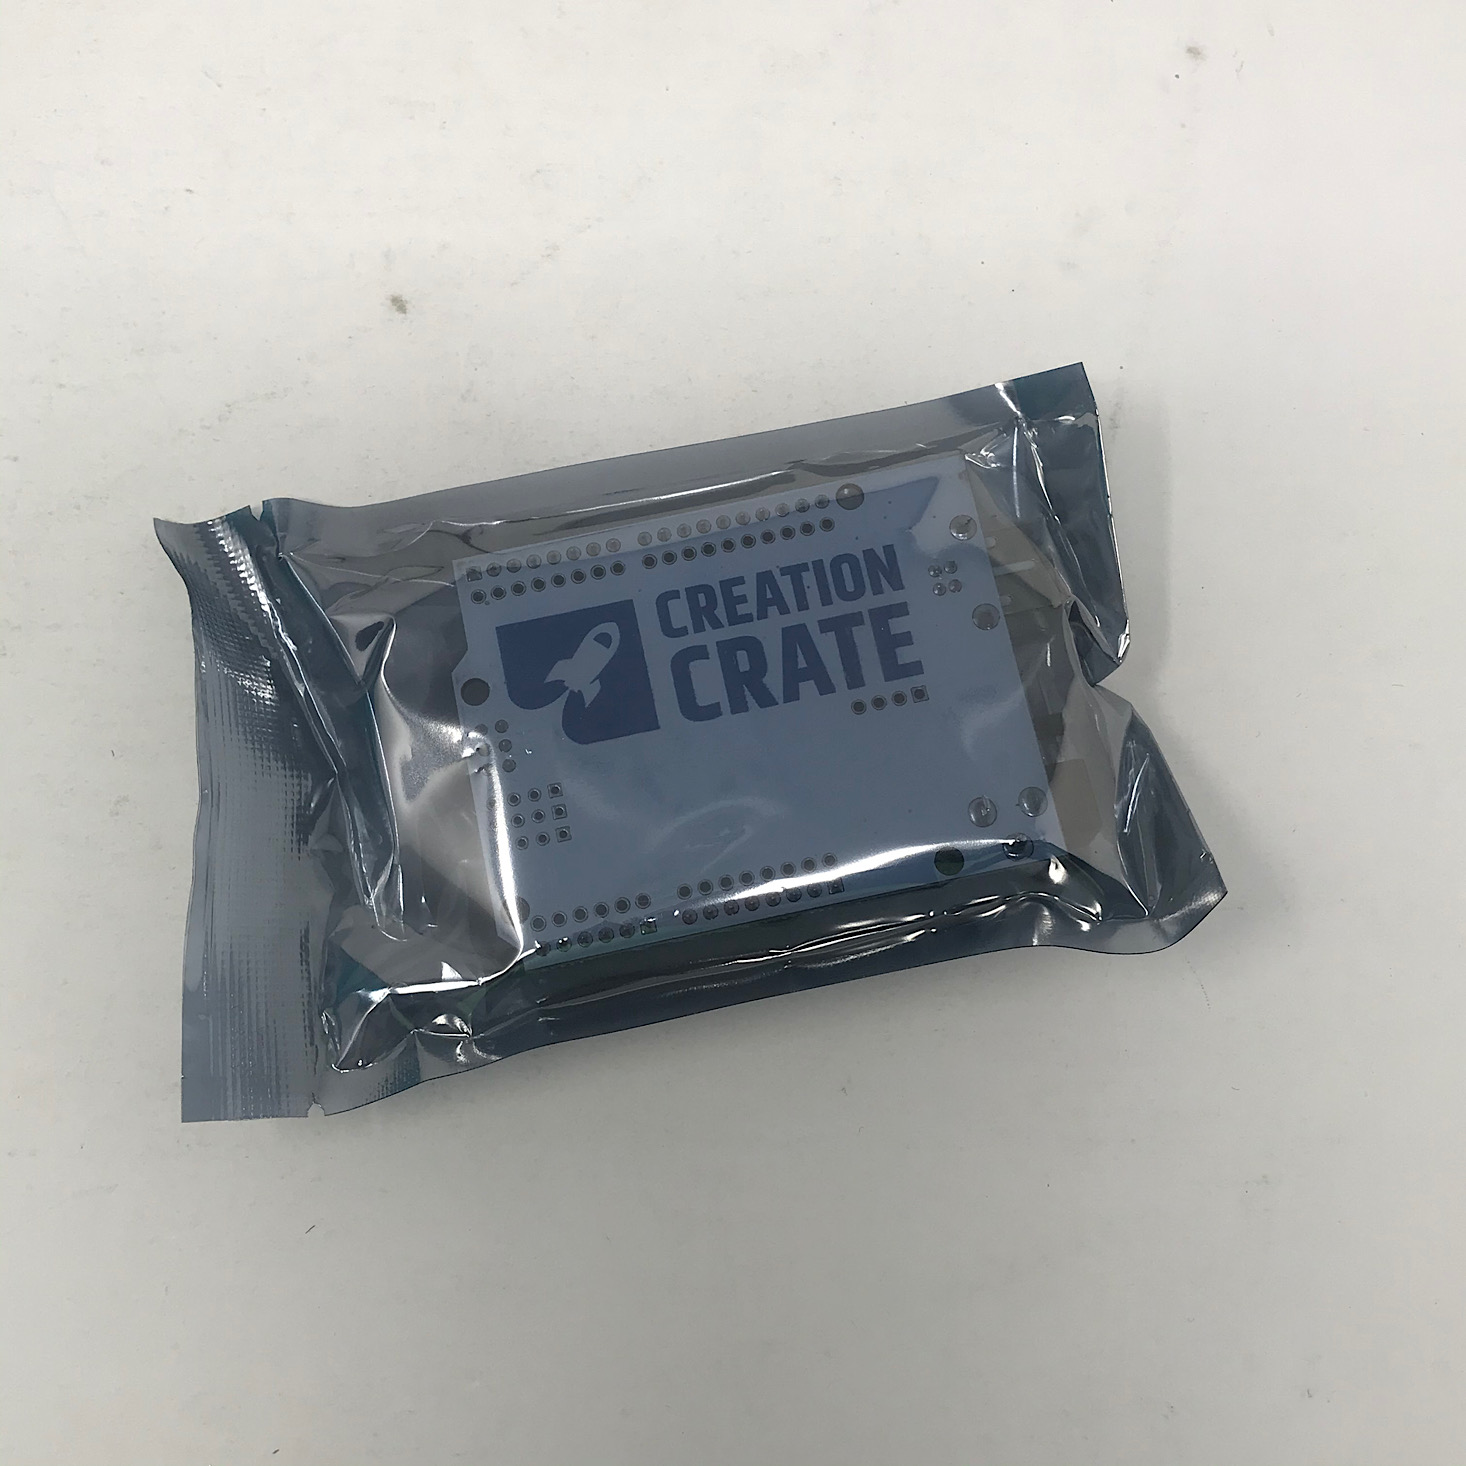
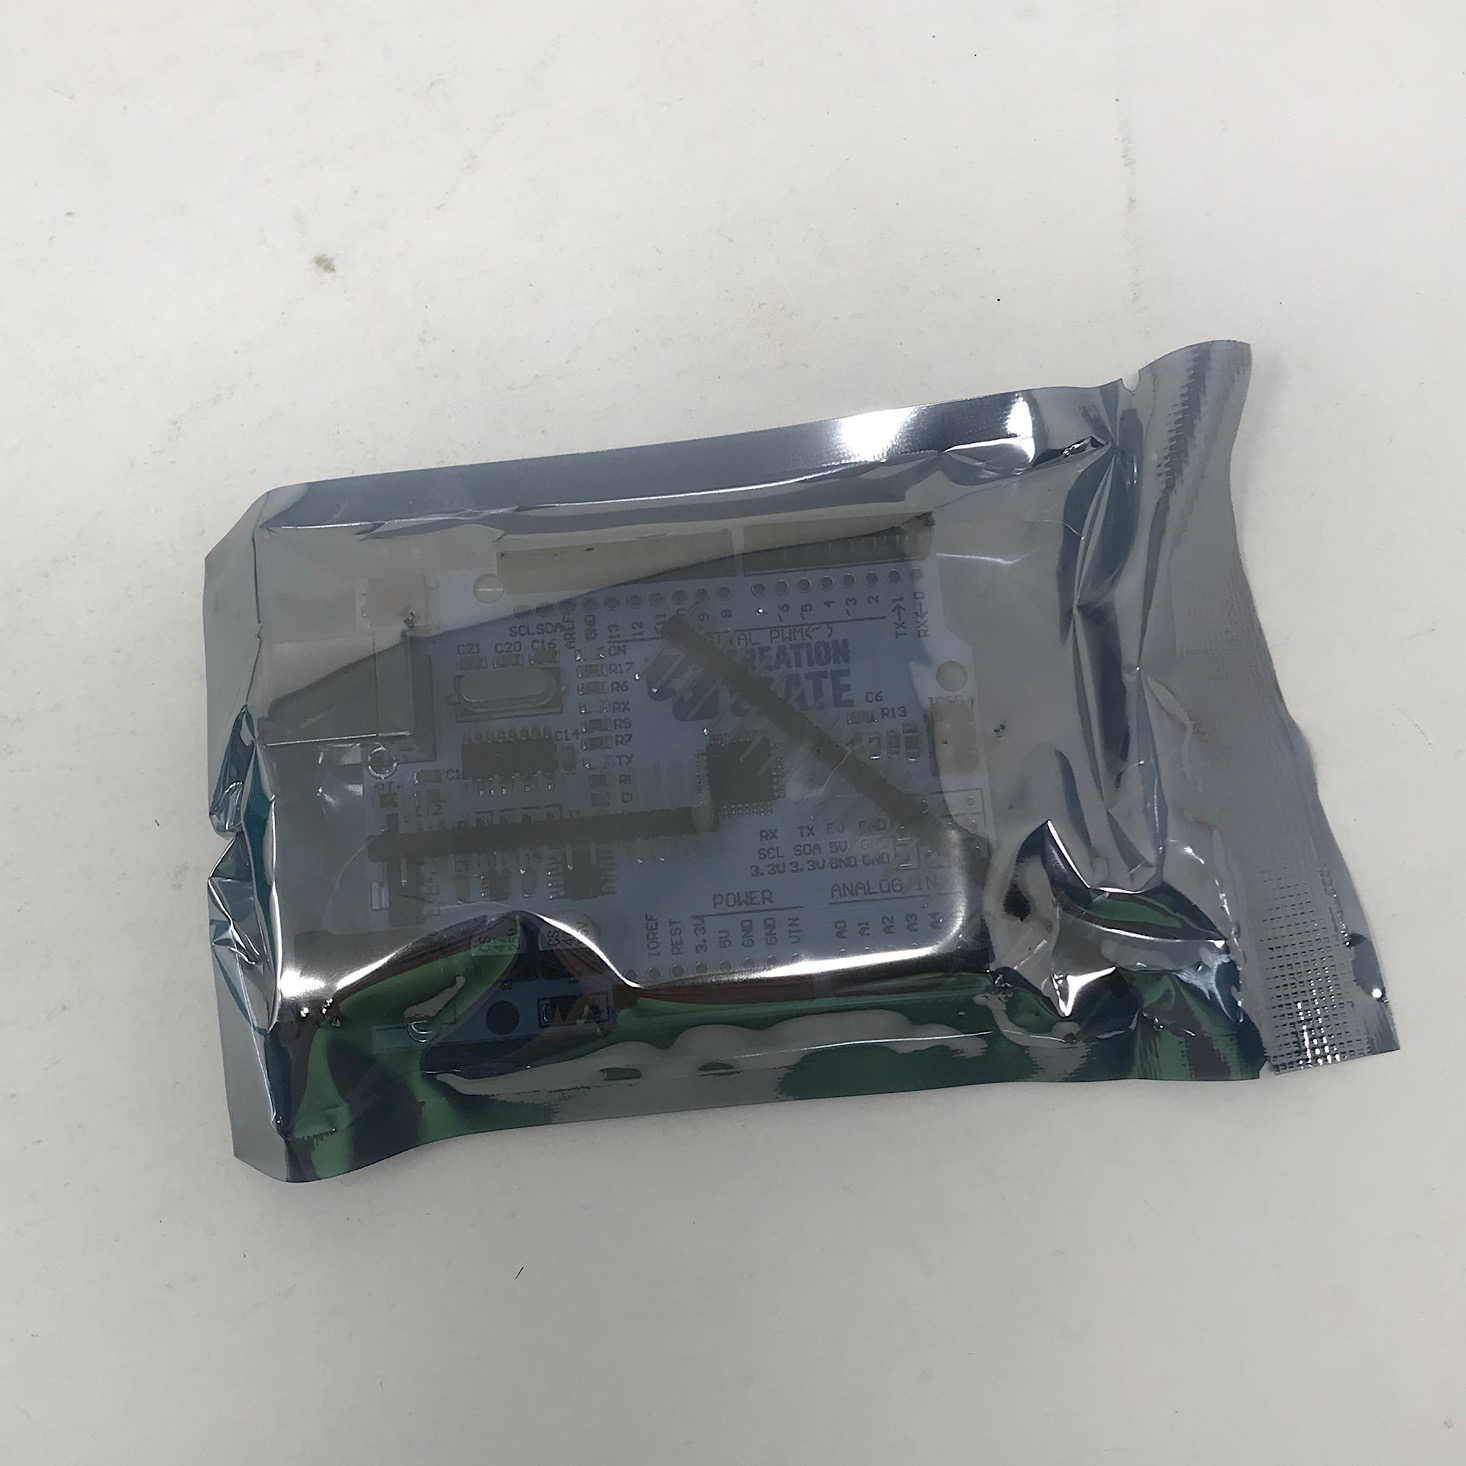
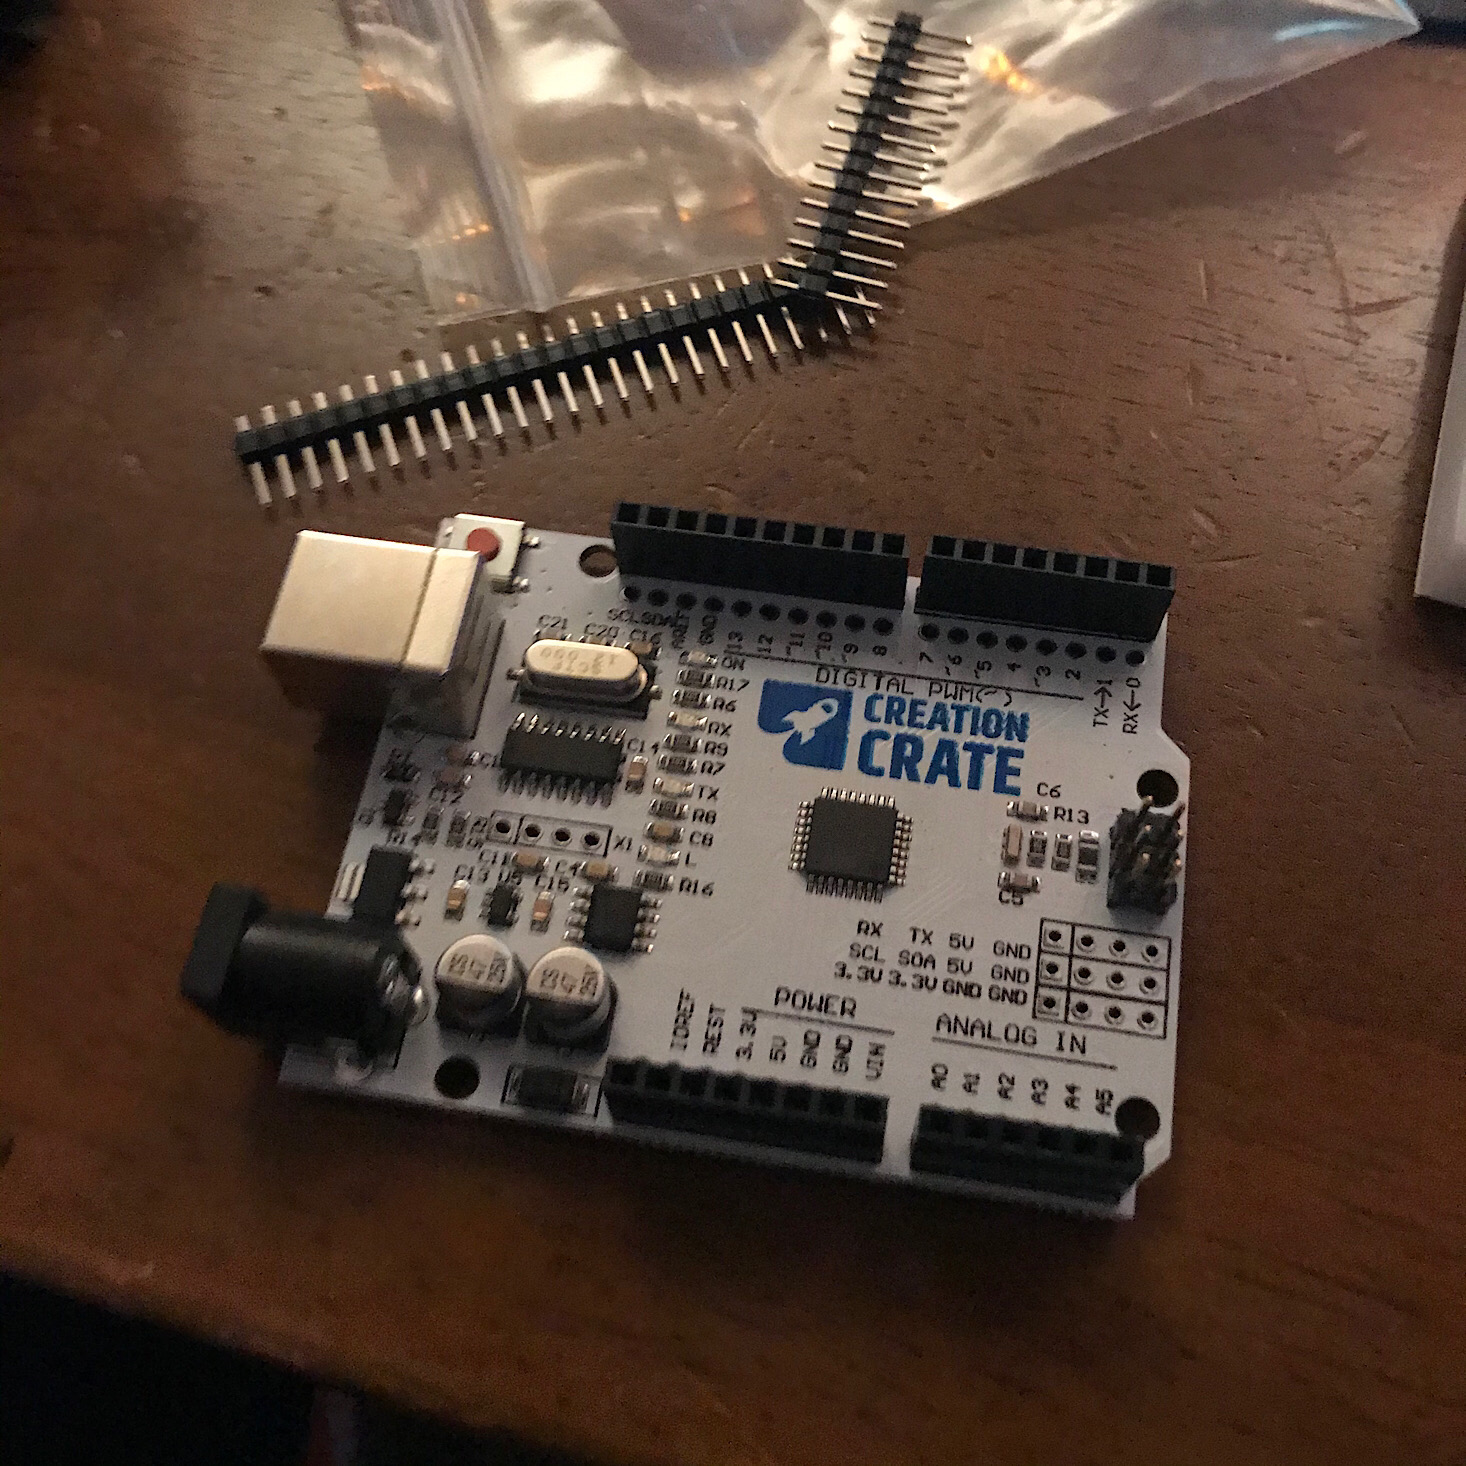
Breadboard and UNO R3
The two main components we needed were a breadboard and this UNO R3 they provided.

1 of 3

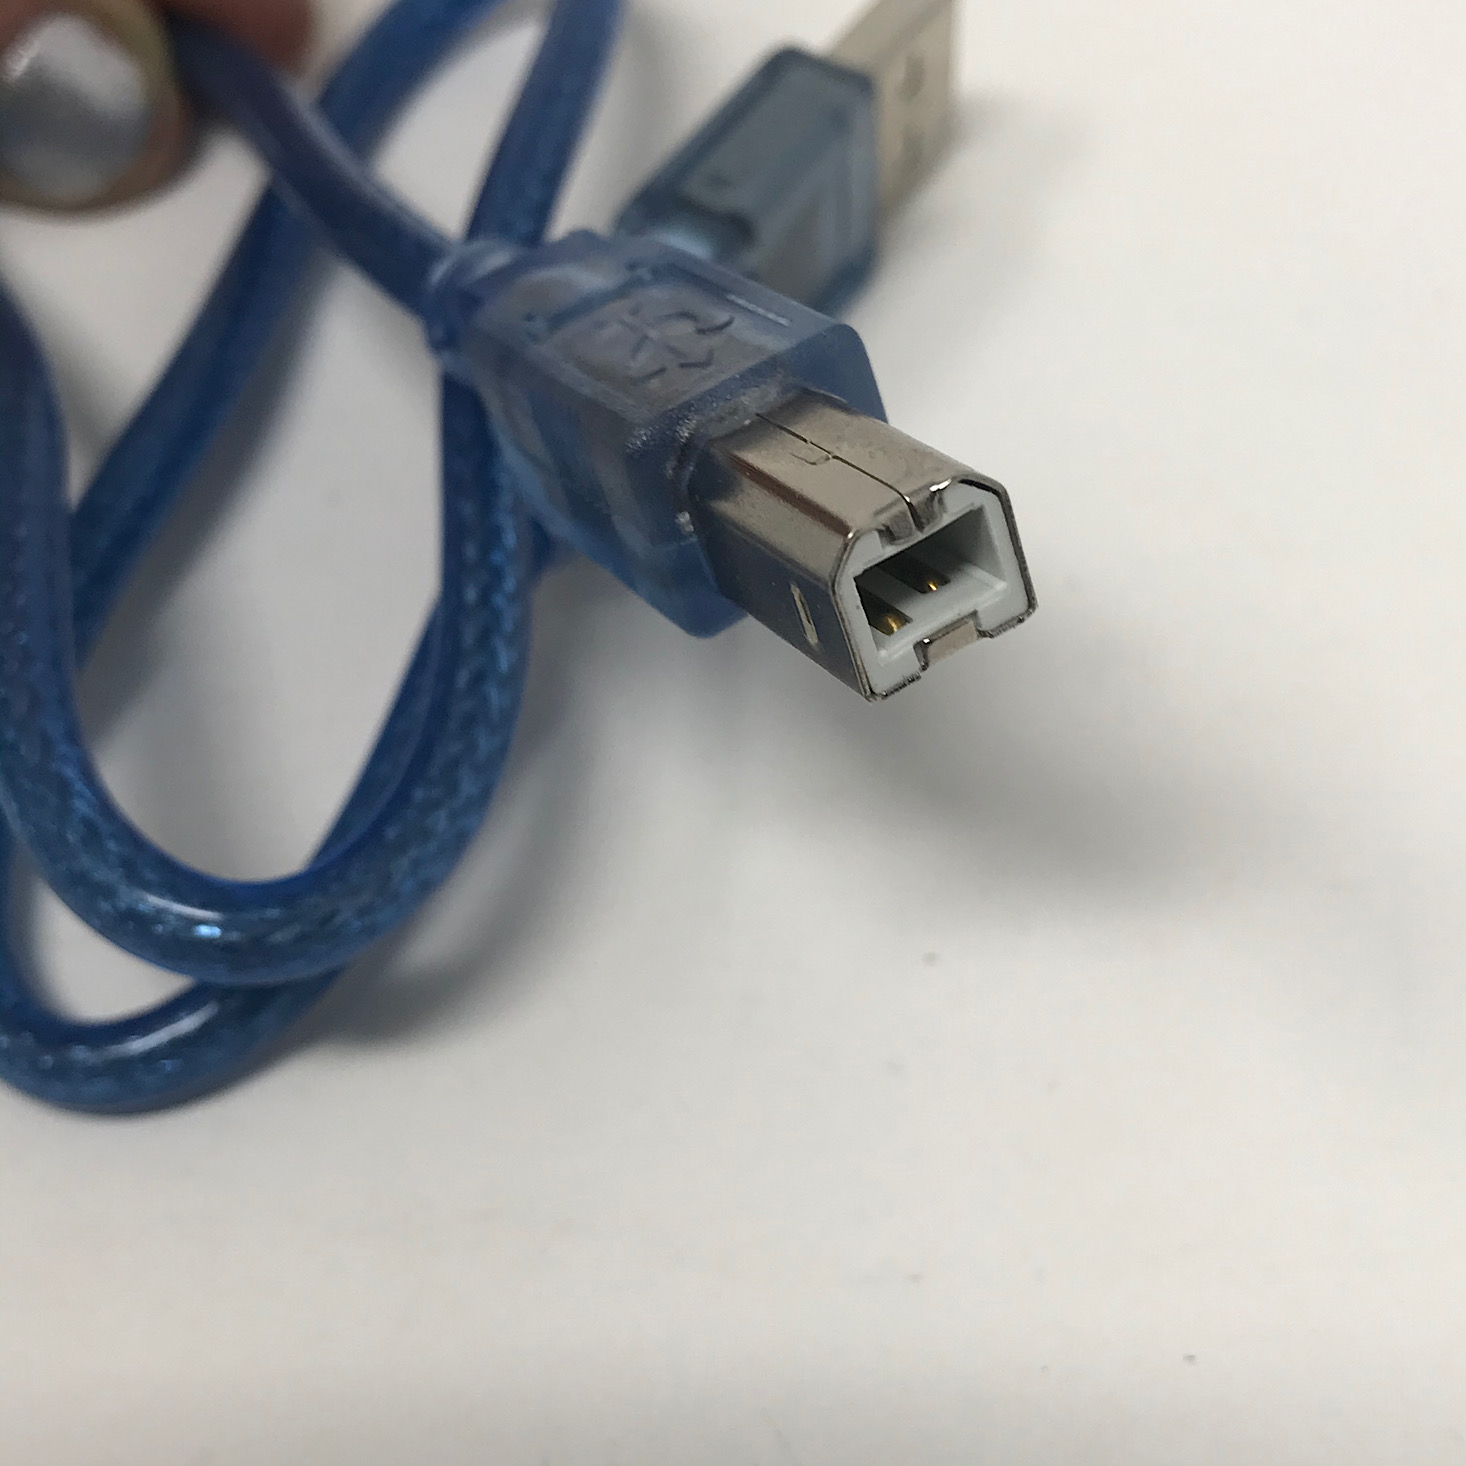
USB Cable
The other main component we needed was this cable with a USB port at one end to hook our project up to our computer for programming.

1 of 4

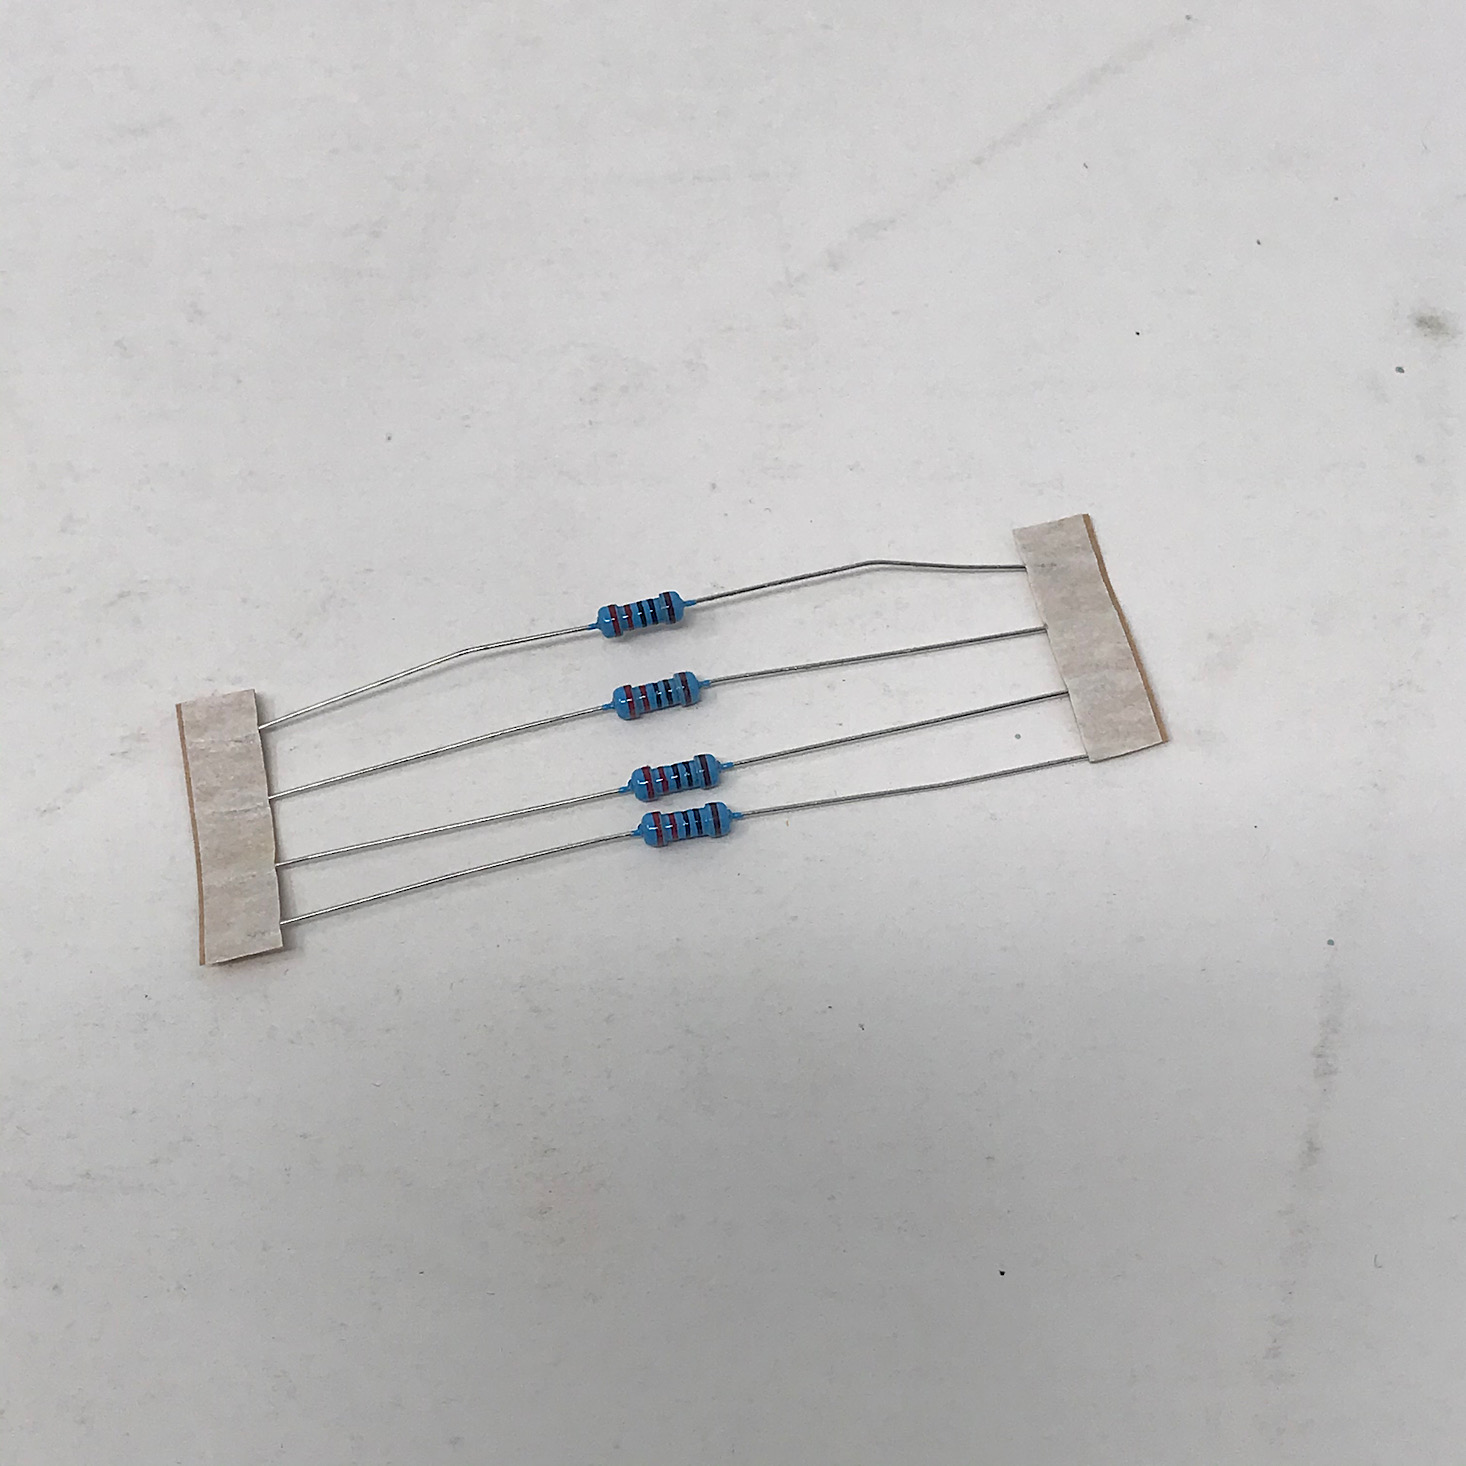
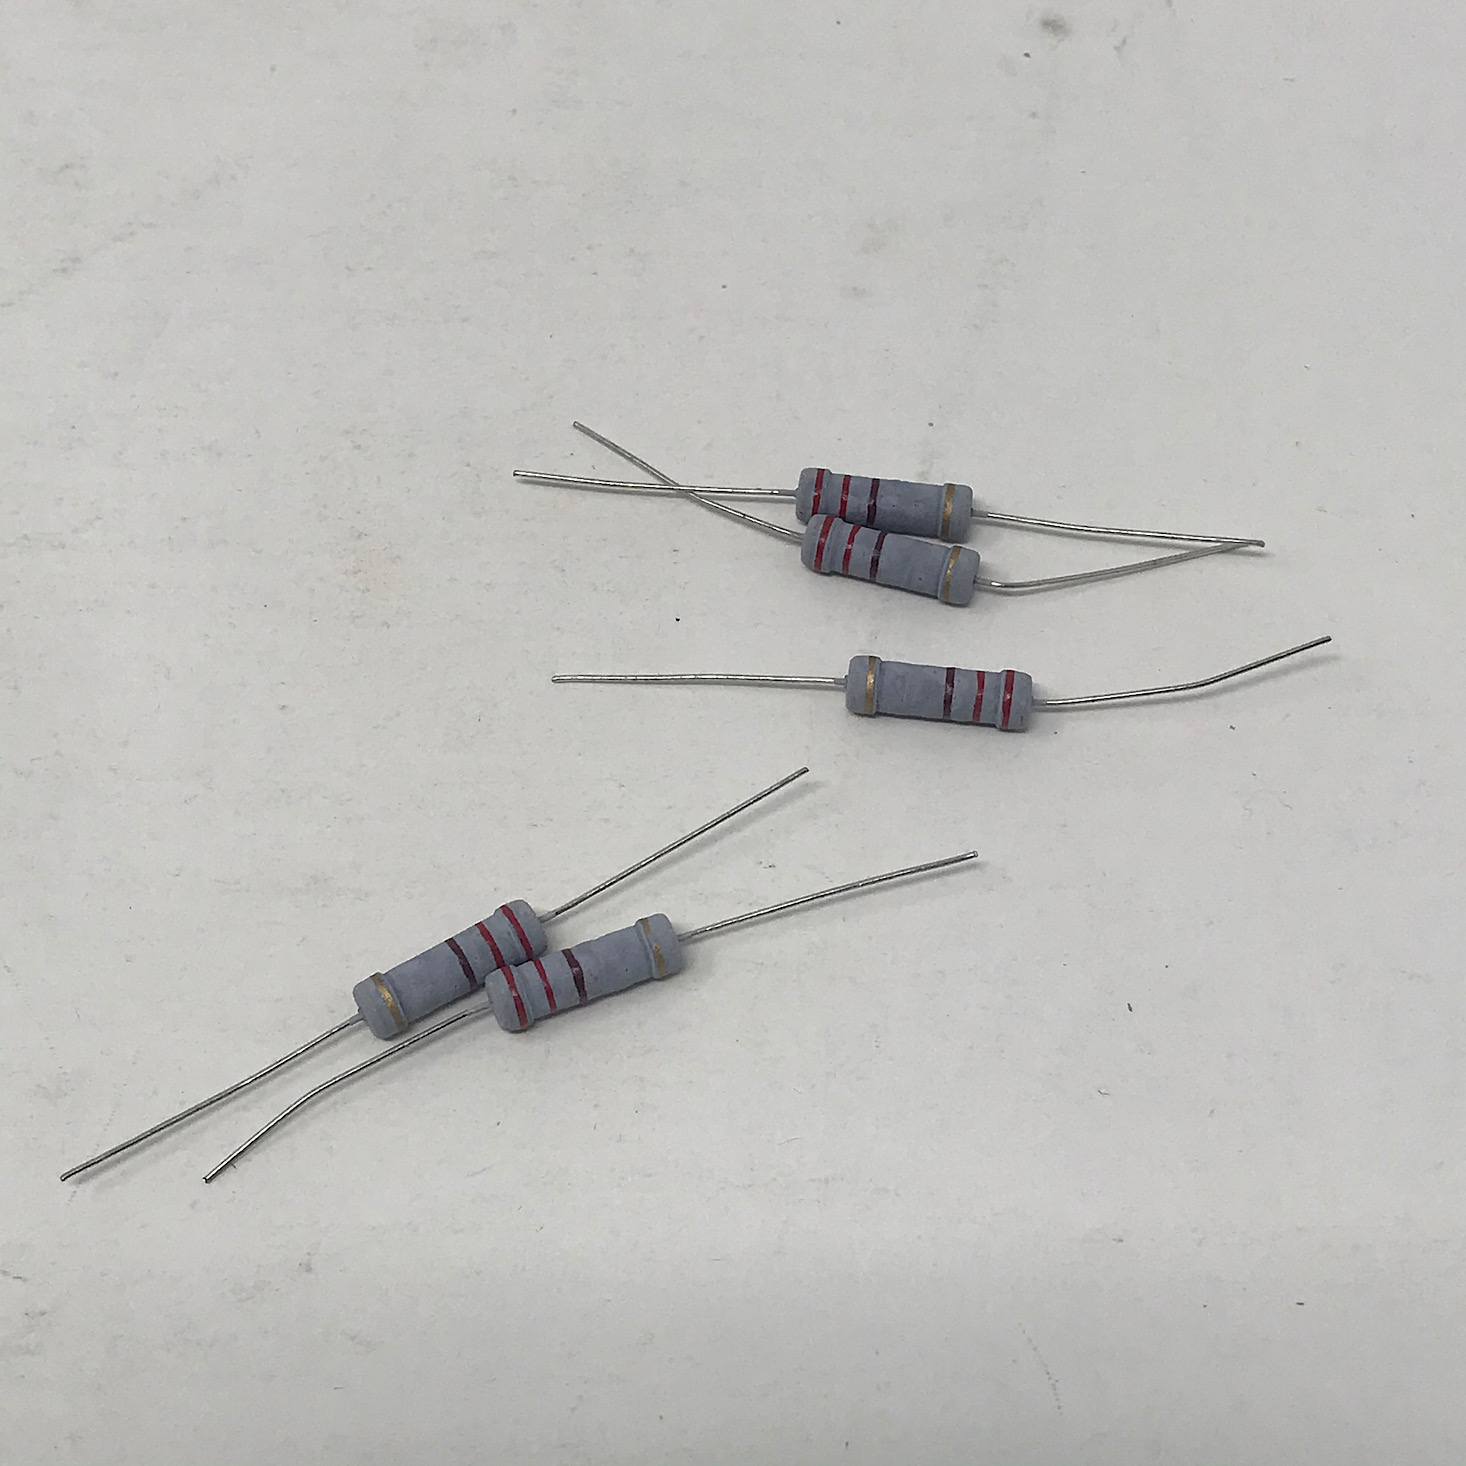
Jumper Wires and Resistors
We also received several jumper wires and resistors in varying sizes.

1 of 4

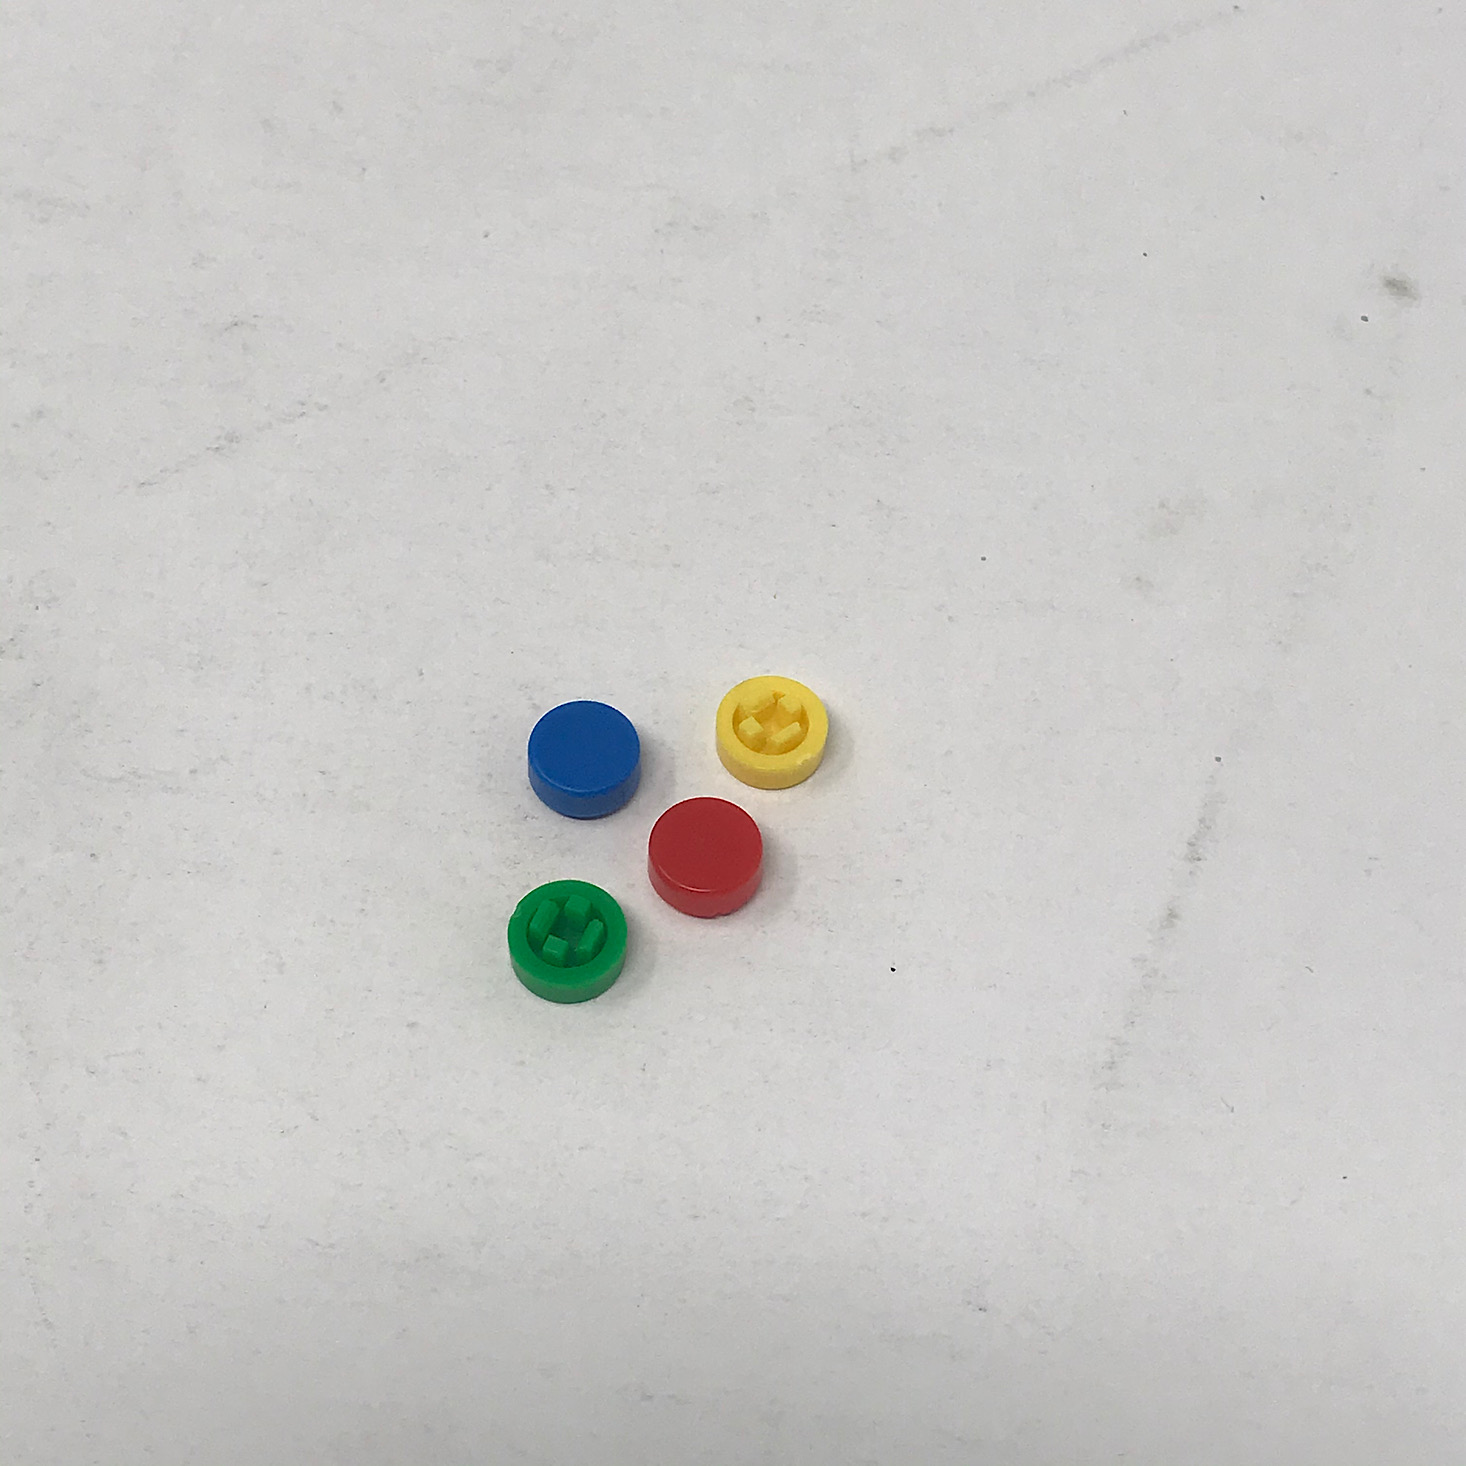
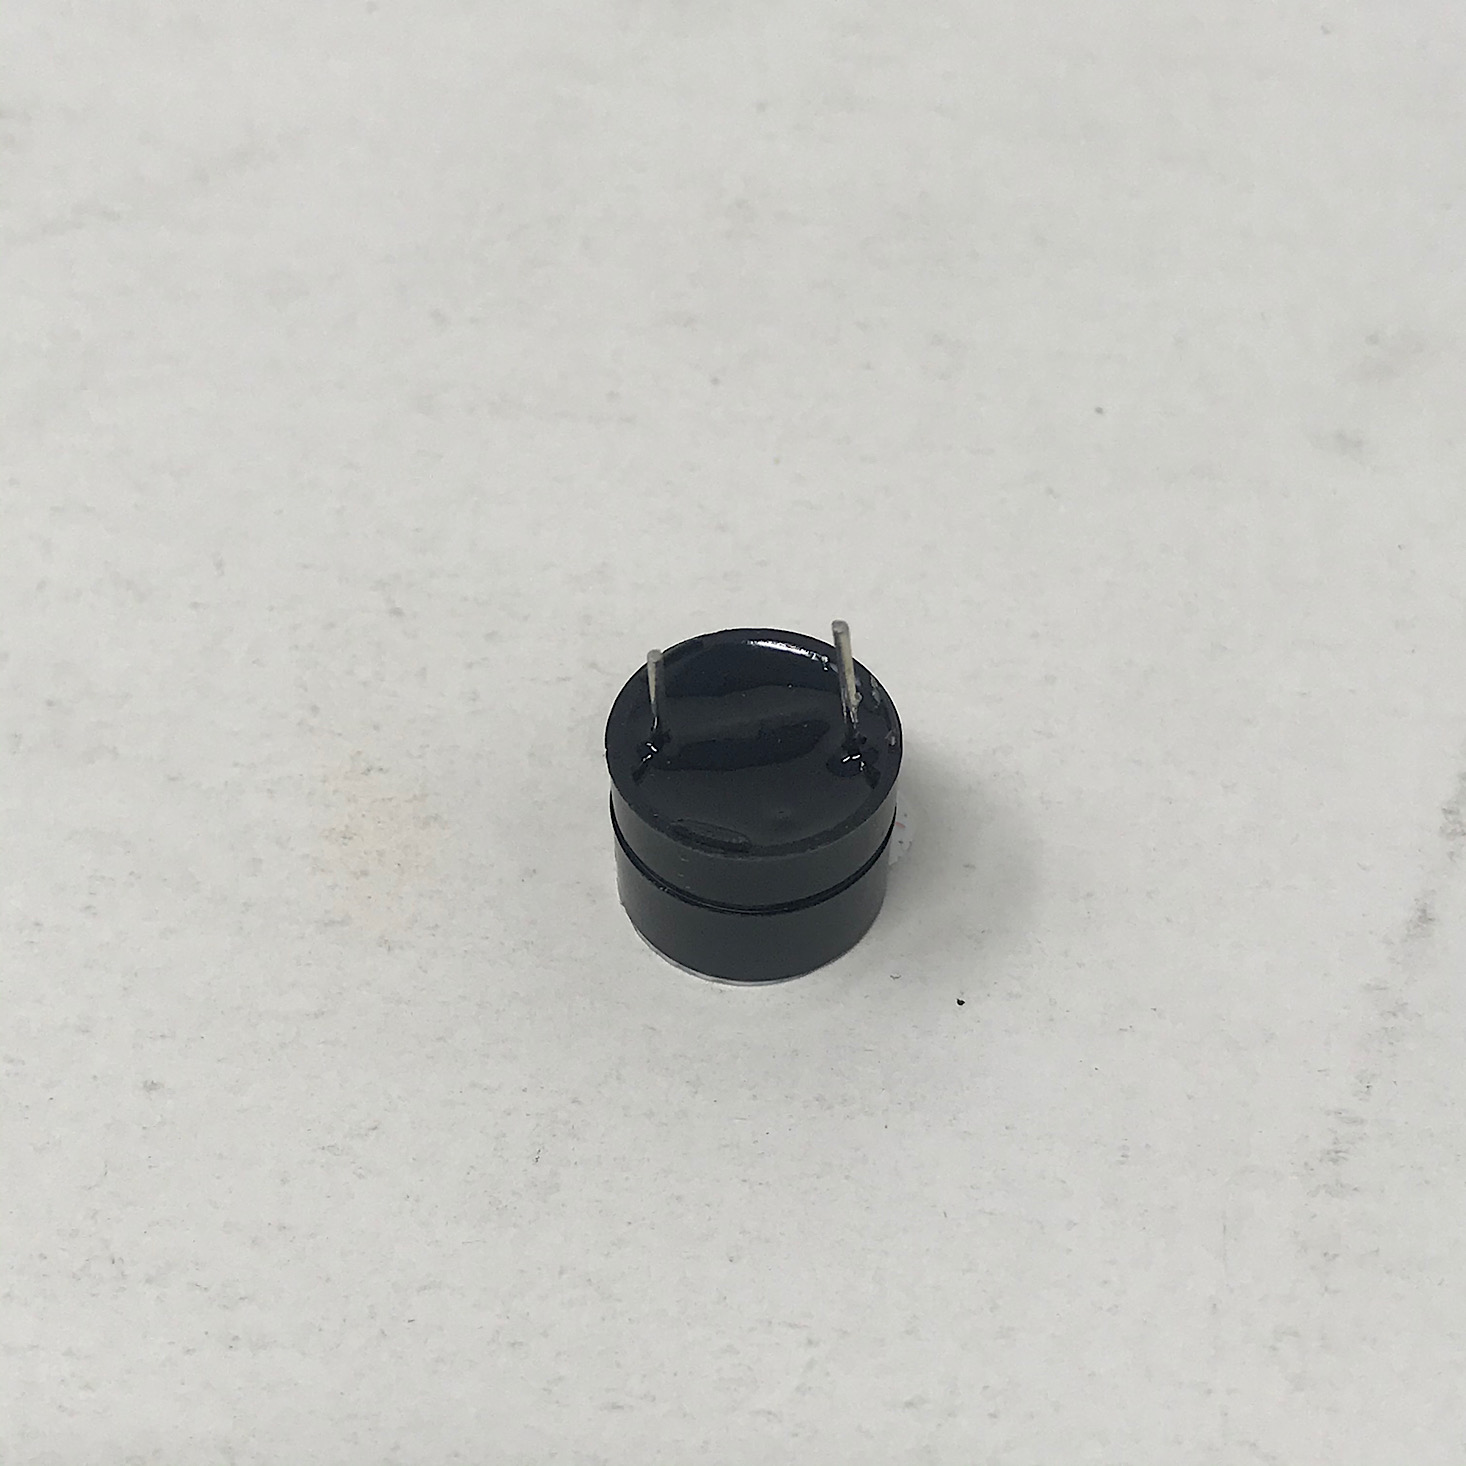
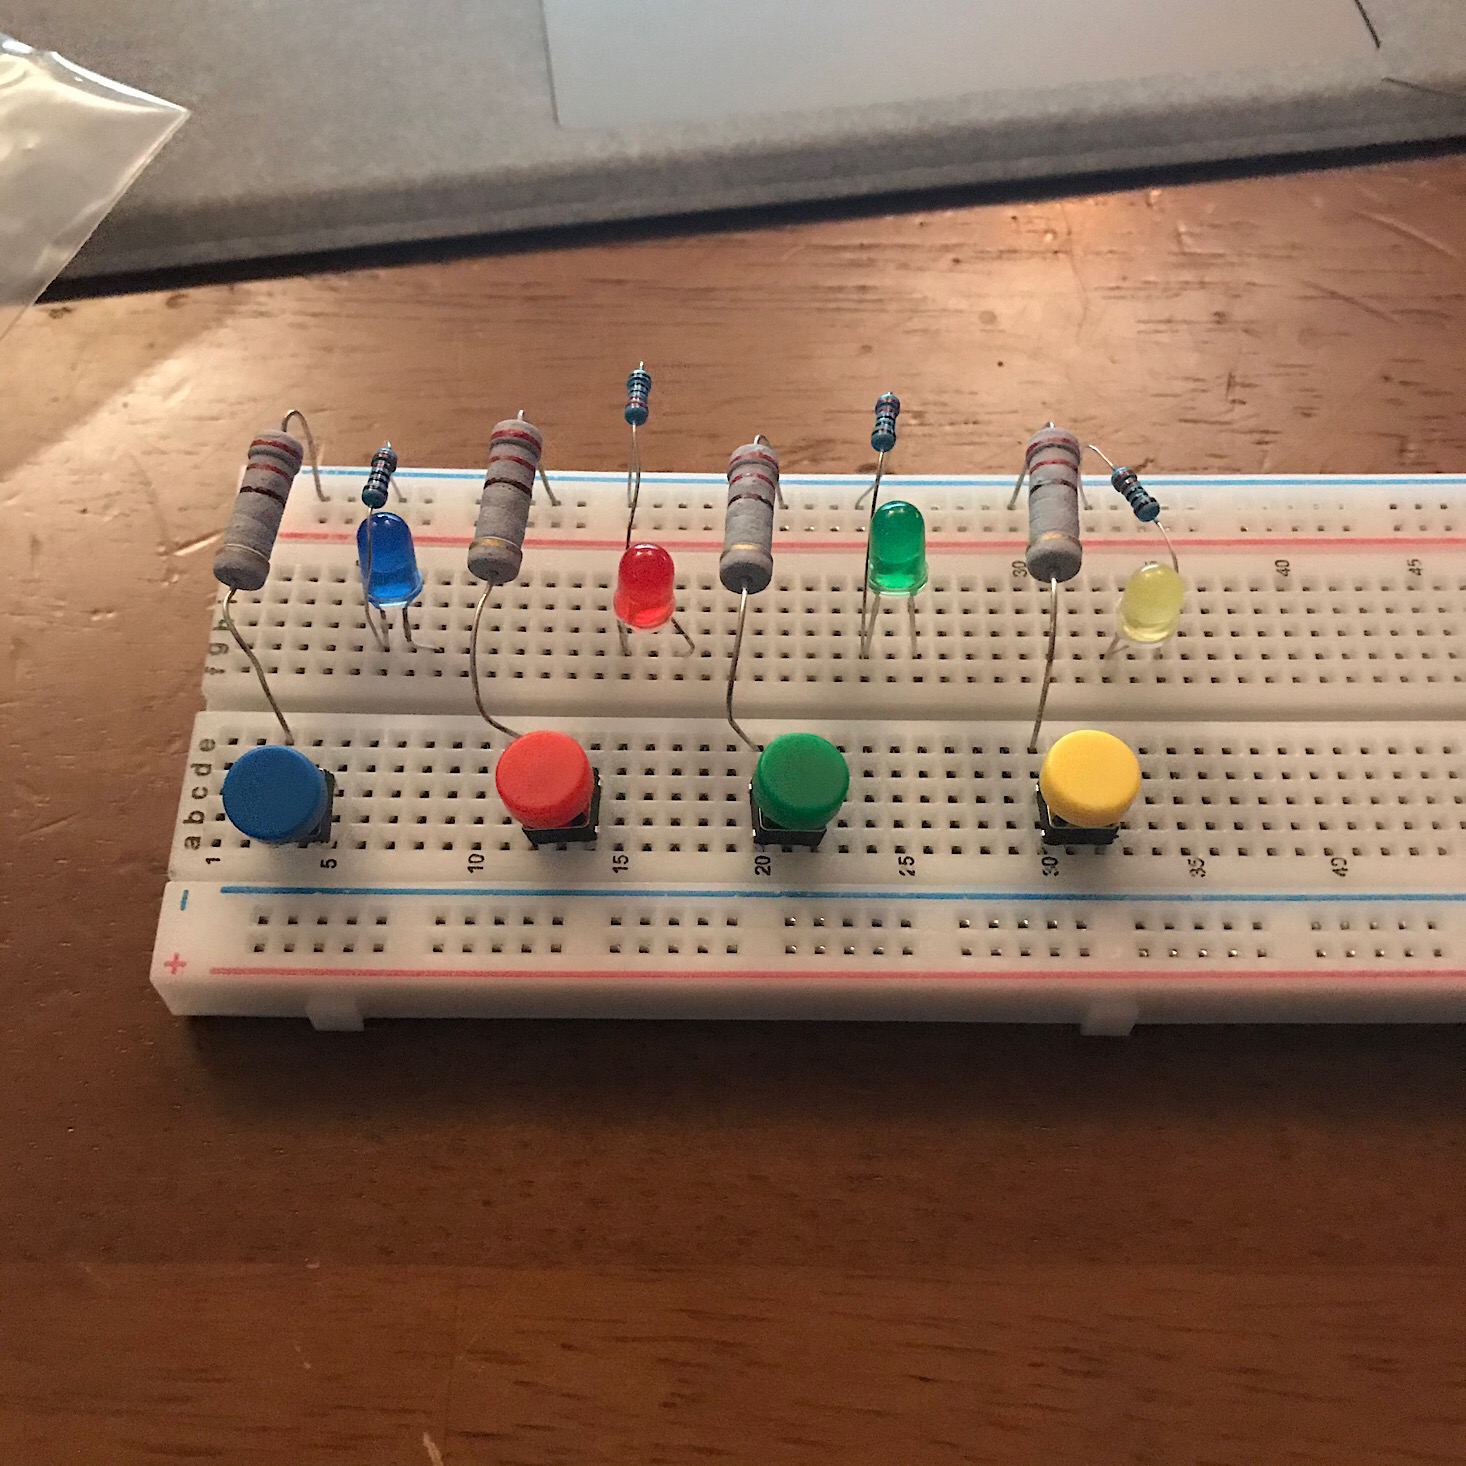
LEDs, Buttons, and Buzzer
We also received 4 different colored LEDs, buttons and covers to match, and a buzzer for our game.
Logging into the Course


1 of 7


Logging into your course can be a little tricky the first time, so I've included some screenshots of the steps. After navigating to the classroom, you'll select "All Courses" and scroll down to find the "Original Courses" button. Then you select the course you want and hit the "buy" button. From here you'll be prompted to create a new account or log in if you already have an account. There will be a section to enter your access code which can be found on the Parts List in your box and it will bring your total to $0.00 and allow you access to the course.
Course Layout
1 of 5


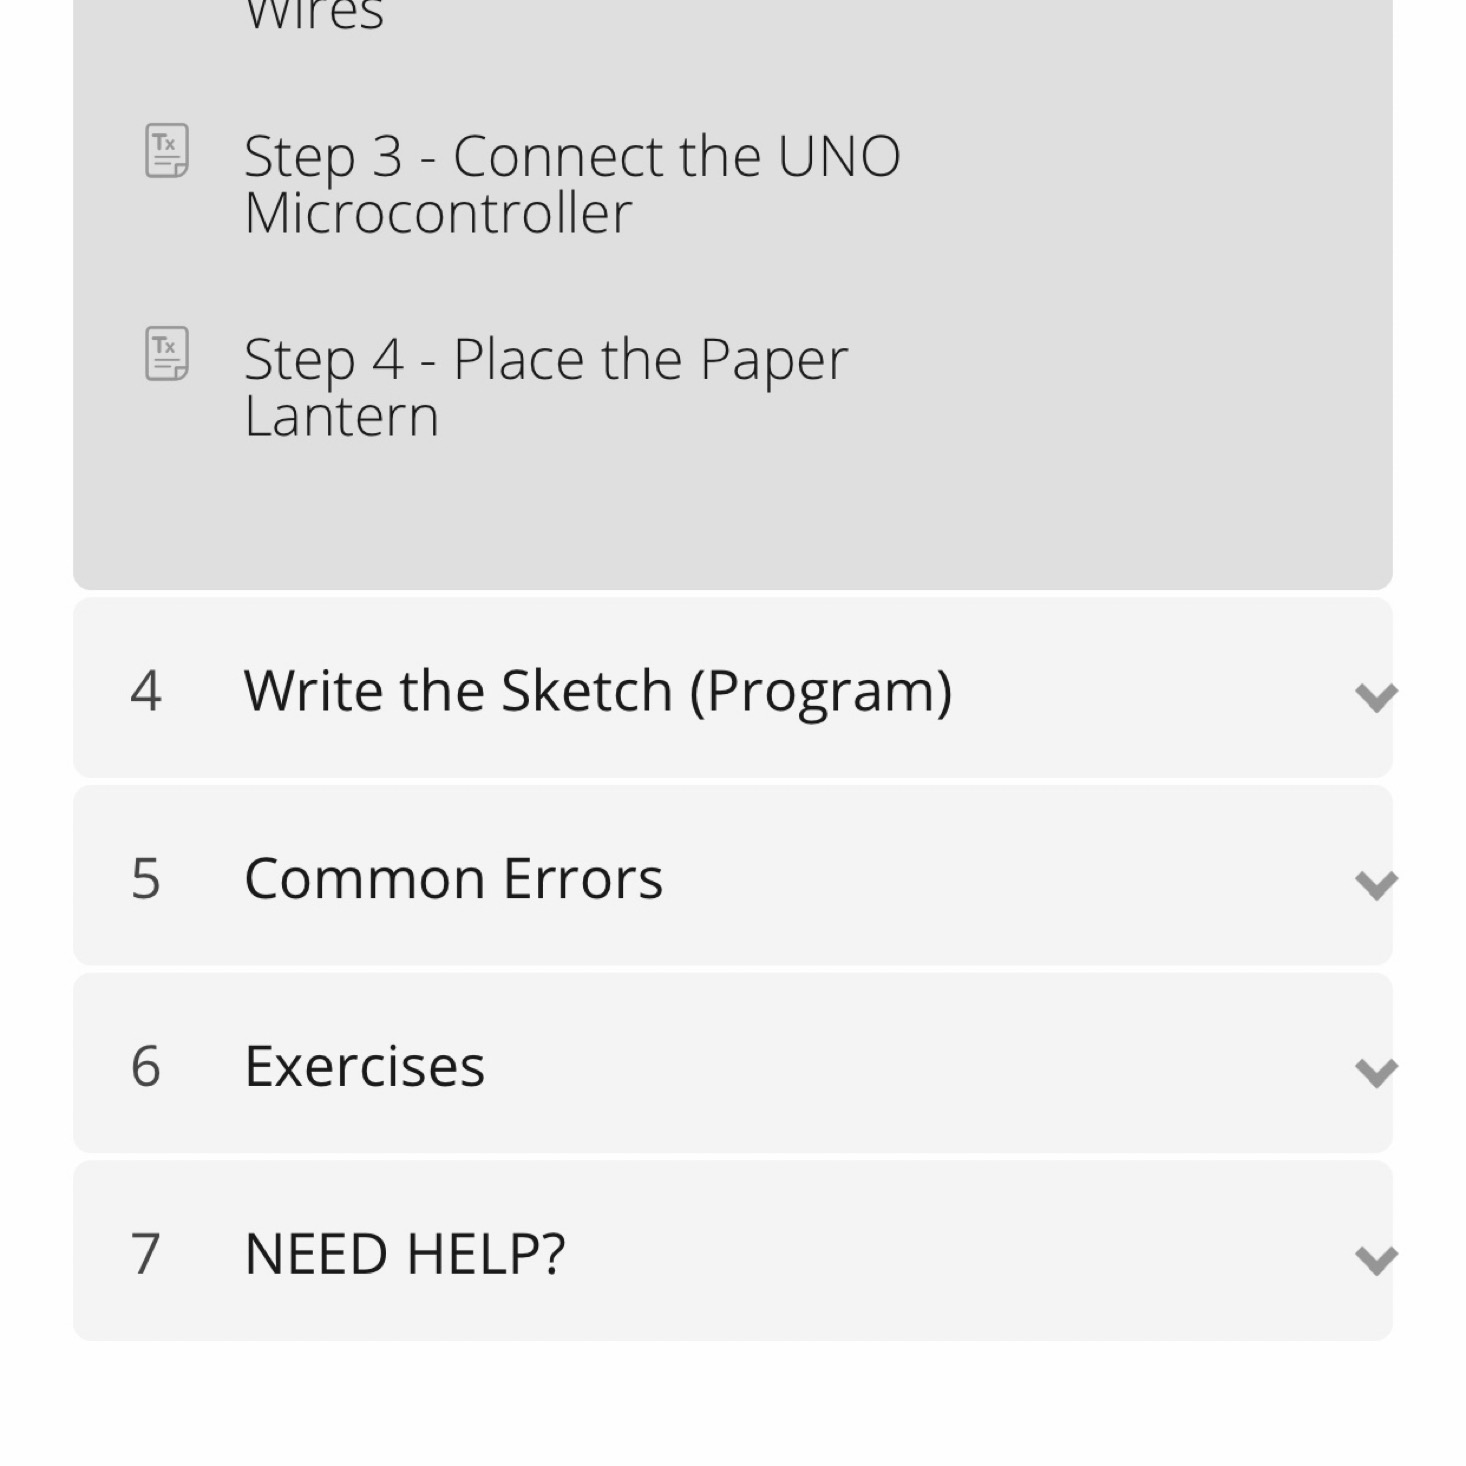
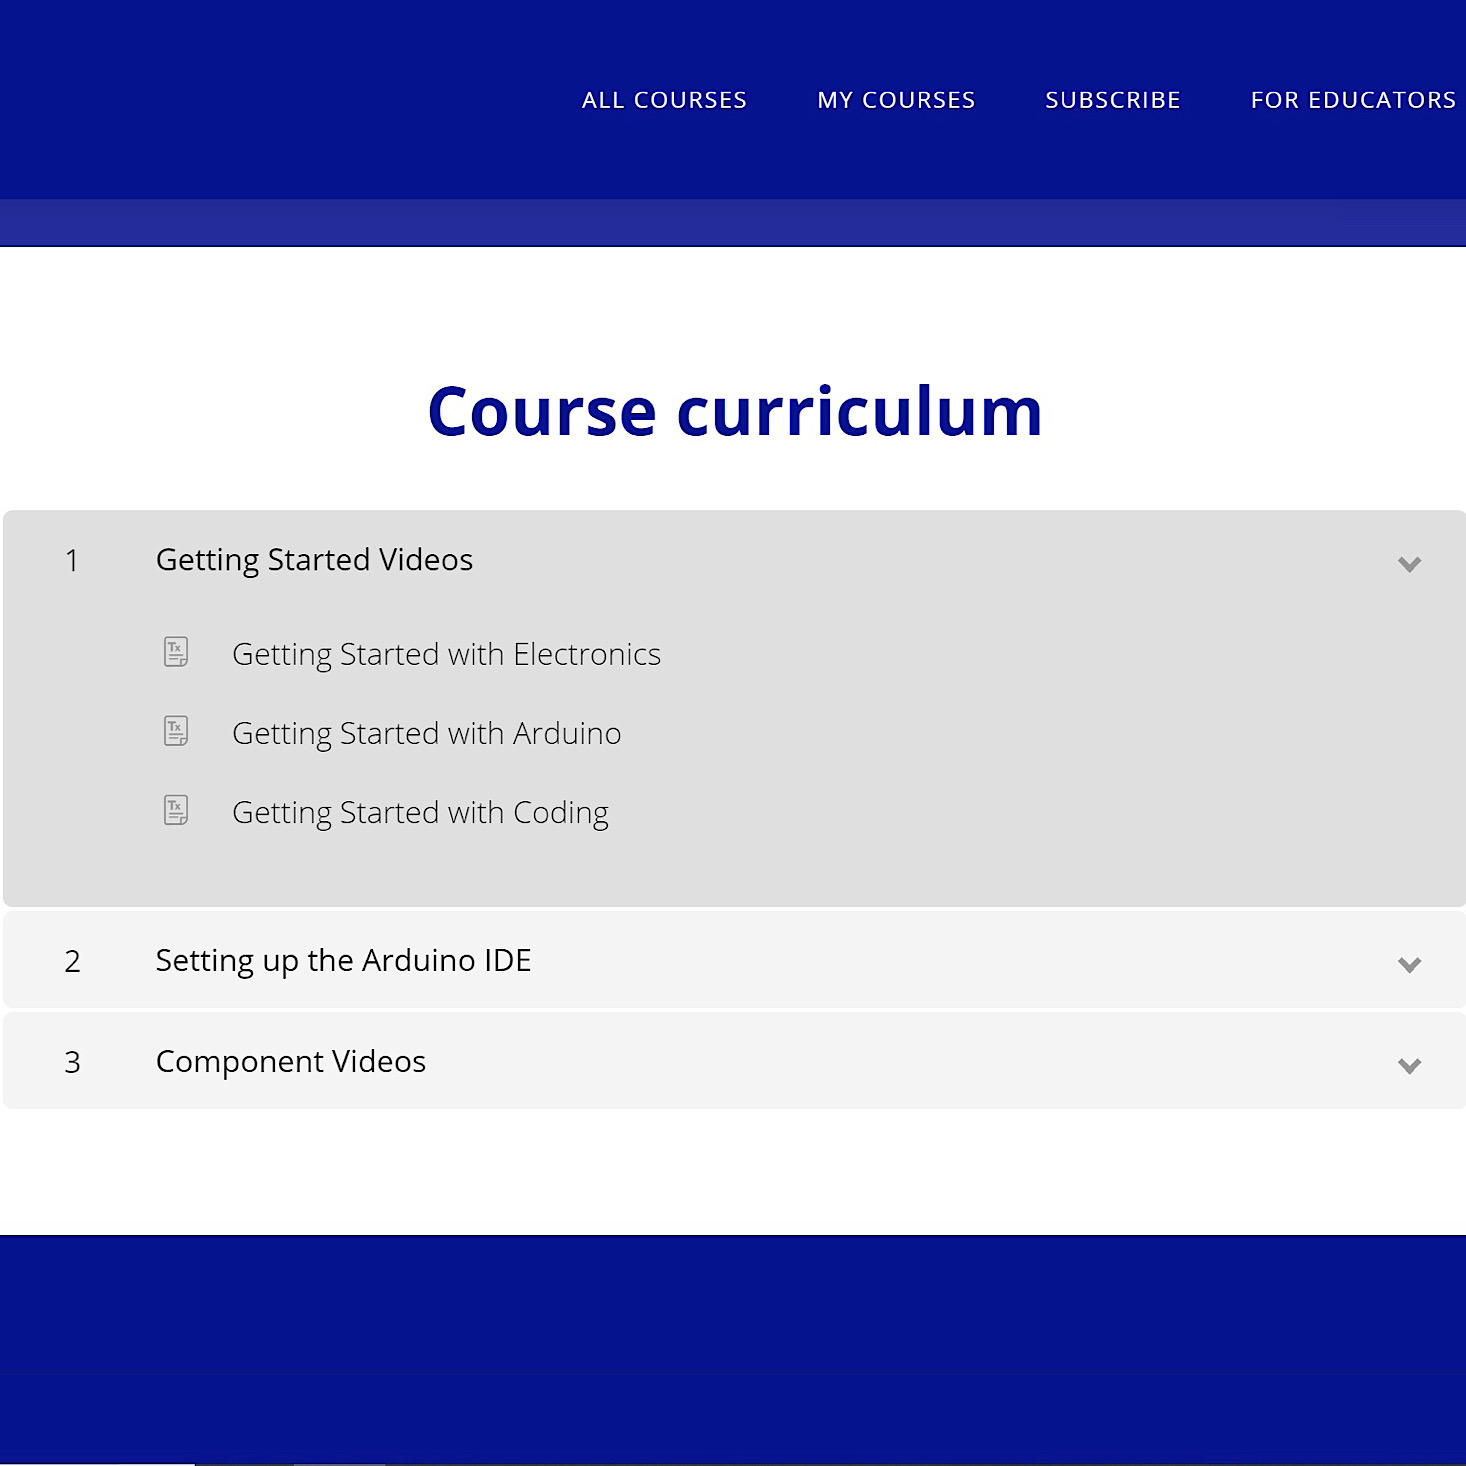
Once you begin your project, you'll notice a little sidebar that provides your progress throughout the course. While the components may be different each time, the course will be divided into many subsections that follow a logical order making it easy to follow along with since it is so well organized. There are even some troubleshooting sections.


1 of 5


One thing that I think is so great about Creation Crate is they provide access to a "Getting Started Course" for those who are beginners. I was thoroughly impressed with this course. They went into all of the details about currents, amps, power, and voltage. They provided visual demonstrations of how things work and explained each of the components that we would be working with such as breadboards, jumper wires, and LEDs. I thought they had a great way of explaining and making real-life comparisons to help us gain an understanding of the concepts. This felt like a true educational course and was on par with something you might take in college!
Part 1: Assembling the Hardware

1 of 4
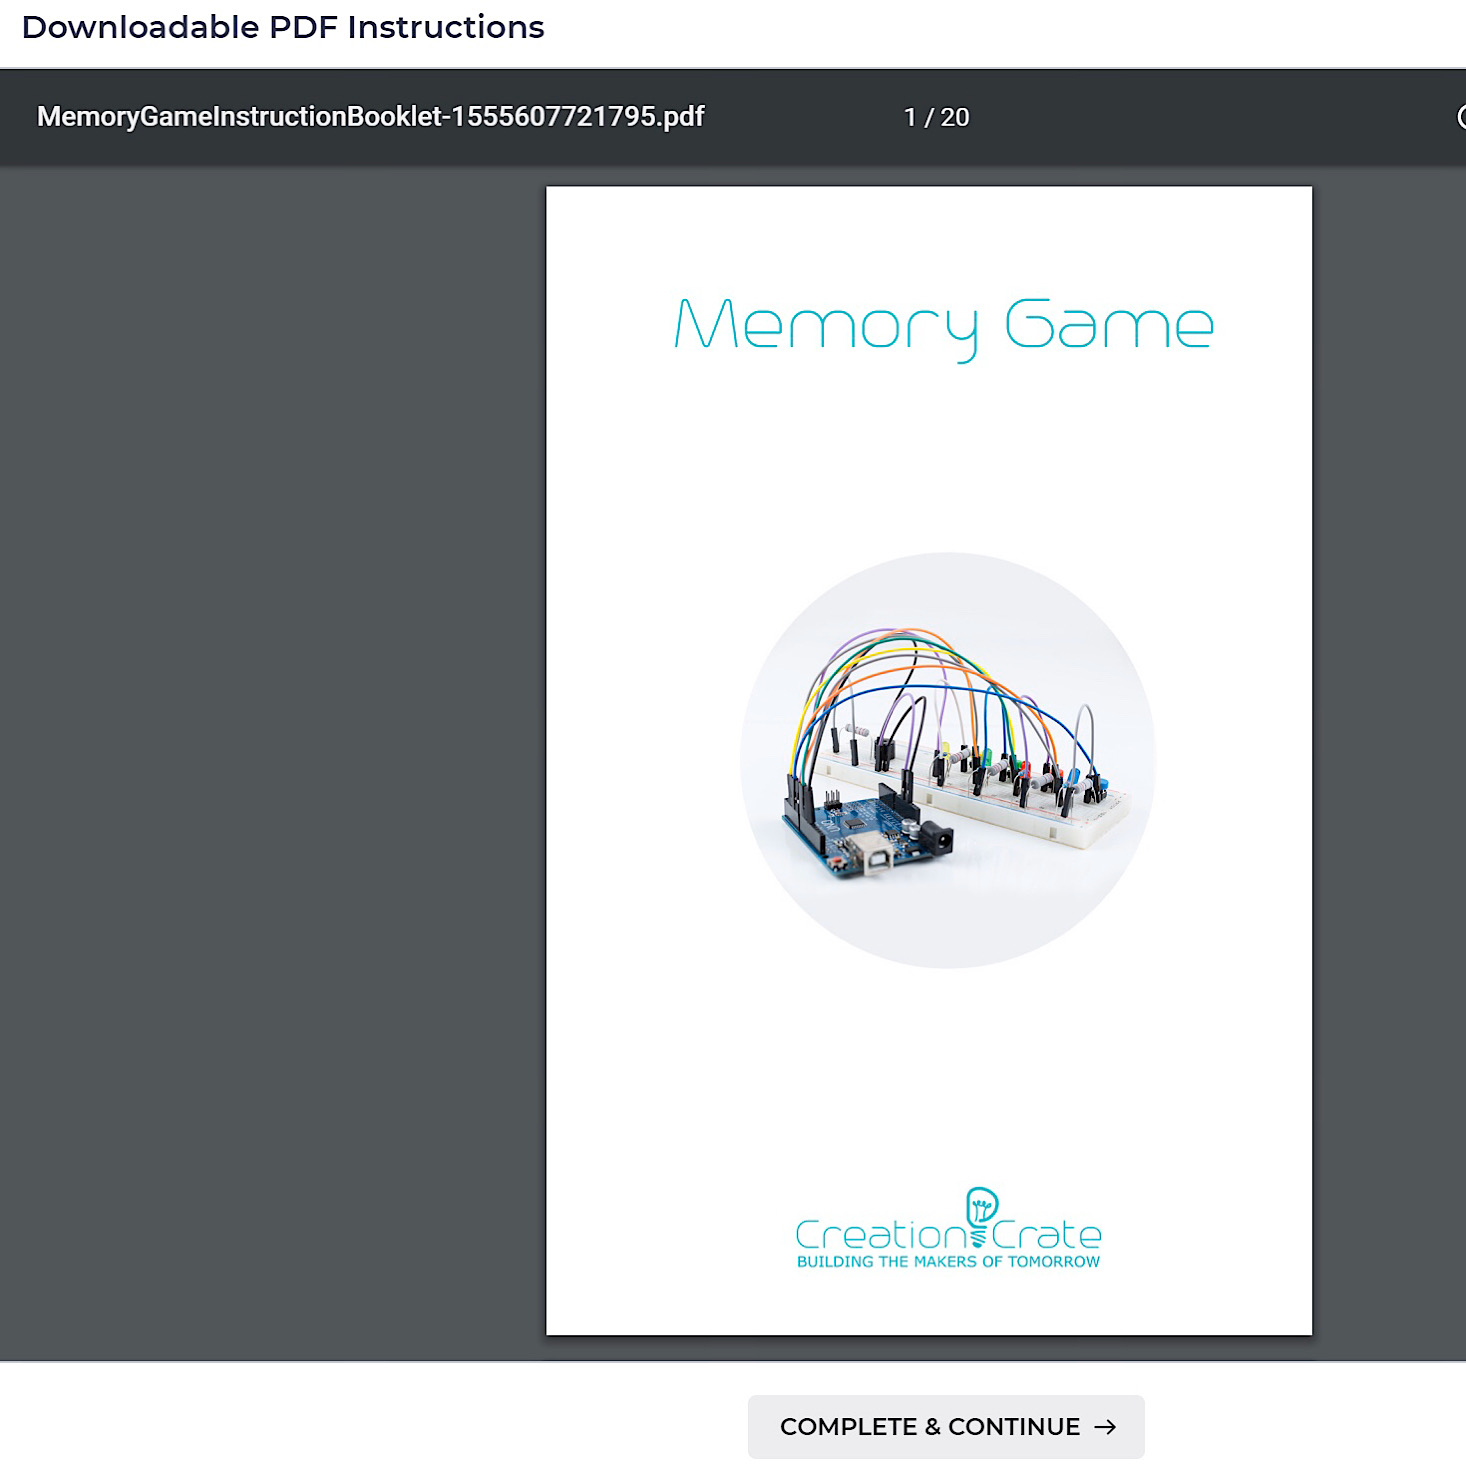
Now let's get to this month's project! First, they introduced our project and displayed a parts list. They also provided a PDF version of the instructions for us to download which I thought was helpful.
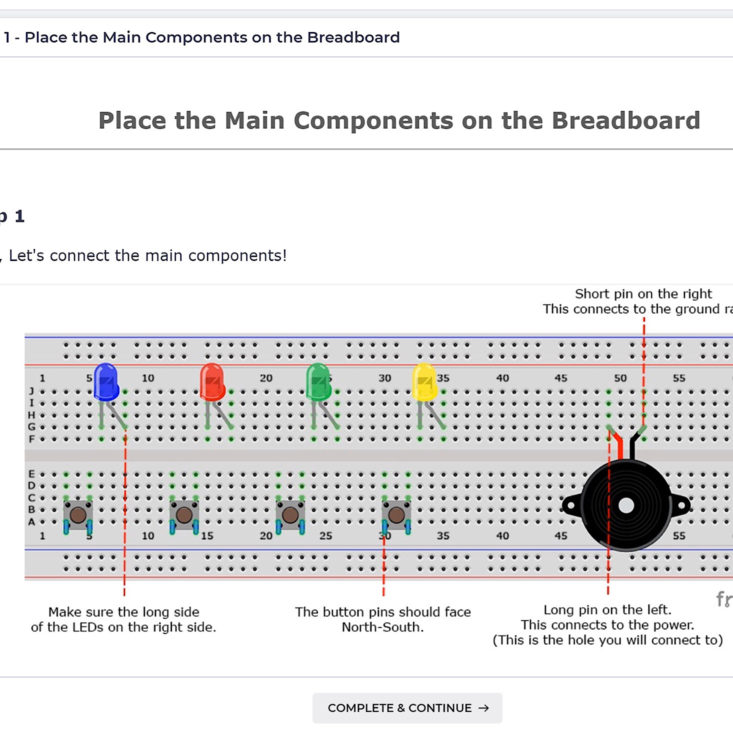
These are the instructions for adding the components to our breadboard. You can see how specific the directions are with the wires needing to be in the right spots. The breadboard reads like a grid with numbers going vertically and letters horizontally which makes it a little easier to place items, although with such a small space to work in it can still get tricky!

1 of 5
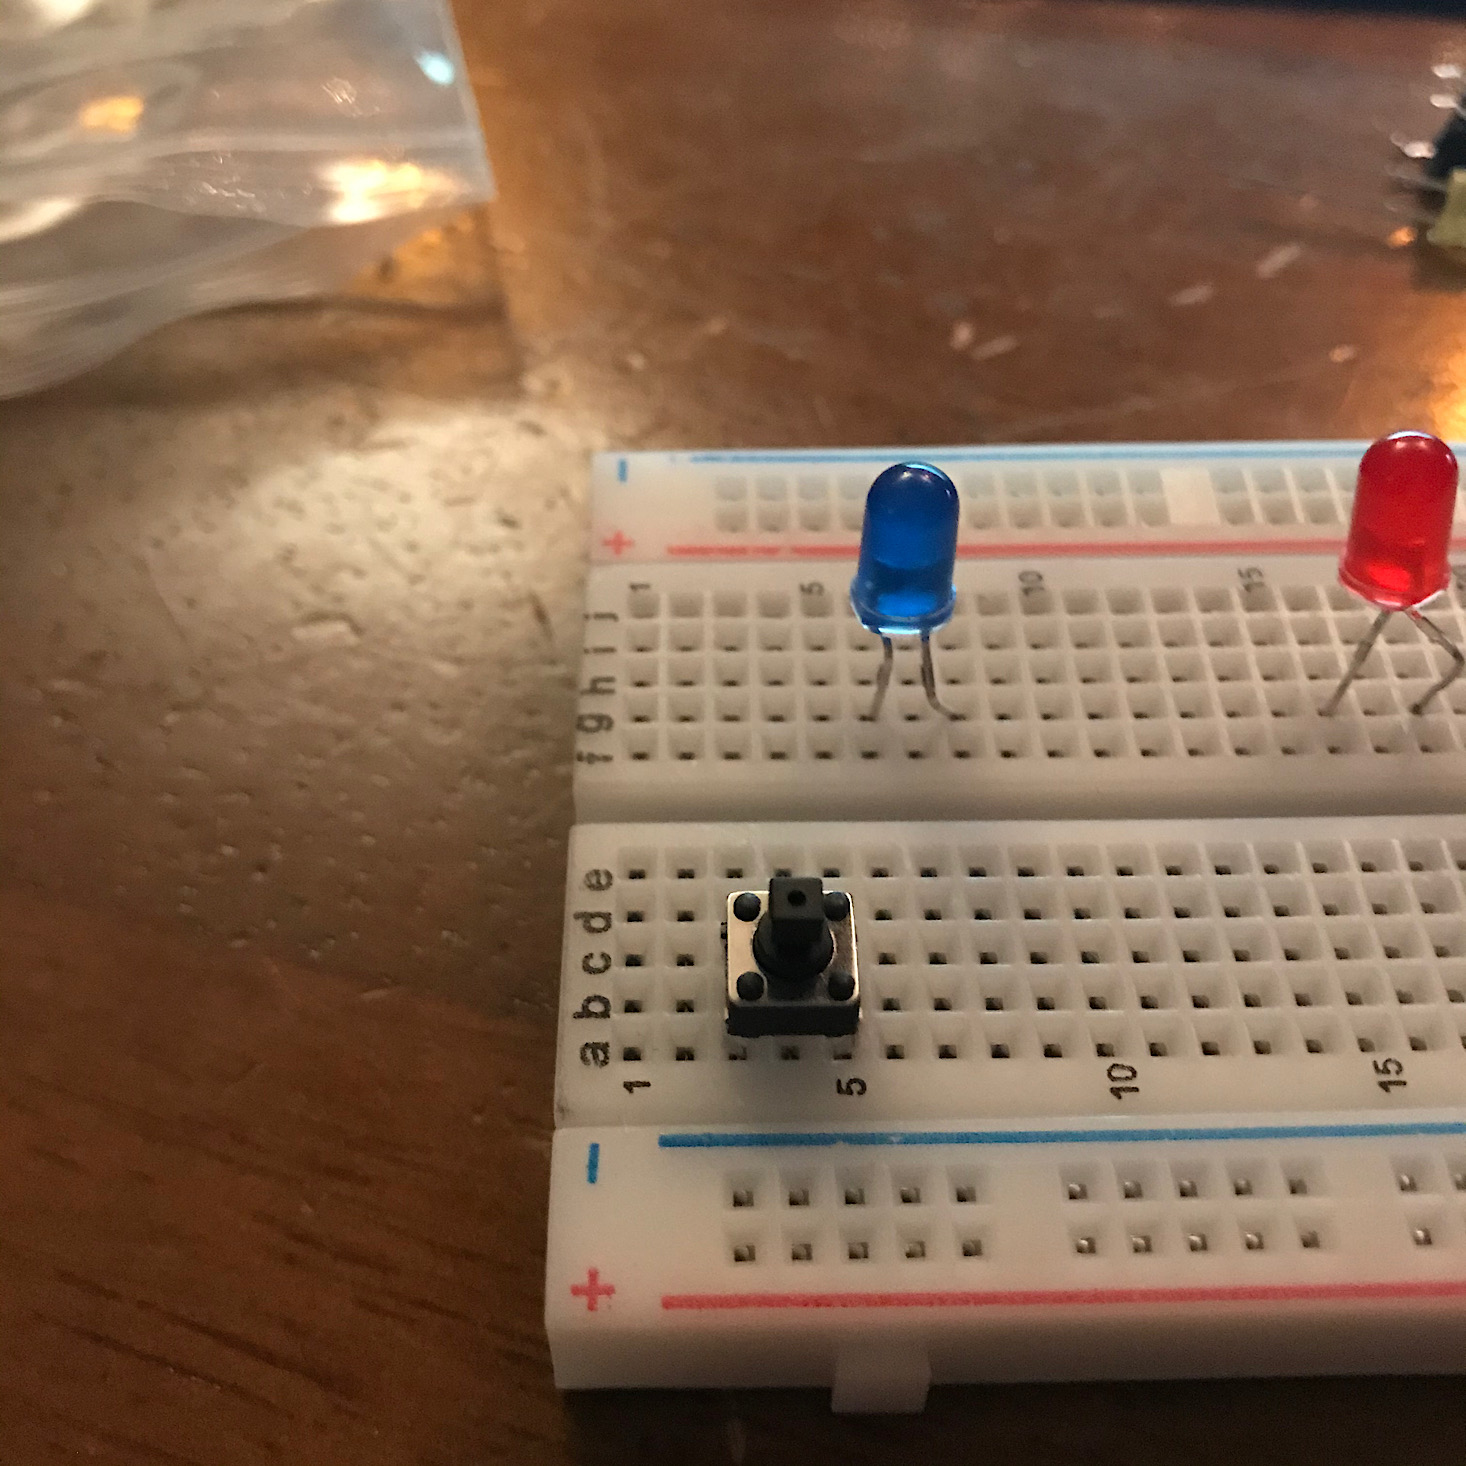
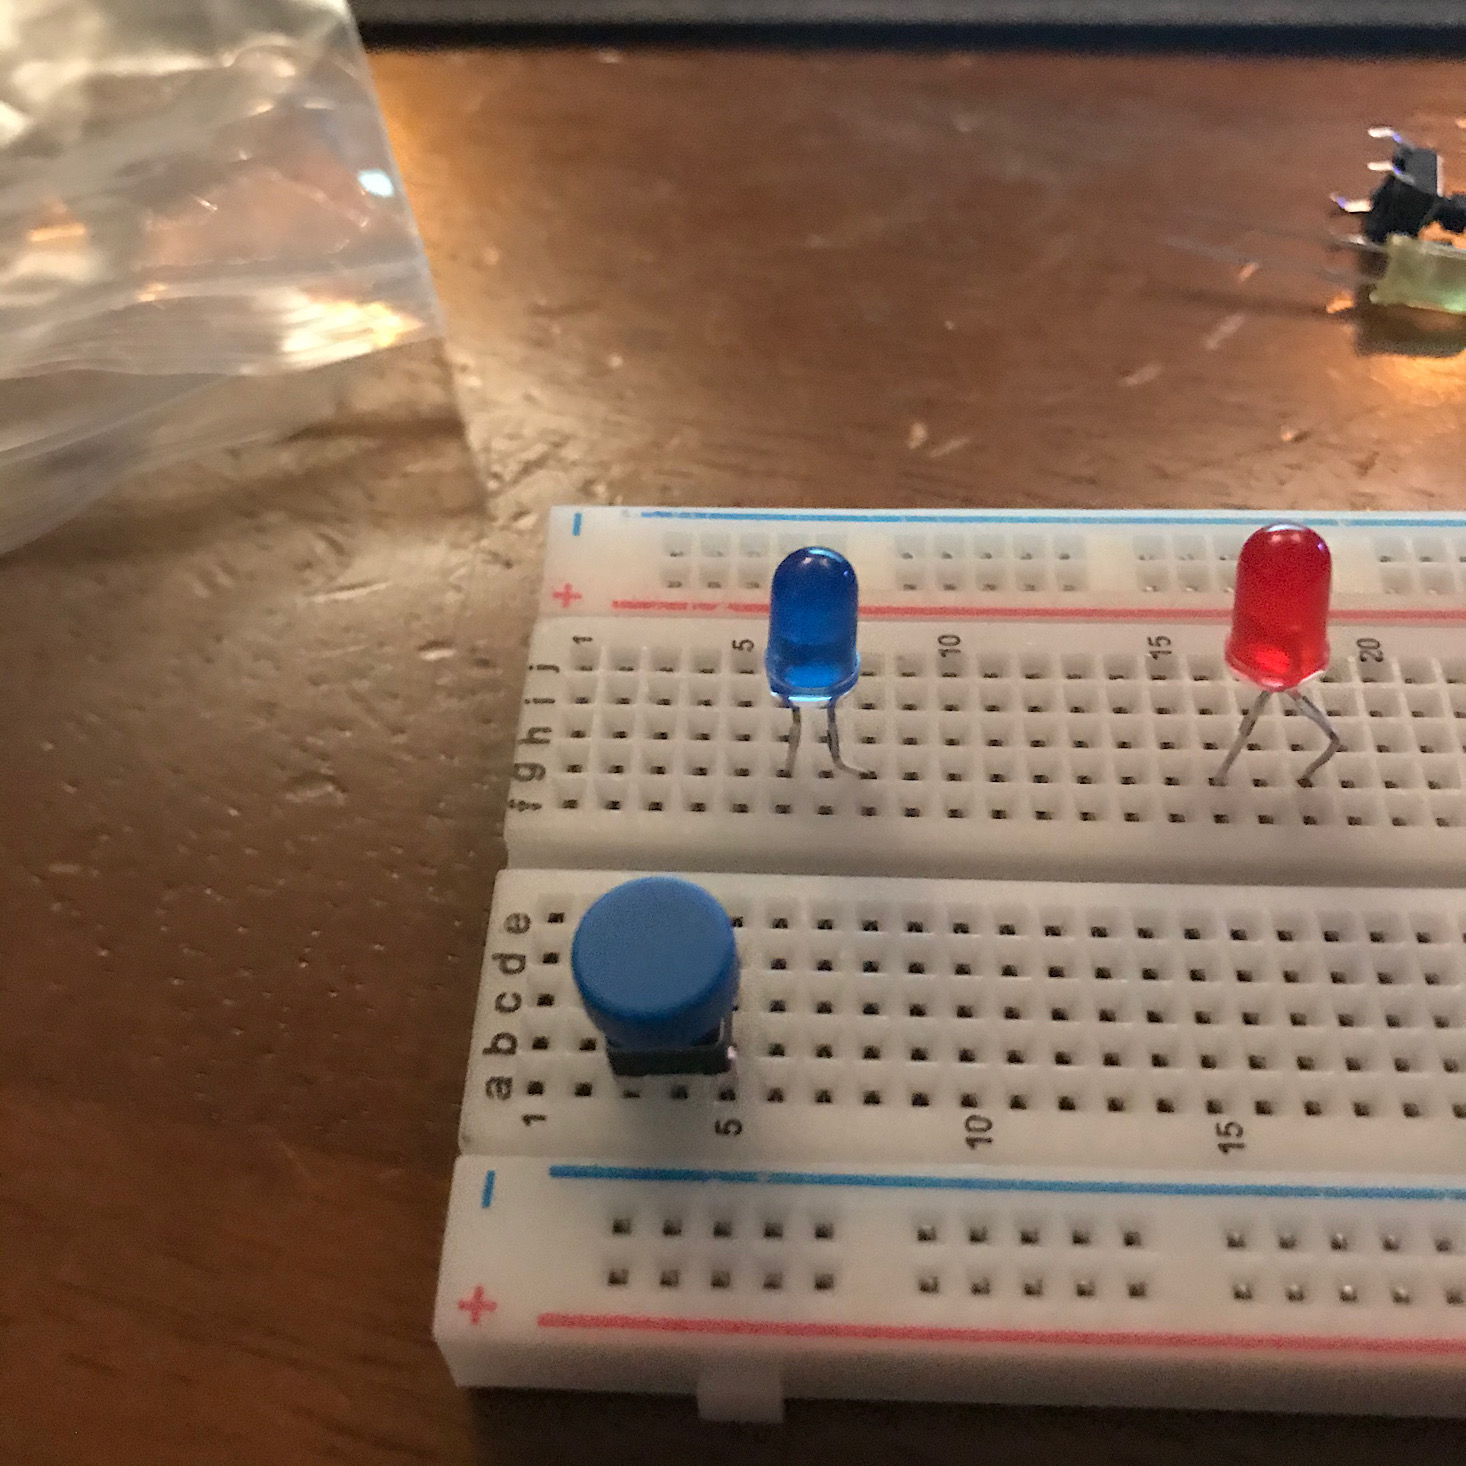

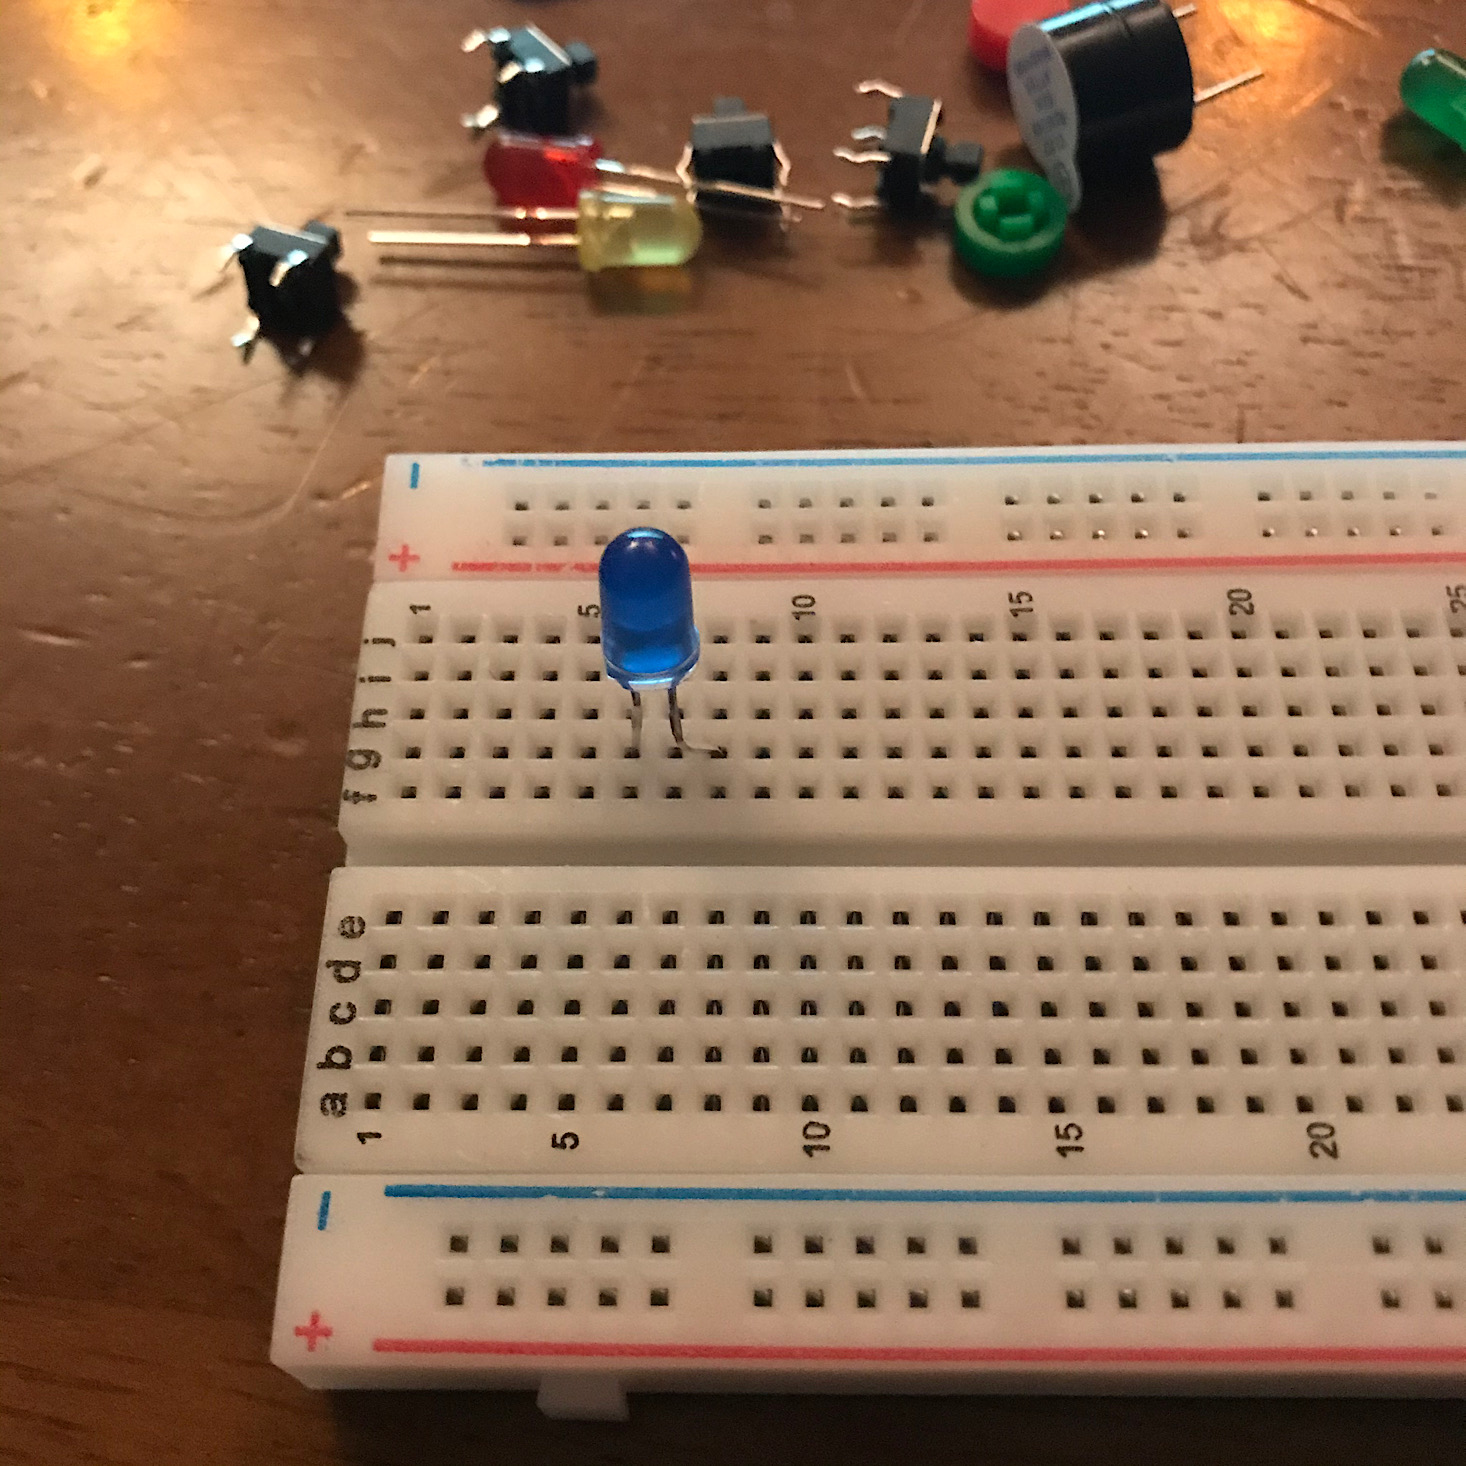
I started by placing an LED and then adding the button below it and topping it with the matching colored circle. Once those were all in place (which was tricky - the buttons did not want to stay in place!), I added the buzzer to the other end.
1 of 2
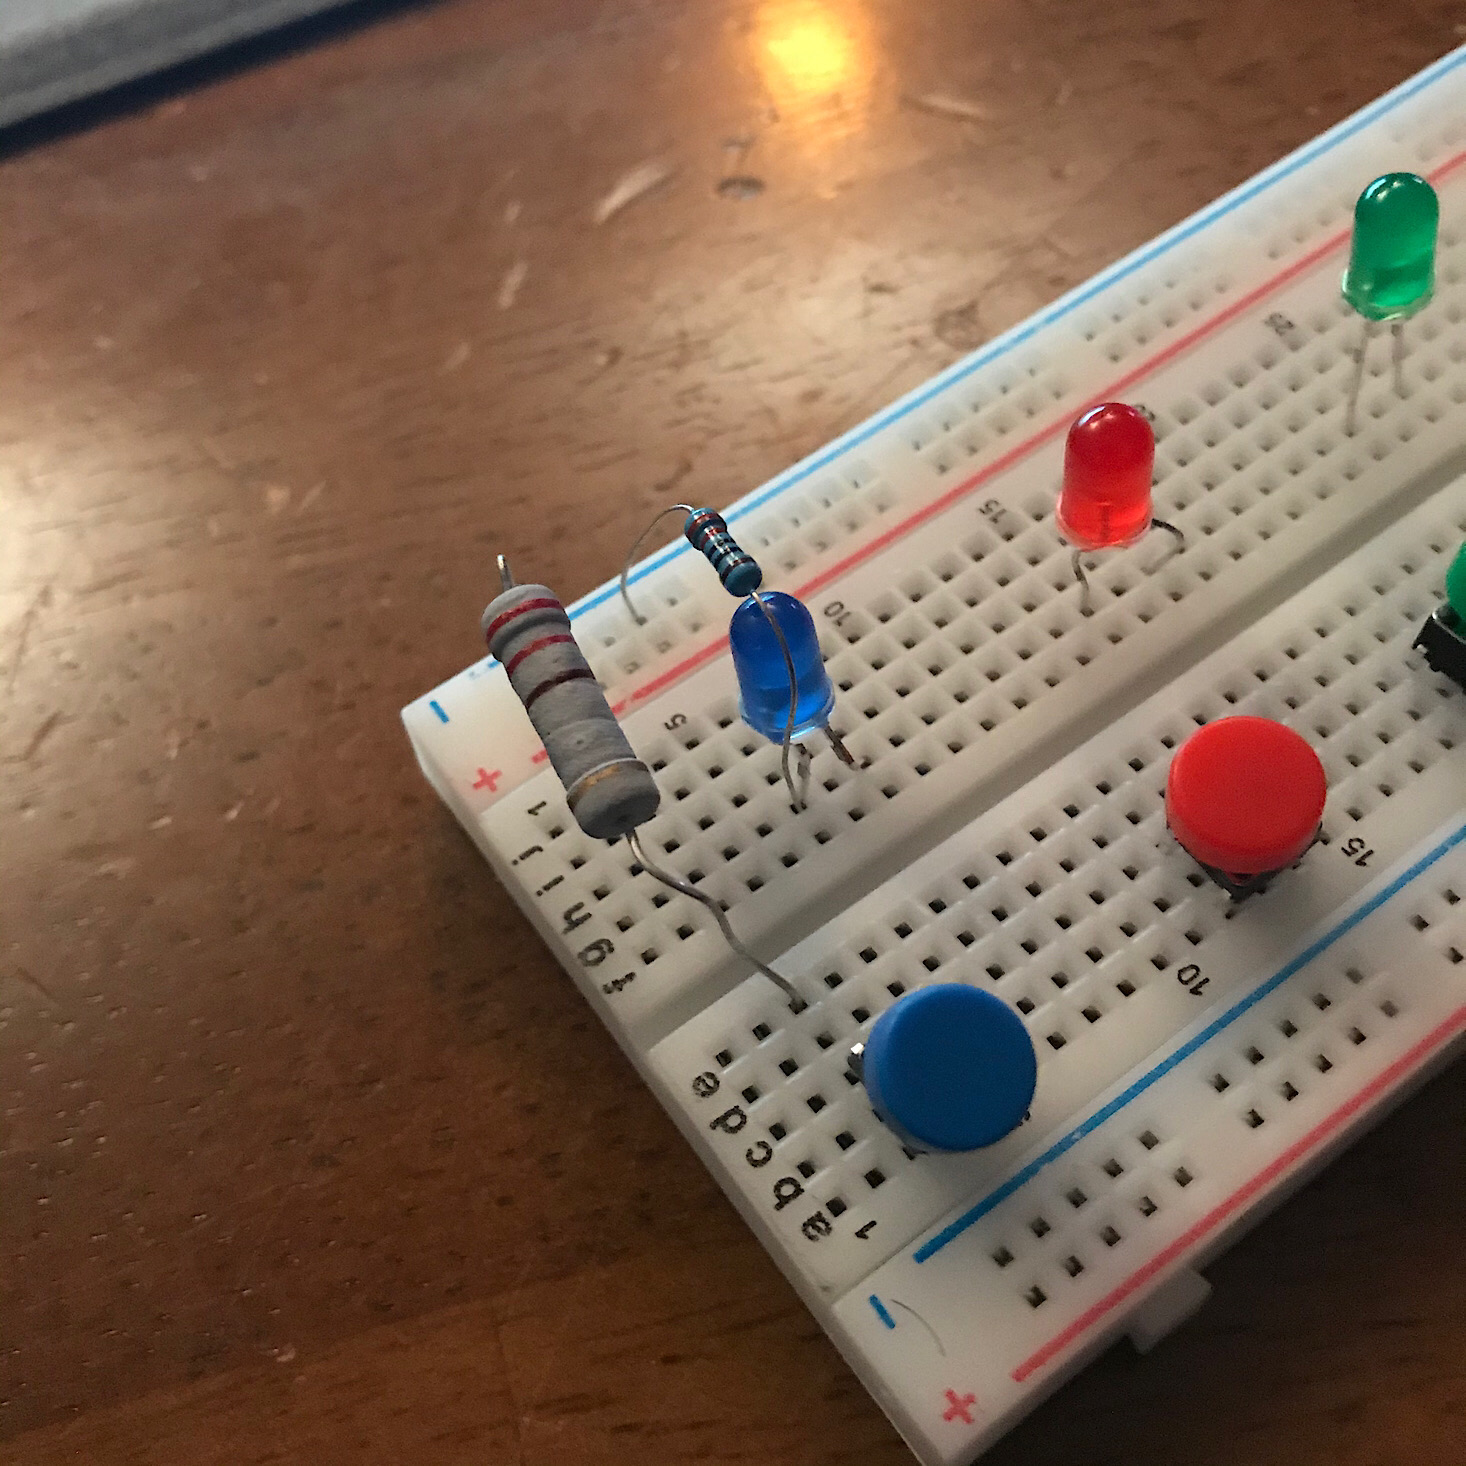
Next, I placed the two sets of resistors along the breadboard. This was a little easier, I just had to make sure that I was inserting the ends into the correct holes by looking at the diagram. I also had to be careful not to knock any of the components I'd already placed out, which might have been the trickiest part.

1 of 2
I added my shorter wires to my breadboard and then opened up my UNO R3.

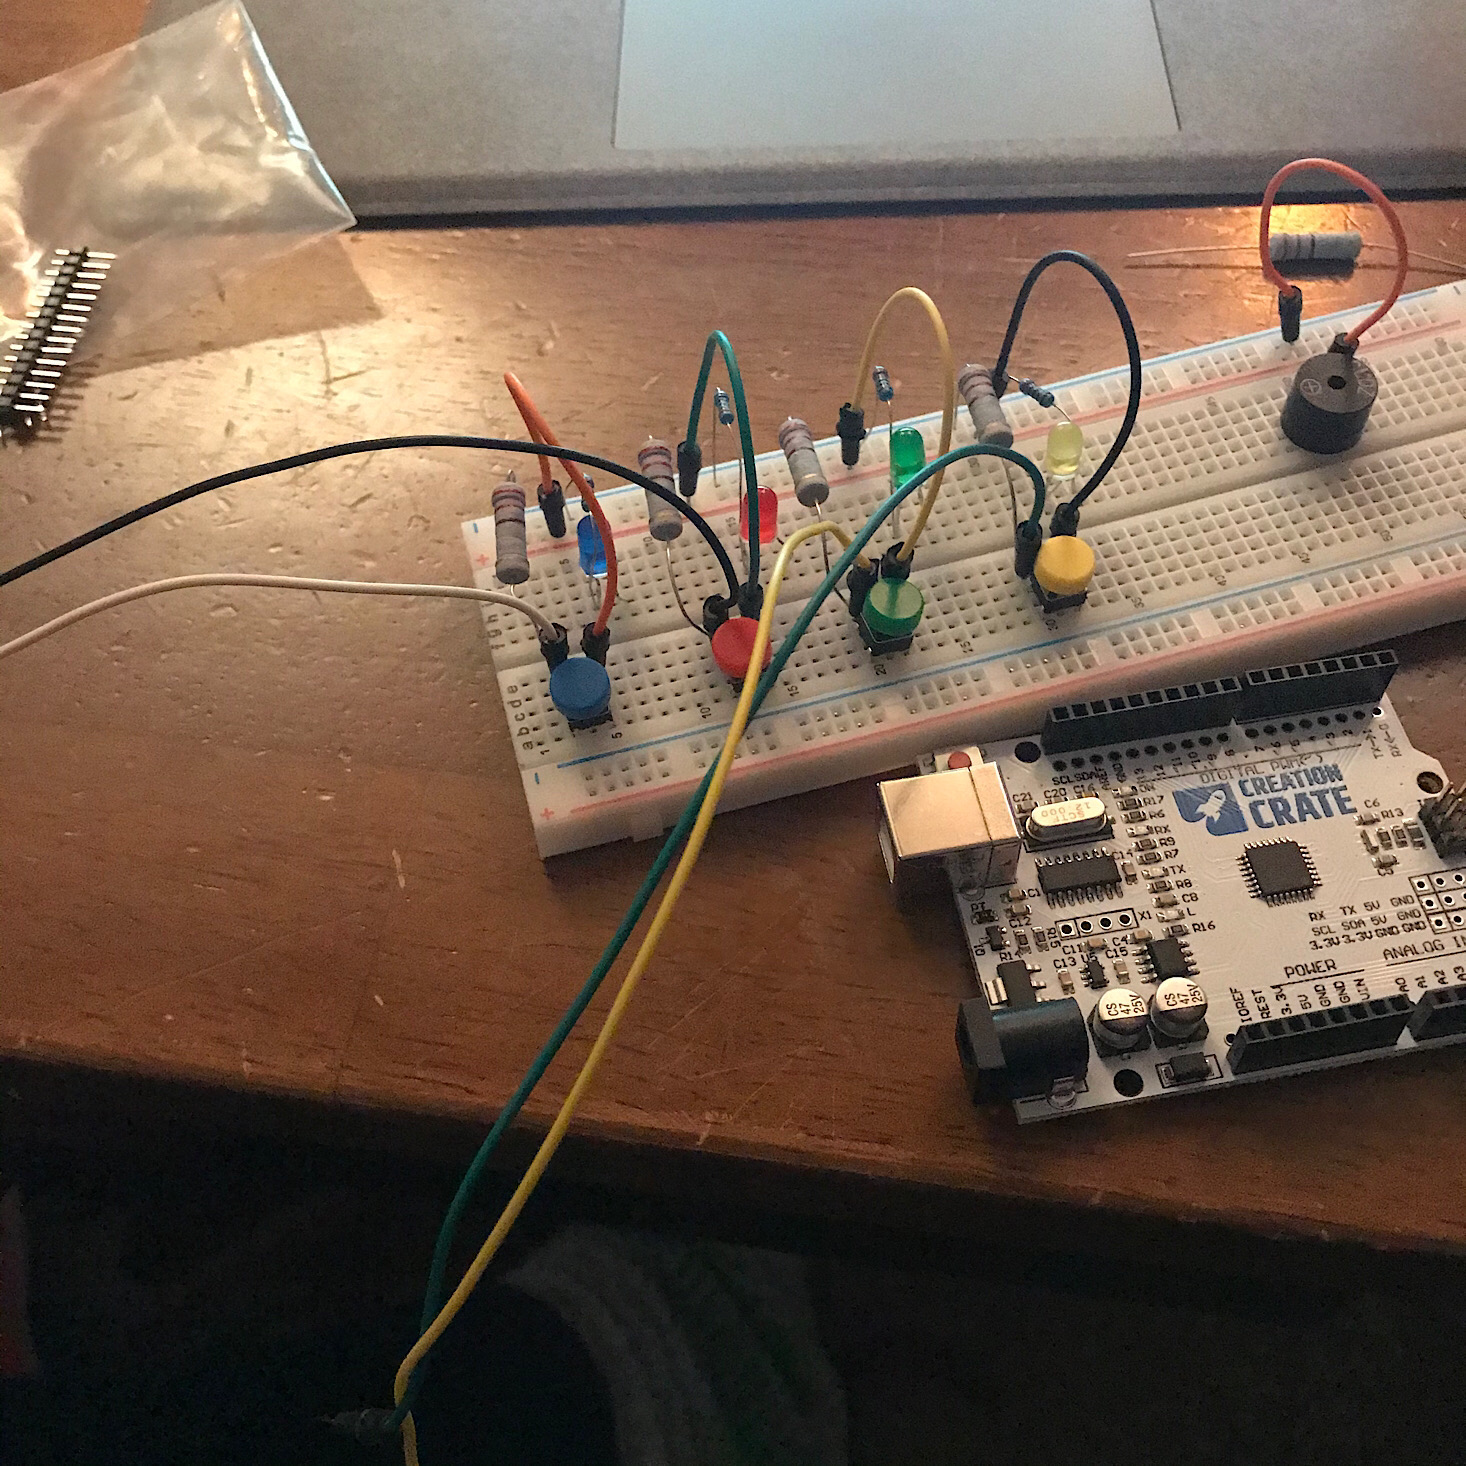
1 of 4

Then it was just back and forth between the two boards placing wires and making sure they were all in the right place. I've never felt so clumsy as when I was trying to carefully place all of these wires without accidentally bumping the others out of place! Eventually, I did manage to get them all in! Other than being slightly tedious, the hardware part wasn't so bad!
Part 2: Write the Program

1 of 2
The next part had to do with coding and writing the program that would make our game run. With our first project, they provided directions for how to download Arduino's free software which was so easy thanks to them providing different instructions for all of the various versions! Once I got it running, I started a new program and named it.

1 of 2
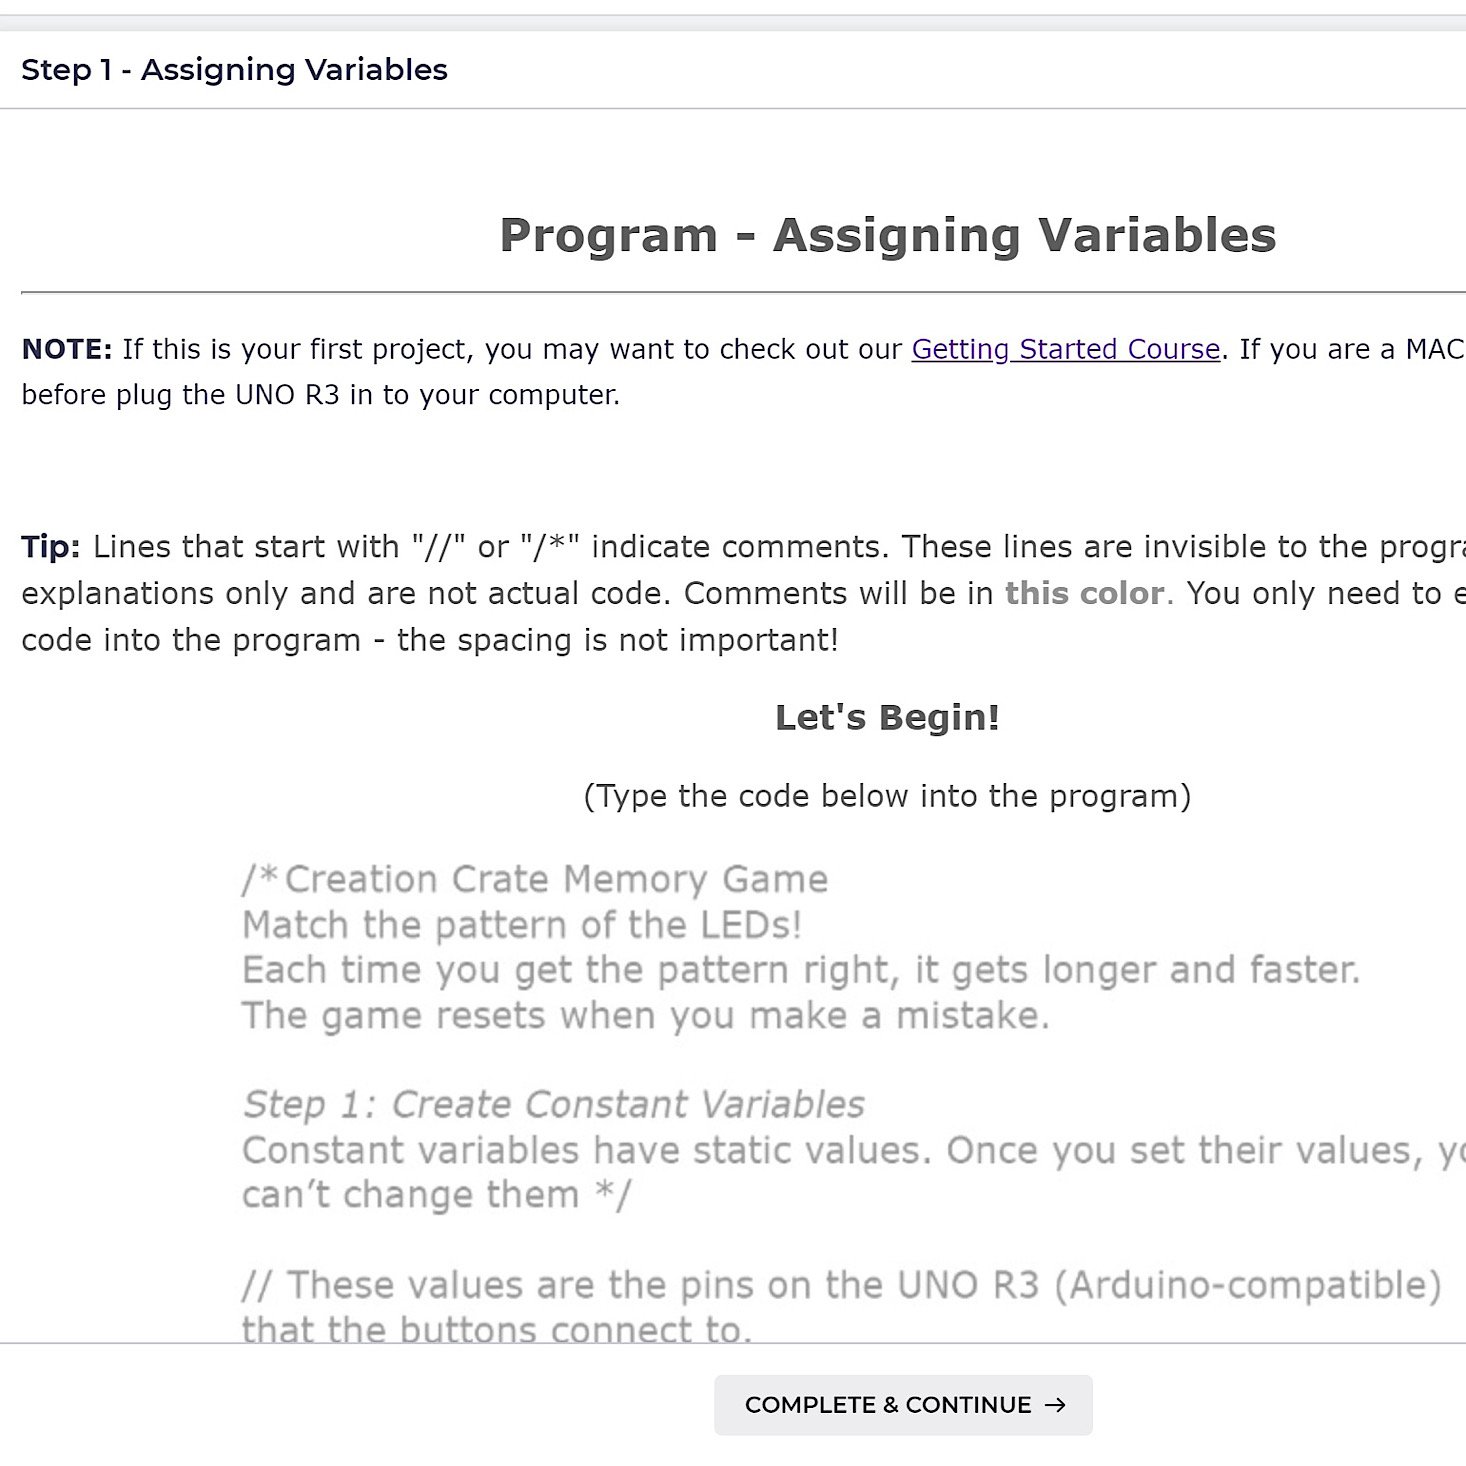
Entering the code is by far the most tedious part of this project, but it is crucial to understanding how the project works and what each of the variables are for within our project. They provided the code for us to write and included notations throughout about what each part of the code was controlling and doing to help us understand what we were actually doing as we were entering it. They did provide a coding video for us when we completed our first project, which explained the basics of coding and the three parts of a program, which helped to further my understanding. Even if you are writing the code word for word, there are bound to be mistakes thanks to typos and capitalization errors. They provided a bit of help for us in case we came across any.
1 of 2
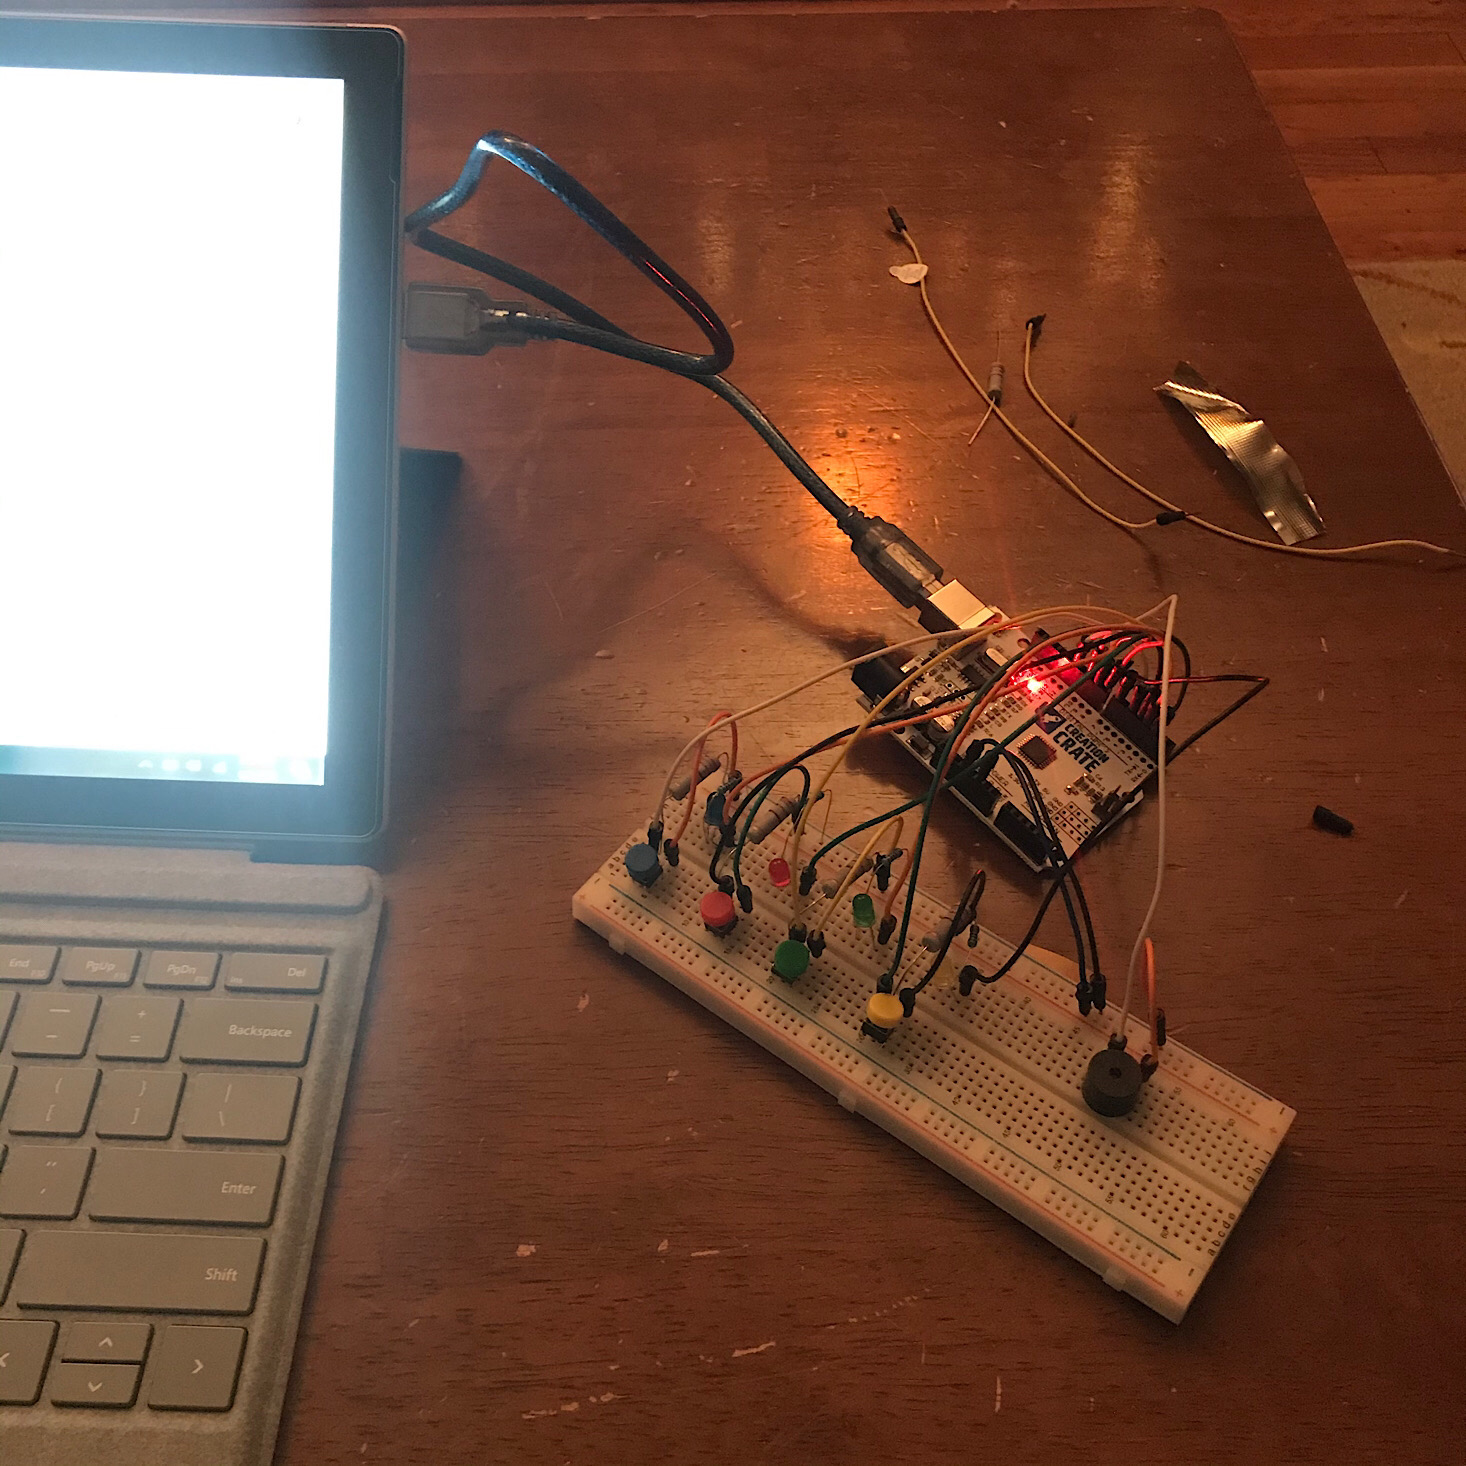
Once the code was written, it was time to plug the UNO R3 into the computer using the USB cable. I uploaded my program and fixed any errors until it was running smoothly. Once I got that running, my game started going a little crazy and making noises, not necessarily working the way I would expect.

After watching this video to see how it SHOULD sound, I realized that one of my buttons had come loose and was causing a hardware error.
Here is the game in action. The first time I purposefully hit the wrong one so you could see the lights flash in error. Also, you can see at the end how finicky the buttons were; they popped out on me a few times, but luckily were easy to place back on the breadboard.
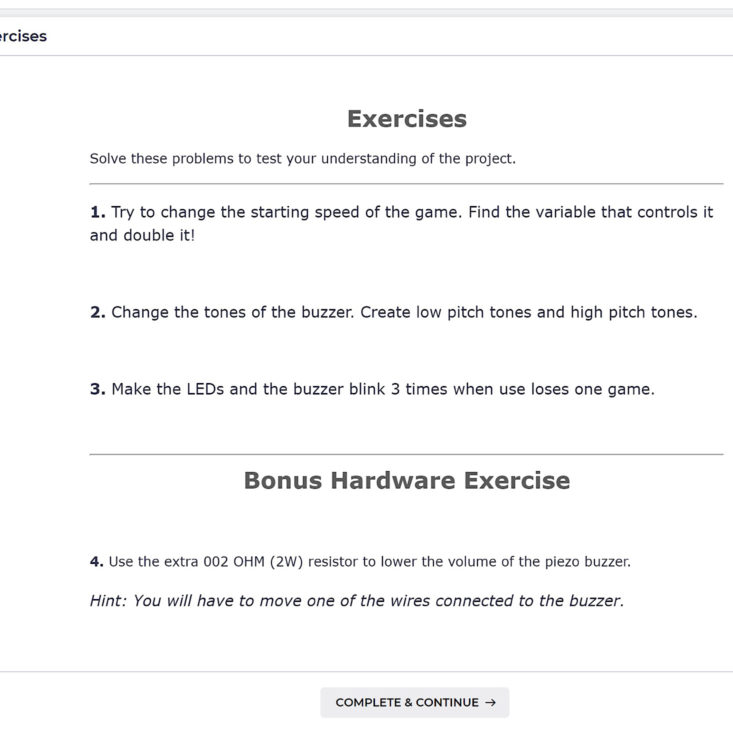
Now that the game was working properly, they provided some exercises for us to test our knowledge.
First, I was able to get the game to move a little faster in between beeps by playing around with it a bit until I got it right. I did this by changing some of the code and then running it again. I'm not sure I completed the exercise exactly the way they expected, but I was satisfied!
Here you can see I was able to modify the pitch of our buzzer tone.
I was also successful in getting it to blink three times upon error. I did not get to the hardware exercise, but I was also not confident in my ability to move any of those wires without completely destroying the whole board!

If we did have any issues, they have a classroom discussion that we can use to ask questions. It looks like Creation Crate responds very quickly to any concerns, too! I really do appreciate all of the information and assistance that they provided throughout this whole process.

It was easy to see once we had completed everything in the course thanks to the side menu. The last section is where they encourage you to share your work in exchange for some cool rewards.
Verdict: This was only my second box from Creation Crate, but I already feel like I went into this project with so much more confidence than the first one! I was able to take the skills and knowledge from the first course and apply them here which made this memory game feel like it was almost easy to complete. The fact that these build upon one another and teach you new skills that you can apply to each project makes this such a perfect educational subscription. The curriculum itself is so thorough and well done making it feel like they have put forth a great amount of effort towards ensuring you are successful no matter what your experience level is. Consider me impressed for the second month in a row! This was another great value for a $34.98 ($29.99 + $4.99 shipping) box!
To Wrap Up:
Can you still get this box if you sign up today? Because the projects build upon one another, you'll receive the Project 1 box, then this one! From Creation Crate:
Creation Crate projects are a combination of building hardware and programming software with a focus on helping you understand how it works. Each month, you'll be given a new project that's slightly harder than the last.
Check out our other Creation Crate reviews and our list of the best boxes for teens, as voted by MSA readers!
Keep Track of Your Subscriptions: Add this box to your subscription list or wishlist!
What do you think of Creation Crate?


Please do not enter your email address in the Name field or in the comment content. Your email address will not be published. Required fields are marked *. Remember to post with kindness and respect. Comments with offensive language, cruelness to others, etc will not be approved. See our full comment policy here.