

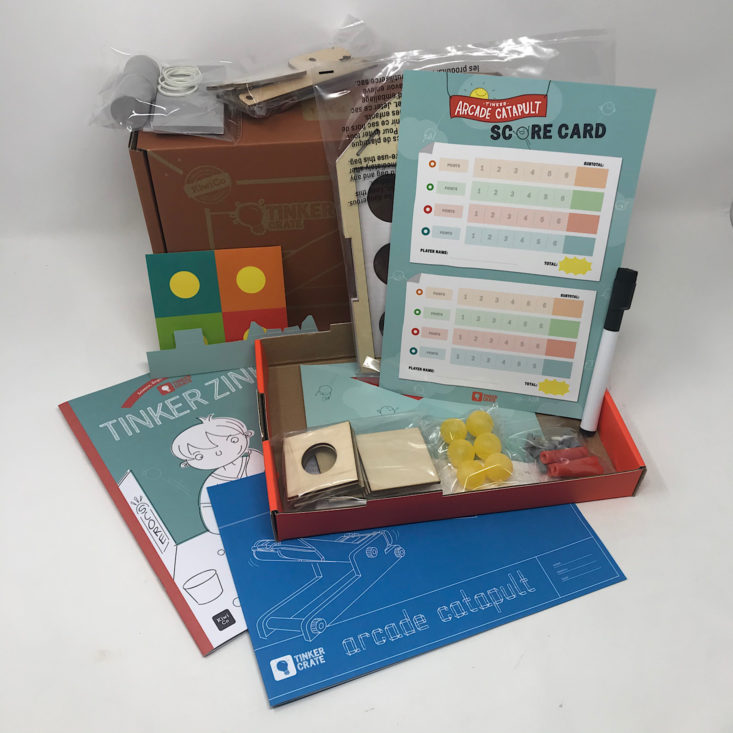
Tinker Crate is a subscription box for kids and tweens ages 9-16+ created by kids subscription box company KiwiCo. Each monthly Tinker Crate contains all the materials and instructions needed to create innovative, hands-on STEM projects, as well as a "Tinker Zine" full of educational information and additional activities.
KiwiCo offers boxes for different age groups:
- Panda Crate for 0-24-month-olds,
- Koala Crate for 2-4-year-olds,
- Kiwi Crate for 5-8-year-olds,
- Atlas Crate for 6-11-year-olds,
- Doodle Crate and Tinker Crate for 9-16+-year-olds,
- Eureka Crate and Maker Crate for ages 14 and up.
There really is something for every age with this company!
This review is of KiwiCo's Tinker Crate (for ages 9-16+), which costs $19.95 per month.
This box was sent to us at no cost for review. (Check out the review process post to learn more about how we review boxes.)
About Tinker Crate
The Subscription Box: Tinker Crate
The Cost: $19.95 per month + free shipping
ACTIVE DEAL: Get 50% off your 1st month! No coupon needed - just use this link.
The Products: Innovative hands-on STEM projects for kids, plus the materials and detailed instructions your child needs to complete them. You'll also get a "Tinker Zine" full of educational information and additional activities.
Ships to: The U.S. for free, Canada for $3.95 per month, worldwide from $4.95-$6.95
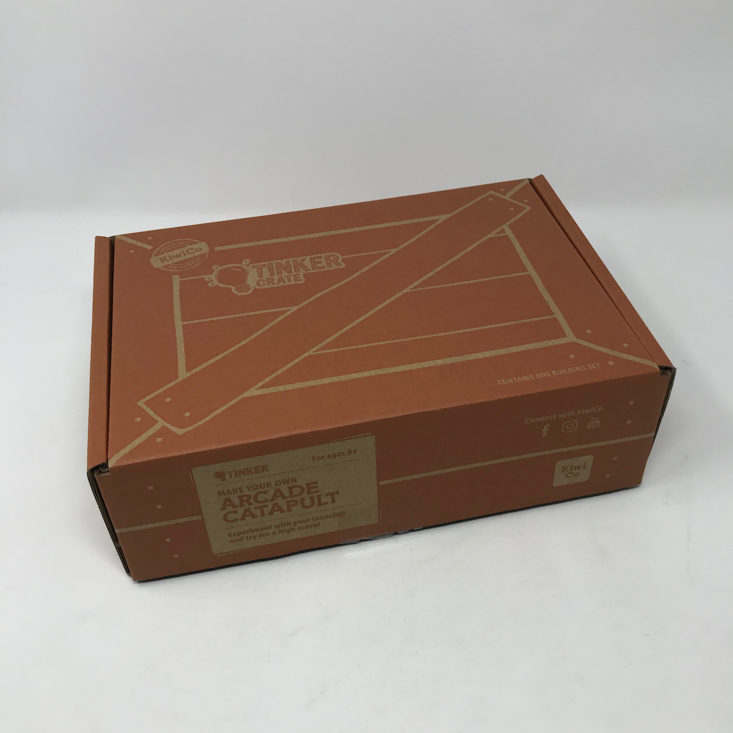
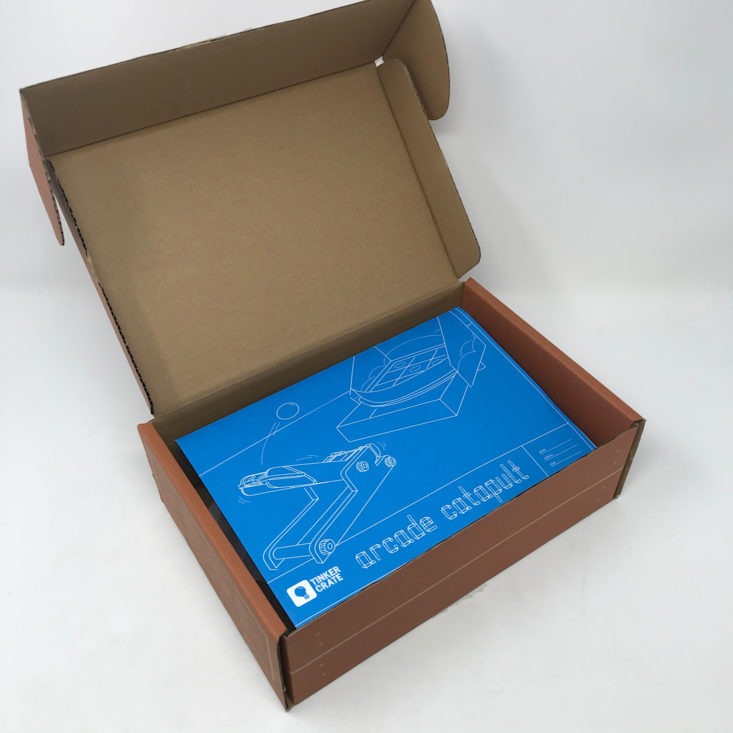
KiwiCo Tinker Crate "Arcade Catapult" Review

1 of 9
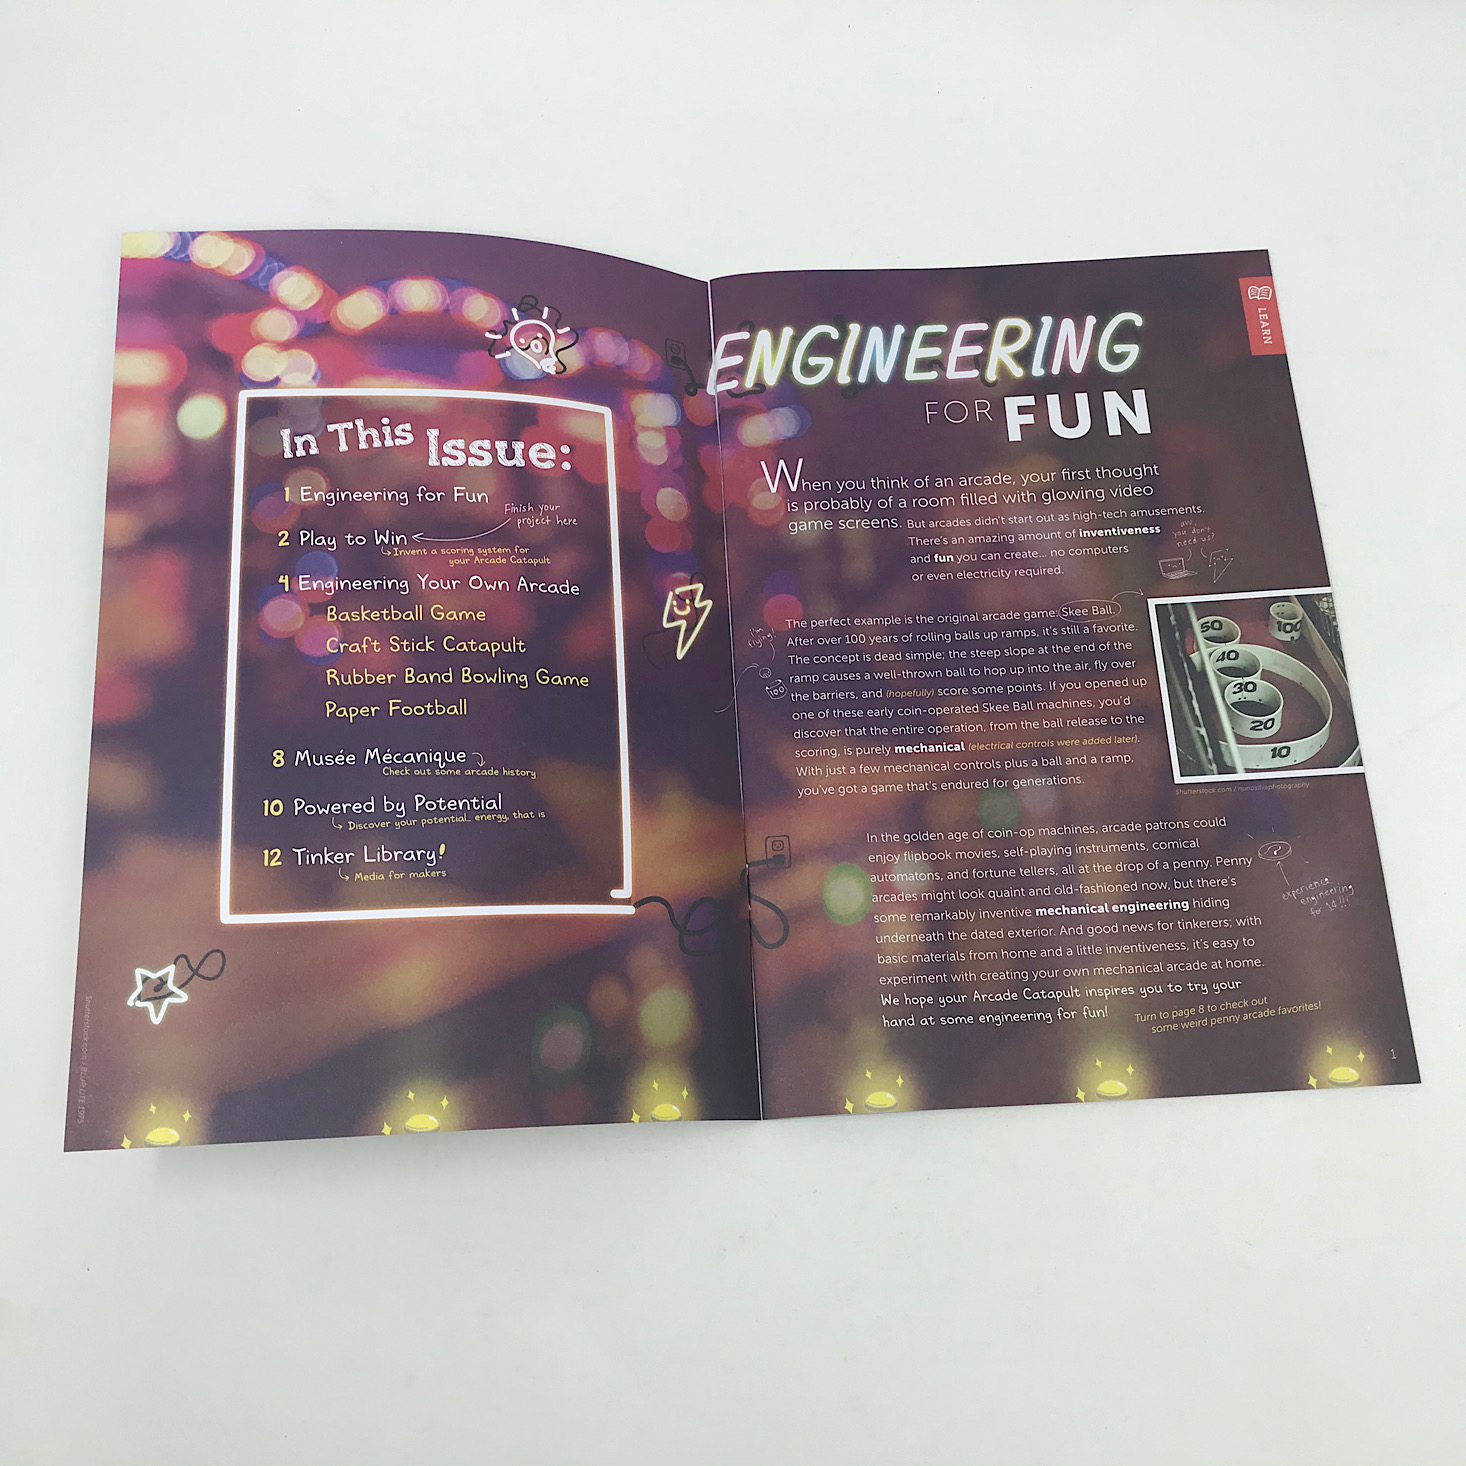

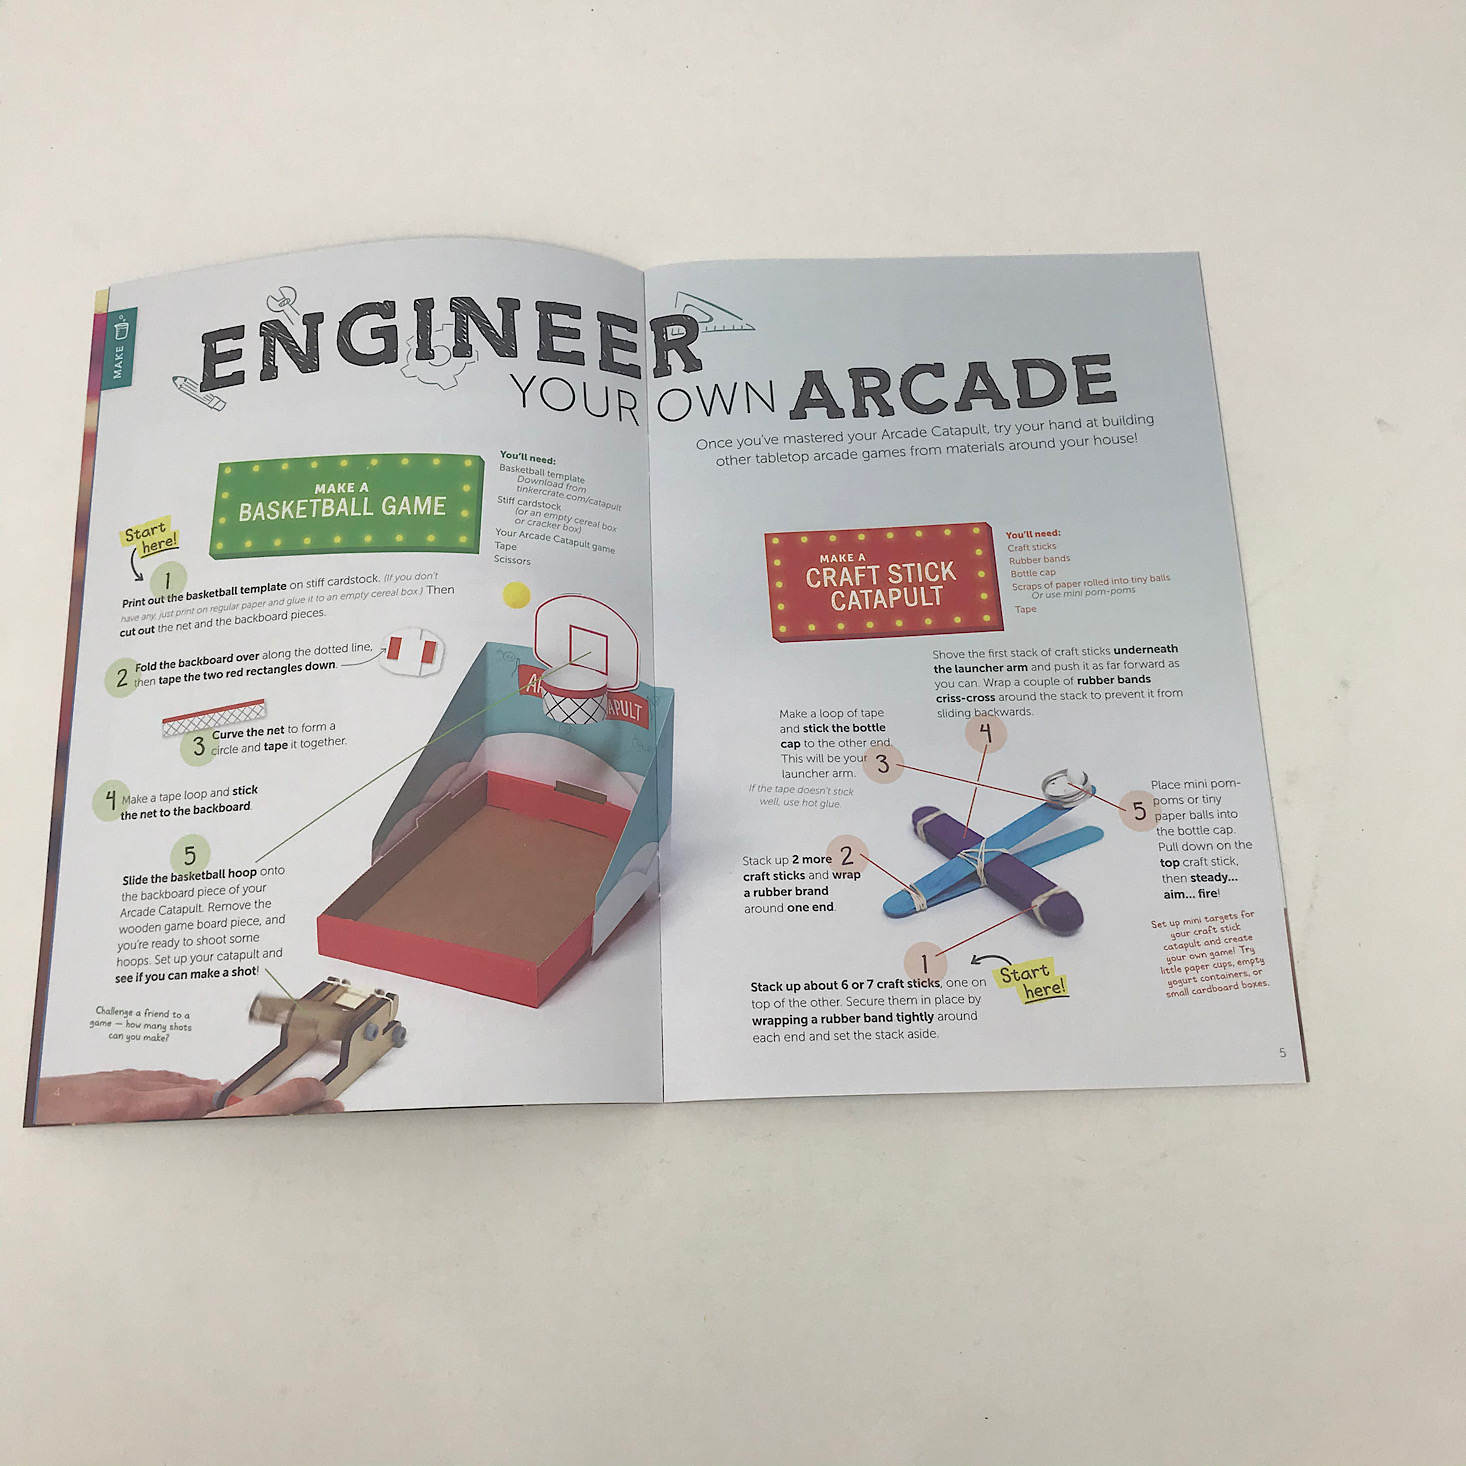


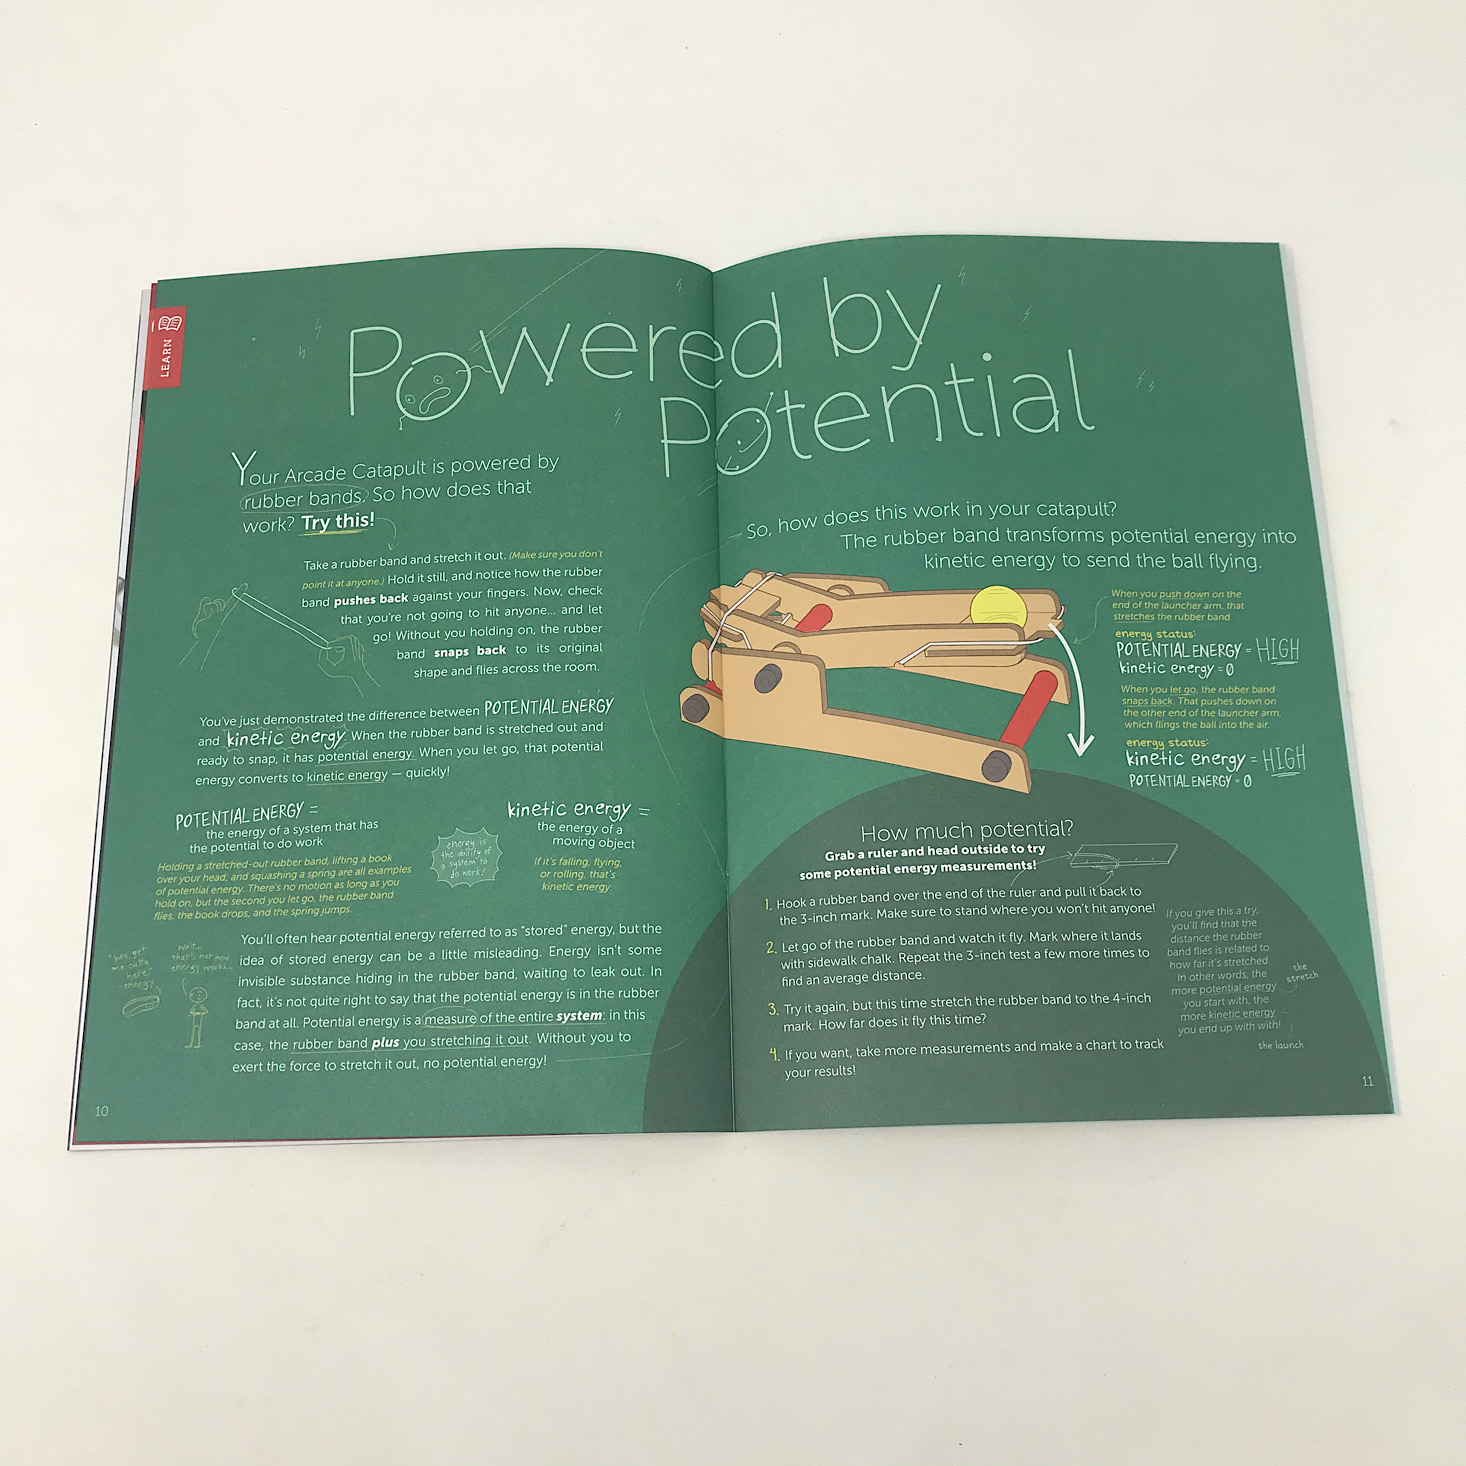
The theme of this month's Tinker Zine is "Engineering for Fun" to go with our arcade catapult. This zine is full of educational information about engineering, vintage arcade games, and several game ideas for when our catapult is complete. I love that they include so many ways to play with our catapult!

1 of 4
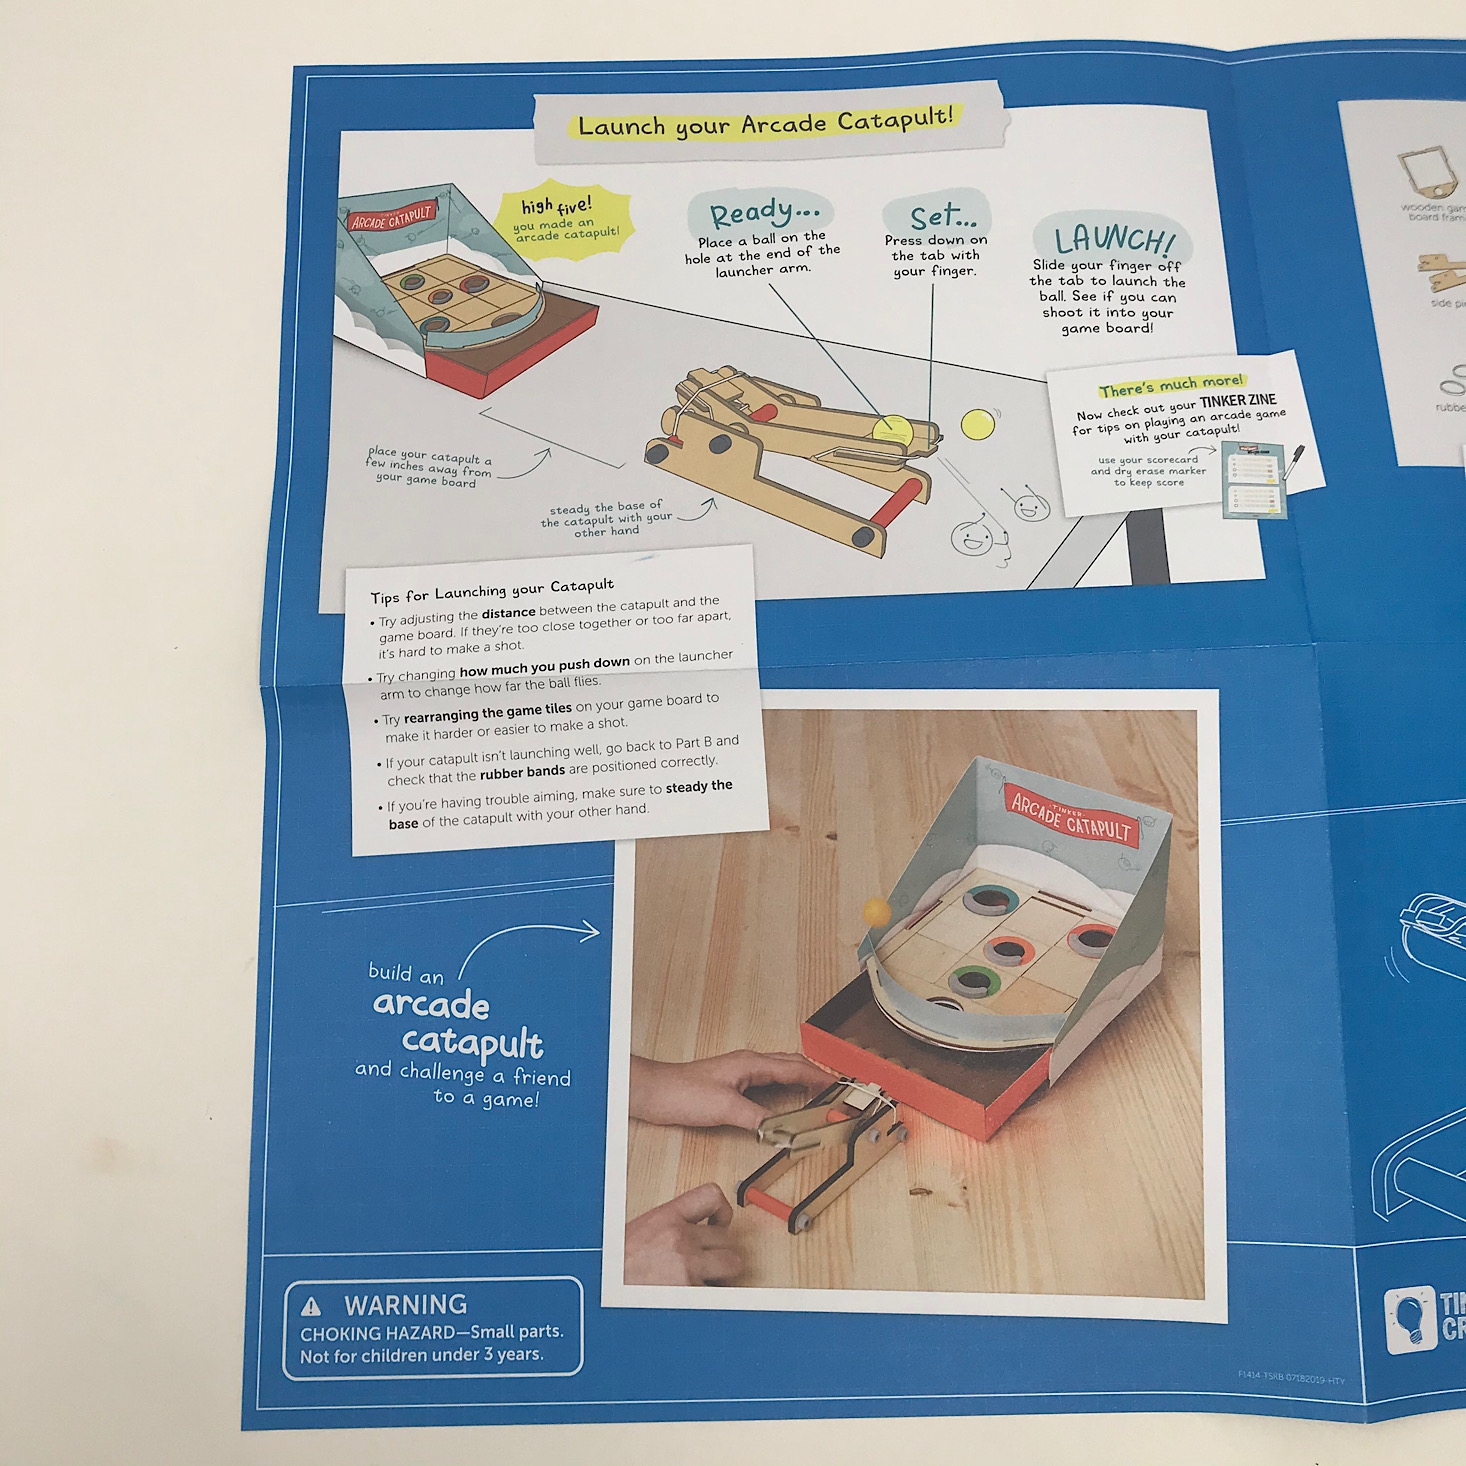
Our instructions come on a separate sheet and they include detailed directions along with color pictures for each step. They even included some tips for launching.
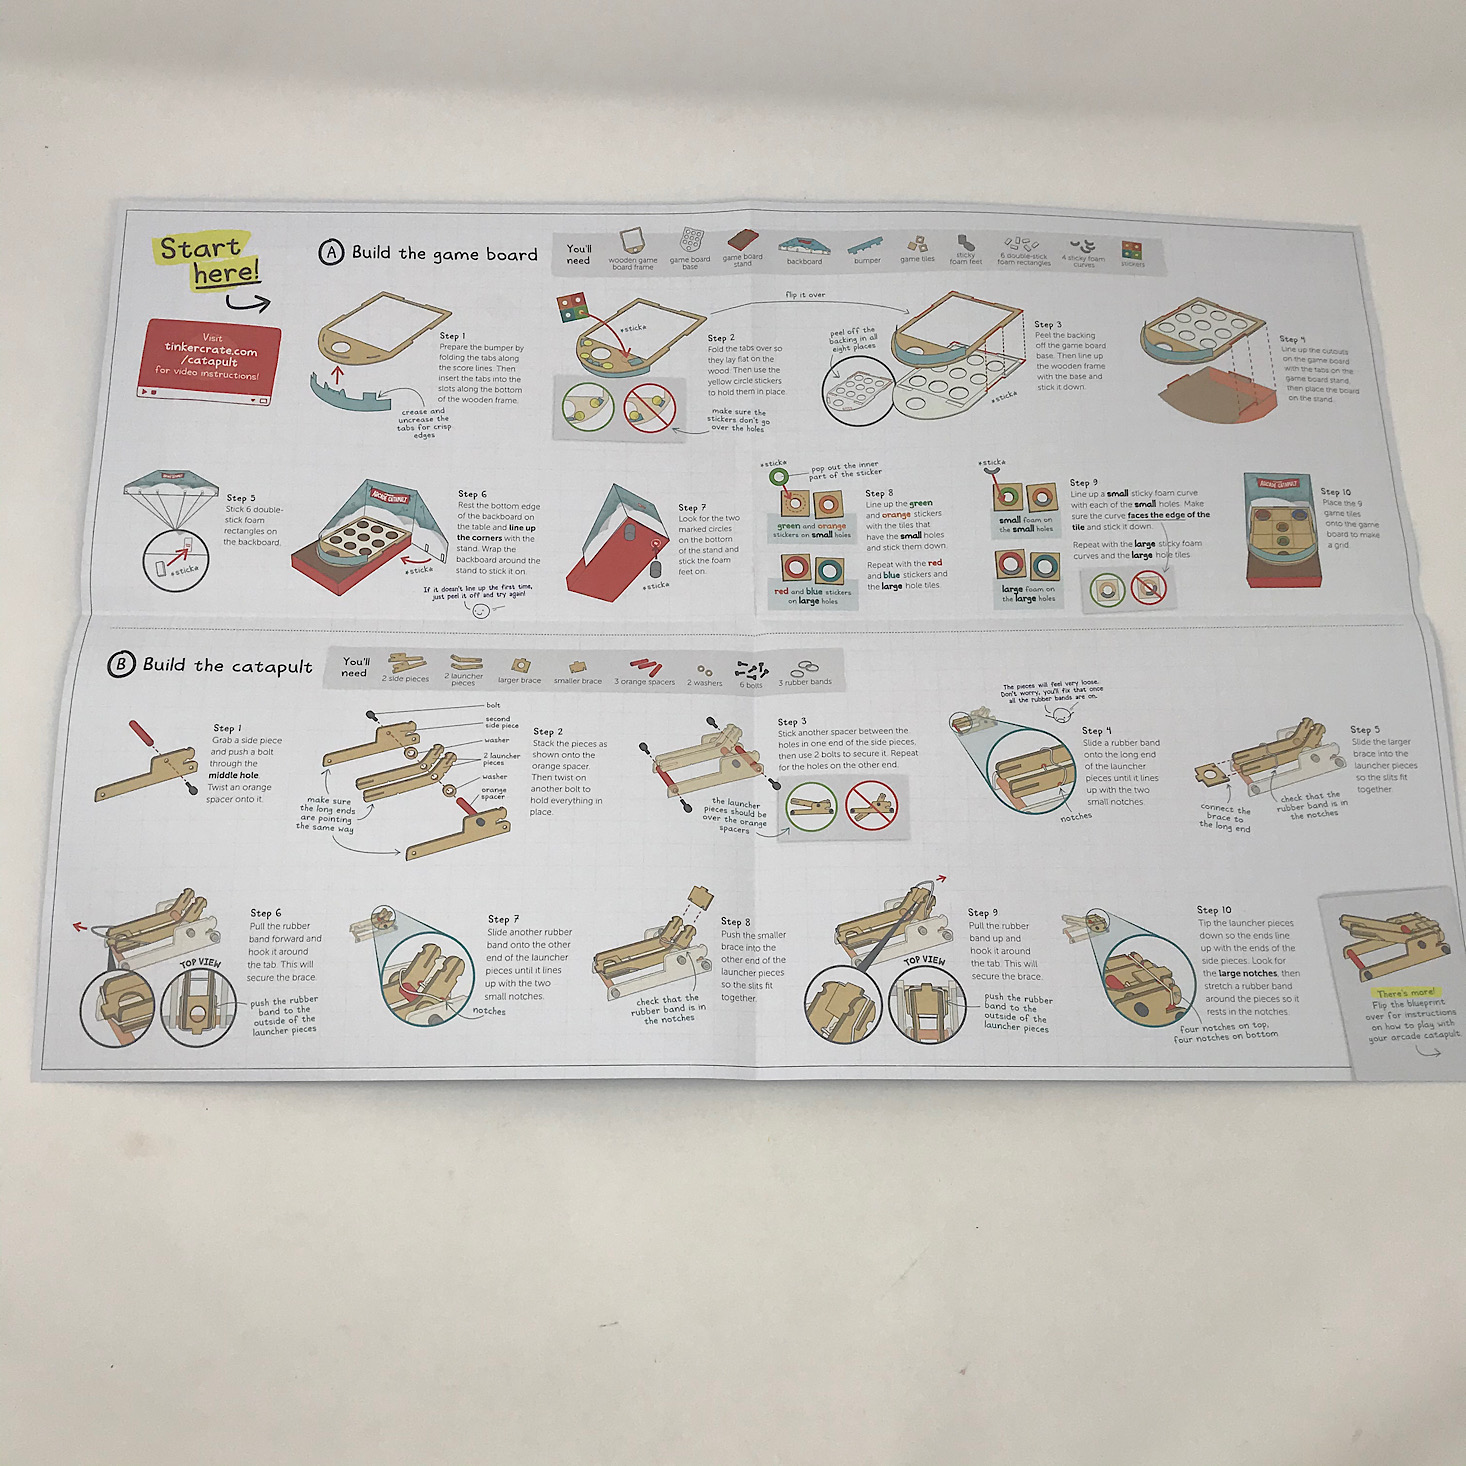
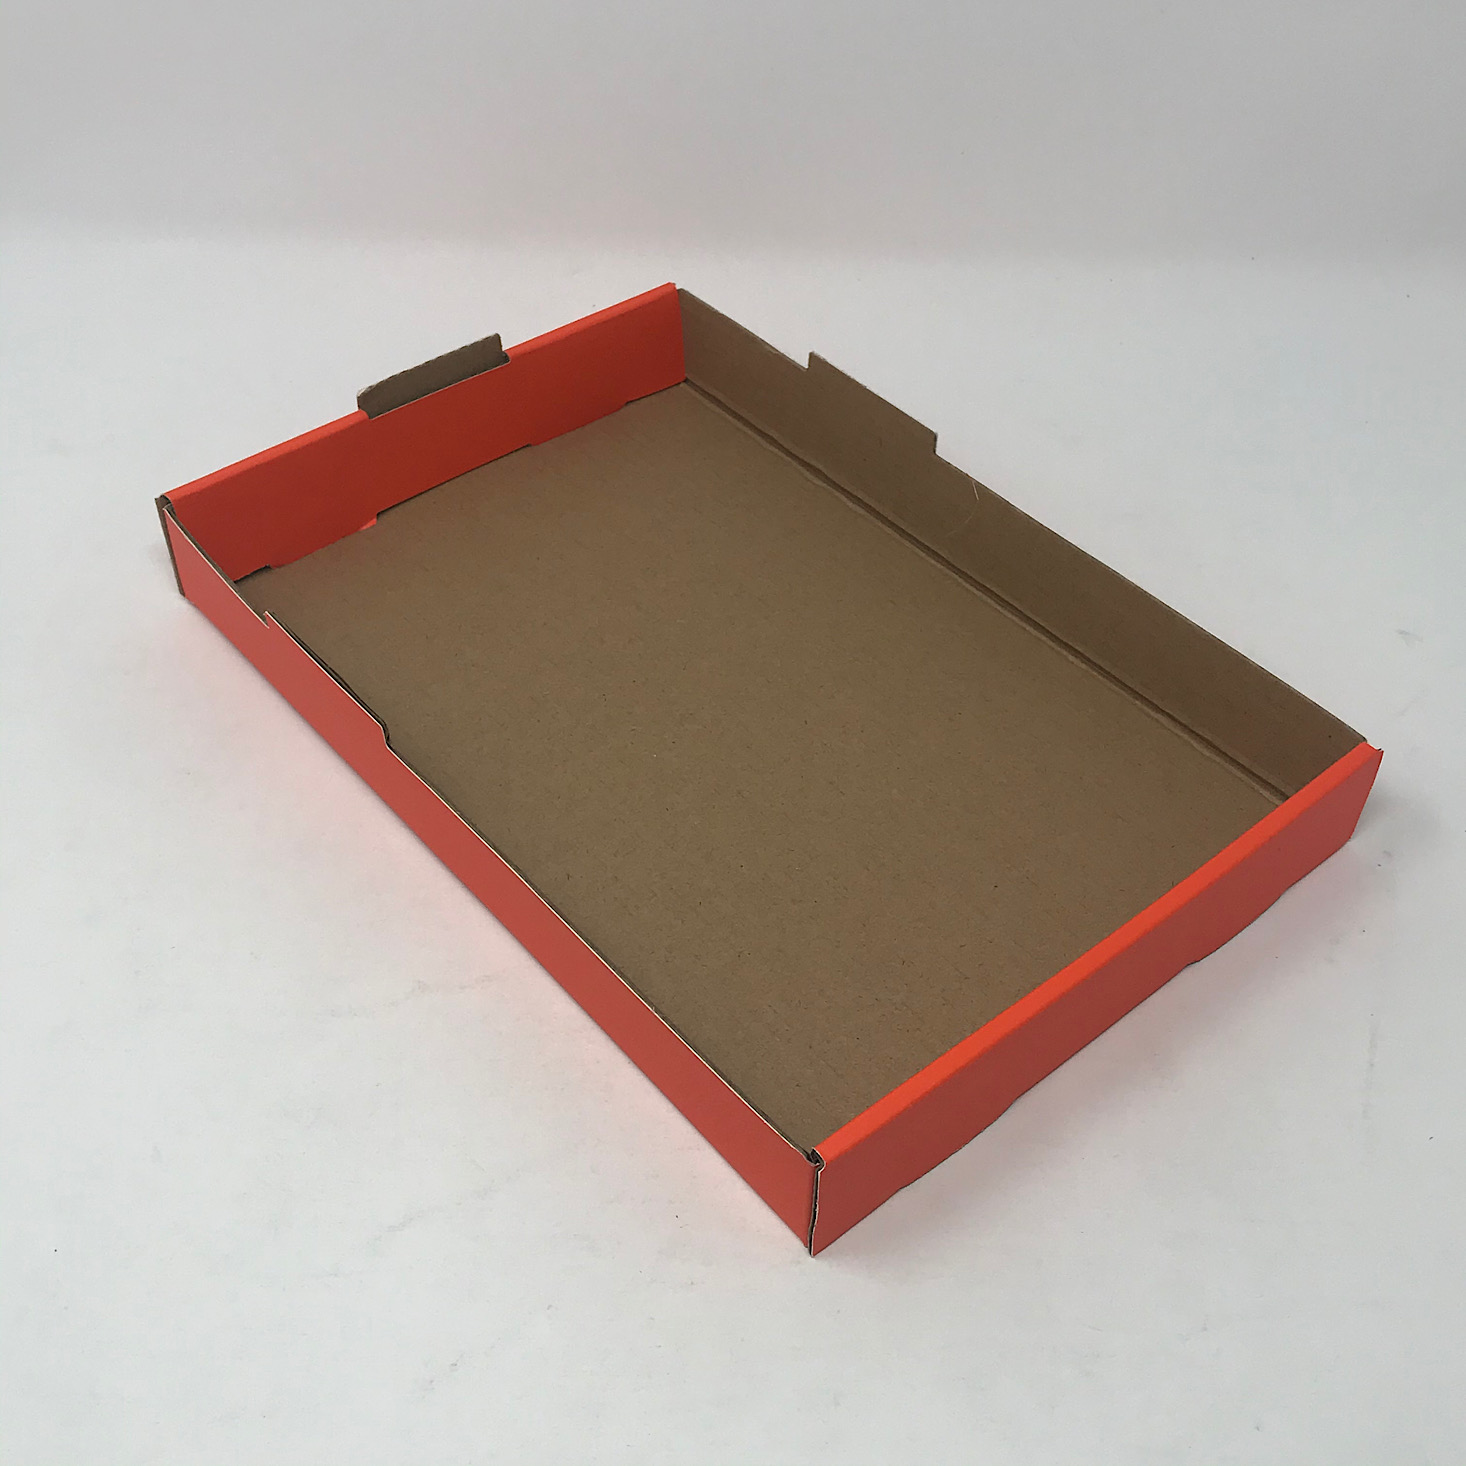
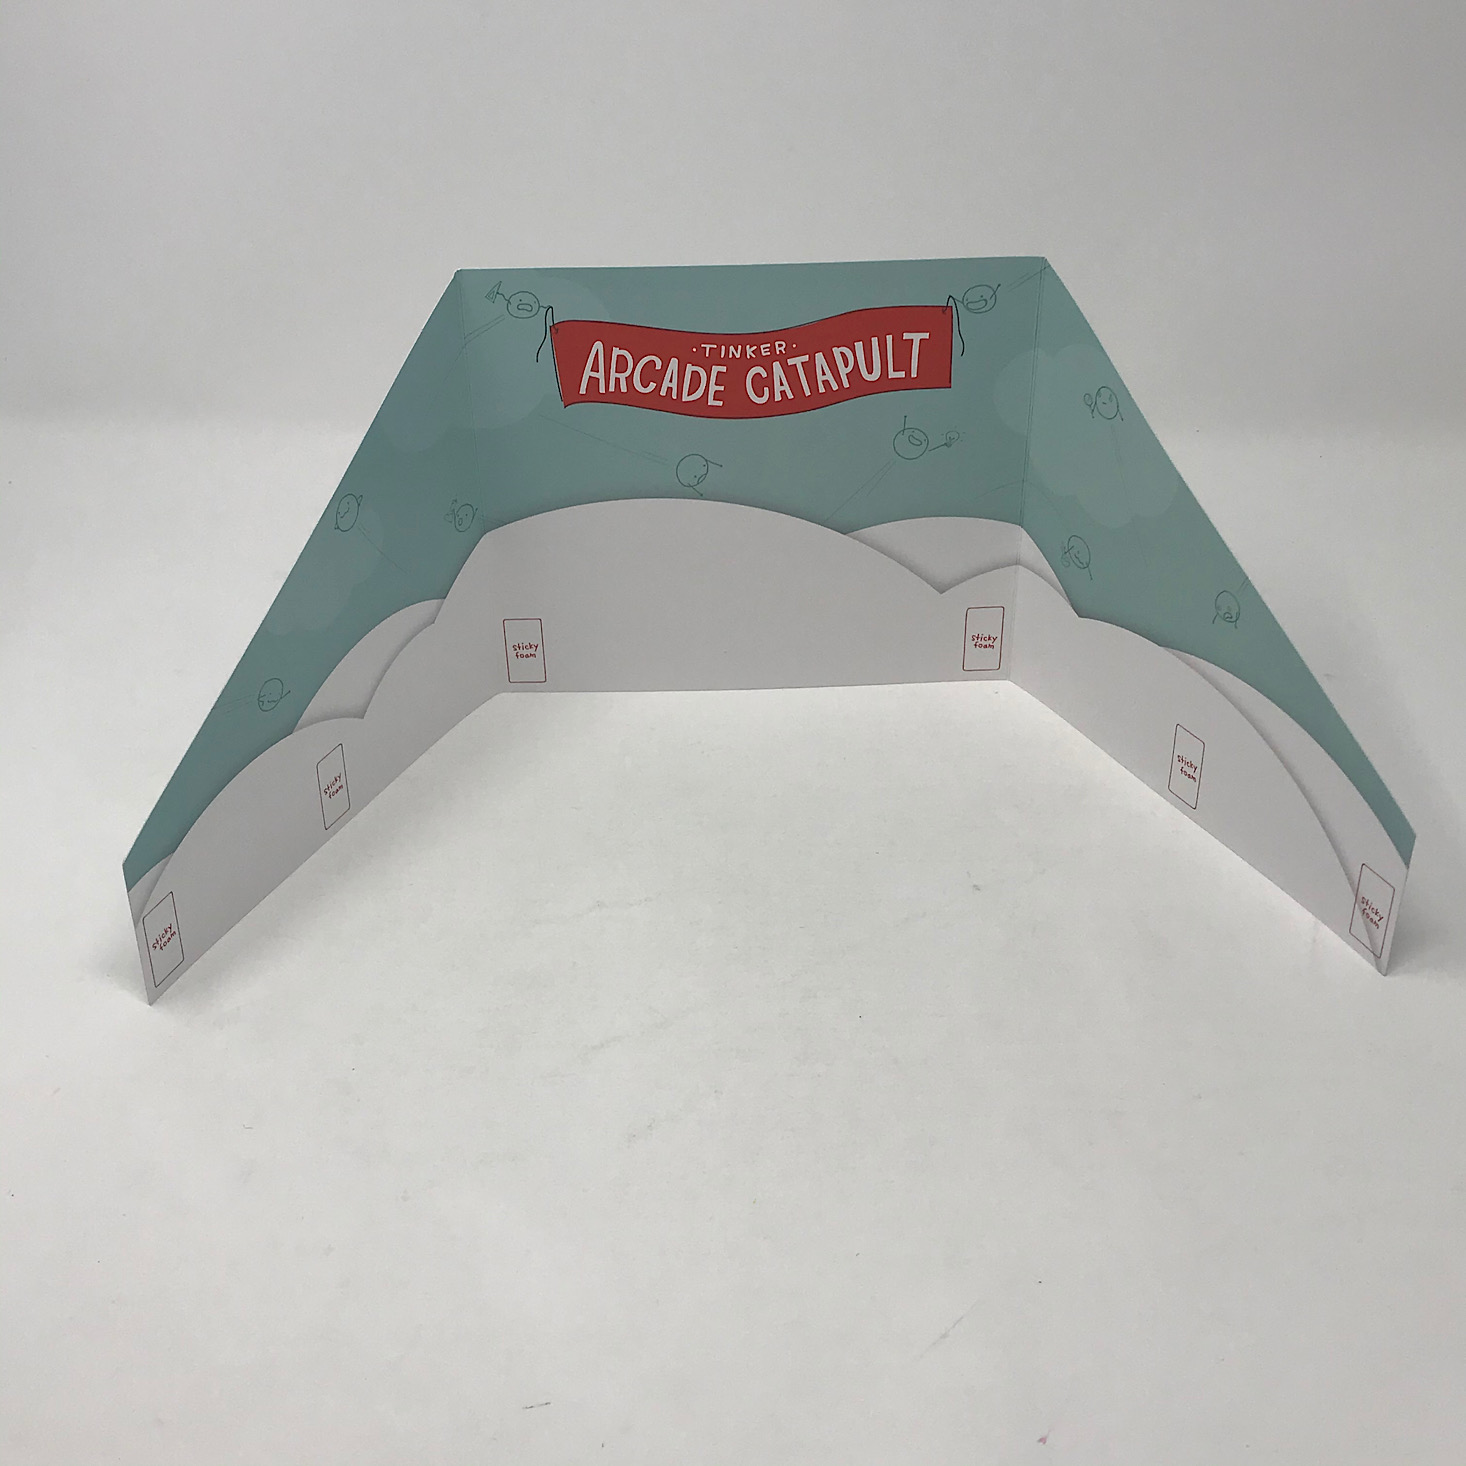
Part A: Build the Game Board

1 of 6
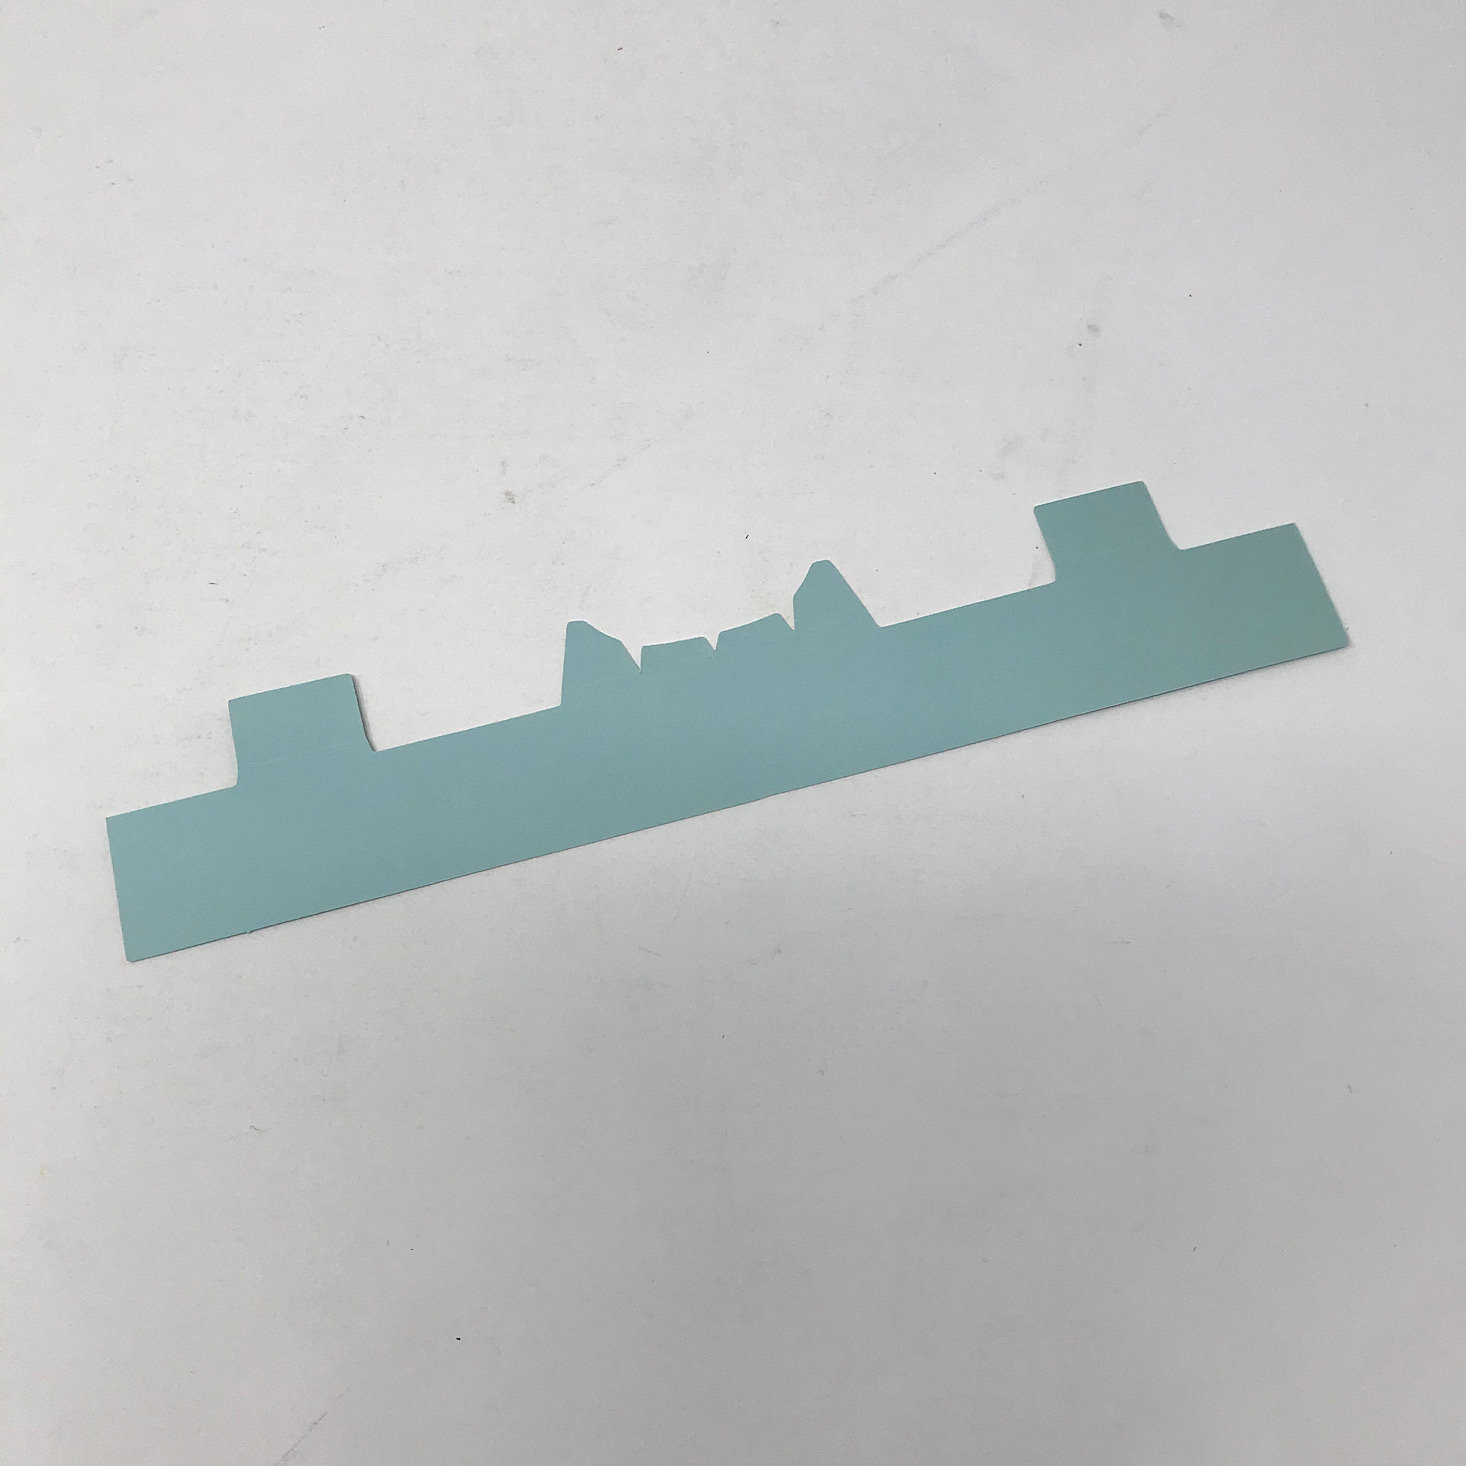

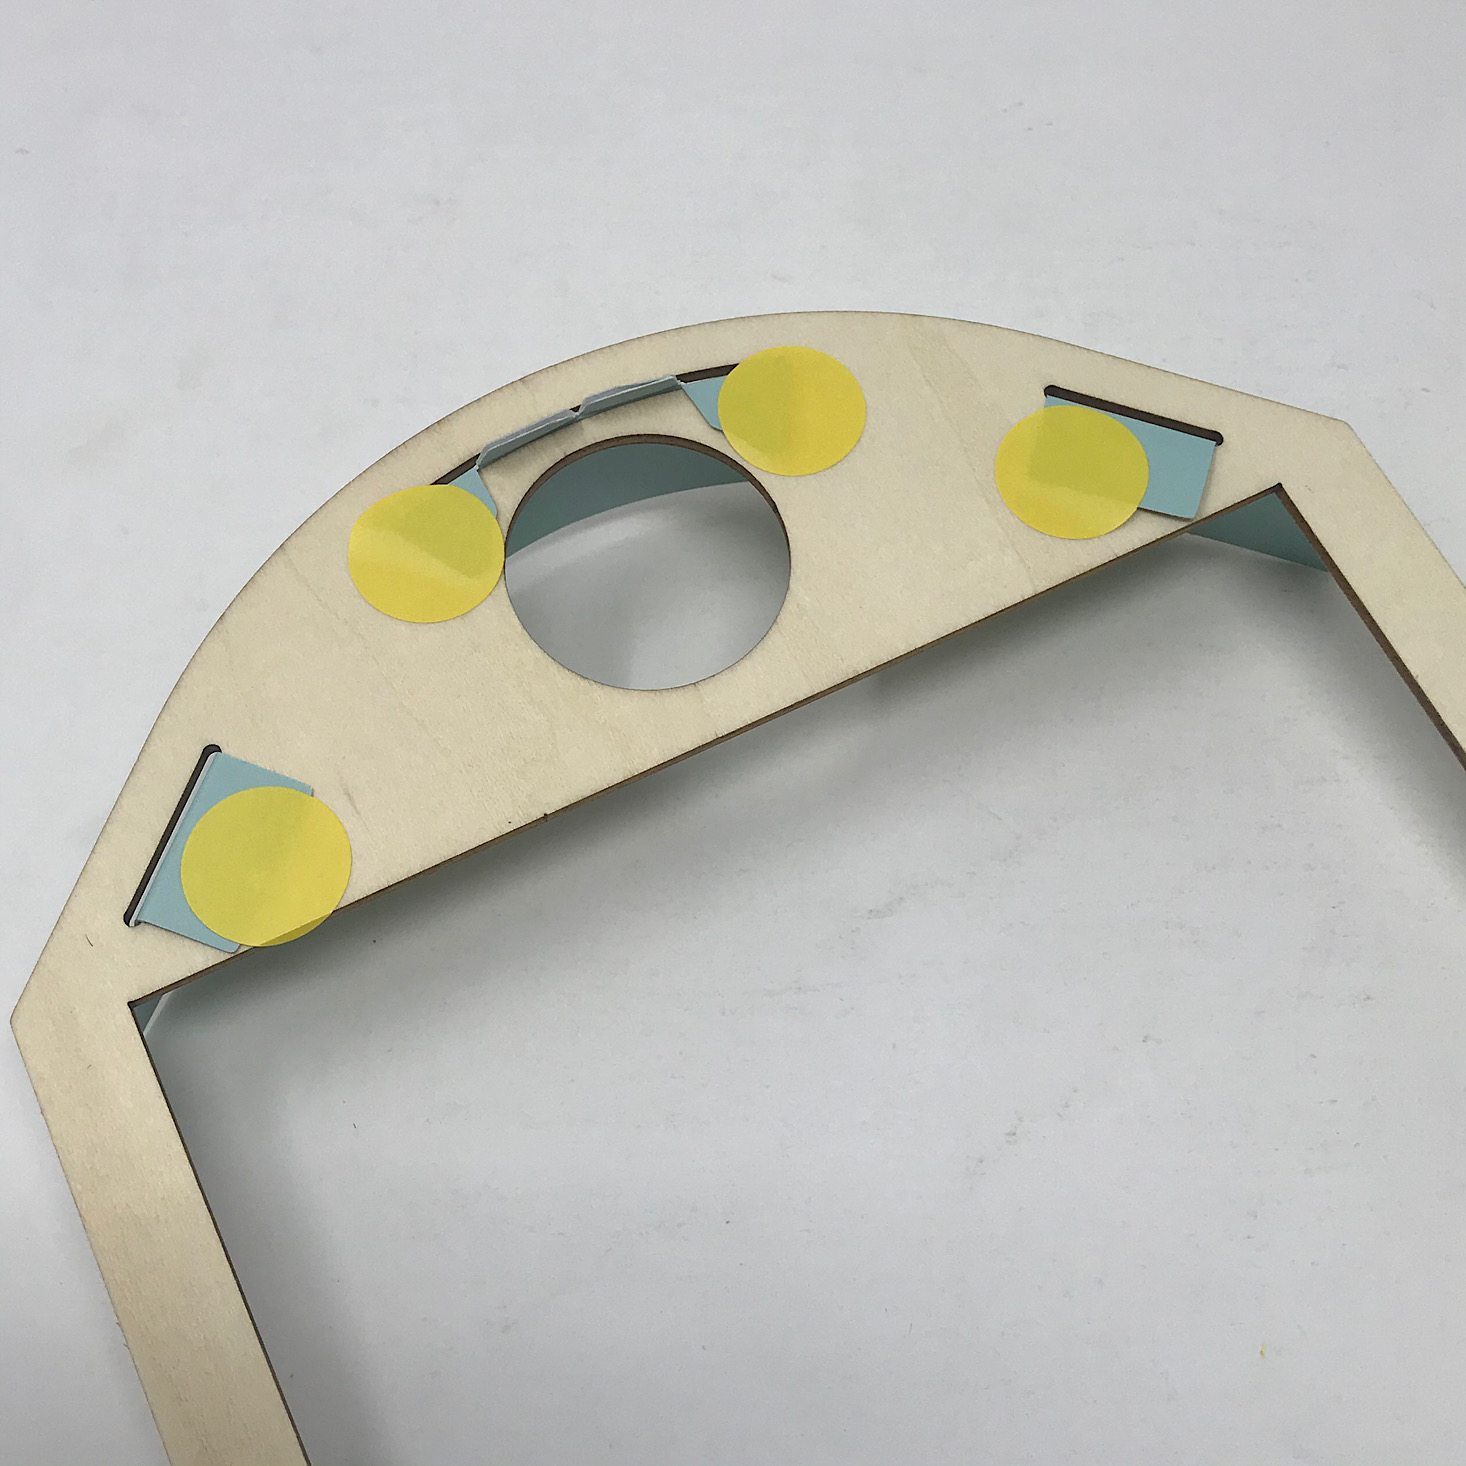
The first step in our project was to build the game board. We creased the tabs on this bumper and then slid them into the slots on the frame. We used the small yellow stickers from our sticker sheet to hold them down and keep the bumper secure.

1 of 2
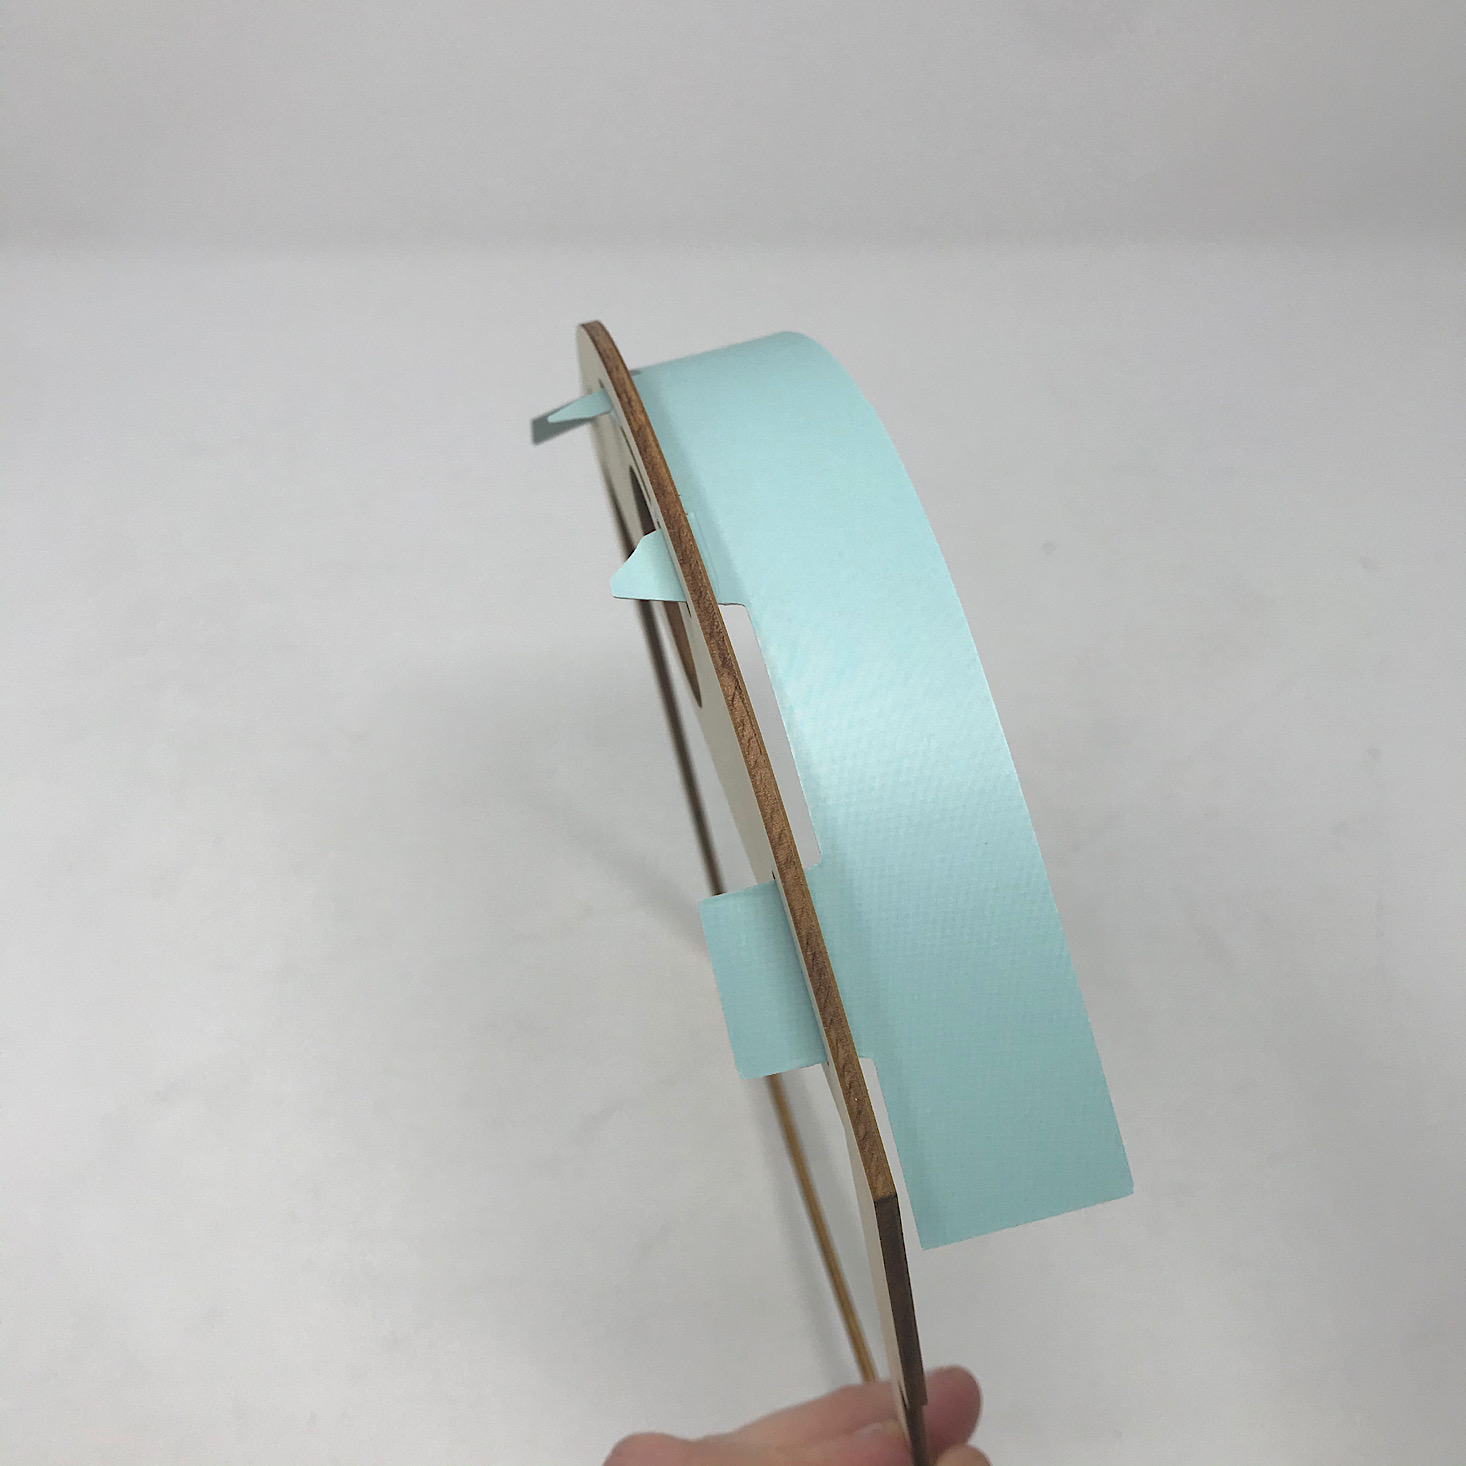
Then we pulled off the paper from these tabs on the board base and stuck it onto the frame.

1 of 4
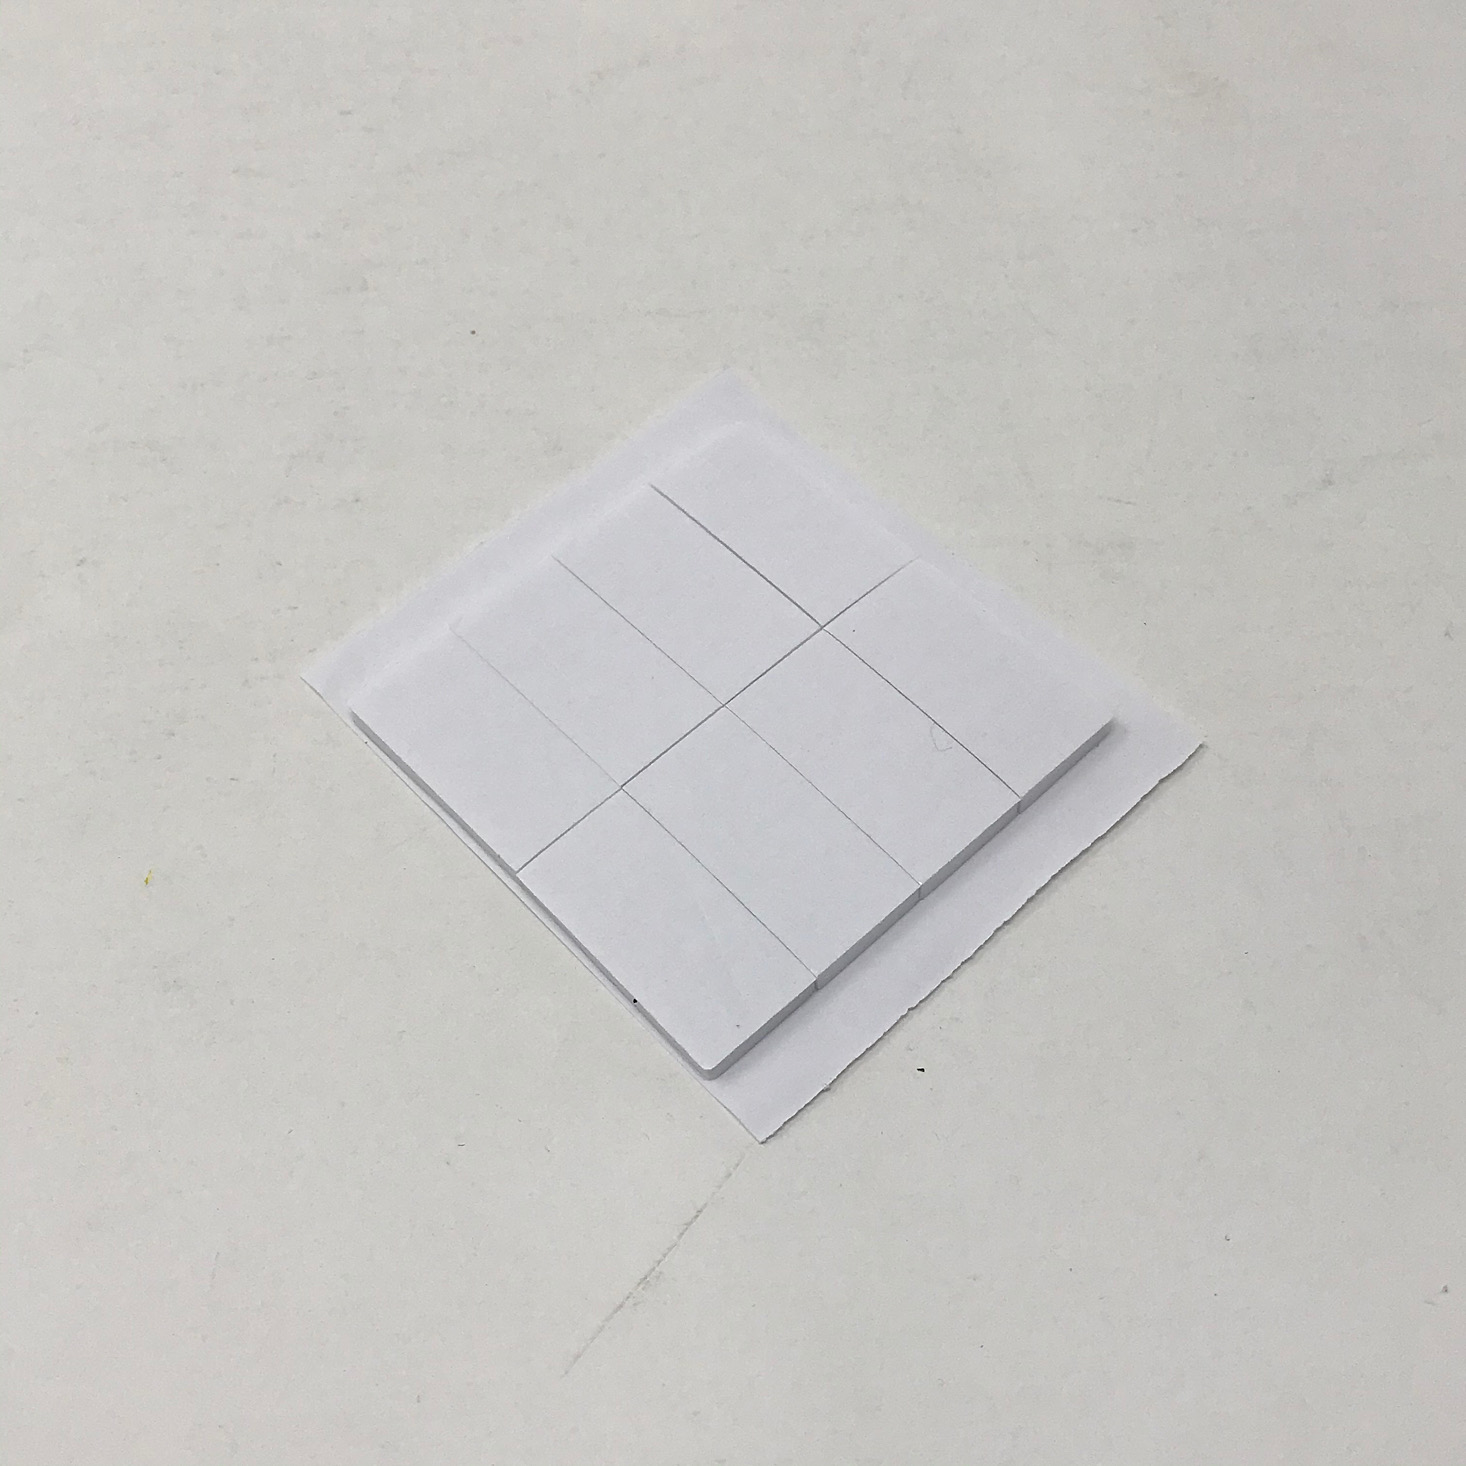
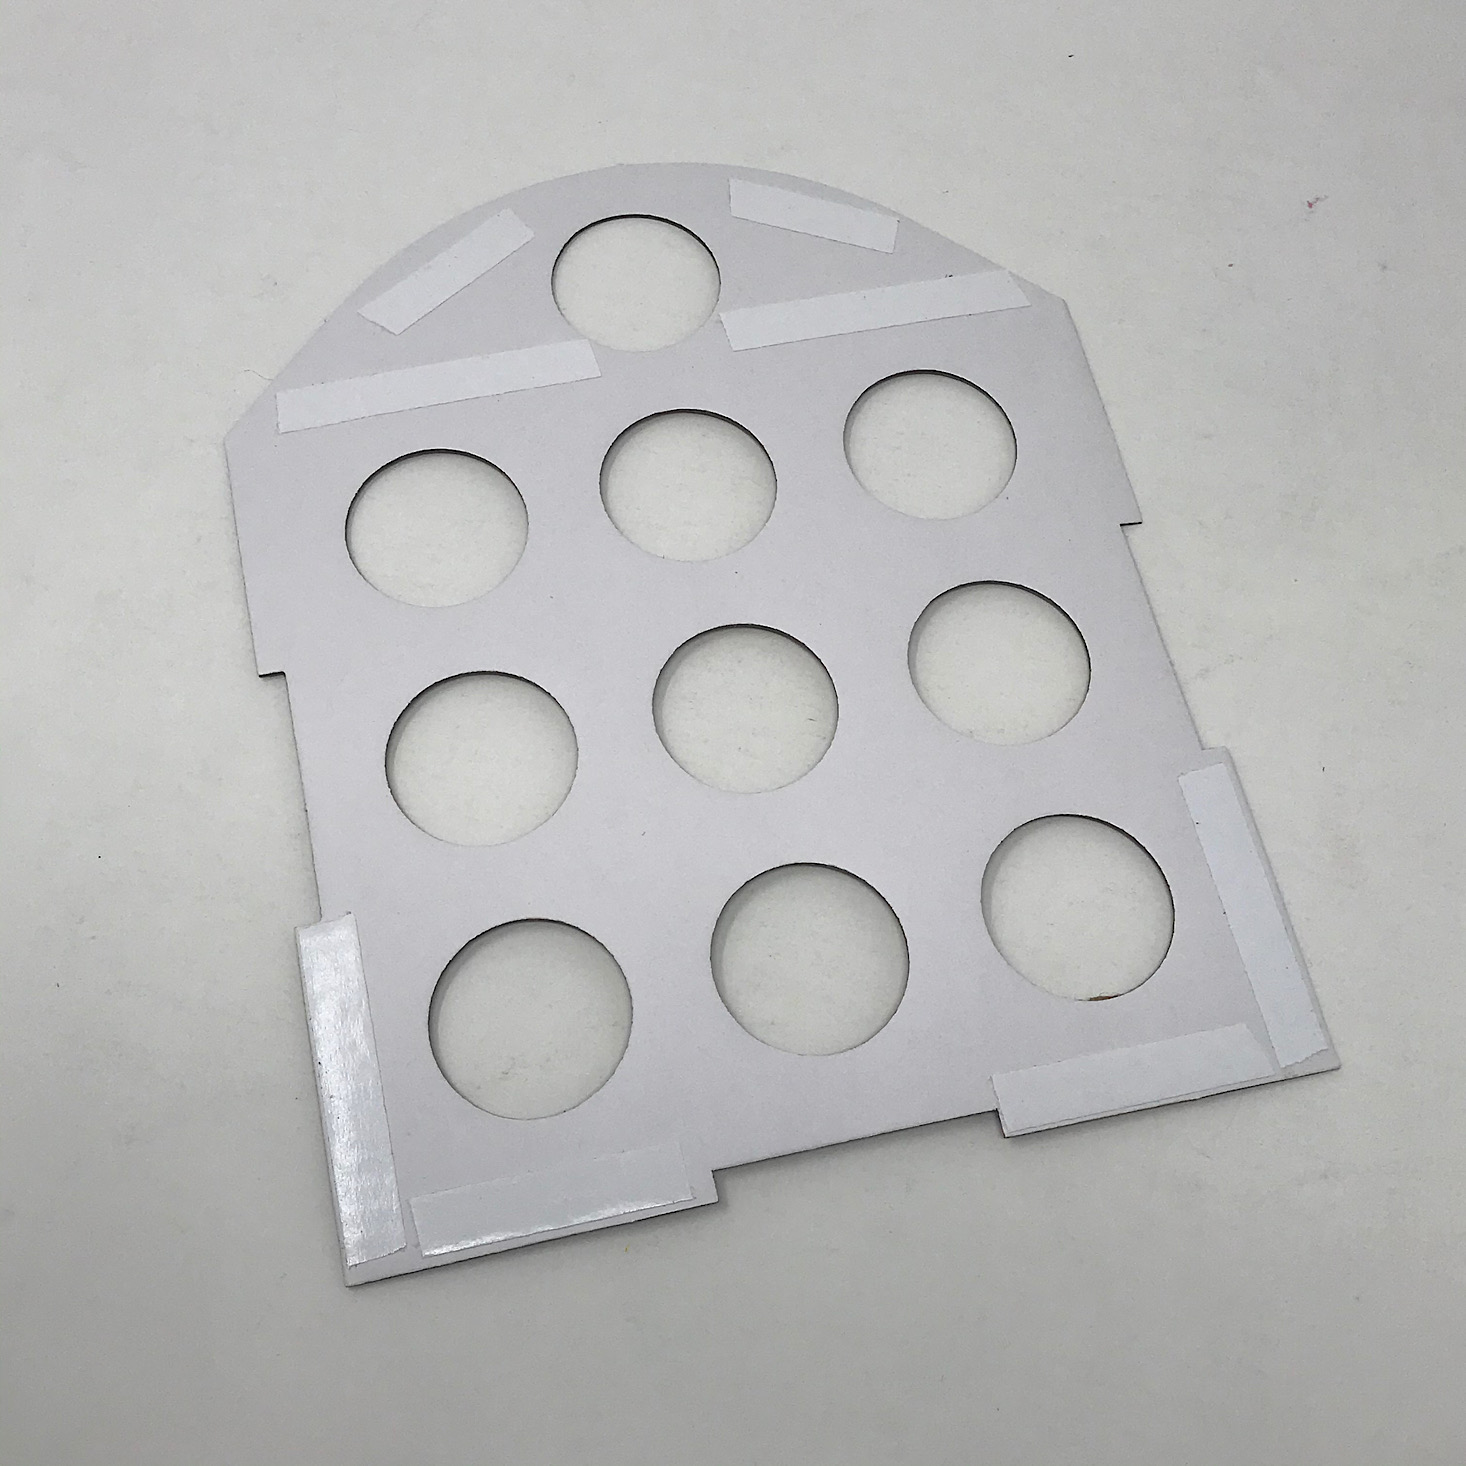
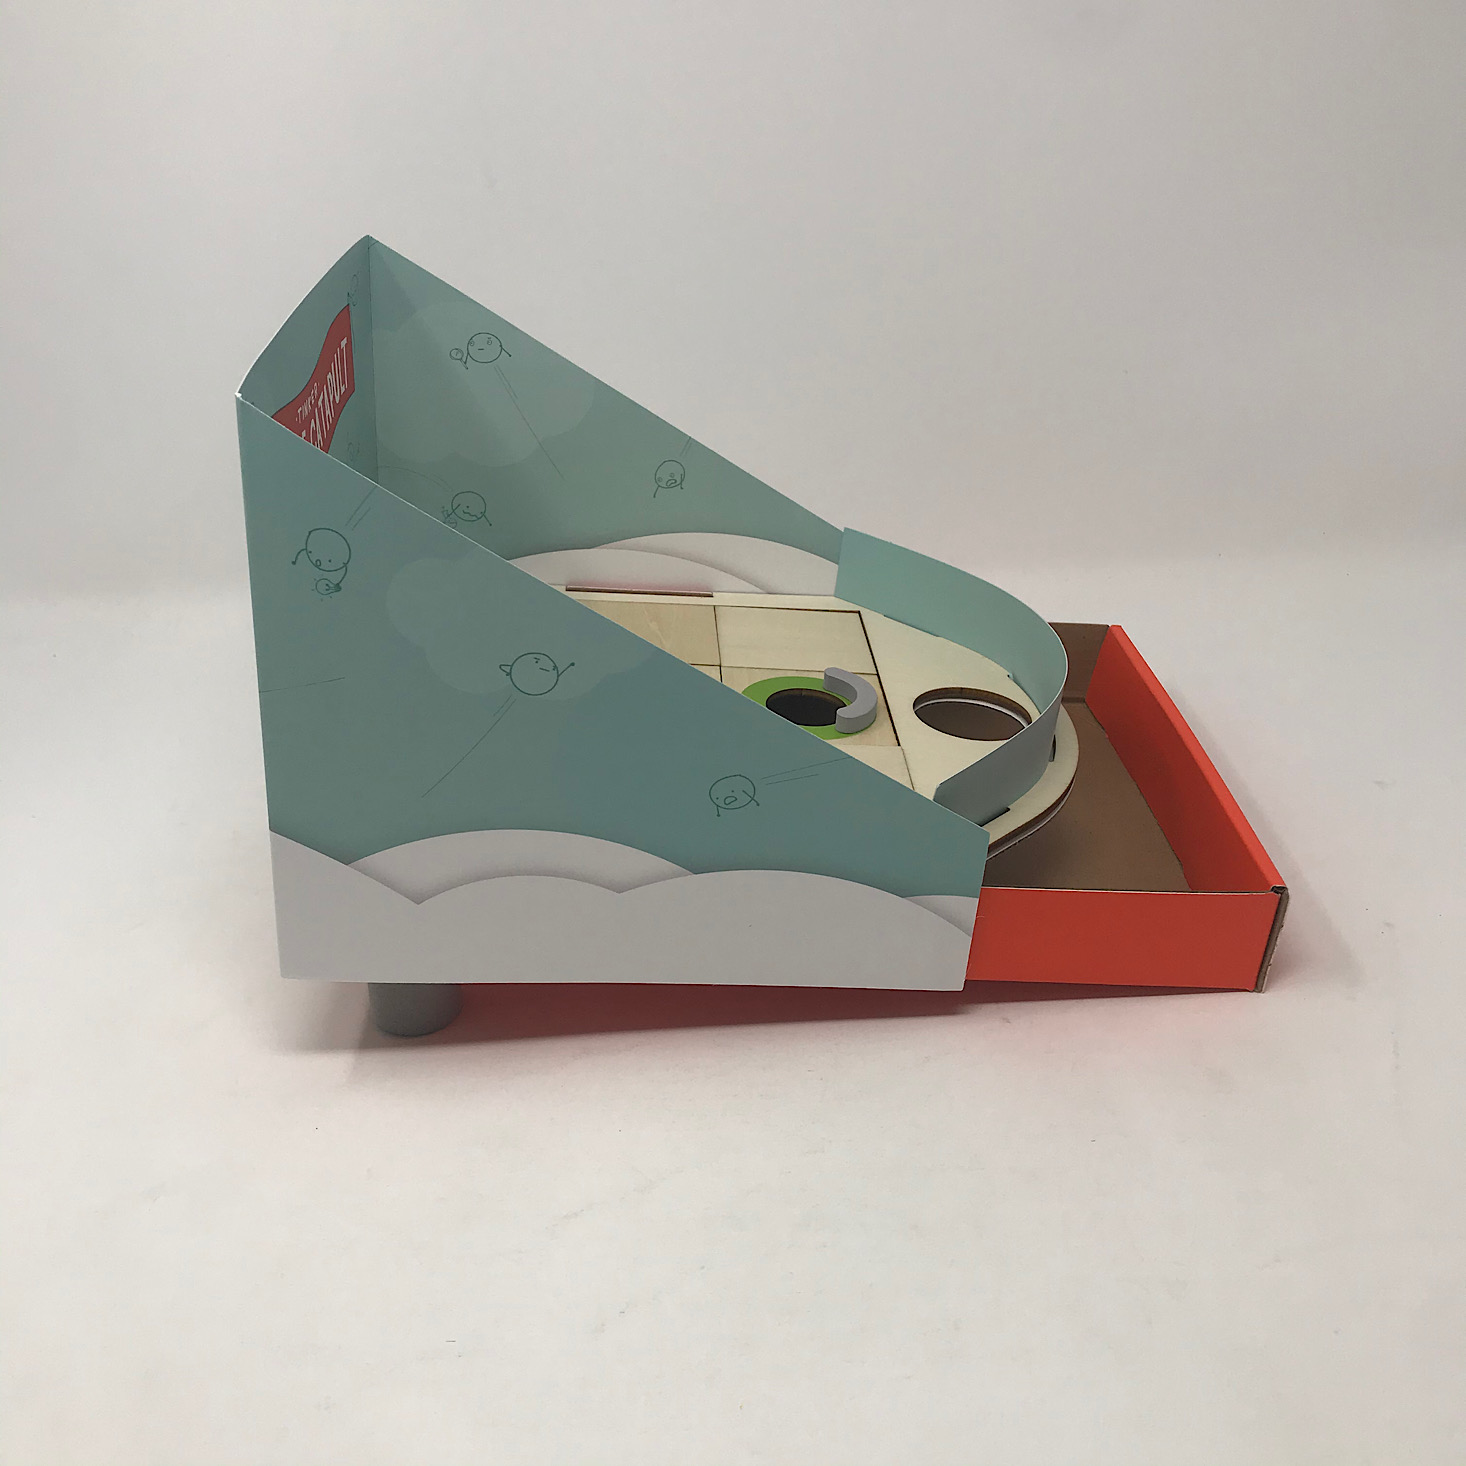
Then we simply slid it over the notches in our board stand and used the adhesive rectangles to secure the backboard around the back of the box.
1 of 2
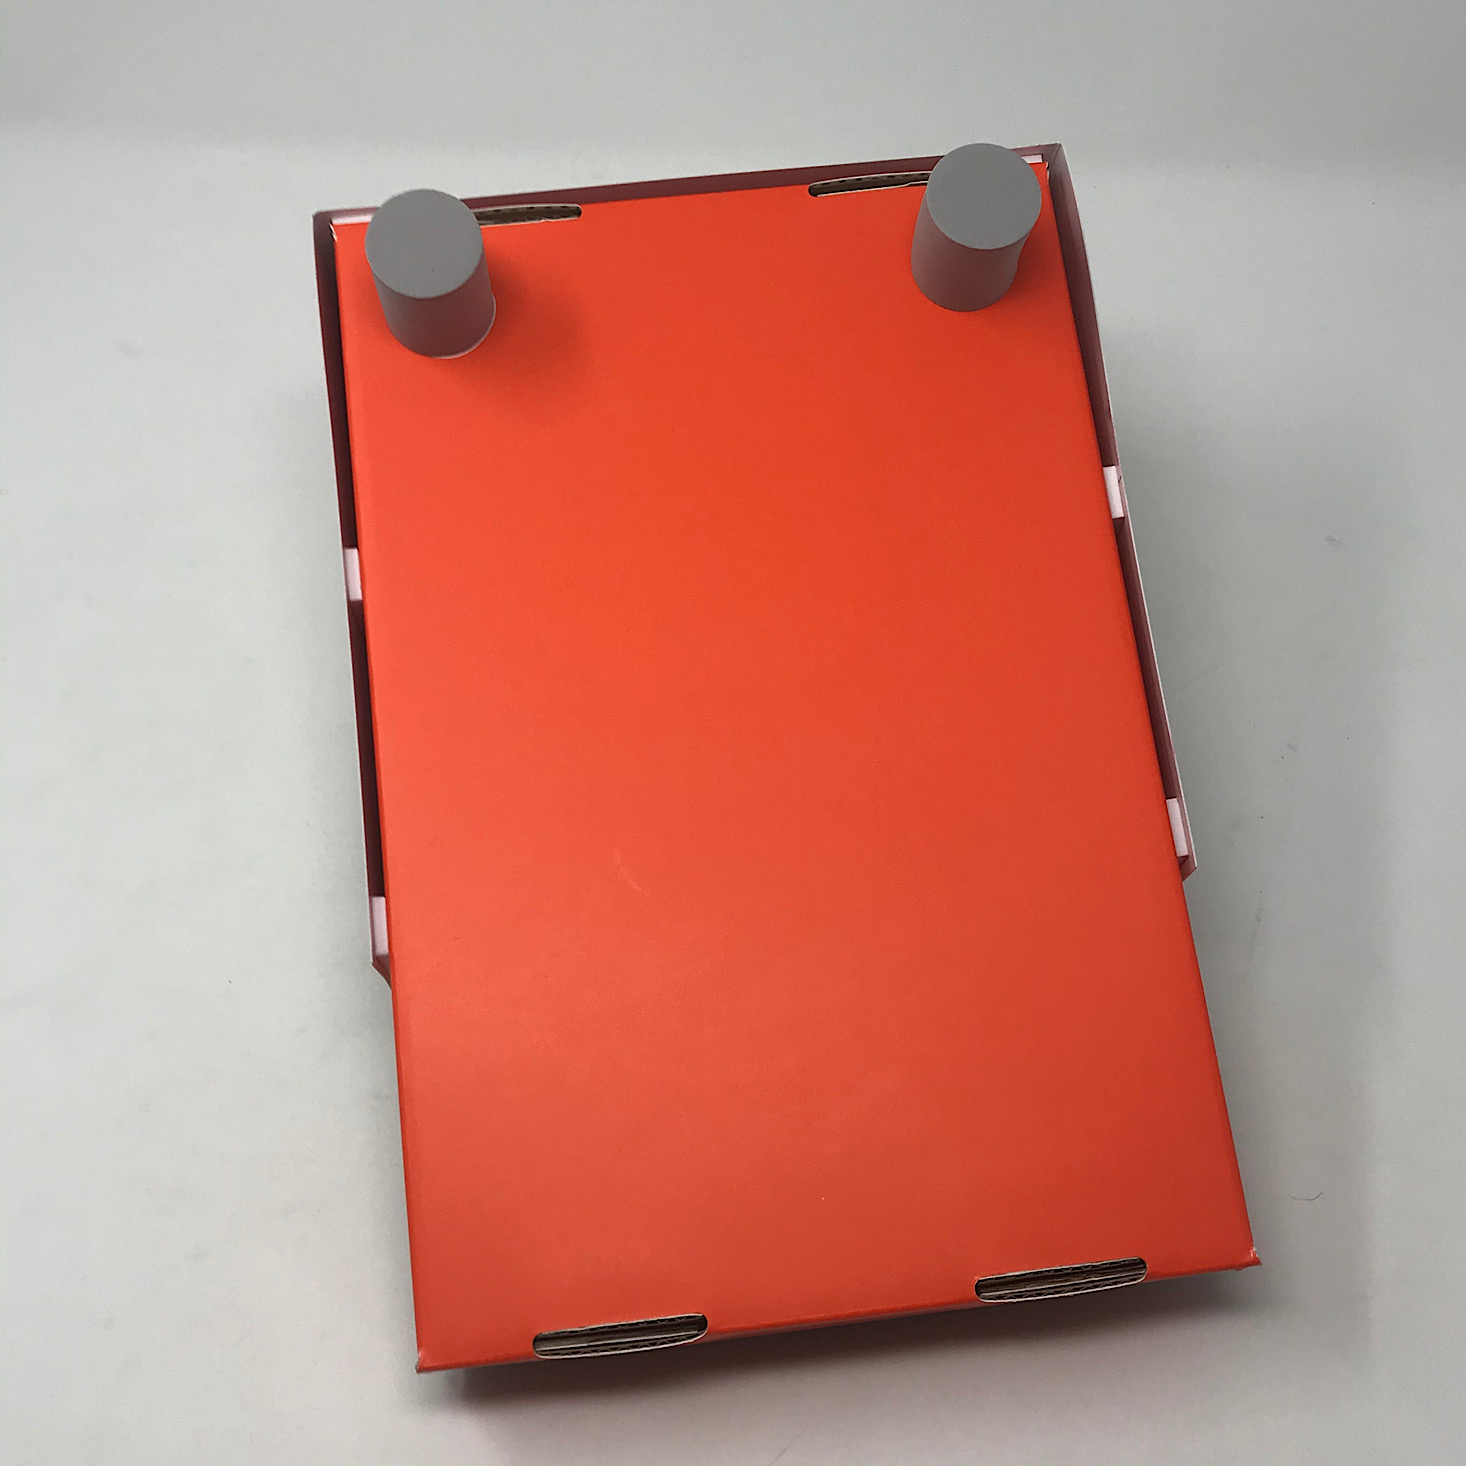
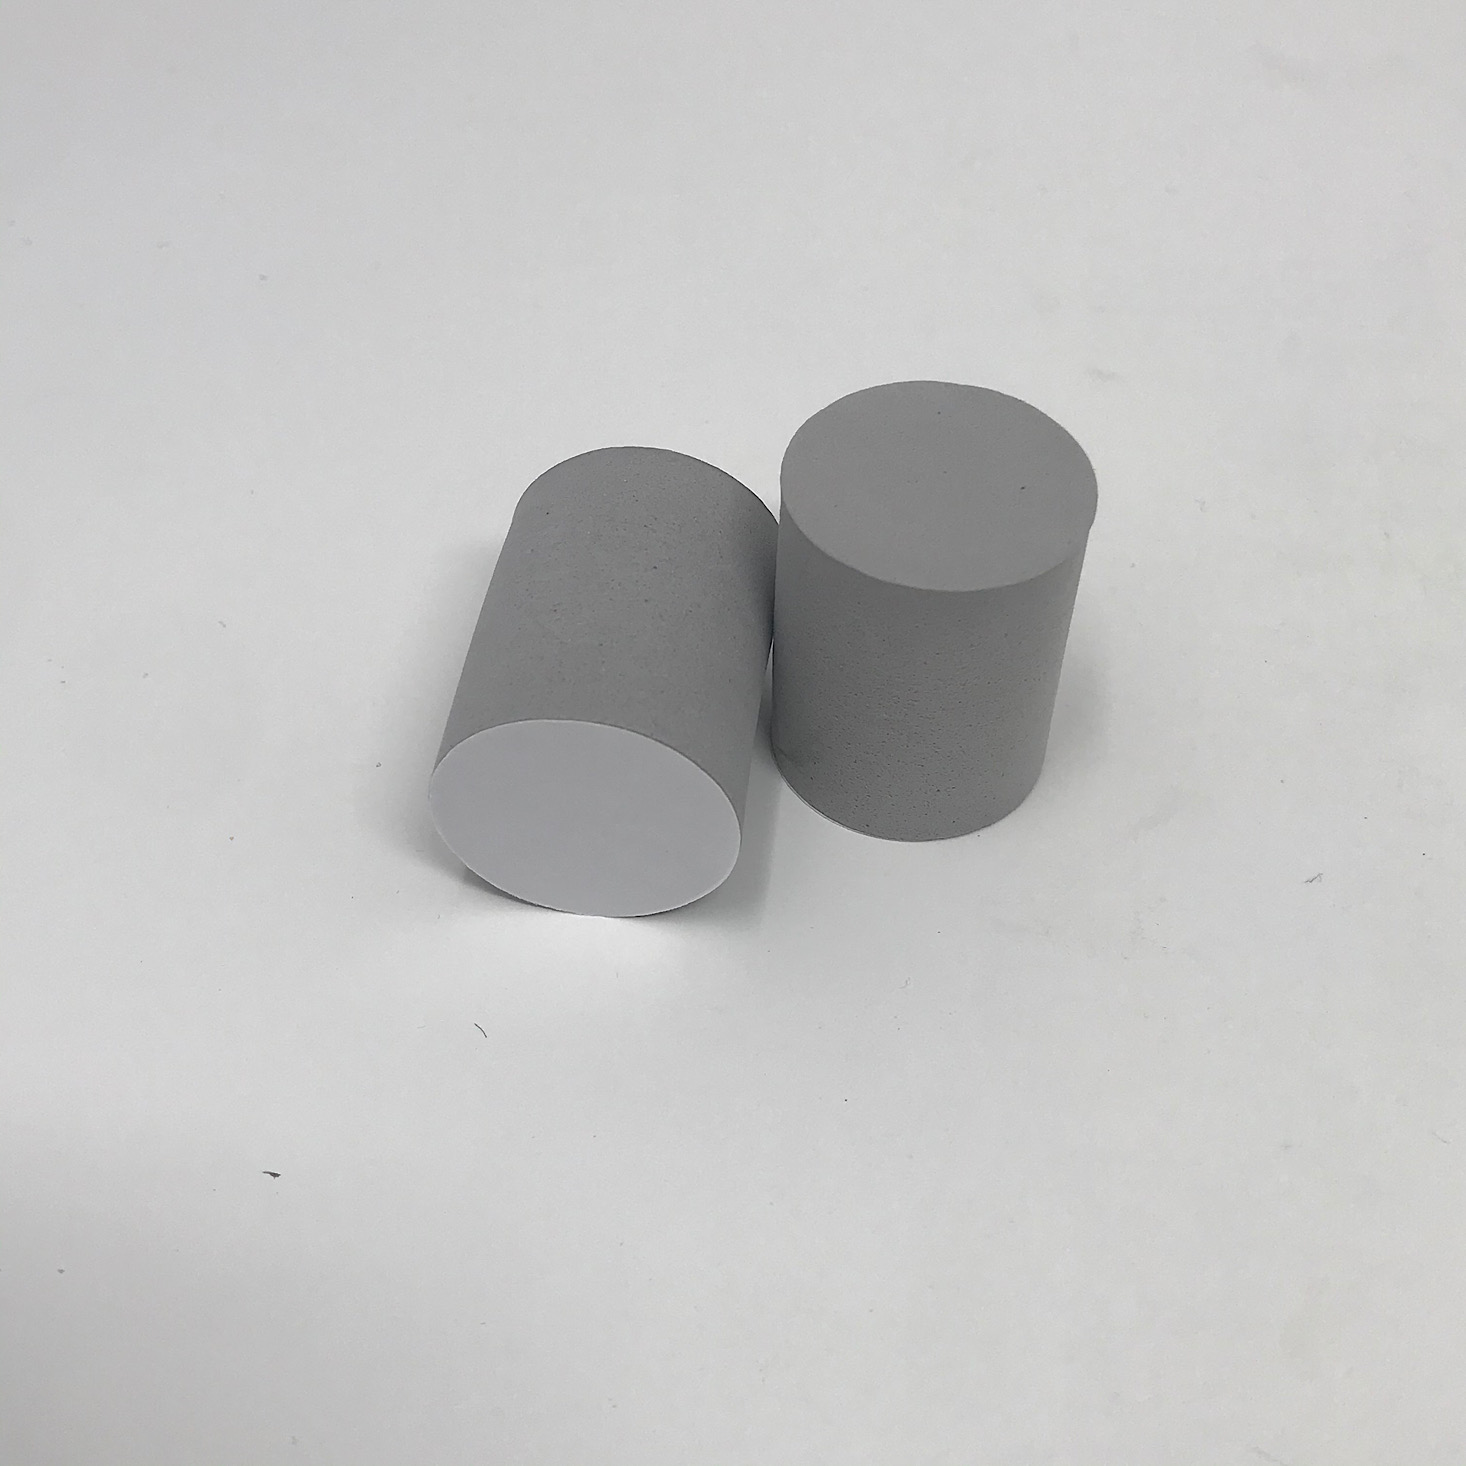
Next we flipped it over and added the foam feet to the bottom so that our board would sit at an angle.

1 of 3
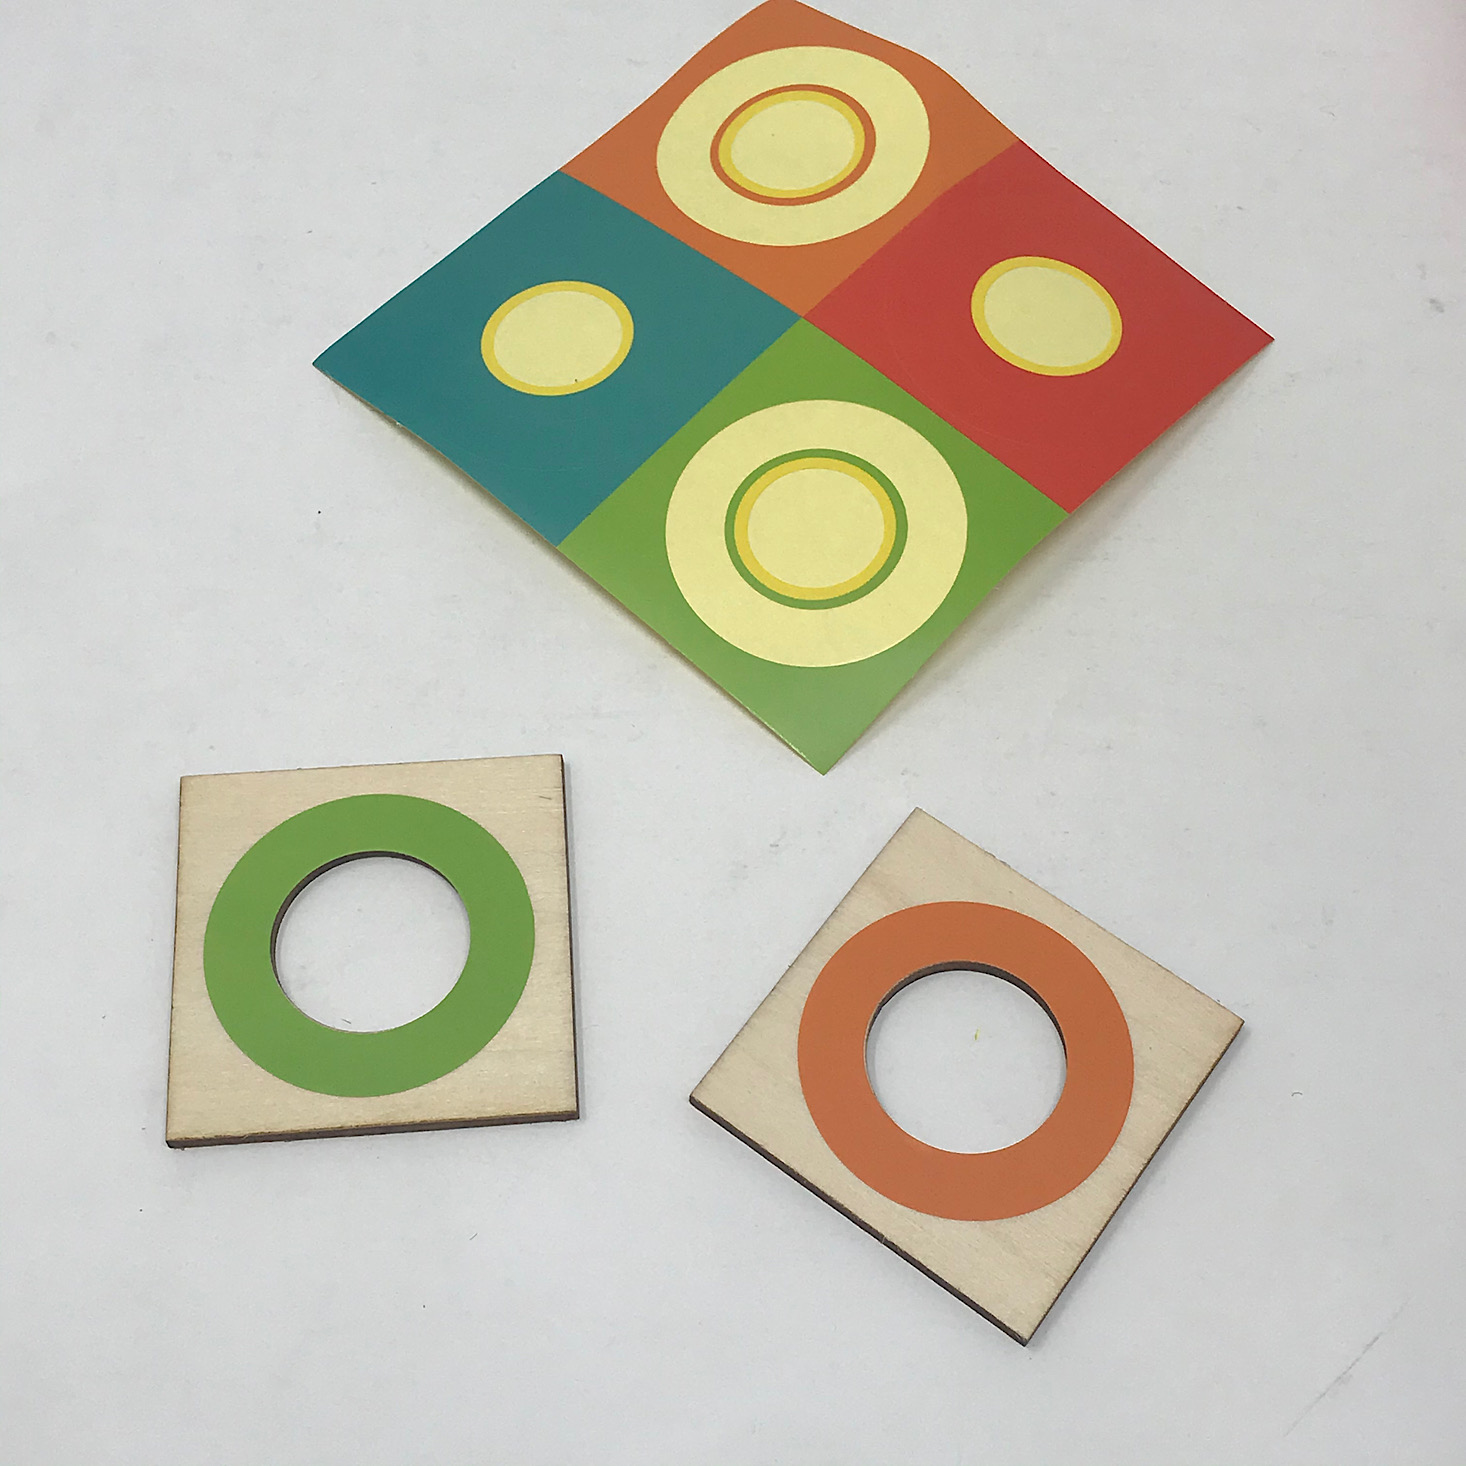
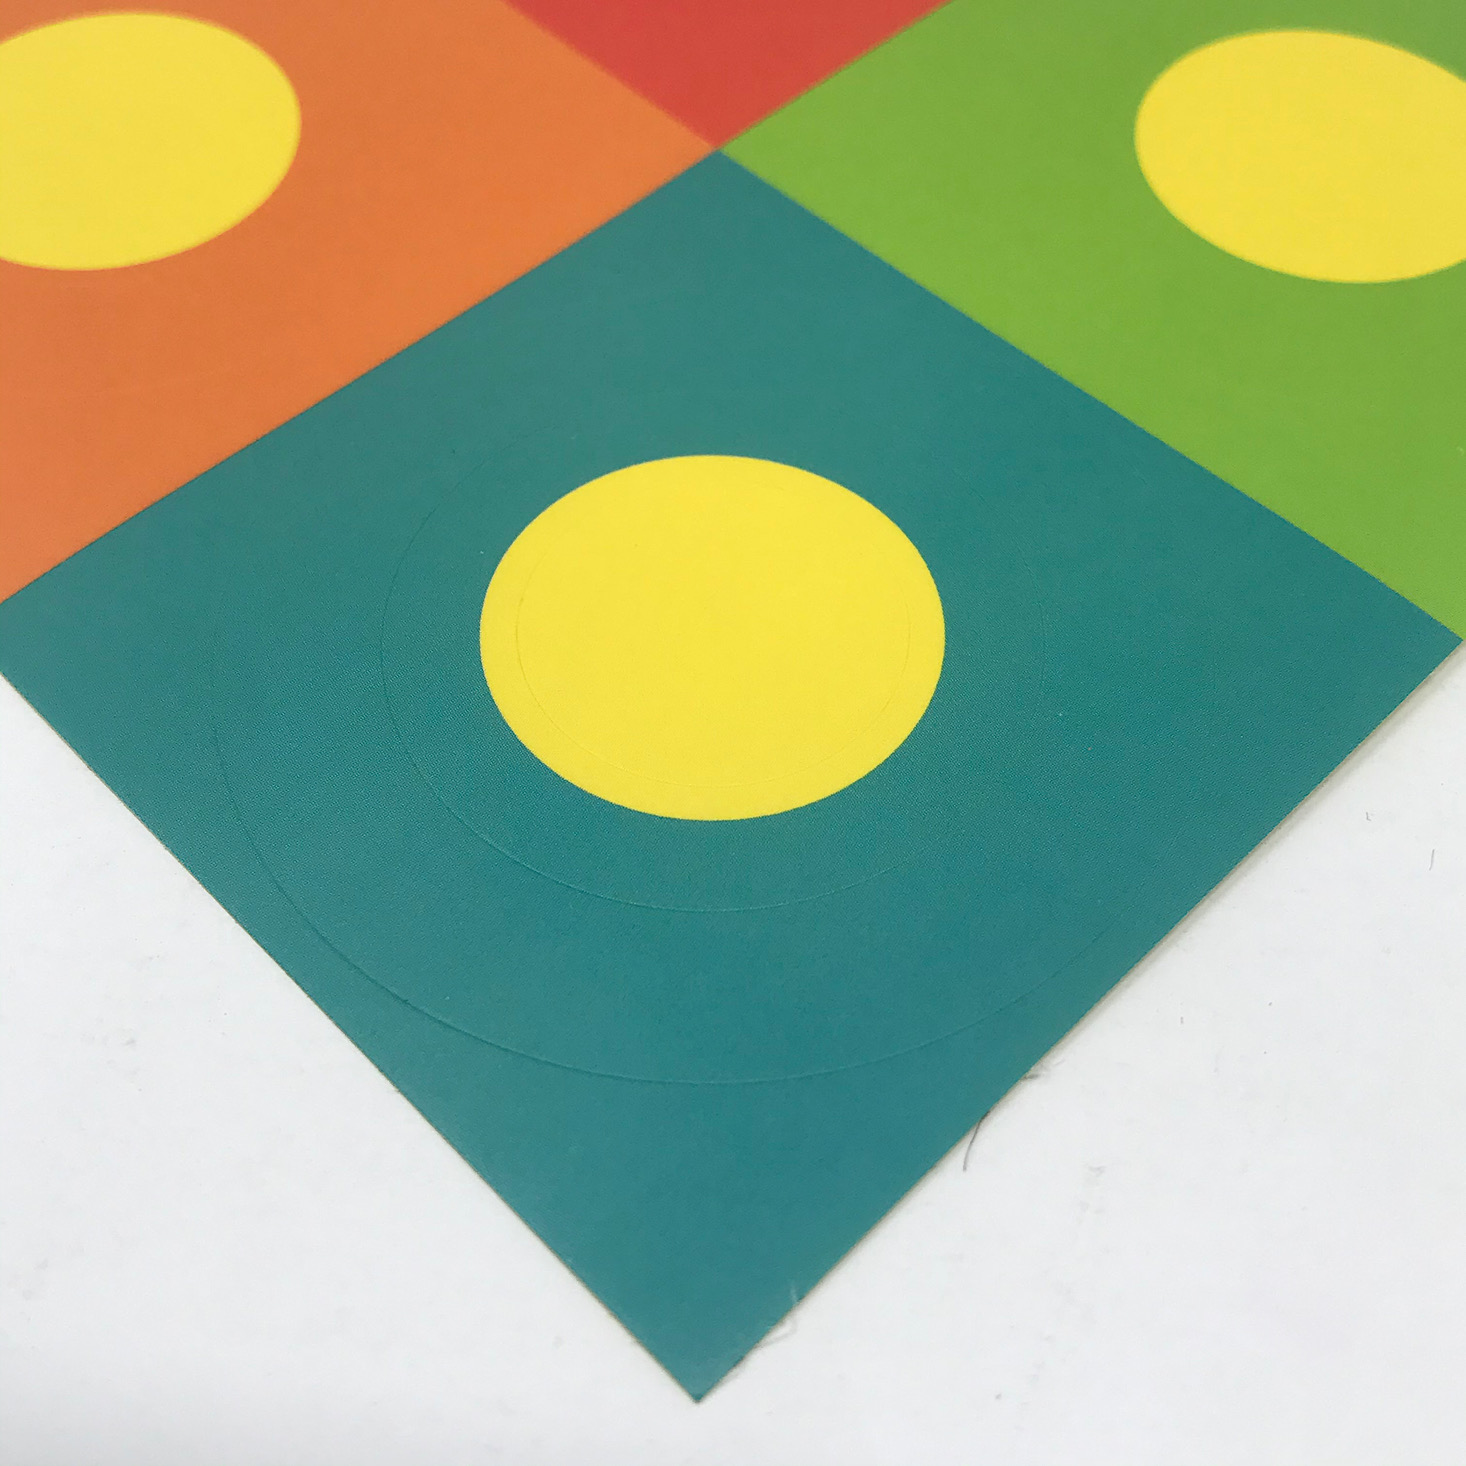
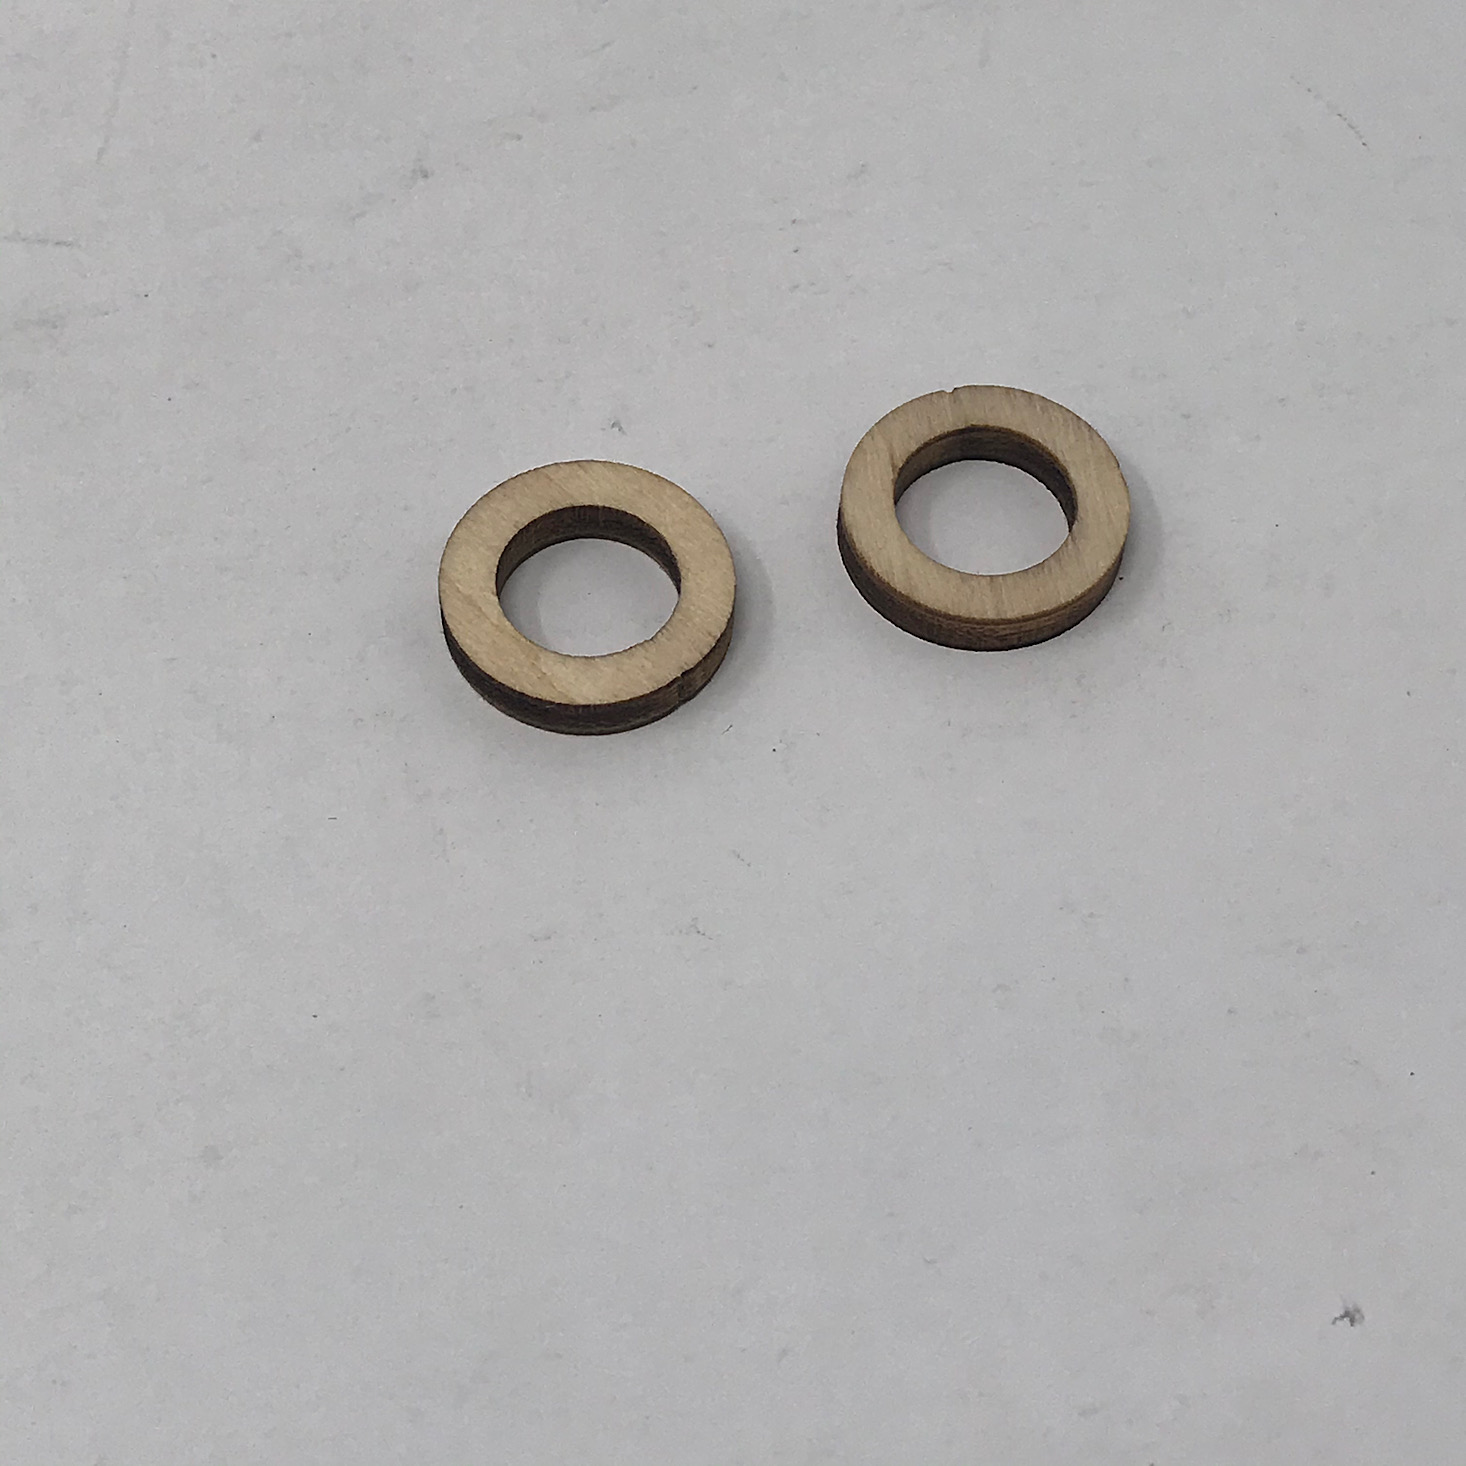
Then it was time to prepare the game tiles. The green and orange stickers went on the pieces with the smaller holes while the blue and red stickers went on the larger holes.

1 of 3
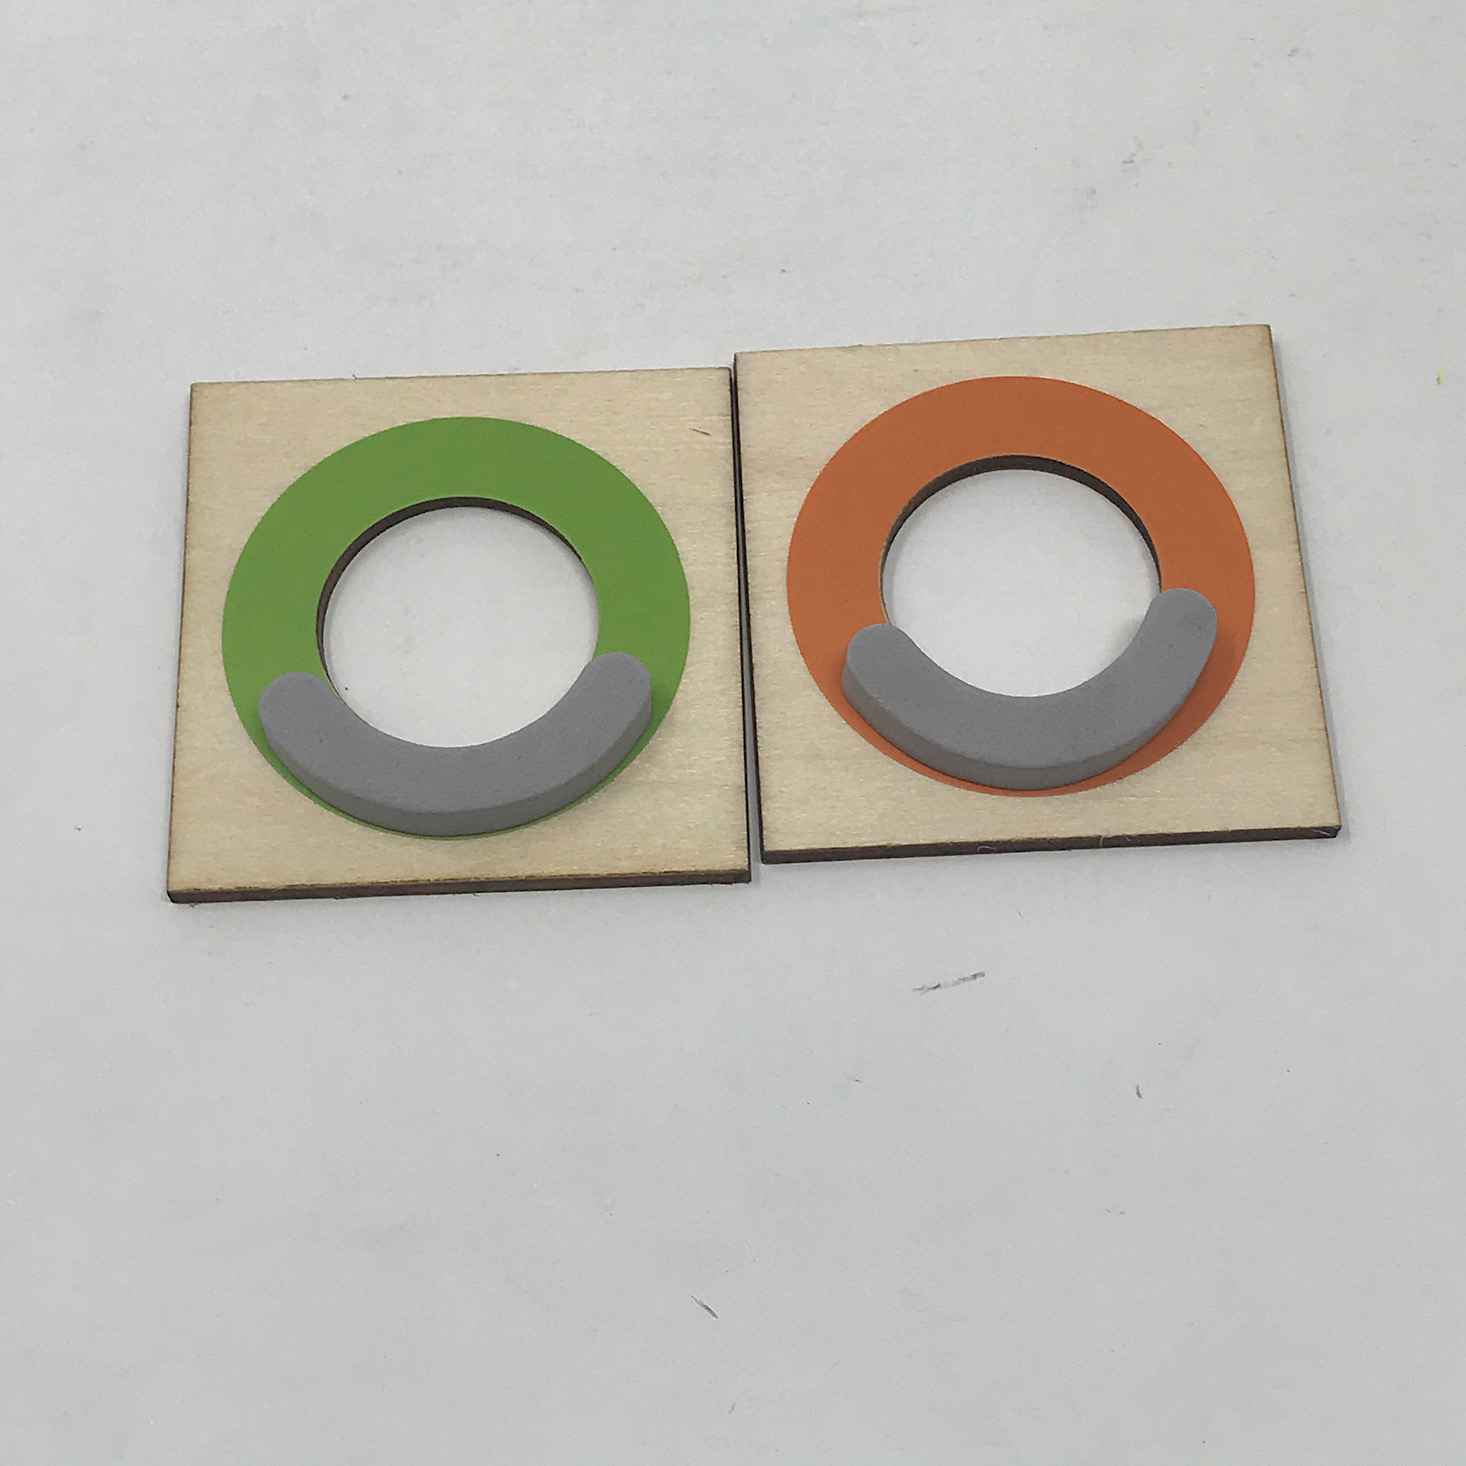
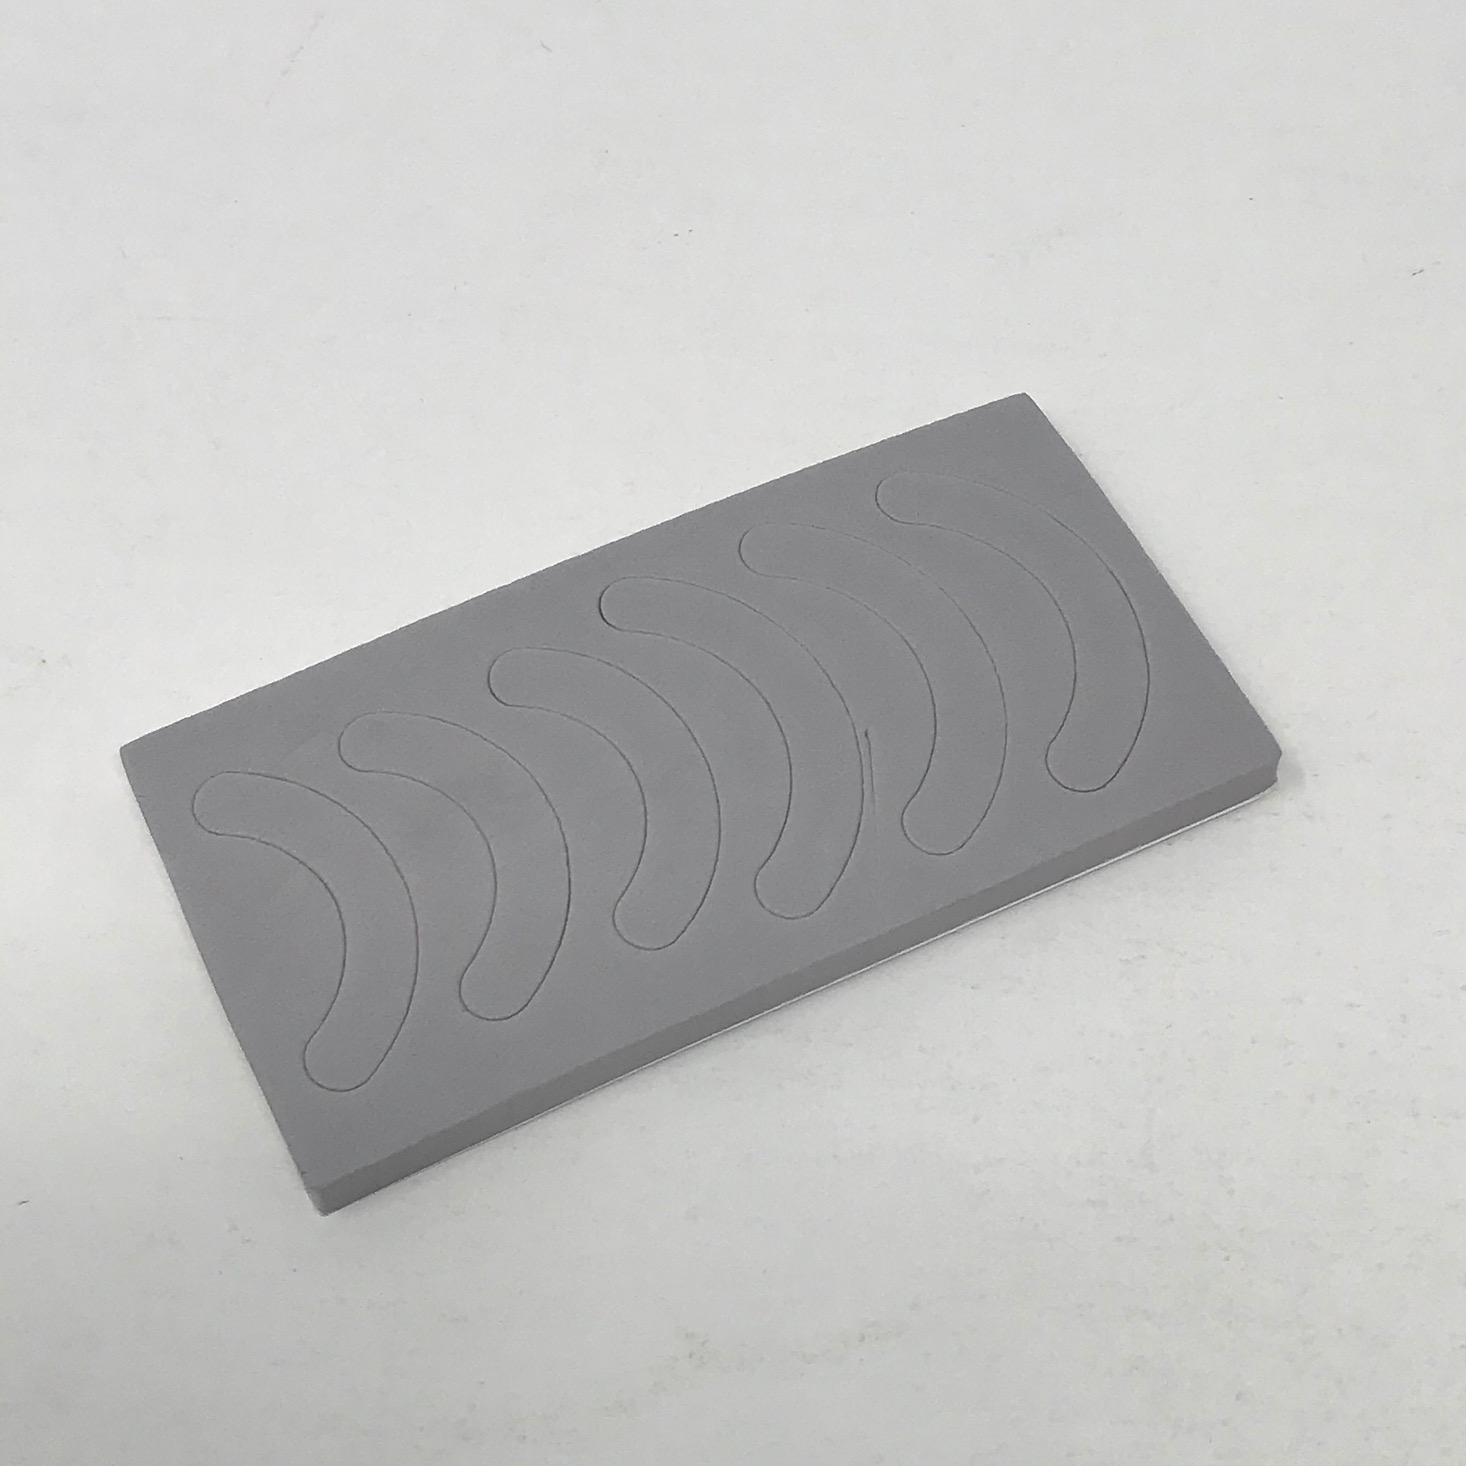
We then added these little foam curves to the bottom of the circles.
1 of 4
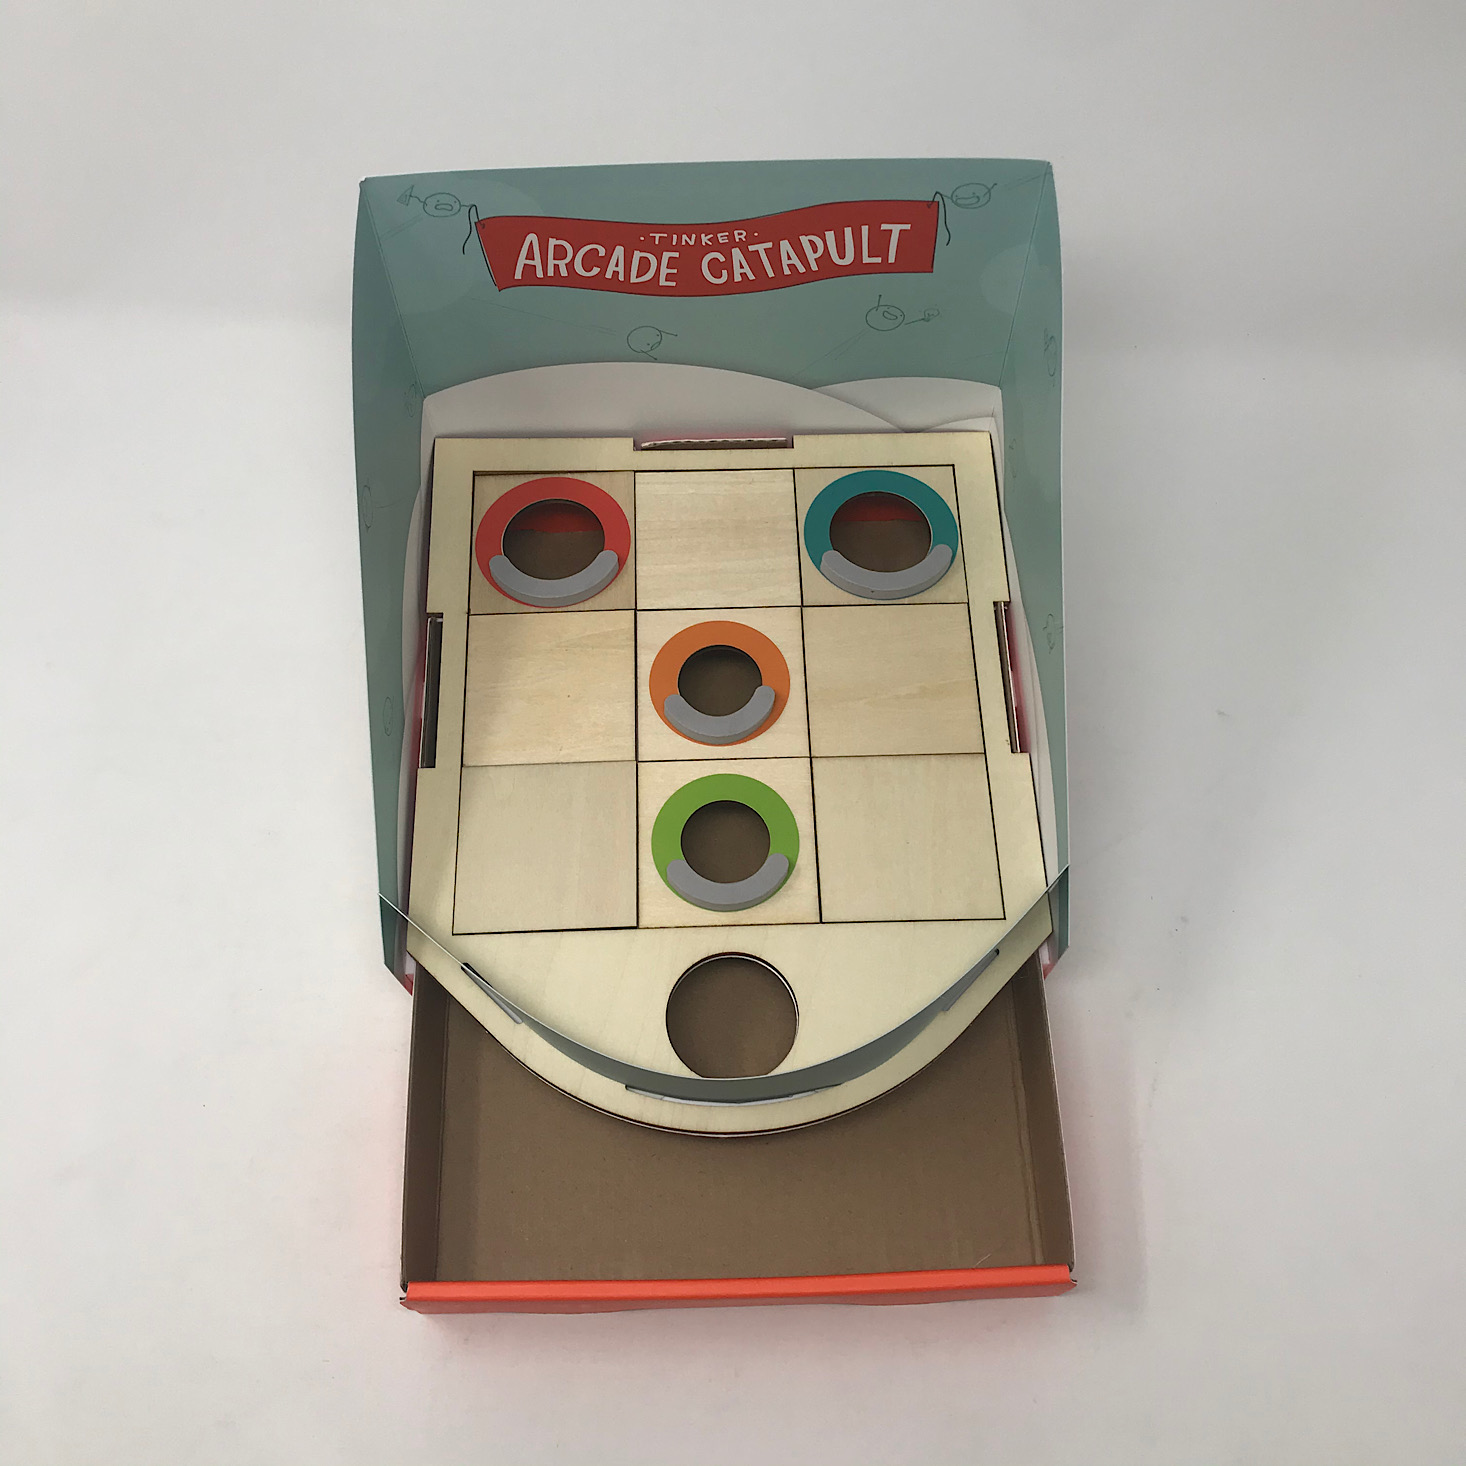
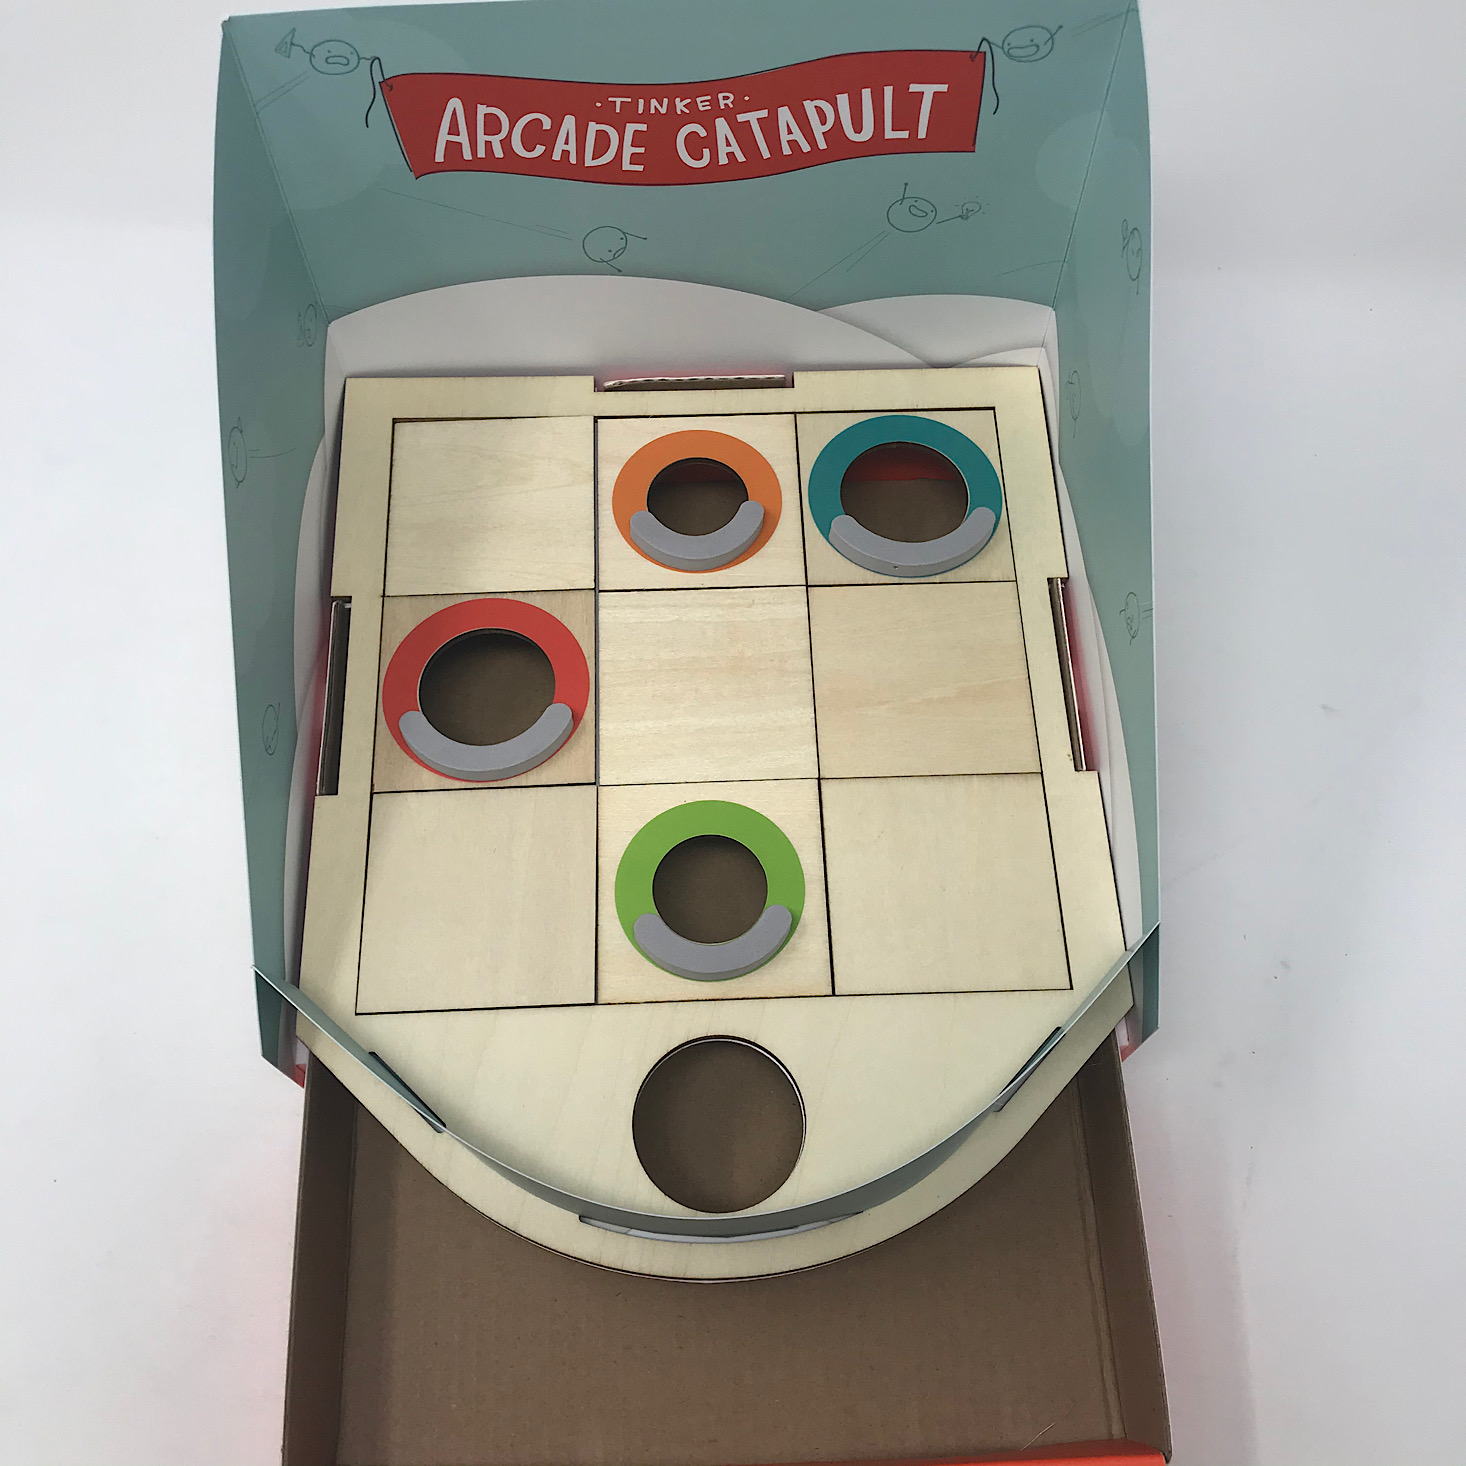
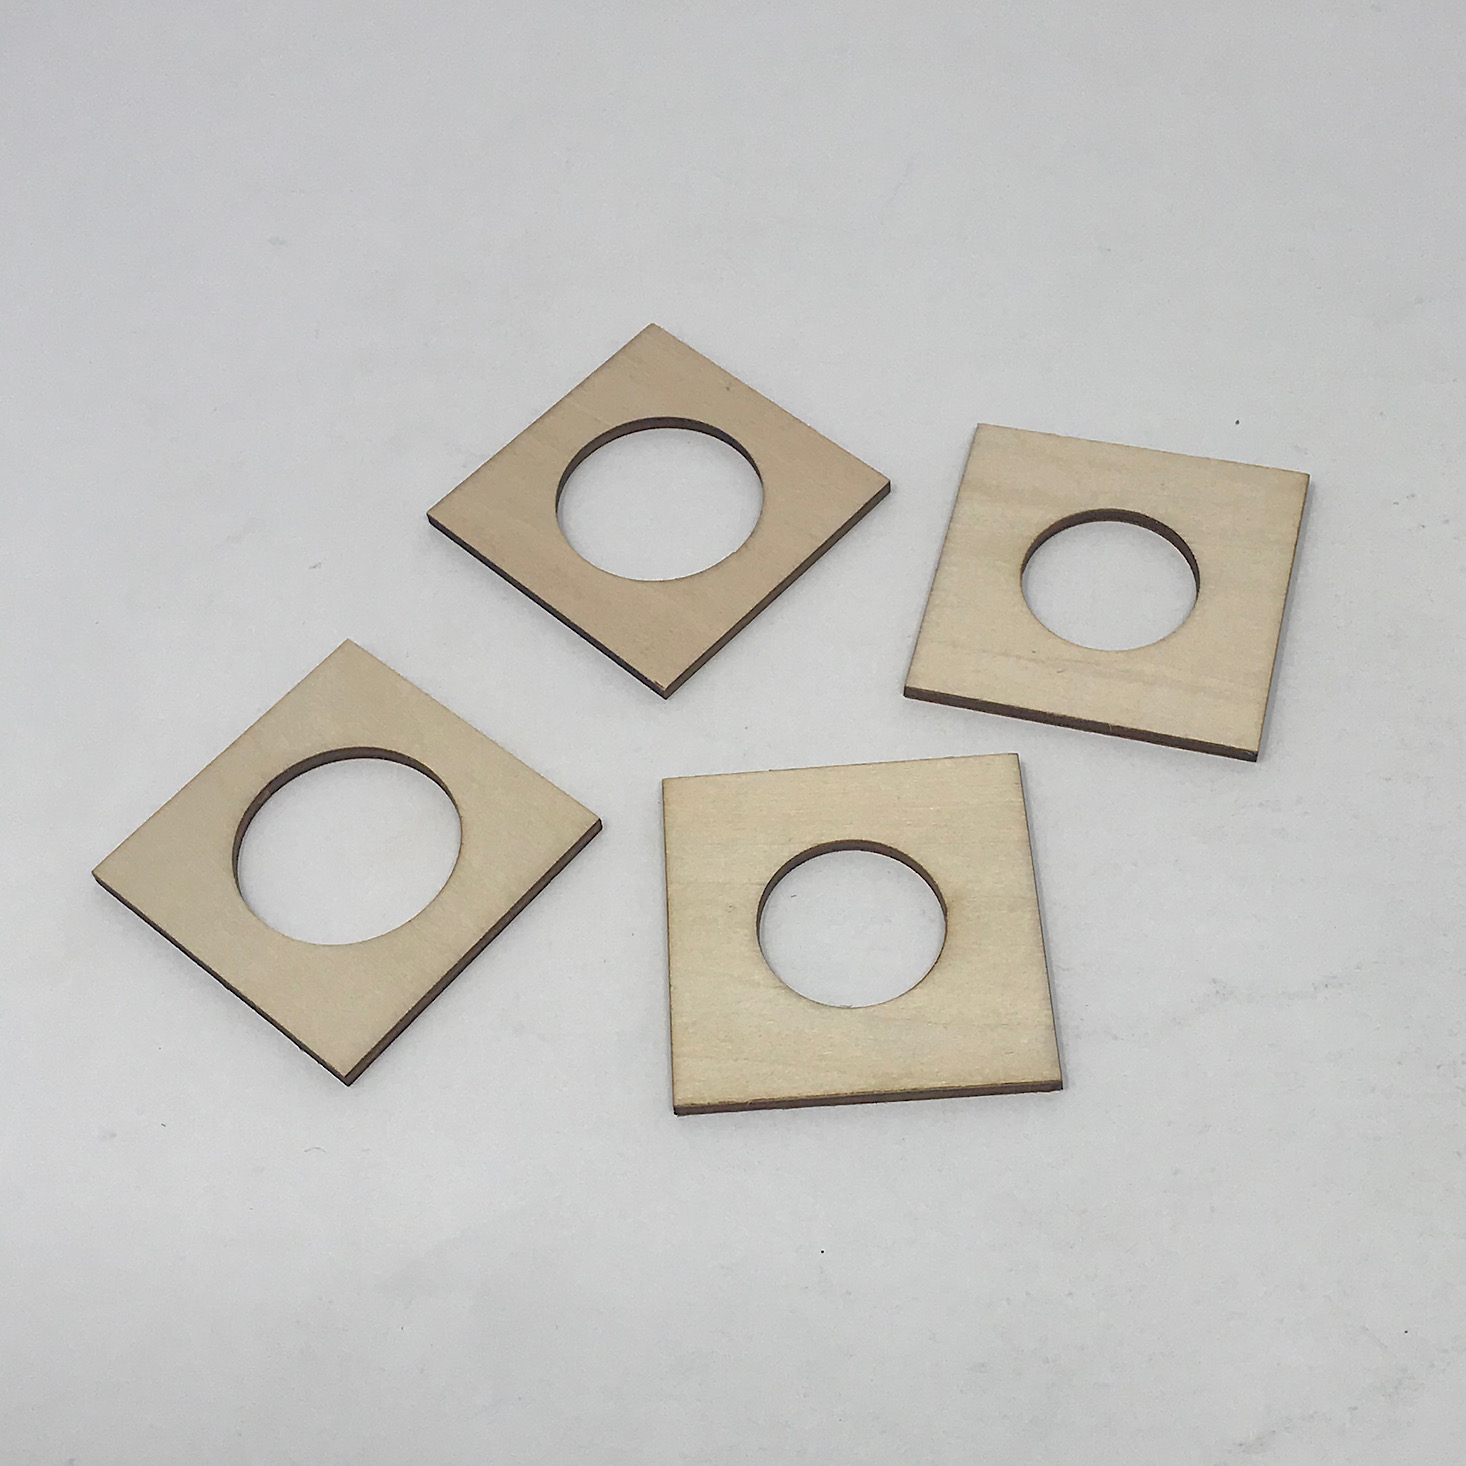
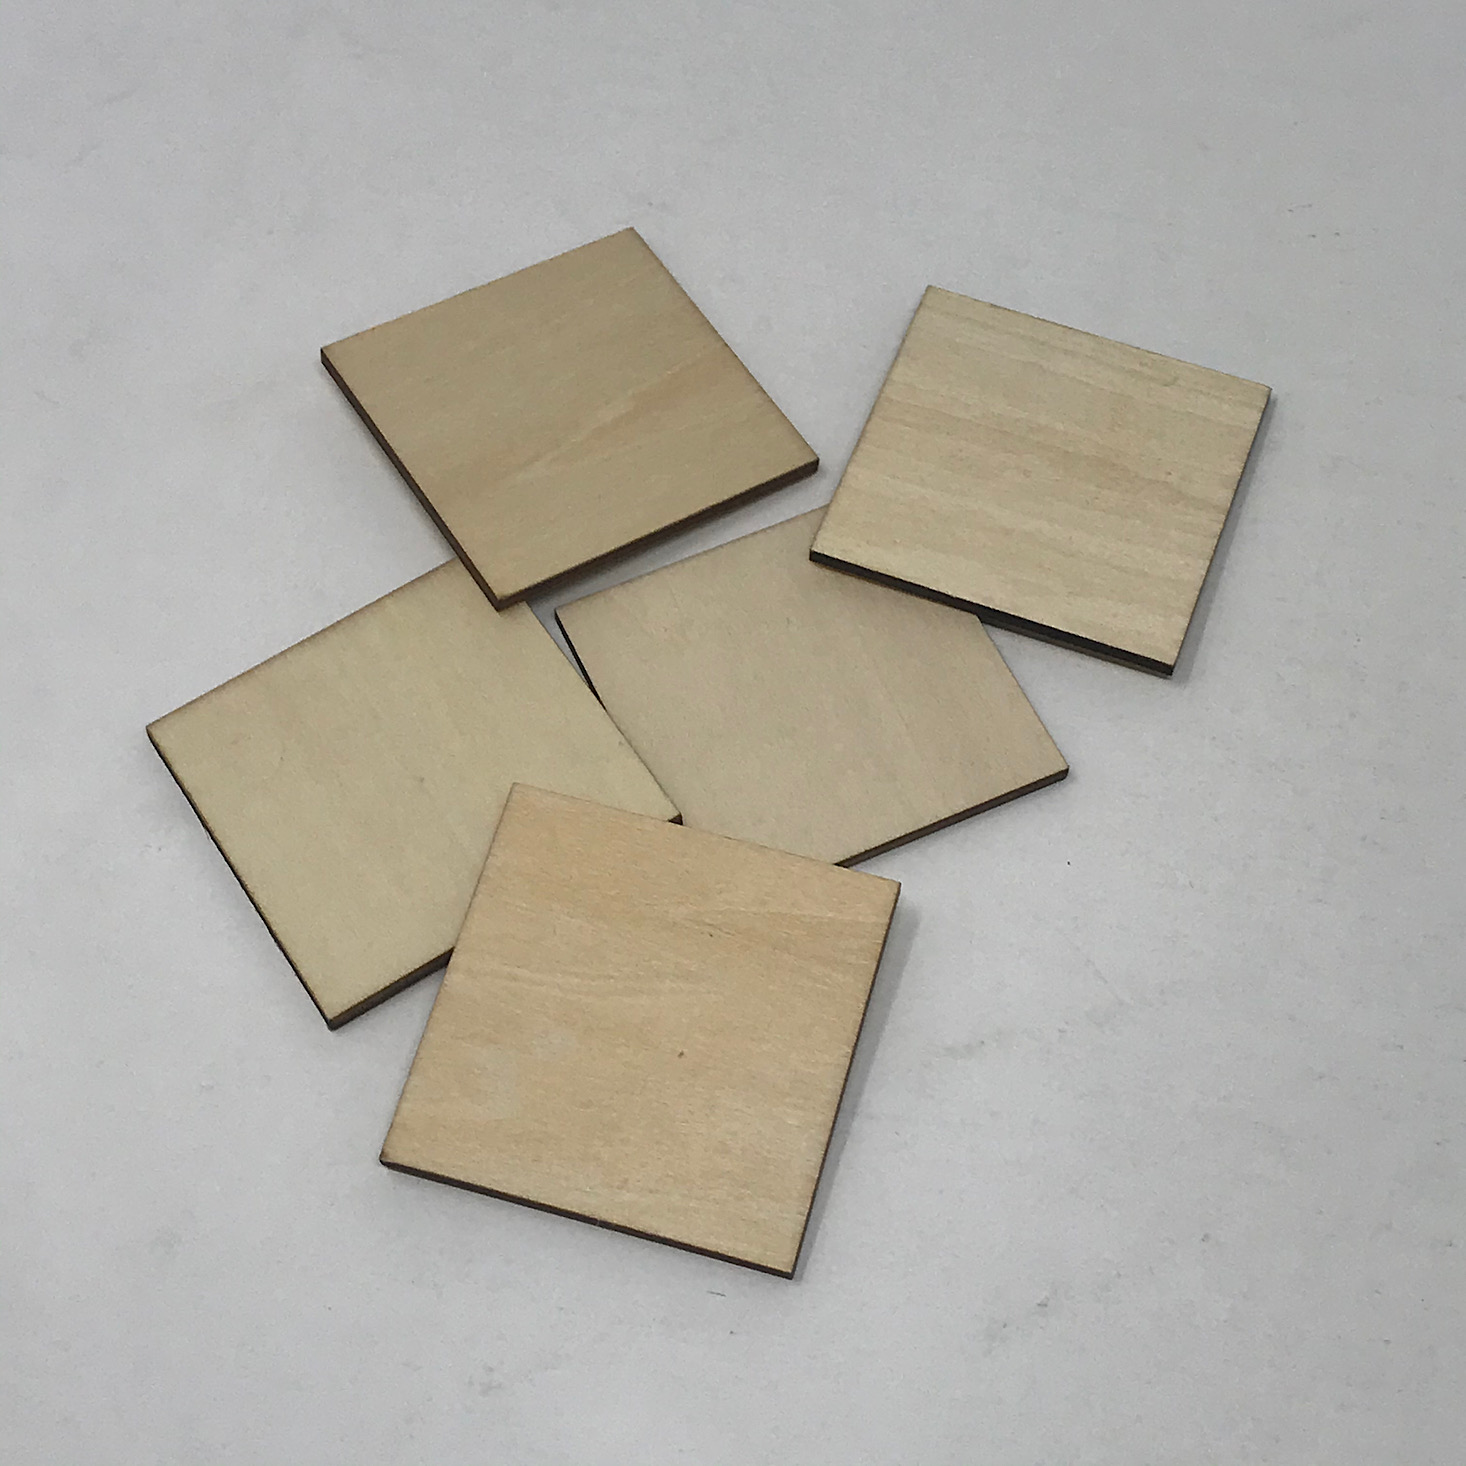
Finally, we added those four squares to our board along with five solid squares to the top and our game board was complete. The coolest thing is that we can move the tiles around whichever way we like to change up our game at any time! This whole board was so simple to make and the directions made it incredibly easy to follow along with.
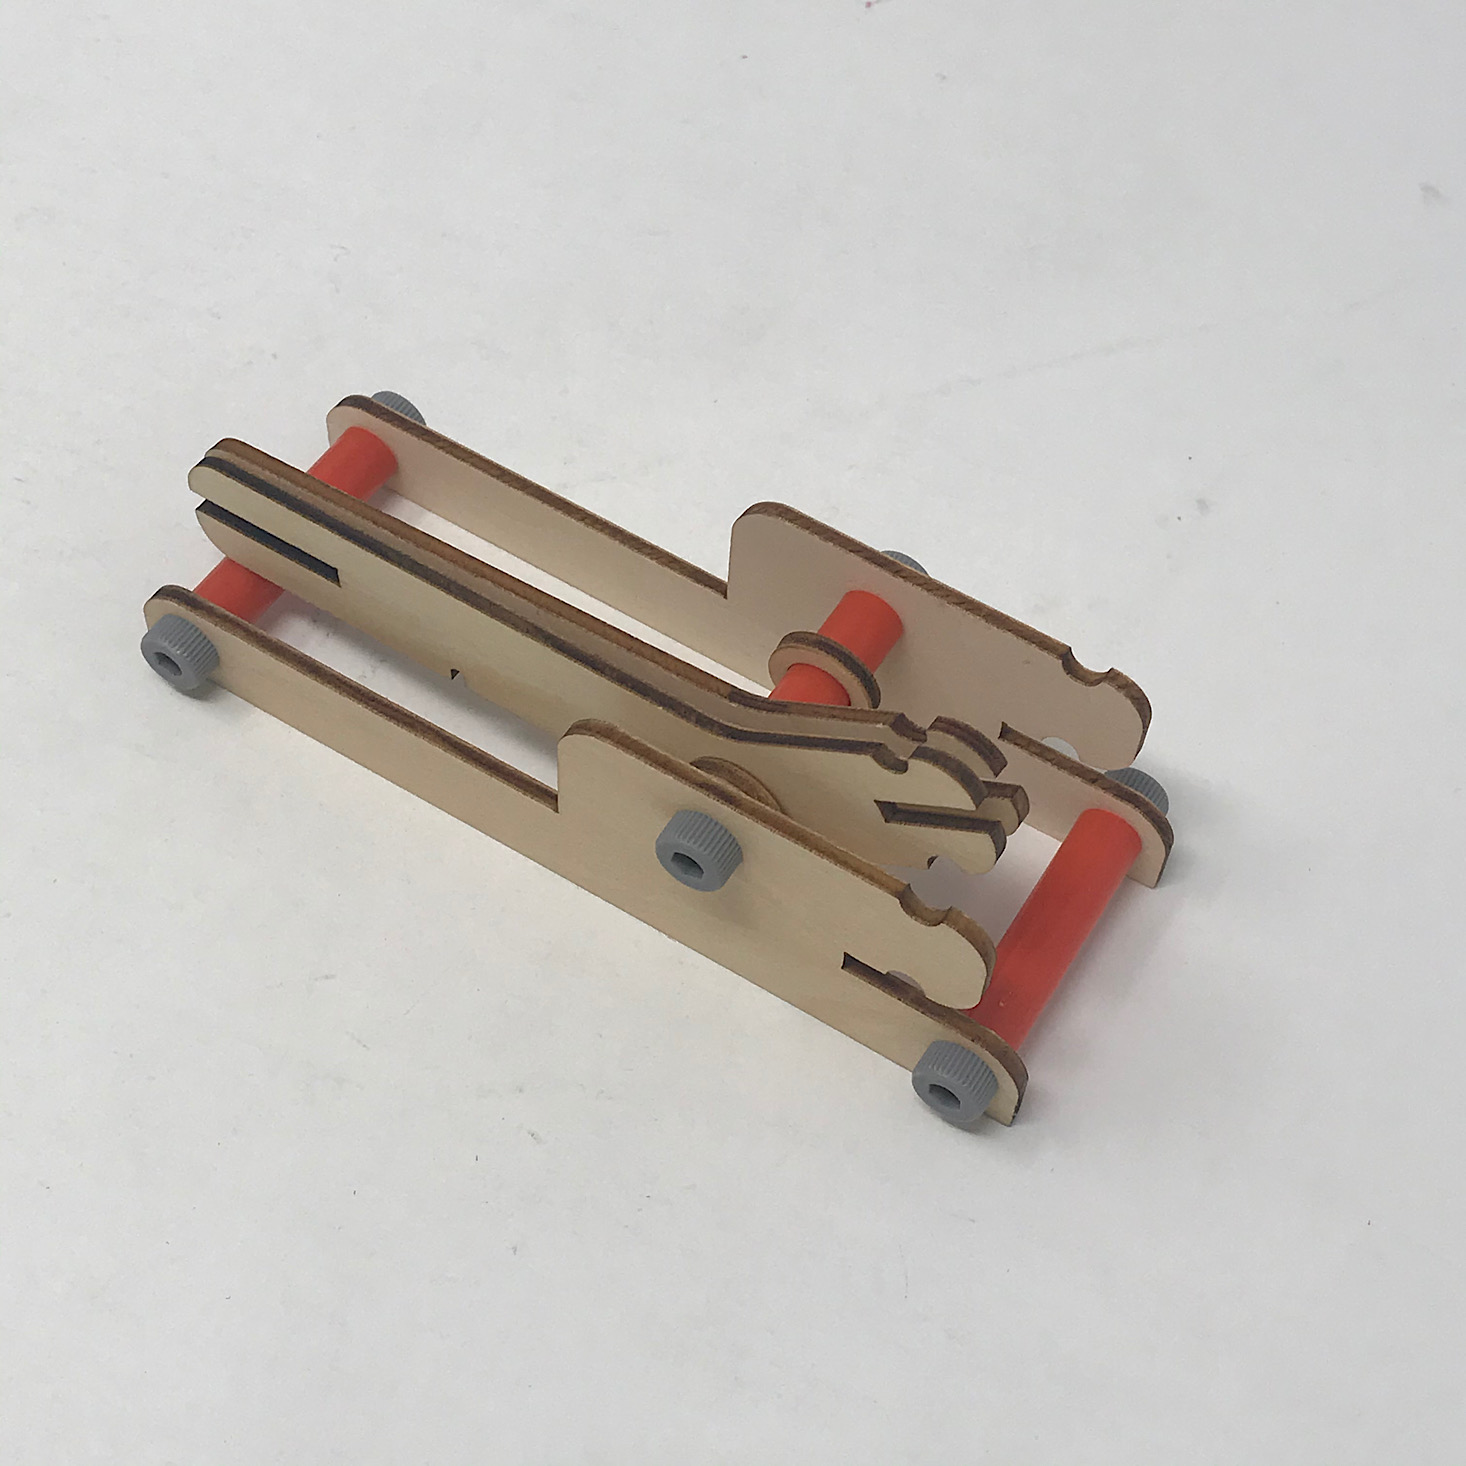
Part B: Build the Catapult
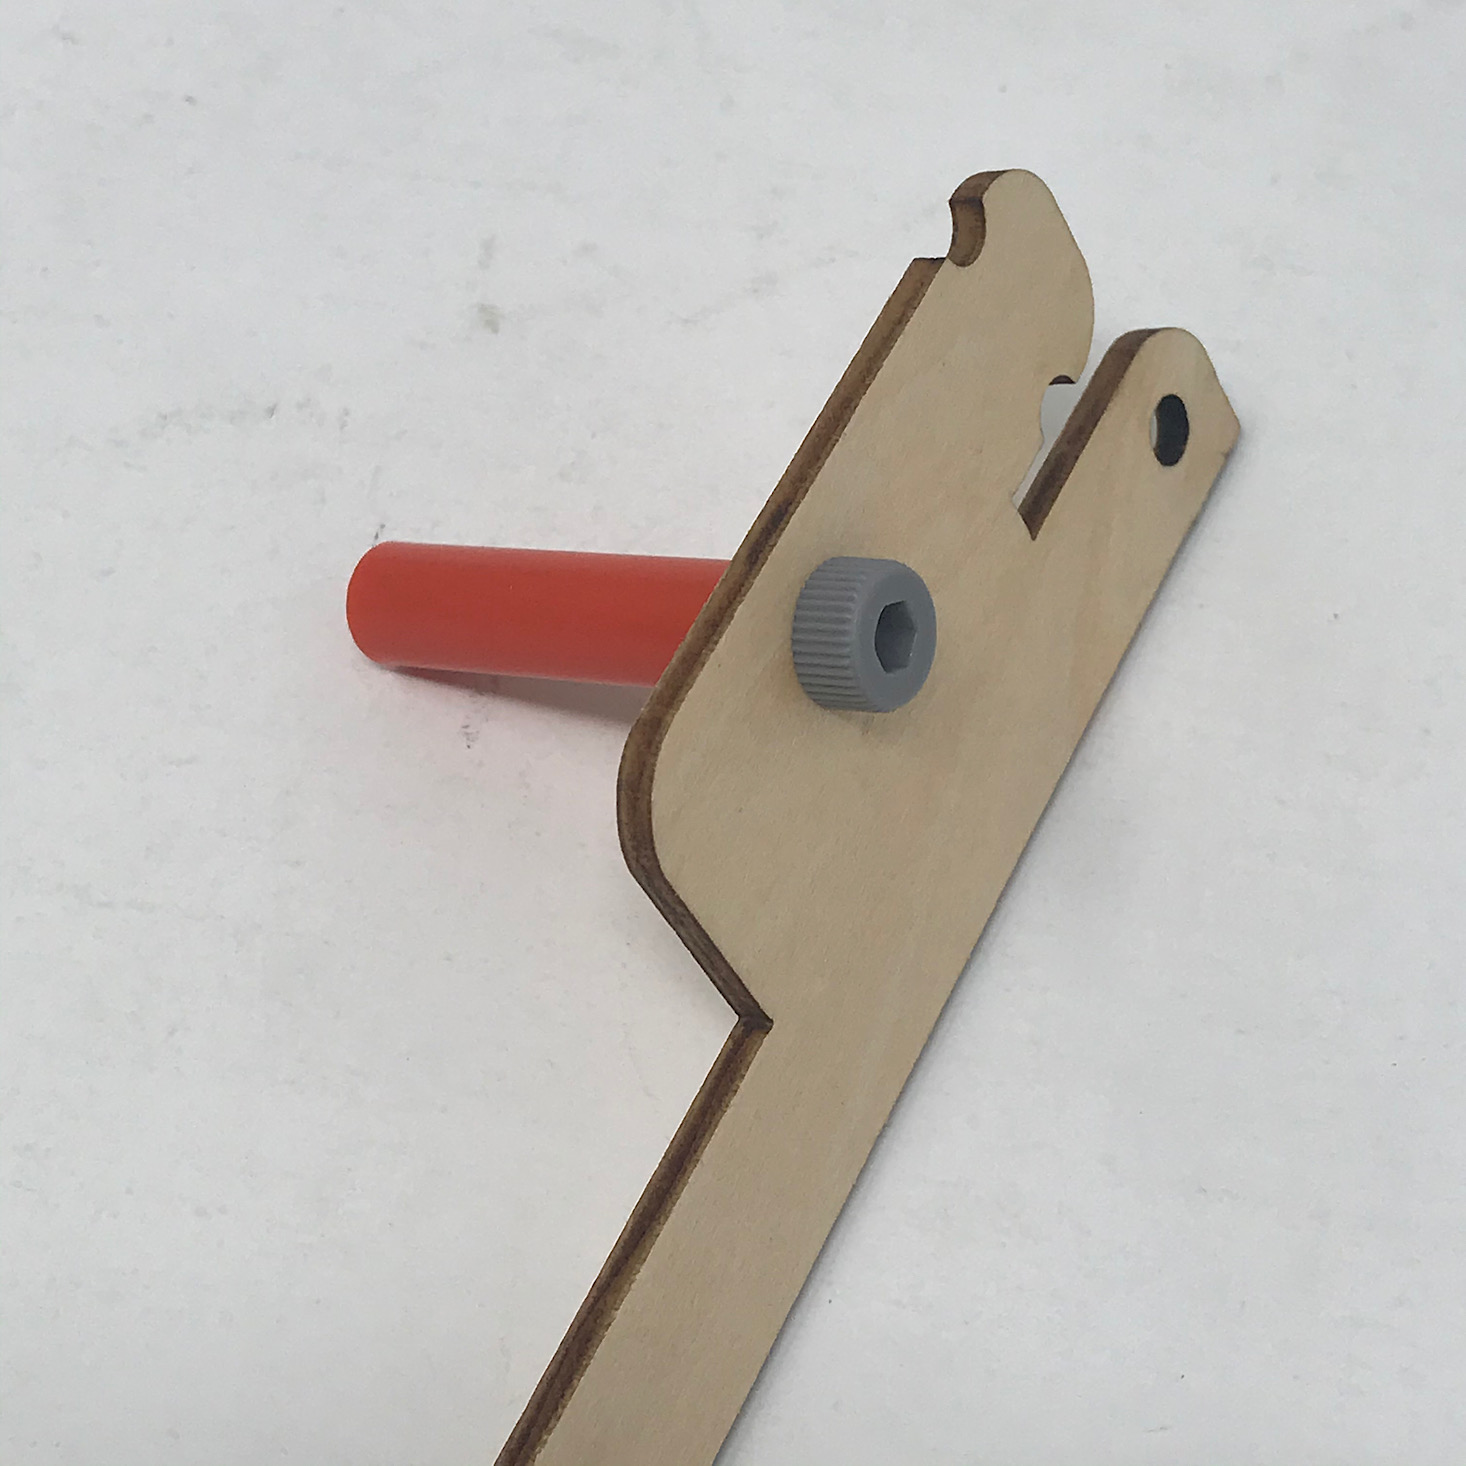
1 of 3
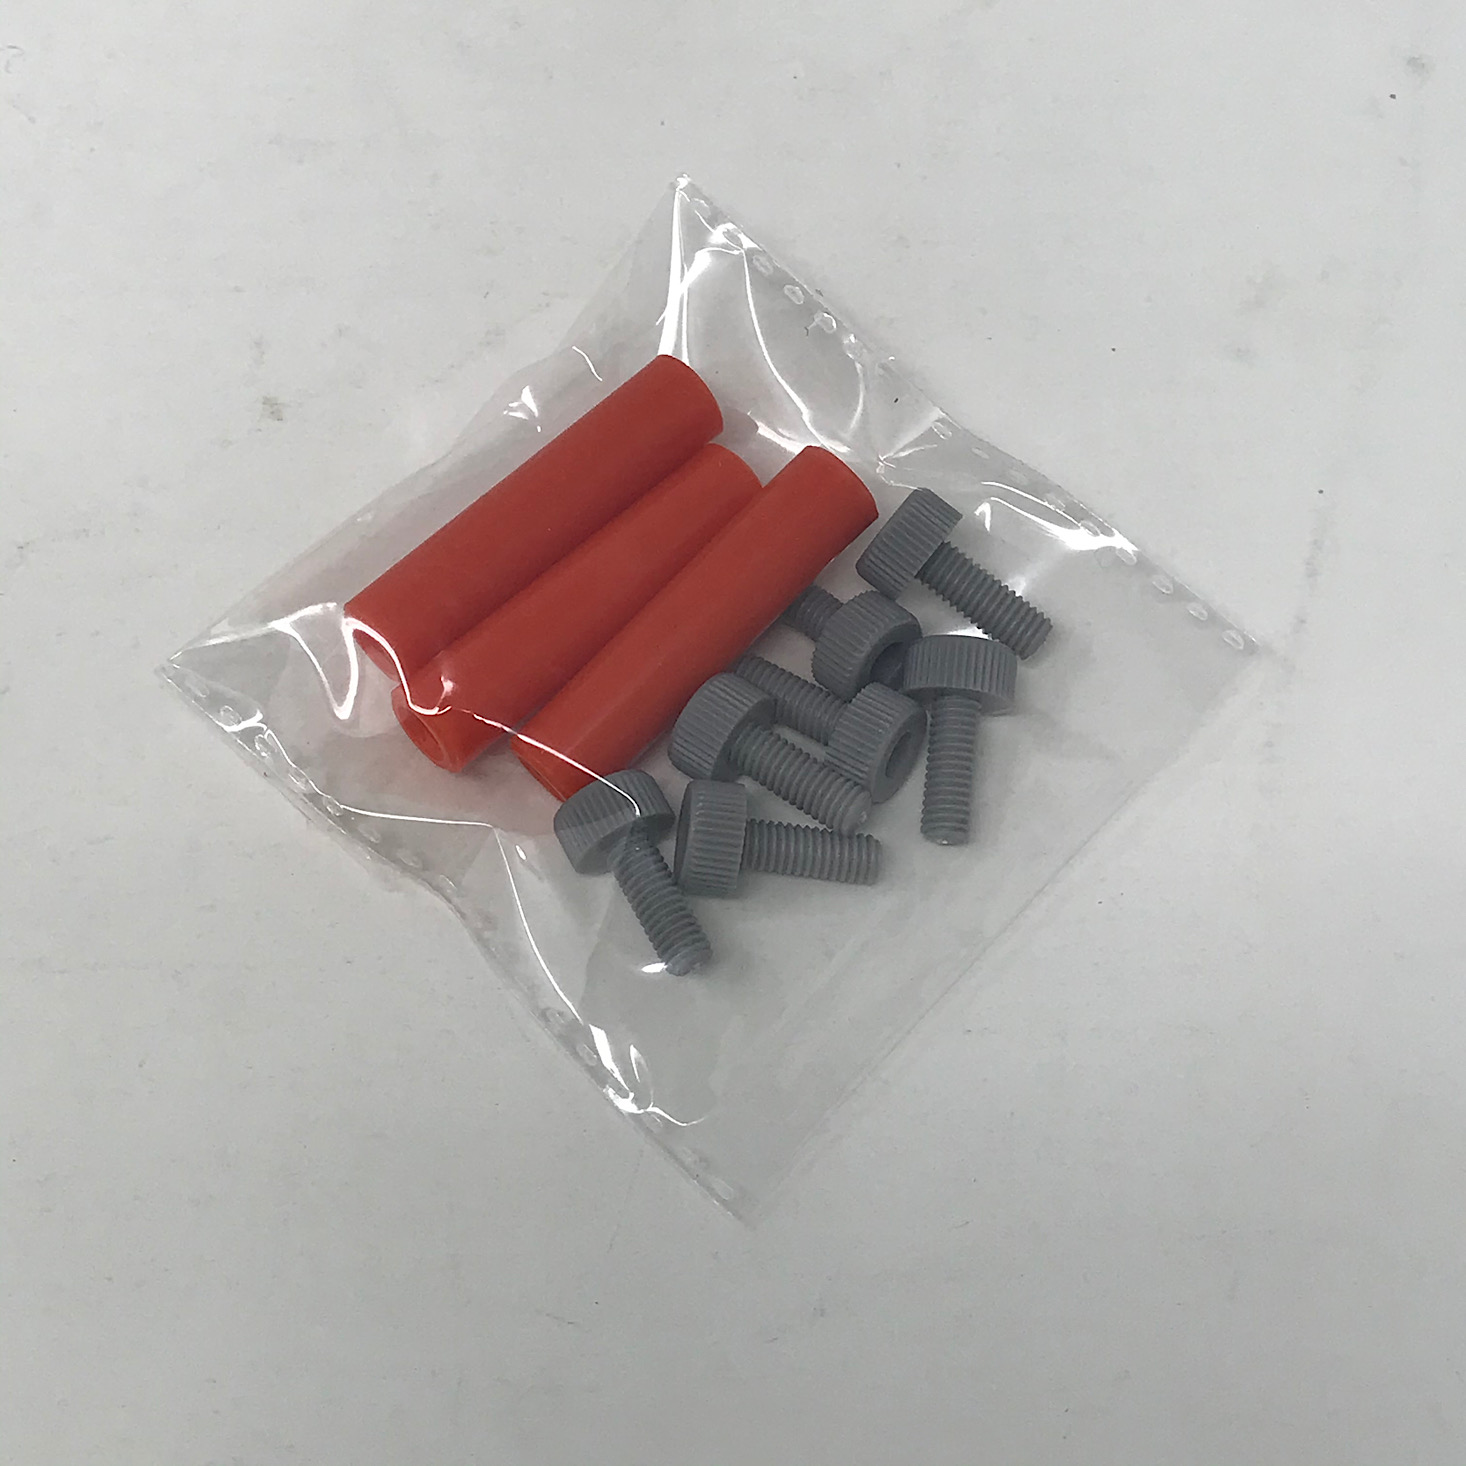
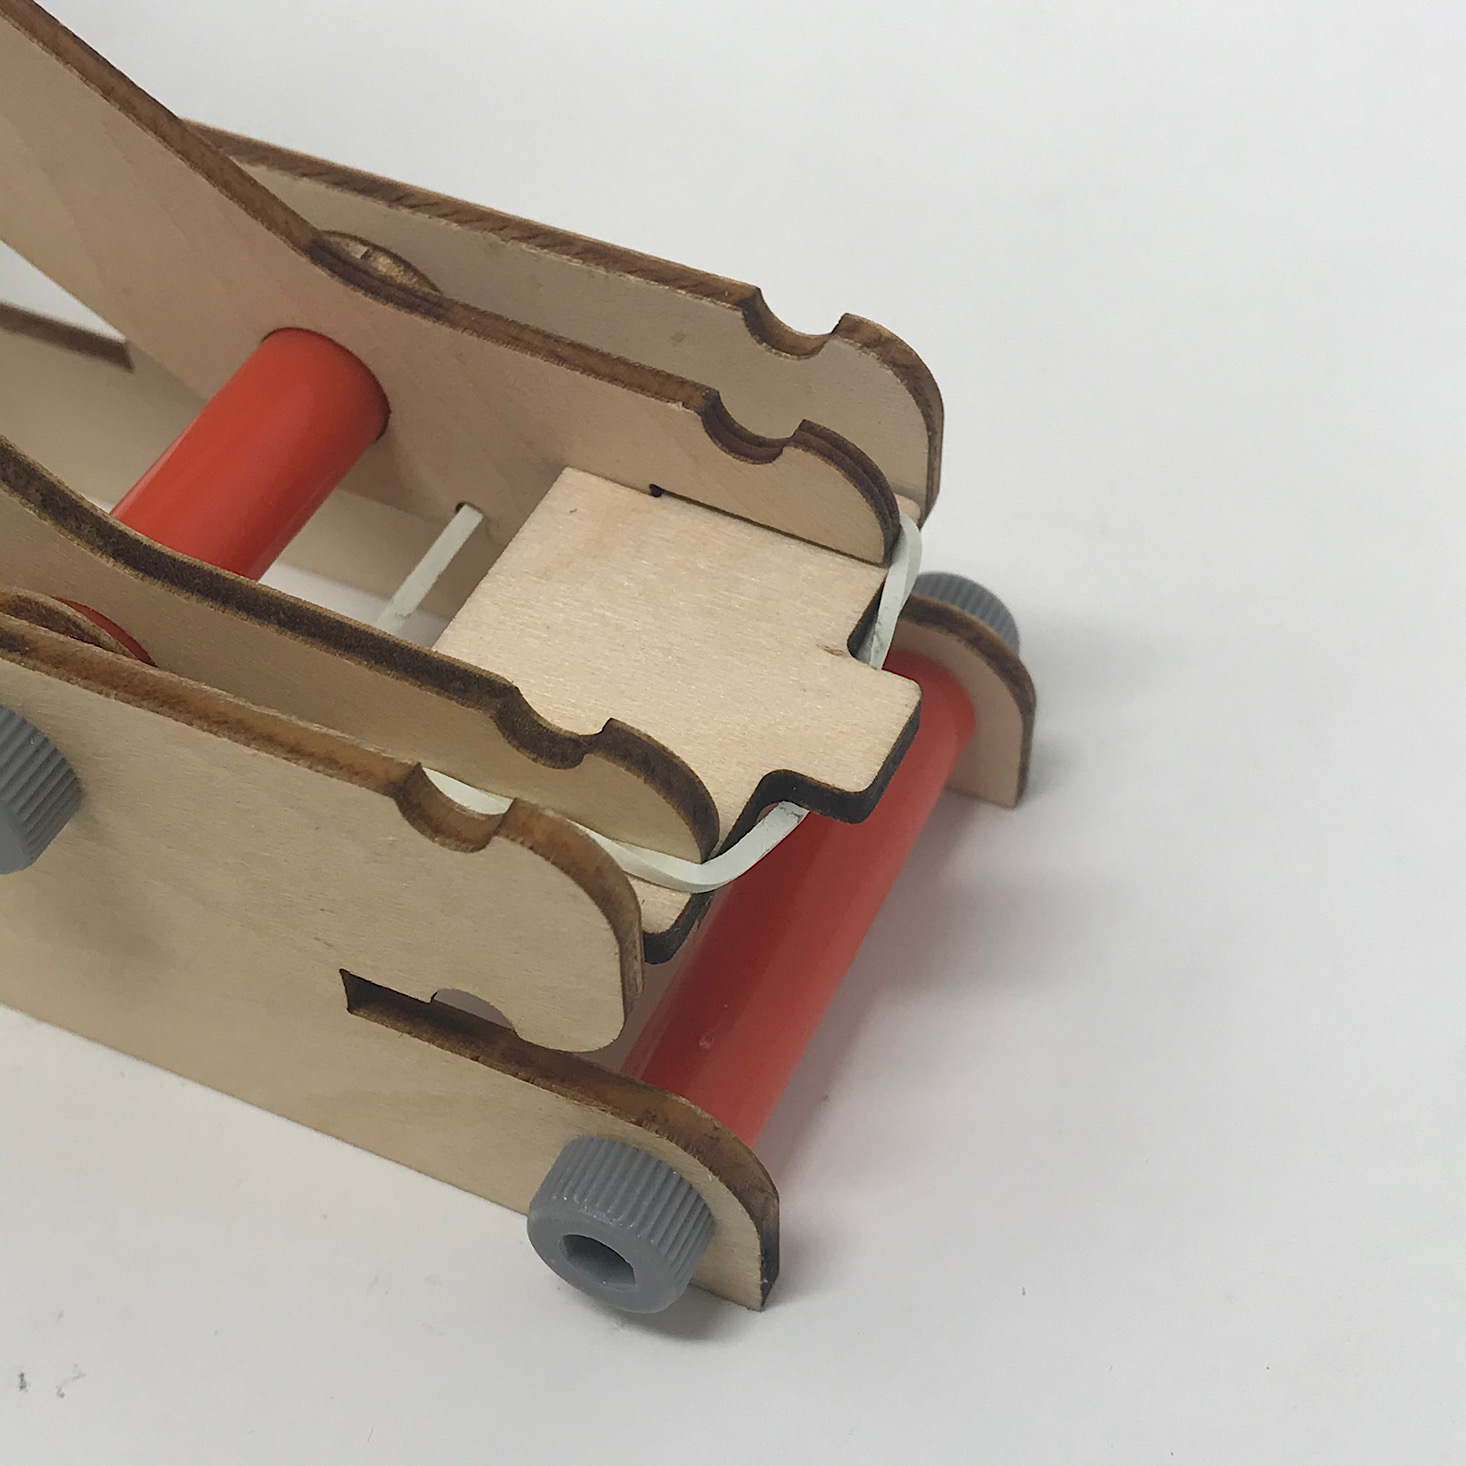
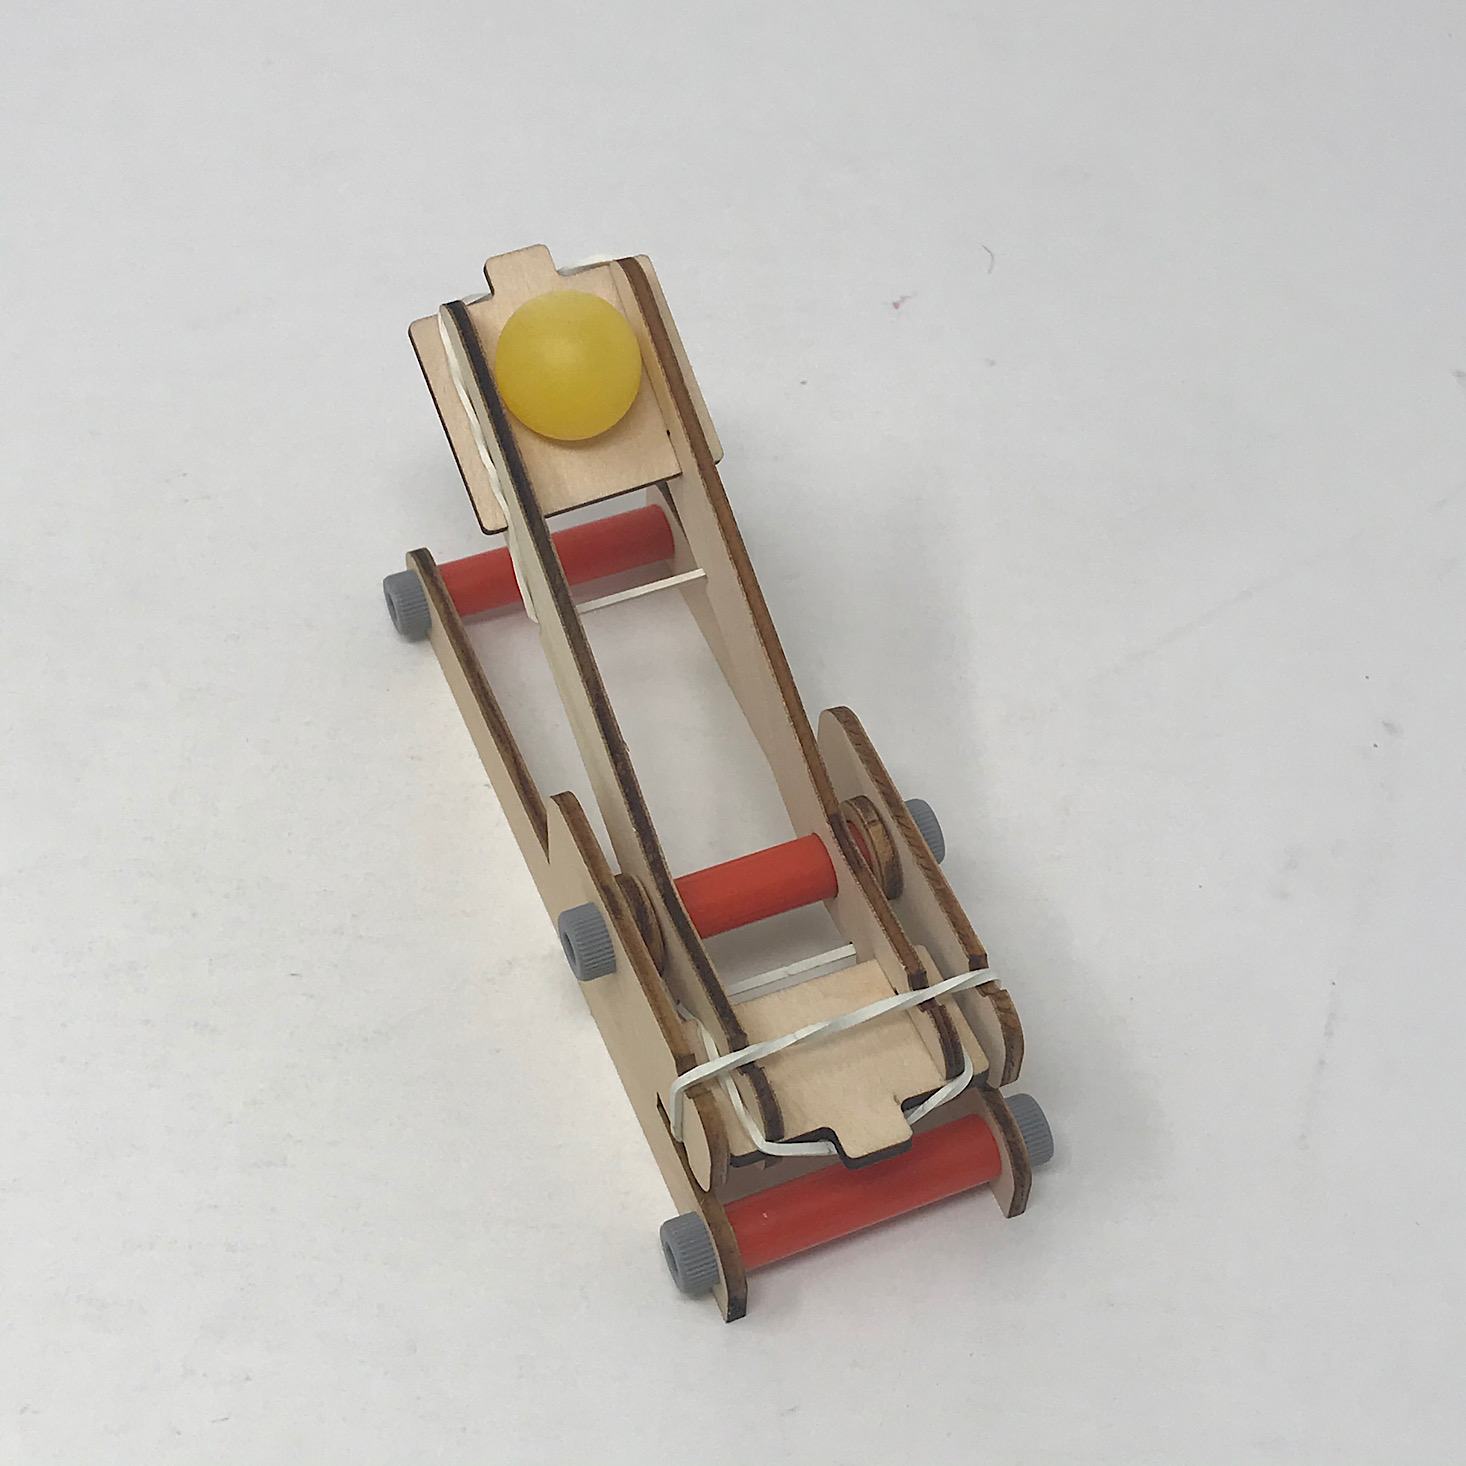
Now it was time to build the catapult. First, we added a spacer and bolt to one of these side pieces.


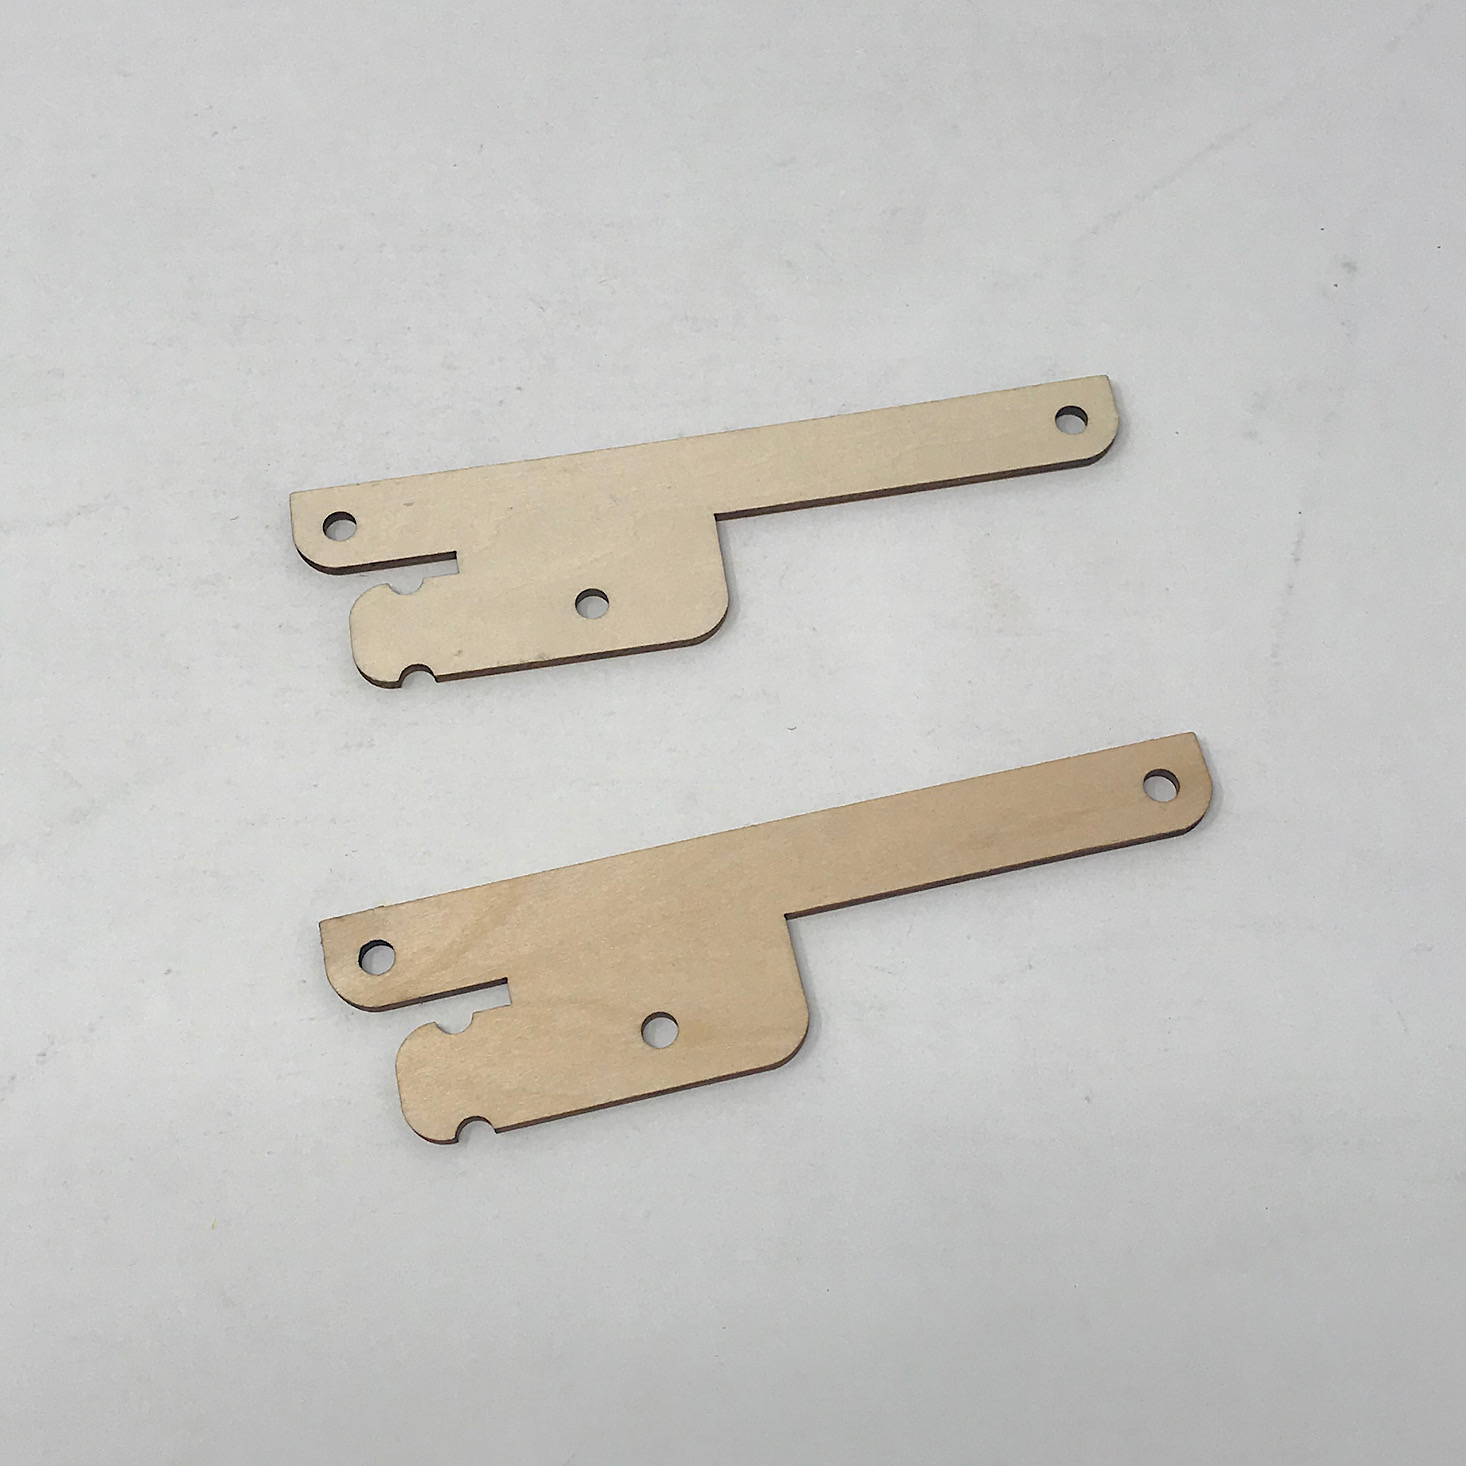
1 of 3
Next, I added a washer, two launcher pieces, and another washer and used a bolt to secure the other arm to the other side of our spacer to sandwich it all in.
1 of 2
Then we added the remaining two spacers to both ends using the rest of the bolts and our catapult base was complete.
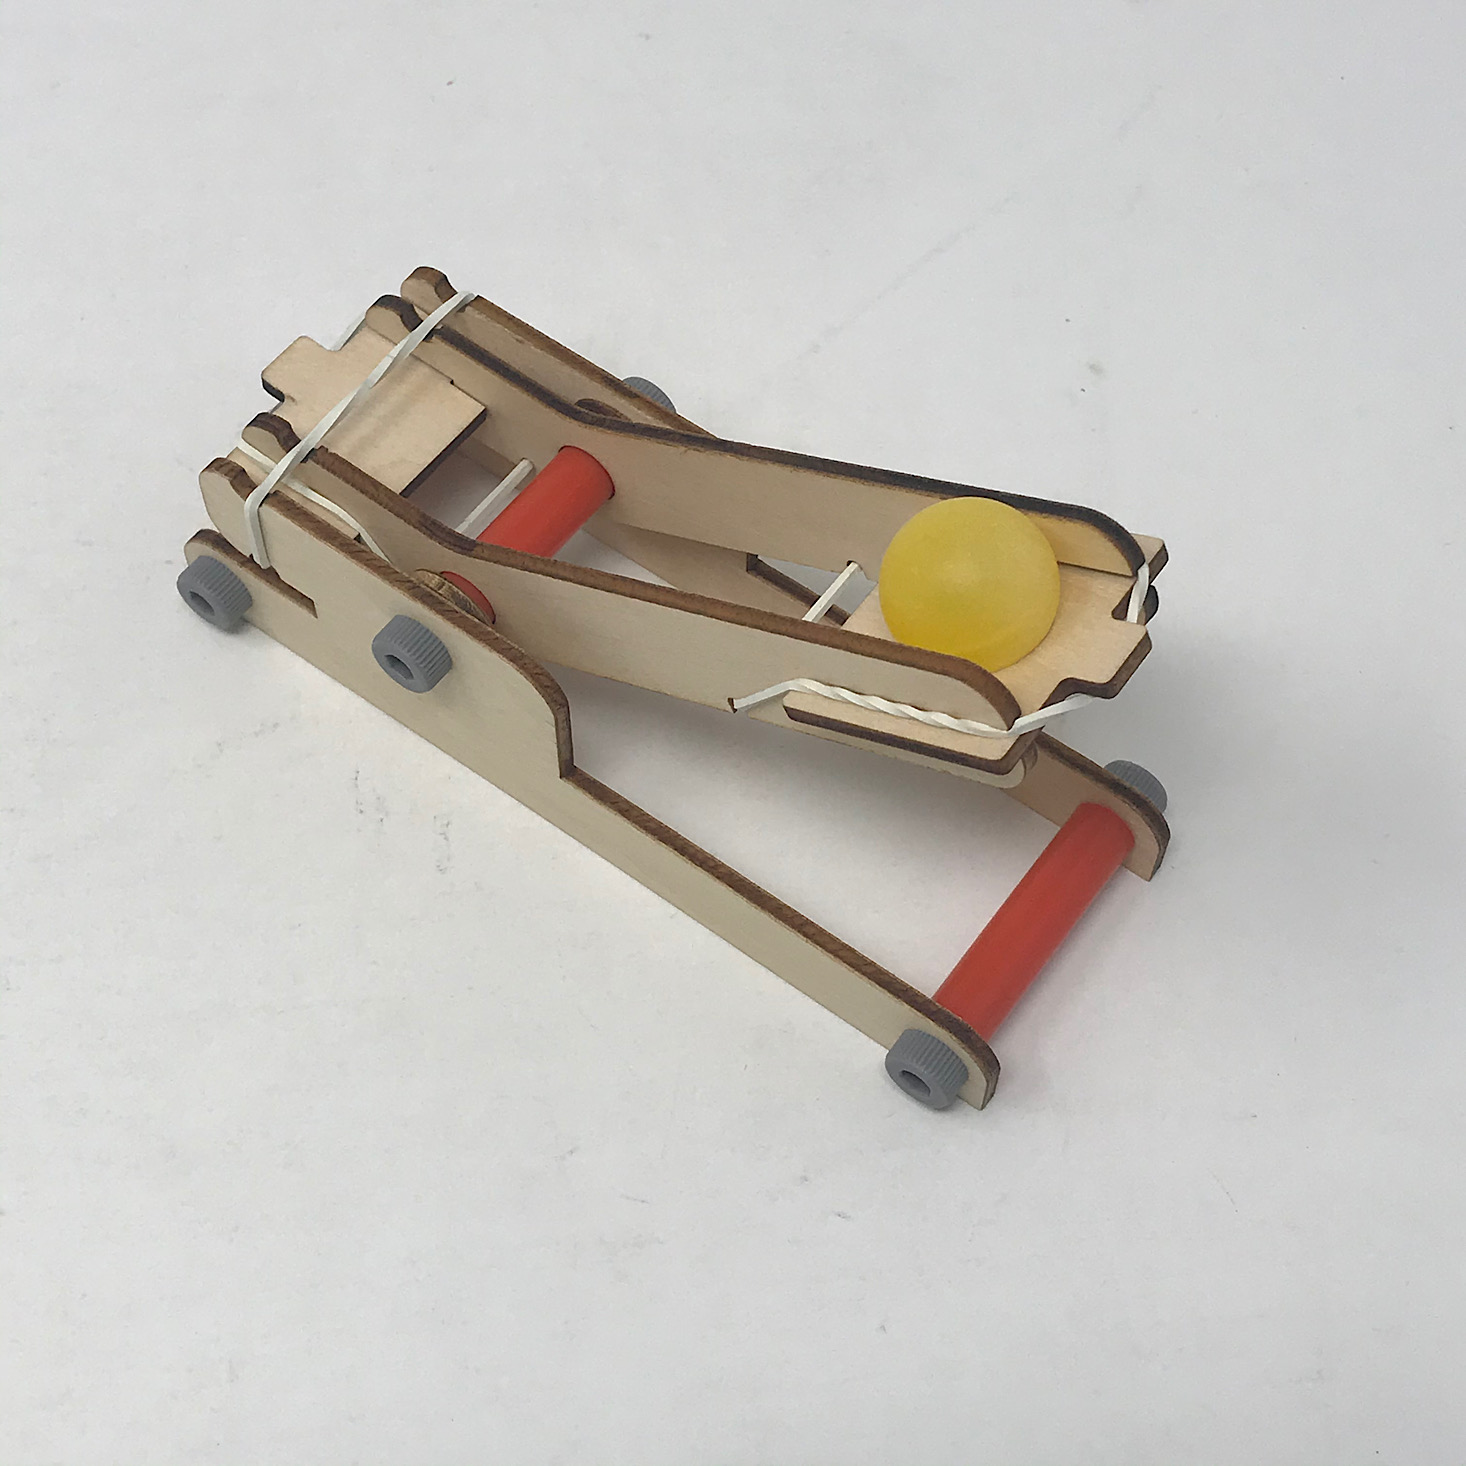
1 of 4
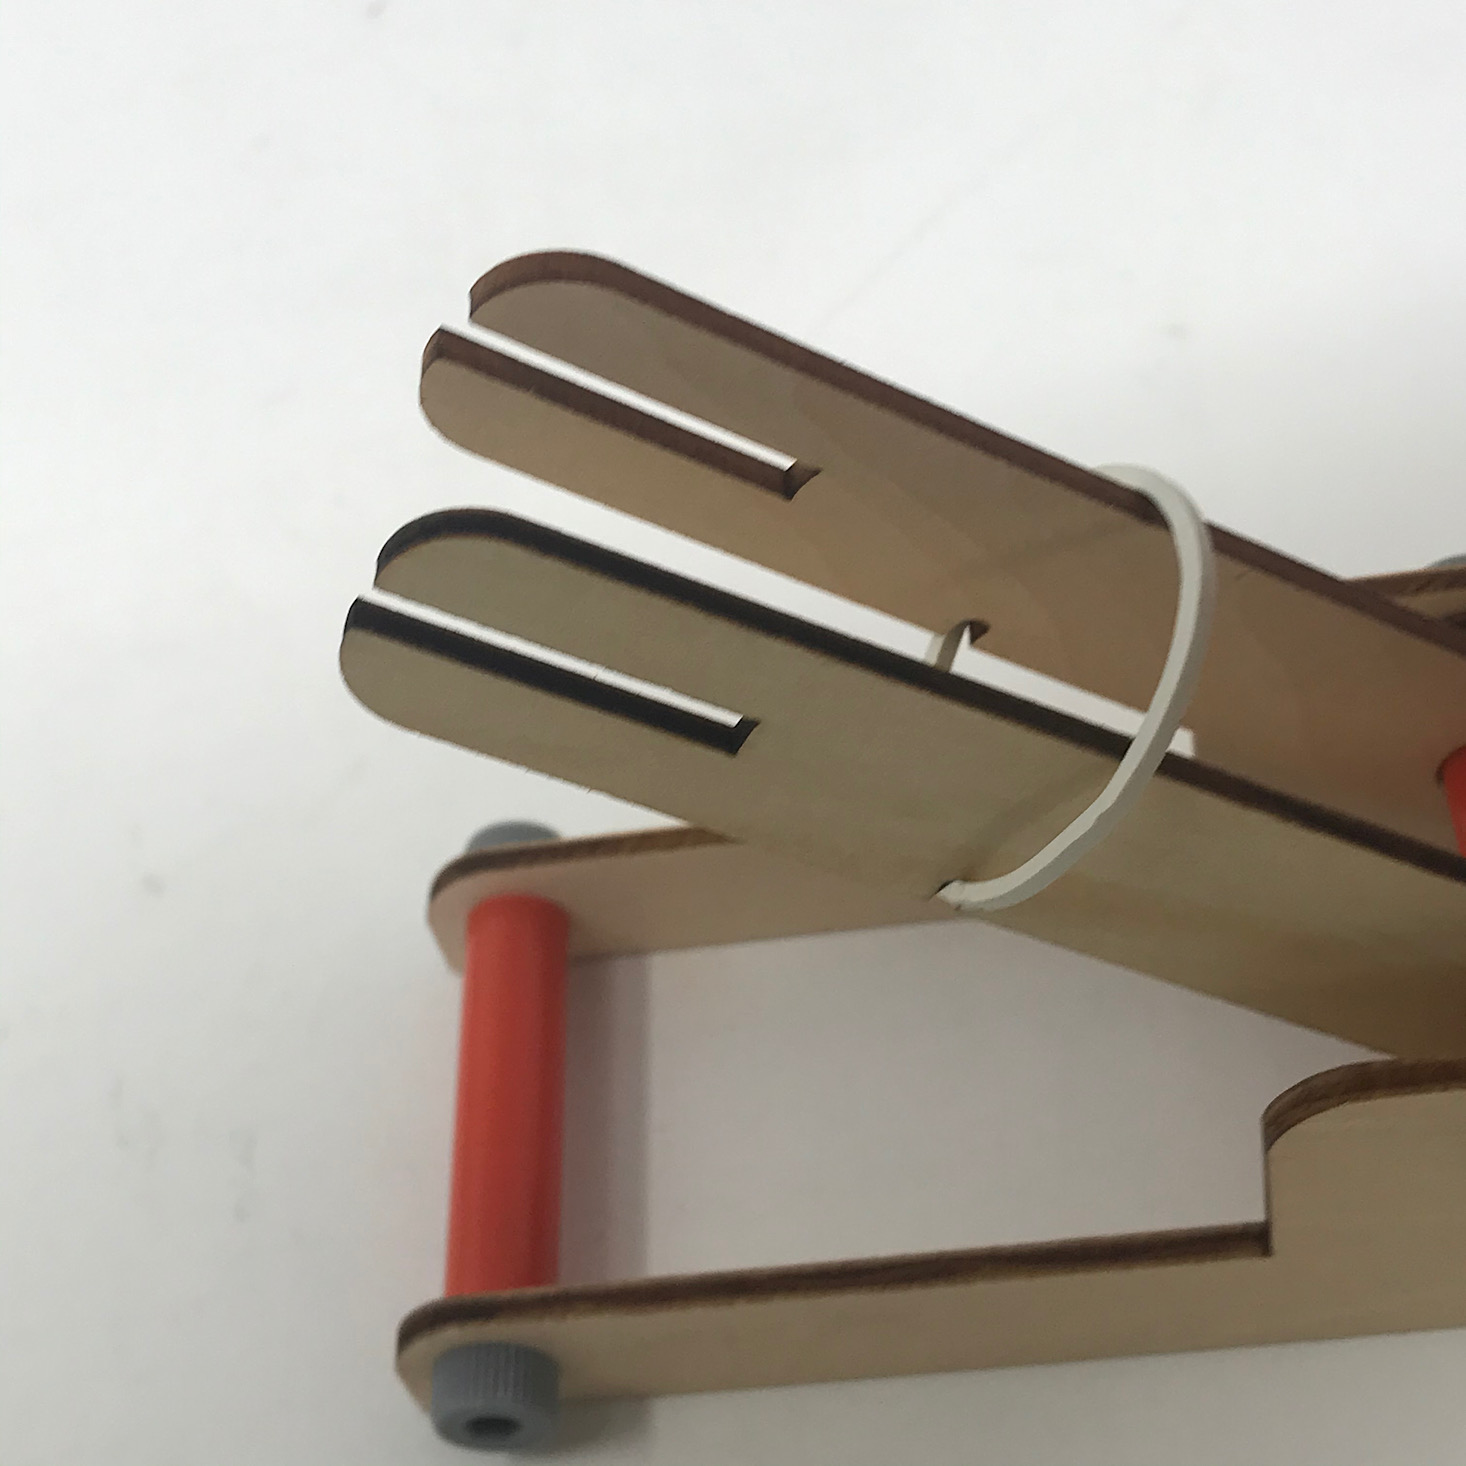

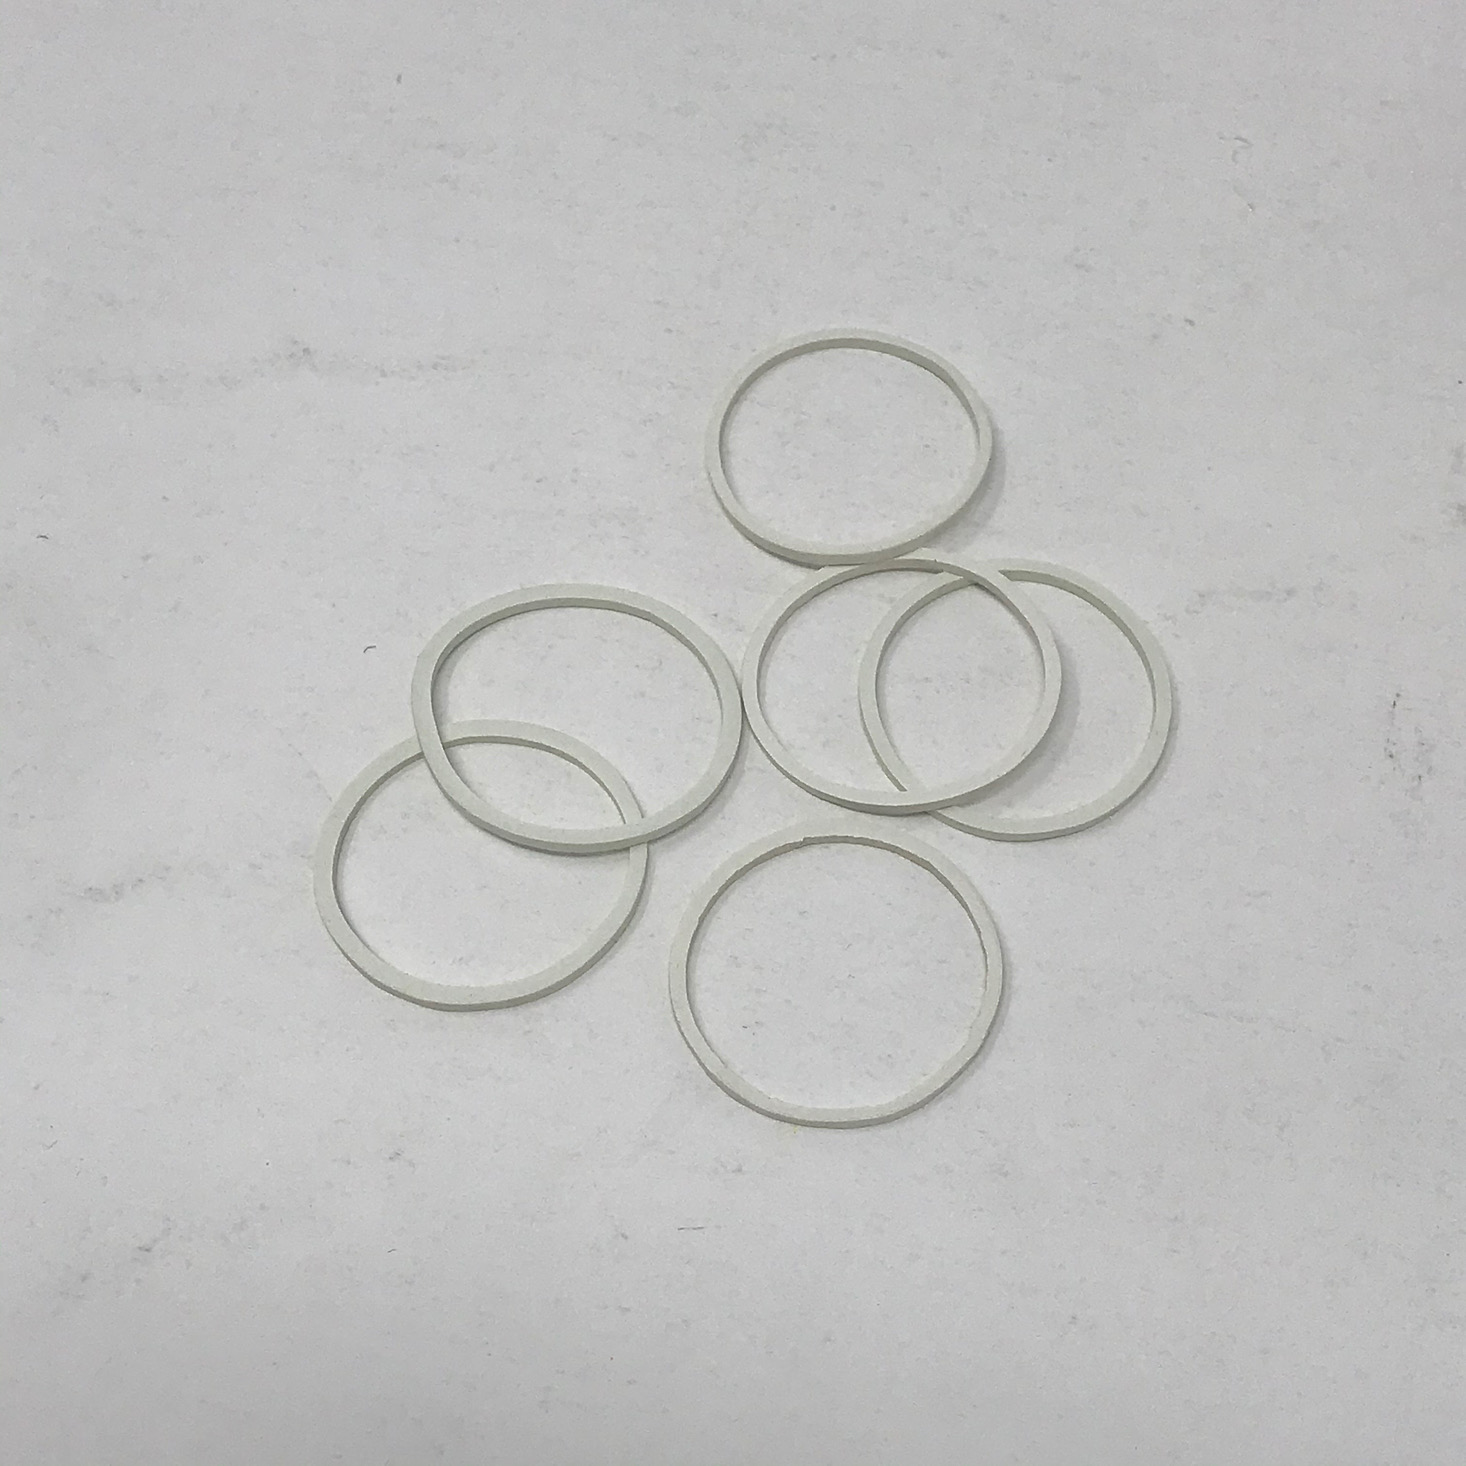
Then I put a rubber band around the launcher pieces and added this larger brace to the slots.
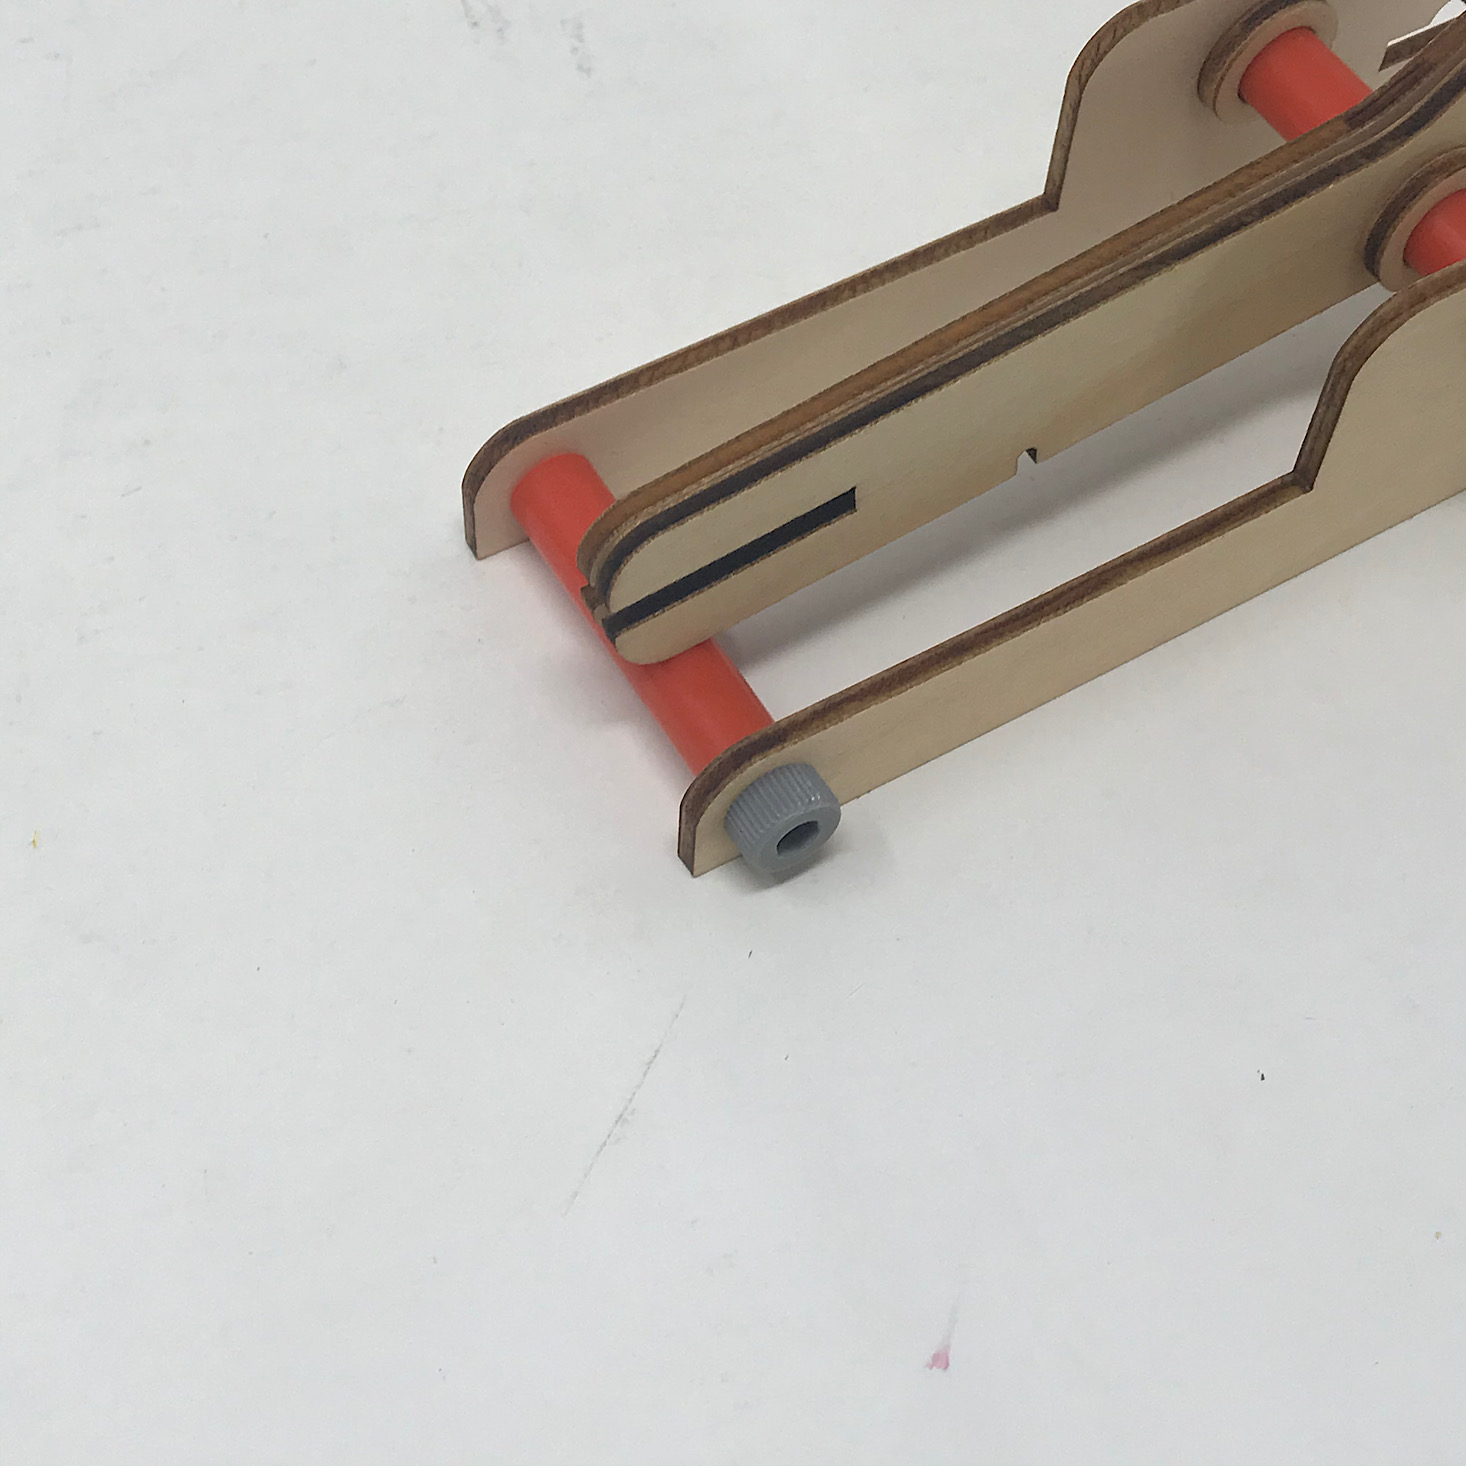
1 of 2
Next I stretched the rubber band and hooked it onto the tab of the brace, then moved the bands so that it was on the outside of the launcher pieces.
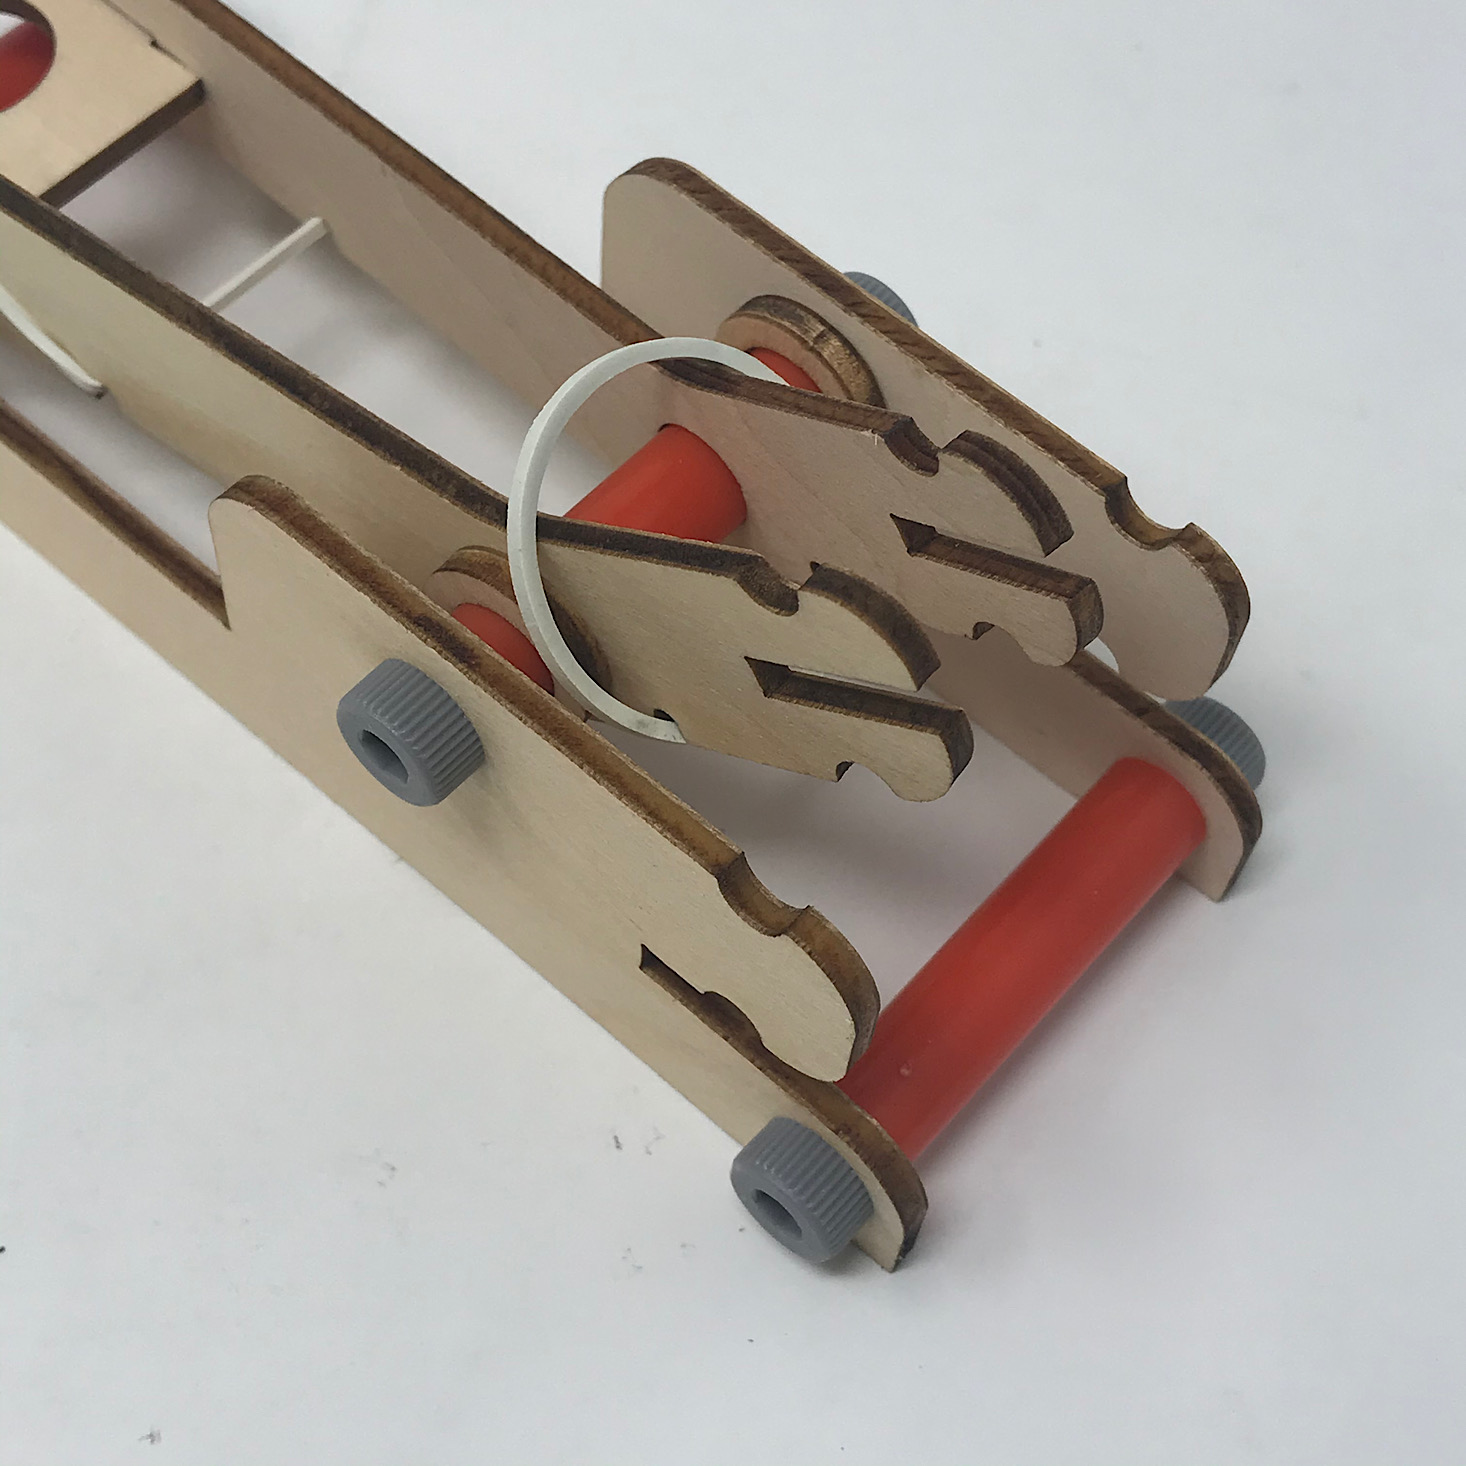
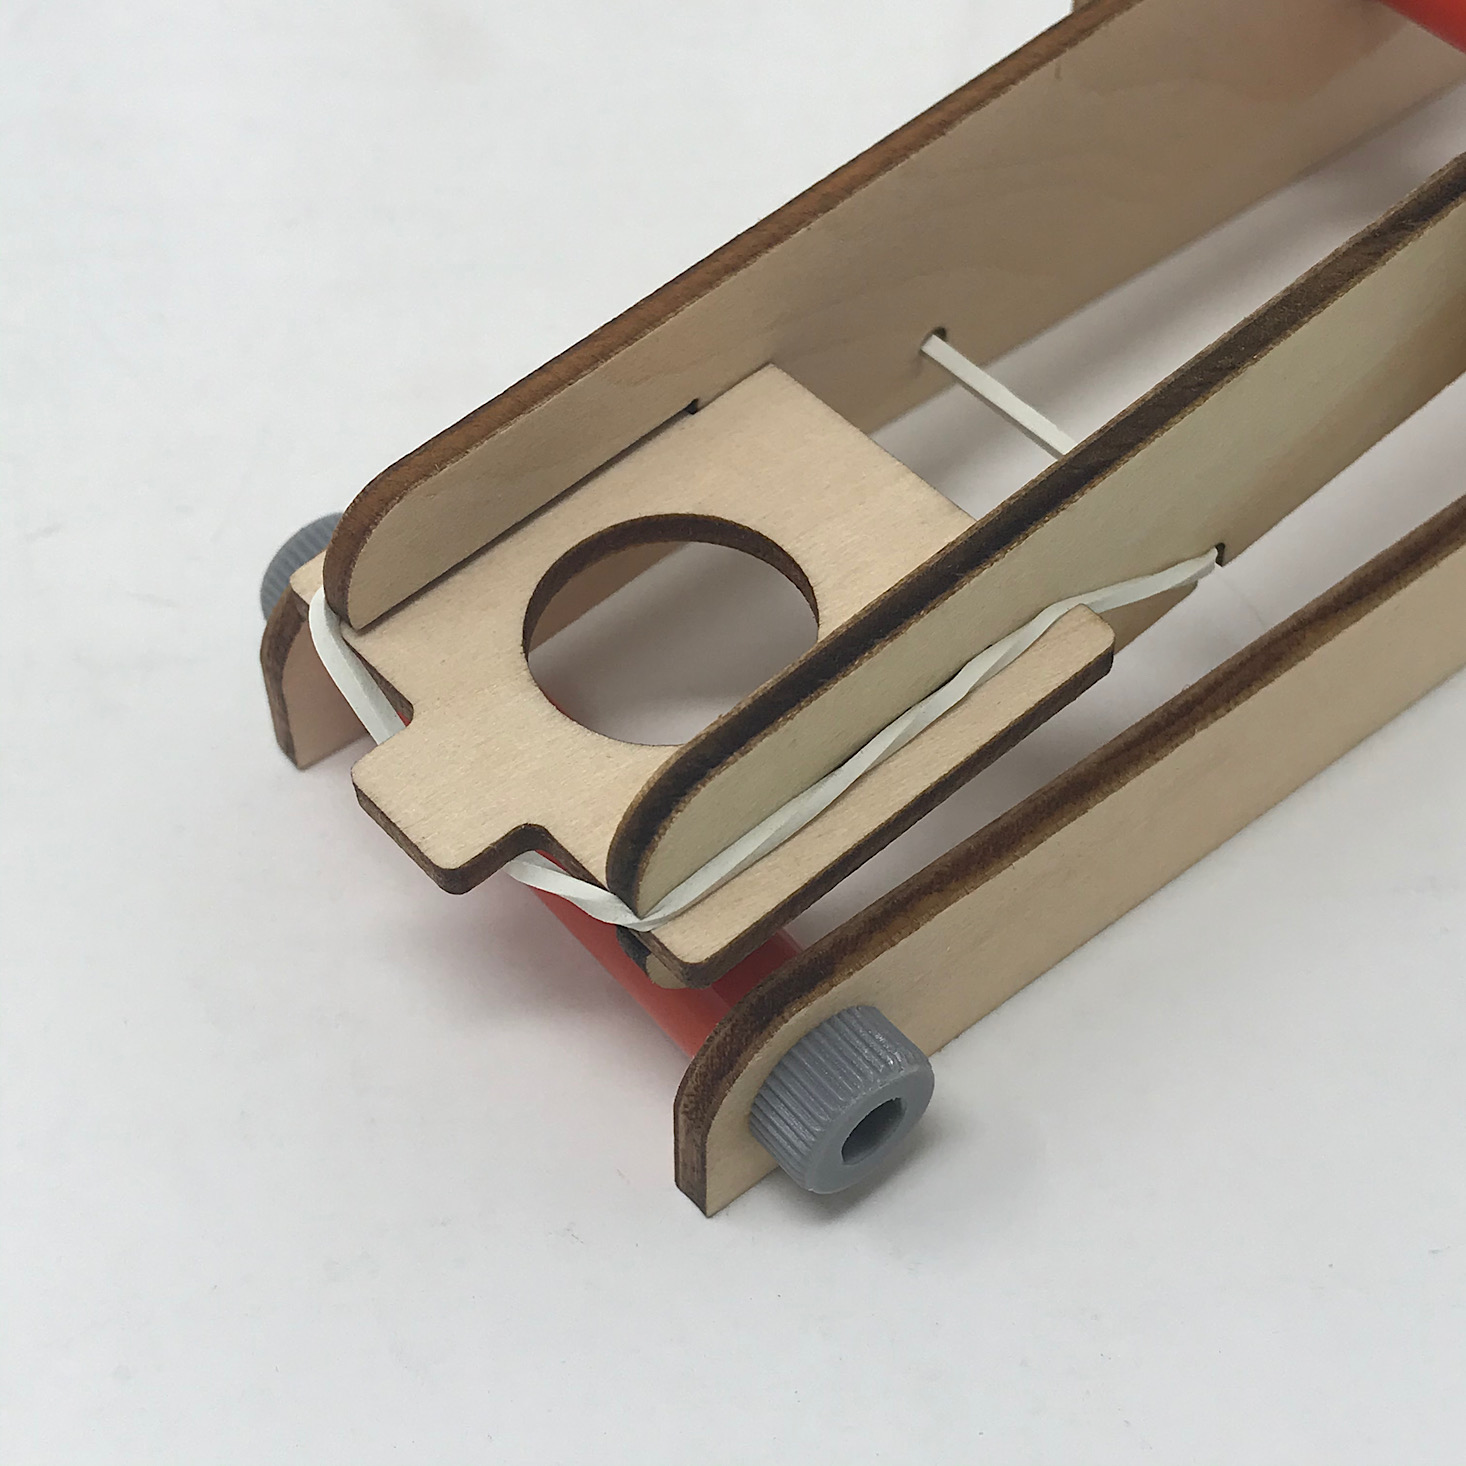
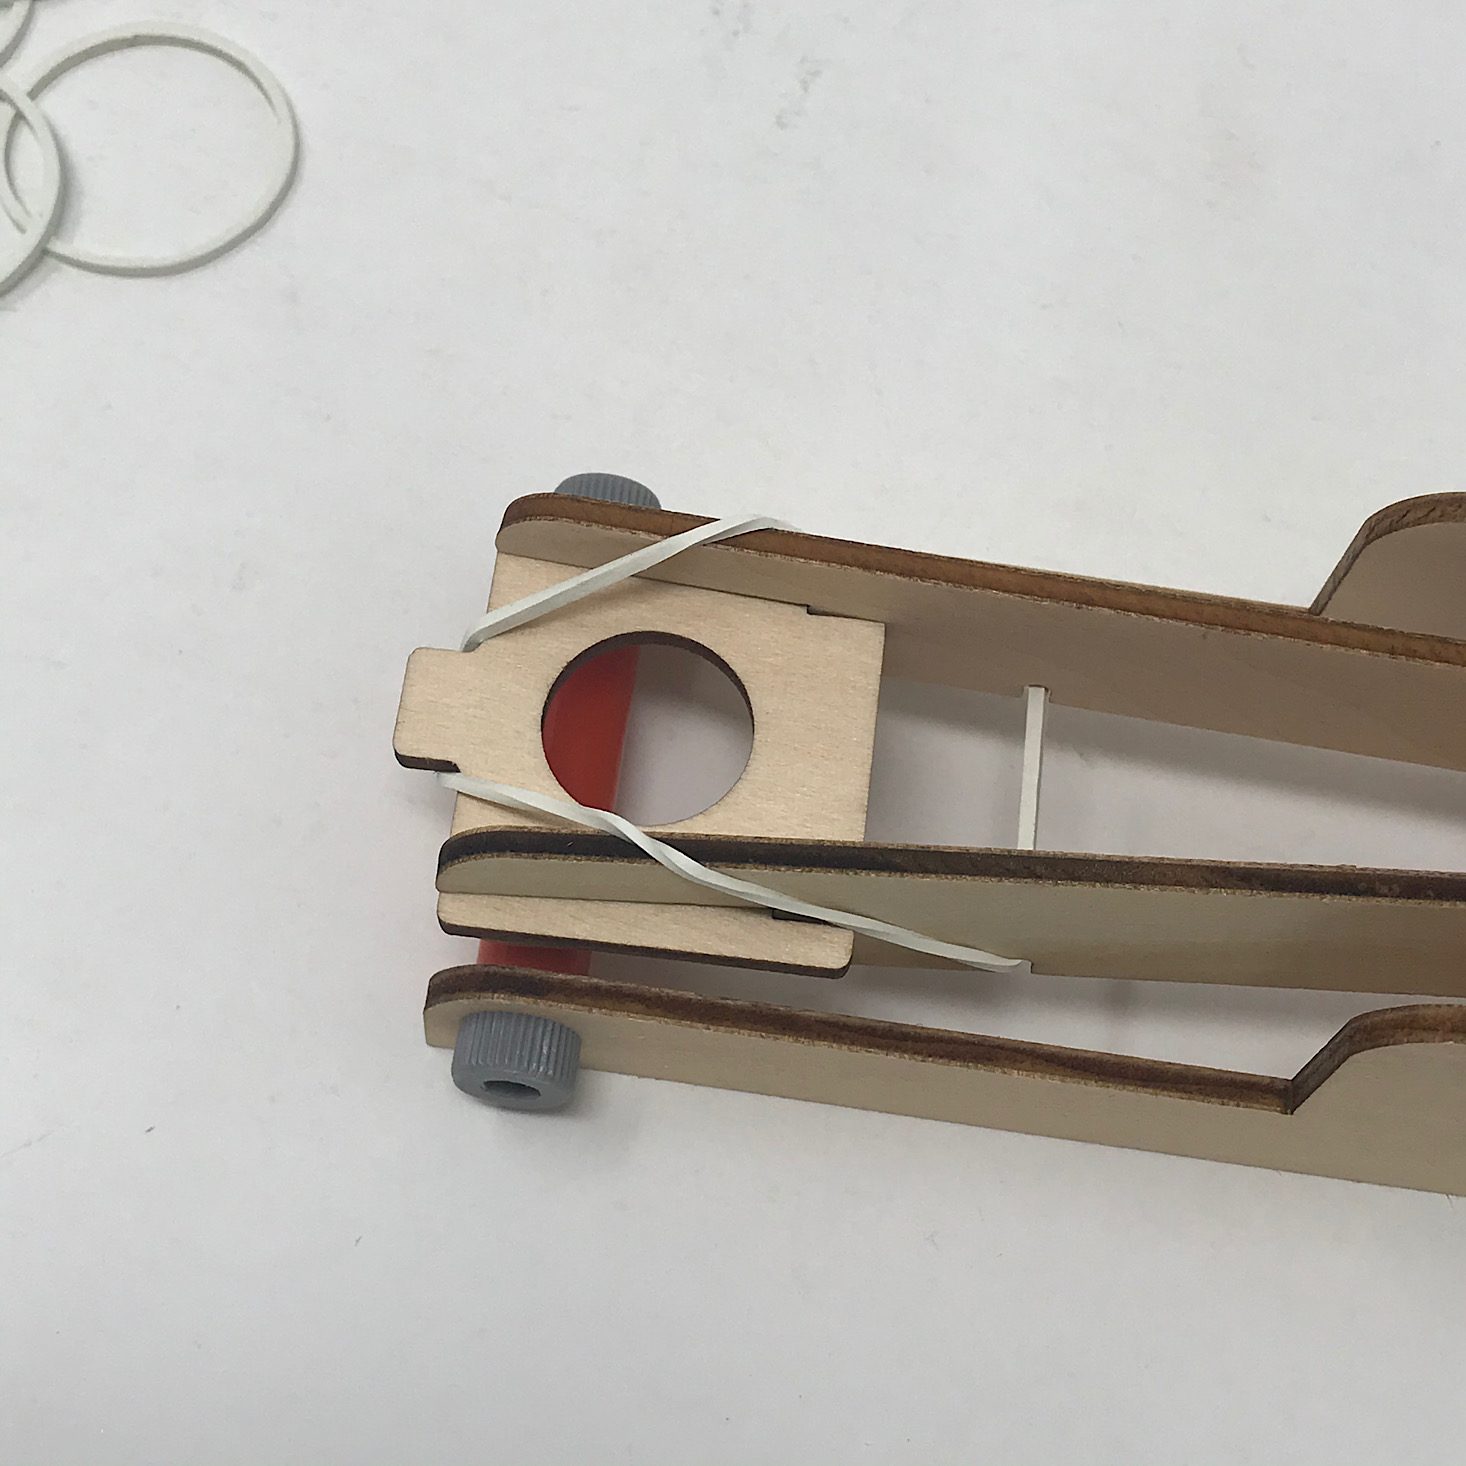
1 of 6


I followed the same steps at the other end of the catapult with the smaller brace and secured a rubber band around them just as I did on the other side.
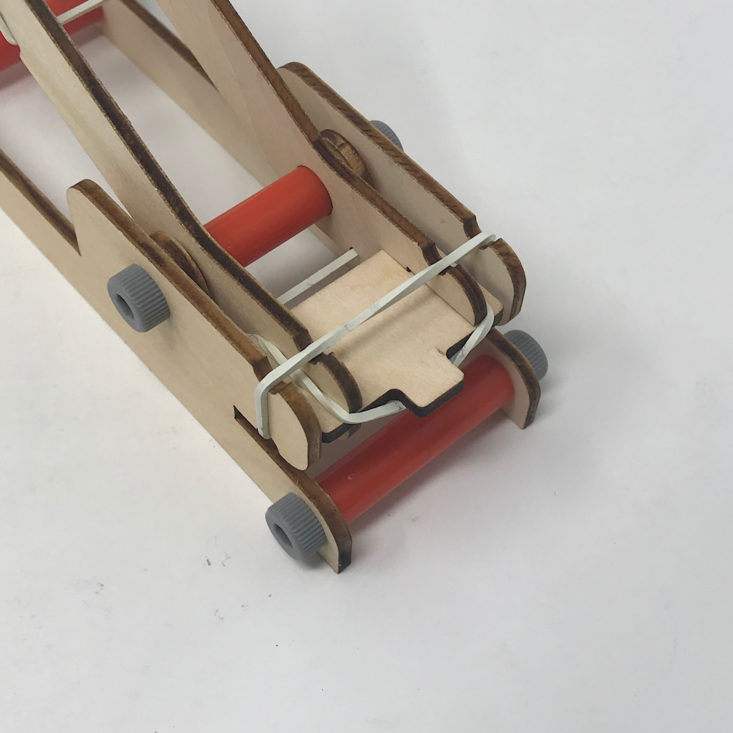
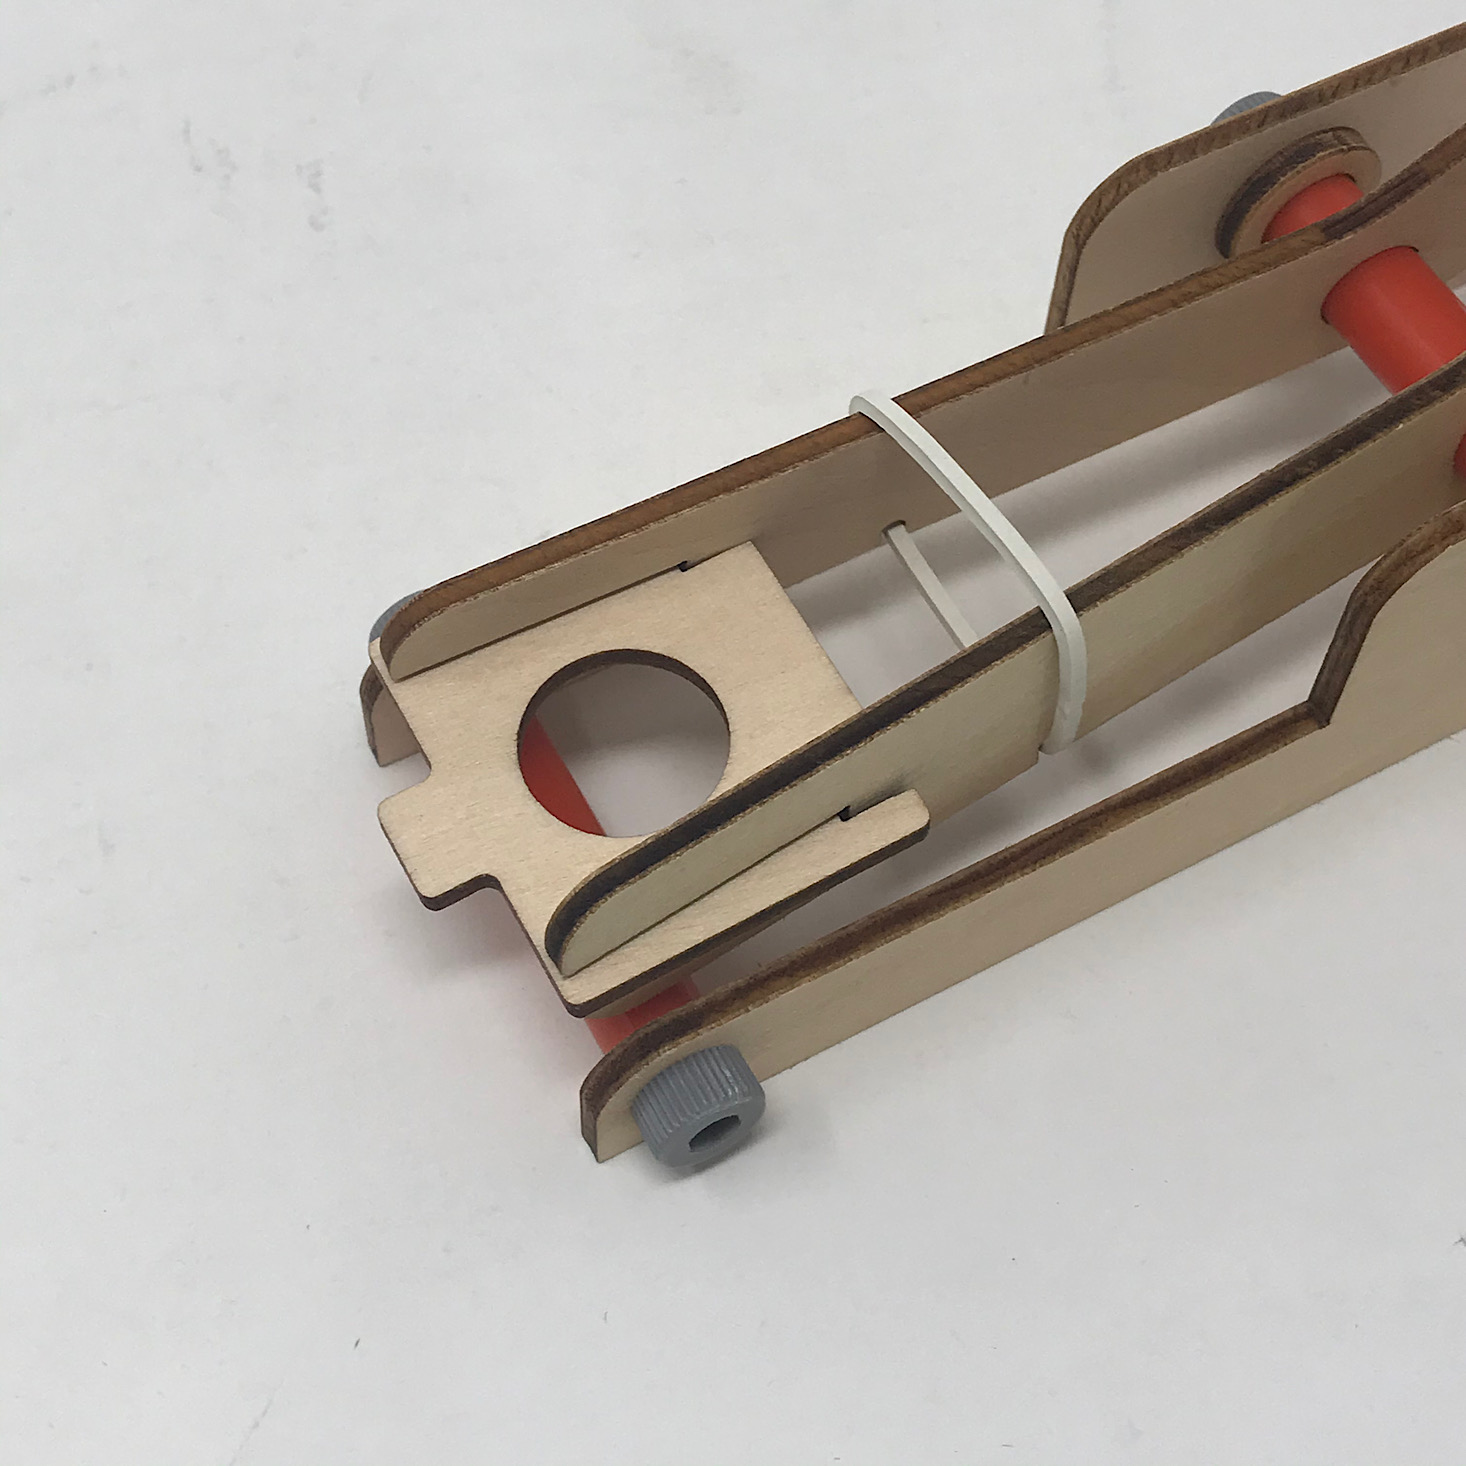
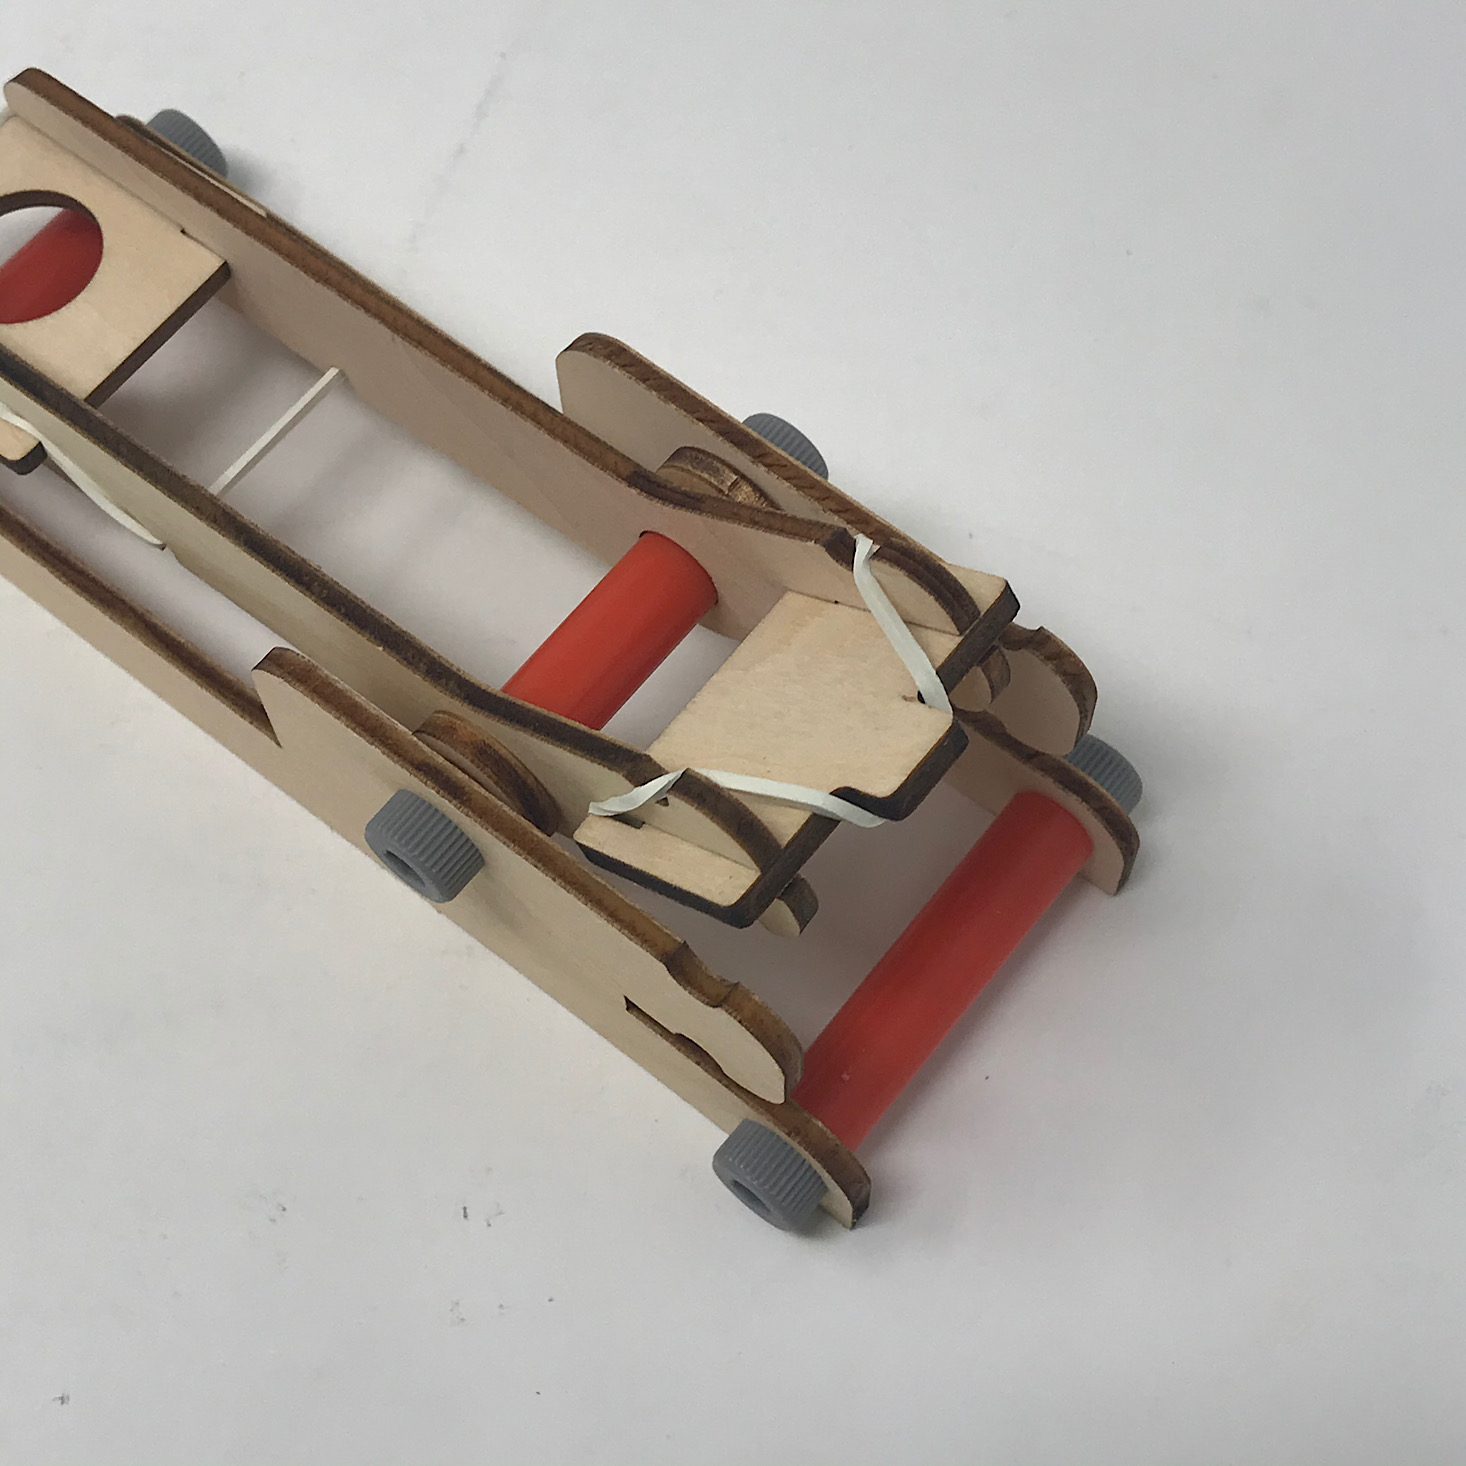
I then added one final rubber band around the tabs at the end of the side pieces and the catapult was ready!
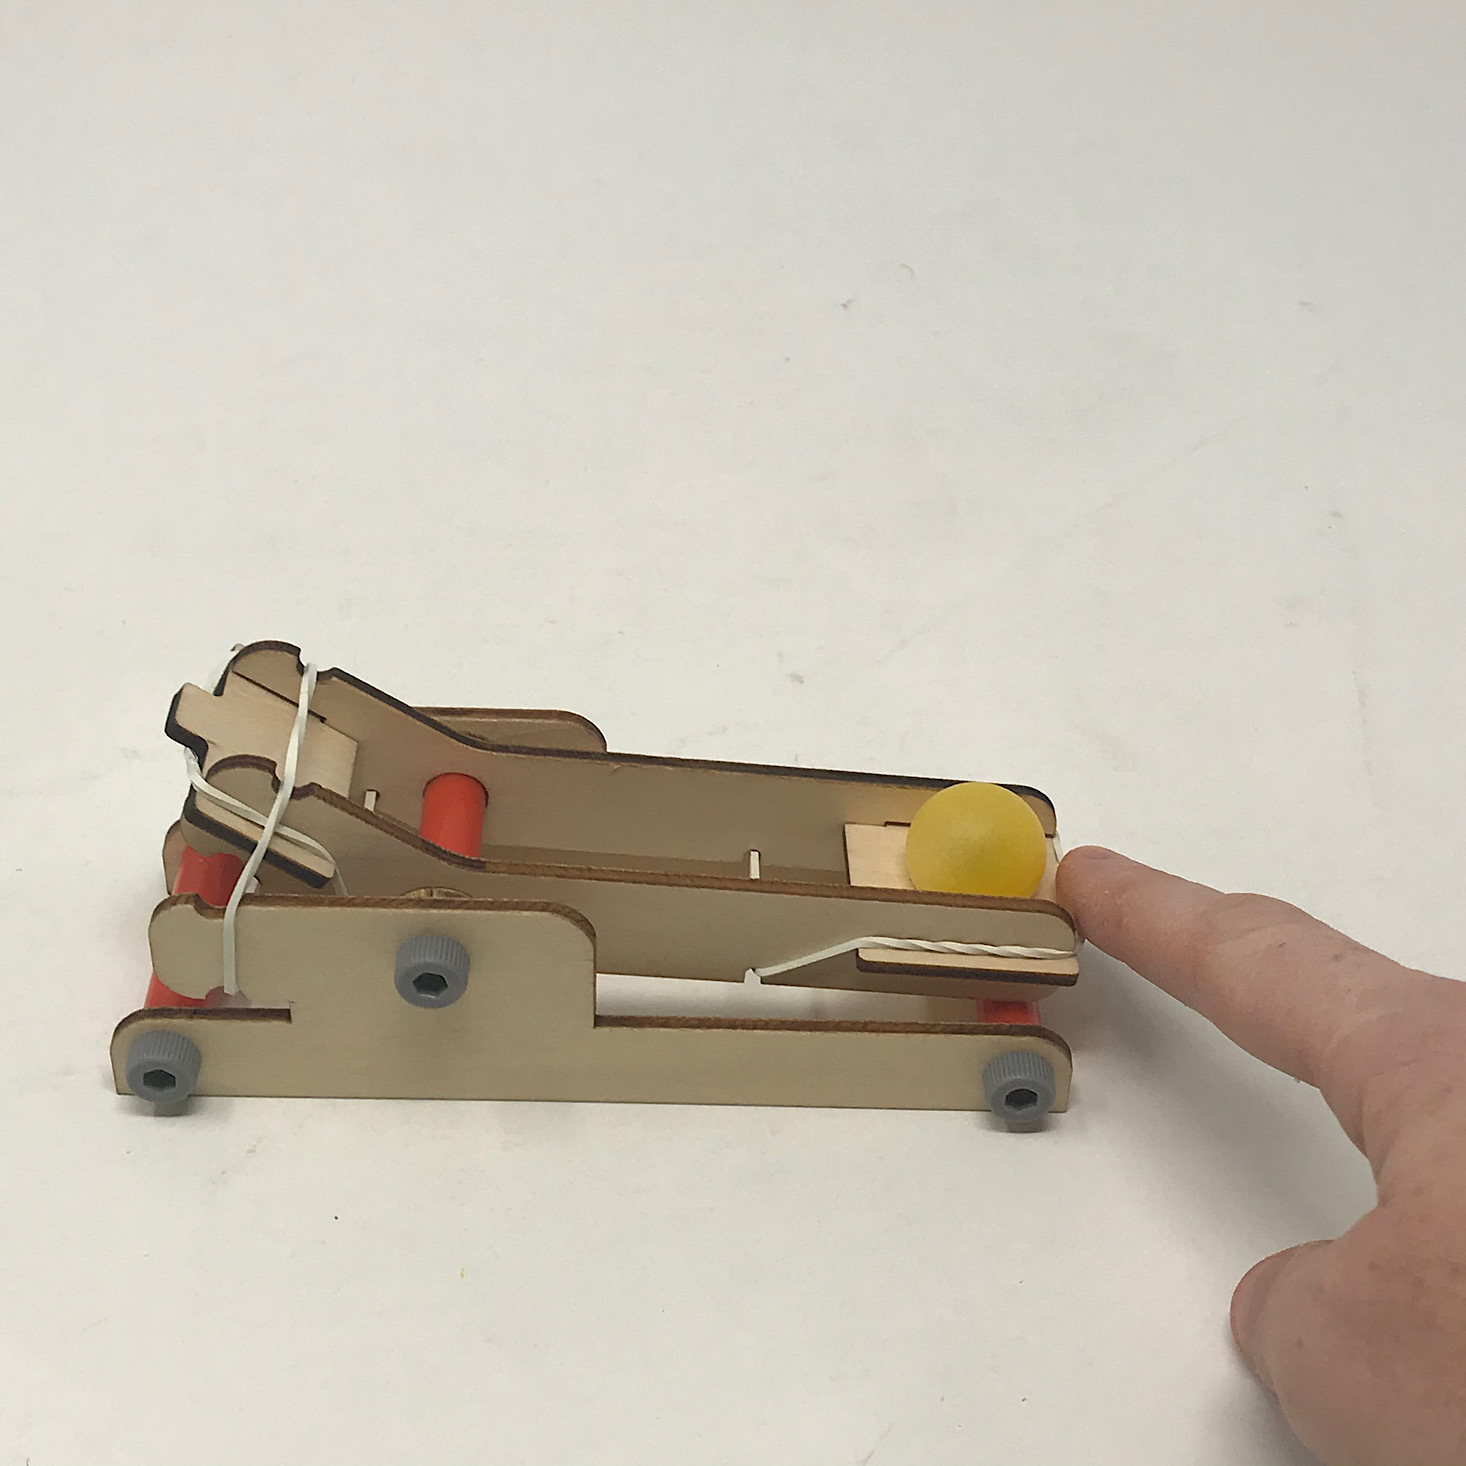

1 of 6

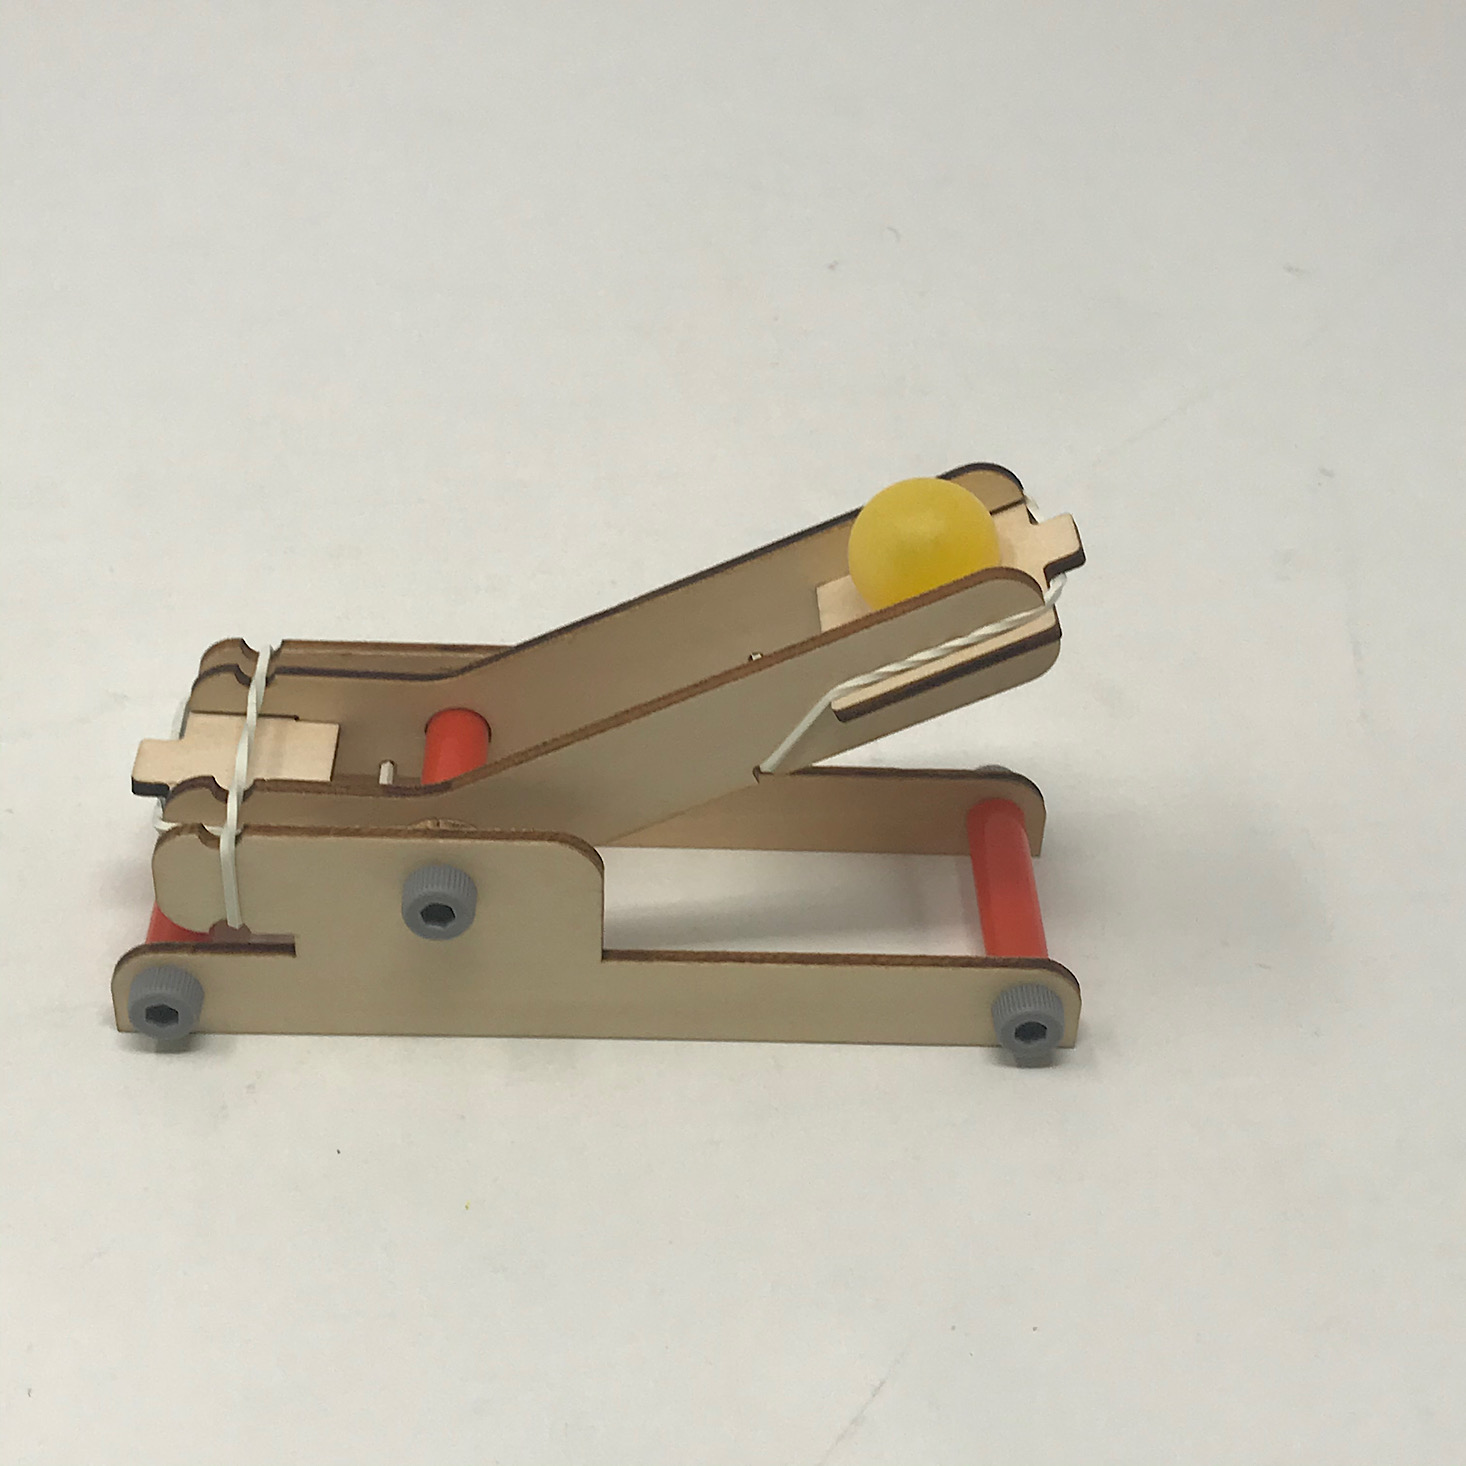
They provided a set of six small balls for us to use which I tested it out on our launcher. To launch you simply hold the end with the ball down and then release and the rubber bands catapult the ball.
Here you can see how it works with our game!
Once it was complete, it was time to have the kids test it out. My daughter loved this!
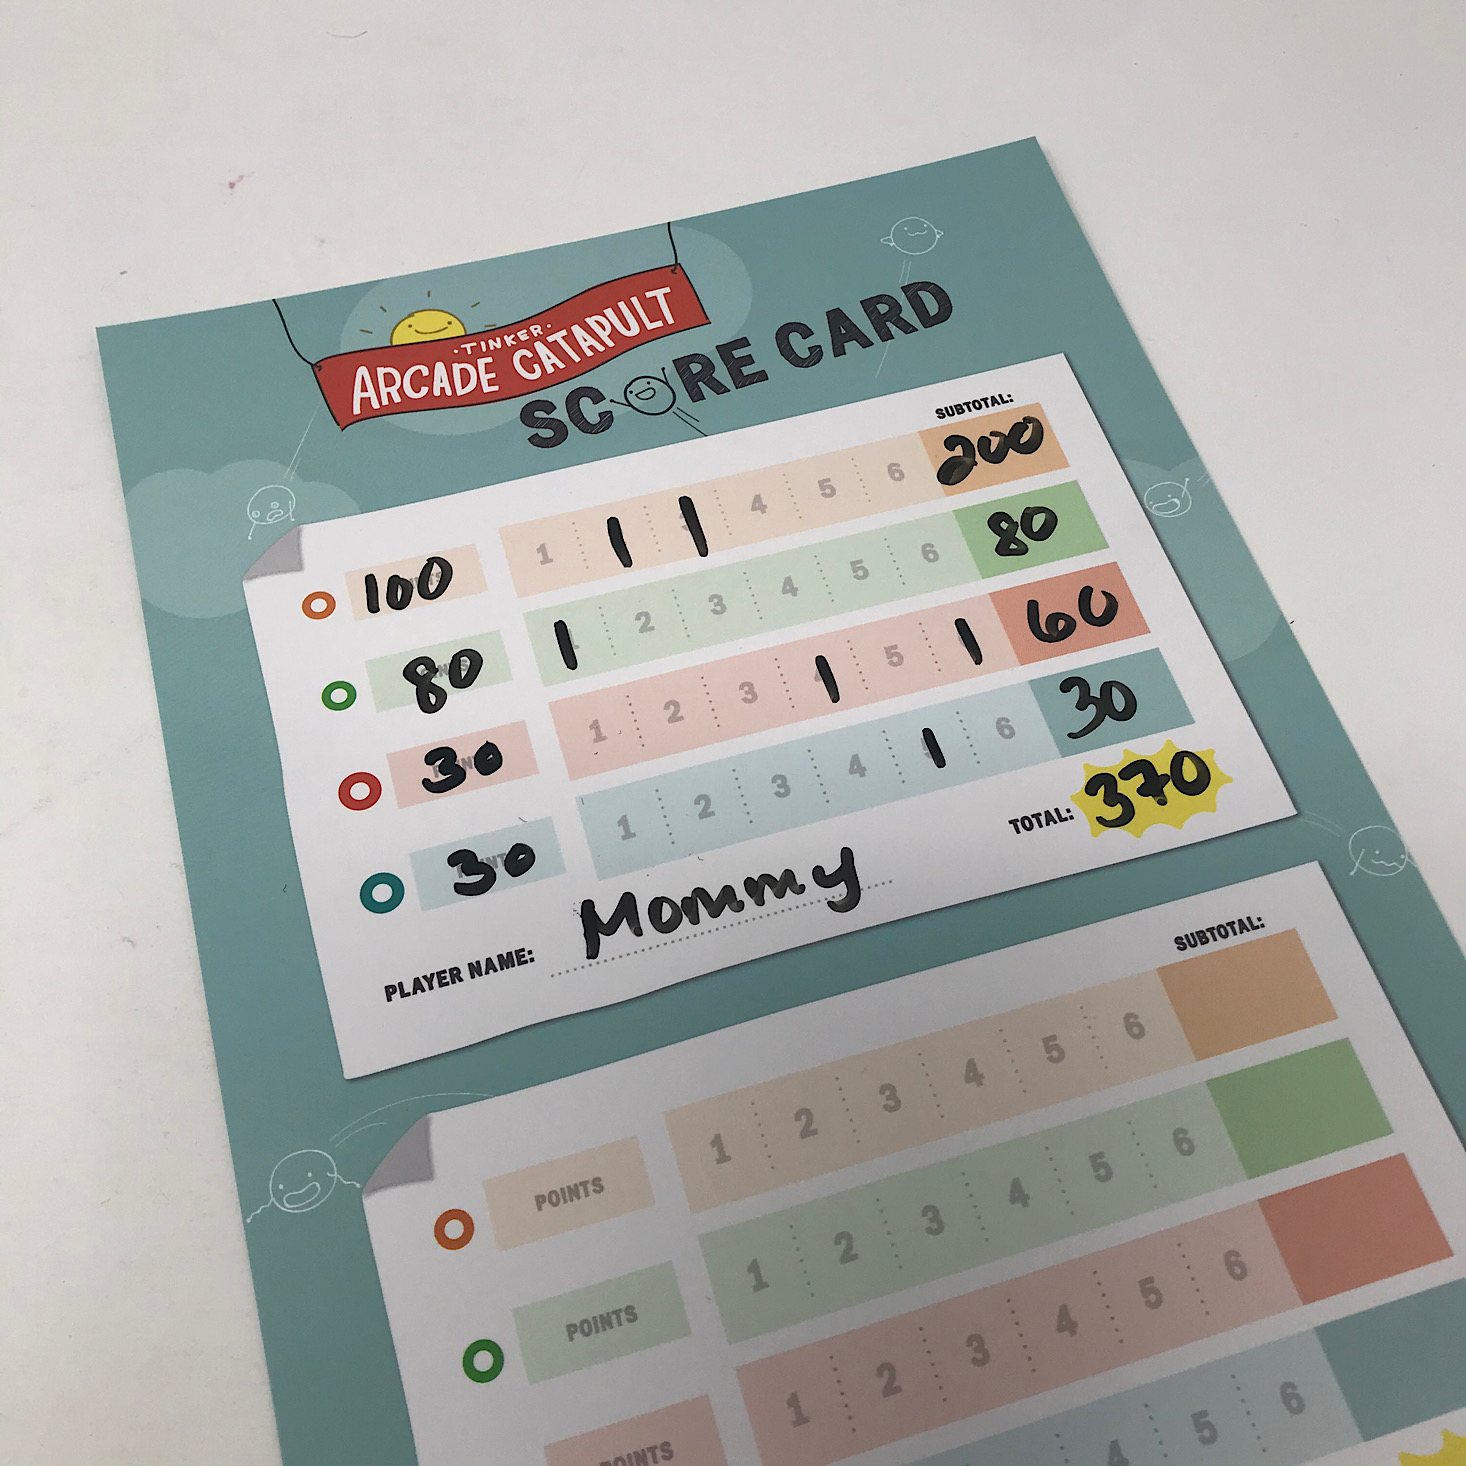
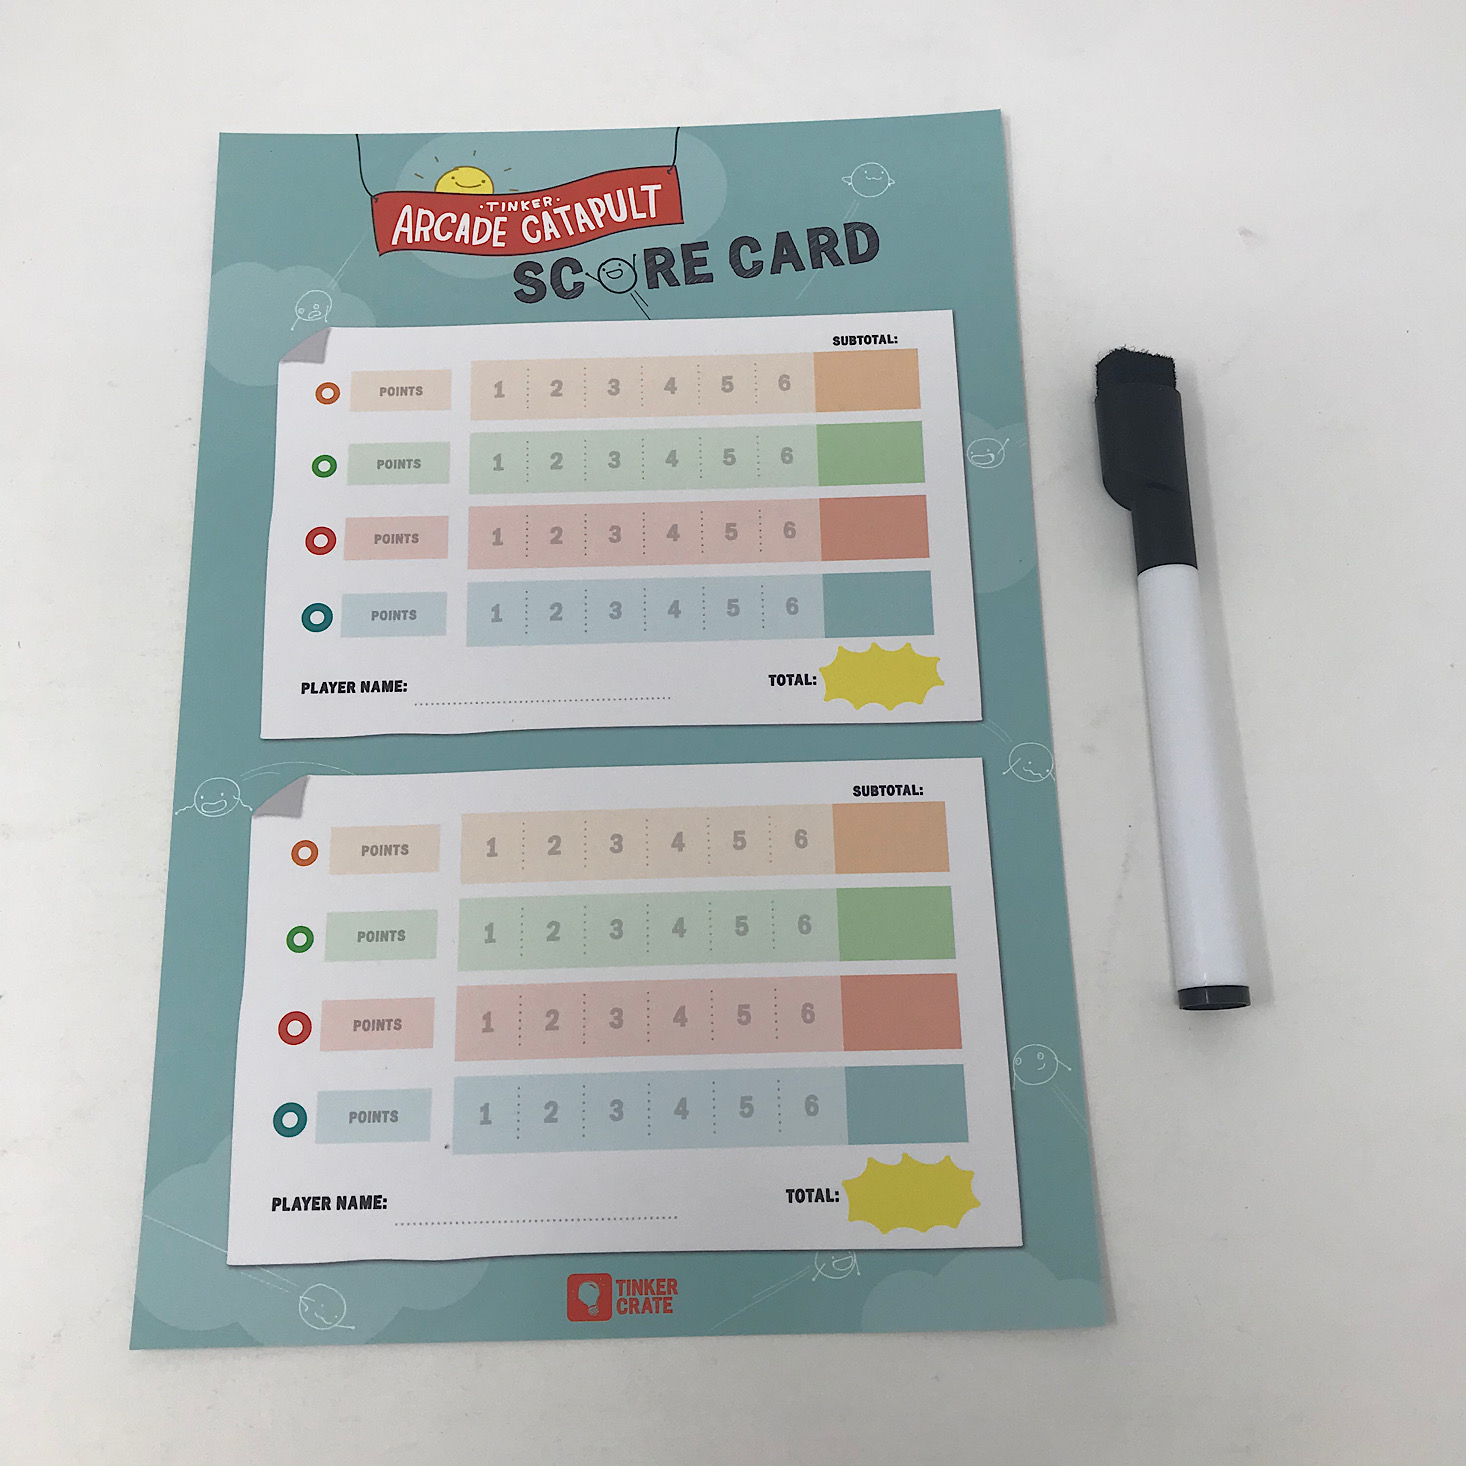
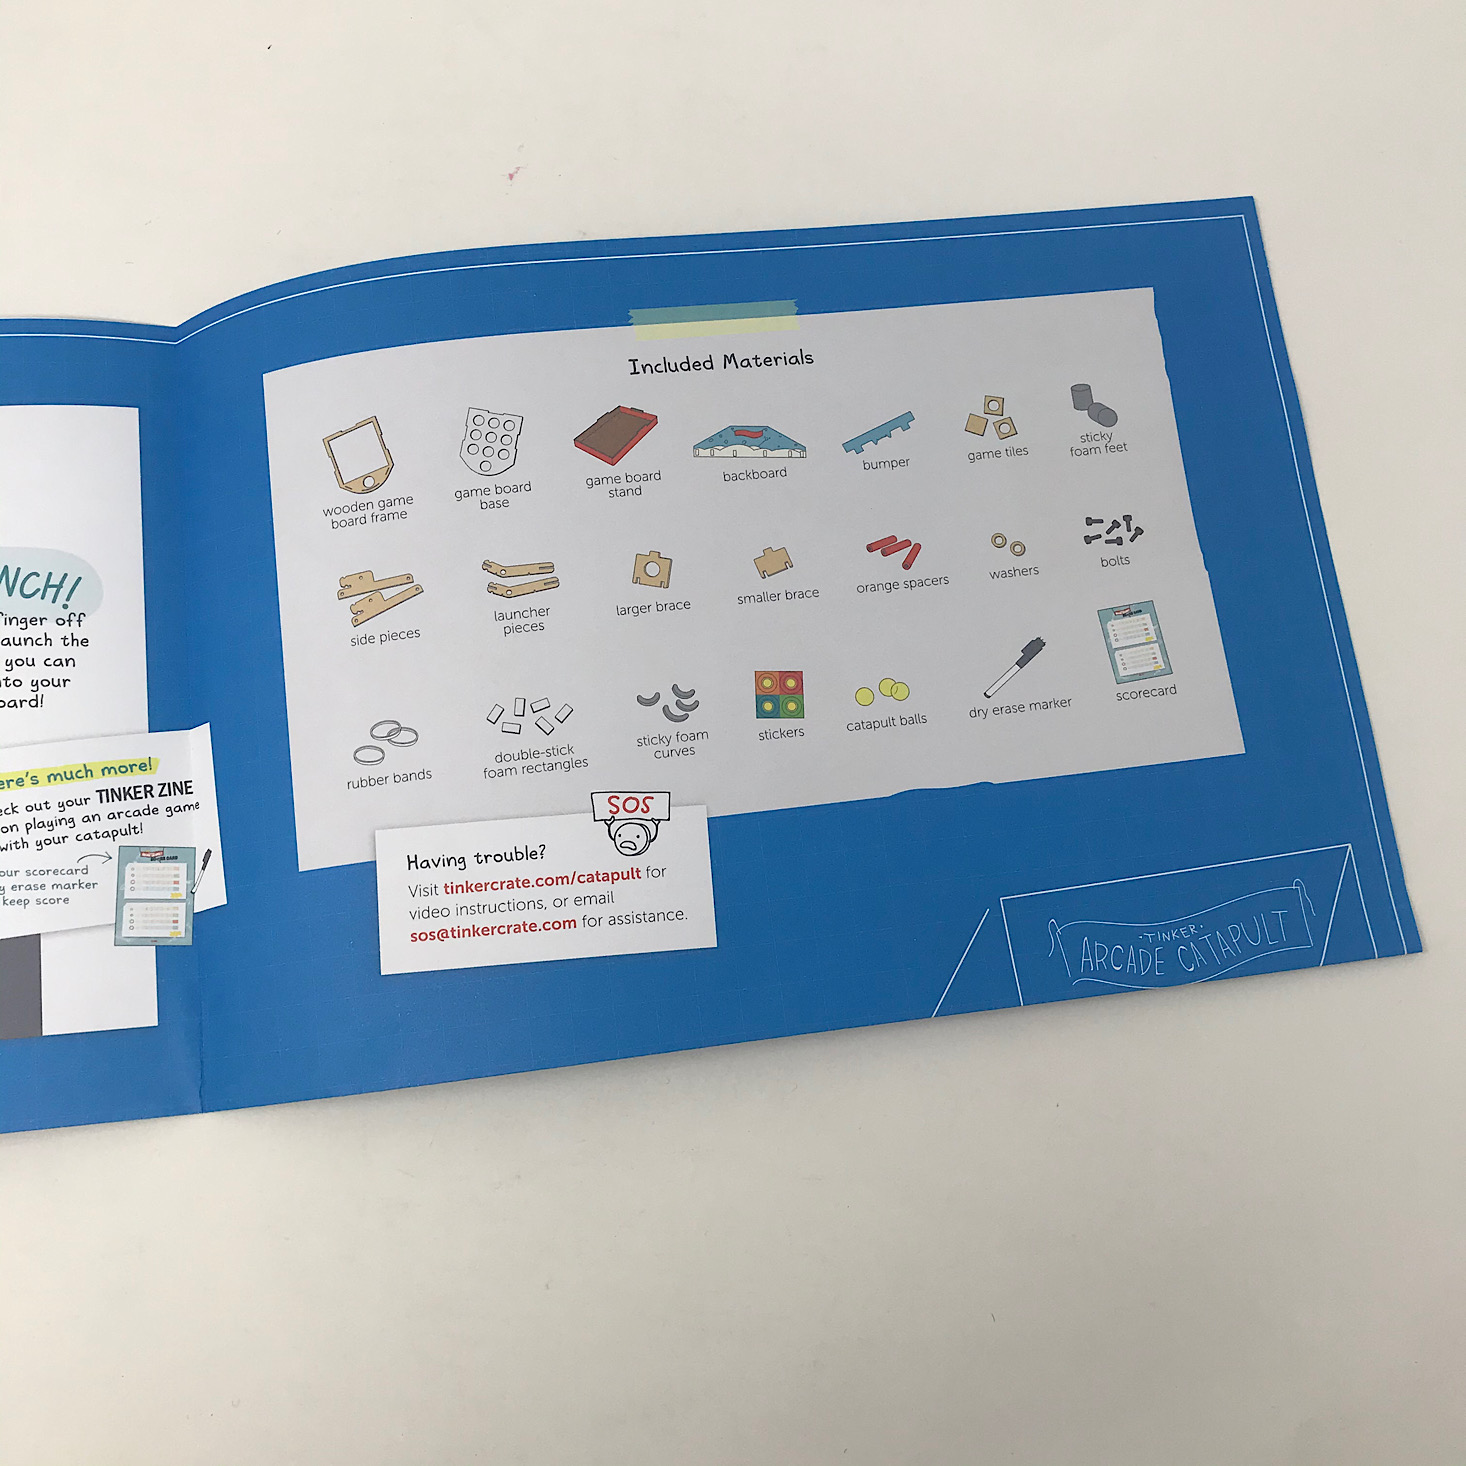
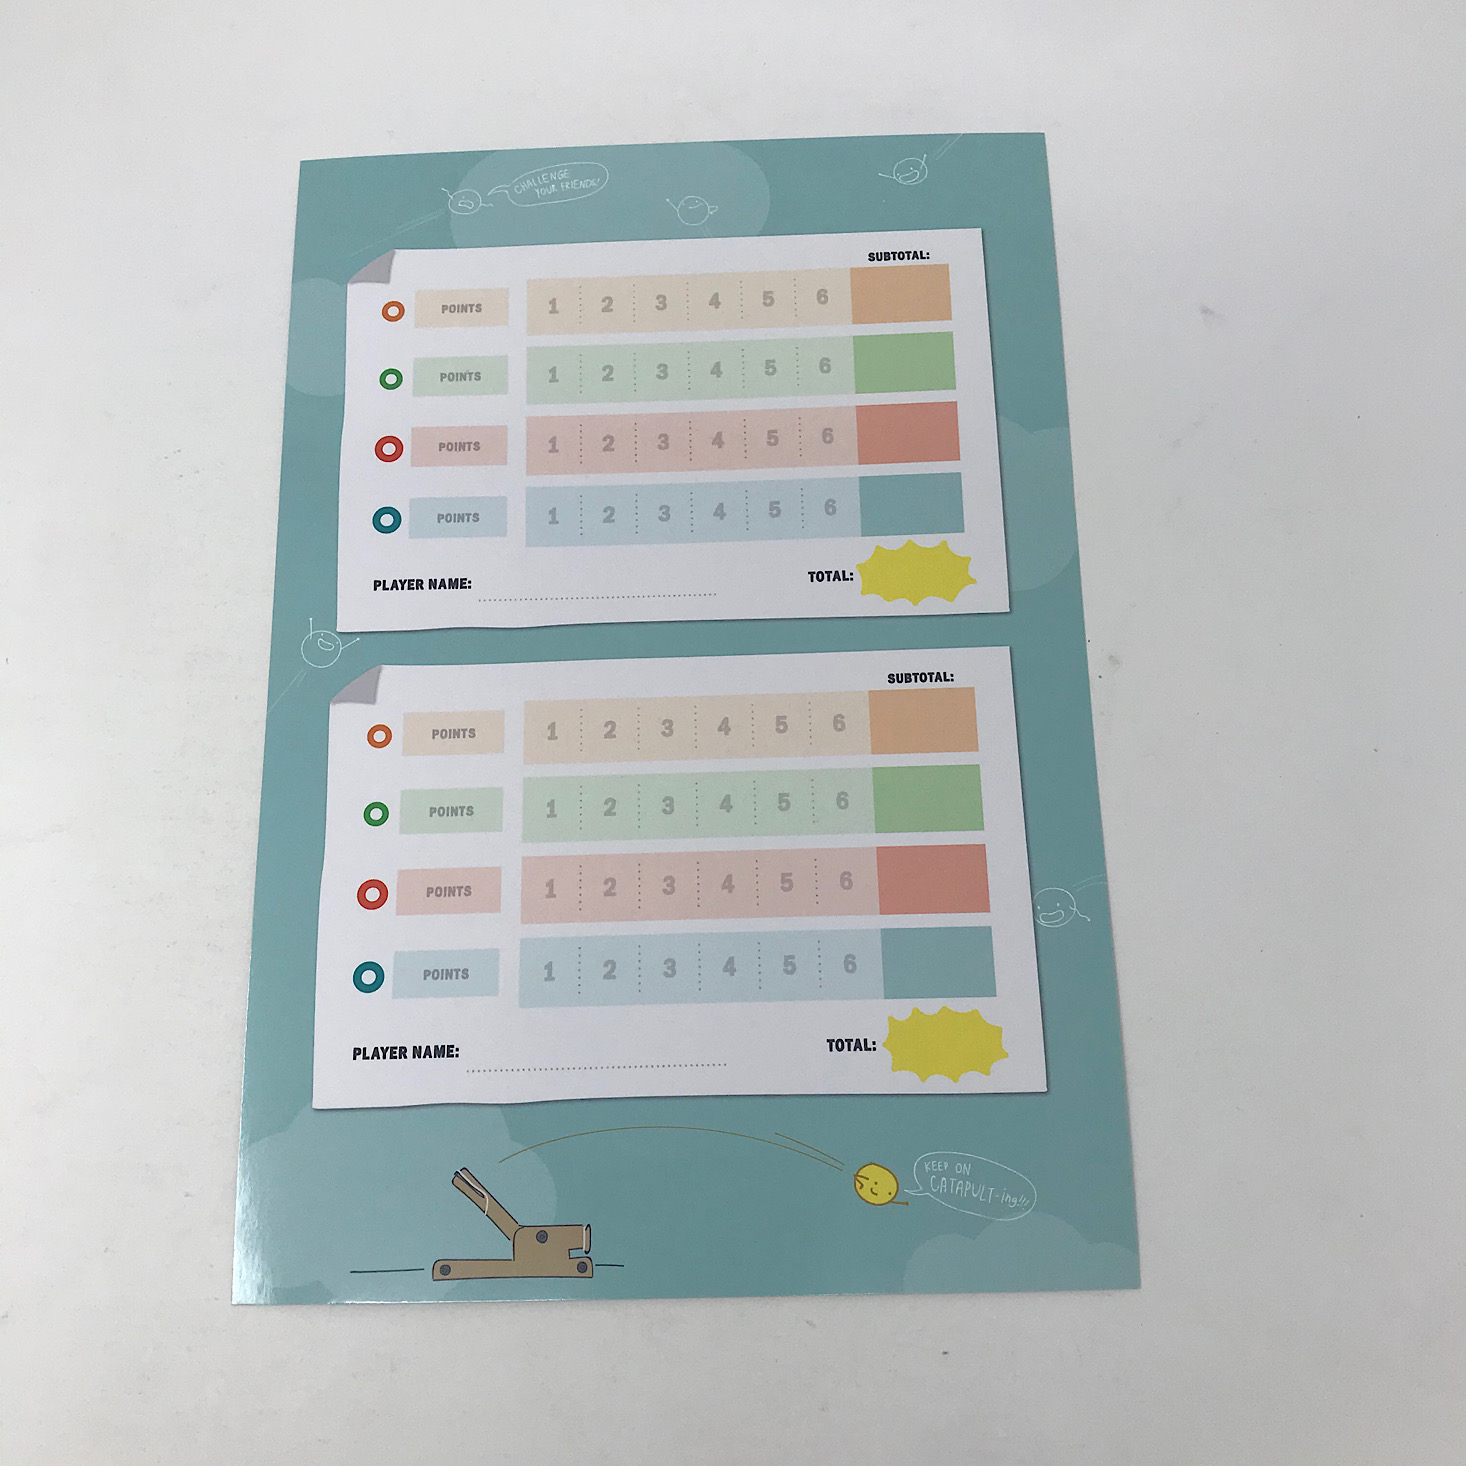
1 of 4
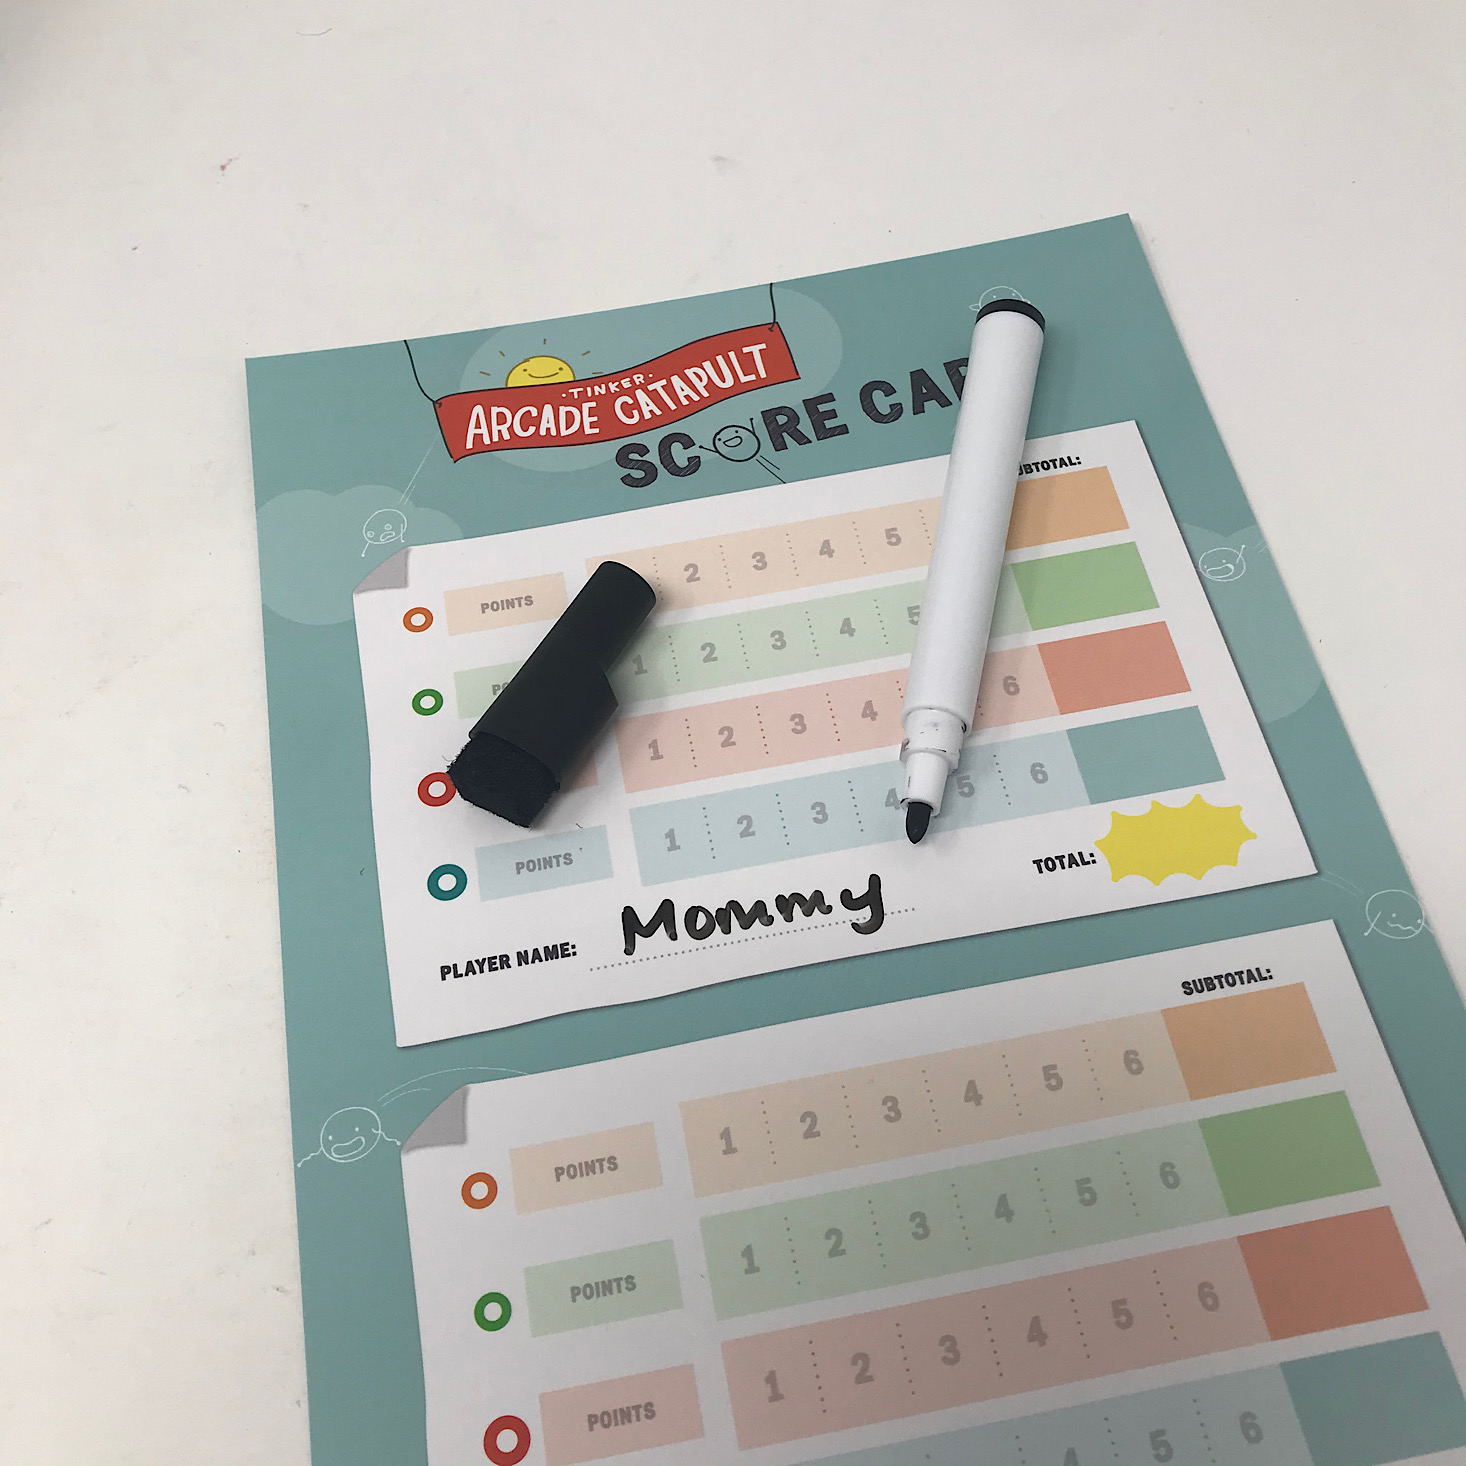
To keep score for our game they included a scorecard for up to four different players and a dry erase marker. They provided instructions for scoring in our book and while it was a bit confusing at first, once I got the hang of it, I thought it was a great way to keep score. You have four vertical rows for each of the four ring colors and then six horizontal rows for each of the 6 balls you get to throw each turn. Then you come up with a value for each of the four rings and write it in. Next you just simply tally which ring you hit during each round and then come up with a total for each ring row before adding them together for a final score.
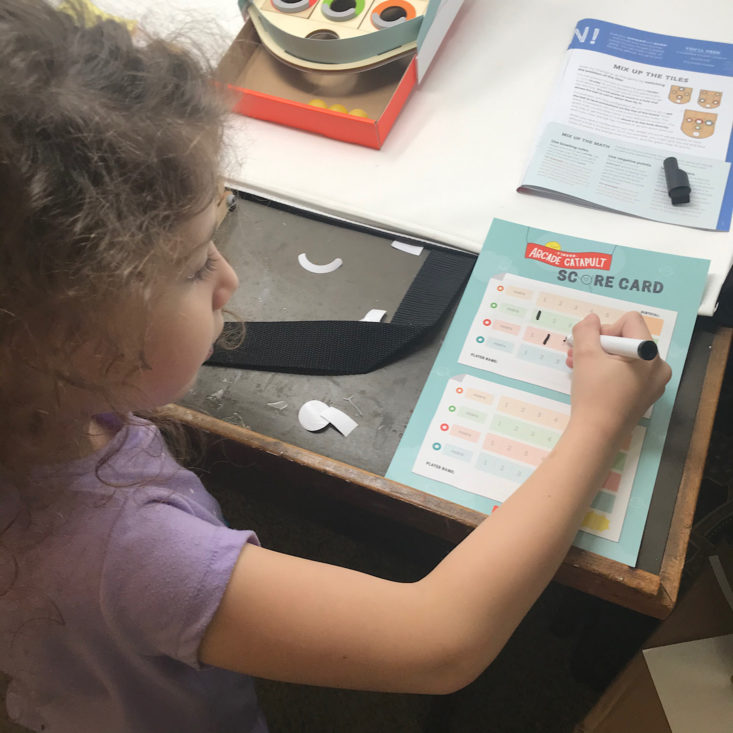
My daughter kept track of her score by herself although we didn't assign any values to the rings just yet. She was just happy to keep tallies of which rings she got the ball into each time. This is definitely a fun game to play and I can't wait to play the other games they gave ideas for in our Tinker Zine.
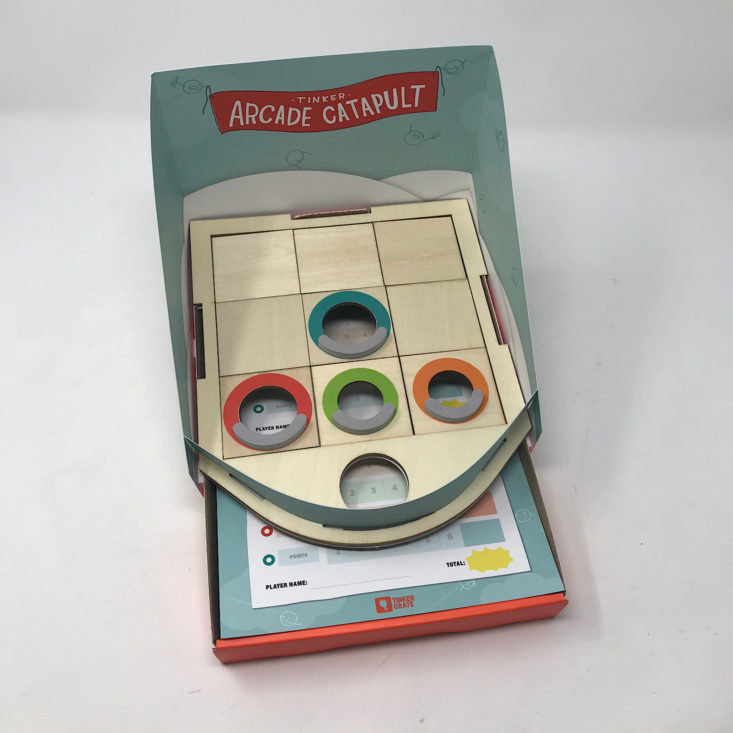
I also loved that our scorecard slips right under our gameboard so that we can keep them together for storage!
Verdict: We had a lot of fun with this month's Arcade Catapult Tinker Crate! This certainly was the perfect project to emphasize engineering for fun! The game board was so easy to put together and I love that our tiles slide around so that we can change the game up at any time. The catapult itself was also fairly simple to build thanks to the detailed instructions. We had a great time playing and I love how much educational information they included in our Tinker Zine along with some extension ideas. We always find the value in this $19.95 + free shipping box!
To Wrap Up:
Can you still get this box if you sign up today? It is possible you might get this crate, but it is not a guarantee. From KiwiCo:
Crates are assigned each month based on availability and your crate history - not all subscribers receive the same theme each month.
ACTIVE DEAL: Get 50% off your 1st month! No coupon needed - just use this link.
Check out all of our Tinker Crate reviews and the best subscription boxes for kids!
Keep Track of Your Subscriptions: Add this box to your subscription list or wishlist!
What do you think of this month's Tinker Crate?


Please do not enter your email address in the Name field or in the comment content. Your email address will not be published. Required fields are marked *. Remember to post with kindness and respect. Comments with offensive language, cruelness to others, etc will not be approved. See our full comment policy here.