

Tinker Crate is a subscription box for kids and tweens ages 9-16+ created by kids subscription box company KiwiCo. Each monthly Tinker Crate contains all the materials and instructions needed to create innovative, hands-on STEM projects, as well as a "Tinker Zine" full of educational information and additional activities.
KiwiCo offers boxes for different age groups:
- Tadpole Crate for 0-36-month-olds,
- Koala Crate for 3-4-year-olds,
- Kiwi Crate for 5-8-year-olds,
- Atlas Crate for 6-11-year-olds,
- Doodle Crate and Tinker Crate for 9-16+-year-olds, and
- Eureka Crate for ages 14 and up.
There really is something for every age with this company!
This review is of KiwiCo's Tinker Crate (for ages 9-16), which costs $19.95 per month.
This box was sent to us at no cost for review. (Check out the review process post to learn more about how we review boxes.)

About Tinker Crate
The Subscription Box: Tinker Crate
The Cost: $19.95 per month + free shipping
ACTIVE DEAL: Get 50% off your 1st month! No coupon needed - just use this link.
The Products: Innovative hands-on STEM projects for kids, plus the materials and detailed instructions your child needs to complete them. You'll also get a "Tinker Zine" full of educational information and additional activities.
Ships to: The U.S. for free, Canada for $3.95 per month, worldwide from $4.95-$6.95
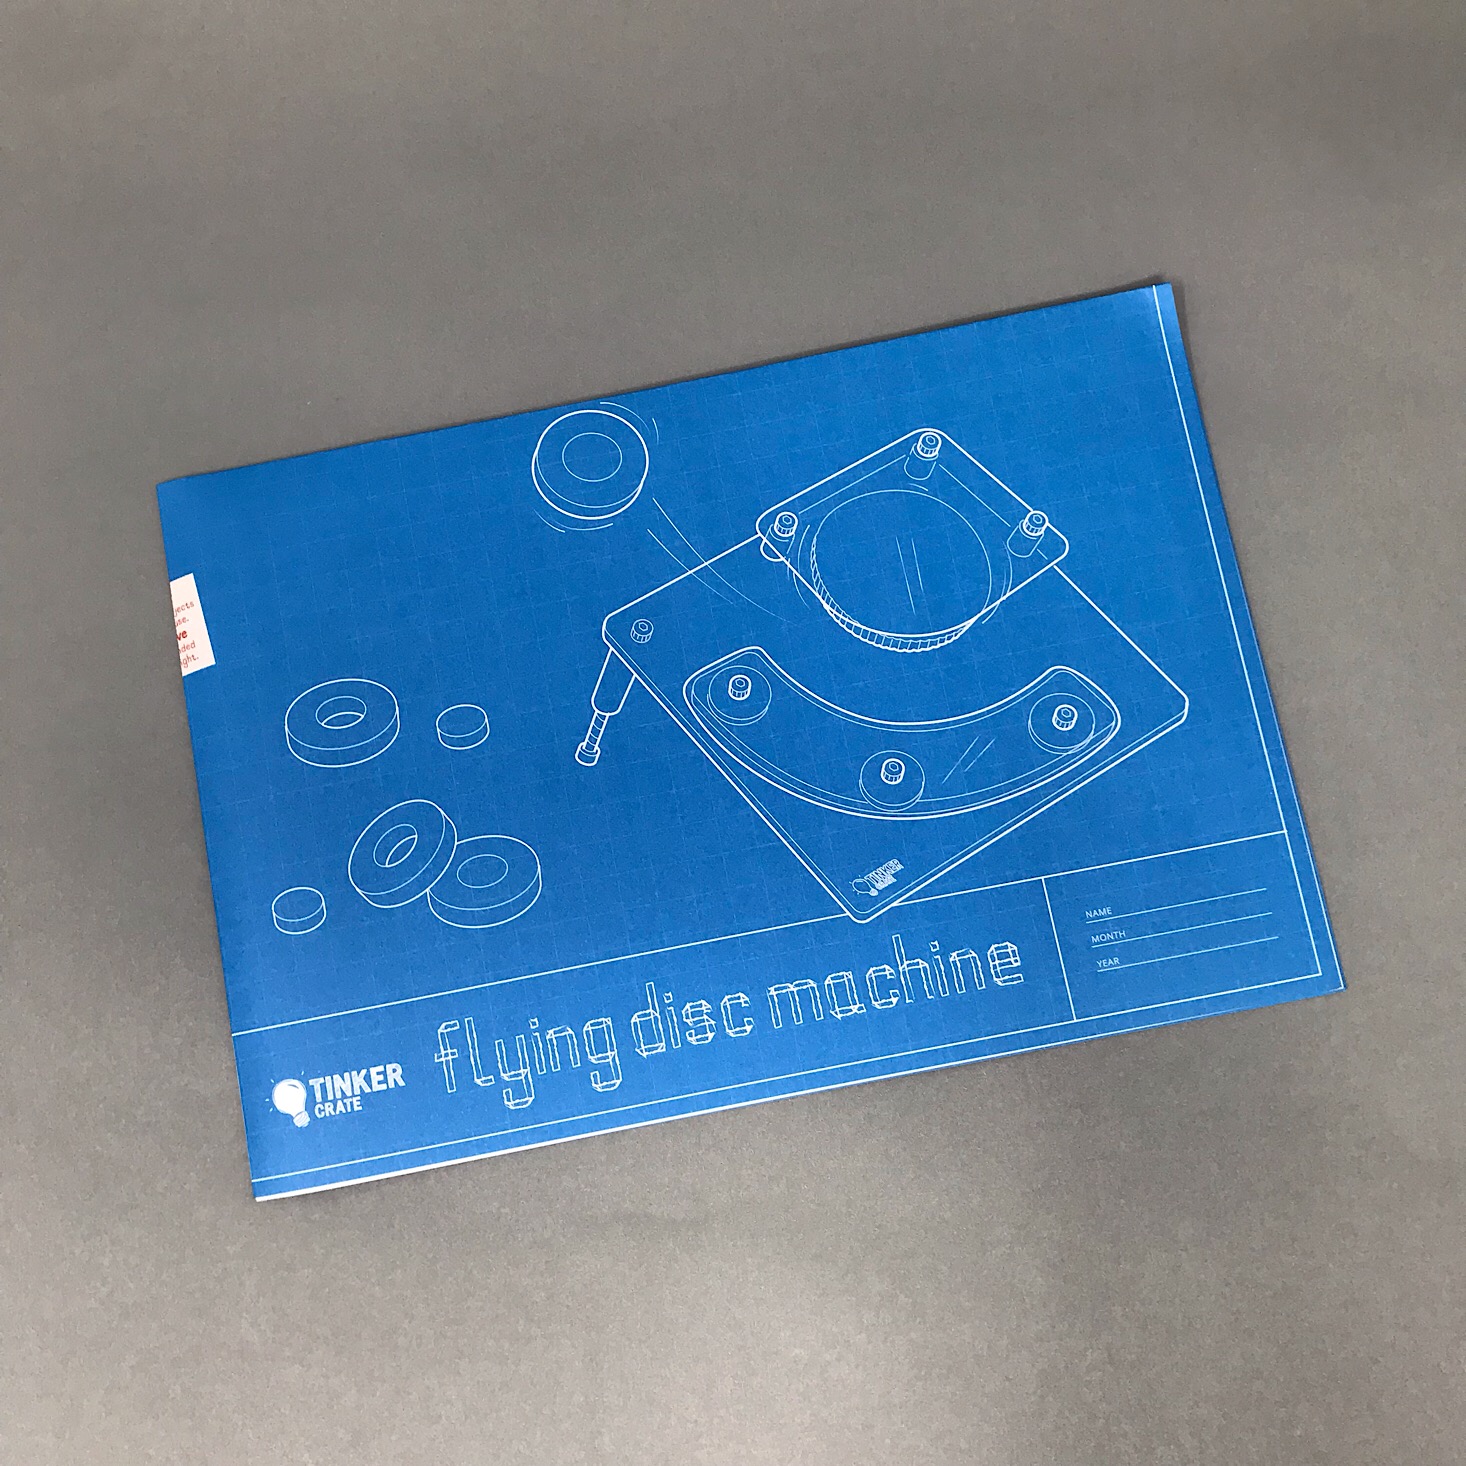
KiwiCo Tinker Crate "Flying Disc Machine" Review

1 of 9
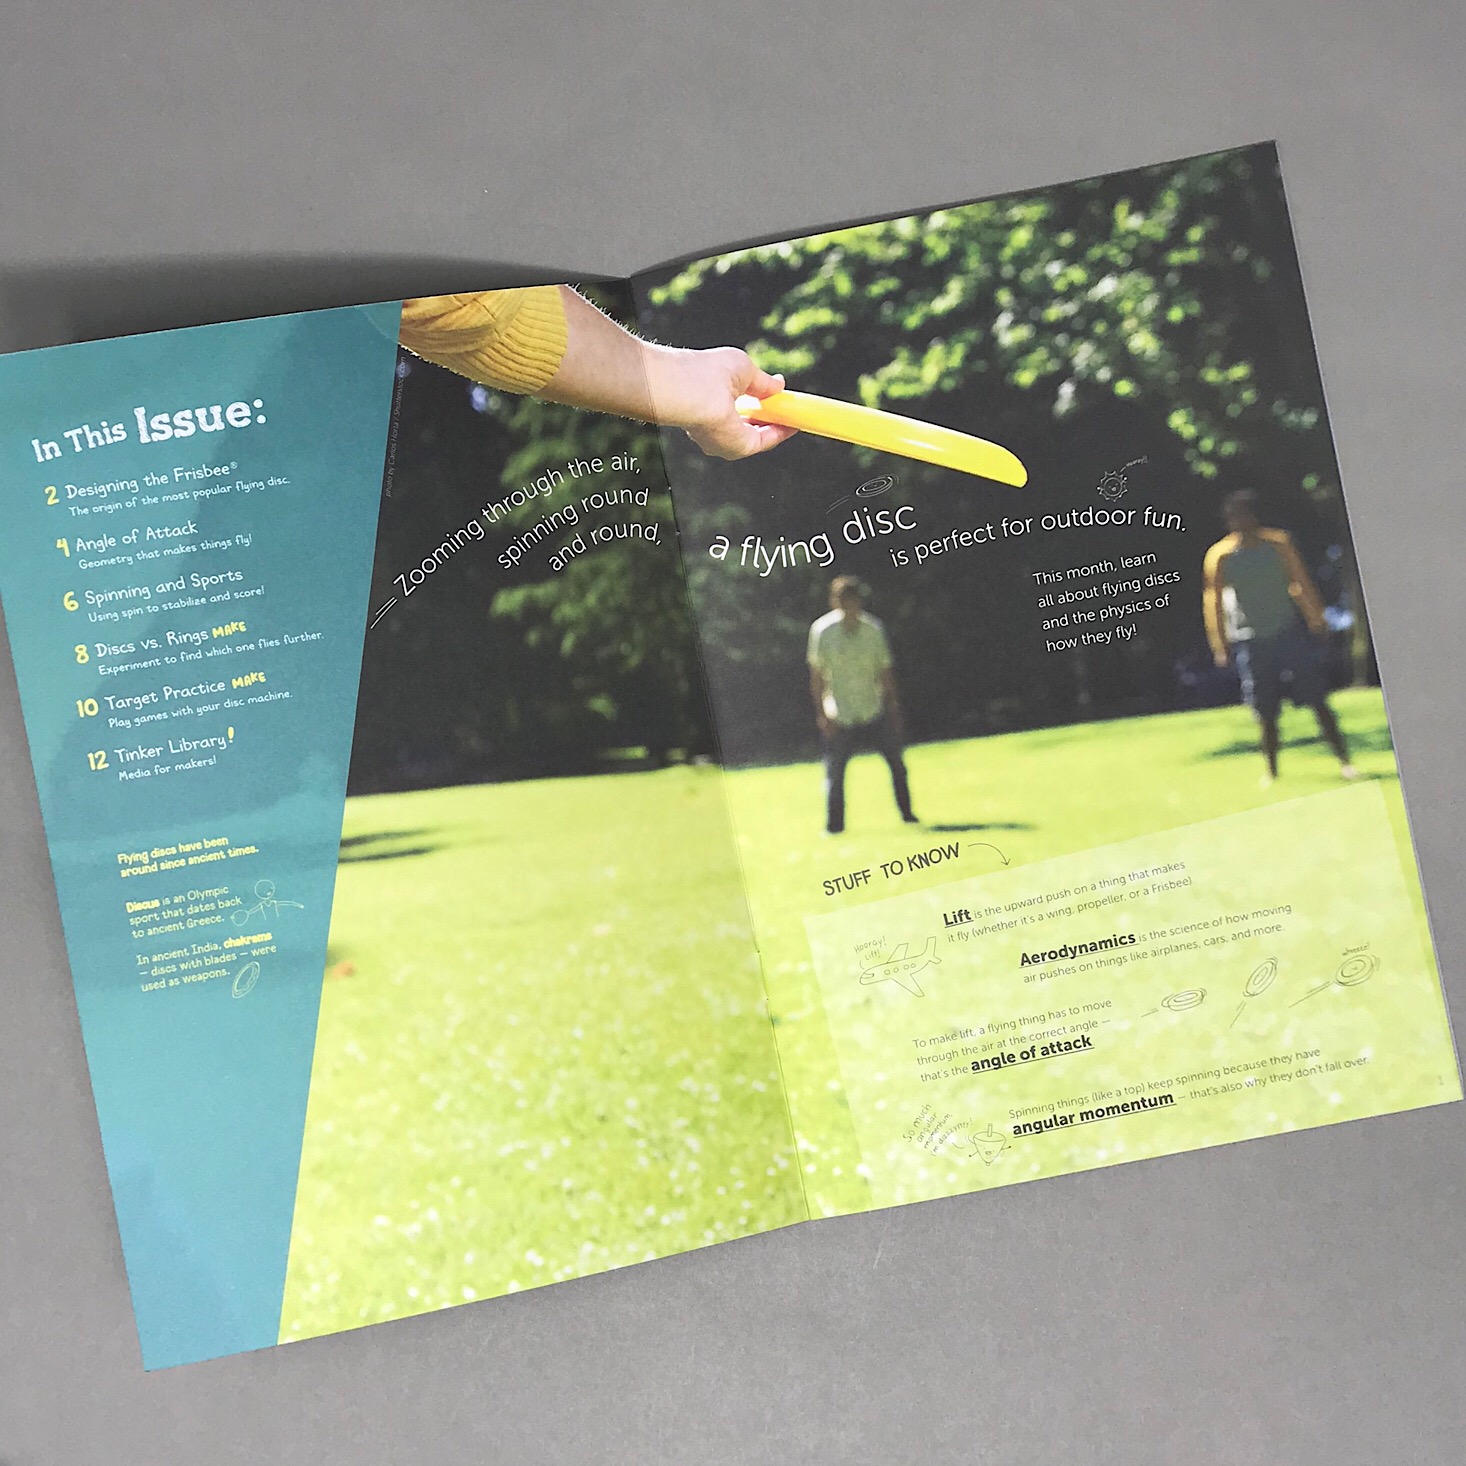

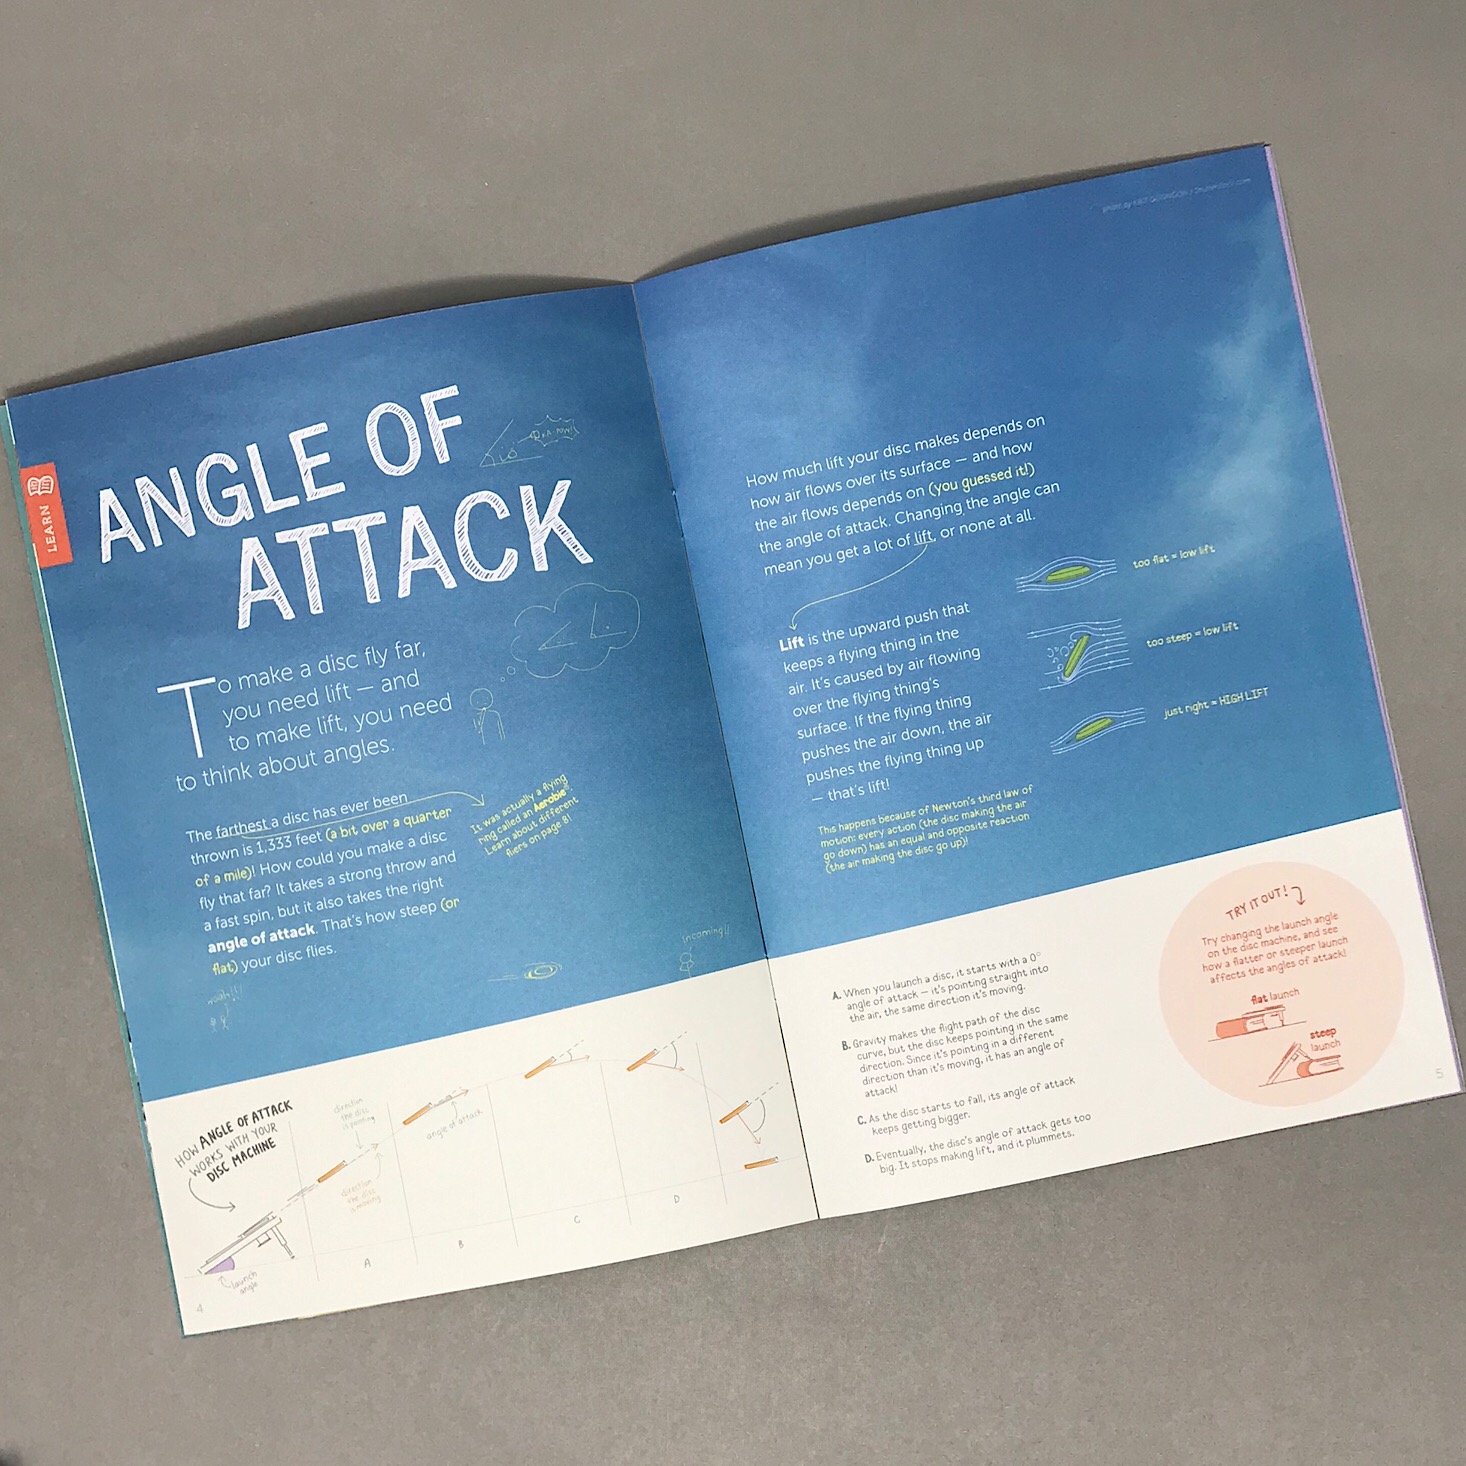
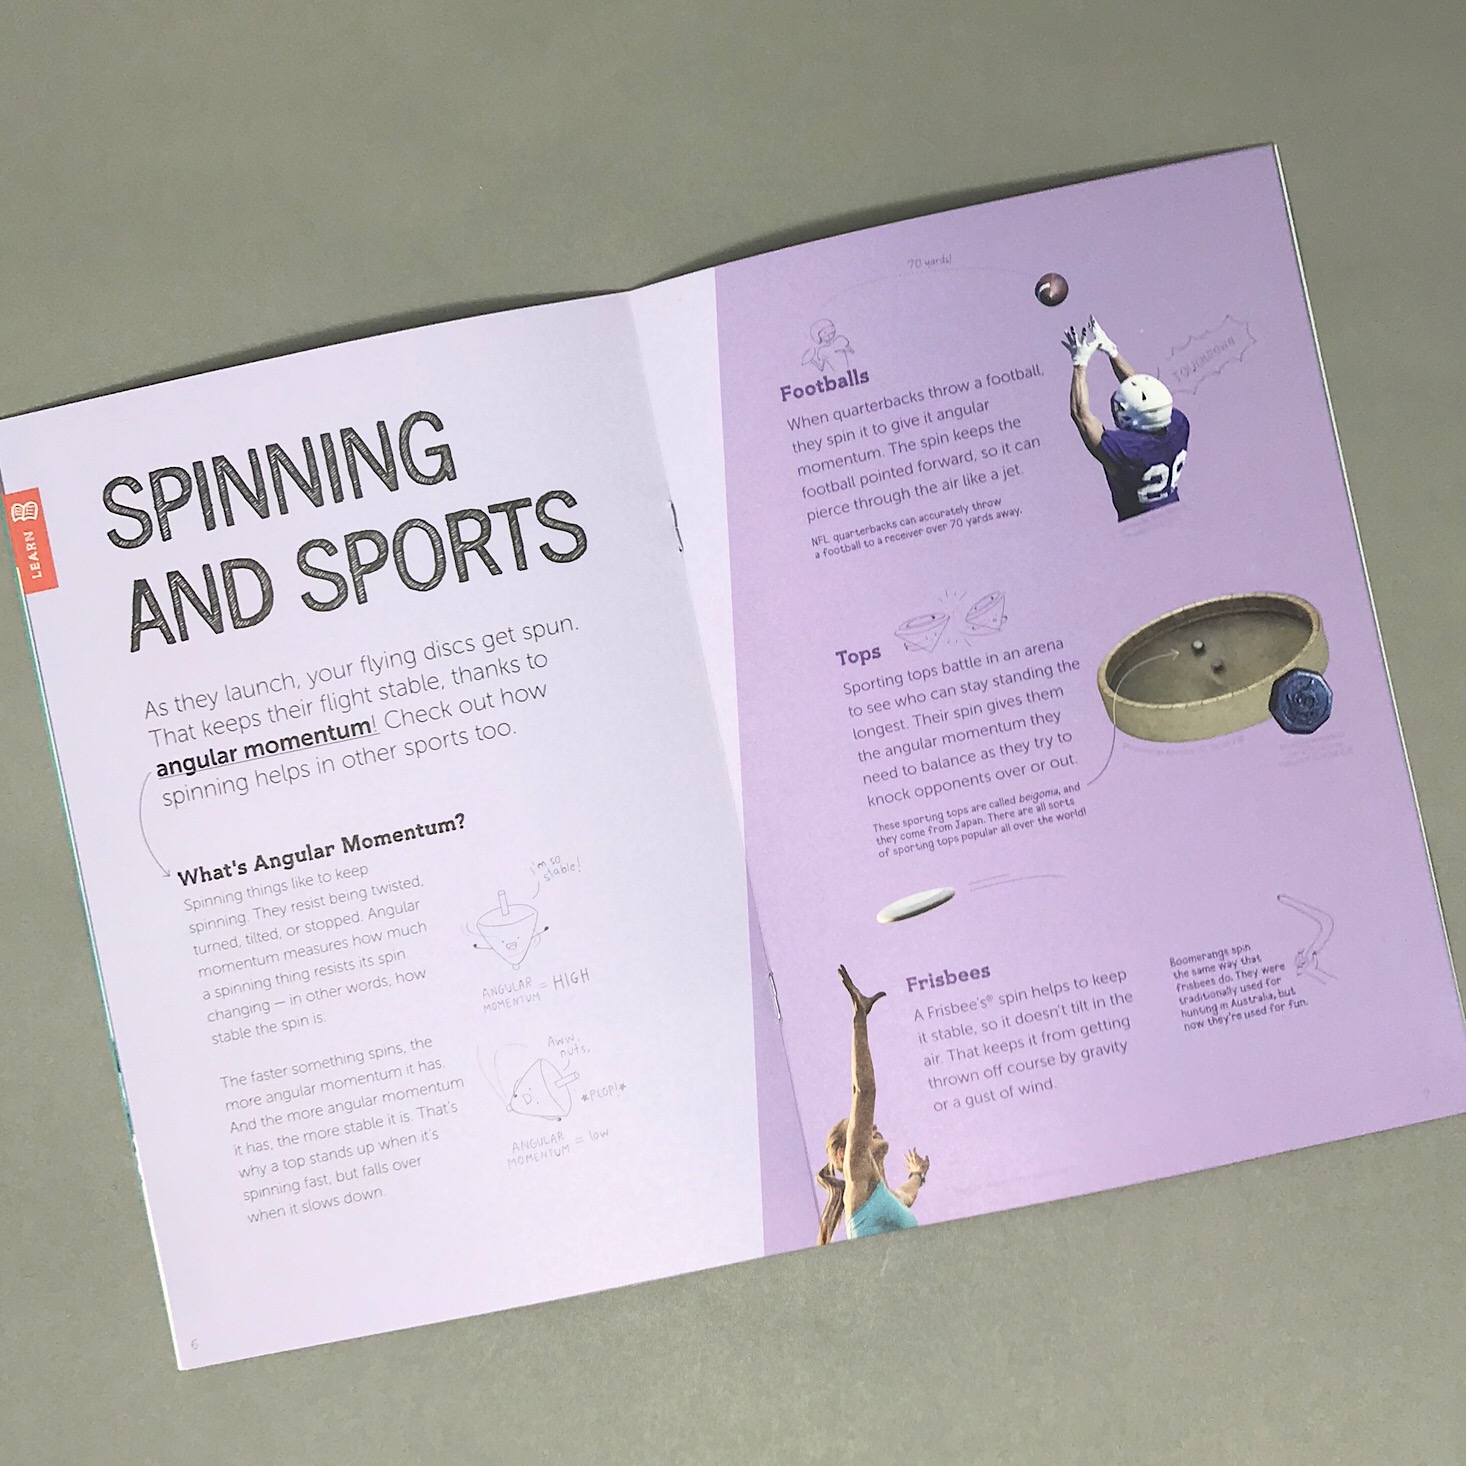

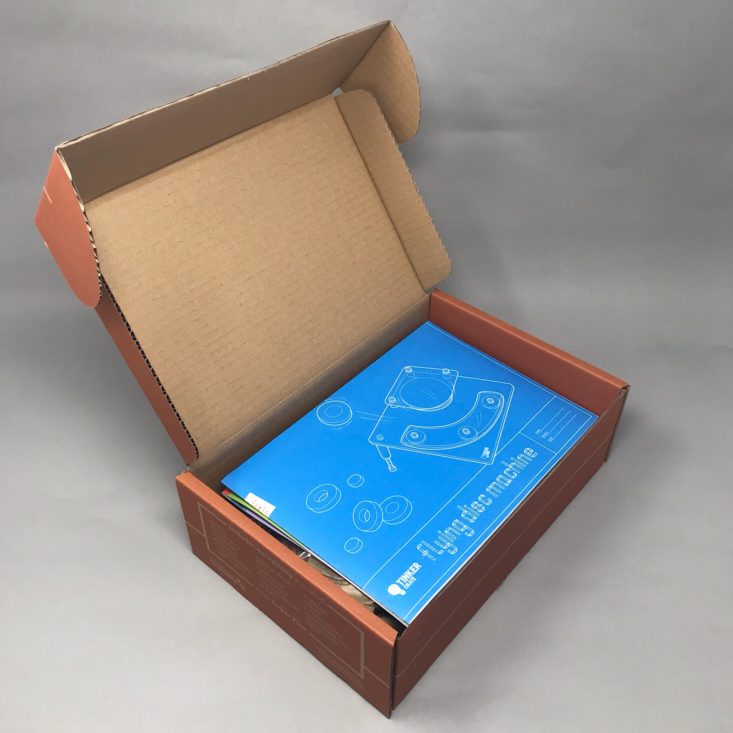
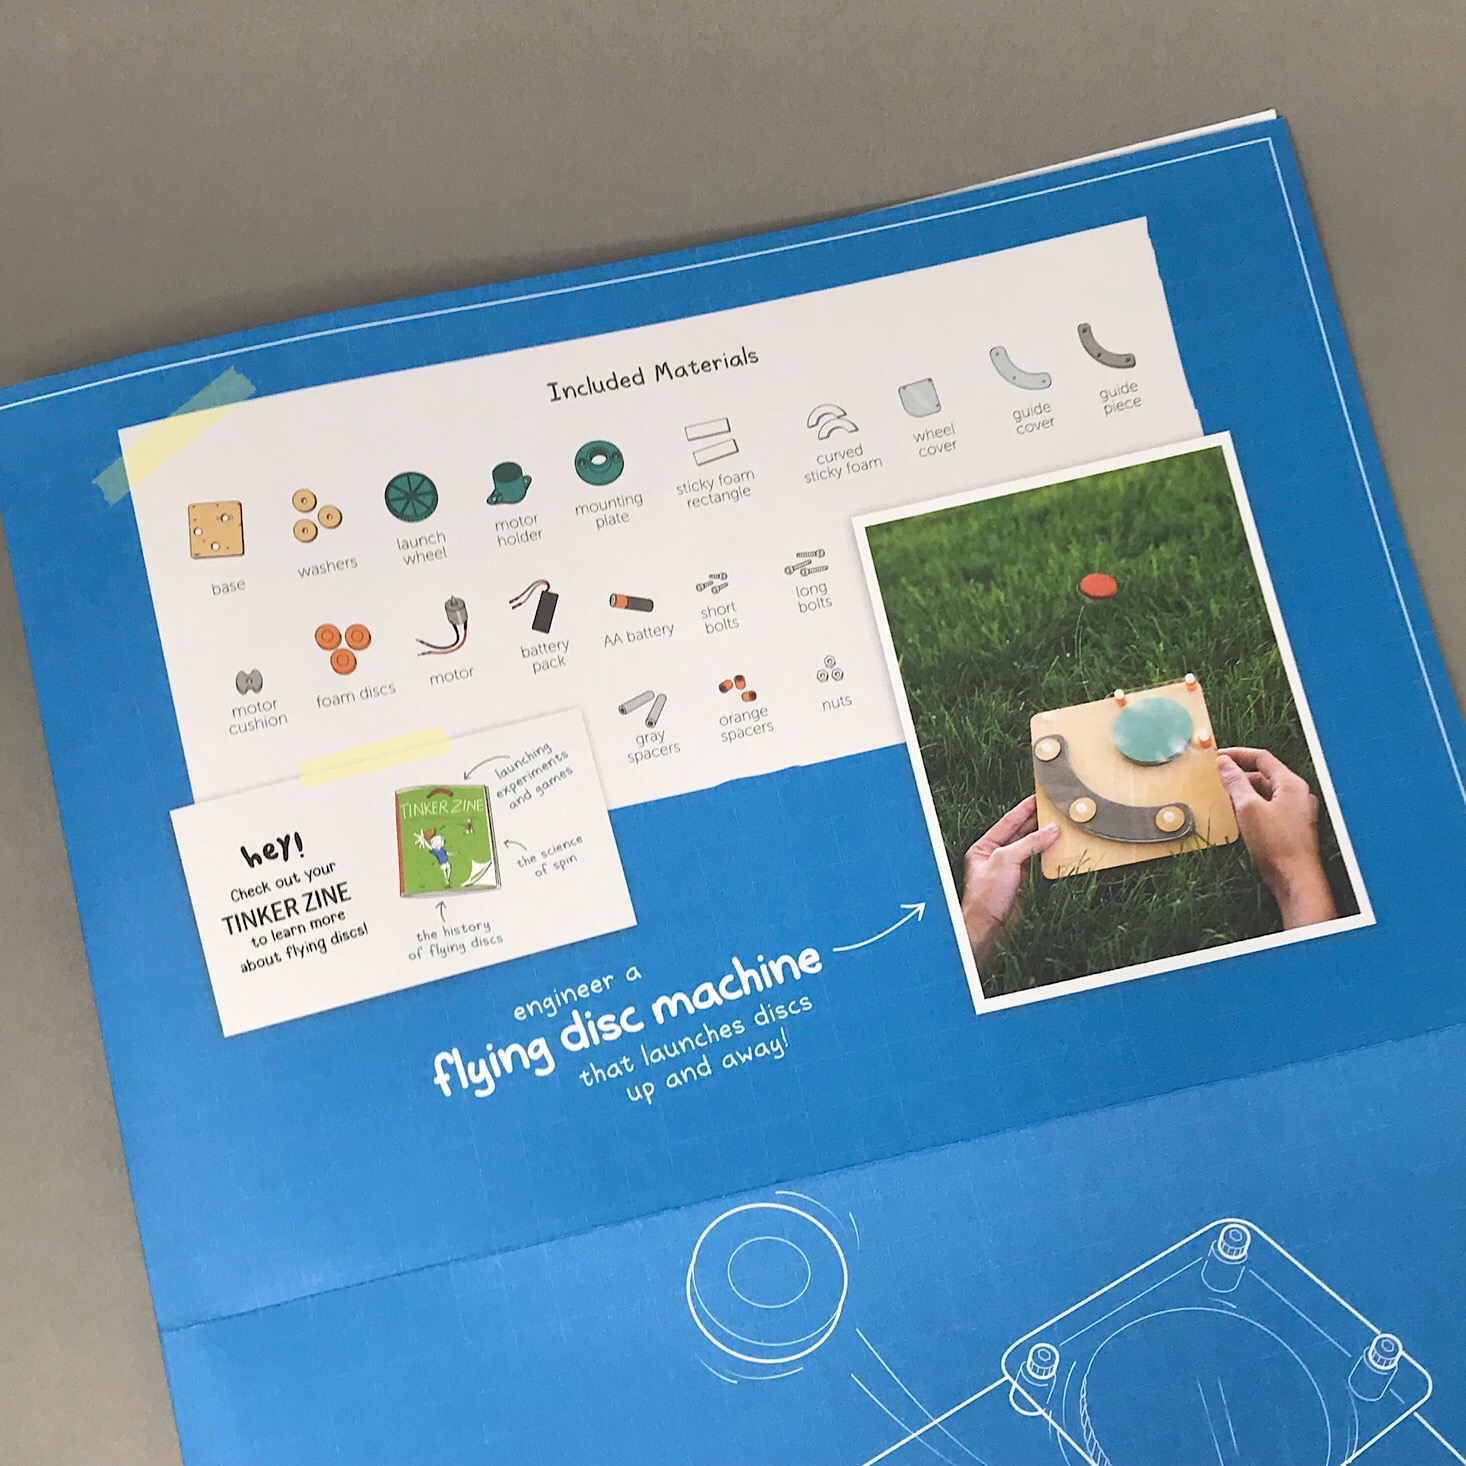
The theme of this month's Tinker Zine is "Flying Discs" to go with our flying disc machine. This zine is full of educational information about sports, angles and target practice, all of which will come in handy when we get to use our machine!
1 of 6
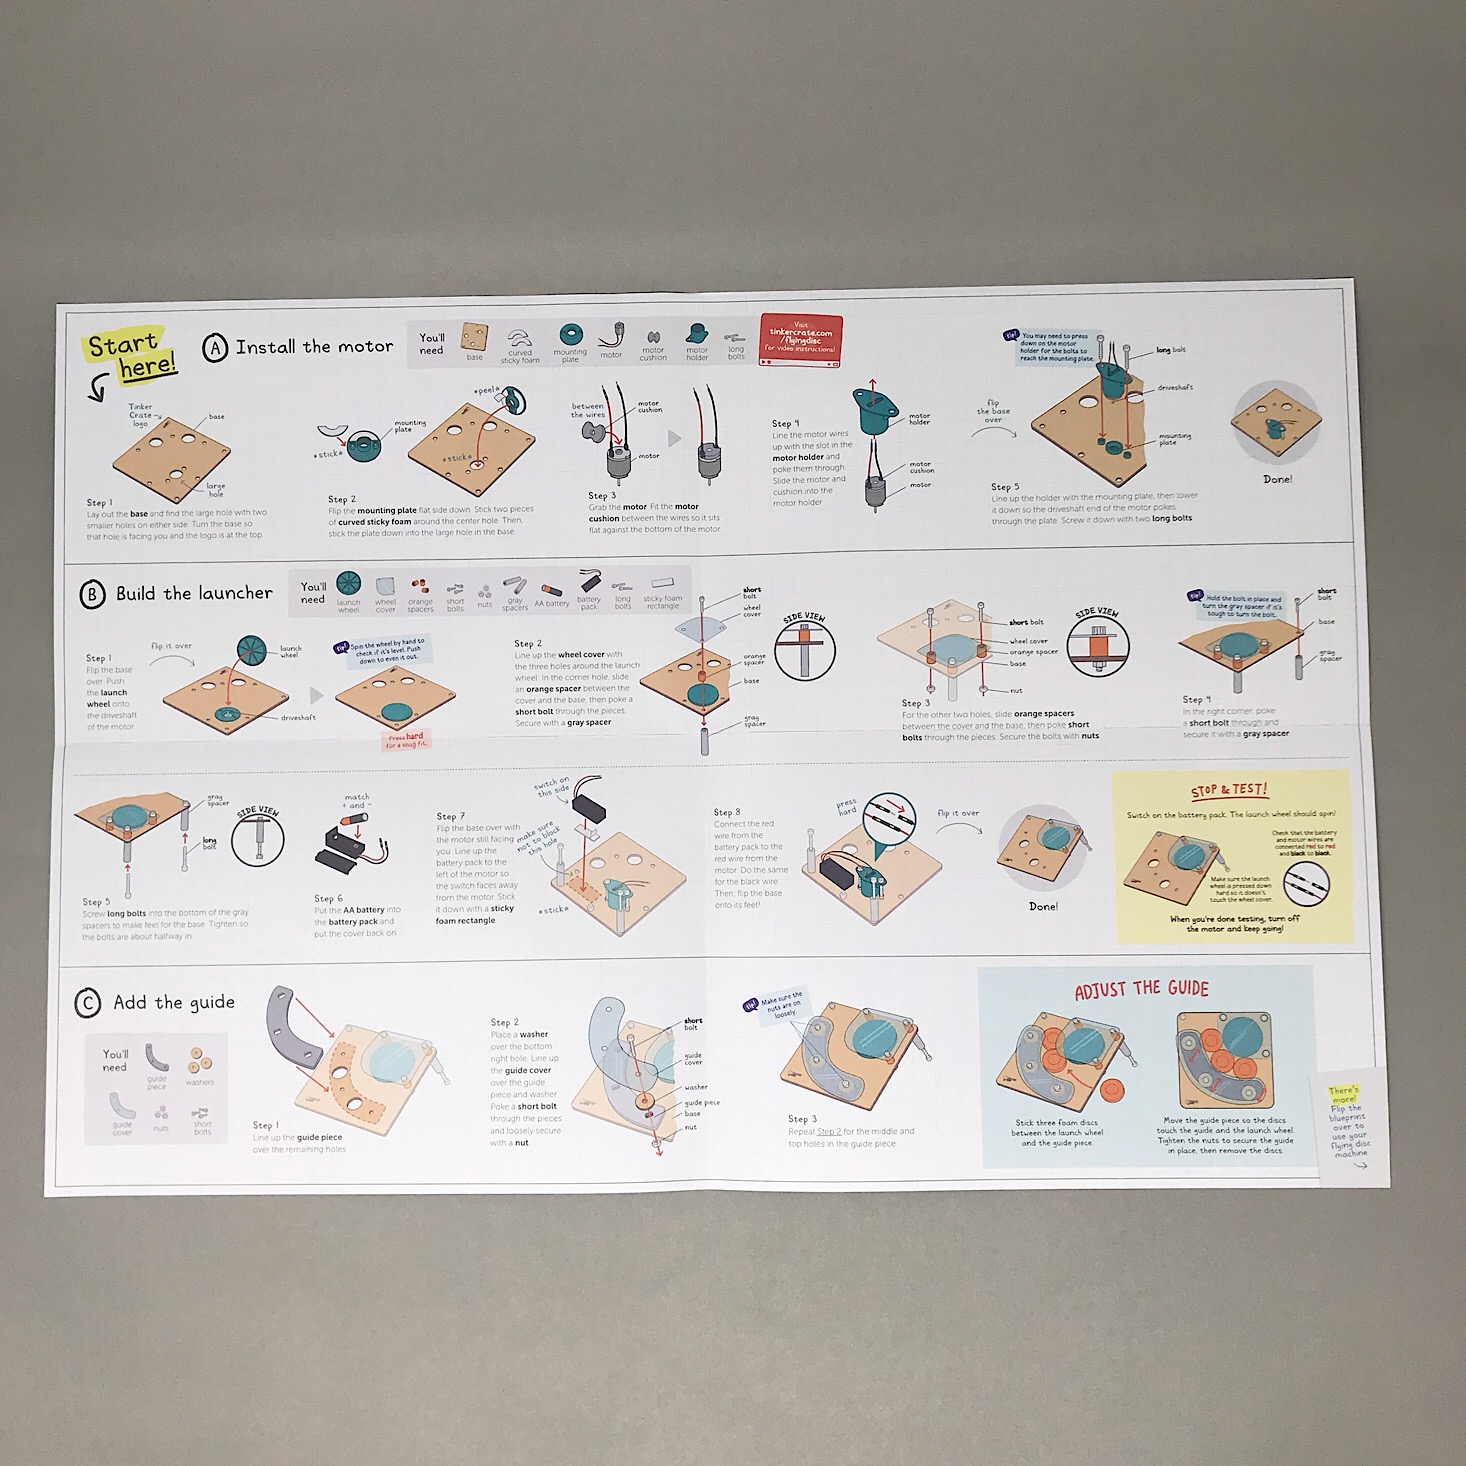

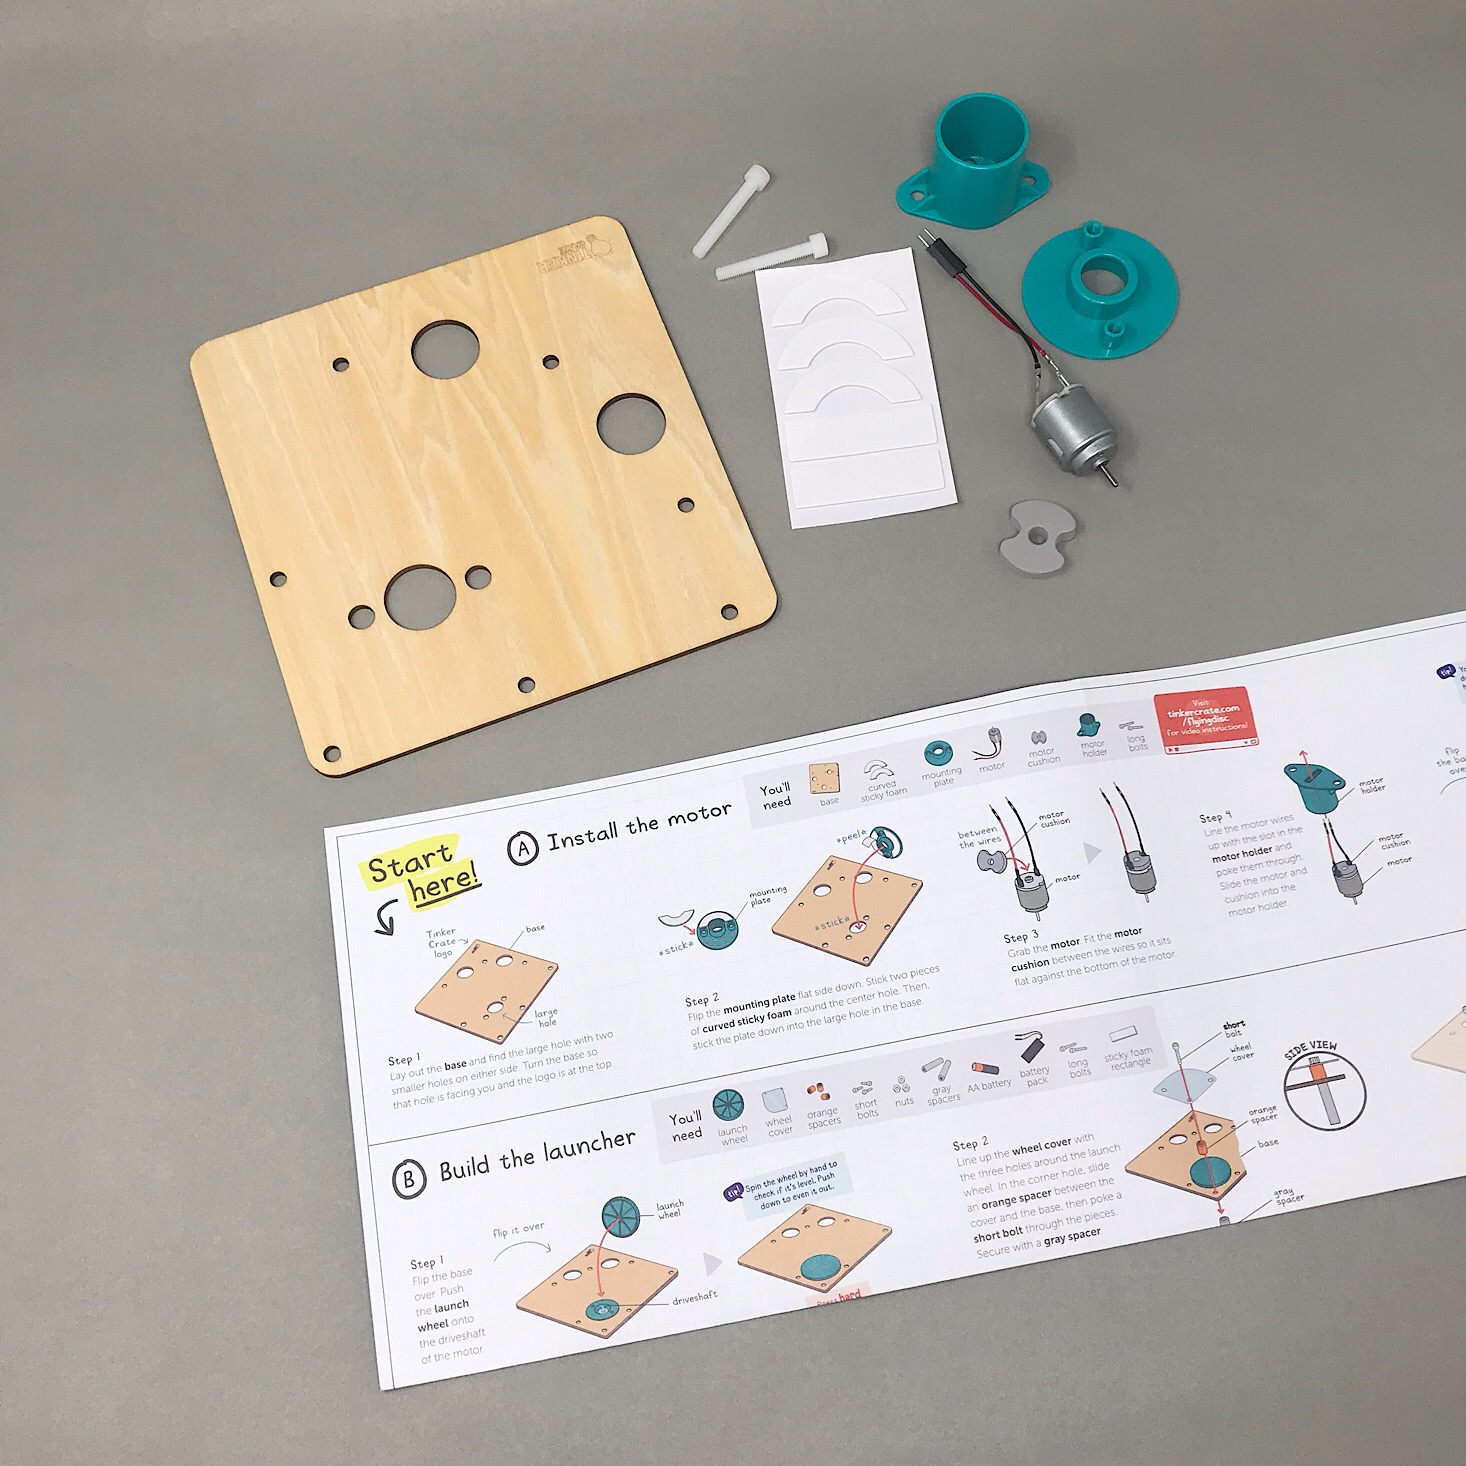
Our instructions come on a separate sheet and they include detailed directions along with color pictures for each step. They even include a section on troubleshooting each month which I find to be helpful although usually, these projects run pretty smoothly! They also include a link so that you can watch video instructions for more help.
Part A: Install the Motor

1 of 5

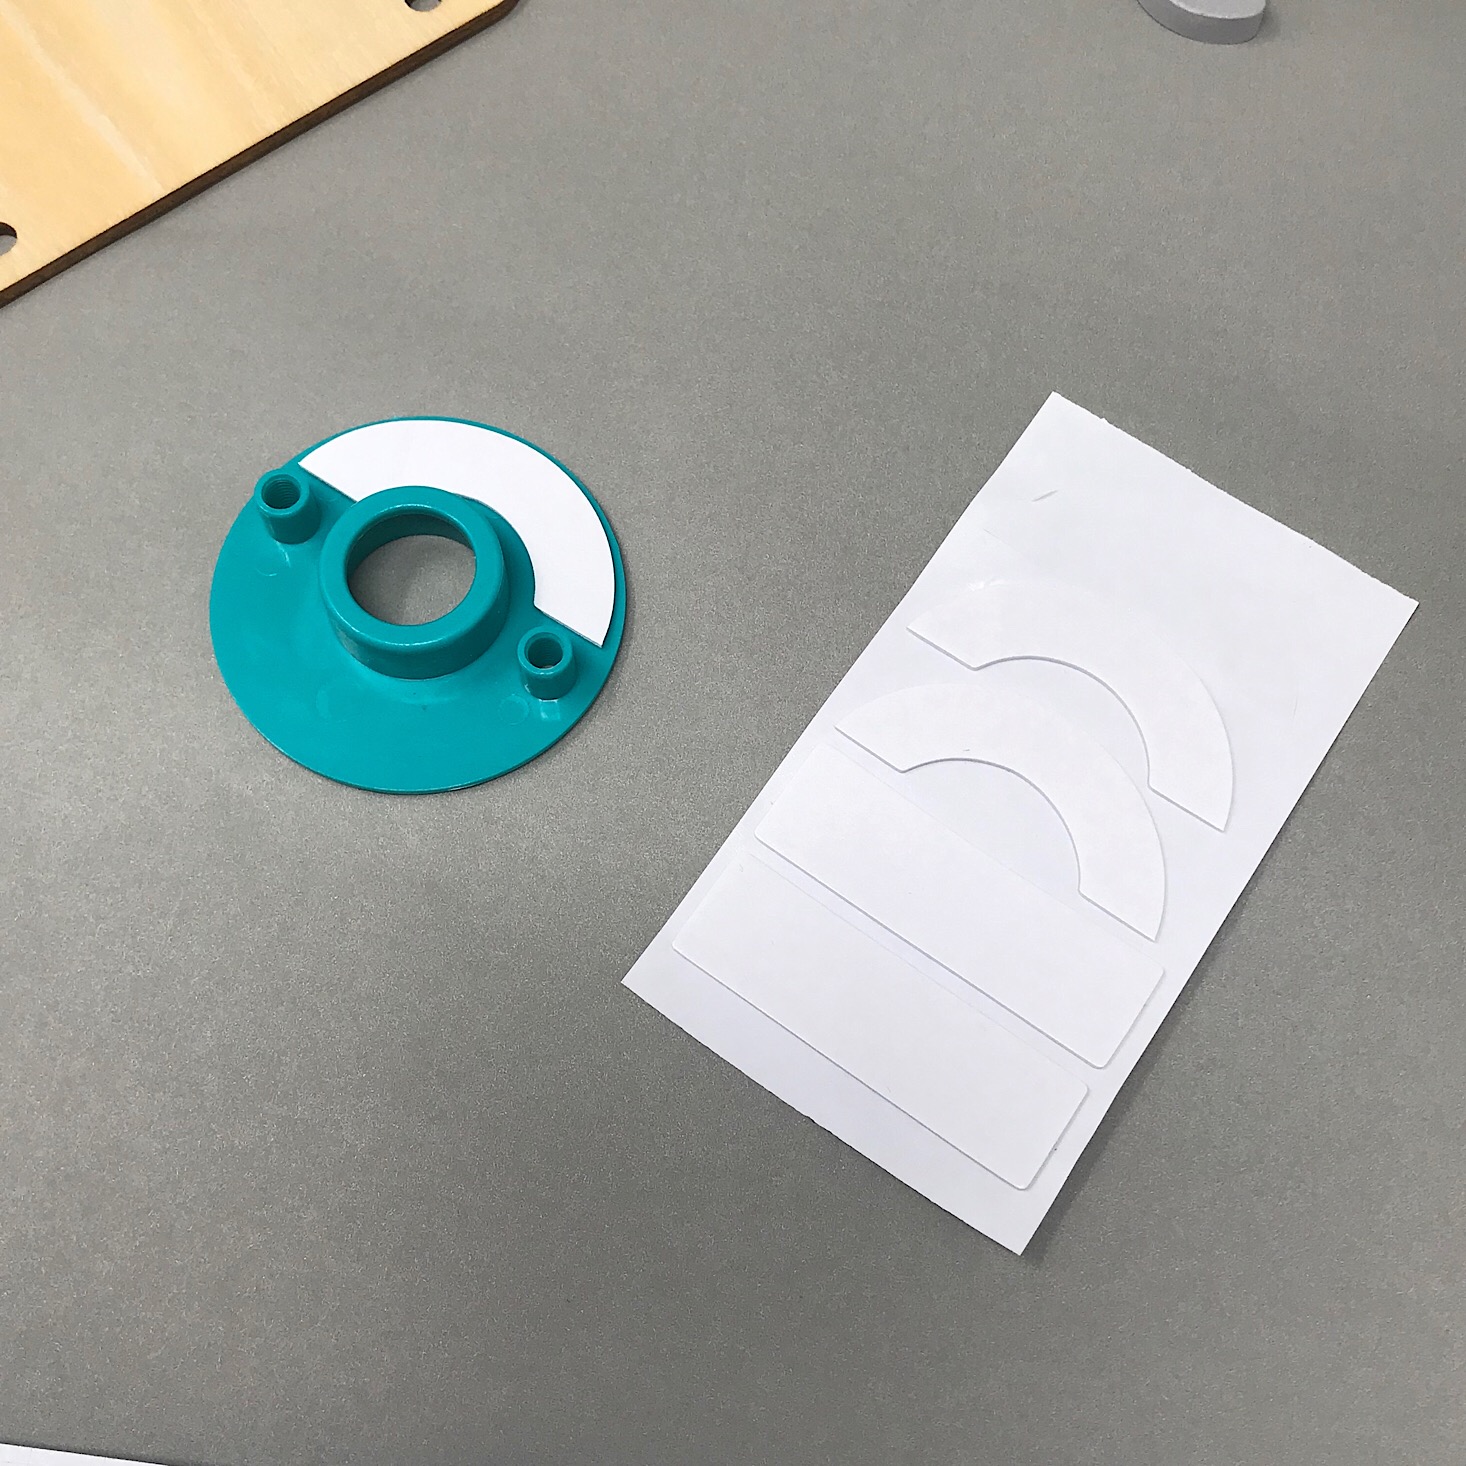
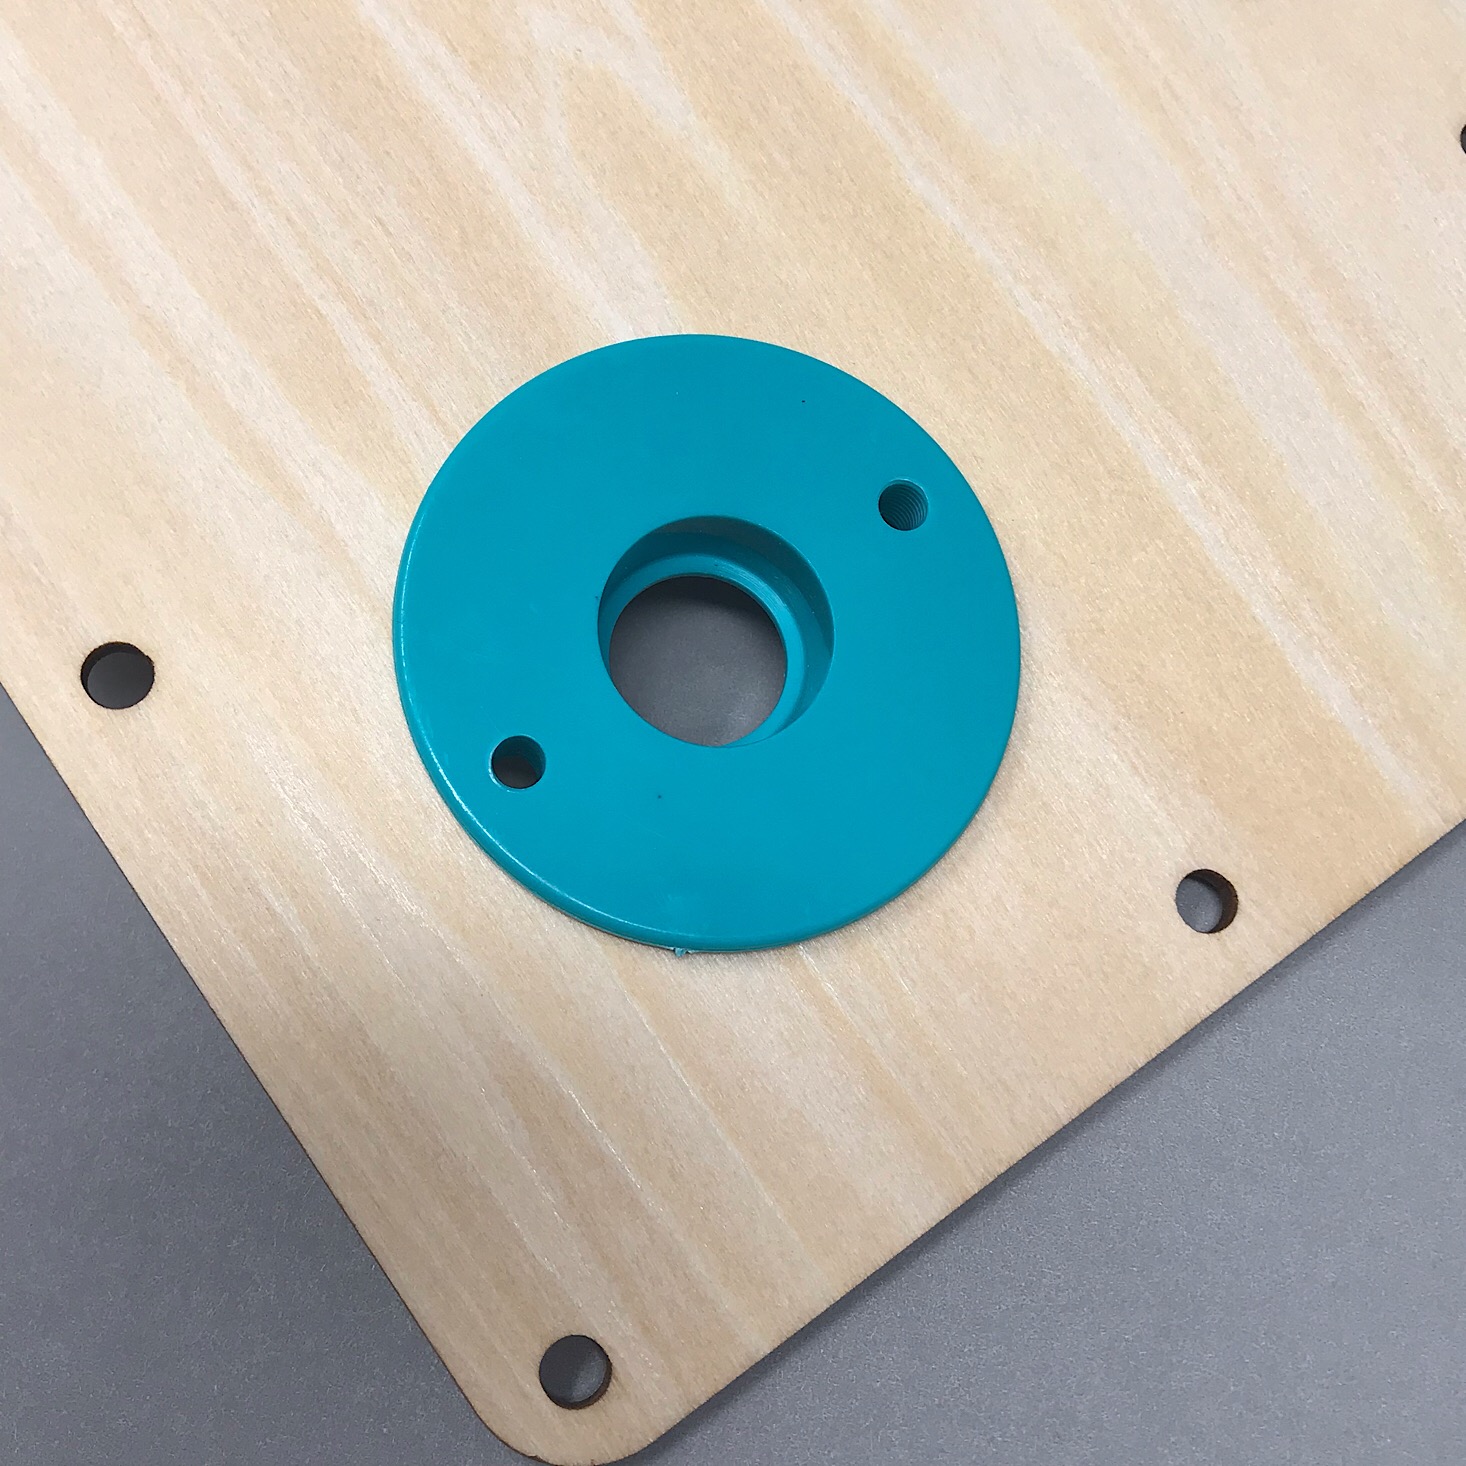
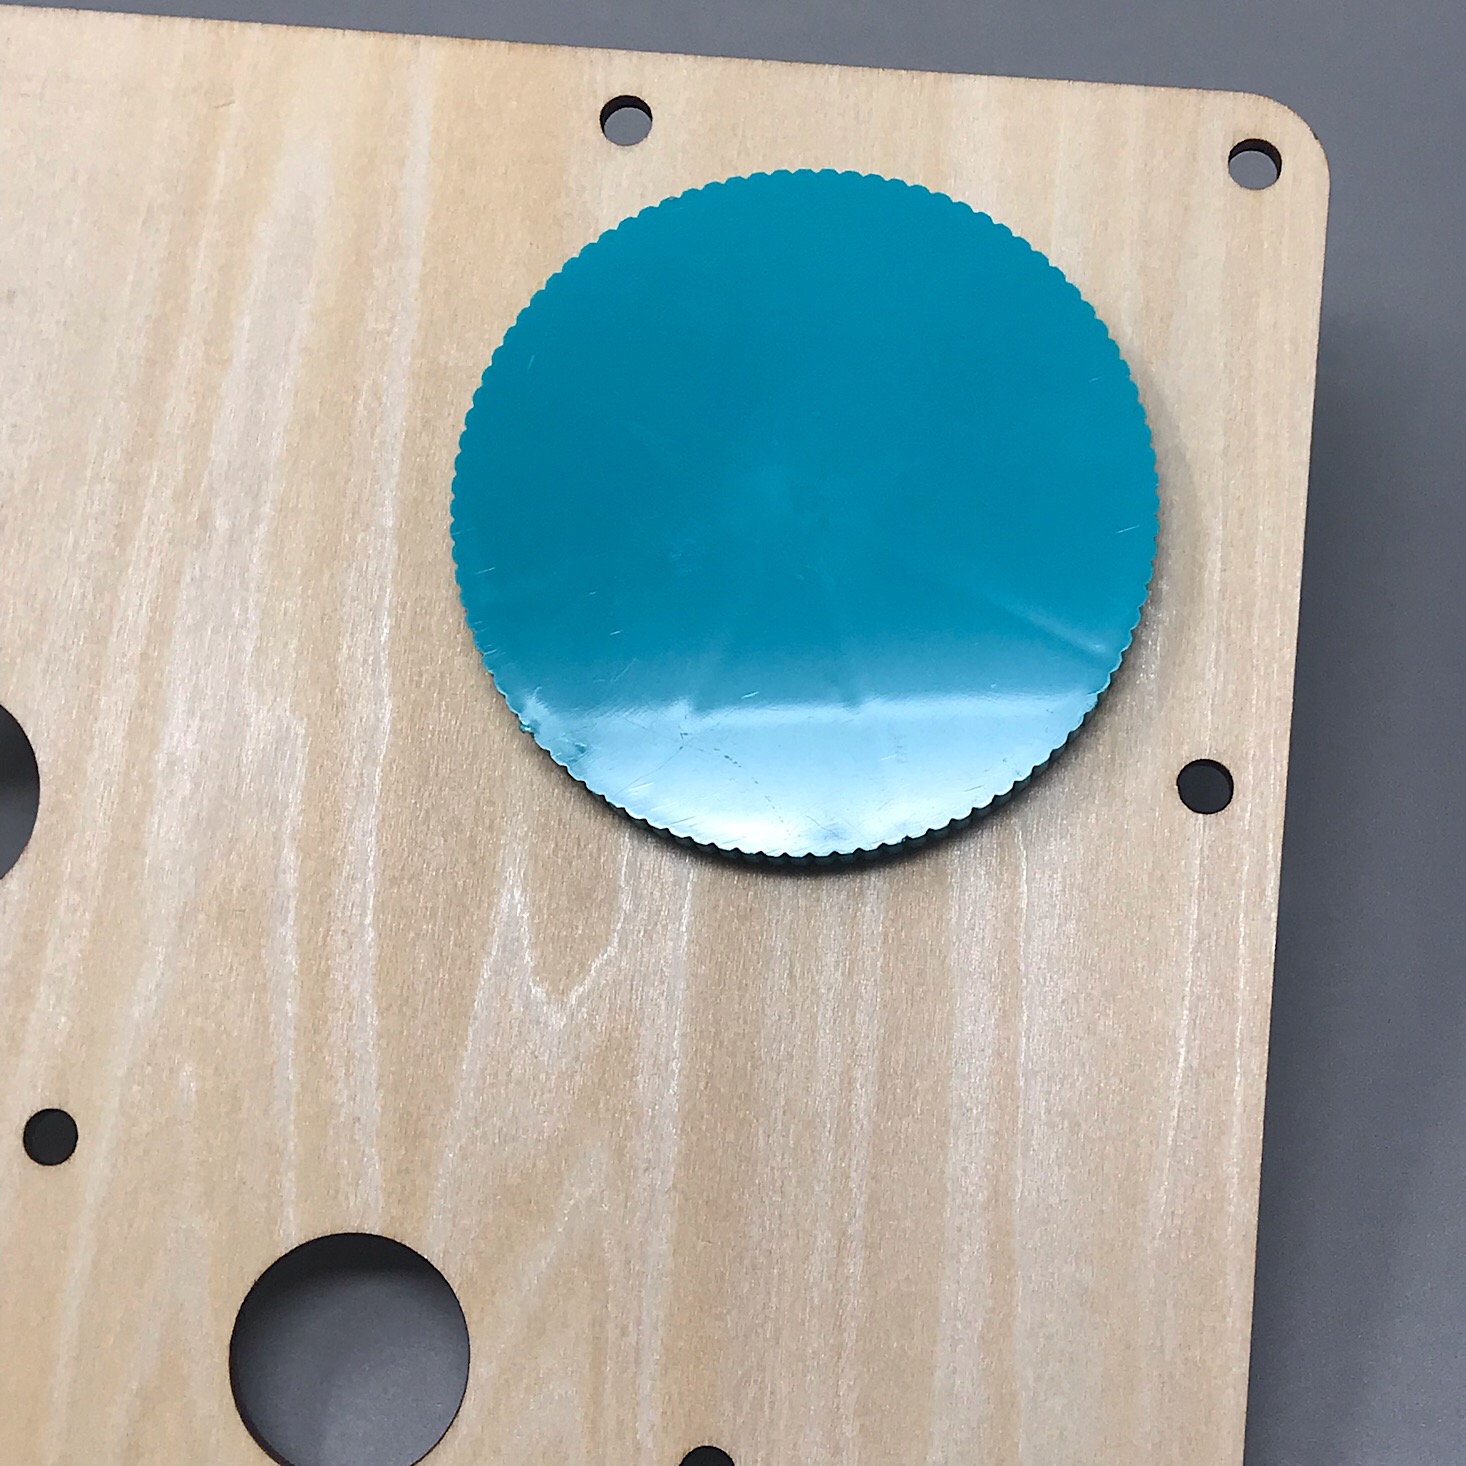
The first step in our project was to install the motor. First, I added adhesive strips to the round piece and I inserted it into the larger hole on the board for our machine.


1 of 5
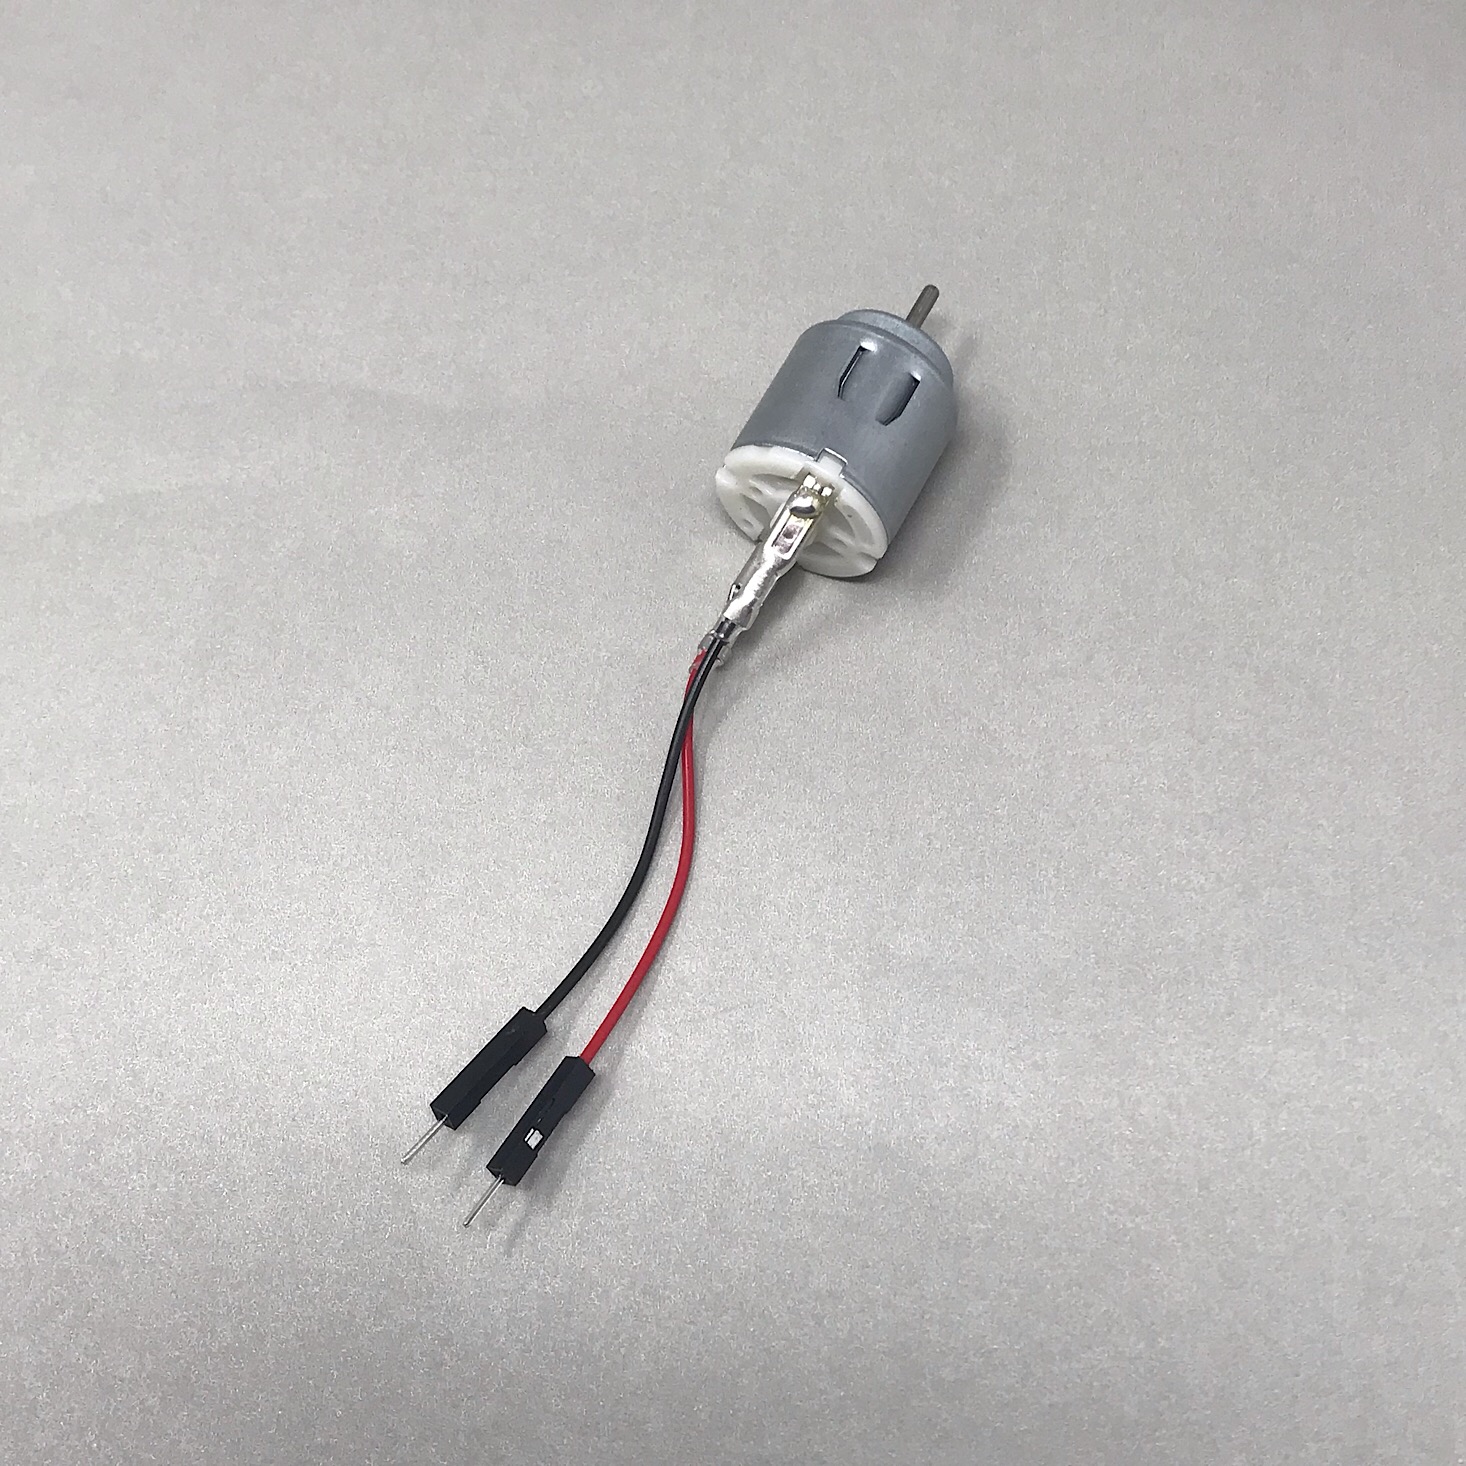
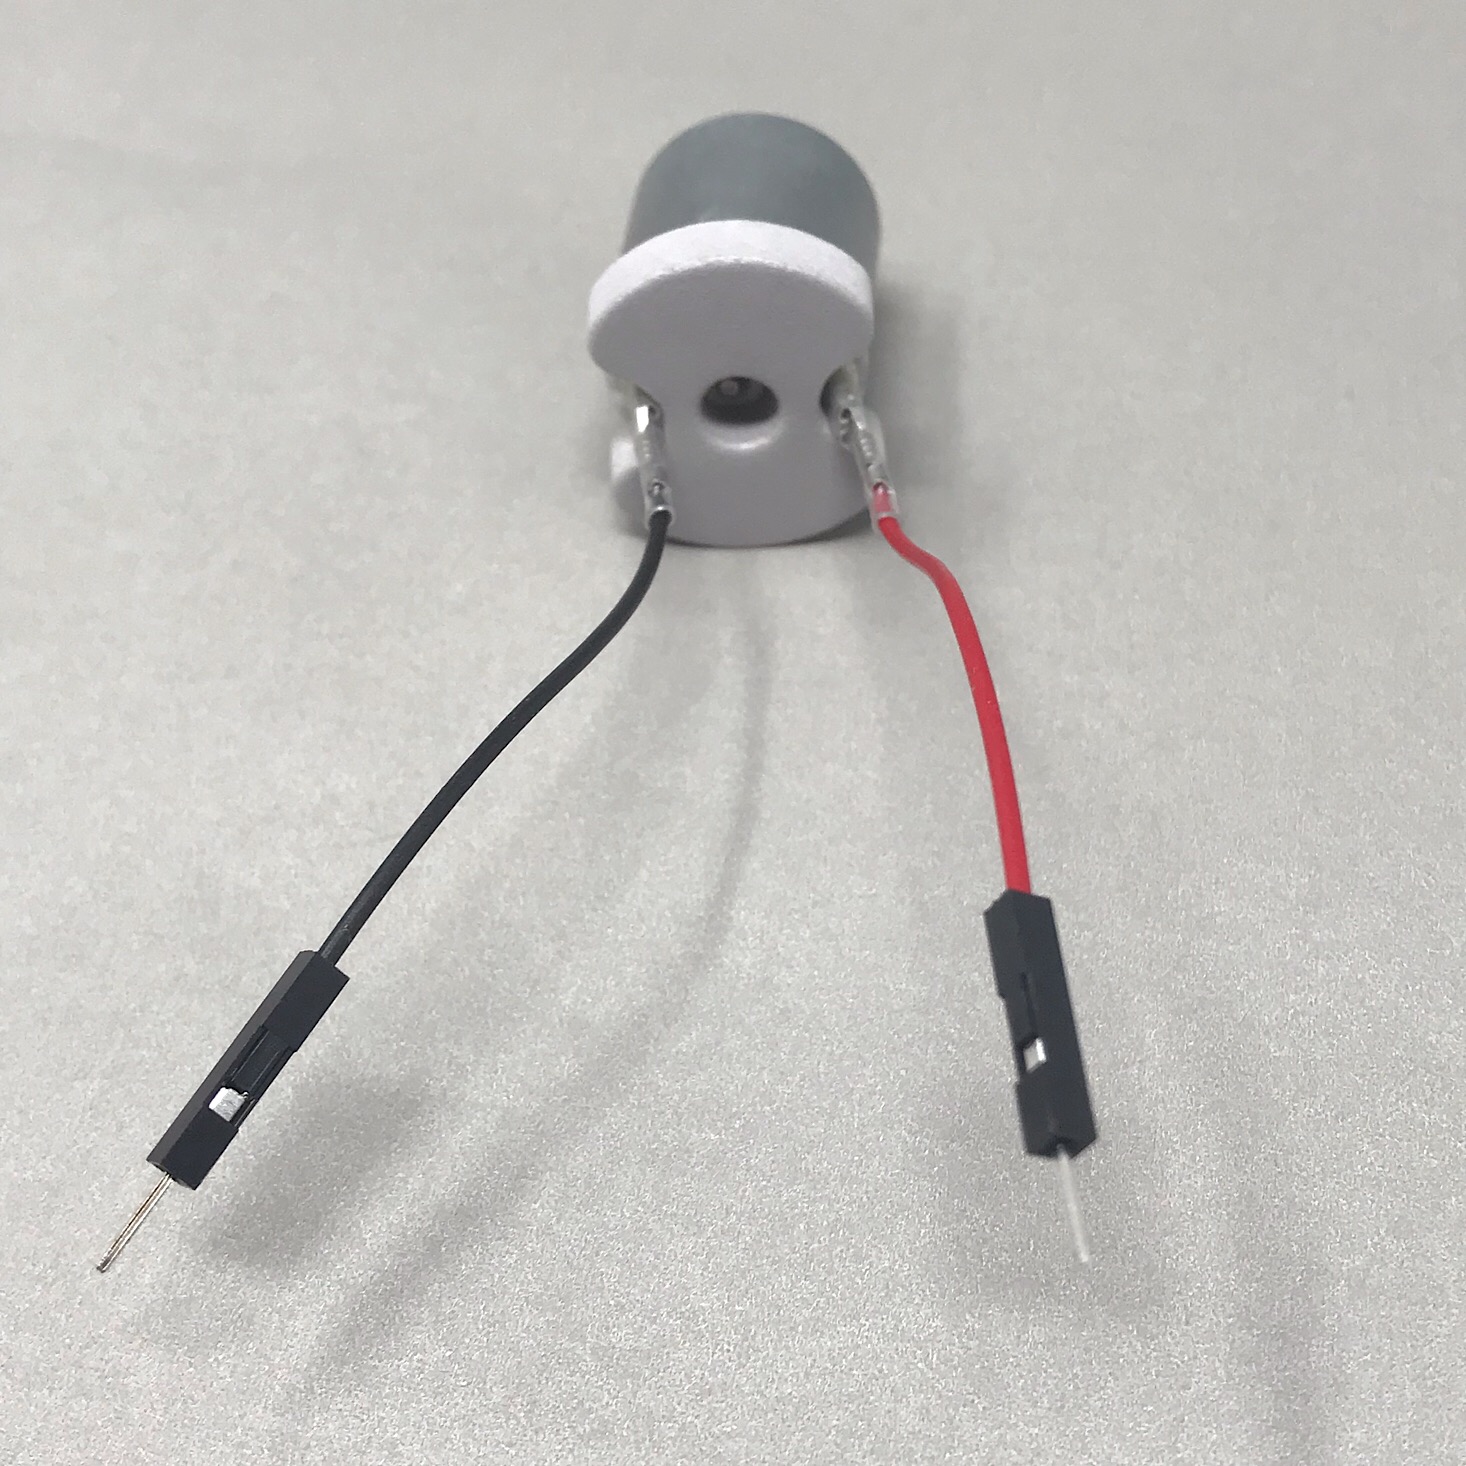
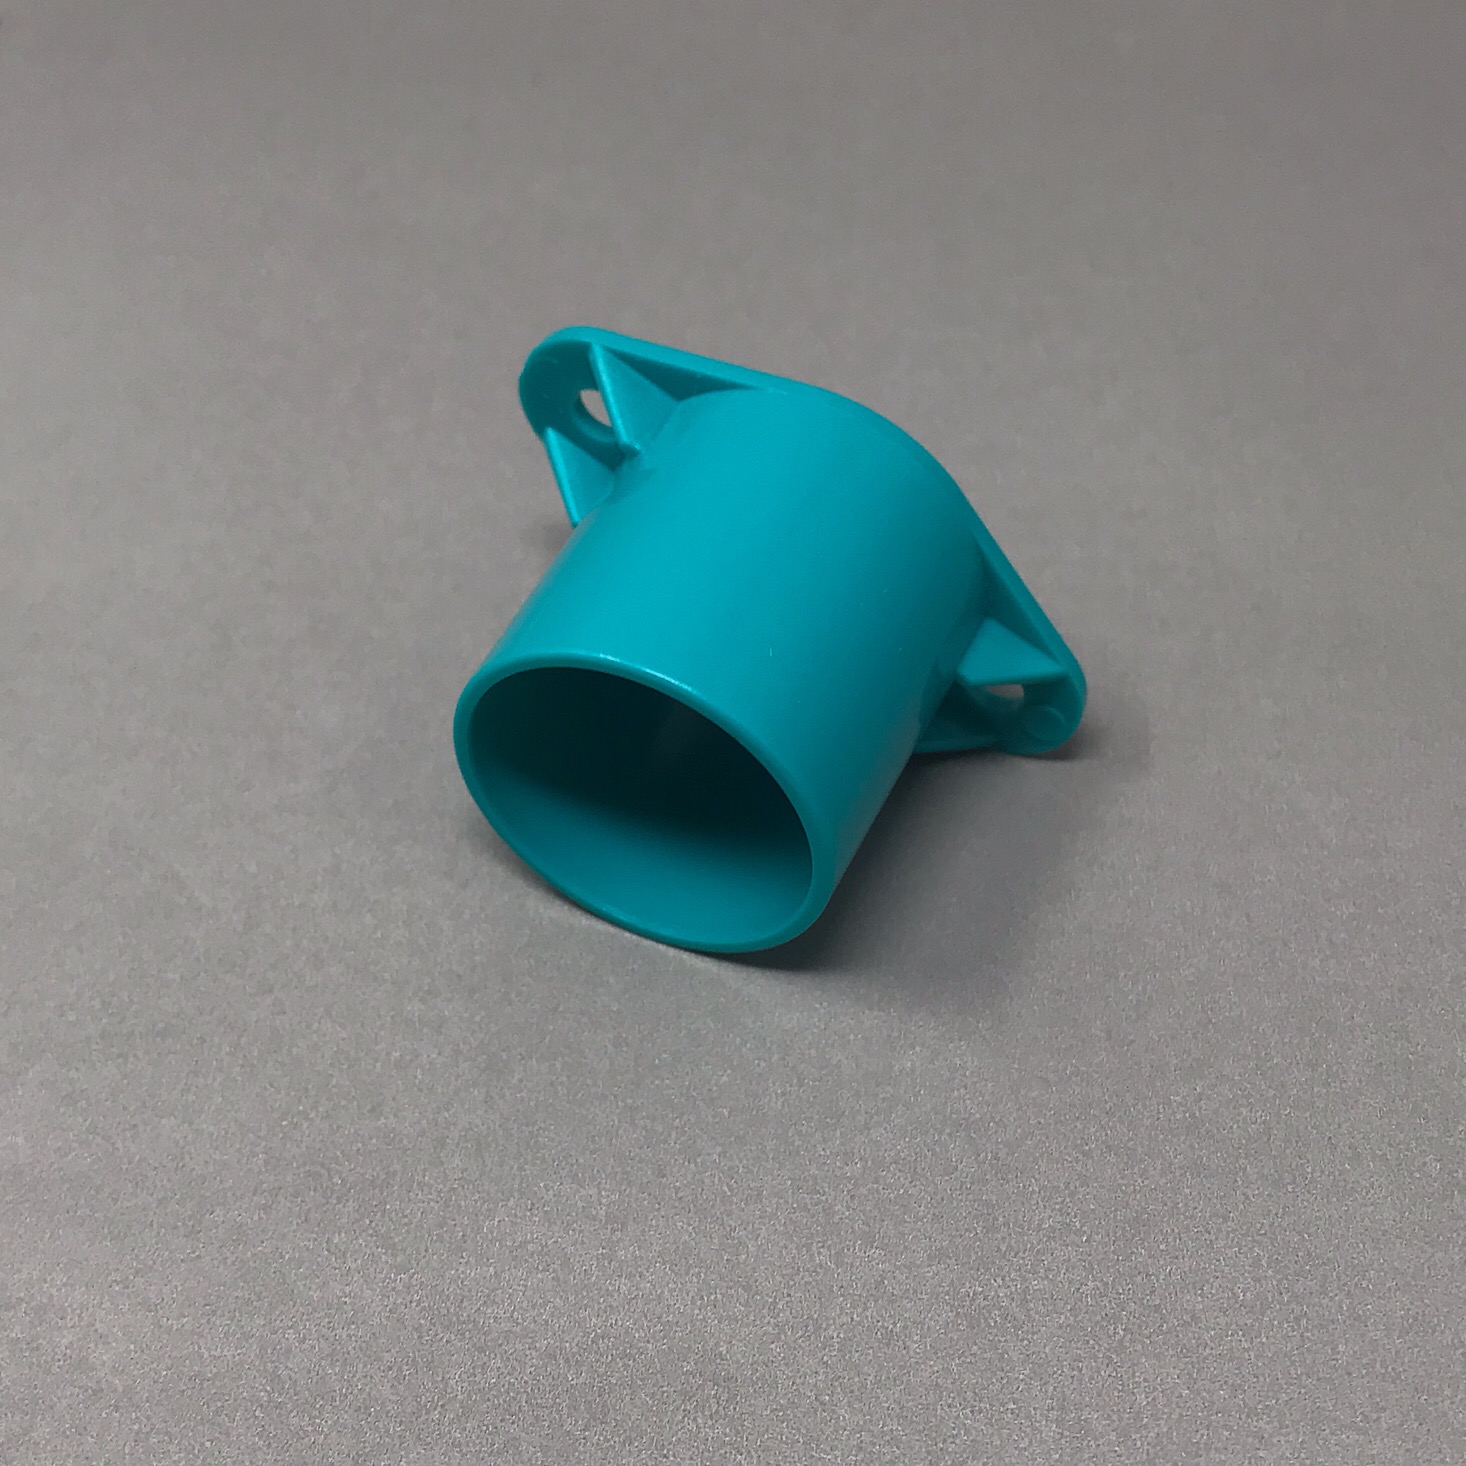
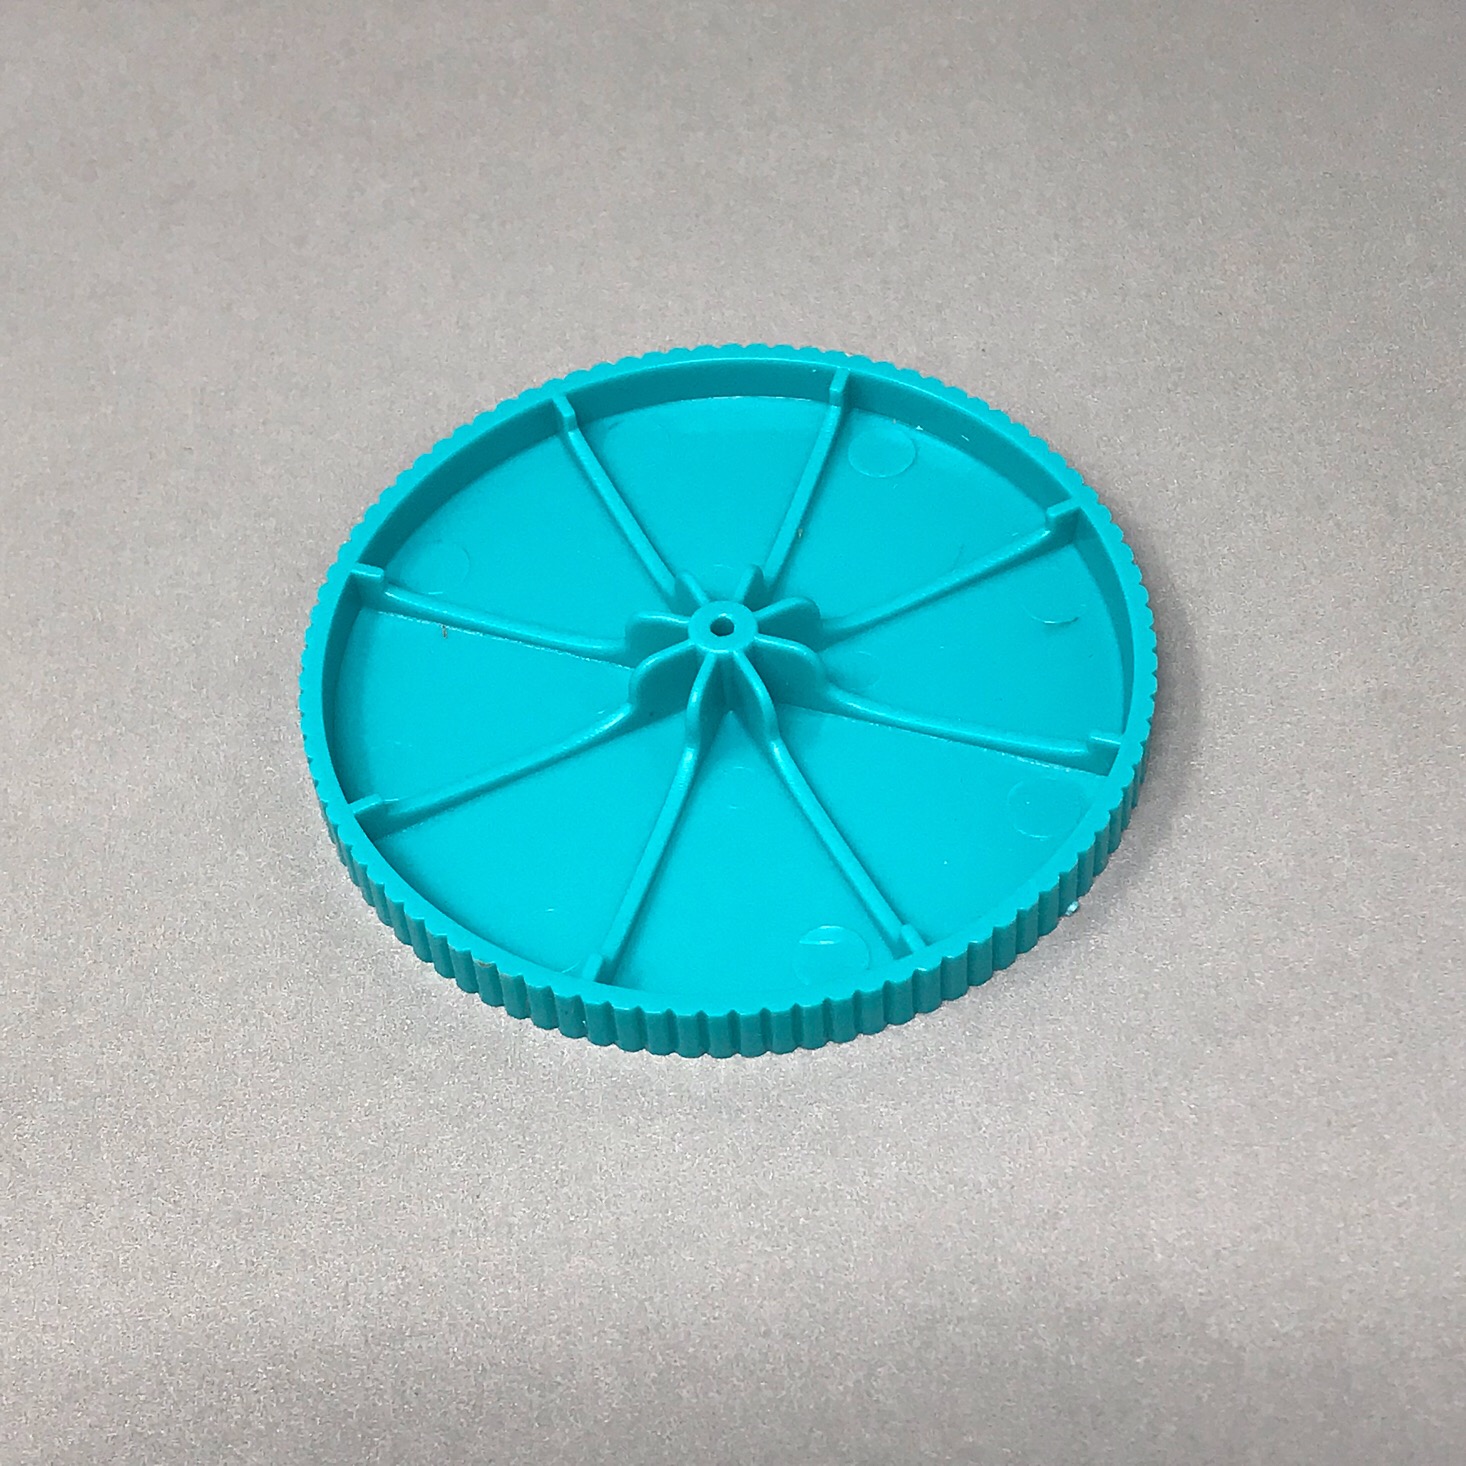
Then I inserted the motor into this blue piece making sure to have the wires sticking through the center.

1 of 3
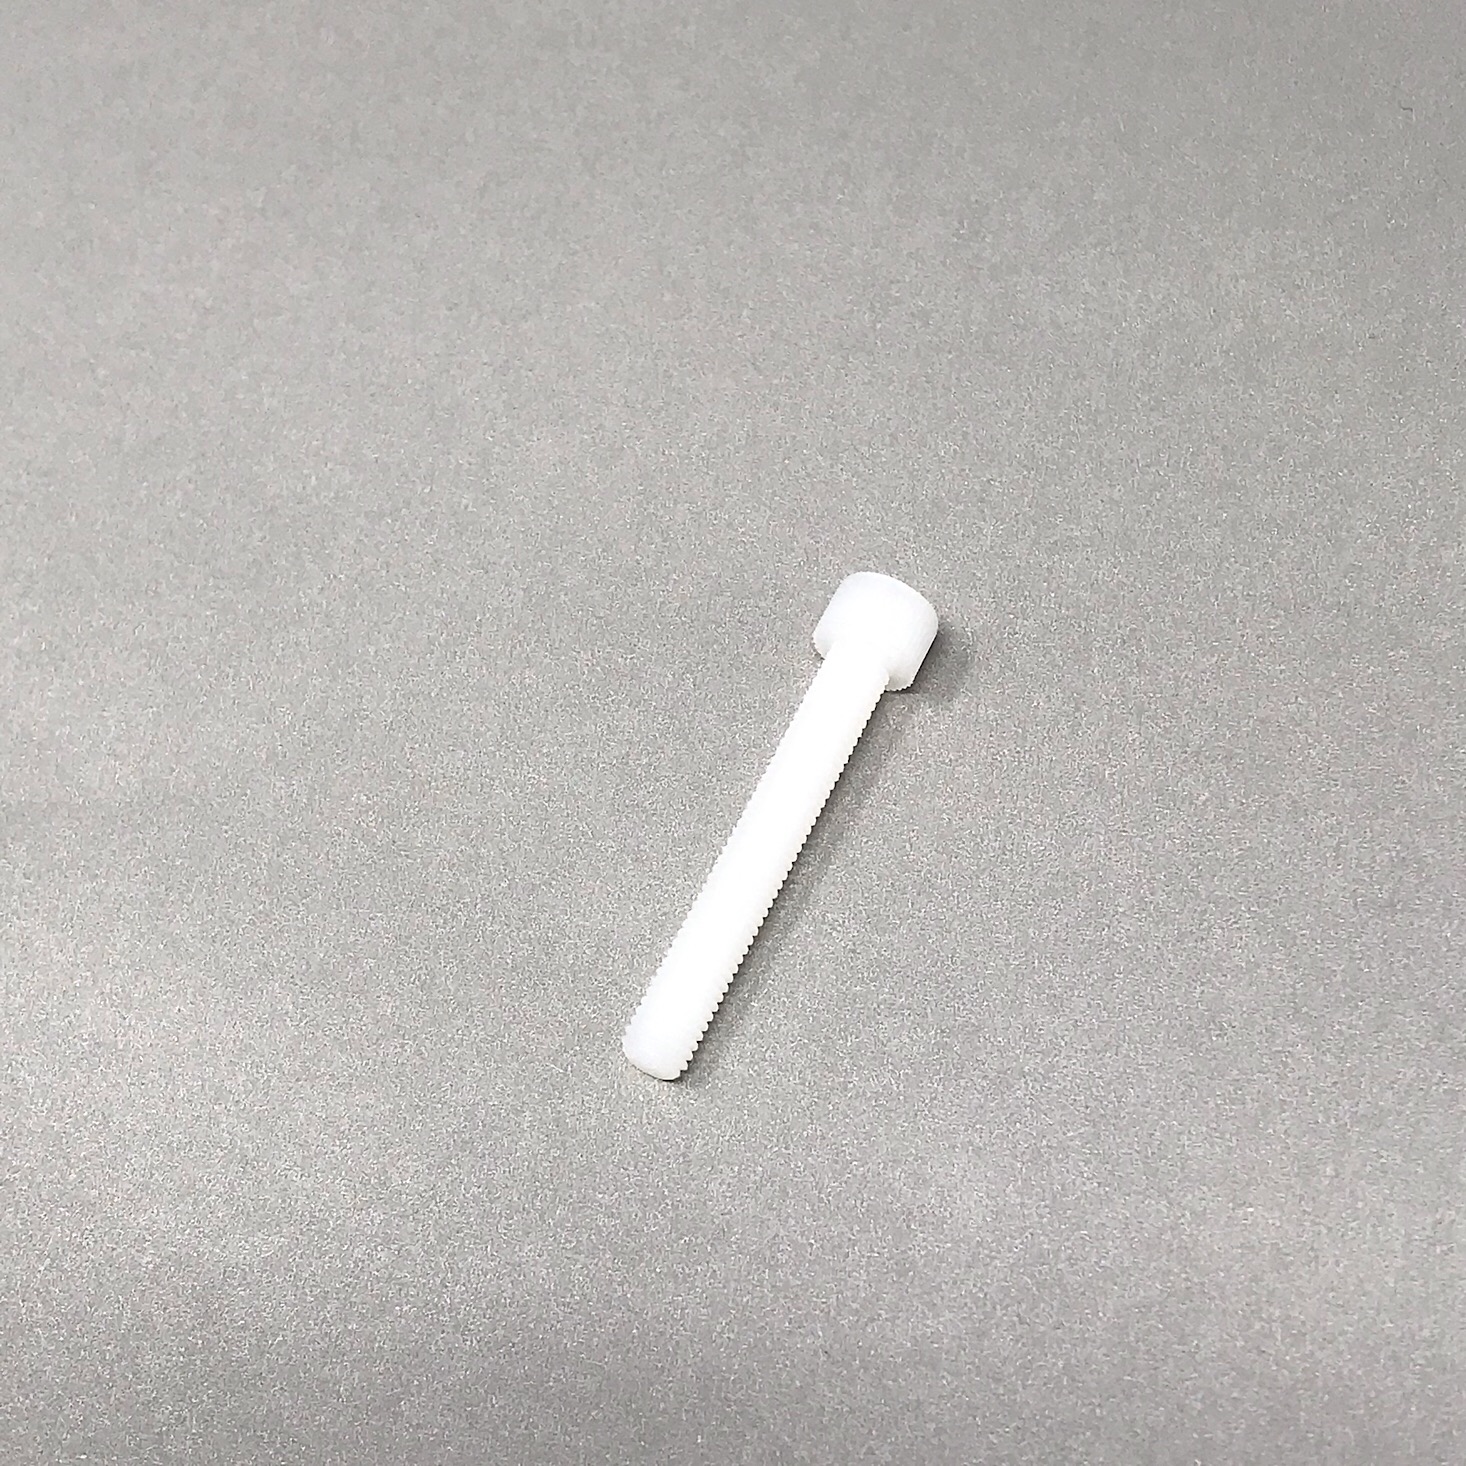
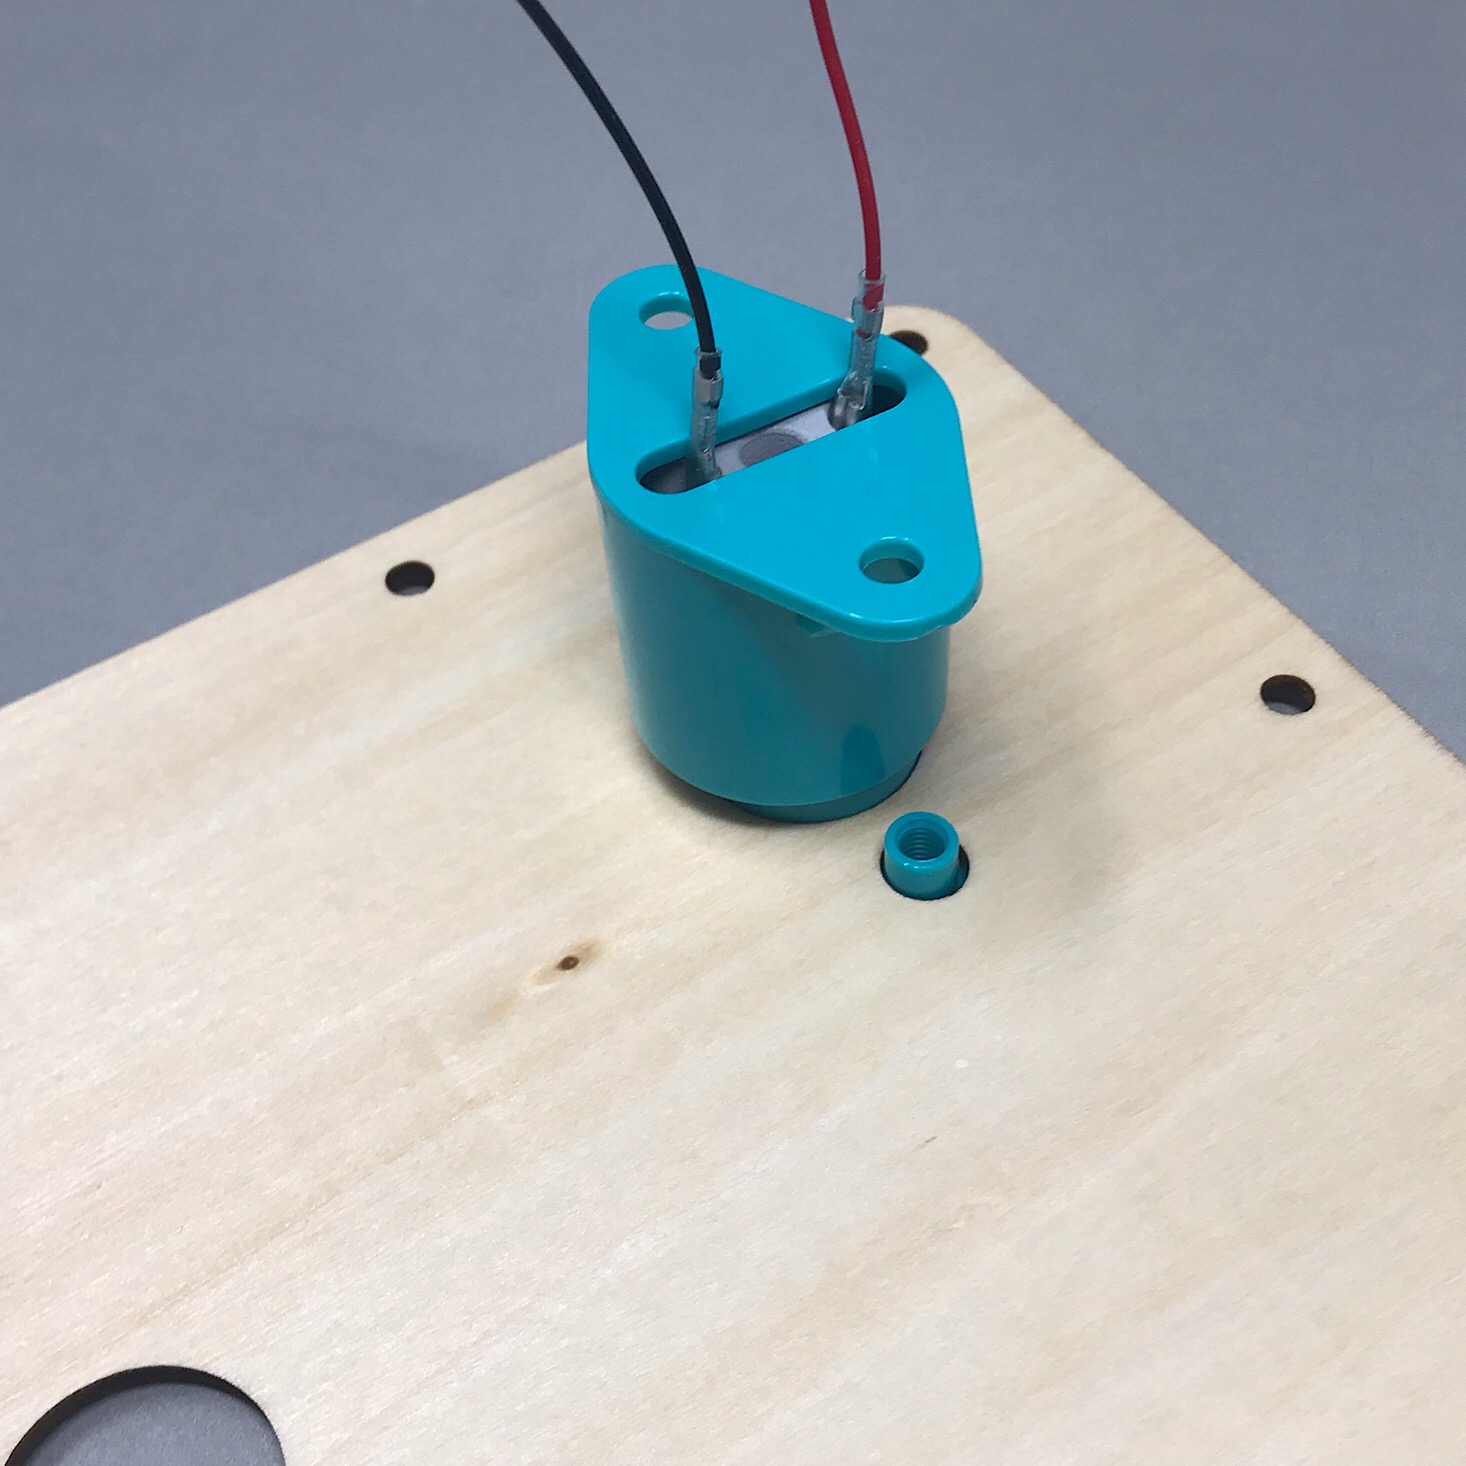
This piece attached to the other side of the first piece we added to the board and I secured it using two long bolts.
Part B: Build the Launcher
1 of 3

Then it was time to build the launcher. I inserted the small bar from the motor into the hole in the center of this wheel and made sure it fit nice and tight.

1 of 7

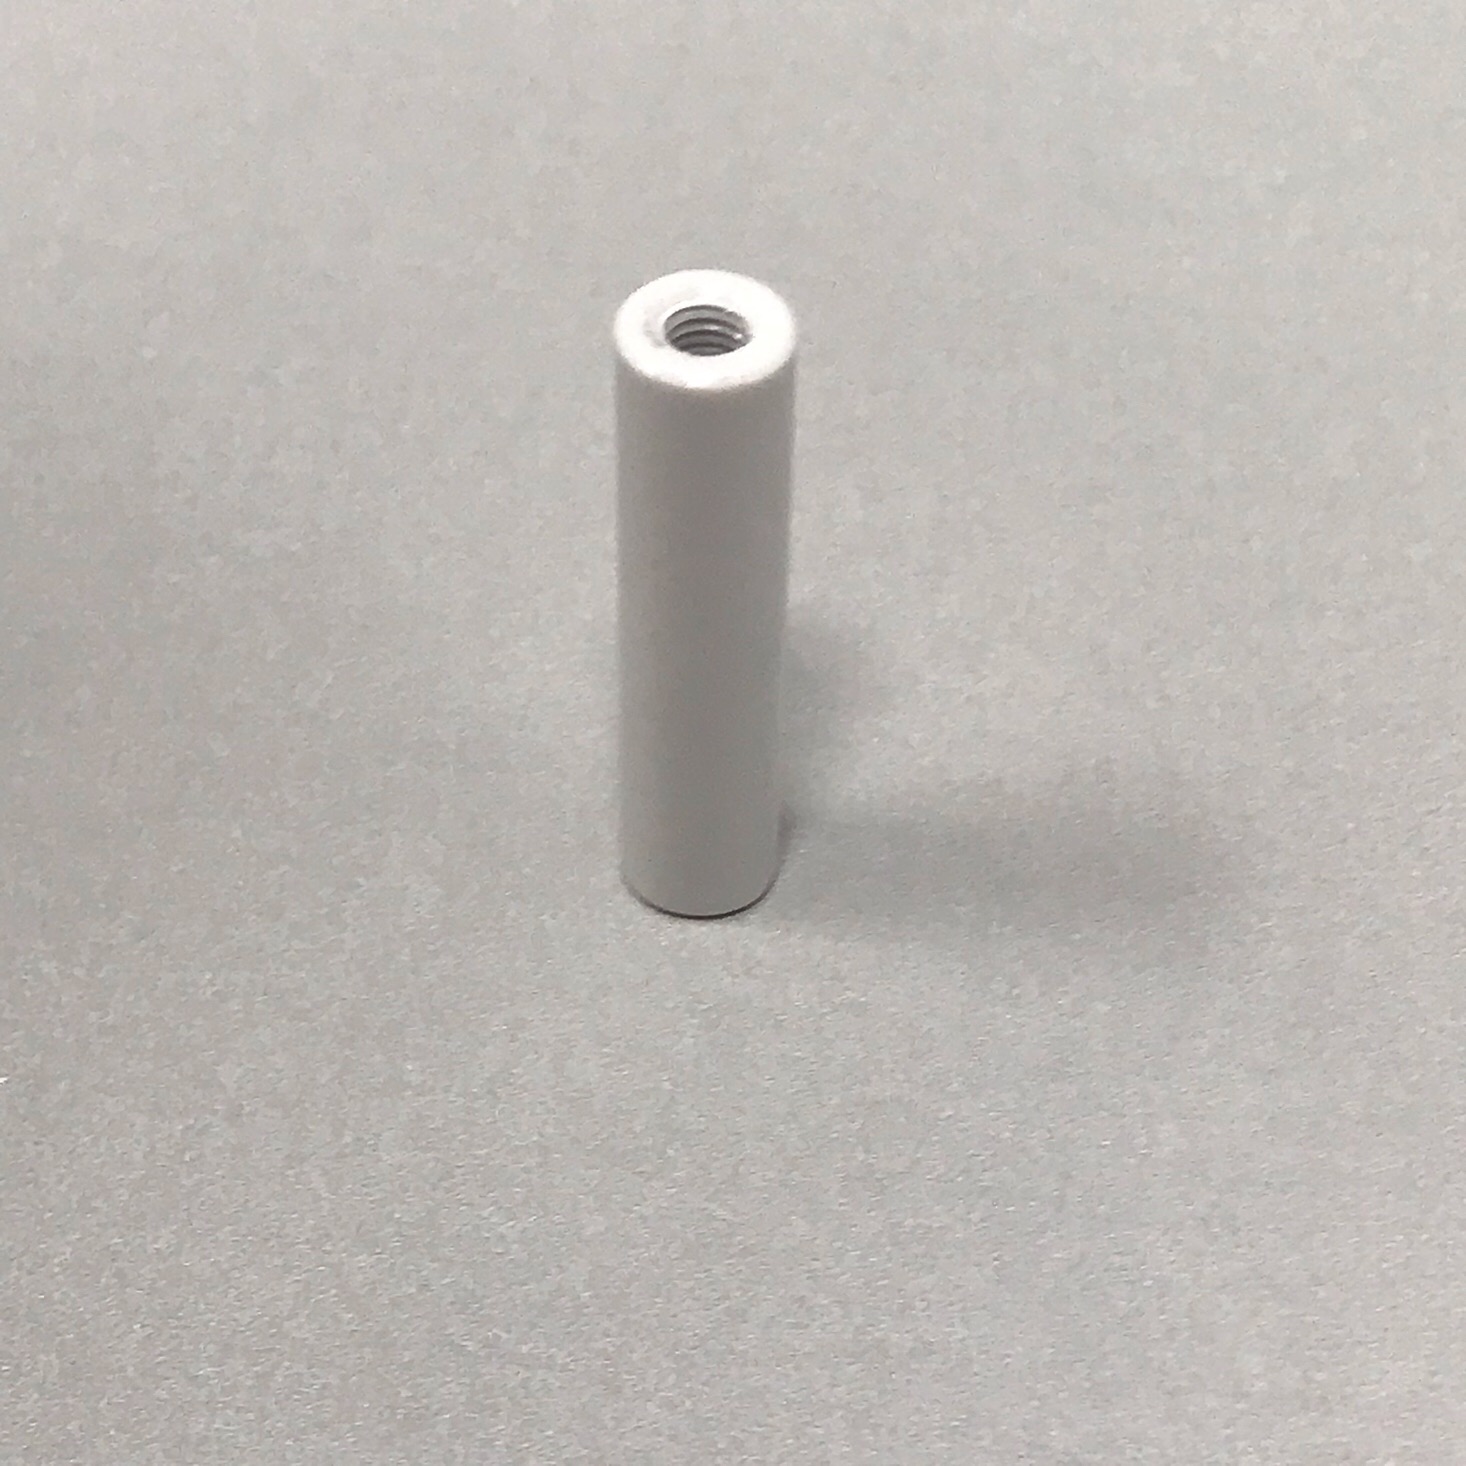
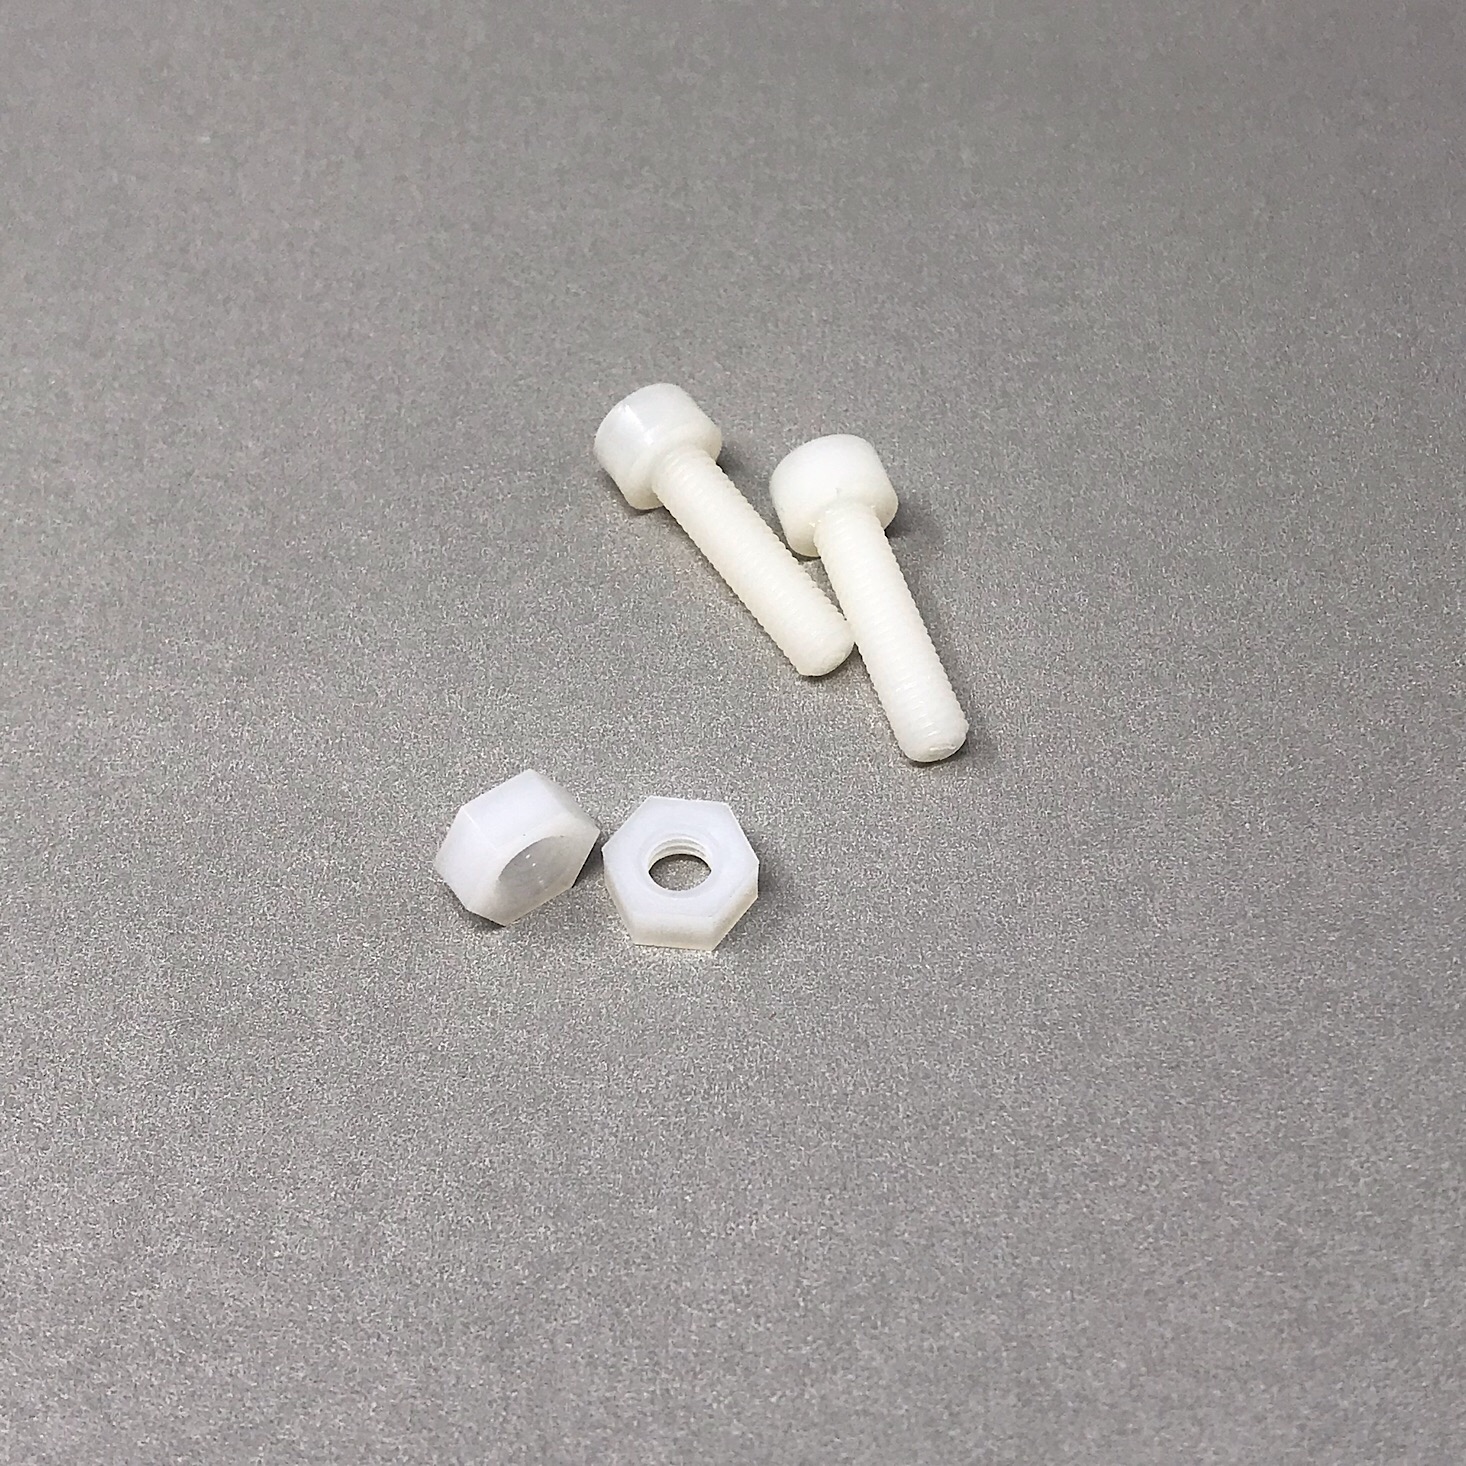

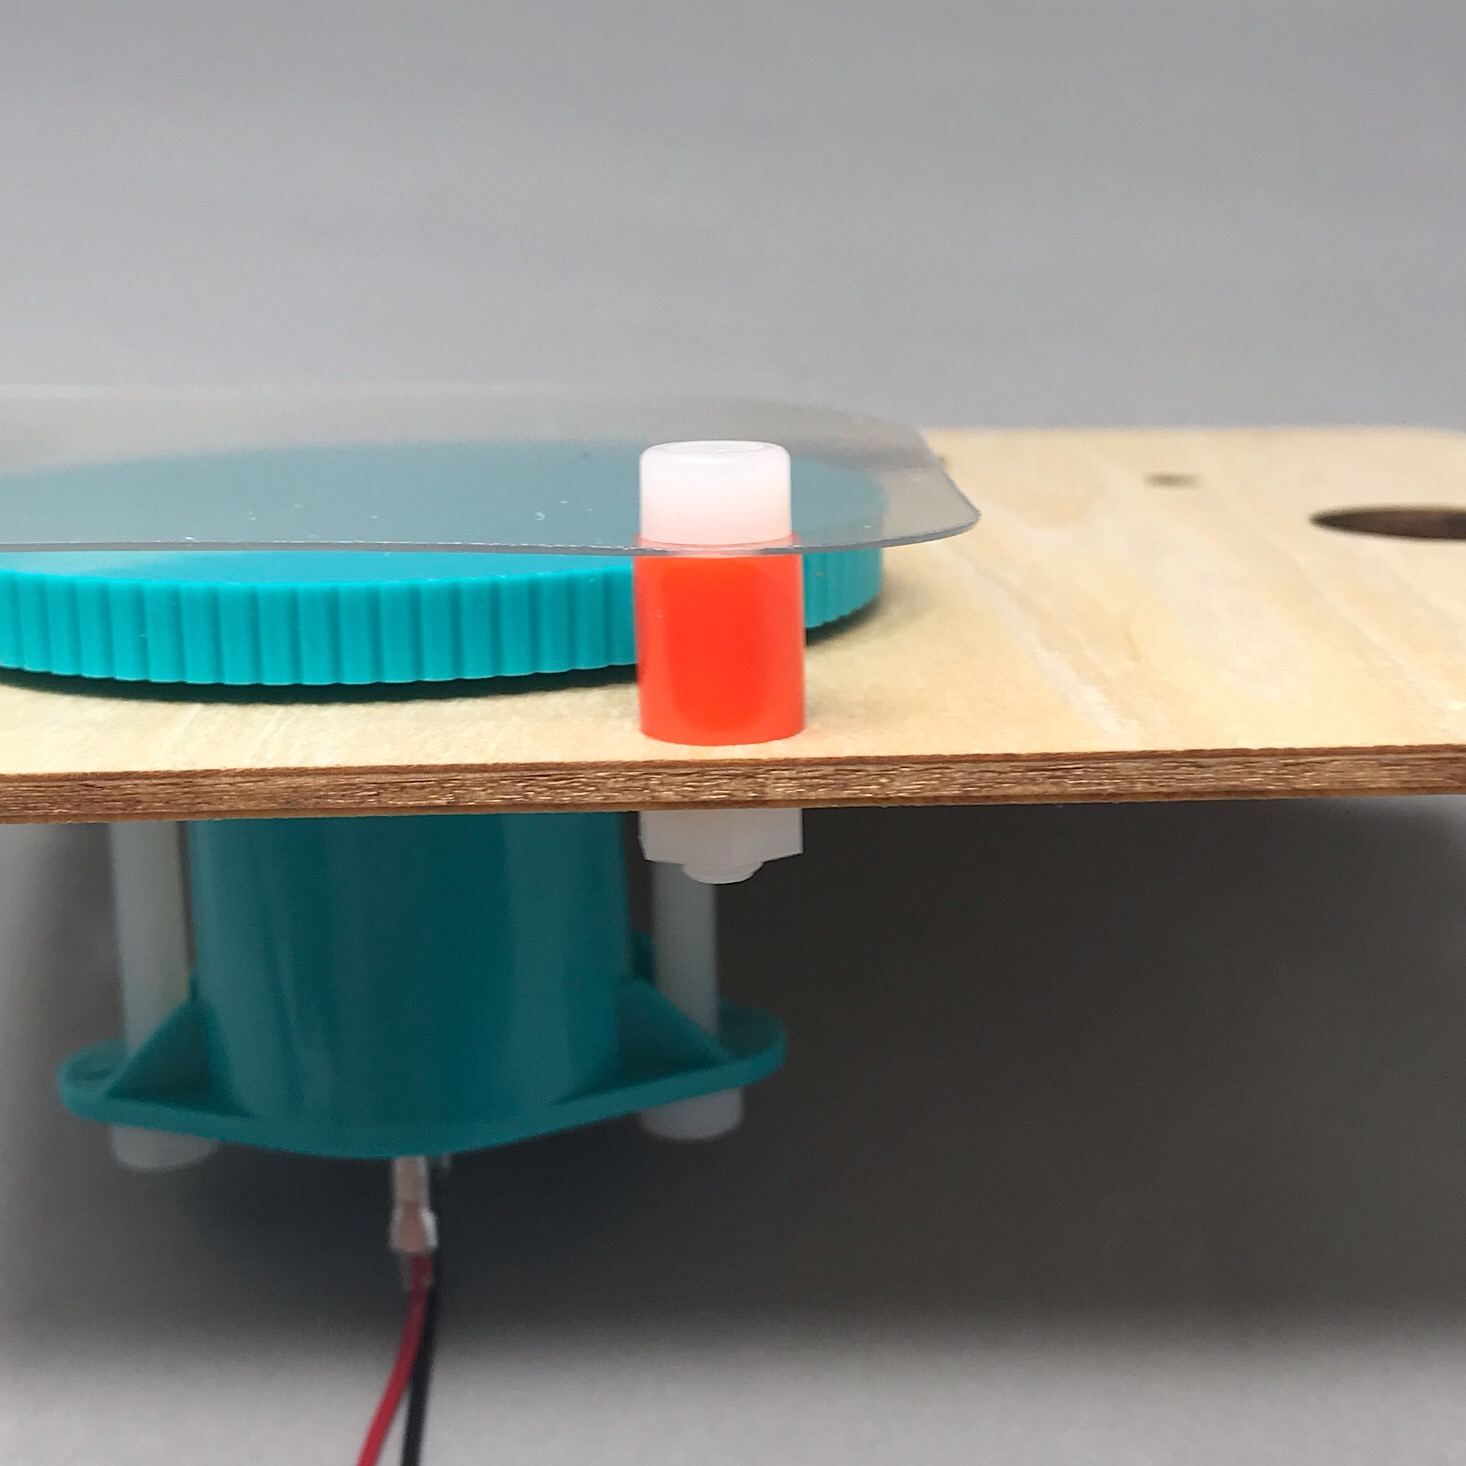
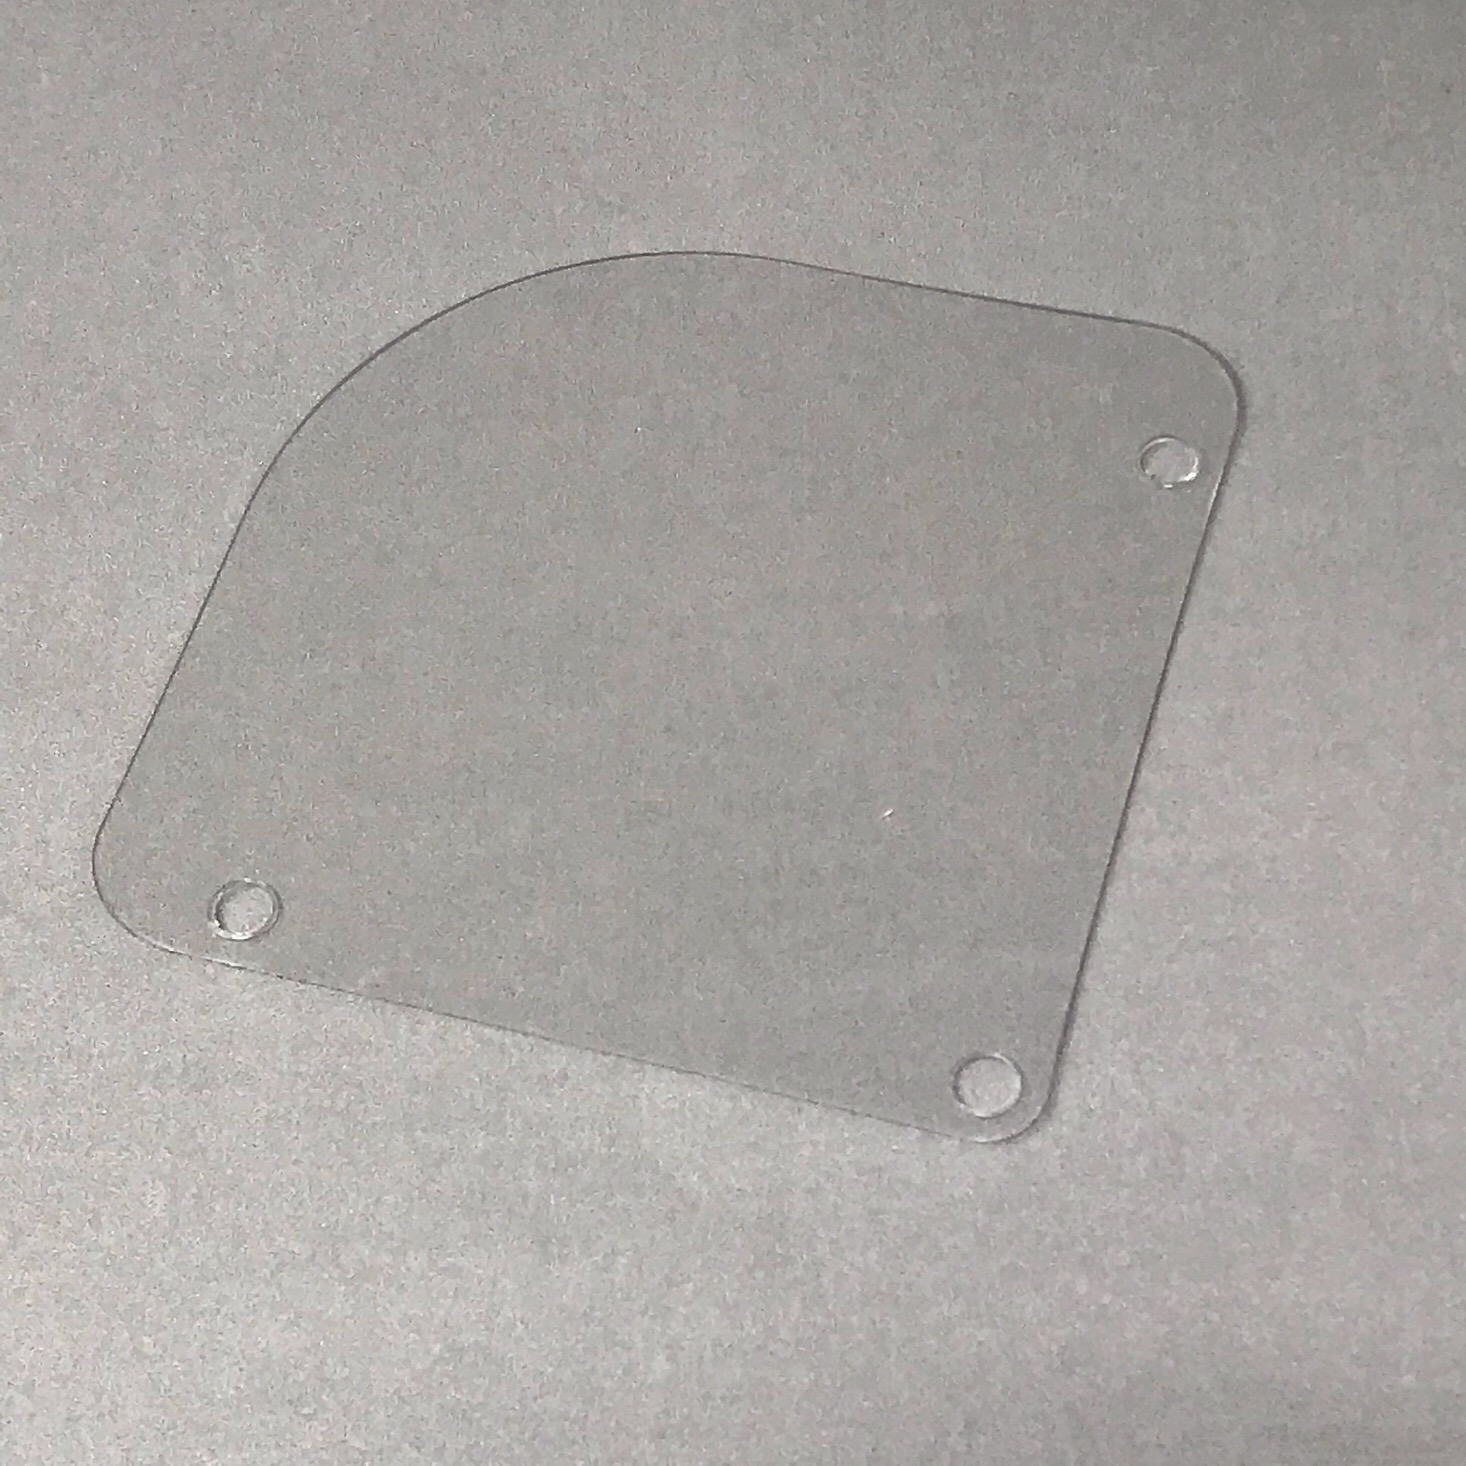
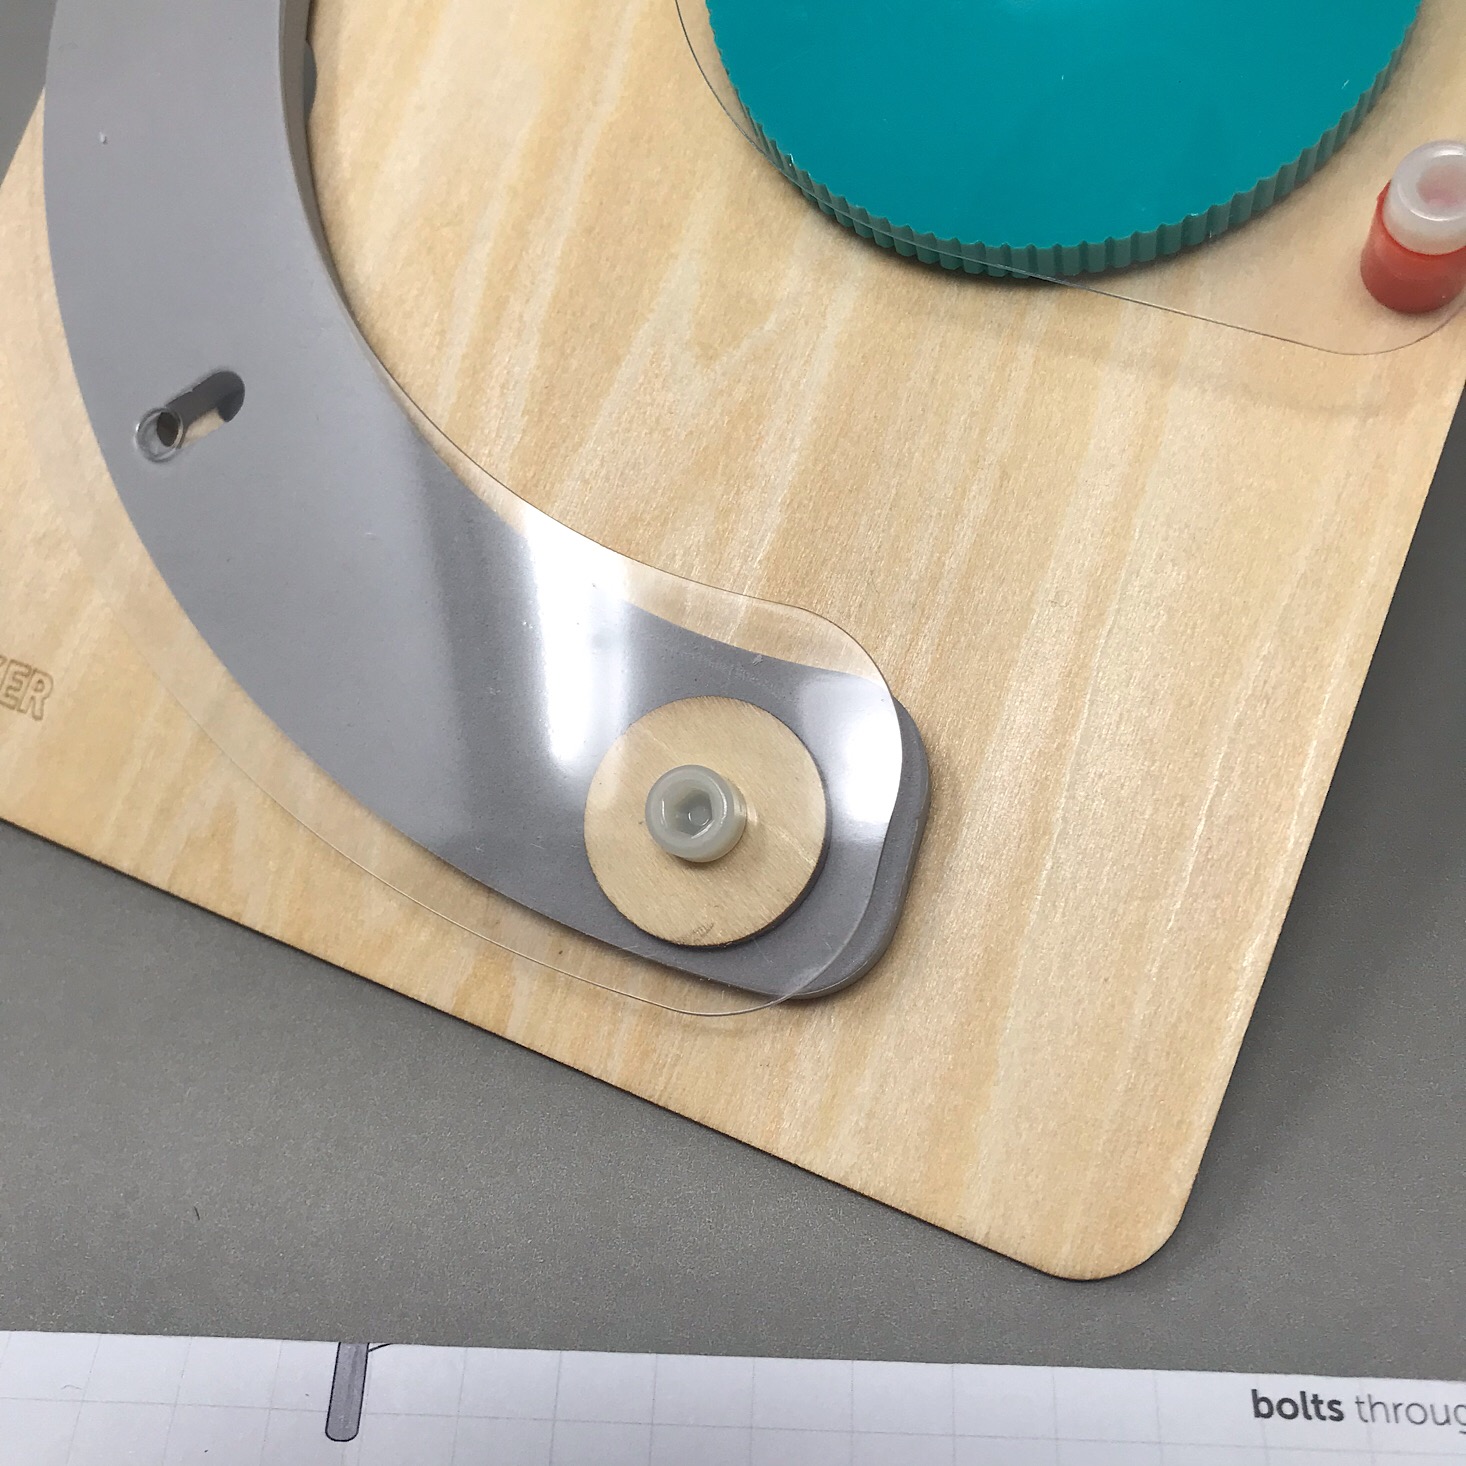
I added the clear cover over the top of the wheel and used a mix of orange spacers, bolts, and nuts to secure it to our board. Then I added a gray leg piece to the bottom of the center bolt.
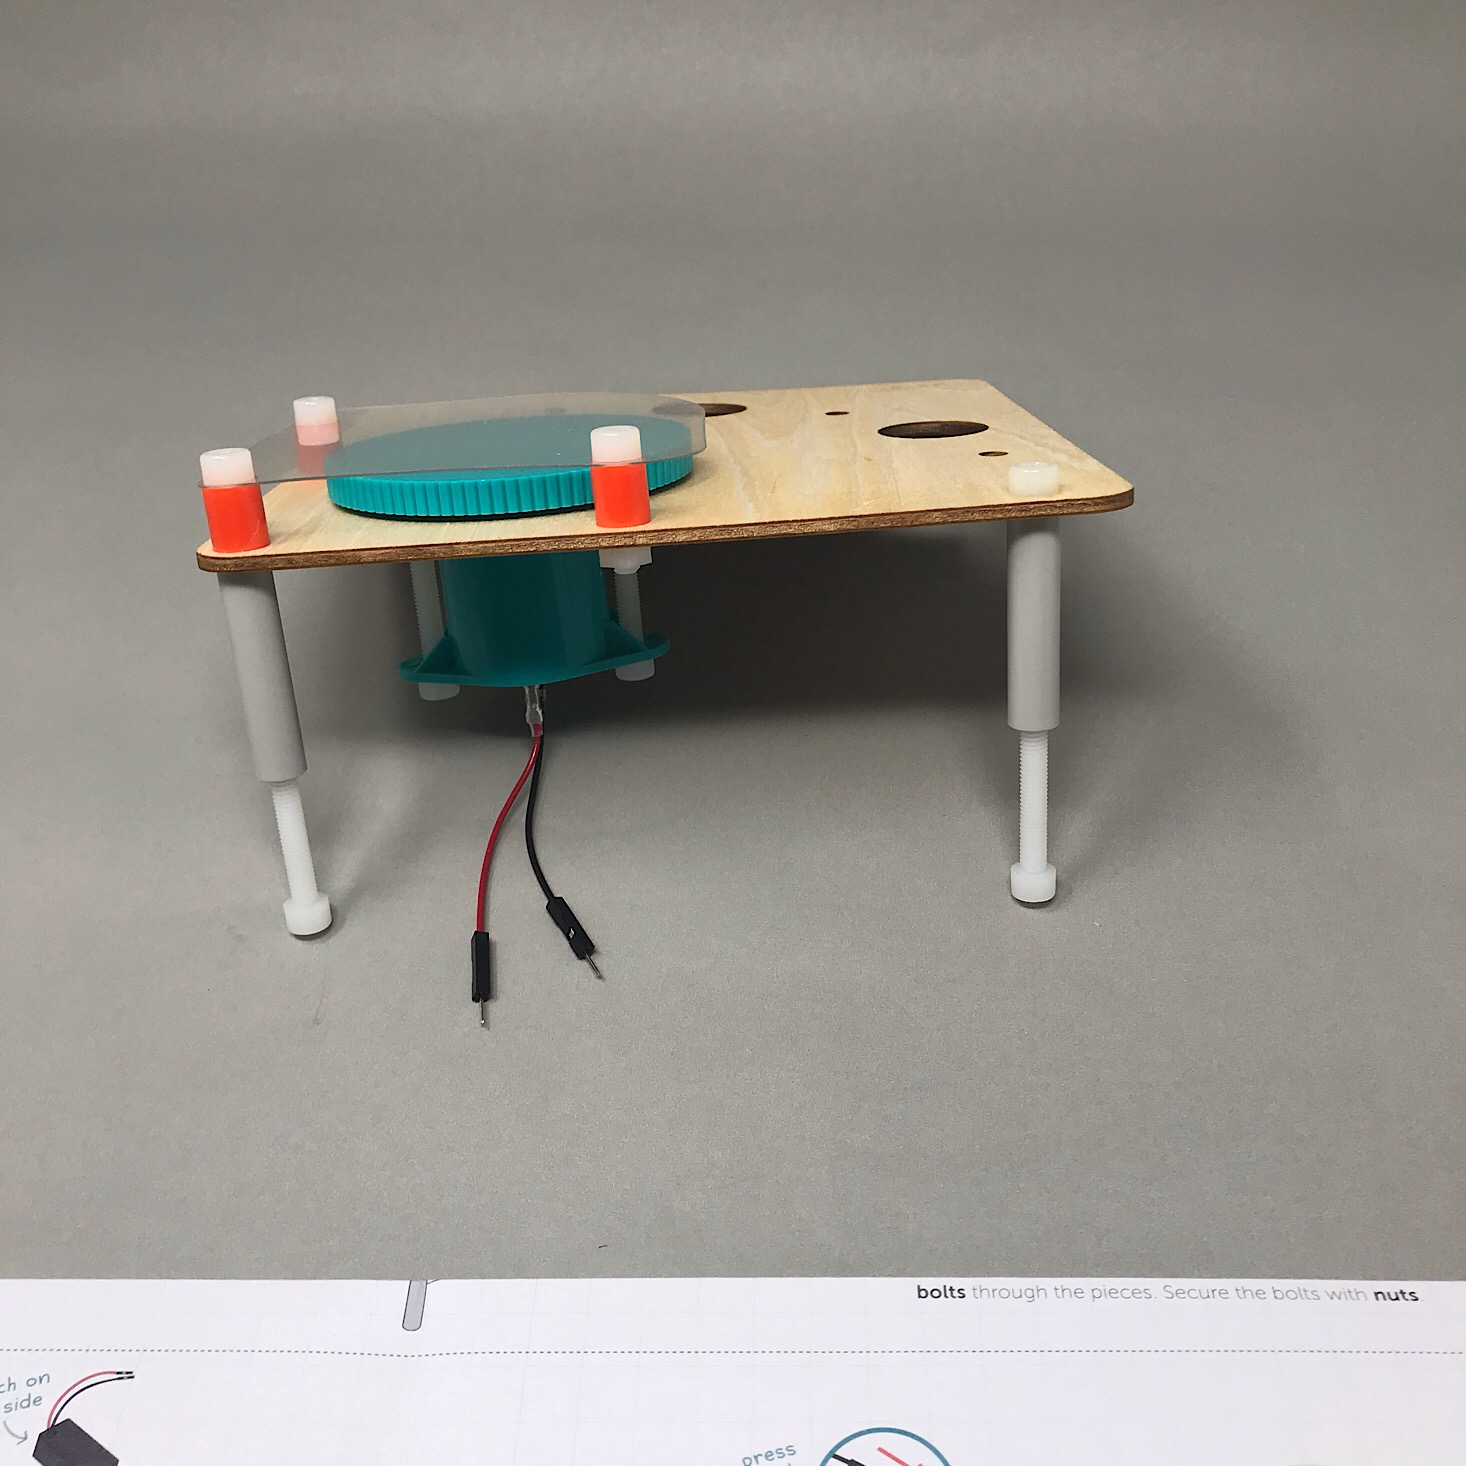

1 of 3

So next I was supposed to add a gray leg piece to the other side and then add long bolts to the bottom to form adjustable feet. This is where things got tricky. One of my gray pieces was not threaded on one end and so I had to take a pair of scissors and scrape out some of the excess plastic to try and get it to fit. (If you're a subscriber, they would send you a new piece, but I am too impatient and enjoy the challenge of problem-solving!). I was able to scrape out enough to get the bolt to screw in a bit and I just went until my legs were even. Since they are meant to be adjustable, I foresee it being difficult to make my legs shorter, but for now, as long as they are even, I don't mind.

1 of 3

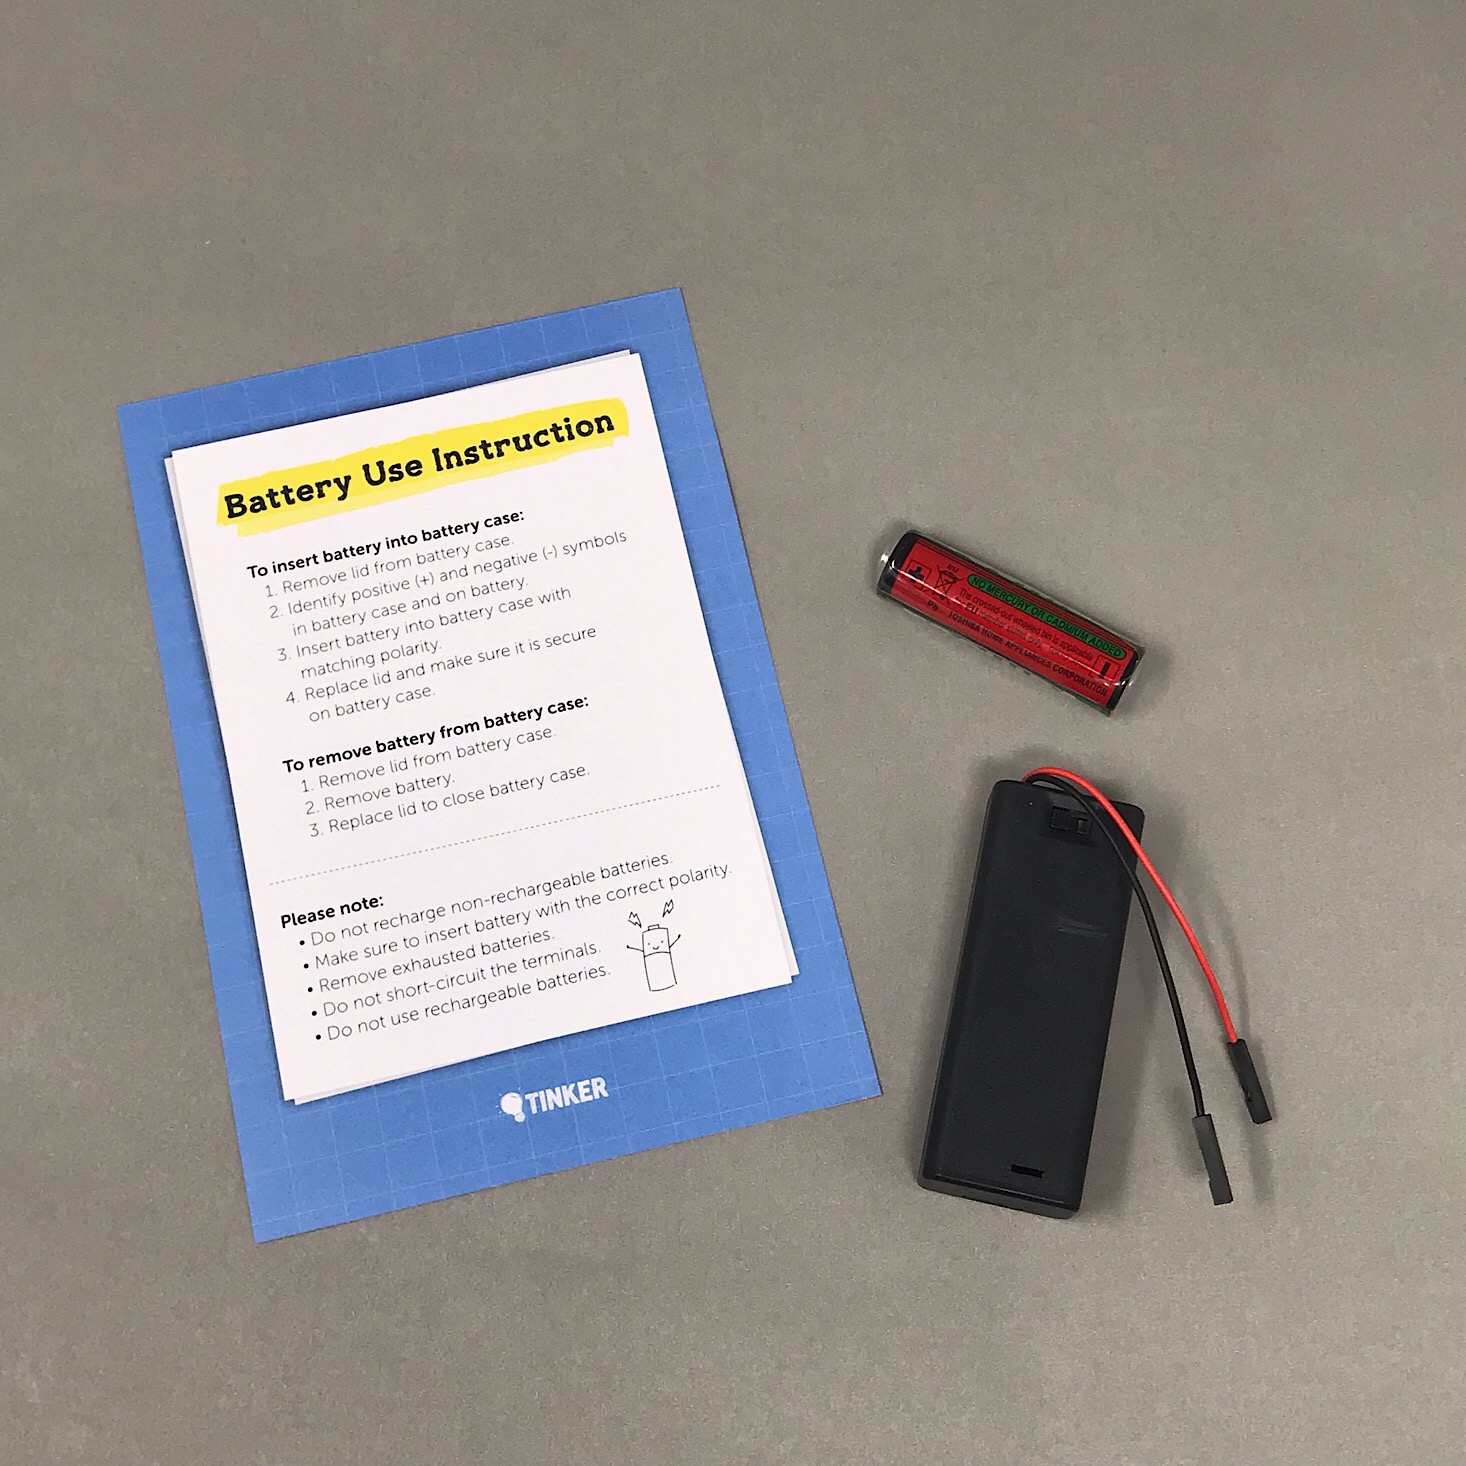
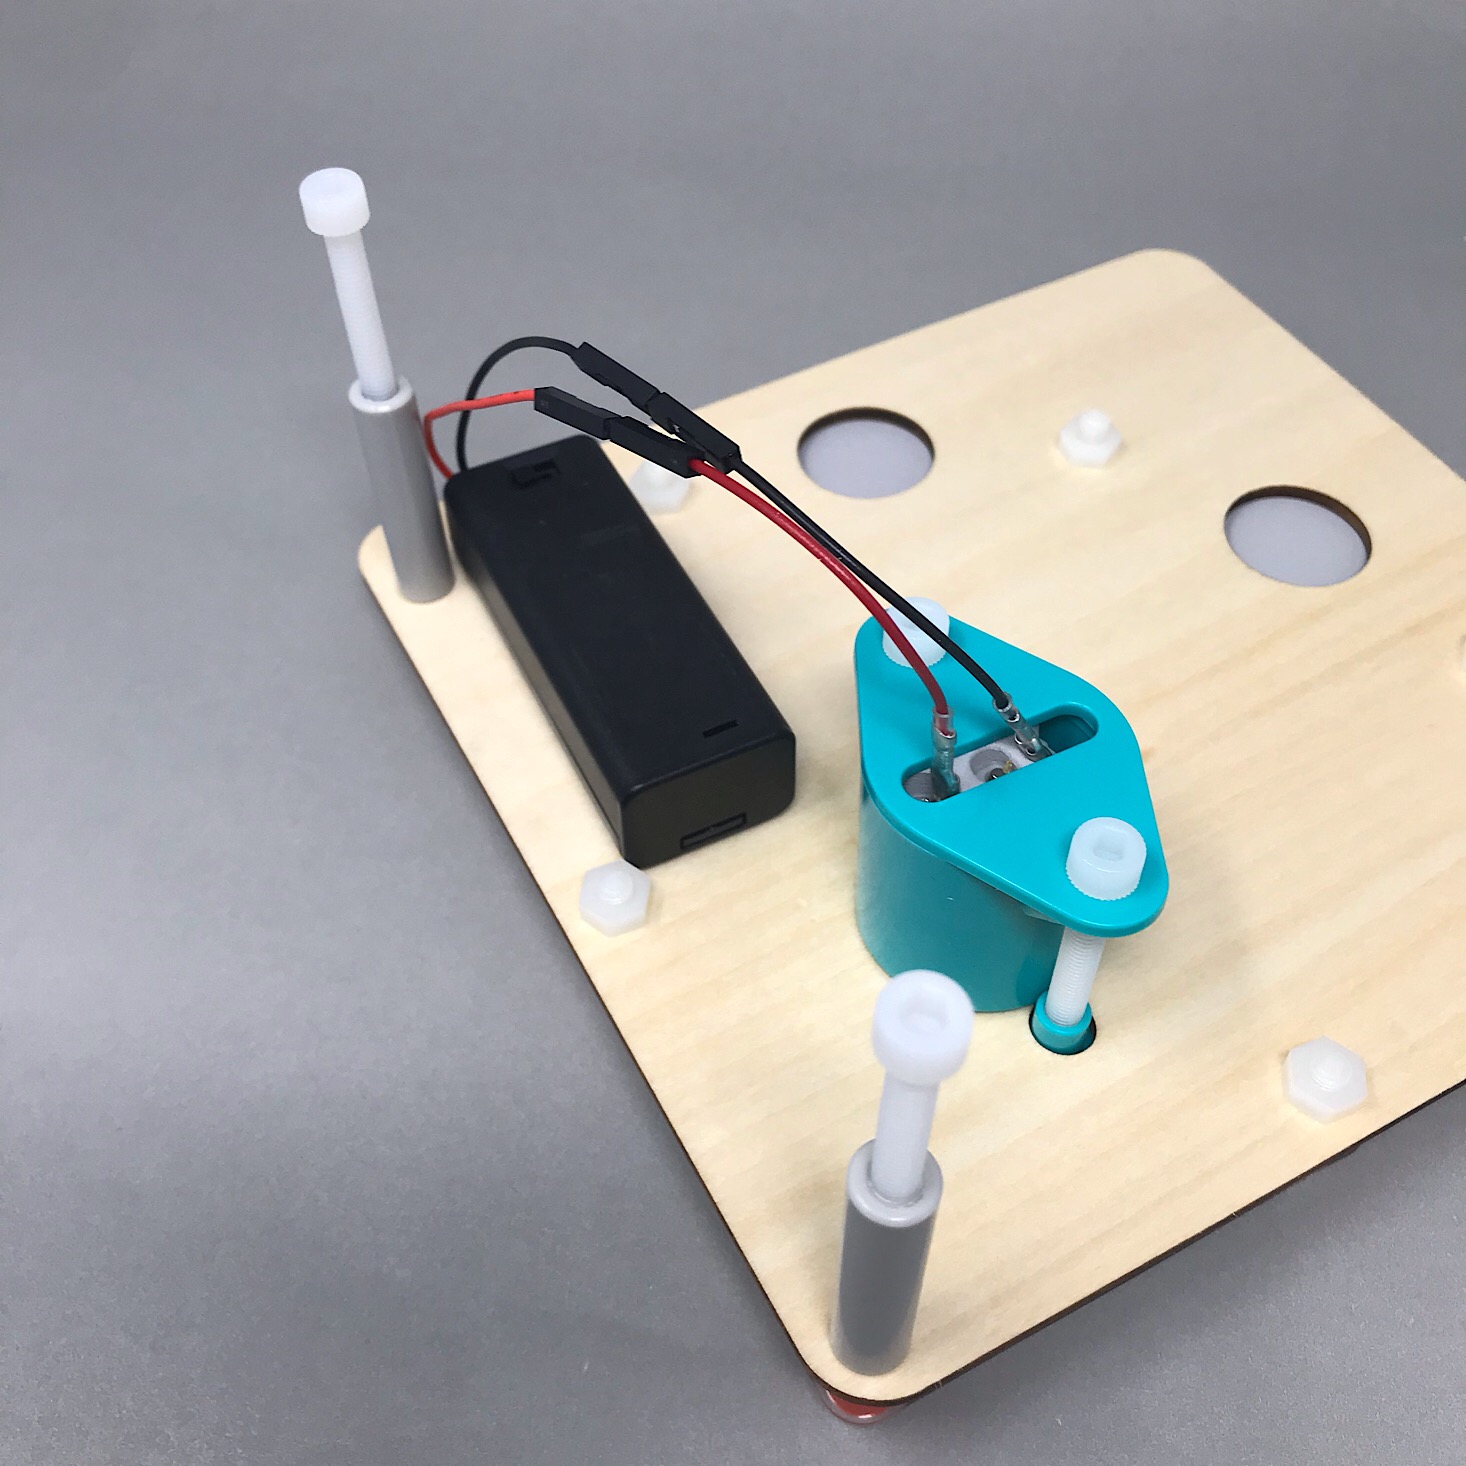
Next, I prepared the battery pack. They always provide the batteries for us and even include some instructions which is nice!

1 of 3
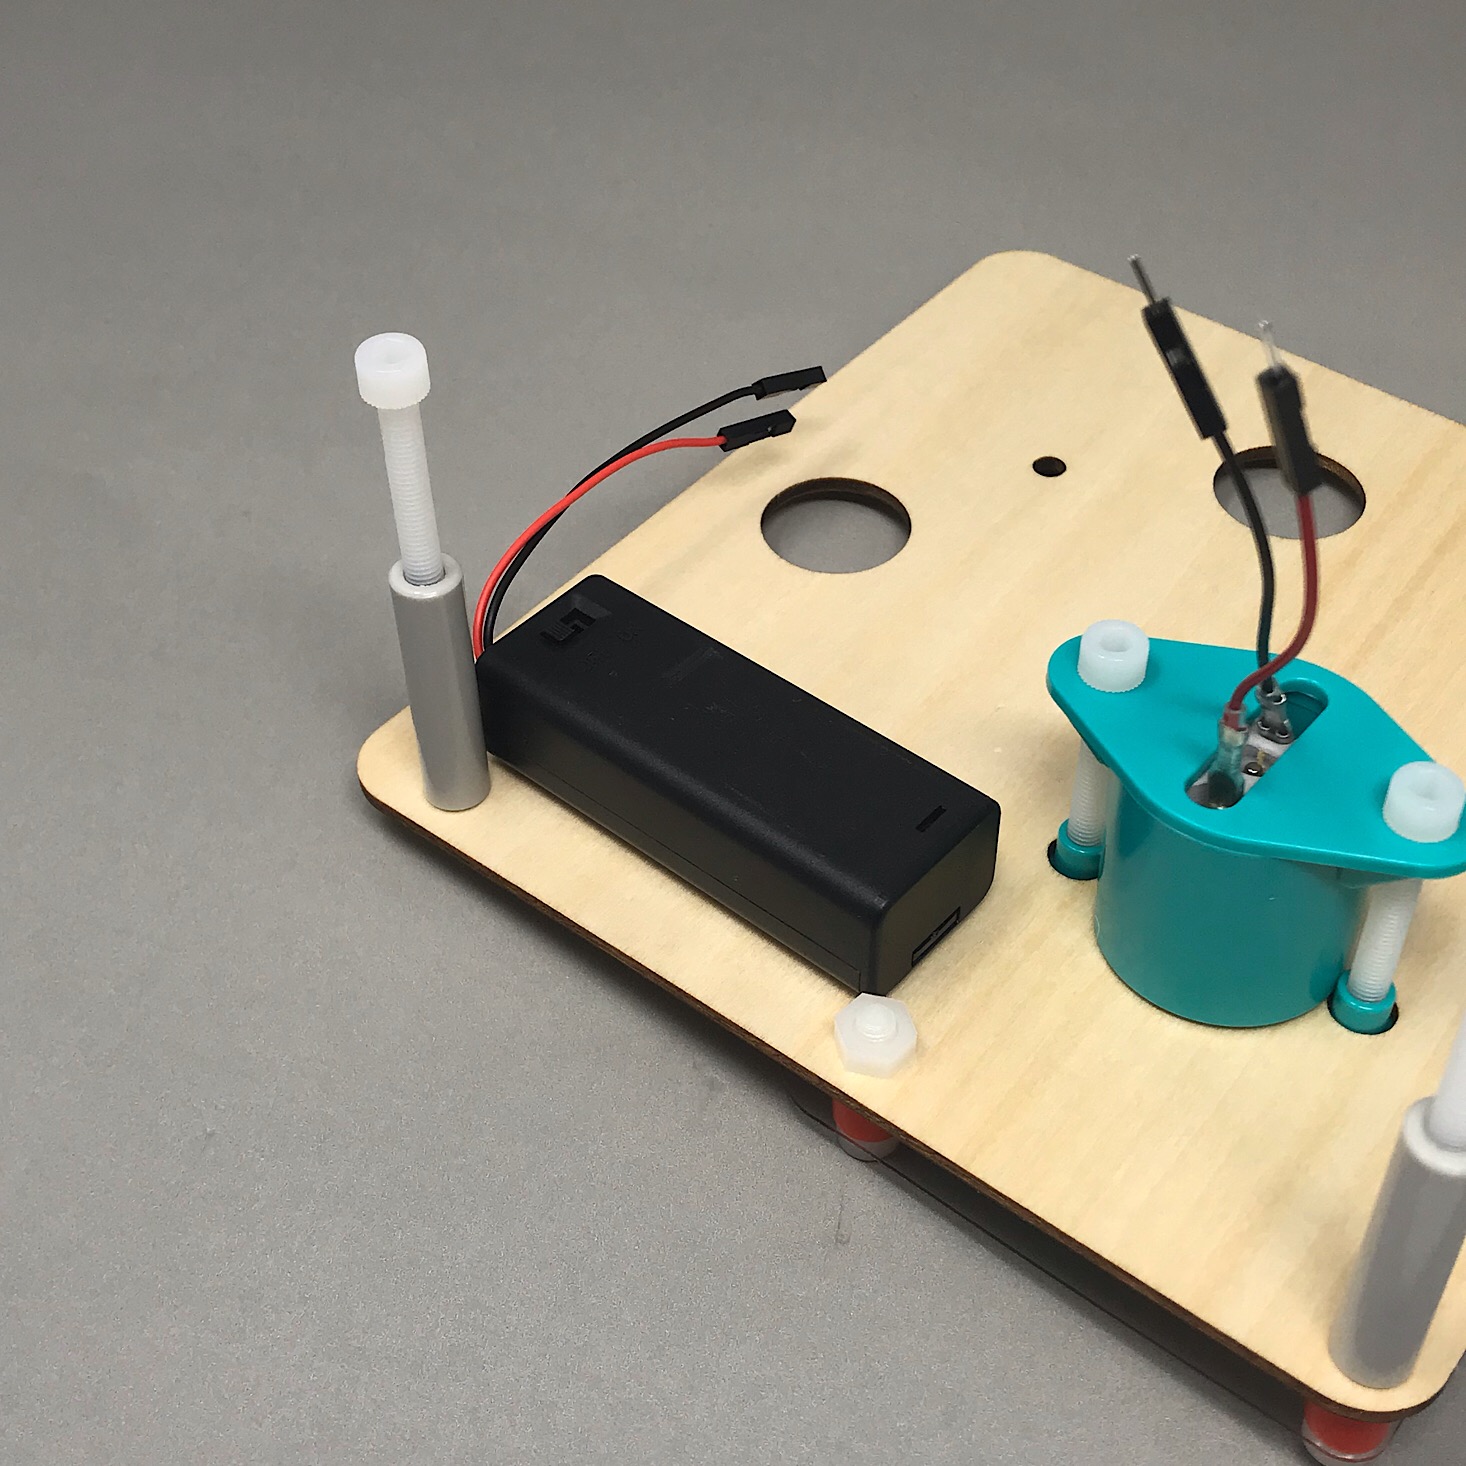
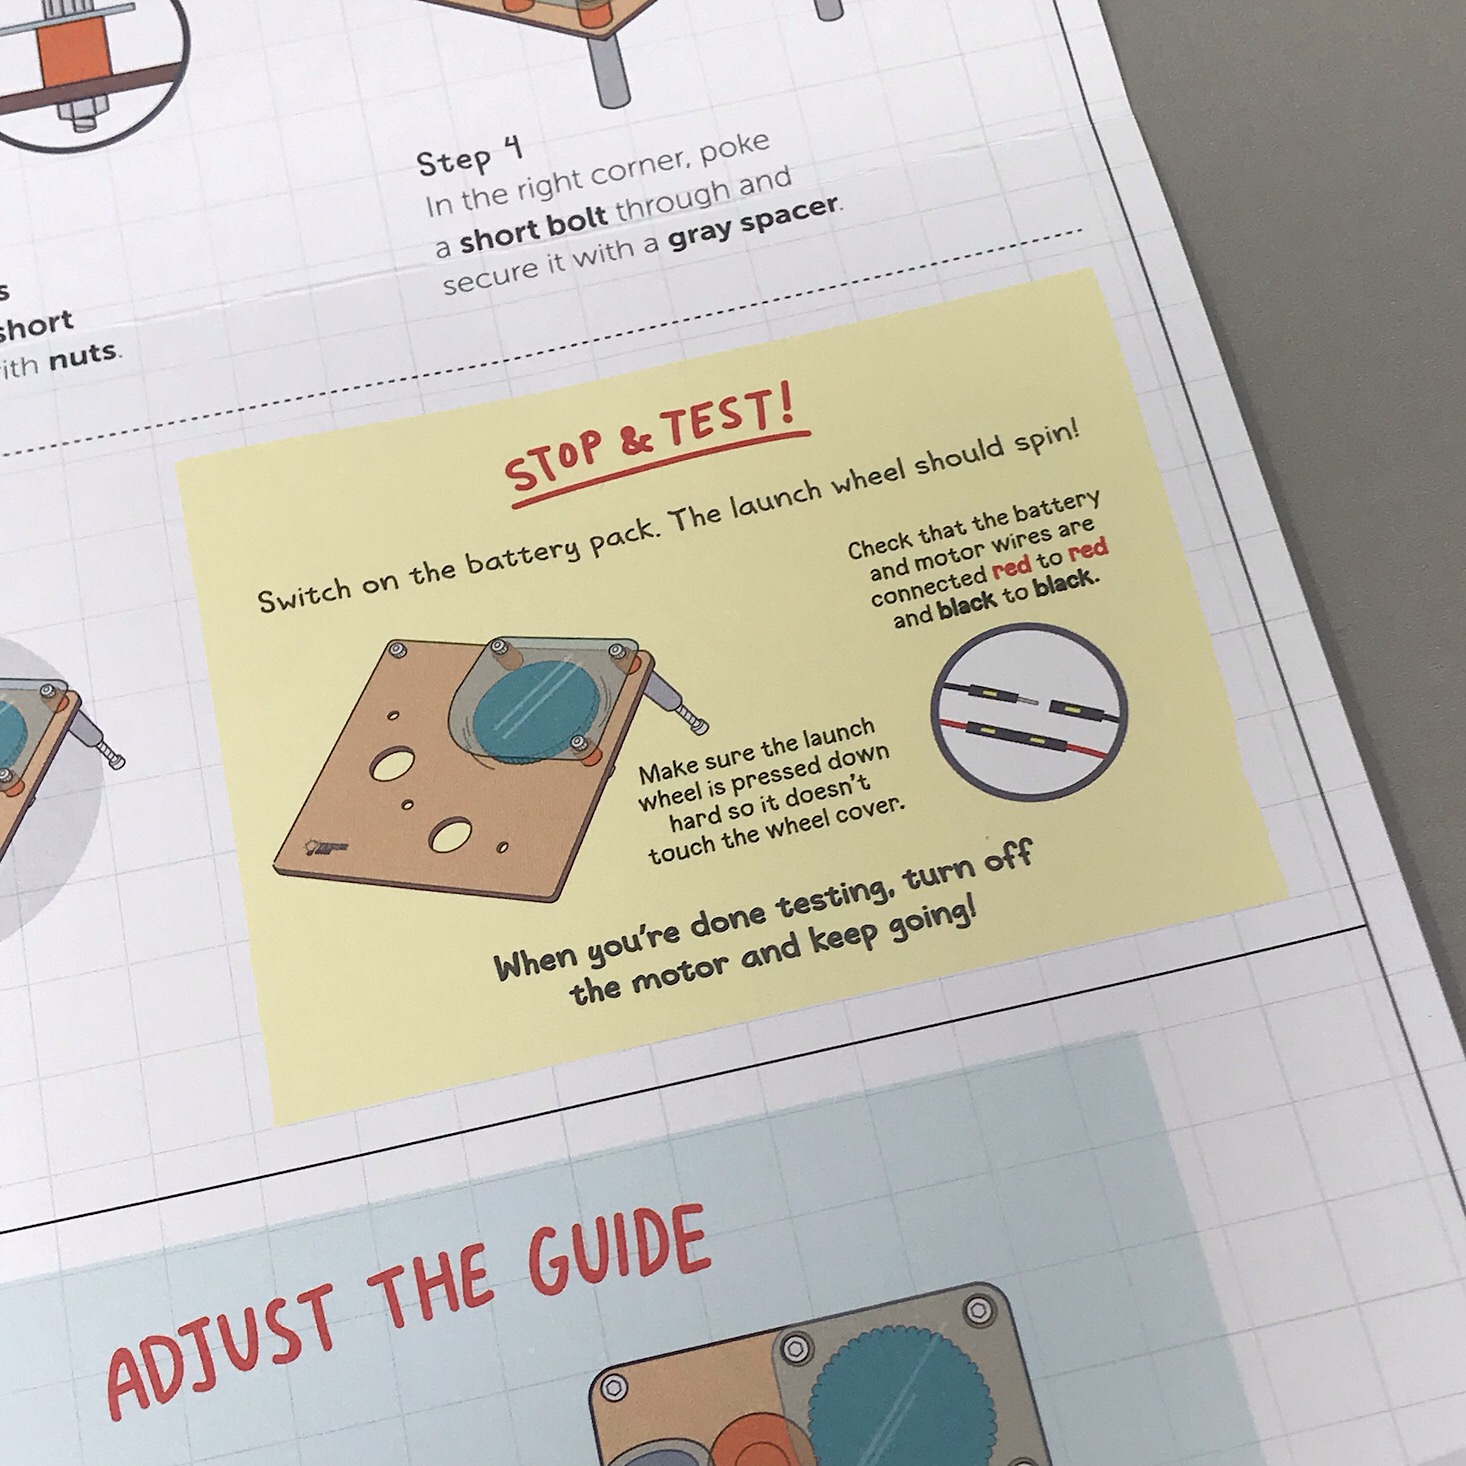
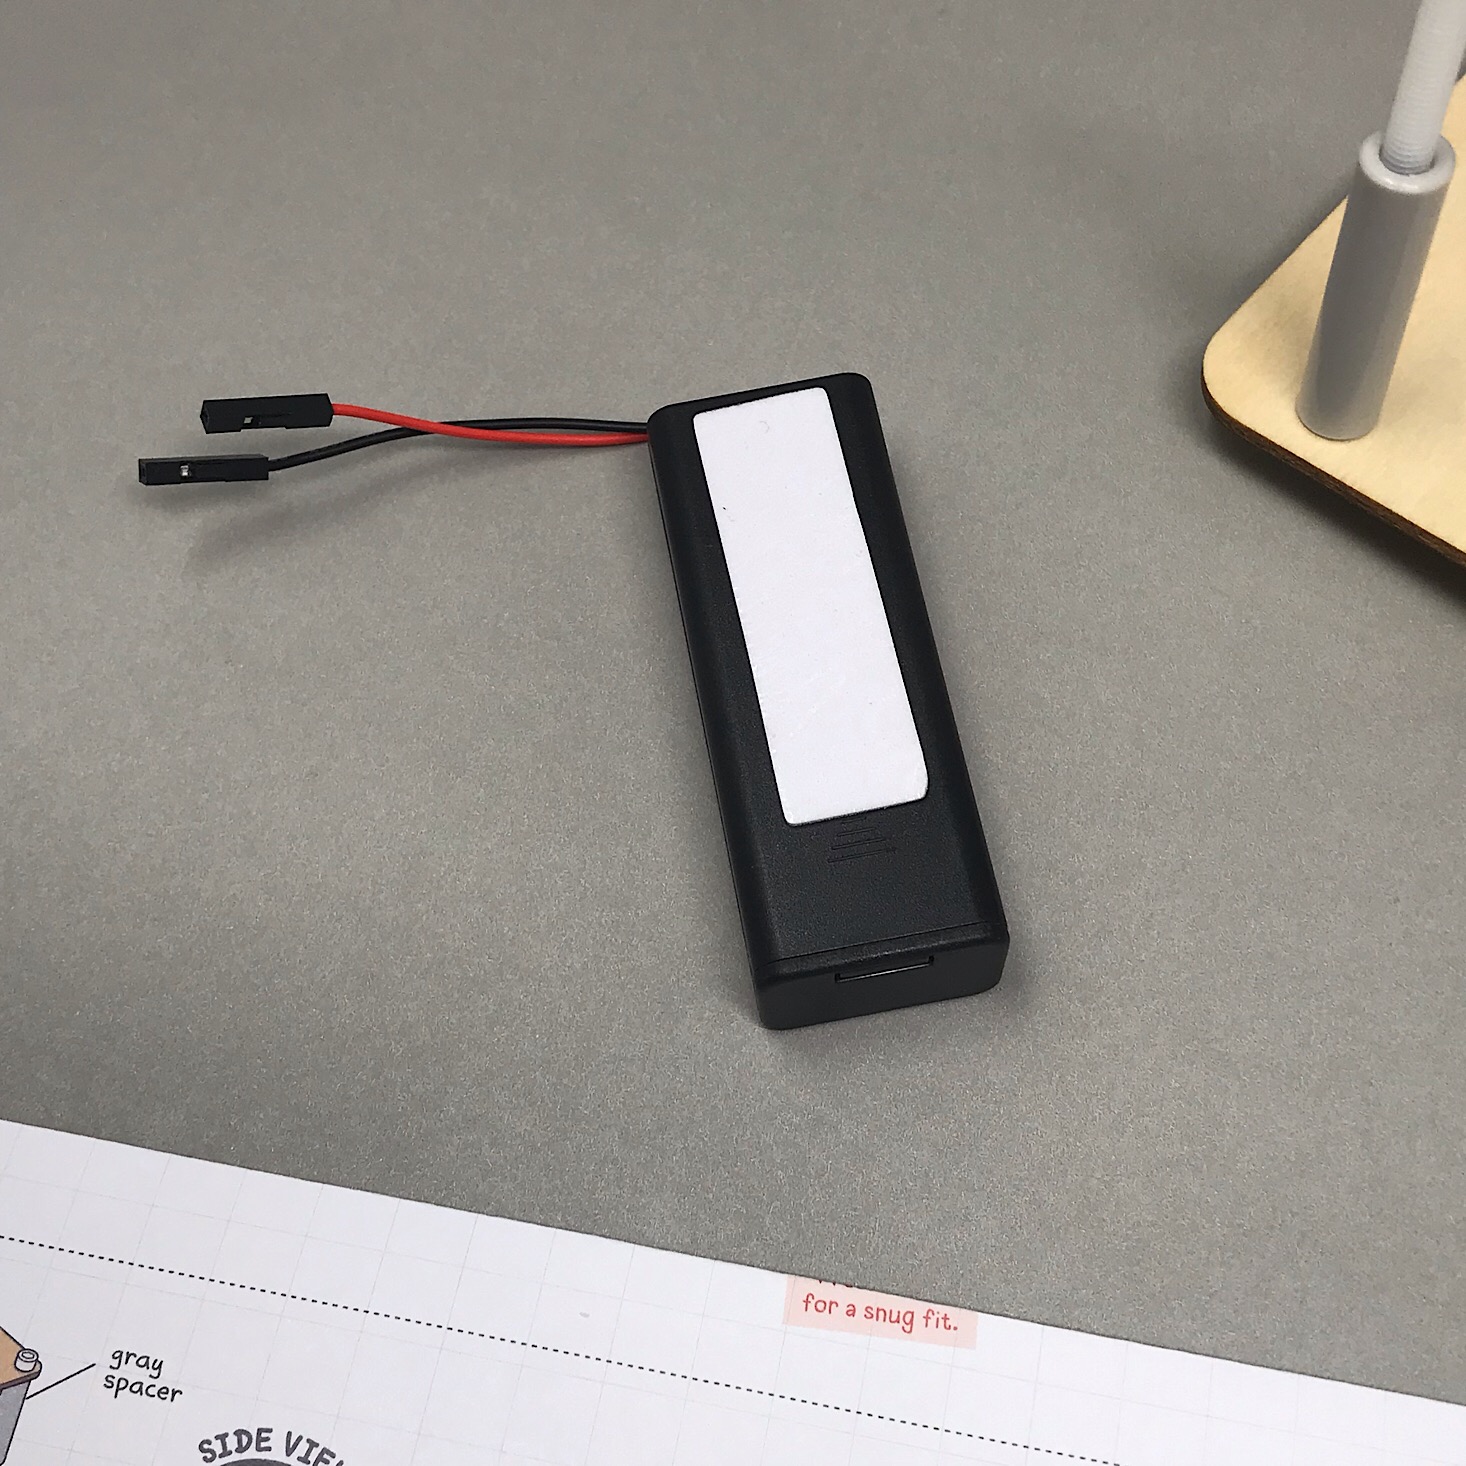
Next, I added an adhesive strip to the back of the battery pack and stuck it to the bottom of our launcher. Then I connected the wires from our battery to the wires on our motor with red to red and black to black.
I gave it a quick test spin by turning the motor switch to on and making sure the wheel spun freely.
Part C: Add the Guide
1 of 4
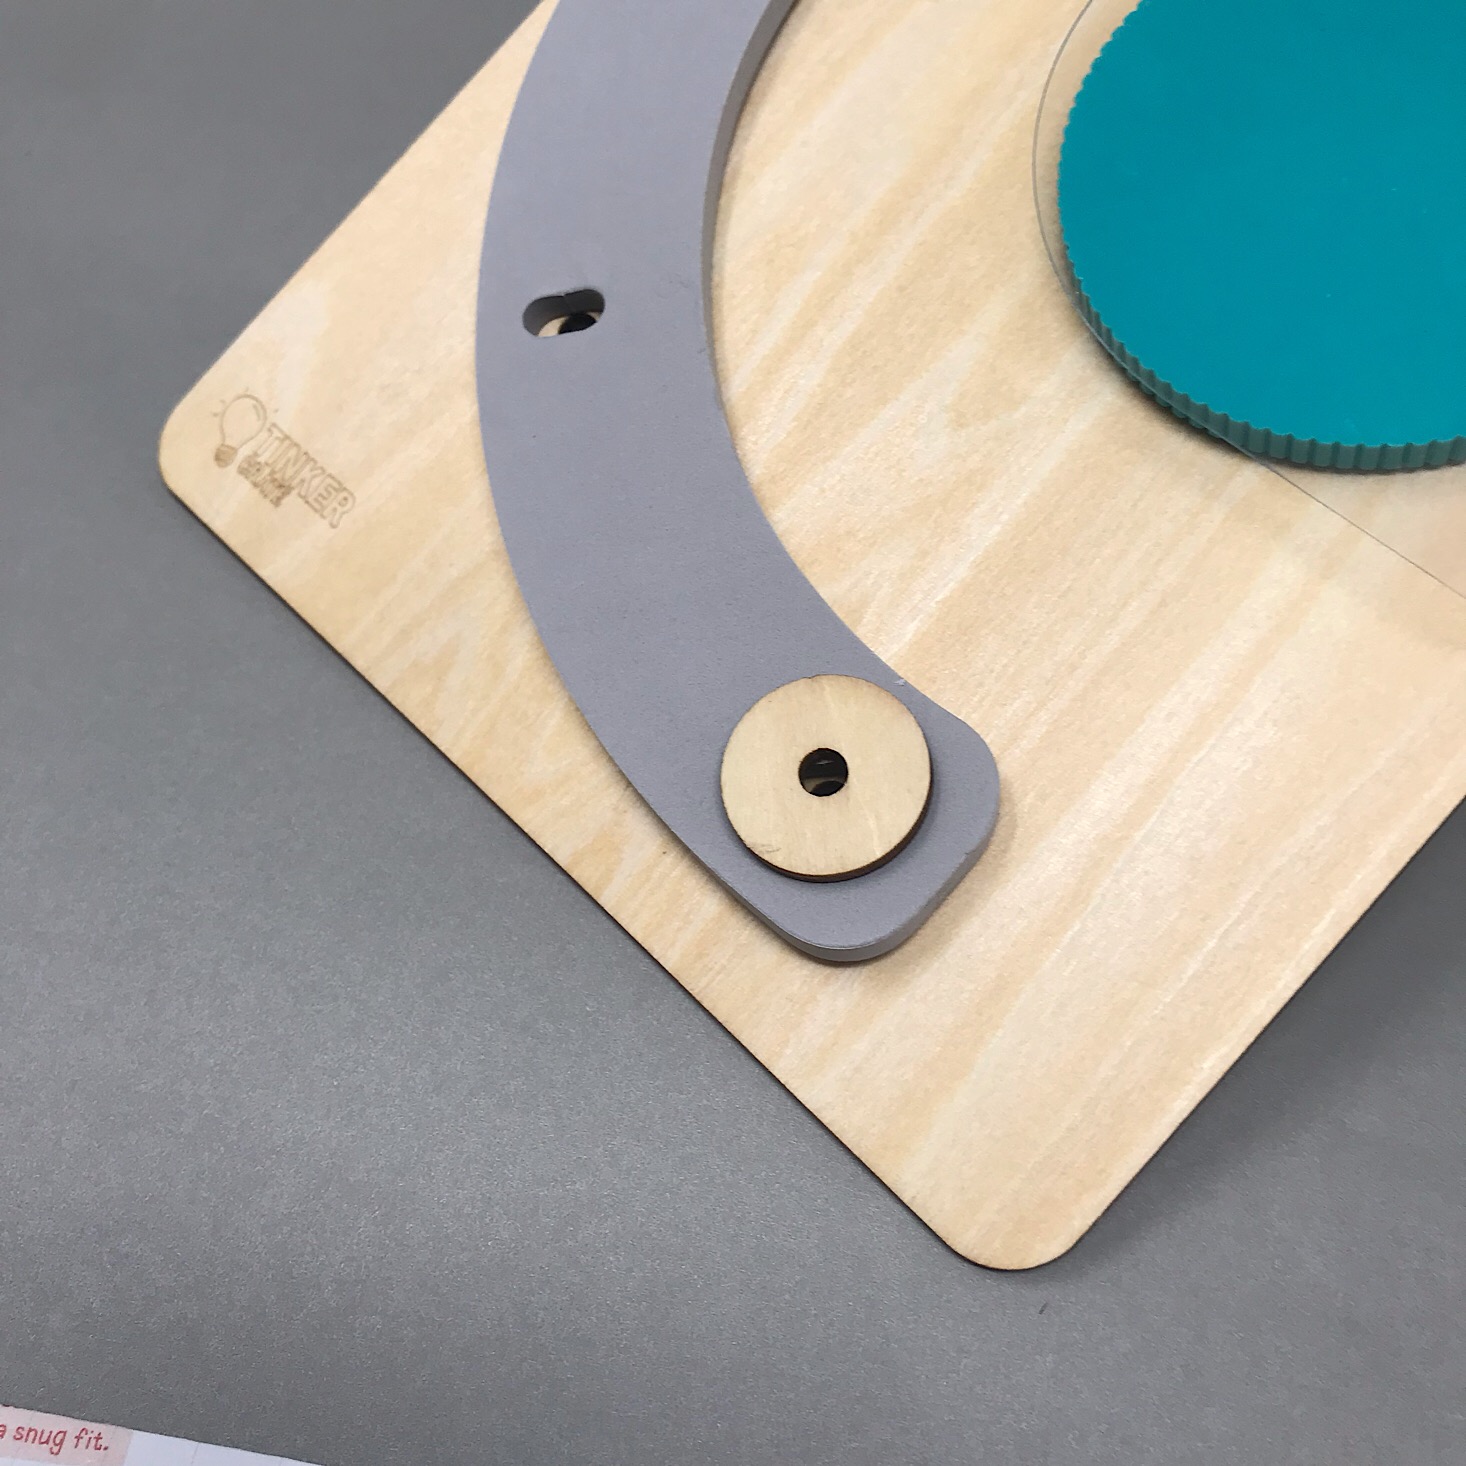

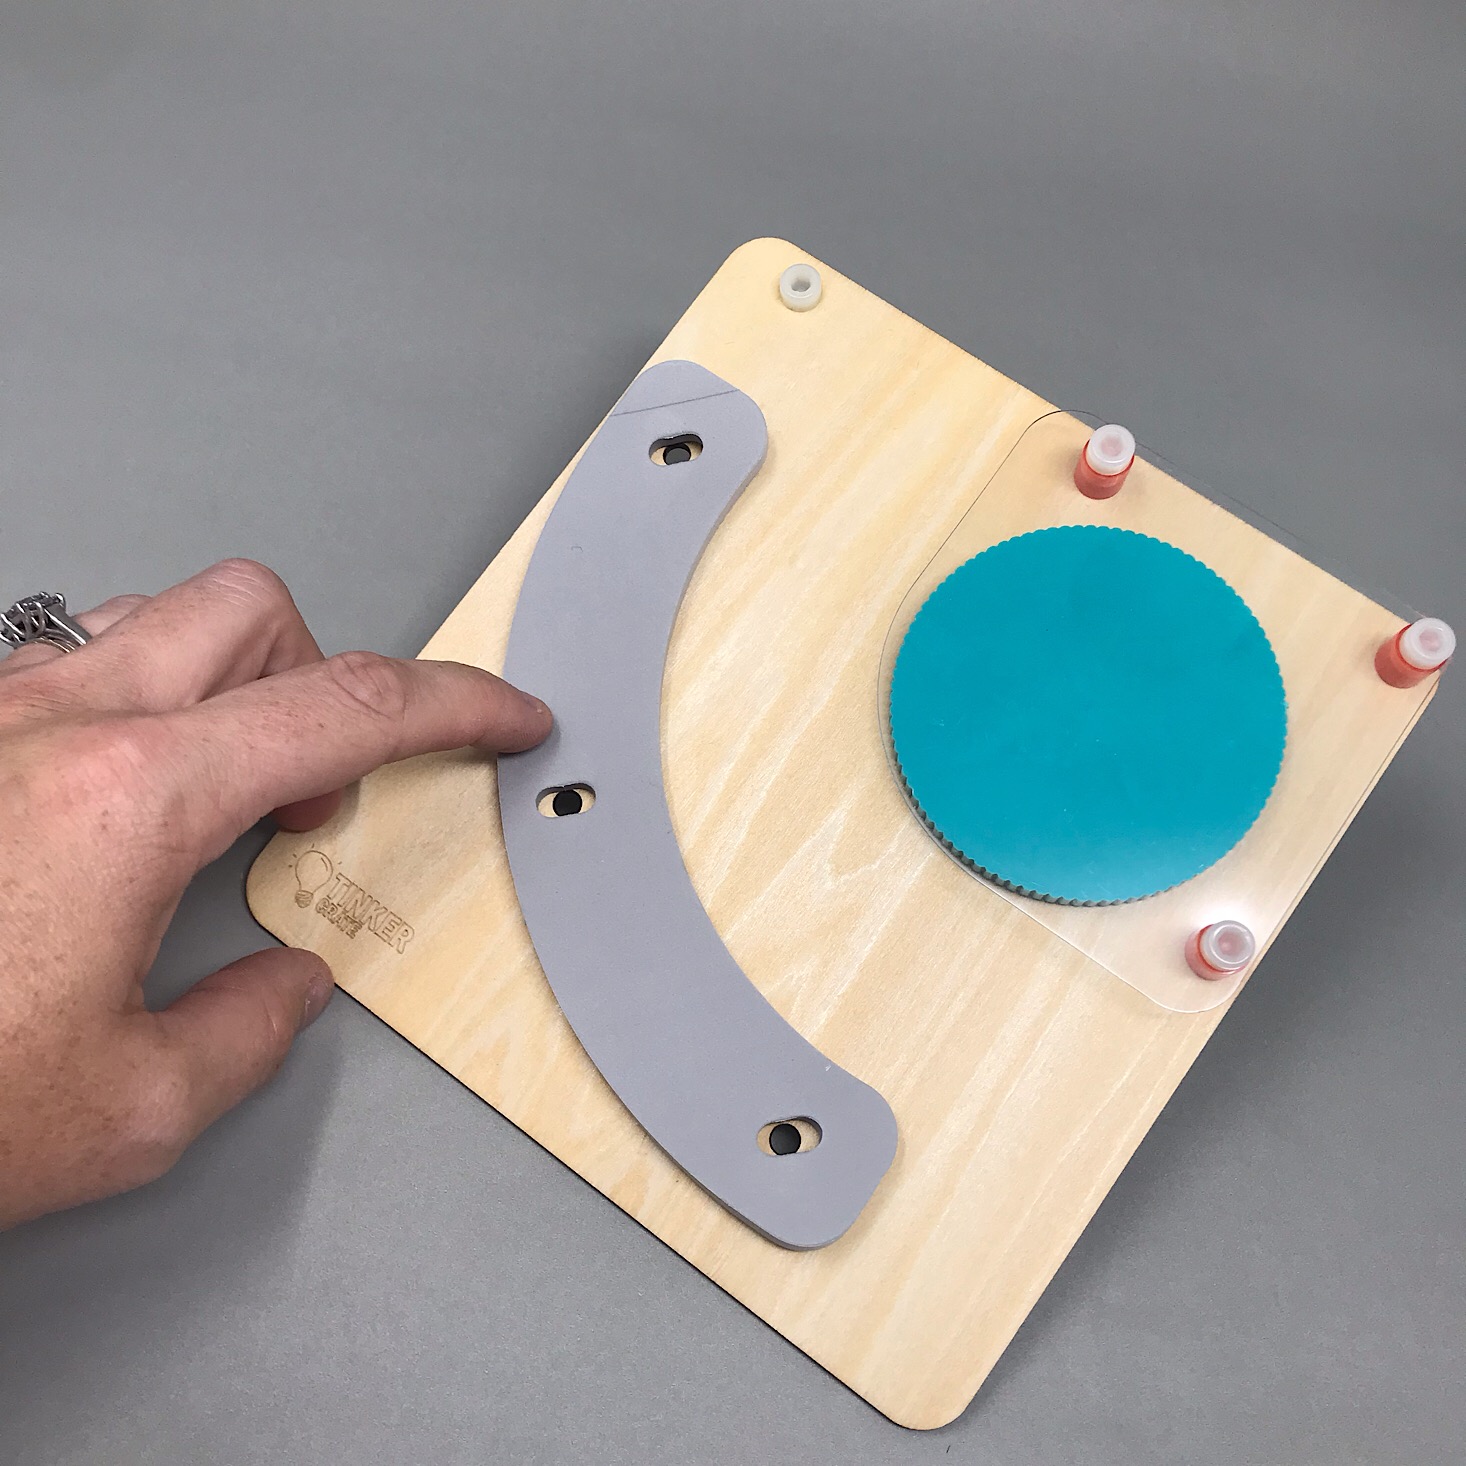
Next, I added this foam guide piece by lining up the holes and topping it with a clear piece. In between the clear piece and gray foam I placed a wooden washer and then I secured them all together by adding a bolt through the hole and adding a nut.

1 of 2
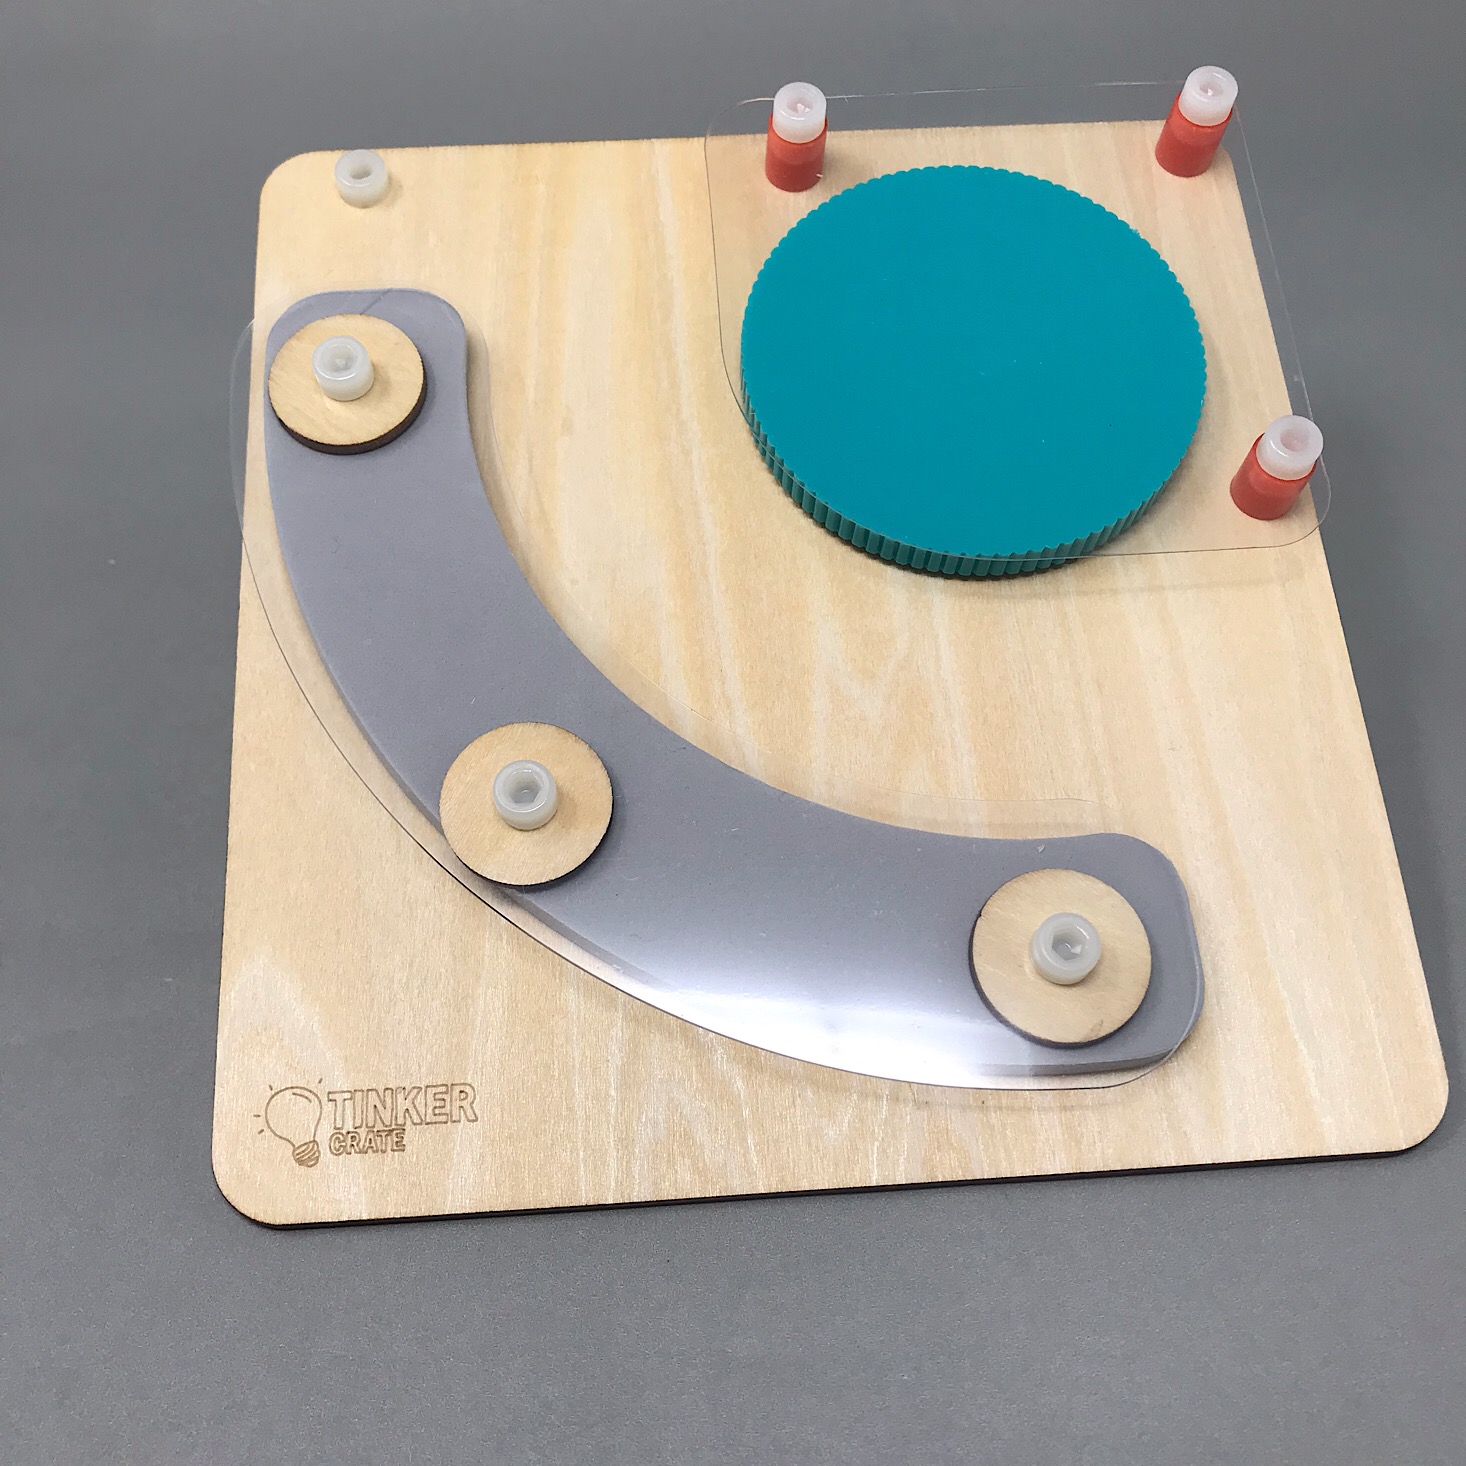
I followed the same pattern for all three holes, but before tightening it, I inserted three discs to make sure that my foam was in the right place to allow the discs to fit through. Once these were in, I was able to tighten it up and our launcher was complete.
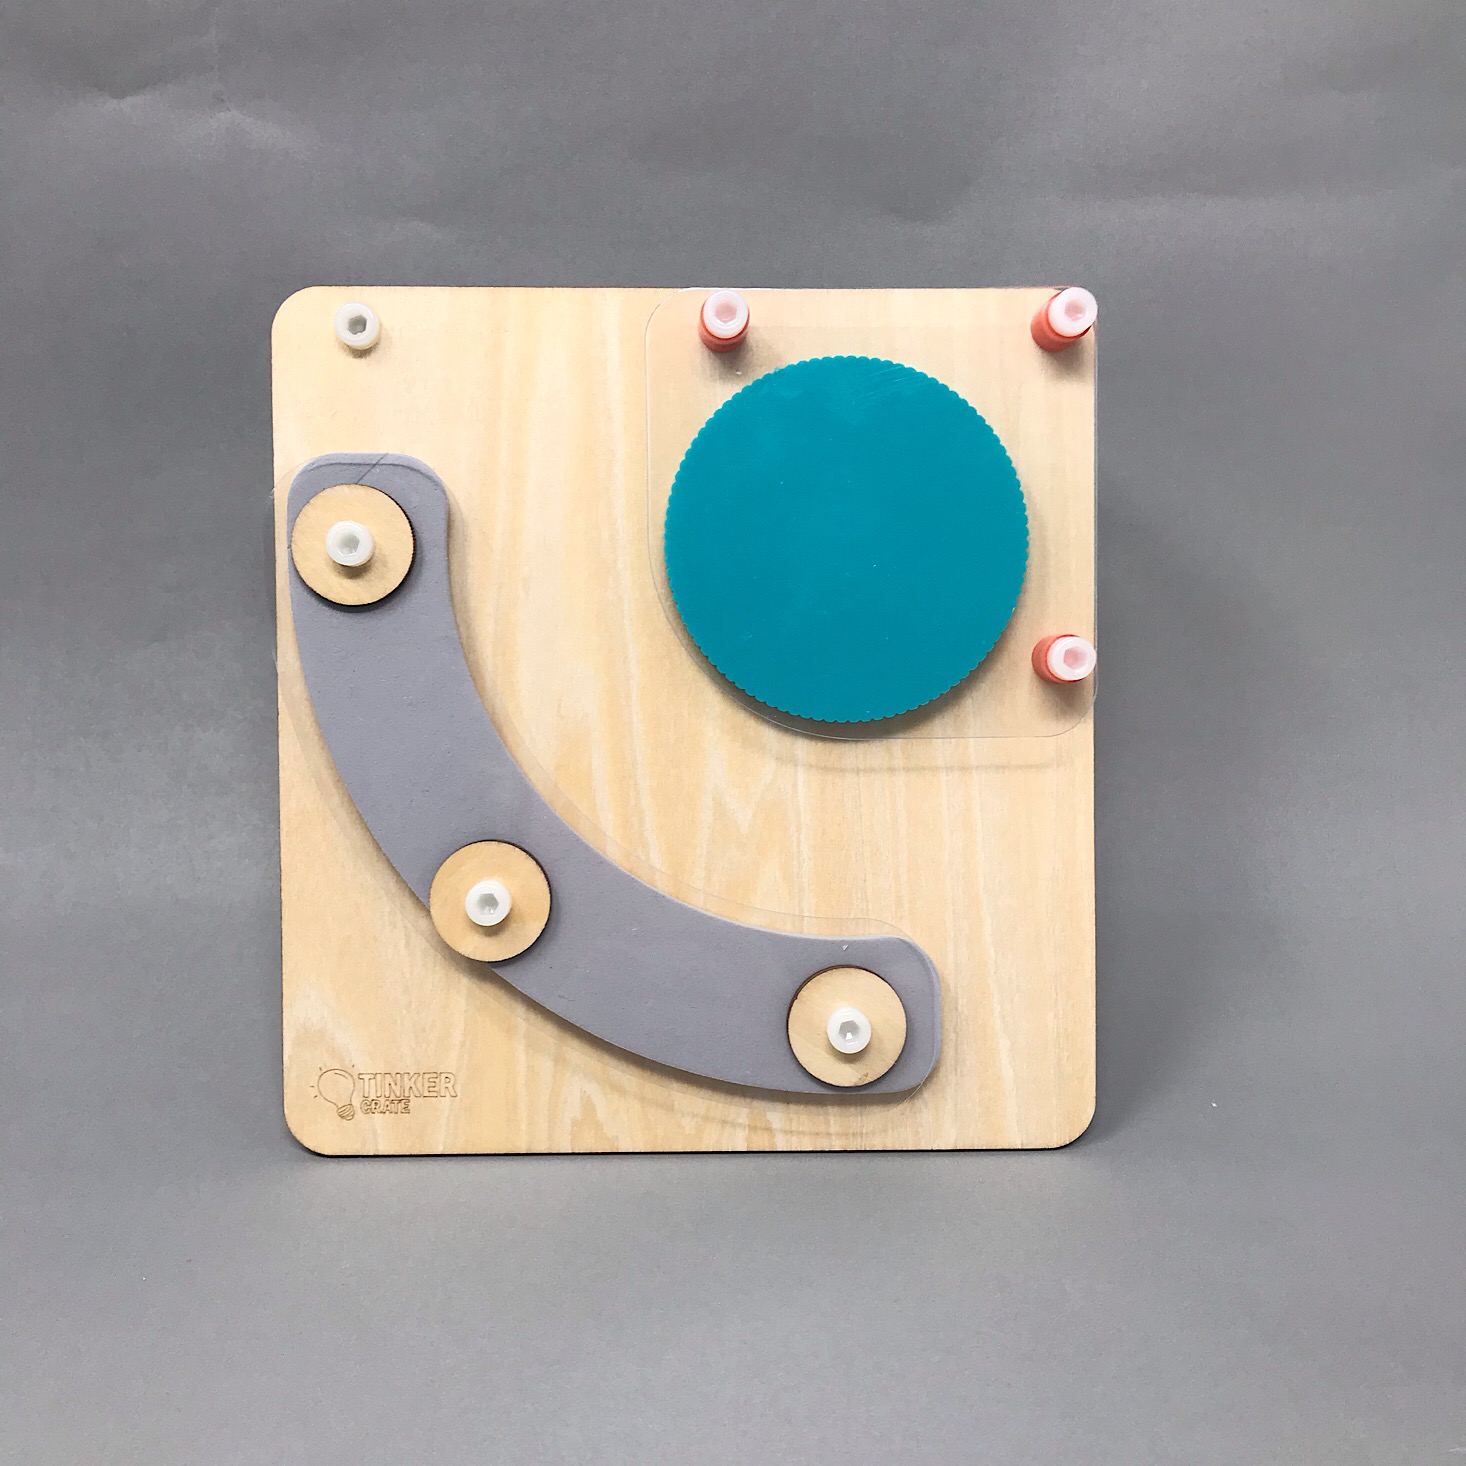
1 of 3

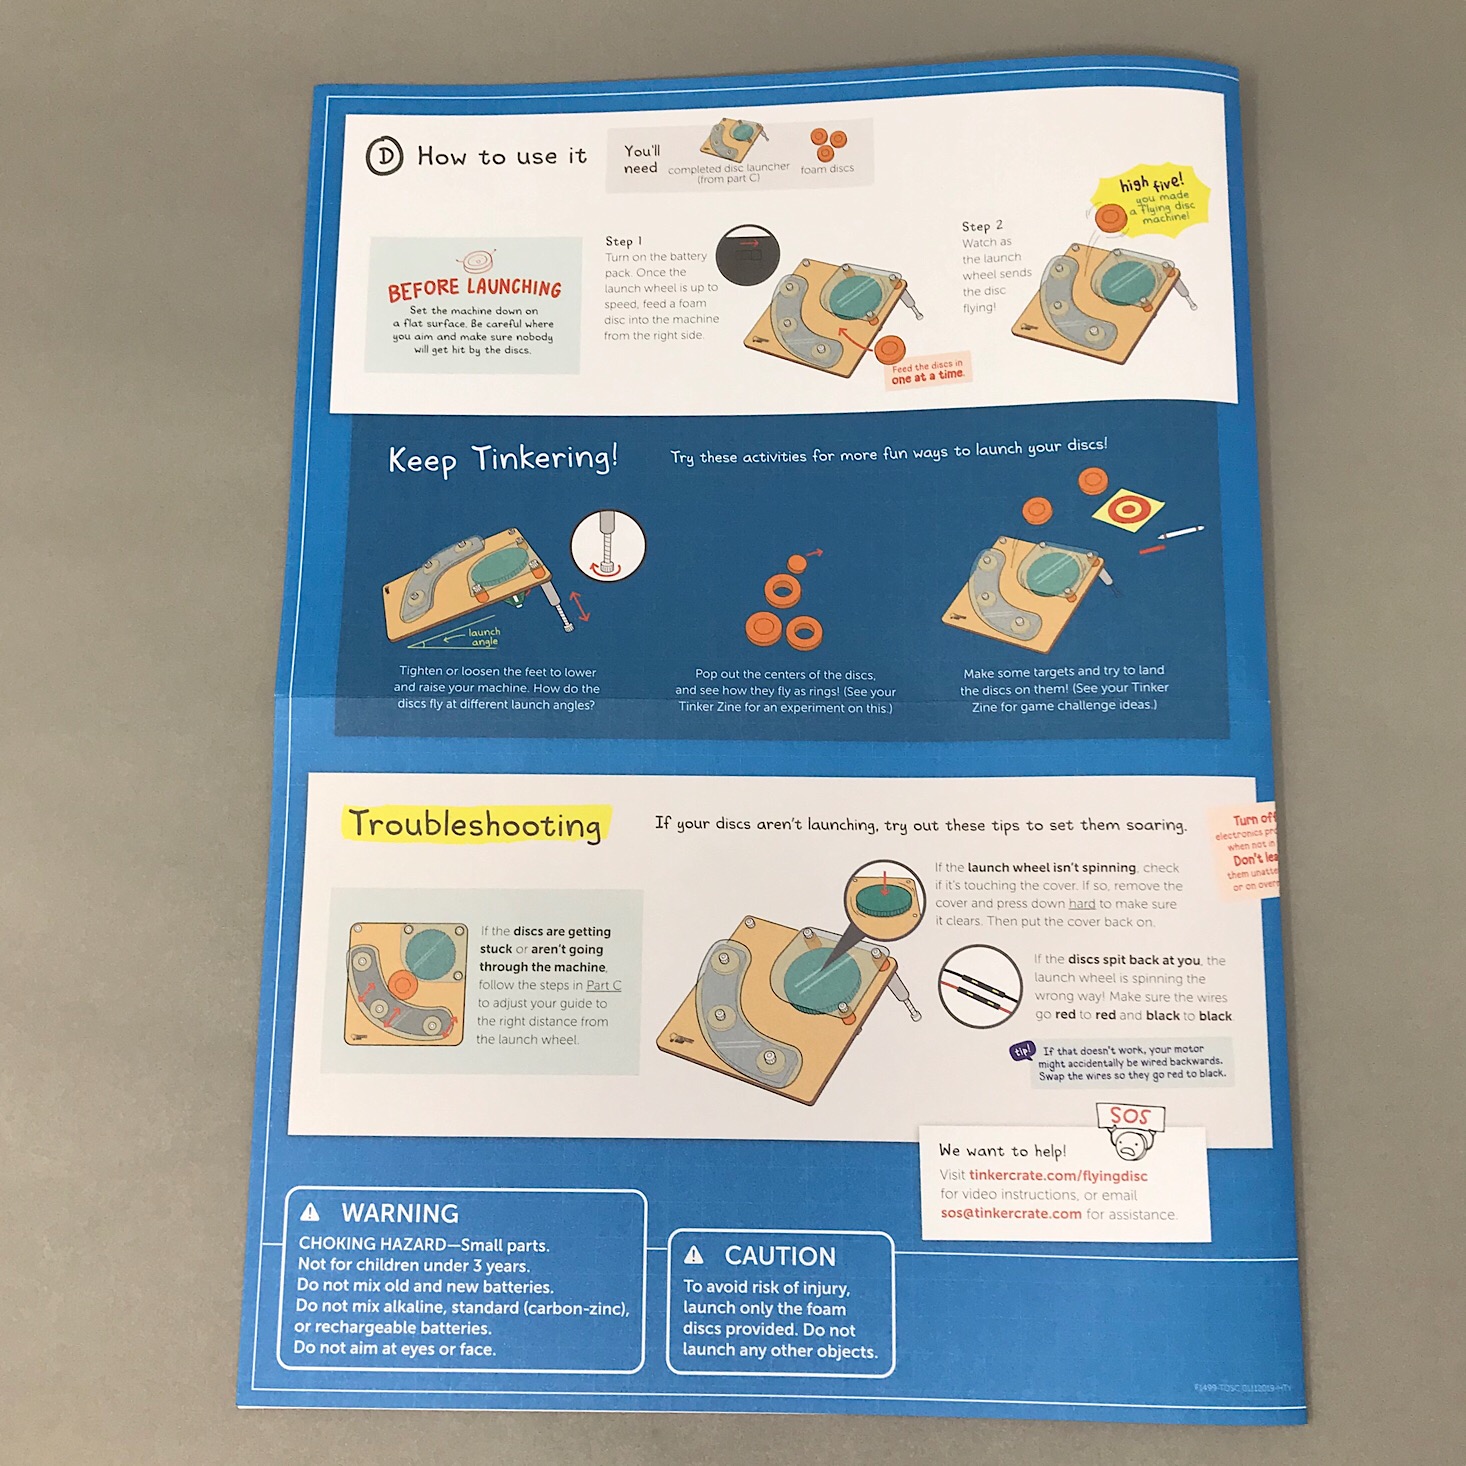
Here is our finished launcher. It looks fairly simple and is very easy to operate!
I tested it out and was pretty amazed at how quickly it shot those foam discs out.
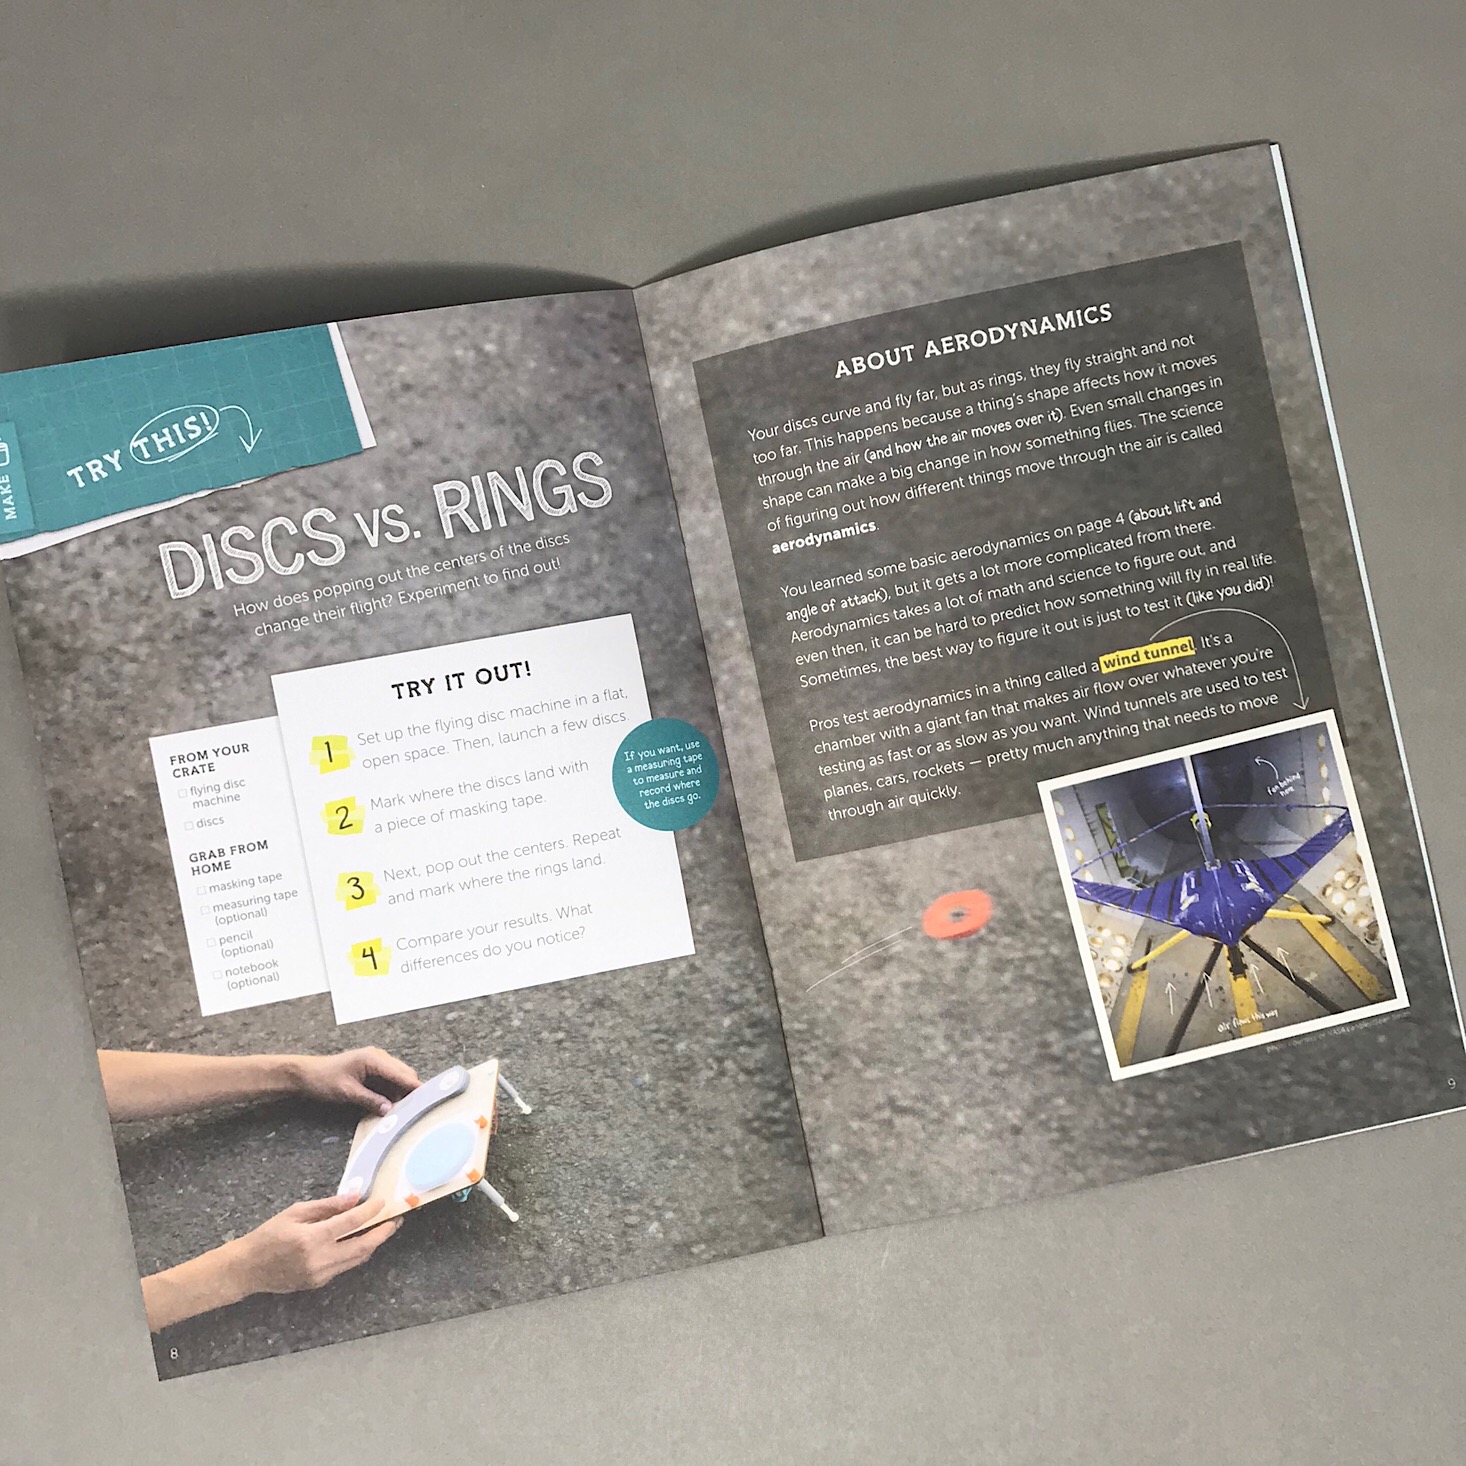
Next, I removed the center circles from the discs to see if it made a difference in the launch. It seemed to go a tad slower this way.

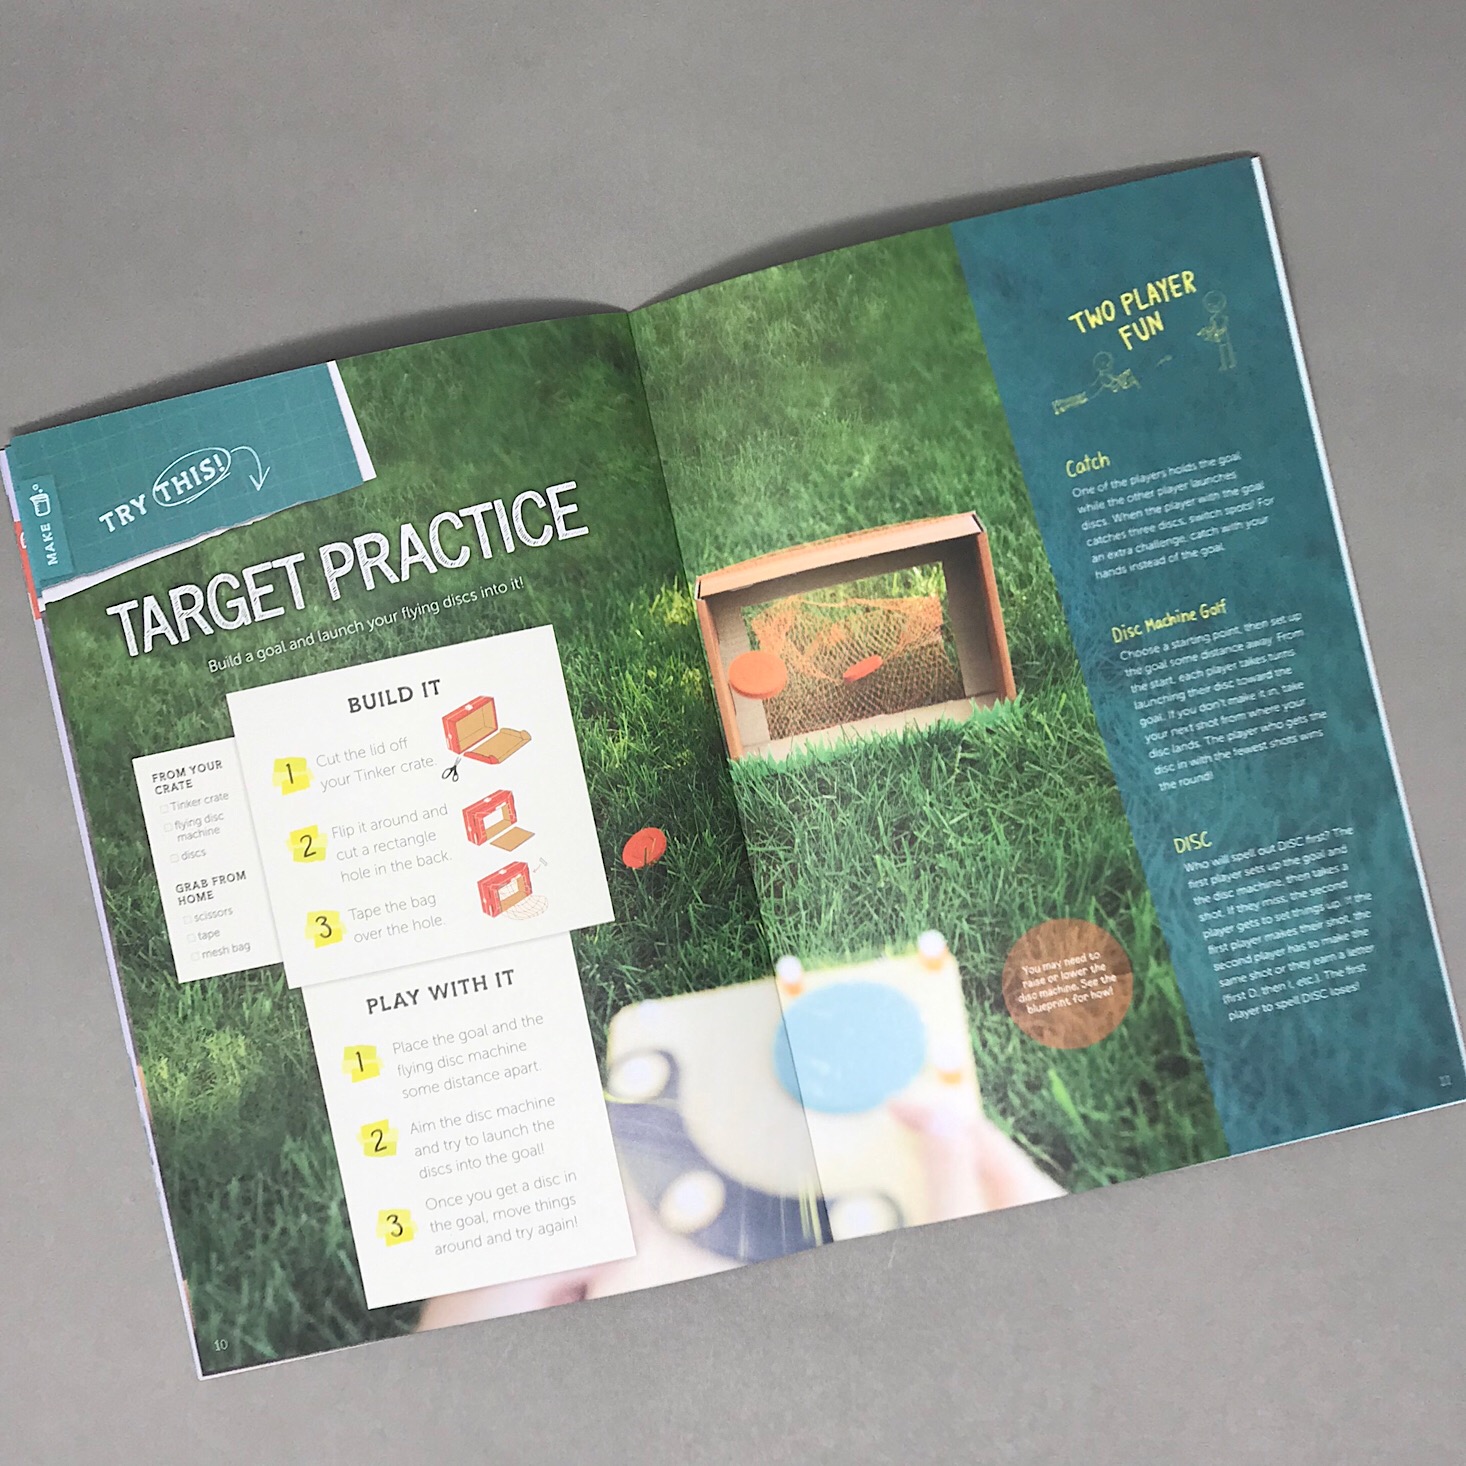
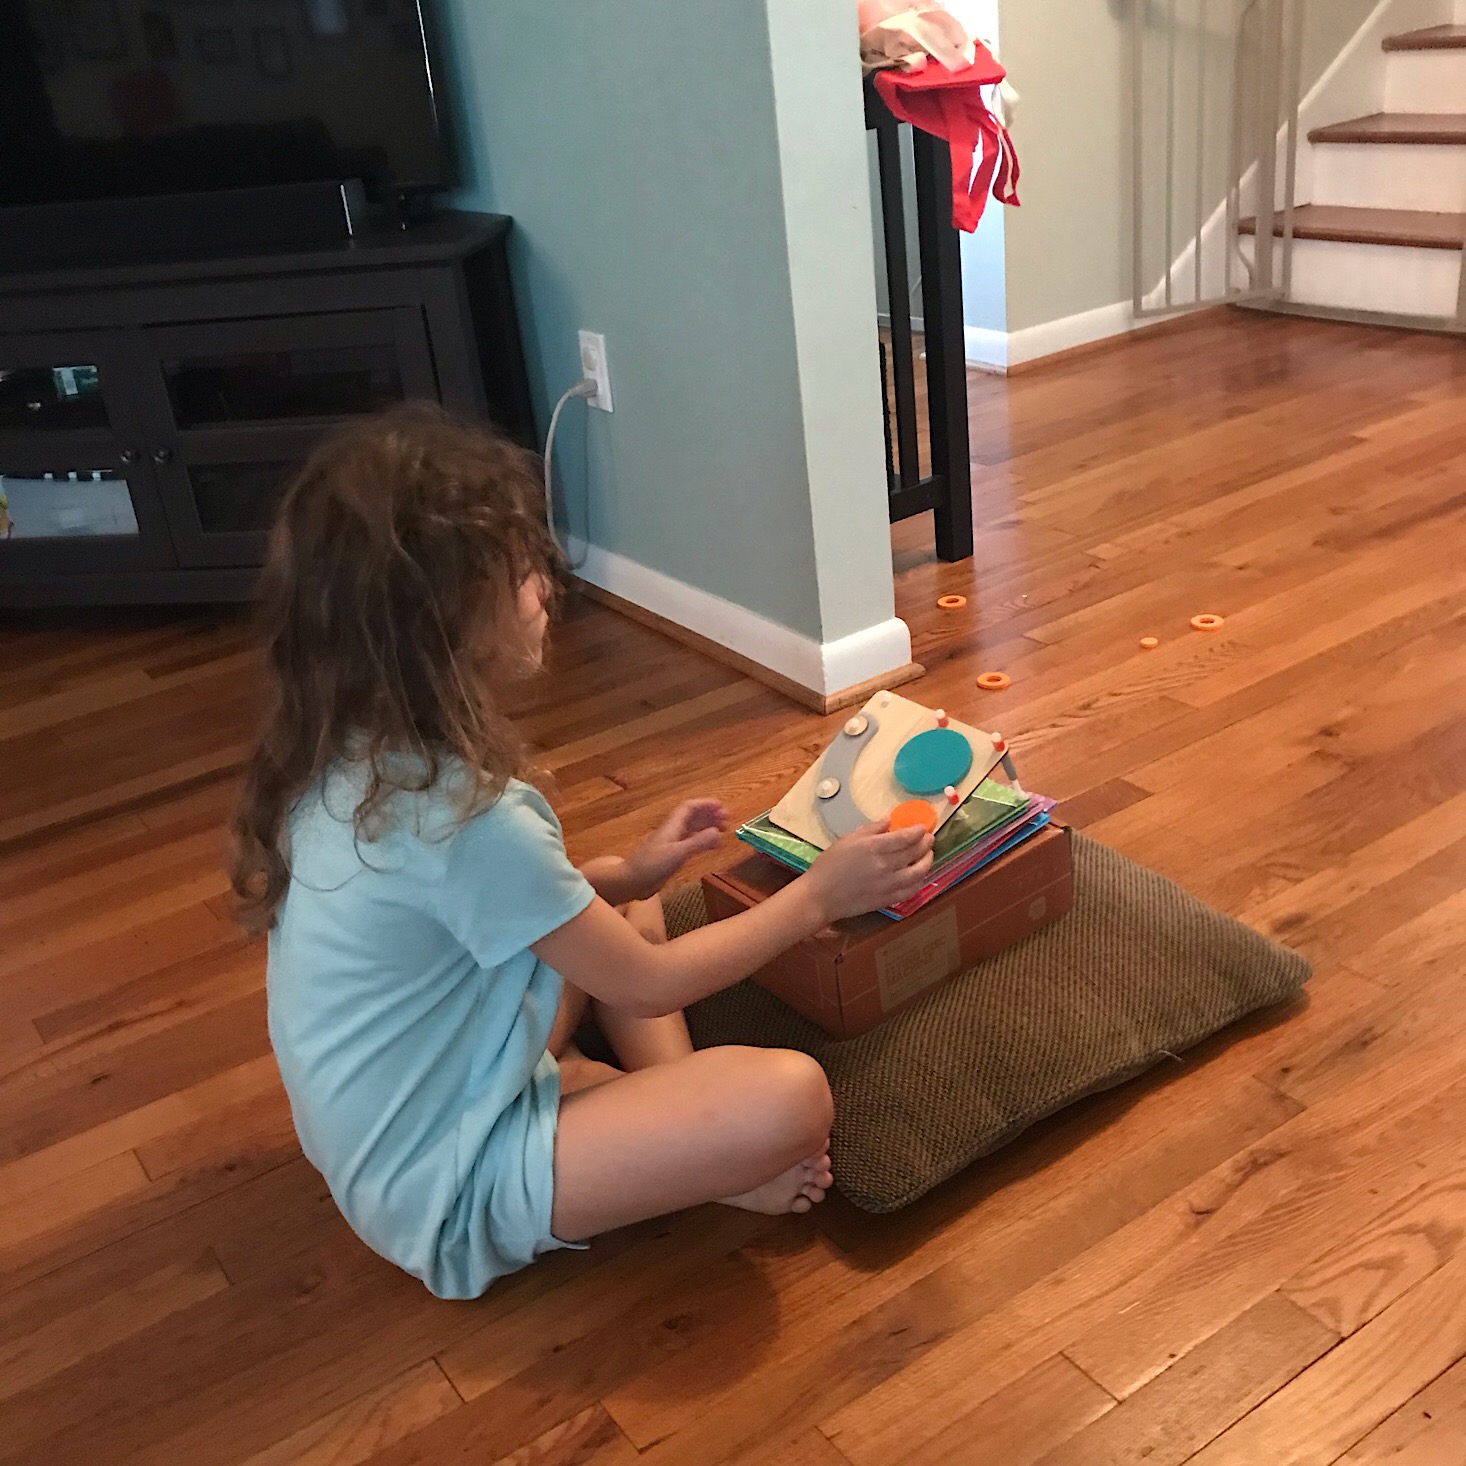
Now that it was complete, I let the kids play with it and this creation was a much bigger hit than I expected. I drew a little bullseye and let my daughter do her best to try and hit the target.
1 of 2
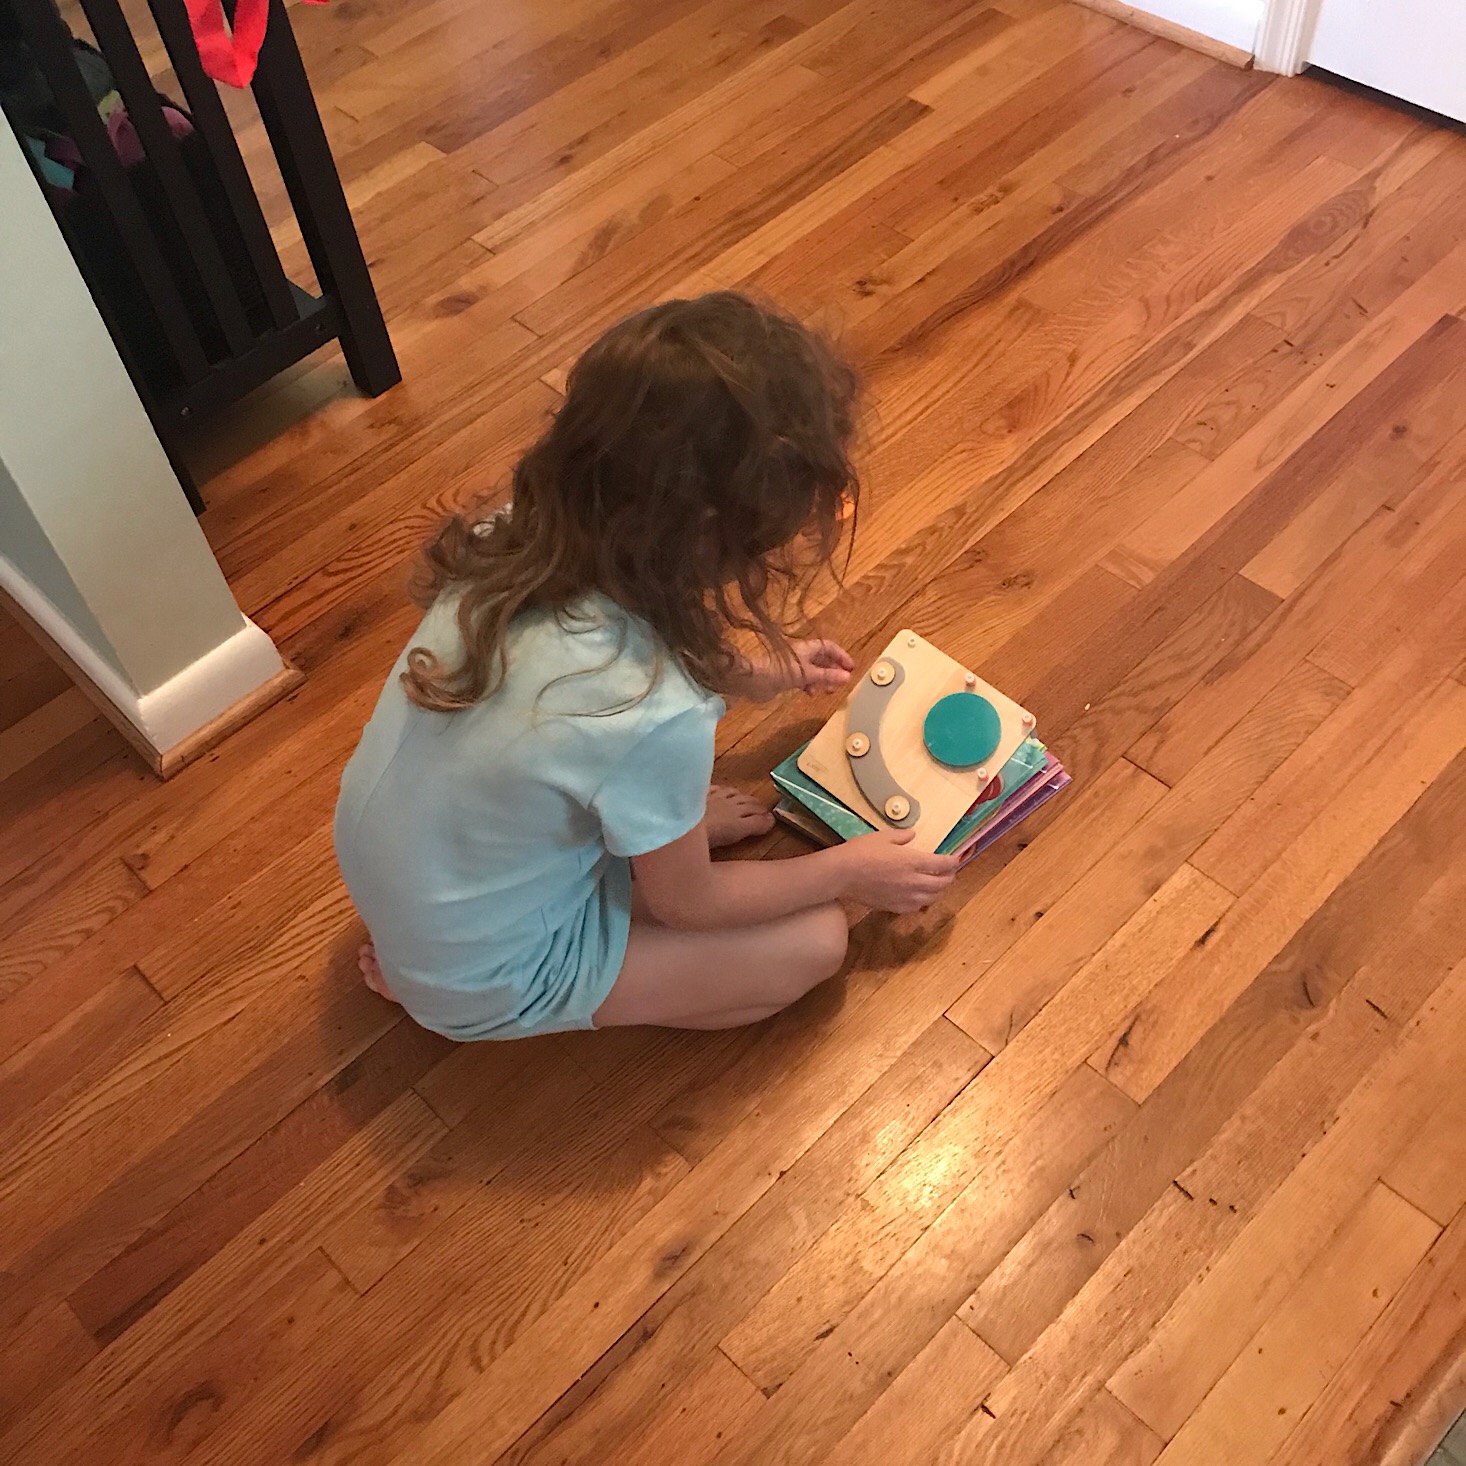
We raised and lowered the target a few times and each time she was so excited to try and move the launcher around in different ways to hit the target. First, she got a set of books to make it higher and then she kept adding to her stack. It was really awesome to see her problem-solve on her own!
She was pretty good at it, but I admit, this launcher goes so fast that sometimes it was hard to tell if we hit the target in the center or not! I am excited to take this outside with the kids and play around with it some more and maybe try for distance next time.
Verdict: This month's Tinker Crate was another hit! The projects are always so simple with easy to follow directions and while that's great in itself, what I really enjoy is how these creations can challenge us as we tinker with them! This month my daughter had a great time trying to hit the target and this was a great way to introduce her to the concept of distance and angles. In addition to the fun project, they also provided a lot of great information in our Tinker Zine and provided some extension ideas such as making a net out of our box or studying aerodynamics by shooting discs into the air. The excitement and learning I saw in my daughter made this feel like a great value for a $19.95 + free shipping box!
To Wrap Up:
Can you still get this box if you sign up today? It is possible you might get this crate, but it is not a guarantee. From KiwiCo:
Crates are assigned each month based on availability and your crate history - not all subscribers receive the same theme each month.
ACTIVE DEAL: Get 50% off your 1st month! No coupon needed - just use this link.
Check out all of our KiwiCo reviews and the best subscription boxes for kids!
Keep Track of Your Subscriptions: Add this box to your subscription list or wishlist!
What do you think of this month's Tinker Crate?


Please do not enter your email address in the Name field or in the comment content. Your email address will not be published. Required fields are marked *. Remember to post with kindness and respect. Comments with offensive language, cruelness to others, etc will not be approved. See our full comment policy here.