

Tinker Crate is a subscription box for kids and tweens ages 9-16+ created by kids subscription box company KiwiCo. Each monthly Tinker Crate contains all the materials and instructions needed to create innovative, hands-on STEM projects, as well as a "Tinker Zine" full of educational information and additional activities.
KiwiCo offers boxes for different age groups: Tadpole Crate for 0-36-month-olds, Koala Crate for 3-4-year-olds, Kiwi Crate for 5-8-year-olds, Atlas Crate for 6-11-year-olds, Doodle Crate and Tinker Crate for 9-16+-year-olds, and Eureka Crate for ages 14 and up. There really is something for every age with this company.
This review is of KiwiCo's Tinker Crate (for ages 9-16), which costs $19.95 per month.
This box was sent to us at no cost for review. (Check out the review process post to learn more about how we review boxes.)
About Tinker Crate
The Subscription Box: Tinker Crate
The Cost: $19.95 per month + free shipping
ACTIVE DEAL: Get 50% off your 1st month! No coupon needed - just use this link.
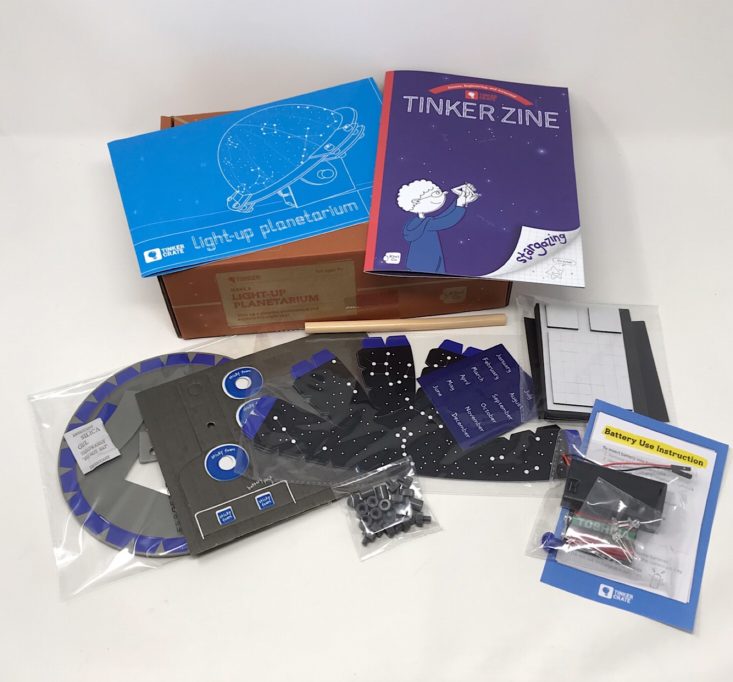
The Products: Innovative hands-on STEM projects for kids, plus the materials and detailed instructions your child needs to complete them. You'll also get a "Tinker Zine" full of educational information and additional activities.
Ships to: US for free, Canada for $6.95 per month
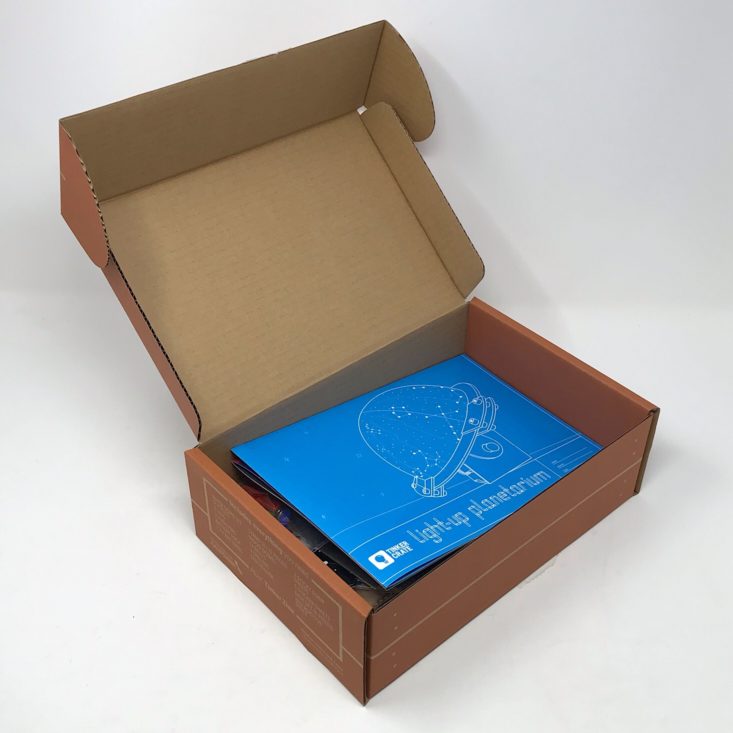
KiwiCo Tinker Crate "Light-Up Planetarium" Review

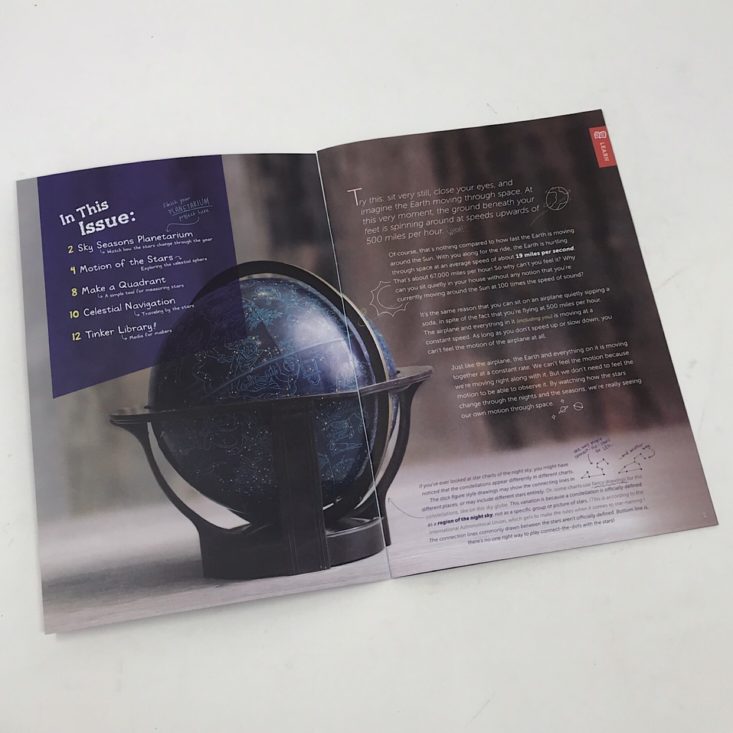

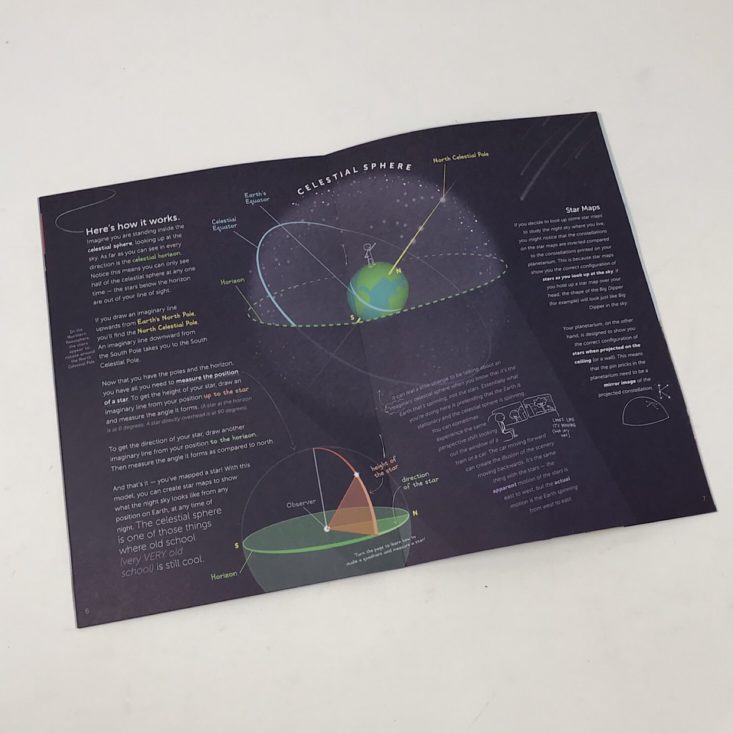
The theme of this month's Tinker Zine is Stargazing. The zine included some interesting information on the motion of the stars and the celestial sphere.
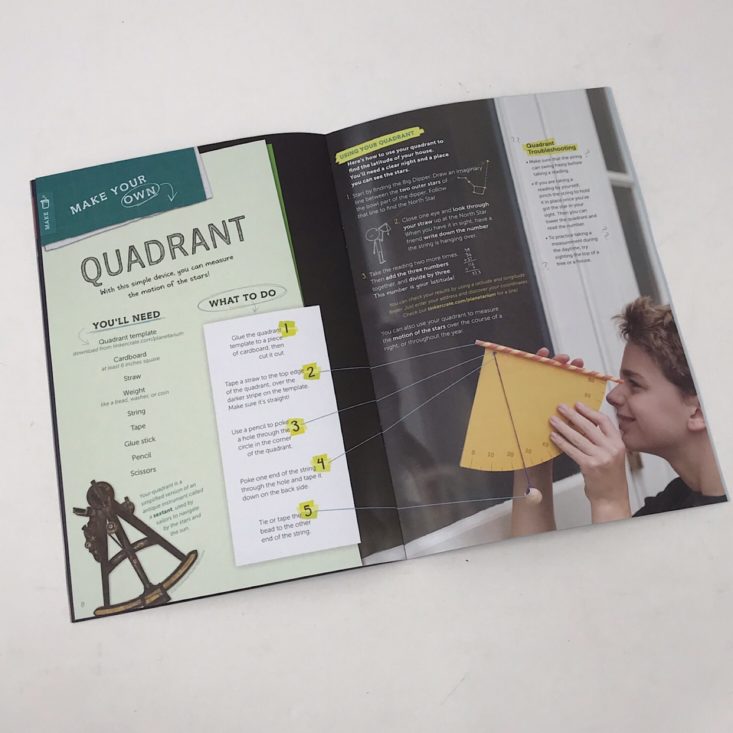
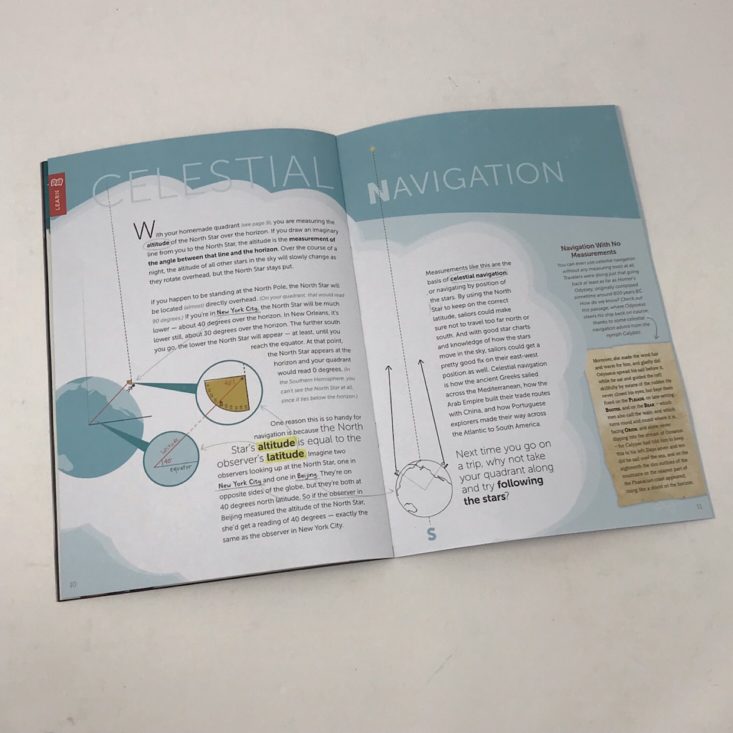
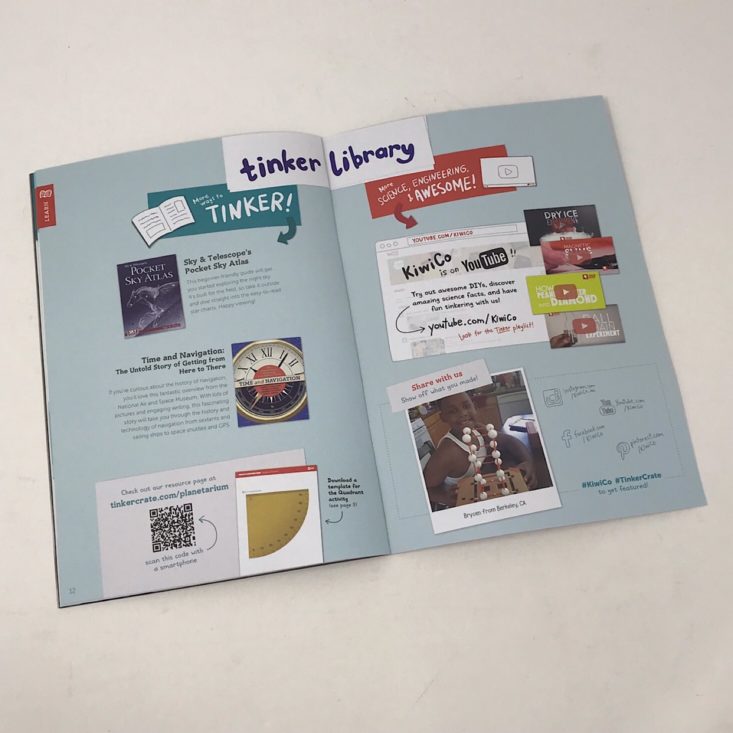
There were also instructions for making your own quadrant, information about celestial navigation, and book recommendations for kids who want to dive deeper into the subject.
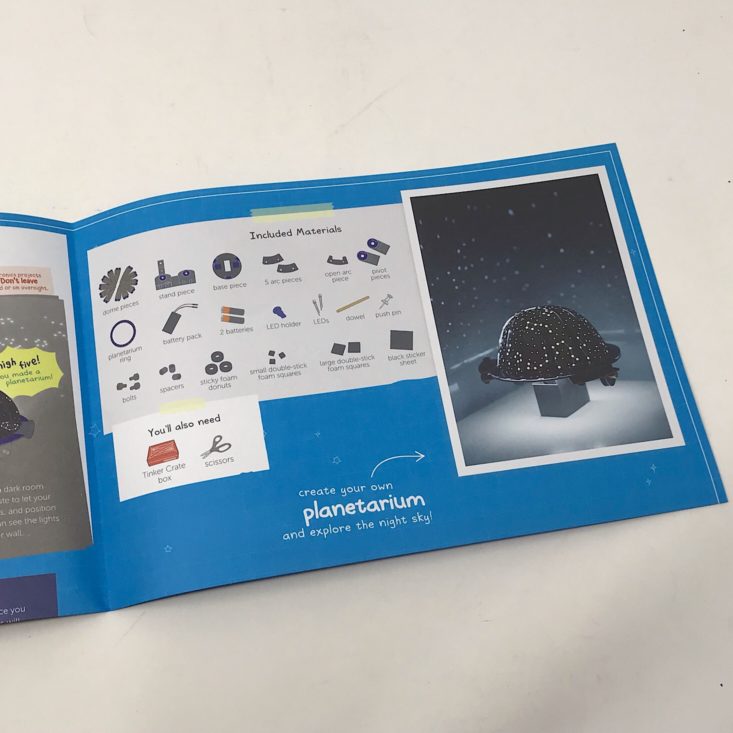

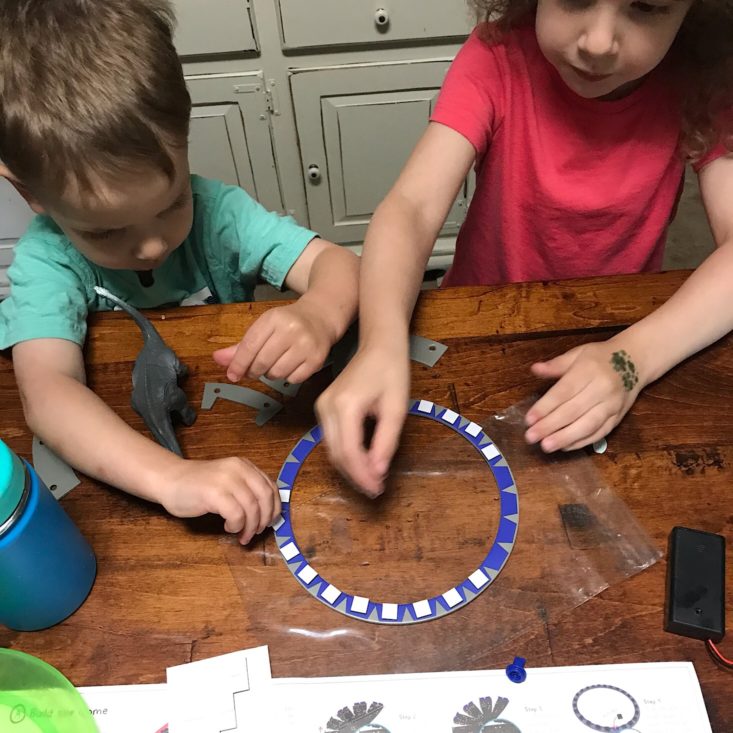
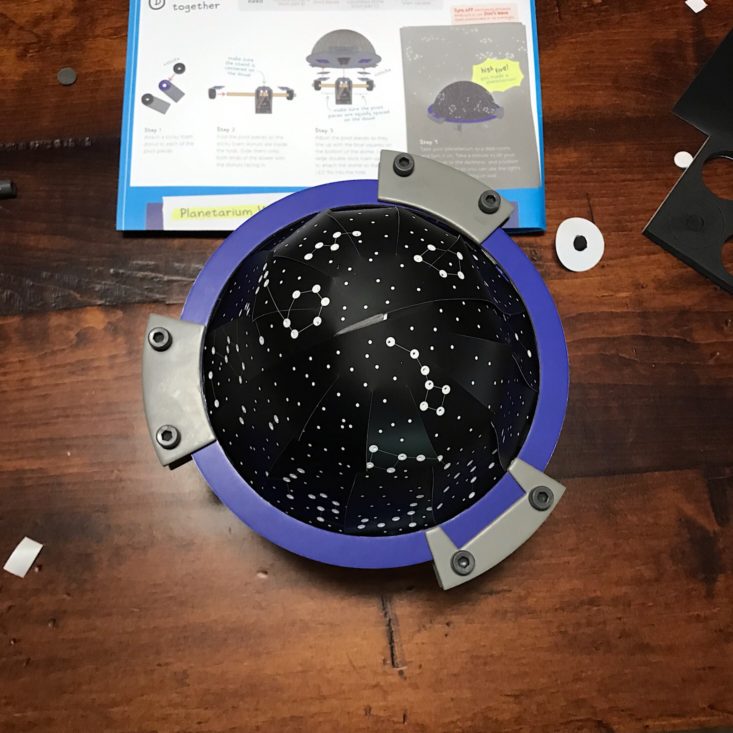
The instructions for our planetarium came on a separate sheet. As per usual with Tinker Crate, the instructions were incredibly detailed and included pictures for each step.
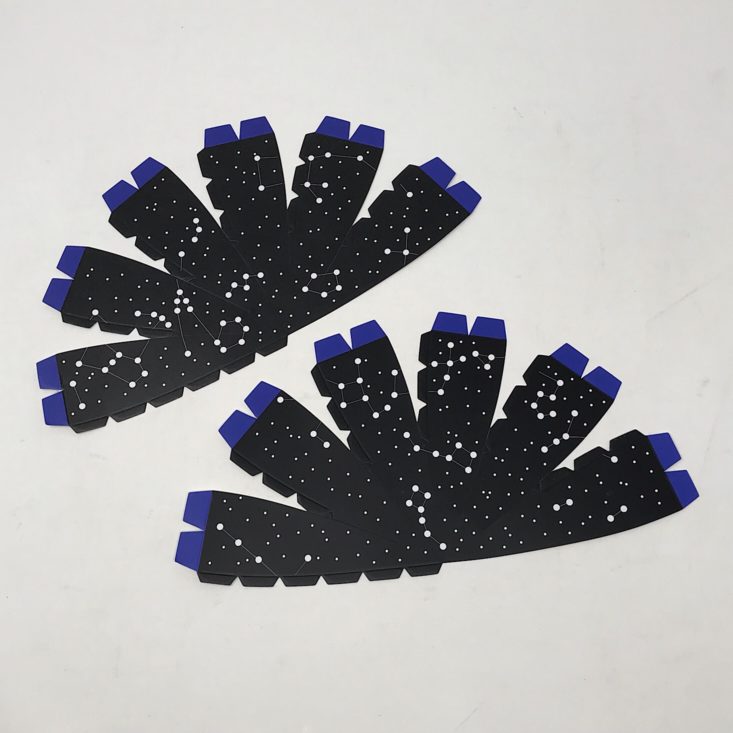
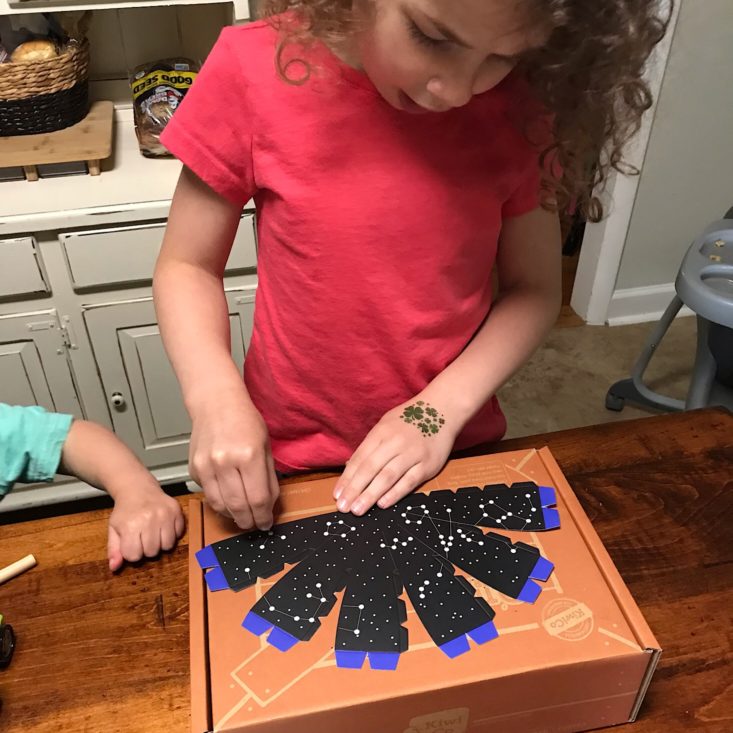
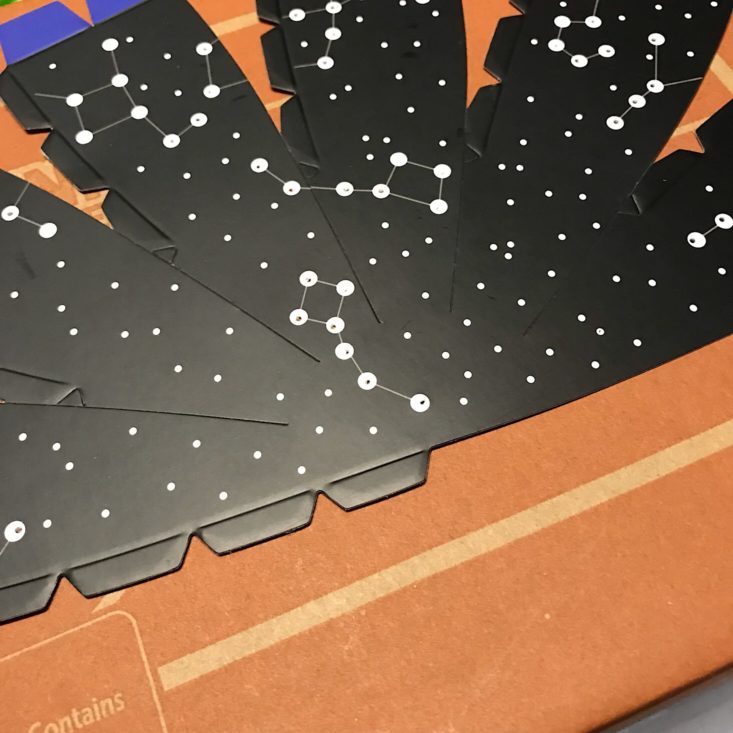
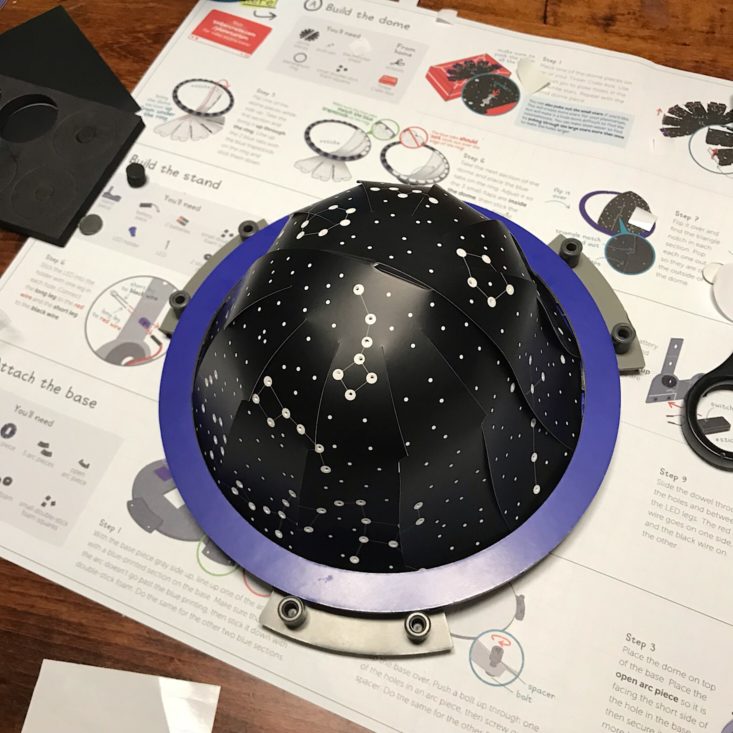
The first step in the project involved poking holes into the paper dome pieces using a thumbtack (which was included in the box). My daughter and I set the dome pieces on top of our cardboard box, so that we could have a surface for poking the tack through. The goal was to poke out the larger stars in each constellation pattern. The instructions said we could also poke out the smaller stars, but that doing so might make it harder to see the constellations. We opted to stick with only the large stars.
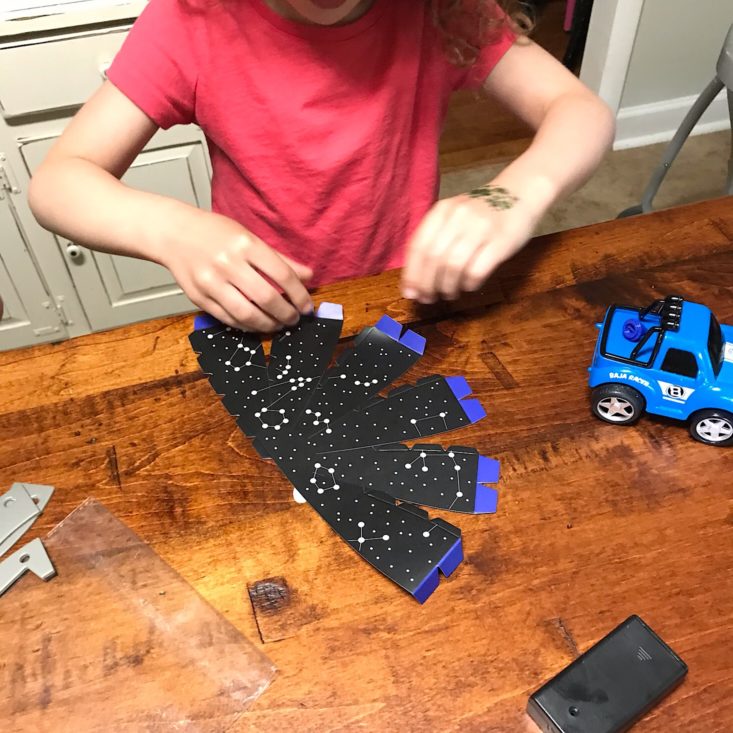
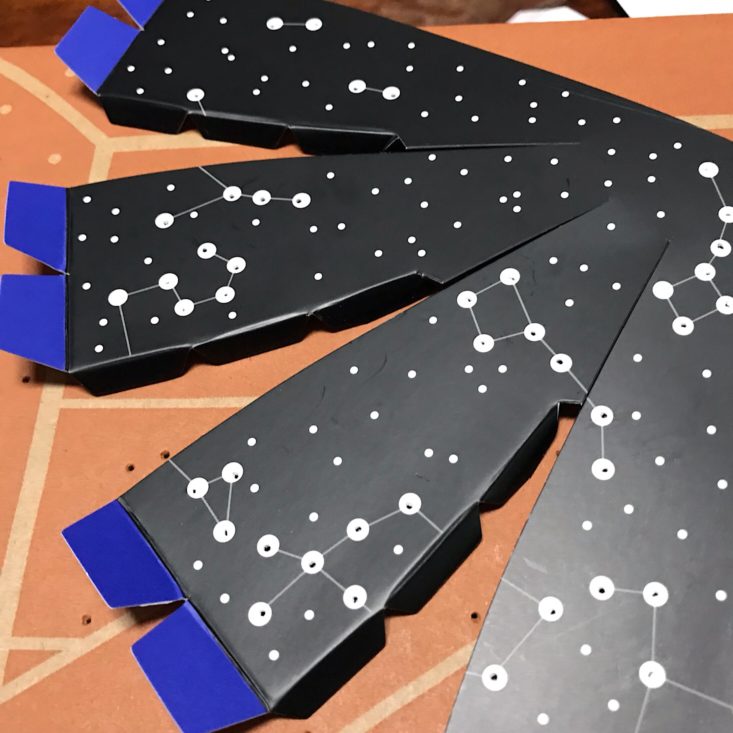
Next, we bent up the pre-creased blue tabs on the ends of each dome piece.
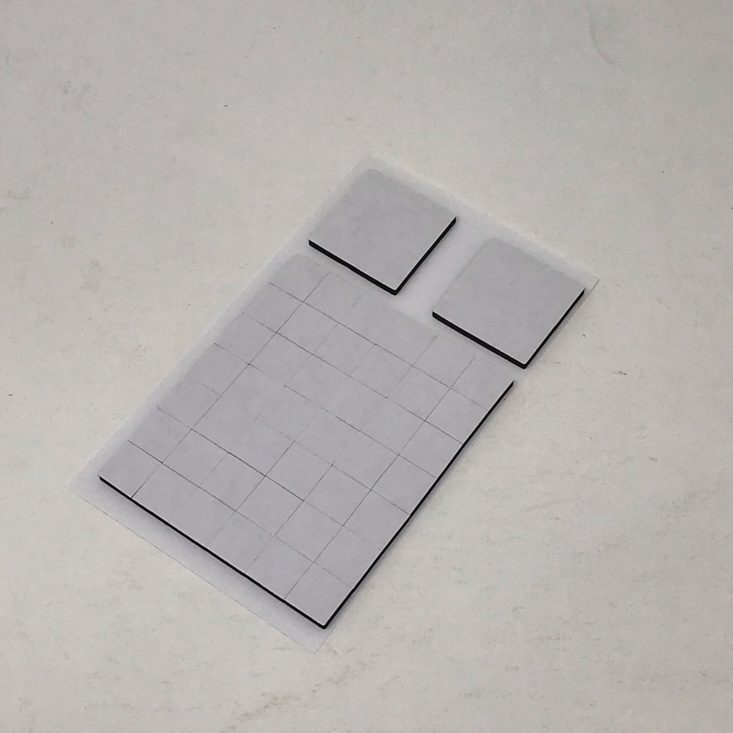

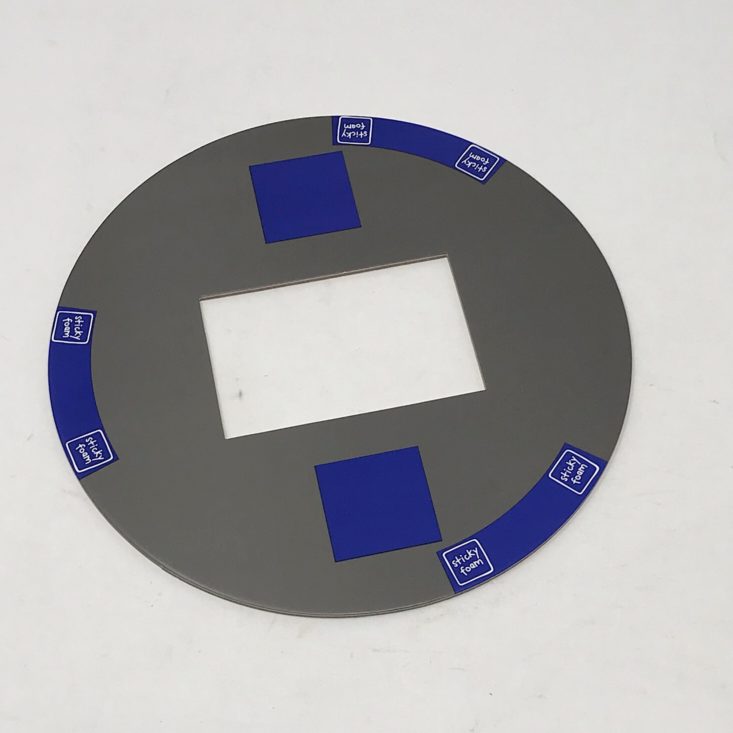
Next, my kids and I added these foam adhesive squares to each of the blue tabs on the ring-shaped base.

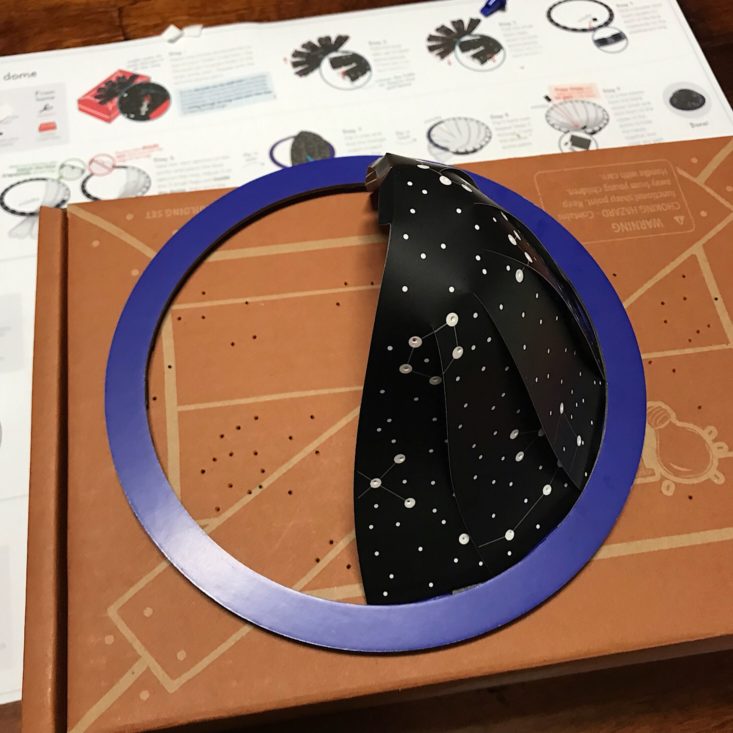
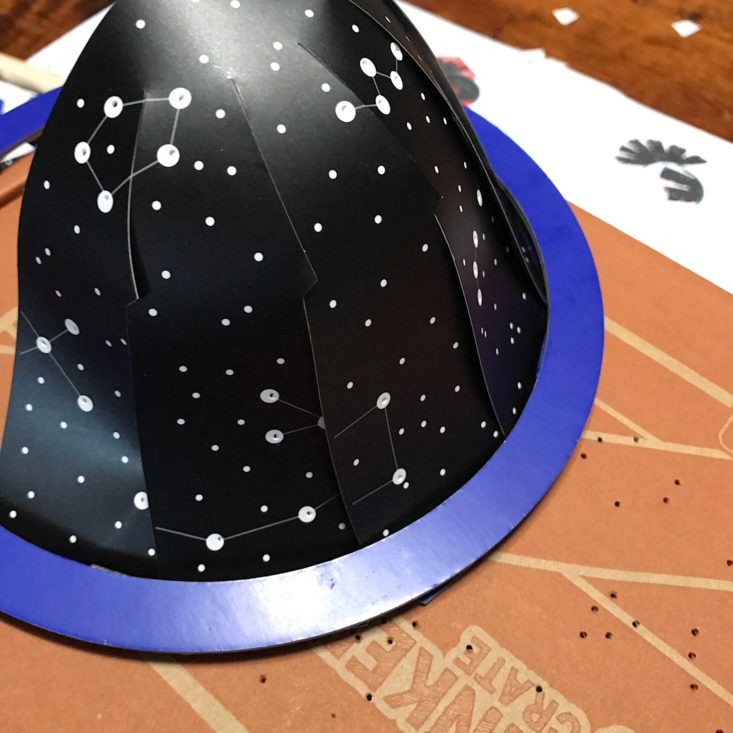
I then added the planetarium dome from underneath the ring and stuck the blue tabs to our adhesive squares. I tucked them in so that the little triangle on each section was on the outside, ensuring the pieces fit together correctly with no gaps.

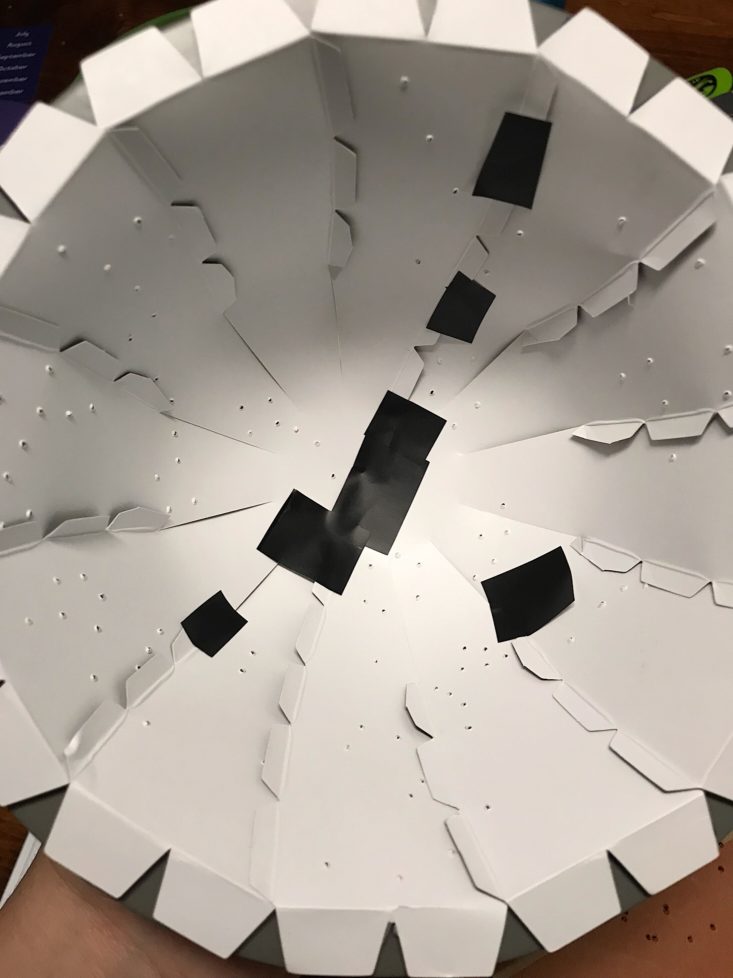
I then added the second half of the dome the same way. In order to hold the pieces together and then close up any gaps, I cut off pieces of this black sticky paper.


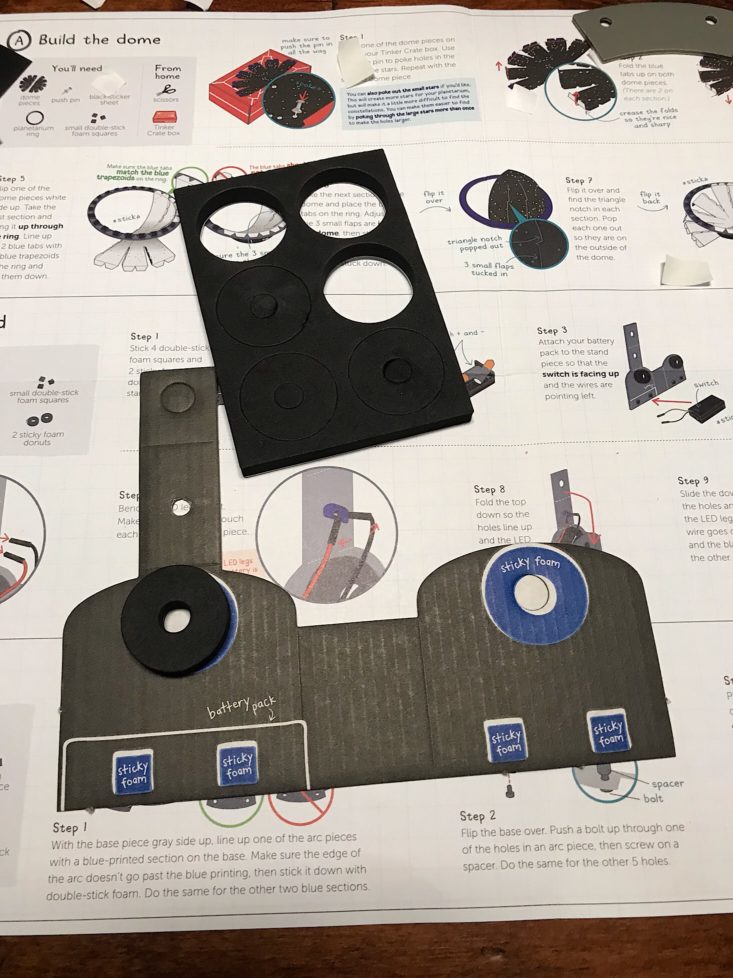
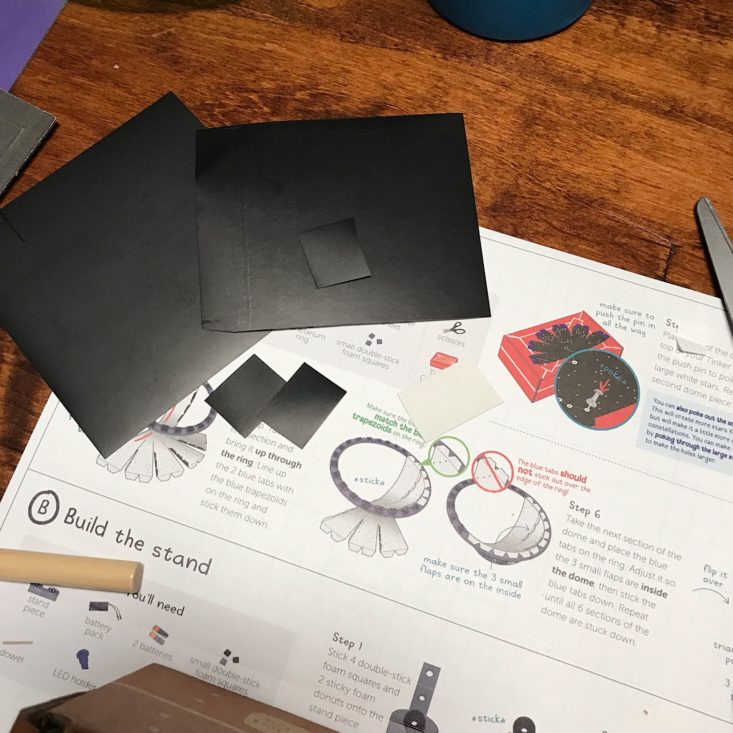
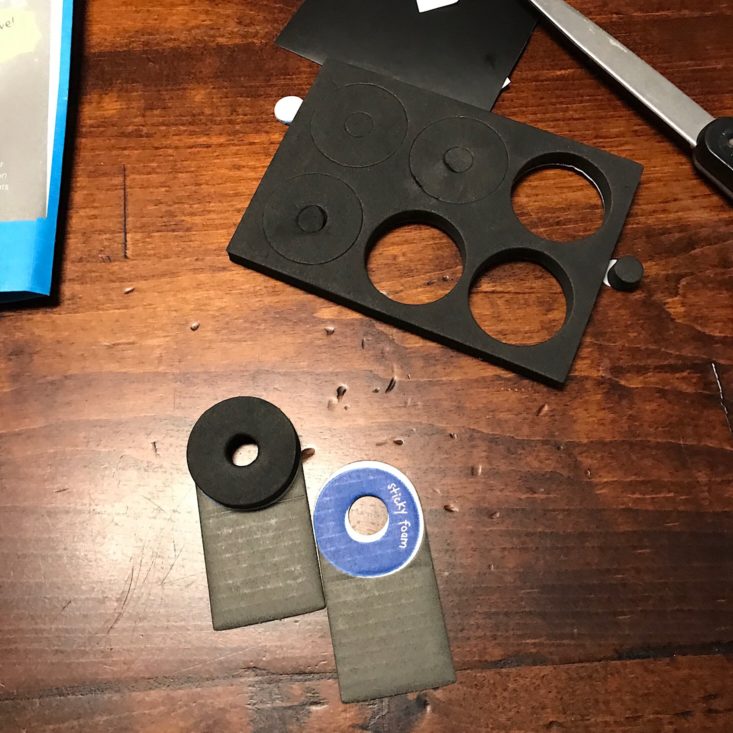
Next, it was time to work on the stand. All of the spaces where we needed to add sticky foam were clearly marked. I added two black foam circles to the marked holes.
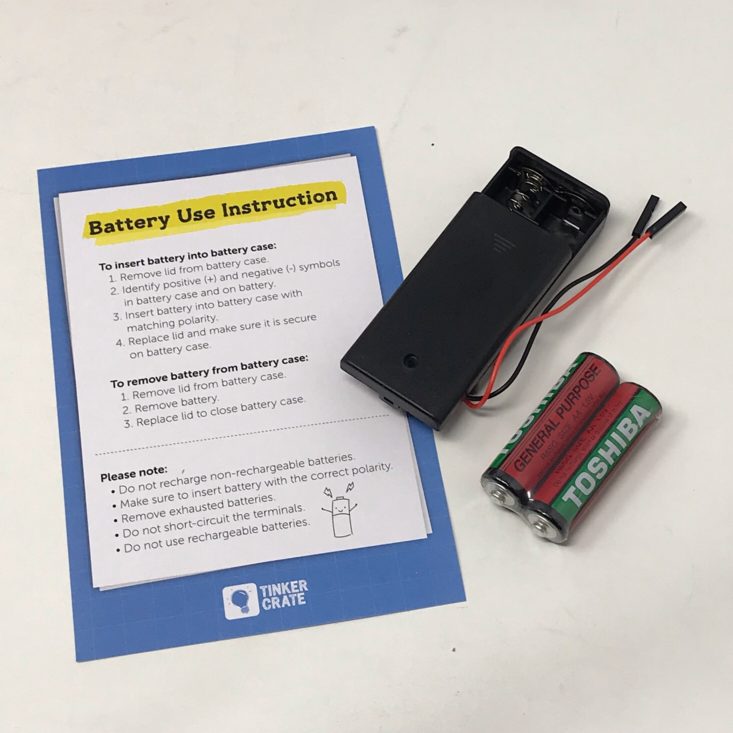

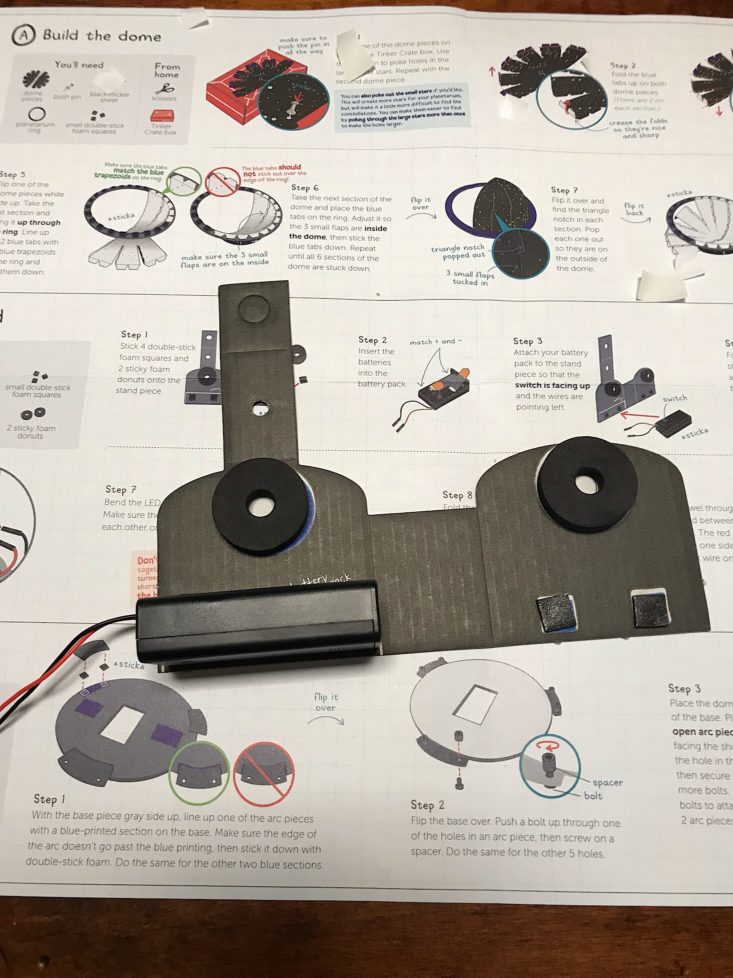
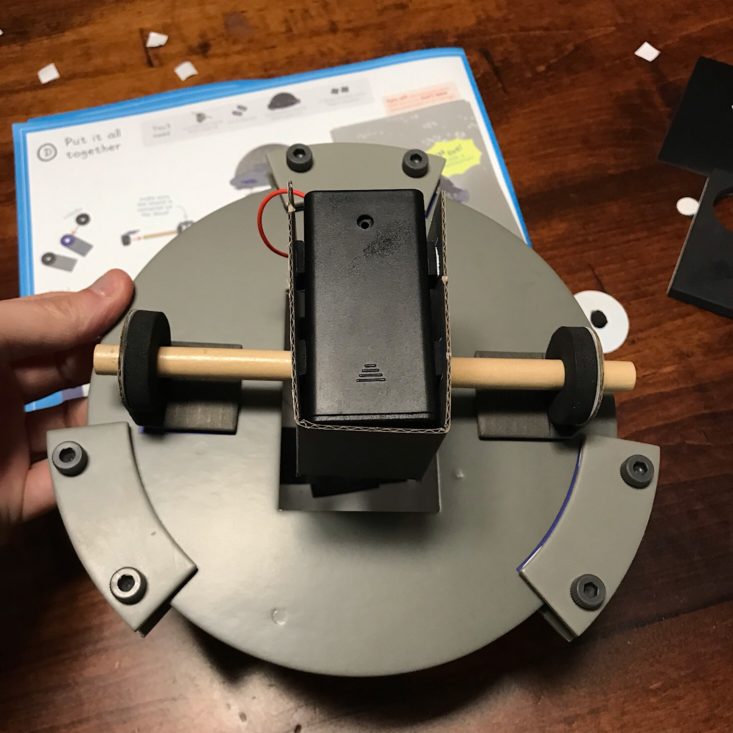
Then I prepared the battery pack, which came with these helpful instructions. Tinker Crate even provided the batteries for us. Once everything was assembled, I stuck the side of the battery pack to the stand.
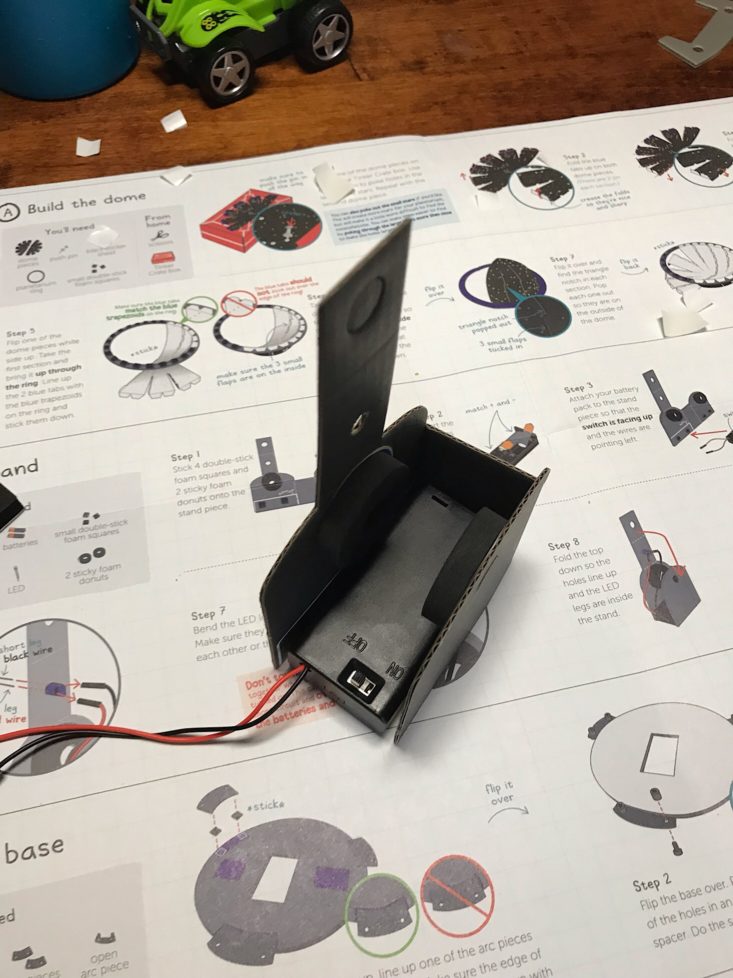
I folded up the other side of the stand so that it would be secure around the battery pack.
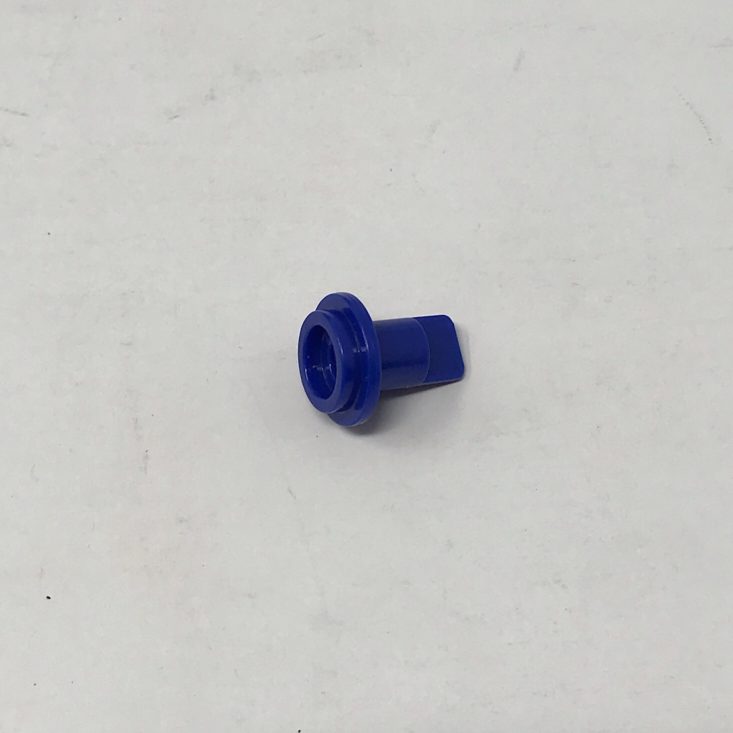
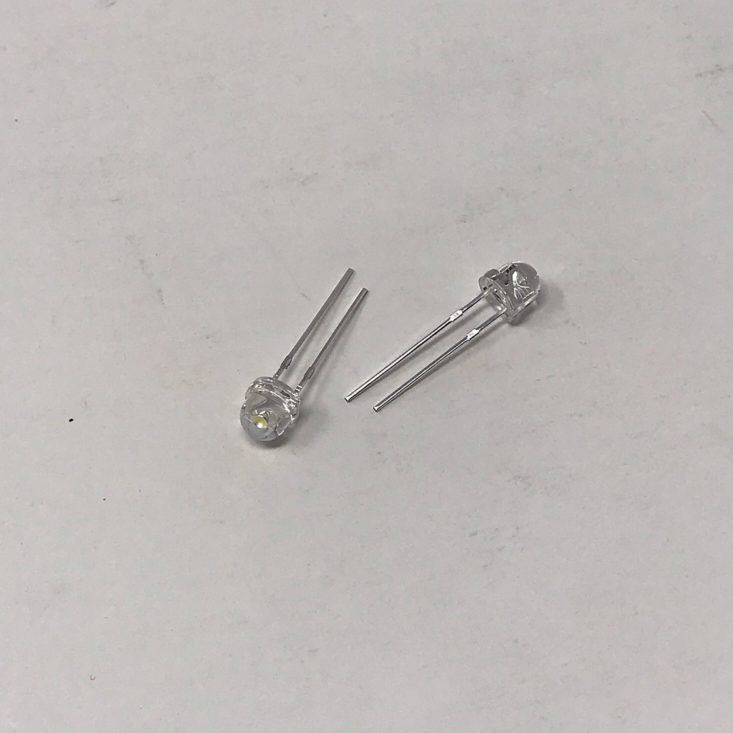
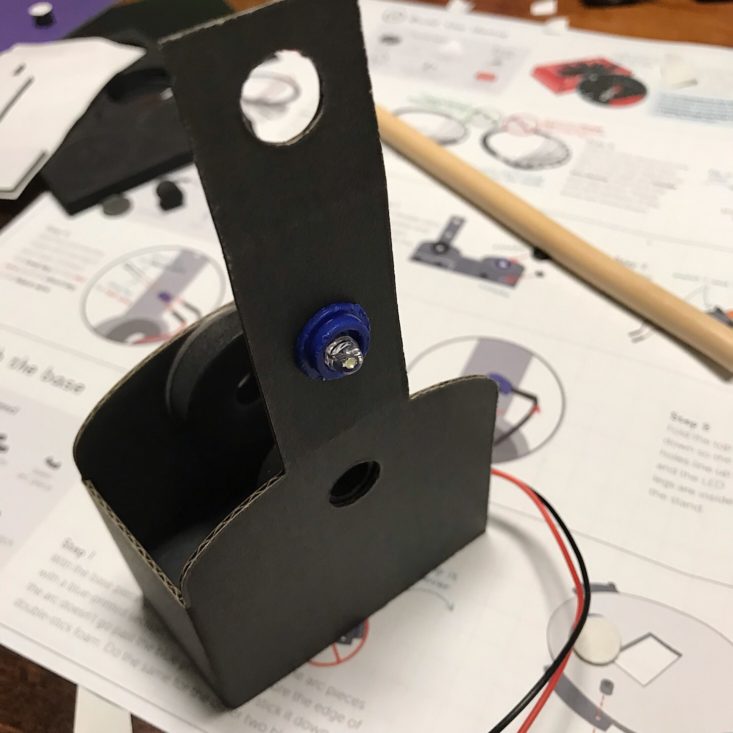
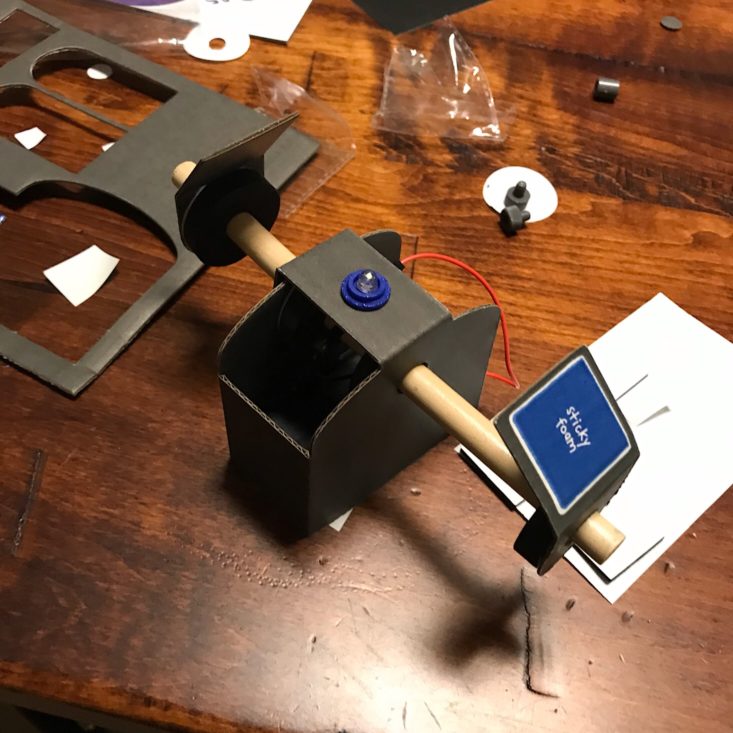
Next, I inserted a blue light holder into the hole and threaded the tiny lightbulb into it.
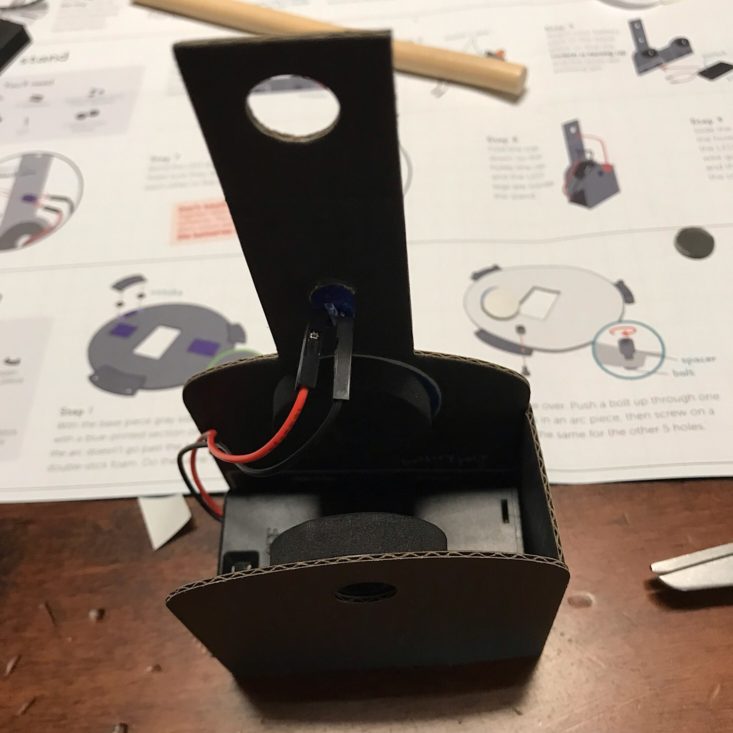
I attached a black wire to the shorter arm of the light and a red wire to the longer side. I also spread them out from one another since Tinker Crate warned that the device could overheat.
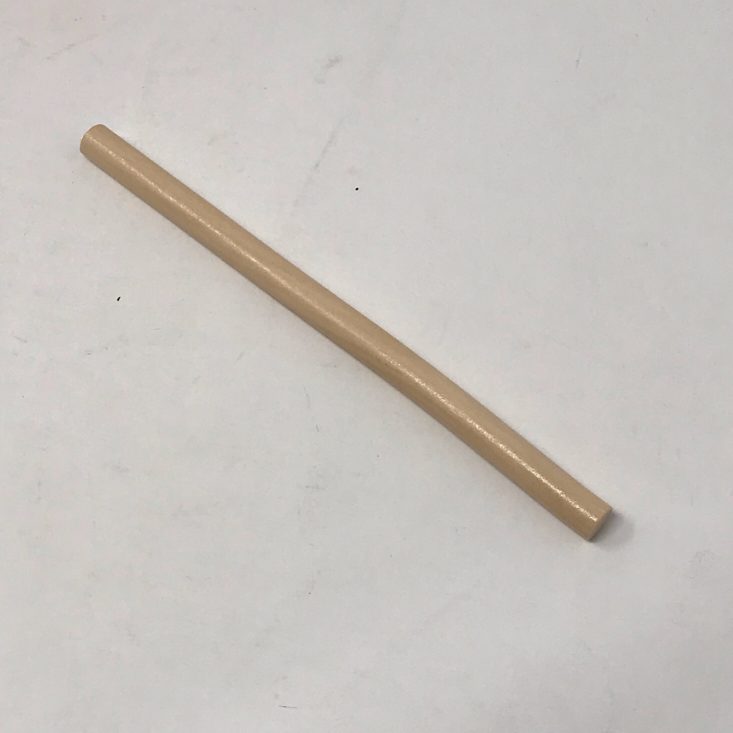
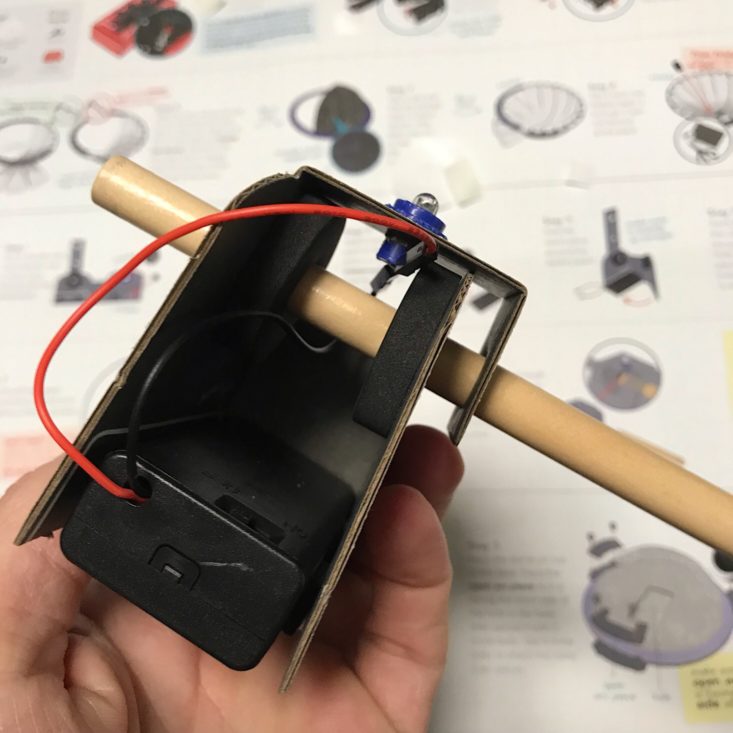
Now that the wiring was done, I inserted this dowel through the holes on the stand.

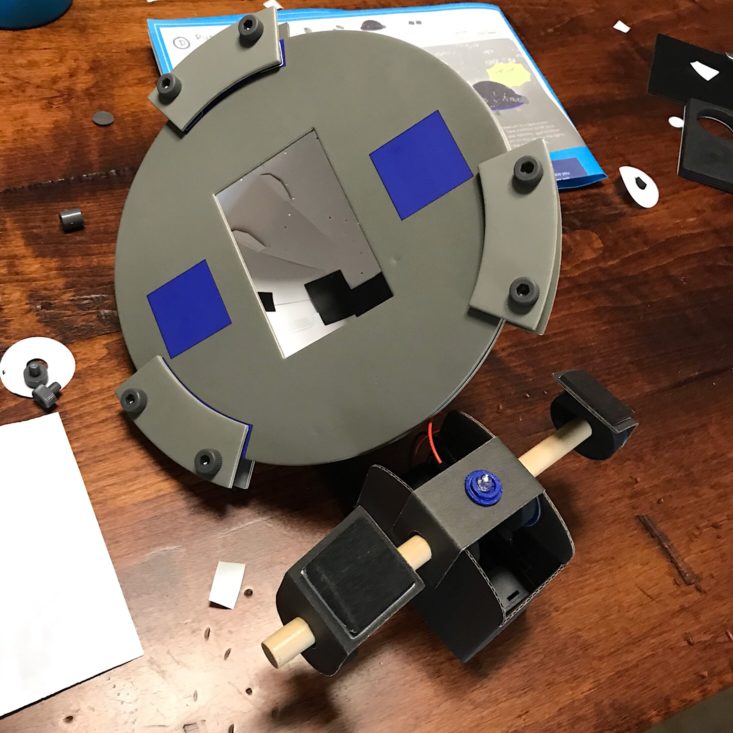
Now for the base. First, I added sticky foam squares in the appropriate places.
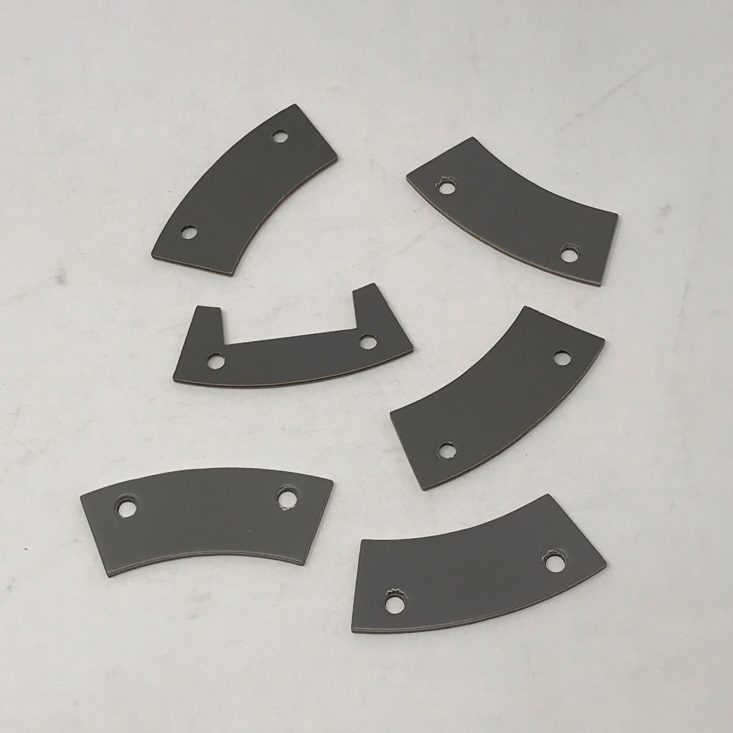
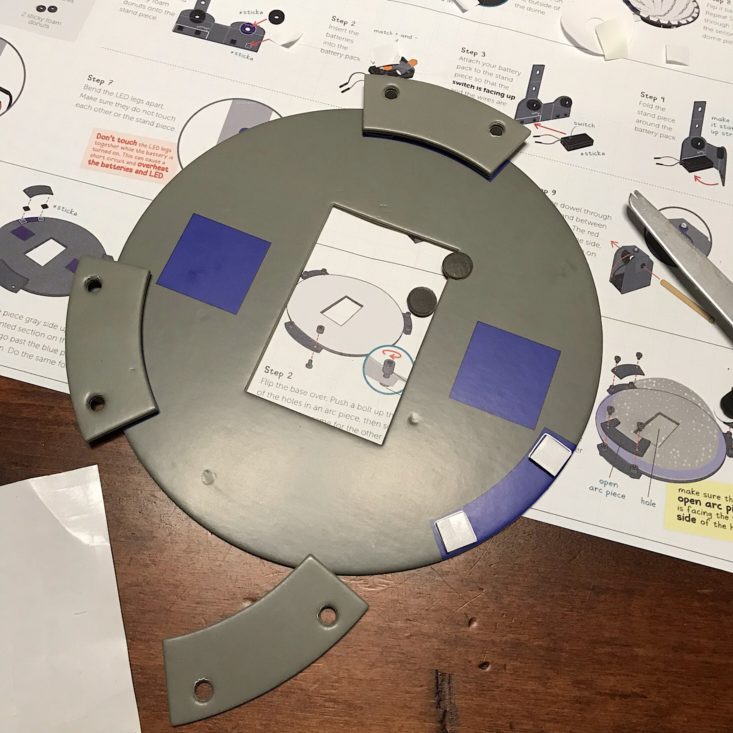
Next, I added these arc-shaped pieces, making sure the holes sit over the edge of the base.
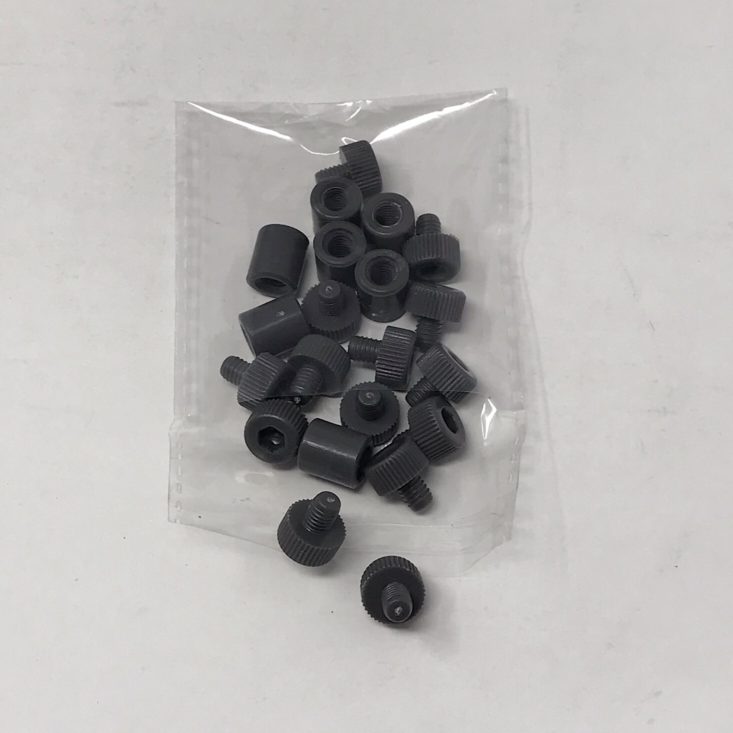
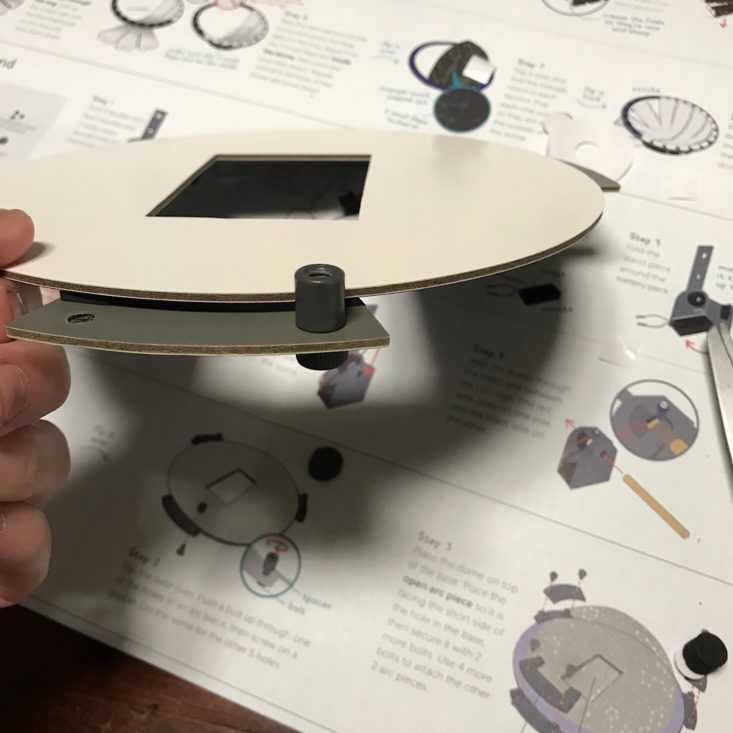
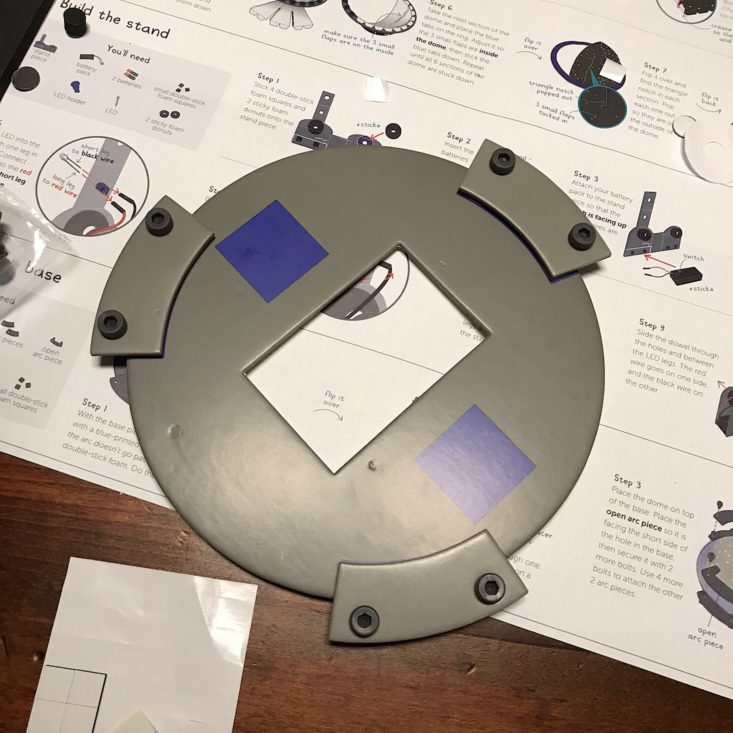
Then I added these little bolt and screw pieces to each hole in the arc to hold it in place.

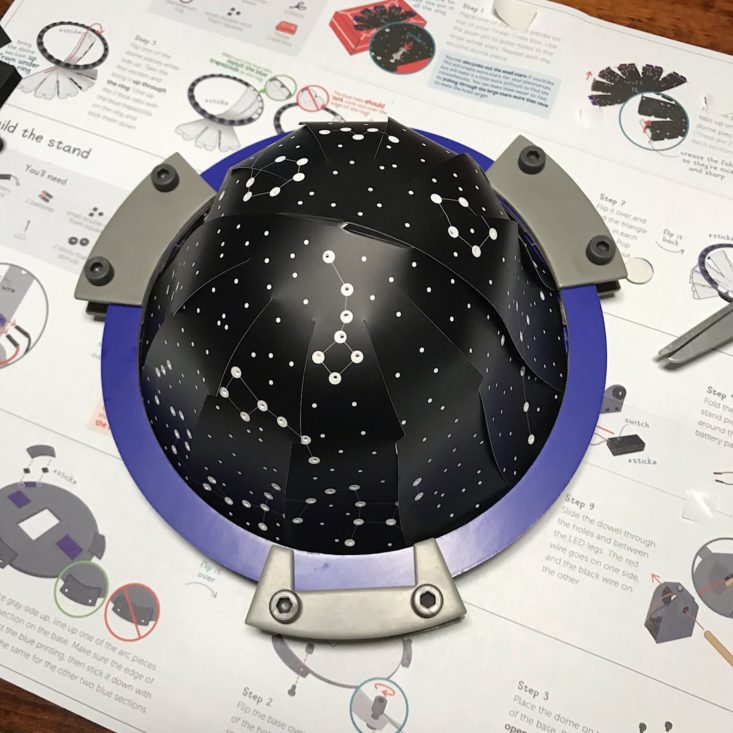
I set the dome on top and then used the rest of the arc pieces to add a second layer over the first. I secured them with some more screws.
I added sticky foam to these two pieces, folded them, and slid them onto the ends of the dowel.
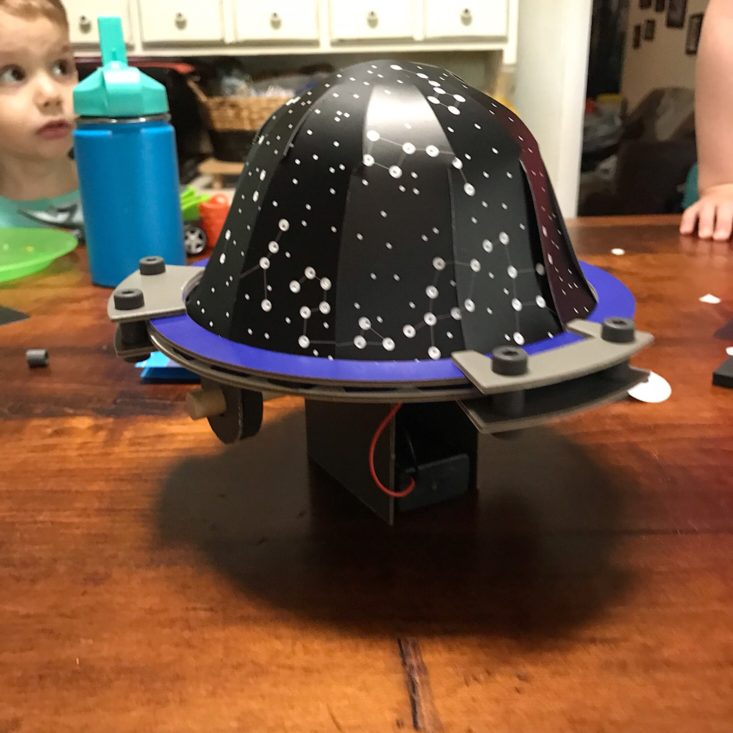
I secured the pieces together and made sure the light was centered. Our planetarium was complete!
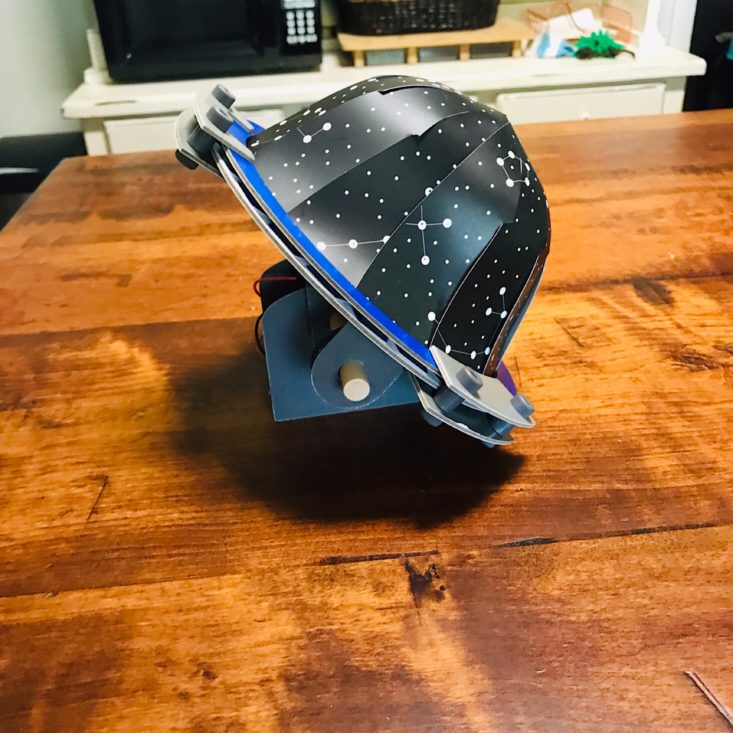
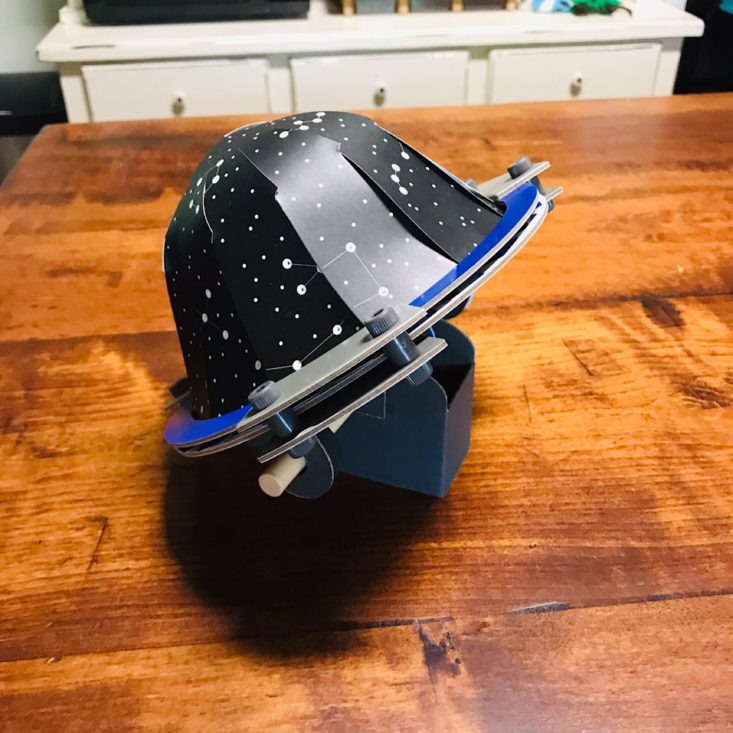
It even tilts on its stand so that you can project the constellations on the wall or the ceiling.
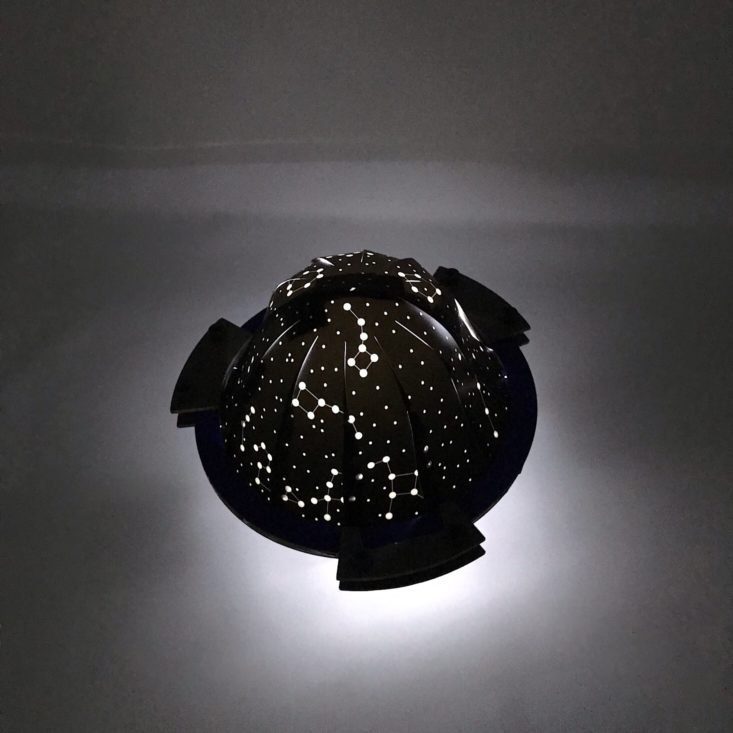
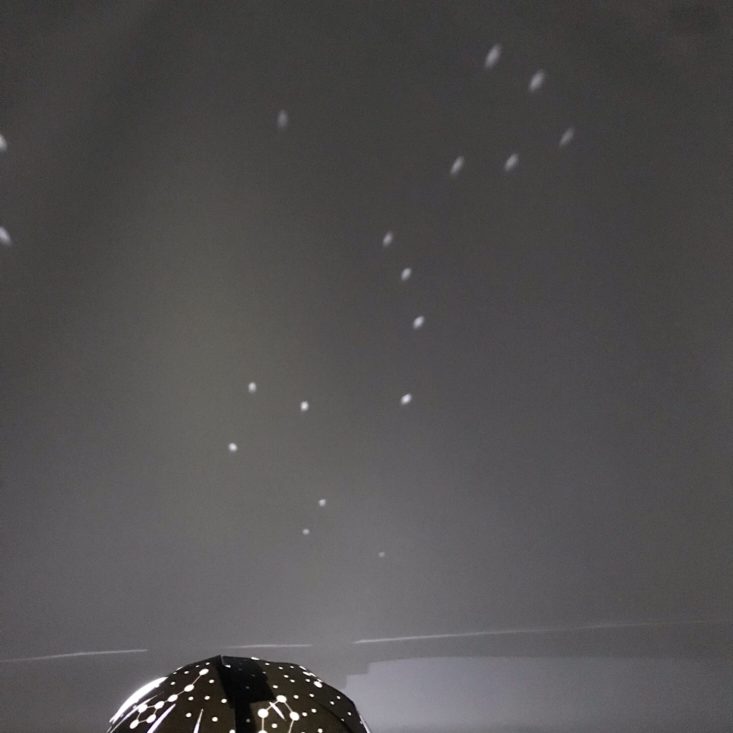
All I had to do was flip the switch on the battery pack, and the planetarium lit up. Since it was still daylight when we tried it for the first time, so it was tricky finding somewhere to try the planetarium. But it definitely looks like it works! I may have to go back and secure a few of the gaps with more tape, but it clearly projects all of the constellations, which is pretty cool!
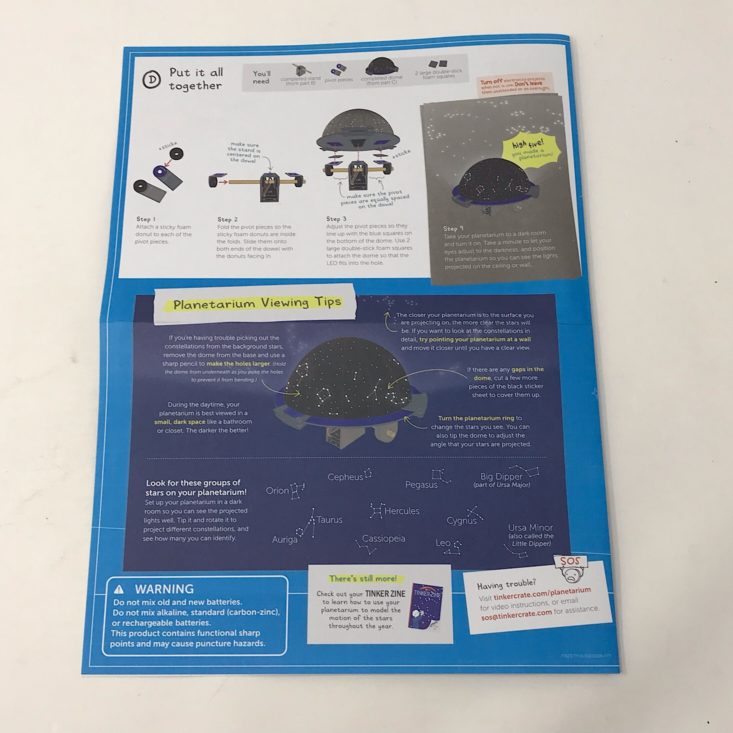
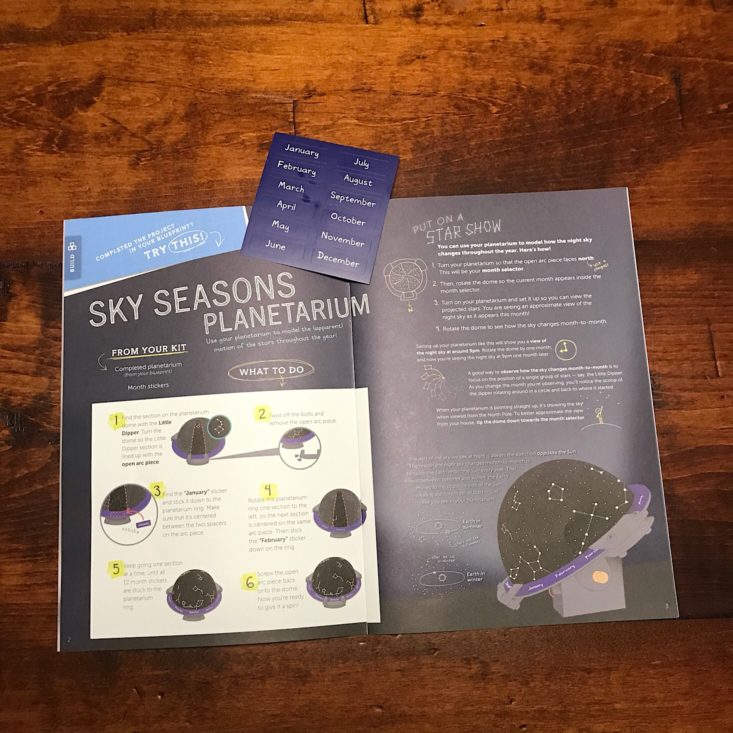
Tinker Crate provided us with some viewing tips, and they even included some stickers with the names of the months on them. That way, we could label our planetarium with which stars we'd see at different times of the year. Such a great idea!
Verdict: This was another great Tinker Crate with a great theme that will definitely appeal to kids. They also included a lot of useful information about constellations and stargazing, which I thought was great. I like that the planetarium we made isn't huge, but just big enough to project a nice-sized constellation on the ceiling for us to view. As usual, everything was well organized and easy to follow, thanks to the clear and detailed instructions they included. For $19.95 + free shipping, this box was a fun and educational STEAM project that we enjoyed!
To Wrap Up:
Can you still get this box if you sign up today? It is possible you might get this crate, but it is not a guarantee. From KiwiCo:
Crates are assigned each month based on availability and your crate history - not all subscribers receive the same theme each month.
ACTIVE DEAL: Get 50% off your 1st month! No coupon needed - just use this link.
Check out all of our KiwiCo reviews and the best subscription boxes for kids!
Keep track of your subscriptions: Add this box to your subscription list or wishlist!
What do you think of Tinker Crate?

Please do not enter your email address in the Name field or in the comment content. Your email address will not be published. Required fields are marked *. Remember to post with kindness and respect. Comments with offensive language, cruelness to others, etc will not be approved. See our full comment policy here.