

Eureka Crate (from parent company KiwiCo) is a subscription box for kids and adults ages 14-104. It arrives every month with all the materials and instructions needed to create a functional, lasting object with a focus on engineering. The goal of these projects is to use science and math to solve real-world problems while inspiring them to become creative innovators.
KiwiCo offers boxes for different age groups: Tadpole Crate for 0-36-month-olds, Koala Crate for 3-4-year-olds, Kiwi Crate for 5-8-year-olds, Atlas Crate for 6-11-year-olds, Doodle Crate and Tinker Crate for 9-16+-year-olds, and Eureka Crate for ages 14 and up. There really is something for every age with this company.
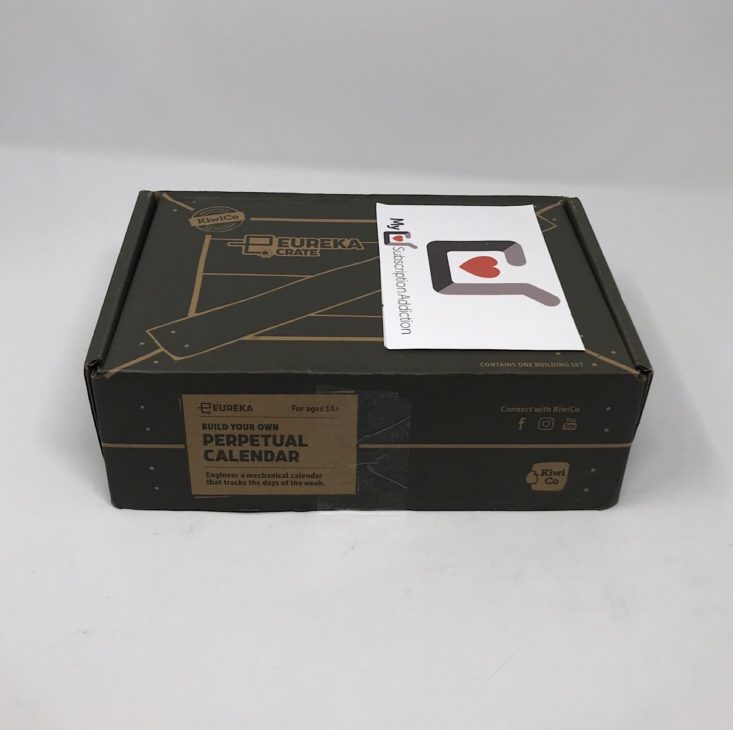
This review is of the $29.95 a month Eureka Crate, for 14-year-olds and up.
This box was sent to us at no cost for review. (Check out the review process post to learn more about how we review boxes).
About Eureka Crate
The Subscription Box: Eureka Crate
The Cost: $29.95 per month + free shipping
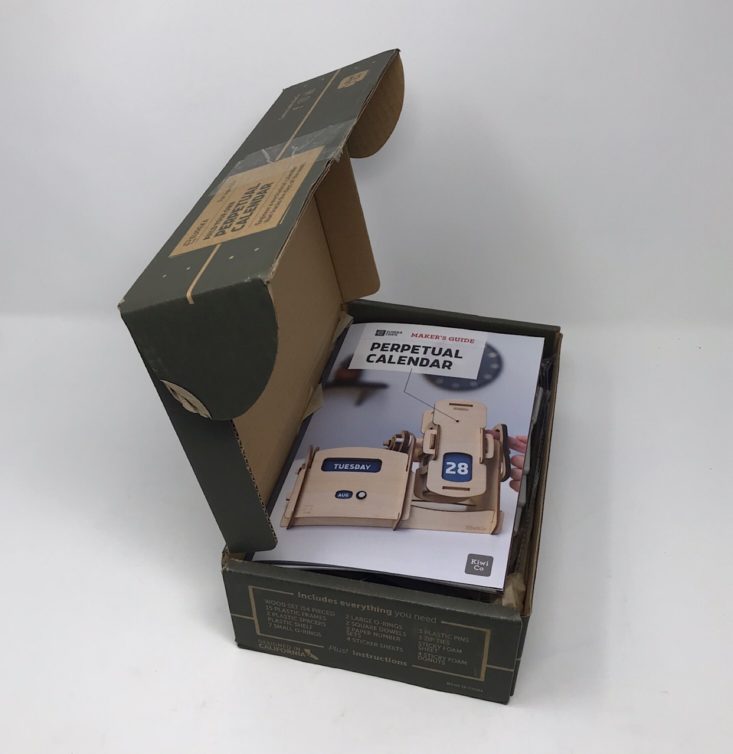
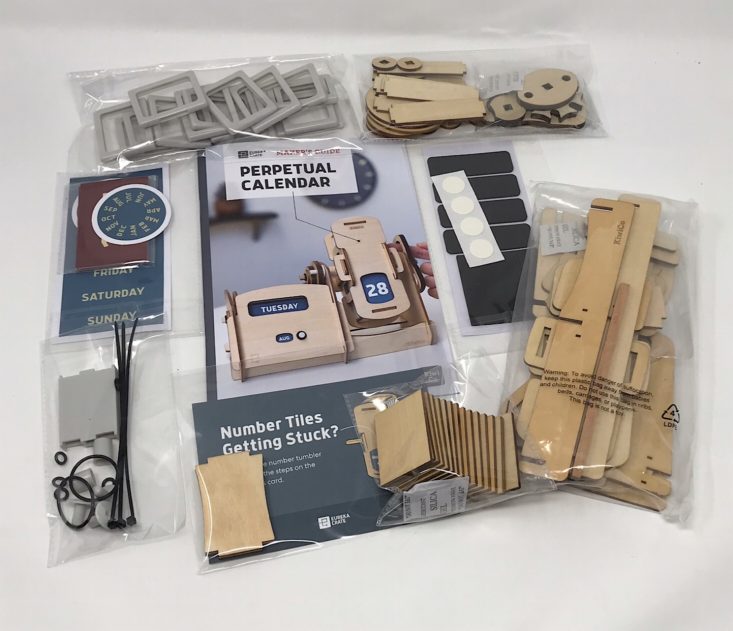
The Products: Detailed instructions and all of the high-quality materials needed to create a unique, lasting and functional engineering project as well as a Maker's Guide that explains the science and technology behind it.
Ships to: U.S. for free, Canada for $6.95 per month
KiwiCo Eureka Crate "Perpetual Calendar" Review
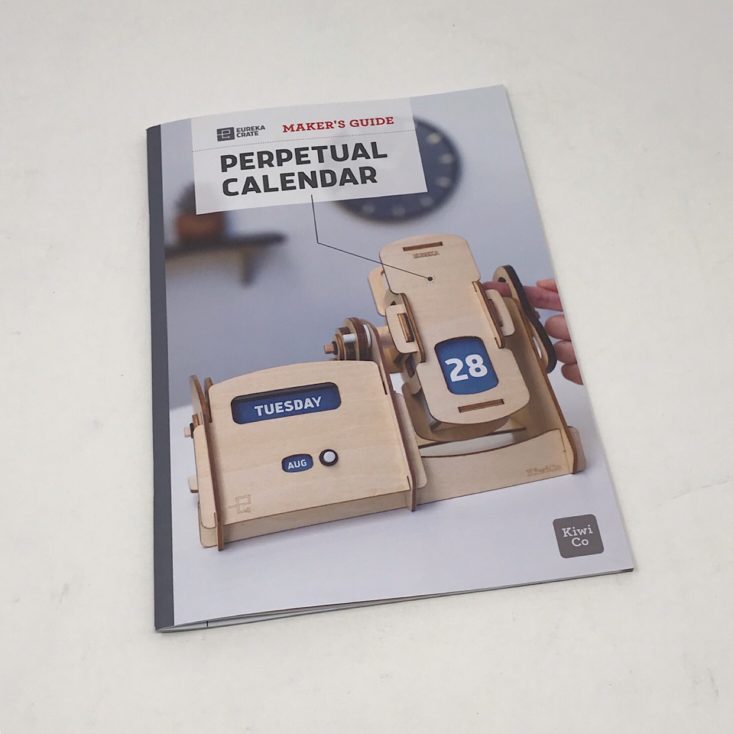


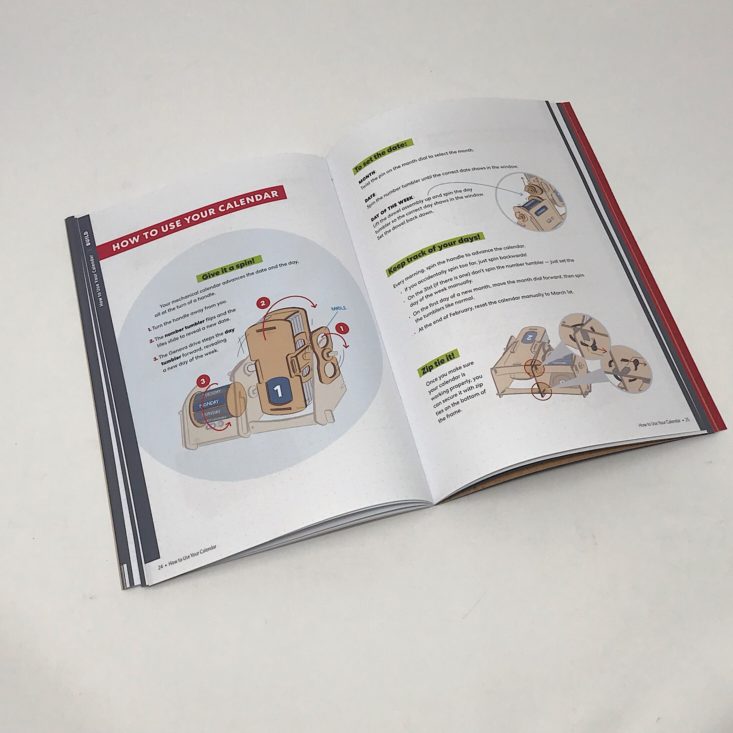
The project for this month is to make a Perpetual Calendar. This was the included Maker's Guide that provided detailed, step-by-step instructions as well as information about the design and science behind it. The booklet was fairly thick and in color with a lot of helpful information and images. There was also a great little bubble at the top that provided information on the key components, skills, complexity and time to complete, which was 1.5 hours, But I think it only took me about an hour. For the Build pages, they were separated into various parts, which was great for breaking it down into smaller, more manageable tasks!
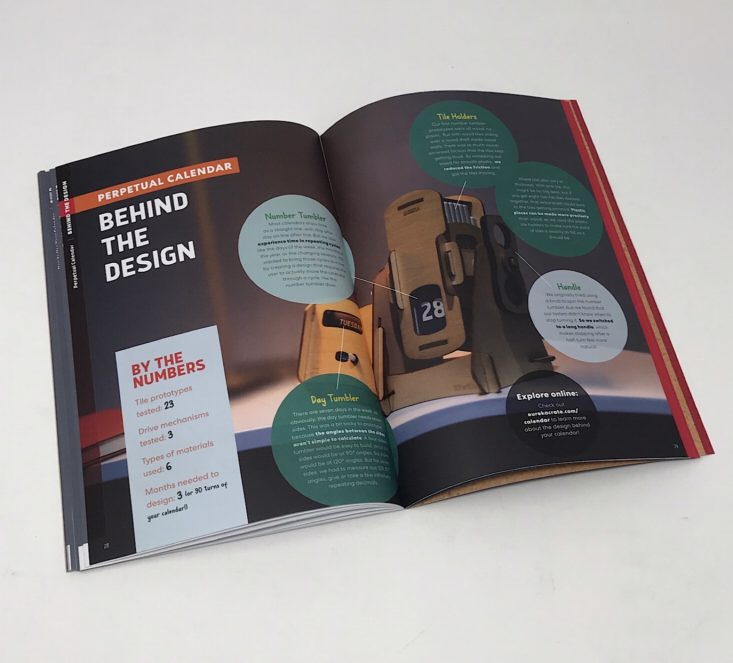
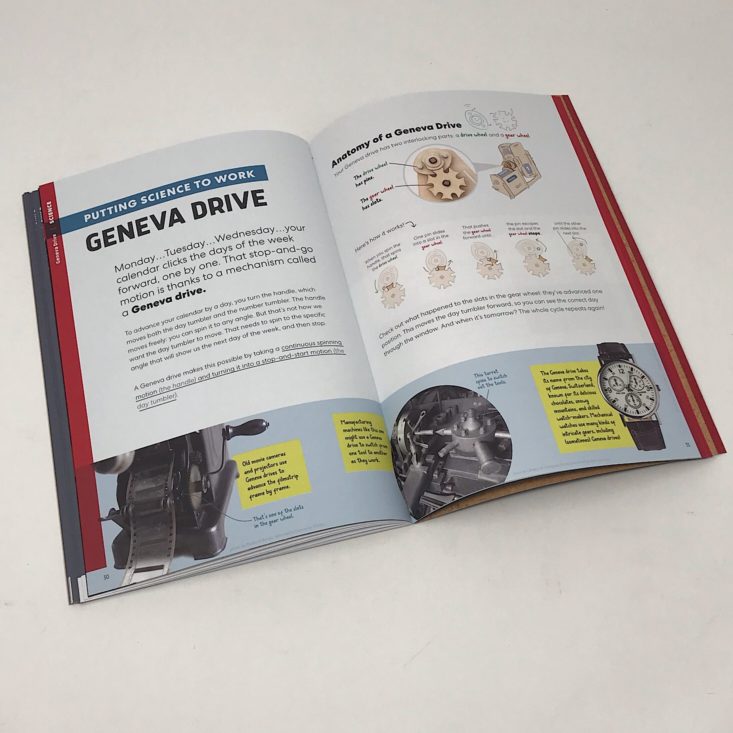
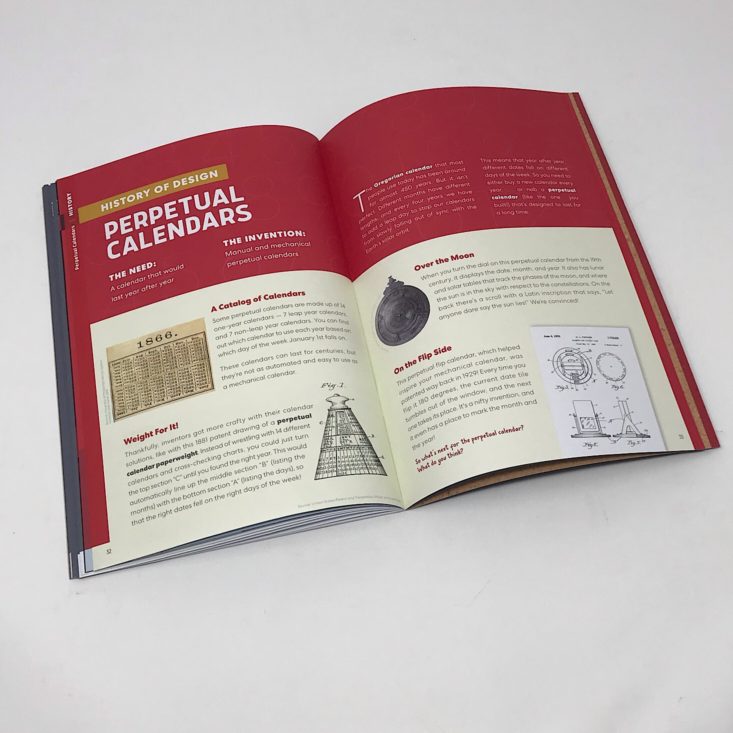
The booklet included some information about the history of perpetual calendar designs and some information on the Geneva drive, which is incorporated into the design of the calendar we will be making. The most interesting part to me that they include is the page about how Kiwi Co. went about designing their calendar. They go into detail about the various parts of our calendar and share some information about how many tile prototypes they went through before deciding on the ones they included in this final design (23!). This just gives you an idea of how much thought and effort goes into creating these projects!
Part A: Build the Number Tumbler
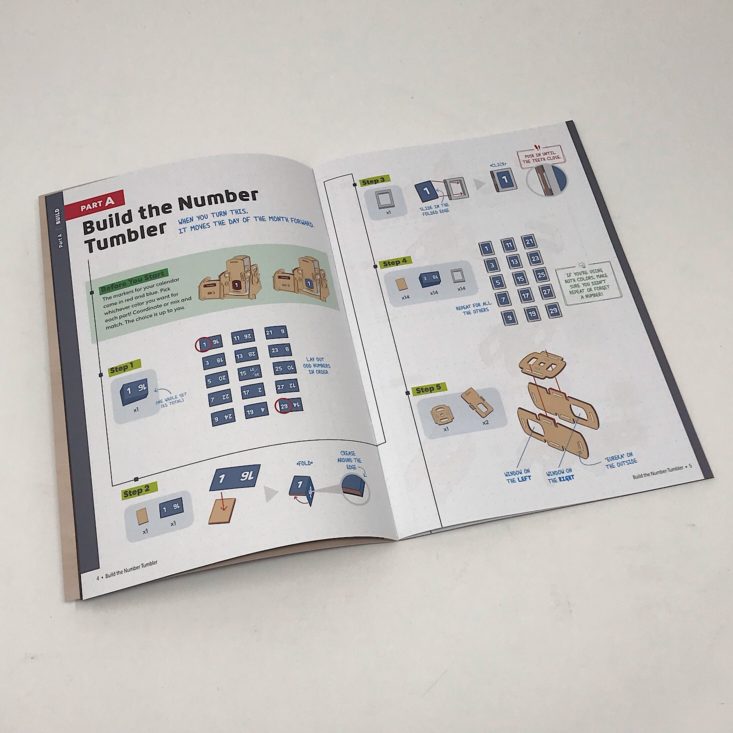


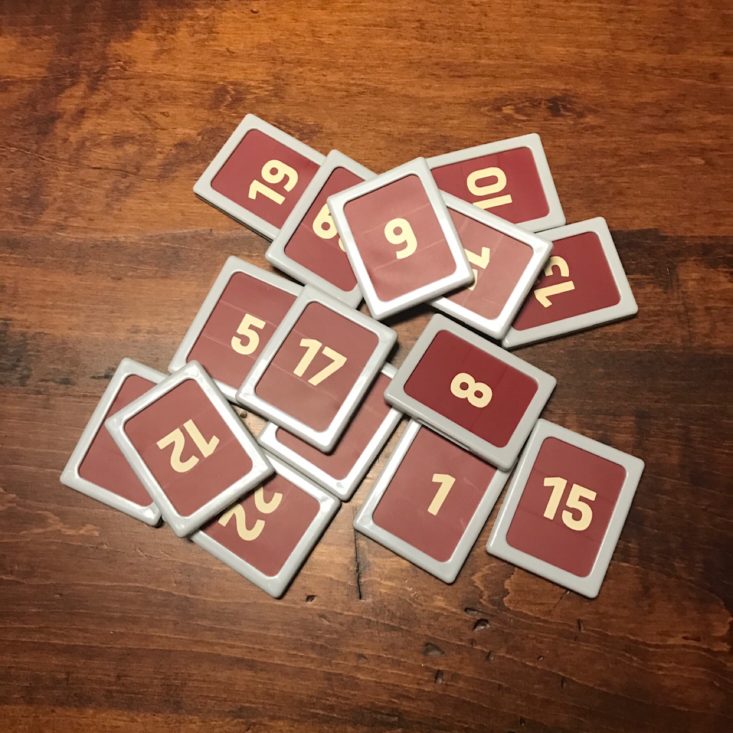
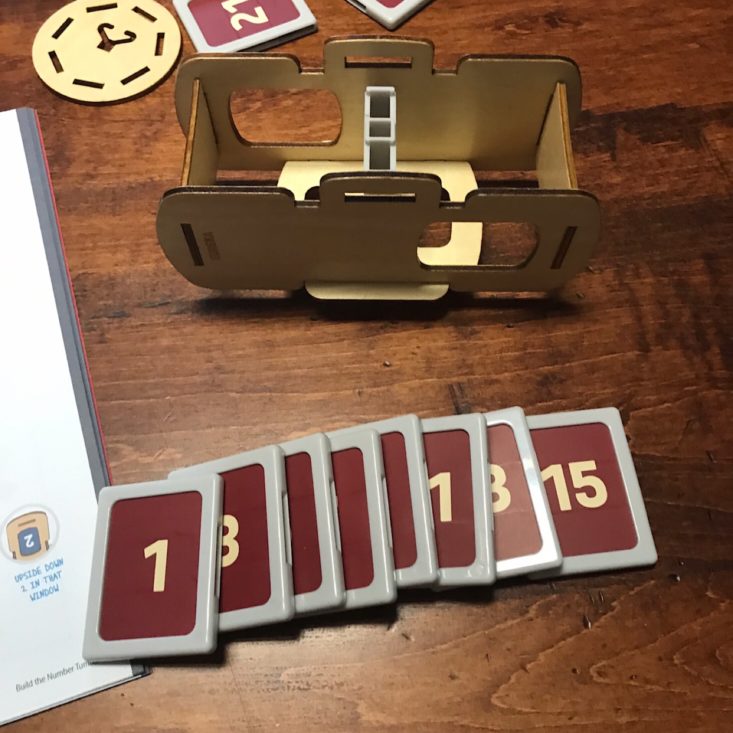
The first part was to build the number tumbler for our calendar. This would mark which day of the month it is. They gave us two sets of stickers, one in red and one in blue so that you can personalize it a bit. I decided to go with the red stickers and I laid them out in order going by the odds listed on the left.
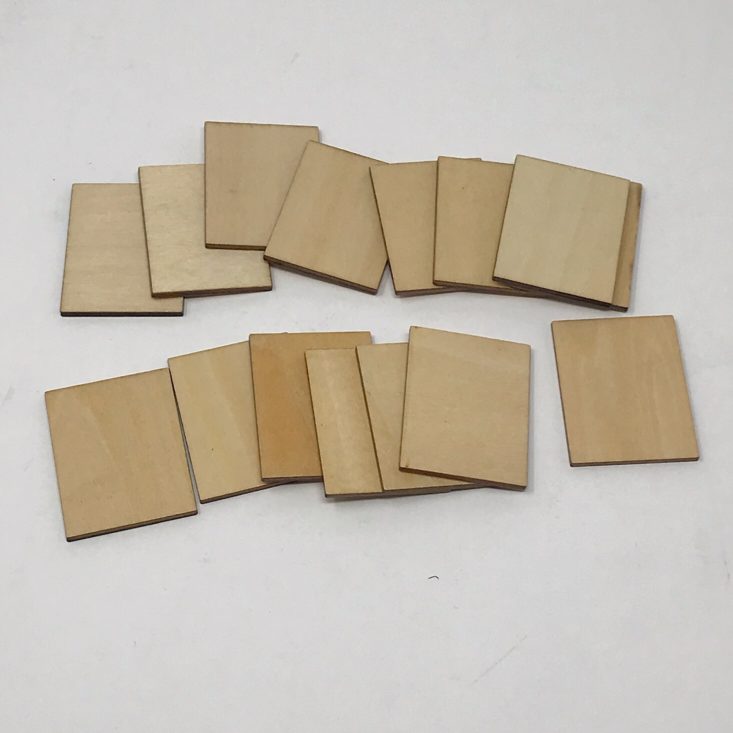
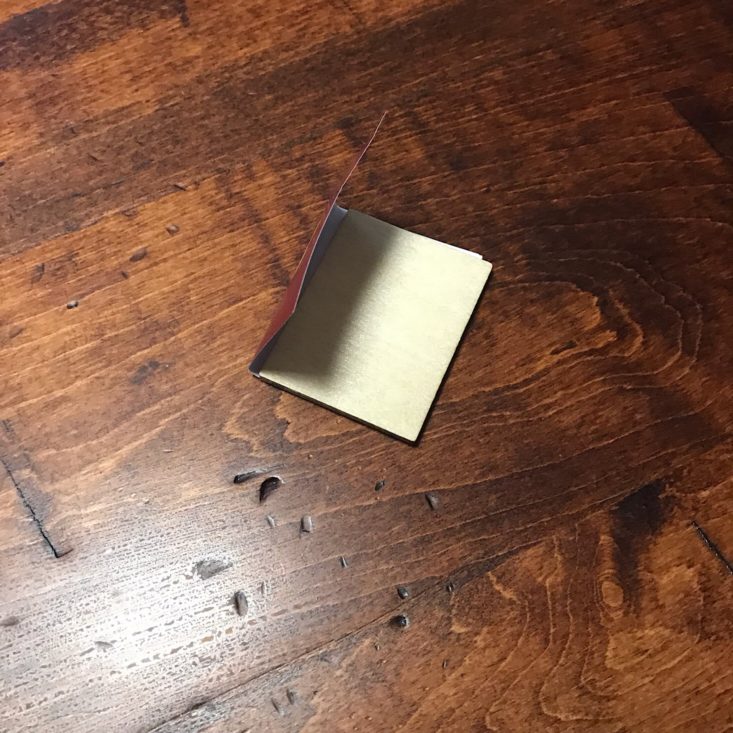
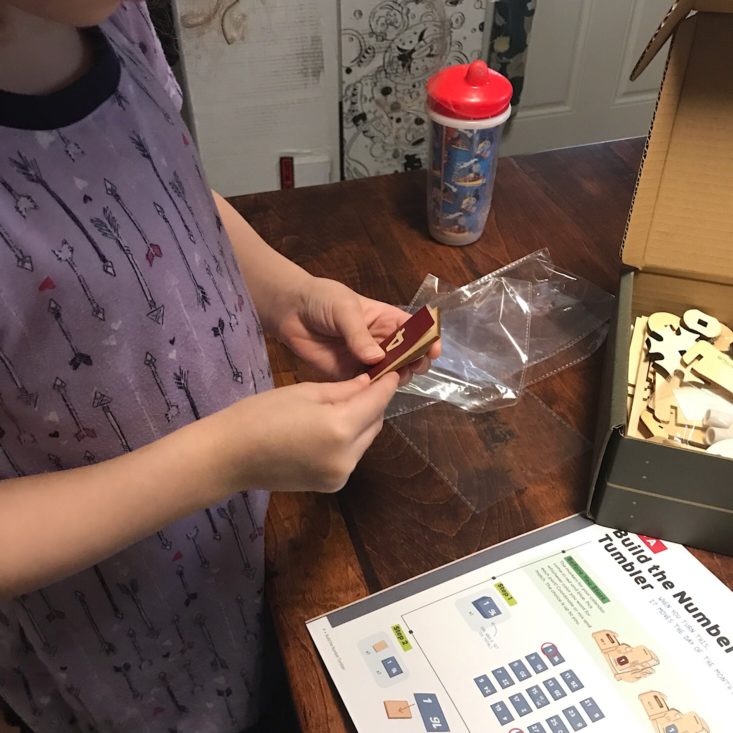
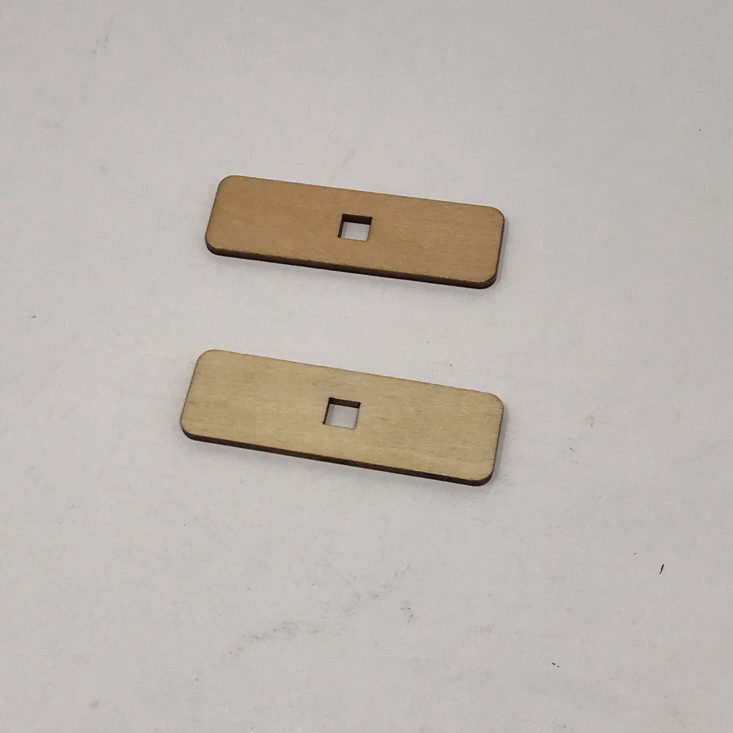
They included several of these wooden rectangles and we wrapped the number papers around them. The papers were creased so it was easy to do and my daughter was able to help me.
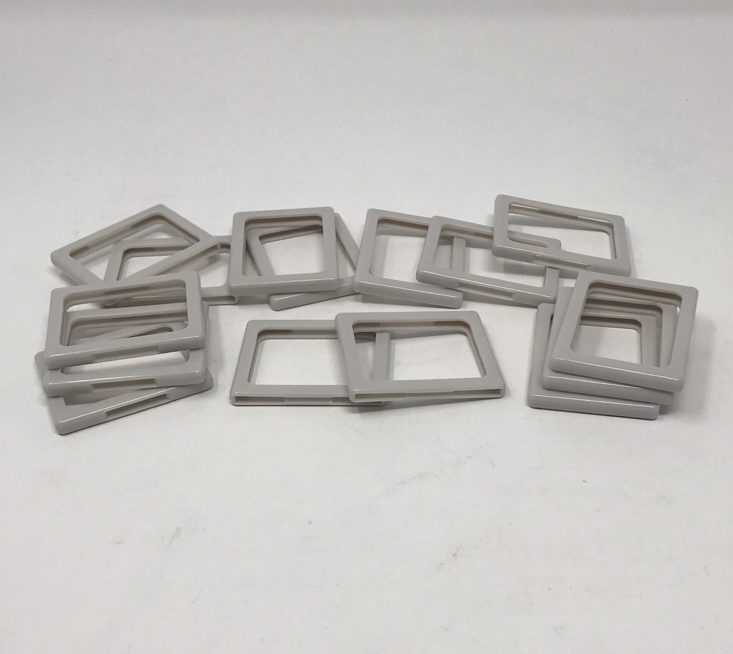
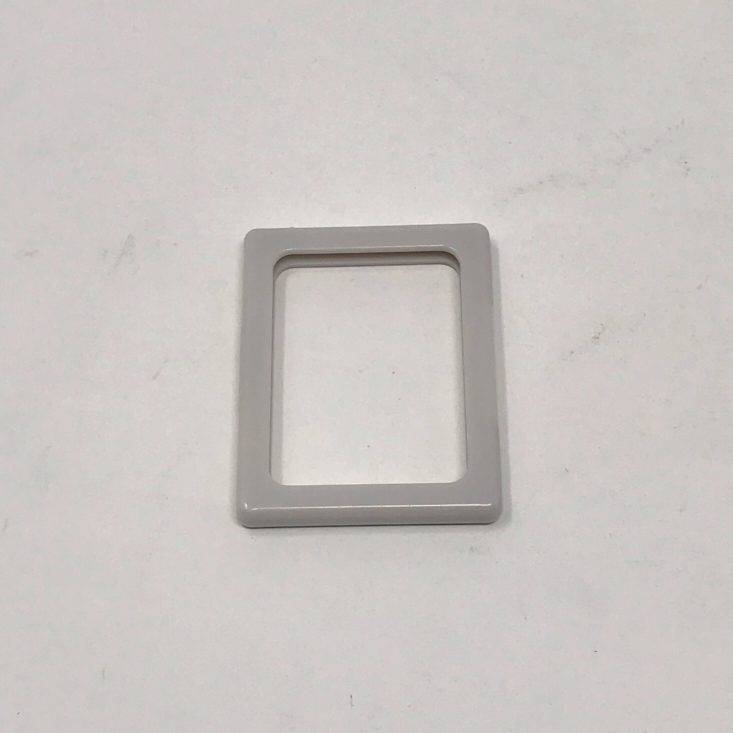
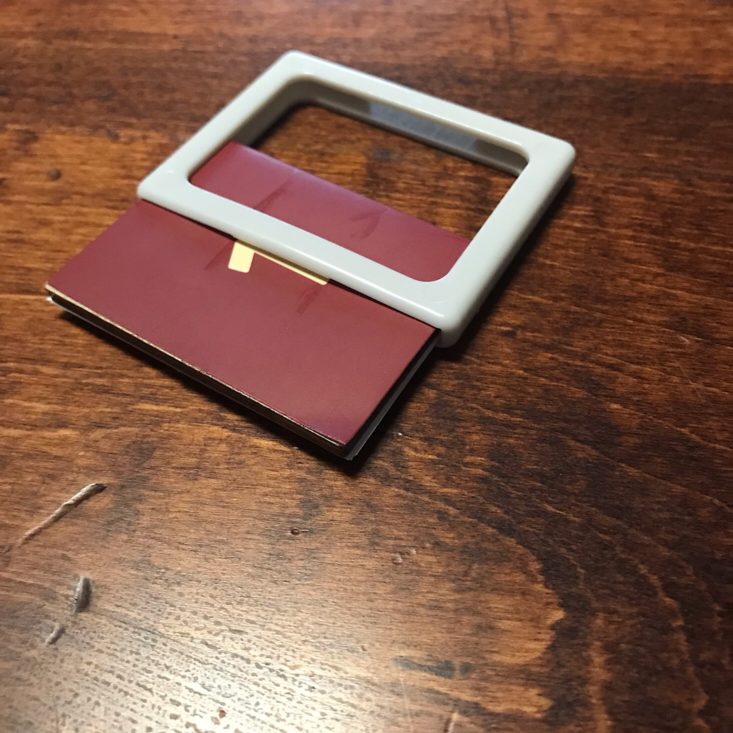
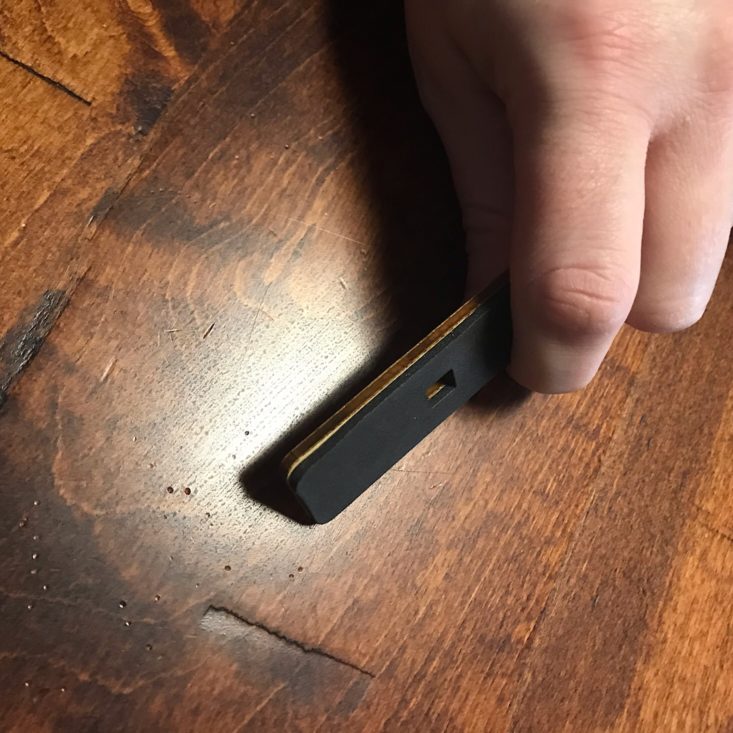
After we wrapped each wooden piece, then we slid it into these plastic frames. This was a little tougher to do, so we worked assembly-line style.
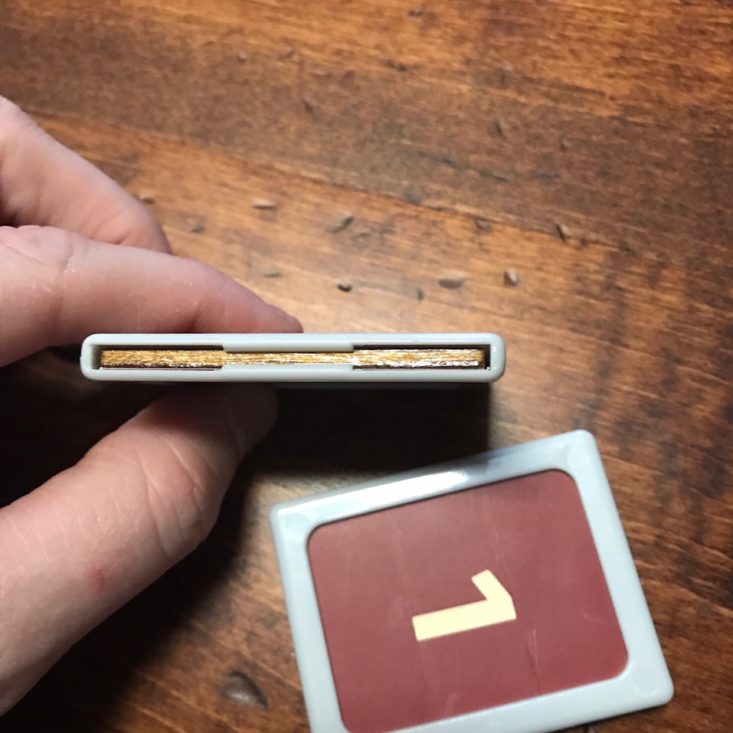
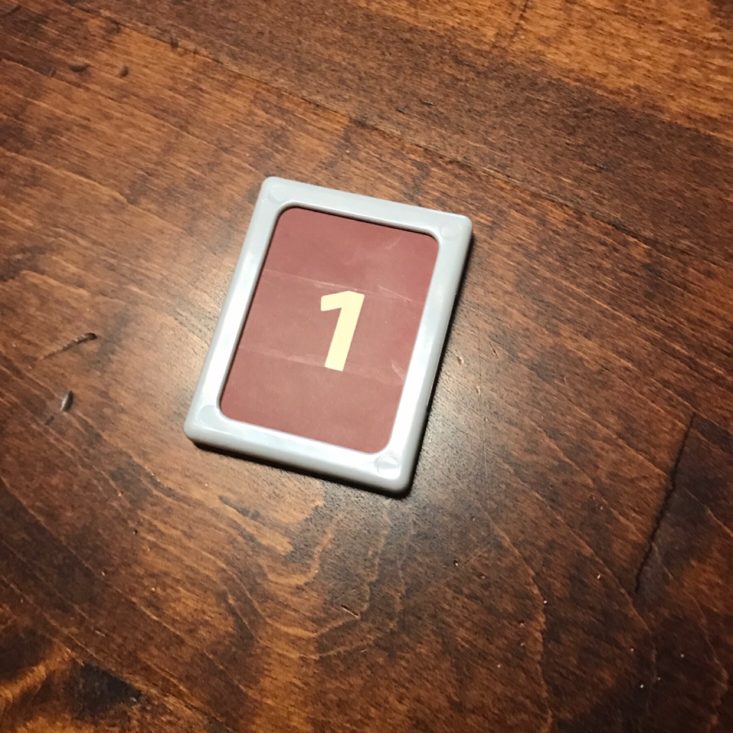
We could tell that they were in when they made a little click sound and those two little pieces on the side held them in. Unfortunately, they also scuffed up the front of the numbers a bit too, but I don't think it was too noticeable!
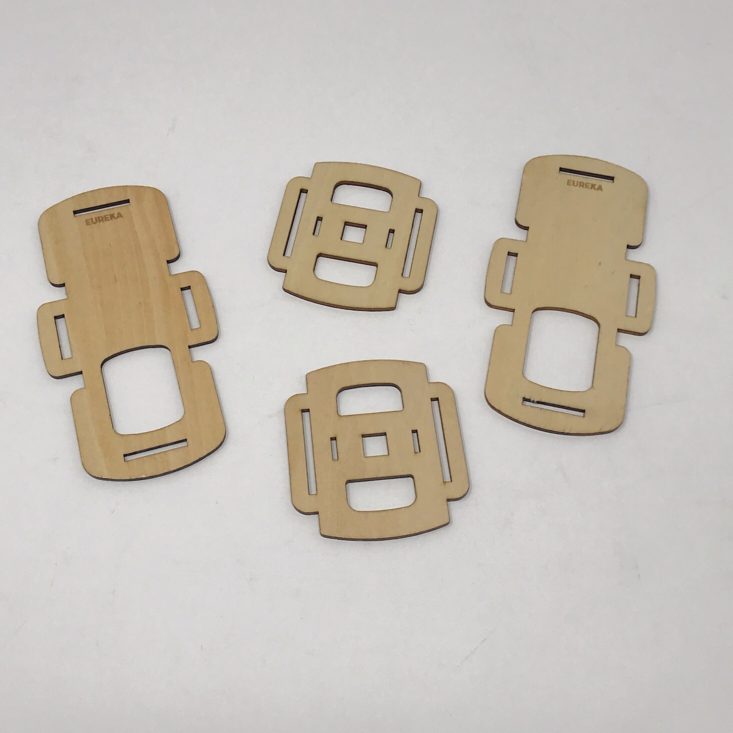
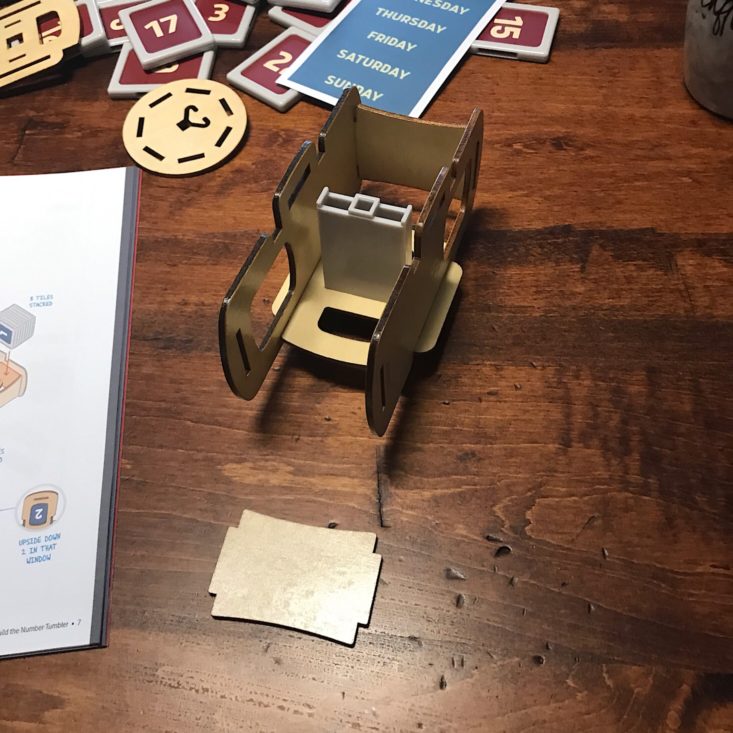
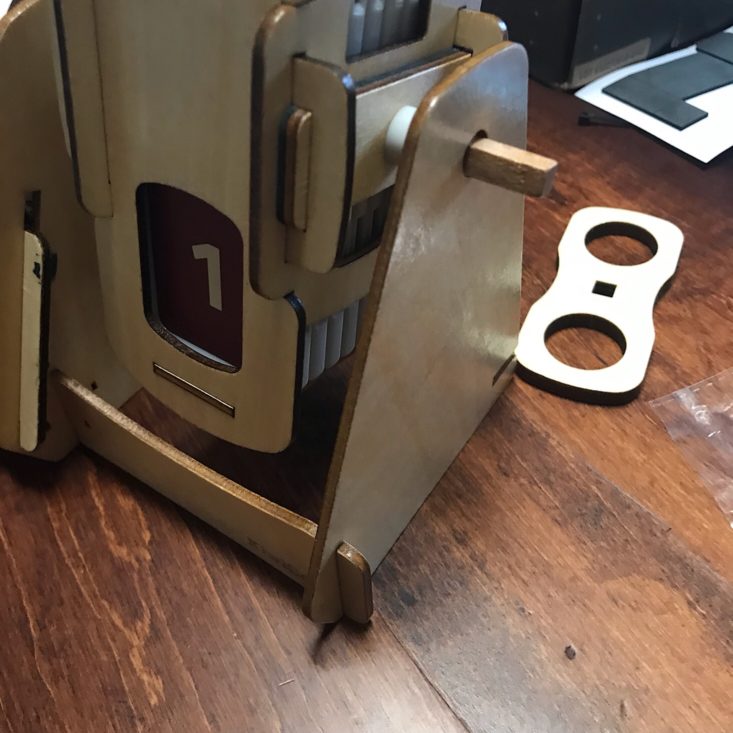
Next, I assembled these pieces into the frame that would hold our numbers. These projects always come with these nice sturdy pieces of wood that feature various cutouts that make it so easy to assemble everything.
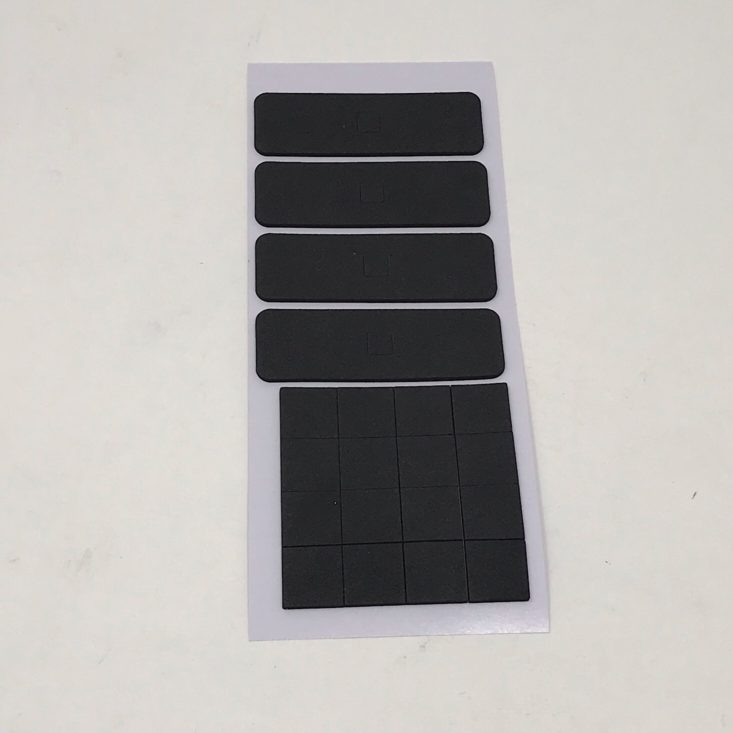
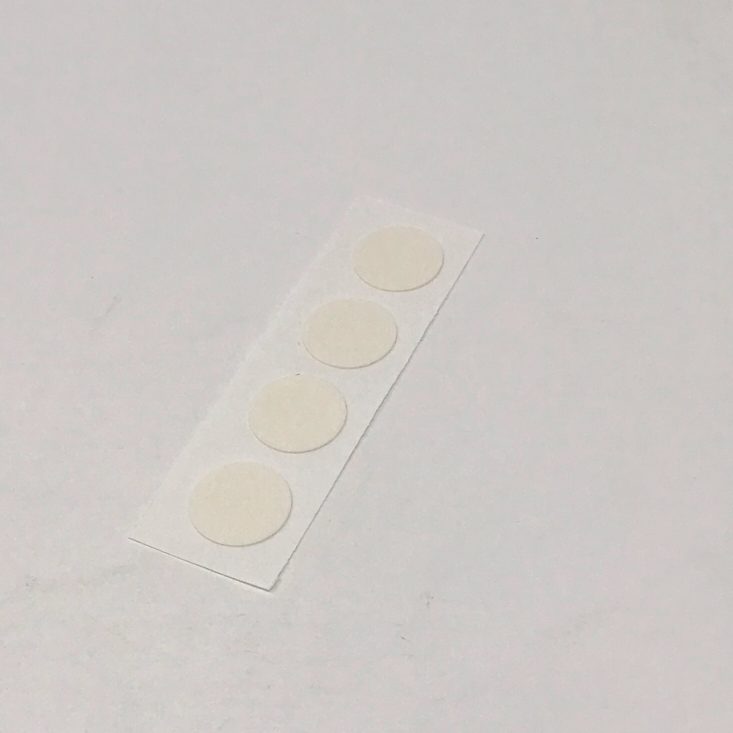
I added one of the foam stickers to the top of the rectangle making sure to match up the center squares.
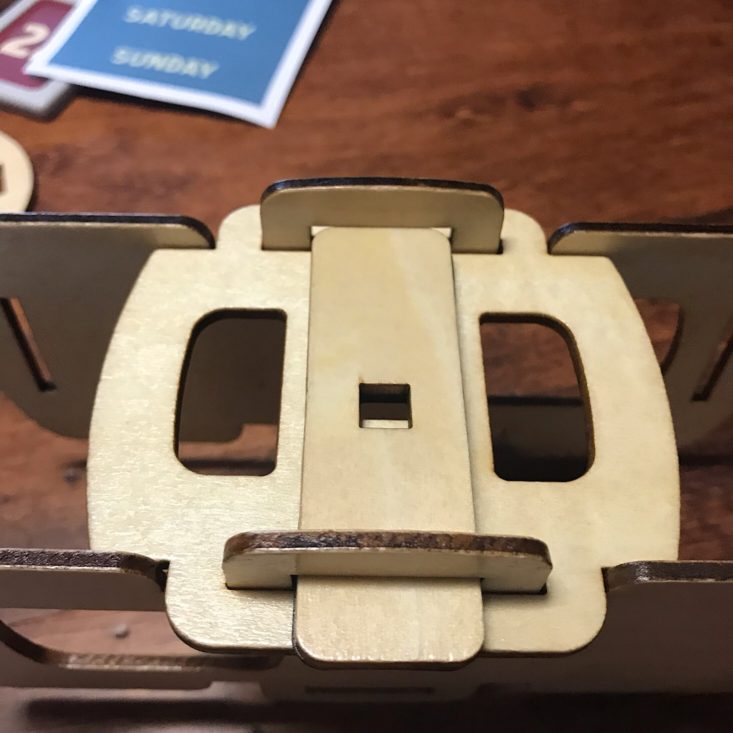
Then I slid this piece into the holes on our frame to hold it together. The foam helped to ensure a snug fit.
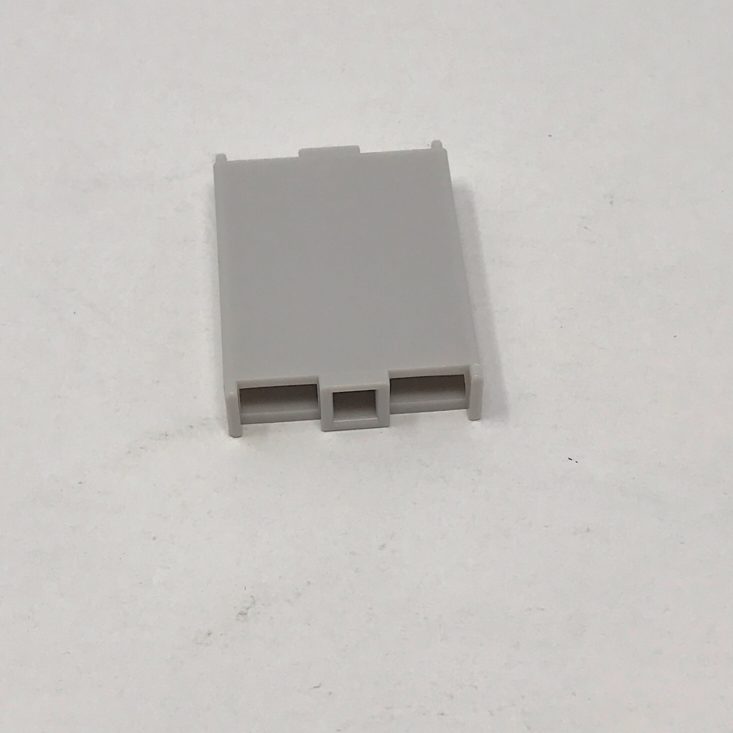


Then I added this plastic piece to the center lining it up with the holes that were already marked.

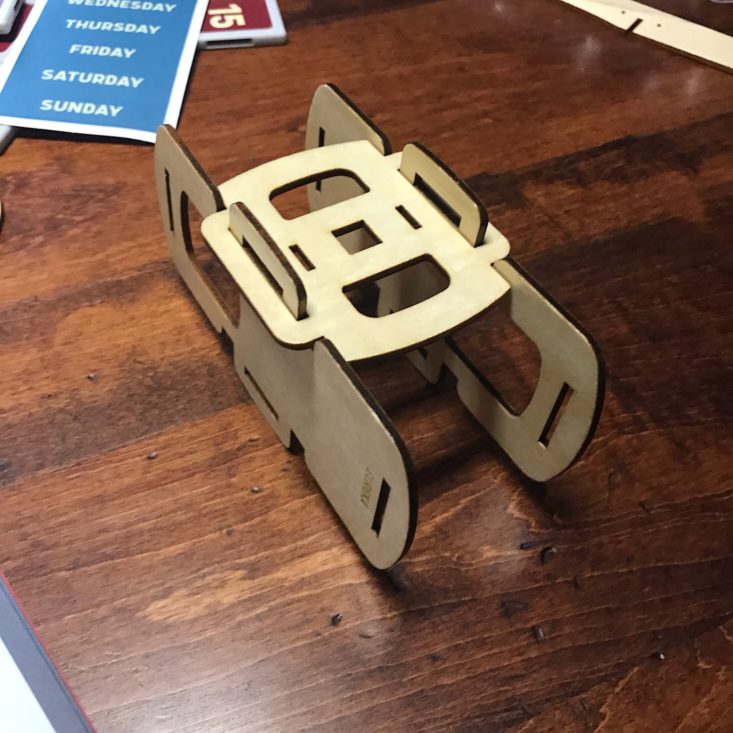
I added these wooden pieces to either side of the frame and got my numbers in the correct order which was easy to do with the clearly marked instructions in the book.
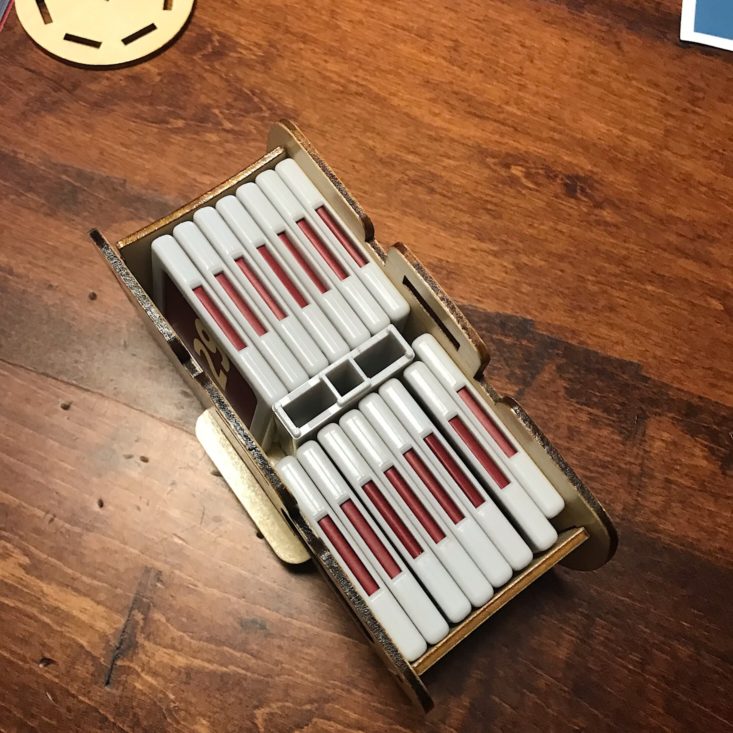

I added the first stack to the front end and the rest to the back. Then I closed it up by adding the other wooden piece on top.
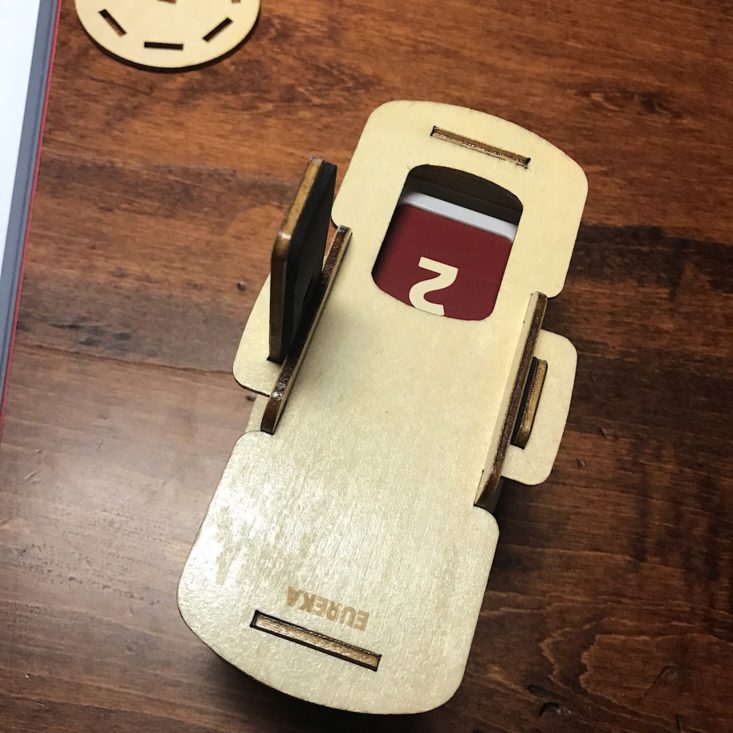
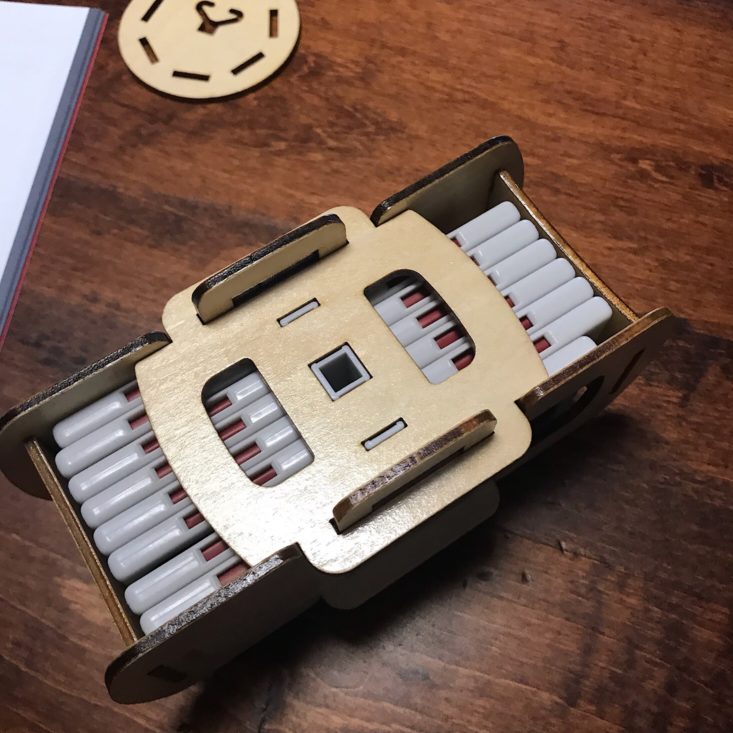
I added another foam sticker to the wooden rectangle and then inserted it to secure our number tumbler.
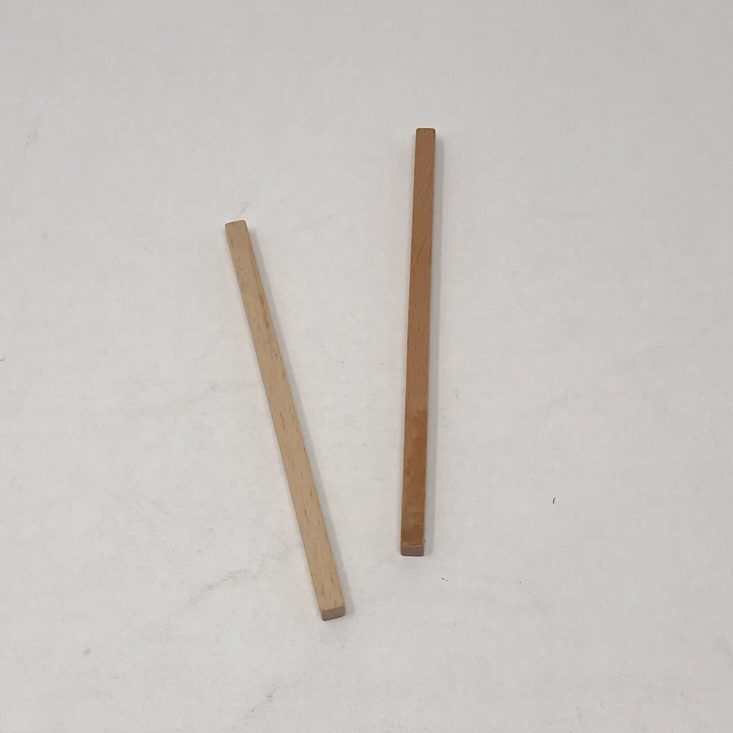
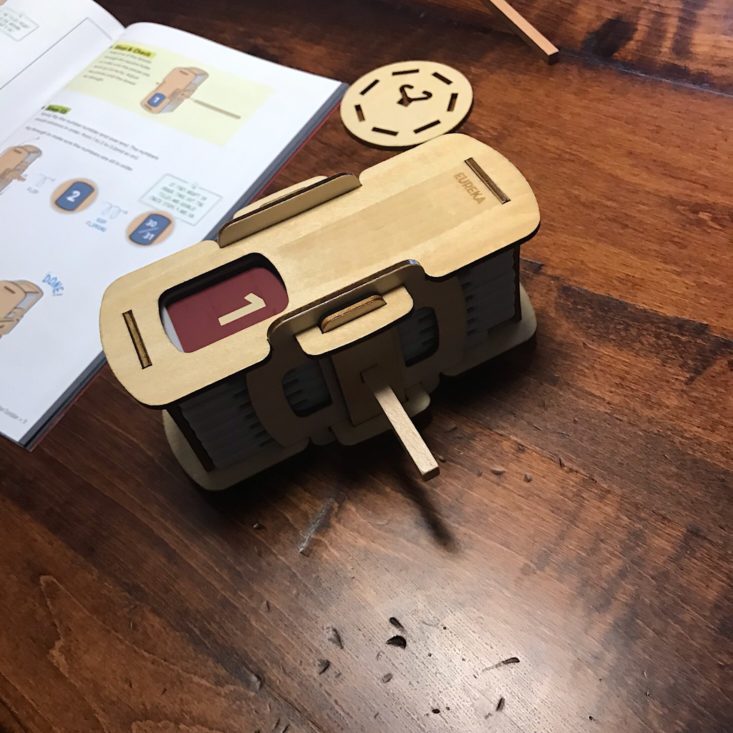
Then I used one of the two dowels they provided and inserted it into the center to test it out.
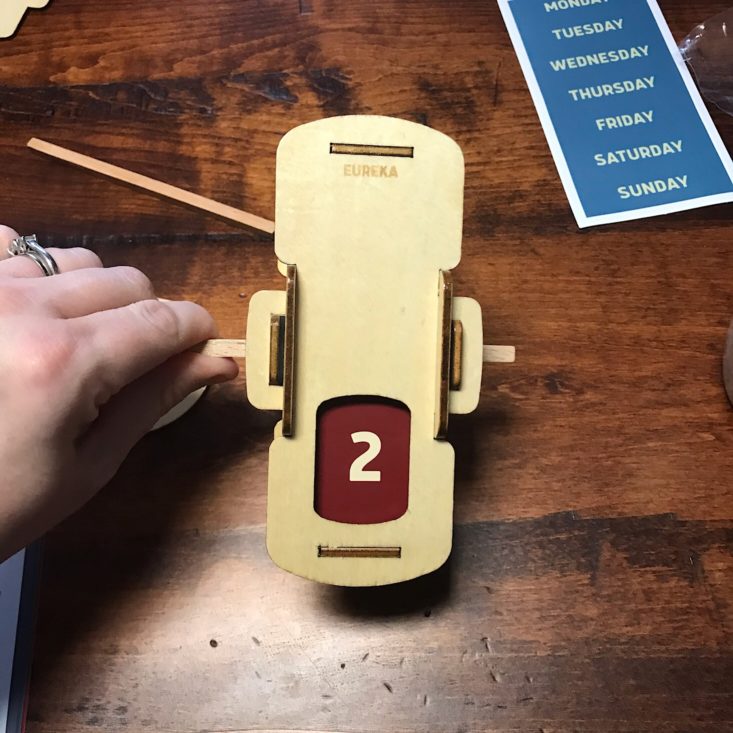
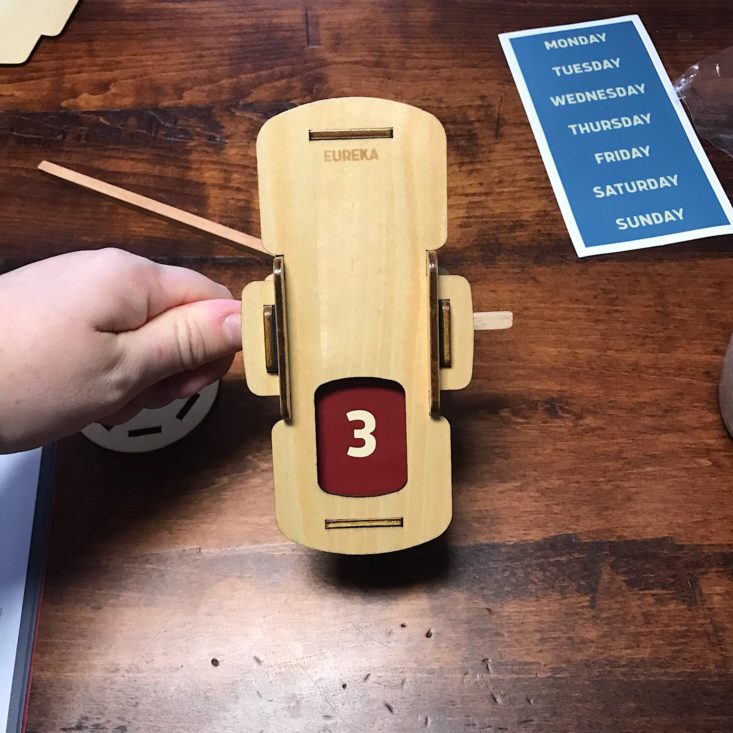
Every time I turned the dowel the whole piece would flip and a new number would slide down in its place. They all went in order, so that means I had done this correctly and it was working properly.
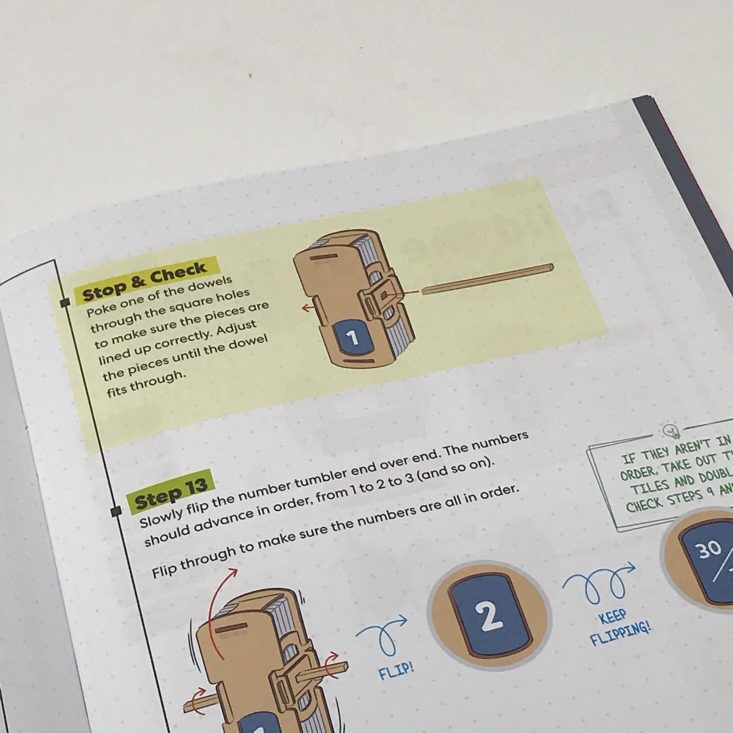
One thing I like about the instructions is that they have several checkpoints throughout to ensure that you stay on track. It's very helpful!
Part B: Build the Day Tumbler
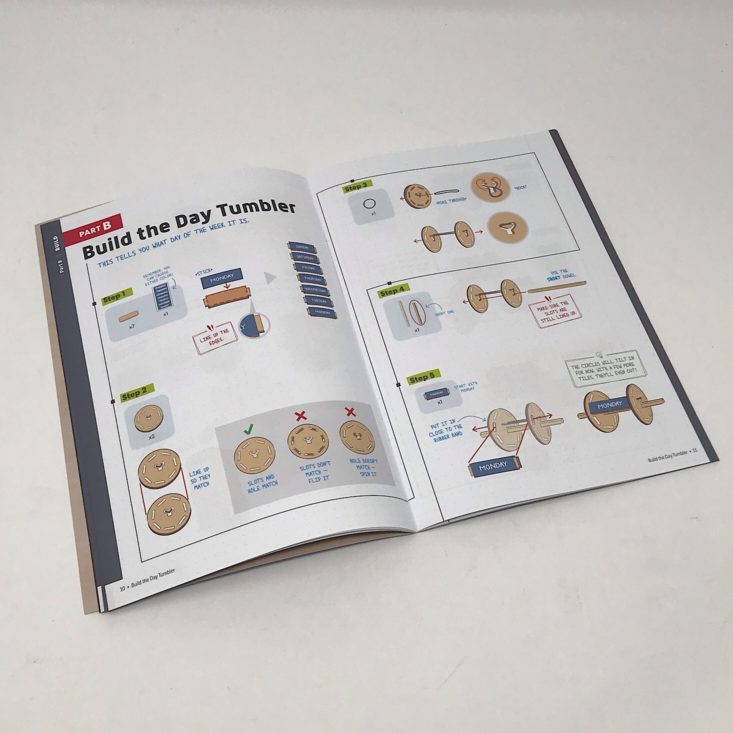


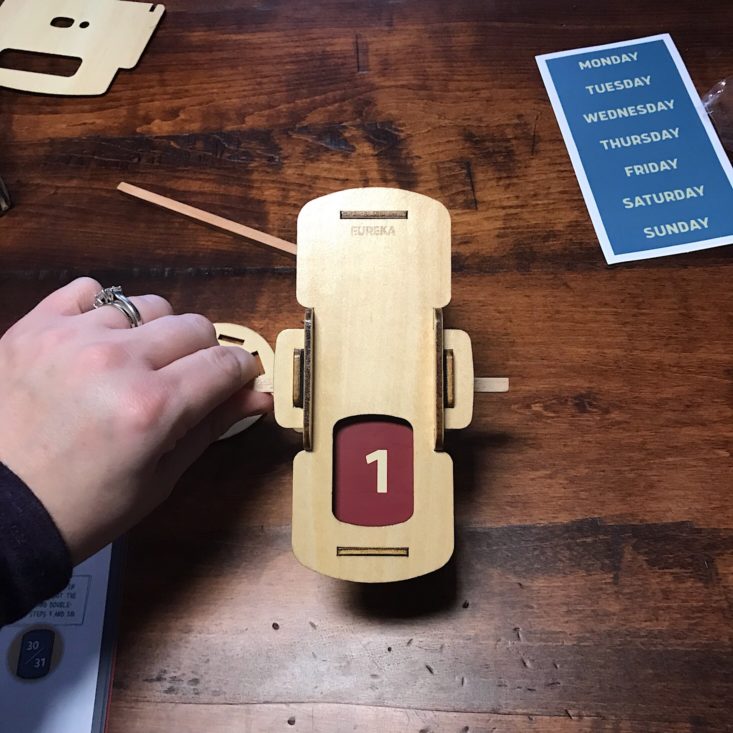
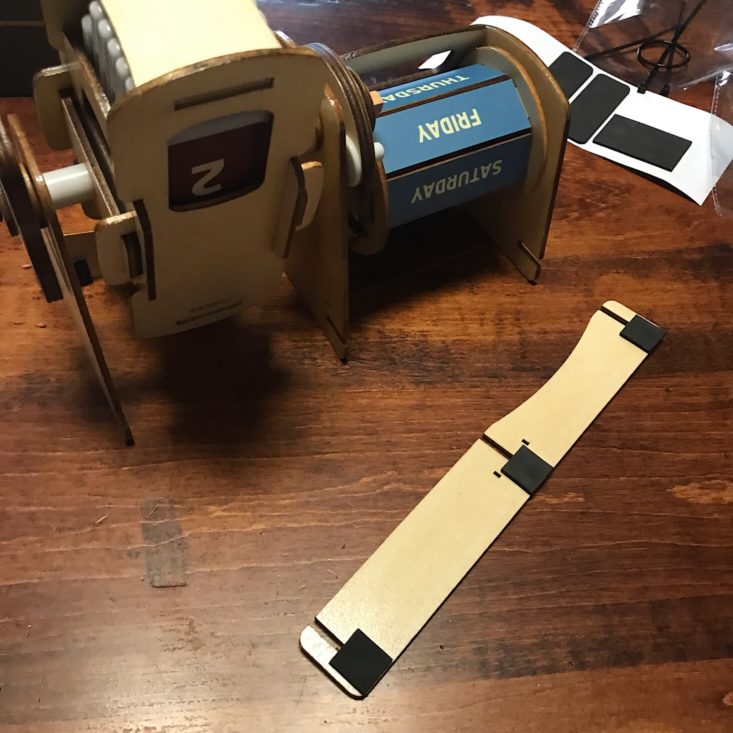
The next part was to build the day tumbler. First, I used the days of the week stickers and added them to the wooden rectangles.
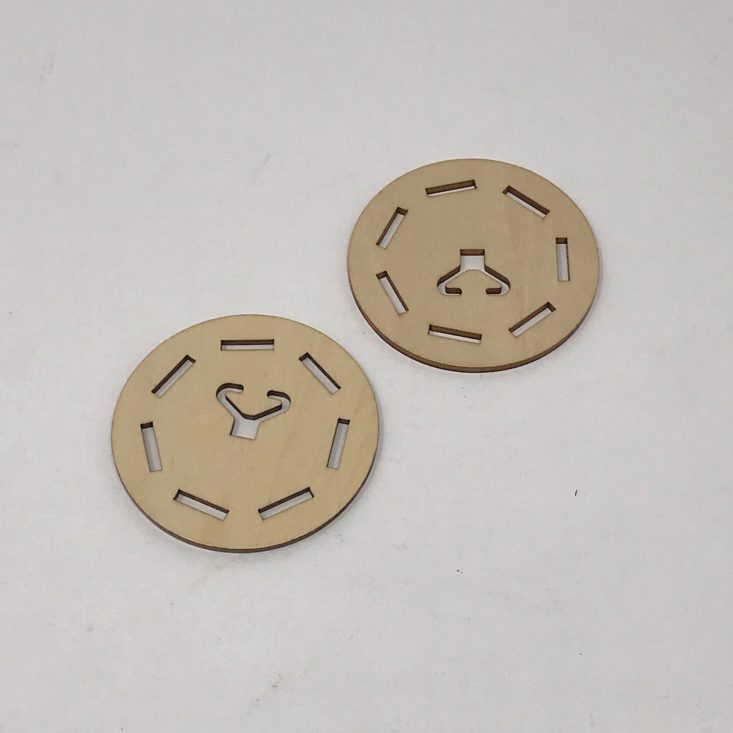

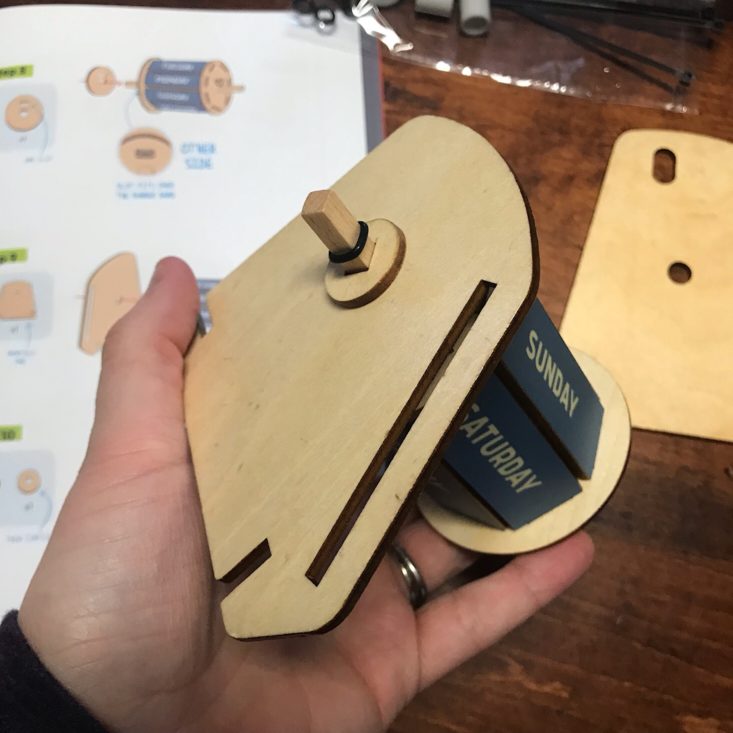
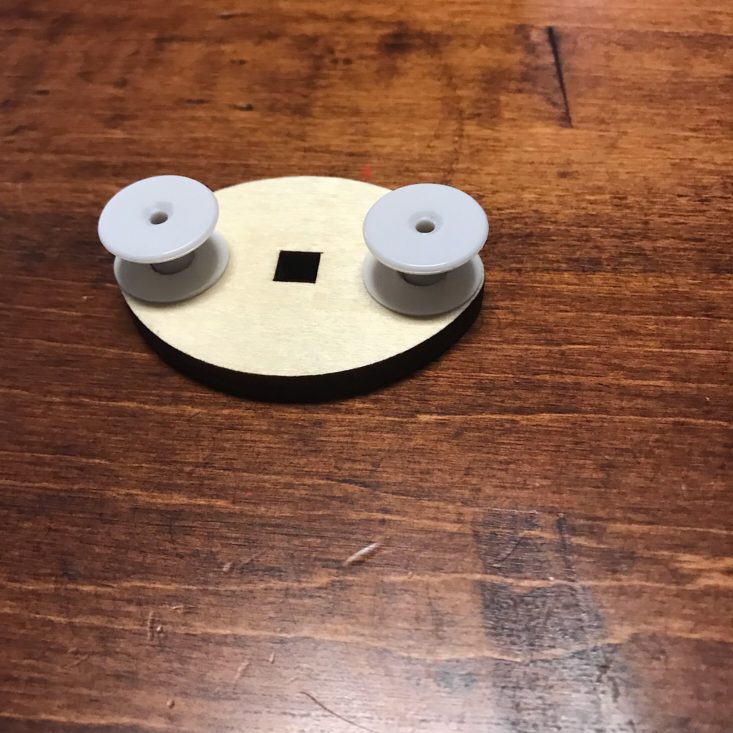
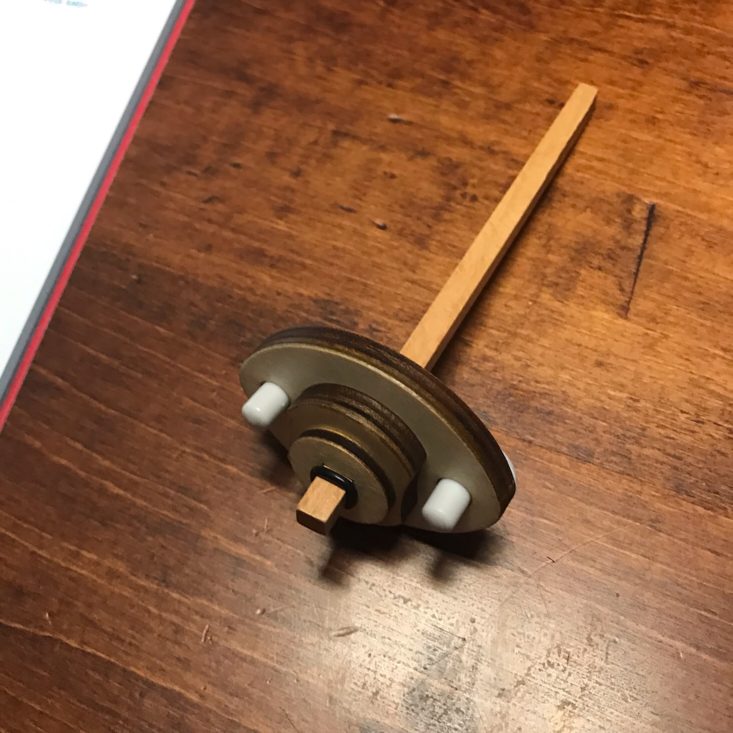
Then I stacked these two wooden circles on top of each other and used one of the large rubber rings to connect them by winding them around the little arrow looking piece.
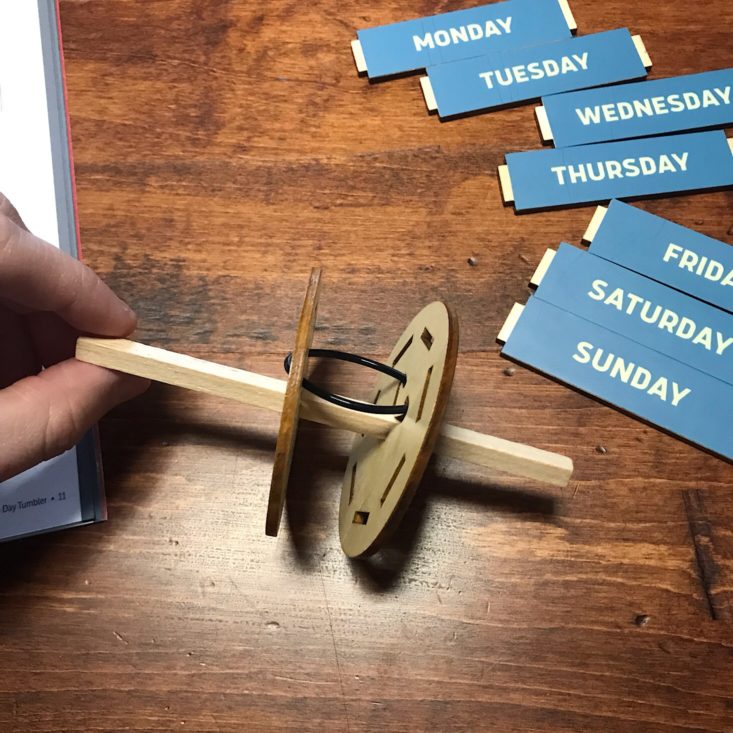

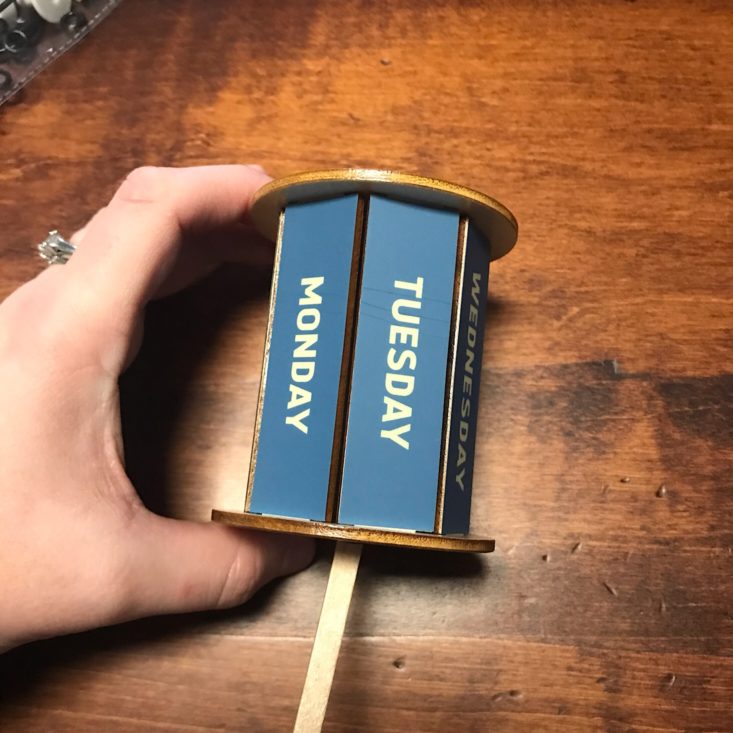
Then I inserted the longer dowel and began adding the days of the week pieces to the slots starting with Monday and going around by placing the next day above it in the circle until they were all placed.
Then I added one of these wooden circles to the side and placed the shortest of these triangles on the end.
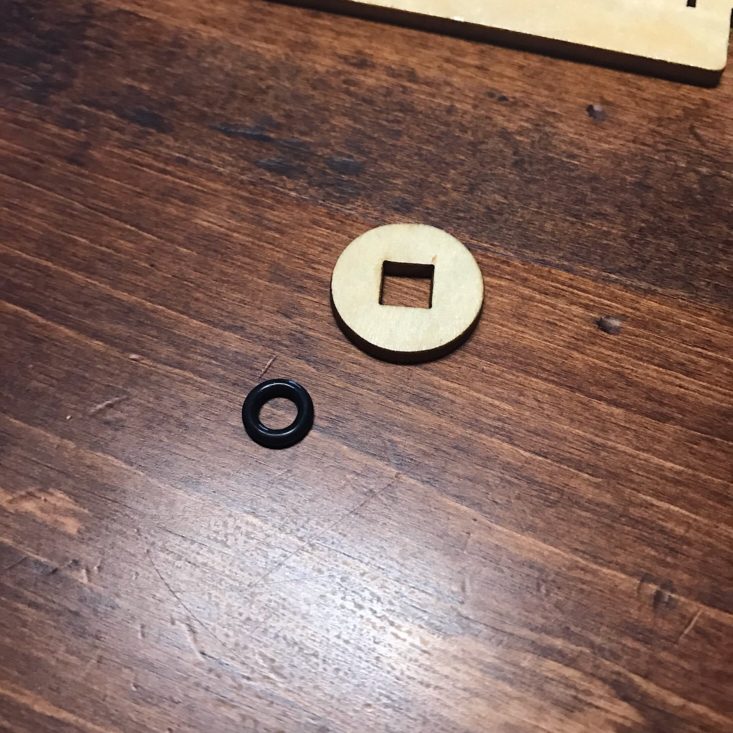
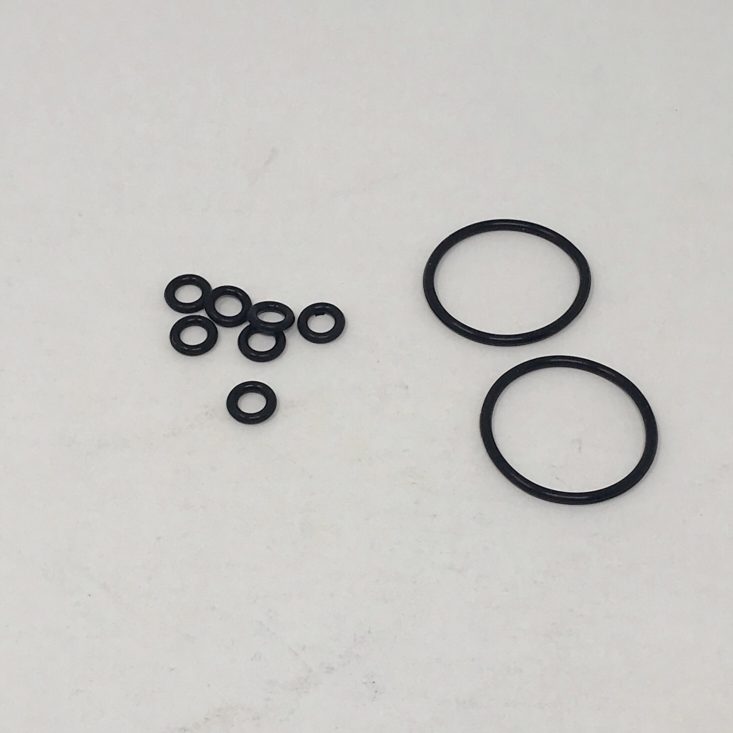
Then I added this wooden circle and a small o-ring to secure it.
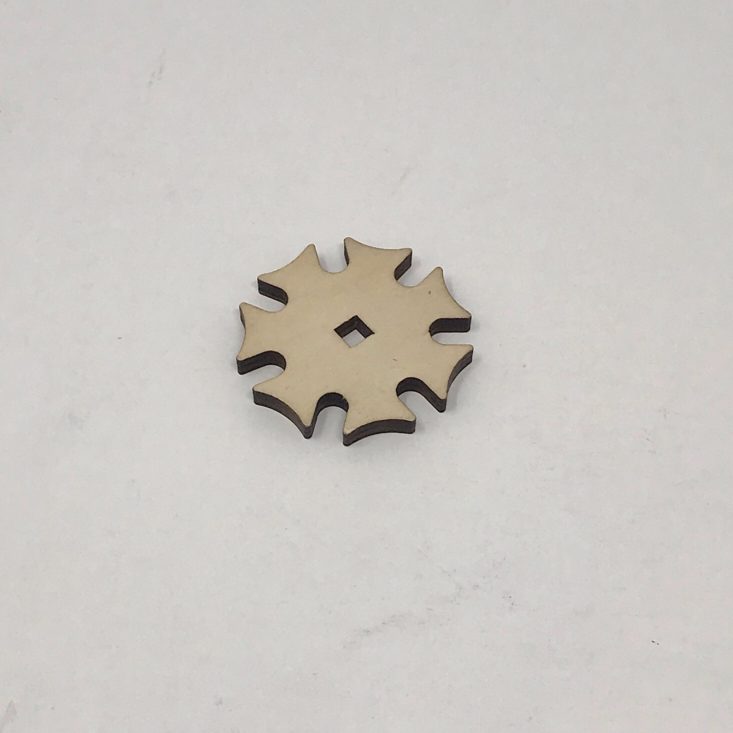
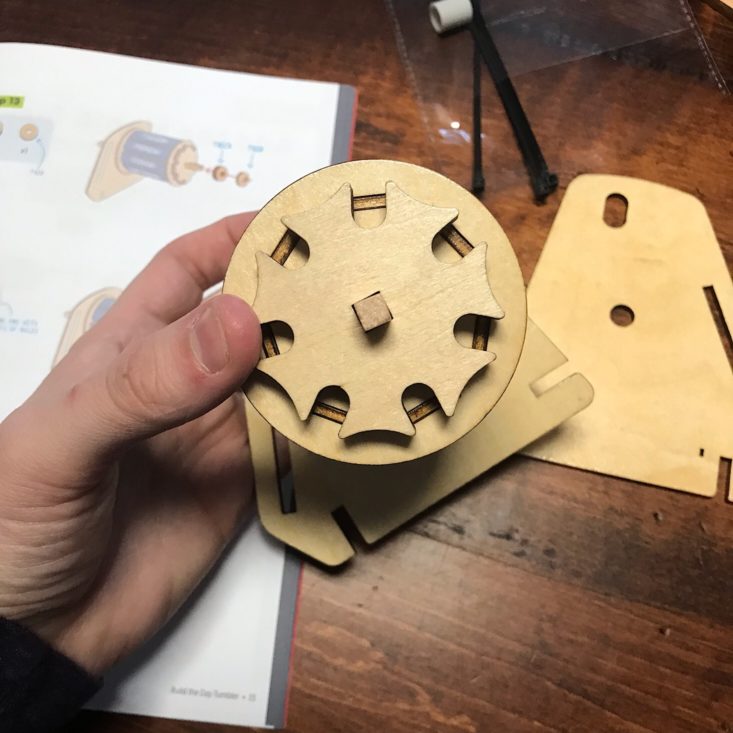
I added this piece to the opposite end which would be our Geneva drive and help our days spin.

Then I added a thicker circle and a thin one and finished it with the larger triangle piece.

I secured it all with another wooden circle and an o-ring.
Part C: Add the Month Dial
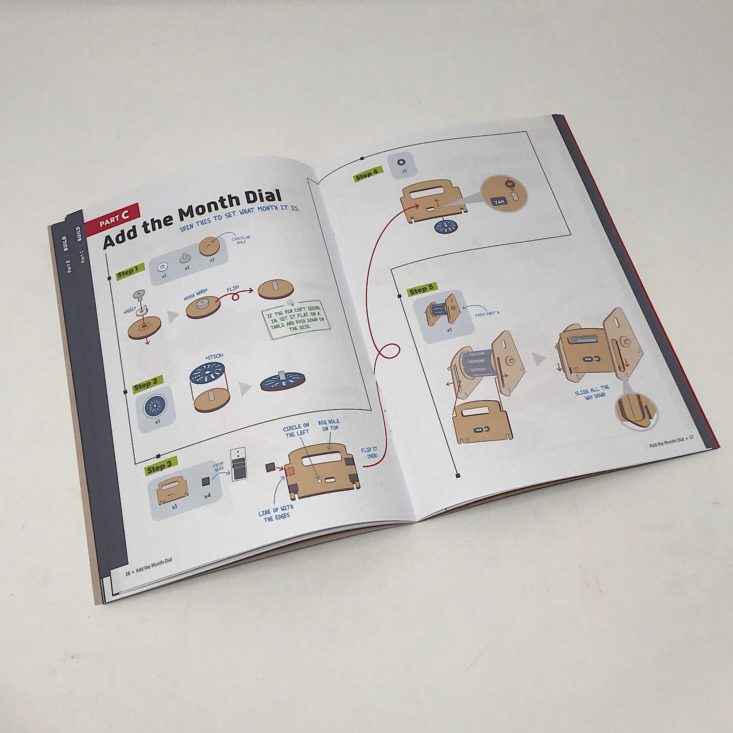
Now that our days and numbers were ready to go, the last part was to add our months.

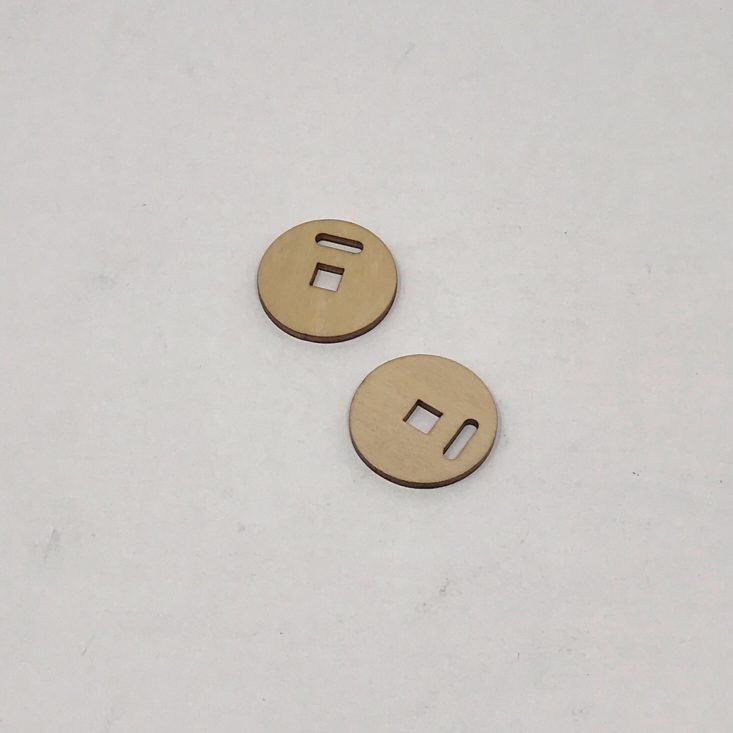
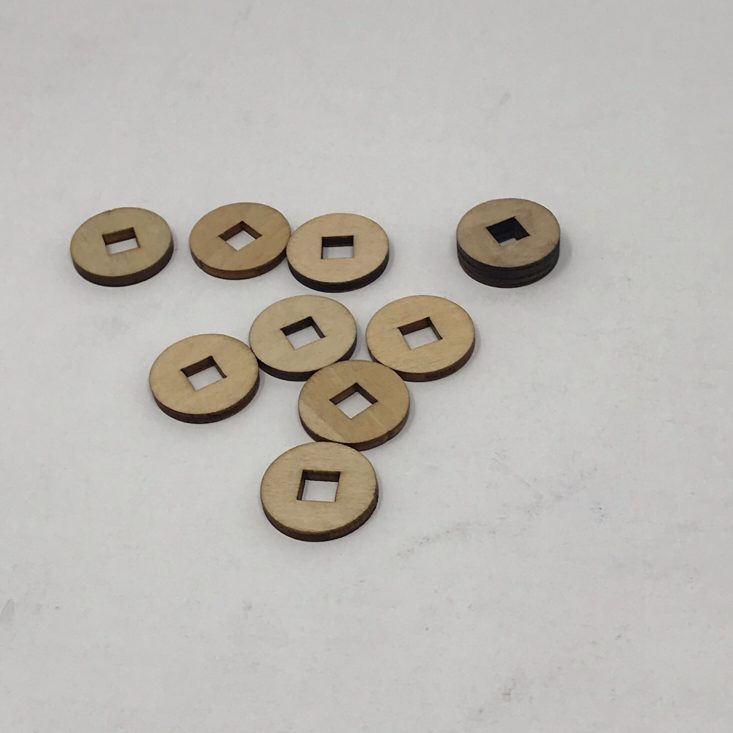
They provided a nice wooden wheel, some plastic pieces, and a few double-sided foam stickers.
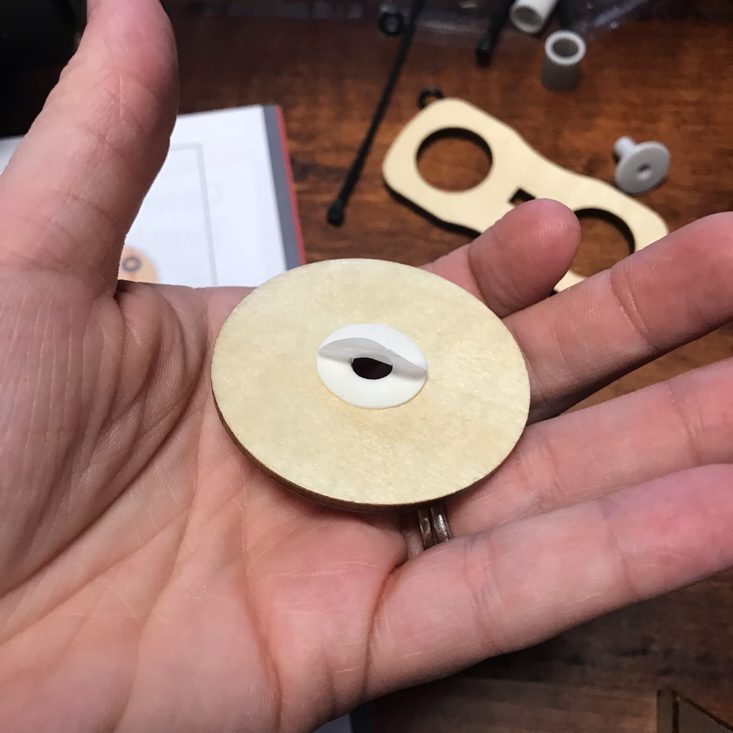
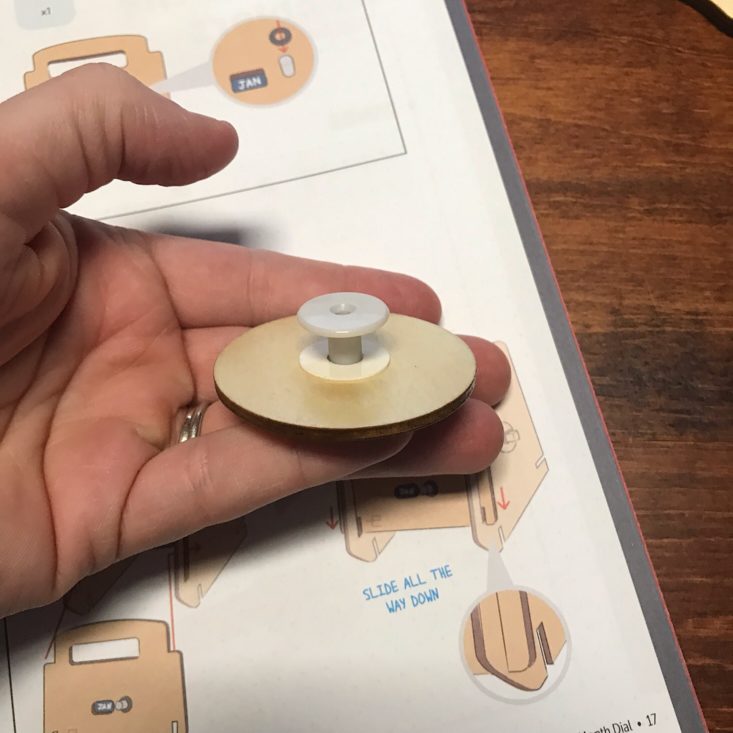

I added one circle sticker to the wooden circle, then I pushed one of the plastic pieces through and stuck it down as hard as I could. I flipped it over and stuck on our circular month sticker.
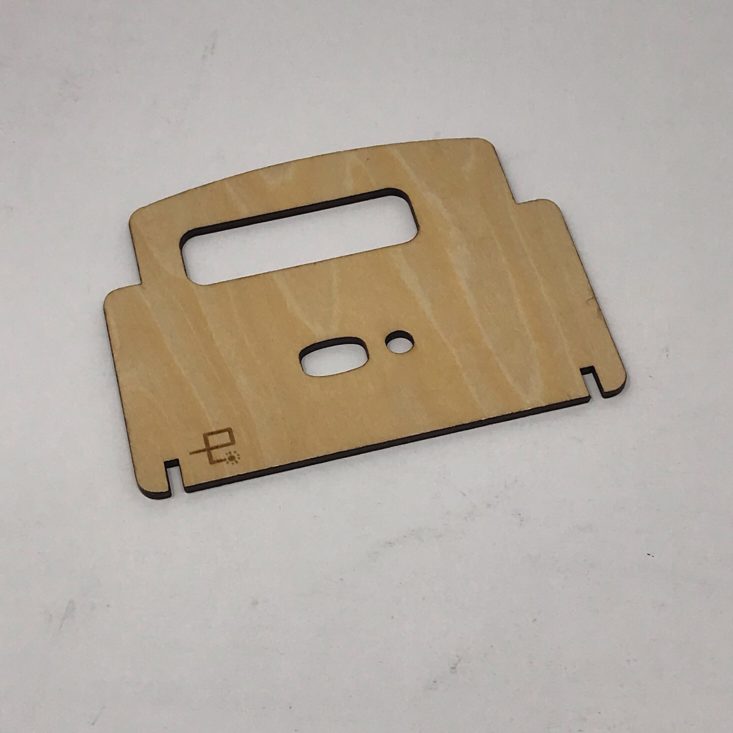

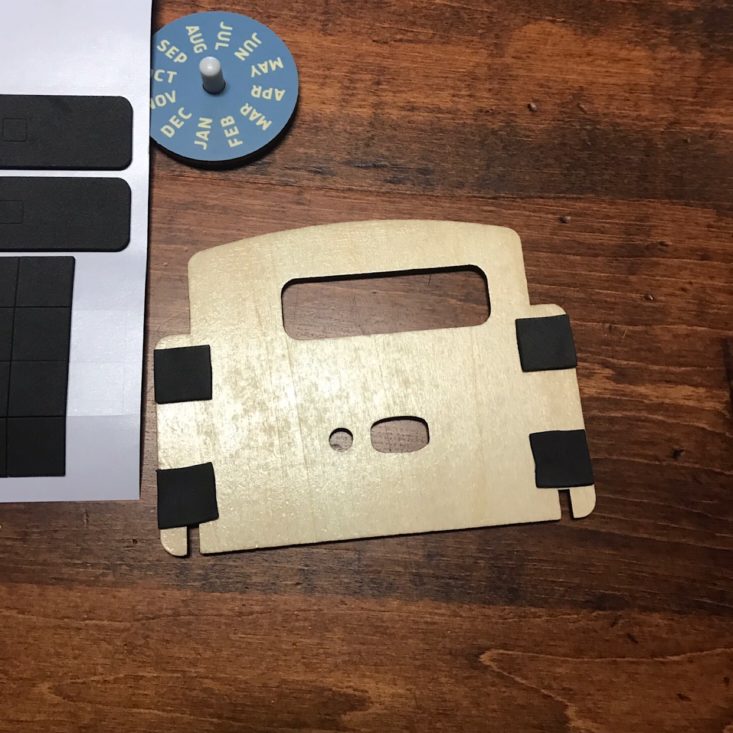
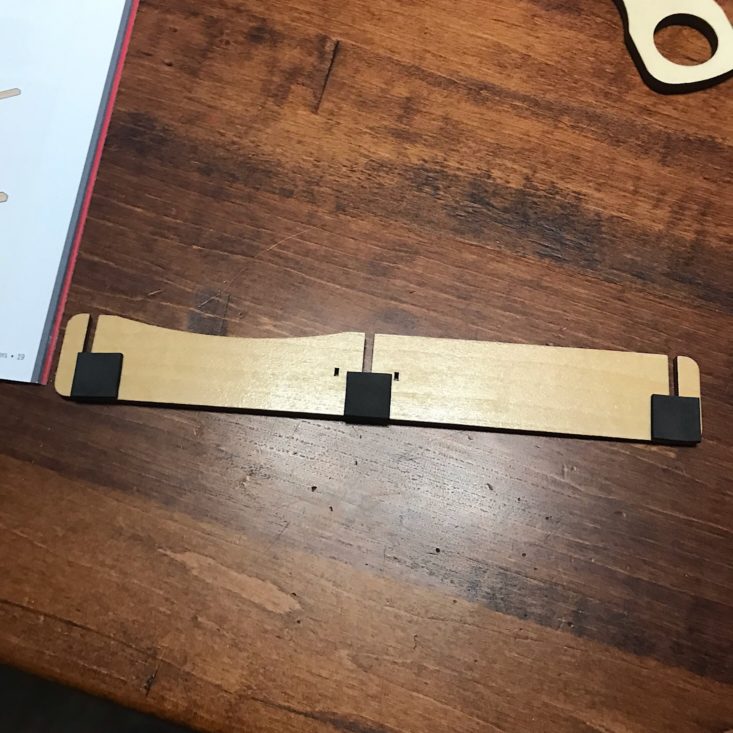
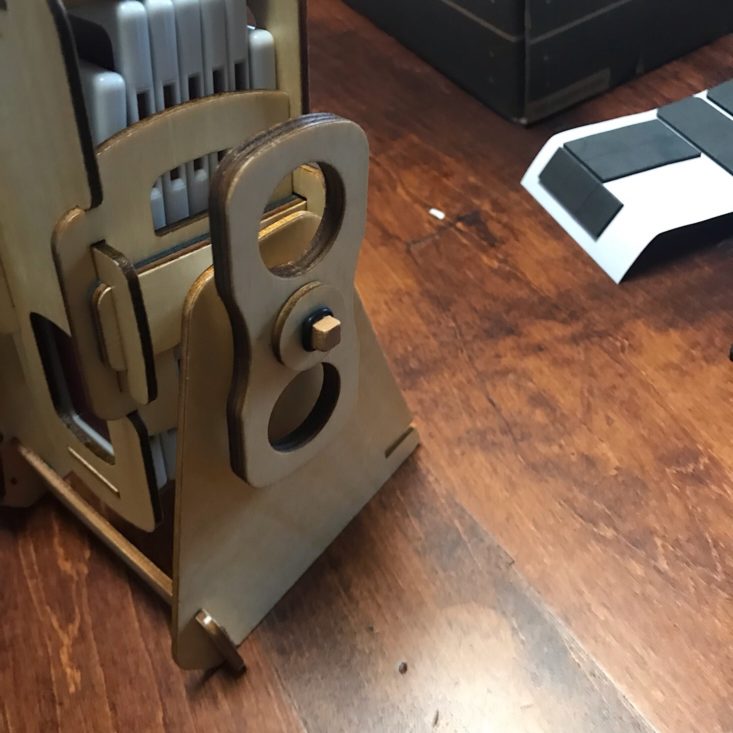
Next, I used the square foam stickers and added them to this wooden piece which would become the face of our day tumbler section.

I slid the face into place, which was easy to do because of the notches that were already cut into the wooden pieces. The foam stickers helped keep it a nice snug fit.


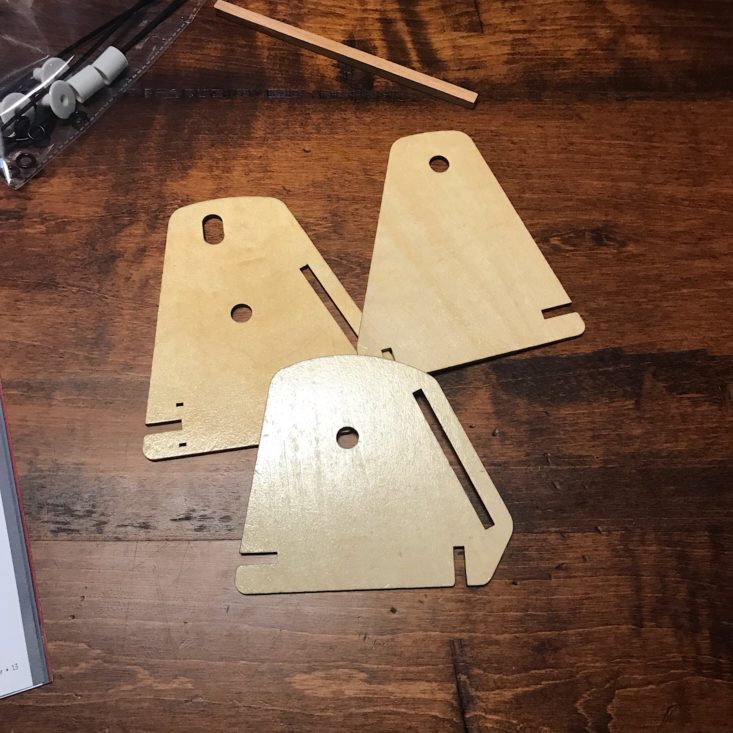
I added some more foam squares to one of the wooden pieces and this became part of the base of our calendar. Again, the notches made it easy to slide into place.


I added some of the double-sided stickers to the football-shaped wooden piece. Then I added two more of the plastic pieces and pushed them in until they were flat against the wooden piece.
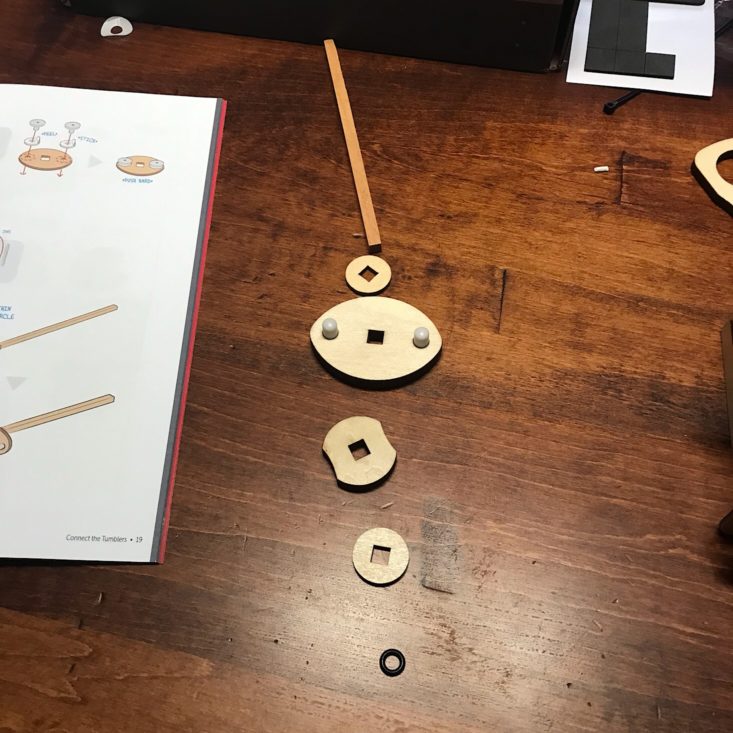
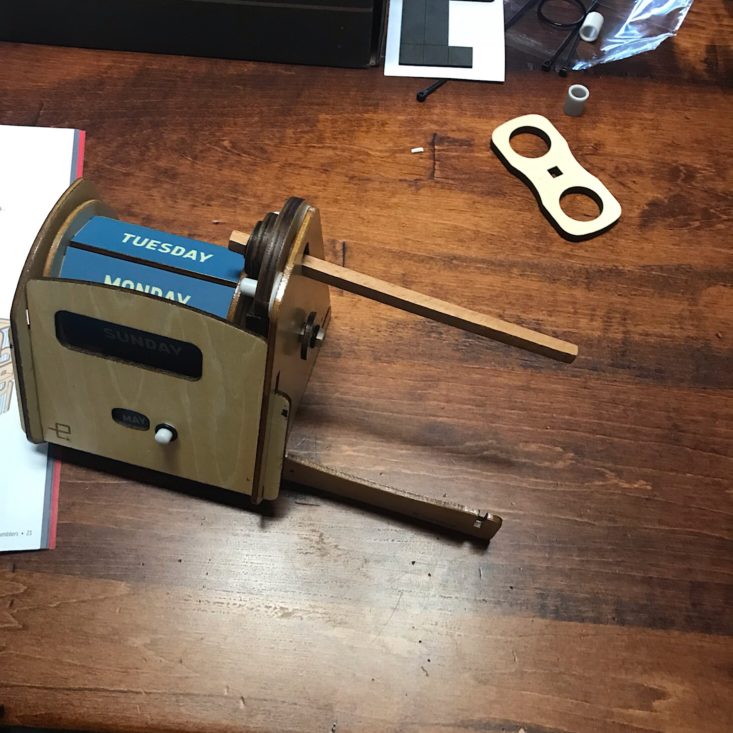
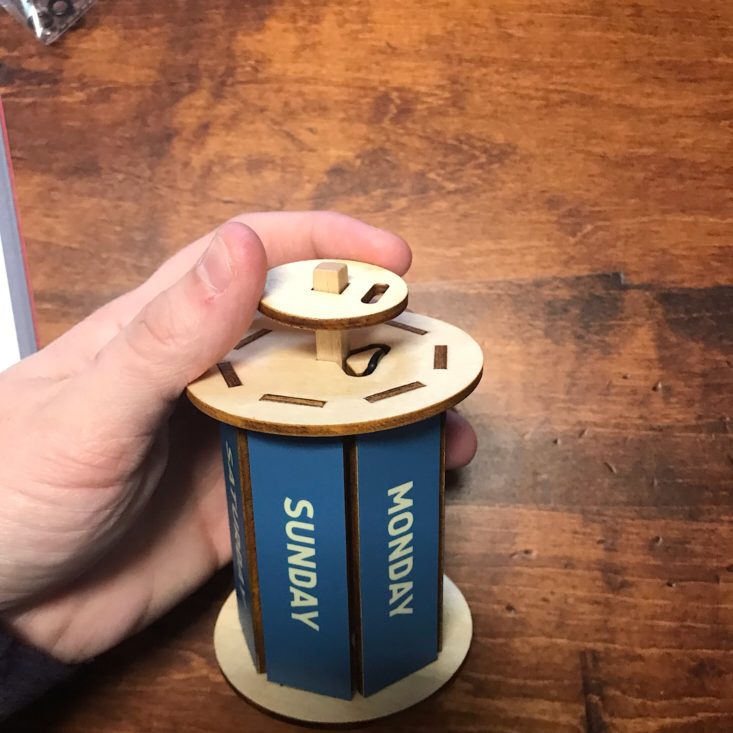
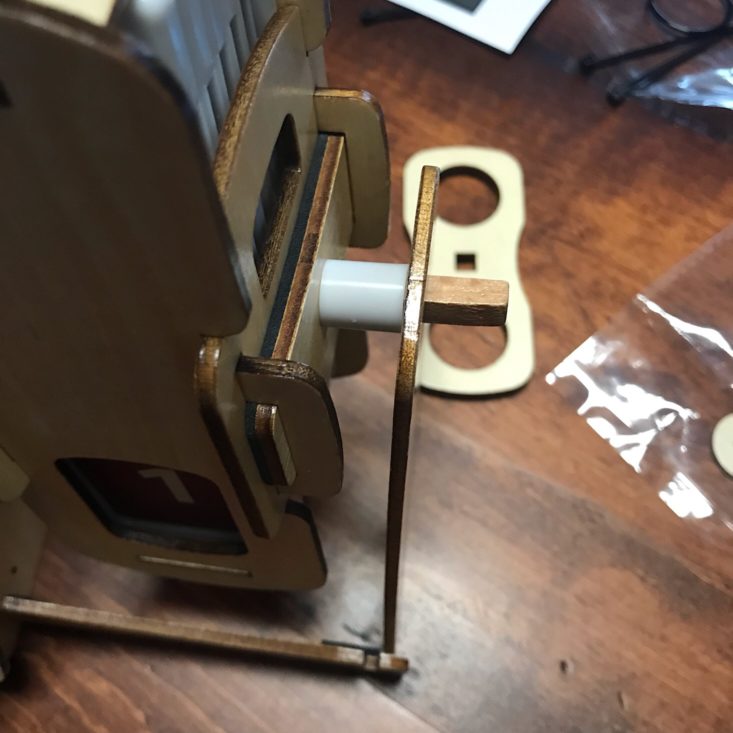
I organized the next few pieces I needed and then slid them onto the shorter dowel in order. I added the dowel to one side of the day tumbler so that it was resting above the Geneva drive. It's really hard to see, but that little plastic end would fit right into those little cutouts, which is how our calendar would work when we moved the handle.
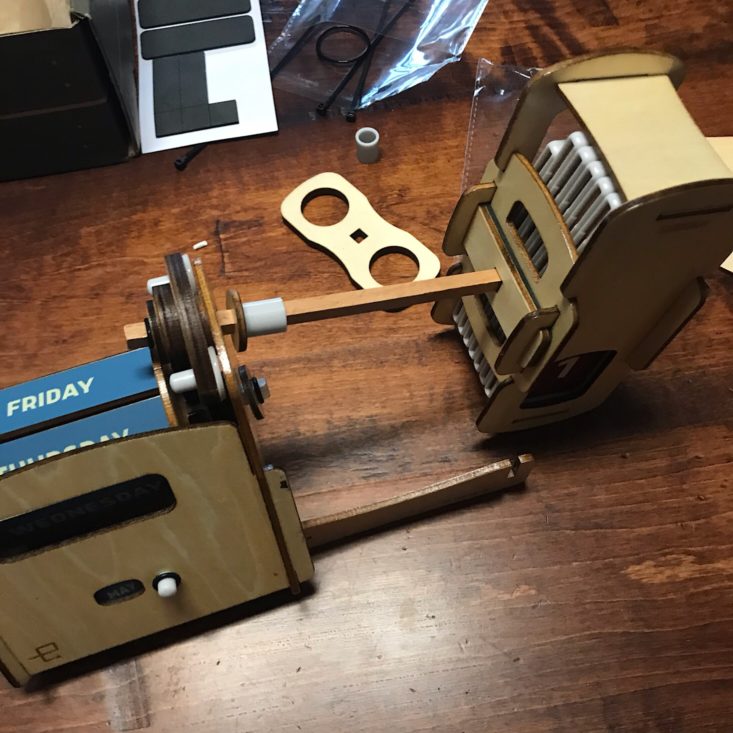
Now it was time to assemble it all together. I added a wooden circle and a plastic tube to the dowel and then slid the number tumbler onto the end of that dowel to connect the two pieces. Then I added another plastic tube and the last triangular piece to the end.
I added the last piece to the side which was the handle and would operate our calendar securing it with a wooden circle and an o-ring.
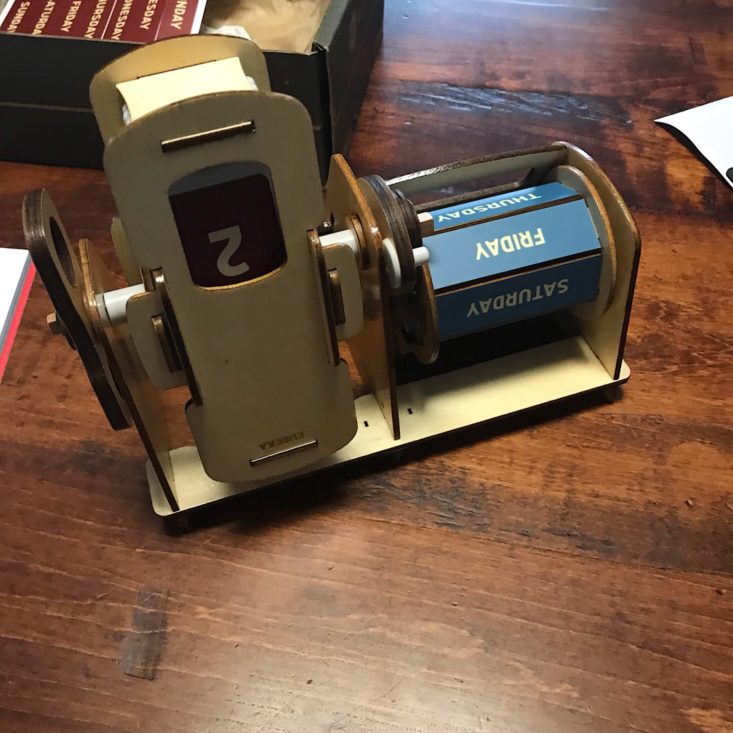

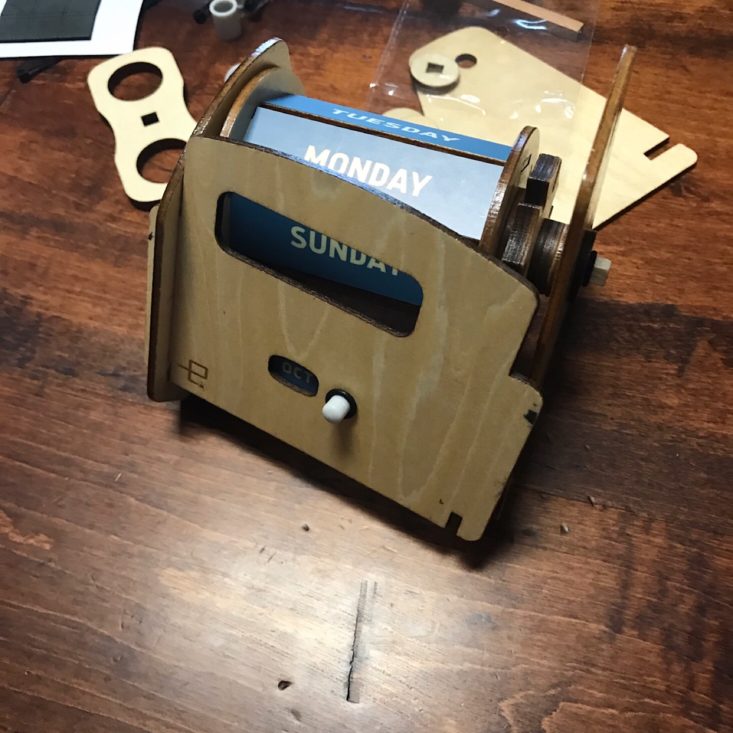
I added one more wooden piece with foam squares to the back to finish the base. Then it was time to flip the calendar around the right away and set the date.
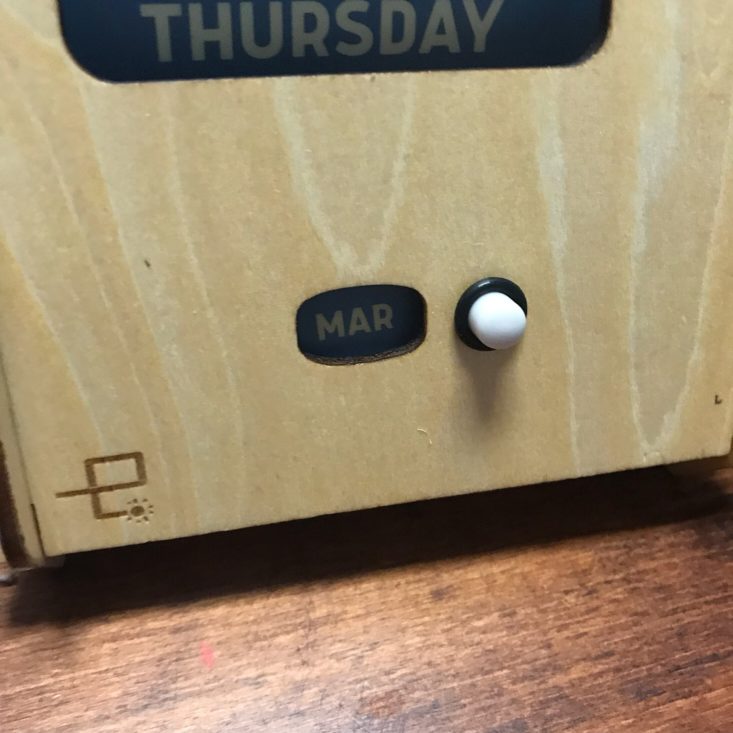
They provided some detailed instructions in the book for how to set it manually. As I turned the handle, the numbers would change and the days of the week would change with them. The month was easily changed by turning this little knob.

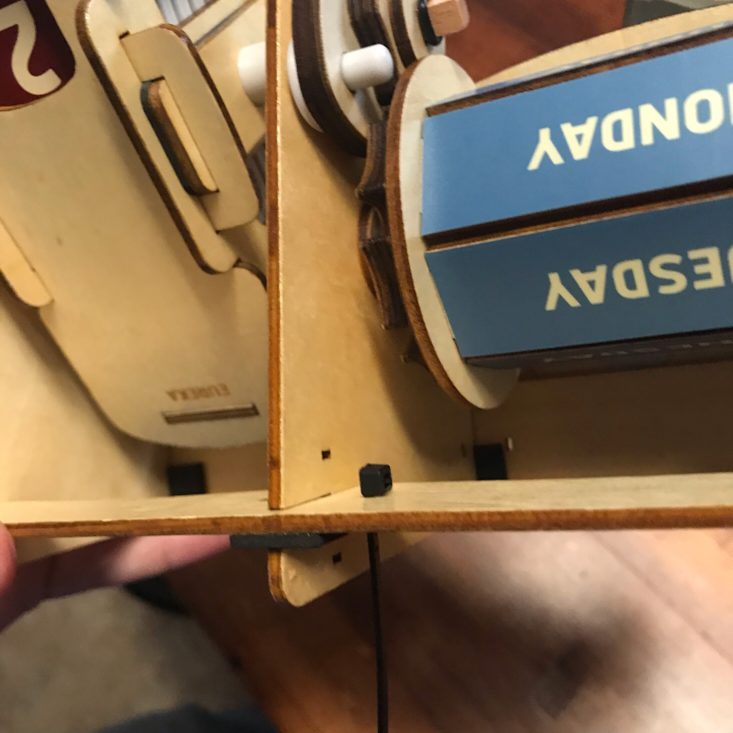
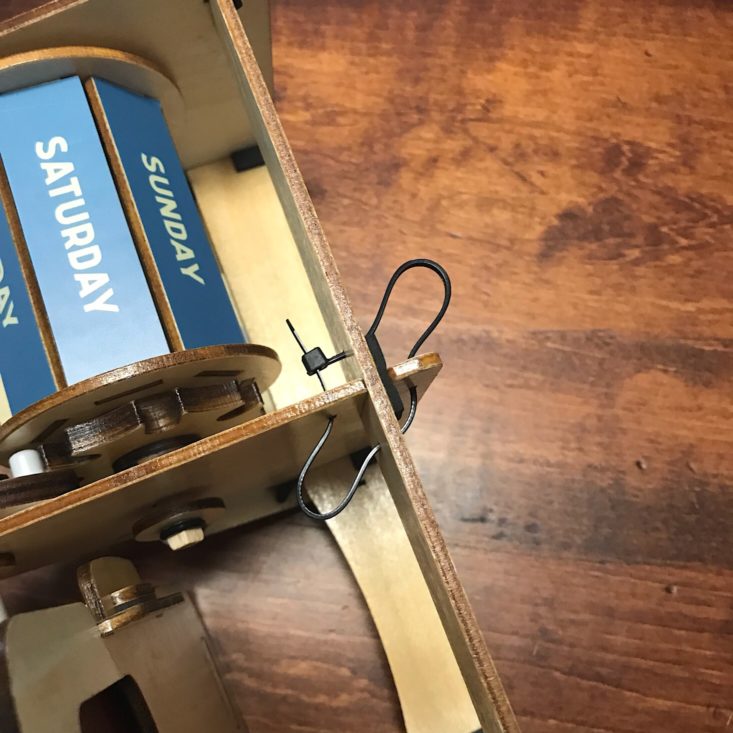
To secure the entire calendar, they provided a few zip ties and I simply inserted them into the holes and pulled them tight.
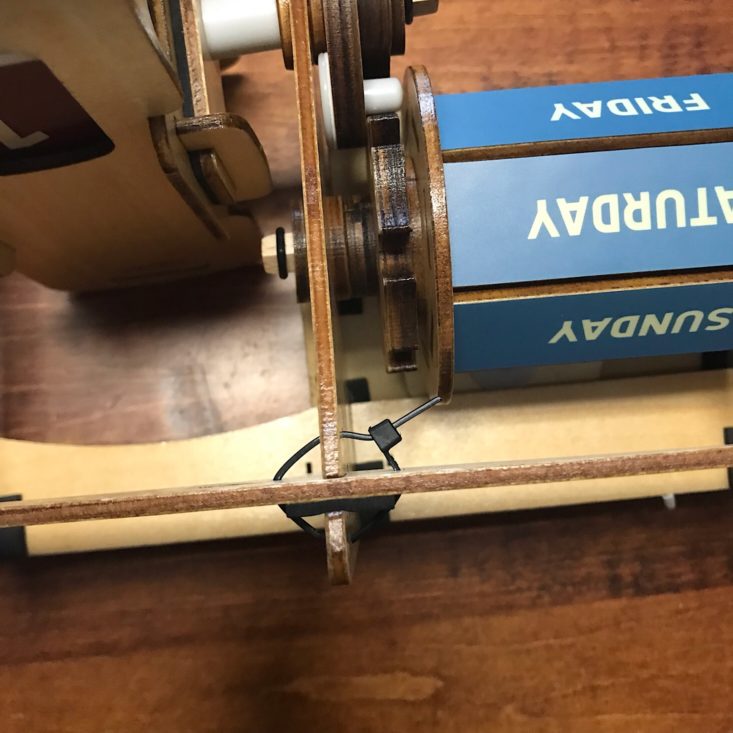

Then I trimmed off the excess and that was it!
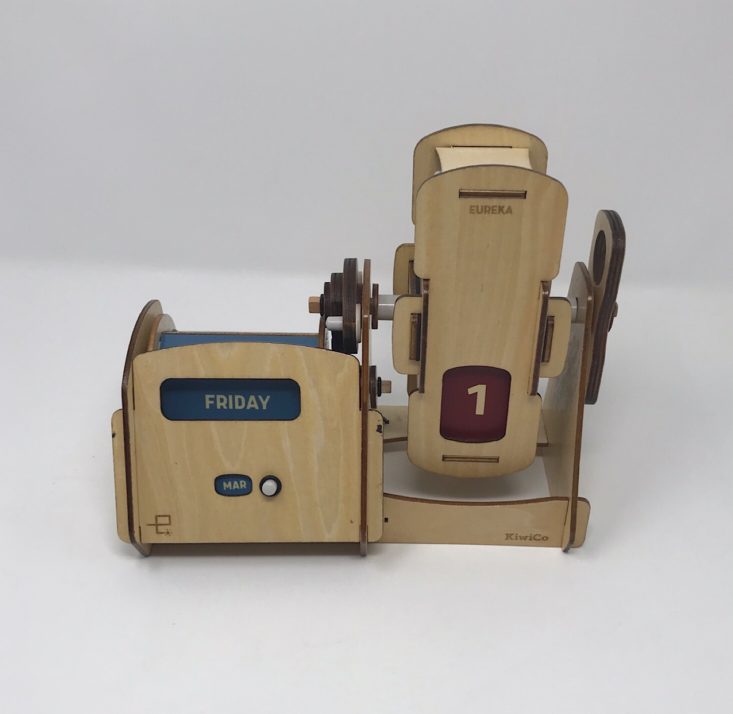
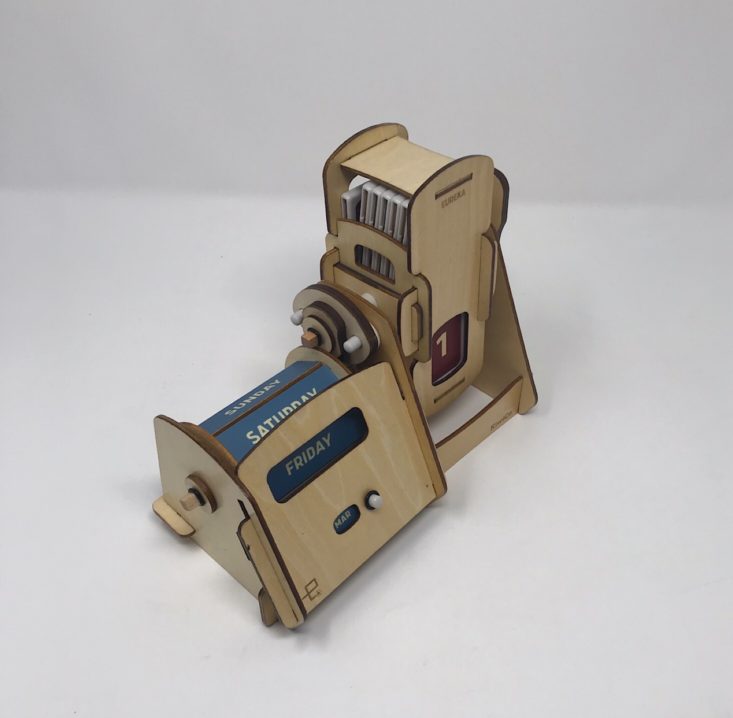
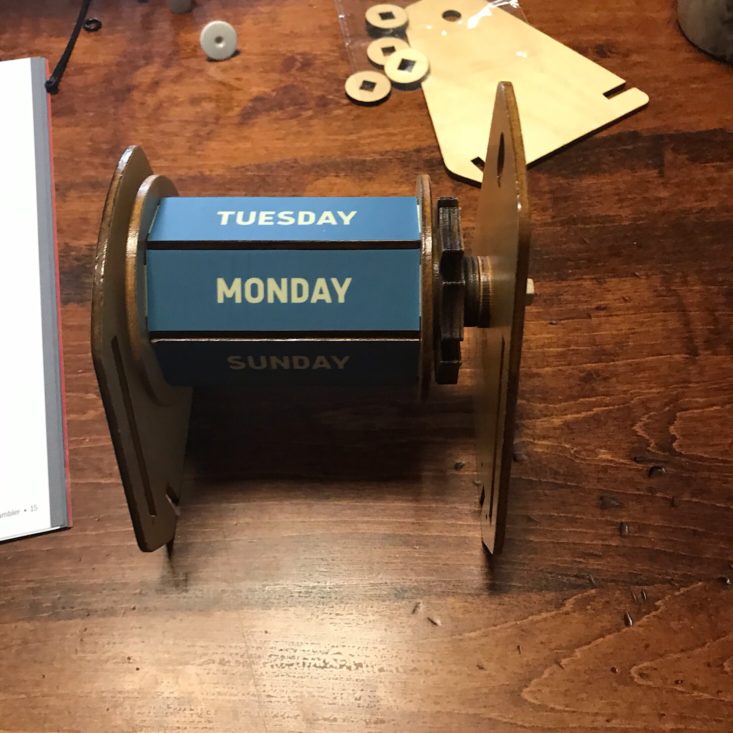
Here are a few more views of our finished calendar.
You can see that it works well when you turn the handle. It's actually pretty cool how the numbers change and drop into place. You can really see the design in motion and functioning. An excellent teaching project!

They included some information on troubleshooting which was very helpful.

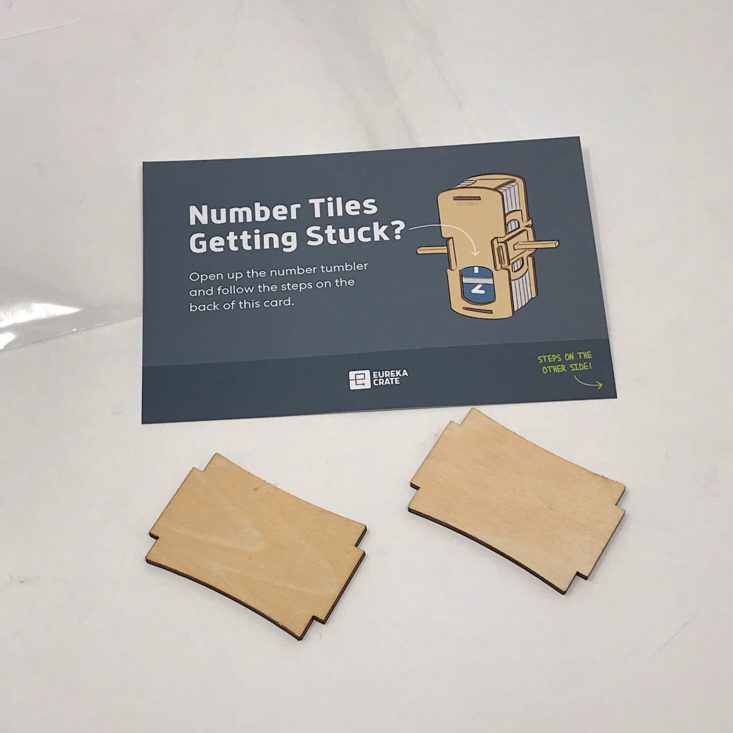
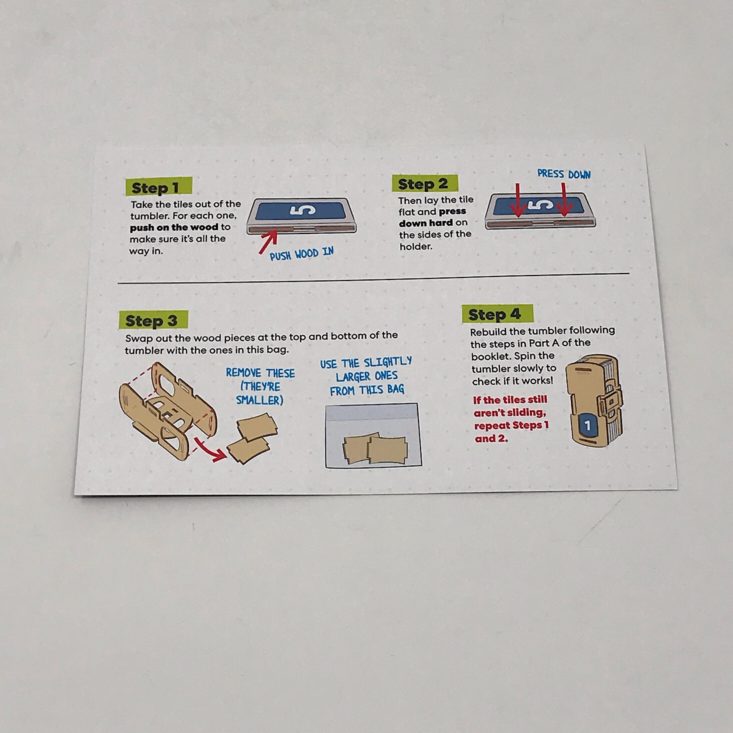
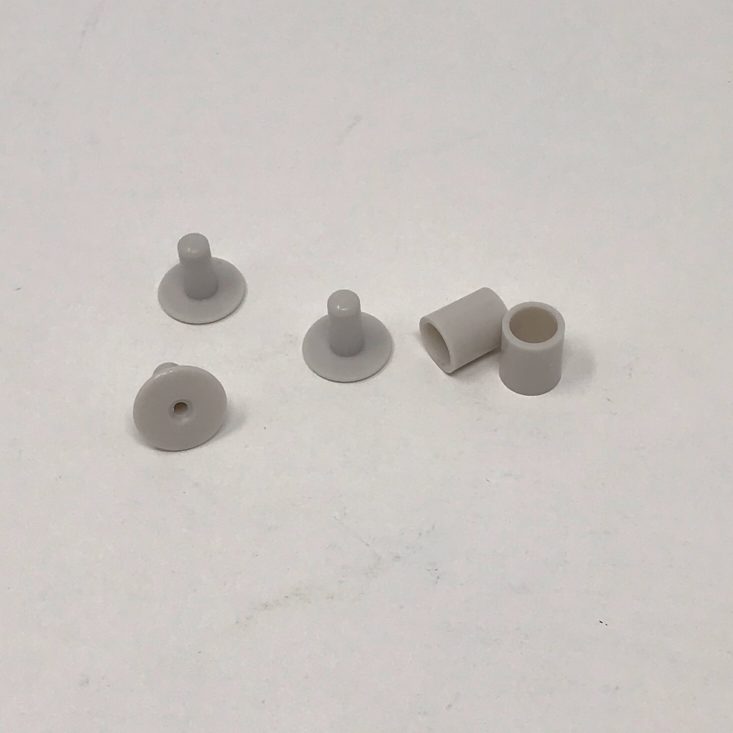
They also included these extra pieces in case your number tiles keep getting stuck.
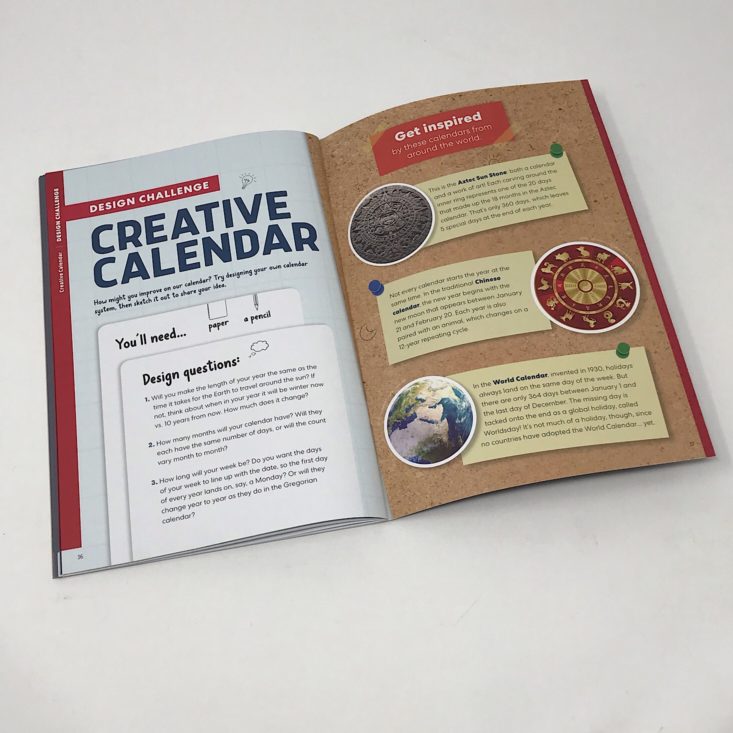
Another nice thing that they include in the booklet is this Design Challenge section. It's a great extension idea to put your new knowledge to the test!
Verdict: This month's Eureka Crate was another fun project that perfectly combined STEM skills to create a useful and practical item. They recommend this box for ages 14-104 and I definitely think that it's appropriate for all of the ages that range encompasses. It is such a nice sense of accomplishment when you complete one of these and I think that learning through doing is one of the best ways that we gain new knowledge and skill sets. These projects are such great examples of that! Plus, we always have a working item to keep and continue to use. The materials that they provide are always great quality and our ukelele from last month is still in working order; it might not be tuned, but it has stood up to my four-year-old daughter playing with it quite frequently. I think that $29.95 + free shipping is a great value for such a great educational experience.
To Wrap Up:
Can you still get this box if you sign up today? It is possible you might get this crate, but it is not a guarantee. From KiwiCo:
Crates are assigned each month based on availability and your crate history - not all subscribers receive the same theme each month.
Check out all of our KiwiCo reviews and more boxes for ages 14+ in the Tweens Subscription Box List!
Keep Track of Your Subscriptions: Add this box to your subscription list or wishlist!
What do you think of Eureka Crate?


Please do not enter your email address in the Name field or in the comment content. Your email address will not be published. Required fields are marked *. Remember to post with kindness and respect. Comments with offensive language, cruelness to others, etc will not be approved. See our full comment policy here.